Instead of Throwing Away an Empty Tin Can, They Used a Hammer and Nail to Make a Christmas Lantern


Empty tin cans usually go into the recycling bin, but one can become a Christmas lantern with a hammer, nail, and a few other supplies. Instead of cutting shapes from the metal, small holes form a snowflake that becomes visible when light shines through from inside.

The project starts with a paper template wrapped around the can to guide each hole. Pale green-gray chalk paint covers the metal, while small white snowflakes decorate the outside. Once a battery-operated candle is placed inside, light passes through the pierced pattern, turning the discarded container into a tabletop Christmas decoration.
A Snowflake Pattern Was Marked With Pencil Dots

The project began with a sheet of white paper and a pencil. Small dots formed six branches radiating from the center of a snowflake, with shorter lines extending between them.
Each mark indicated where a nail would pierce the tin, creating a pattern without cutting out the entire snowflake.
The Paper Template Was Cut to Fit the Can

Scissors trimmed the sheet into a small rectangle containing the complete dotted design.
The template needed enough space around the snowflake to hold it against the curved metal surface without cutting through the marks.
A Hammer and Nail Transferred the Pattern Into the Metal

The paper was placed over the side of an empty tin can, with a nail positioned on one pencil mark. Tapping the nail with a hammer created a small opening through the metal.
The process was repeated across the dotted pattern, producing separate holes that would allow candlelight to pass through.
Tape Held the Template Against the Curved Can

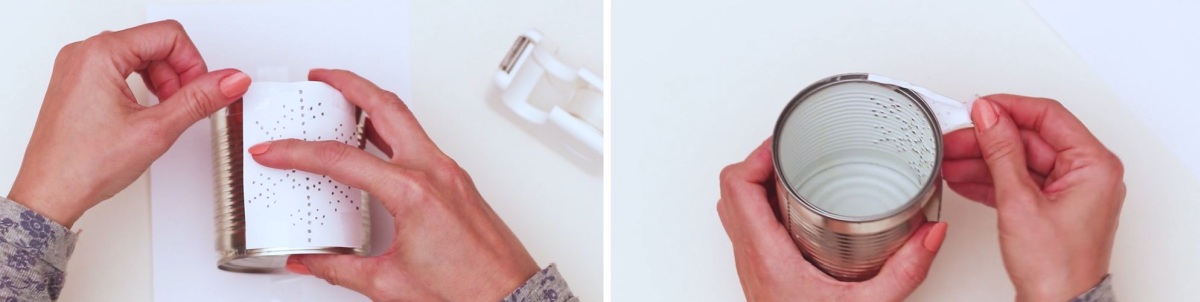
The paper was wrapped around the metal surface and secured with tape to prevent the design from shifting during the work.
Once the holes were complete, the tape and paper were removed, exposing the punched pattern beneath.
The Snowflake Appeared After the Paper Was Removed
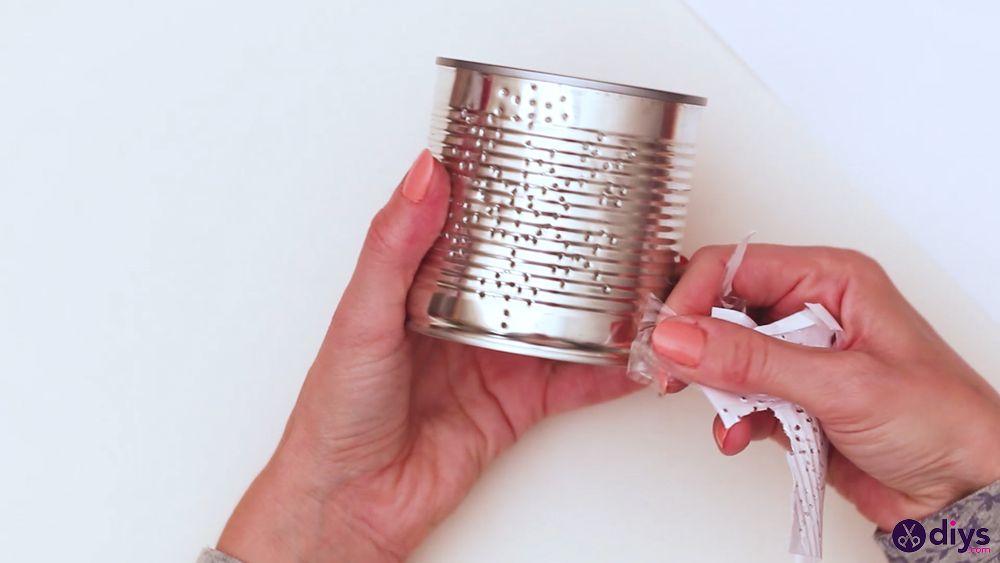
The exposed tin showed rows of small openings arranged into a snowflake. The metal retained its horizontal ridges, with the punctures passing through them.
The original silver finish remained visible before painting, allowing the shape of the pierced design to be checked.
Pale Chalk Paint Covered the Metal
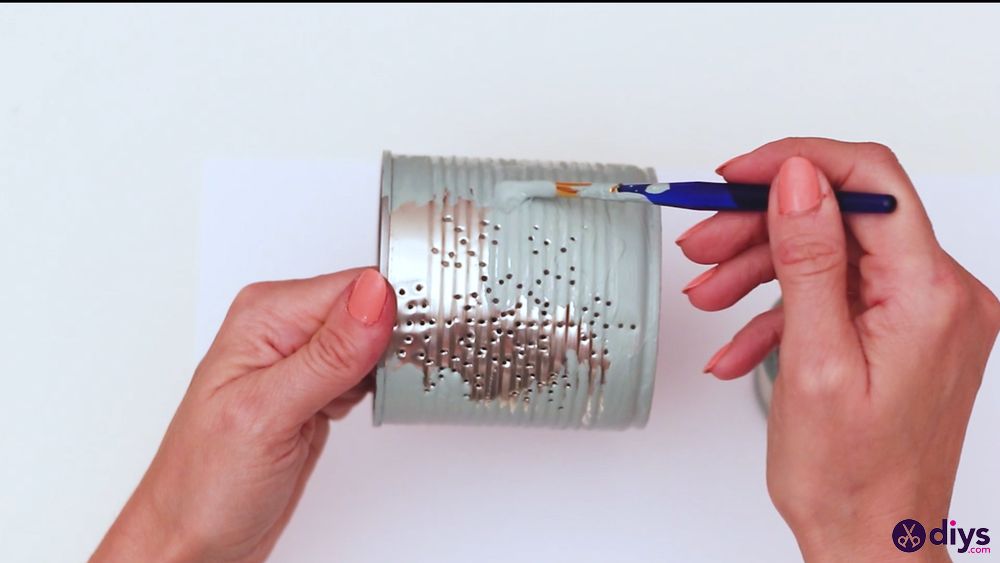
A brush applied pale green-gray chalk paint across the exterior, covering the silver surface while leaving the holes open.
The paint followed the ridges around the can, giving the container a matte finish. A second coat could be added after drying if the metal remained visible.
Small Snowflakes Were Attached With Hot Glue

Small white snowflake decorations were attached to the painted exterior using a hot glue gun.
The decorations sat around the punched pattern rather than covering its openings, adding a second snowflake design to the lantern.
Candlelight Revealed the Pattern in the Finished Lantern

The finished can sits on a round woven mat with a candle placed inside. Light passes through the pierced snowflake, creating small illuminated points across the painted metal.
A battery-operated LED candle is the safer choice for this project because the metal can become hot over an open flame. Punched edges can also remain sharp, so they should be smoothed before the lantern is handled.
The finished piece uses the original tin can as its container, with no separate lantern frame required.
Would you turn an empty food can into a Christmas lantern or keep it for another DIY project?
Images and project details courtesy of DIYS.com.