How To Make Rustic Cute Twig Stars
Updated on November 19, 2025


In my house, the crafting ideas that are the most successful are always the ones that involve using some kind of unconventional material. Lately, my kid and I alike have fallen completely in love with the concept of crafting with nature, for example. My kids will bring in all kinds of bits and bobs from the outdoors when they play in the yard, so recently I’ve found myself thinking a lot about how we might get creative with twigs. That’s how we started making these lovely twig and twine star ornaments for our Christmas tree! This one was alittle challenging for them, so they mostly helped me out in making mine, but everyone involved still had a blast. In fact, I liked the finished twig starsso much that I made another one just so I could show everyone else how to make them as well.
Check out these step by step instructions complete with photos! If you’d rather follow along with a video tutorial instead of written words, scroll to the bottom of this post to find just what you’re looking for.
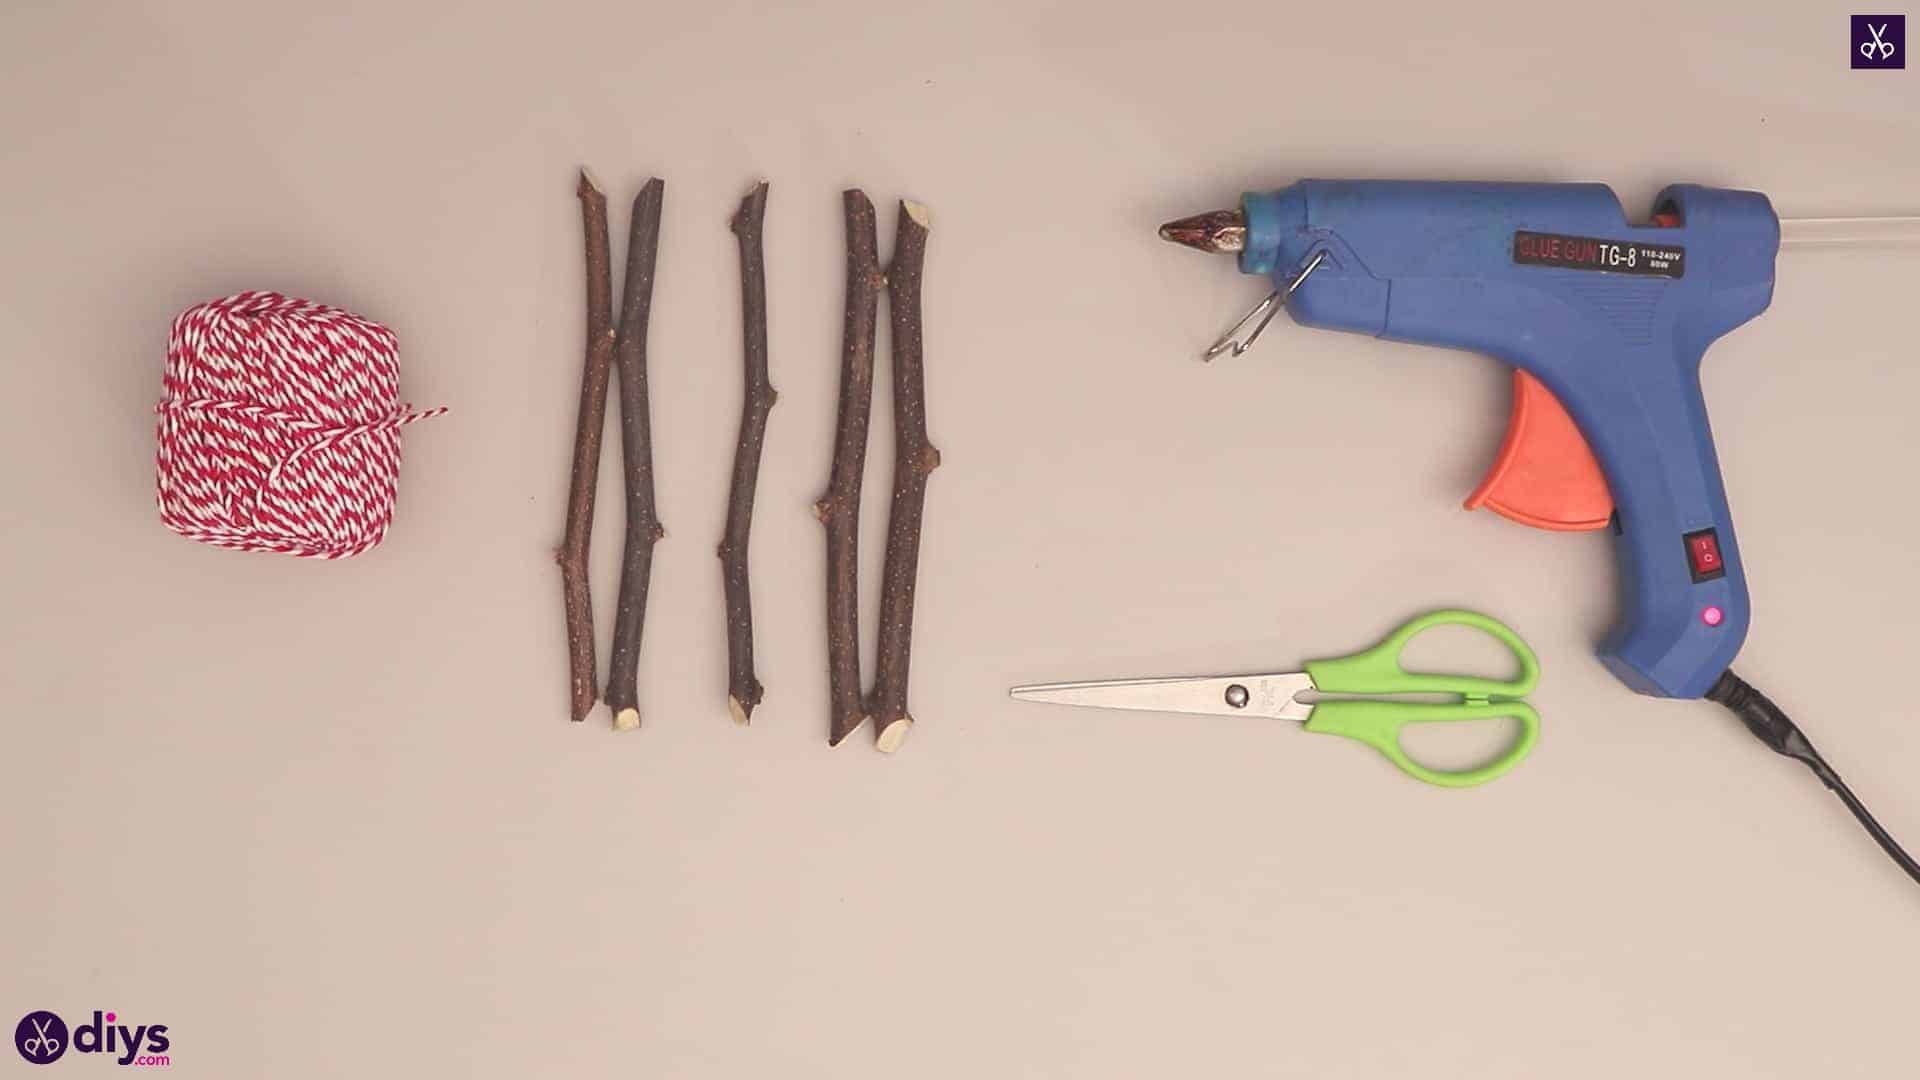
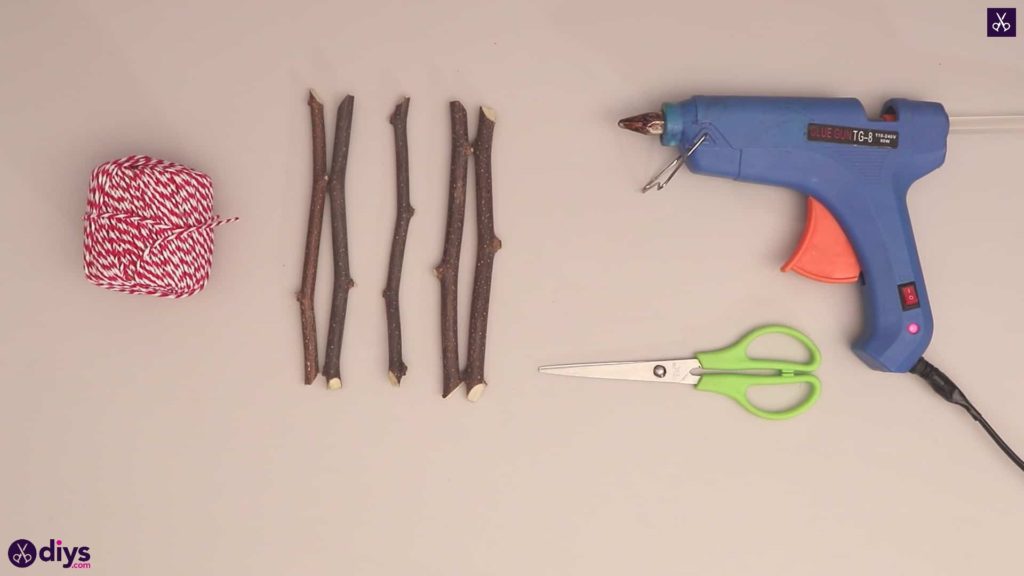
For this project, you’ll need:
- Twigs (five small ones about the same length)
- Scissors
- Hot glue
- Red and white striped twine
Step 1: Gather your materials!
Get what you need from your list before you start.
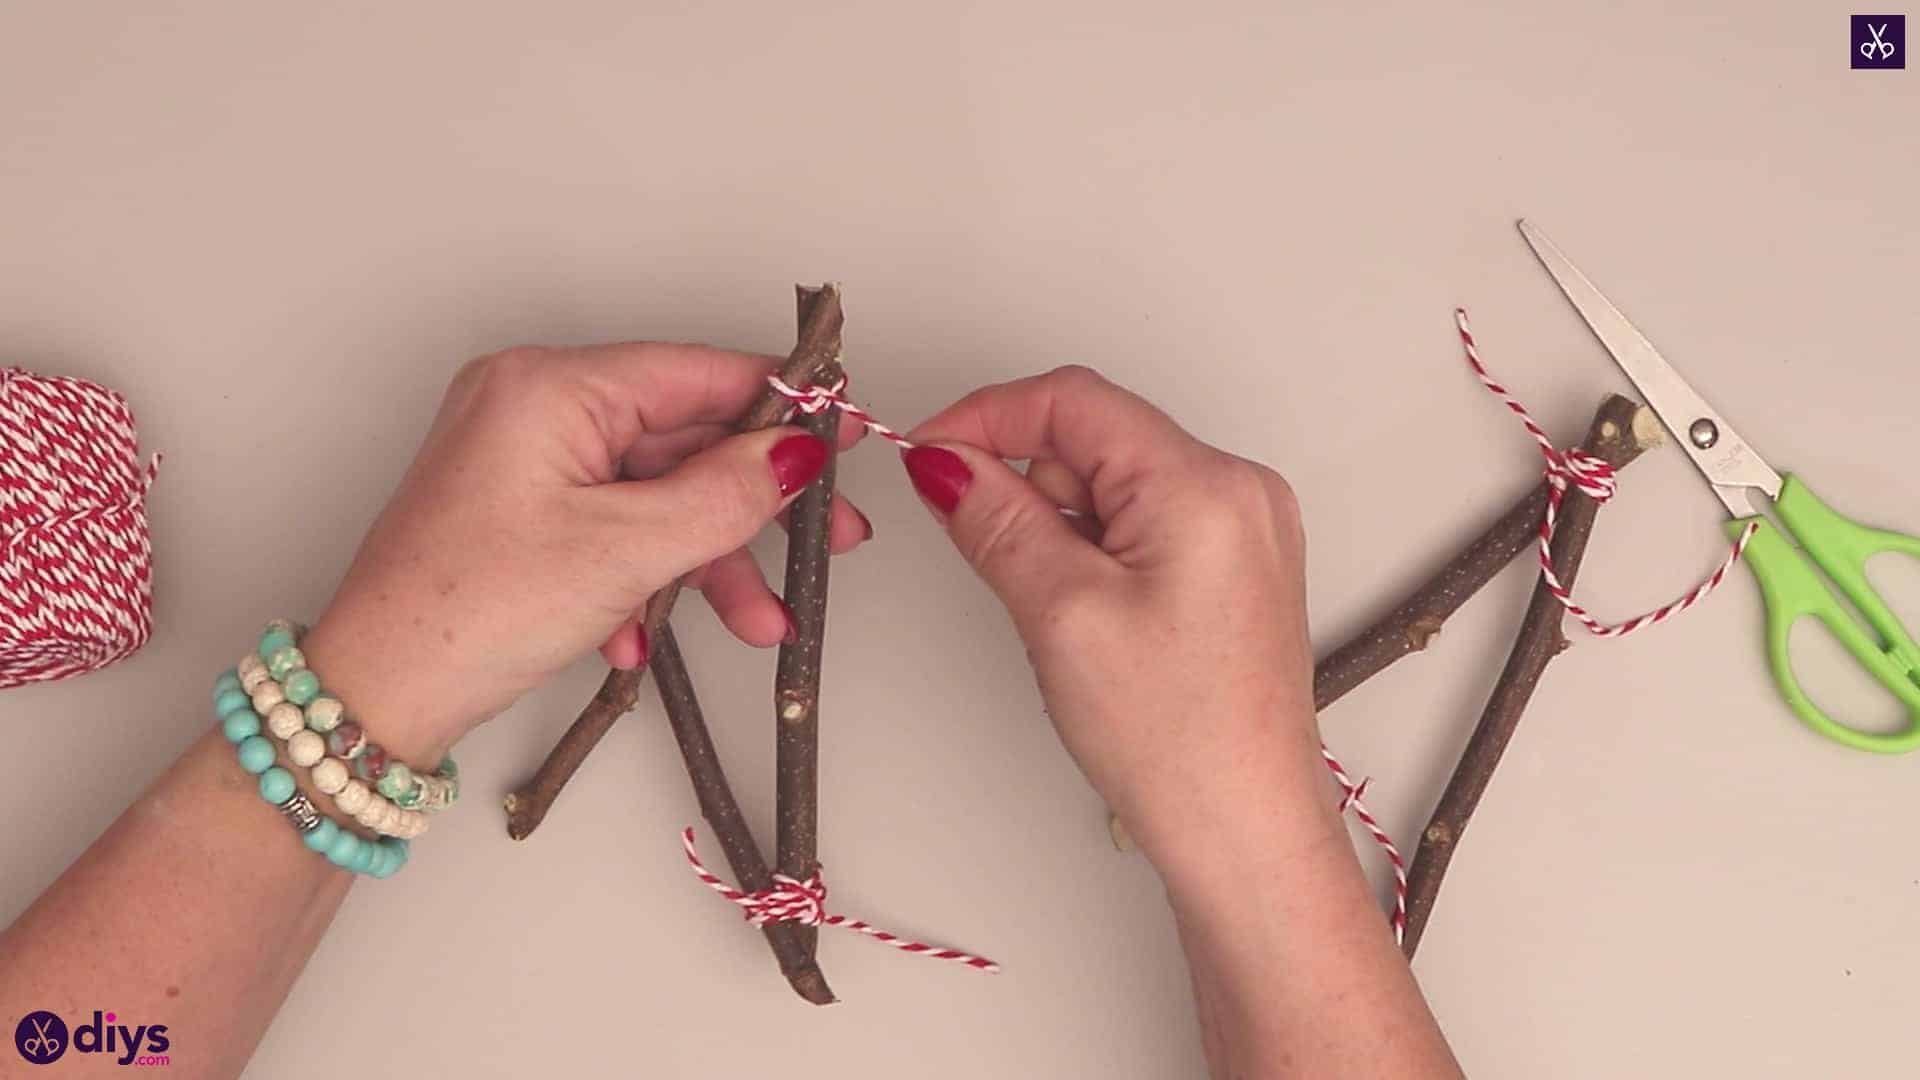
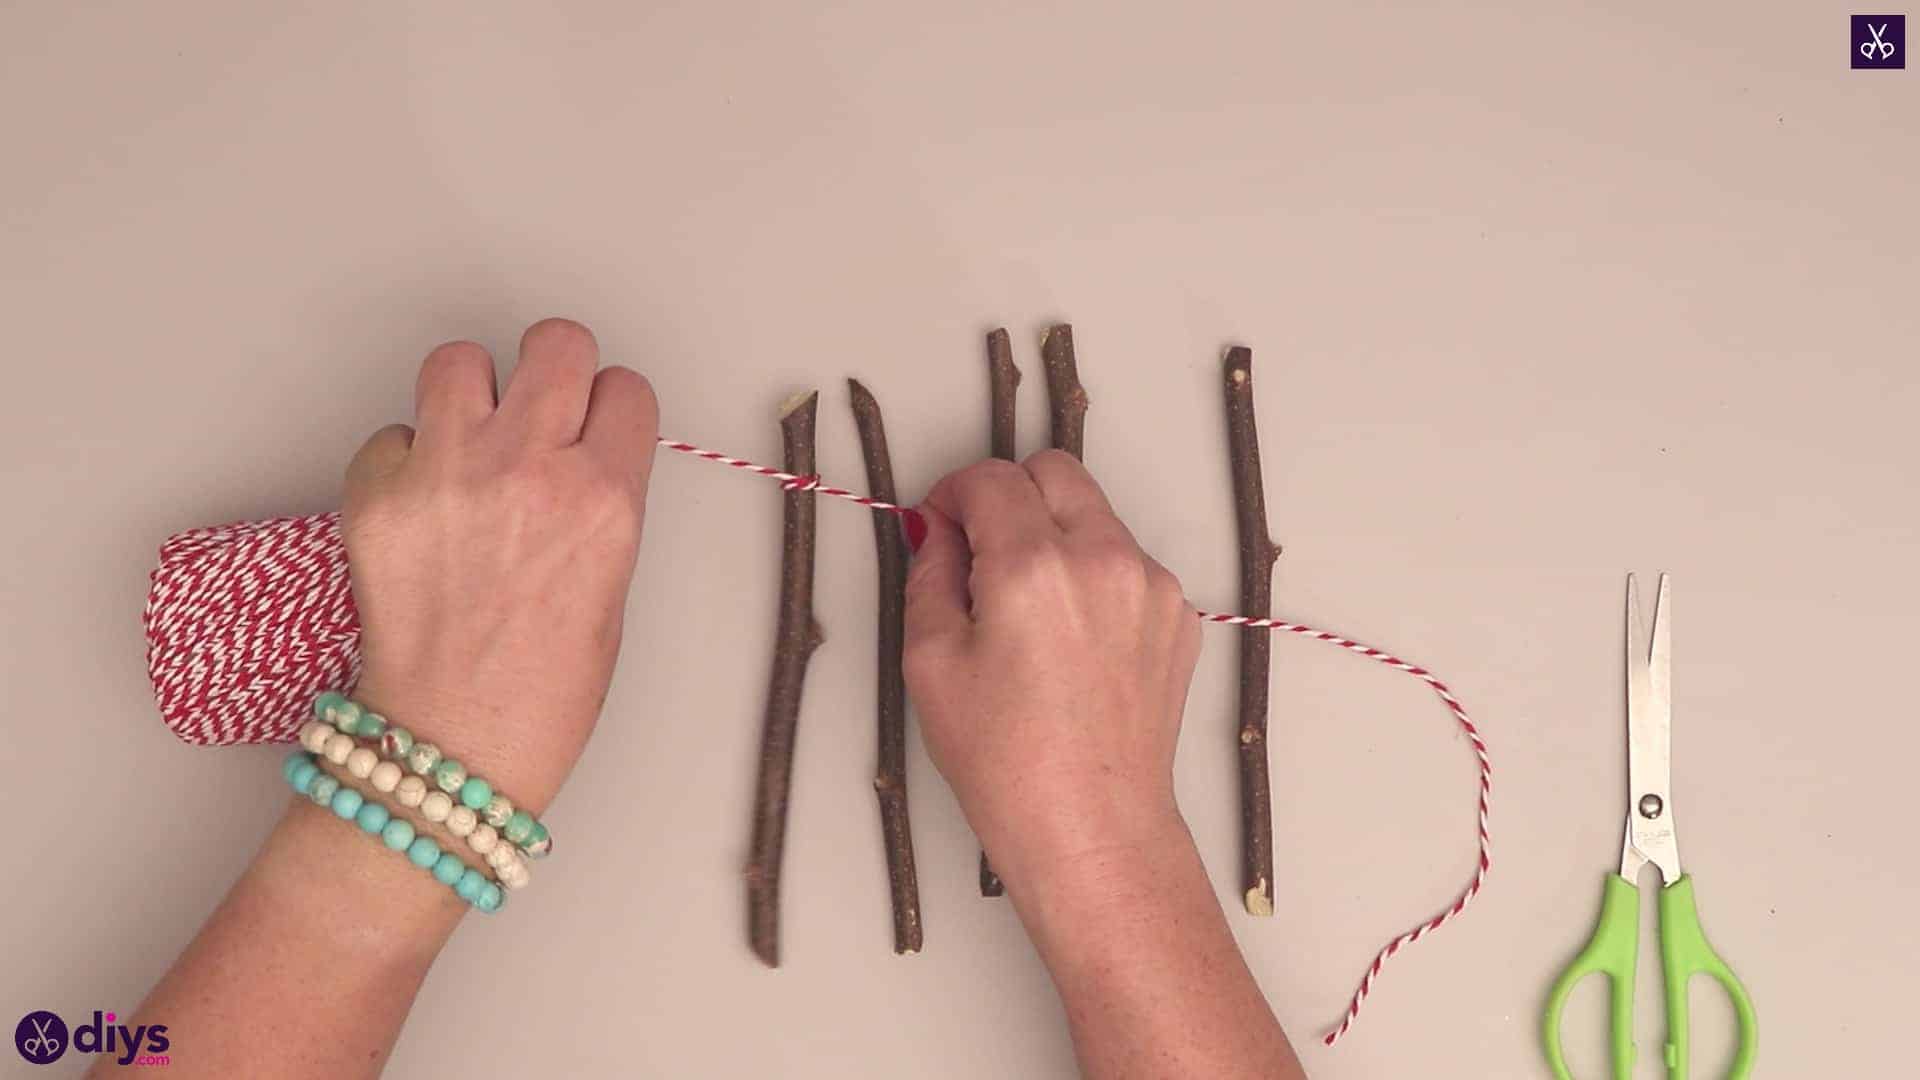
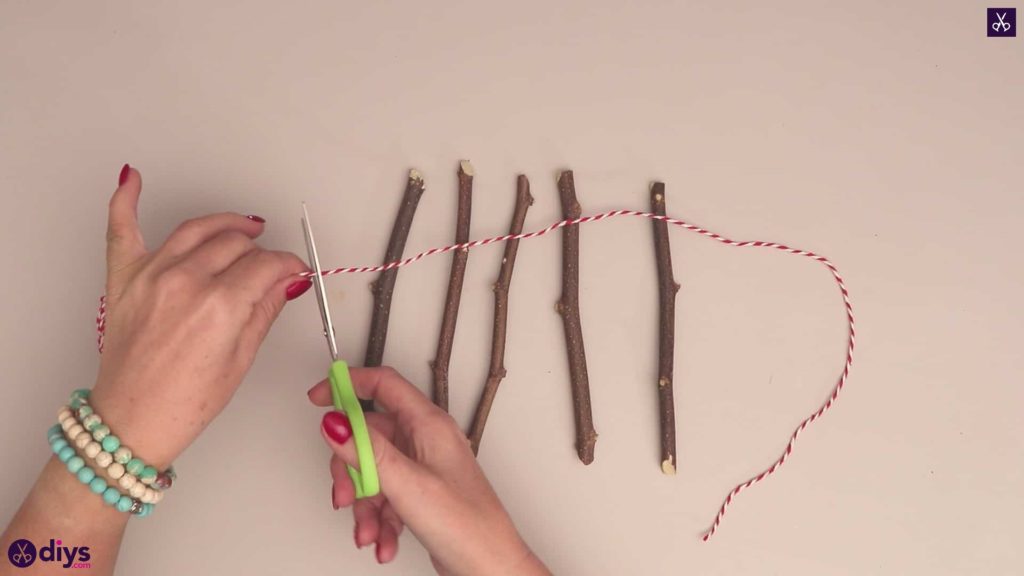
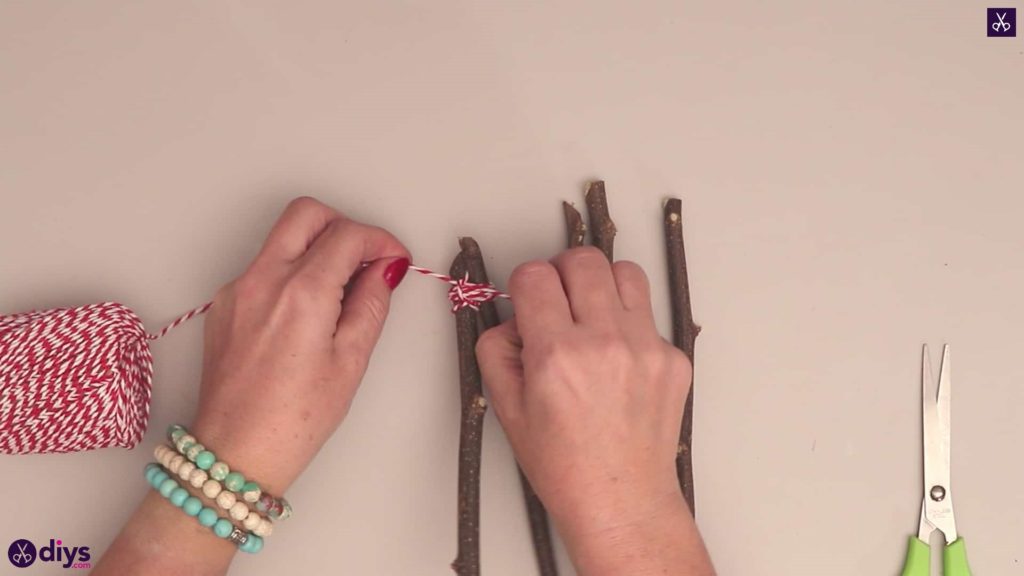
Step 2: cut twine and start tying
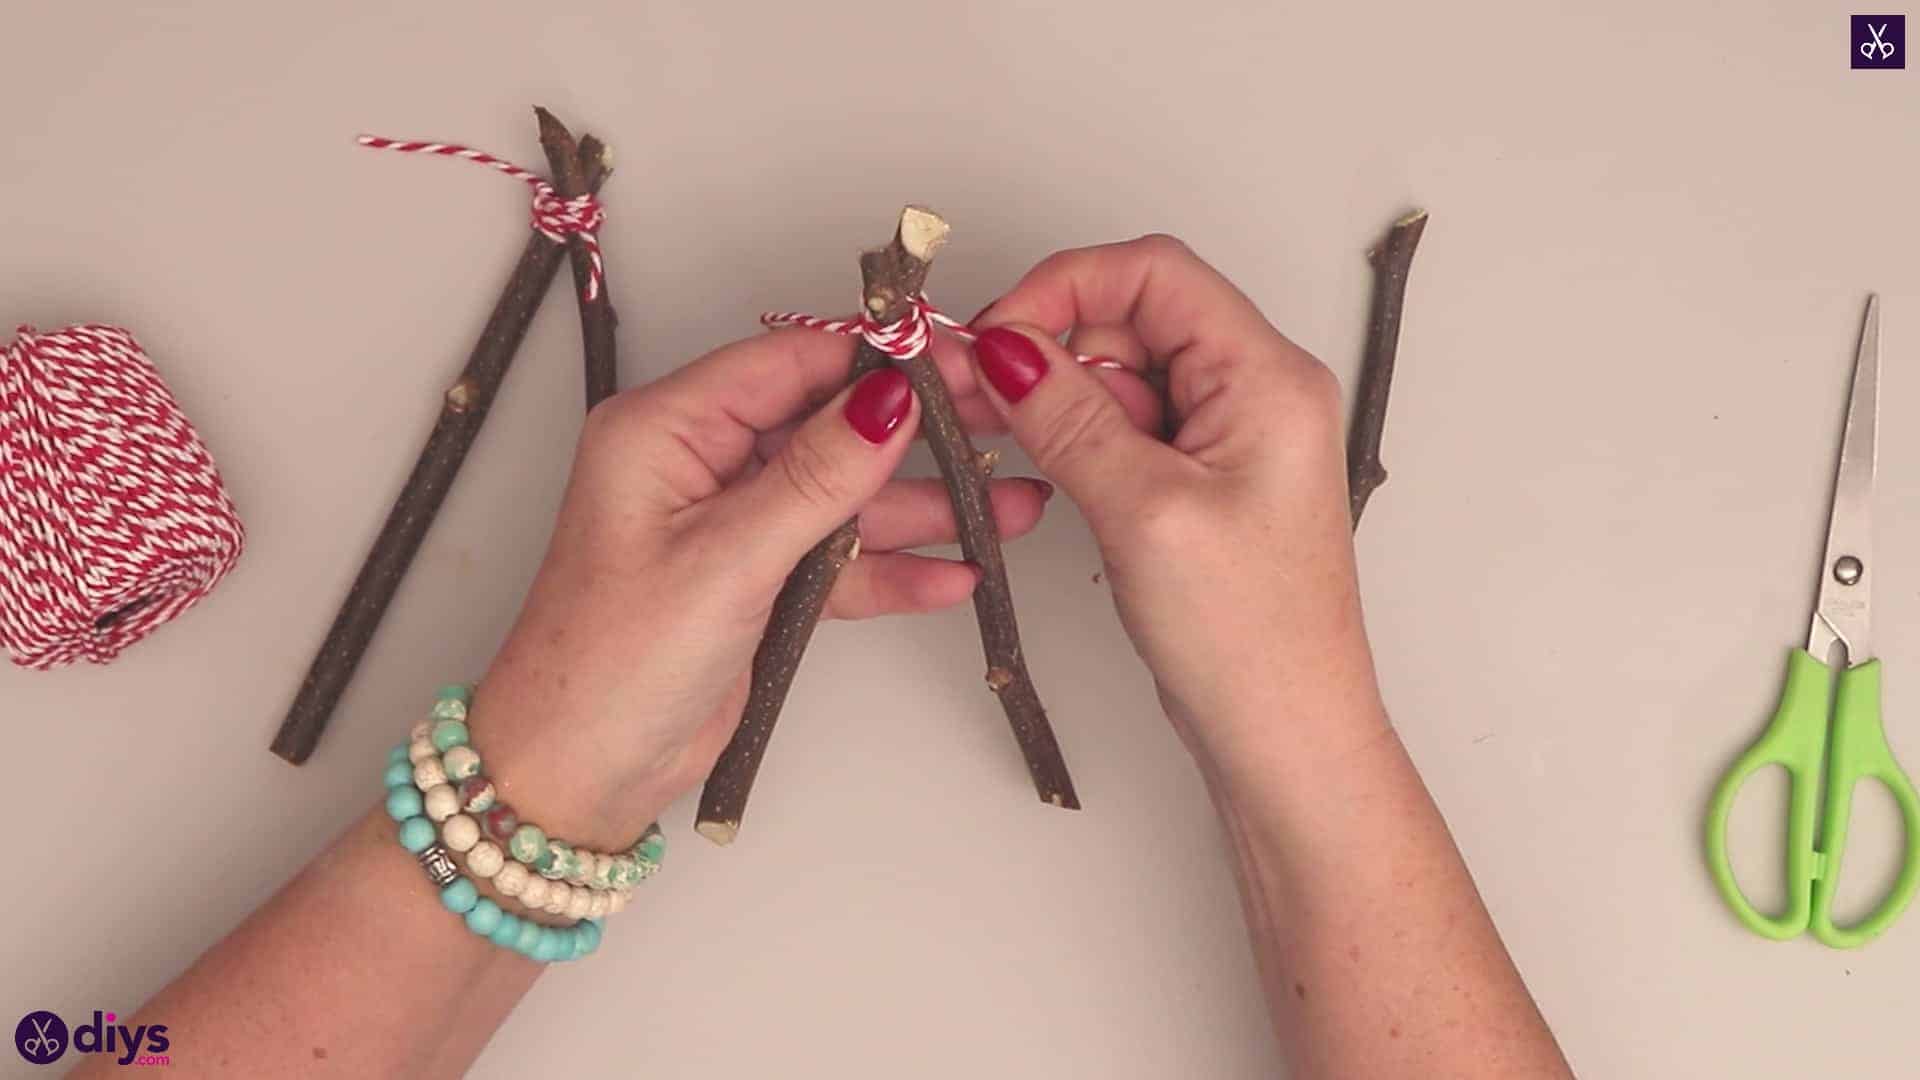
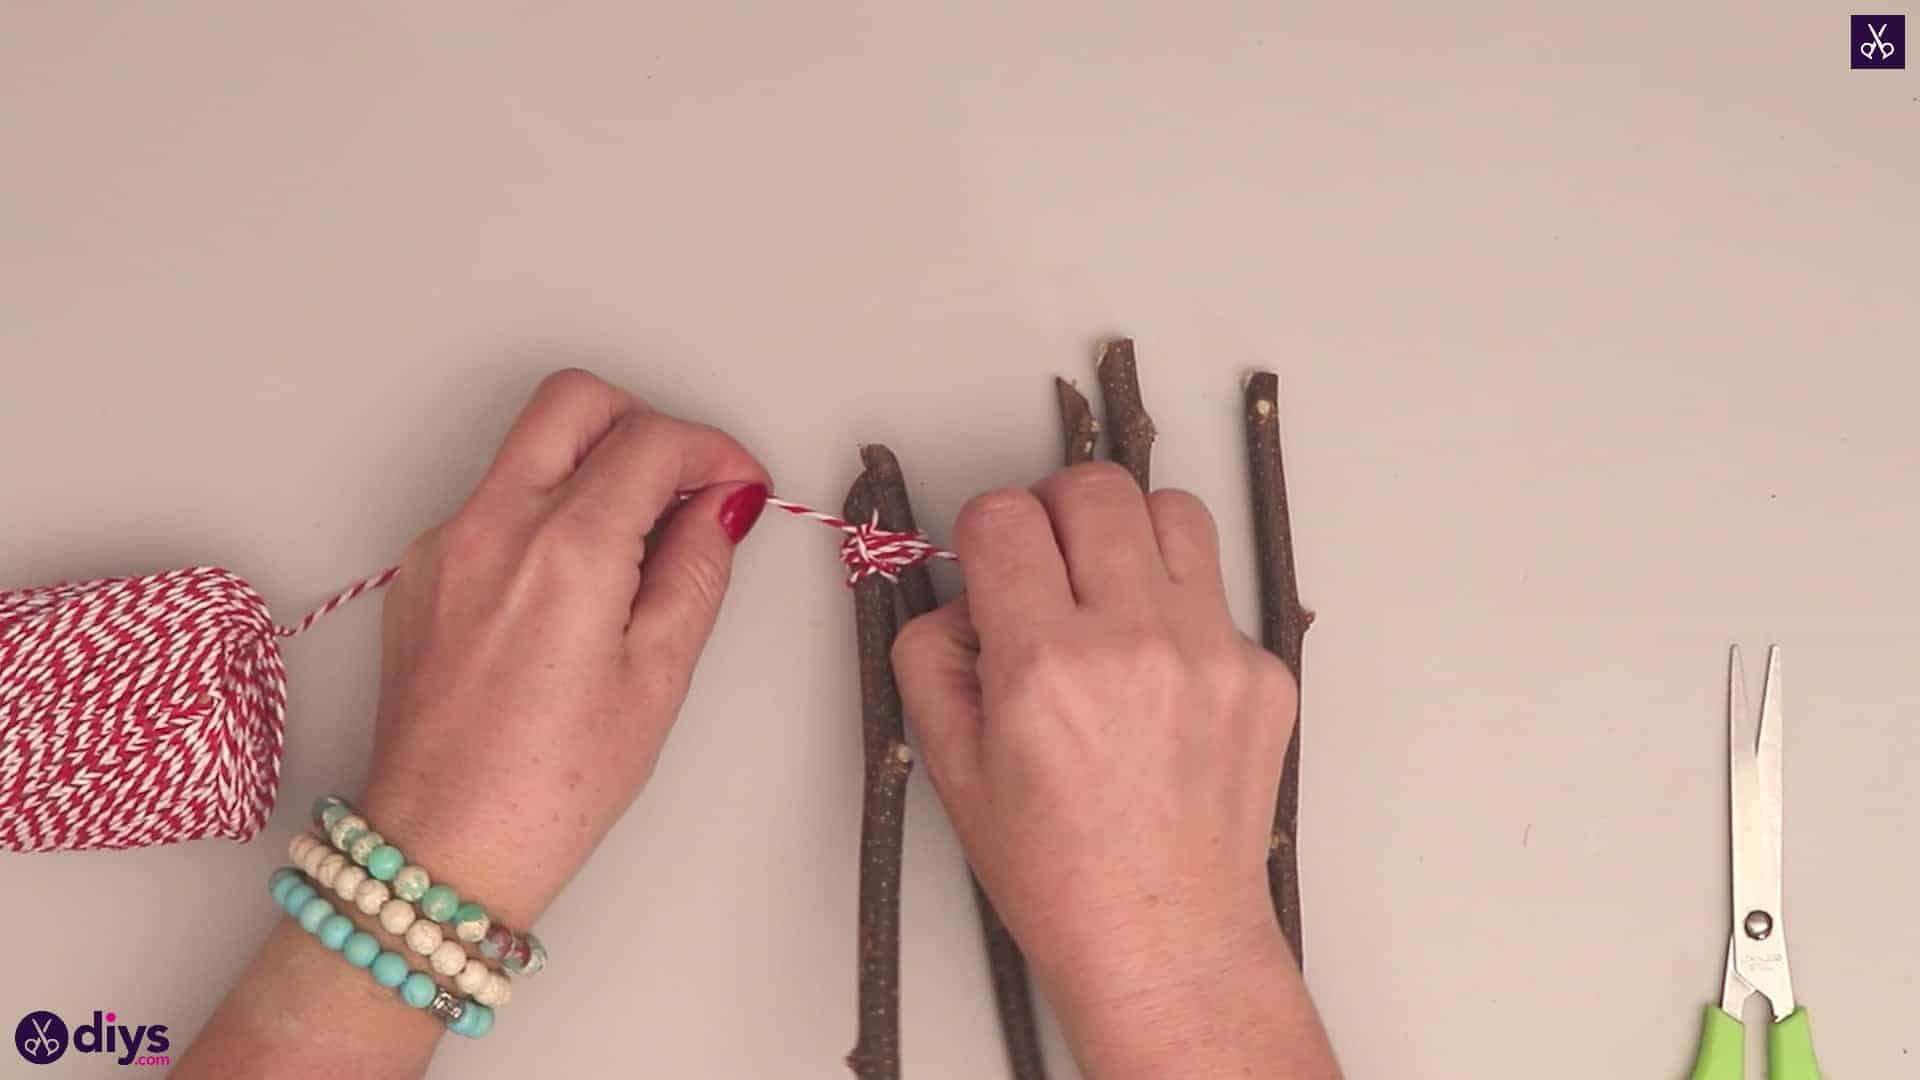
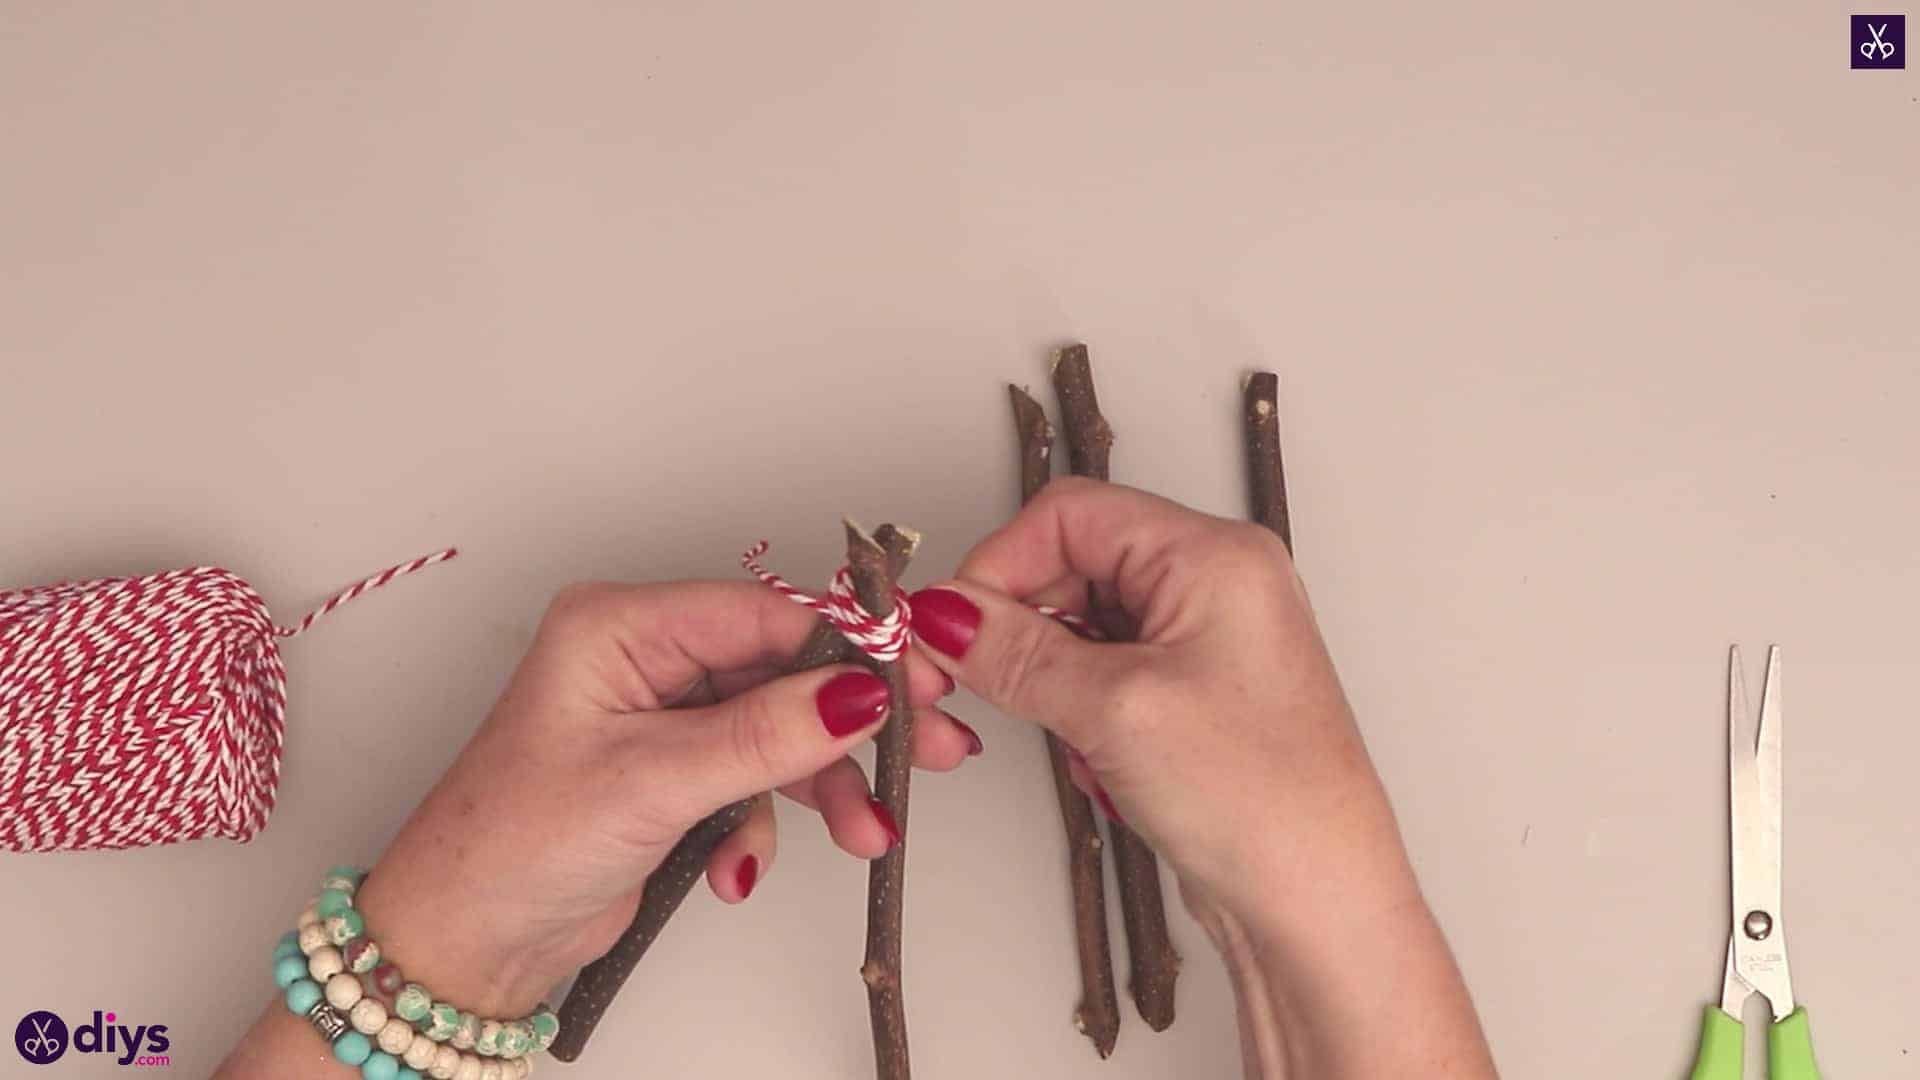
Cut a piece of twine about five inches long. Knot one end of this string tightly around one end of one of your twigs, leaving at least two inches of excess on your shorter end. Then, cross the end of another twig over it at a slightly diagonal angle. Tie these two twigs together this way by wrapping the rest of your knotted piece of twine around and around the two ends together, passing around the two horizontally and between them vertically until they’re solidly bound together. Knot this end to your first excess end to fasten it all in place. You now have a piece shaped like an upside down triangle.
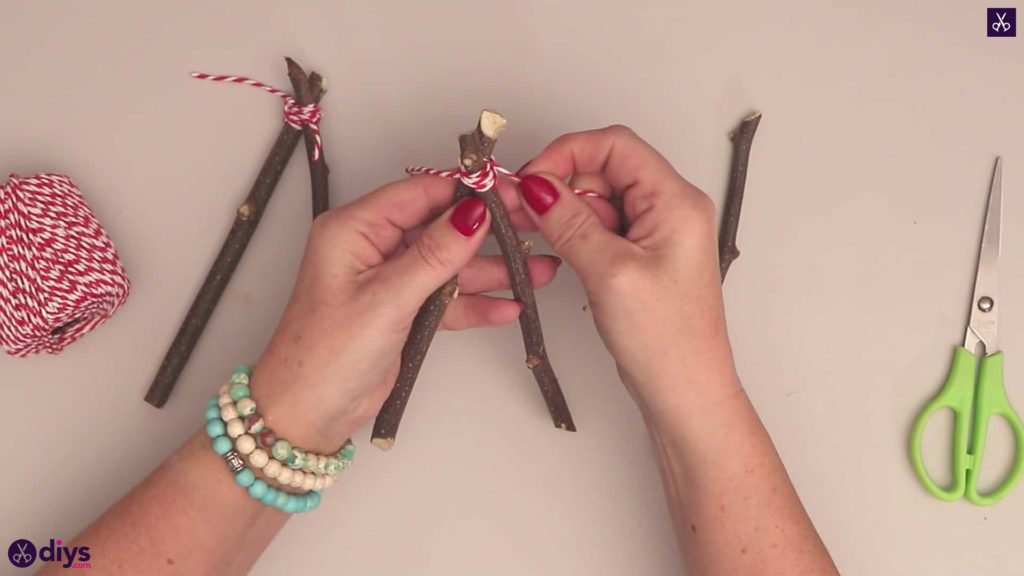
Step 3: repeat
Repeat this entire process you just completed on two other twigs. You now have two upside down V shapes and one additional twig left over.
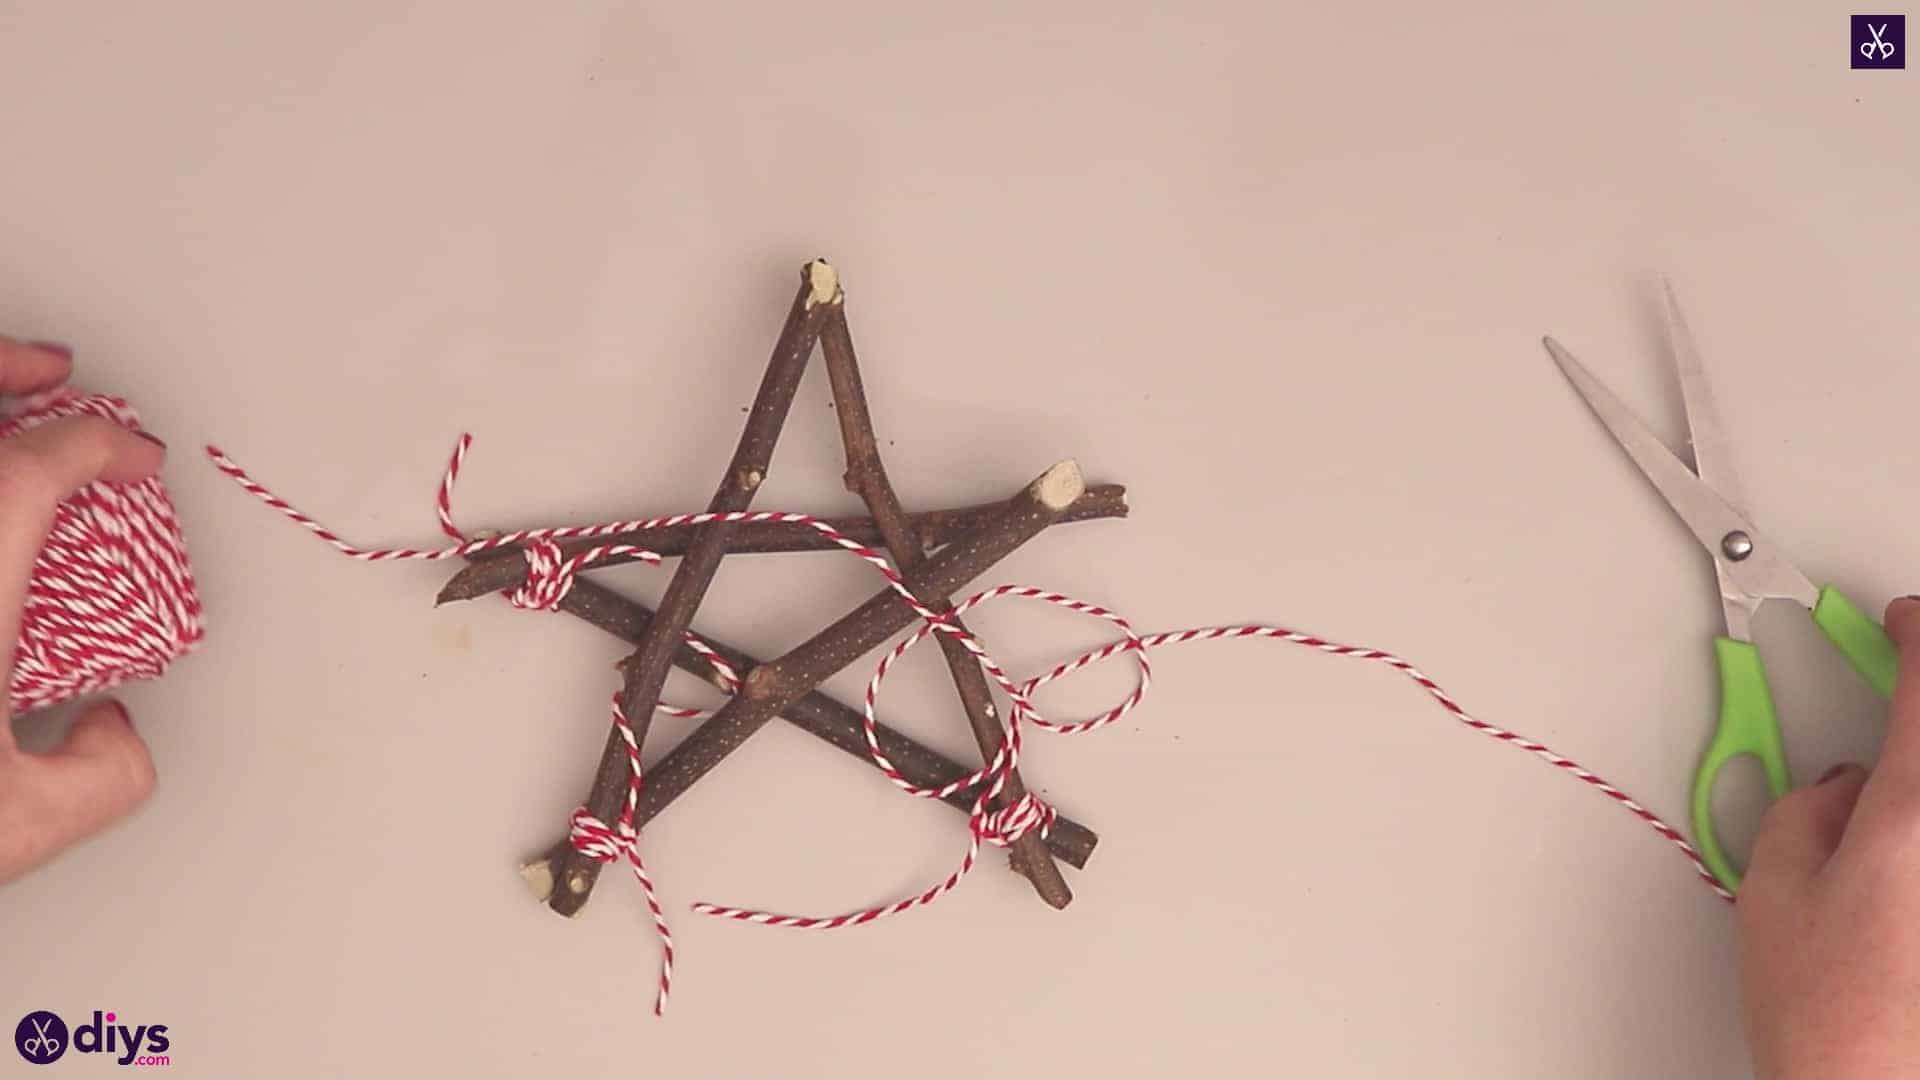
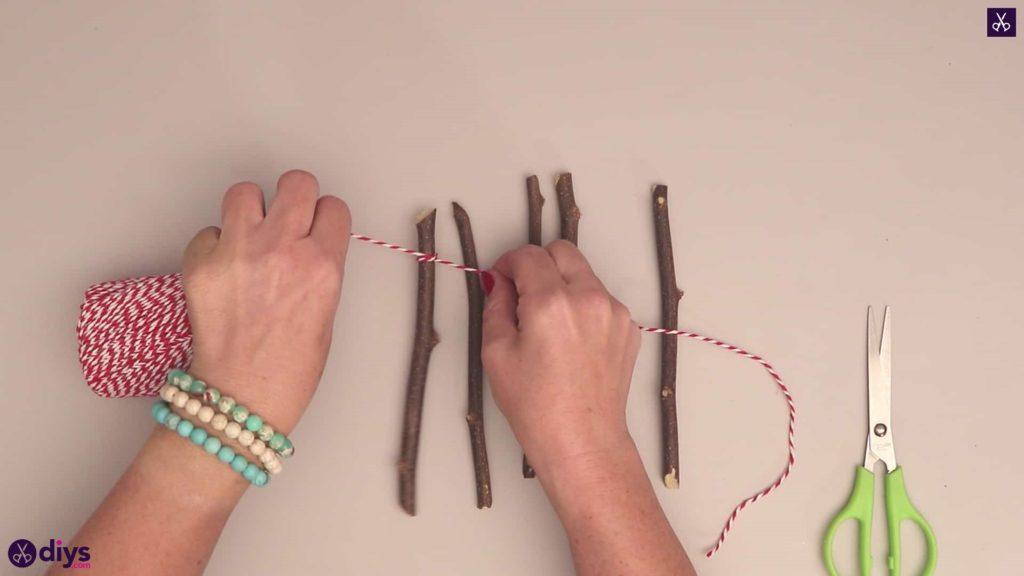
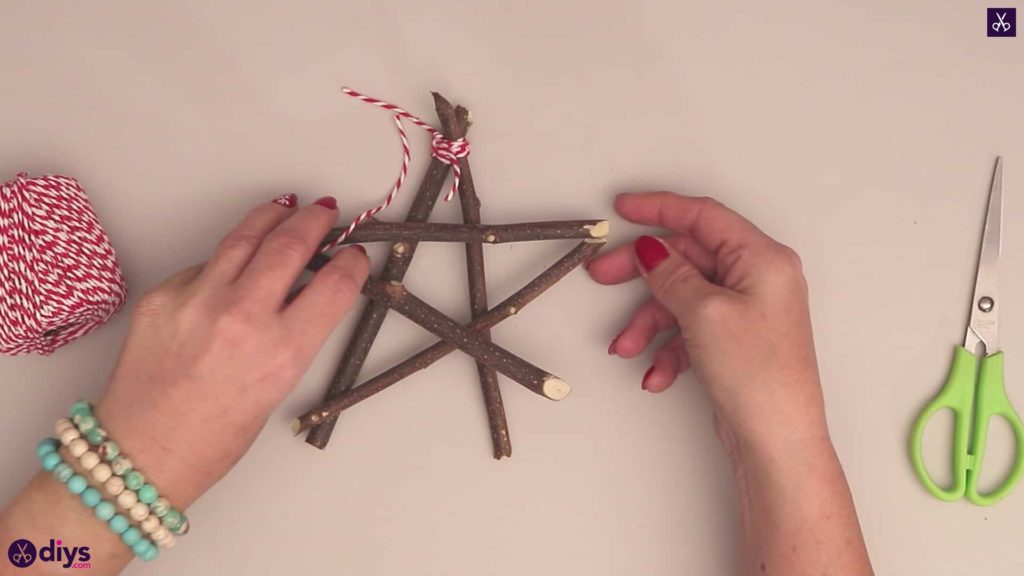
Step 4: start assembling
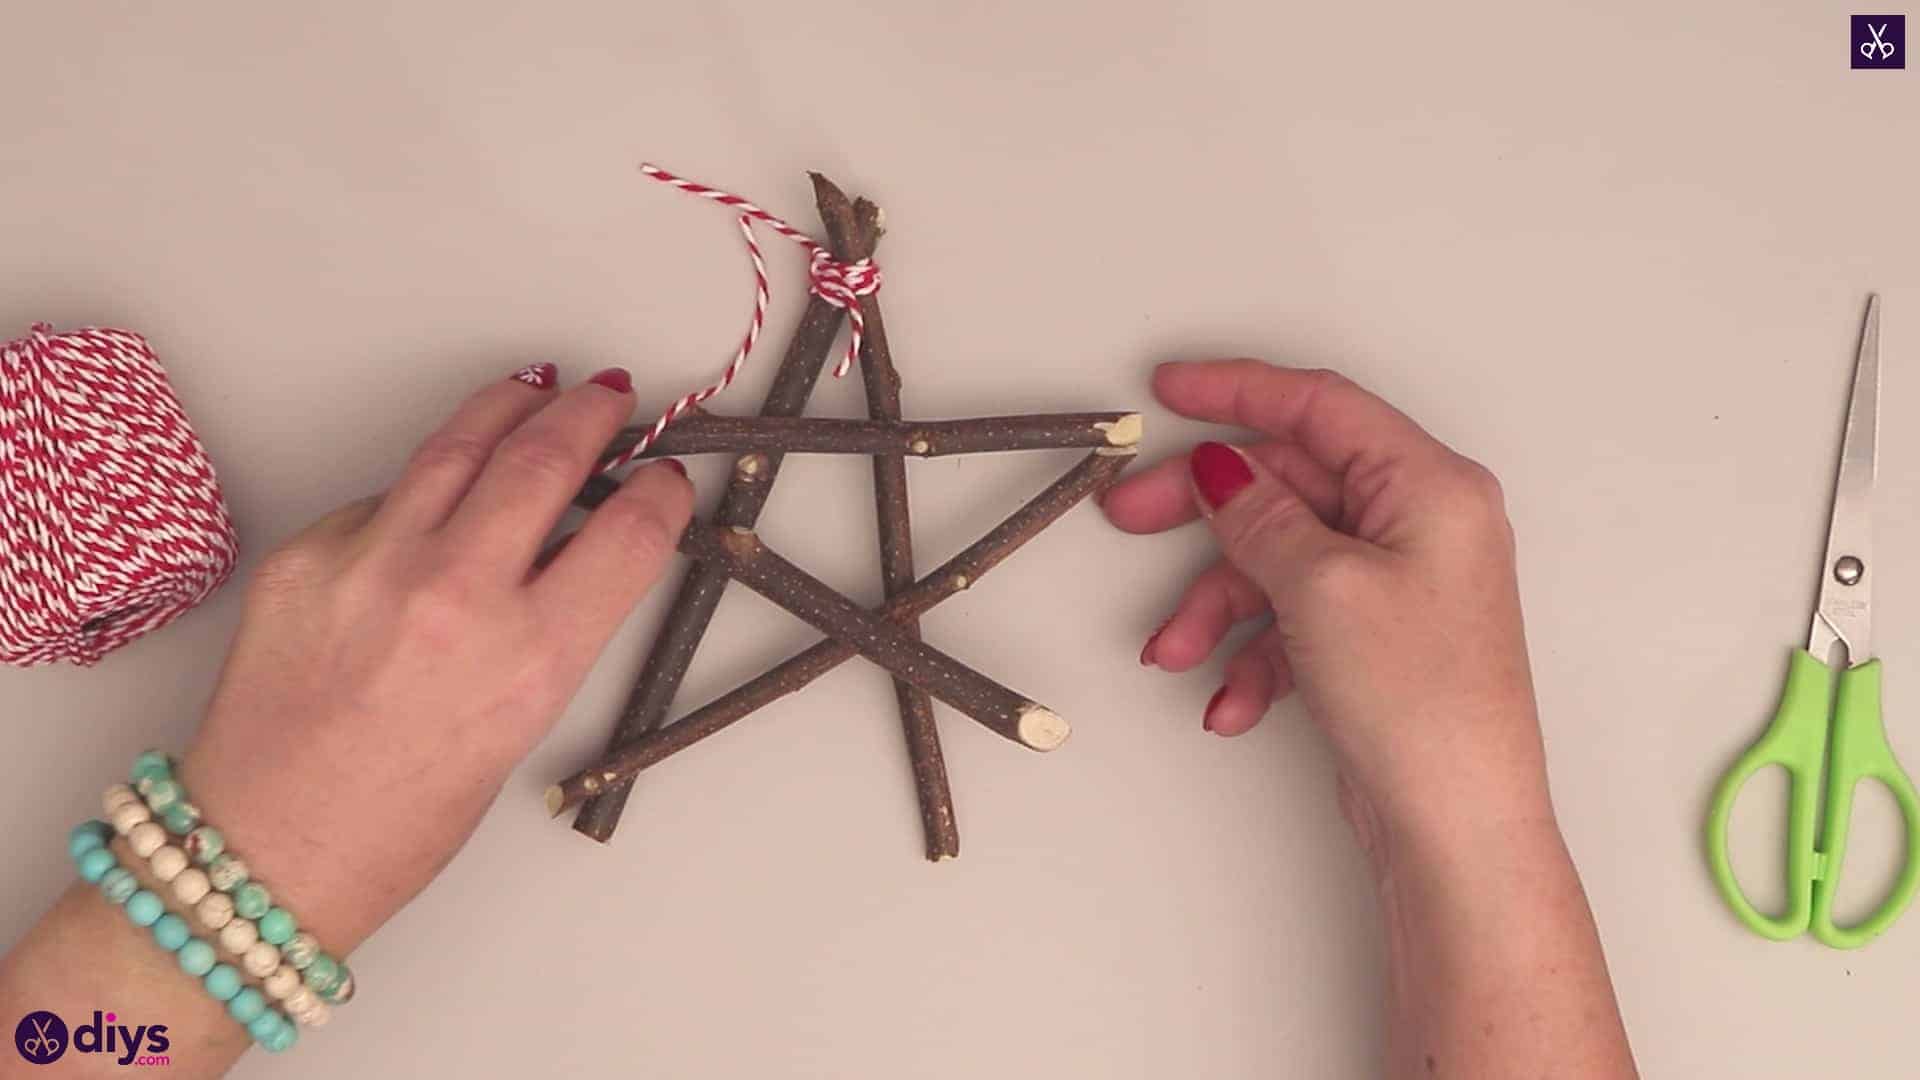
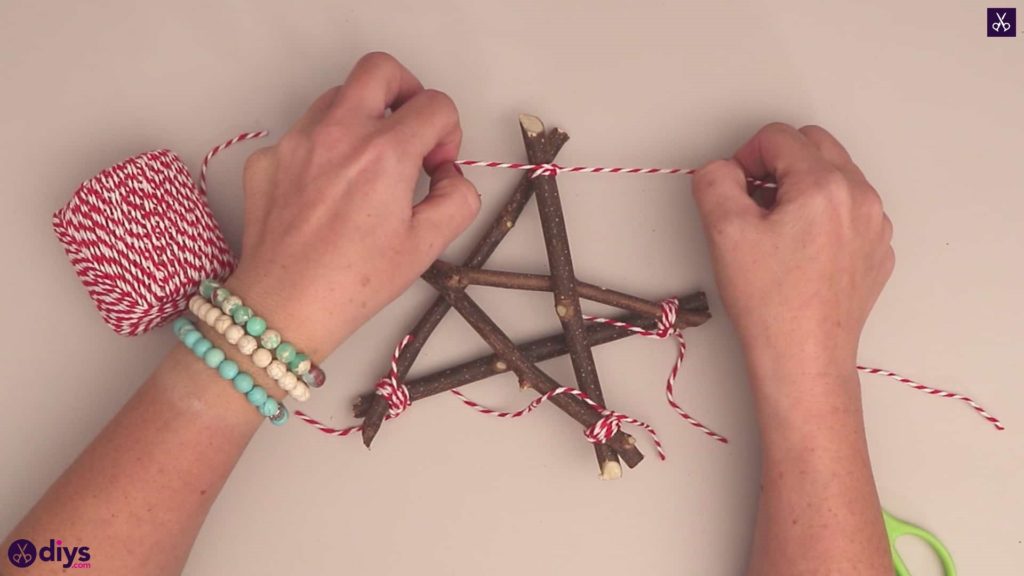
Set one of your upside down V shapes on you work surface with its pointed end facing upwards. Take your second V and turn it 90 degrees so its pointed end is to the left and its wider tips are to the right. Rest it on top of and across your first upside down V. Then, take your fifth leftover single twig and lay it diagonally across the two overlapping V shapes to complete the shape of a five point star. My fifth twig laid end to end starting at the left leg of the upside down V, passing diagonally upwards under the bottom leg of the sideways V but over the right leg of the bottom V, meeting its top tip up with the end of the sideways V’s top leg.
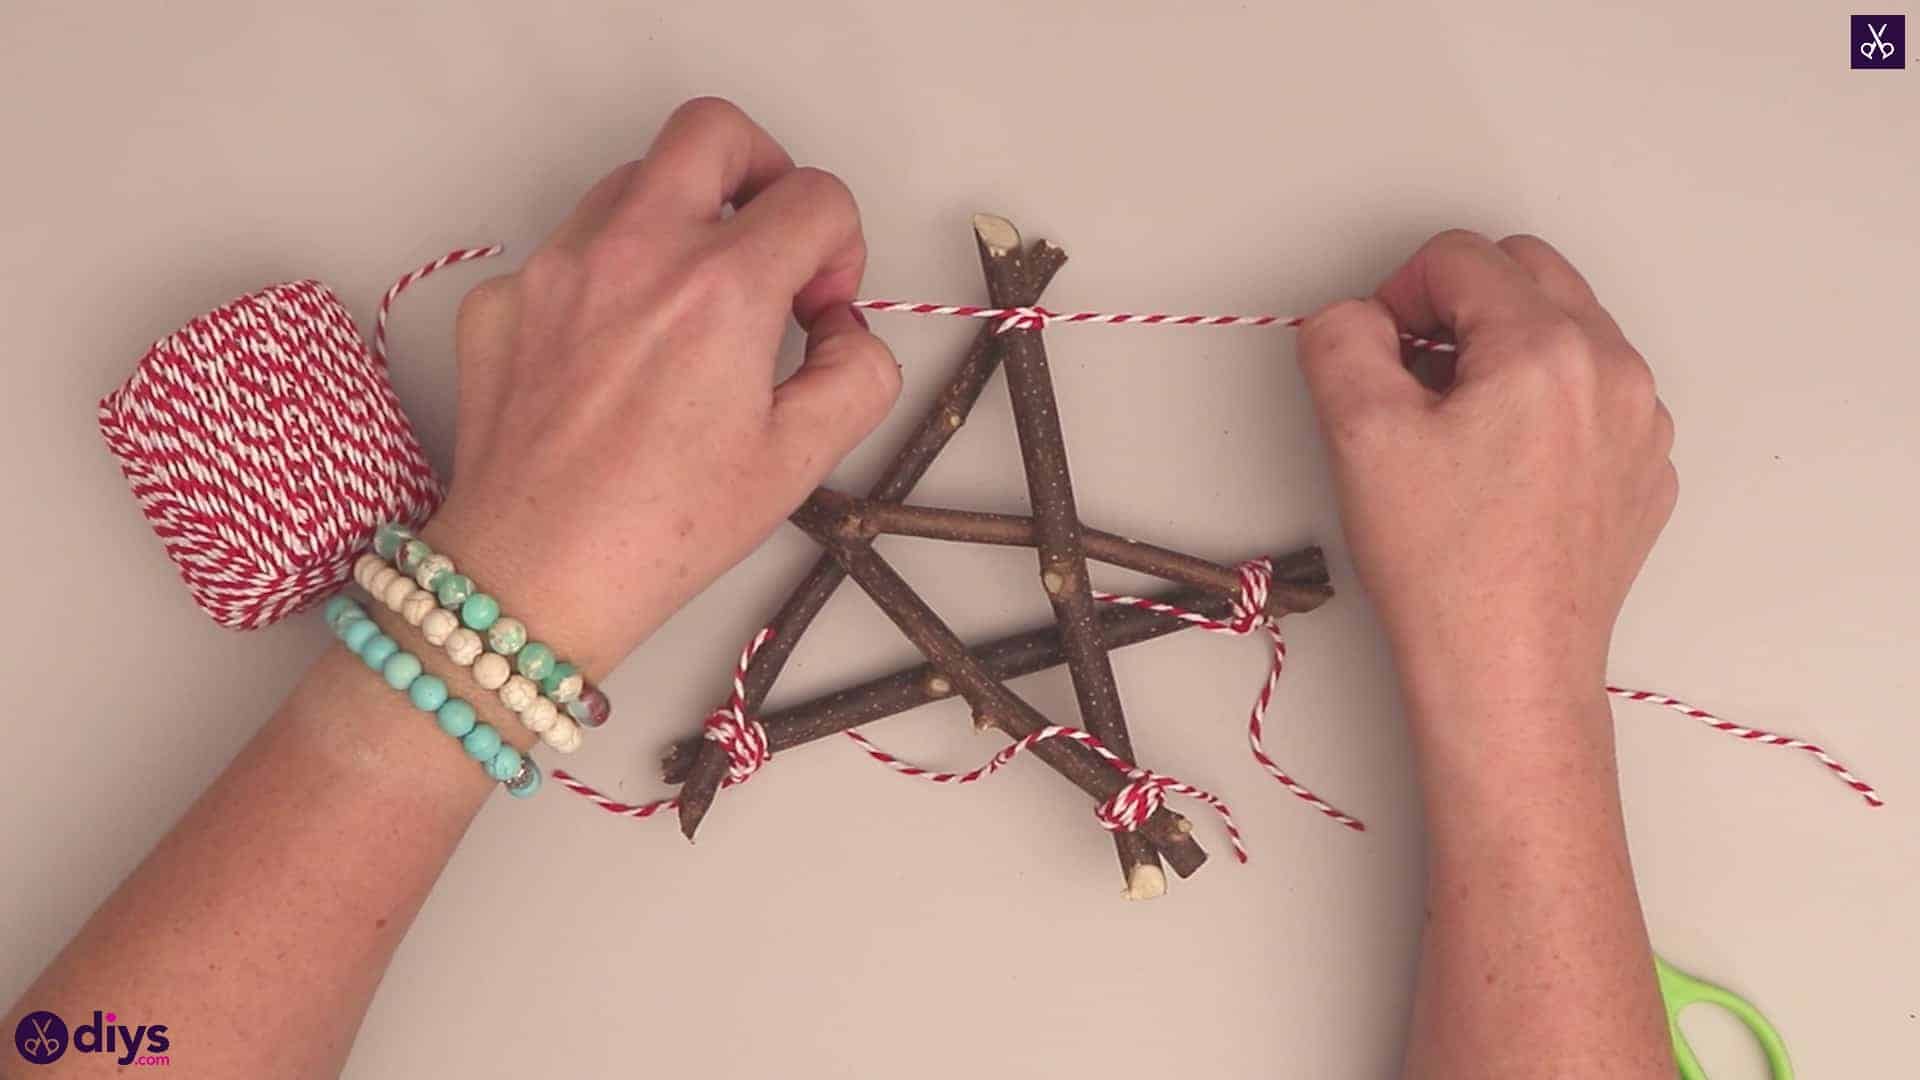
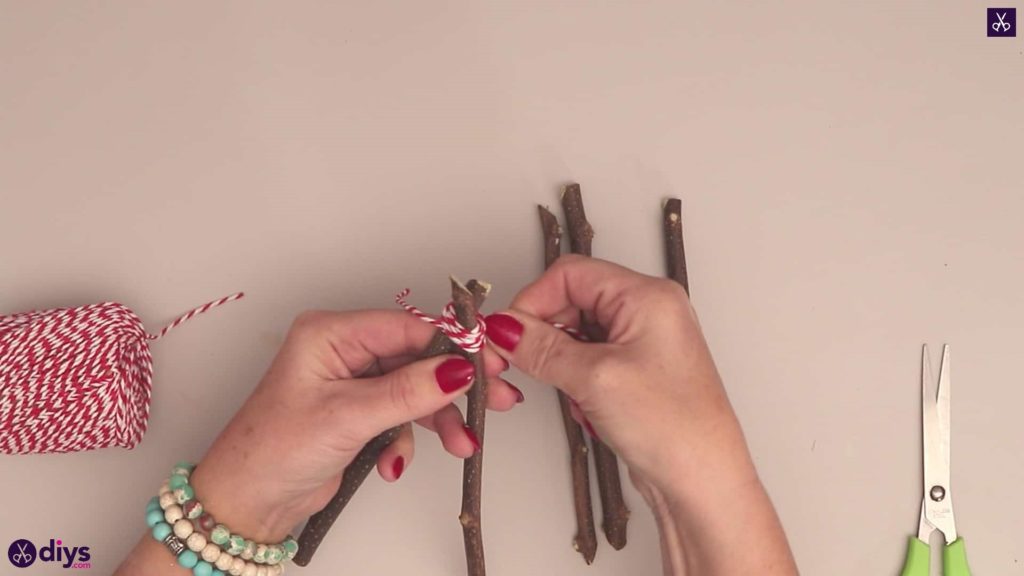
Step 5: wrap with twine
Cut another long piece of twine for wrapping and then carefully lift off the top, sideways V-shape, setting it aside. Repeat your previous wrapping techniques to attach the singular, diagonal twig to the bottom of the upside down V where their tips cross over. Knot the ends in place as before to keep them in place.

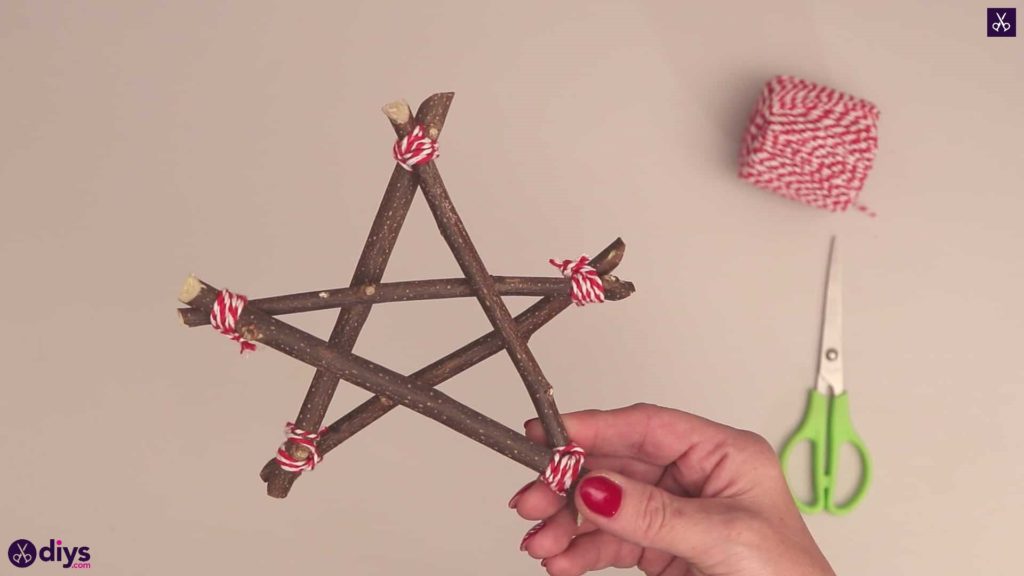
Step 6: finishing touches
Slot your last V shape back into place as before, so it once more completes the shape of a five point star. Cut a length of twine once more and repeat your wrapping process a final time to tie each of that V’s leftover ends into place where they cross with the remaining ends of your other three-twig shape.
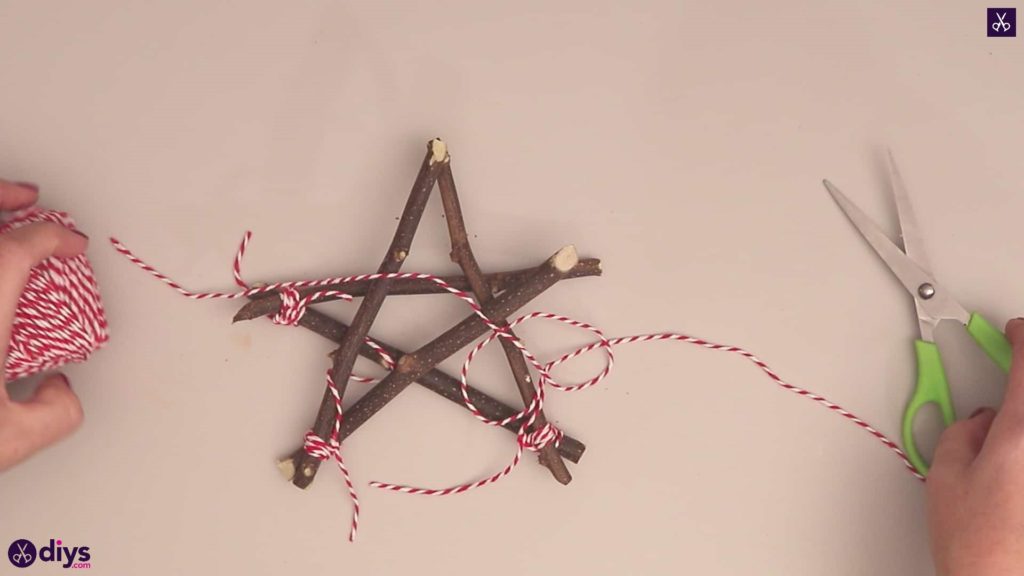
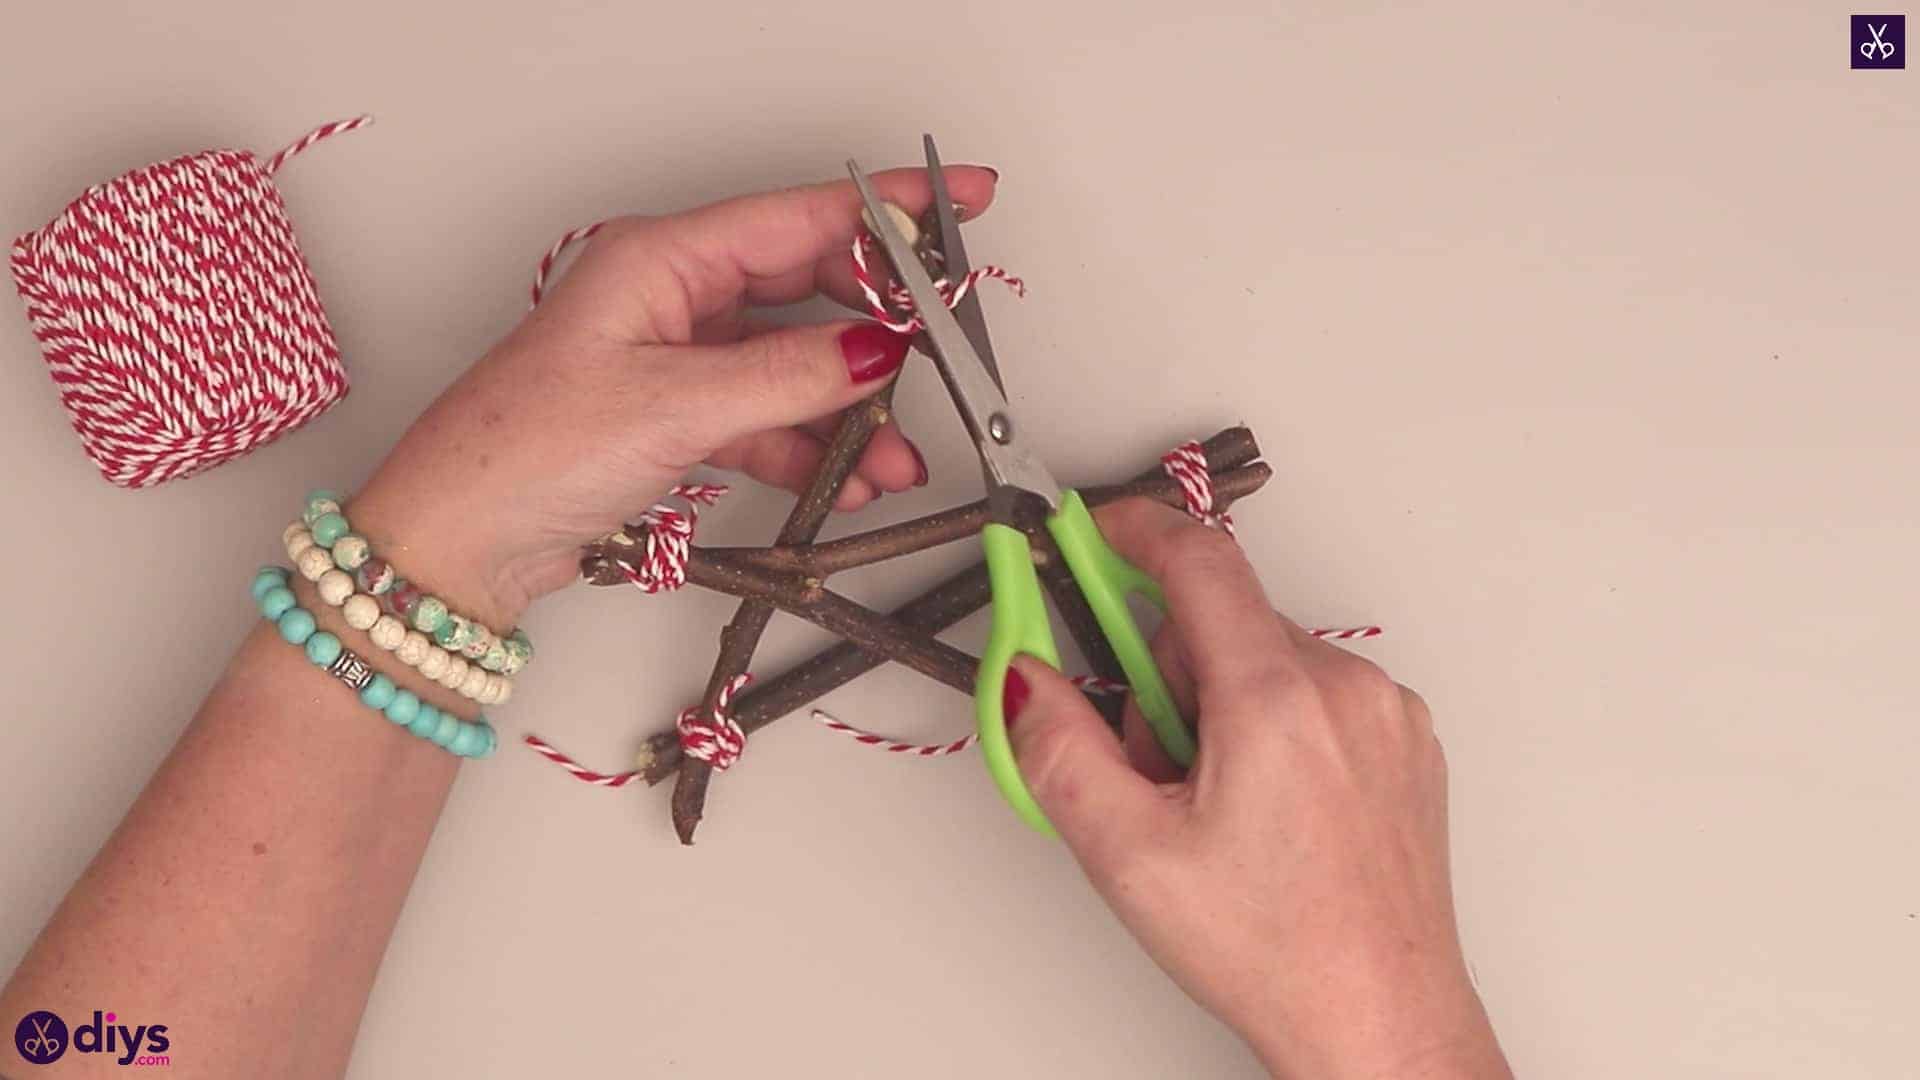
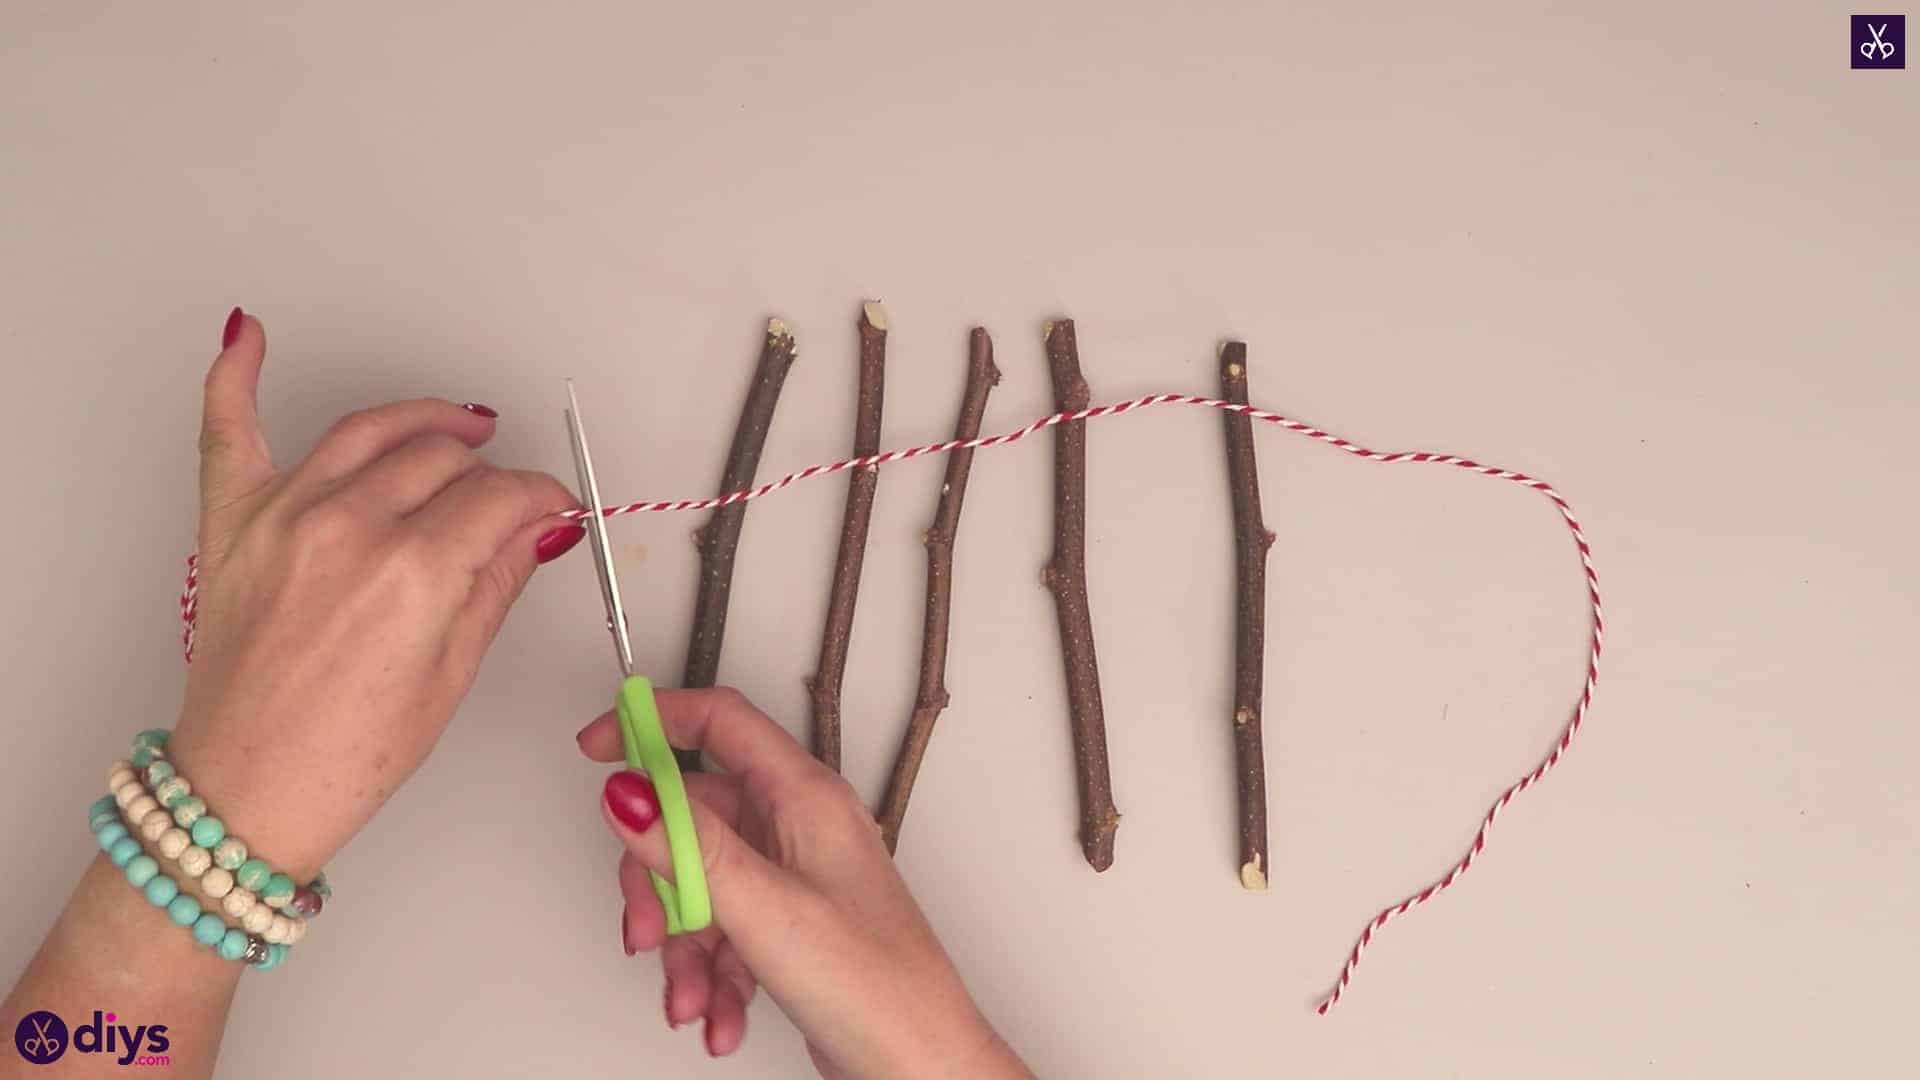
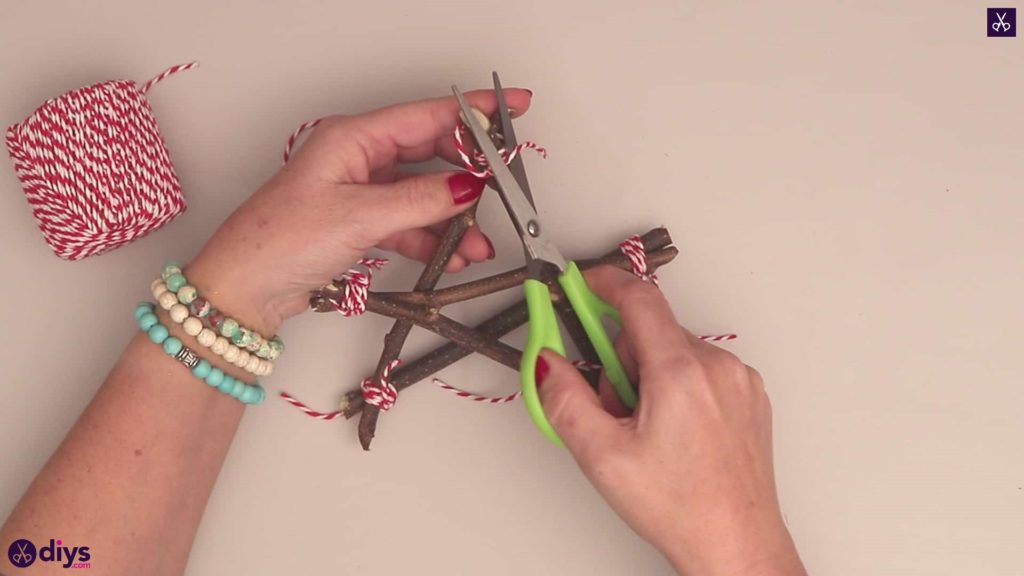
Step 7: trim
Trim the excess ends off your twine knots all the way around the star.
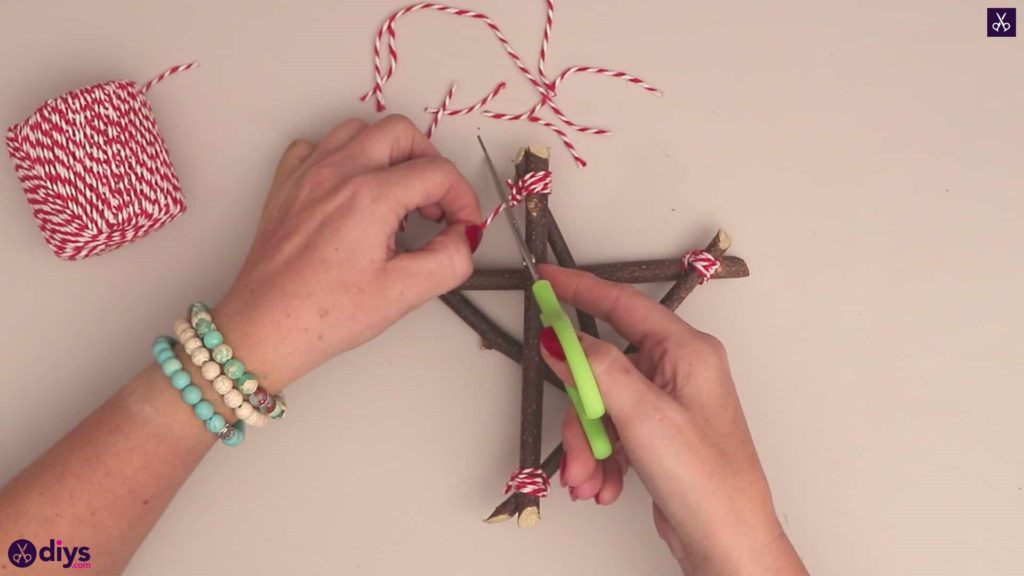
That’s really all there is to it! Lean your twig star on your mantel, hook it onto something in the kitchen, or glue a looped pice of twine to the back to turn it into a hanging ornament for your Christmas tree. Just in case you’d like to try this project out for yourself, here’s a fantastic tutorial video to help you!
