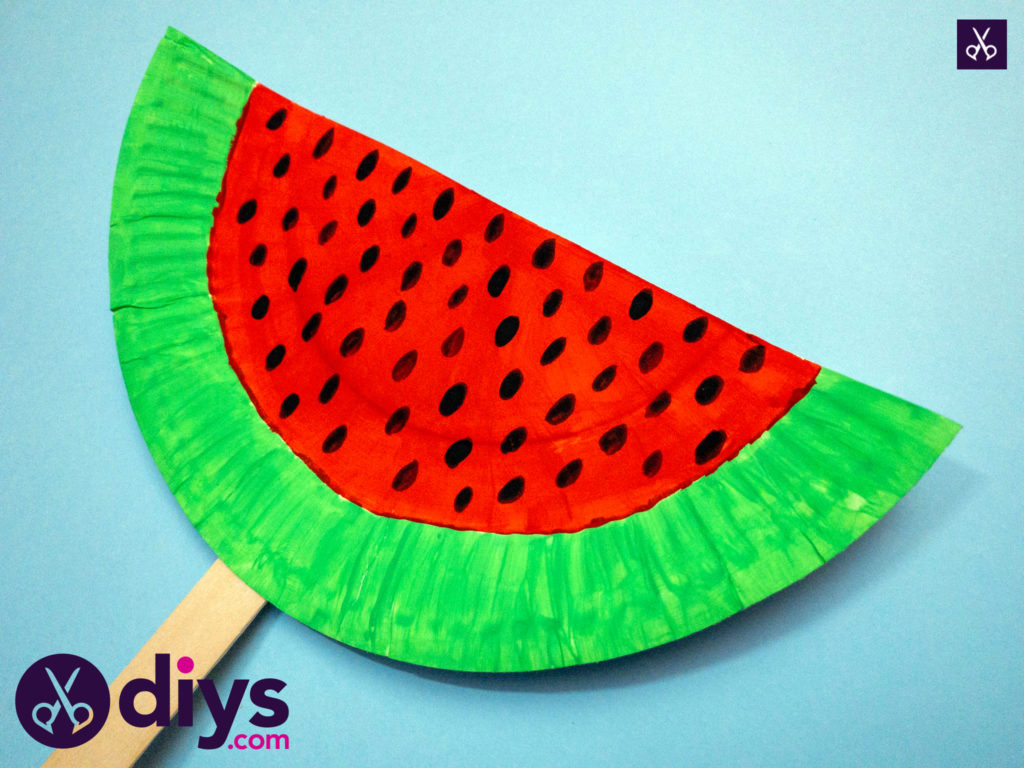
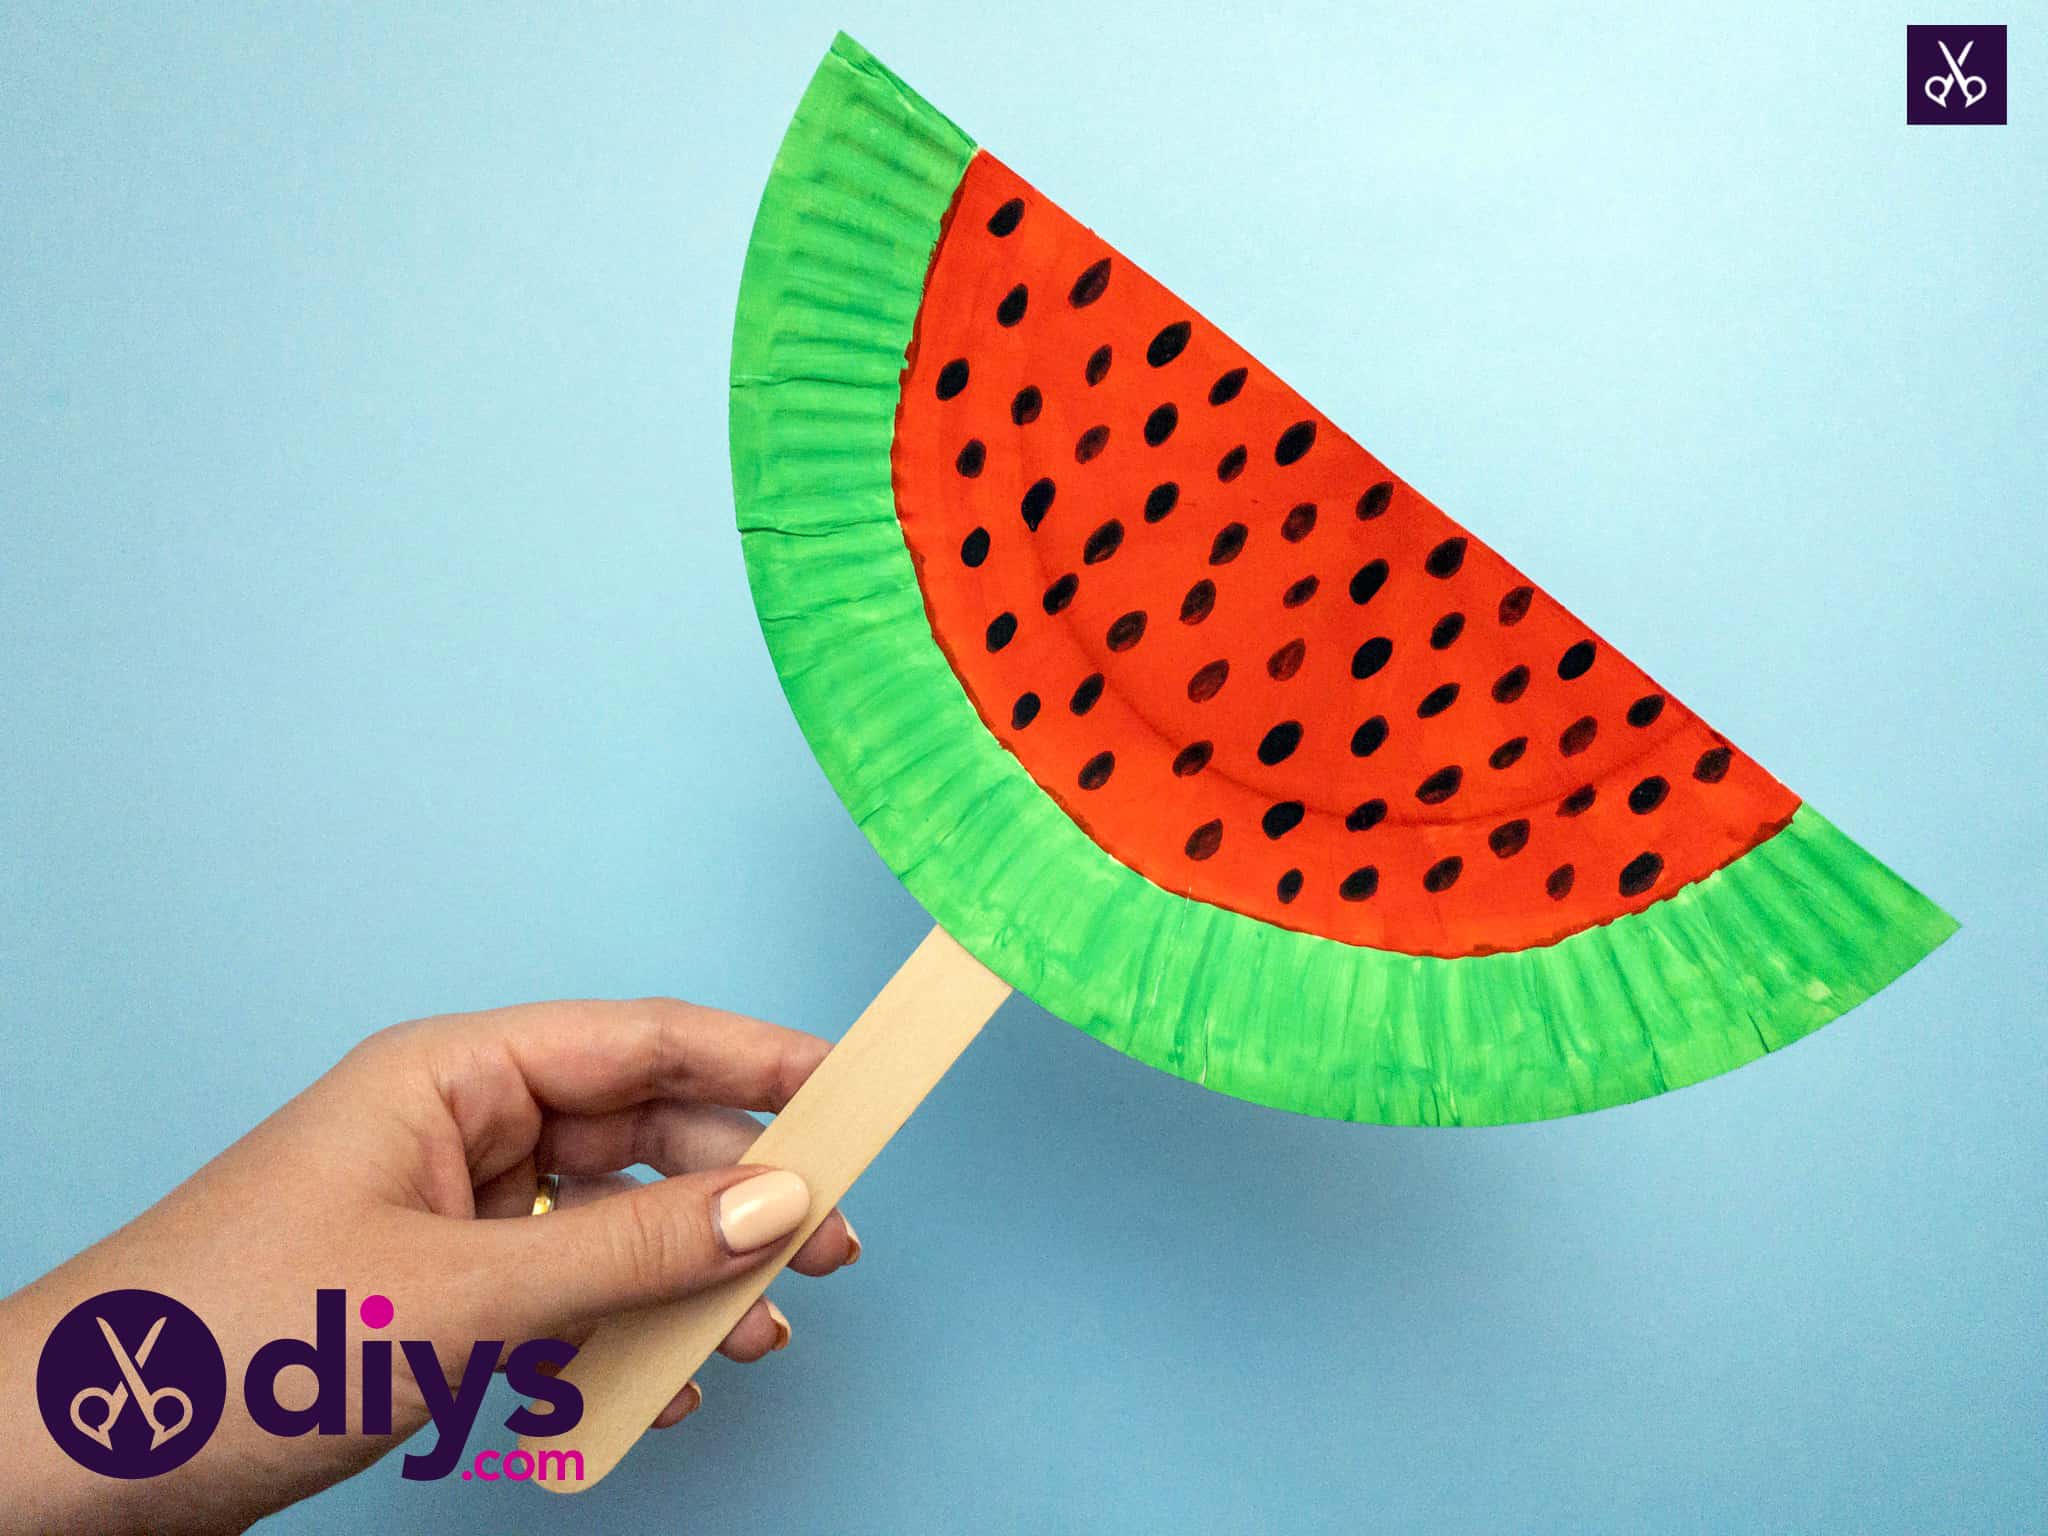
How to Make a Watermelon Paper Fan
Updated on July 1, 2021


Summer might feel like it’s drawing to a close already in some place, but it’s still as hot as ever where I live! I come from the kind of family who likes to spend a lot of time outside in the yard and the patio, so I’m always looking for creative ways to help my loved ones stay cool. We ate lunch out on the patio recently and I caught myself using a spare paper plate as a fan, for example, which is how I came up with the idea of making actual, cutely themed fans from the plates! This funny little watermelon was our first crack at it.
Just in case the idea of making a watermelon shaped fan from a paper plate appeals to you like it did to me, here are all the steps I took to make it happen! I’ve also included a full video tutorial at the end of this post for the visual learners out there.

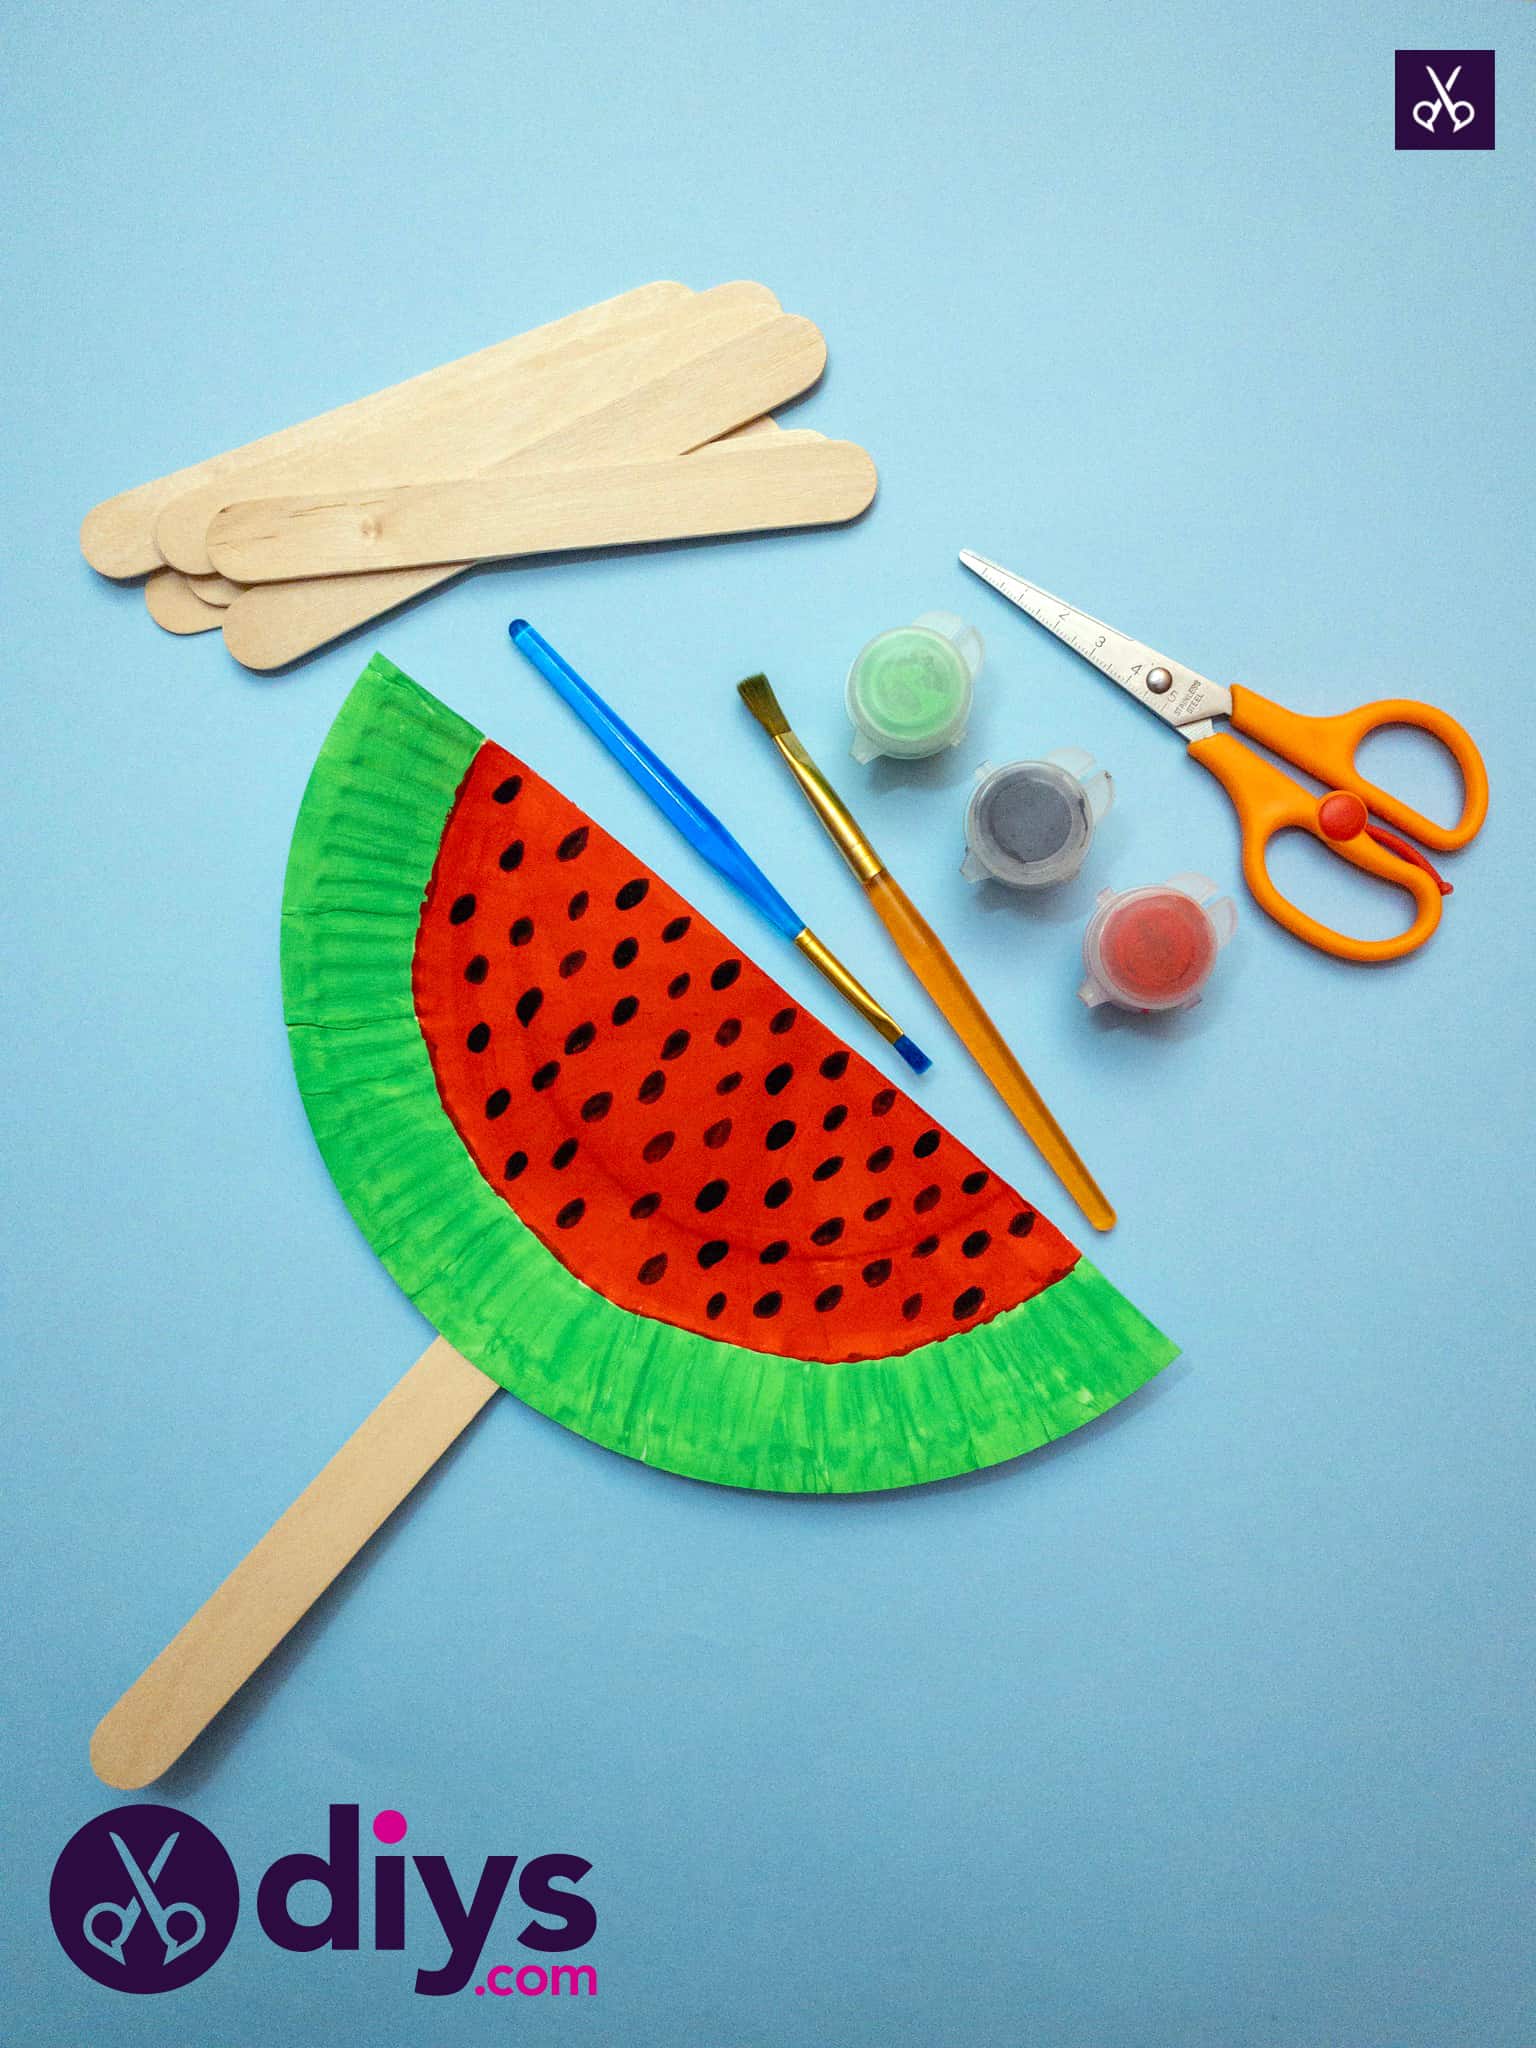
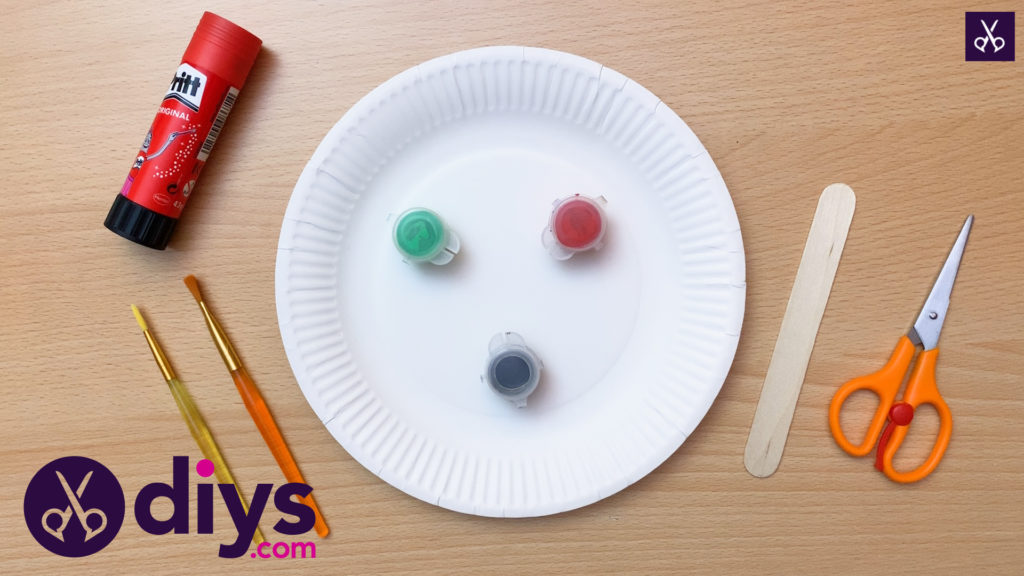
For this project, you’ll need:
- Popsicle stick
- Glue stick
- Scissors
- Paper plate
- Green, red, and black paint (whatever kind you like best)
- Paintbrush

Step 1:
Gather your materials!
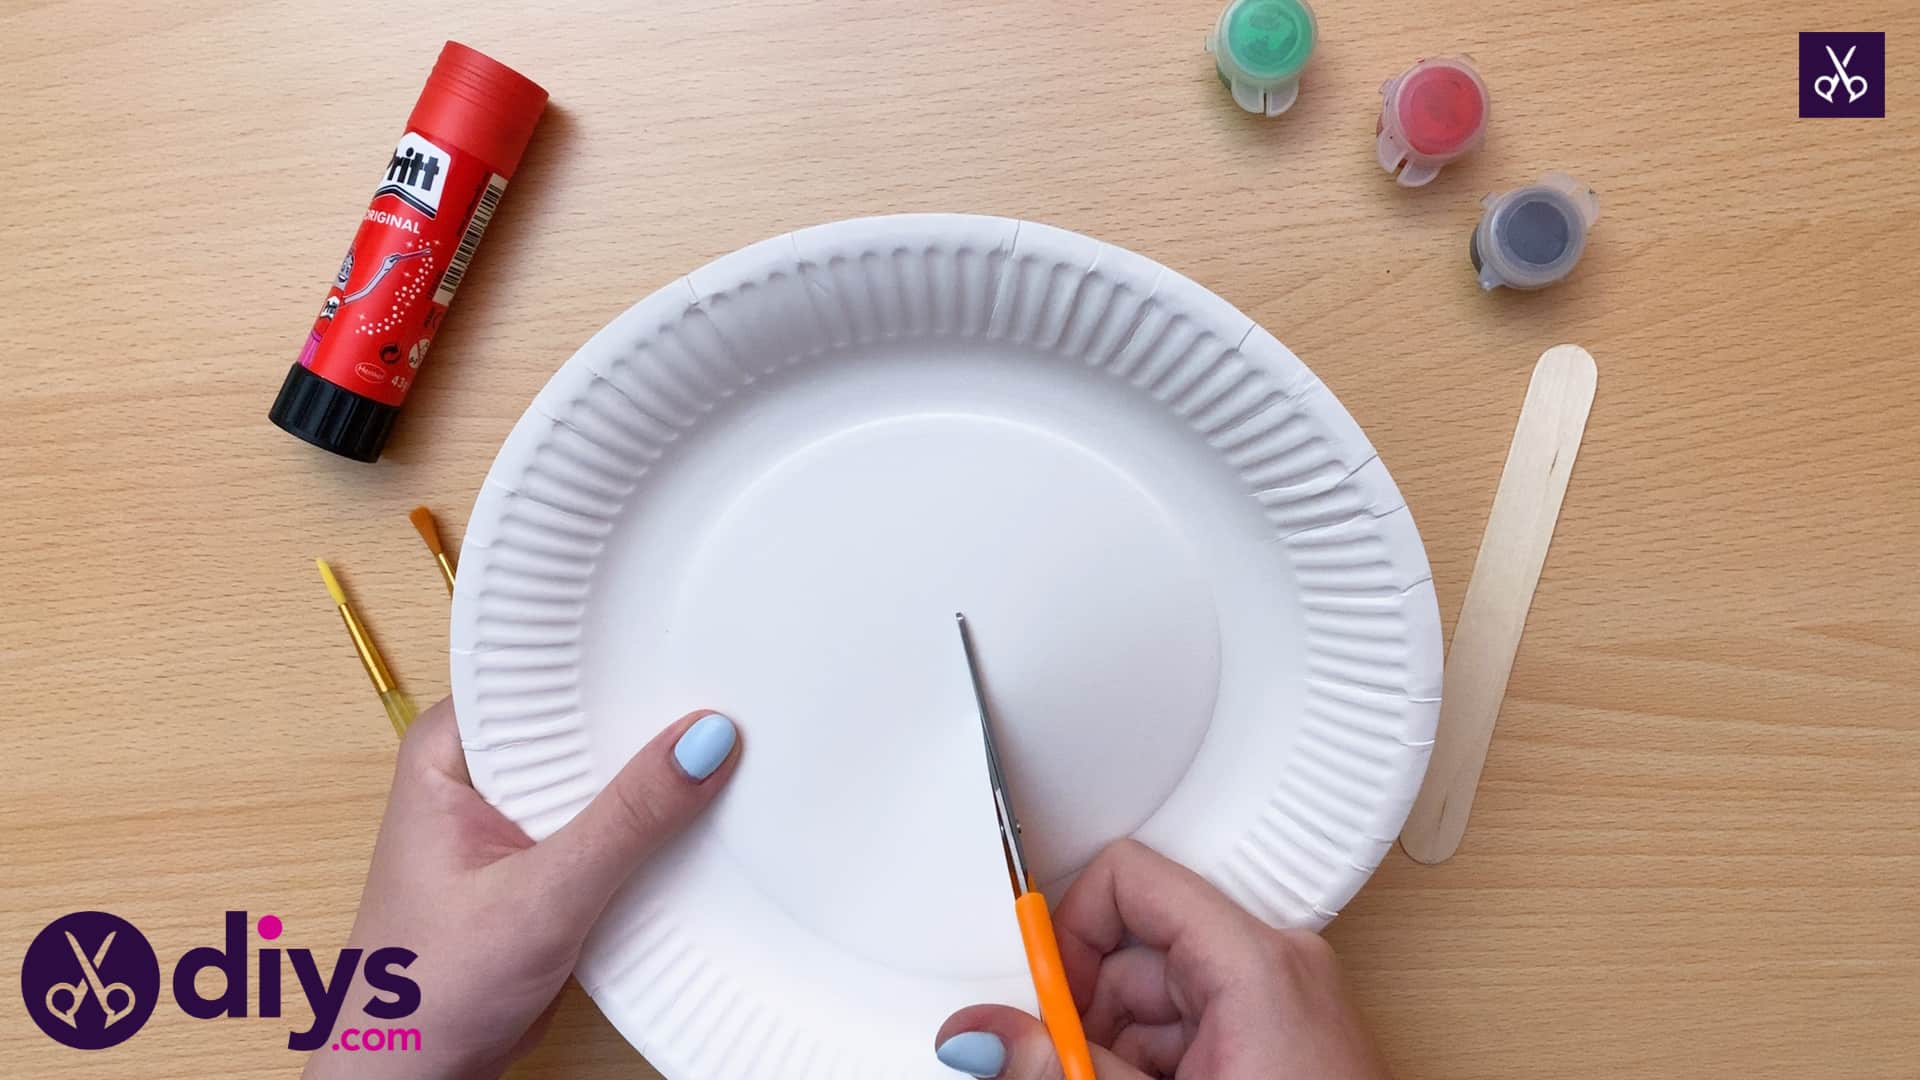
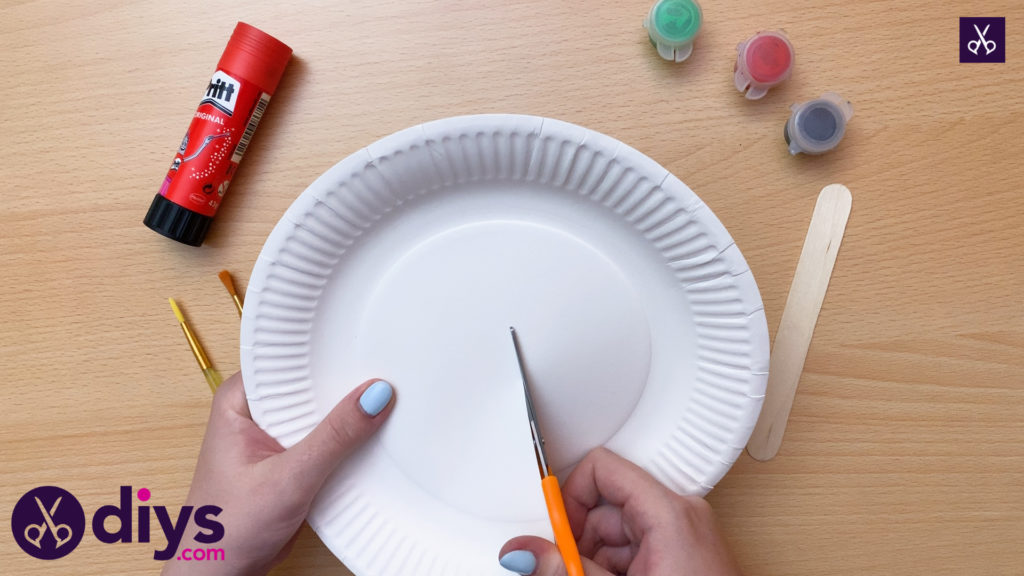
Step 2:
Cut your plate in half. You can properly measure this with a ruler, use its edge to make a straight line through the very middle, and cut along that, or you can simply “eye ball it”. Because this edge doesn’t have to match or line up with anything, I decided to just do it freehand. This semi-circle gets you the shape of a slice of watermelon.
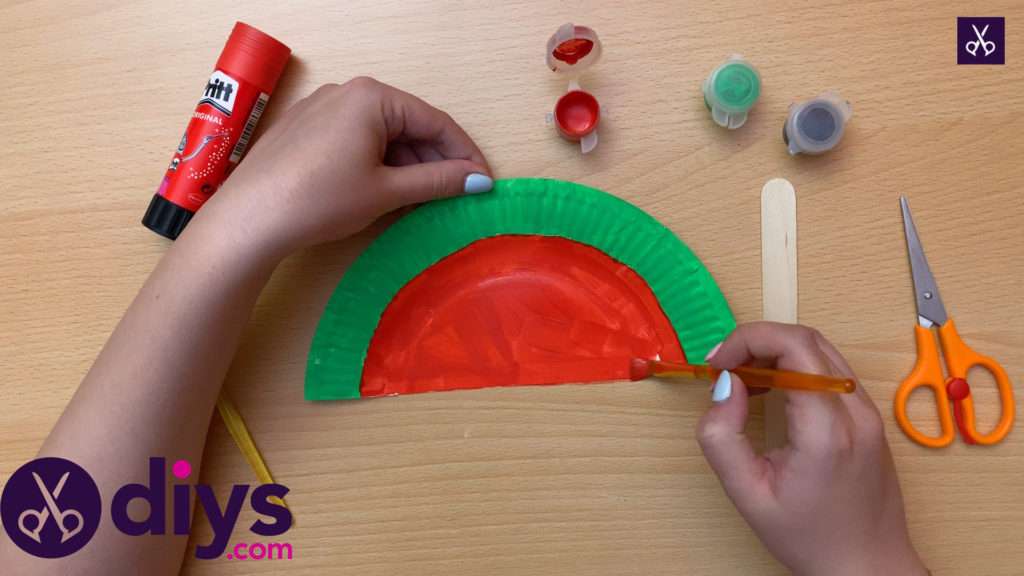
Step 3:
Paint the outer edge of your halved paper plate green. This will be the rind of your watermelon. Depending on the kind of paint you’re using, you might need to let your first coat dry and then do a second one, just to really make the colour opaque over the plate’s otherwise very white colour.

Step 4:
Once your green rind is dry, paint the remaining white on your watermelon red. This is the juicy inside of your slice! Once again, you might need more than one coat of paint.
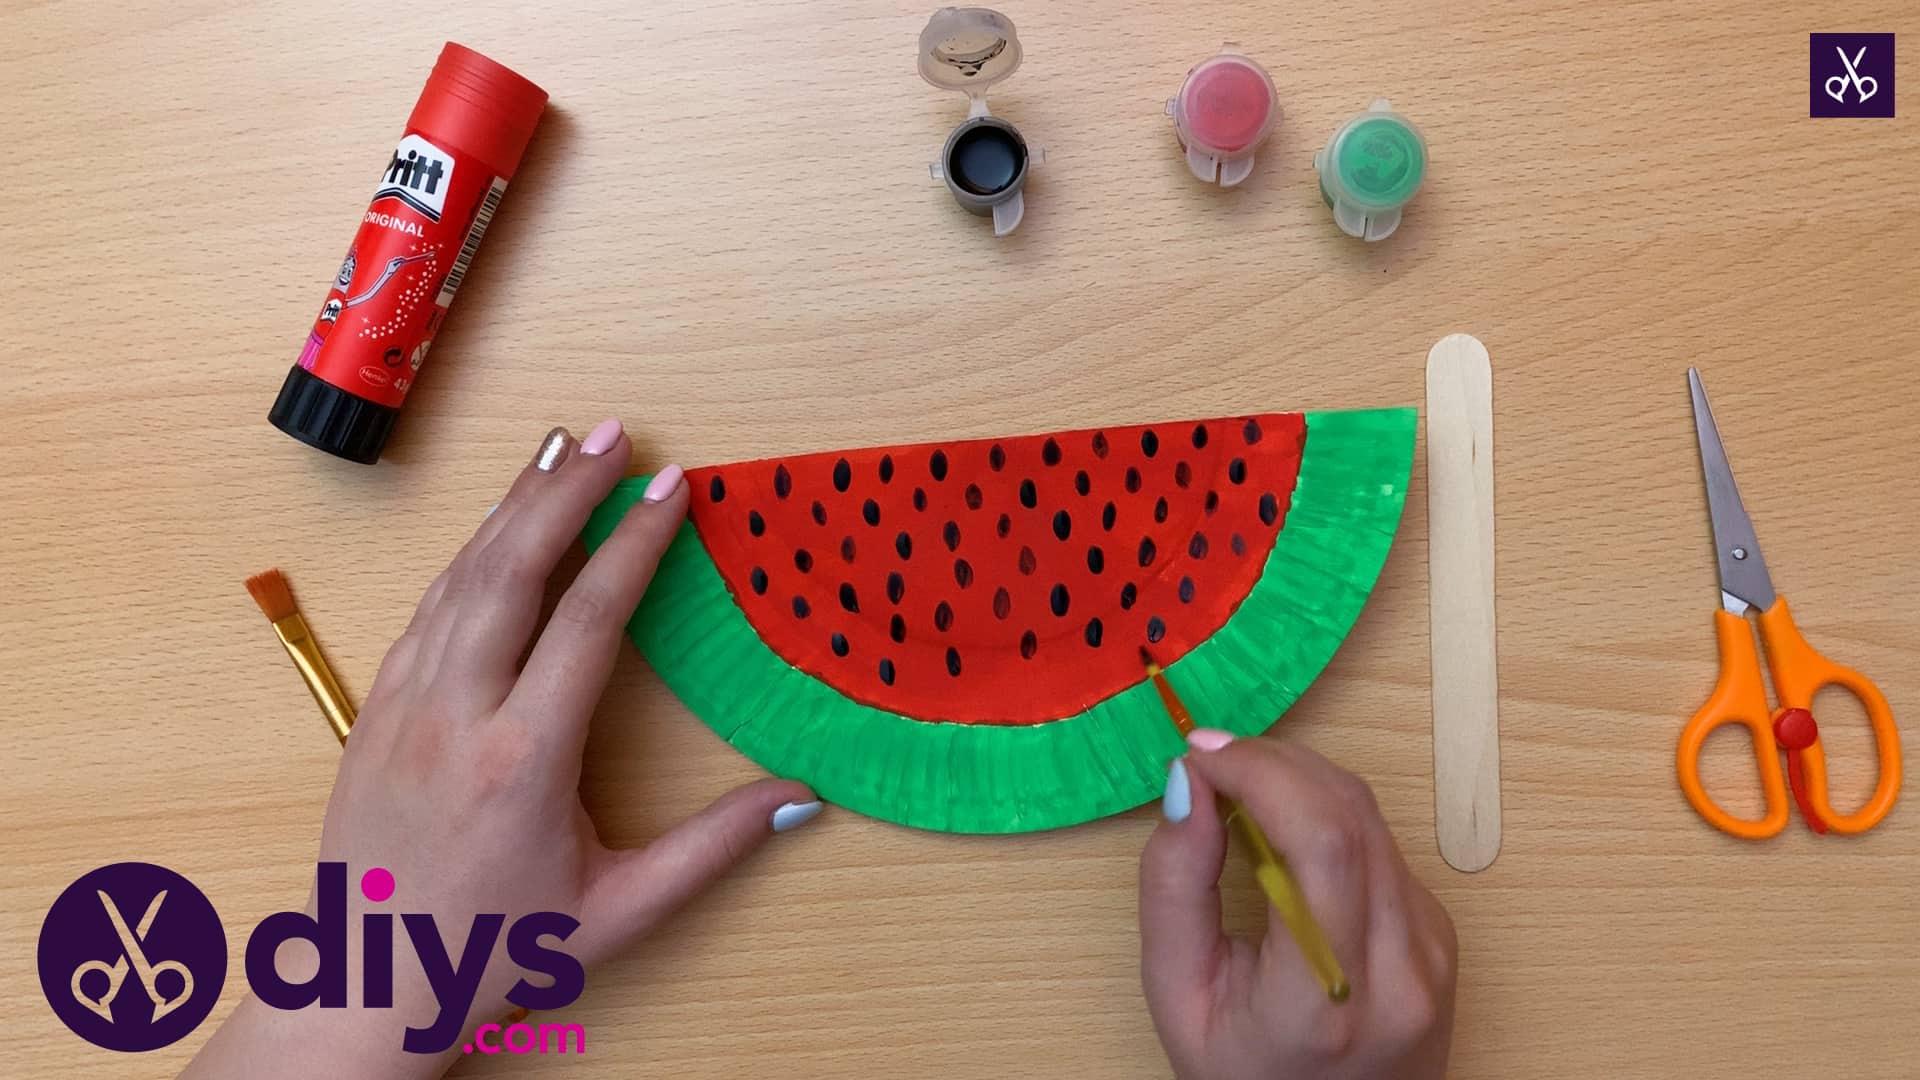
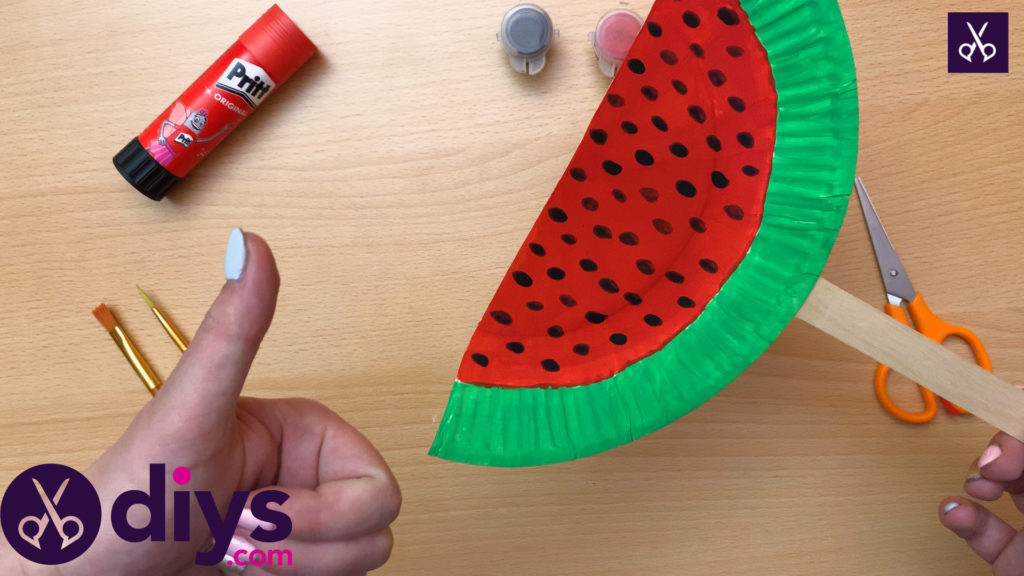
Step 5:
Once the red on your plate is dry, use your black paint to add watermelon seeds! I simply dipped a small brush in the paint and made a series of oblong dots all over the surface of the red section.

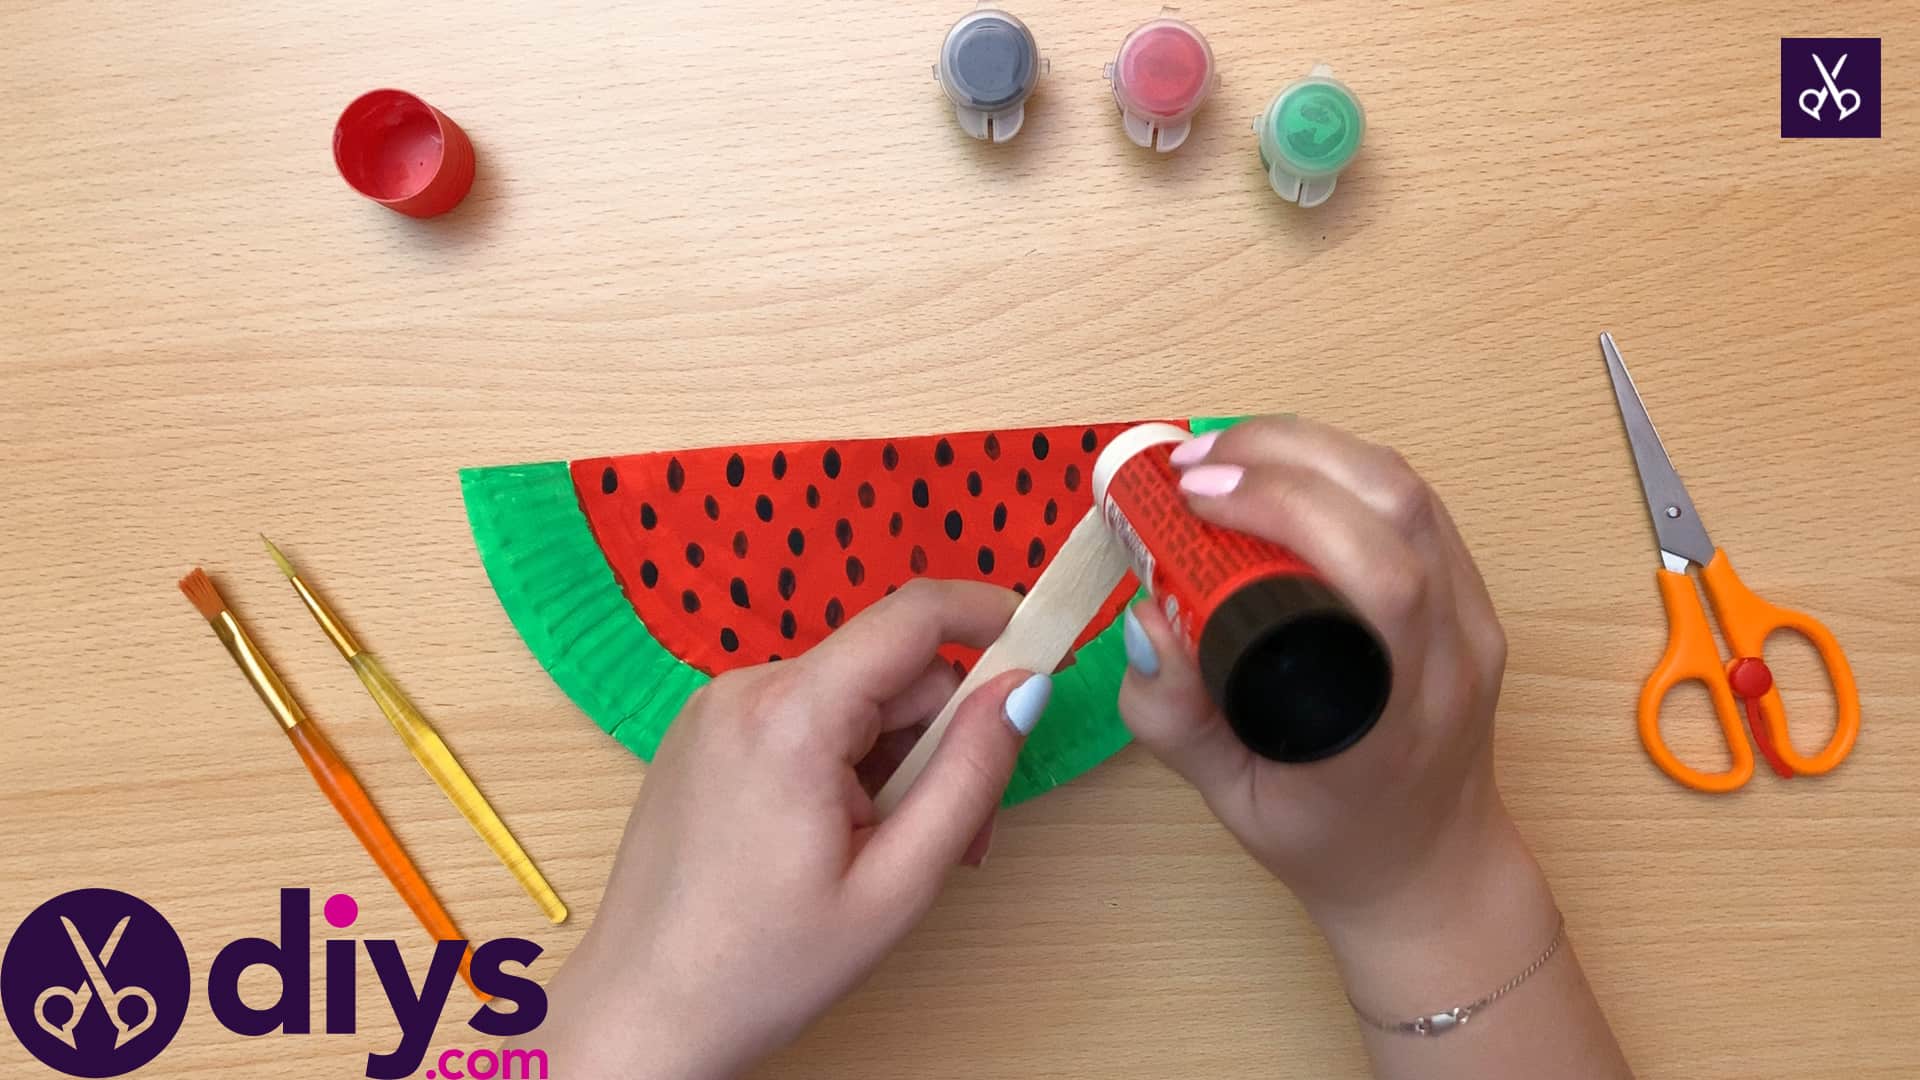
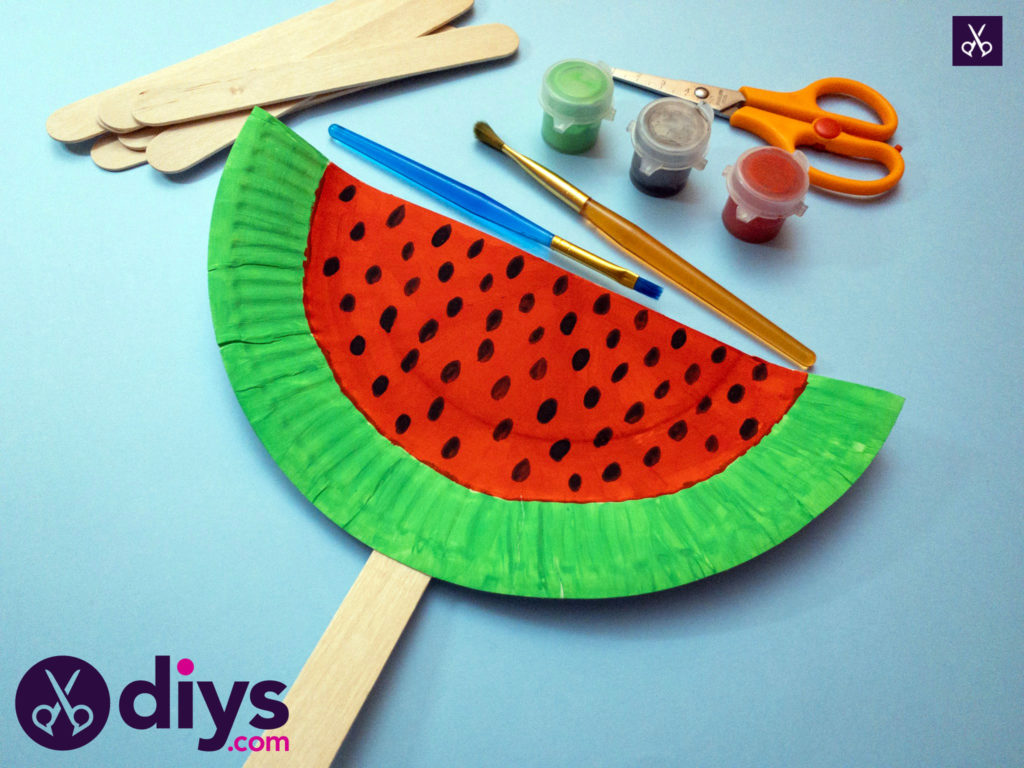
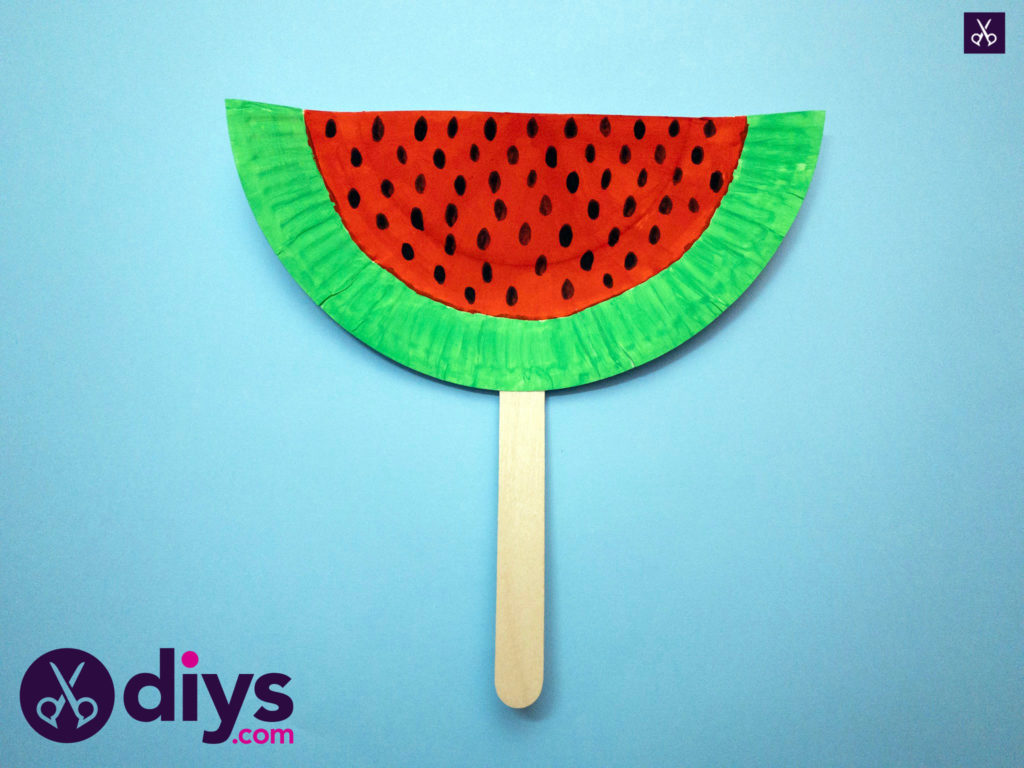
Step 6:
Once the black seeds are dry as well, apply glue to the top of your popsicle or crafting stick. Stick it down on the back of the plate, or the side that hasn’t been painted. This stick will be the handle of your fan and you want to stick it on the back so you don’t interrupt the look of your watermelon on the front.

That’s really all there is to it! You now have a simple paper fan that, besides being great and light for carrying around the yarn with you on a hot day, is bright, cheerful, and totally fits the season. If you’d like, you can use the same basic technique and shapes but with different colours and painted details to make other kinds of semi-circle shaped slices of fruit, like orange slices or wedges of lemon!

Just in case you’d like to try this project out as well, here’s an awesome tutorial video to give you a hand!