DIY Heart Tote Canvas Bag
Updated on November 19, 2025


In recent years, with the whole anti-plastic bag movement happening, I’ve become totally obsessed with reusable tote bags! I even took a step further and made this DIY heart tote canvas bag for myself. So read on to check out just how I made it so you can create one, too!

They were the perfect introduction to things like fabric painting and stencil use for my kids, so I thought I’d lay the steps out for other people to see. Check out these step by step instructions complete with photos! If you’d rather follow along with a video tutorial instead of written words, scroll to the bottom of this post to find just what you’re looking for.
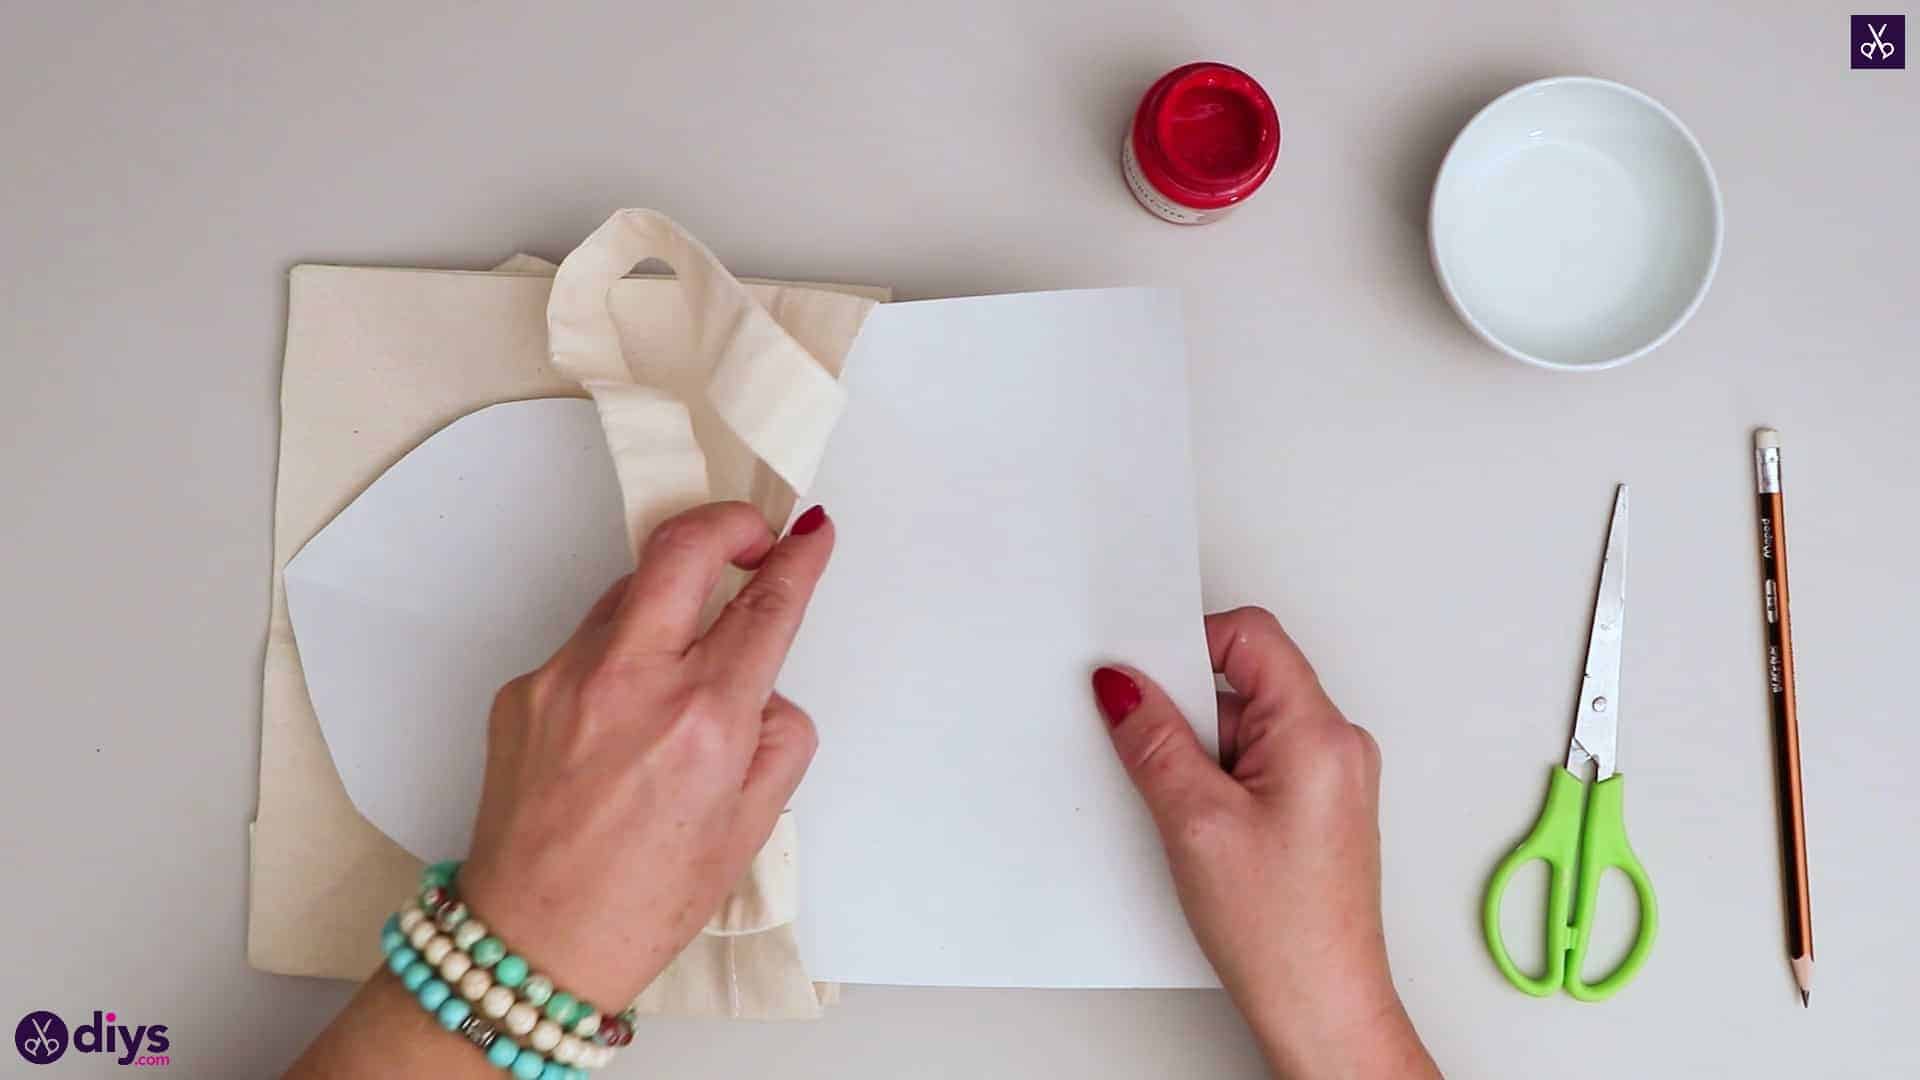
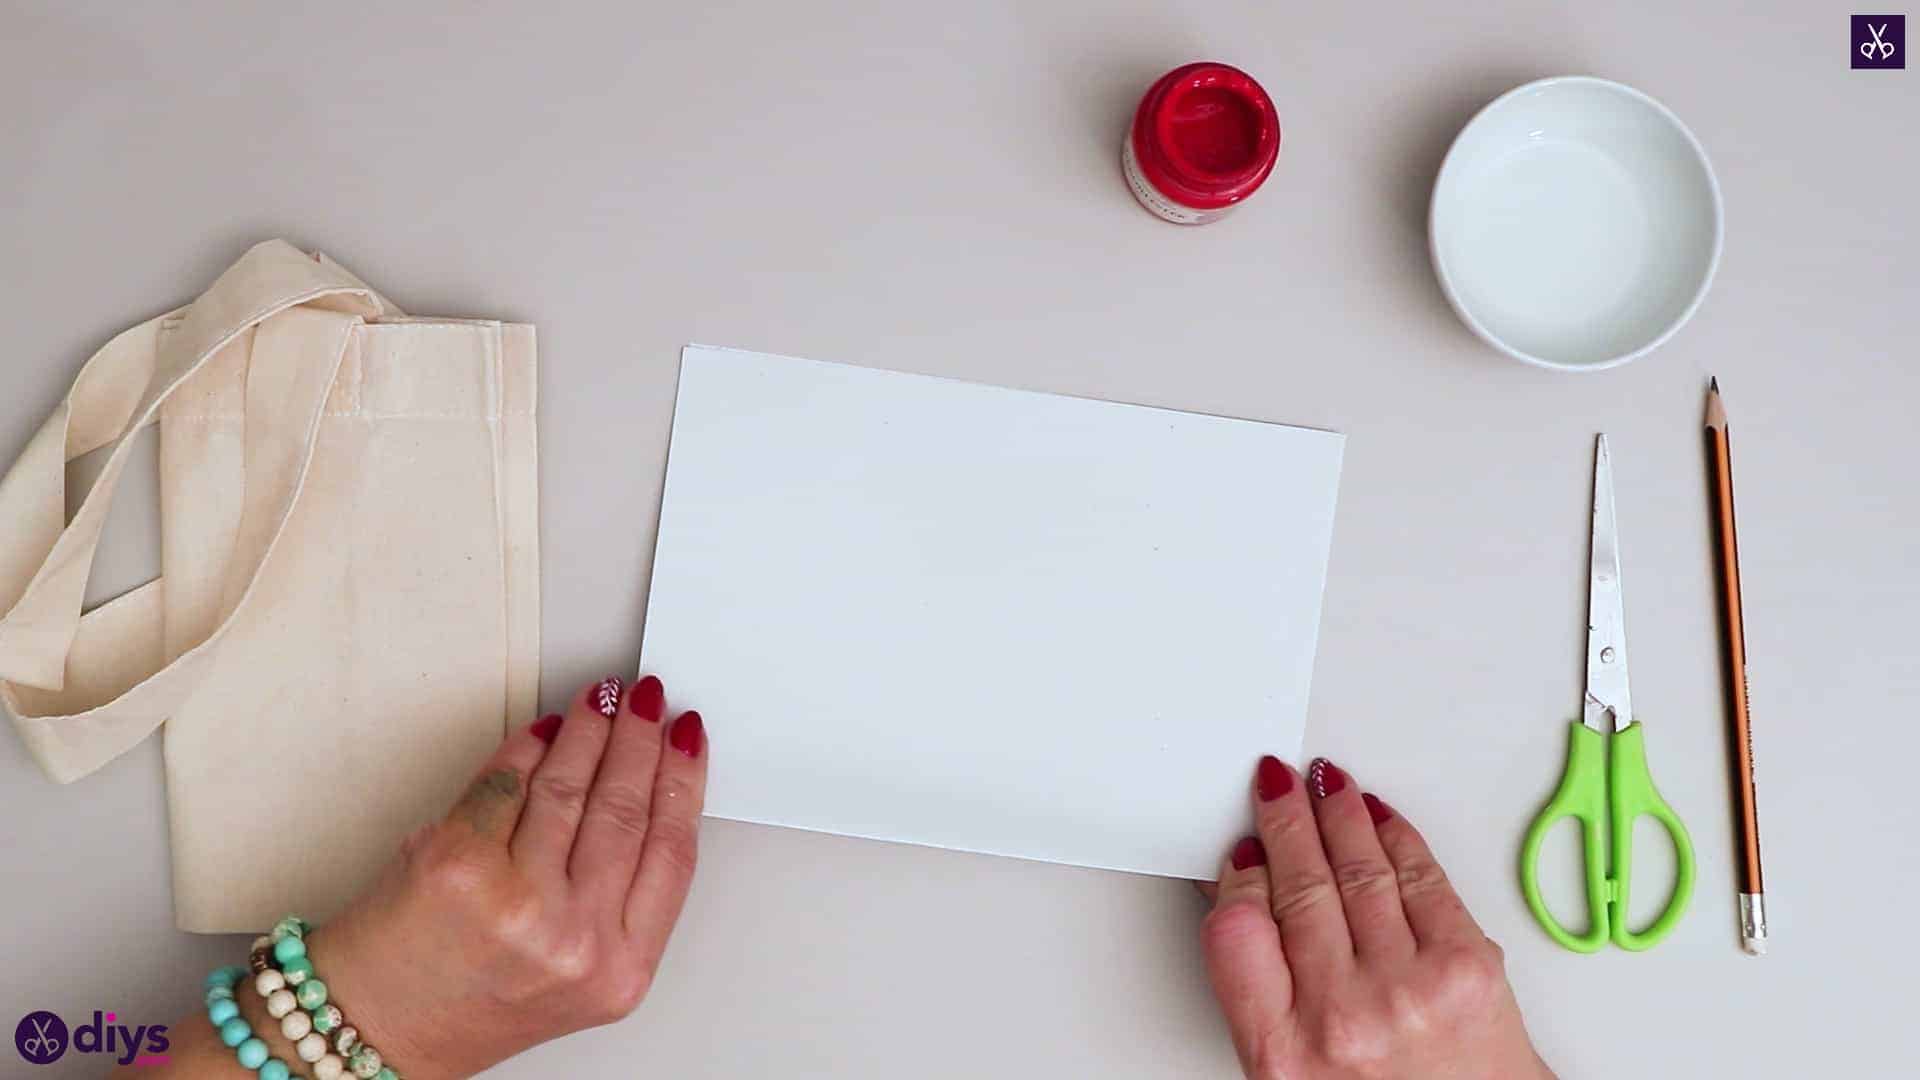
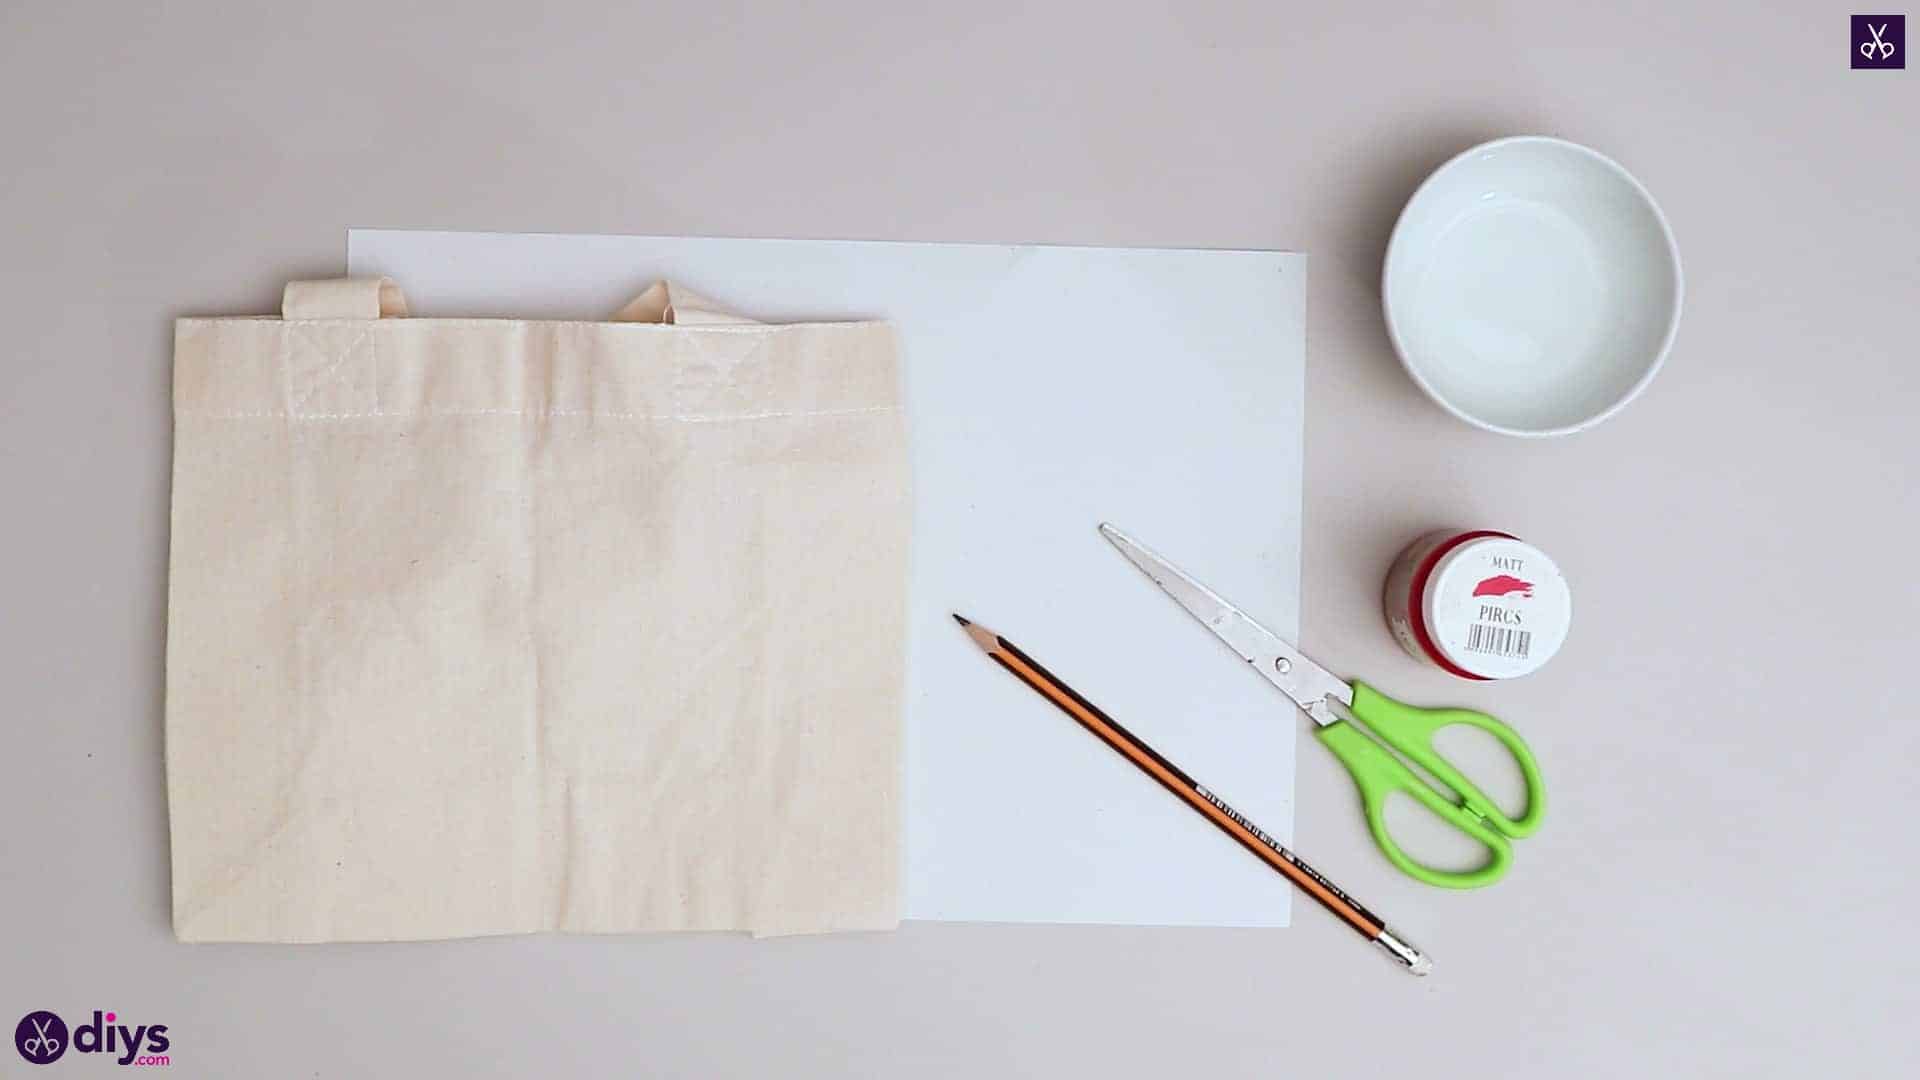
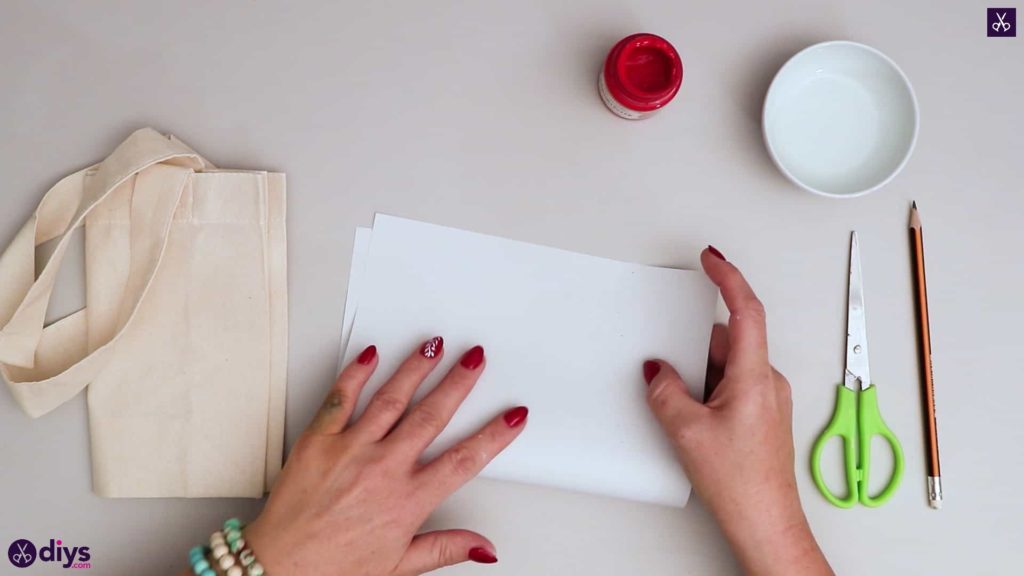
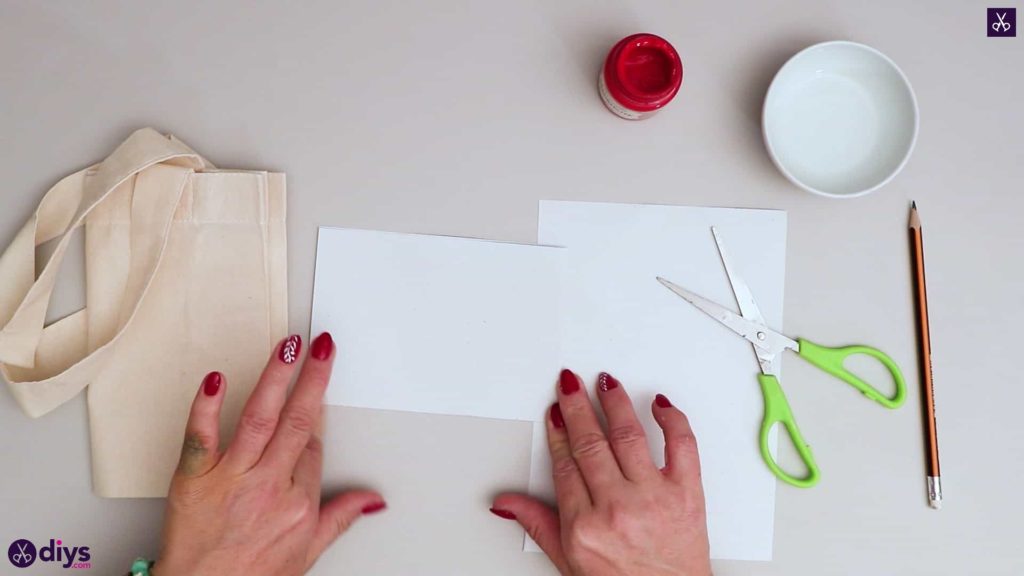
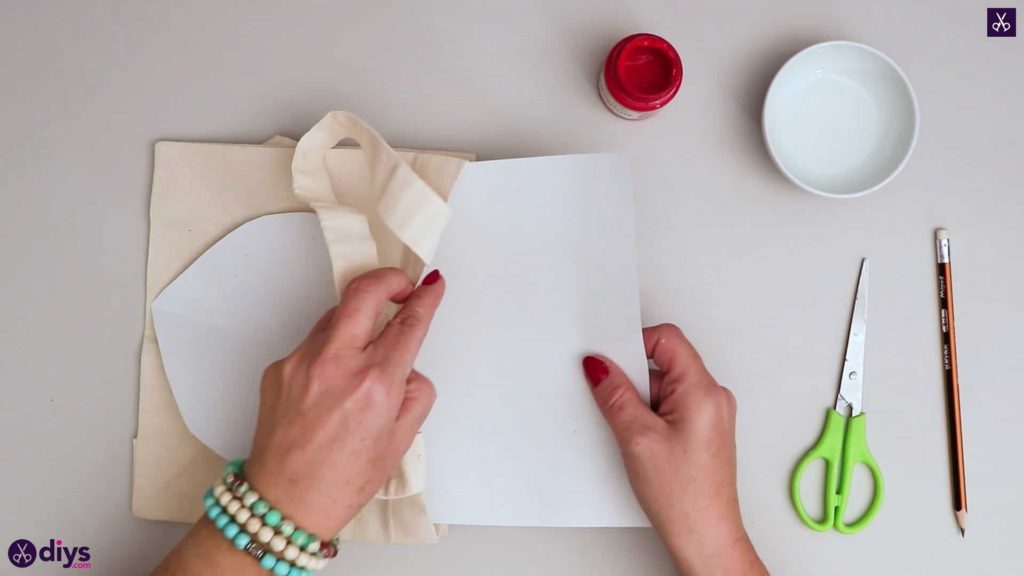
For this project, you’ll need:
- A pre-made canvas tote bag
- A pencil
- White paper
- Scissors
- Paint
Step 1: check your list
Gather your materials!

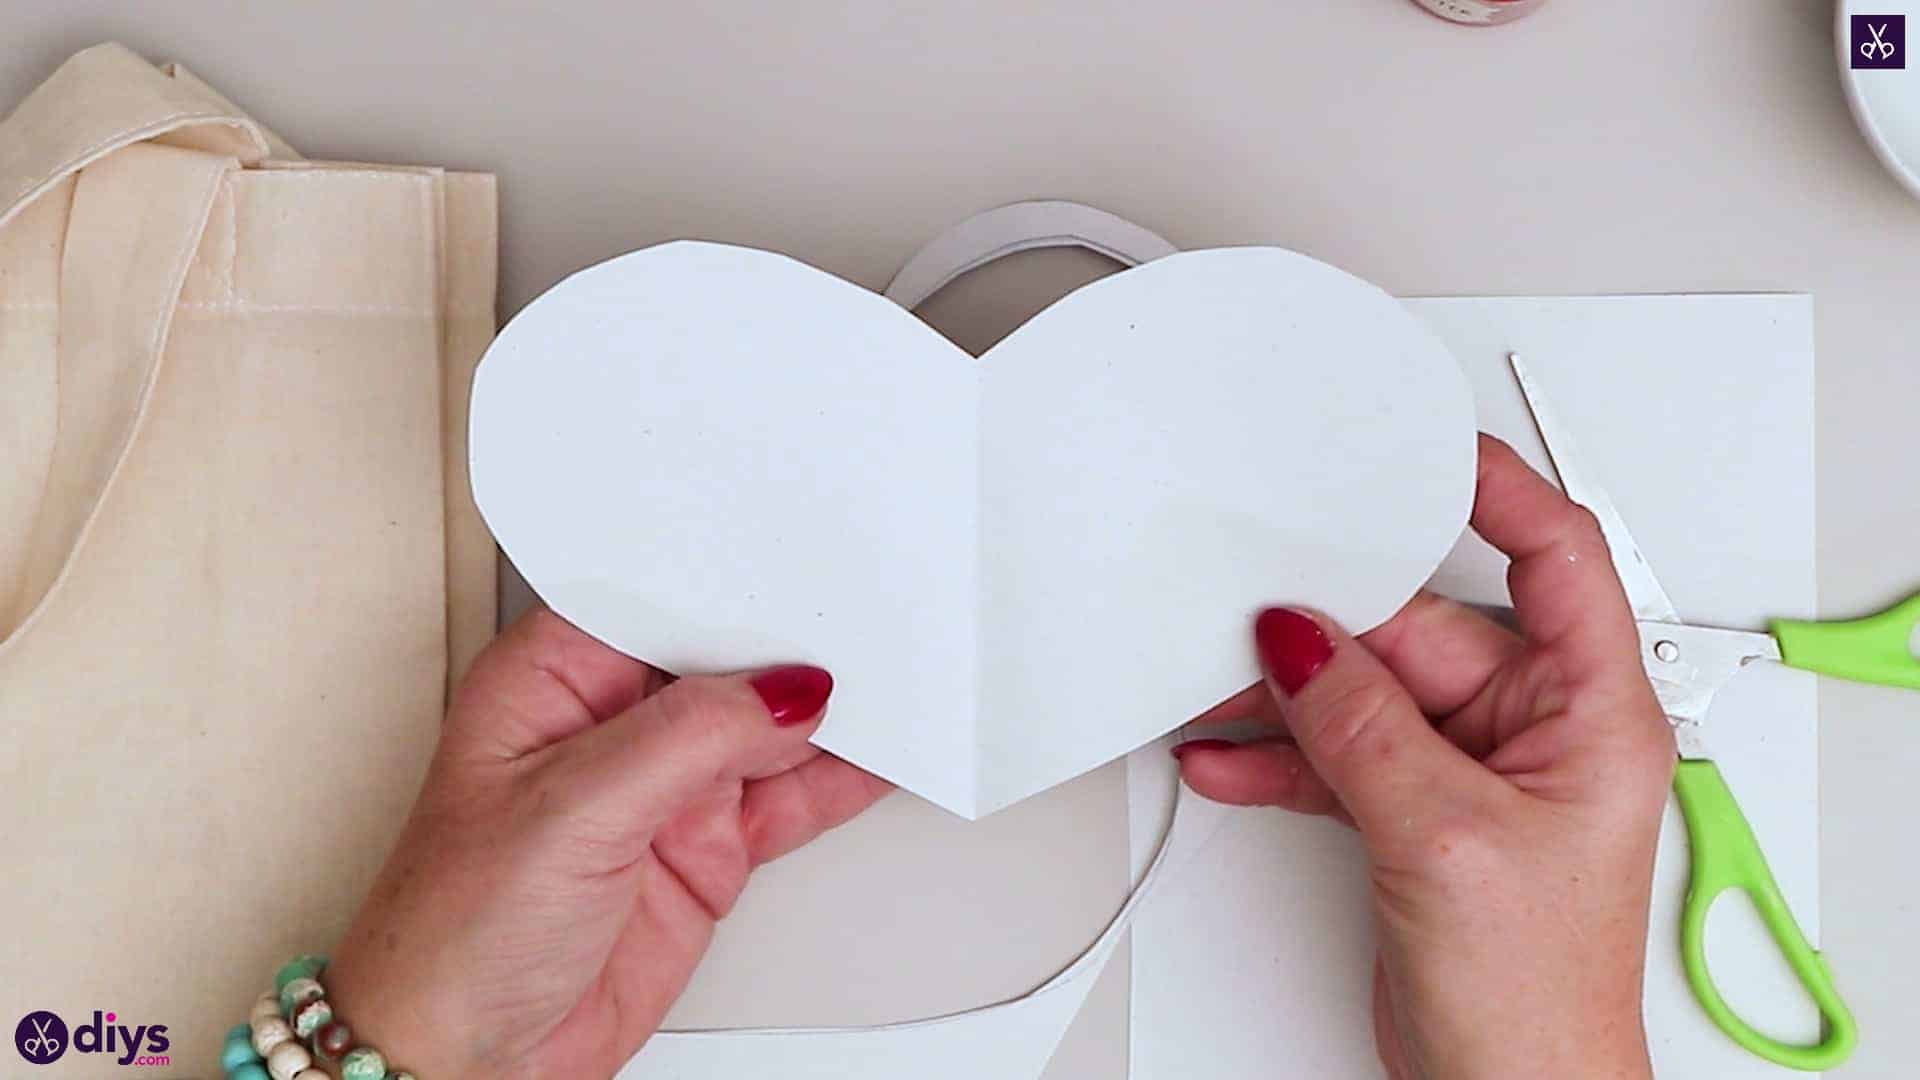
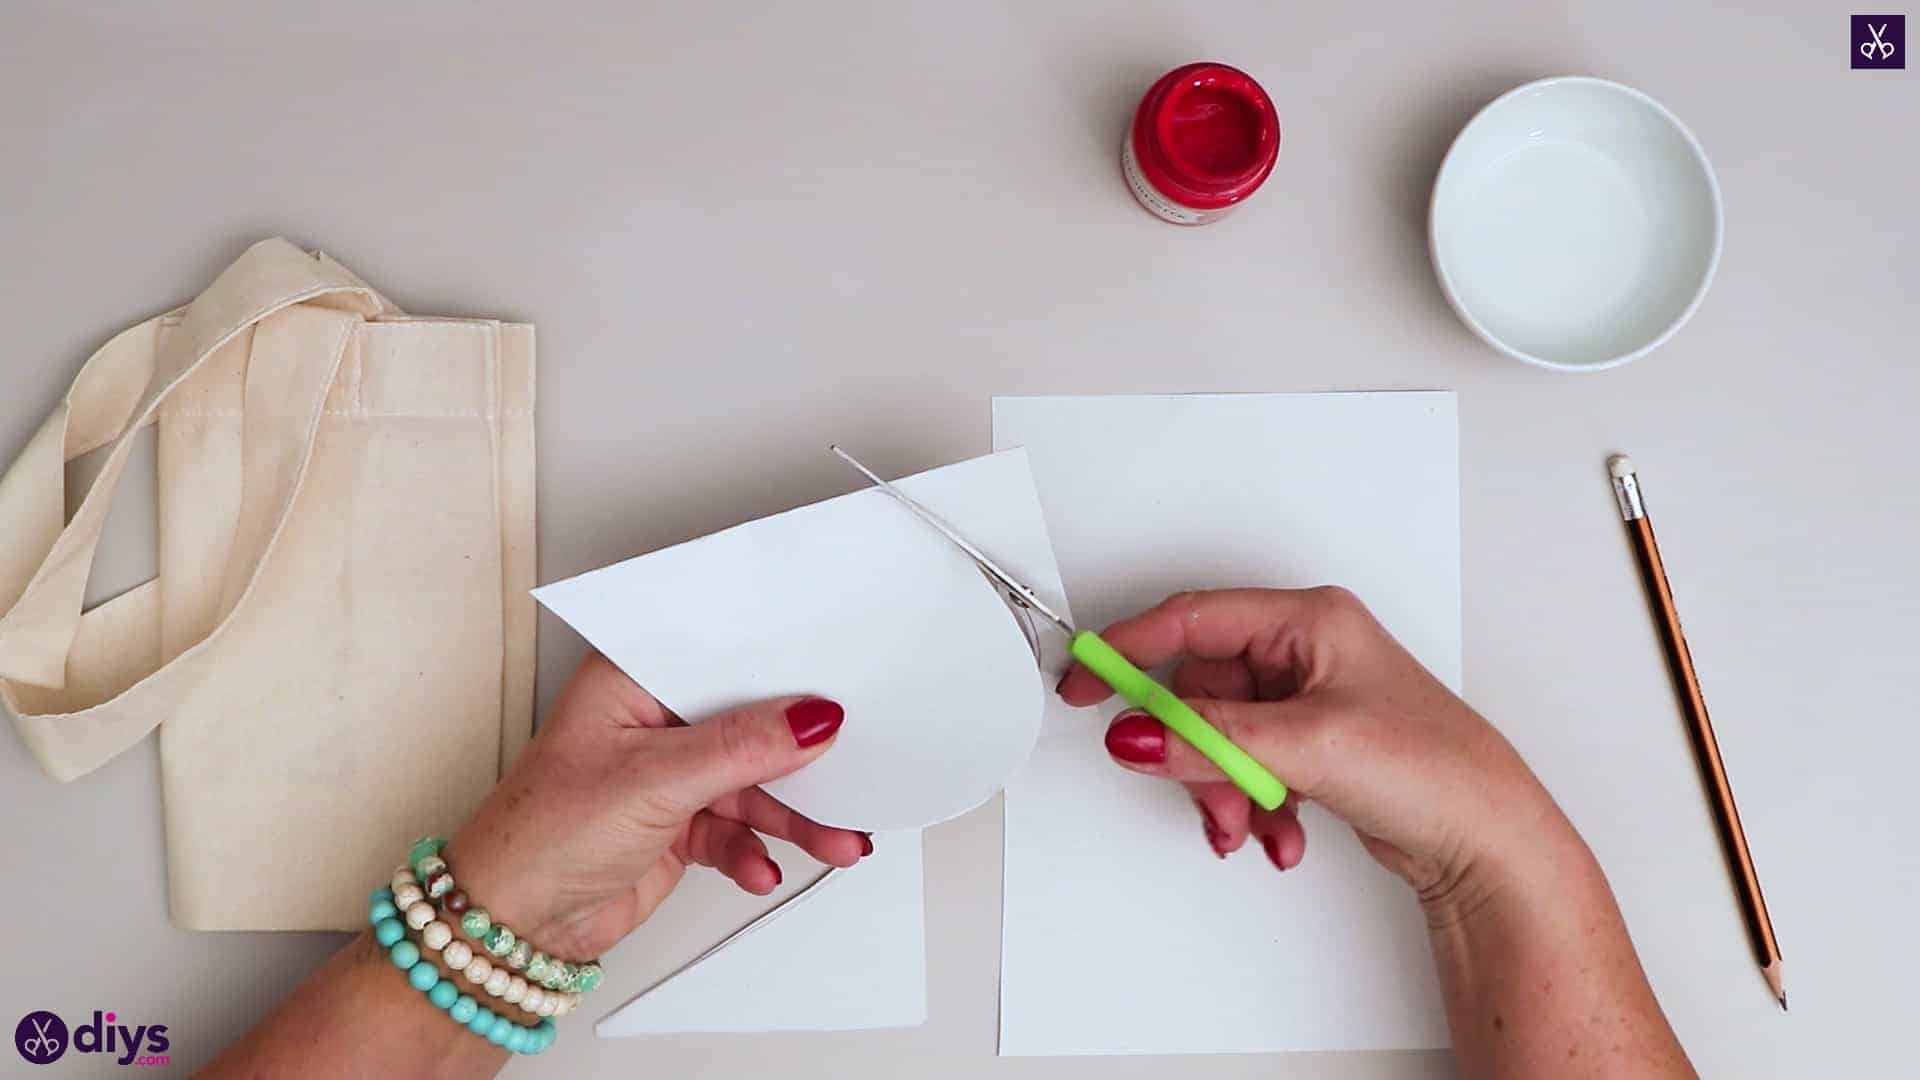
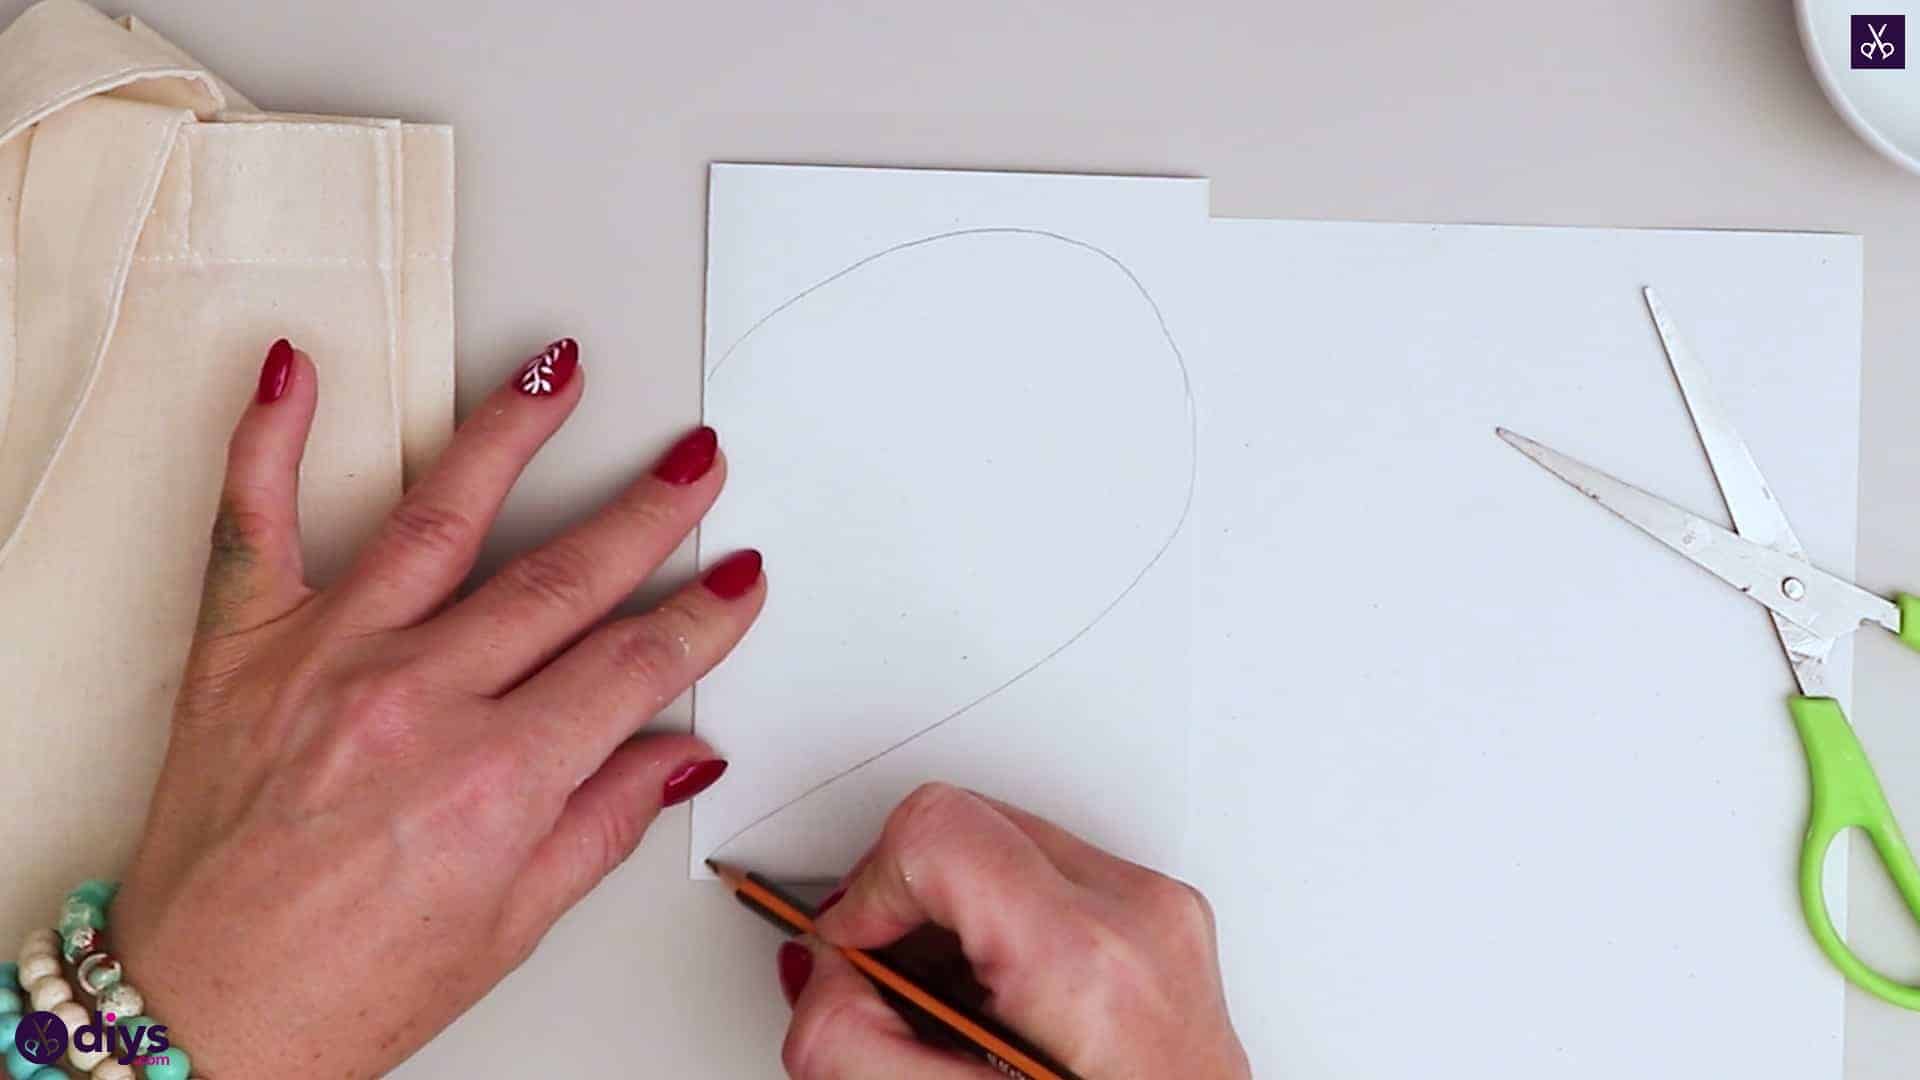
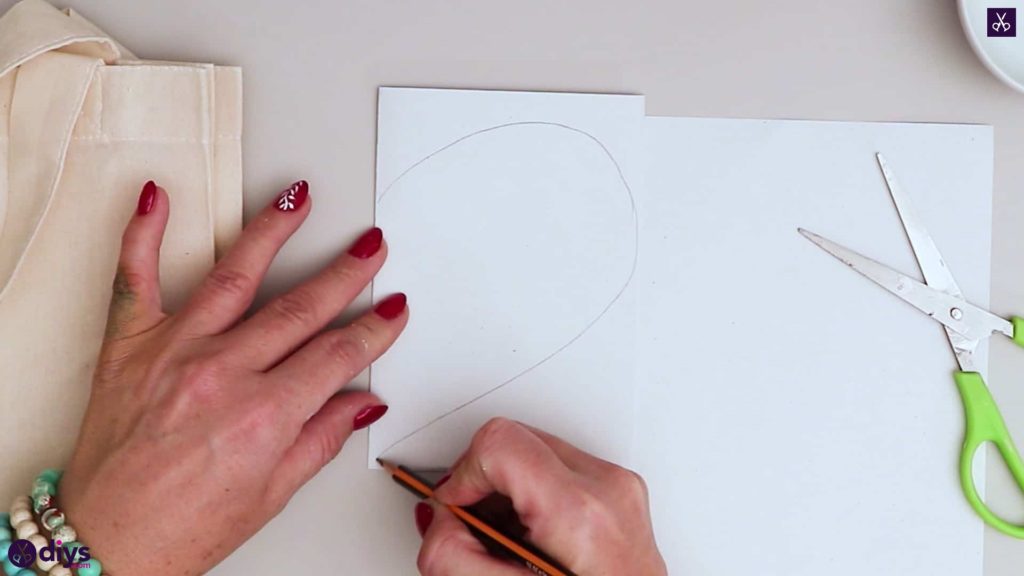
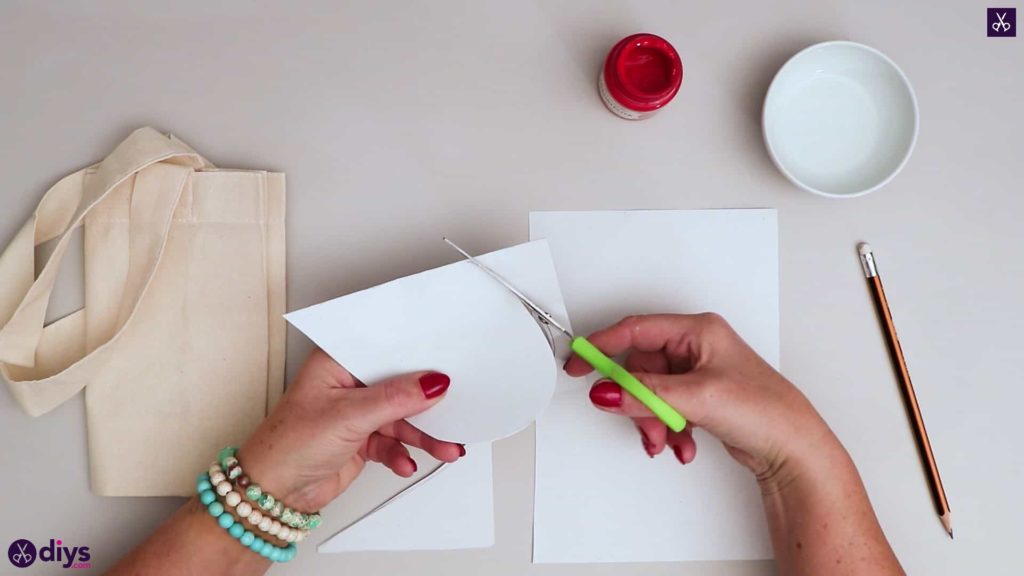
Step 2: make your stencil
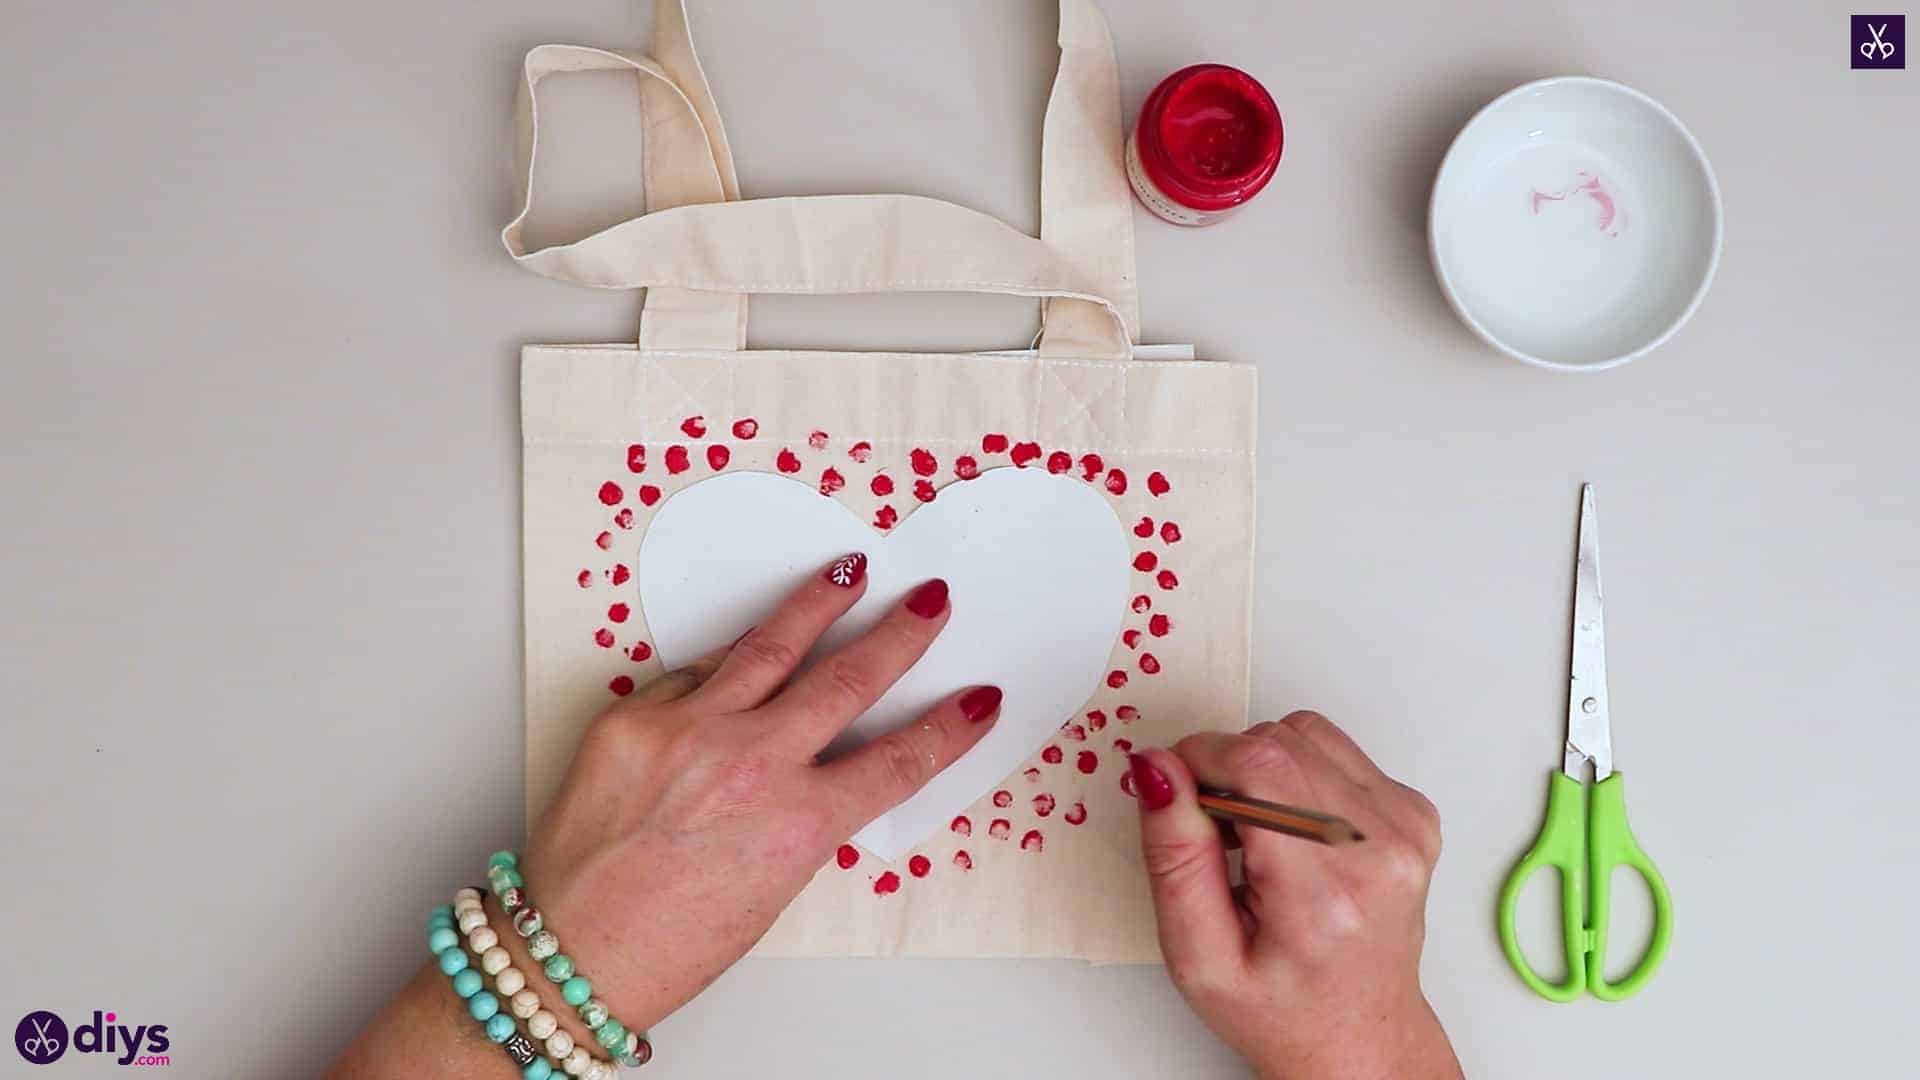
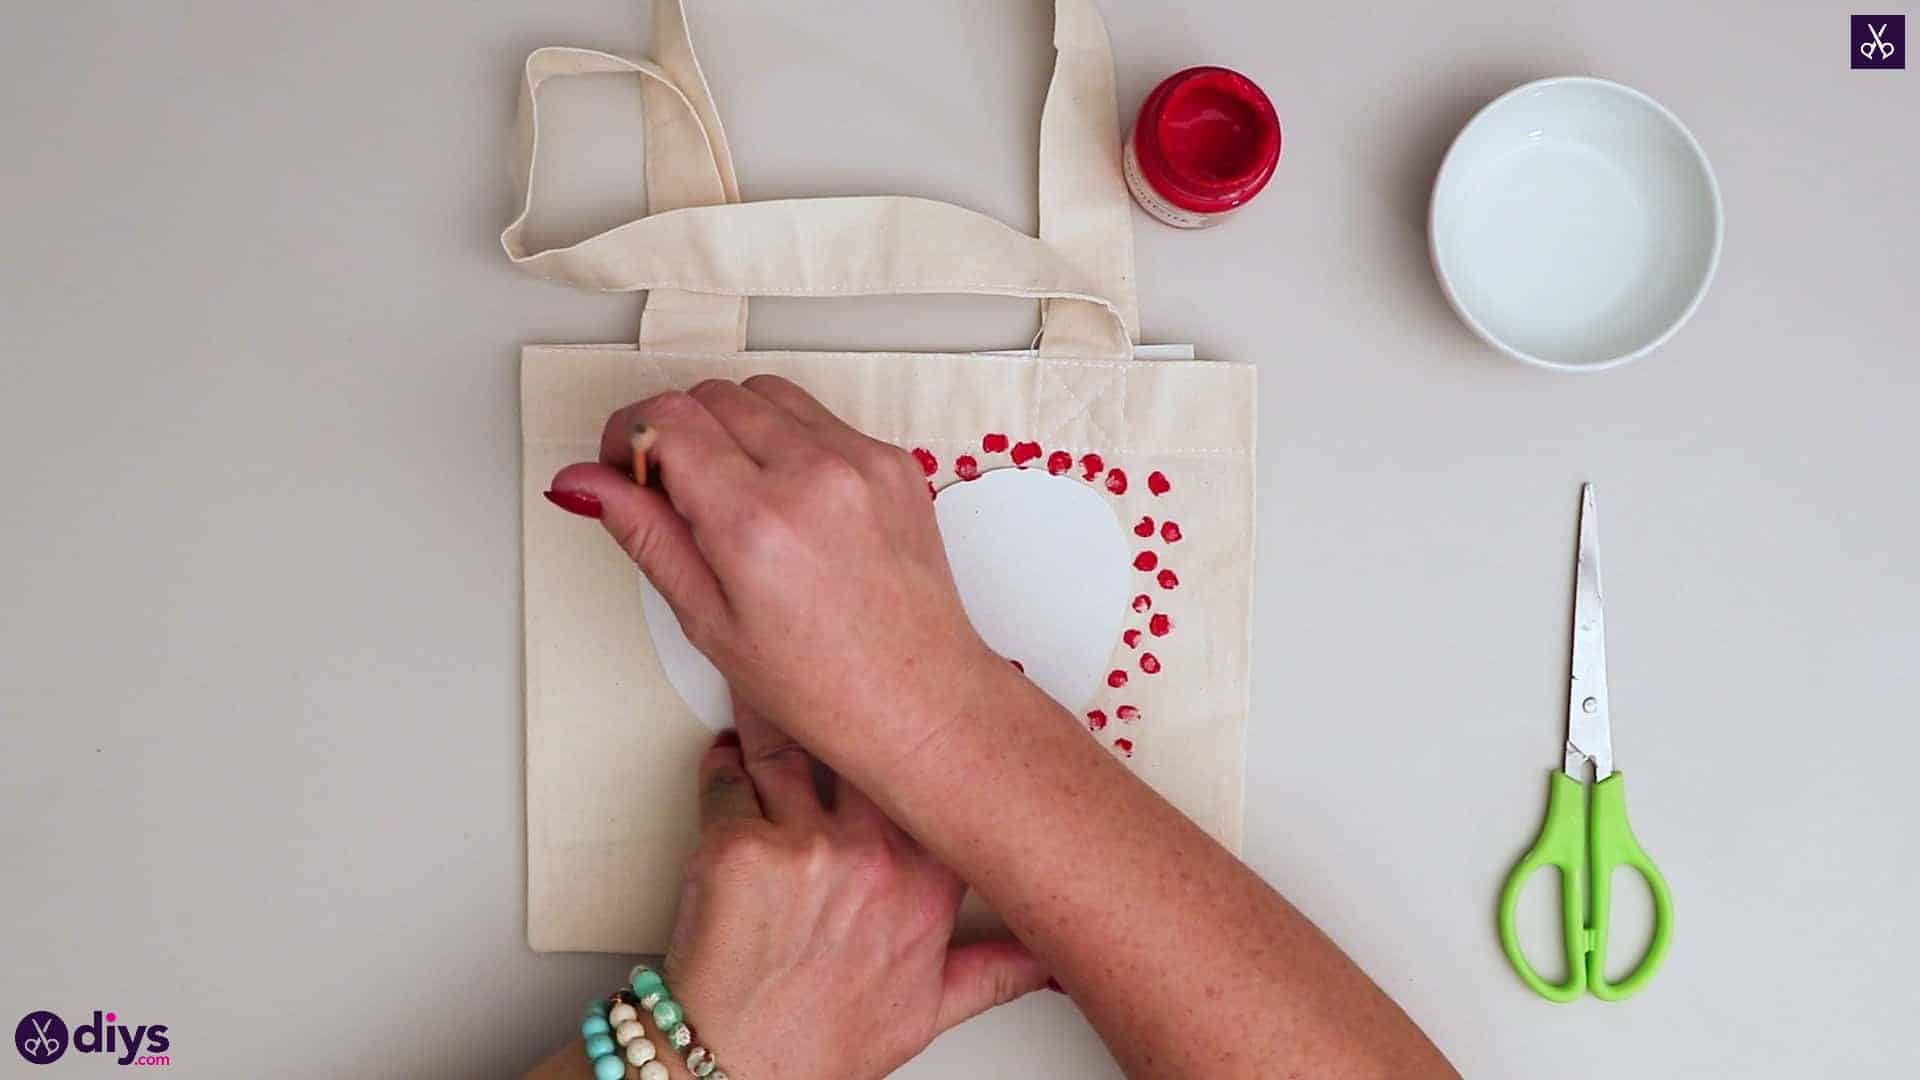
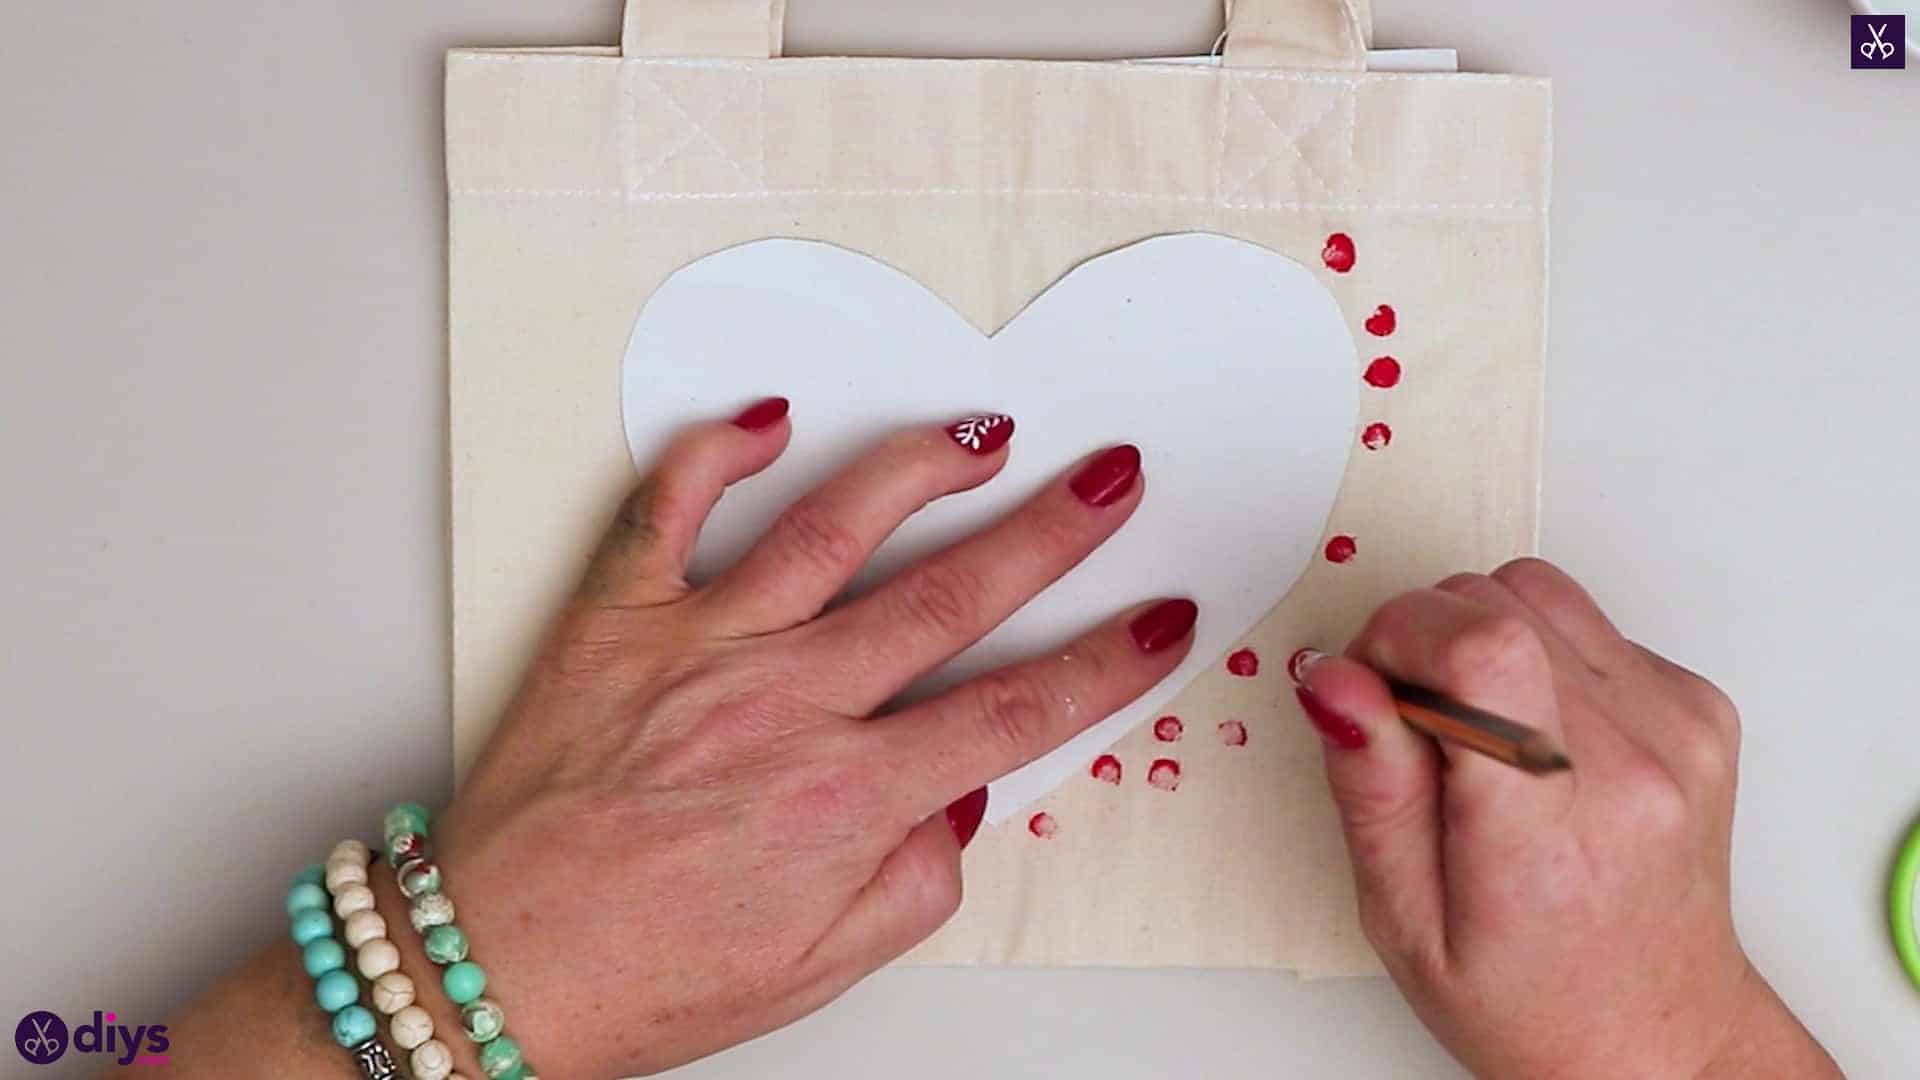
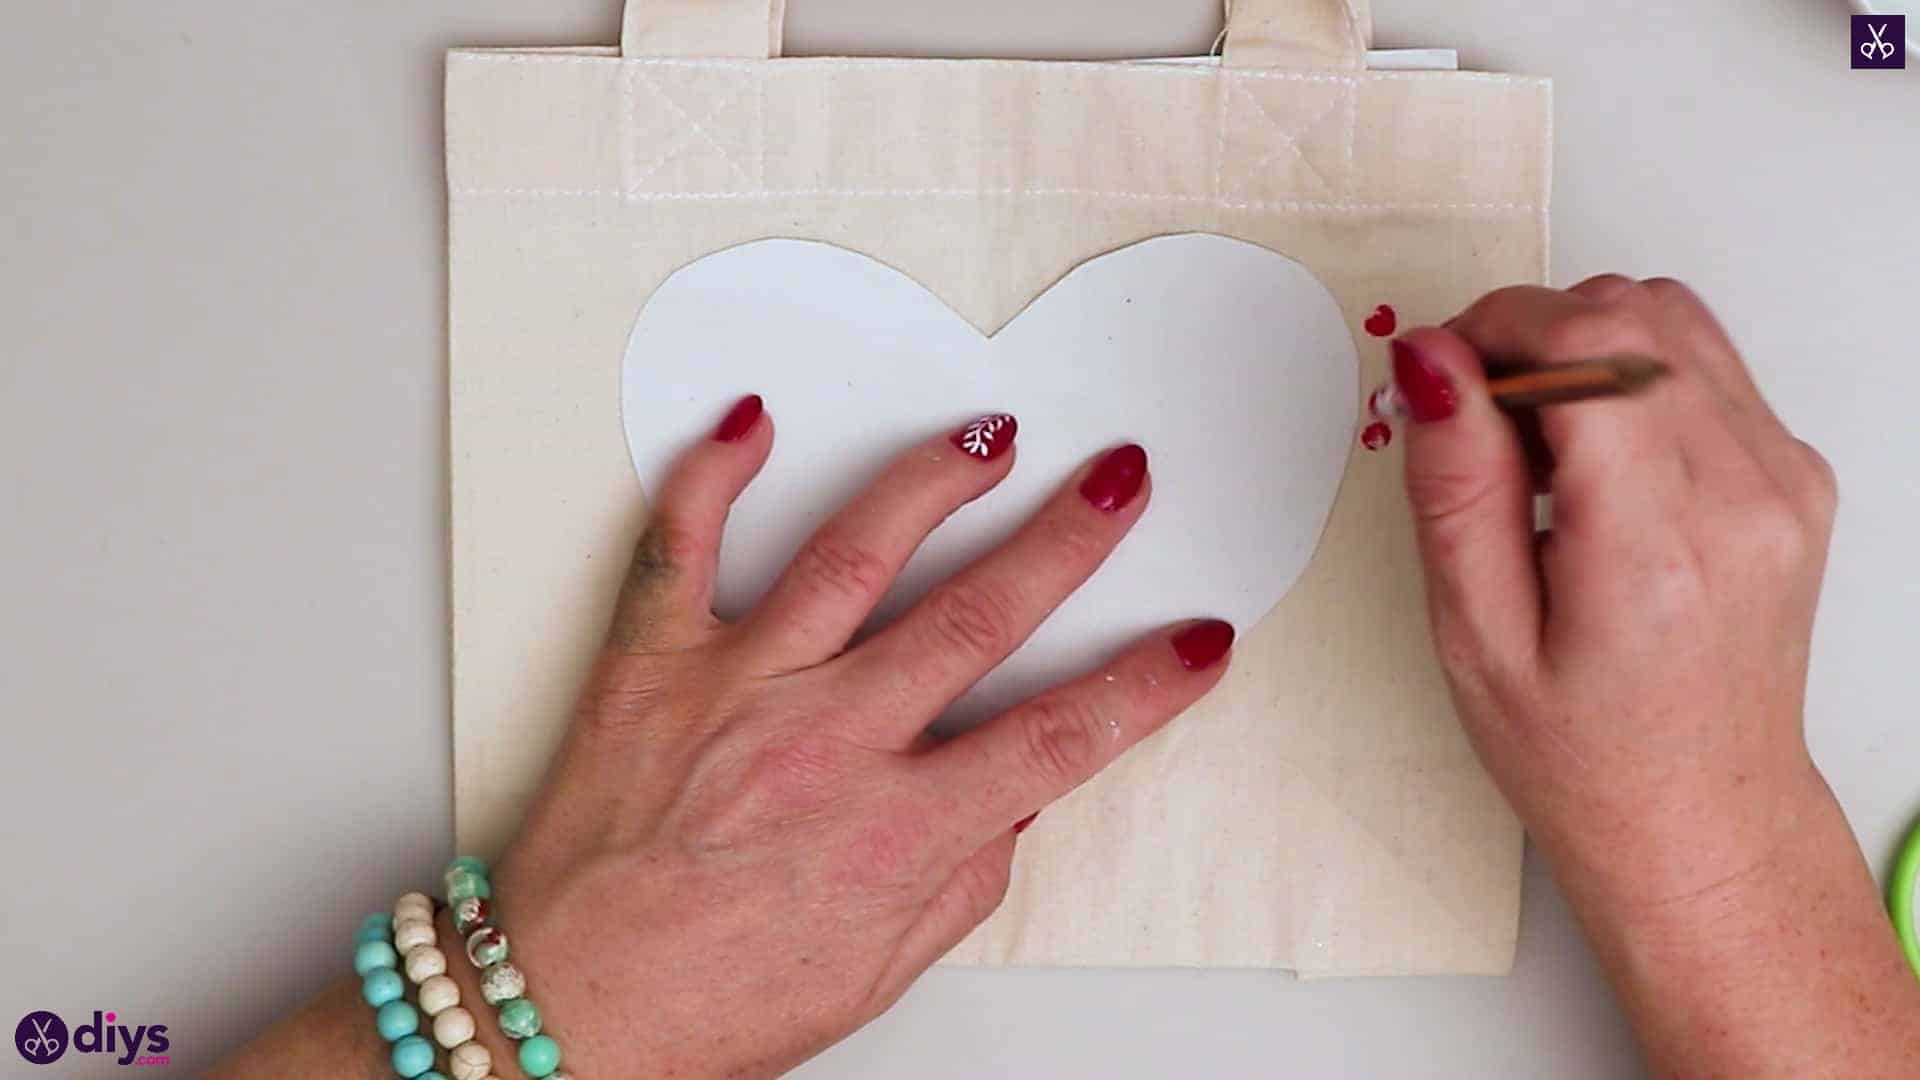
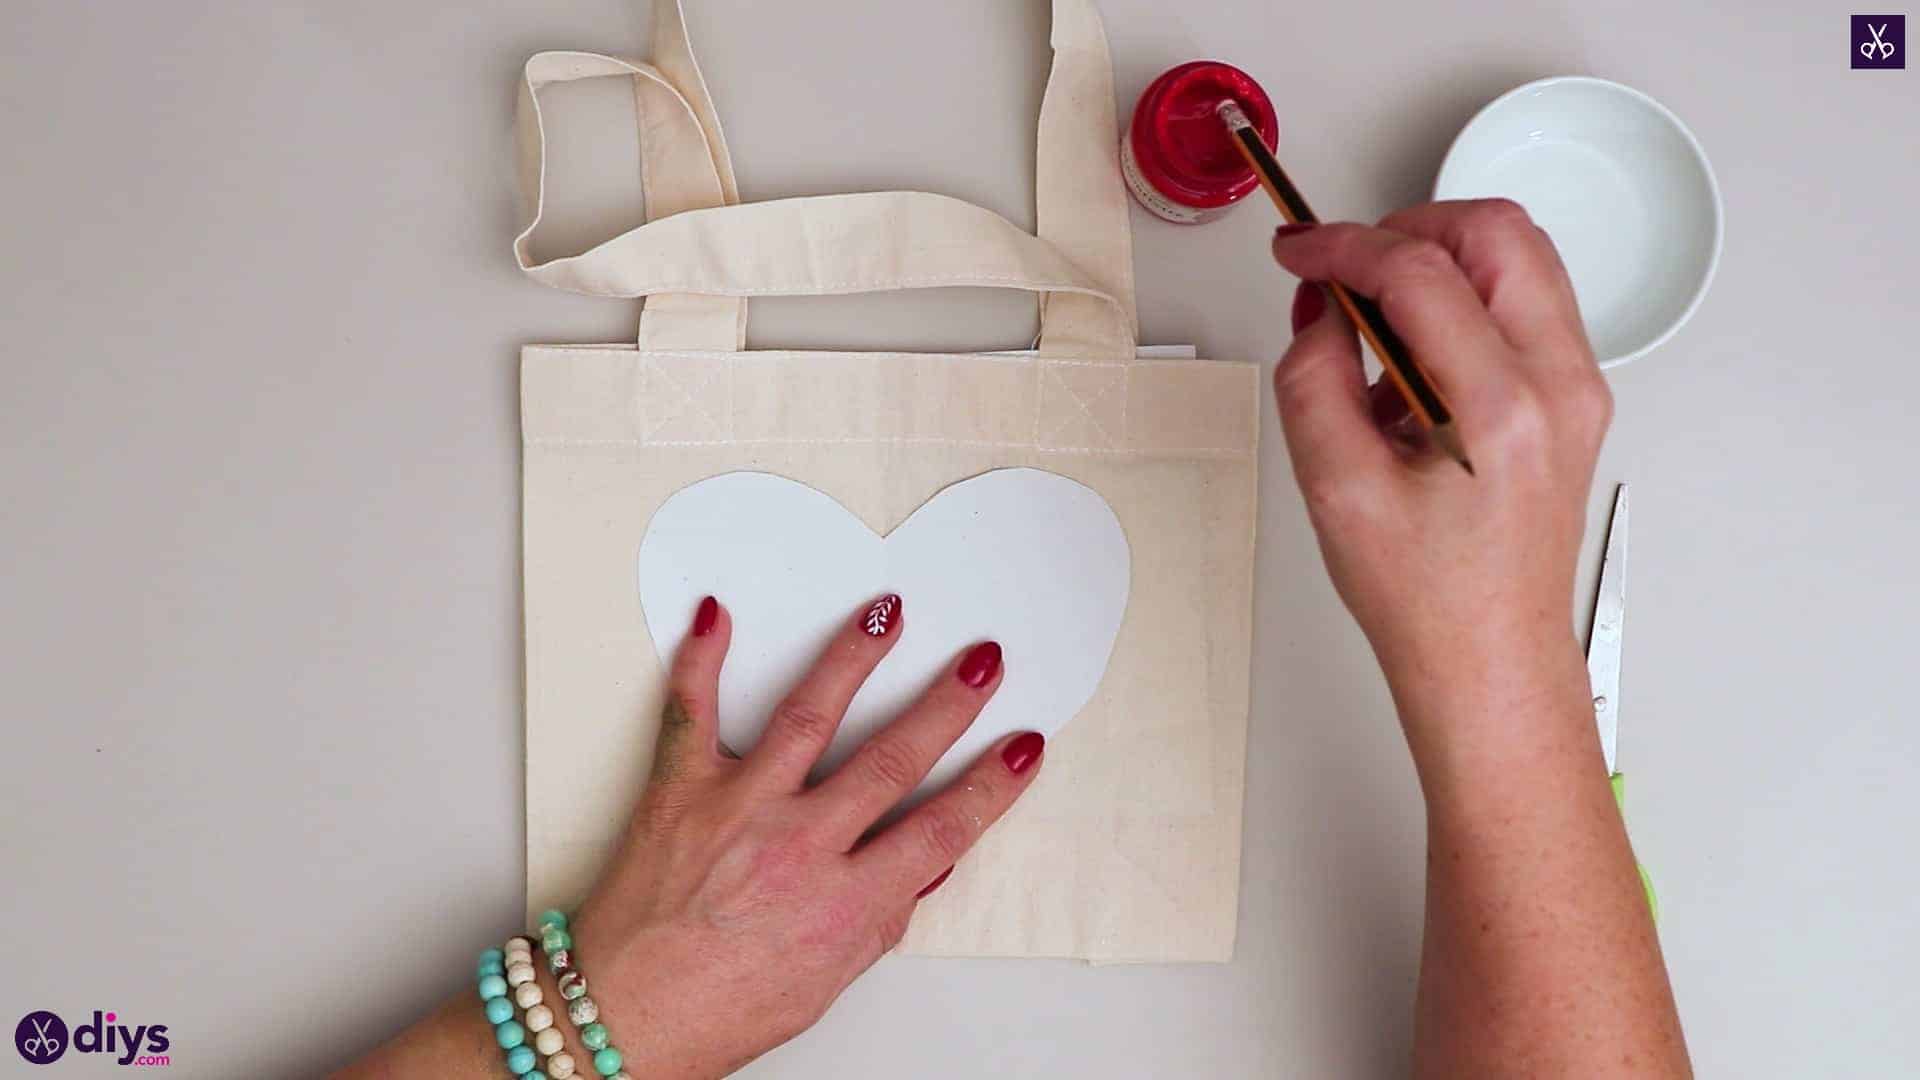
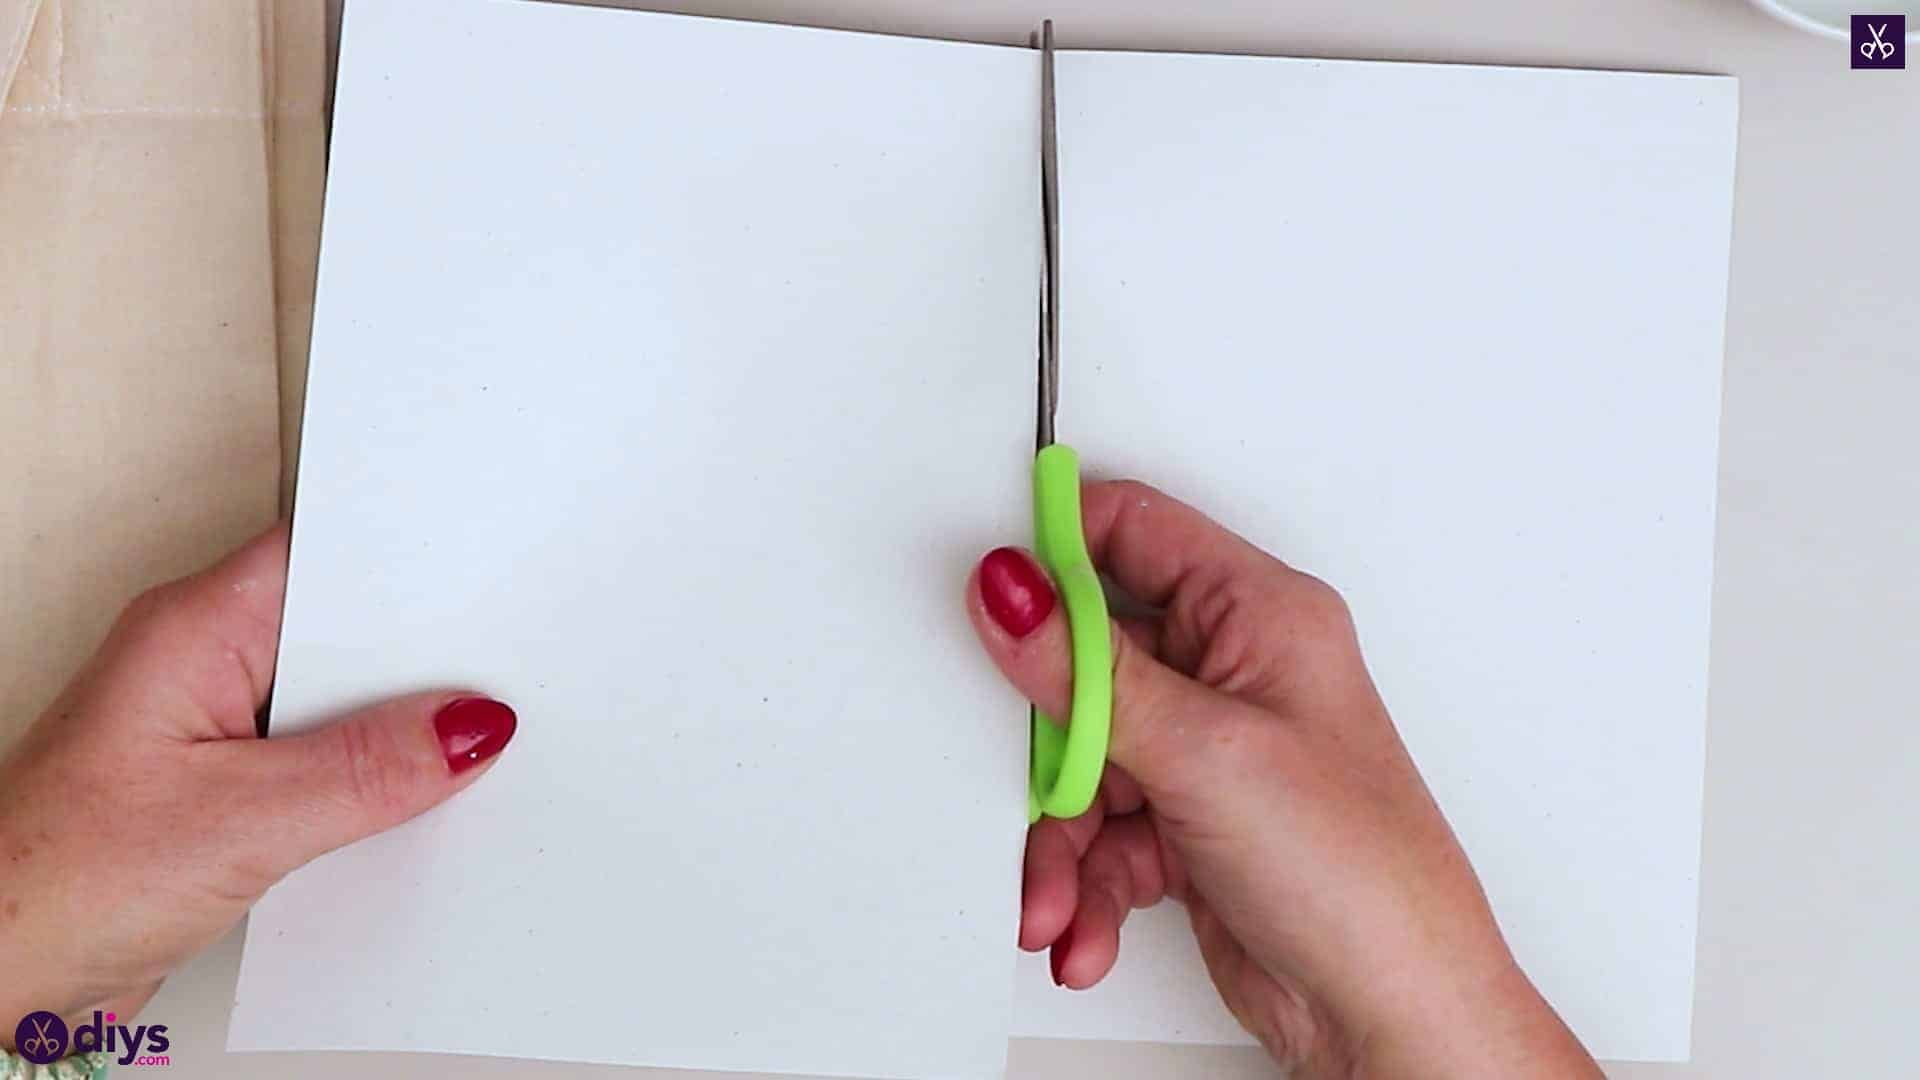
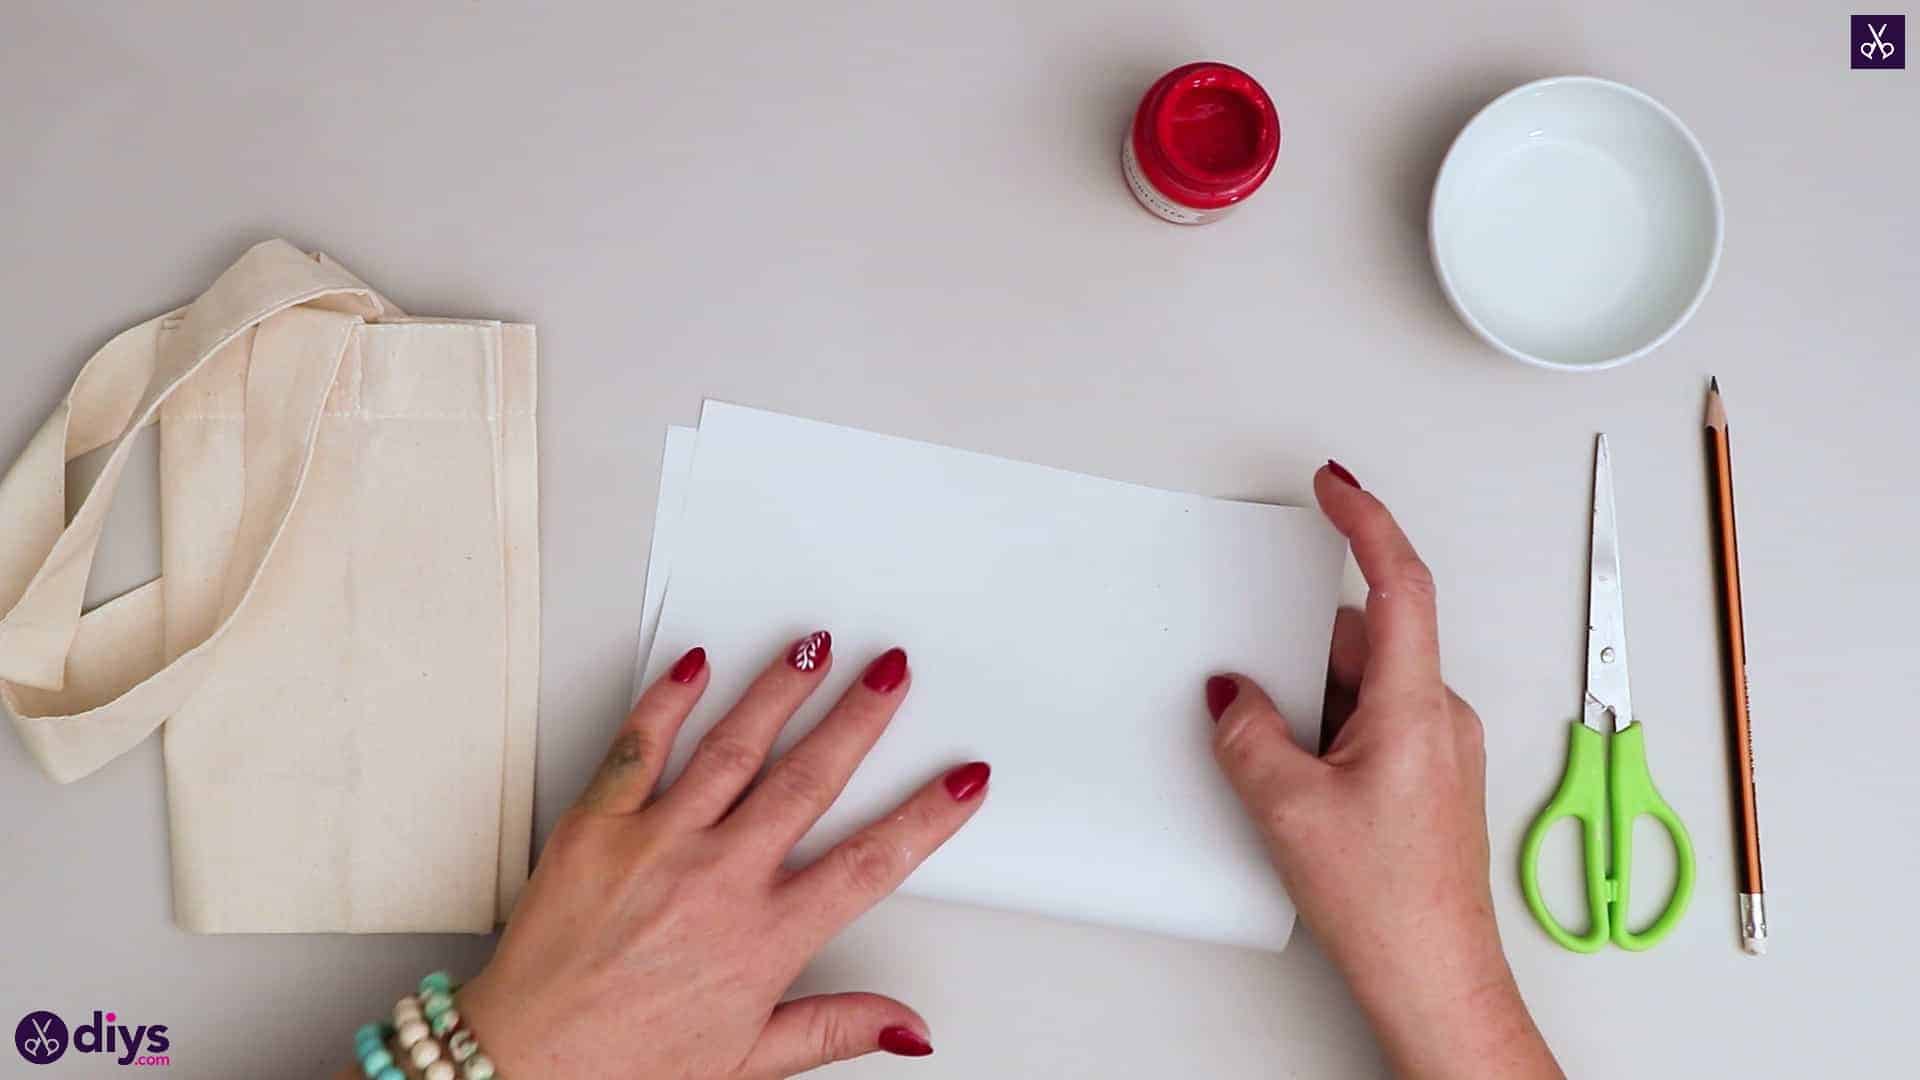
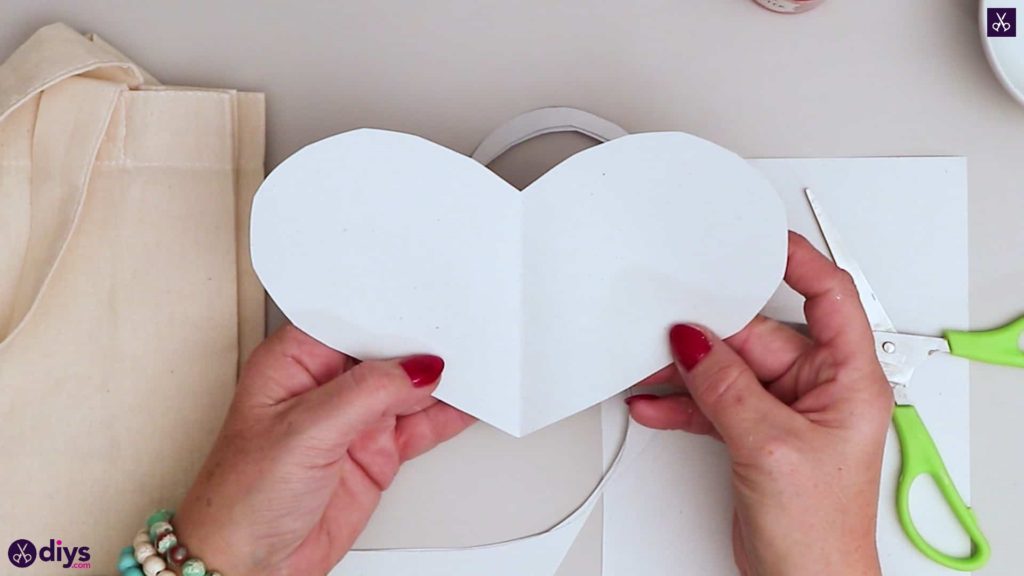
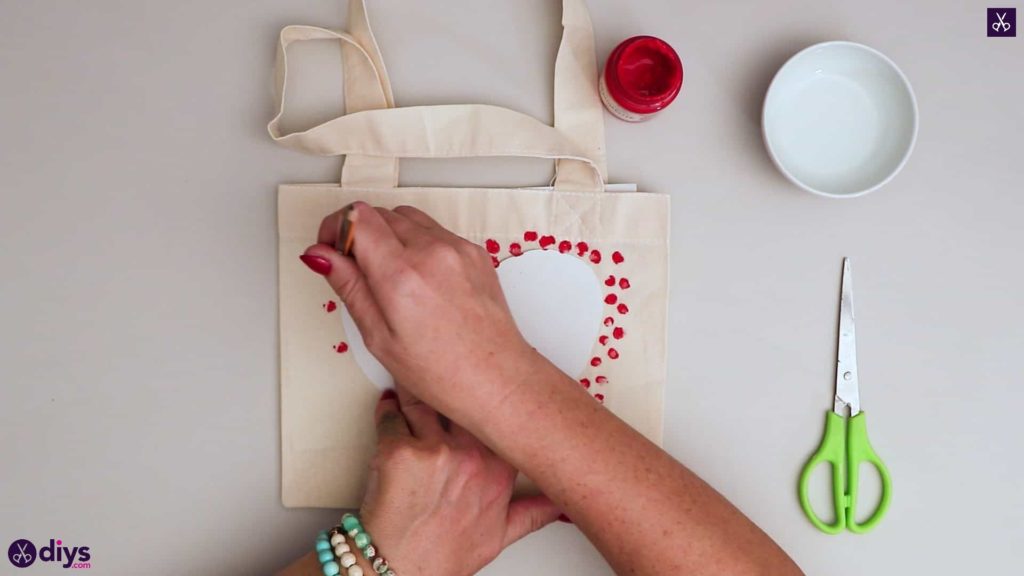
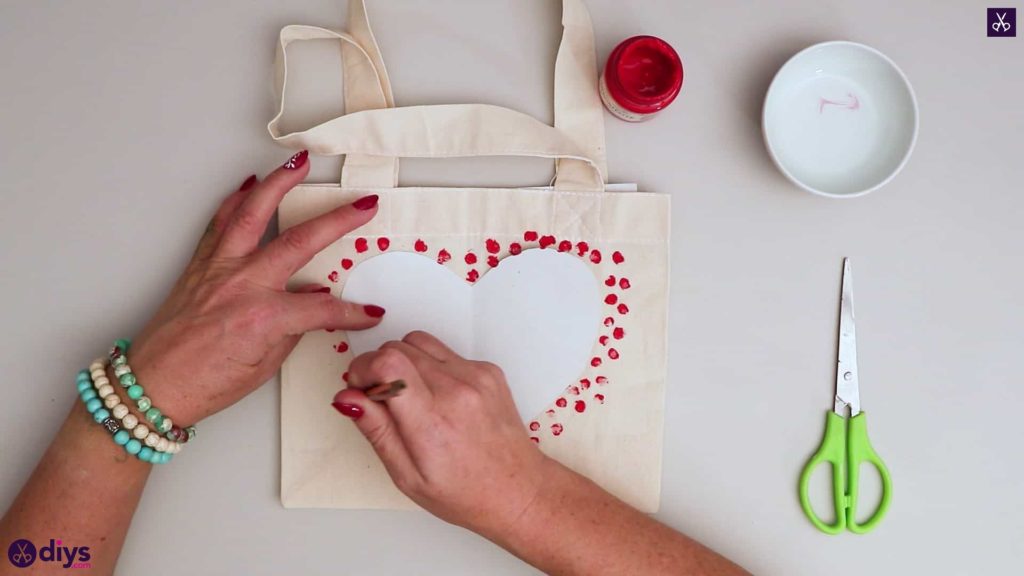
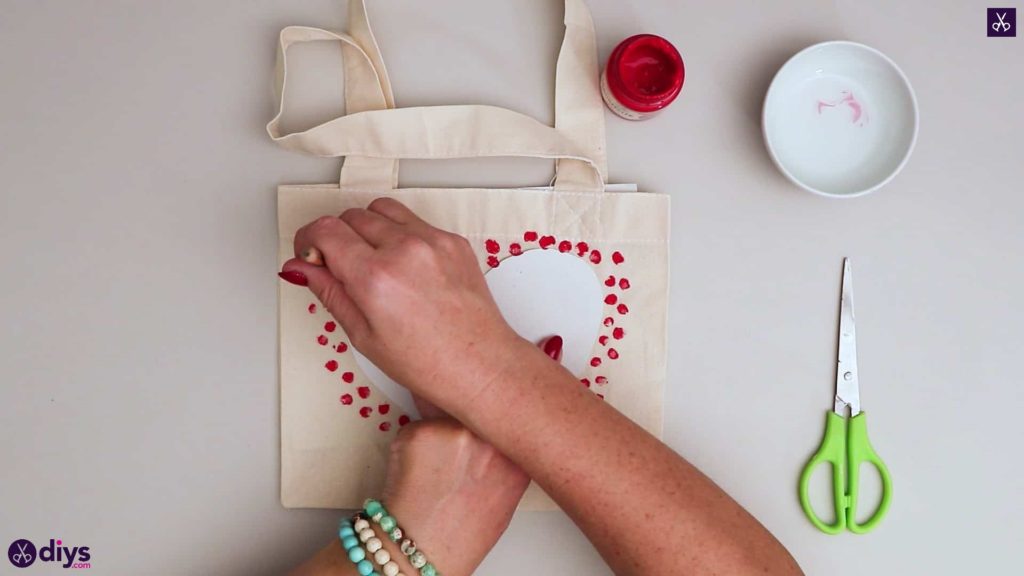
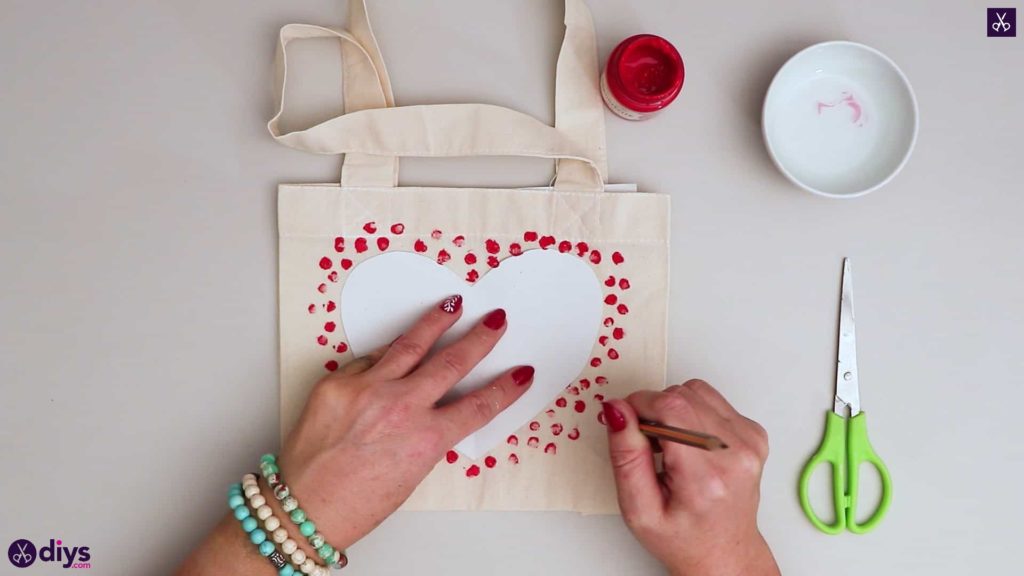
Fold your piece of white paper in half so that you’re bringing its shorter edges together. Crease the paper so it leaves a line, unfold it, and use your scissors to cut along that line and cut the page in half. Set one piece aside for later and fold the other in half again the same way, creasing it like you did the first time. Starting and ending at the folded crease, draw the outline of half a heart on your folded piece of paper. Use your scissors to cut the shape out along the pencil mark. When you unfold your new shape at the crease, you’ll see that you have a whole heart! This will be your stencil for making the design on the front of your bag.

Step 3: start painting
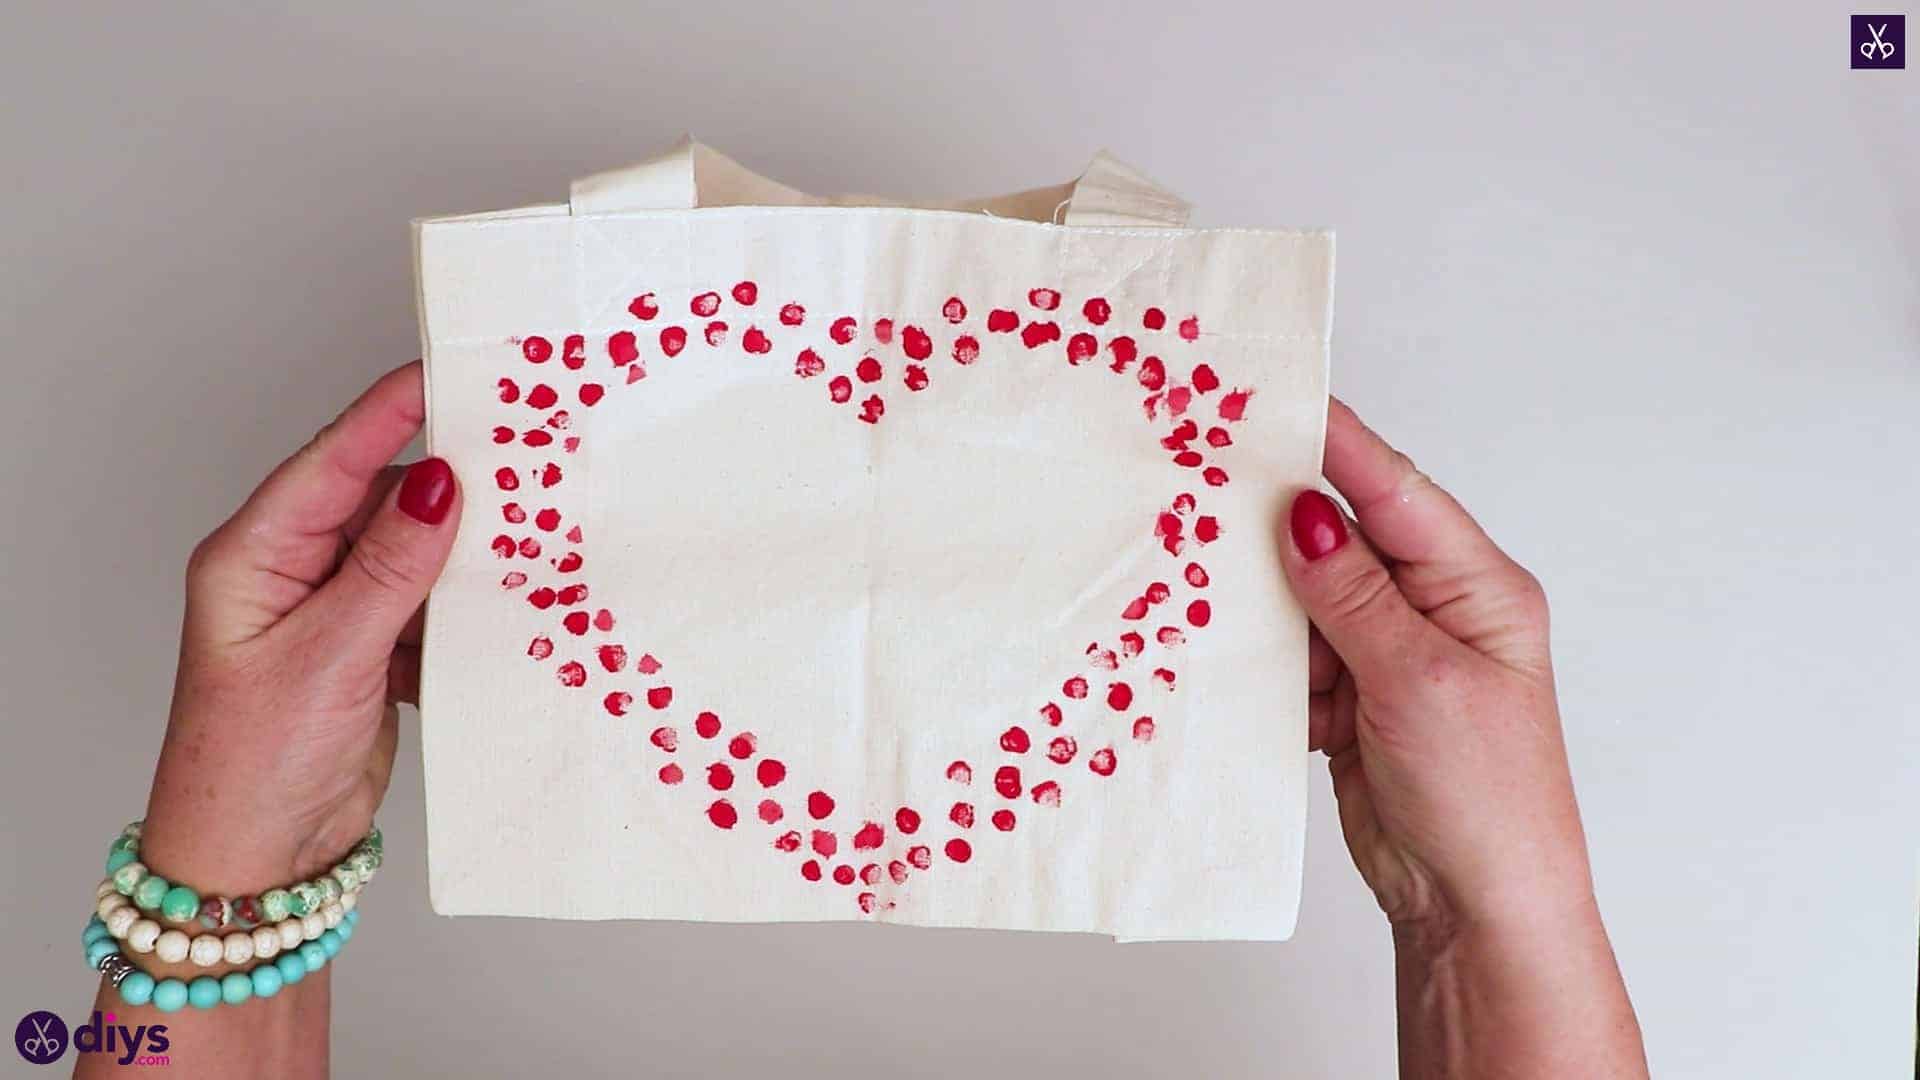
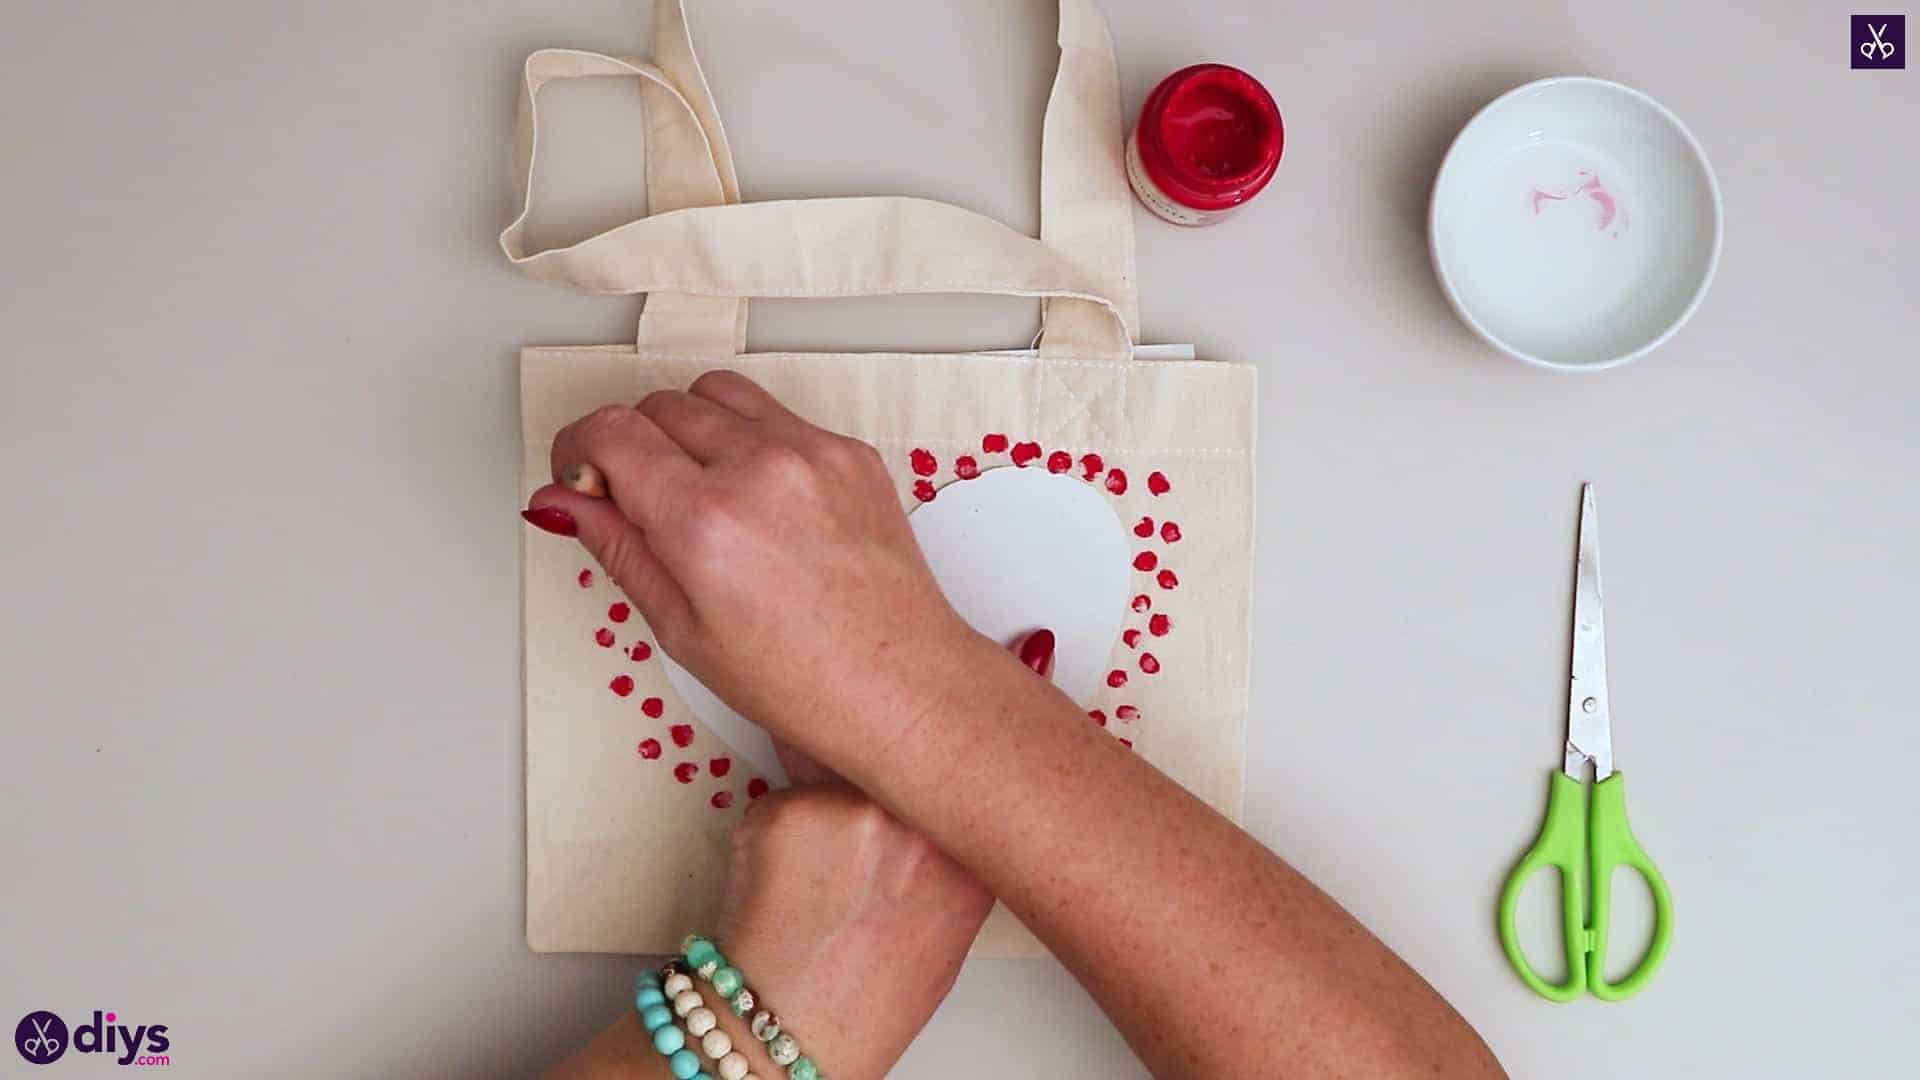
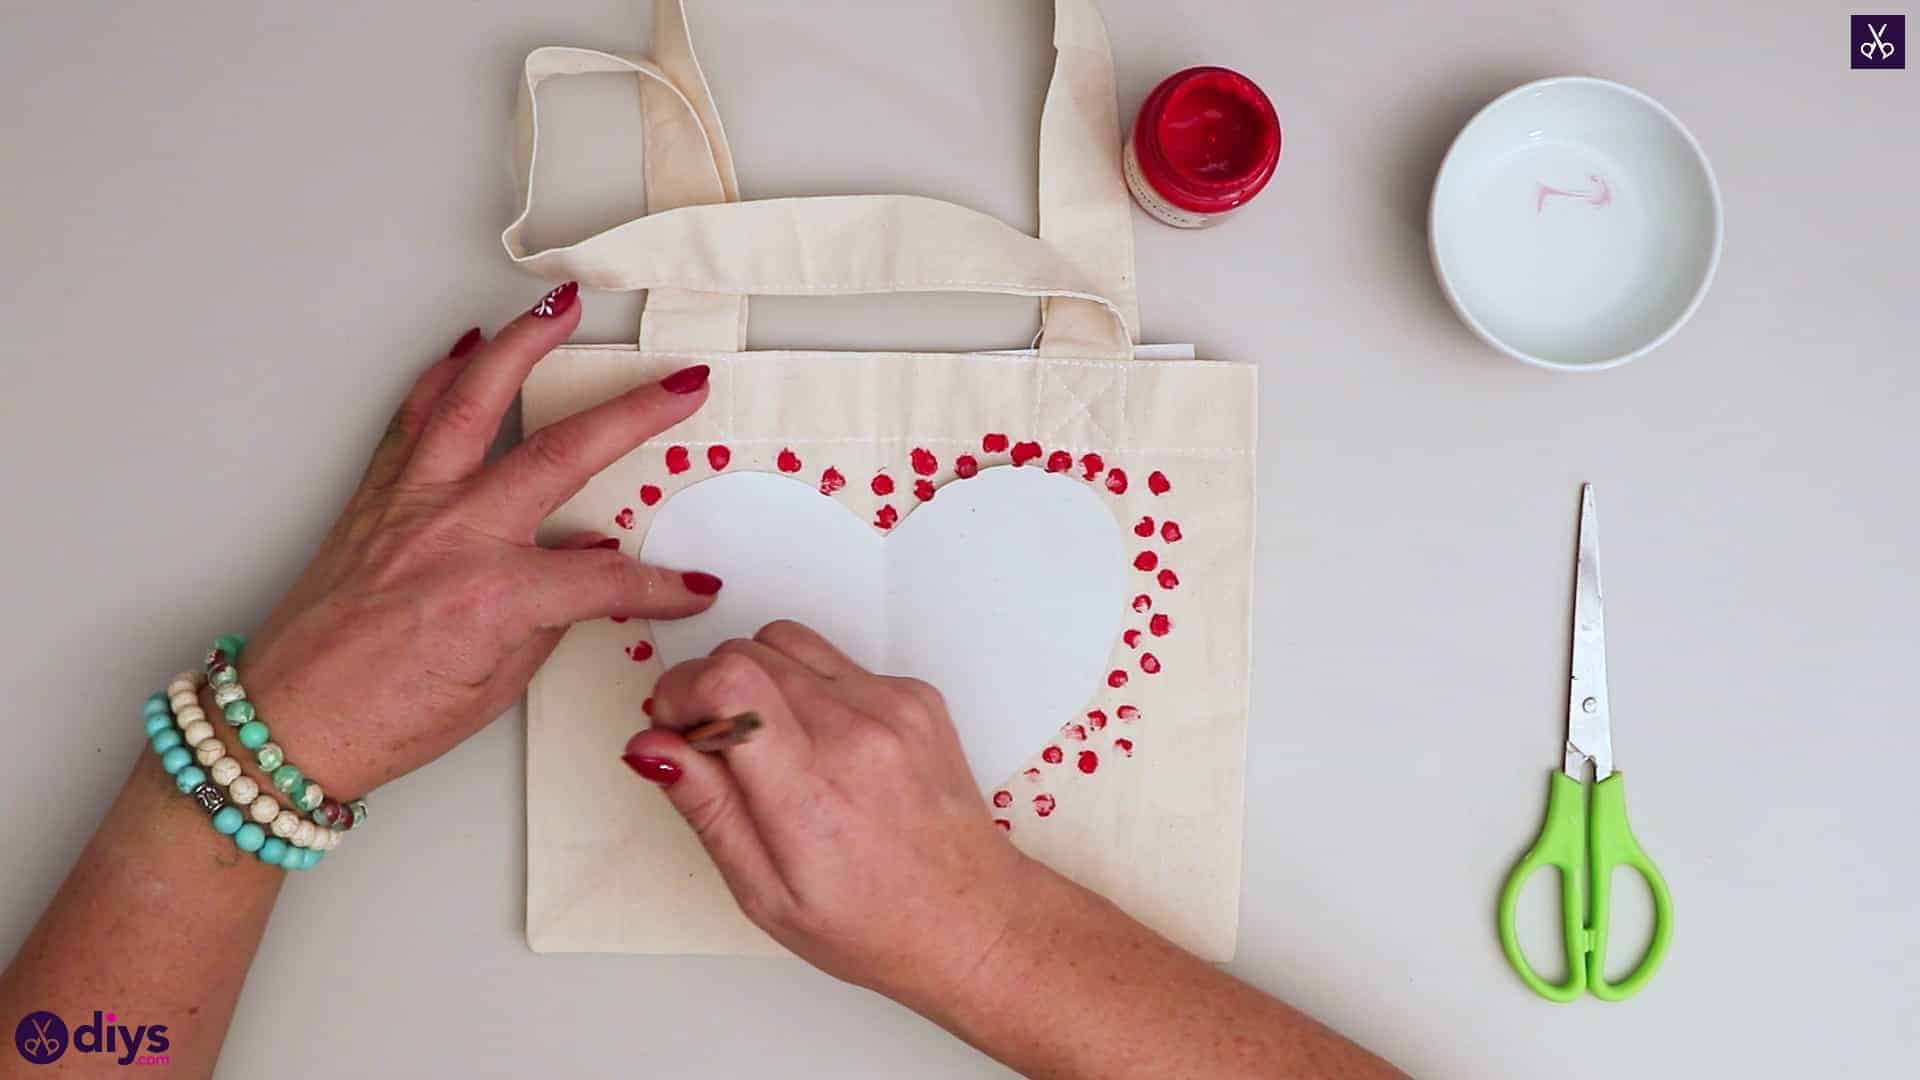
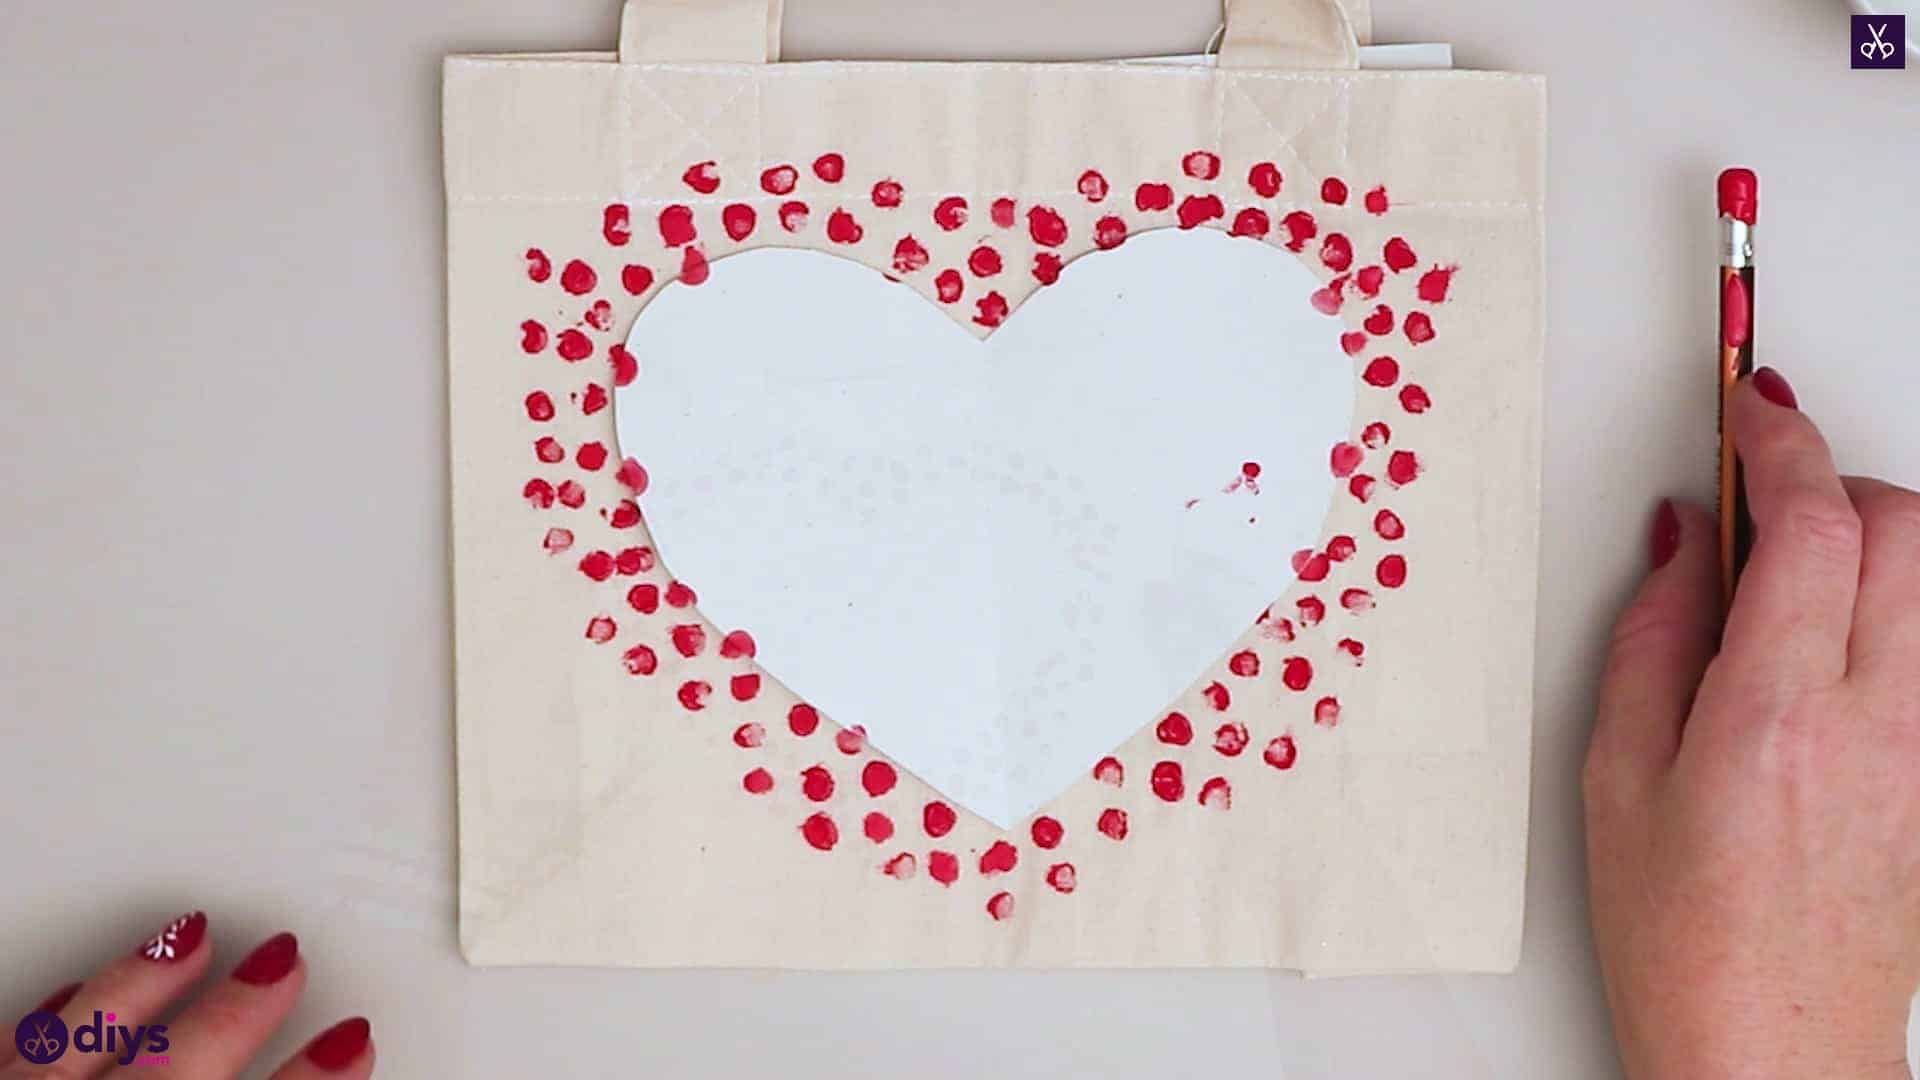
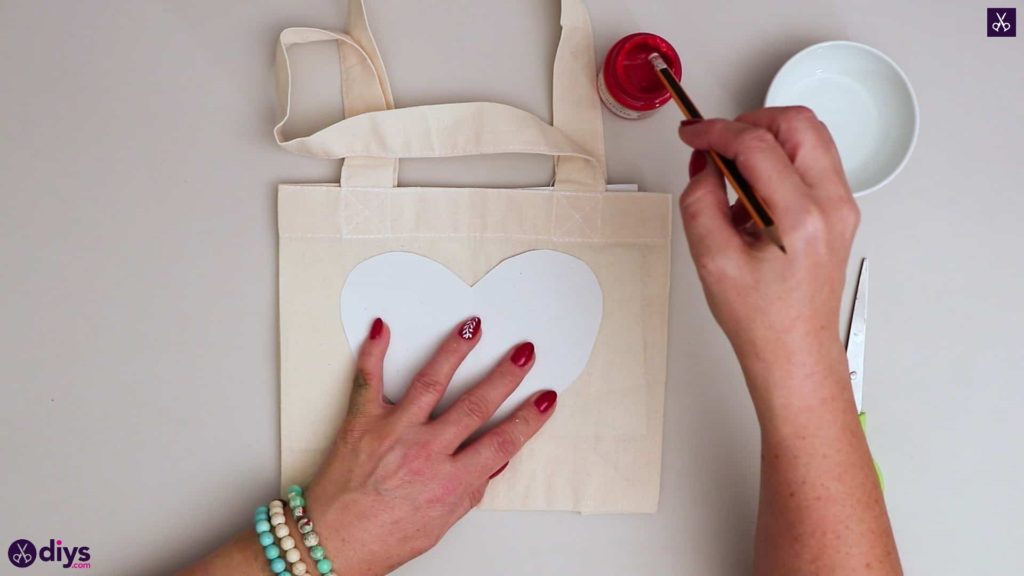
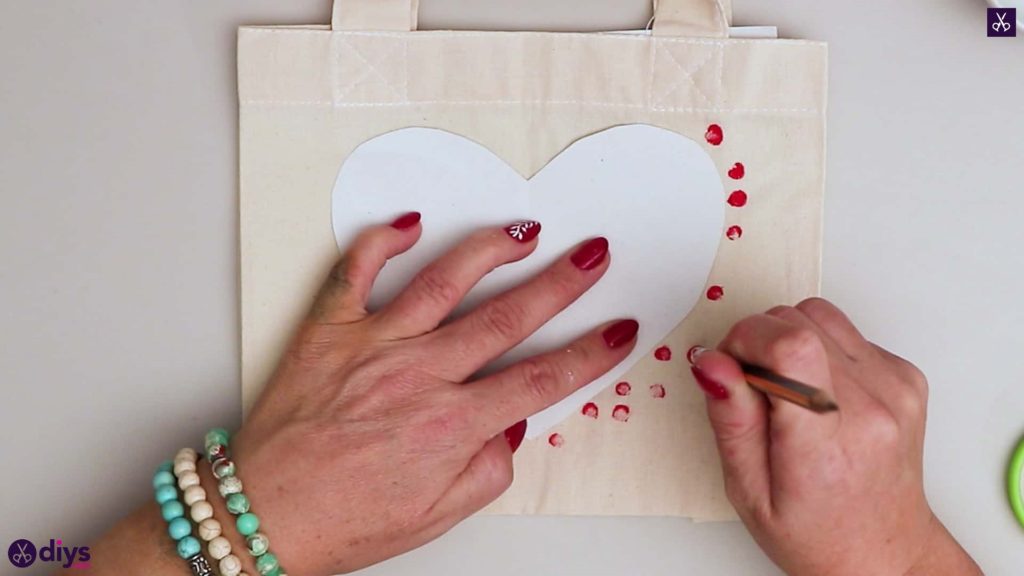
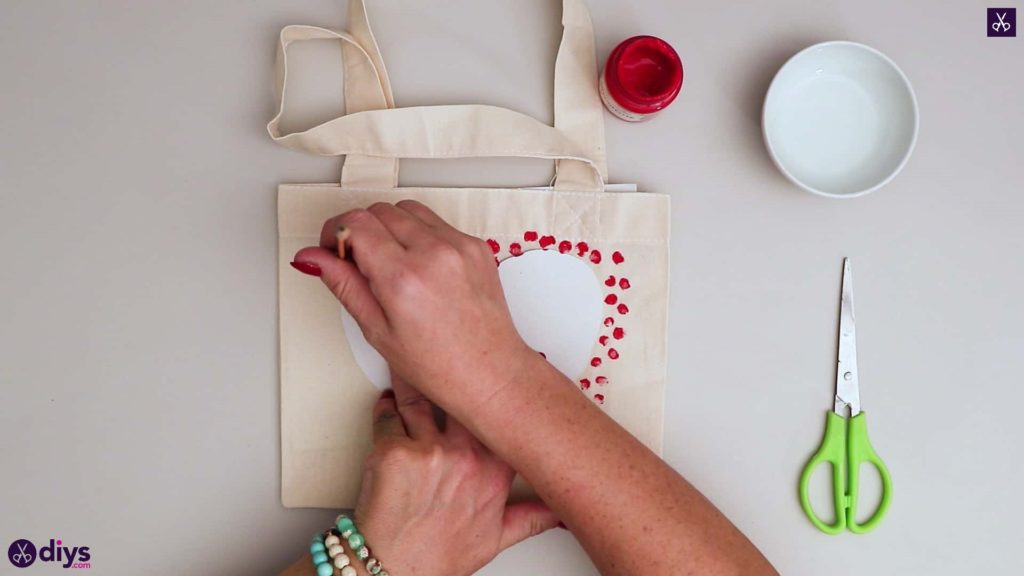
Place the spare half of your white paper that you cut off before and place it inside the tote bag so the paint doesn’t soak through the canvas. Place your paper heart in the center of the front of the bag (you can loop some tape and put it underneath if you need to in order to keep it in place). Dip the eraser end of your pencil in your paint (I chose red because it’s my favourite colour) and start using dotting techniques all over and around the front of the bag. You can keep your dots more scattered or make them really dense, use lots of paints for a deep colour or less so it looks a little purposely whether. This is your opportunity to get creative! Just make sure you’ve made enough dots around the edges that when you take your paper stencil away, you’ll actually see the shape of the heart in the negative space in the middle. Set the whole piece aside to dry.
 ‘
‘ 

That really is how easy the whole project is! Feel free to get creative in your own way with colours, shapes, and painting techniques. Just in case you’d like to try this project out for yourself, here’s a fantastic tutorial video to help you!