How to Make Mini Heart String Art
Updated on November 19, 2025


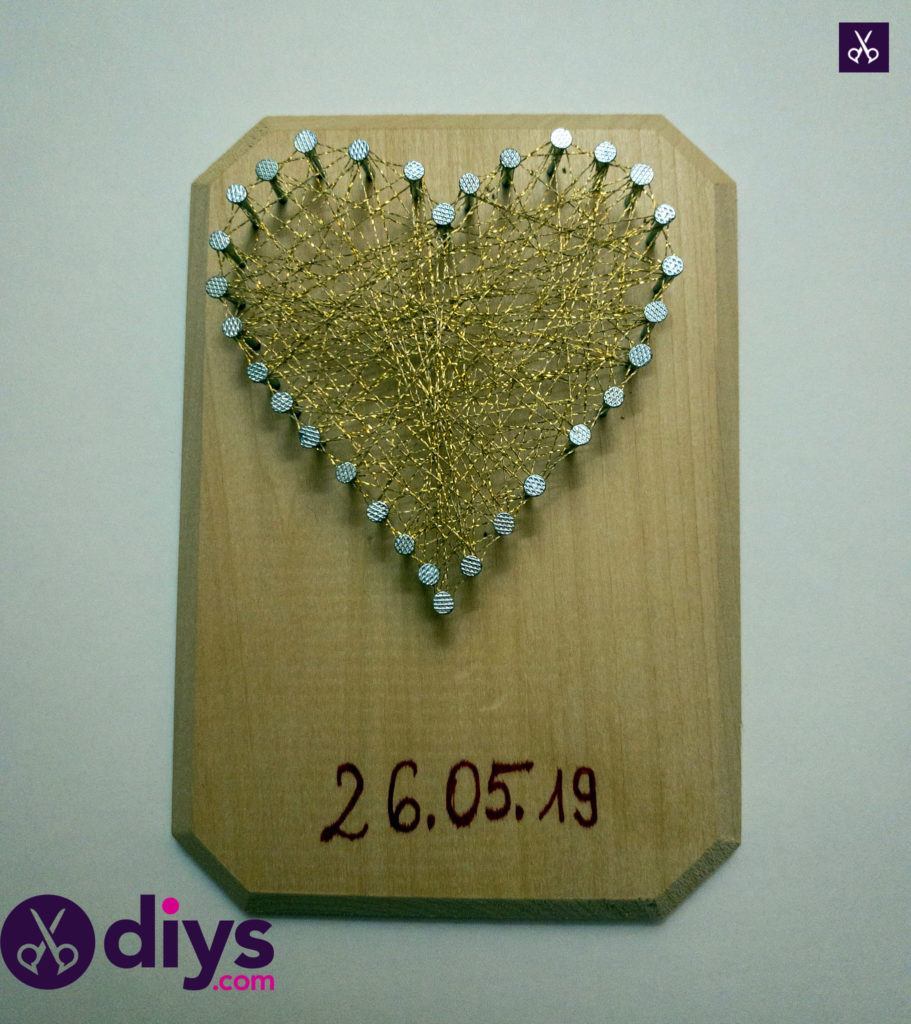
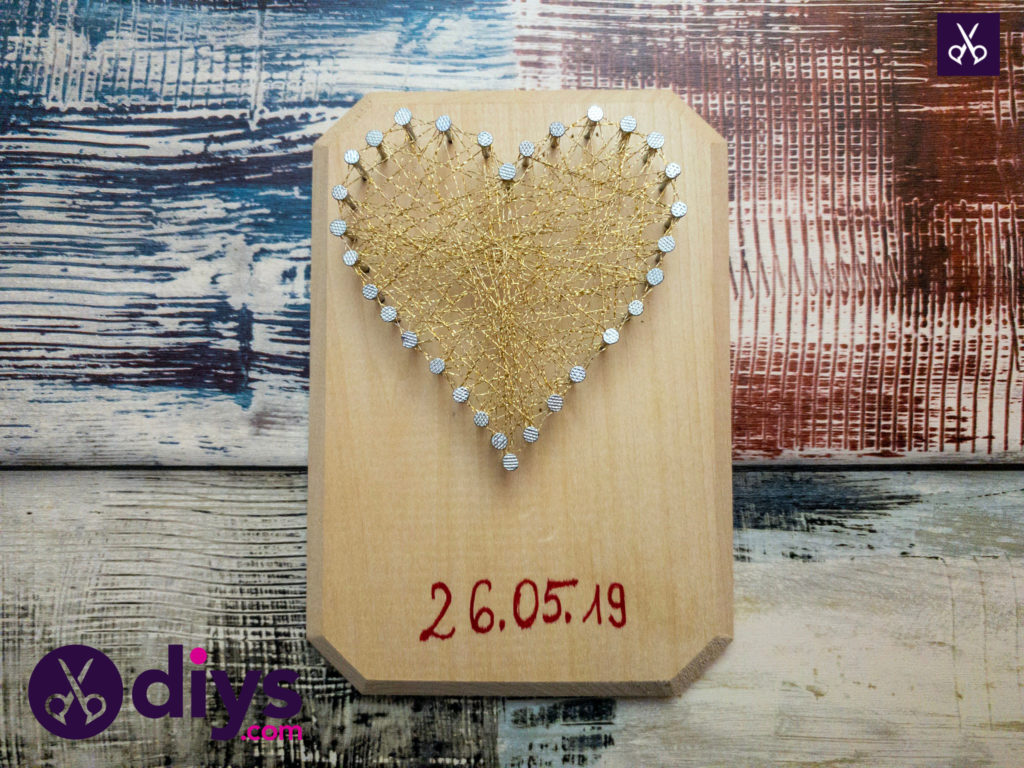
Nail art has been around for ages, but it’s making a huge comeback in the craft community right now. And for good reason! You can make some gorgeous pieces like this mini heart string art I did. Check out just how I put it togther right here.
Here’s how I made it happen! You’ll also find a whole video tutorial of the full process at the end of this post too, just in case you’re more of a visual learner.
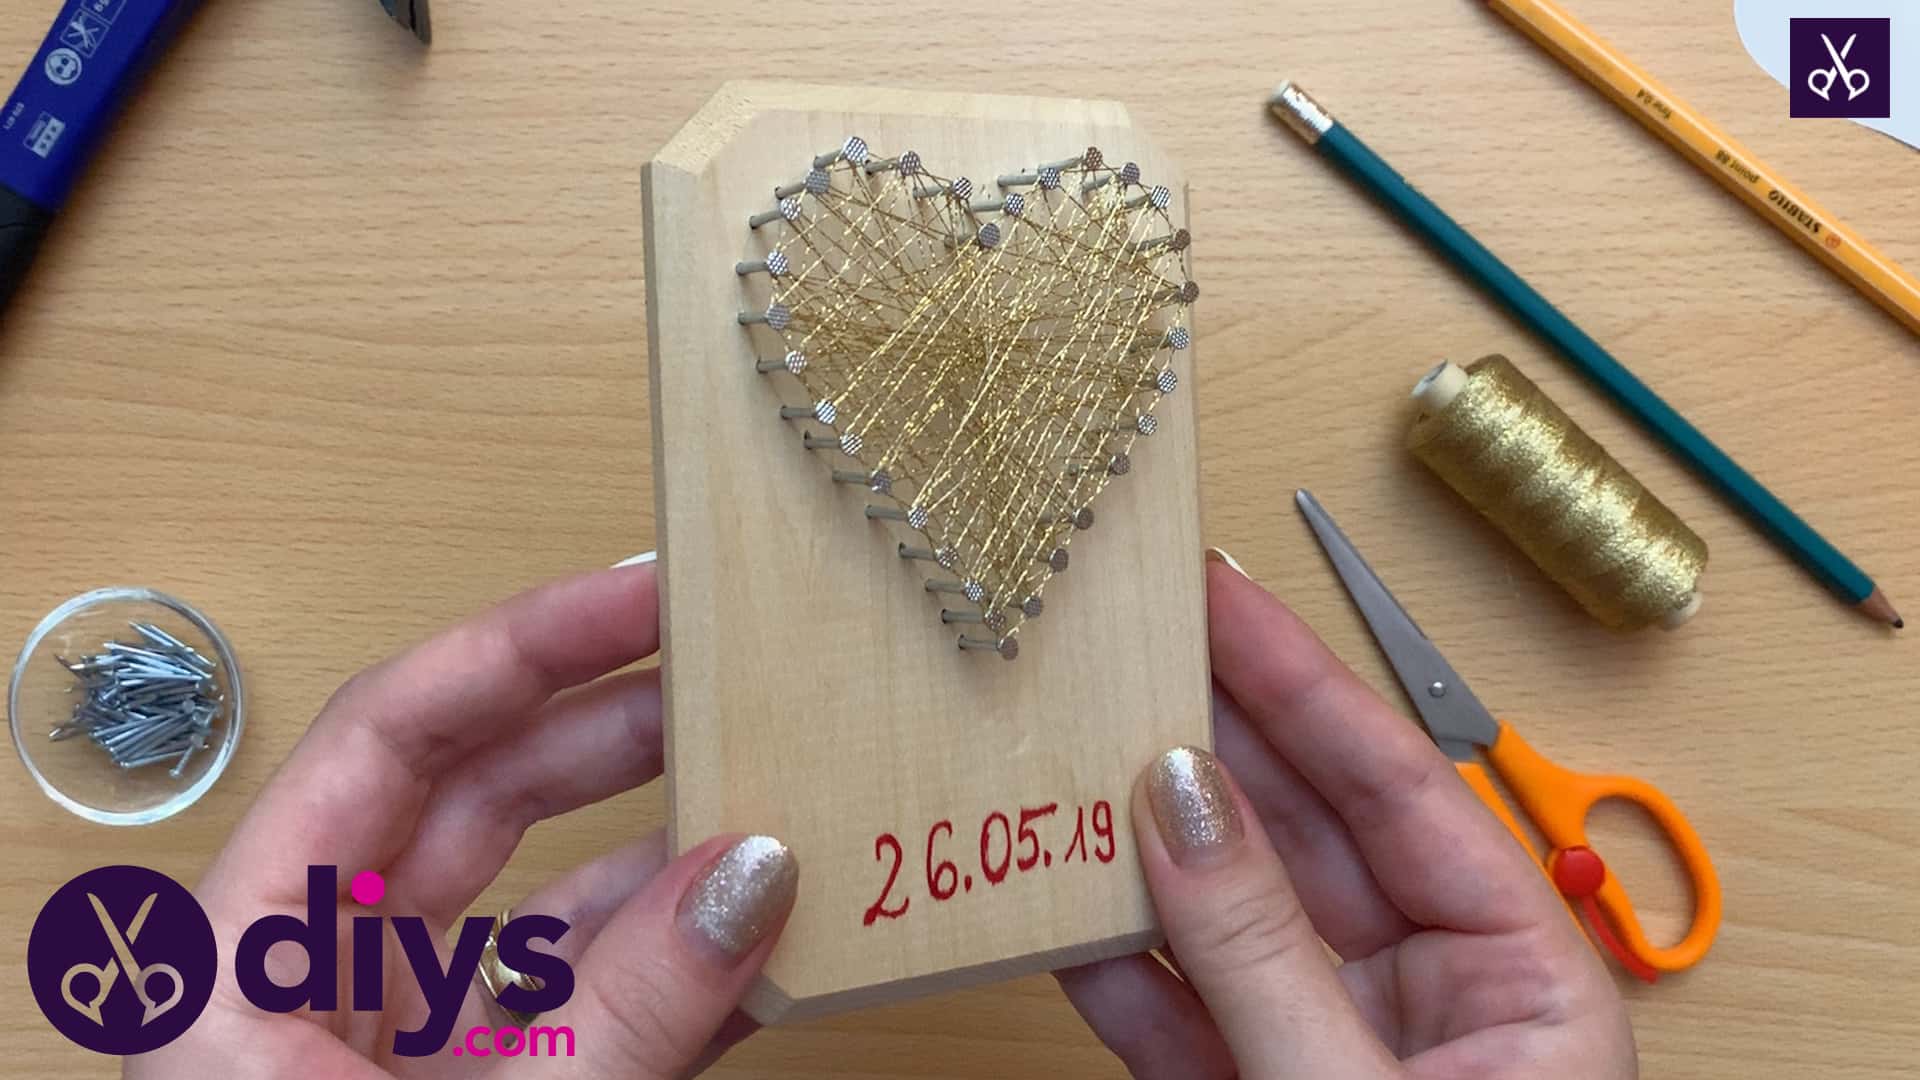
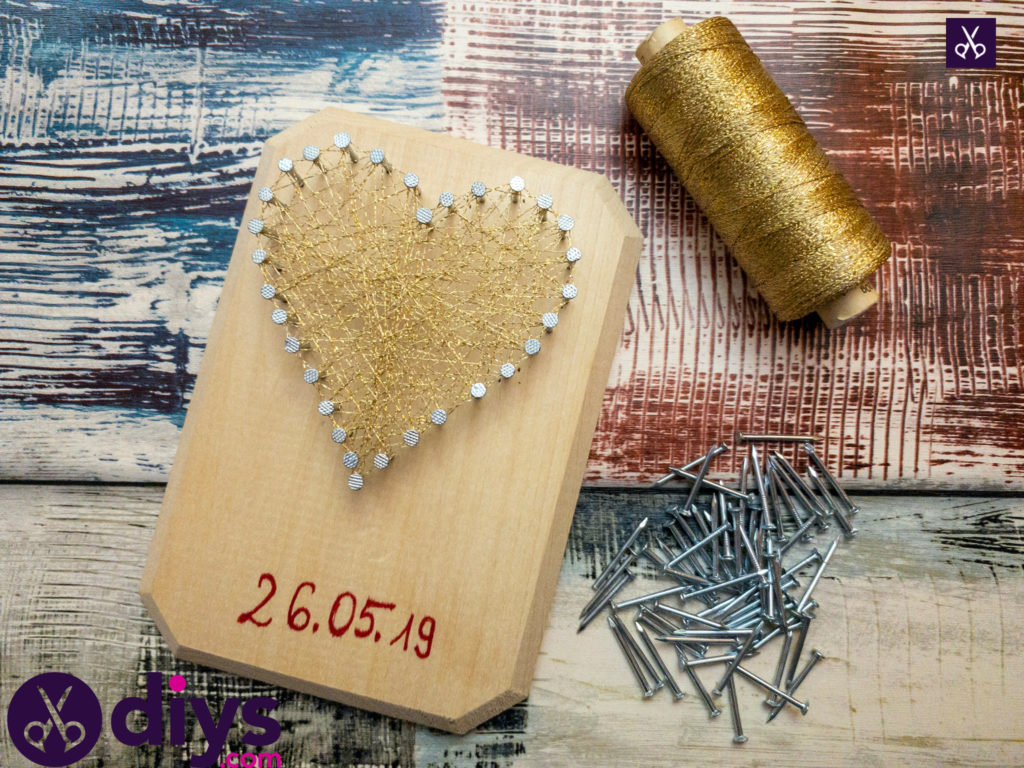
For this project, you’ll need:
- Finishing nails
- Hammer
- Wood plaque
- Marker
- Scissors
- Thread
- Pencil
Step 1: Gather your materials!
I used metallic embroidery thread, but you might also use thing or lightweight yarn or string if you want a slightly heavier look, or even sewing thread if you’d rather something even more delicate looking than what I’ve made.
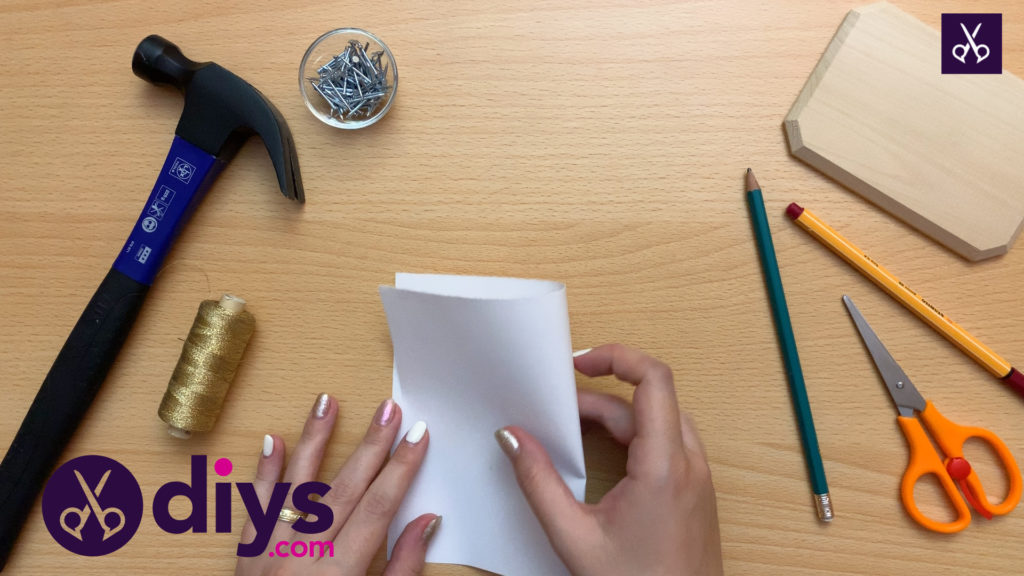
Step 2: draw the heart
Take your sheet of paper and fold it in half vertically. Draw half a heart along your folded side. This simple technique makes it so that the two halves of your heart are complete symmetrical when you cut it out. When we draw hearts free hand, doing the two halves separately, we find they’re often a little lopsided with one a little bigger or differently shaped than the other. Drawing one half along the fold helps avoid that!
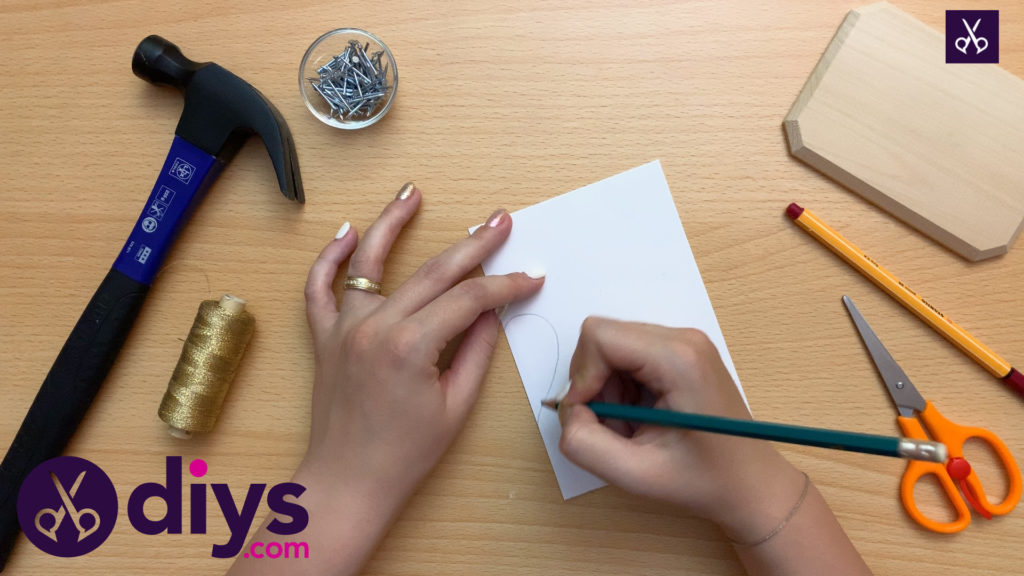
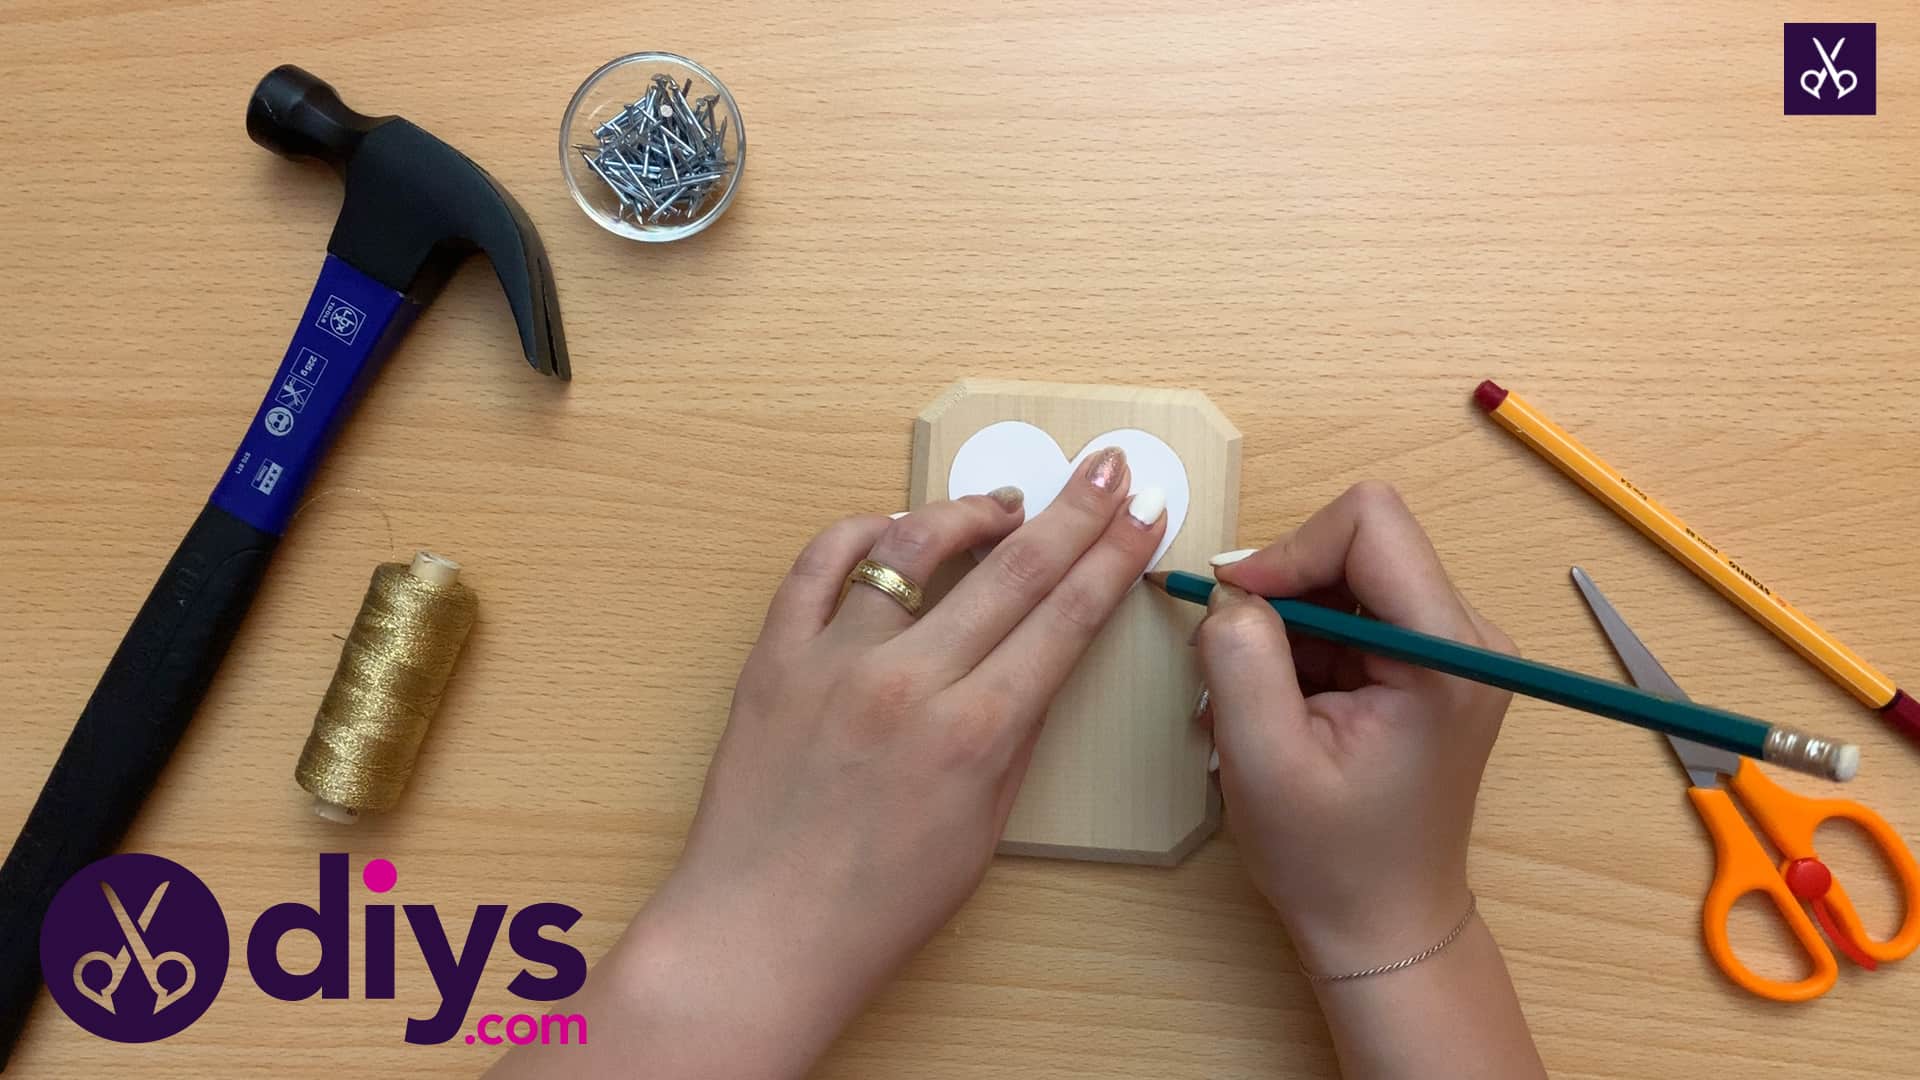
Step 3: trace
Cut your heart out. Do this by cutting along the one half outline, but making sure that you’re cutting through both sides of the folded paper. When you unfold the heart along that folded edge (which you won’t cut), you’ll get a whole, even heart. Place that heart flat down on your wooden plaque and trace the symmetrical shape onto the wood with a pencil. I just held mine down in the center with my fingers but if you’re finding that difficult, you could also roll a few pieces of tape and use those to stick the paper down to the wood on the back. Just make sure you press it down hard enough that the edges actually lie flat for more accurate tracing of the shape.

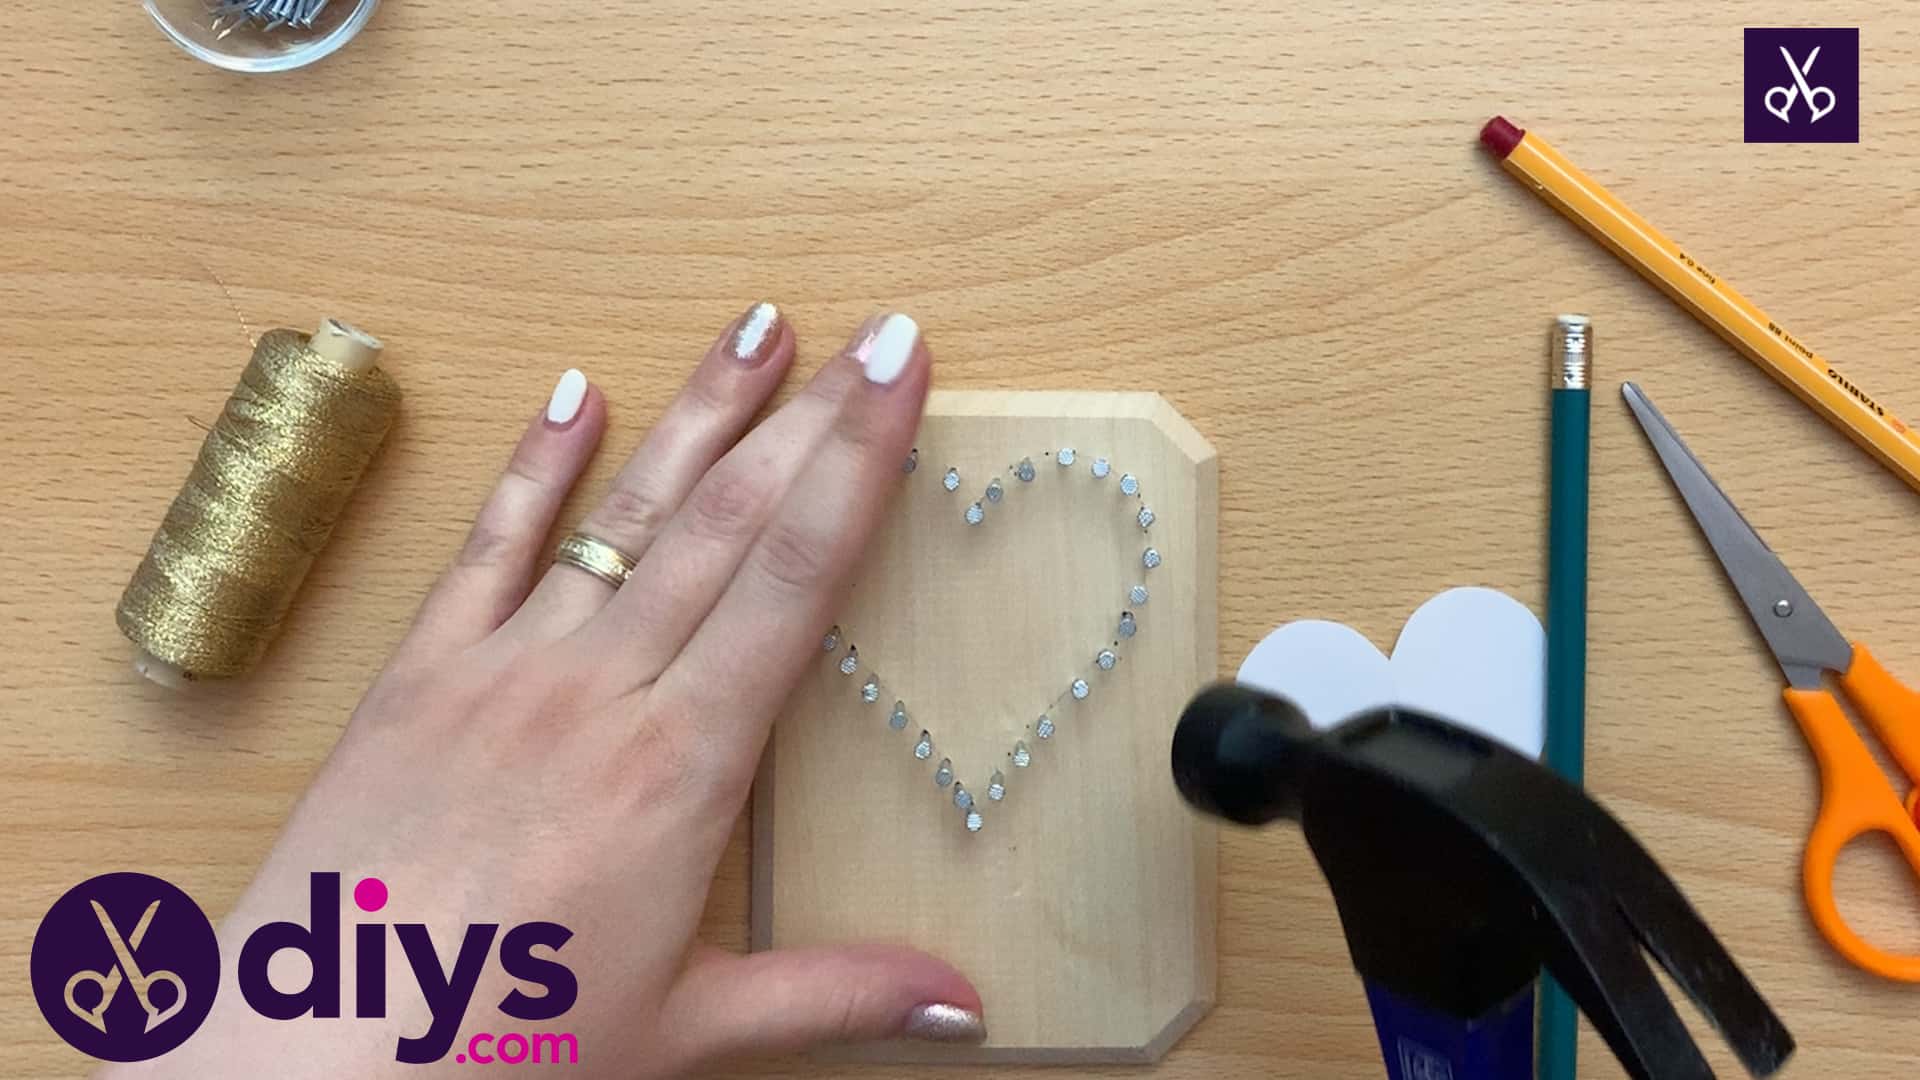
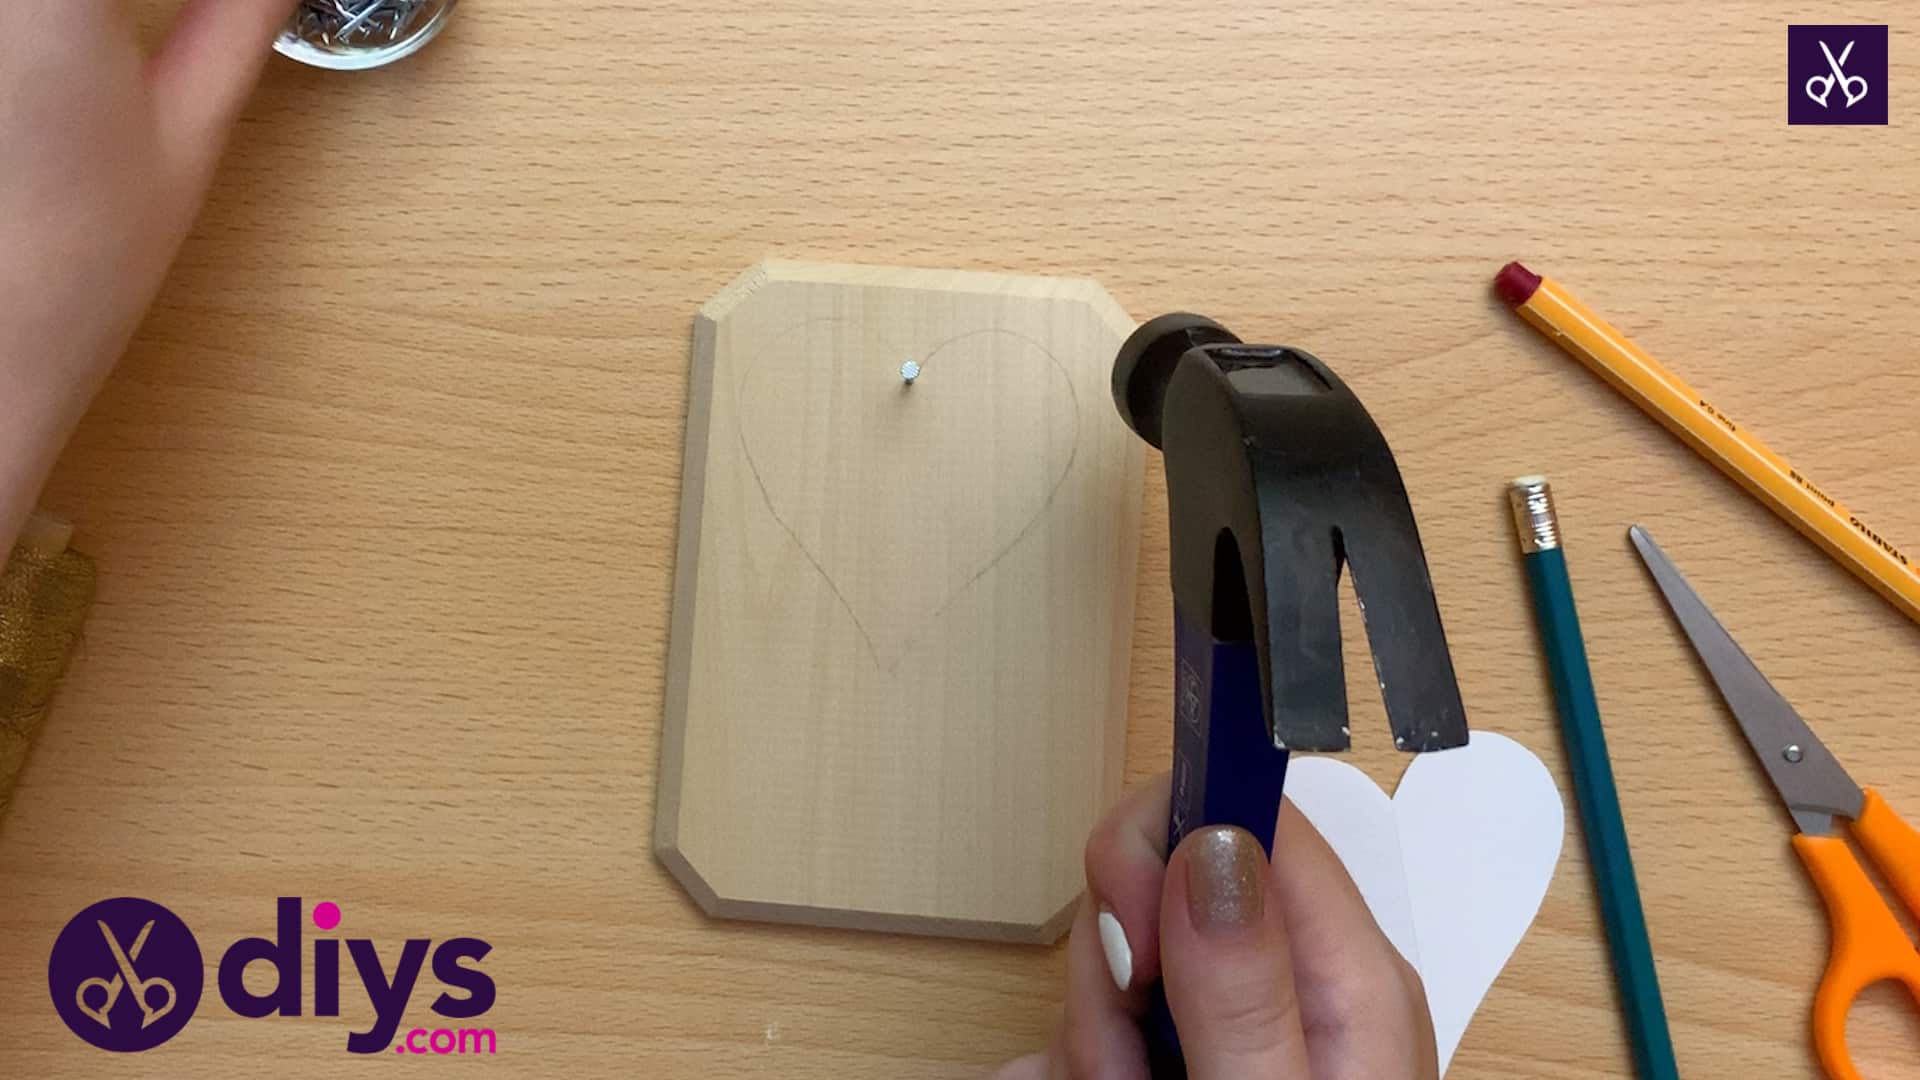
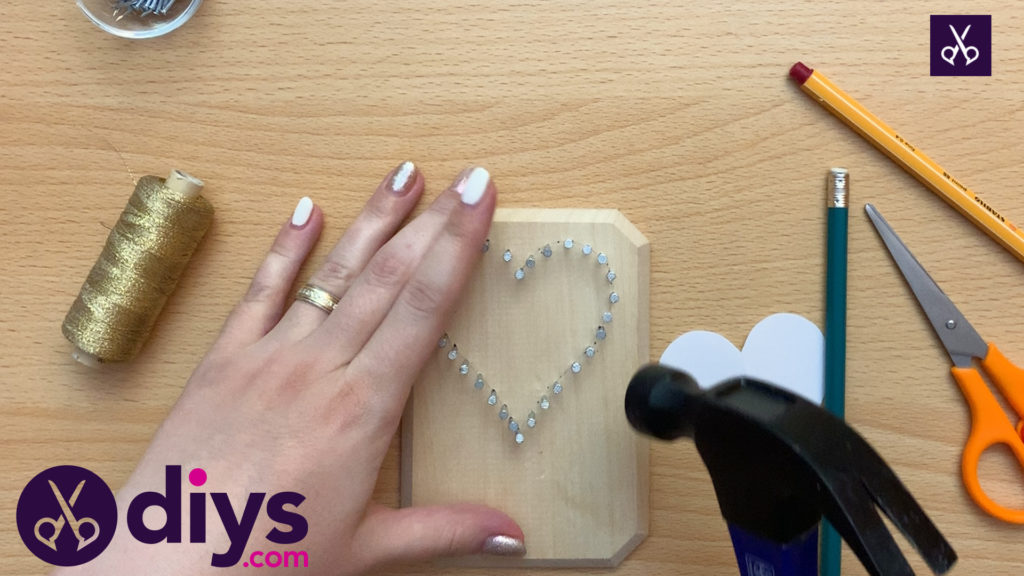
Step 4: start nailing
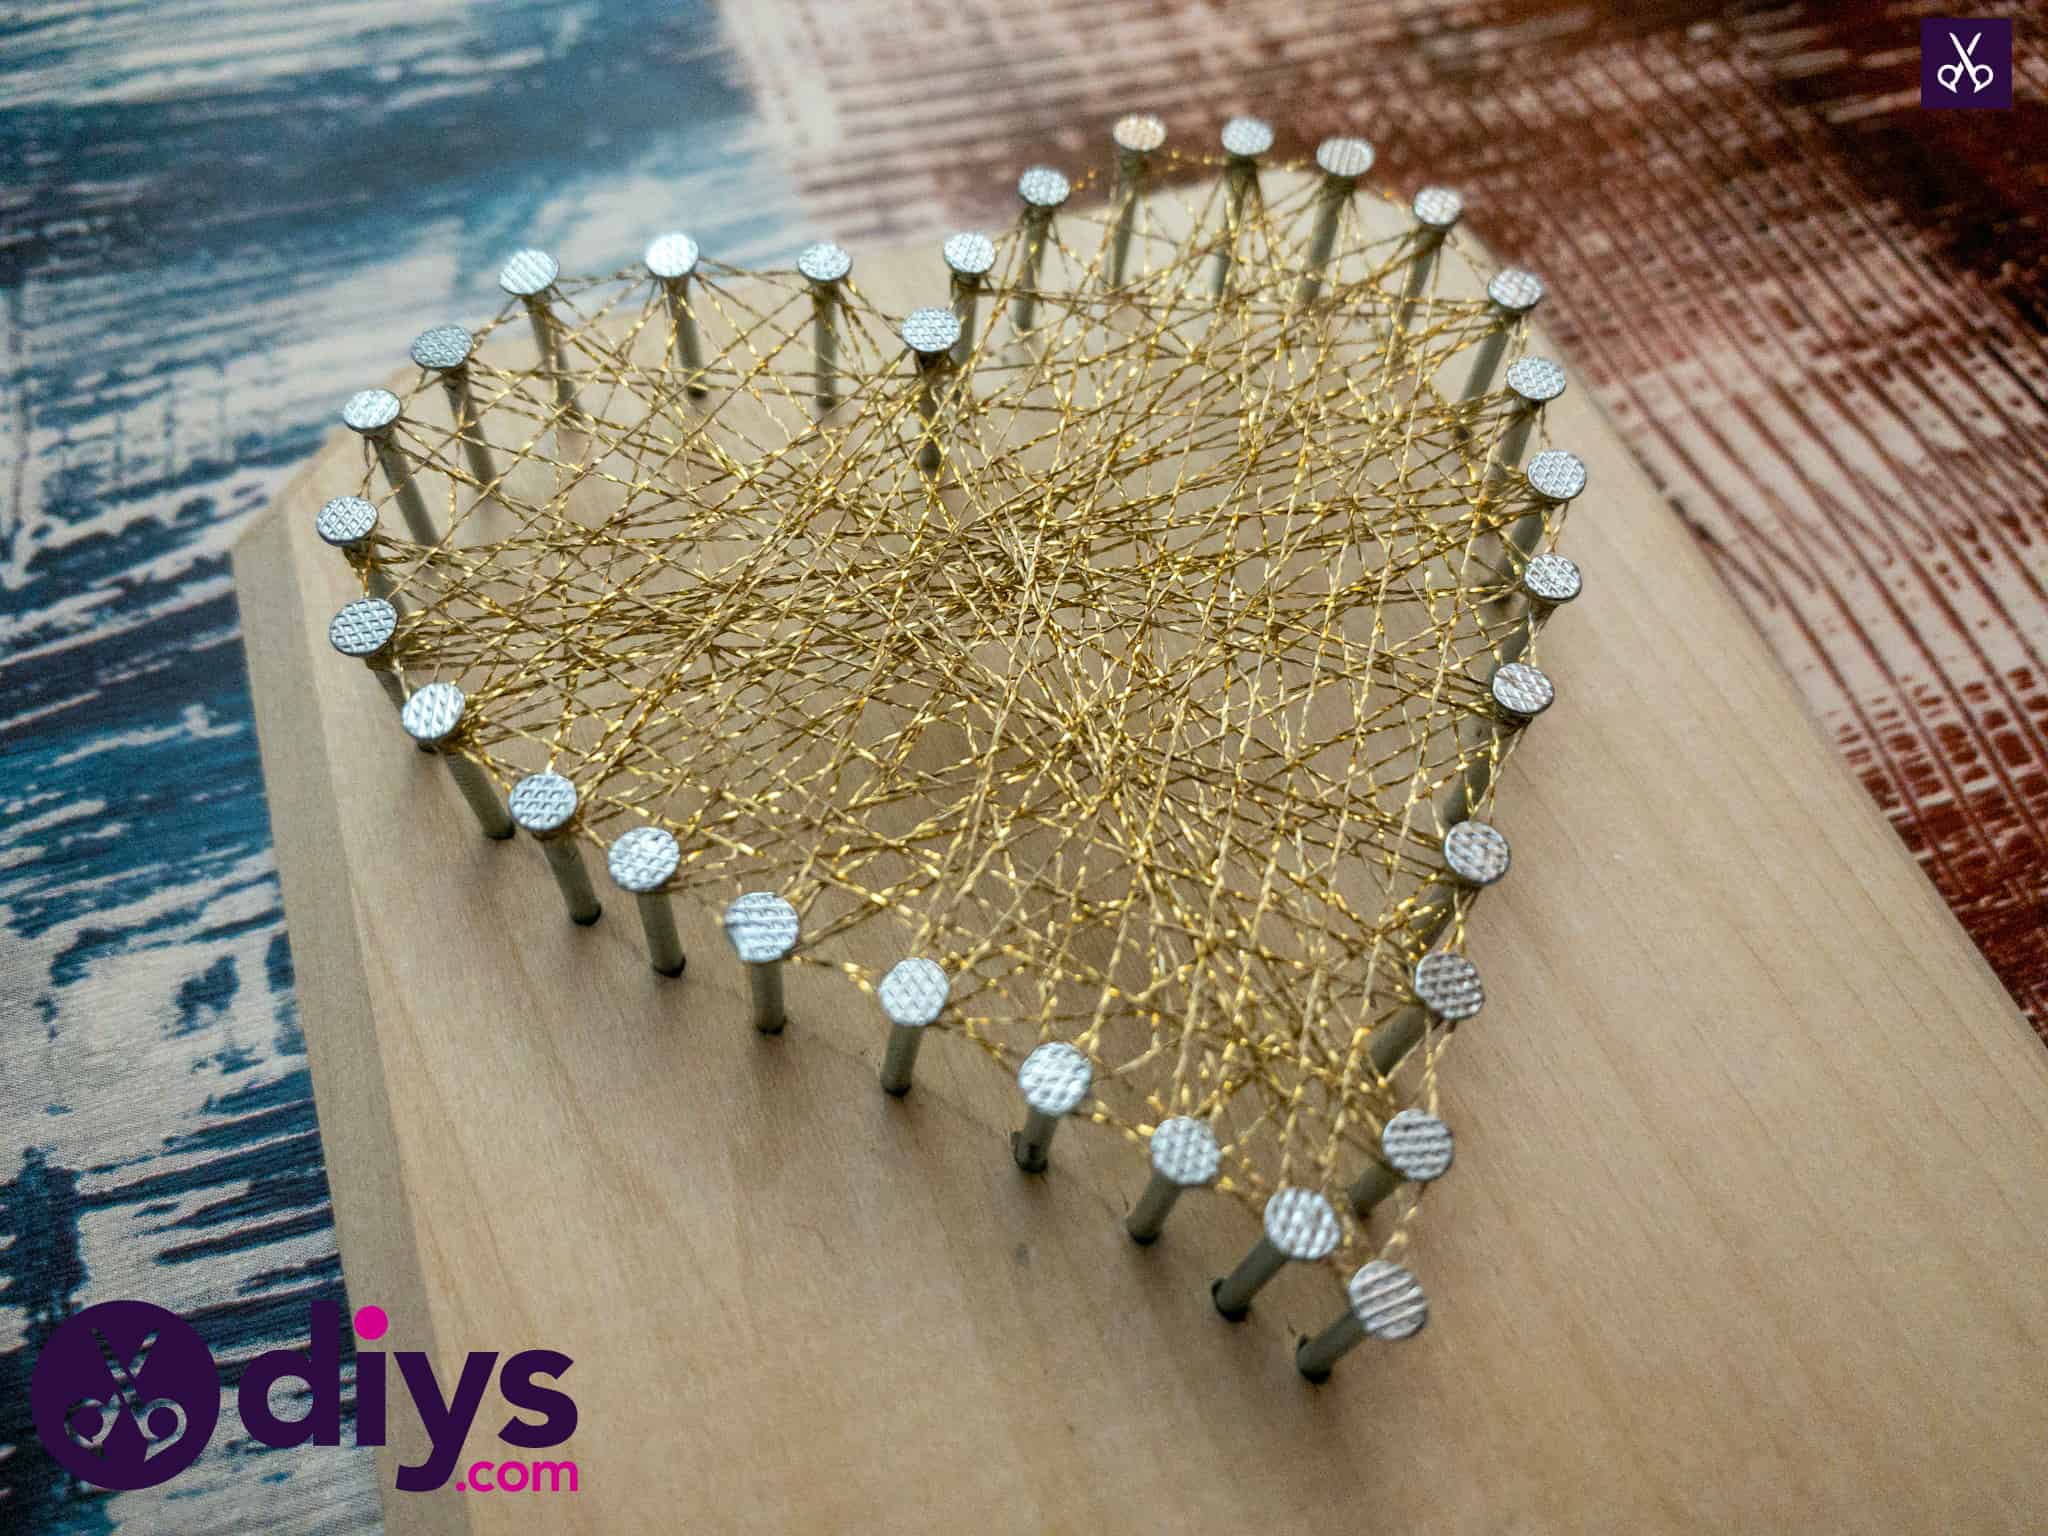
Once you’ve got your pencilled outline, start nailing it down! I used a small hammer and small, basic silver nails. I nailed them down carefully all the way around the outline, with about a thumb tip’s width between each one to leave enough space for the actual thread wrapping. If you nail them too close together or tightly against one another, it might be difficult to pass your thread, string, or yarn between them to wrap them and make your shape. Follow the heart’s outline all the way around until you have a complete heart shape made of nails.


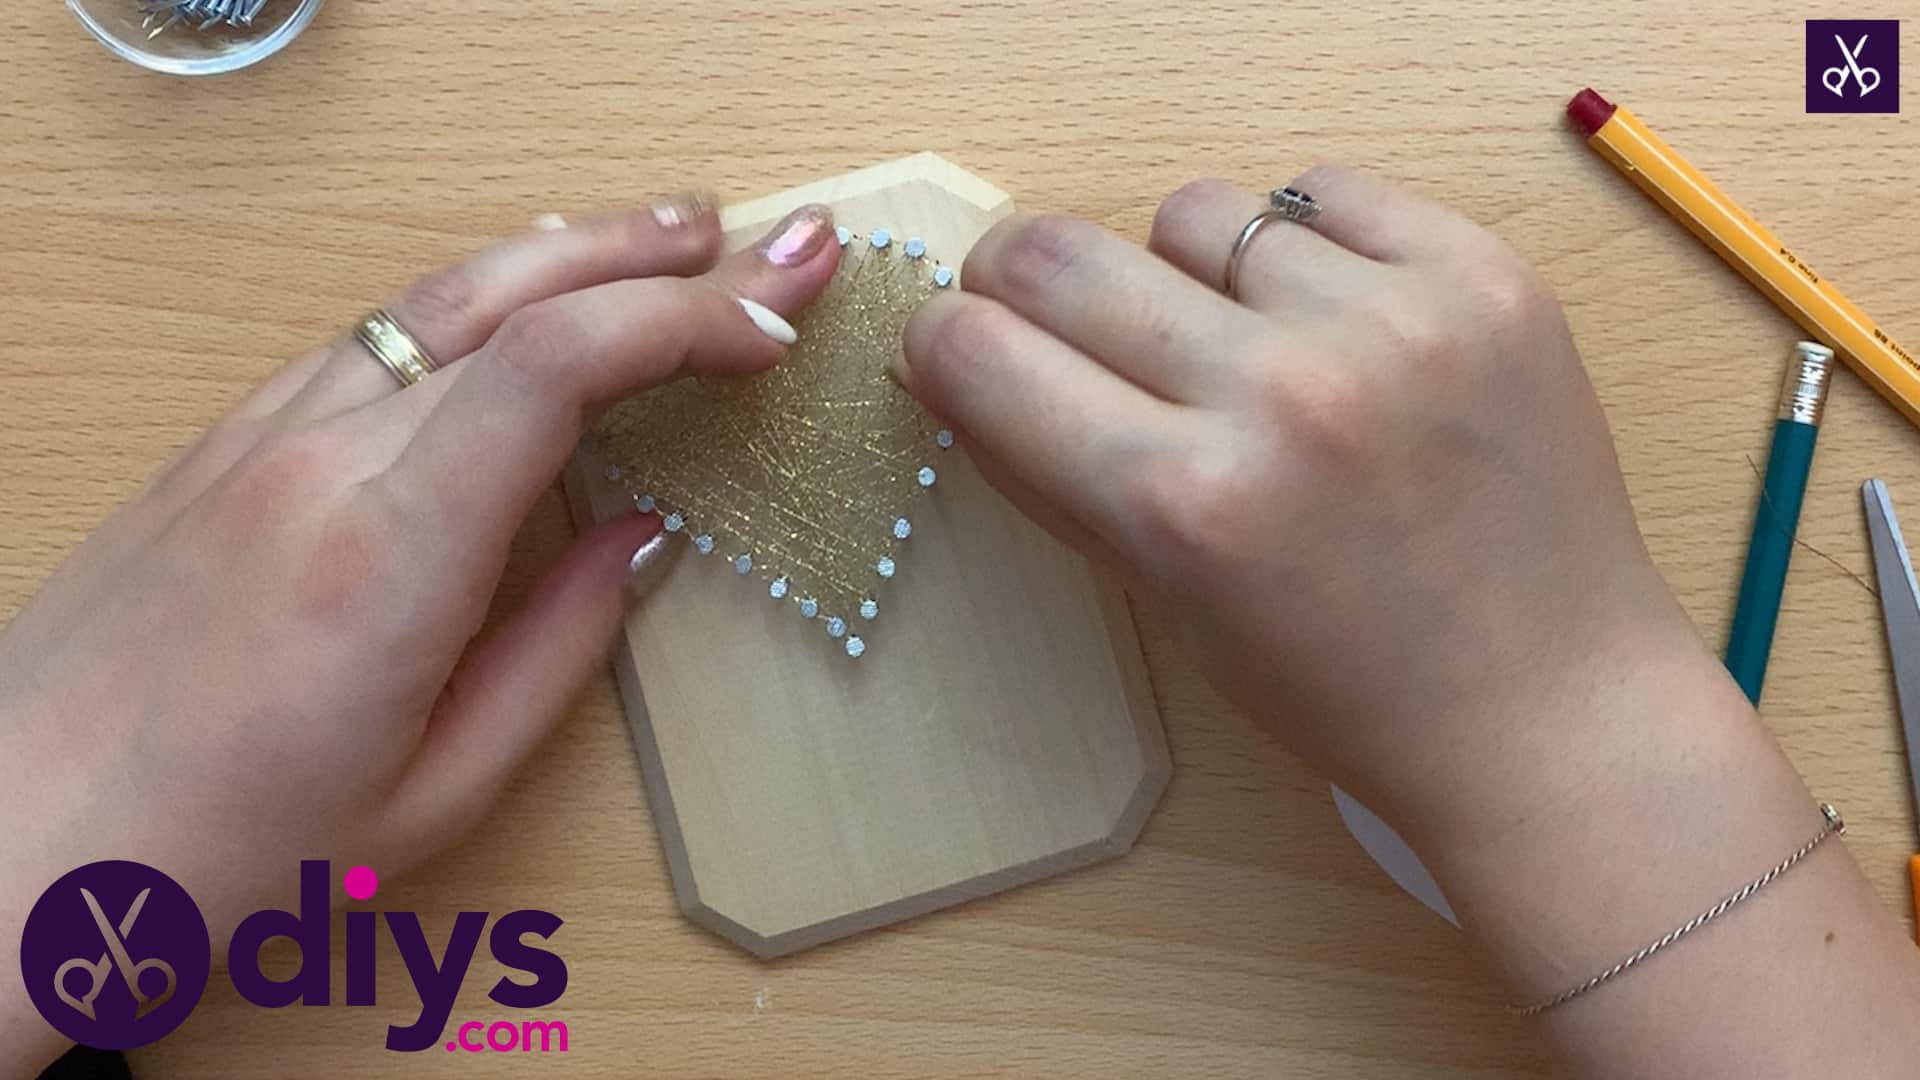
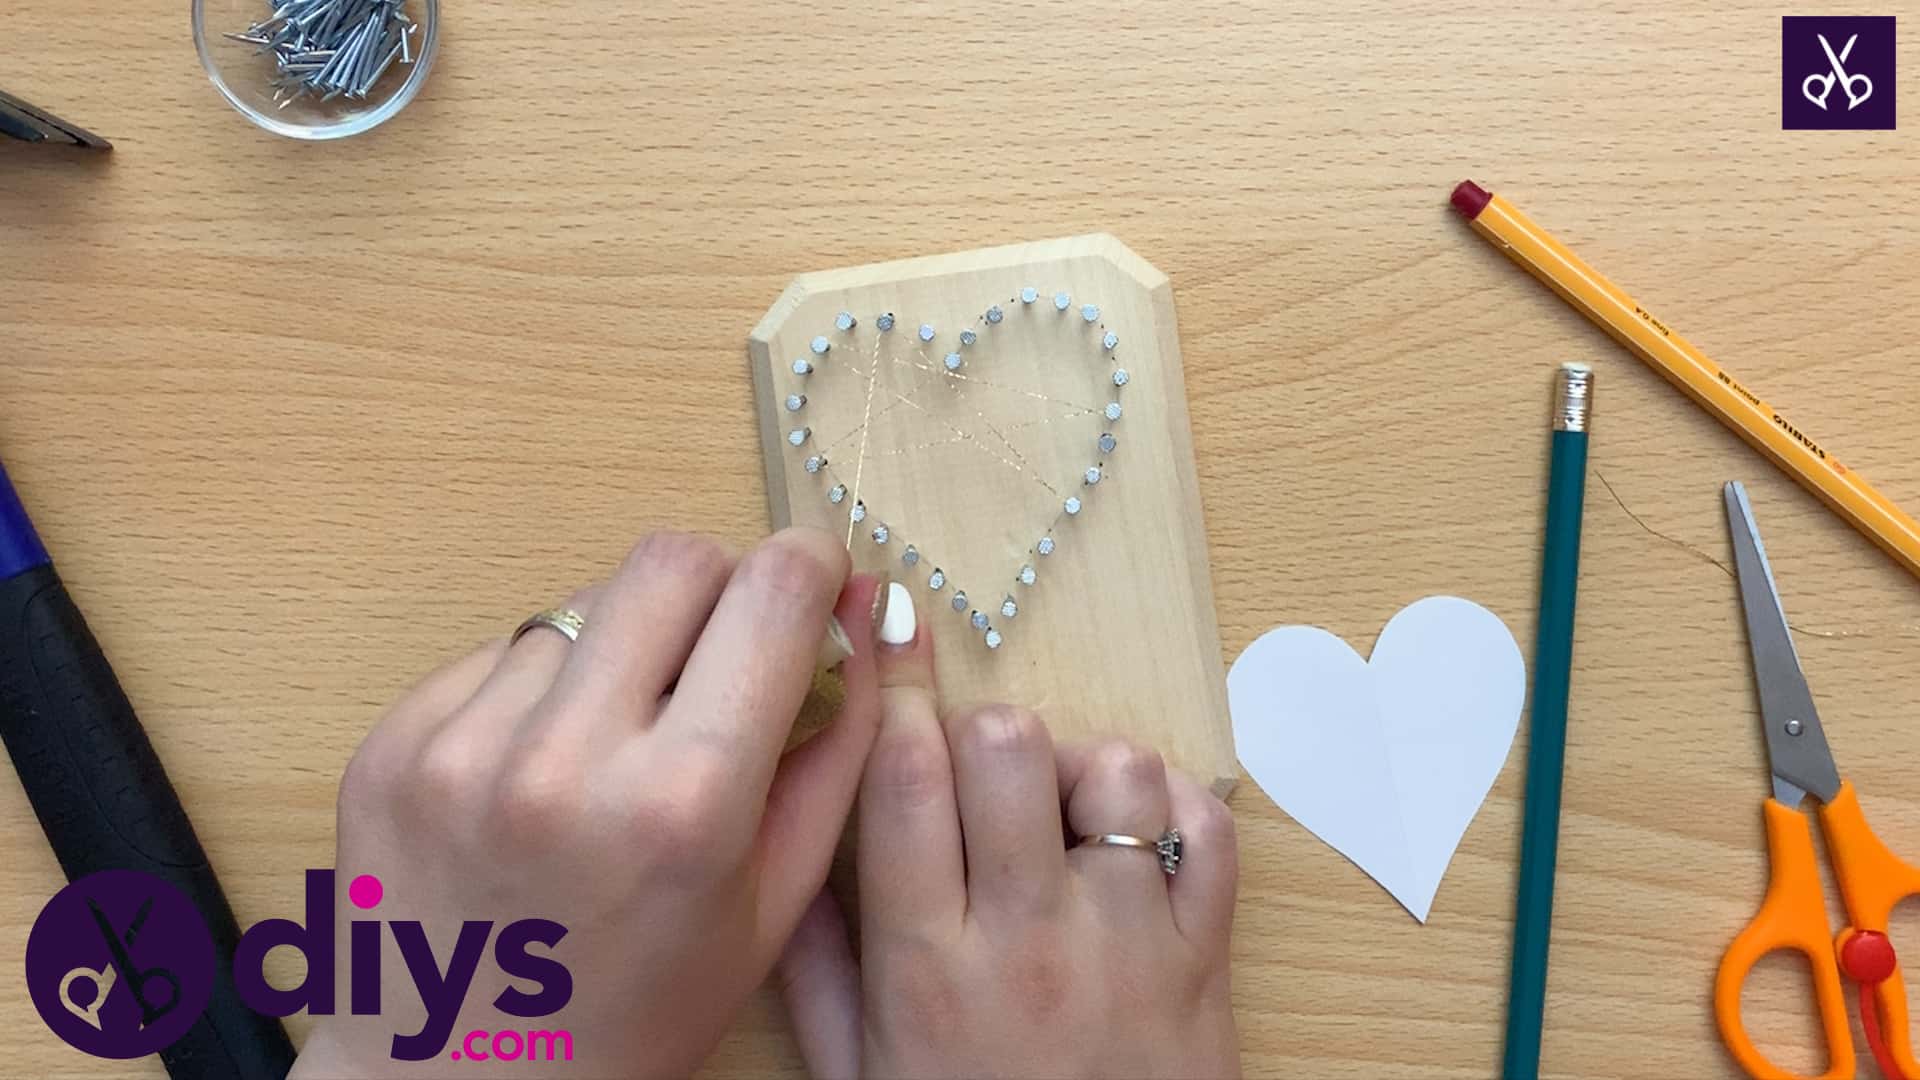
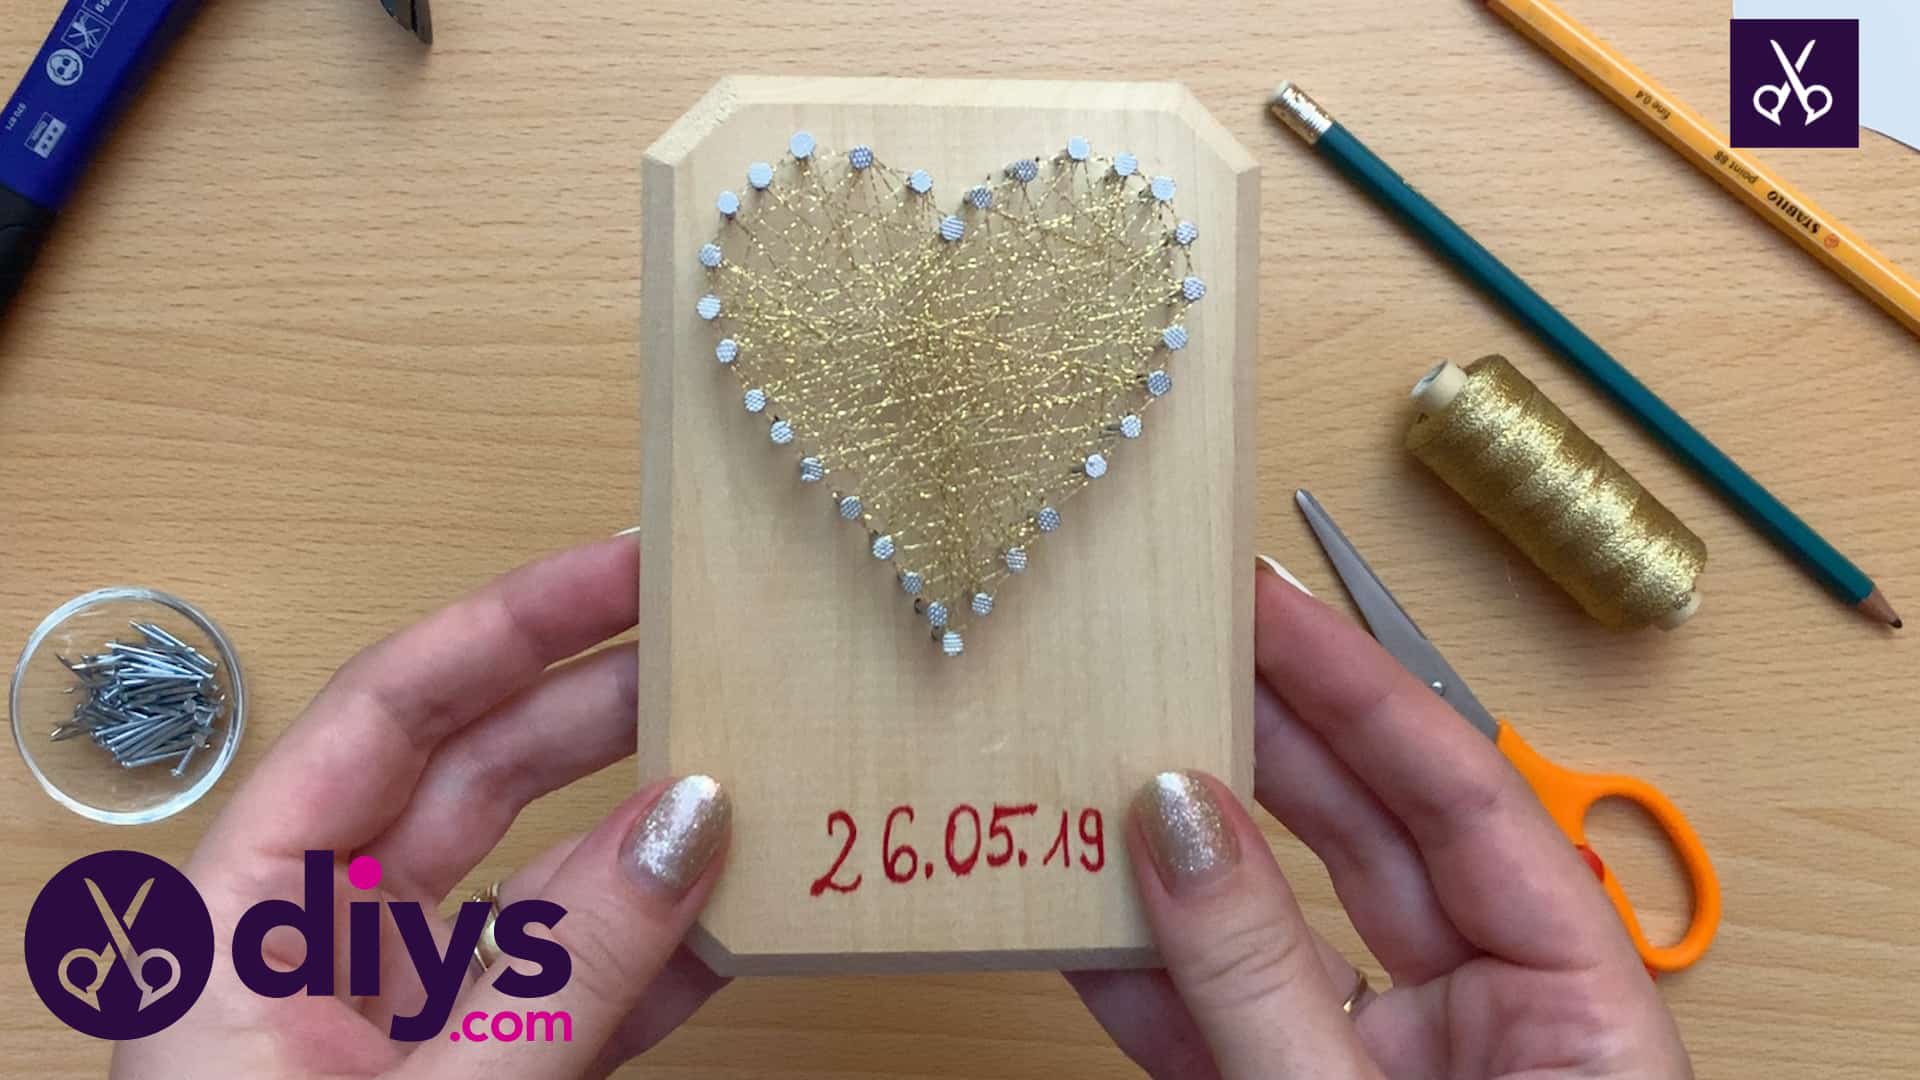
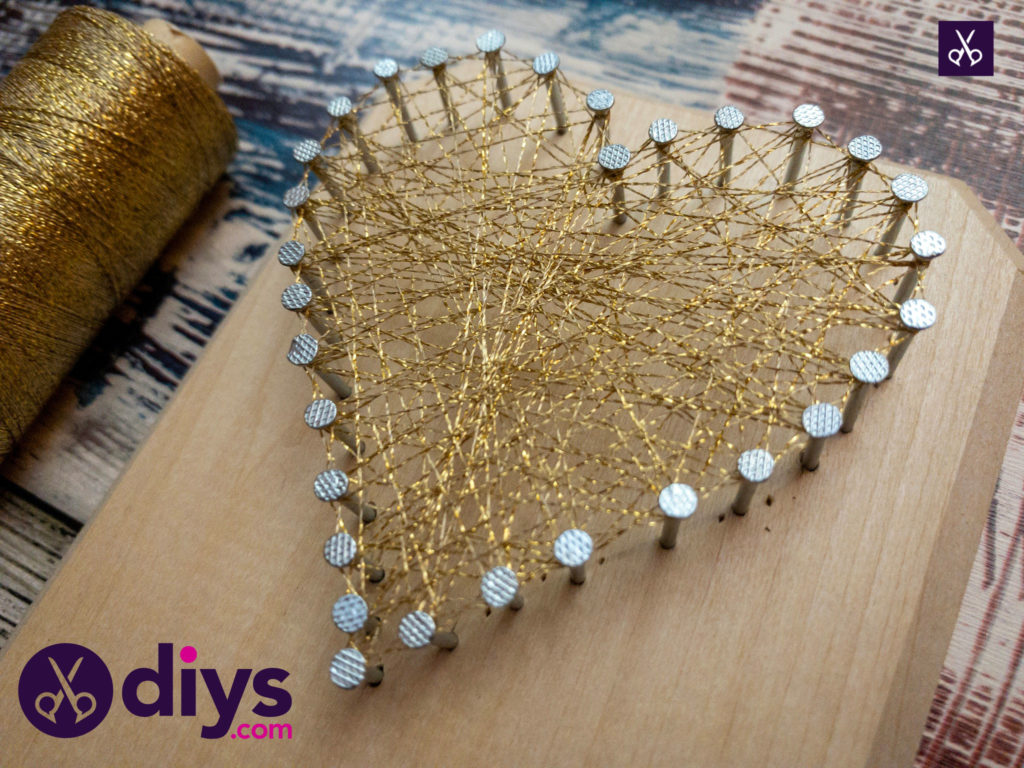
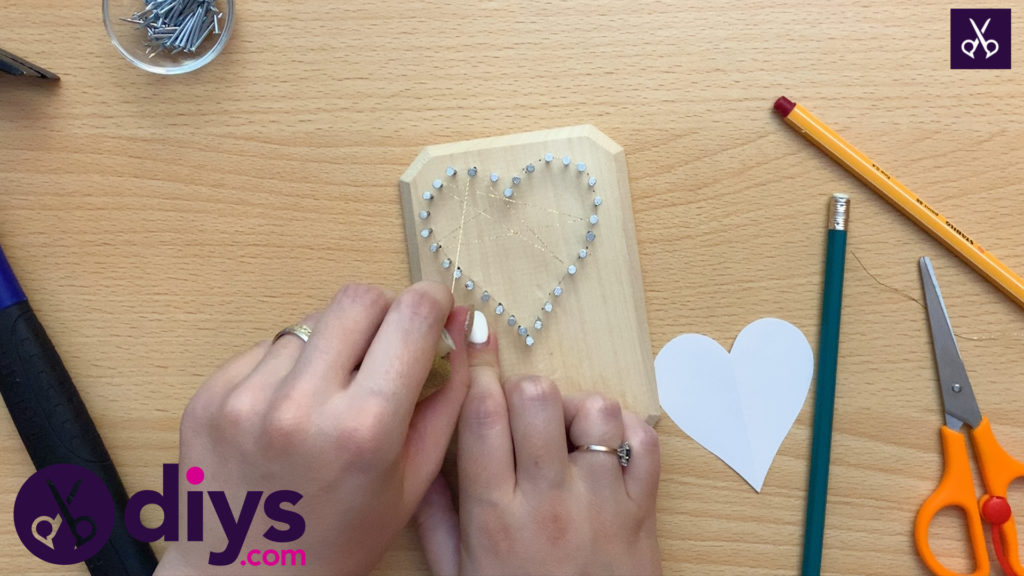
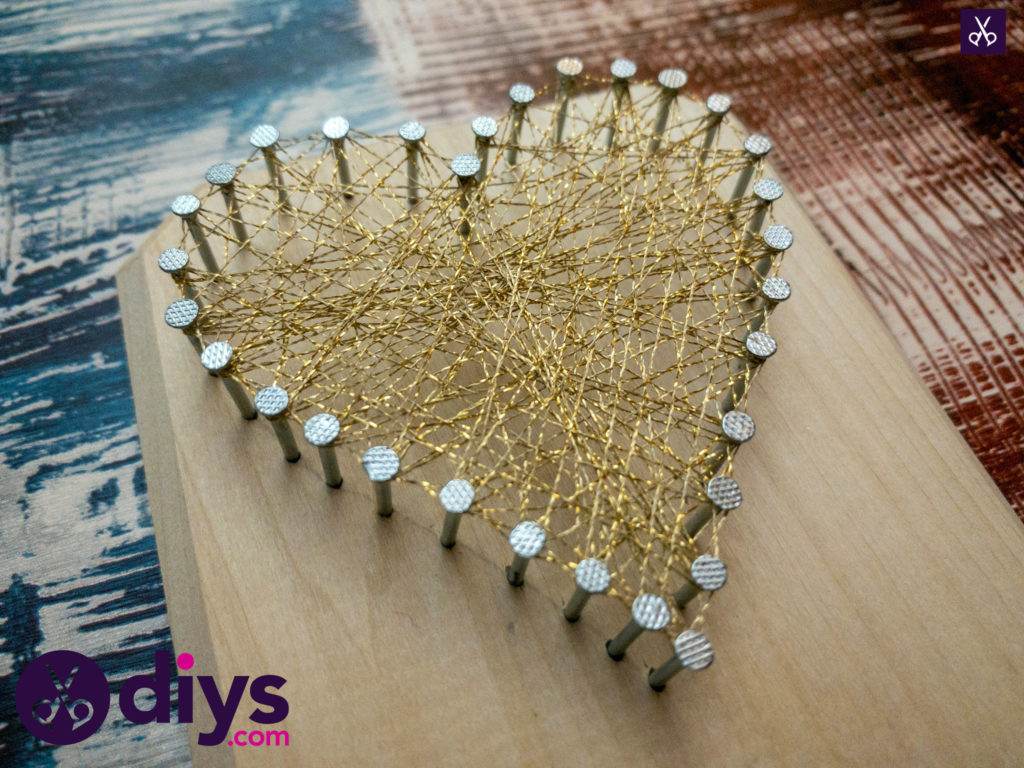
Step 5: begin wrapping
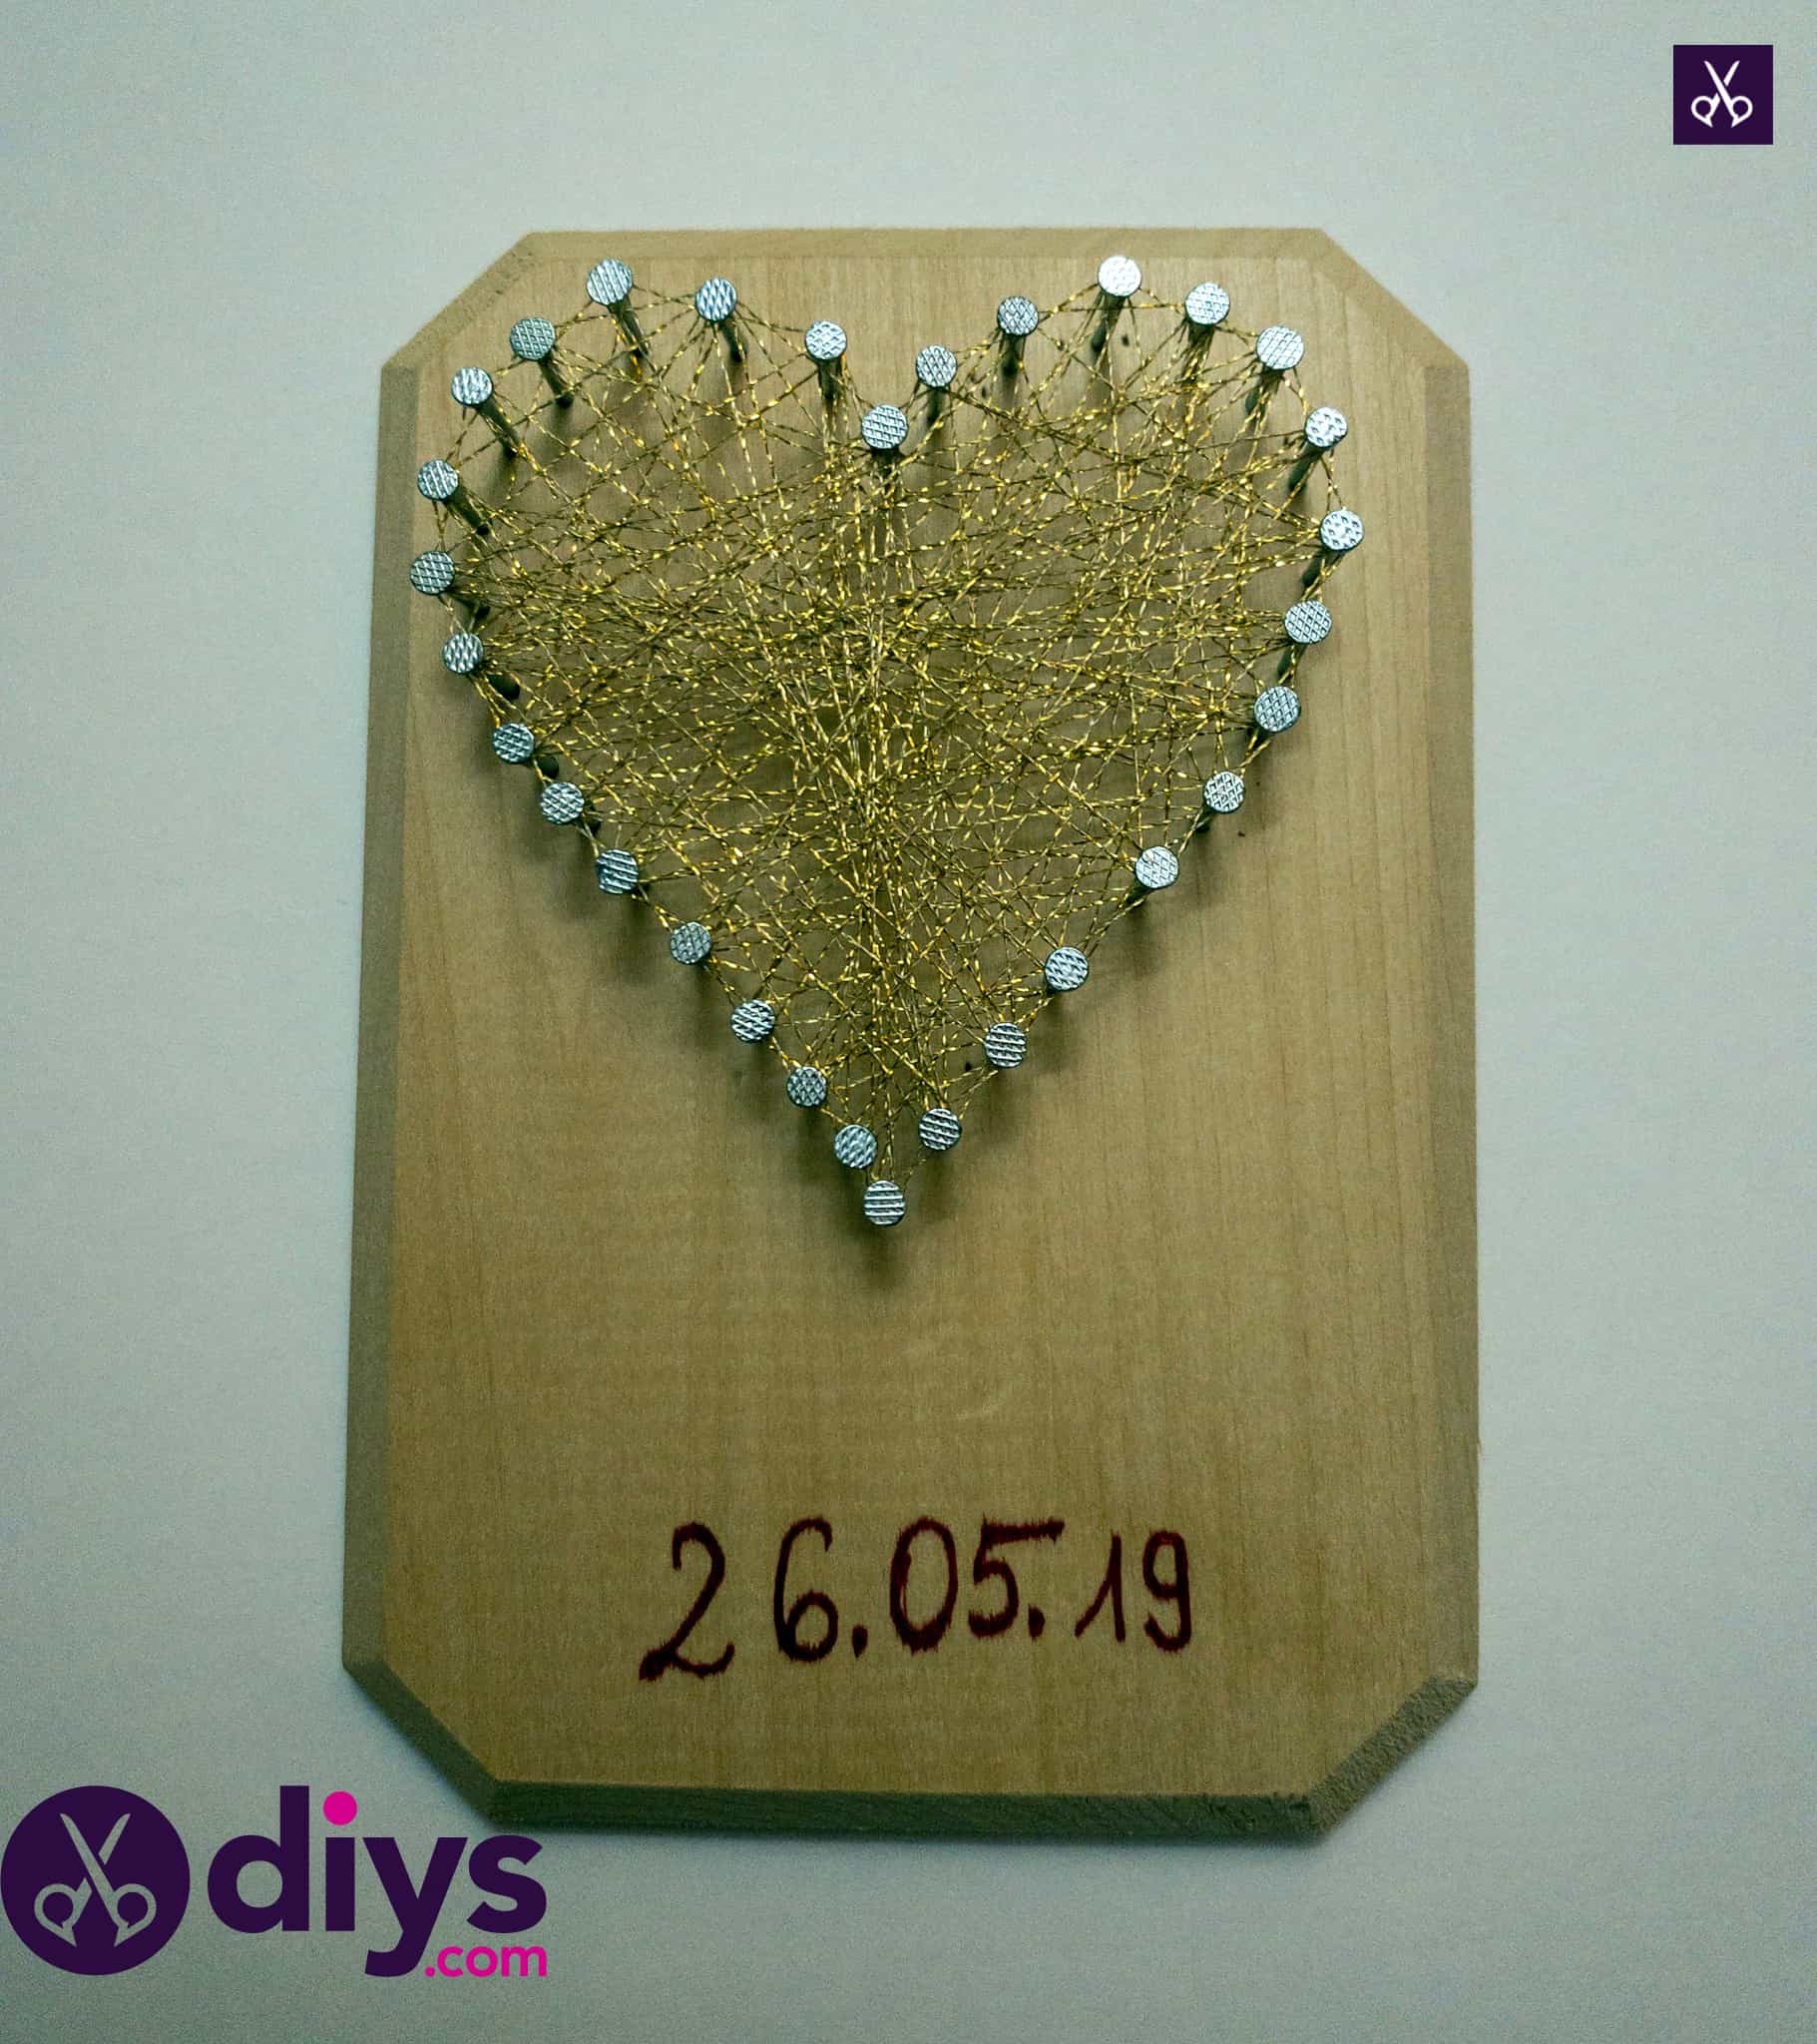
Start your wrapping process by tying the end of your thread tightly around whichever nail you wish to start from. I made my tight anchor knots around the central top nail, where the heart dips down, and started wrapping from there. Pulling the thread taught (but not tight enough to snap it), cross it over the heart to another nail and wrap it twice around that one. Next, choose another direction, preferably one that passes right across the heart again, and wrap it twice around that nail too. Repeat this process over and over, filling the heart in and covering clear spaces as you go. I didn’t have any particular patterning to mine; I simply chose my next nail based on which direction needed a little more thread to look filled across the center. Keep going until your heart is filled with gold (or whatever colour thread you’ve chosen) entirely within its nail border. Knot the thread tightly around one of the nails and cut its end to finish.

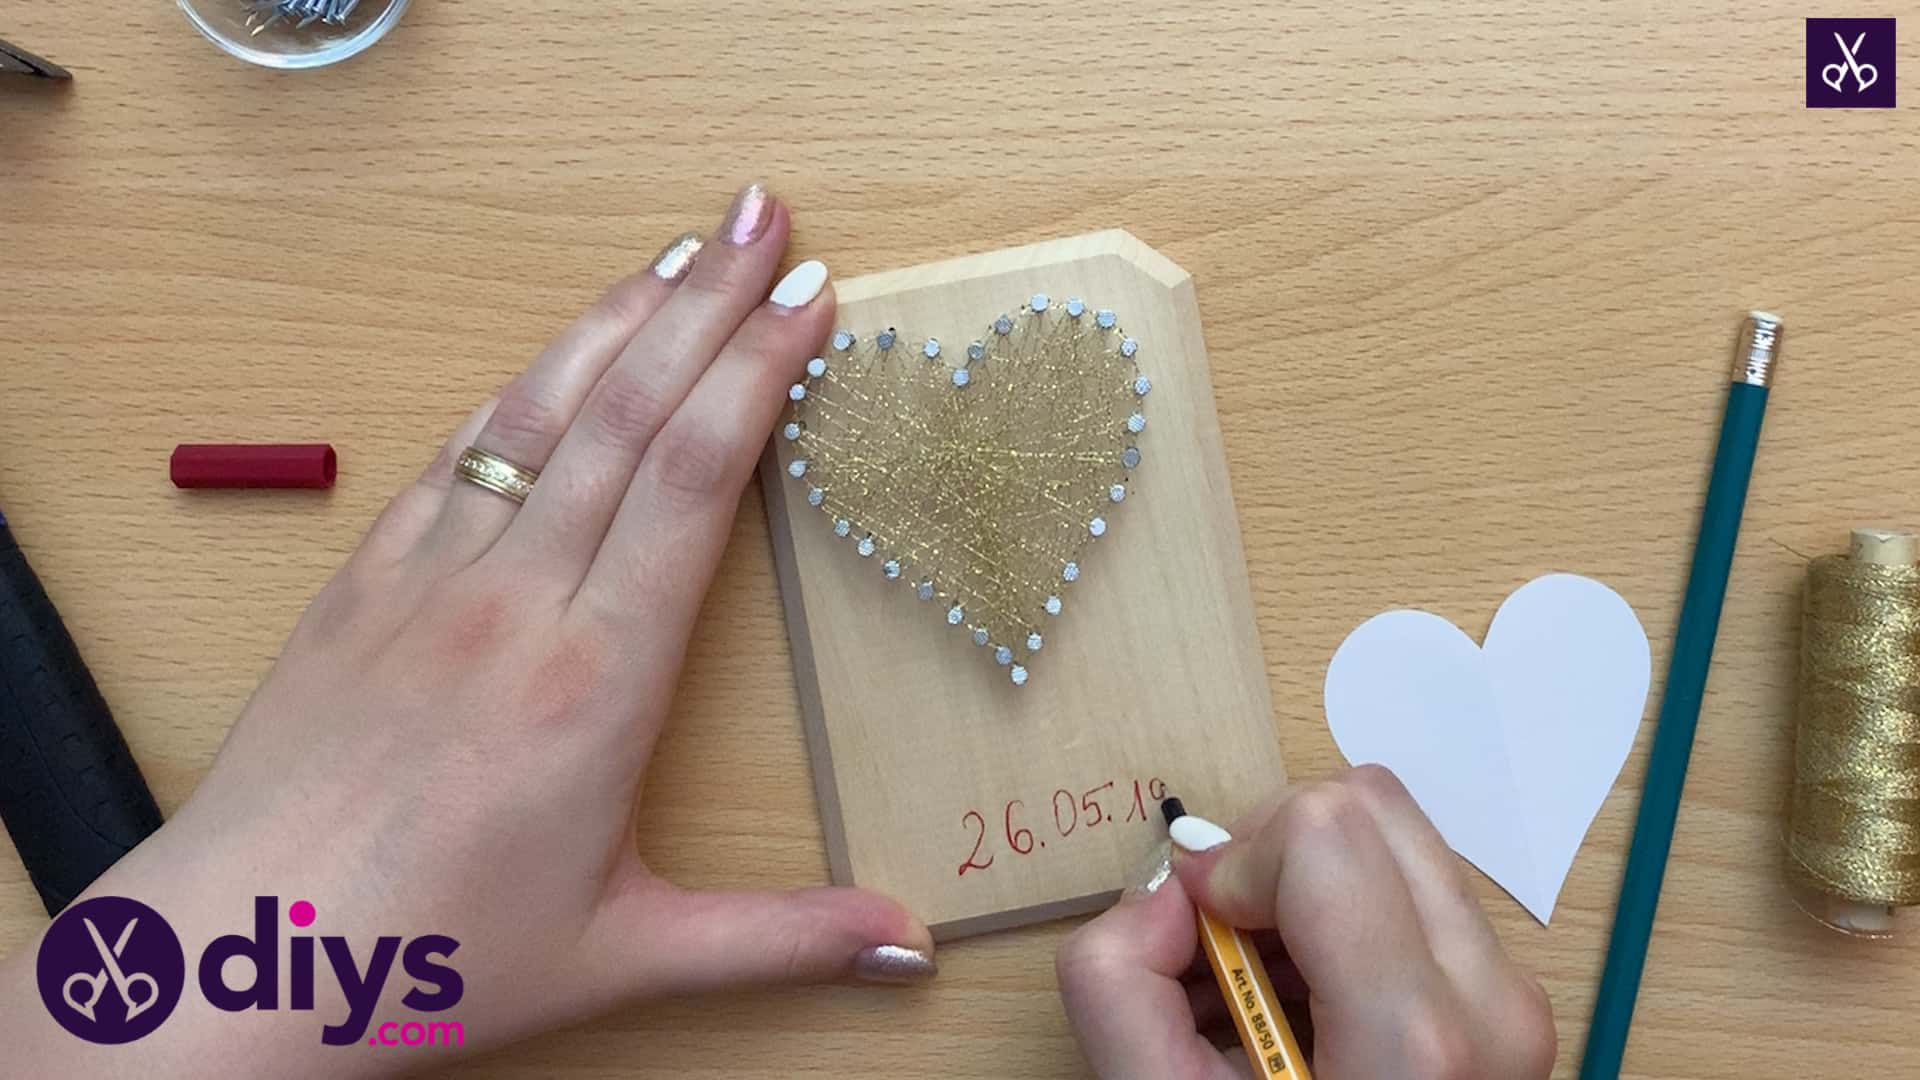
Step 6: leave a note
Write an important date on the bottom of the plaque! I used a fine point red felt tipped pen to carefully write the date of my wedding anniversary underneath the heart. If you’d rather skip this part and make a version that has no writing, then you might choose to move your heart down a little bit when you very first trace it, placing it closer to the center of the plaque, since you won’t need room for the date.

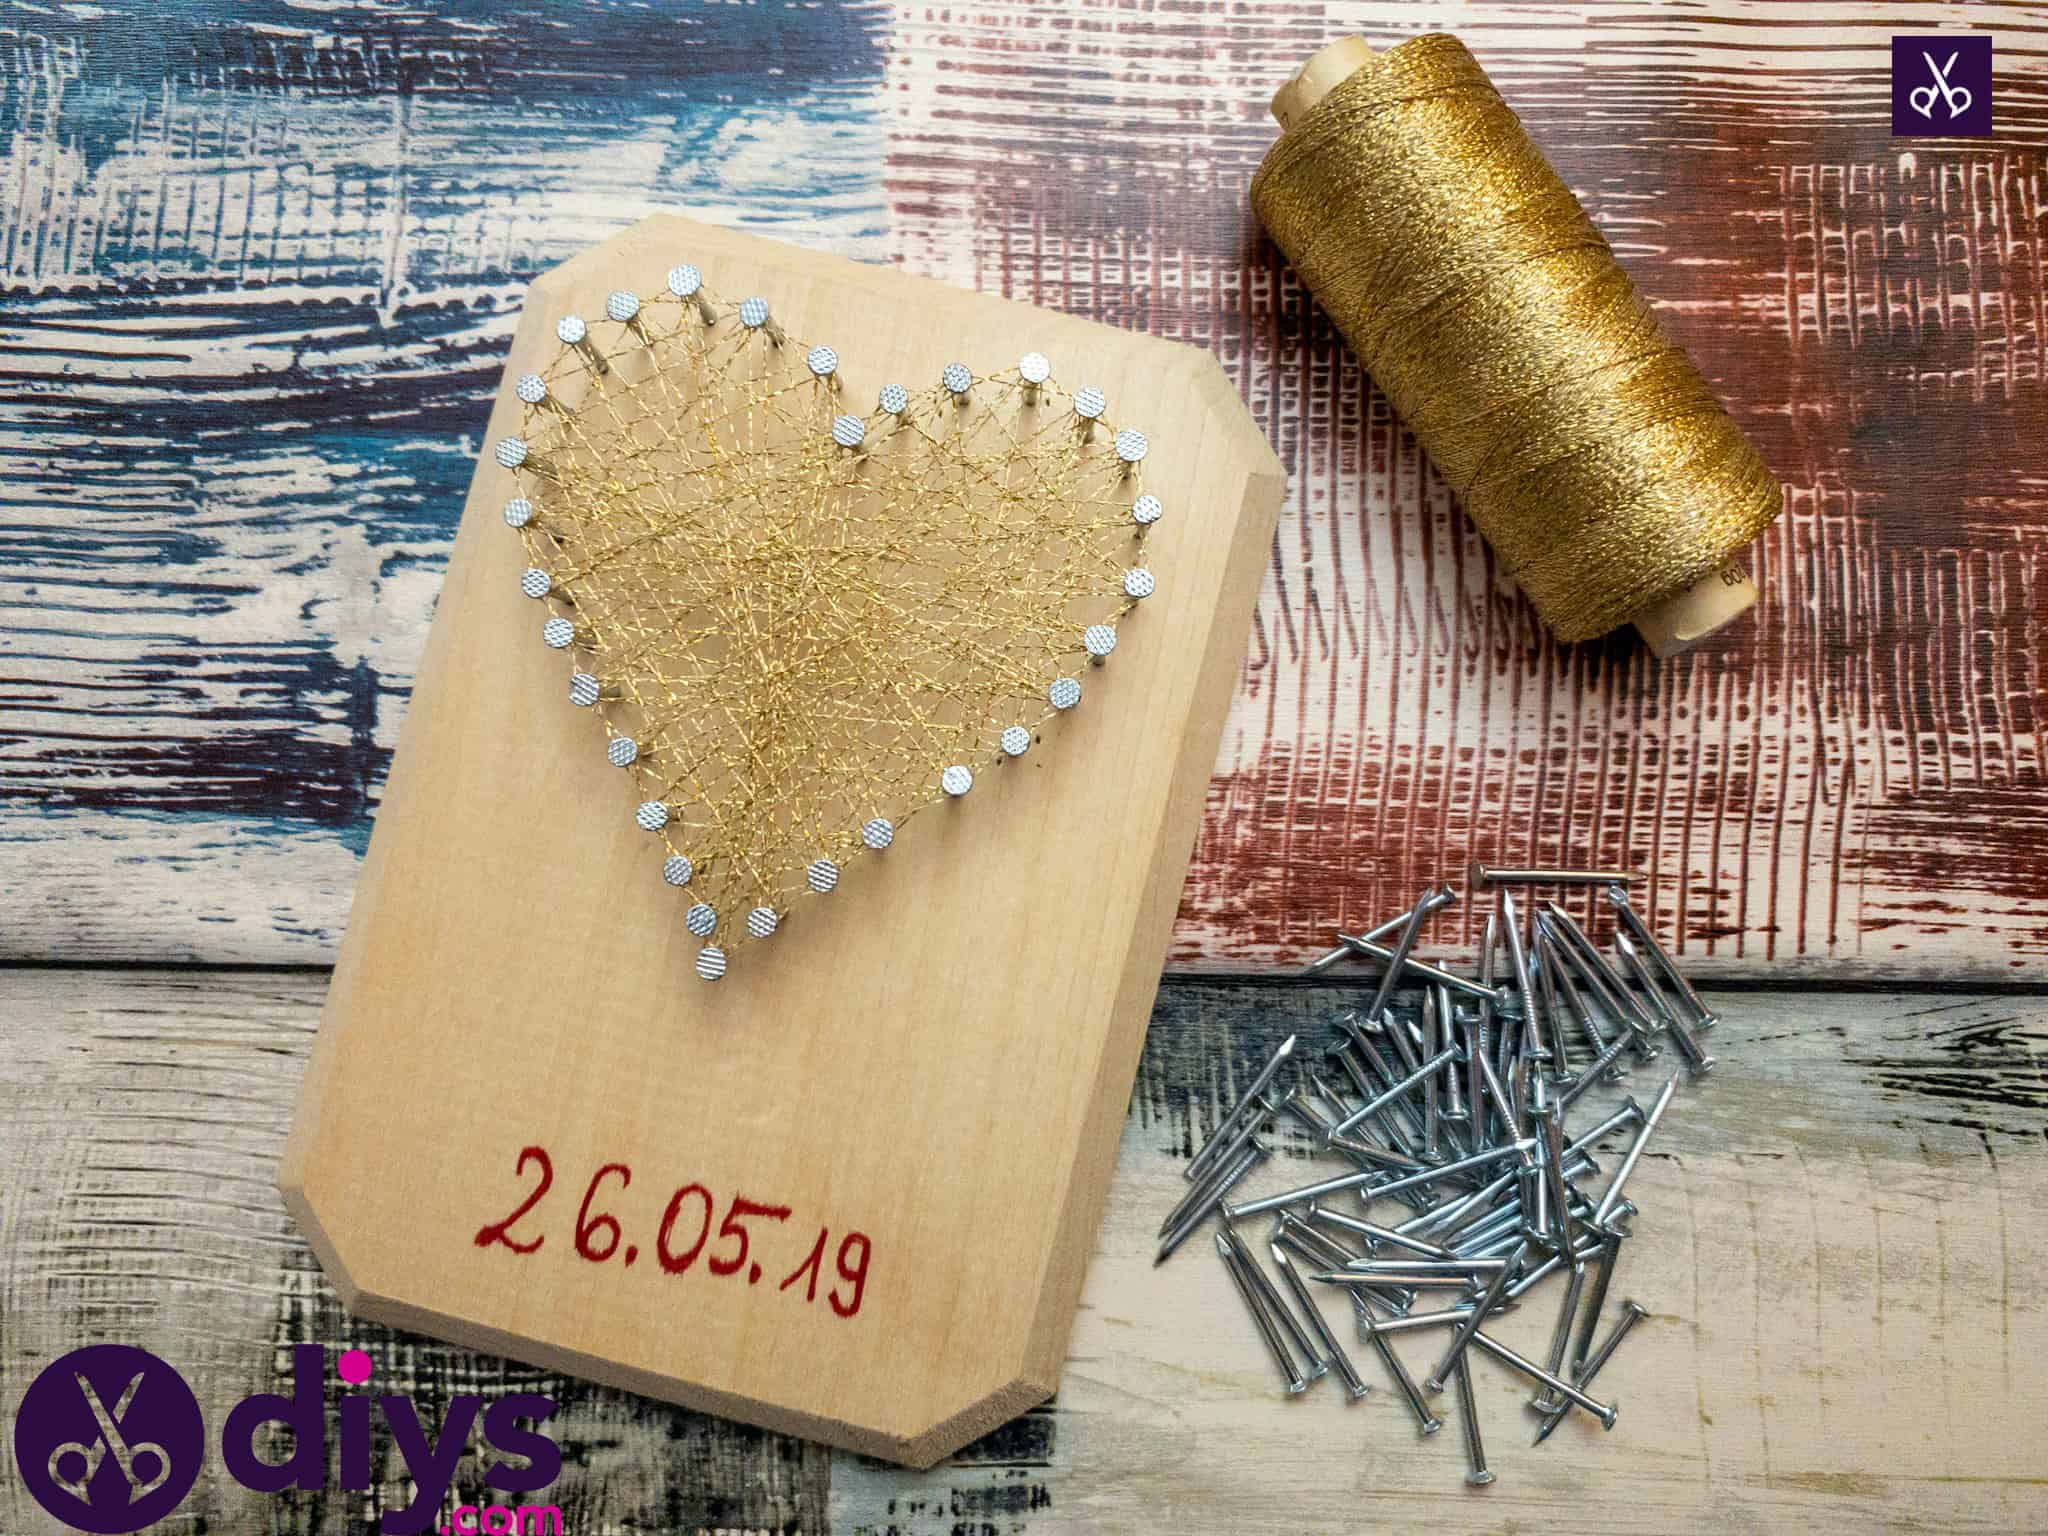
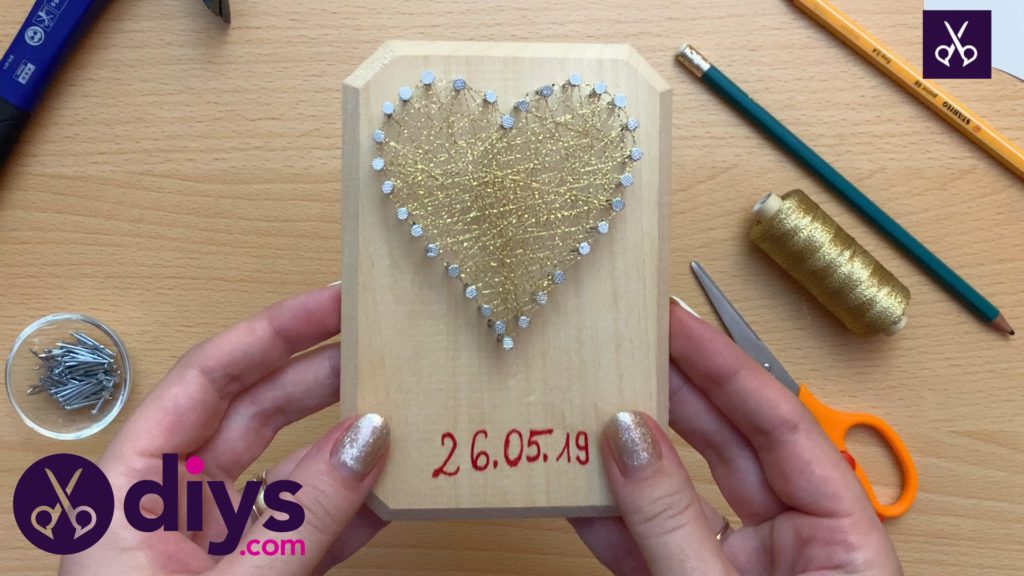
With that, you’ve finished your miniature string art! No matter what colour or thickness of thread or string you choose to use, this project makes a great introduction into the very popular world of thread and string wrapping. Maybe next time you’ll feel ready to make something a little bigger!

You can find a full, detailed video tutorial for this fantastic craft here!