DIY Glitter Flower Vase From Glass Jars
Updated on November 19, 2025


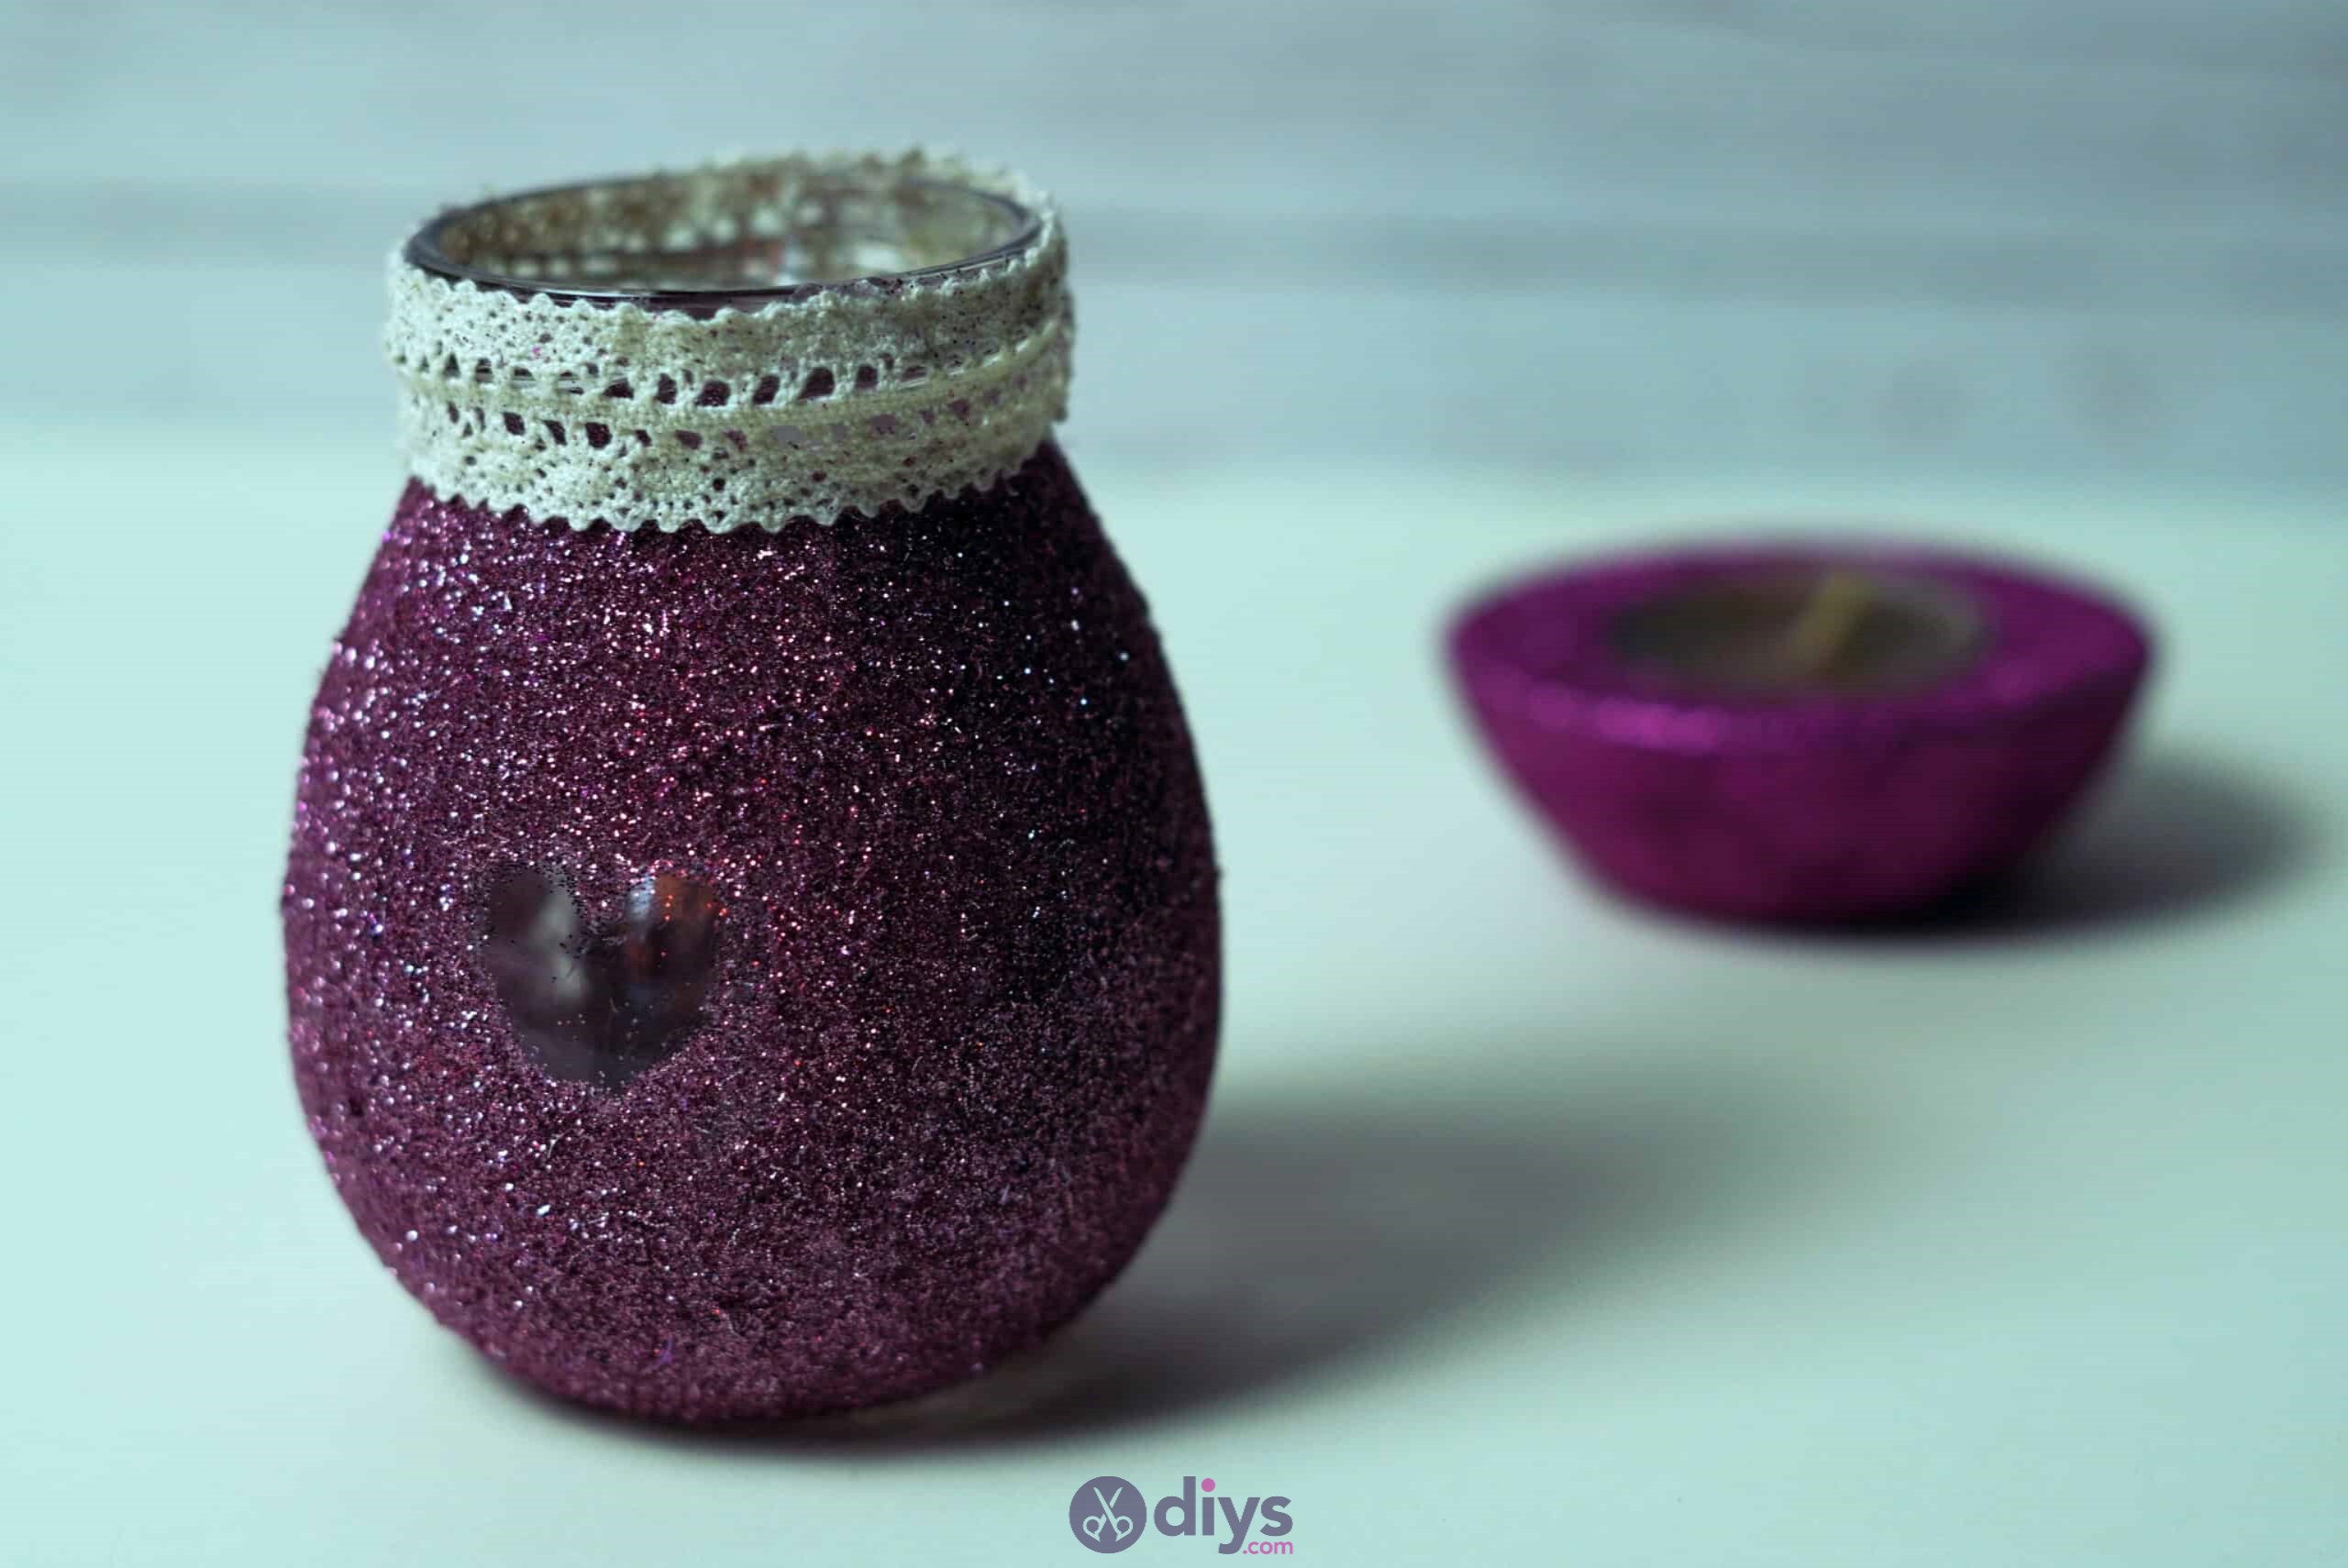

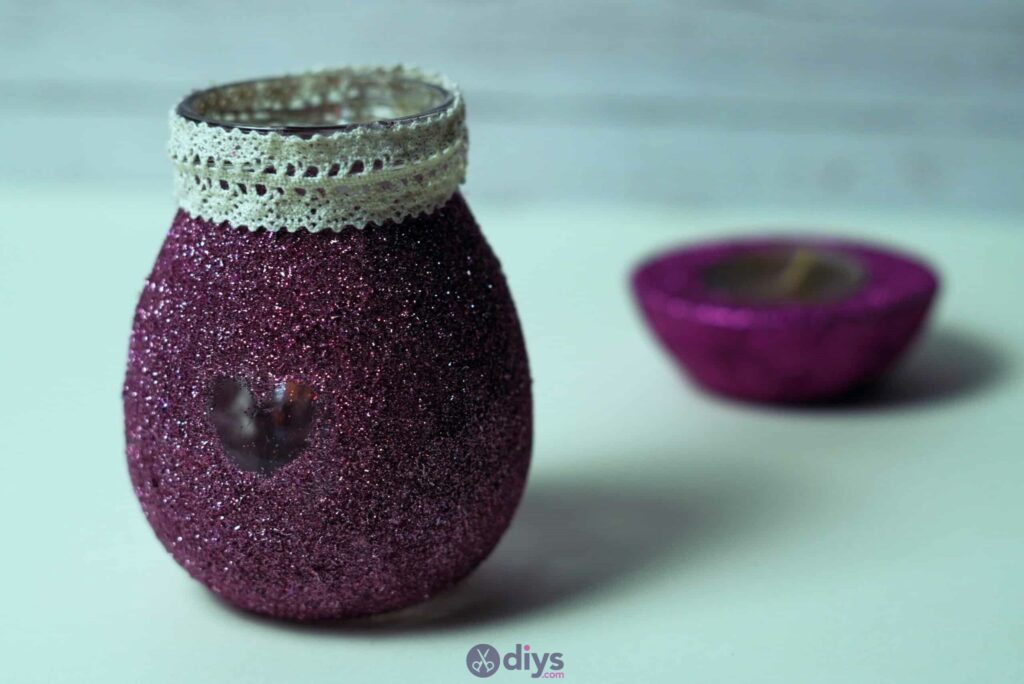
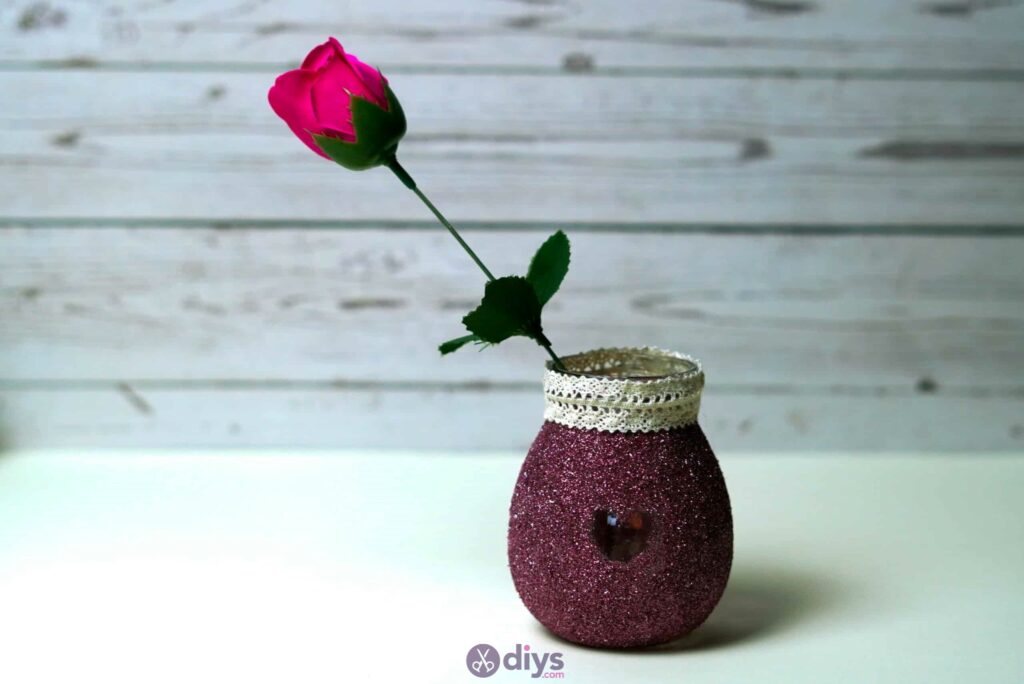
If you’re looking for a great DIY project with glitter and jars then this is the tutorial for you! We’ve taken simple glitter, a basic glass vase, and some other materials to make this easy glitter flower vase. Read on to find out how it’s made.

I love how this one turned out and it was so easy, anyone can make it. Keep scrolling to find the written instructions complete with photos, or skip all the way to the bottom for a video tutorial, if that’s more your cup of tea!
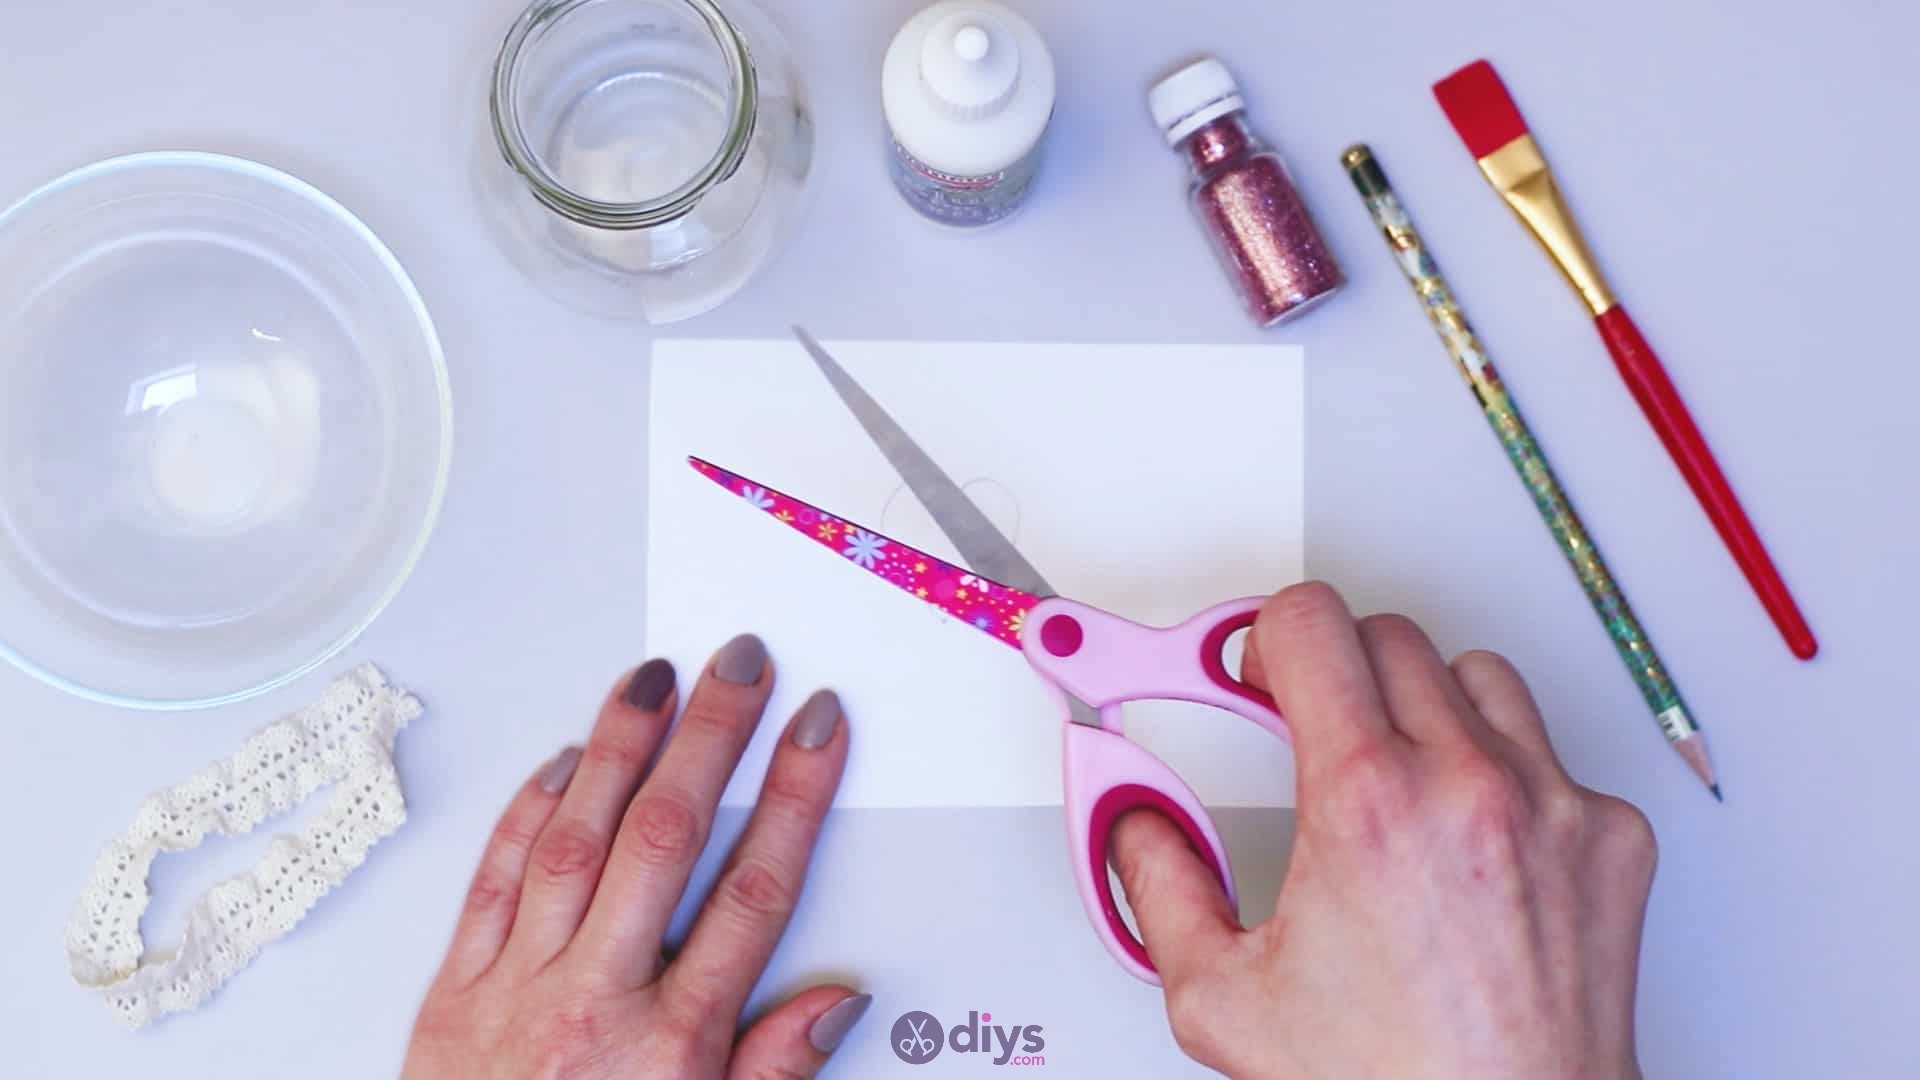
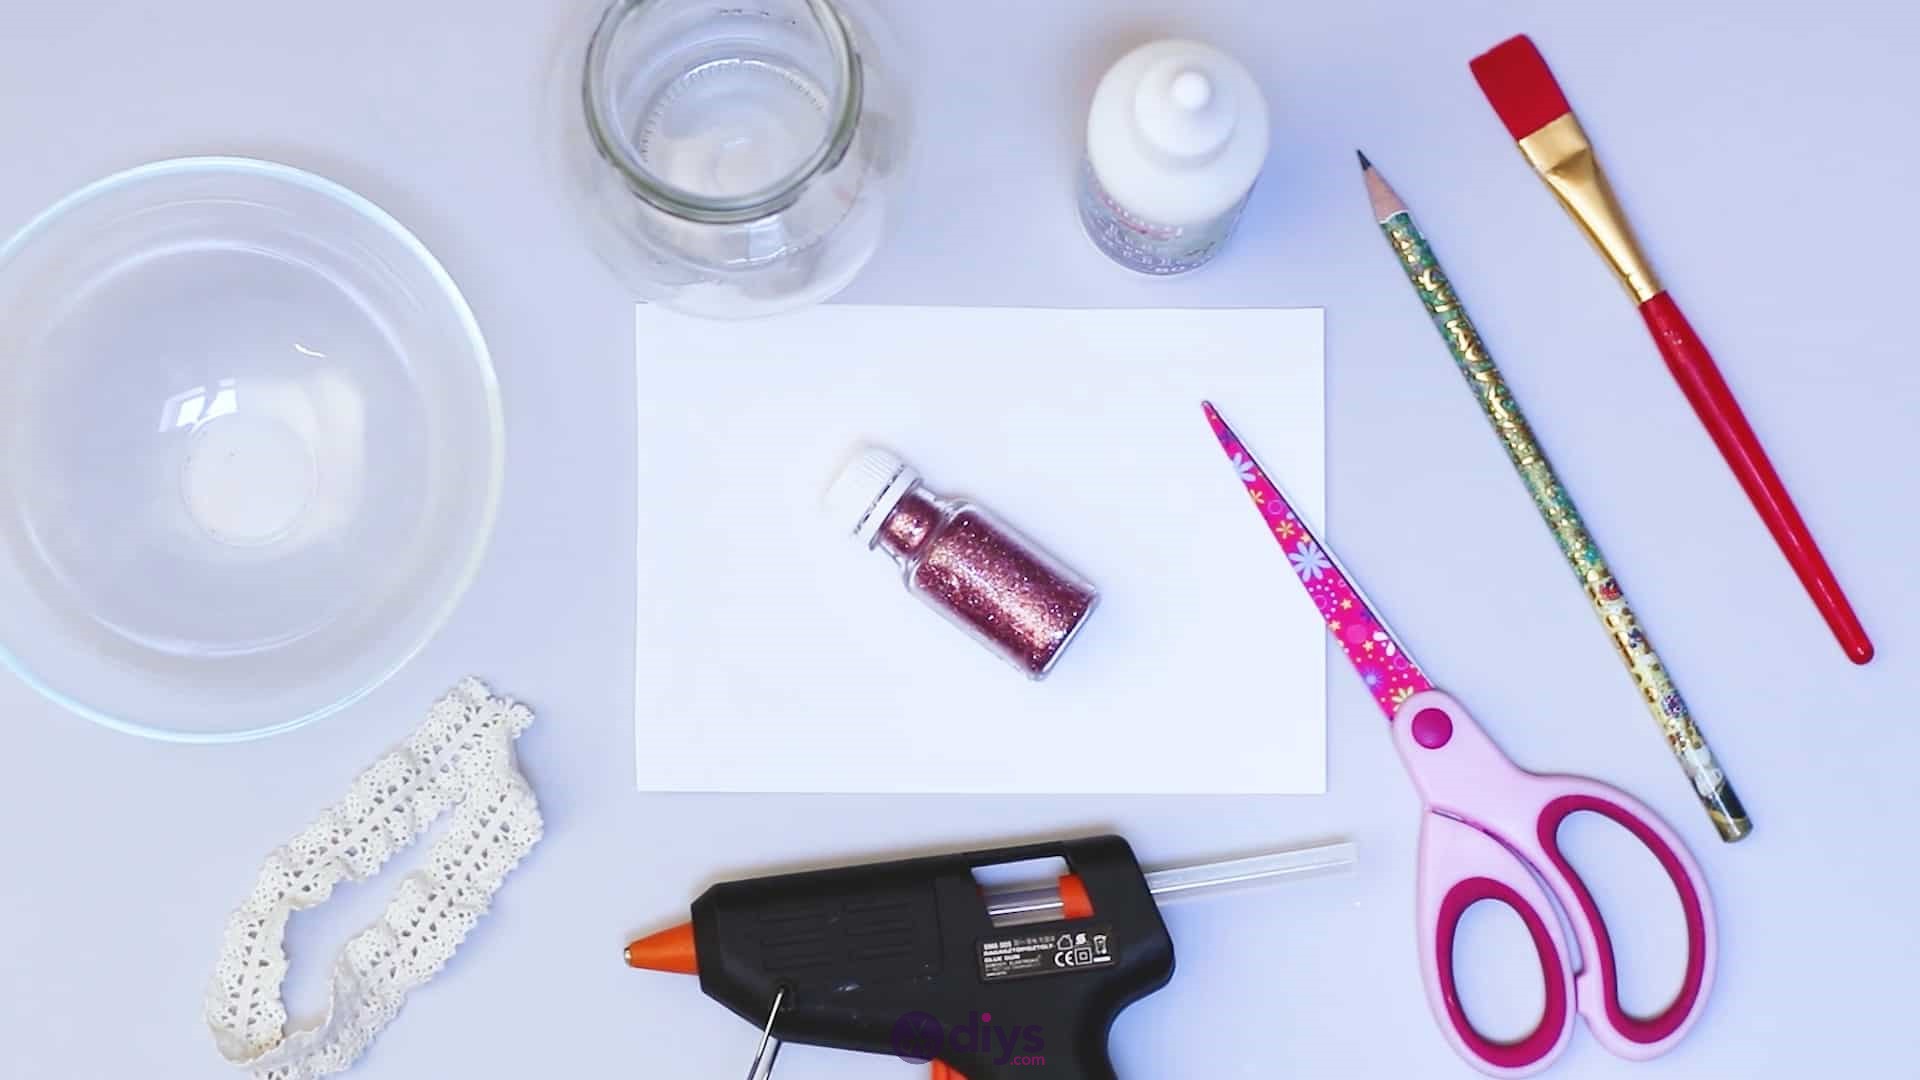
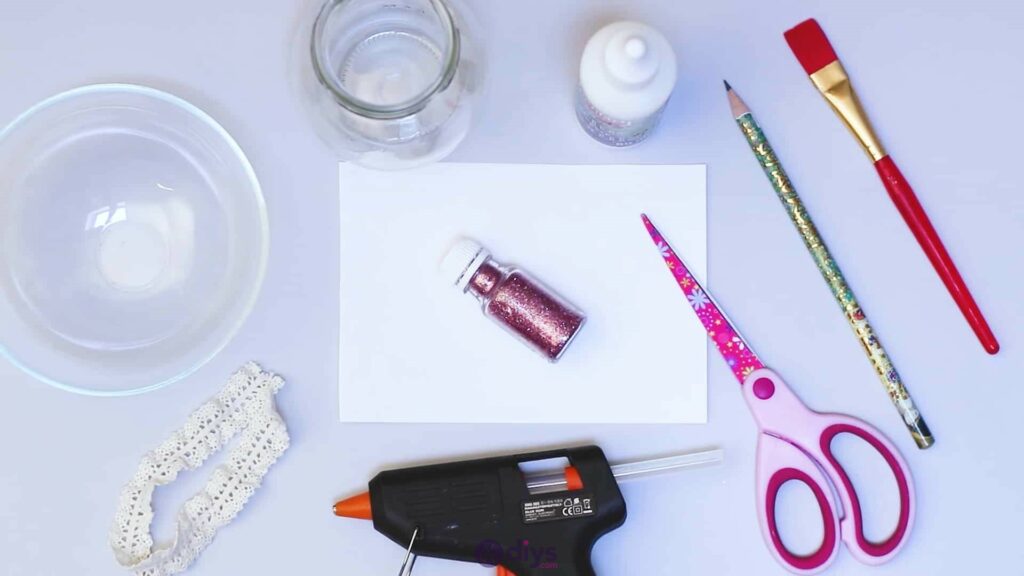
For this project, you’ll need:
- Small glass jar
- Bowl
- Rose gold glitter
- Pencil
- Scissors
- Paper
- Liquid glue (or white school glue)
- Paintbrush
- Glue gun
- Lace ribbon or trim
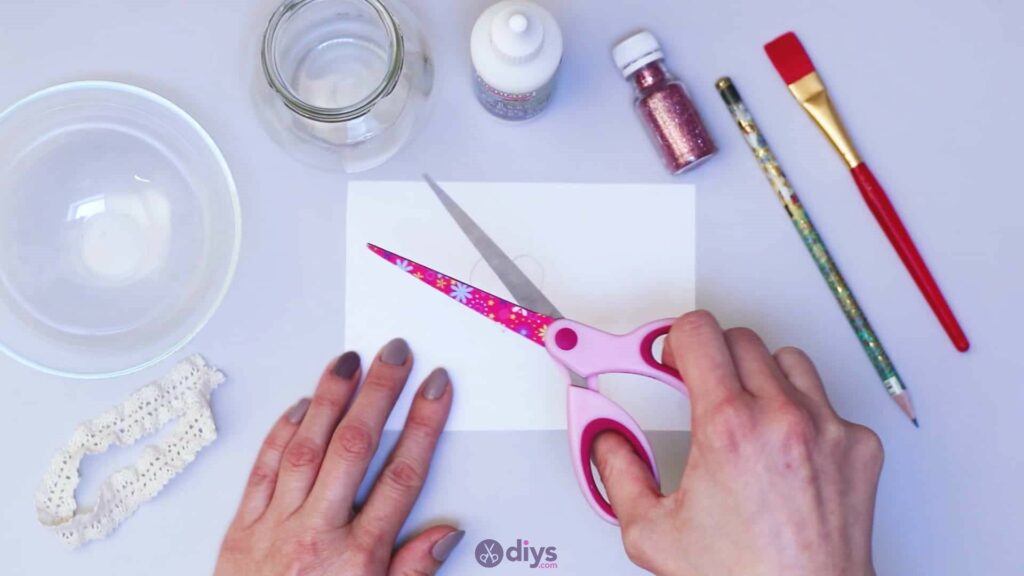
Step 1: Gather your materials!
Double check your list and make sure you have everything before you begin.
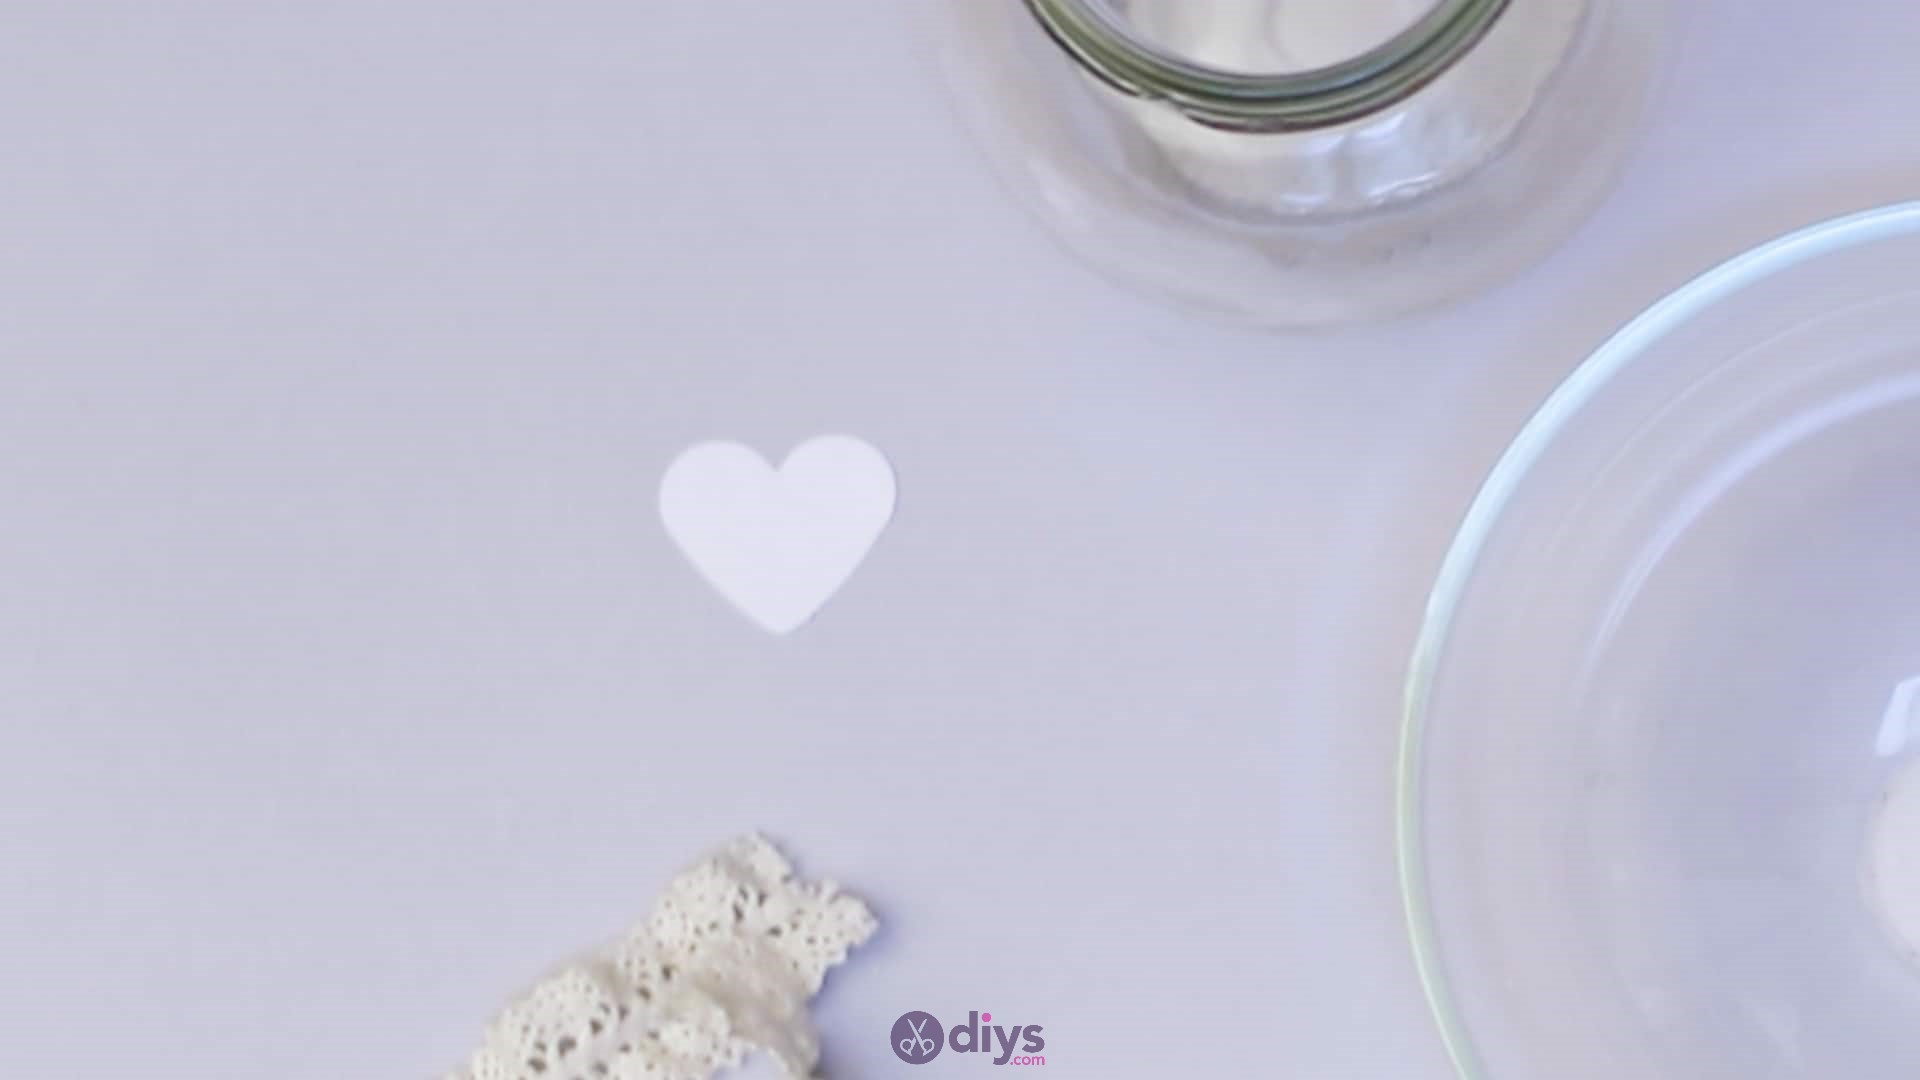
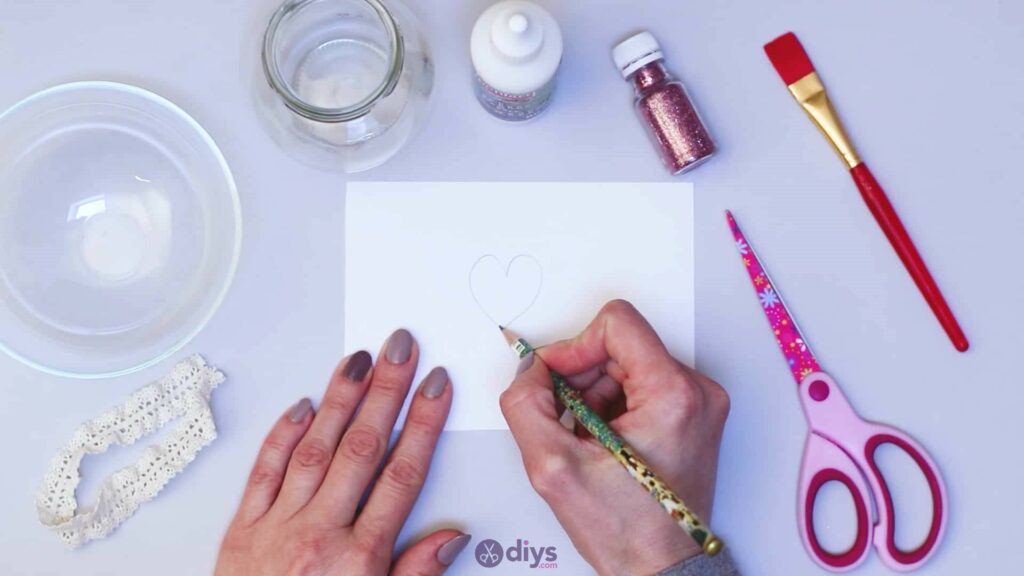
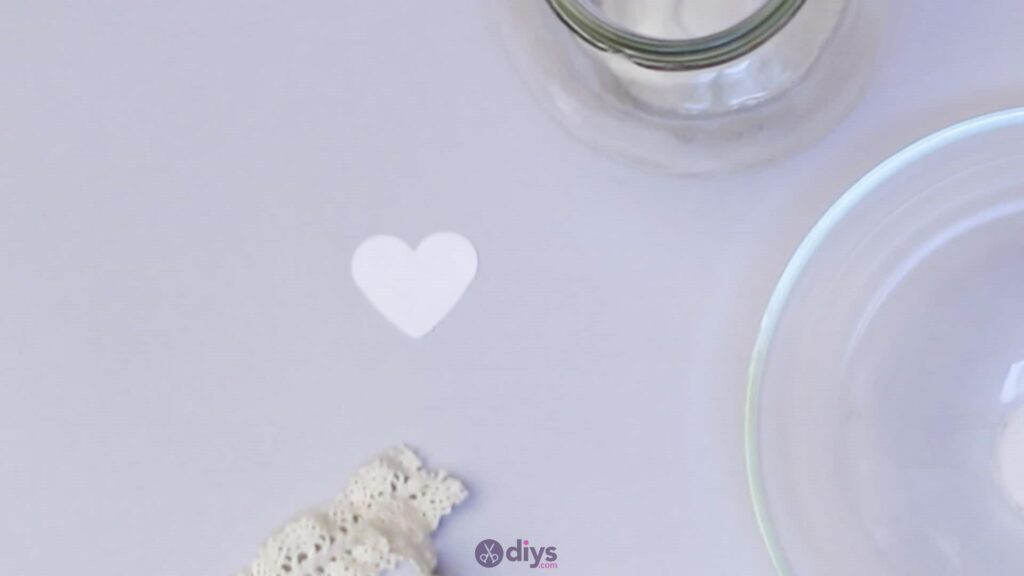
Step 2: Draw the Heart
Use your pencil to draw a heart on your piece of paper. When you’re happy with the size and shape, cut it out. It can be as small or large as you like, so long as it fits well on the side of your jar.
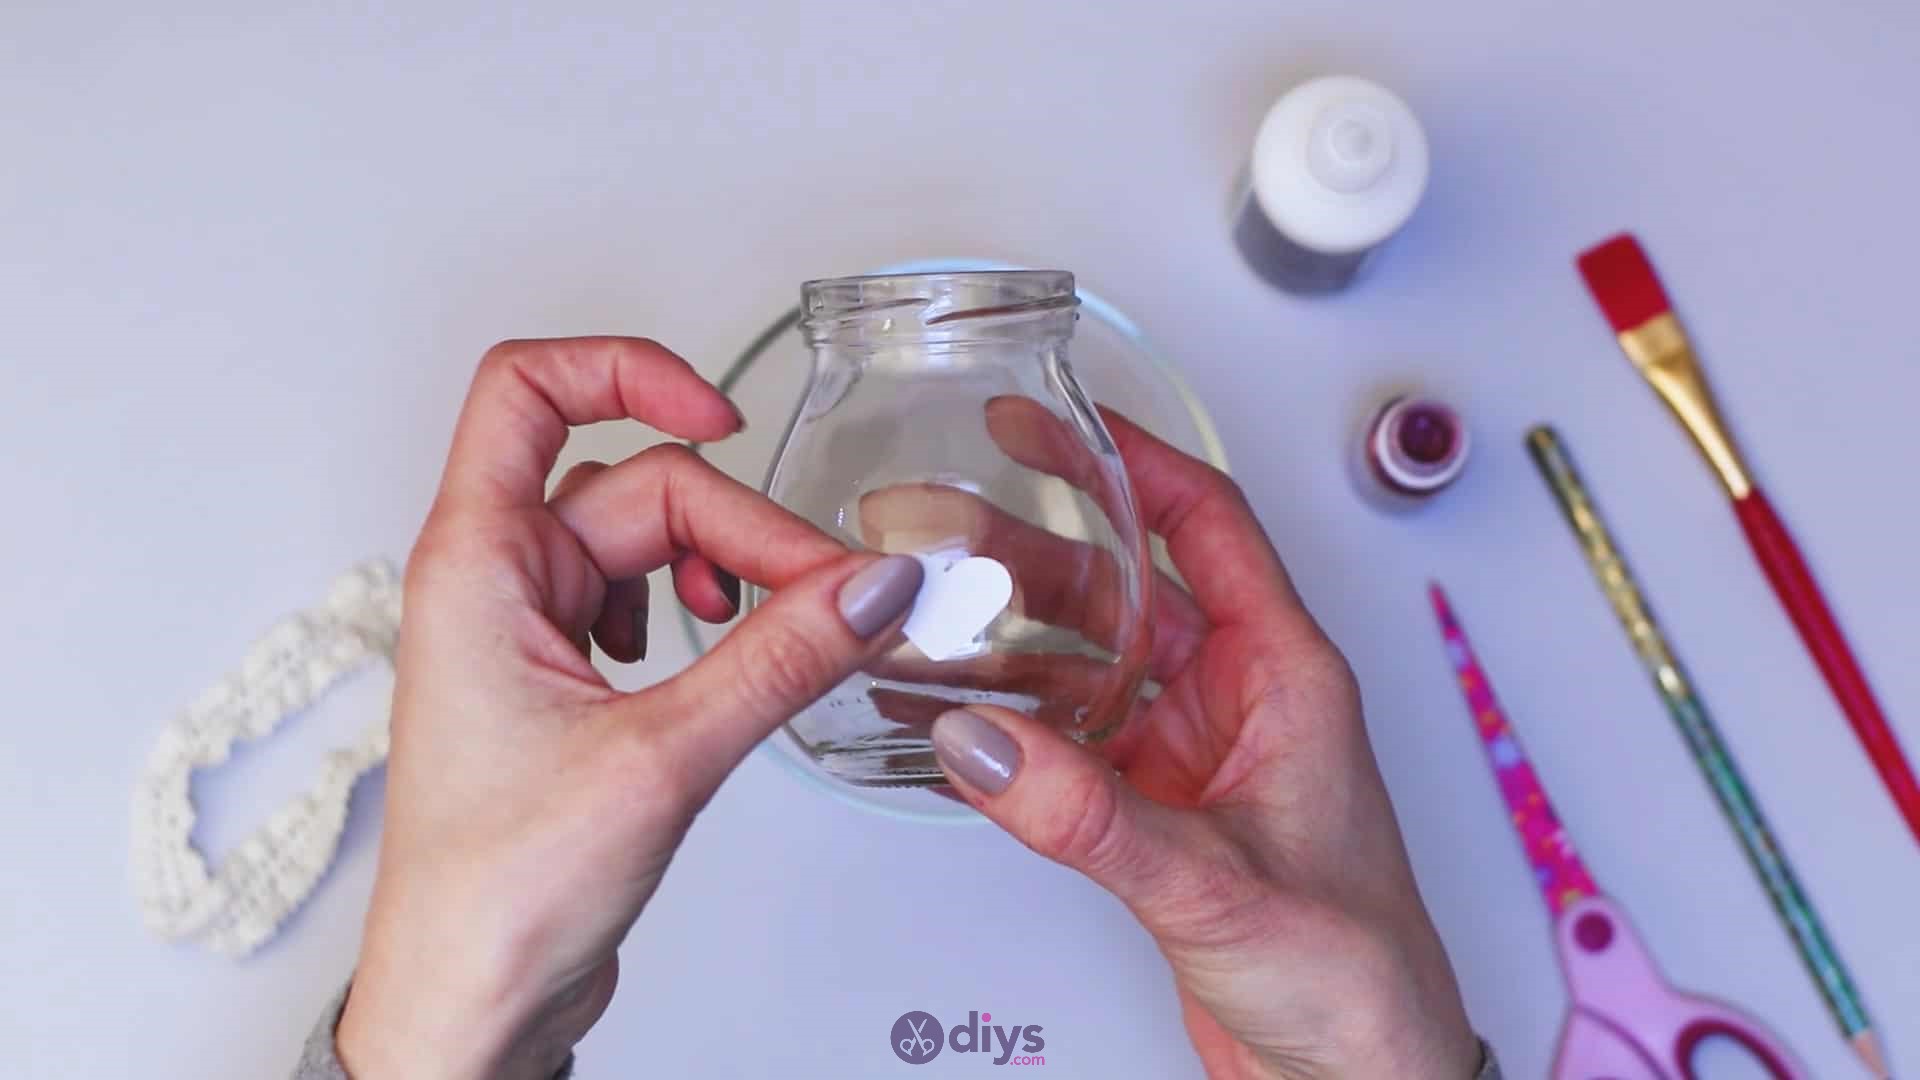
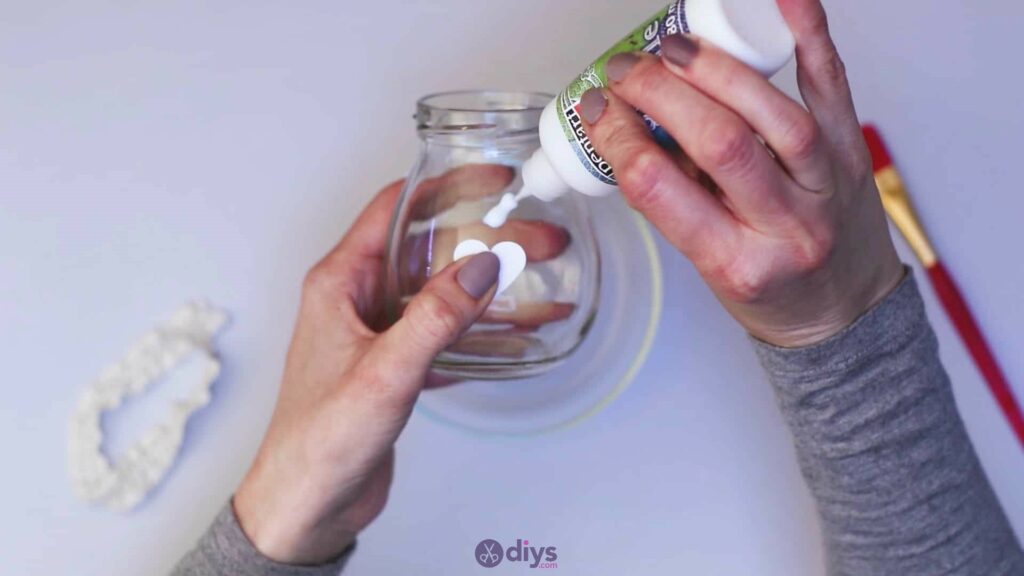
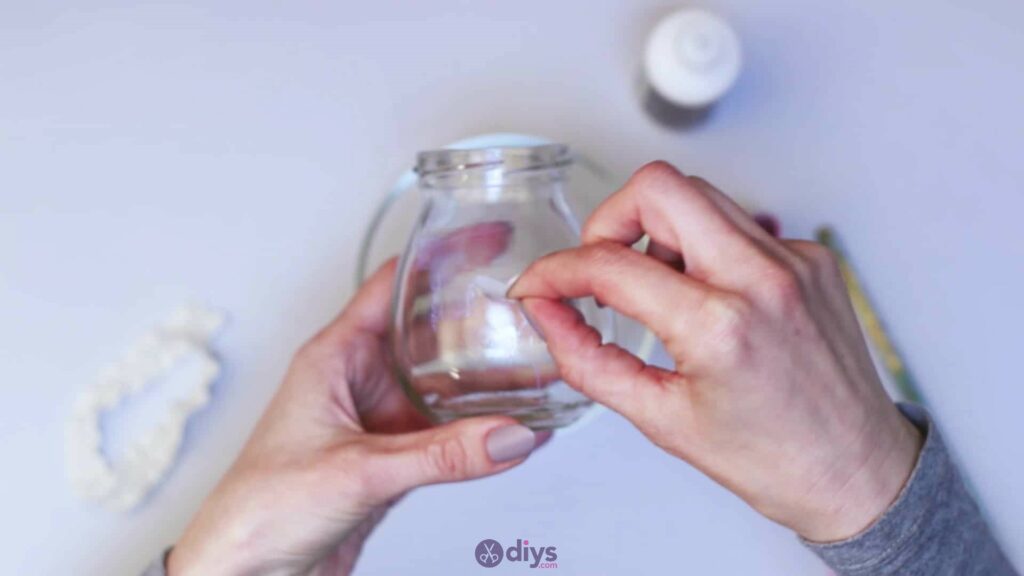
Step 3: Gluing
Apply glue where you’d like to make a heart shaped cutout in the glitter and stick the paper heart down there. Smooth it so that all of its sides and edges stick down well and glitter won’t get underneath and interrupt the heart shape in later steps.

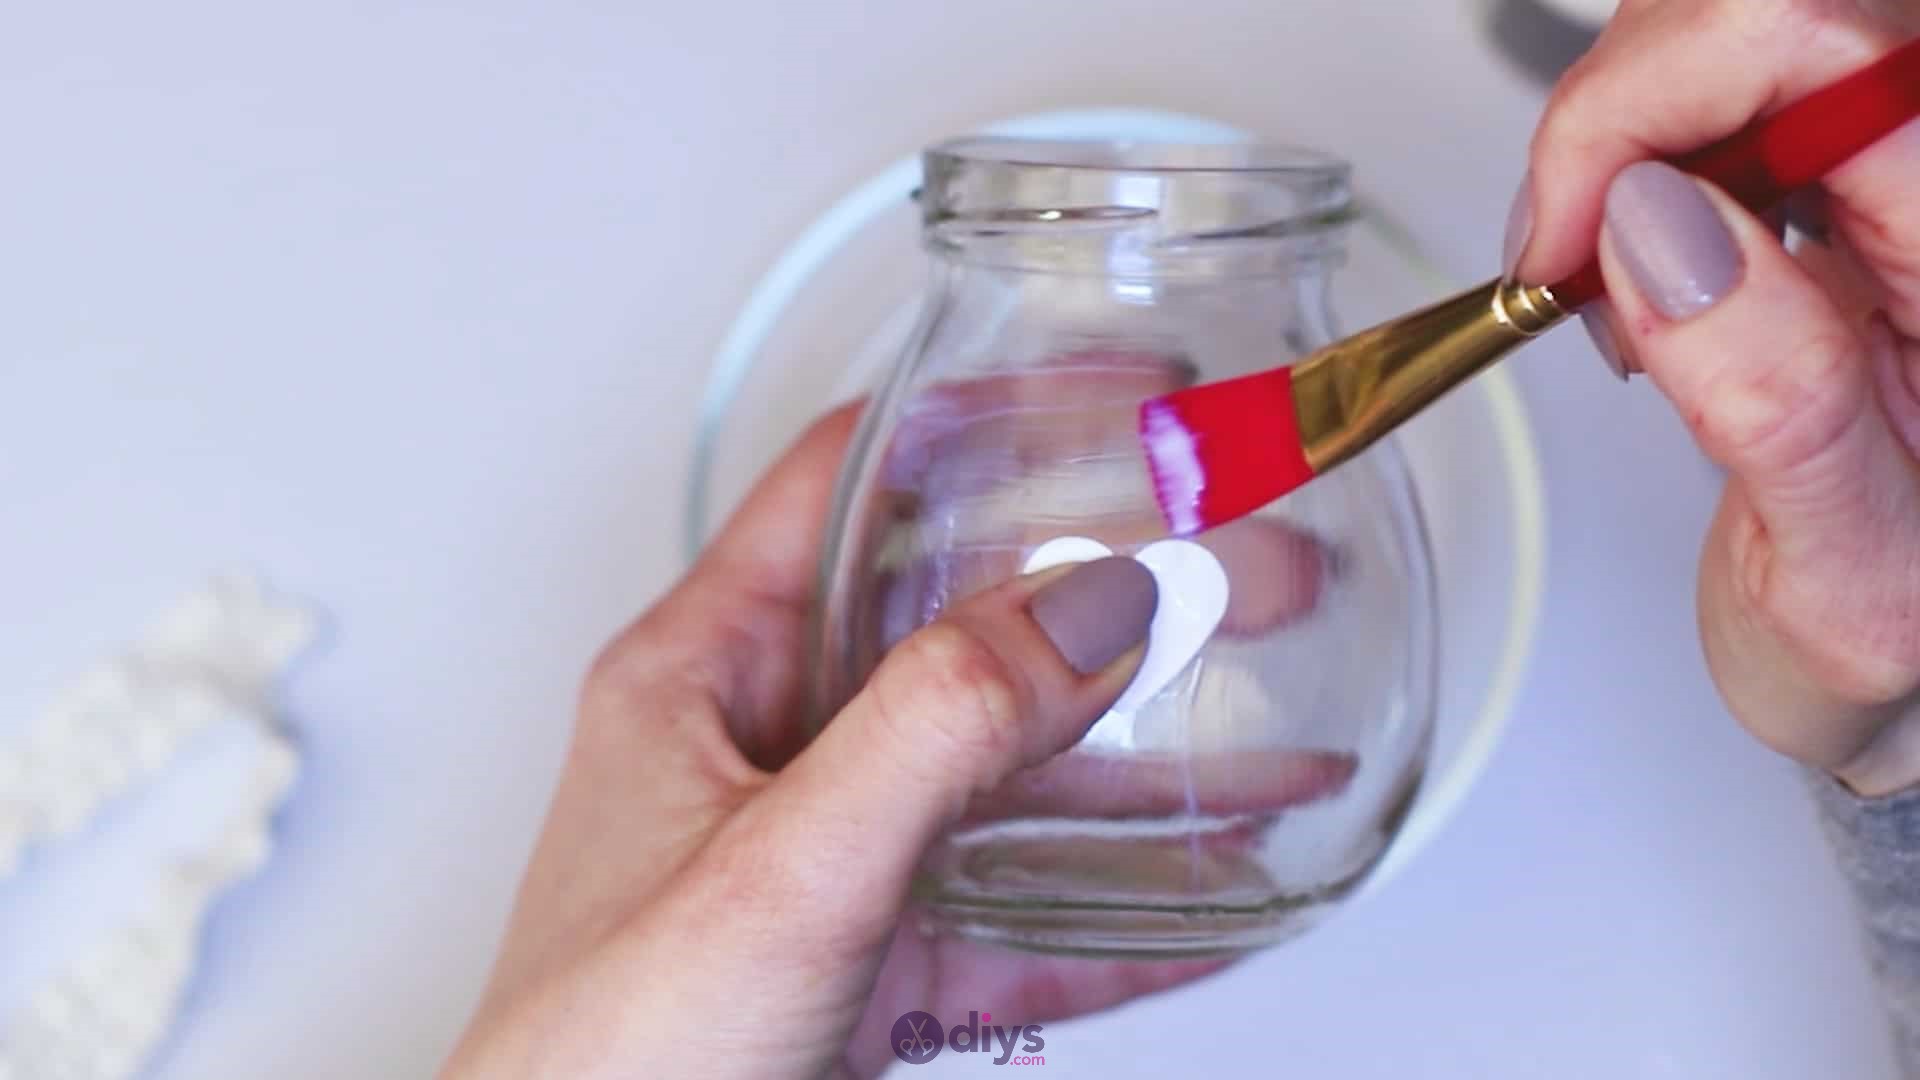
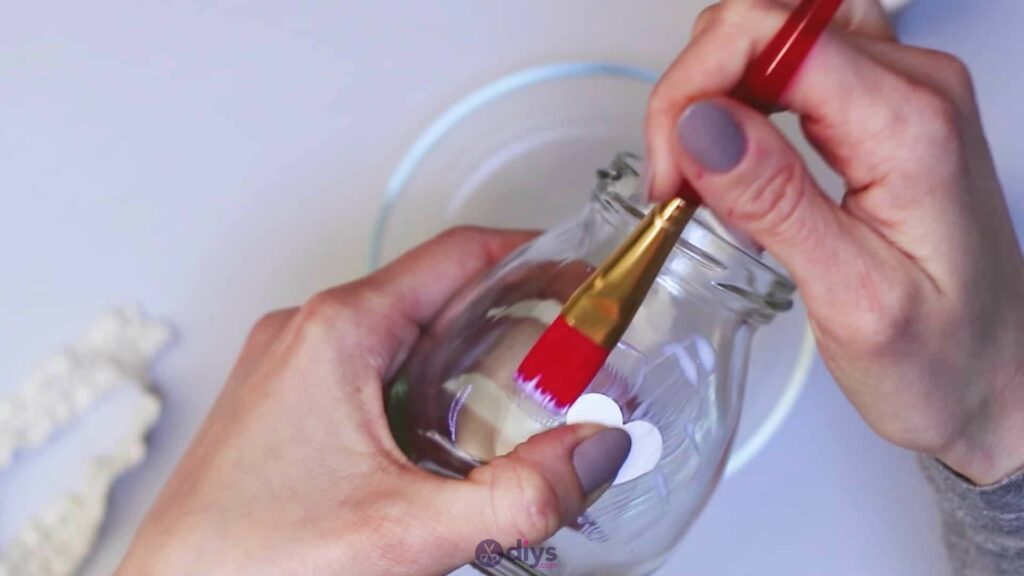
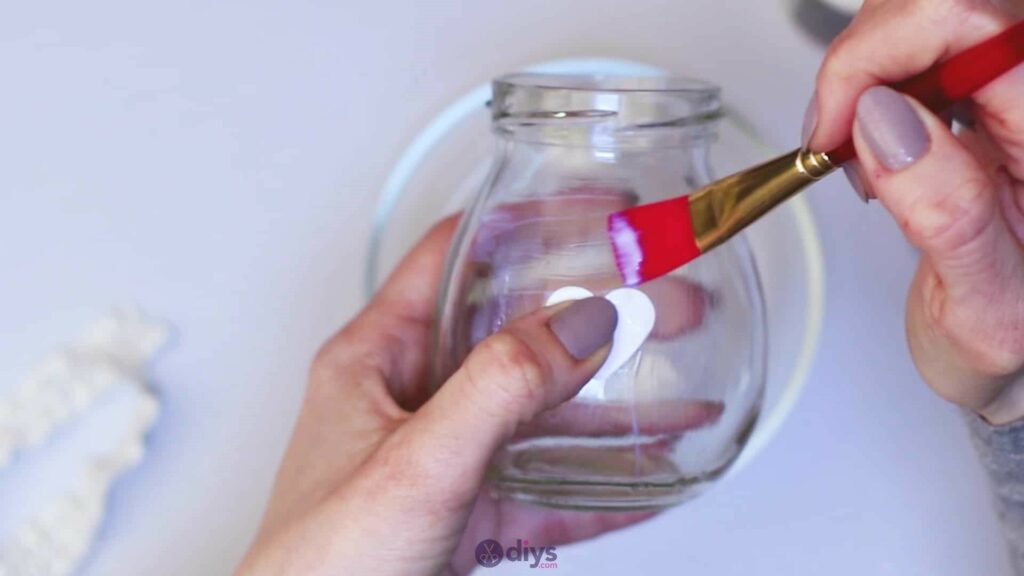
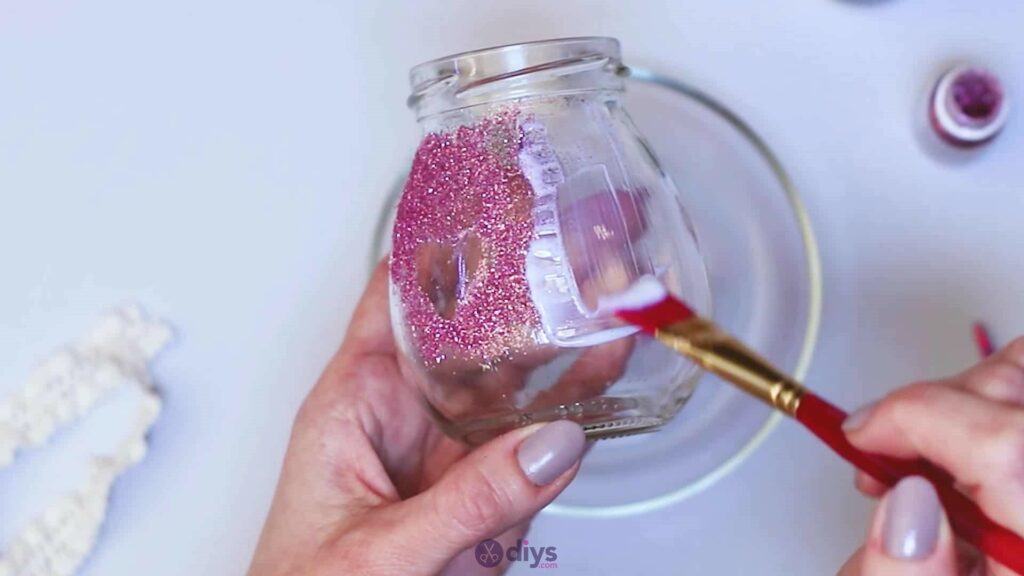
Step 4: Glue the Jar
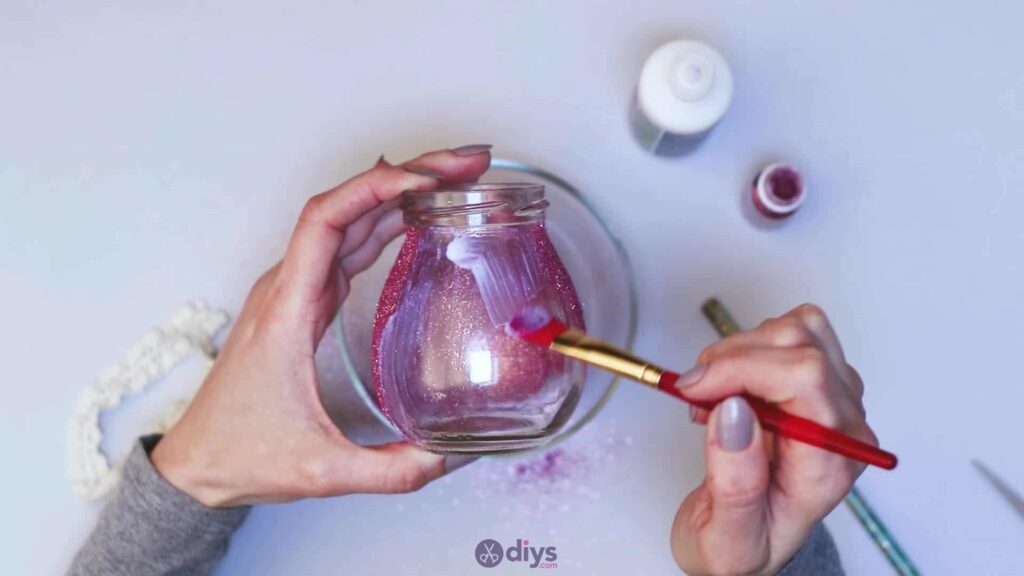
Apply a bit of white glue to the jar above your paper heart and then use your paintbrush to spread it very thin all the way around the heart, getting close to the shape’s edges but not saturating the paper so it lifts or wrinkles. Before the glue dries, while it’s still tacky, carefully peel the paper heart off, leaving a dry heart-shaped space underneath that doesn’t have any glue on it and isn’t sticky.
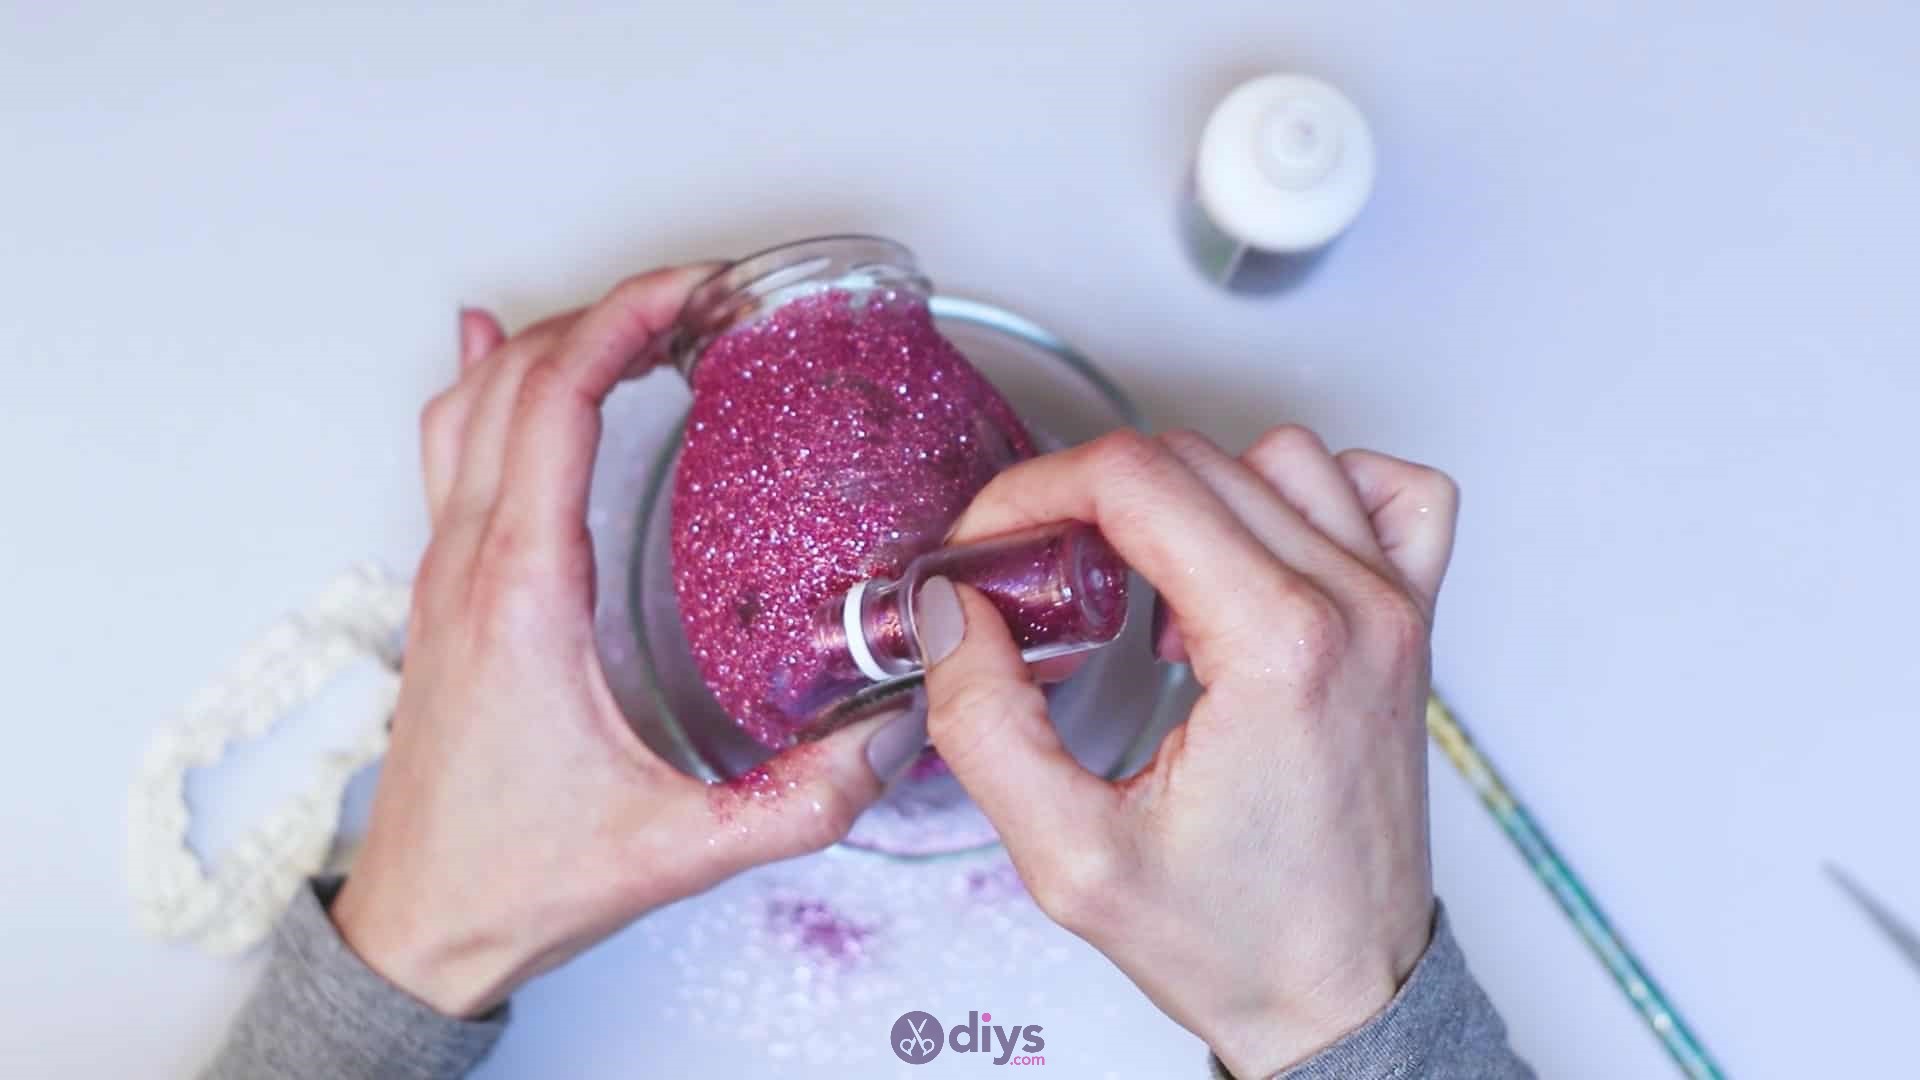
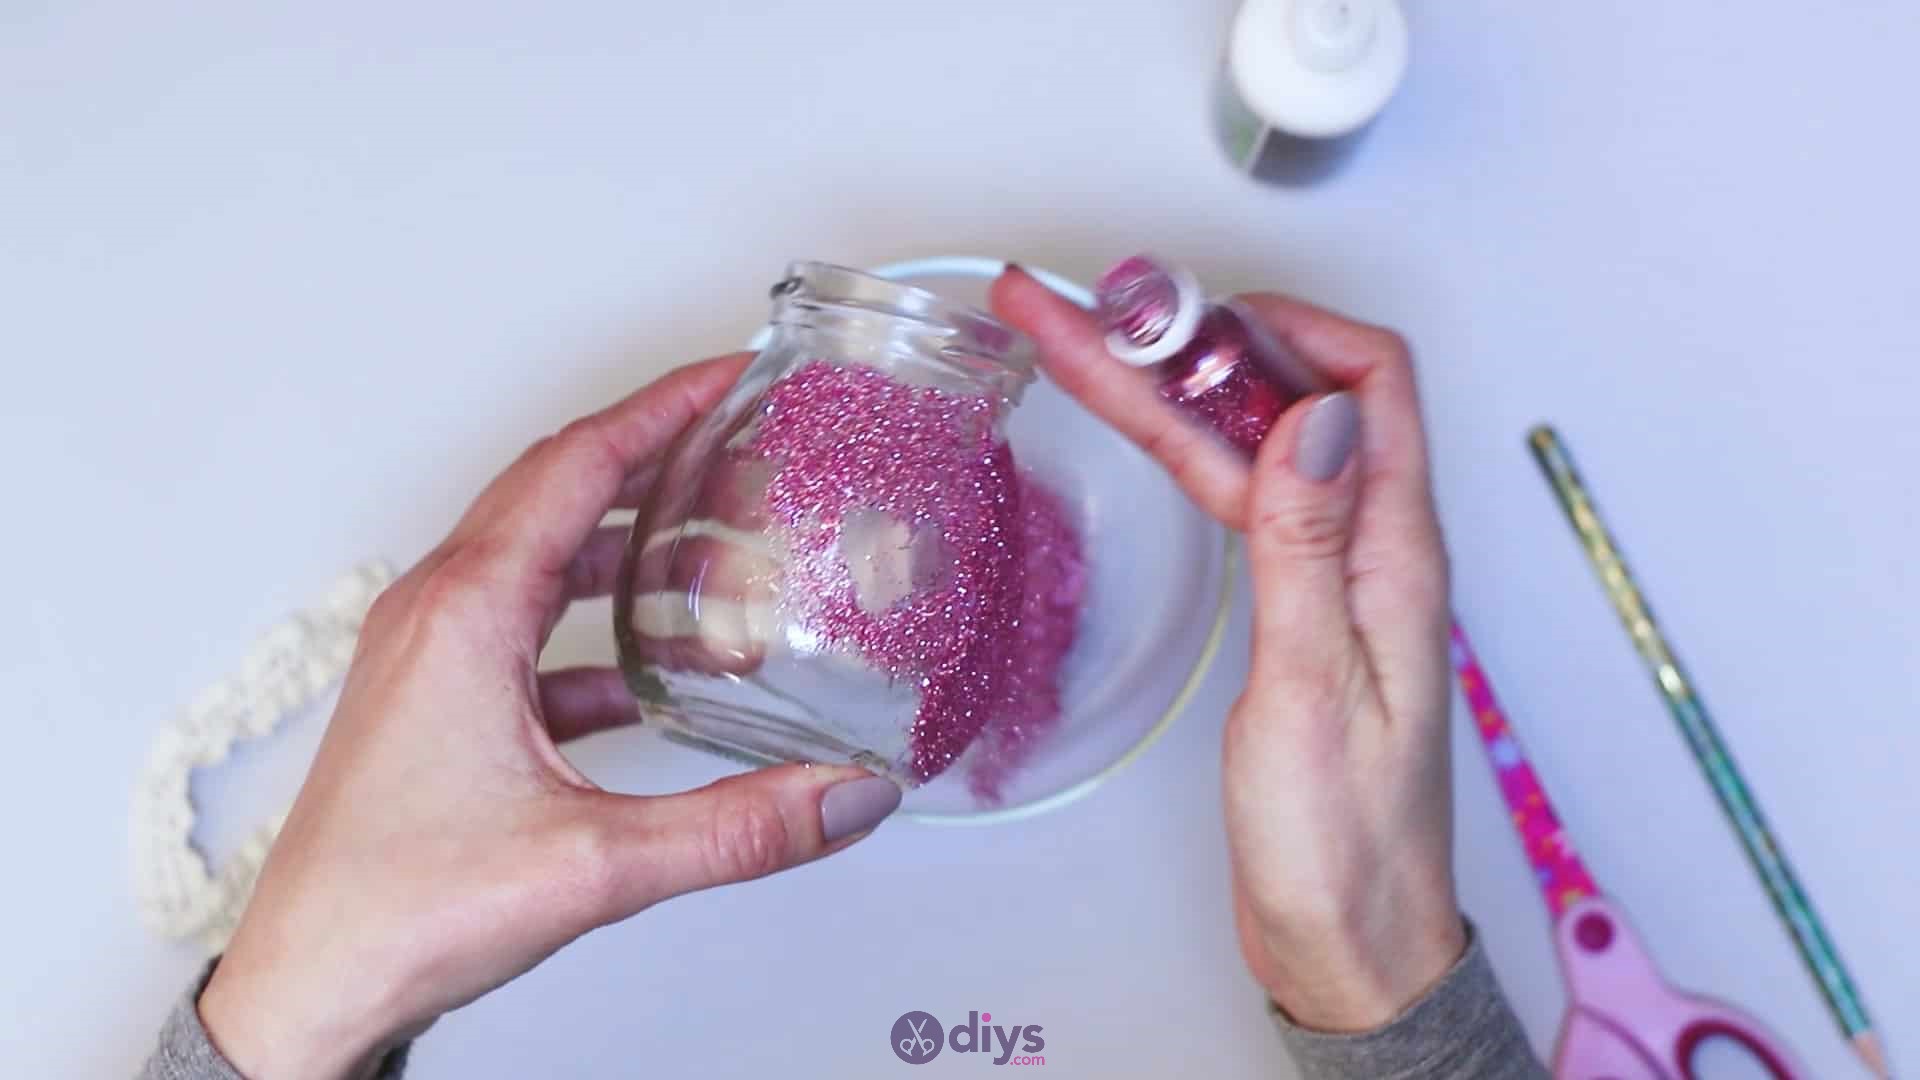
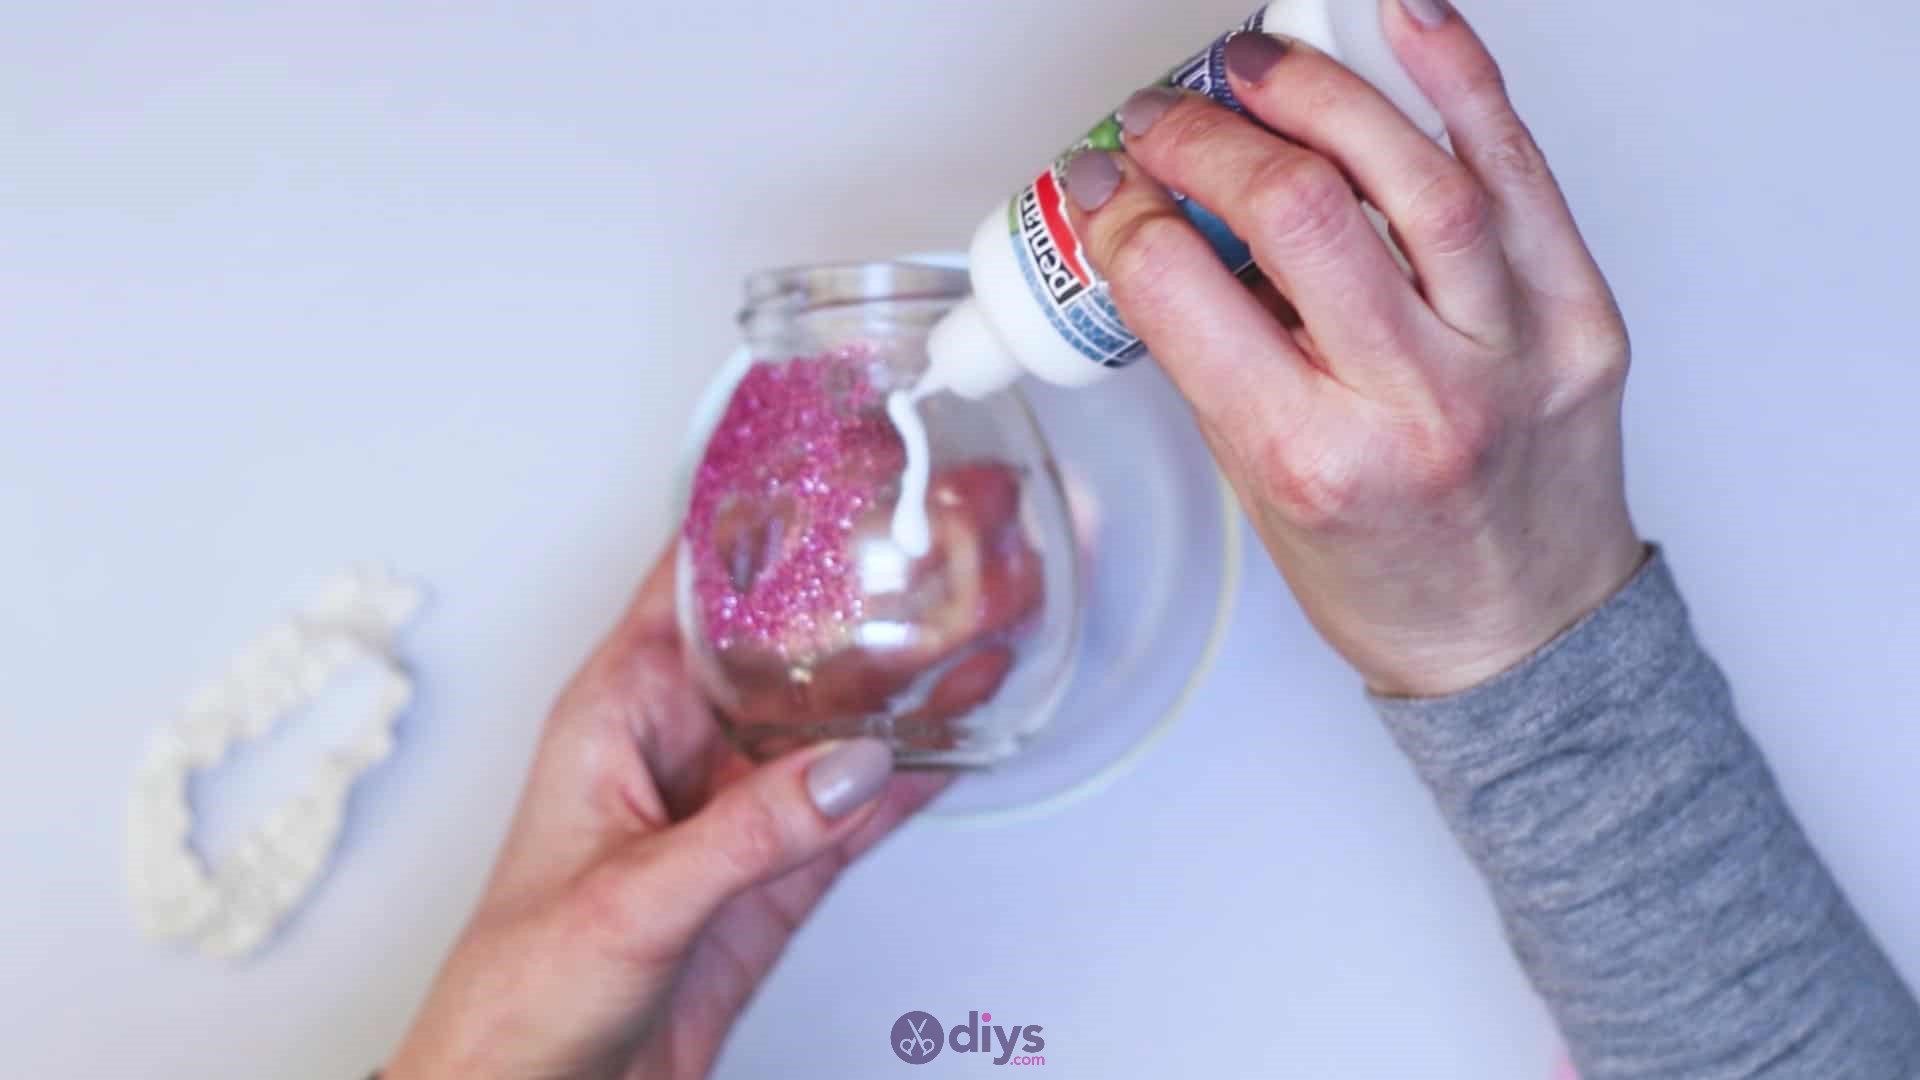
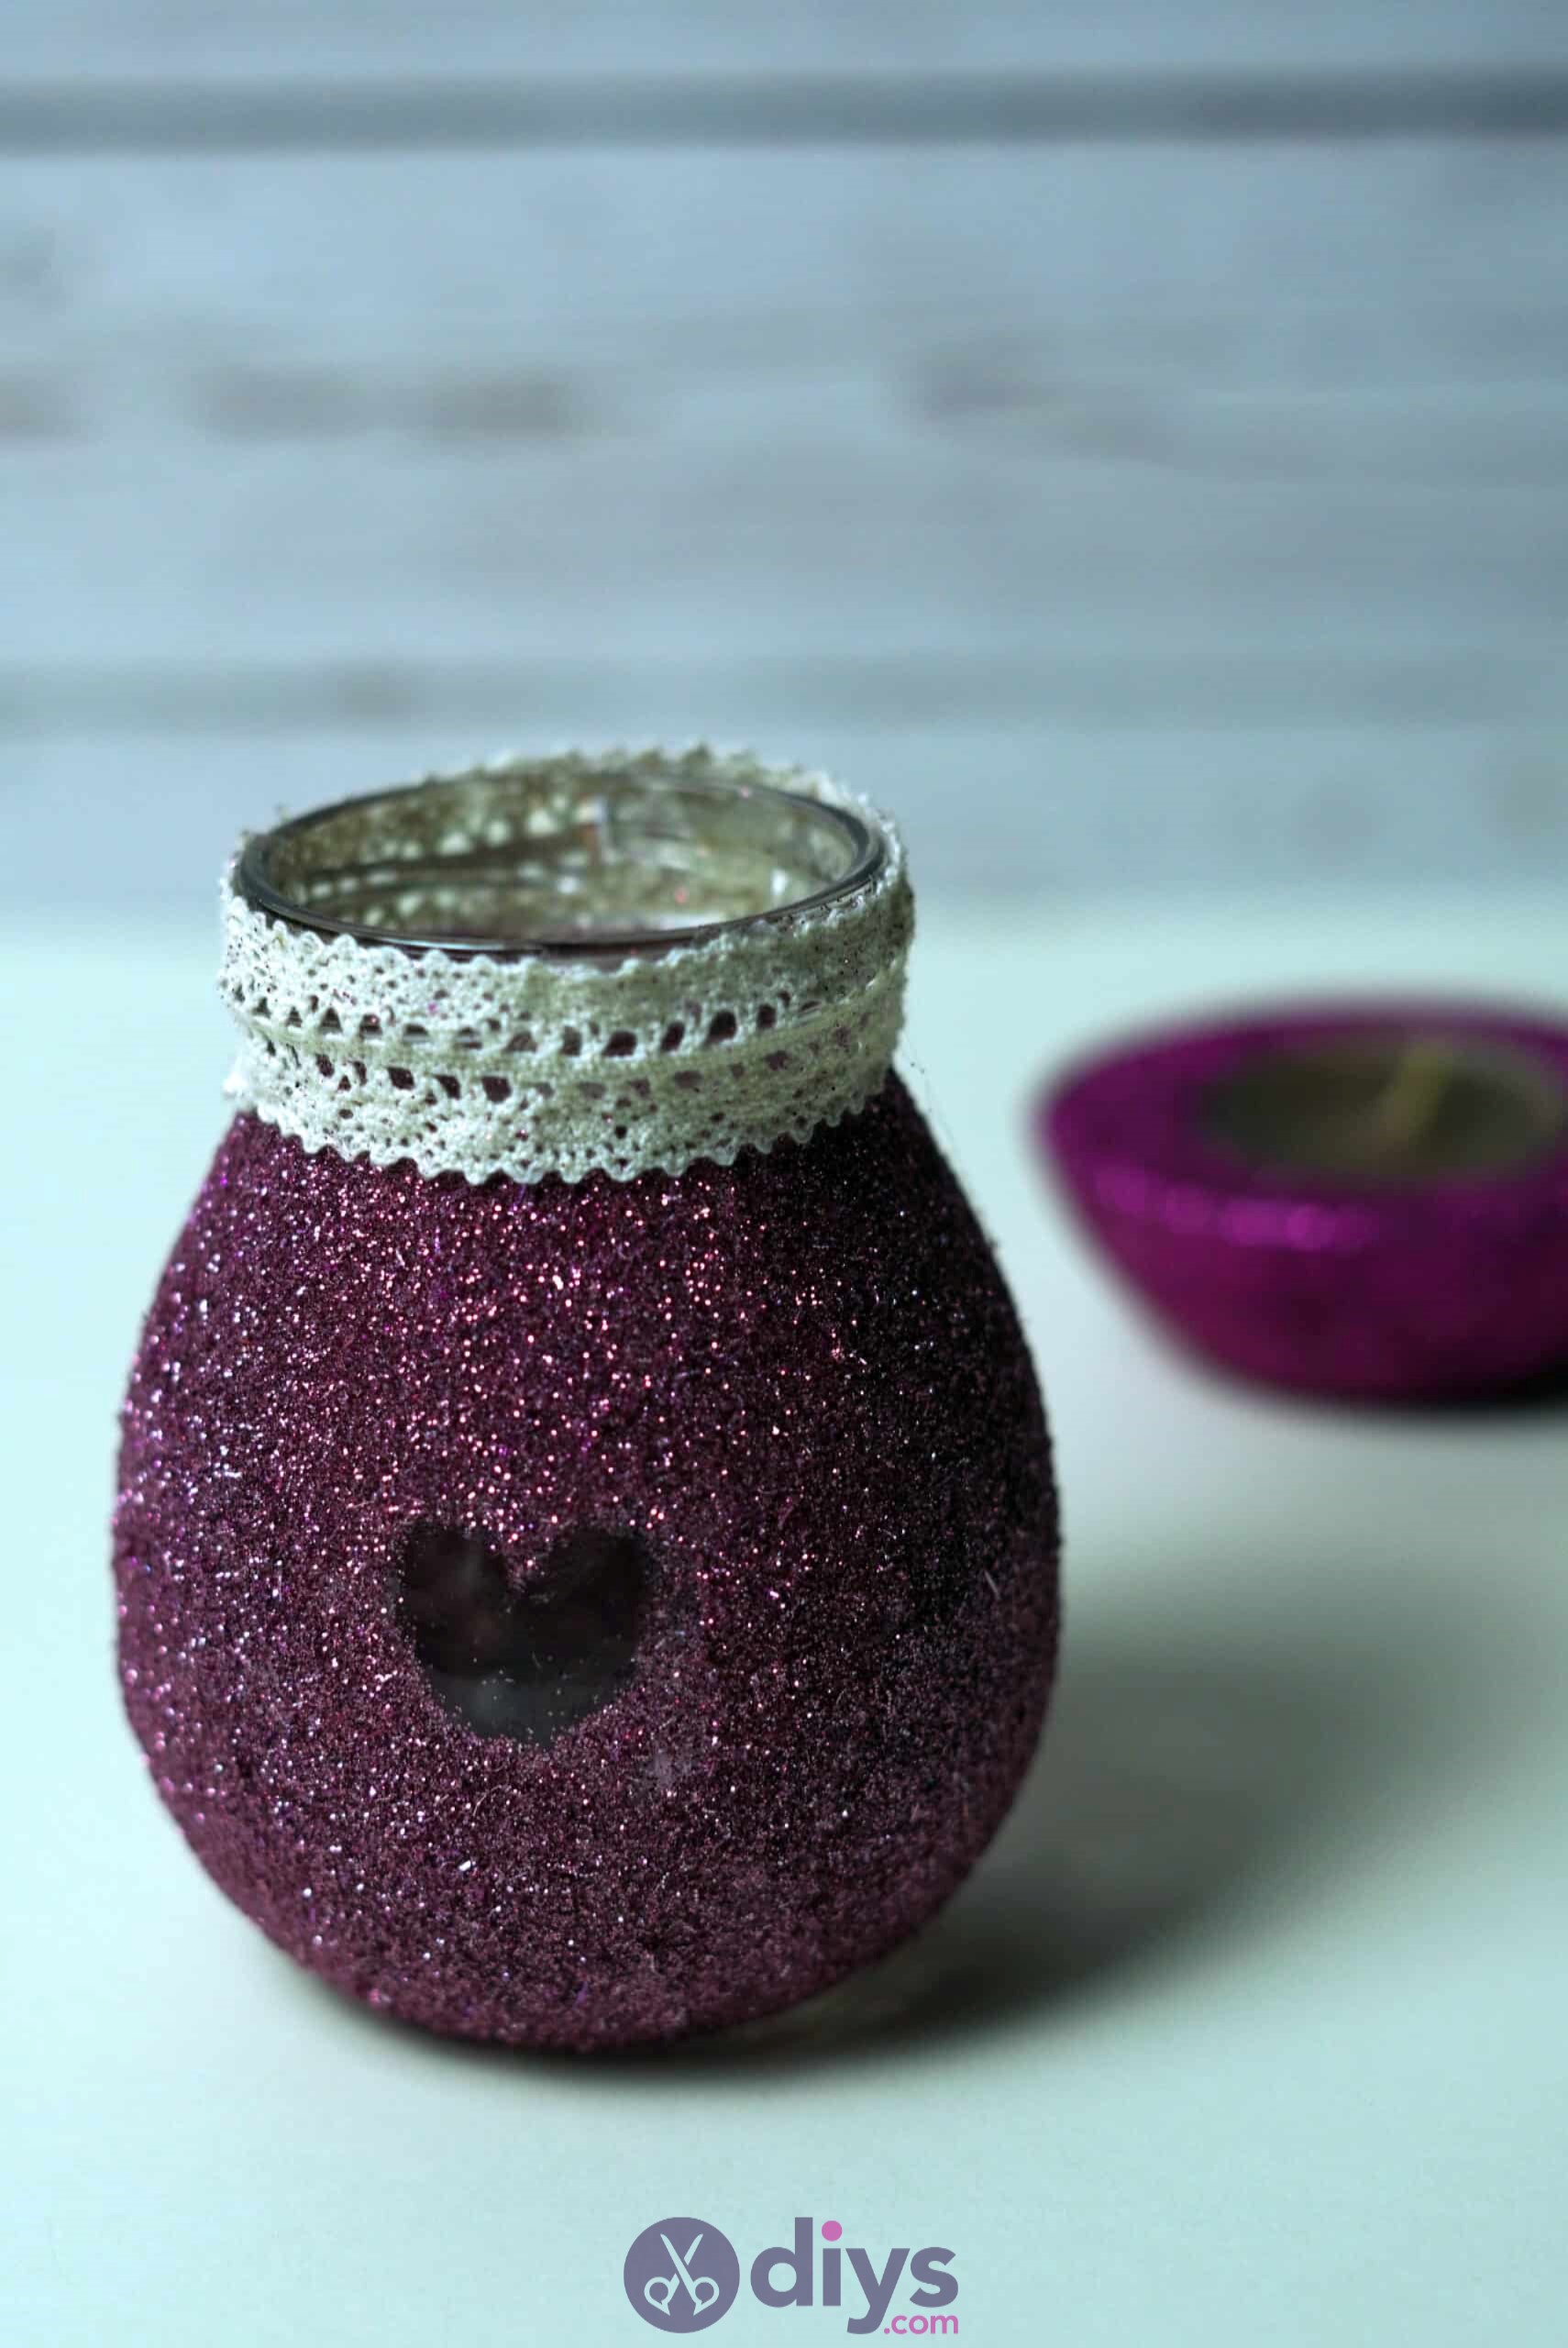
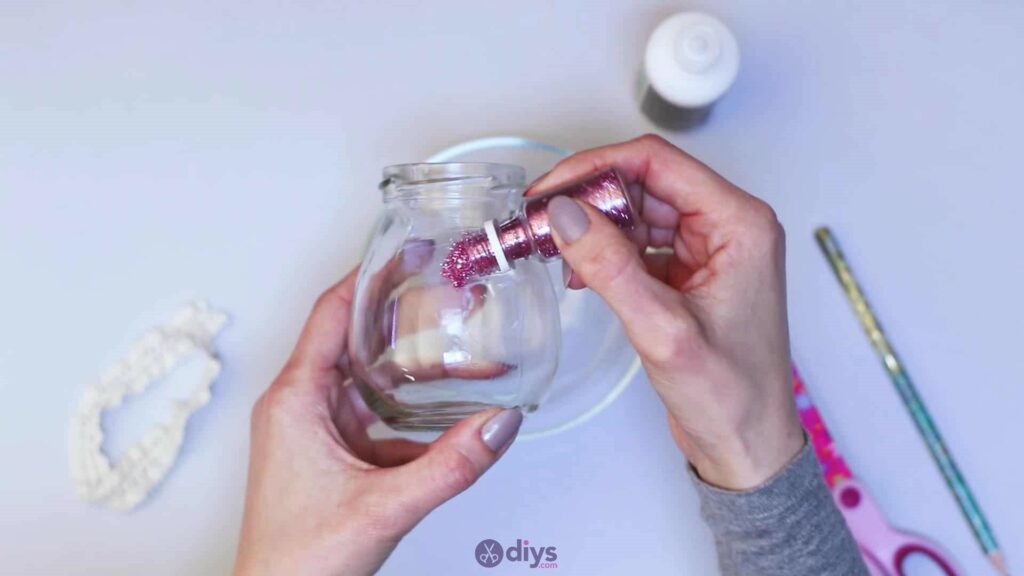
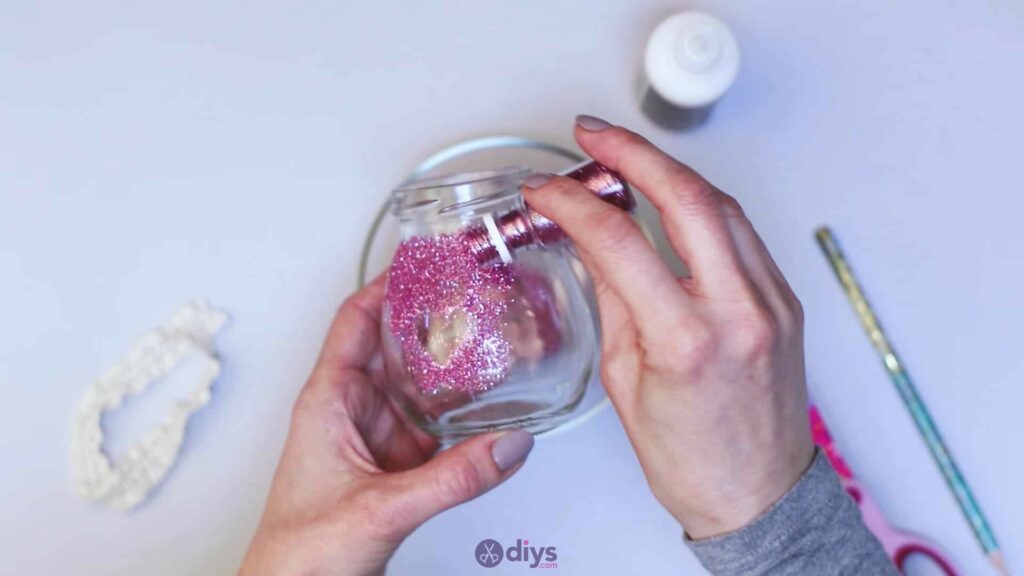
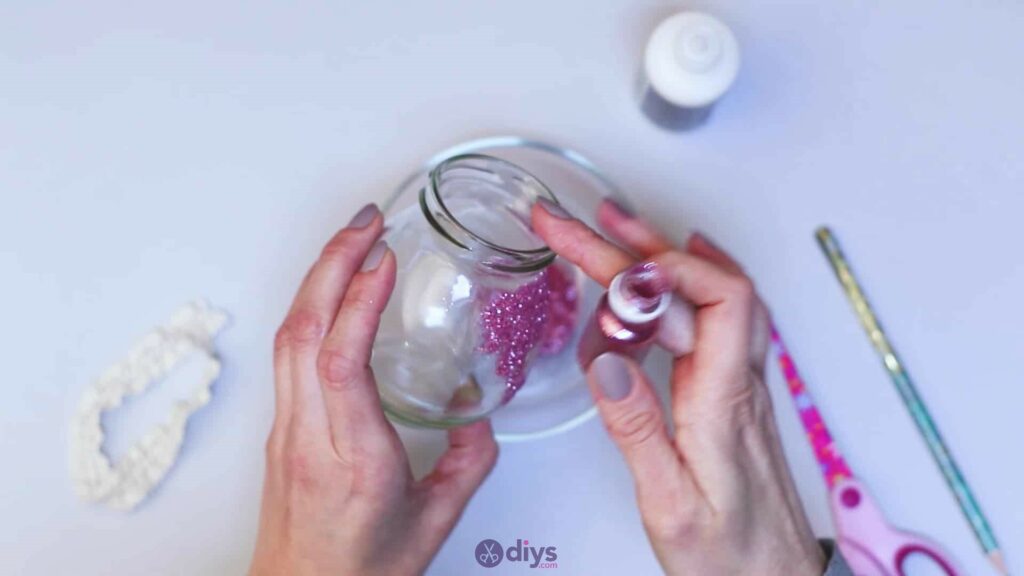
Step 5: Time to Shine
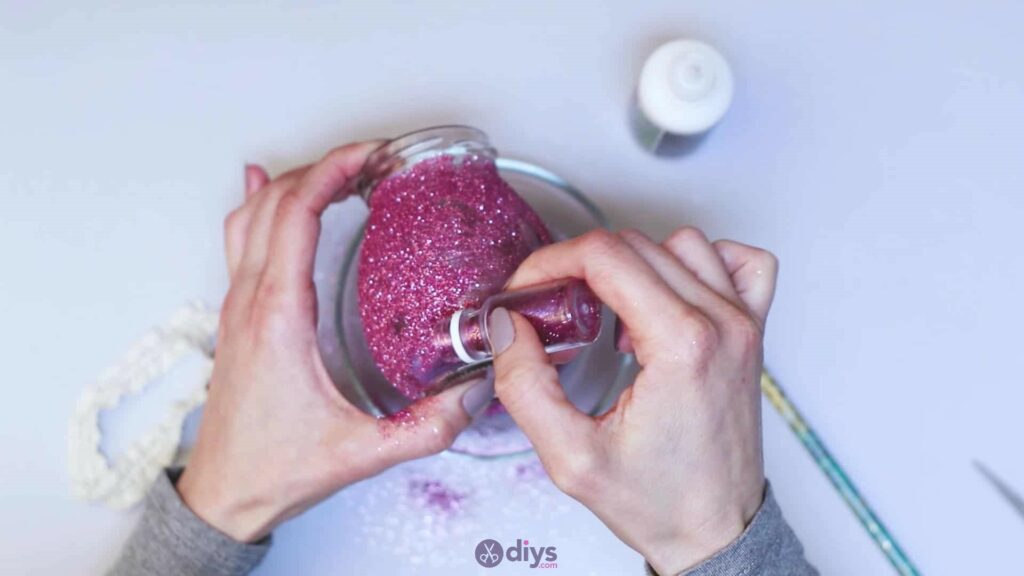
Pick up your jar and position your bowl underneath to catch the glitter you’re about to sprinkle. Hold your glitter in whichever hand you’re not holding your jar in and start sprinkling it liberally over the area that you just spread the thin layer of glue across. The glitter will stick in the tacky glue any excess that doesn’t stick will be caught by the bowl underneath. Keep sprinkling until you’ve thoroughly covered the parts that had glue. Feel free to use your finger to clean out any glue that clings to the glass in your negative-space heart so the shape stays true. You can also tap the edge of your jar lightly as you go to shake excess off so the jar doesn’t shed sparkles later when you display it. You only want to apply your glue and glitter up to where the jar’s top begins, where the ridges for the lid start. You’ll do something else with this part later, so leave it clean for now.

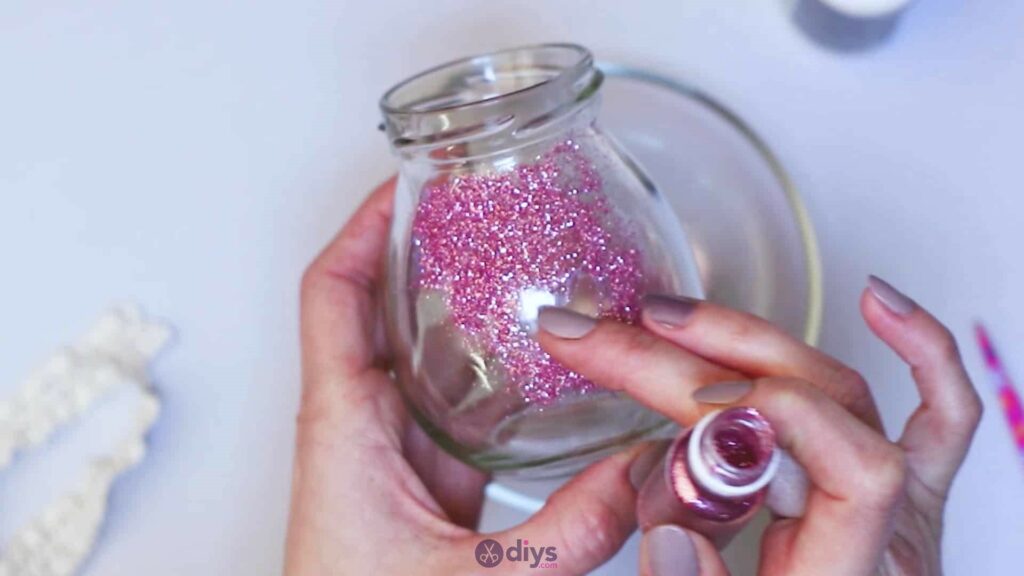
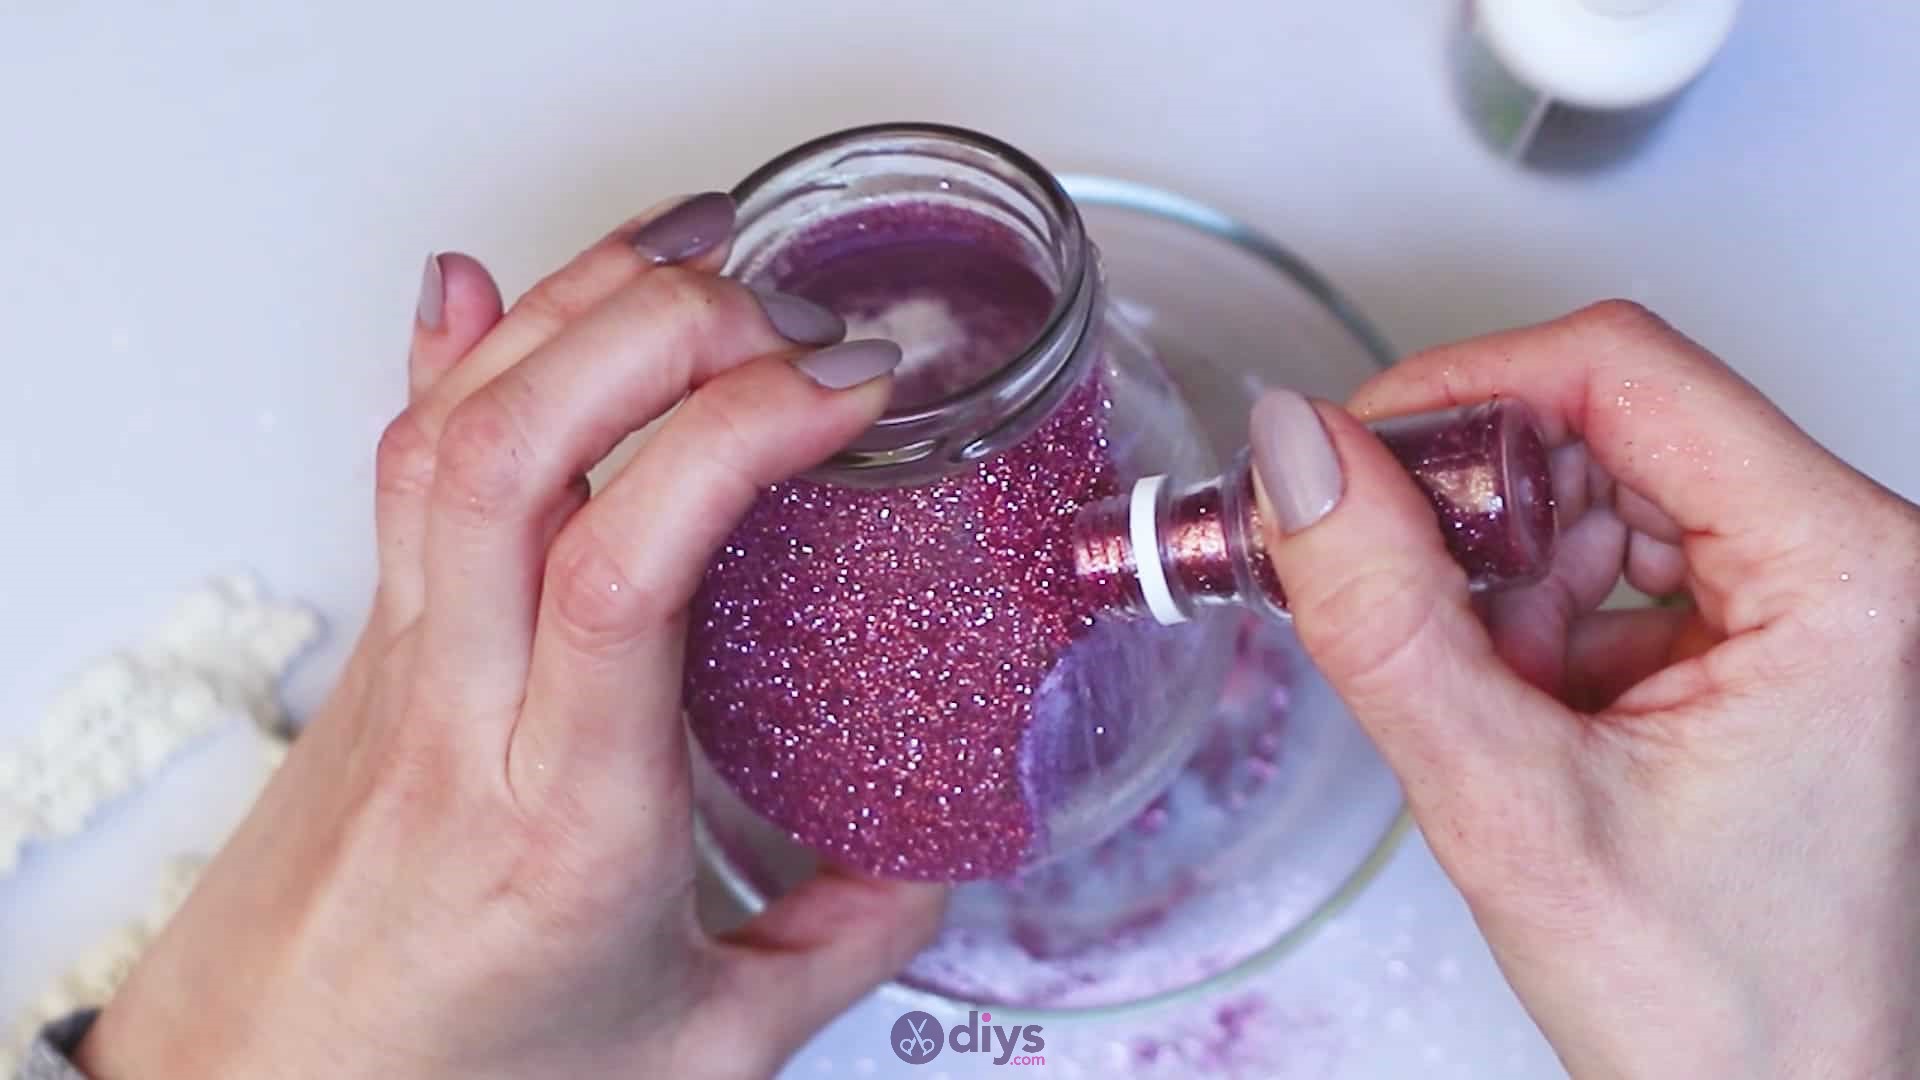
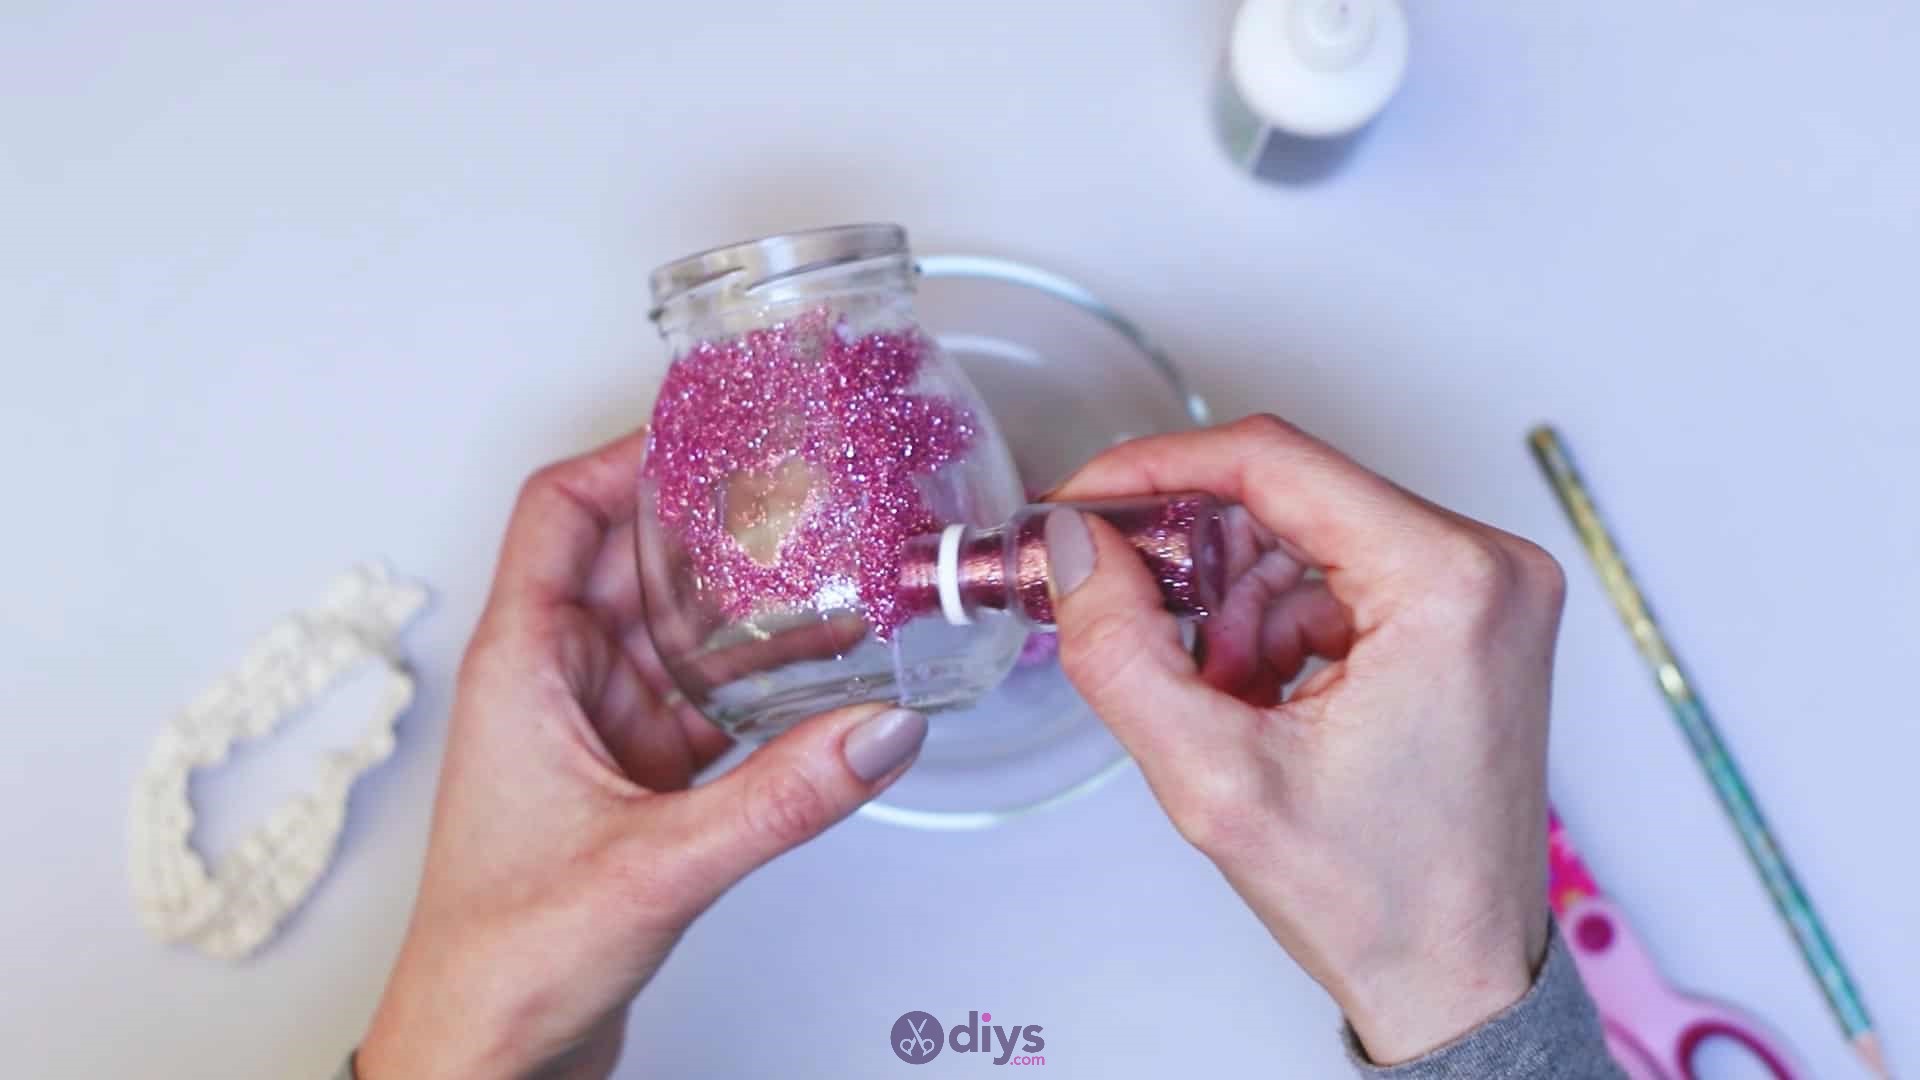
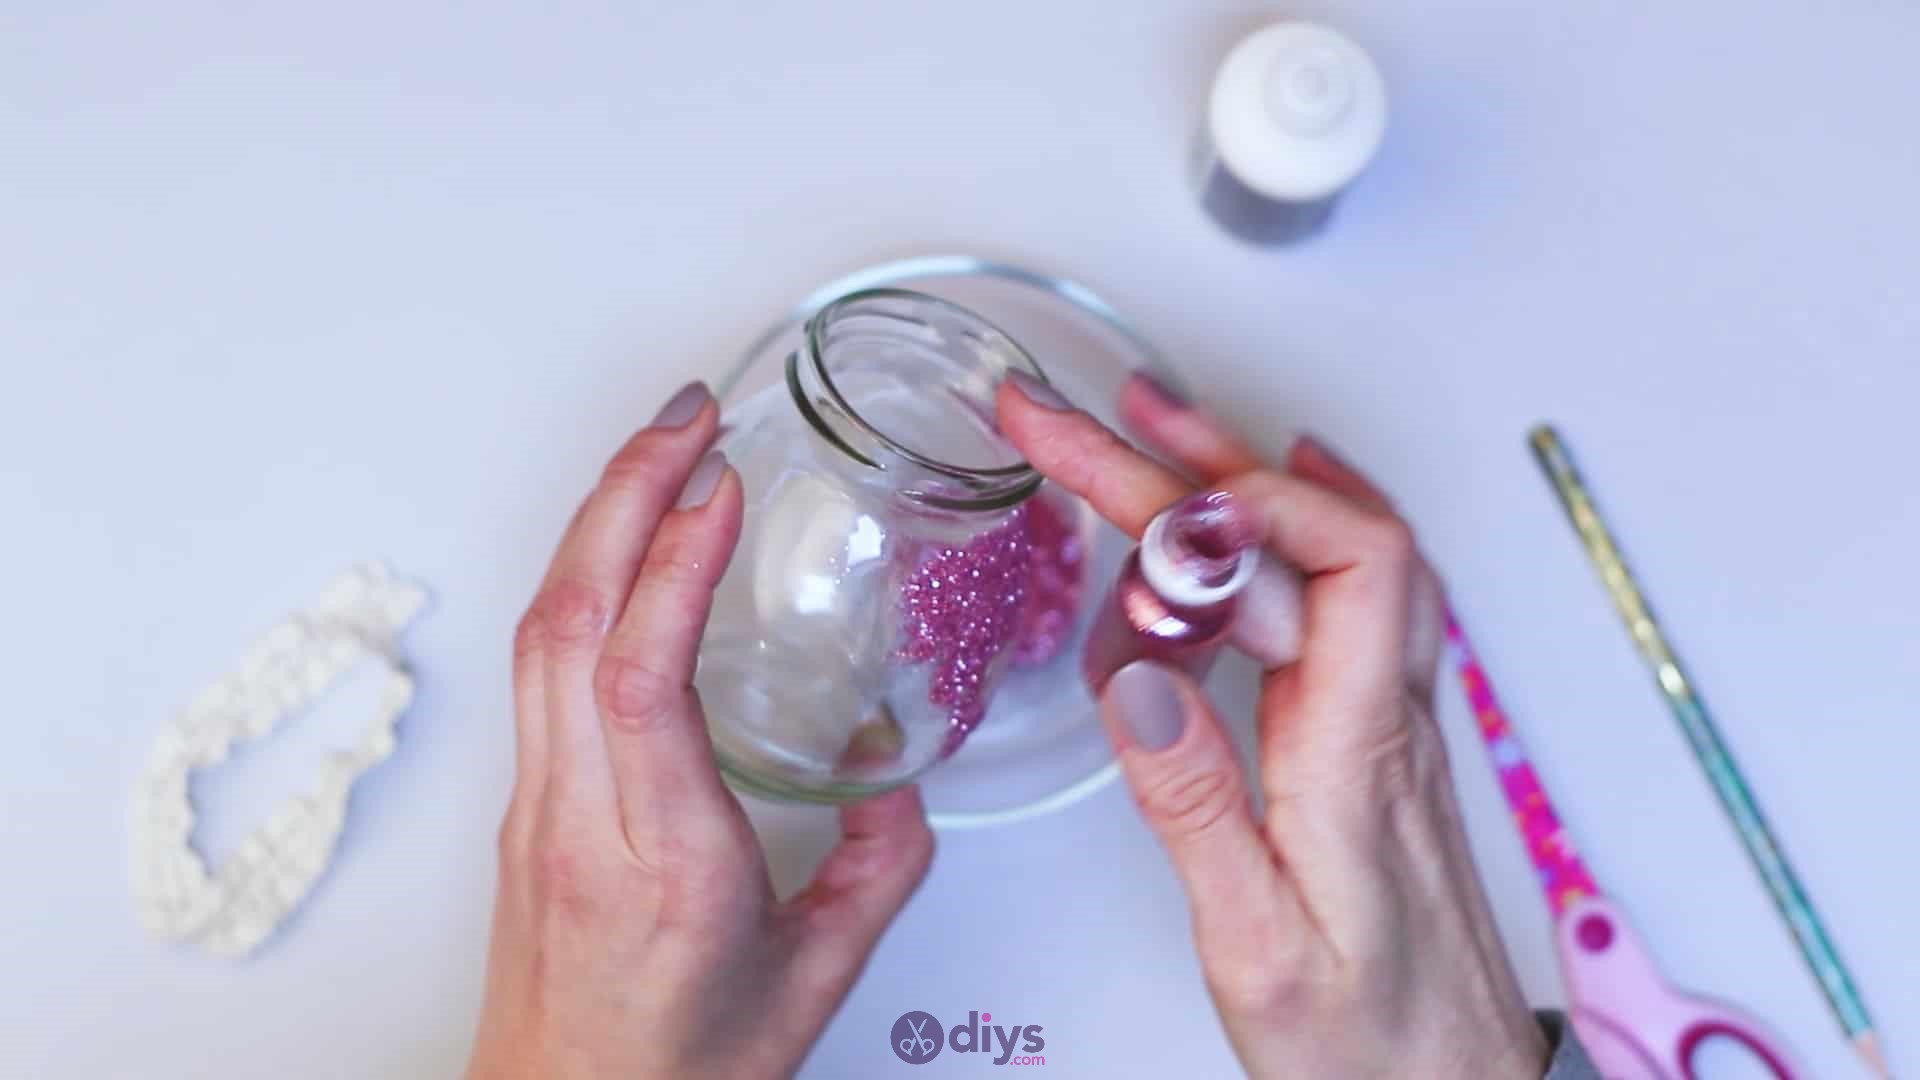
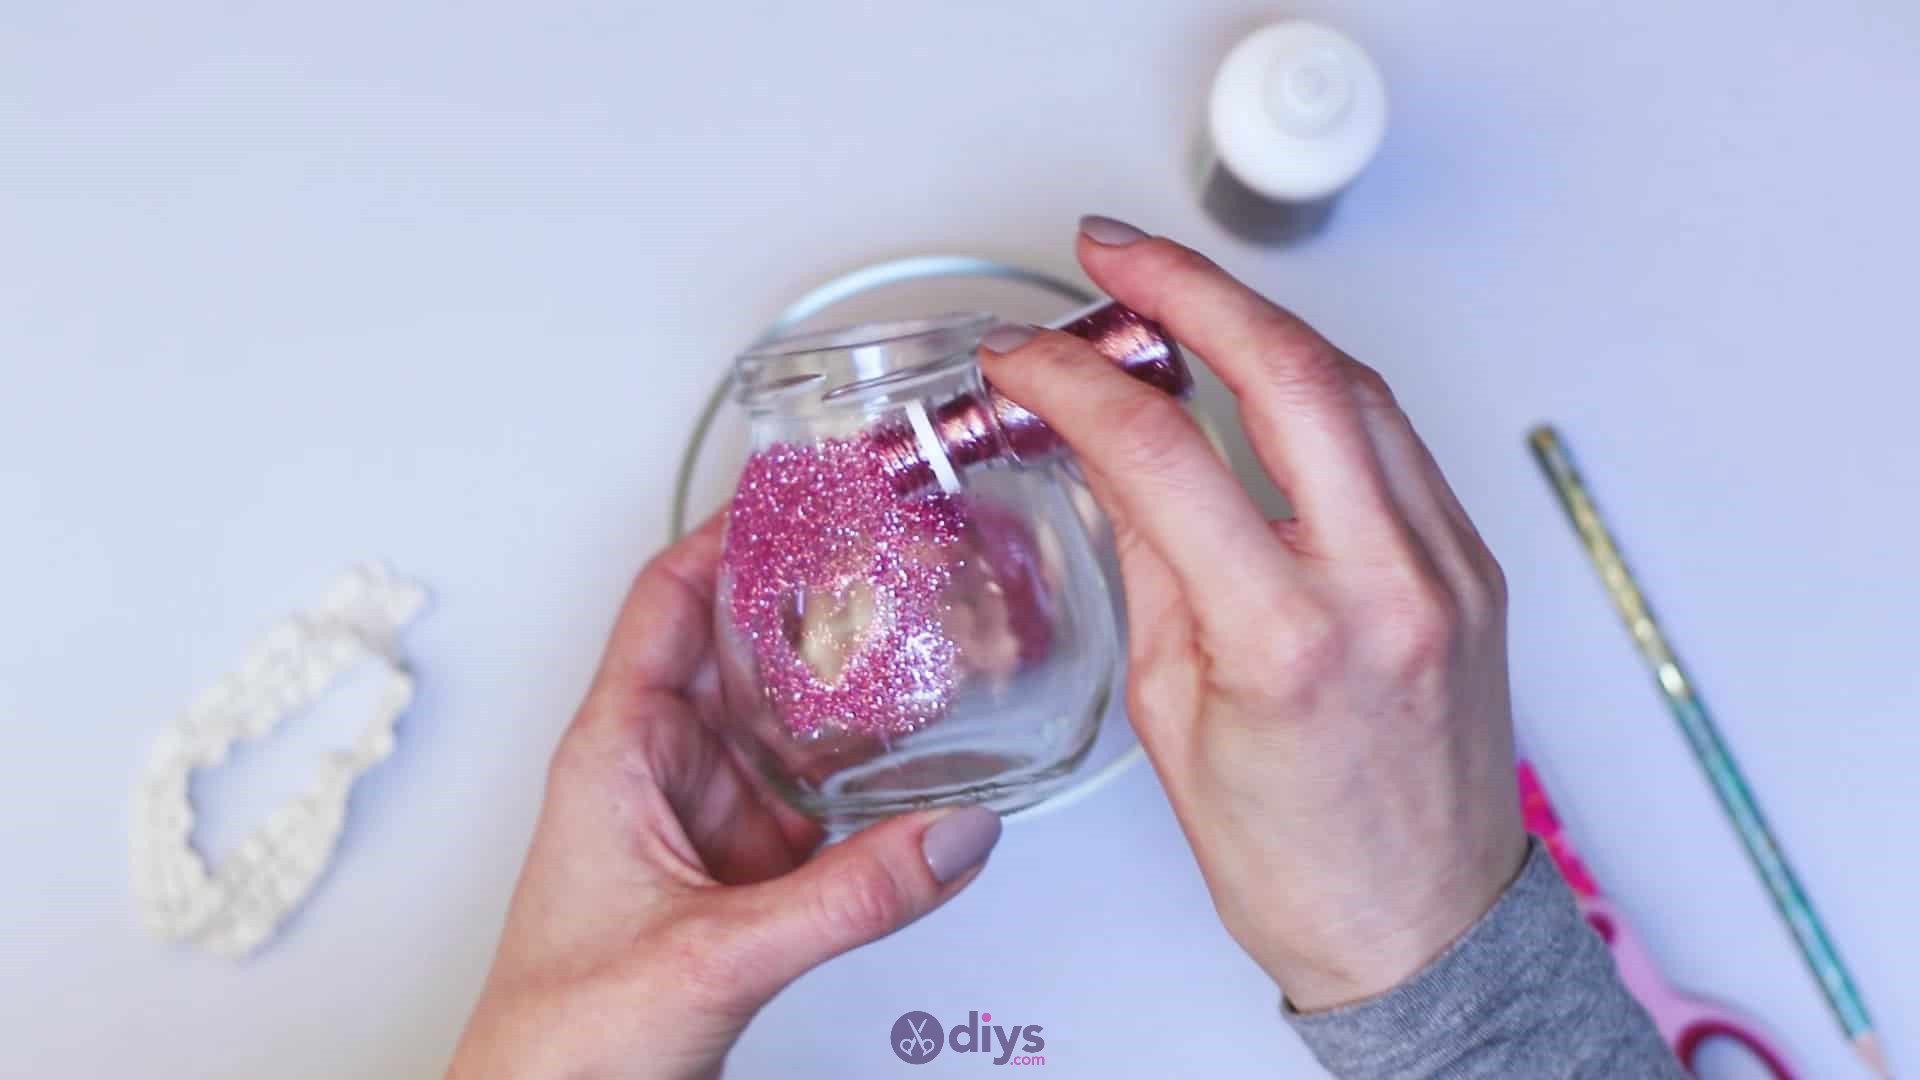
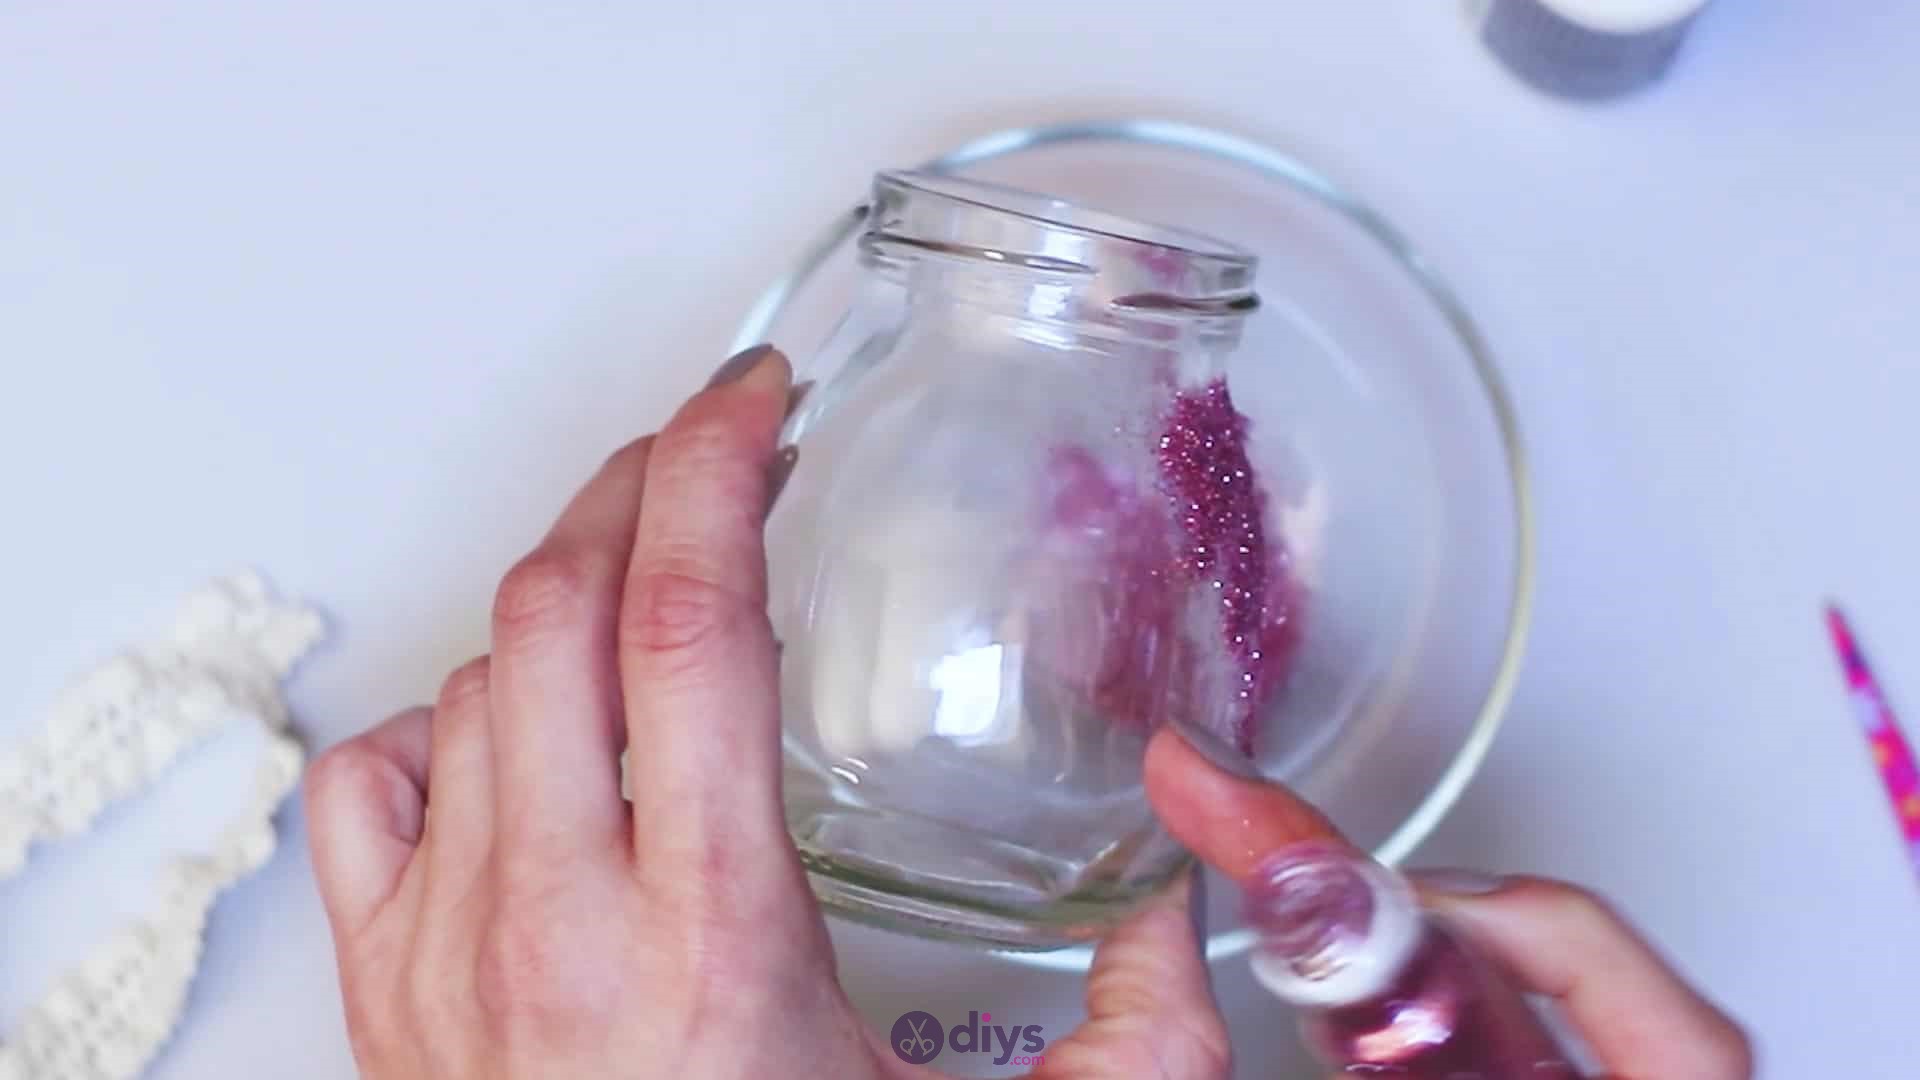
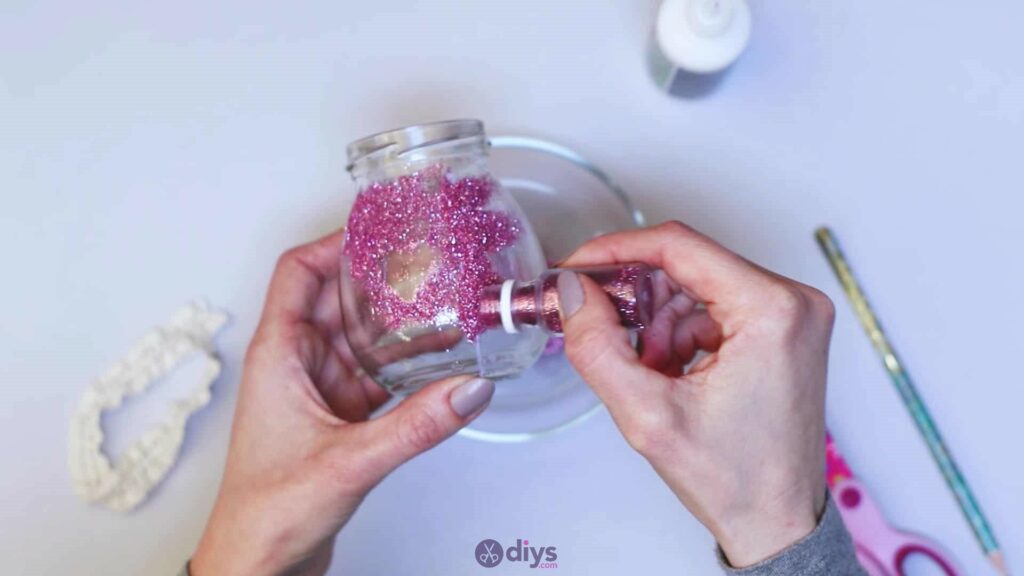
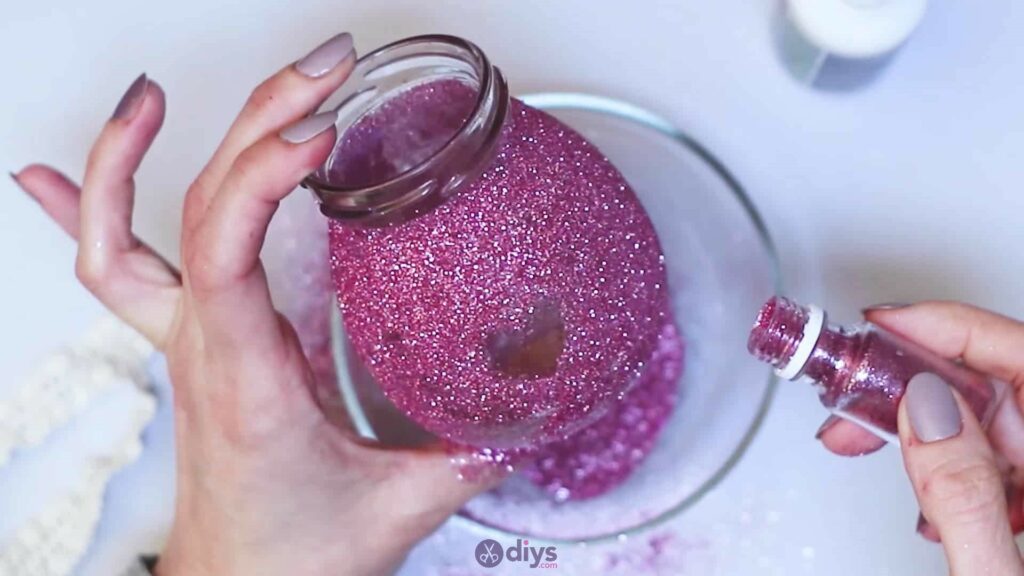
Step 6: More glitter
Use this same technique and repeat the process to finish off the rest of the jar around the glittered space with the heart too. Make sure to use your paintbrush to spread the glue right up to where you stopped with the first glitter application so you don’t get gaps or spaces in your coverage. You’ll also want to keep your glue application thin, however, so glitter doesn’t ball up in it or get gummy and clumpy. Complete your jar all the way around. Give your jar one last sprinkle to catch any spots that are missing glitter and then tape or shake the excess off into the bowl. You can pour that glitter back into its container and use it again later!


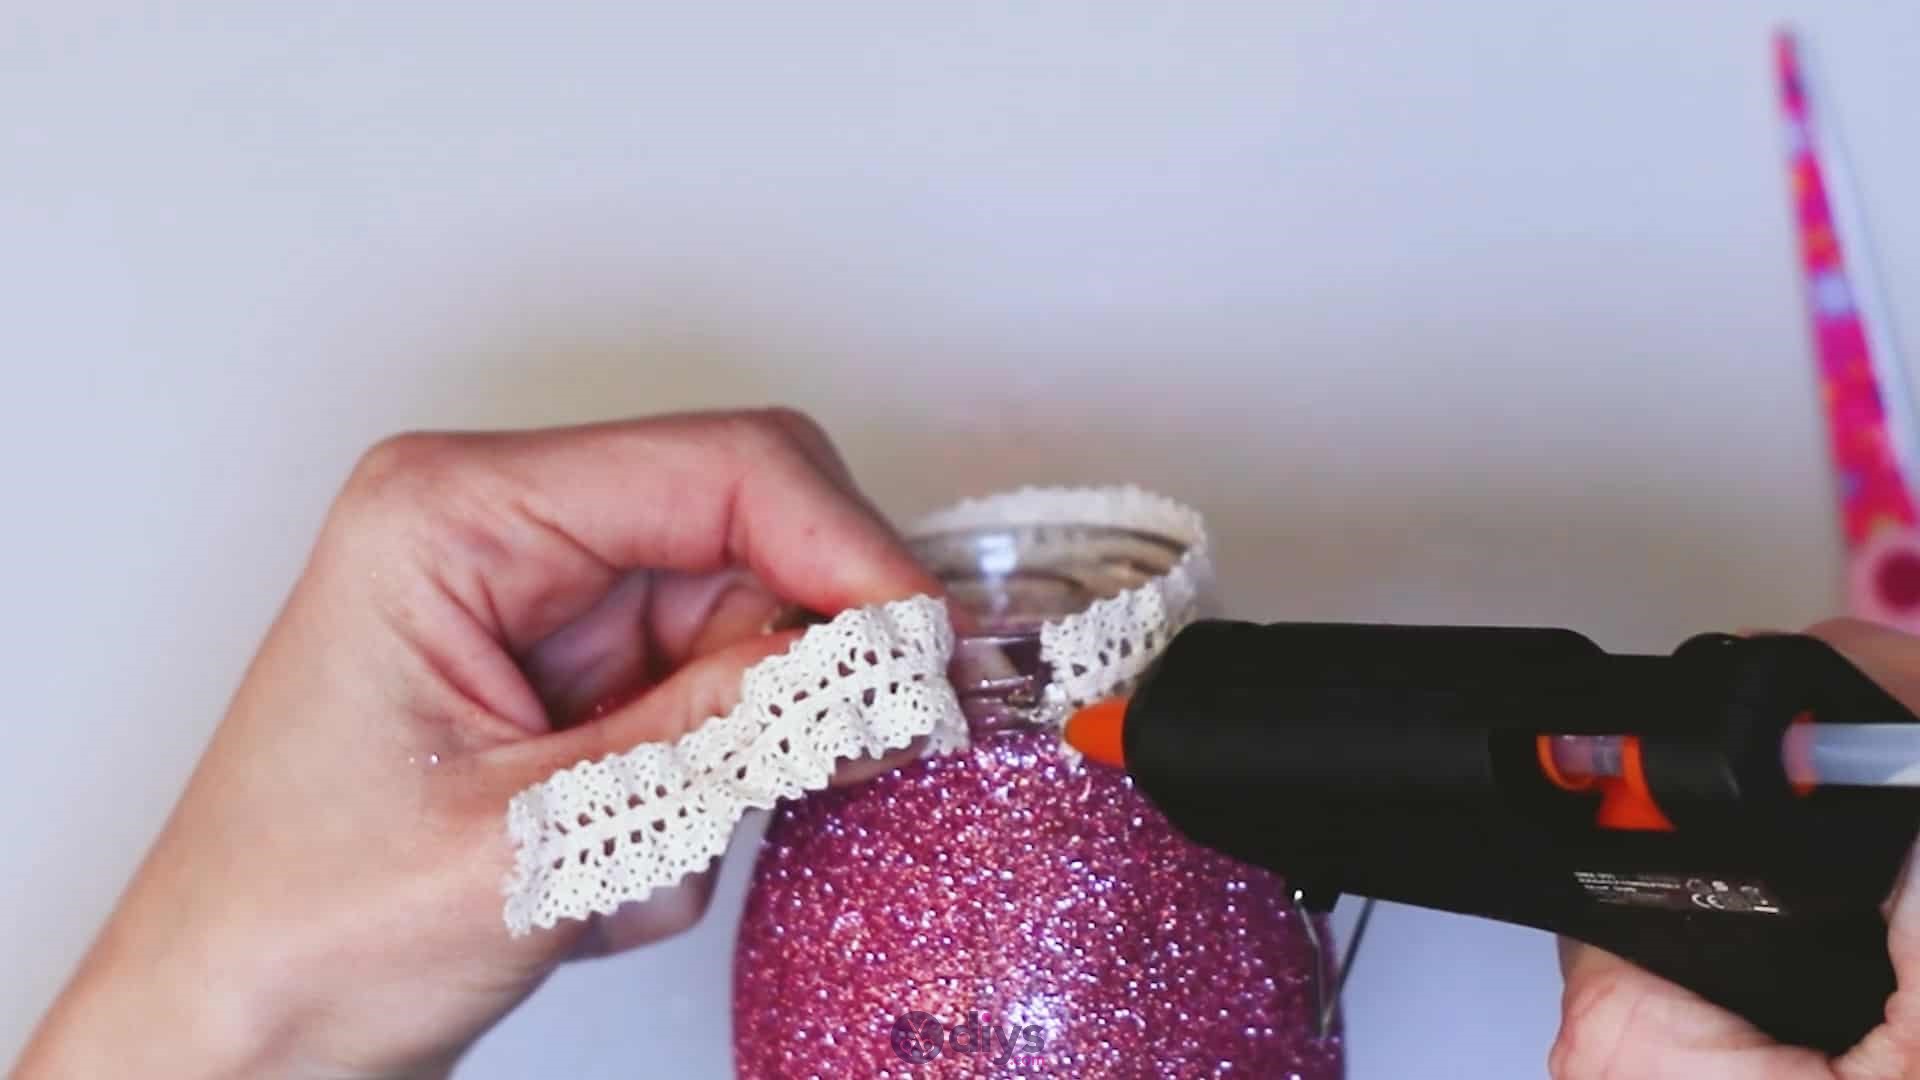
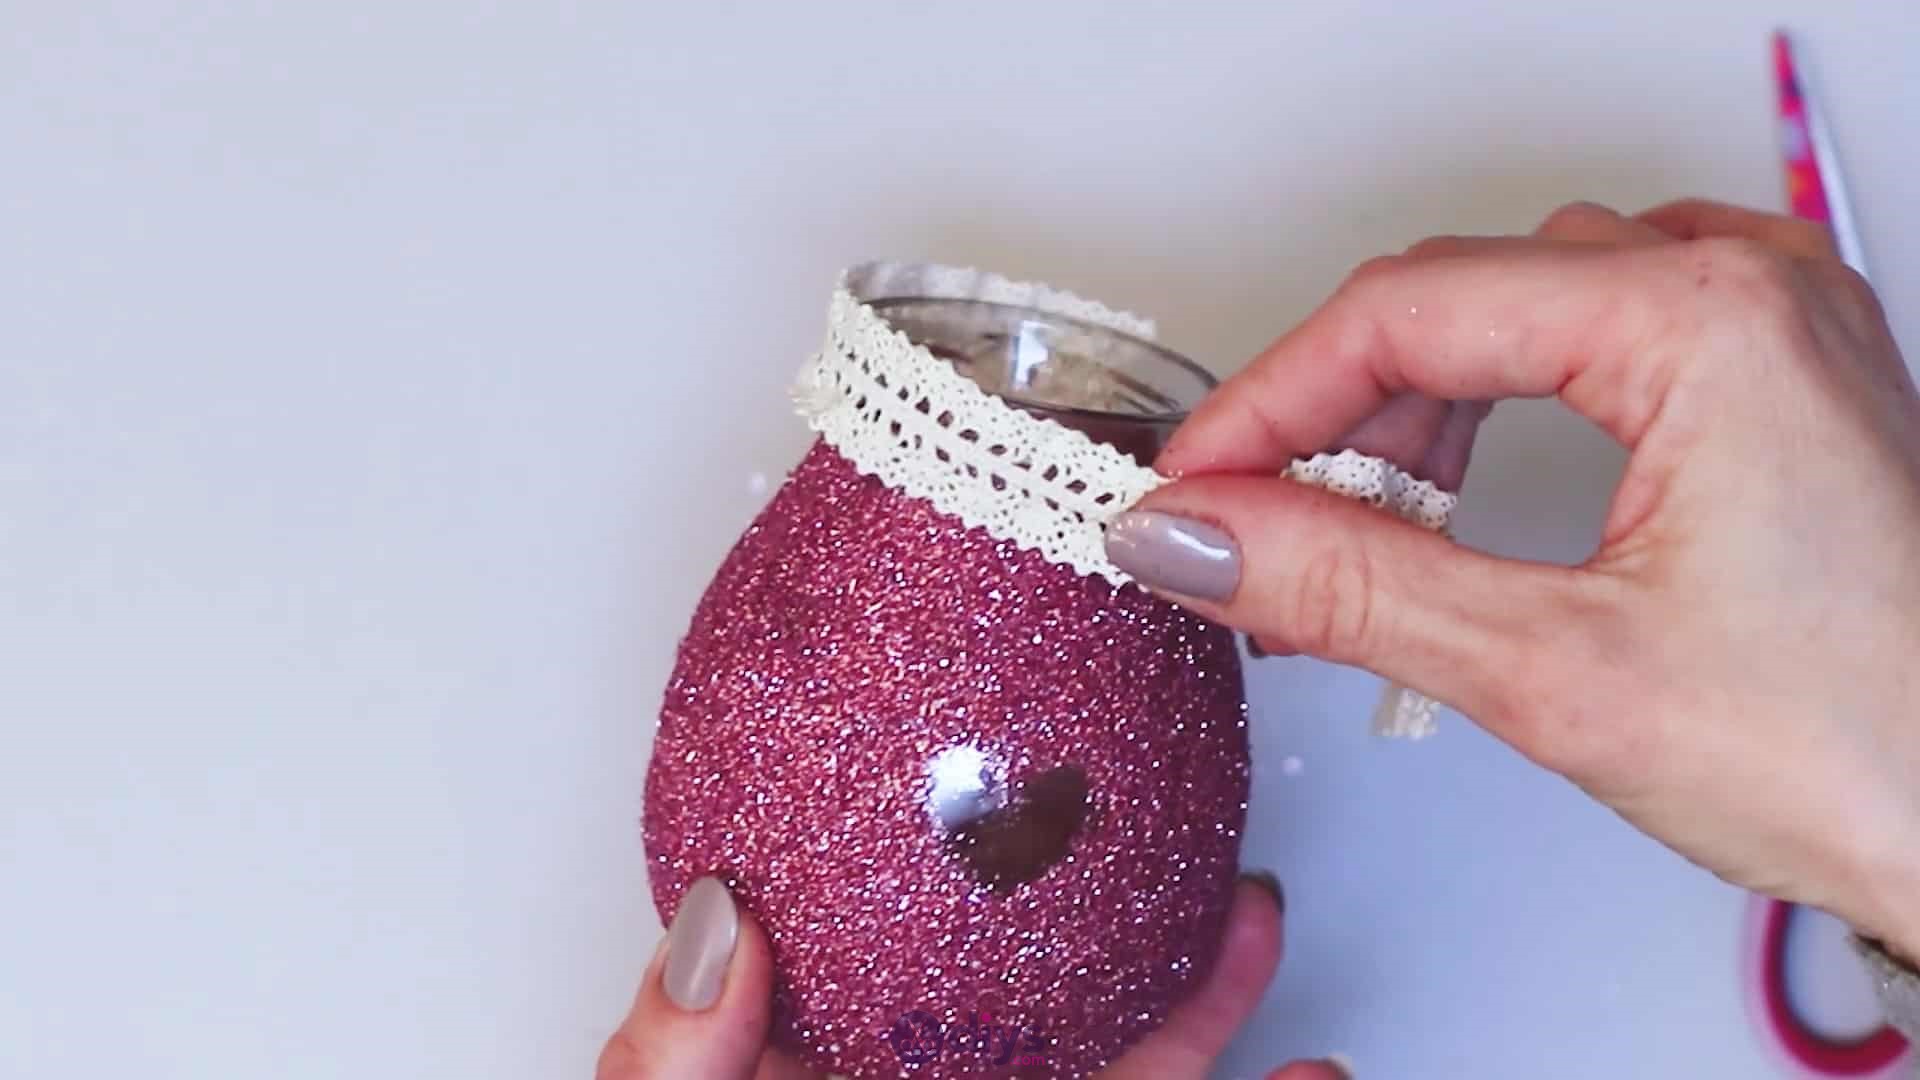
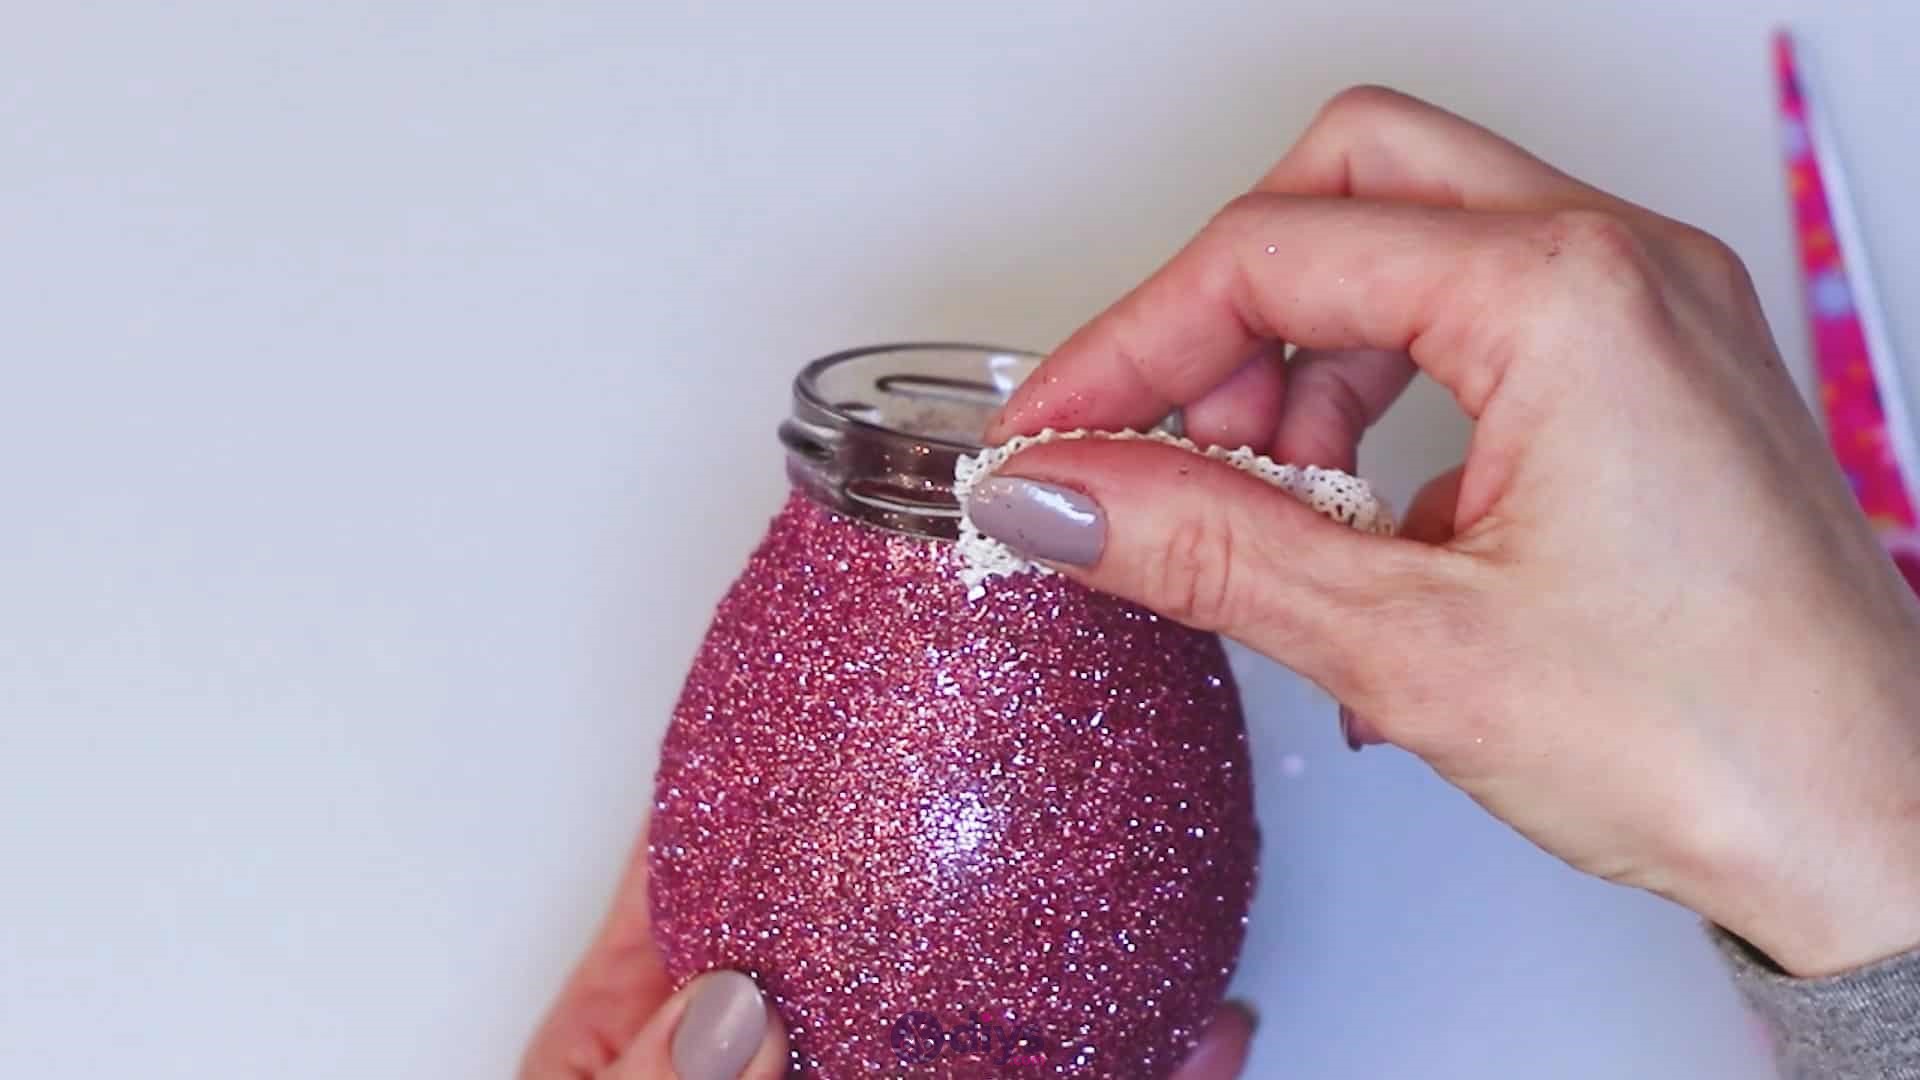
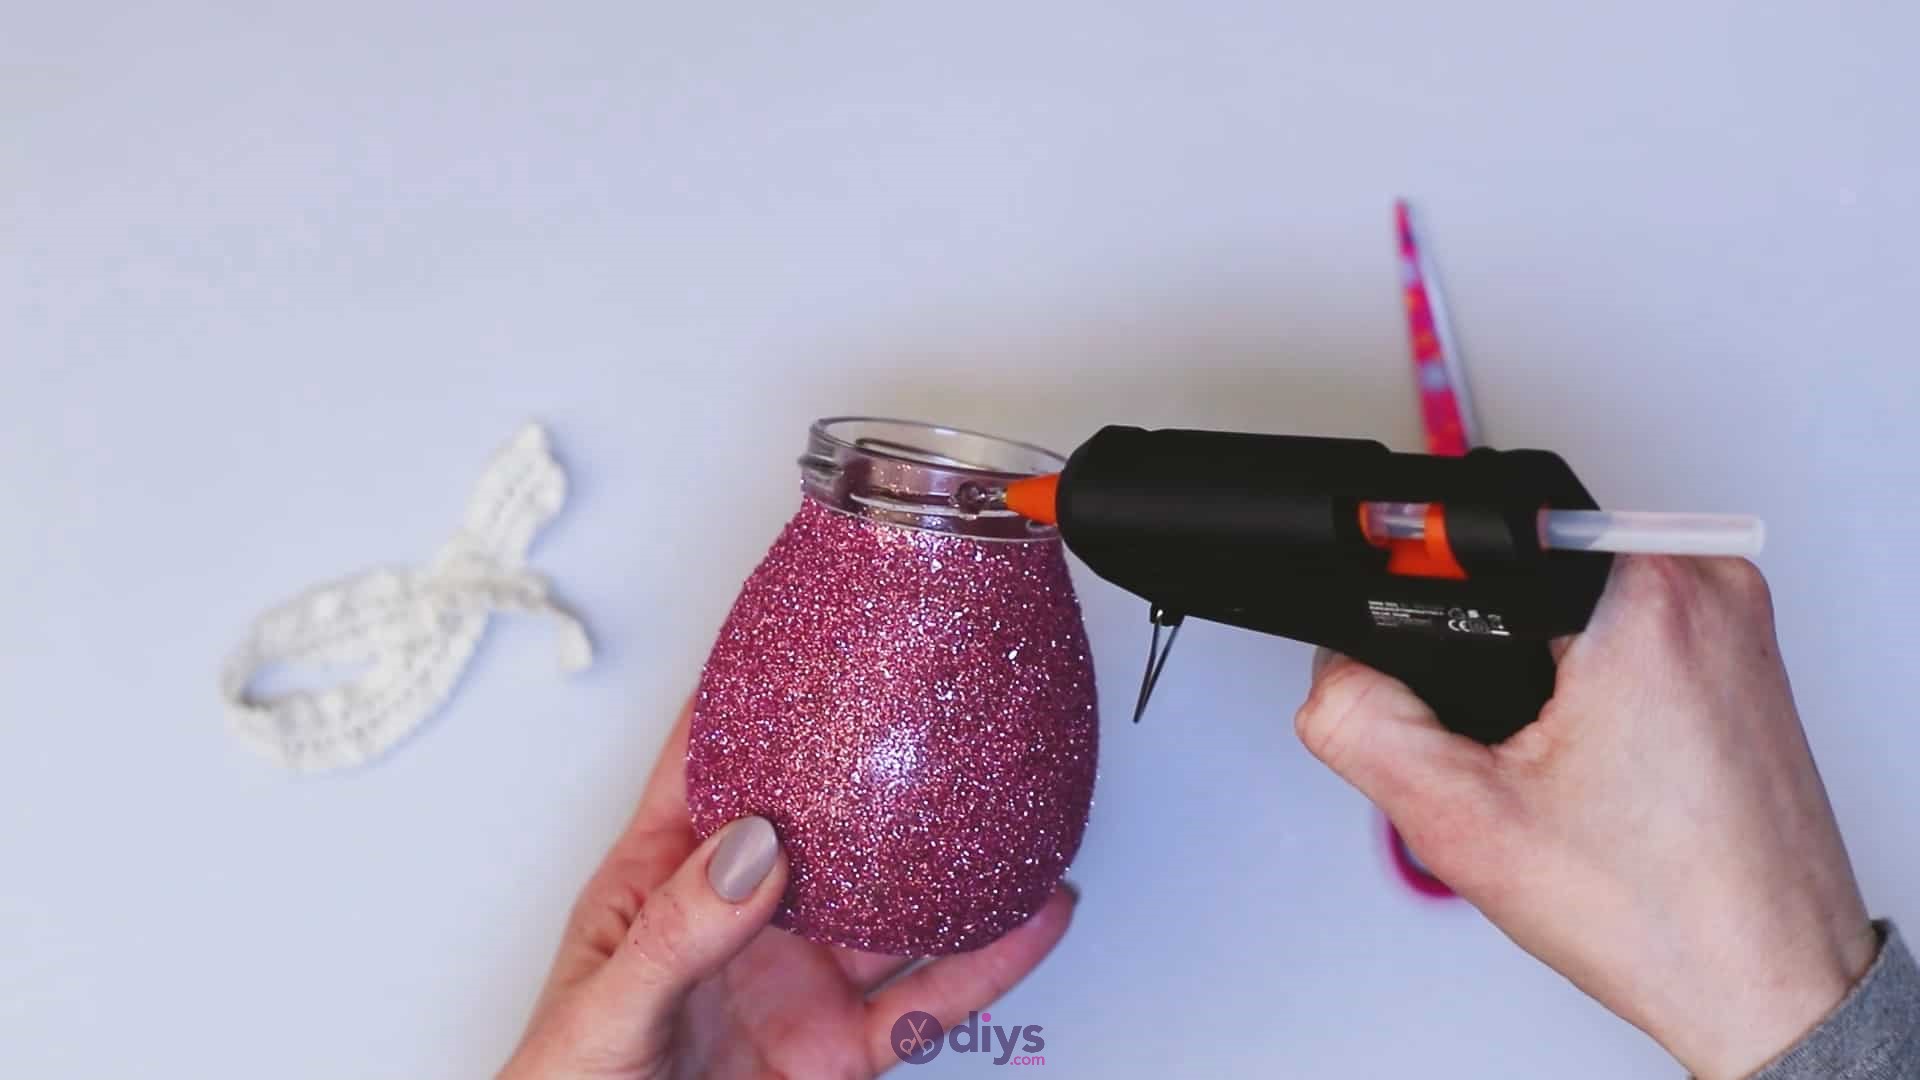
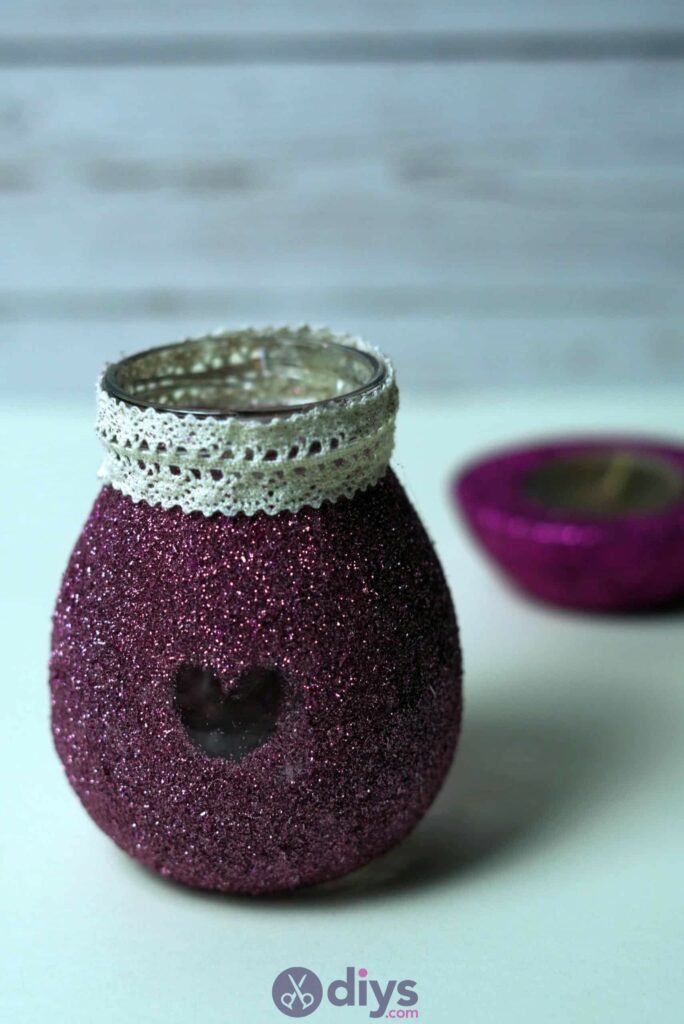
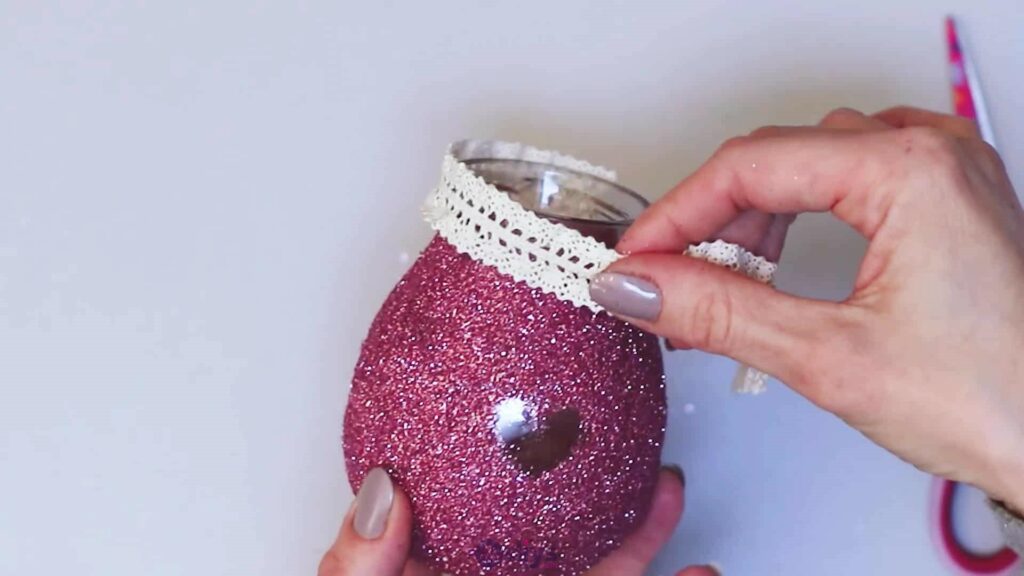
Step 7: Edging
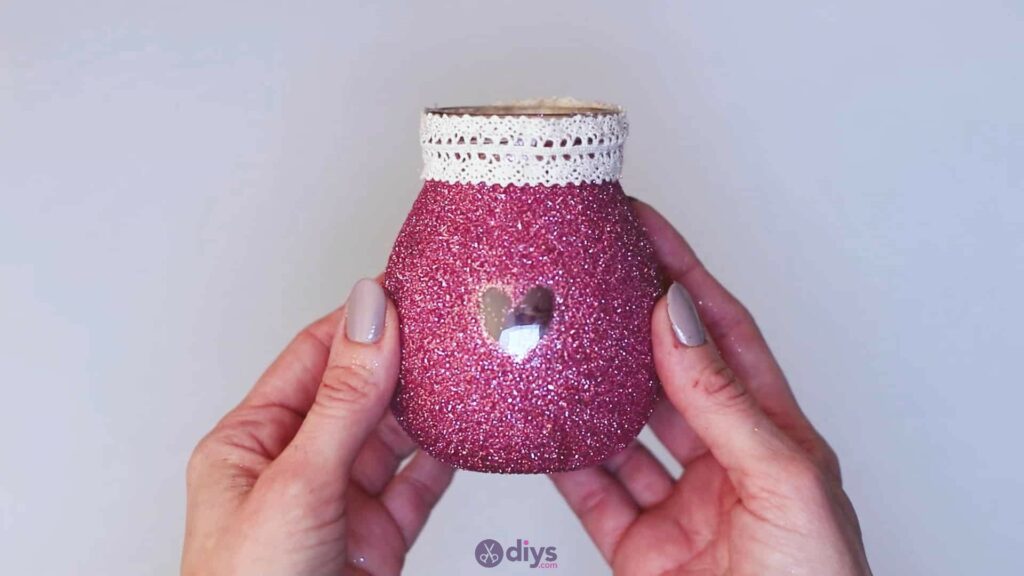
Now you’ll finish off the top edge that you left un-glittered before. On the backside opposite to where your heart is, apply a line of hot glue up the height of the un-glittered edge. Turn your lace trim horizontally facing so it runs parallel to the top line of your glitter application. Stick the end of the trim down in the glue and wrap the lace around the top, with its lower edge sitting evenly with the place where the glitter begins, all the way around. Keep wrapping until your lace meets back up with the end where it started. Apply glue on top of that end so there’s an overlap for neatness and press the trim down there where the two meet. Use your scissors to trim the excess lace.


Just in case you’d like to try this project out for yourself, here’s a fantastic tutorial video to help you!