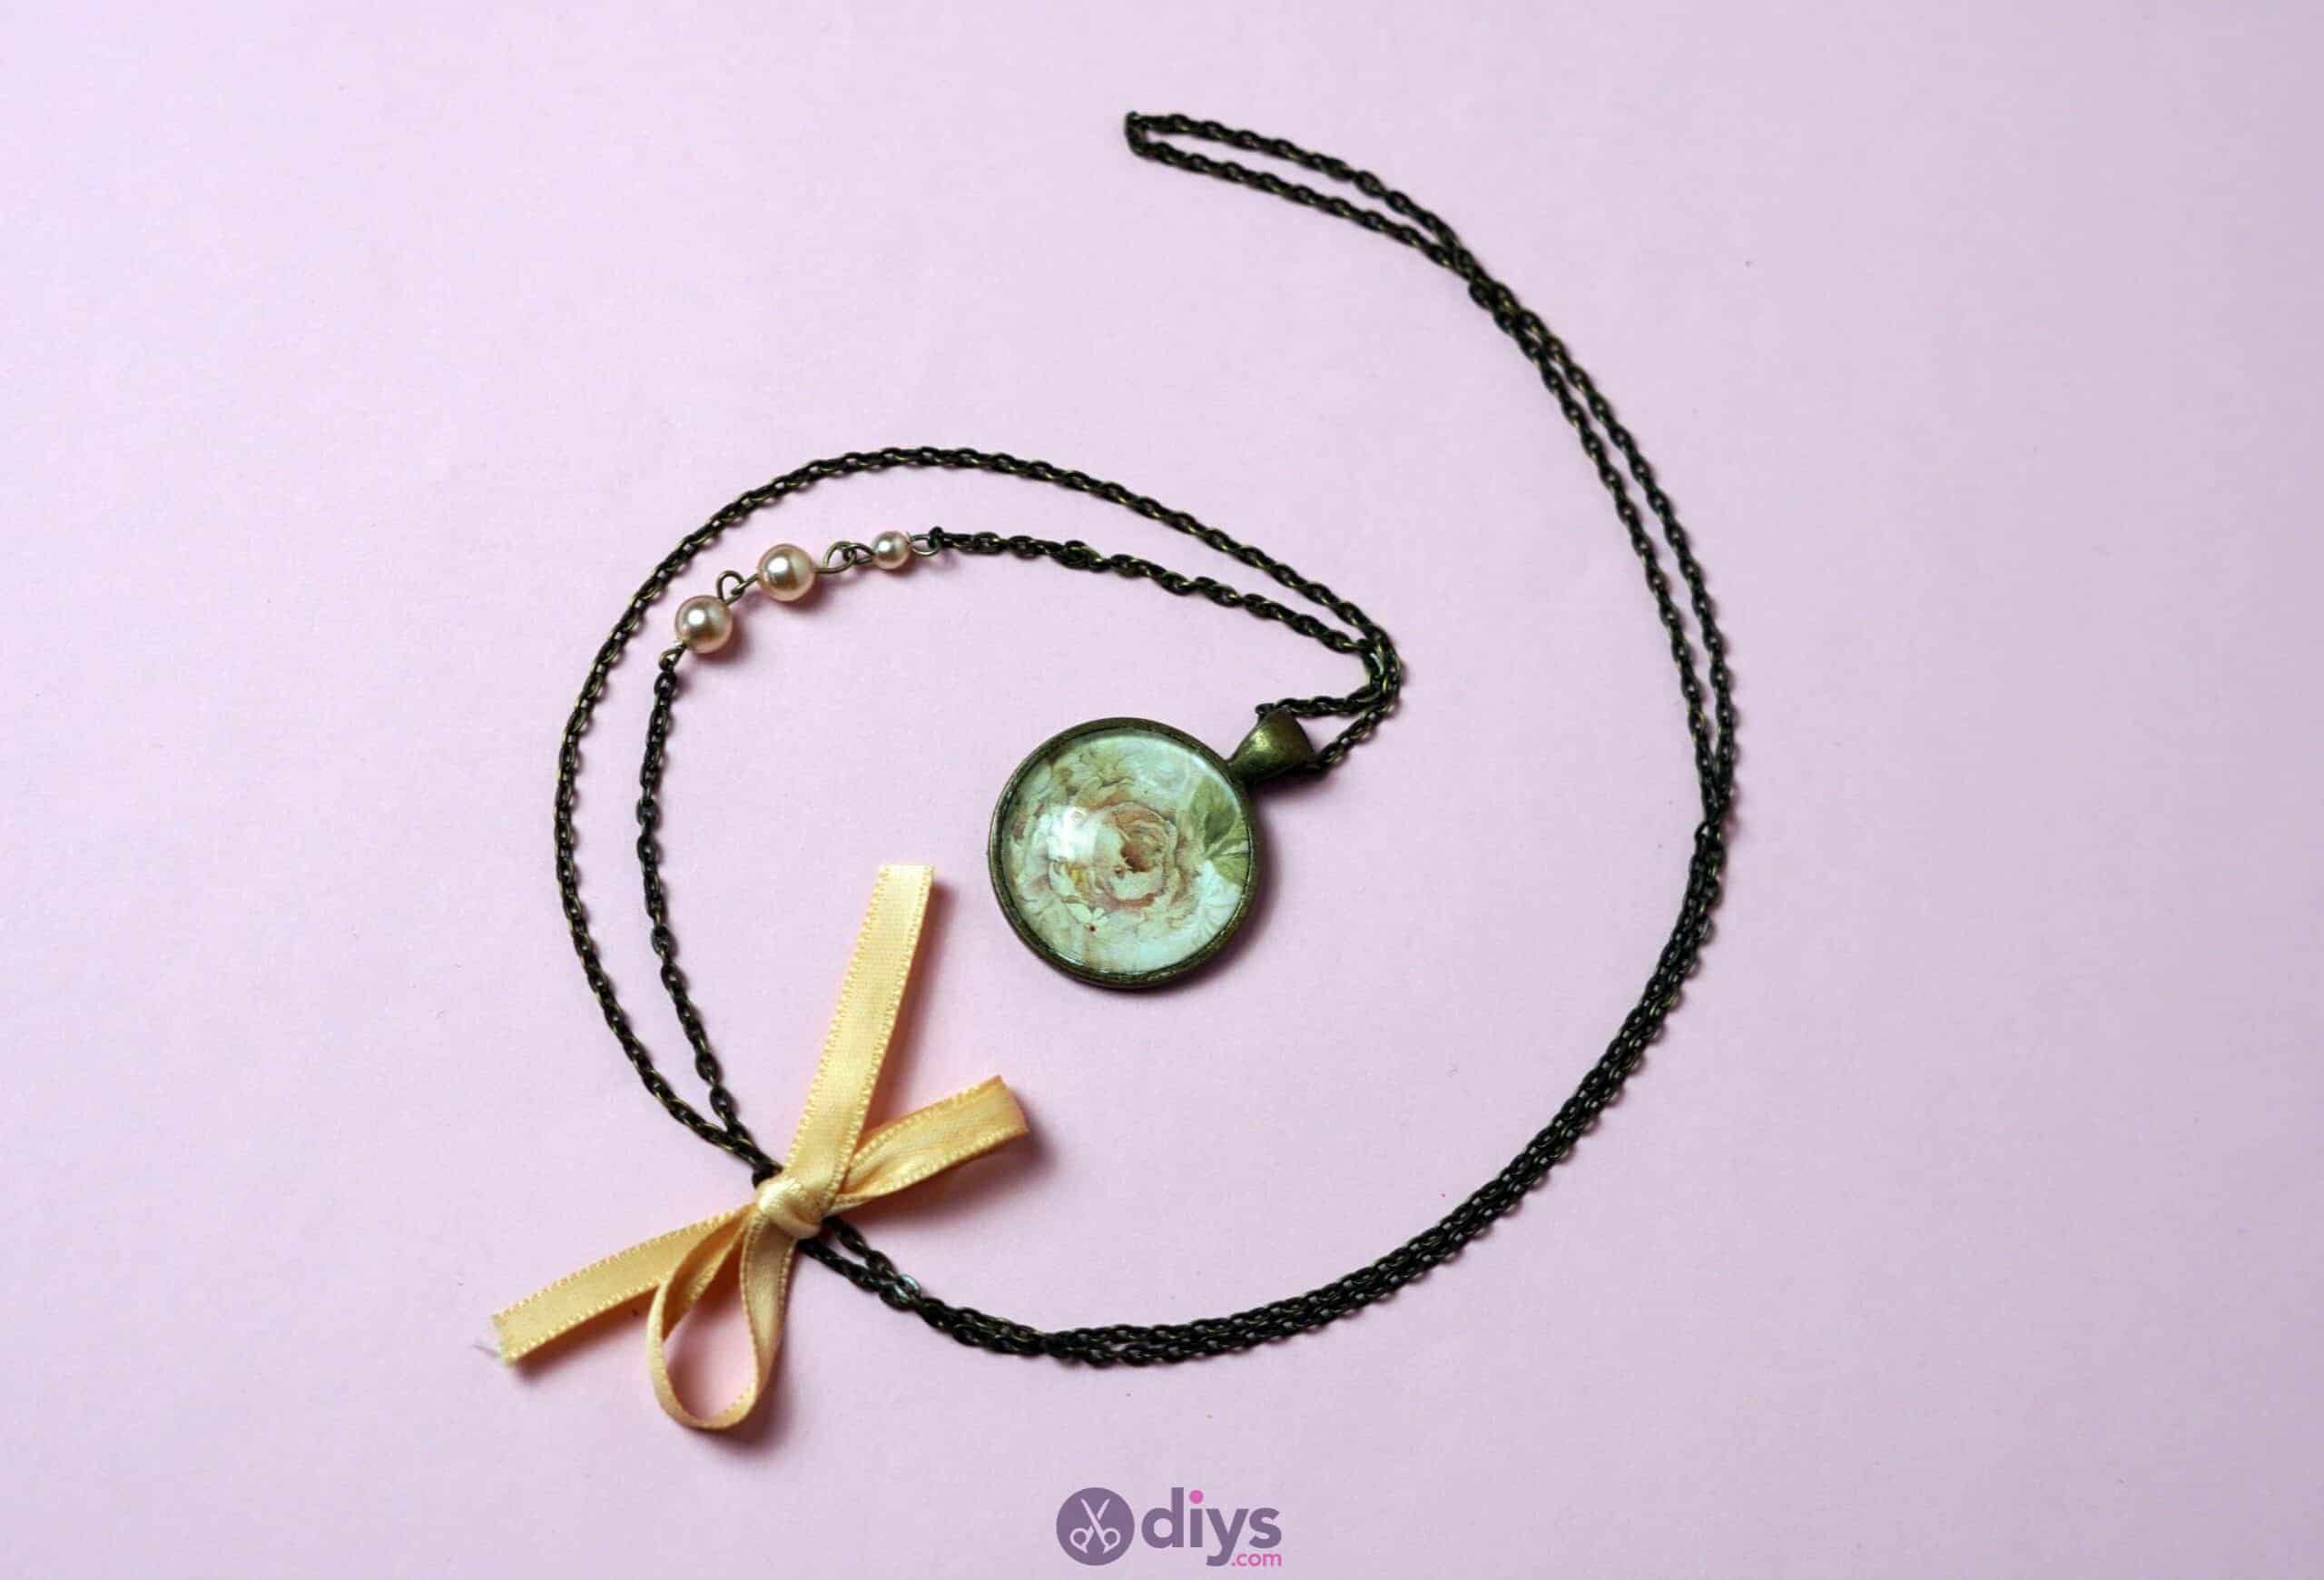
DIY Glass Lens Necklace
Updated on November 19, 2025


Have you ever taken a browse through the jewelry making section of your local crafting store and found a simple piece or trinket thatimmediately spoke to your tastes and got you feeling inspired? Well, we’ve put together this handy tutorial to show you just how to make it into jewelry yourself!

If you’re a fellow crafting and jewelry making enthusiast and you’d like to try this piece out for yourself, browse through the written instructions and their photos or scroll to the very end of this post and check out the full tutorial video there instead!

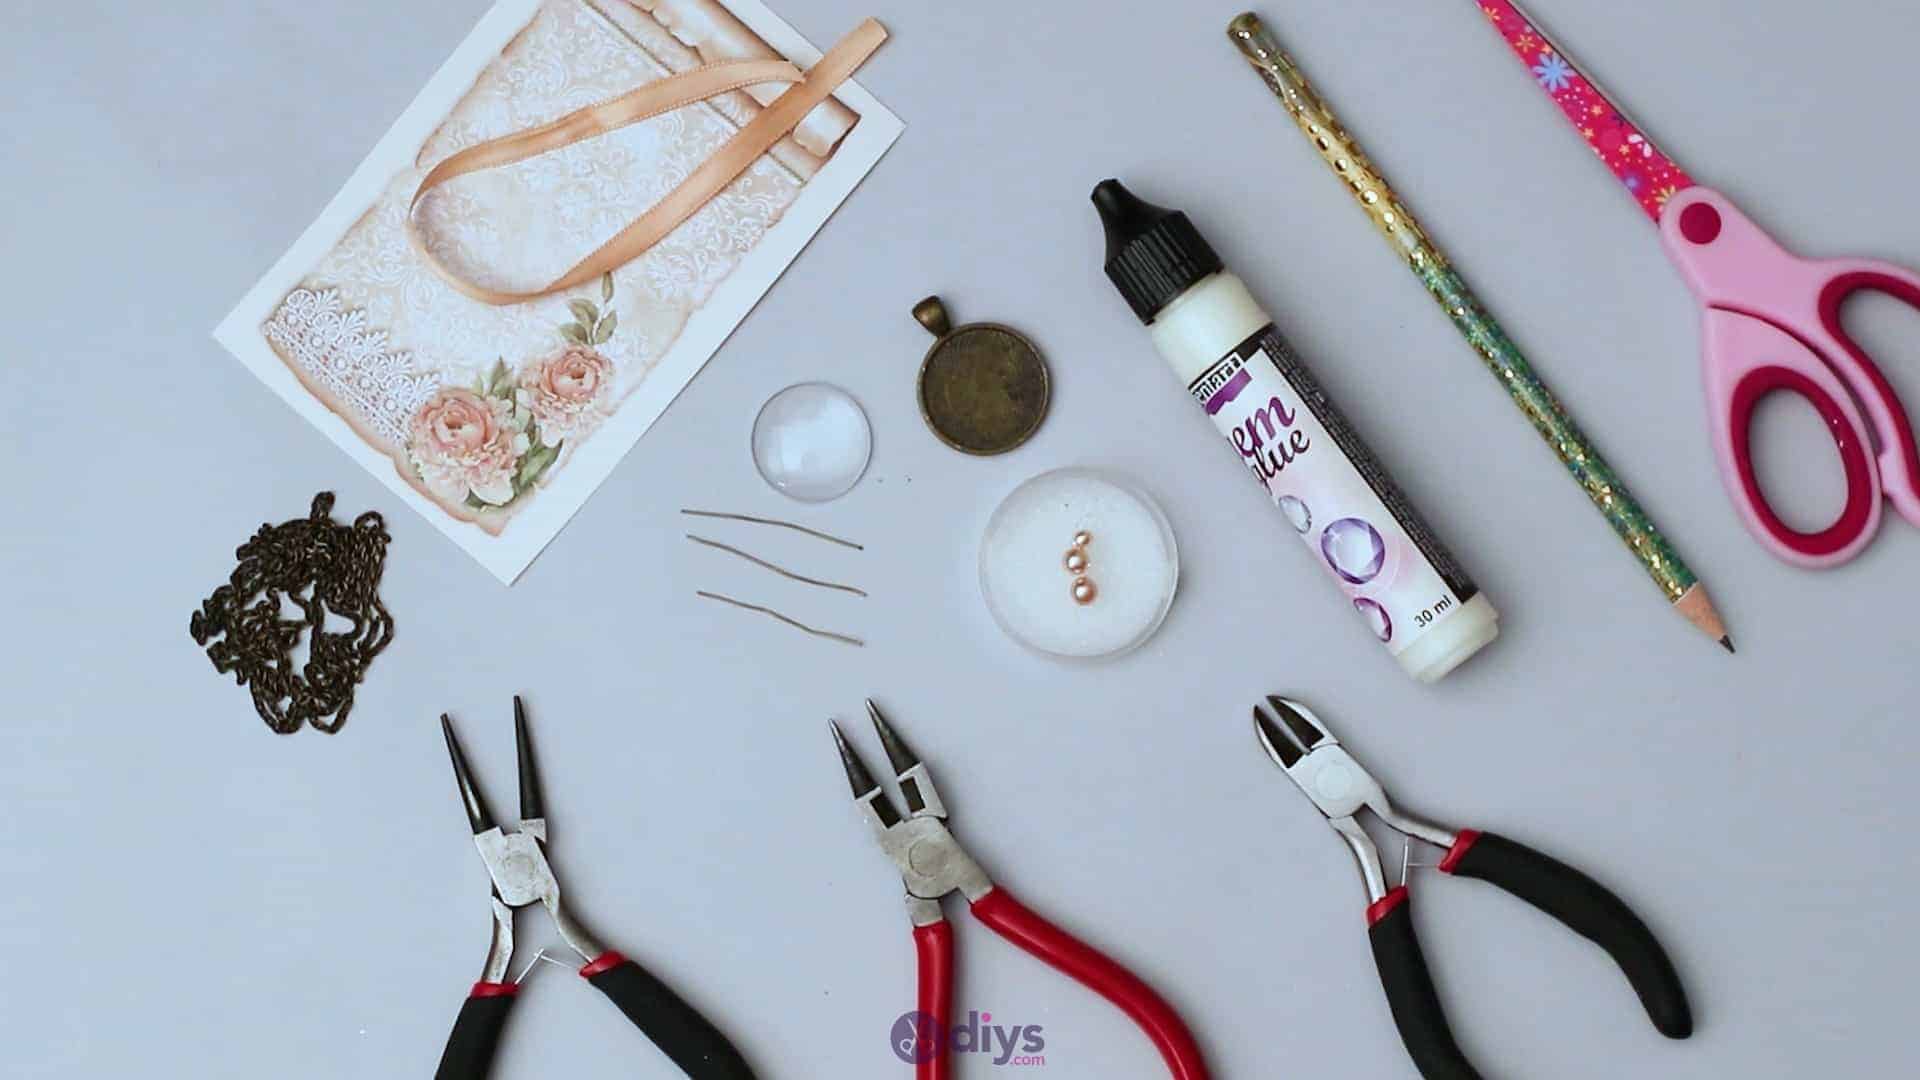
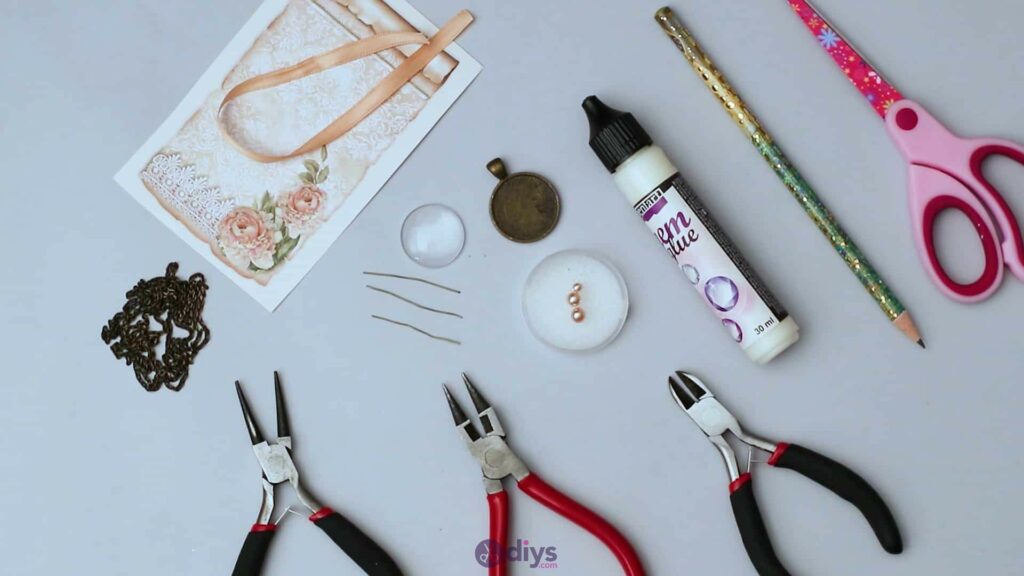
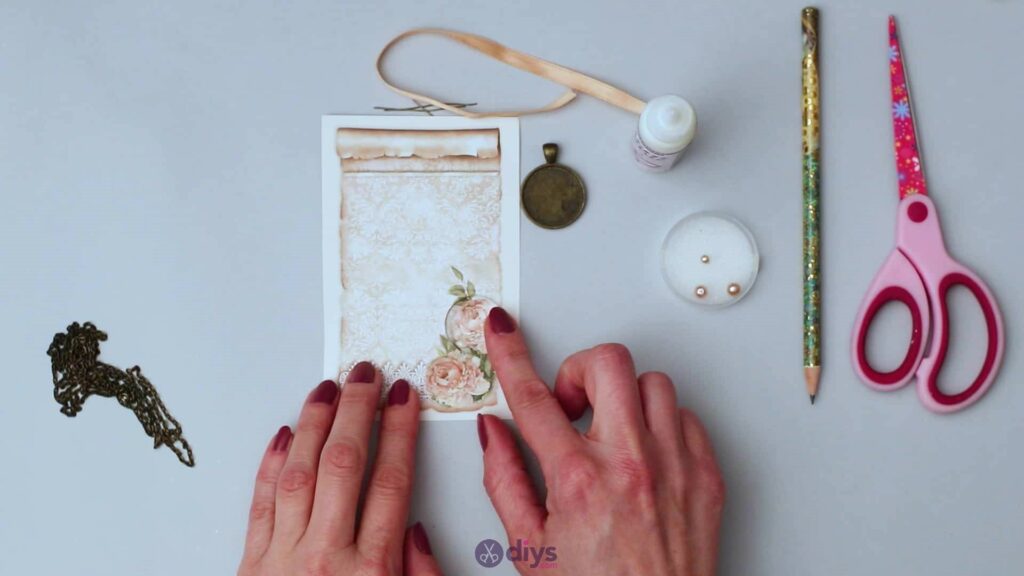
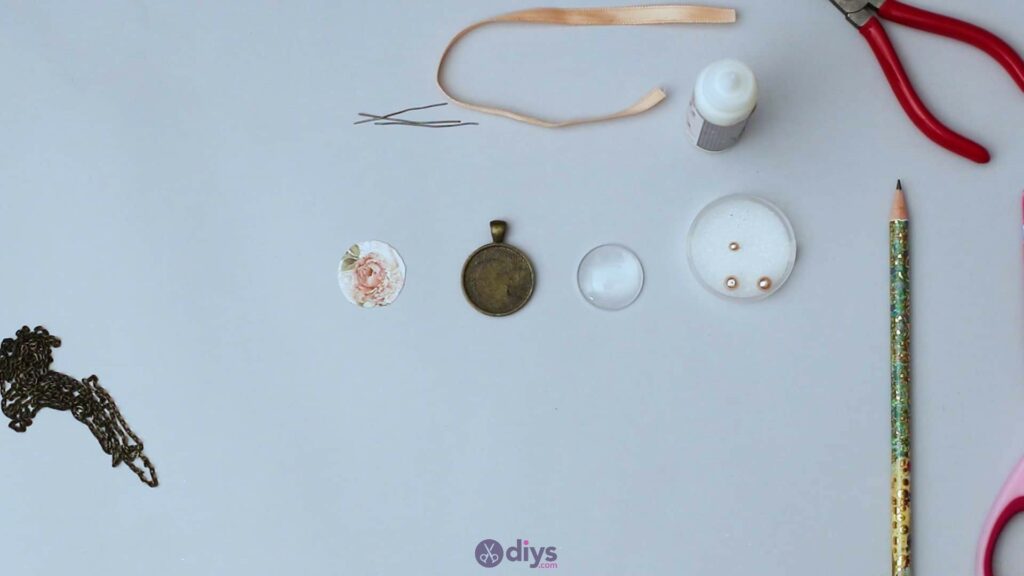
For this project, you’ll need:
- Dark jewelry chain
- Floral patterned paper
- Jewel glue
- Pendant base
- Glass lens
- 3 mounting rods (or malleable jewelry wire cut to pieces of about an inch long each)
- Silk ribbon
- Pencil
- Scissors
- 3 pearled beads
- Pincers
- Conical tongs
Step 1: Gather your materials!
Ensure you have all the items form your list in front of you.
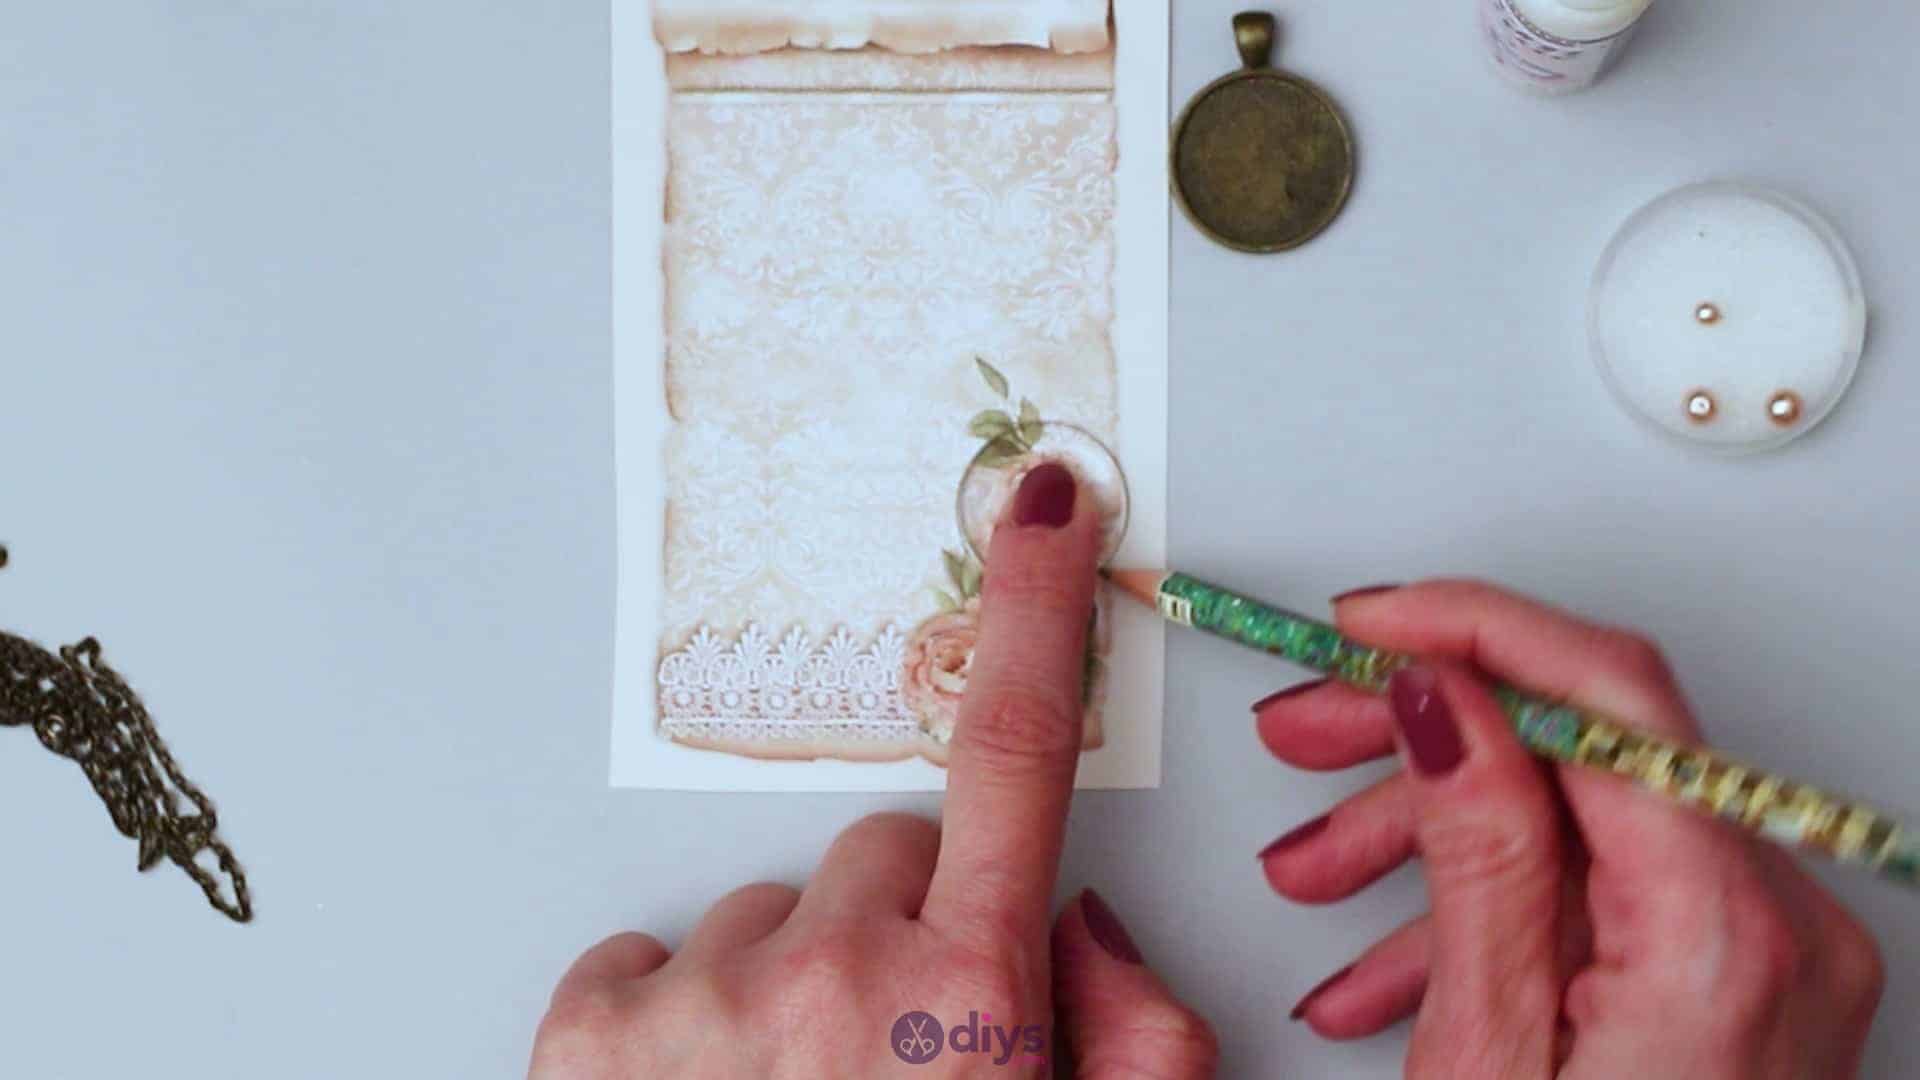
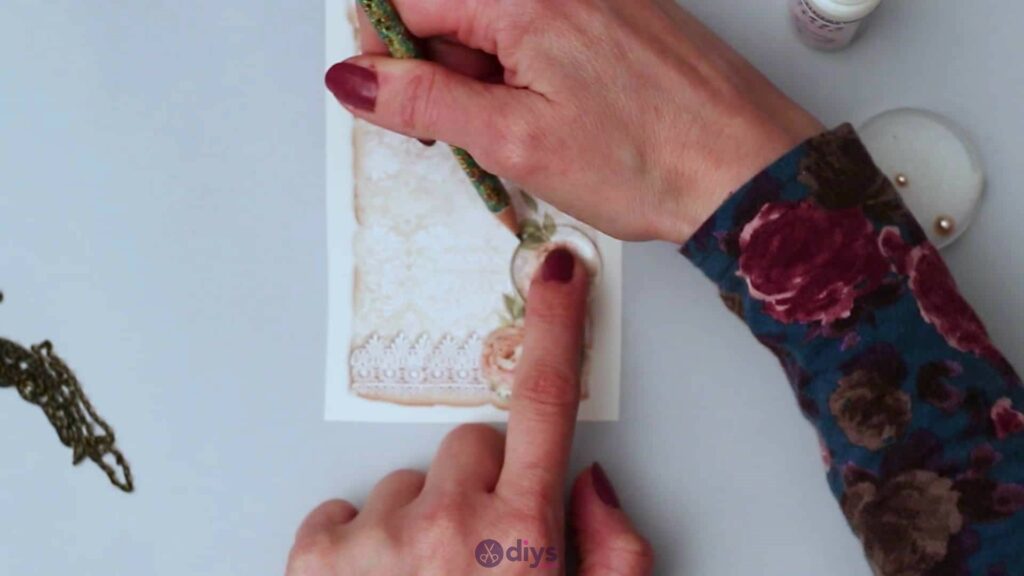
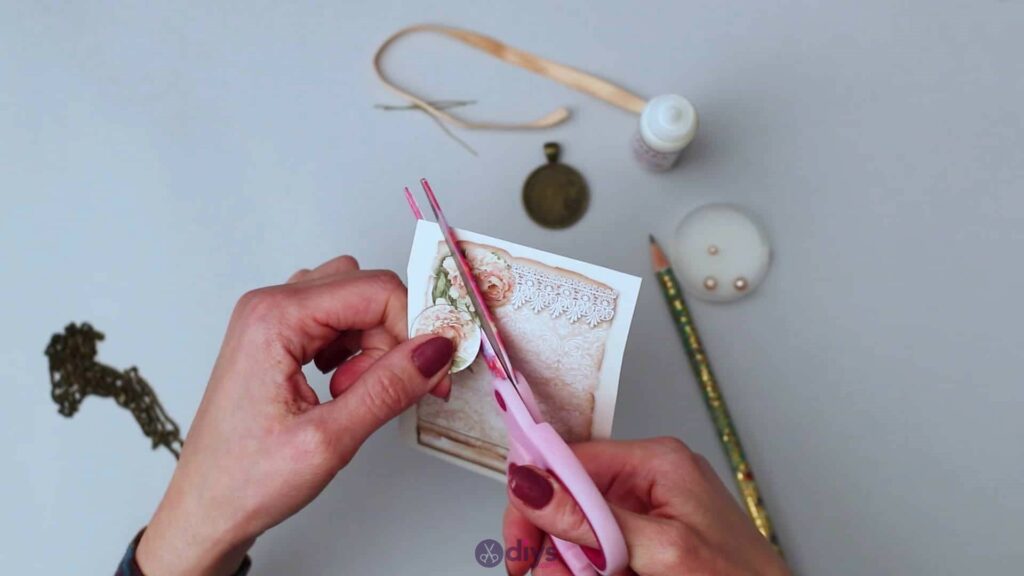
Step 2: pick your flower
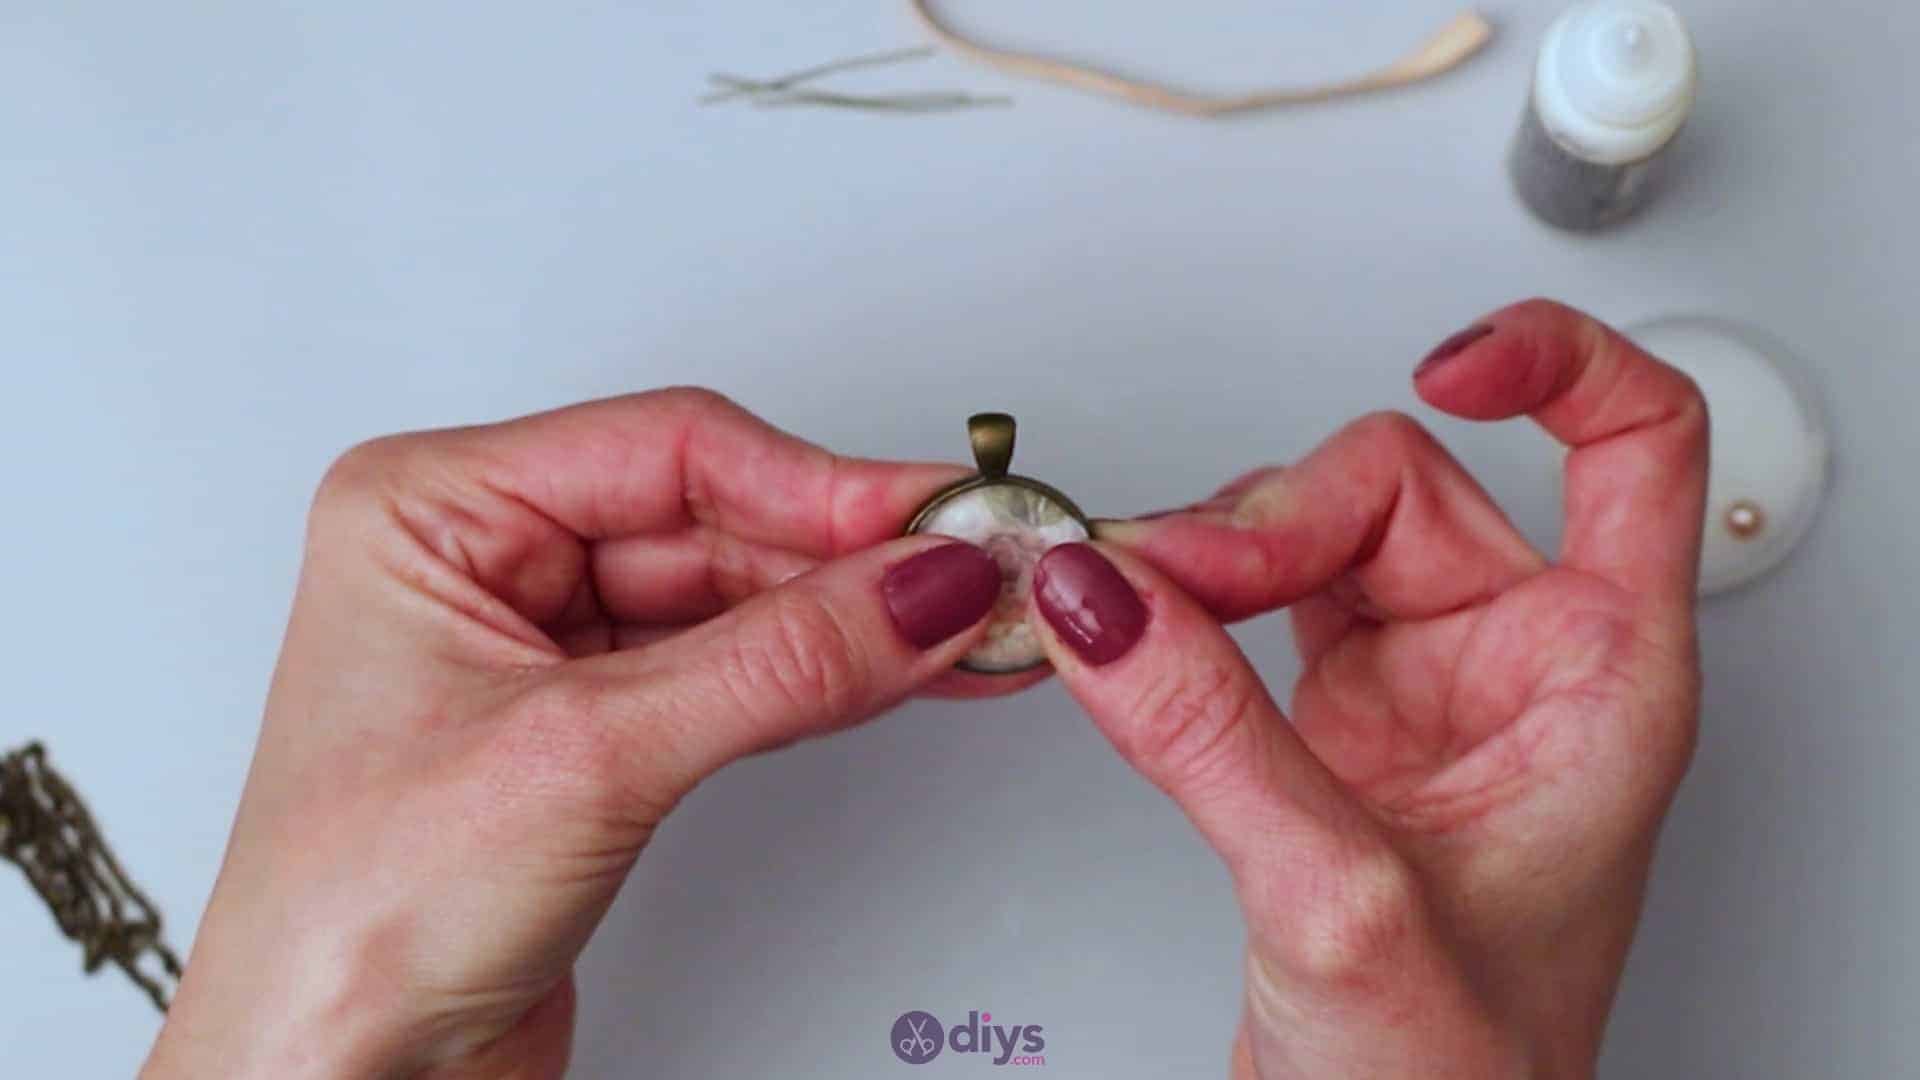
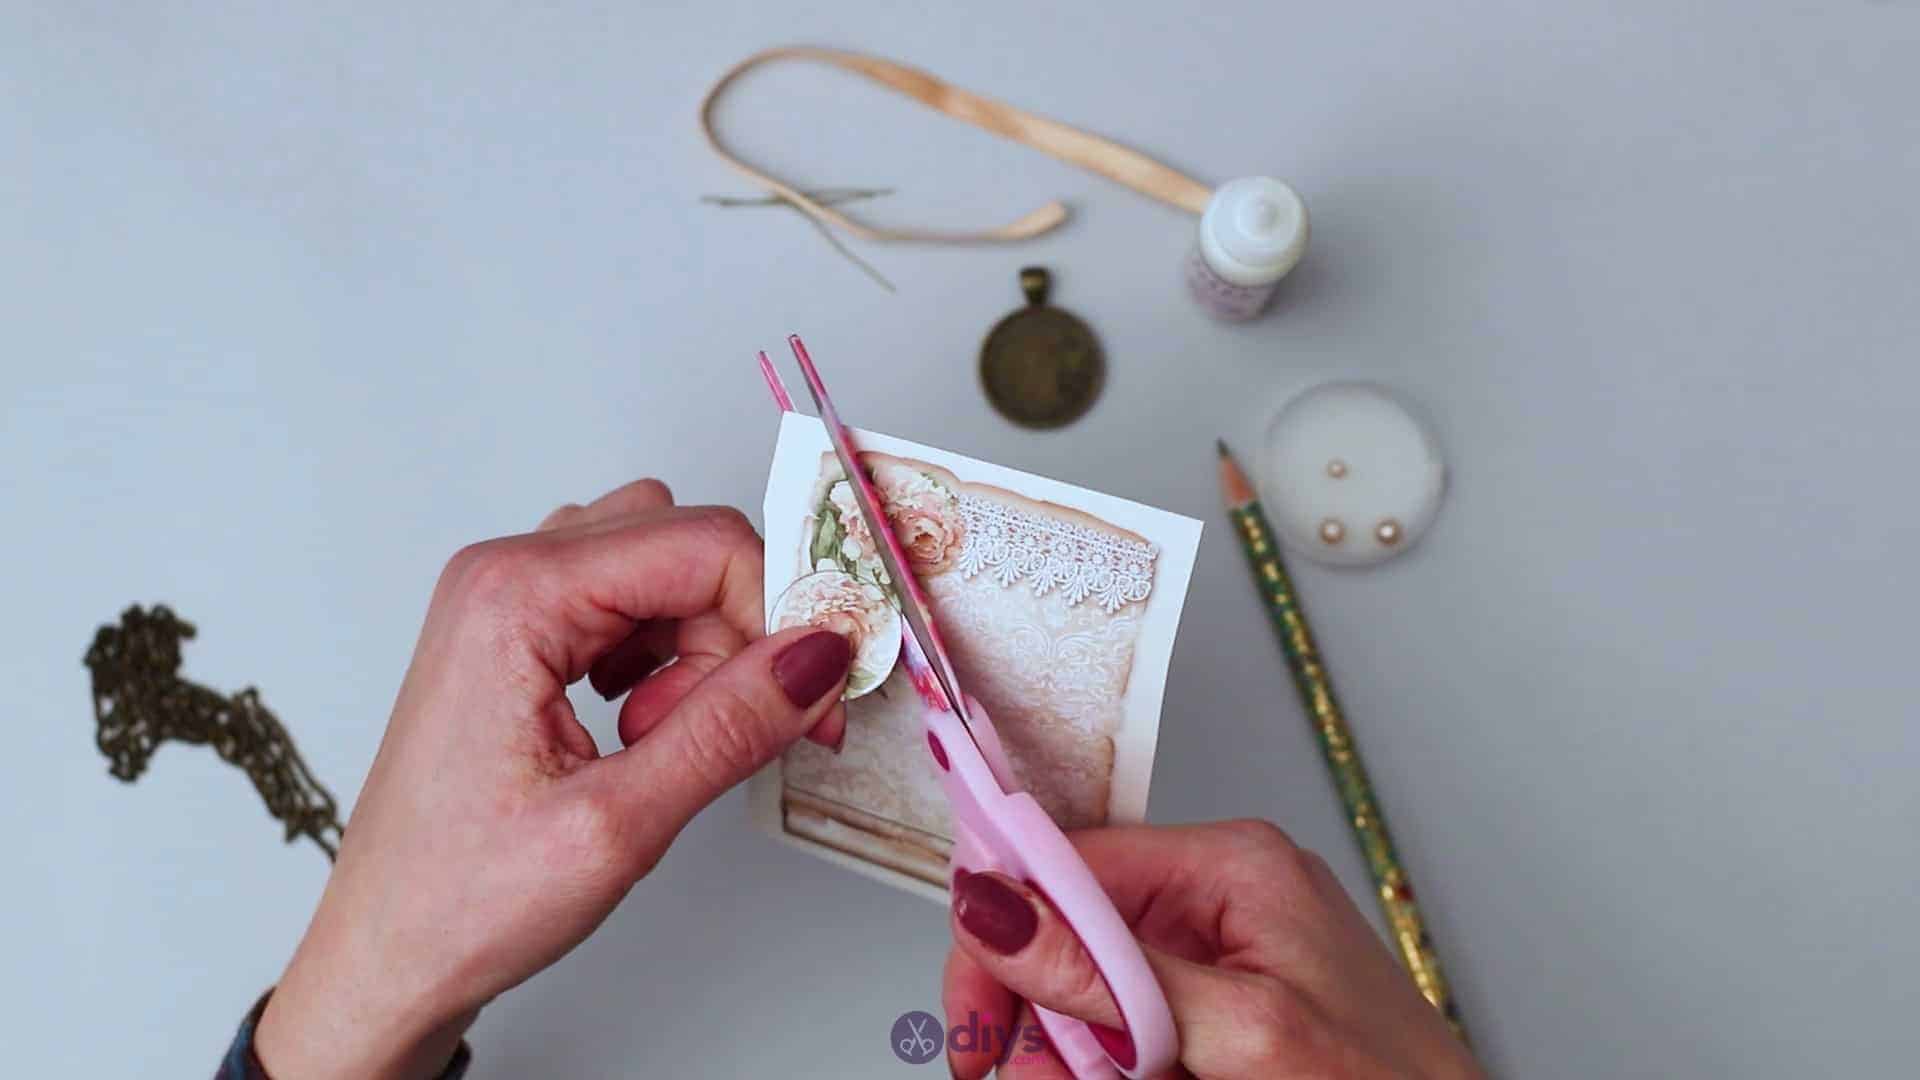
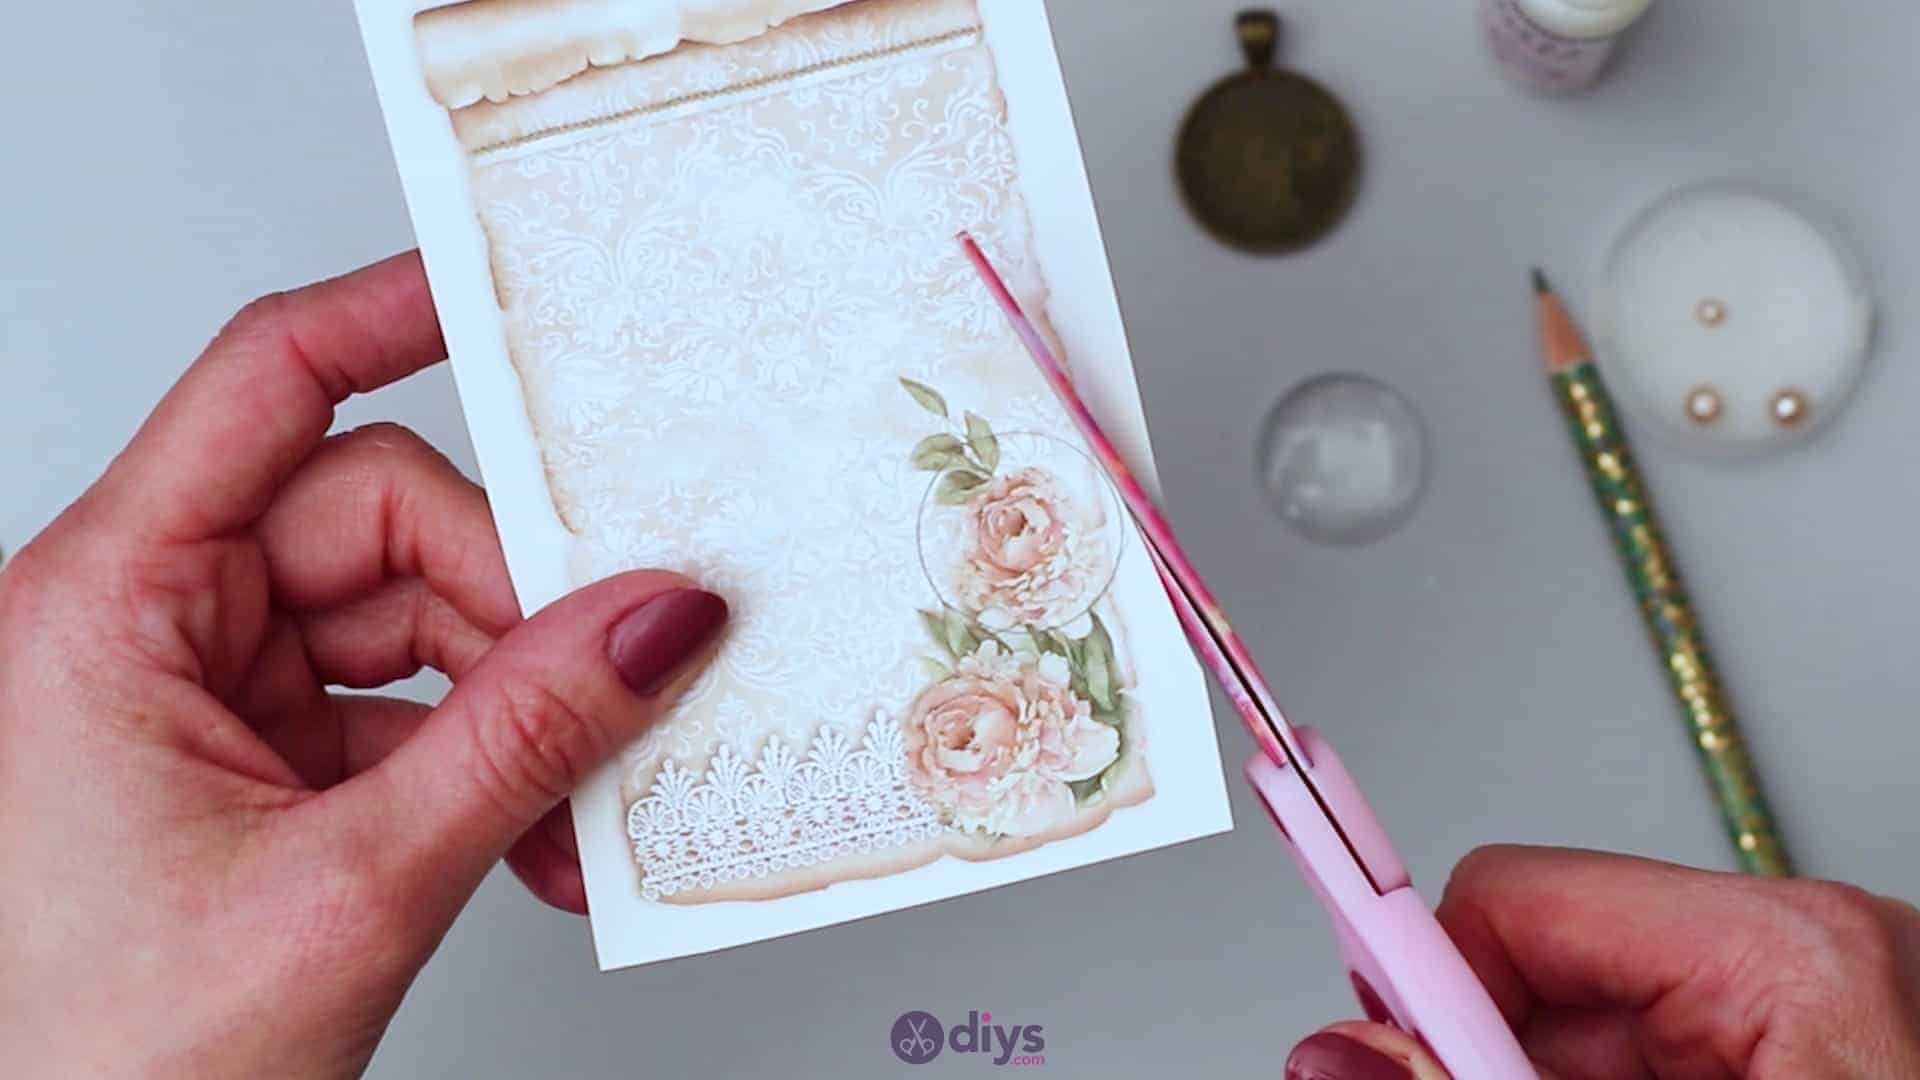
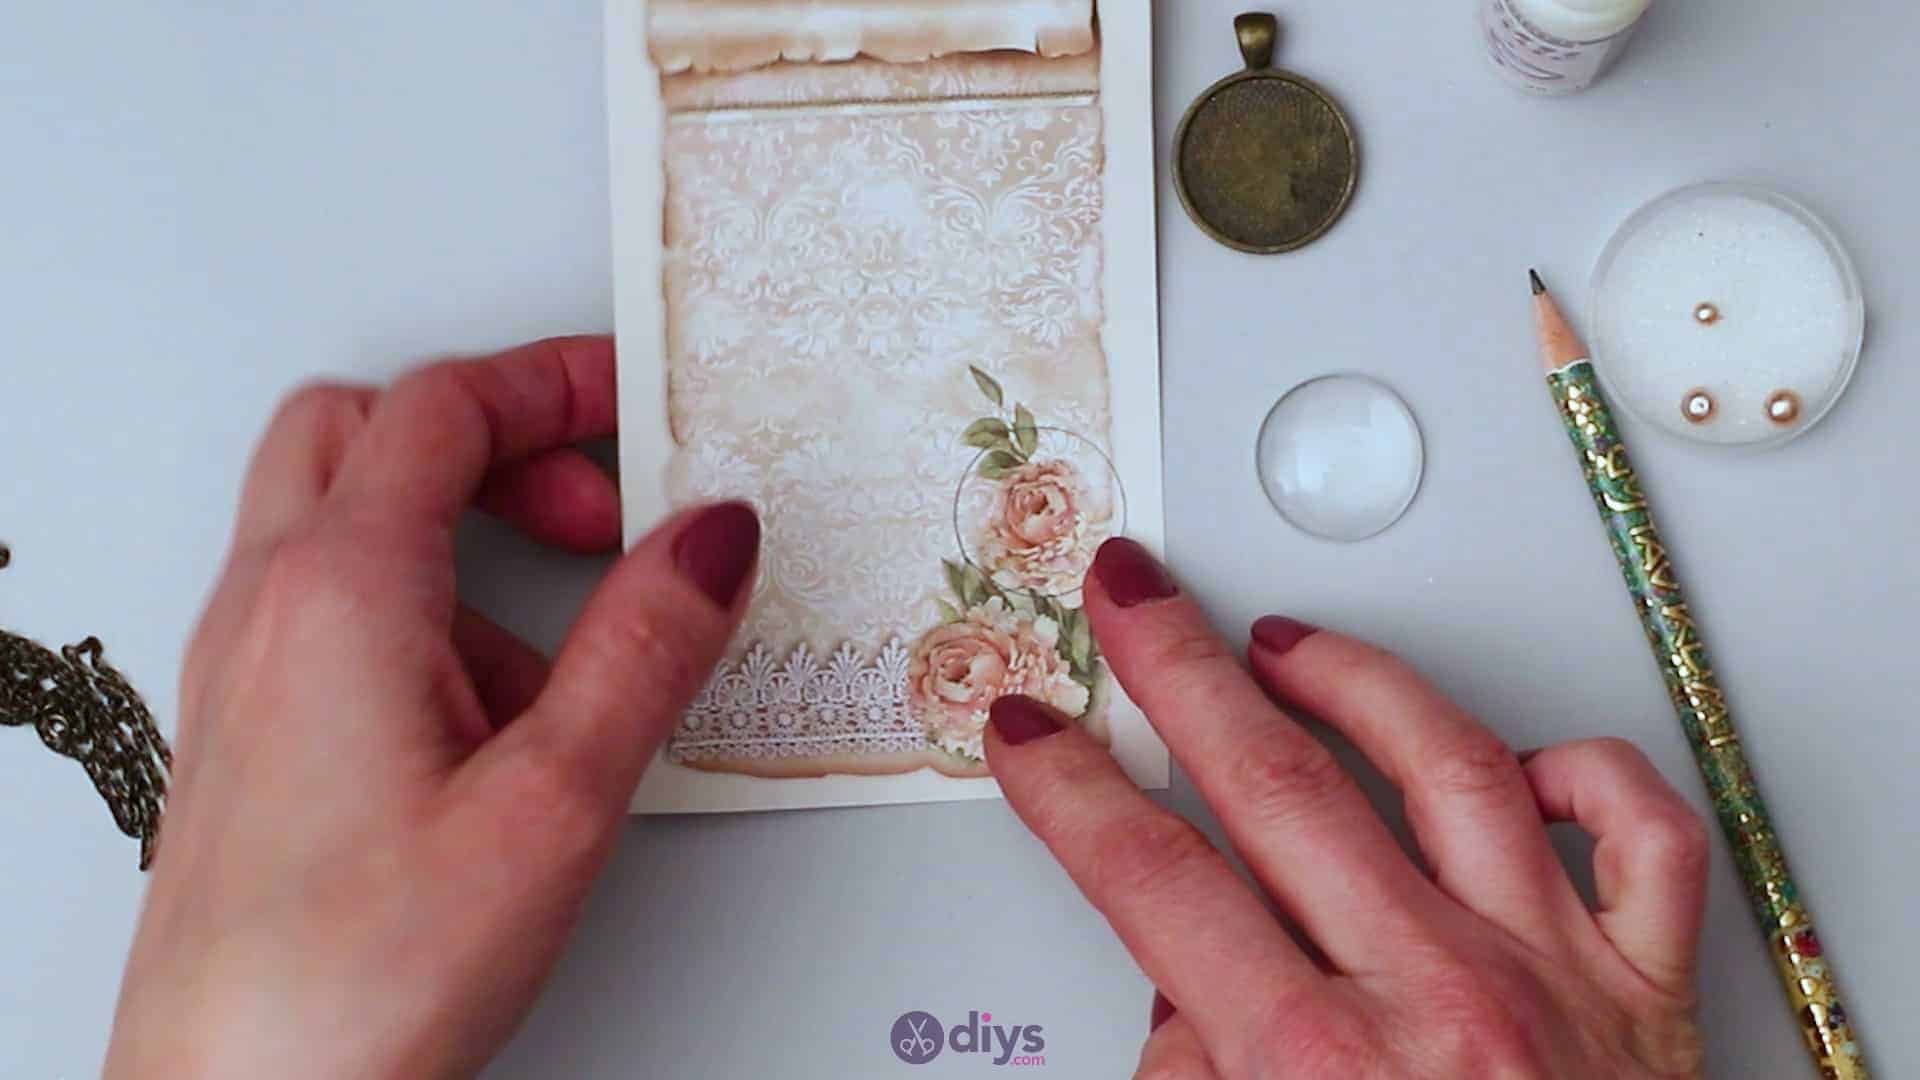
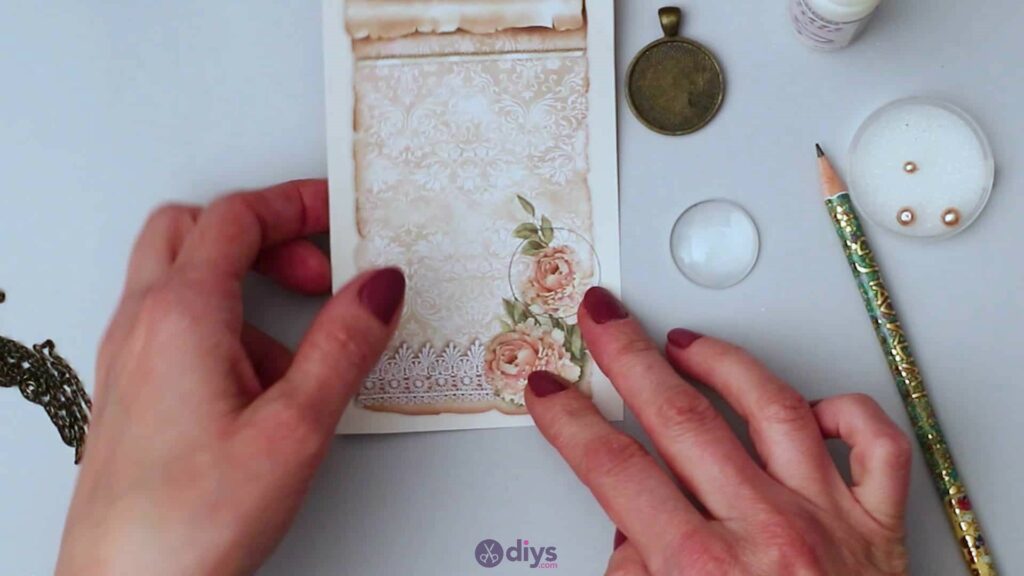
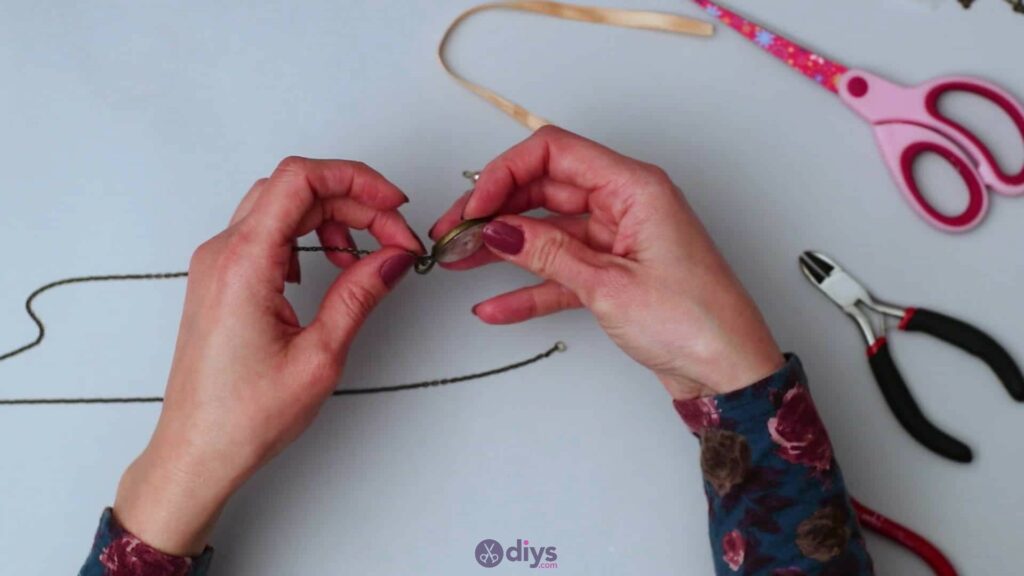
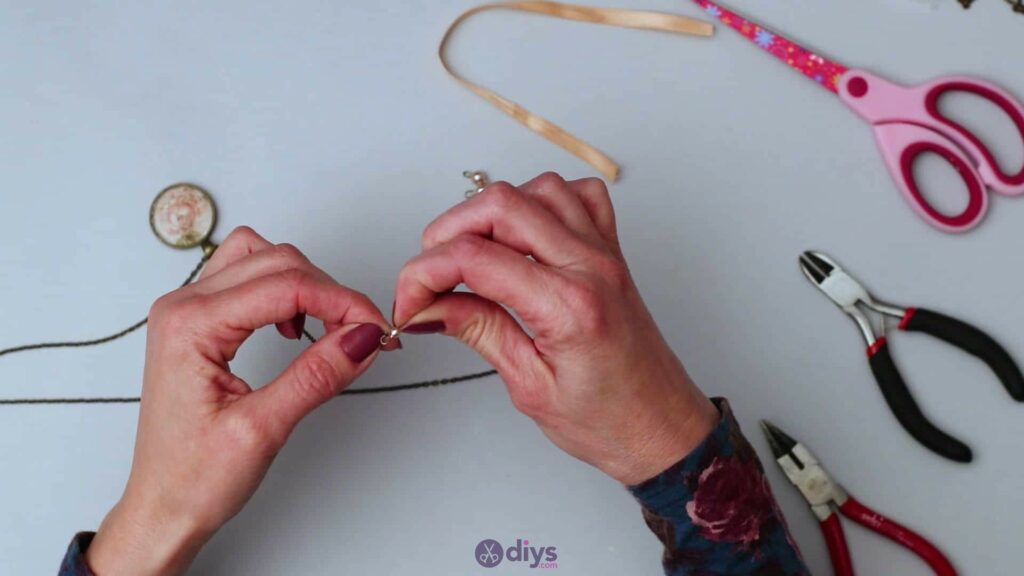
Find the spot in the pattern of your floral paper that you like best. Take your glass lens and place it directly over that spot, framing the floral pattern inside the lens so that you can see precisely how it will look in your pendant. Adjust and move the lens until you’re truly happy with what you see; this will be what goes inside the final pendant on the necklace.
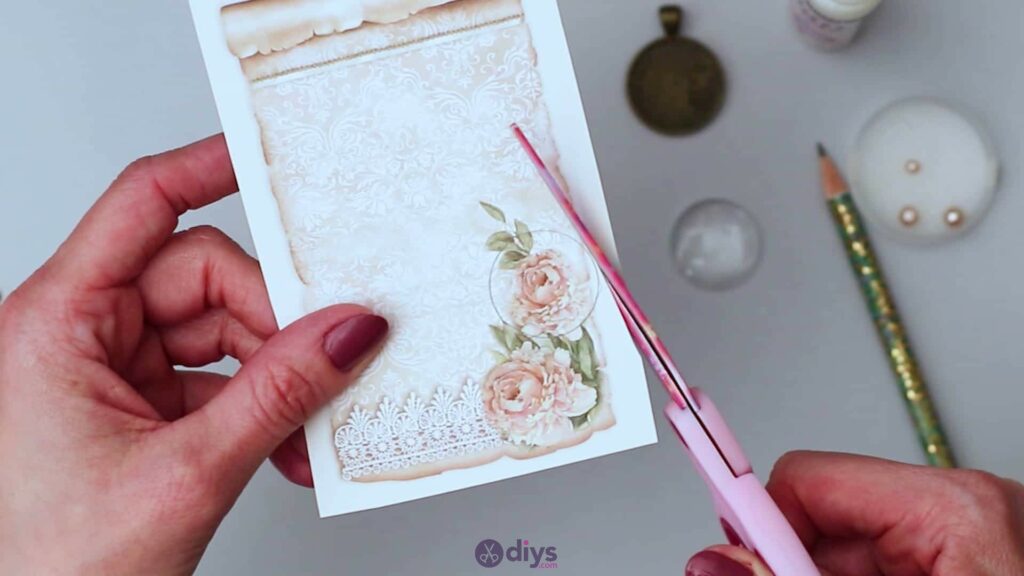
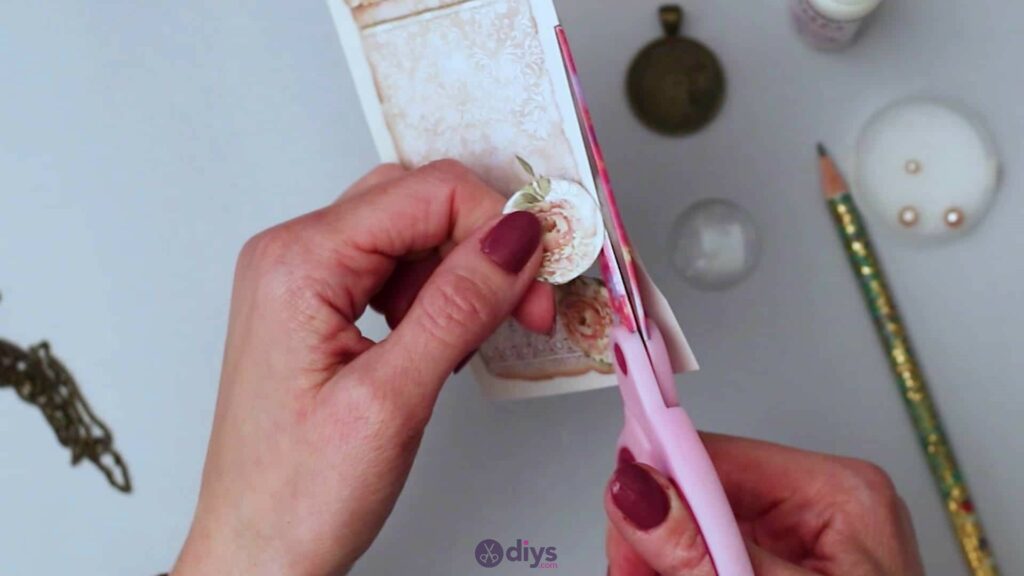
Use your pencil to trace all the way around the edge of the glass lens to mark where the shape and size of the lens covers the pattern you’re trying to showcase. Move then lens and you’ll see a circular shape around your floral section; use your scissors to cut this circle out, trimming off as much of the pencil marking as you can without compromising the shape and size of or pattern within the circular piece.

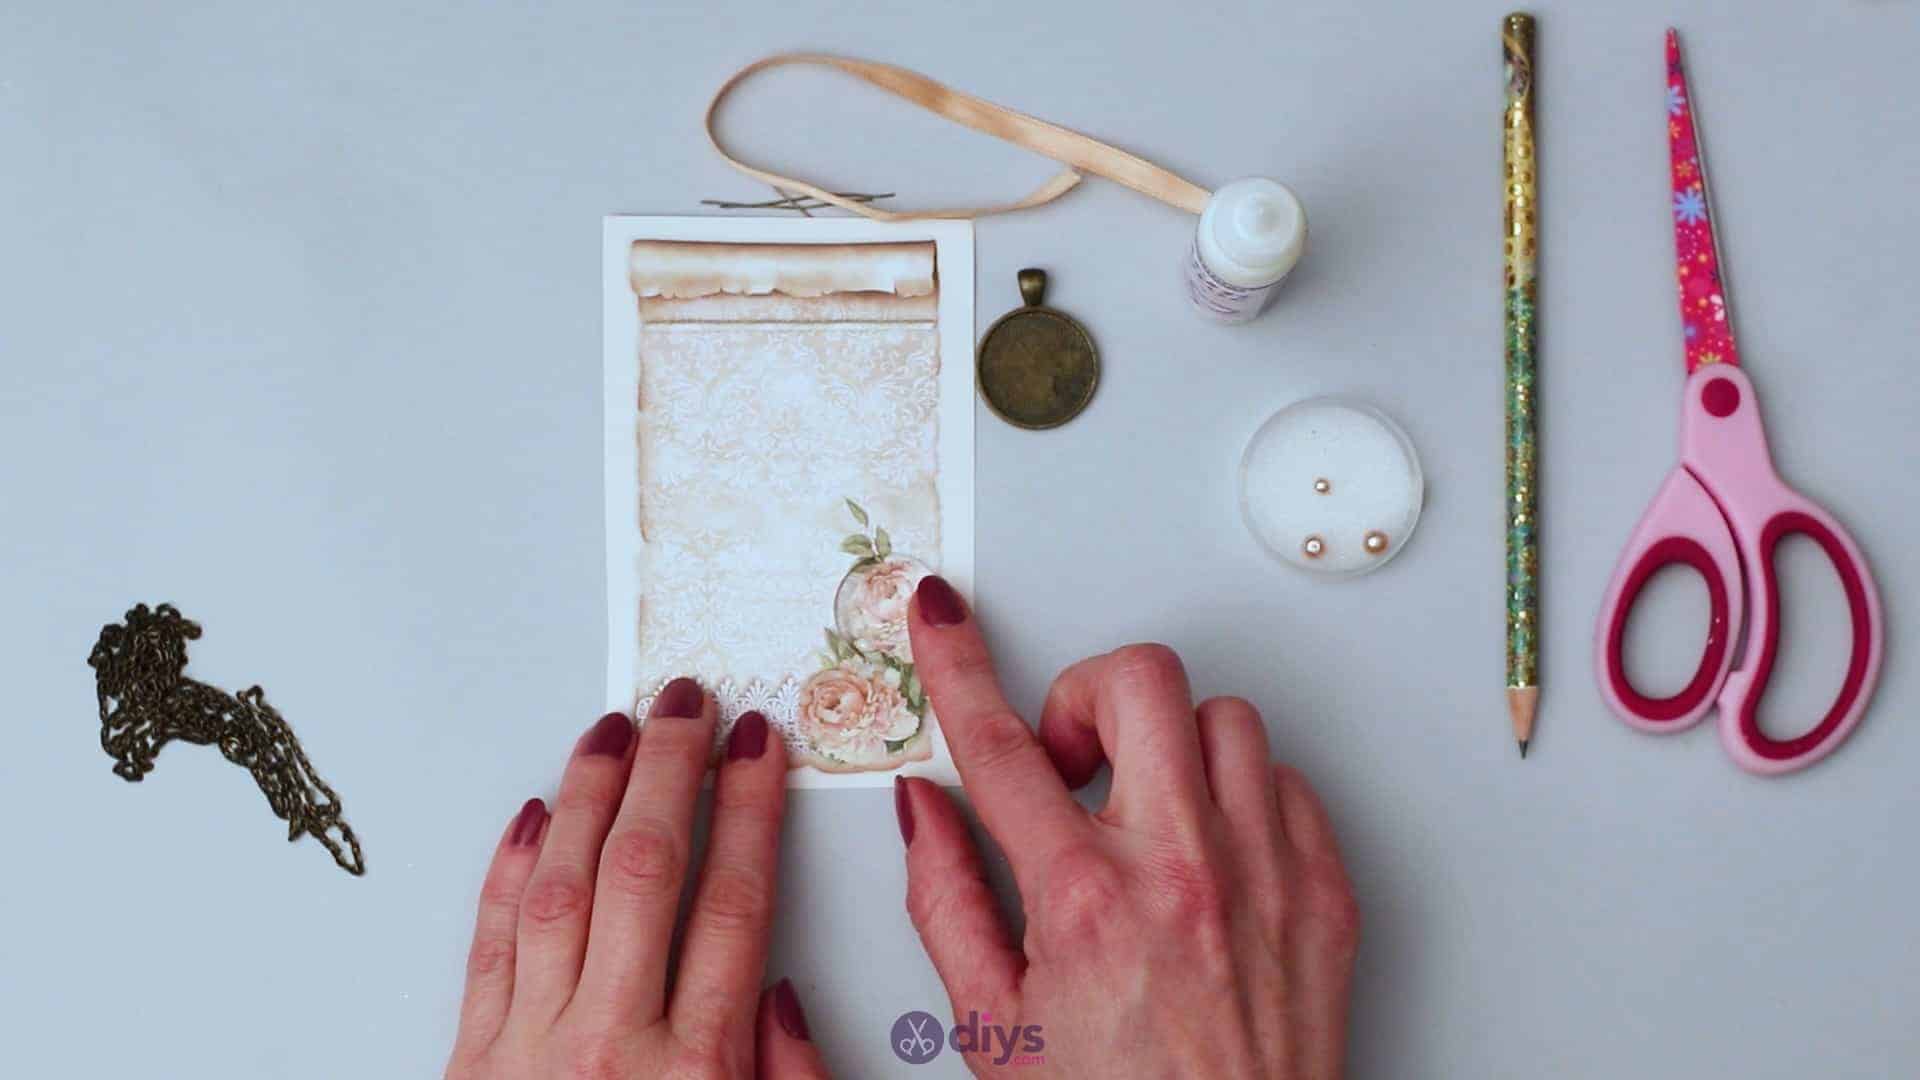
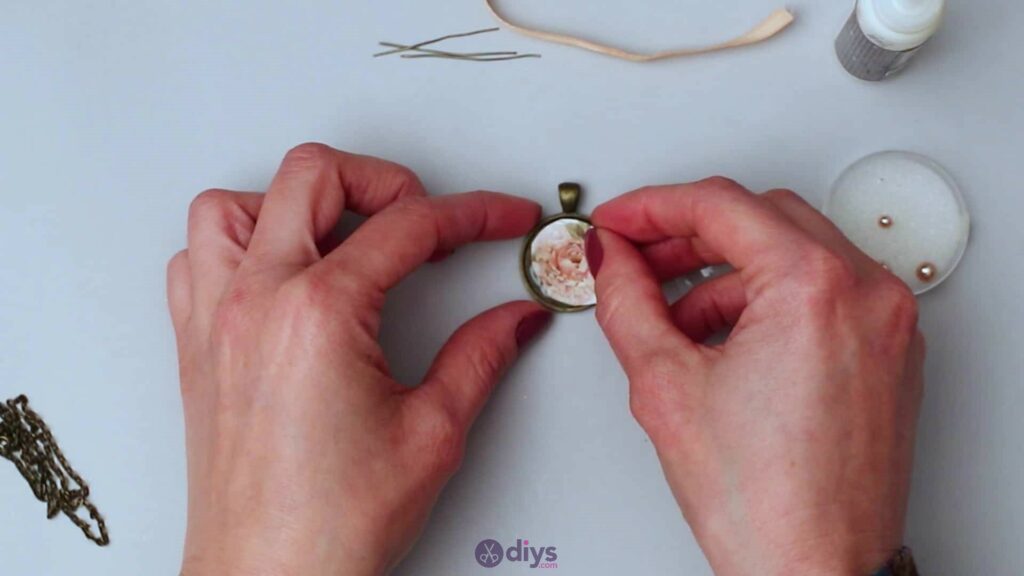
Step 3: glue
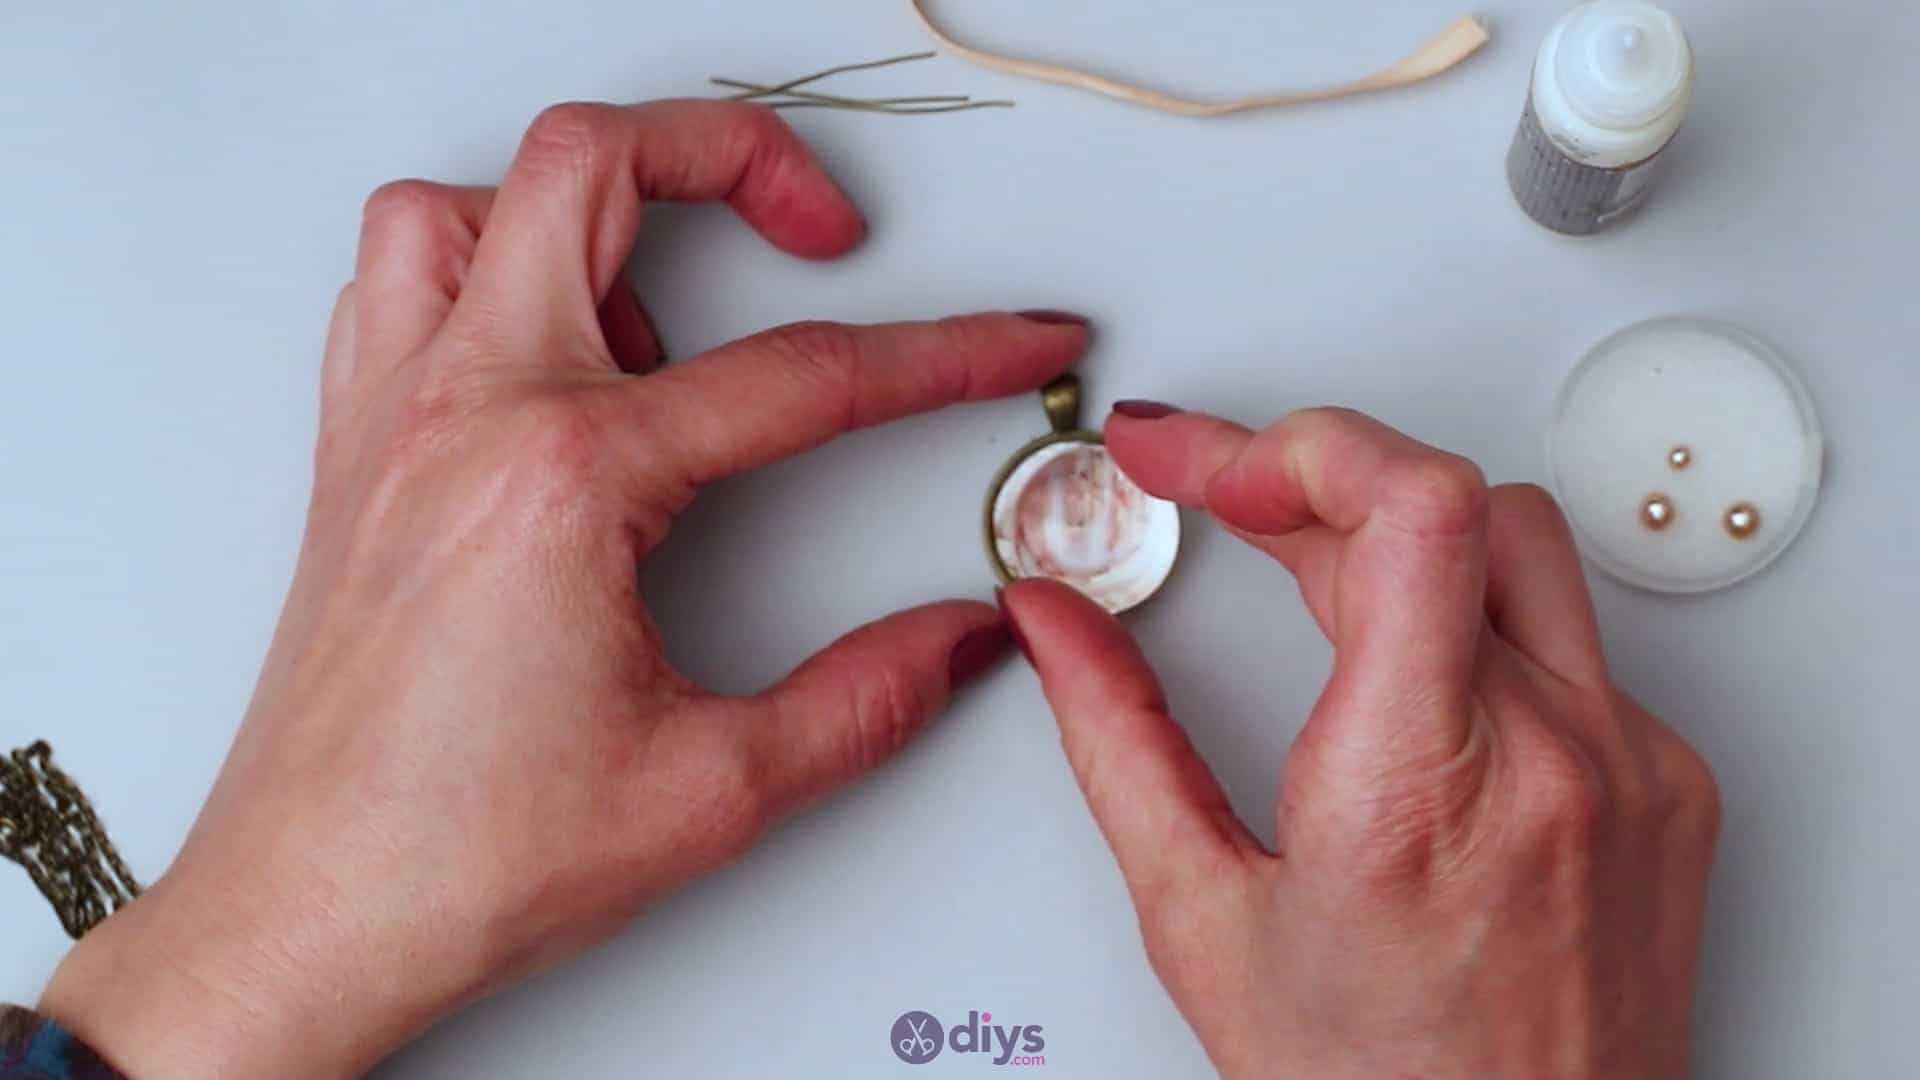
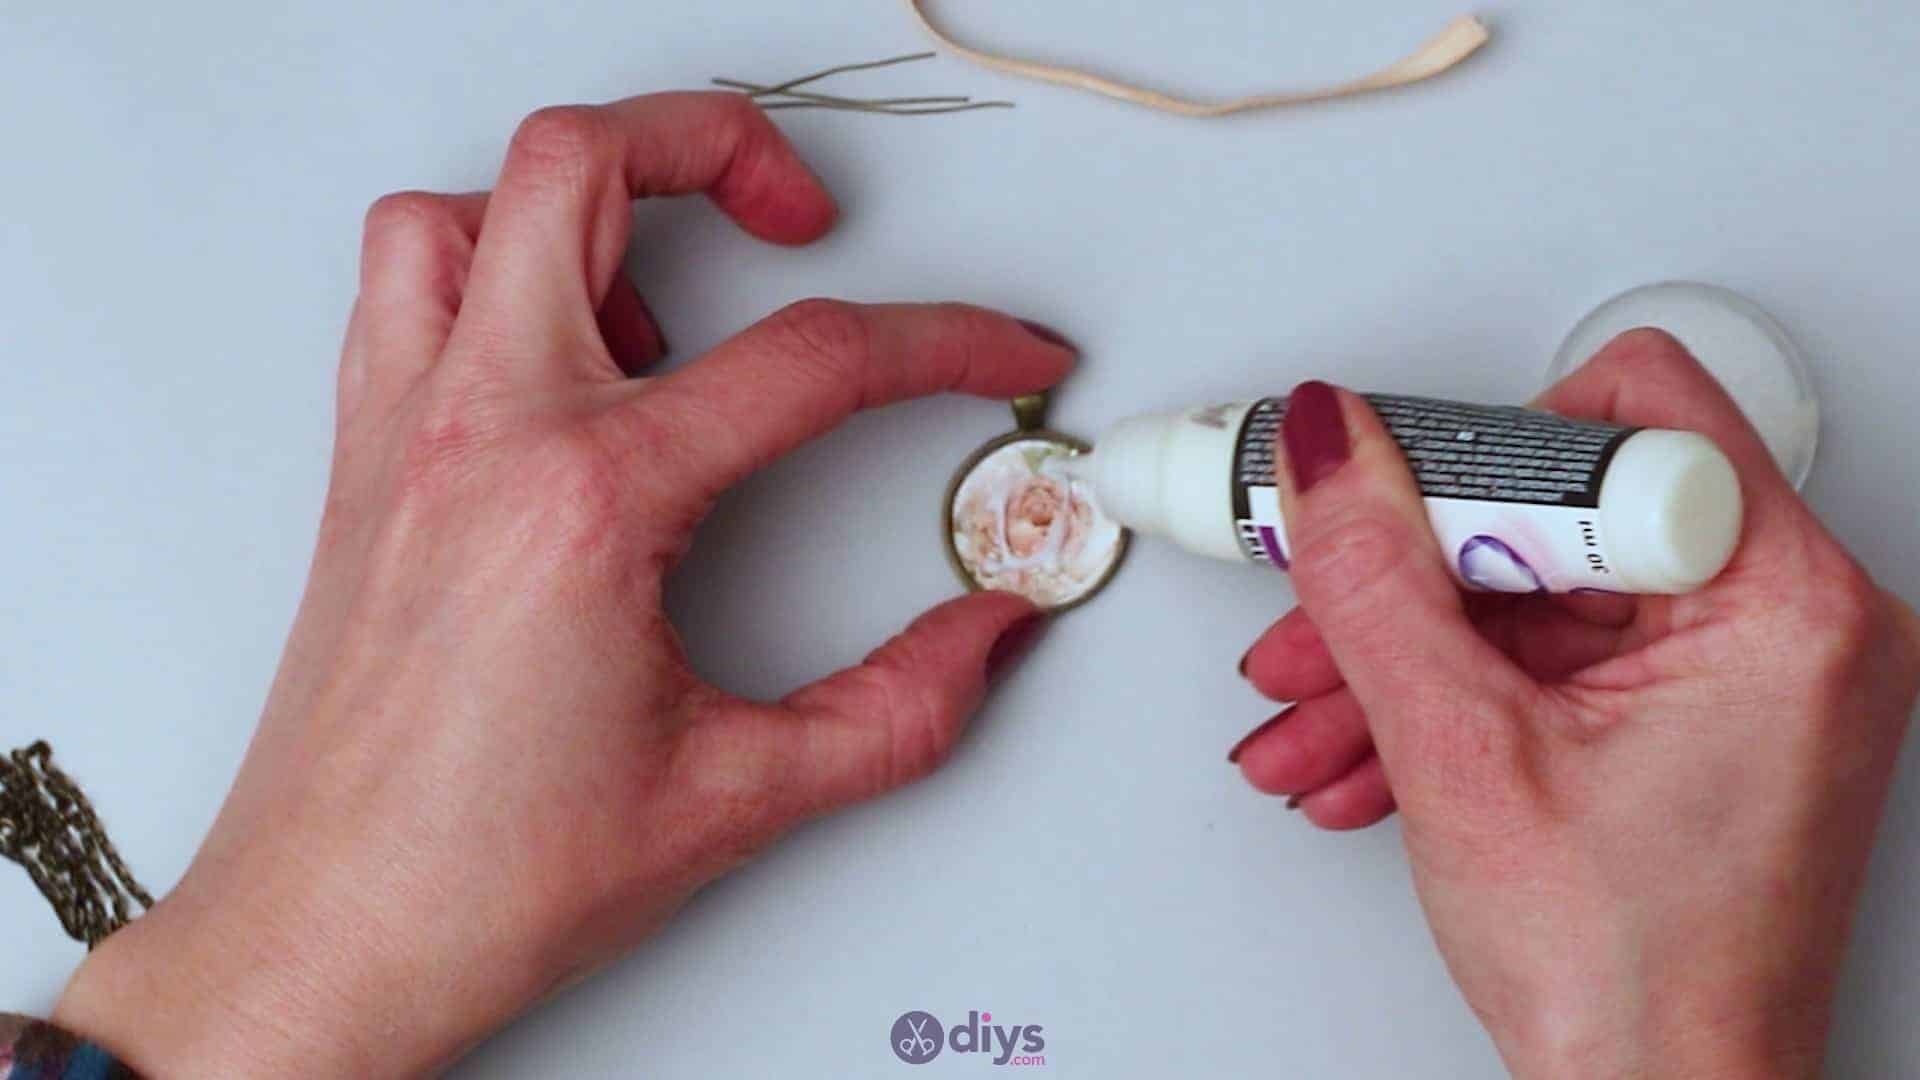
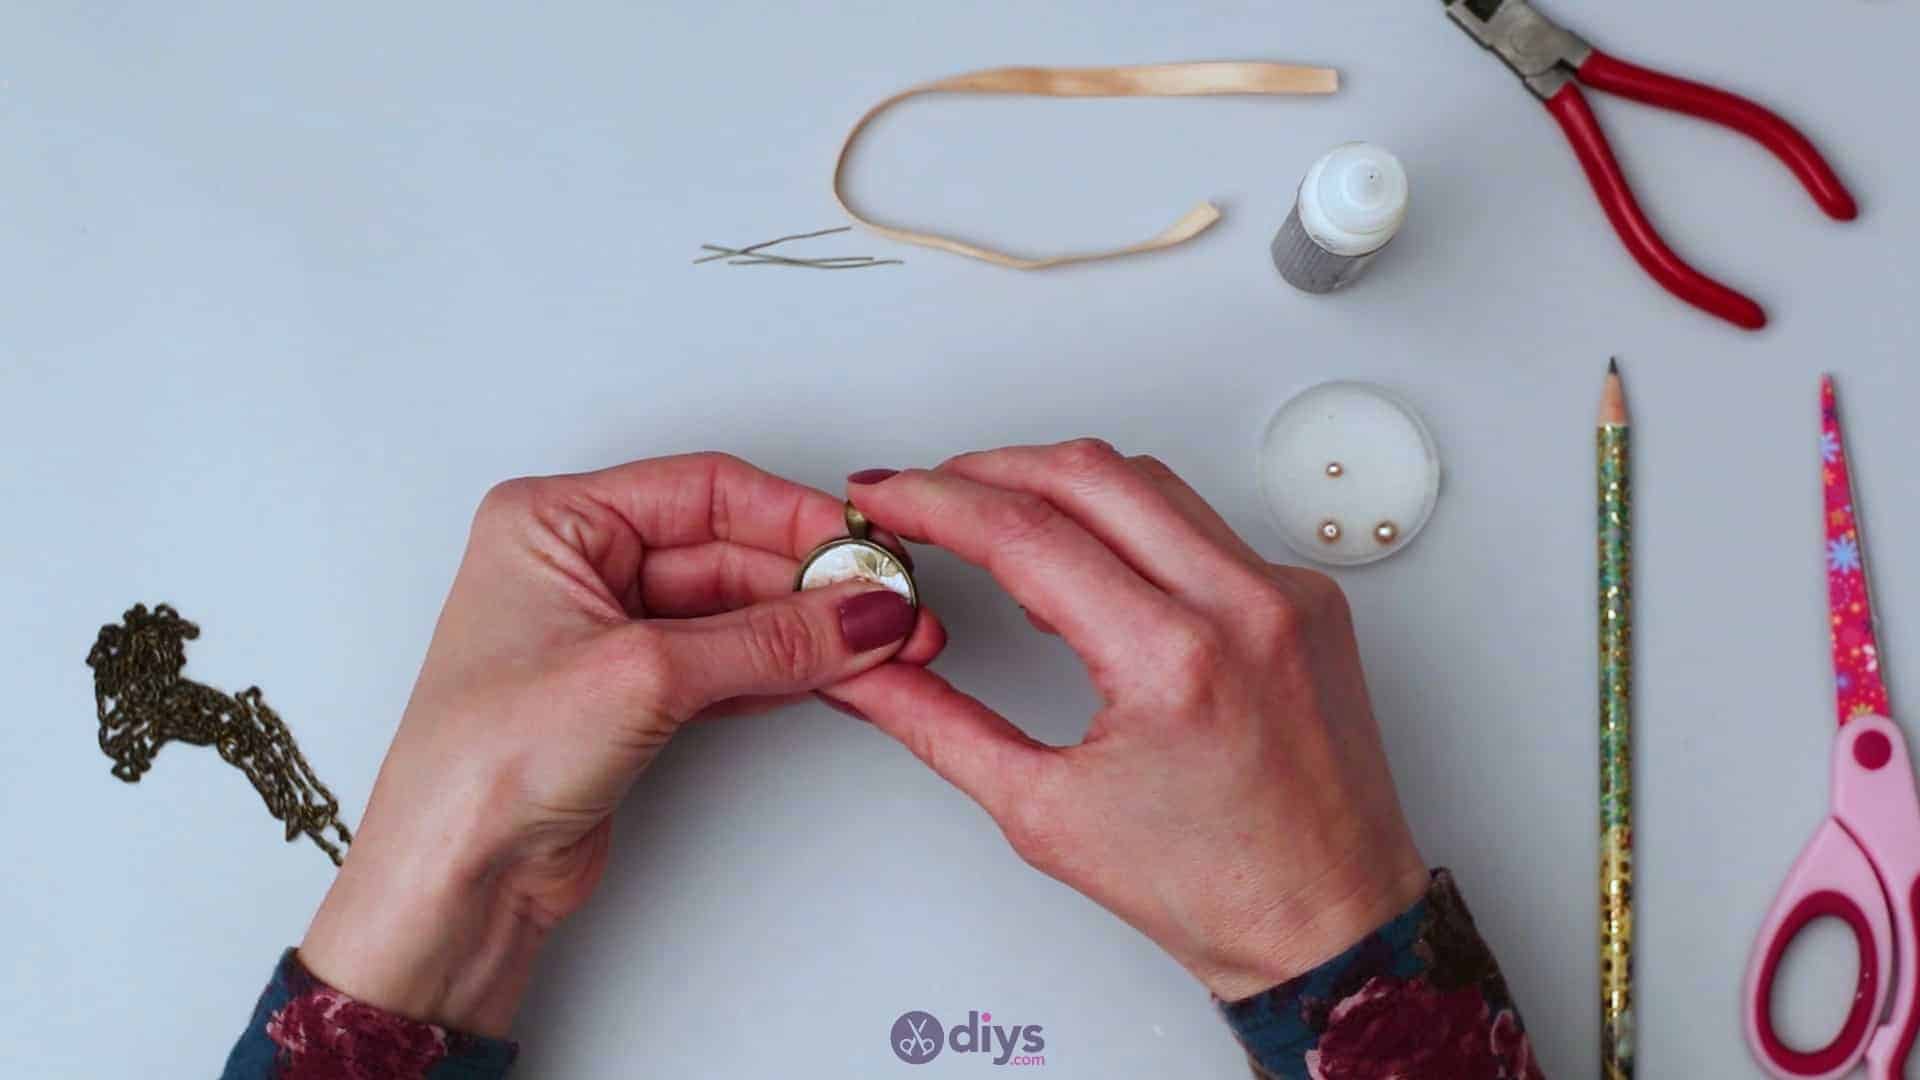
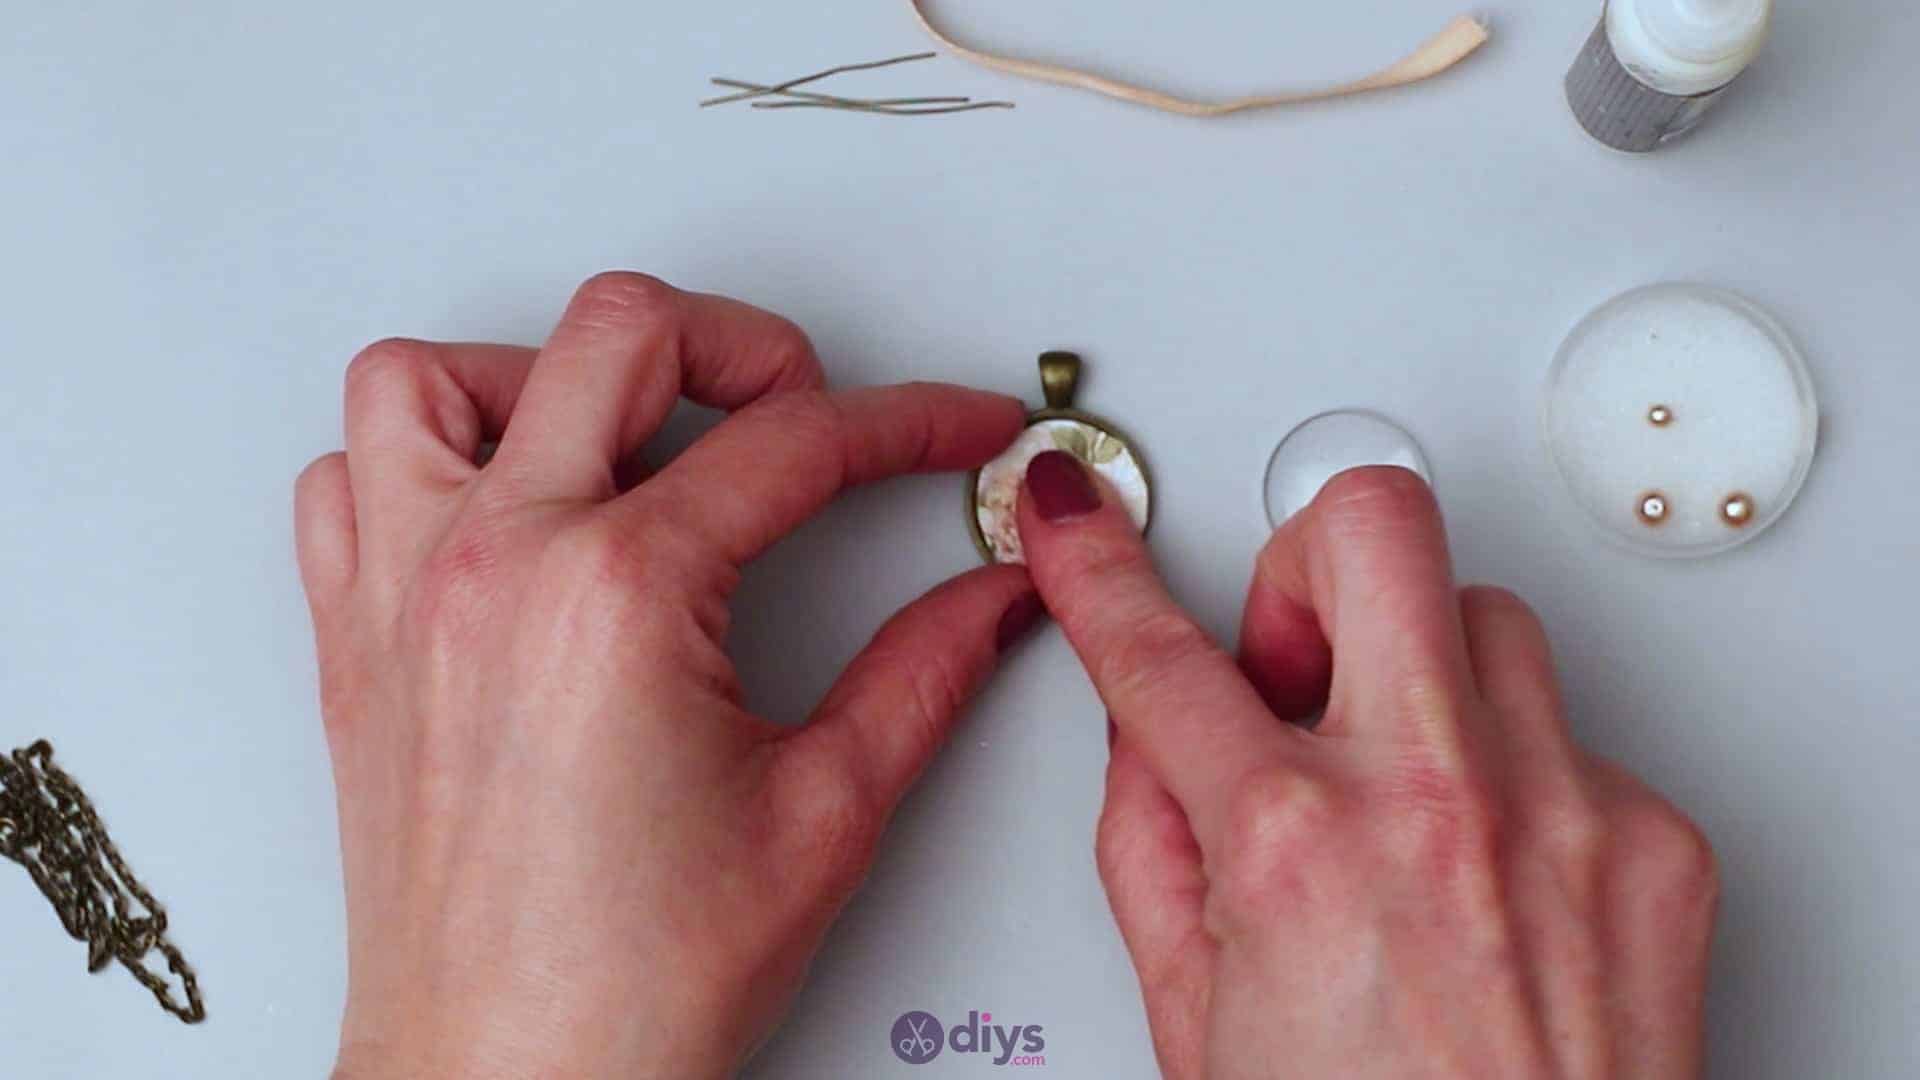
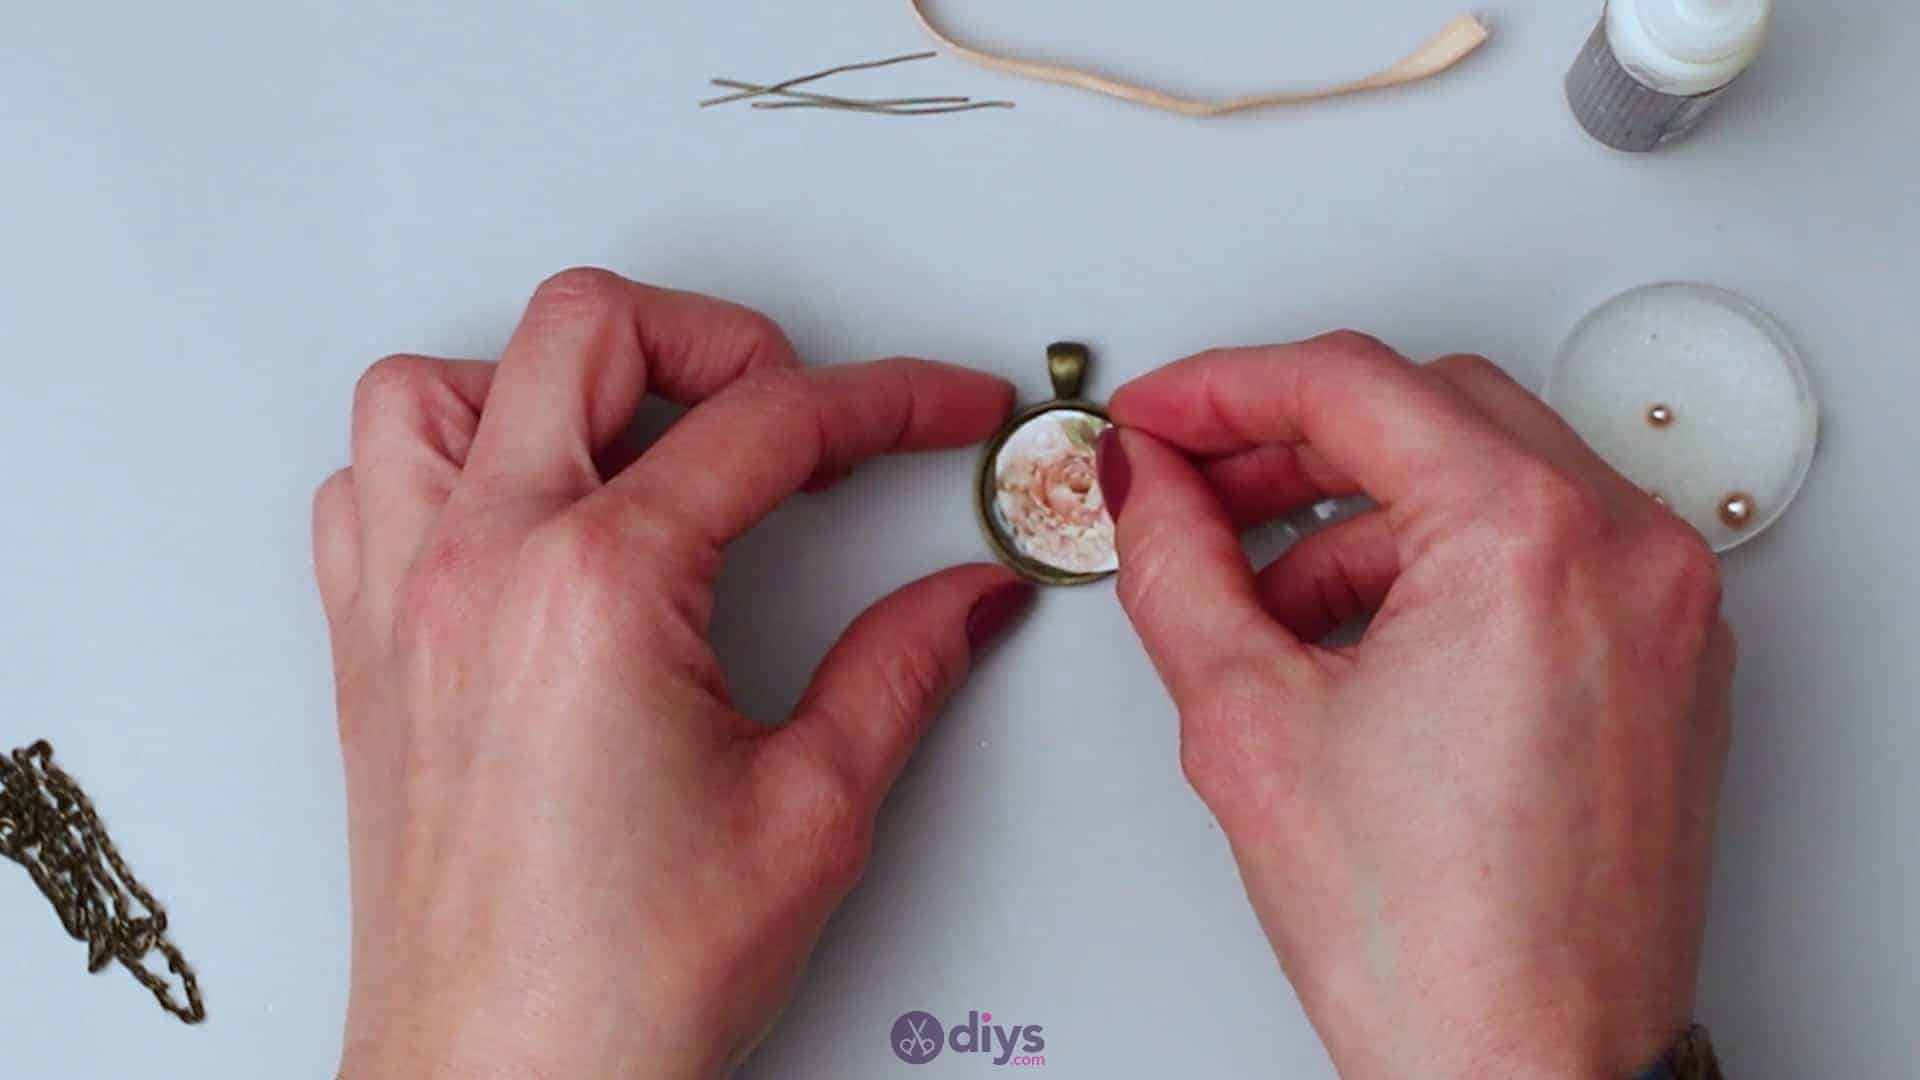
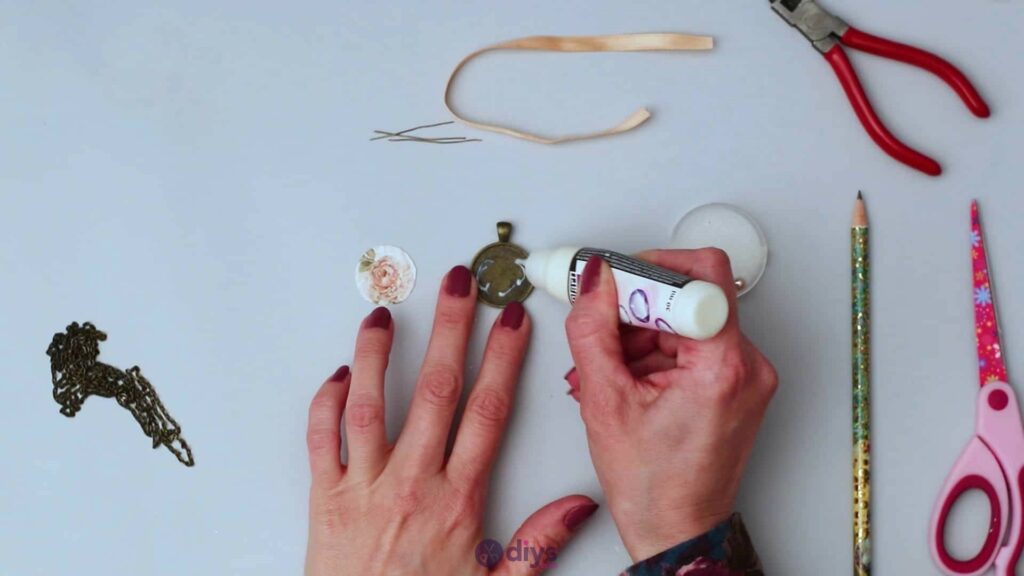
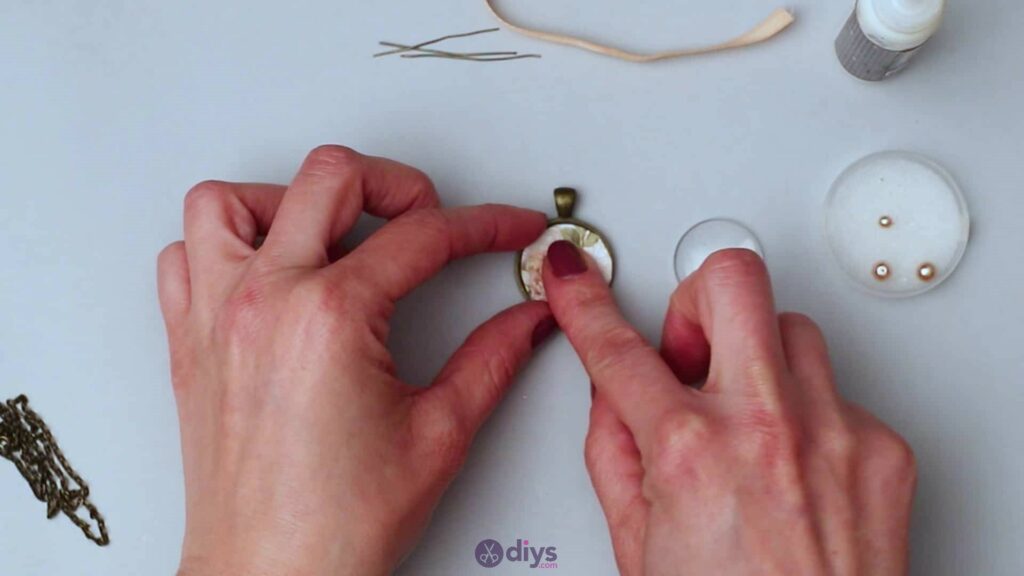
Apply a thin layer of glue to the pendant base, all over its indented circular surface. Fit the floral paper circle you just cut out into that space, laying it down so its edges line the pendant base well and its pattern is free of wrinkles and air bubbles, sitting smoothly. Now, apply a thin layer of jewel glue all over that floral paper piece, right on top, spreading it evenly to cover the paper. Apply enough to stick something down well but not so much that the paper gets oversaturated and rips, wrecking your floral pattern.
Take the glass lens you measured with earlier and fit it into the pendant base, right over the floral paper circle. You might be able to see the glue now underneath the glass, but jewel glue dries clear so you won’t have to worry about this affecting your final piece. carefully press the glass lens down into place well without sliding or shifting it. Wipe off any excess glue that escapes around the edges of the glass lens and set the whole pendant aside for the moment.


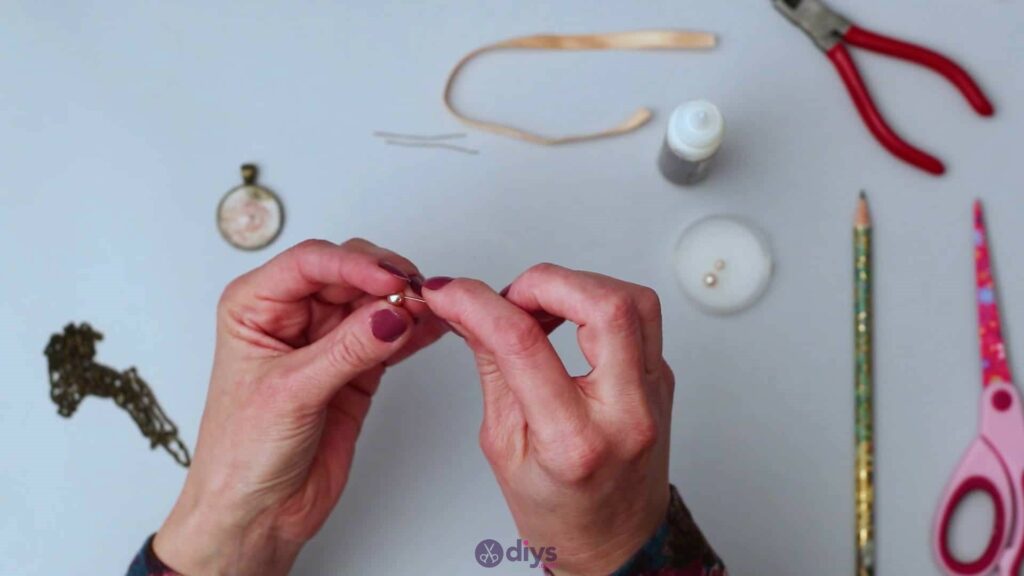
Step 4: add the beads
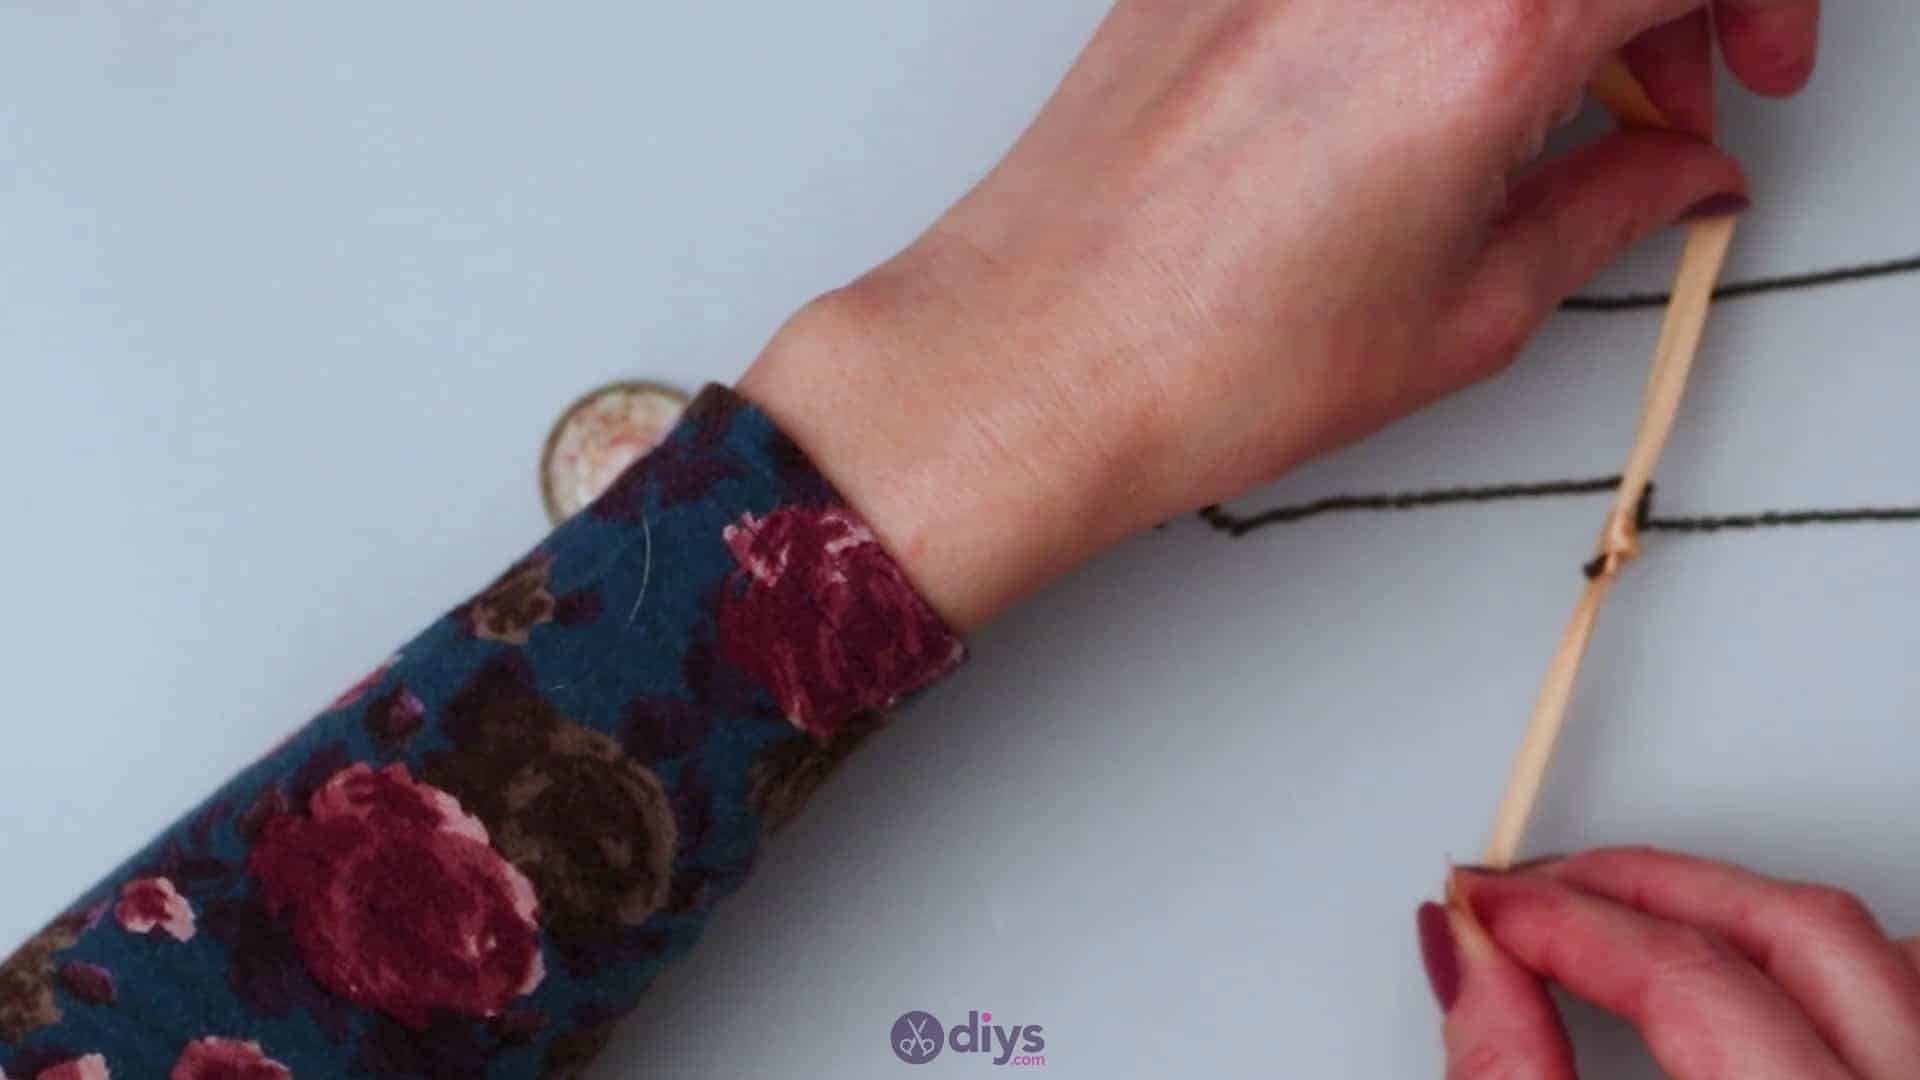
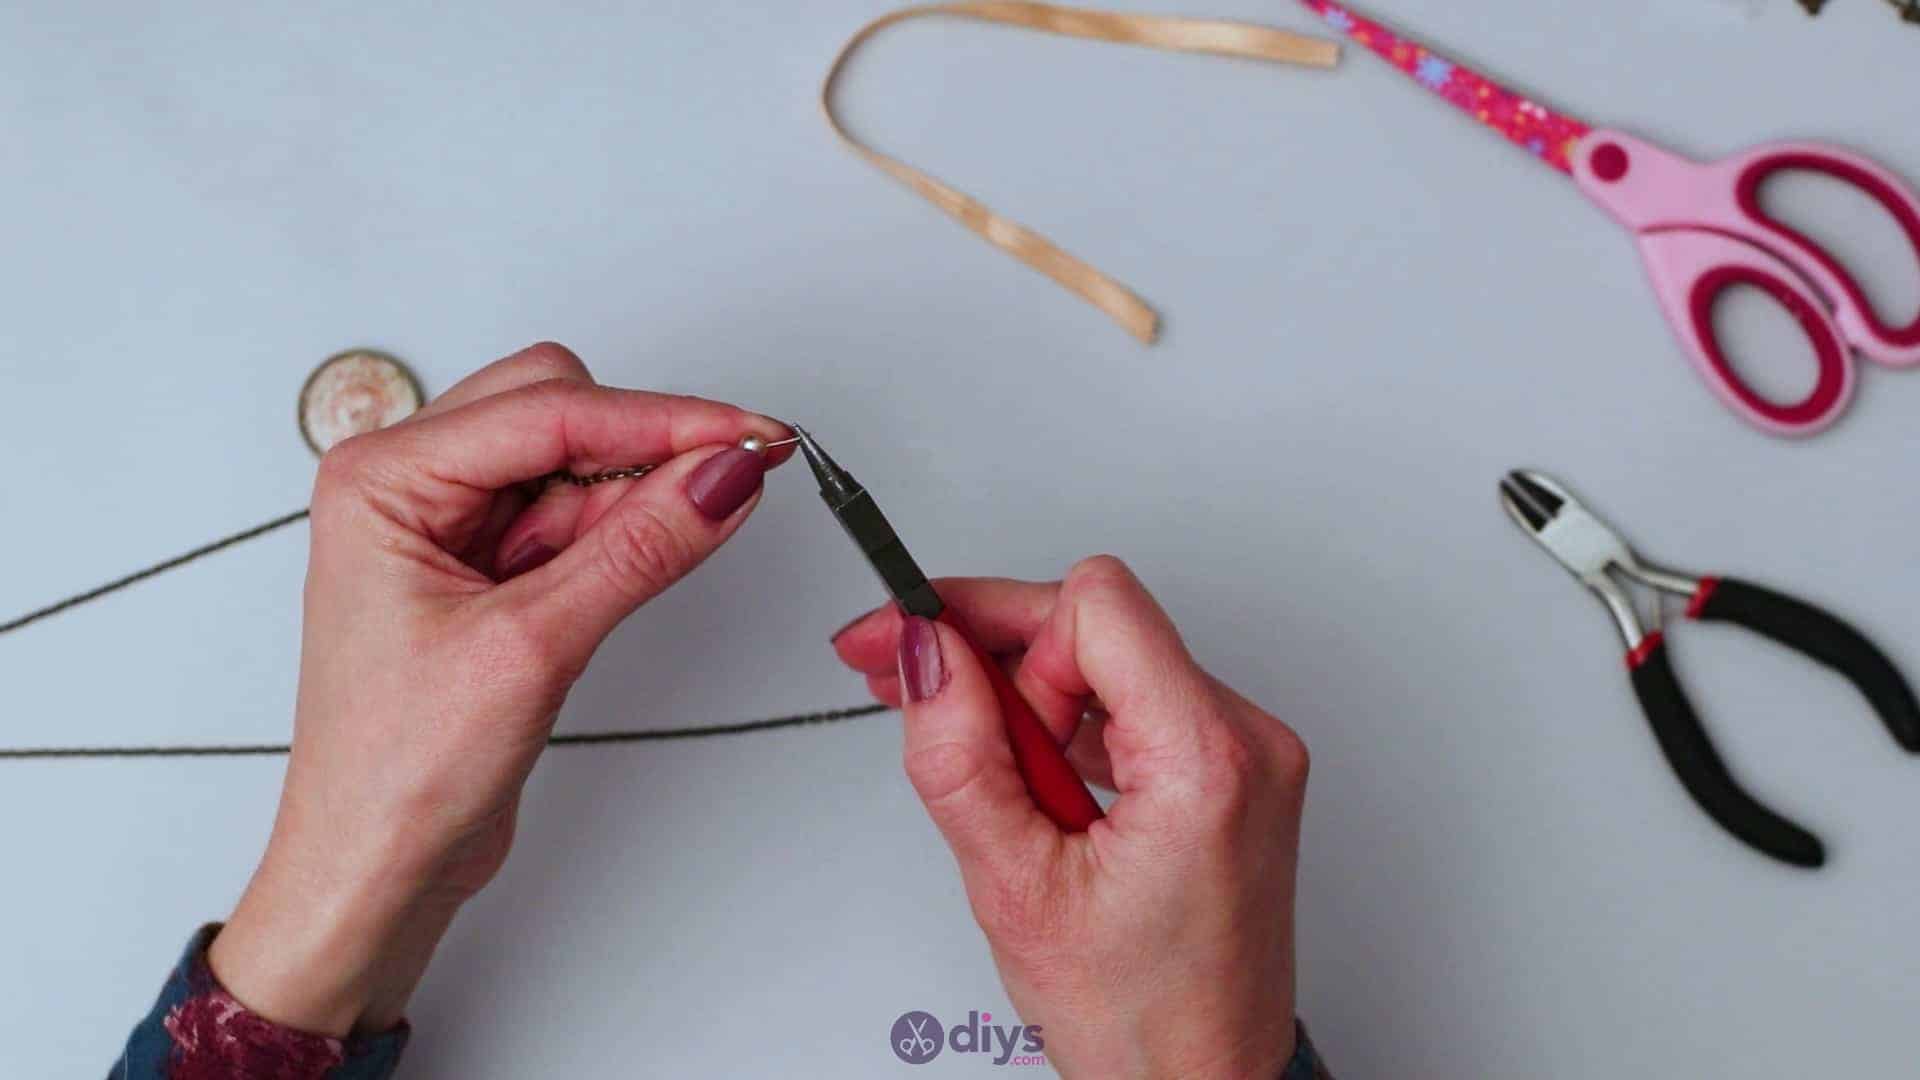
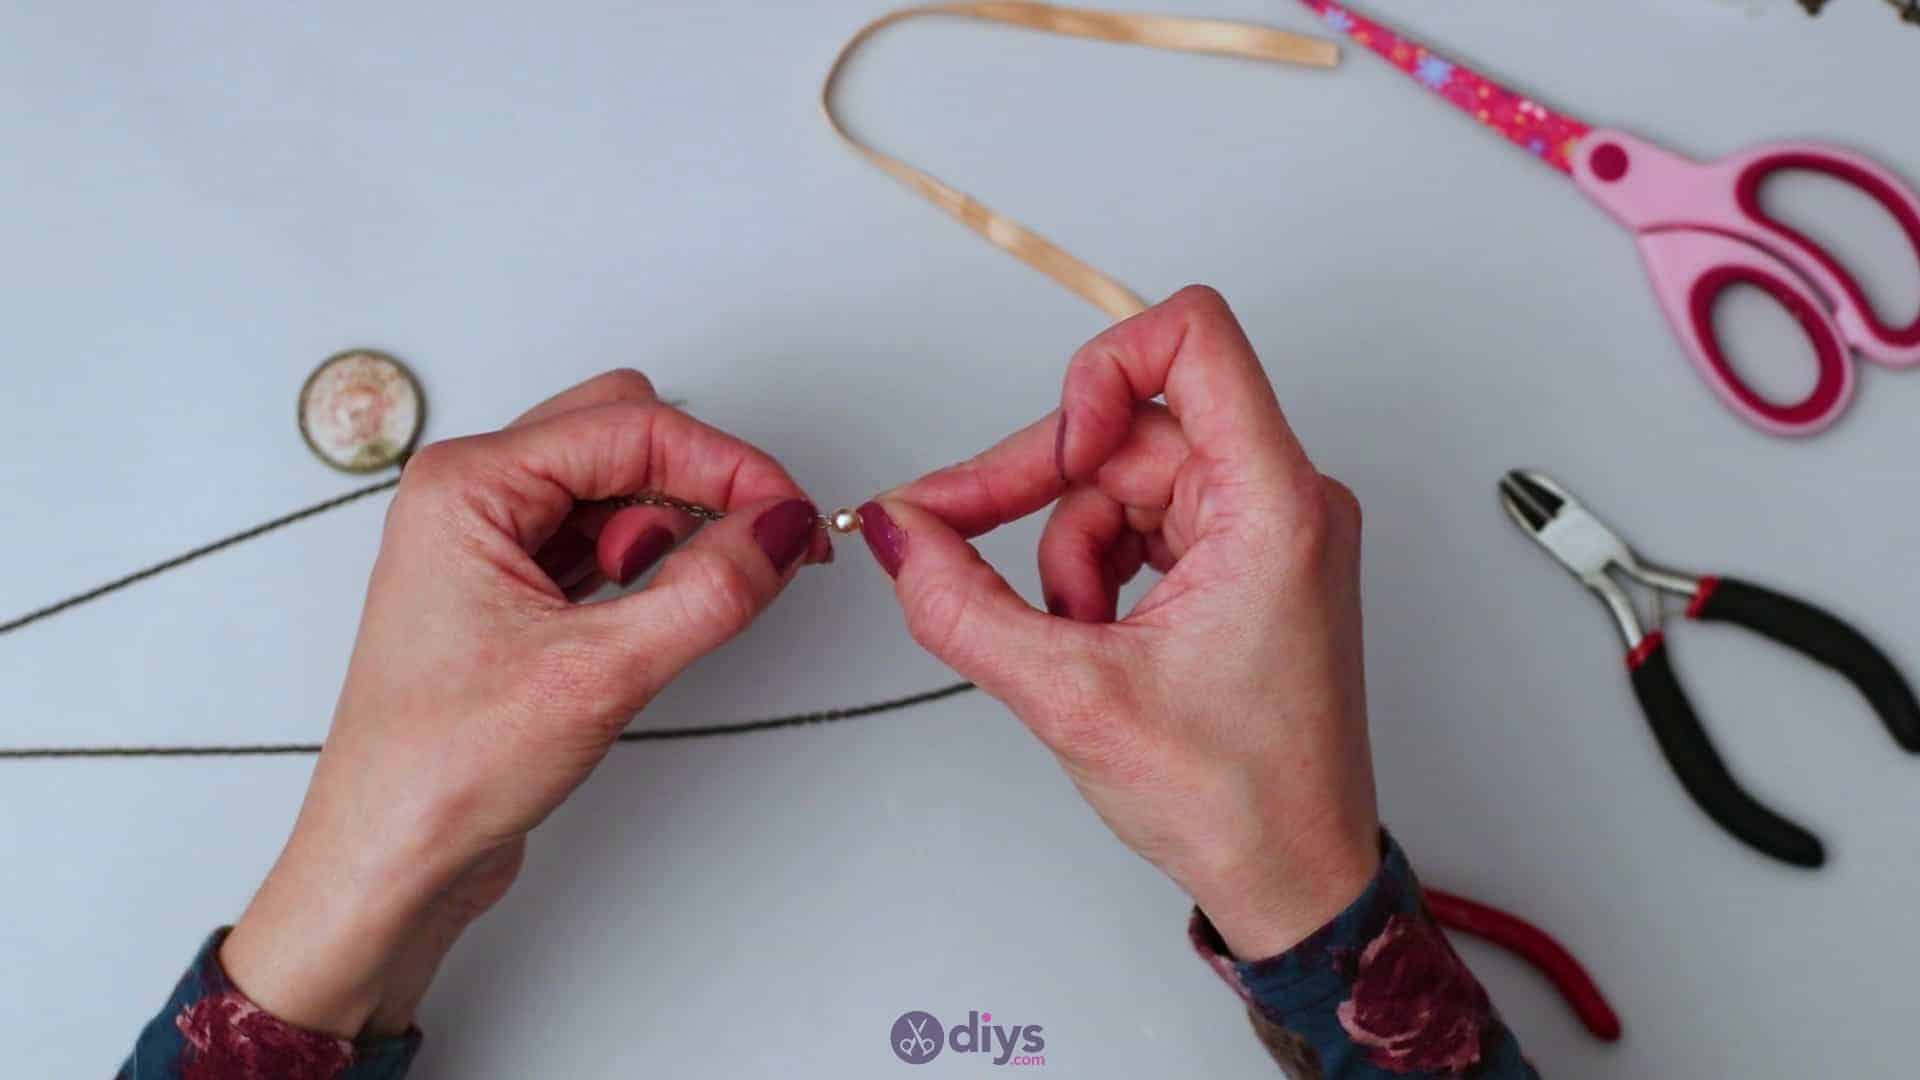
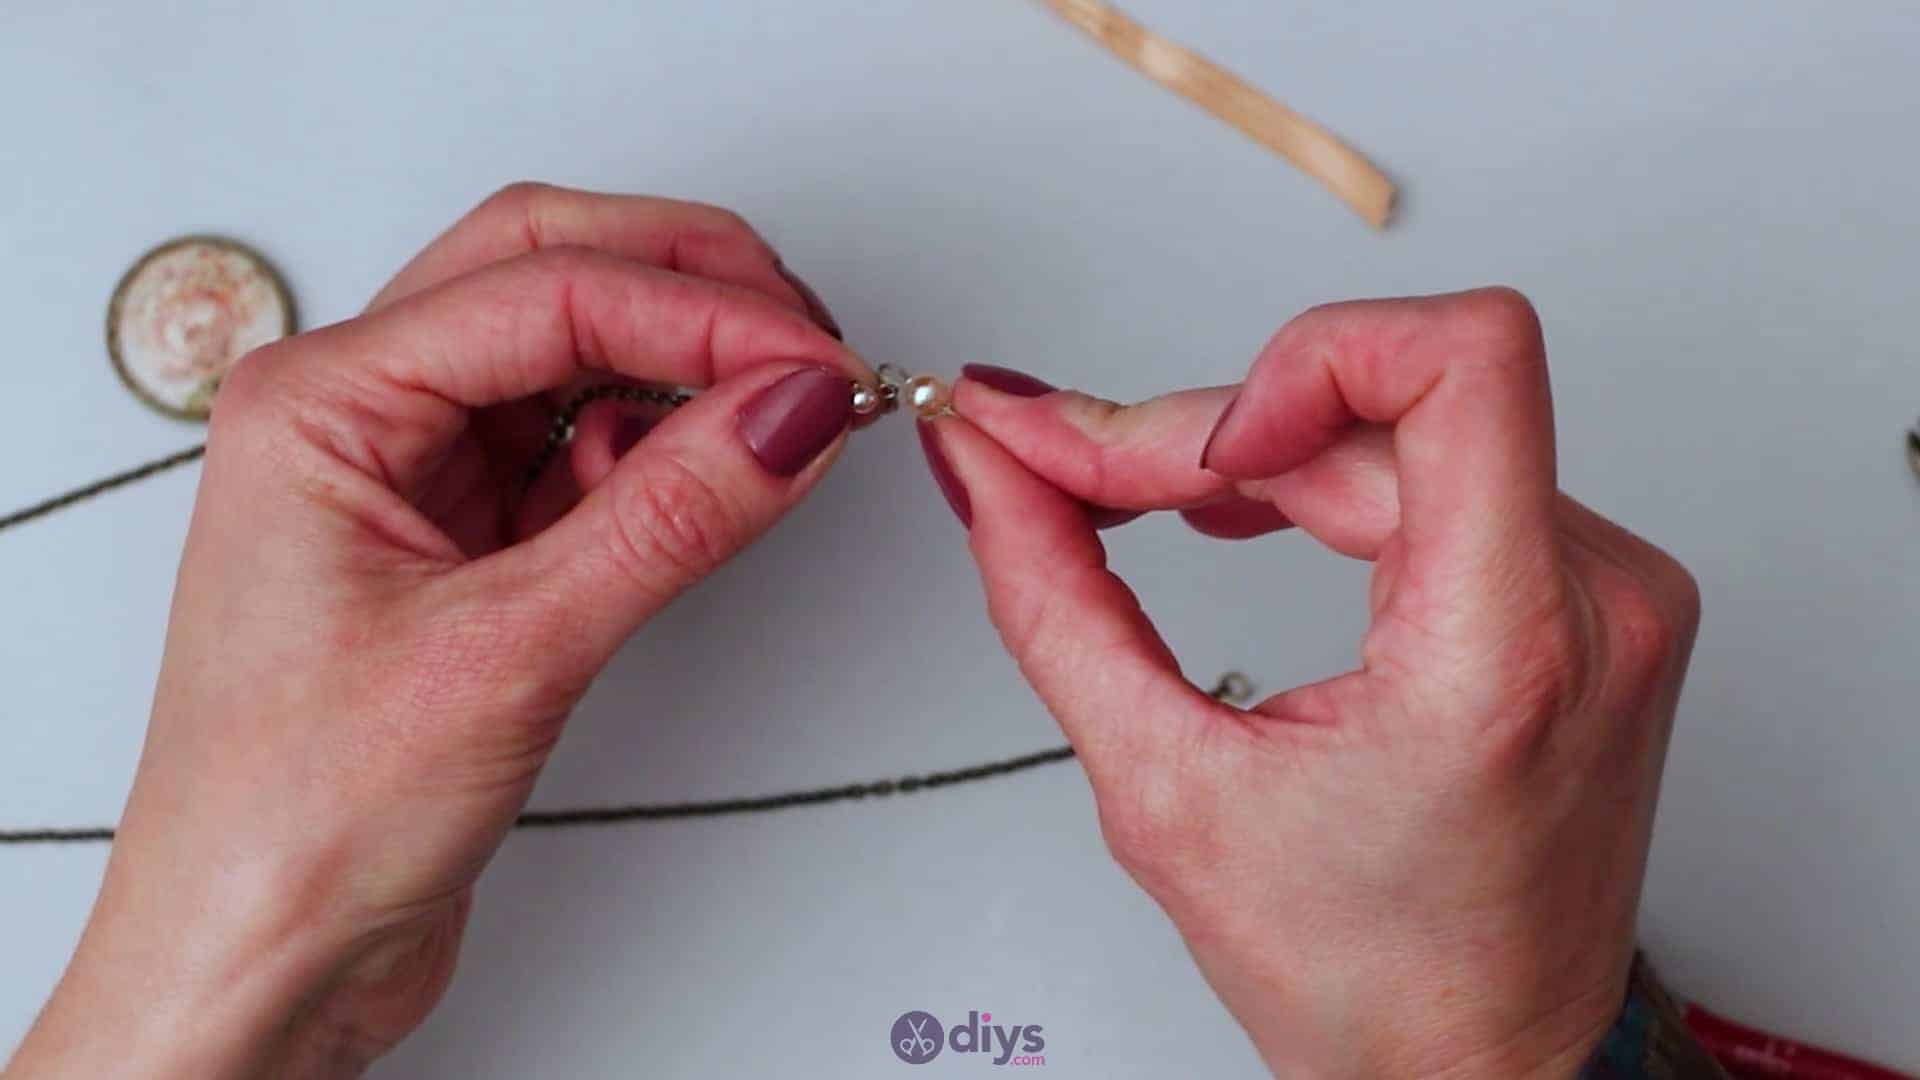
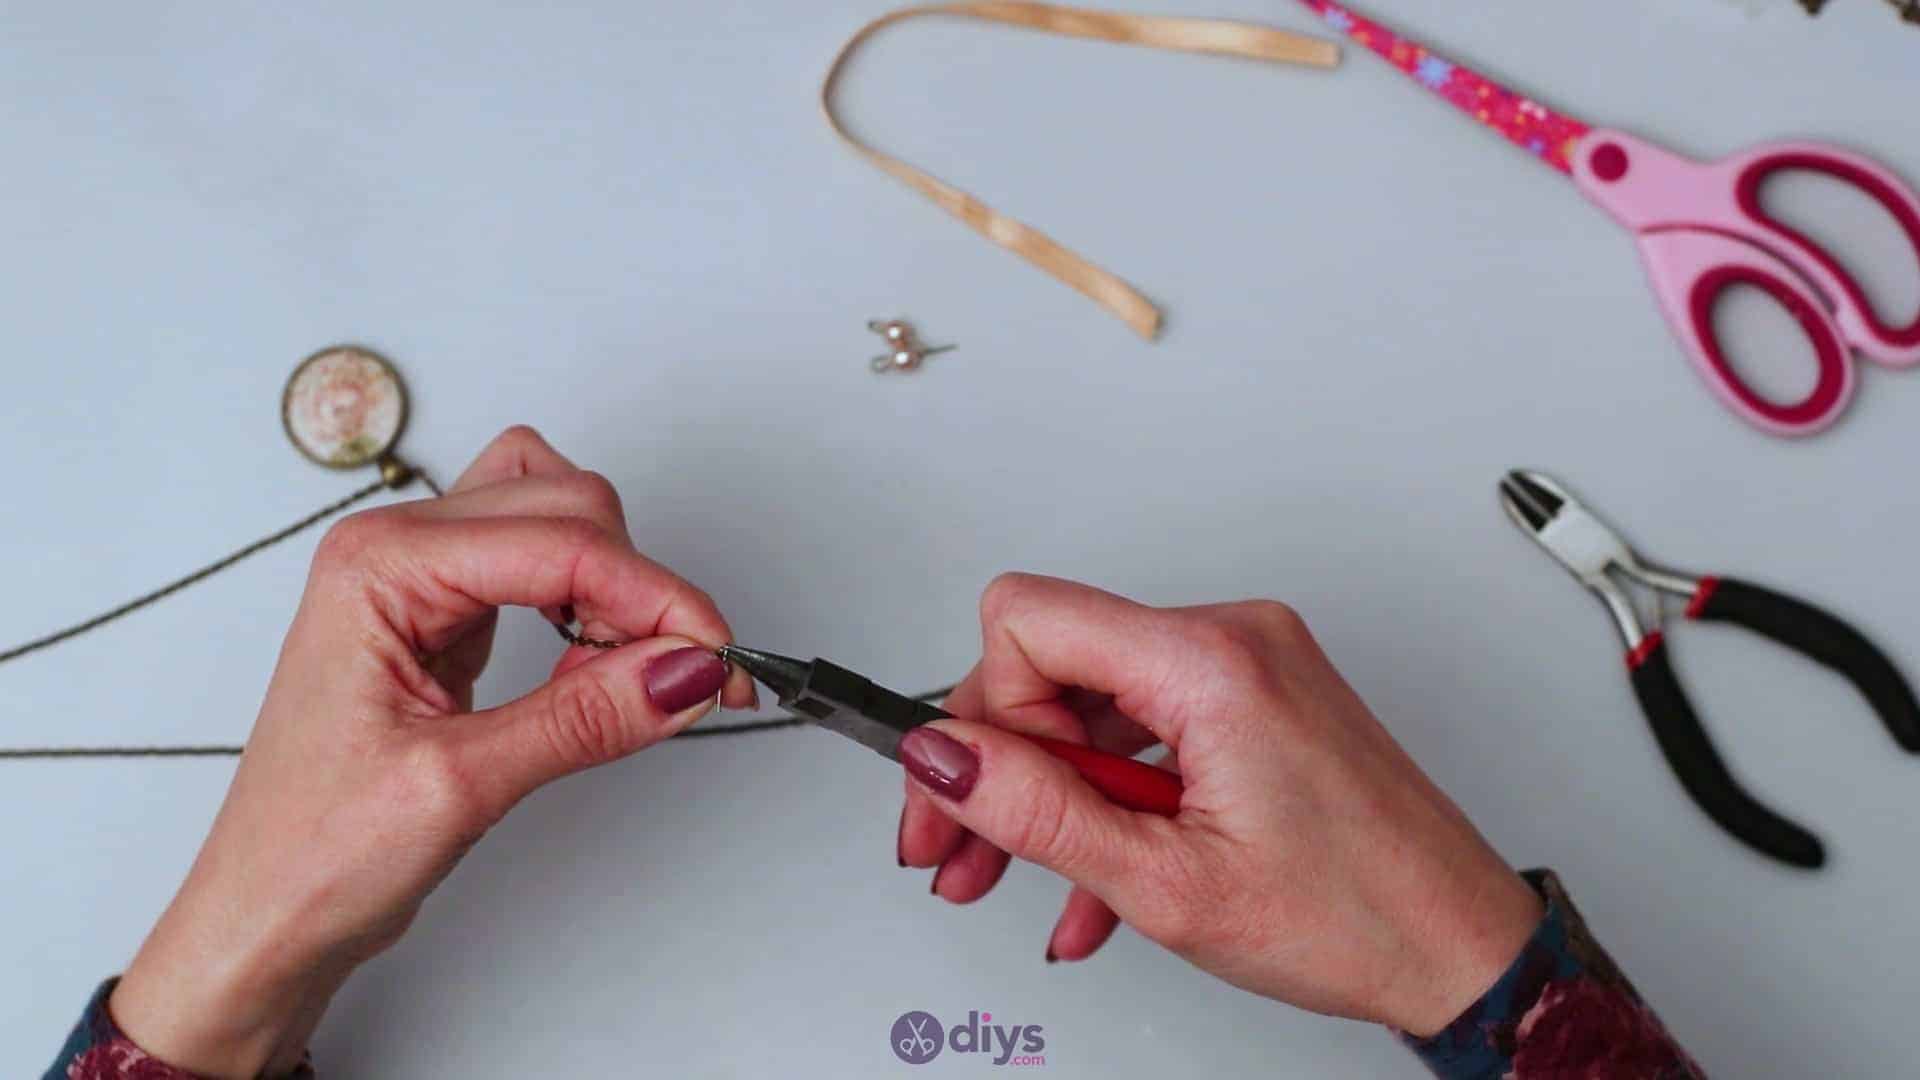
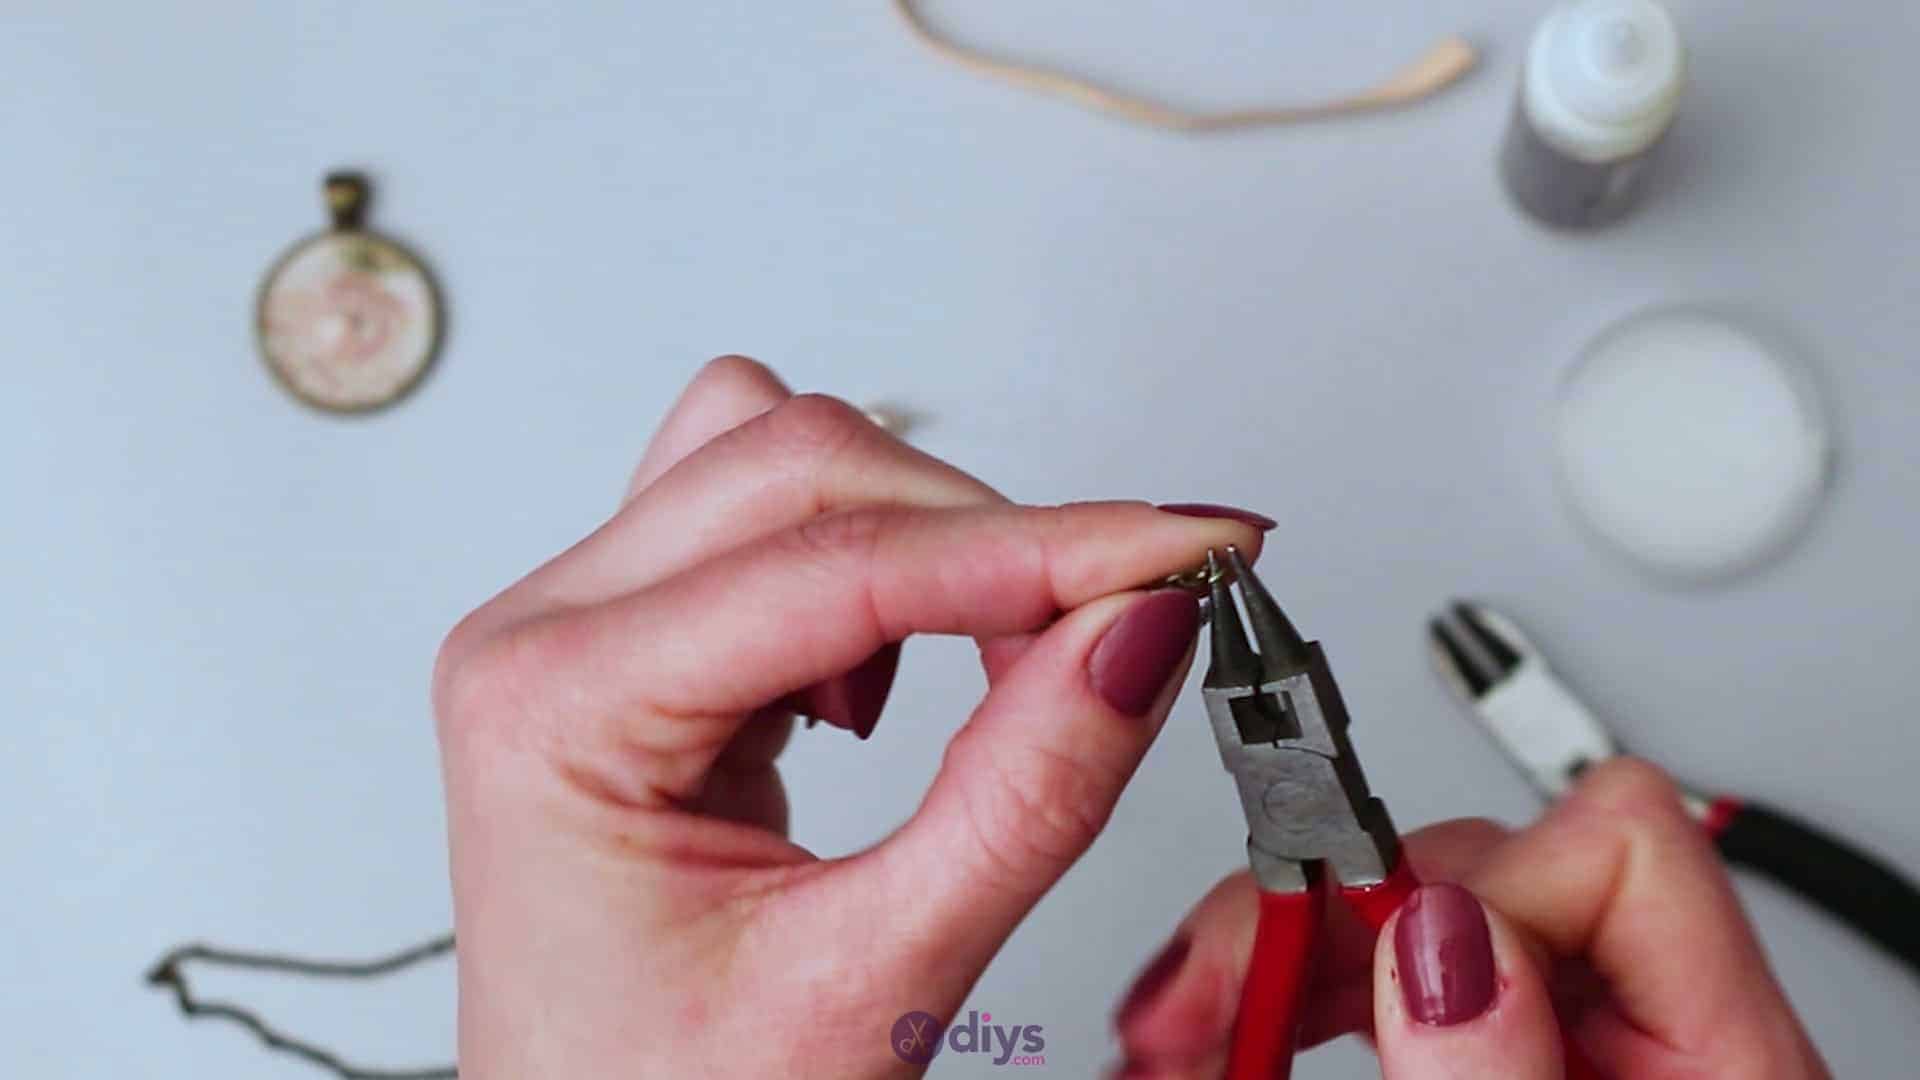
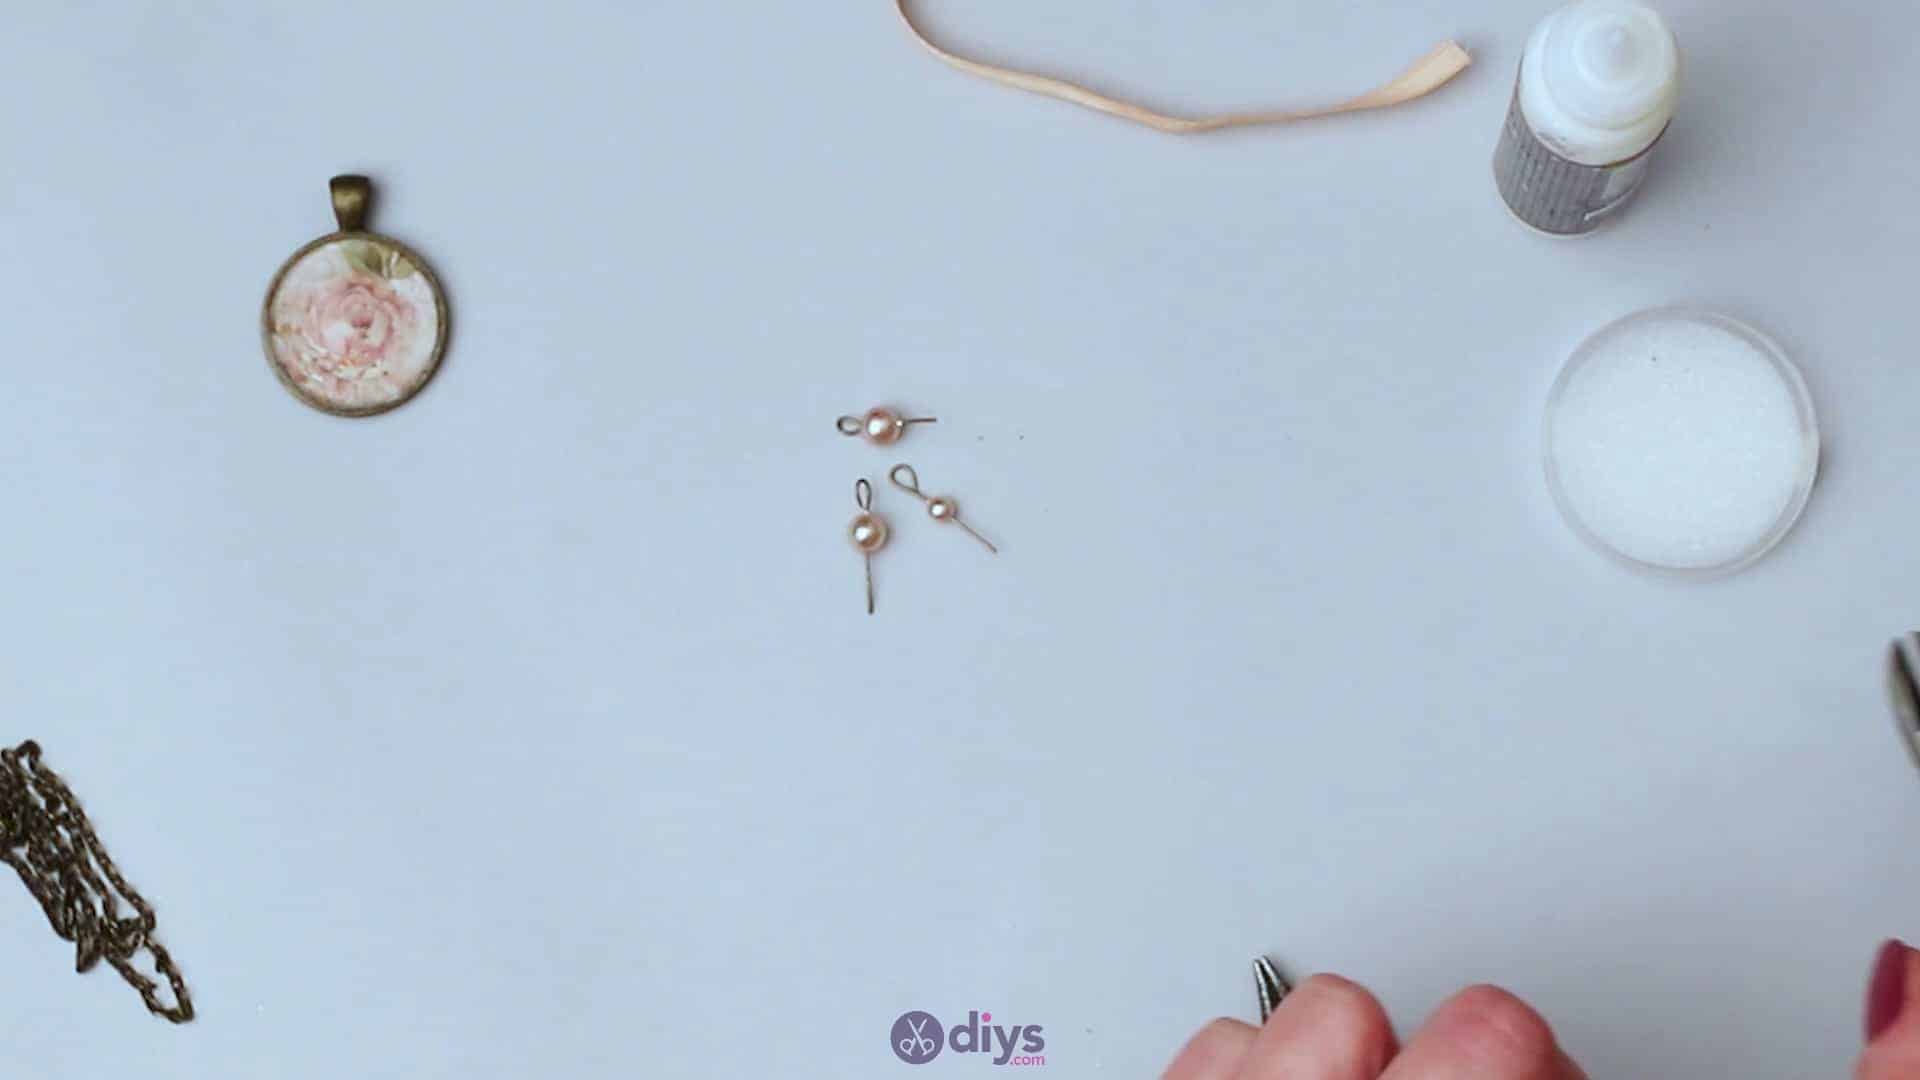
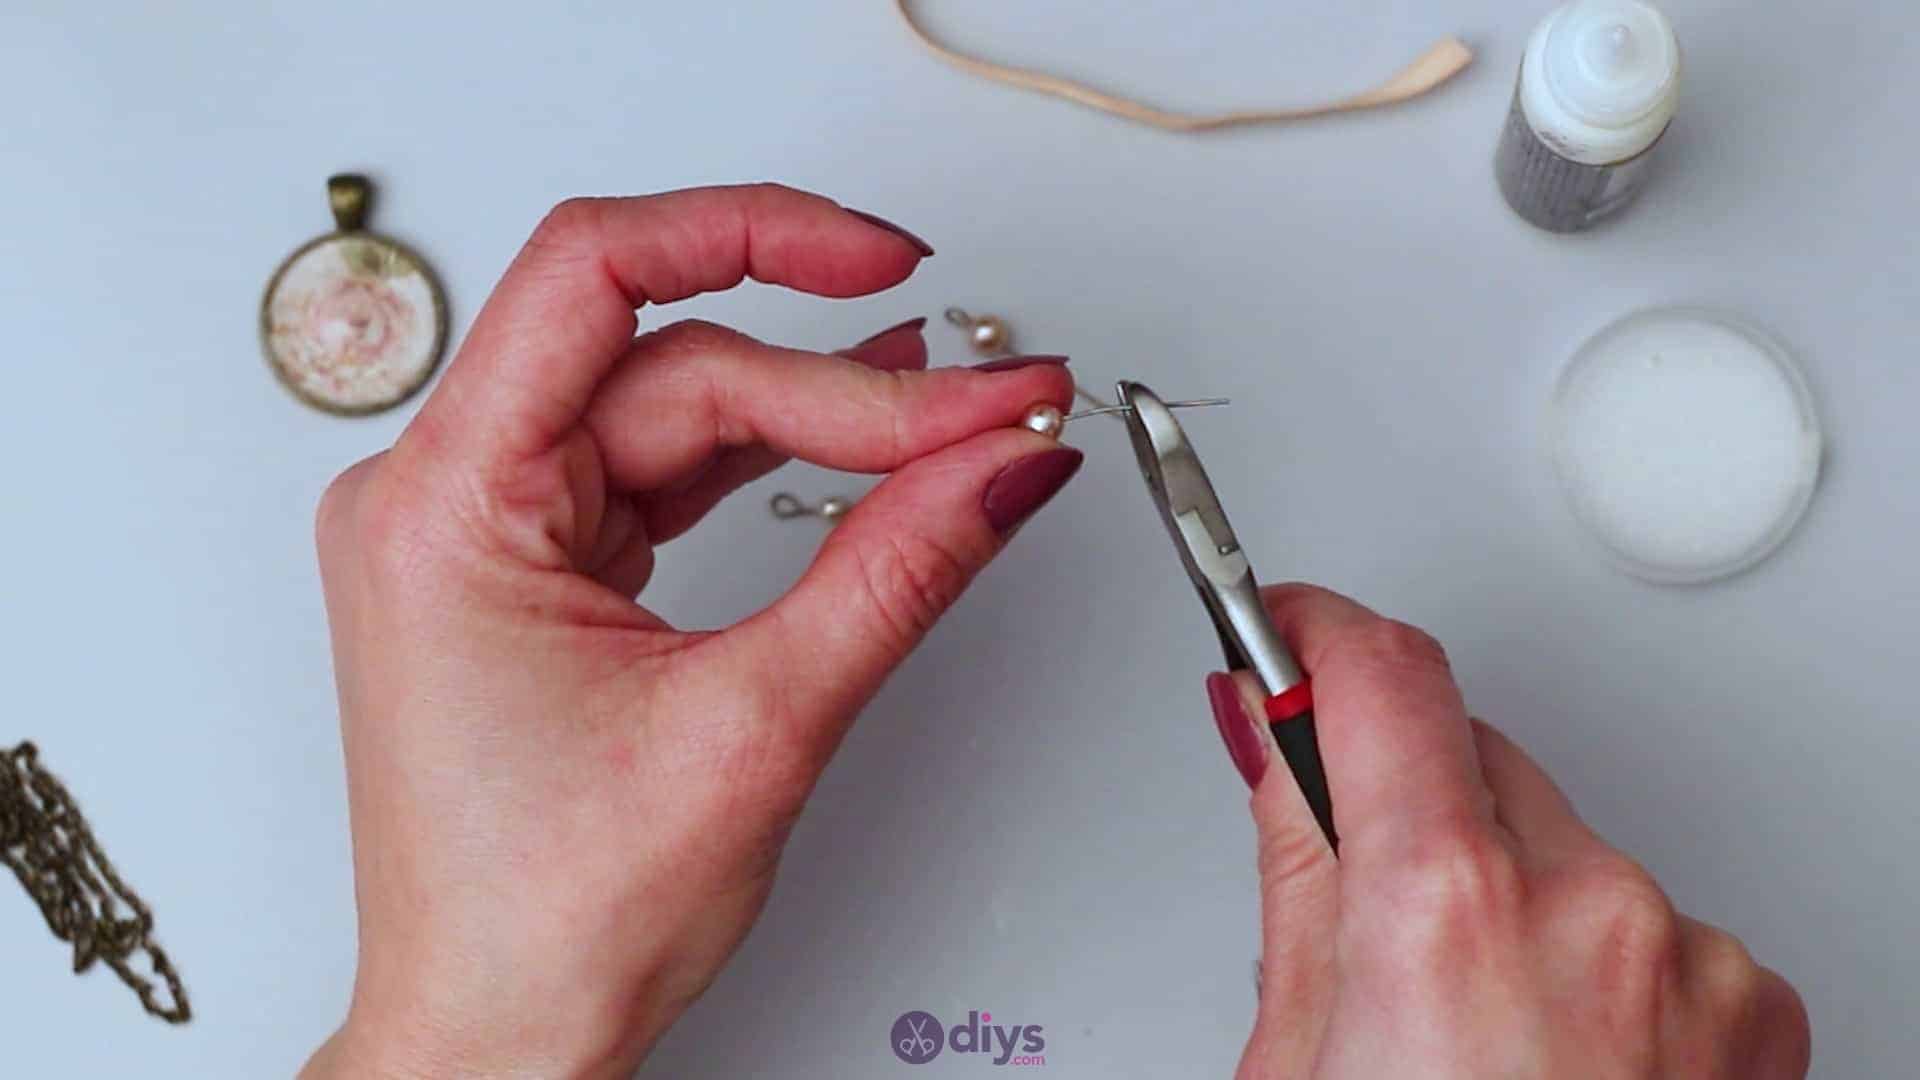
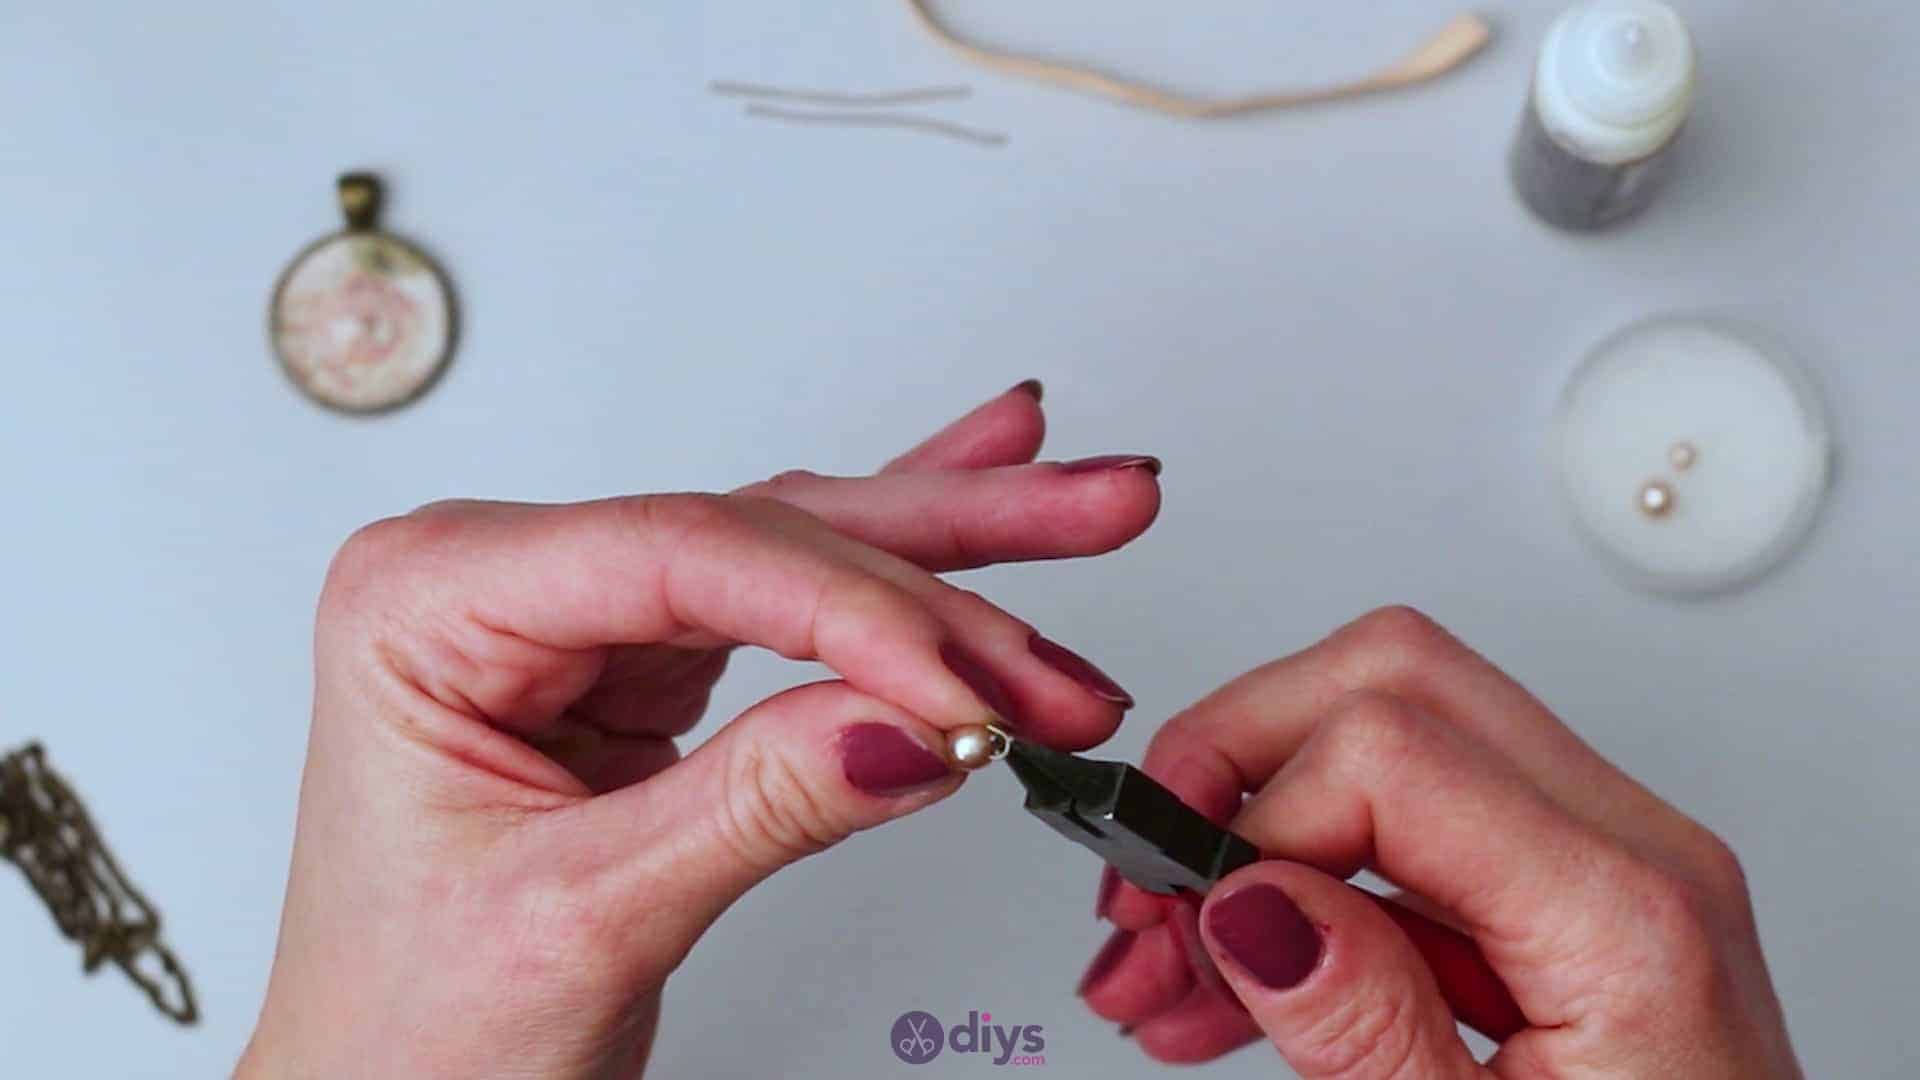
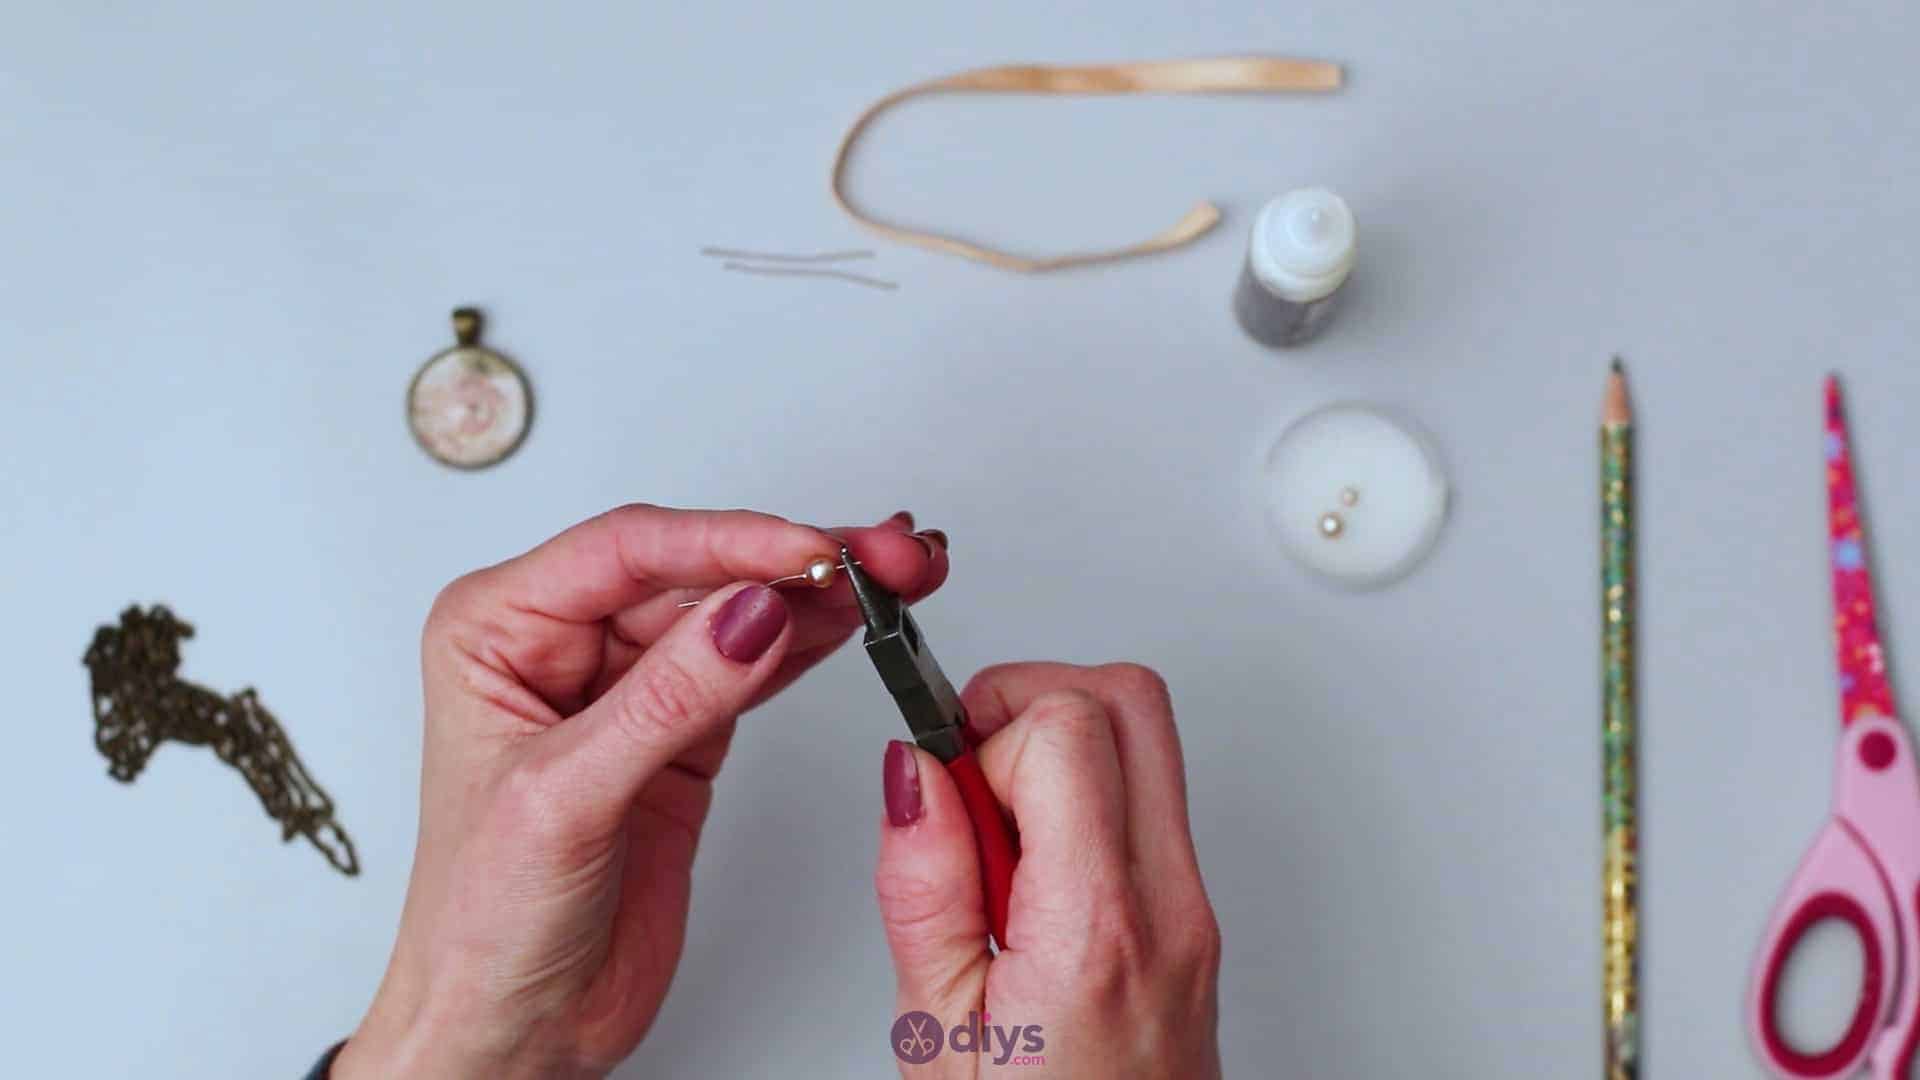
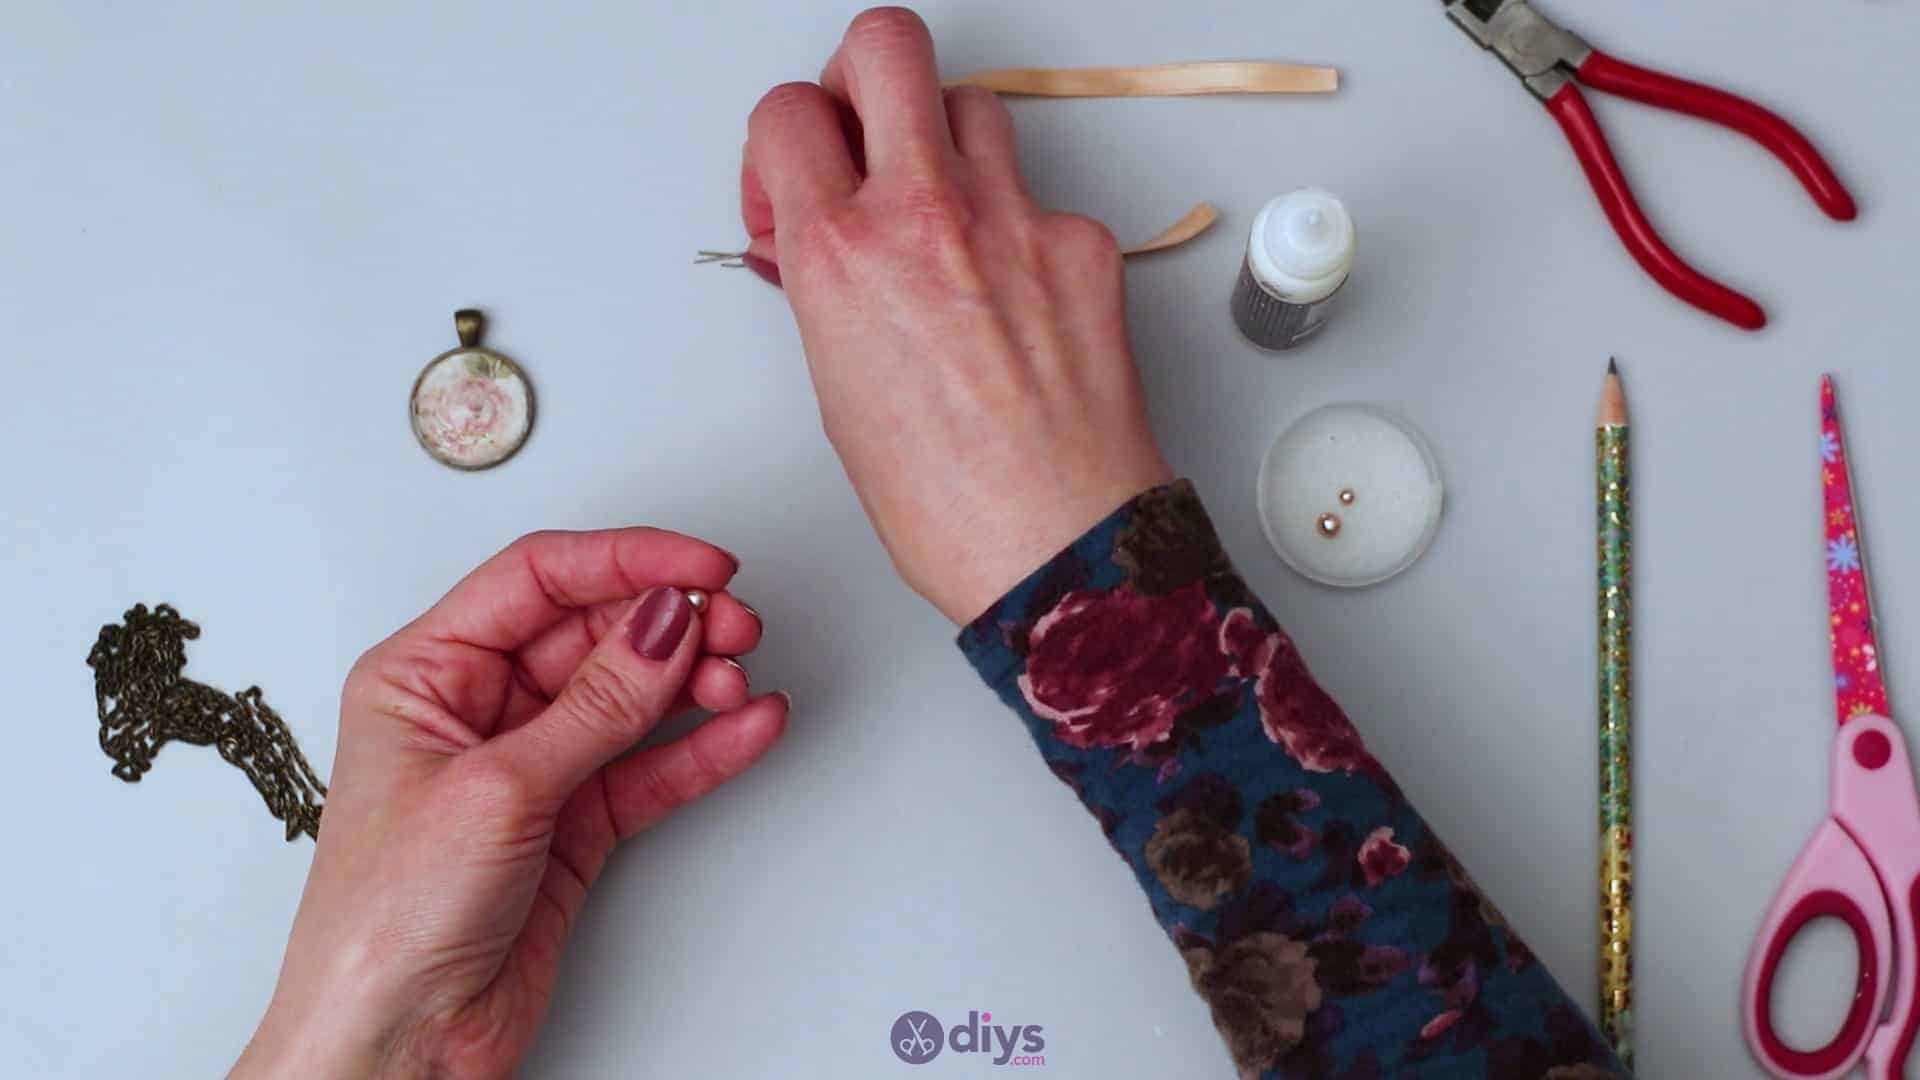
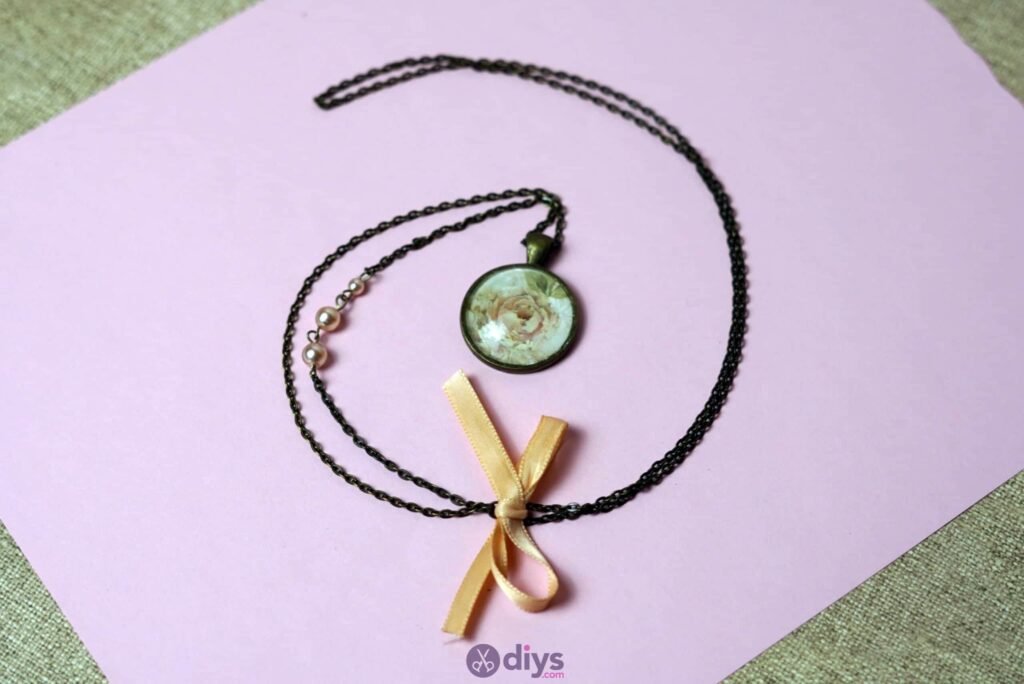
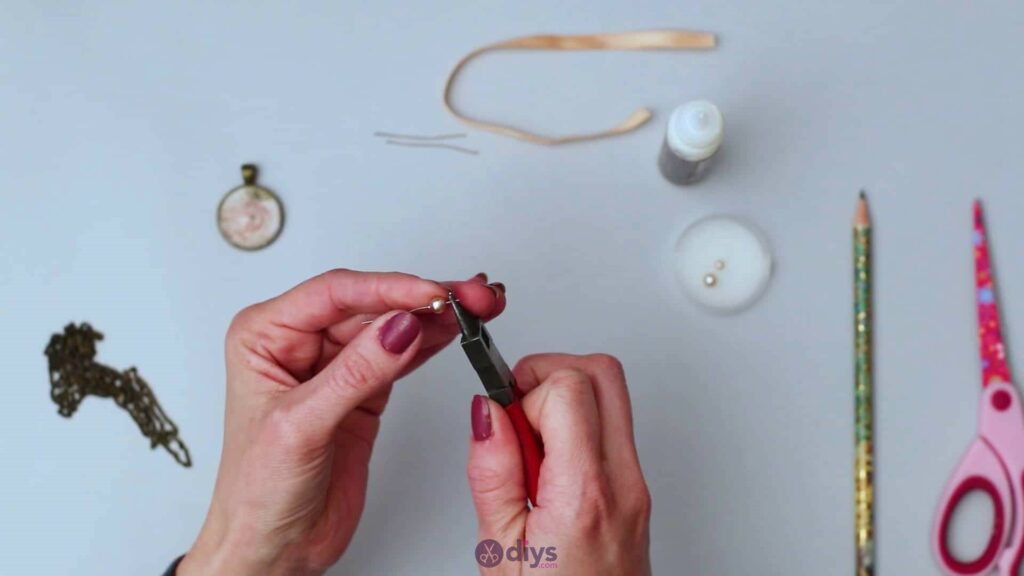
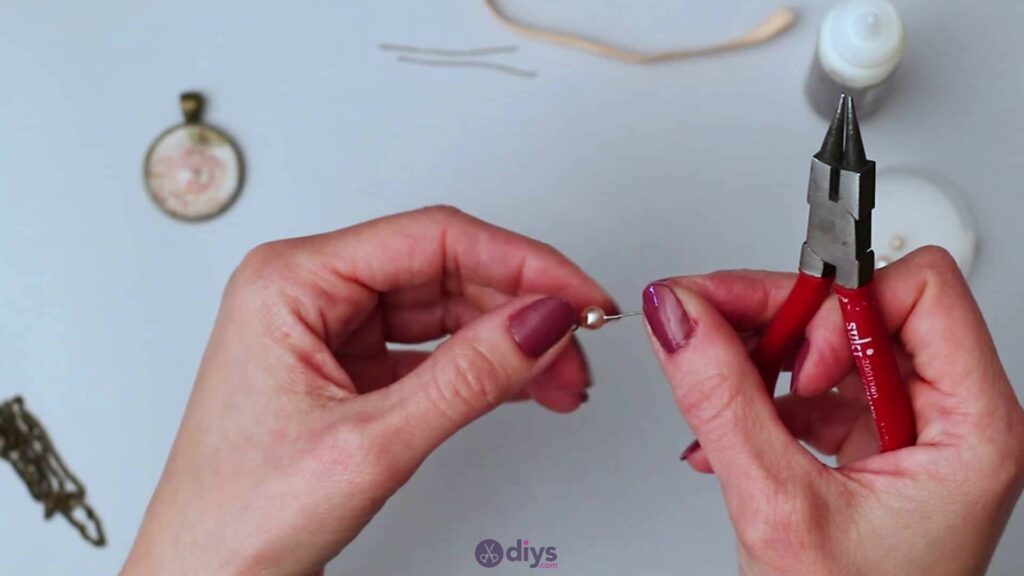
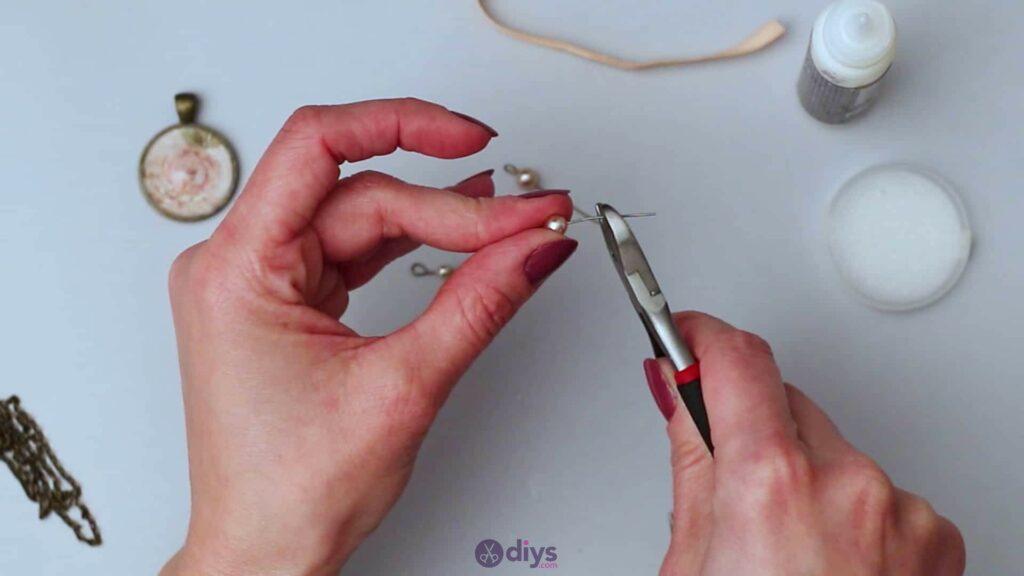
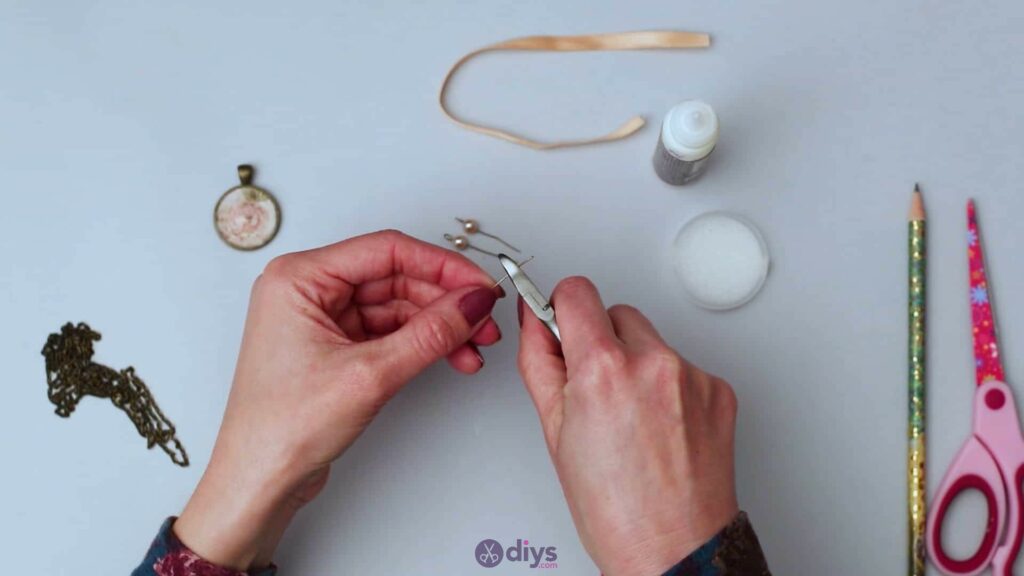
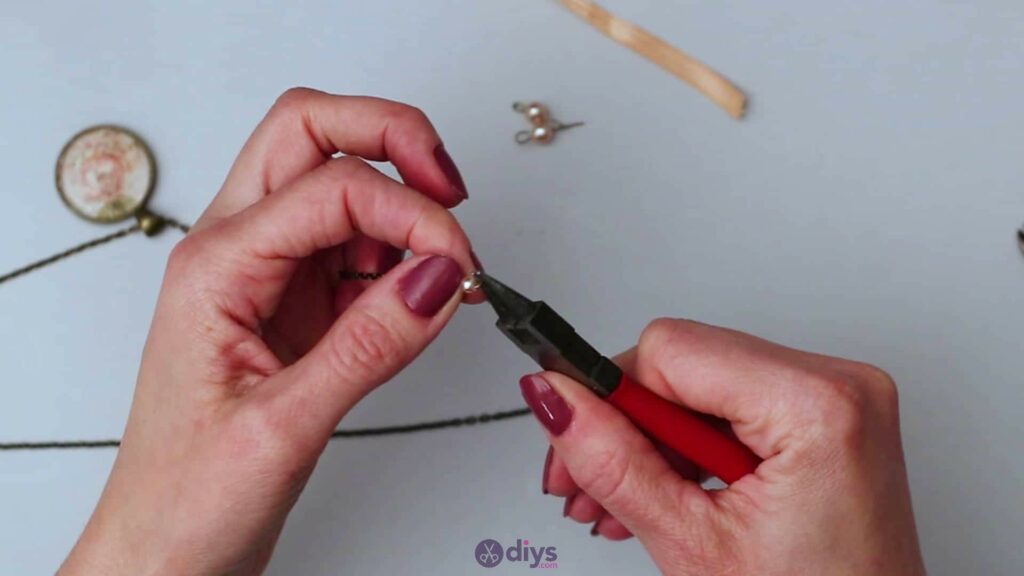
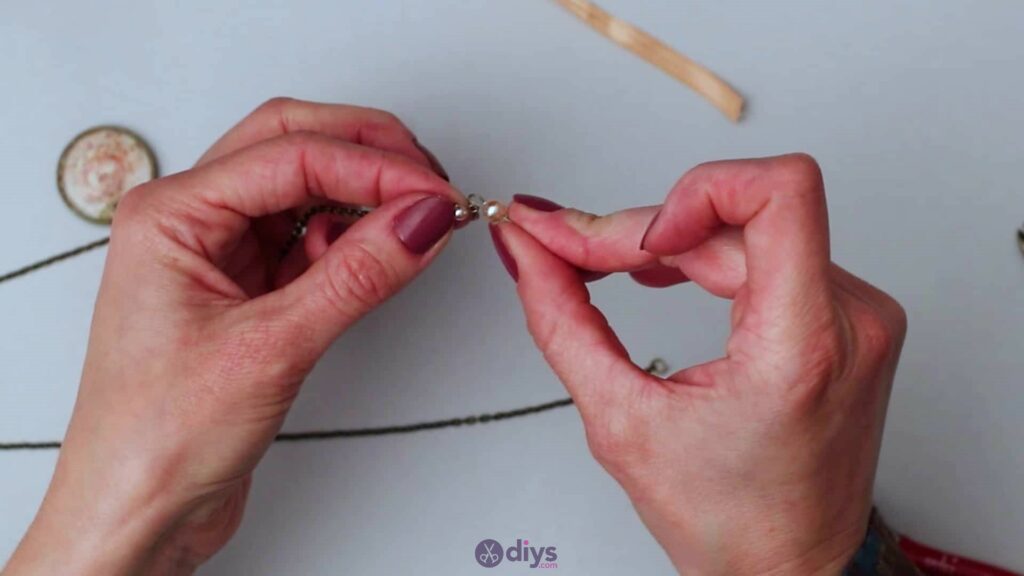
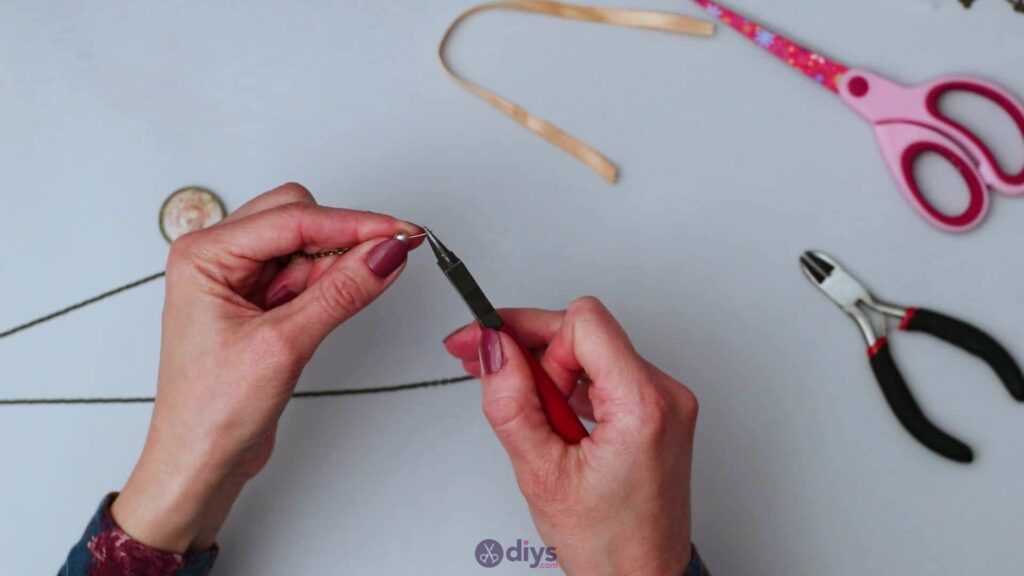
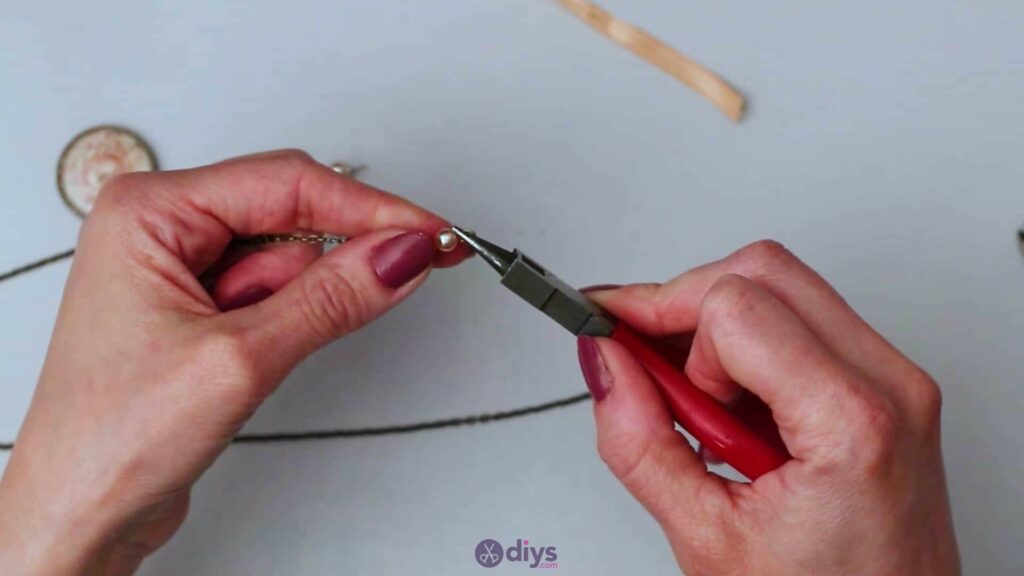
Pick up your first mounting rod and your first pearled bead (each of three). Slide the bead onto the mounting rod until it sits right in the middle, halfway down the length of the rod. Hold it in place there and use your conical tongs to grip one end of the rod and curl it inwards towards the bead, creating a loop.
Leave the other end uncurled for now and carefully set the piece aside without letting the bead slide off the remaining free end. Repeat this process twice more with your other two pearl beads and corresponding two mounting rods, setting them each alongside the first one for the moment. If you’re working with mounting rods that are very long, use small wire cutters or the cutters on your pincers to trim the free ends on each of these three pieces to be only about half an inch long on the other side of the beads.


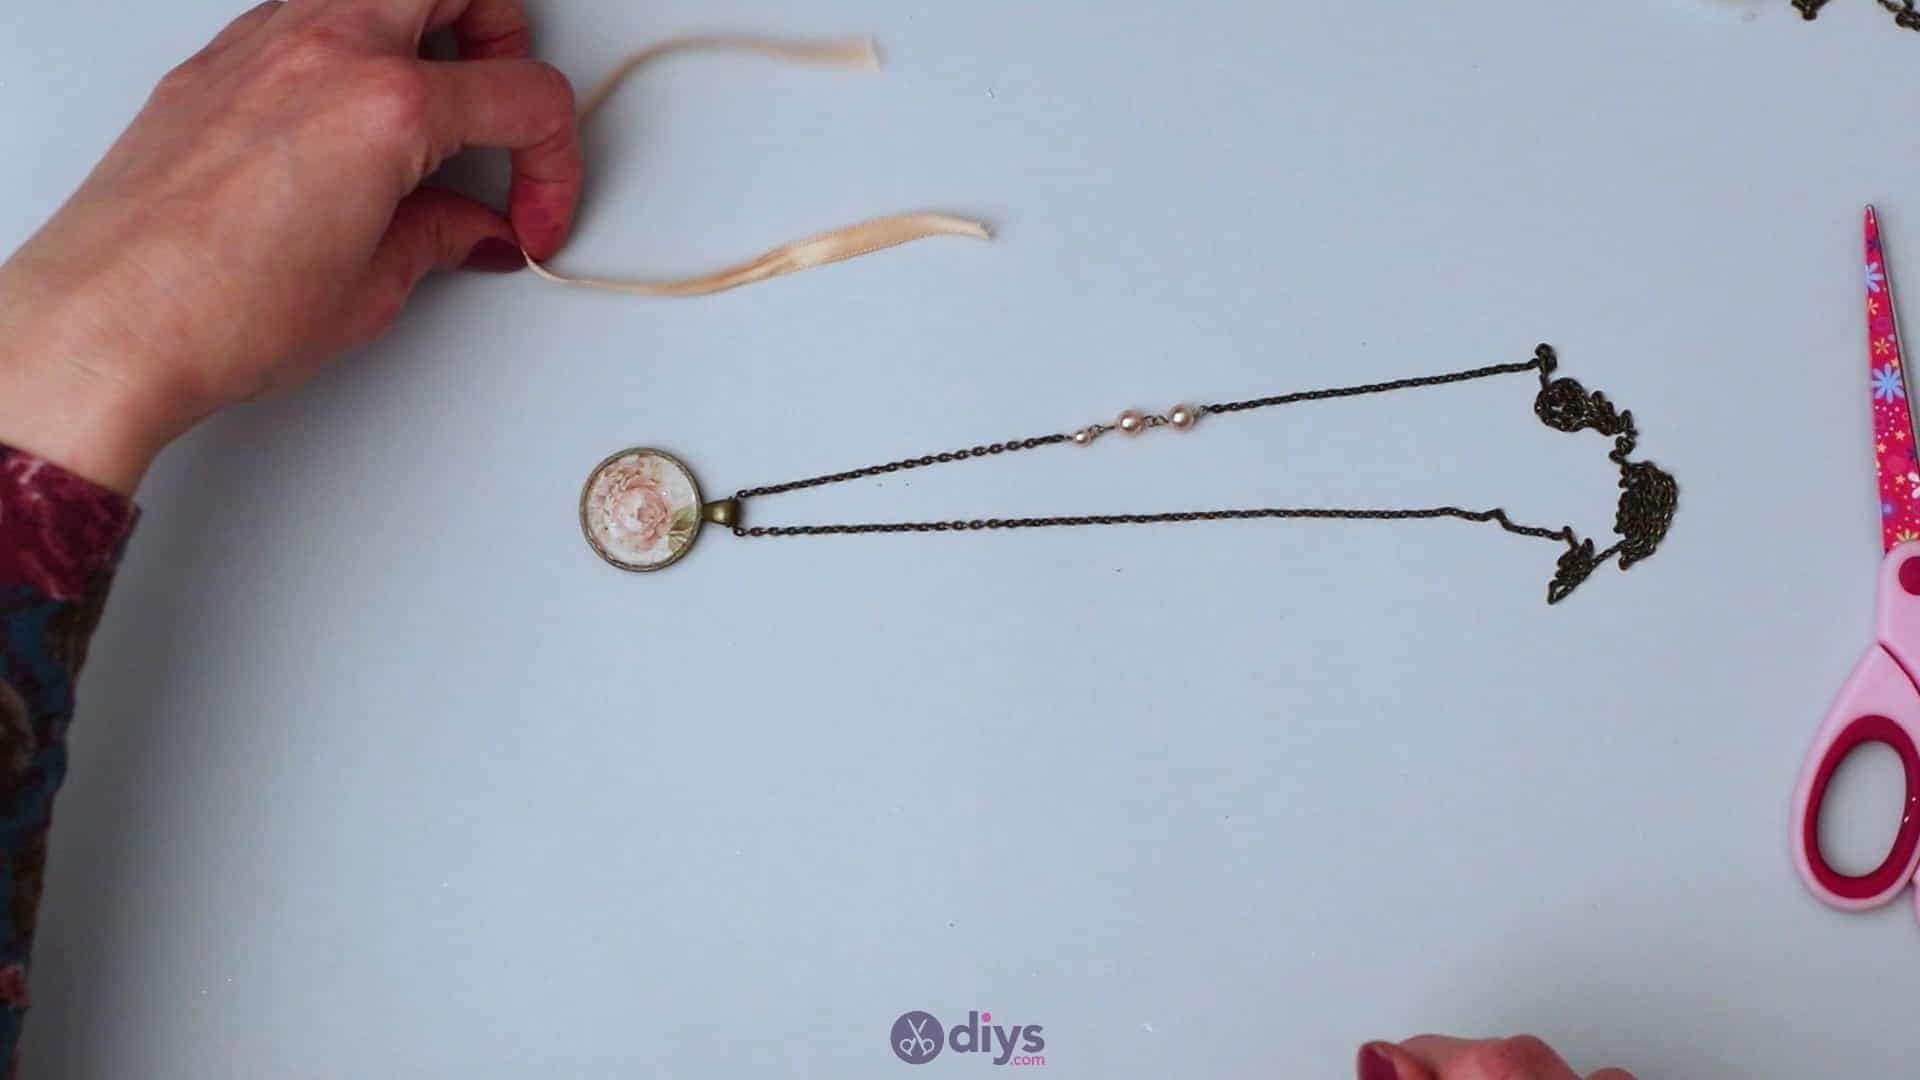
Step 5: measure the chain
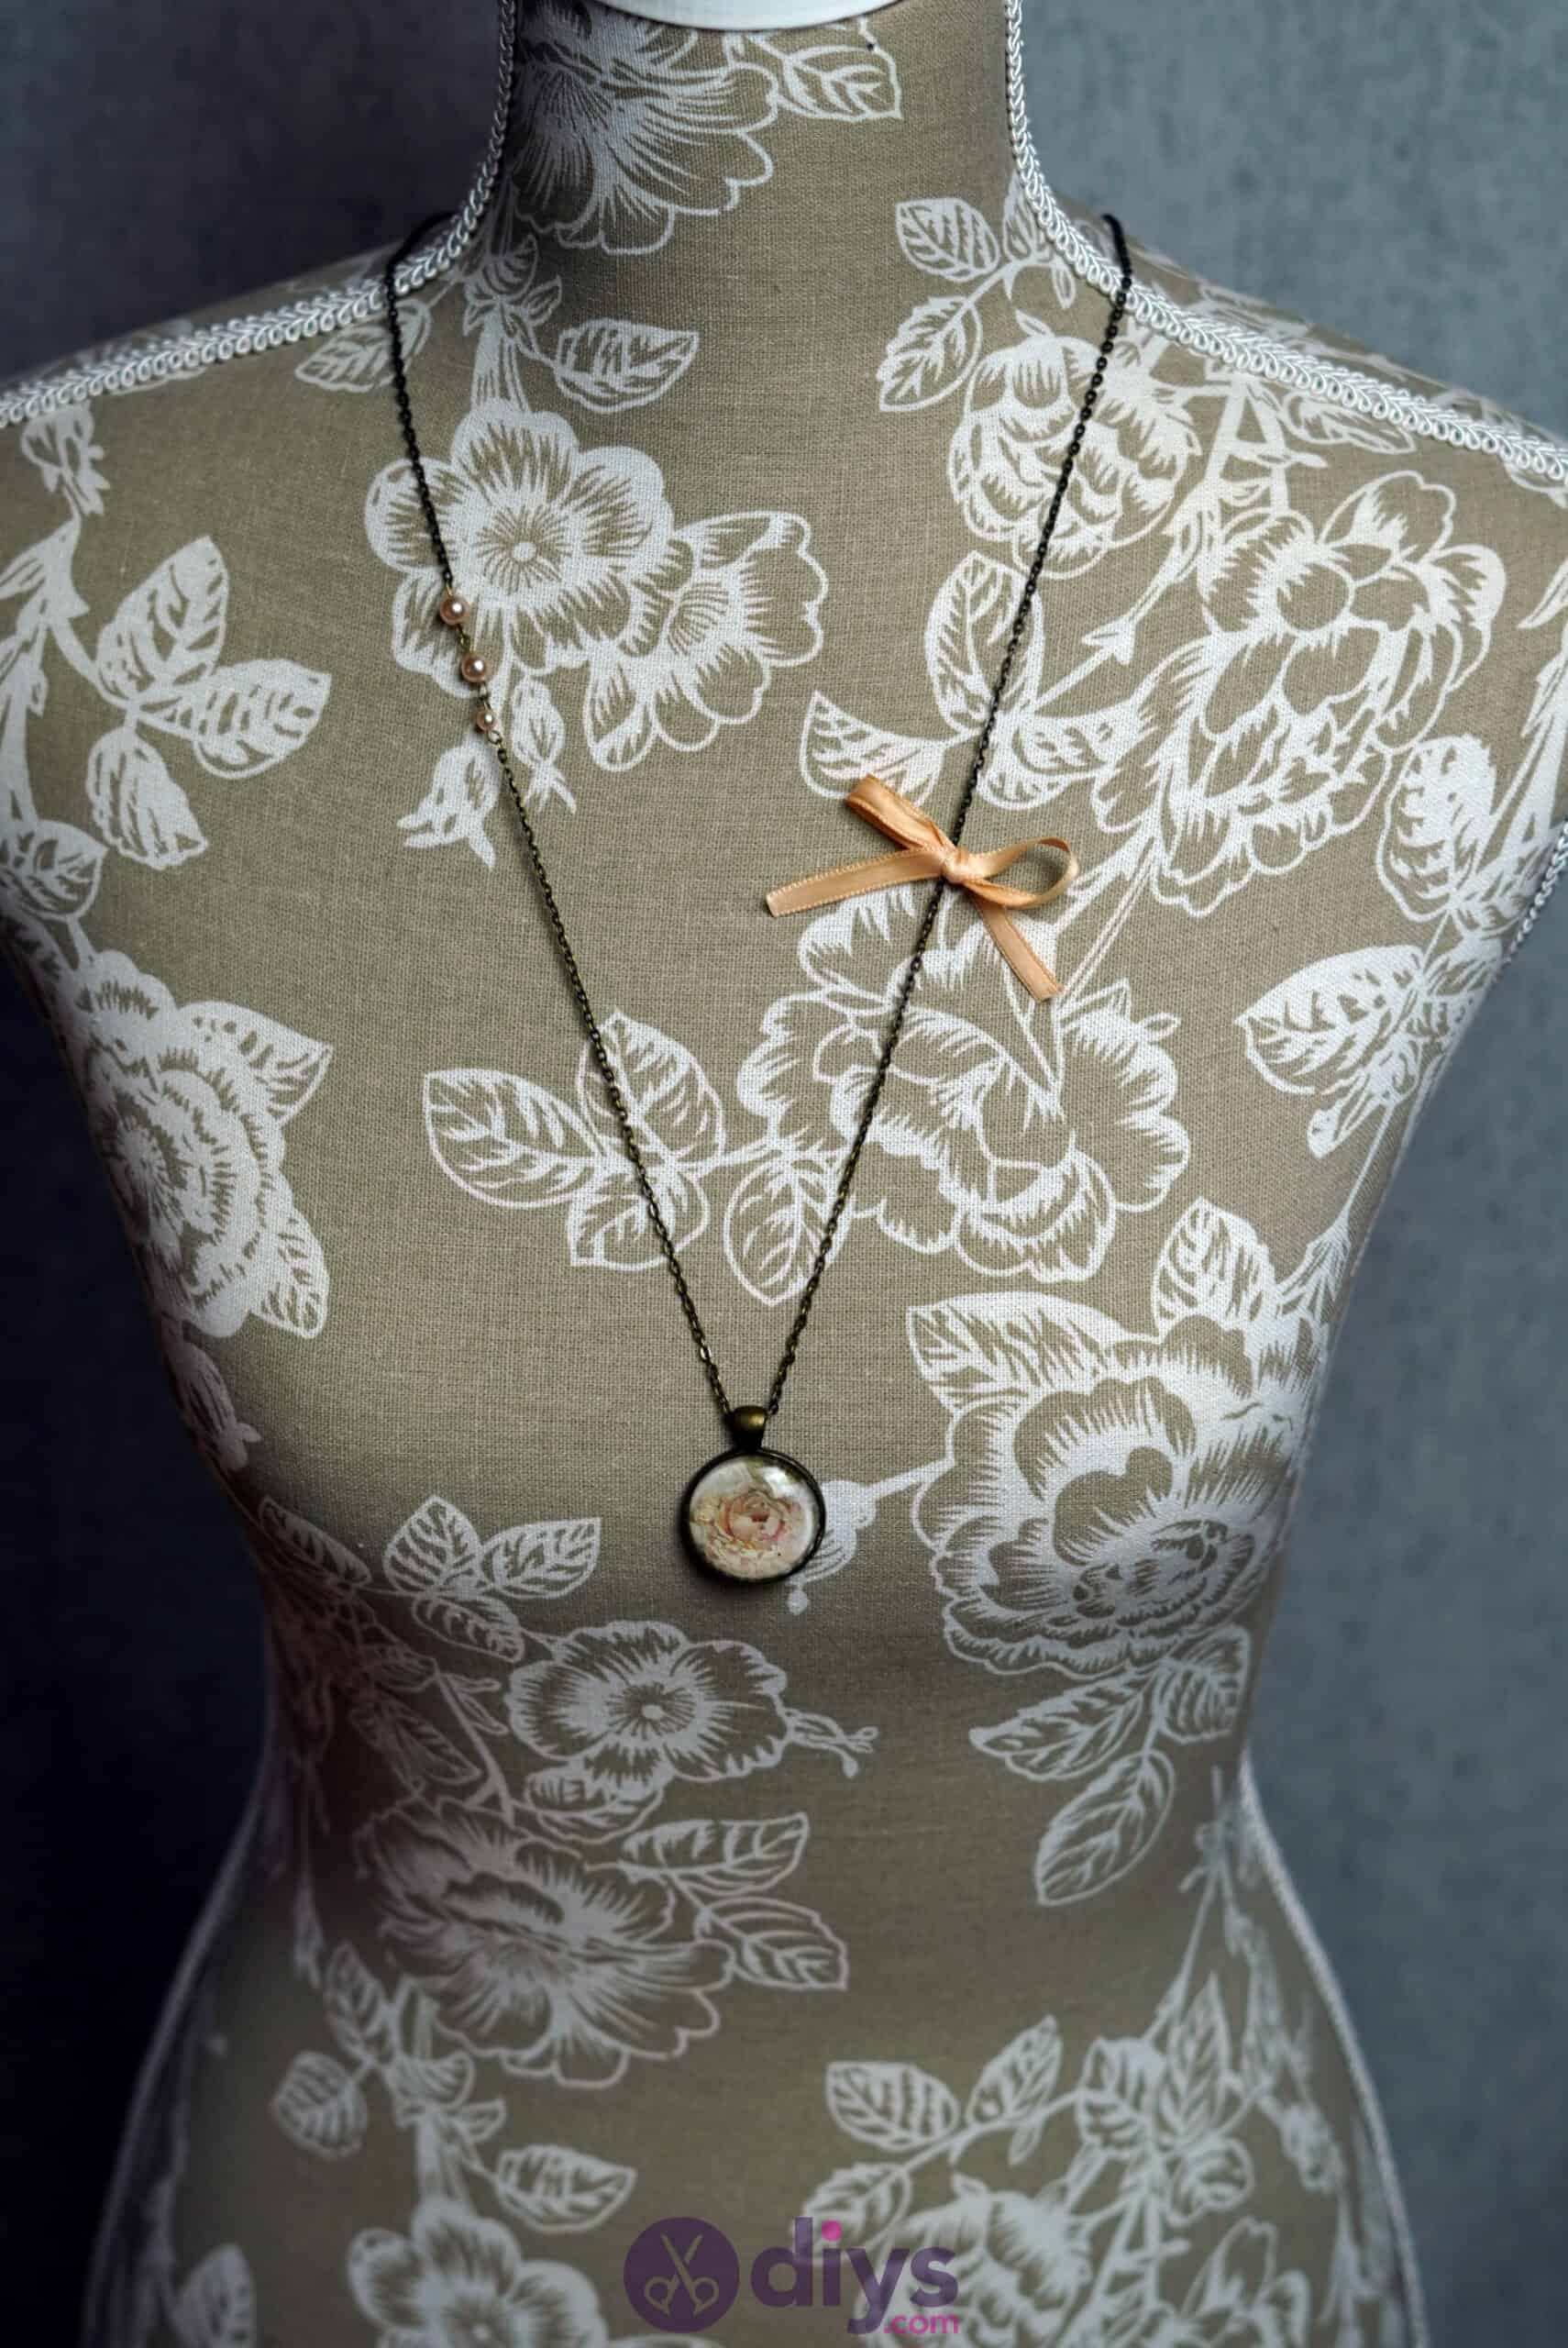
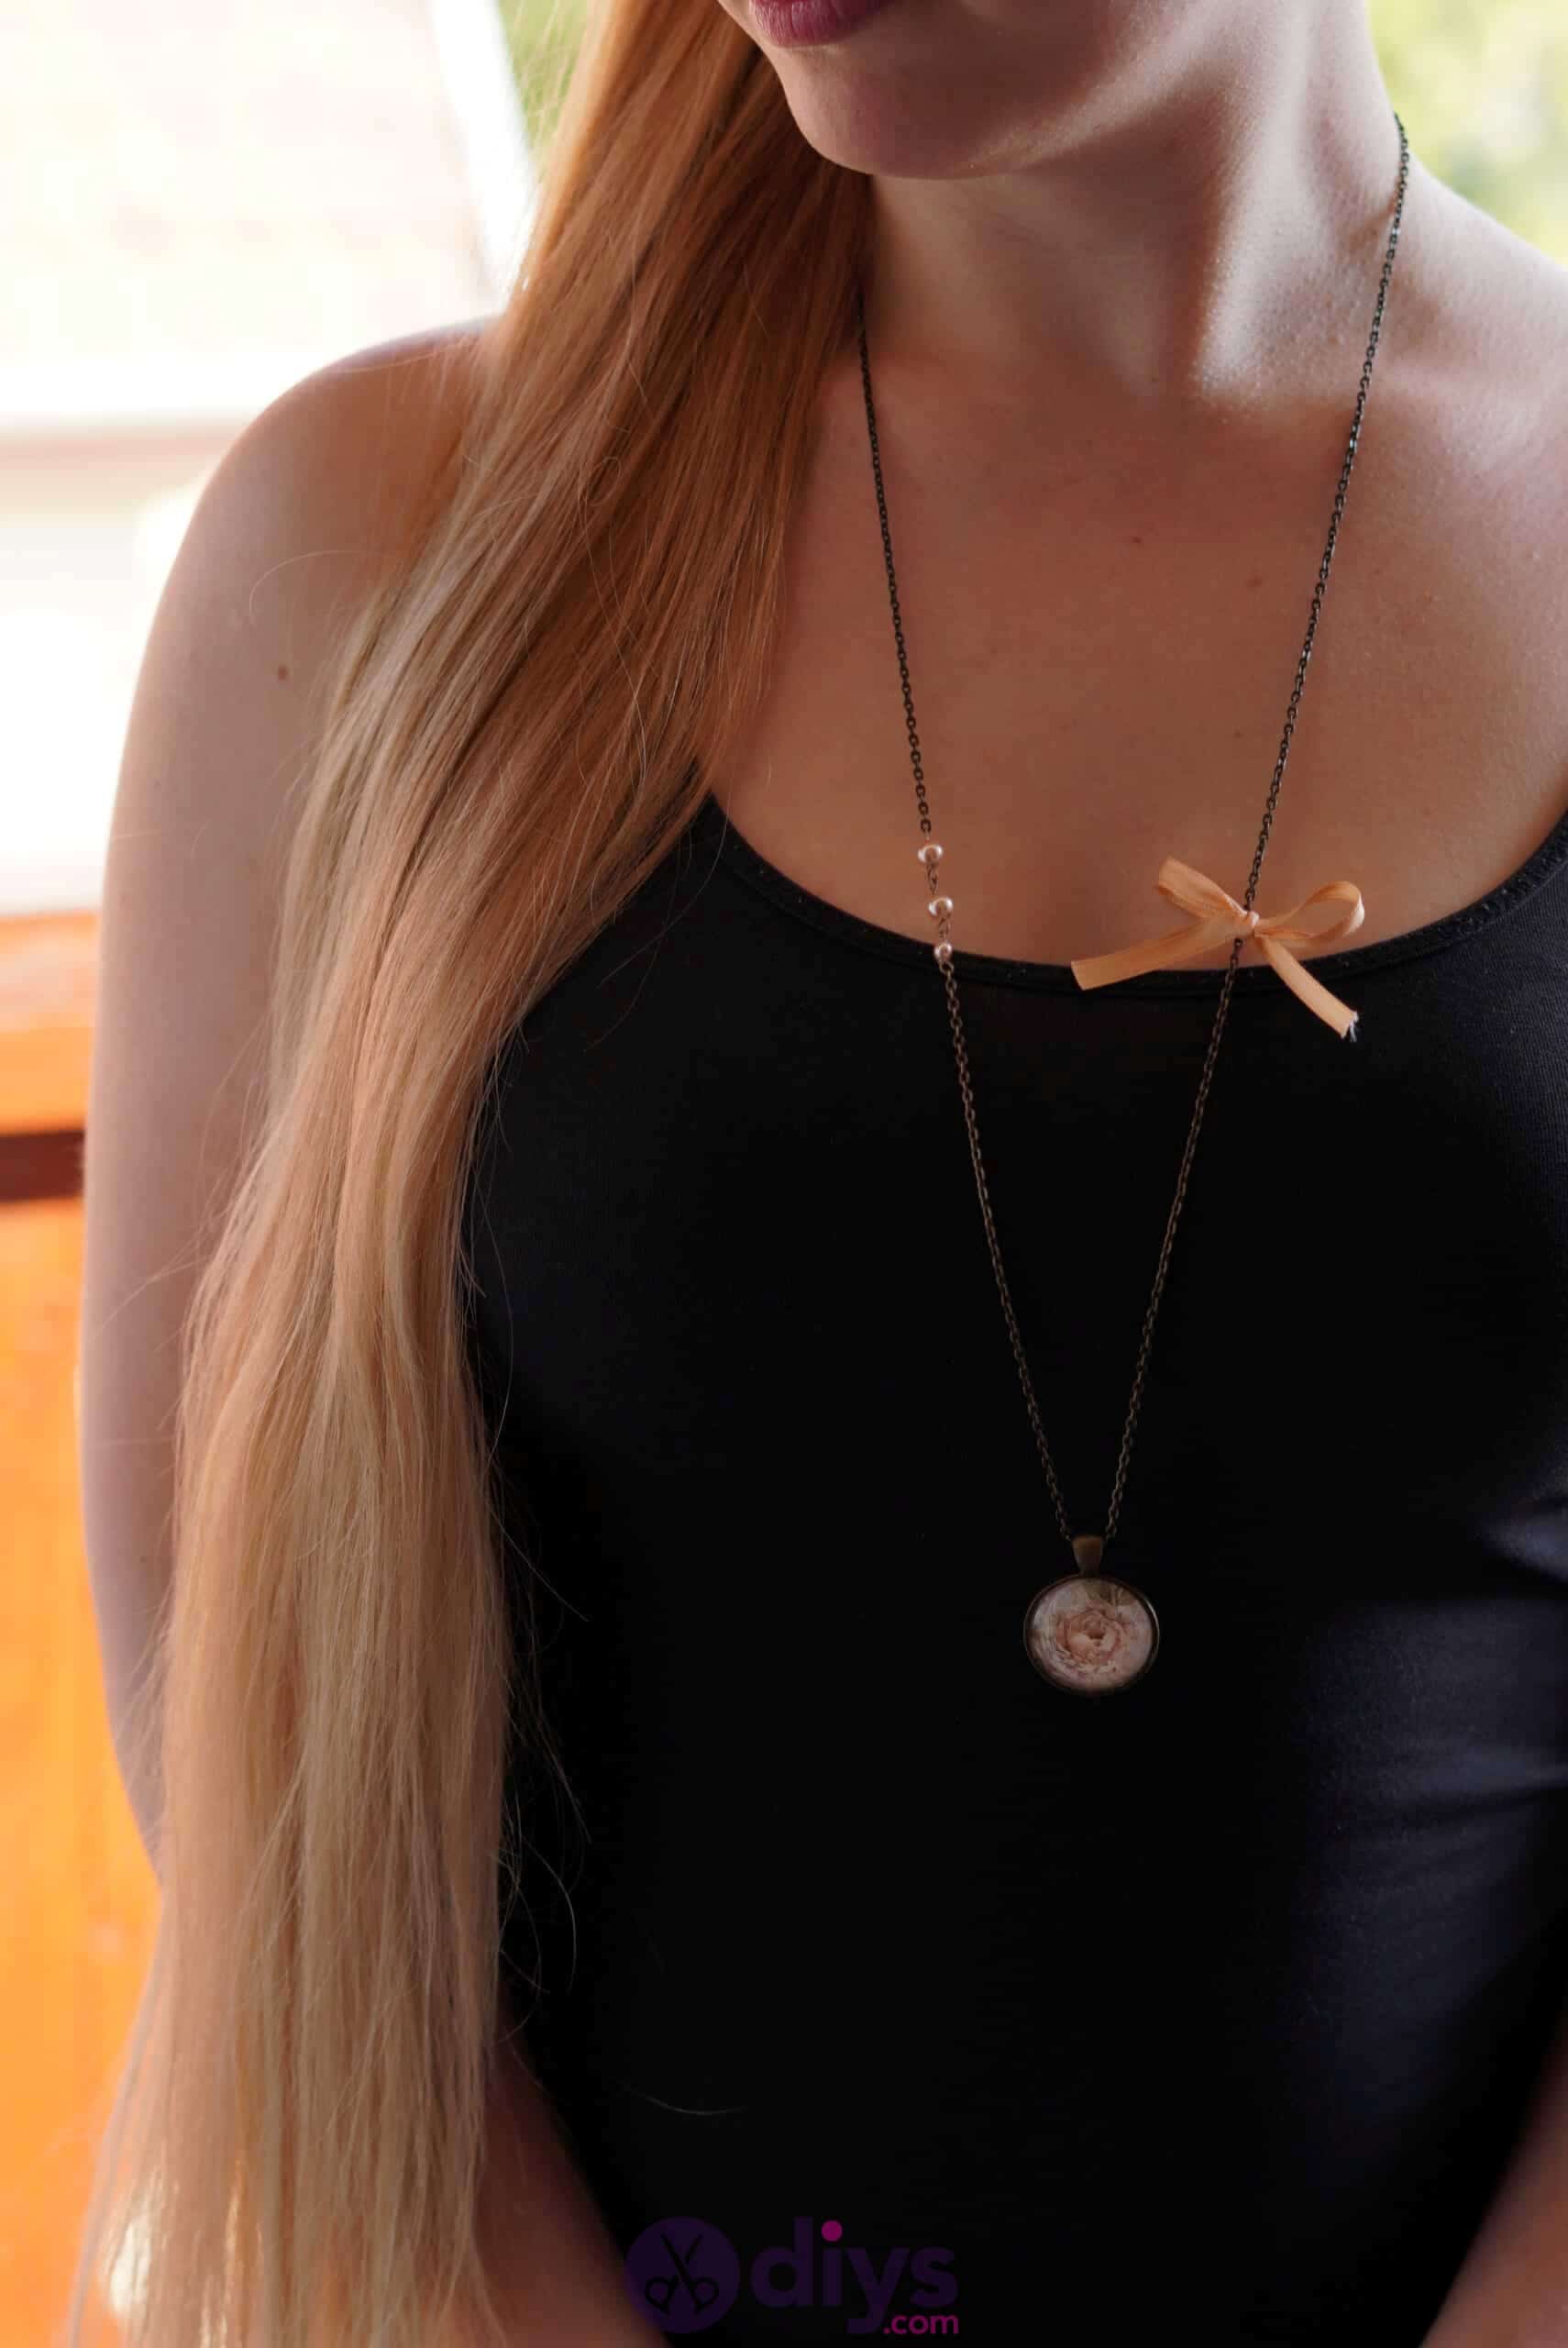
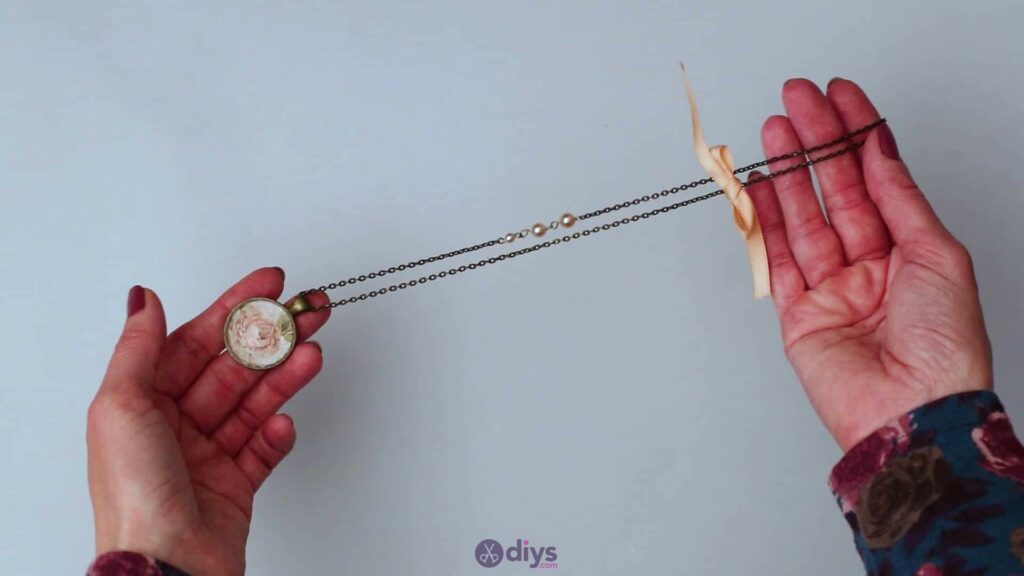
If your jewelry chain is the kind that comes as a string of chain wrapped into a roll, cut a length of chain that, when folded to meet end to end, hangs down to the spot on your chest where you want your finished pendant to eventually sit. If your chain comes in a complete ring like mind, choose a link and use your conical tongs or pincers to pry it open, freeing the next link in the chain on one side to make two ends. Feel free to trim or shorten the chain here as necessary. Set the end with the opened ring carefully down and work with the other end. Slide your pendant onto the chain through the loop with the floral pattern and glass lens facing you. Set it down with the chain still in the loop.


Step 6: finishing the ends
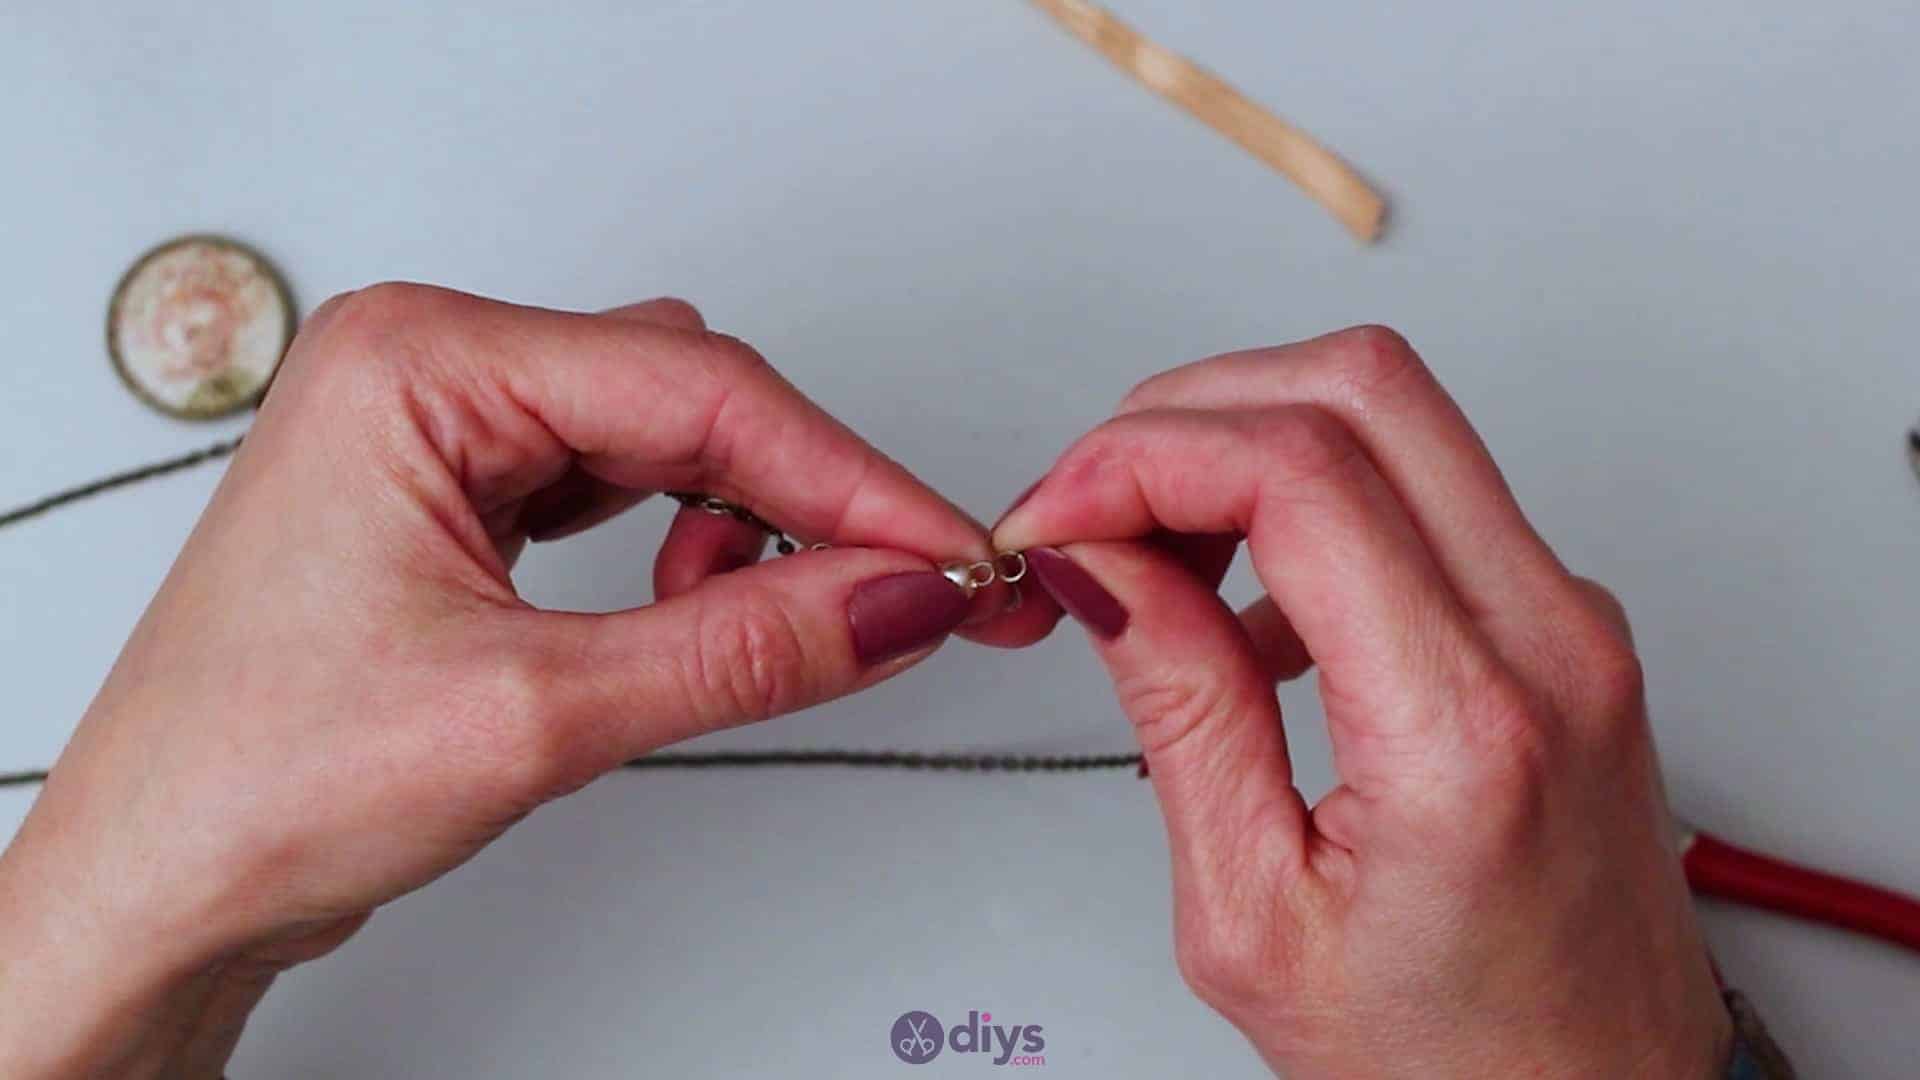
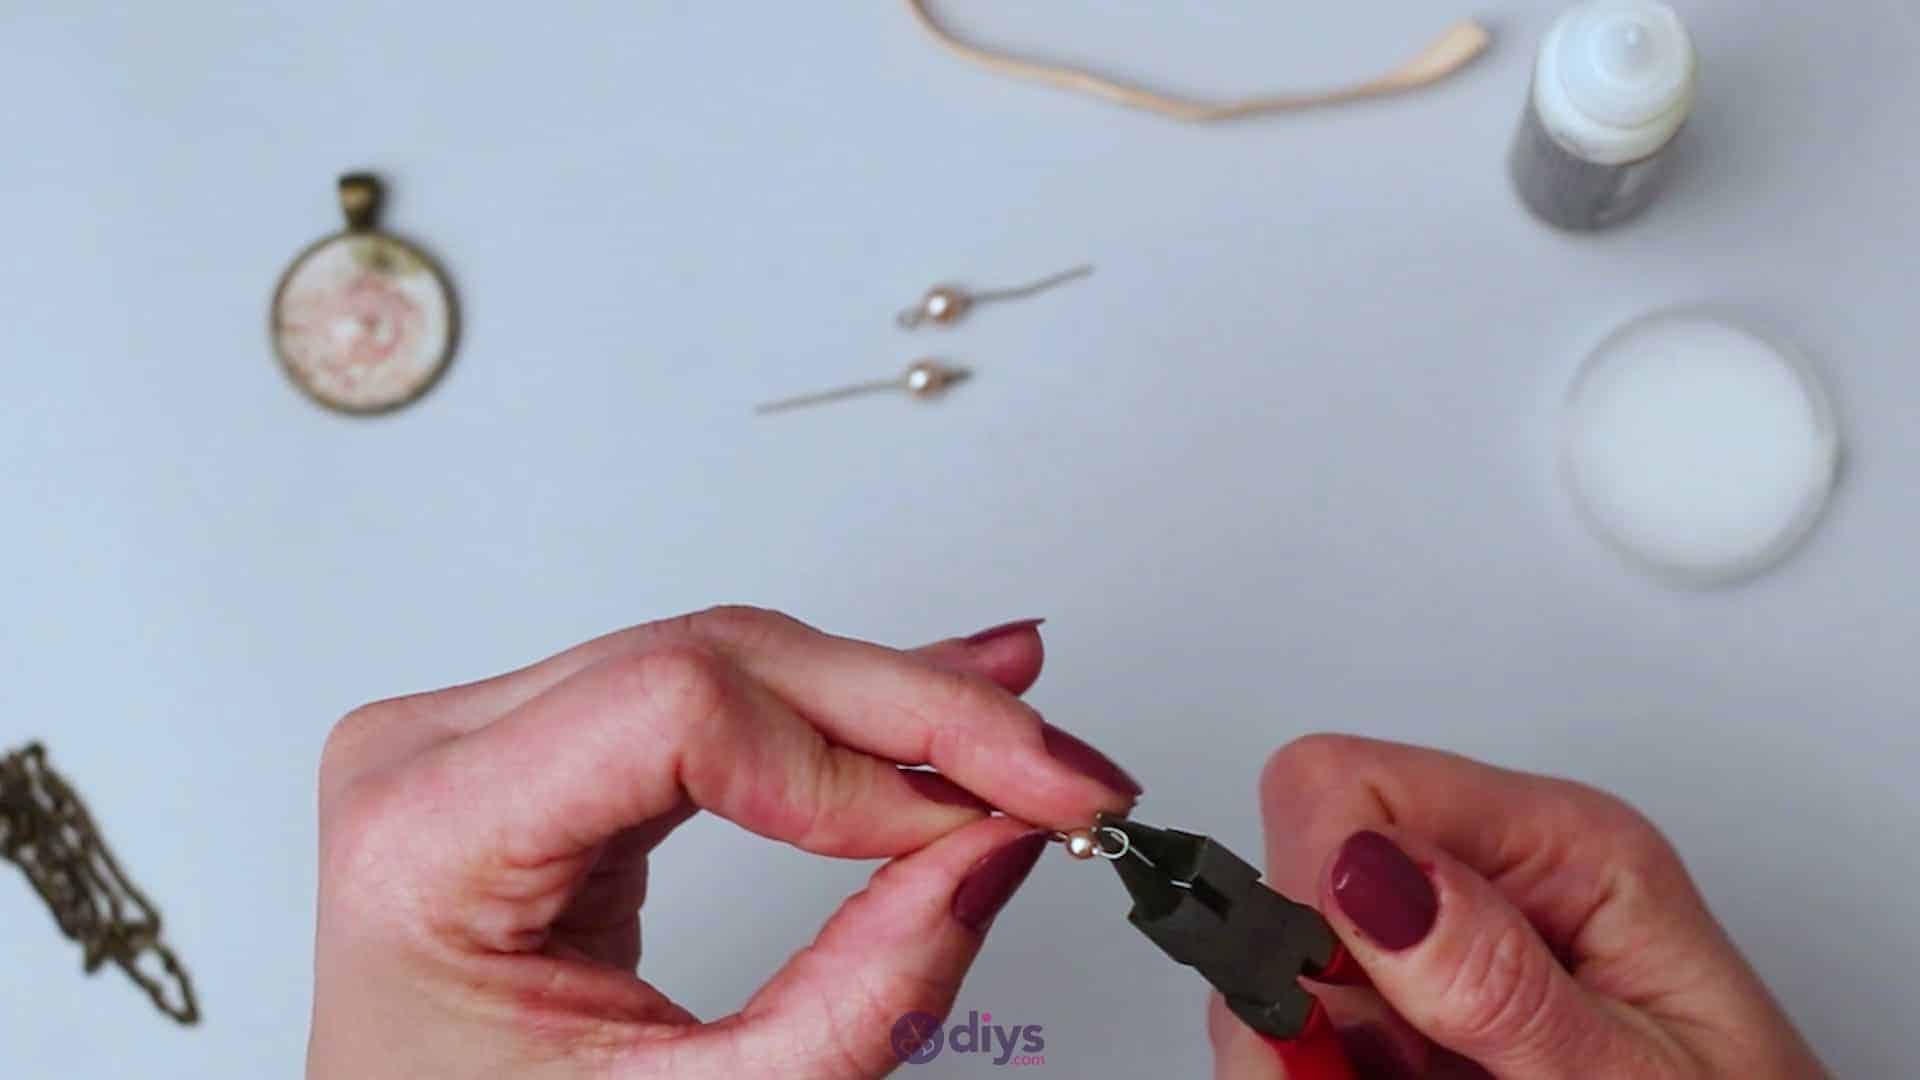
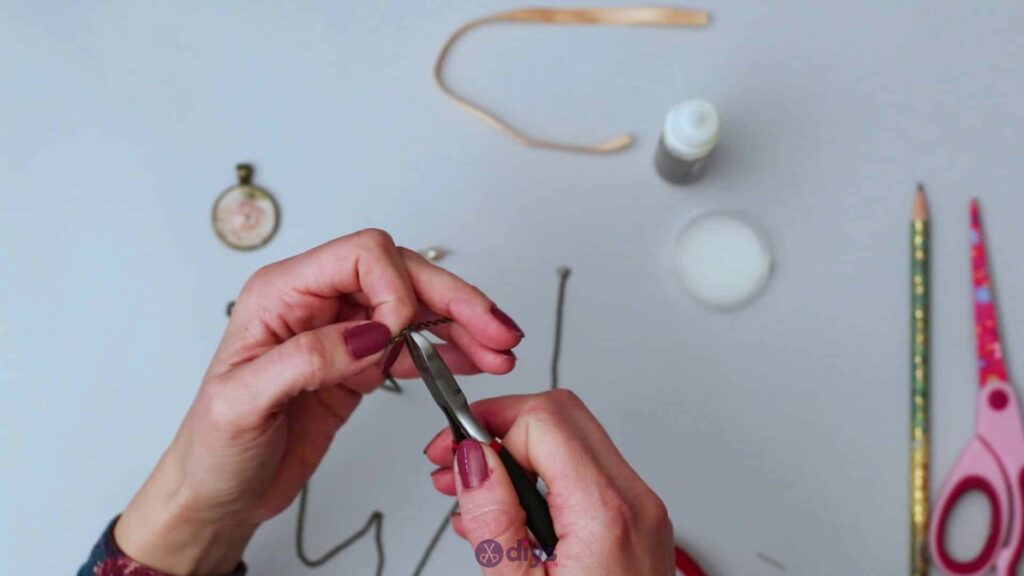
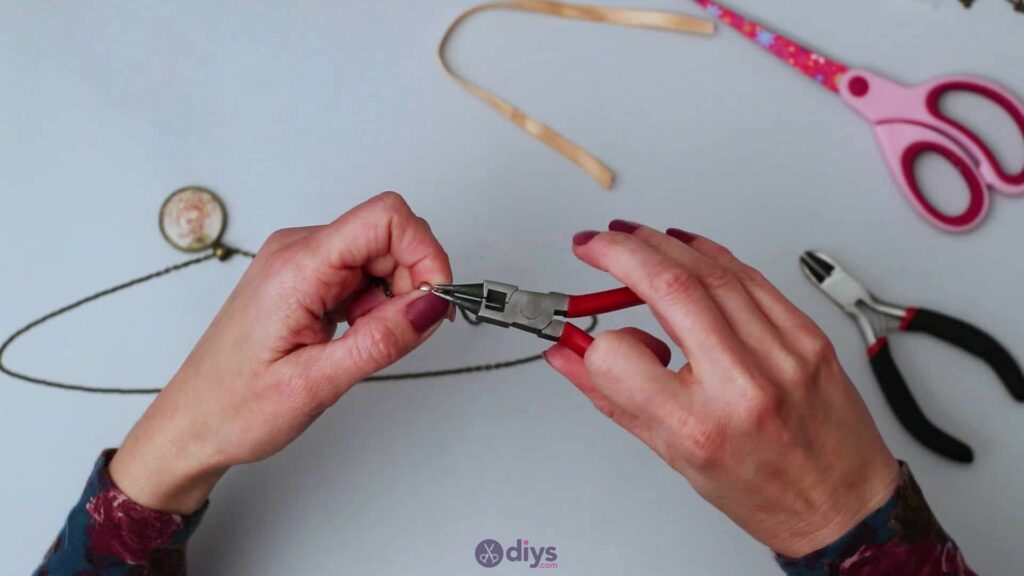
Then pick up one of your mounted pearl beads and hook the looped end of your mounting rod through the last chain link on the end you just put through the pendant. Hold things in place and use your conical tongs to close the loop you made in the rod entirely to keep that chain link in place.
Then use the tongs to curl the remaining straight end of the rod on the other side inwards towards the bead just like before, closing it well. Repeat this pearl and rod looping and closing process, but this time hooking the loop of your second mounting rod into the freshly curled second loop you just made in the previously straight end of your first rod. When you’re done that, hook the bottom loop of the third one into the newly closed loop of the second one.
Create a loop in the last straight end of your third beaded mounting rod, making sure that you close it entirely. Carefully pick up theother end of your jewelry chain, where you opened the chain link and then set it down. Hook this opened link into the mounting rod loop you just finished and then use your tongs to close this chain link around that loop, effectively closing the necklace chain itself.
You won’t need to add a clasp if you made your chain nice and long like mine so that it fits easily over your head. If you’re trying to make a shorter necklace style, however, you might consider inserting a necklace clasp somewhere in the chain by opening up another link and closing it around the loop in the end of the clasp.


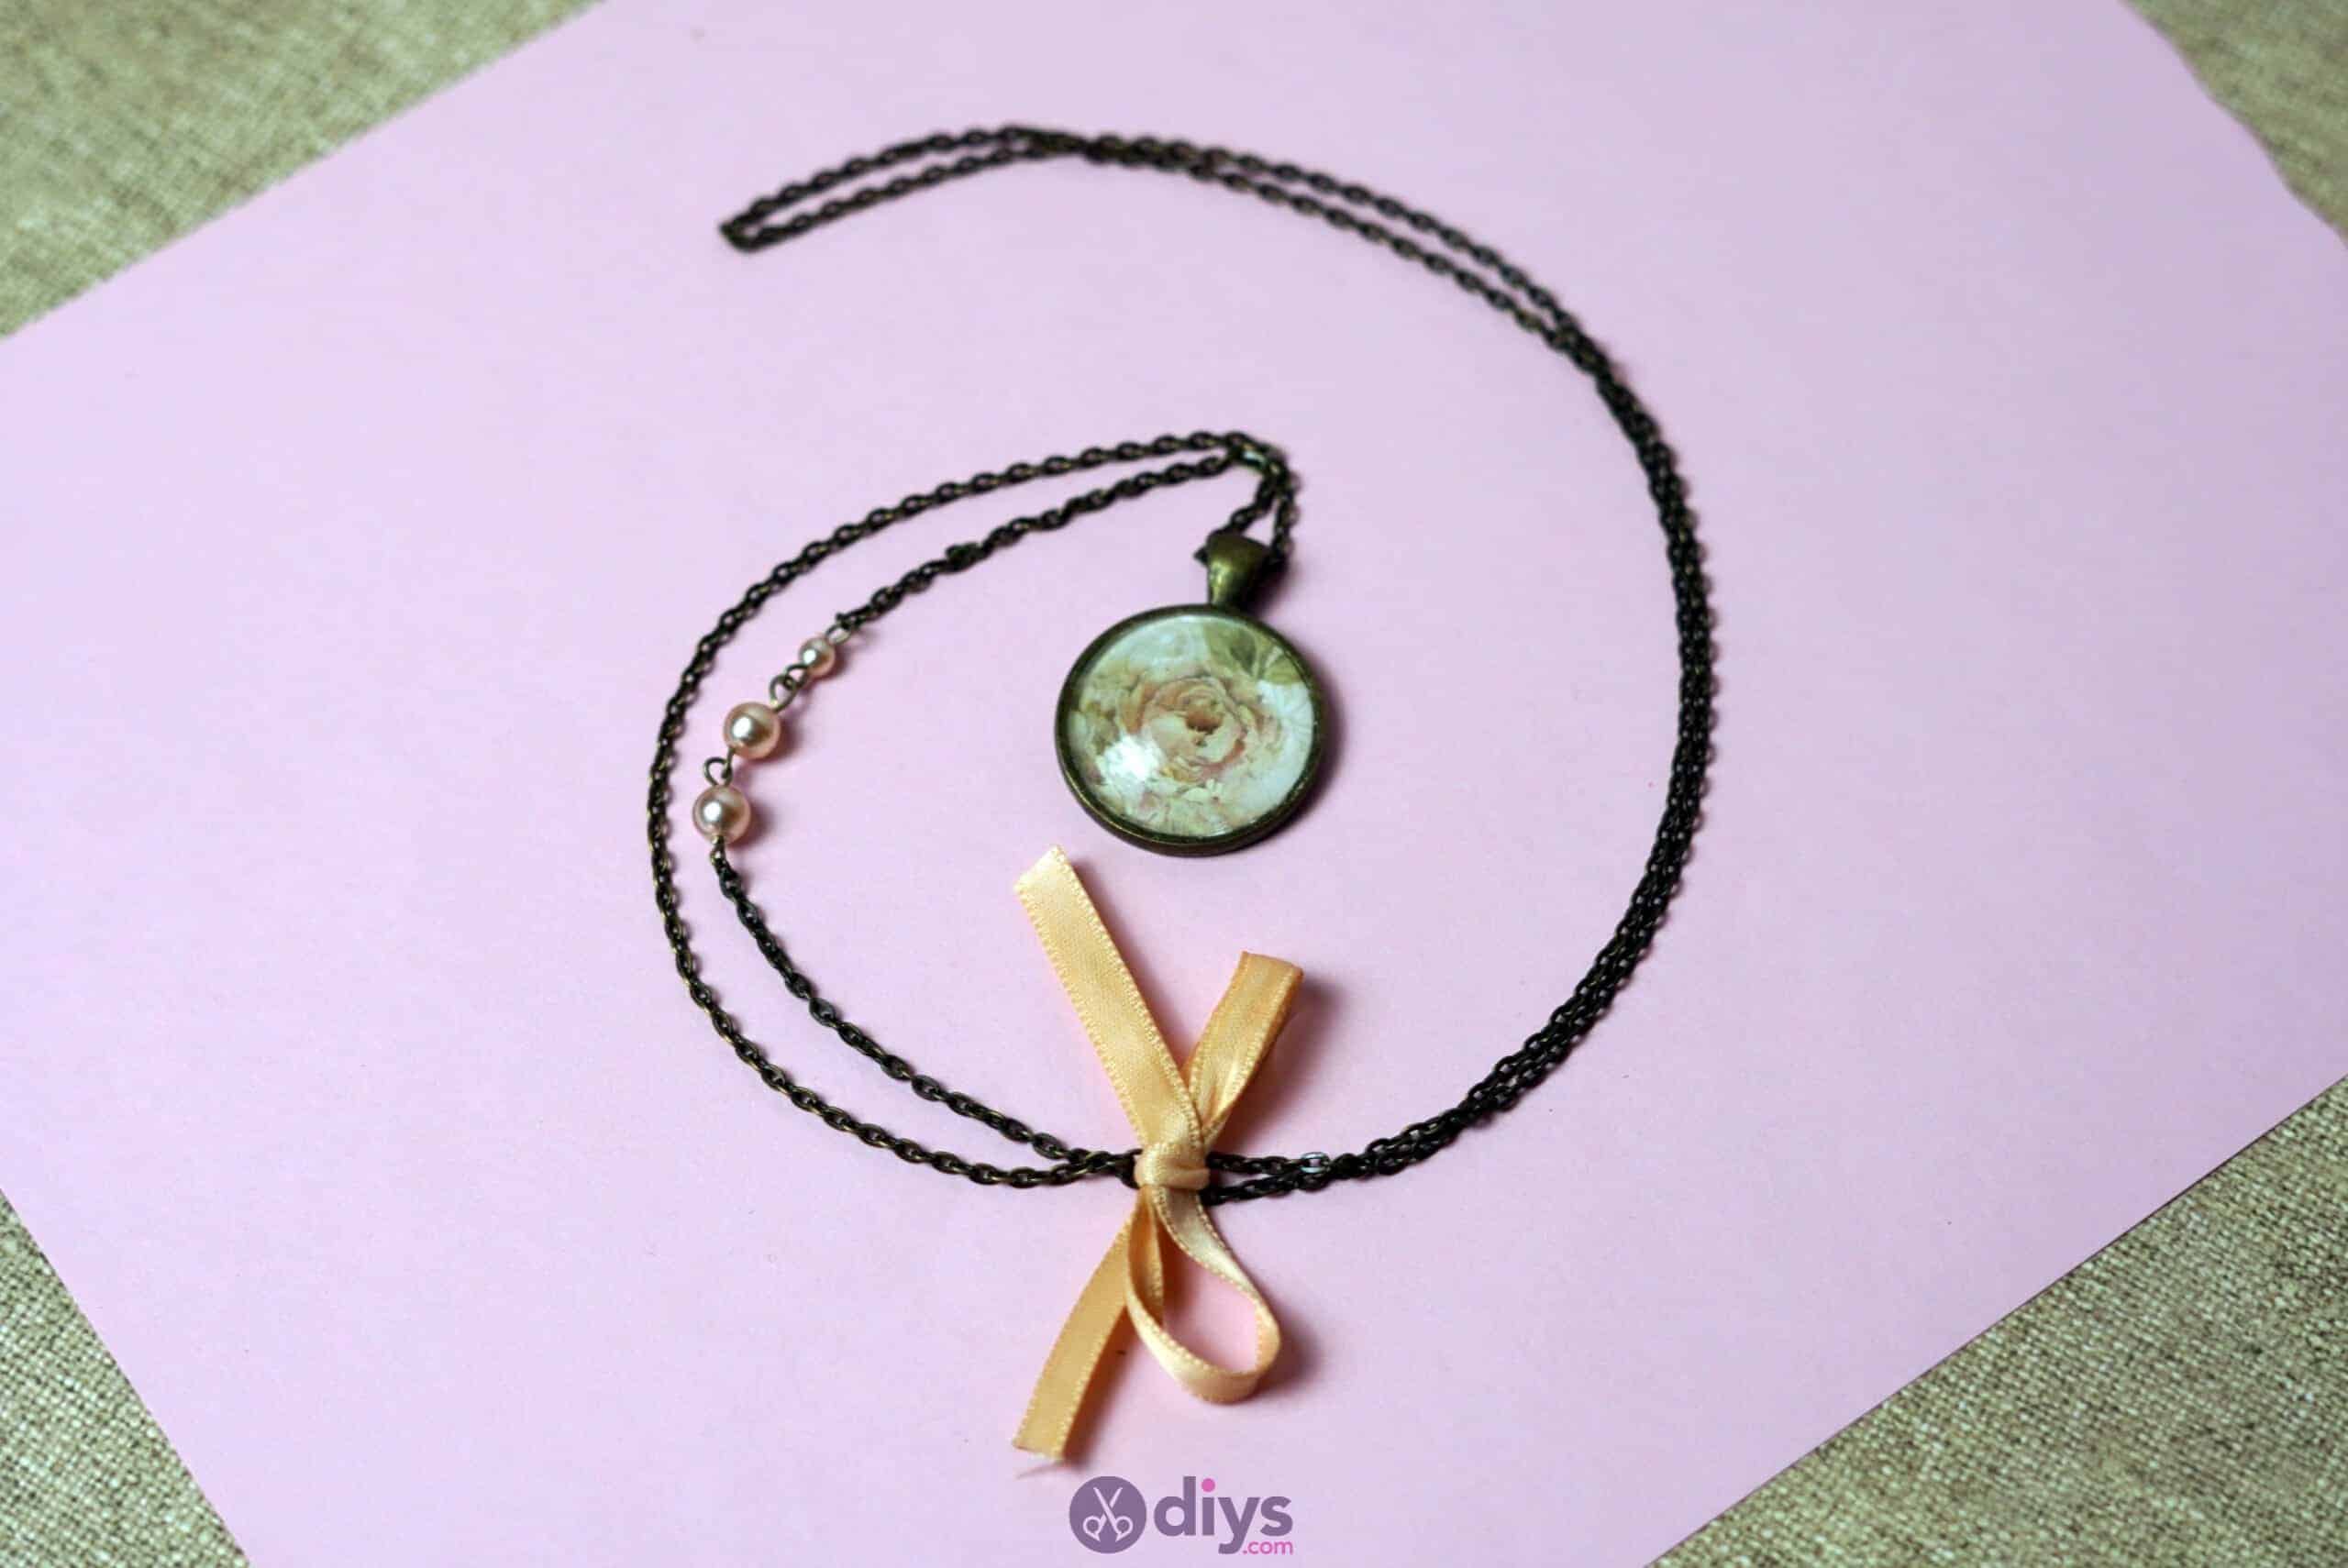
Step 7: placing the pendant
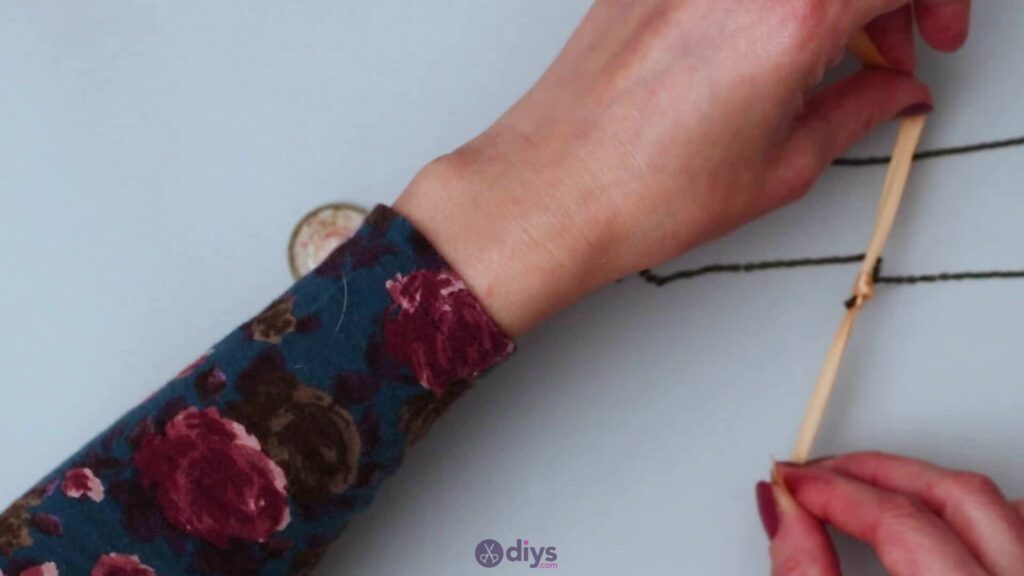
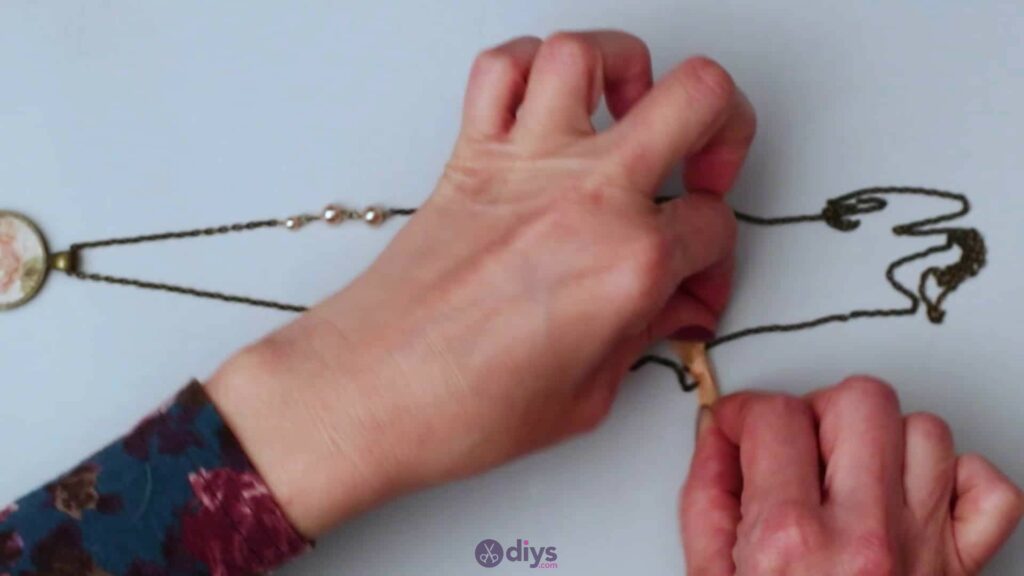
On your tabletop, slide the pendant down to where you’d like it to hang and sit against your chest in reference to your pearled beads. I chose to position mine to the right of my pendant, higher up on the chain about halfway between my shoulder and the floral pattern in the lens. On the opposite of the necklace where you have uninterrupted chain, you’ll make a bow. Cut a piece of silk ribbon about four inches long.
Slide it under the chain in the place you’re going to position it so that the chain intersects with the middle of the ribbon piece; I positioned my necklace on the table so the chain ran horizontally and slid my ribbon under so it ran vertically. Tie your ribbon in a tight knot around the chain, affixing it where you want it to sit on the chain in reference to your pendant. When you’re happy with its positioning, tie the ends of your ribbon in a nice bow, pulling tightly so the bow lasts.
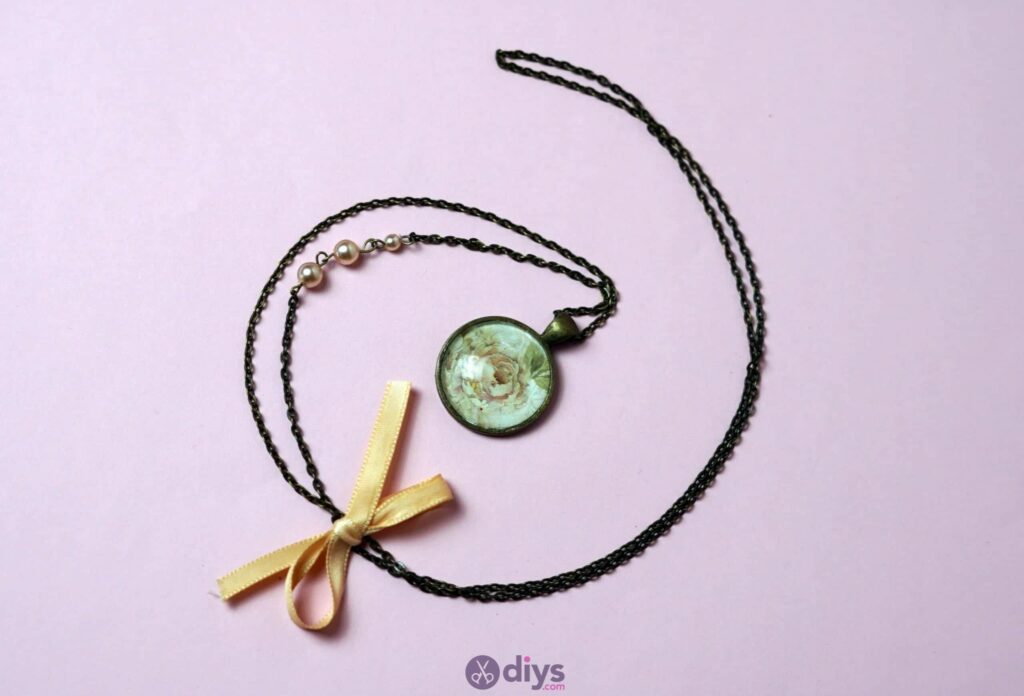
That’s really all there is to it! Of course, you don’t have to use the same vintage peach colour scheme that I used here; you can creatine style, coordination, and contrast with any kind of paper design, bead style, or ribbon colour you please. You could even used a scrap of patterned fabric inside your glass lens pendant in place of the paper if you preferred! If you’re still into the idea of seeing this necklace happen in action, check out this video tutorial.