Update Plastic Dollar Store Planters With Slices of Wood
Updated on November 19, 2025


You don’t have to spend a small fortune on stylish planters for your home. Just head to the dollar store and grab a few cheap pots and add some flare with scraps of wood! We’ve laid out some easy steps on how we made this plastic dollar store planter with slices of wood so you can follow along.
You don’t need much, just some planters, wood scraps, and time. You can find that full explanation below, or you can keep scrolling to the bottom in order to see my video tutorial!

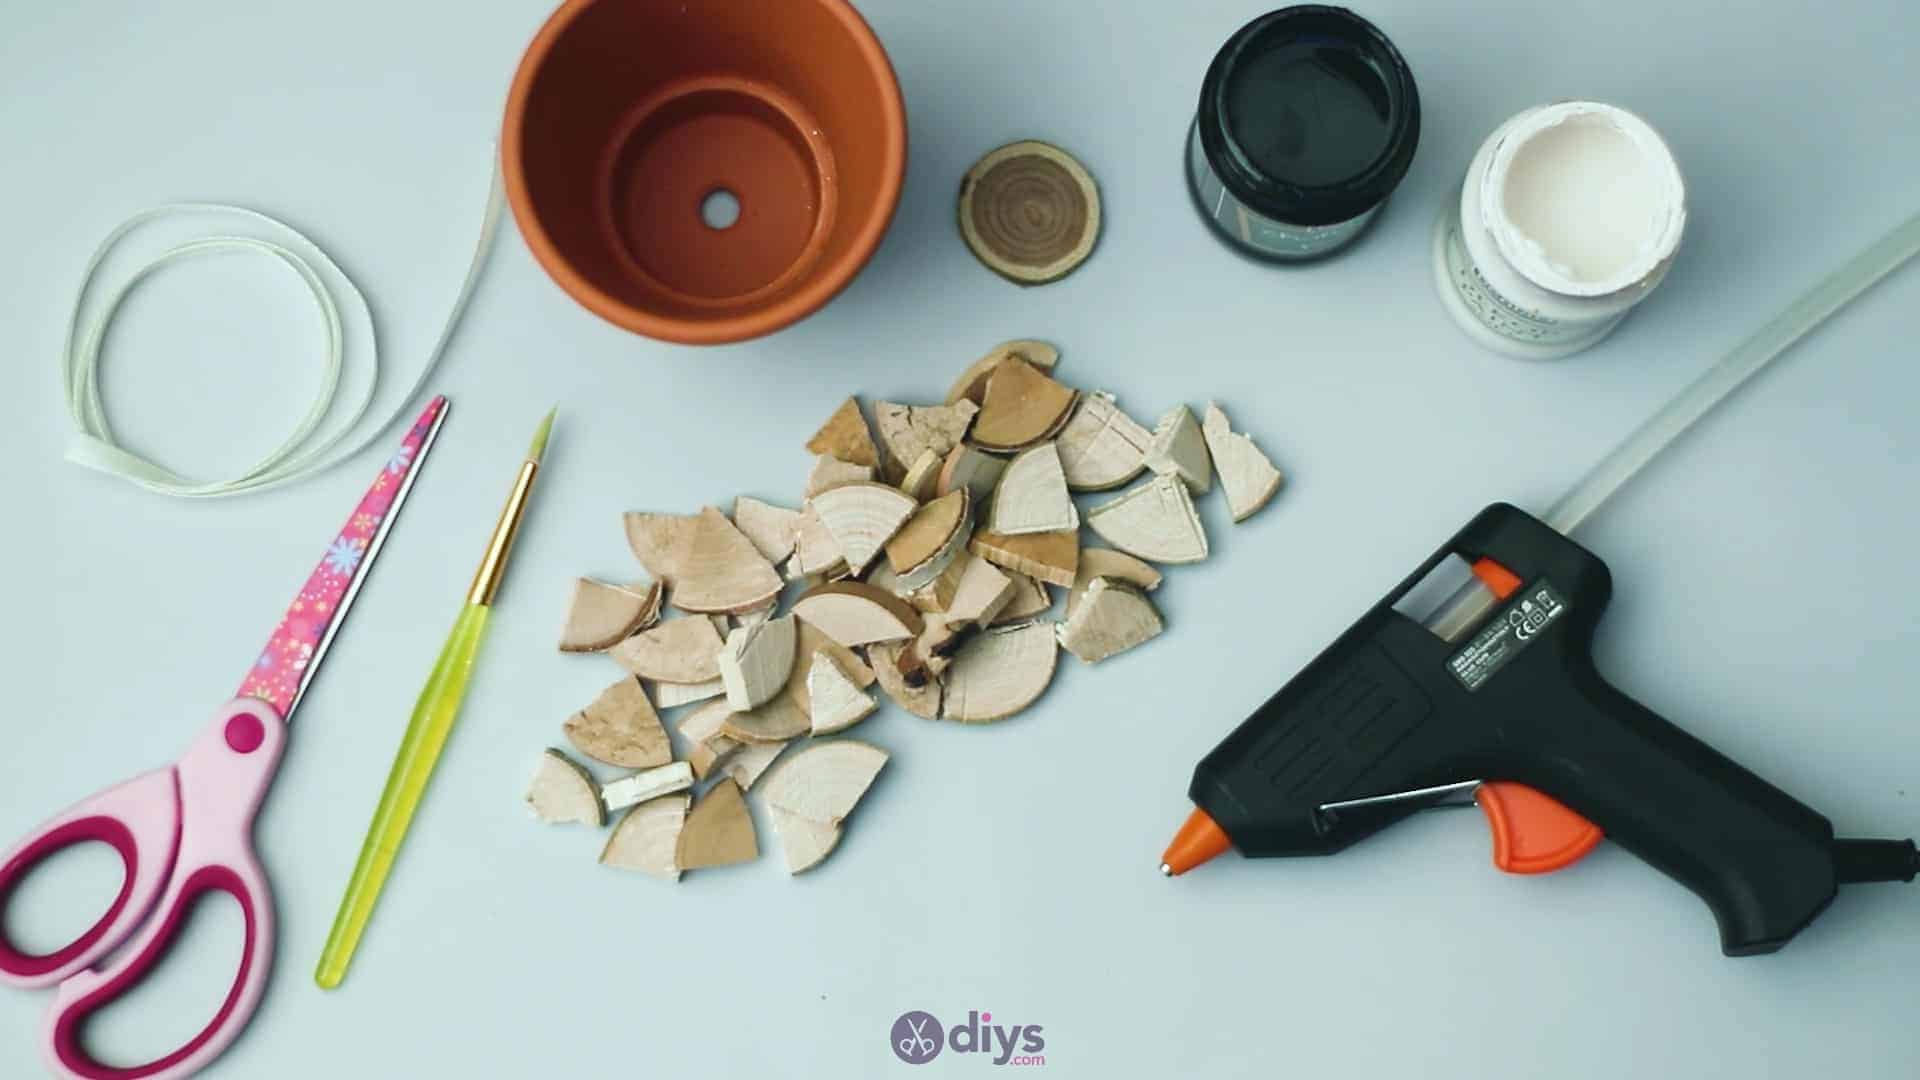
For this project, you’ll need:
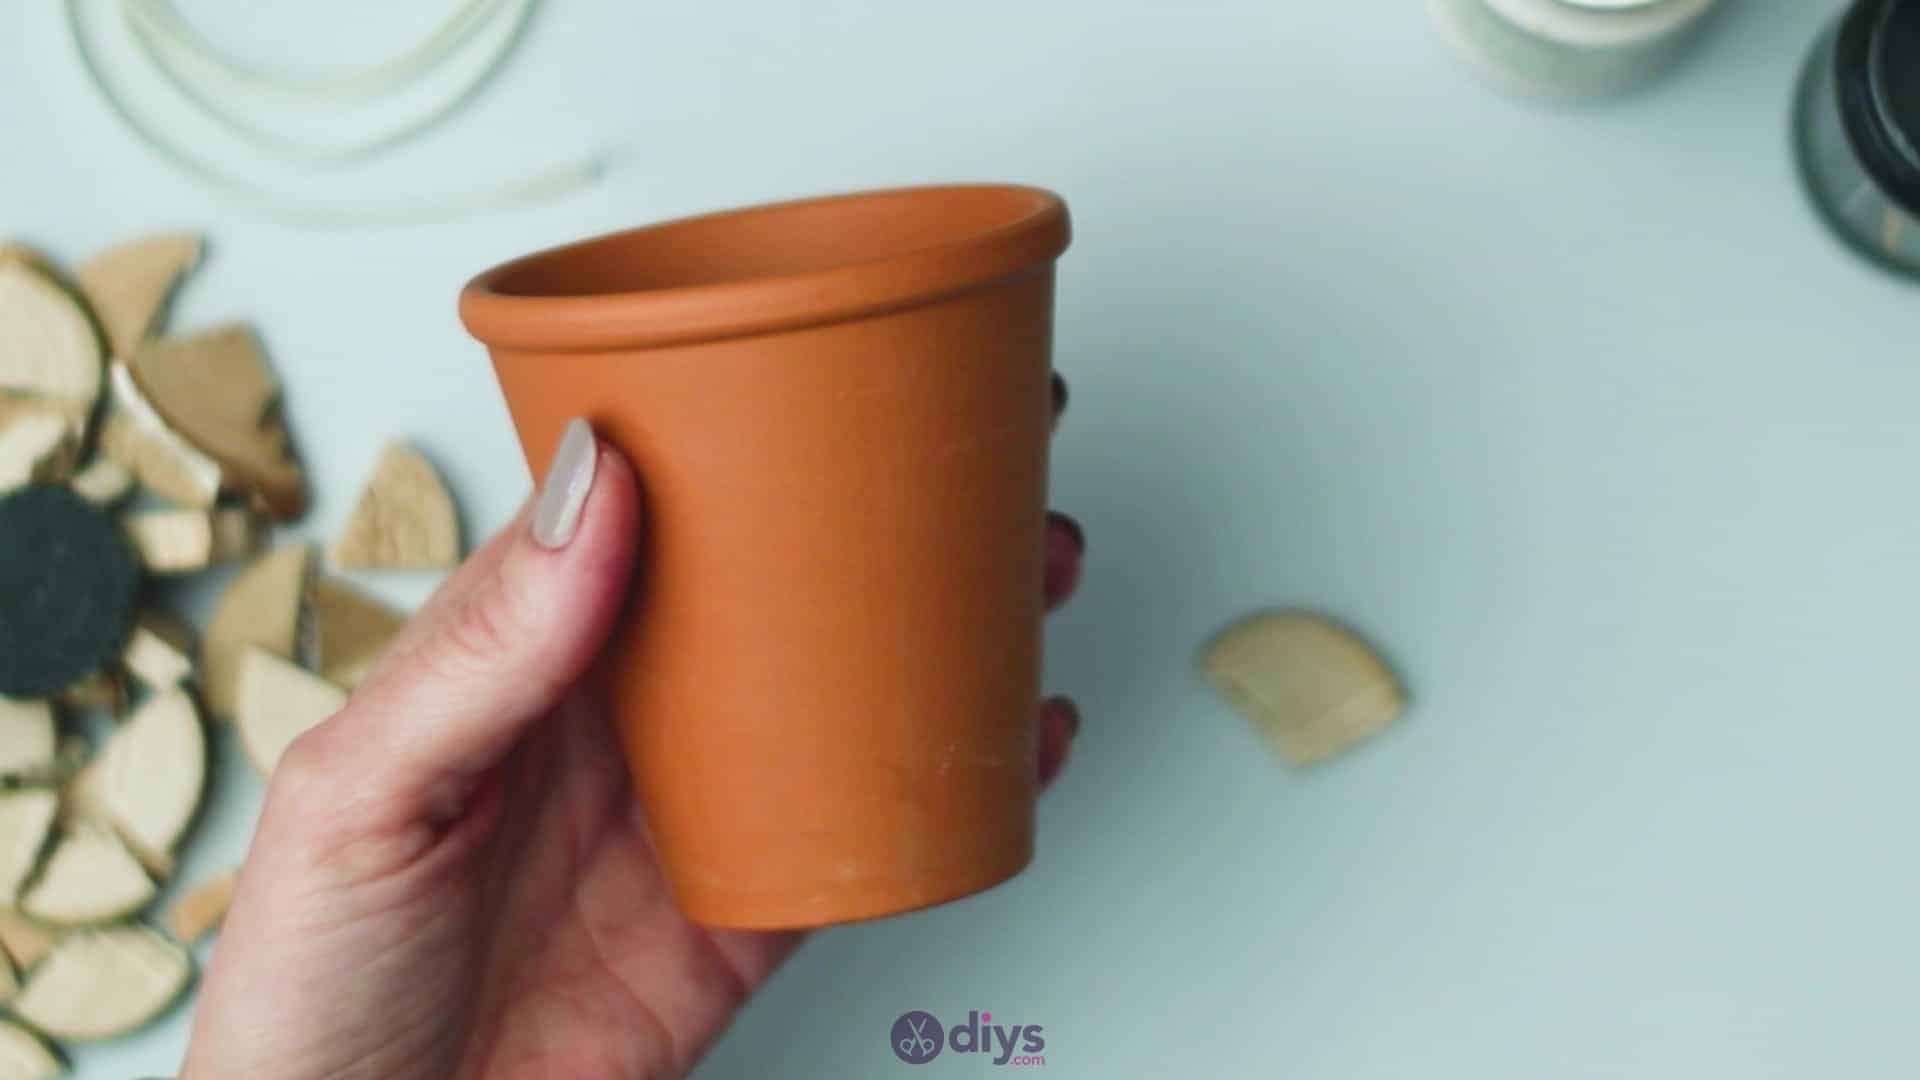
- Pot
- Small, thin pieces of wood
- 1 whole wooden disk
- Acrylic paint (black and white)
- Paintbrush
- Glue gun
- Scissors
- Silk ribbon

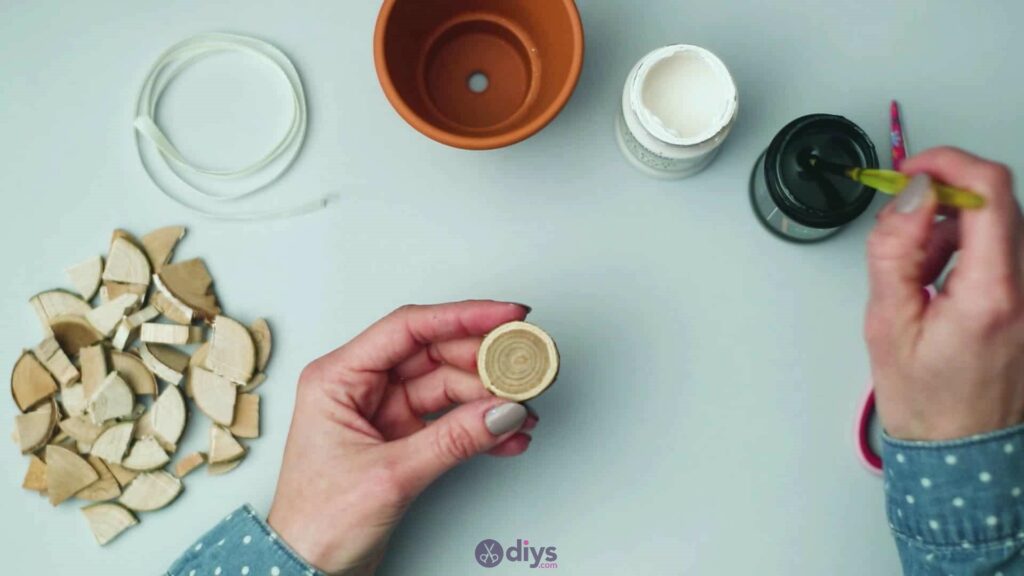
Step 1: Gather your materials!
I used a pair of secateurs to pre-cut several of my wooden disks into smaller slices for an angular, patched together look, but I made sure to leave myself one whole circular disk as well.

Step 2: start with the wood
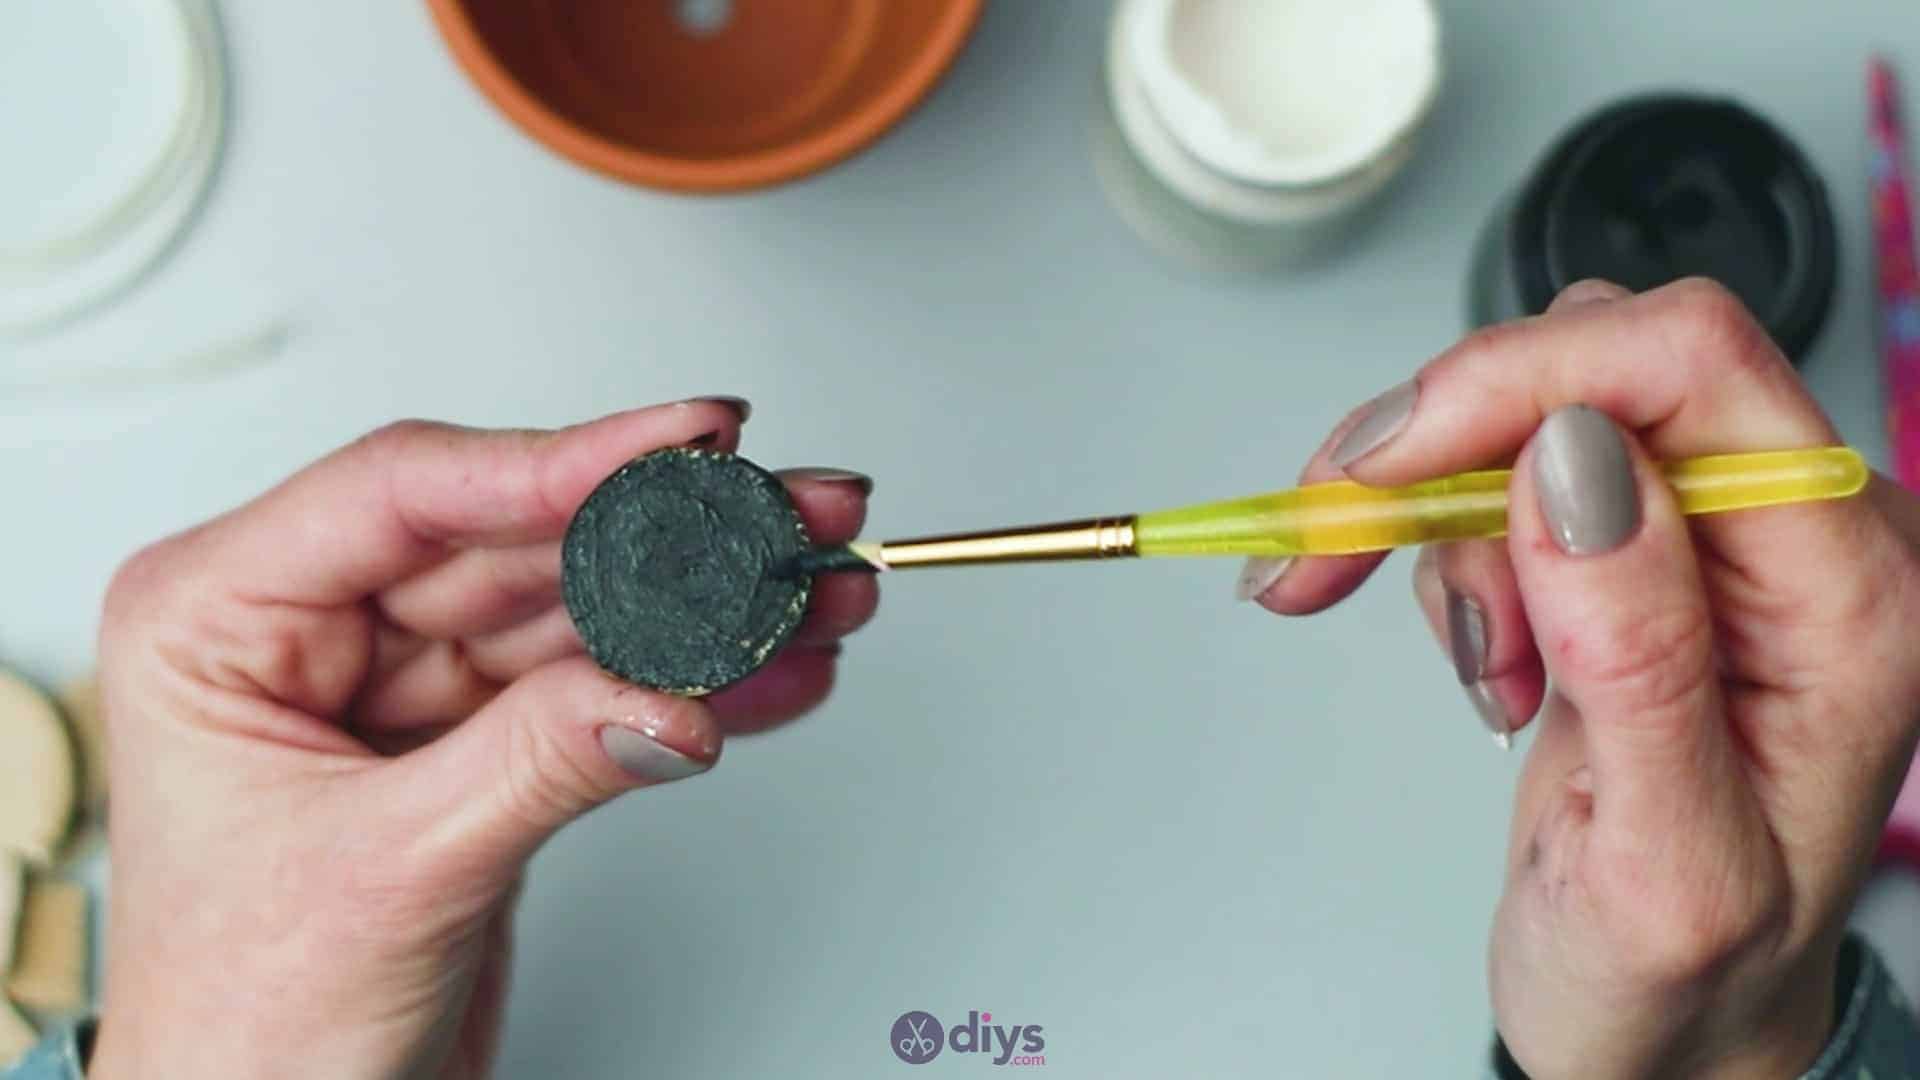
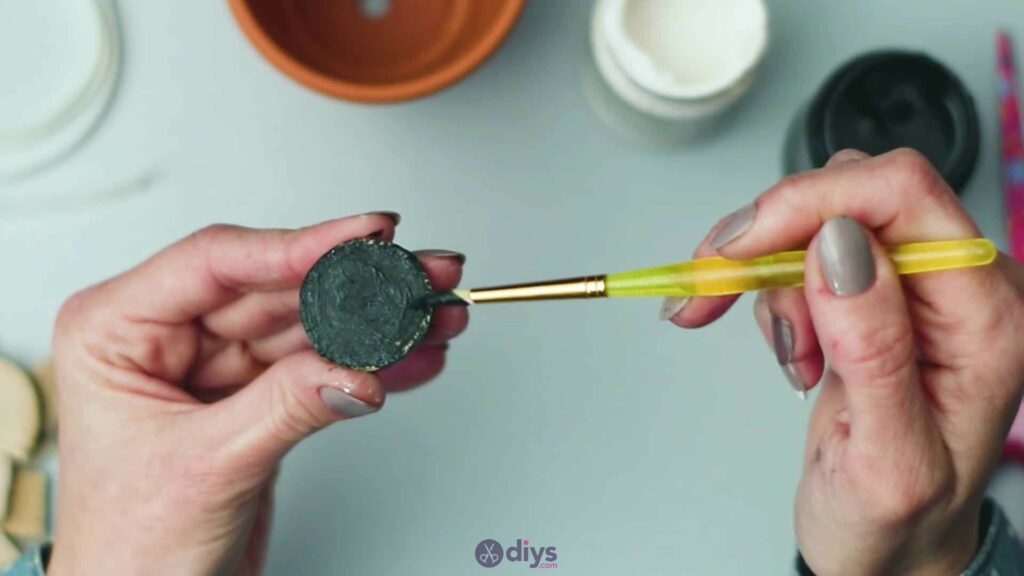
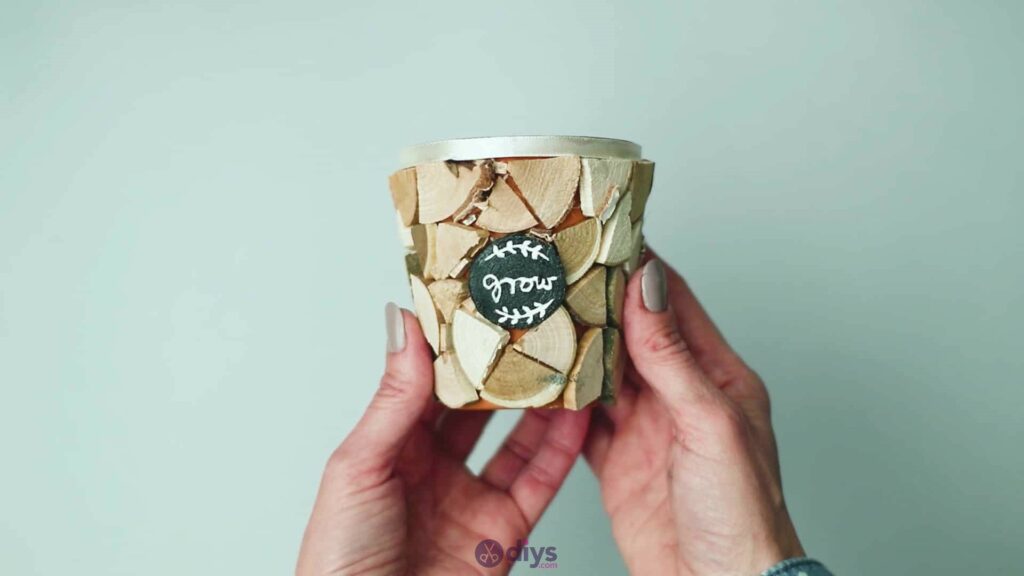
Start with your whole, circular wooden disk. Use your paintbrush to paint the entire front surface black. You want opaque coverage, so do more than one coating of paint if you need to. You only need to paint whichever side you’d like to be the front (I’d suggest choosing the smoother side), since that’s the only side of this piece that will be seen. Set it aside to dry.

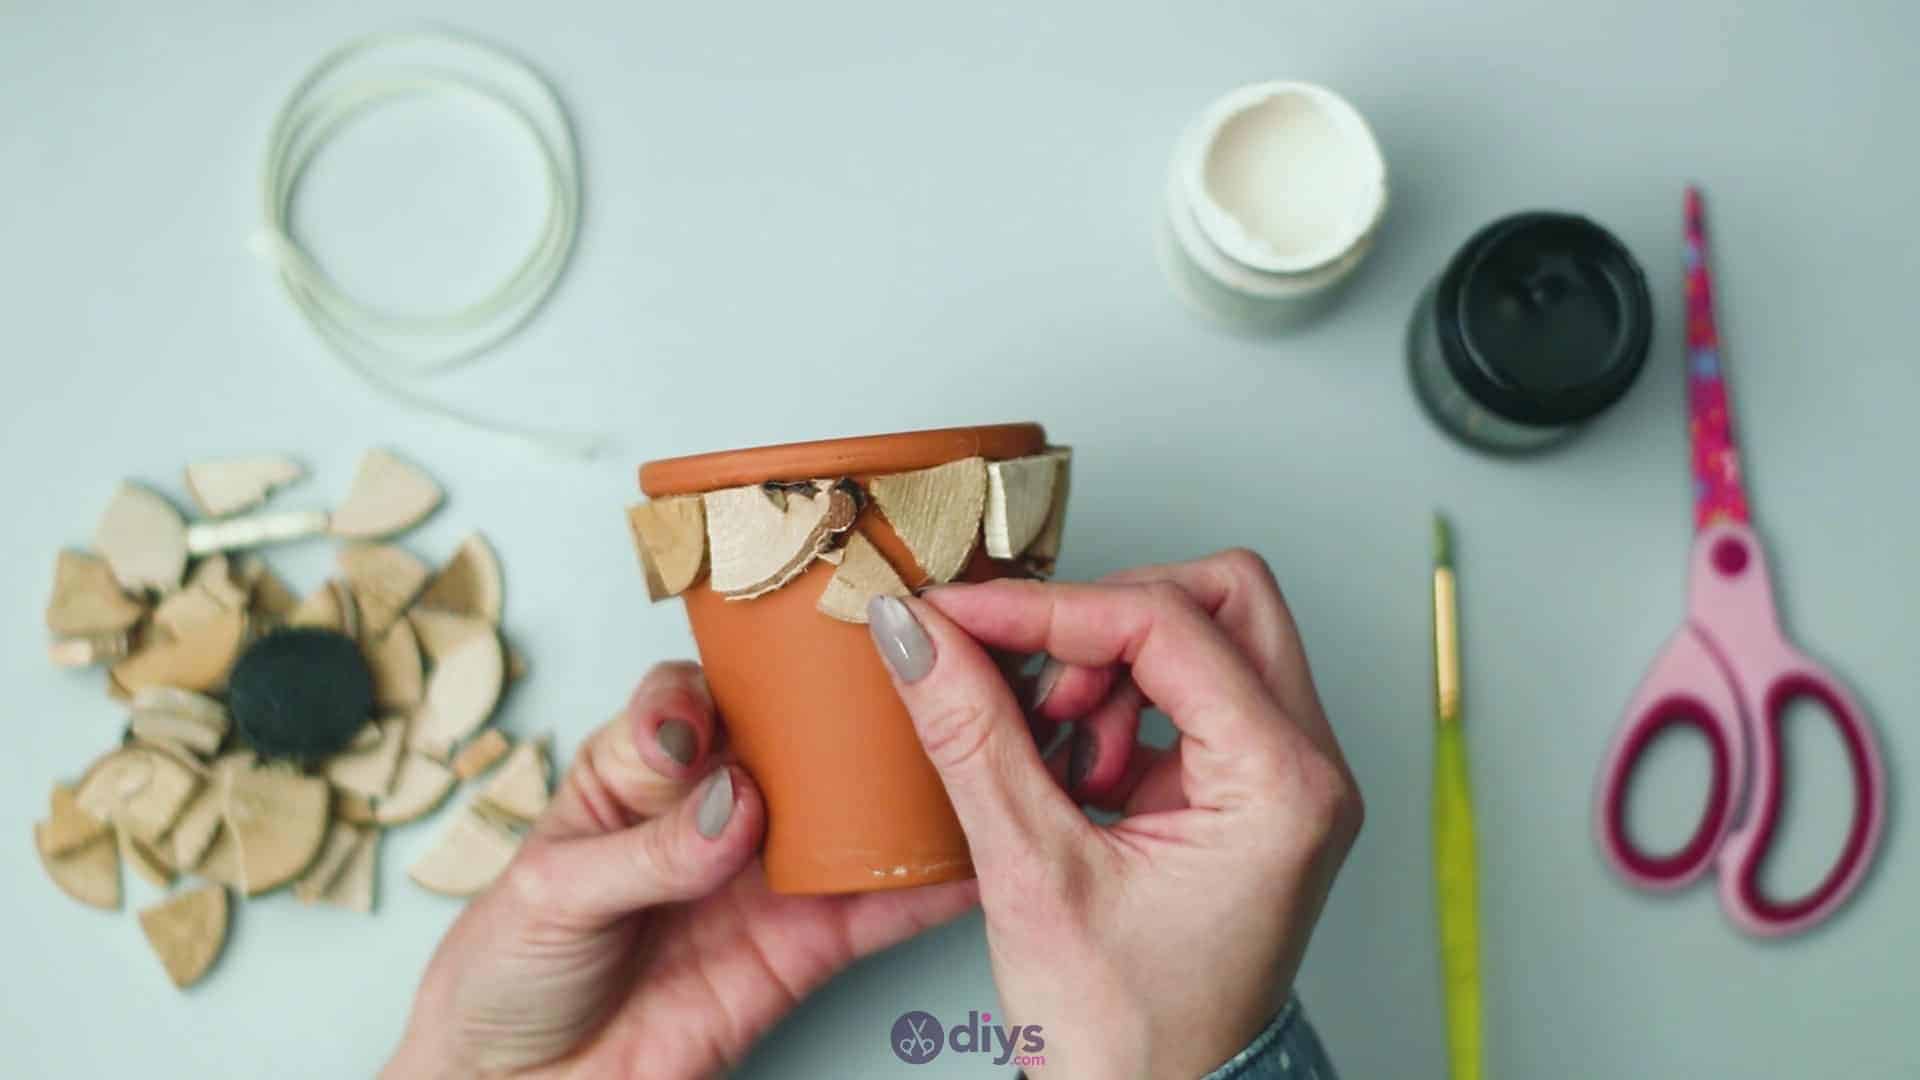
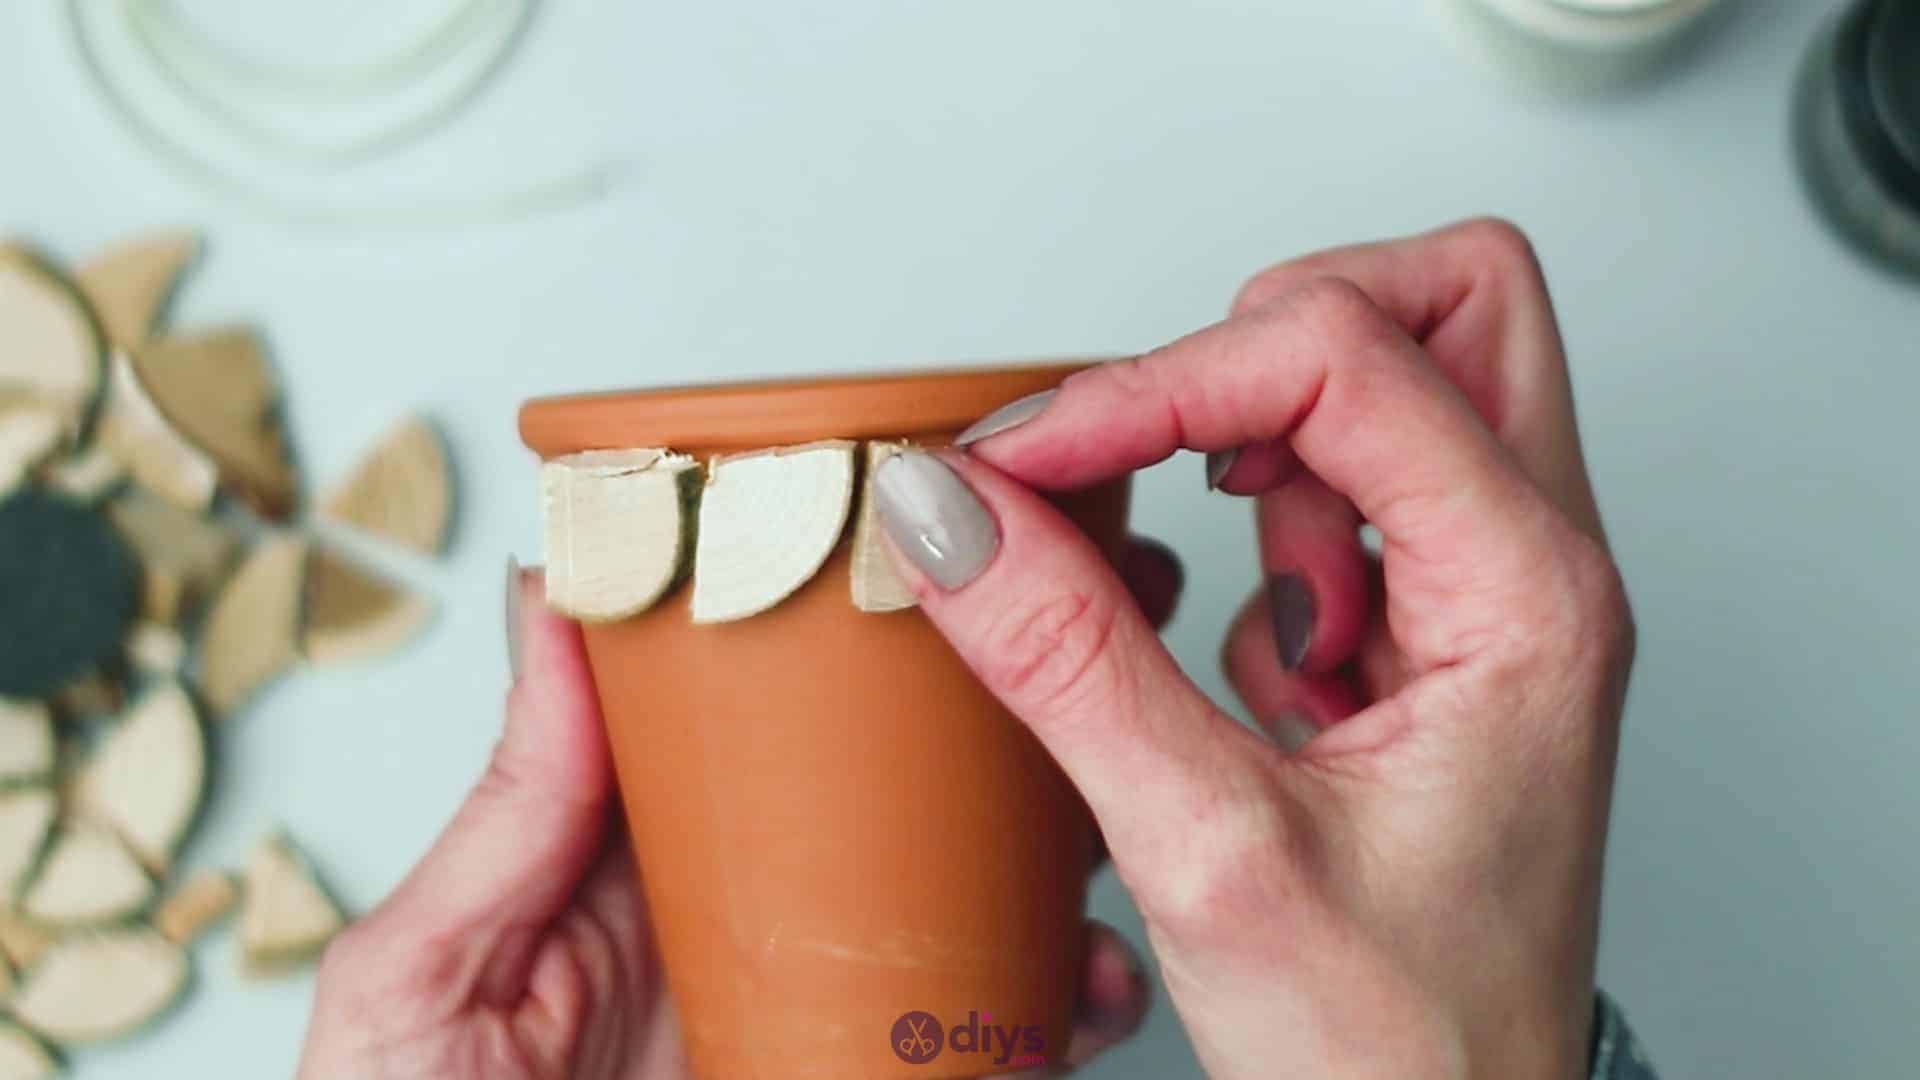
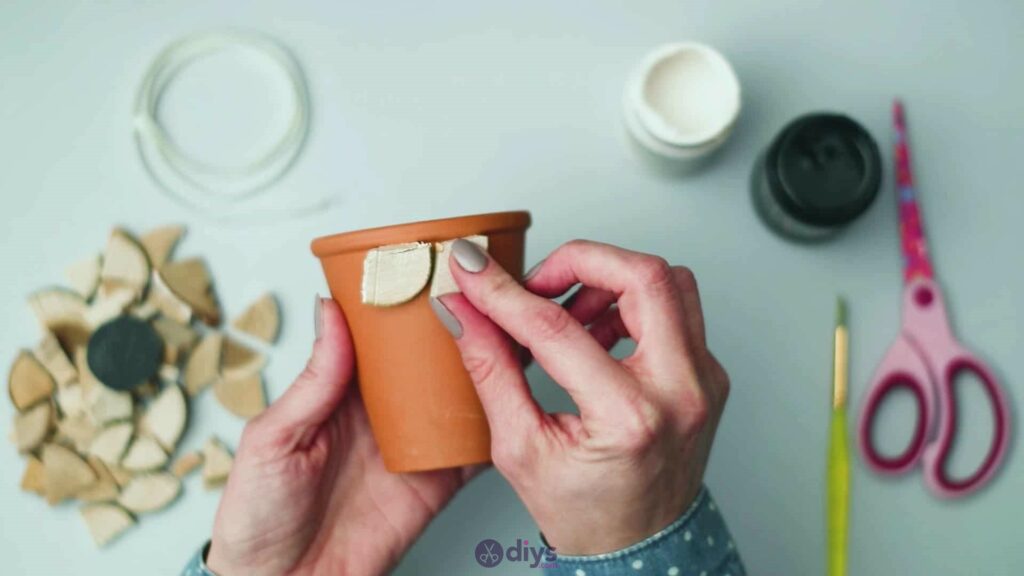
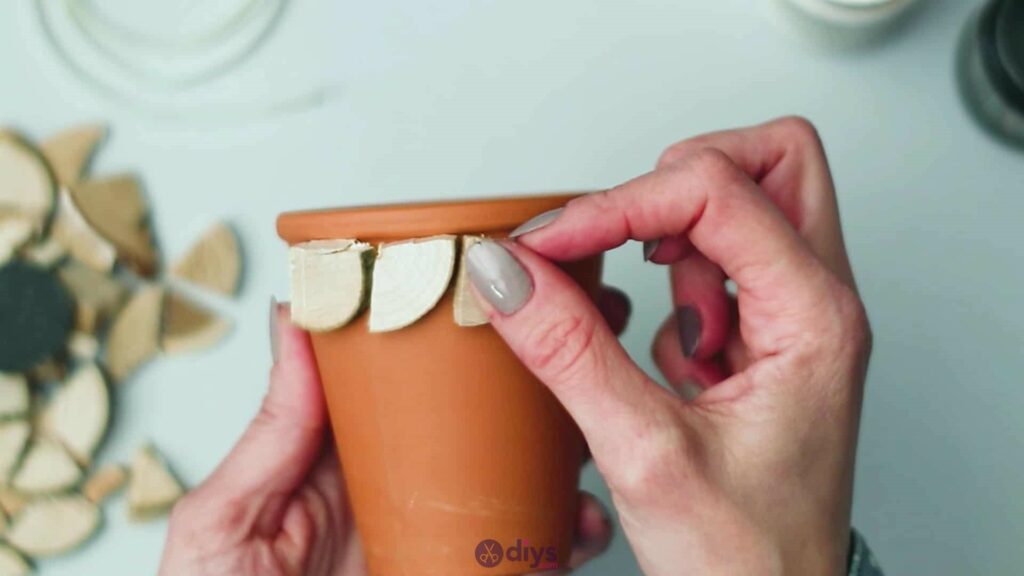
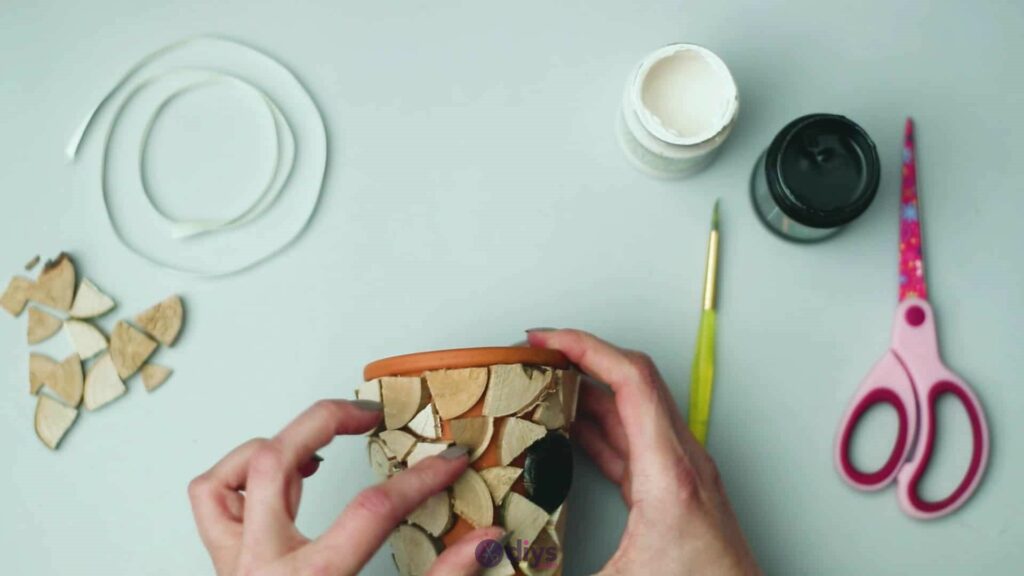
Step 3: cover the pot
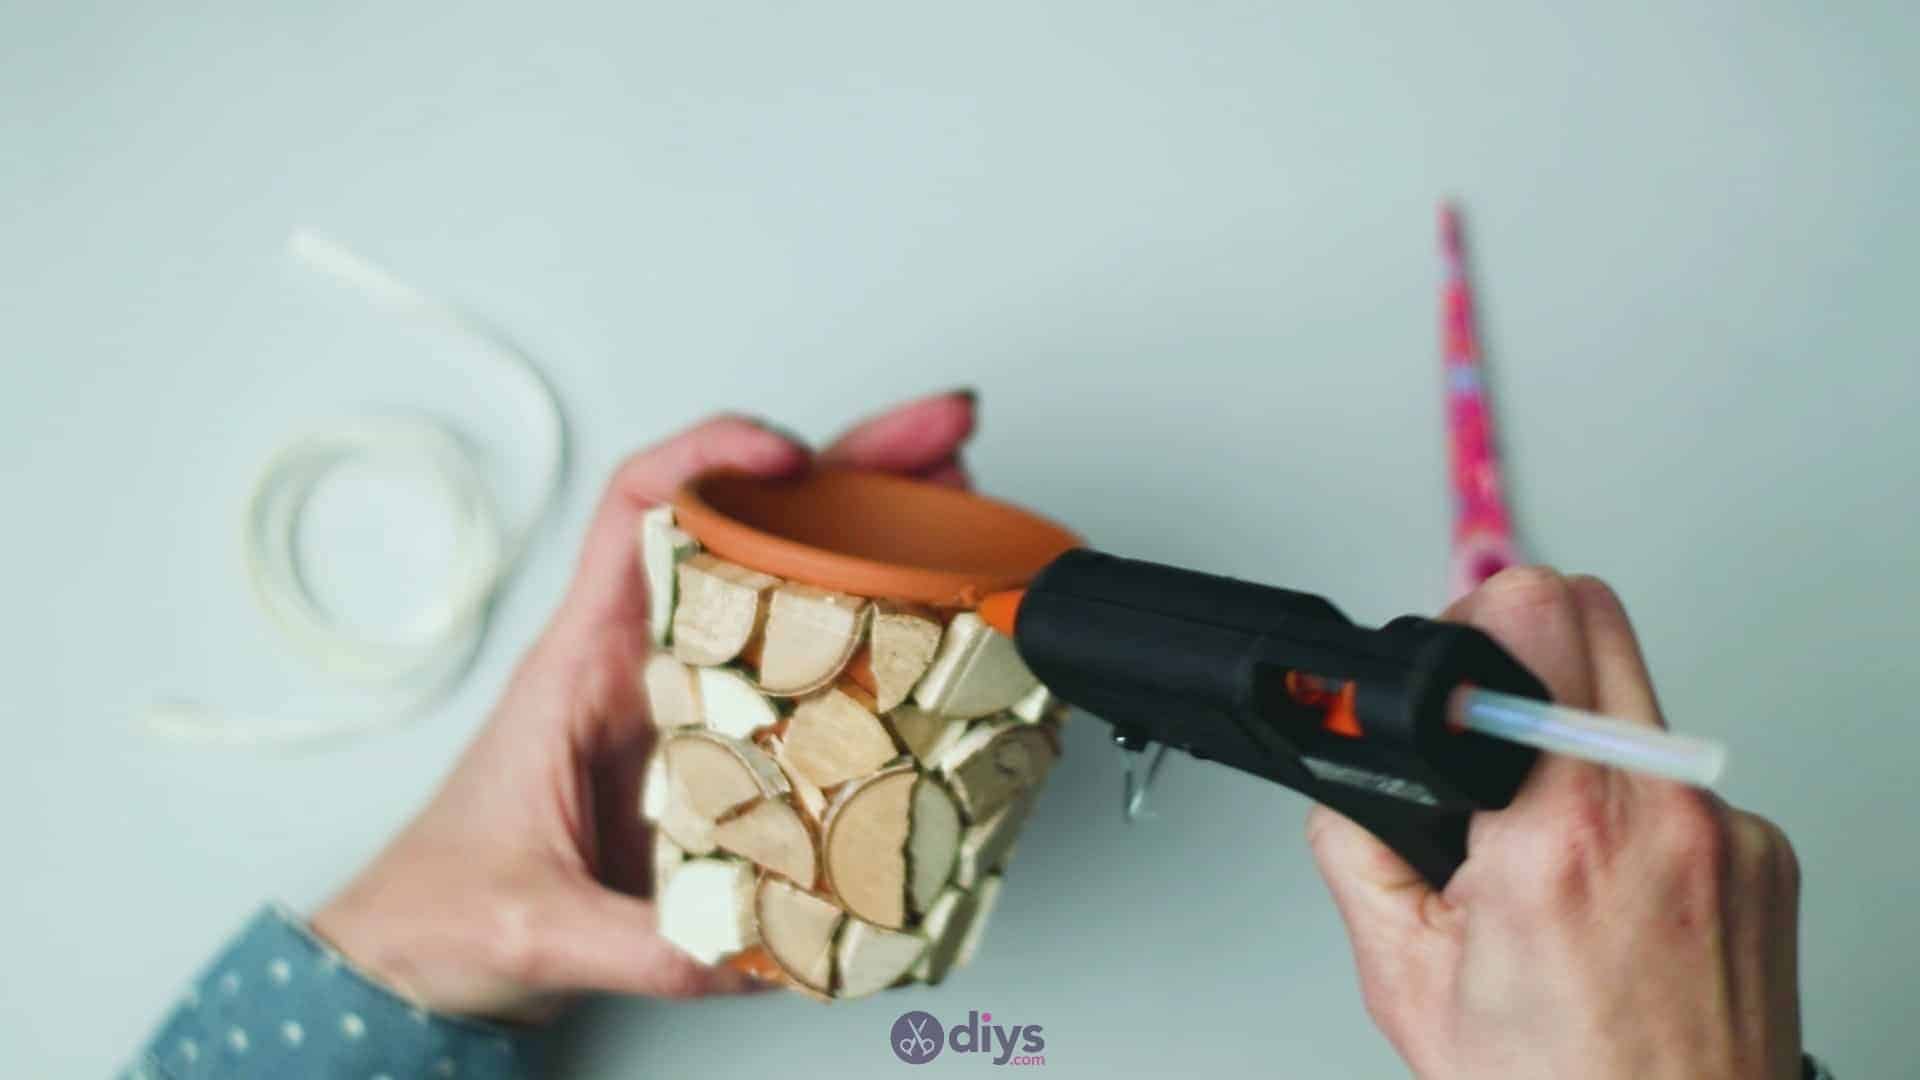
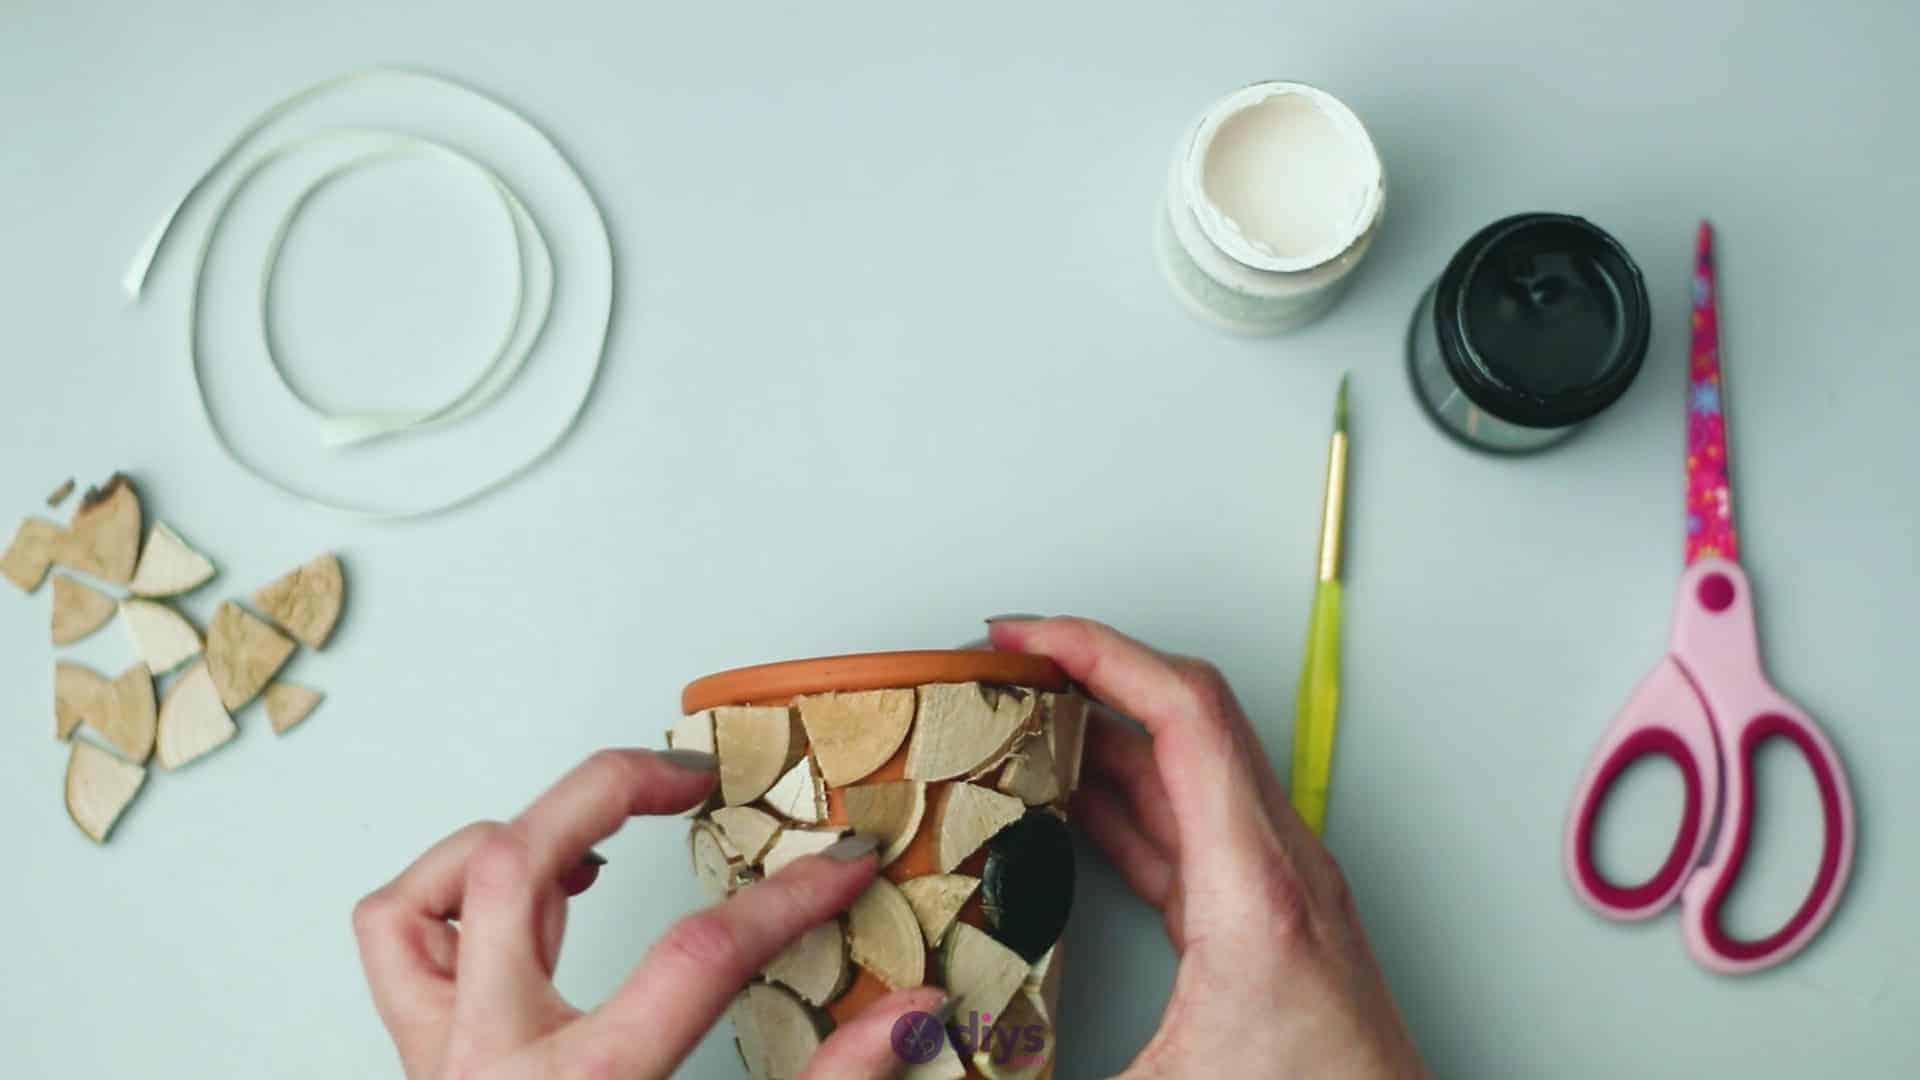
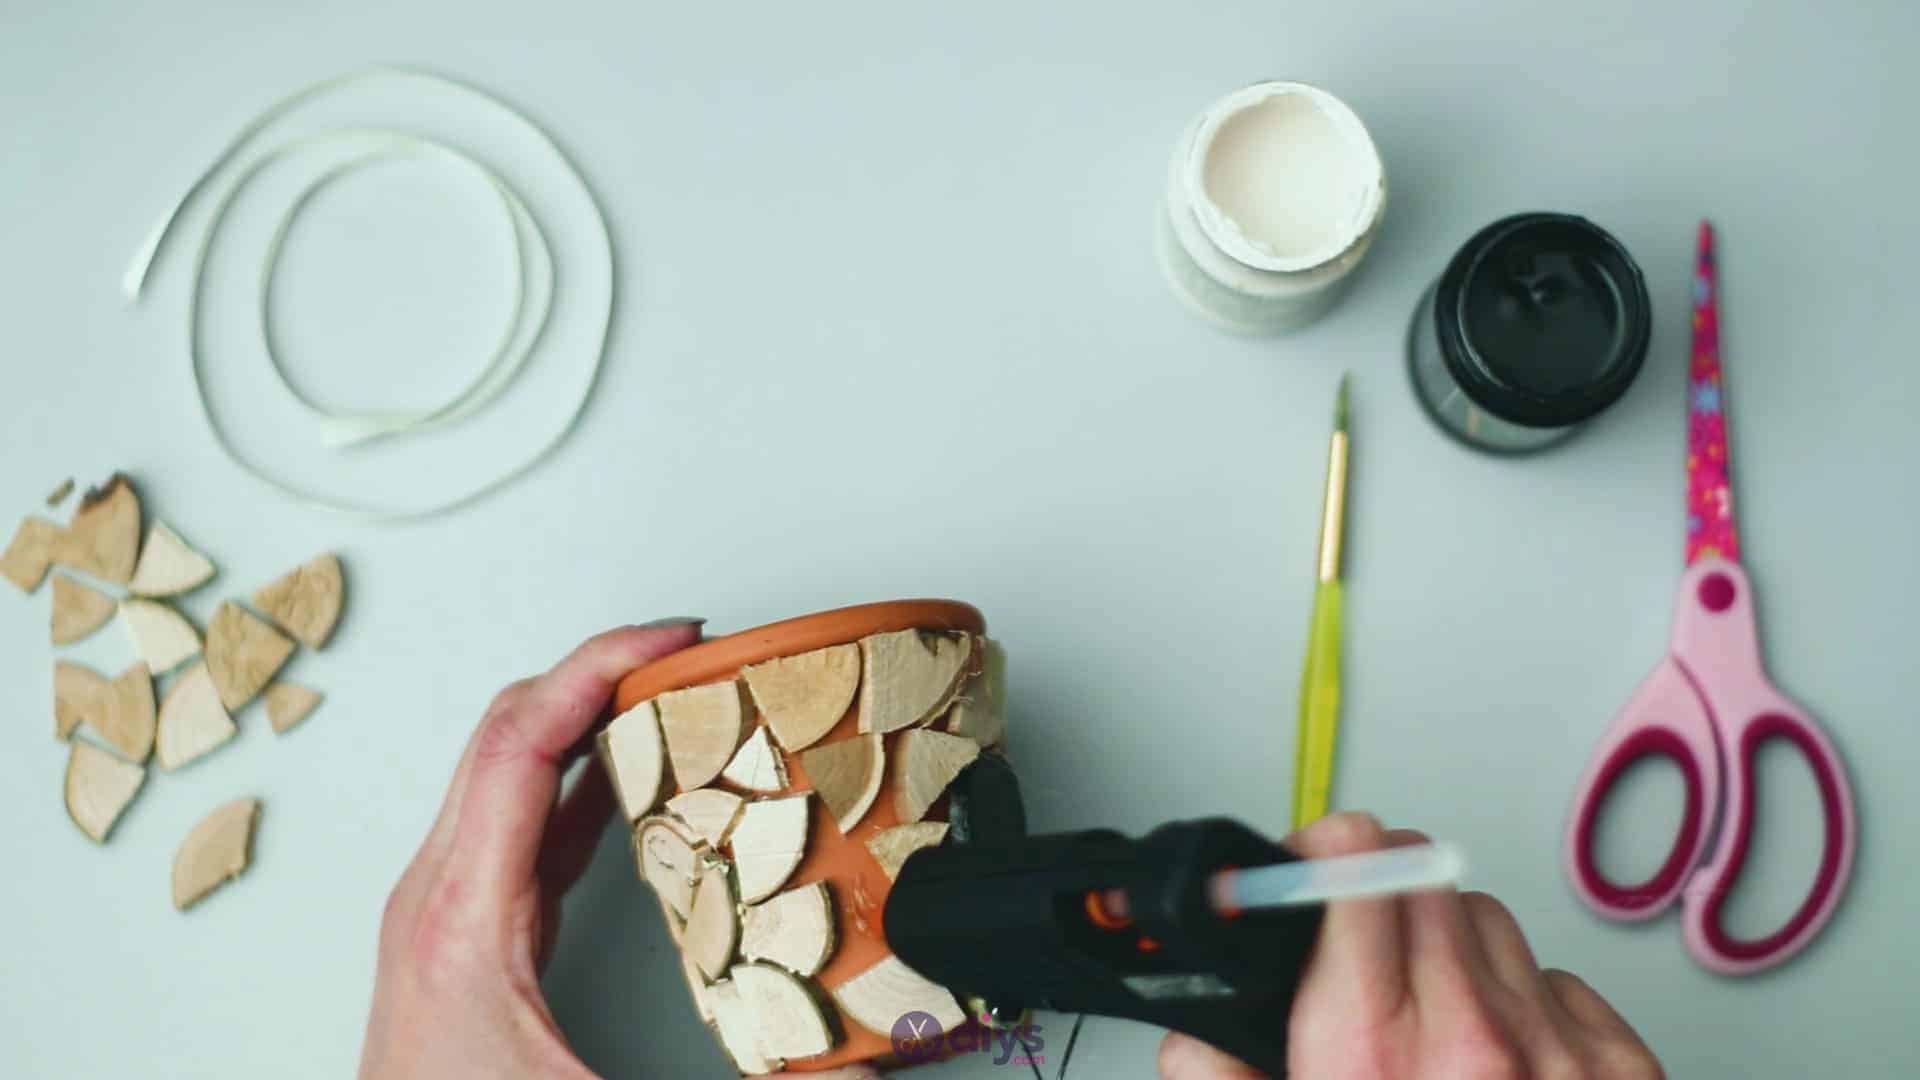
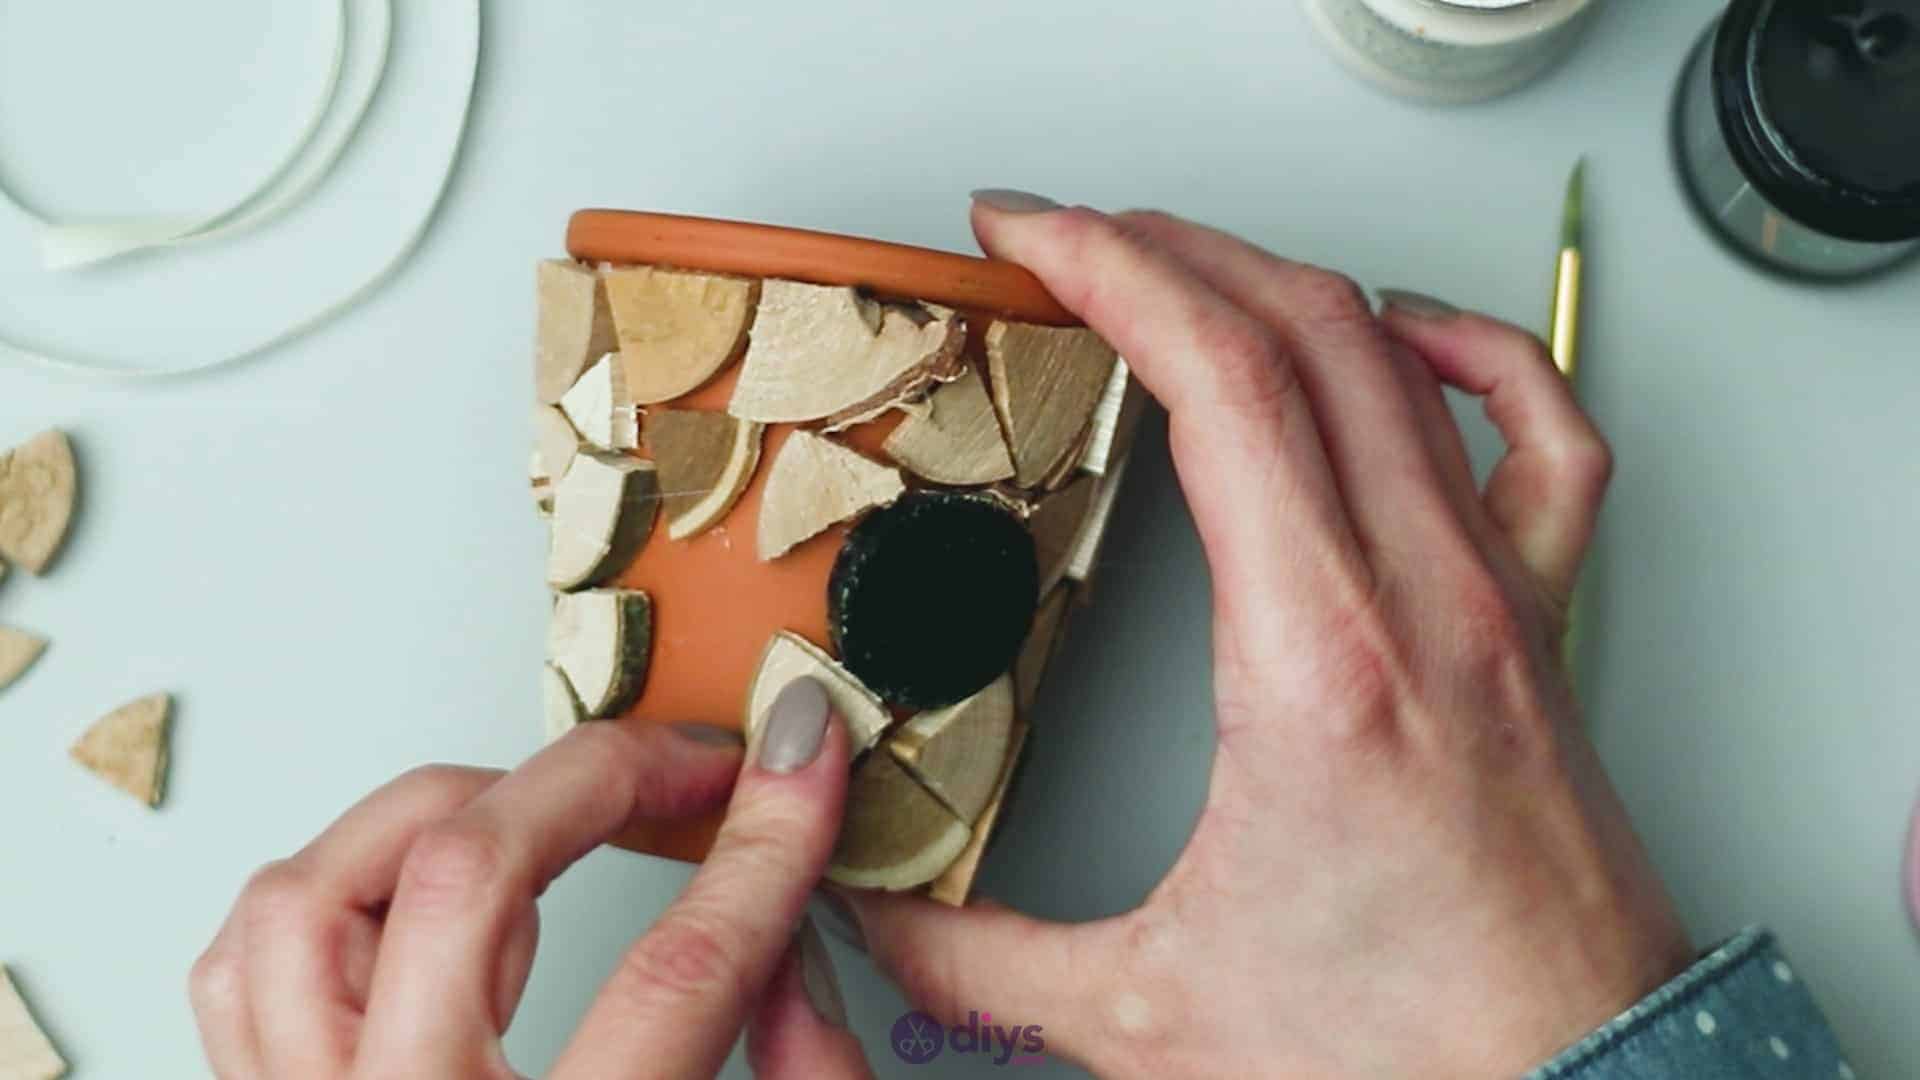
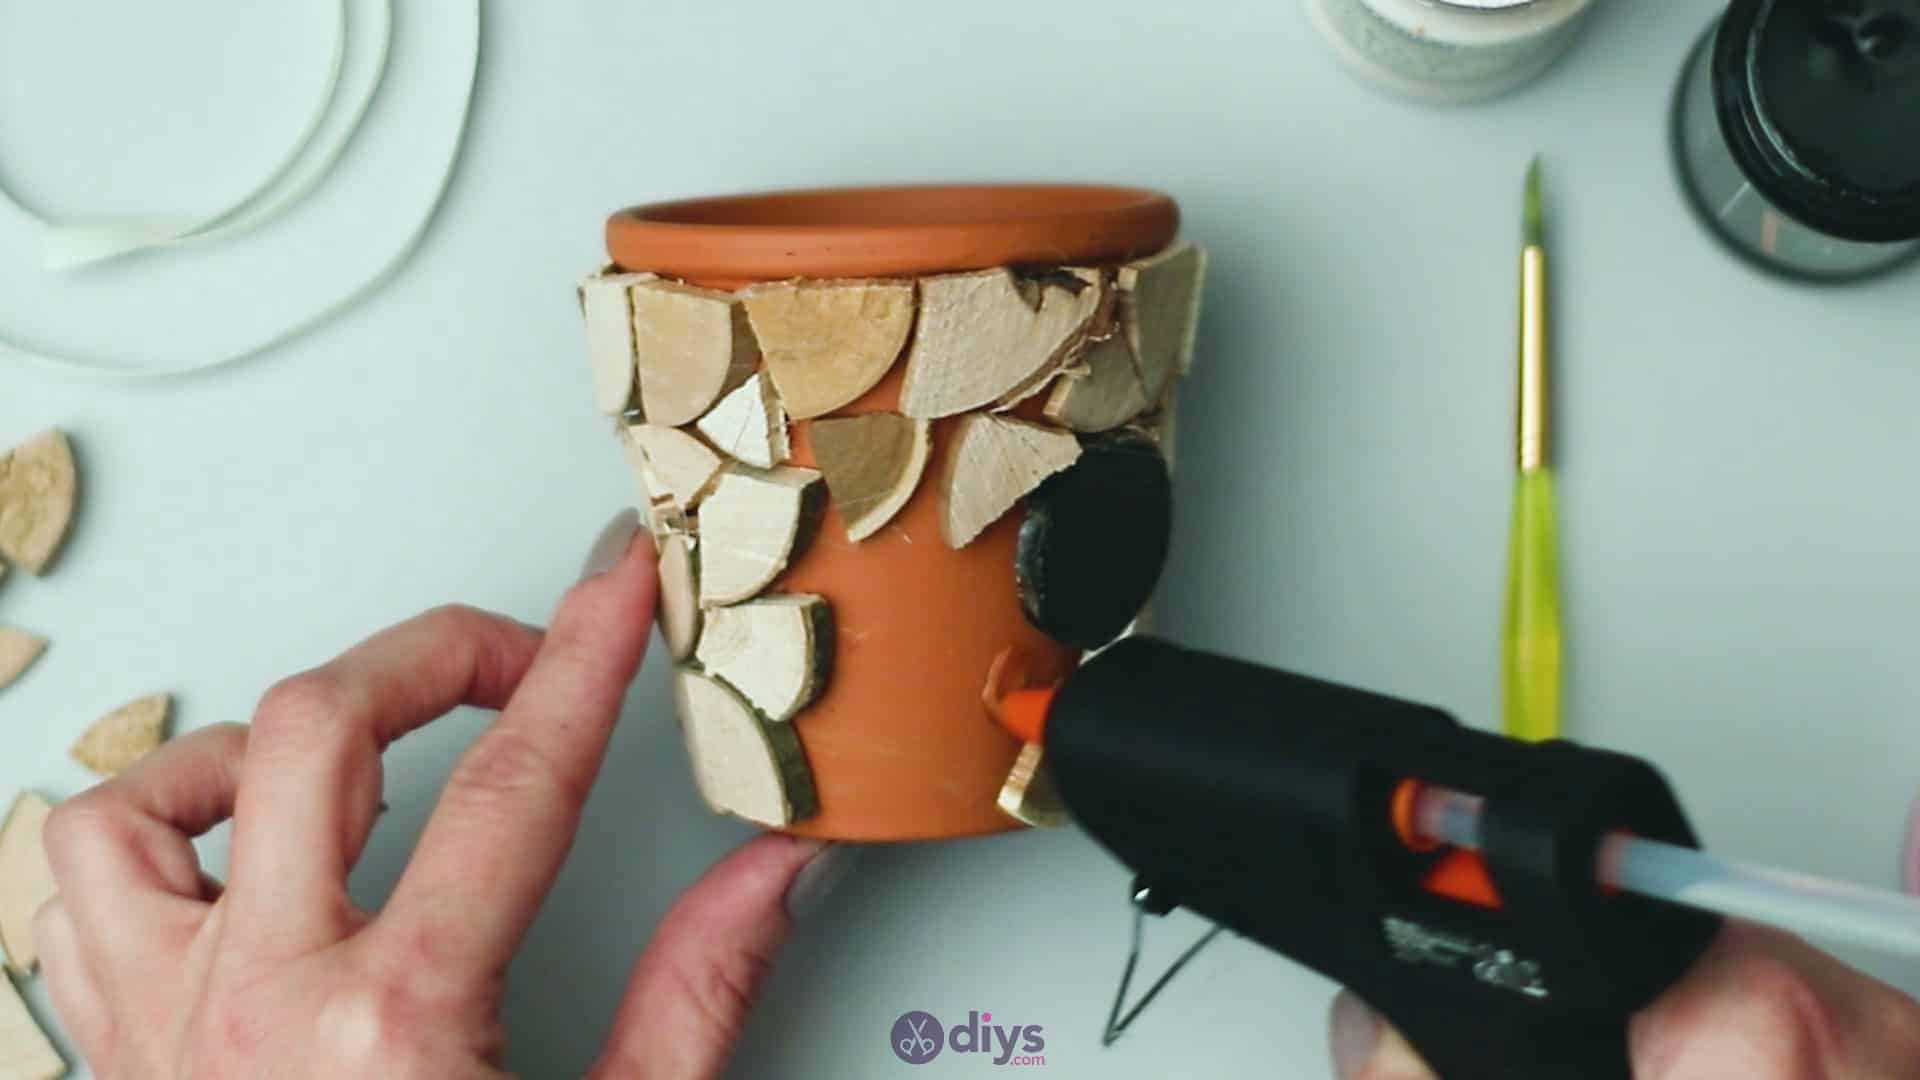
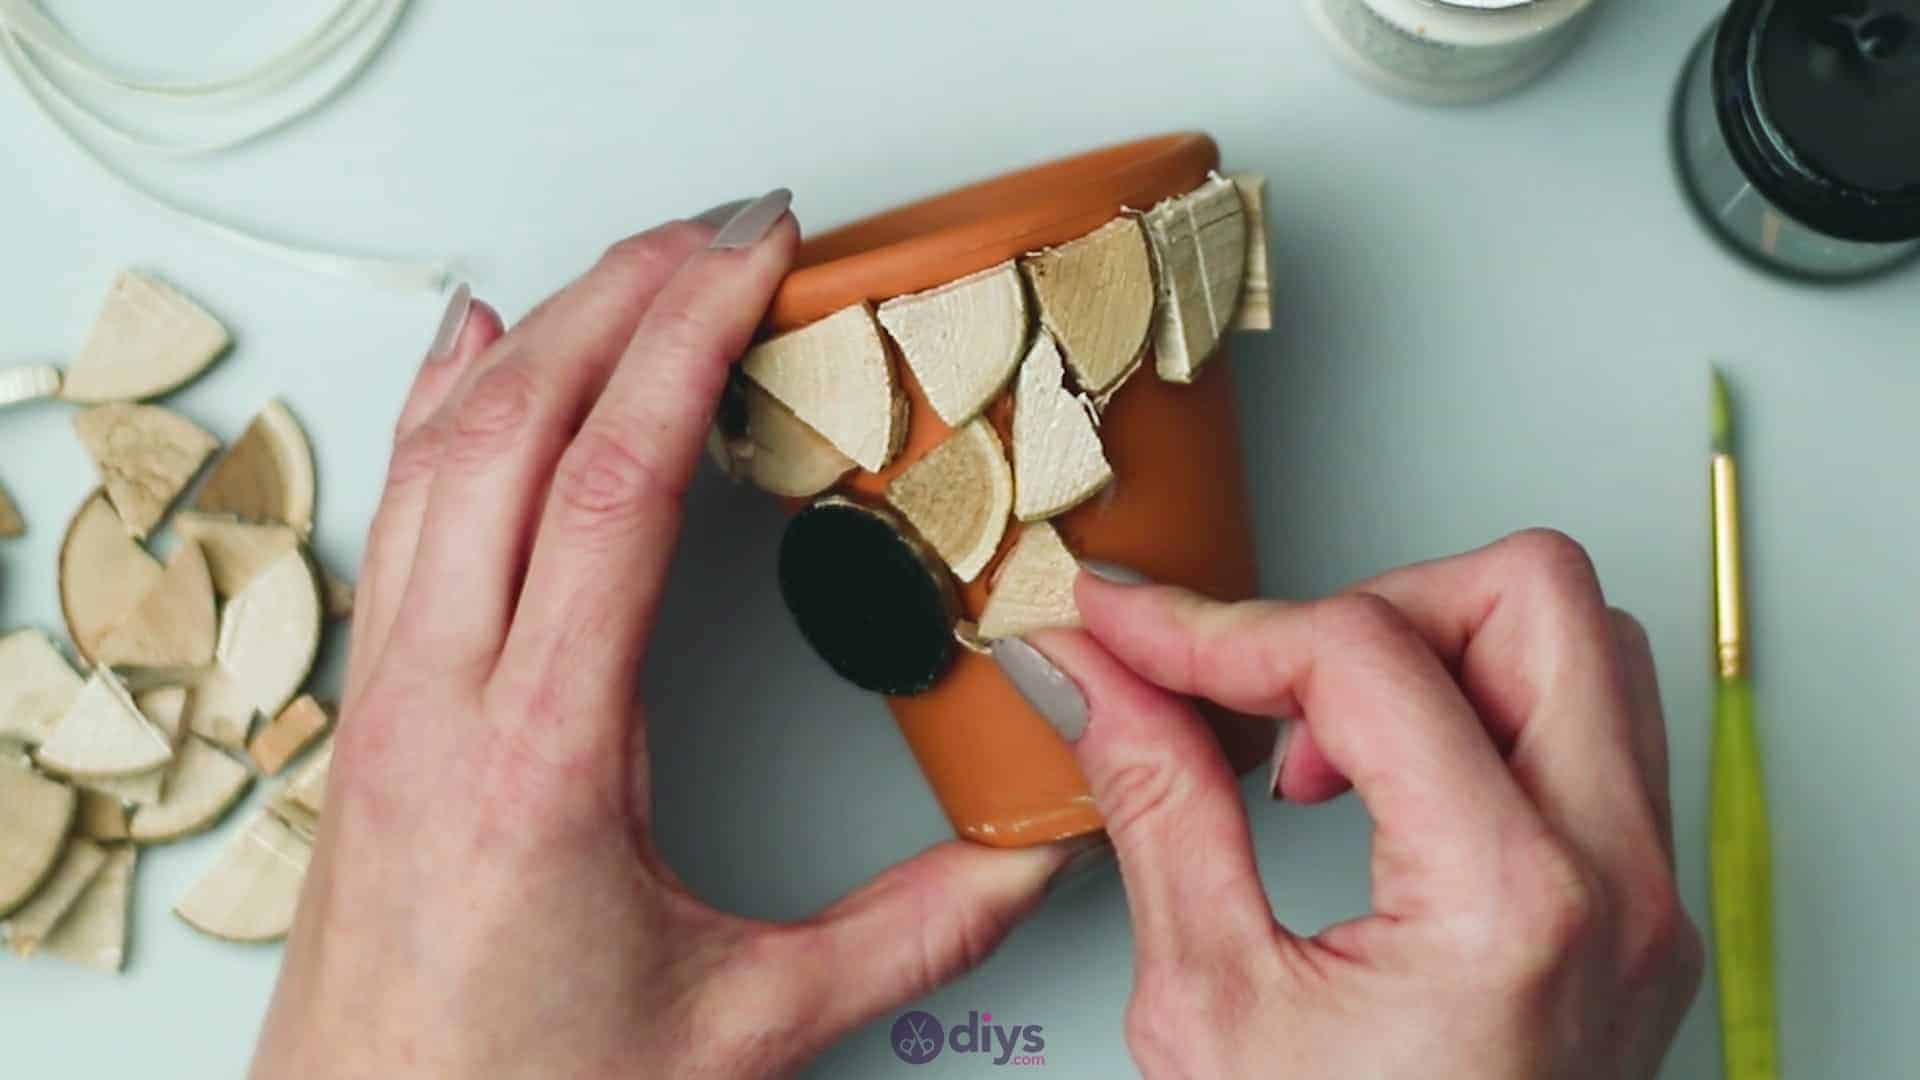
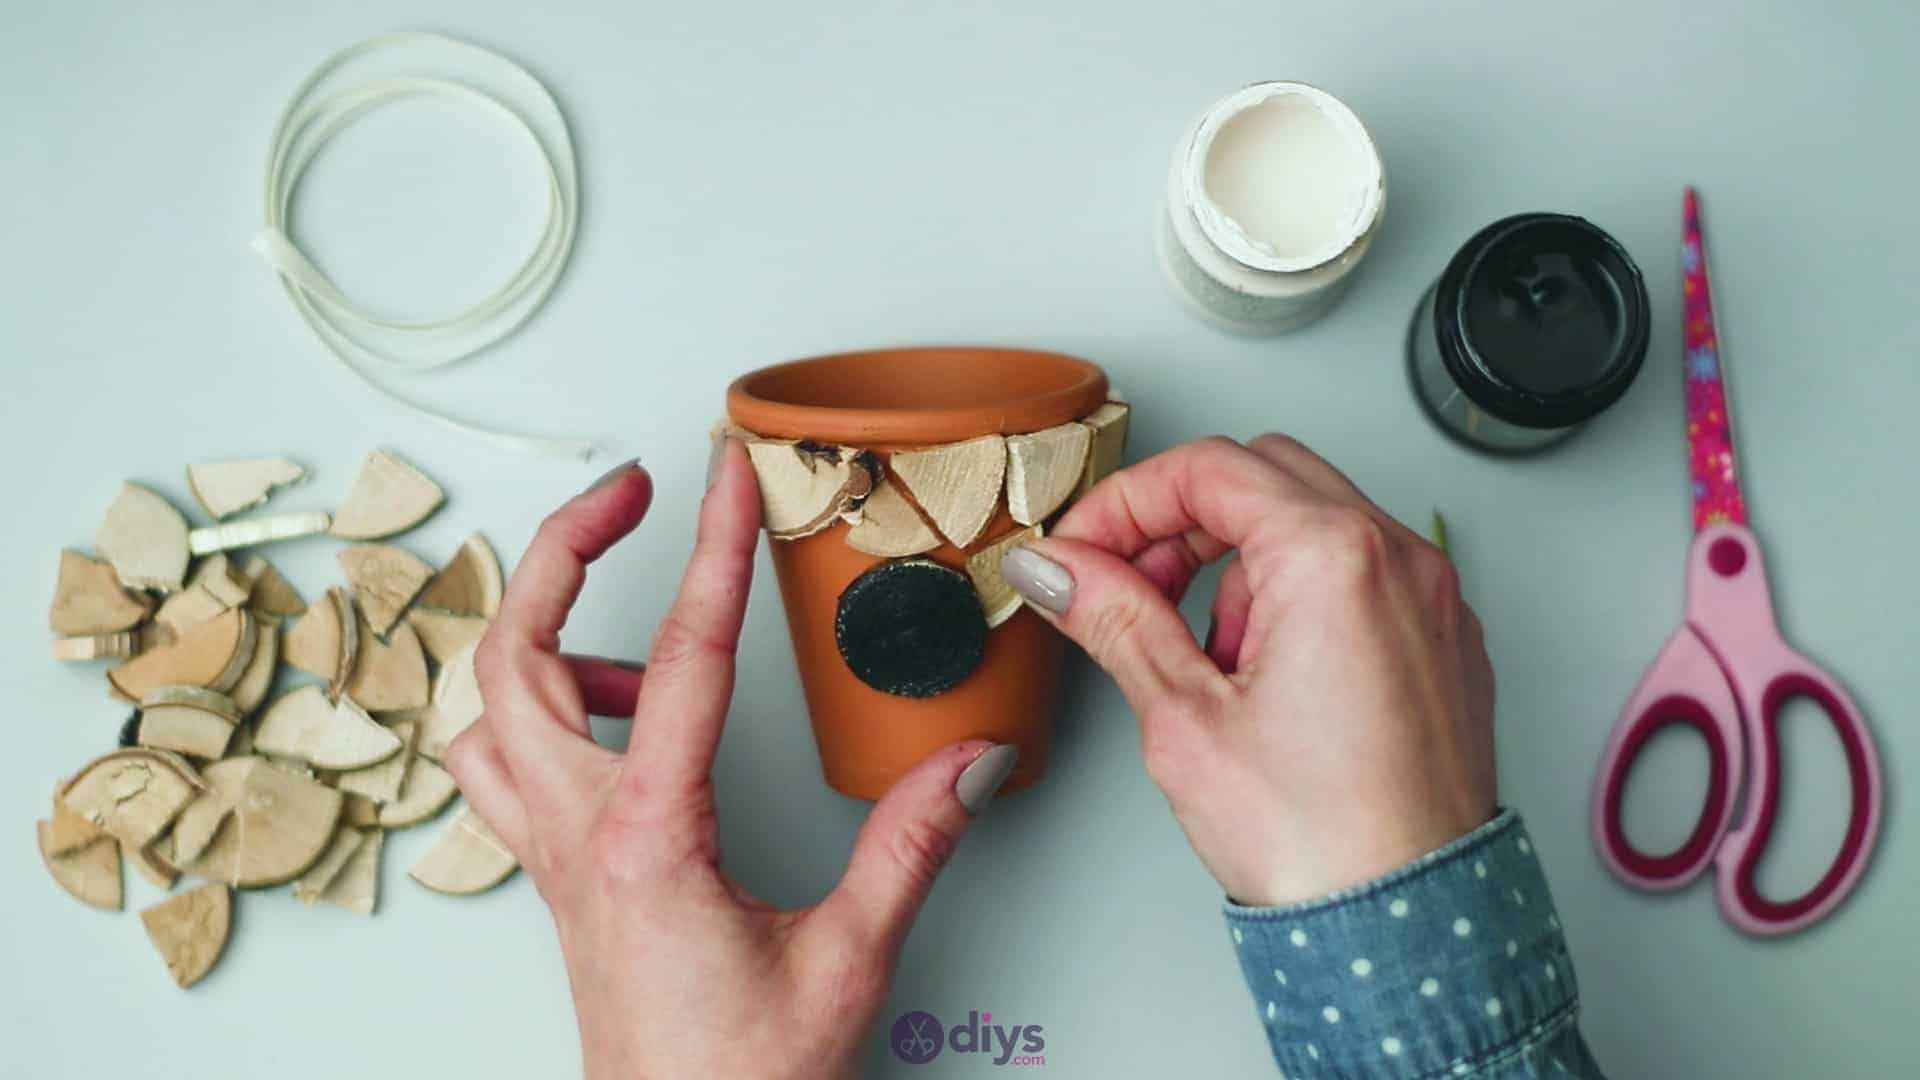
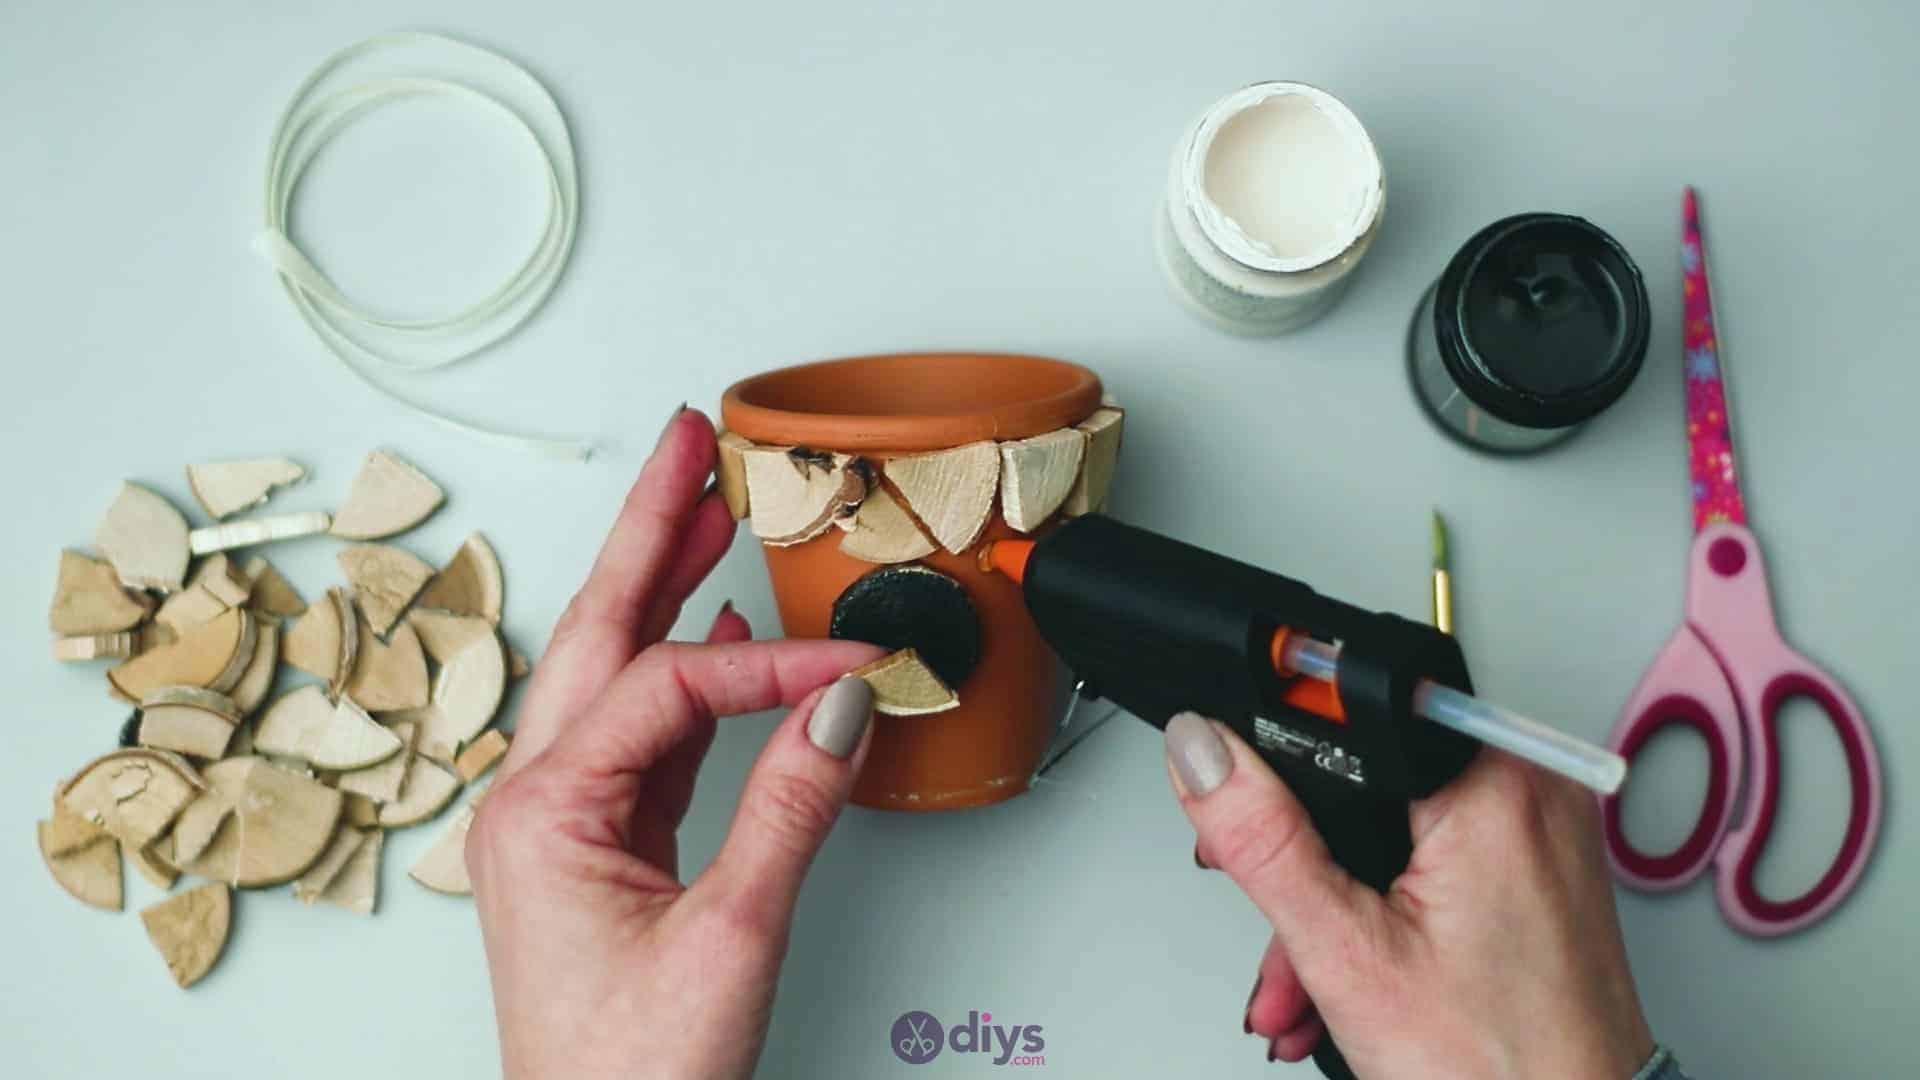
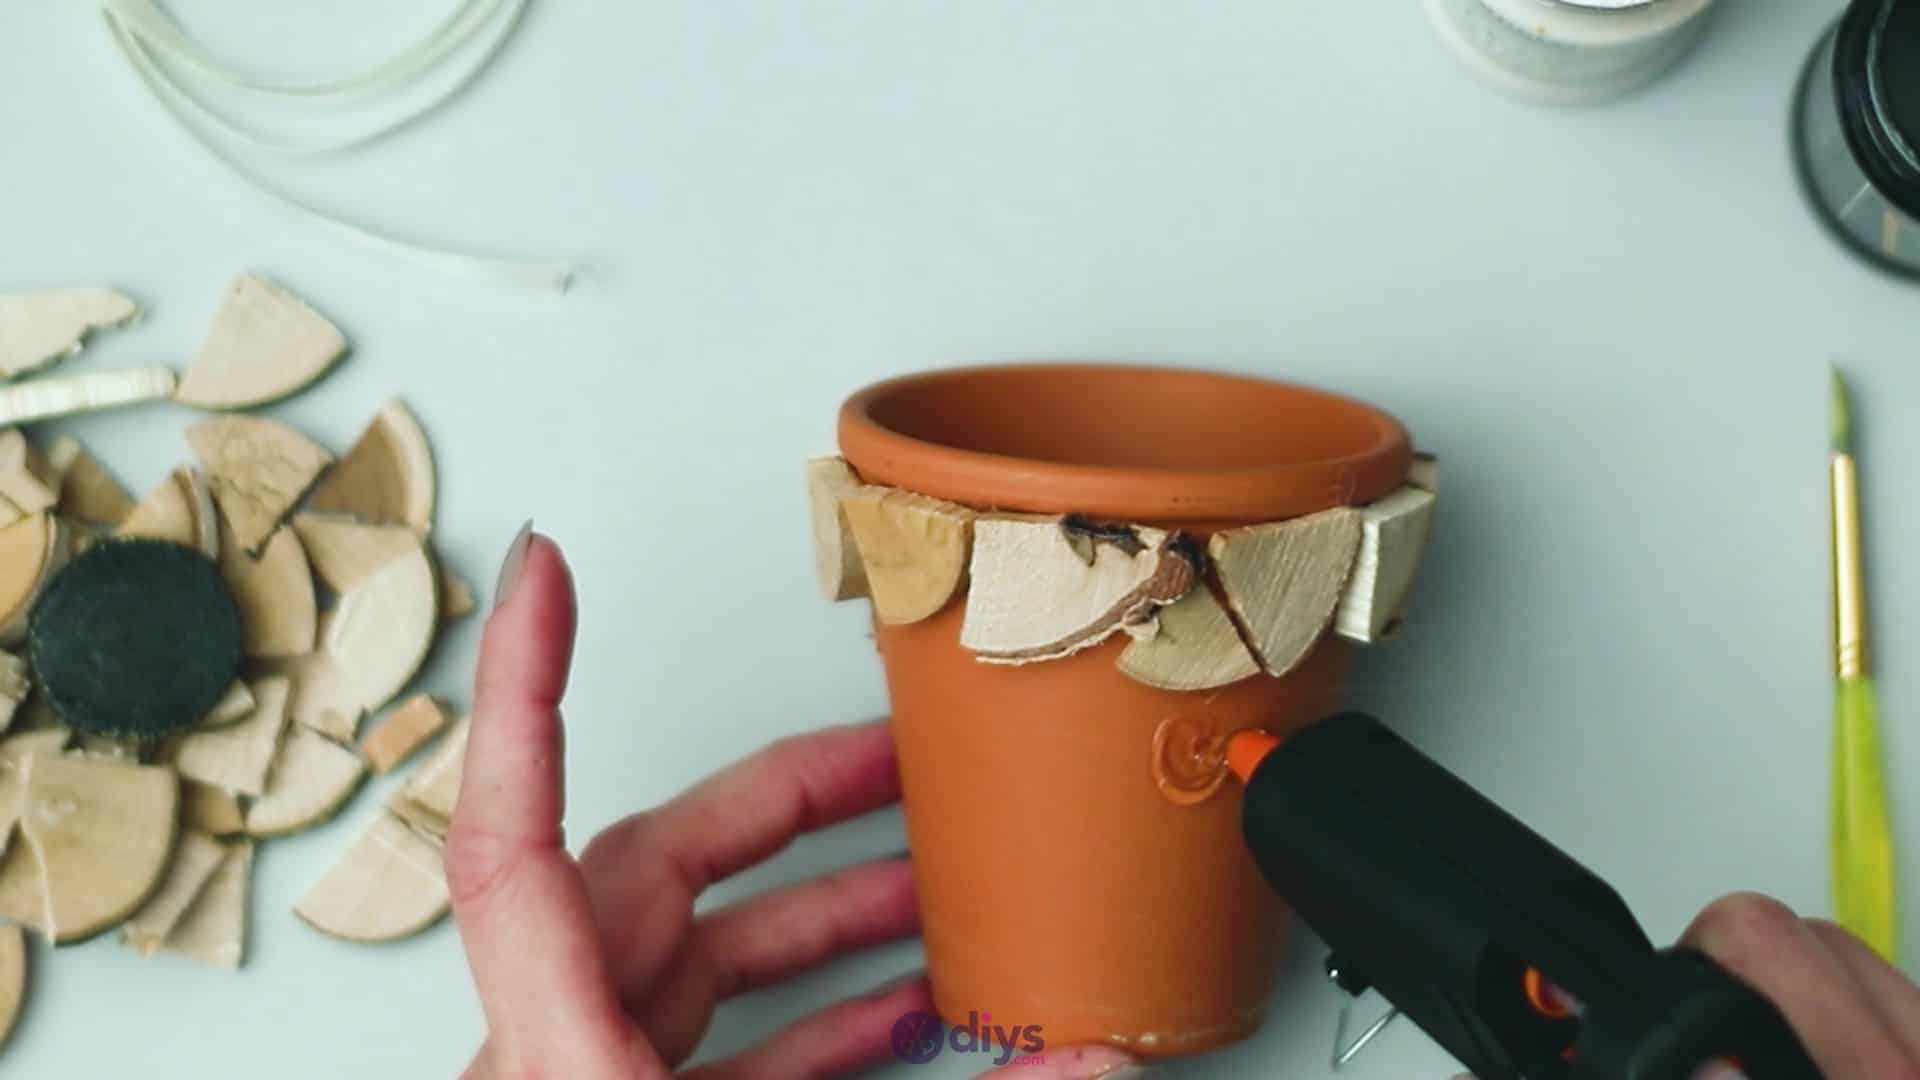
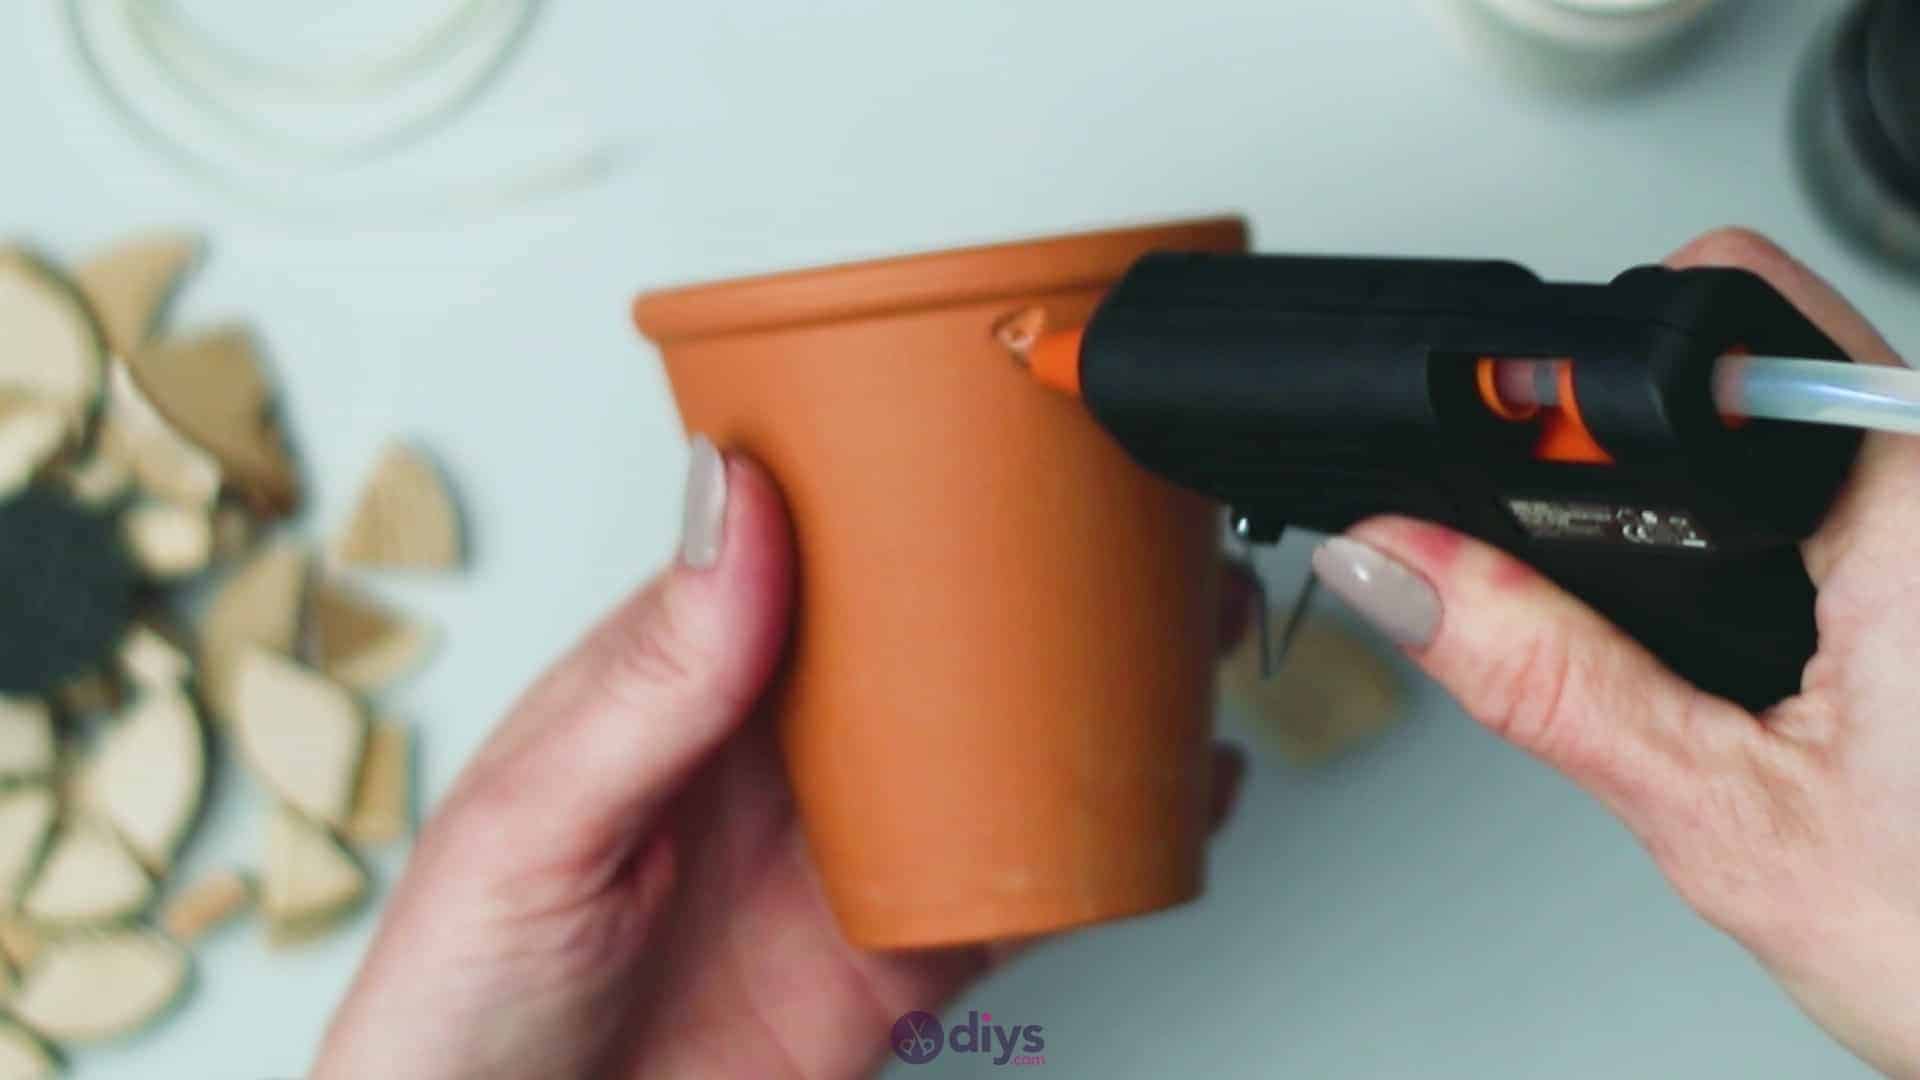
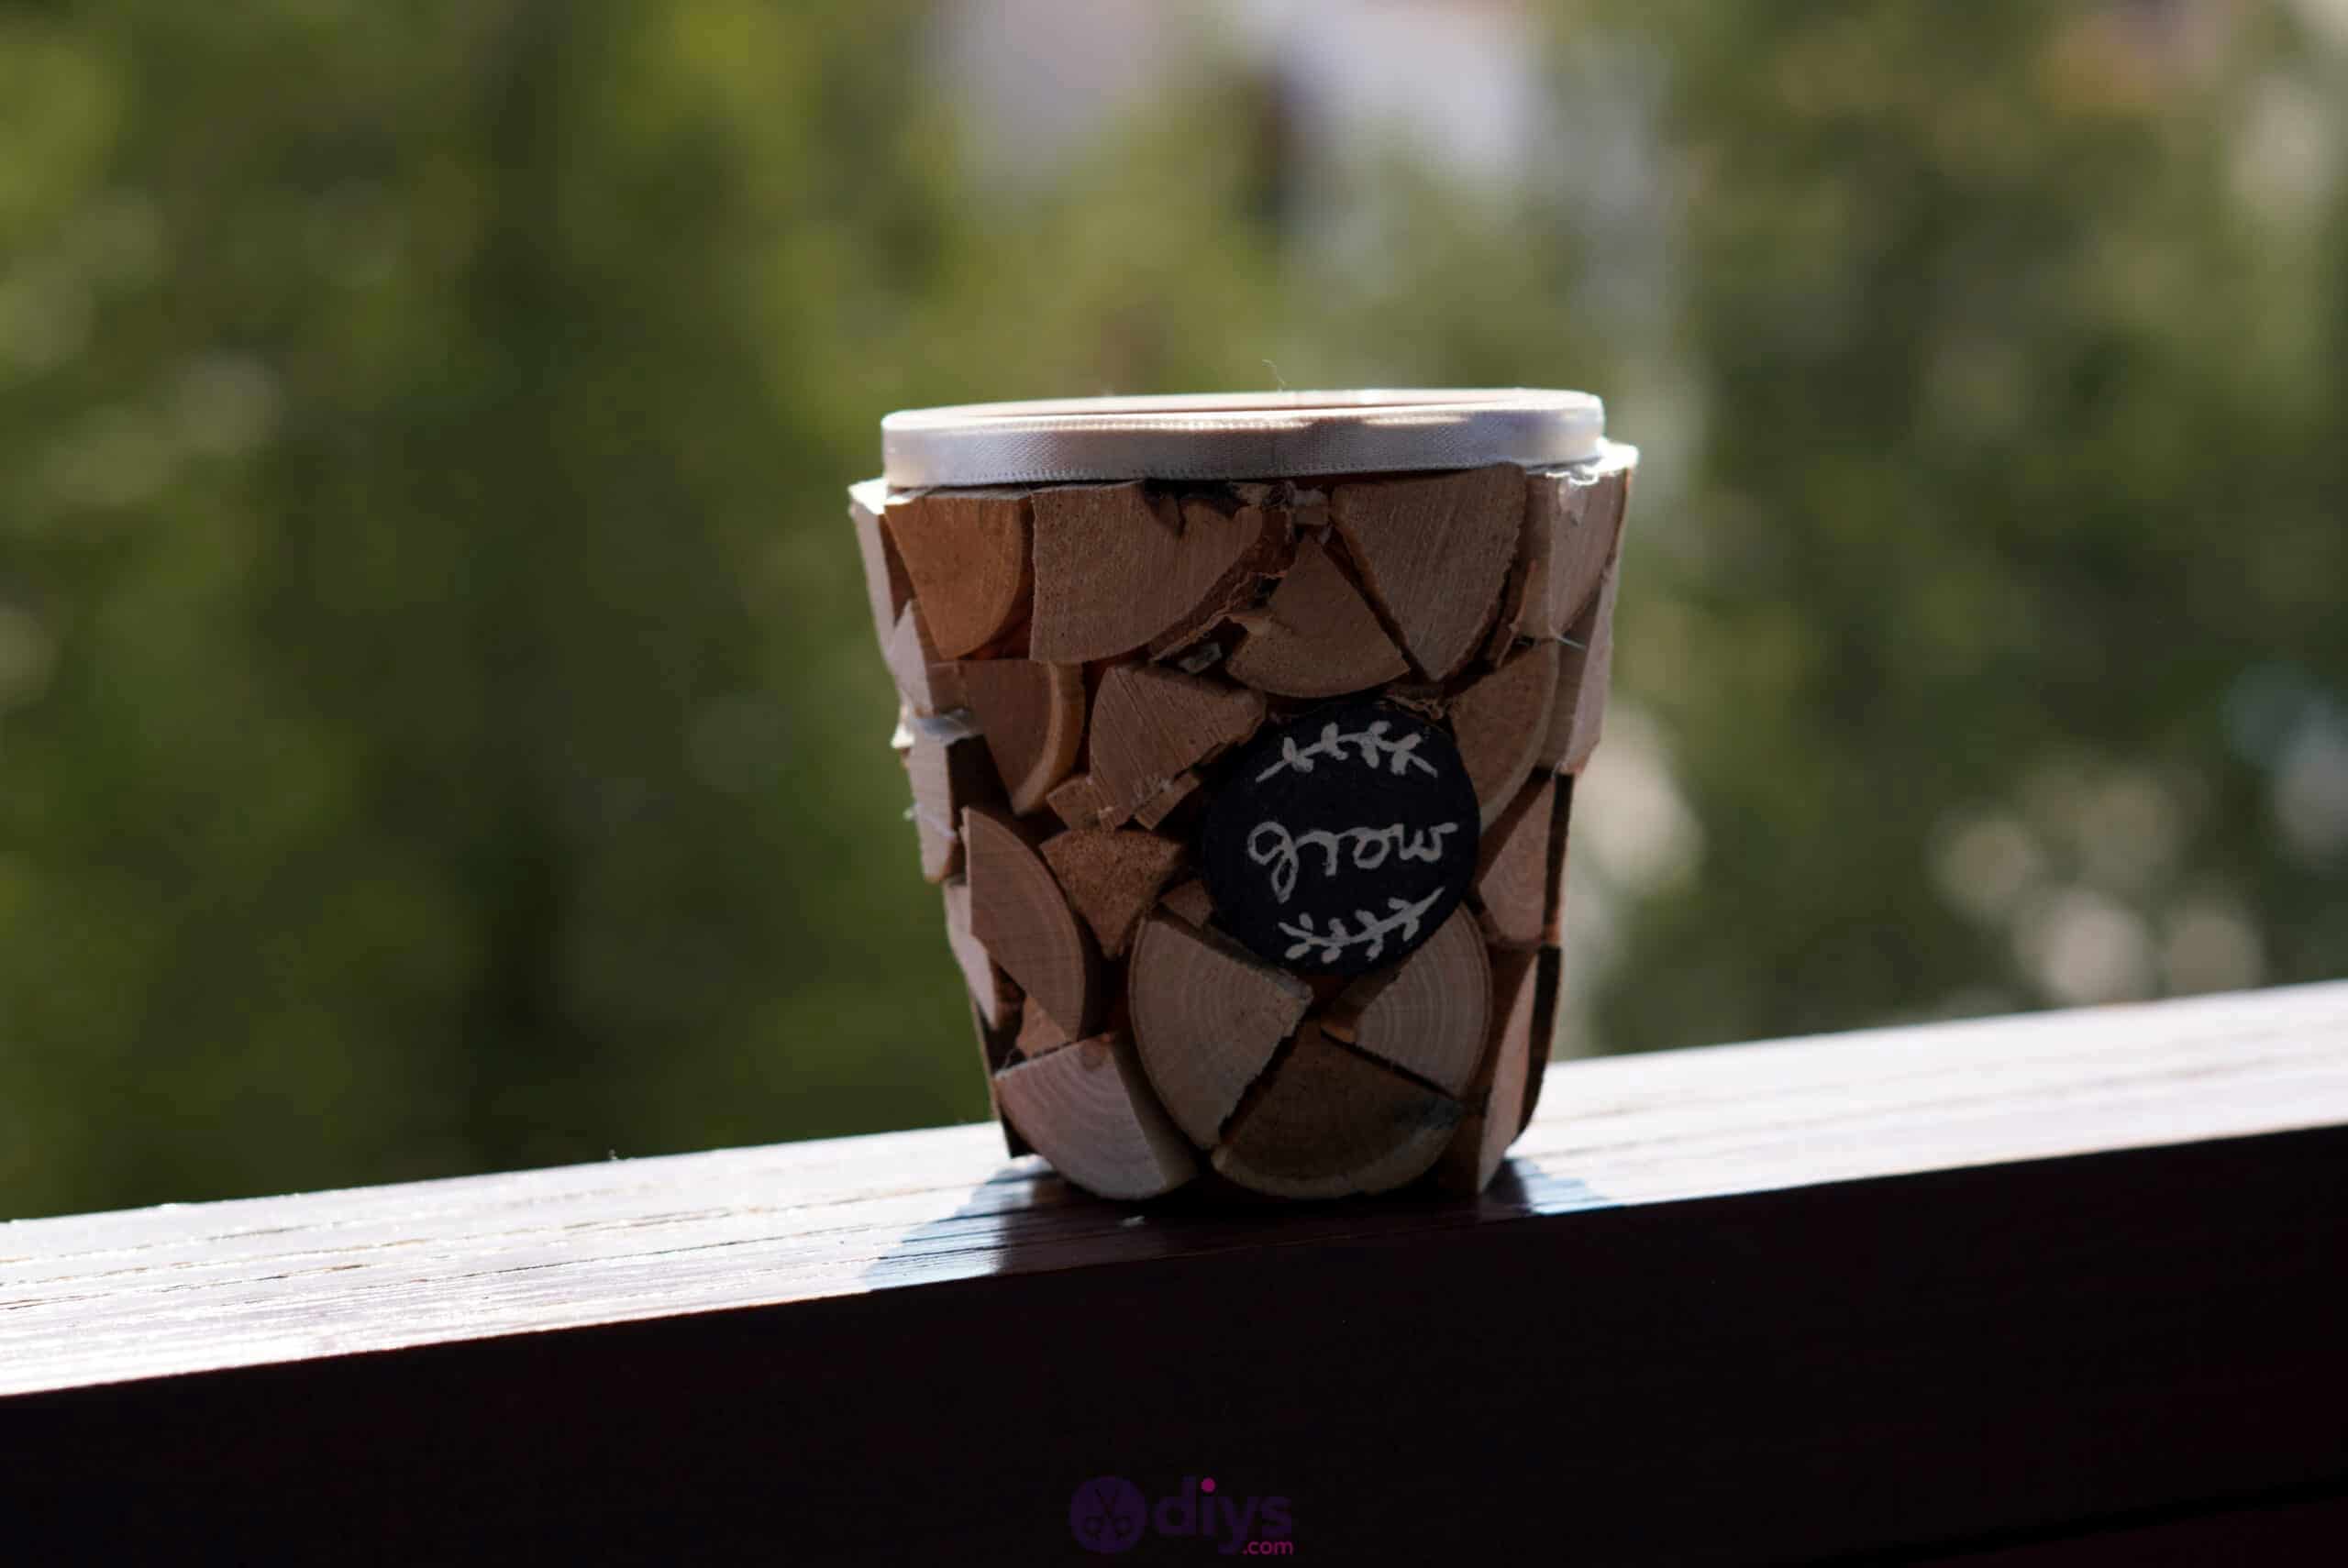
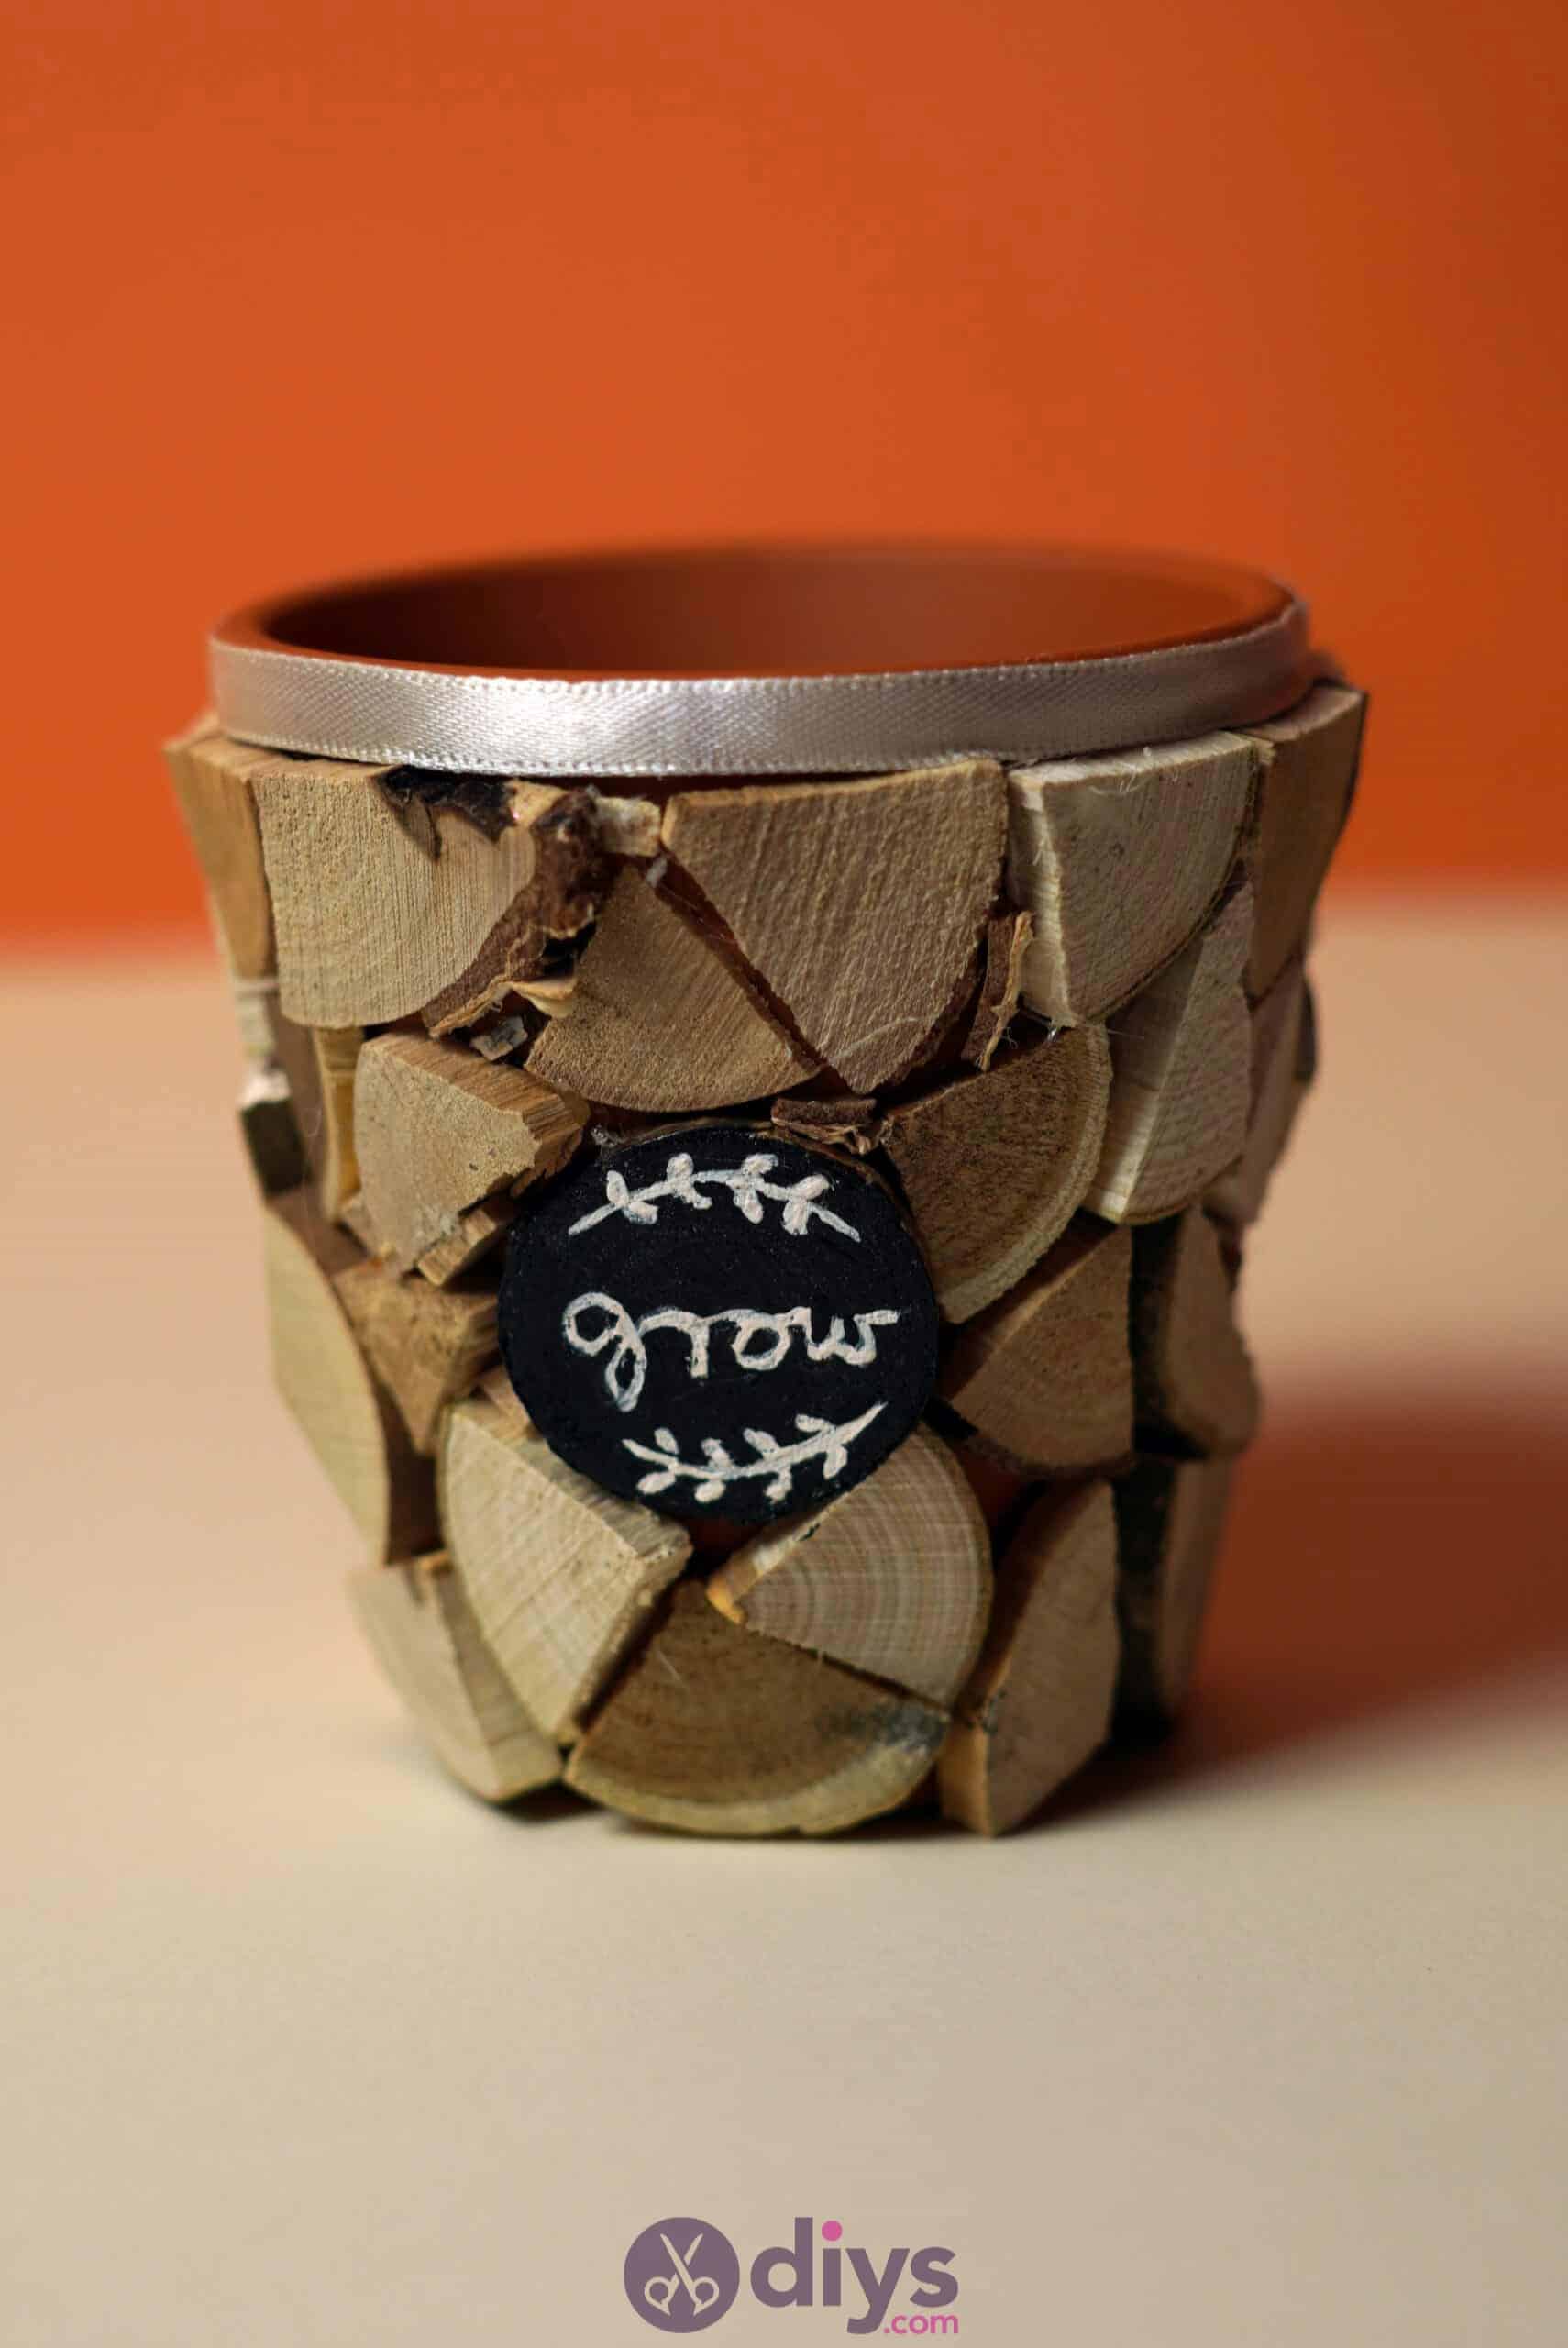
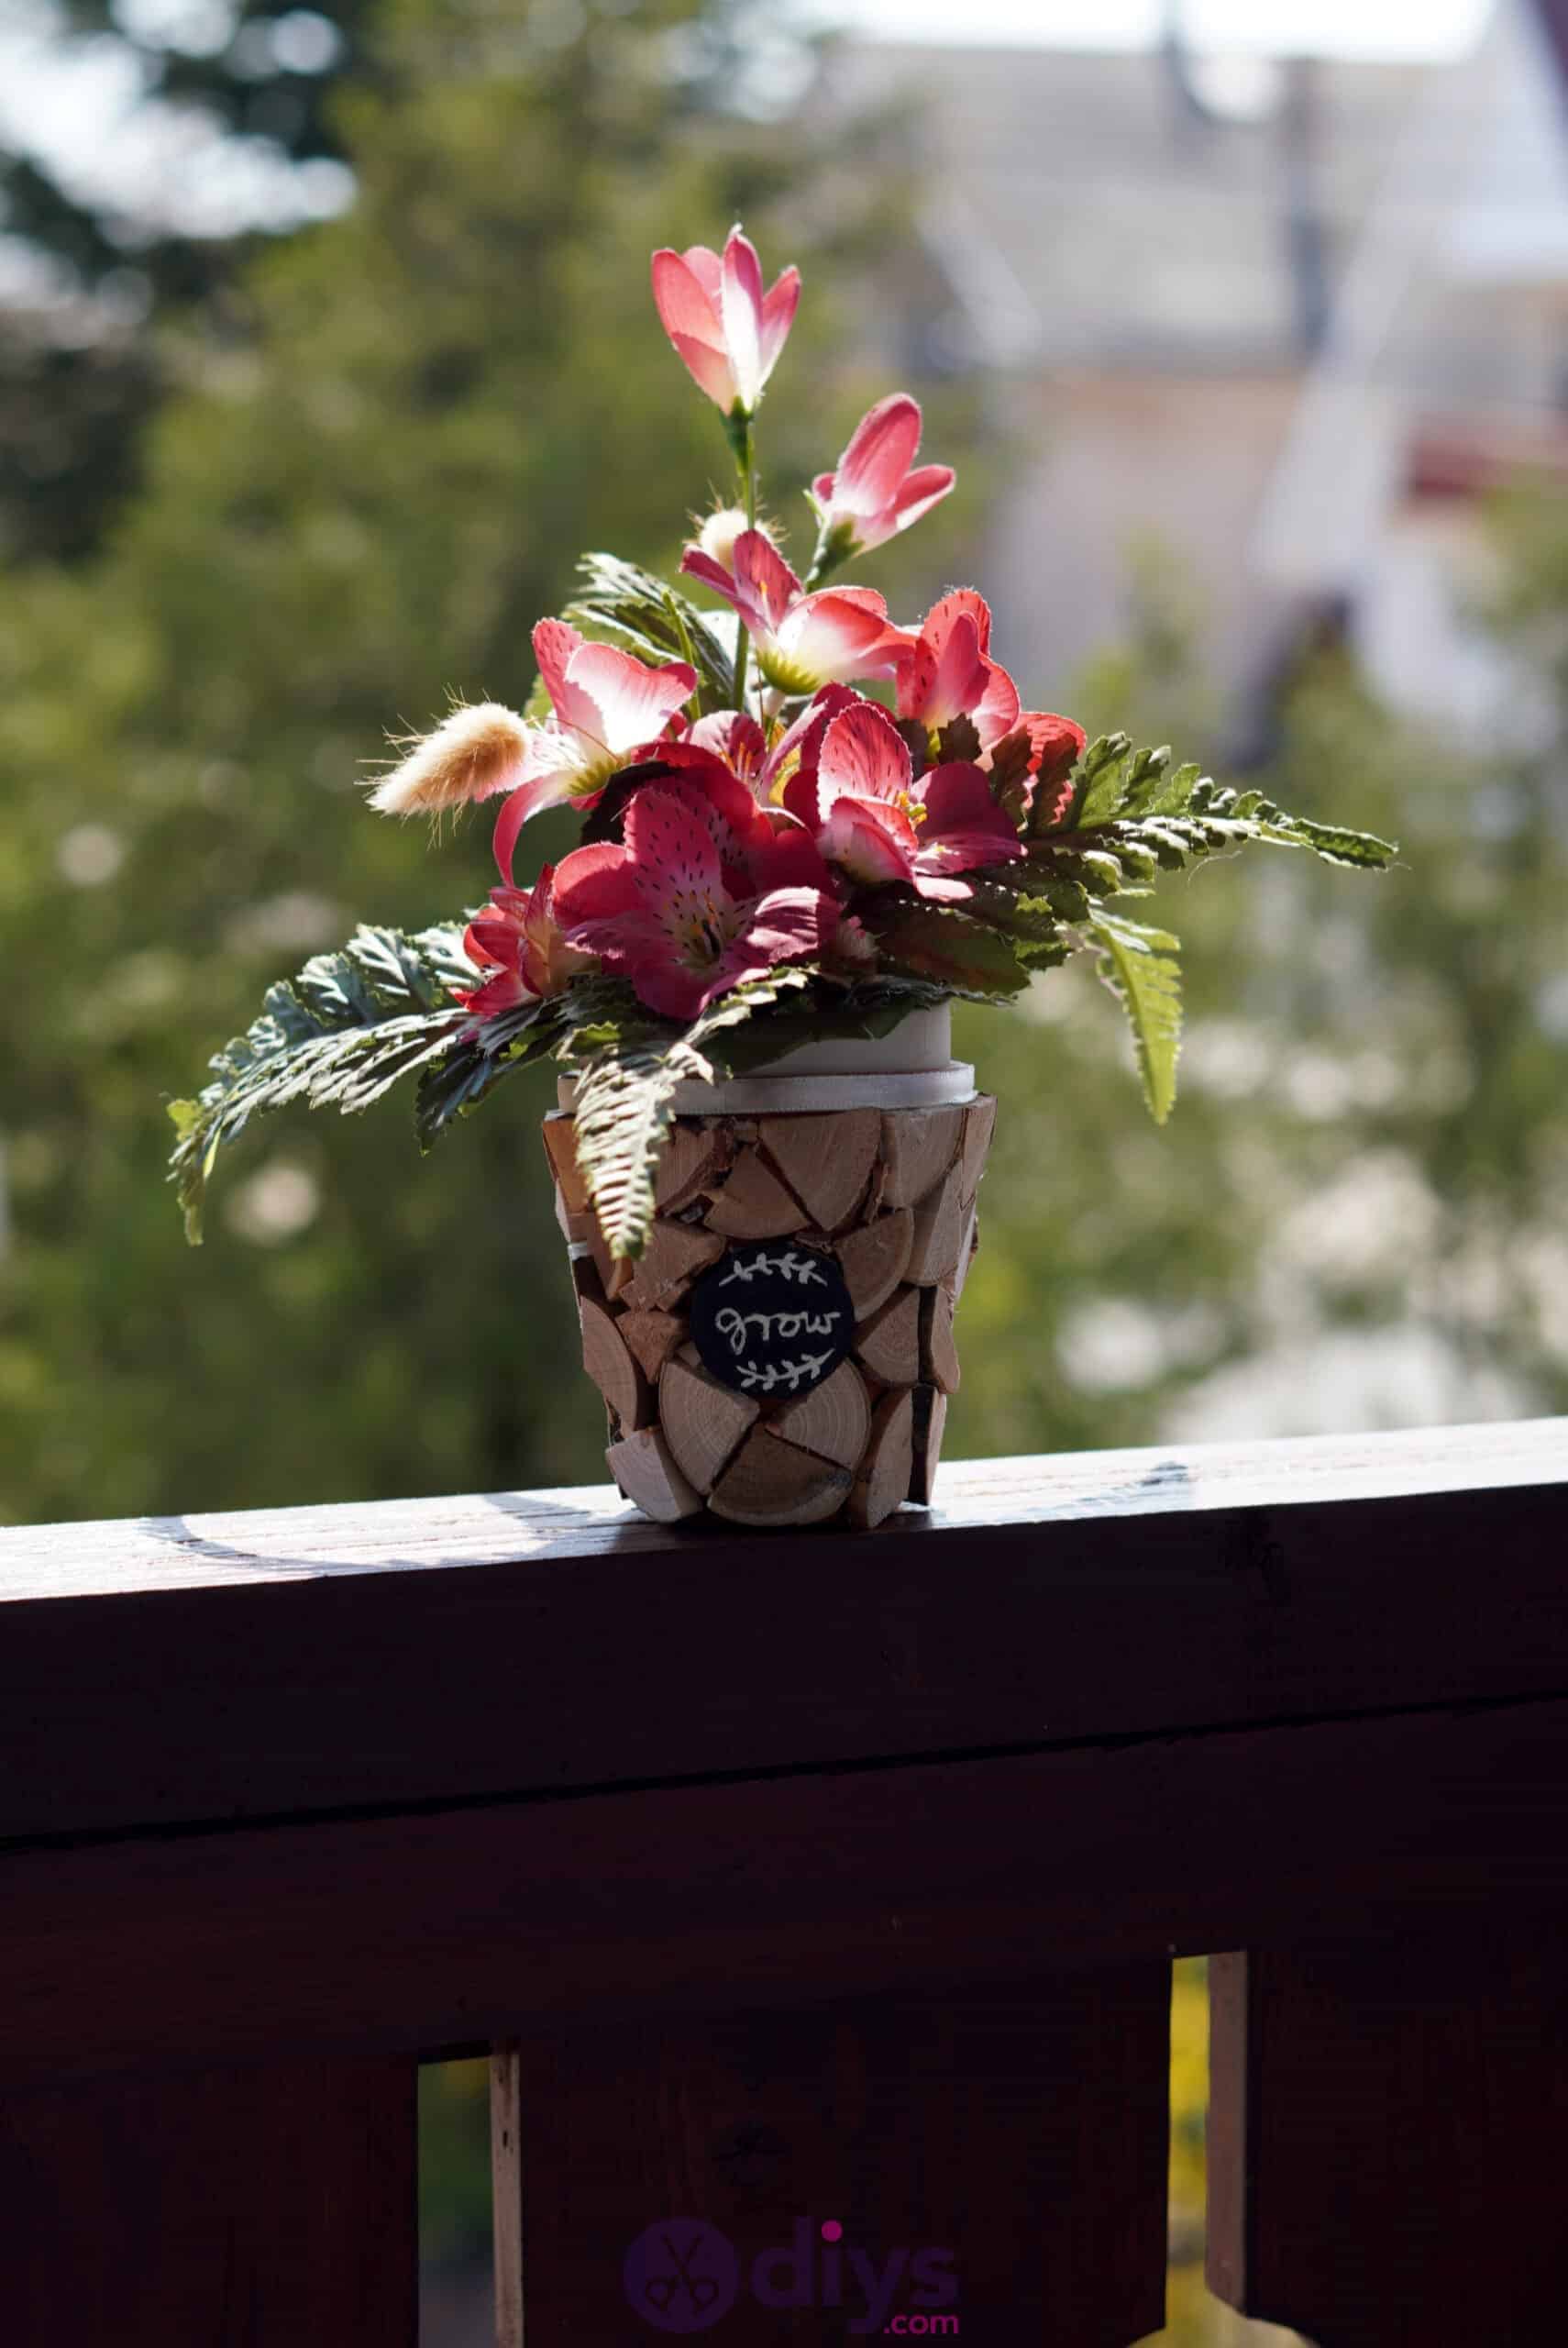
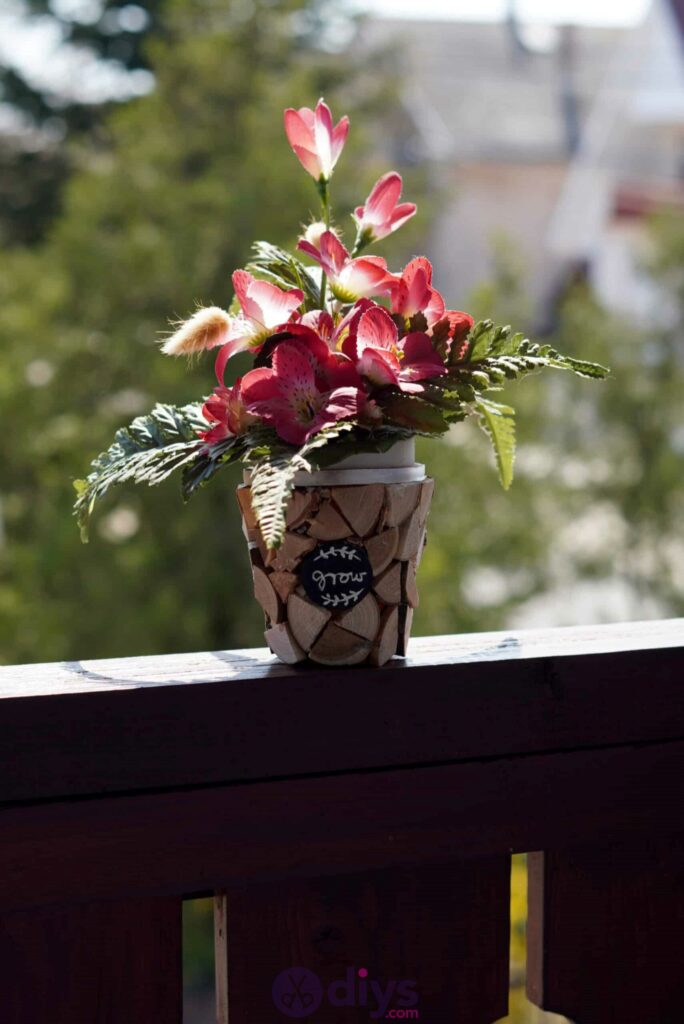
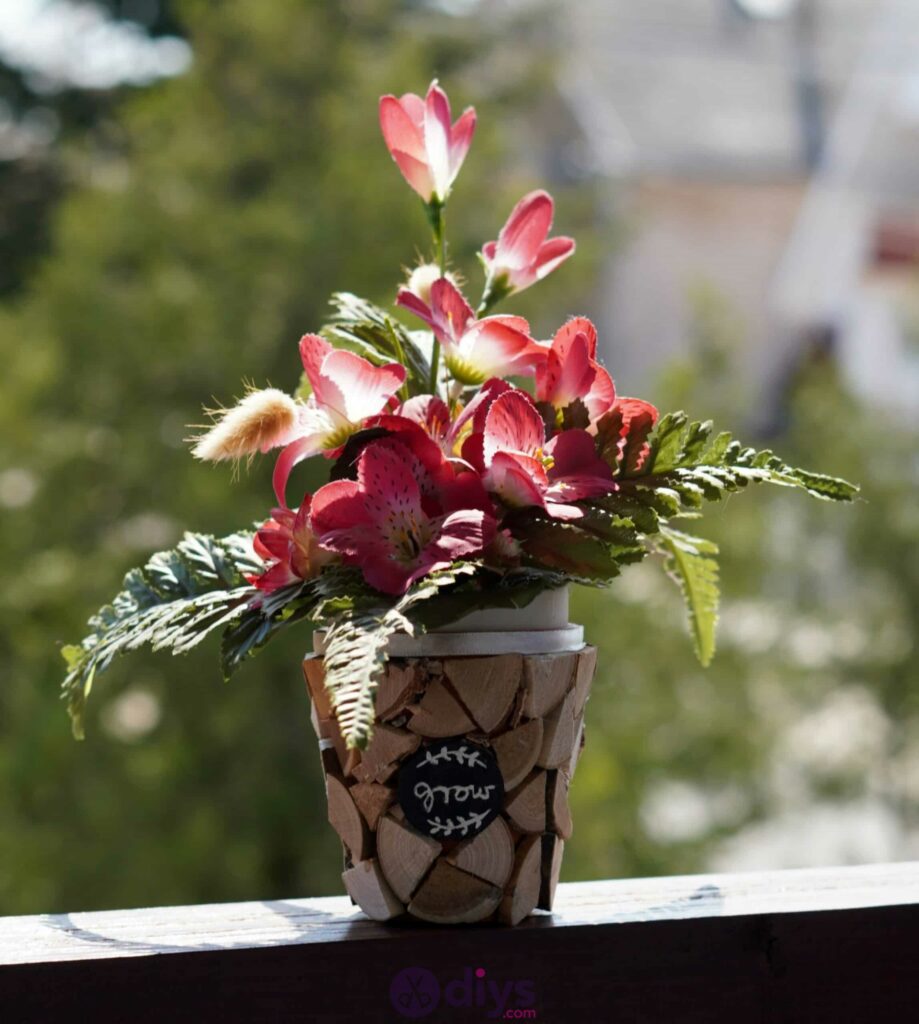
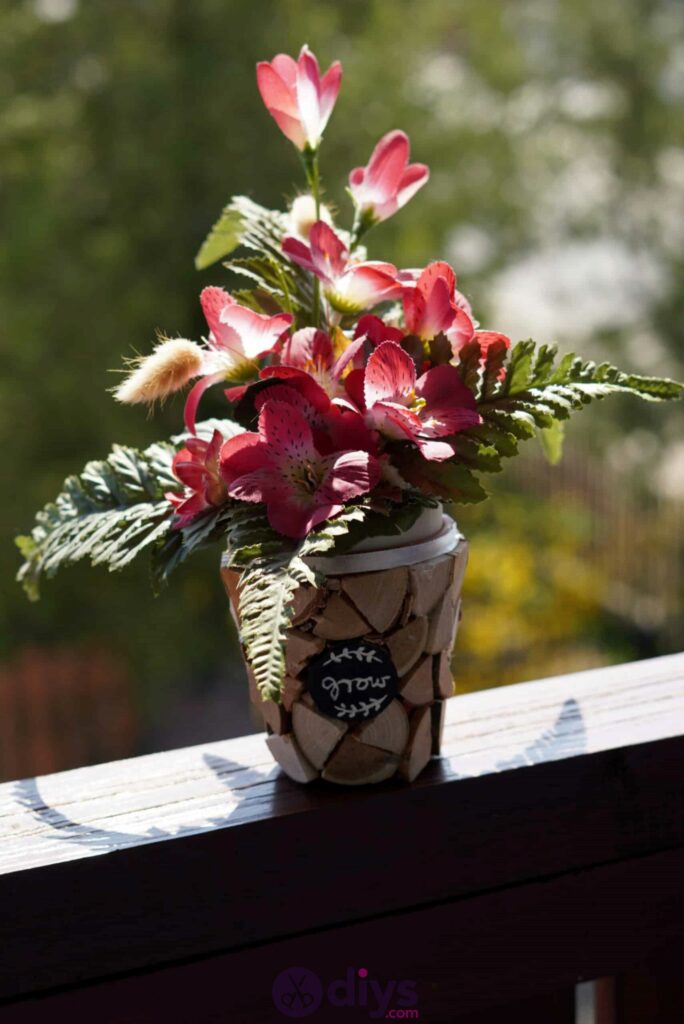
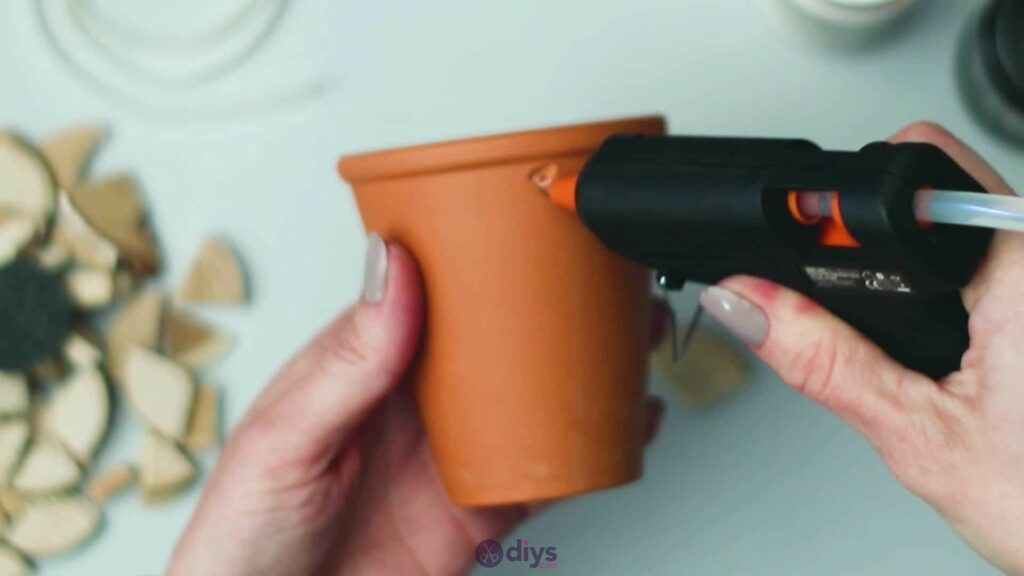
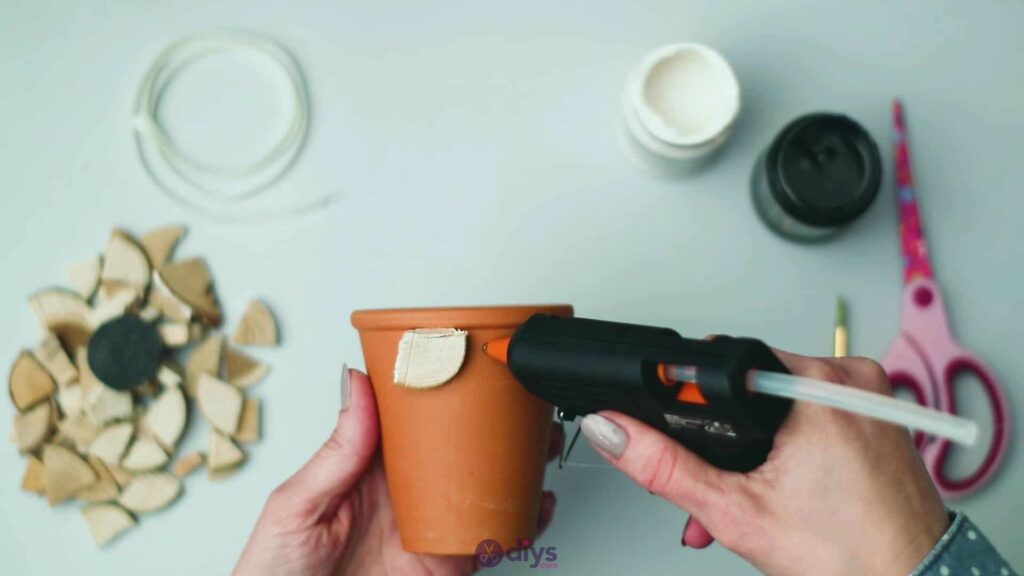
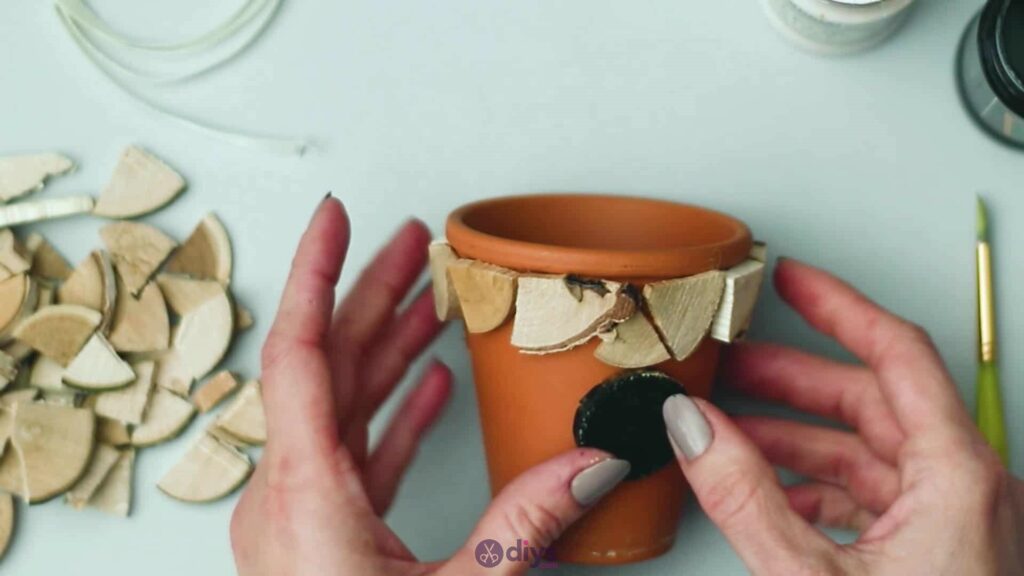
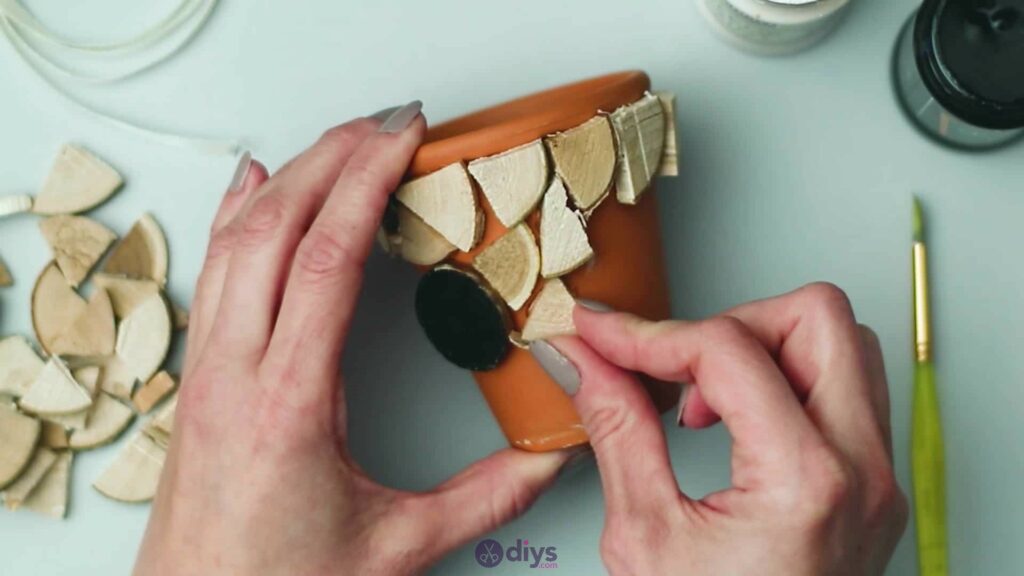
You’re going to use a mosaic-like technique to cover the outside surface of your mini terra cotta pot with your cut pieces of wooden disk. Start mapping the coverage of this step out by fitting some initial pieces into place all around the top, placing them so they hit the underside of the pot’s top ridge or lip. Apply hot glue to the pot and stick your first piece into place; you’ll built around this, using it as a kind of reference point. Repeat this process all the way around, feeling free to move or shift the pieces as you need to so they fit together the best they can against each other and also the top ridge. Keep going until you meet back up with your first piece.


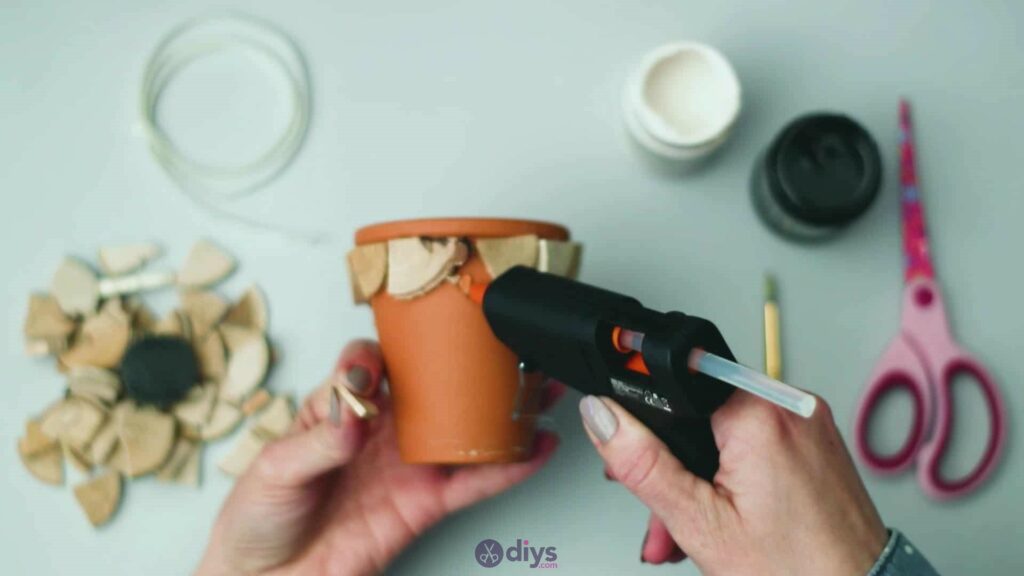
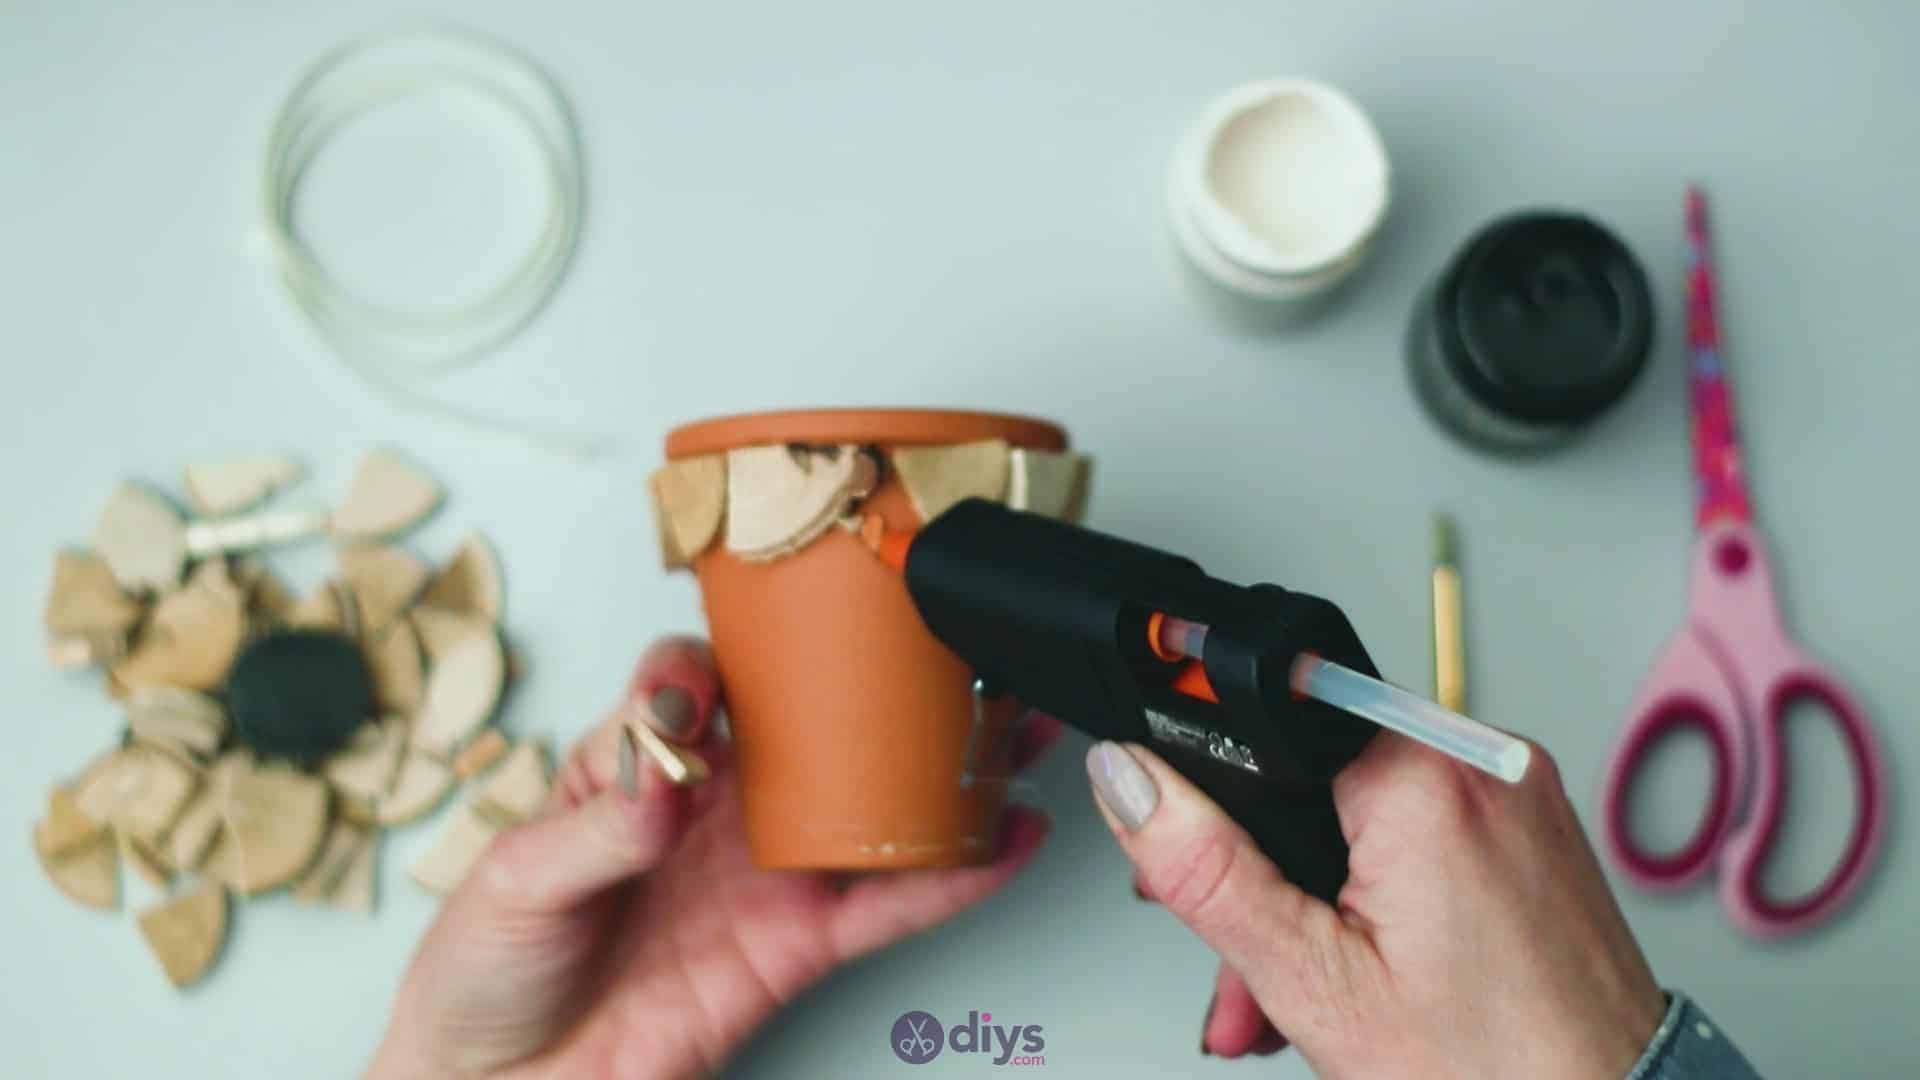
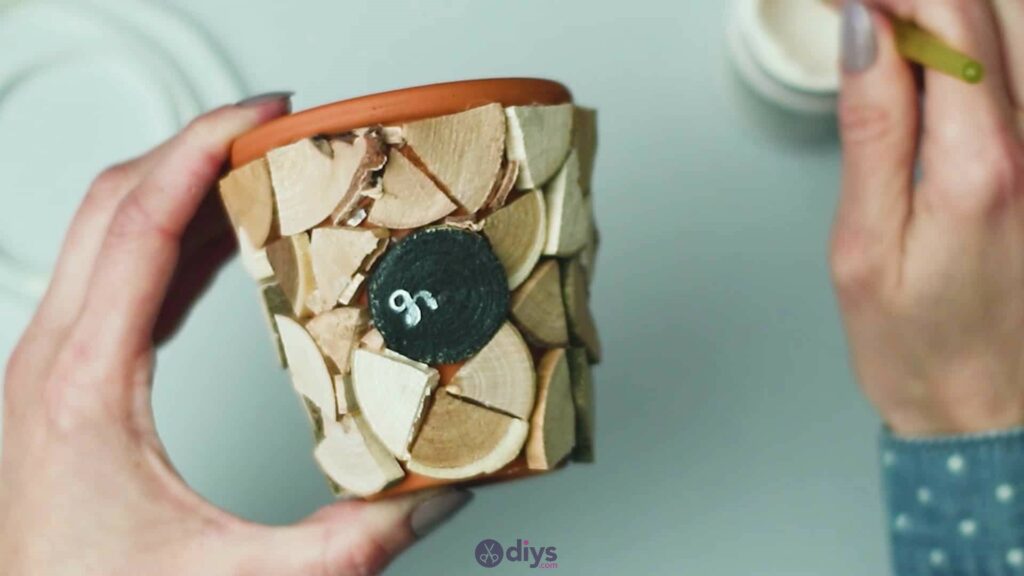
Step 4: continue gluing the wood
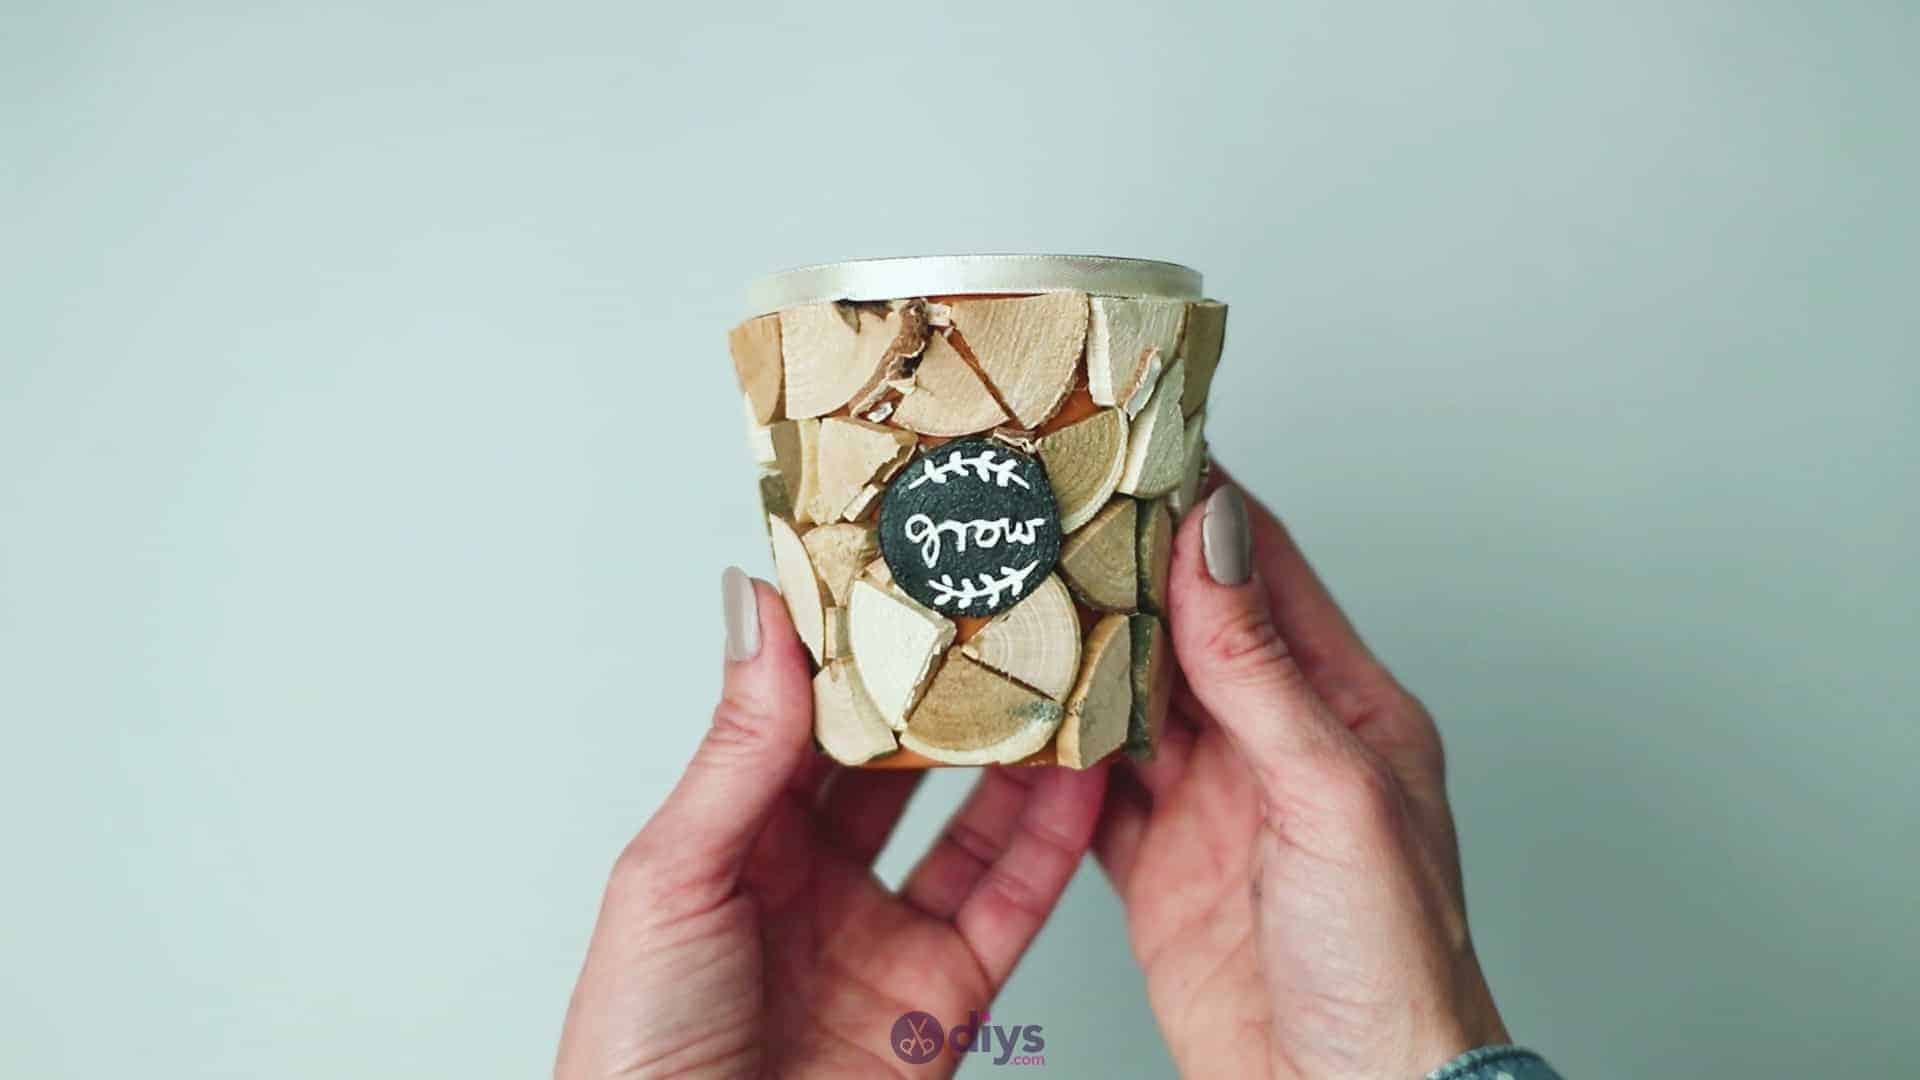
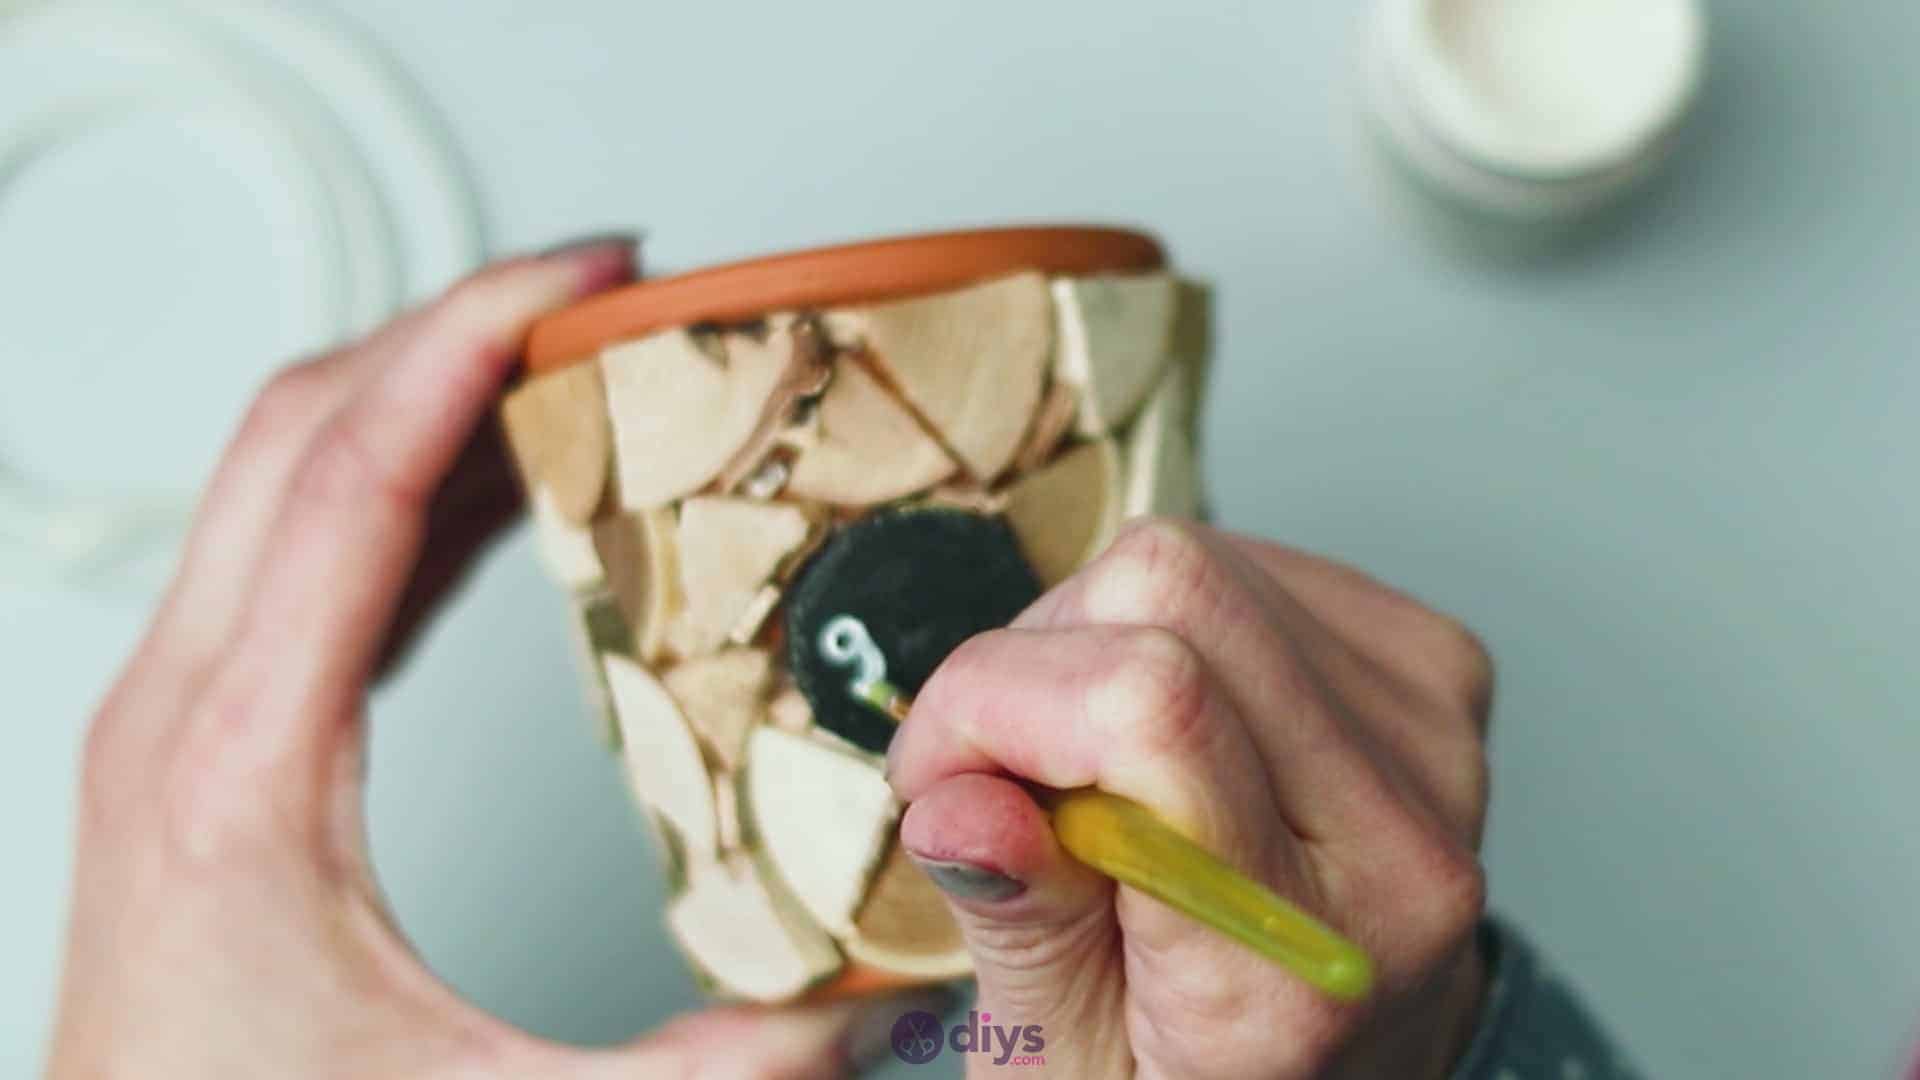
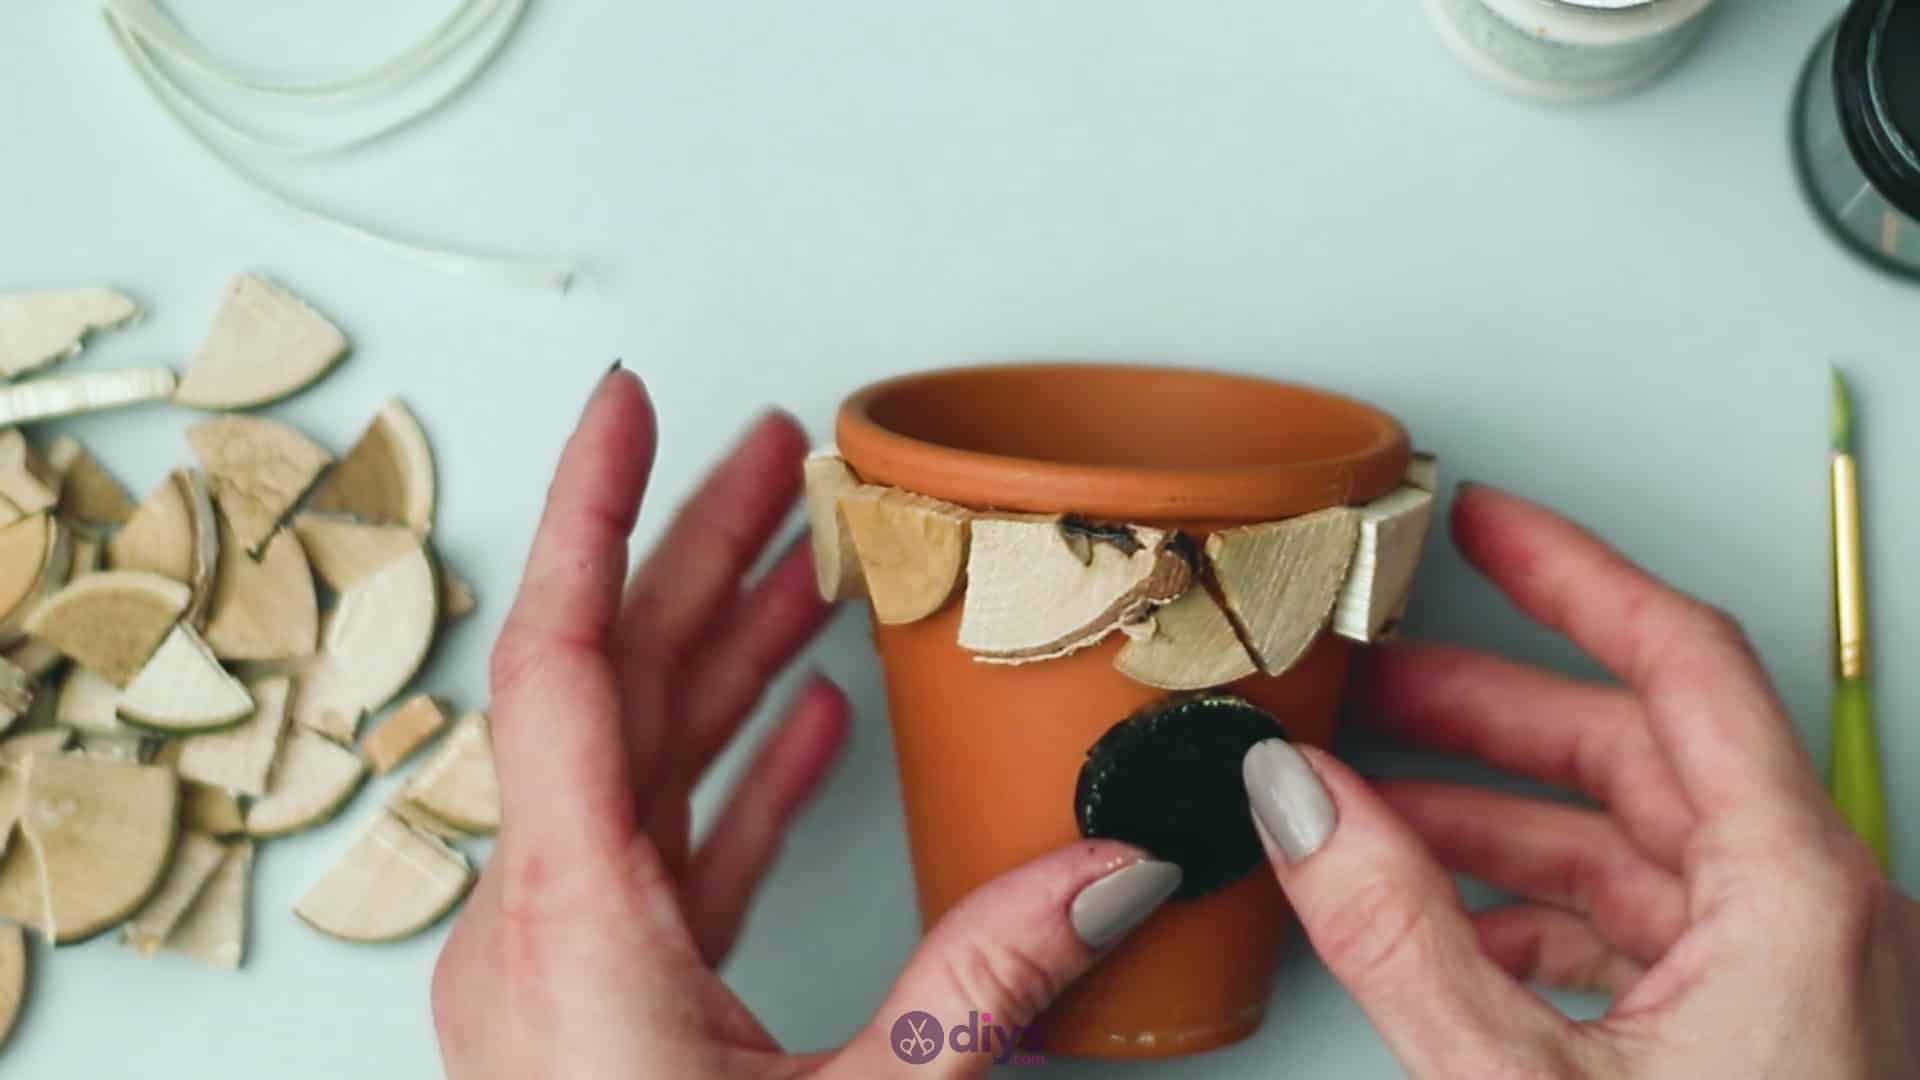
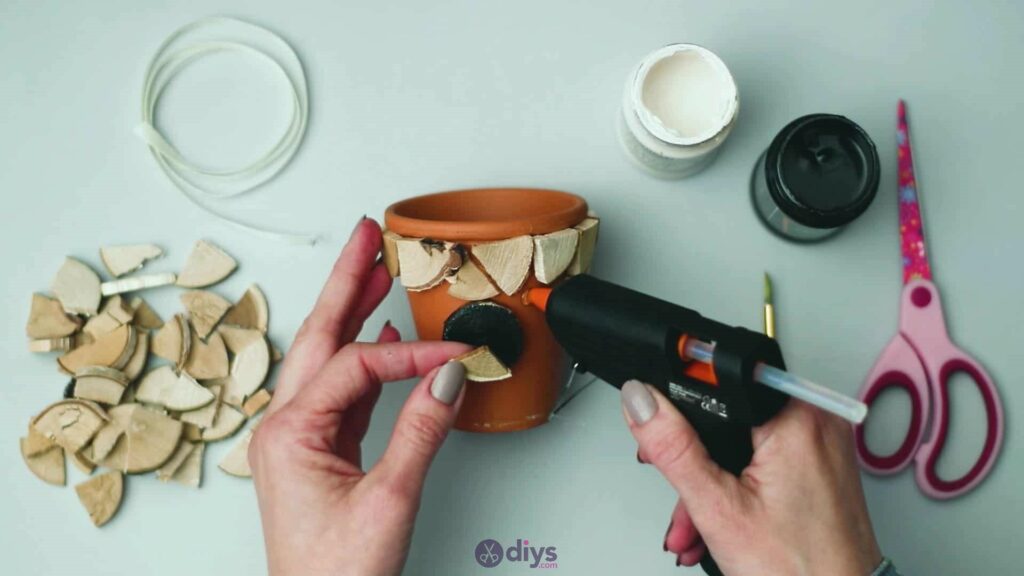
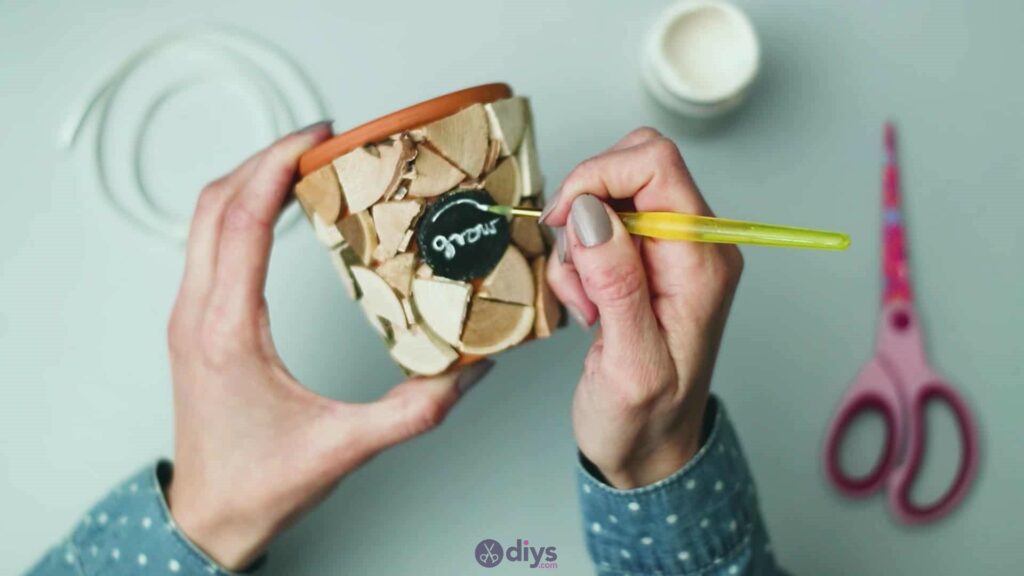
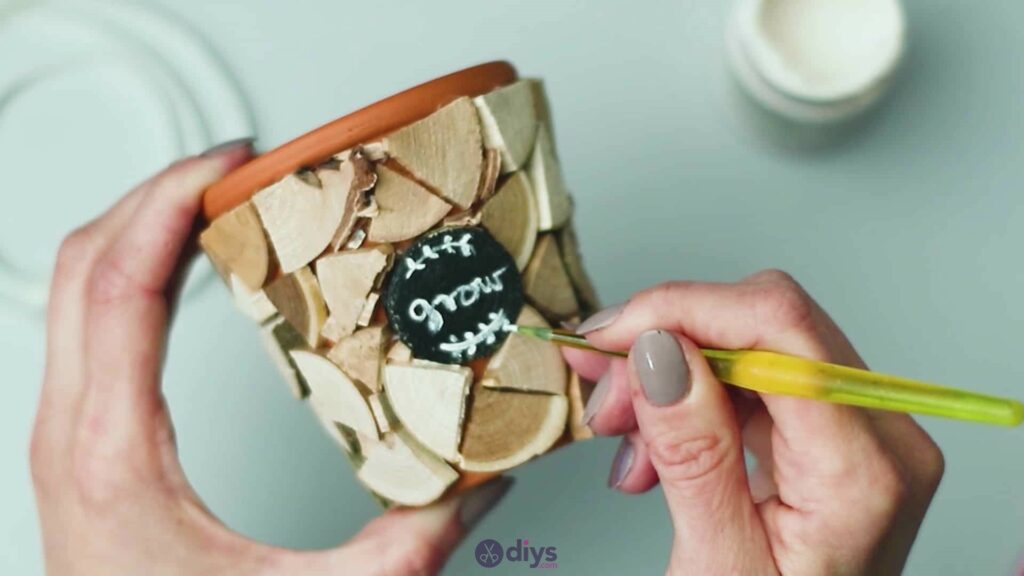
Below the first row of pieces you just glued into place, apply a slightly larger dot of glue, placing it quite centrally. This is where you’ll stick down the circular wooden disk that you painted black earlier. It will be a little plaque, like you’ve probably seen in gardens before. Stick it into the glue as flat as you can on the curved surface of the pot, overlapping it with or fitting it around and between your other wooden pieces where they come near the circle’s stop edge.

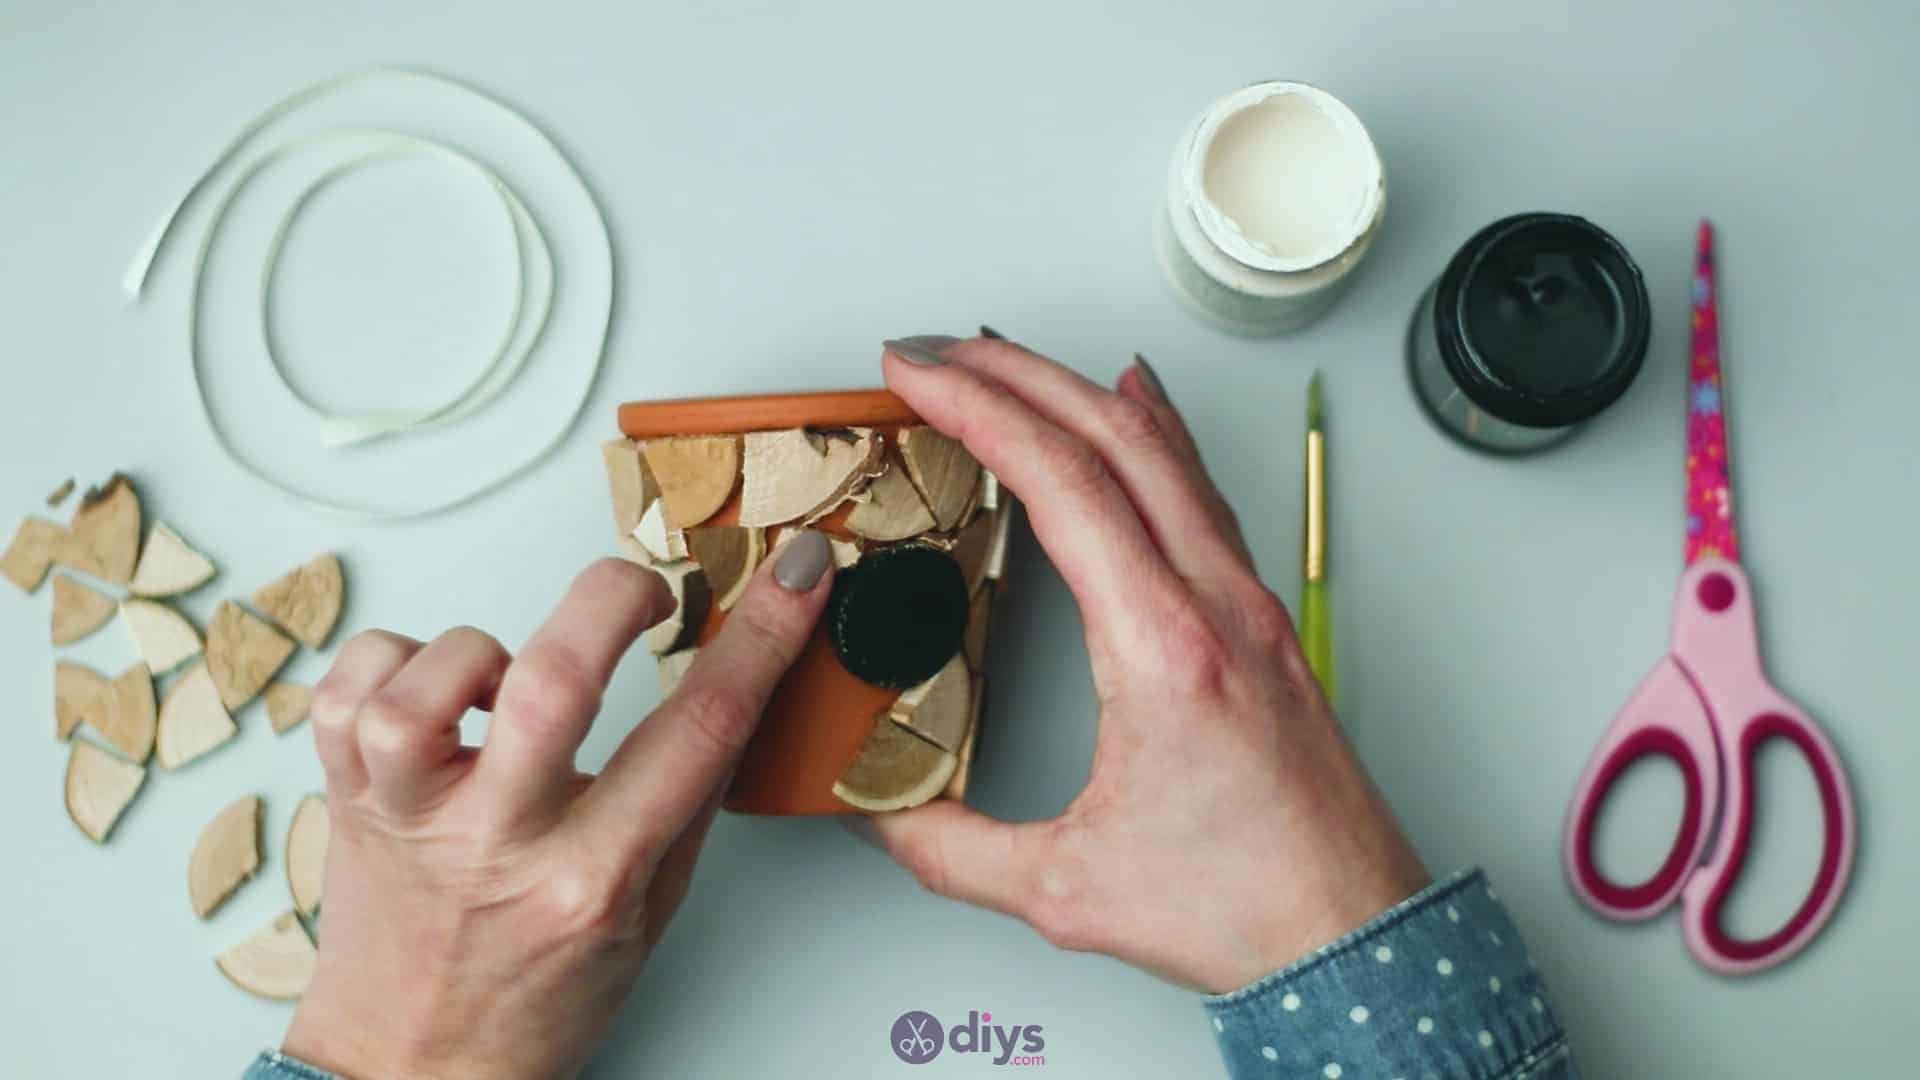
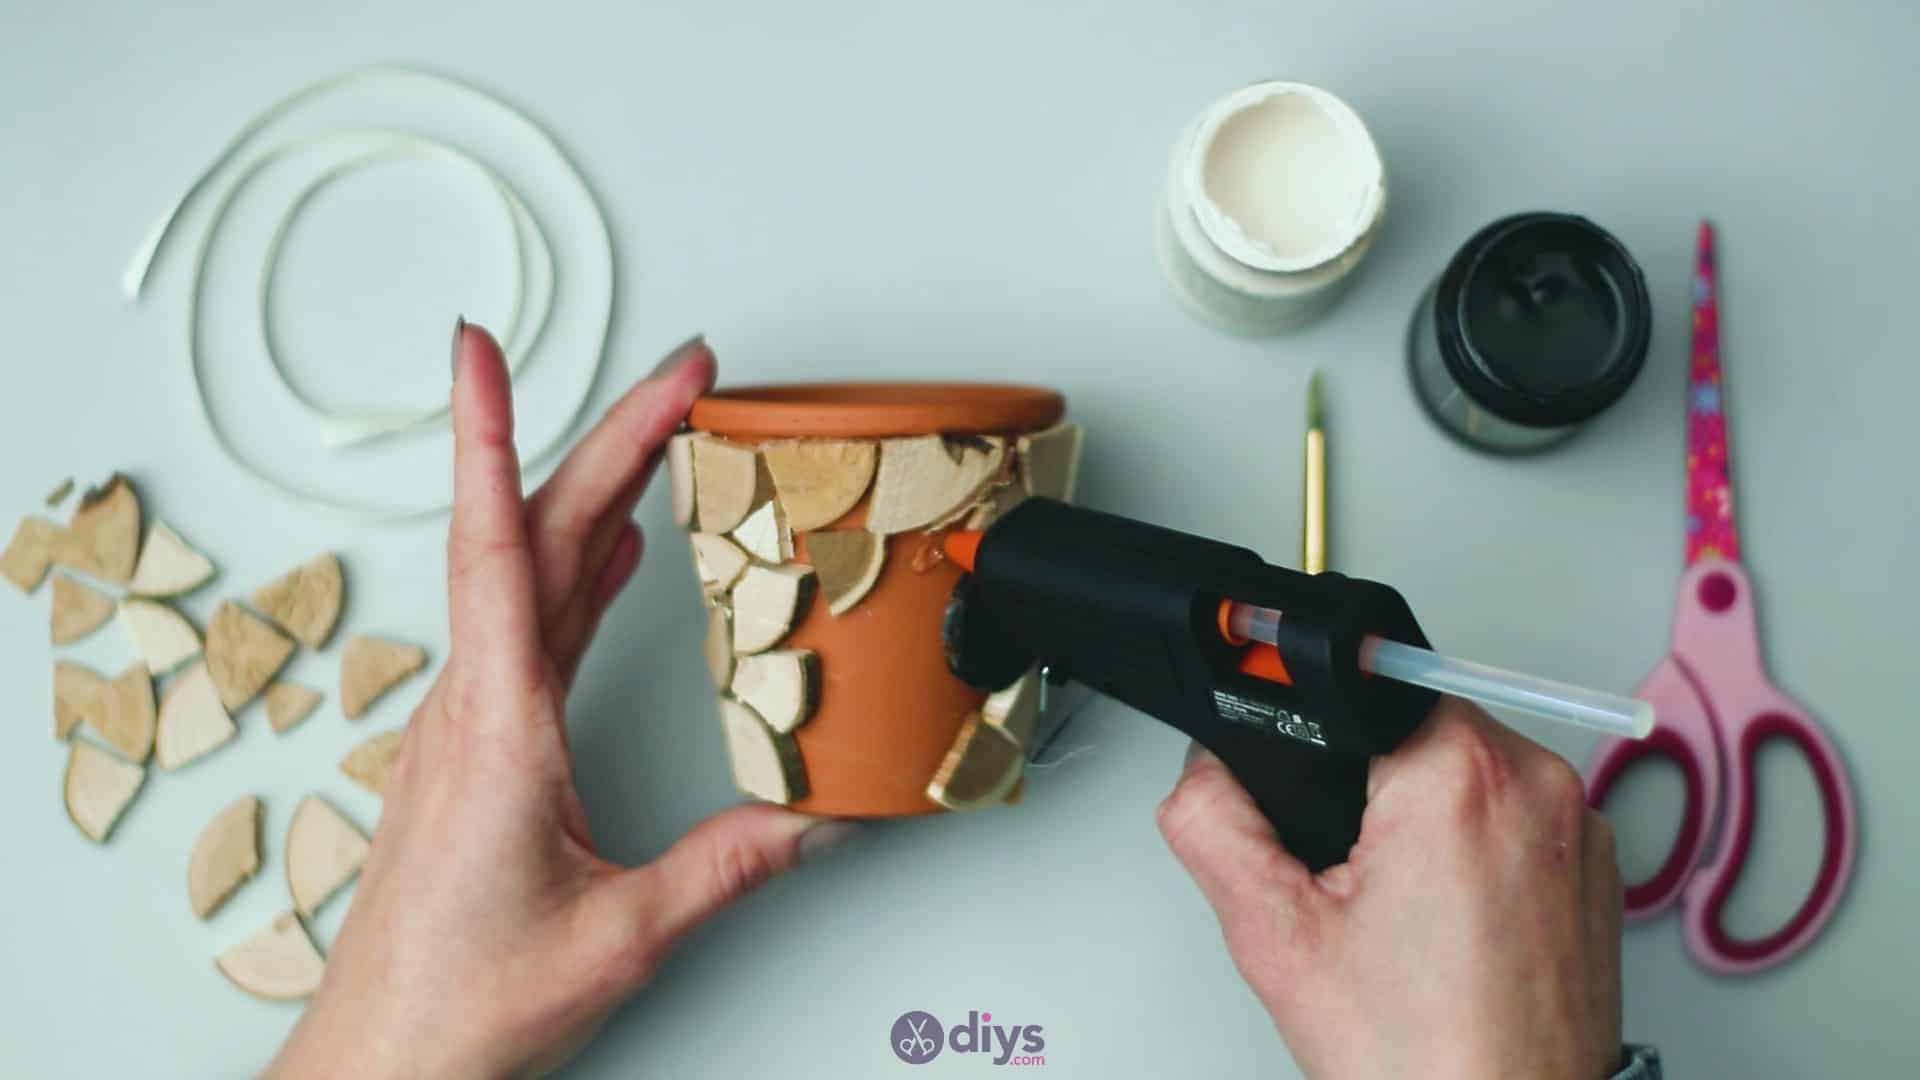
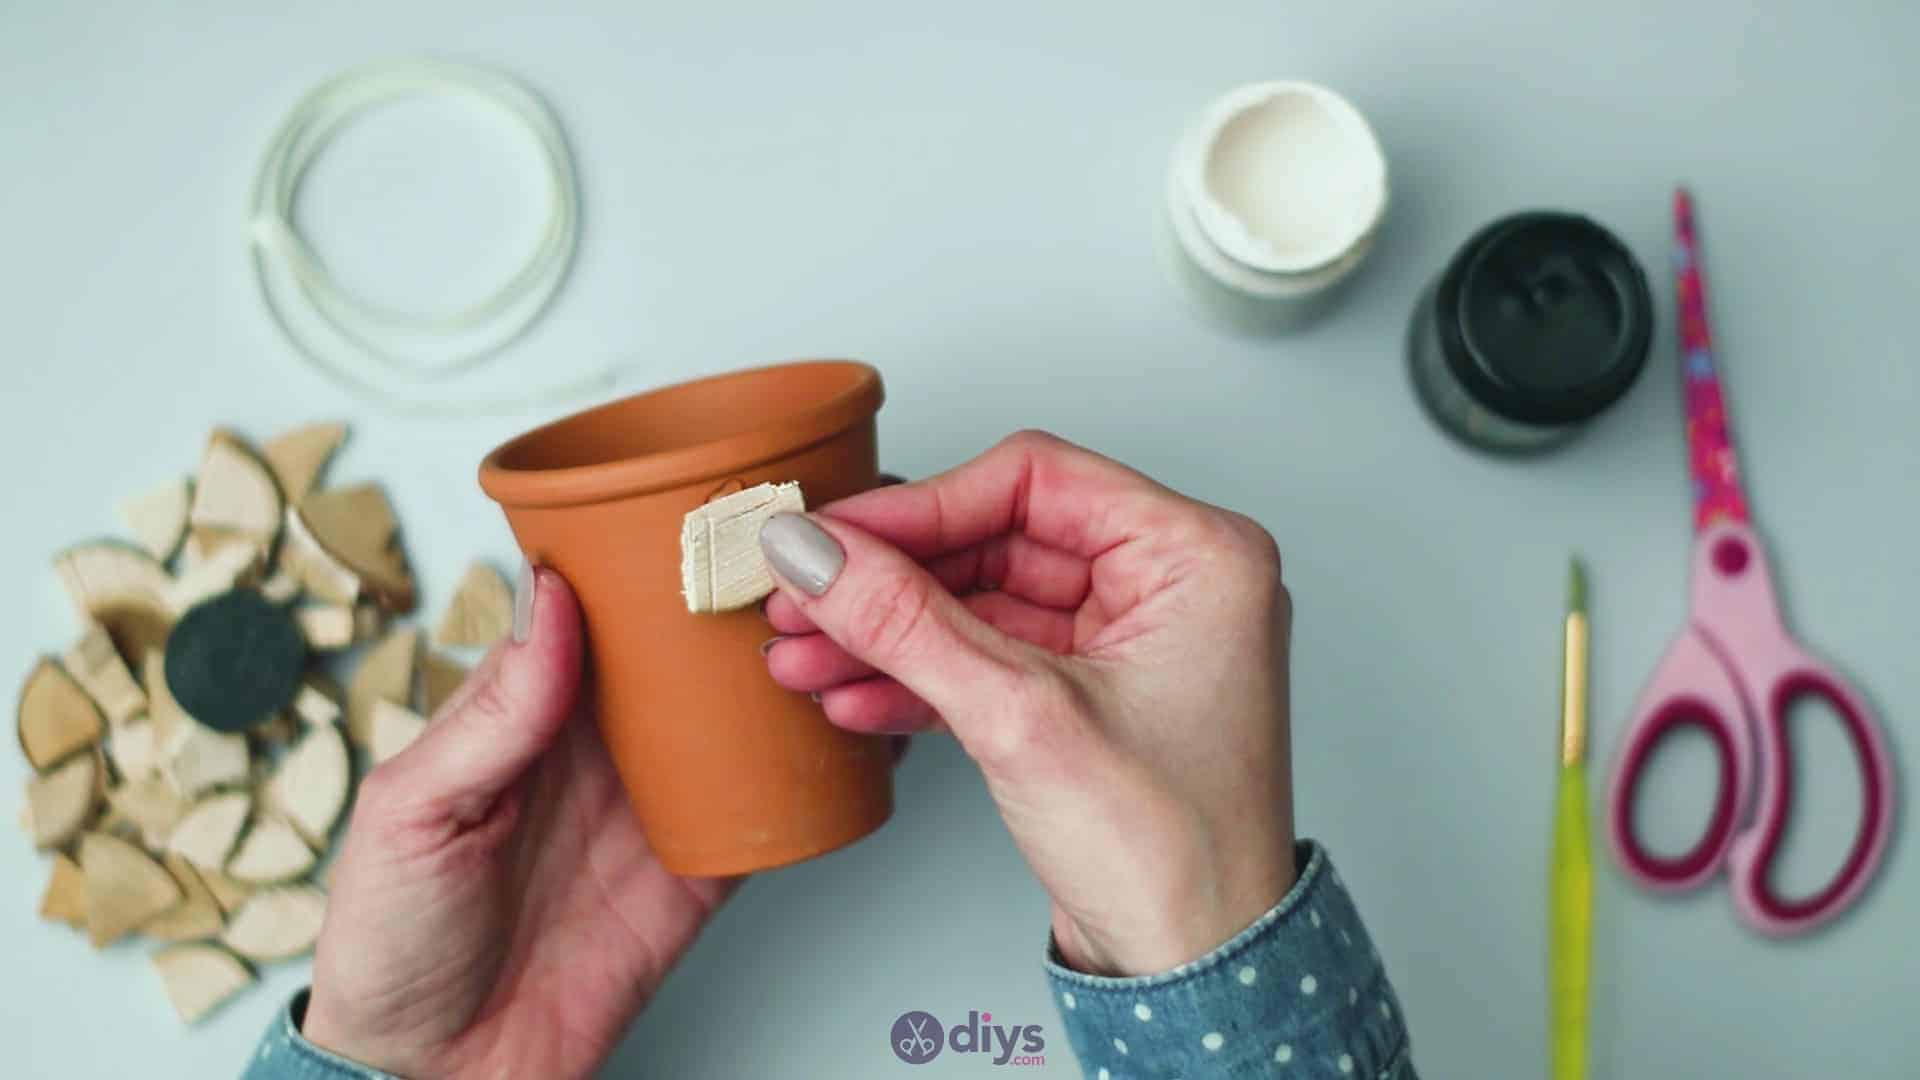
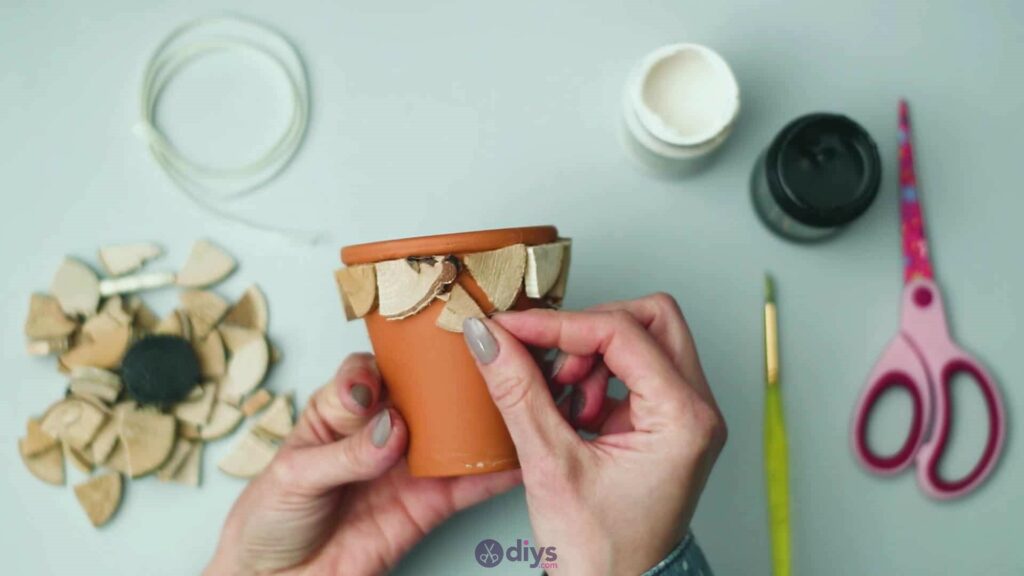
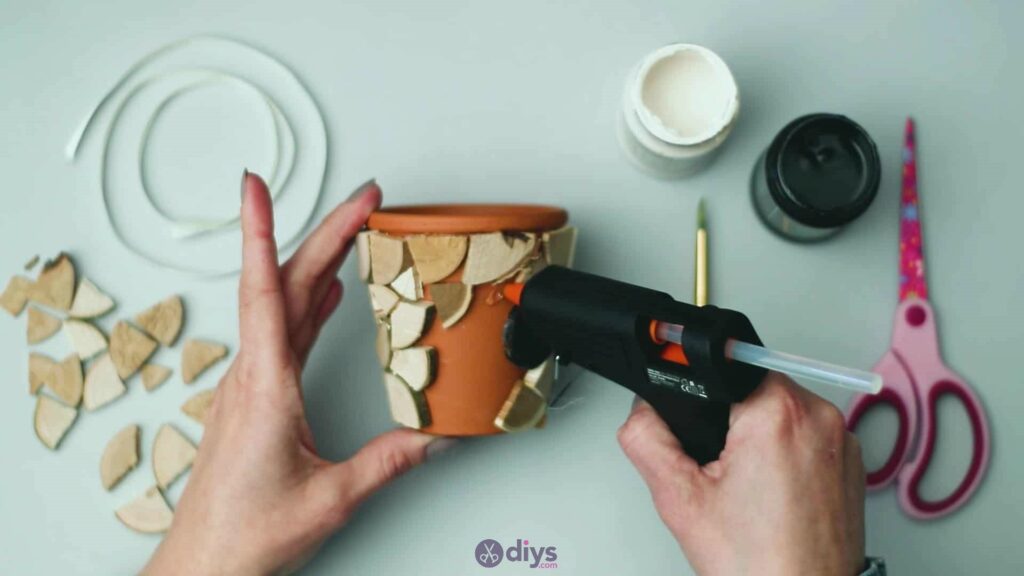
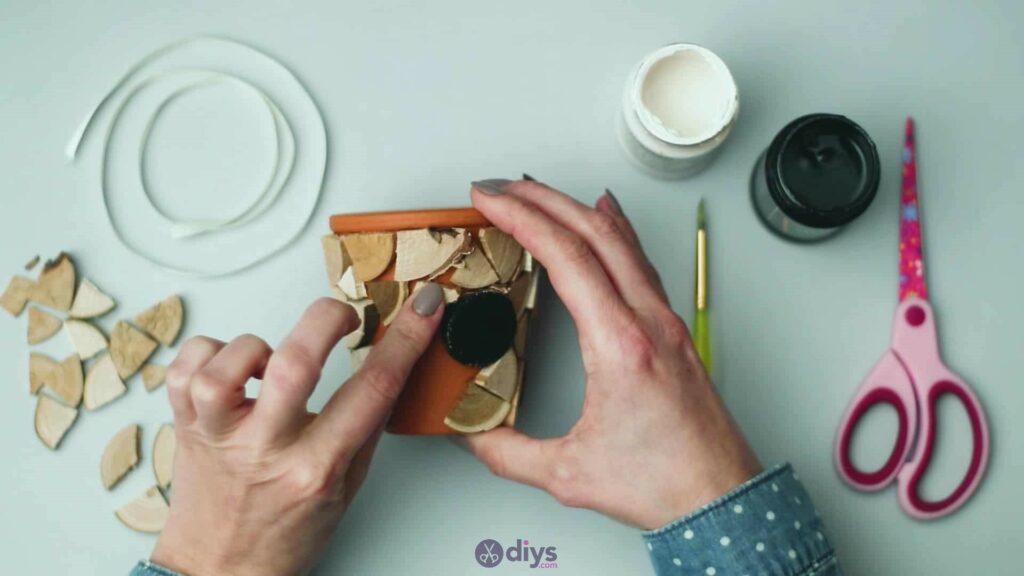
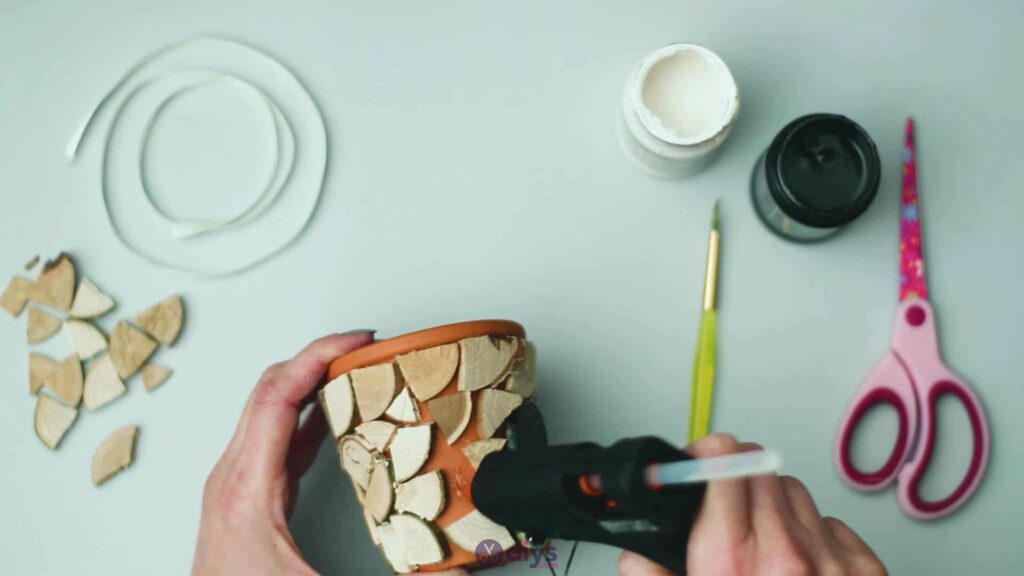
Step 5: keep filling
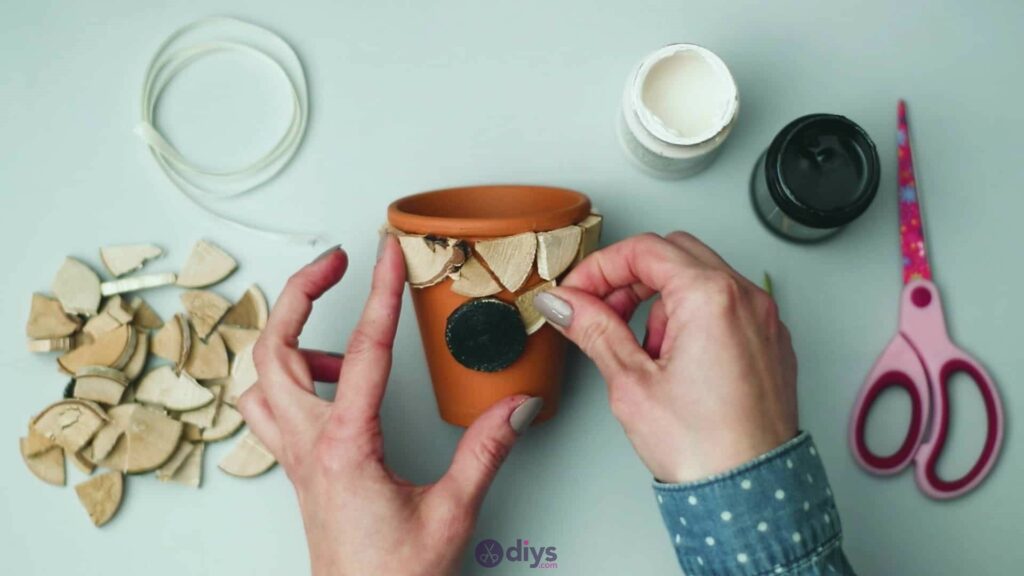
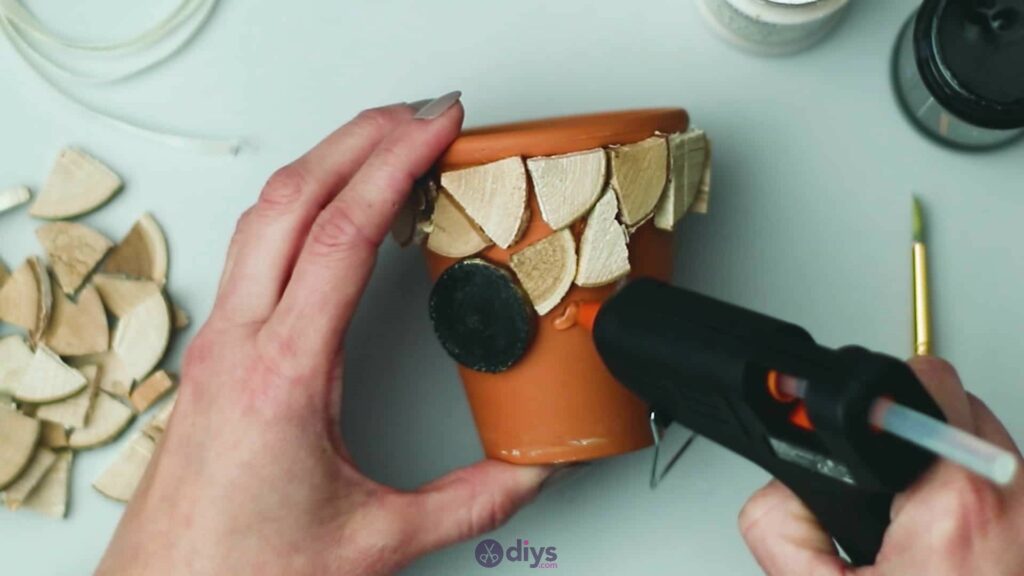
Now you’ll continue with your wooden piece mosaic process, filling in the rest of the space on your pot’s surface. Work around and with the top rim you already did and the black plaque that you just put into place, doing your best to fit all the pieces together. I found rotating each piece a few times before I stuck it down helpful because sometimes that got me a better fit than I initially thought. Continue until you’ve worked your way around and are satisfied with the coverage and look.


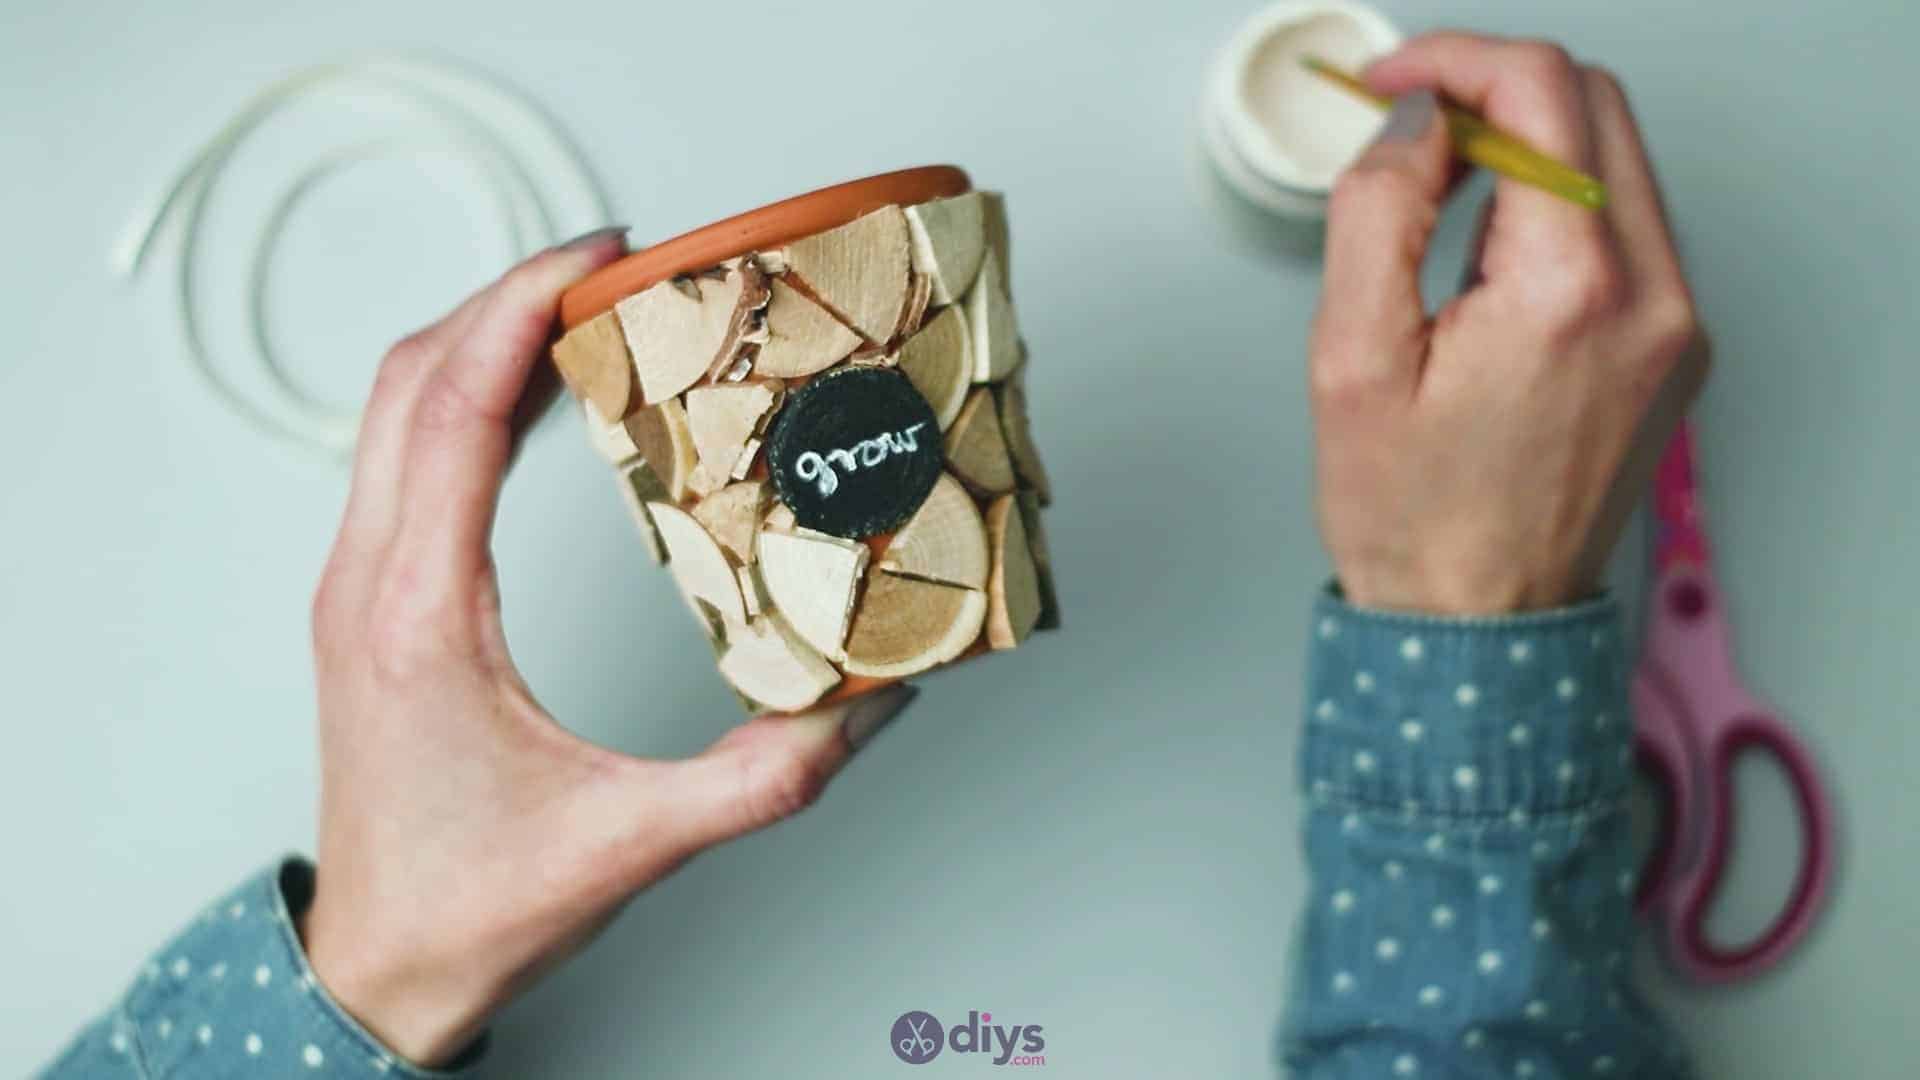
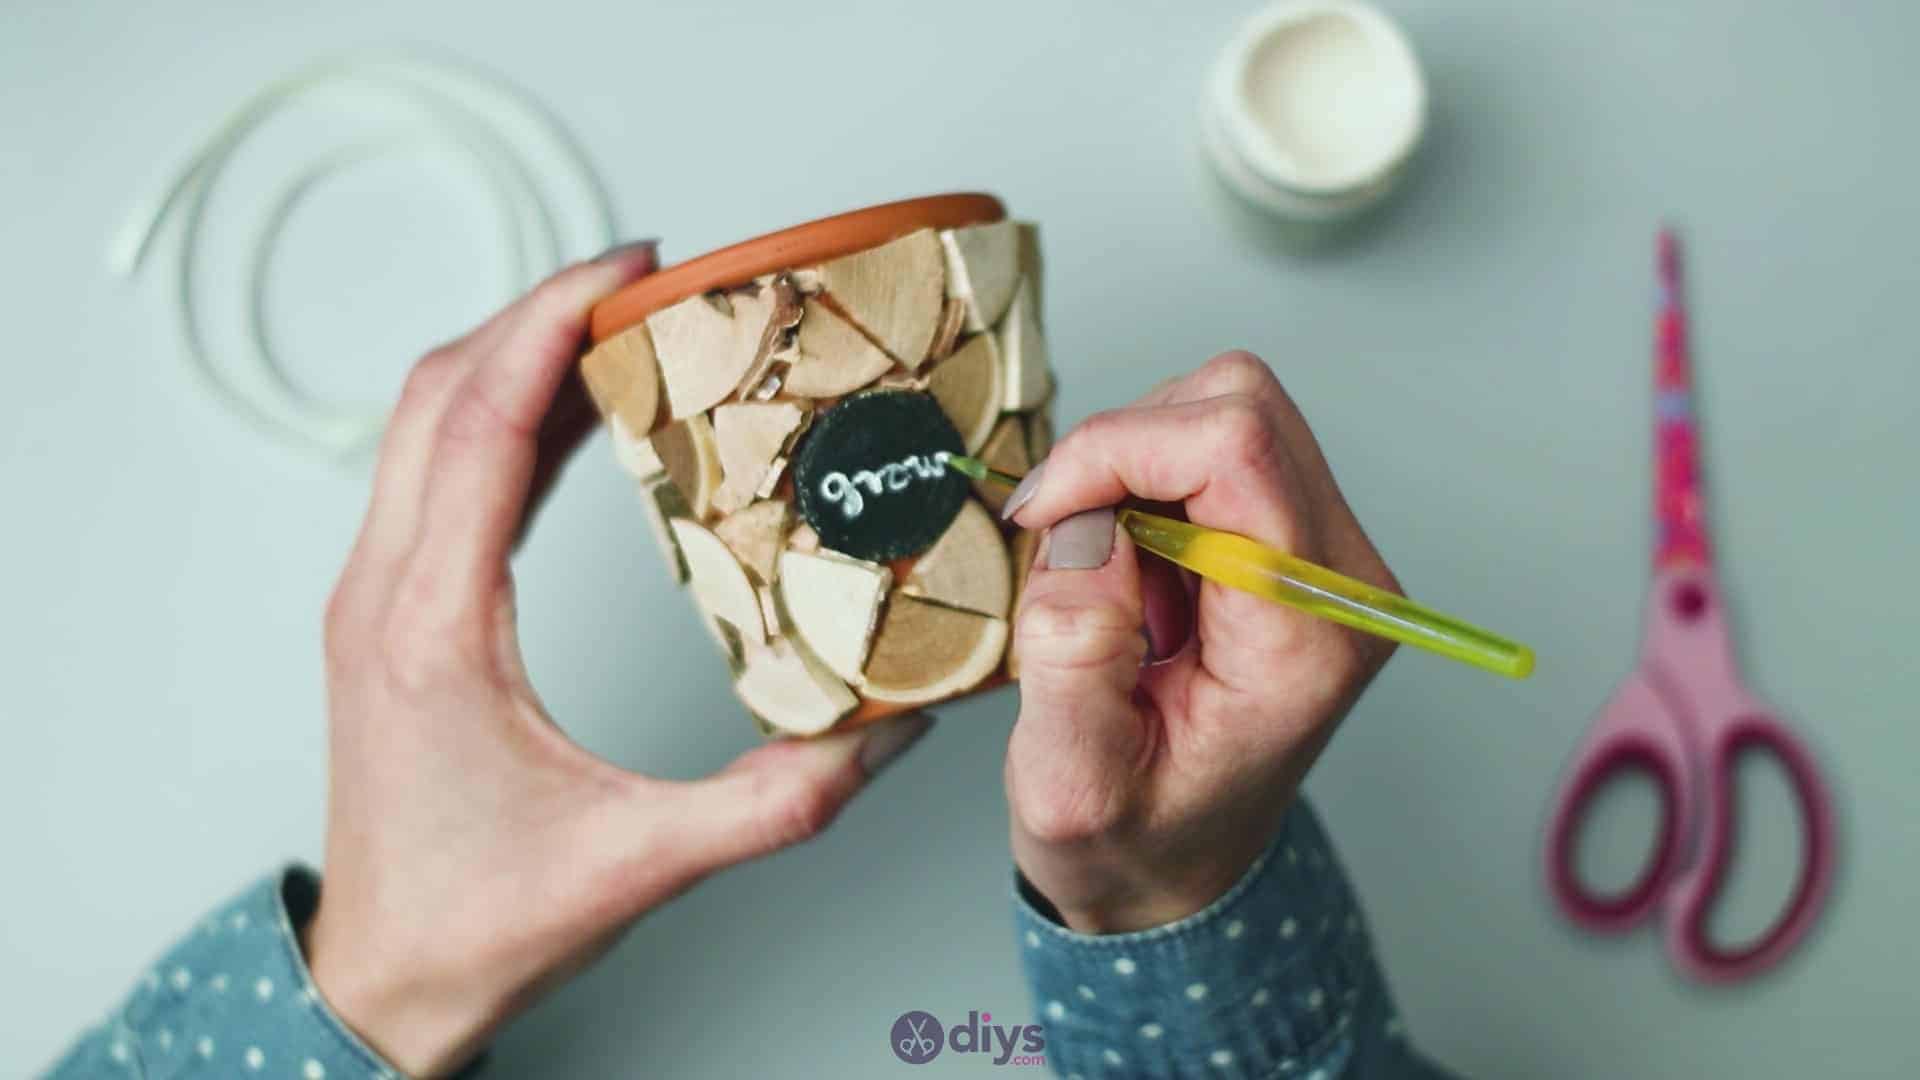
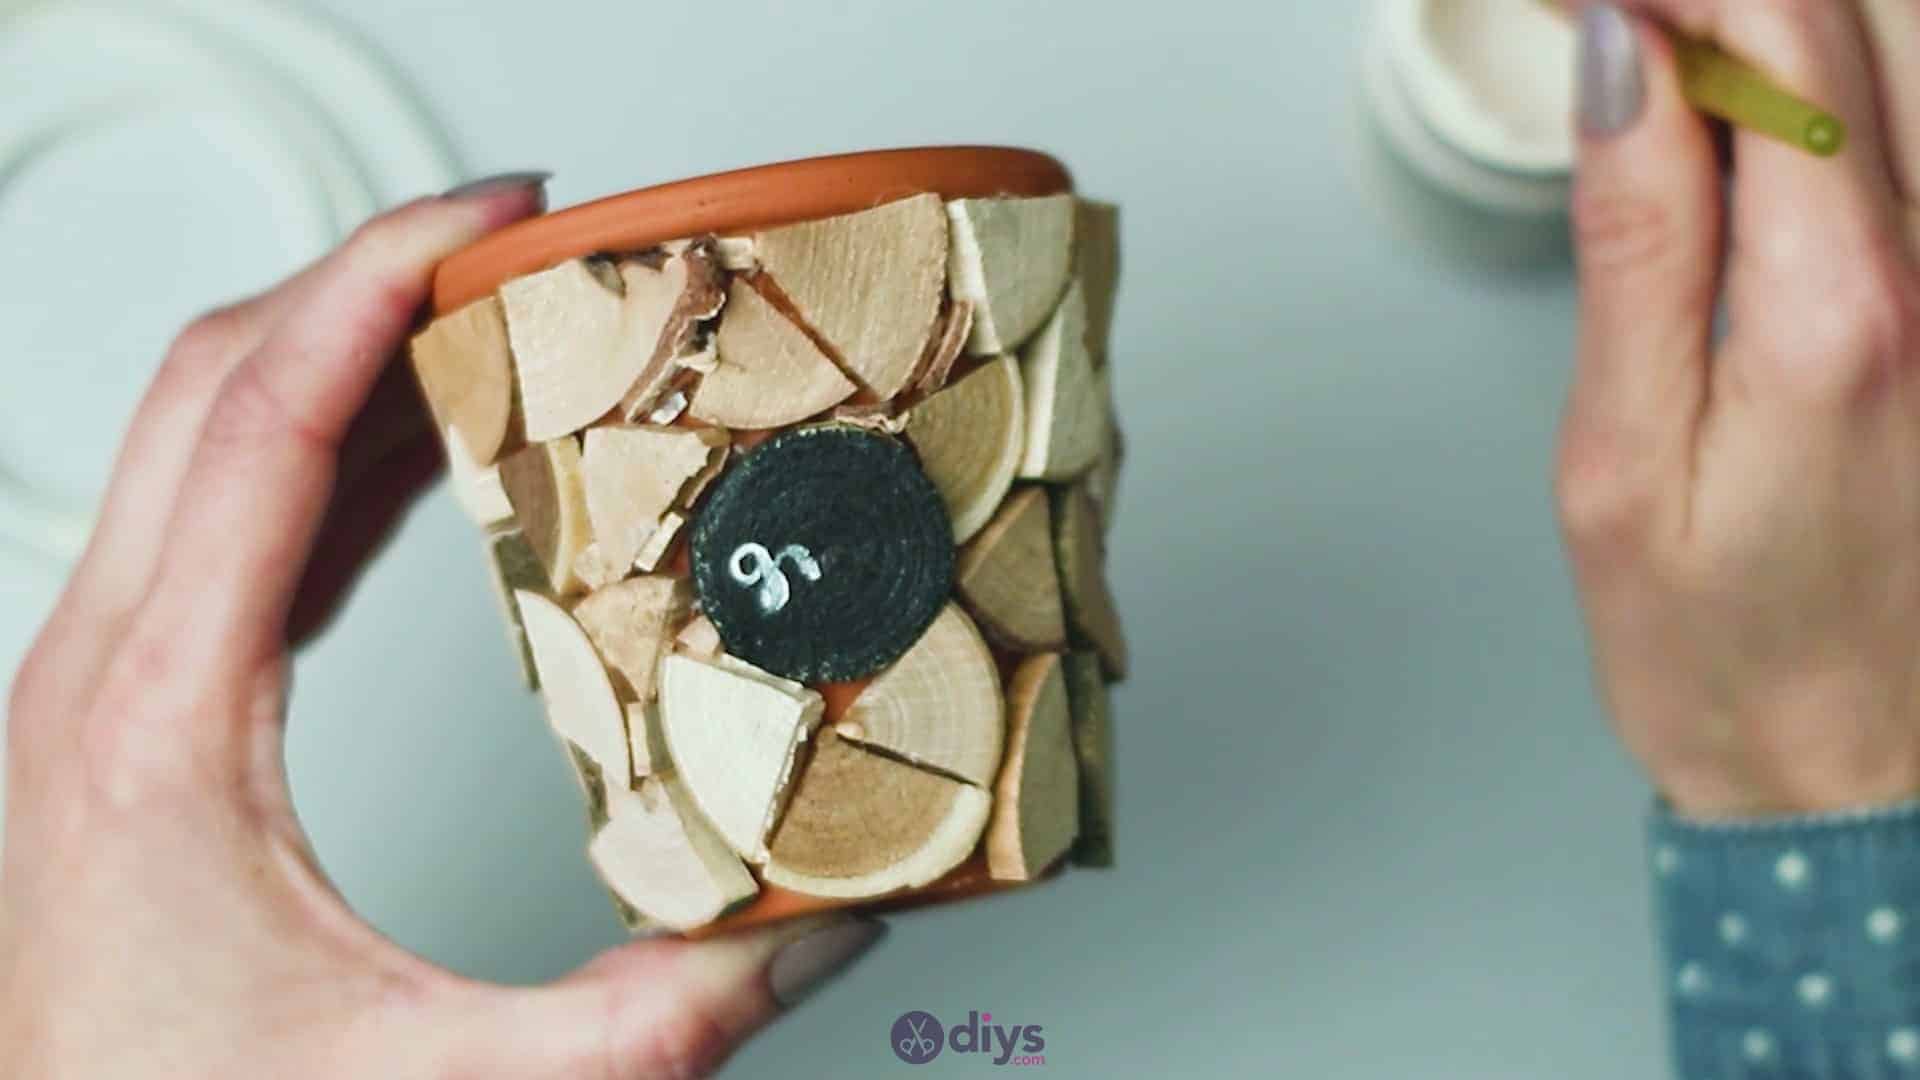
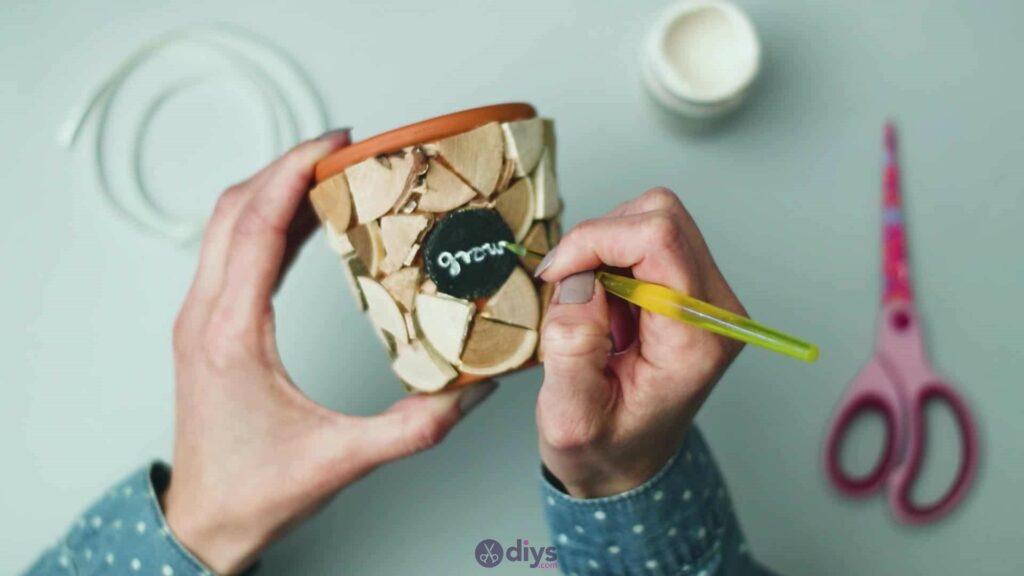
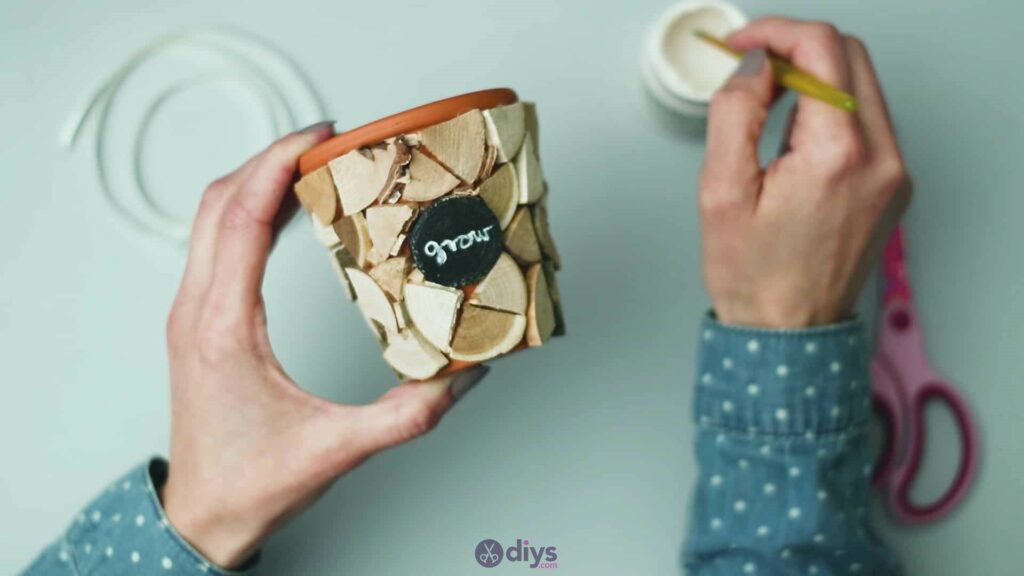
Step 6: personalize it
Use a paintbrush (preferably a finely pointed one) and white paint to add text and detail to your black plaque circle that you glued in the centre of your pot. I did my best painted freehand cursive to write the word “grow” and then I added some vine-like detail above and below, just to amp up the piece’s character.

Step 7: ribbon
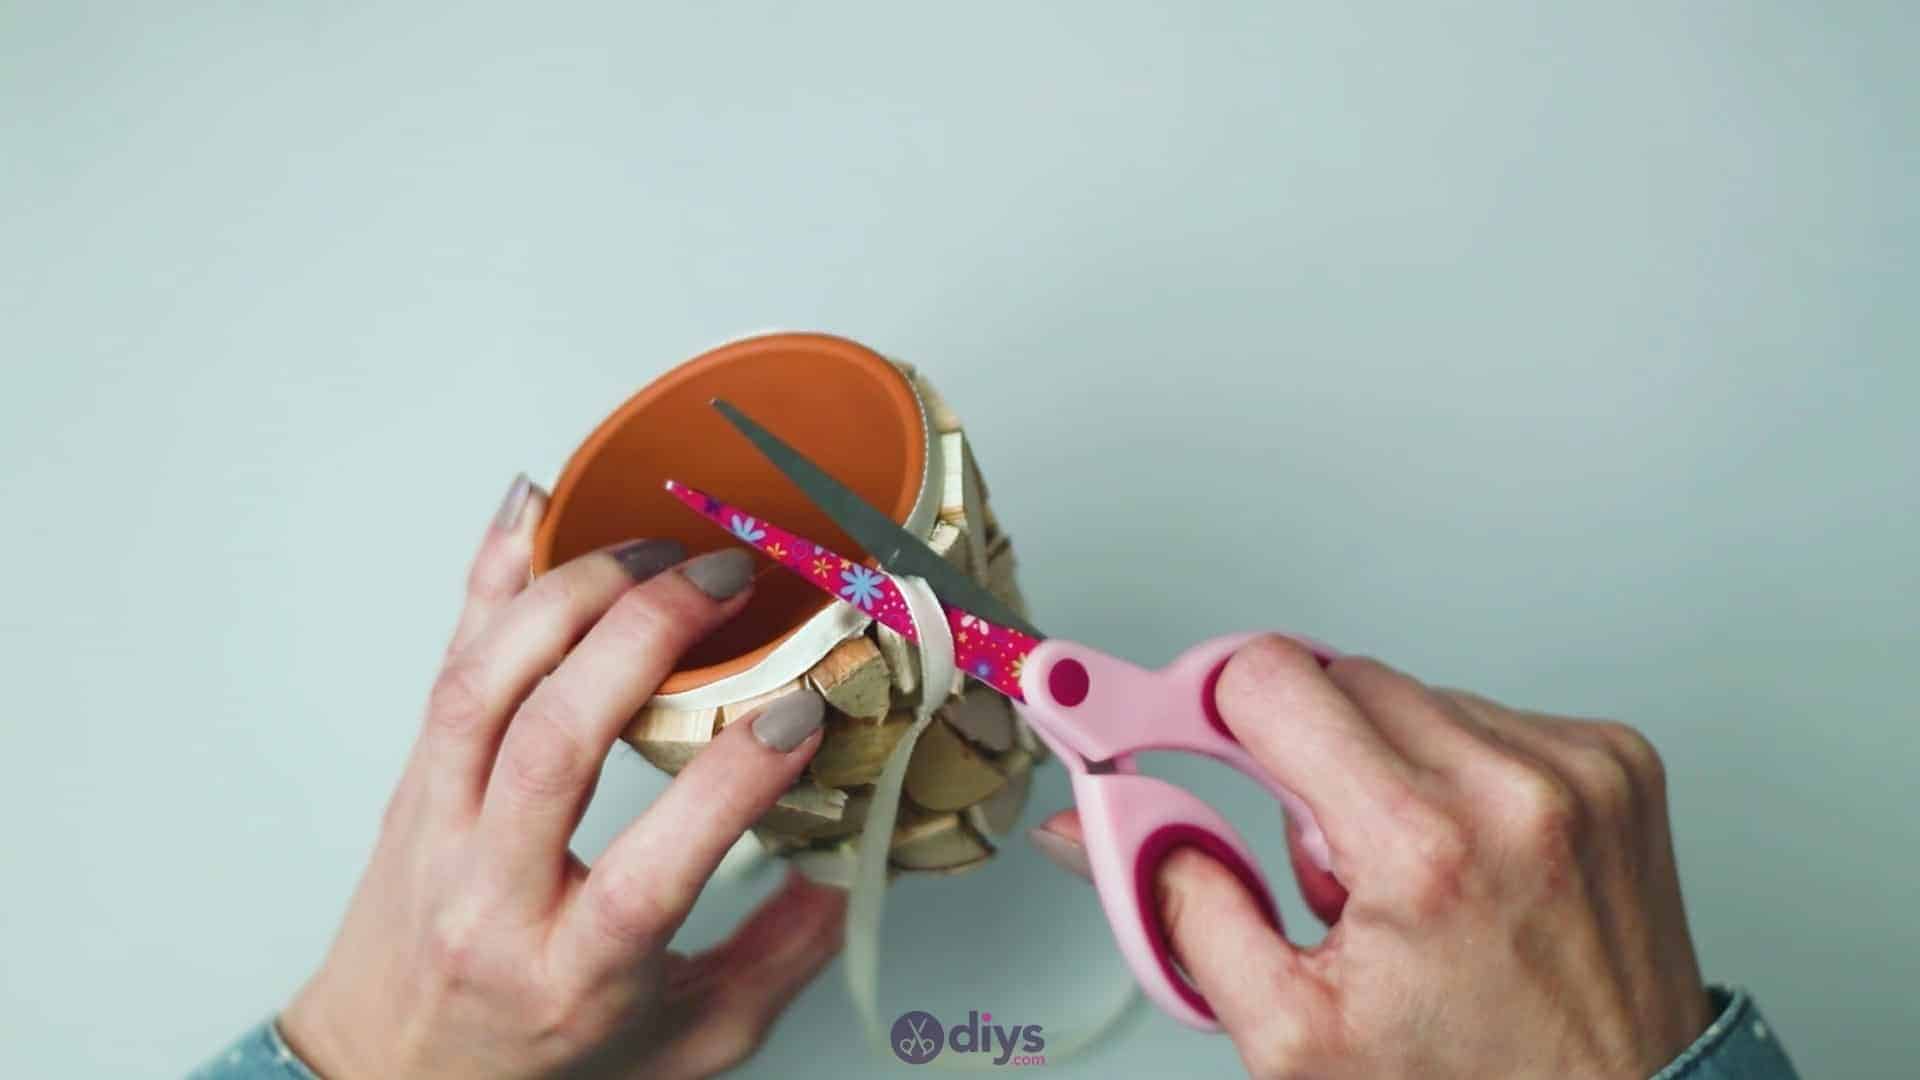
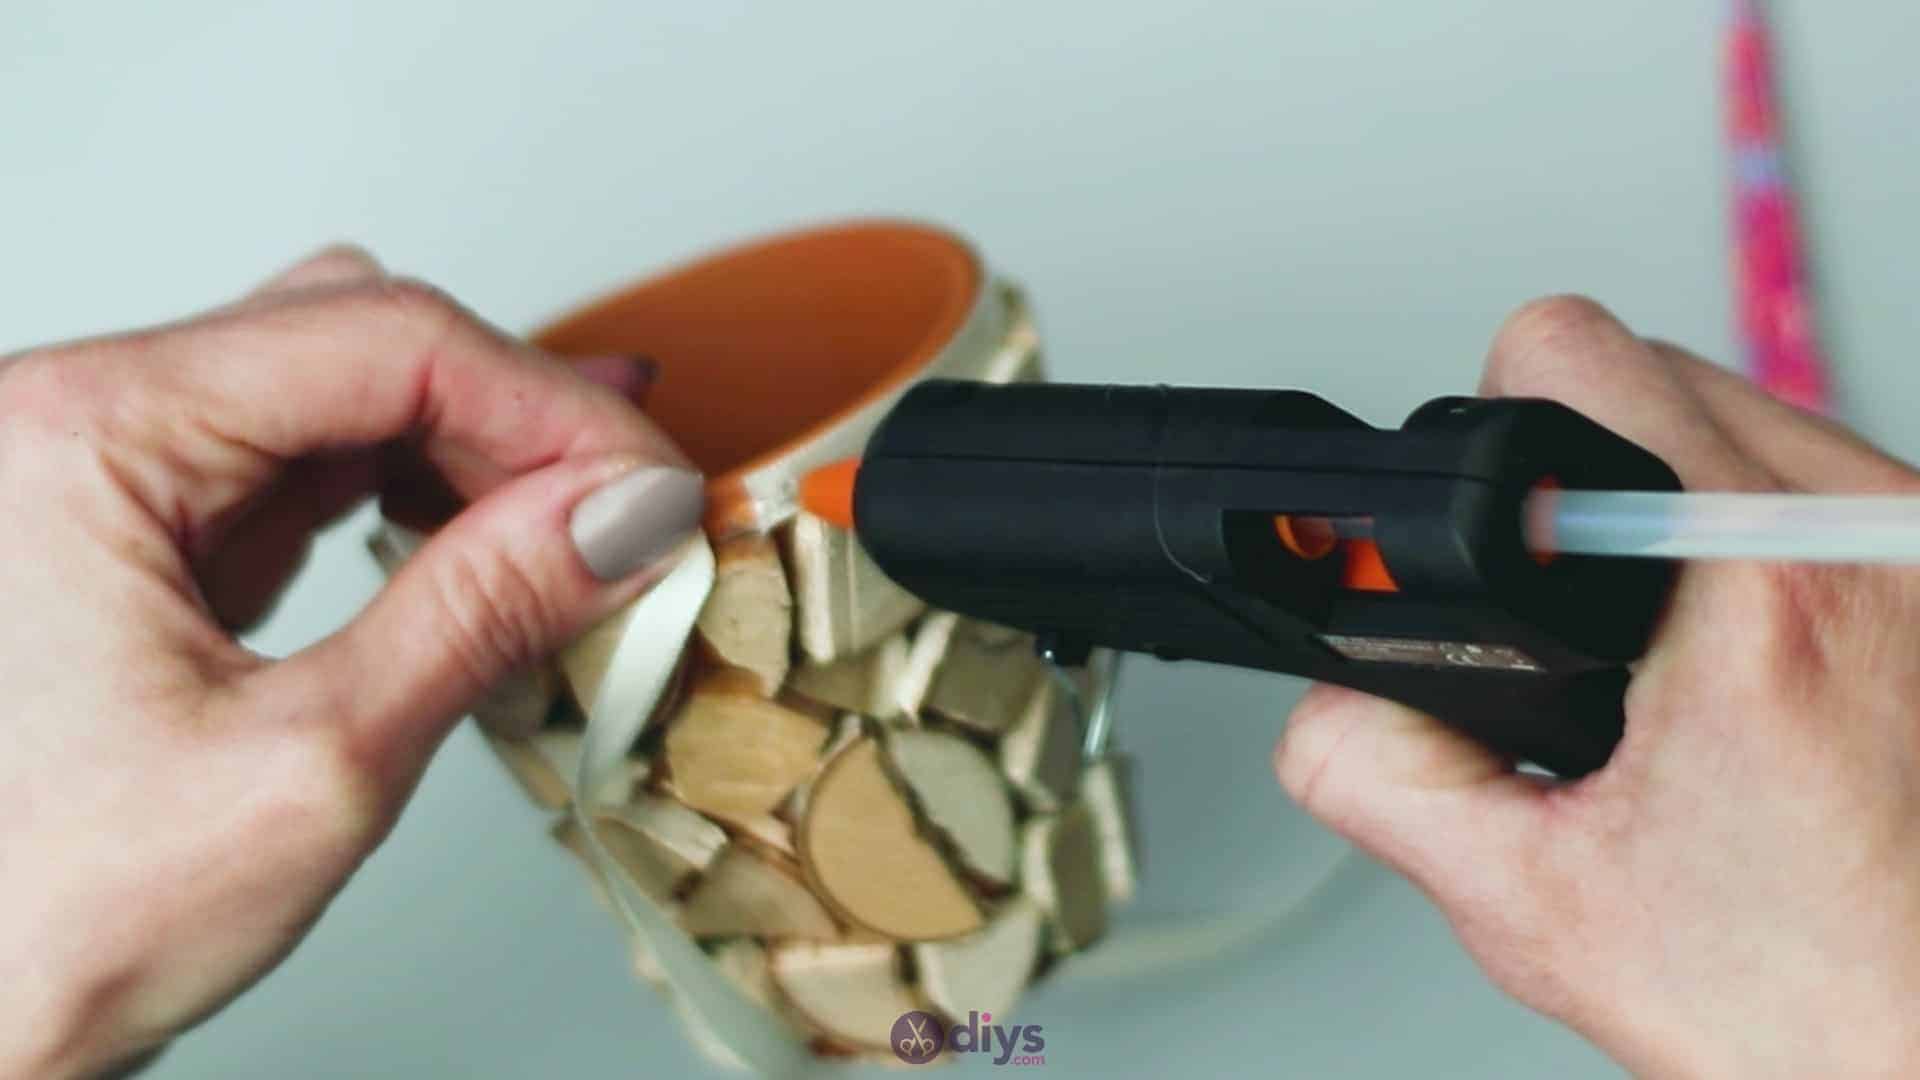
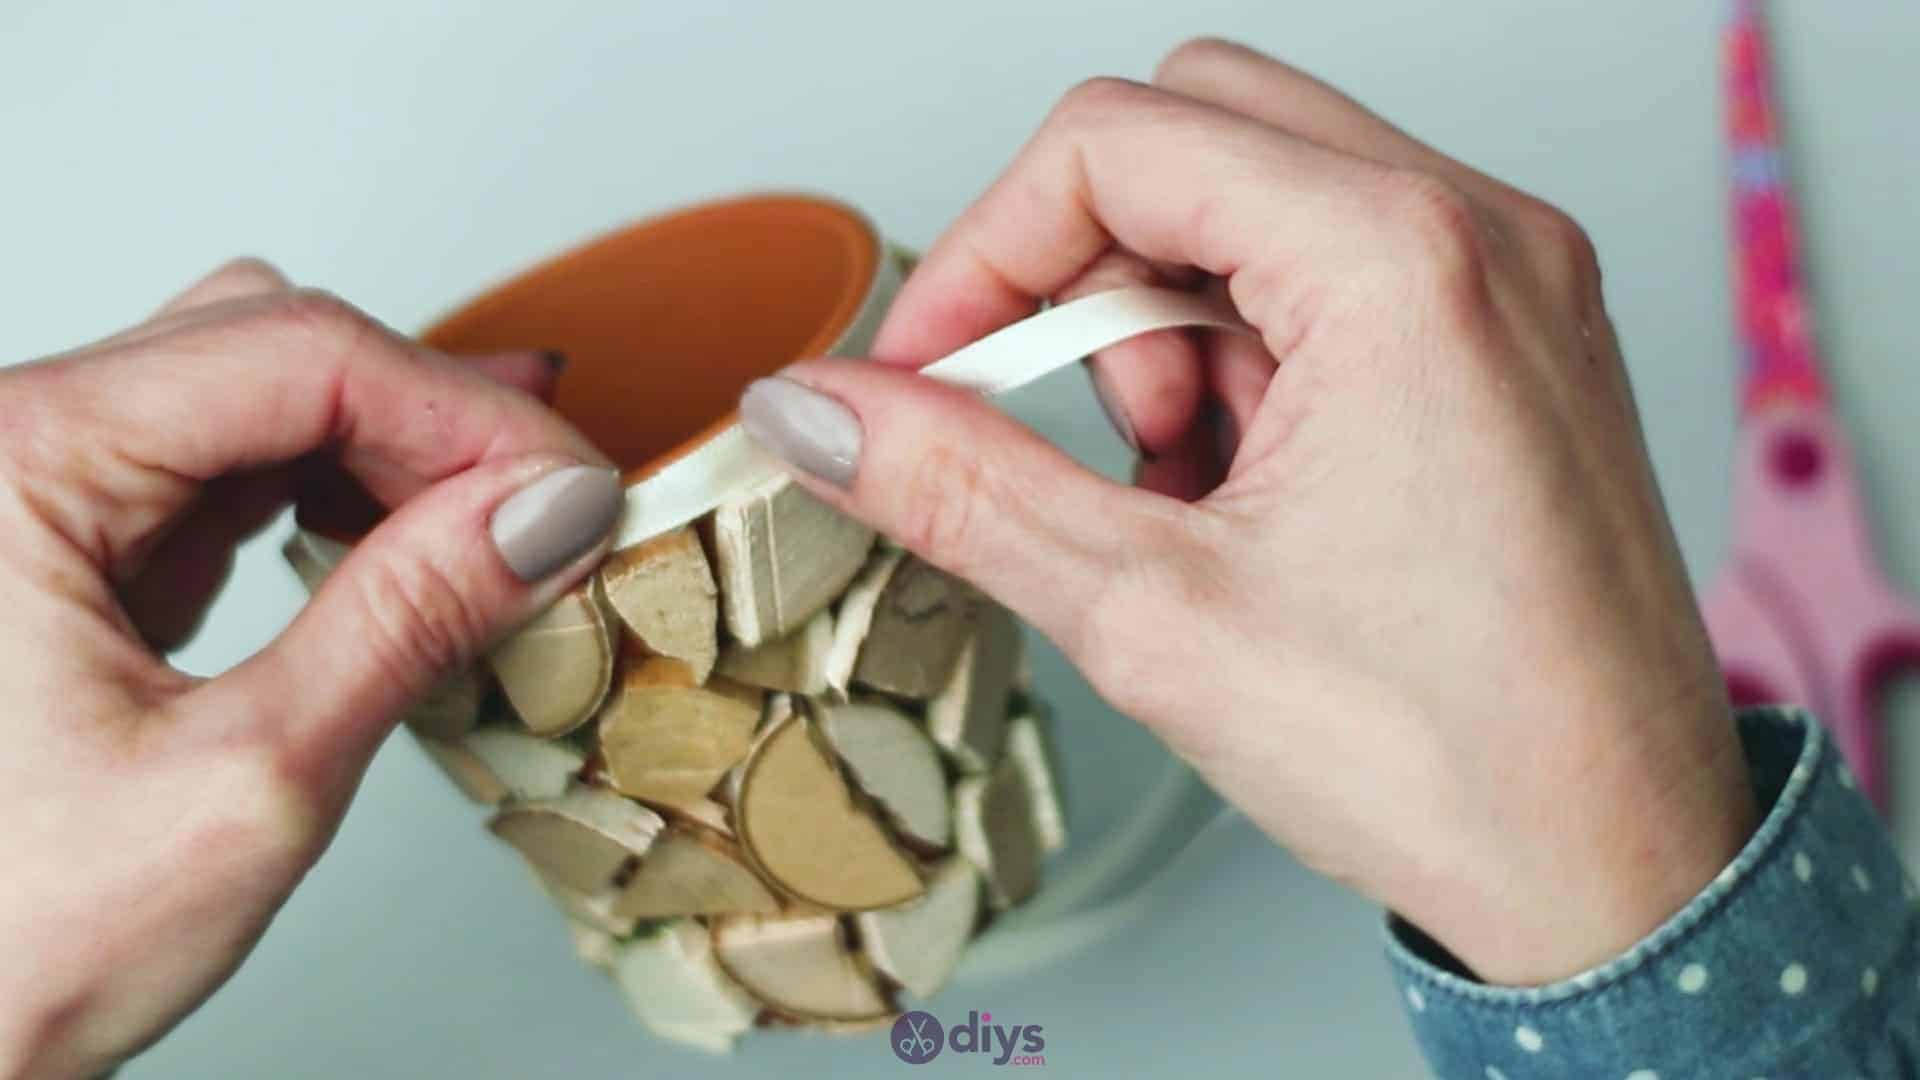
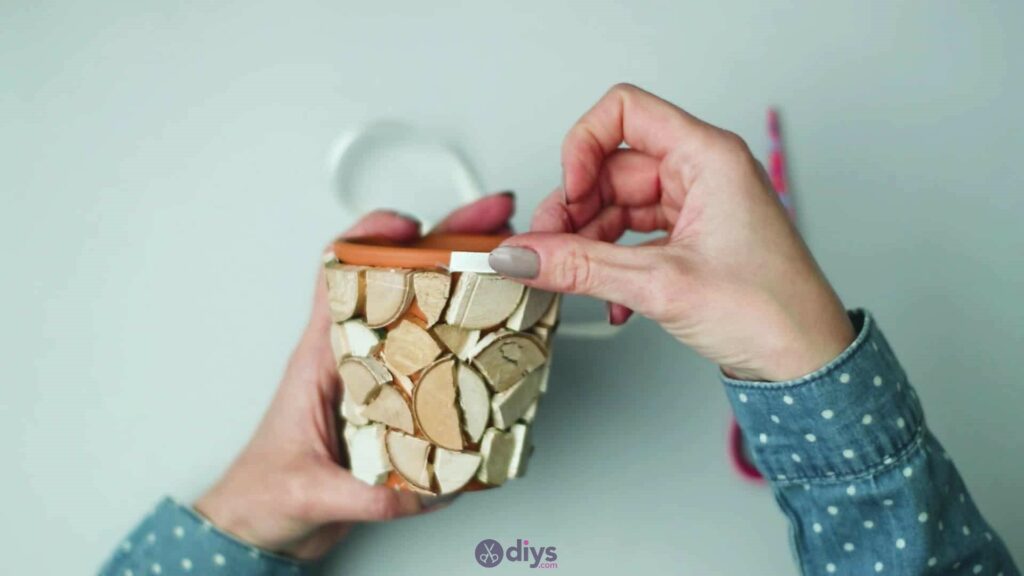
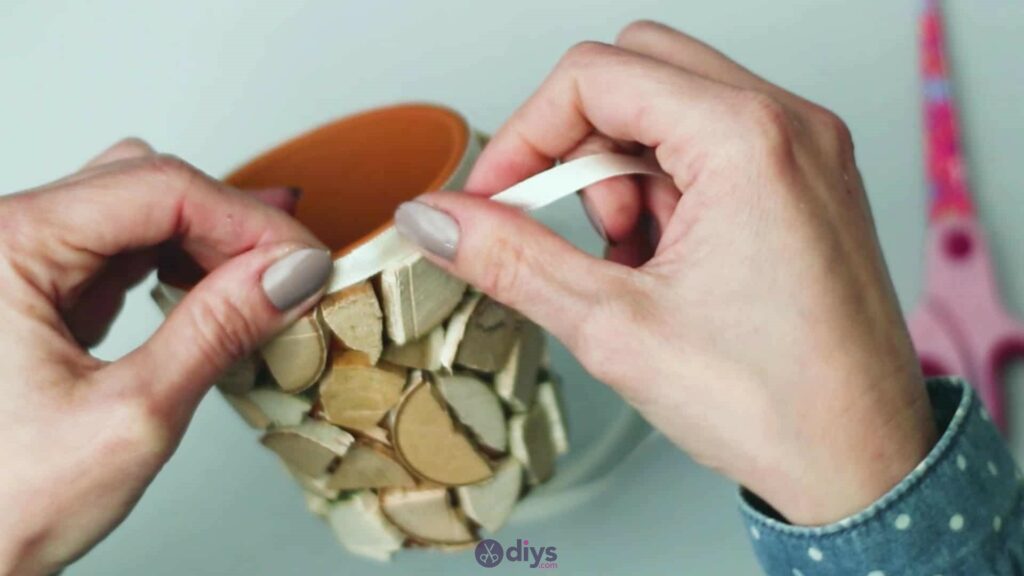
Now you’ll wrap your ribbon around the very top ridge of your pot that you left uncovered, for a slightly more neatly finished and completed look. On the back side of your pot, apply a dot of clue on the ridge just above the wooden pieces. Turn your ribbon so it’ll run parallel to the line of wood pieces and stick its end down in the glue. Wrap the ribbon all the way around the top ridge so that its lower edge sits evenly against the wooden pieces all the way along, continuing until you meet back up with your end. Apply another dot of glue right on top of that, creating a small overlap for neatness, and stick the ribbon down there where the two meet. Use your scissors to trim off excess ribbon.


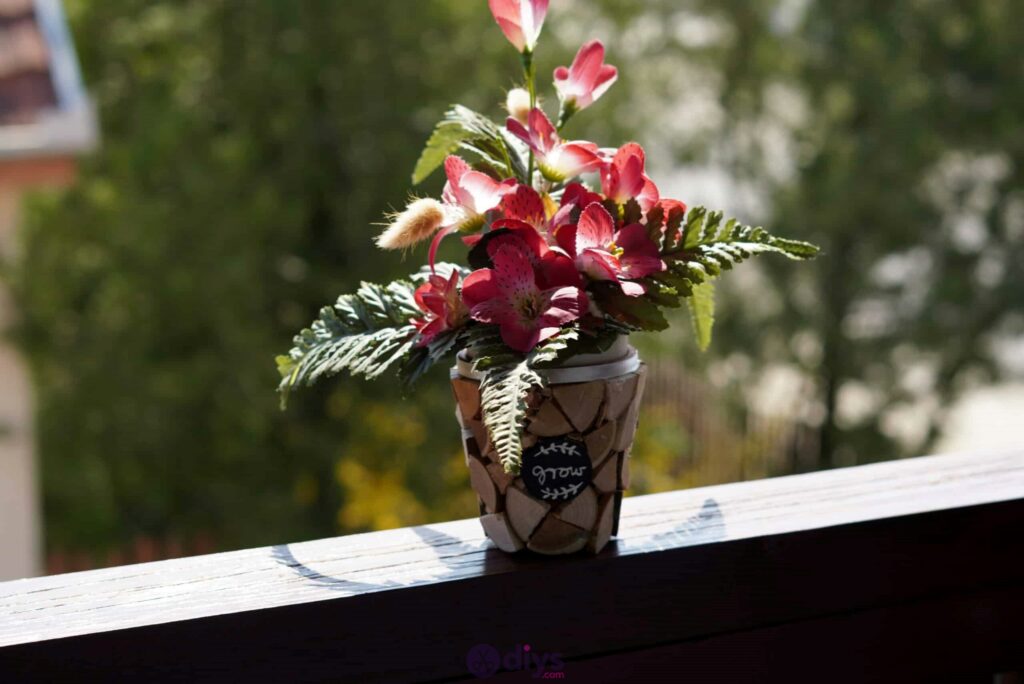
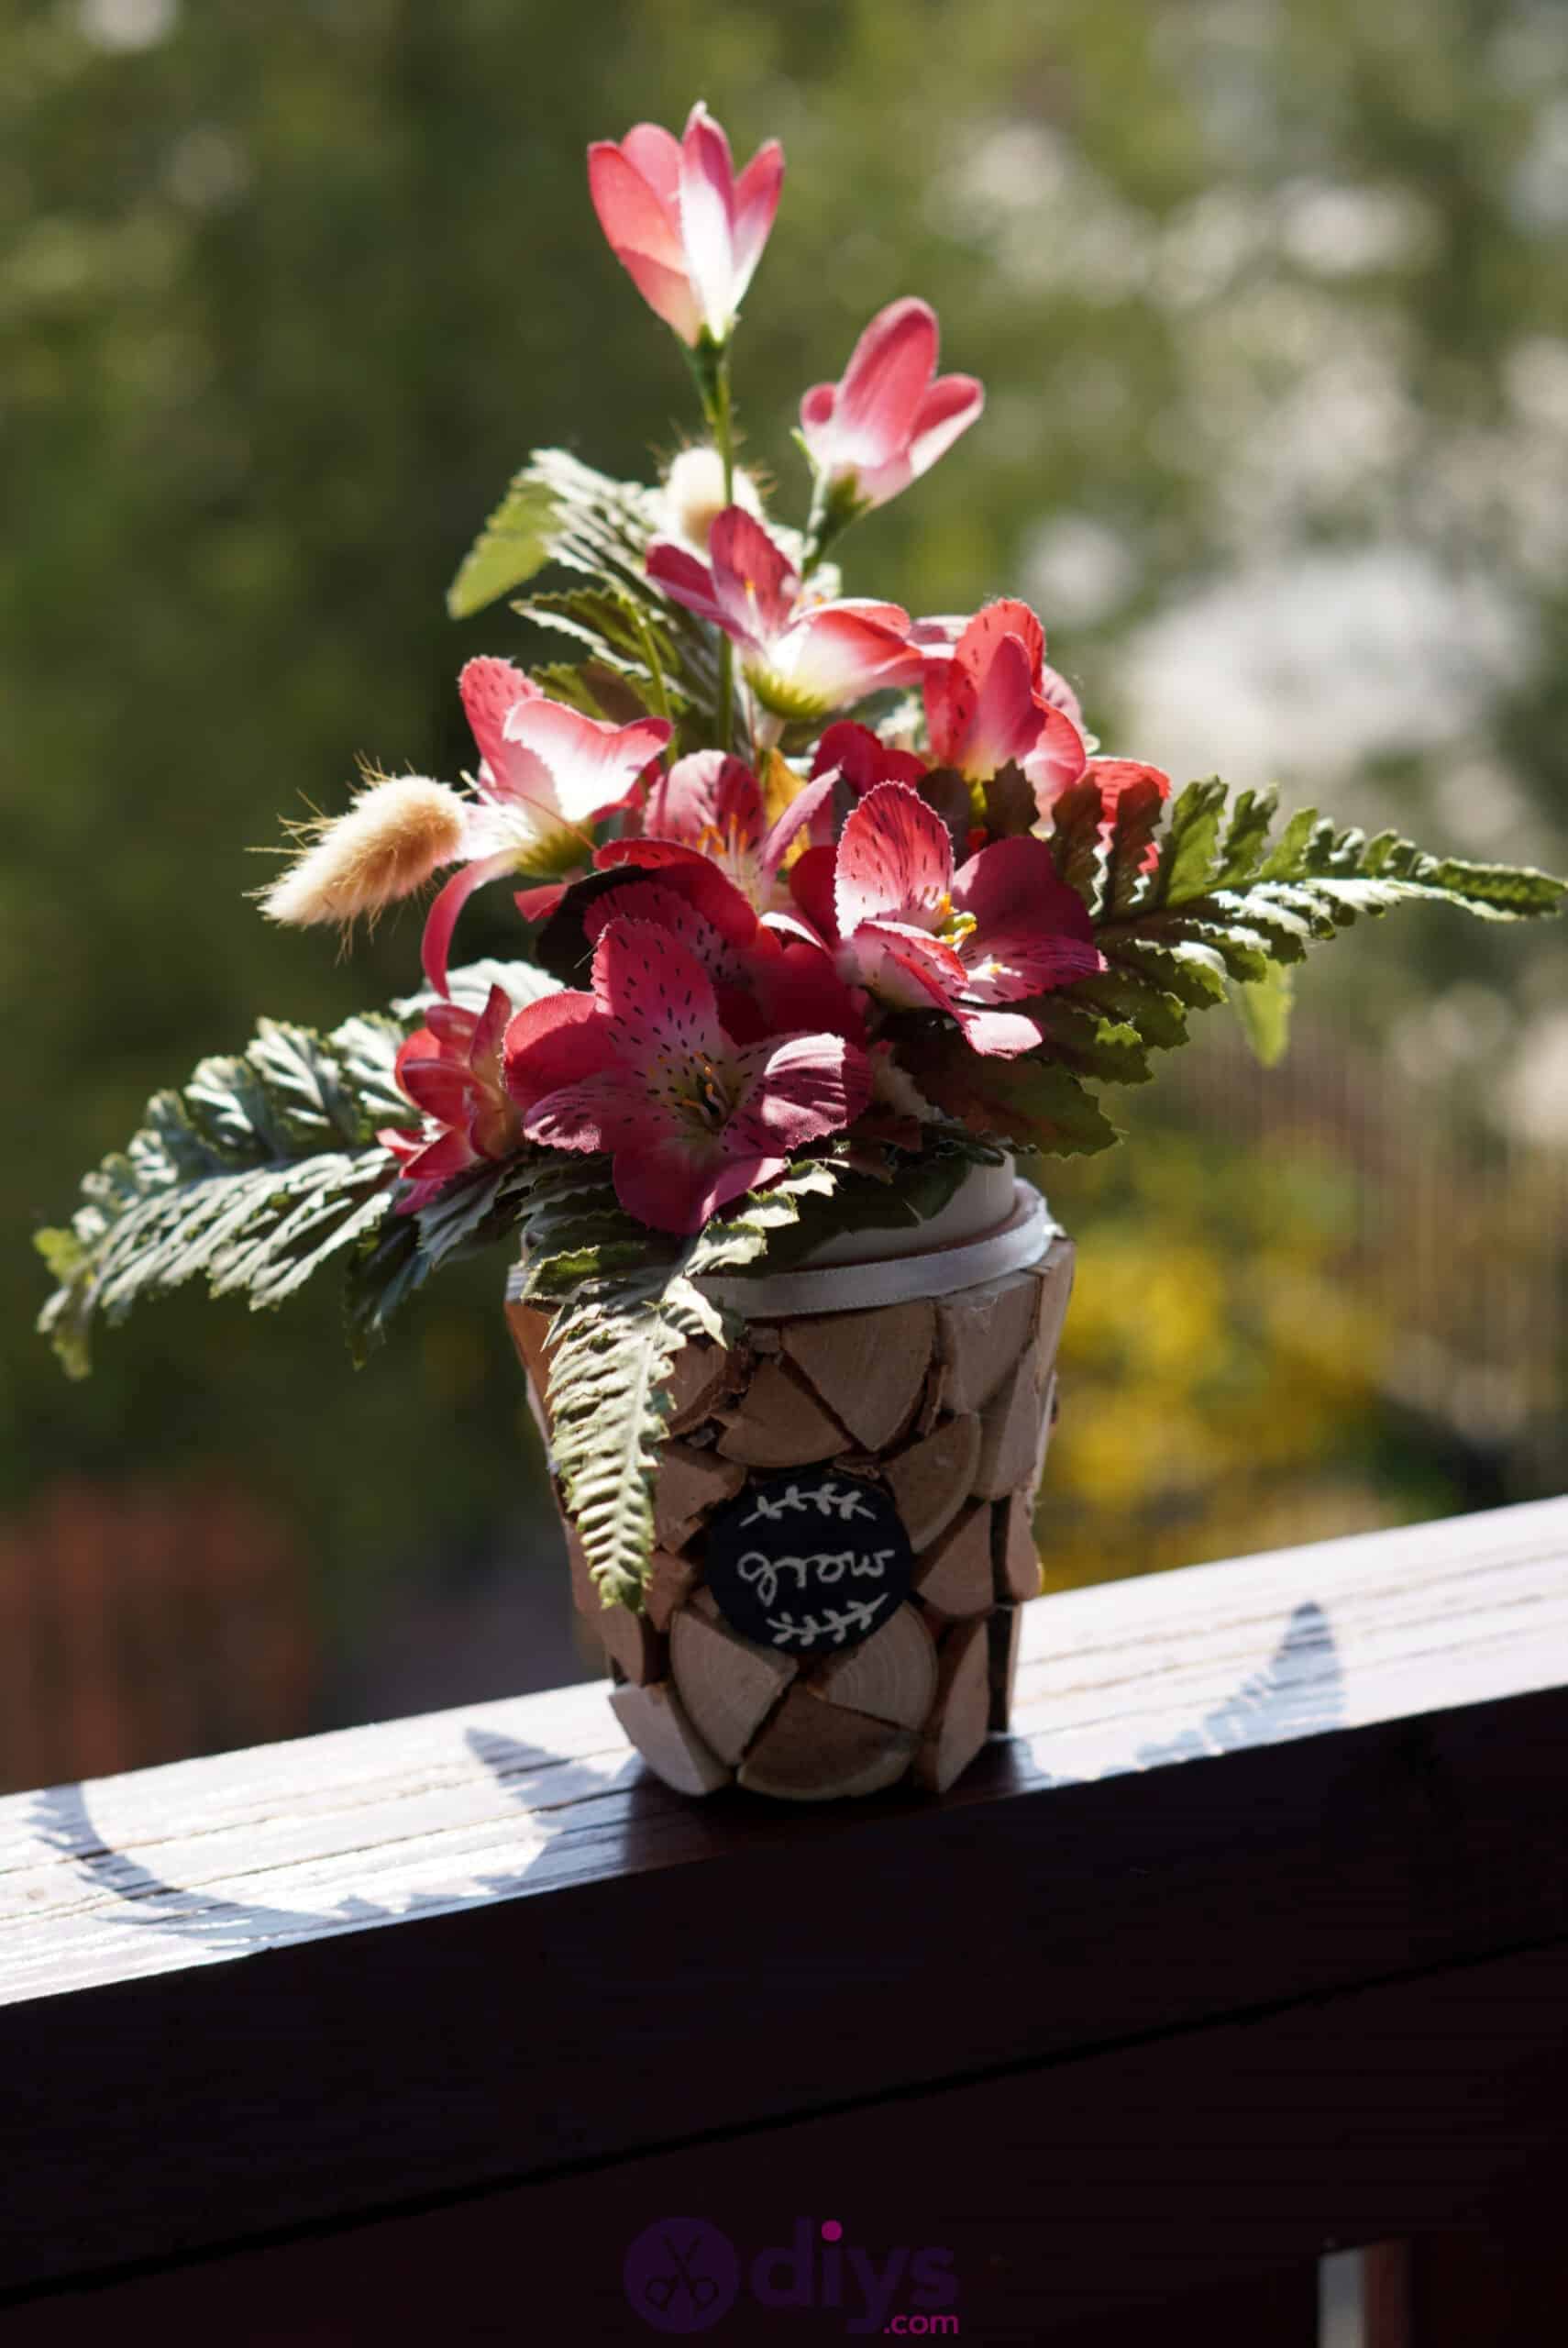
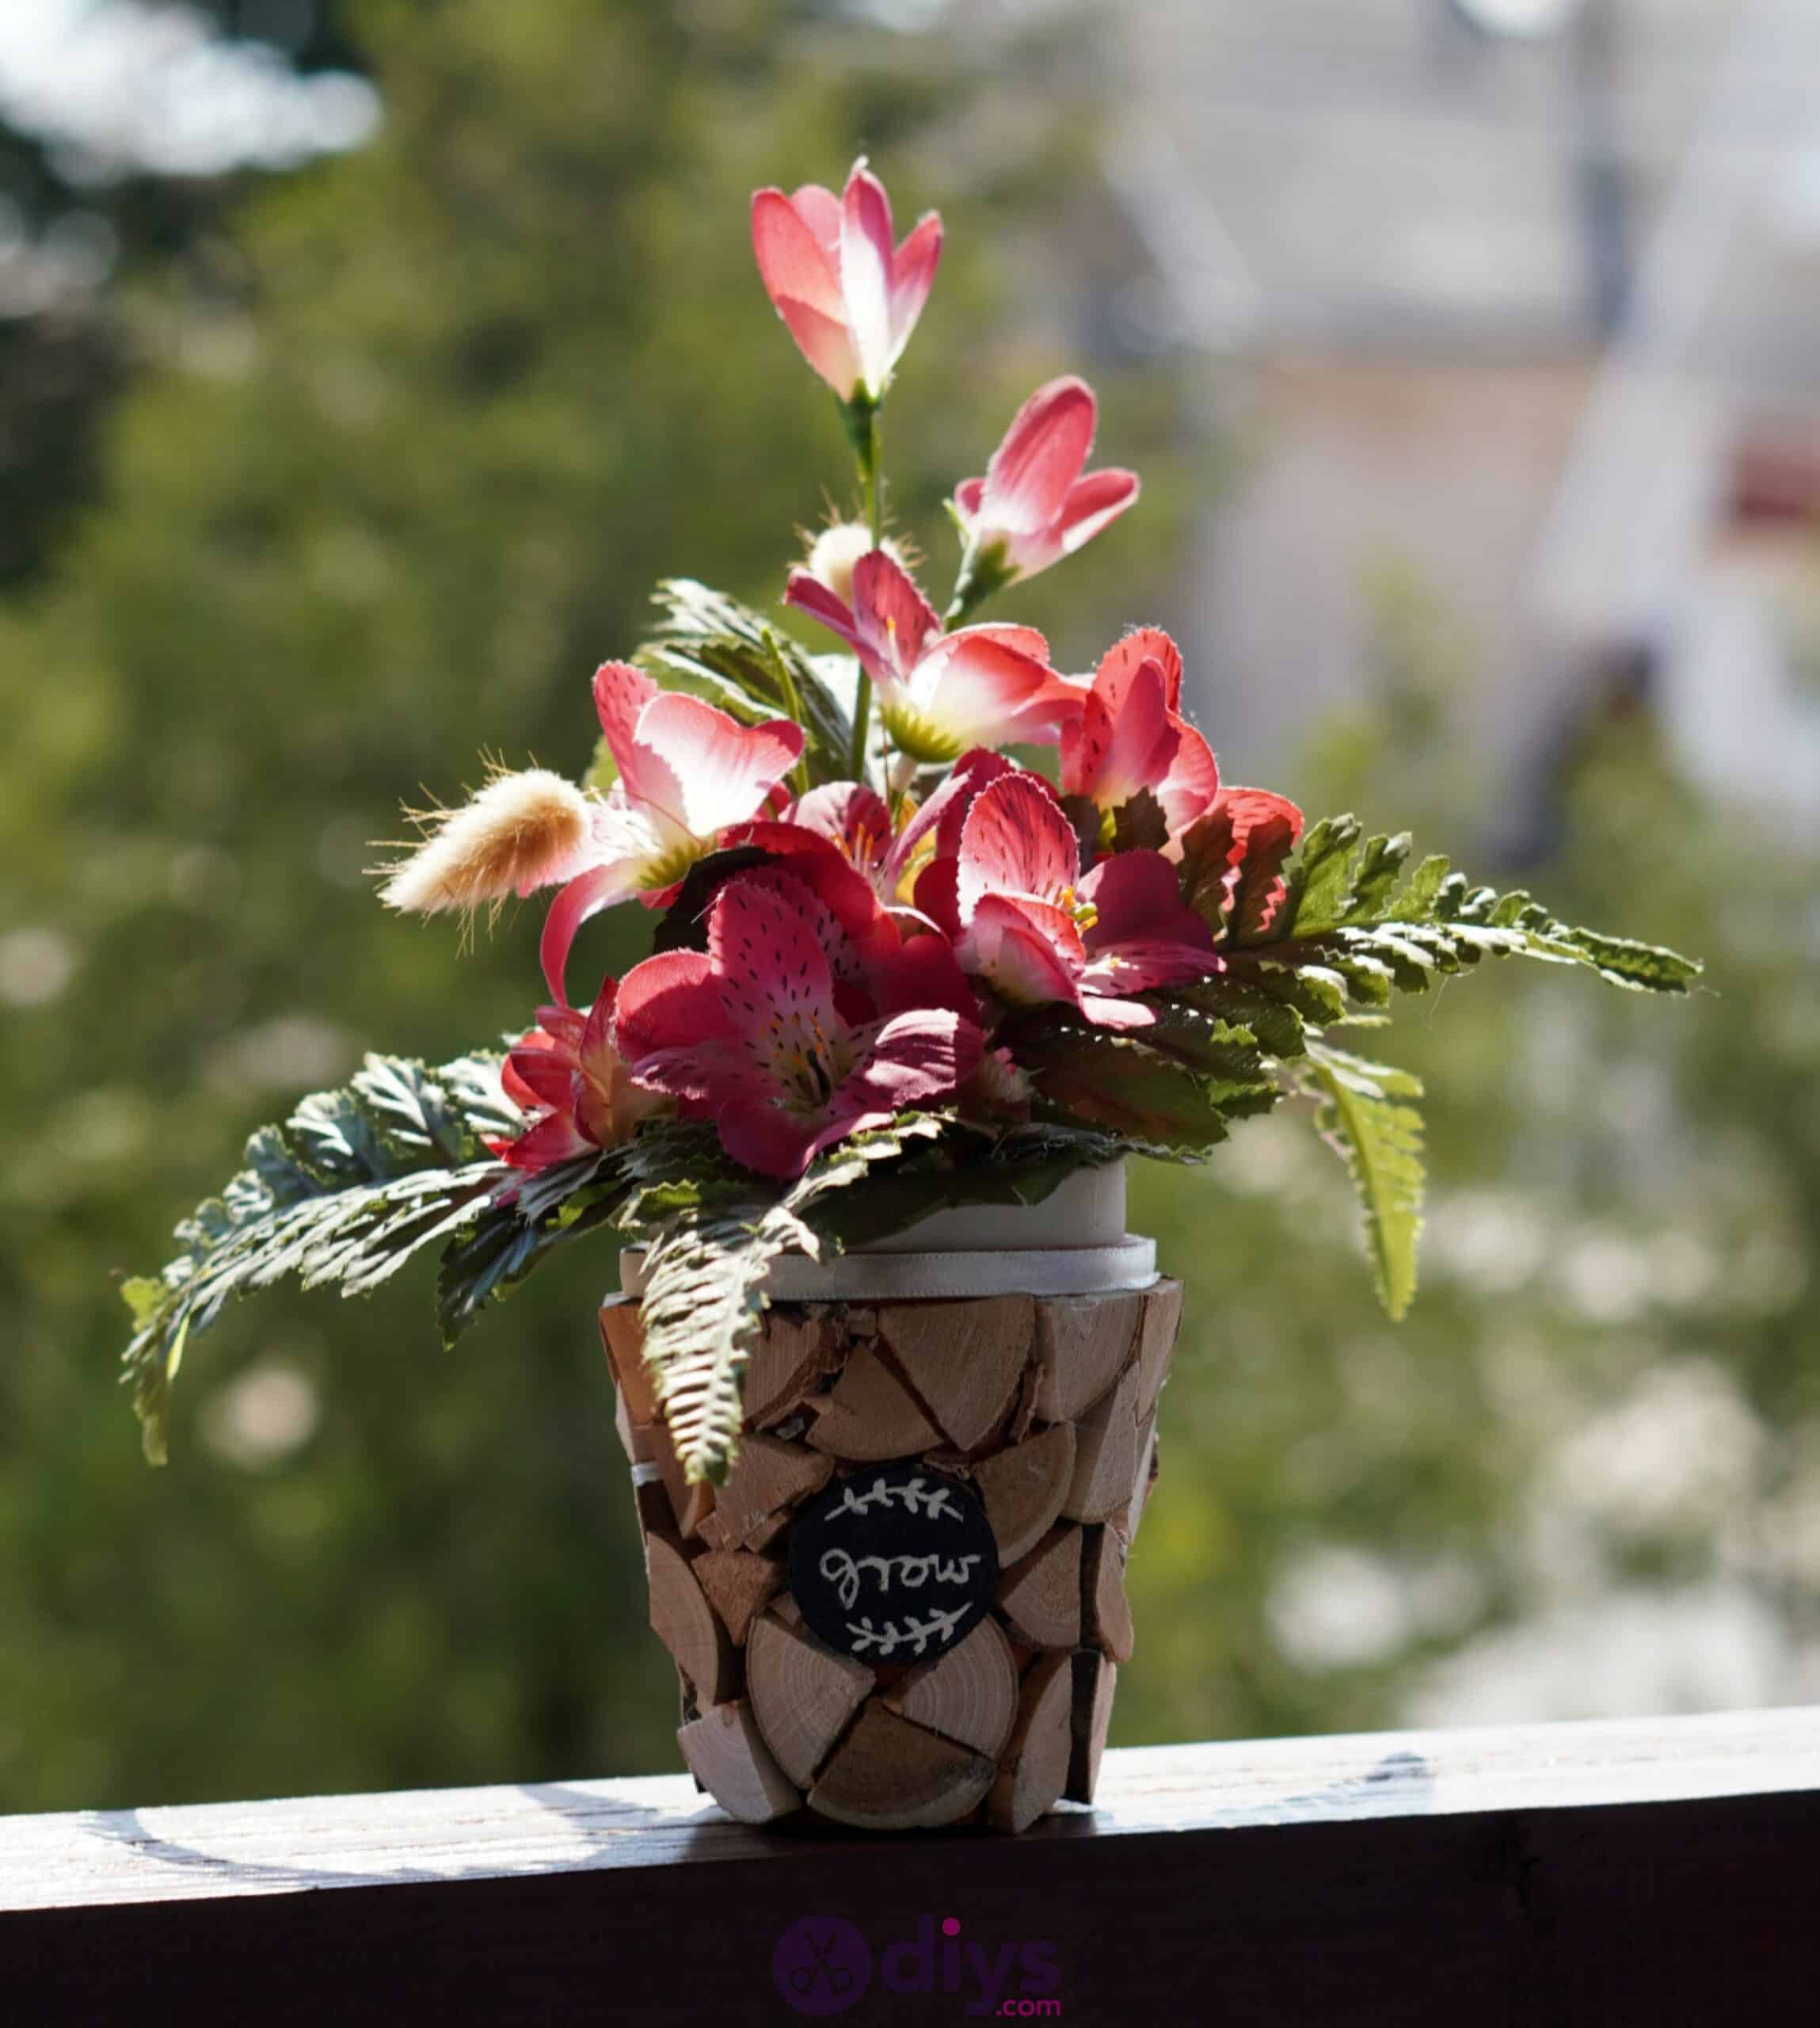
You’re all finished! You can plant either real or faux plants in this piece just as easily. You could also paint the name of an herb or flower on your pot instead of just writing “grow”, if you prefer! If you’re still interested in seeing a full video tutorial alongside all of this, check it out here.