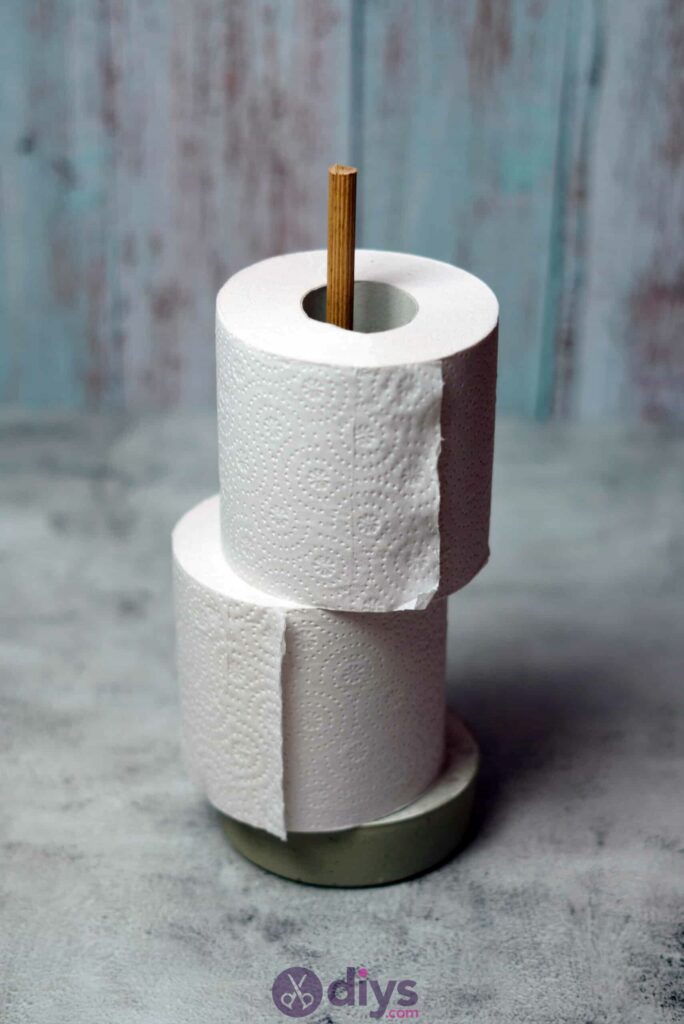
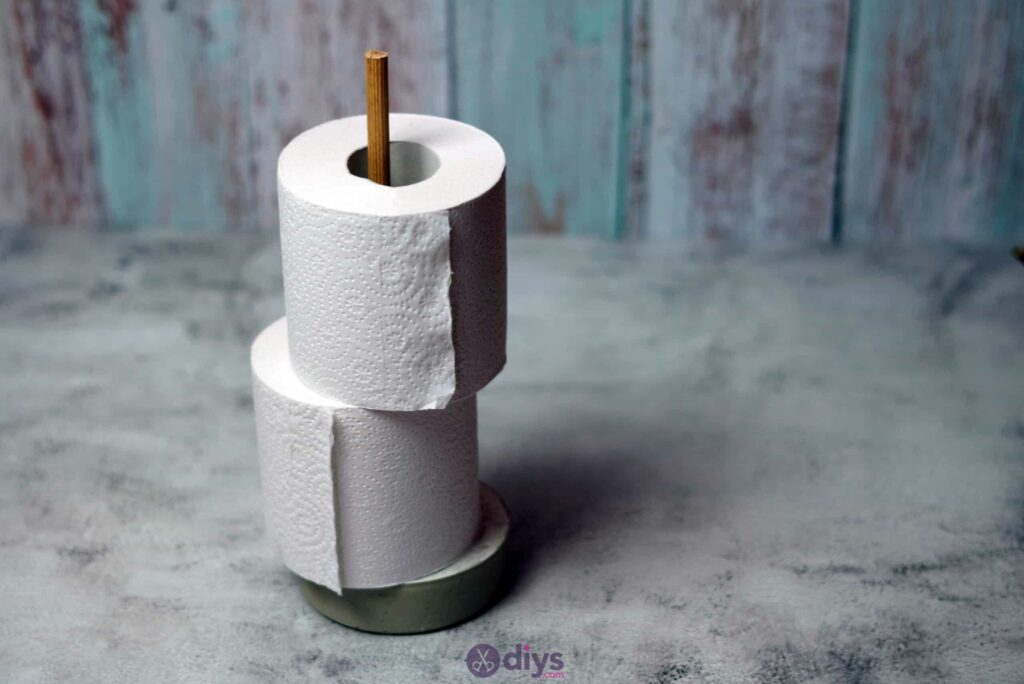
DIY Concrete Toilet Paper Holder
Updated on November 19, 2025


Have you every found yourself thinking about how your own DIY skills can actually improve your life at home in small, practical ways? The bathroom is a great place to stat, especially with a DIY concrete toilet paper holder like this. Keep reading to see just how we put this together!
This DIY project is really easy to learn, anyone can do it! Check out these step by step instructions complete with photos below! If you’re more of a visual learner and you’d rather watch a video to see the techniques in action, keep scrolling to the bottom of this post instead.
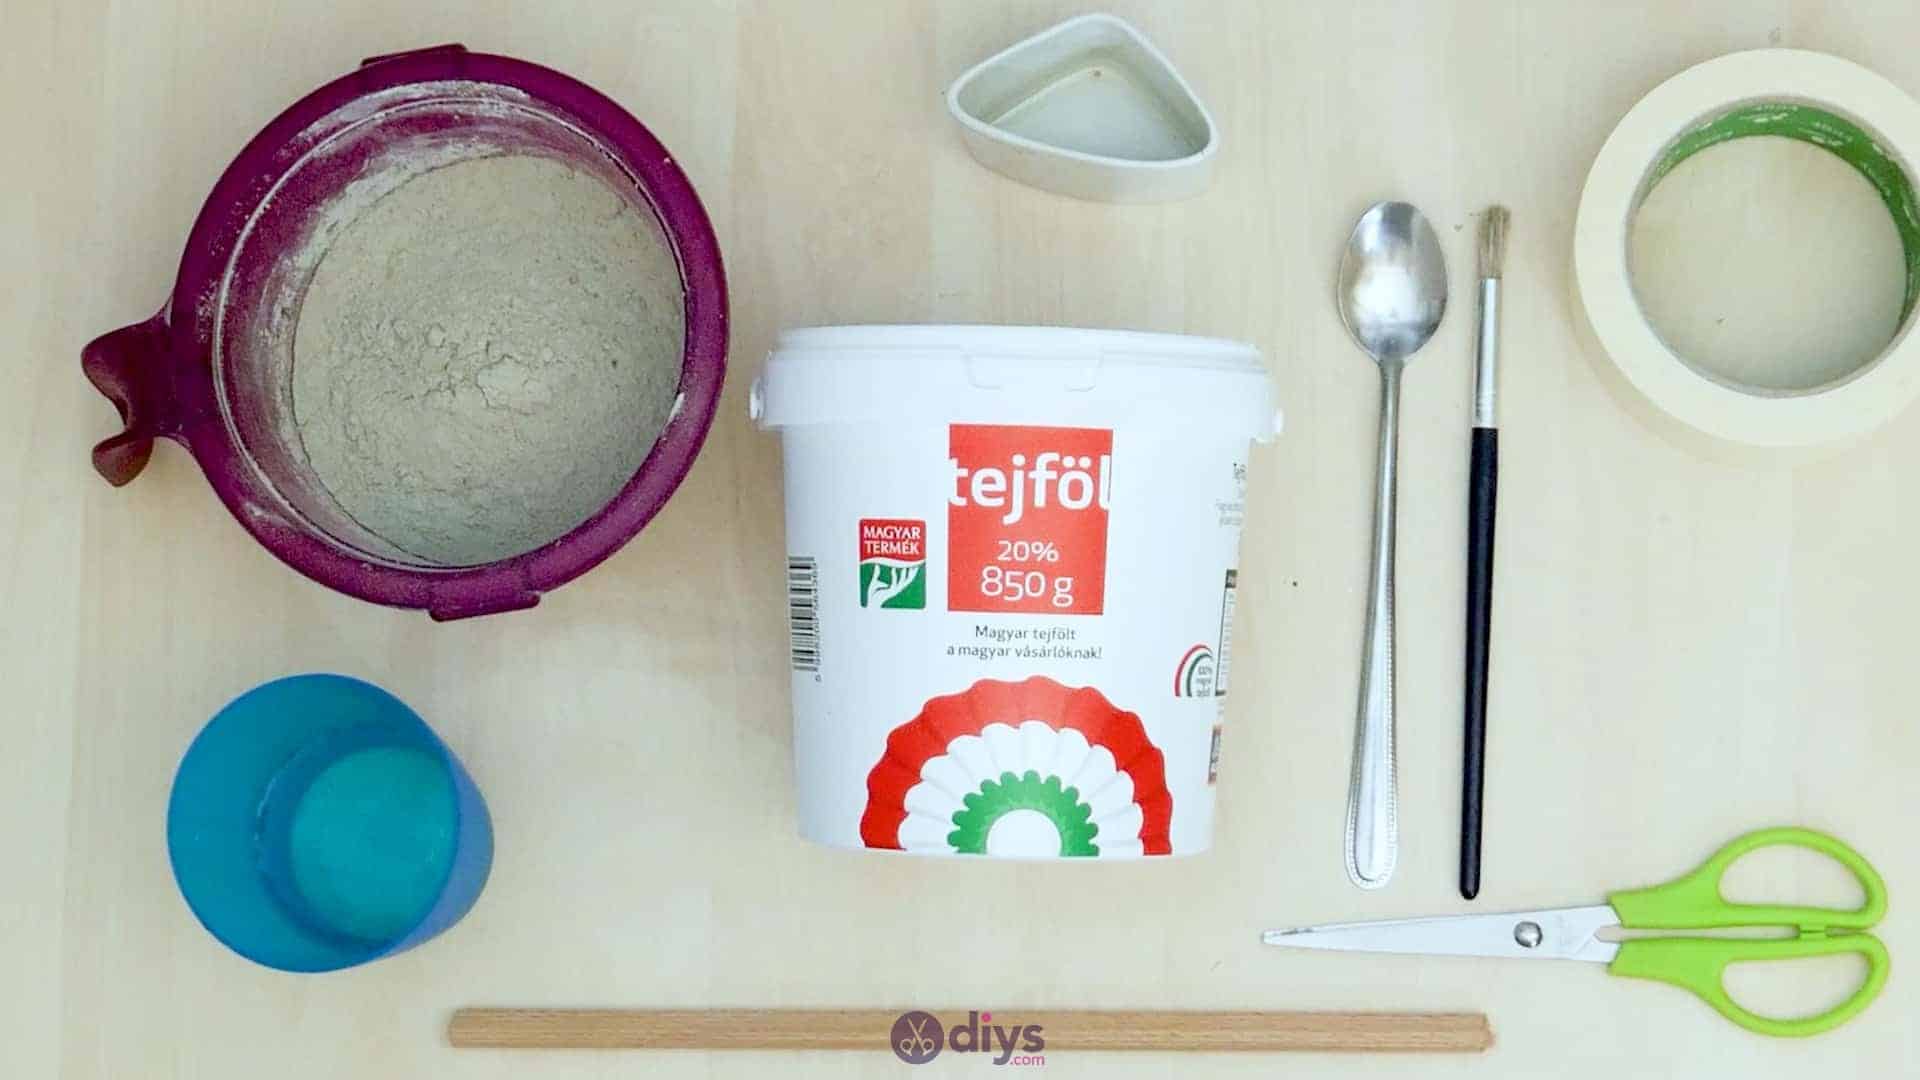
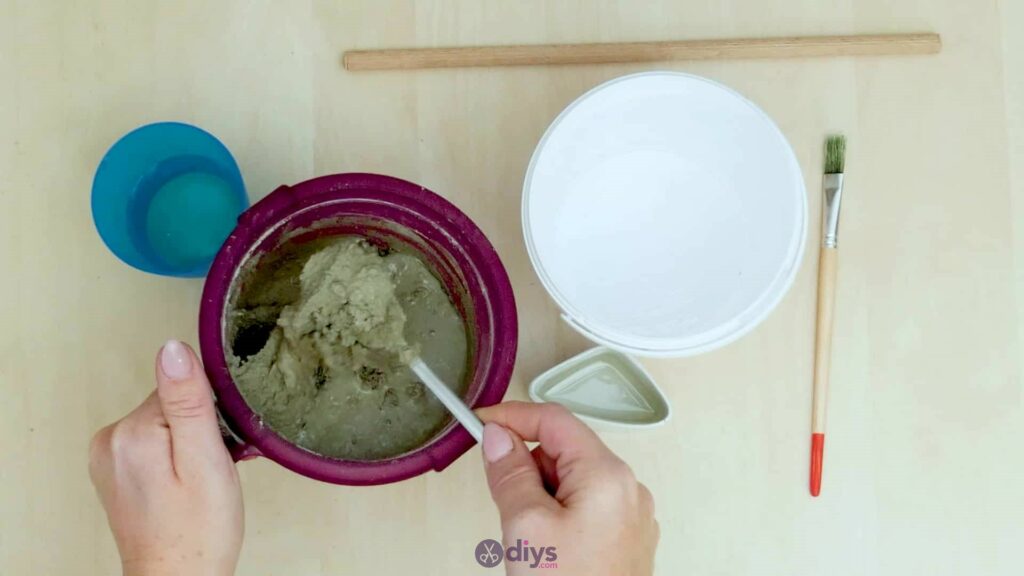
For this project, you’ll need:
- Fine particle cement mix
- Water
- Plate
- Spoon
- Tape
- Oil
- A disposable plastic cup or bucket
- Scissors
- Wooden rod or dowel

Step 1: Gather your materials!
Check your list and make sure you have everything you need.

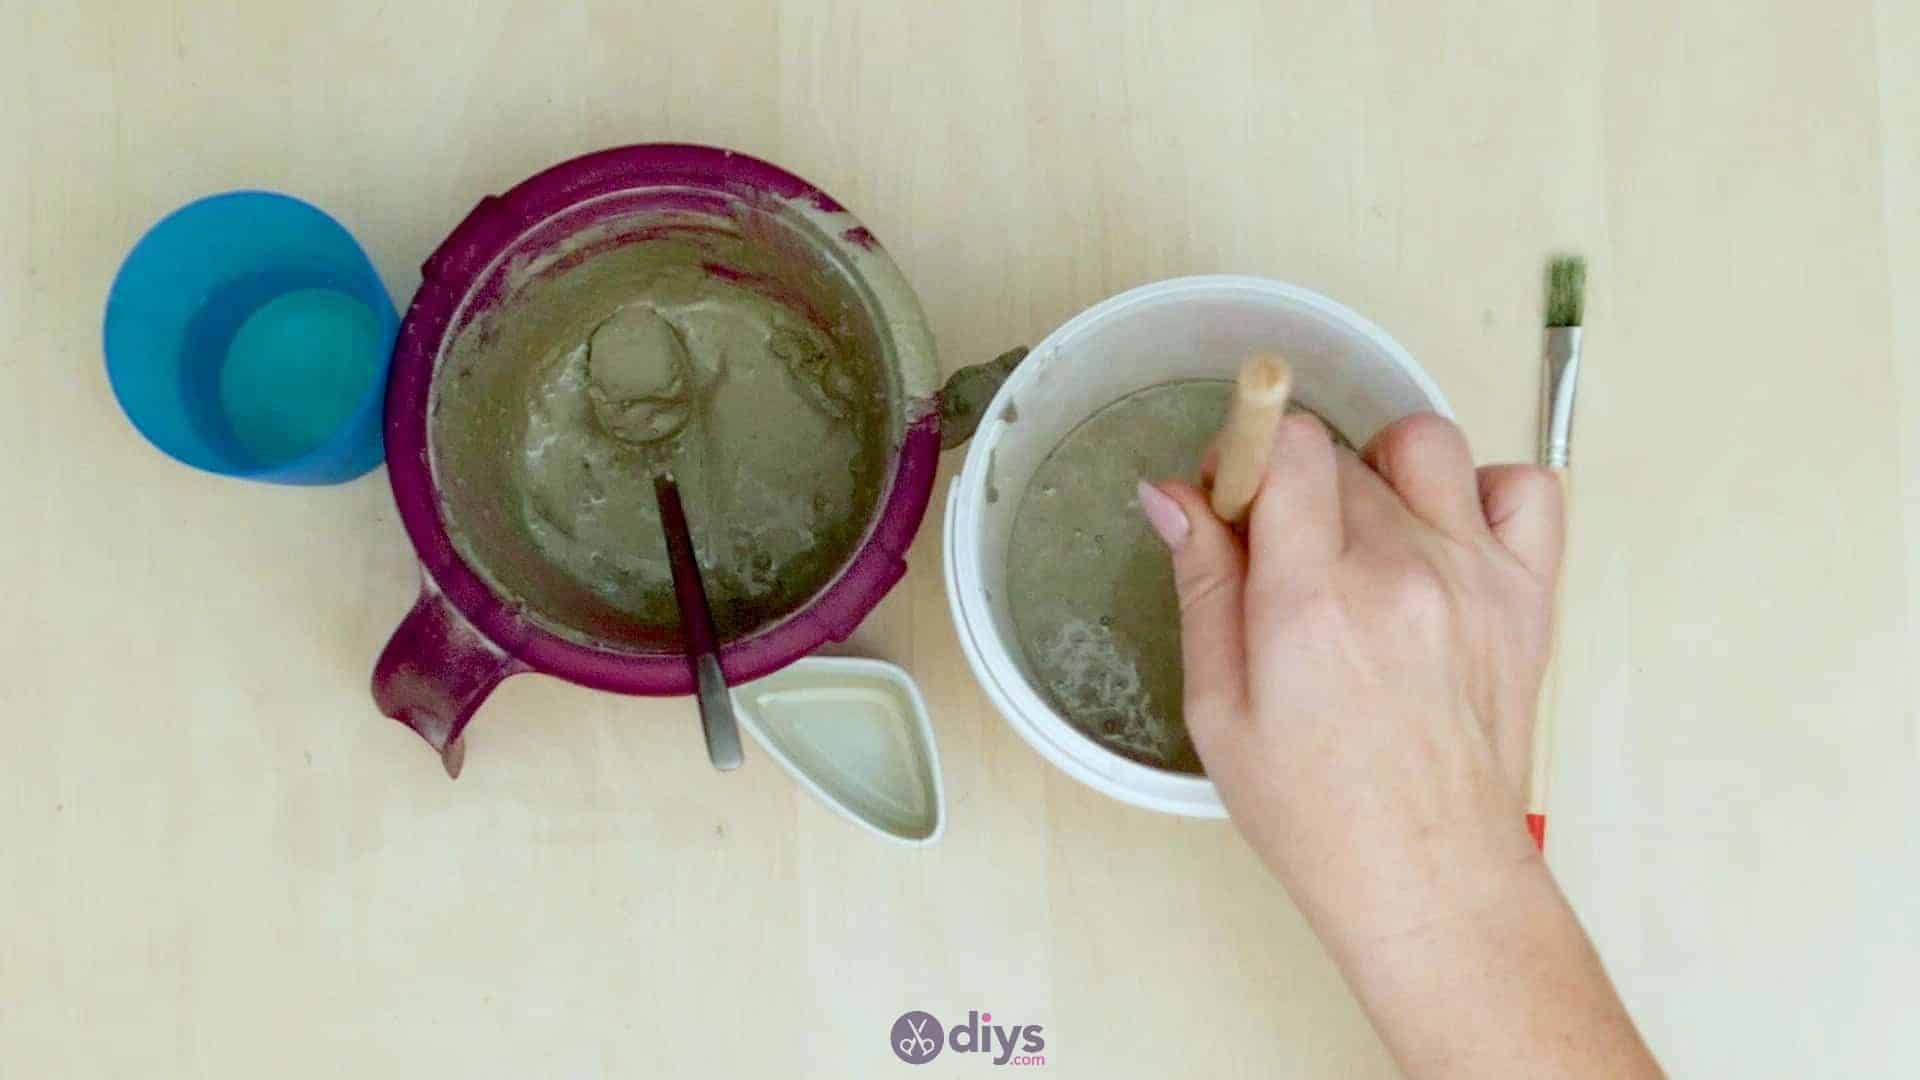
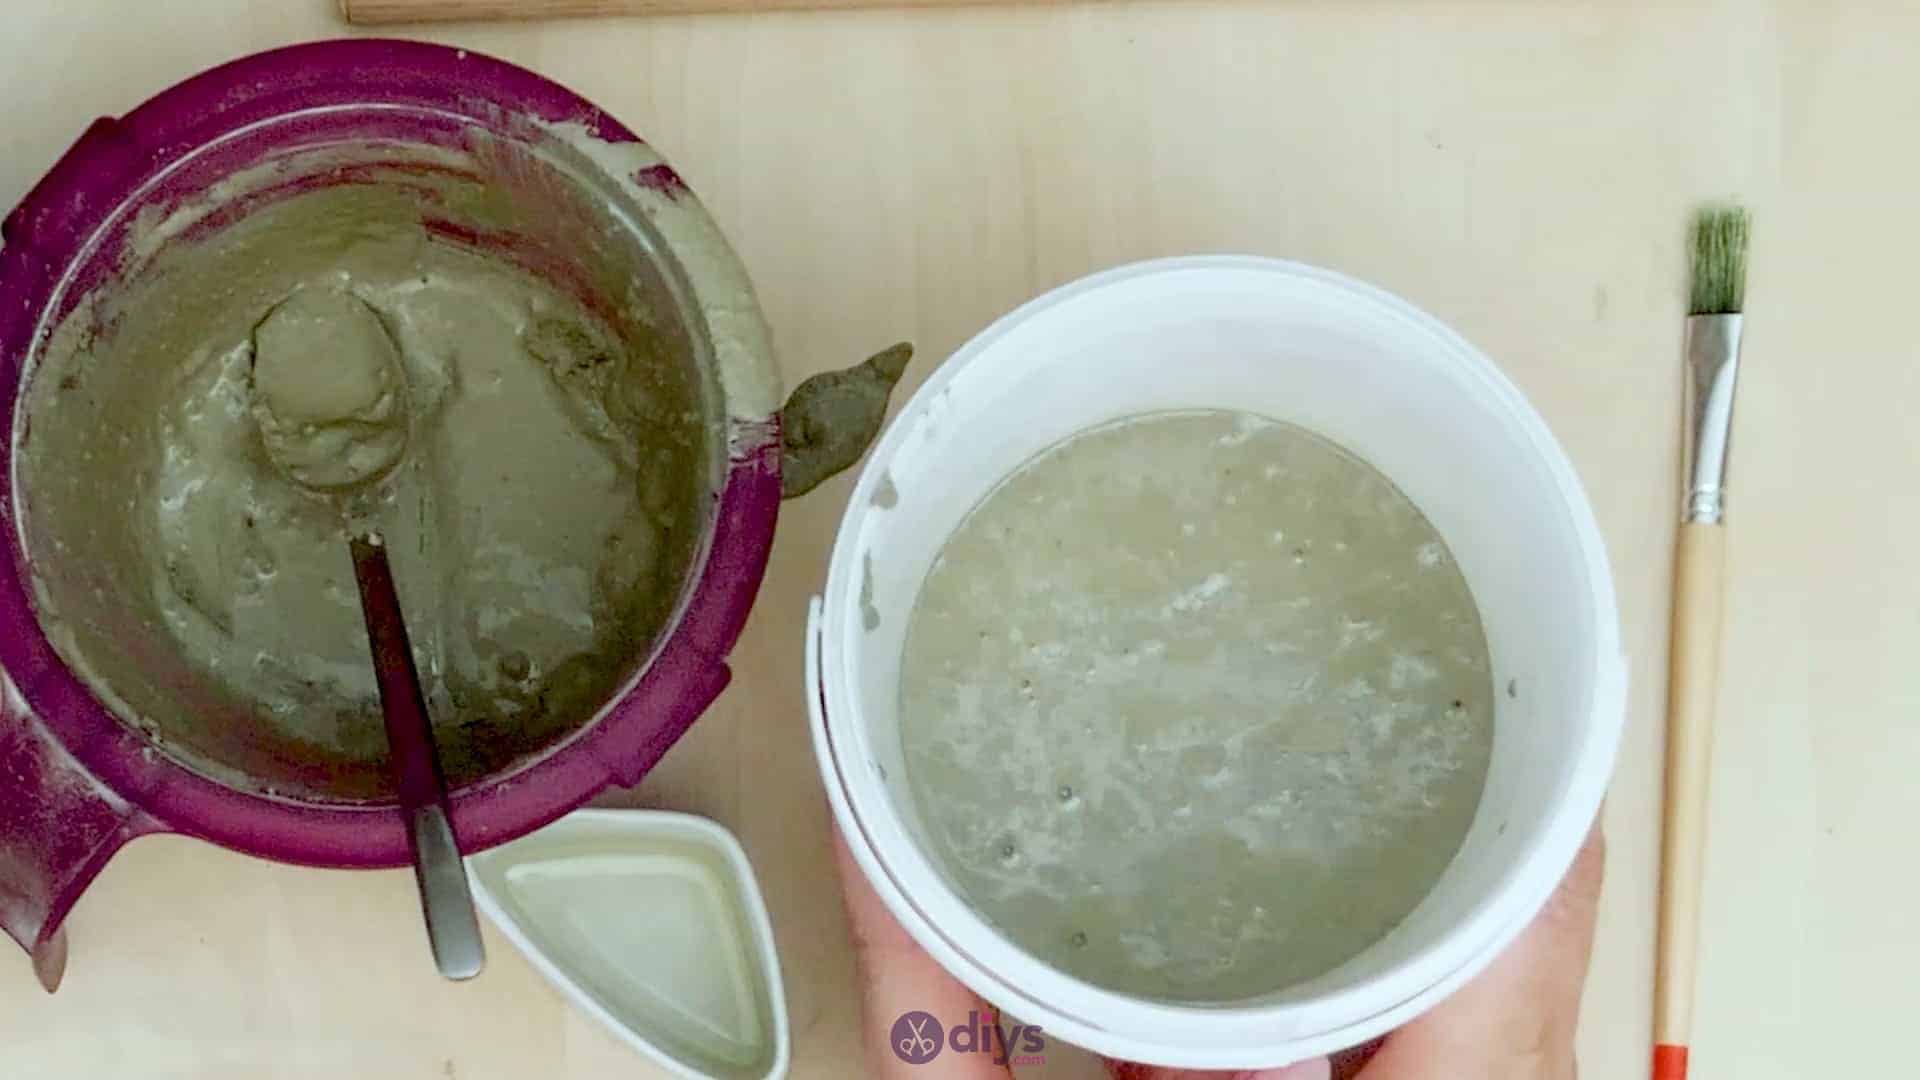
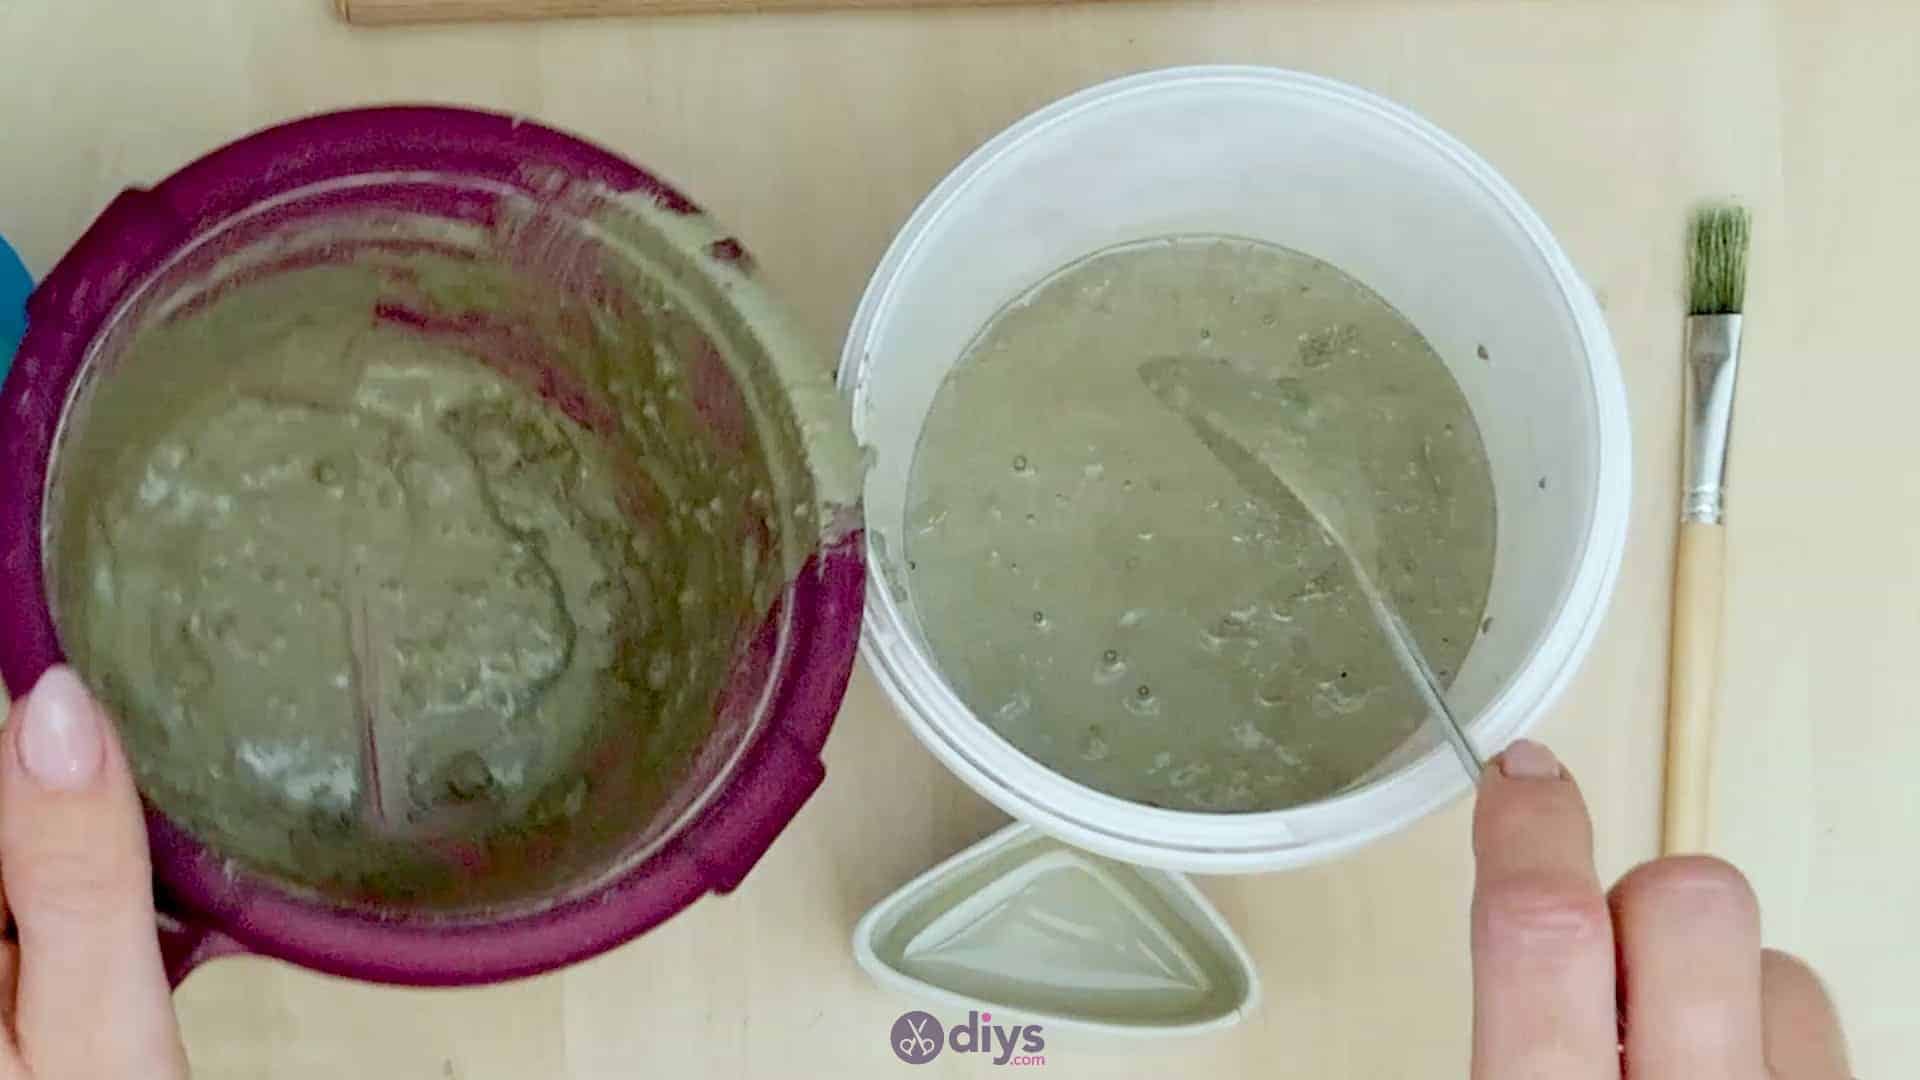
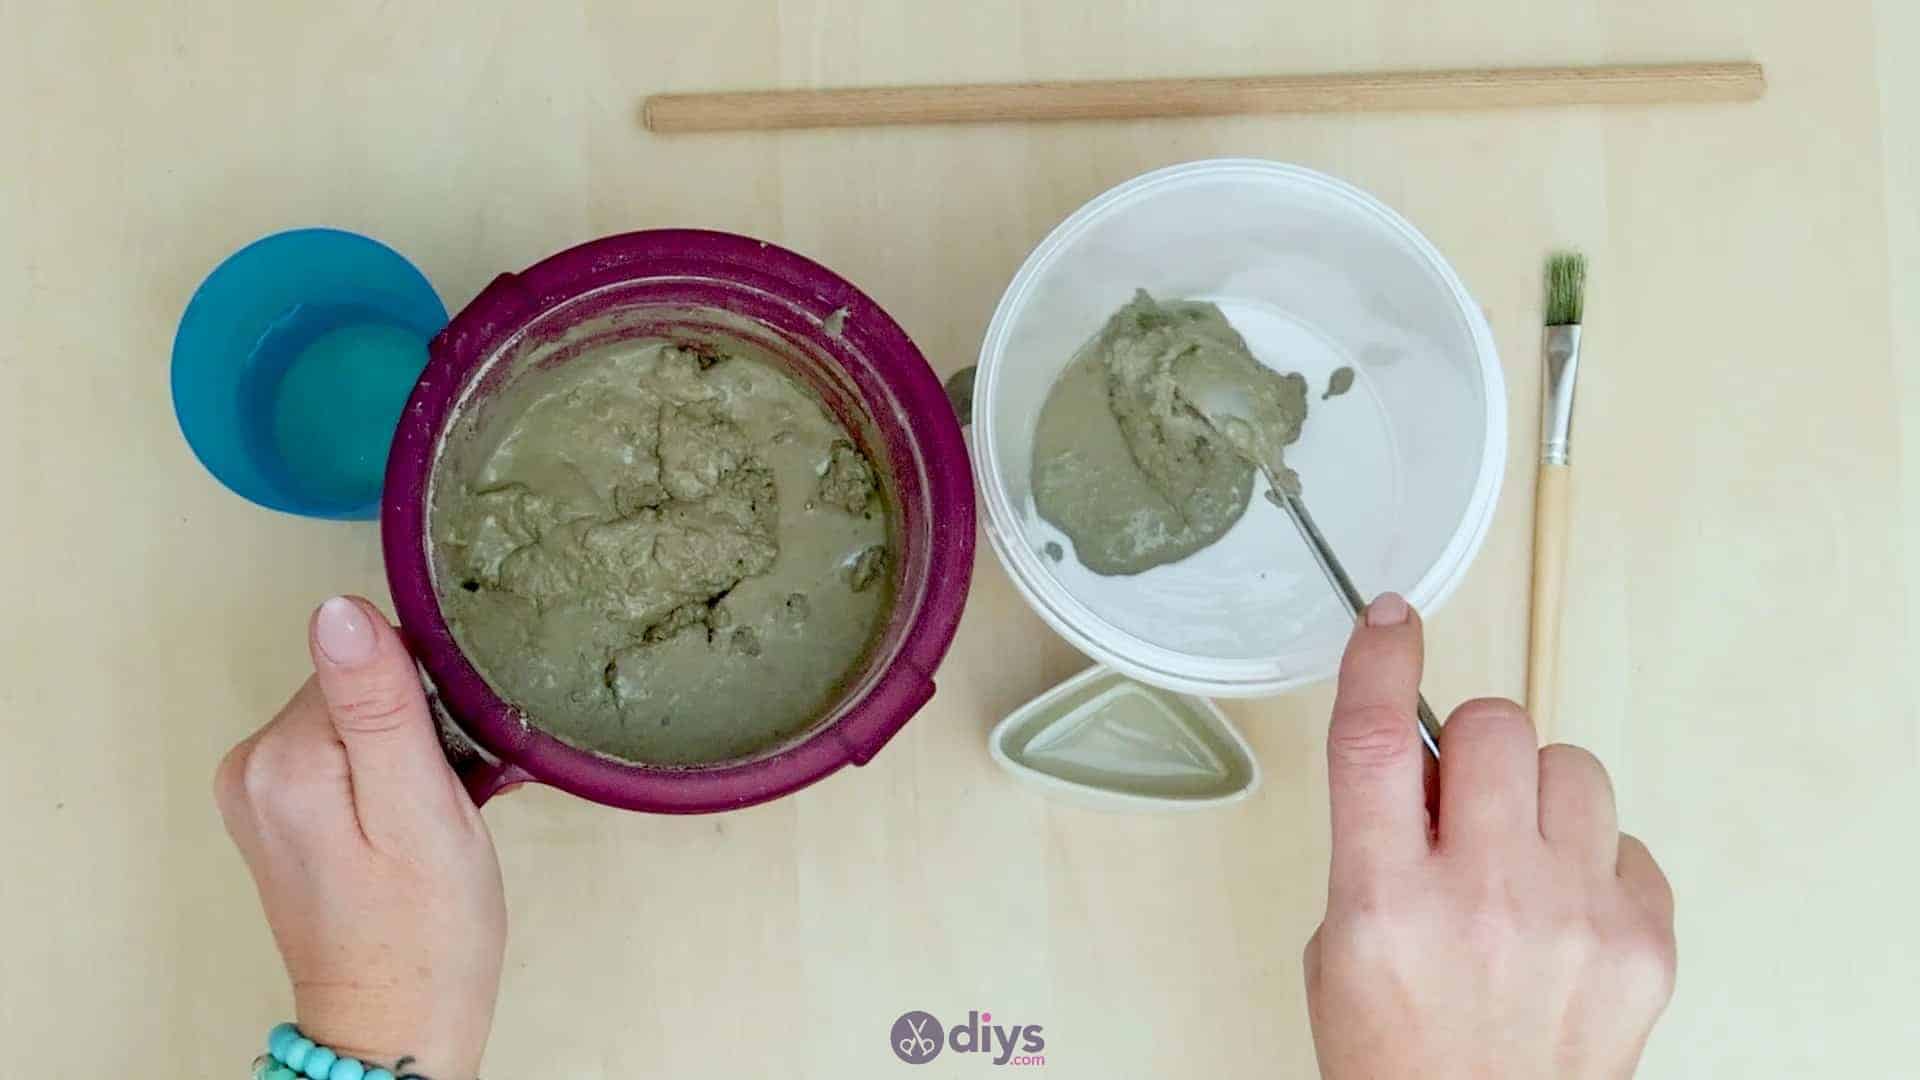
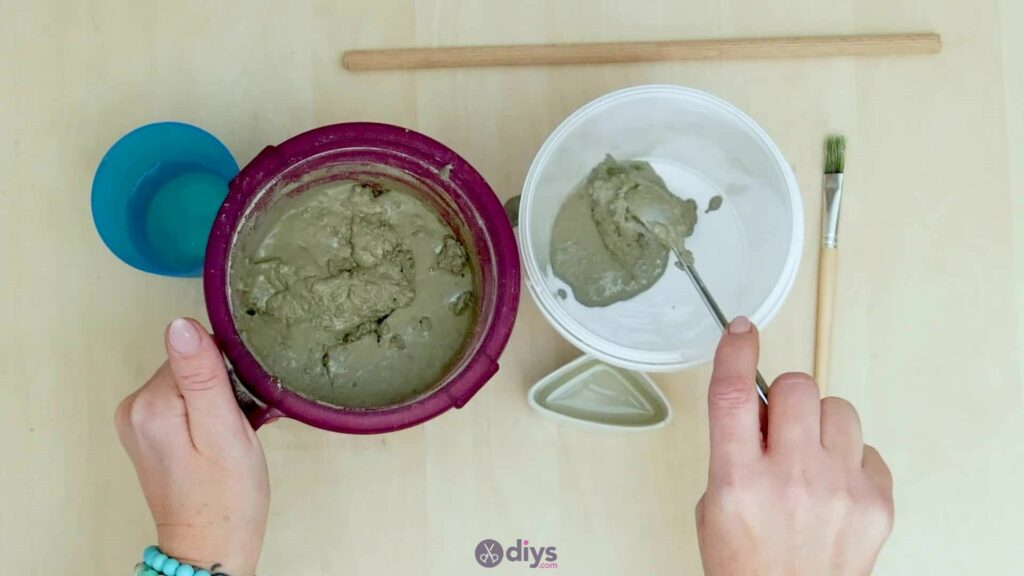
Step 2: mix the concrete
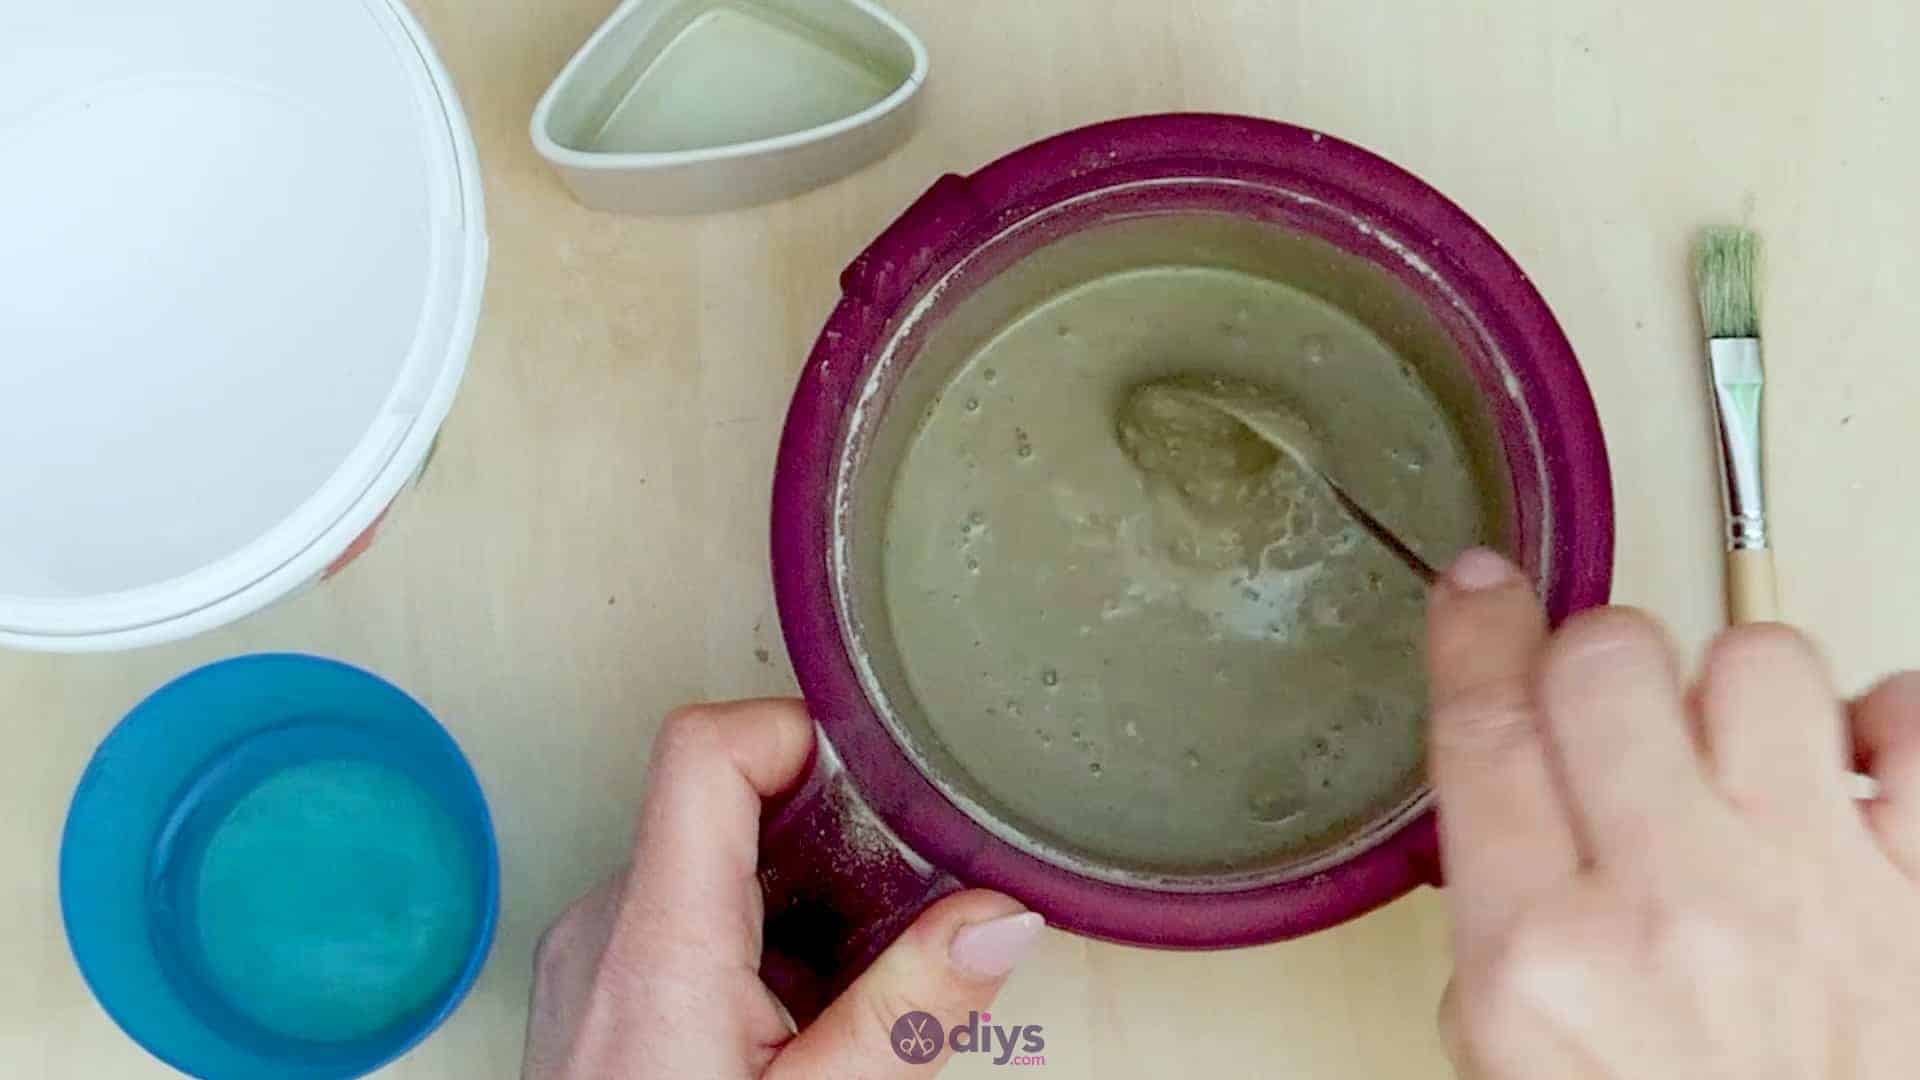
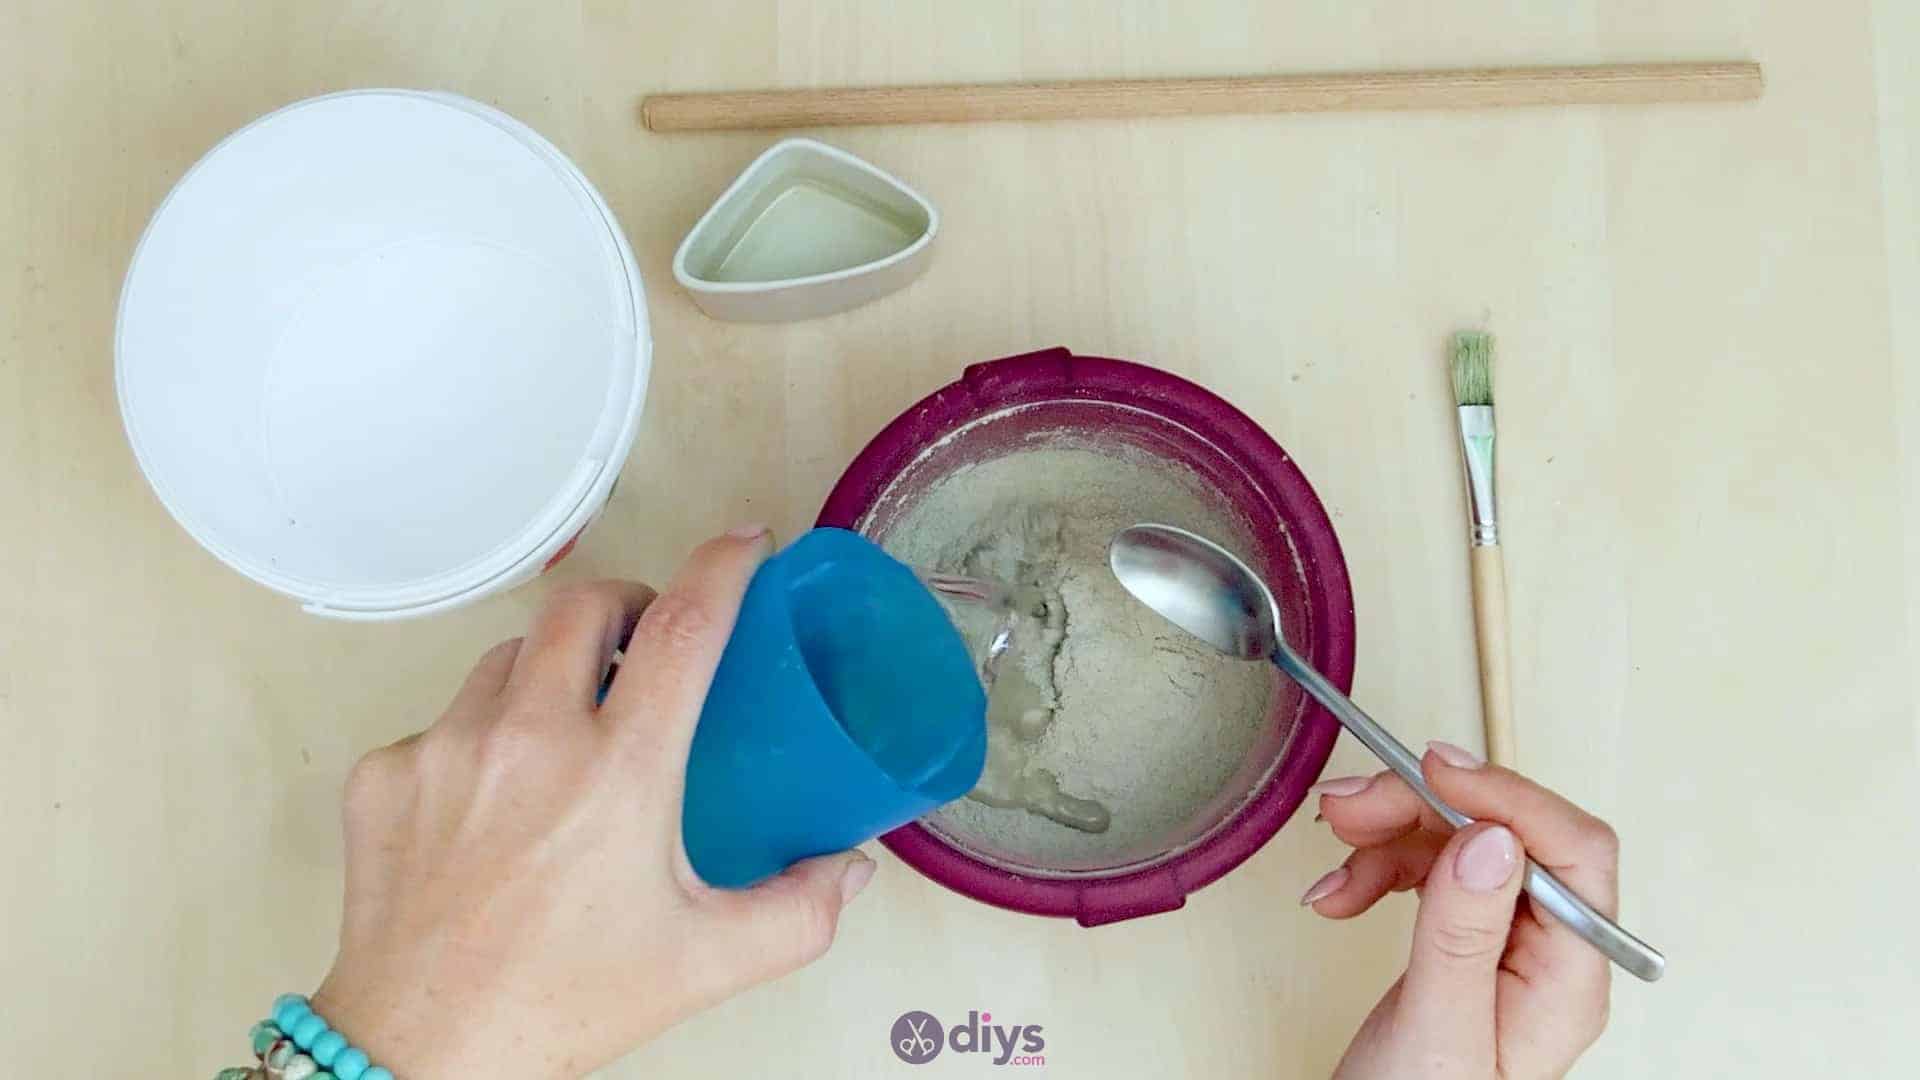
In a plastic container that you don’t mind using for crafting in, combine your DIY fine particle cement mix and your water. Use your spoon to stir the two together until the mixture is clump free and you’ve got the right texture and consistency. Be sure to read the instructions on your mix’s packaging to get the perfect ratio of powdered mix to water for that particular brand; it can vary between kinds. Set the wet cement mix aside for a moment. You don’t have to worry about it starting to harden while you do the next step because it actually doesn’t dry that quickly.


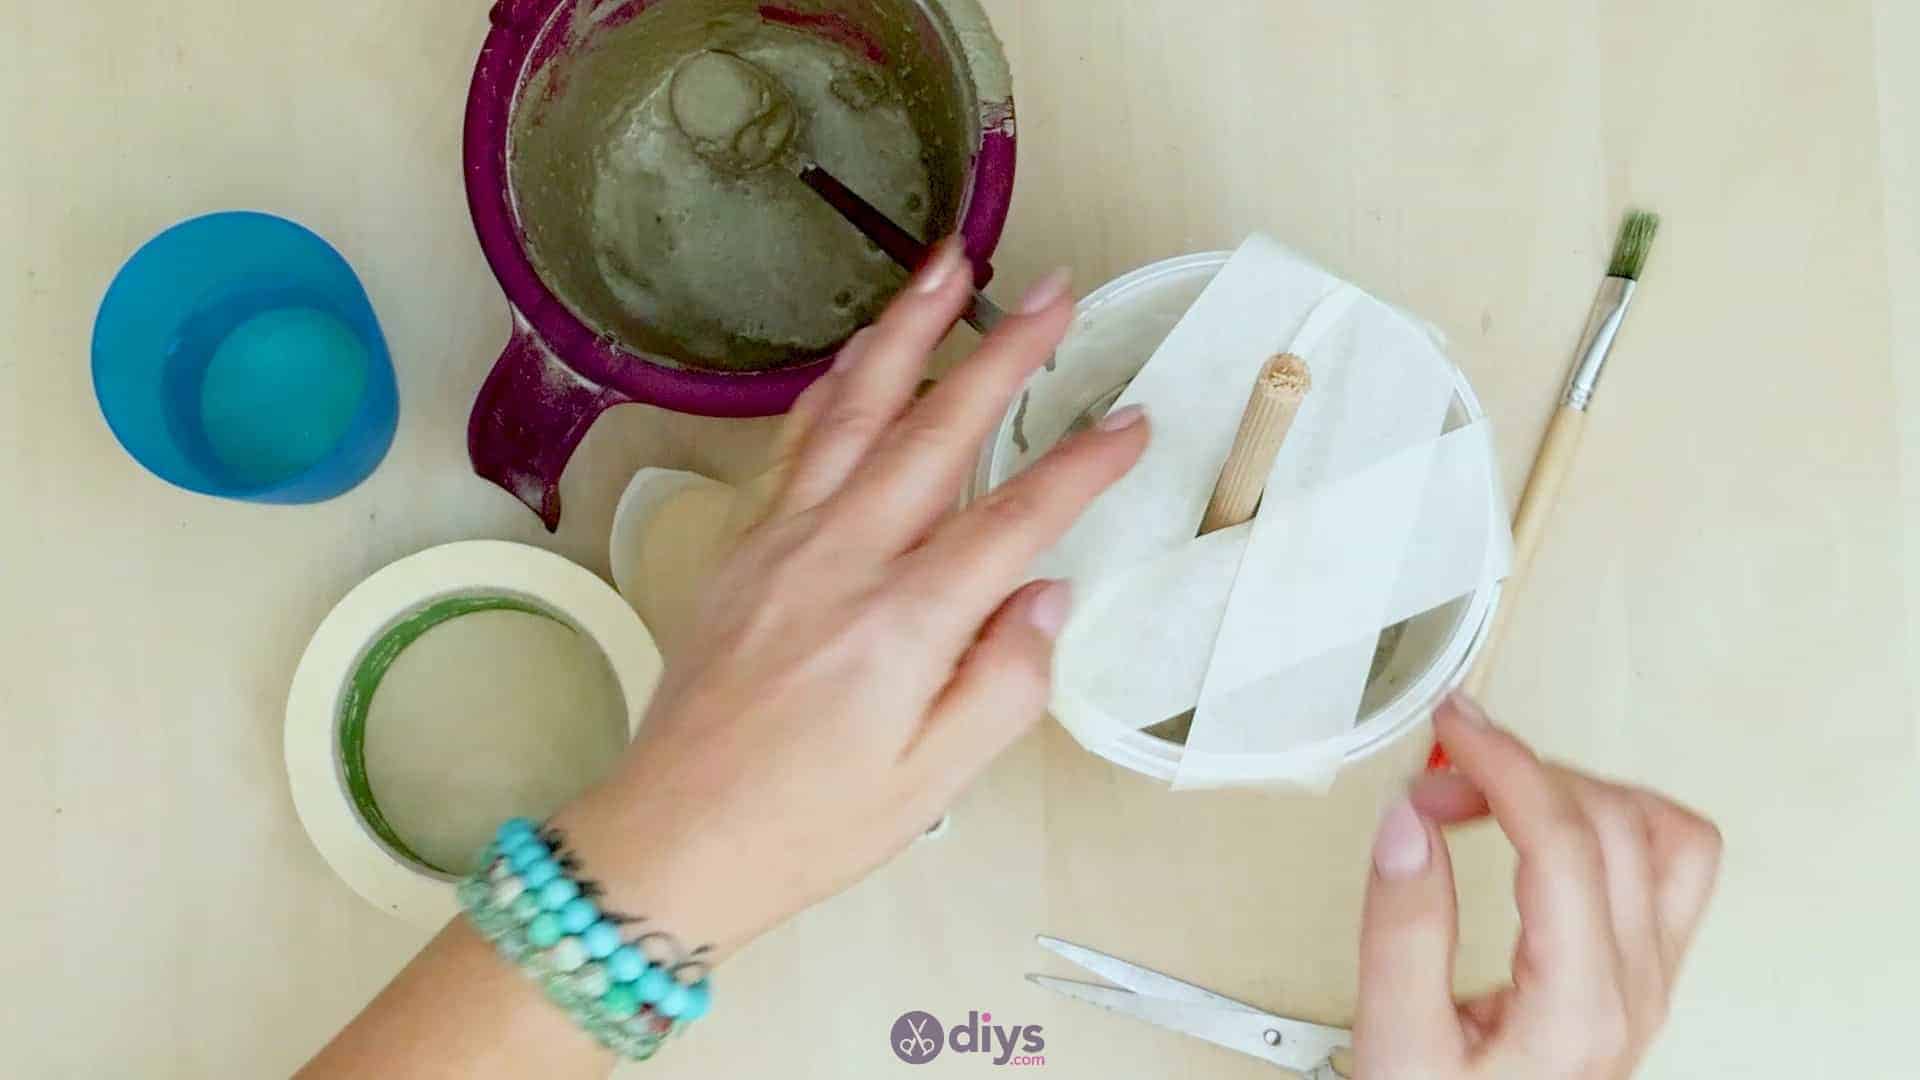
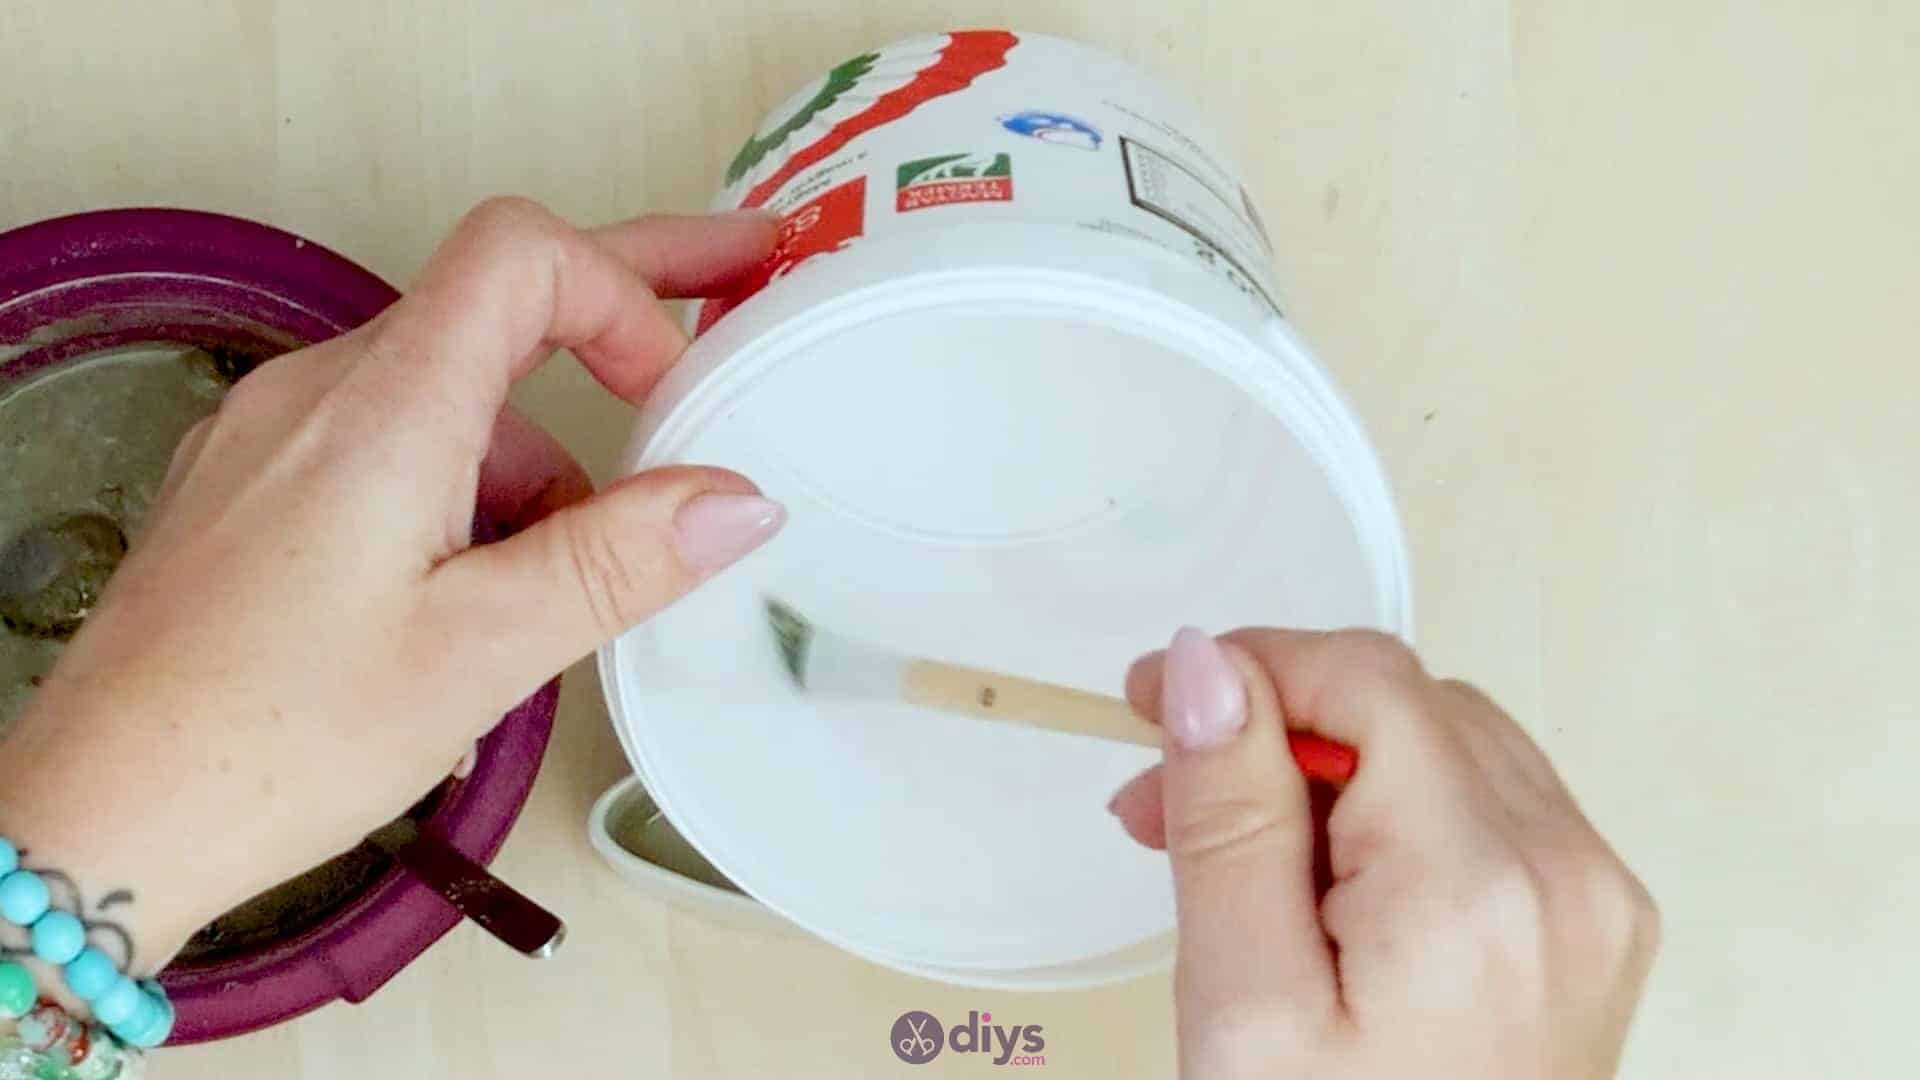
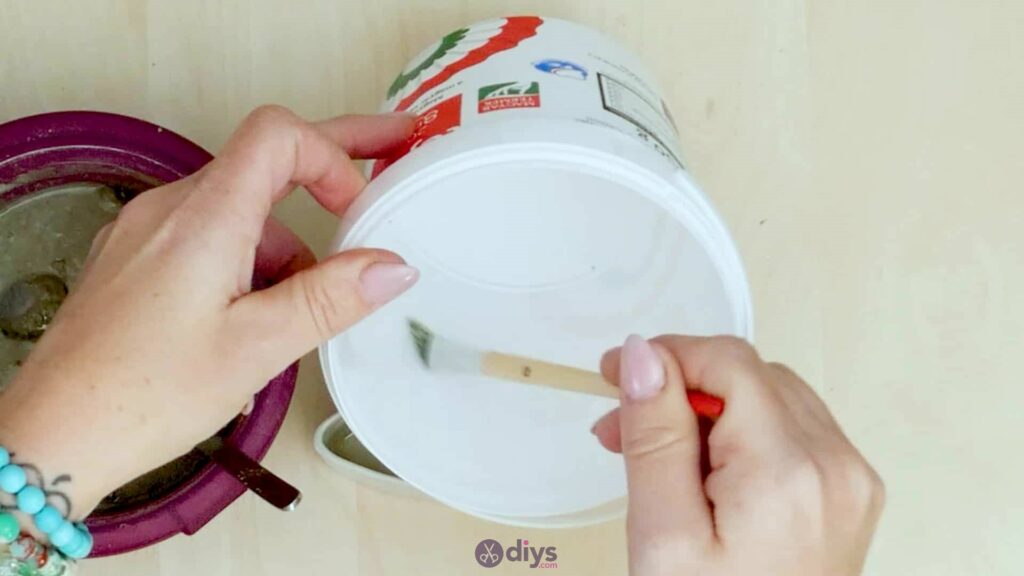
Step 2: oil the mould
Use a paintbrush to coat the inside of your mould- I used a cleaned out yogurt container- entirely with oil. Any kind of cooking oil, like vegetable, canola, or olive oil will do. Make sure that you cover all the way across the entire bottom of the bucket as well as up both sides all the way around. You’ll only fill the bucket a few inches from the bottom, but you want to make sure your oil goes higher than that to guarantee that the edges of your holder’s concrete base don’t stick to the plastic as it dries. The oil will help stop this all around your shape, making it easier to remove later.

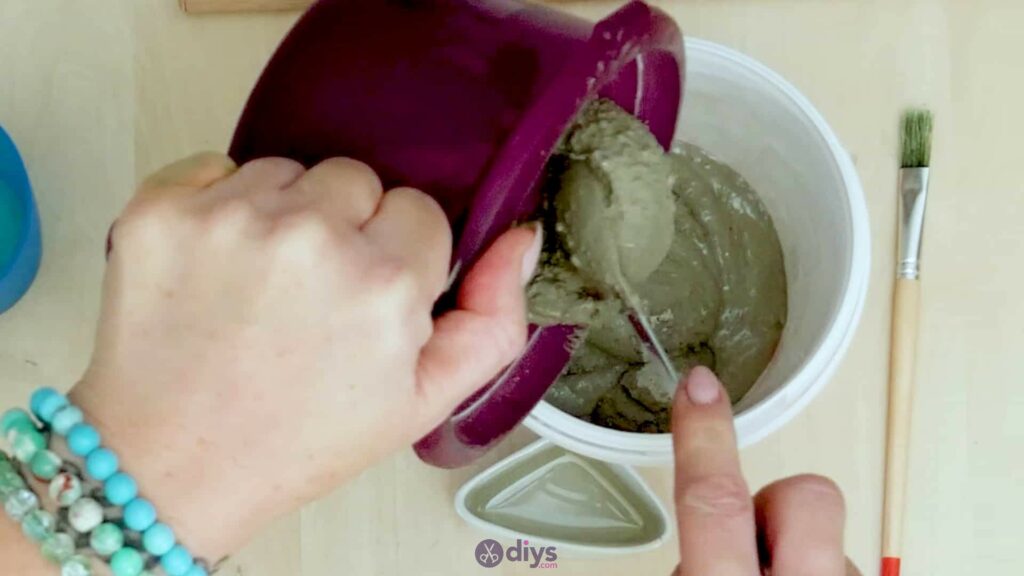
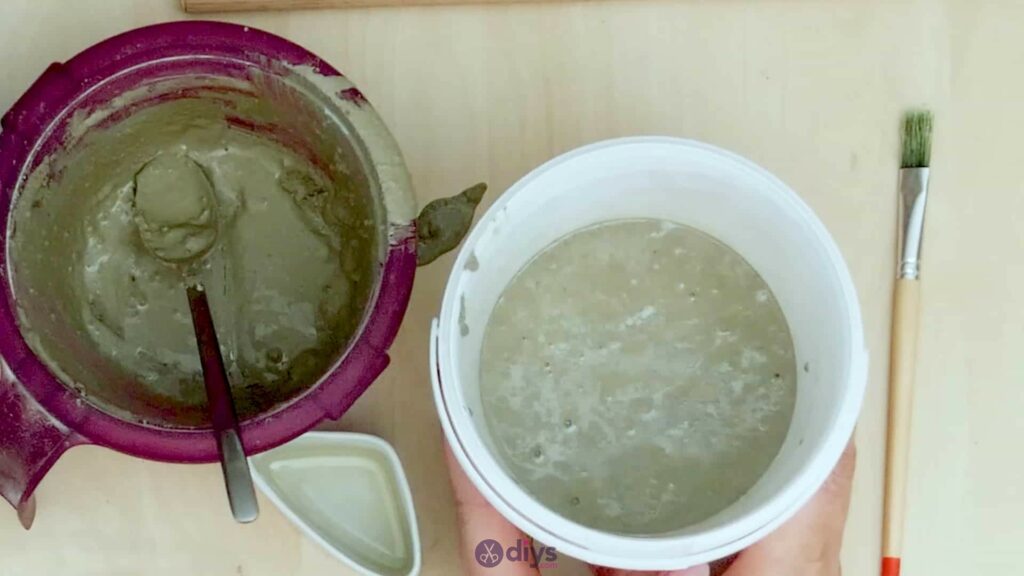
Step 3: fill the bucket
Use your spoon to fill your bucket or cup with wet cement mix! You won’t fill it all the way to the top, as your base only needs to be about two inches high (although youcould fill it deeper to create a thicker, chunkier base if you preferred). Once you’re happy with how full your container is, use your spoon to smooth the surface or tap the sides of the container lightly to even the top out and get rid of air bubbles.

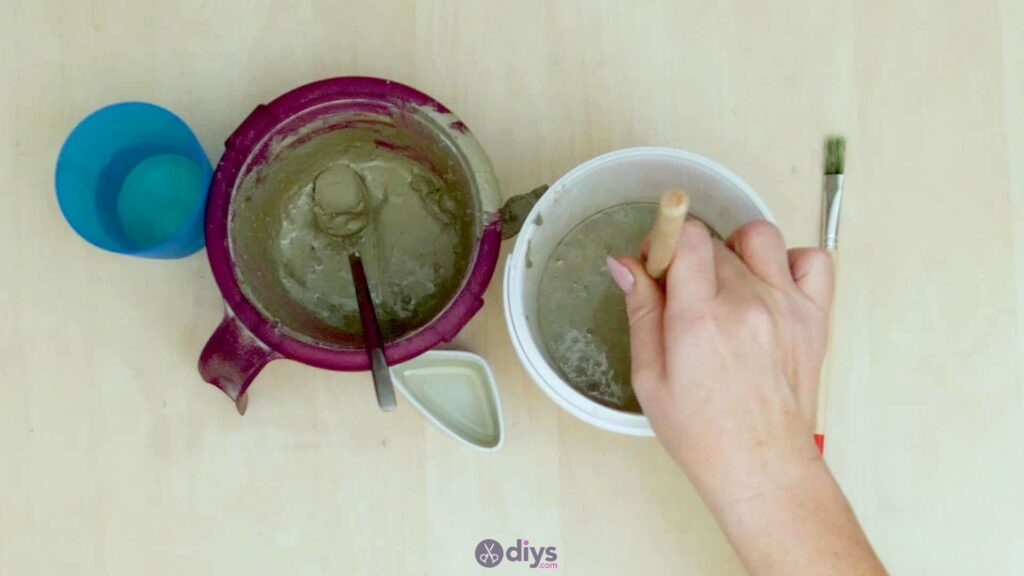
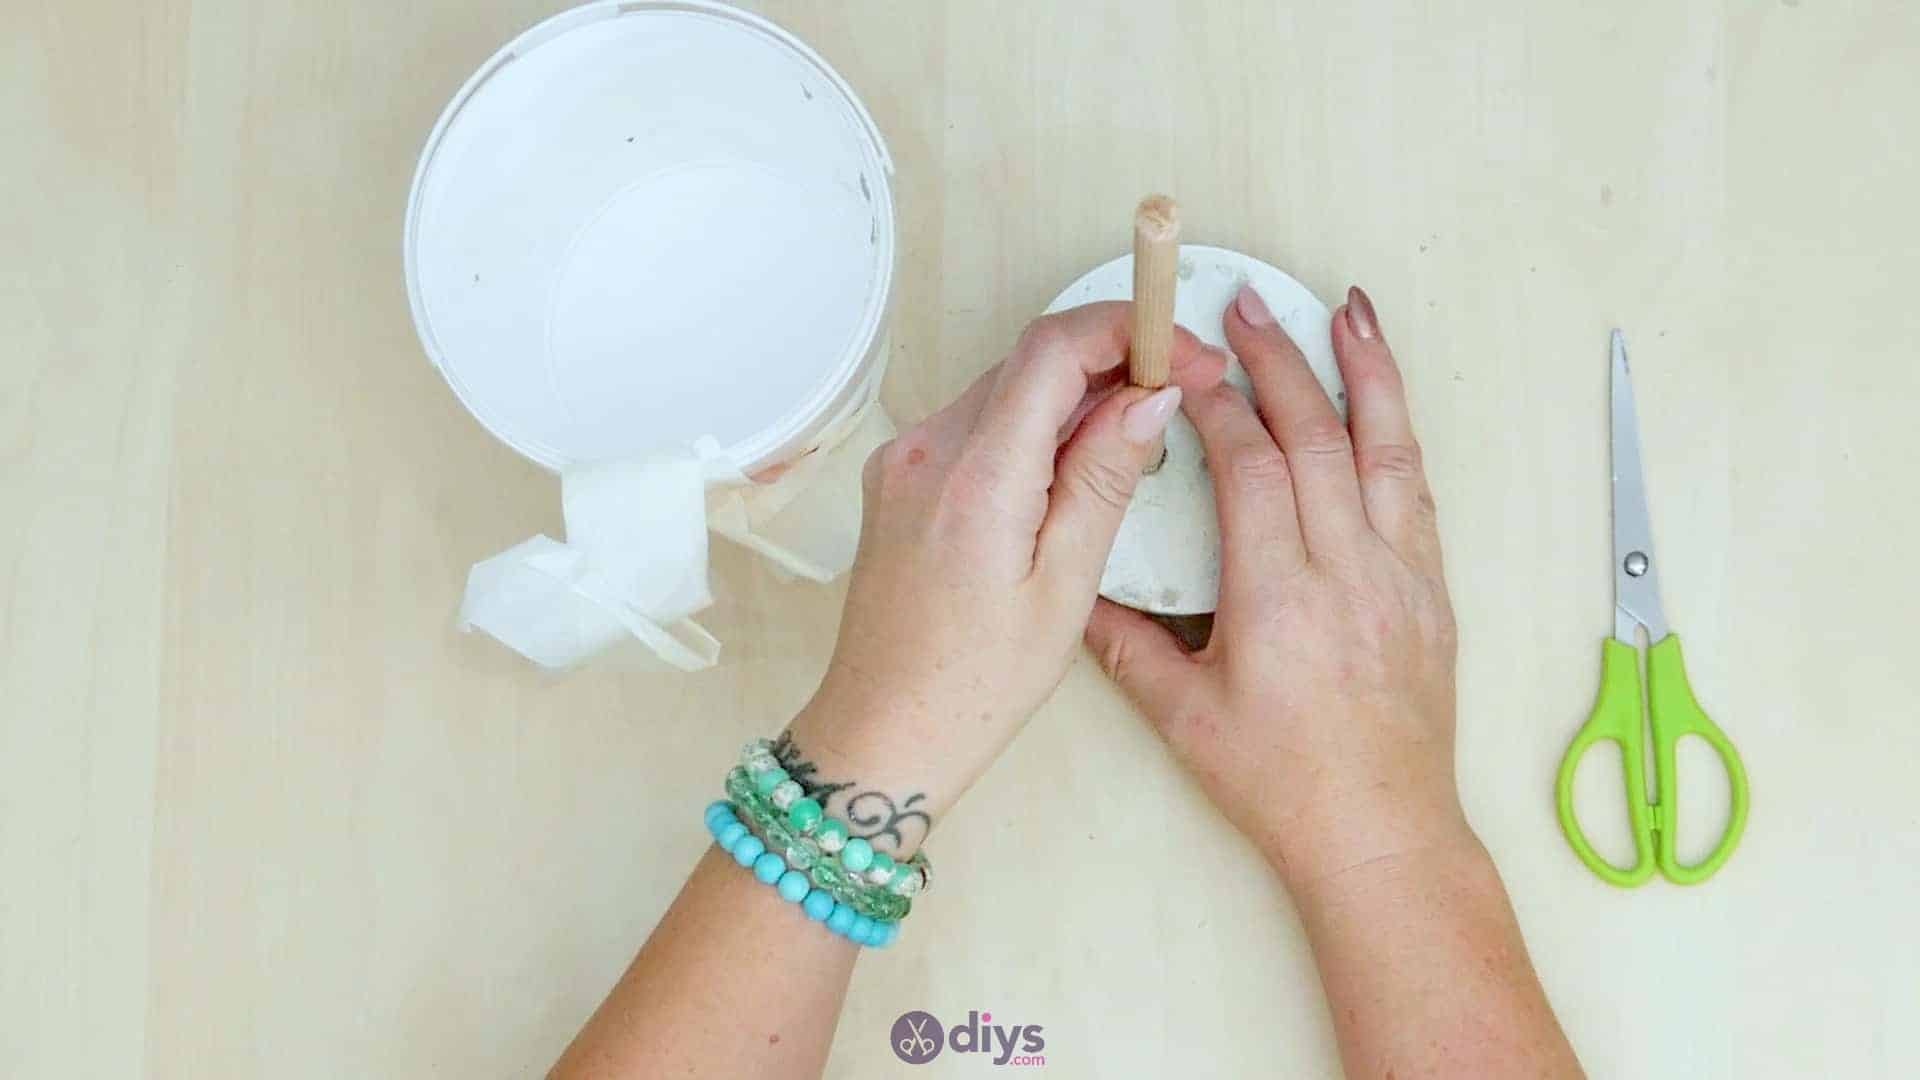
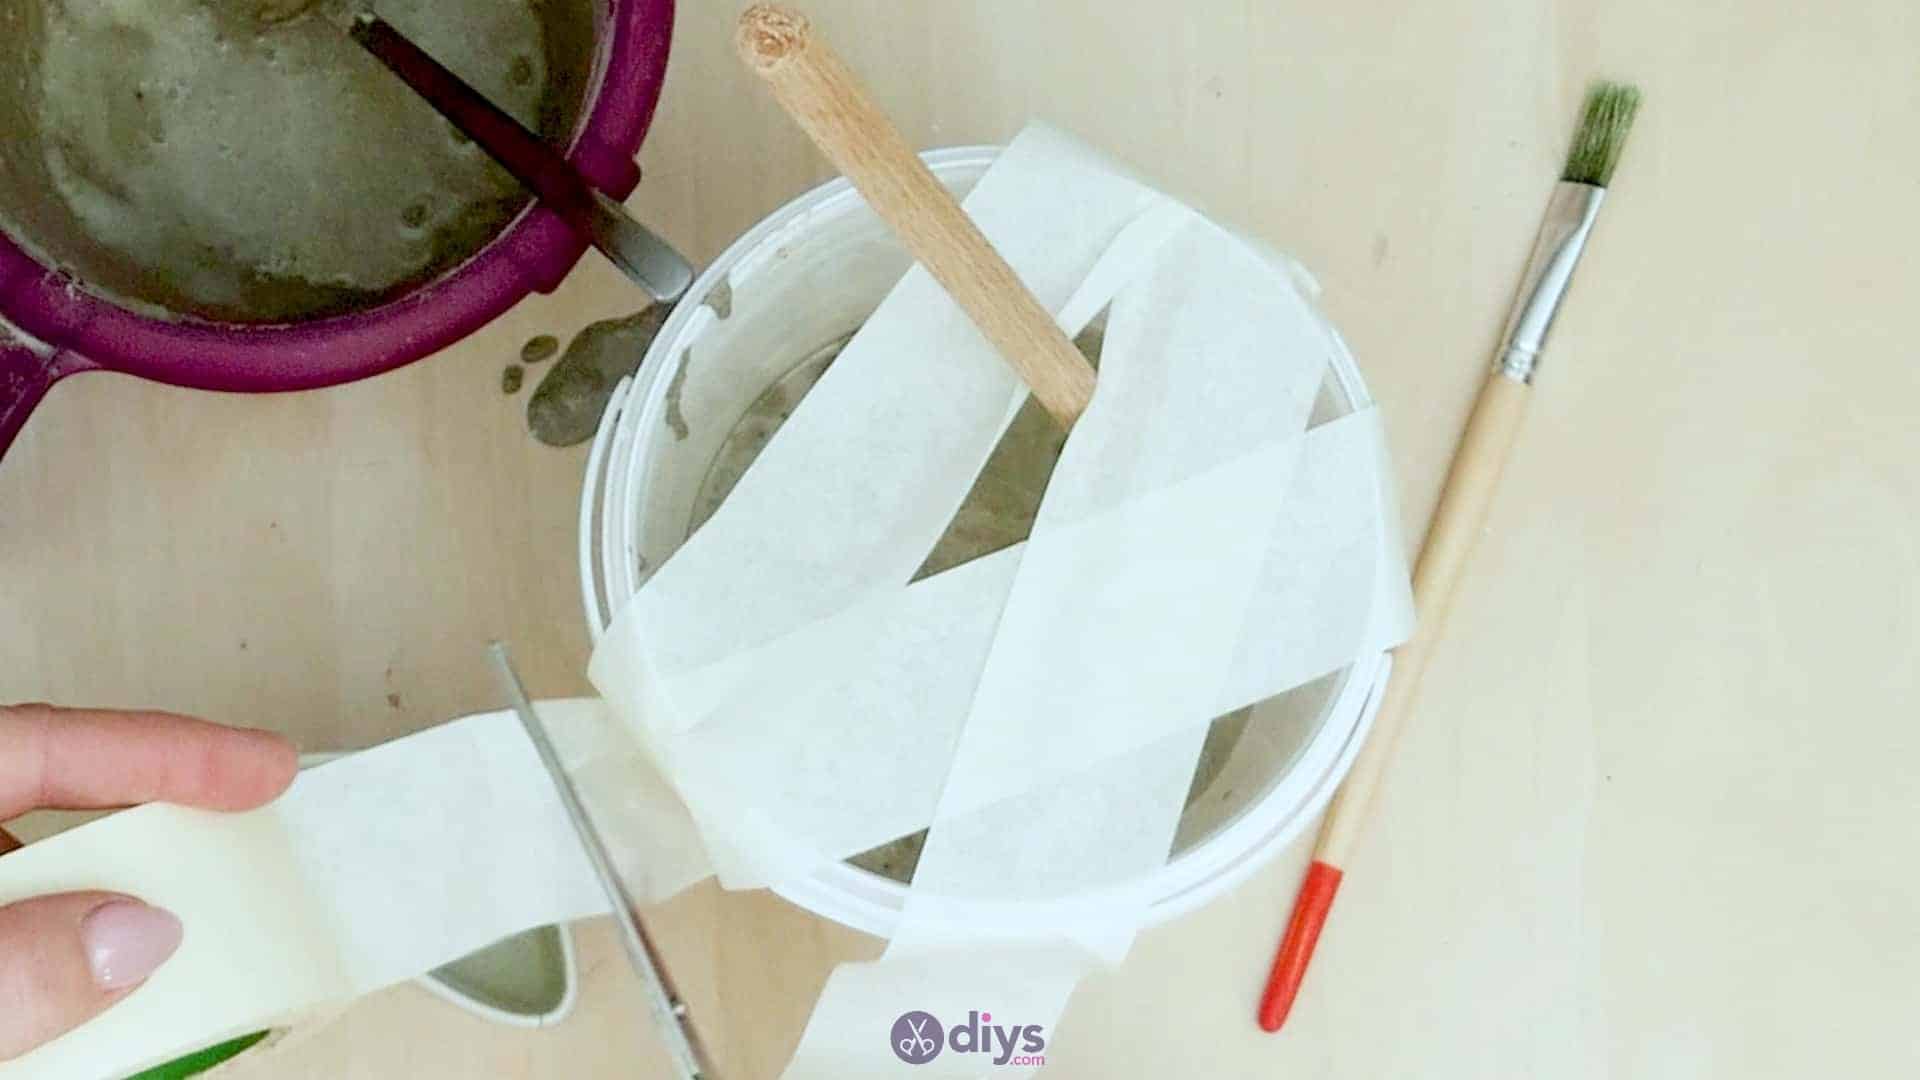
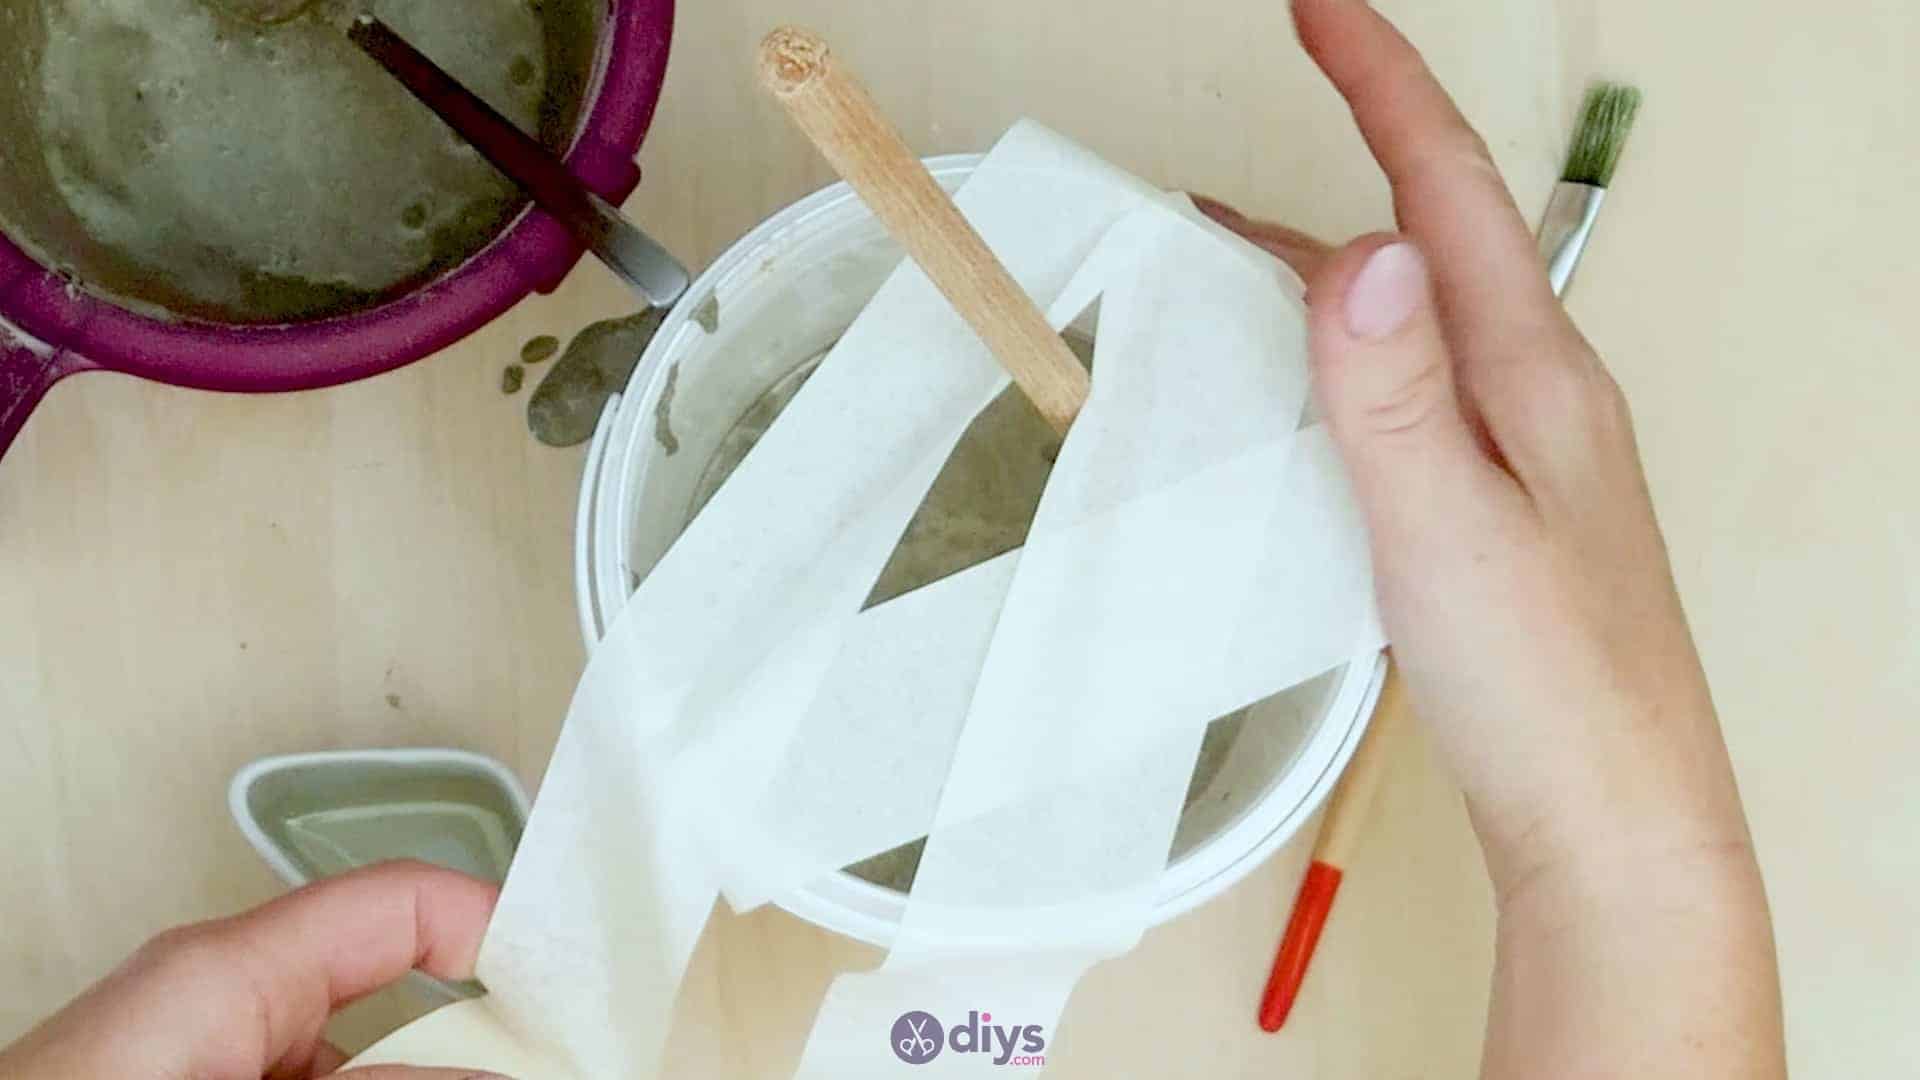
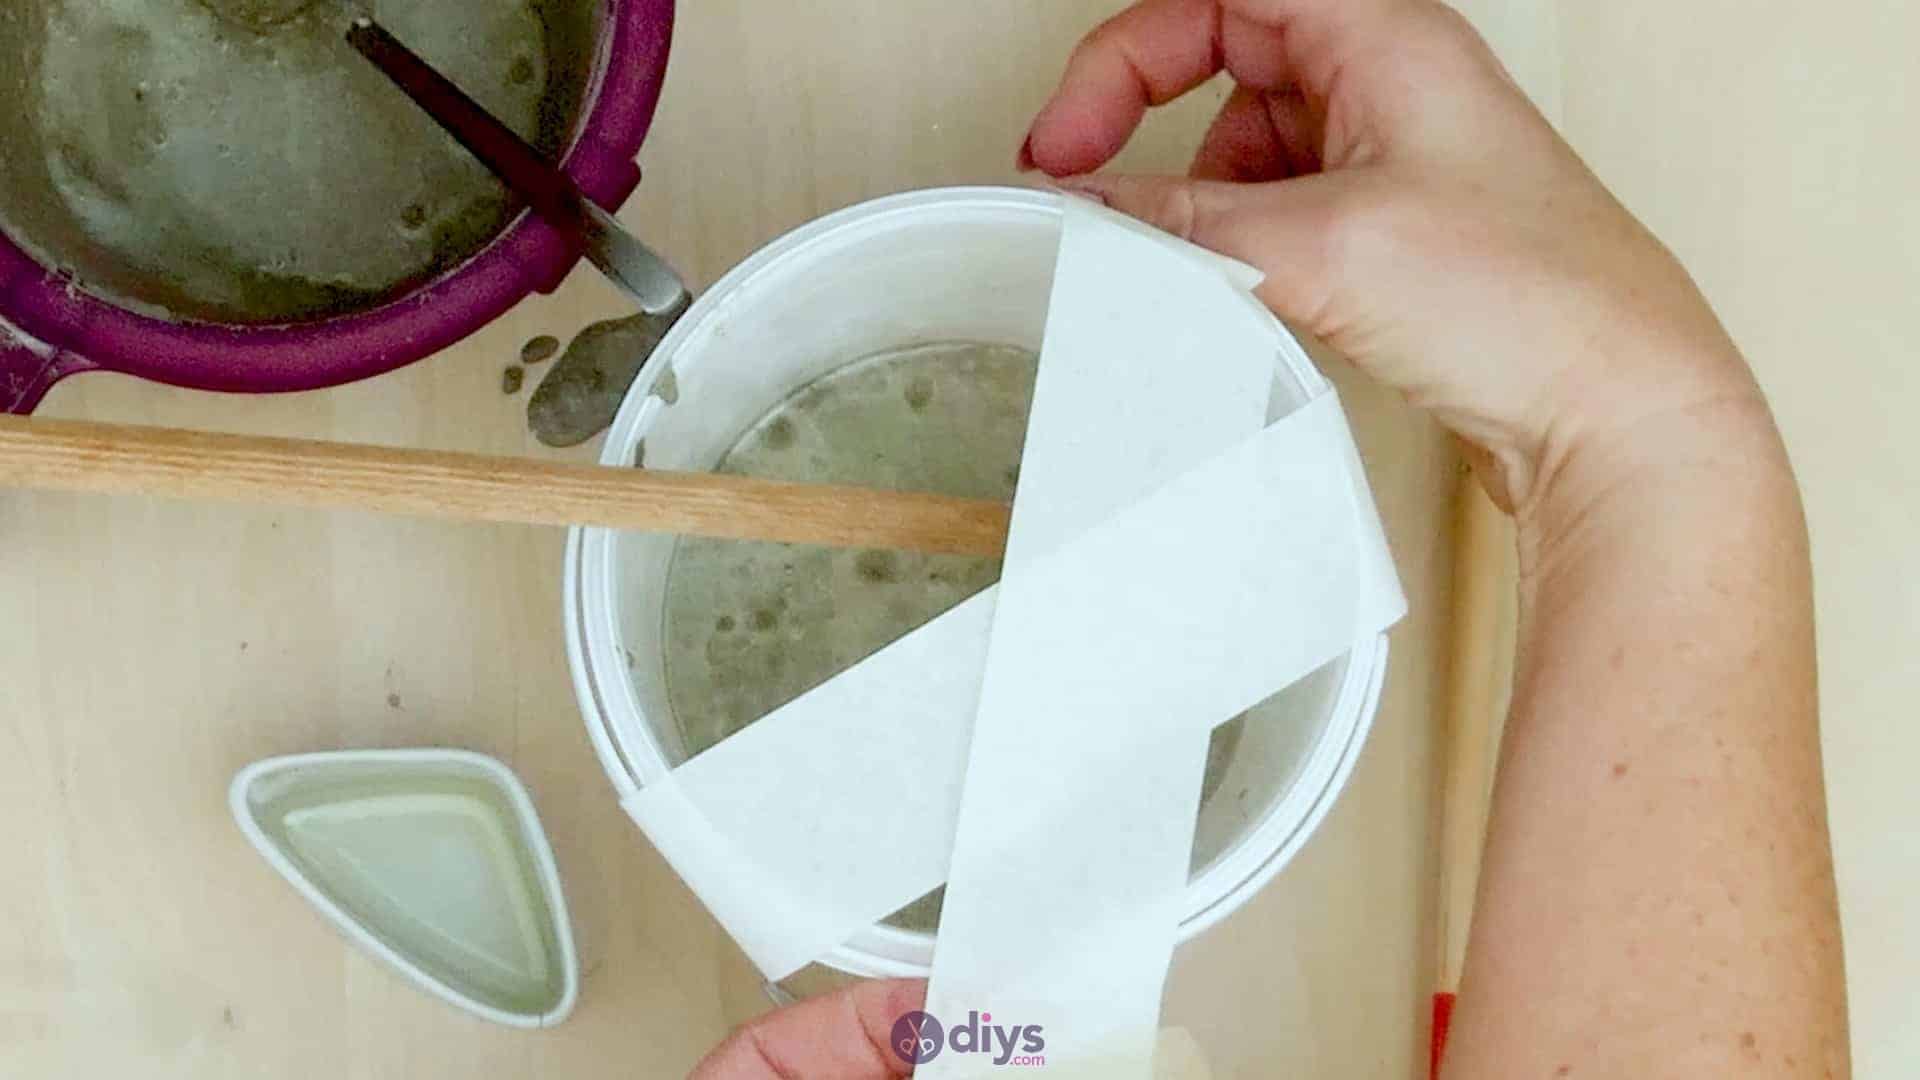
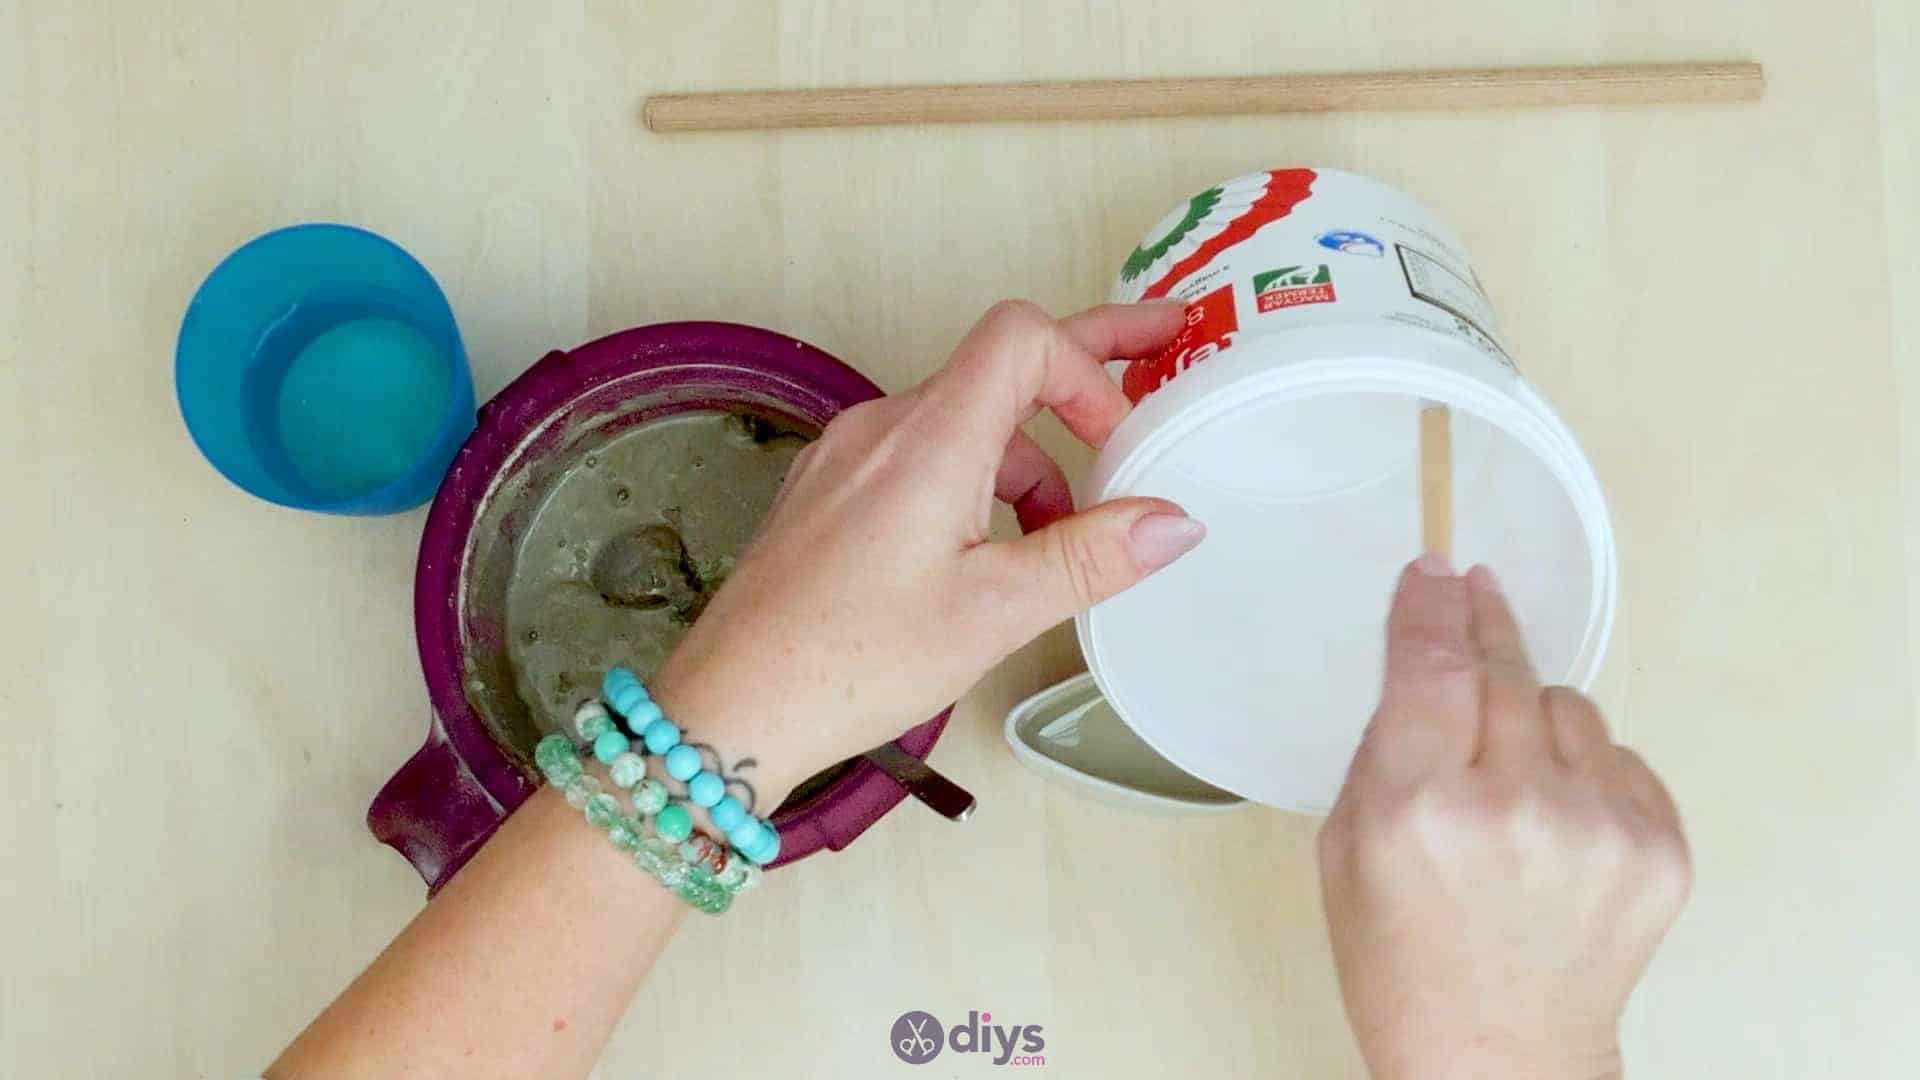
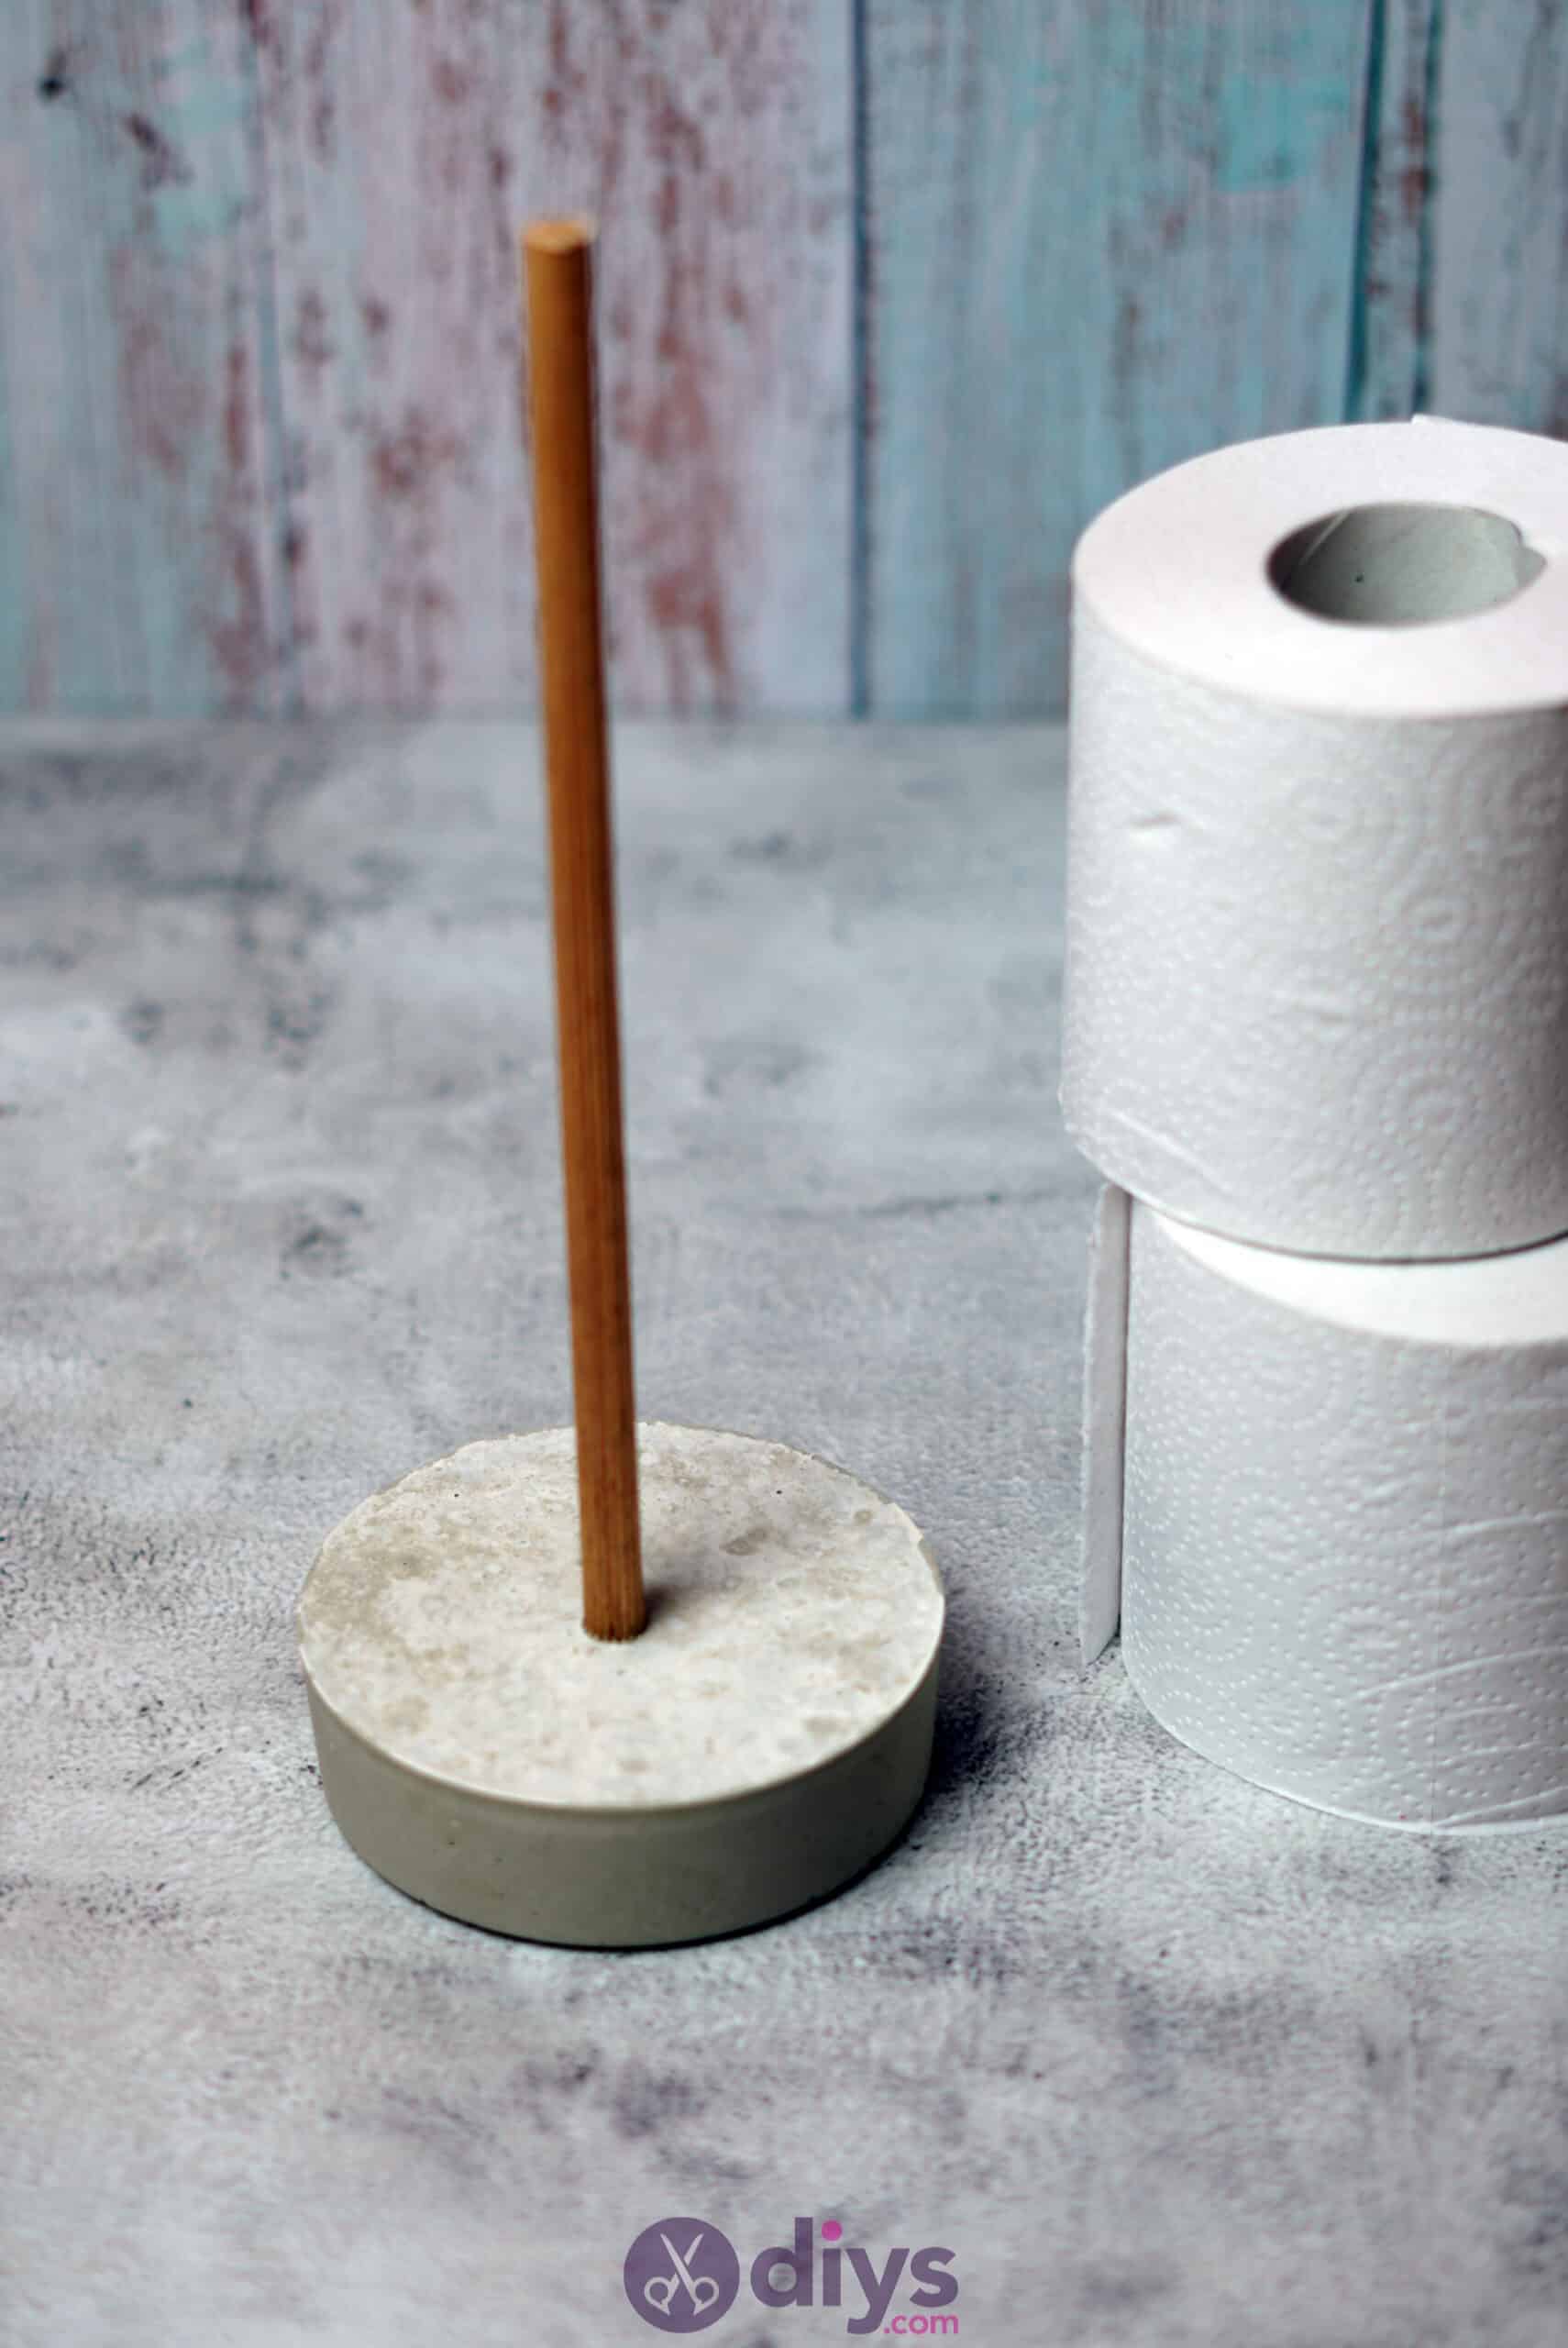
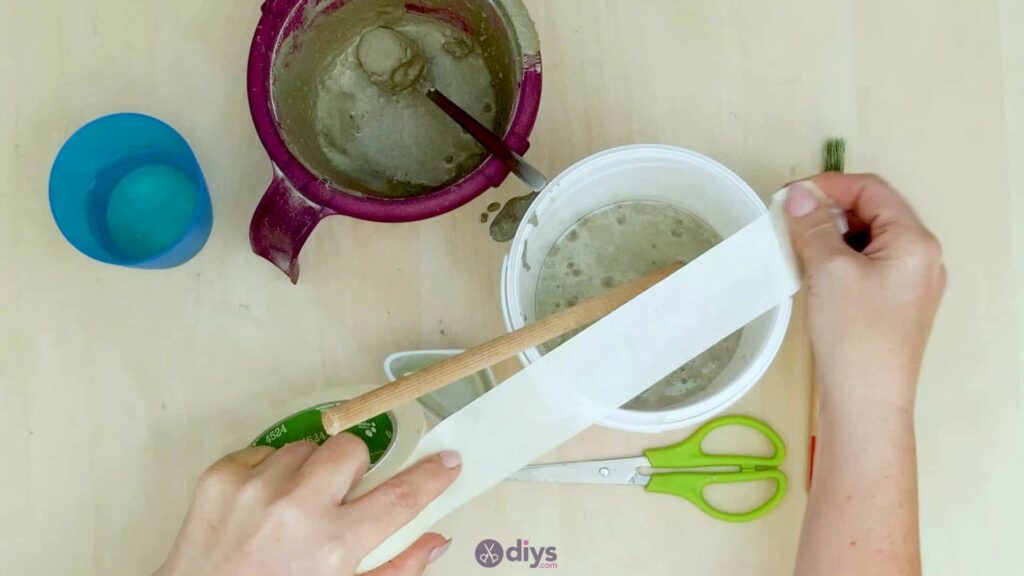
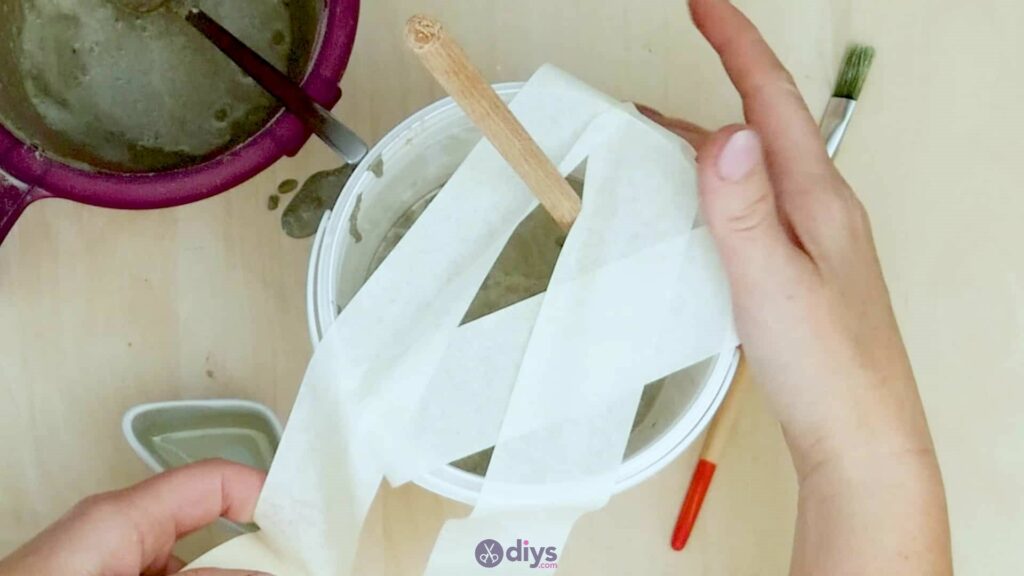
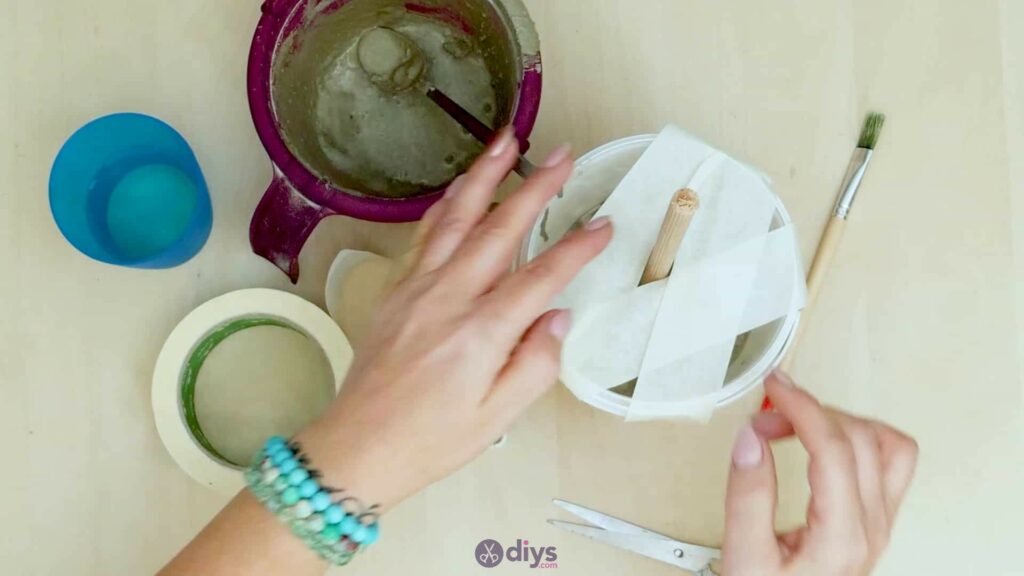
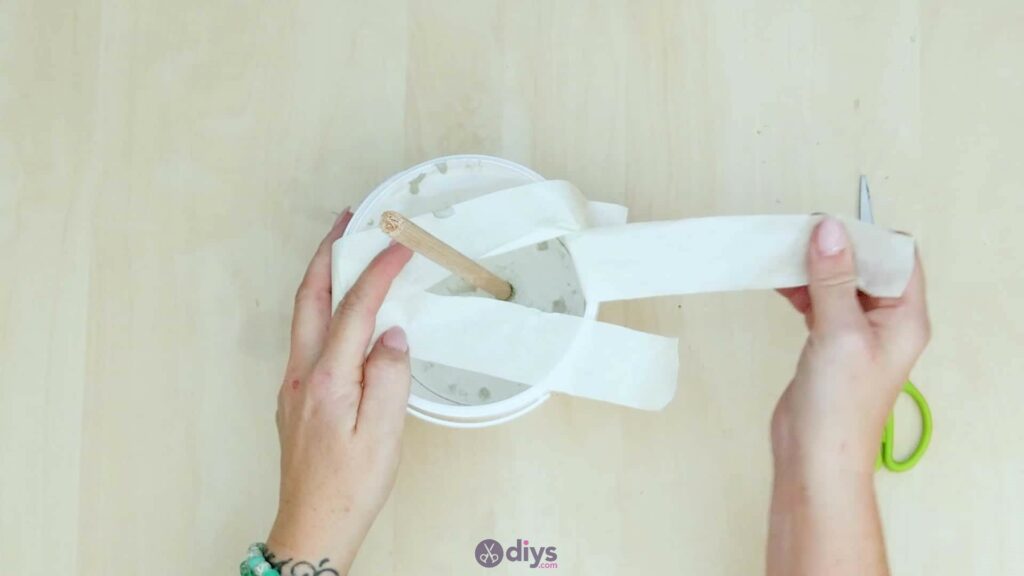
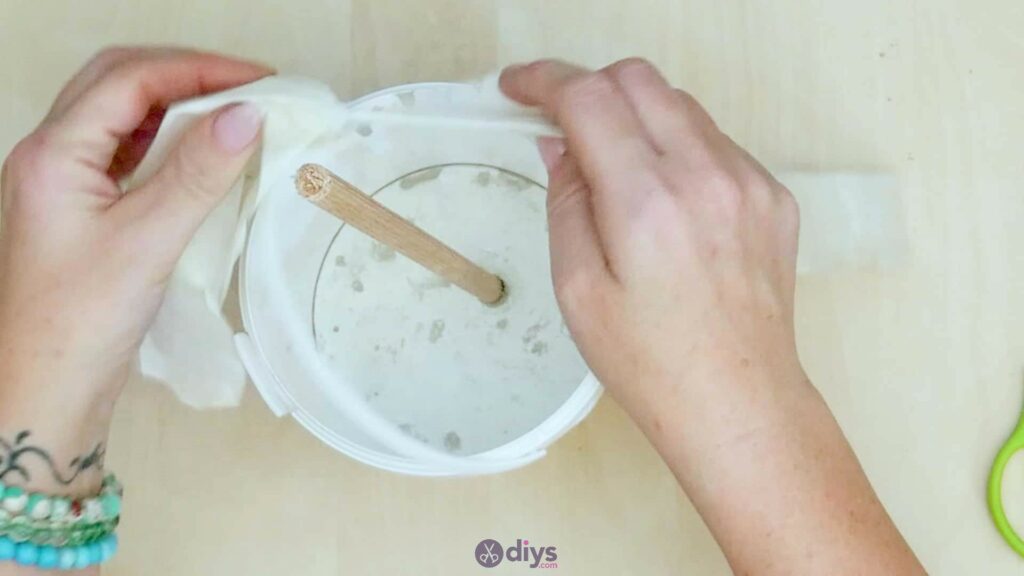
Step 4: place the dowel
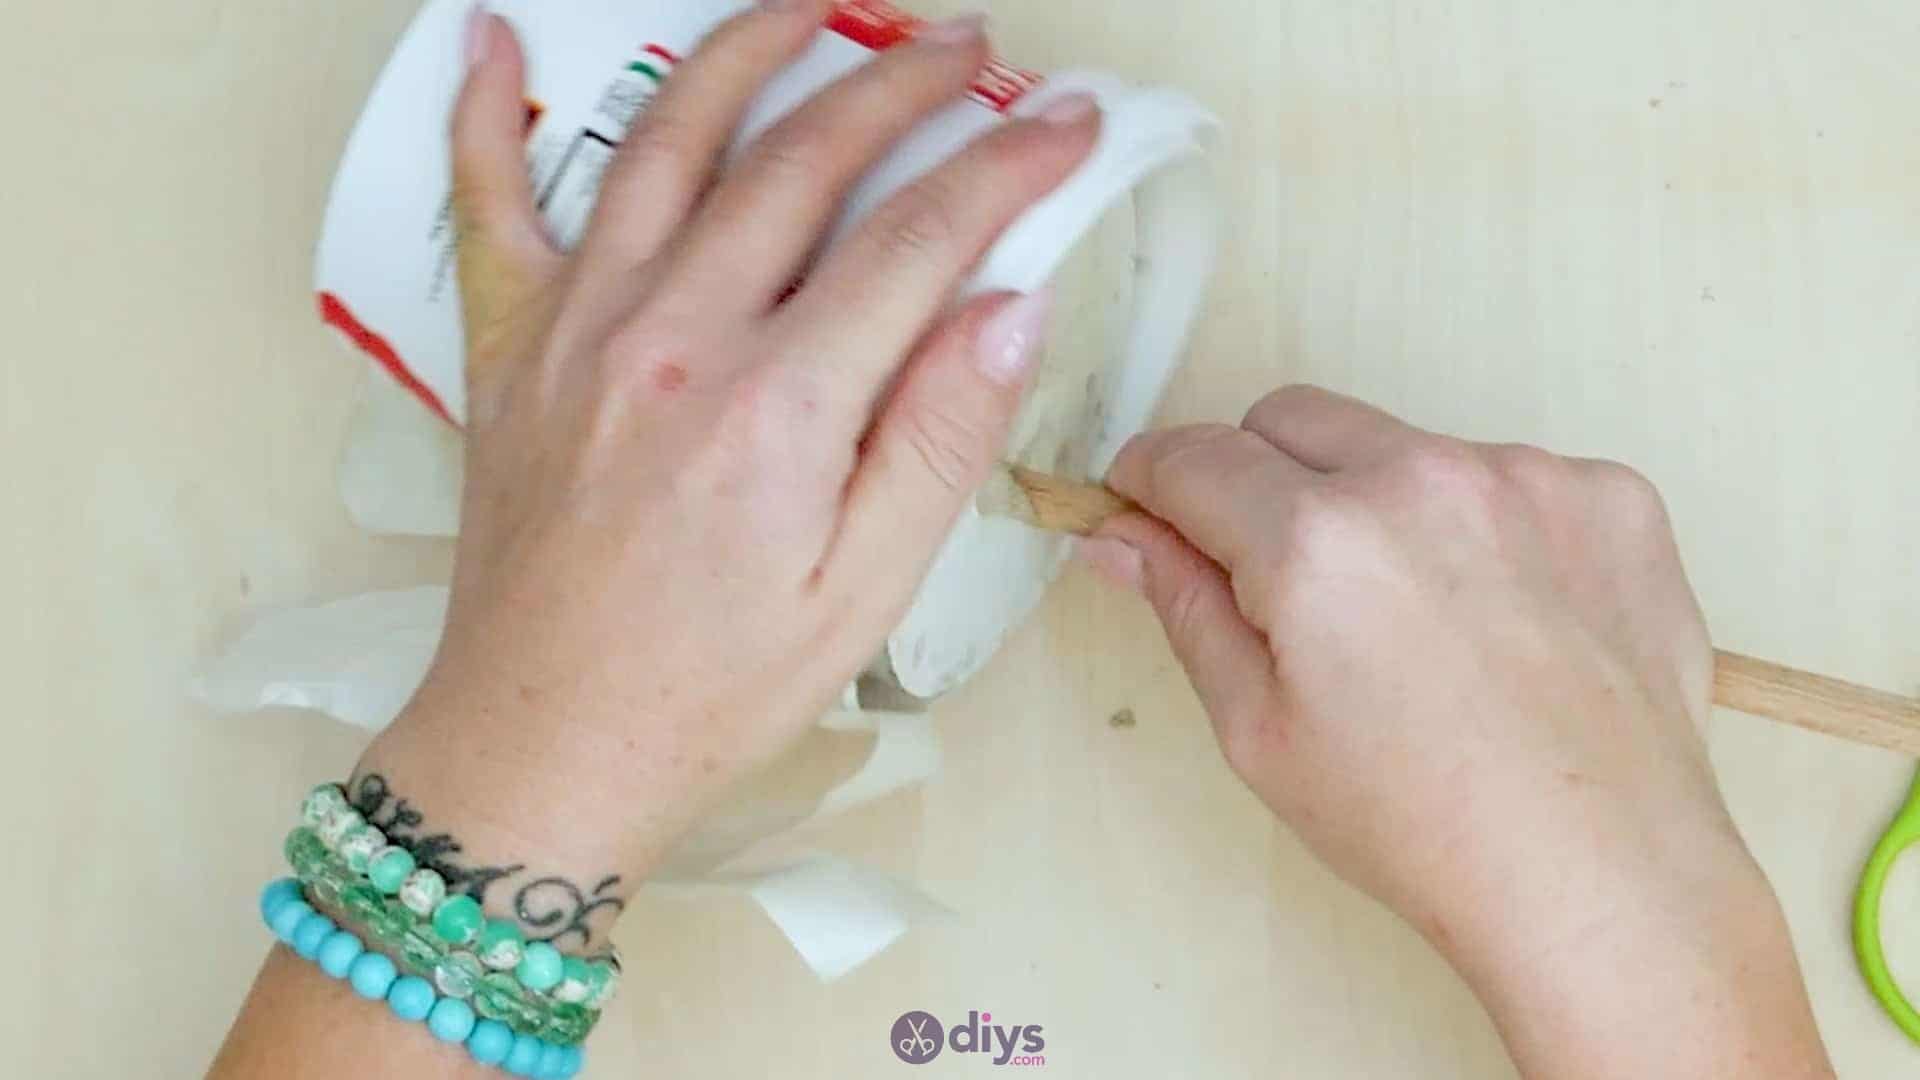
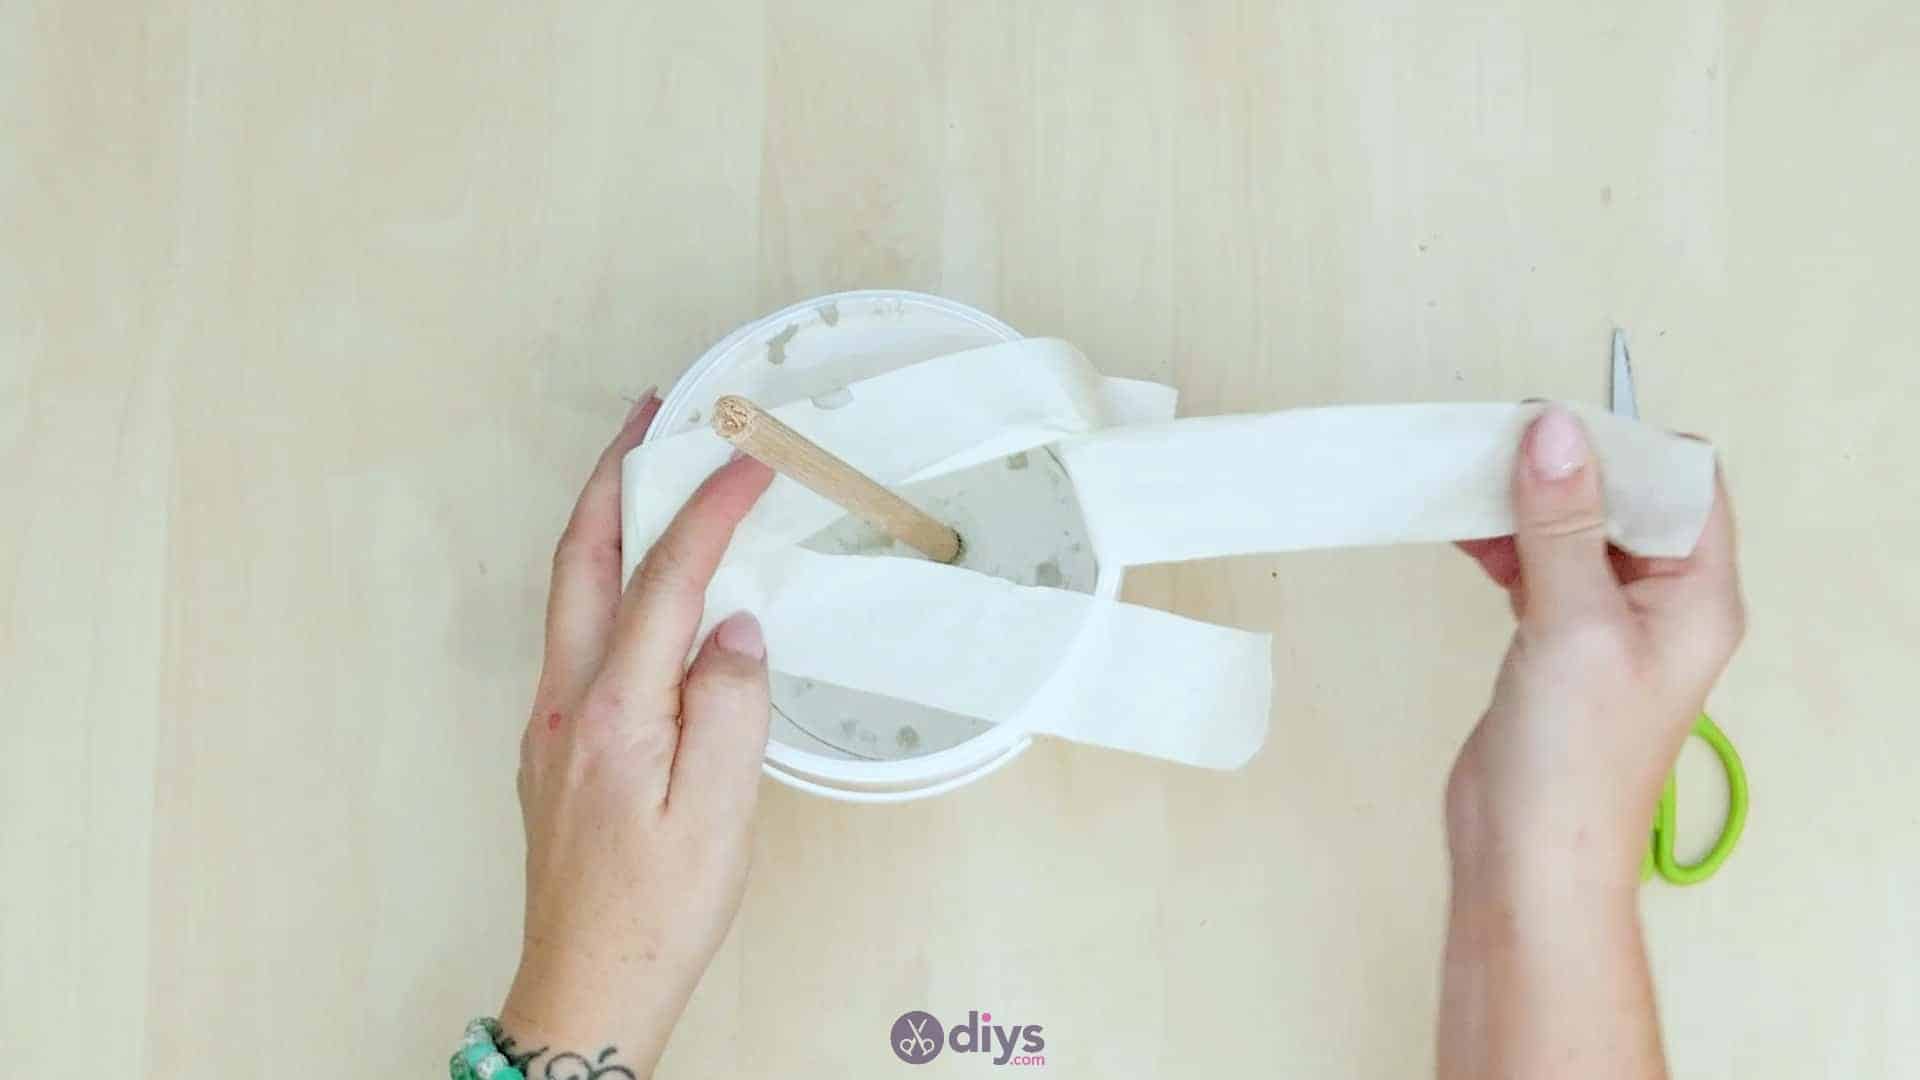
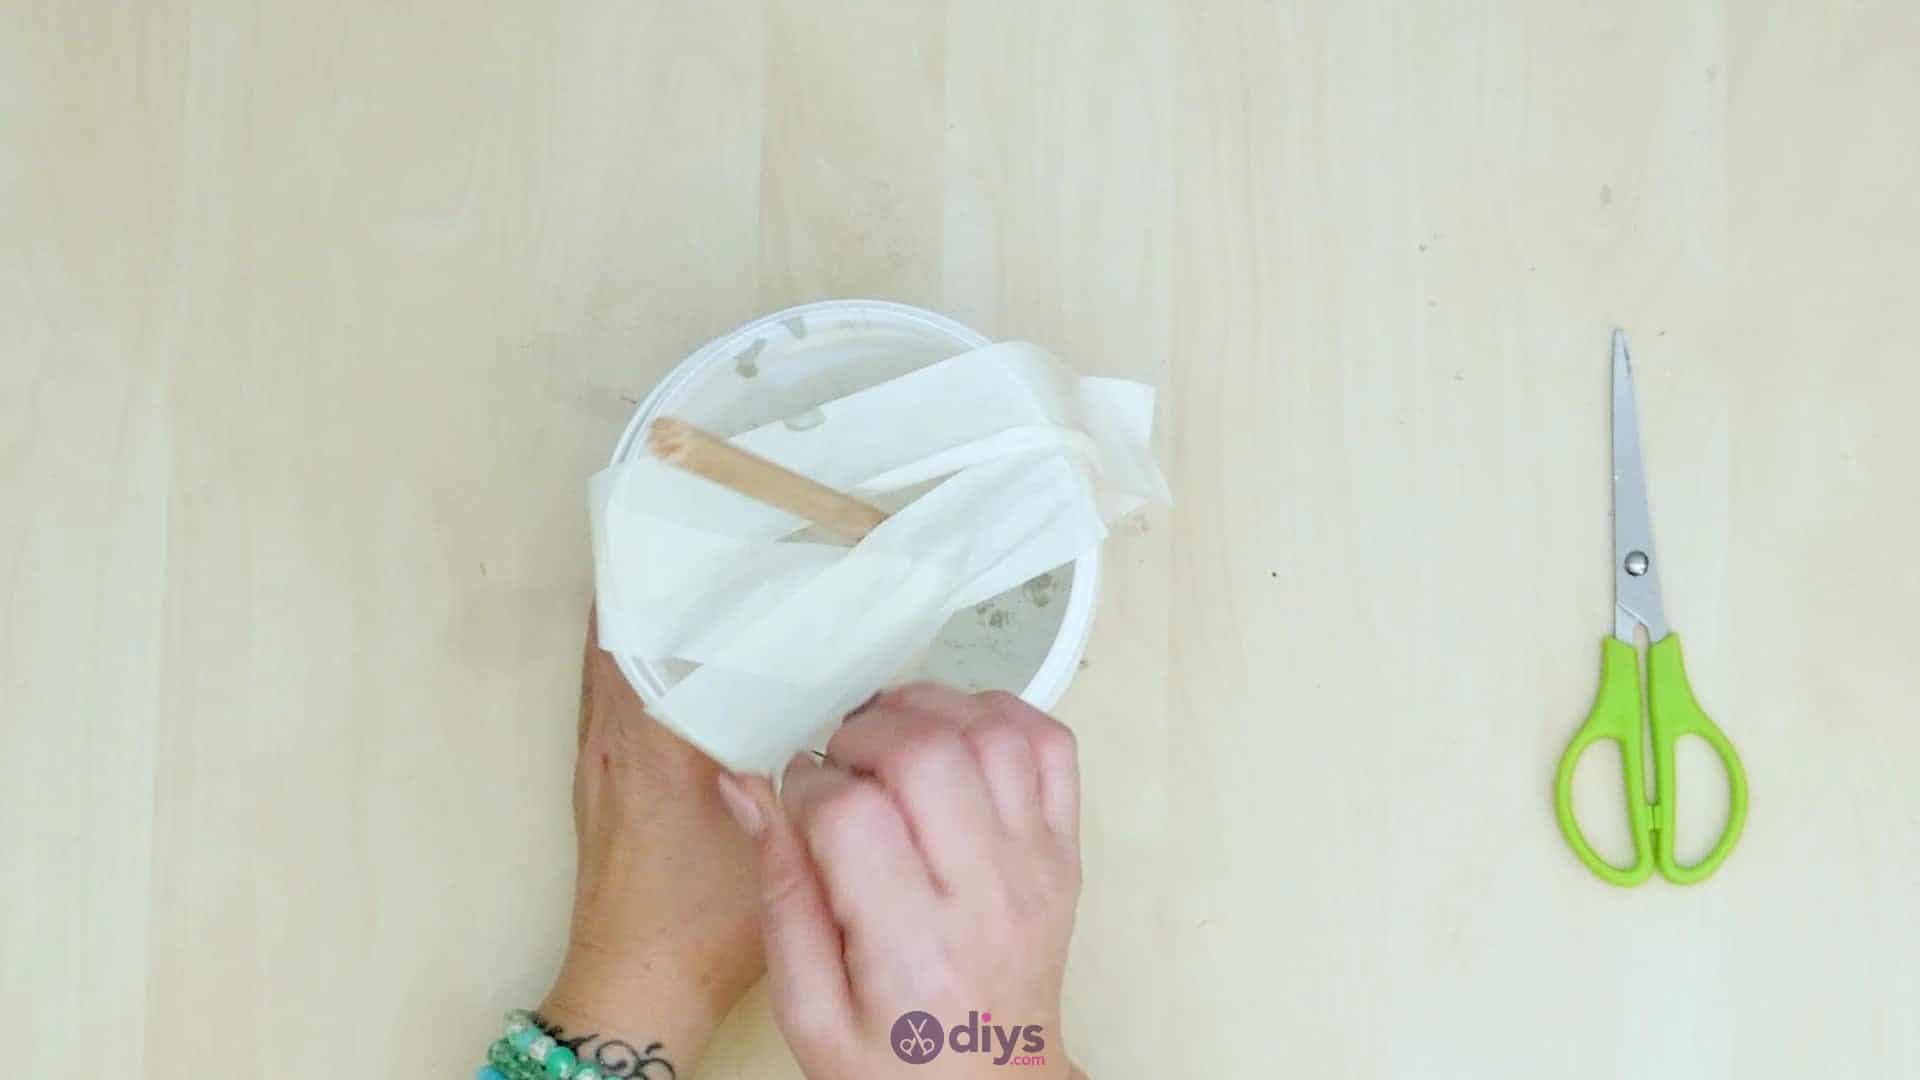
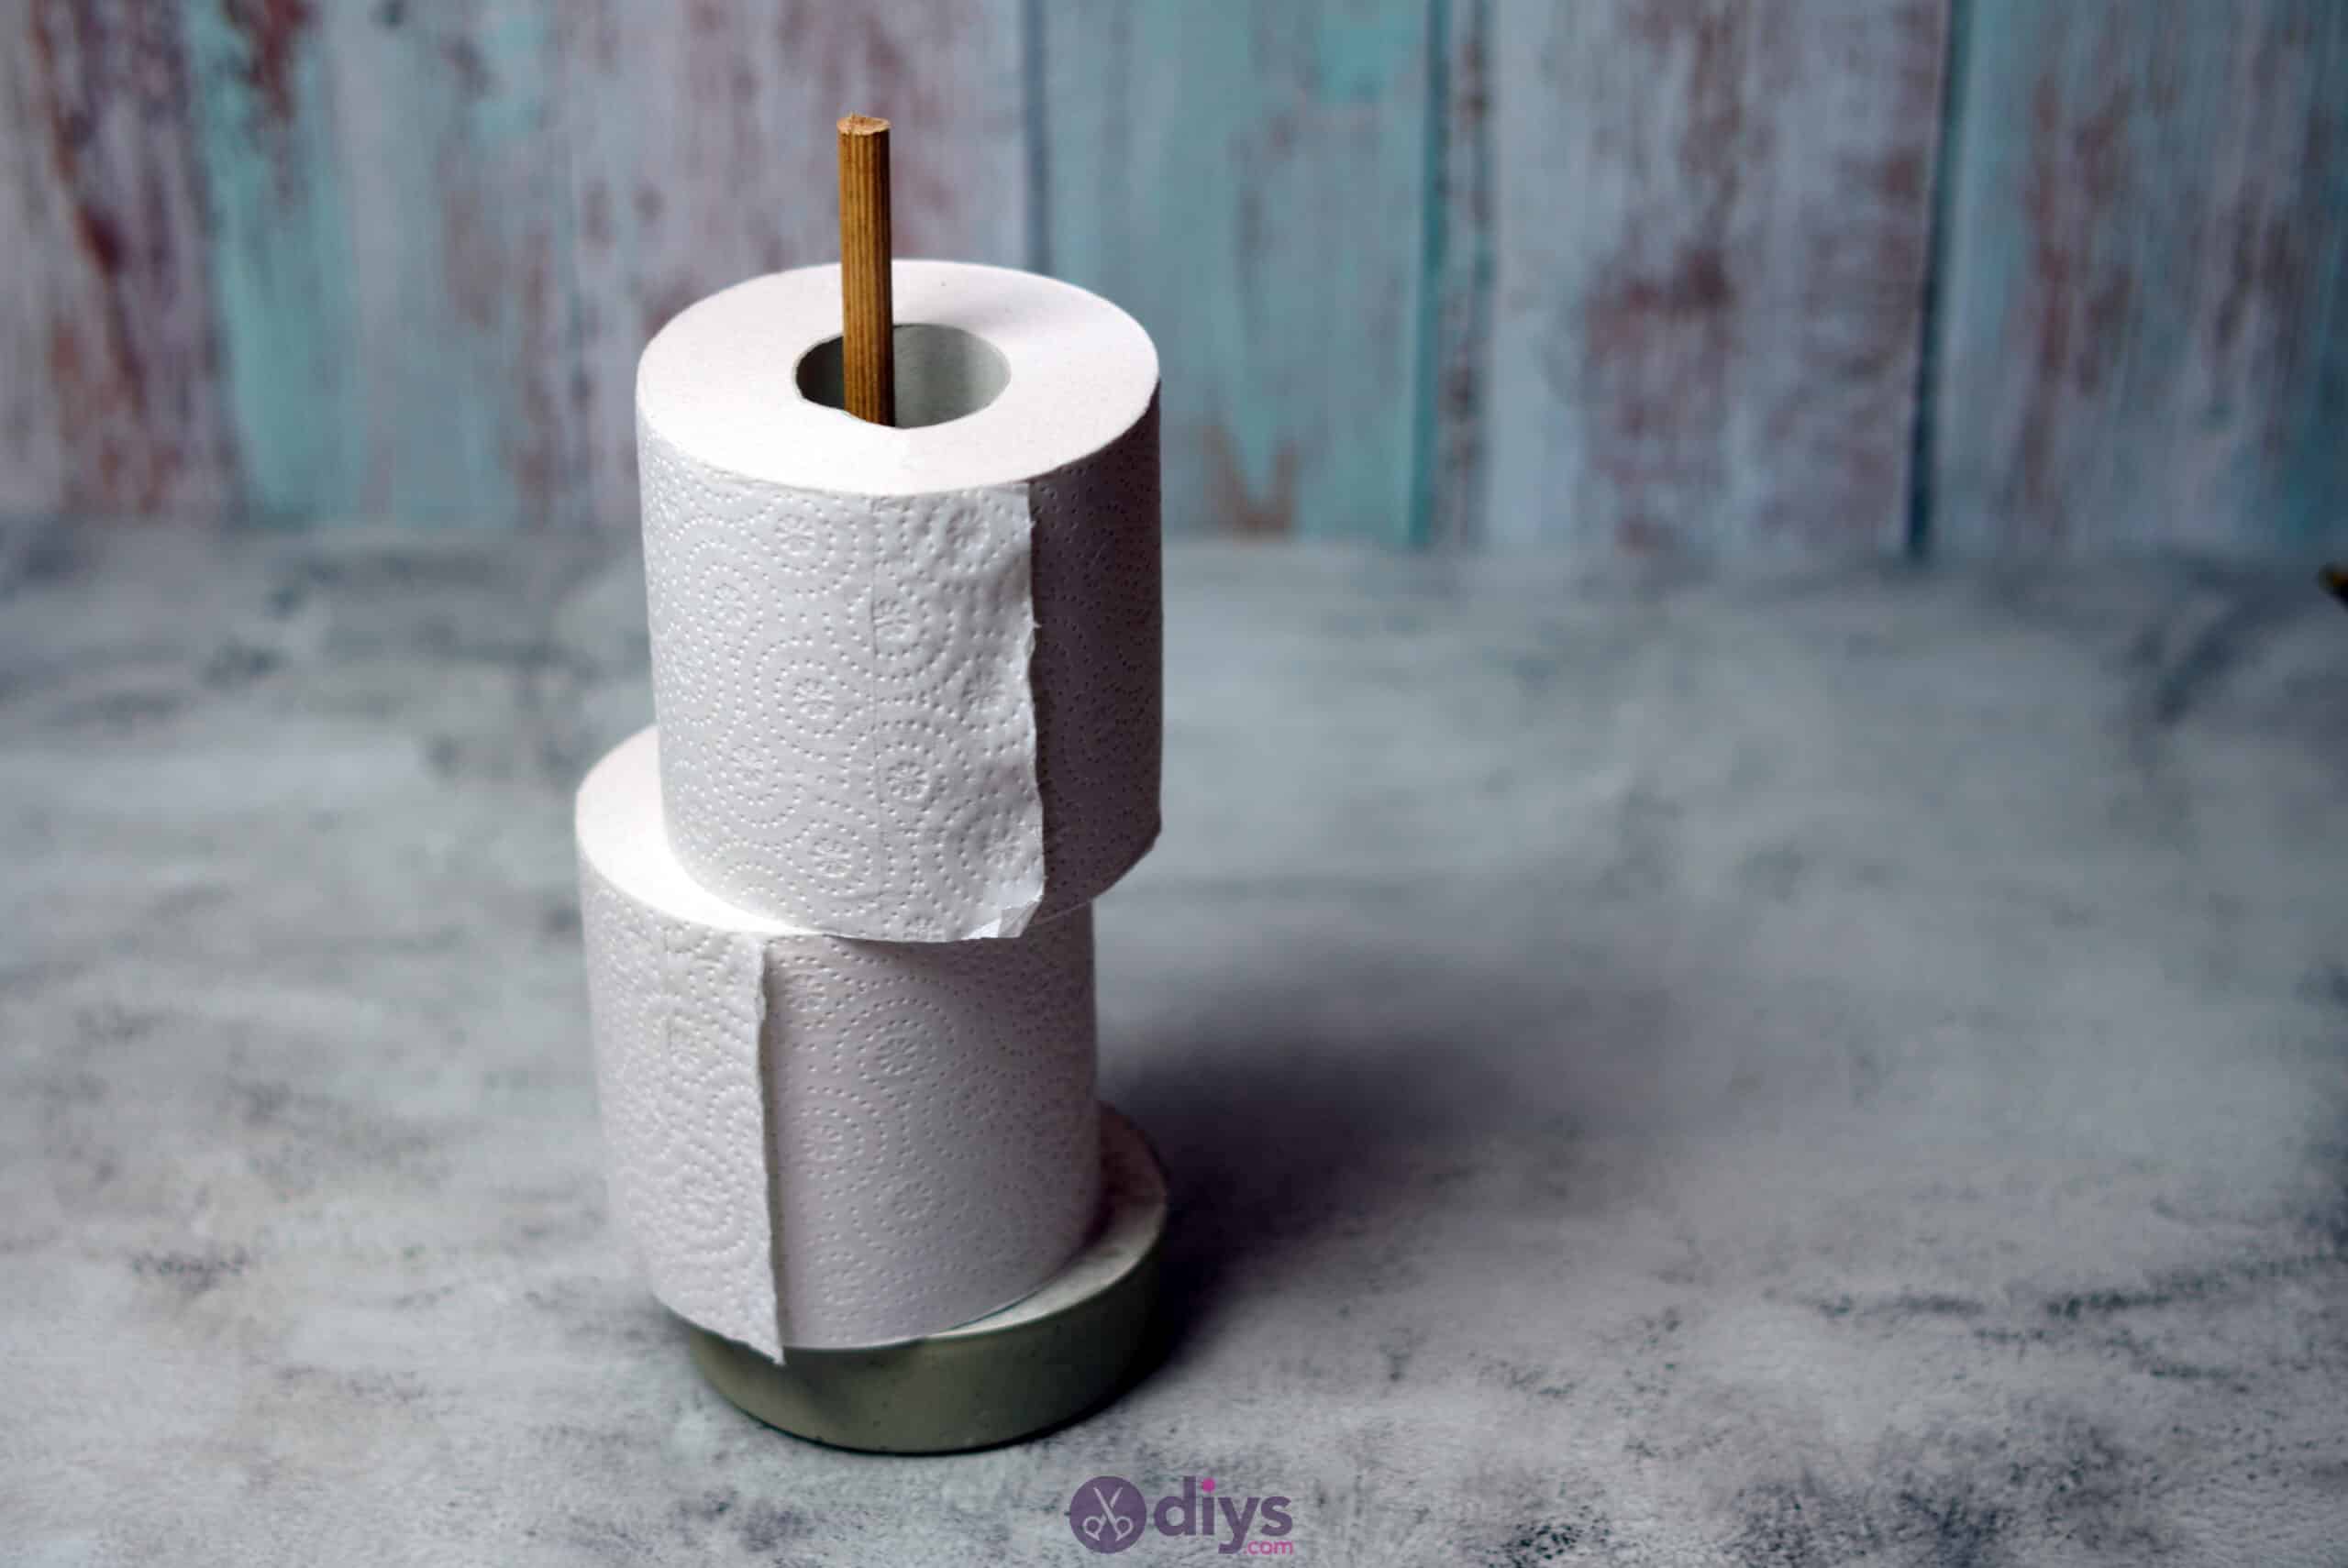
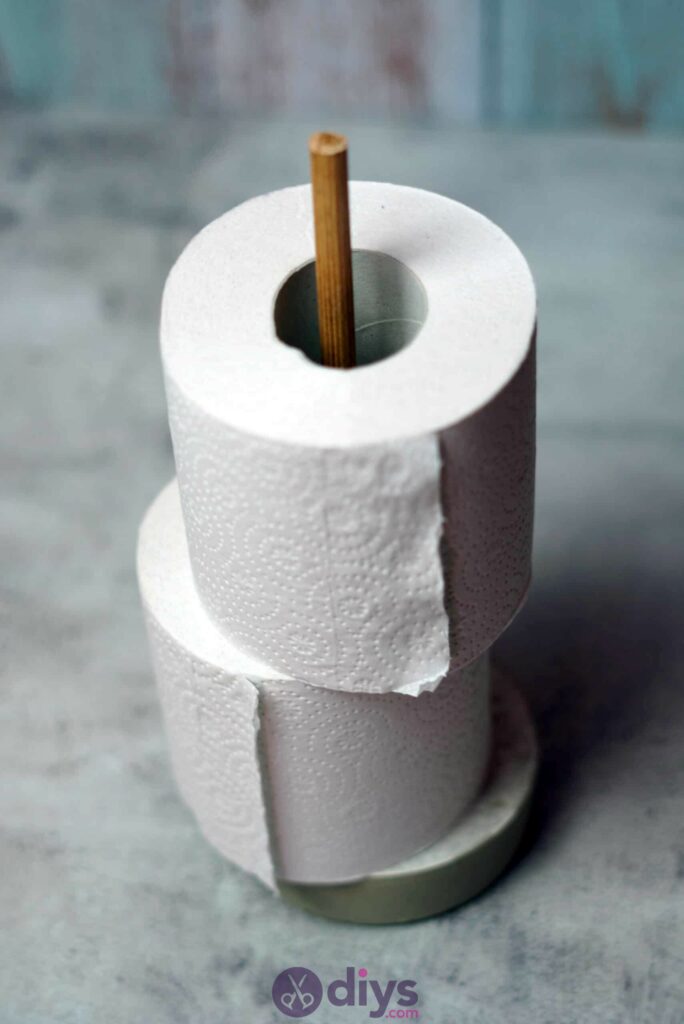
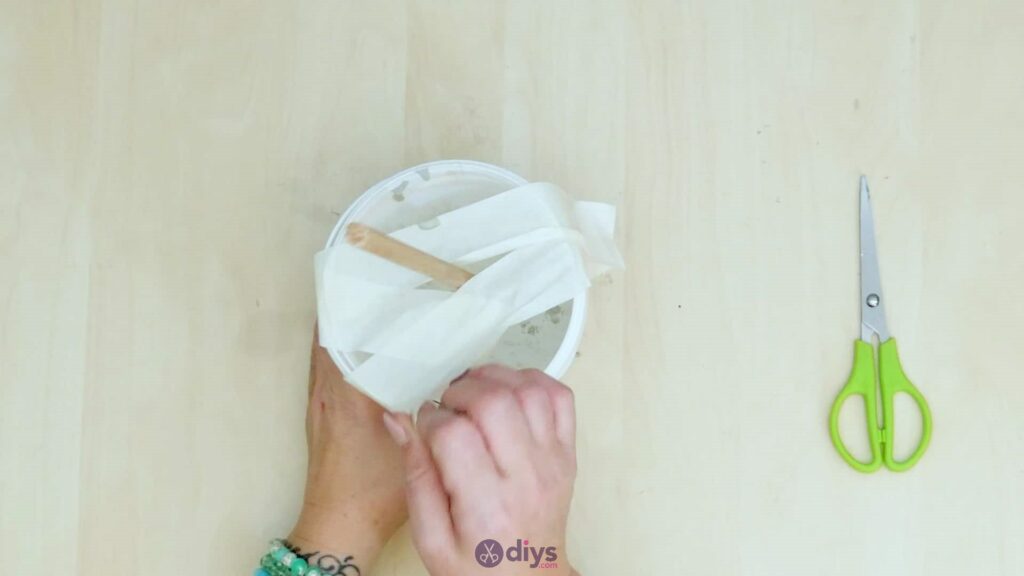
Put one end of your wooden rod or dowel down into the centre of your cement mix. Youcan press it all the way down to the bottom, since no one will see the underside, so it doesn’t matter if the wood shows through the concrete. Next, to help the dowel stay standing straight up and not leaning at an angle that won’t work for toilet paper stacking, stretch pieces of tap across the top of your mould’s opening from one side to the other, passing them close to and around the dowel so they support it. The goal is to get the wooden dowel so stand straight up in the middle of your concrete so that it dries there. That’s what you’ll put through the centres of your toilet paper rolls to stack and store them on the stand. When you’re happy with how your dowel sits, leave the entire piece to dry thoroughly.


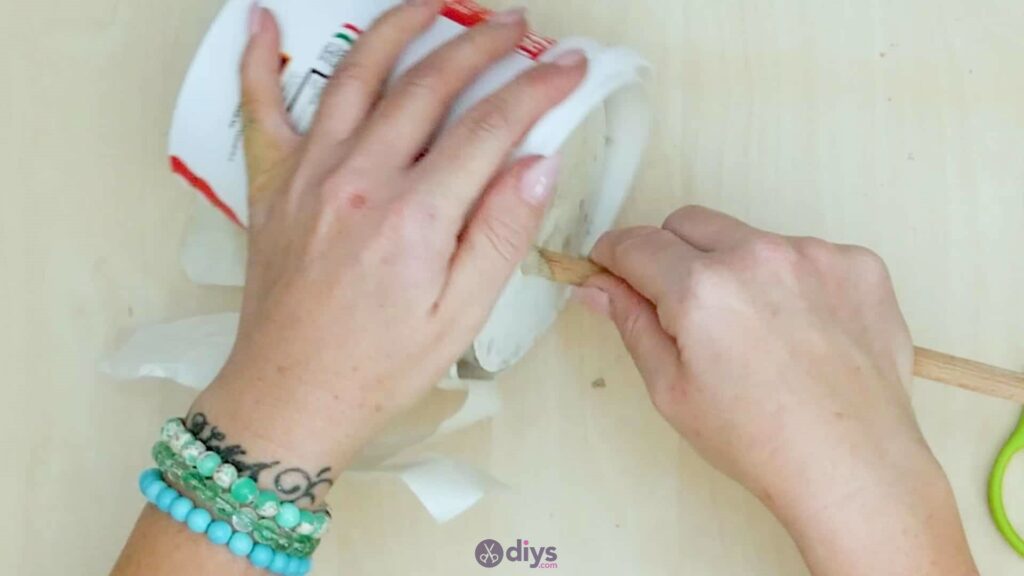
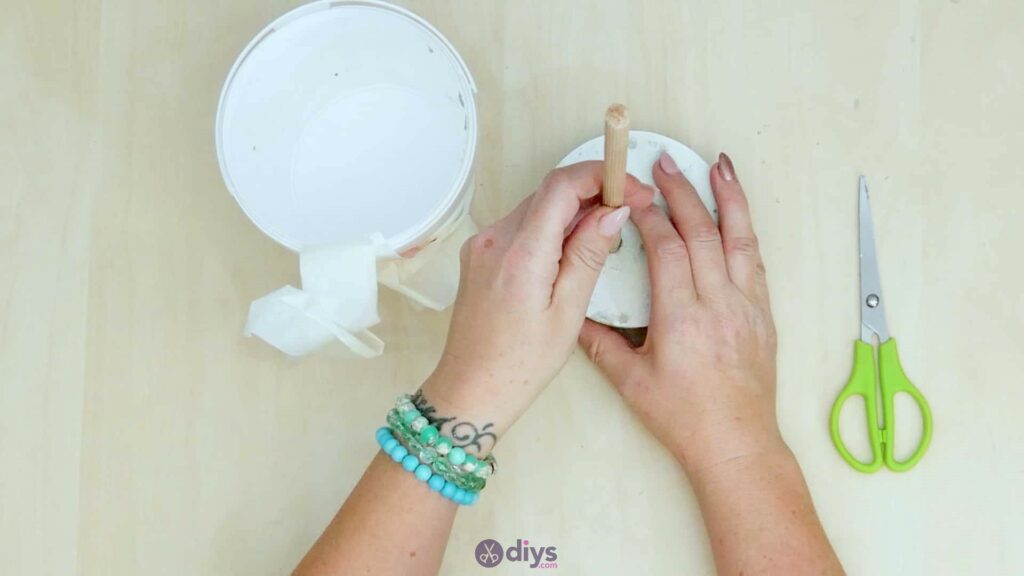
Step 5: remove from mould
When your concrete mix has dried solidly, all the way through the centre, remove the tape from the top of the mould around the dowel. Then tip the container and, with the help of the dowel for leverage, wiggle the concrete base and free it from the bottom. Don’t pull on ittoo hard, but you should be okay to move the piece around pretty well by the wooden stick now that it’s anchored in dry concrete. If you see or feel rough spots or inconsistencies on the top and sides of your concrete holder base, feel free to use sandpaper or an abrasive block to smooth its surface.

That’s really all there is to it! If you like the basic elements of the piece but you’re not as attached to the idea of keeping that sort of rustic minimalist aesthetic as I was, feel free to paint your concrete base, your wooden dowel stand or both. Regardless of how you finish the project up, here’s a great video tutorial to help you out with the basic techniques.