DIY Yarn and Chain Bracelet
Updated on November 19, 2025


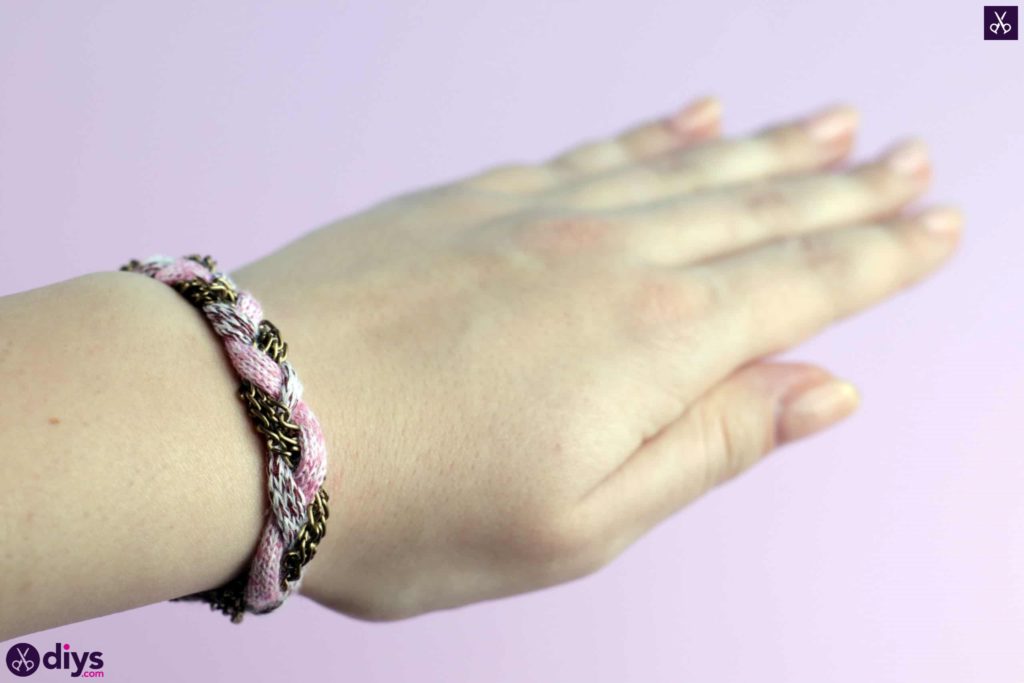
Lately I’ve really been loving mixed texture pieces that combine chain with other materials, which is how I came up with this simple DIY braided chain and yarn bracelet idea. Check out just how I put it together!

Check out these step by step instructions complete with photos! If you’d rather follow along with a video tutorial instead of written words, scroll to the bottom of this post to find just what you’re looking for.

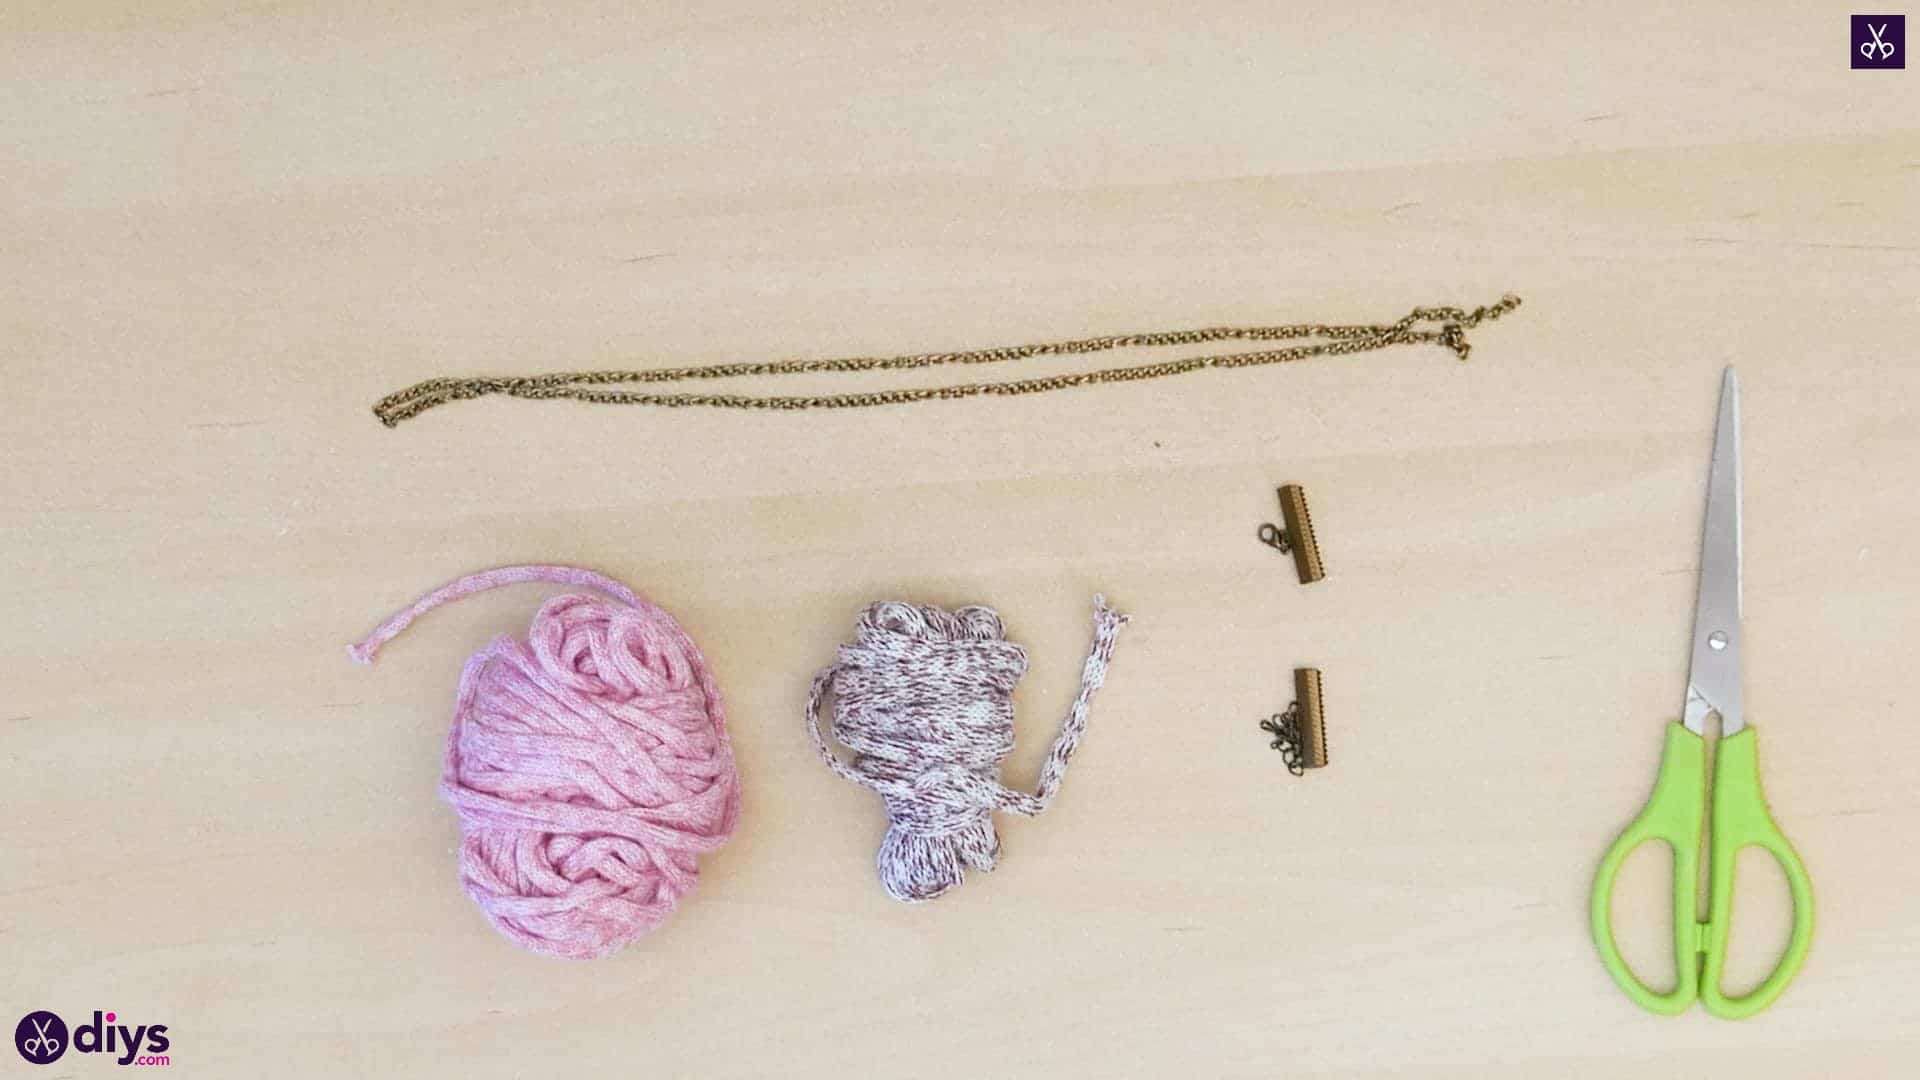
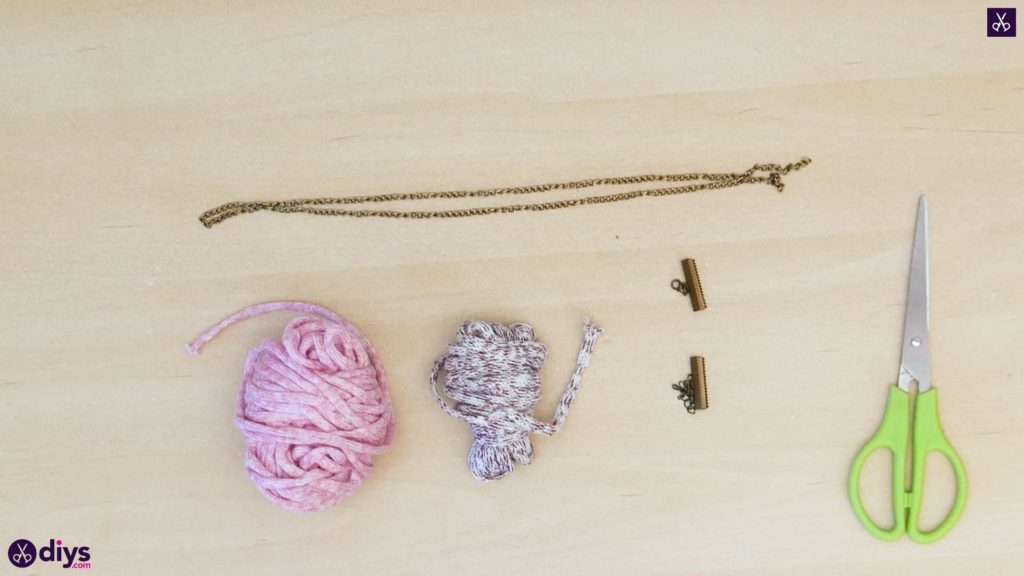
For this project, you’ll need:
- Crafting and jewelry chain
- Chunky yarn (red and pink)
- Ribbon clasps
- Scissors
Step 1: check your list
Gather your materials!
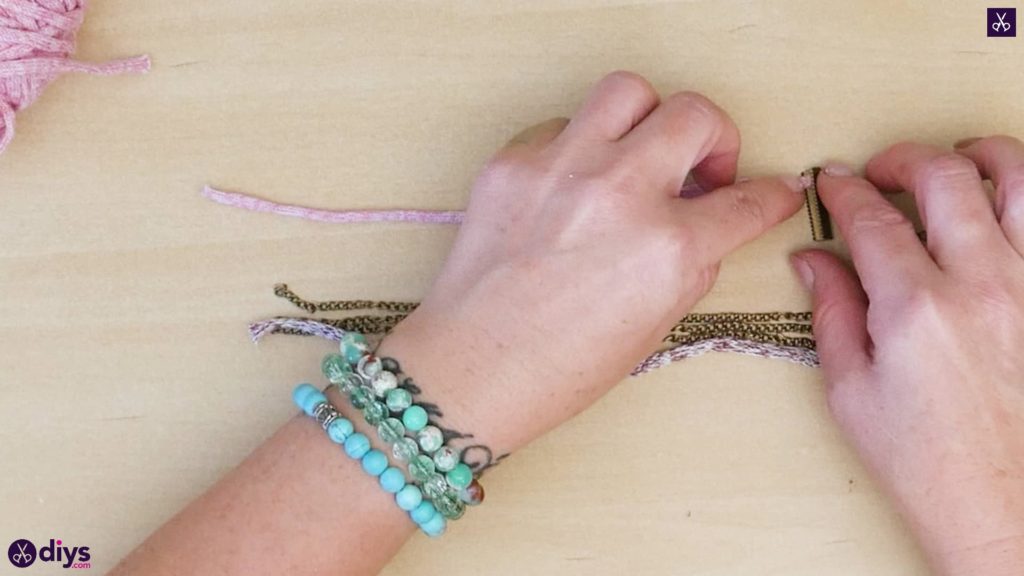
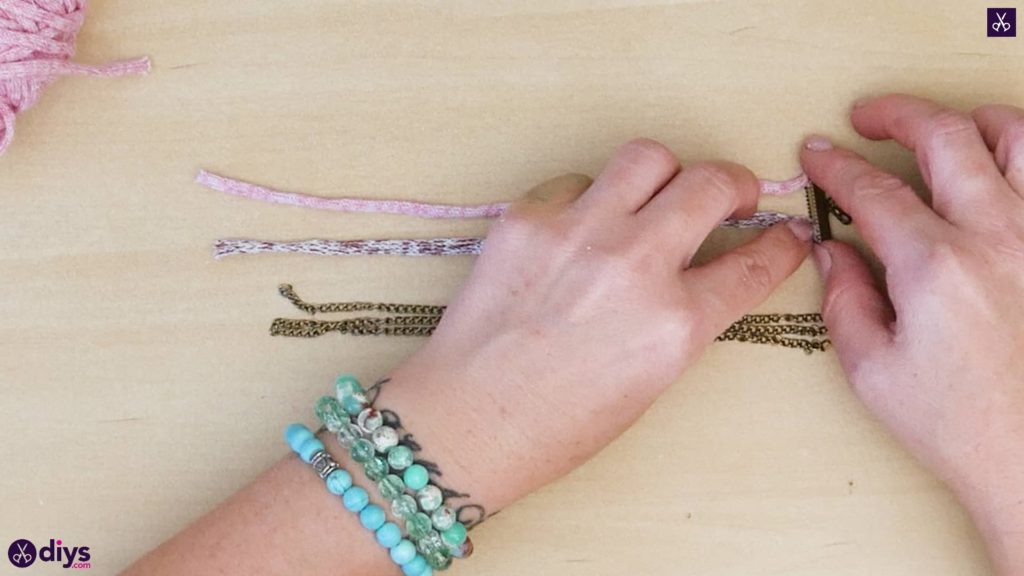
Step 2: measure and cut
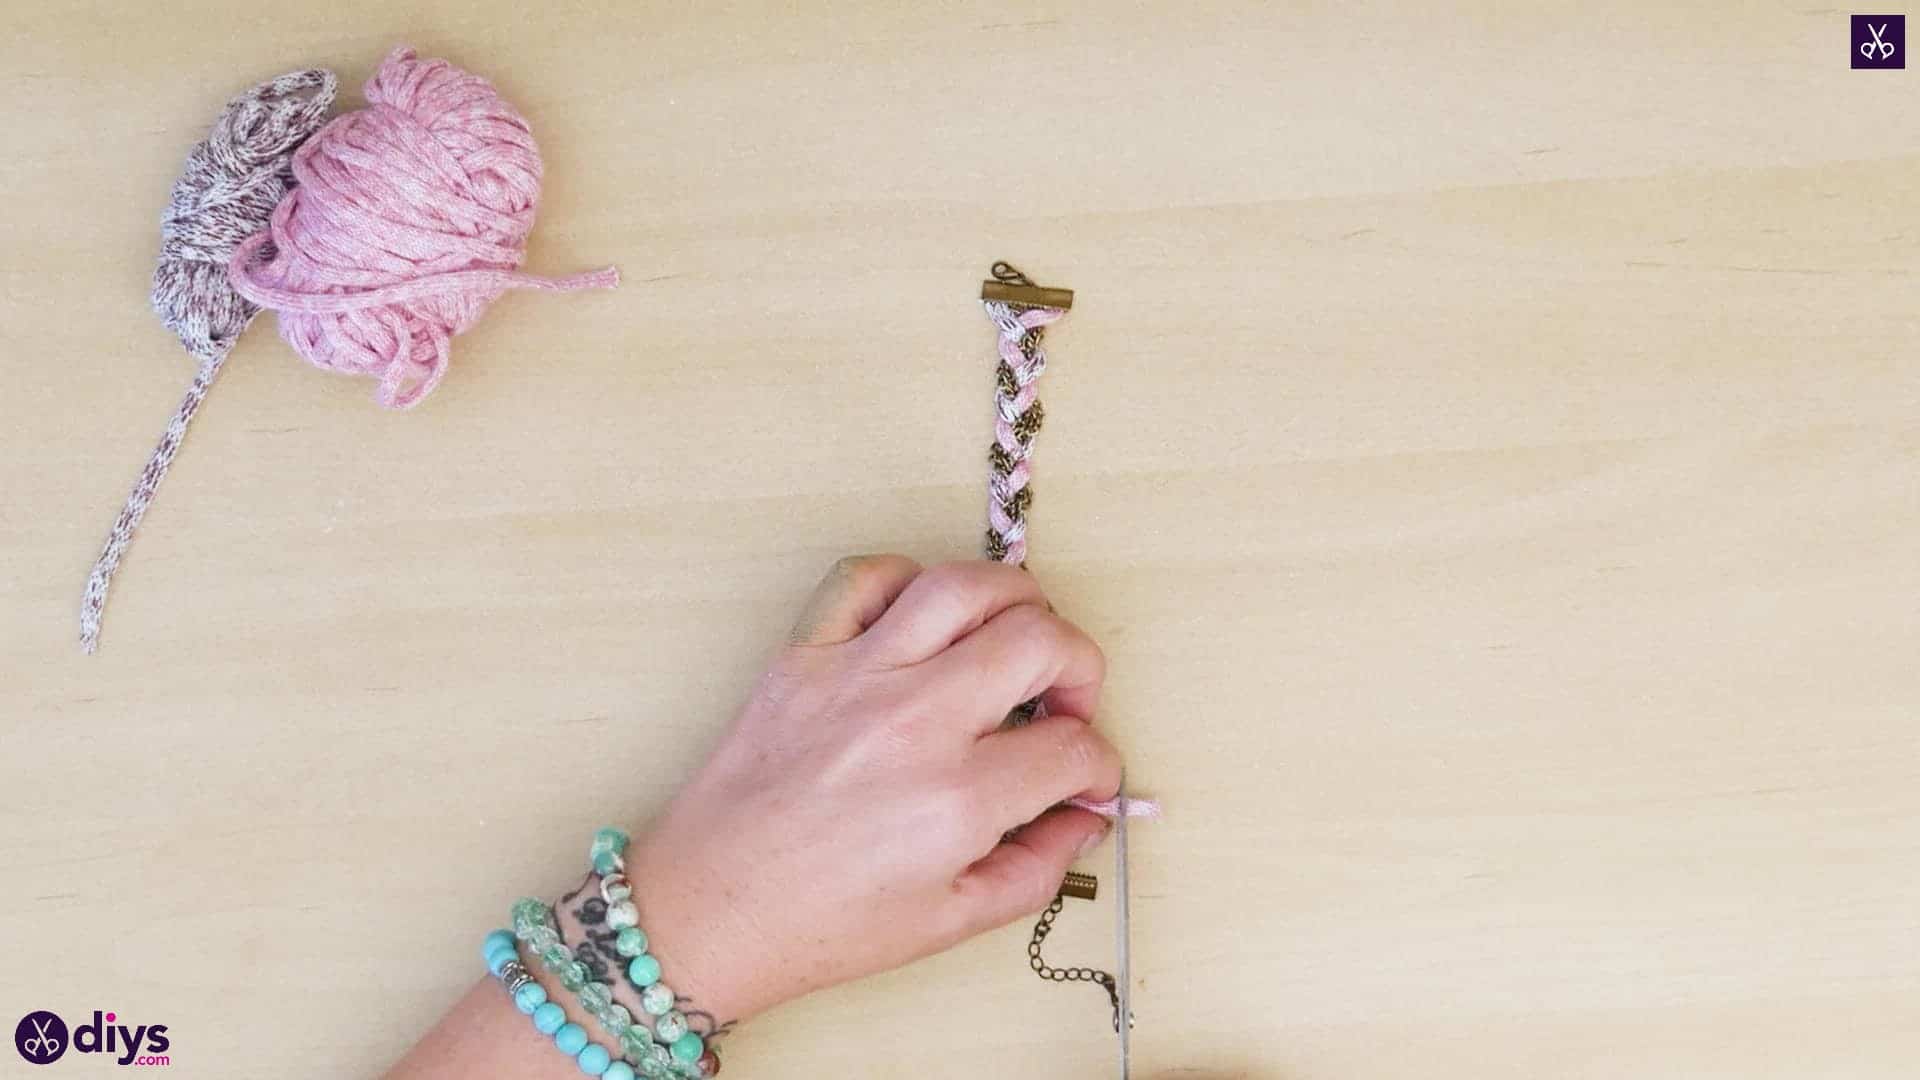
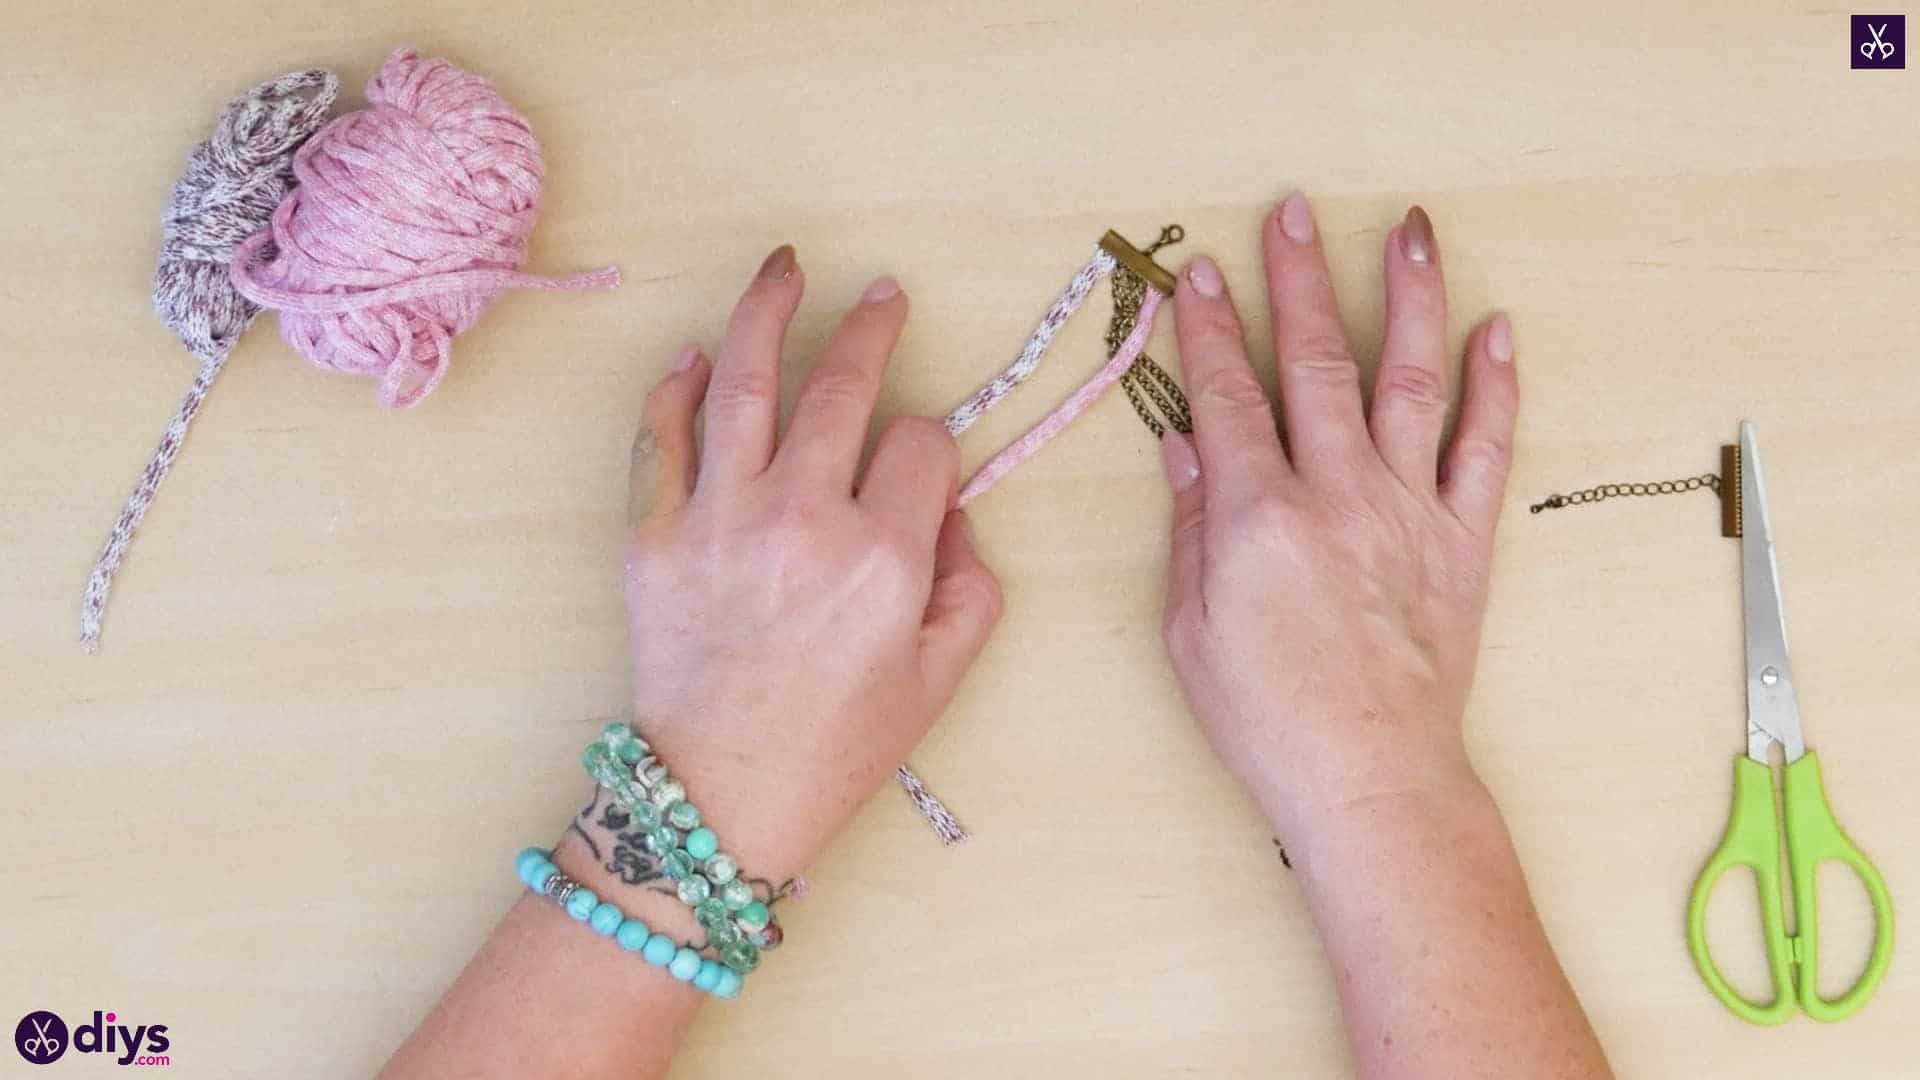
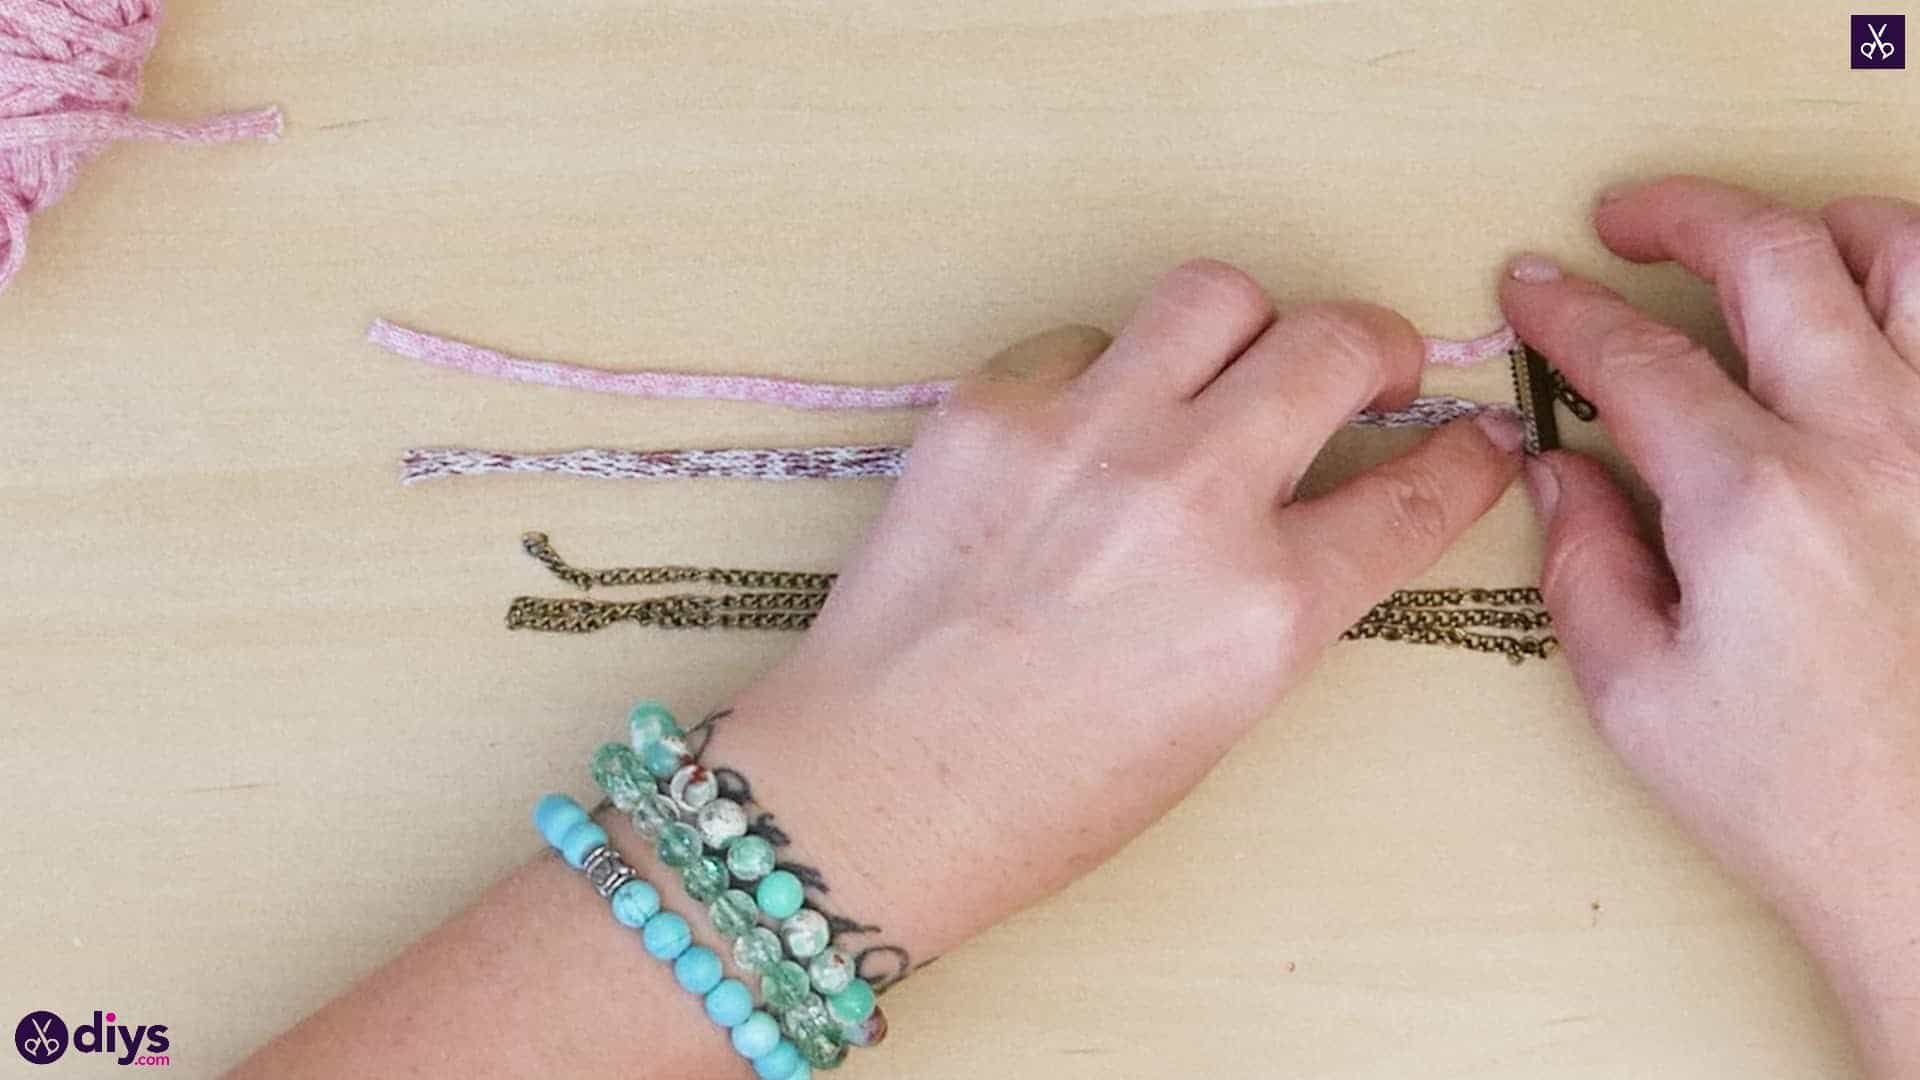
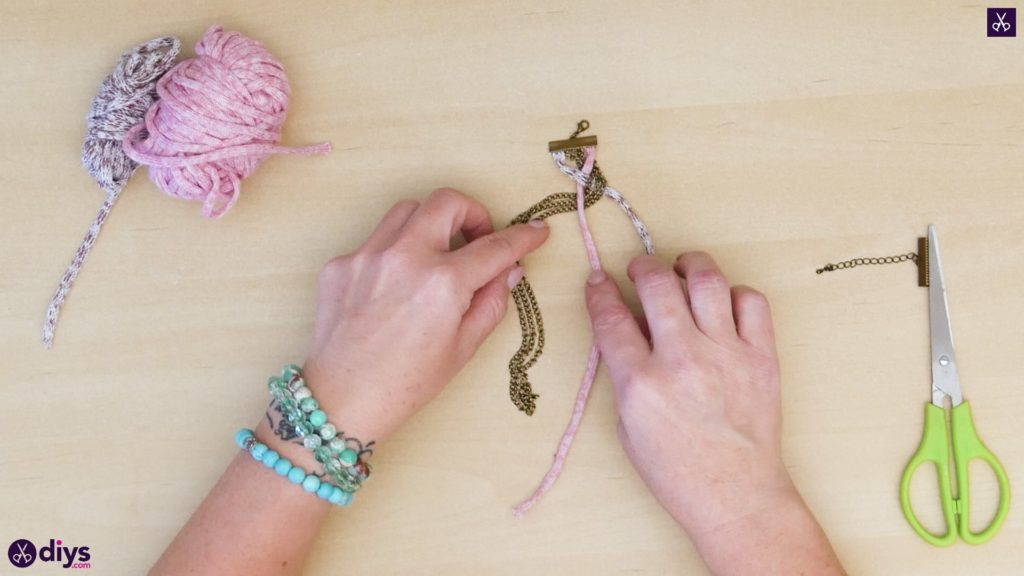
Cut your strands! You’ll want to make them long enough to fit around your wrist and then leave a little bit of excess to account for the way the braiding technique you’ll use shortens the length of the strands a little bit. I decided to triple up on the chain I was using because it was made from very small links and I wanted to make it as thick as my bulky yarn. Cut one length of yarn in your first colour and one in your second colour. Then, open the clamp and insert one end of each of your strands; both of the pieces of yarn and as many ends of loops of your chain as you have for however many times you double or tripled it over to get better thickness. Close the clamp tightly, making sure all ends are between the two sides and pinched well into place.


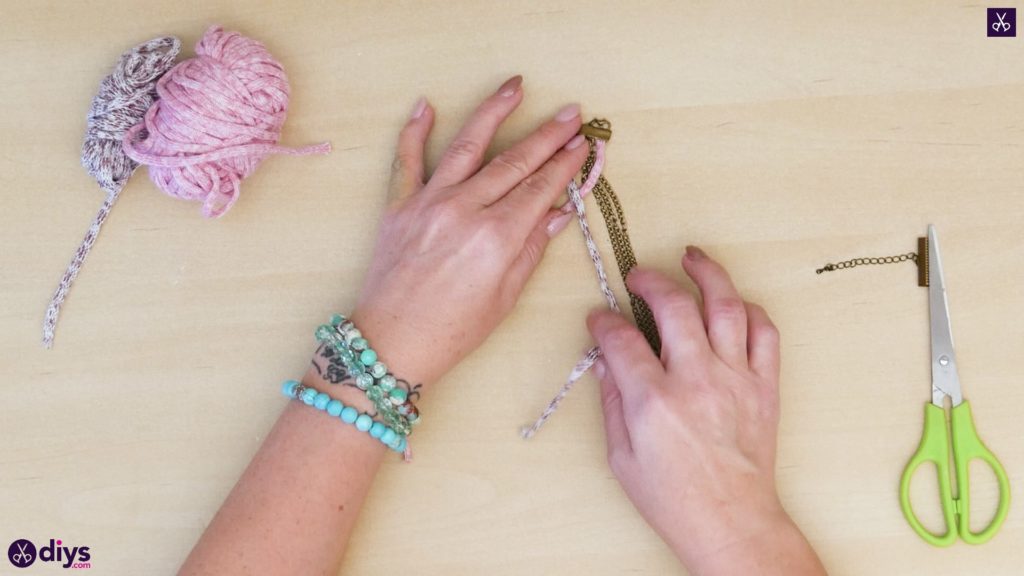
Step 3: start braiding
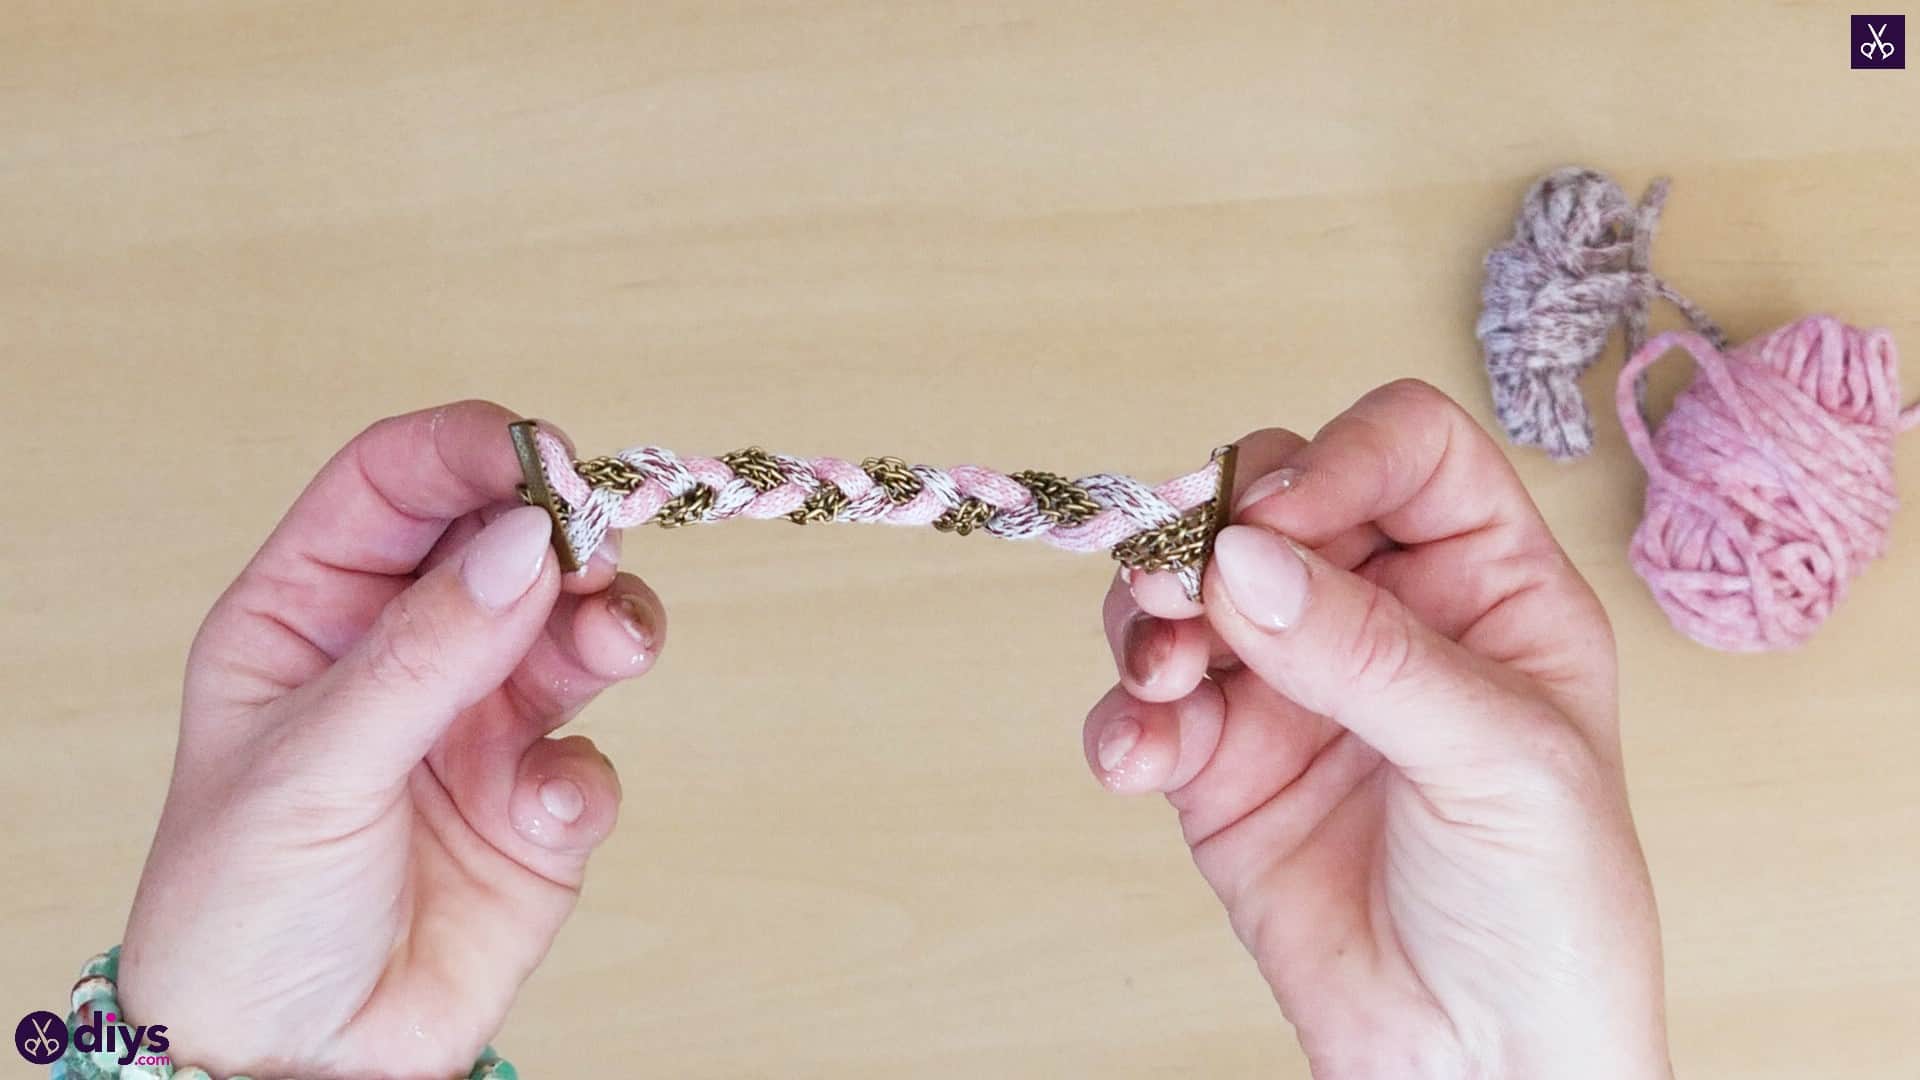
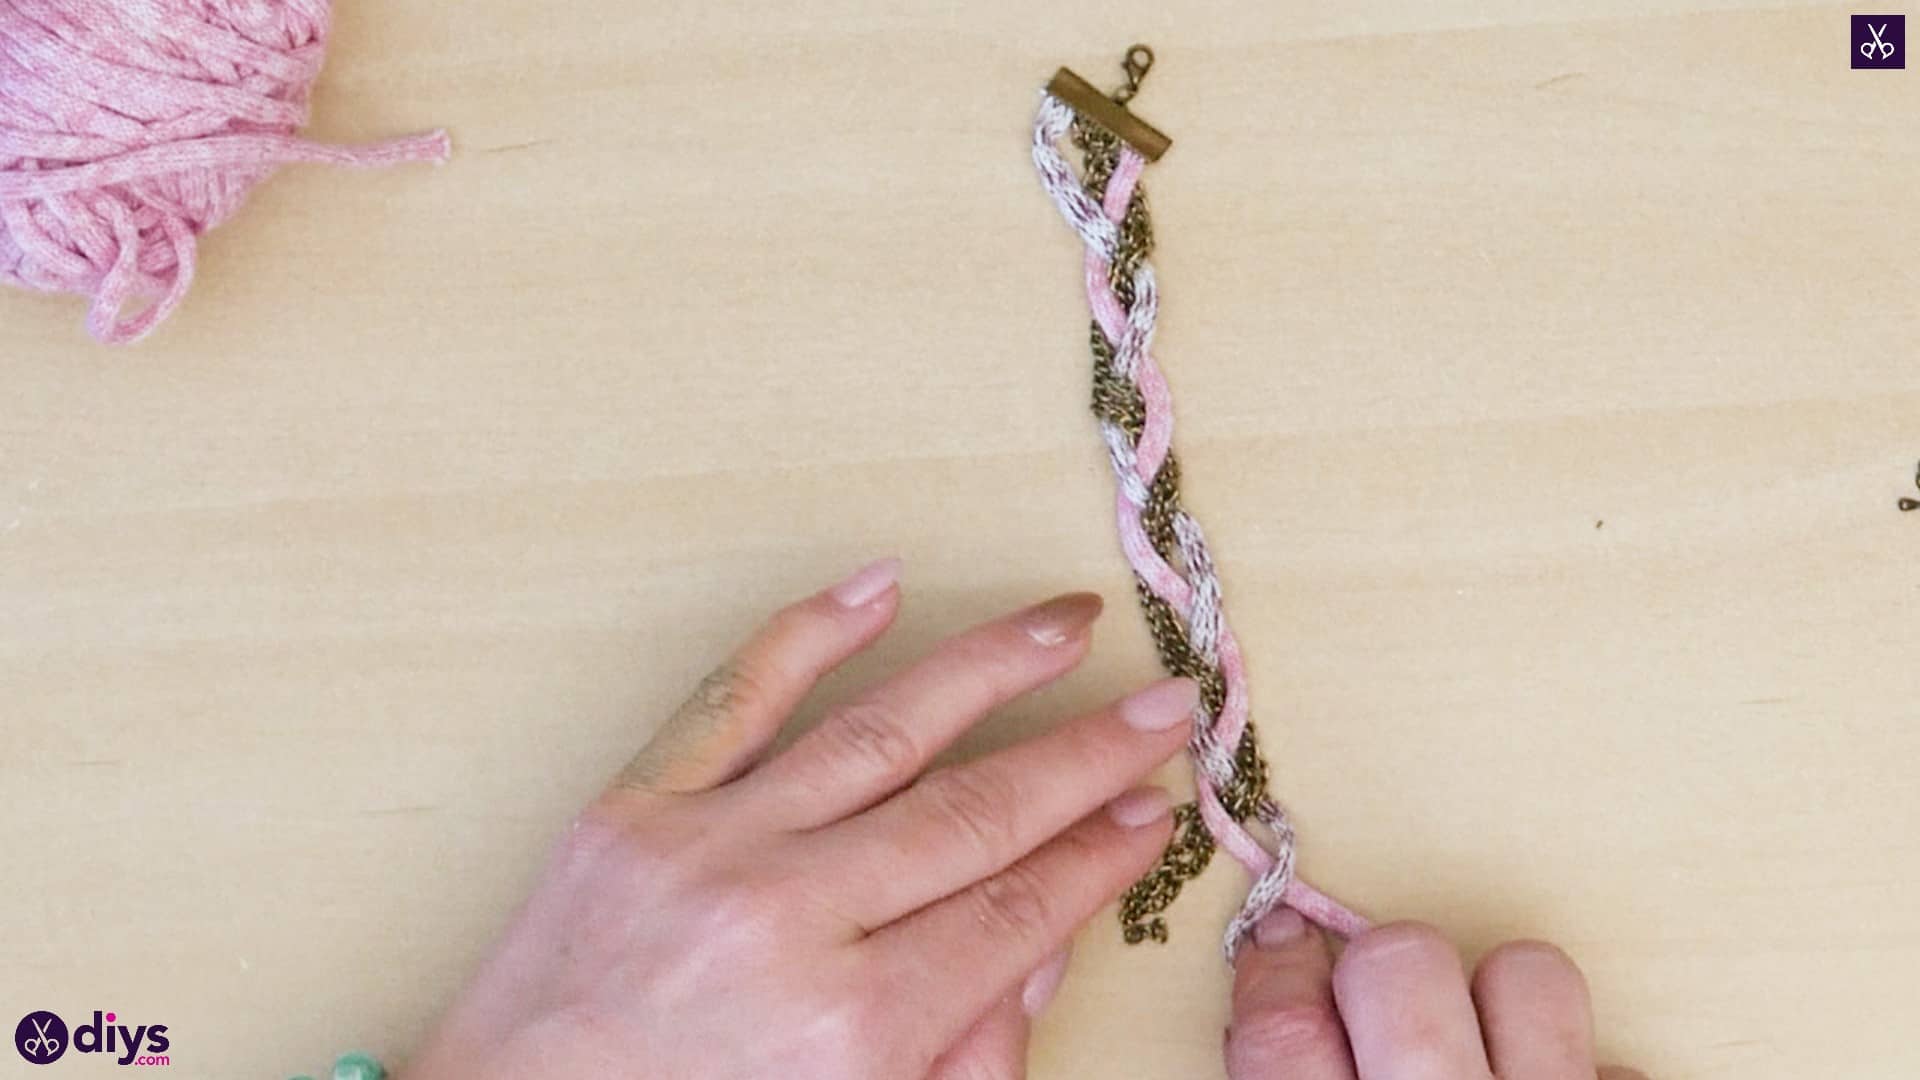
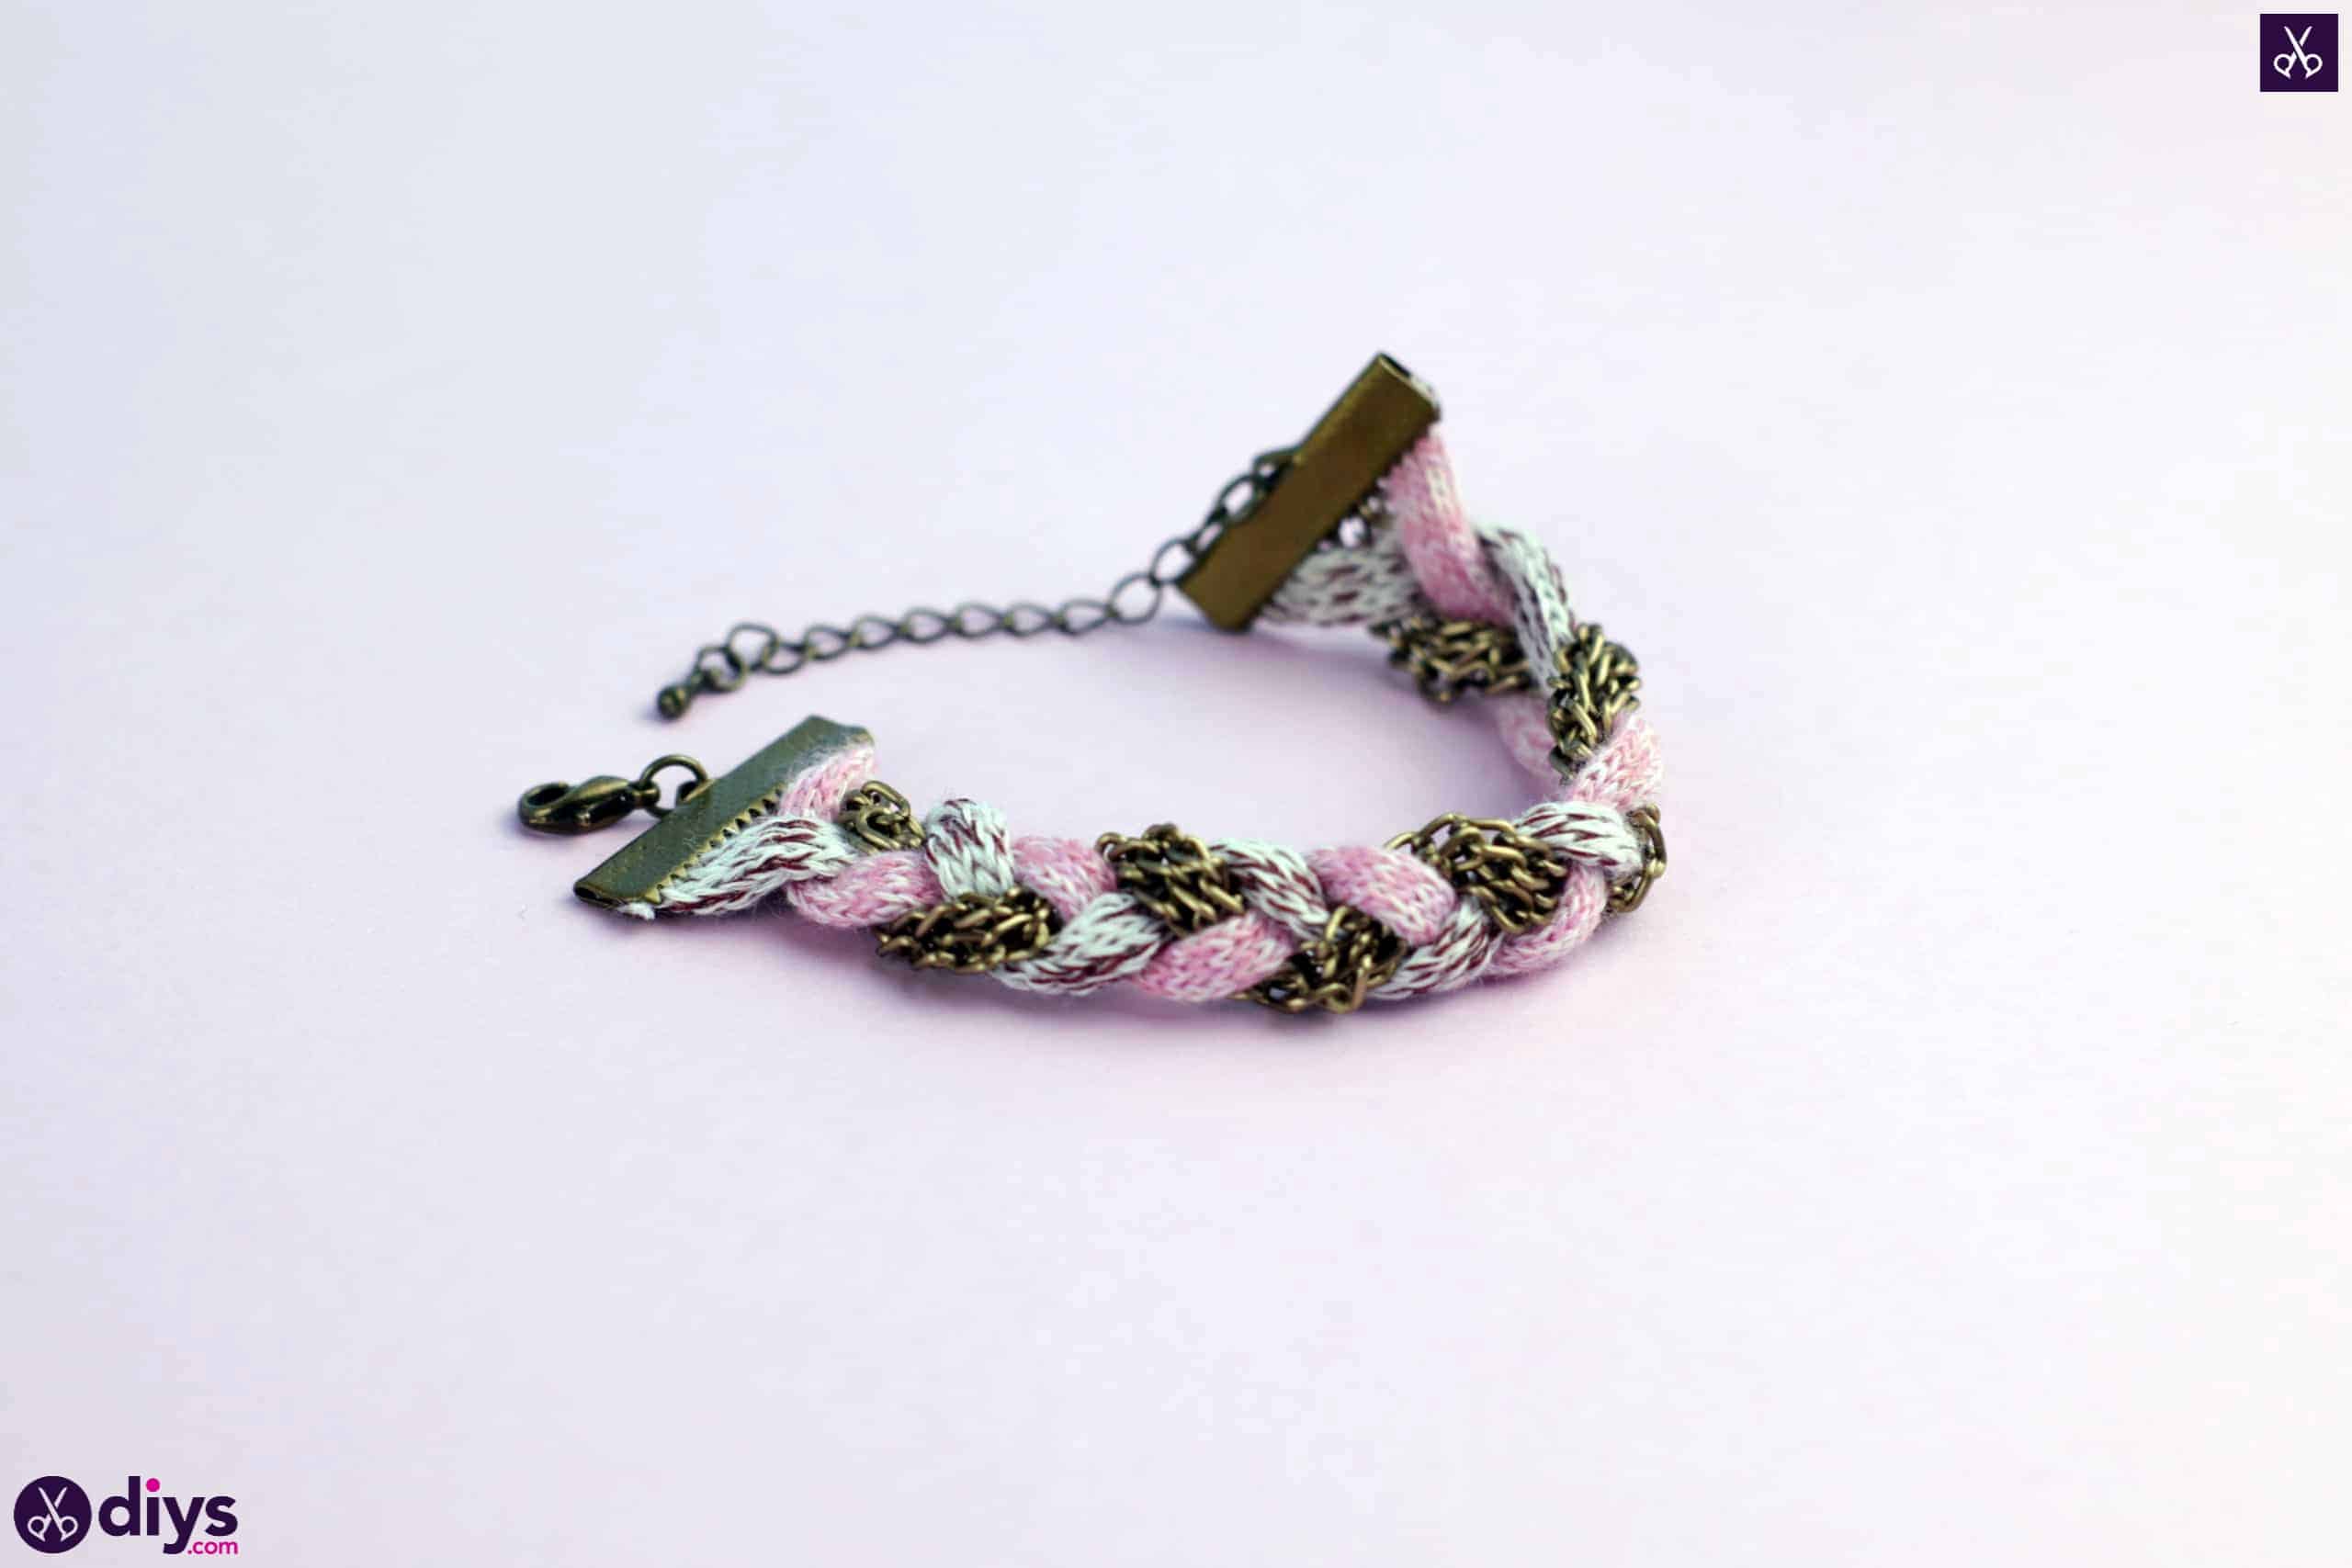
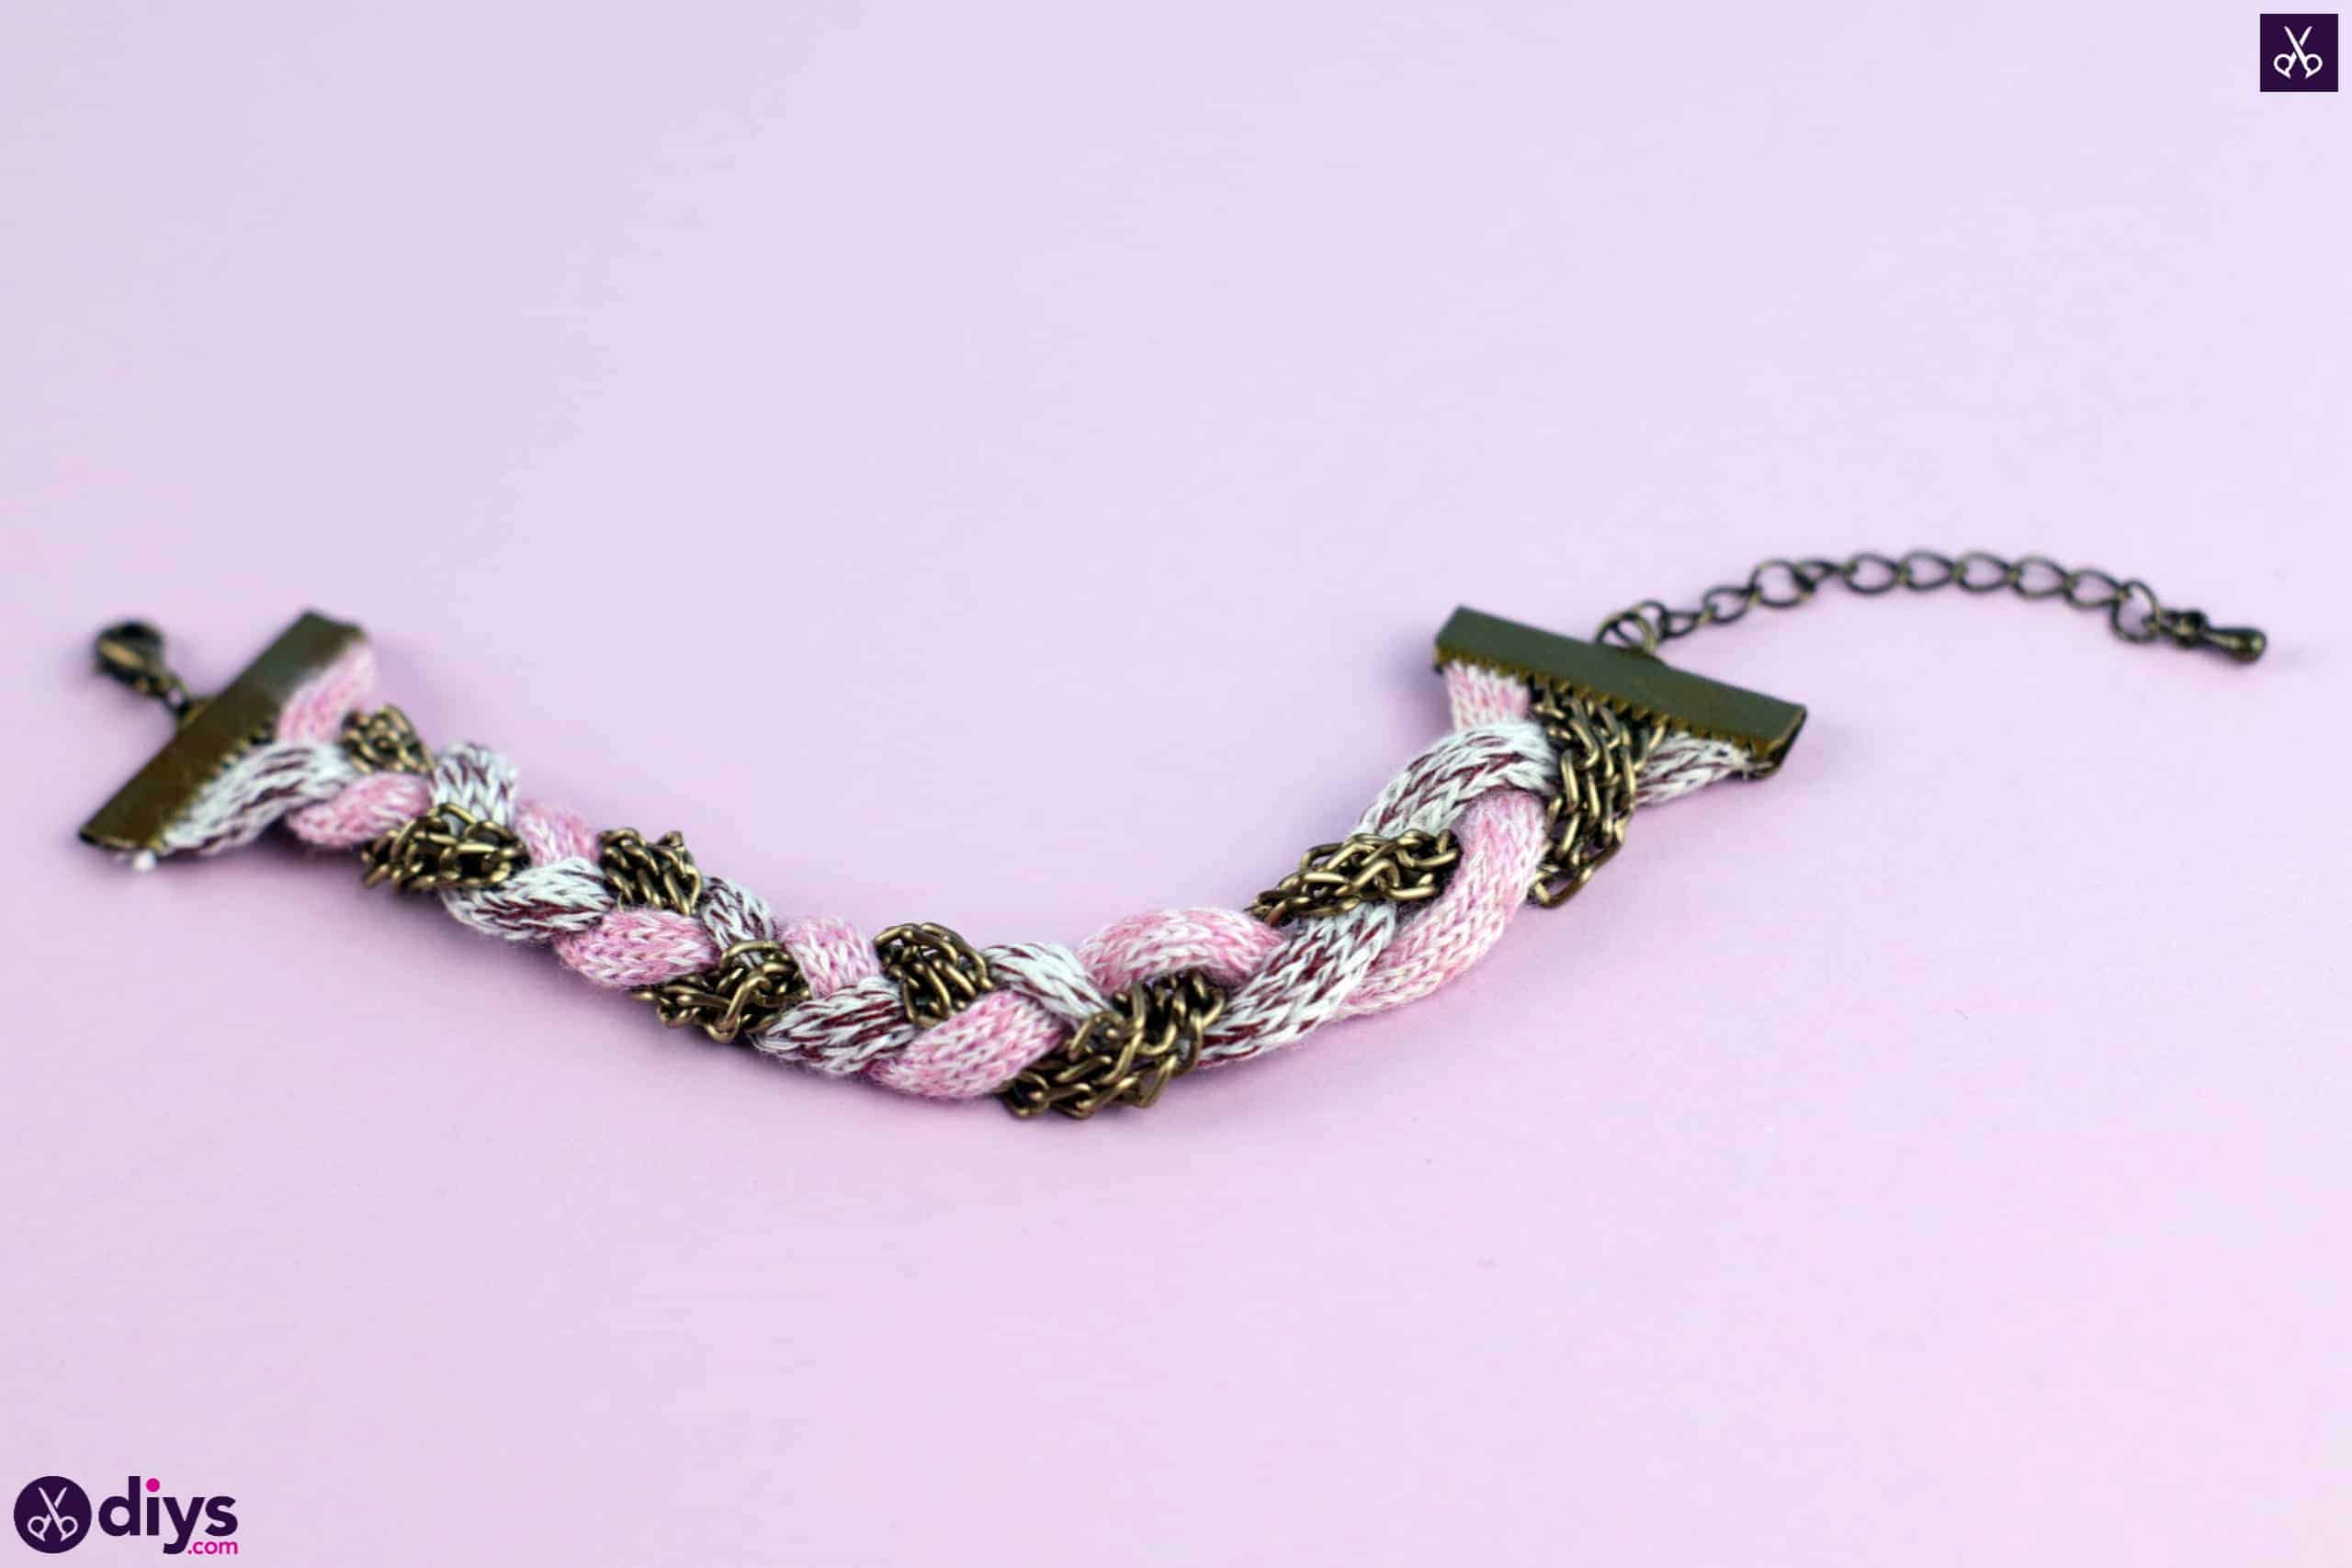
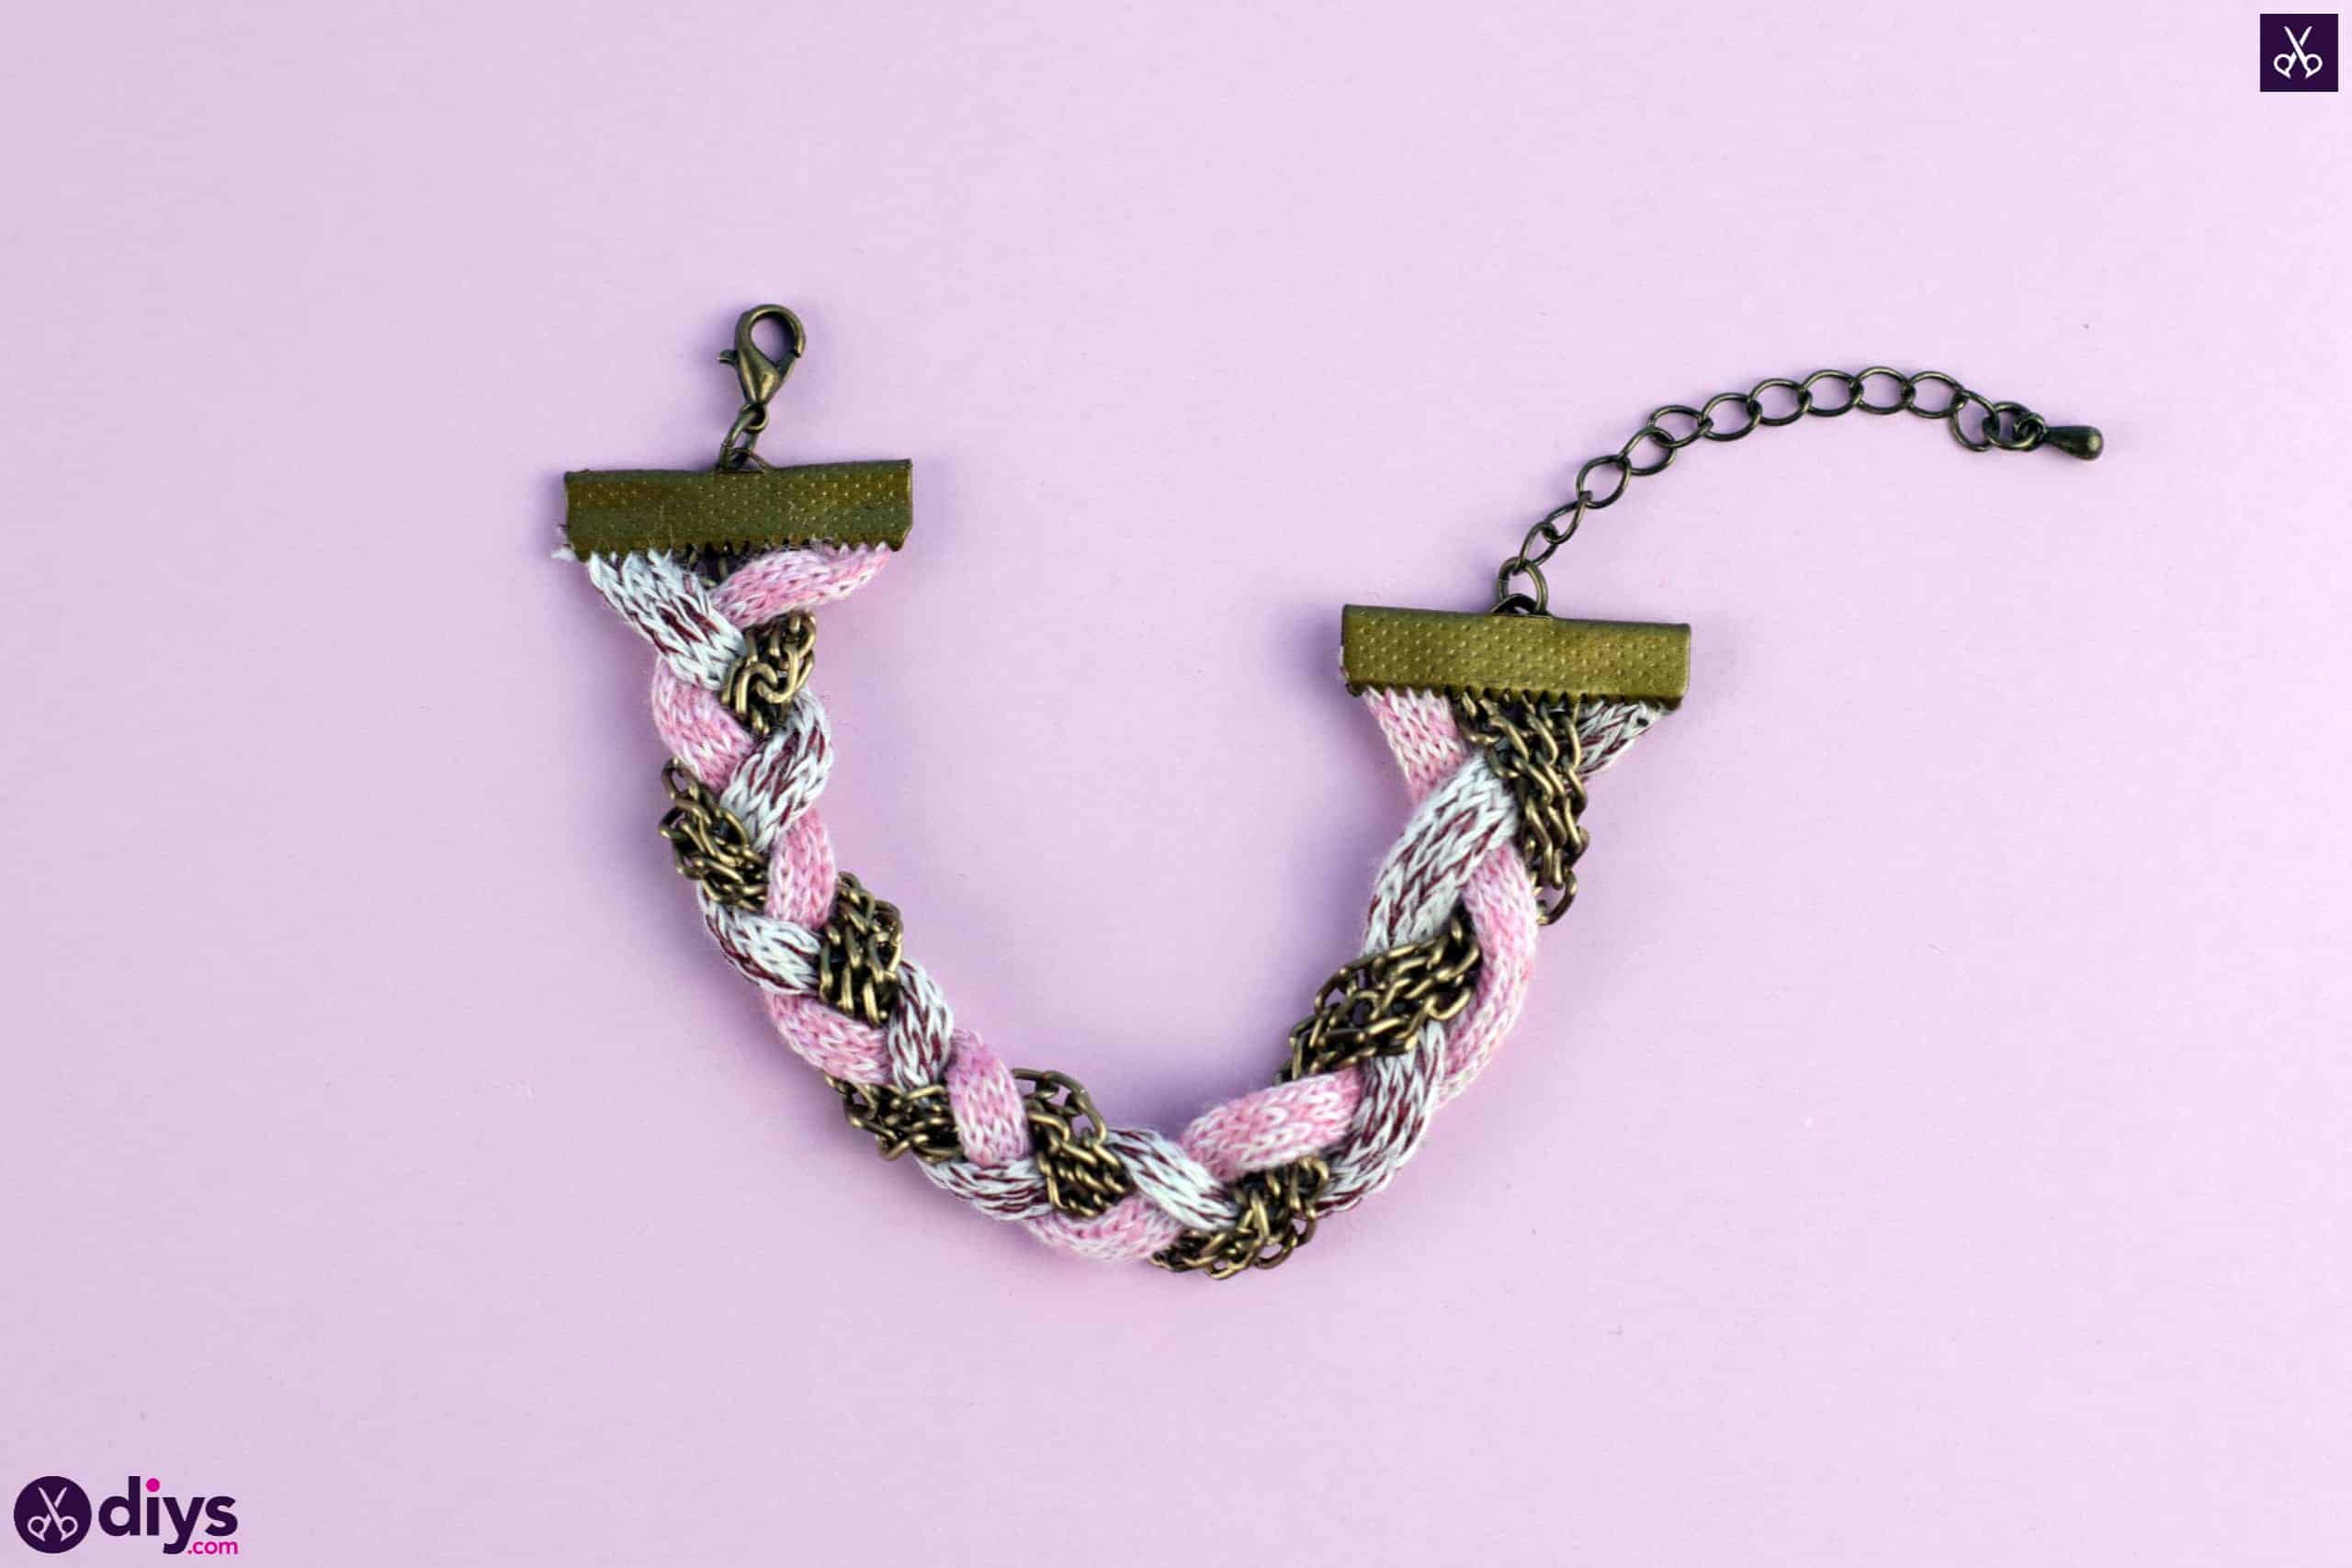
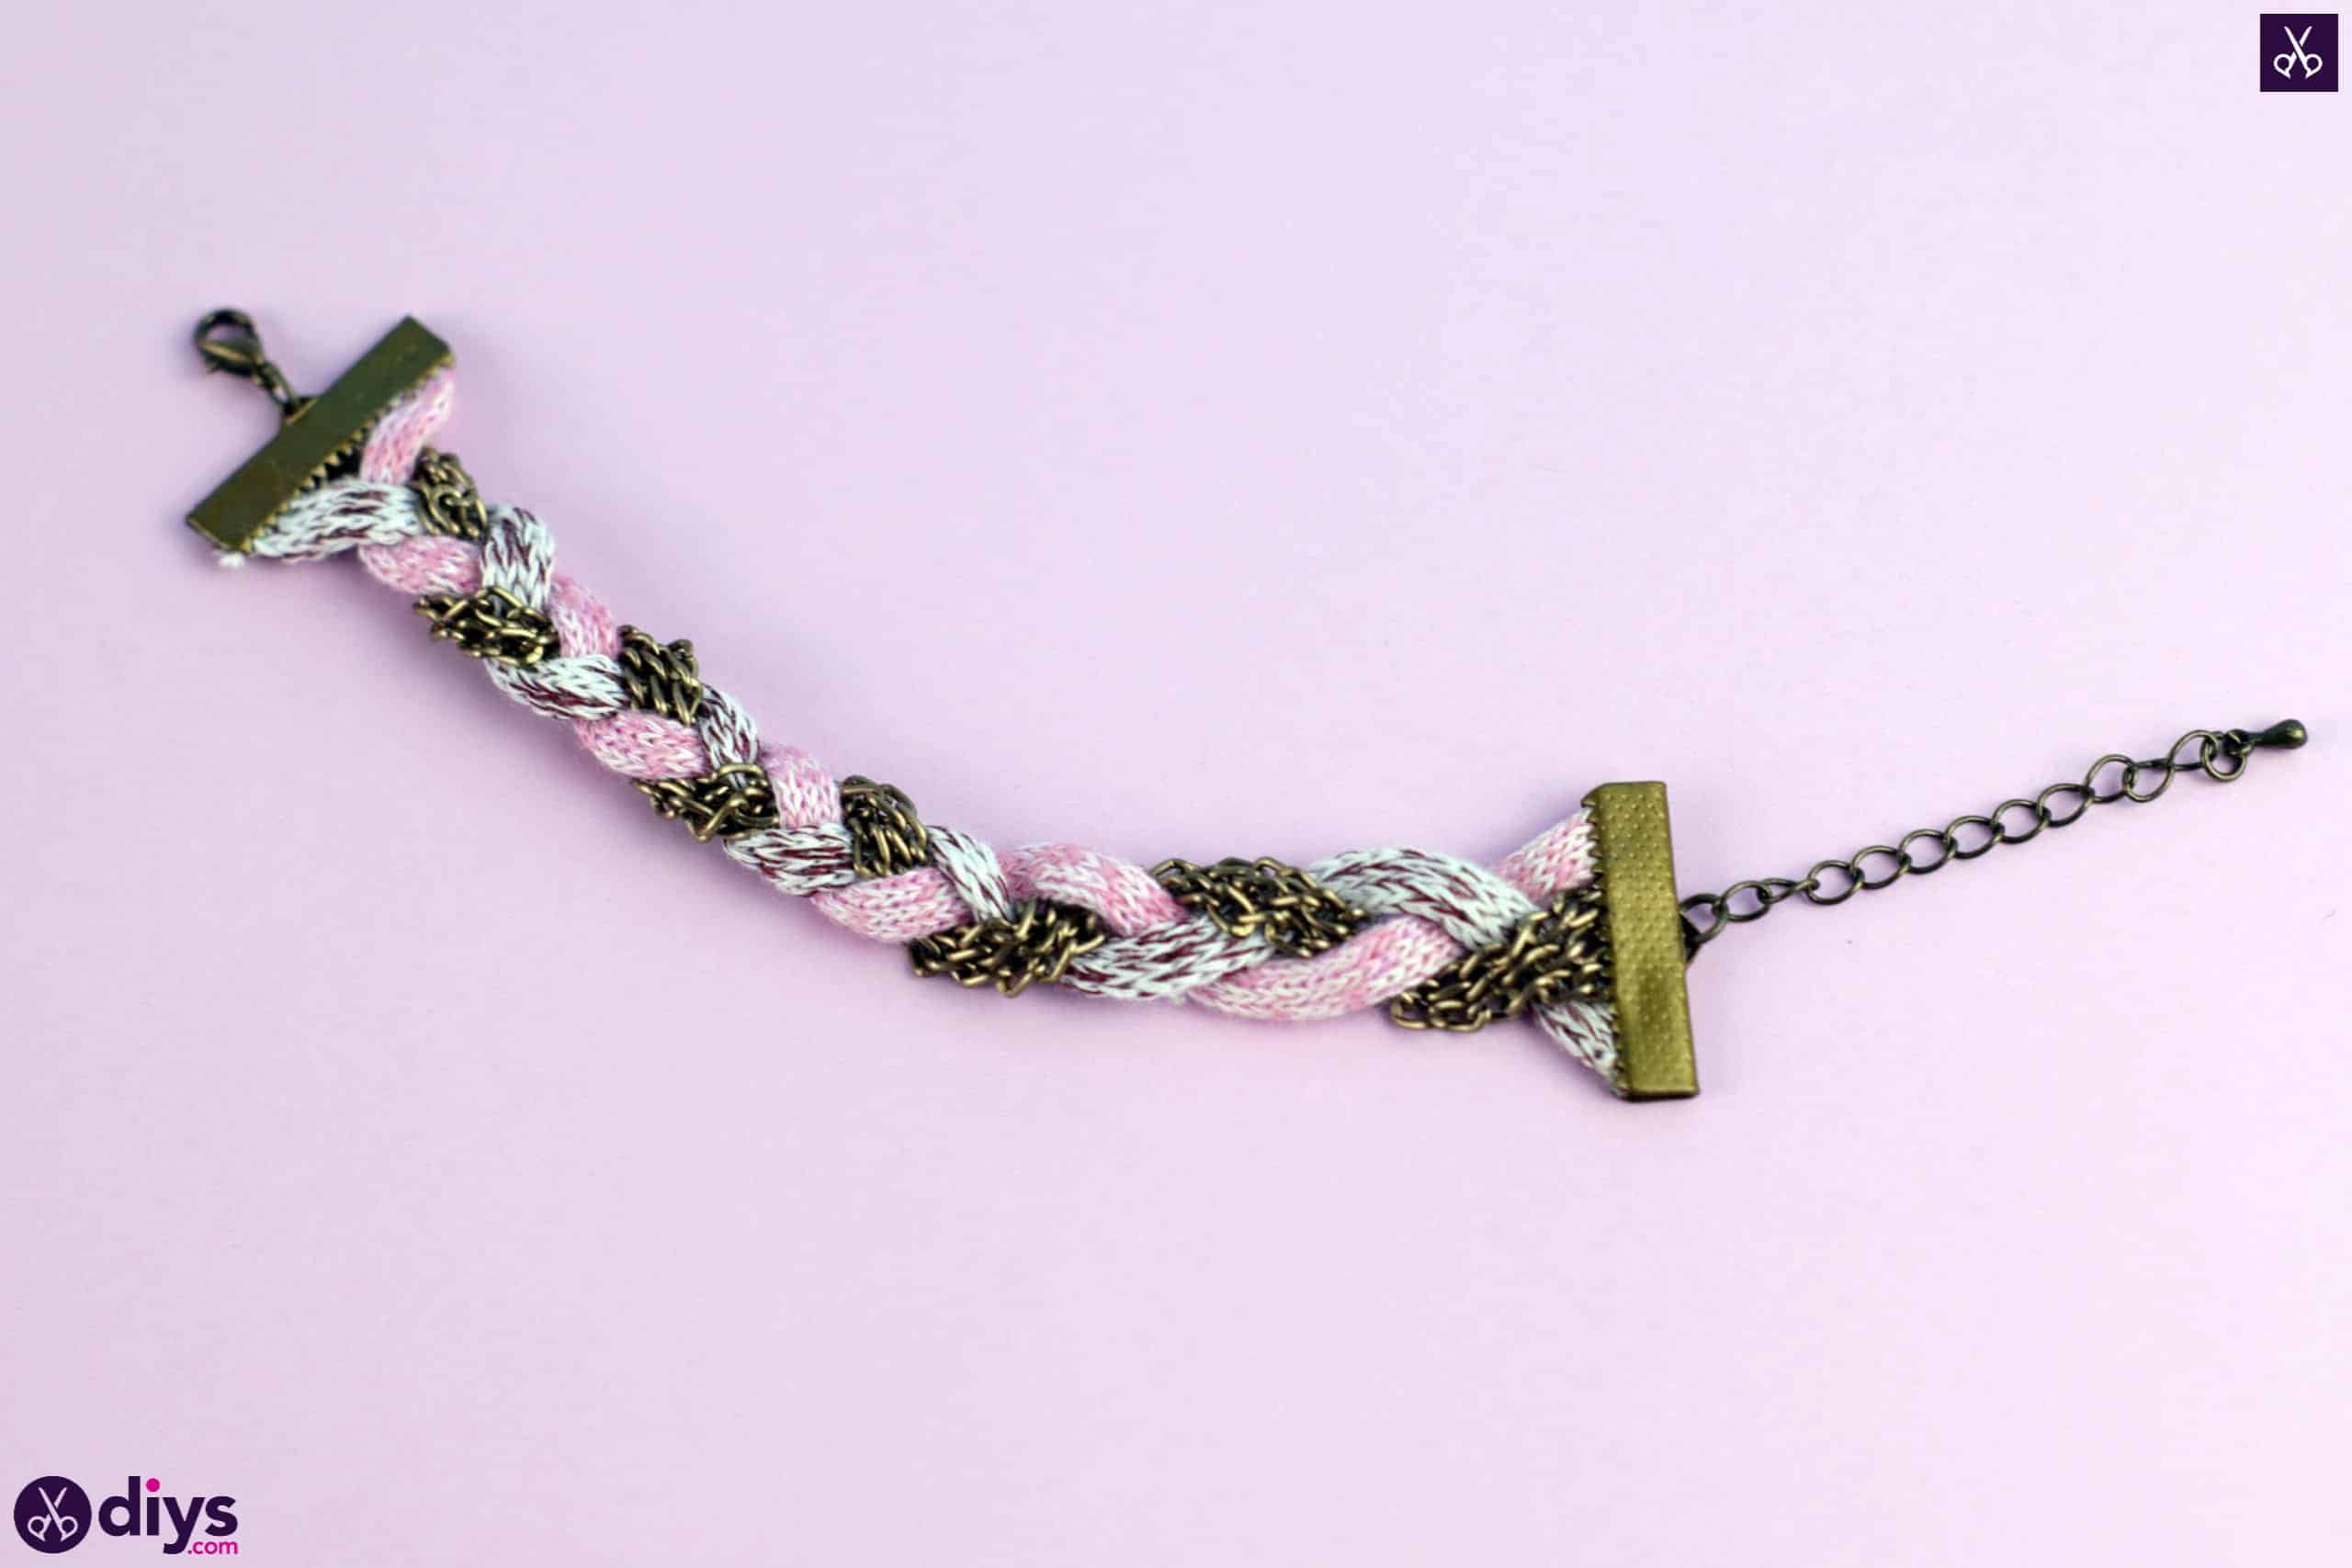
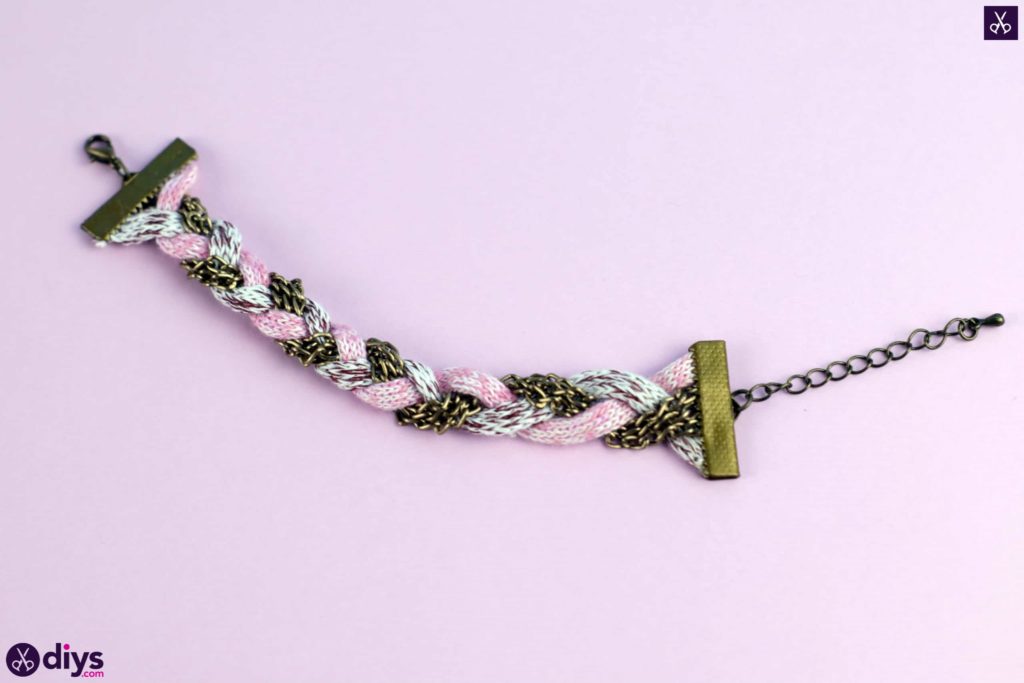
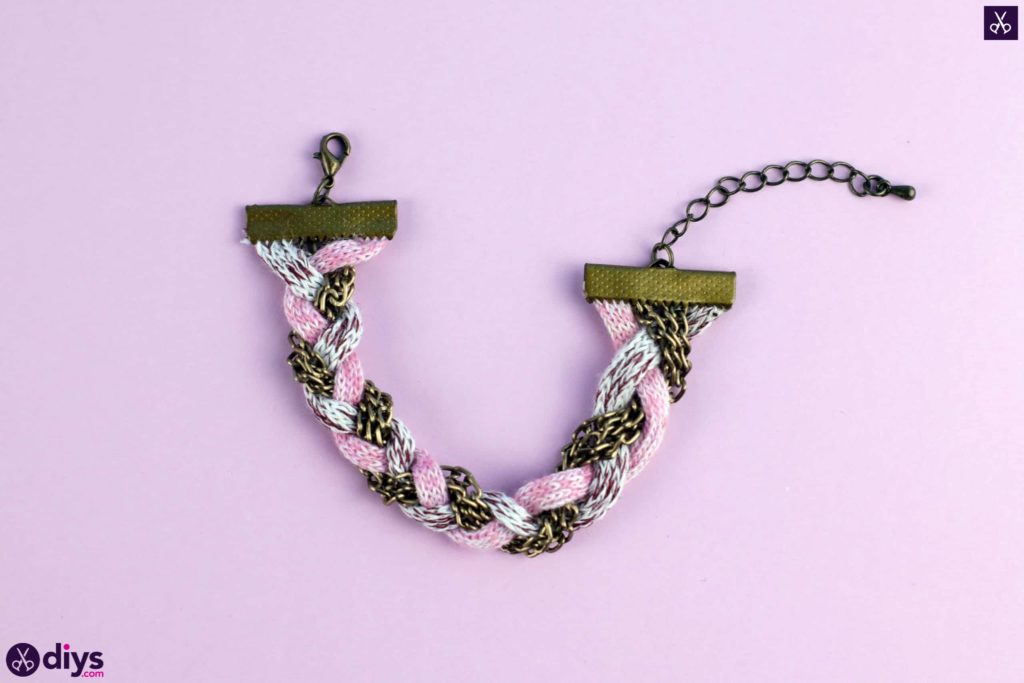
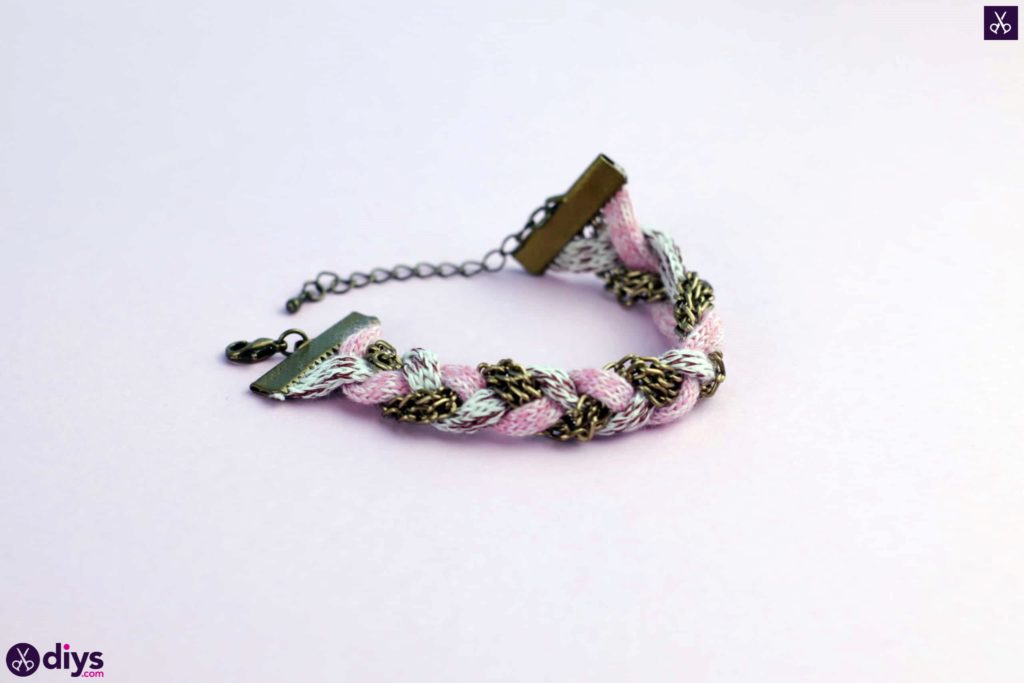
First, cross your right hand strand (mine was pink) over your middle strand (mine was chain). Then cross your left hand strand (mine was red) over your new middle strand (the pink). Then go back to the right and cross the new right hand strand (the chain) over the new middle strand (the red). This is the pattern you’ll follow all the way down the bracelet; right over middle, left over middle, and so on, alternating as you go. This is called a three-strand braid. Braid the bracelet all the way down, leaving a half inch or so of excess at the bottom to make sure you have room for the second jewelry clamp.


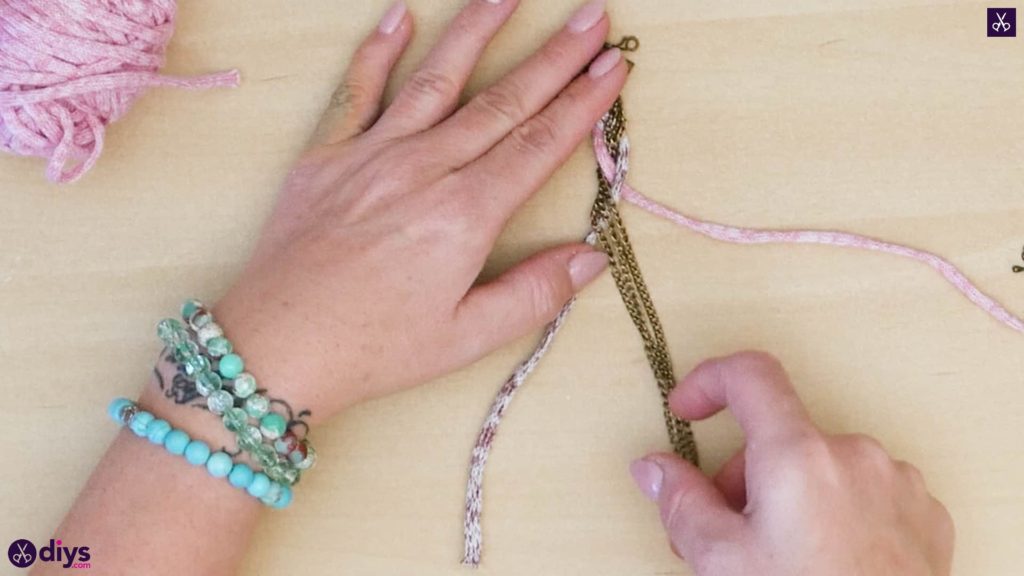
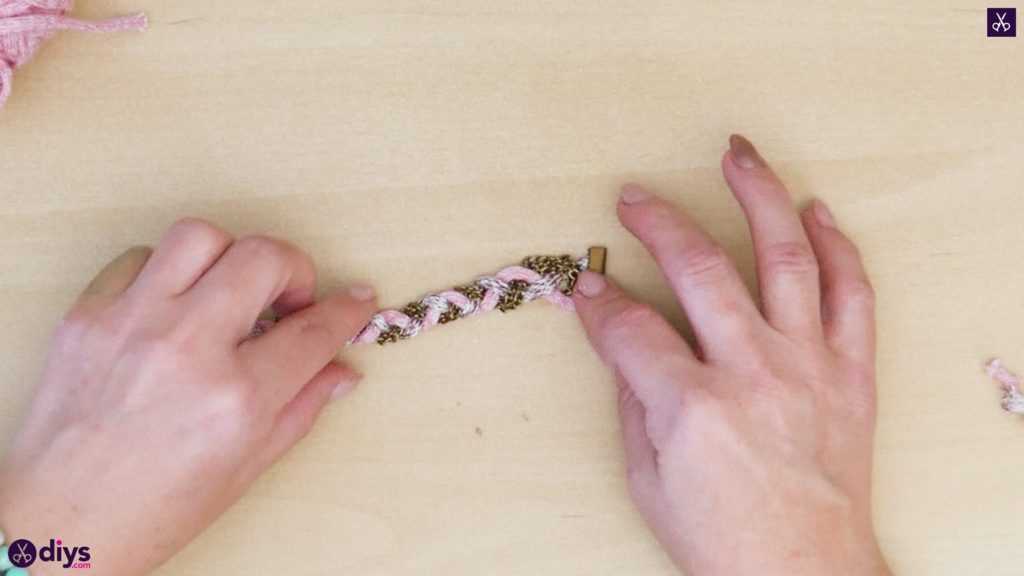
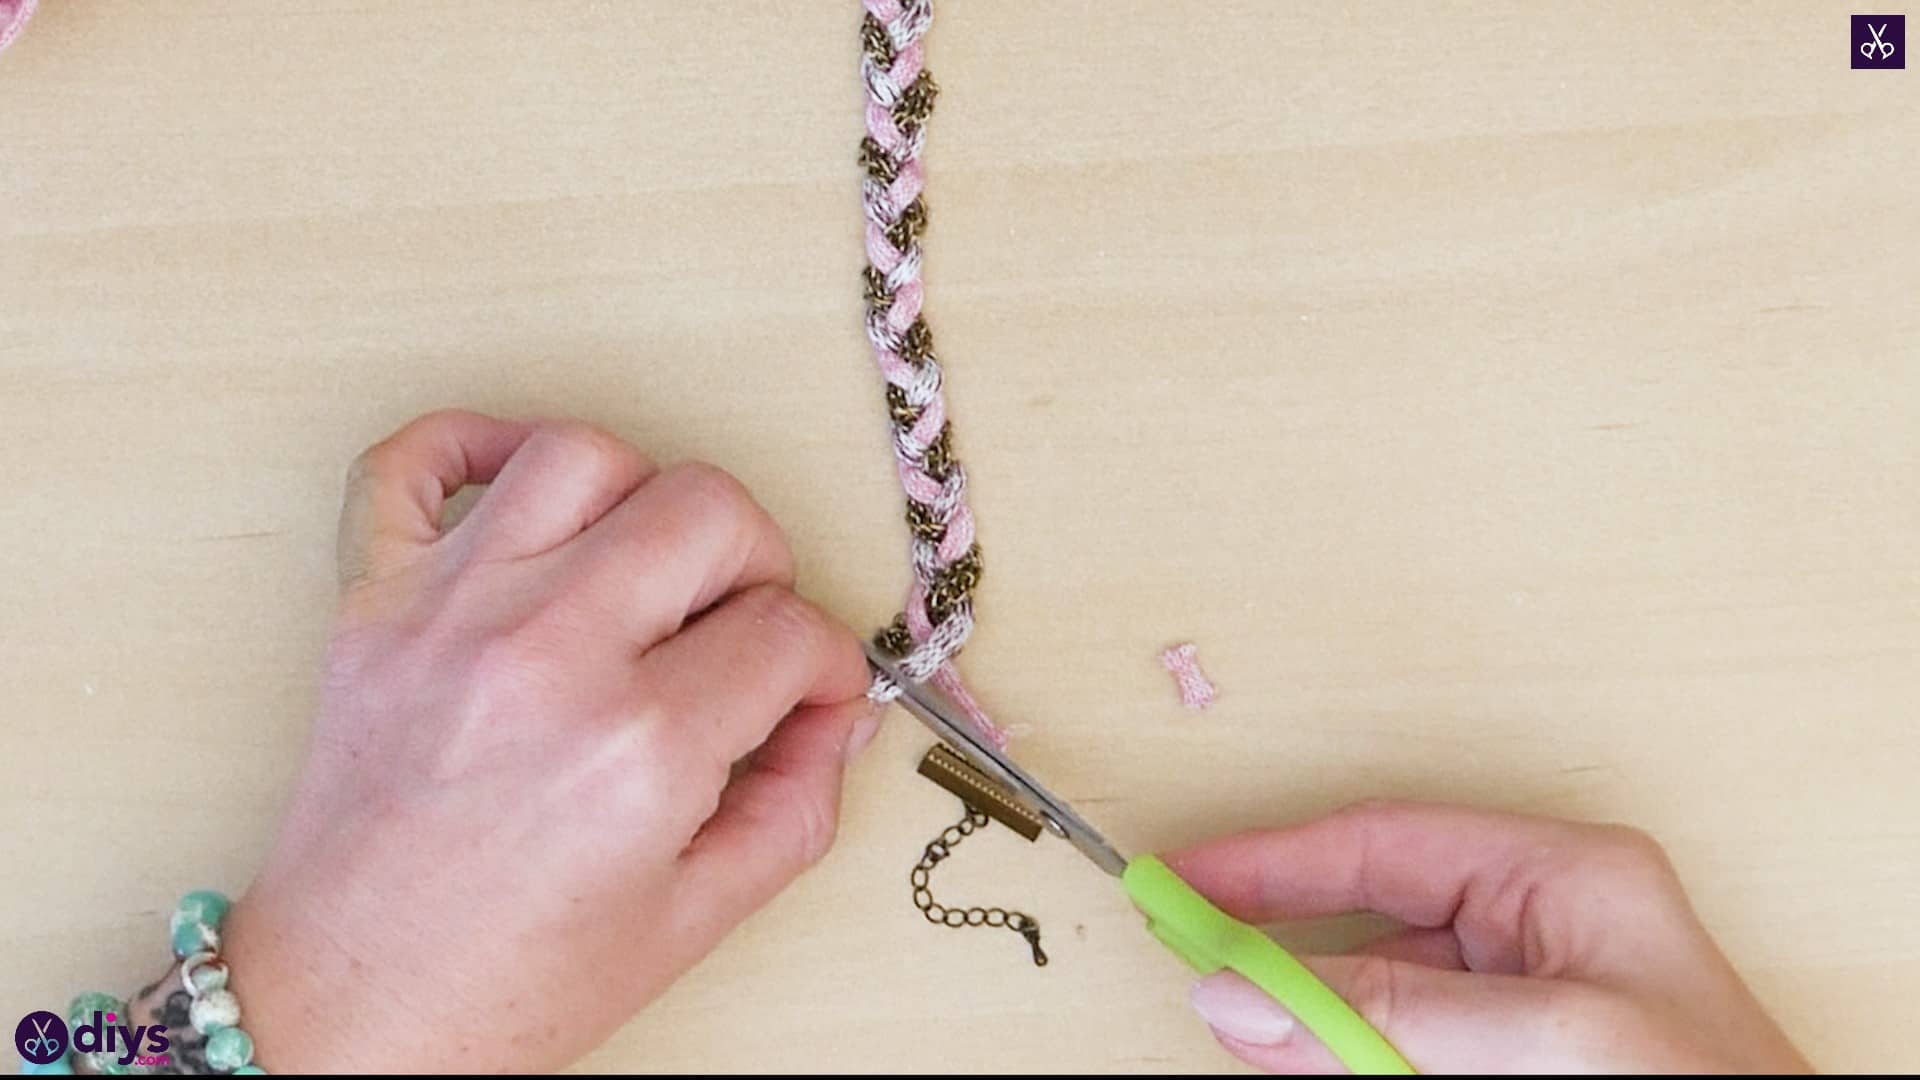
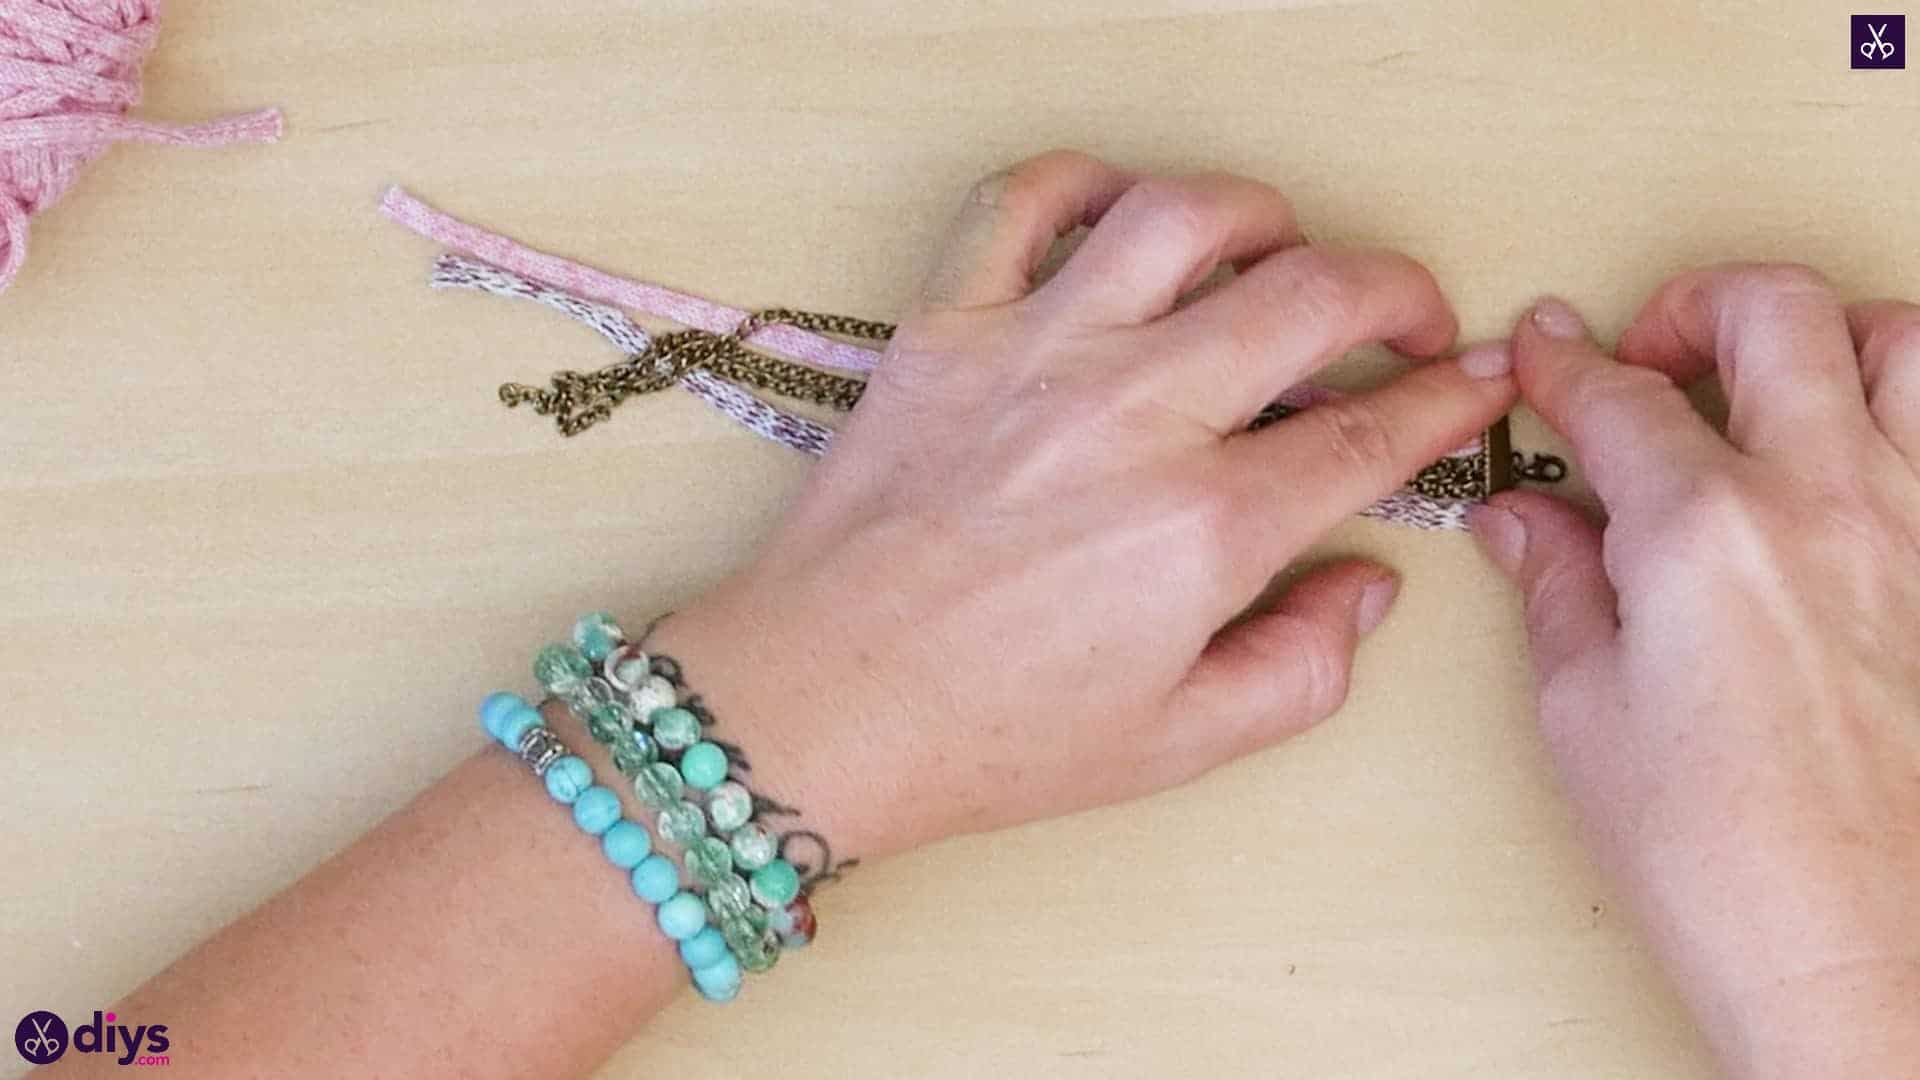
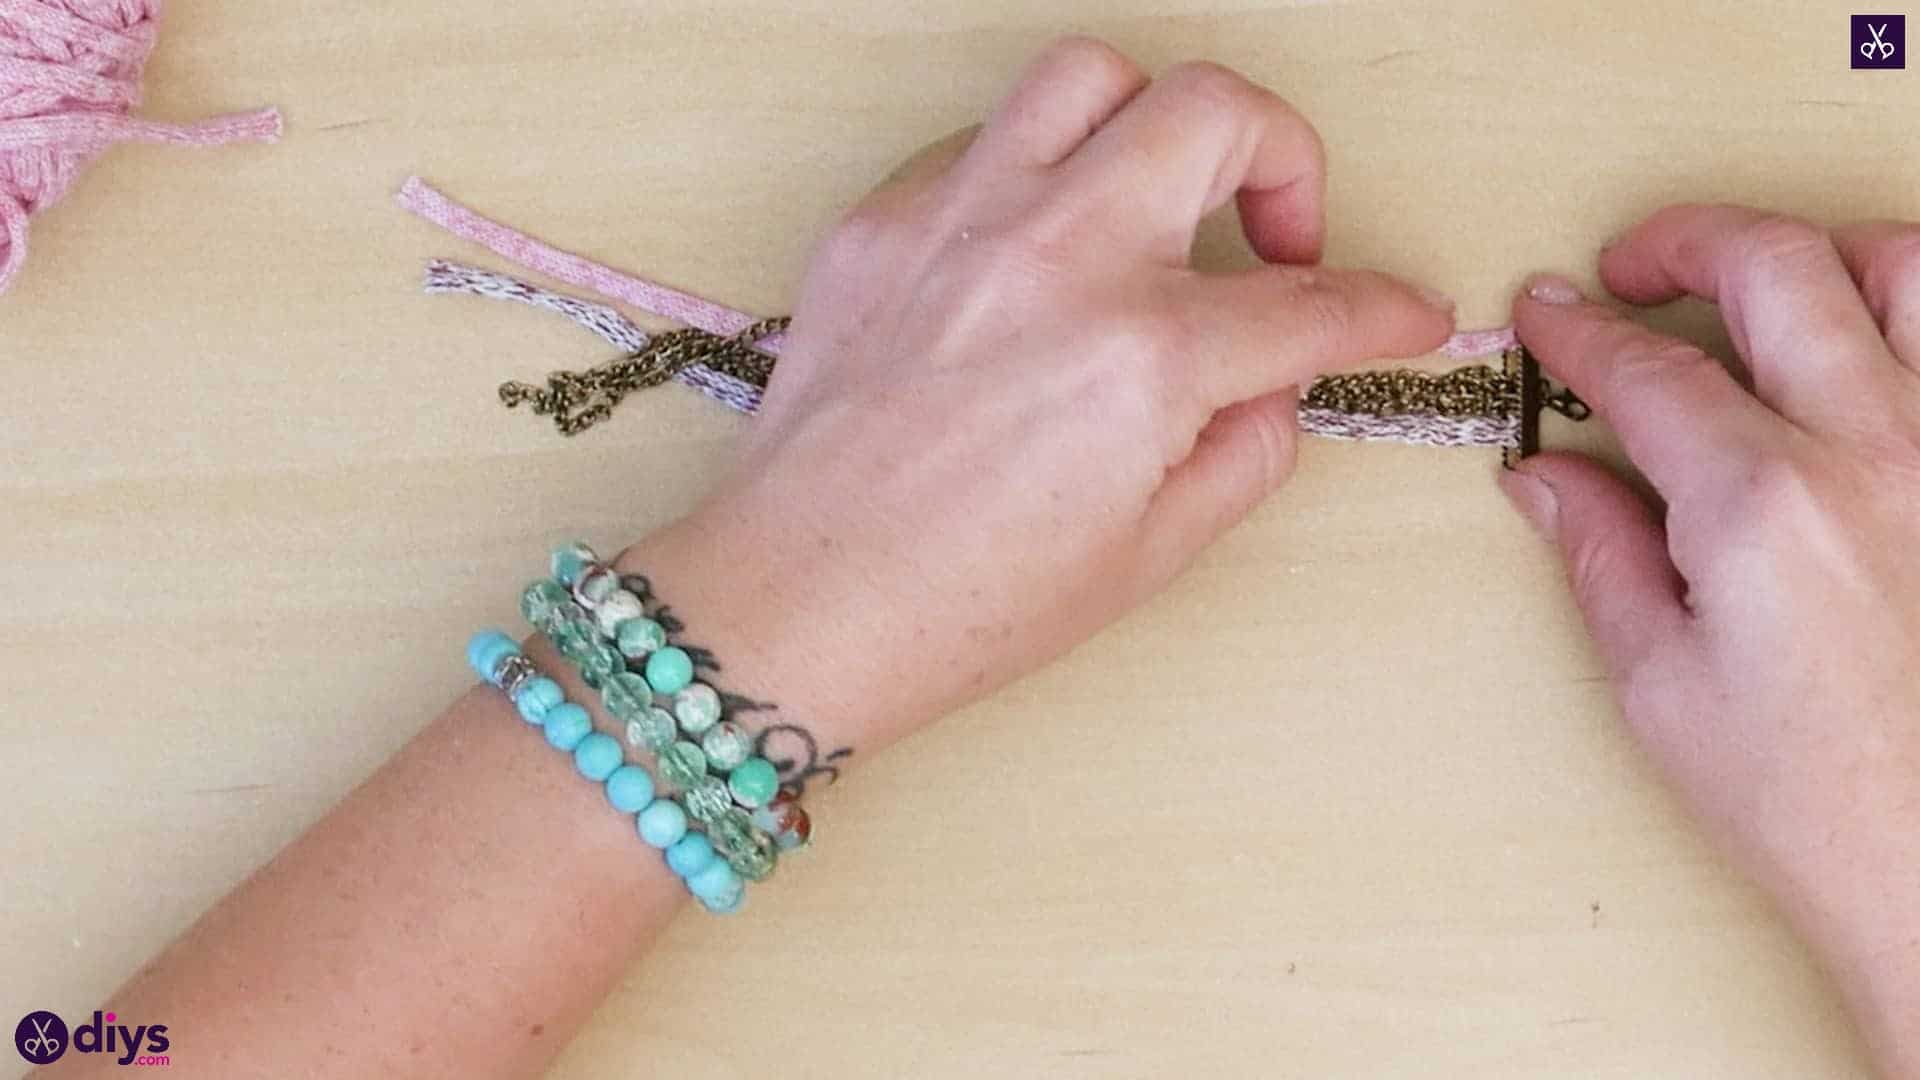
Step 4: trim
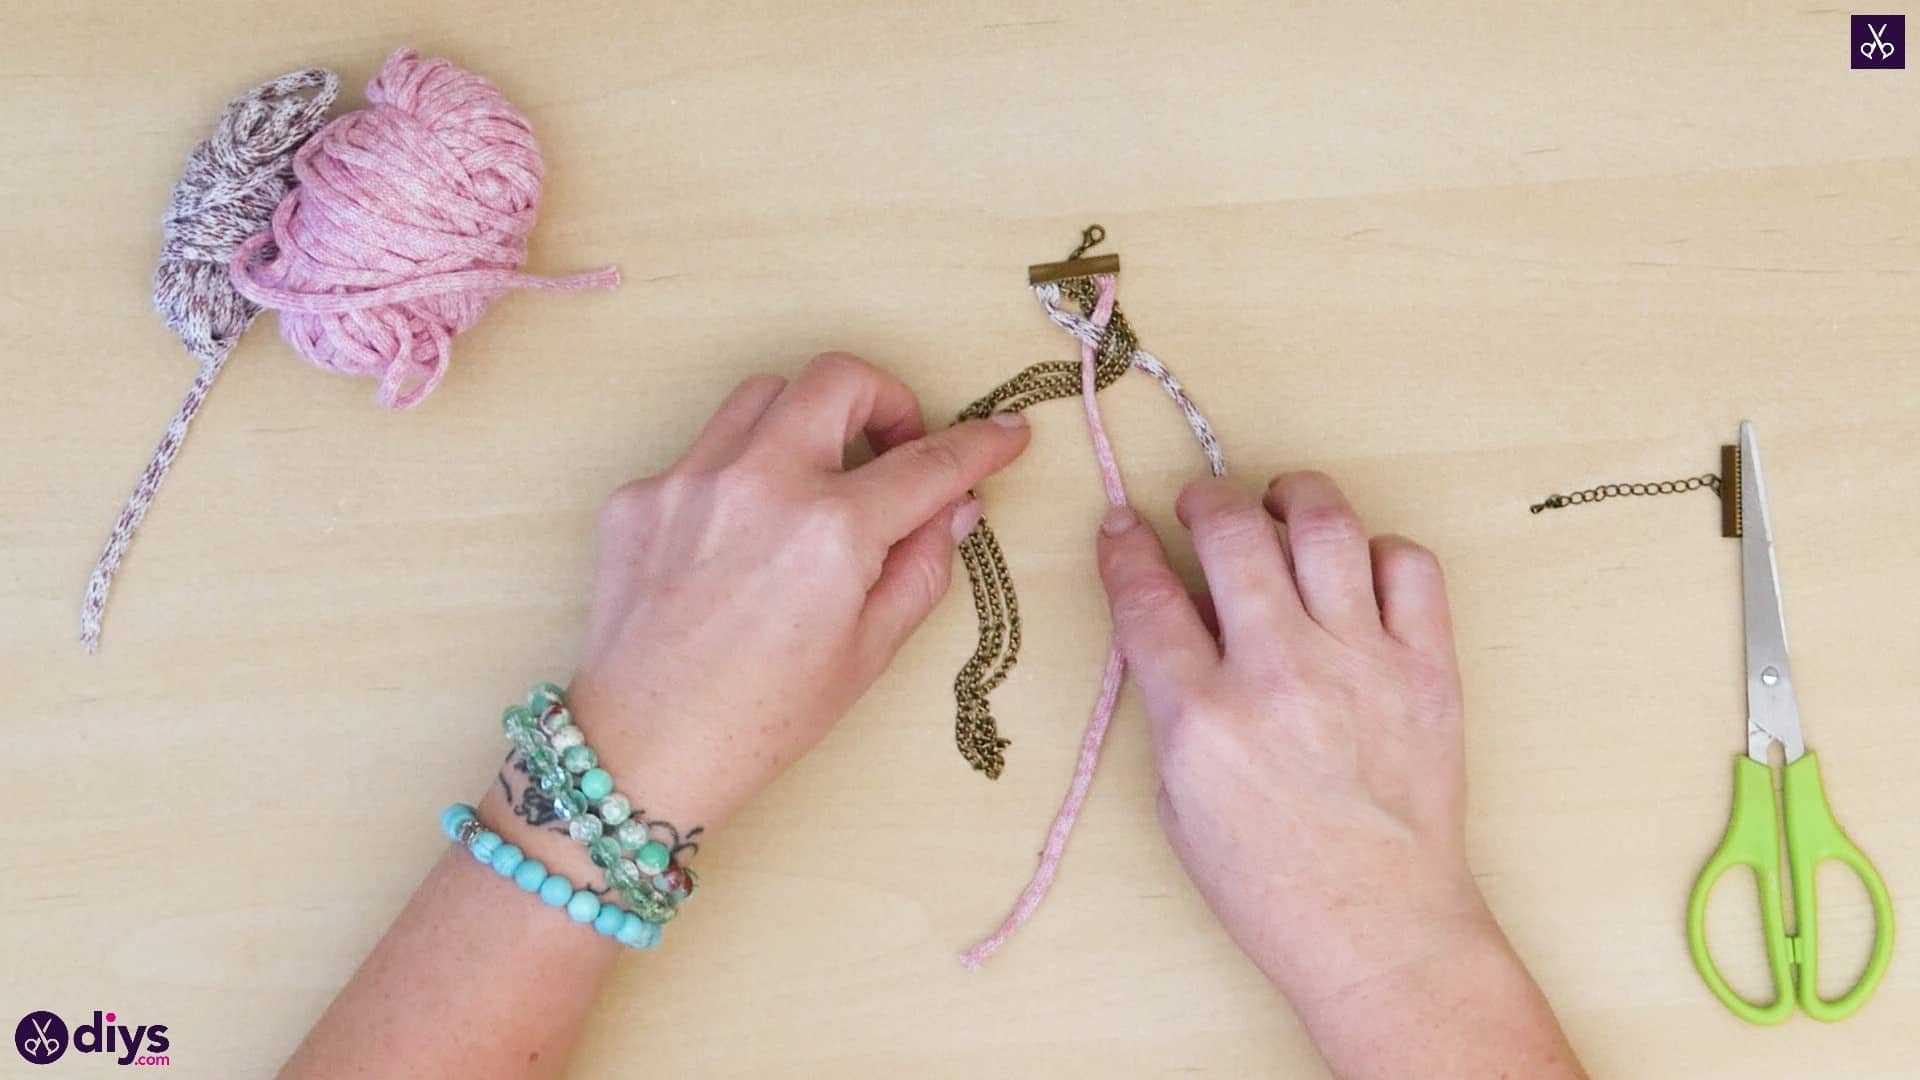
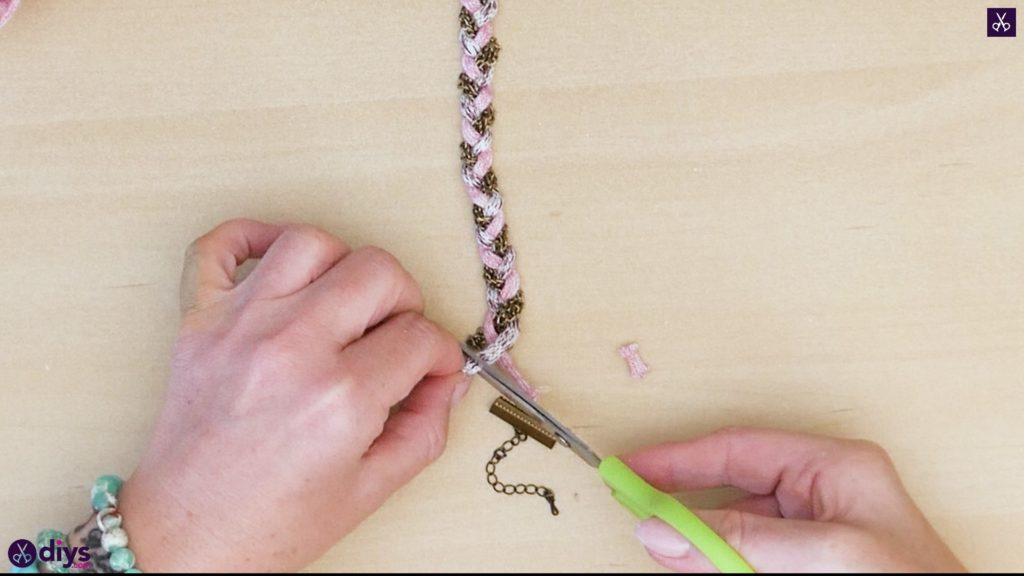
Holding the braid in place so it doesn’t unravel, trim the ends of your strands so they’re even with each other and none of them will crowd the clamp and prevent it from closing.
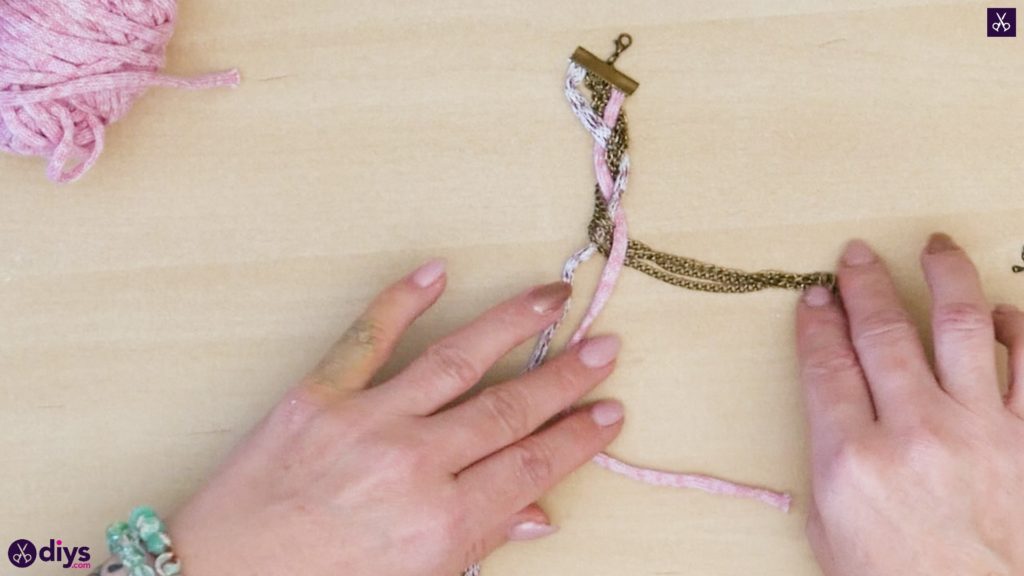

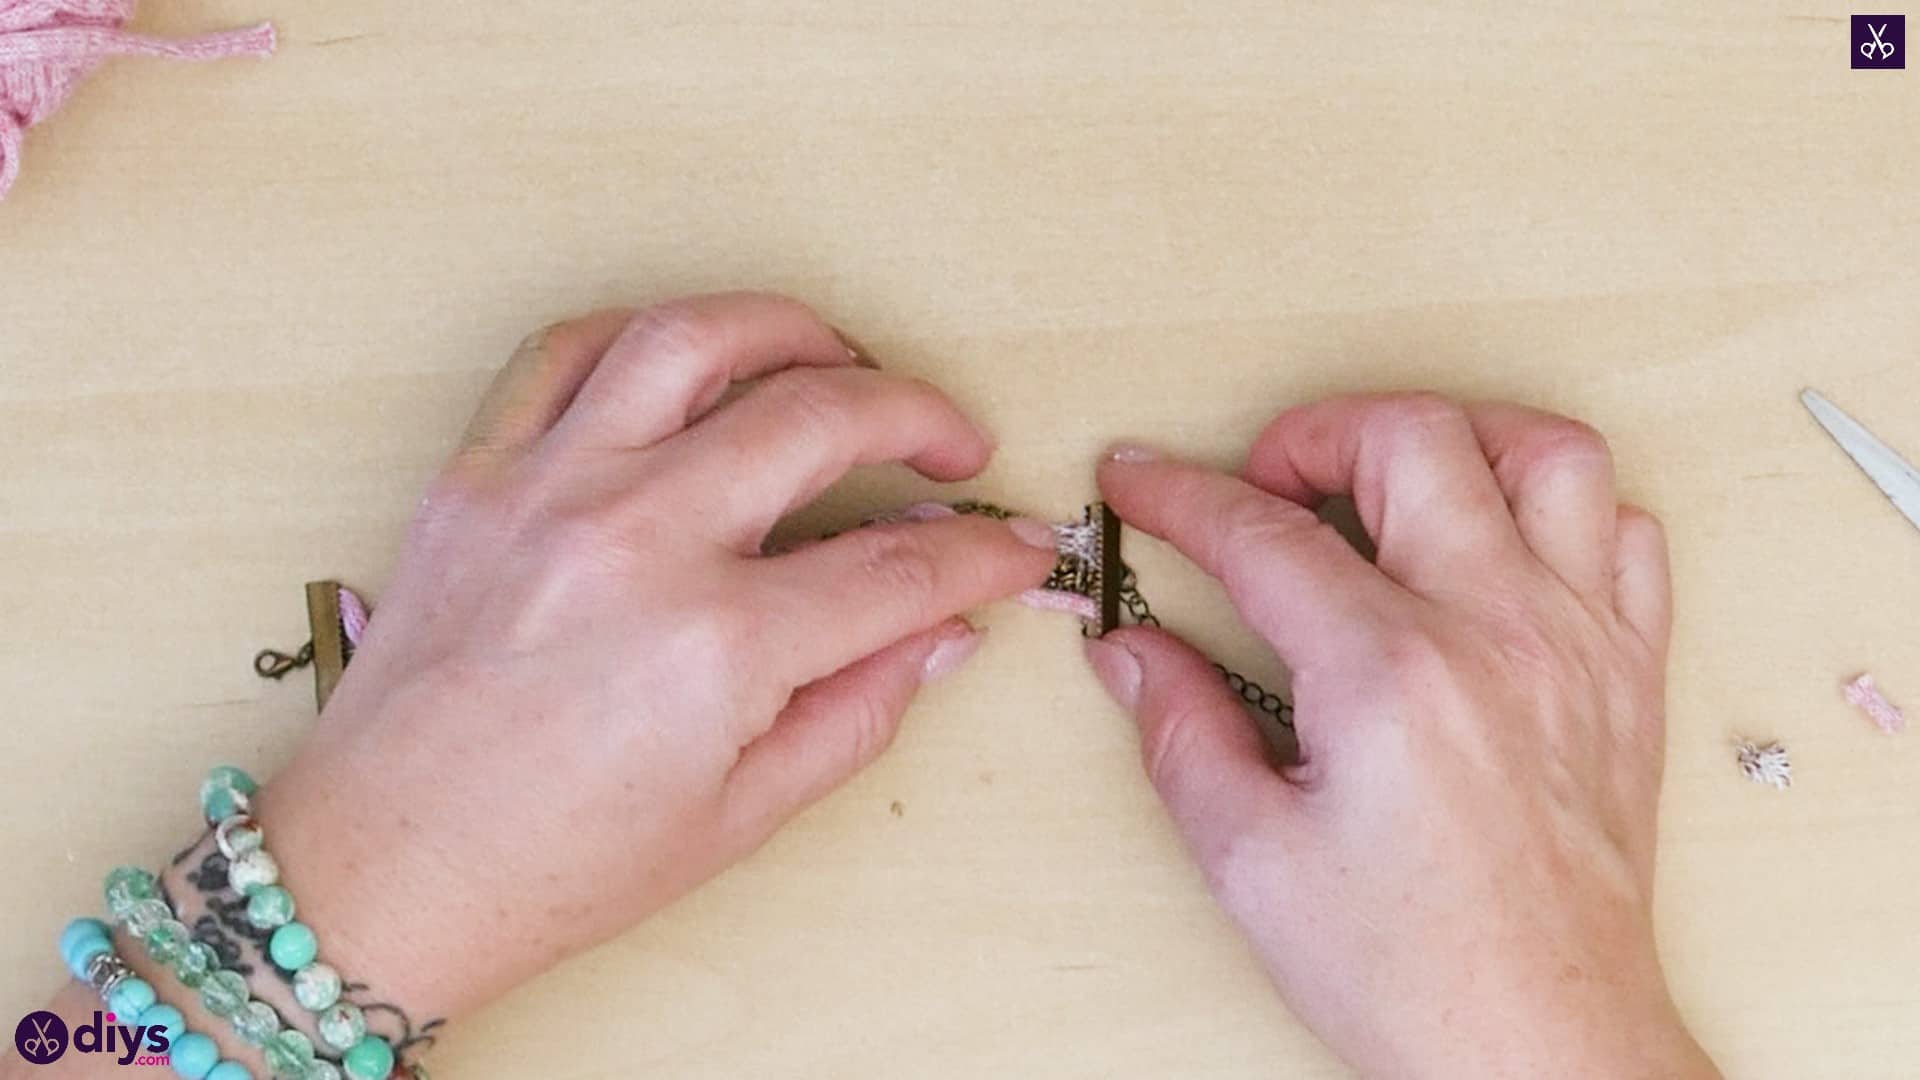
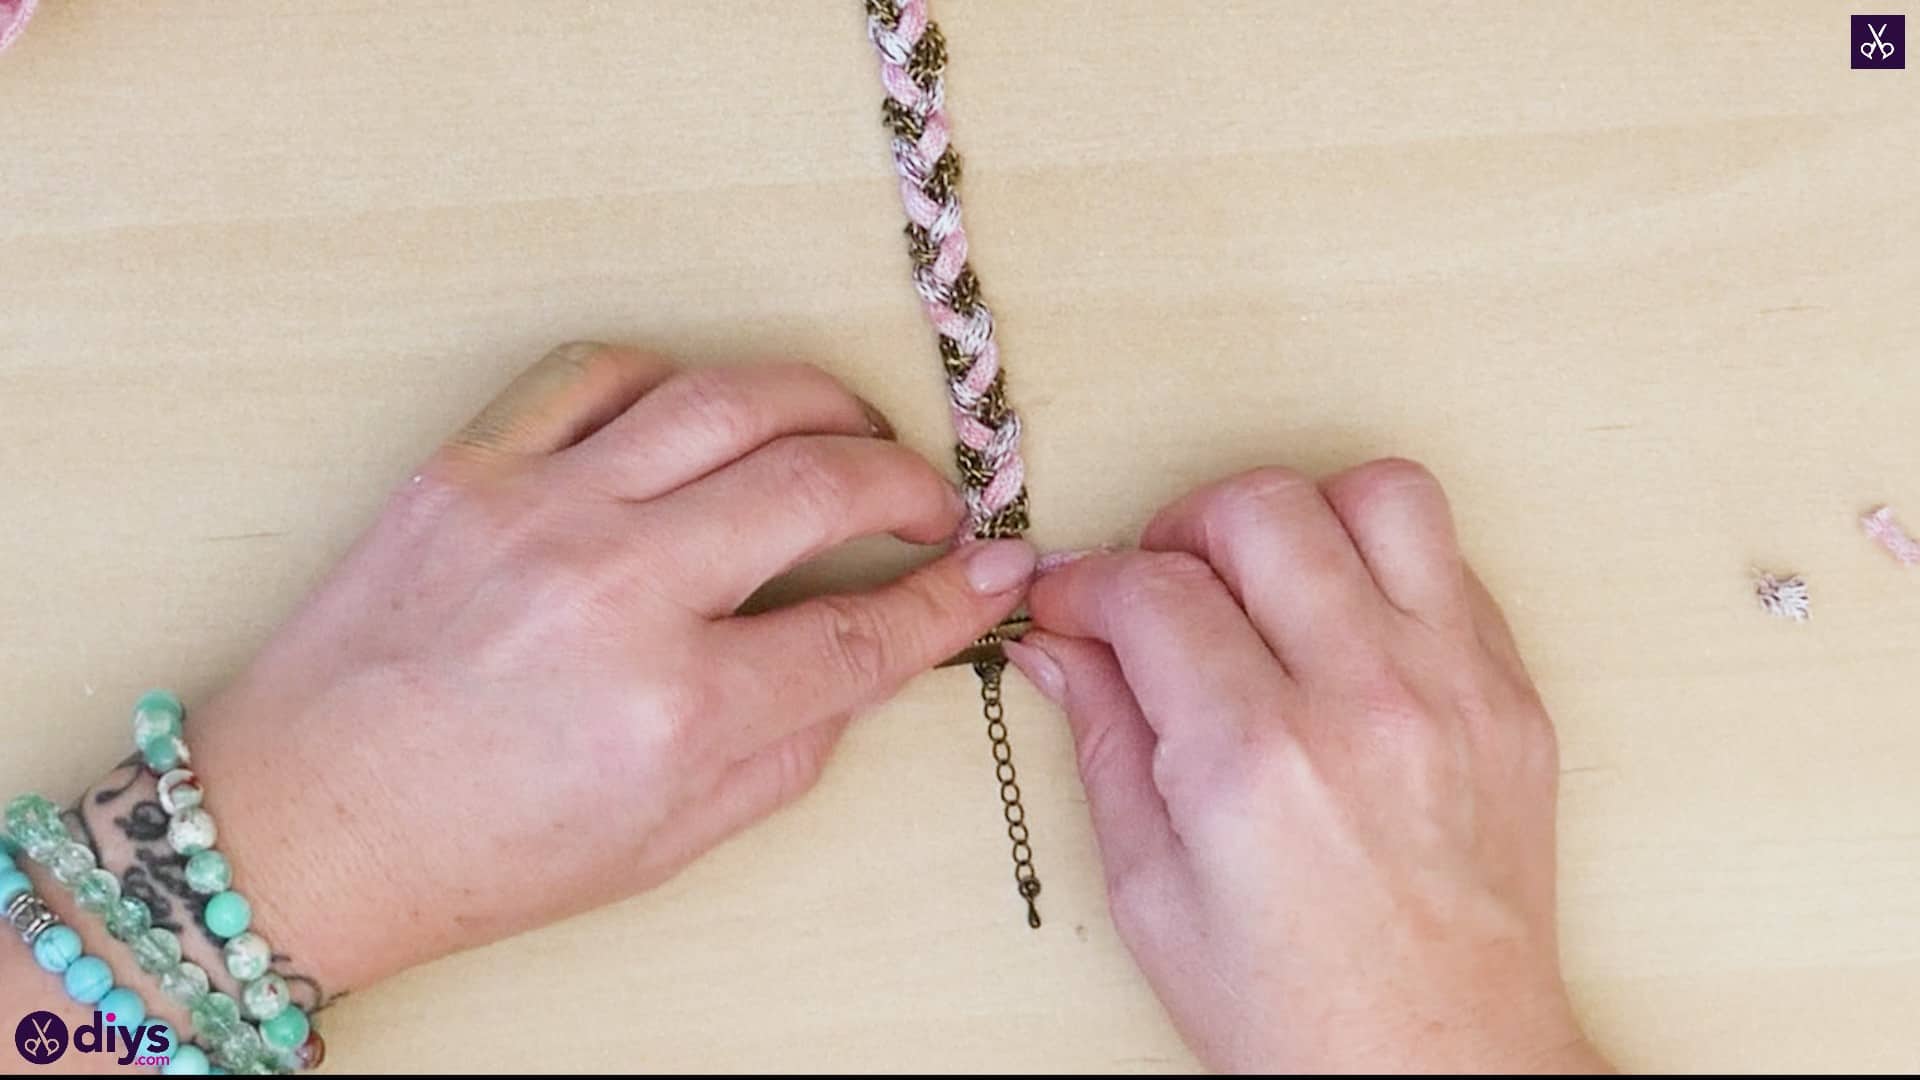
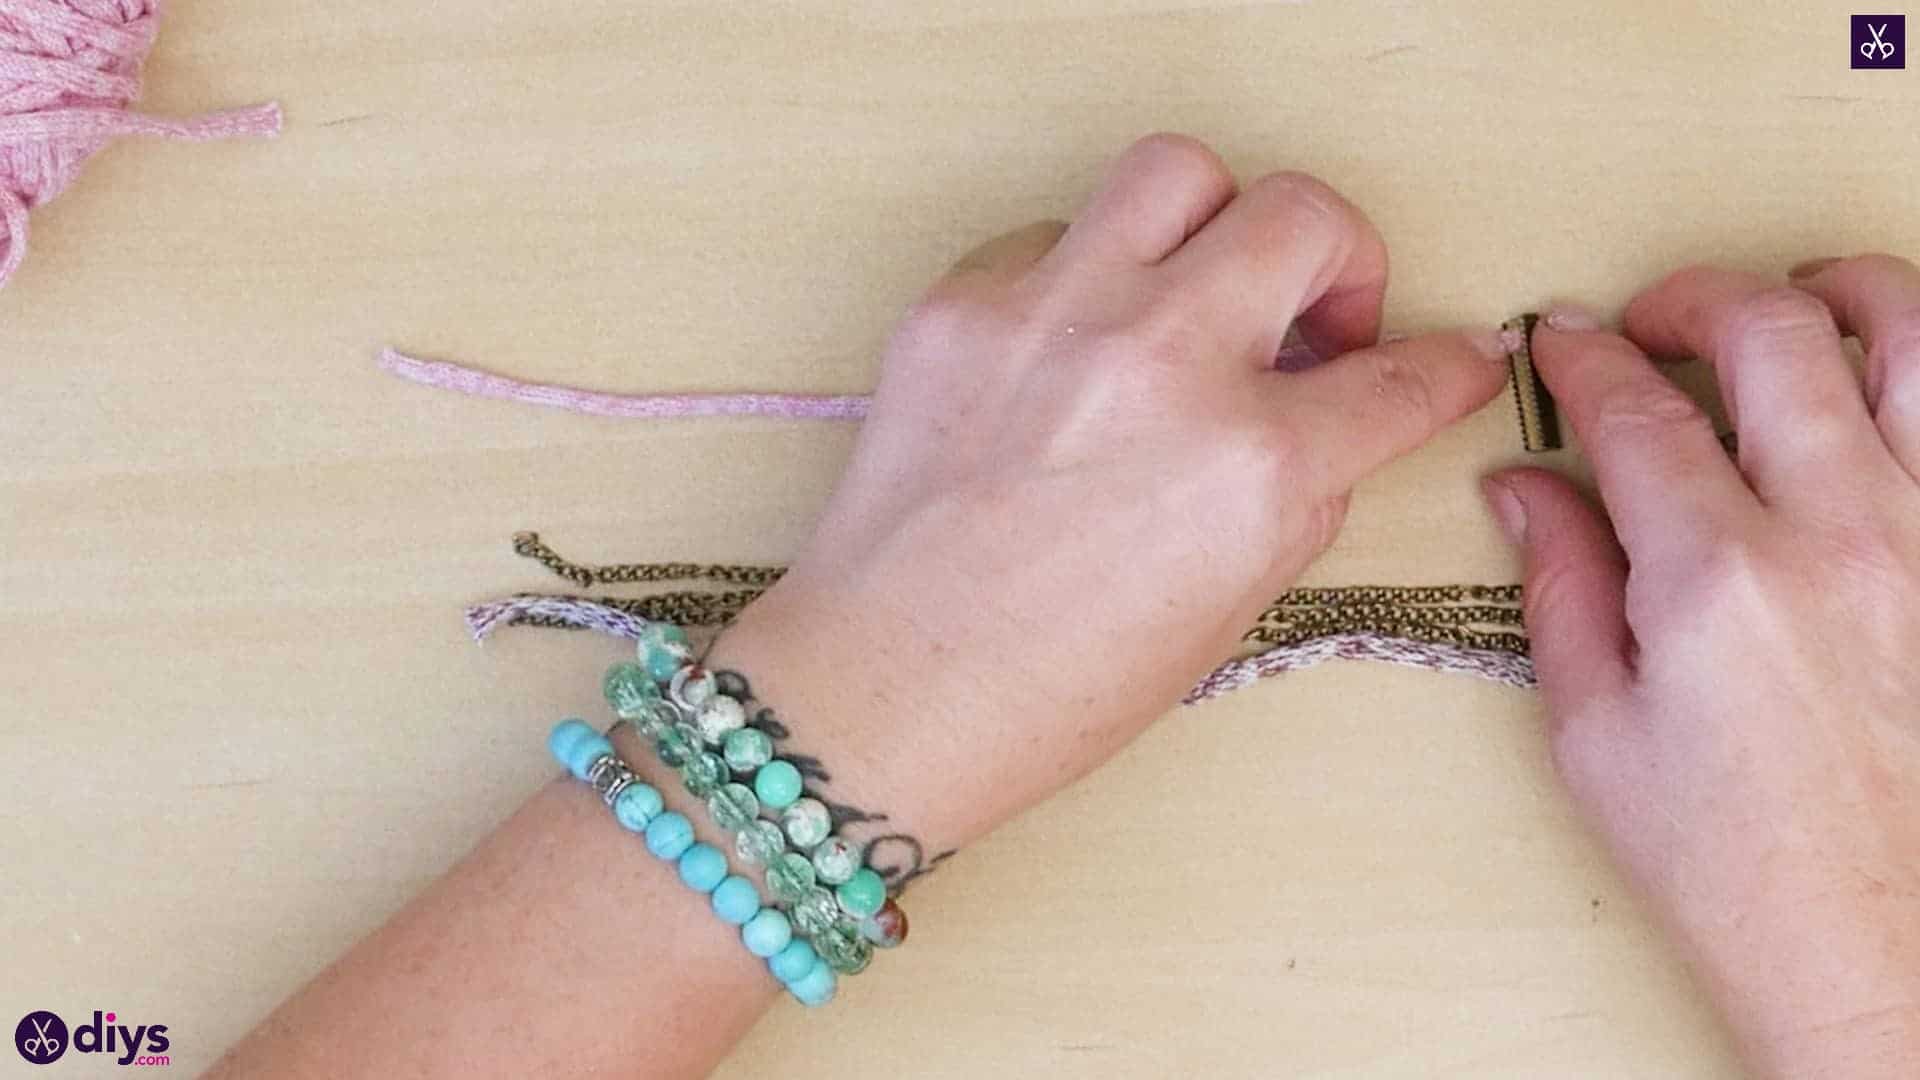
Step 5: adding second clamp
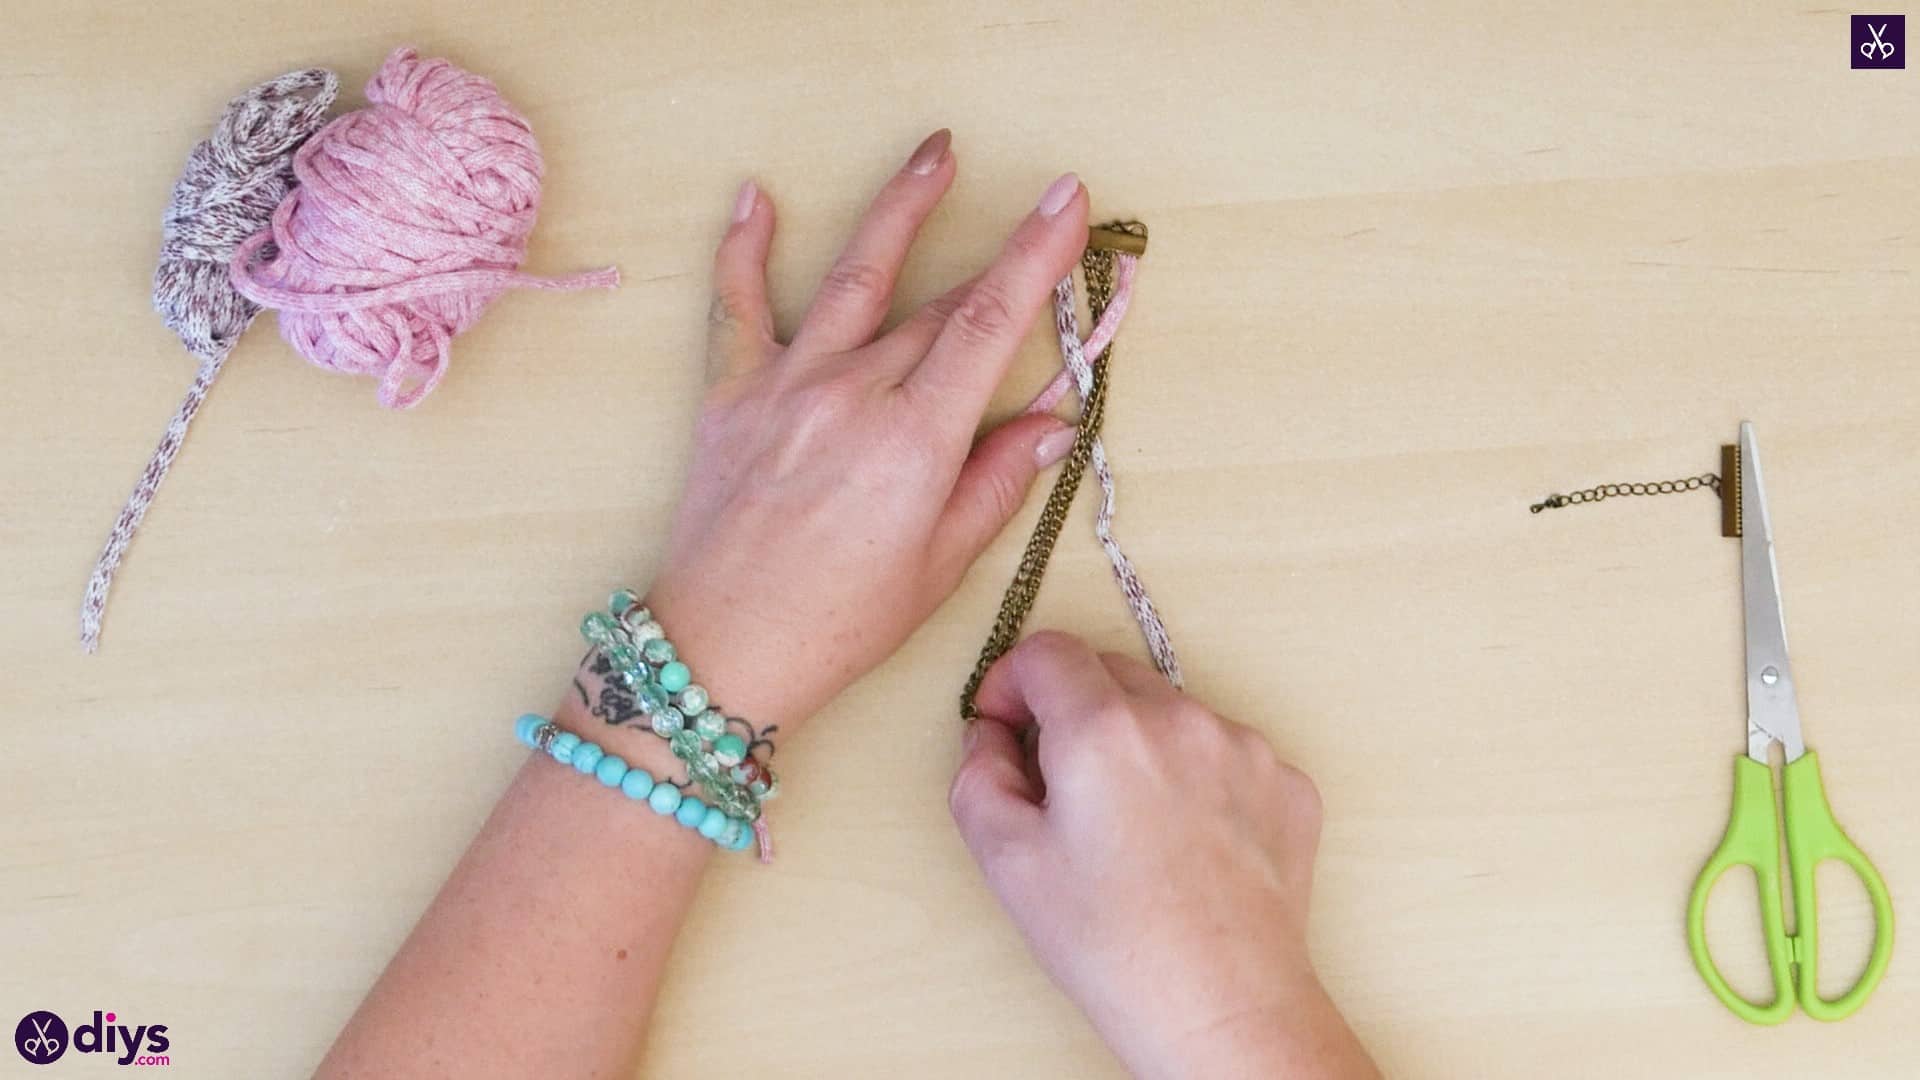
Insert the free ends of all three of your strands into your second clamp and close it tightly to hold your braid in place.
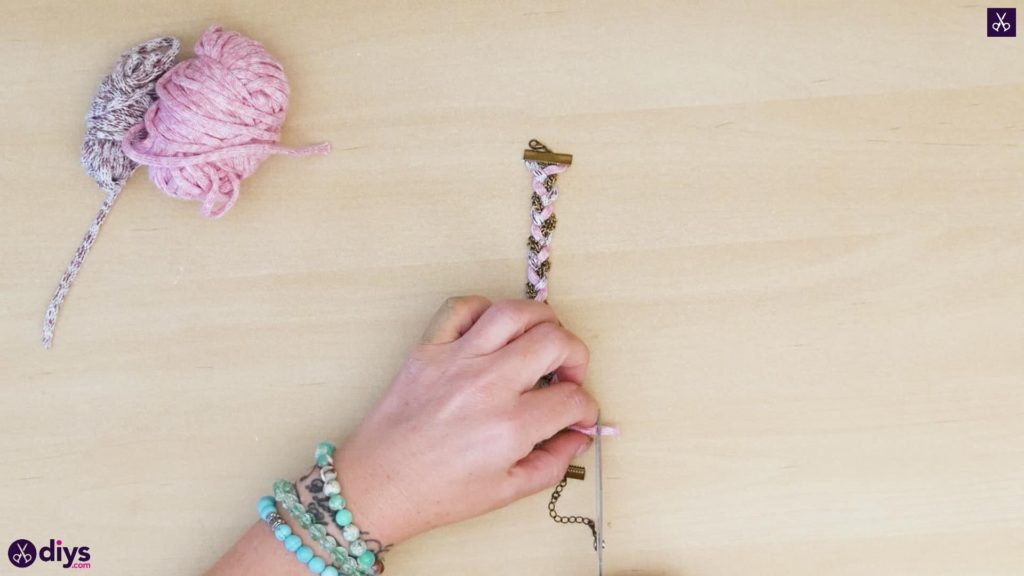

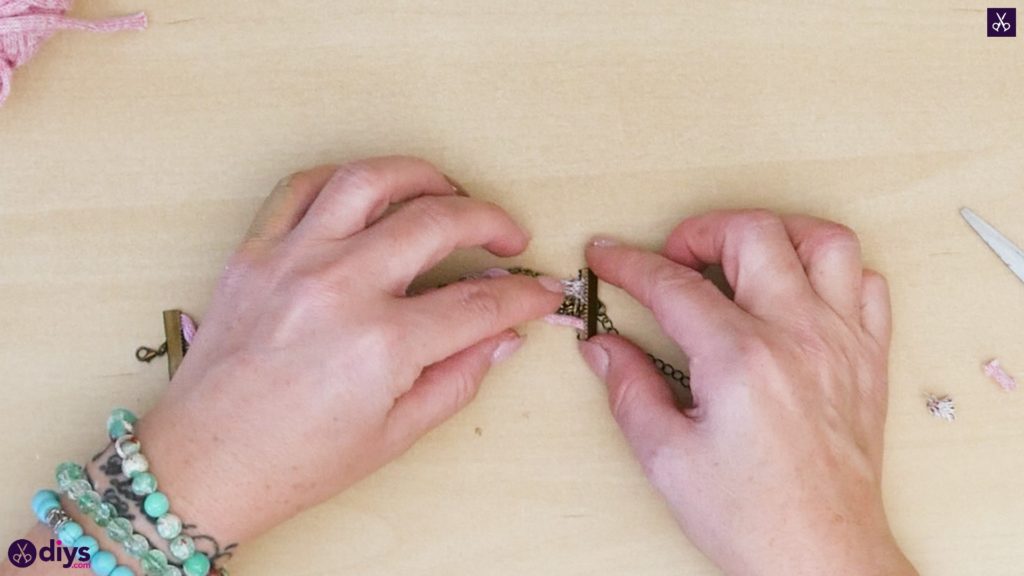
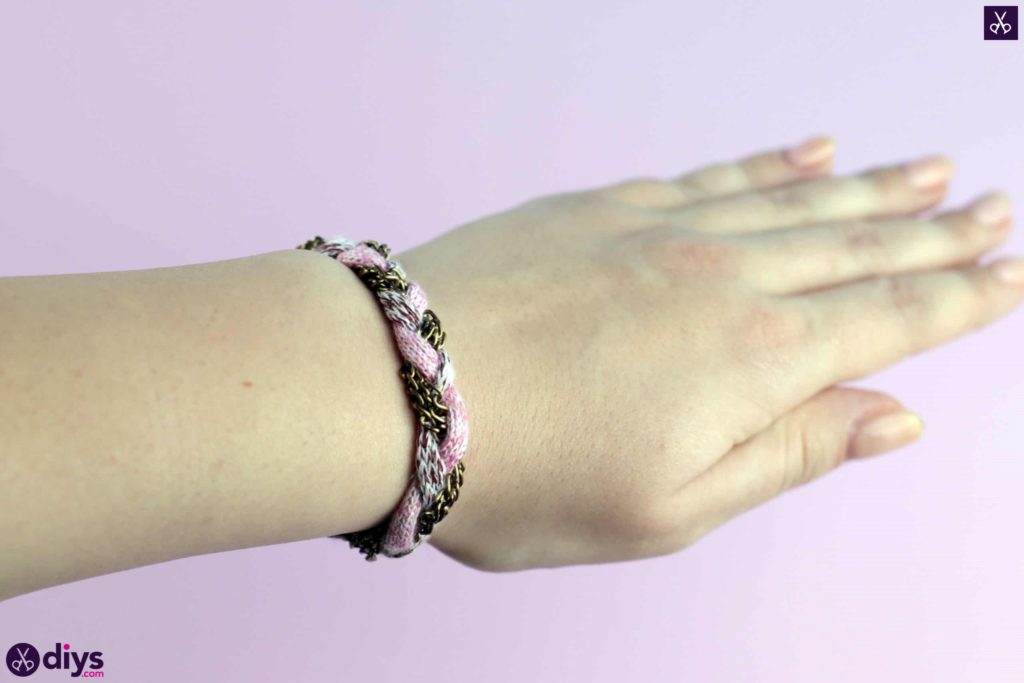
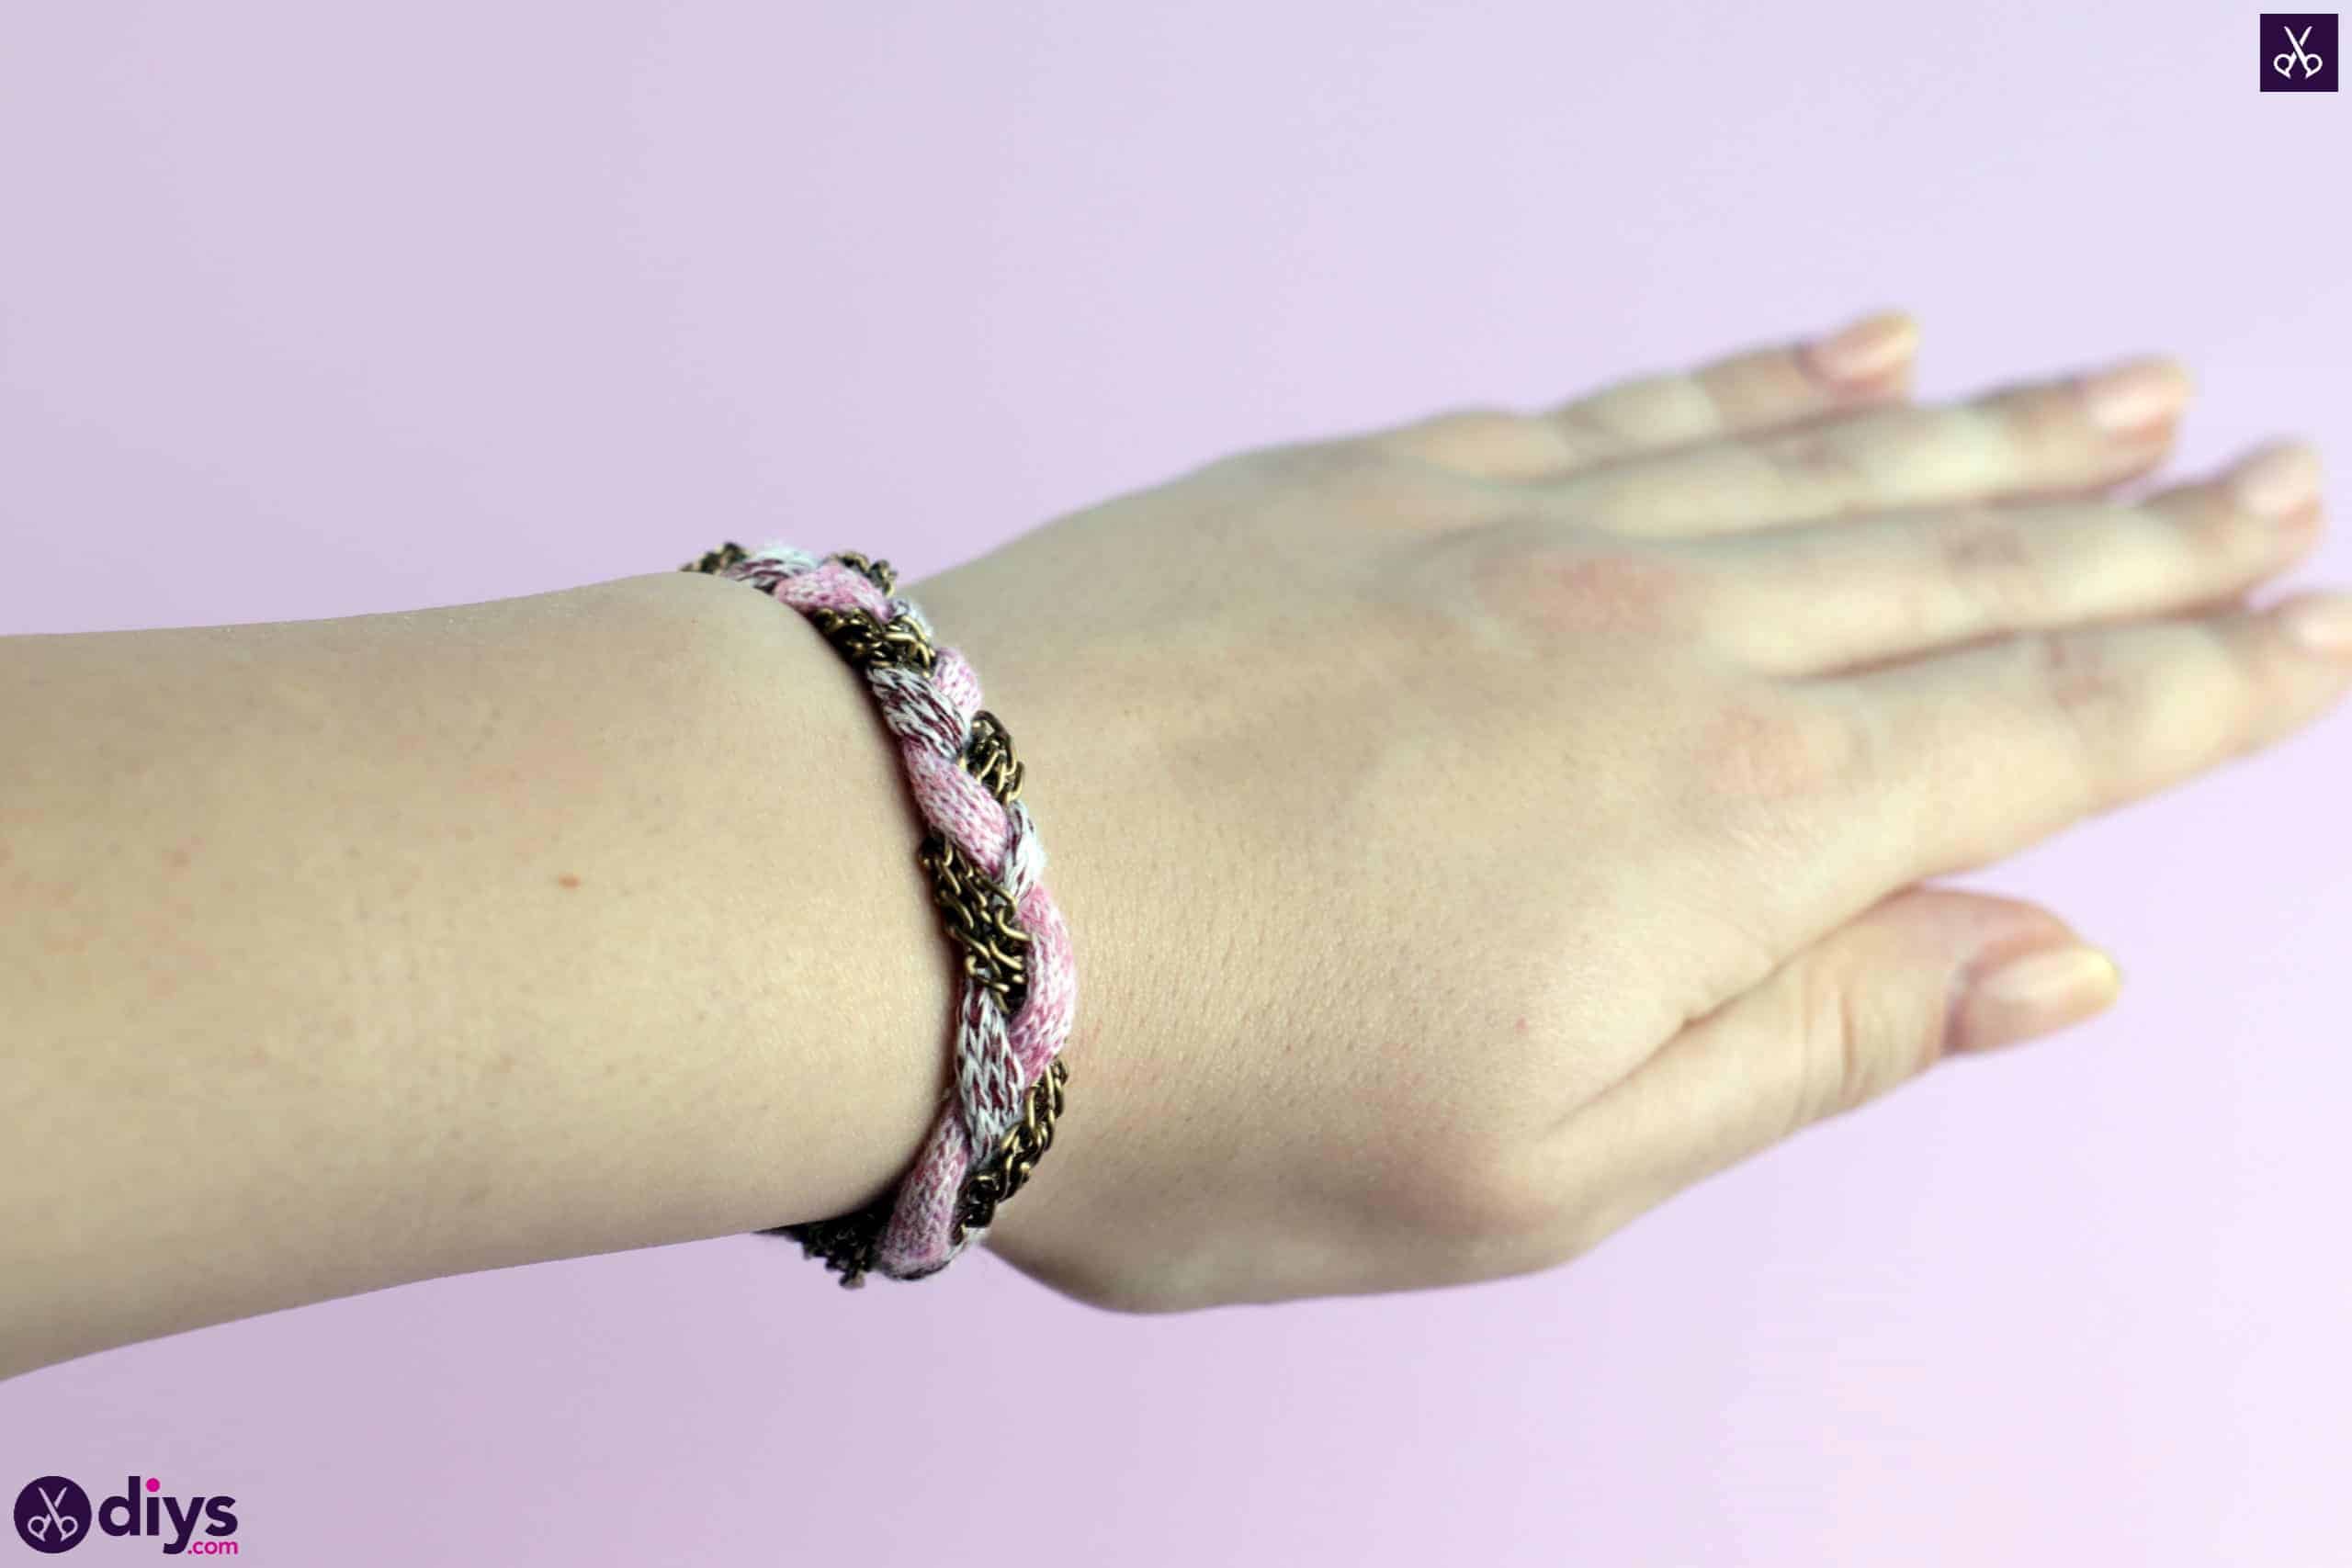
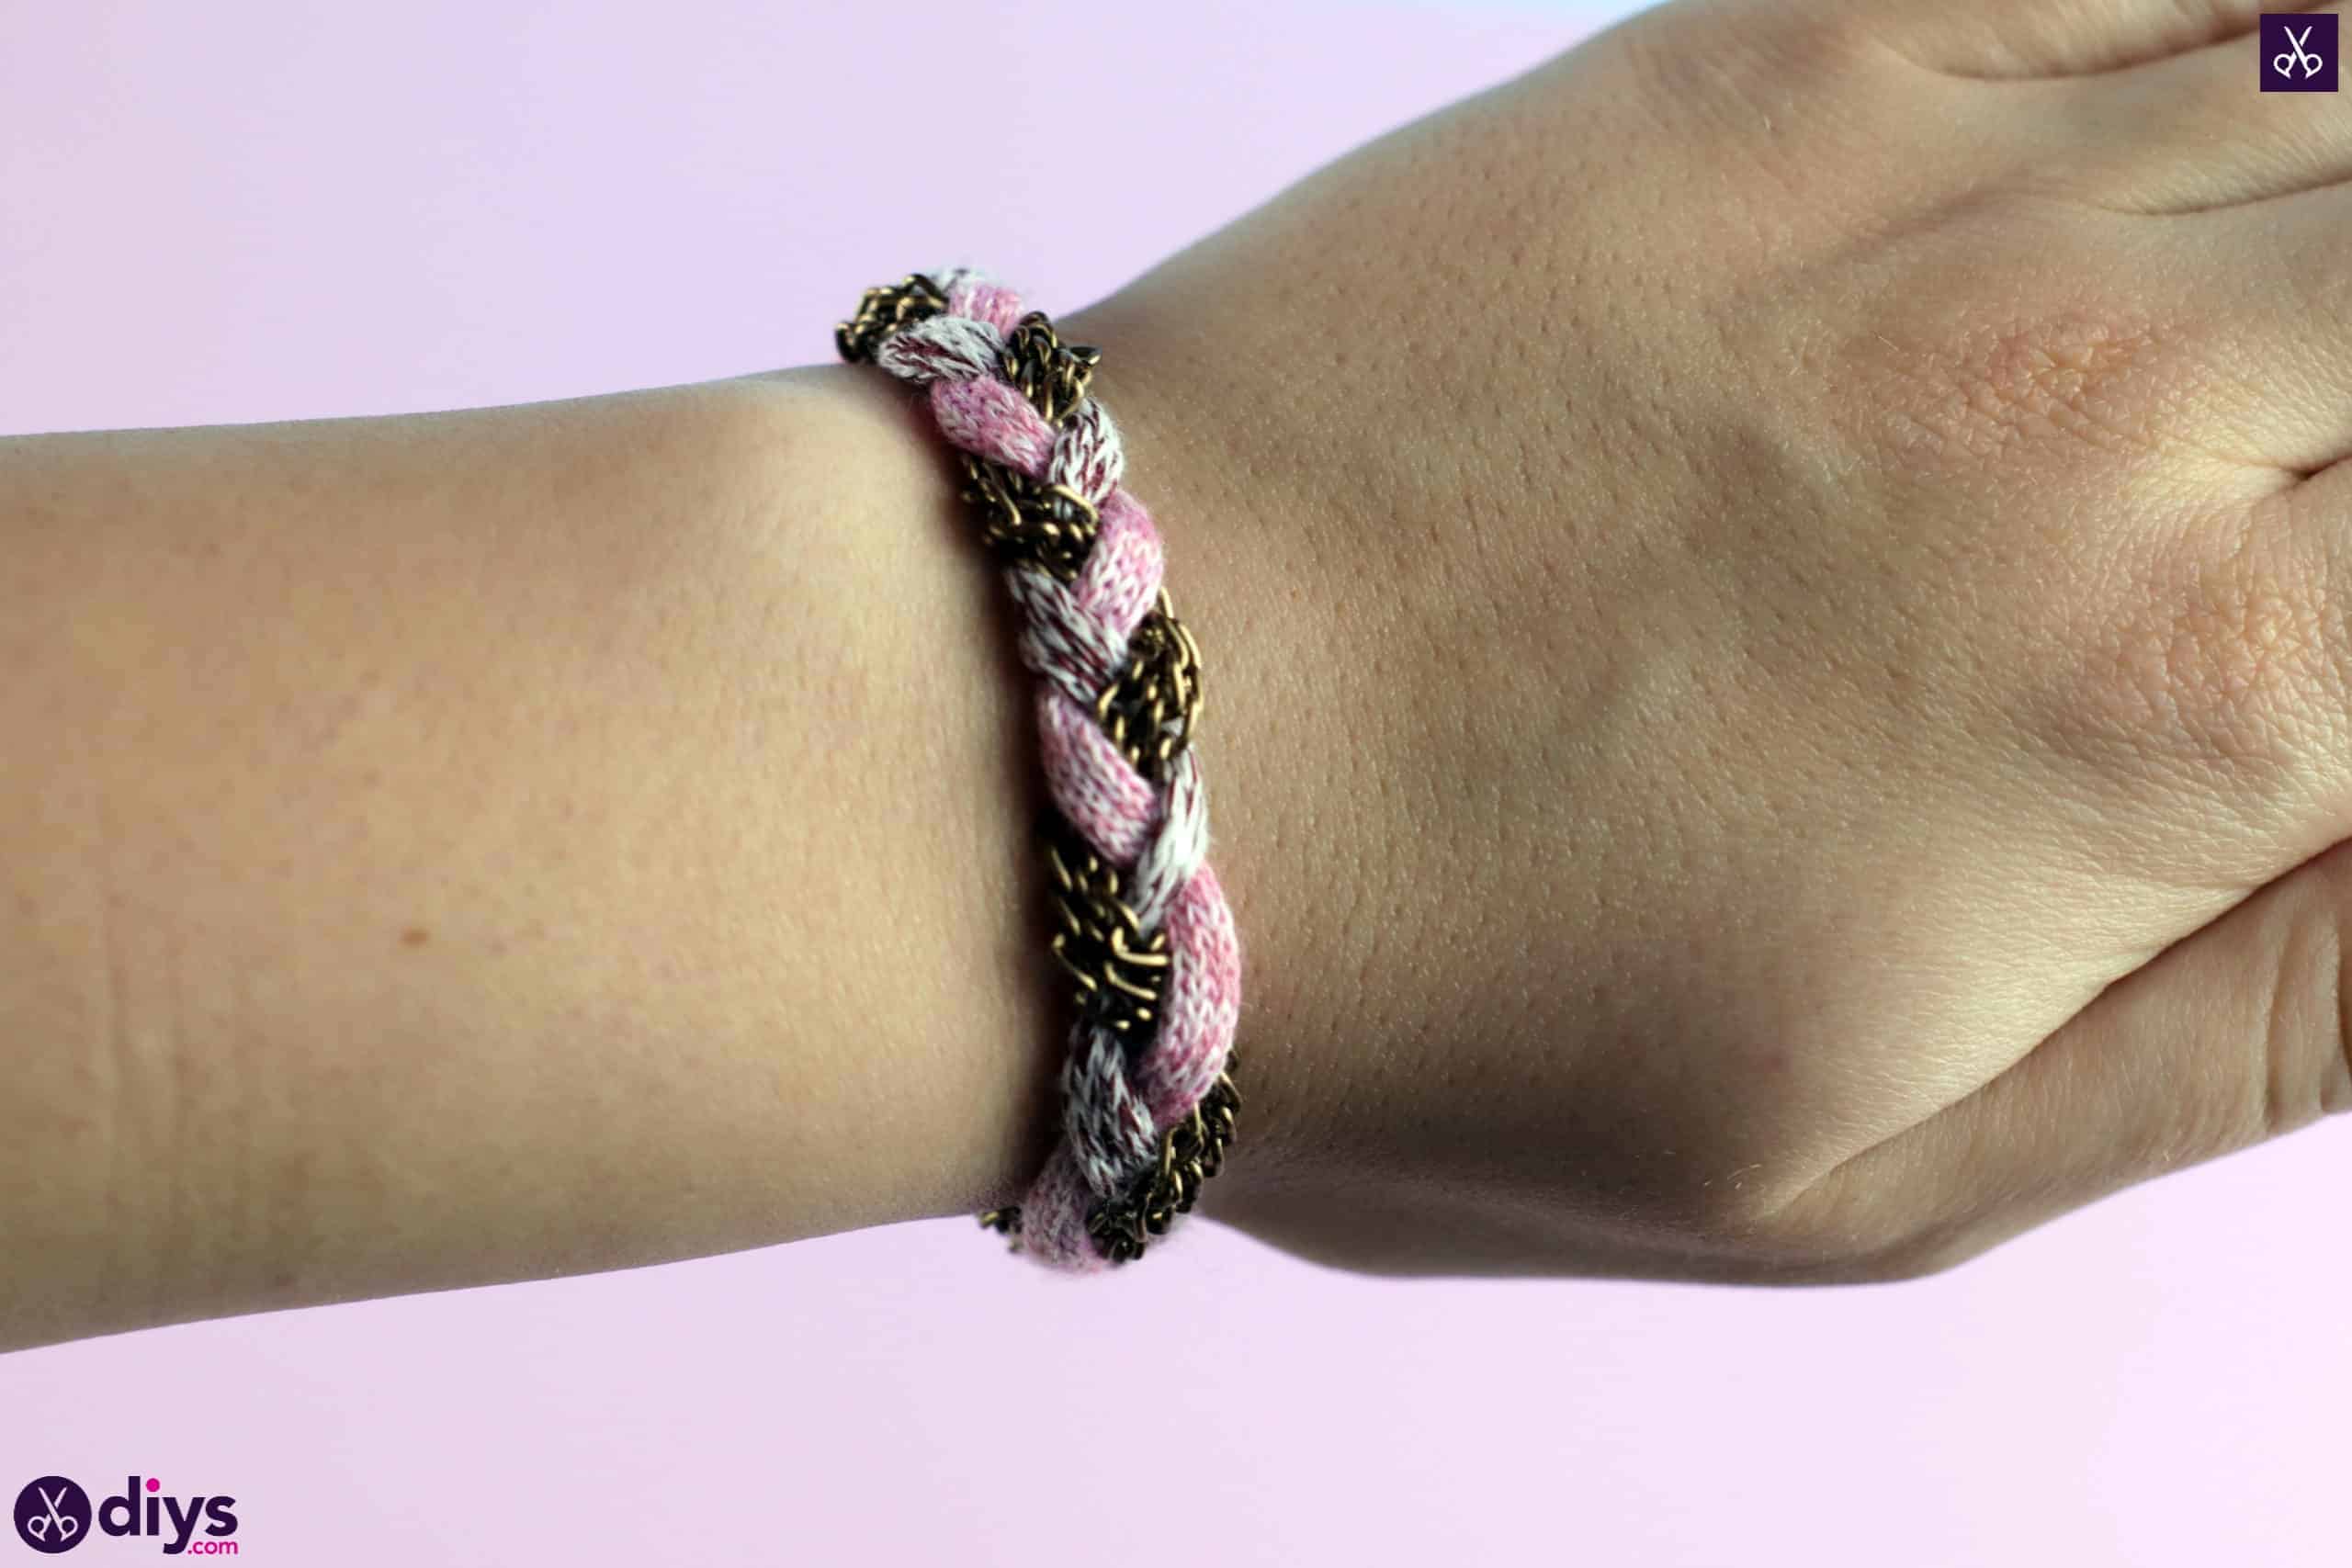
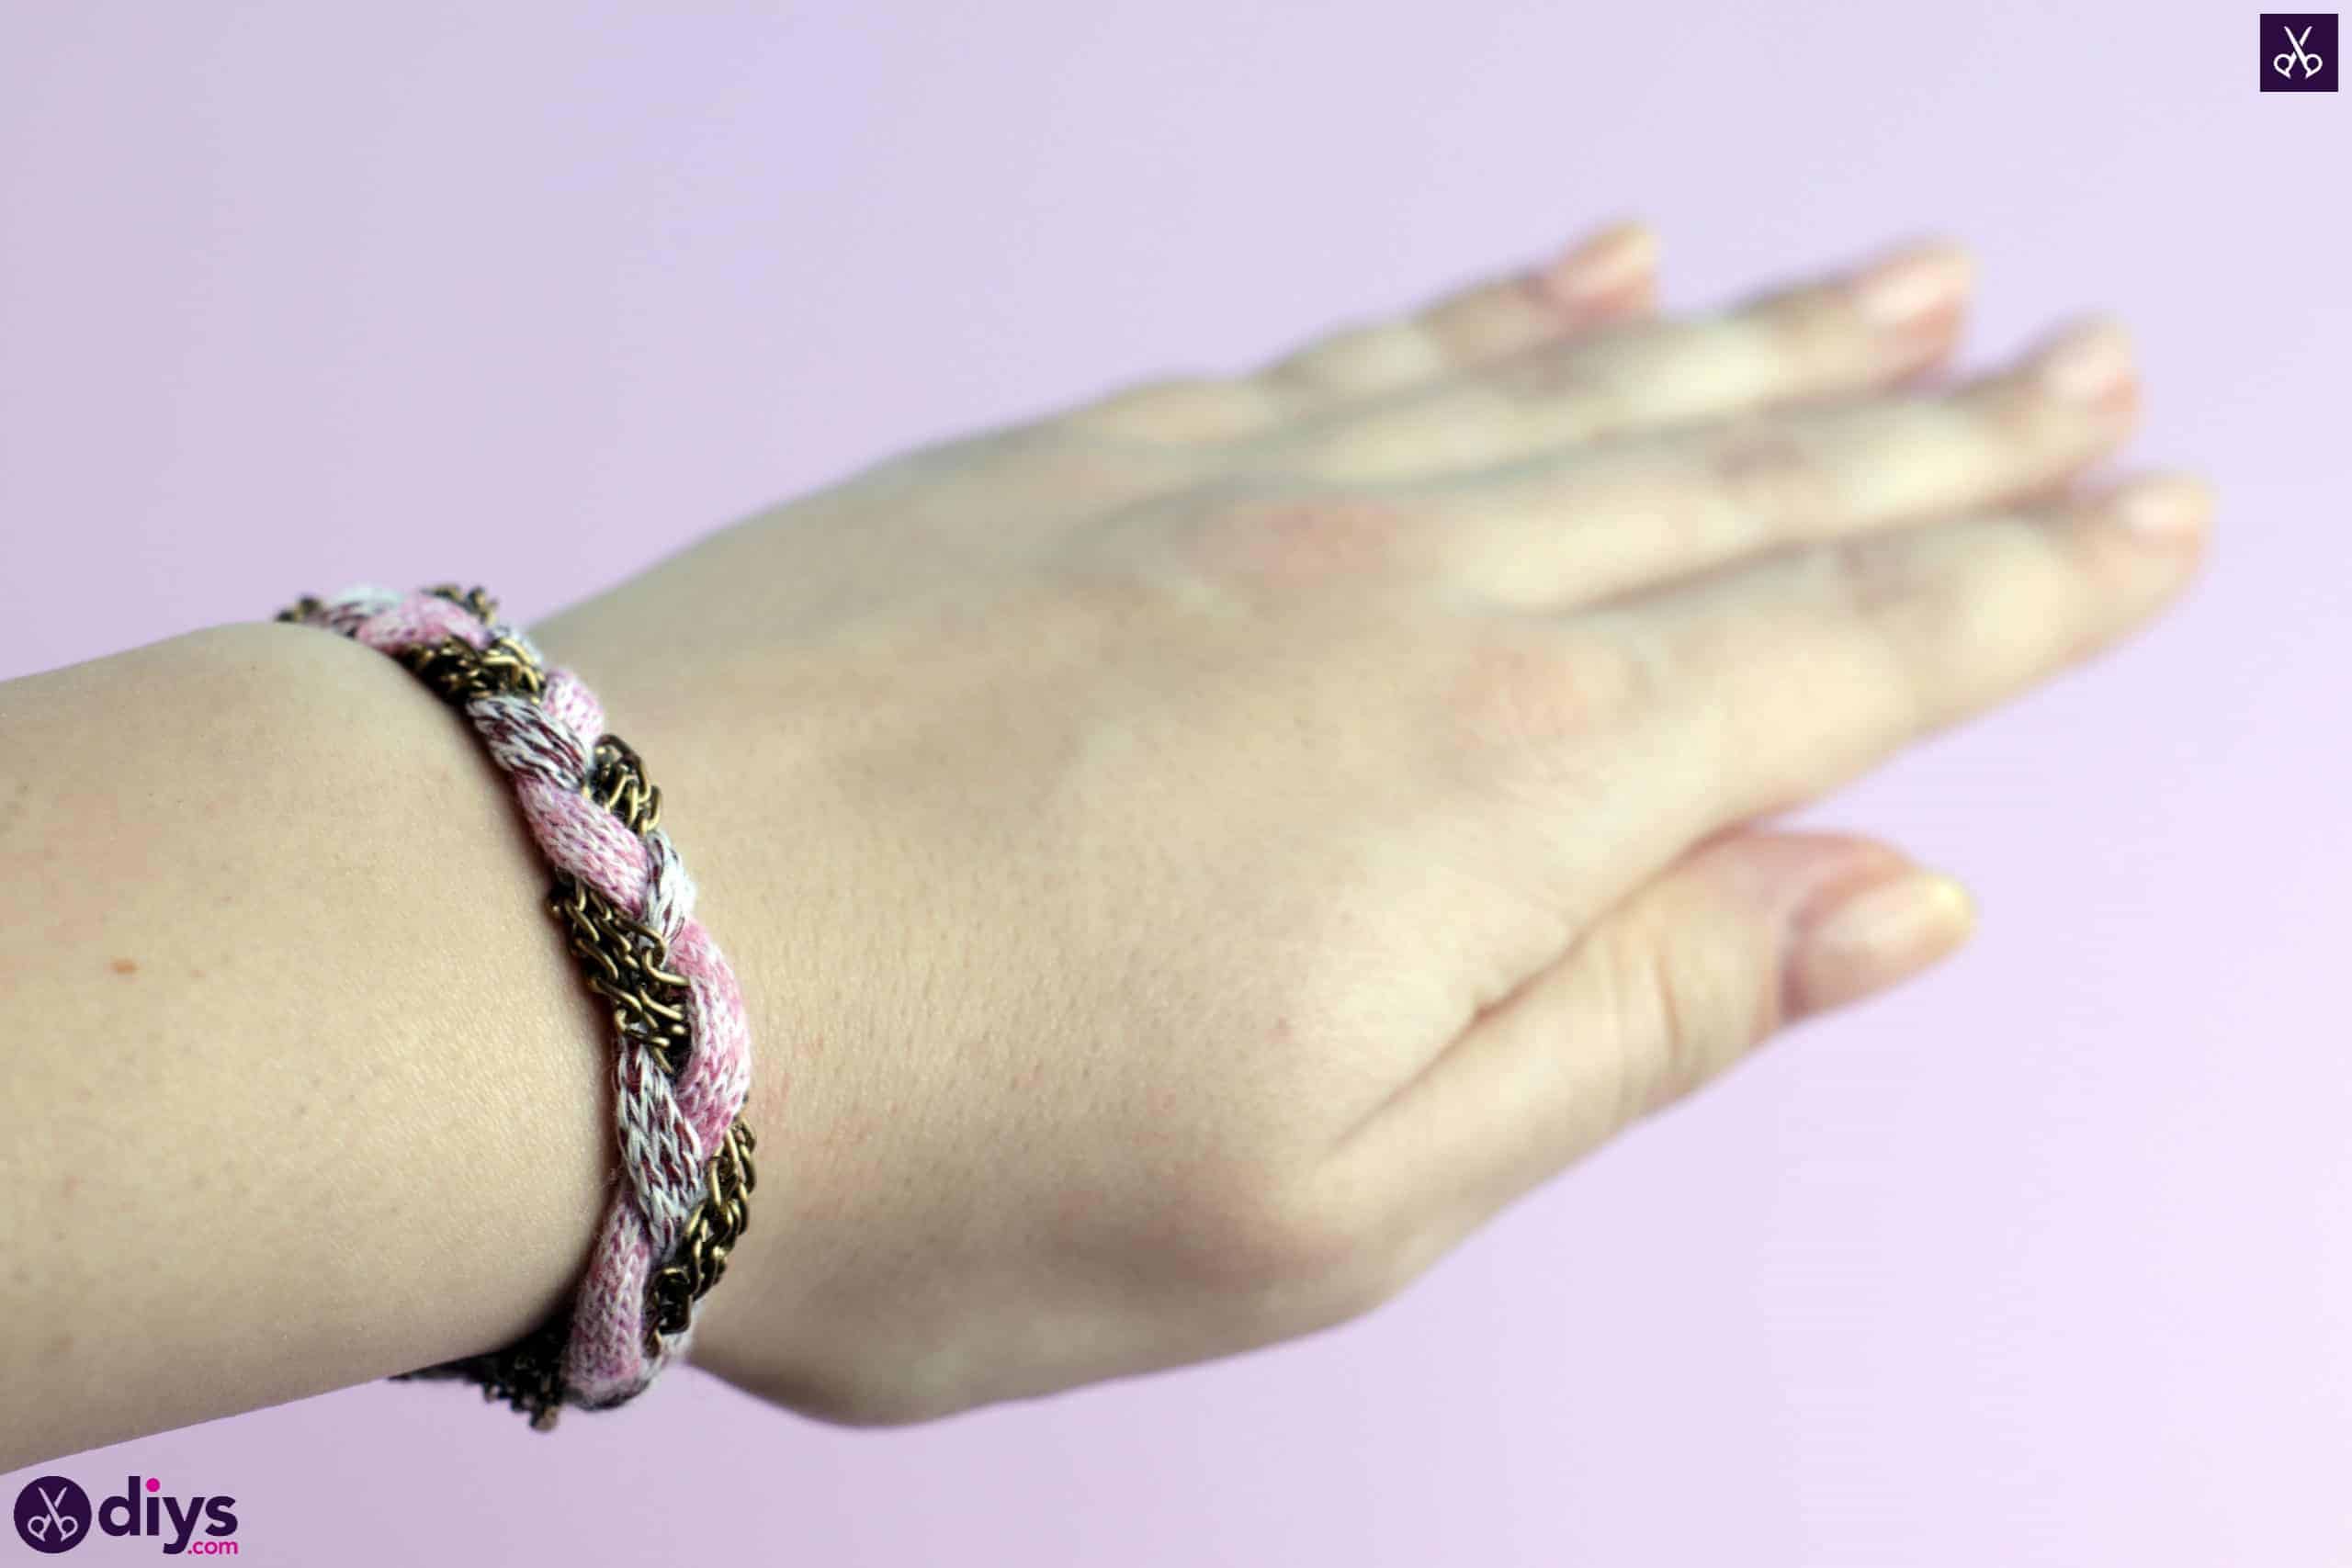
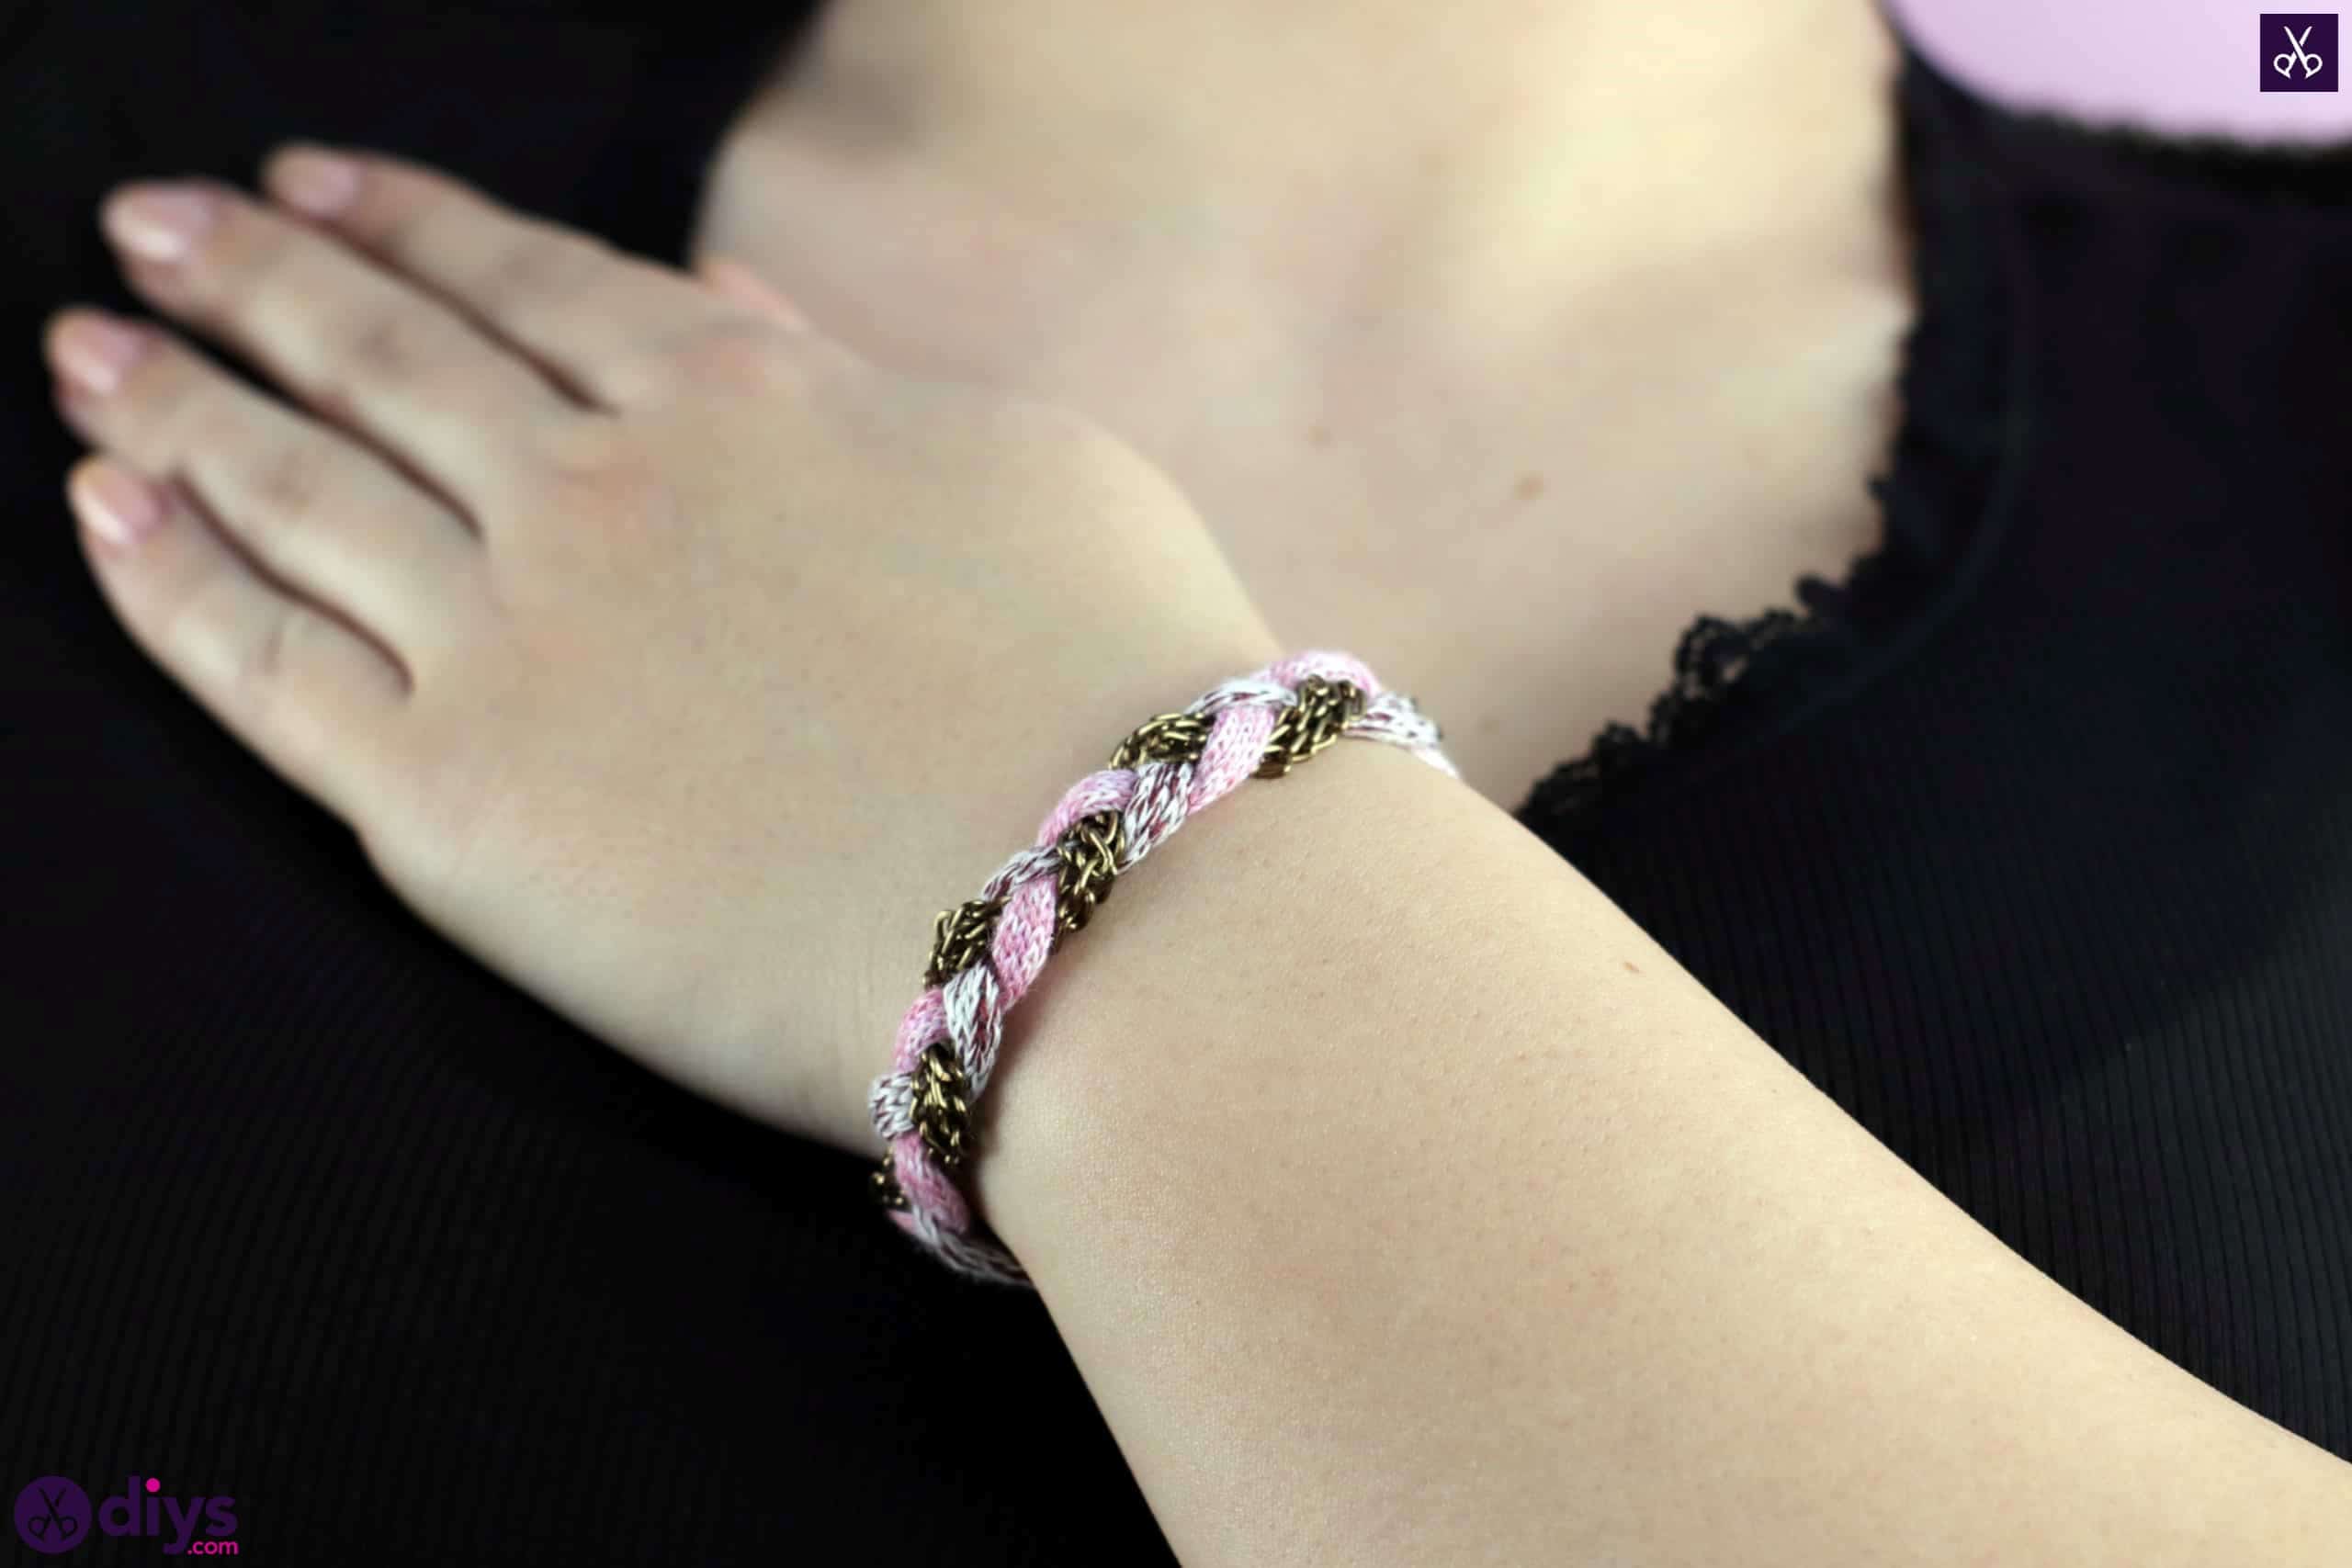
You’re all finished! Feel free to try this technique with different kinds of yarn, different types of chain, or even with more strands if you know how to do four- or five-strand braids. Just in case you’d like to try this project out for yourself, here’s a fantastic tutorial video to help you!