DIY Wood Basket Made from Twigs
Updated on November 19, 2025
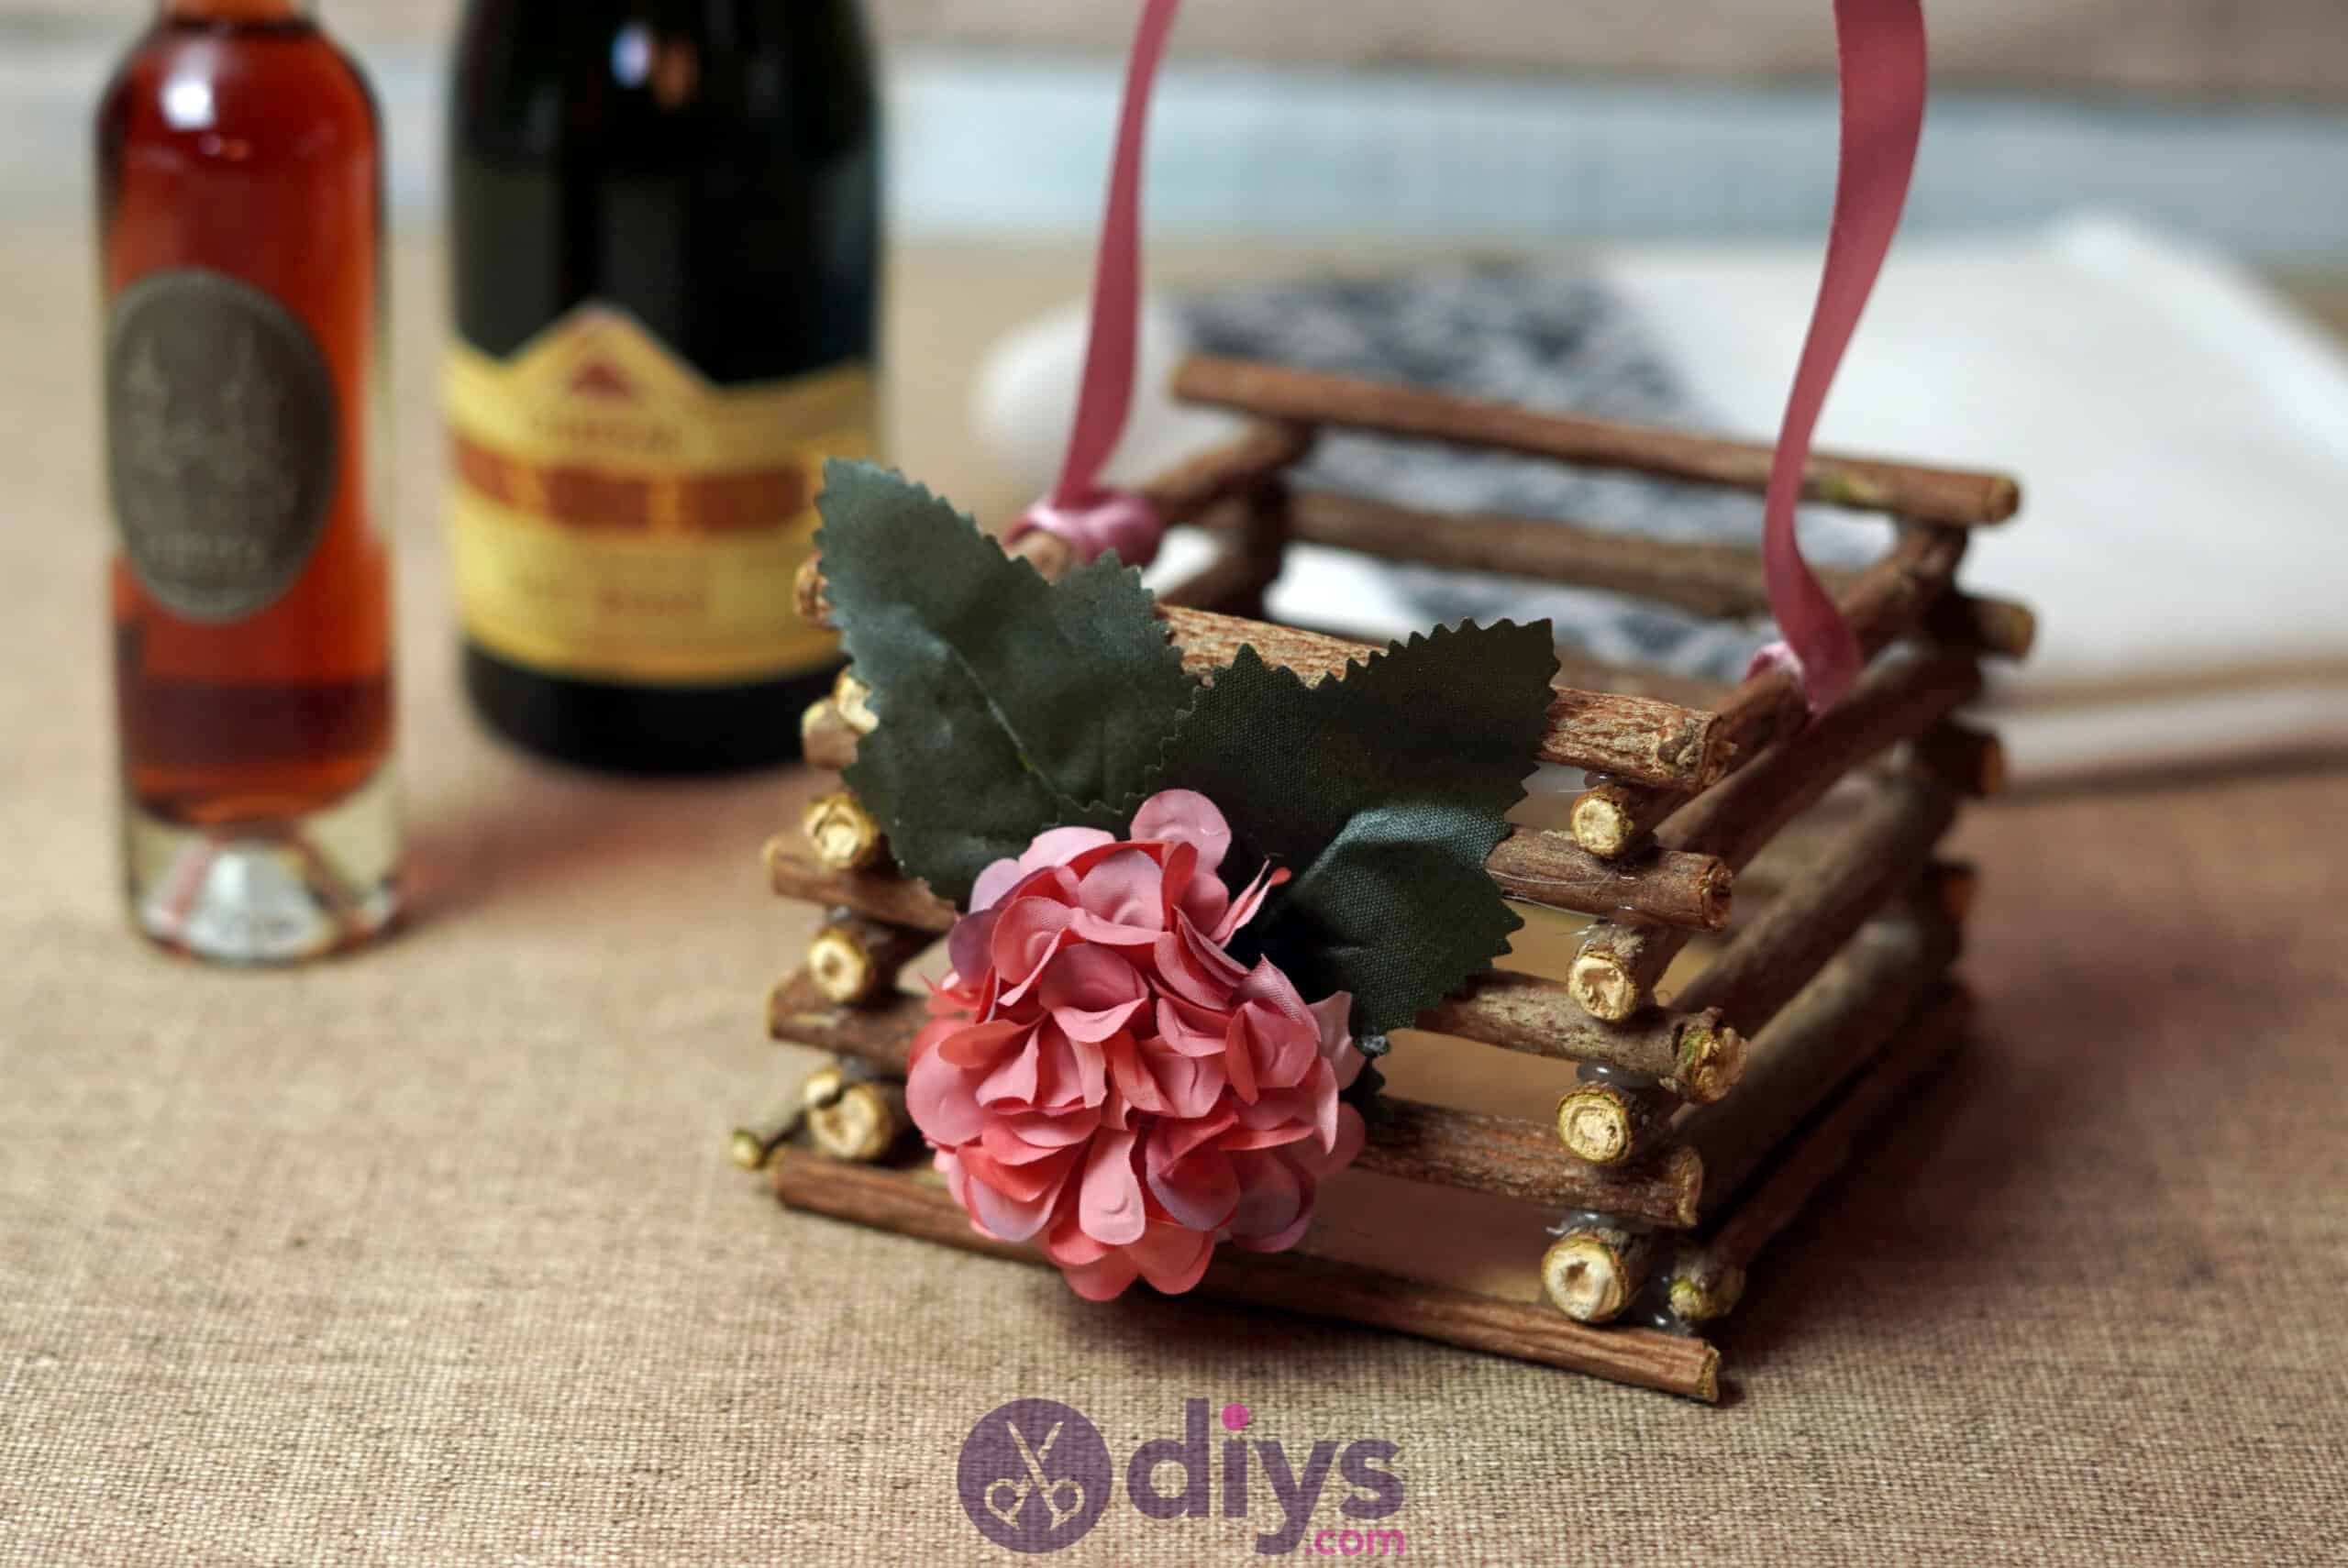


Now that spring has finally arrived and the weather is warming up, I’ve been finding myself obsessed with the idea of nature crafting. This DIY wood basket made from twigs is the perfect craft project to try! Check out just how we put it together.
When I posted photos of my basket, a few friends noted that it would make a very cute place marker or gift box and started asking me questions about how I did it. Luckily, I was already planning on making a few more because I was so happy with how the first one turned out. I decided to map the whole crafting process our step by step.
If you want to see how simple this wooden basket is to make too, check out these step by step instructions and photos! If you’re the kind of crafter who does better following video tutorials, scroll to the bottom of this post to find just what you’re looking for.

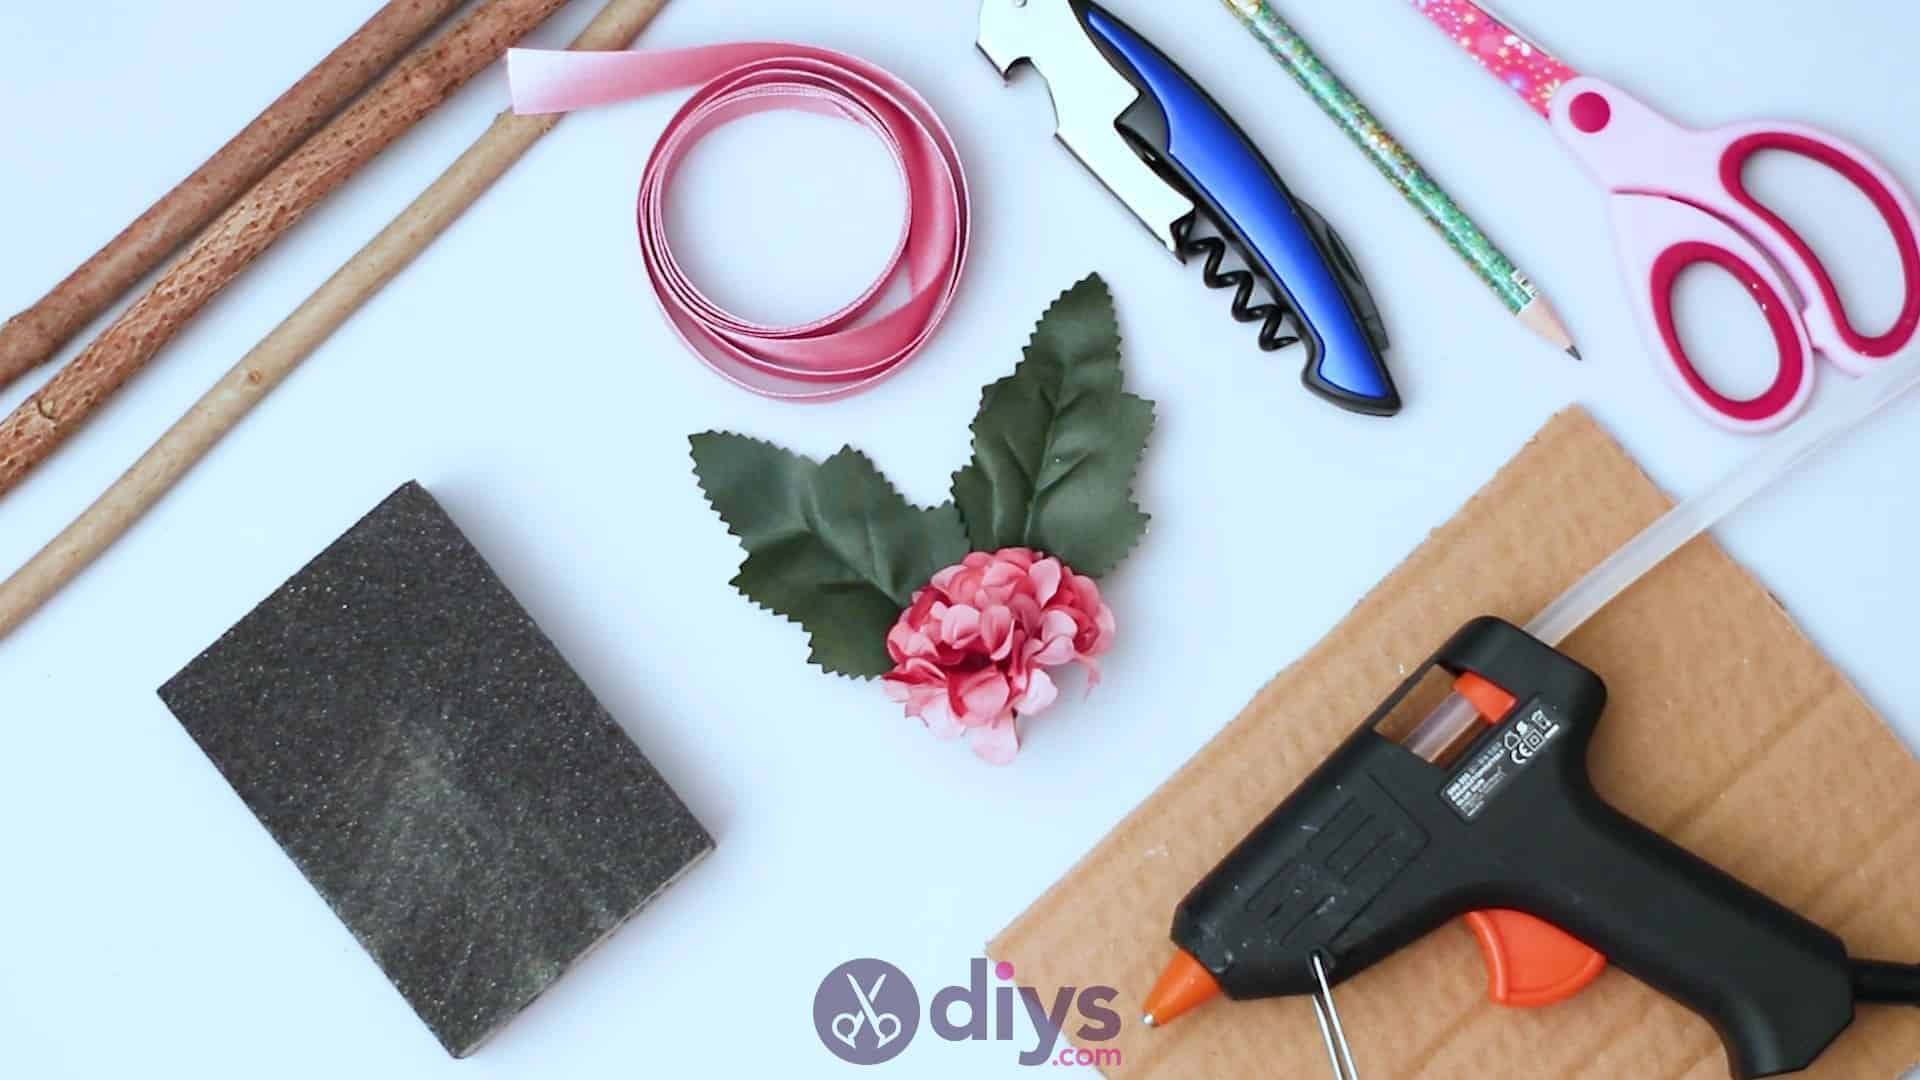
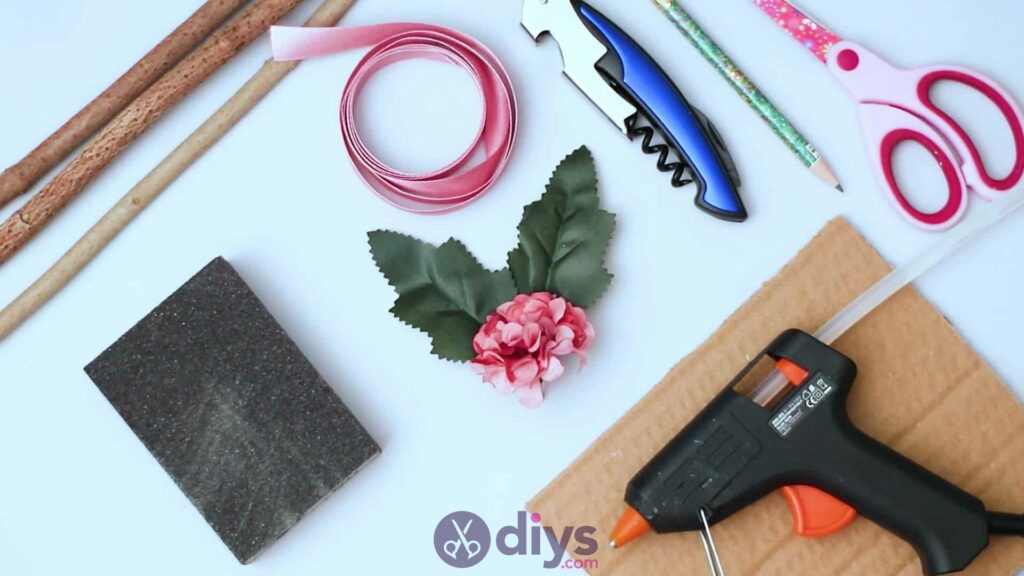
For this project, you’ll need:
- Small branches or twigs (preferably rather straight ones, roughly the same thickness)
- Cardboard
- Artificial flowers and leaves
- Silk ribbon
- Timber saw
- Hot glue
- Pencil
- Scissors
- Sandpaper

Step 1: Gather your materials!
I always make sure to get everything I need before I begin.
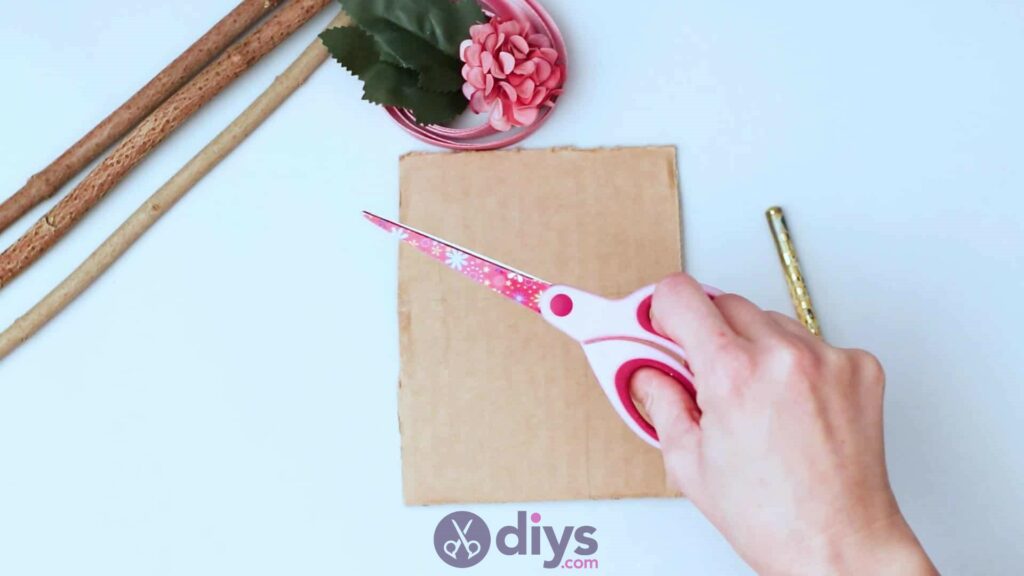
Step 2: Plan first
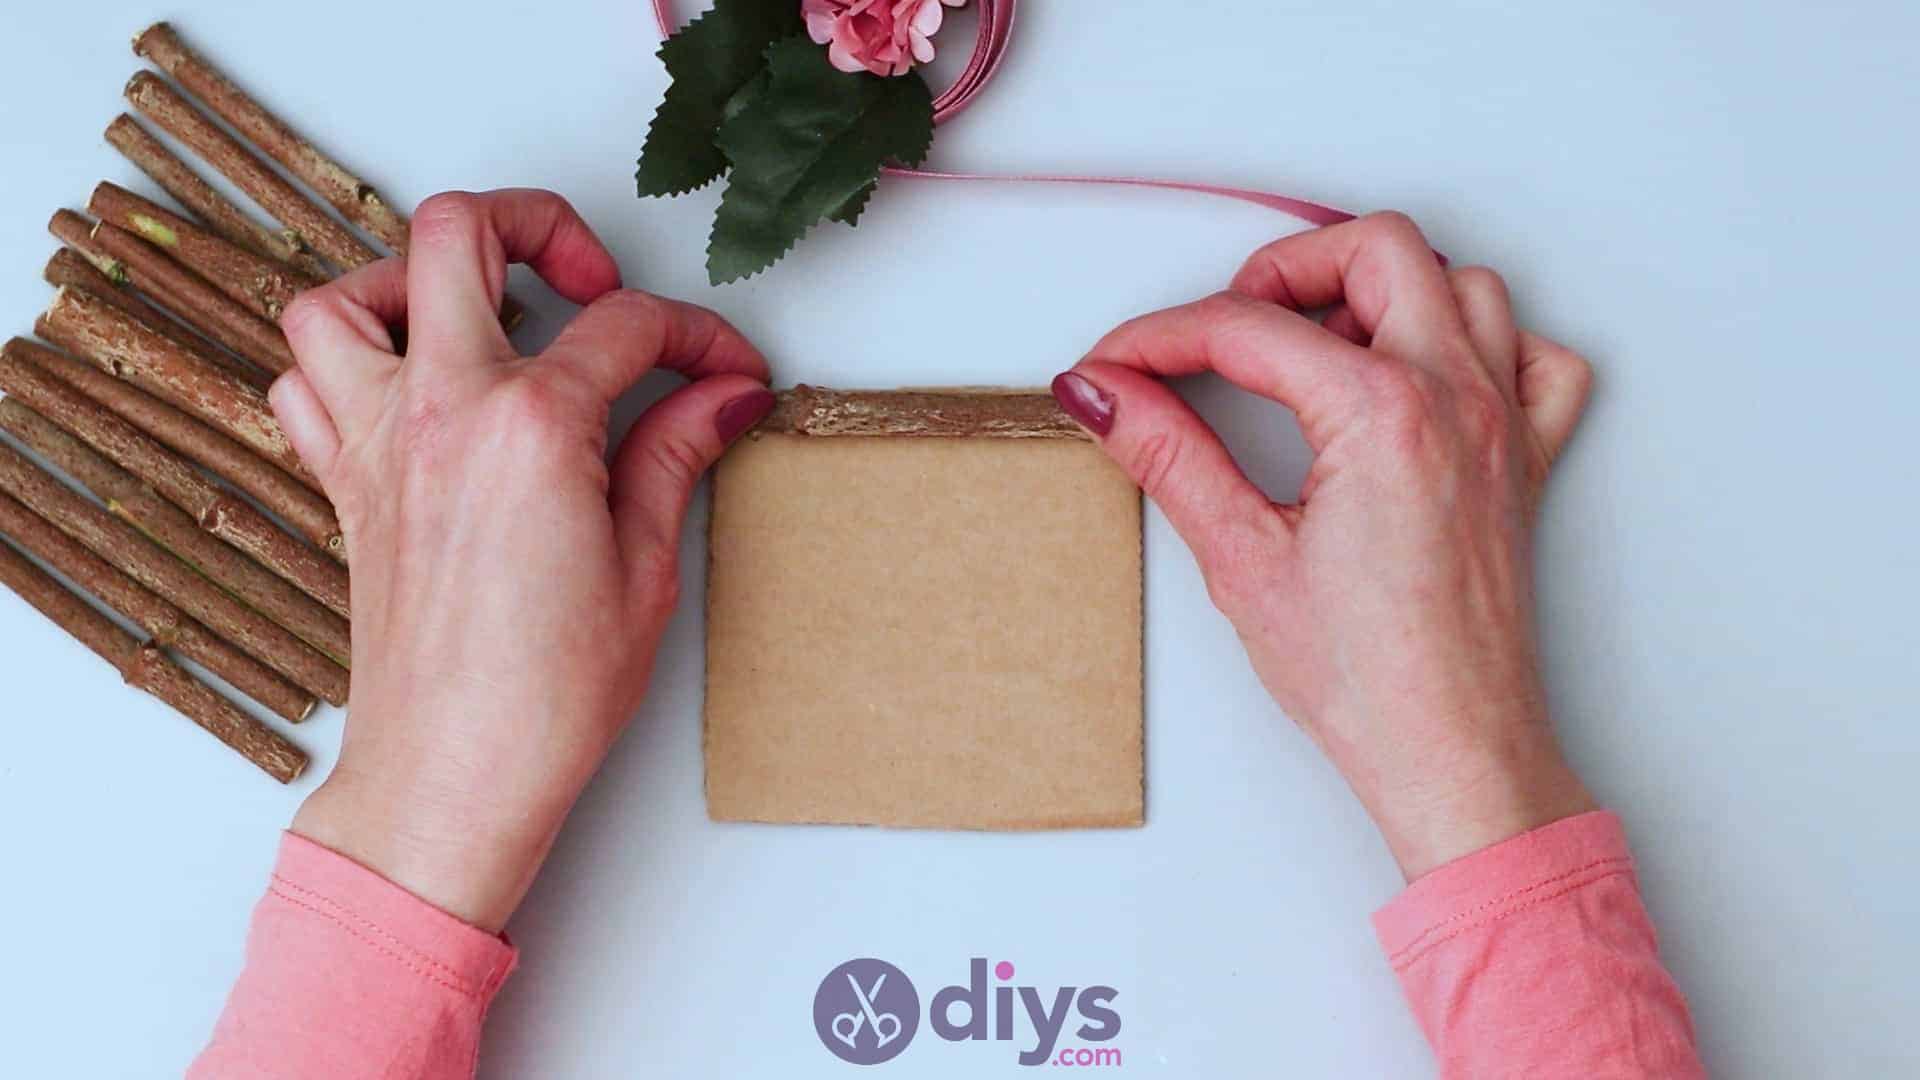
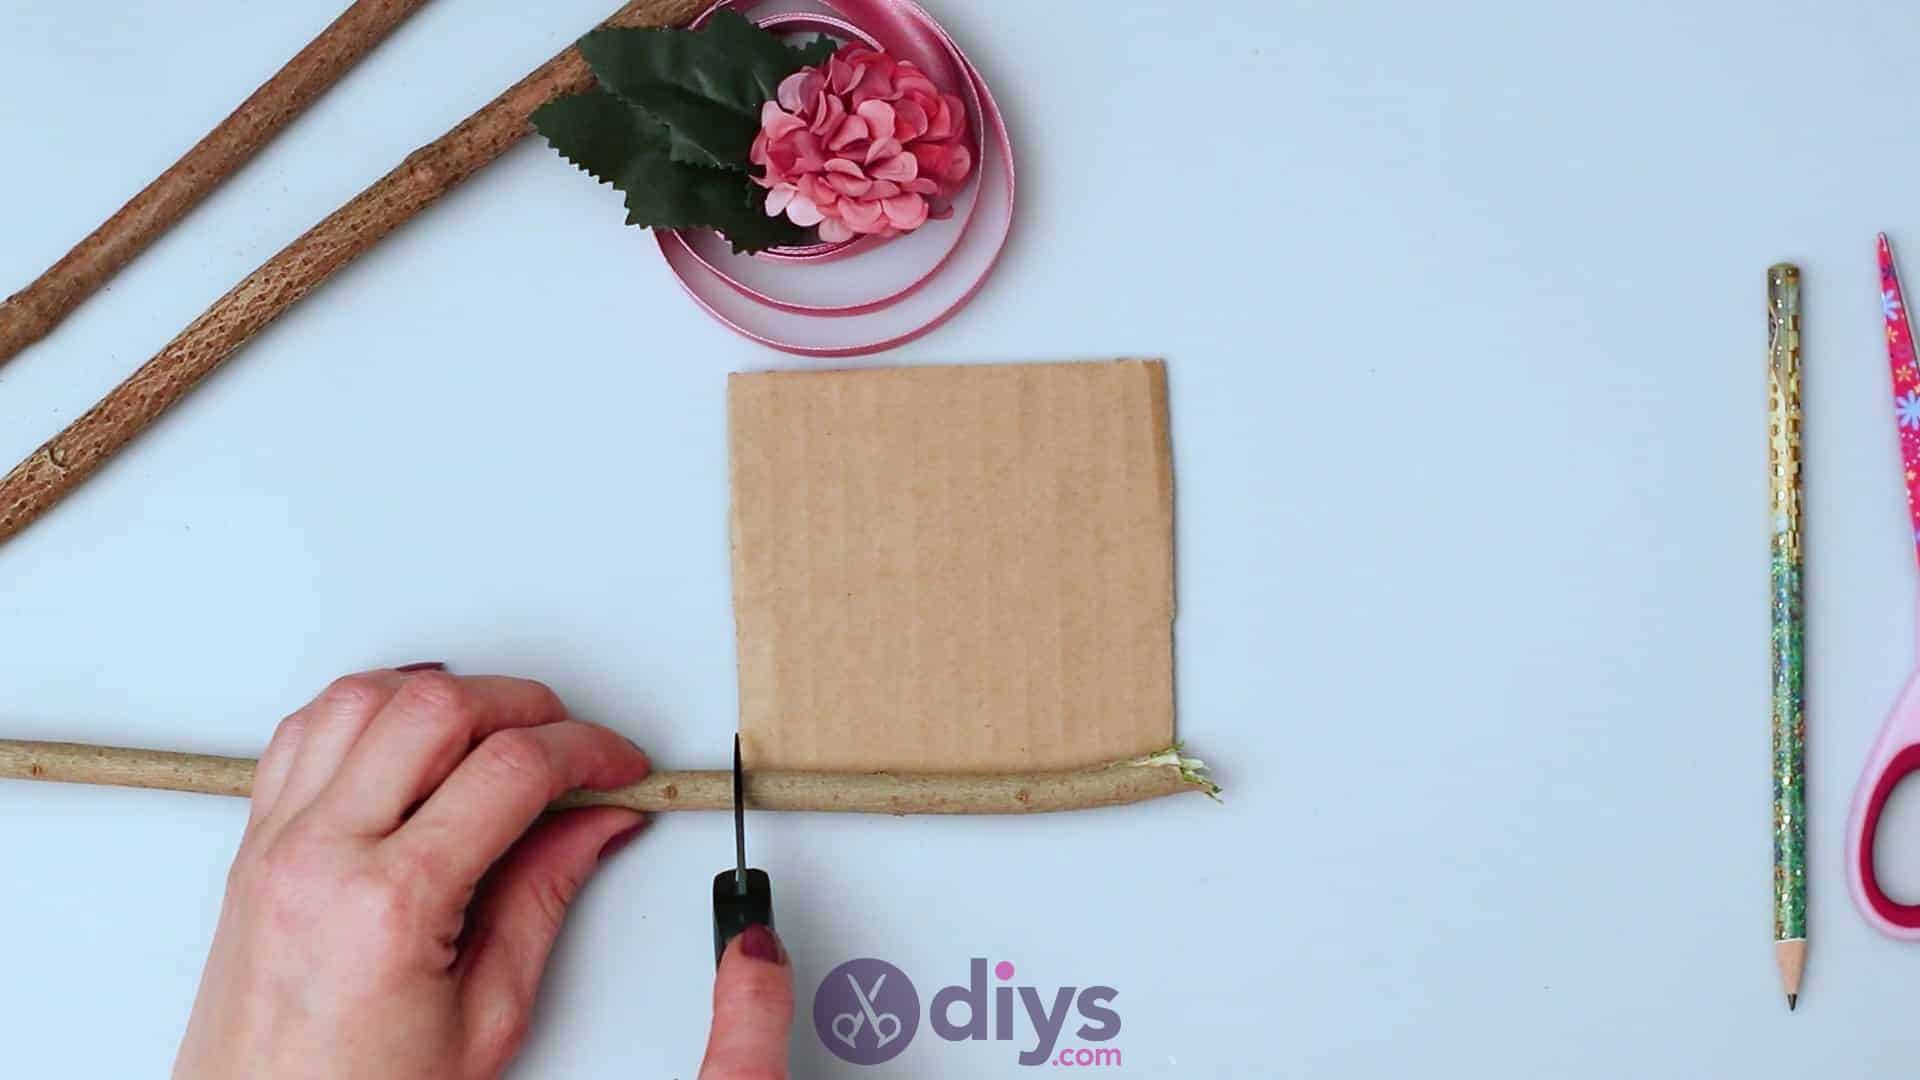
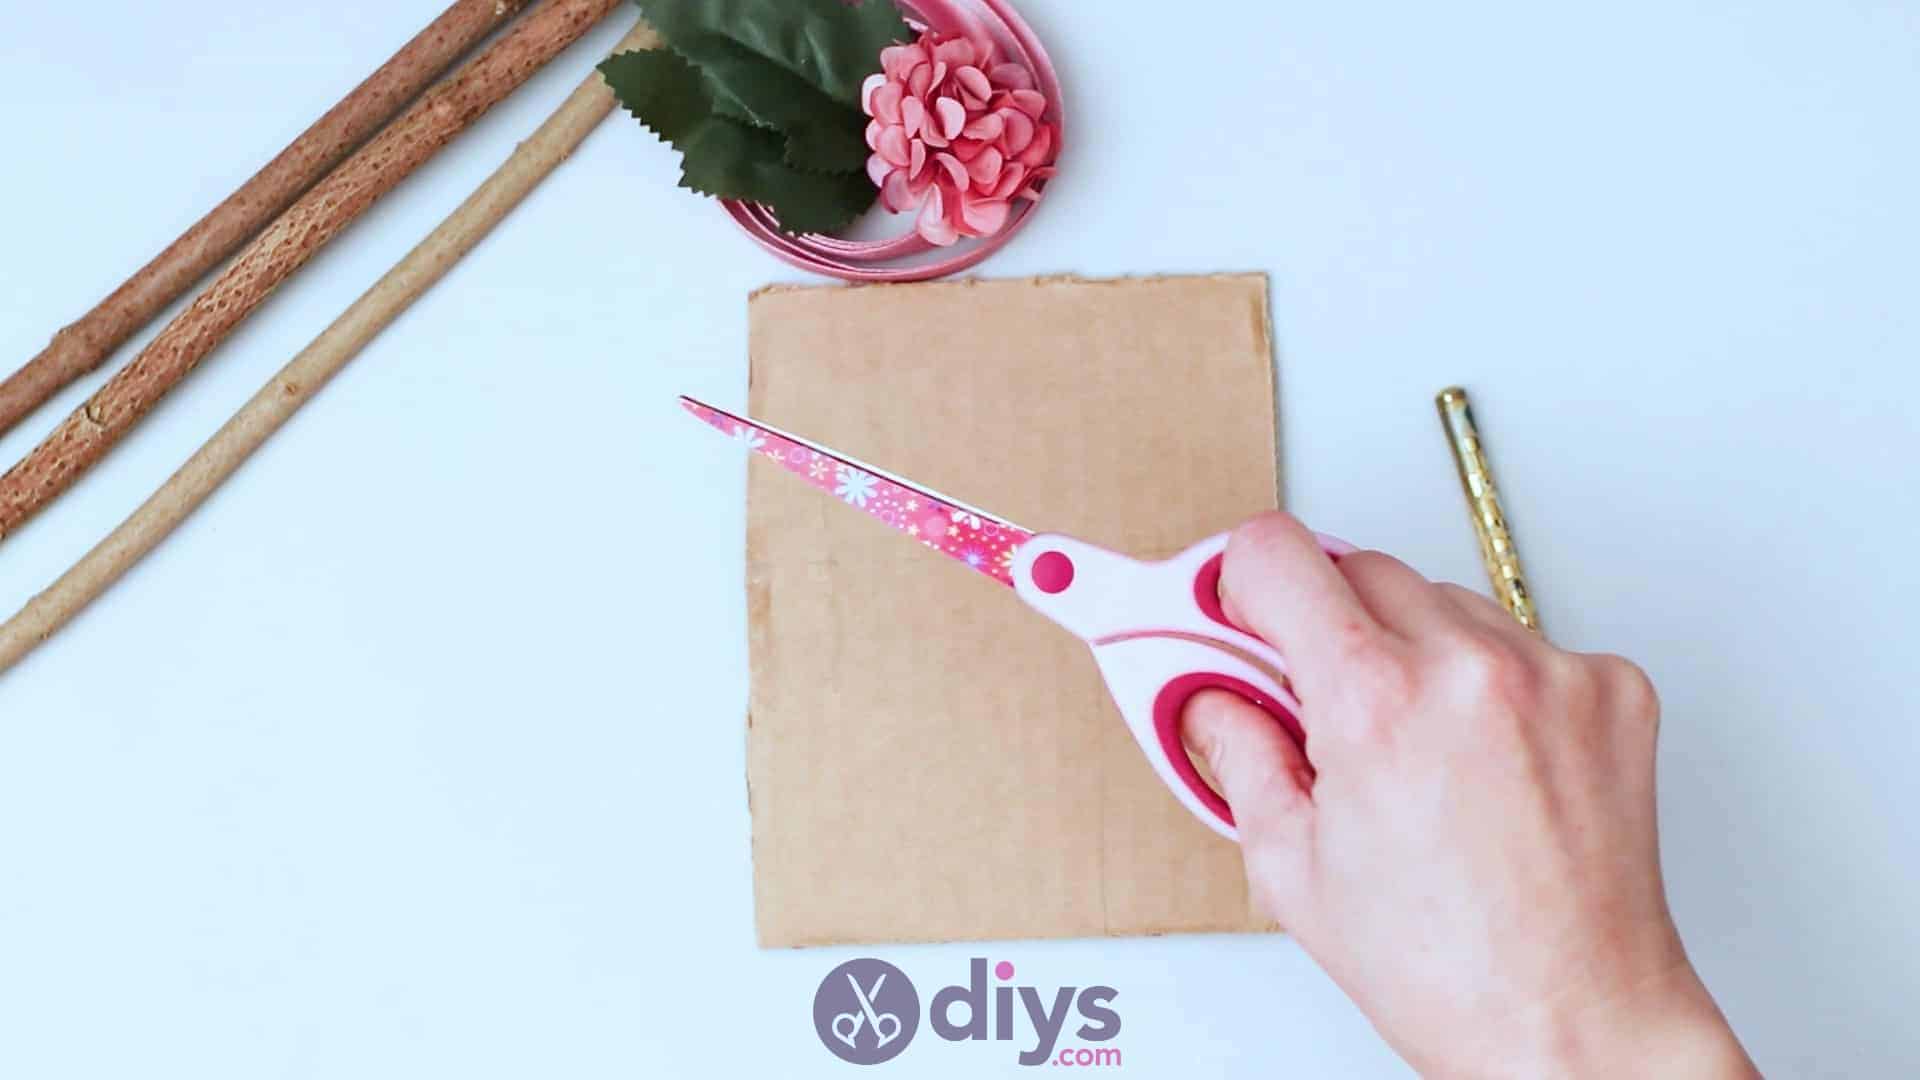
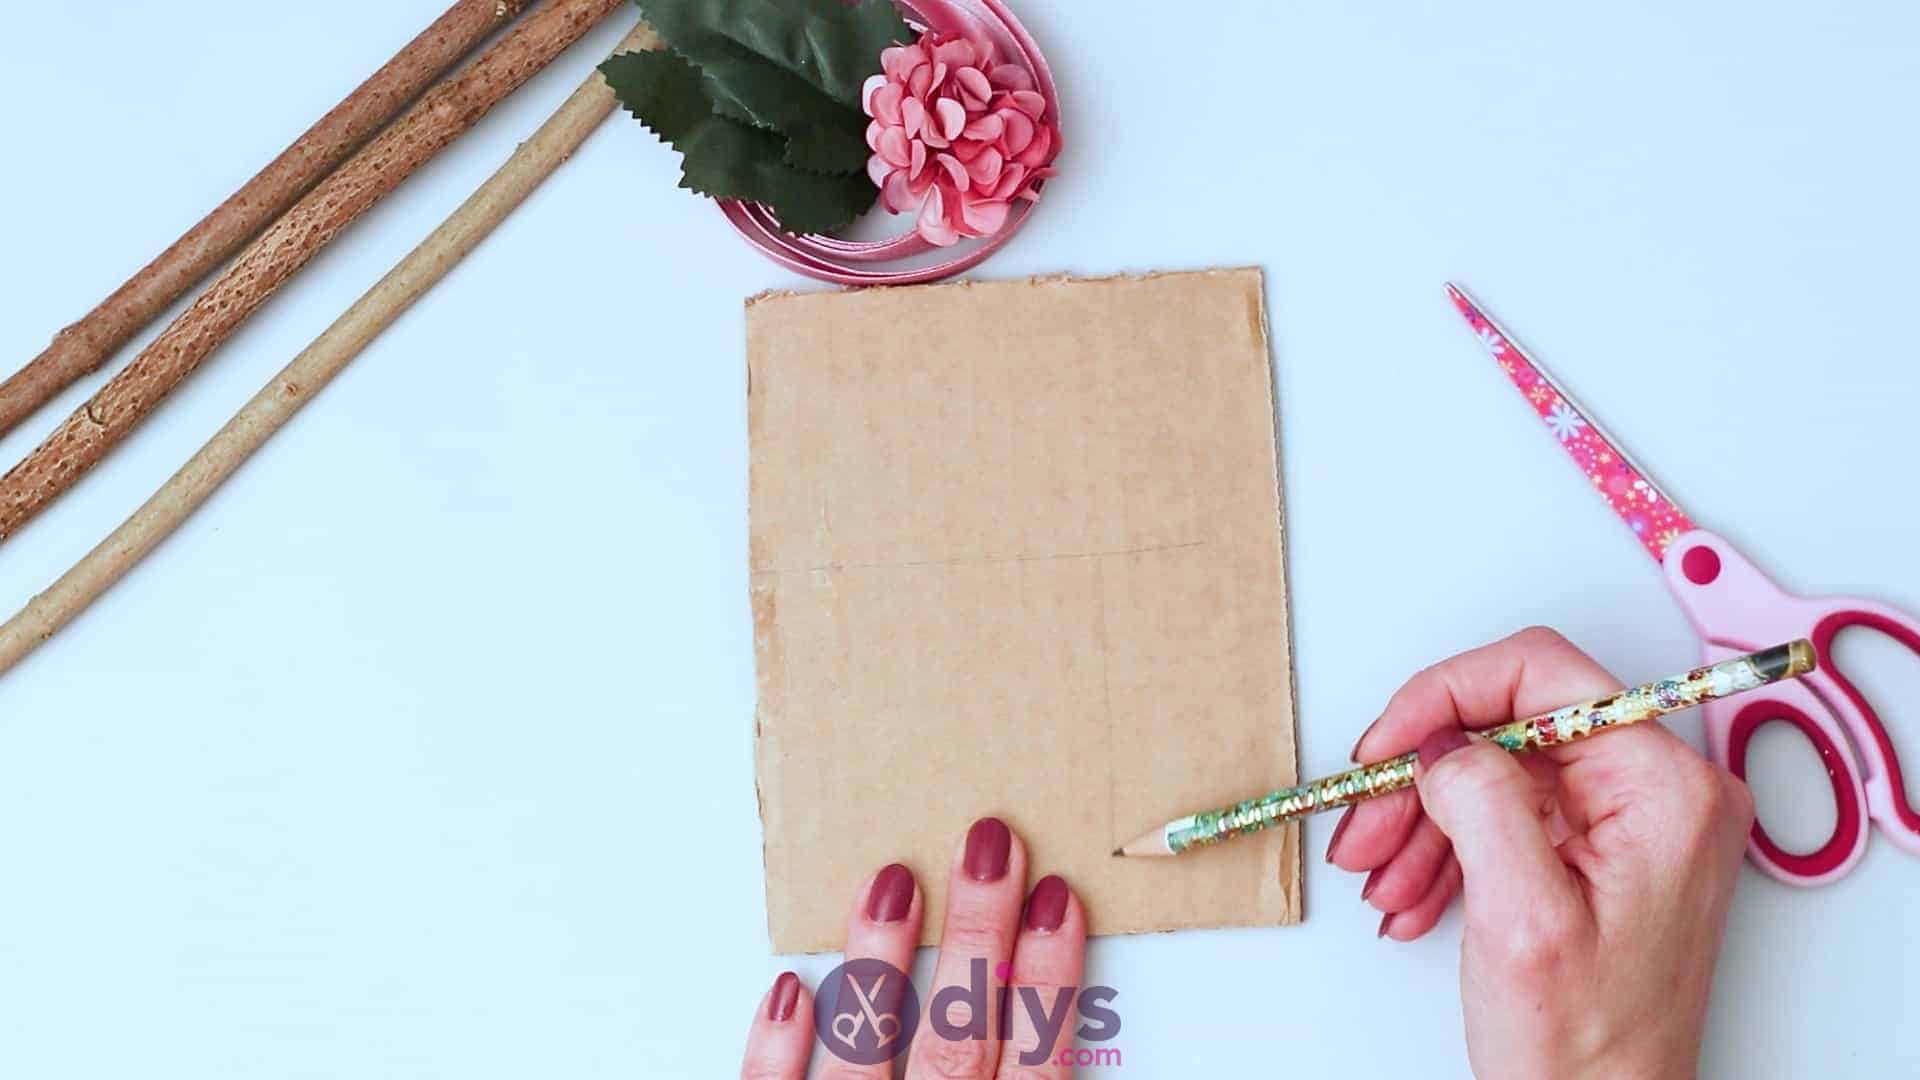
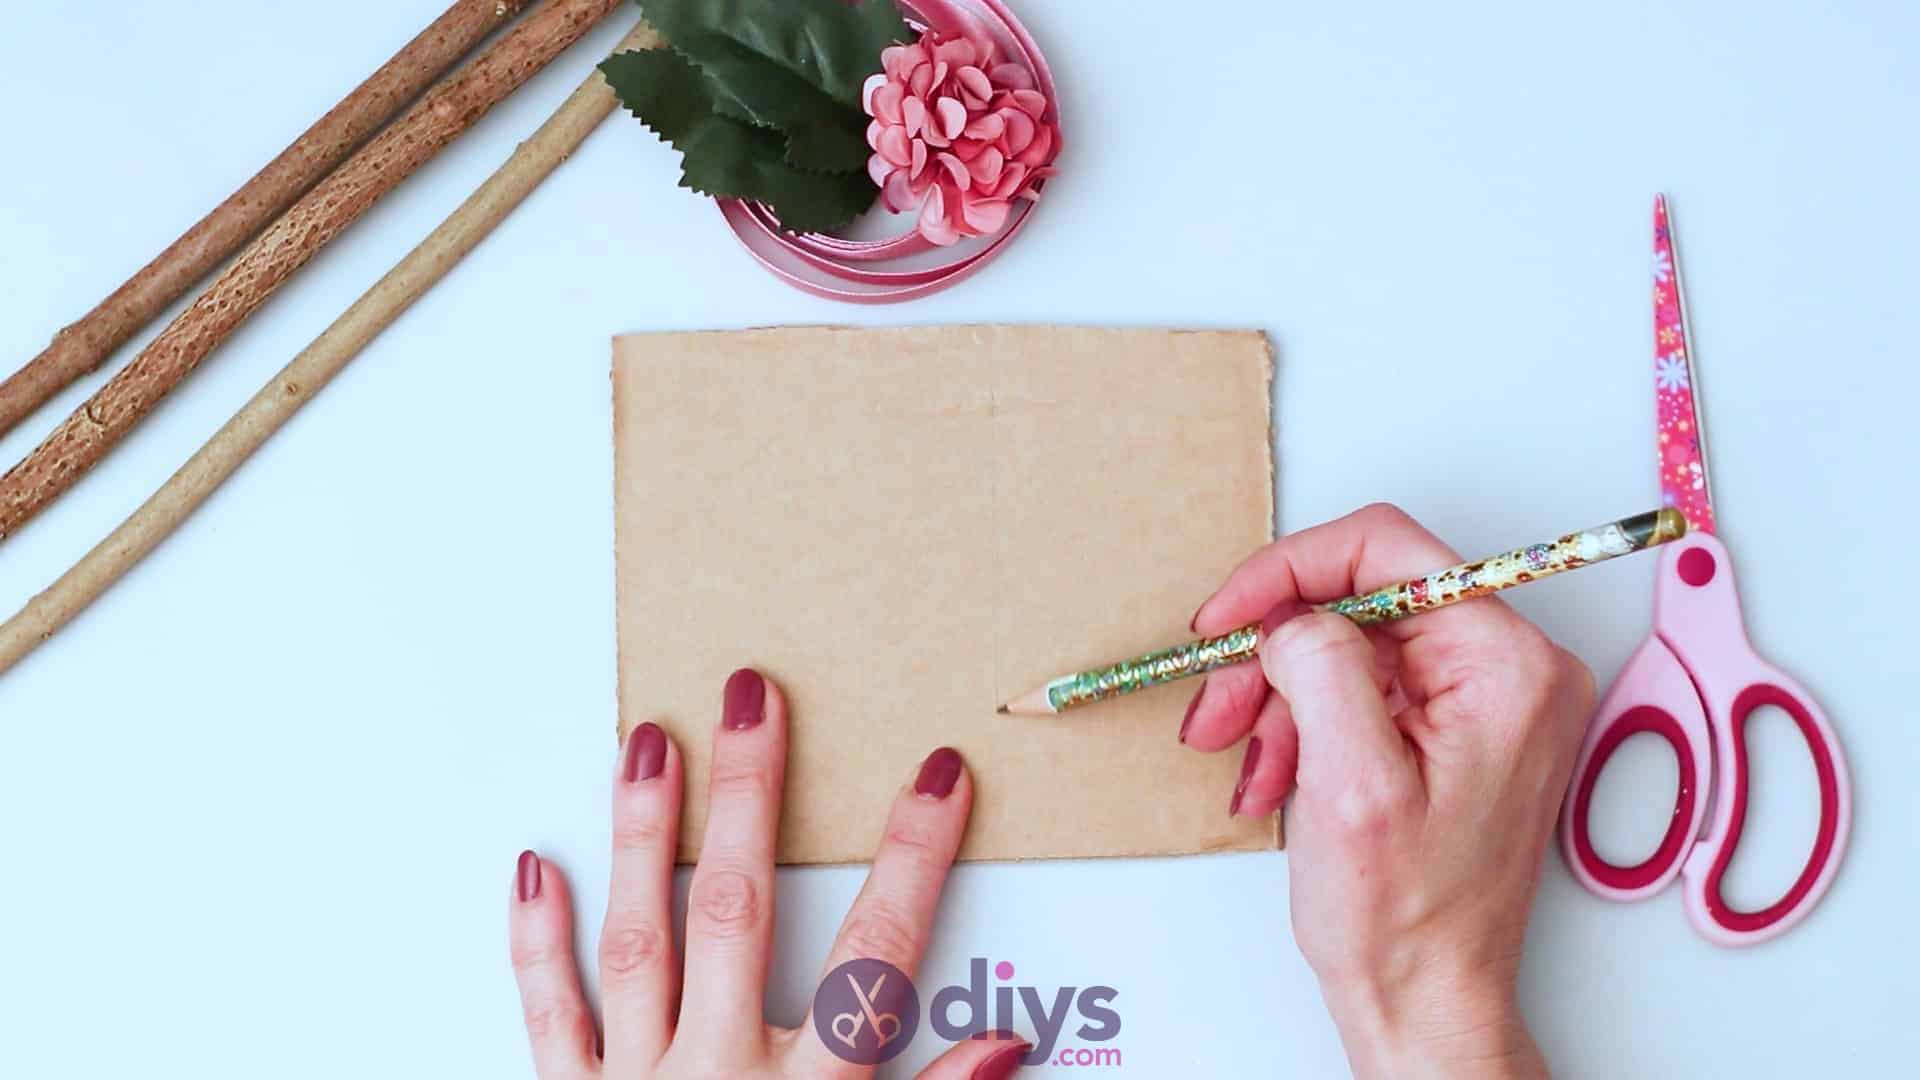
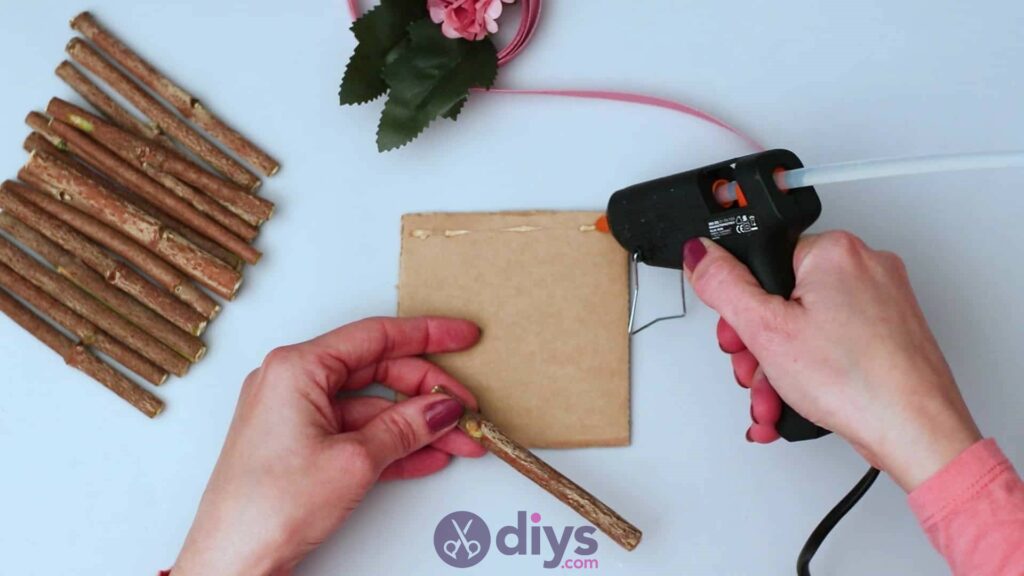
Use your pencil to sketch out the dimensions that you want your box to be at its base on your piece of cardboard. I drew a square about two inches by two inches. Use your scissors to cut the shape out. This will be the base that you build your box on.


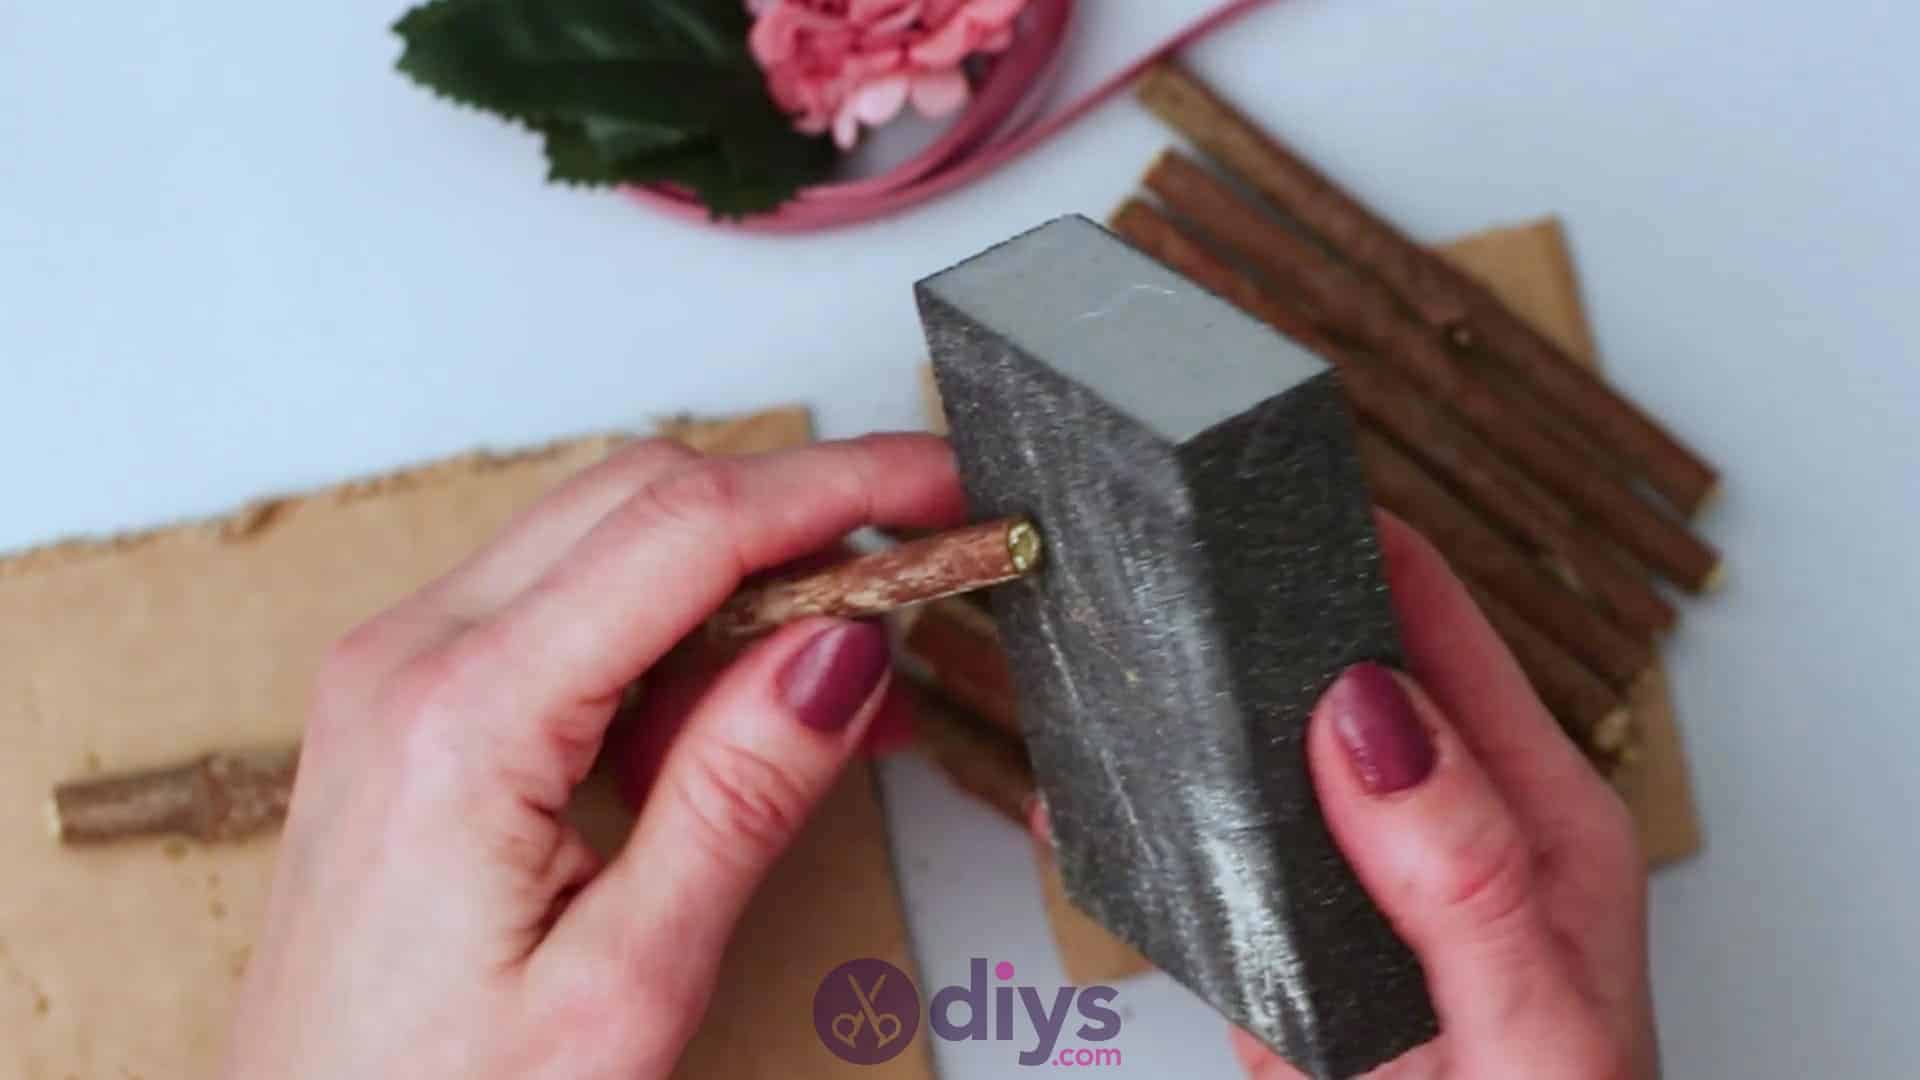
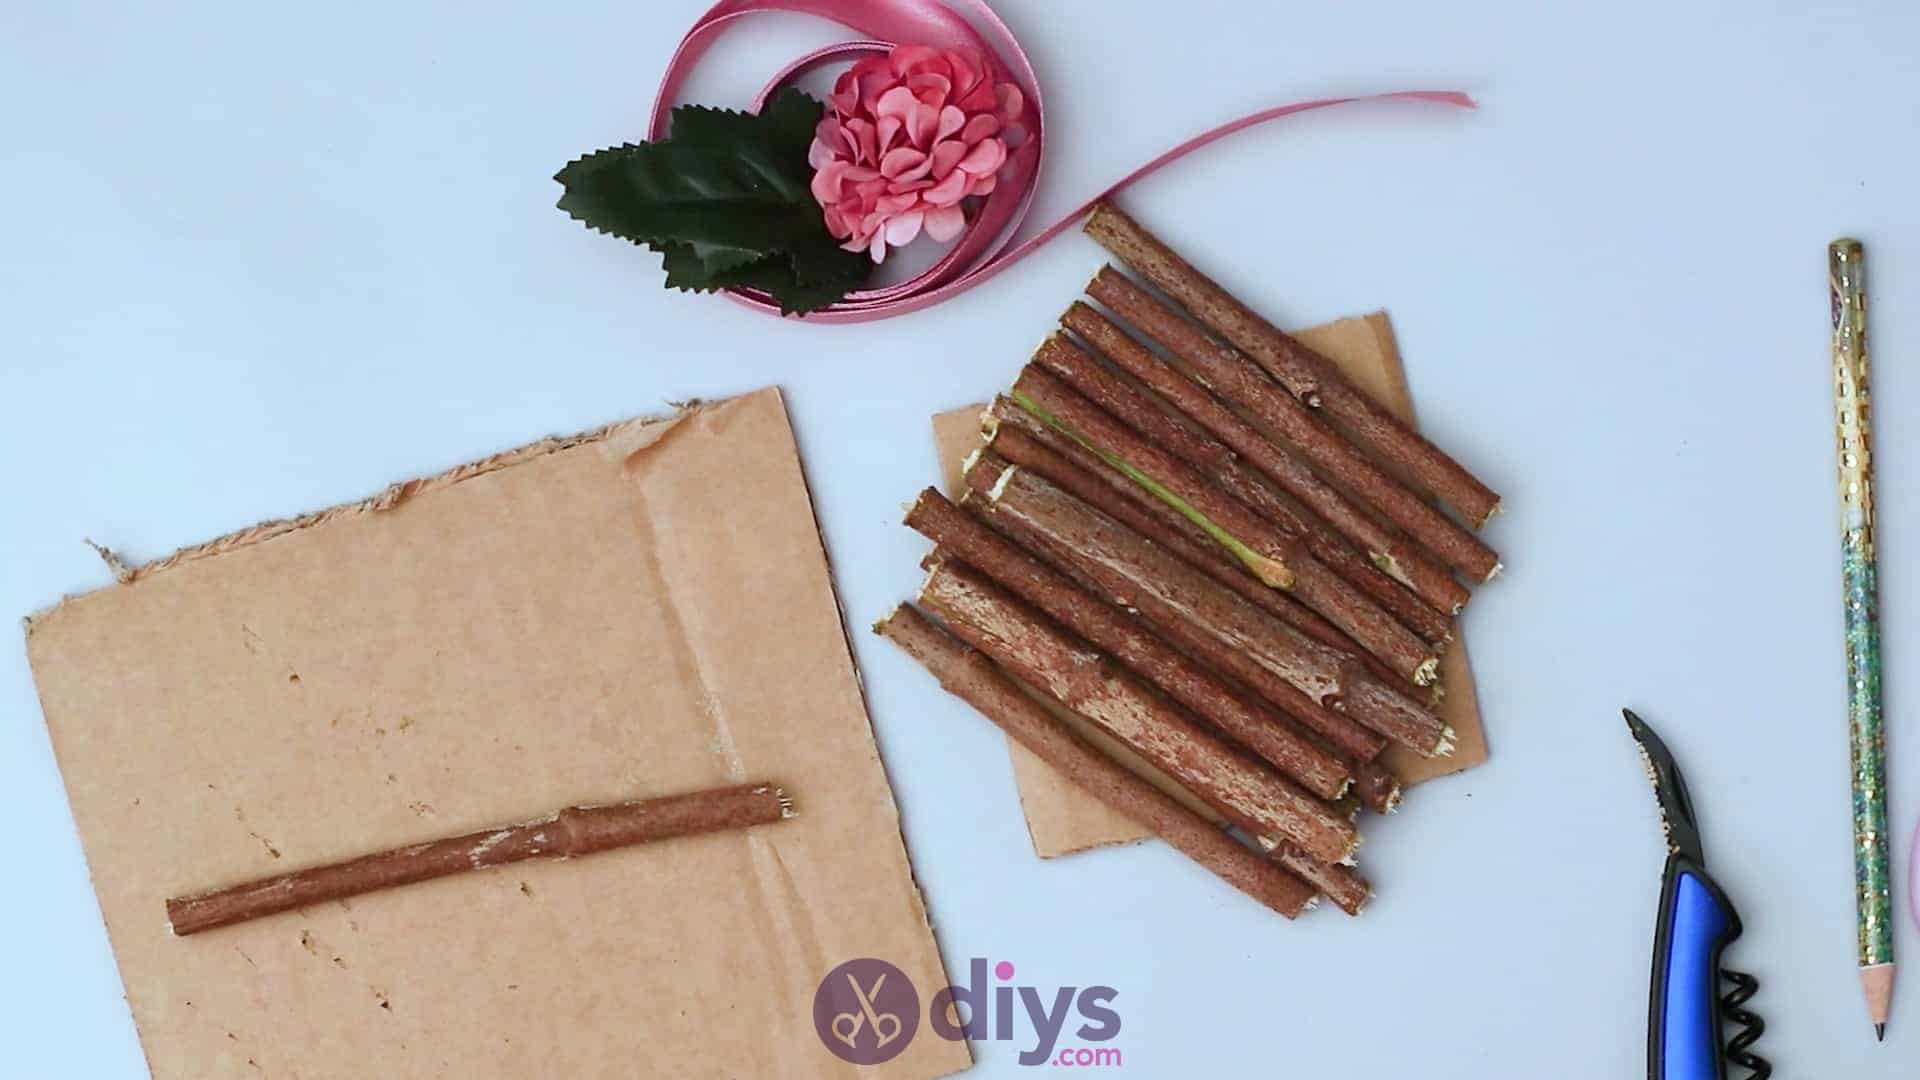
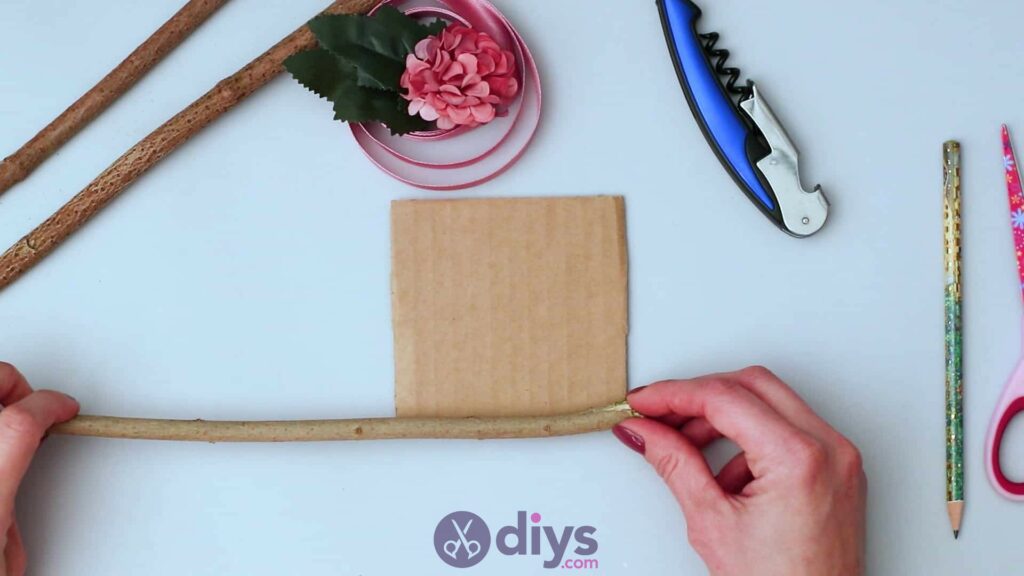
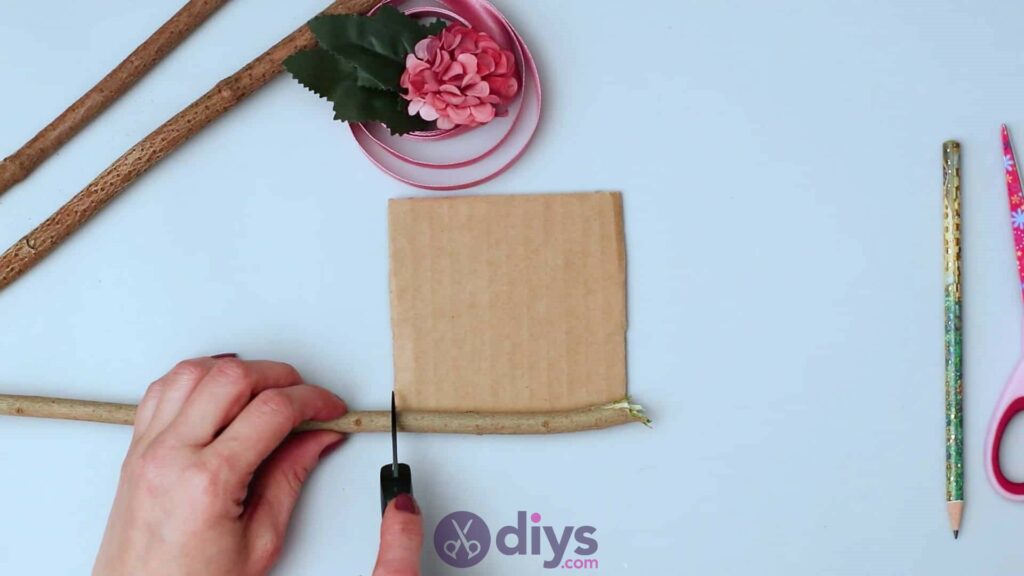
Step 3:Cut your twigs
Use the edge of your cardboard base as a guide for measuring out the length you’ll need to cut your twigs. Cut about 20 twig pieces the same length as your cardboard square’s sides are long (so for me, that length was two inches). I used the small serrate wood saw on my multi-tool to cut the twigs, but you could also use a small hand saw or branch clippers from your gardening tools.

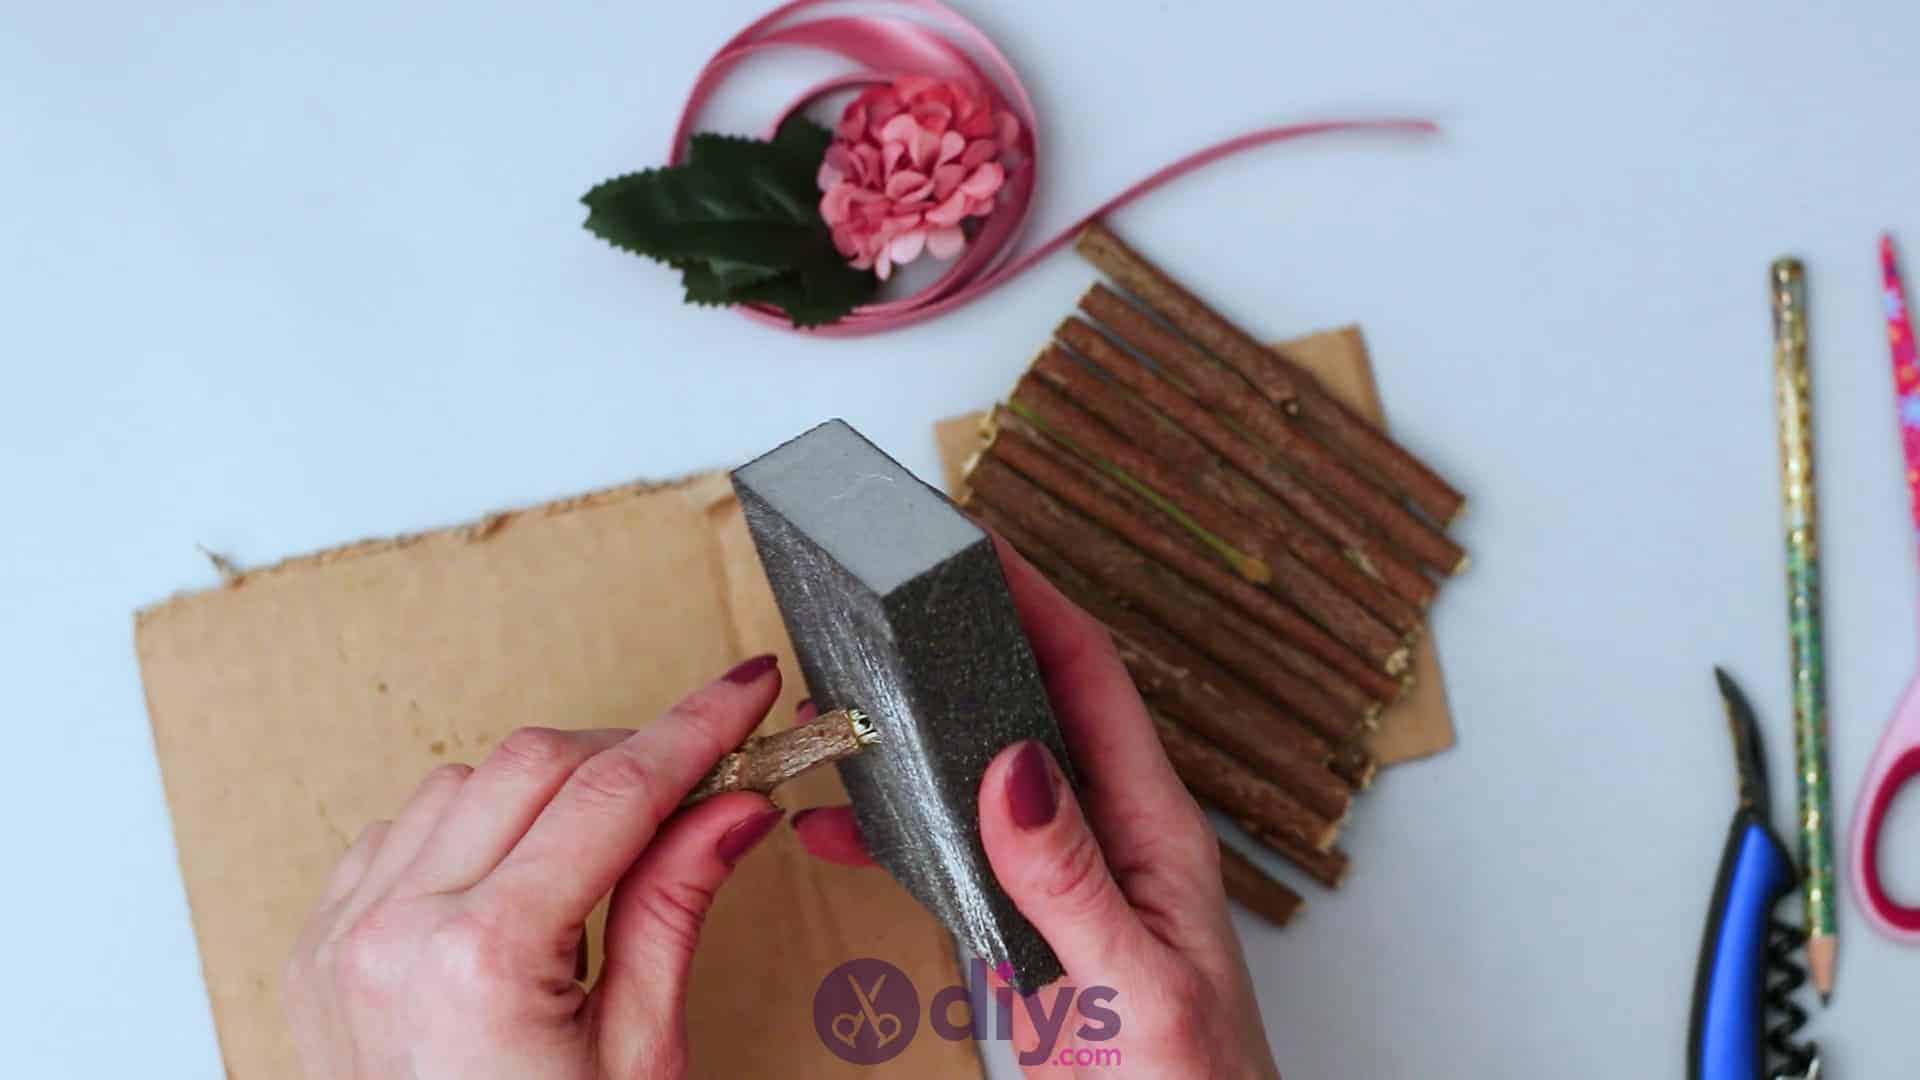
Step 4: Sand the edges
Use a piece of sandpaper or an abrasive block to sand down, smooth out, and even up the cut edges of your twig or branch pieces. This will give you a neater look and make sure that no sharp ends are sticking out to catch on anything.


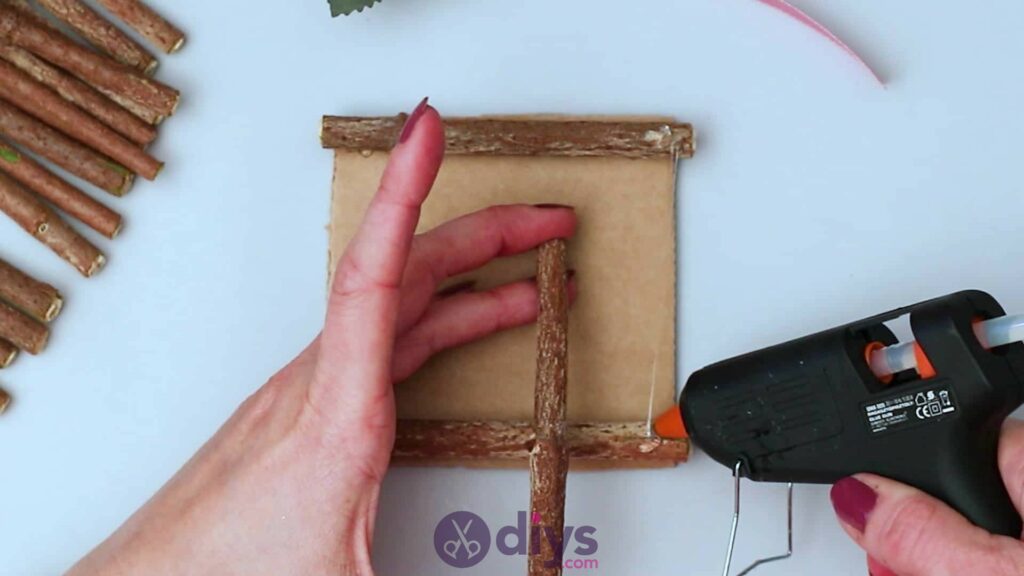
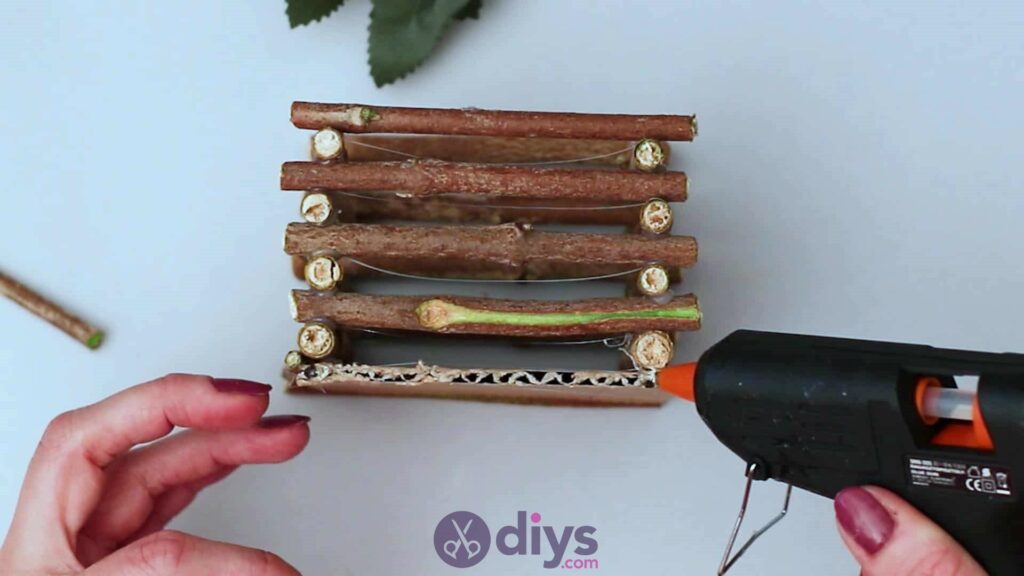
Step 5: Start gluing
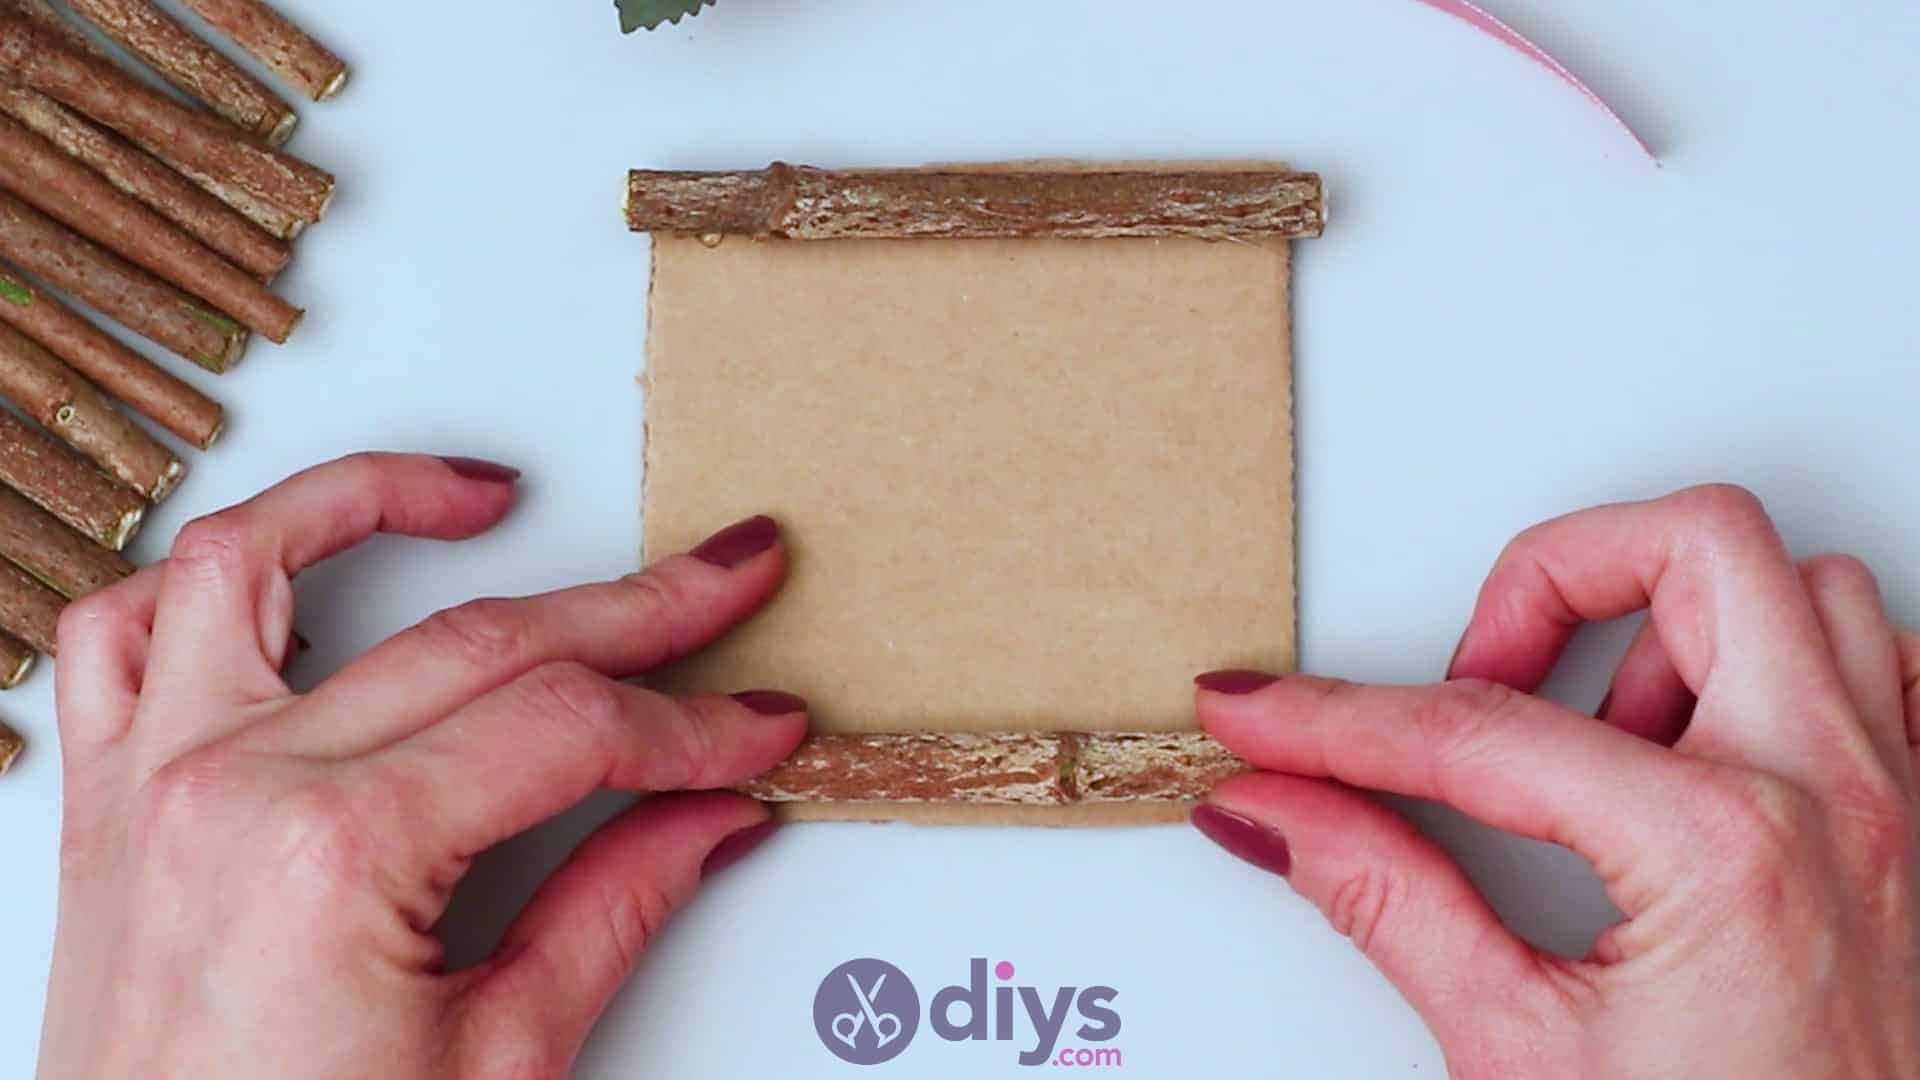
Turn your cardboard square on your tabletop so you have a clear top and bottom edge, and a clear left and ride side edge. Then use your hot glue gun to apply glue all the way along the top edge of your square. Fit a branch piece there, so its ends run all the way along the top edge to meet the top left and right corners, and press it into the glue so it lines the edge evenly. Repeat this process once more along the bottom edge do you have two sticks glued down opposite each other.


Step 6: Start layering
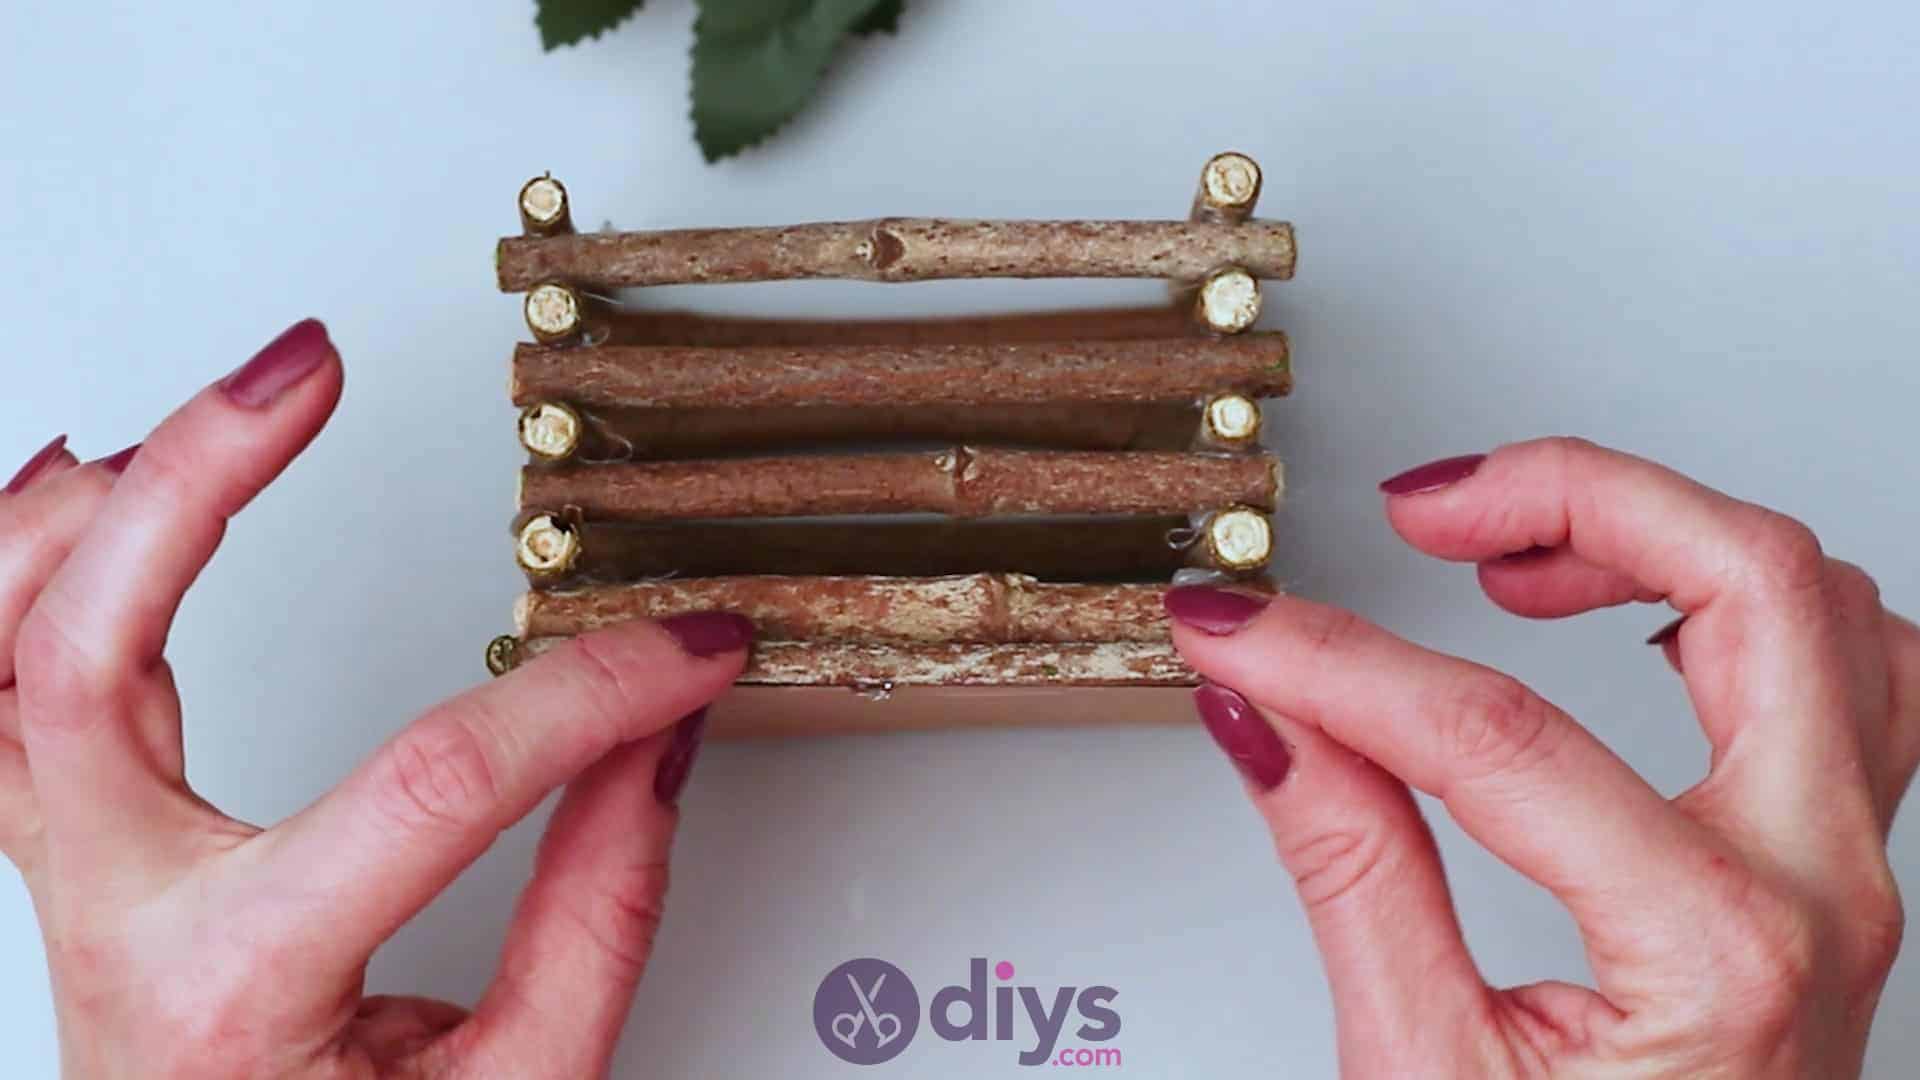
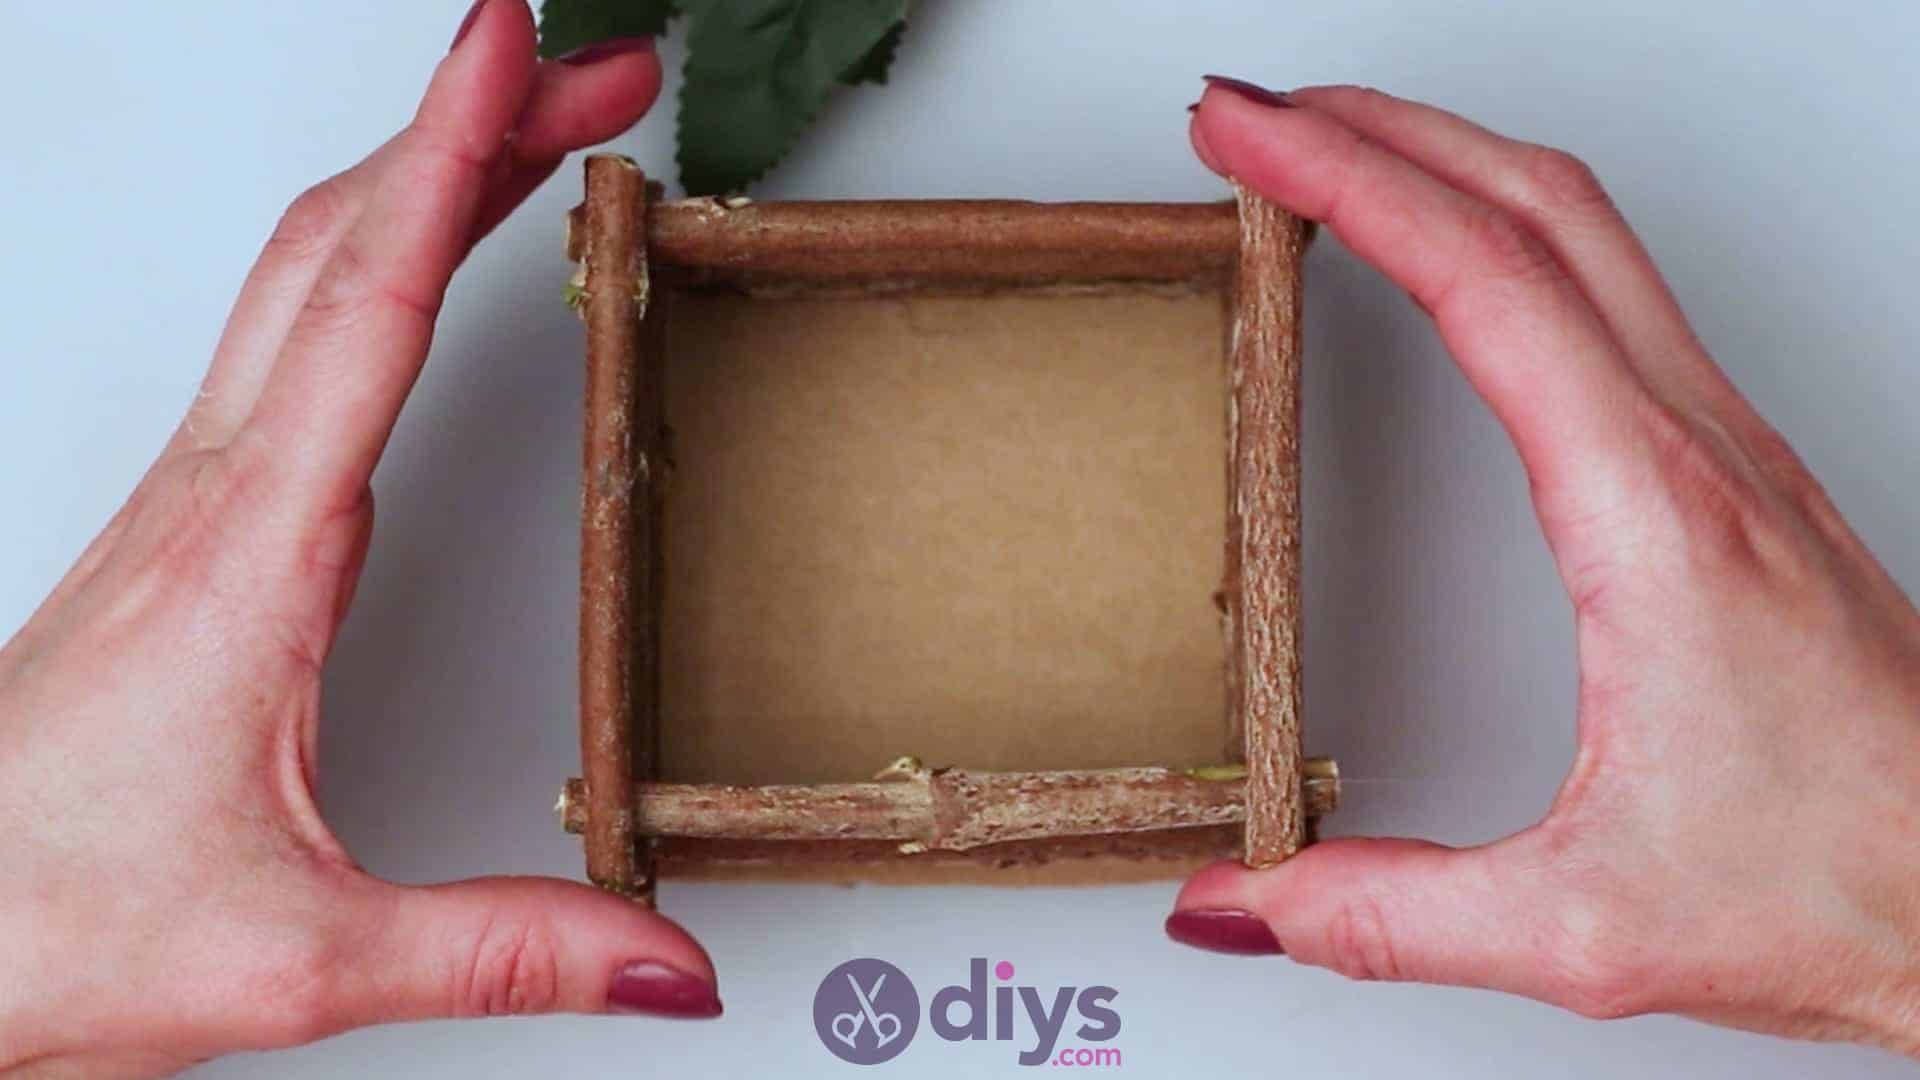
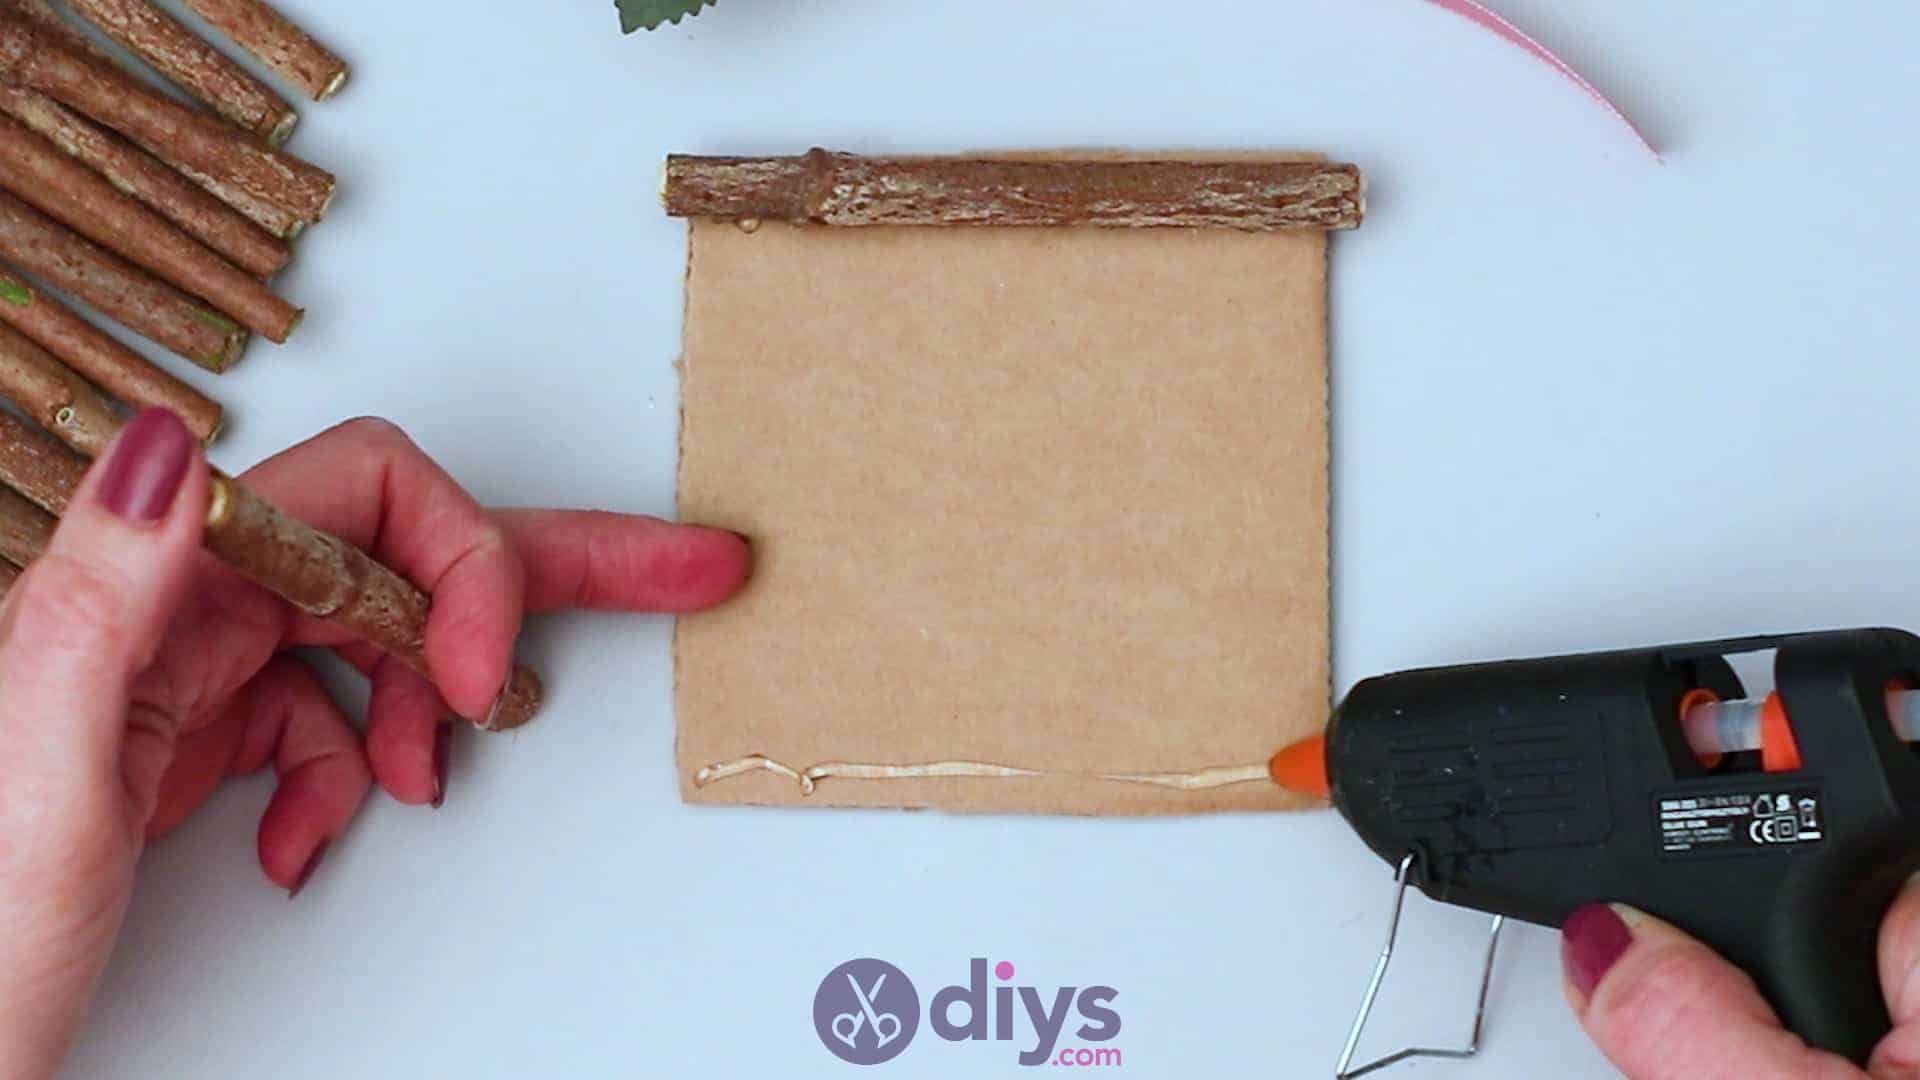
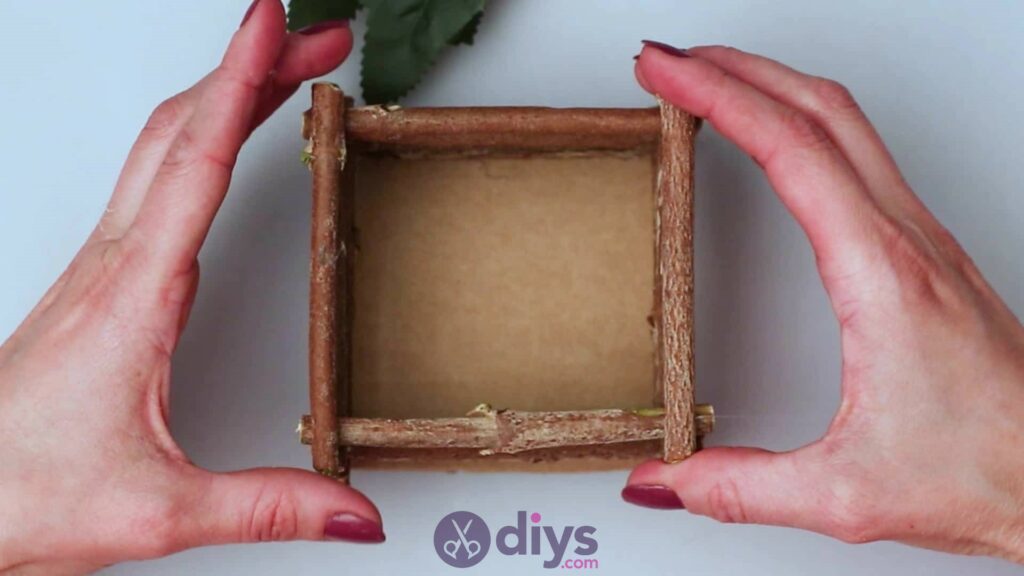
Now you’ll start layering your sticks end to end in order to build the basket upwards, kind of like the Linkin’ Log toys you might have played with to make little log cabins as kids. Use your glue gun to apply a dot of glue to the right end of your top stickand the right end of your bottom stick, near the top and bottom corners on the right side of your cardboard square. Pick up another cut branch and turn it vertically, so it runs the same way as the cardboard square’s right edge, and stick its top and bottom ends into the glue dots. Its ends will overlap with the right ends of your two base sticks at the top and bottom. Repeat this process with a fourth stick on the left side, sticking it so it runs vertically along the cardboard square’s left edge with its top and bottom ends overlapping and glued to the left side ends of your two original sticks running horizontally along the top and bottom edges. You’ve officially built the base frame of your wooden basket!

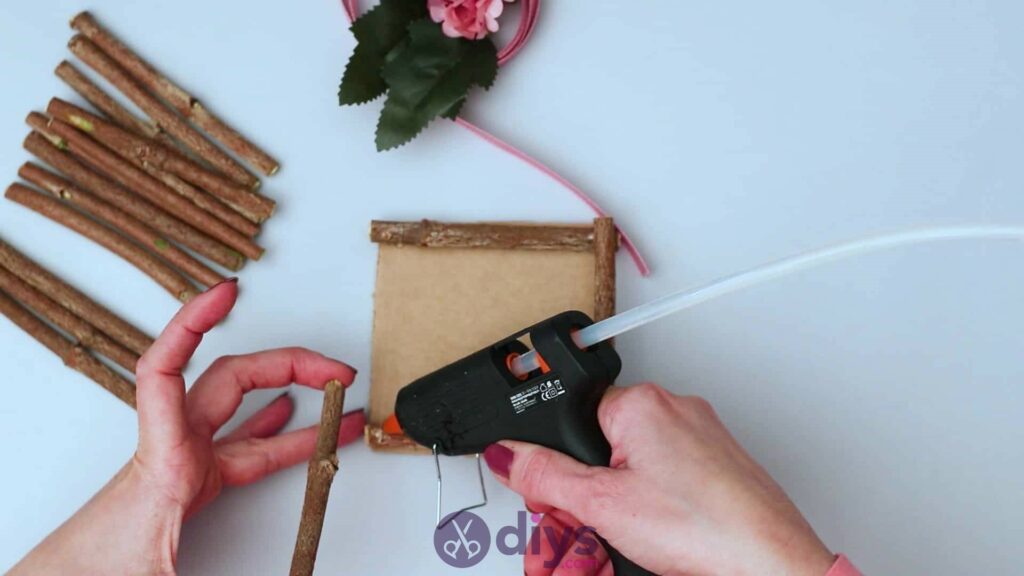
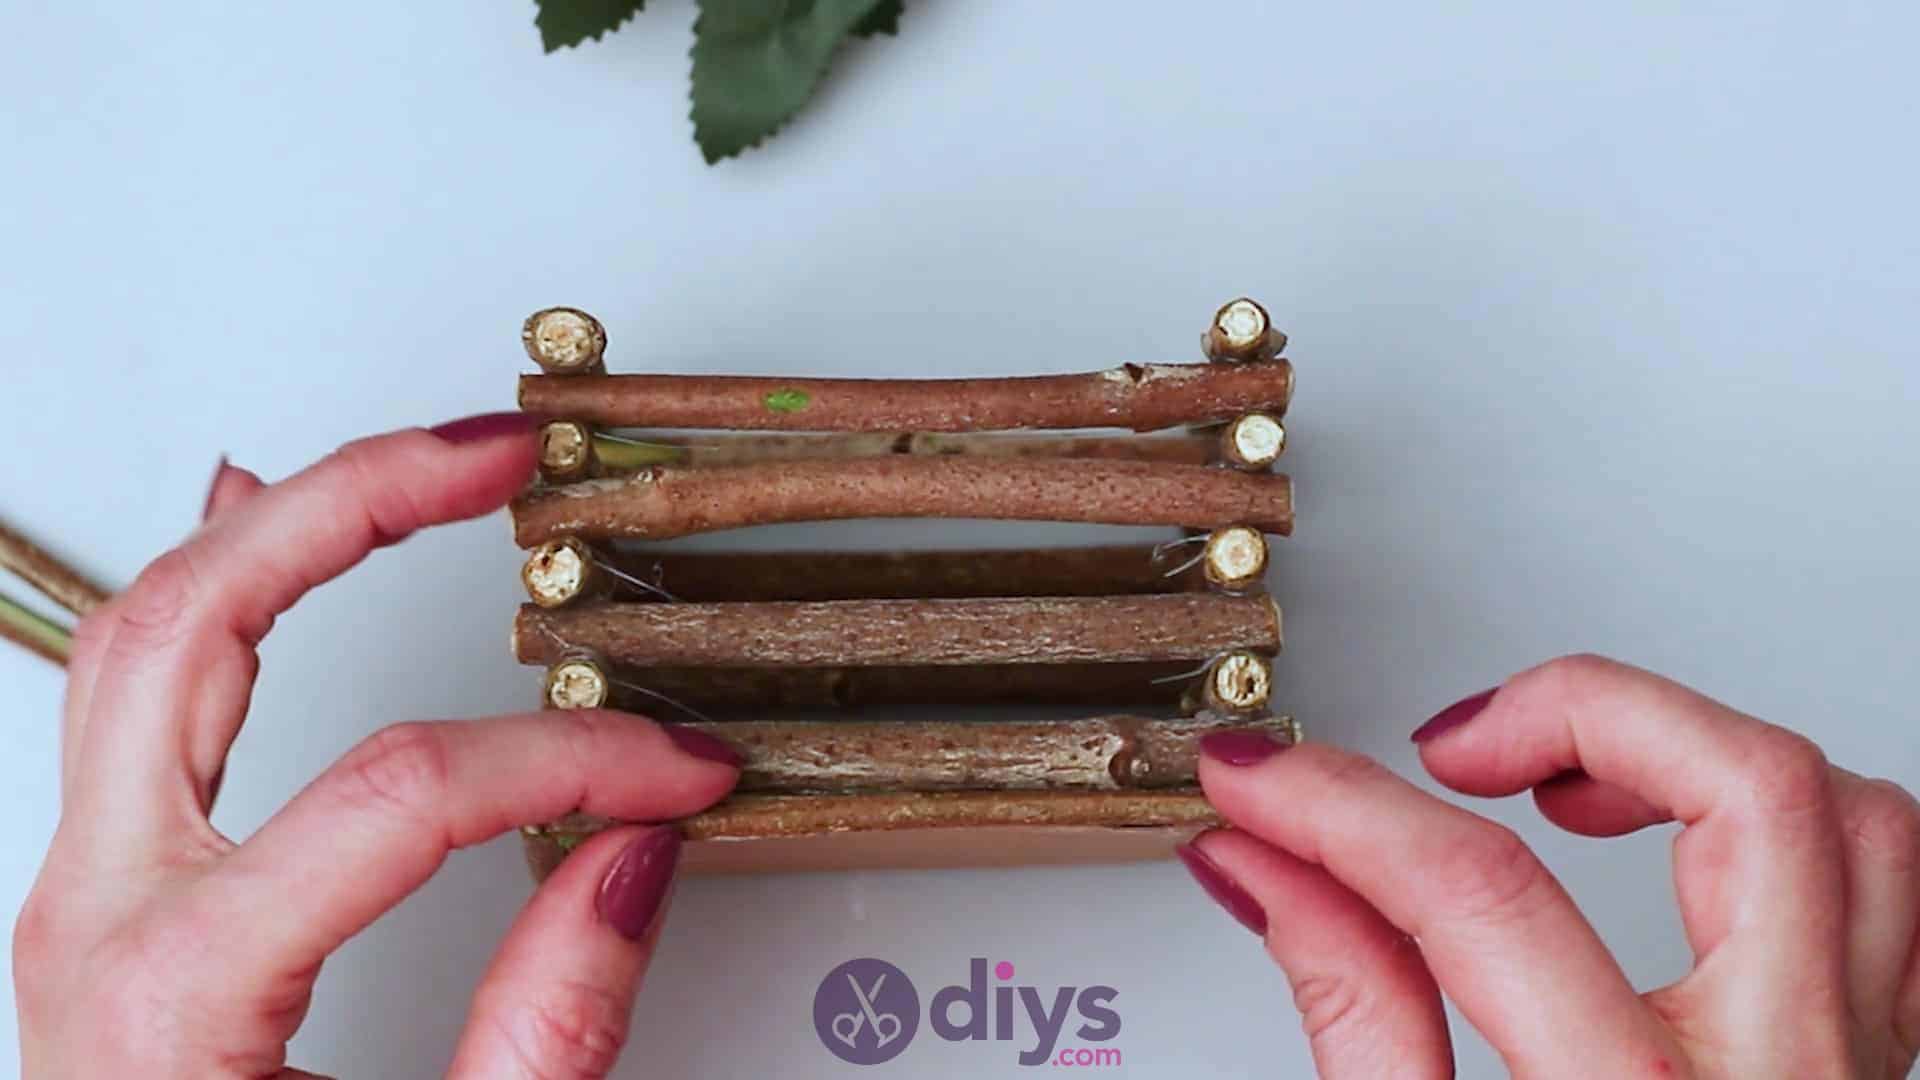
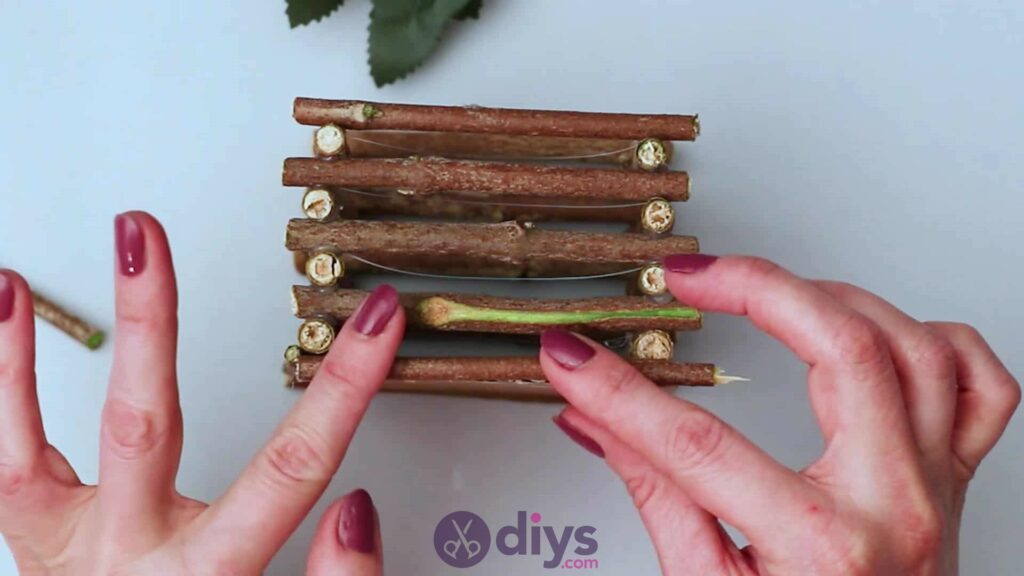
Step 7: Layering back and forth
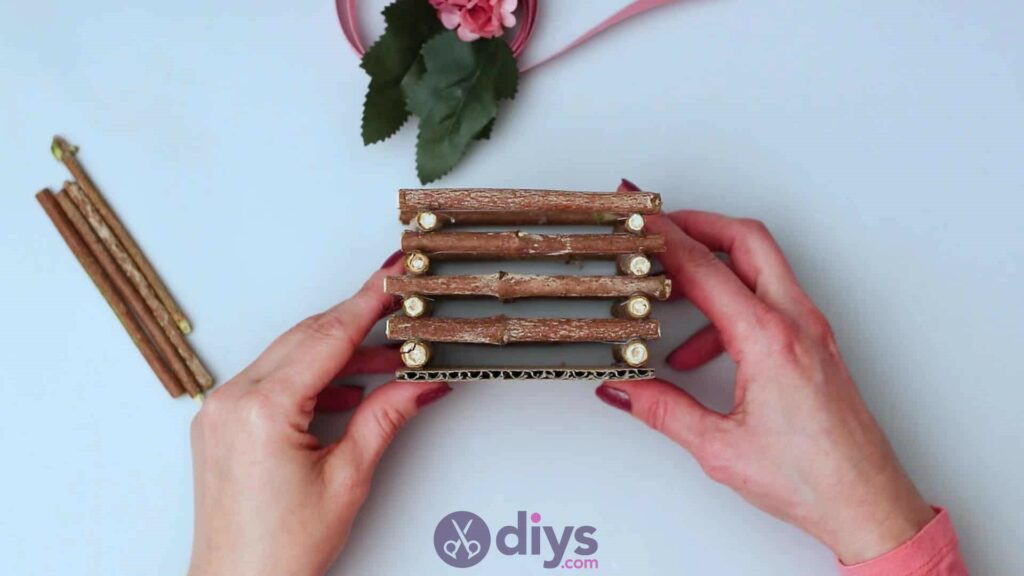
This alternating layering of stick ends, swapping back and forth between horizontal sticks at the top and bottom and vertical sticks on the left and right, is the basic technique that you’ll repeat over and over until your basket is as tall as you’d like it to be. After the steps above, apply dots of hot glue to the top ends of your left and right sticks, turn a stick horizontally to run along the top edge, and stick its ends down in the glue to overlap those top ends. Then apply glue to the bottom ends of your left and right sticks, turn another stick horizontally to run along the bottom edge of your square, and stick its ends into the glue to overlap with the bottom ends of the left and right sticks.
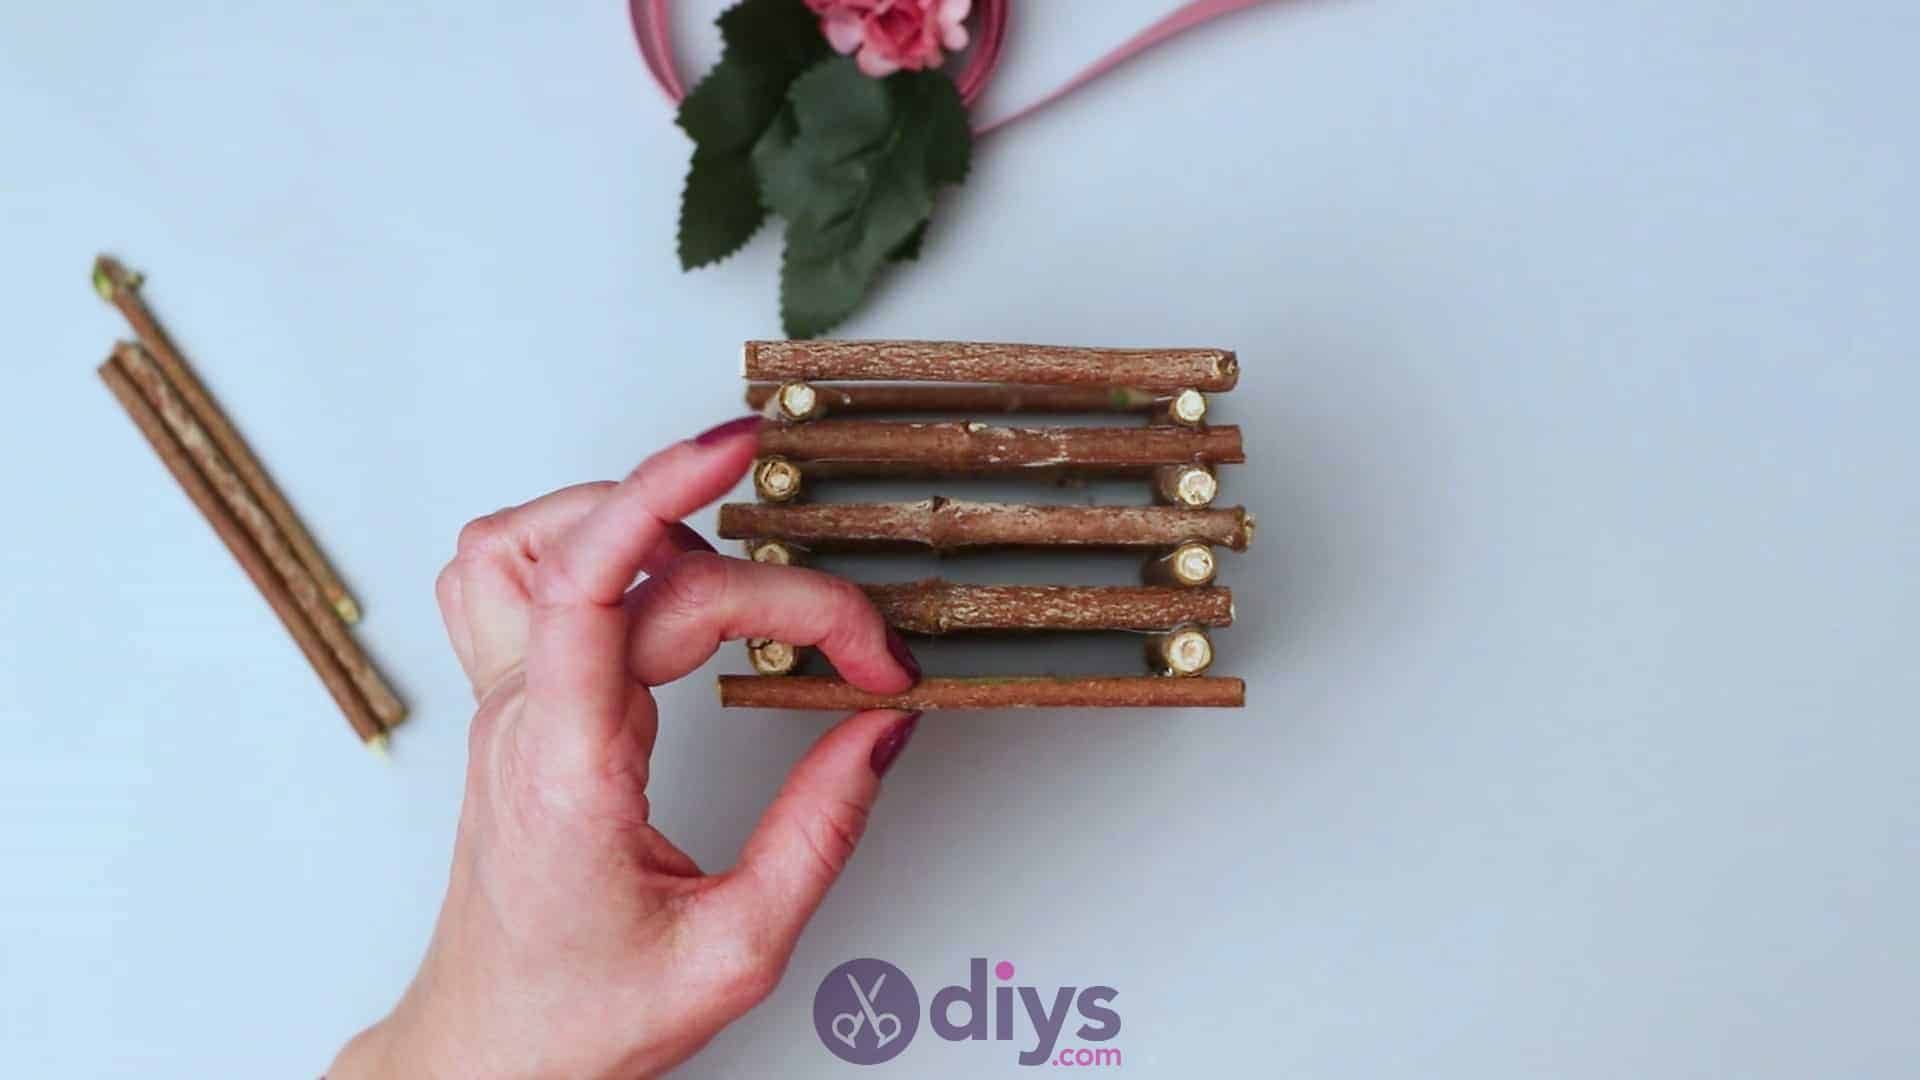
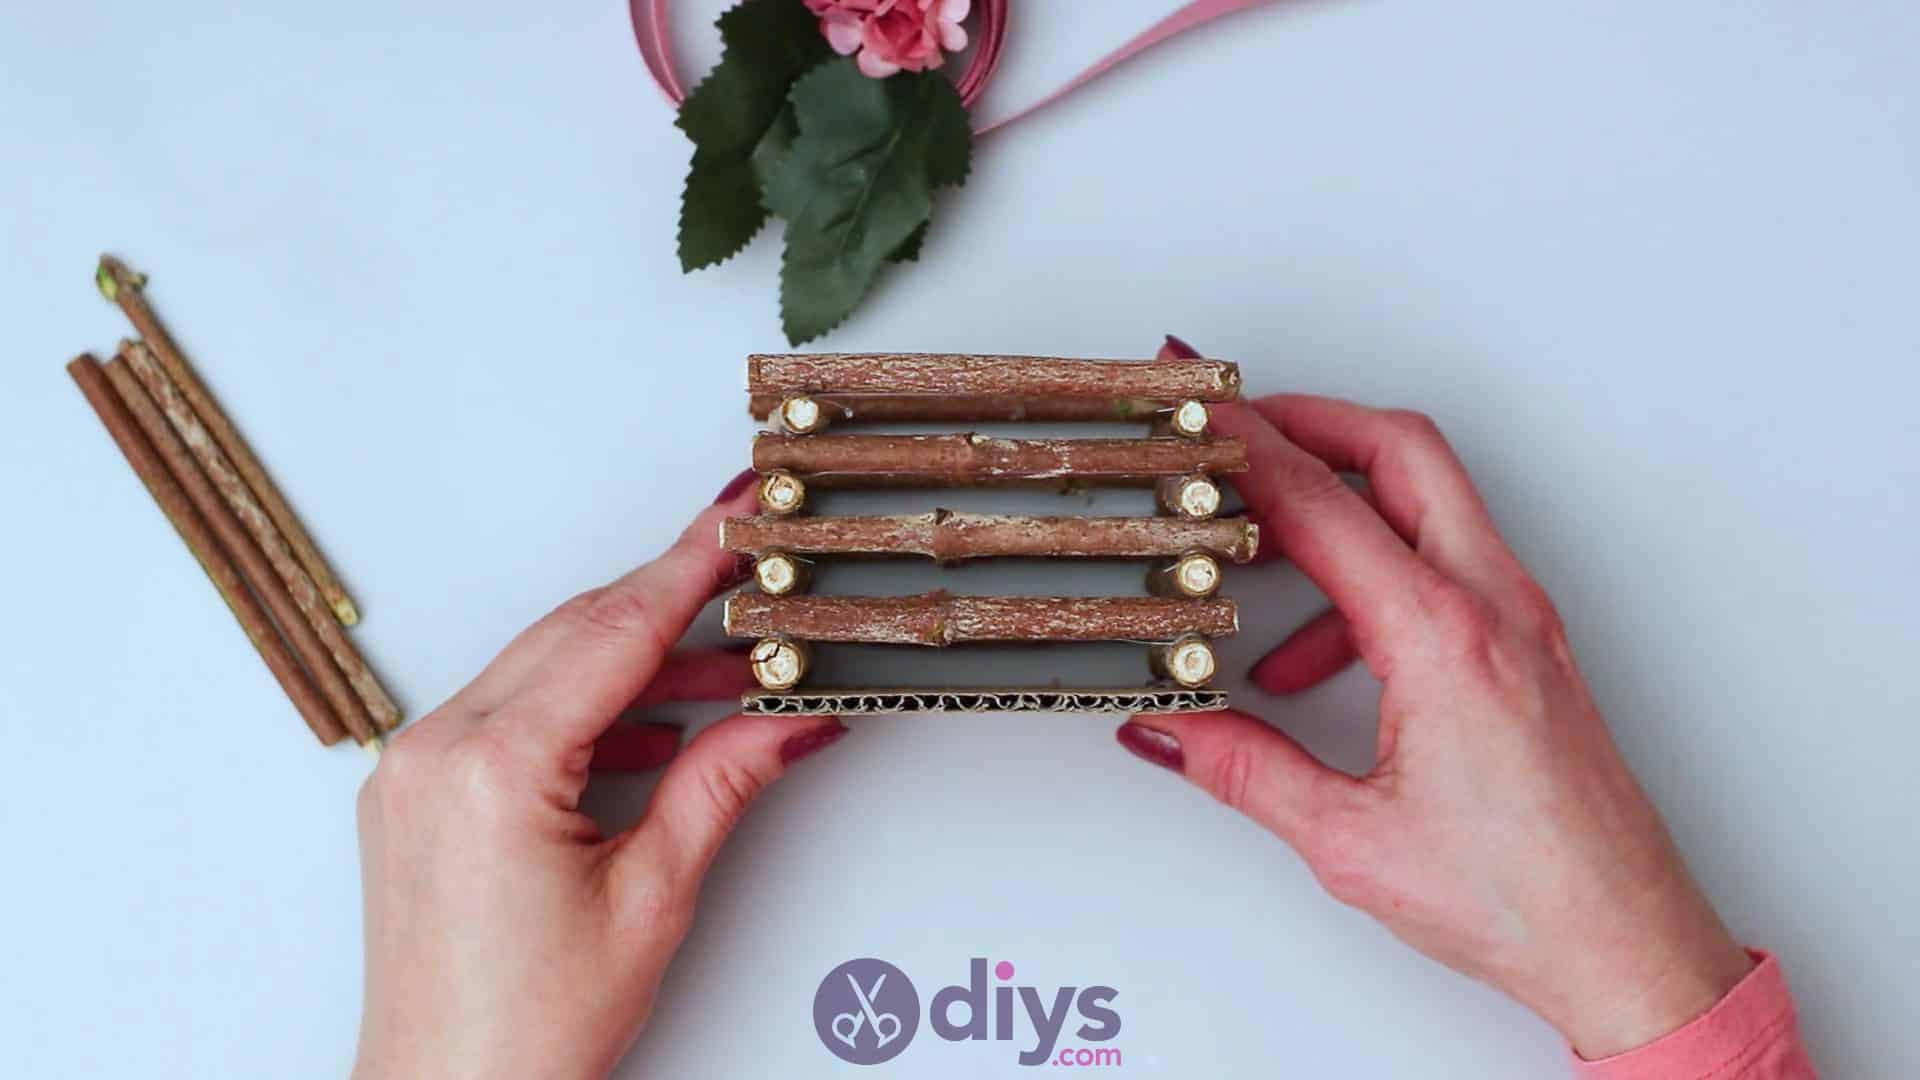
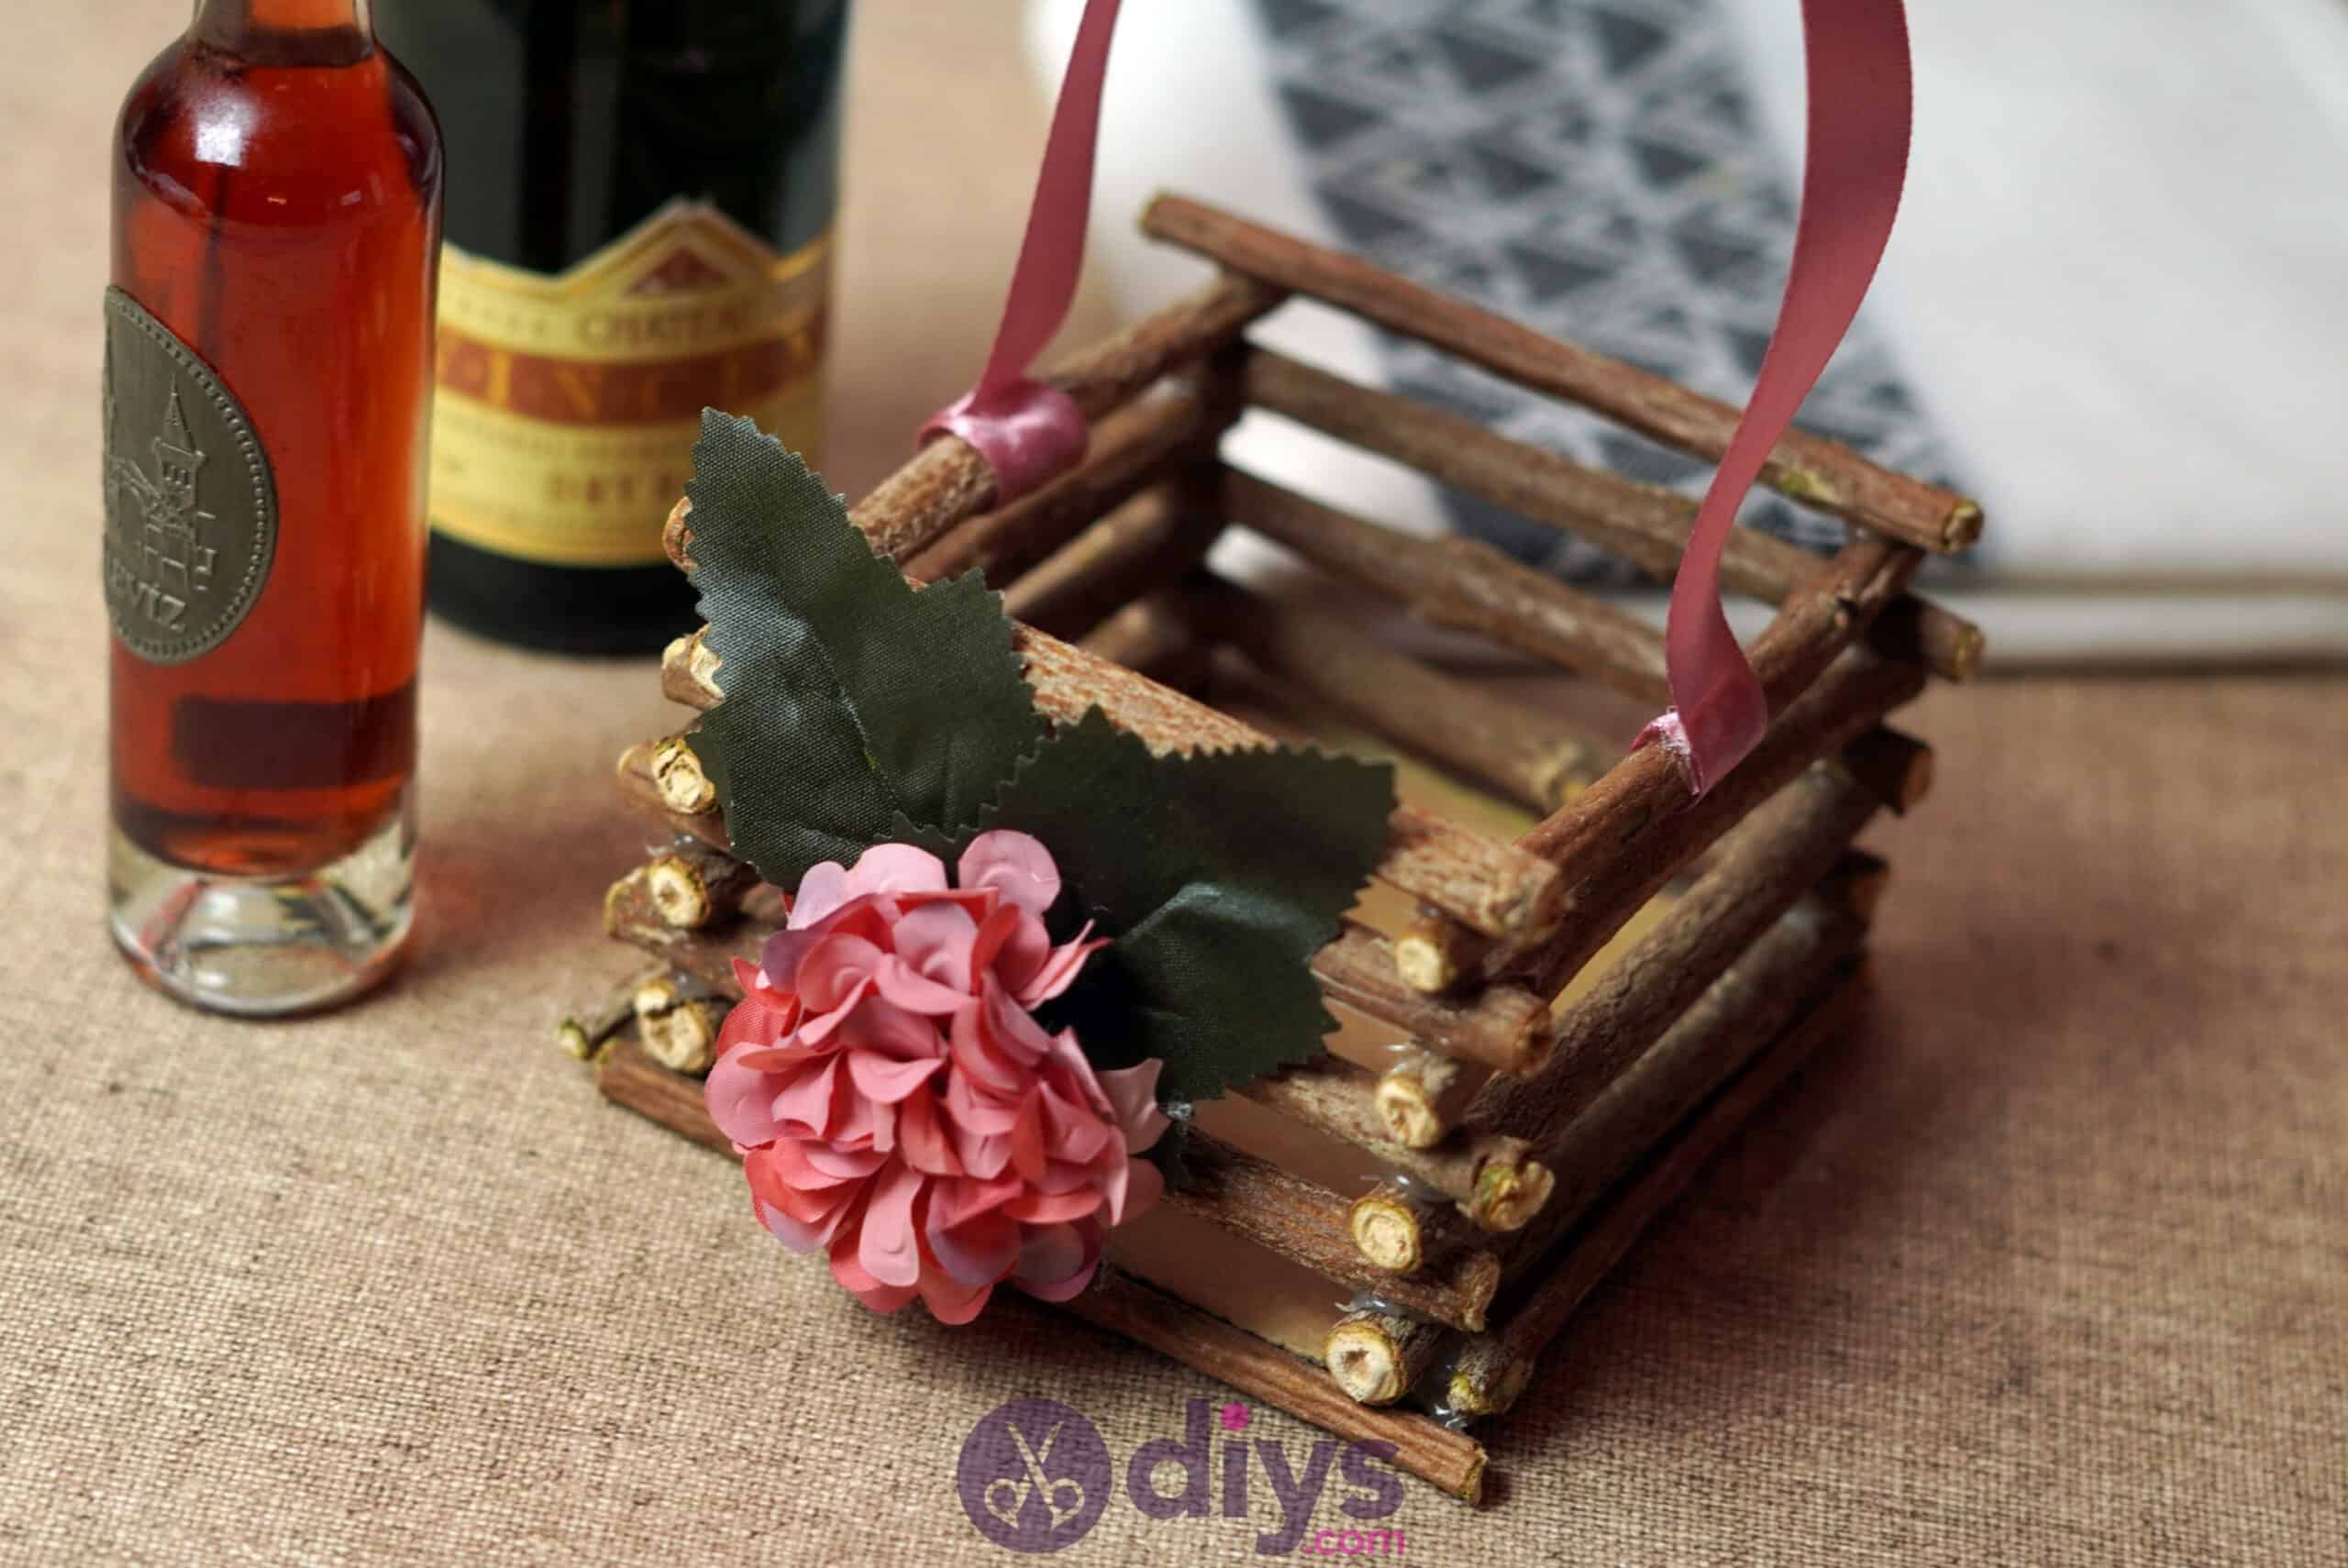
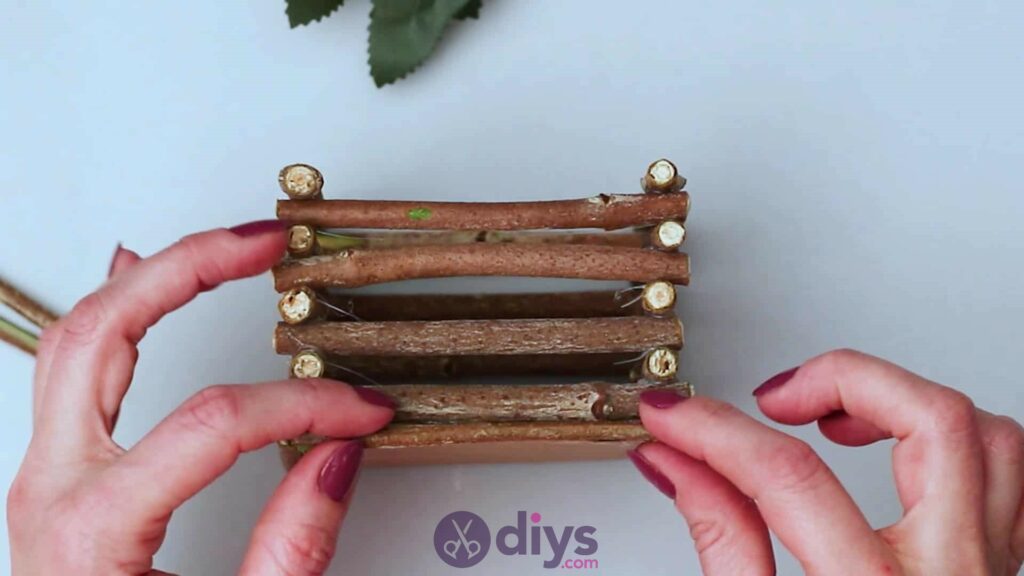
Alternate from there, swapping back and forth from your top and bottom edges and two side edges, always layering the ends accordingly. You’ll see that actual edges start to form in your basket, getting taller and building on another another in a sort of faux basketweave pattern as the ends cross over one another in an alternating way. In continued until each of my four sides had four sticks stacked one above the other, totalling 16 sticks around the square. It doesn’t really matter which layer (horizontal or vertical; top and bottom or sides) you stop at; either can be on top and it will work just fine. It also doesn’t really matter which stacked side you choose to be the front later.
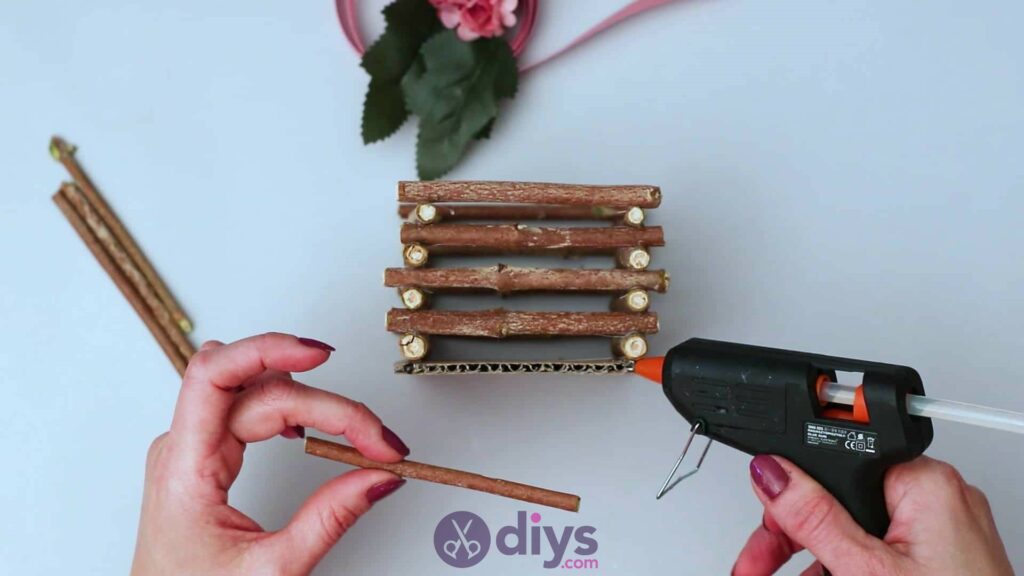

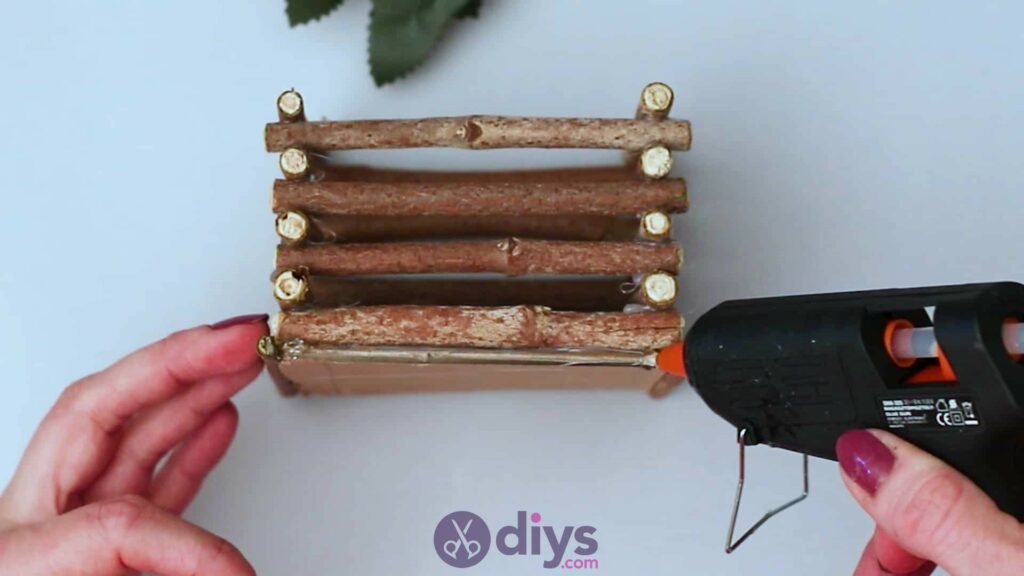


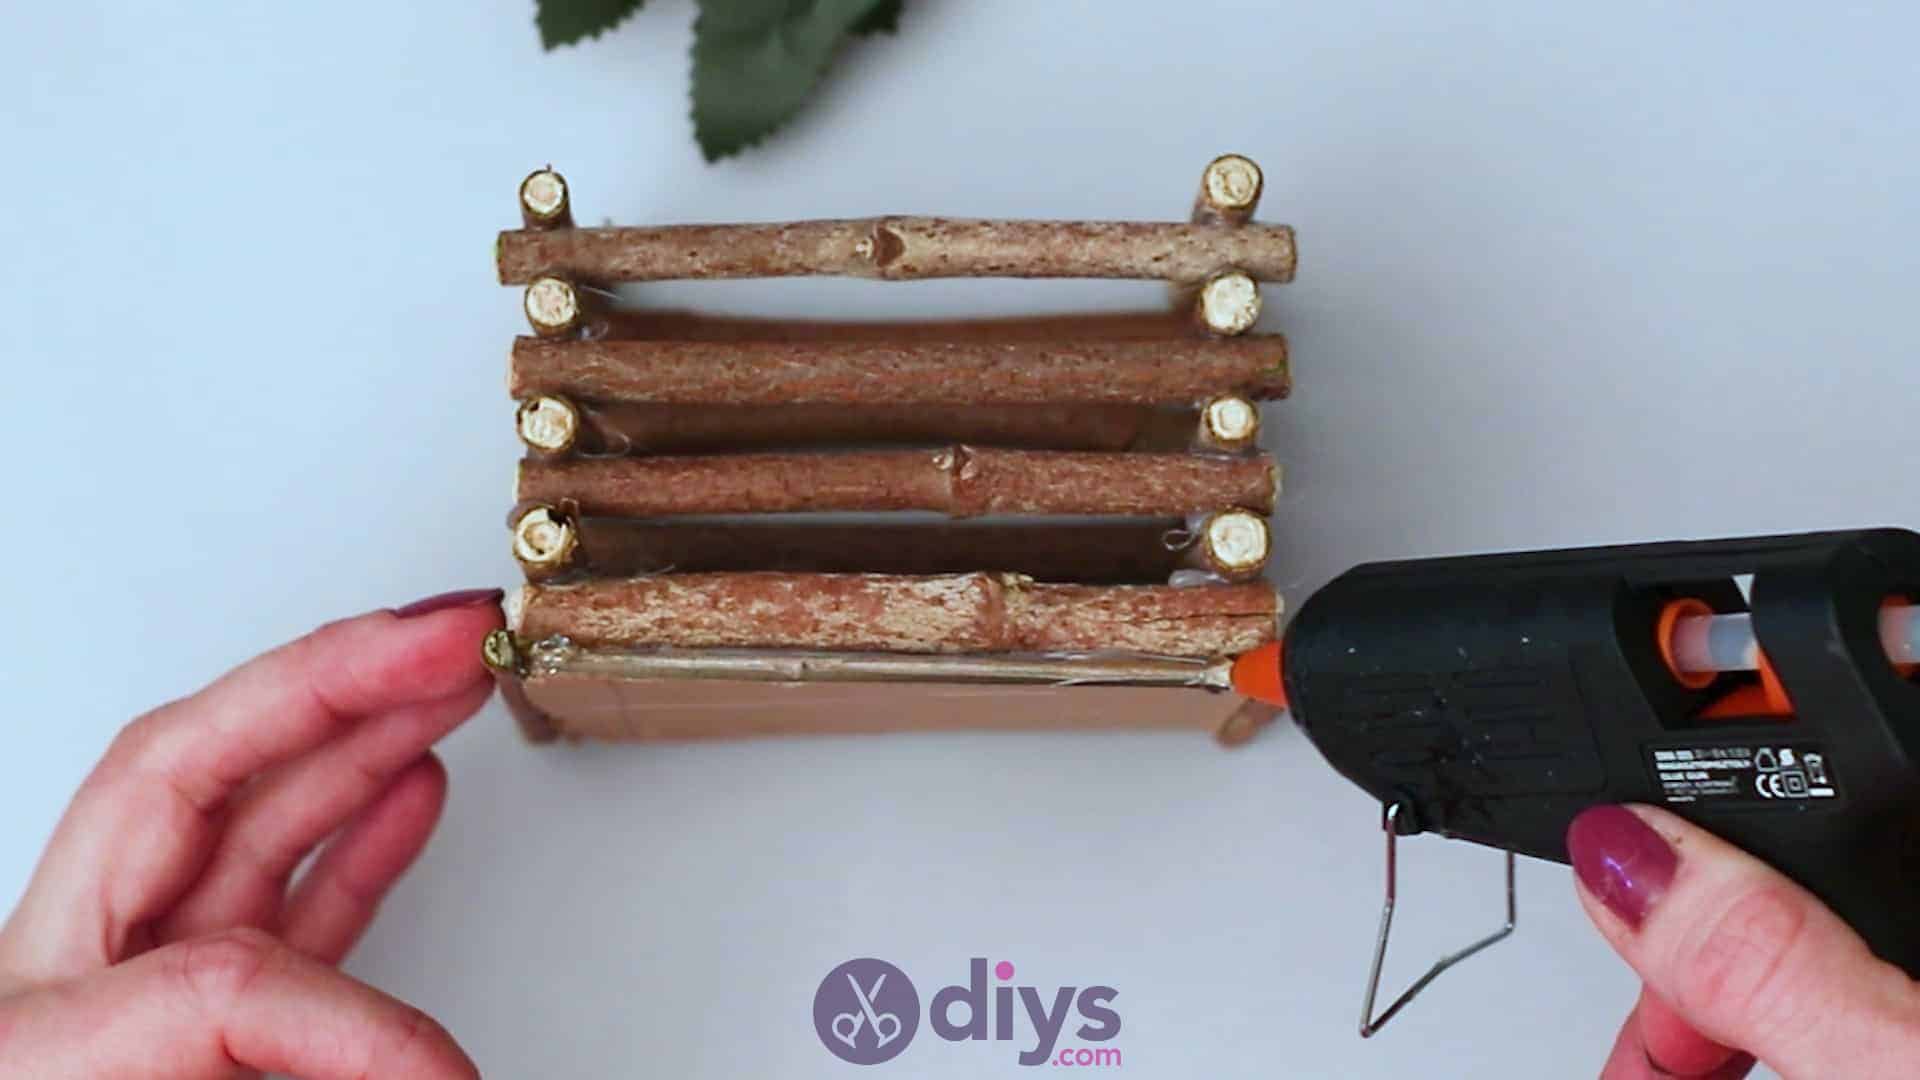
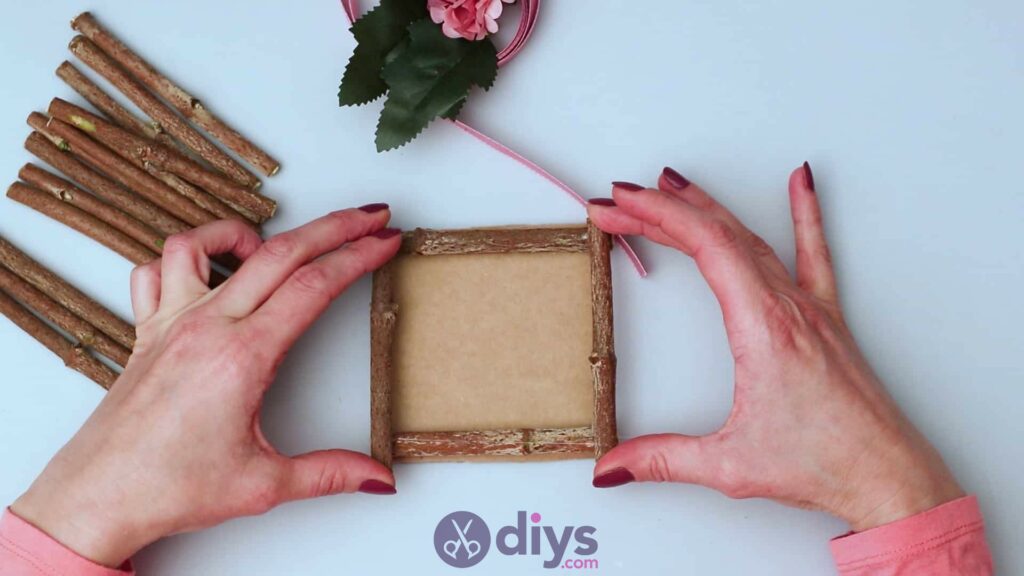
Step 8: Finishing touches
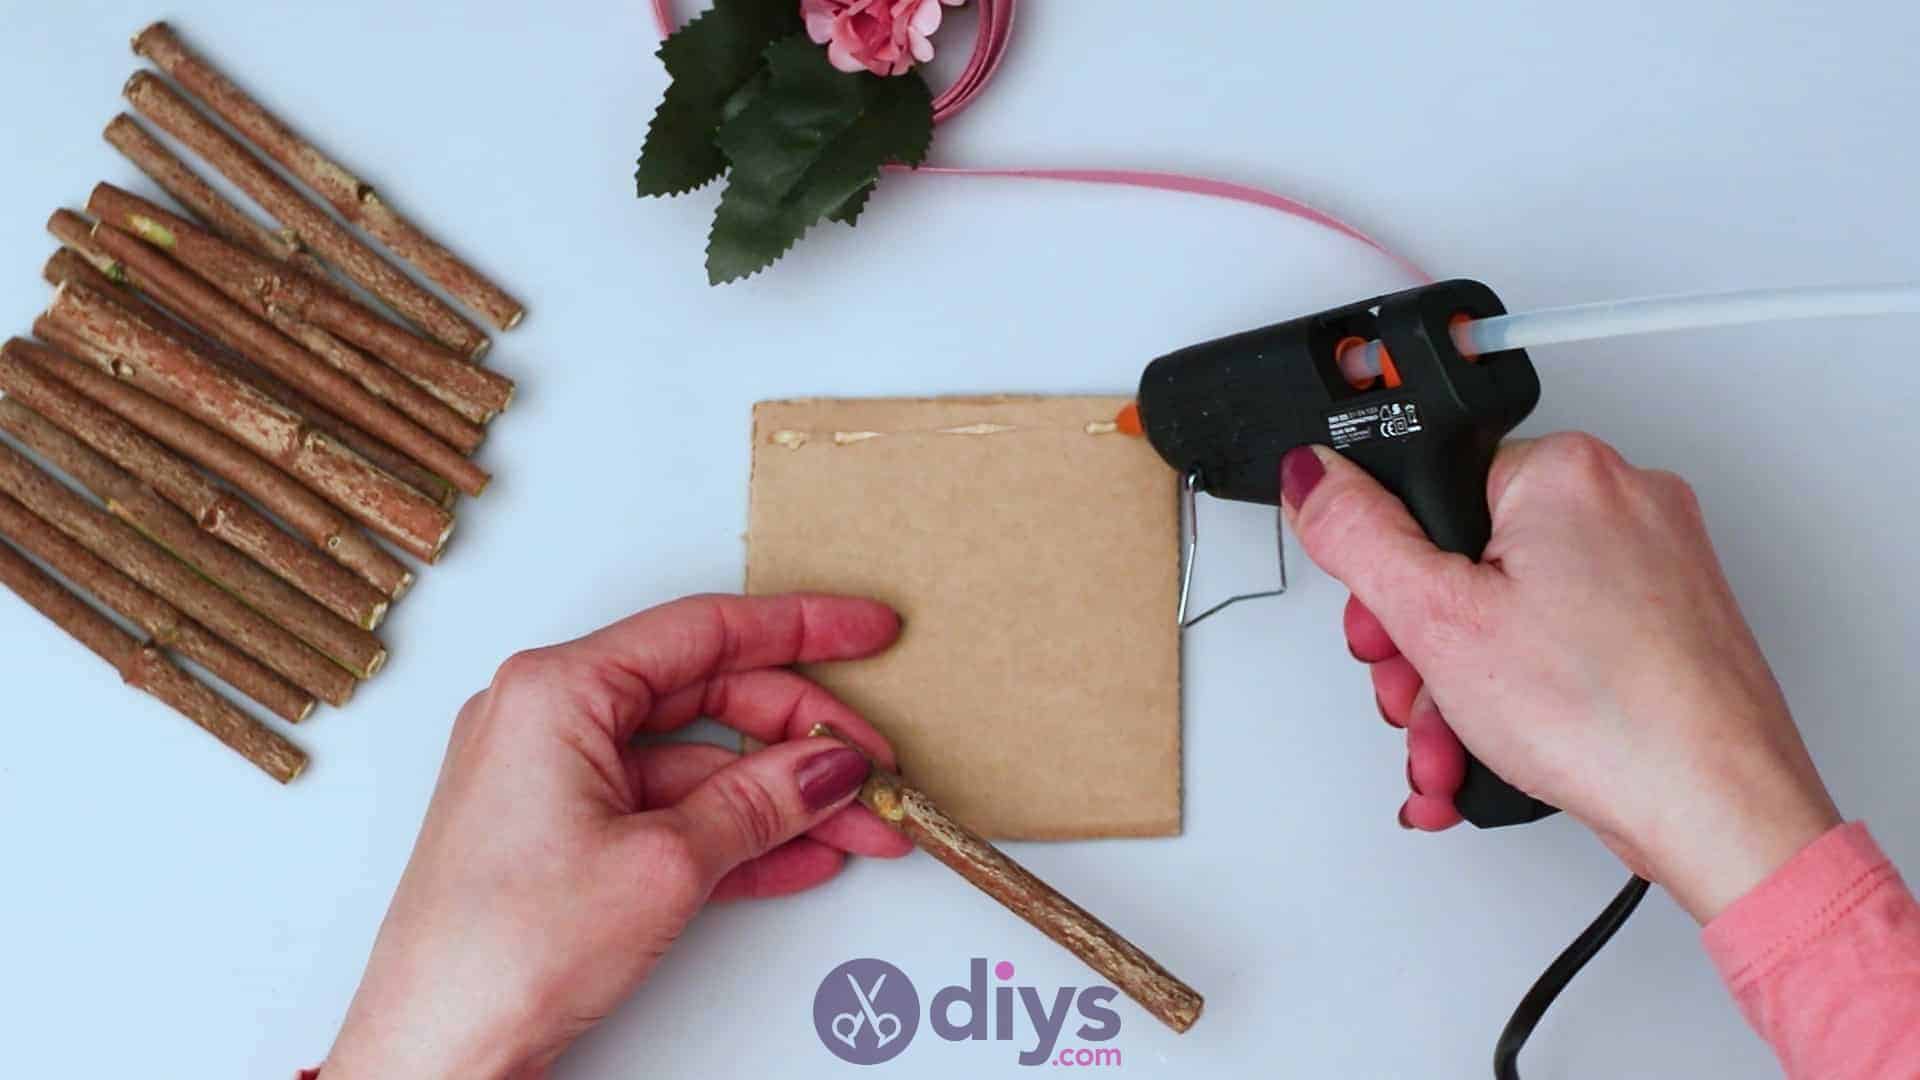
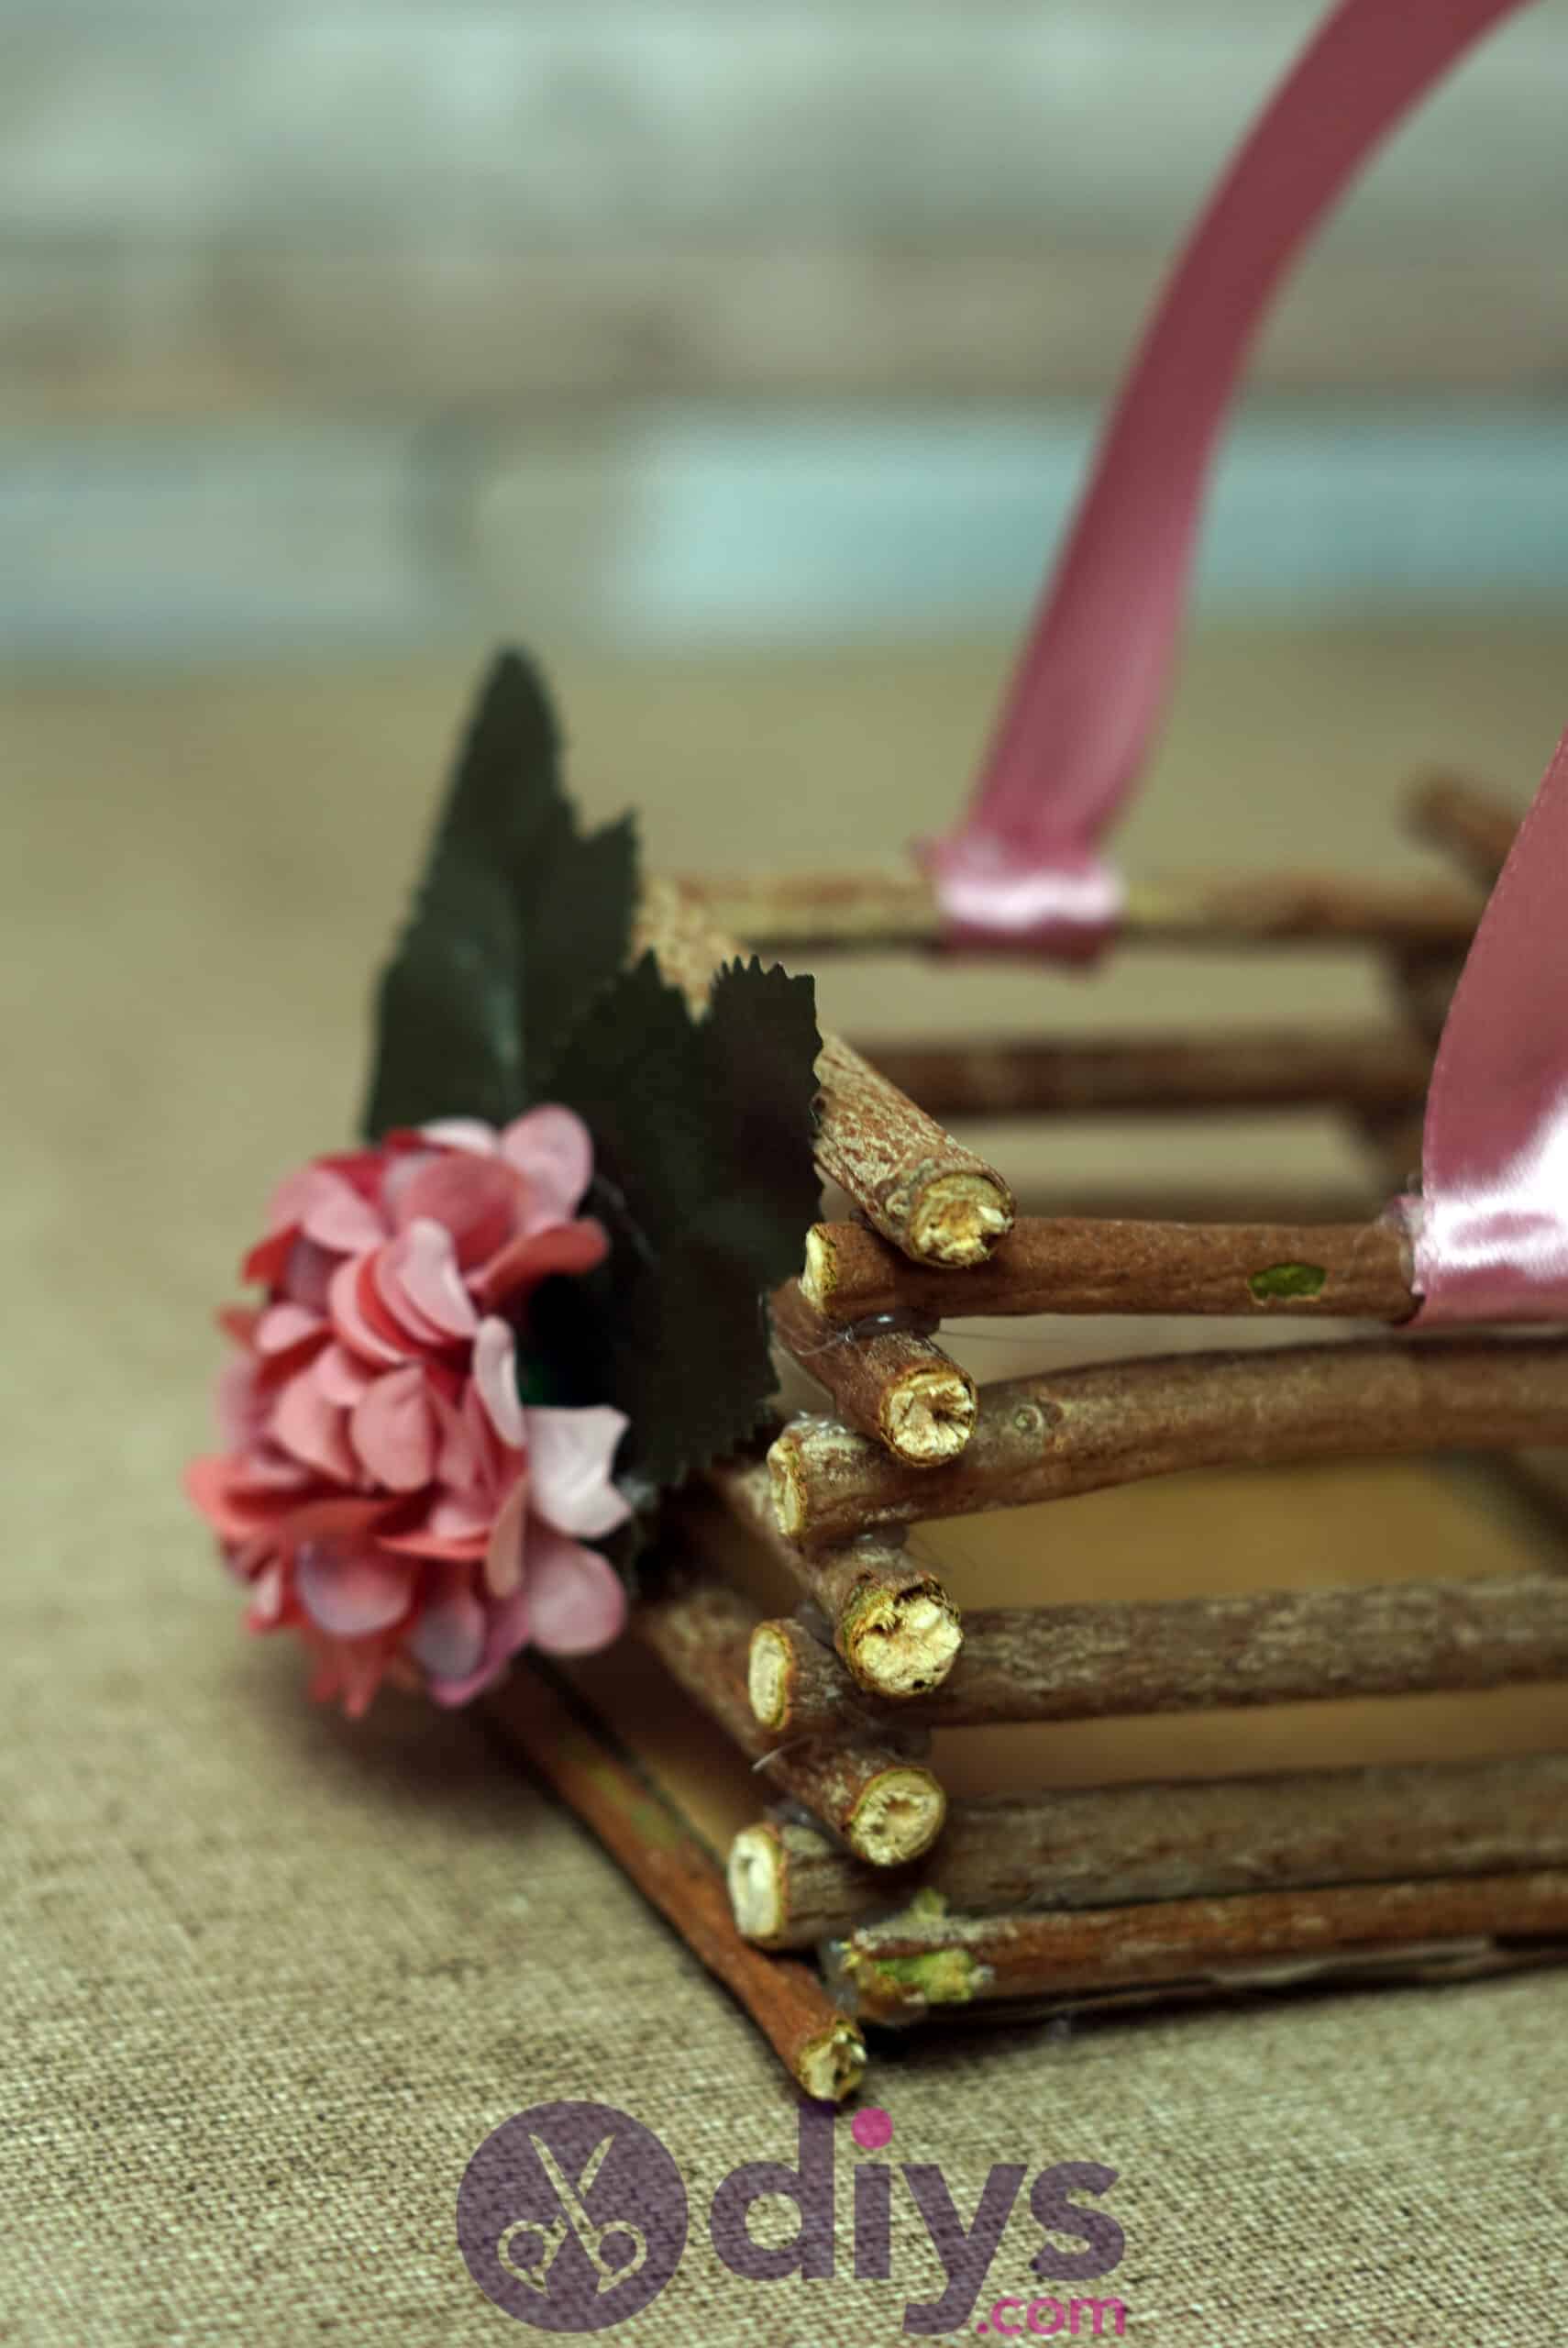
Make the base a little neater looking by covering the edges of the cardboard base with your four leftover twigs for a more complete look. Use your hot glue gun to apply glue to the little edge of your cardboard piece and stick a twig down there to cover the cardboard. Repeat this process for all four edges until you’ve covered the cardboard base all the way around.

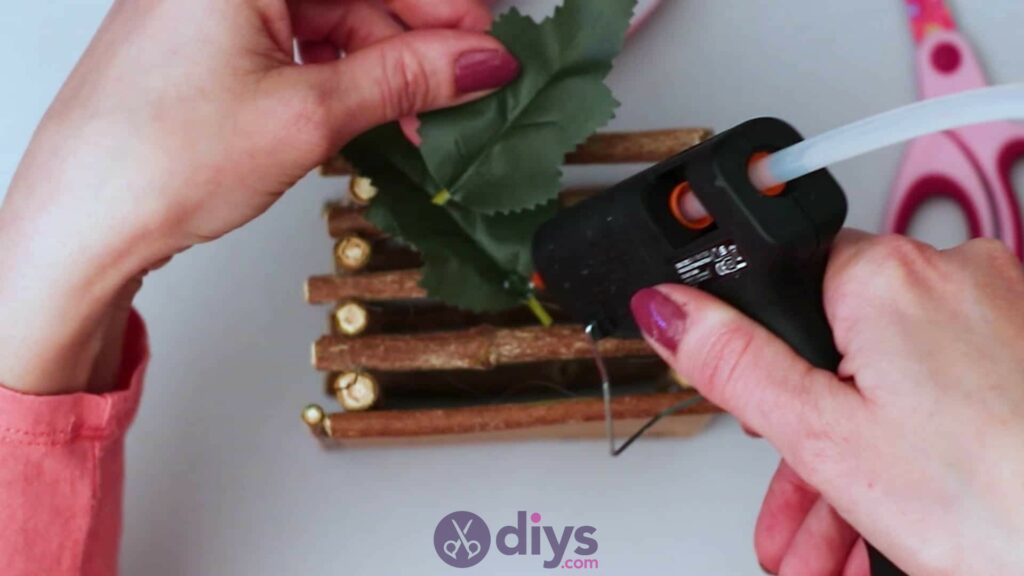
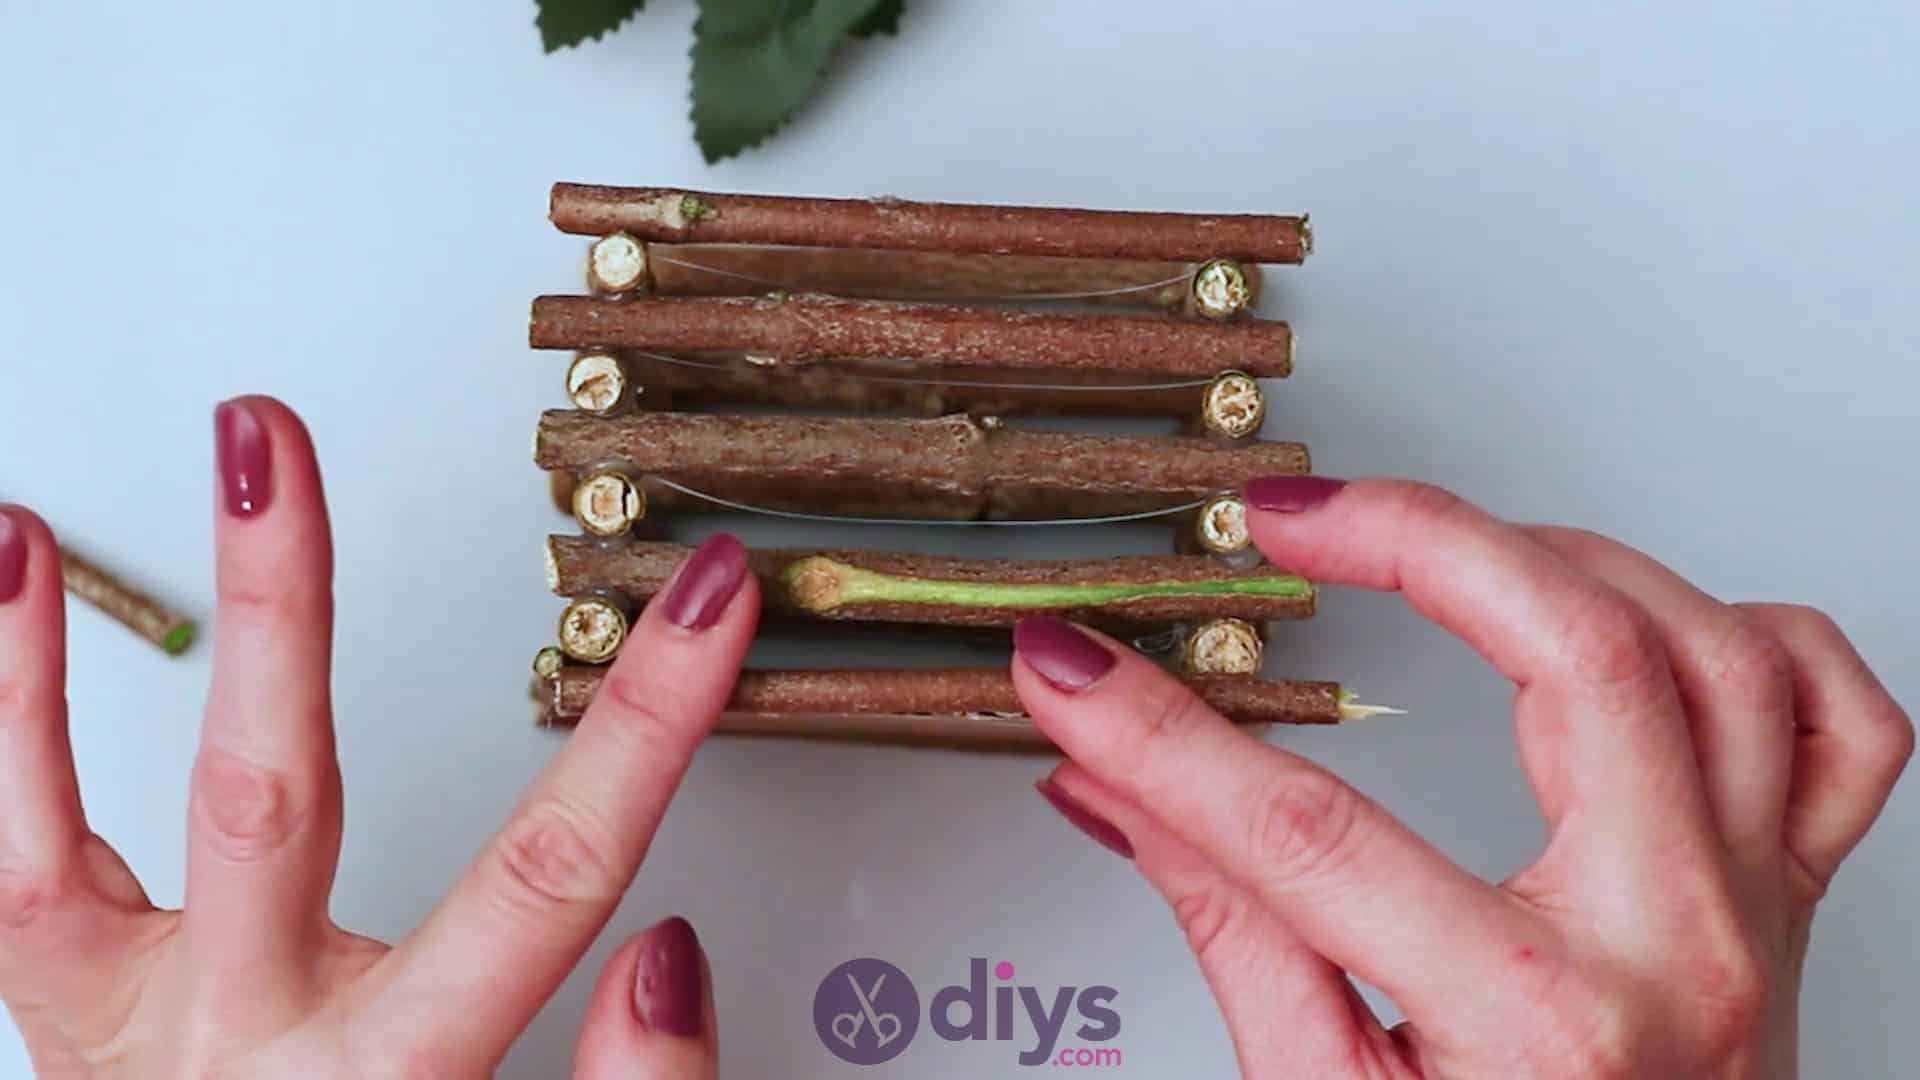
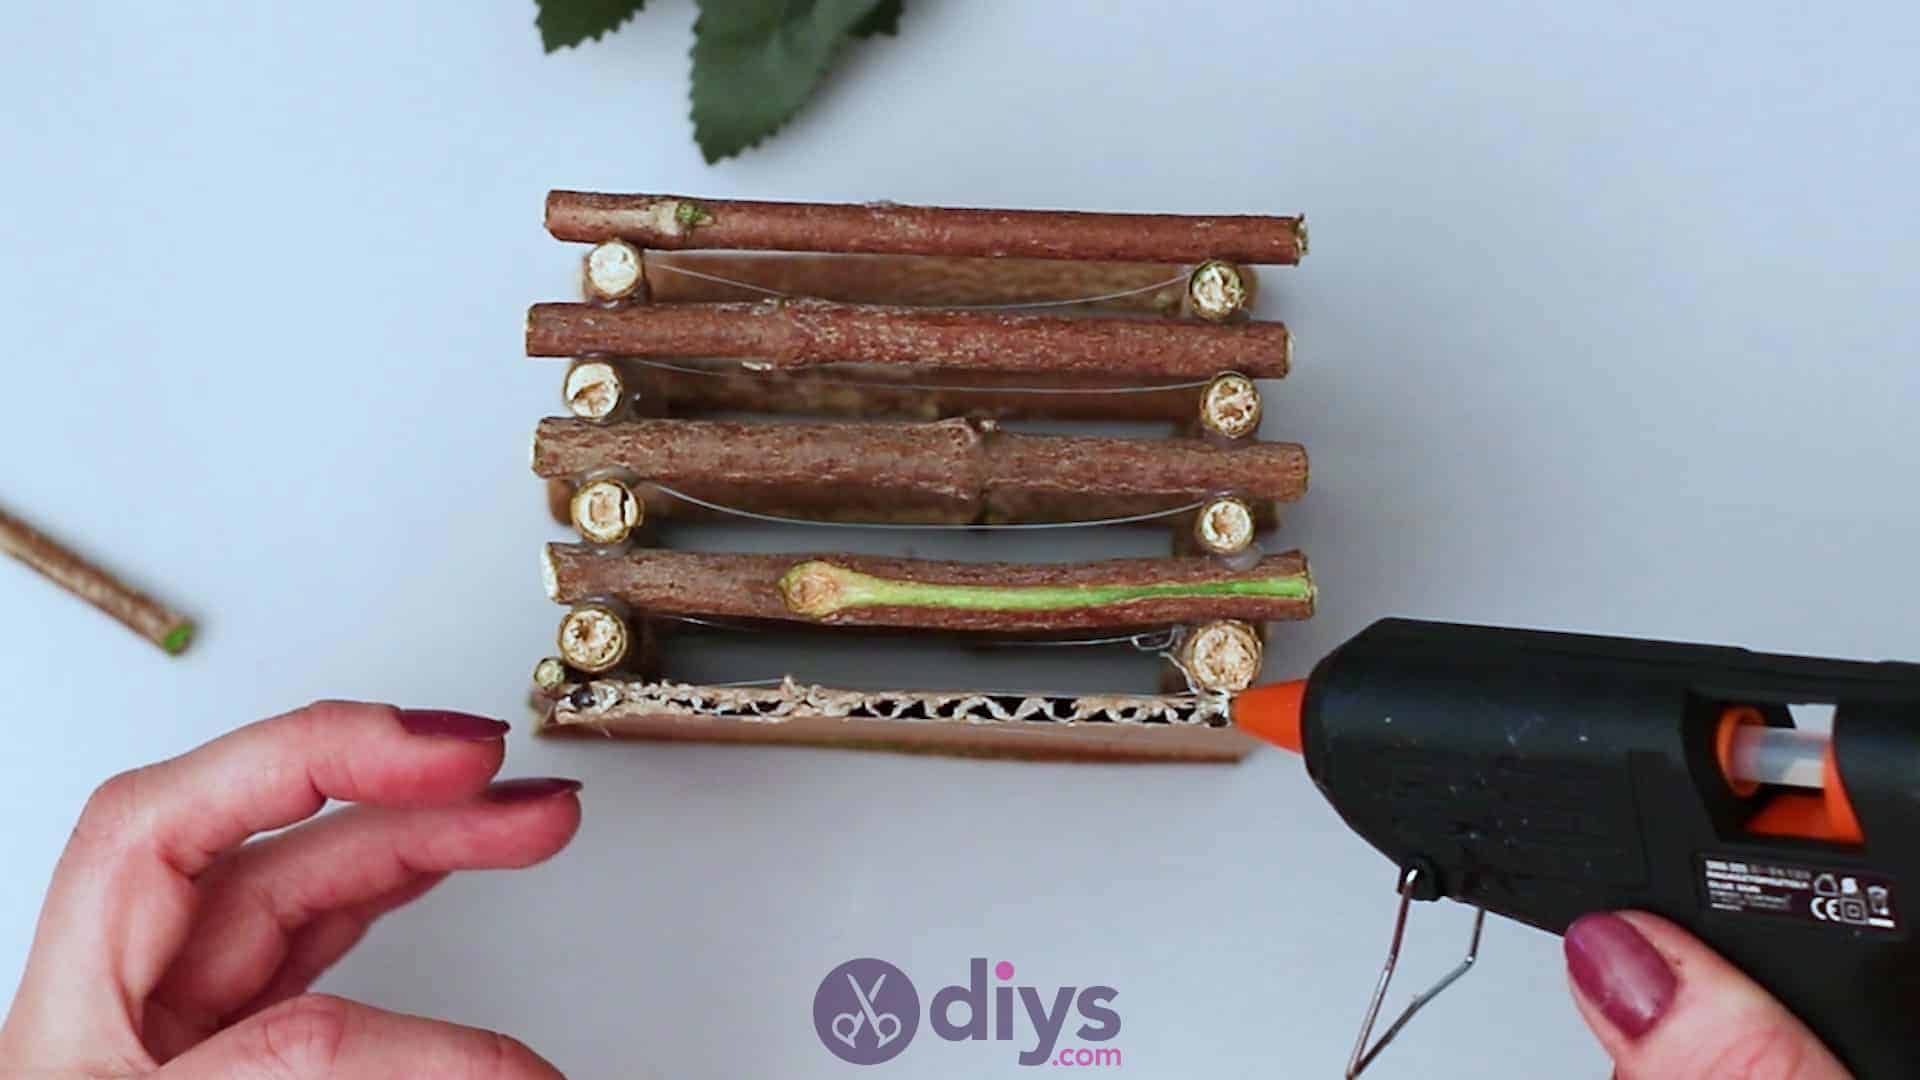
Step 9: Add your handle
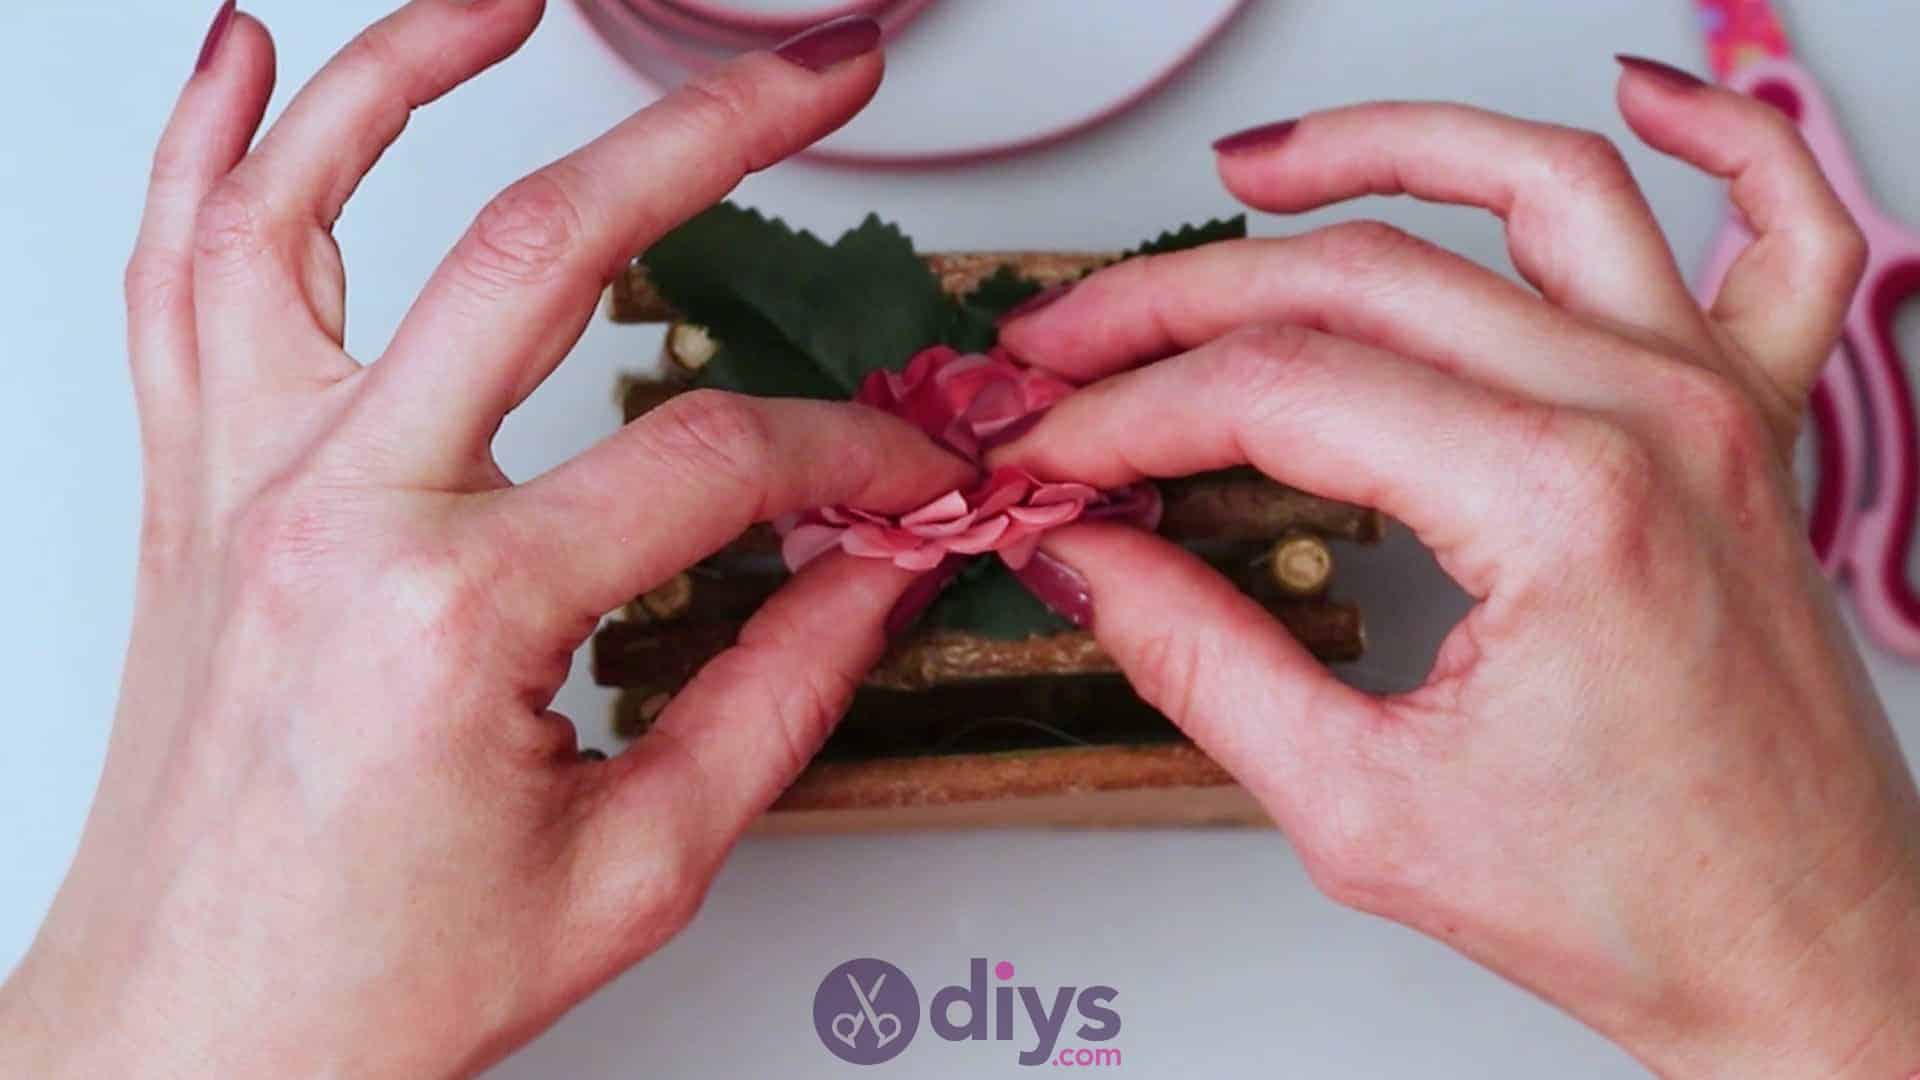
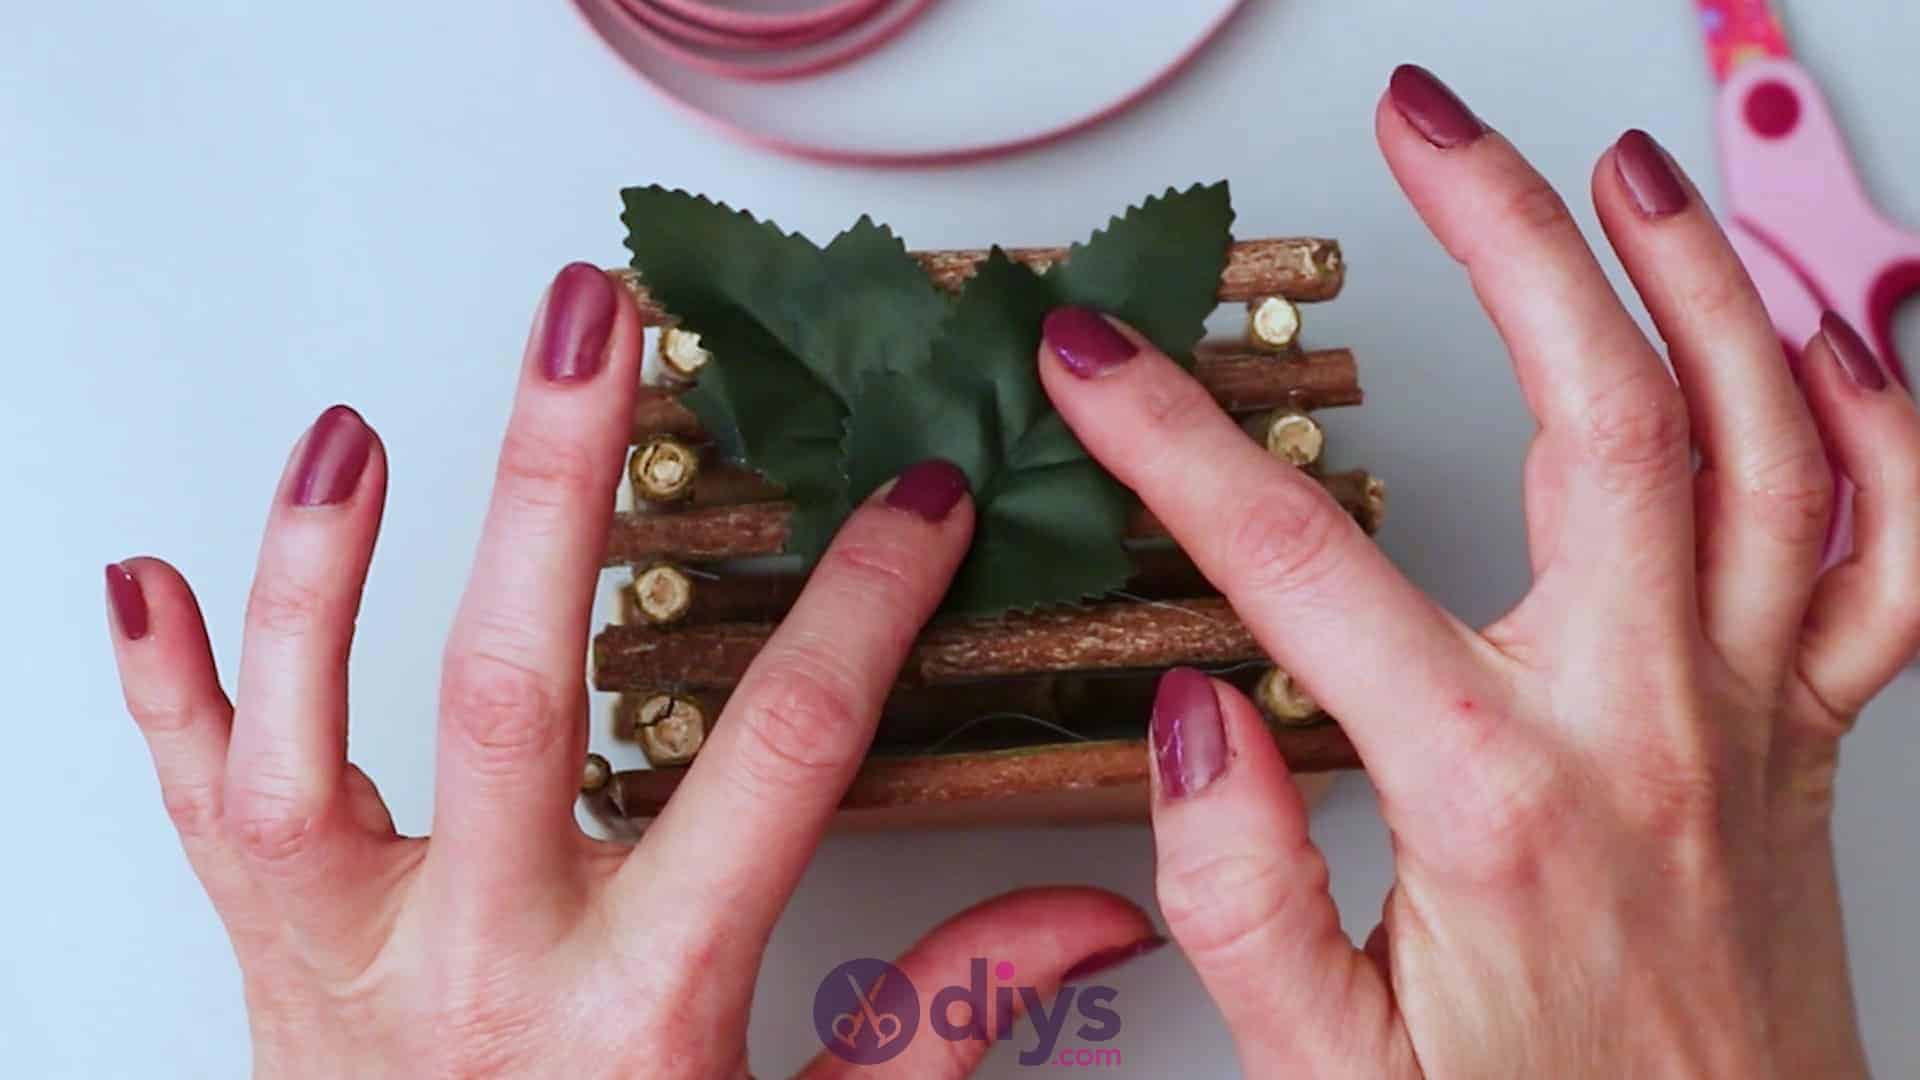
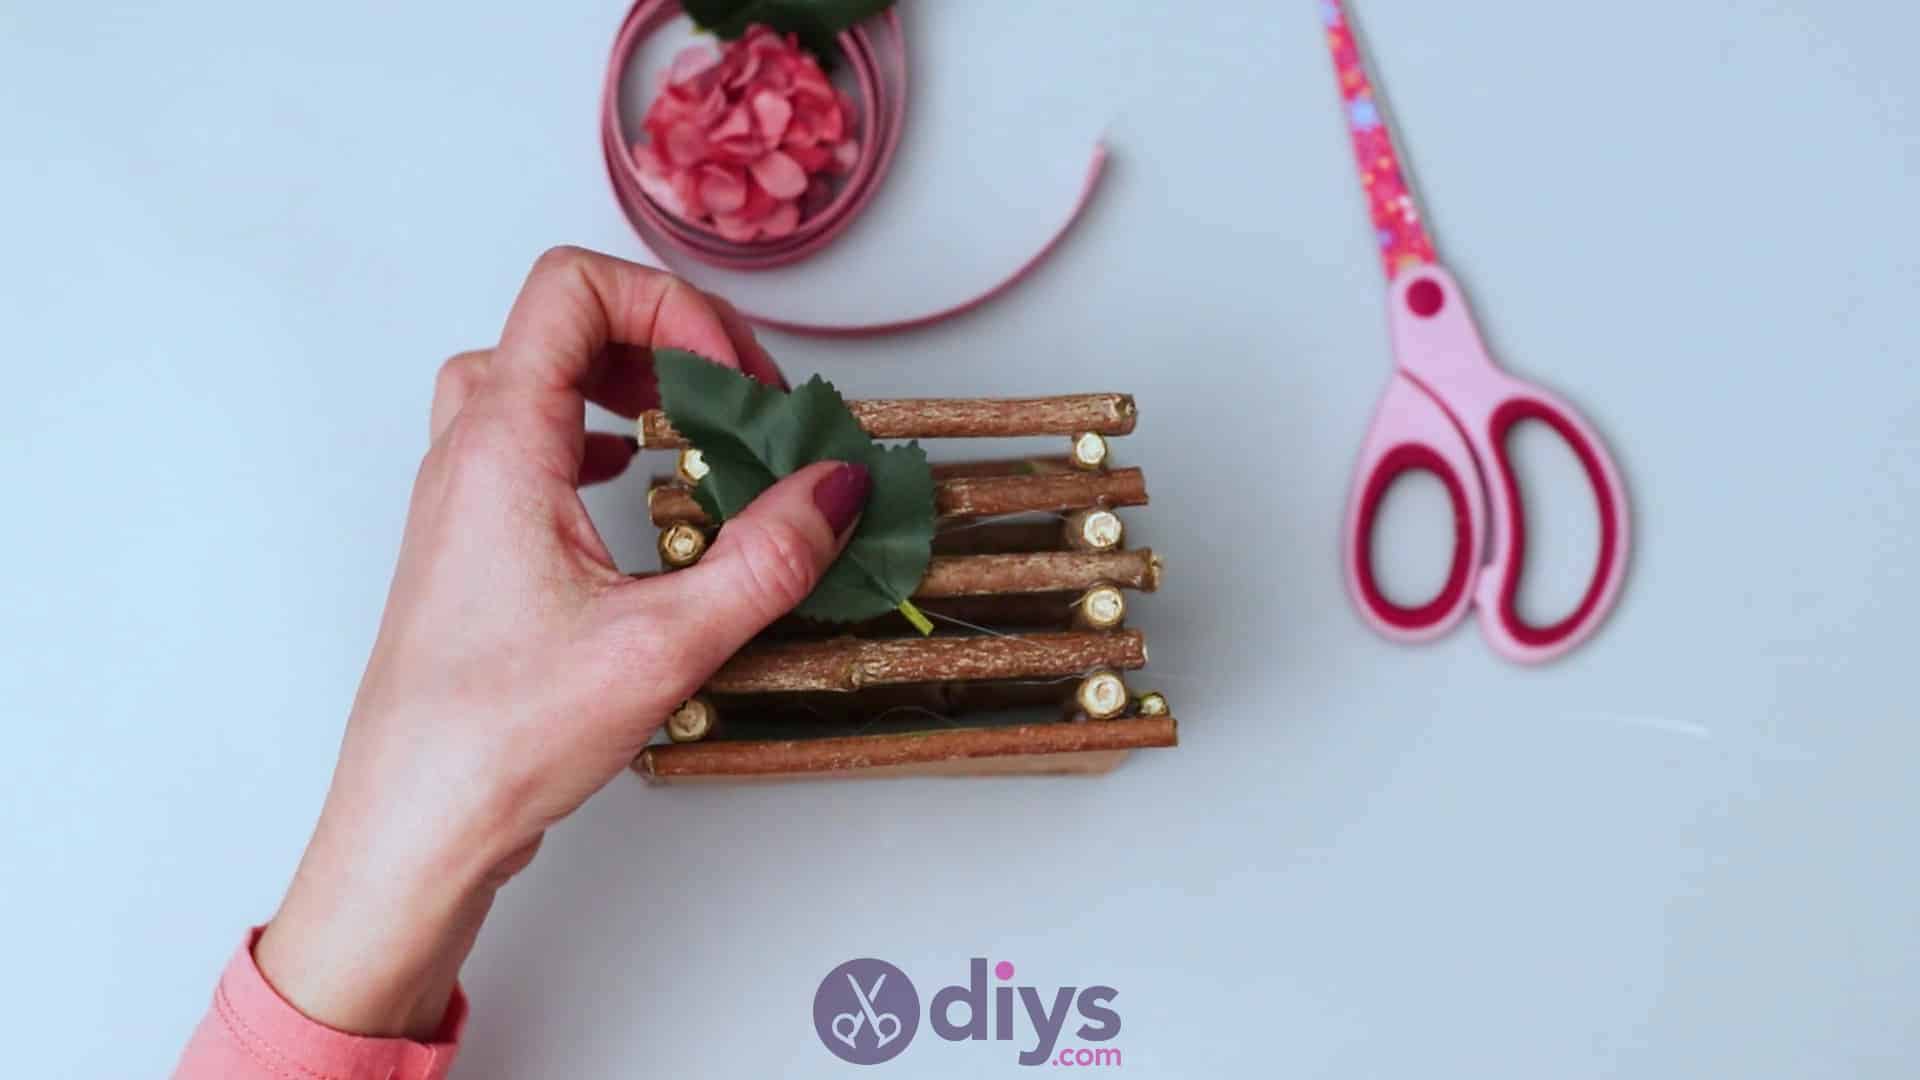
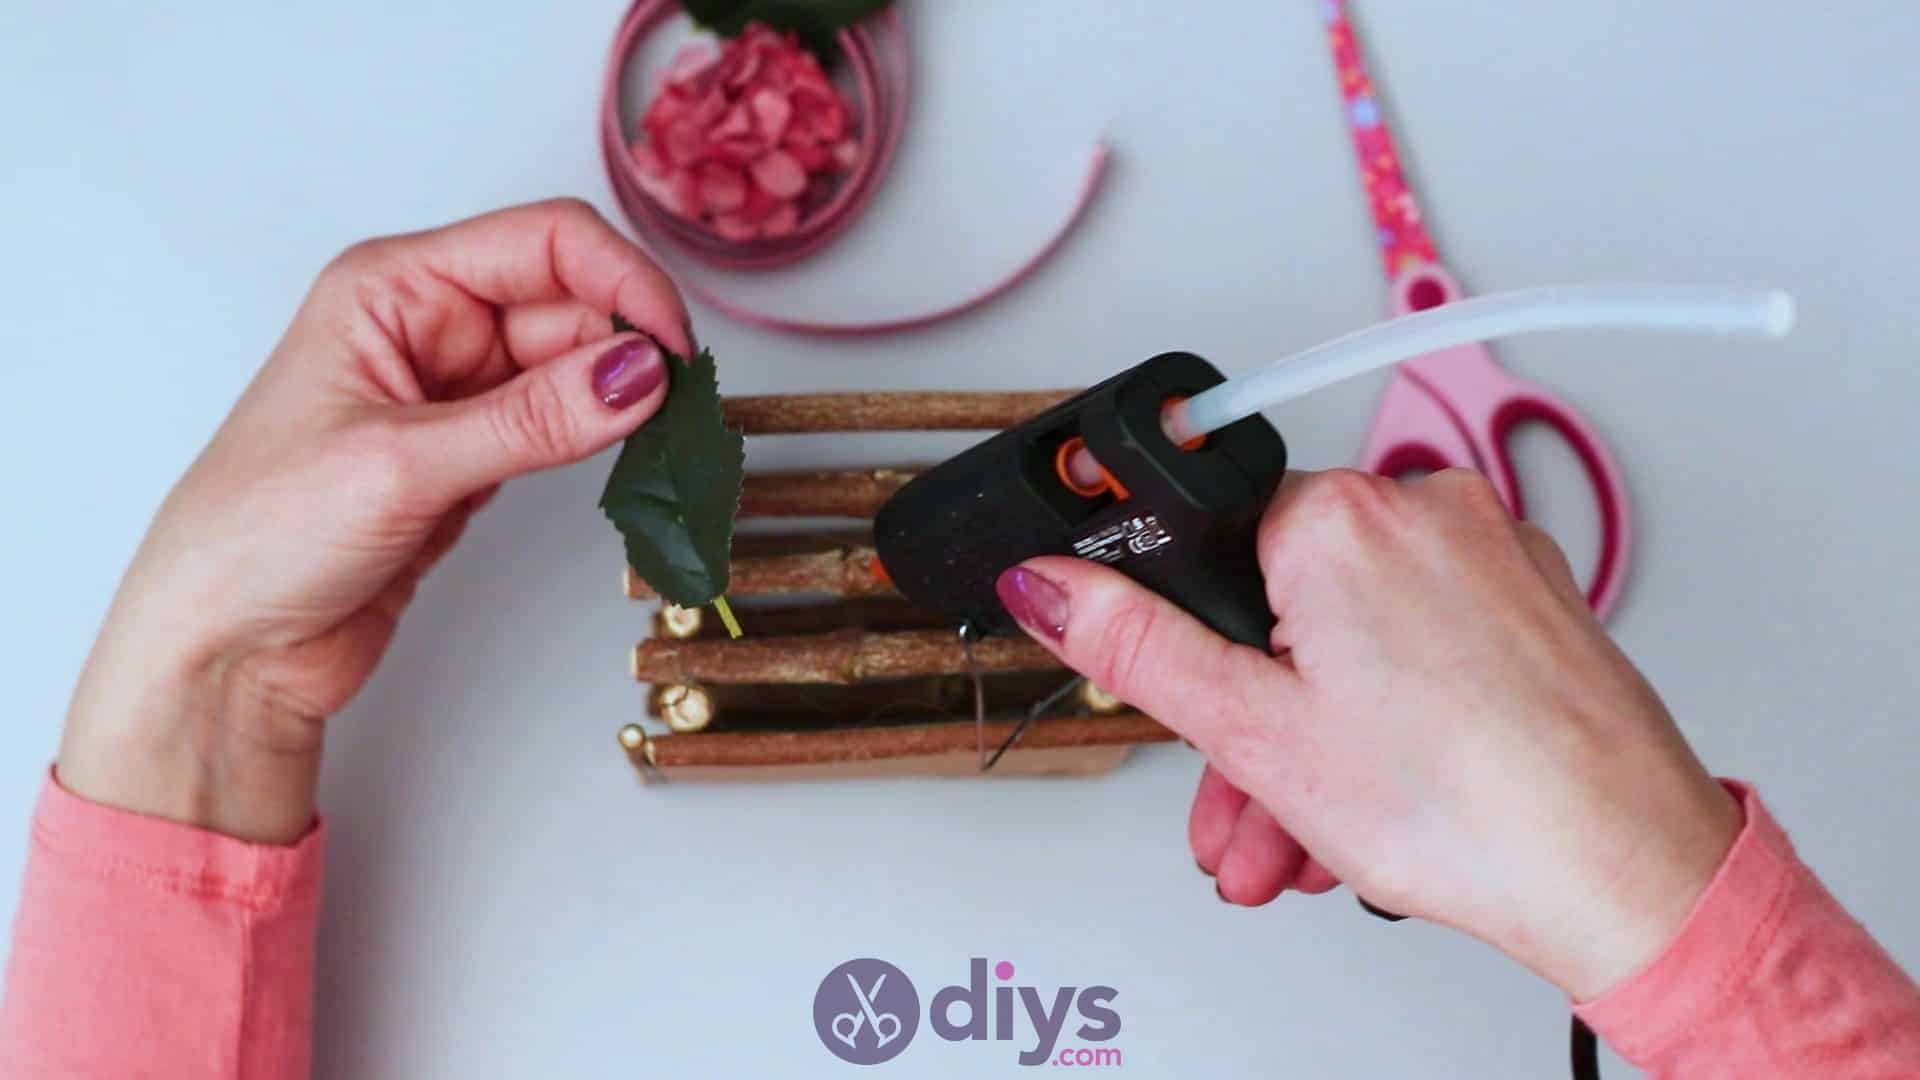
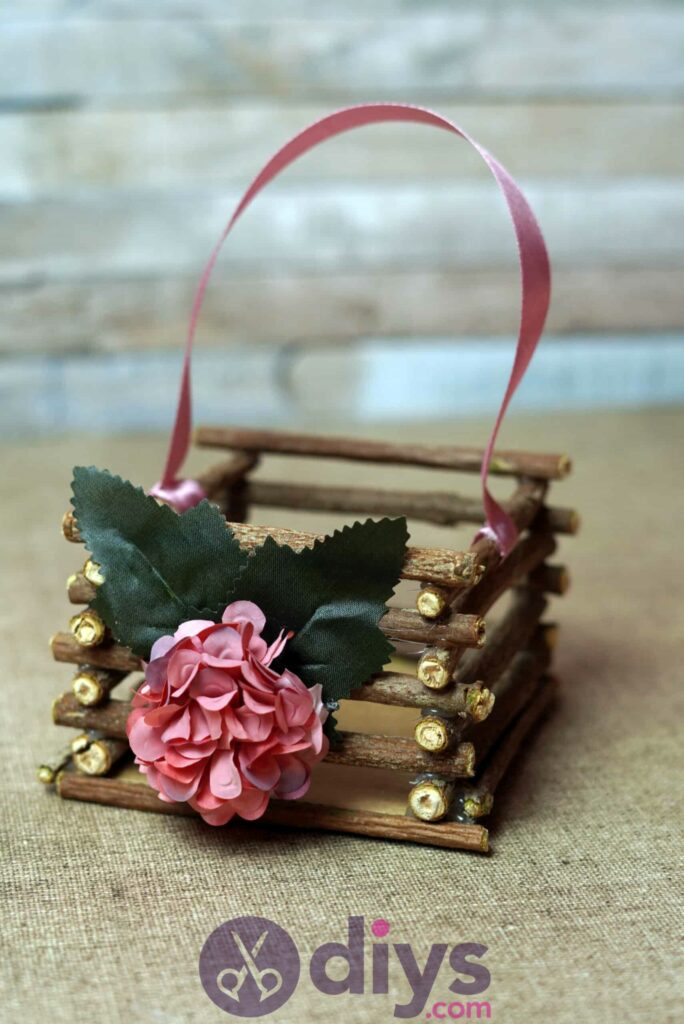
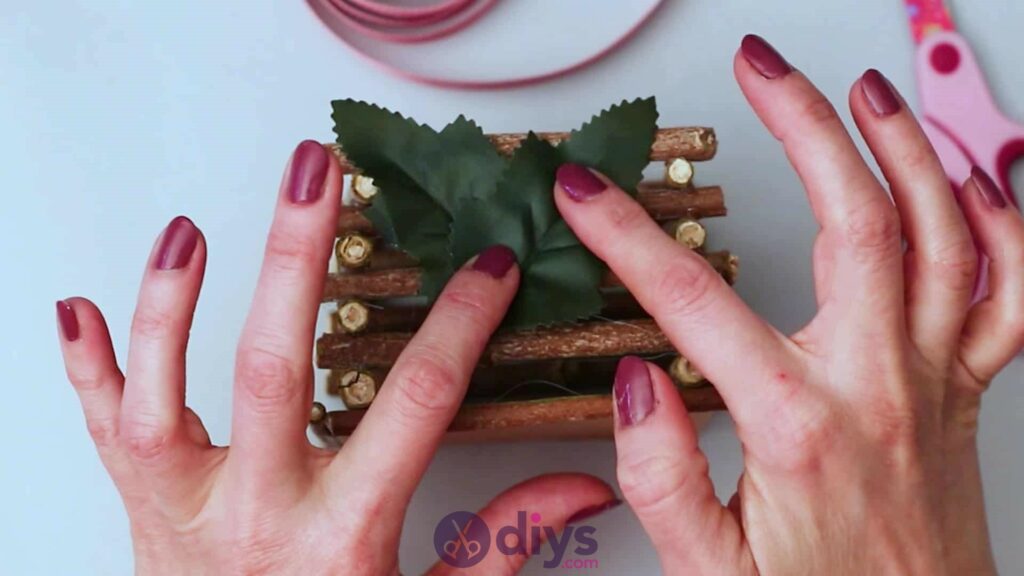
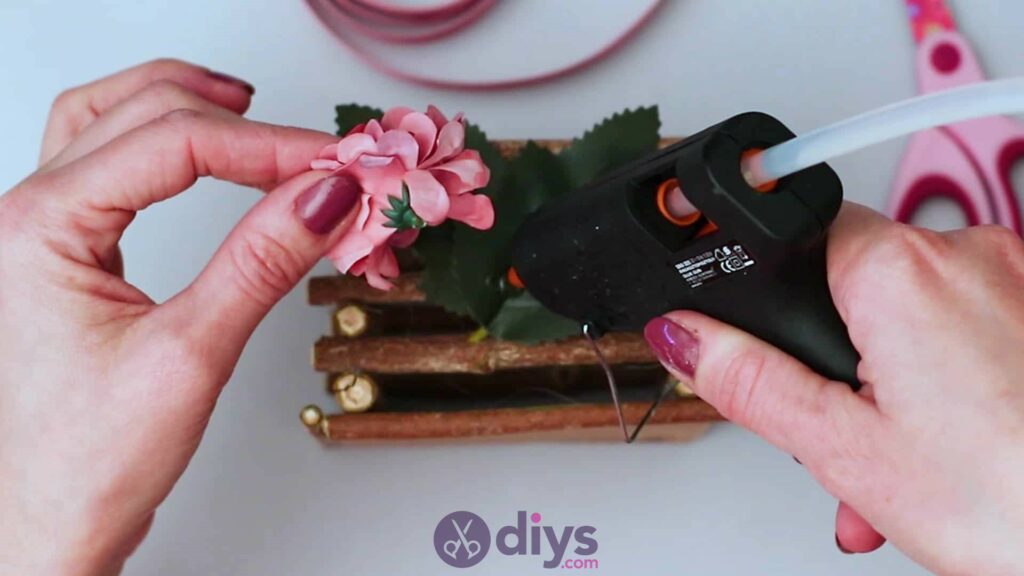
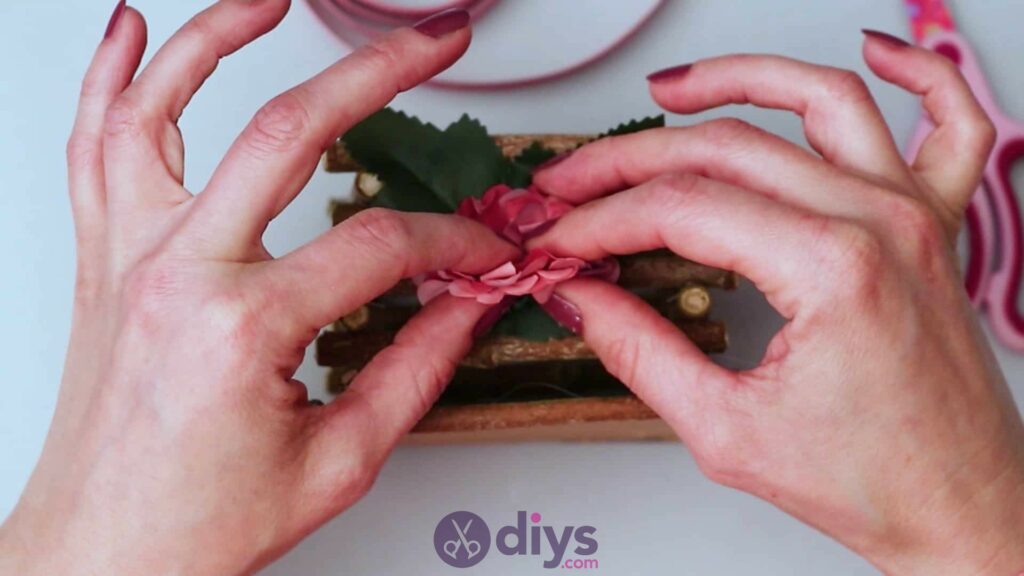
Choose a side to your basket that you like best and want to make the front. On the stick in the middle, right in the centre, apply a dot of hot glue. Stick the base of a faux leaf down here, angled upwards and to the left on a diagonal. Place another dot of glue at the base of that leaf and glue the second leaf there, angling it the other way so it sits diagonally to the left, but with their bottom points overlapped. Next, apply another dot of glue on top of that leaf’s bottom tip, right in the centre of where the two layer. Glue the underside of the flower down there so it sits right between the leaves to make a centrepiece on the front of your basket.
Step 10: Voila!
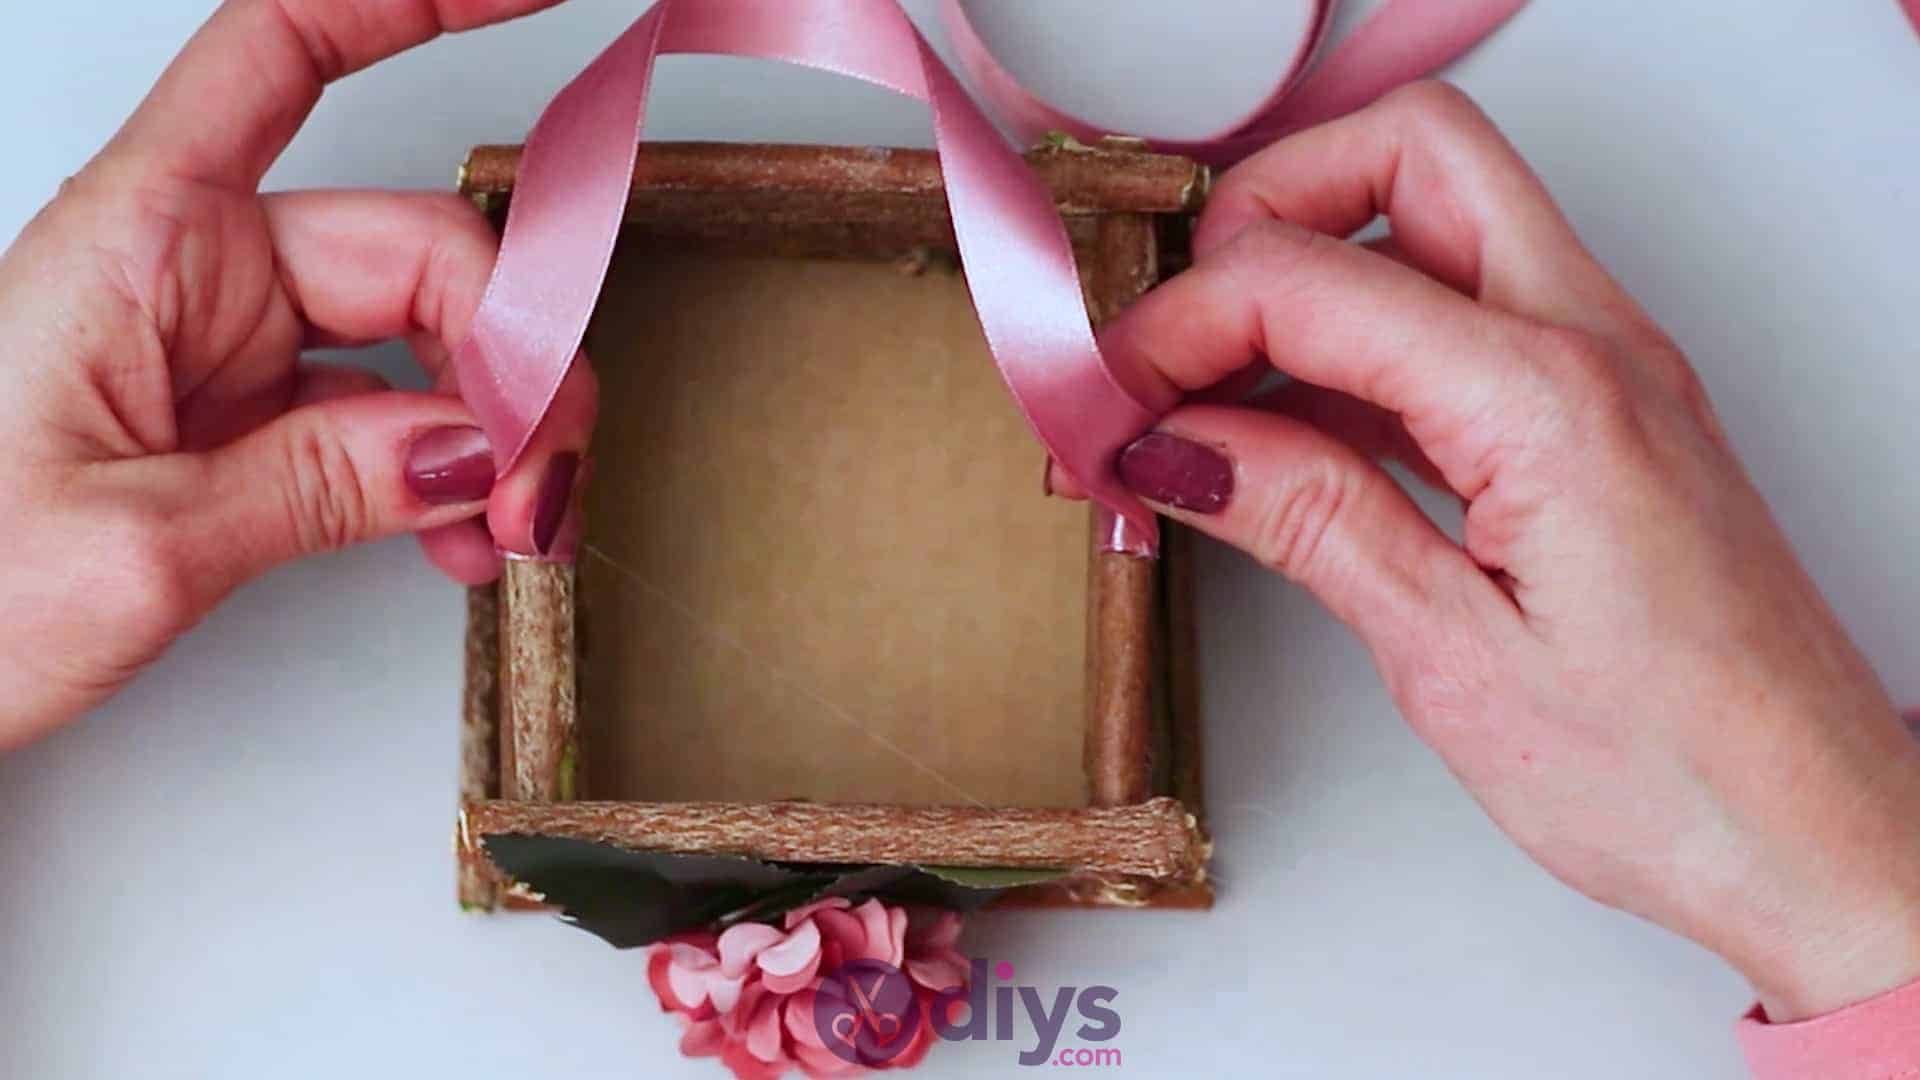
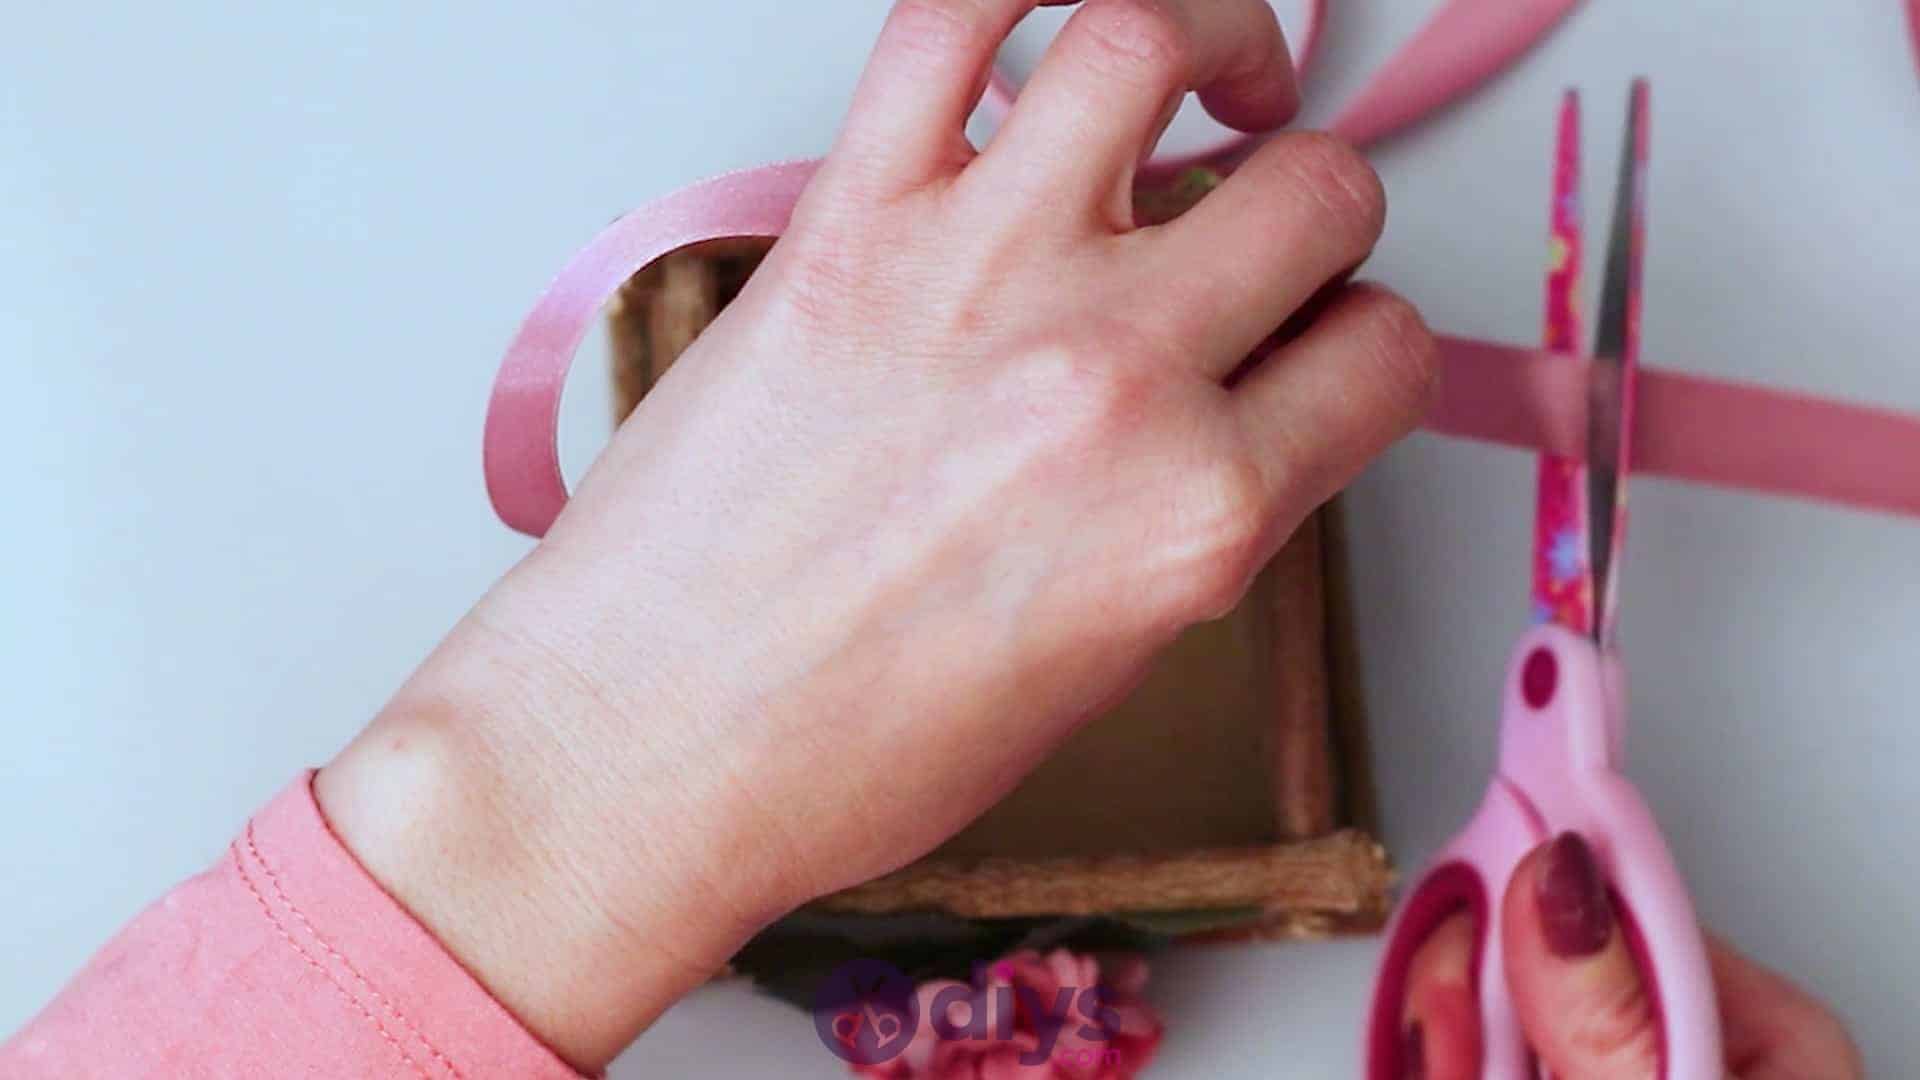
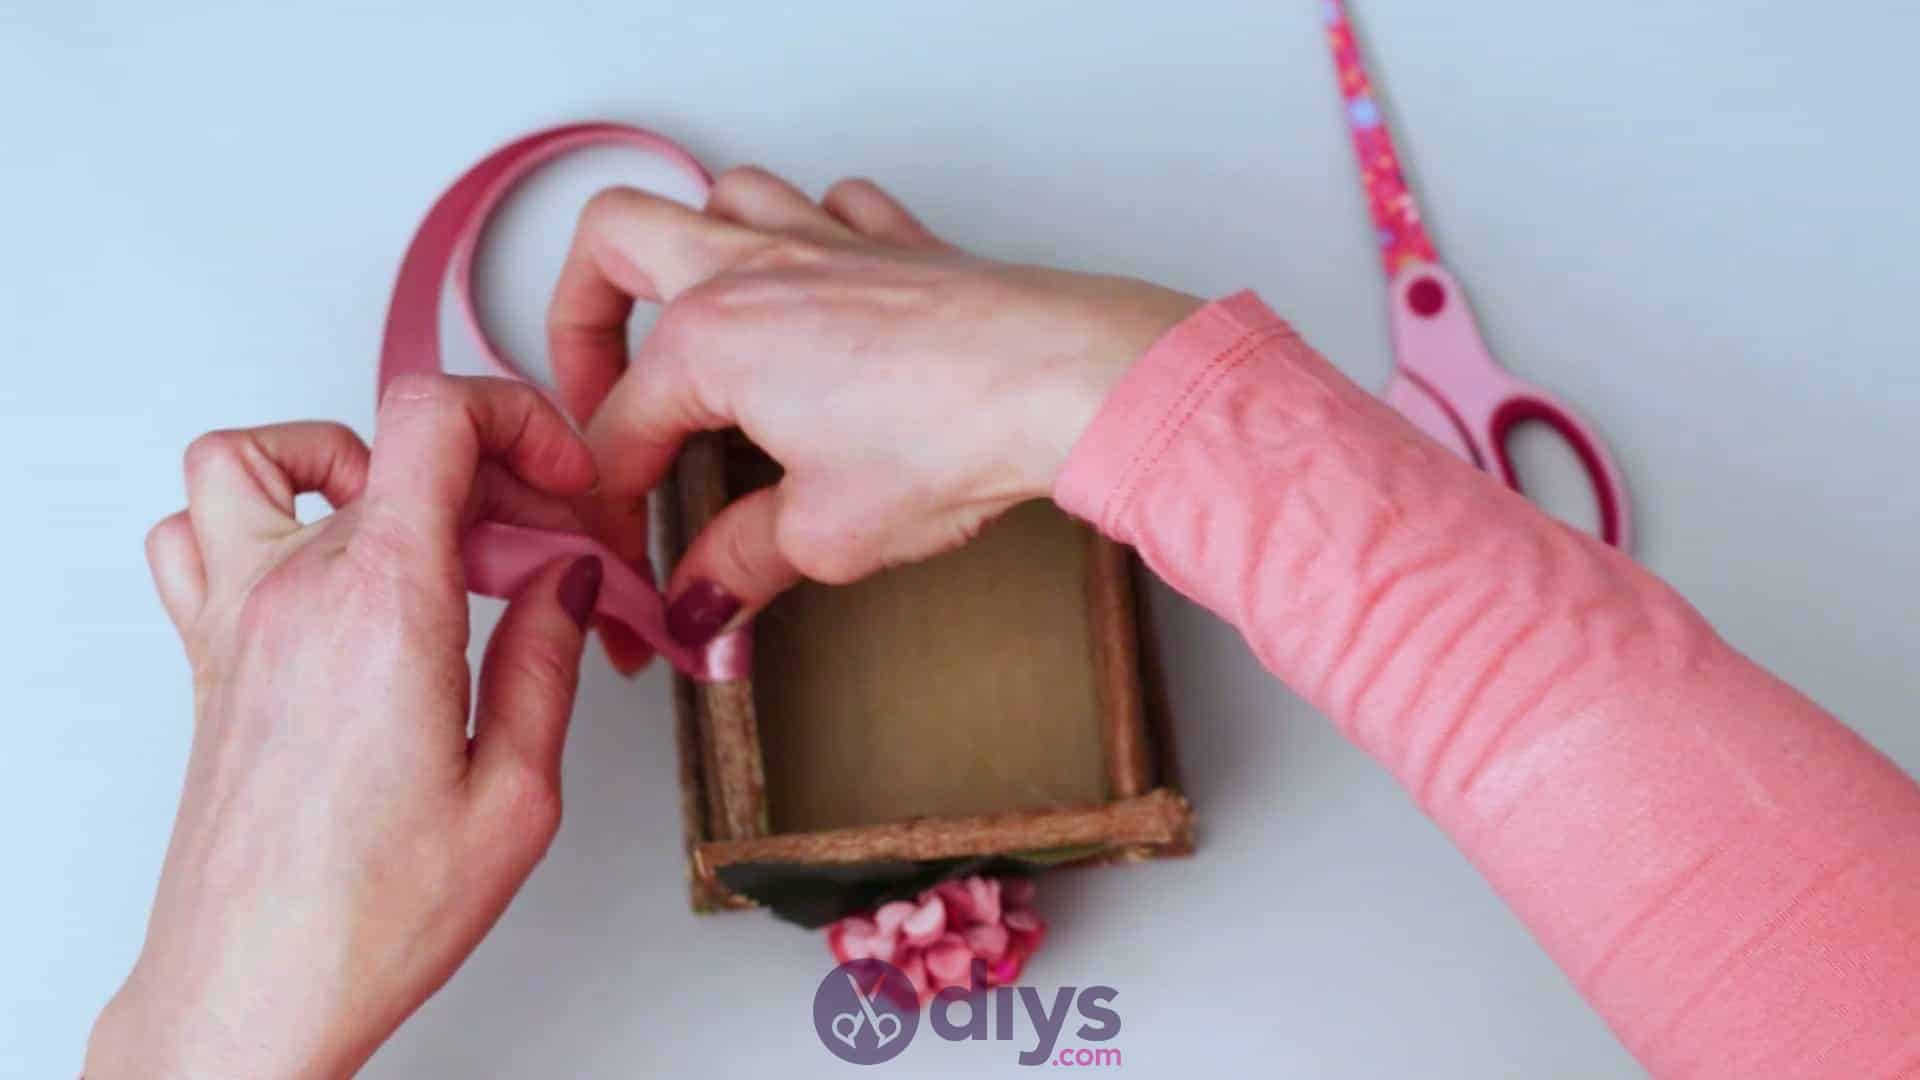
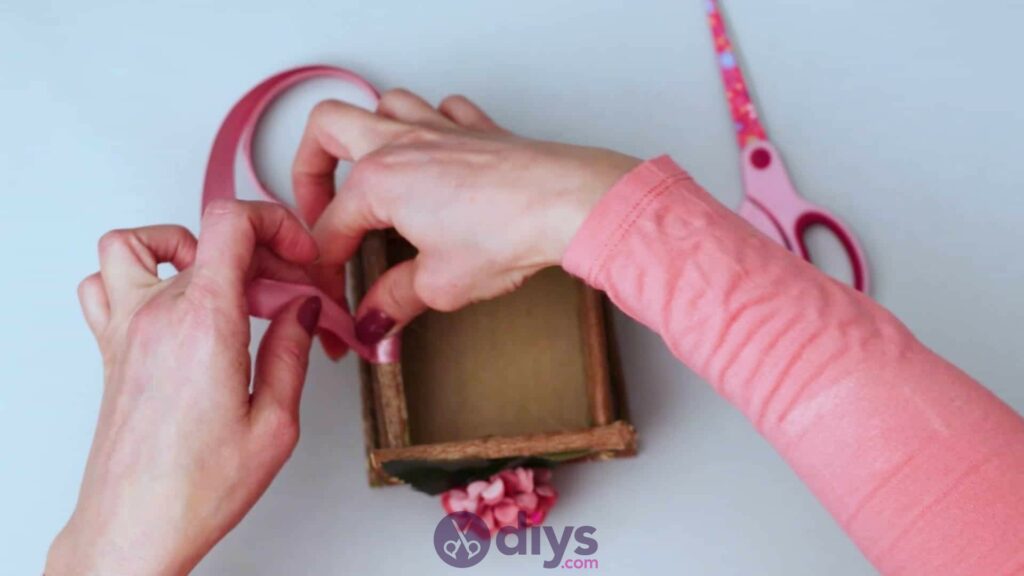
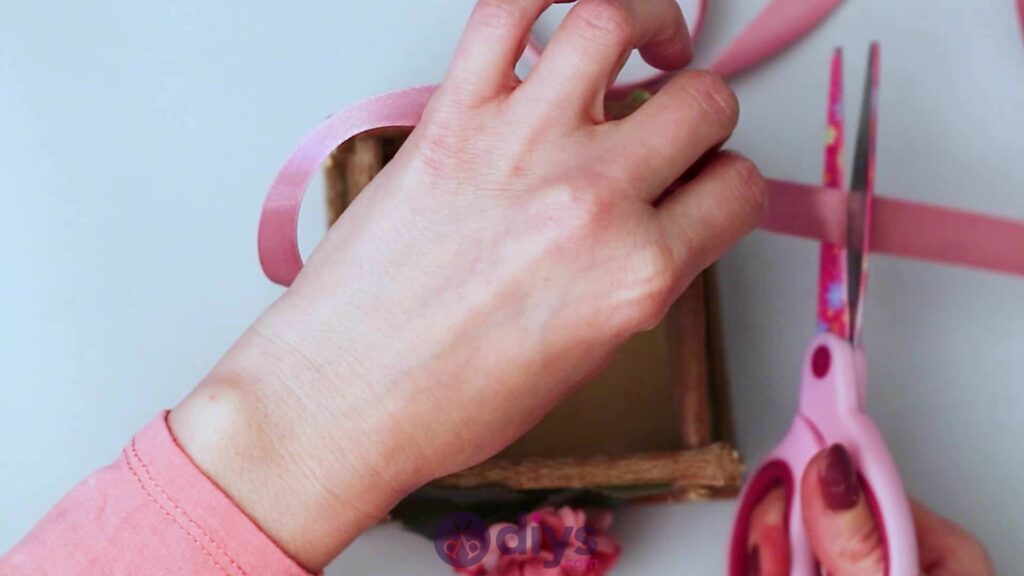
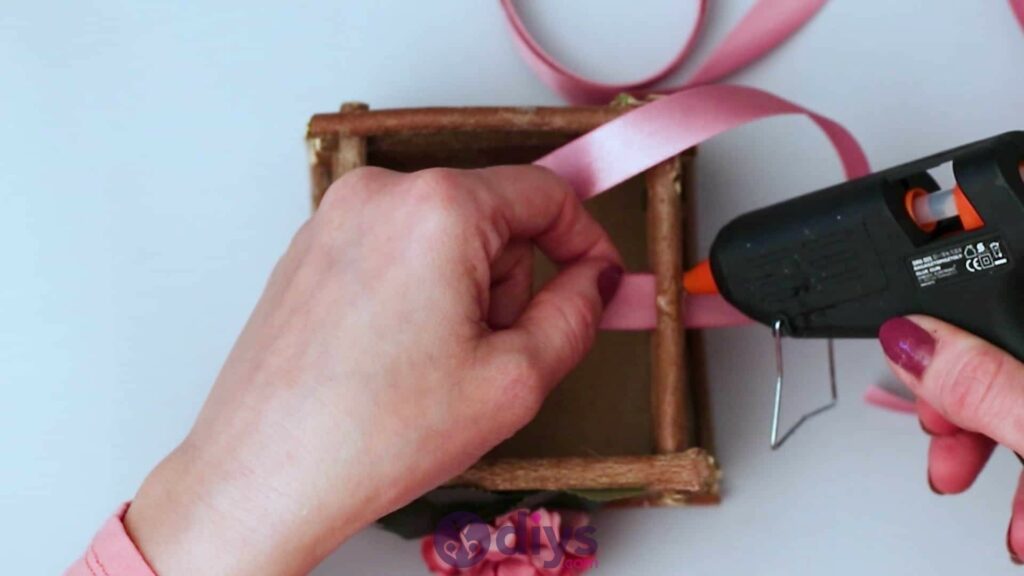
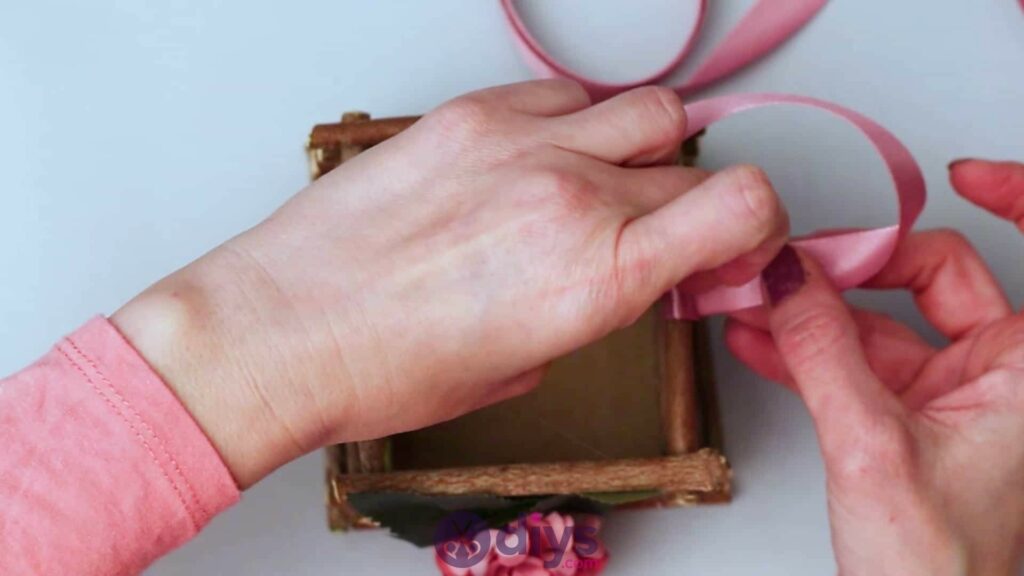
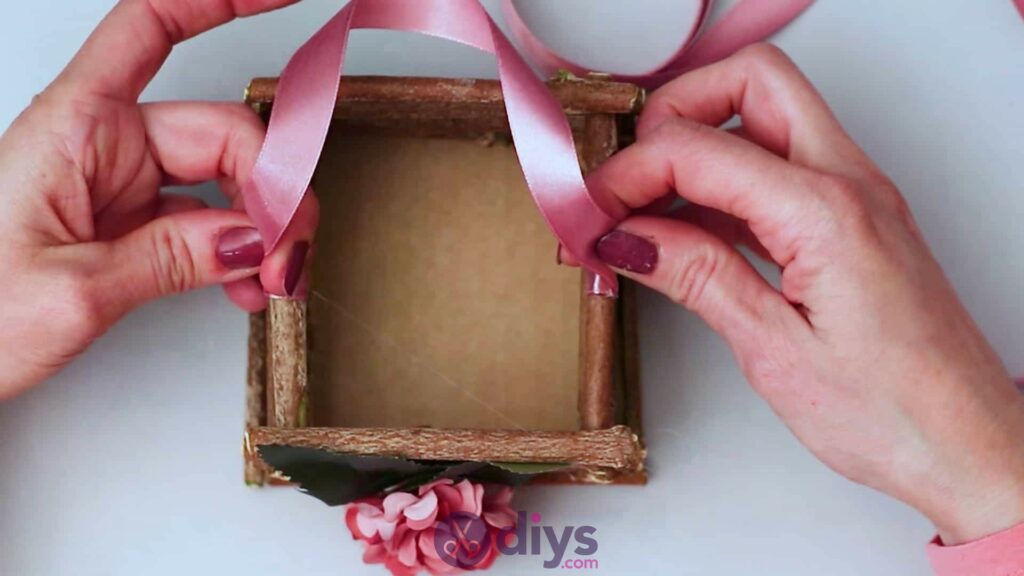
Slide the end of your ribbon underneath the top stick on the left side of your basket so the ribbon sits perpendicularly to the branch, letting about half an inch of ribbon stick out the other side, towards the inside. Apply hot glue to the top of the branch and curve the end up and around the branch, gluing it into place so it wraps around the branch. Make sure to tuck it a little behind the rest of the ribbon so it looks neatly finished and stays down better. Now bring the long side up and around but loosely to make a handle. Leave some excess to curve under like you did on the first side and trim the excess ribbon. Slide the end of the ribbon under the top branch on the other side like before, apply glue, and wrap the end up and around to finish the handle, keeping the ribbon nice and flat all the way across. Make sure that you keep the positioning of your ends on either side even in where they sit across from each other, both in the centre of their respective branches.
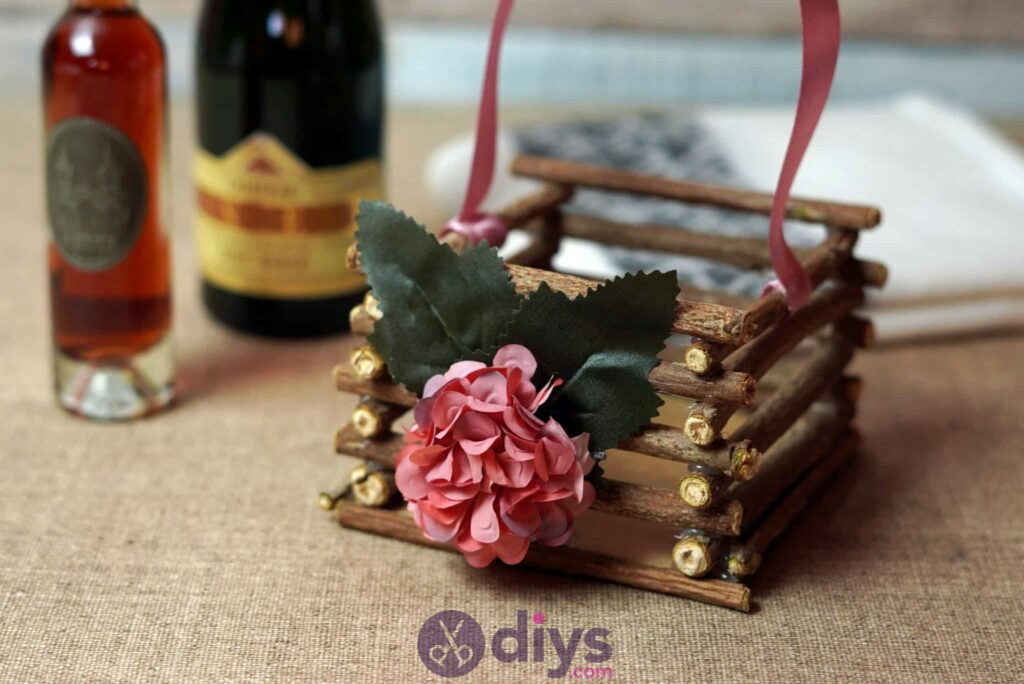
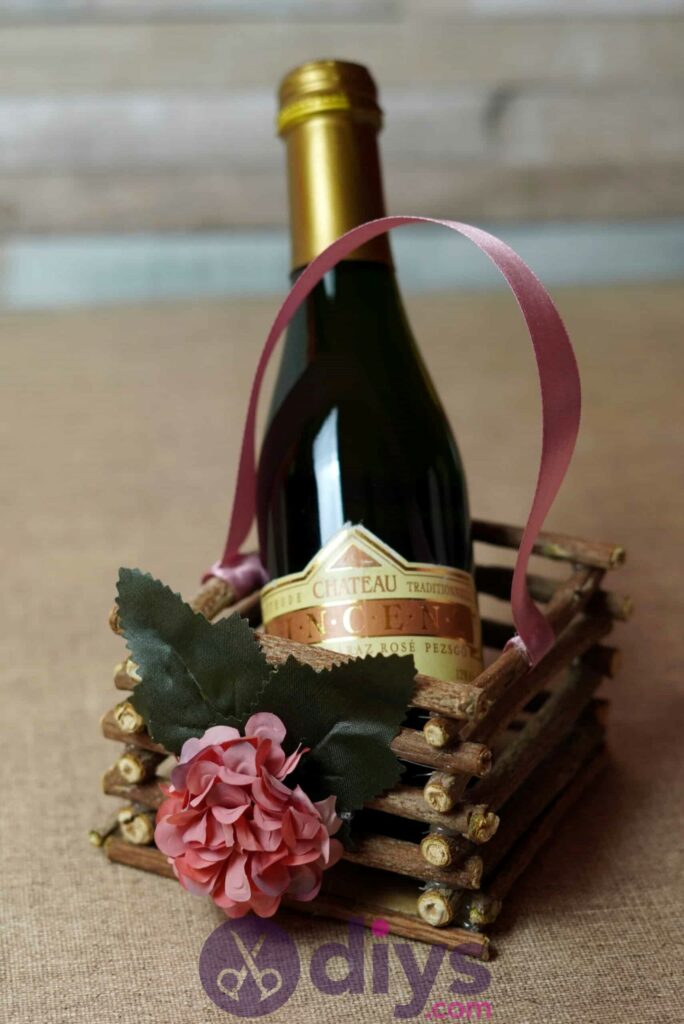
You’re officially all finished your wooden box! Fill it with whatever you please and feel free to play with how you embellish; you don’t have to use a flower! Just in case you’d like to try this project out for yourself, here’s a fantastic tutorial video to help you!