DIY Toilet Paper Roll Bracelet
Updated on November 19, 2025


One of my very favourite things about crafting hasalways been upcycling. It allows me to make cool things like this DIY toilet paper roll bracelet! Check out just how I put it together right here.
As I usually do, I decided to map out the steps I took for making this project, just in case other DIY enthusiasts wanted to see how they were made and try their hand at the project as well. Check out these step by step instructions complete with photos! If you’d rather follow along with a video tutorial instead of written words, scroll to the bottom of this post to find just what you’re looking for.
For this project, you’ll need:
- A toilet paper roll
- Scissors
- A glue stick
- Paper (multi-coloured)
- A hole punch
- White satin macrame cord
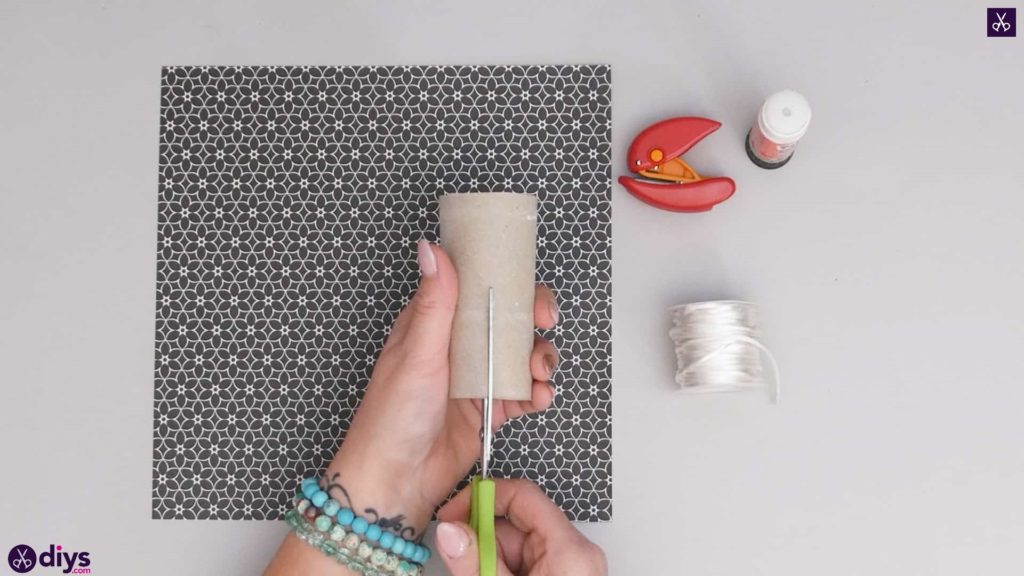
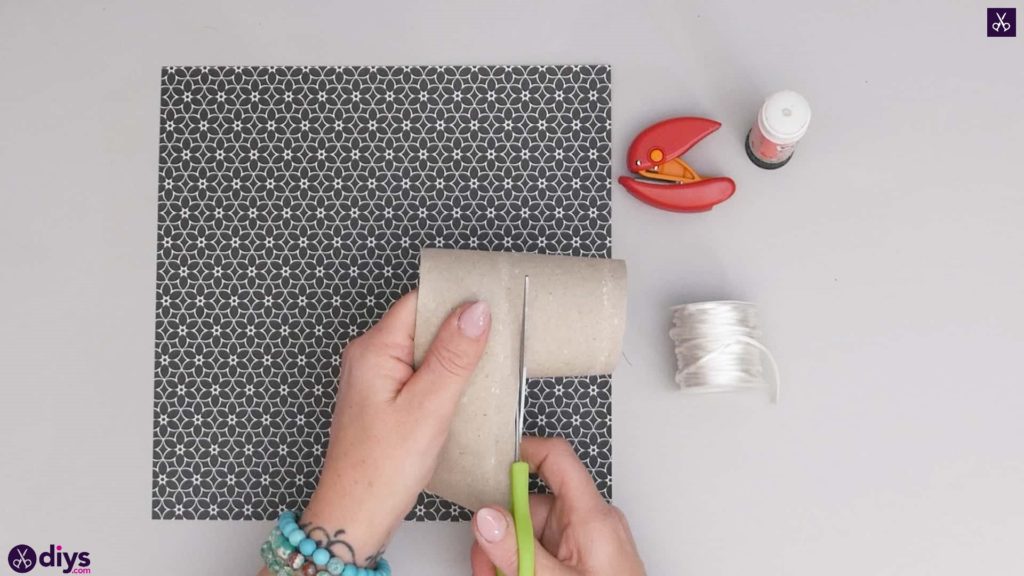
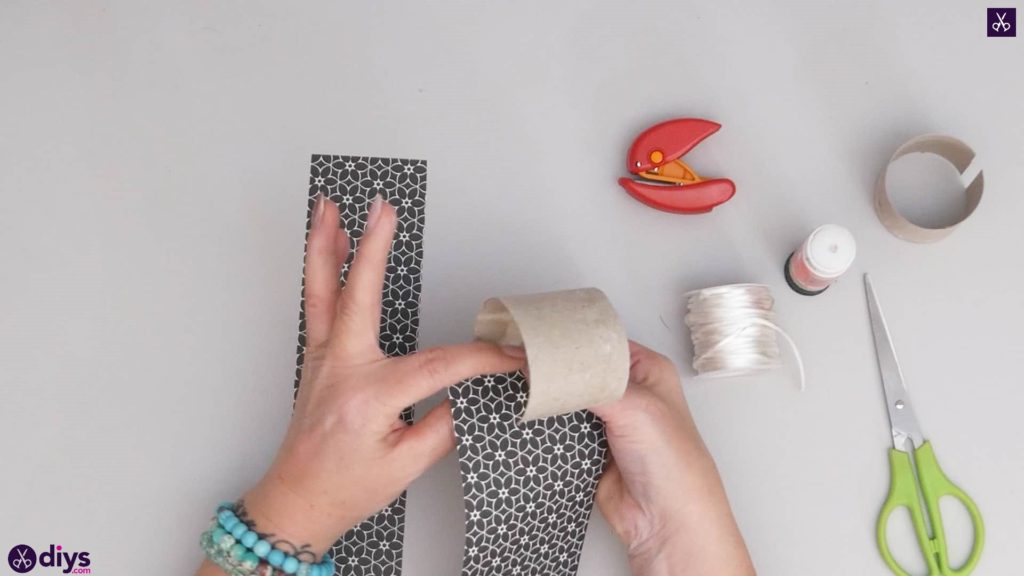
Step 1: cut the roll
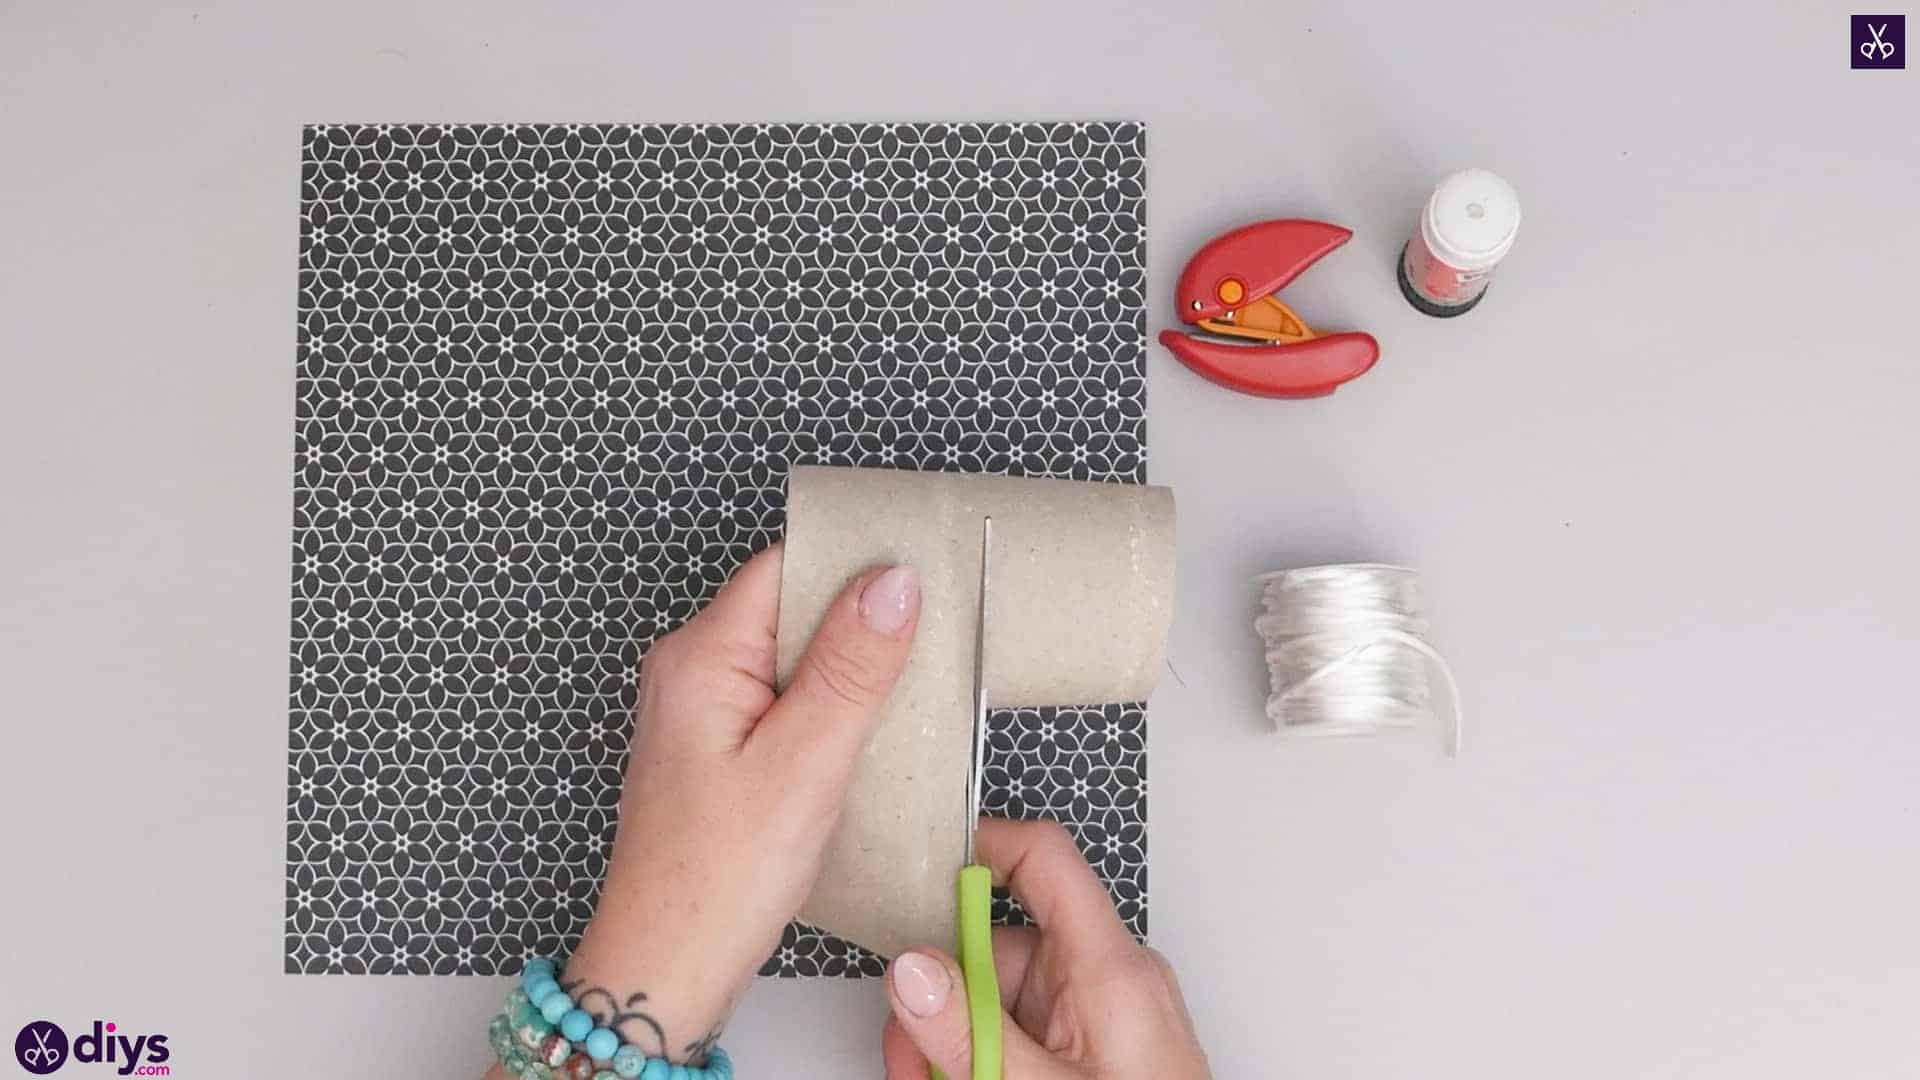
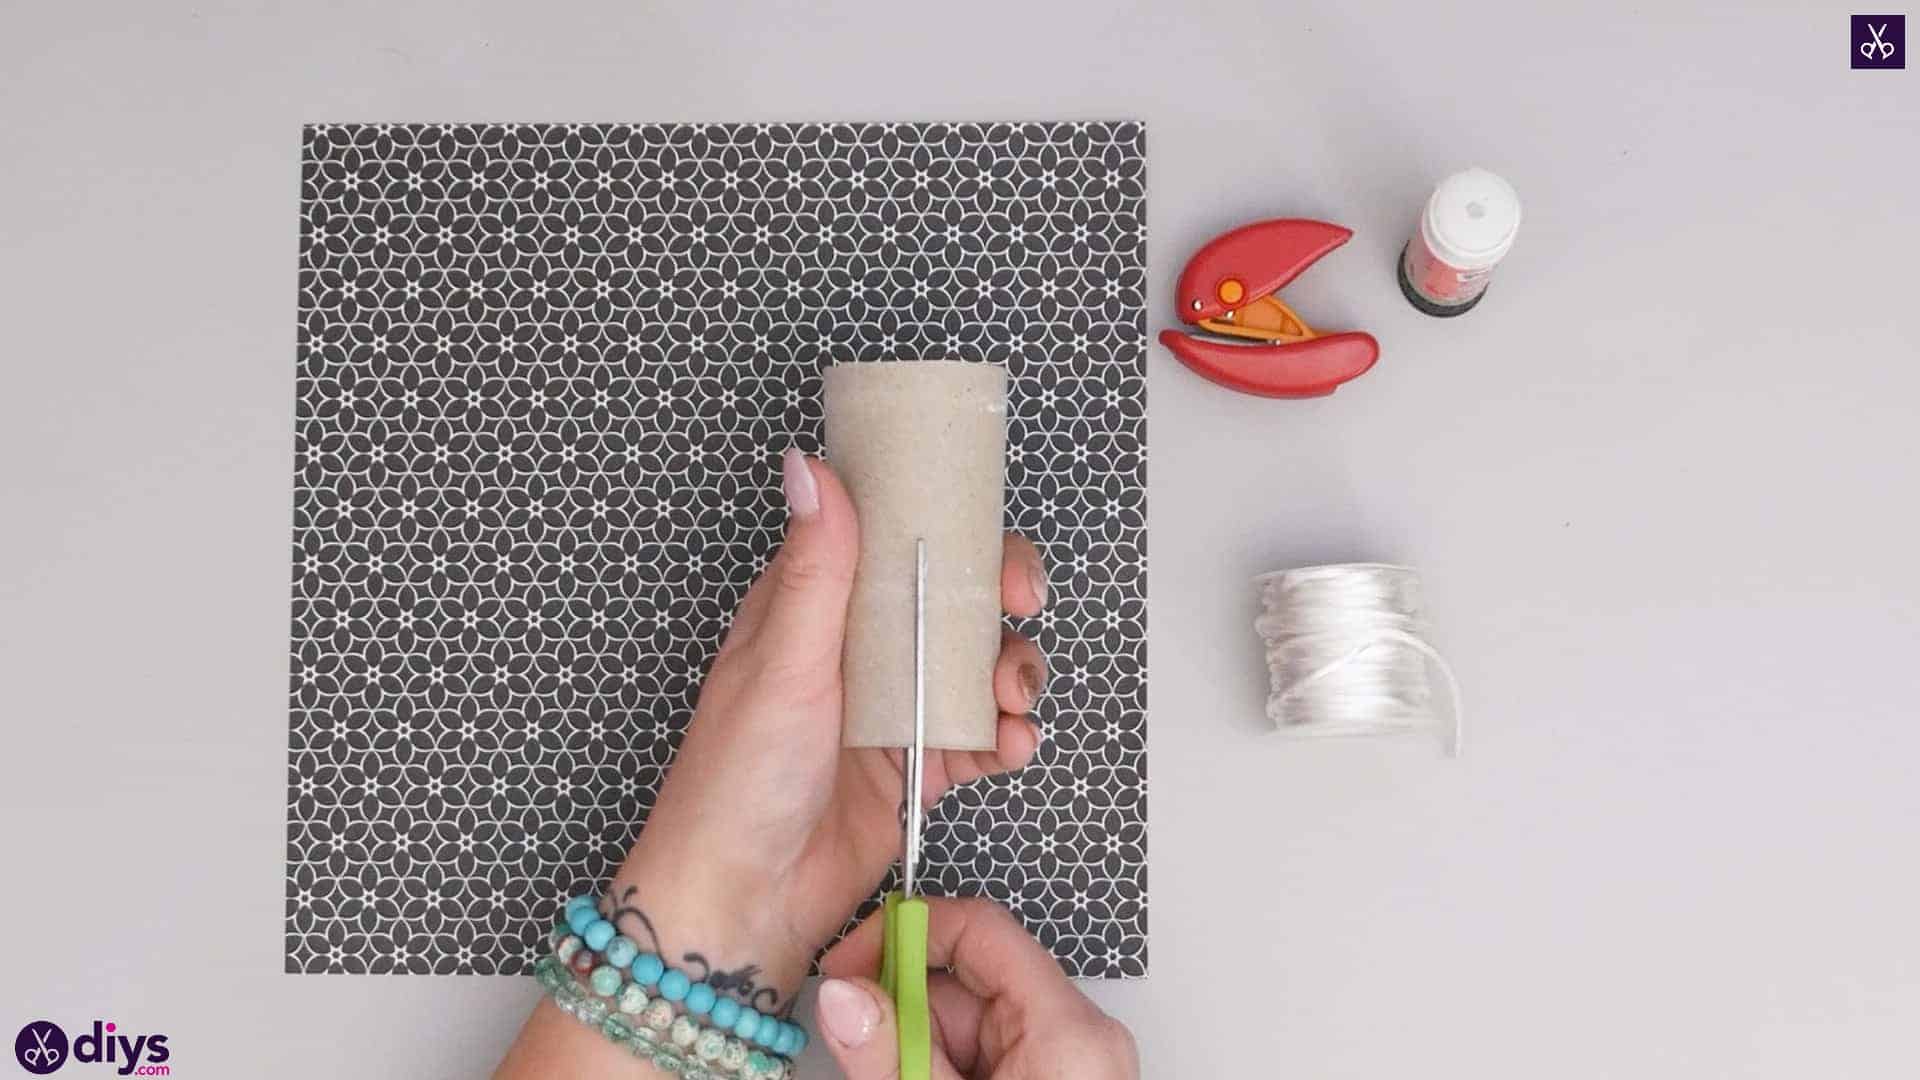
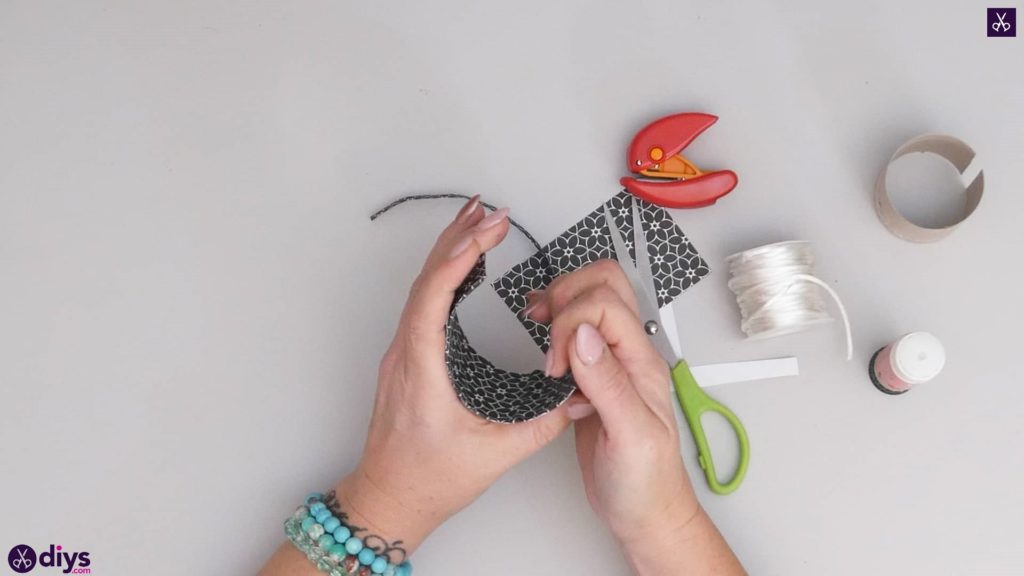
Use your scissors to cut a straight line down the side of the toilet paper roll from top to bottom. Open it out and flatten it gently but as well as you can against the tabletop, turning it 90 degrees so the cut you made now makes up the bottom and top edges of the cardboard shape. Find the middle of its width and use your scissors to cut it in half from bottom to top as well. You’ll use one of these halves to make your bangle.
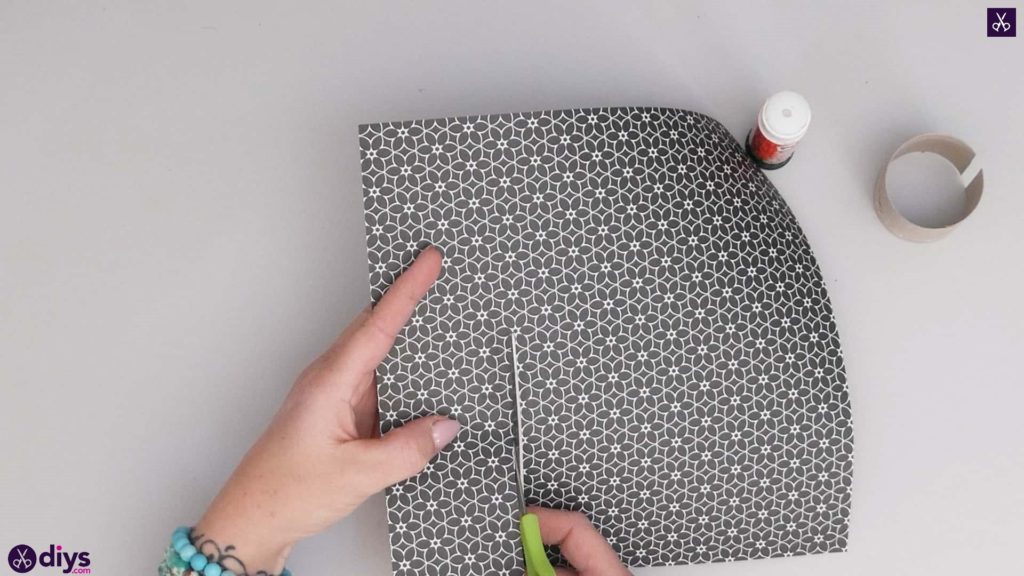
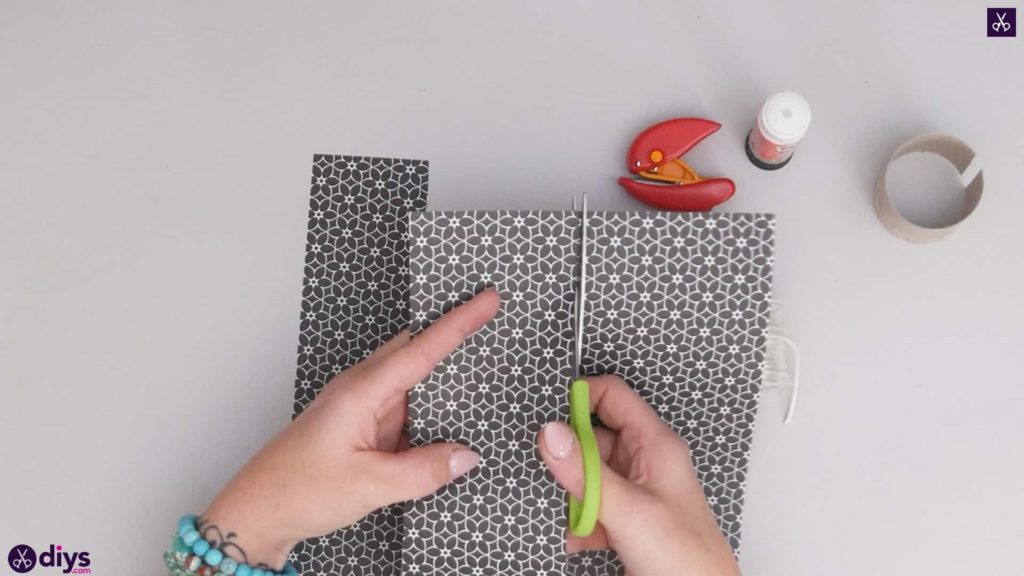
Step 2: cut your paper
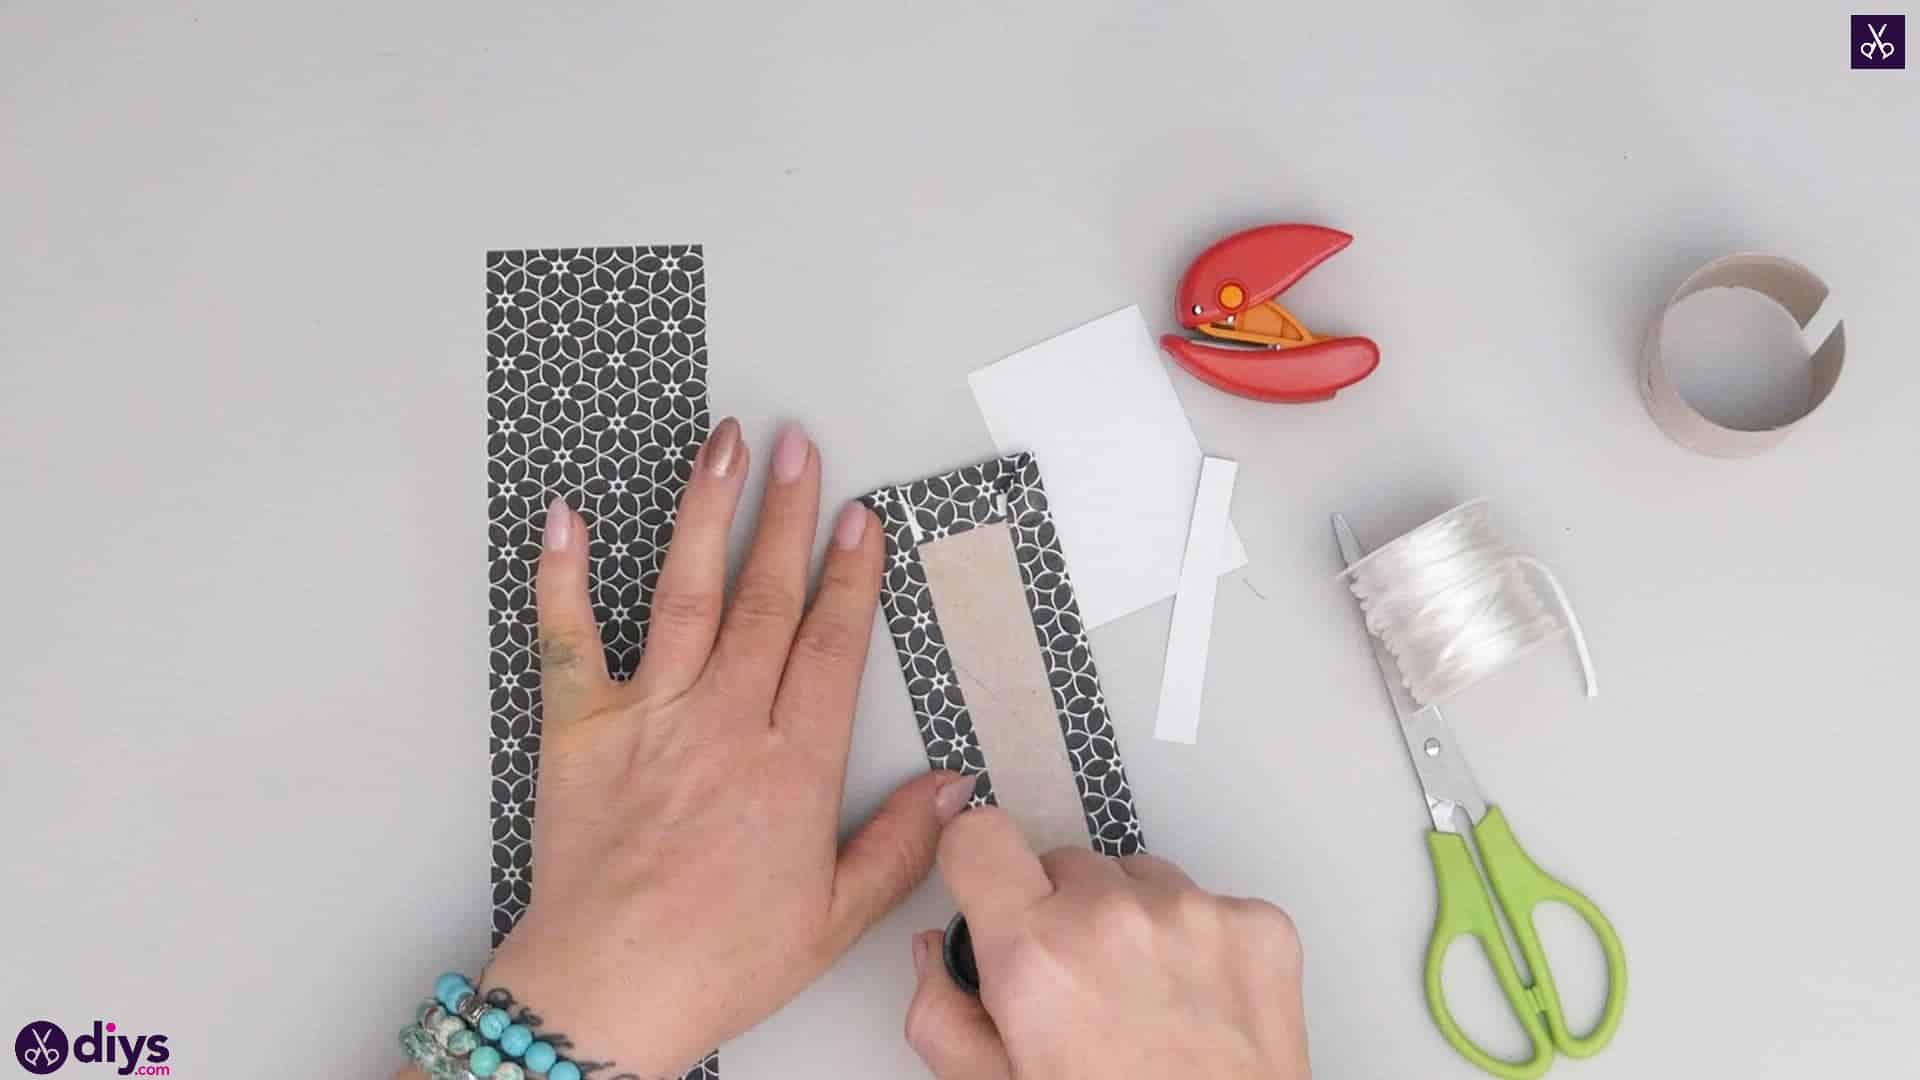
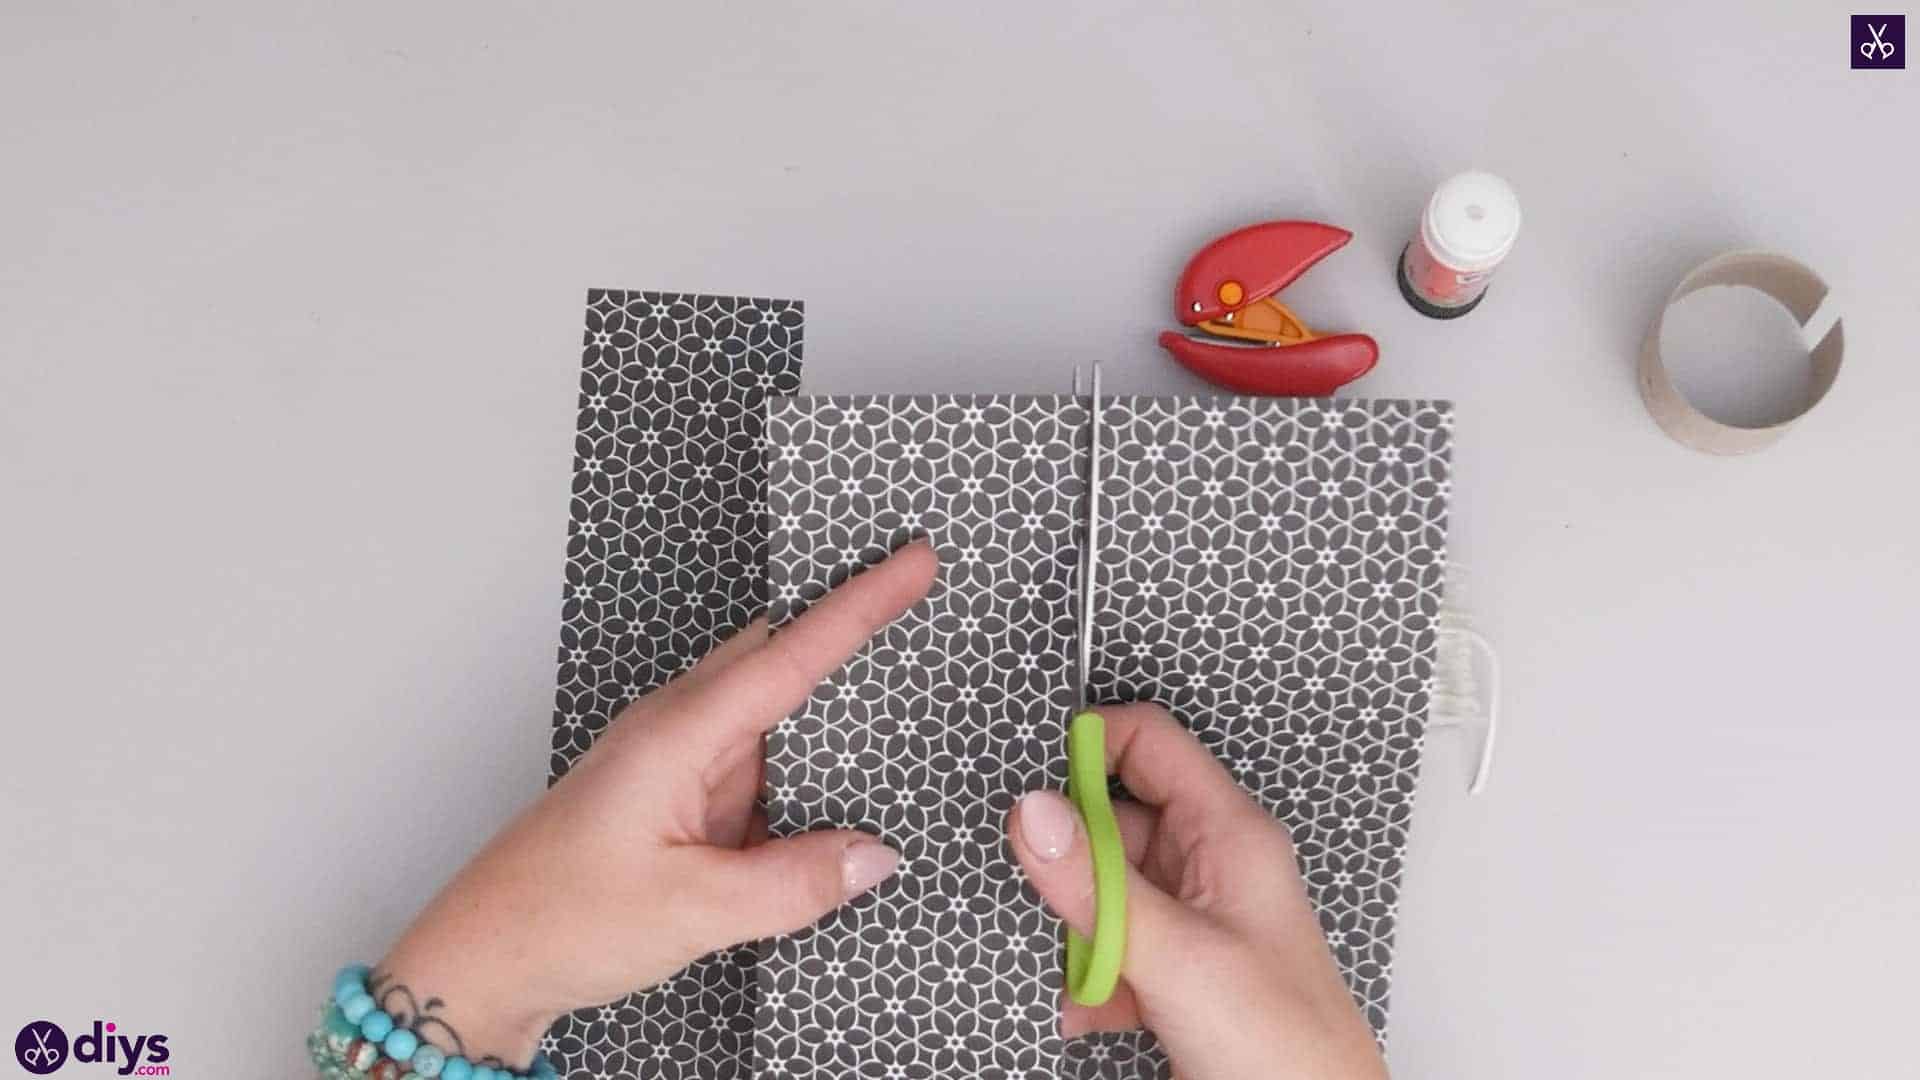
Cut two rectangular pieces from your patterned paper, each one a little wider and longer and the length and width of the piece of toilet paper roll you just cut as the base of your bangle. These are what you’ll cover your cardboard bangle with to add colour and detail.
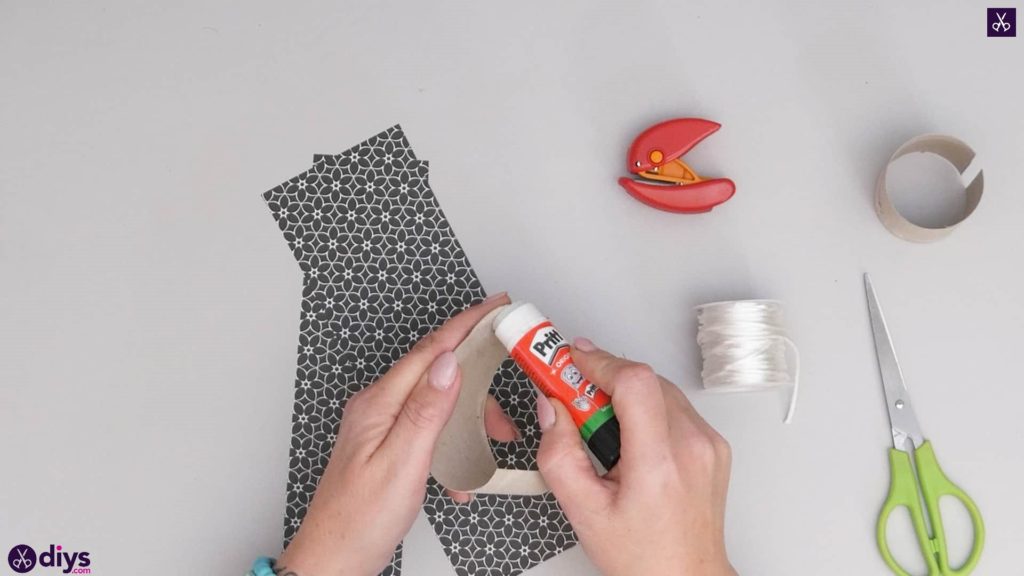
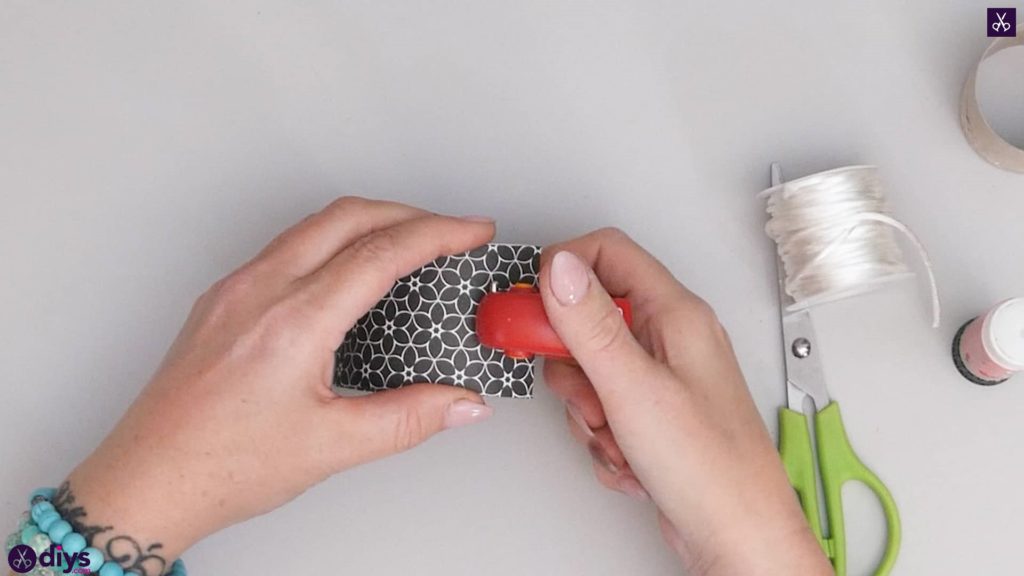
Step 3: cover the roll
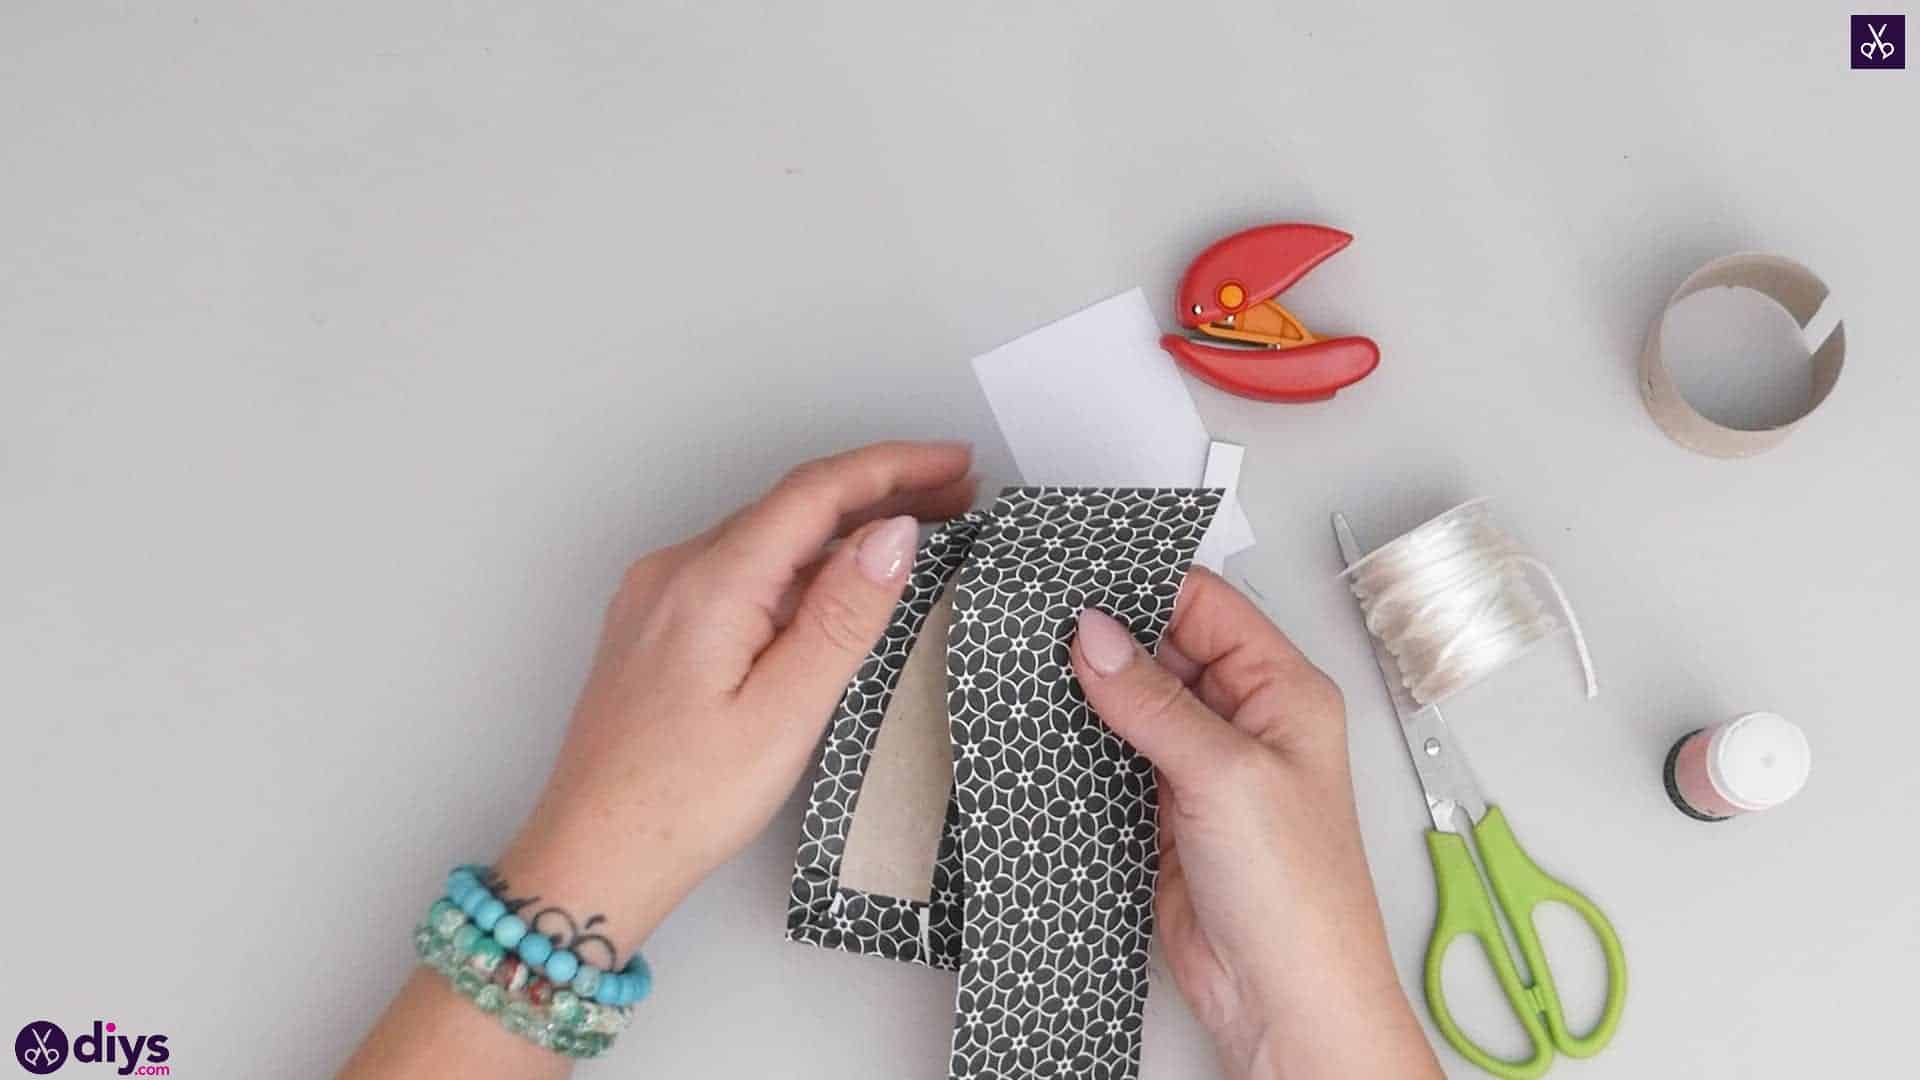
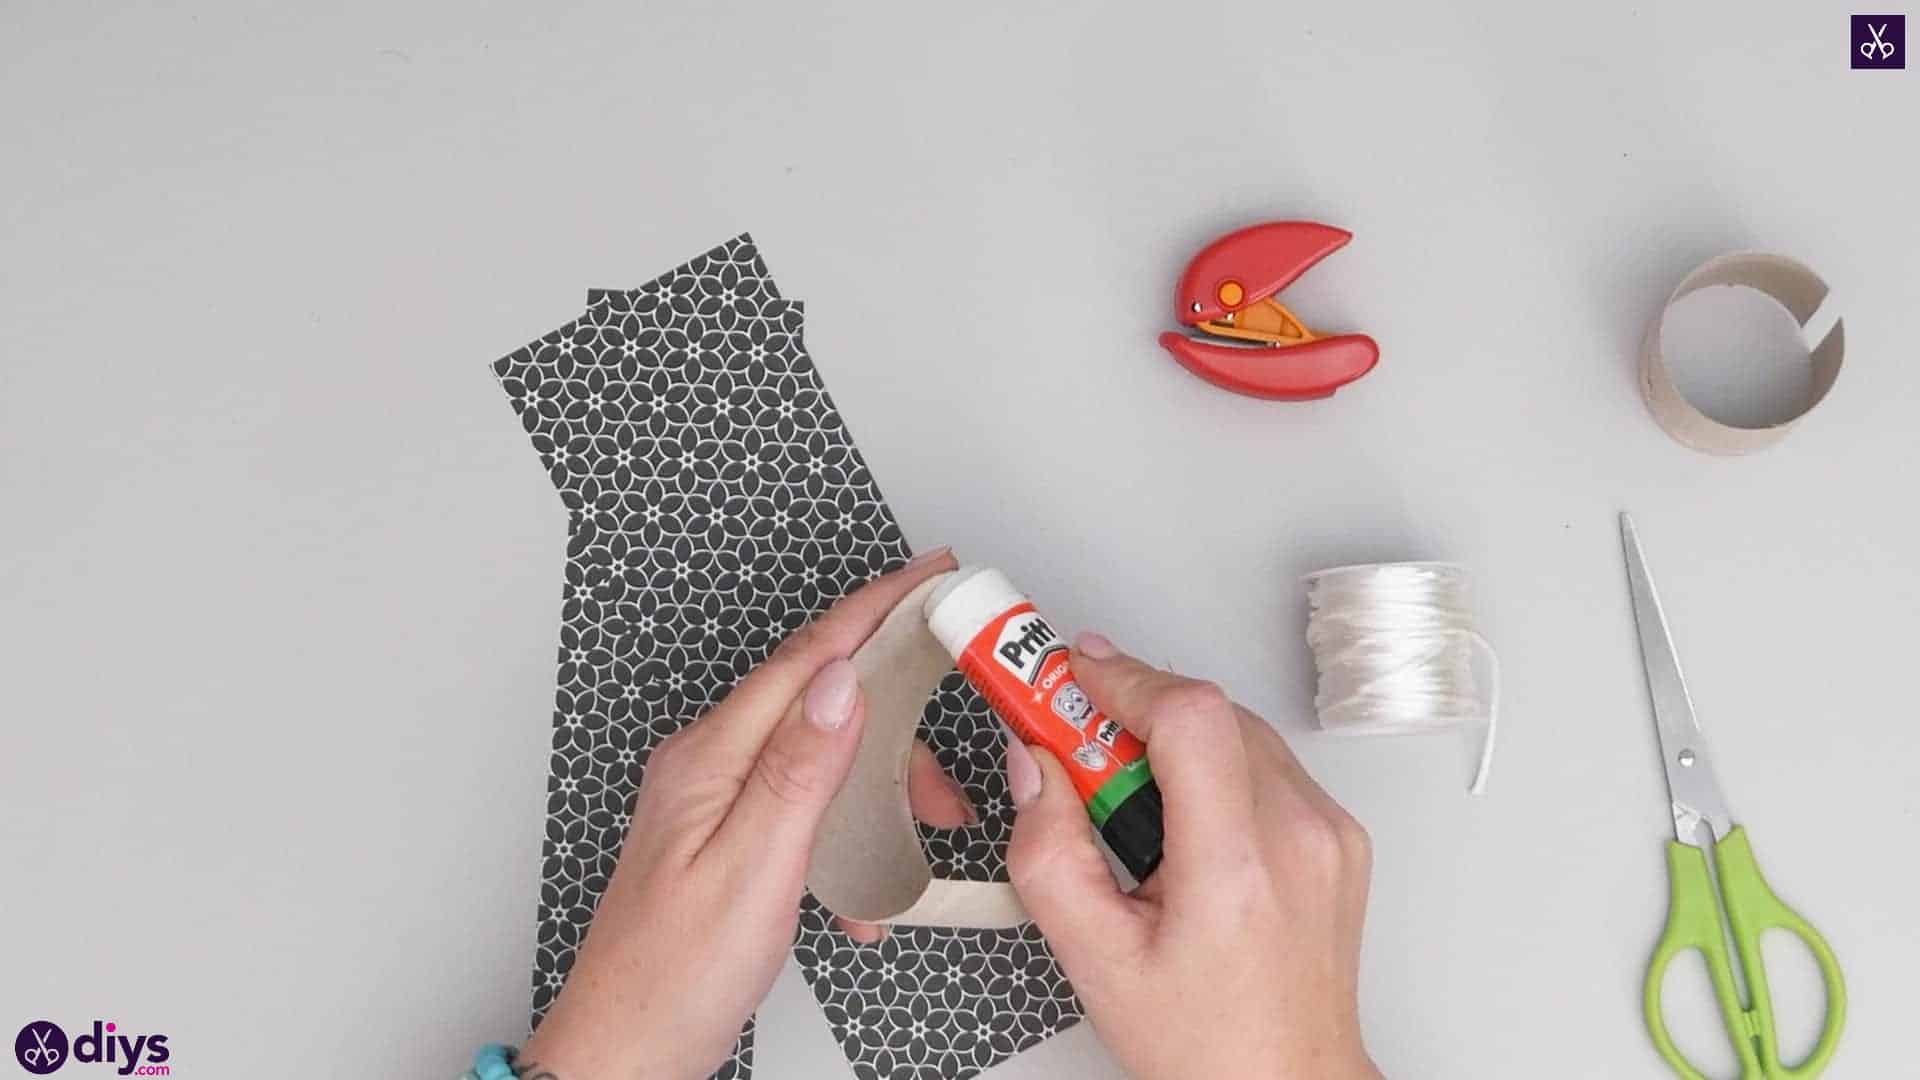
Cover the outside or top of your bracelet! Start by applying glue on the inside edge at one end and anchoring your piece down there opposite how to it’ll sit against the outside of the curved piece itself. Then fold the piece back over the end onto the outside of the bracelet after applying glue al lover its outside surface. Be careful to smooth wrinkles or air bubbles out and try to keep the side edges of both pieces as straight in line as possible. Once you’ve stuck it down completely on the outside, turn the whole piece over so you can see the underside. Apply glue across the other shorter edge, opposite the one you started on, and then fold the excess paper that goes past the edge of the cardboard down and under so it matches the one on the other side and wraps flush around the cardboard’s edge. Then do the same folding and sticking process along the longer sides so they fold down overtop of the short ends.
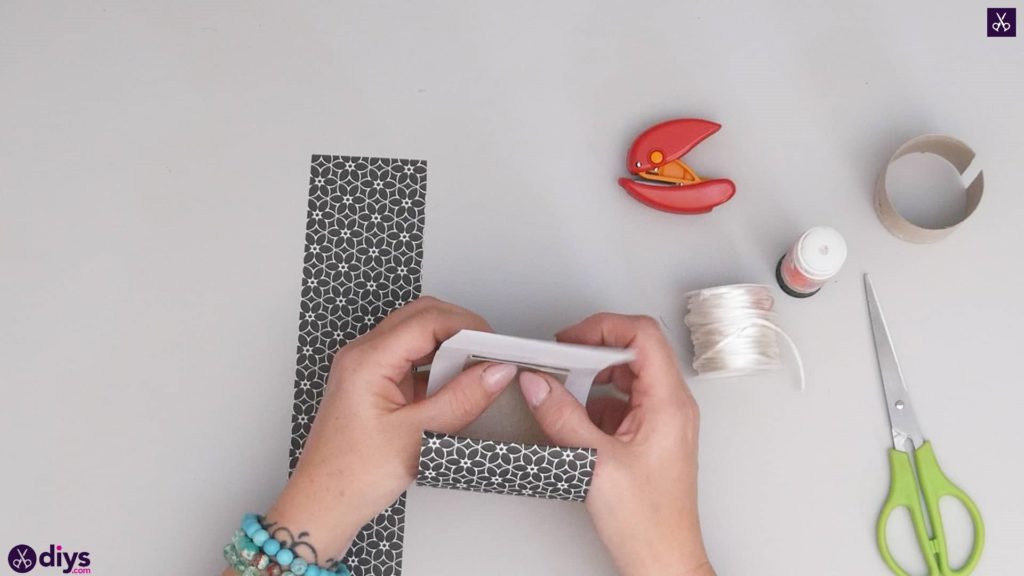


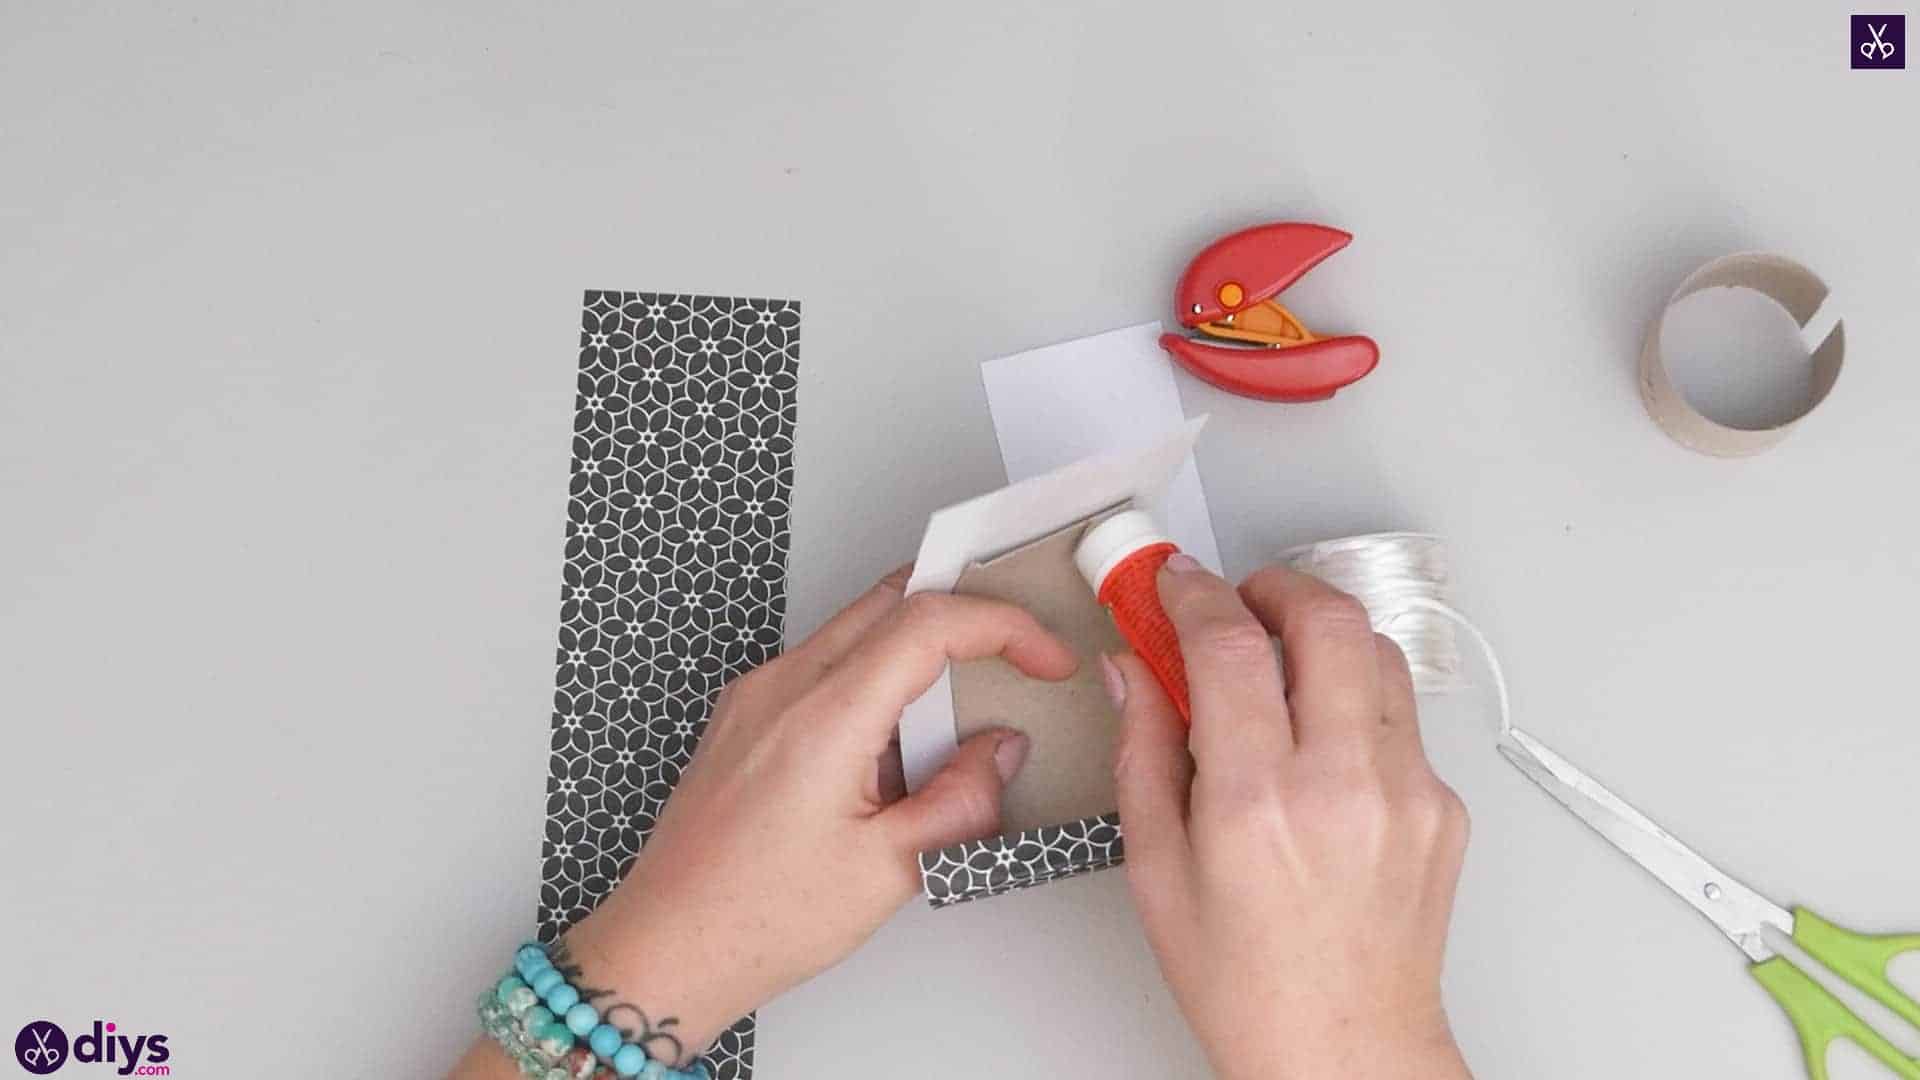
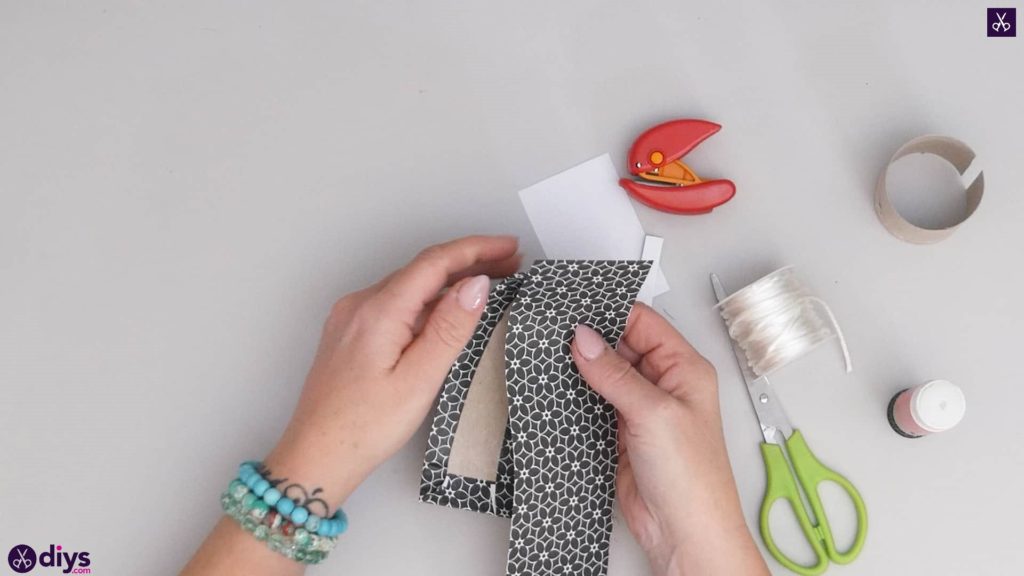
Step 4: cover inside
Now apply glue all over the inside surface of your bangle, on the side where you just glued down the other folded pieces. Smooth your second rectangular piece down here, keeping the edges parallel to the edges of the cardboard once again. Smooth the whole piece and then use your scissors to cut any excess around the edges so the paper no longer protrudes past the edges of the bracelet. When you’re done, curl the bracelet back into its rounded shape slightly; it might have come unbent with all the opening and maneuvering and the shape of the paper.
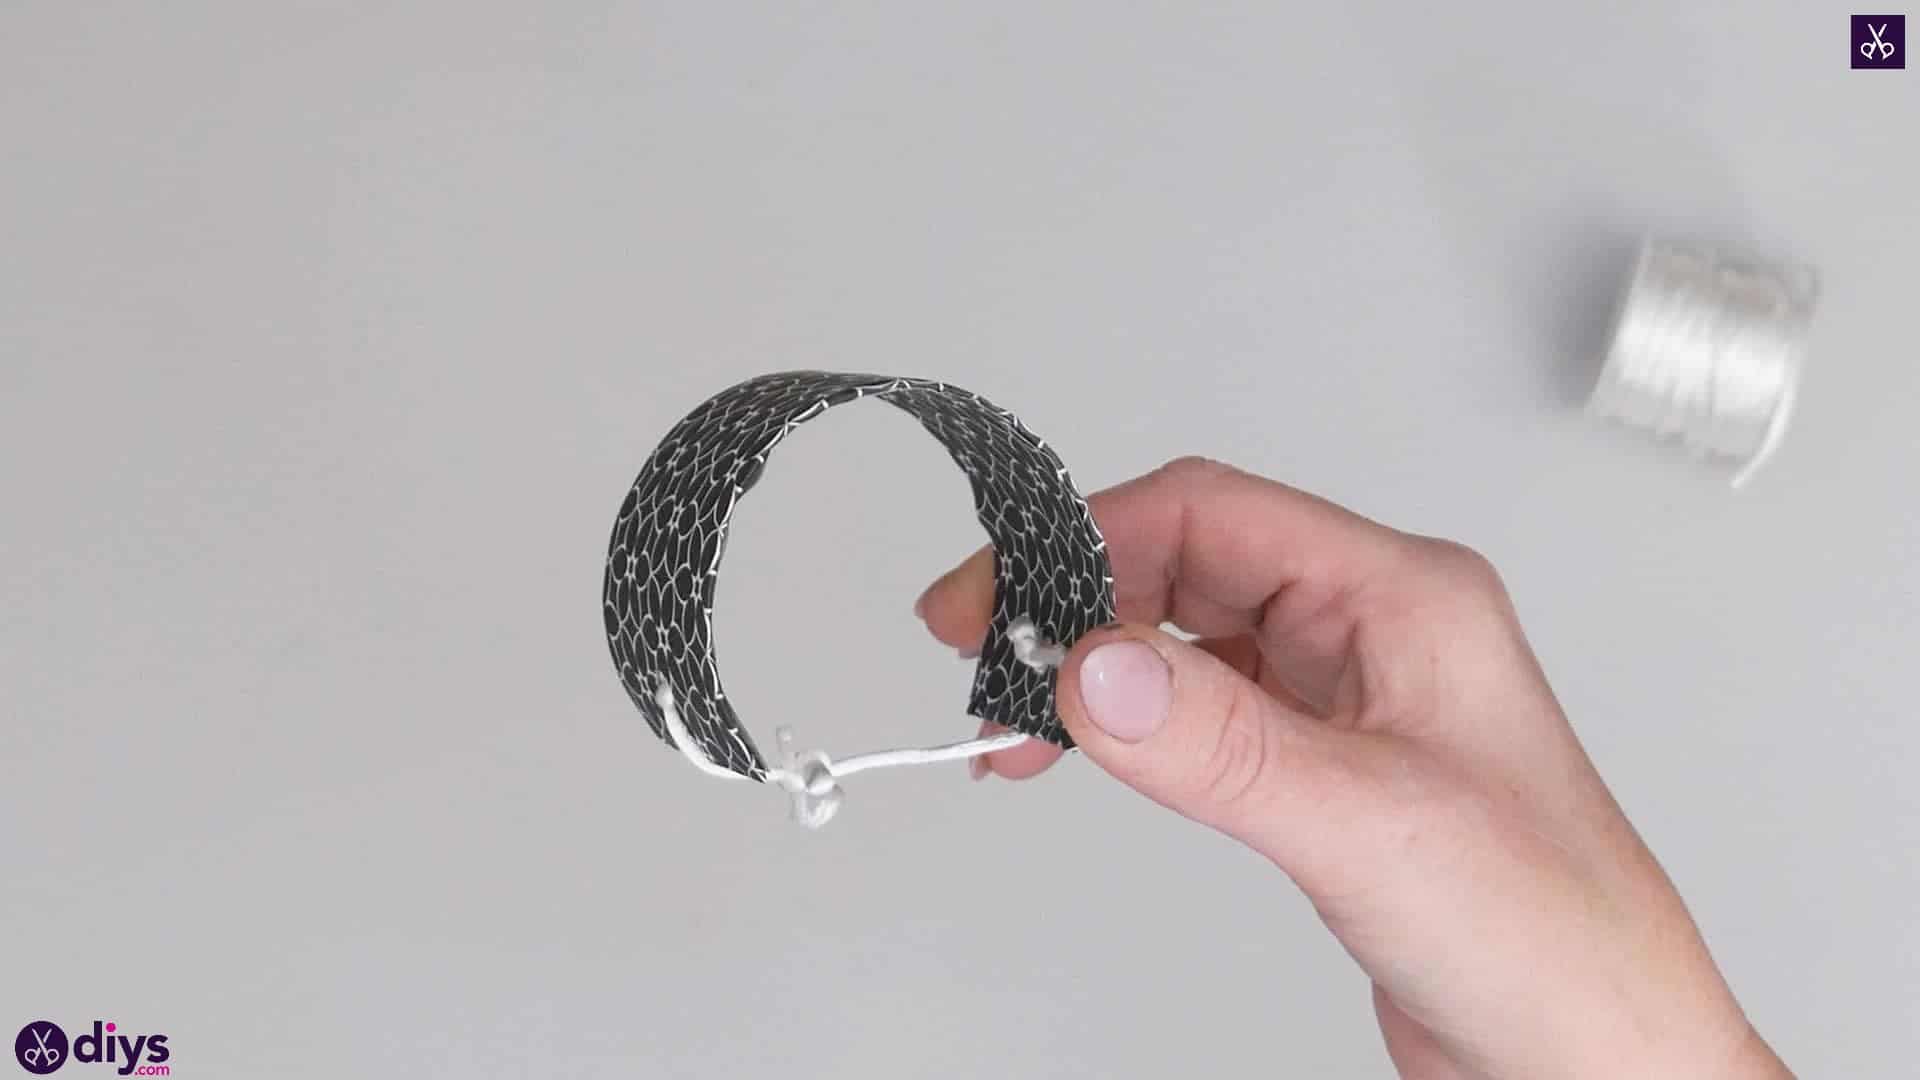
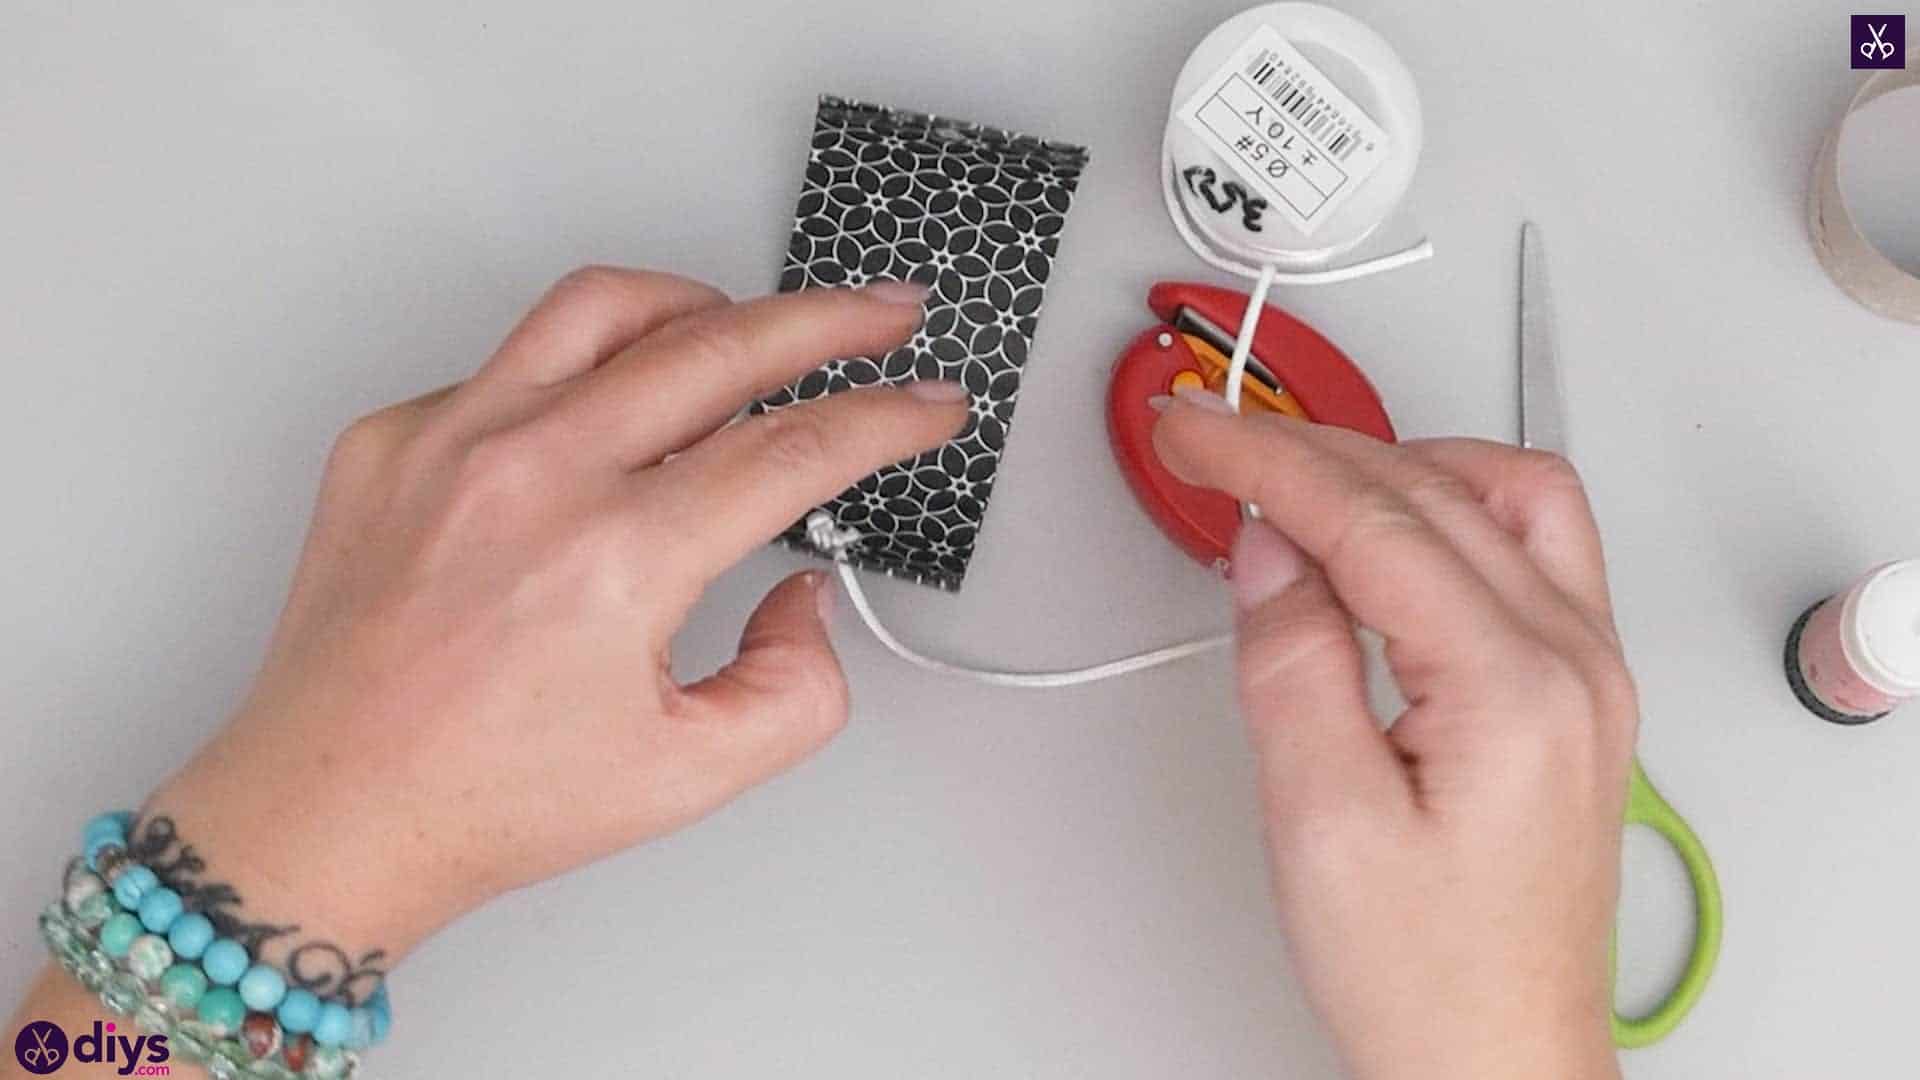
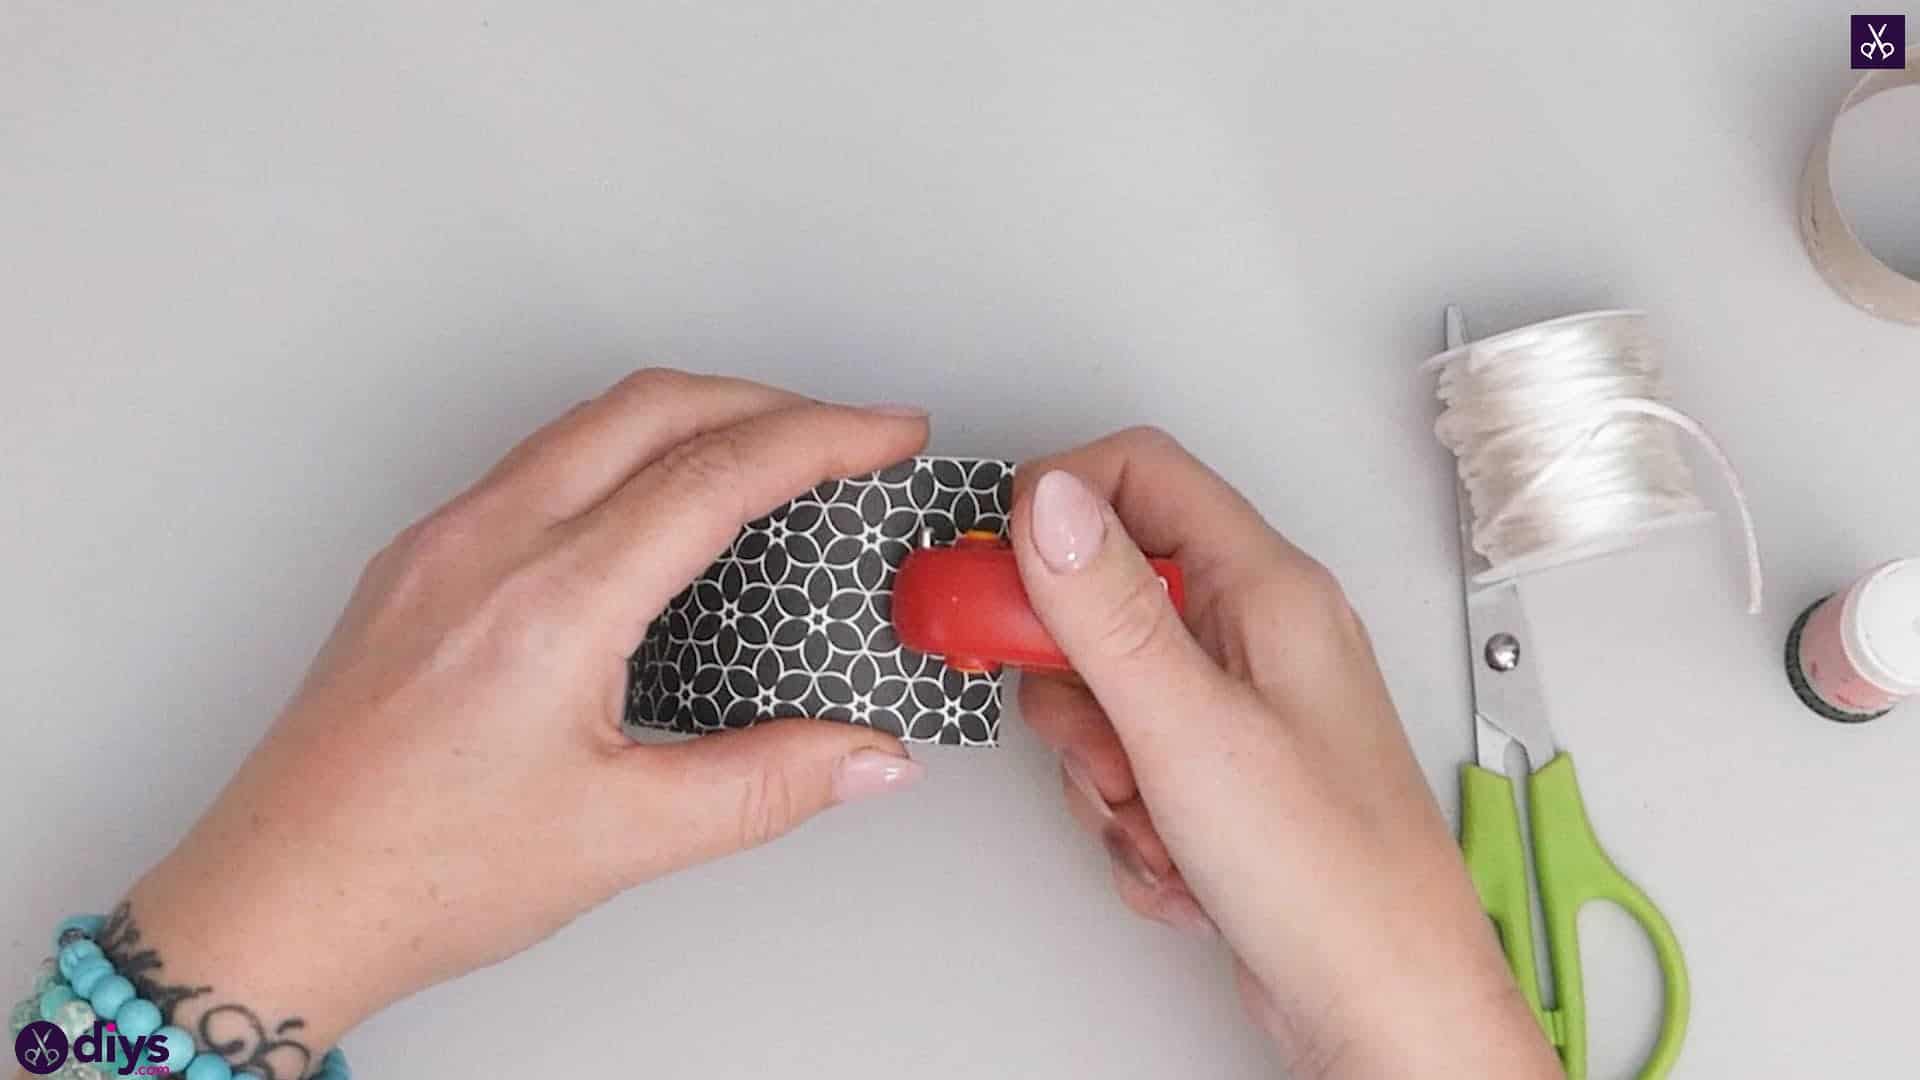
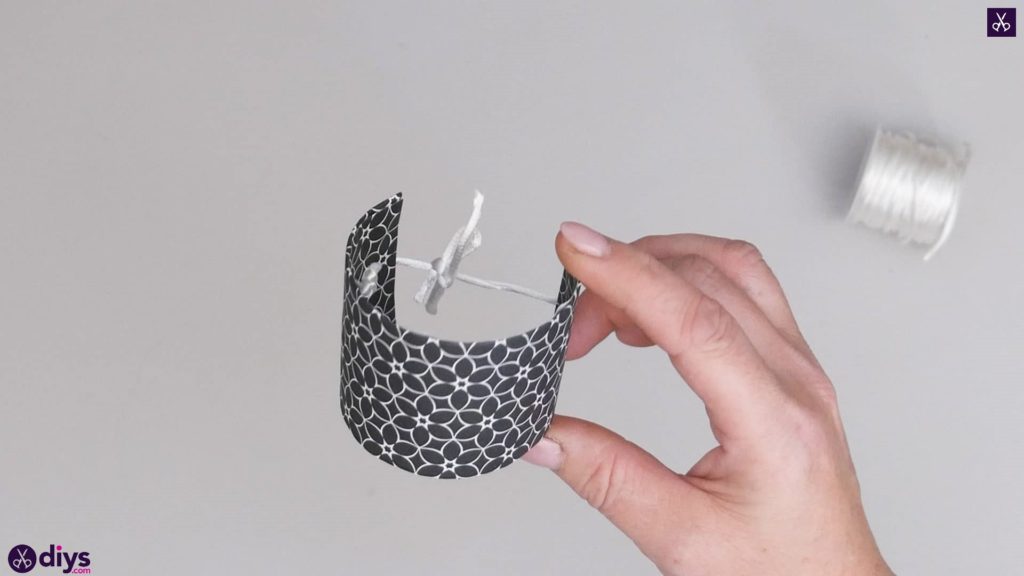
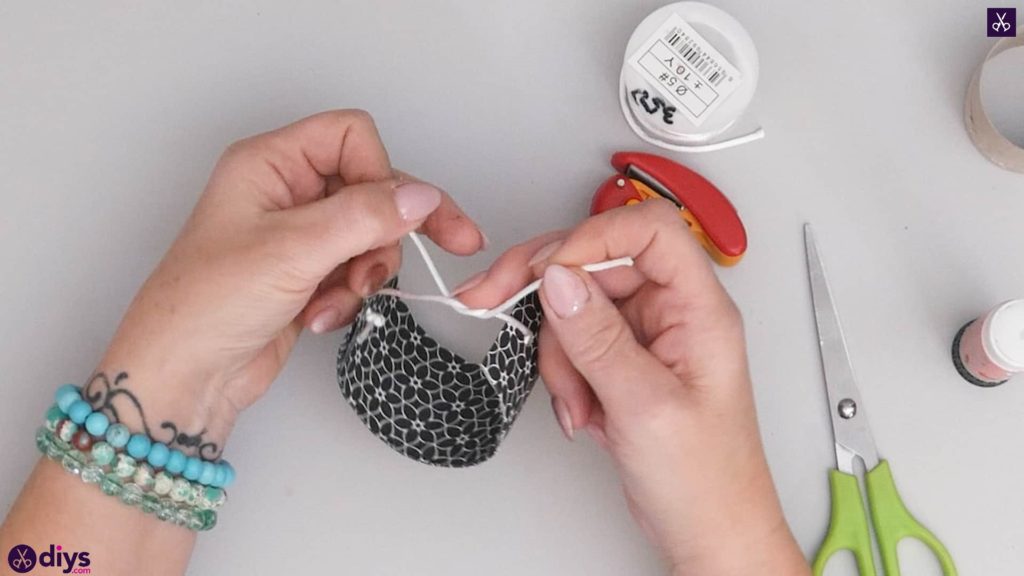
Step 5: punch holes
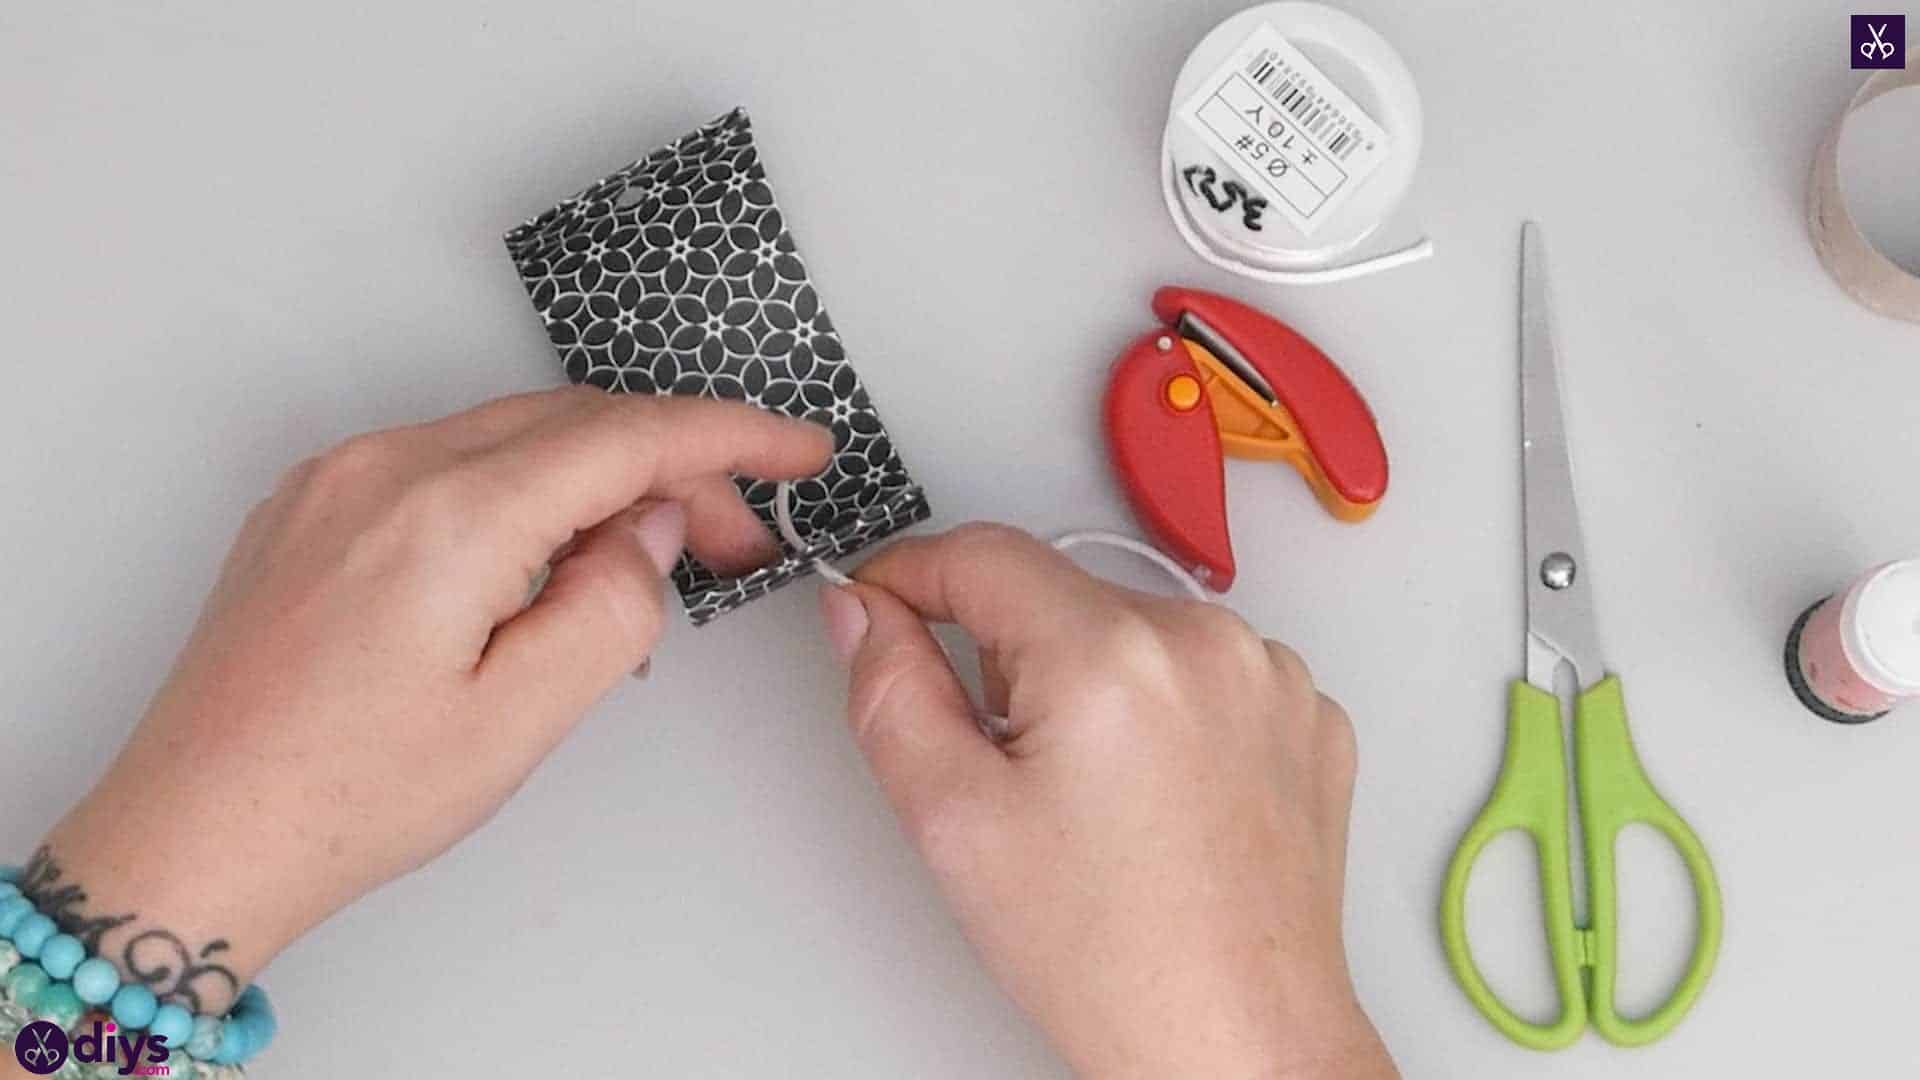
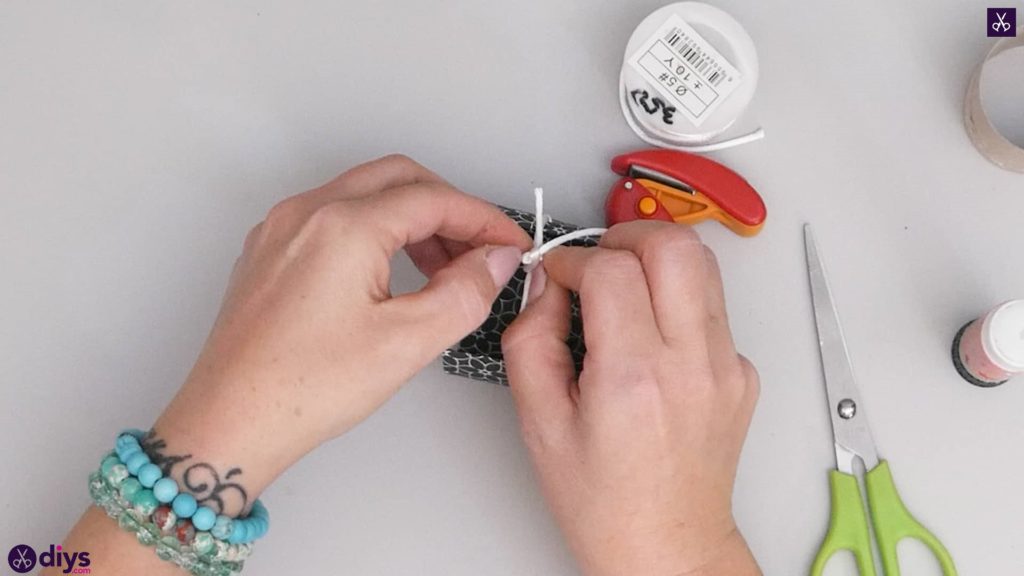
Use your hole punch to put a hole in the centre of the bracelet’s short end on each side, slightly above the edge to avoid tearing. Cut a piece of string however long your wrist needs for allowance. Fold the string in half end to end and cut it in the loop created on the opposite side to get two strings the same length. Take your first string and put the end through the hole from the outside. On the inside, pull some excess through and tie a tight double knot to anchor the string there. Repeat the process with the second string on the other side. Now your bracelet is adjustable! Find the spot where it feels most comfortable on your wrist and tie it in a knot if you’d like to side the bracelet on and off all the time or a bow if you’d prefer to be able to tie and untie it to get it on and off.


You’re all finished! Feel free to embellish your bracelet however you please once you’re done; we’re thinking about adding rhinestones to some of ours. Just in case you’d like to try this project out for yourself, here’s a fantastic tutorial video to help you!