How to Make EASY Vintage Tin Can Storage & Organizer
Updated on June 23, 2021
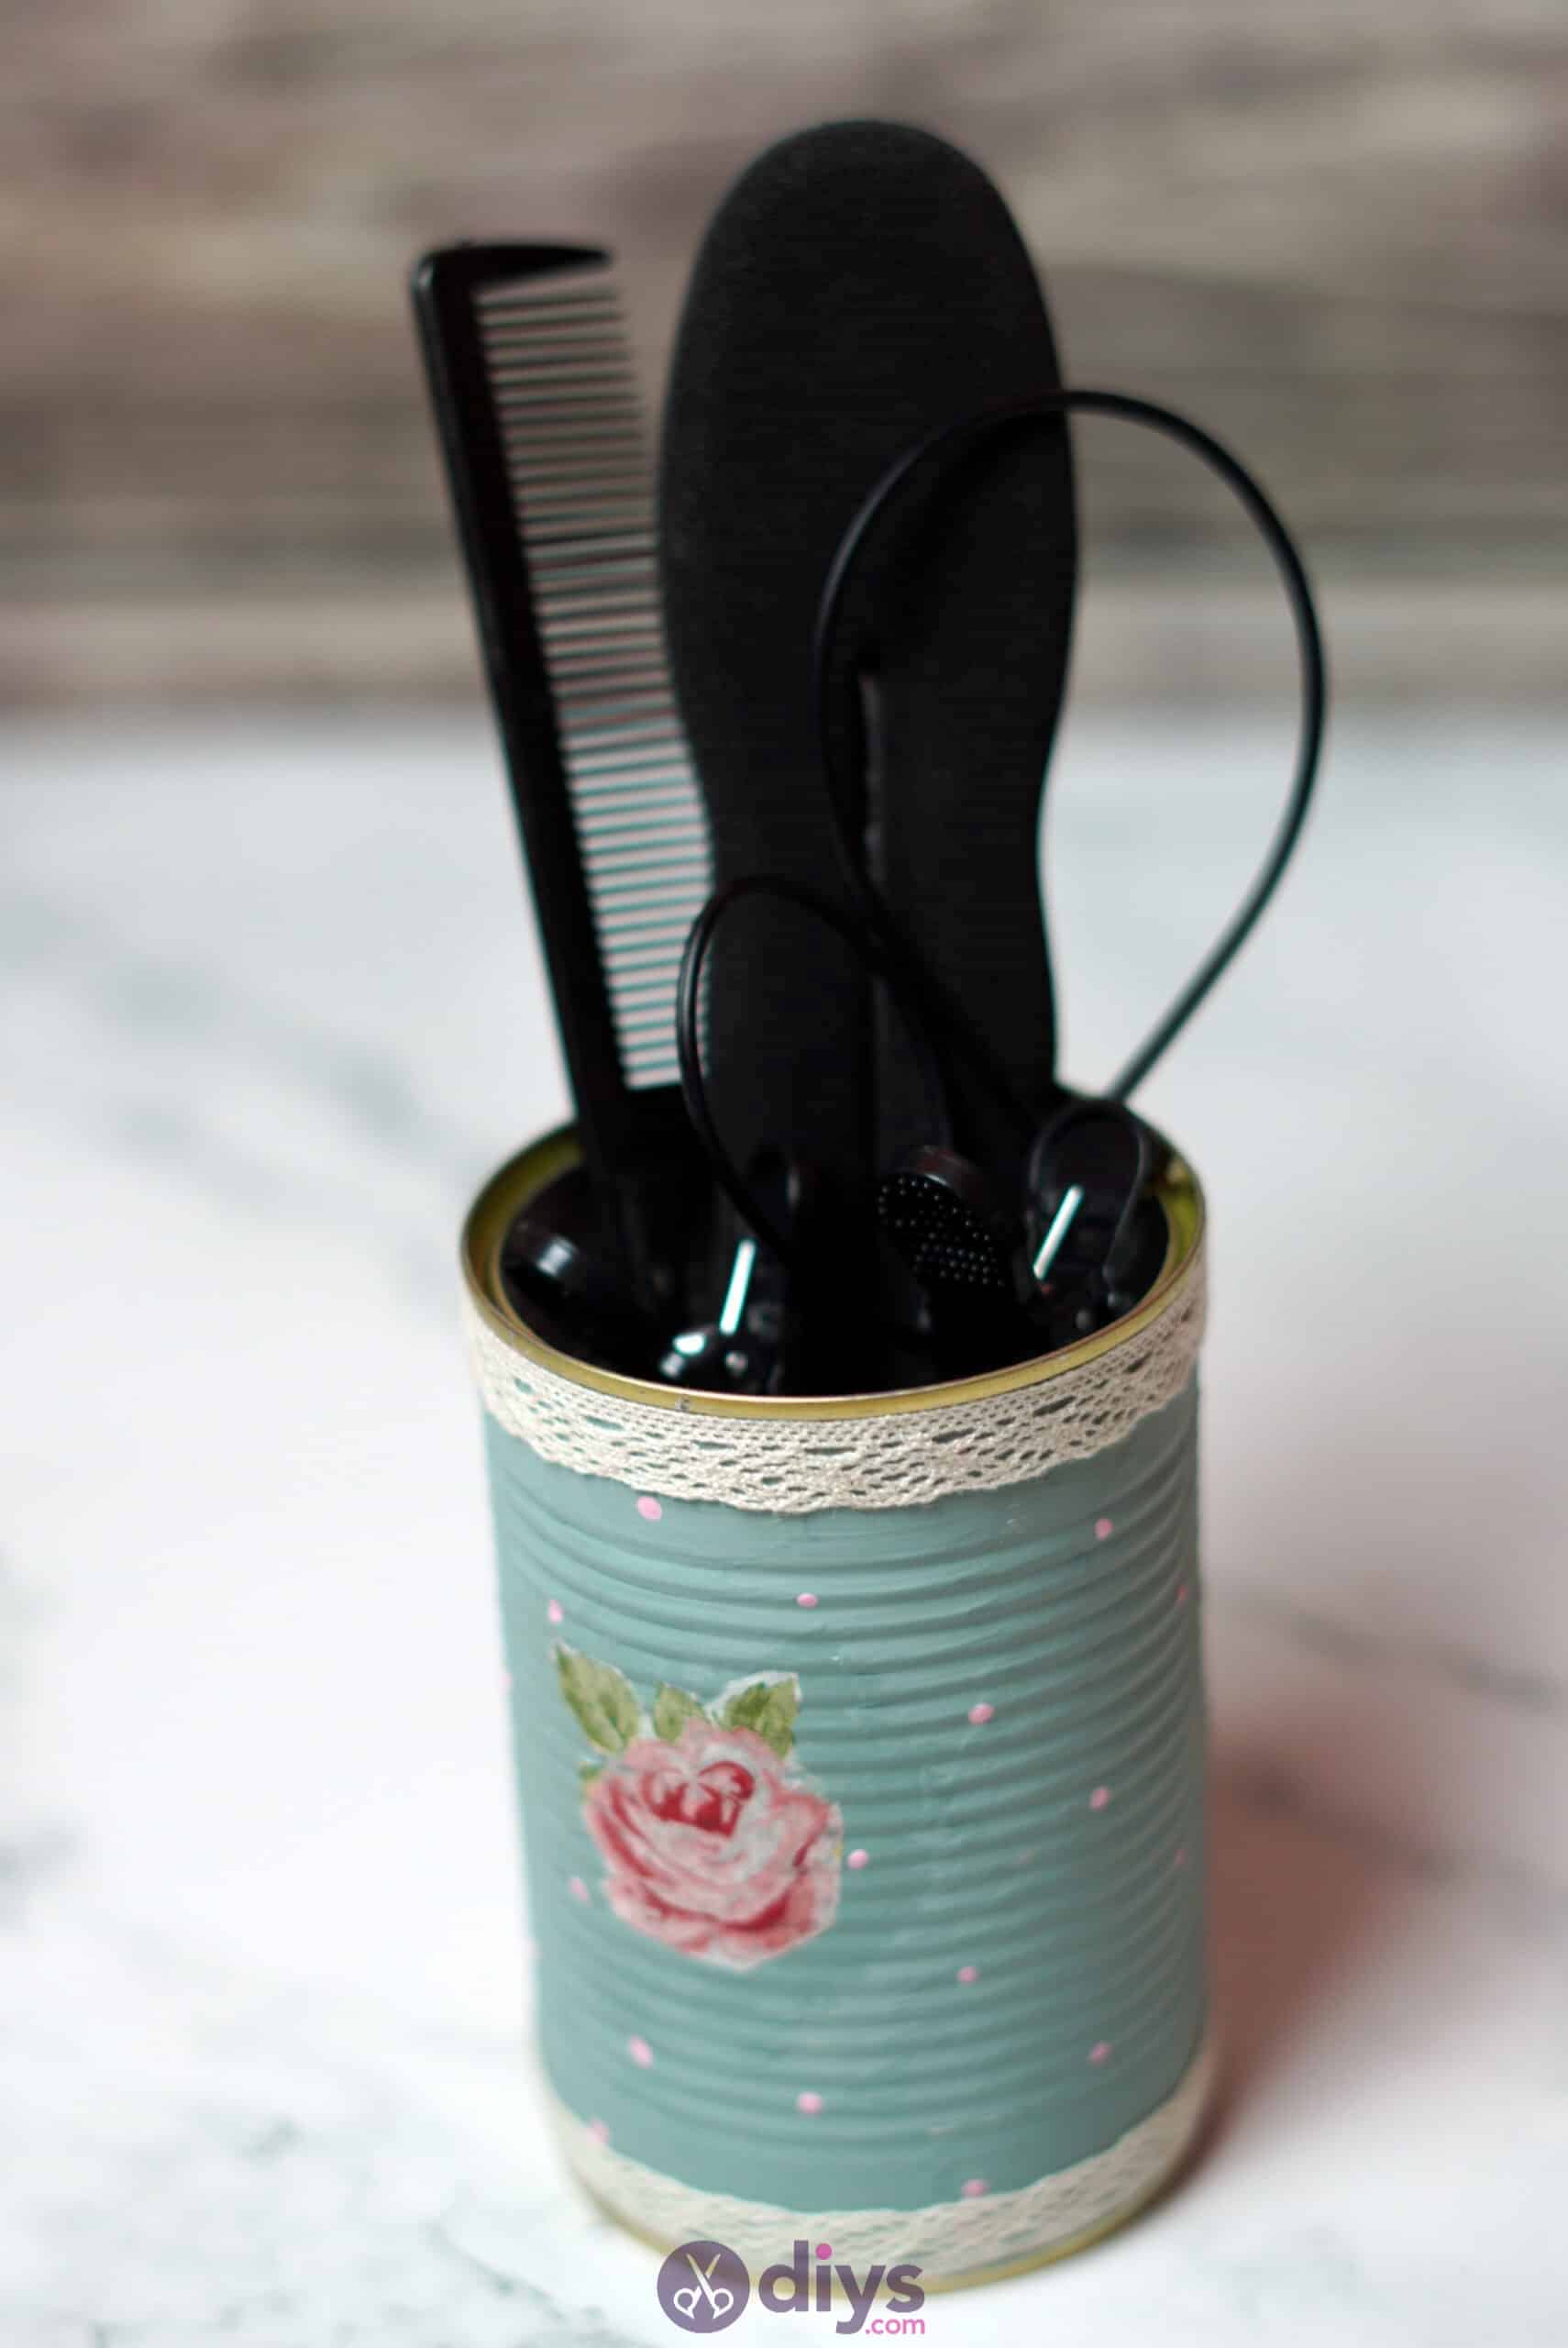


Keep your bedroom dresser, bathroom vanity, or home office desk neat and organized in style with this DIY vintage tin can storage and organizer idea! We’ve broken it down into super easy to follow steps so you can make it yourself!
I’ve always loved slightly vintage inspired things that have a nearly-antique but slightly blended modern aesthetic to them, especially if they also serve even a small practical function. That’s part of the reason I decided to actually document the crafting process of this piece and make my own tutorial. You’ll find the step by step instructions blow, or you can scroll straight to the bottom to see the full video tutorial!
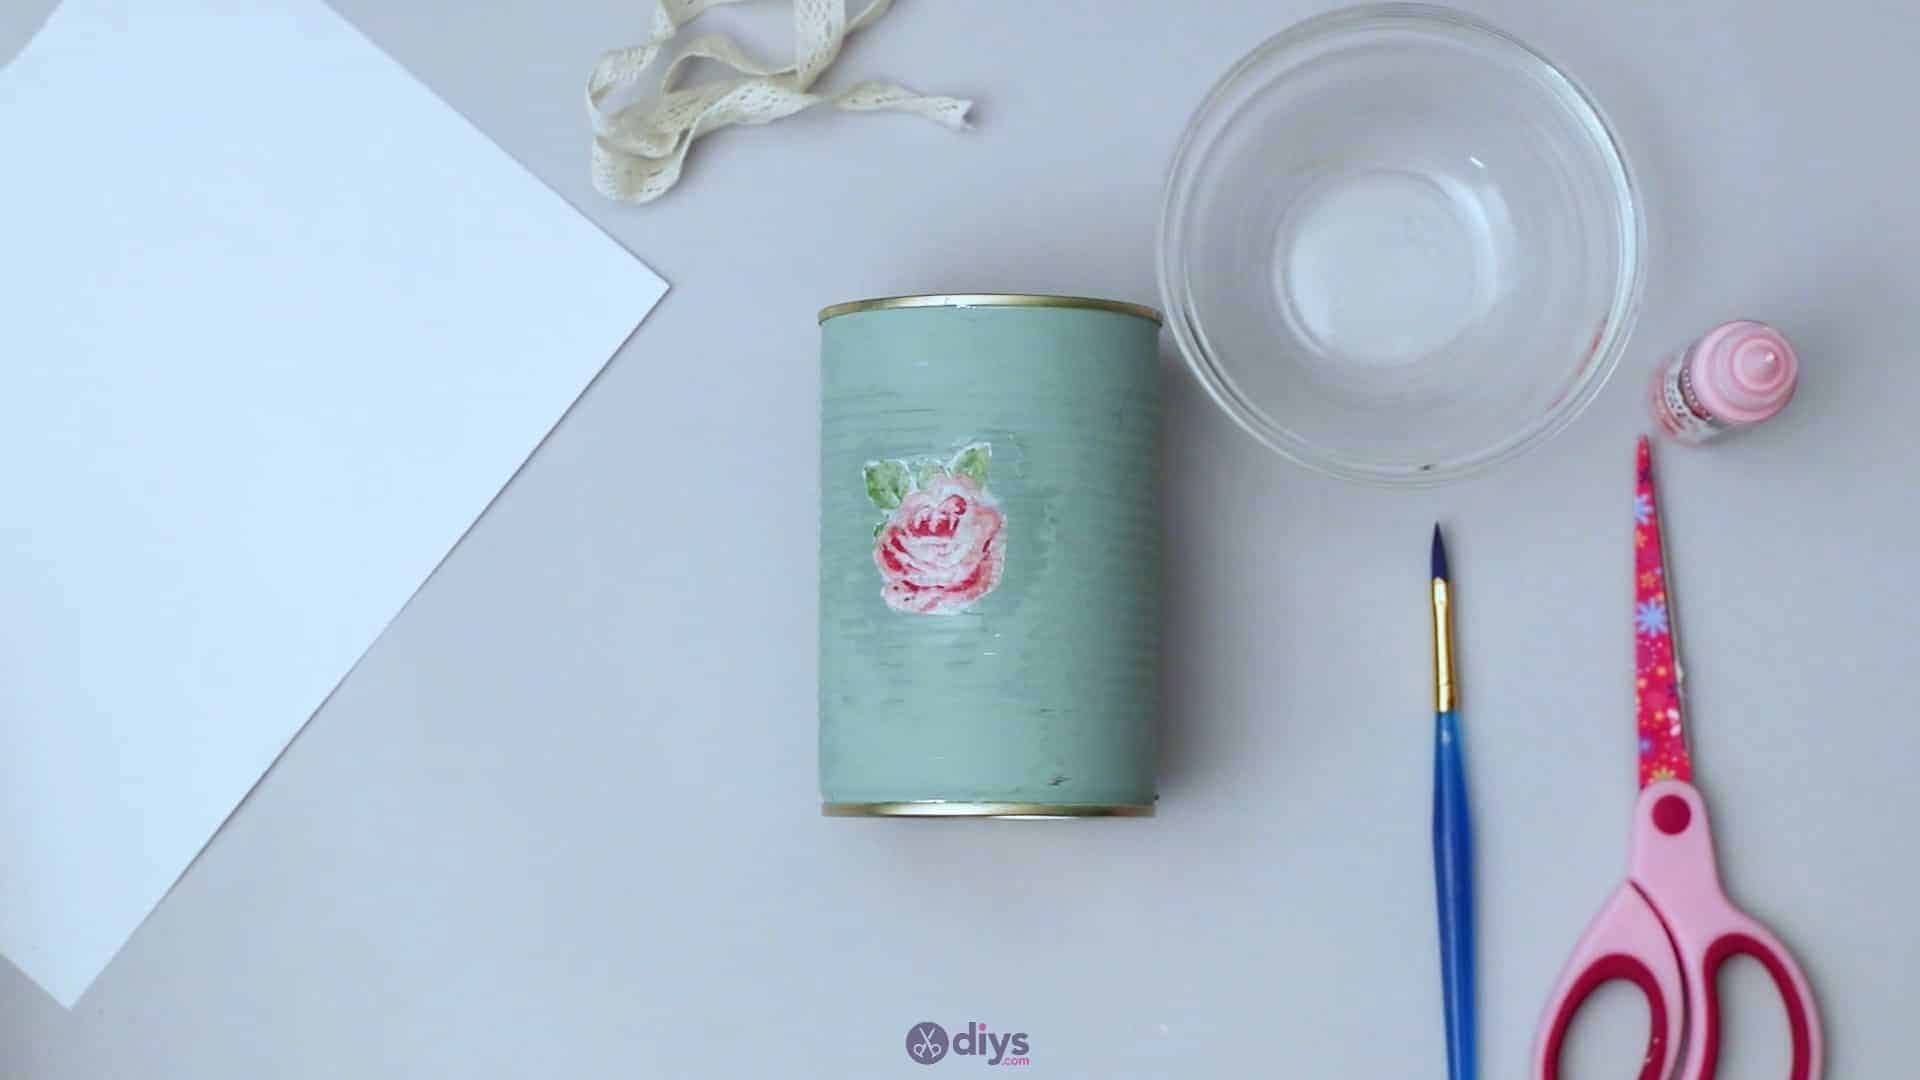
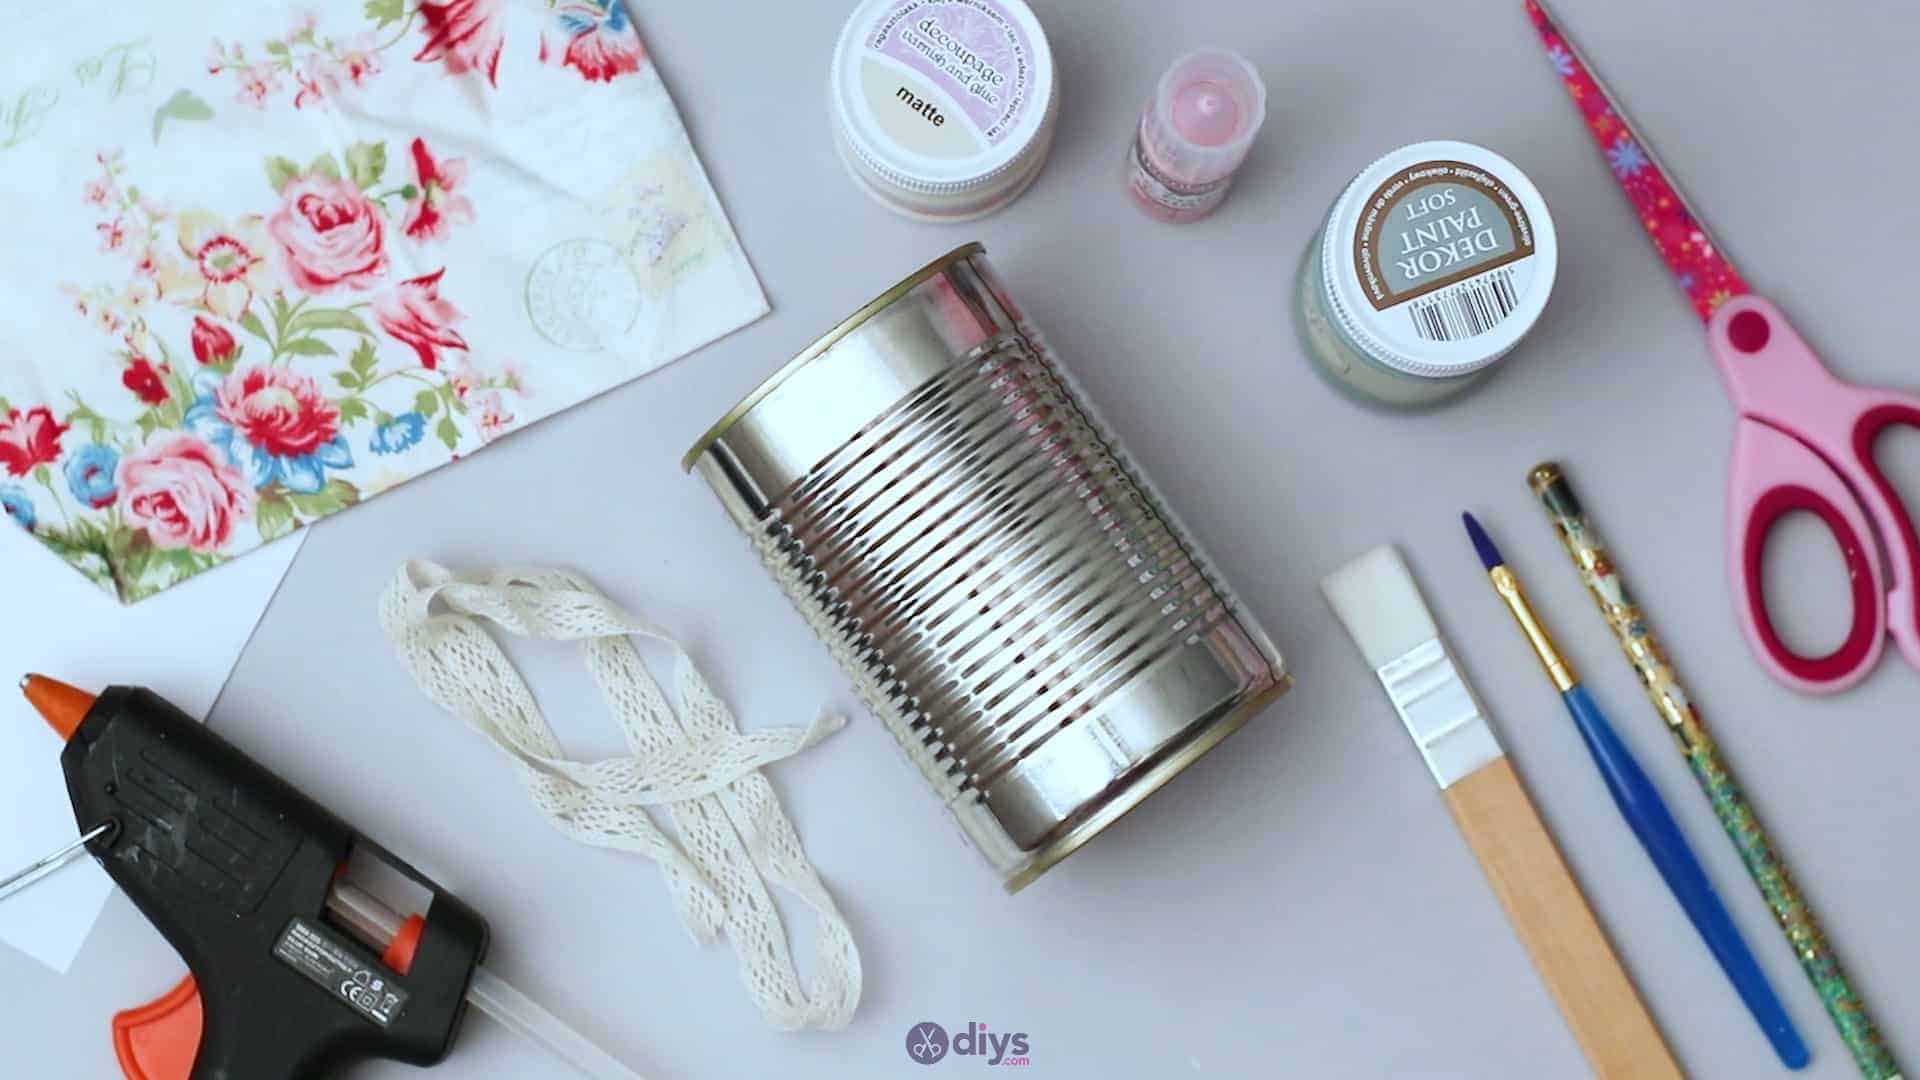
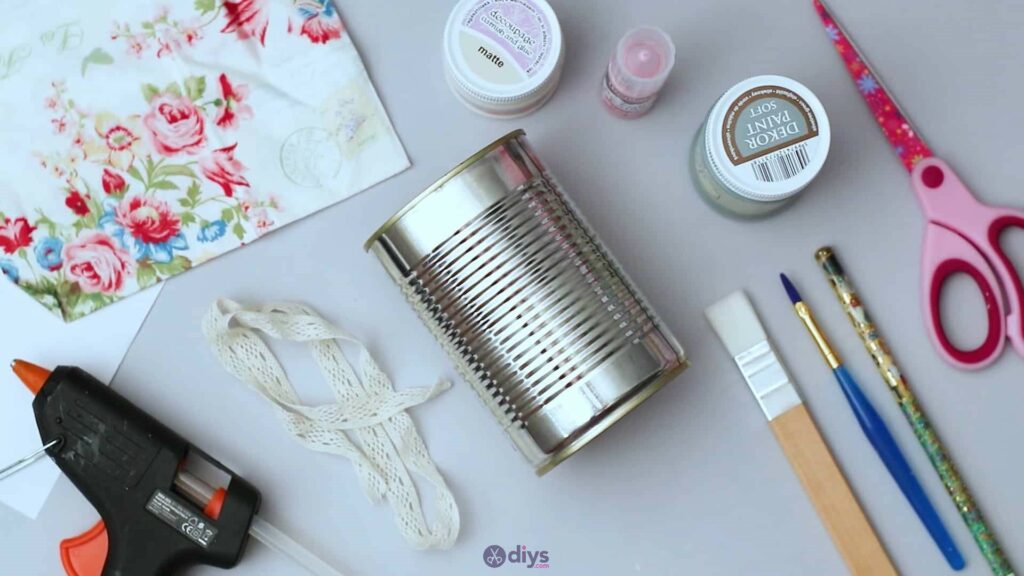
For this project, you’ll need:
- Tin can
- Patterned napkin
- Acrylic paint
- Paintbrush
- Scissors
- Decoupage glue
- Glue gun
- Lace ribbon or trim
- Paper
Step 1: Gather your materials!
Double check your list and make sure you have all your items in front of you.
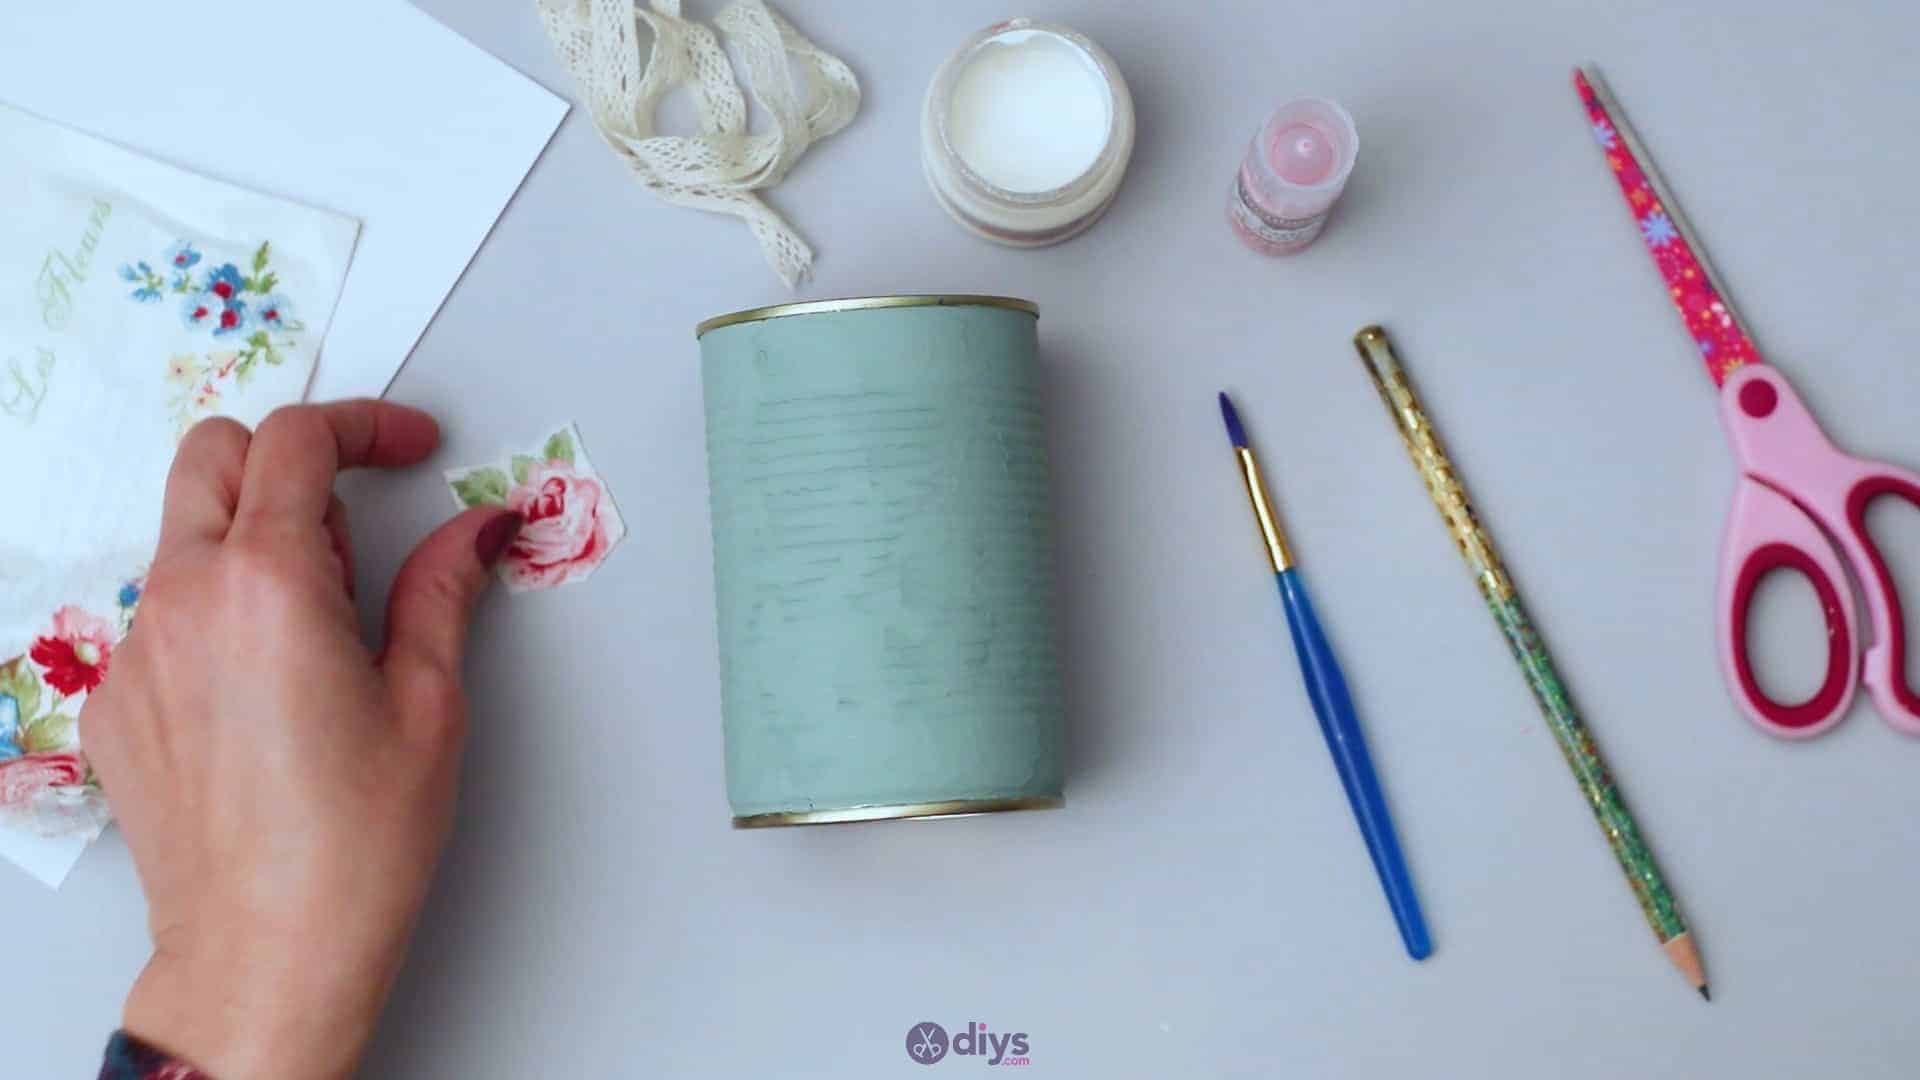
Step 2: prepare the tin
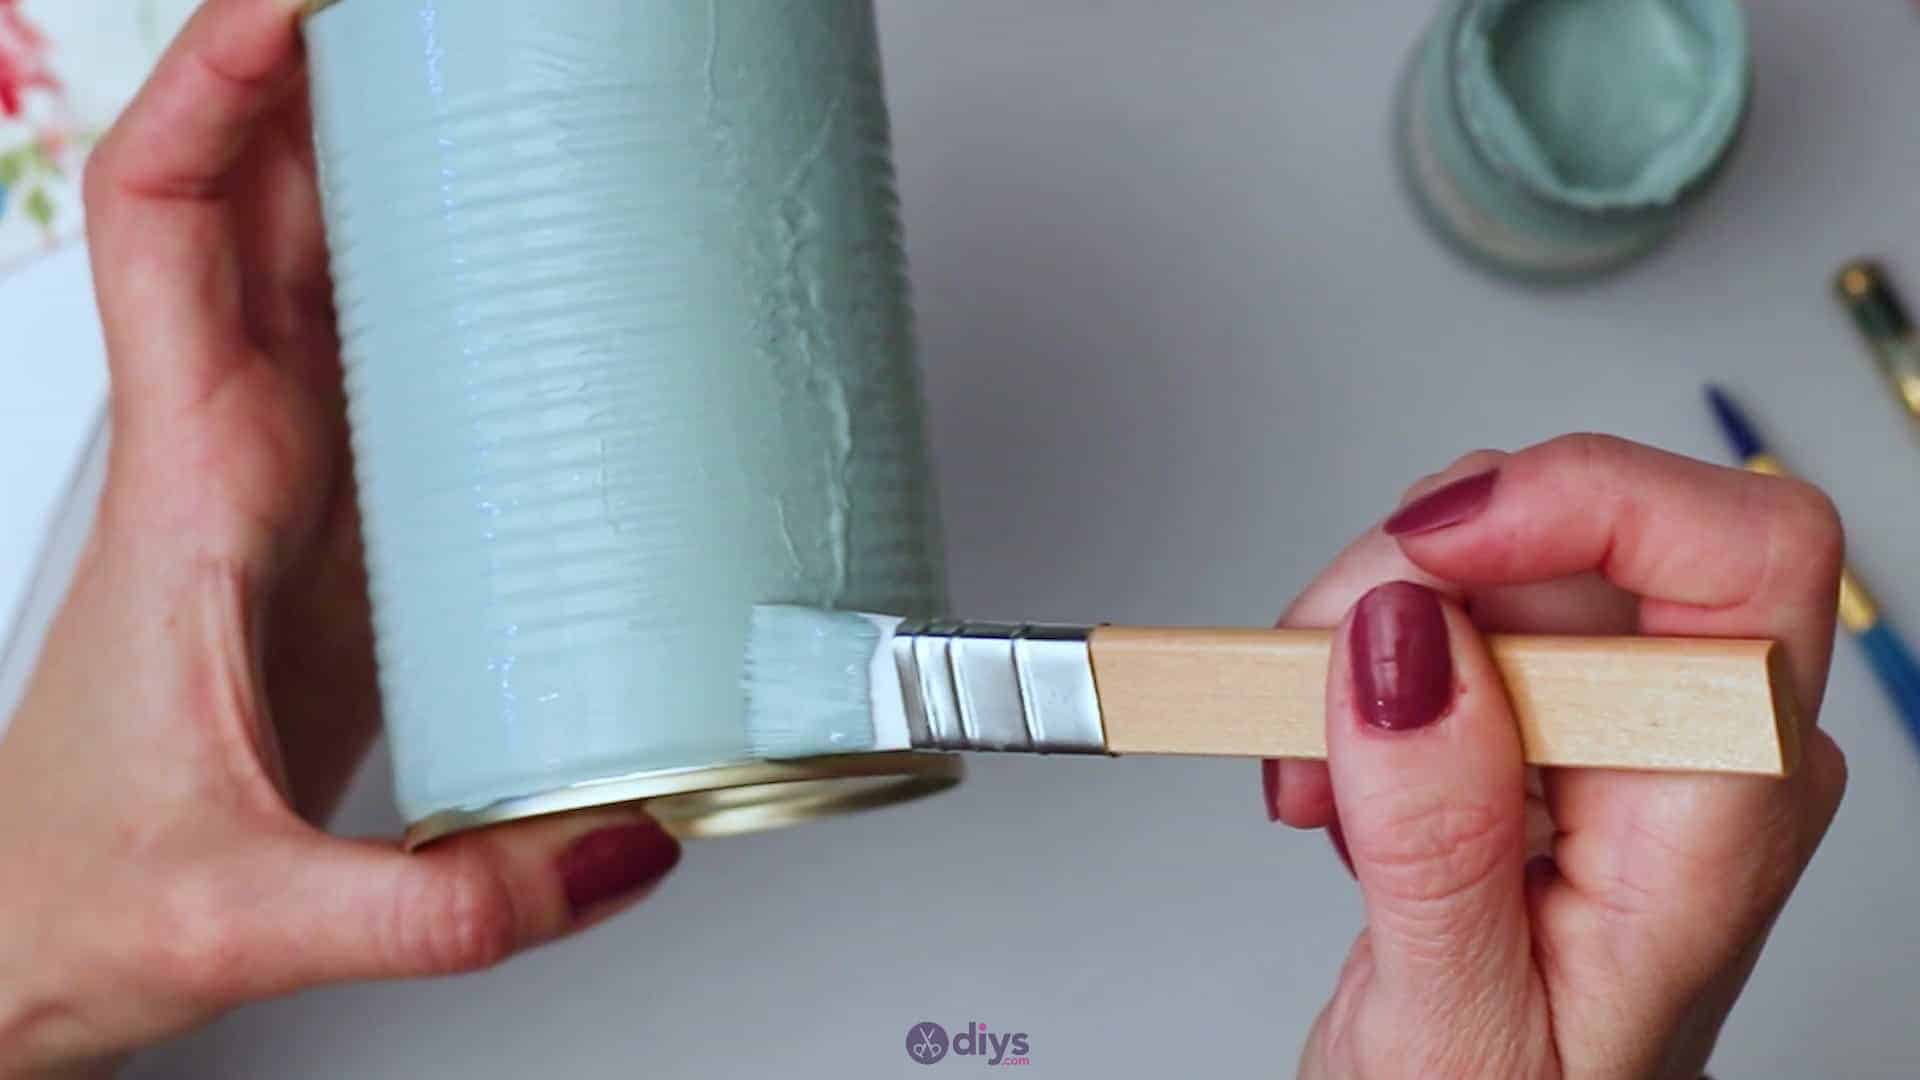
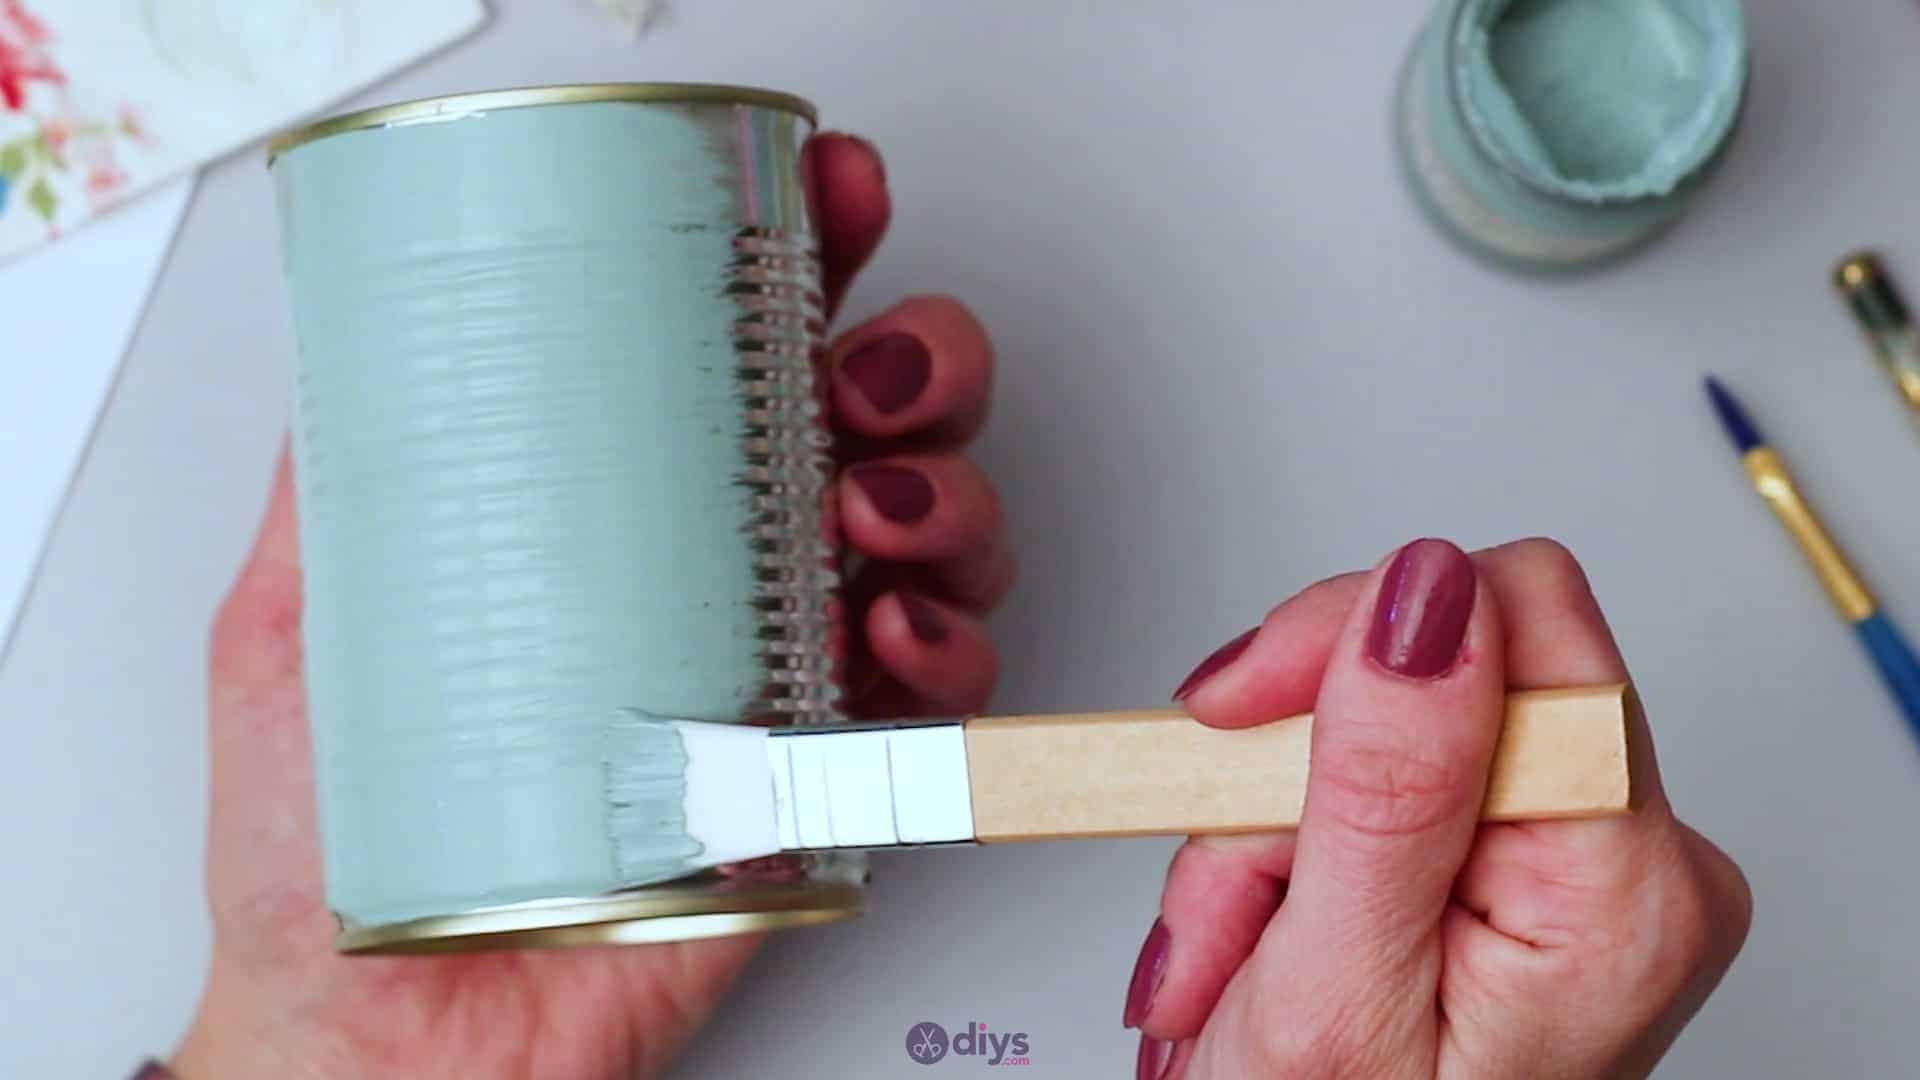
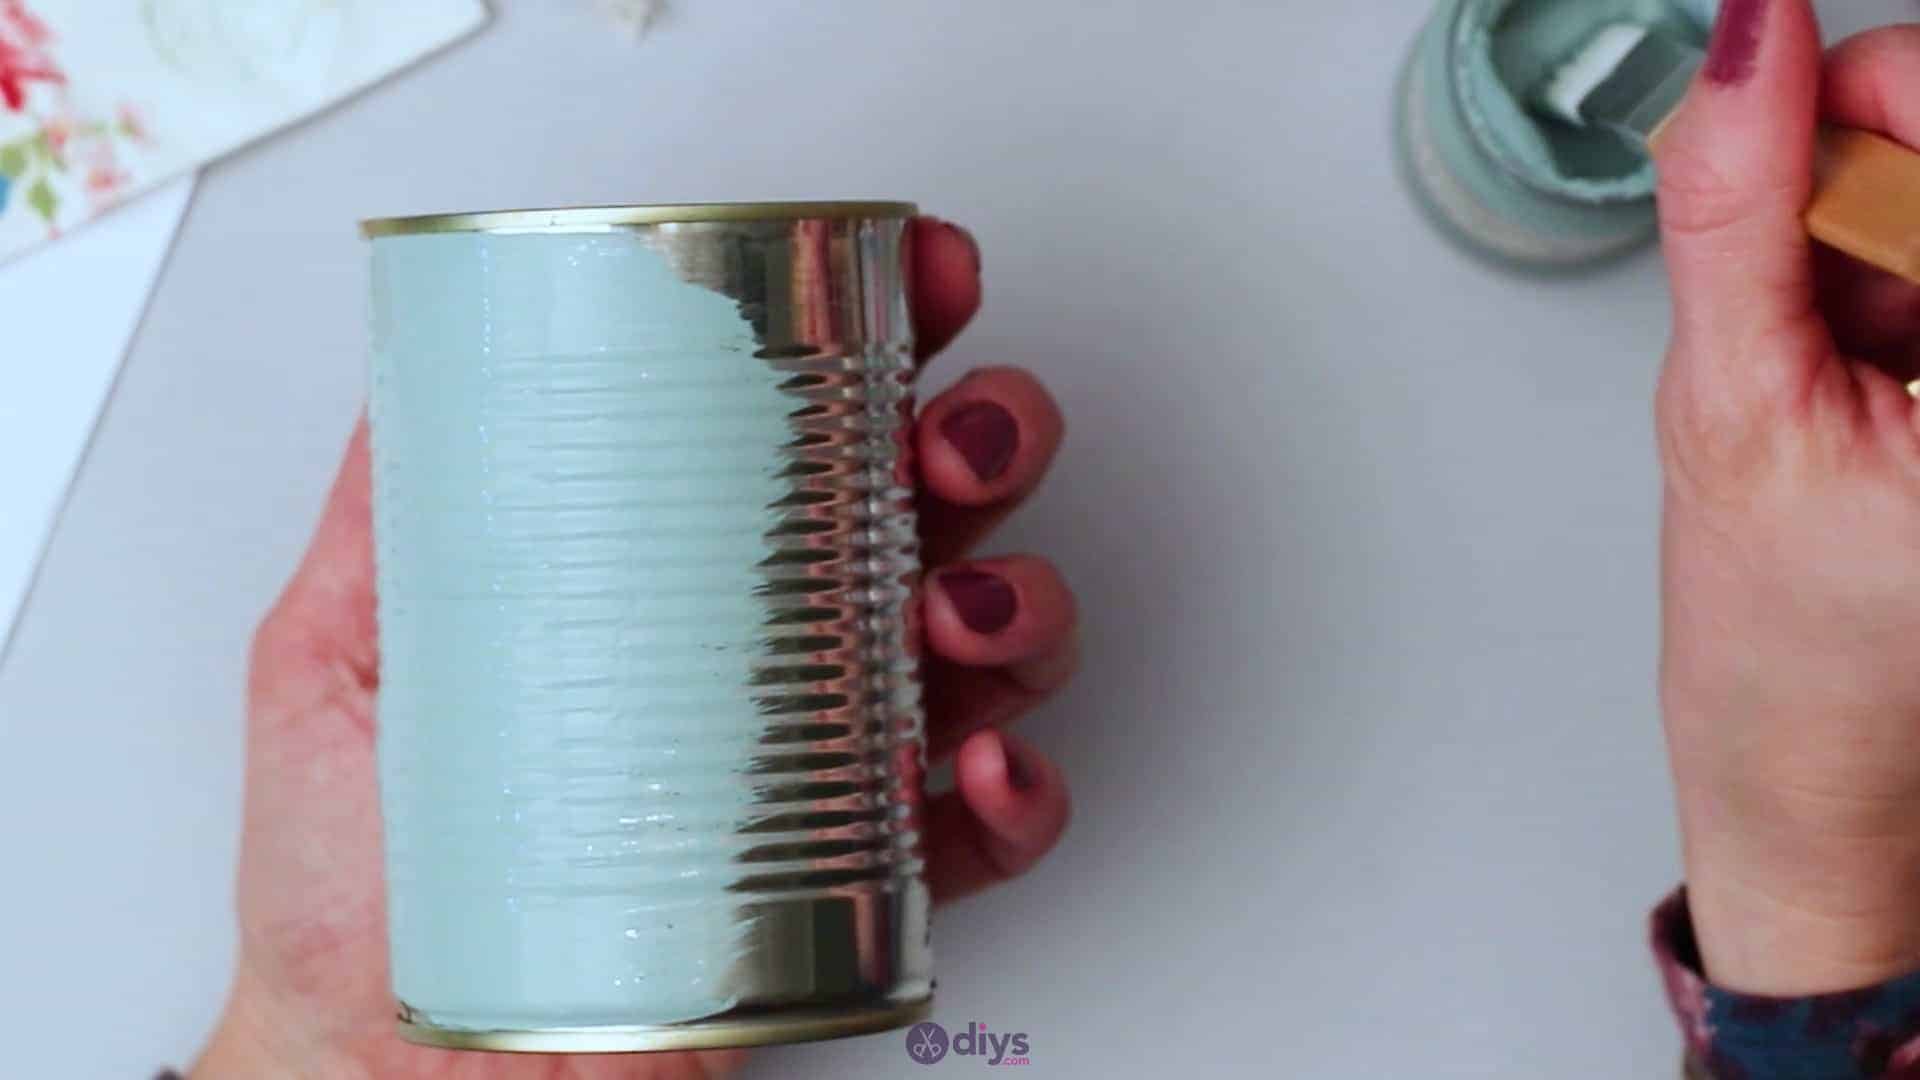
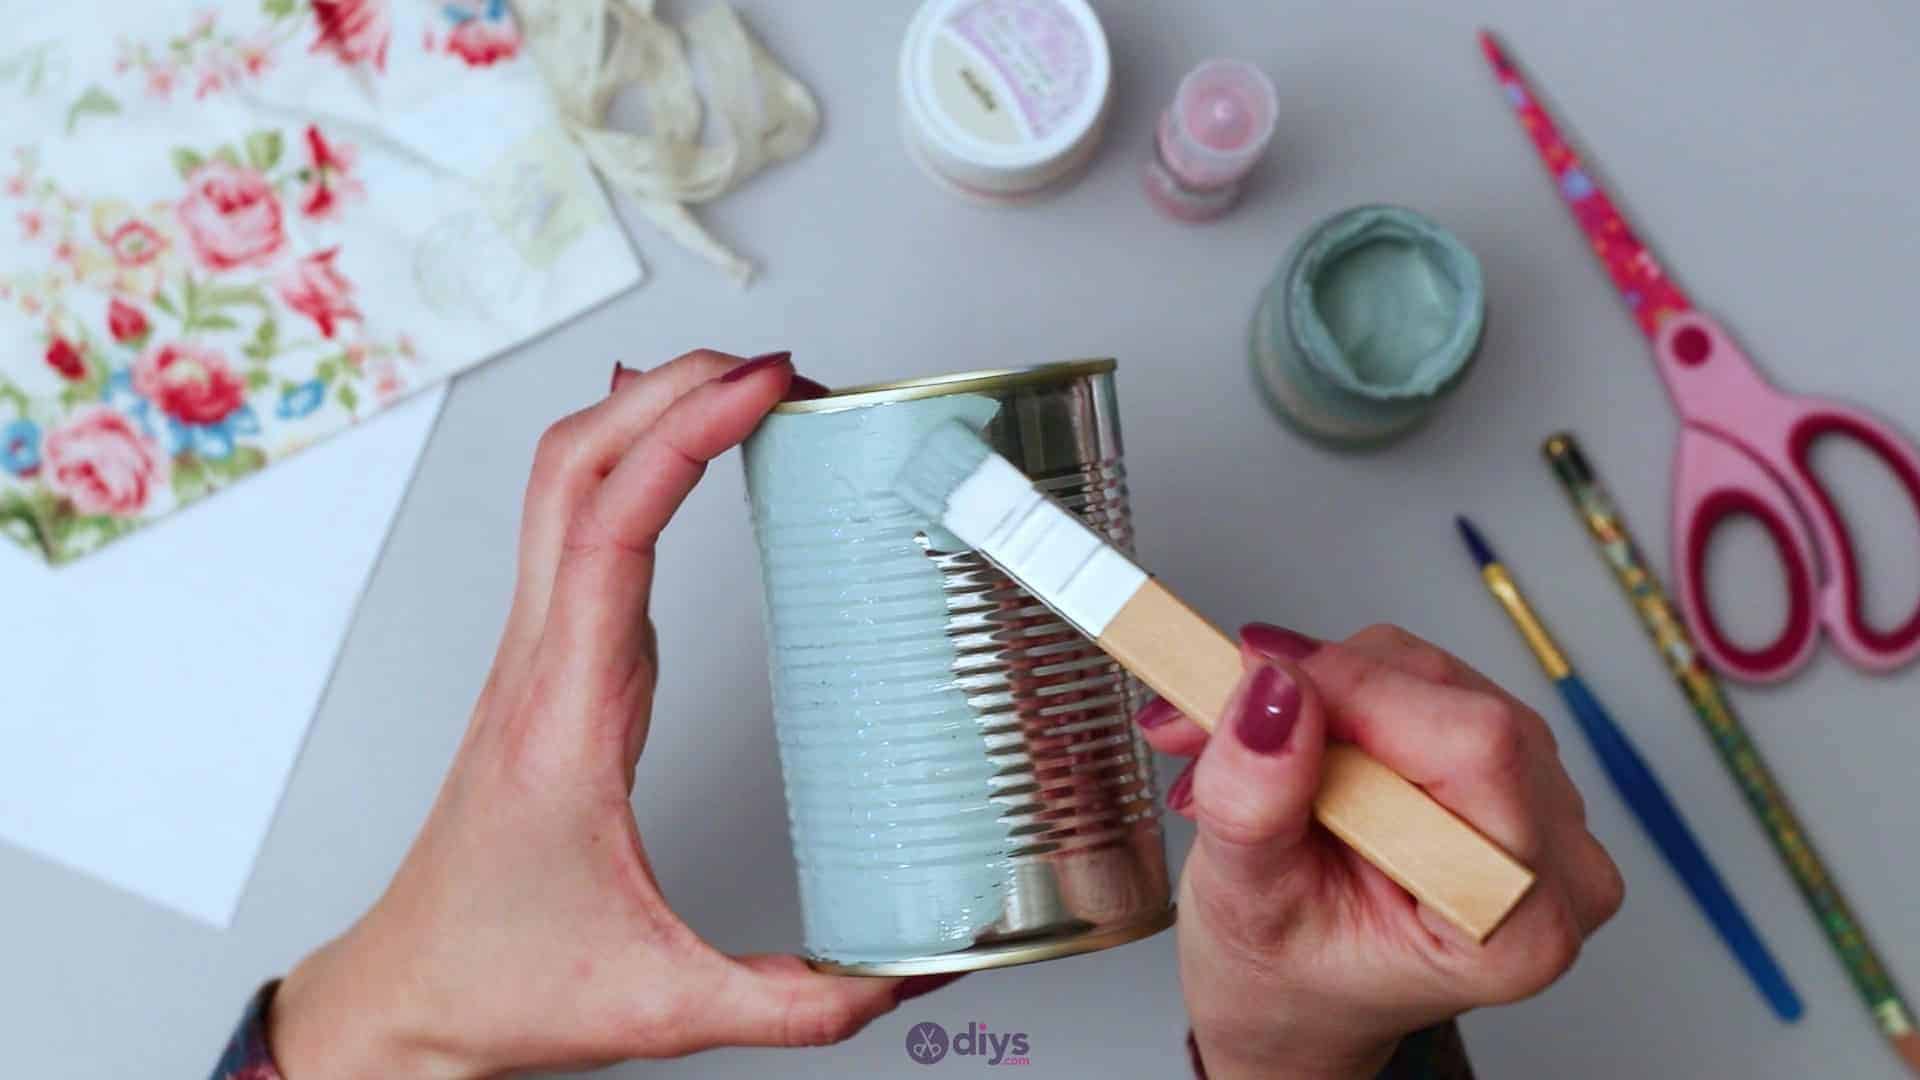
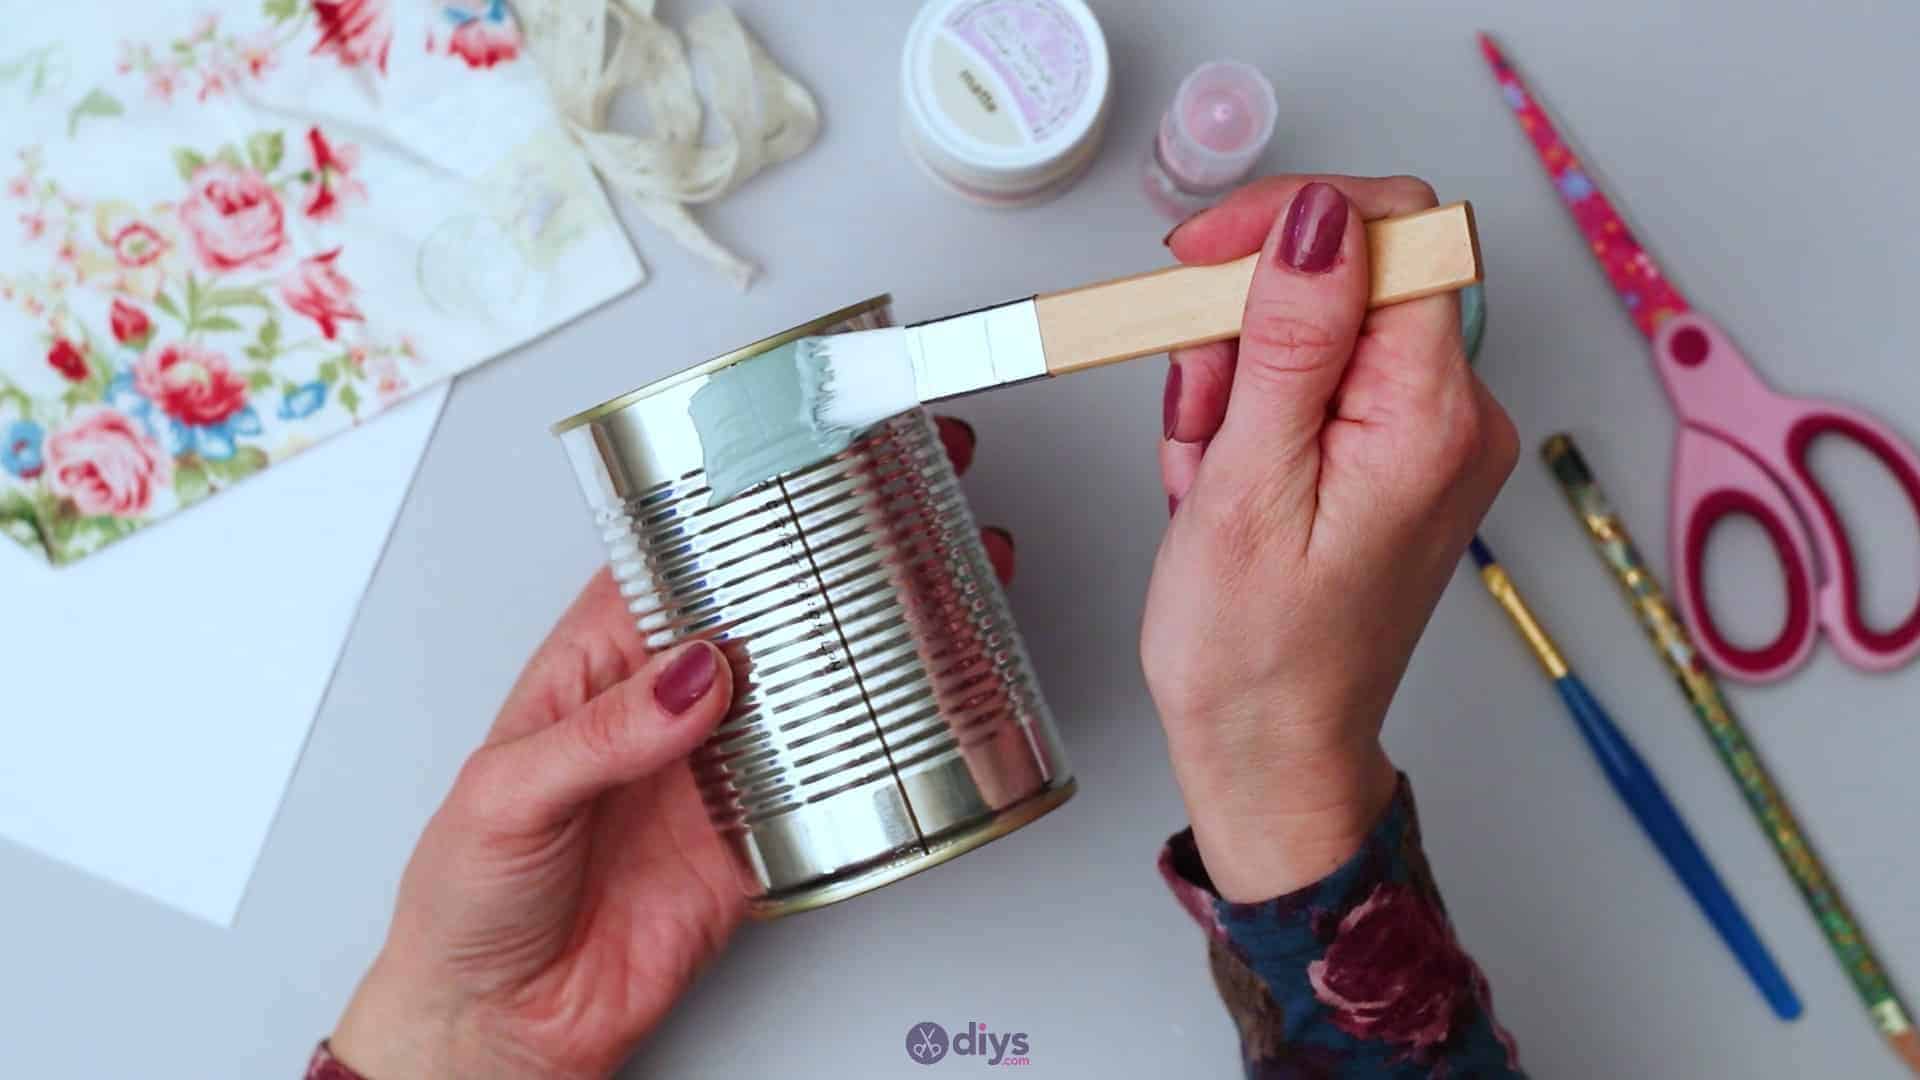
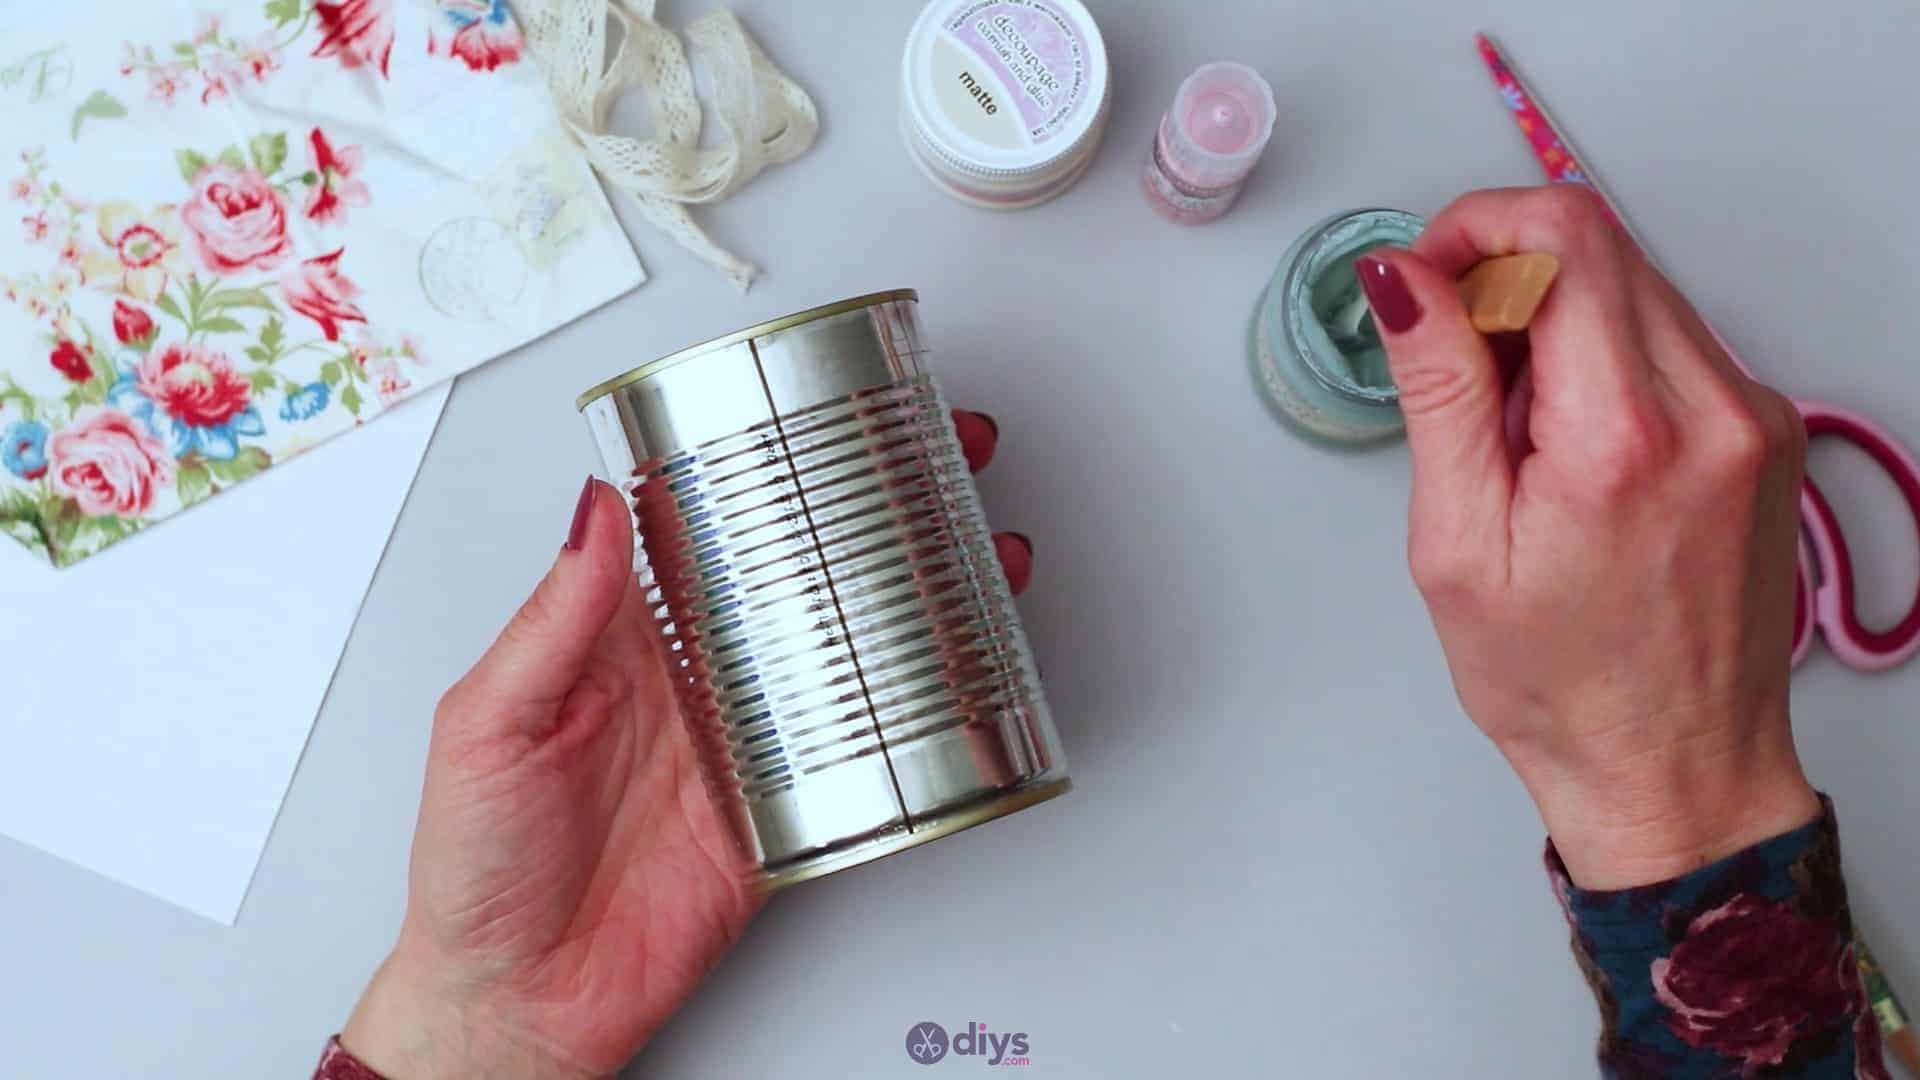
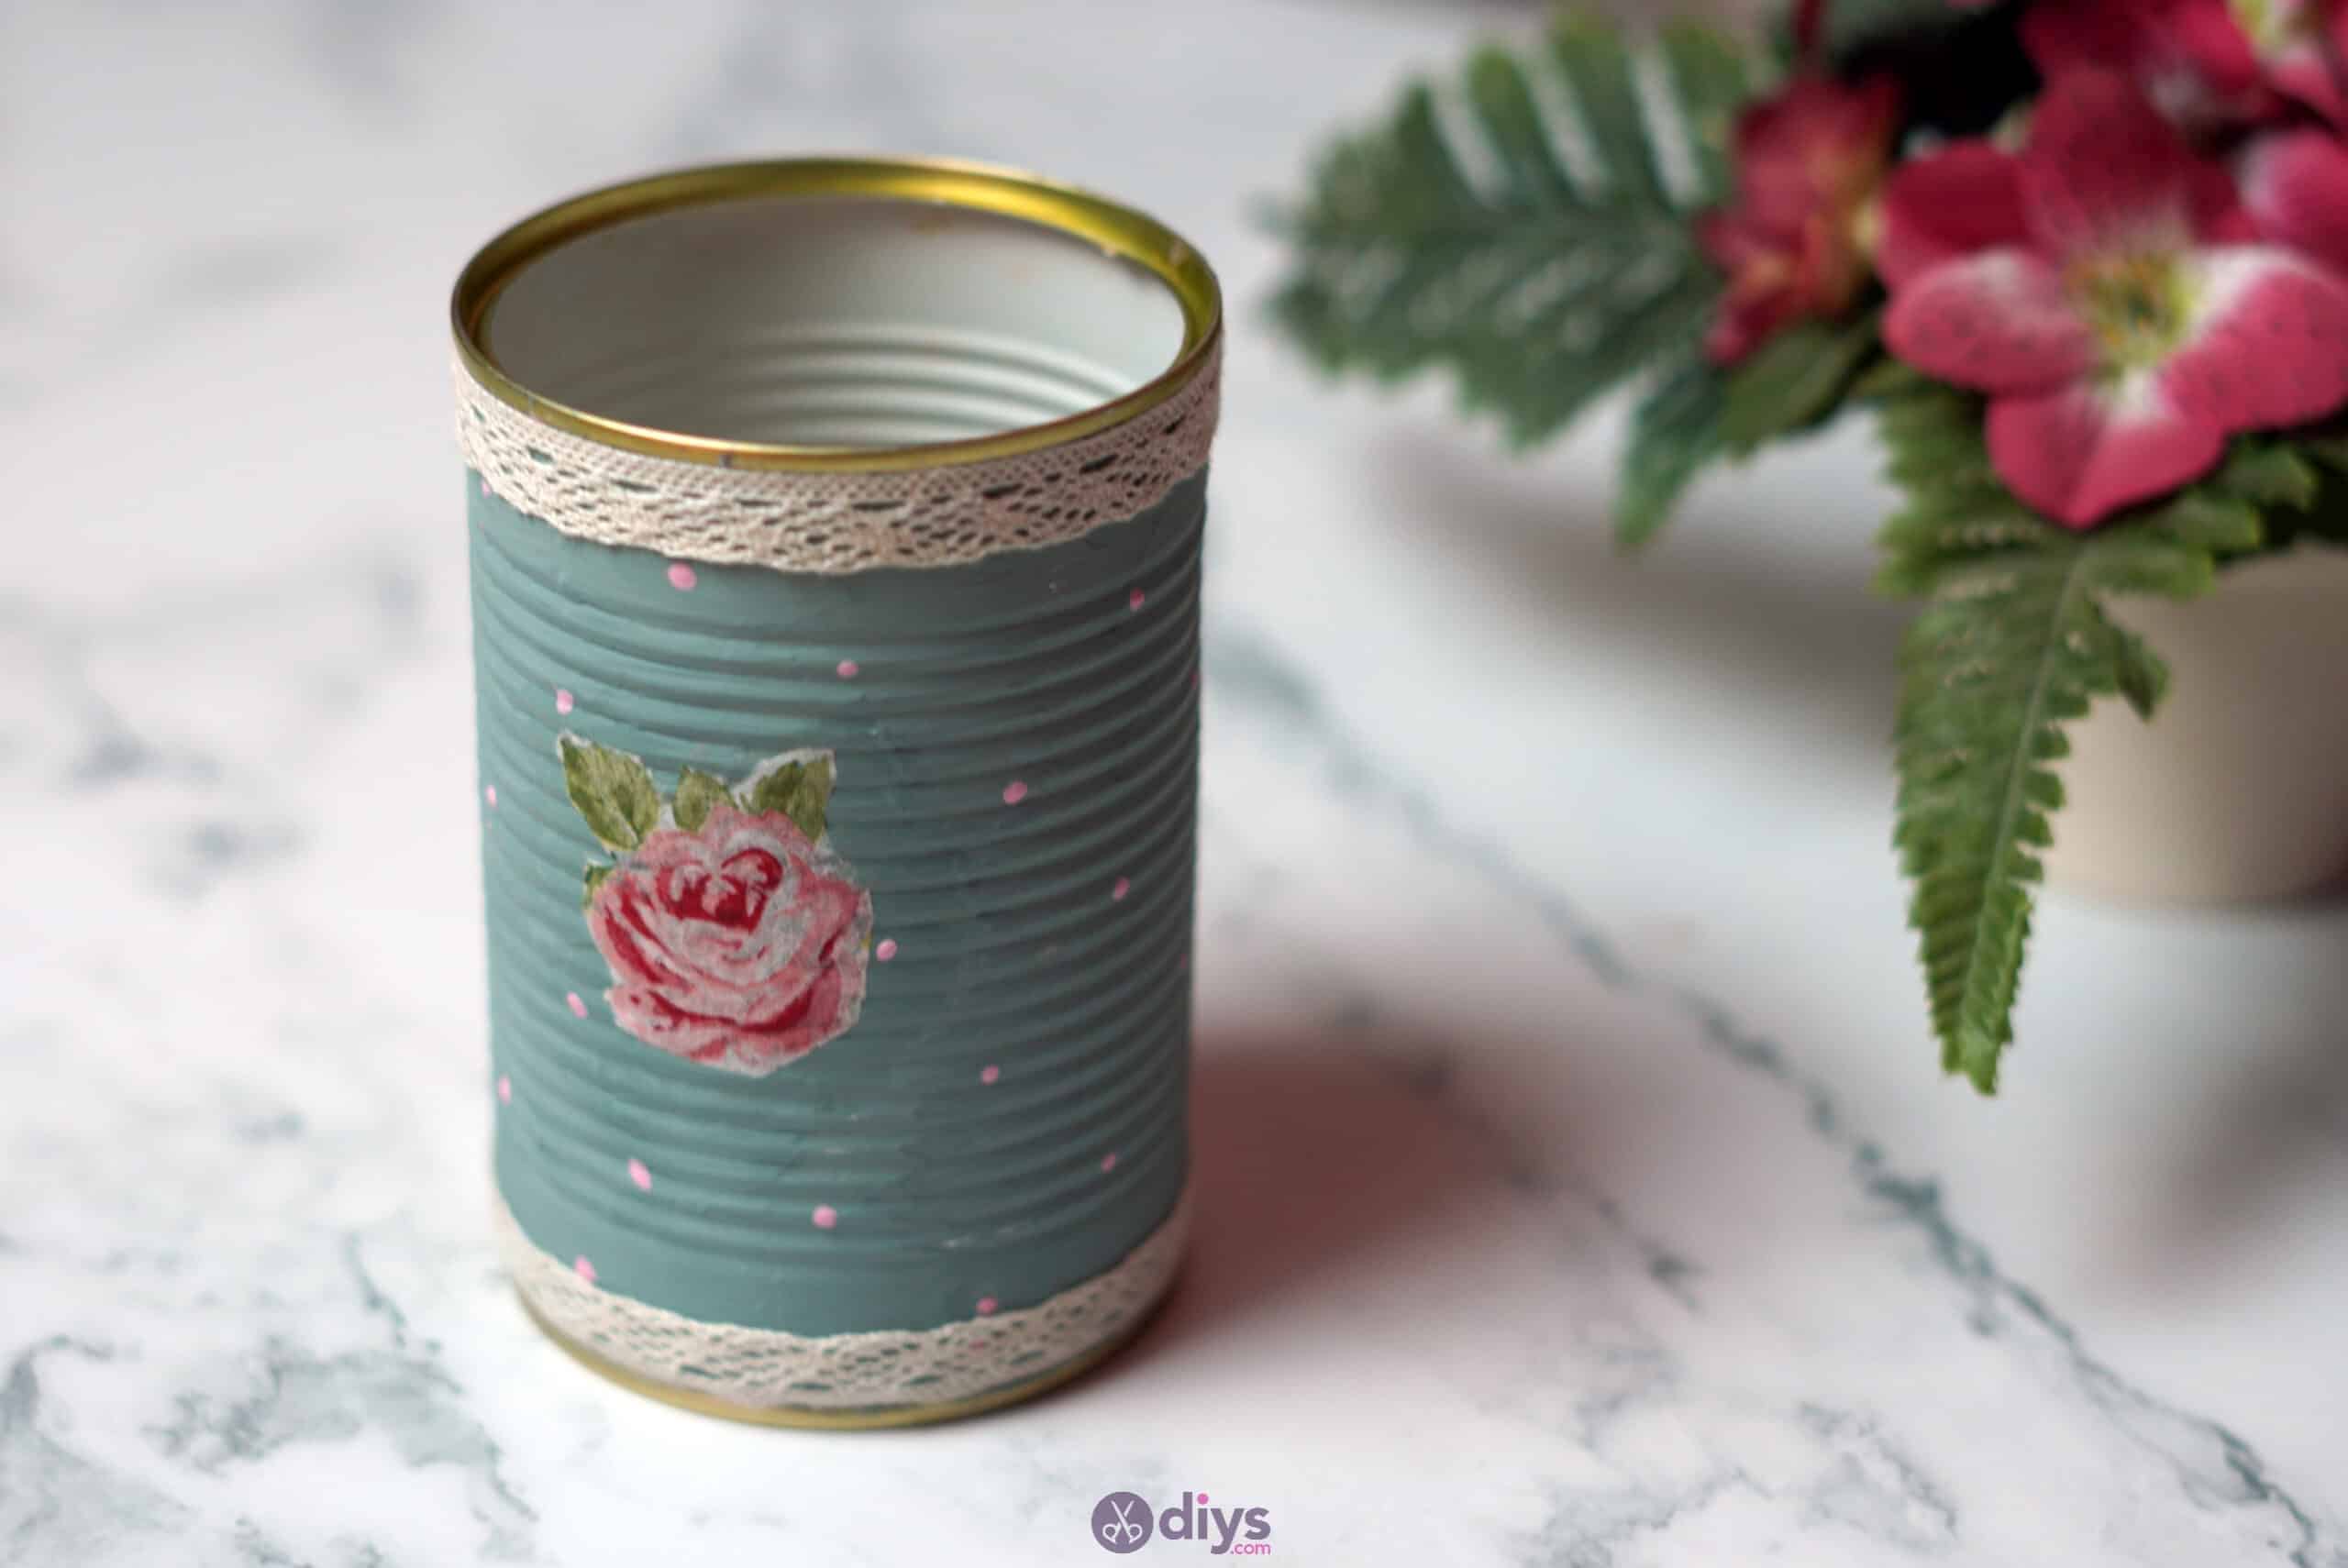
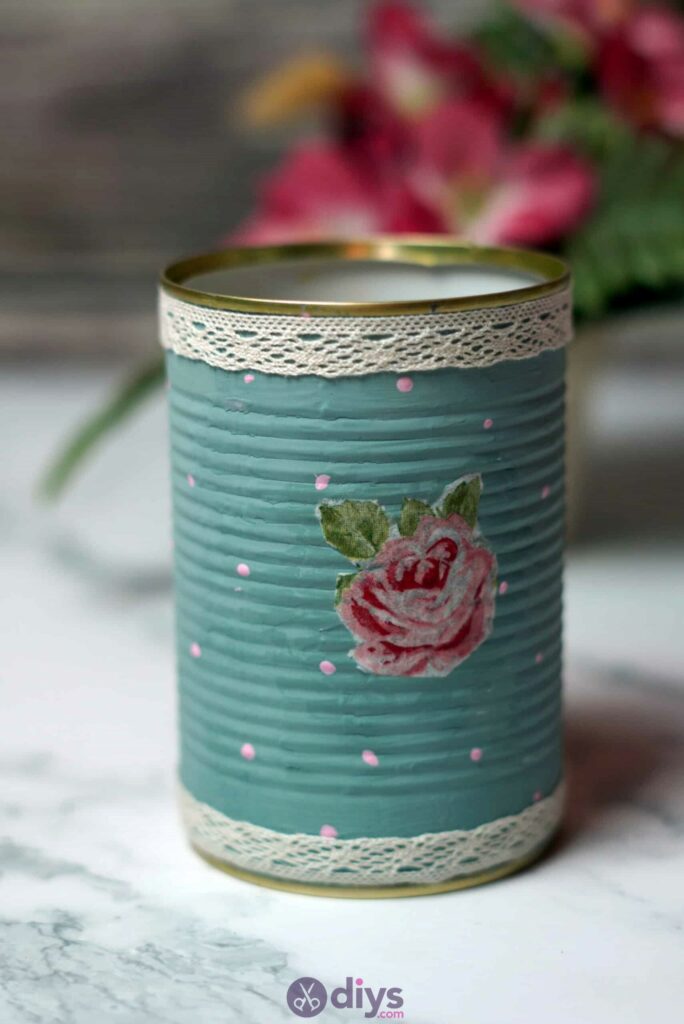
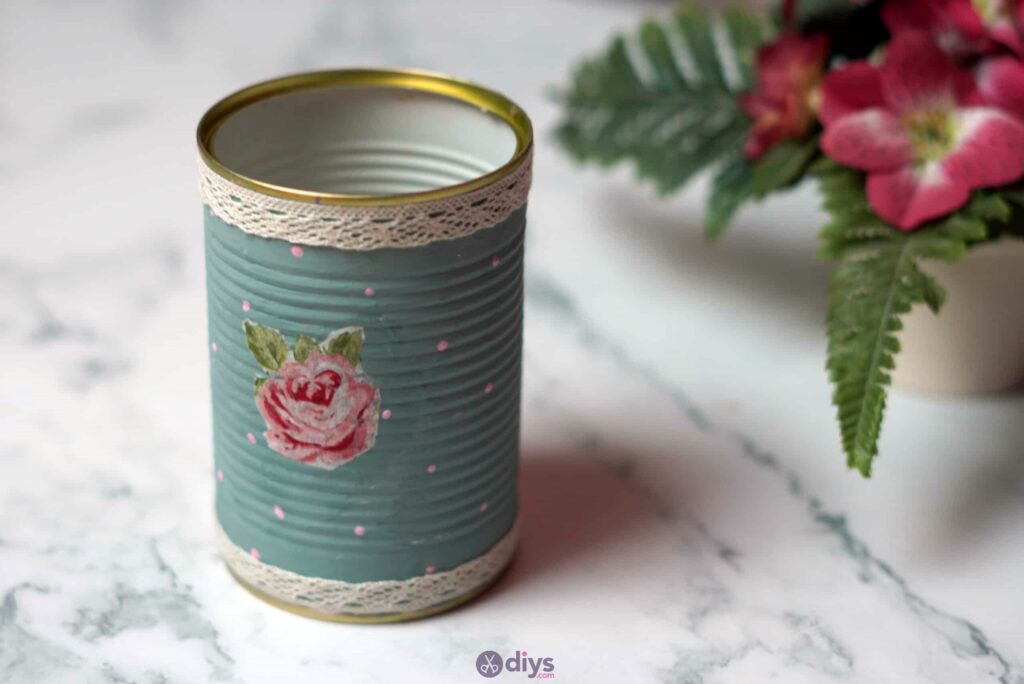
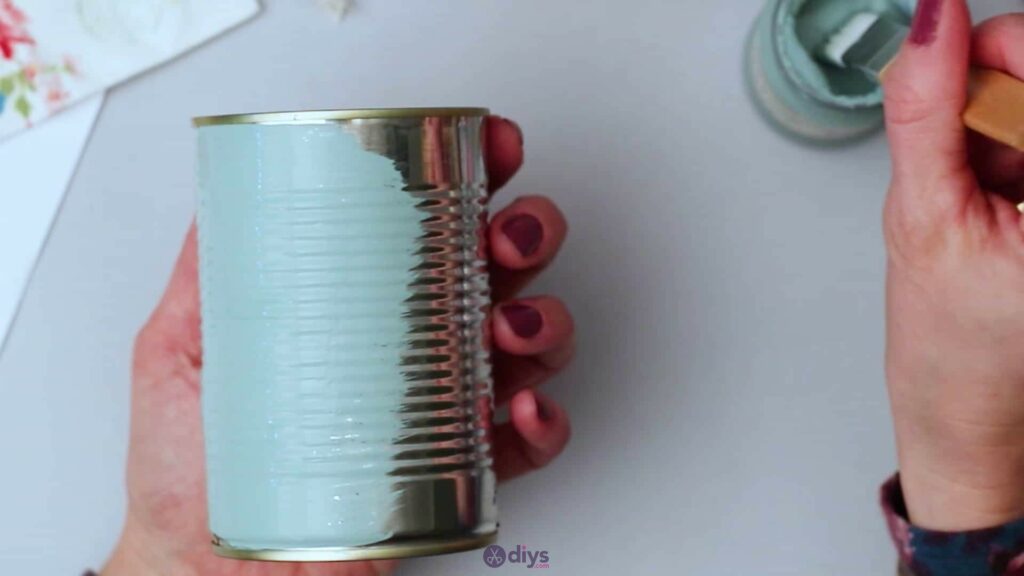
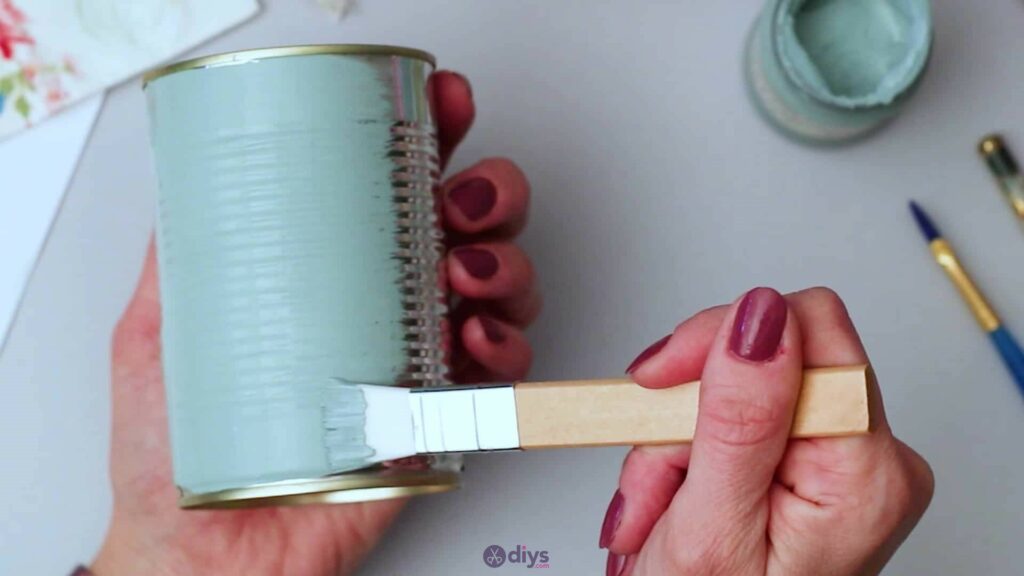
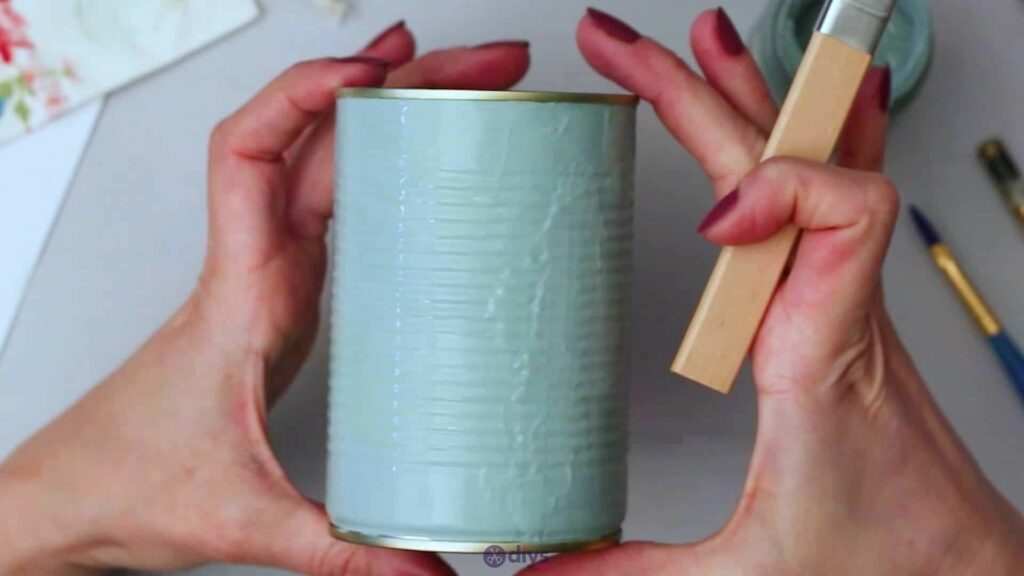
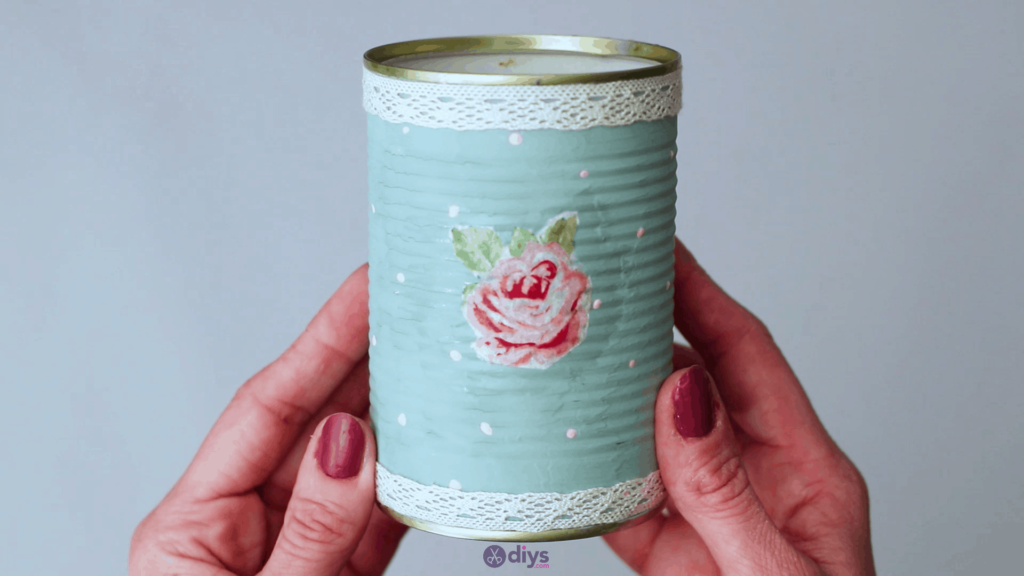
I cleaned out and removed the label from my tin can before I started but if you haven’t done that step yet, then do that first. Once your can is clean and bare, use your paintbrush and acrylic paint to cover its entire outside surface in the colour of your choosing. I chose an eggshell blue for a slightly kitschy vintage aesthetic, like the teals and blues of a stylish 1950s mod kitchen. I left the bottom and top rims around the very edges of my can unpainted. When you’re done painting, set the can aside to dry.


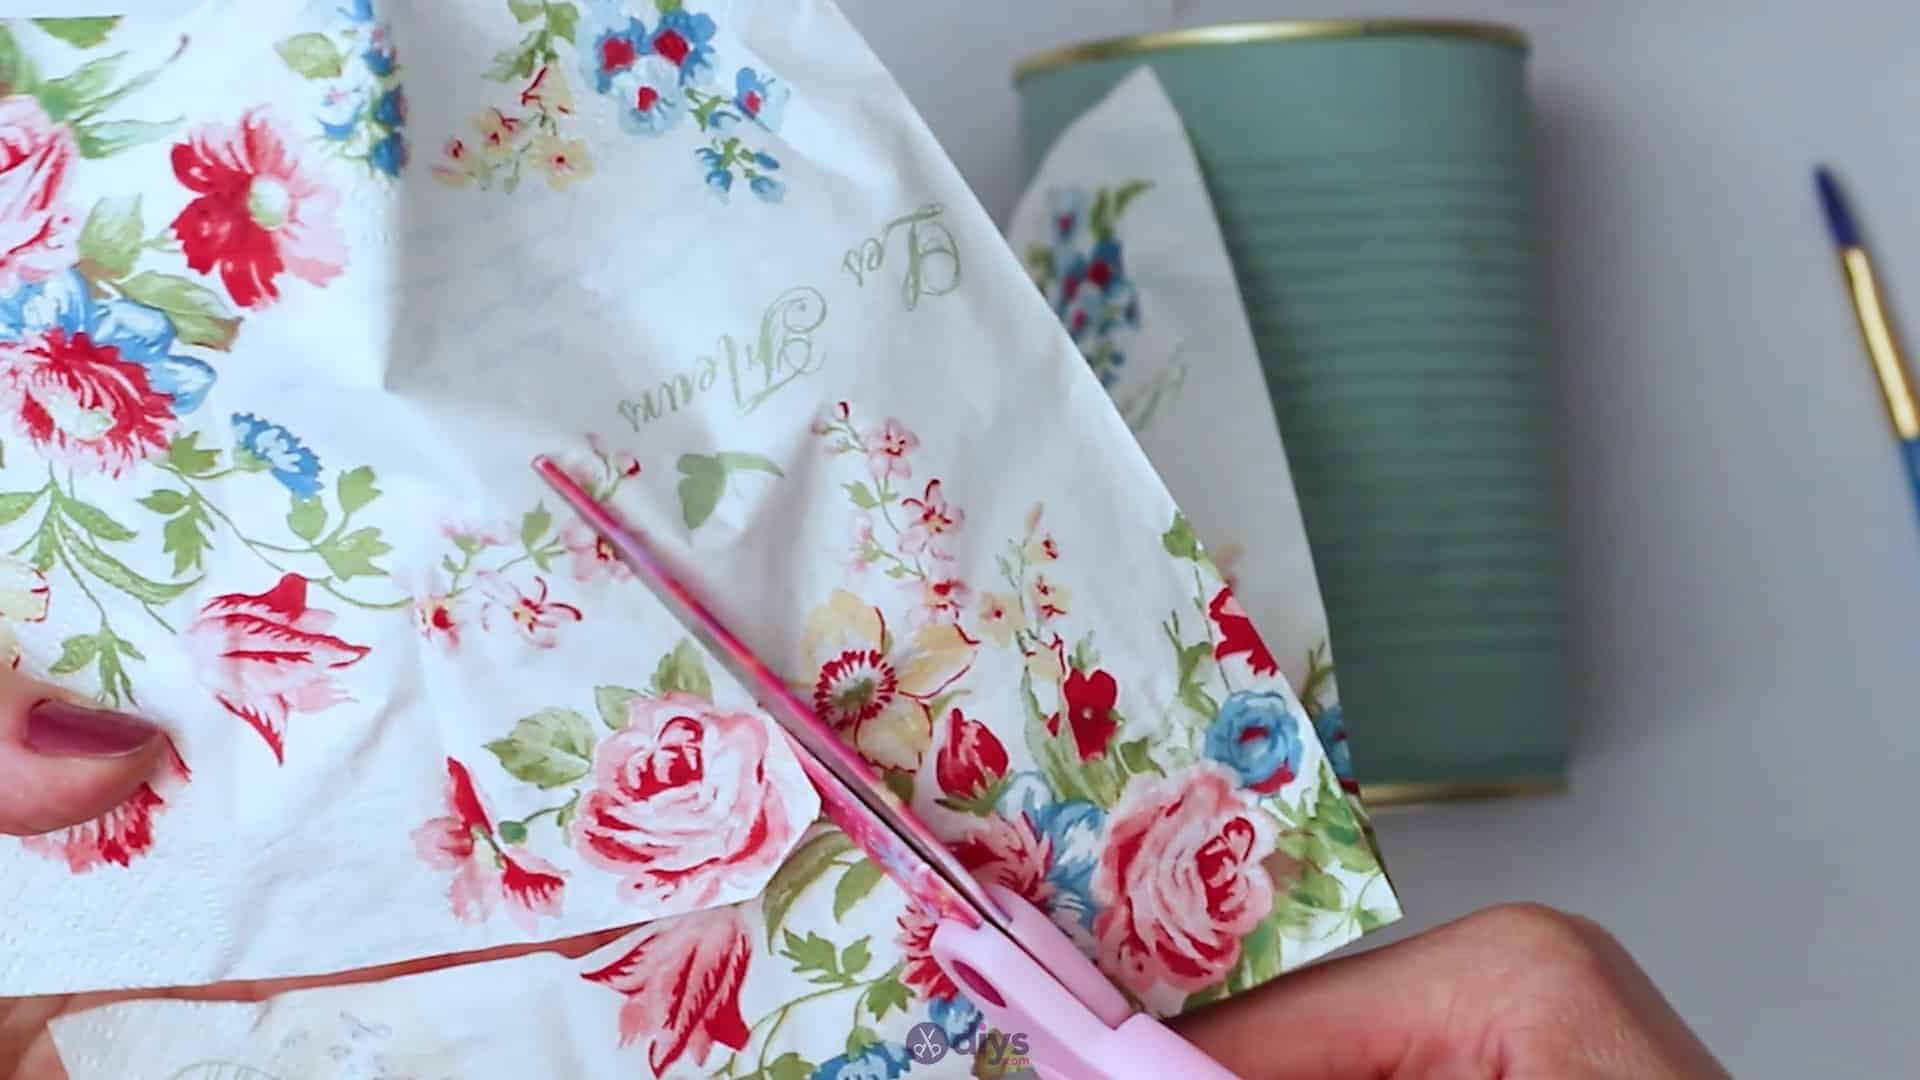
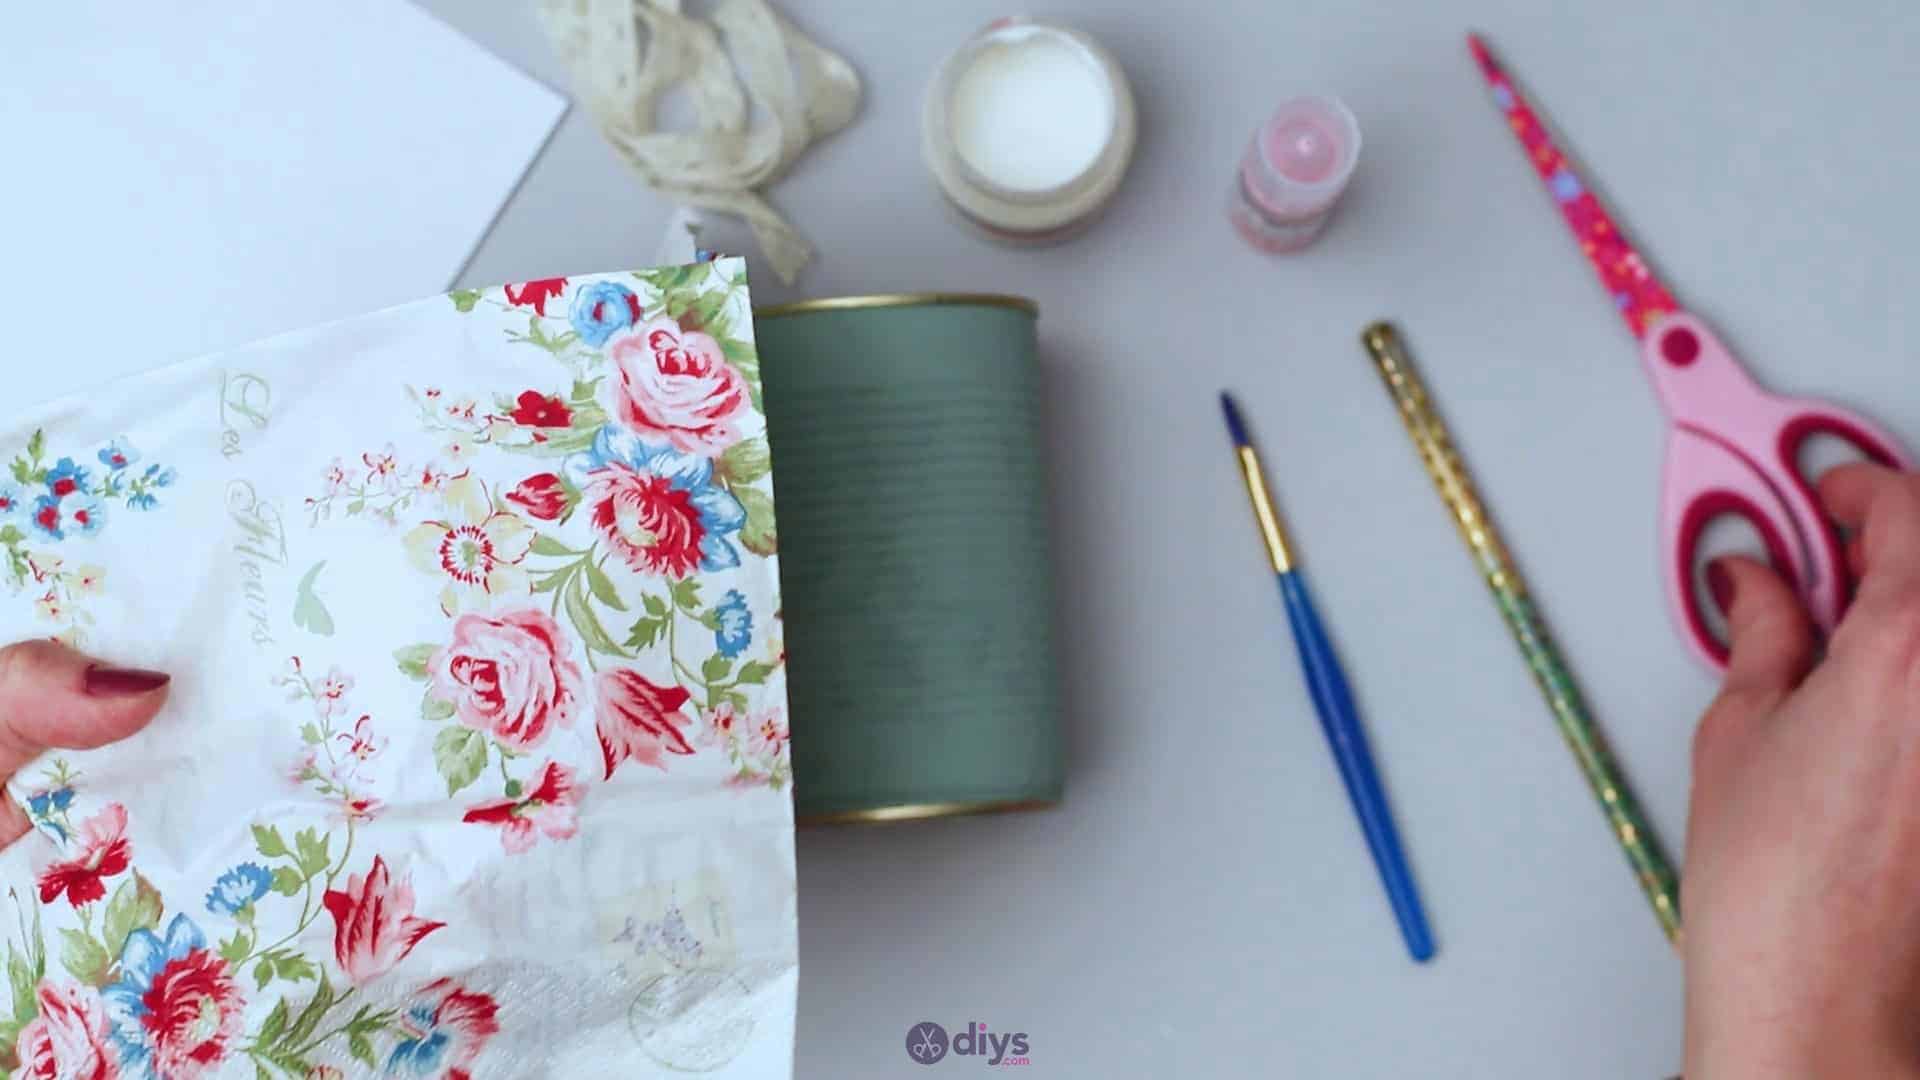
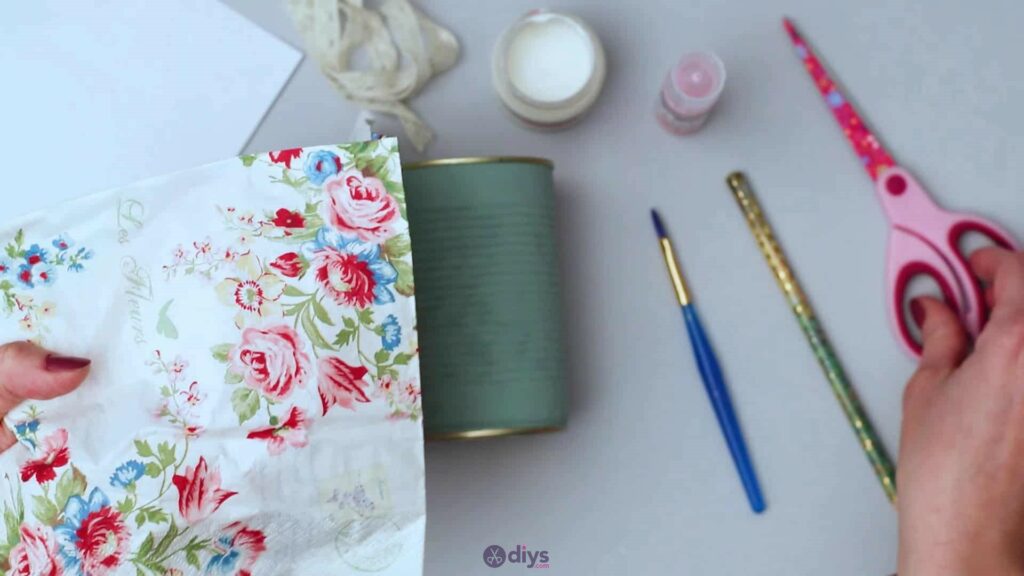
Step 3: pick your flowers
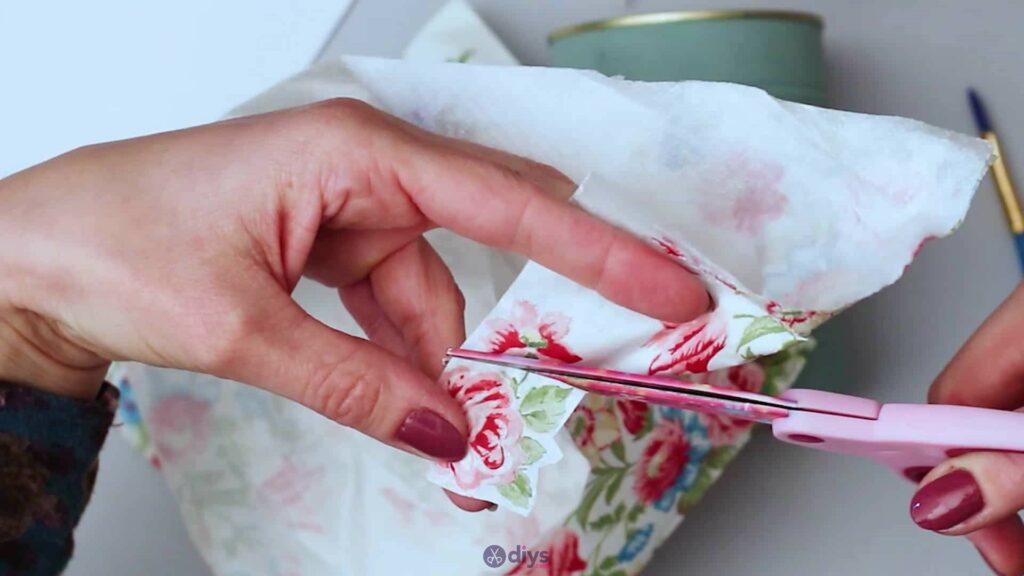
Choose a section from the pattern on your floral paper napkin to serve as the central rose on your vintage can container. Use your scissors to carefully cut it out. I left a slightly border of white around the rose for neatness and to make it pop against the painted blue surface.

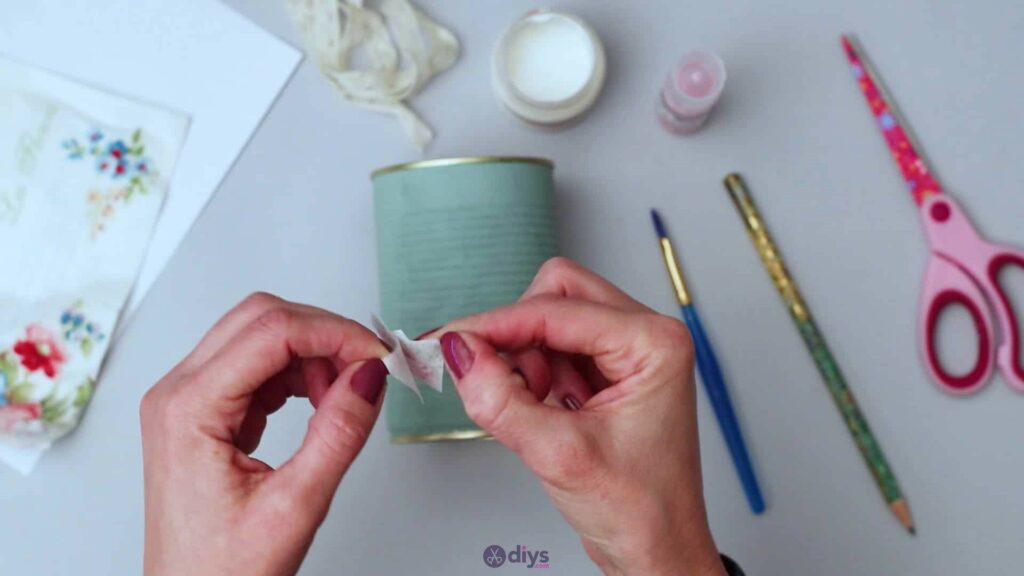
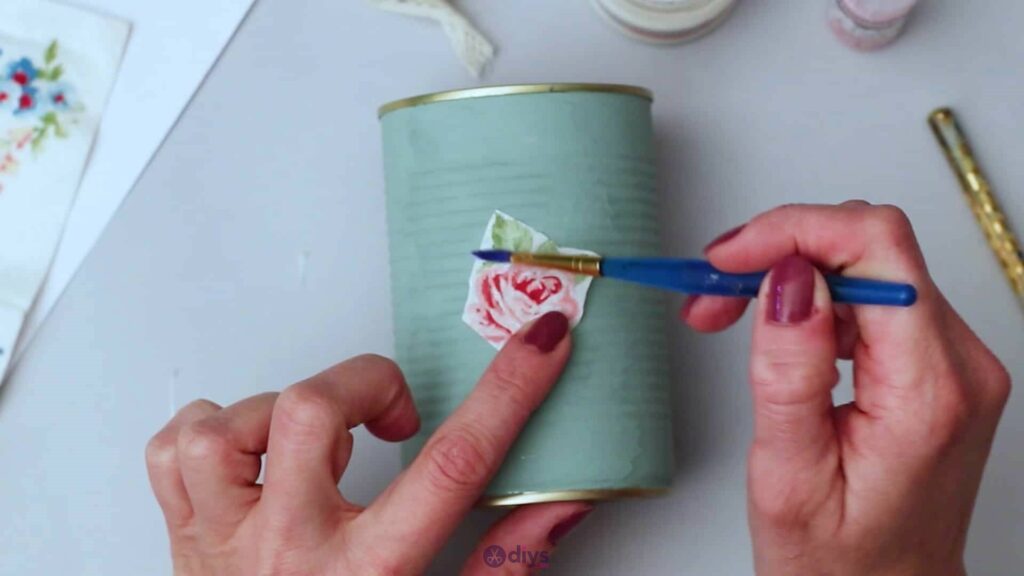
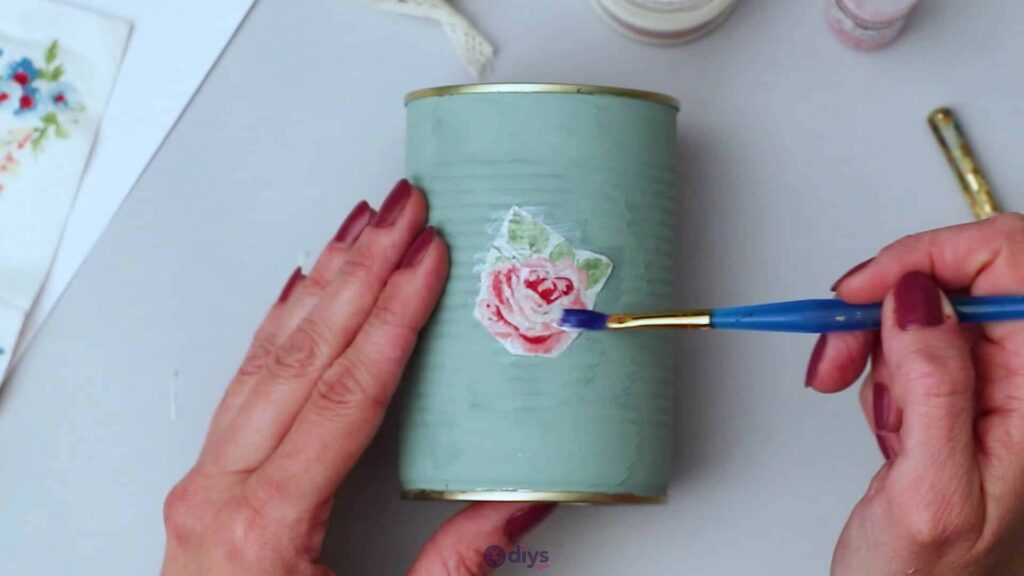
Step 4: add the flower
When the paint on your can has dried completely, you can decoupage your rose down as a central piece. Choose which side of your can you’d like to be the front. Pick up the napkin rose you cut out and peel the layers of the napkin piece apart so you just have the top layer with the actual design printed on it. Place this down on your can where you’d like it to sit and use a clean paintbrush and your decoupage glue to paste the rose piece onto the can’s surface. Spread a thin layer of decoupage glue right over the rose, applying enough to wet it and stick it down well with no lifting edges, but not so much that the napkin piece gets saturated and wrinkles or rips. Leave the piece to dry once again.


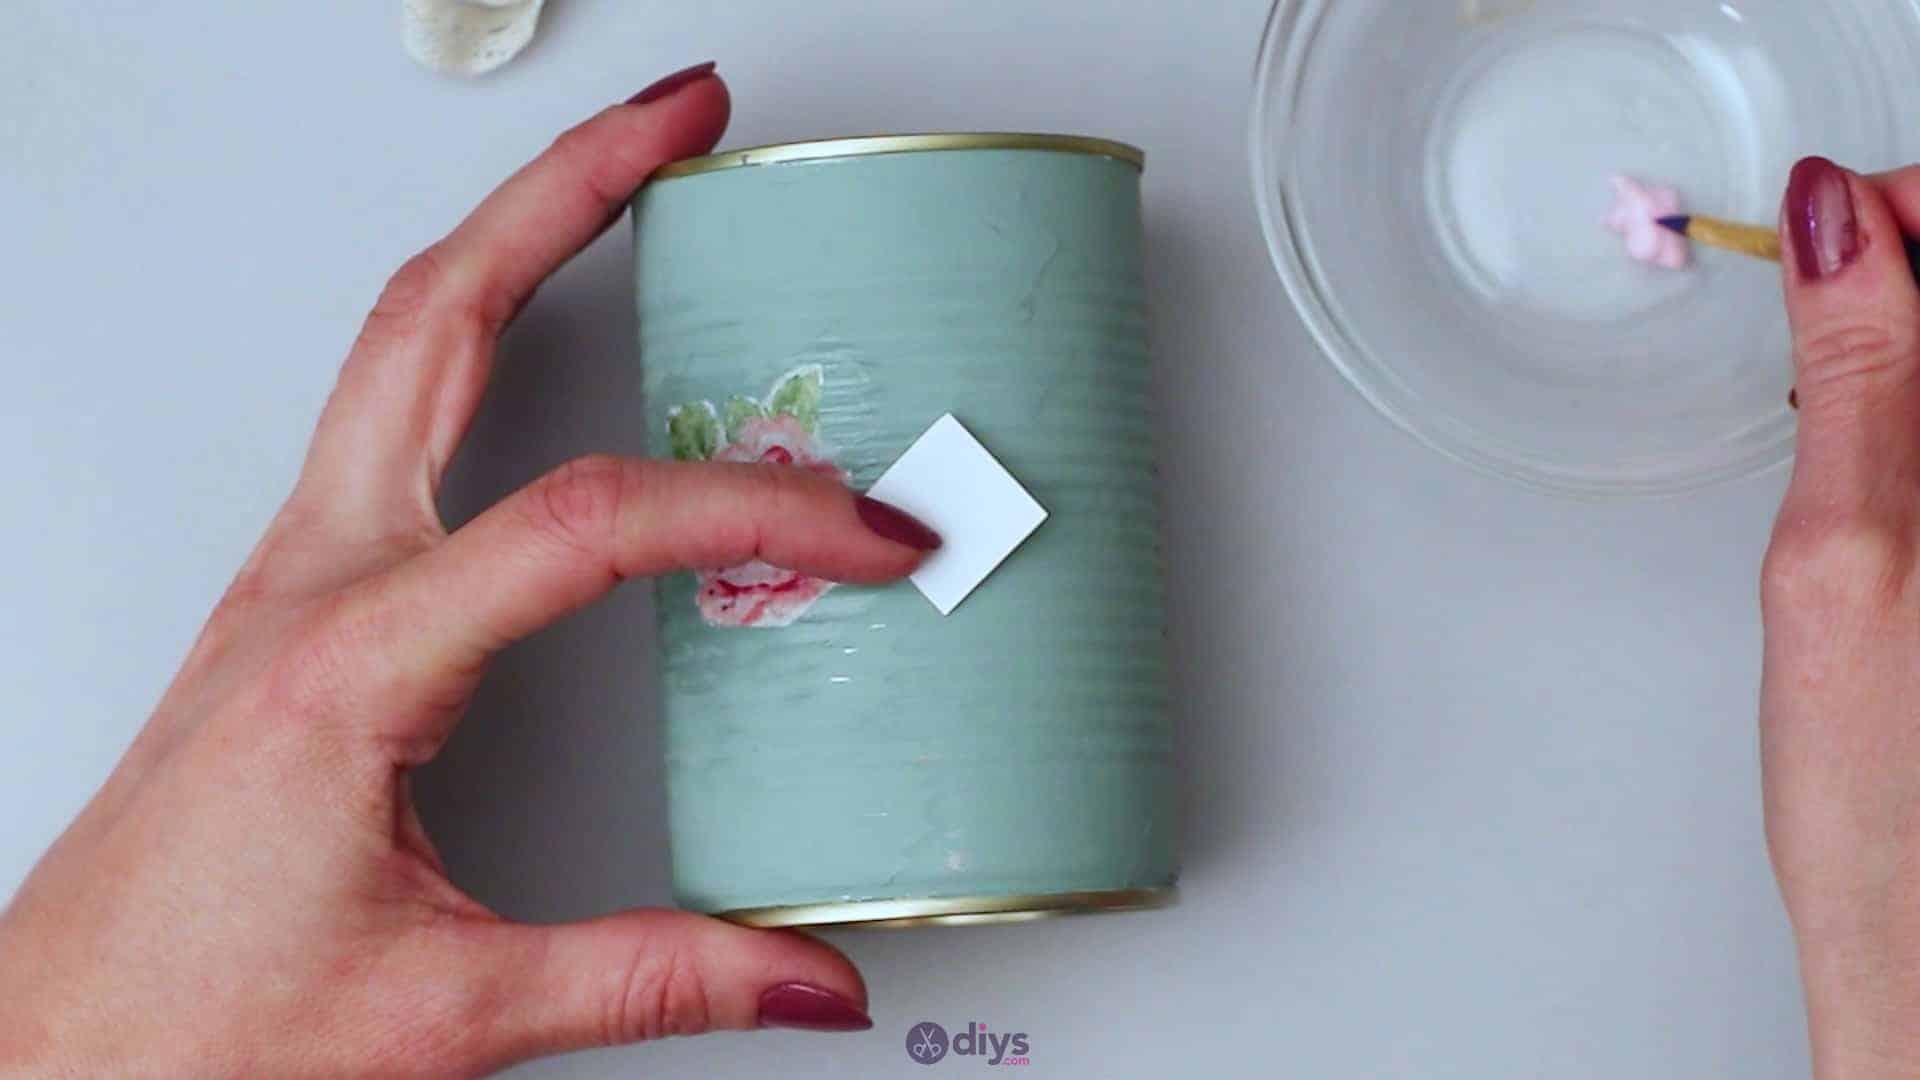
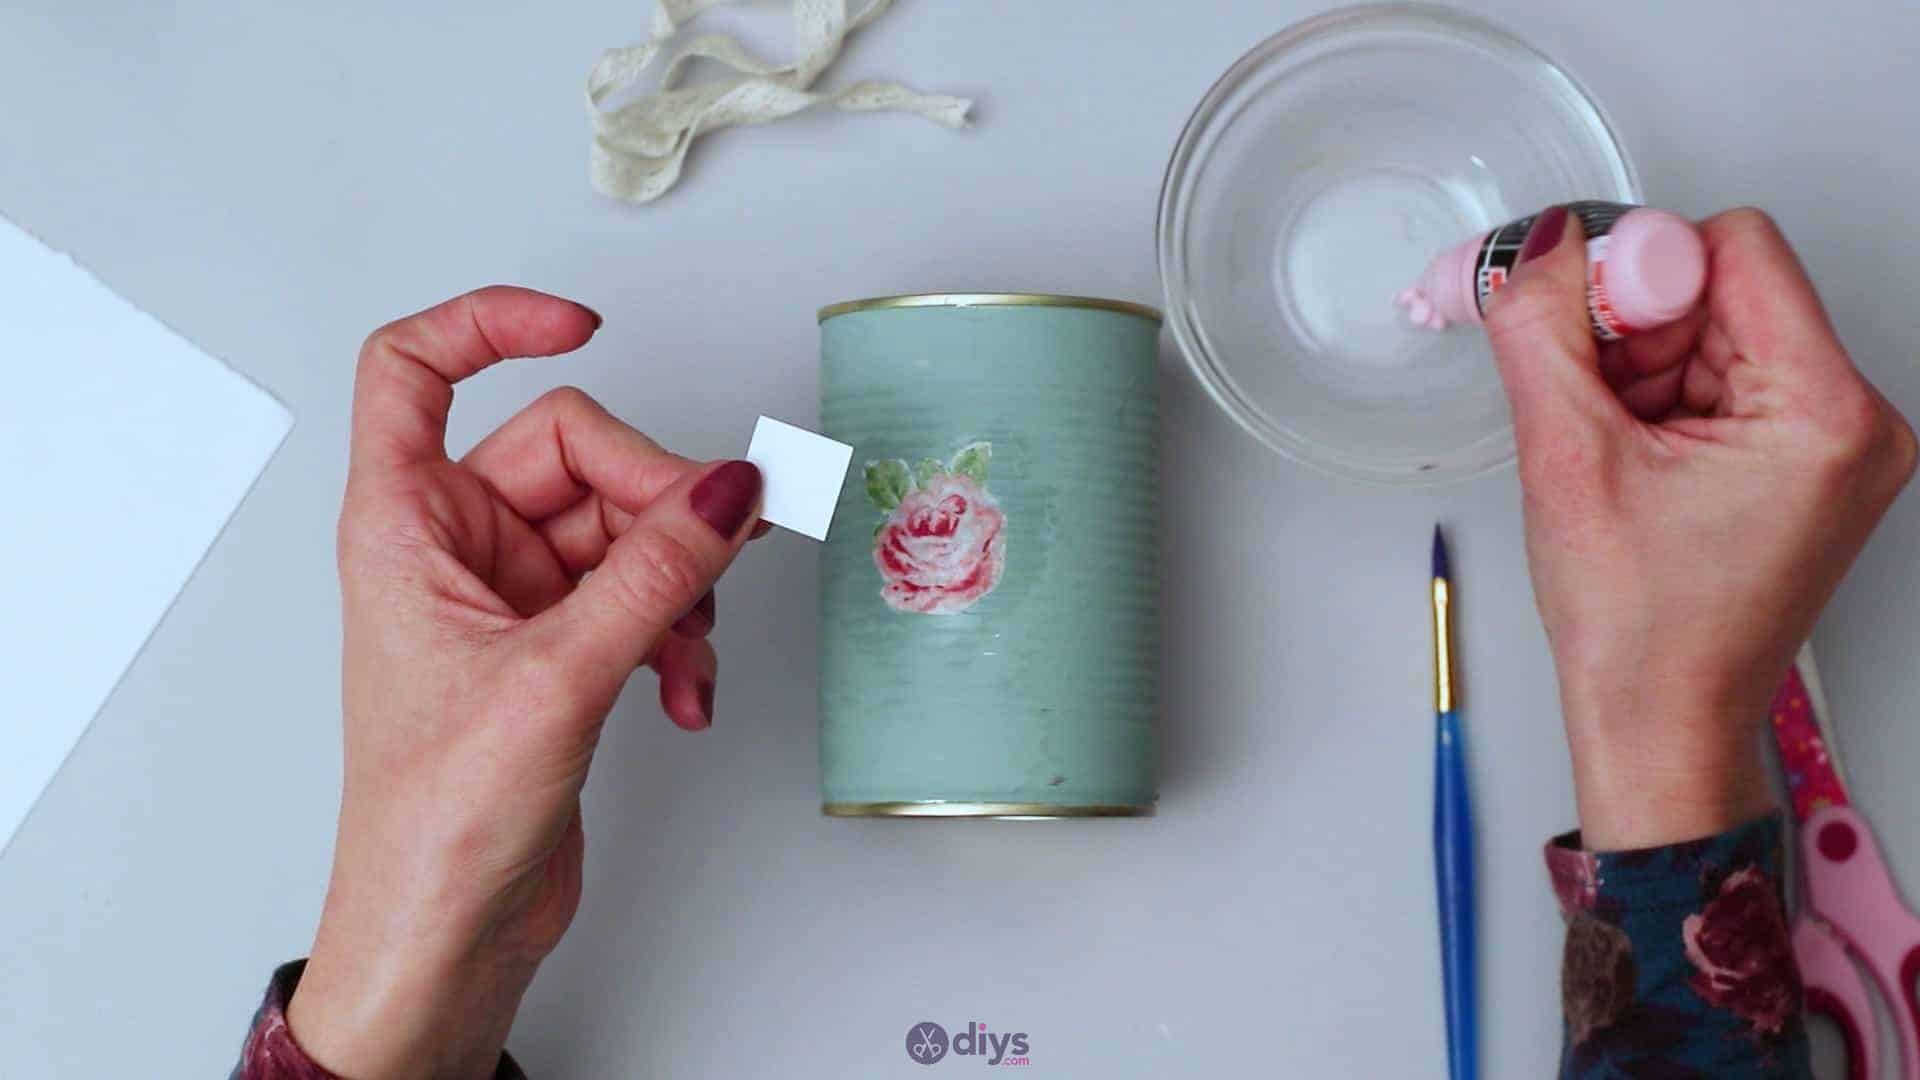
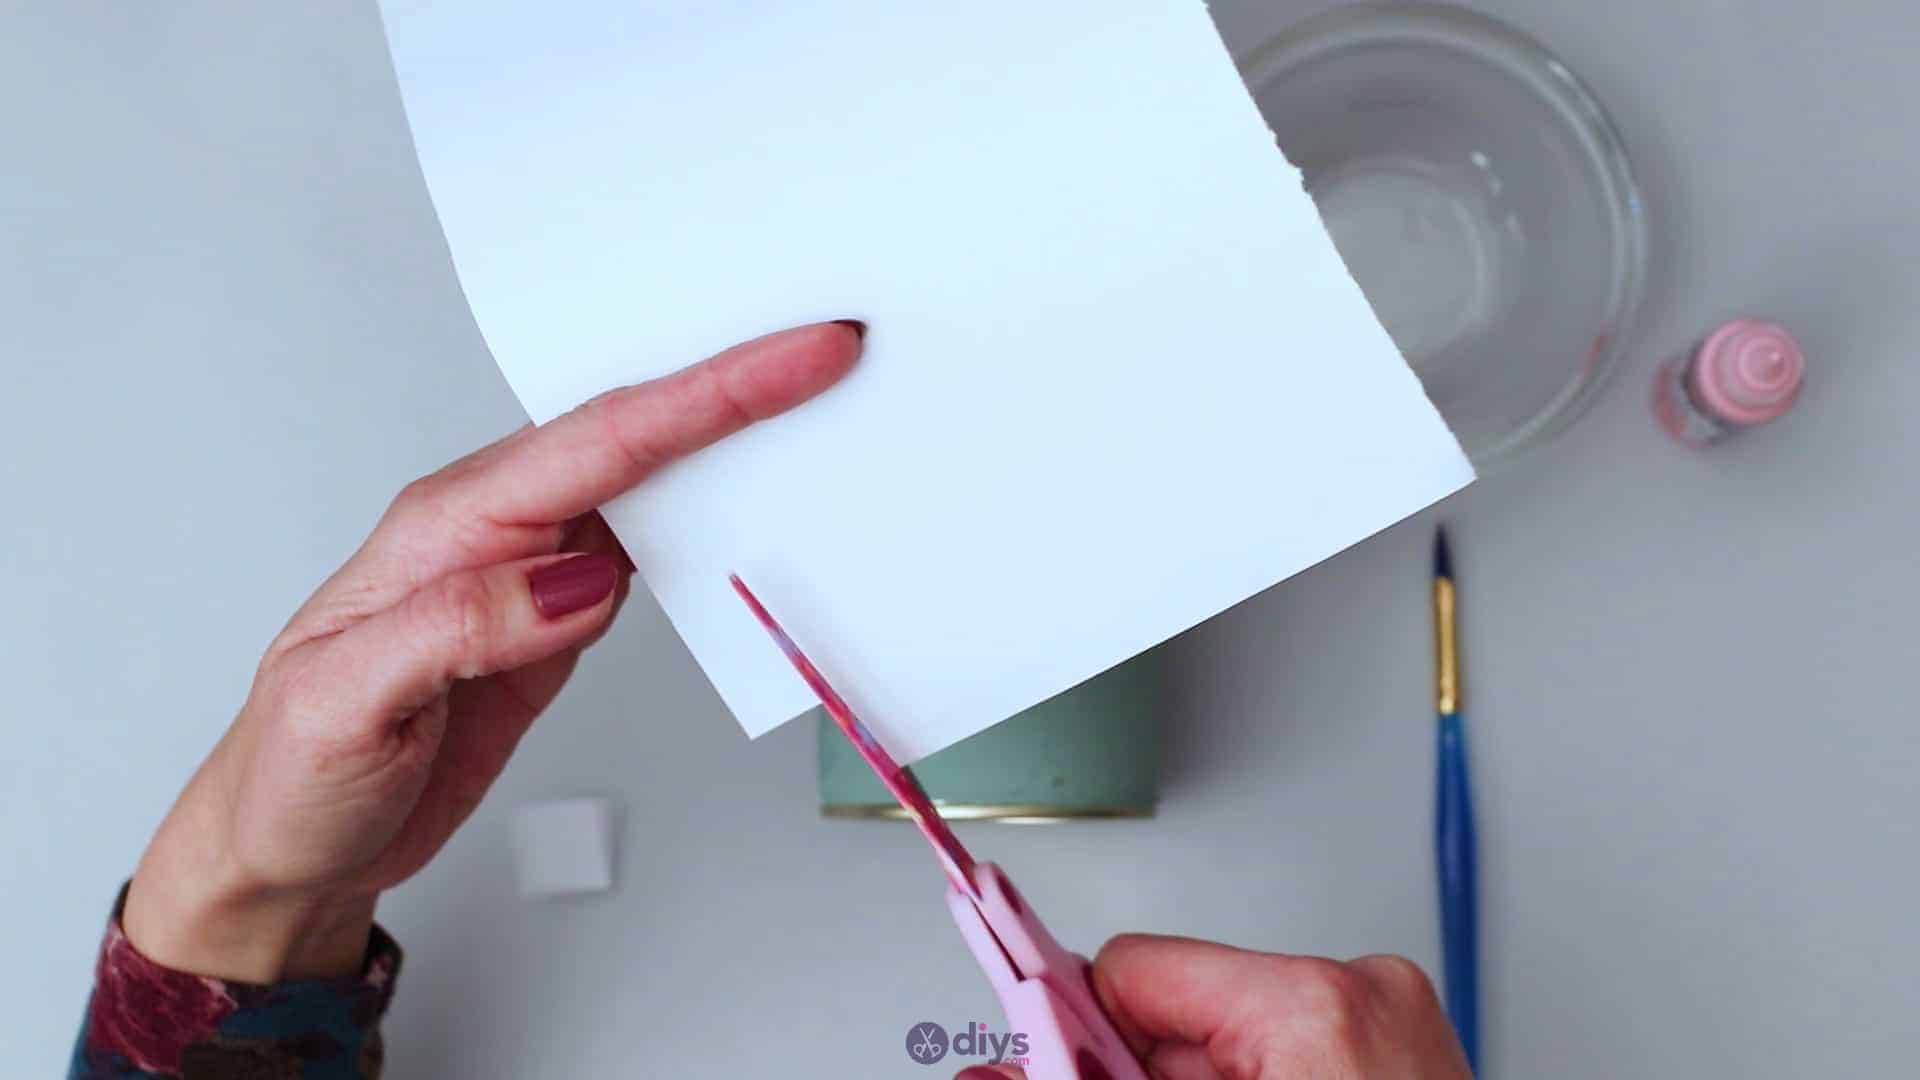
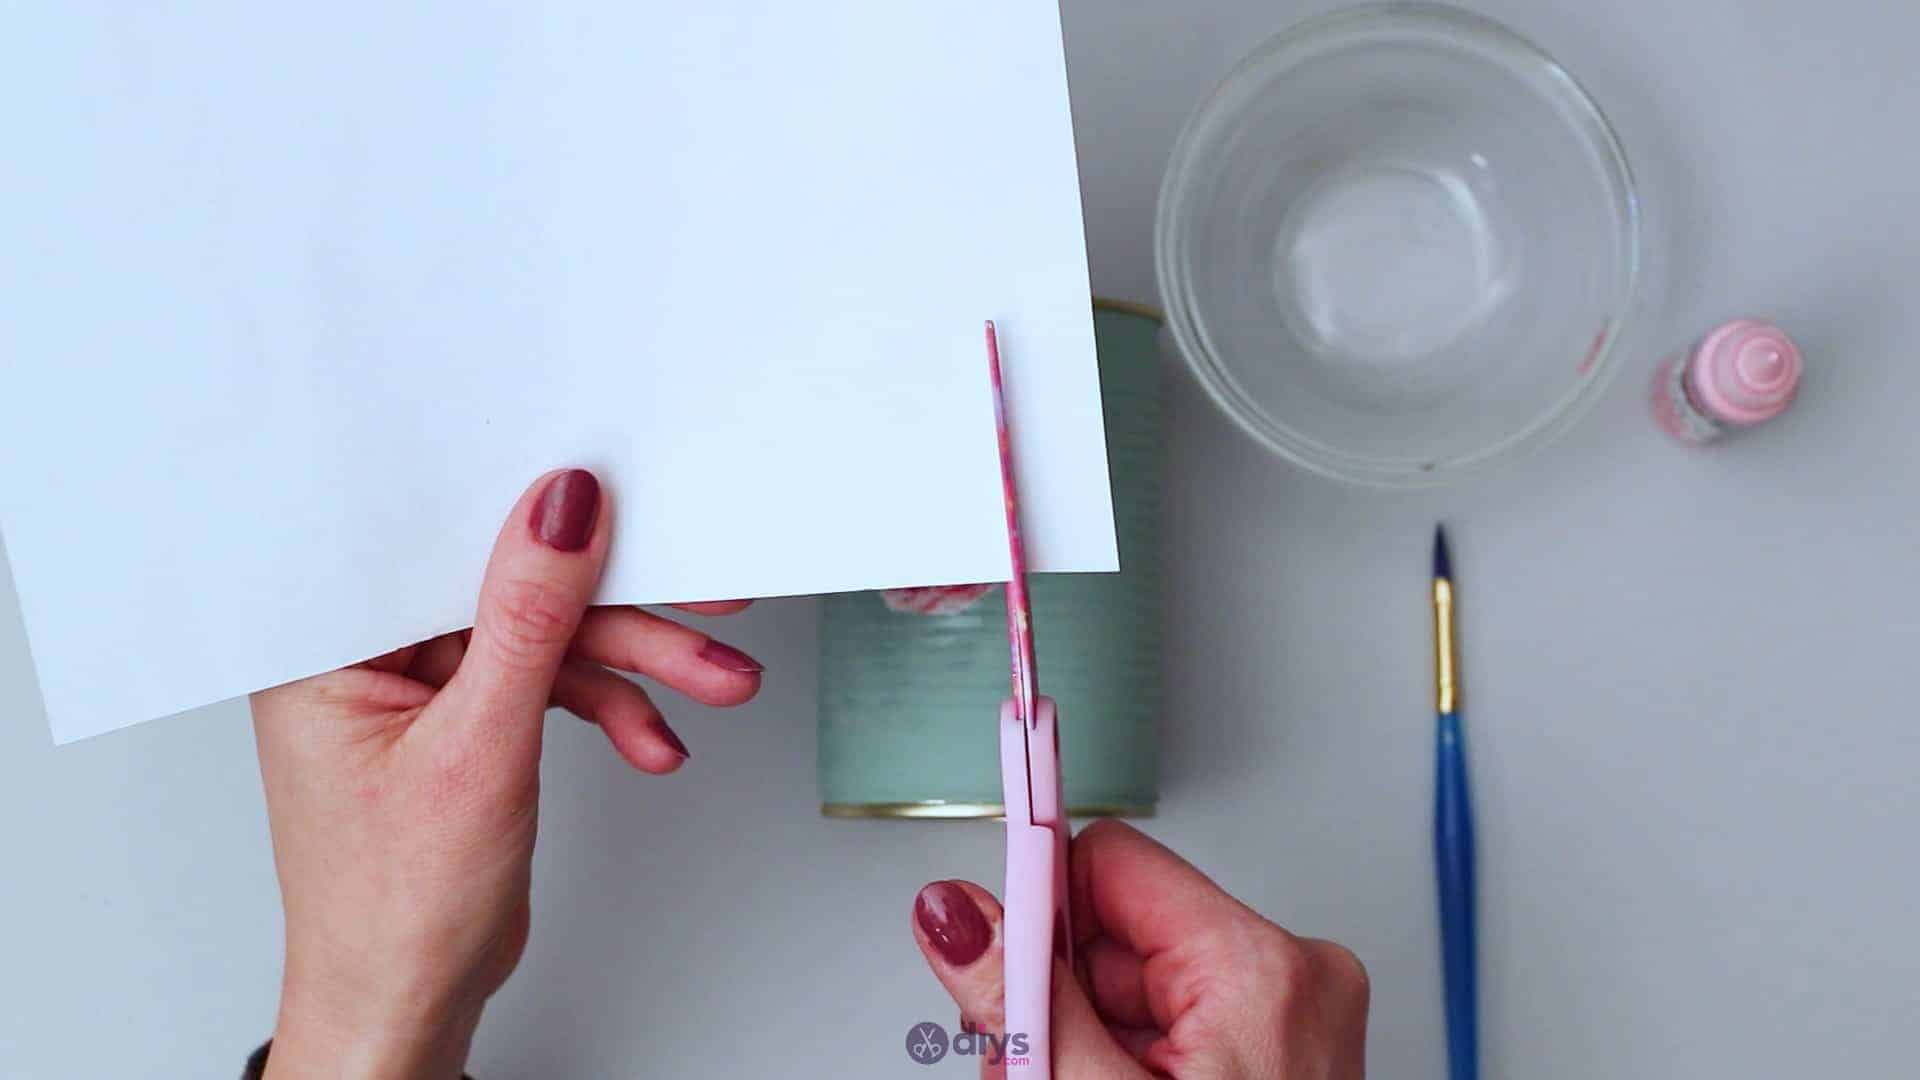
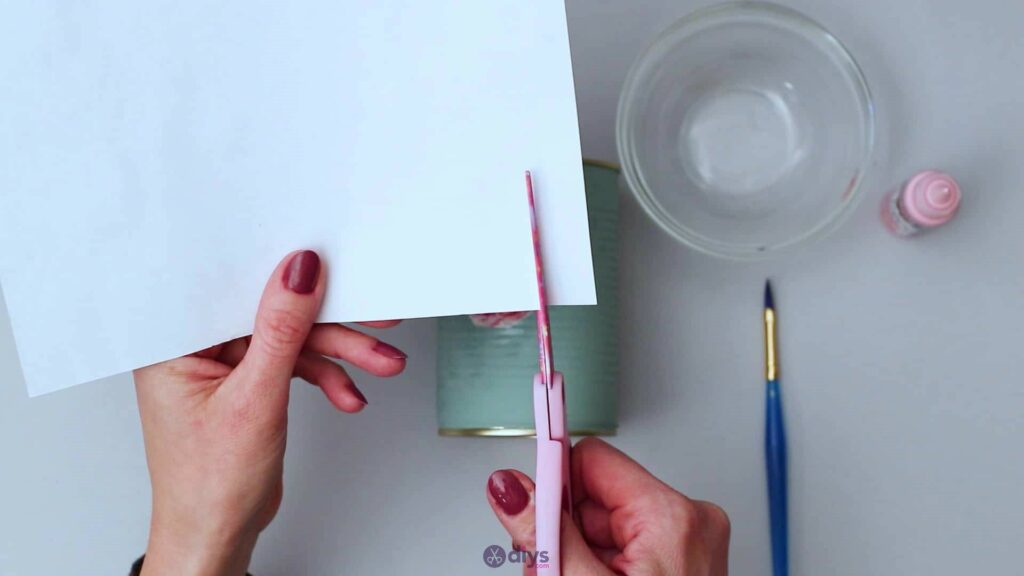
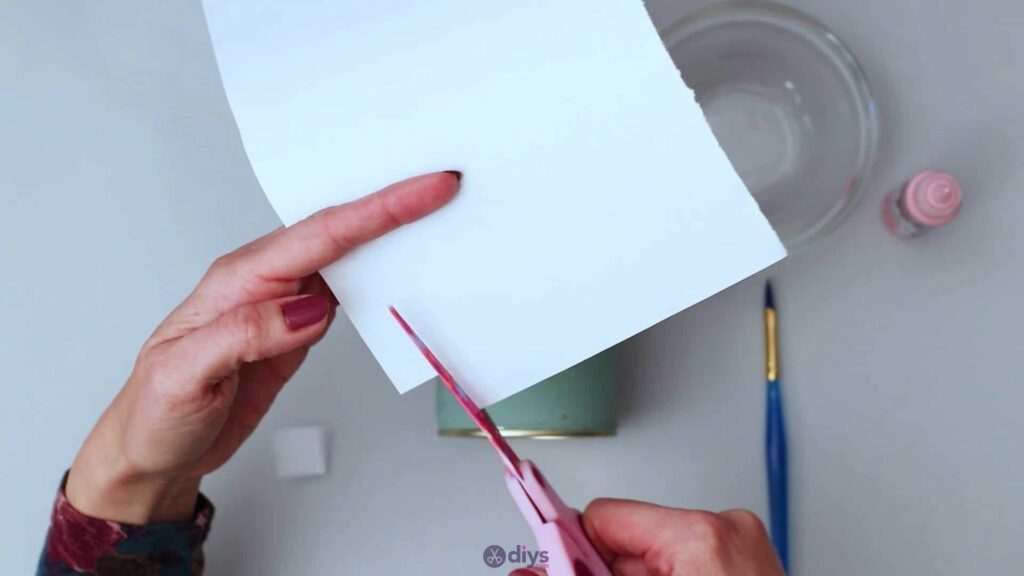
Step 5: make a jig
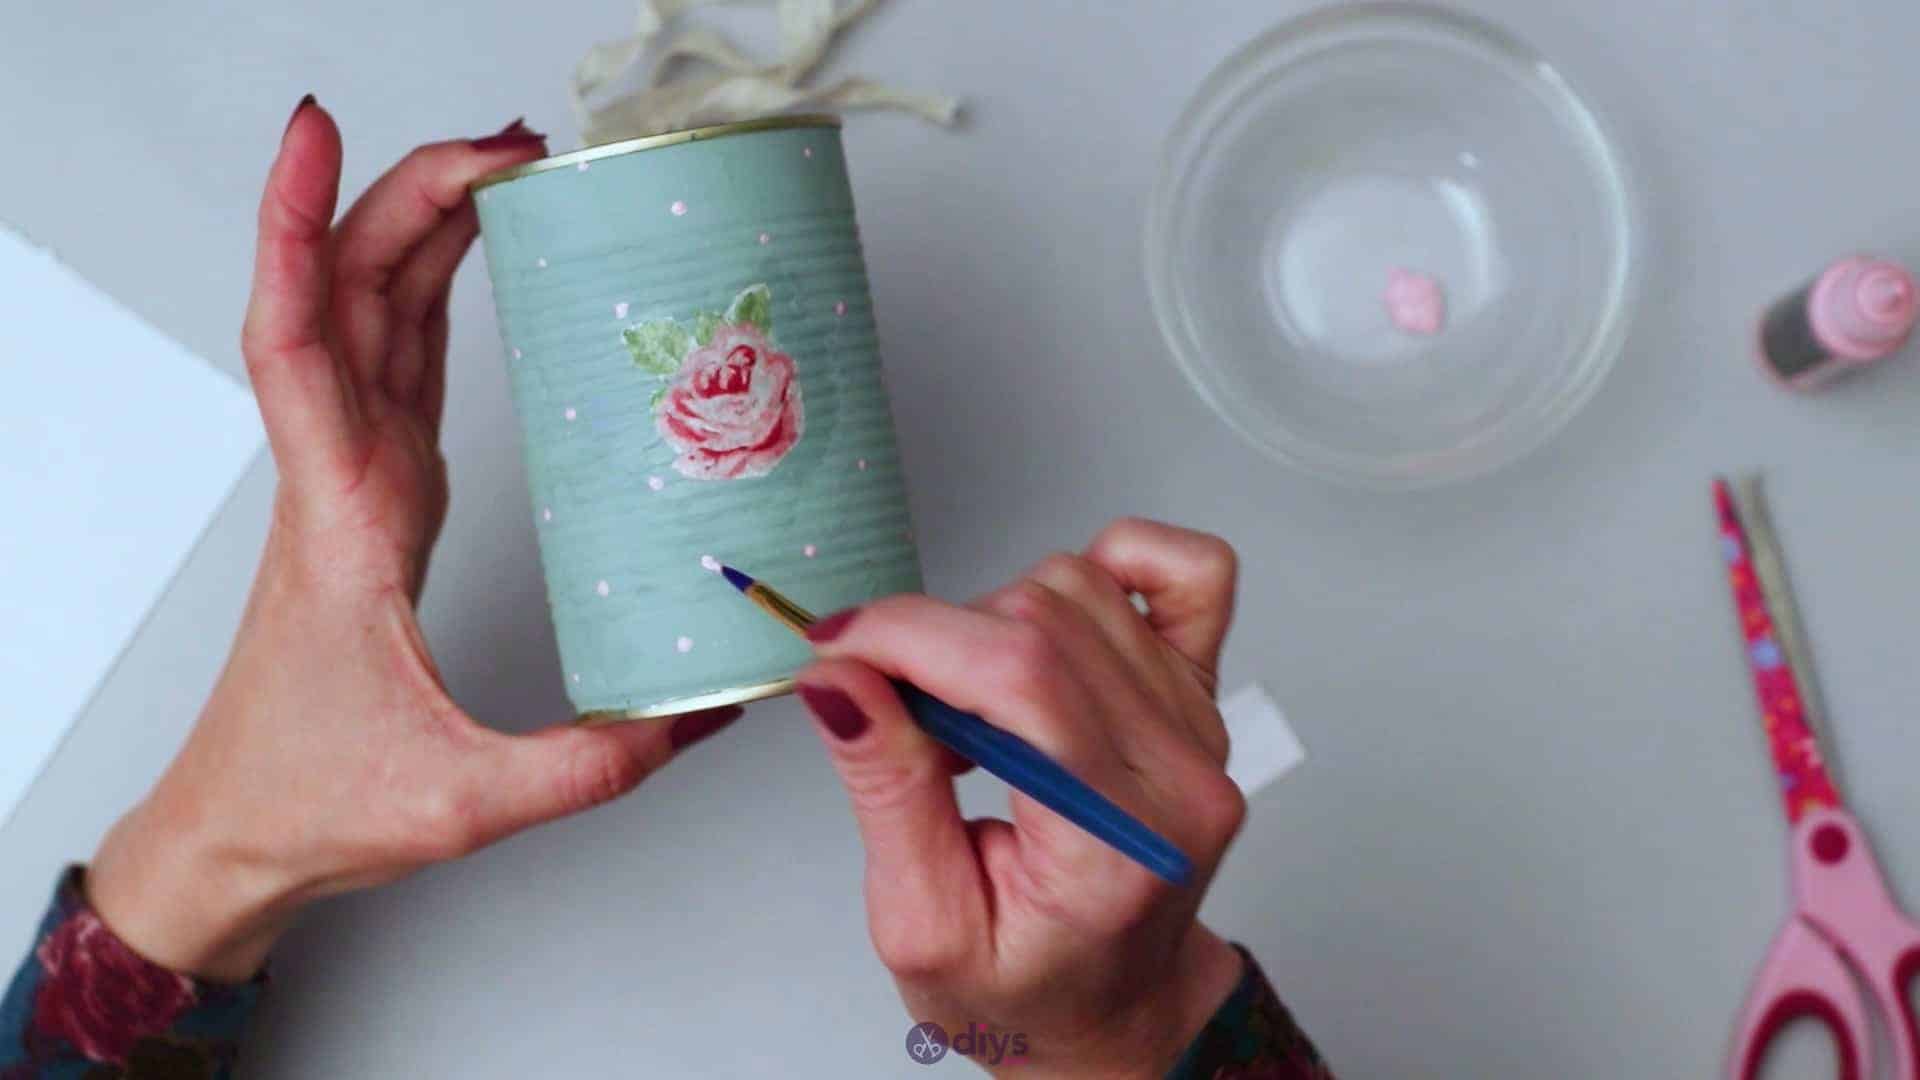
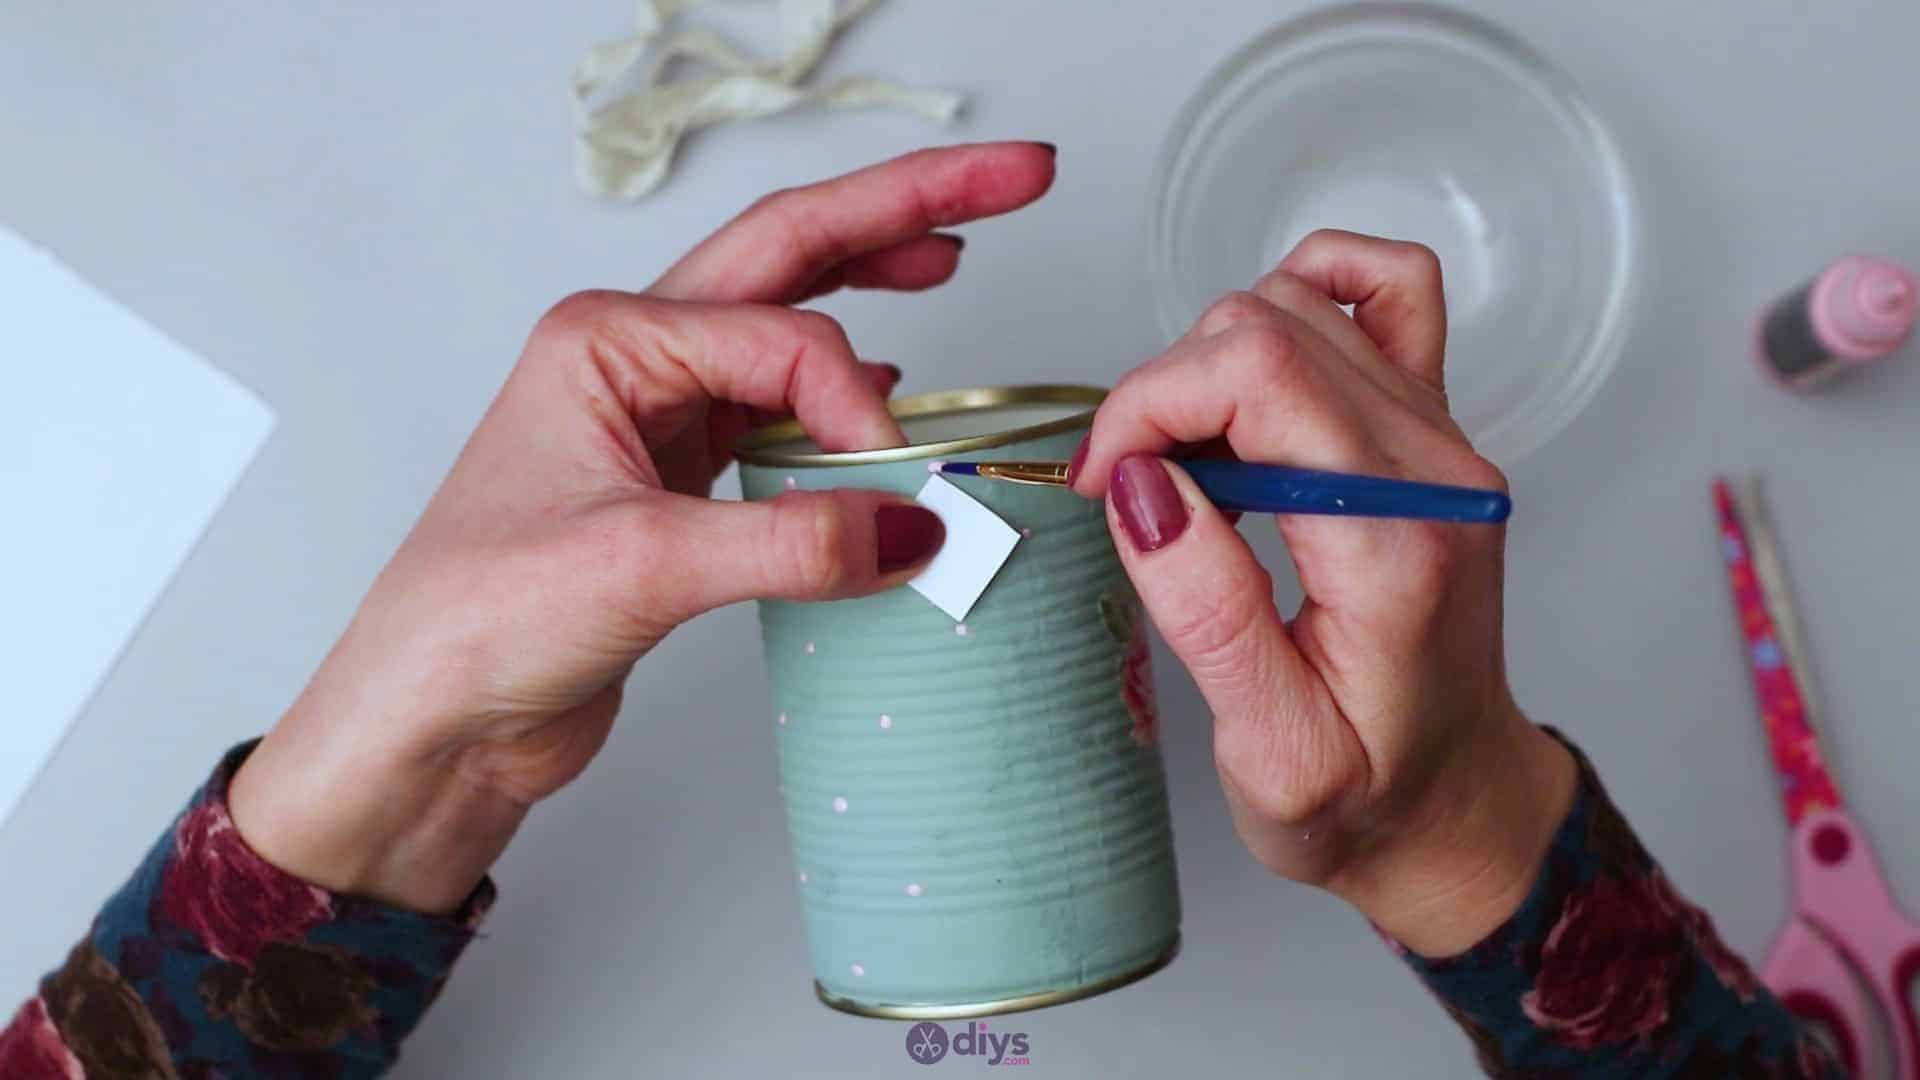
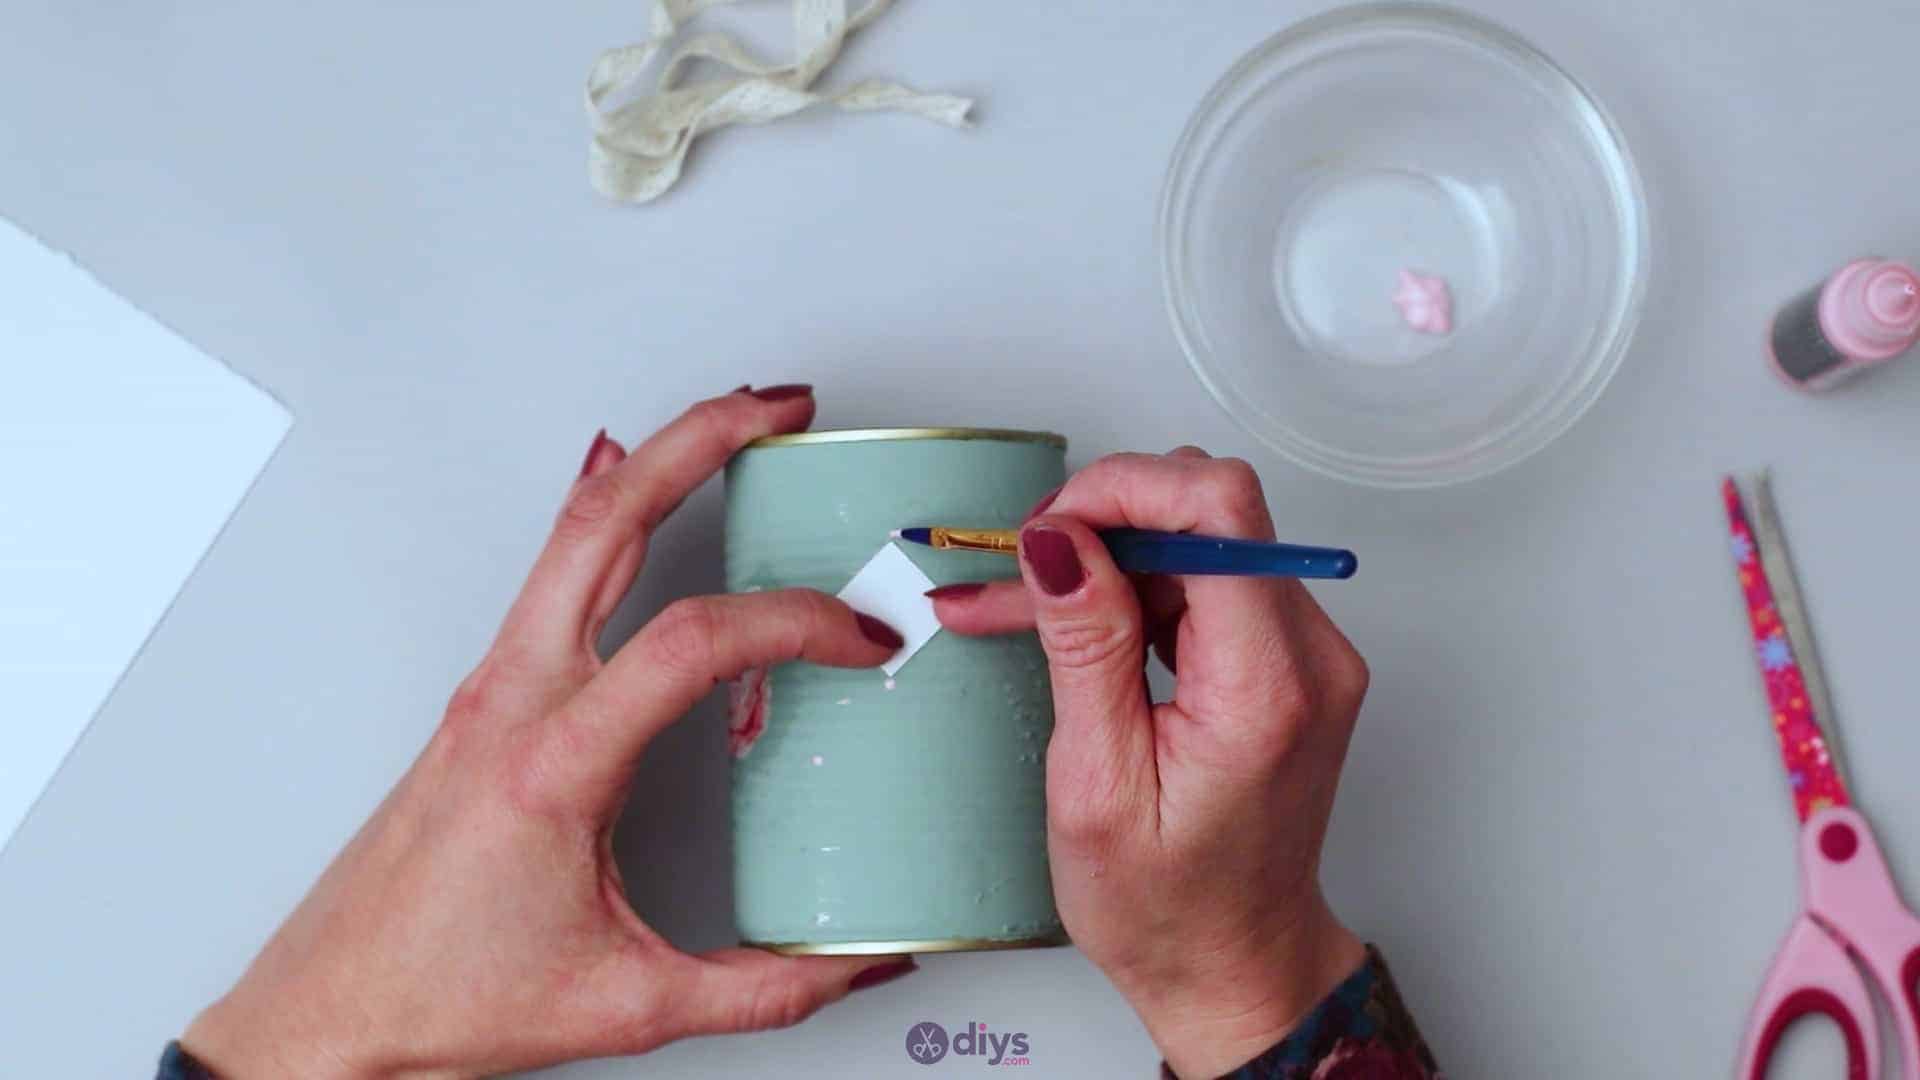
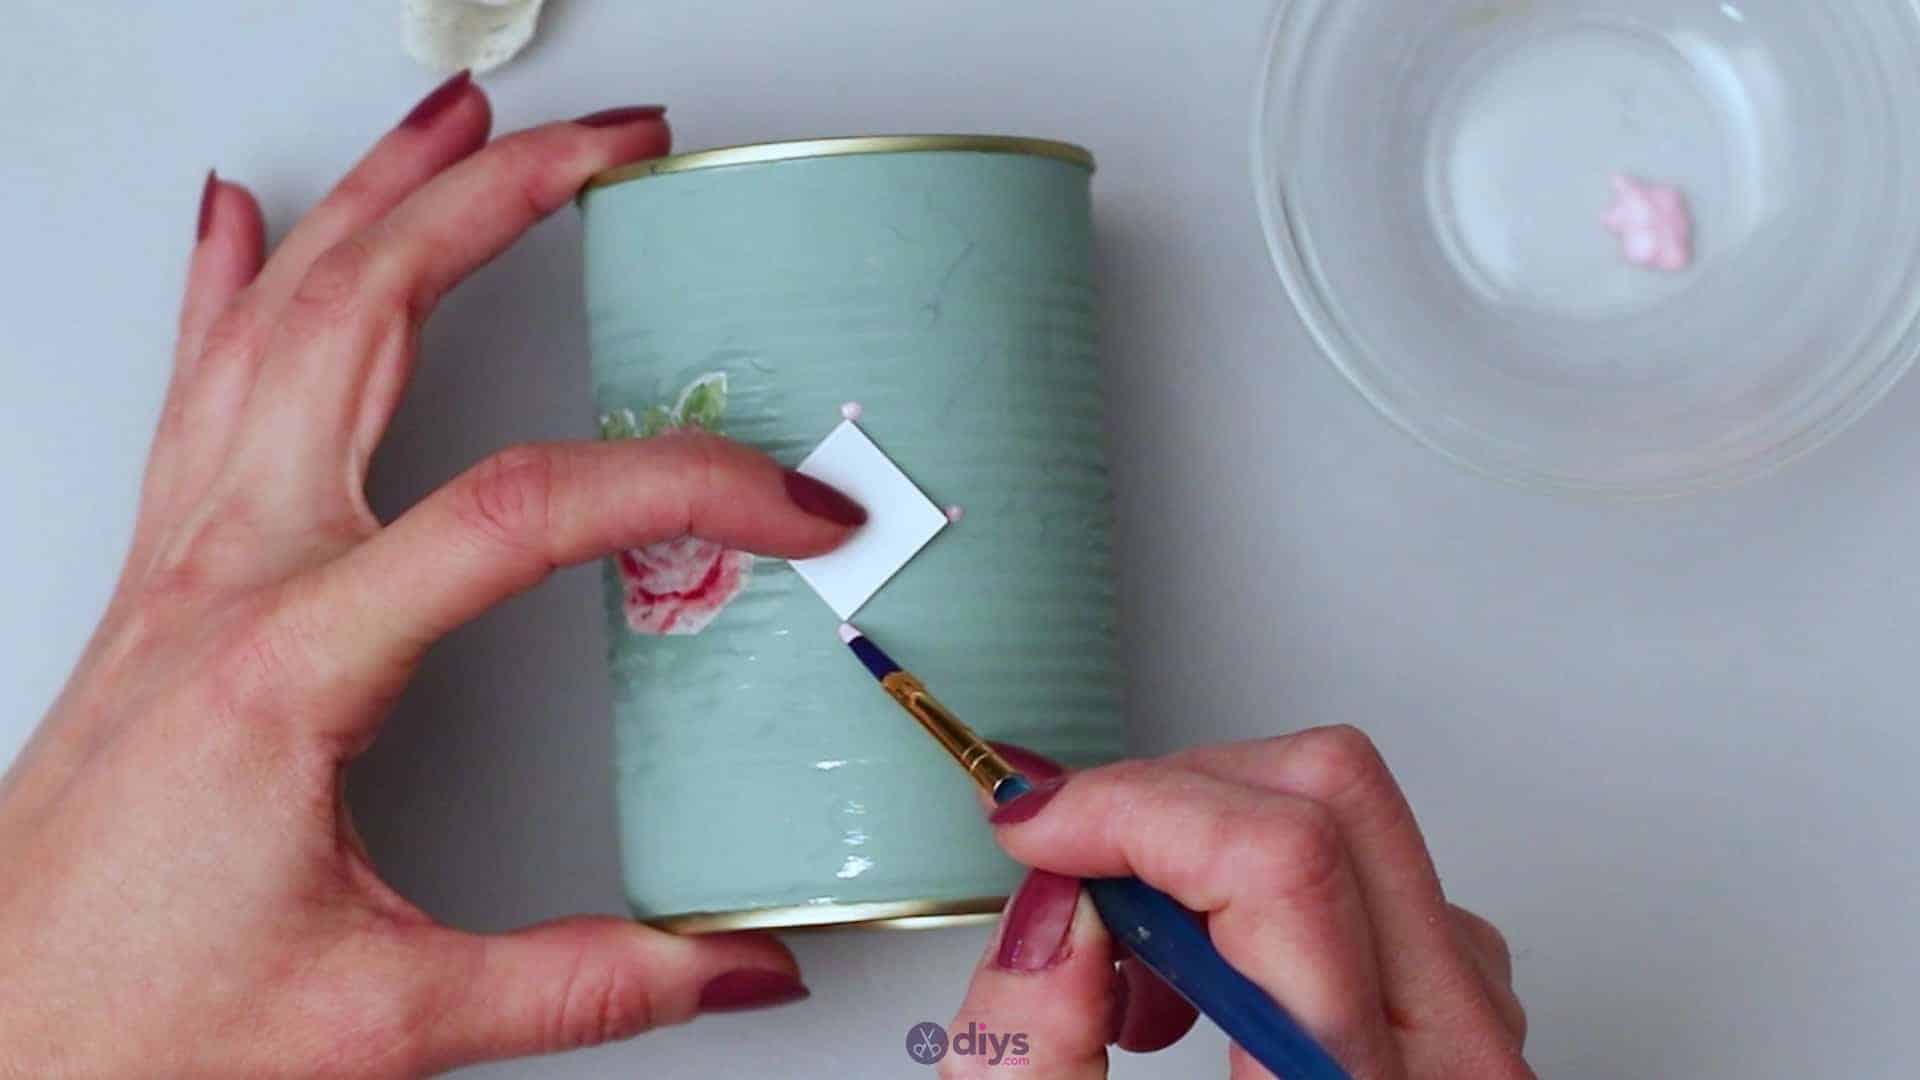
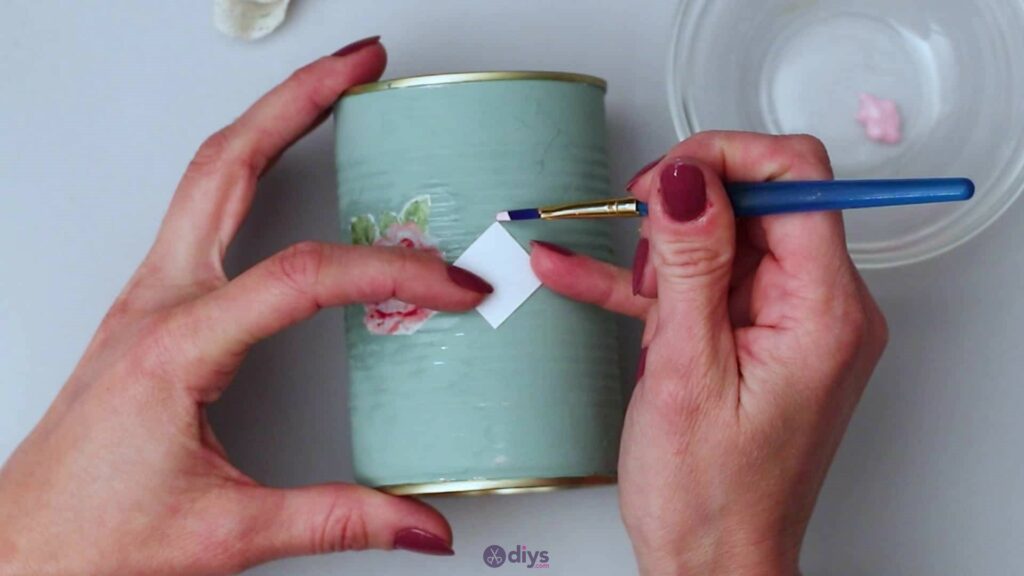
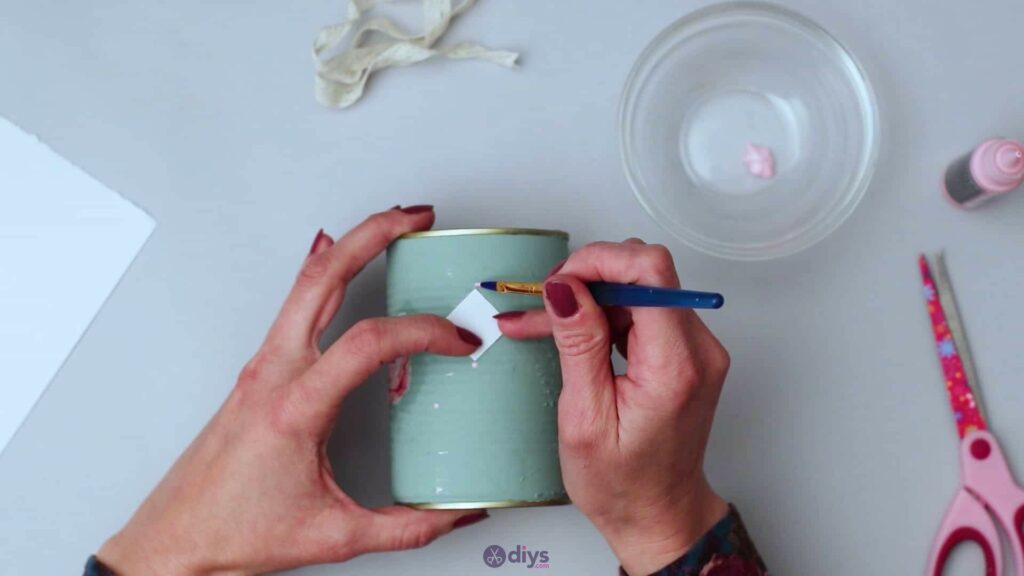
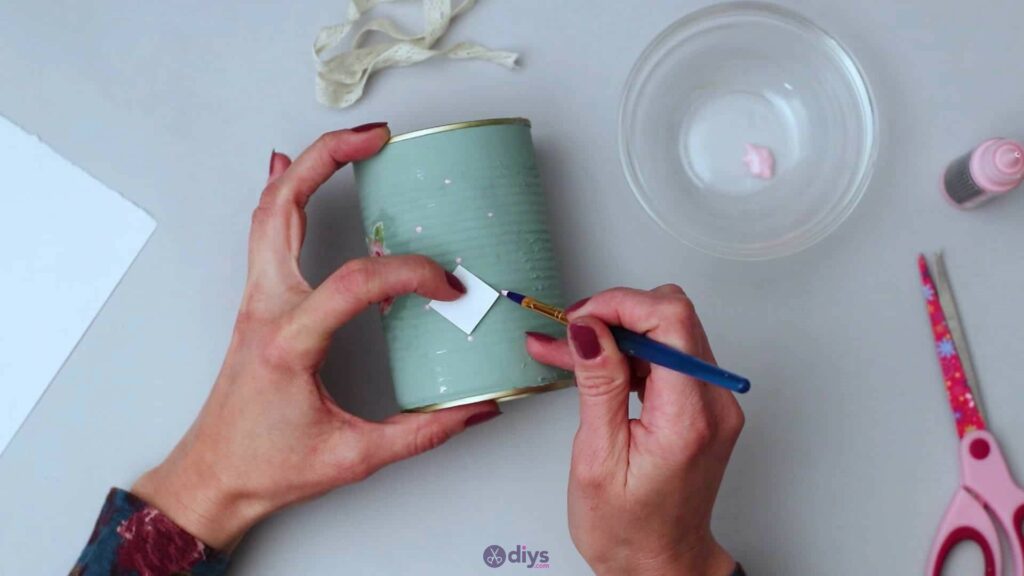
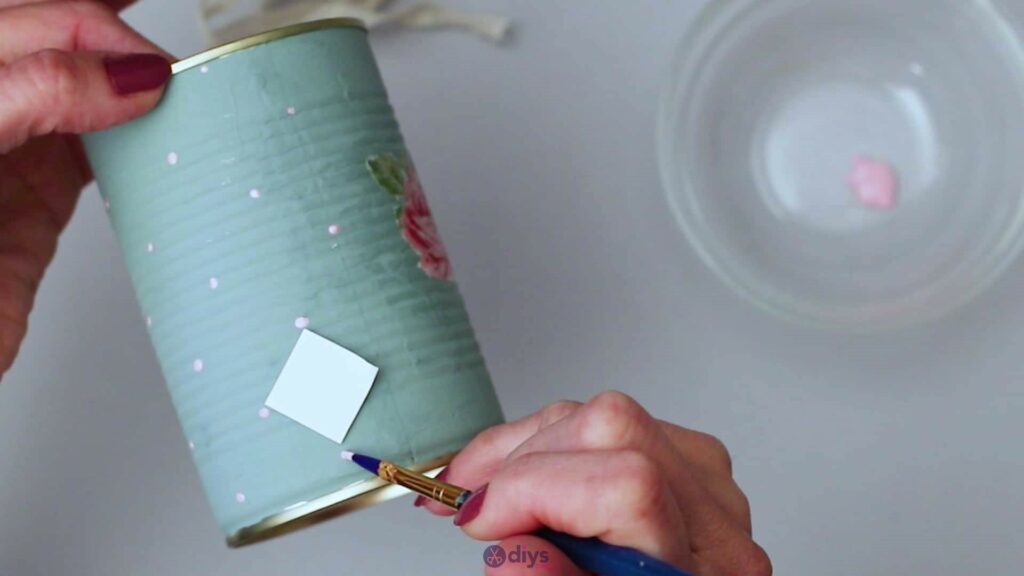
Use your scissors to cut a small square, about half an inch by half an inch, from one corner of your piece of paper. You’ll use this as a spacing template for creating the polka dots all around and across the surface of your can. Turn the paper square so its corners are at the top, bottom, and two sides like a diamond and place it down where you’d like to start. Use a fine pointed paintbrush and a contrasting colour (I chose pink to pop against the blue background and suit the rose) to create a little polka dot at each point of your paper diamond.
Then move the paper over, up, or down so that one of its points lines up with a dot you already made and make new dots at the remaining three points. Repeat this process all the away across and around your can so you end up with a nice, neat, and evenly space scattering of dots.


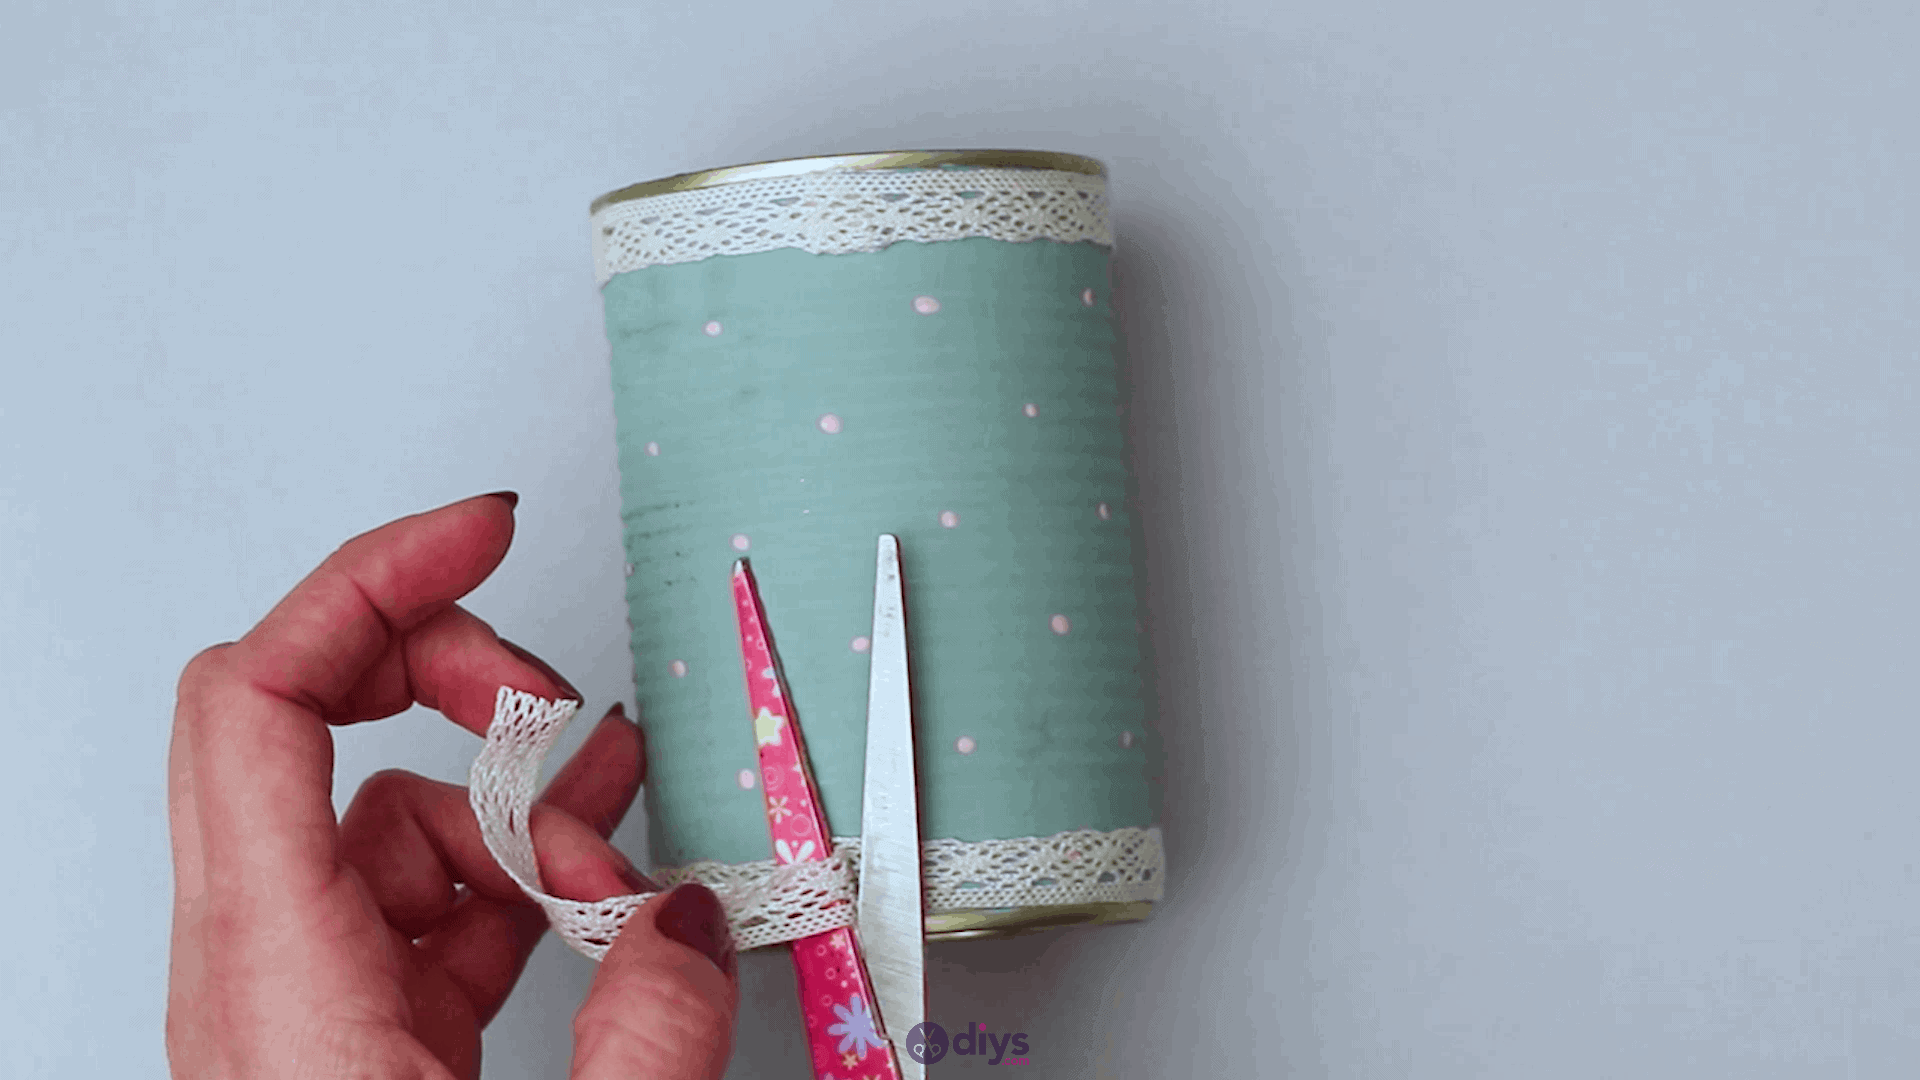
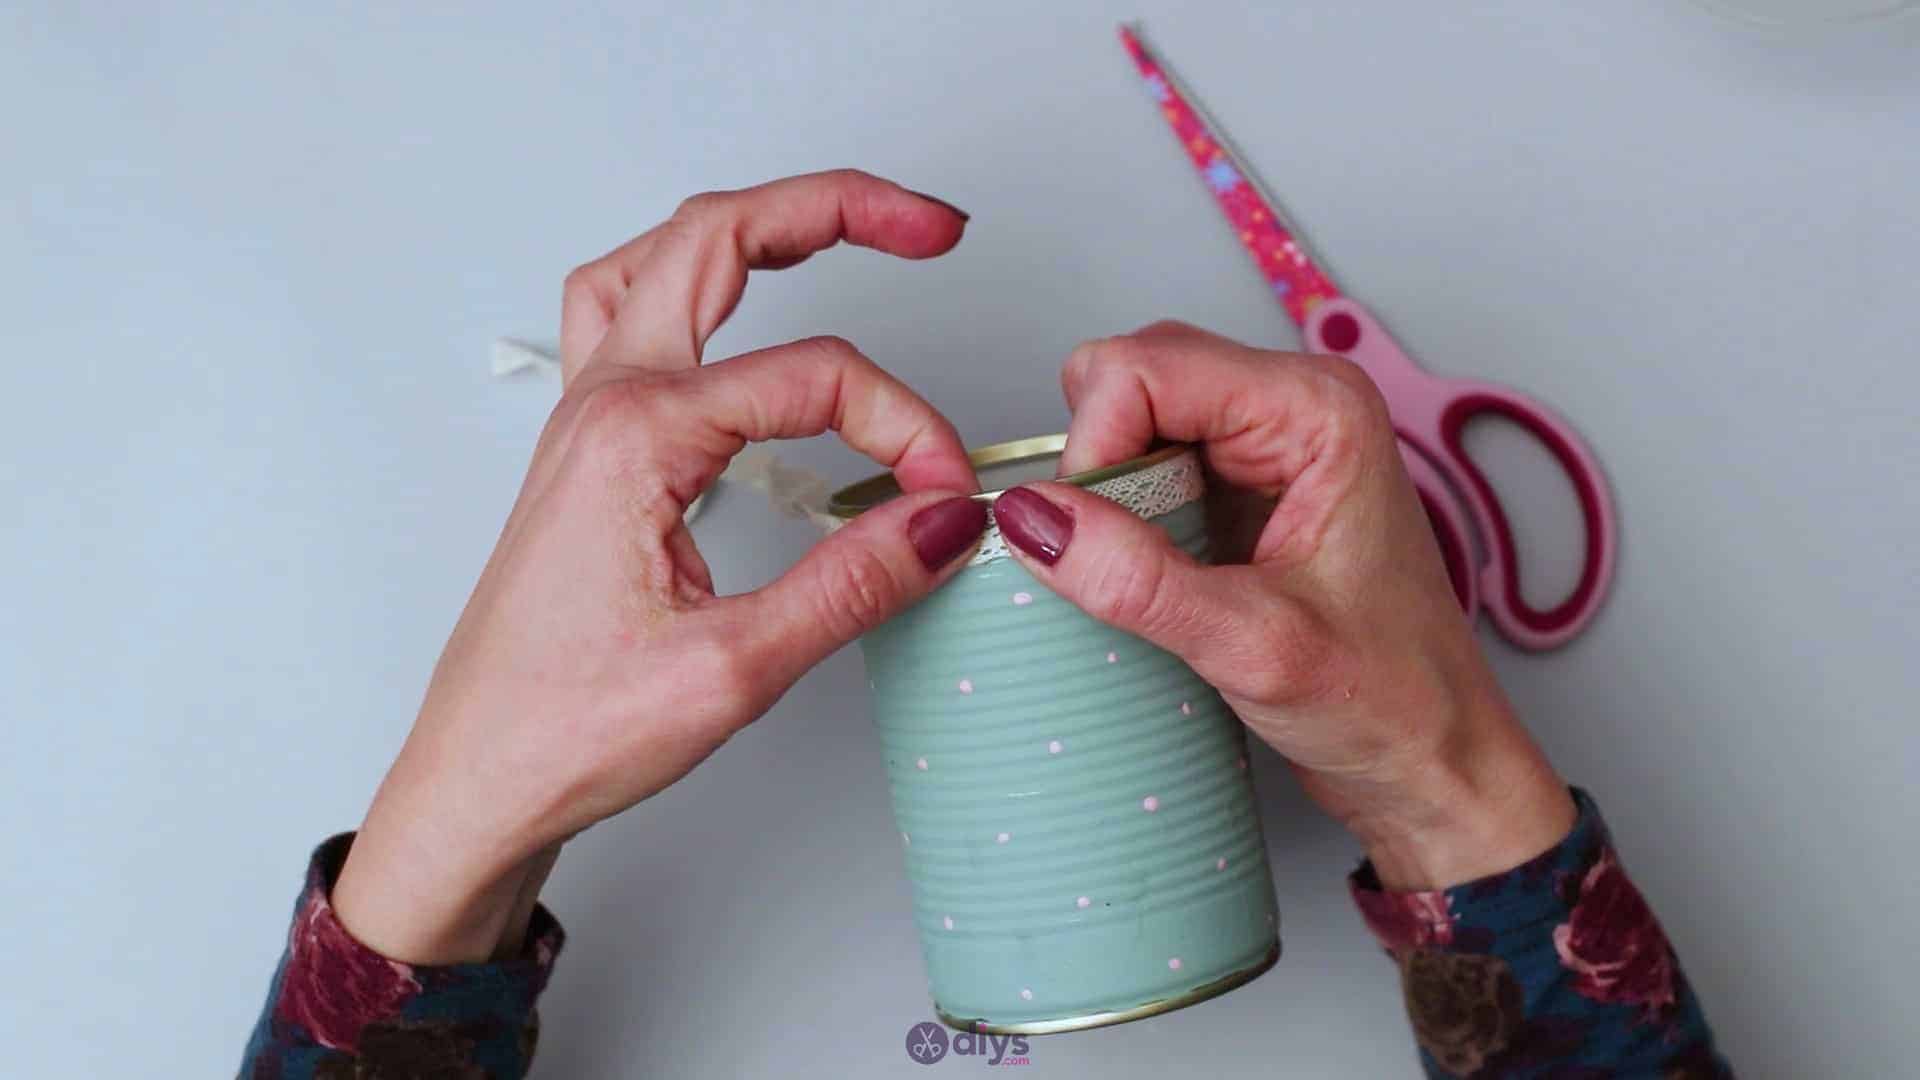
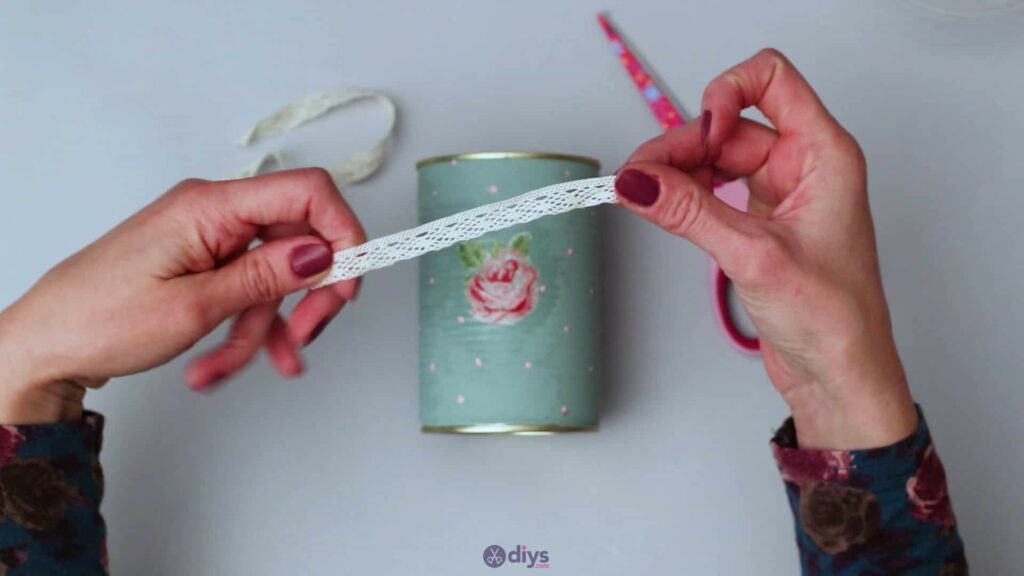
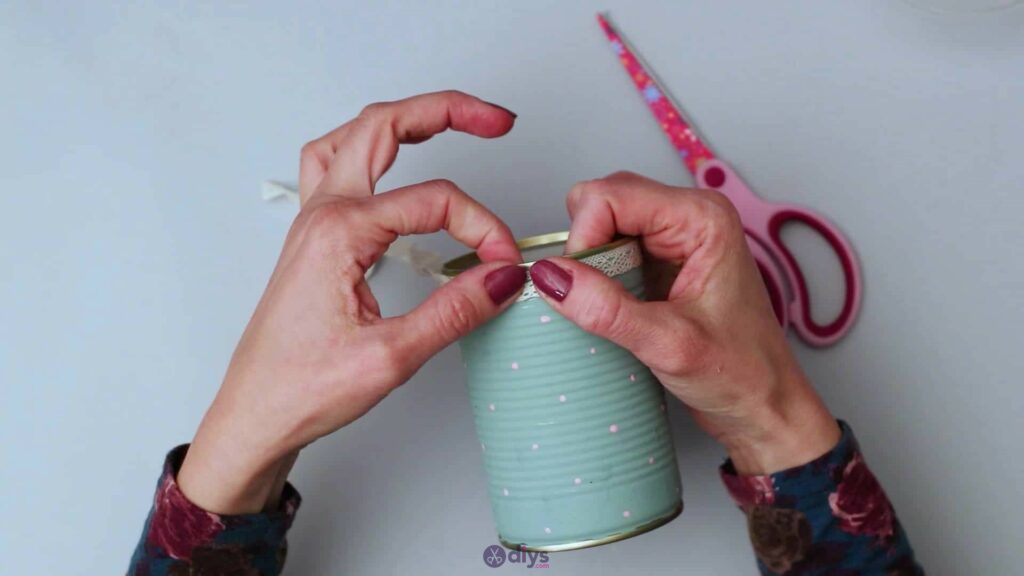
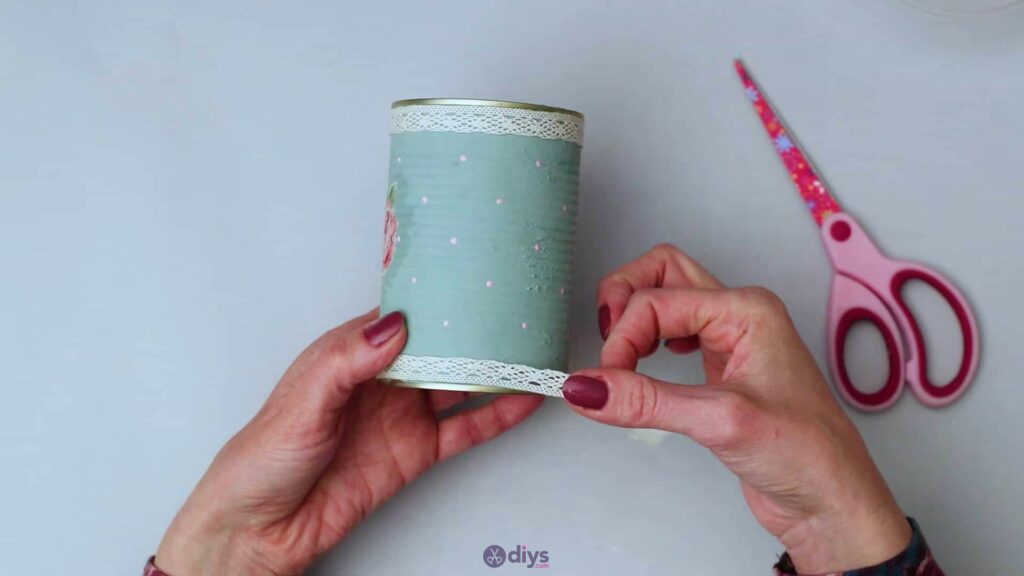
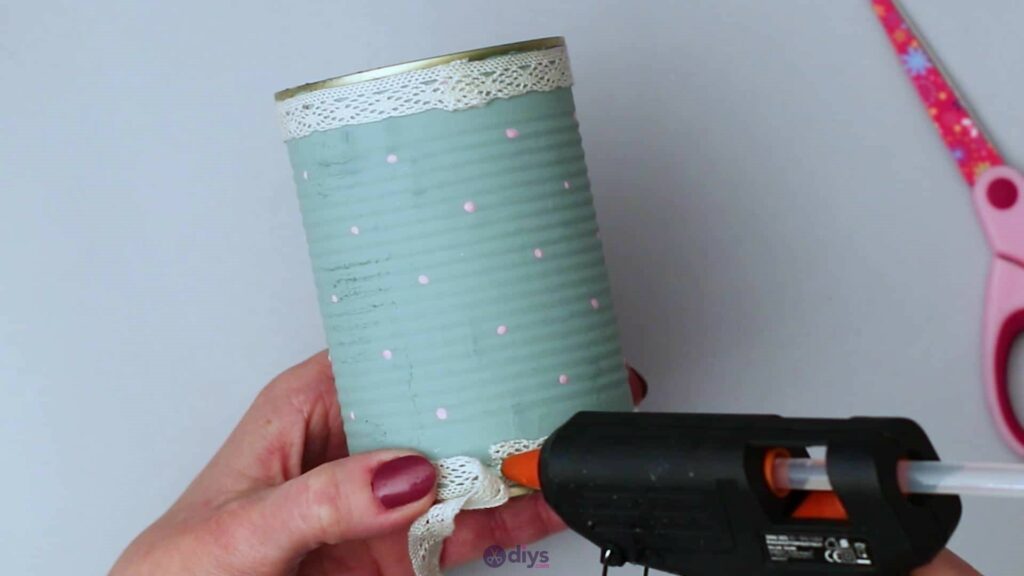
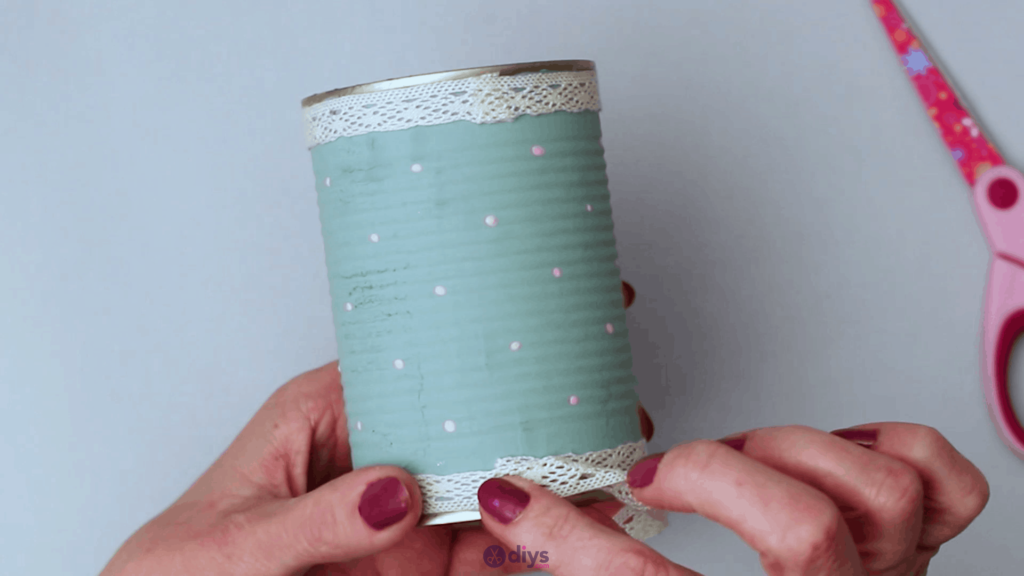
Step 6: lace it
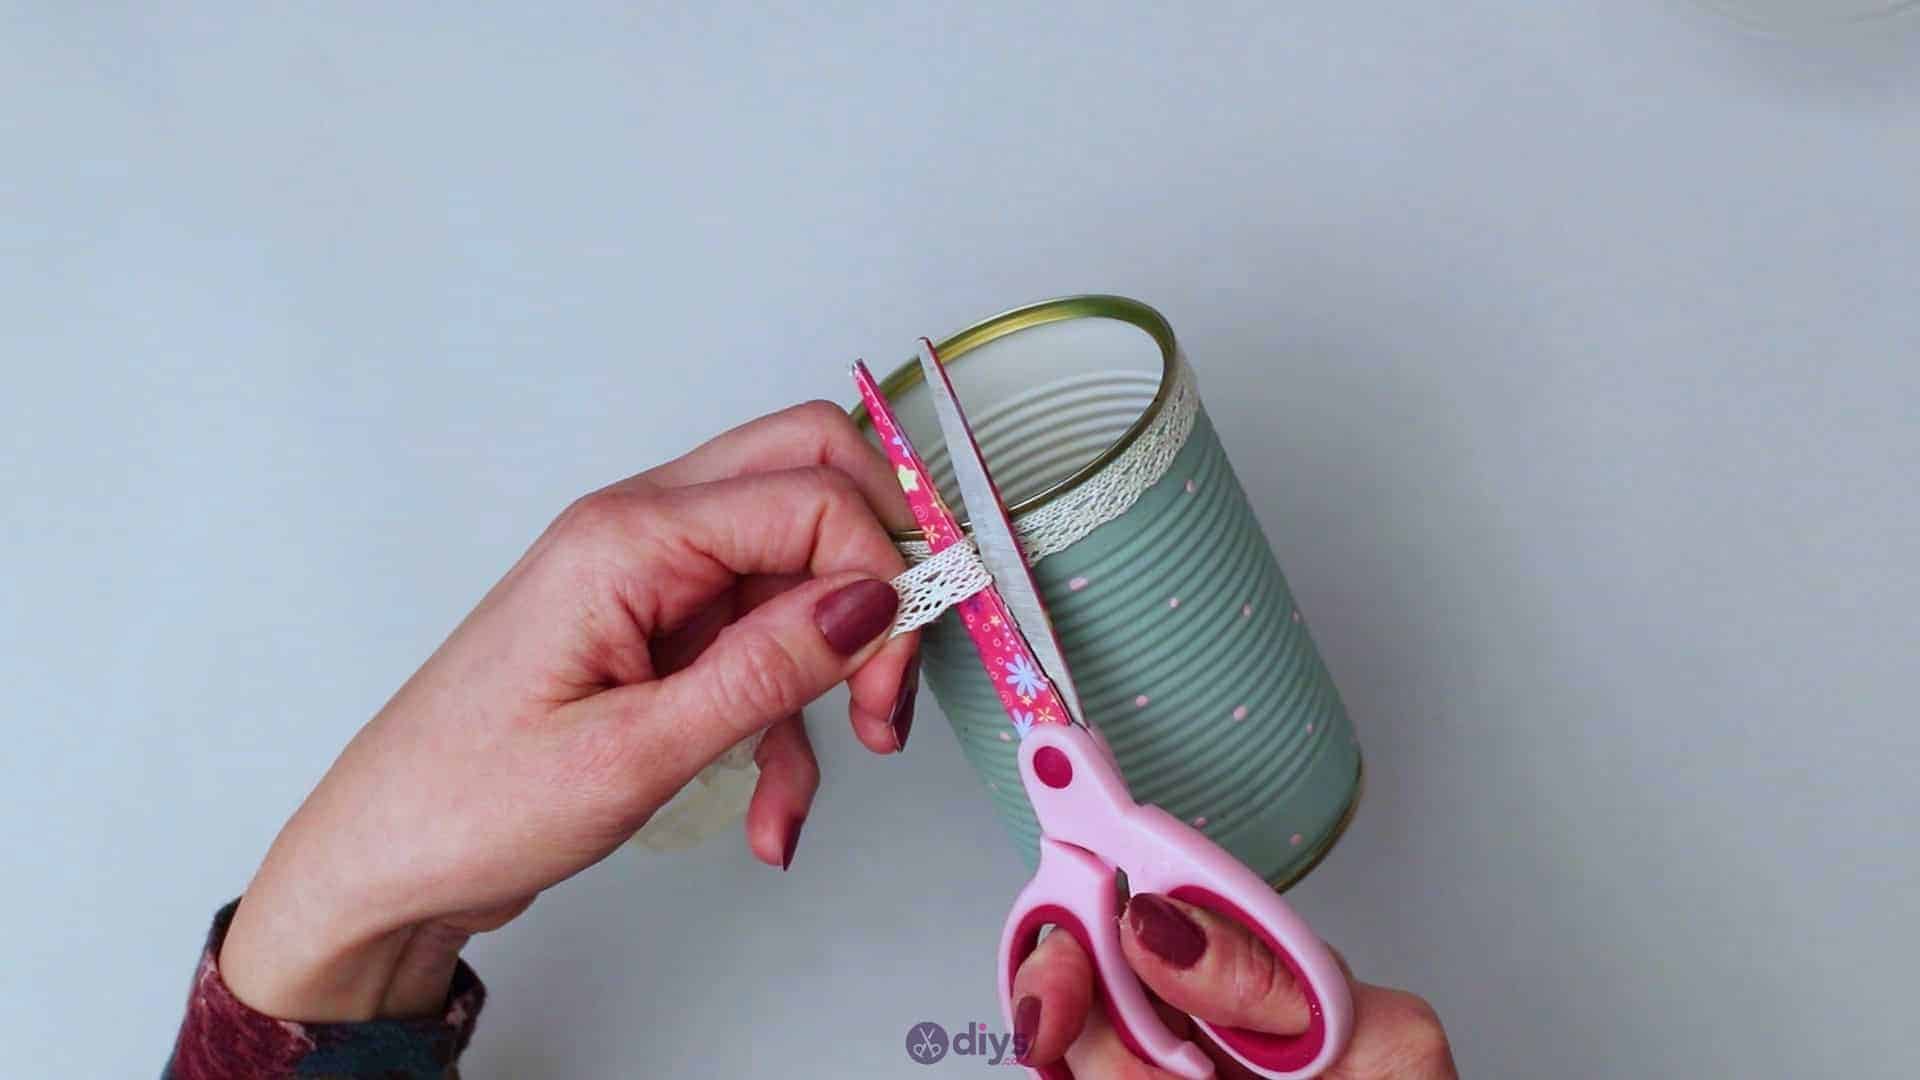
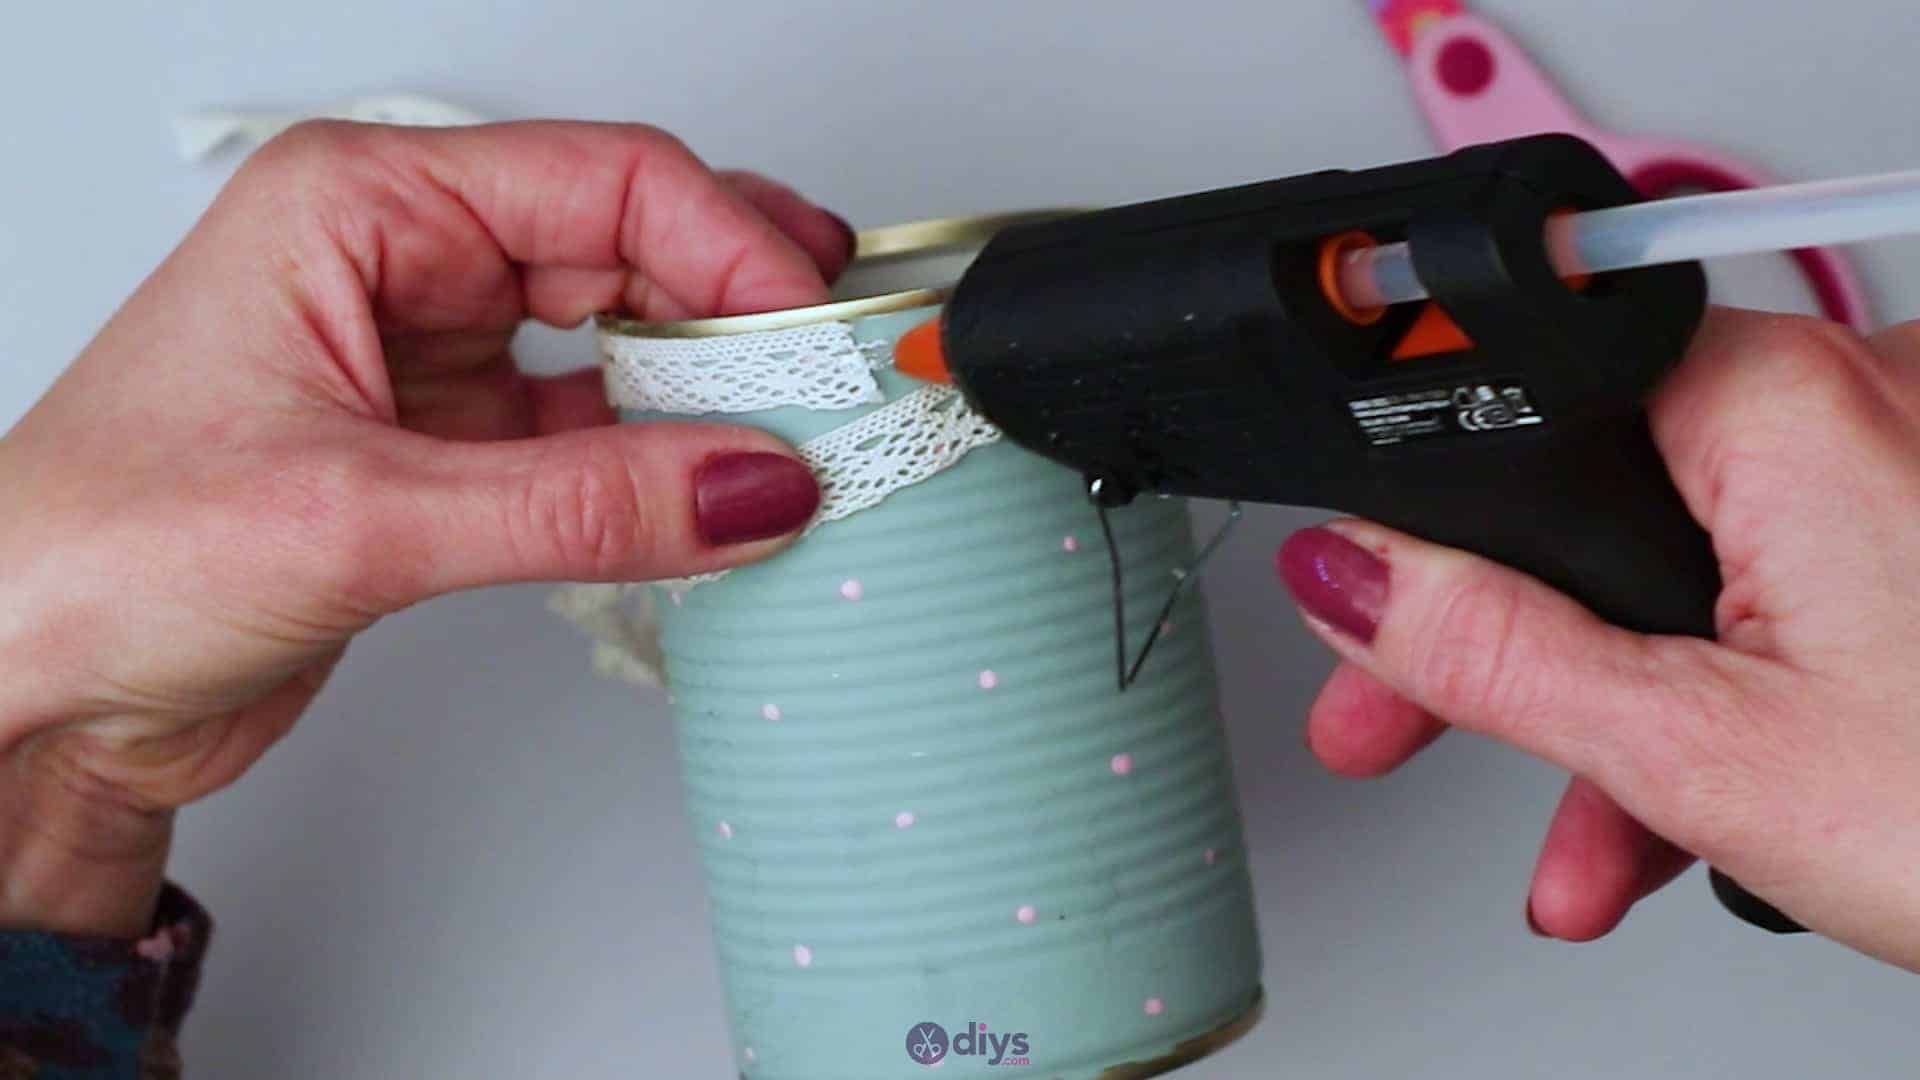
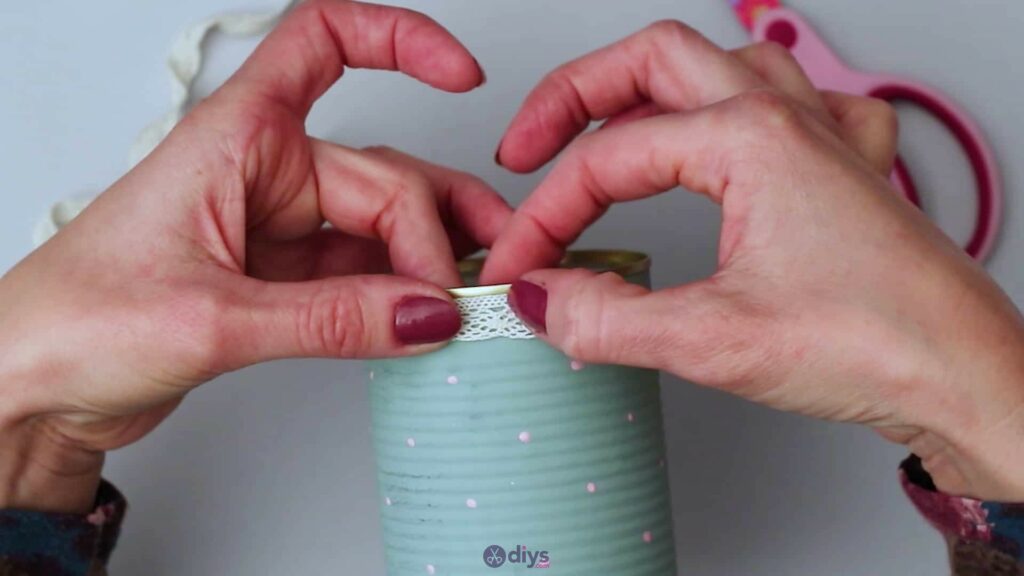
Now you’ll create a pretty lace trim around the top of your can, just under that metal edging that you left unpainted earlier. Take the end of your lace ribbon and turn it horizontally. If it has a scalloped edging, position it so that faces down the can and your straight edging lines up evenly with the straight top edge of the can. Apply glue just under the metal edge on the opposite side of the can to your rose (so, the back) and stick the cut end of your lace ribbon down there, lining the edges up as mentioned.
Keeping those edges neat and in line, wrap the lace all the way around the top of the can until you meet back up with your first end. Apply another dot of glue here, right on top of your first end so you have a small overlap, which will look more neatly finished. Stick the ribbon down there where it naturally meets, pulling it taught all the way around but not so hard that you pull the first end up out of the glue. When the two are glued down layered, use your scissors to trim off excess lace.


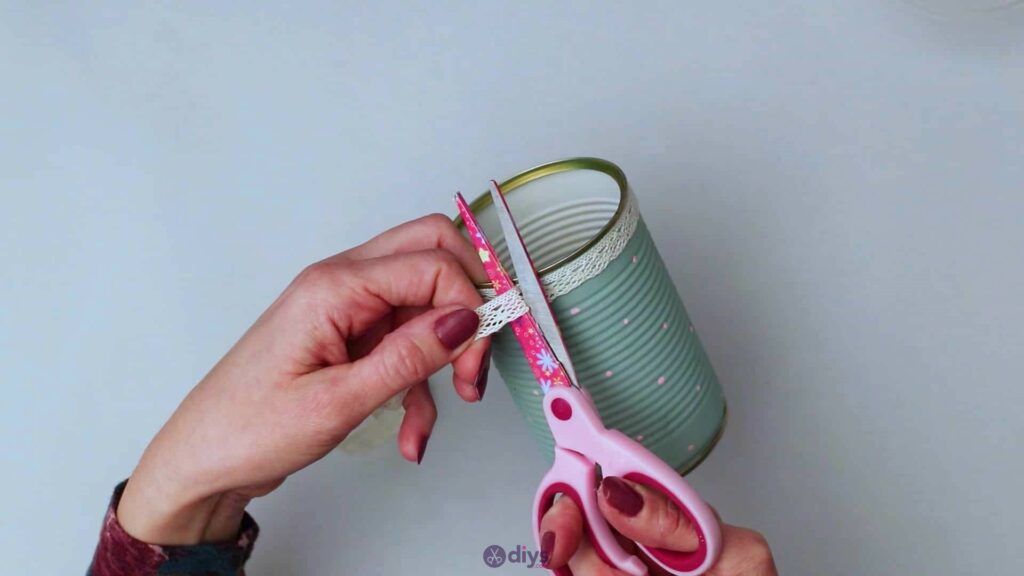
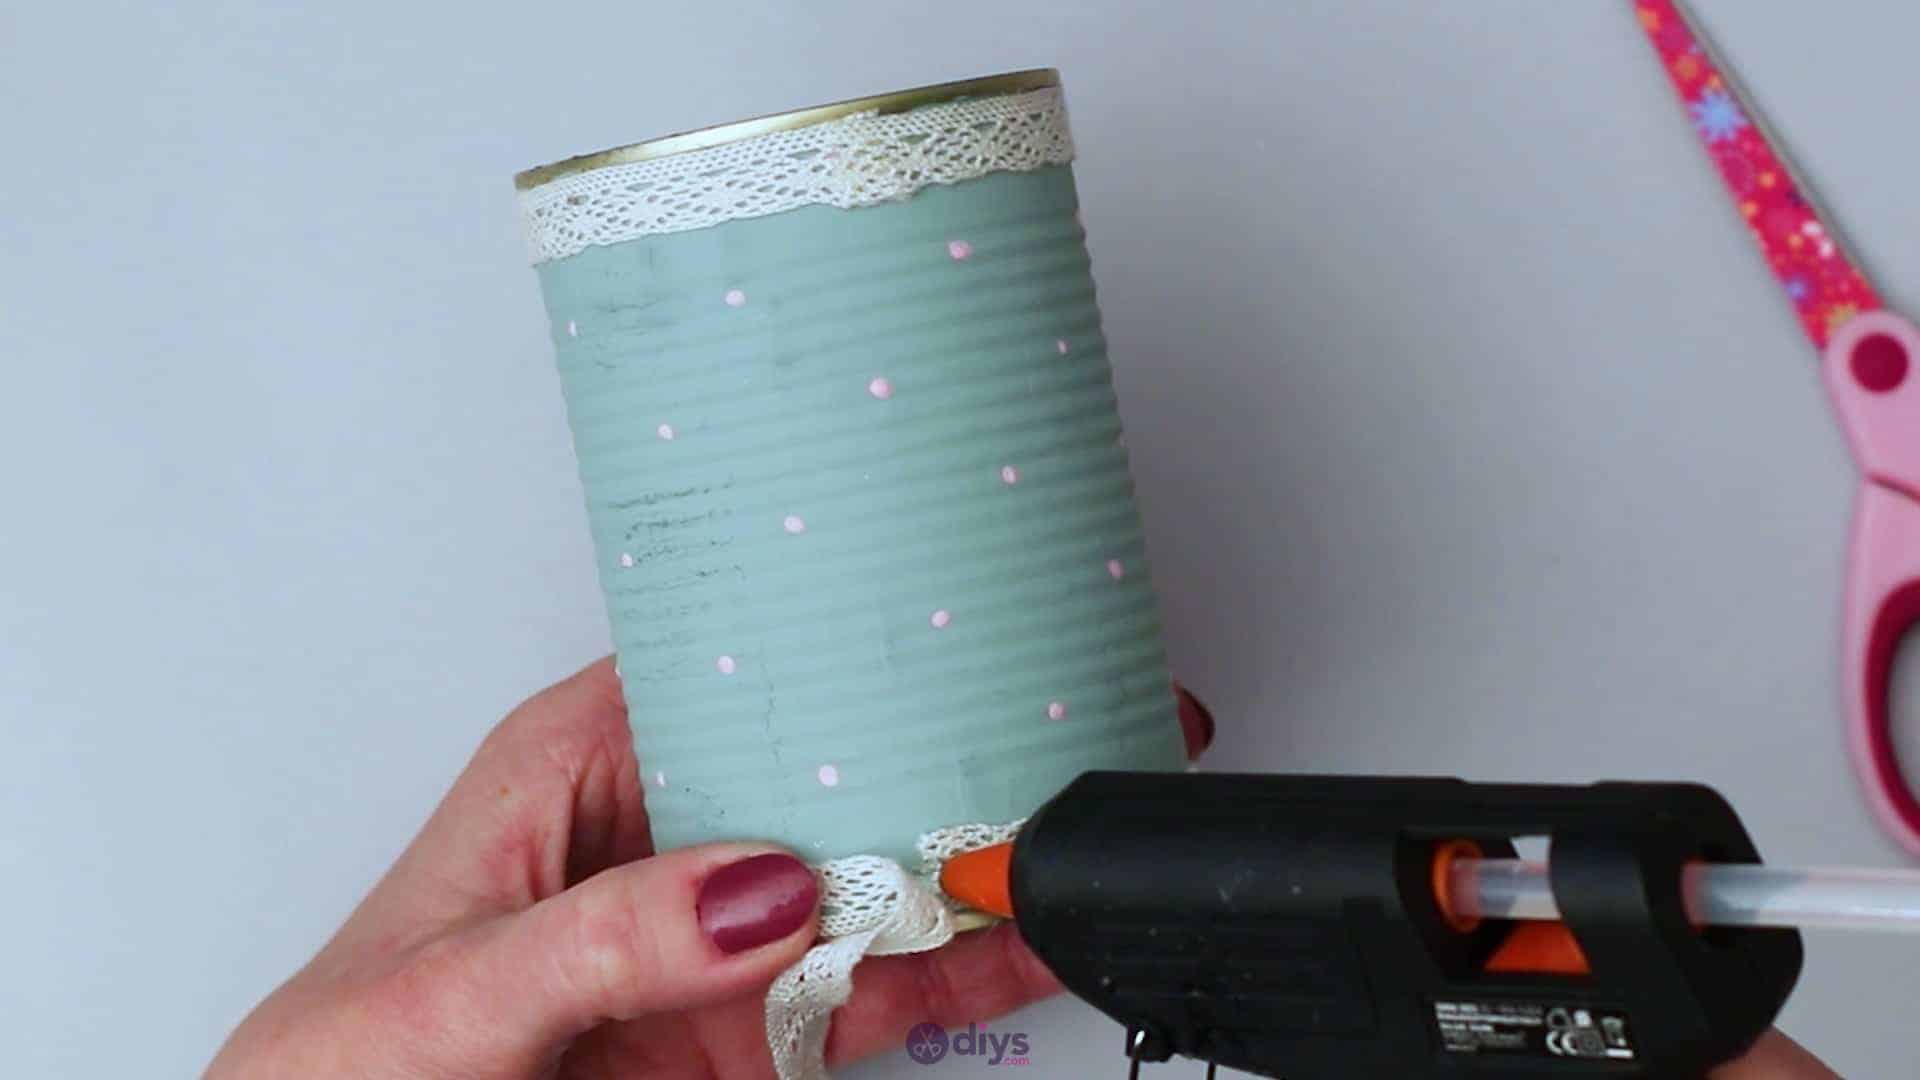
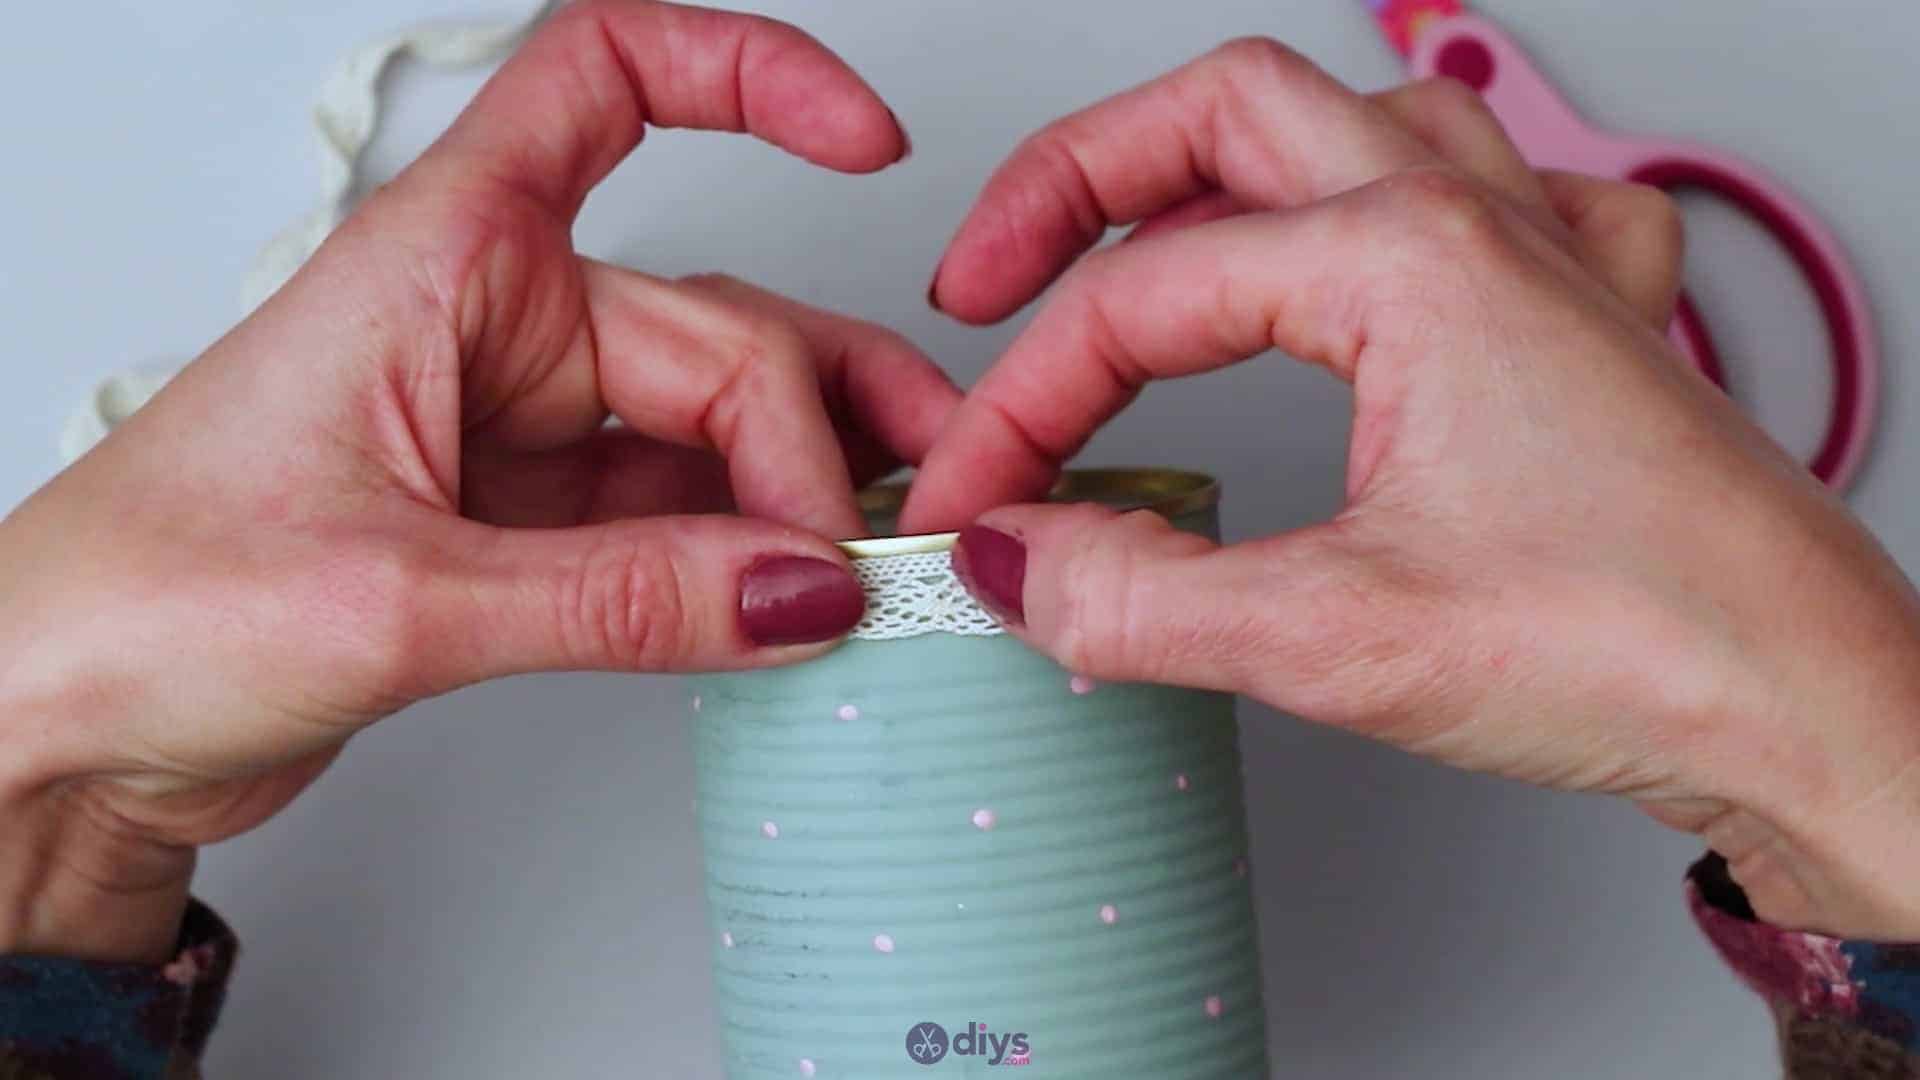
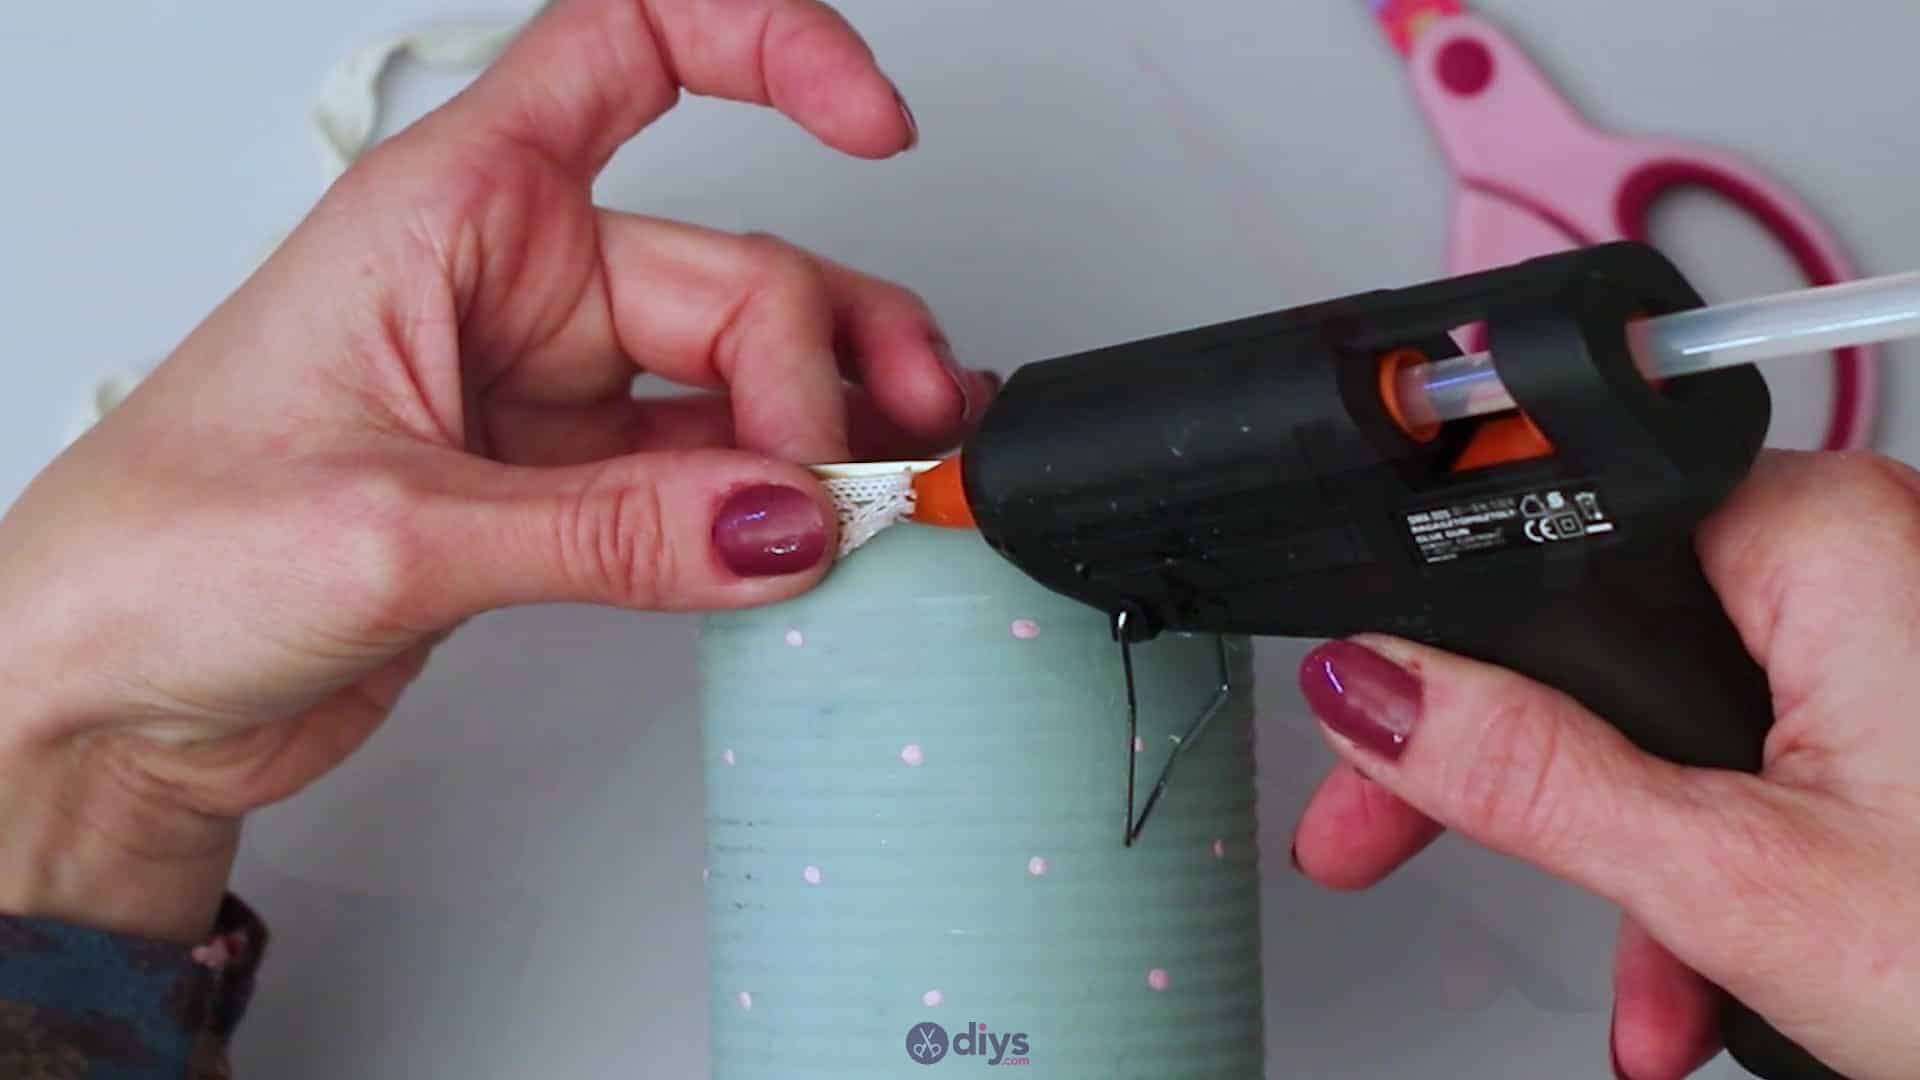
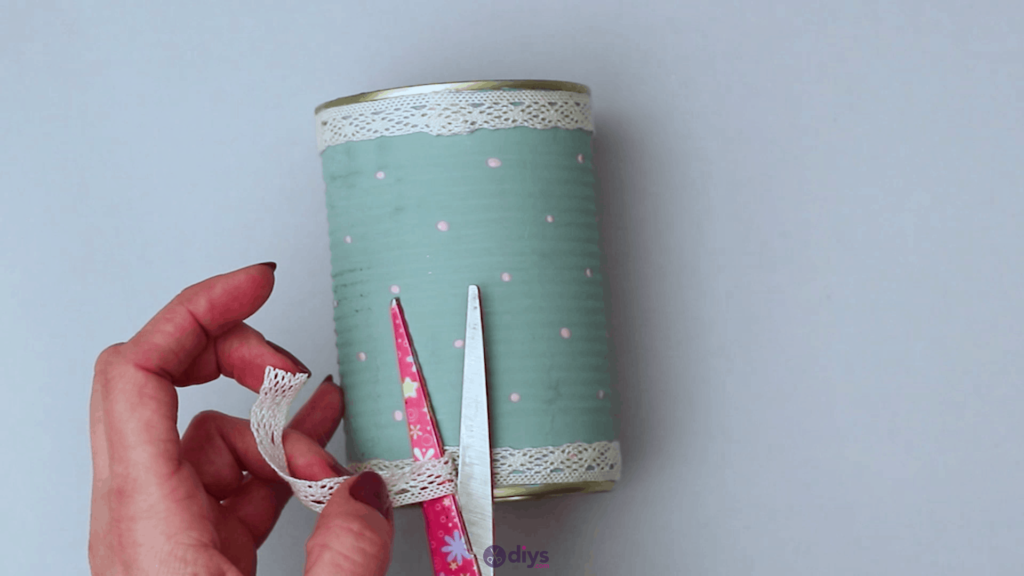
Step 7: more lace
Repeat the lace edge wrapping you just did at the top, but this time on the bottom! If you have that decorative scalloped edge, turn the ribbon so that faces upwards this time, keeping the straight edge in line with the straight edging on your can. Finish the wrapping process off in the same way, starting and ending on the back just like above.
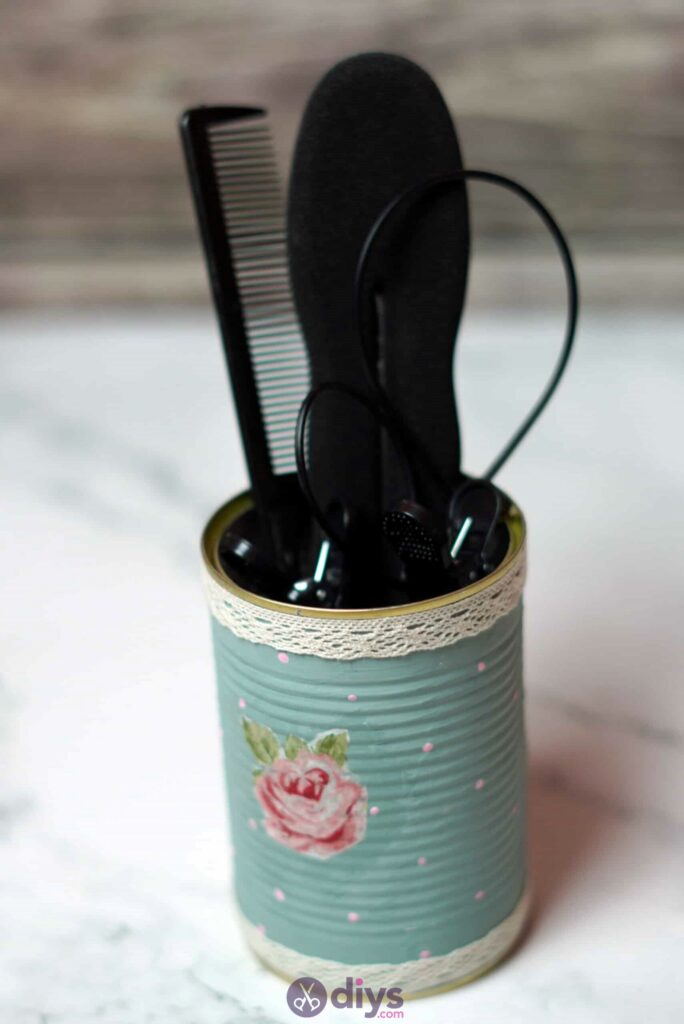
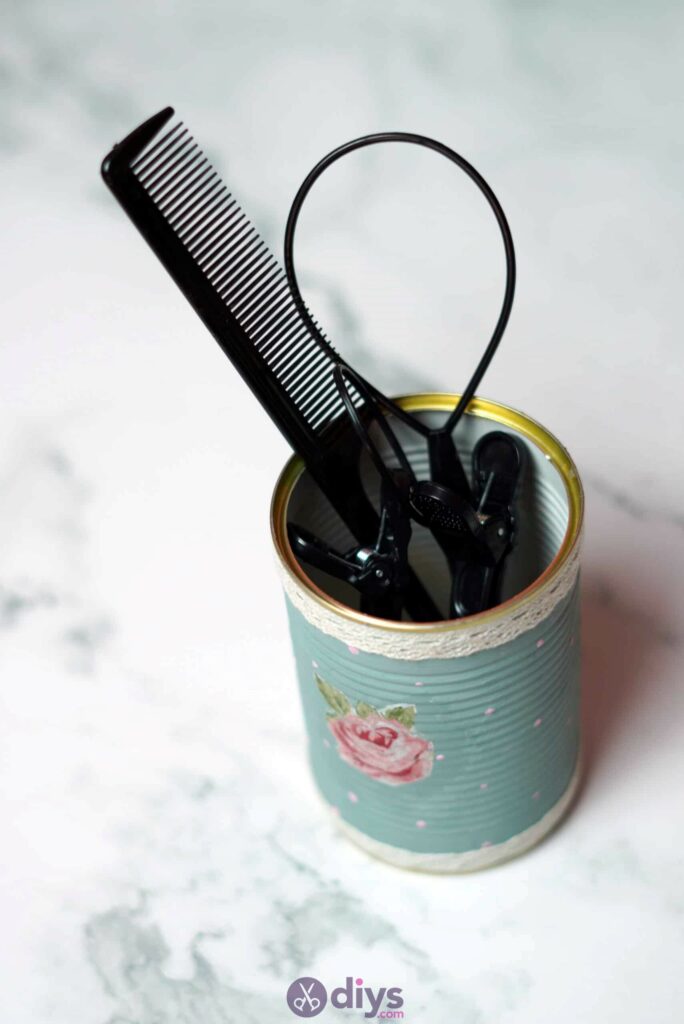
That’s really all there is to it! When you’re all finished embellishing your can, set it near the phone and fill it with writing utensils for note taking, or set it on your vanity and put combs or makeup brushes in it. Of course, you can always use these same basic techniques but play with the colours and aesthetics to make something that’s a little more “you”. Just in case you’d like to try this project out for yourself, here’s a fantastic tutorial video to help you!