DIY Lace Candle Holder
Updated on November 19, 2025
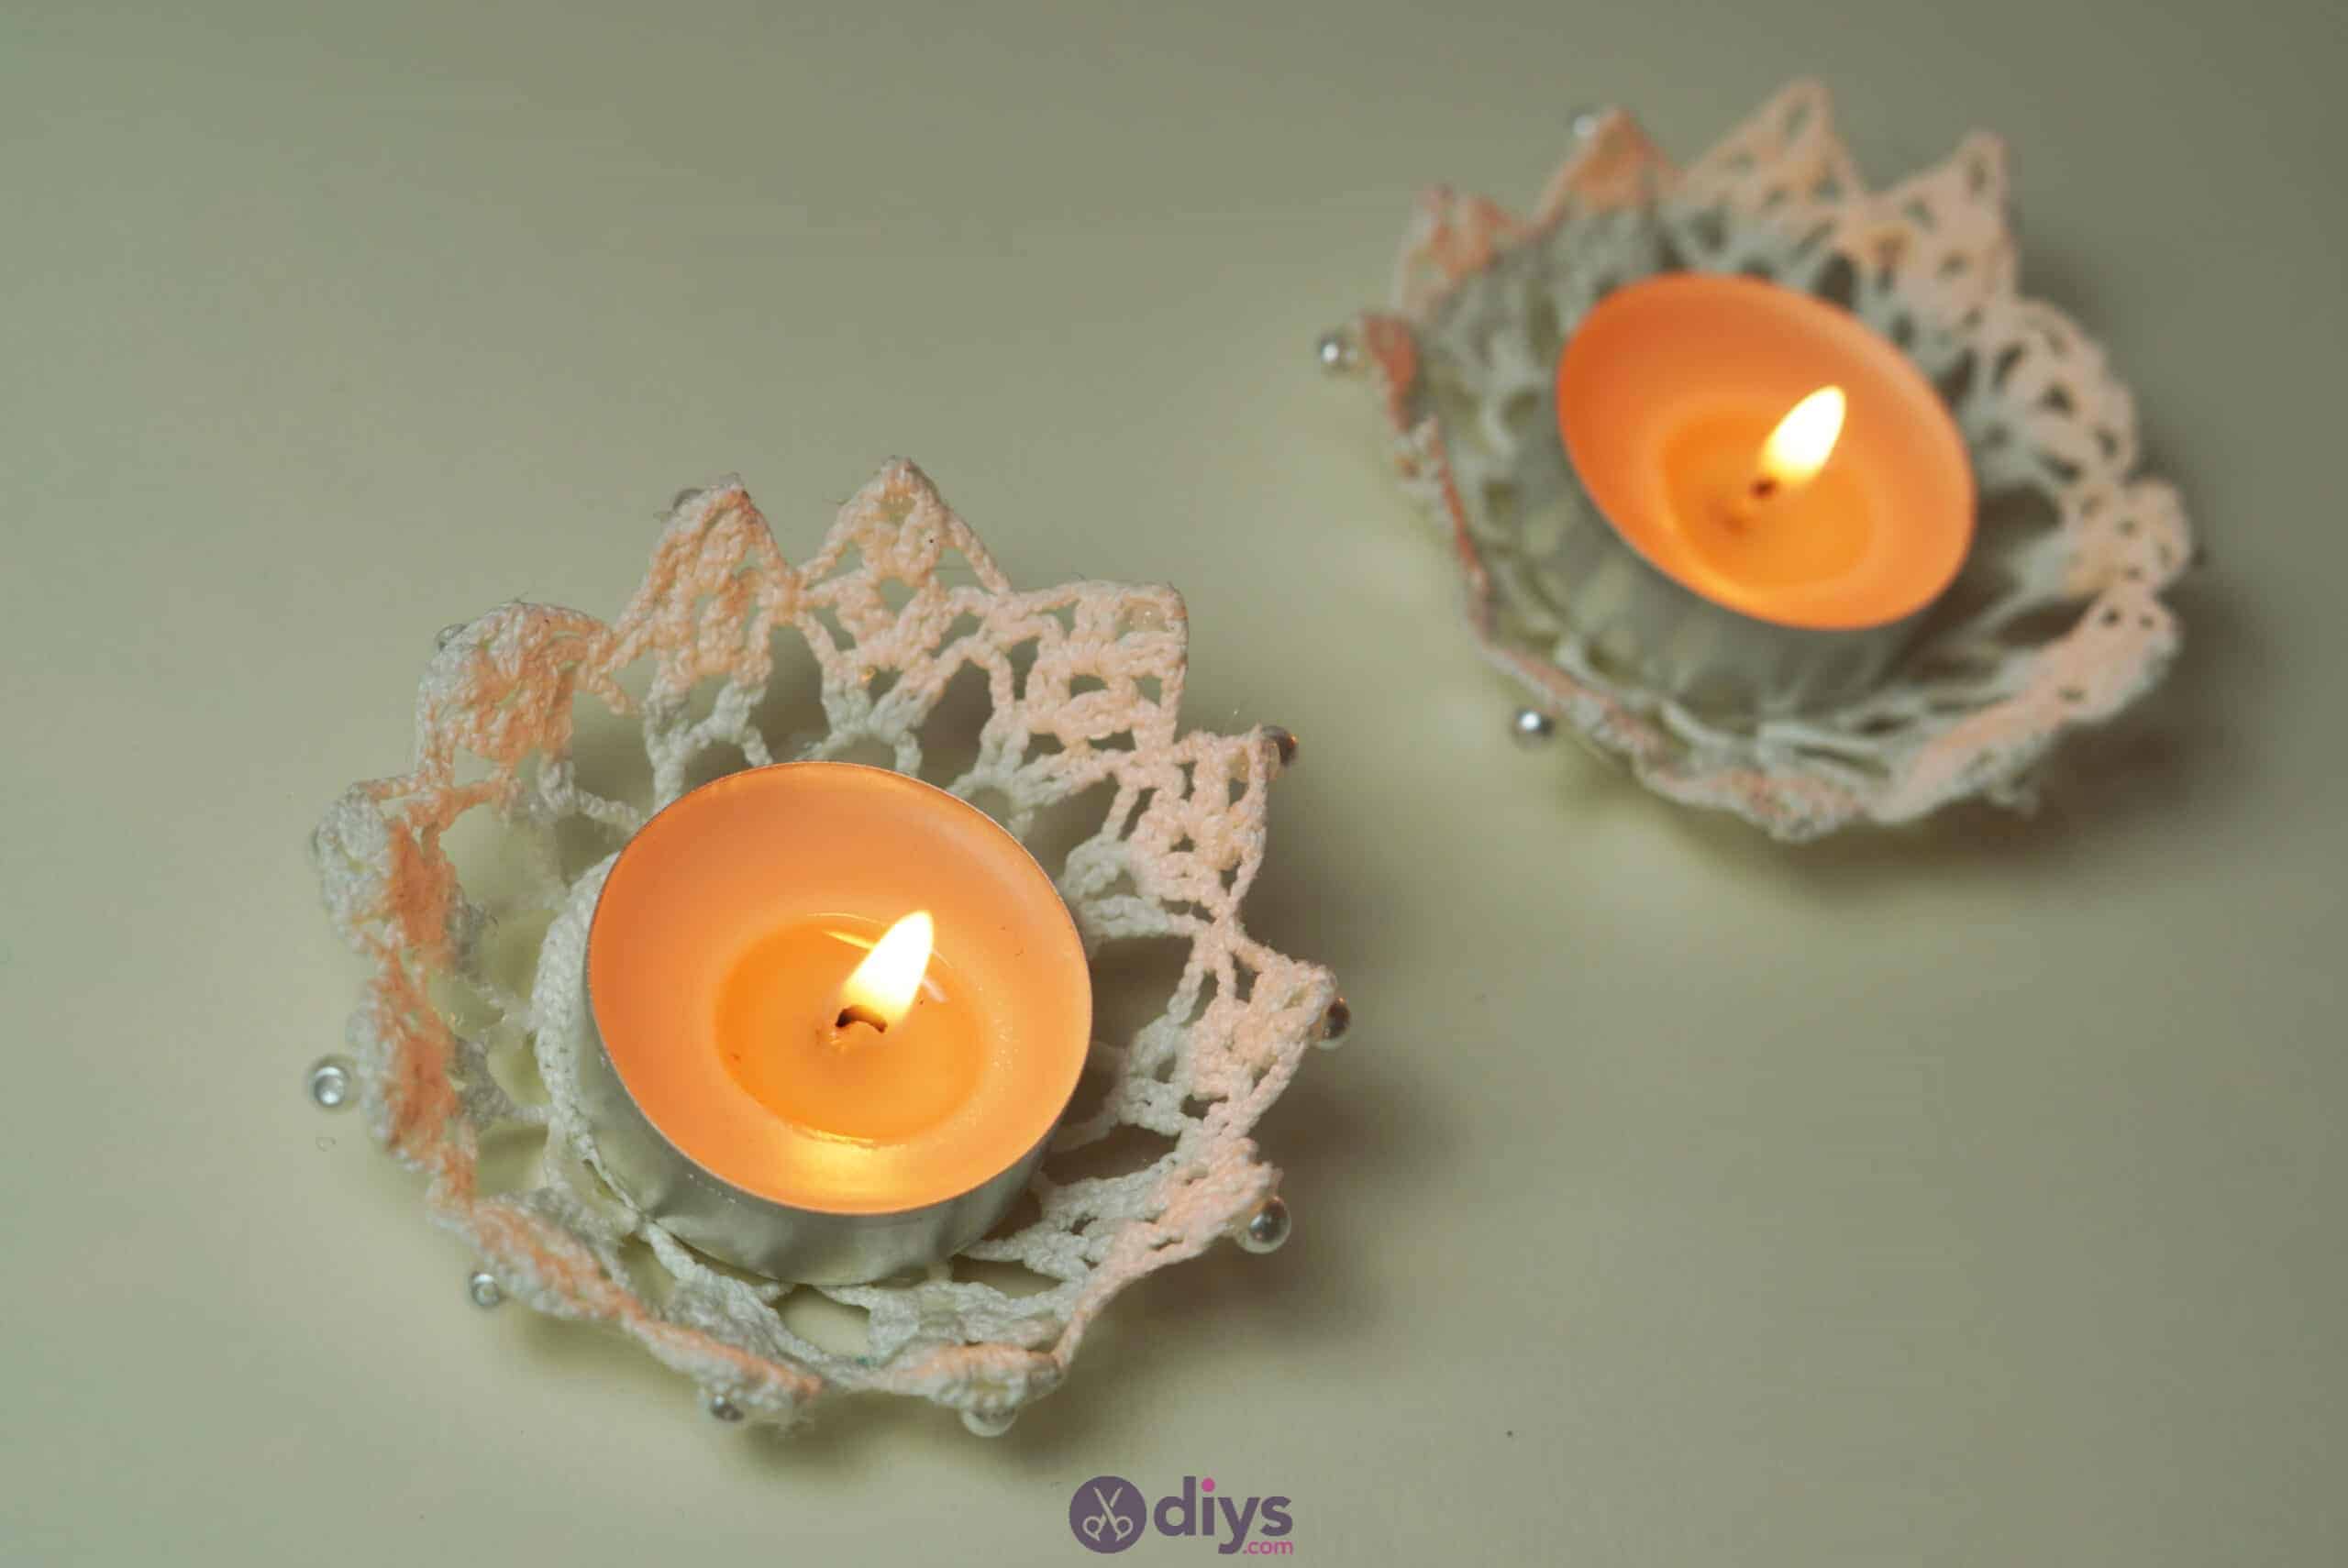


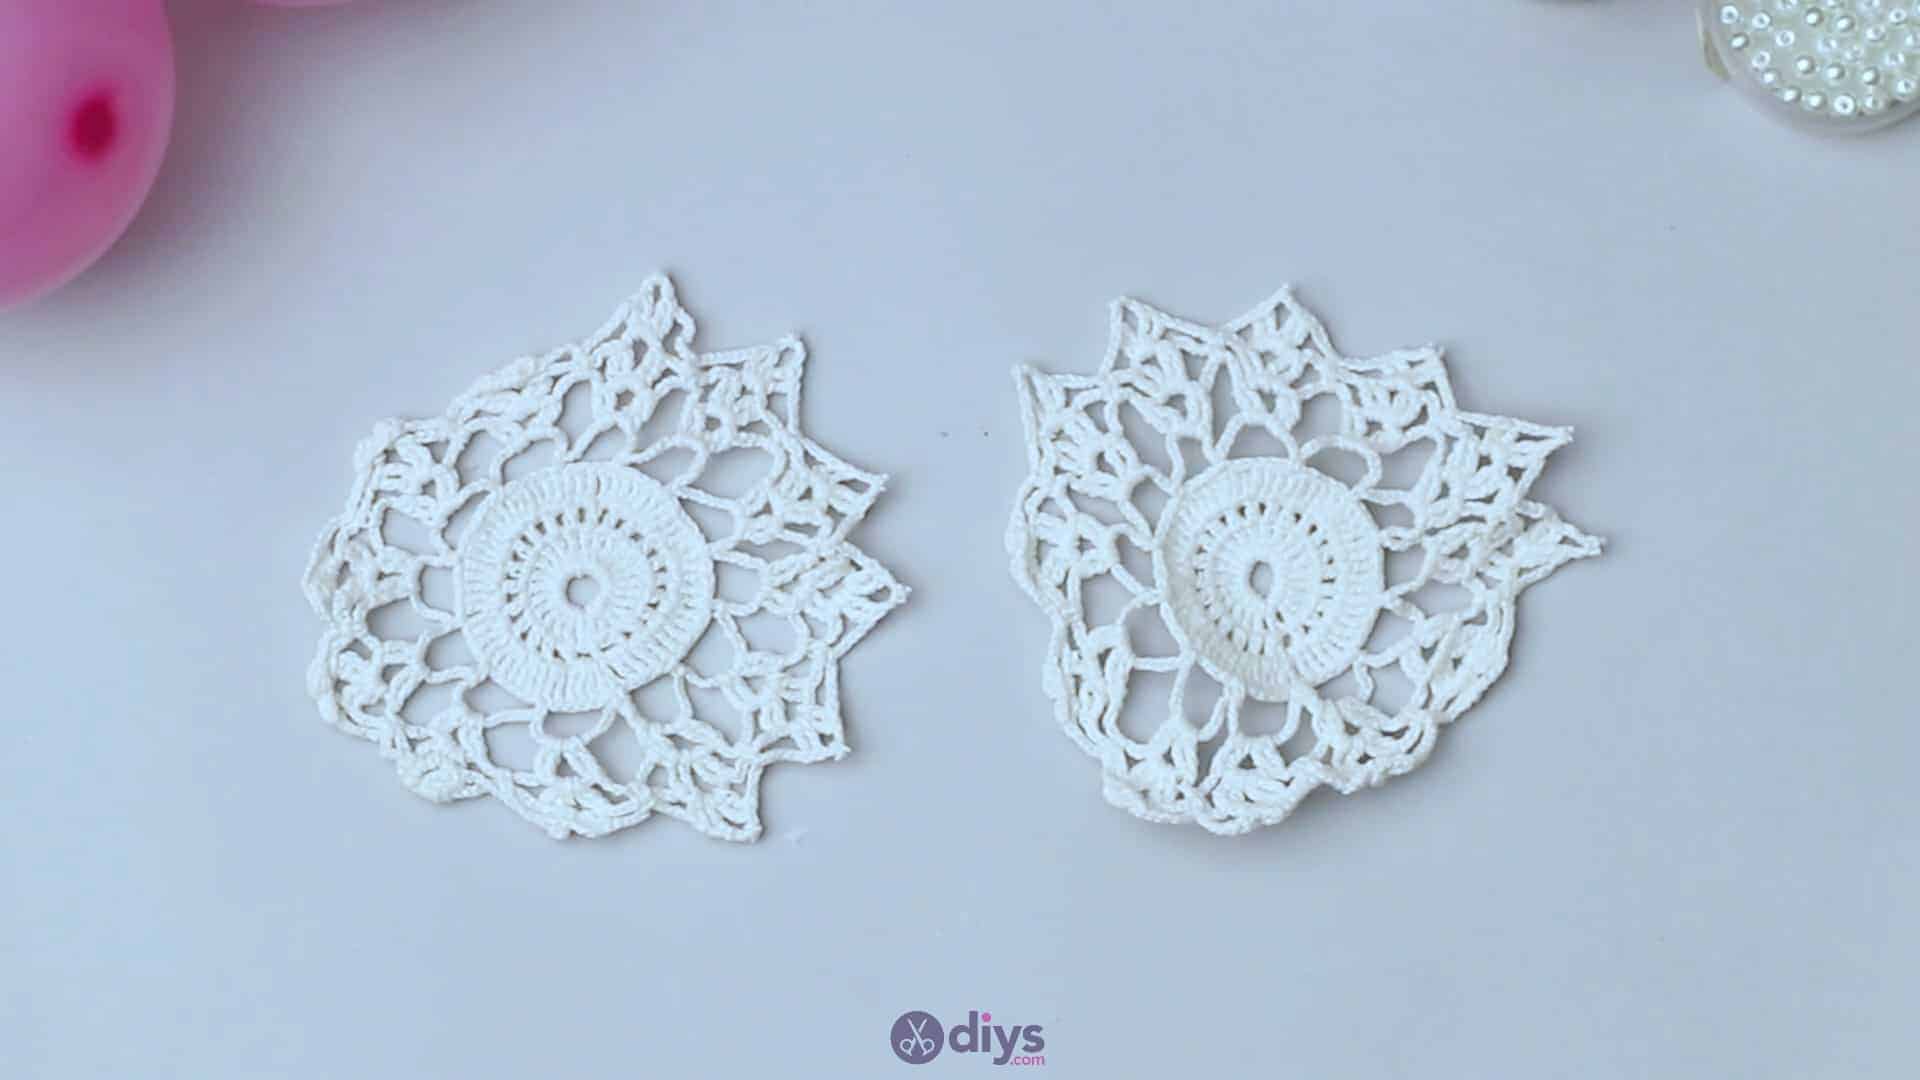


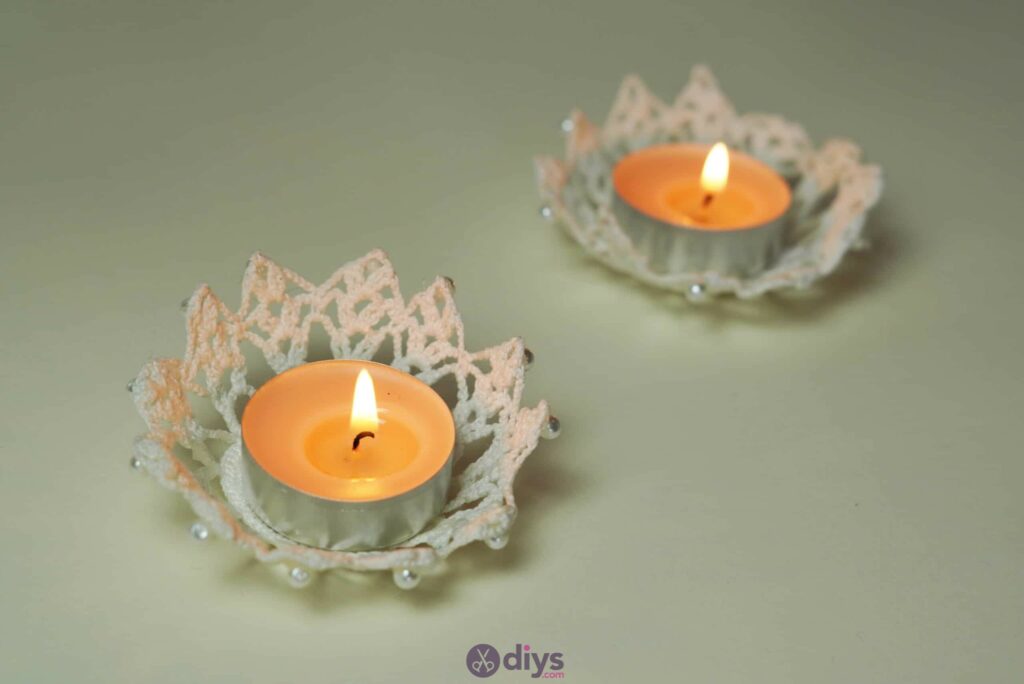
These cute DIY lace candle holders made from materials you probably have laying around your home are sure to liven up any space with a delicate touch. Read on to find out just how we made them!
Something about the process of creating an actual little structure from the otherwise soft lace was so satisfying that I knew I just had to outline this craft for other DIY and textile lovers to try out. If you’d like to follow along in detail, browse through my written instructions with corresponding photos for each step! If you’re more of a visual learner then feel free to scroll to the bottom of this post, where you’ll find a full video tutorial of what I made.

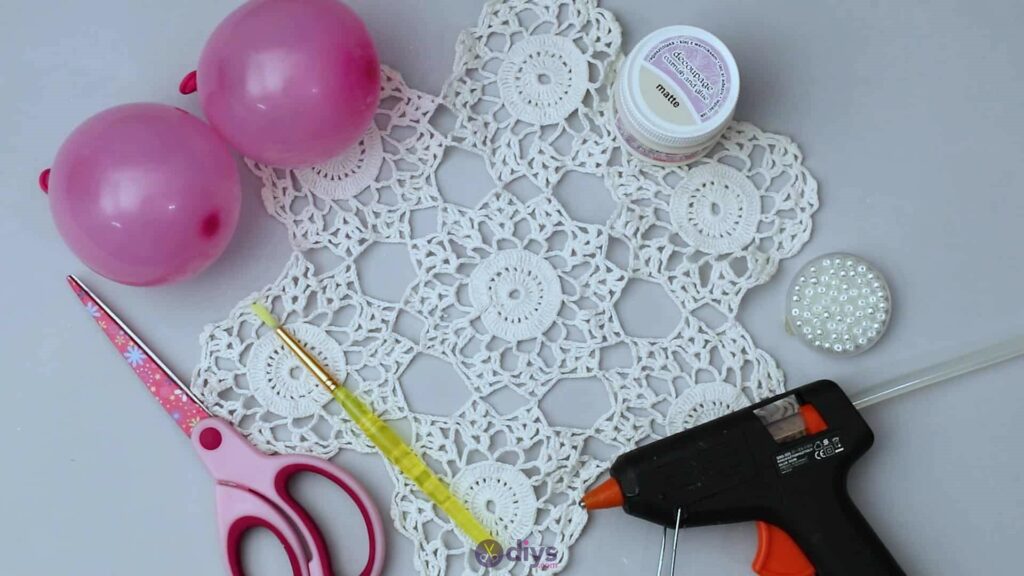
For this project, you’ll need:
- Lace tablecloth or large doily
- Balloons
- Scissors
- Decoupage glue
- Paintbrush
- Pearls or pearled beads
- Glue gun
Step 1: Get your stuff together
Gather your materials! I blew up my balloons beforehand so I could take the extra time to make sure that I made them the exact same size.
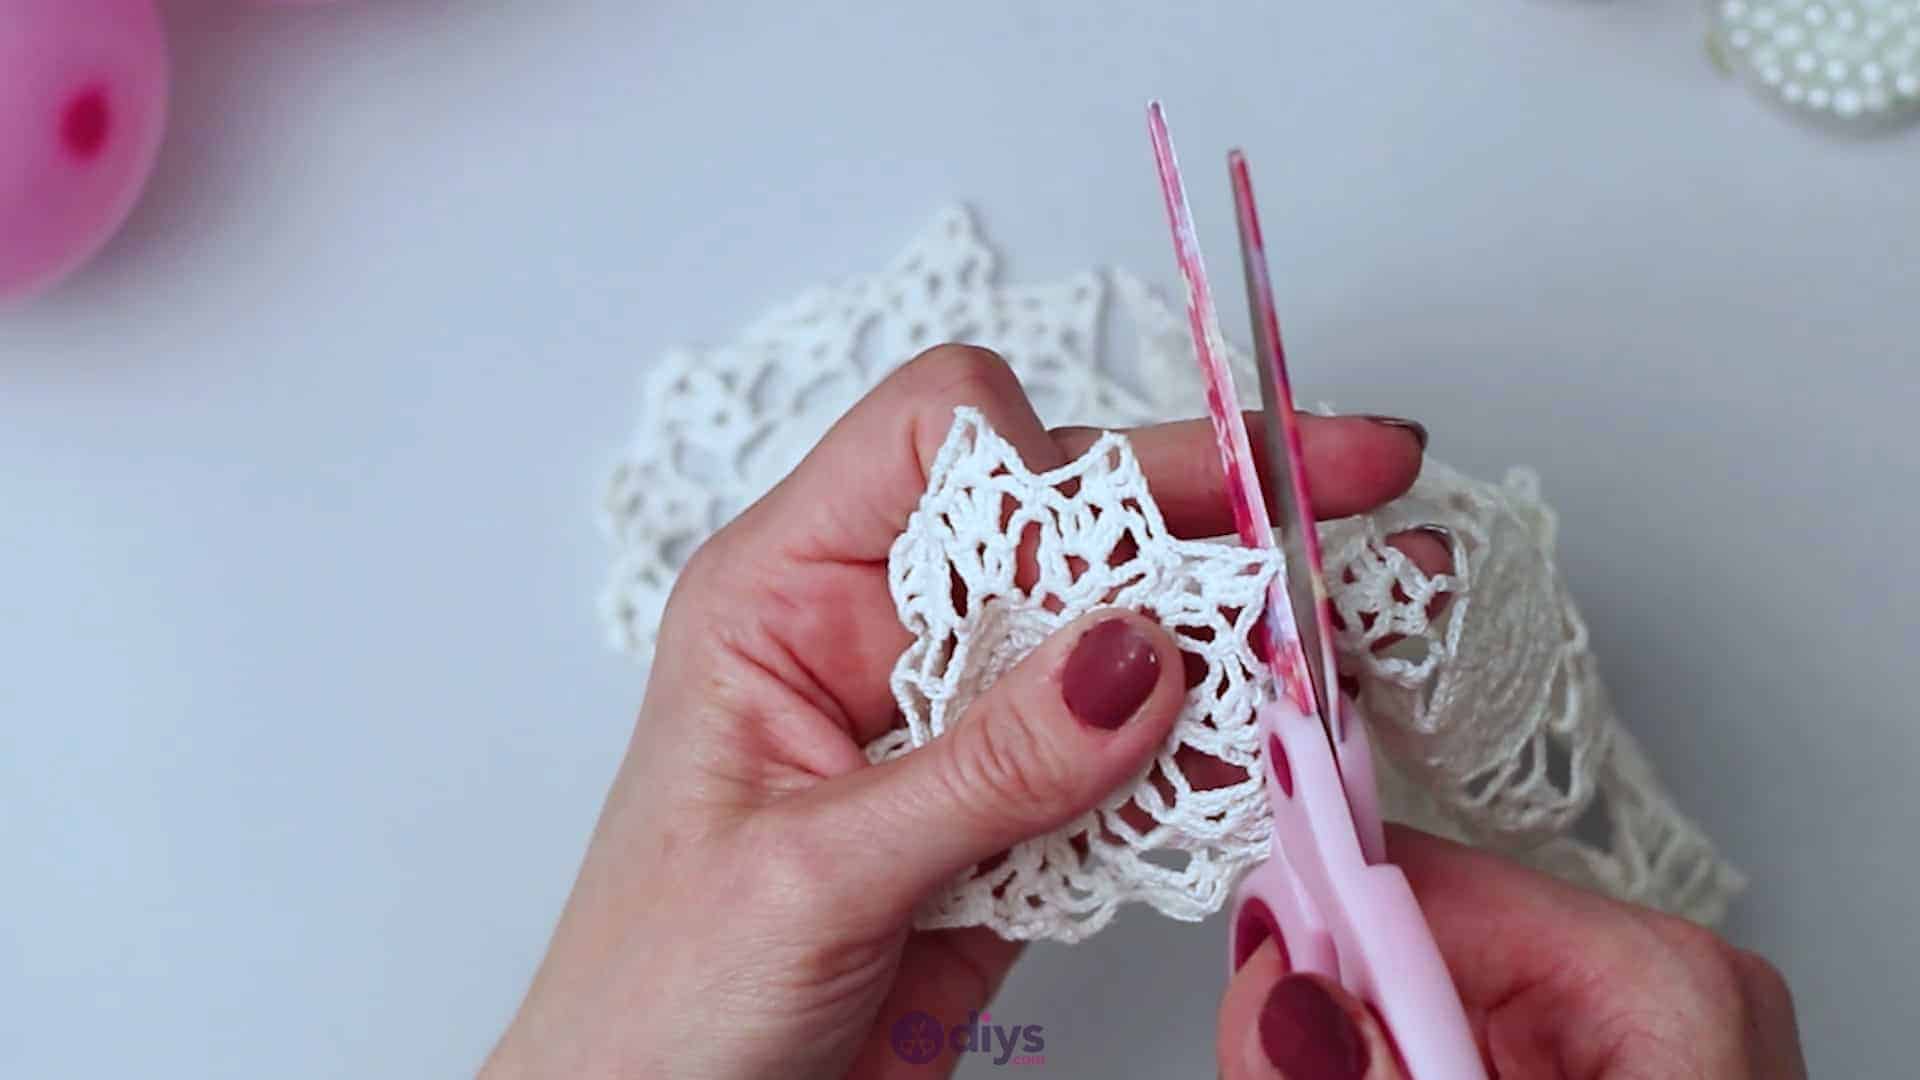
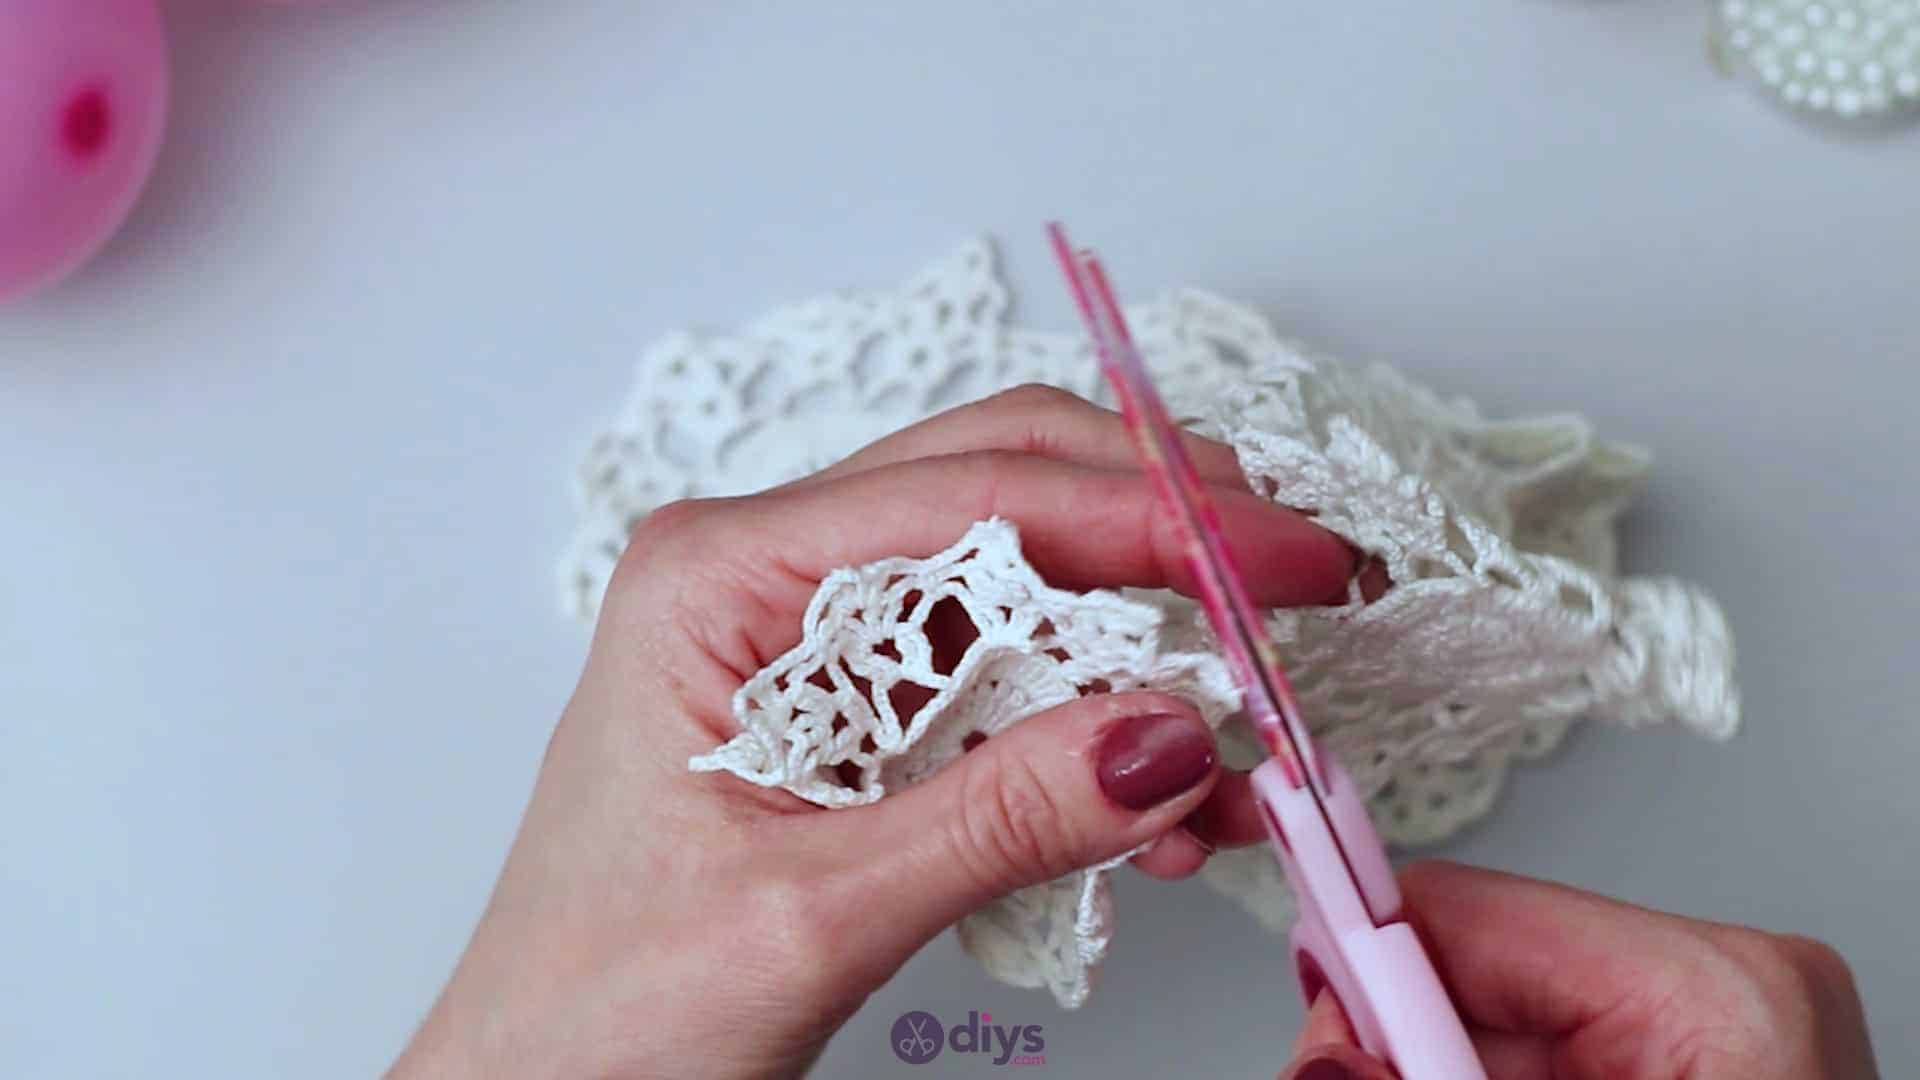
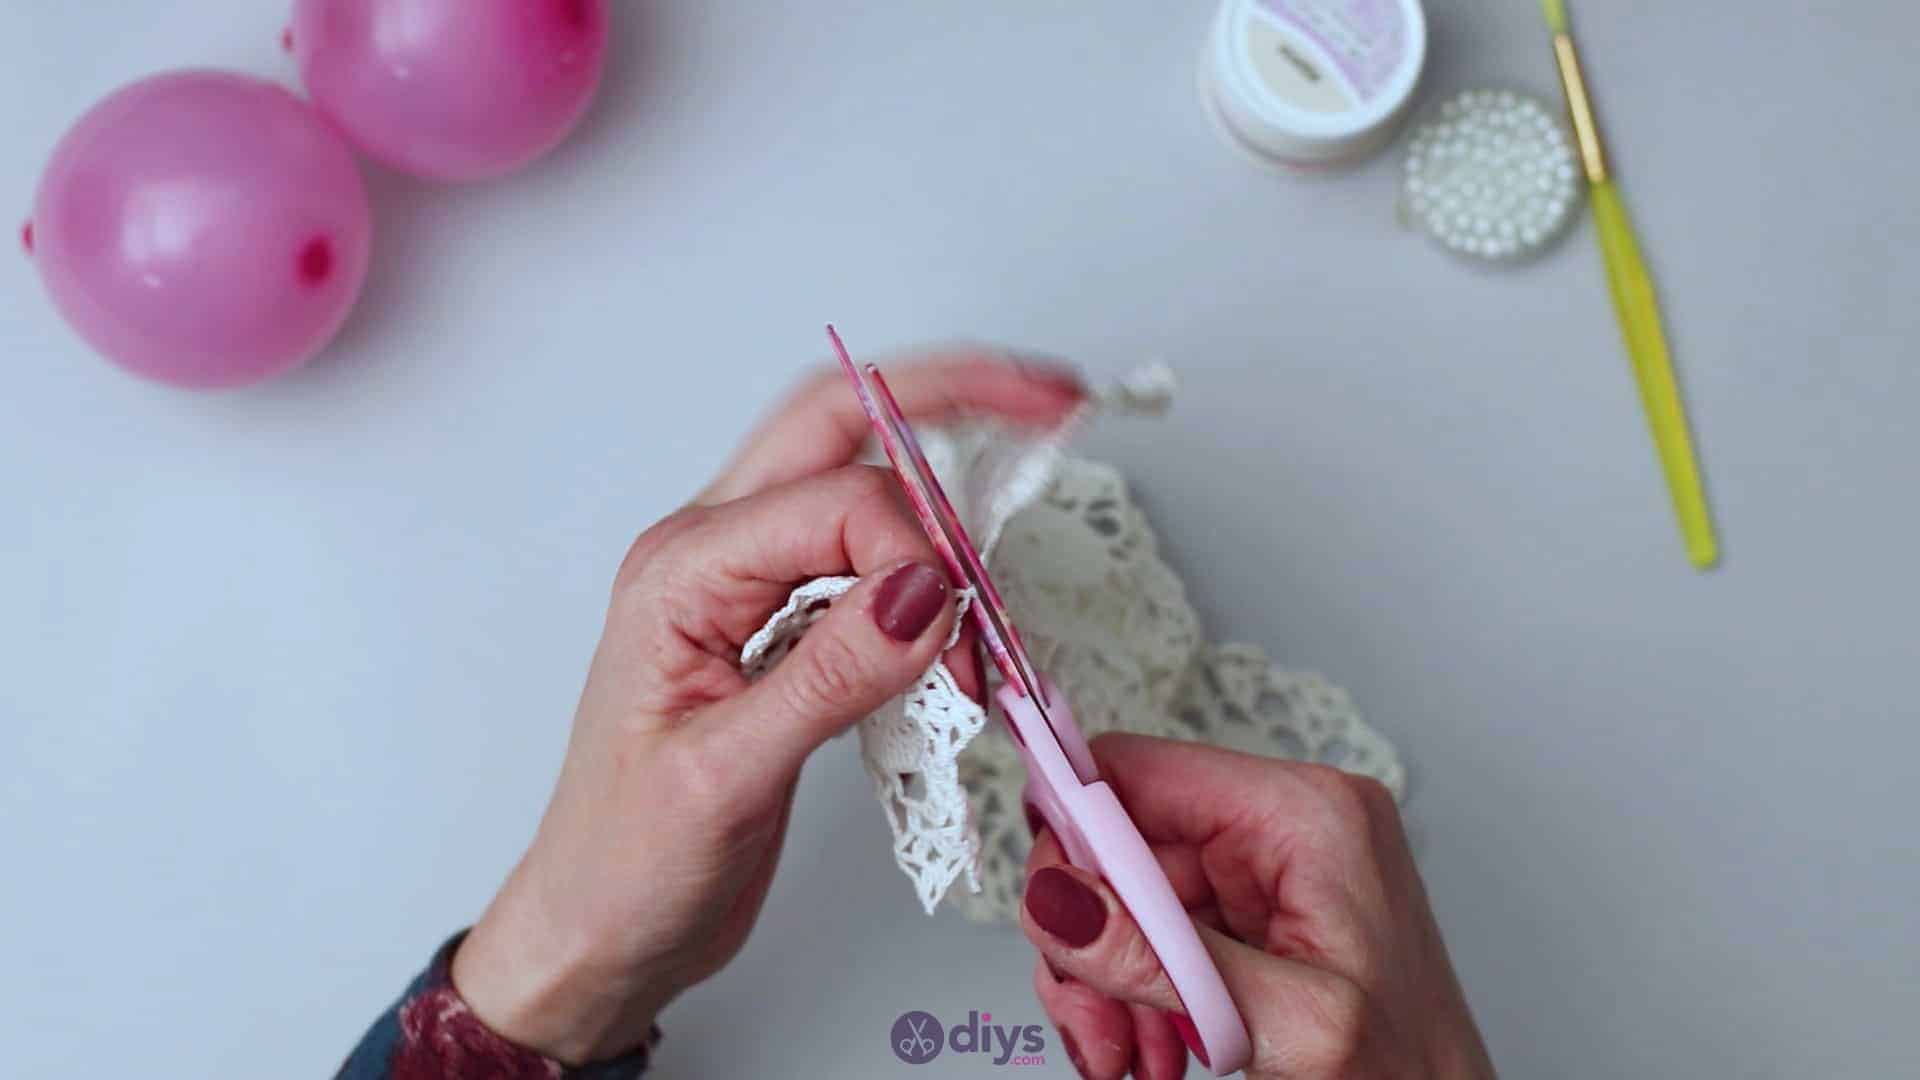
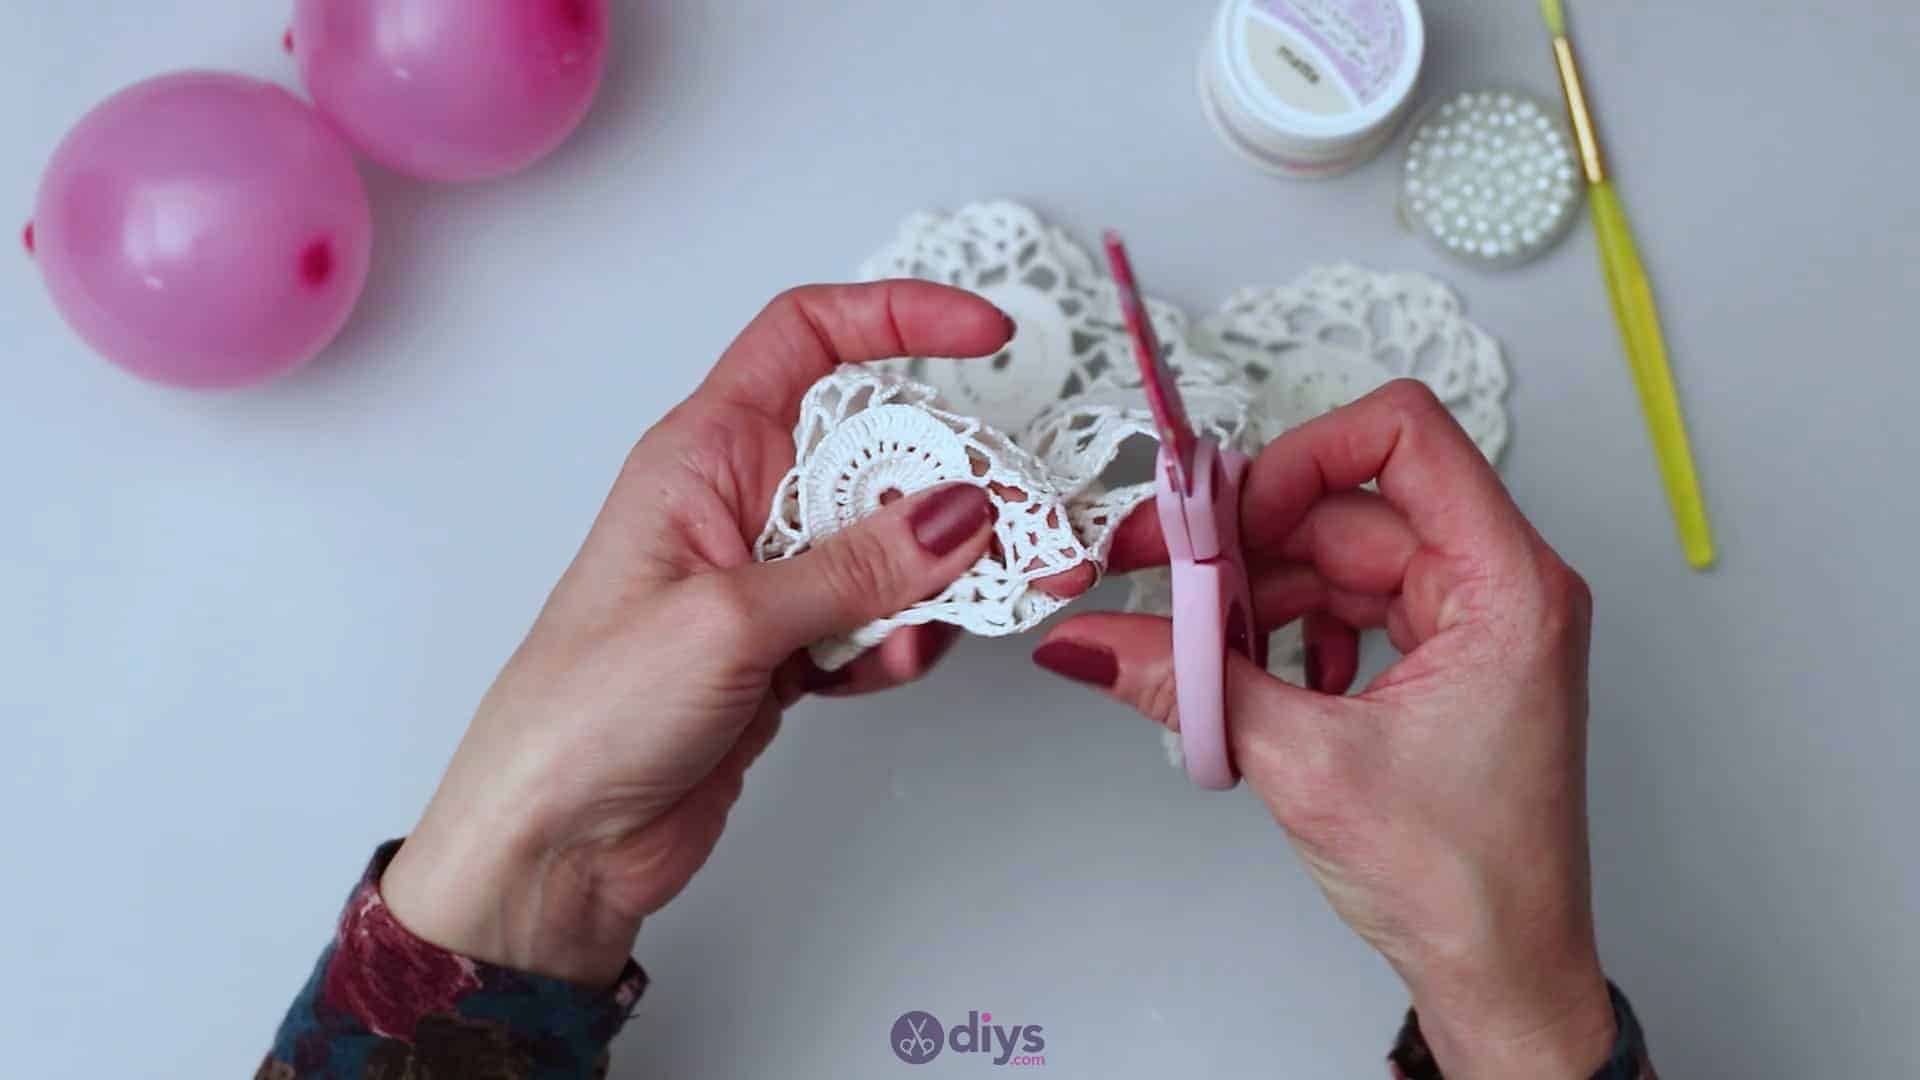
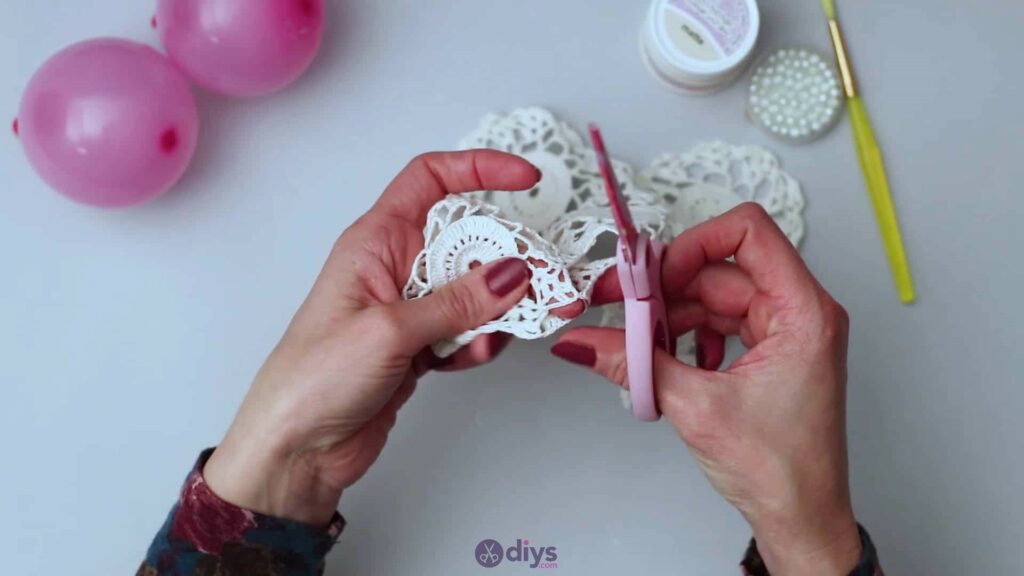
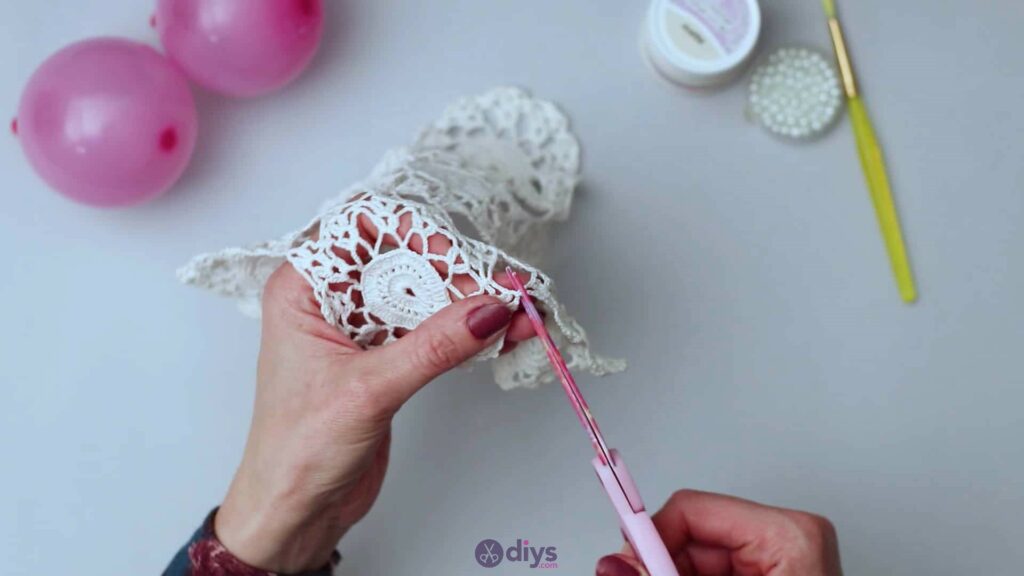
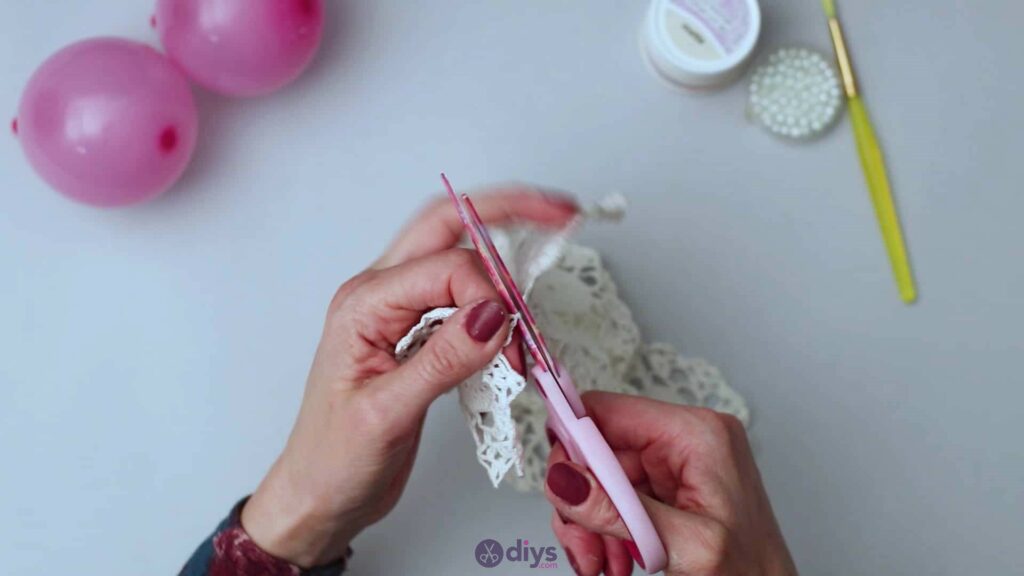
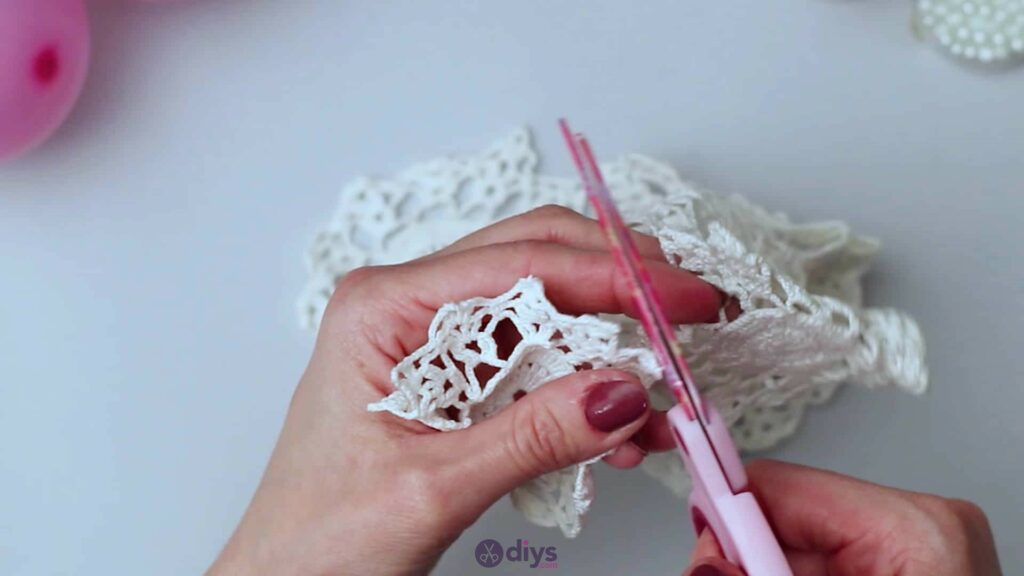
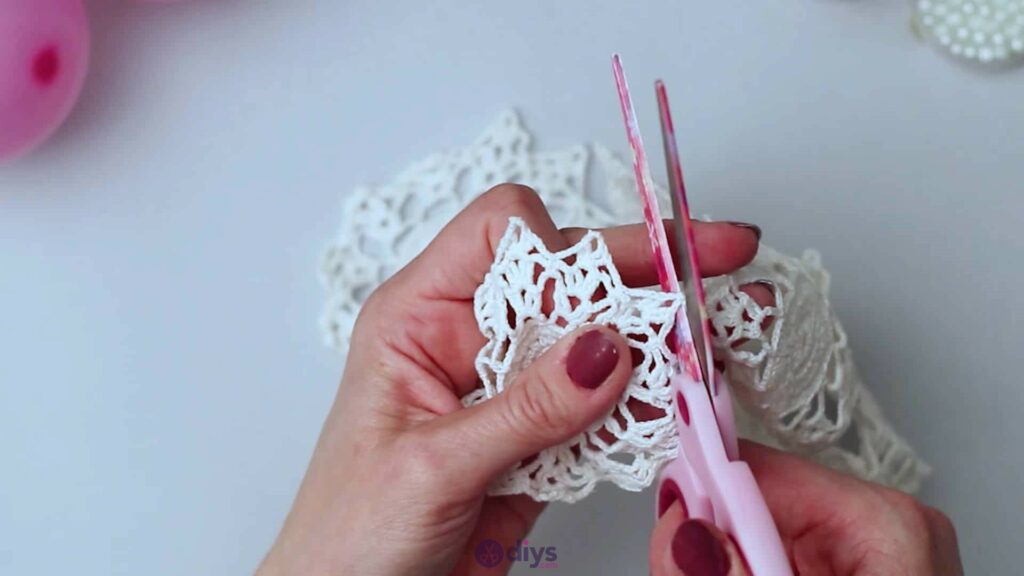
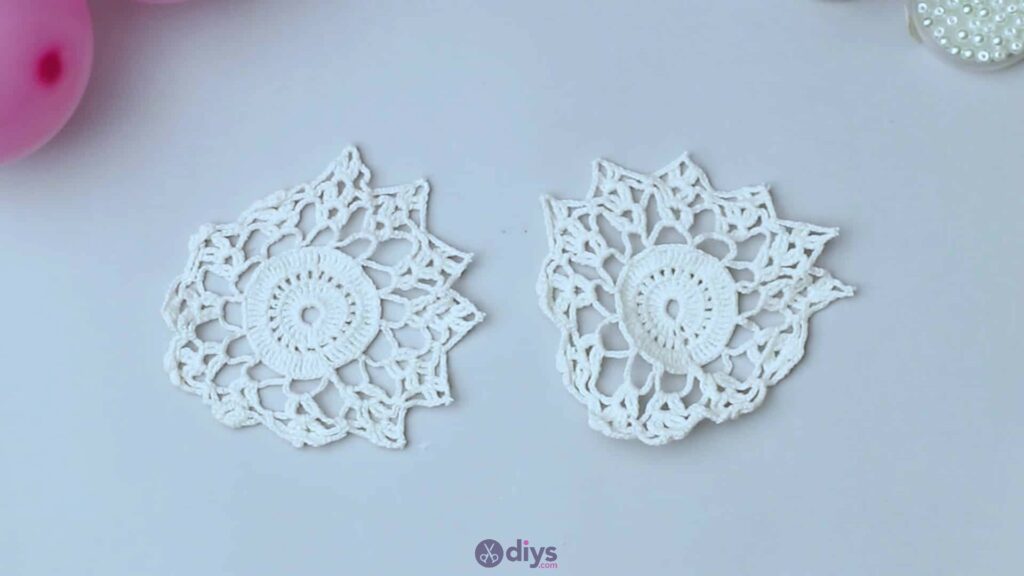
Step 2: cut the lace
Use your scissors to cut your lace into pieces in the shape and size you want. I decided to work with the evident circles that were already built into the pattern of the tablecloth piece I was upcycling, since they were about the size of the tea light candles I intended to display later anyways. I kept things easy by cutting the pieces where the lace points joined, keeping my finished shapes whole and neat.
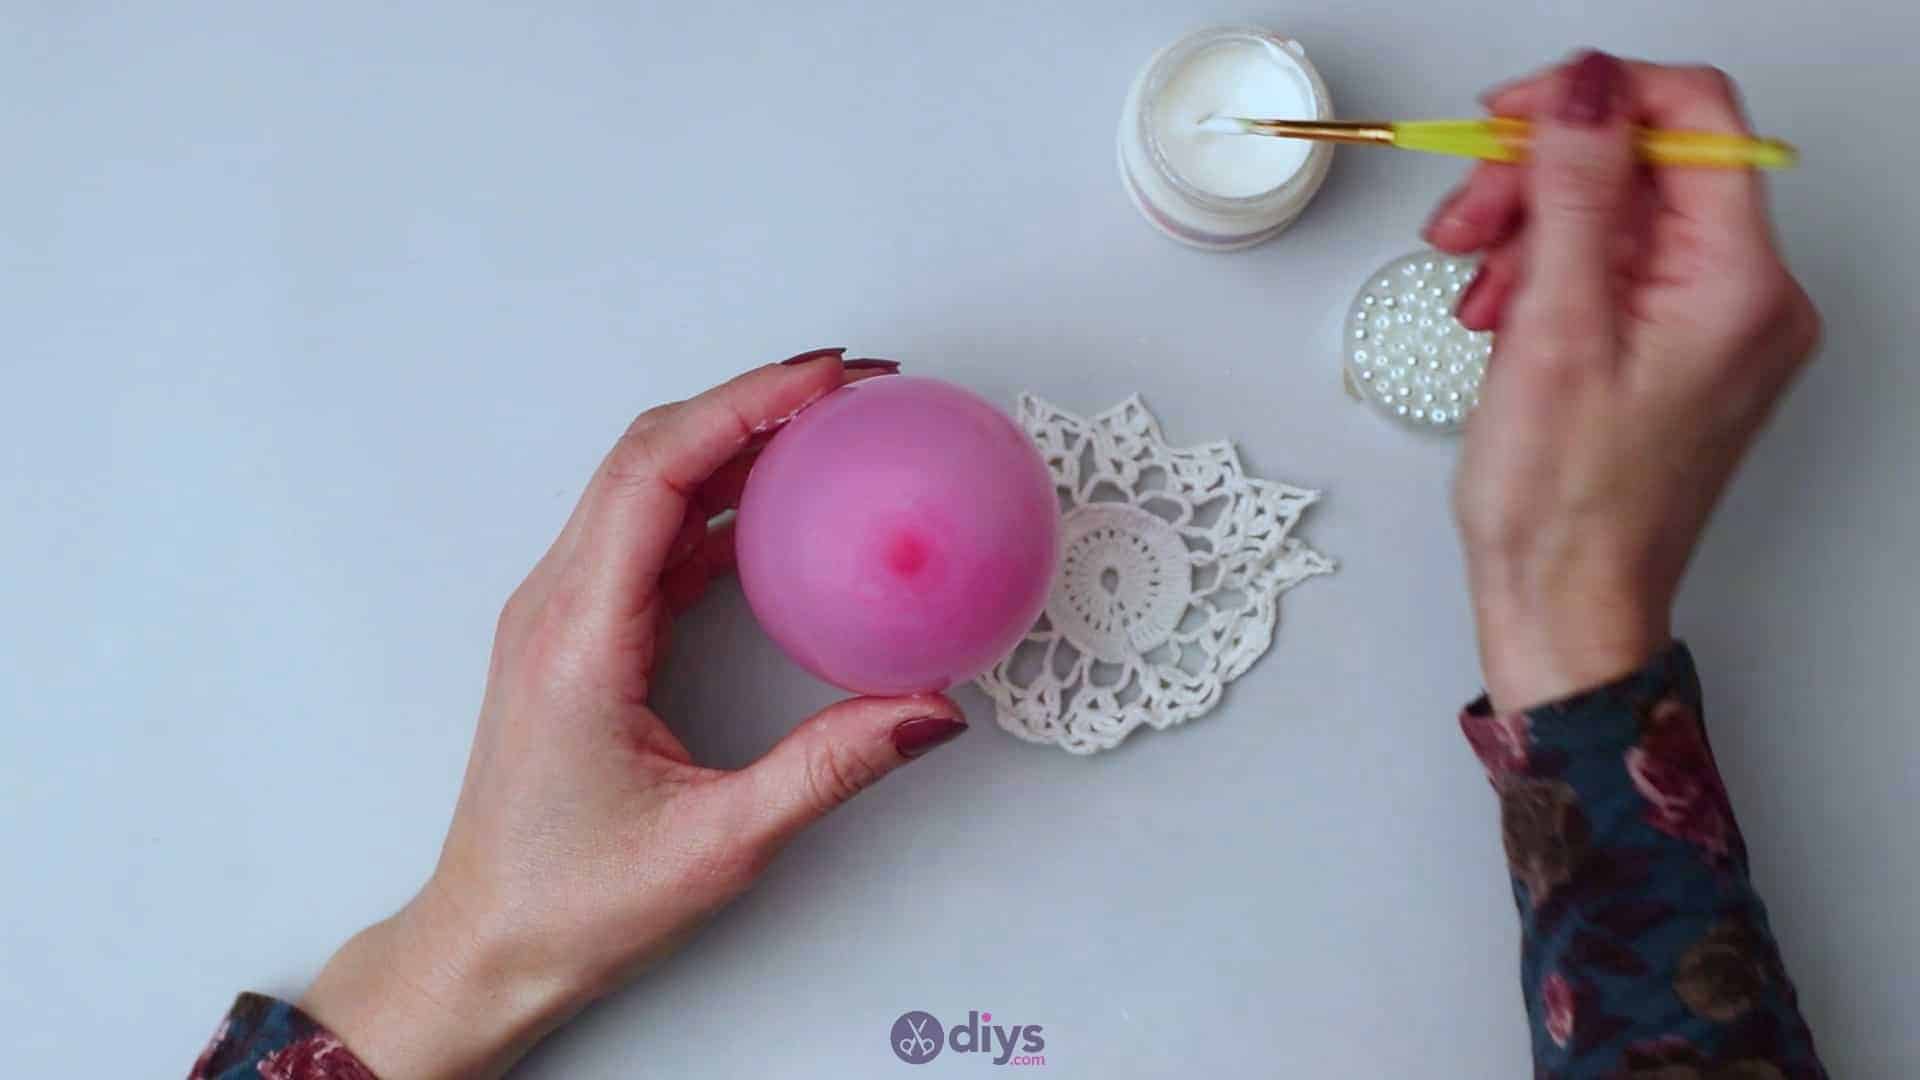
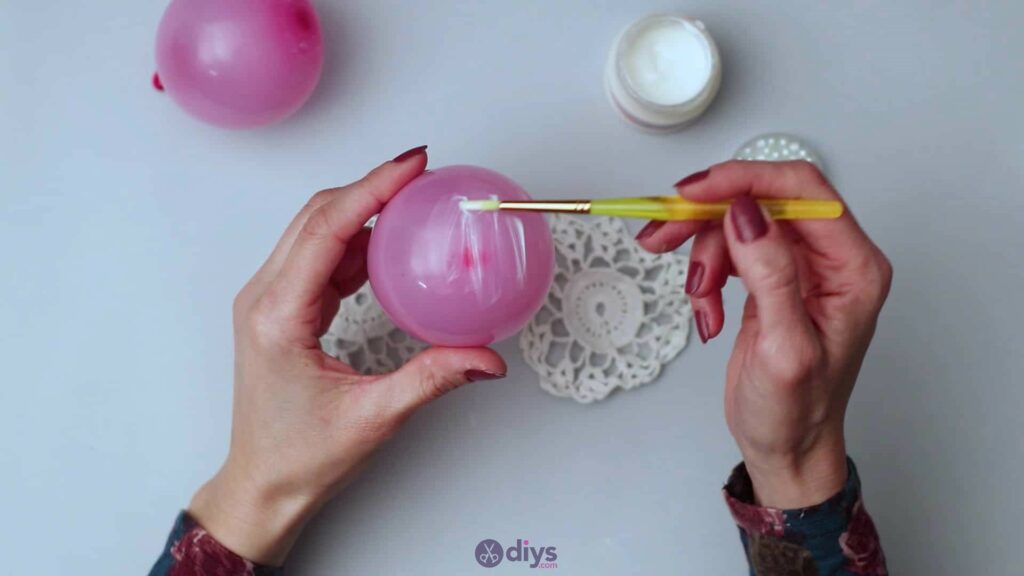
Step 3: blow up balloons
I blew two balloons up to roughly the same size as my rounded lace pieces before I started but if you haven’t blown your own balloons up yet, now is the time to do it. Before you tie them off, measure them against the piece by holding the balloon in the centre and judging whether the lace piece would curve comfortably around the curve of the balloon like a bowl. When you’ve got the size you want knot the end of your balloon.
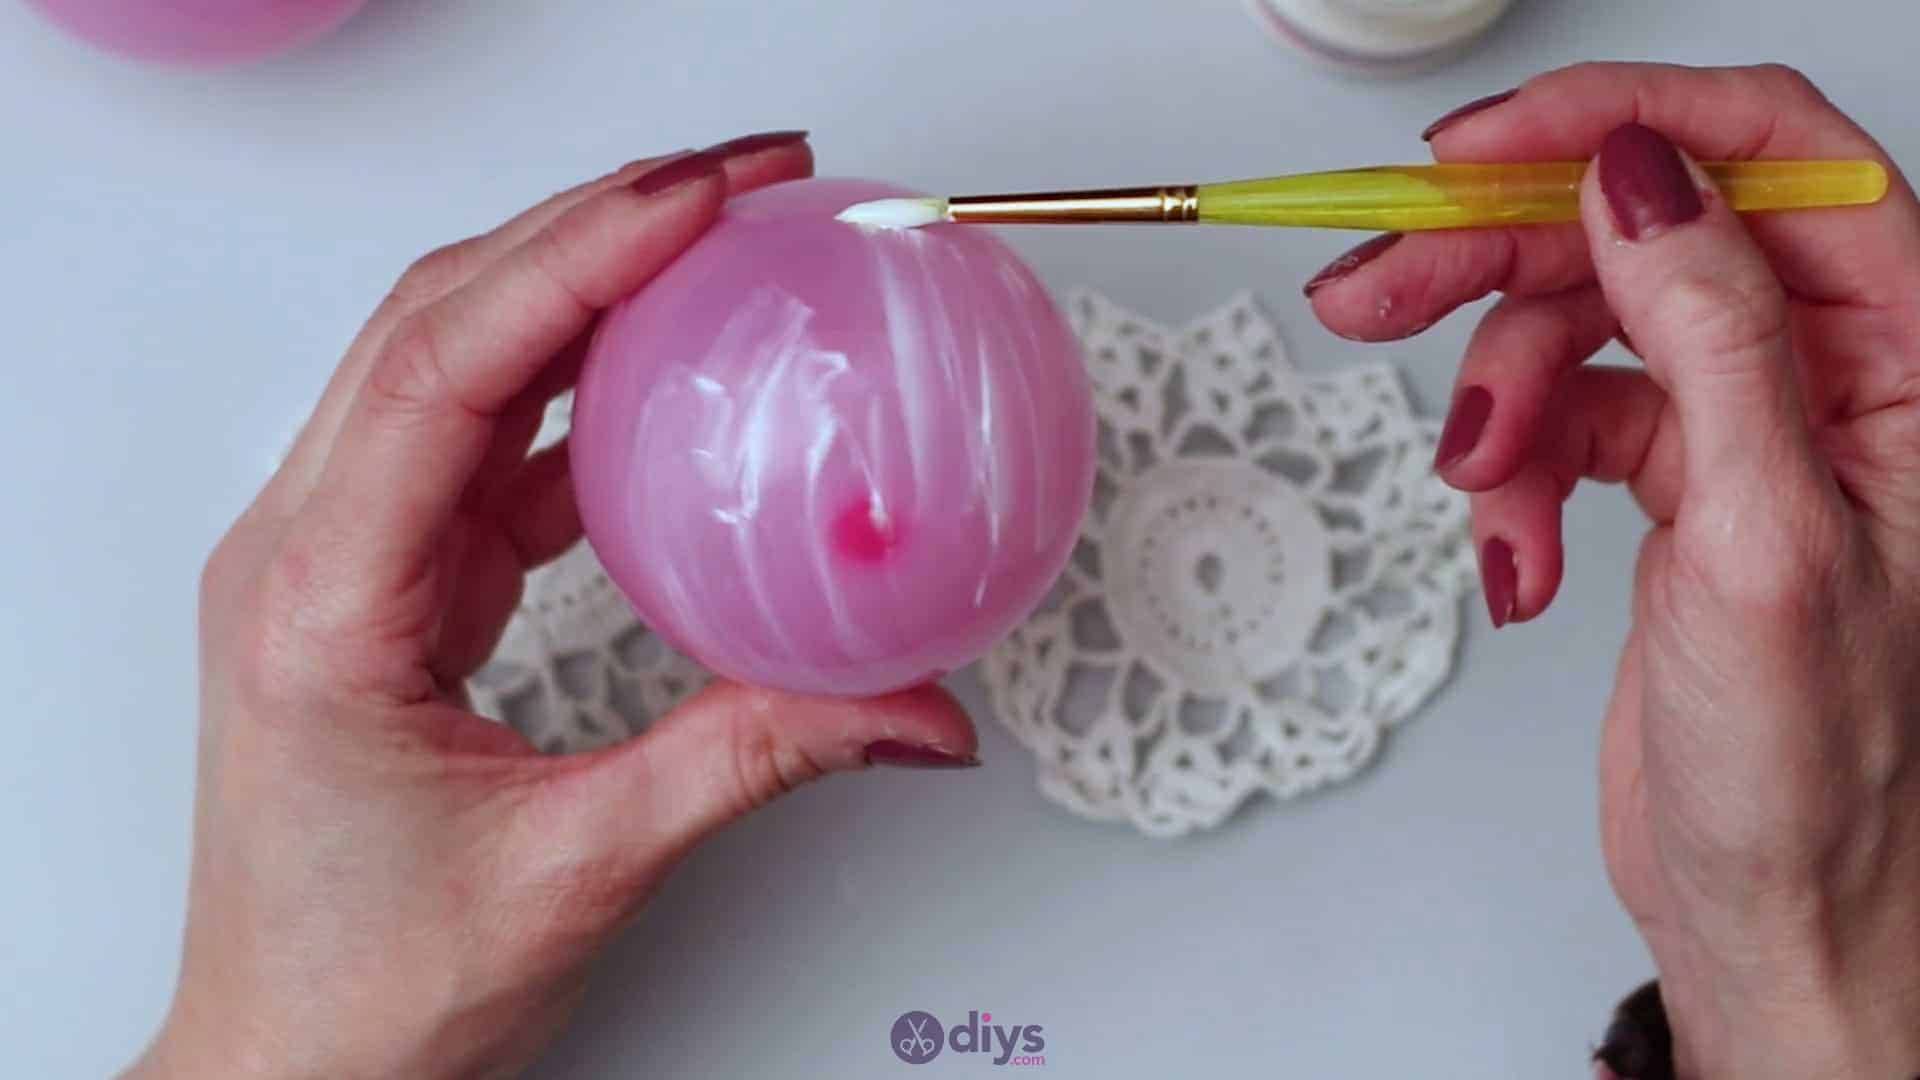
Now, use your paintbrush to cover the rounded top of the balloon (opposite your knotted end) in decoupage glue (use a product like Mod Podge or something like it; you might even slightly dilute white school glue). Spread your layer of decoupage glue quite thing, so it’s not white and gooey on the surface of your balloon, but still ensure that you’re getting full coverage. Cover the balloon all across the top and about halfway down its sides towards the not at the bottom.


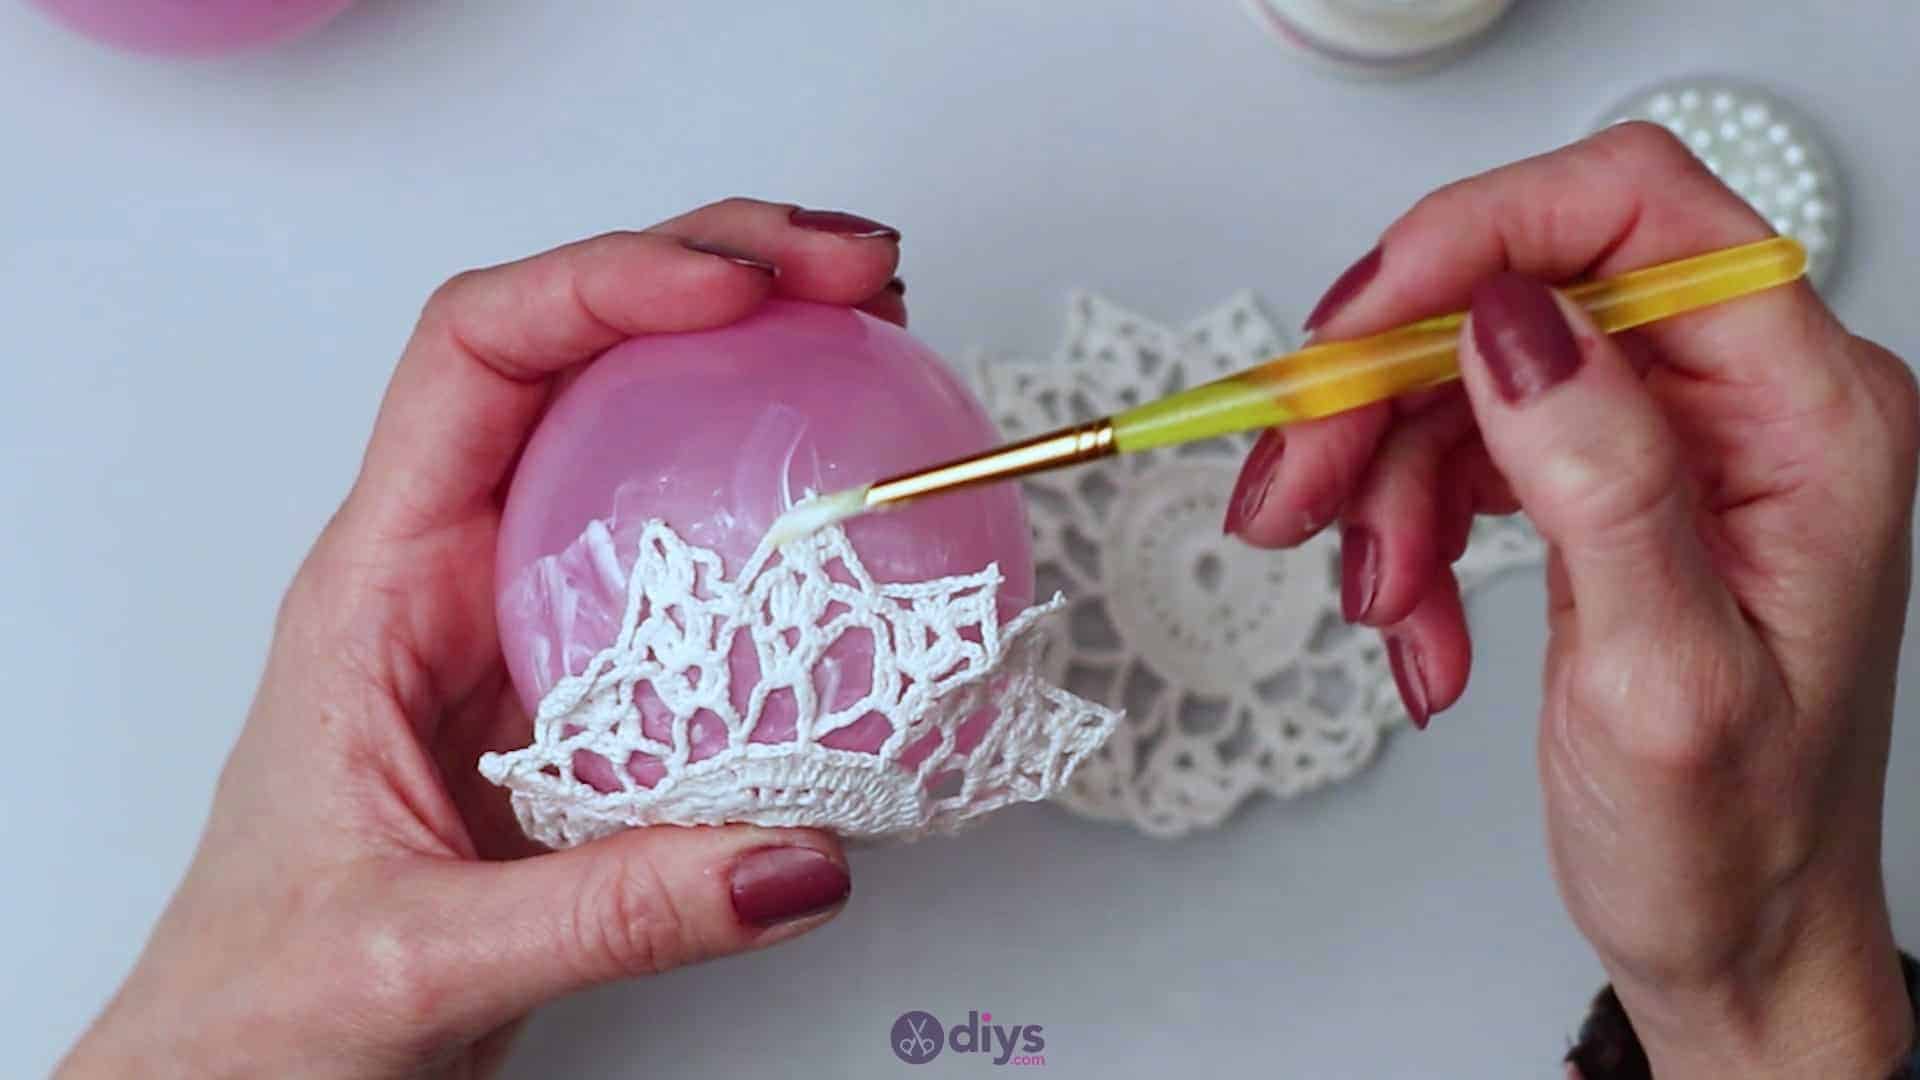
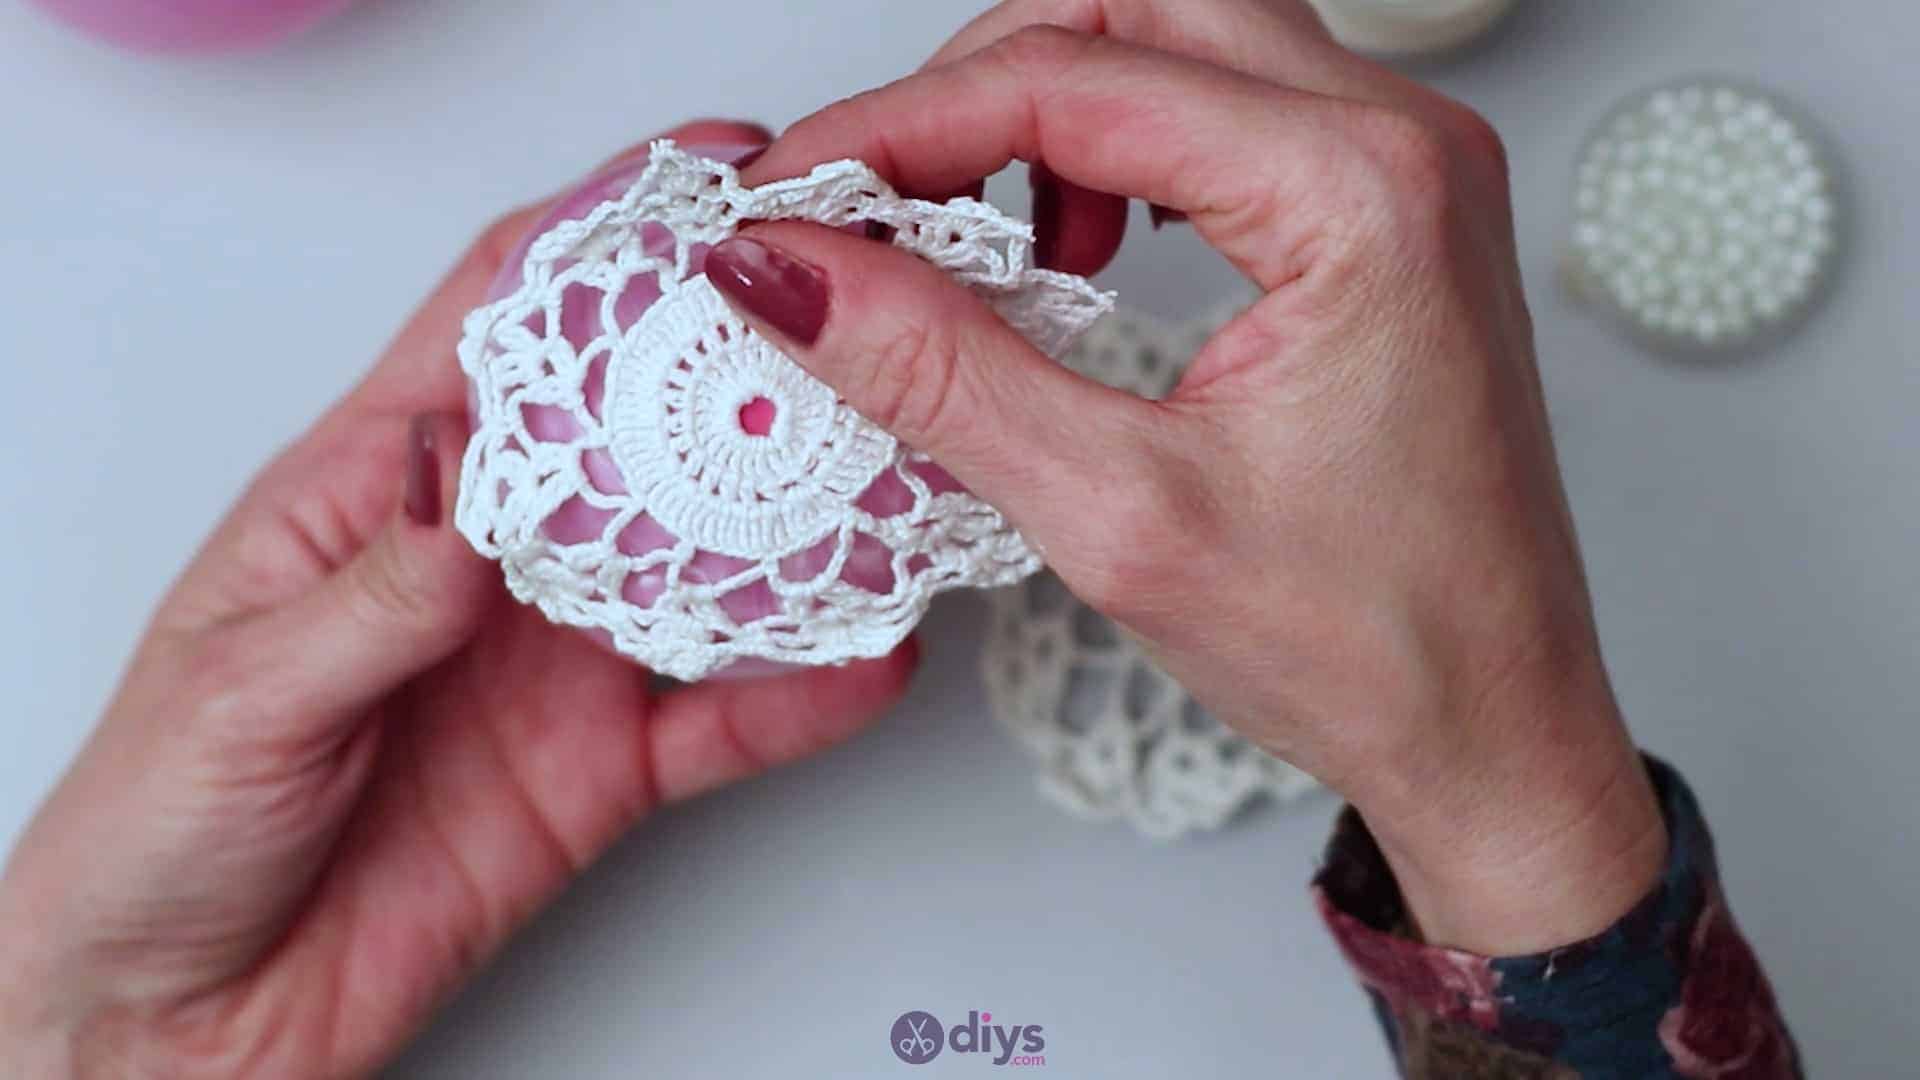
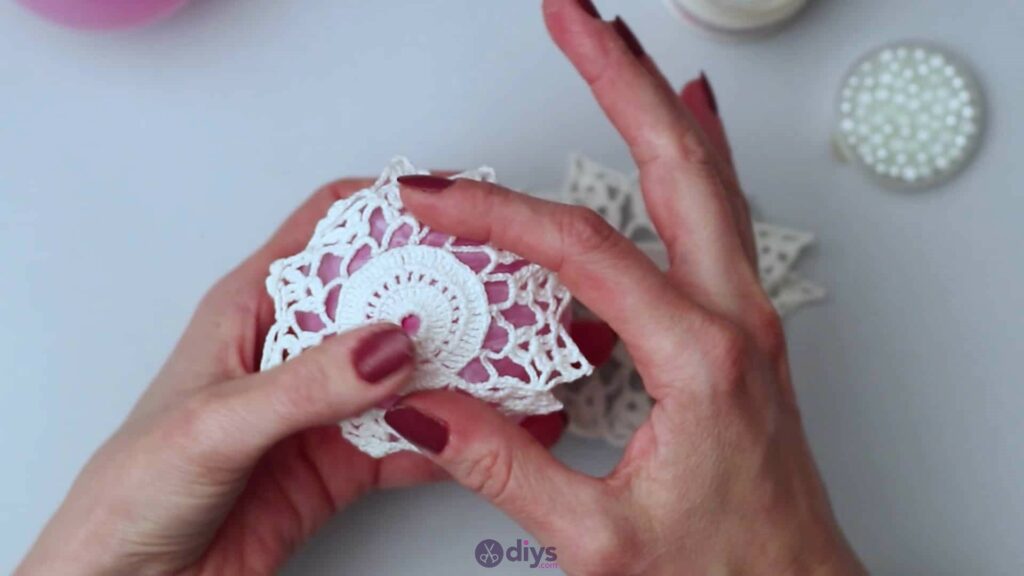
Step 4: place the lace
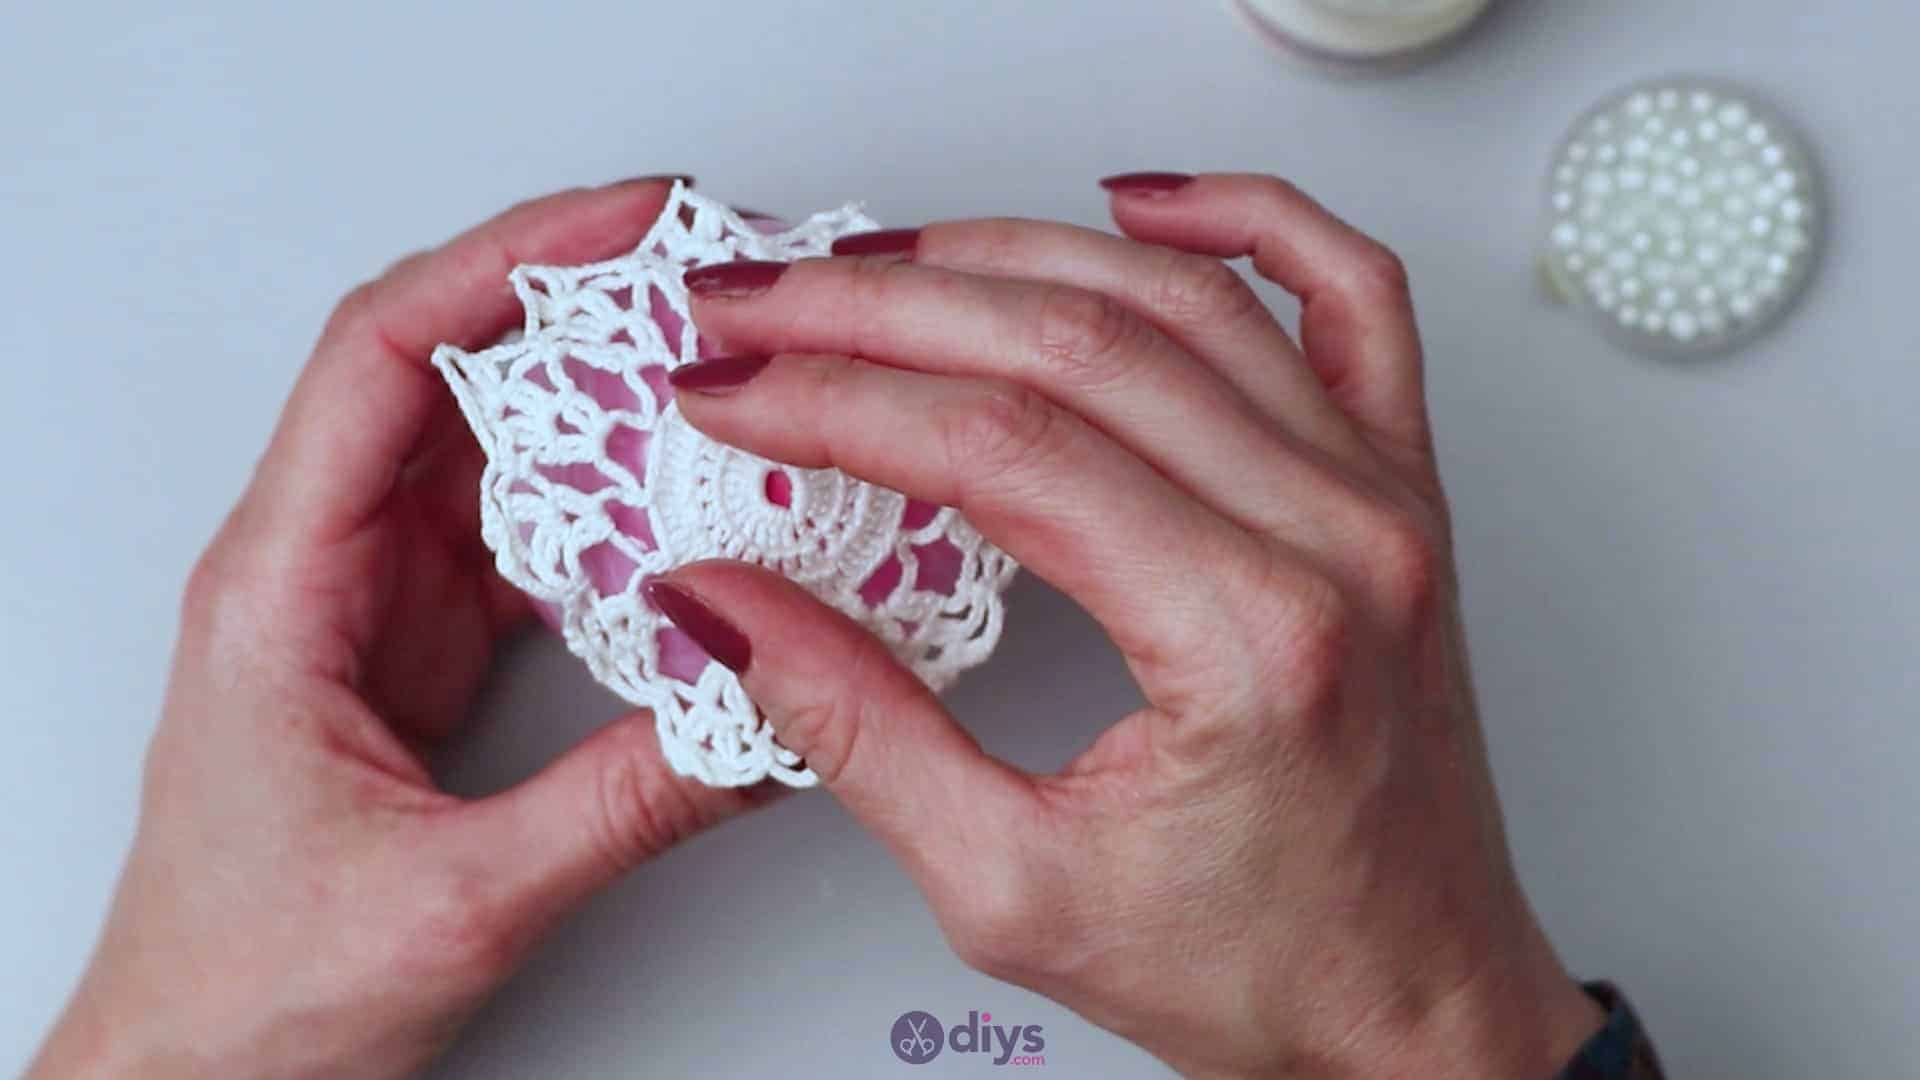
While the decoupage glue is still wet, pick up your first cut lace shape and line its centre up with the centre of the balloon’s top. Spread it smoothly downwards, letting its own shape curve naturally how it wants to over the curve of the balloon. Adjust it as necessary to get it as wrinkle free as possible. If your shape is mostly circular and rounded like mine, the lace and balloon should mimic each other almost perfectly.
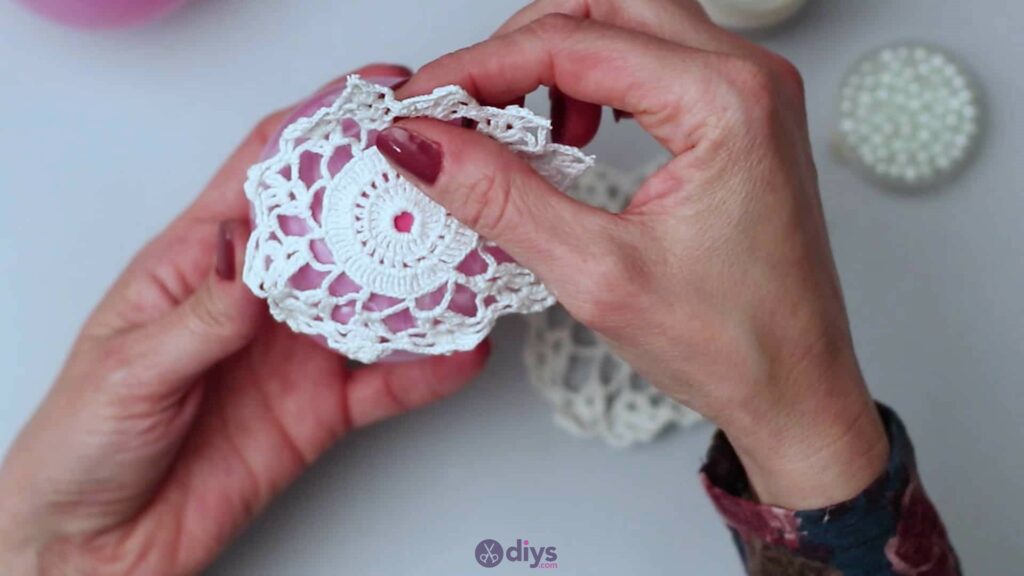
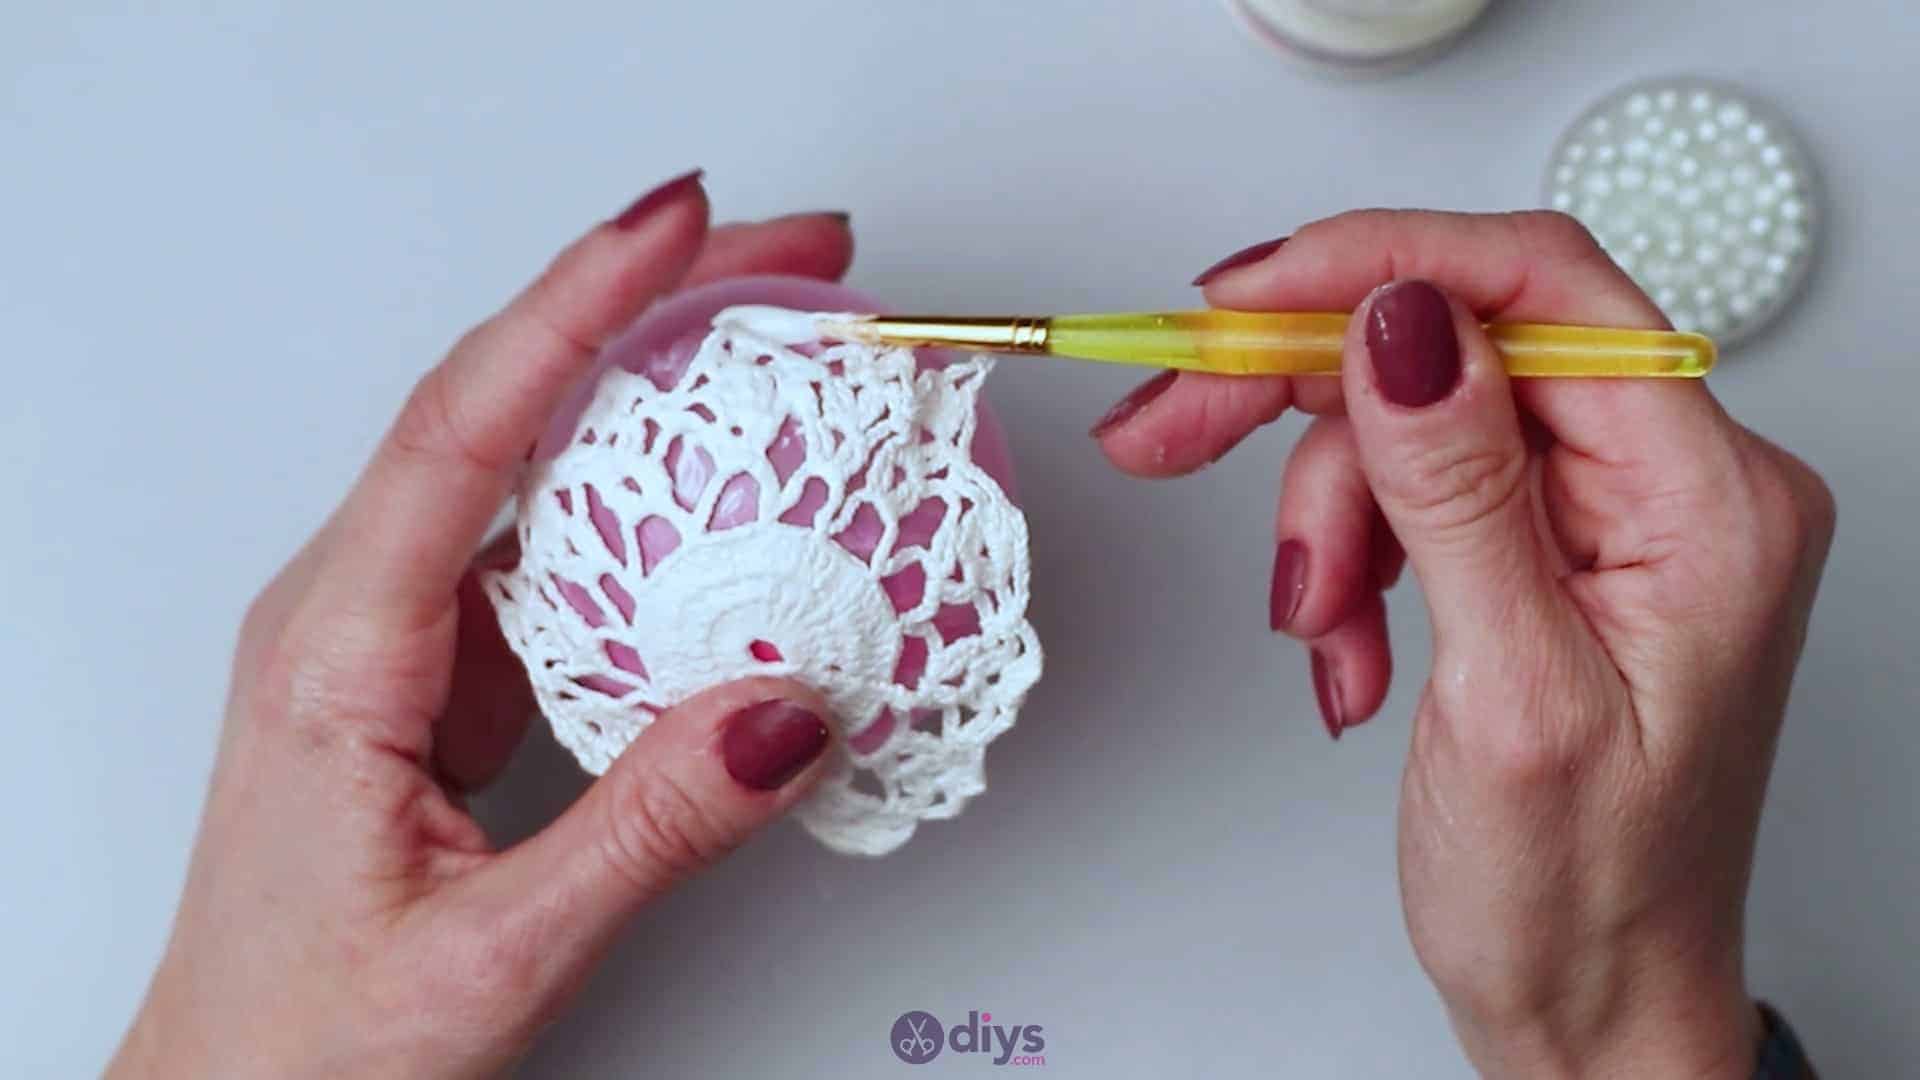
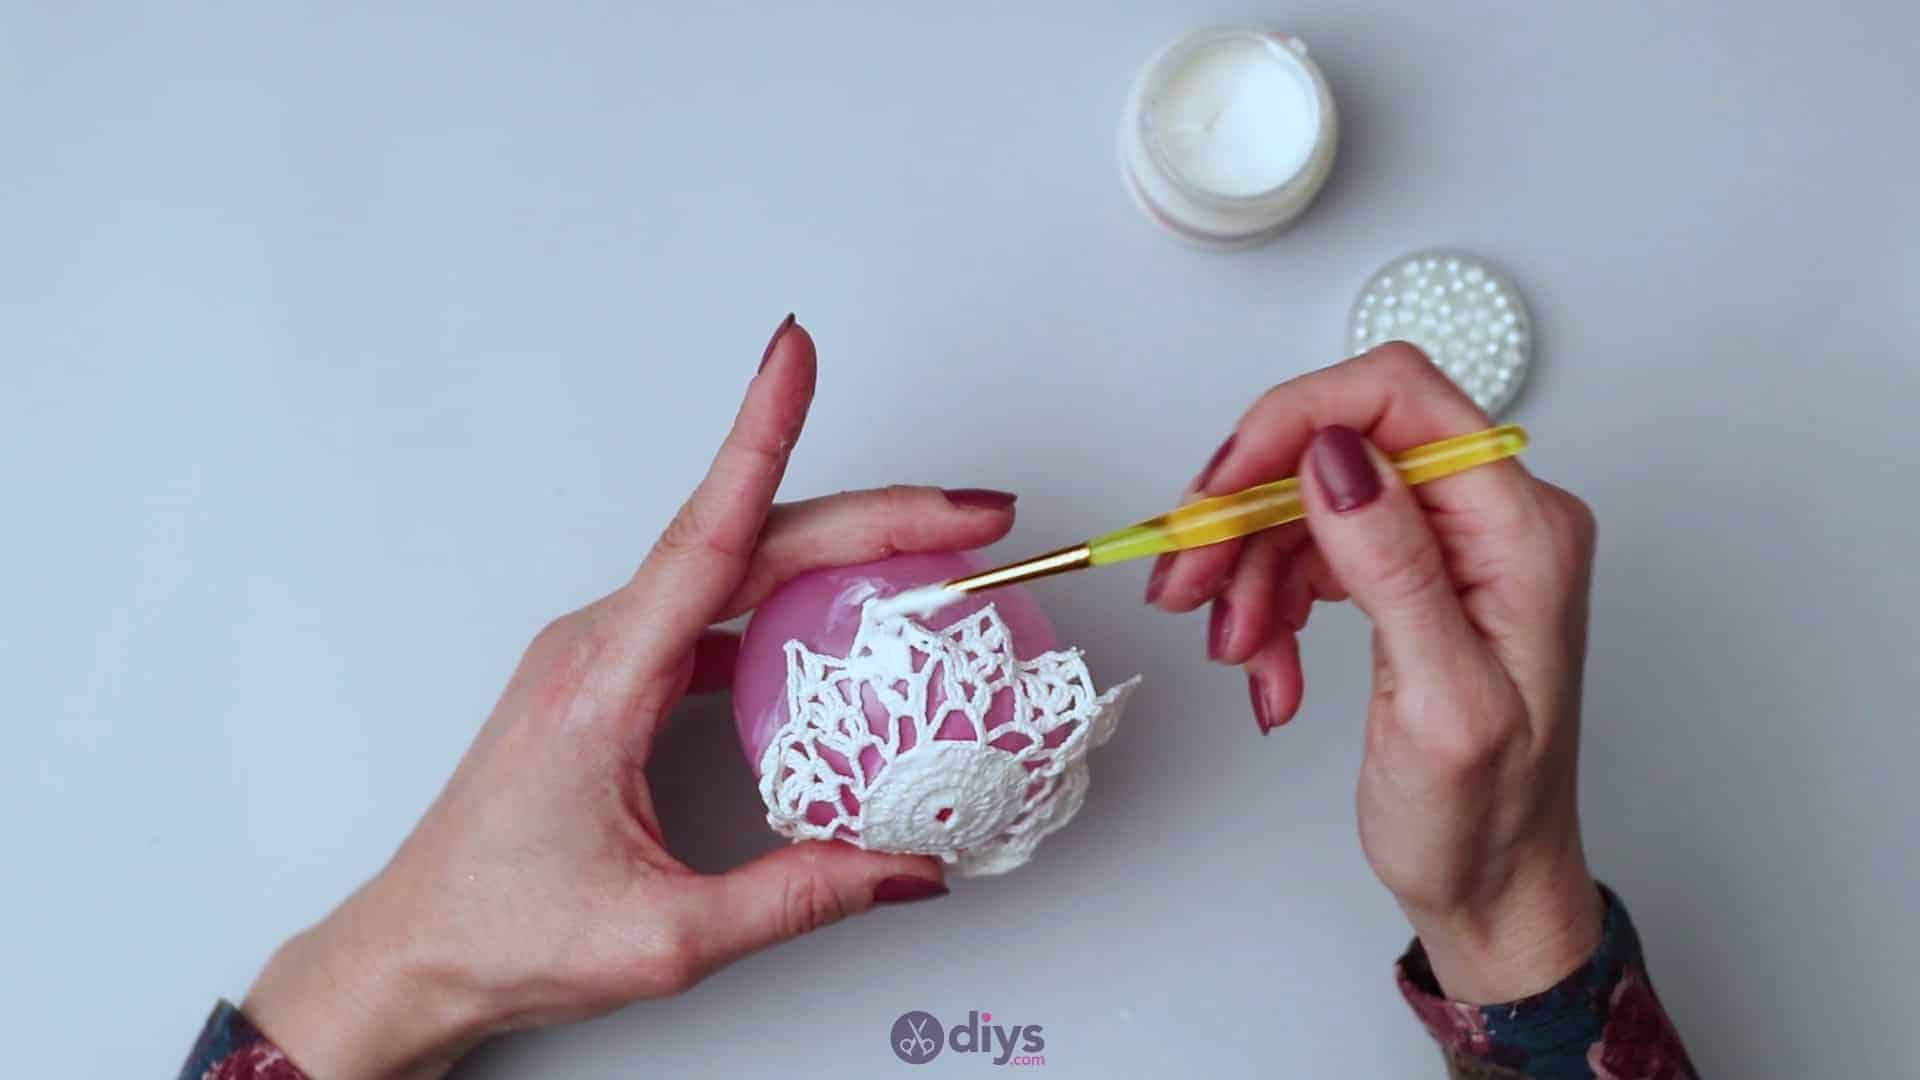
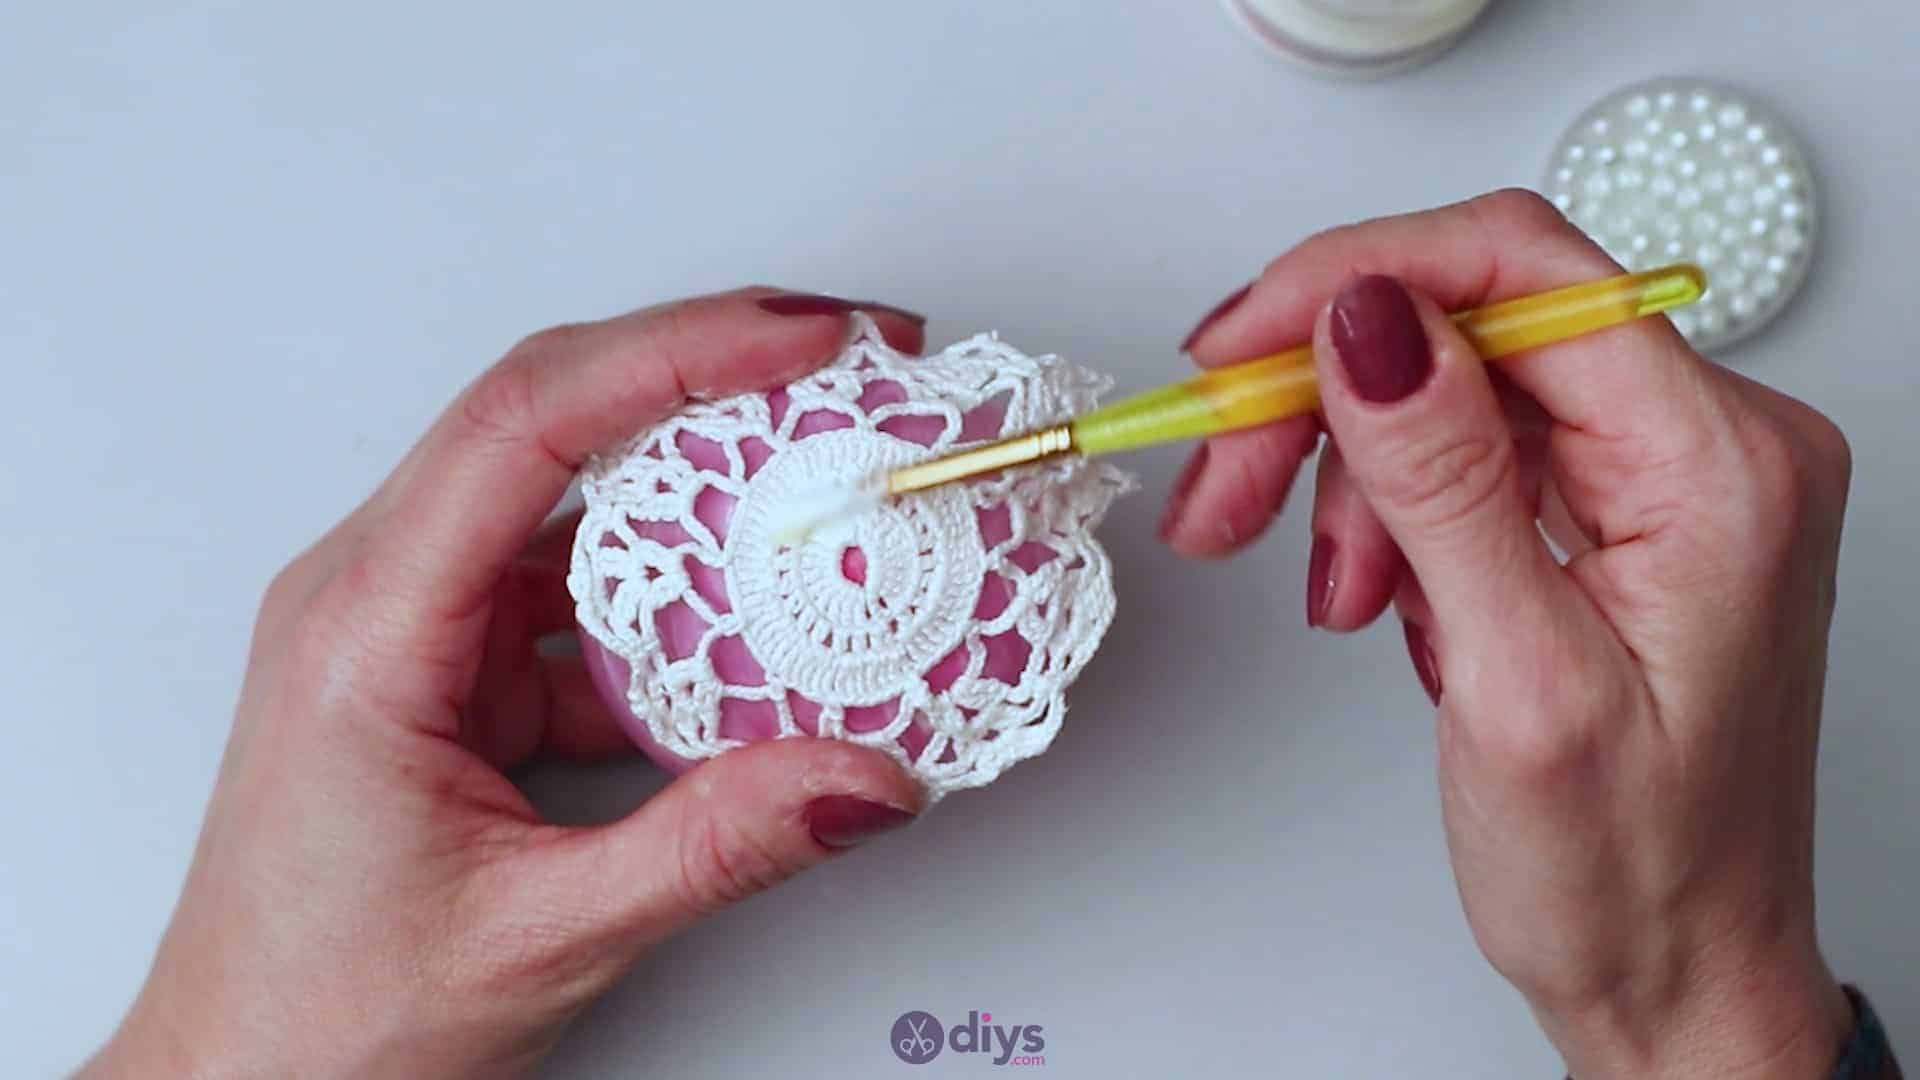
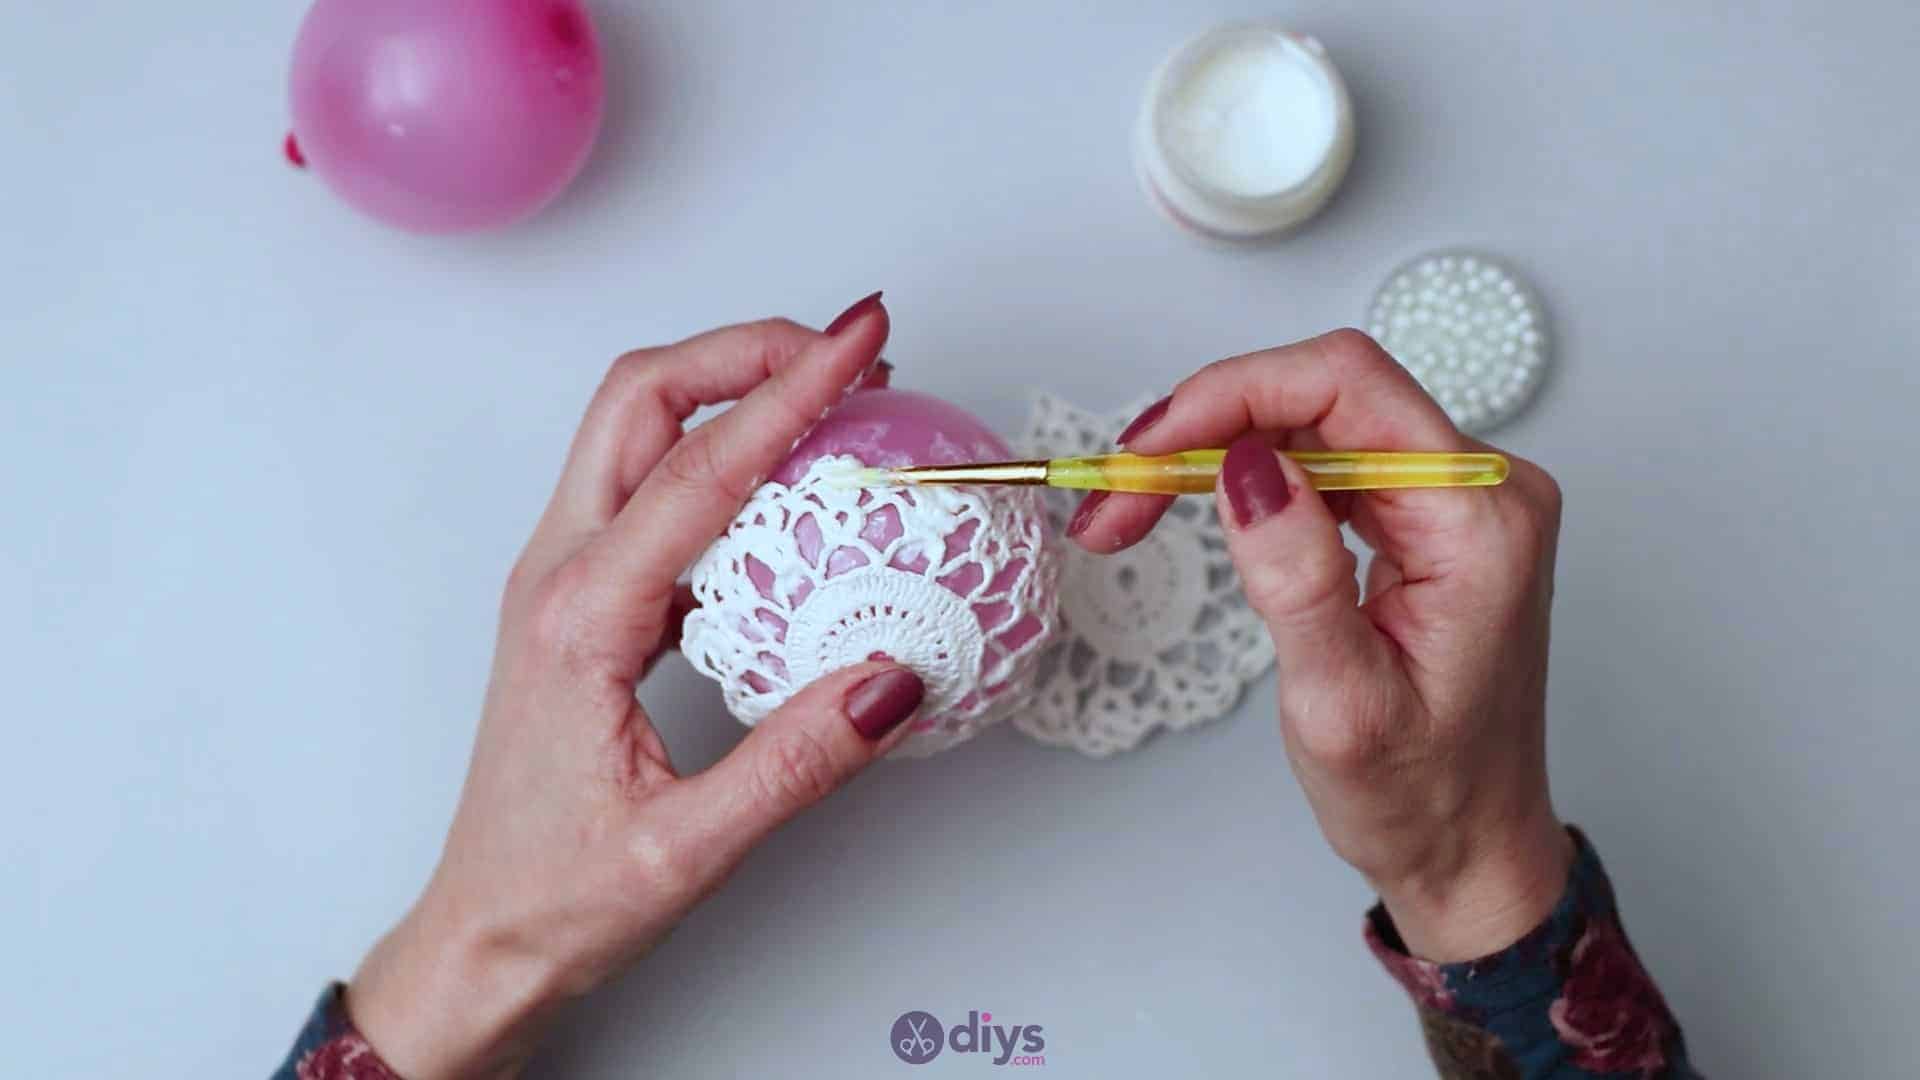
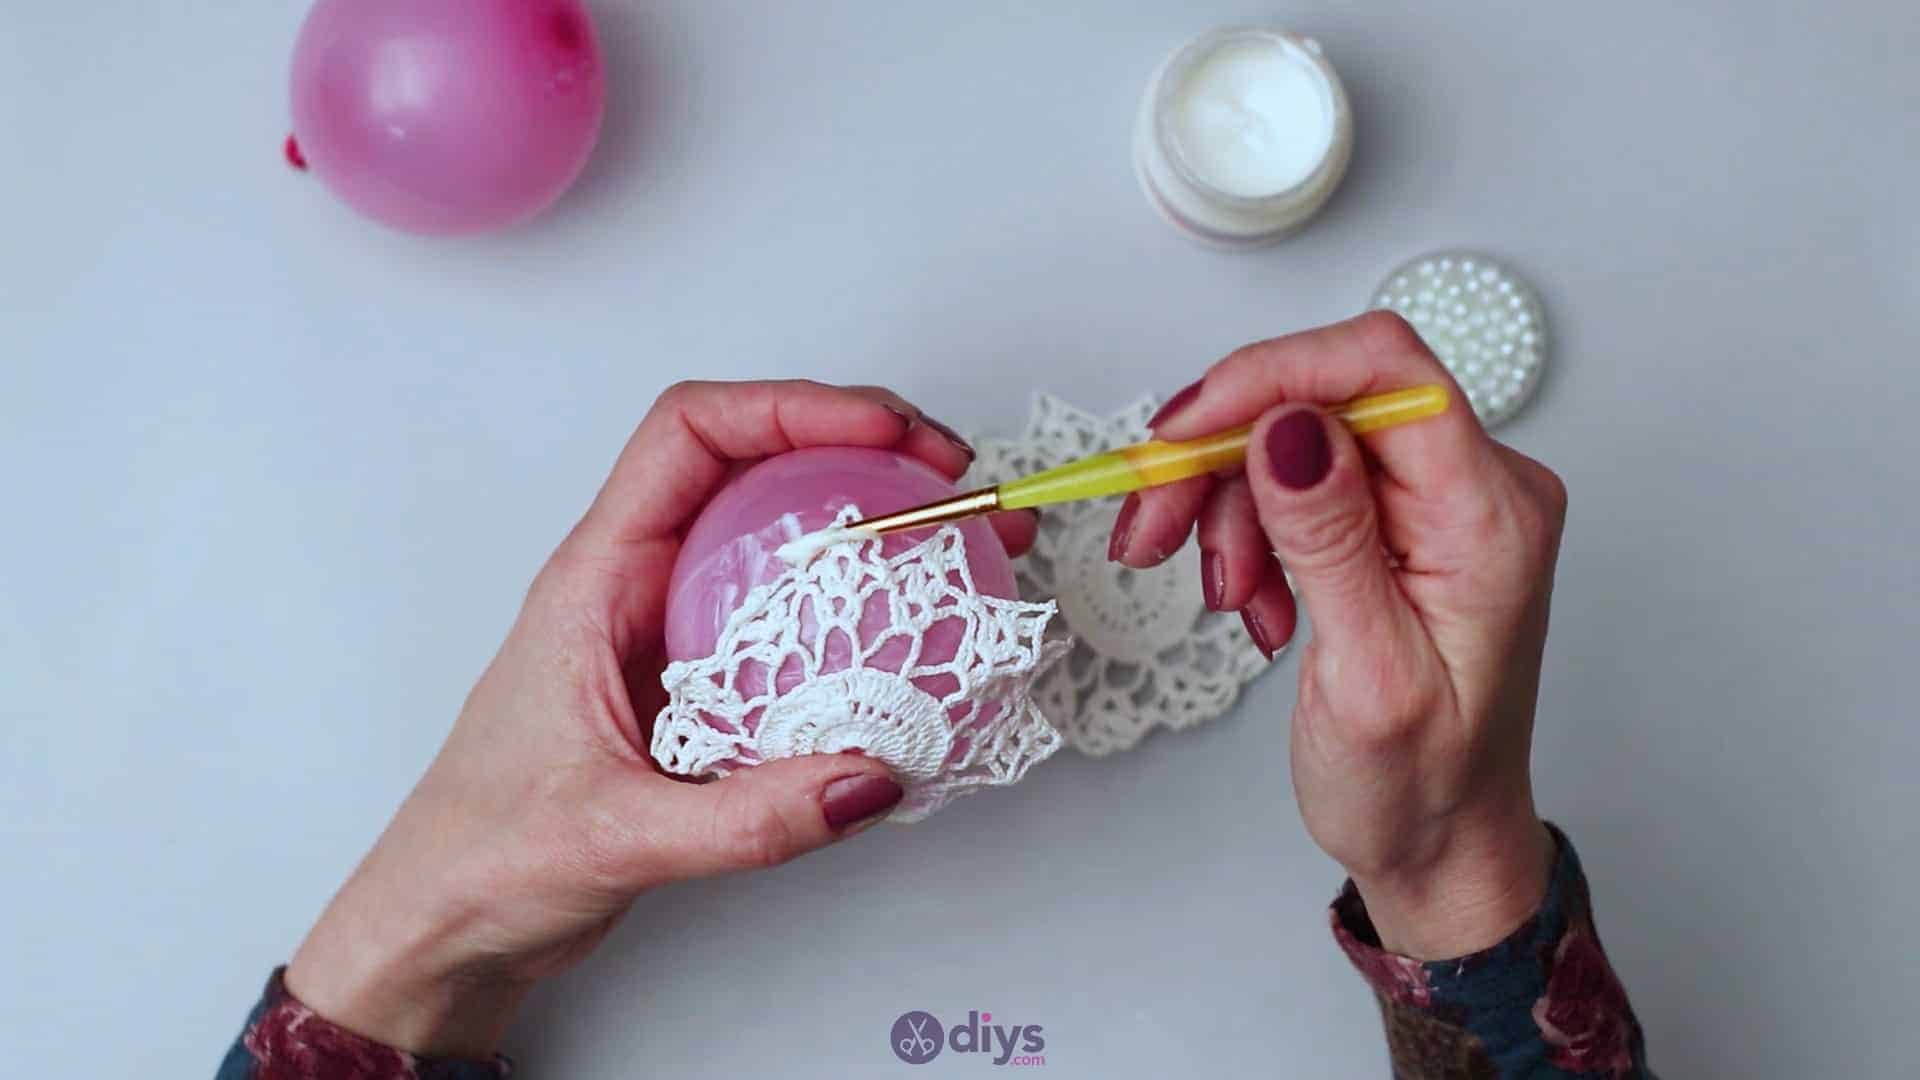
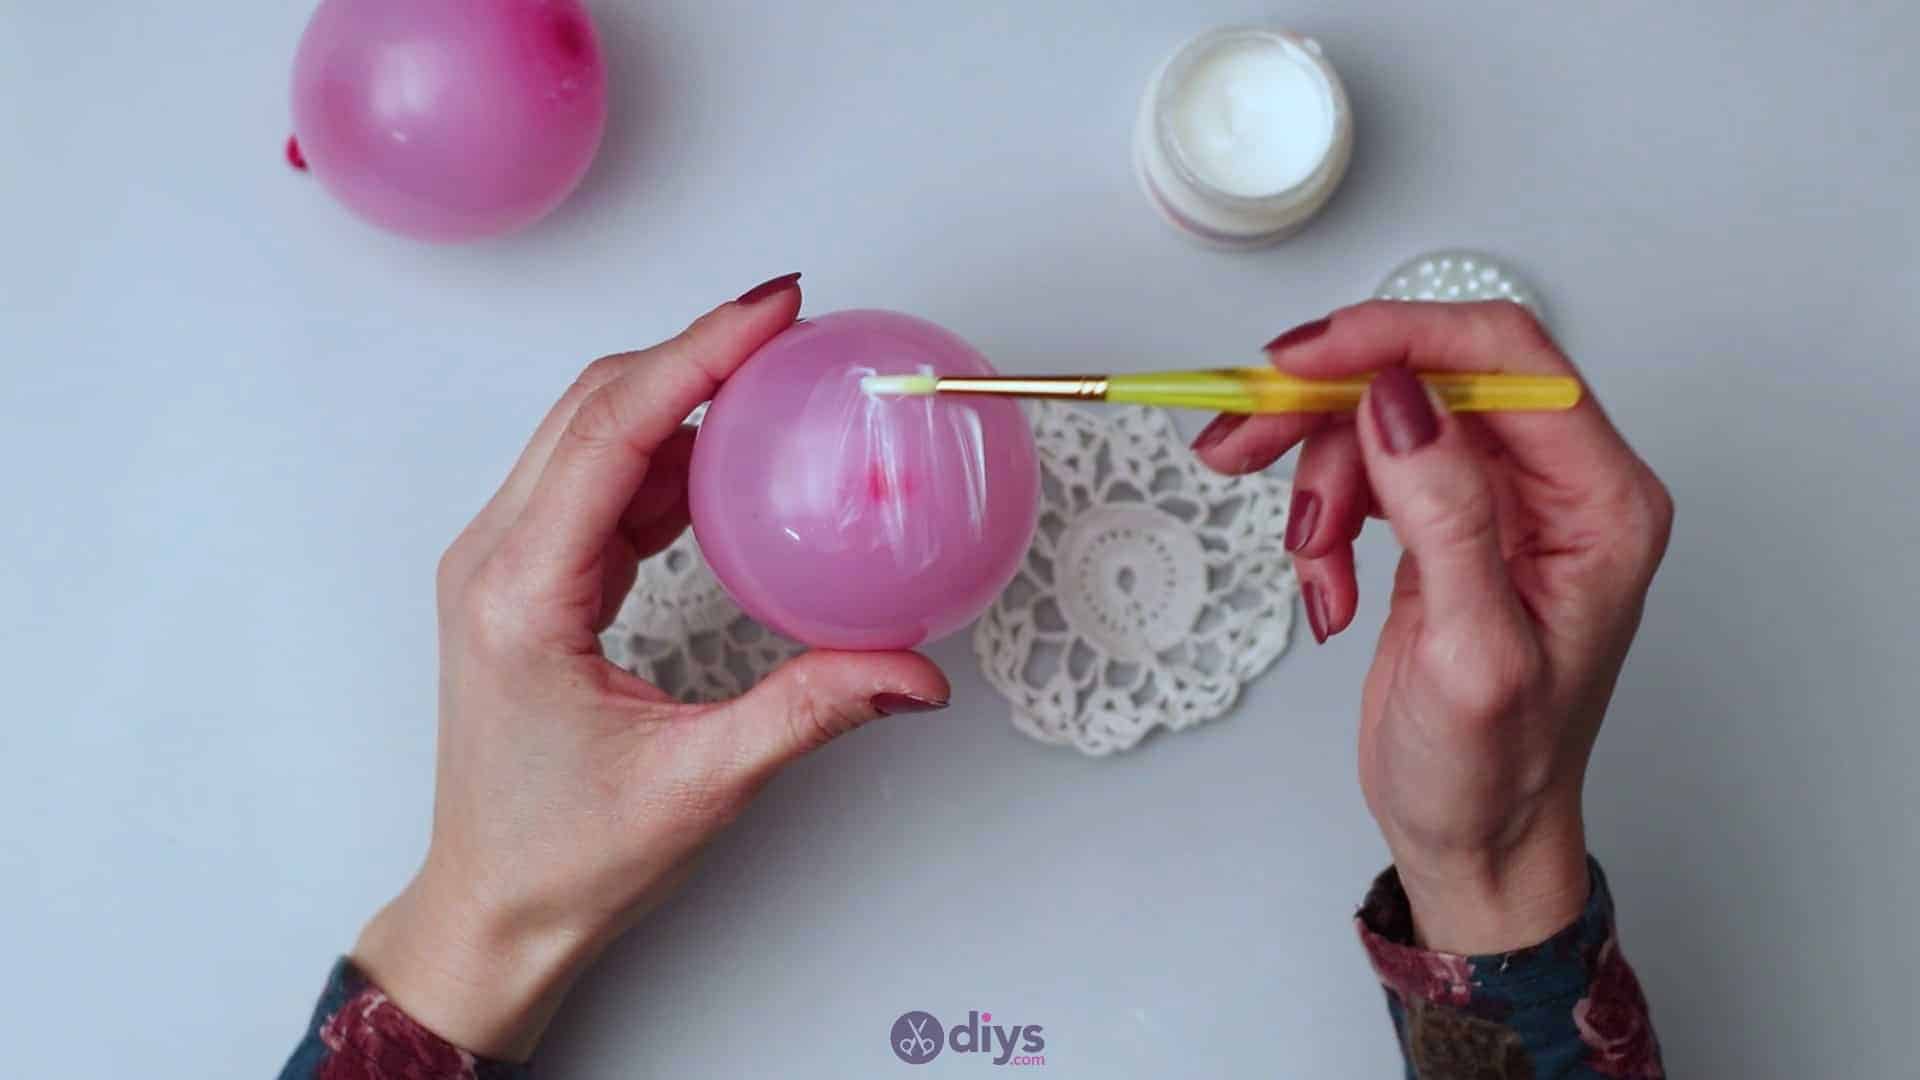
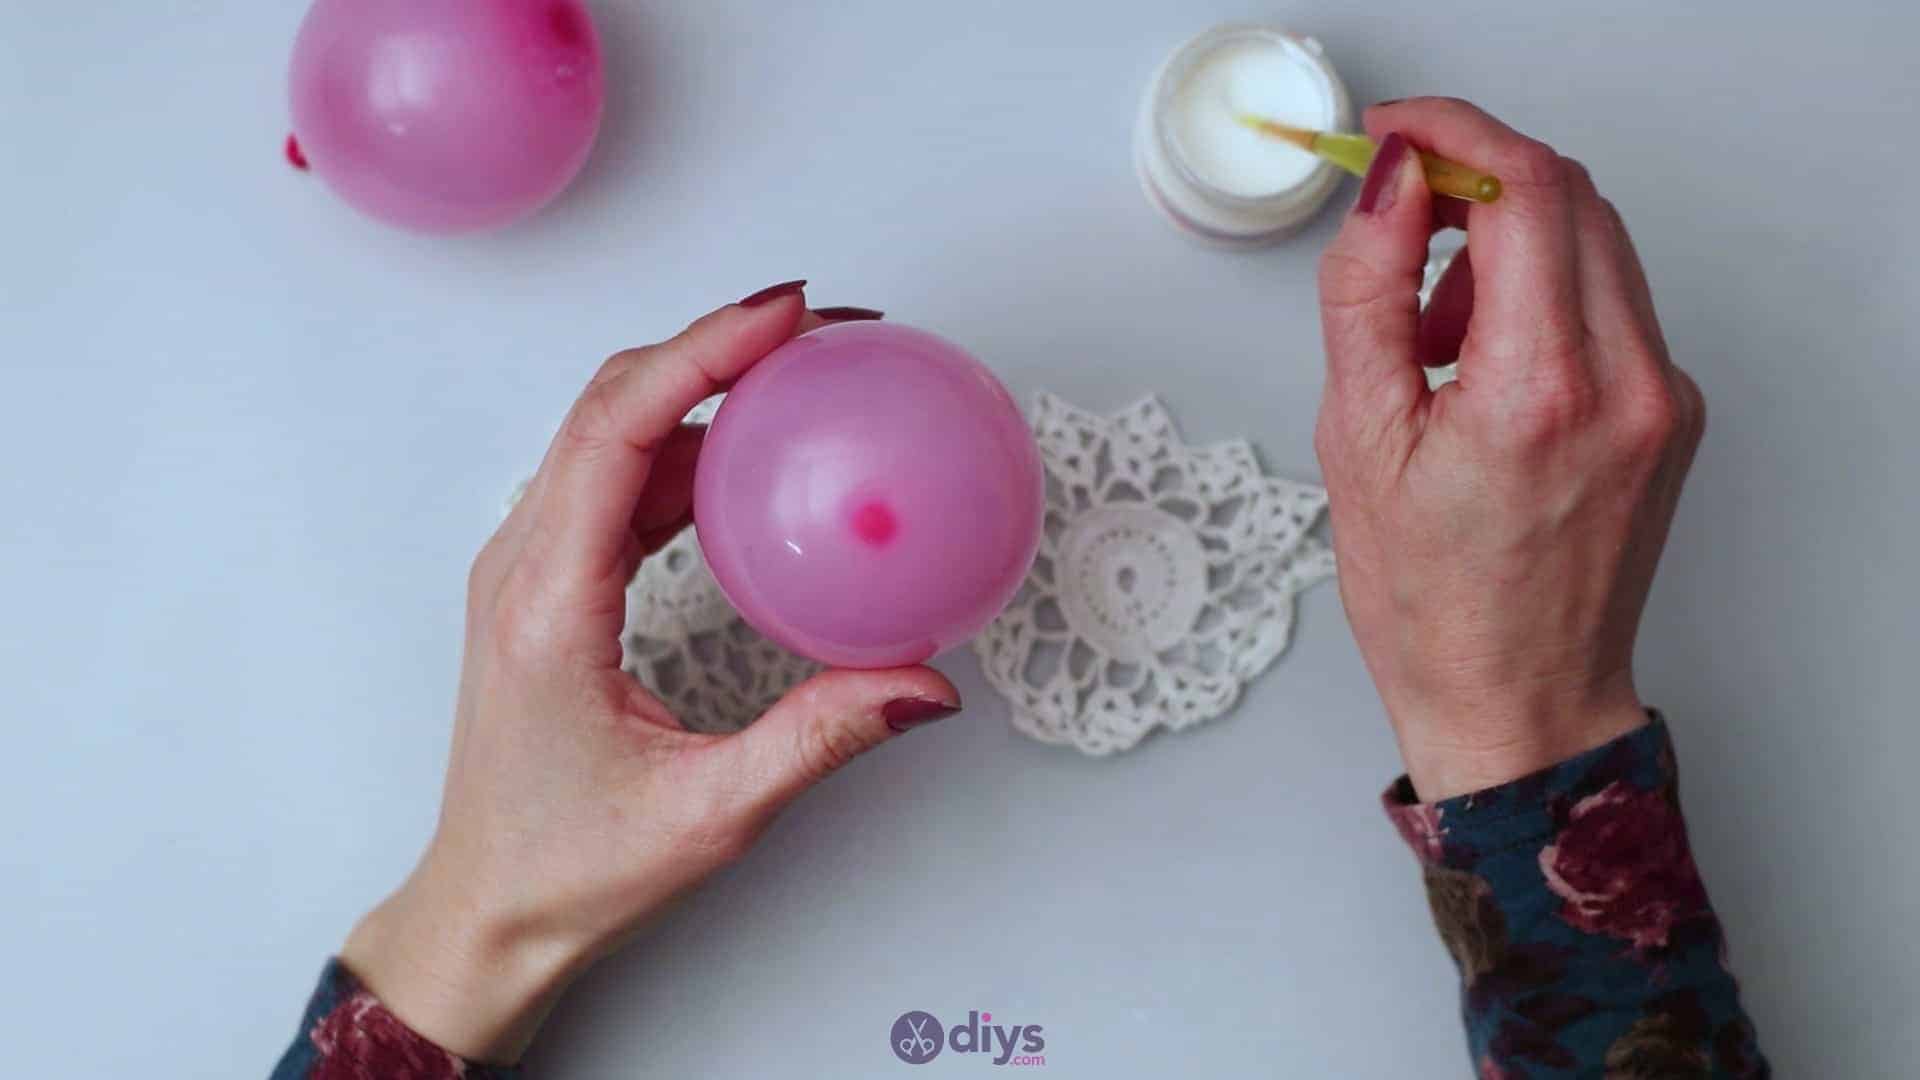
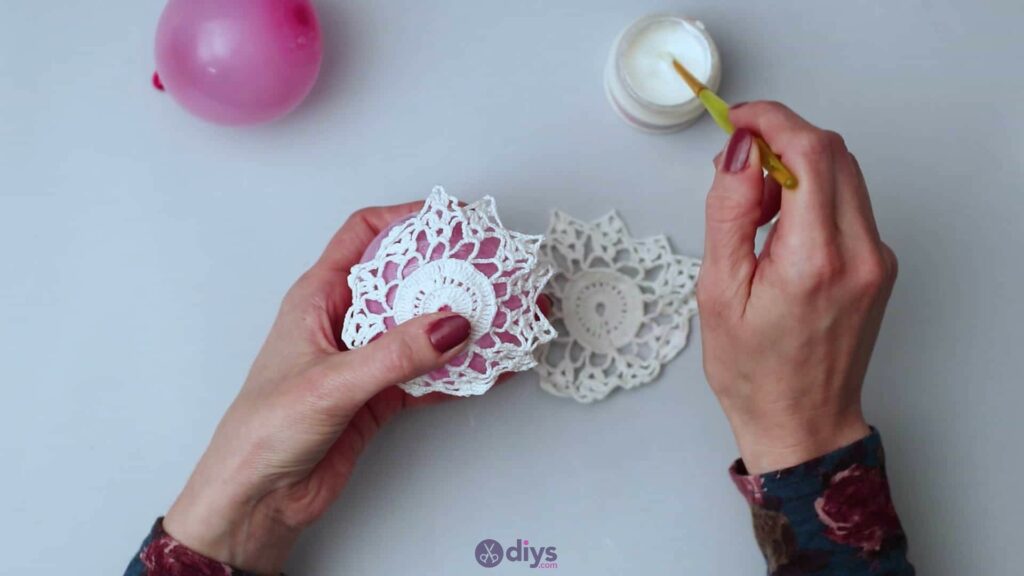
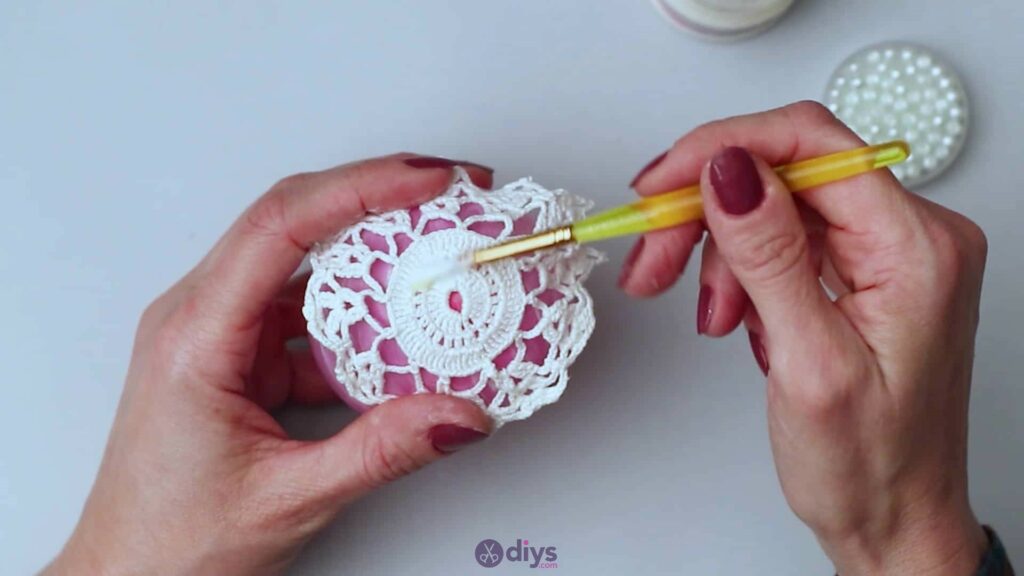
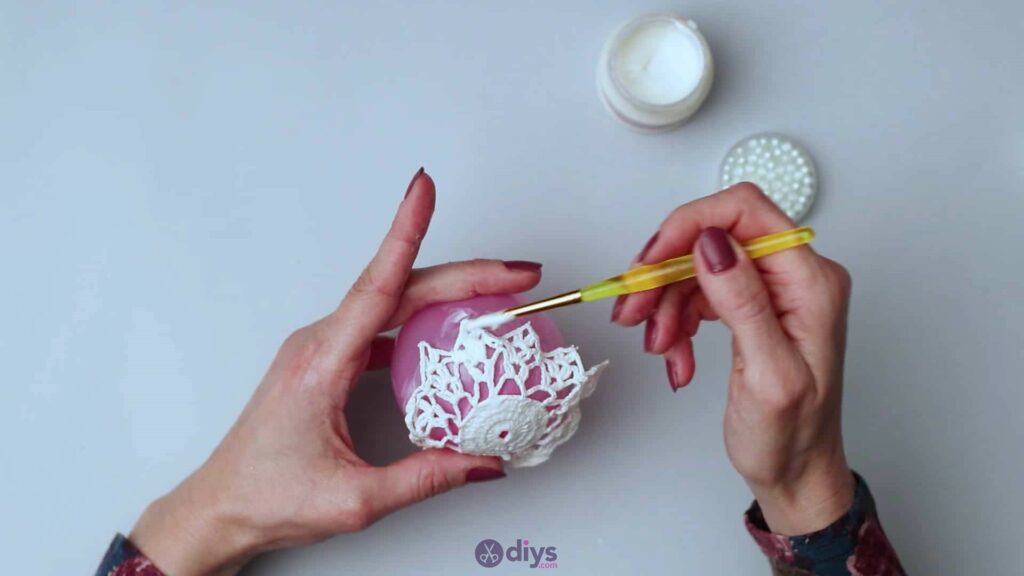
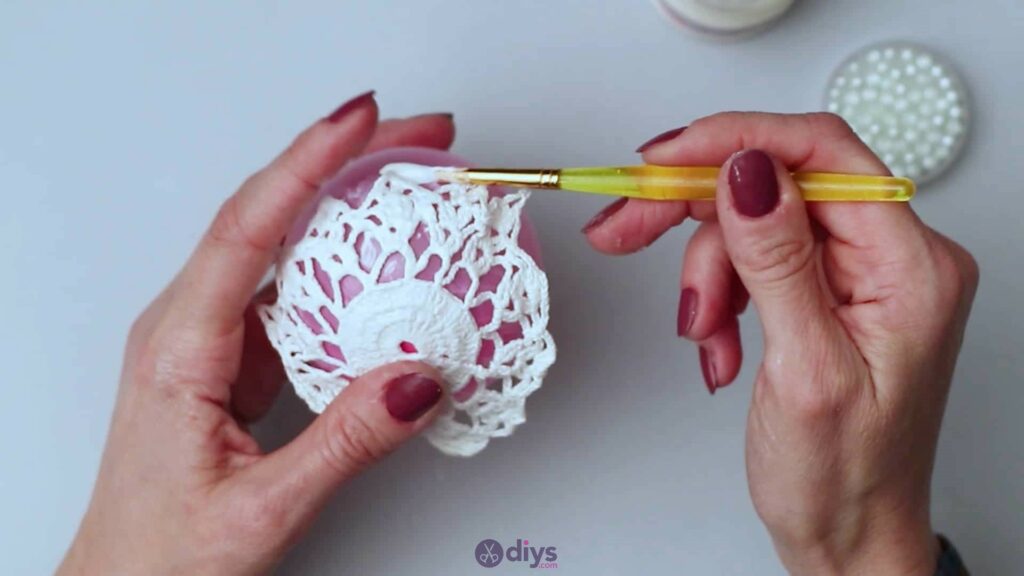
Step 5: adhere the lace
Holding the lace lightly and carefully in place on the balloon with one hand, use the other to pick up your paintbrush again and apply decoupage glue all over the lace, saturating it enough to be wet without soaking it so much that it shifts, slides around, wrinkles, or drips. I started with the edges of my lace in order to get them stuck into place properly and then worked my way up and across the centre of my lace. Make sure you coverall of the edges and the entire surface of the lace with no dry areas; this decoupage glue is what will help turn the lace into a structured piece that can hold its own shape. Repeat this same process for as many pieces as you’re trying to make, each with its own balloon. When you’re all finished applying your decoupage glue, carefully set your lace and balloon pieces aside to dry.


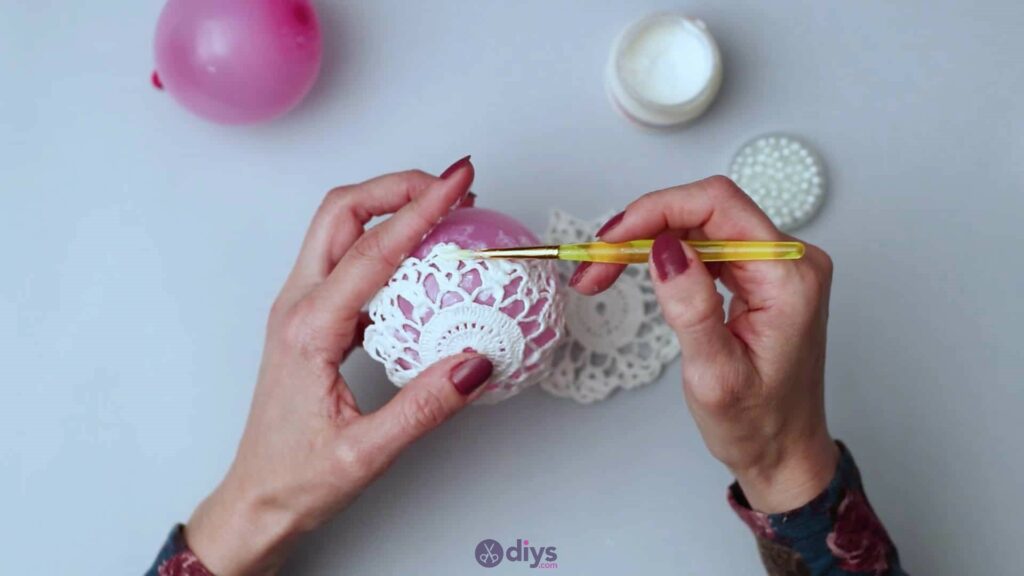


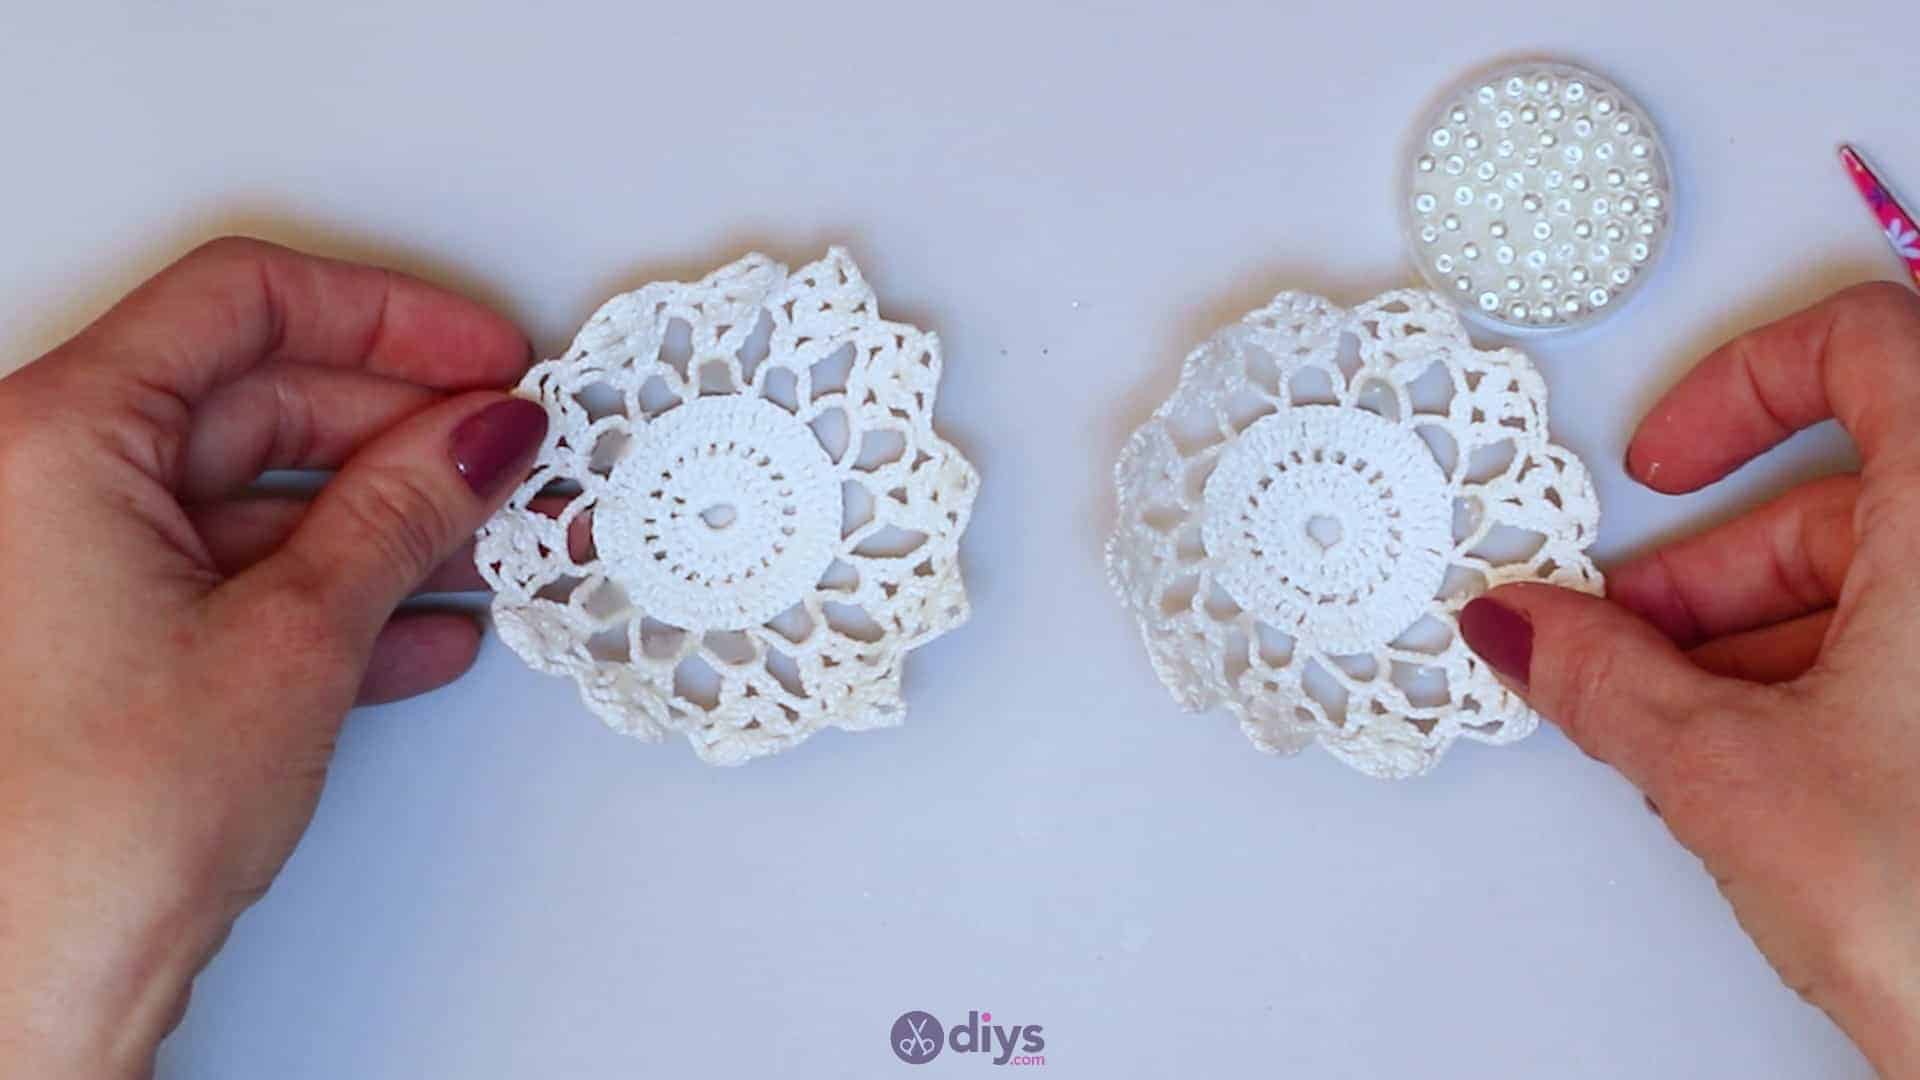
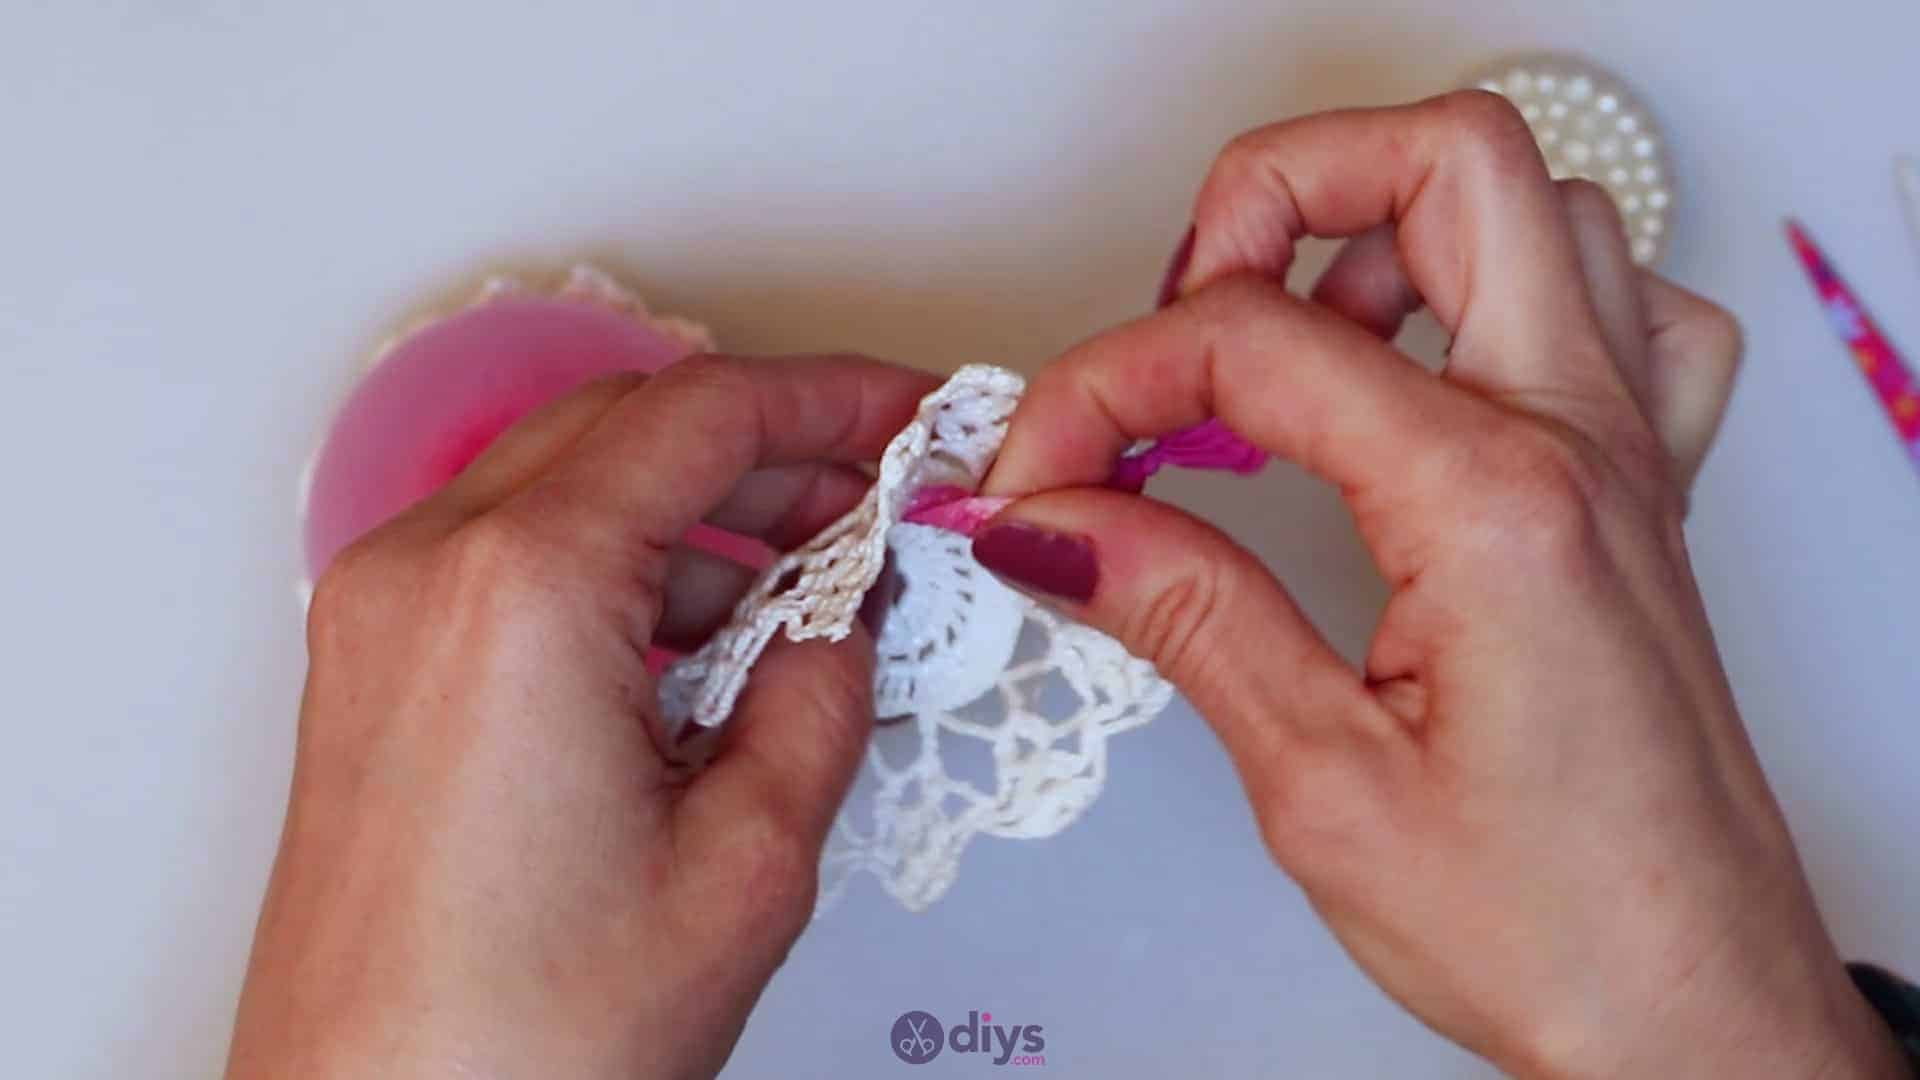
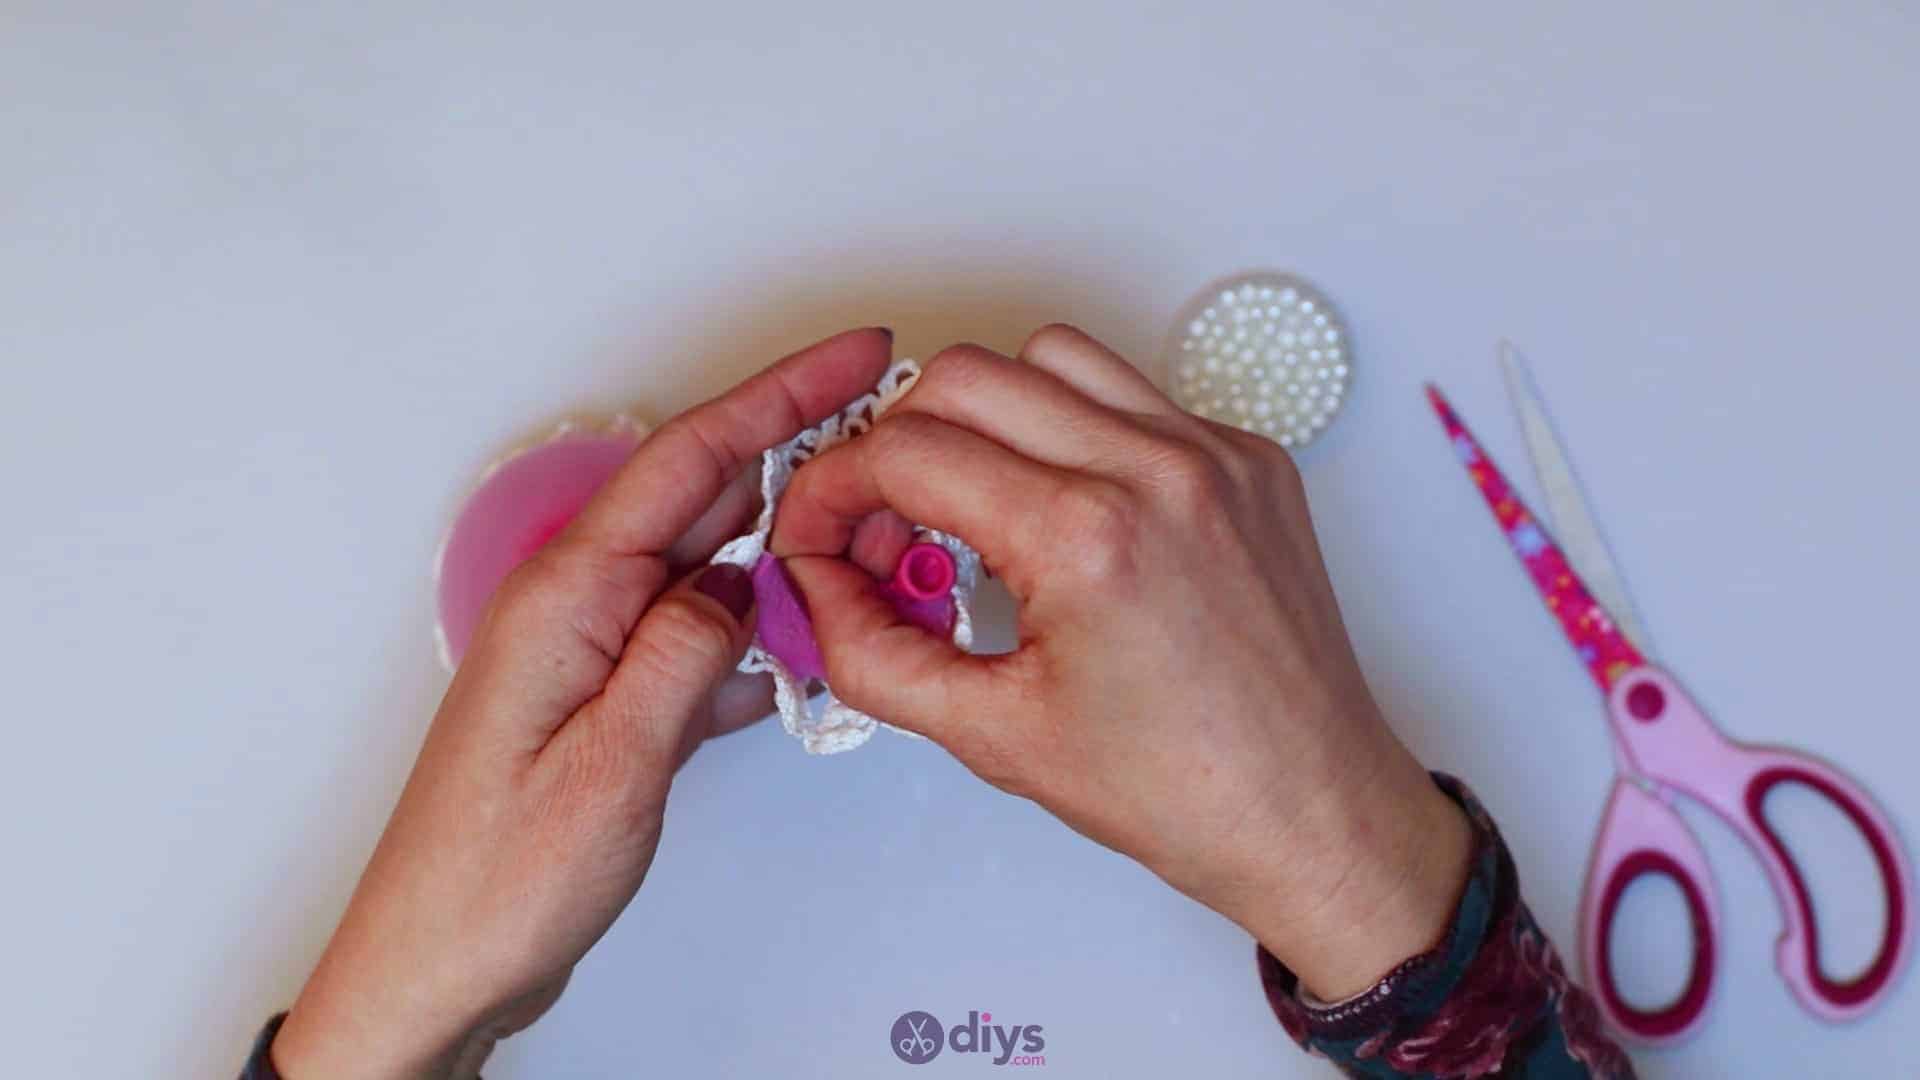
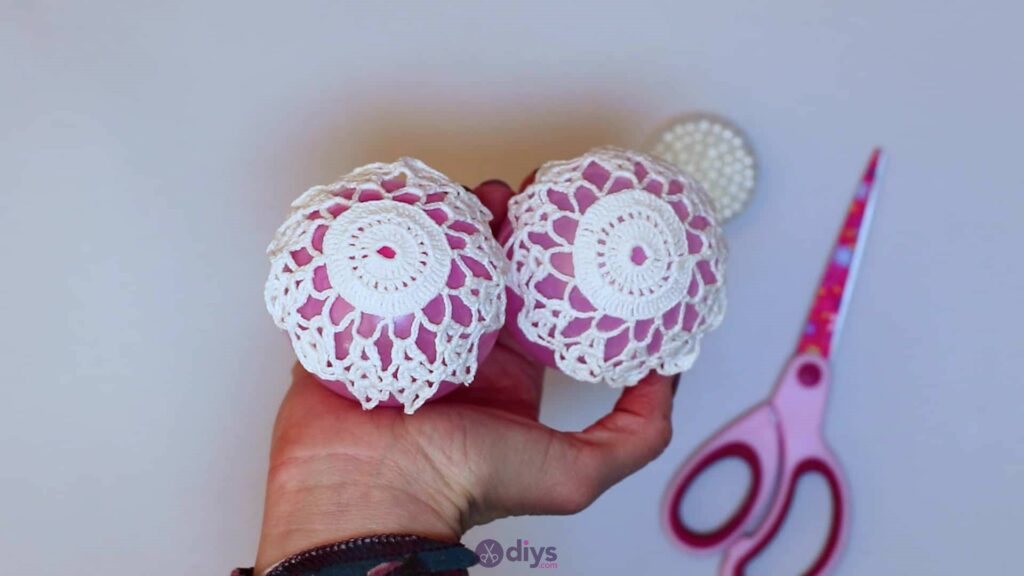
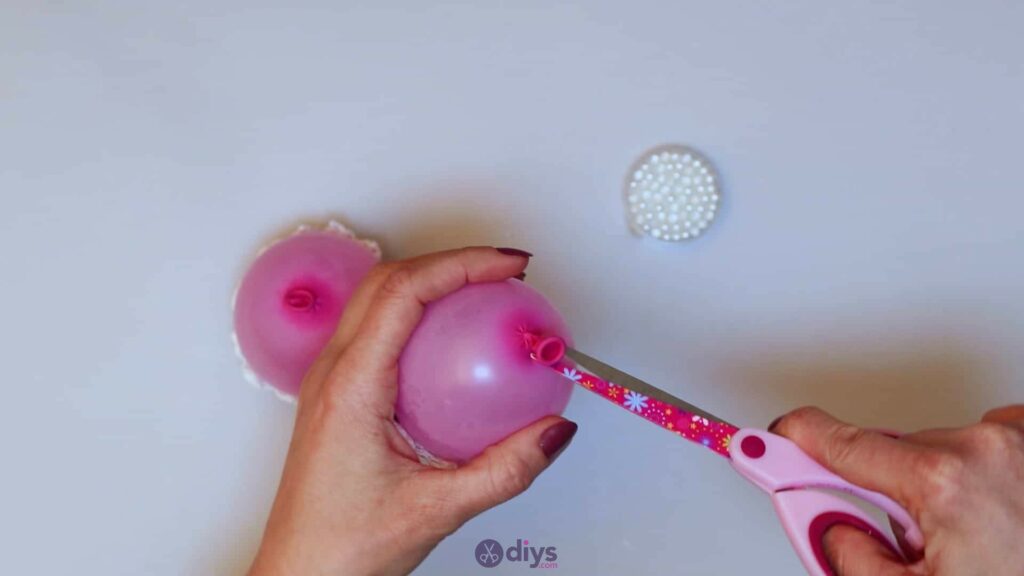
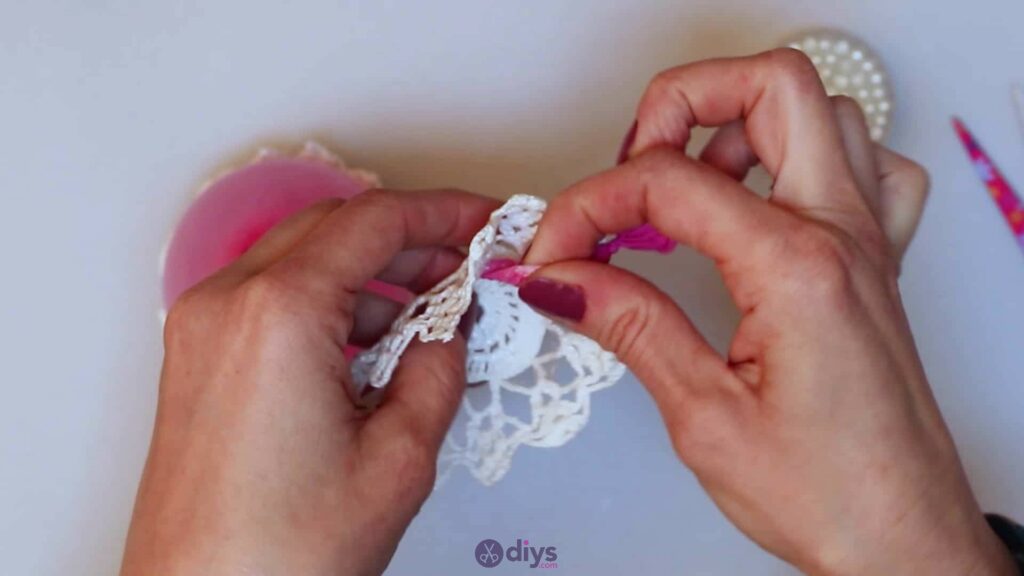
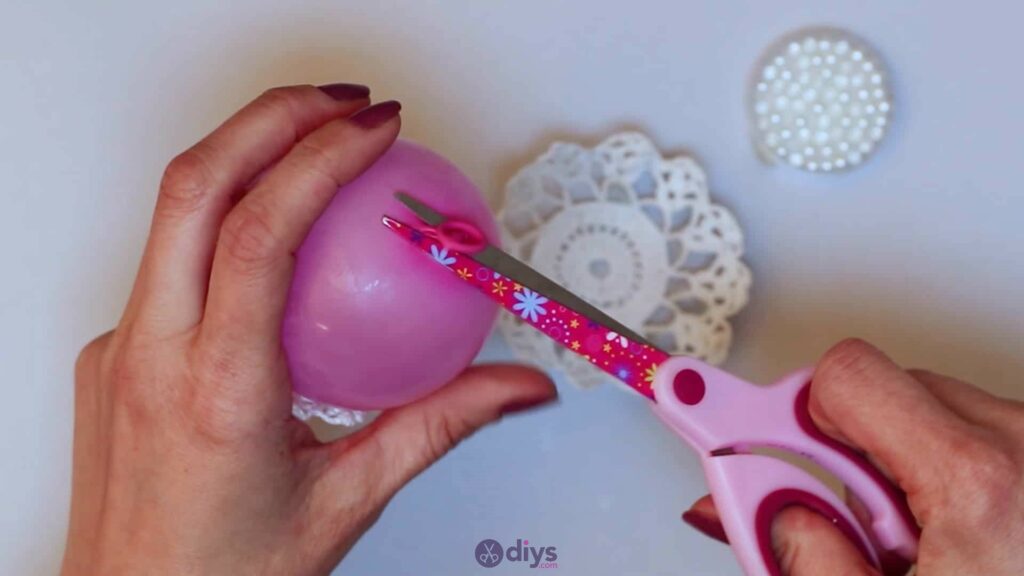
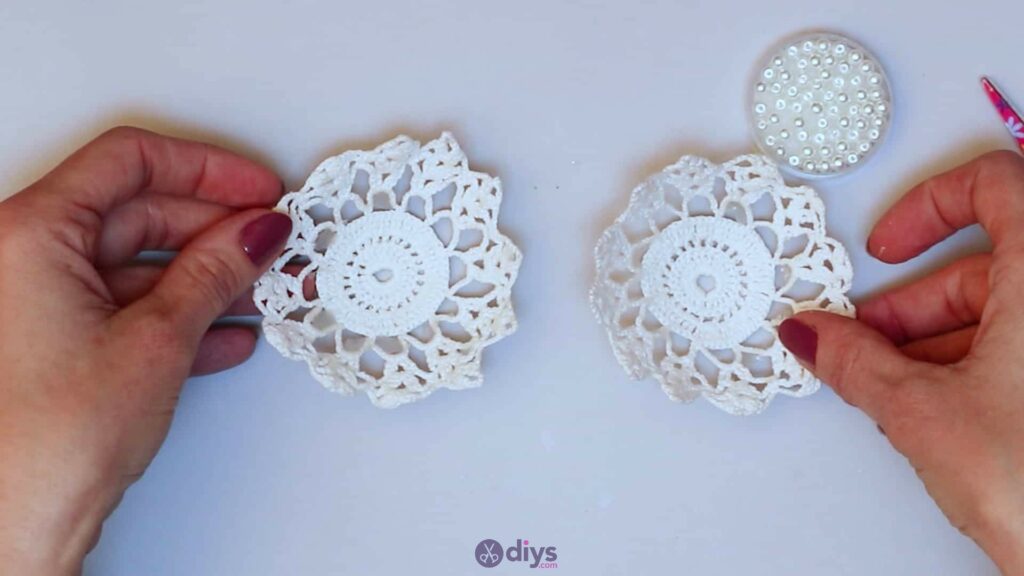
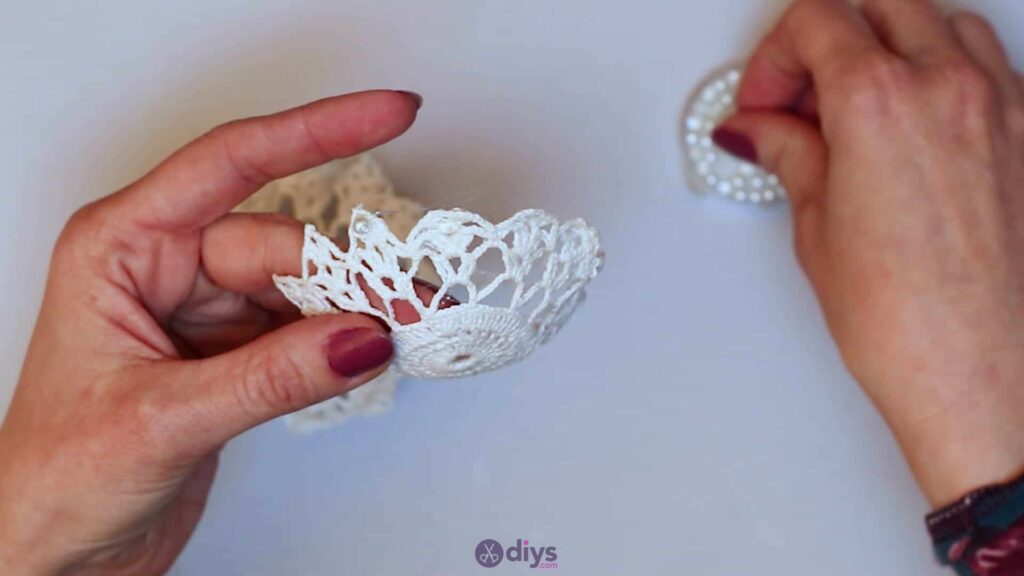
Step 6: remove the balloons
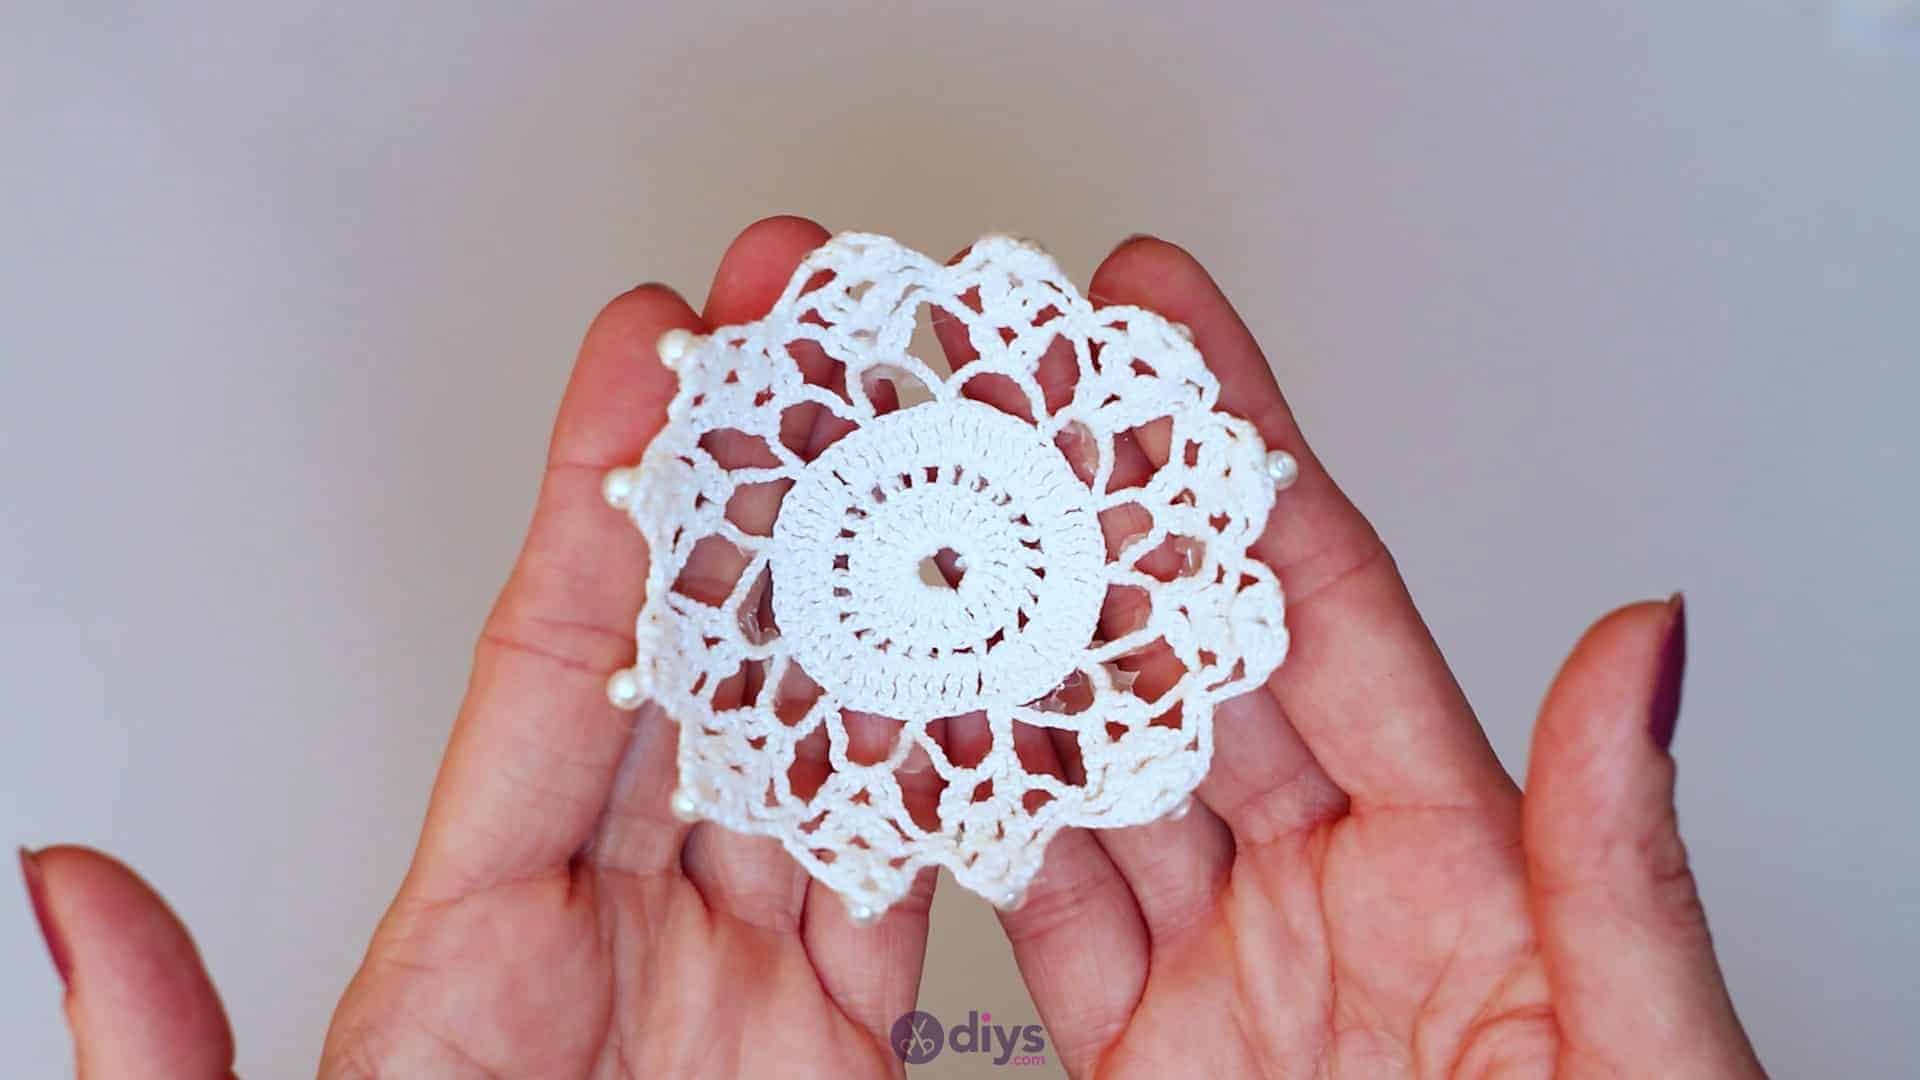
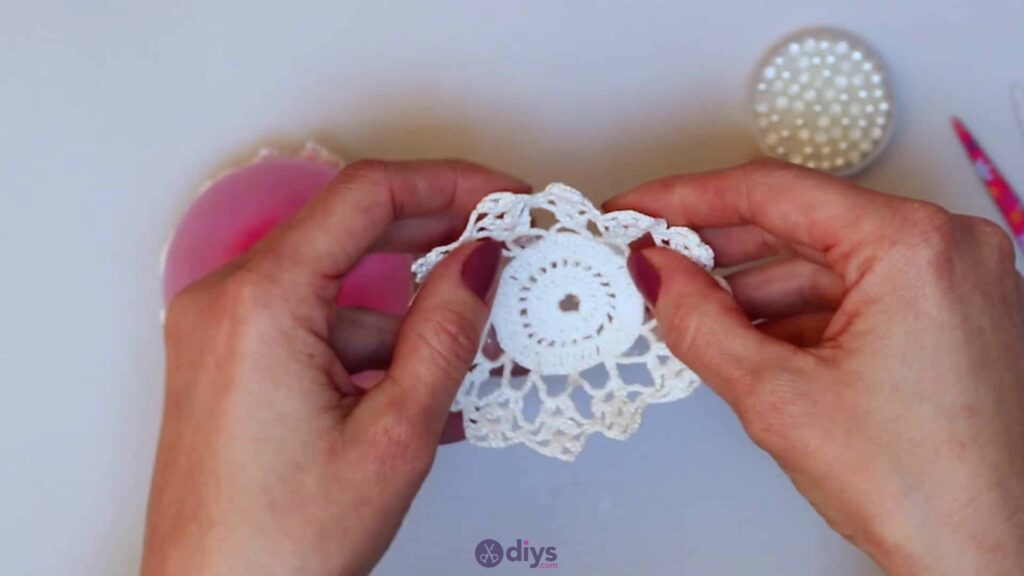
When your lace and glue have thoroughly dried, you can remove the balloons from inside each piece to reveal their new structured shapes! The most effective way to do this is by using your scissors to pop the balloon. It will pull away from the sides nice and quickly and leave the curved shape of the dried lace whole. Carefully pull the balloon out entirely from the inside if it sticks a little and turn the lace over so it looks like a little bowl.
This is the base of your new lace candle holder. Don’t worry. if you notice that the edges of the lace have lifted a little from the balloon sides or curled back slightly; it happens sometimes as the fabric of the lace dries and it doesn’t affect its strength or aesthetic; I actually think it adds a bit of character. You also don’t need to panic if the deflating balloon takes the sides of your lace shape inwards with it. The stiffened lace is still quite malleable even after it’s dried and you can adjust and re-bend your shape to an extent without damage.
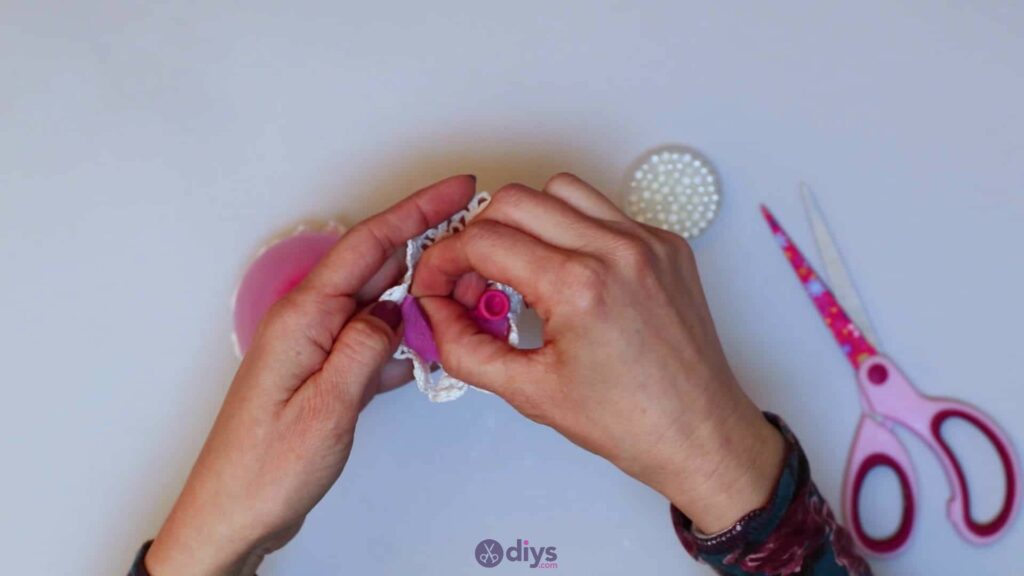
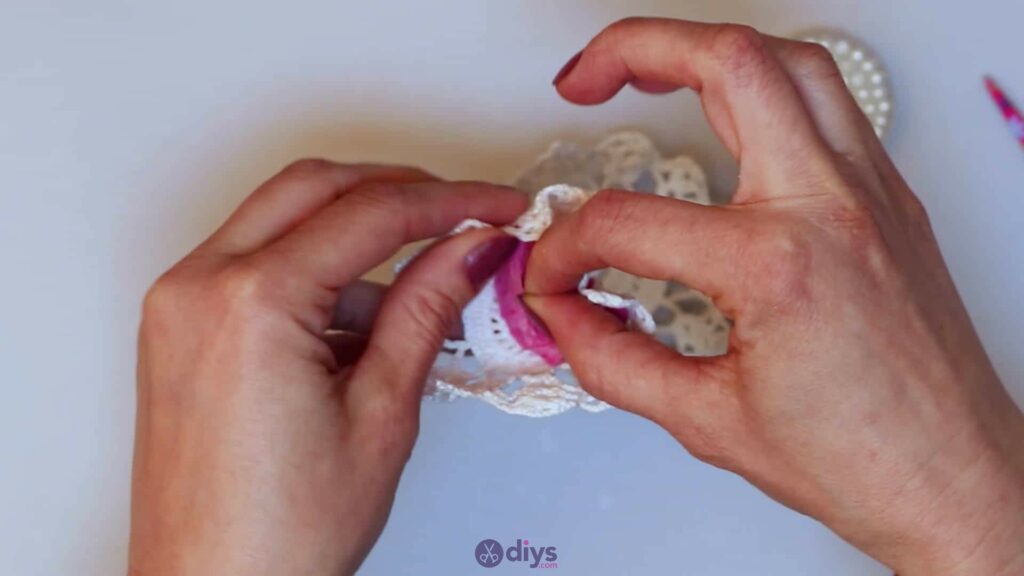
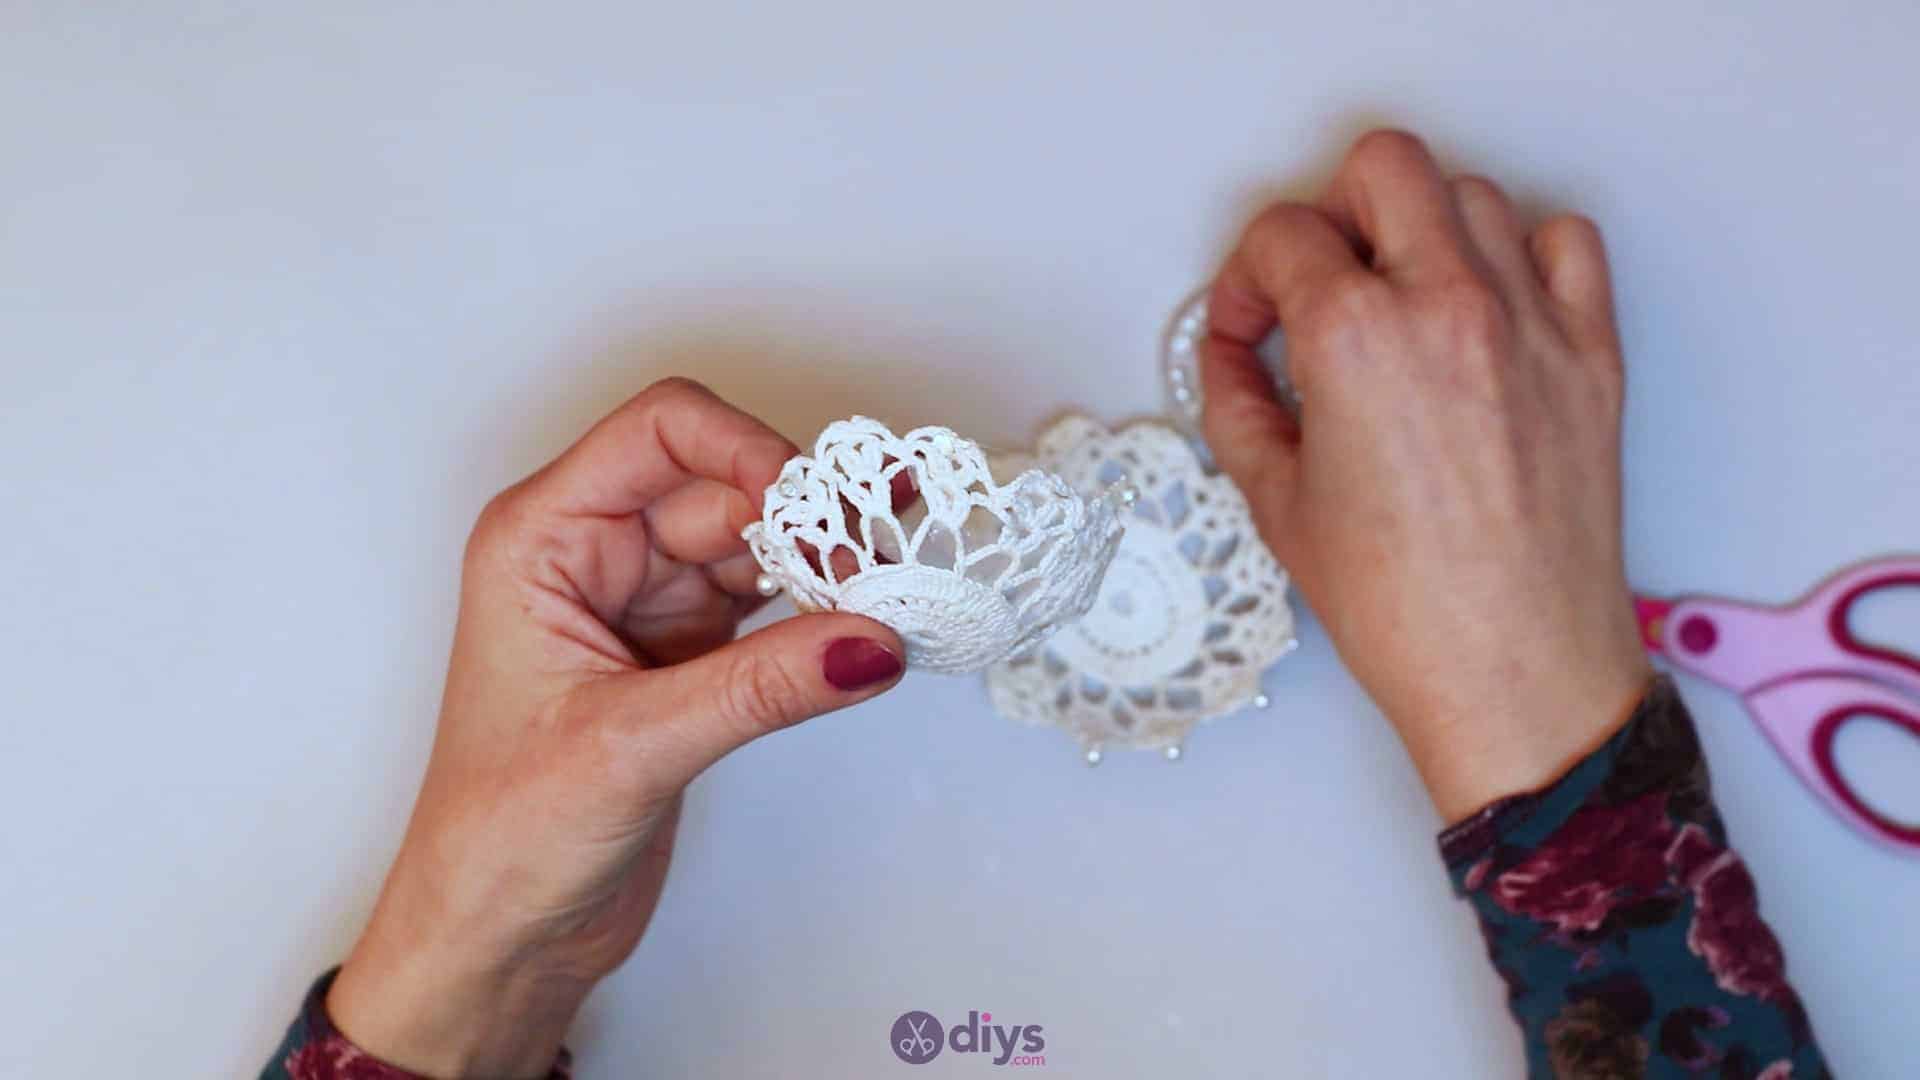
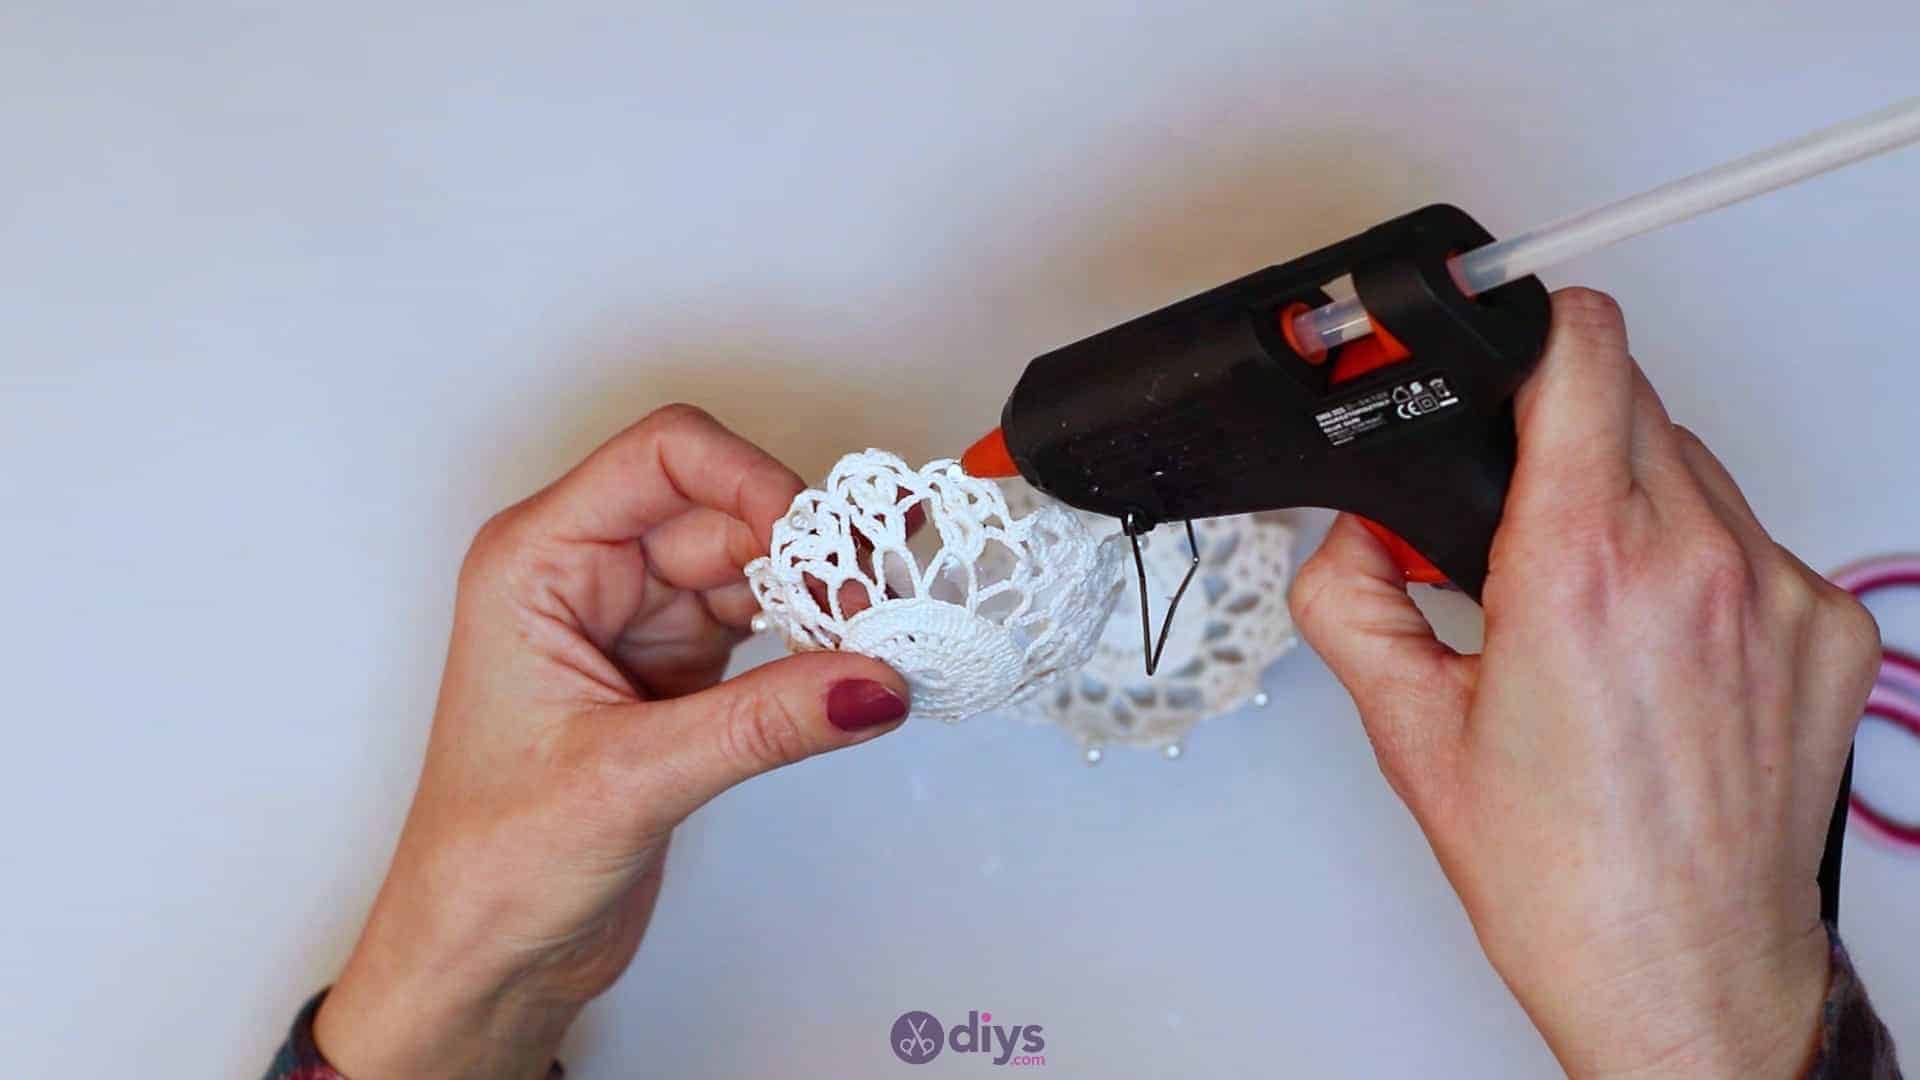
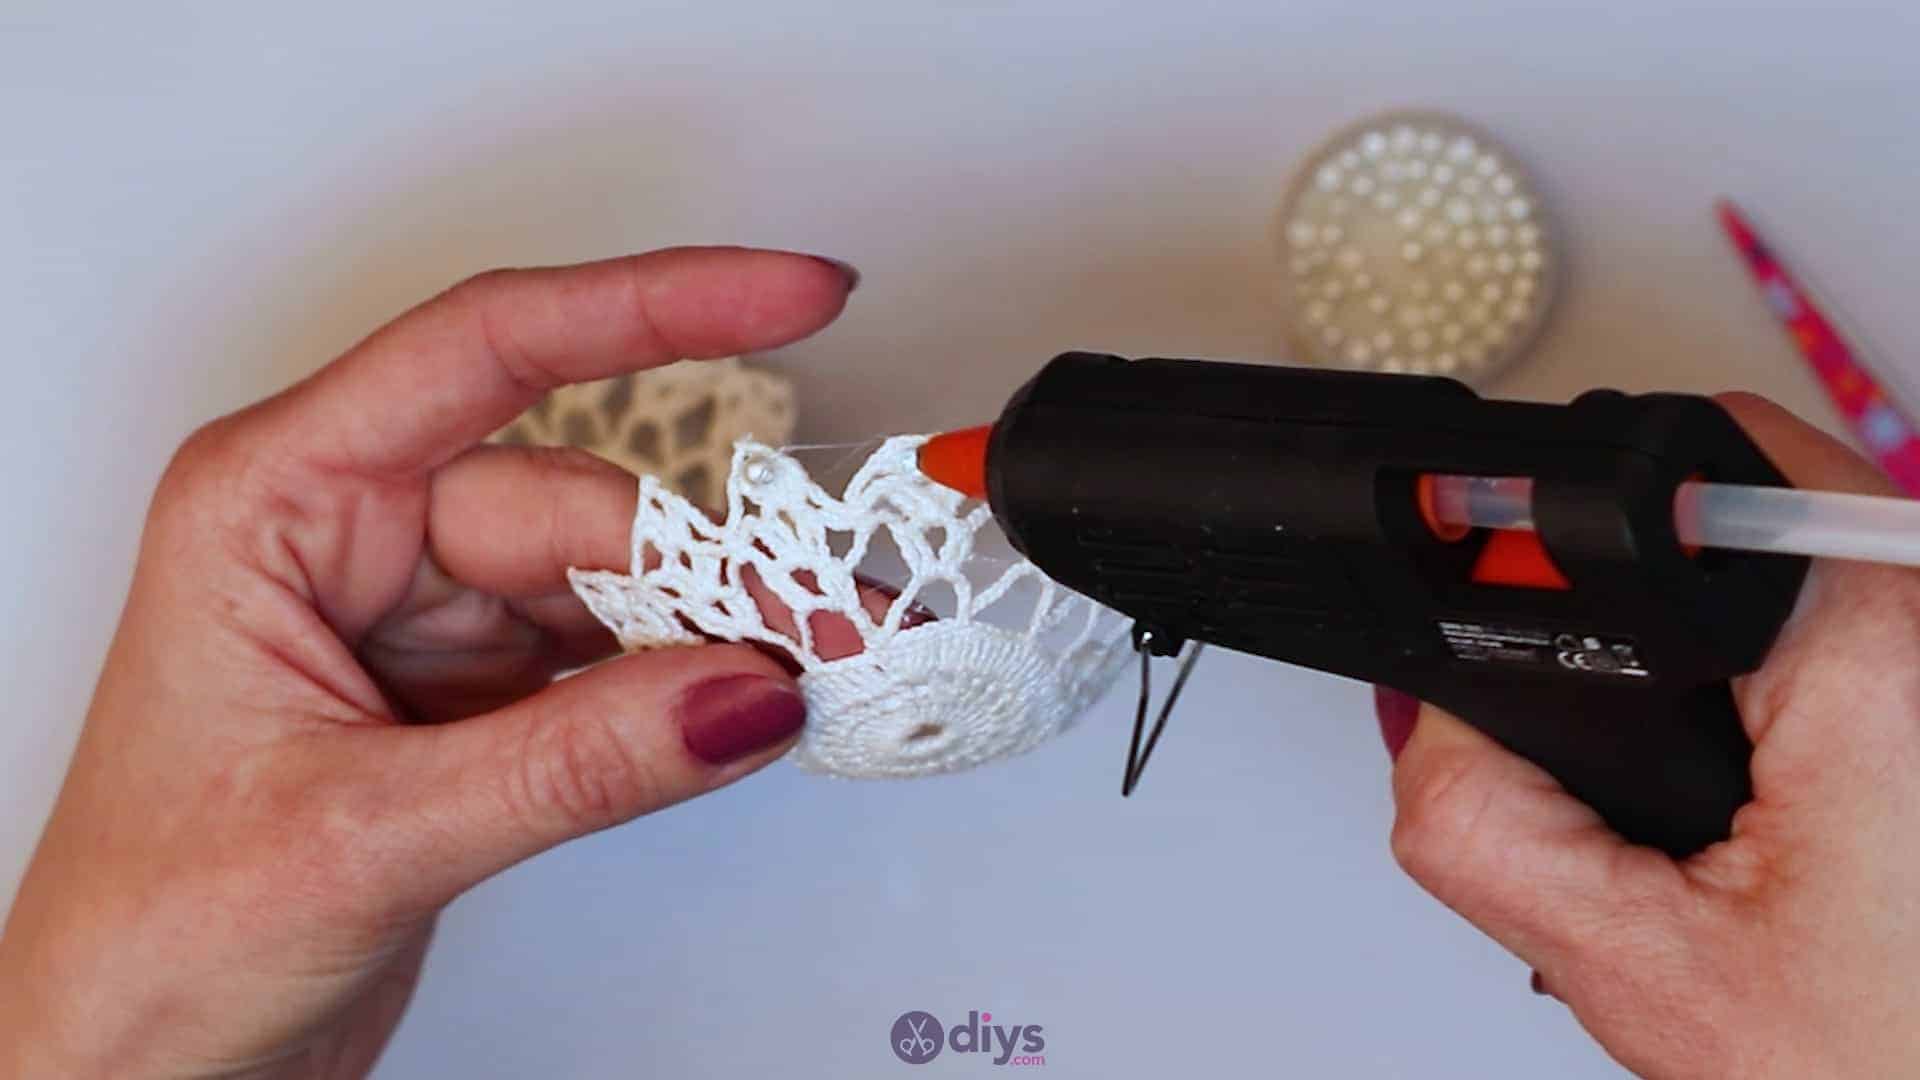
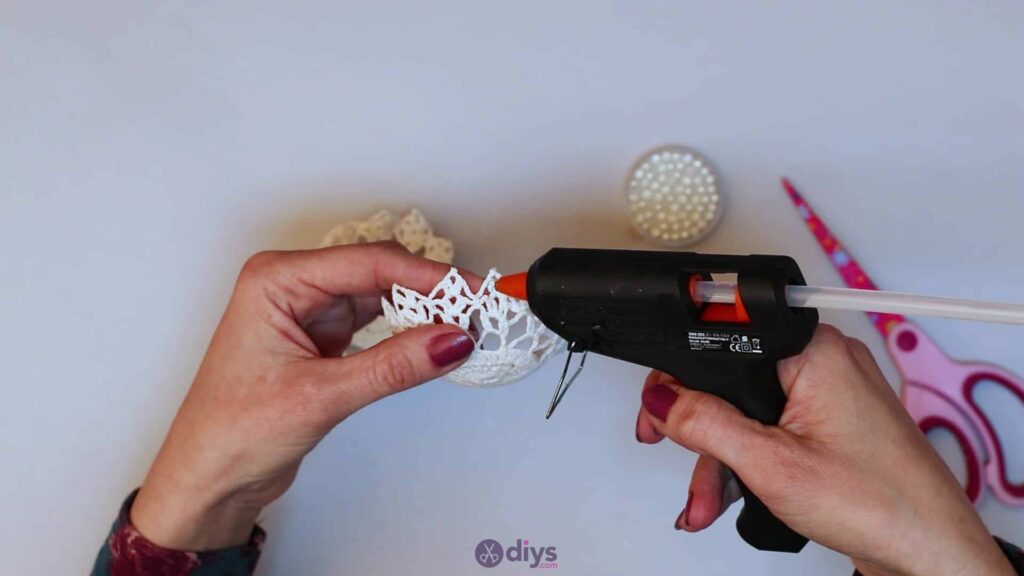
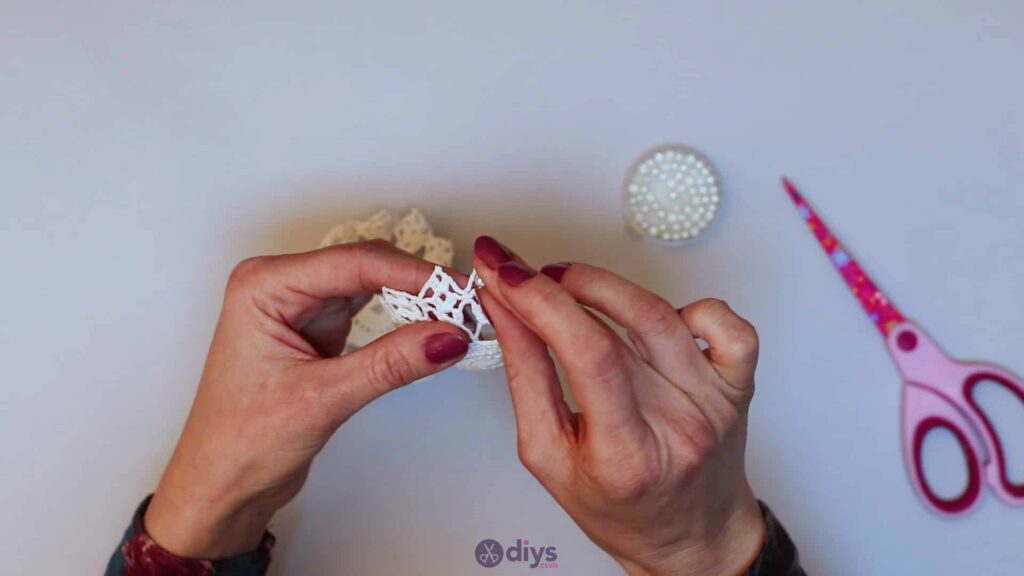
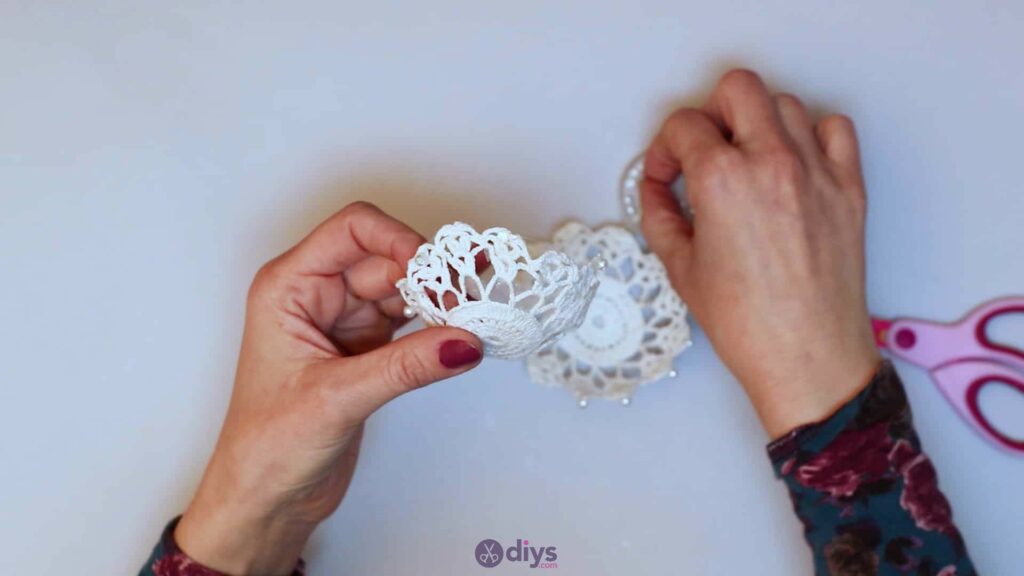
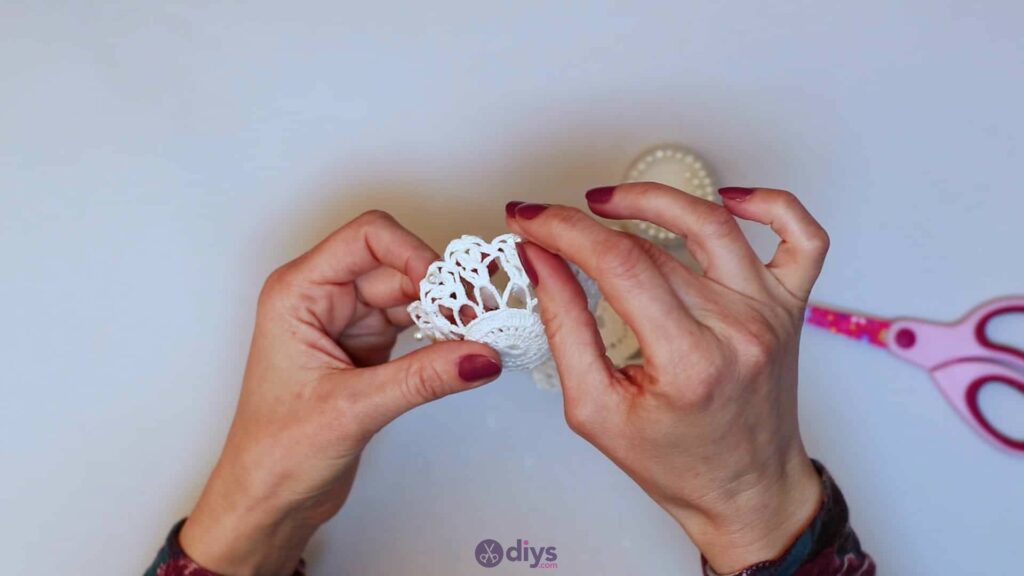
Step 7: decorate
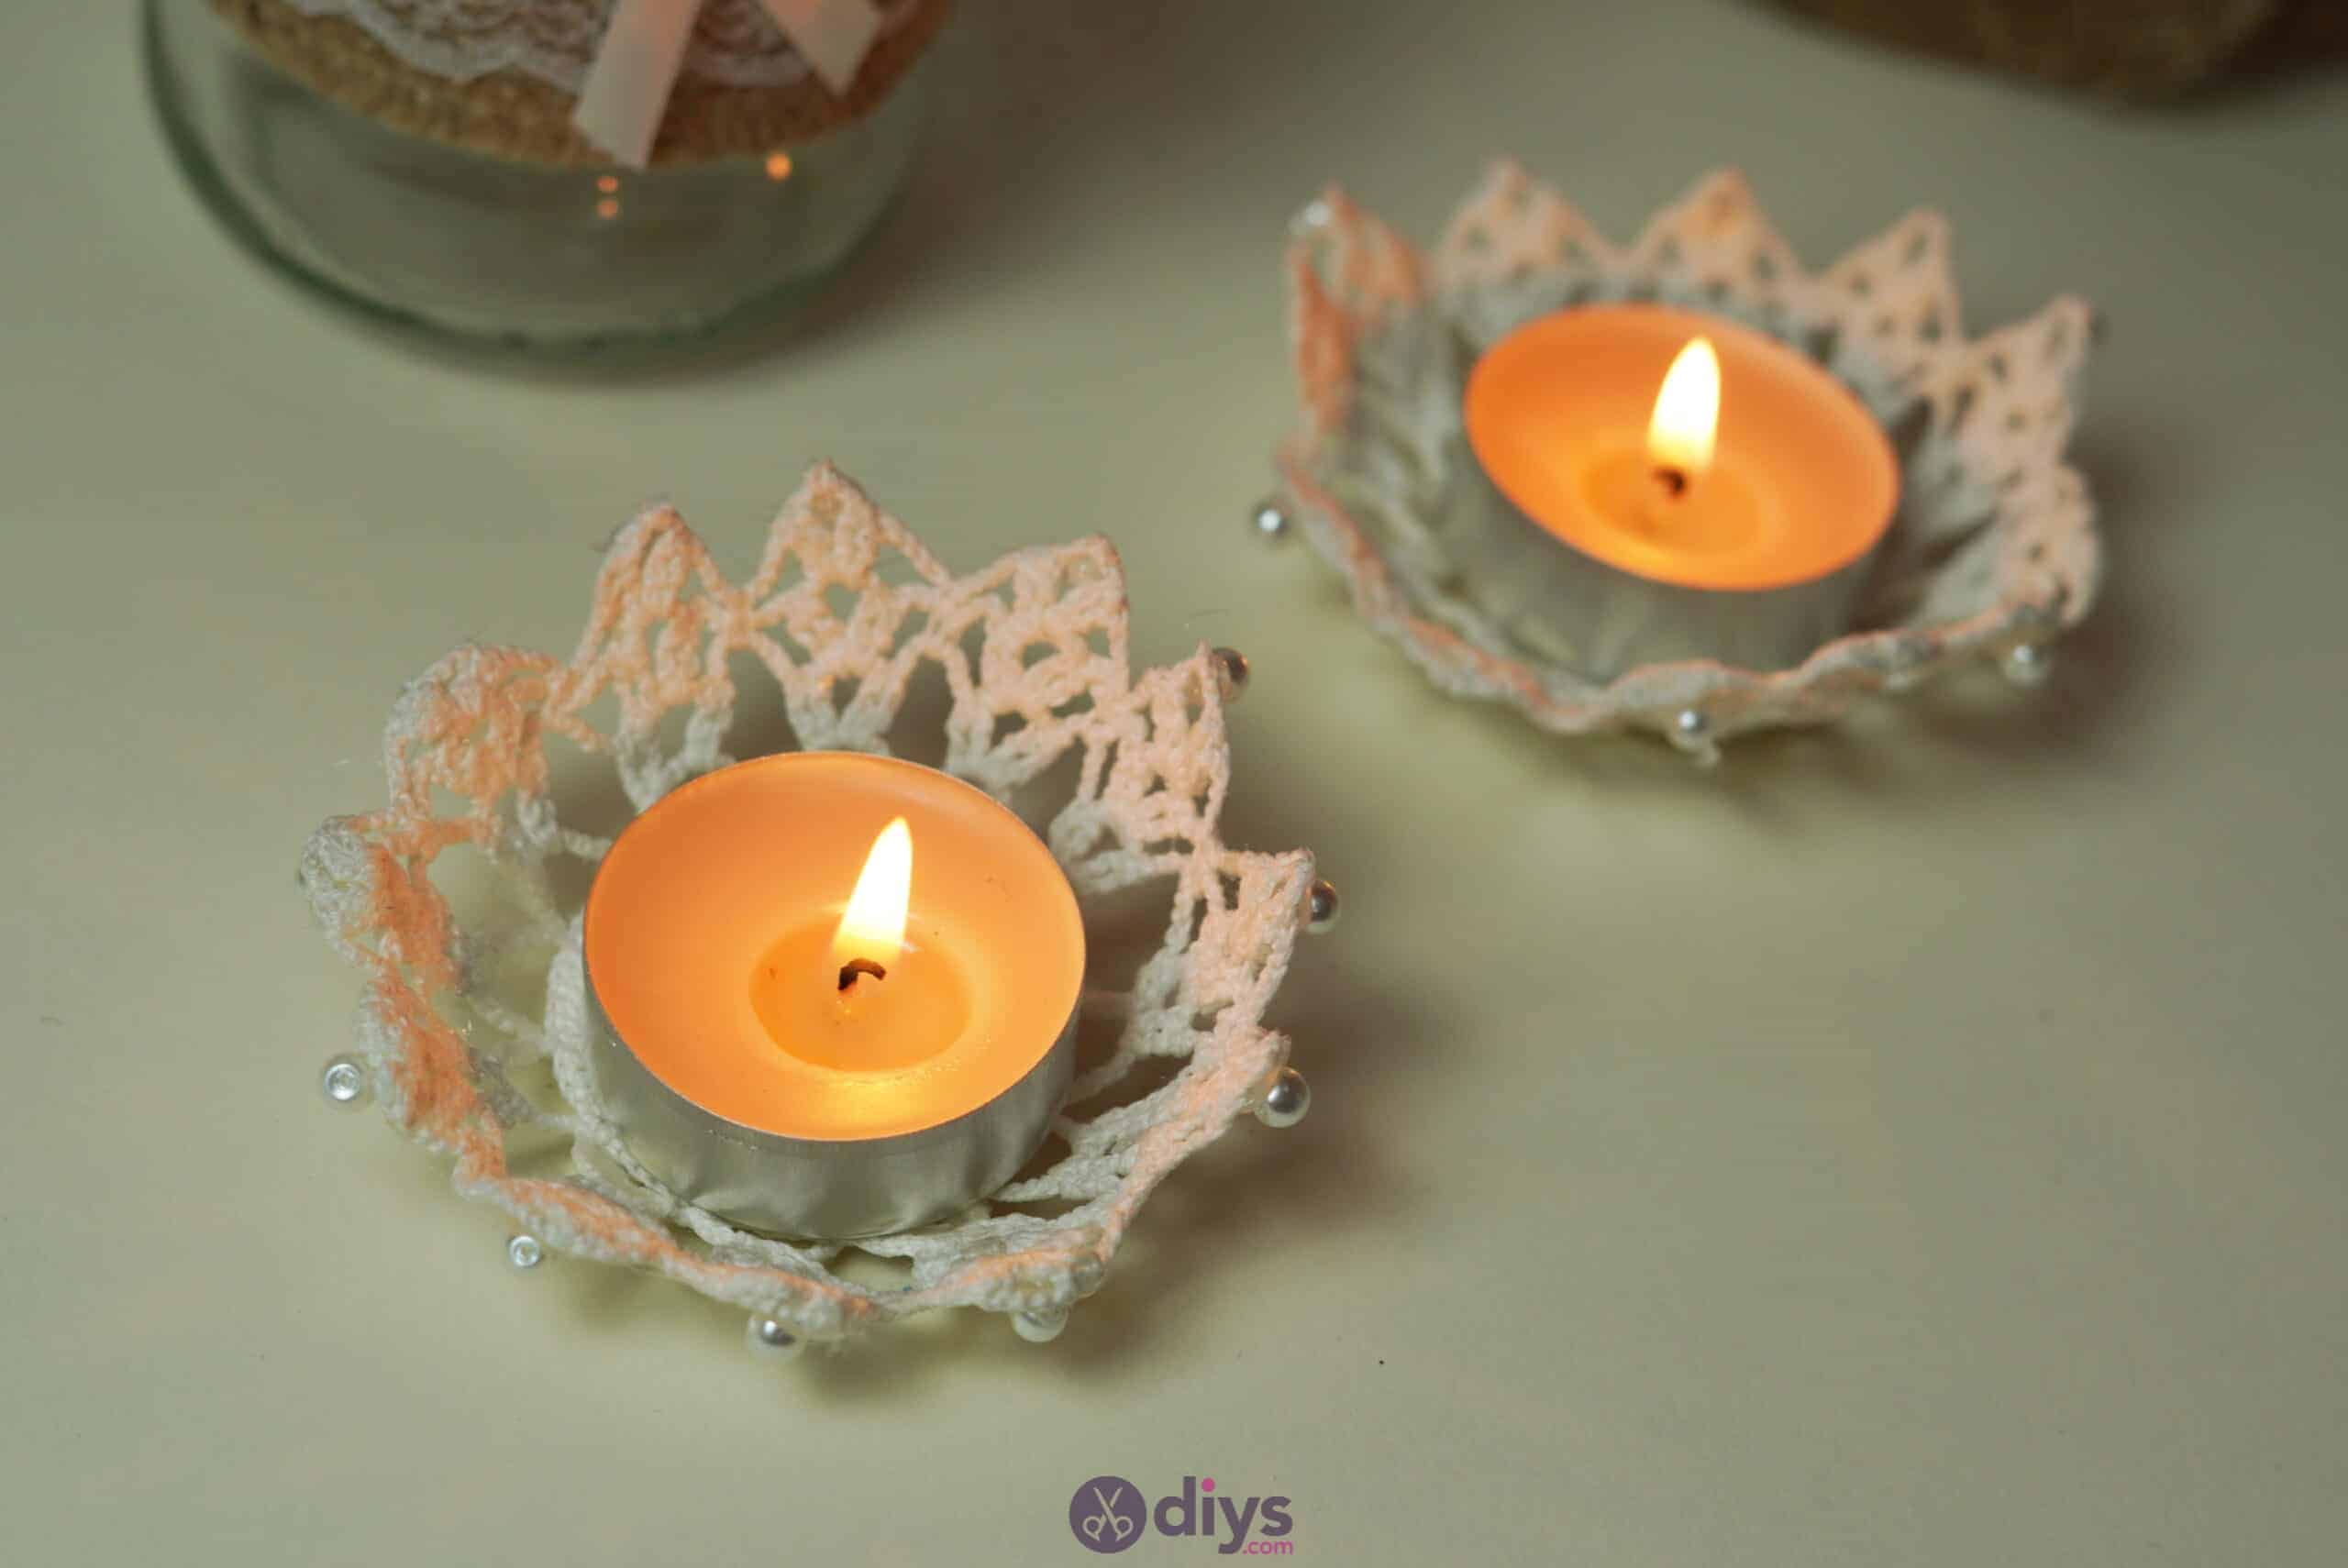
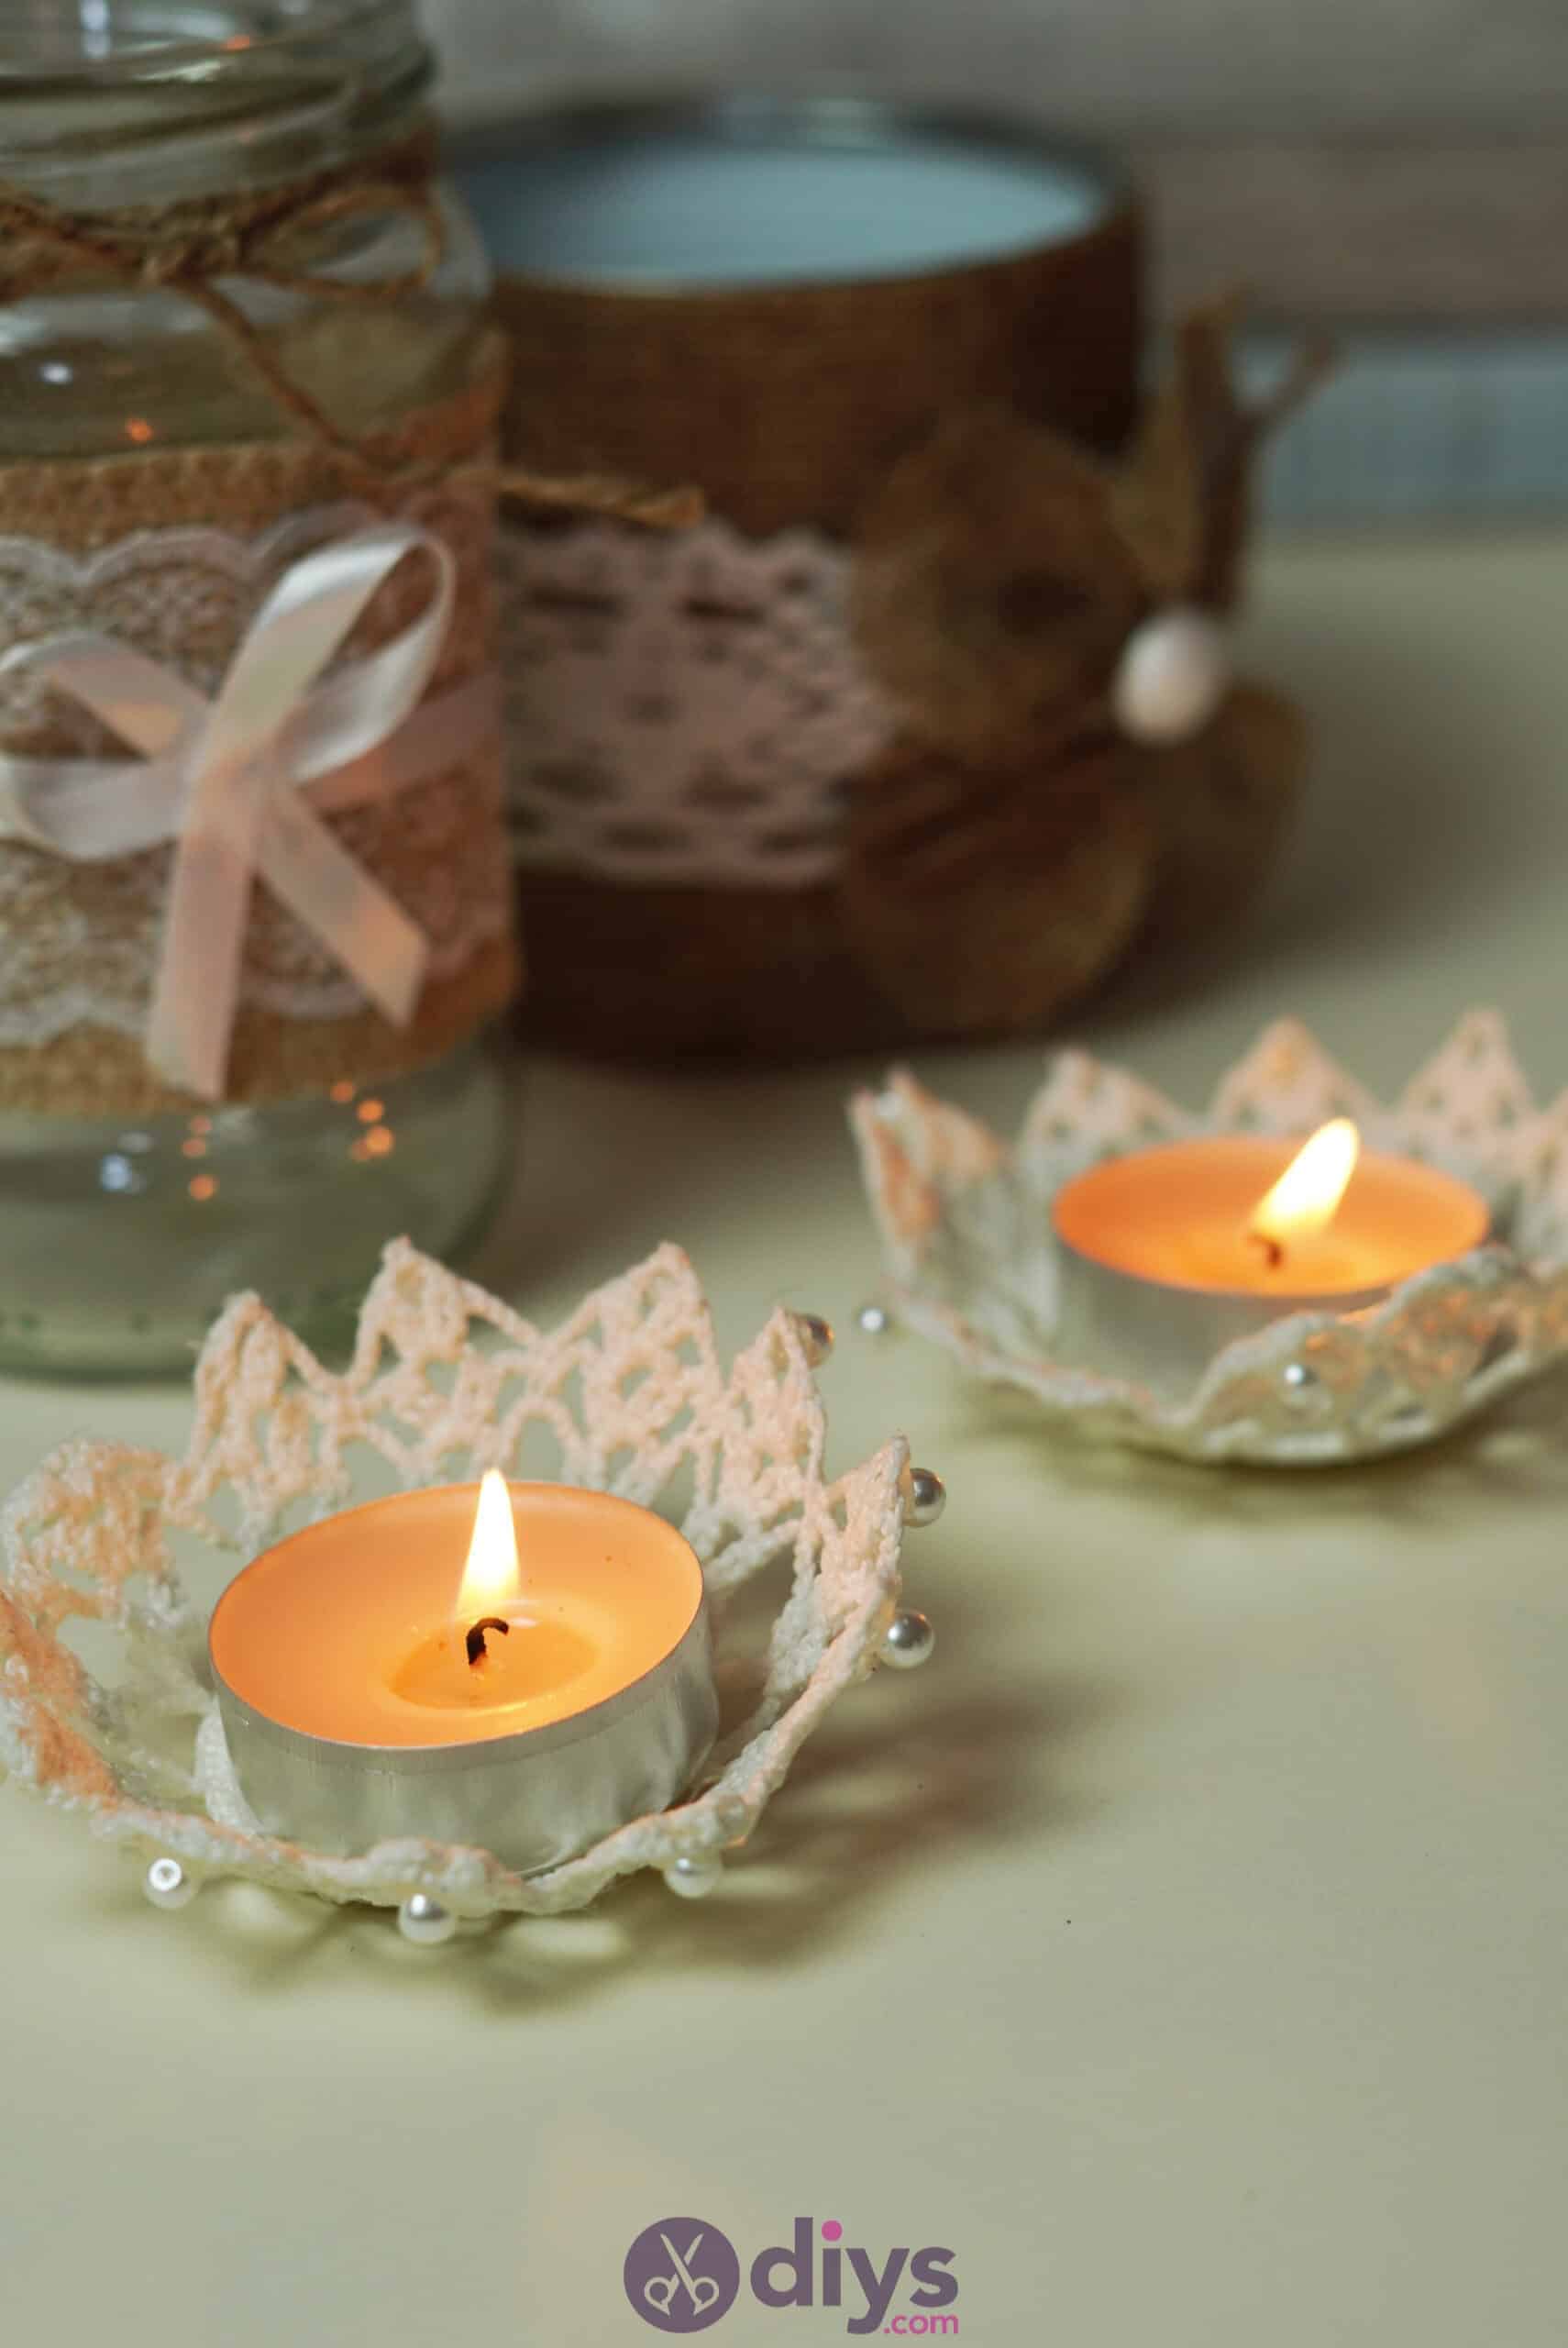
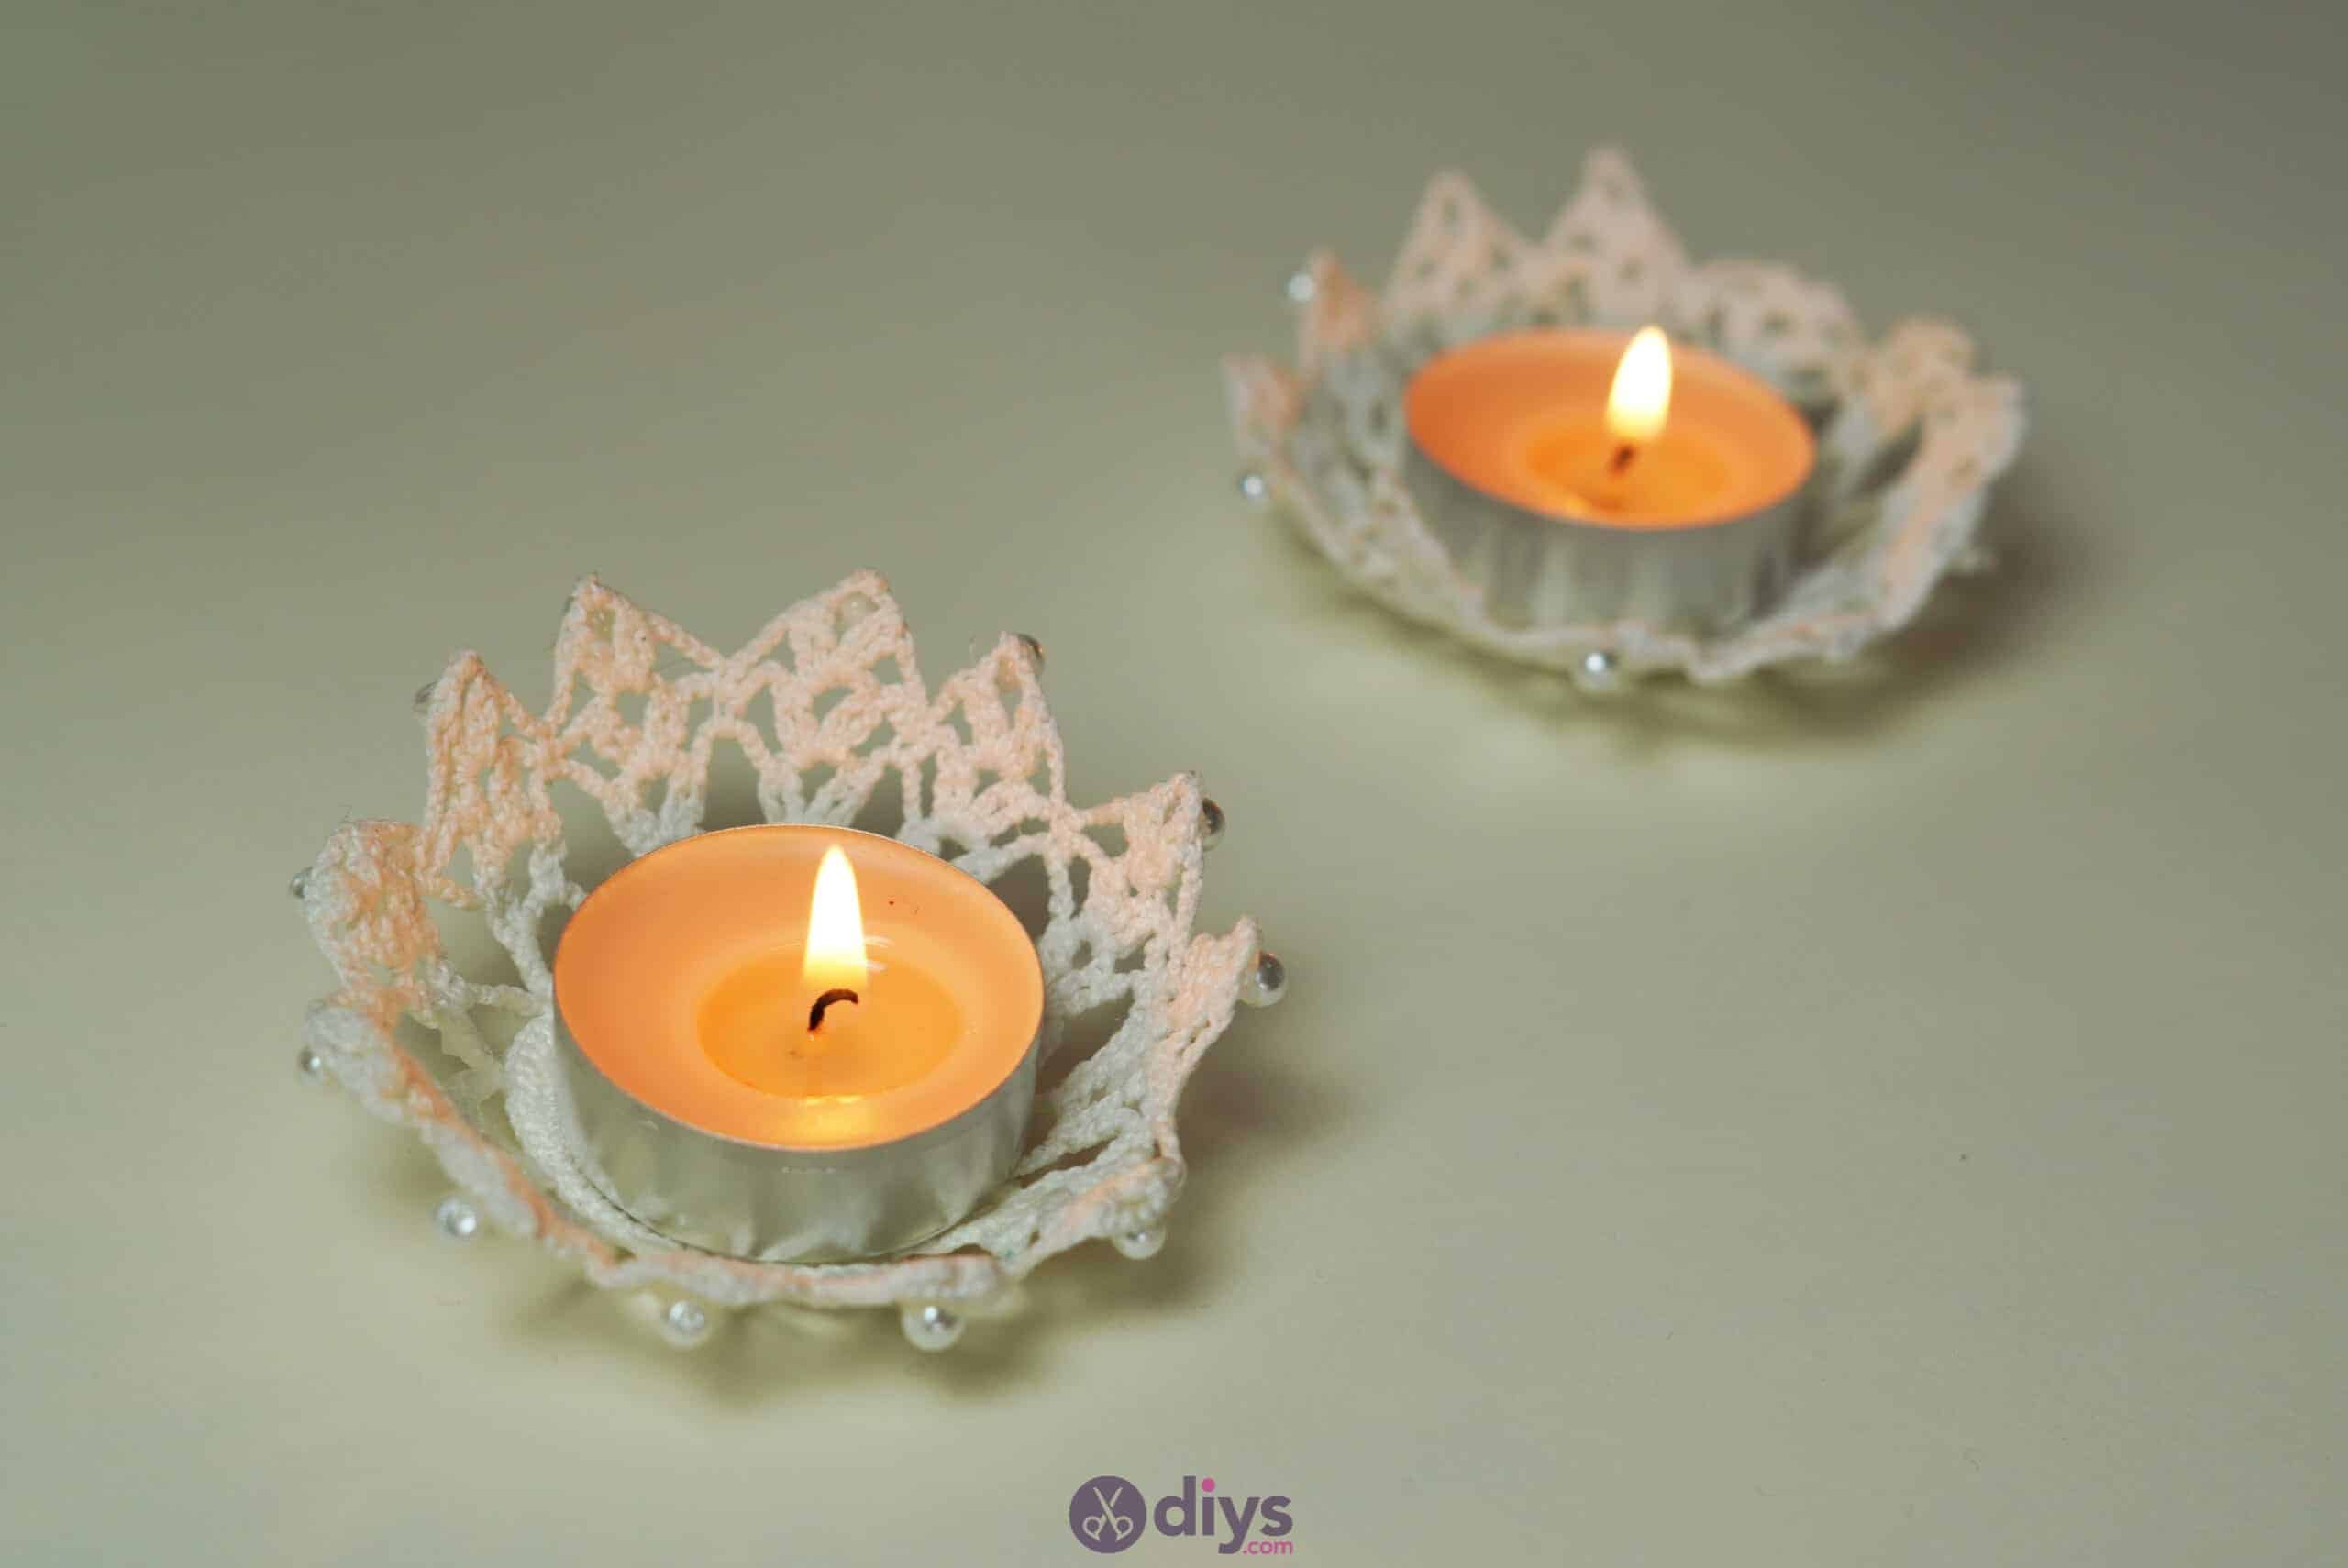
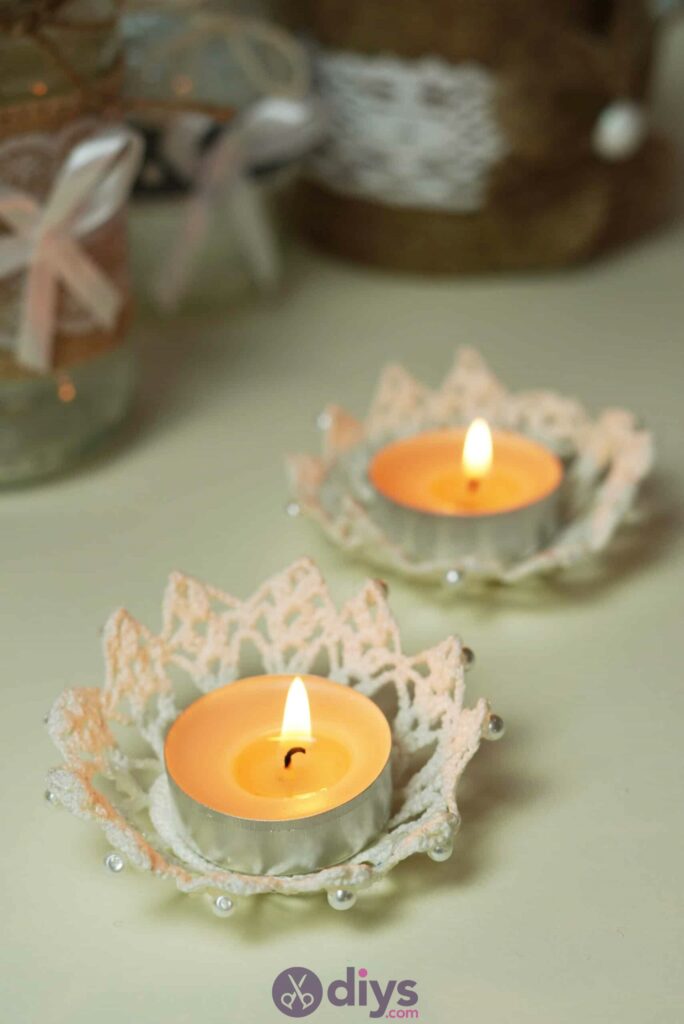
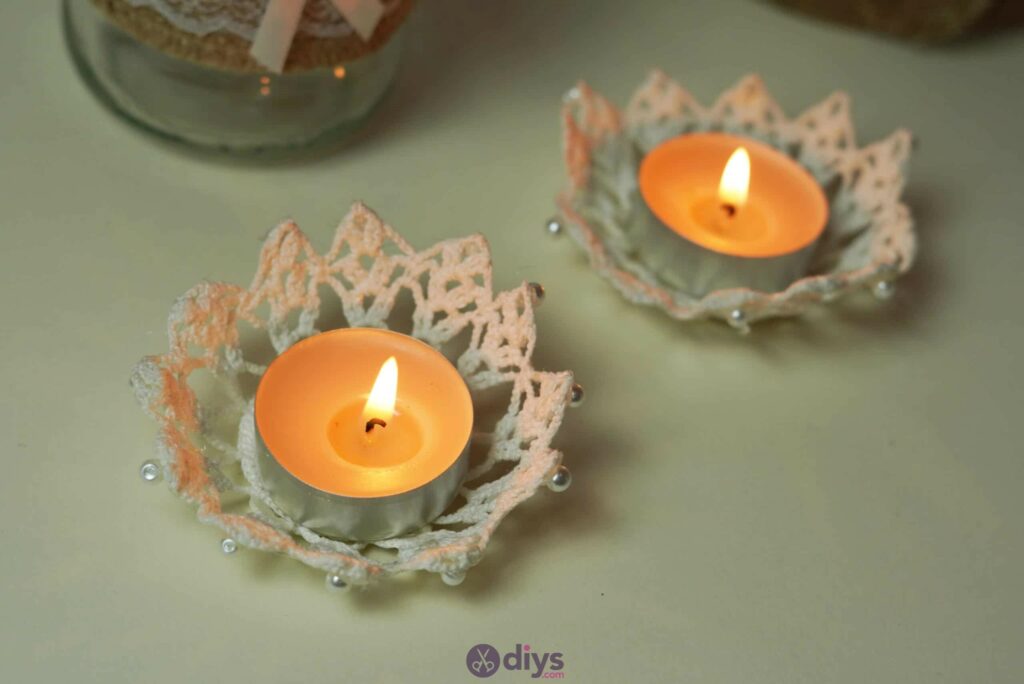
Embellish the outsides of your lace candle holders as you please. I chose to use my hot glue gun to stick little pearled beads around the outside rim, placing one in each peak in the lace pattern.


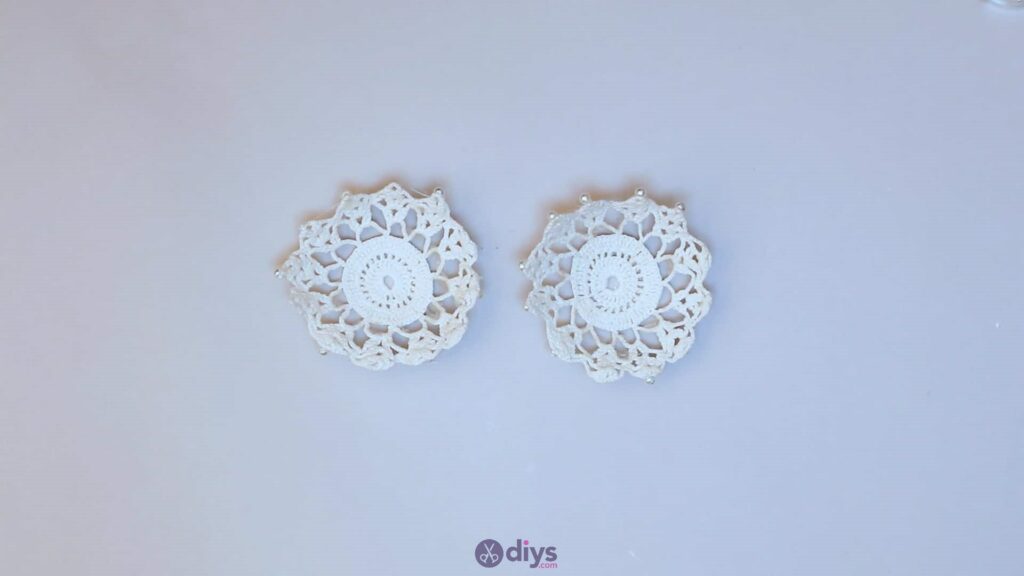
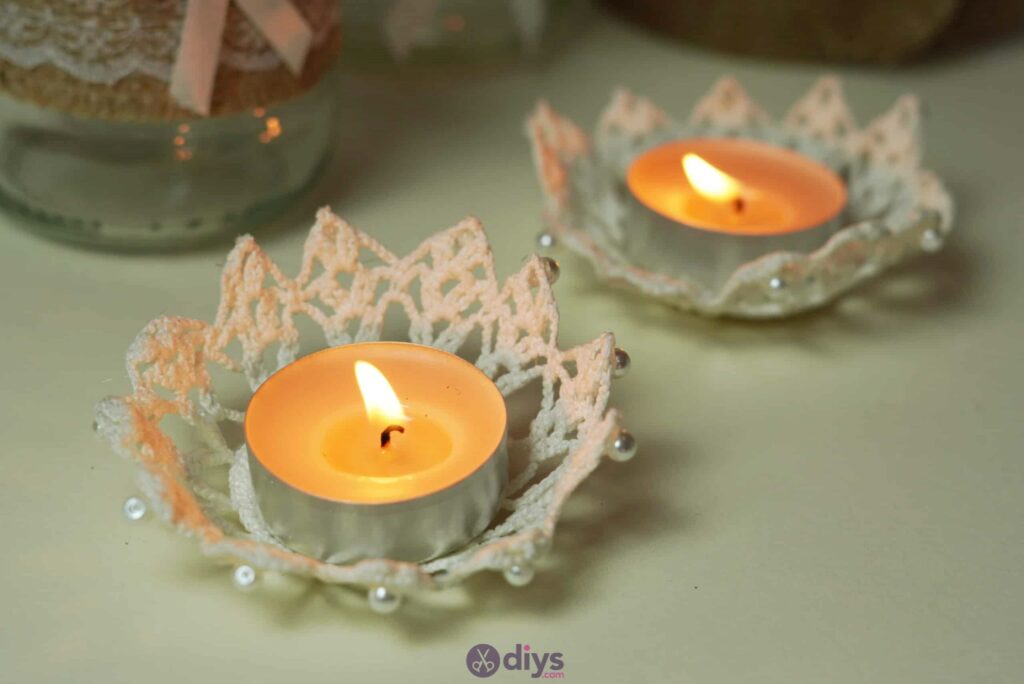
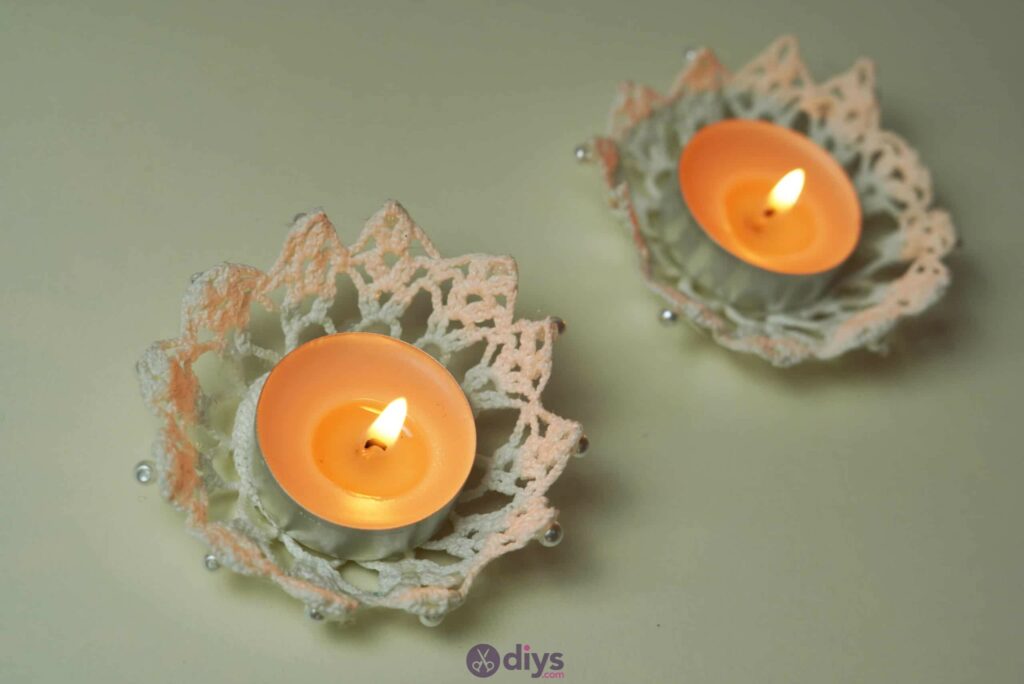
Set your candle into your holder and voila! You now have a pretty lace tea light votive. Believe it or not, you can actually also use the basic techniques involved in this project to make similar pieces in other types of fabric and material than just lace as well, and you can always embellish whatever kind of piece you make in a different way that suits your personal tastes a little better as well! Just in case you’d like to try this project out for yourself, here’s a fantastic tutorial video to give you some guidance.