DIY Plastic Spoon Candle Holder
Updated on November 19, 2025


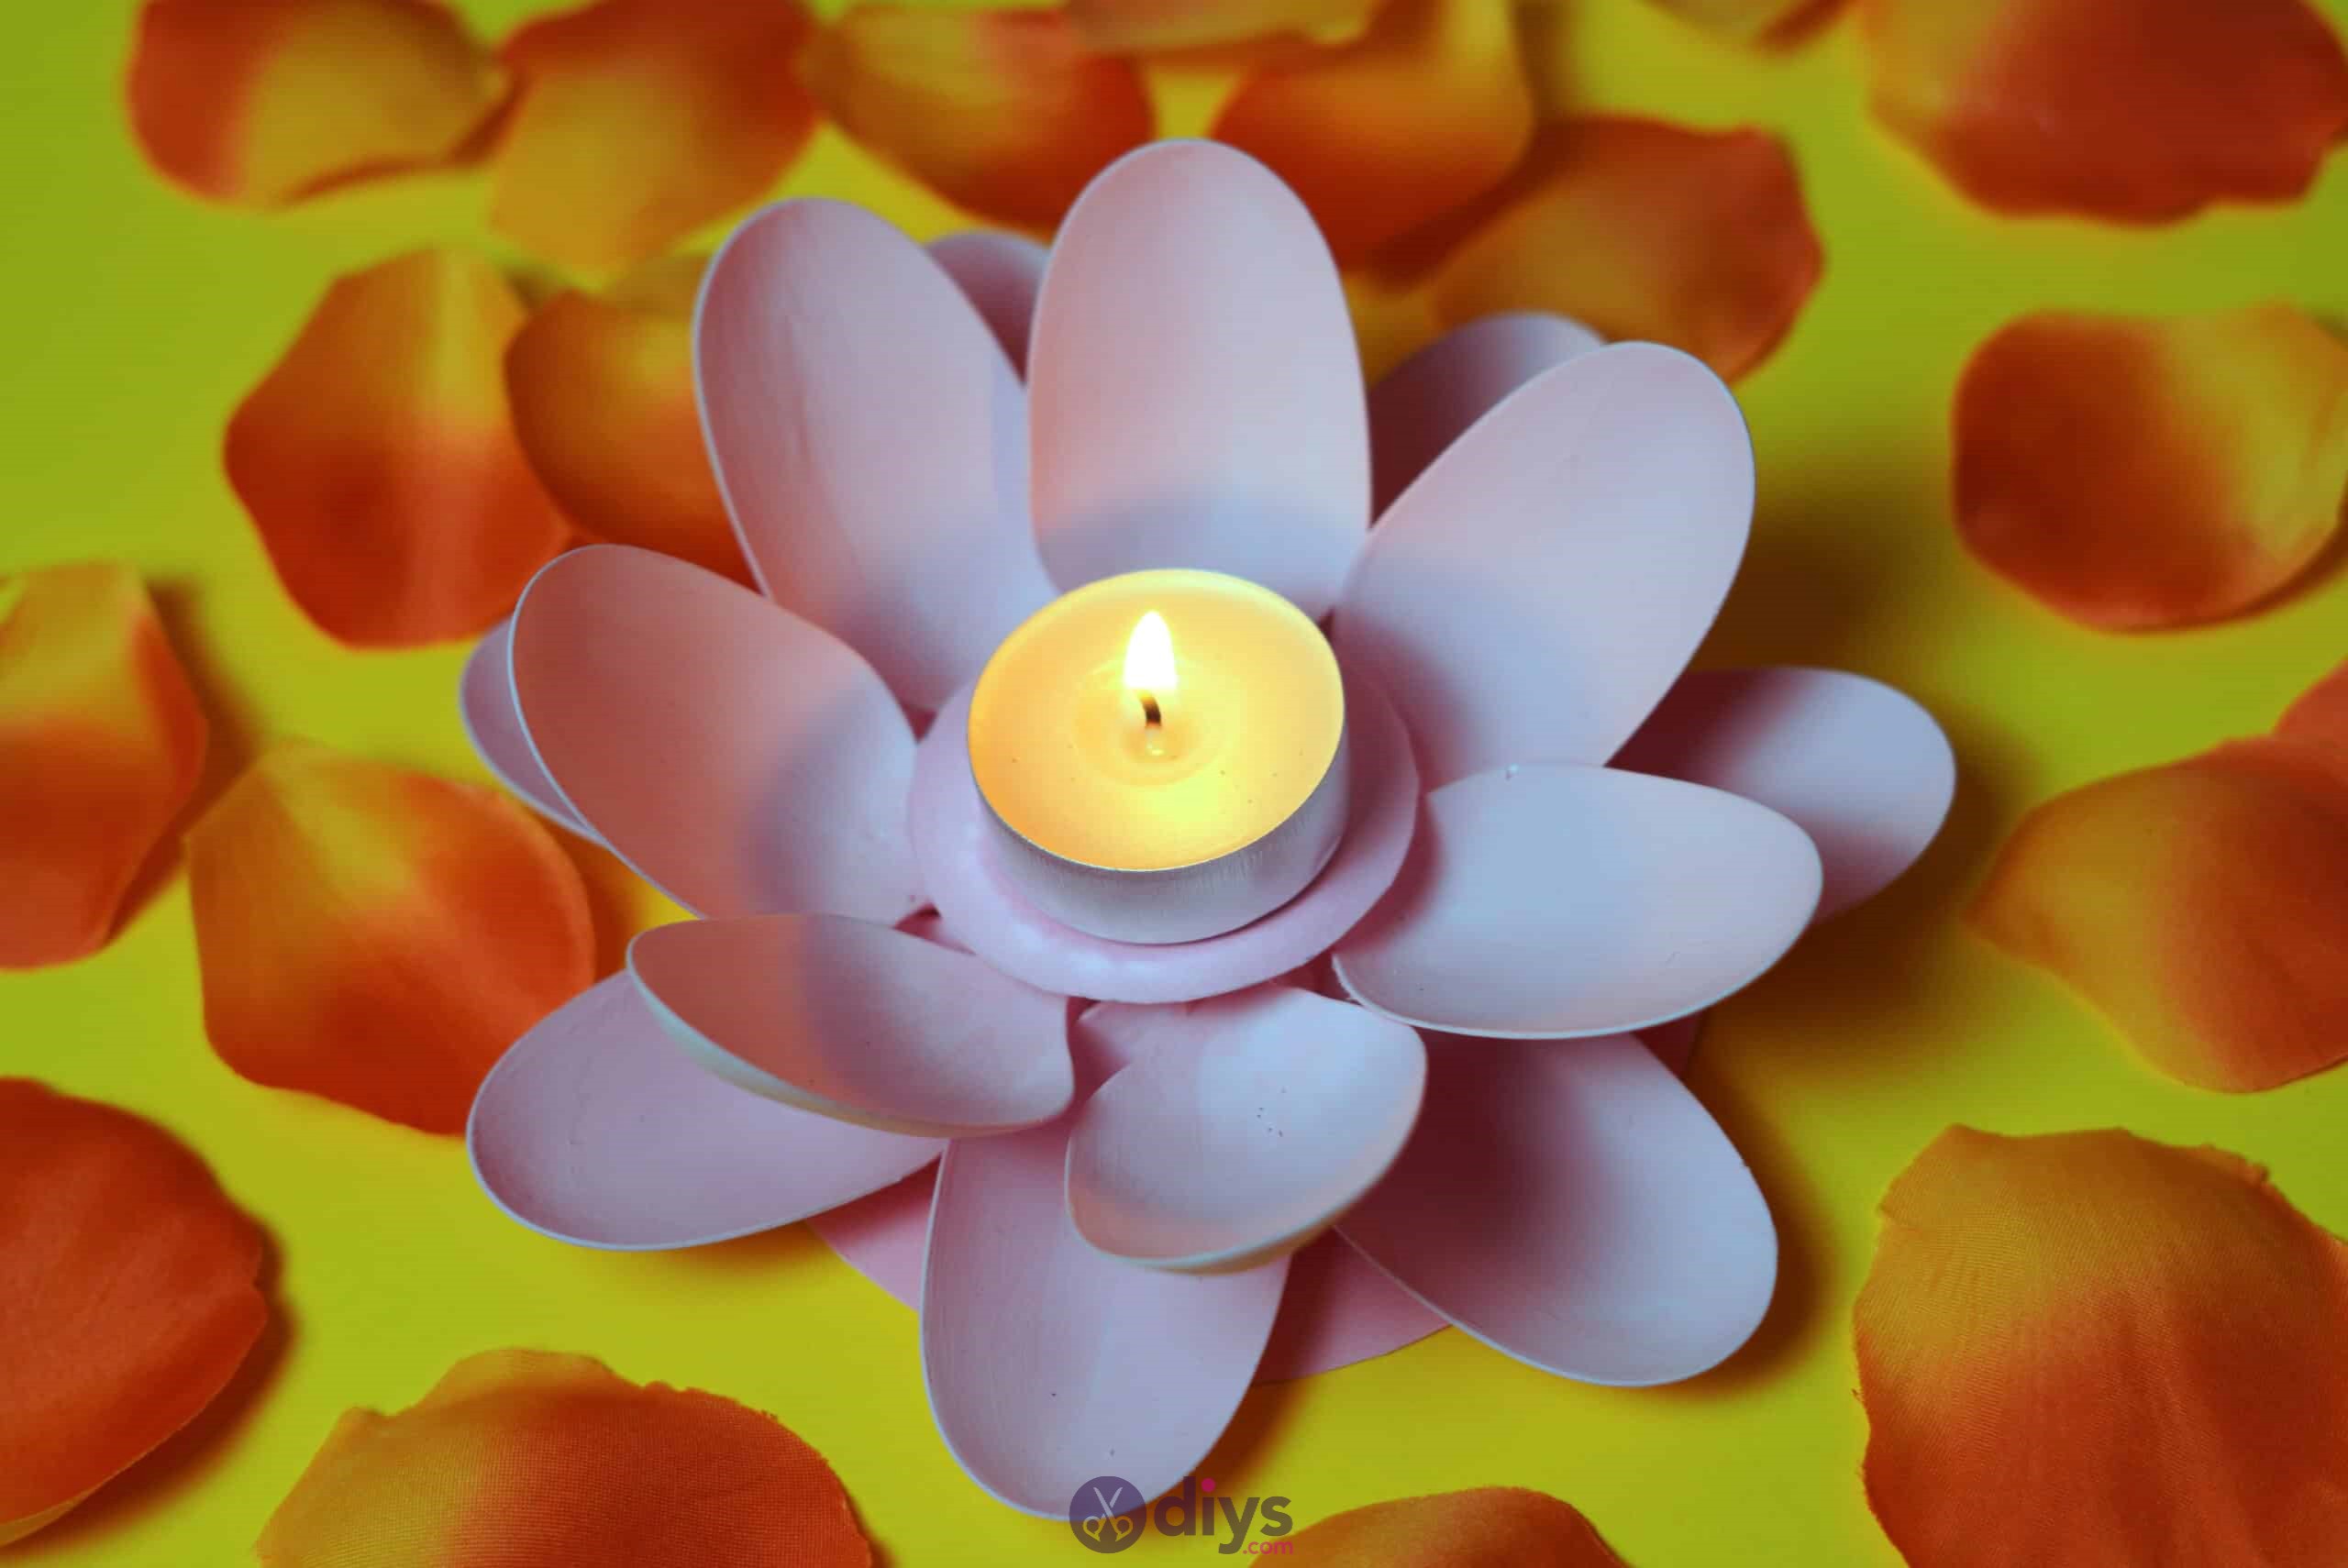
This DIY plastic spoon candle holder is the perfect project to try this weekend! The finished result is so pretty that these make the perfect gift for any occasion or beautiful home decor. Read on to find out how we made it!

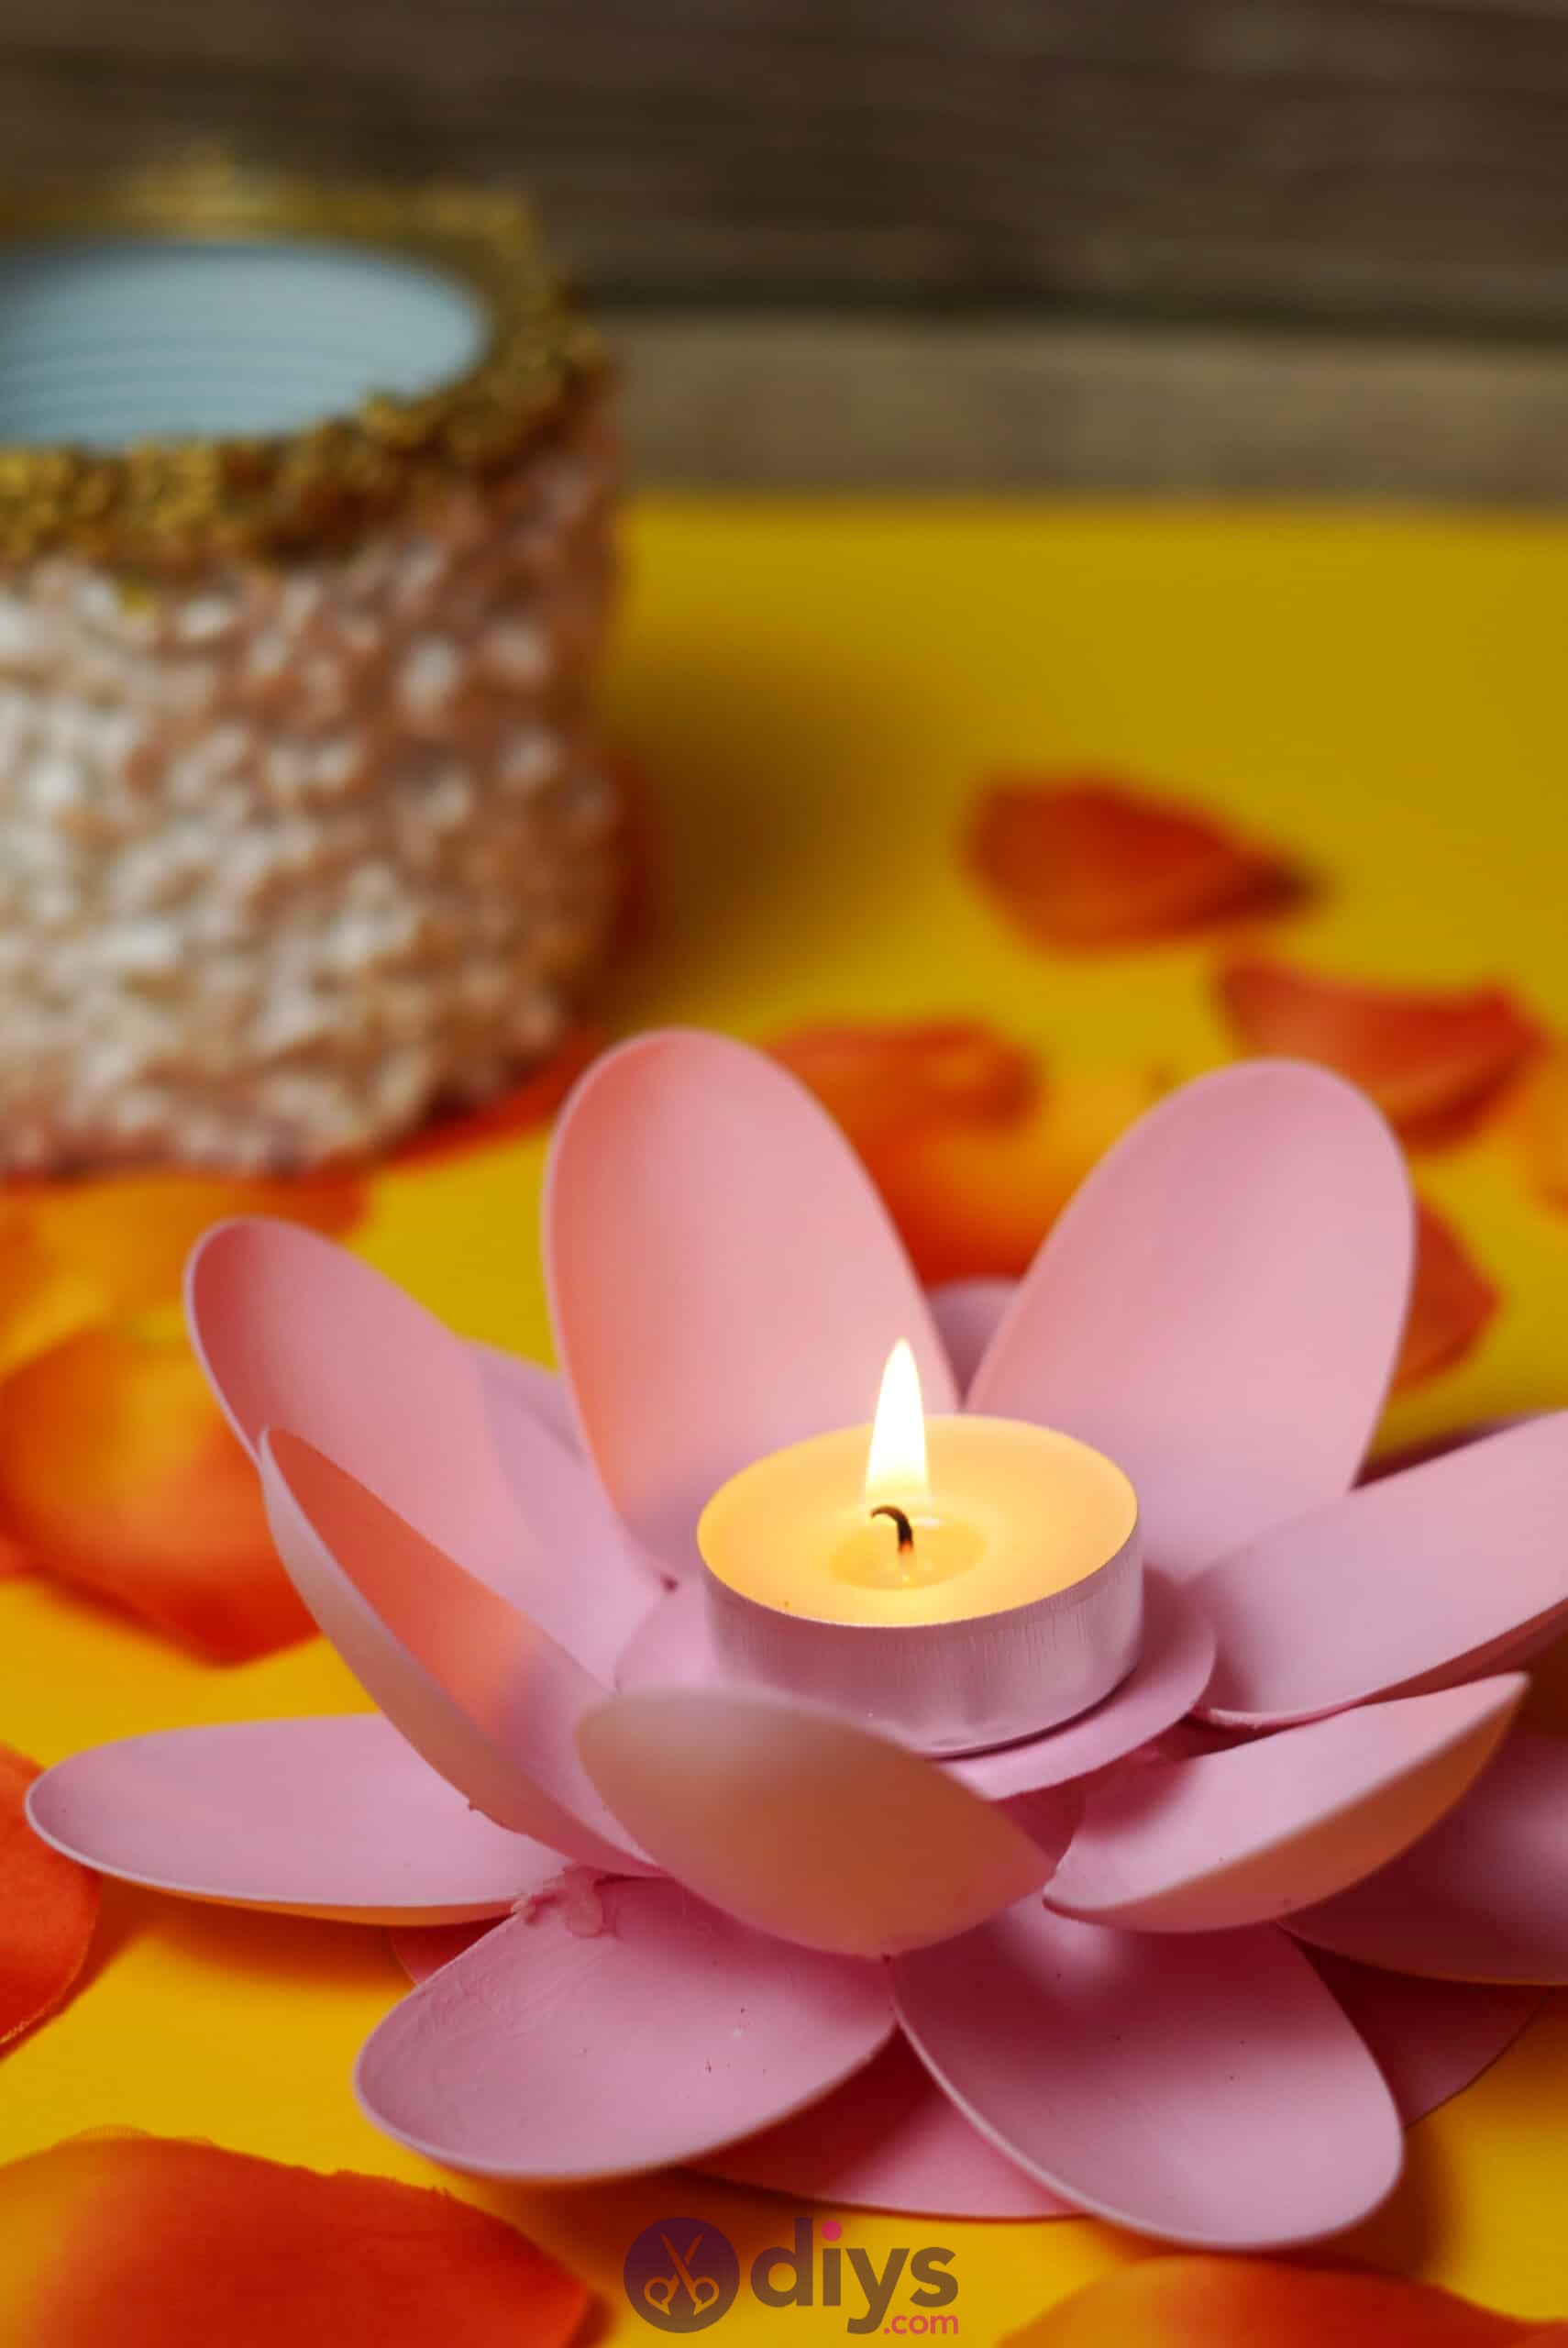
I love this project for its versatility. By switching up the colors, size, and spoon design you can make some gorgeous candle holders! For this one, we went with simple and pink.

Are you feeling just as intrigued by the idea of making plastic spoon are as I was? Perhaps you’re actually just on the hunt for creative projects that are easy enough to do with kids, but still interesting enough to do with holder kids who are looking for something that will actually let them construct a new piece. Either way, check out these step by step instructions complete with photos! If you’d rather follow along with a video tutorial, scroll to the bottom of this post for a full play-by-play of the process.

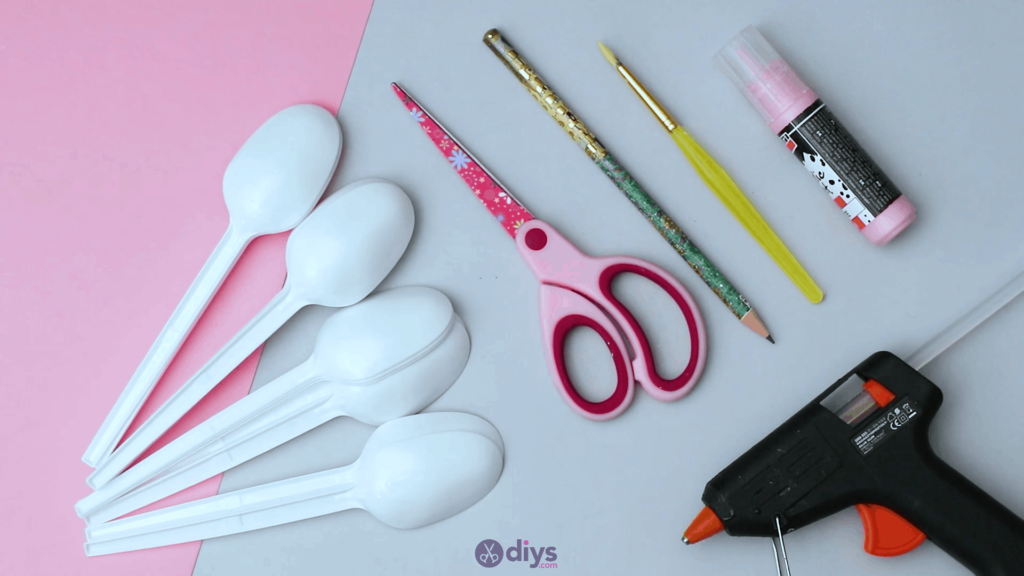
For this project, you’ll need:
- Plastic spoons
- Pink acrylic paint (or whatever colour you want your finished product to be)
- Scissors
- Pink paper (or whatever colour of paper matches the paint you chose)
- Pencil
- Hot glue

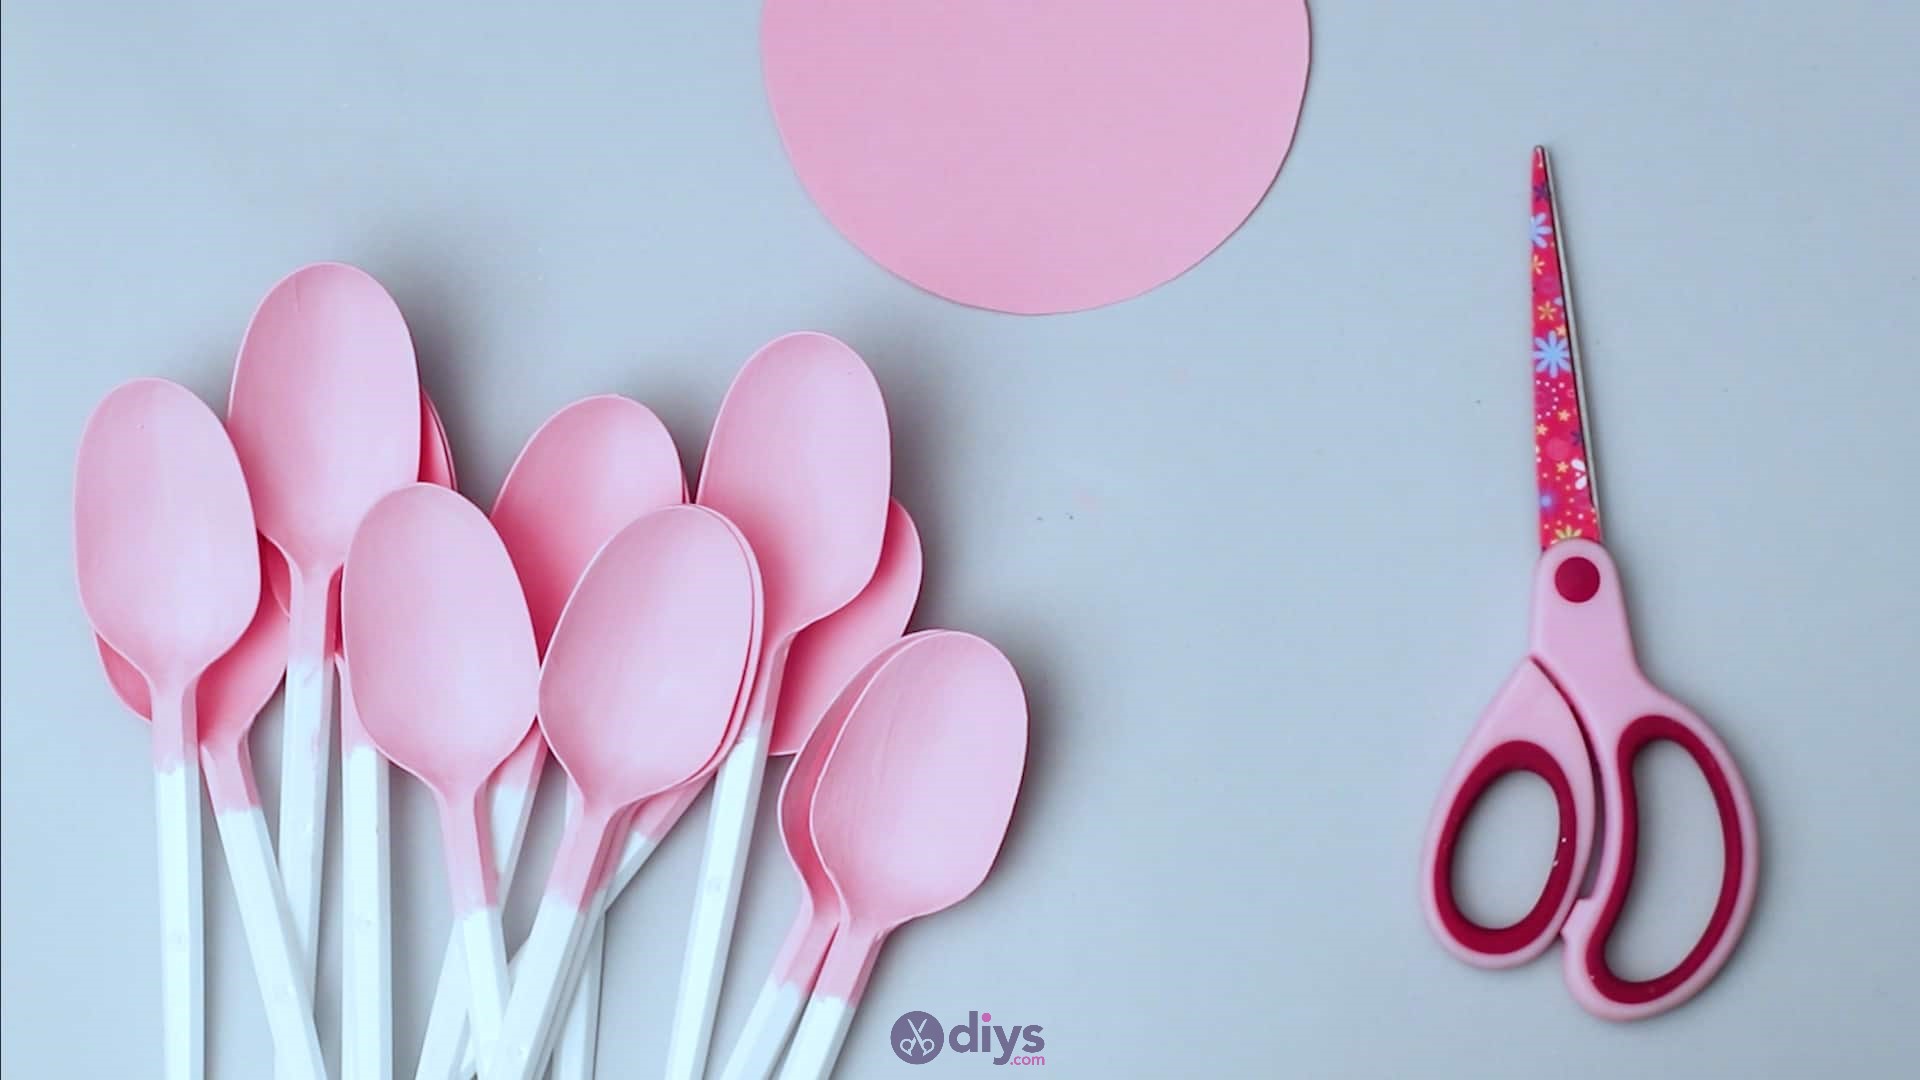
Step 1: Gather your materials!
Making sure all of the materials form the list are together before starting the project will ensure a smooth DIY craft!
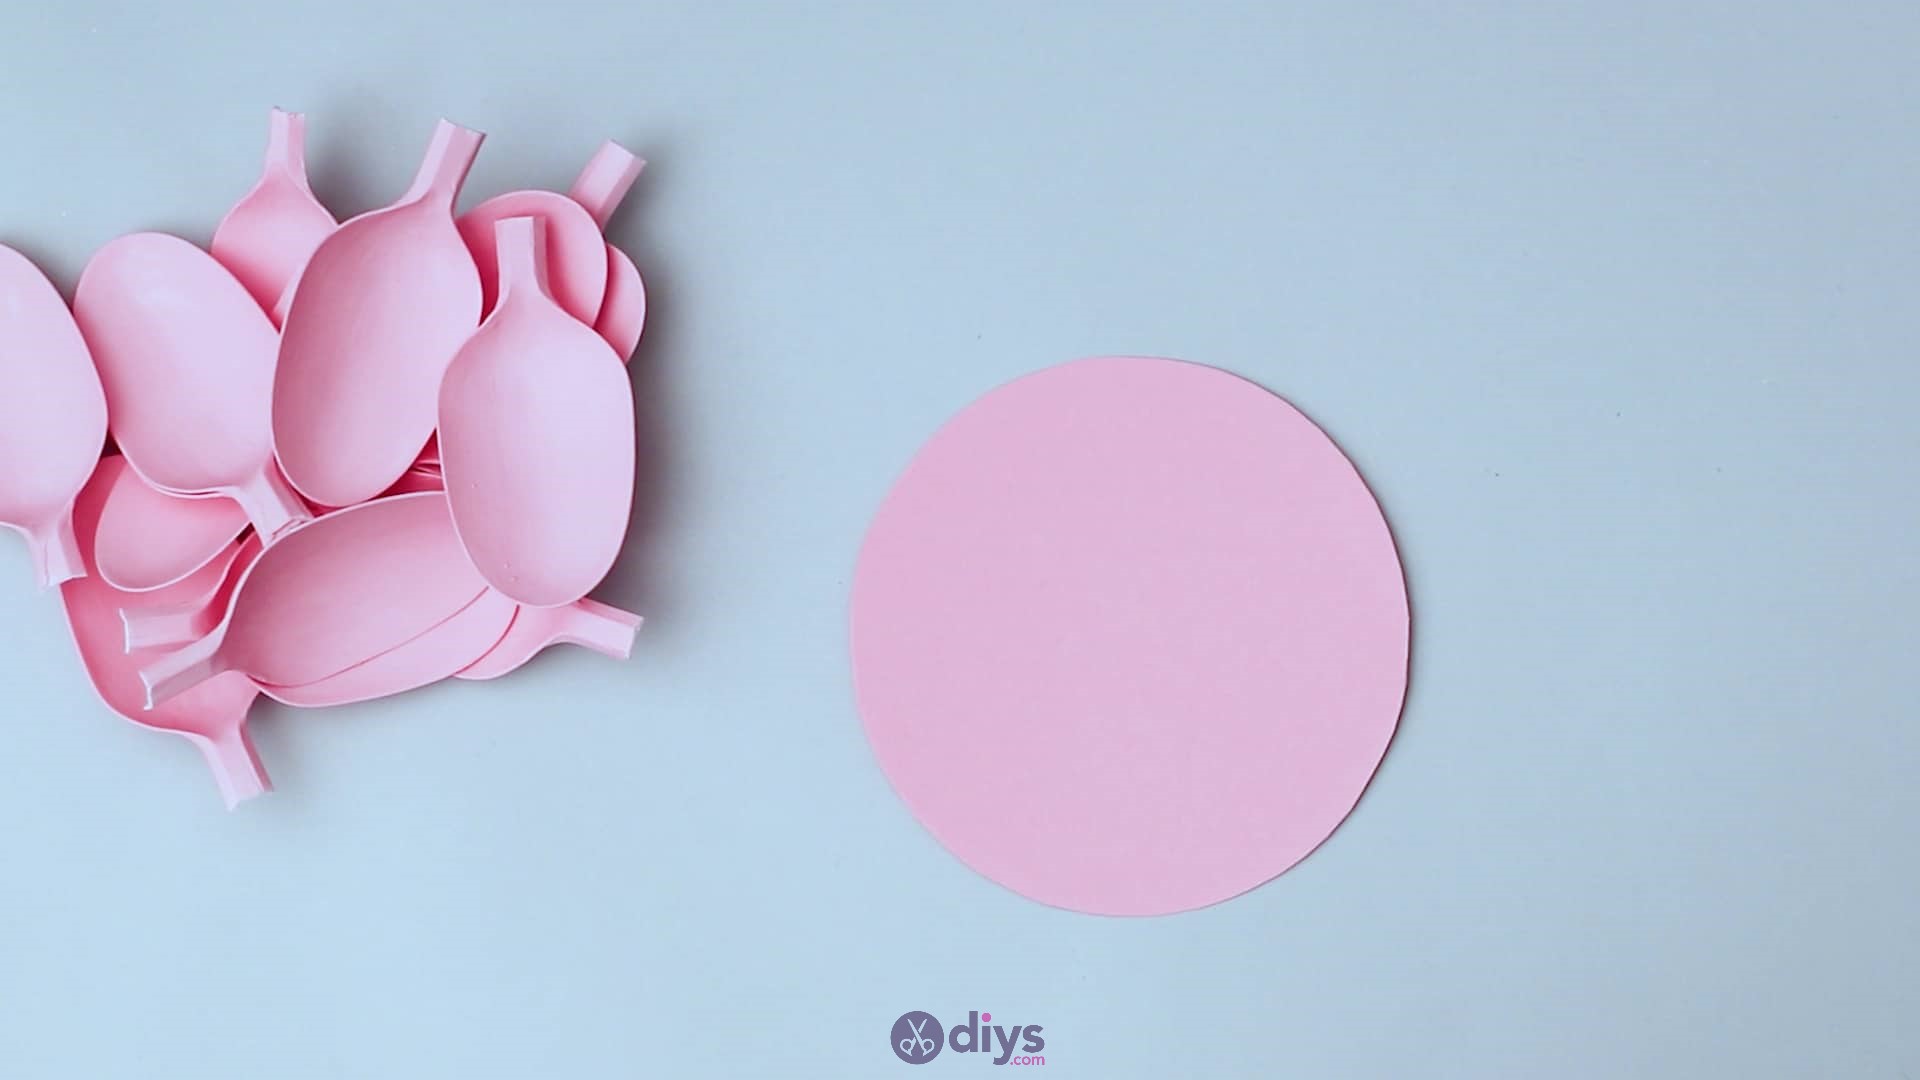
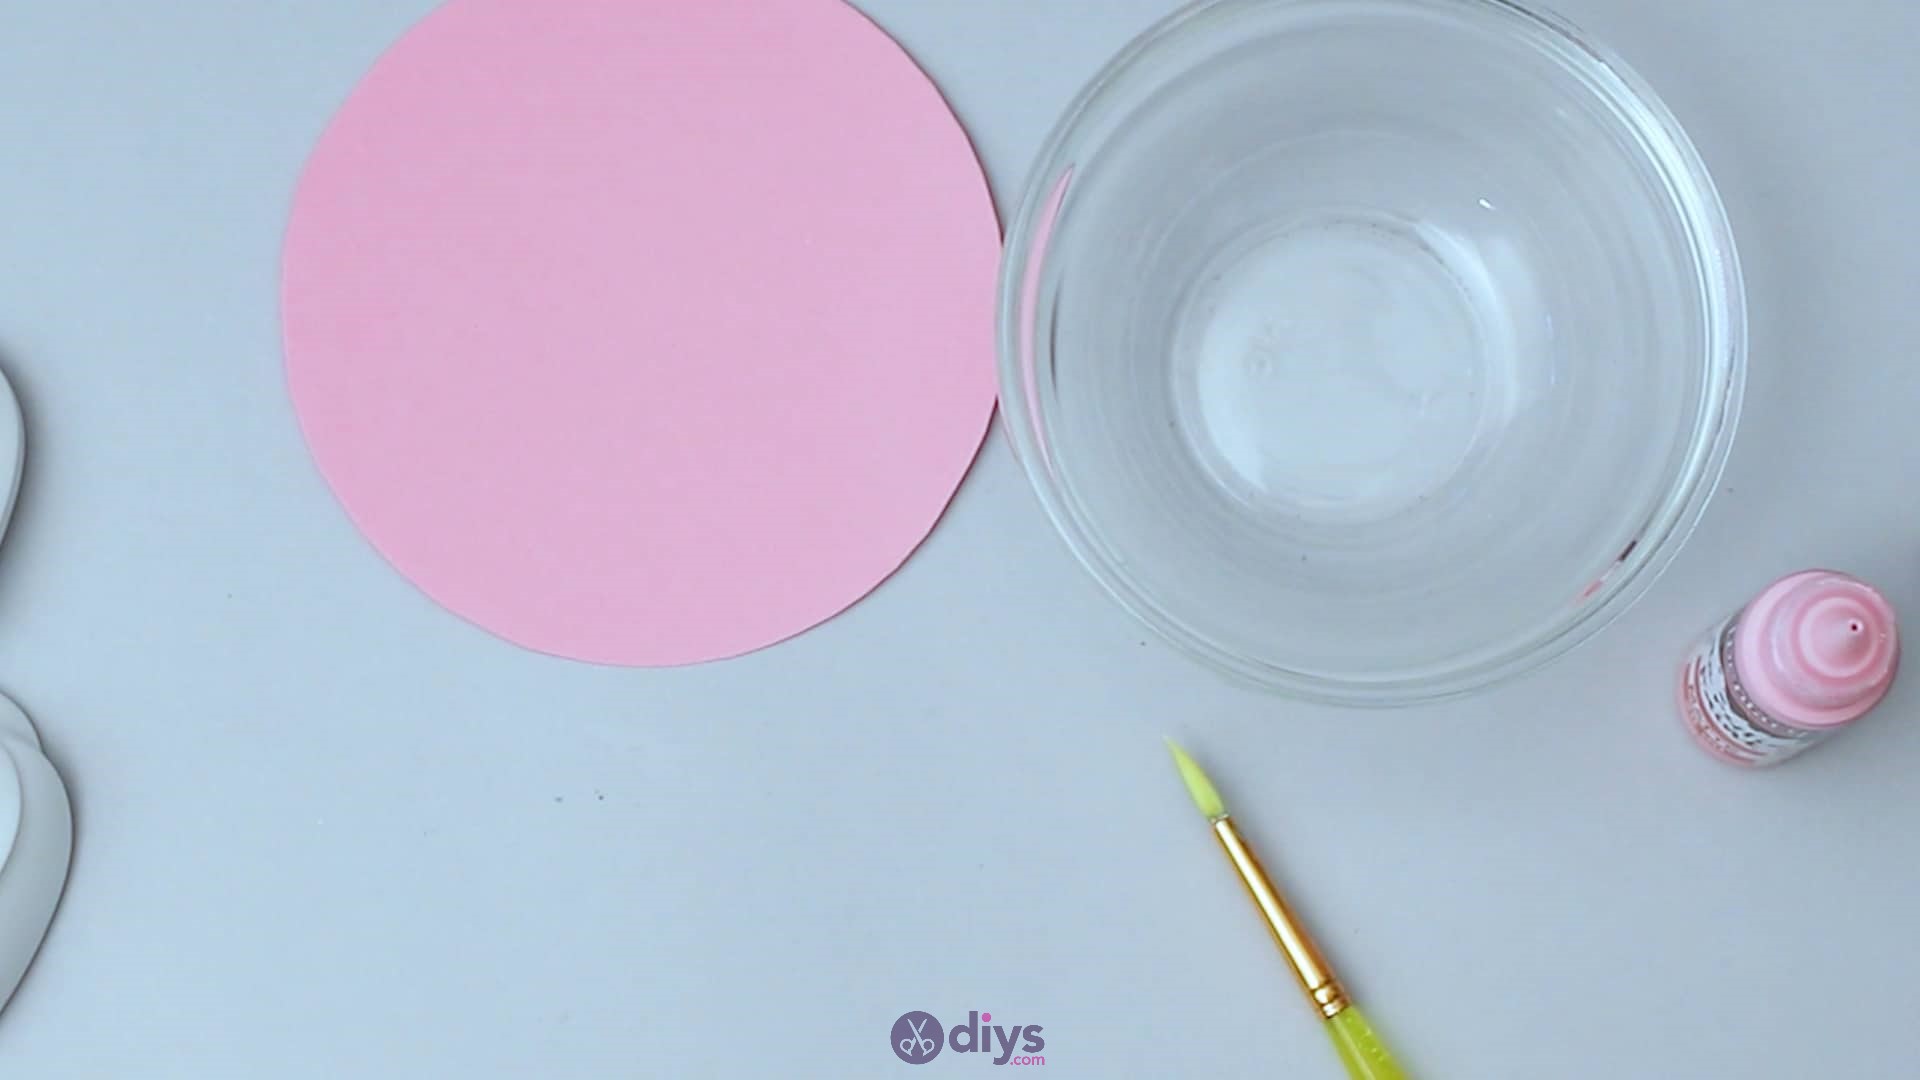
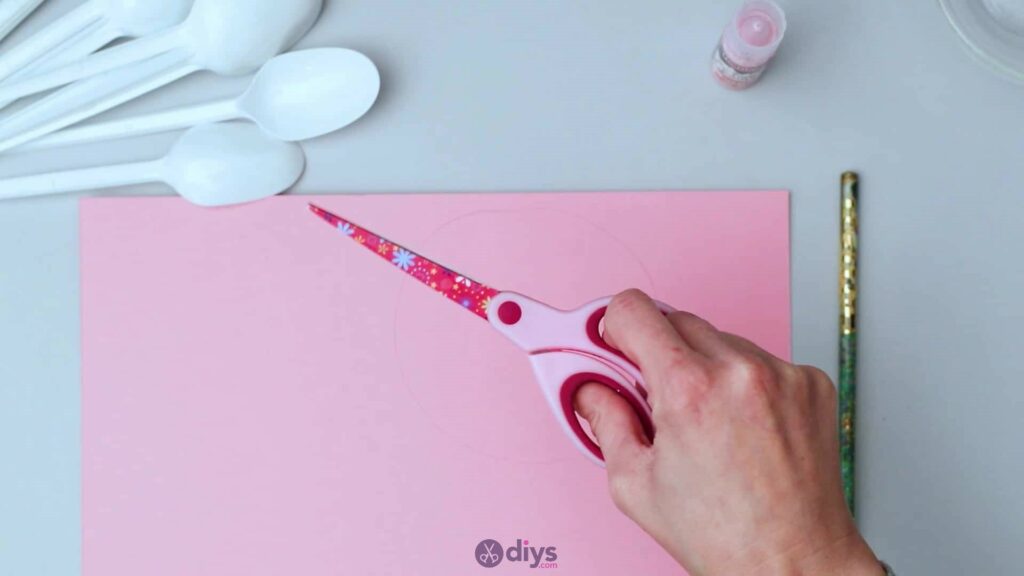
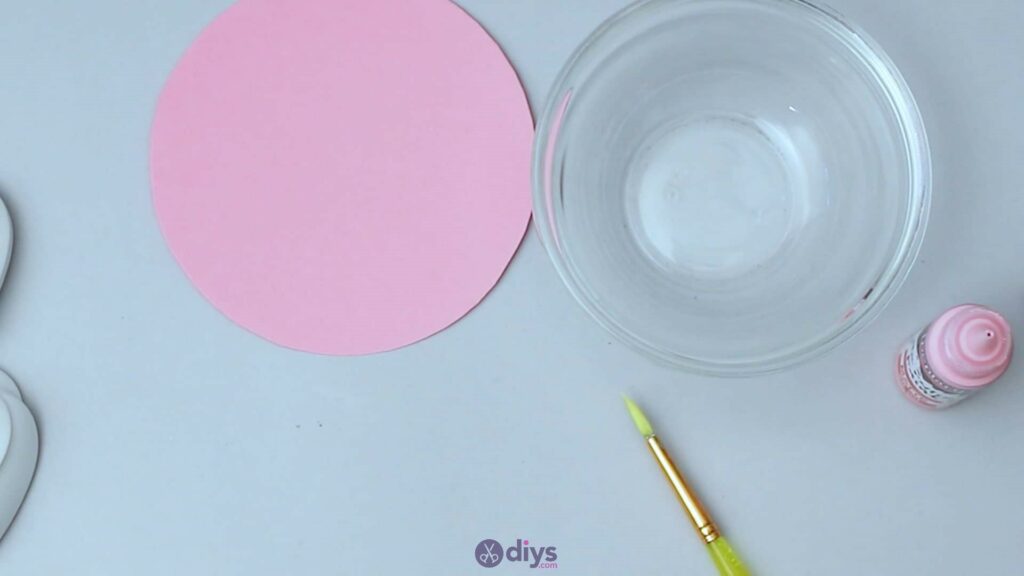
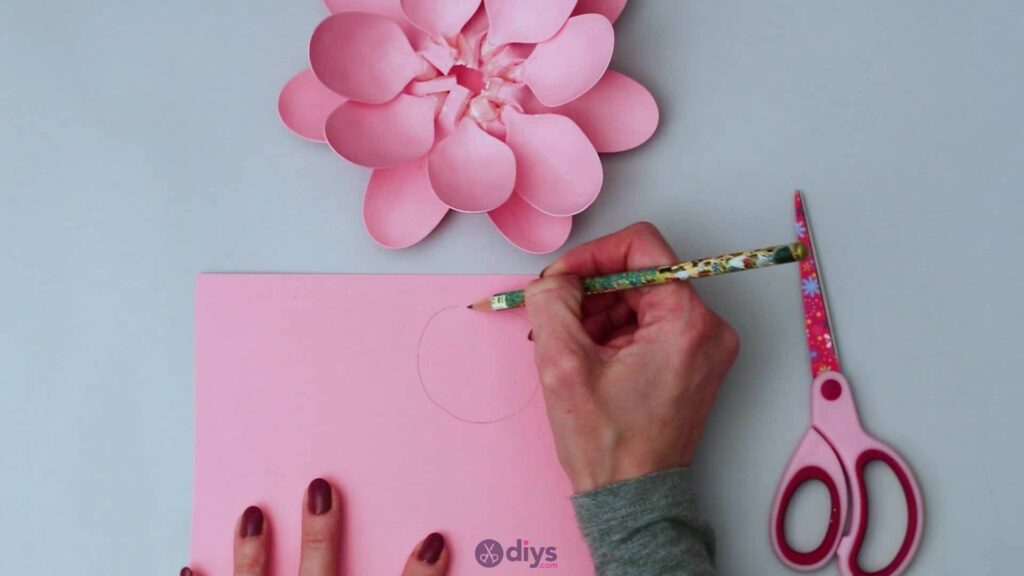
Step 2: draw a circle
Use your pencil to draw a circle on your coloured paper that’s about three inches across from edge to edge (or roughly the same length as the handles of your plastic spoons). Then use your scissors to cut the circle out and set it aside for just a moment.

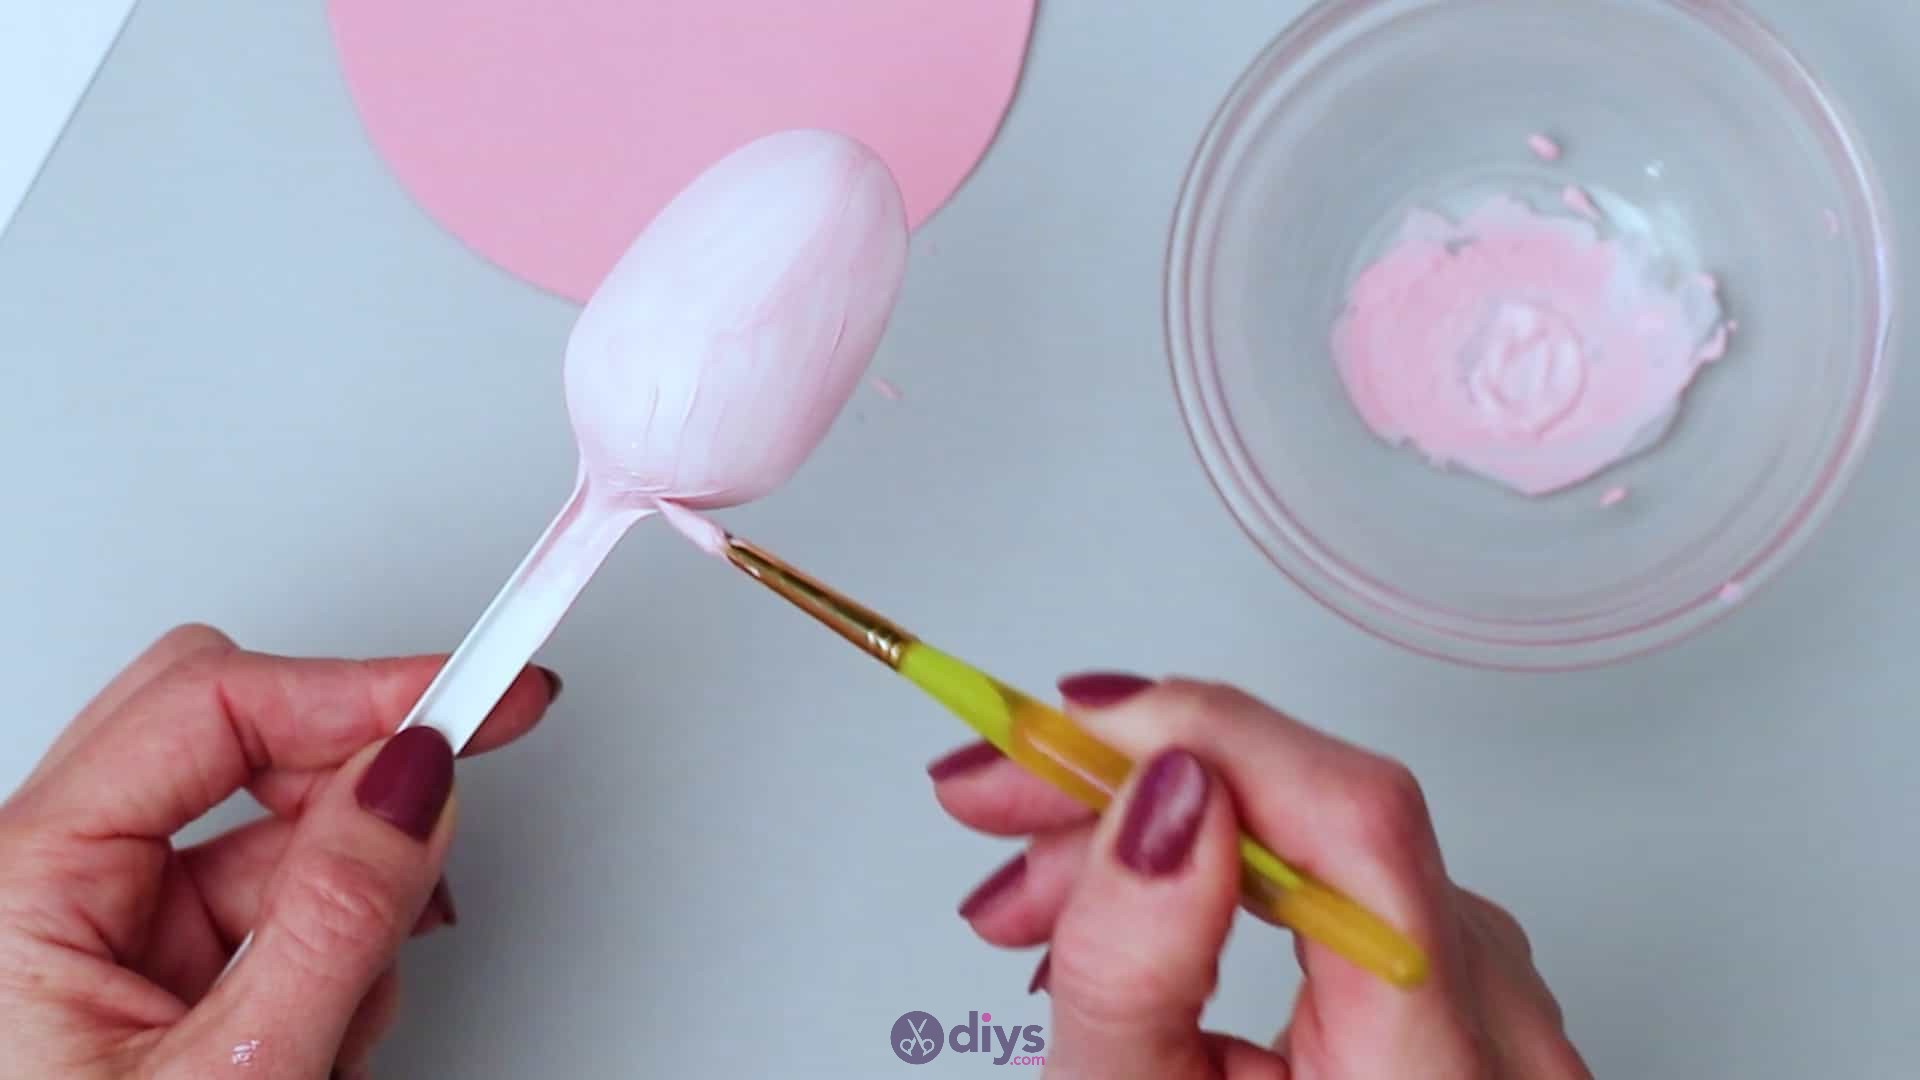
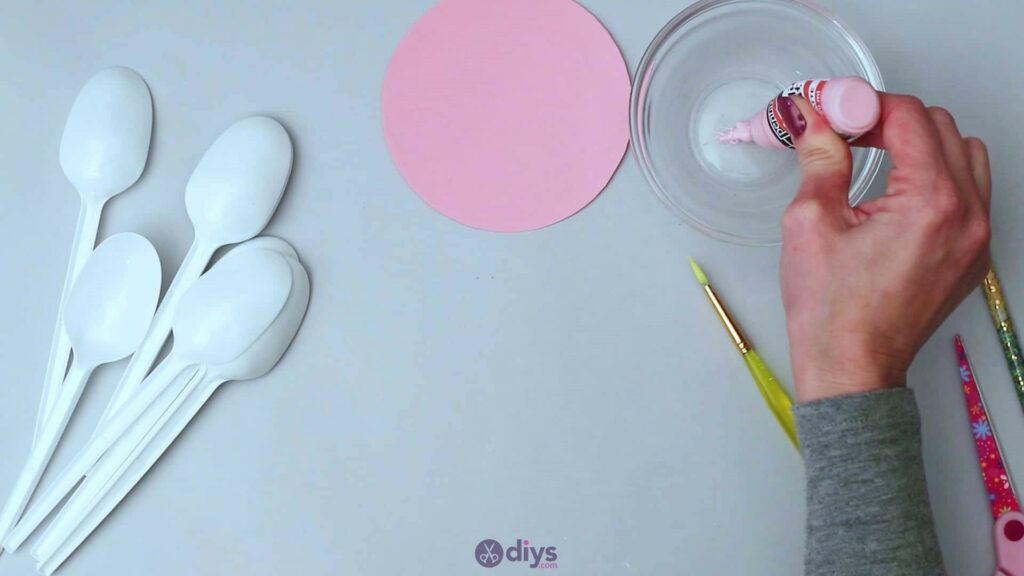
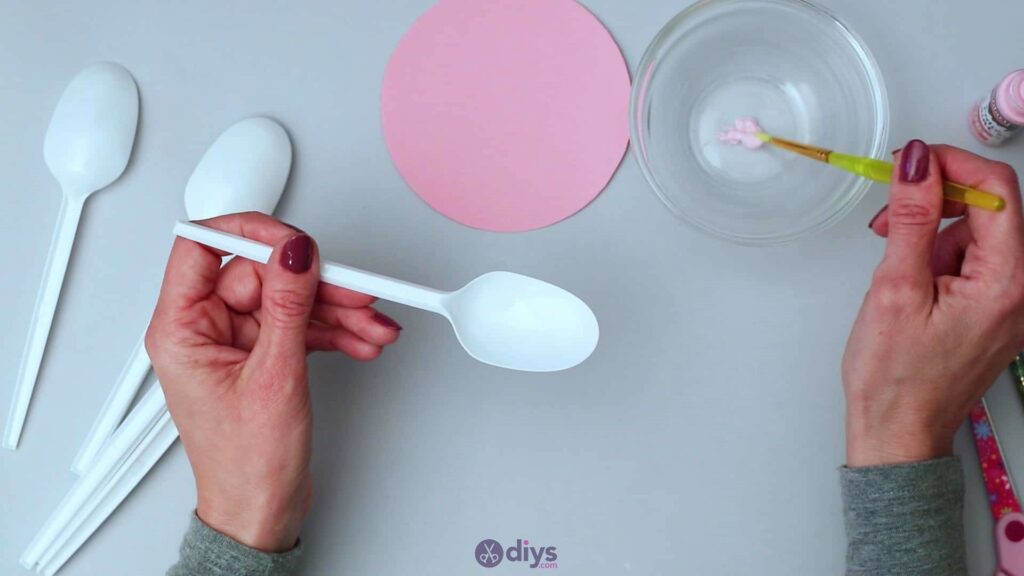
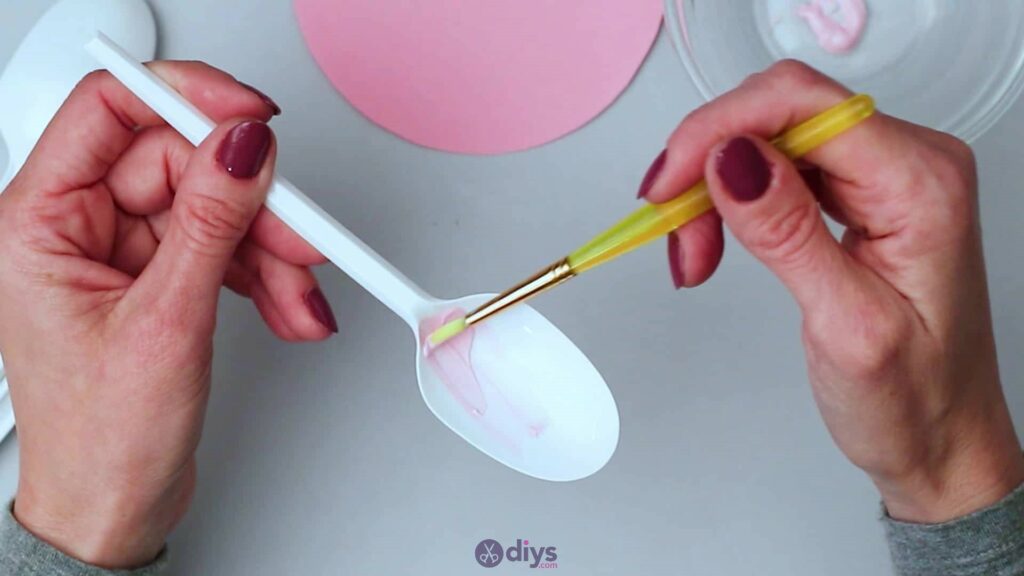
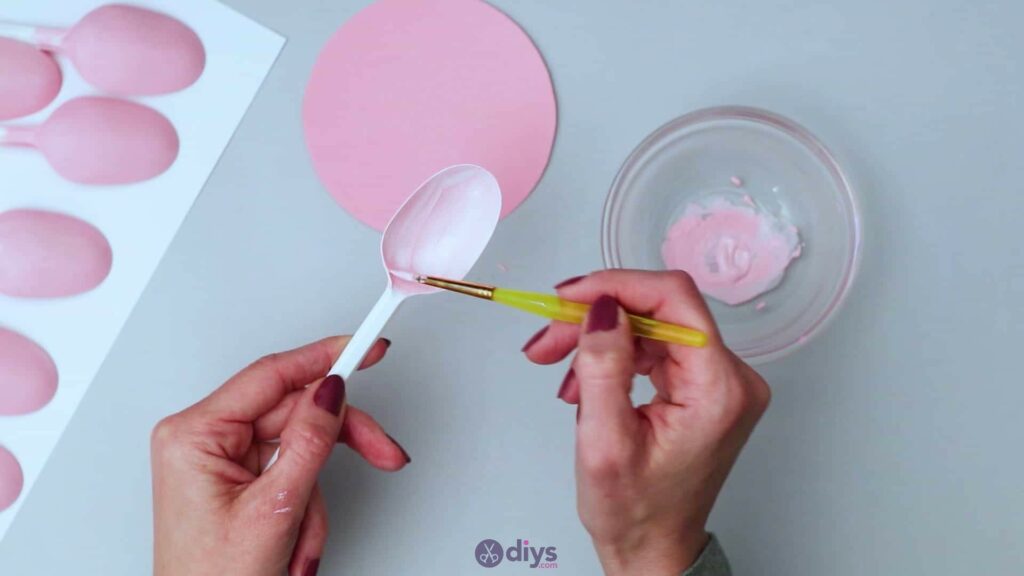
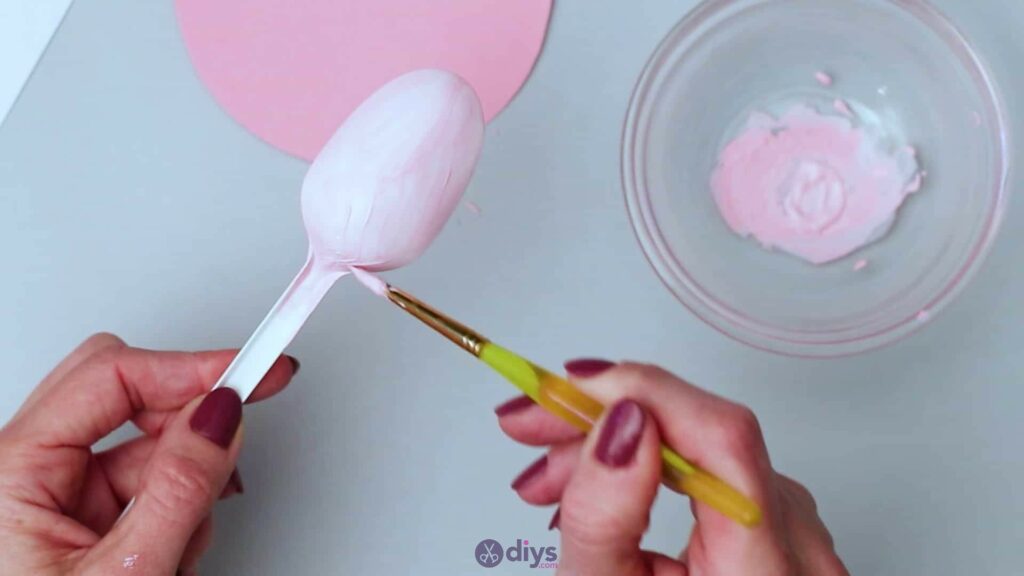
Step 3: paint the spoons
Paint the rounded heads of your spoons entirely pink (or whatever your chosen colour is) on both sides using your paintbrush and acrylic paint. Youdo not need to paint all the way down the handles; paint the scoops on the front and back sides and then paint about an inch down the spoon’s necks (on the front and back) and then set them aside to dry. Paint 21 spoons in total. Give your spoons however many coats of paint you need to cover their white plastic entirely if your paint doesn’t cover it on the first one. Set the spoons aside to dry.

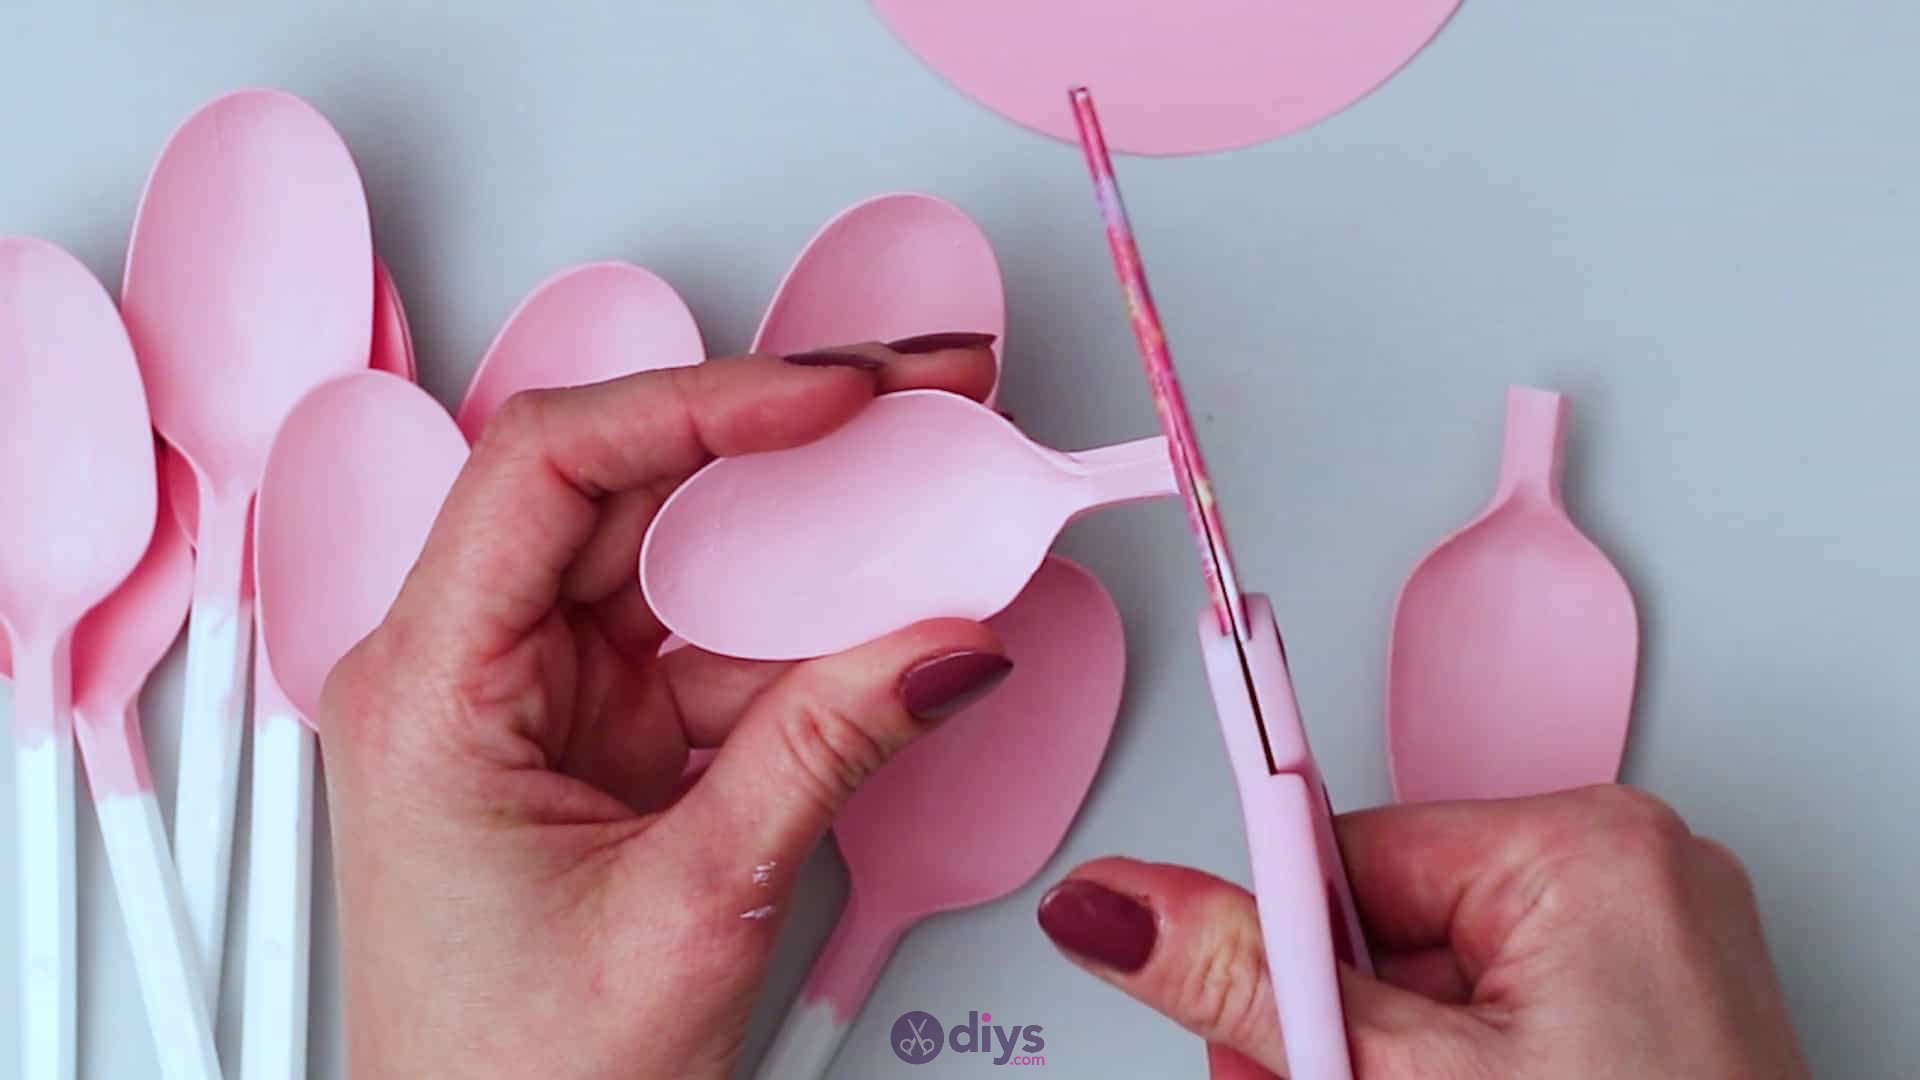
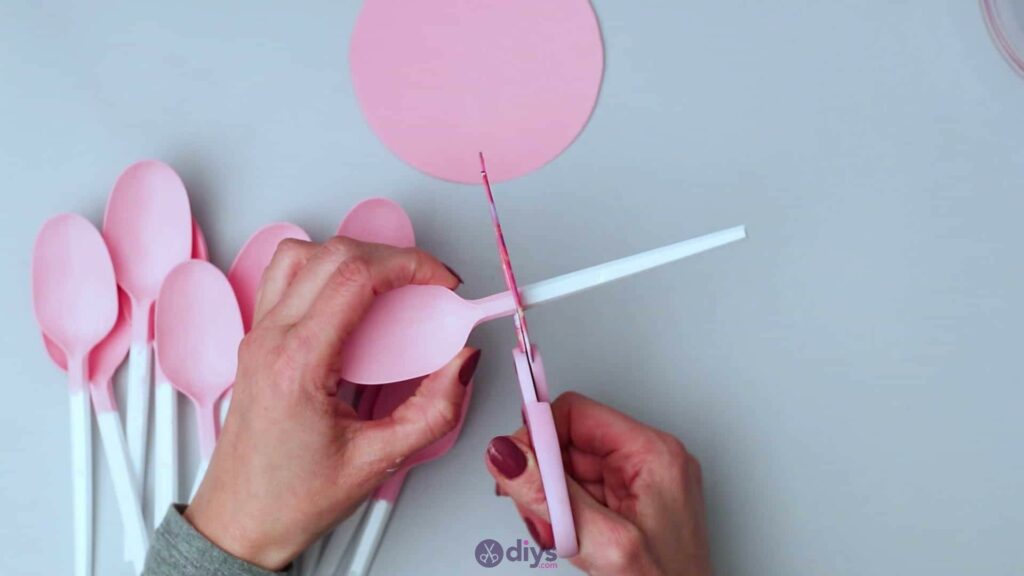
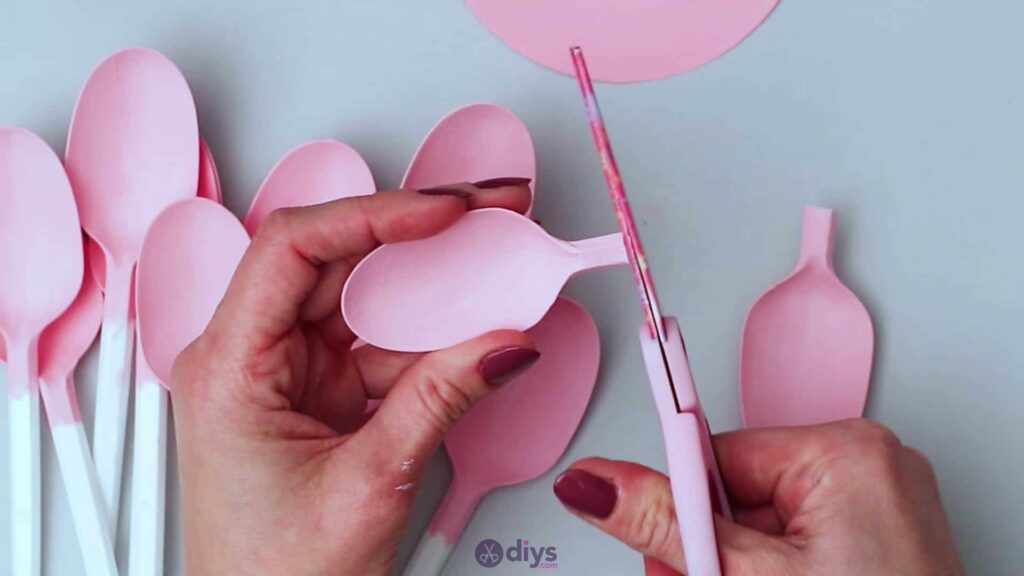
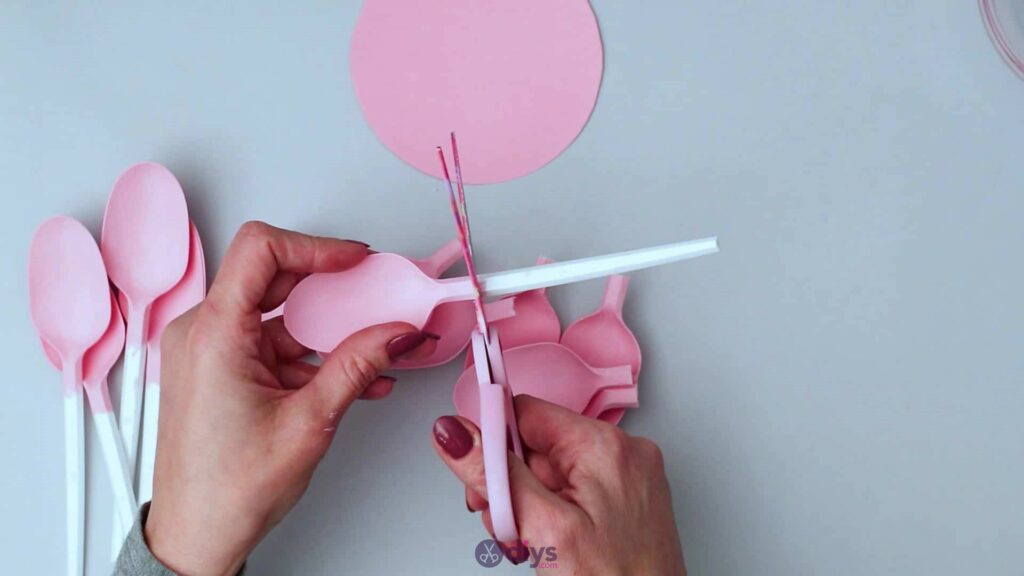
Step 4: cut the handles
Once your spoons have dried, cut their unpainted handles off, leaving each one with a short pink (or otherwise painted) neck that’s about an inch long below its scooped head. The heads will be your blooming “petals”.

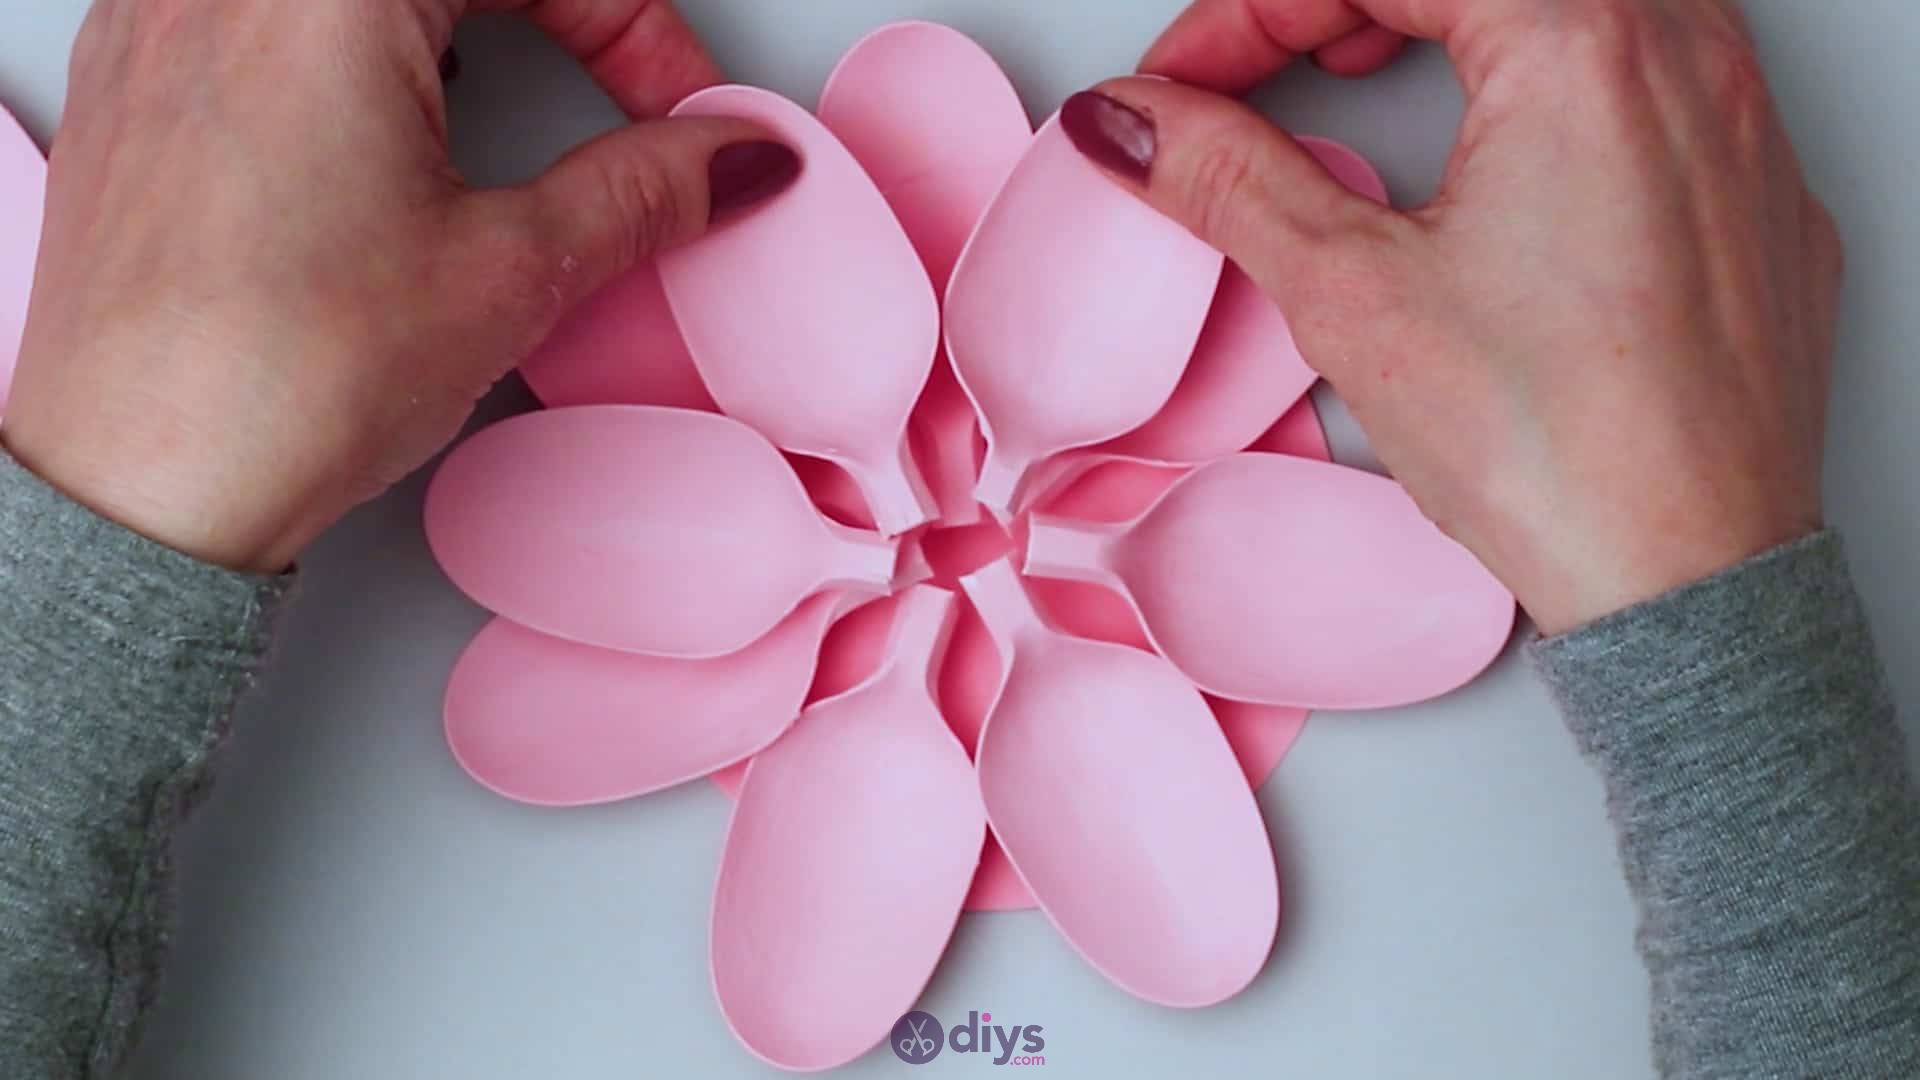
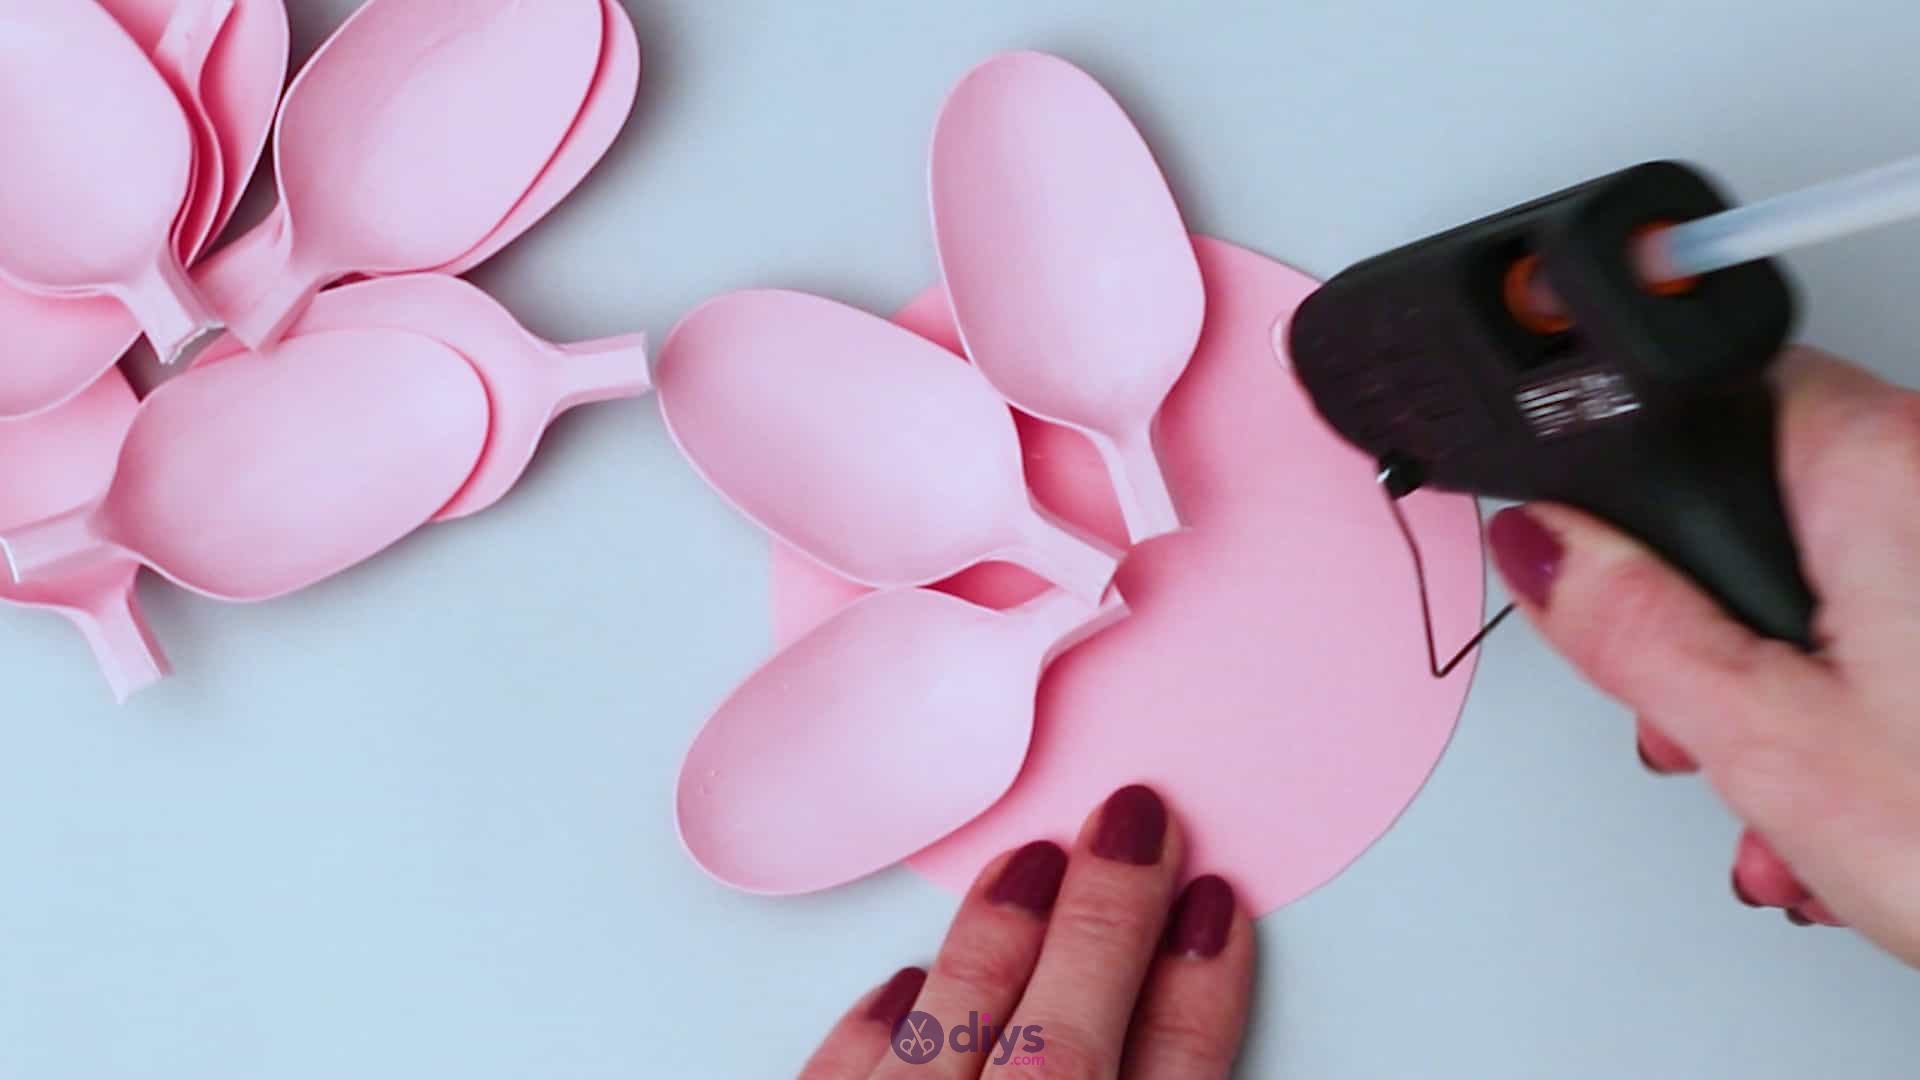
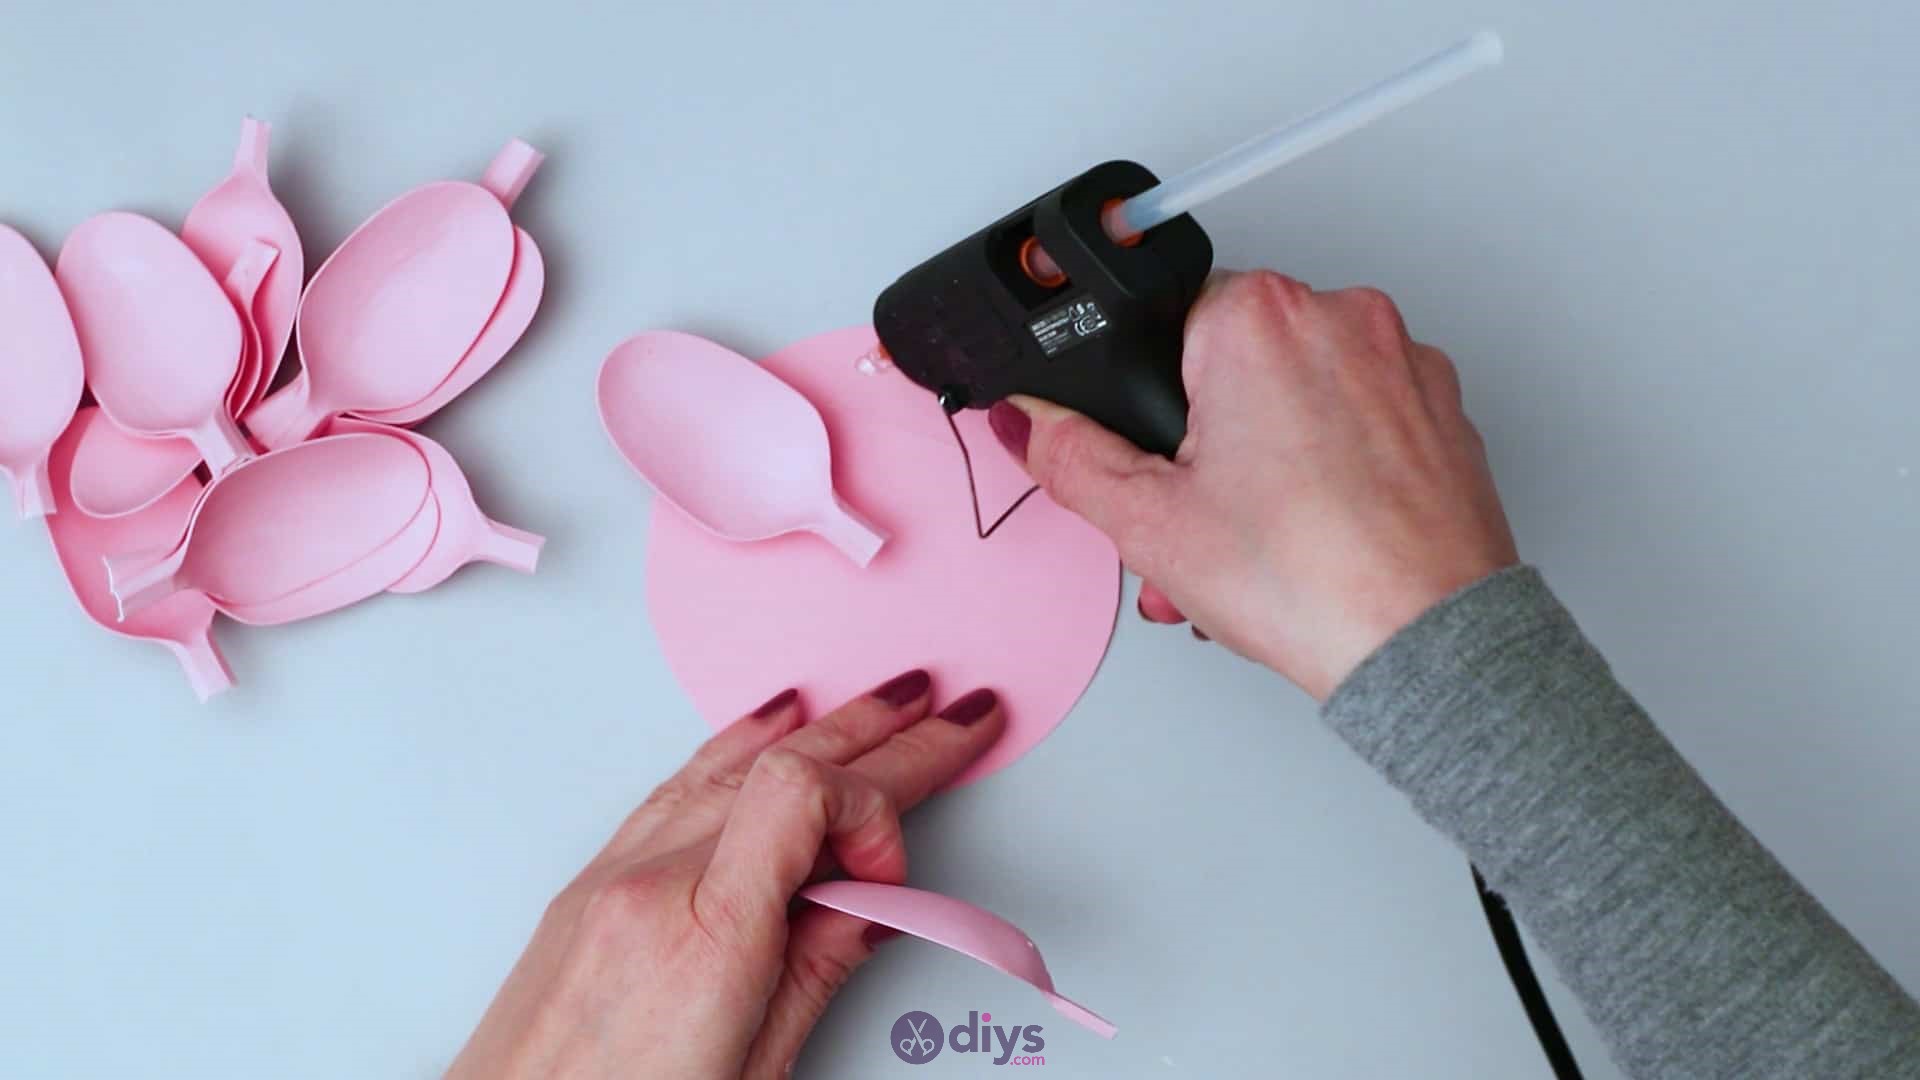
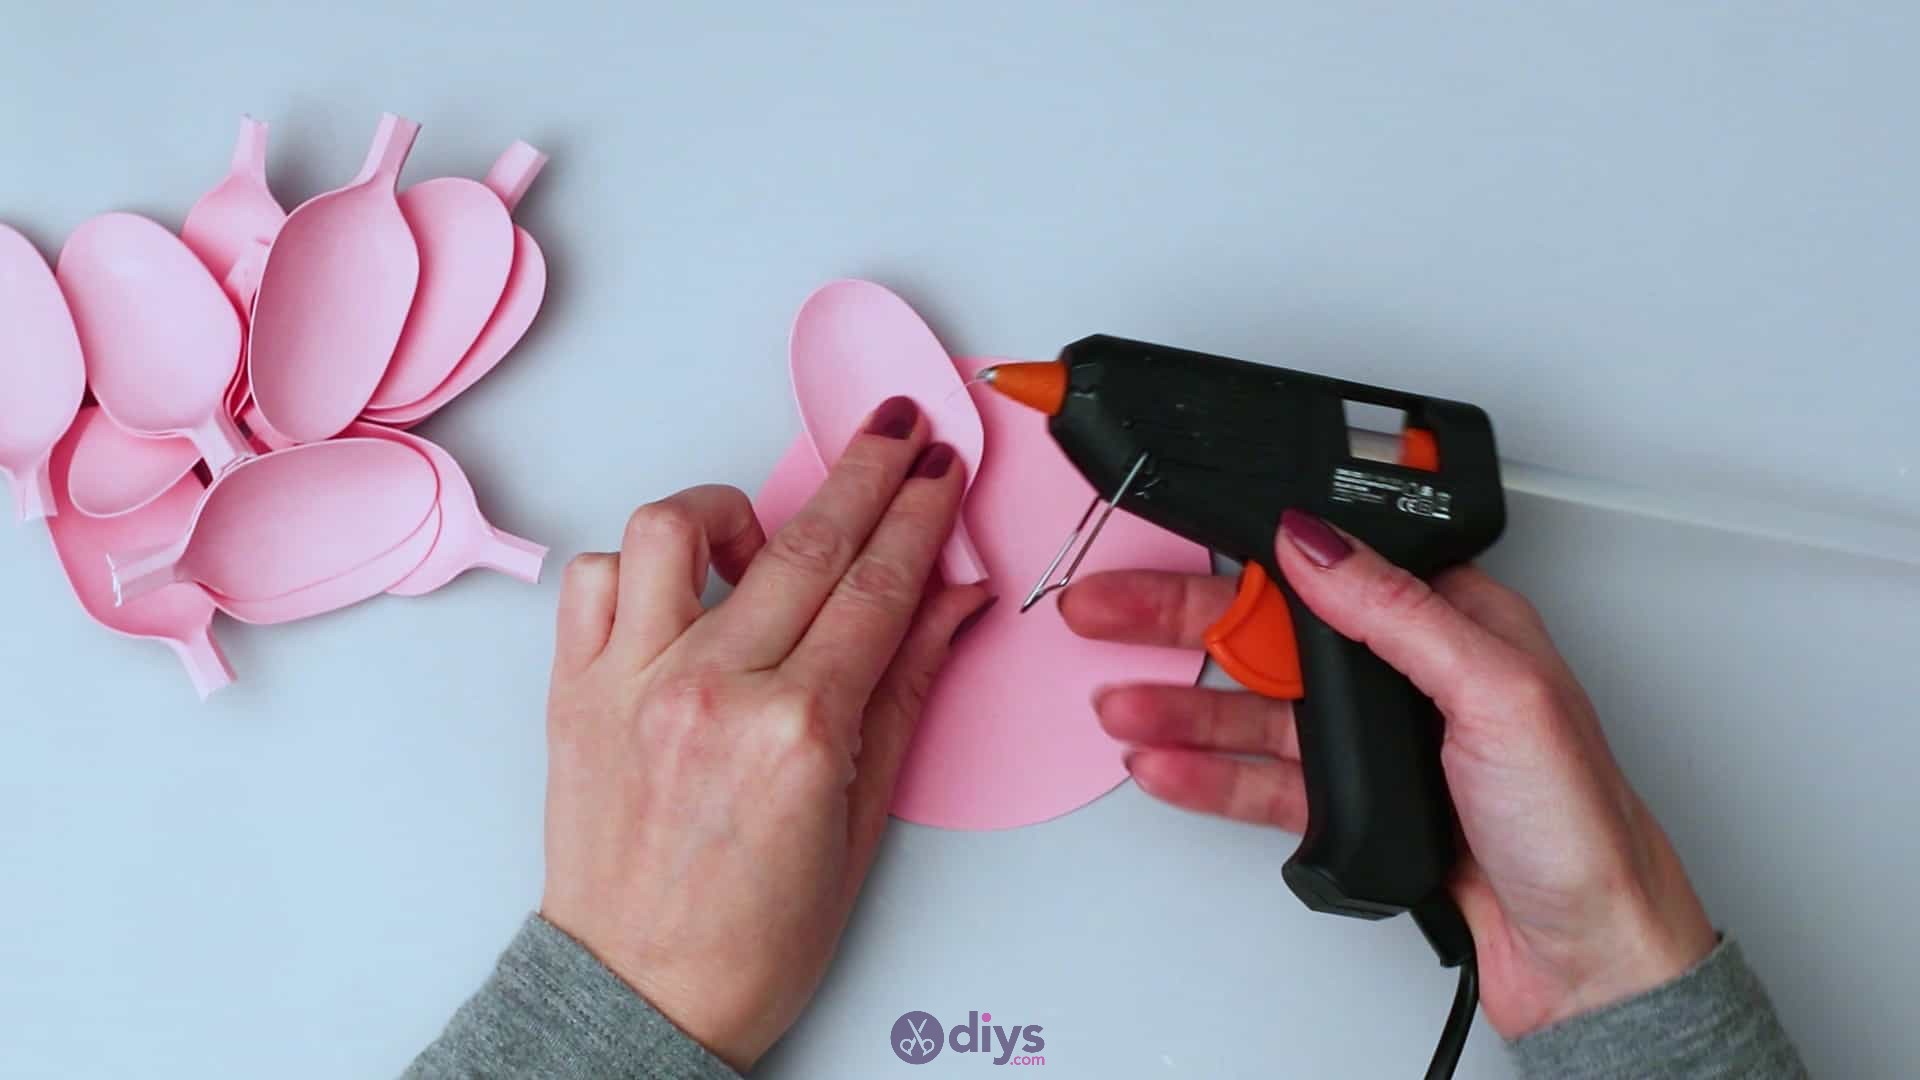
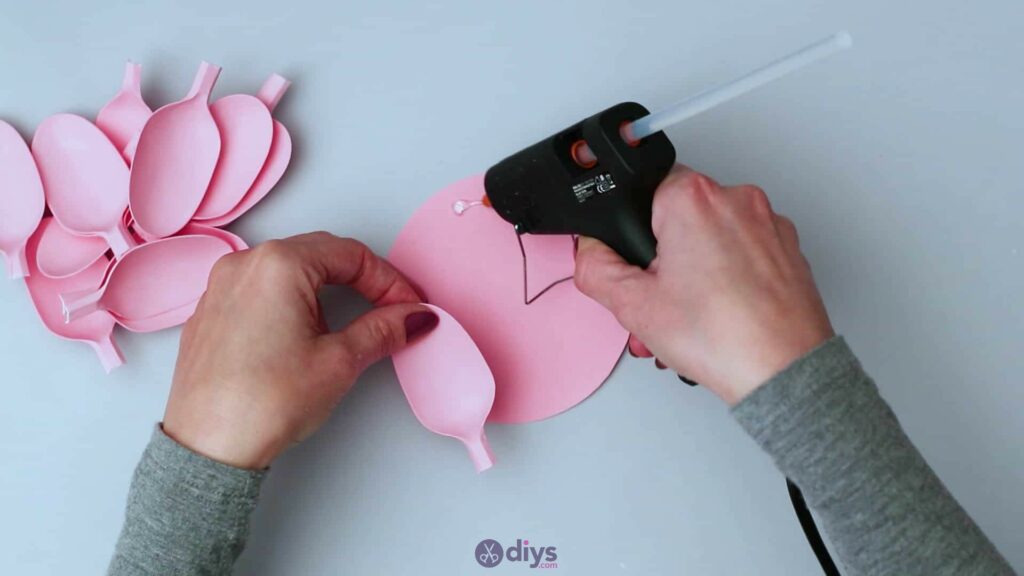
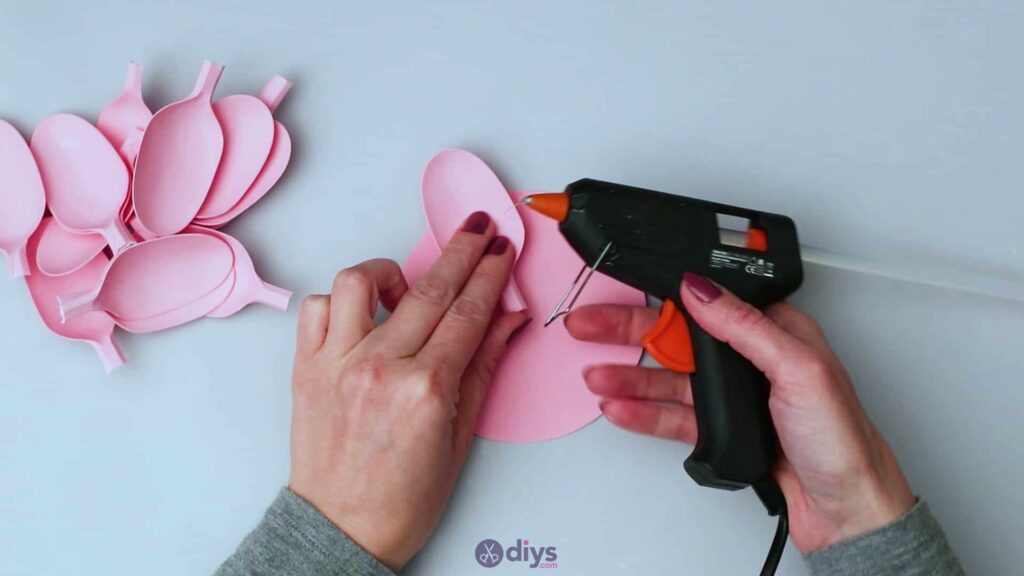
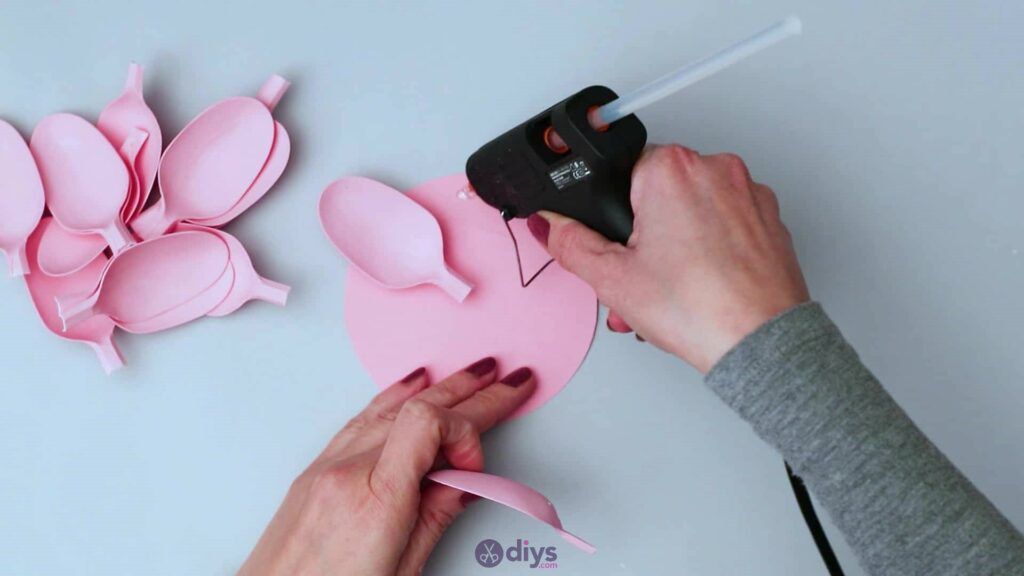
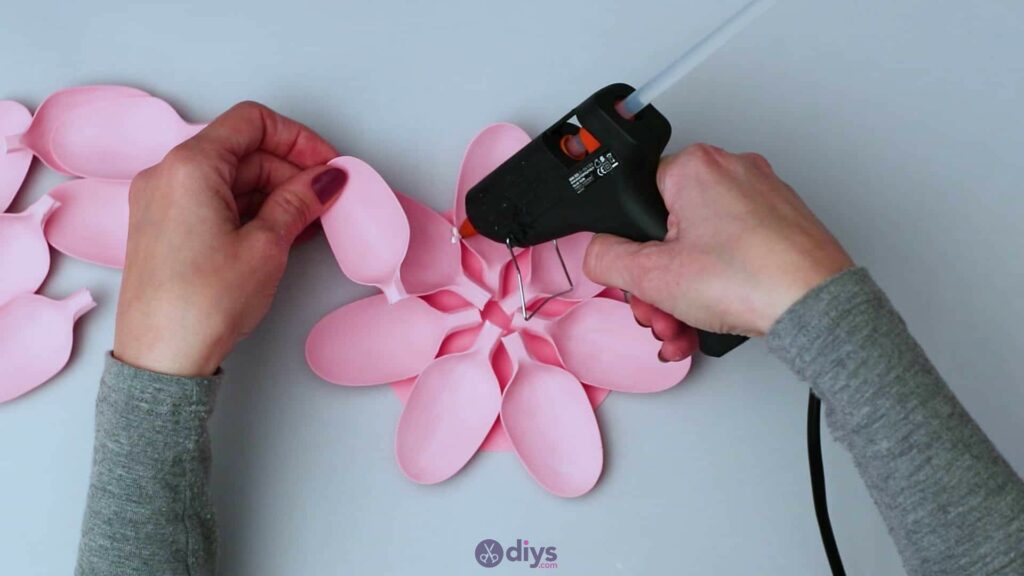
Step 5: start gluing
Use your hot glue gun to apply dots of glue about an inch apart all the way around the edge of your paper circle (which will be your base), sticking the curved back of a spoon head down into each dot so that their clipped handles face inwards and meet in the centre while their rounded top edges splay outwards all the way around the circle. Feel free to make adjustments before the hot glue dries entirely to make sure they all fit just right edge to edge, nice and evenly. It took me seven spoons around to fill my whole paper circle nice and neatly.

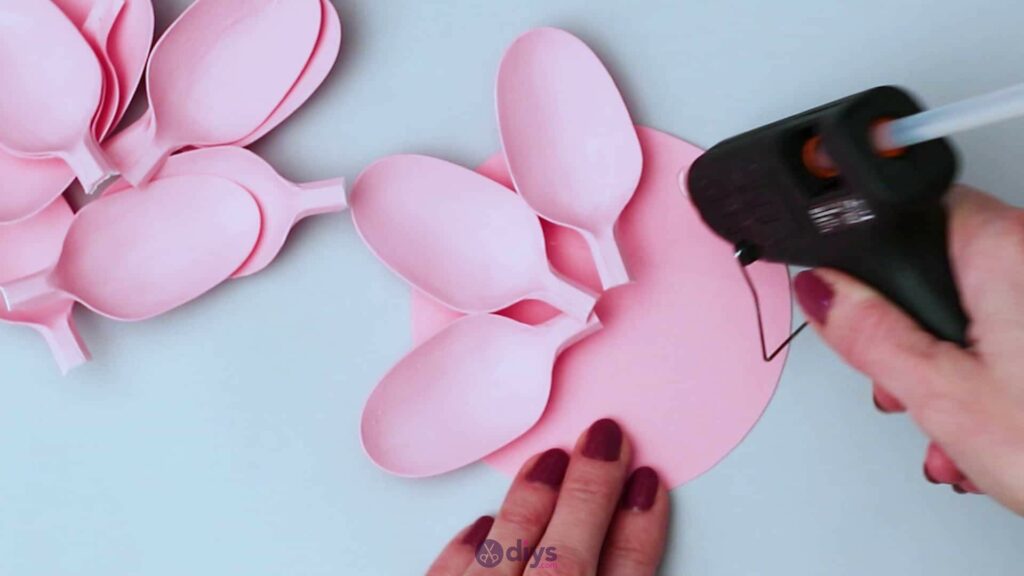
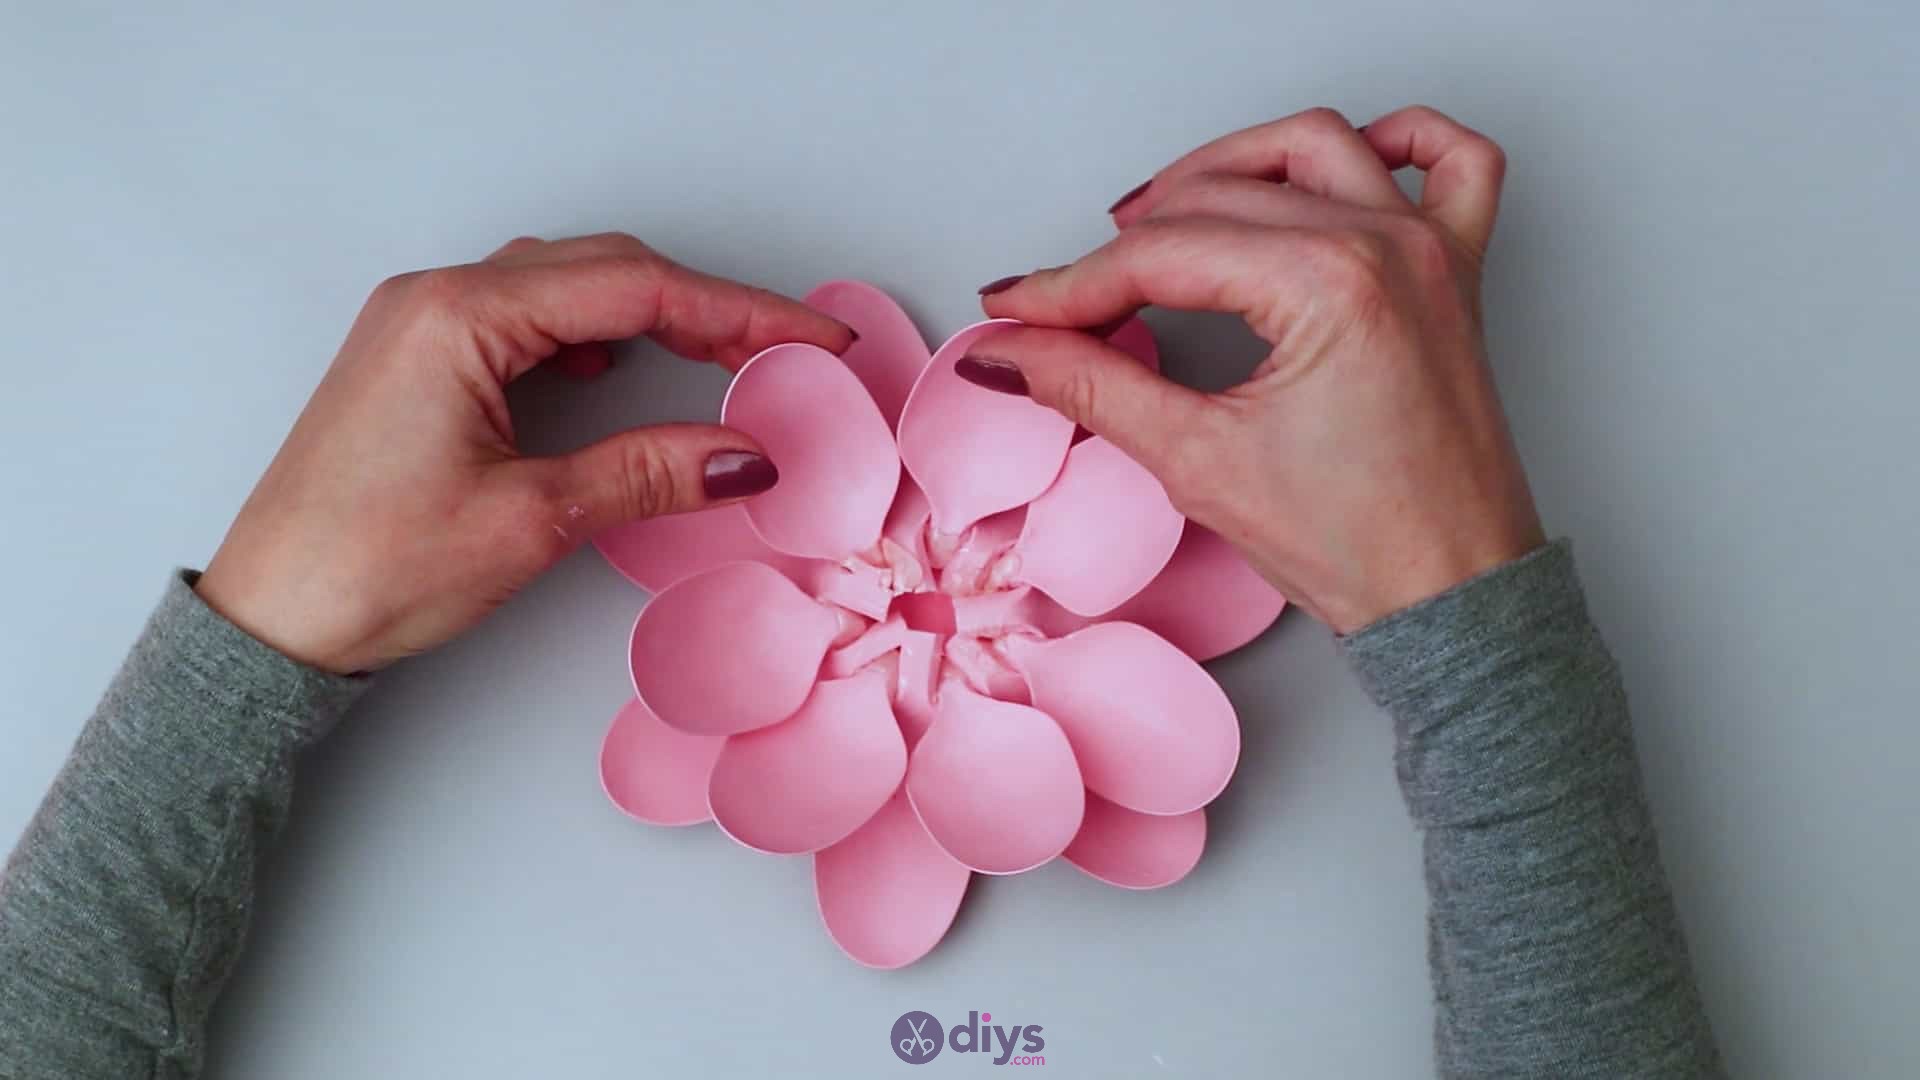
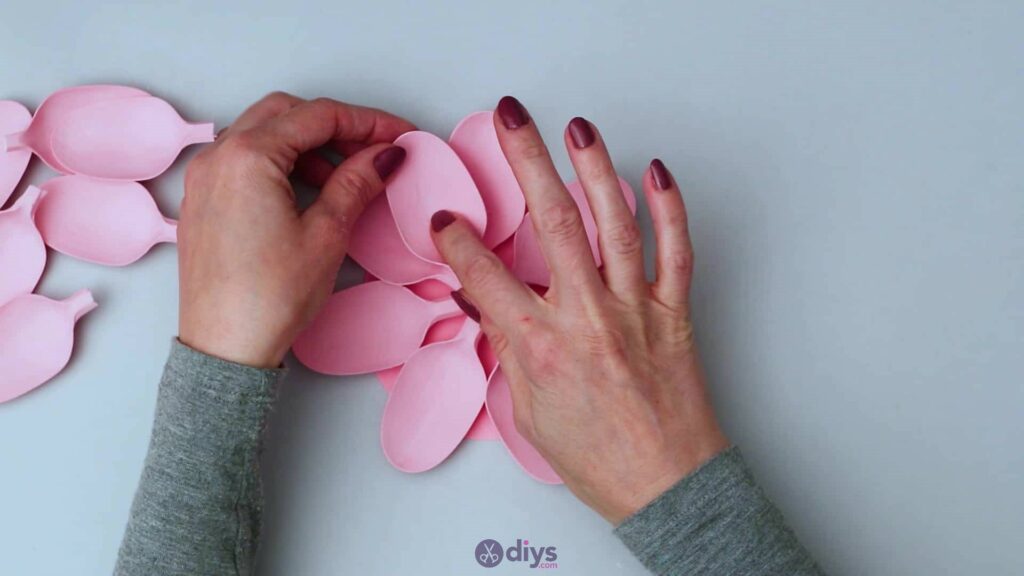
Step 6: inner circle
Now you’ll repeat the gluing and spoon placing process all the way around again but, instead of gluing the pieces onto the circle, you’ll glue then on top and in between the first layer of spoons so that you have a second layer of spoons sittingbetween the others. Do this by using your hot glue gun to apply dots of hot glue on the ridges where the spoon edges meet and gluing the curved backs of other spoons down there, one for each ridge. My second layer took seven spoons in total, just like the first. Once again, feel free to adjust things before the hot glue is completely dried to ensure that the spoons sit neatly against each other’s edges.
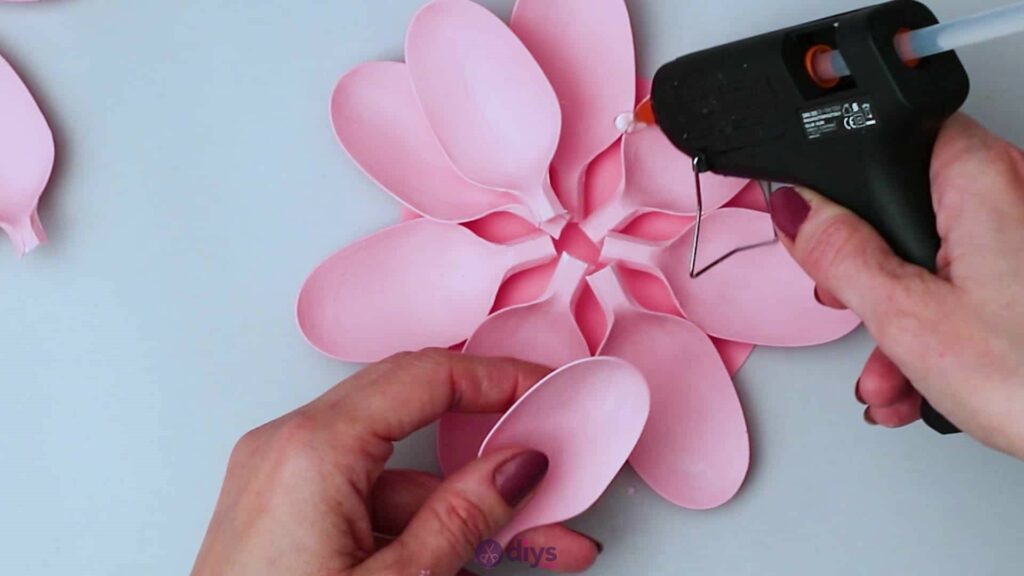

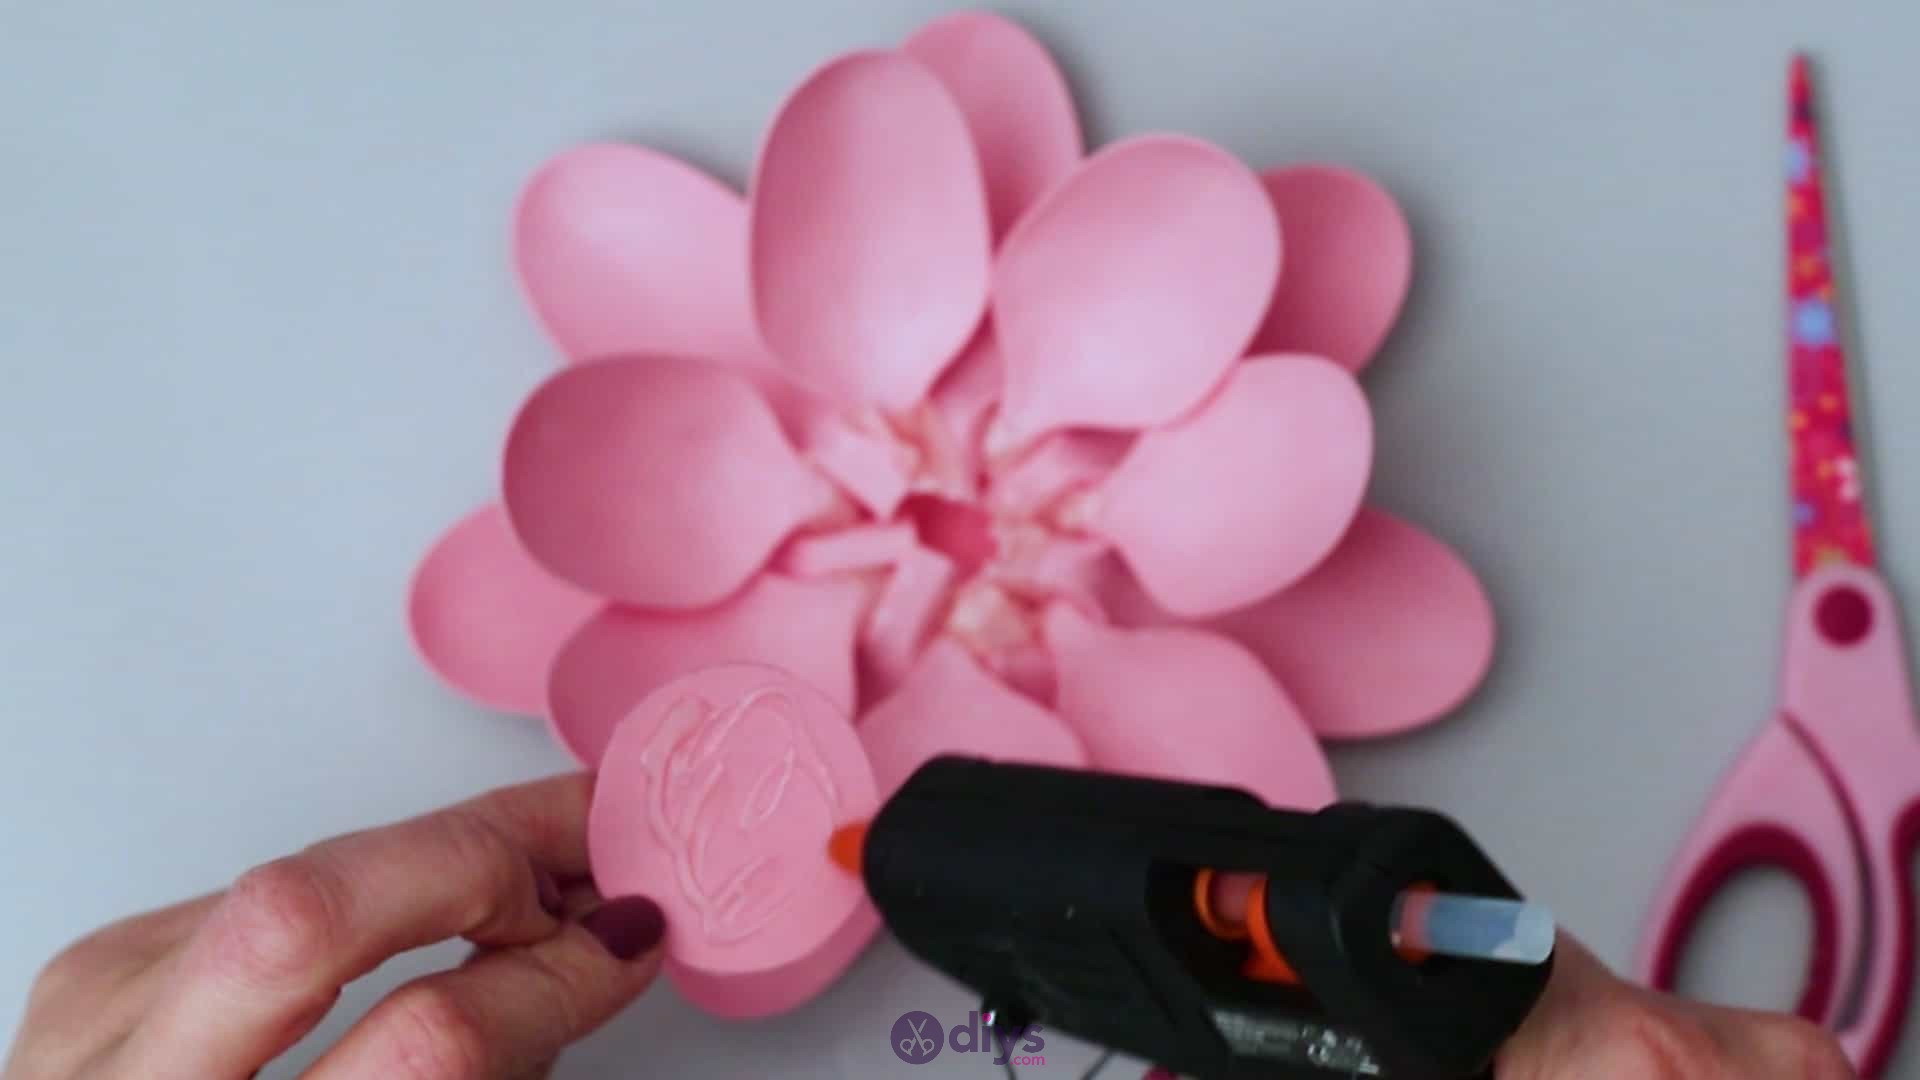
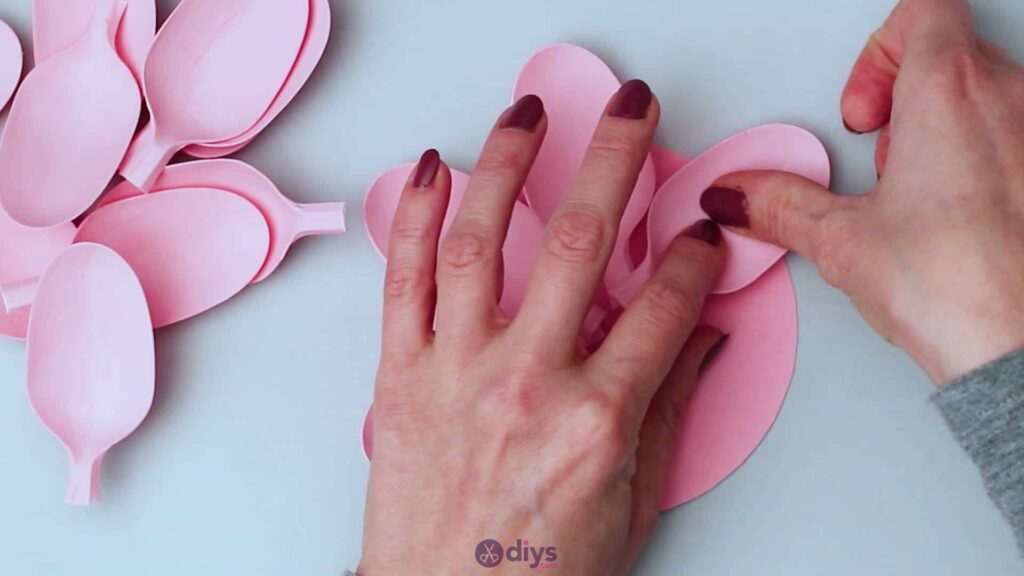
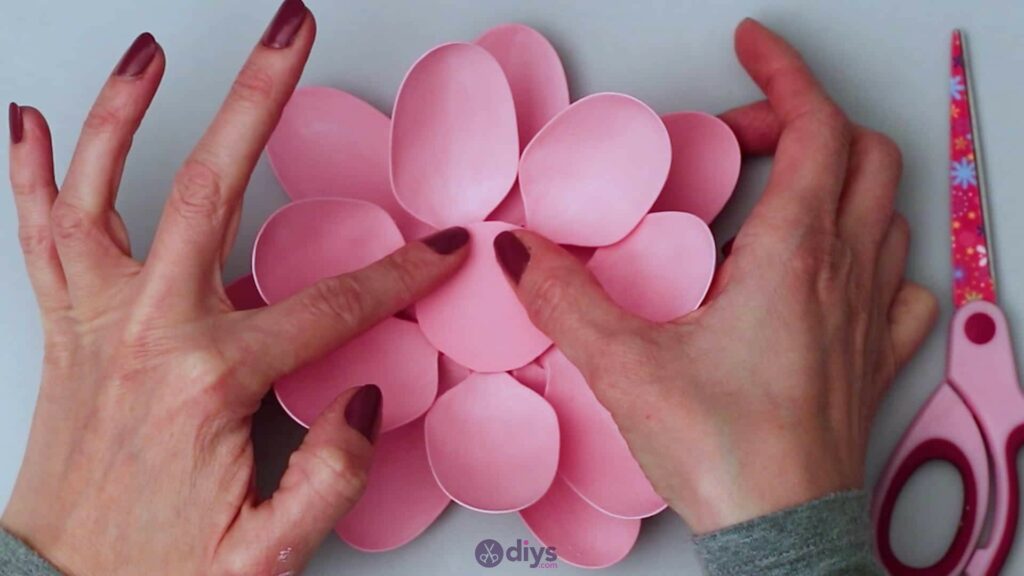
Step 7: fill gaps
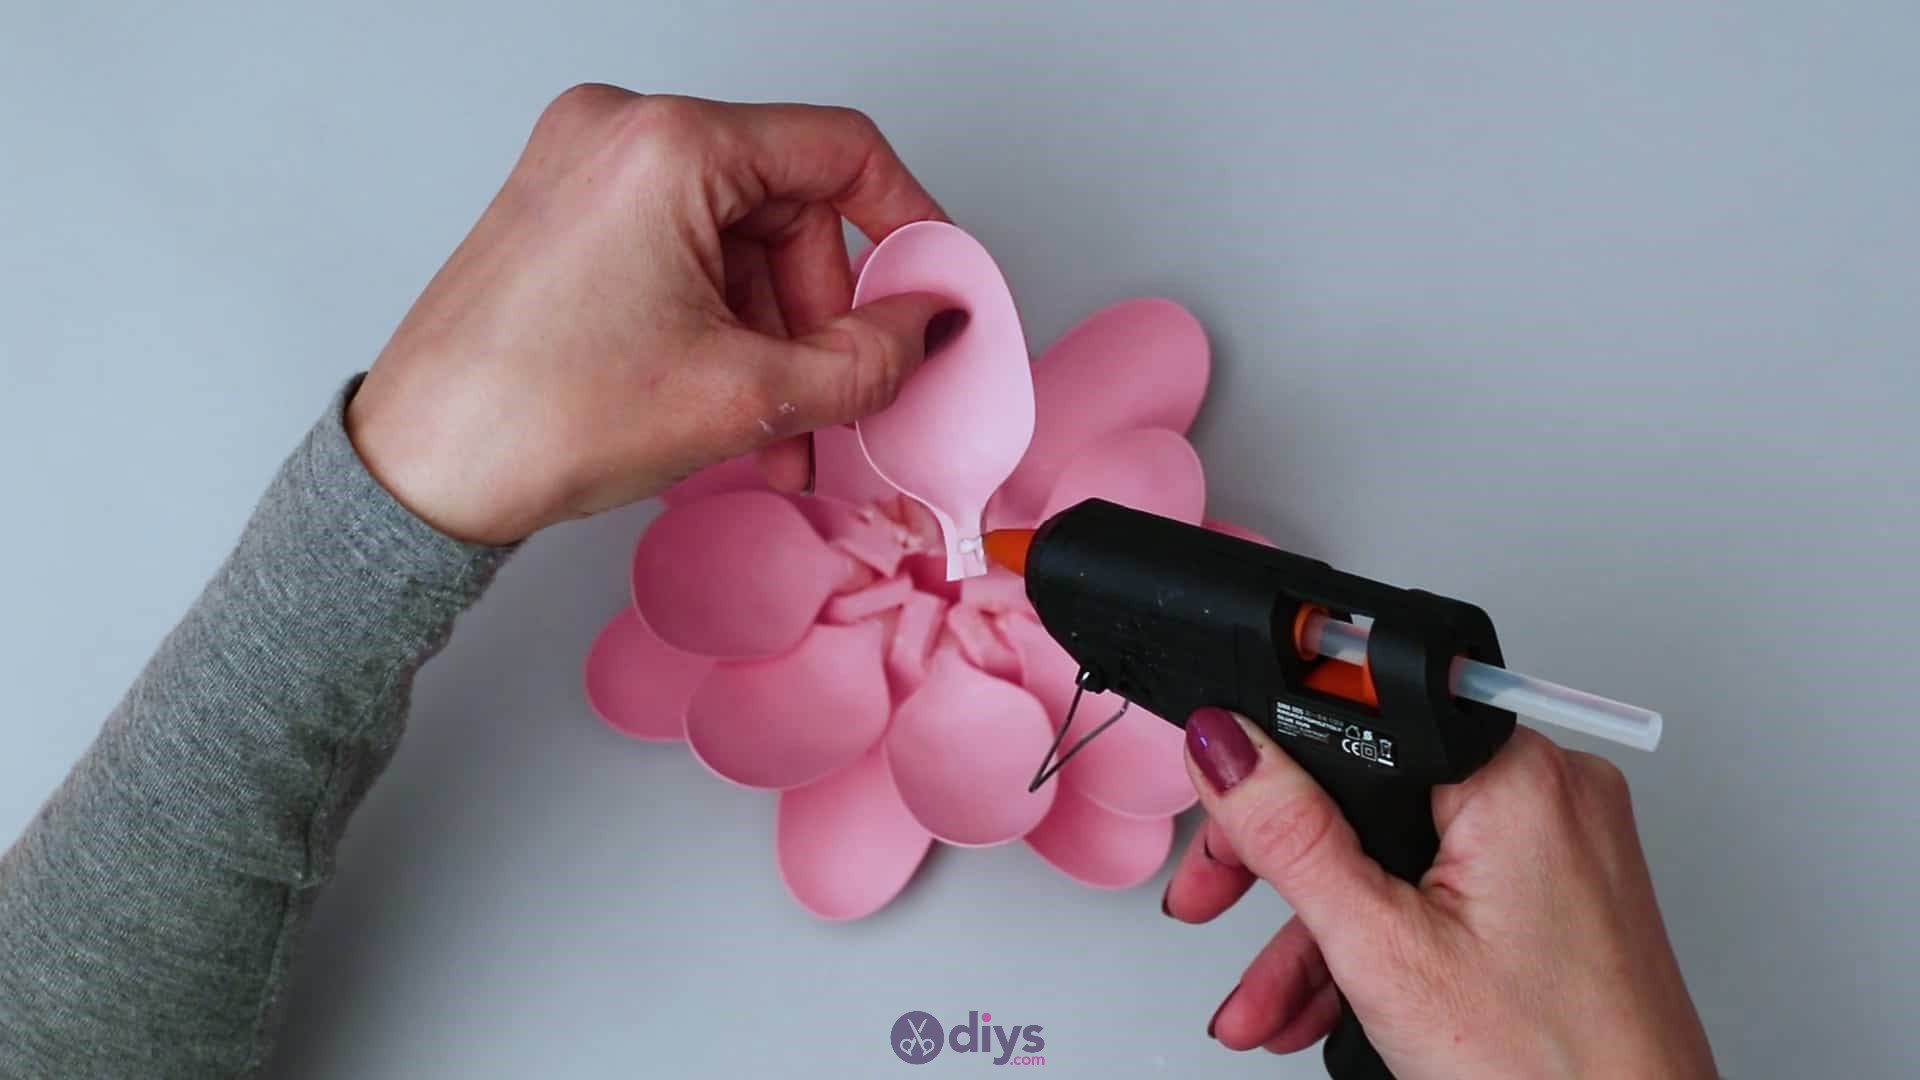
Now you’ll use your remaining spoon heads to fill in the spaces in the two layers you’ve set down while creating a third layer that angles upwards slightly. Use your hot glue gun to apply glue to the necks of your leftover painted spoons, where you cut the handles off earlier. Insert each one into the spaces between your spoons, right into the holes created by the handles of the ones you’ve layered next to and on top of each other.
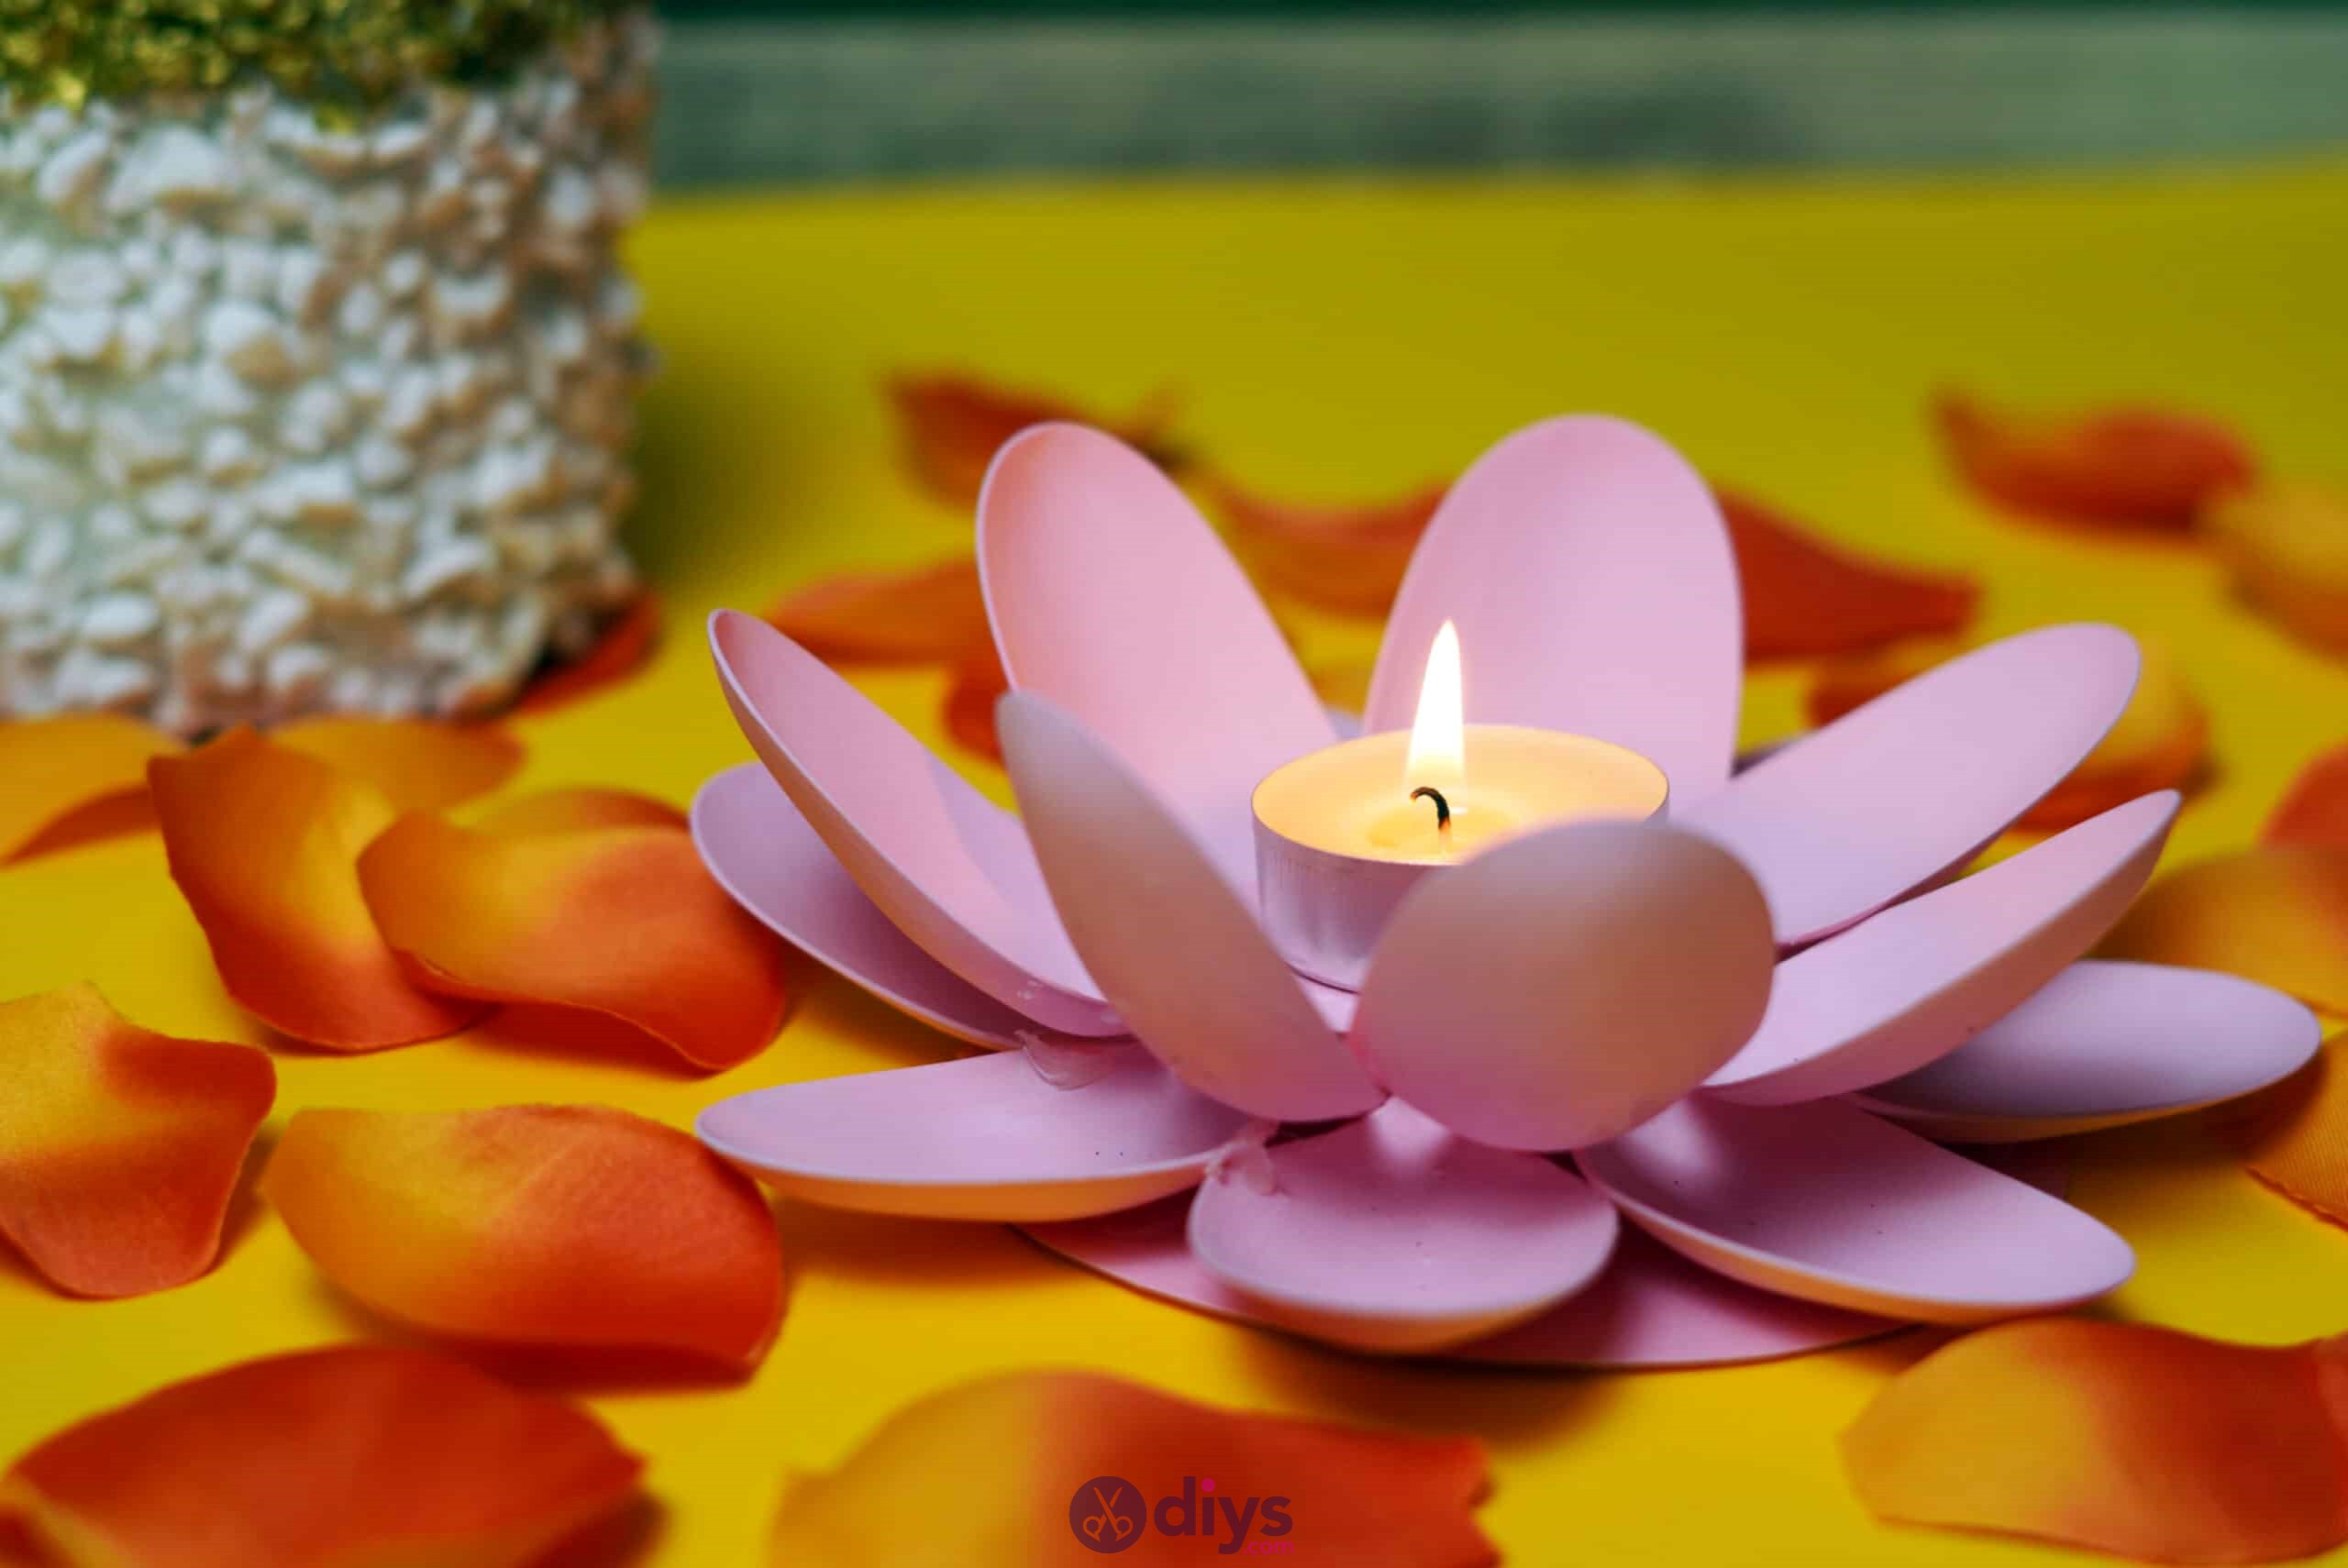
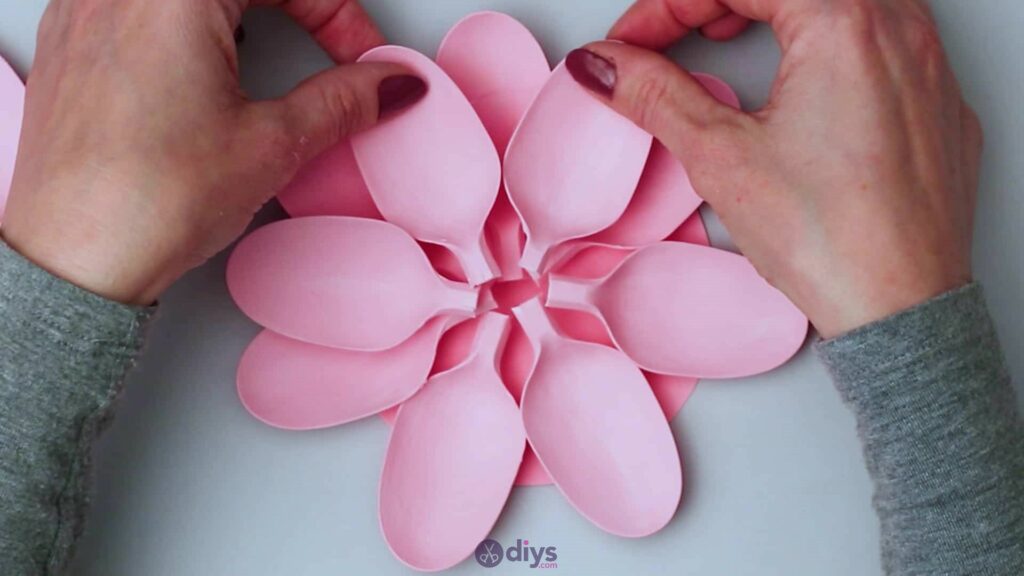
Fill the topmost holes or spaces all the way around so that you have an additional layer of spoon heads, only this time sitting tilted upwards instead of laying flat against the spoons under them thanks to the way you’ve anchored them into the holes by their cut handle necks. Like my first and second layers, this last angled layer took seven spoons in total, since I had seven spaces to fill.


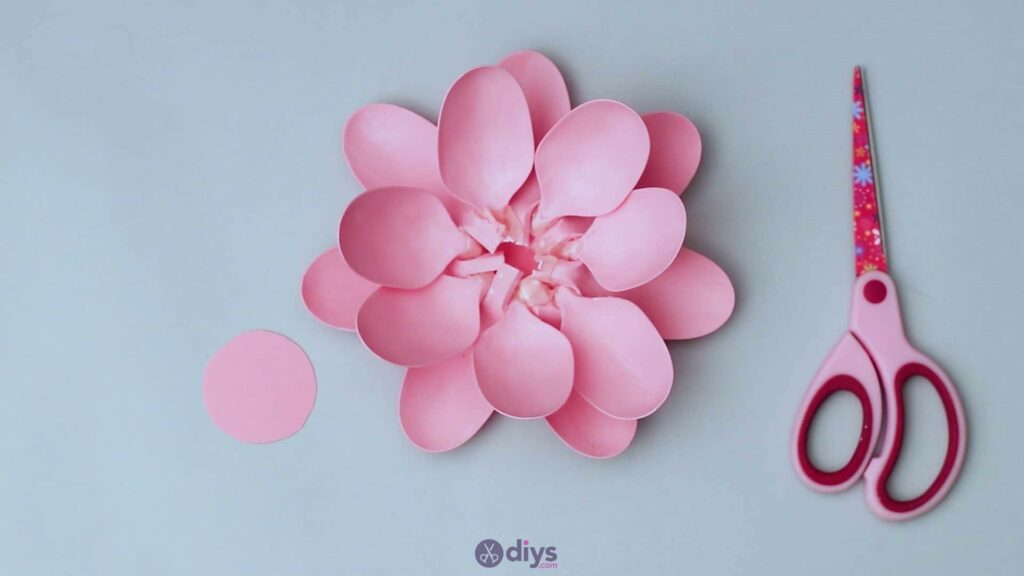
Step 8: second circle
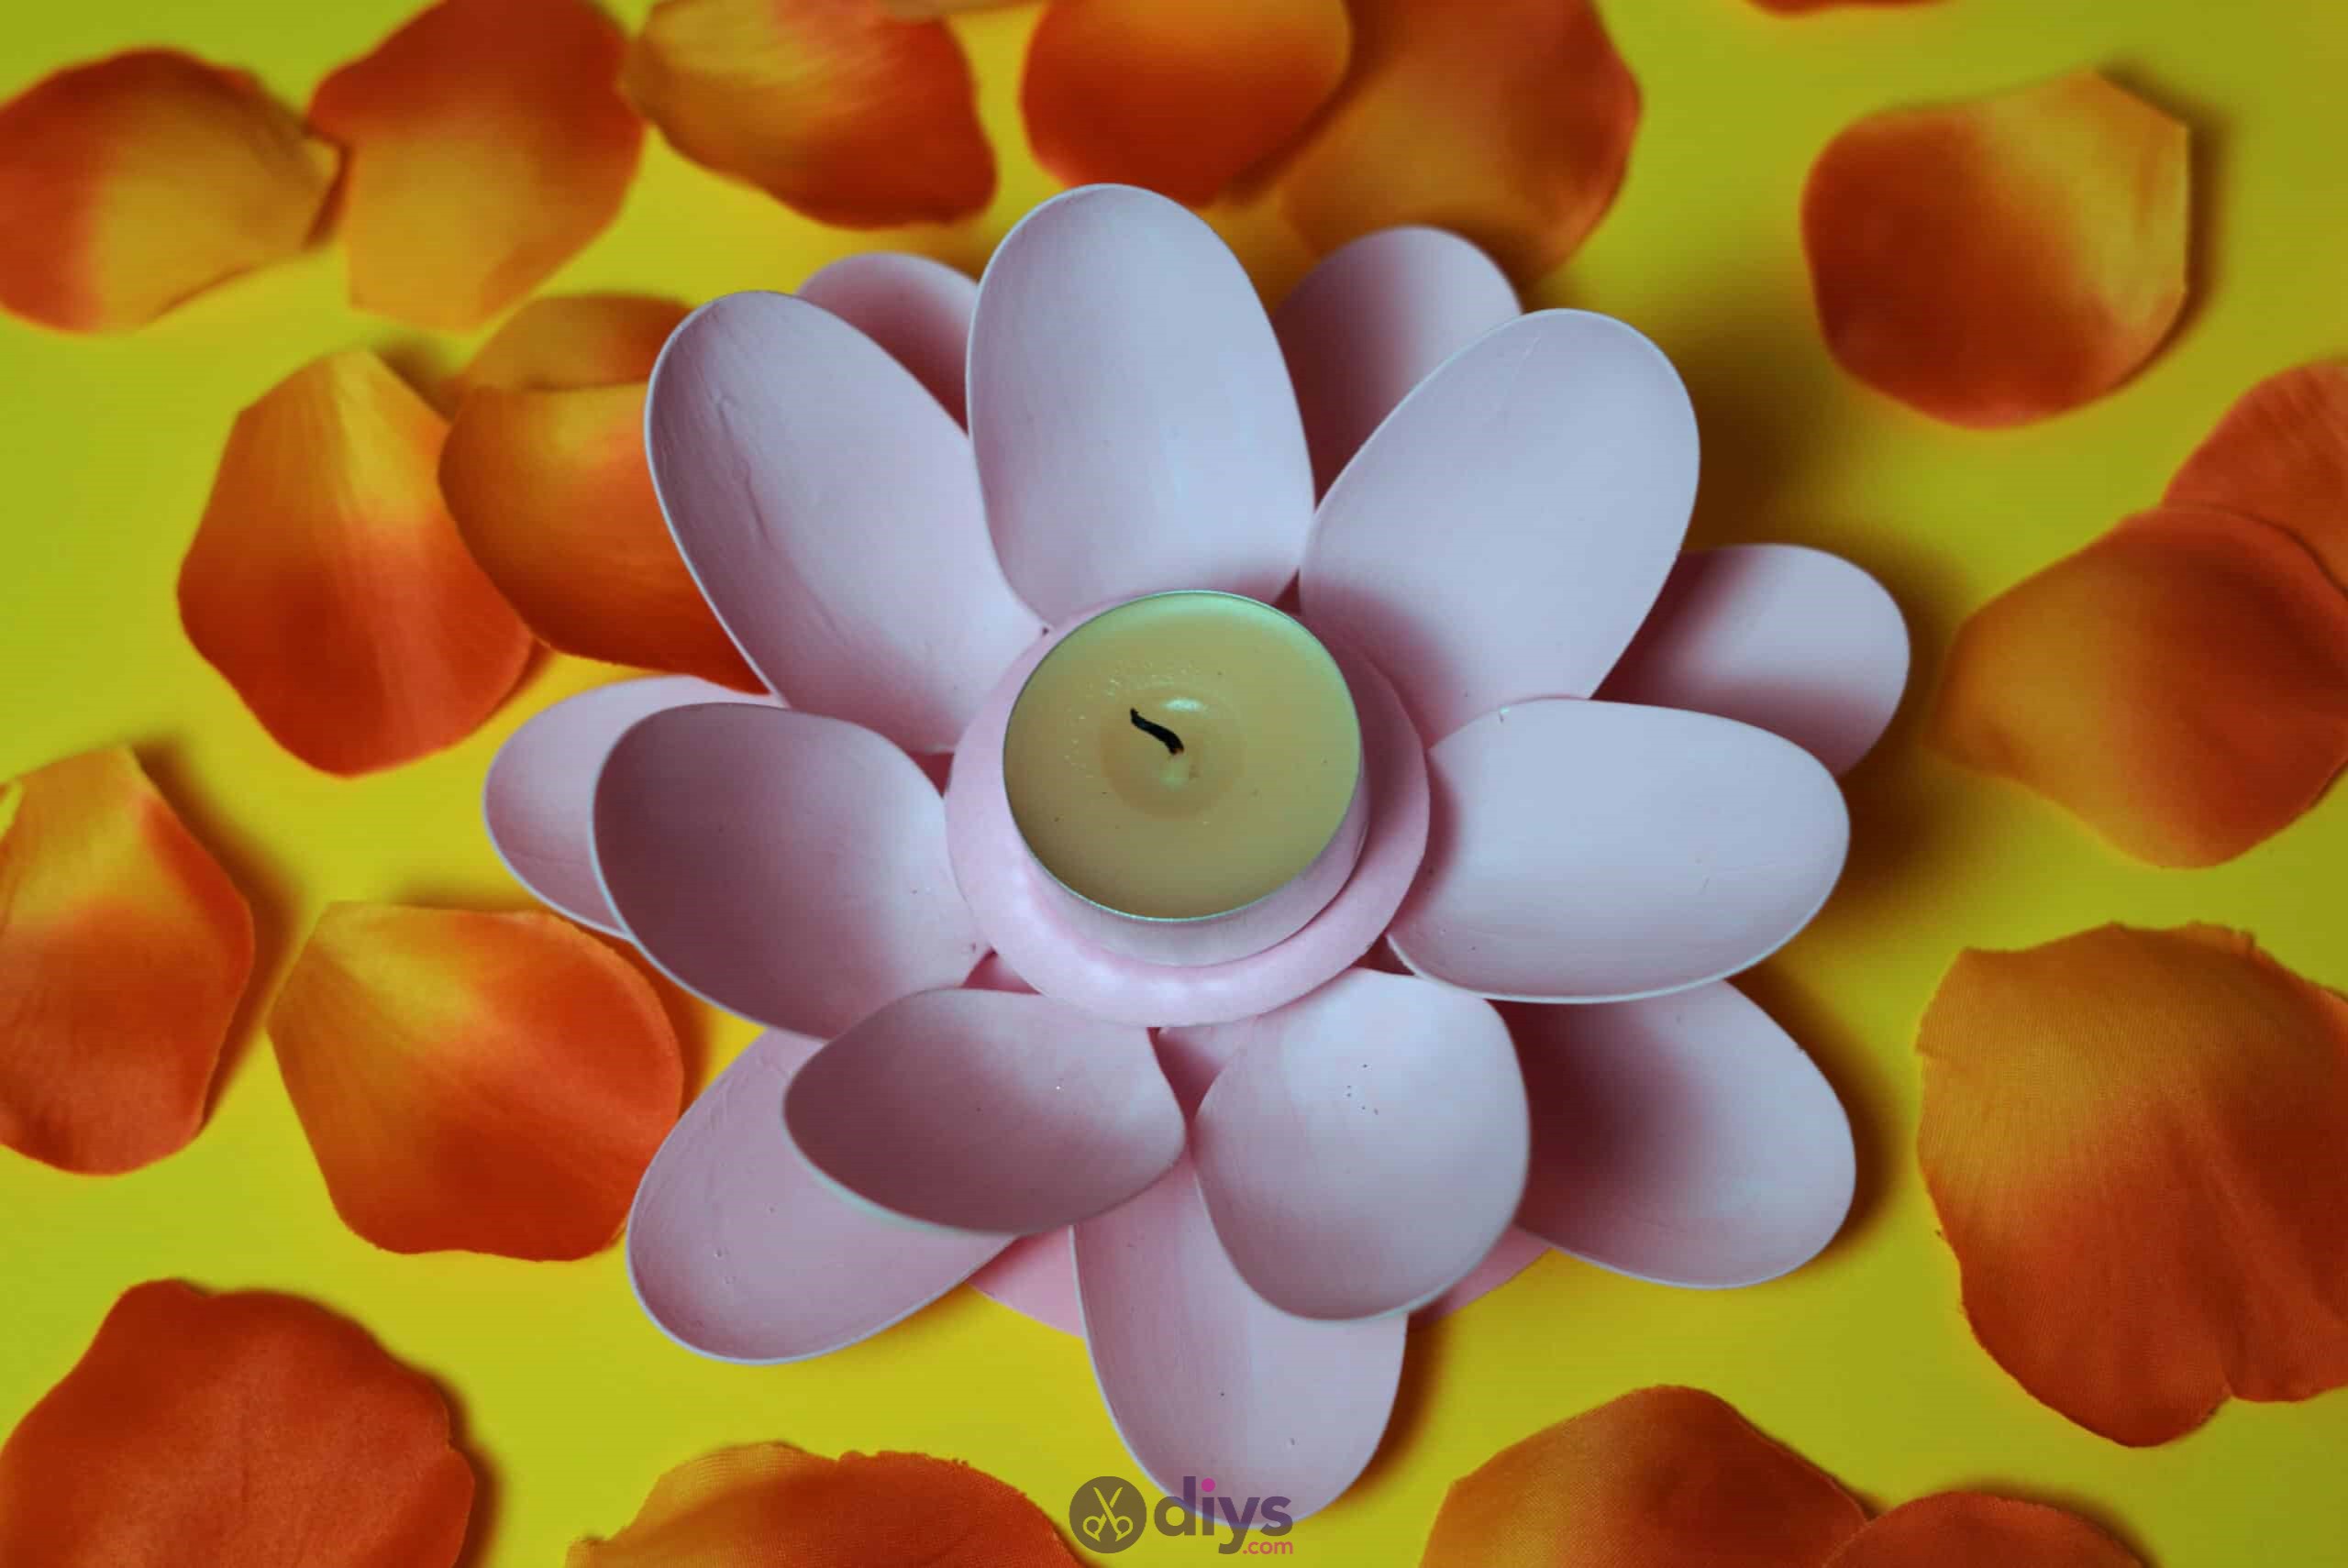
Use your pencil to draw another circle on your coloured paper, this time only about an inch across. You want to size it so it’s about the same size as the centre of your spoon candle holder, where the pollen of a flower will sit. I’d suggest starting larger if you need to so that you can trim the piece to make it fit; you can always make something a little smaller but you can’t make it bigger if you start outtoo small. Cut the circle out with your scissors.
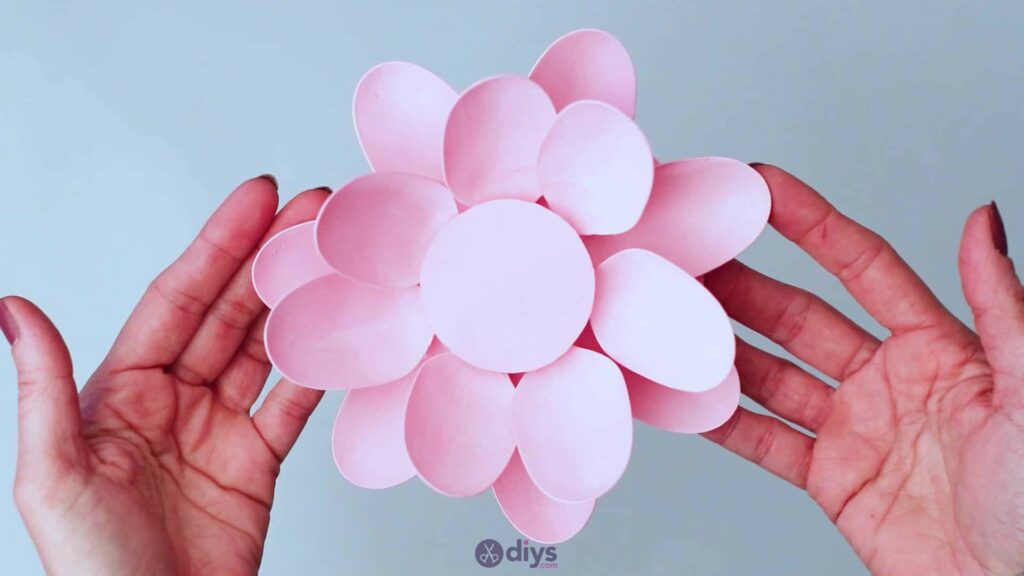
Step 9: attach the circle
Apply glue to whichever side of your new paper circle youdon’t want showing and press it down into the centre of your spoon structure so the middle point of the paper circle sits right at the centre of all the spoon ends, over the hole that’s there. This will be the little base that your tea light candle sits on when you light one later.

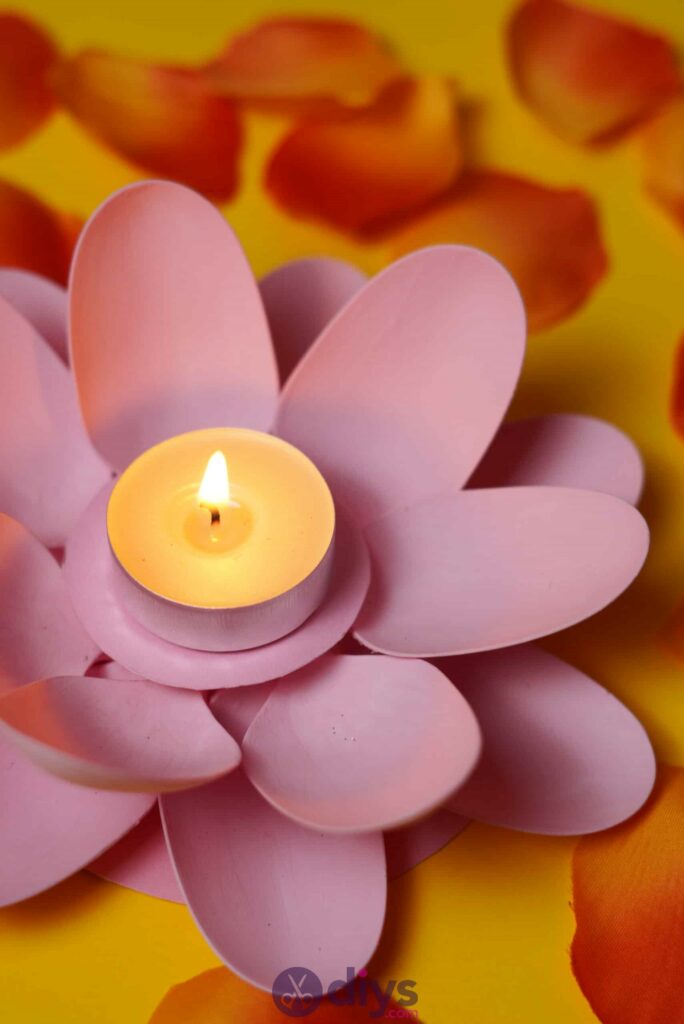
Light your candle’s wick, set it on the central circle, and you’re all done! Of course, you can feel free to play with colours in this project and simply follow the basic steps as you customize if to your liking. Just in case you’d like to try this project out for yourself, here’s a fantastic tutorial video to help you!