DIY Paper Plate Scarecrow
Updated on November 19, 2025


Winter might have set in in a lot of places by now, but we’re actually still clinging to the last cool tails of fall where I come from! My kids and I are mostly into the full swing of Christmas spirit by now, but since there’s so much time left to celebrate the holidays, we decided to take a moment out last week to make something a little more autumn inspired before fall leaves us for another year. That’s how these adorable paper plate scarecrows happened! The kids hadso much fun making them, actually, that I decided to outline how we did it just in case other people would like to do so as well.

Check out these step by step instructions complete with photos! If you’d rather follow along with a video tutorial instead of written words, scroll to the bottom of this post to find just what you’re looking for.
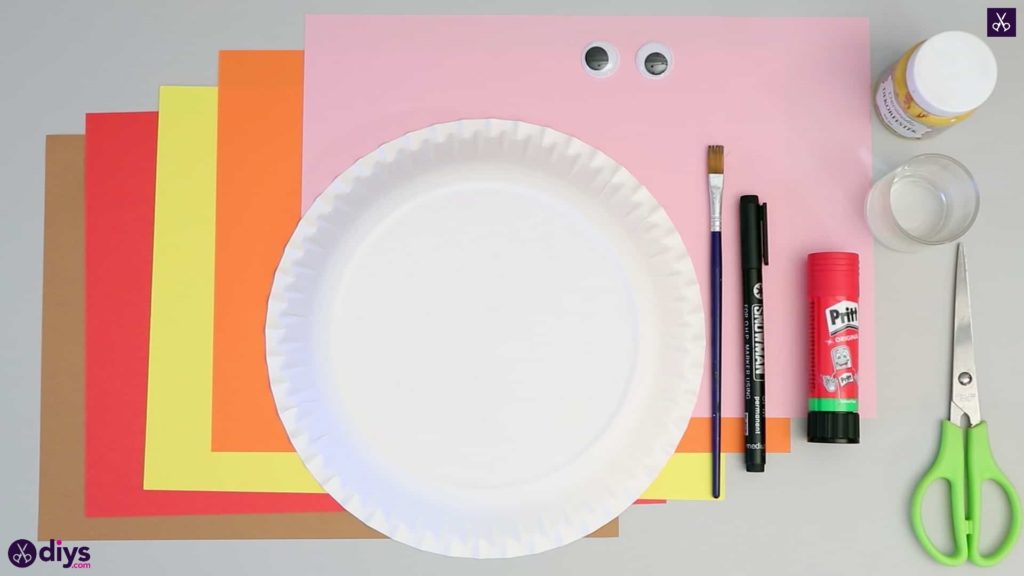
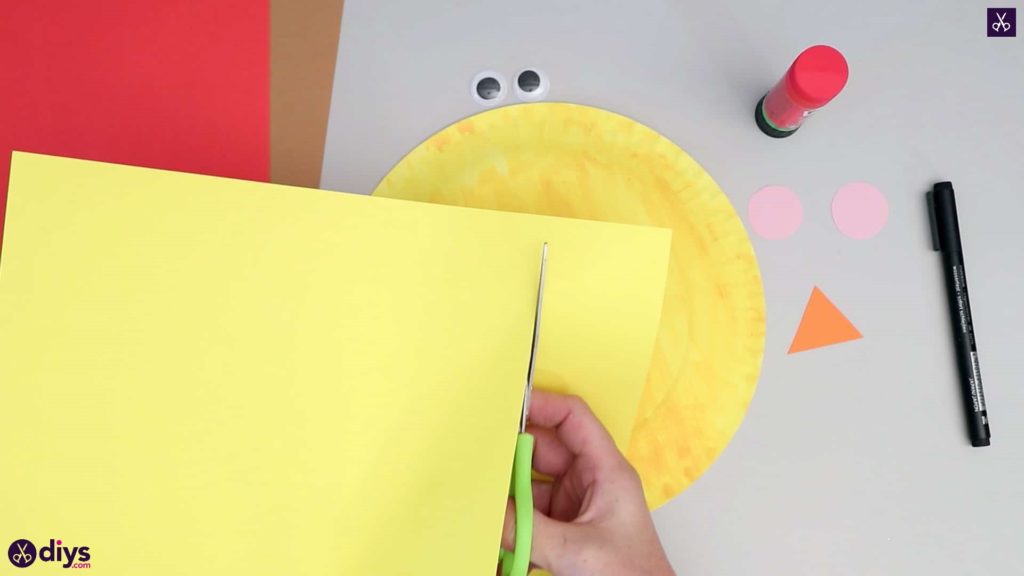
For this project, you’ll need:
- A paper plate
- Yellow paint
- A paintbrush
- Scissors
- A glue stick
- Paper (pink, orange, yellow, red, and brown)
- A black marker
- Two googly eyes
Step 1: prep
Gather your materials!
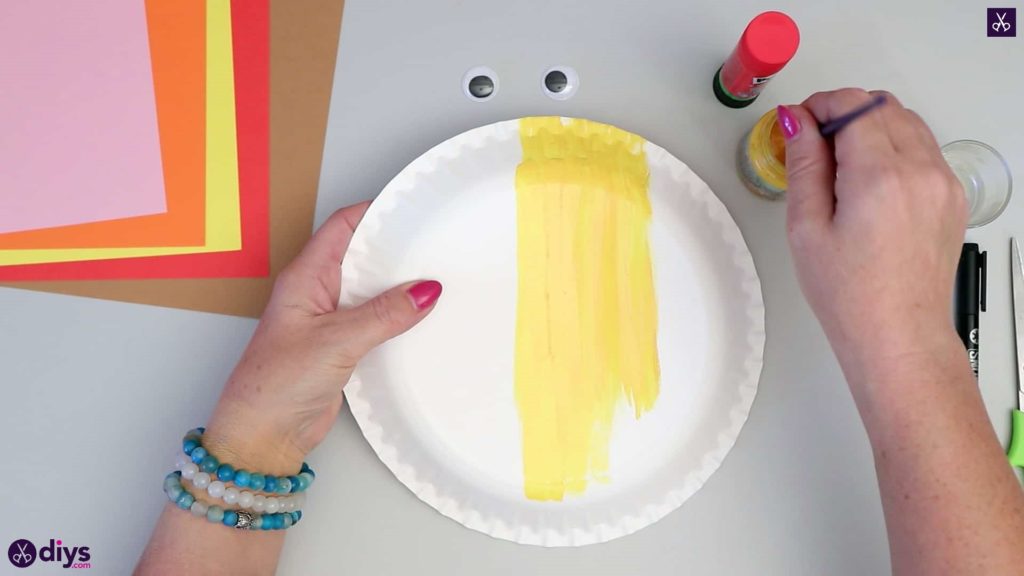
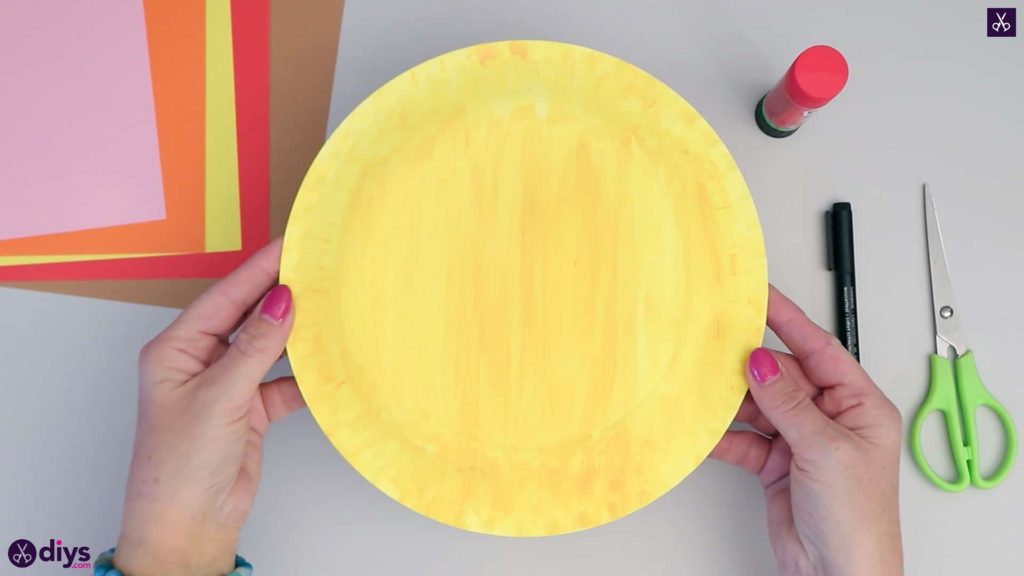
Step 2: paint it yellow
Turn your plate over so it’s upside down and you’re working on what would normally be its bottom. Paint the entire surface yellow and then let it dry.
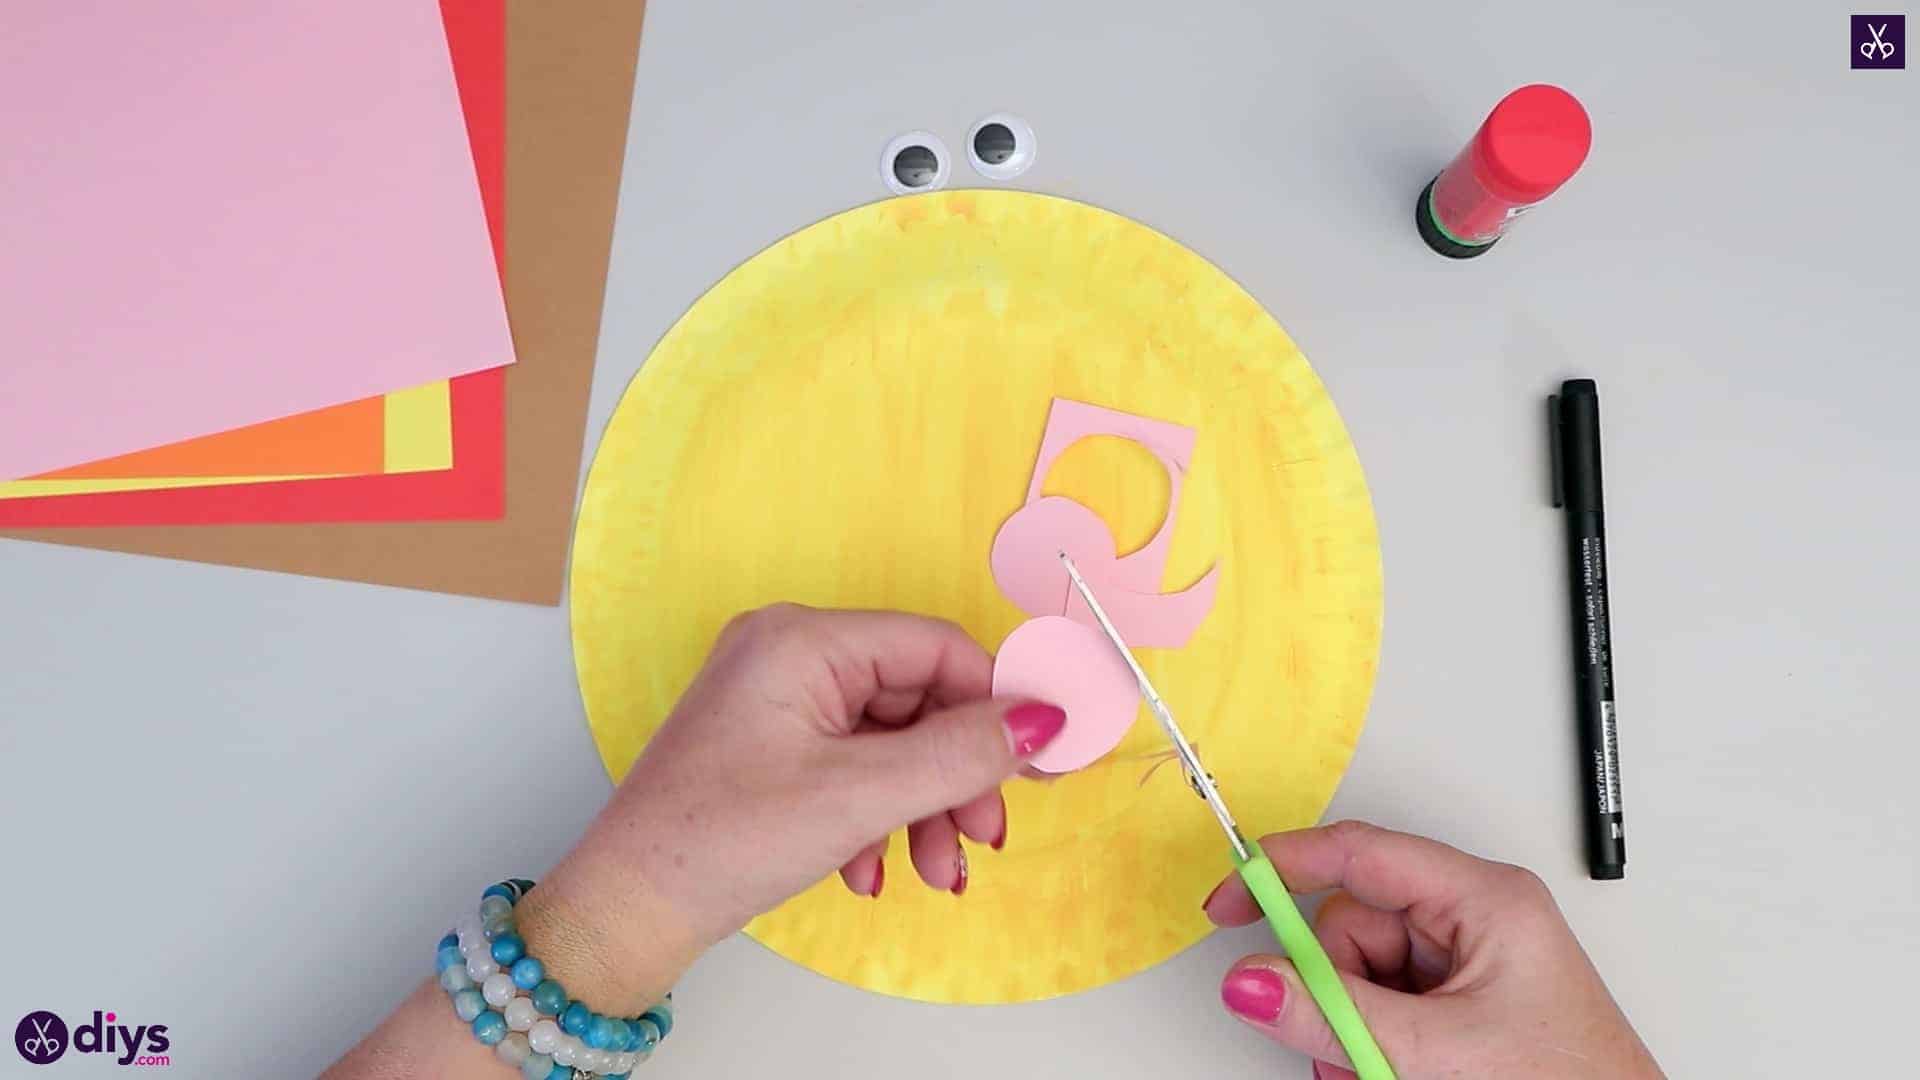
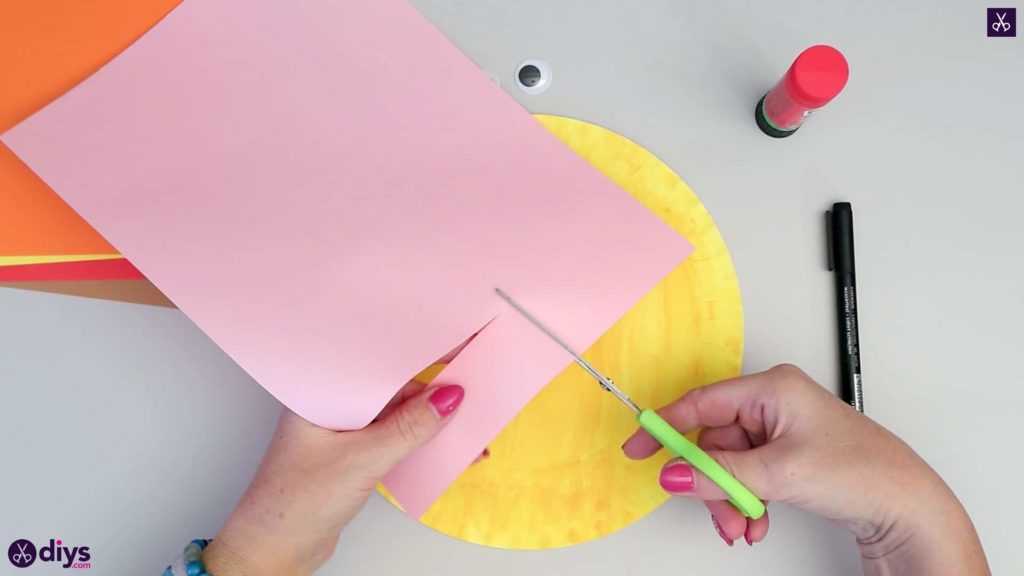
Step 3: cut two pink circles
Cut two medium sized circles from your pink paper. I cut a rectangle from the corner of my page first, then cut that in half and made my circles by rounding off the corners of those pieces so things were a little easier to manipulate, rather than trying to rotate the entire page as a whole. These will be your scarecrow’s rosy cheeks! Set them aside for the moment.
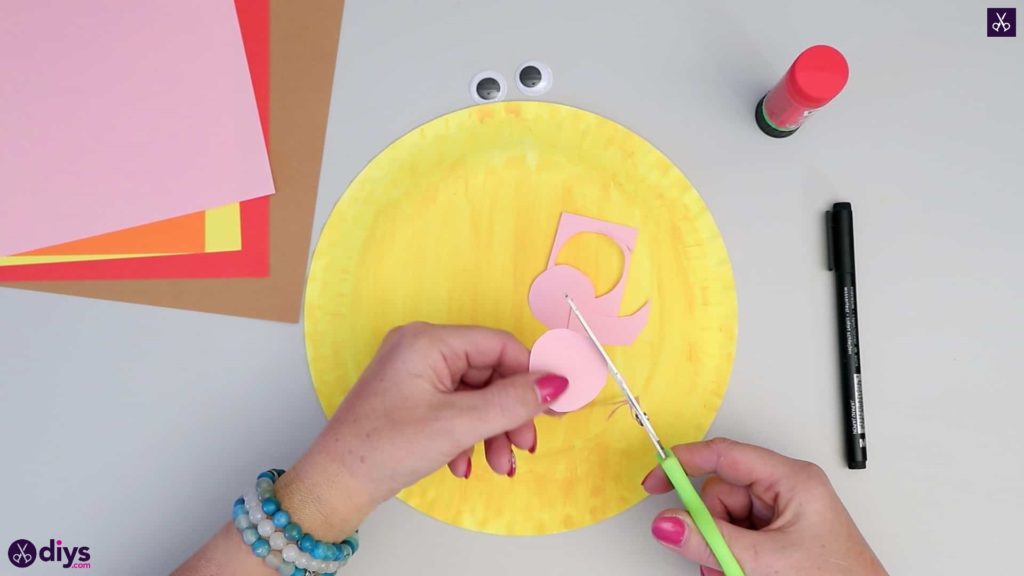
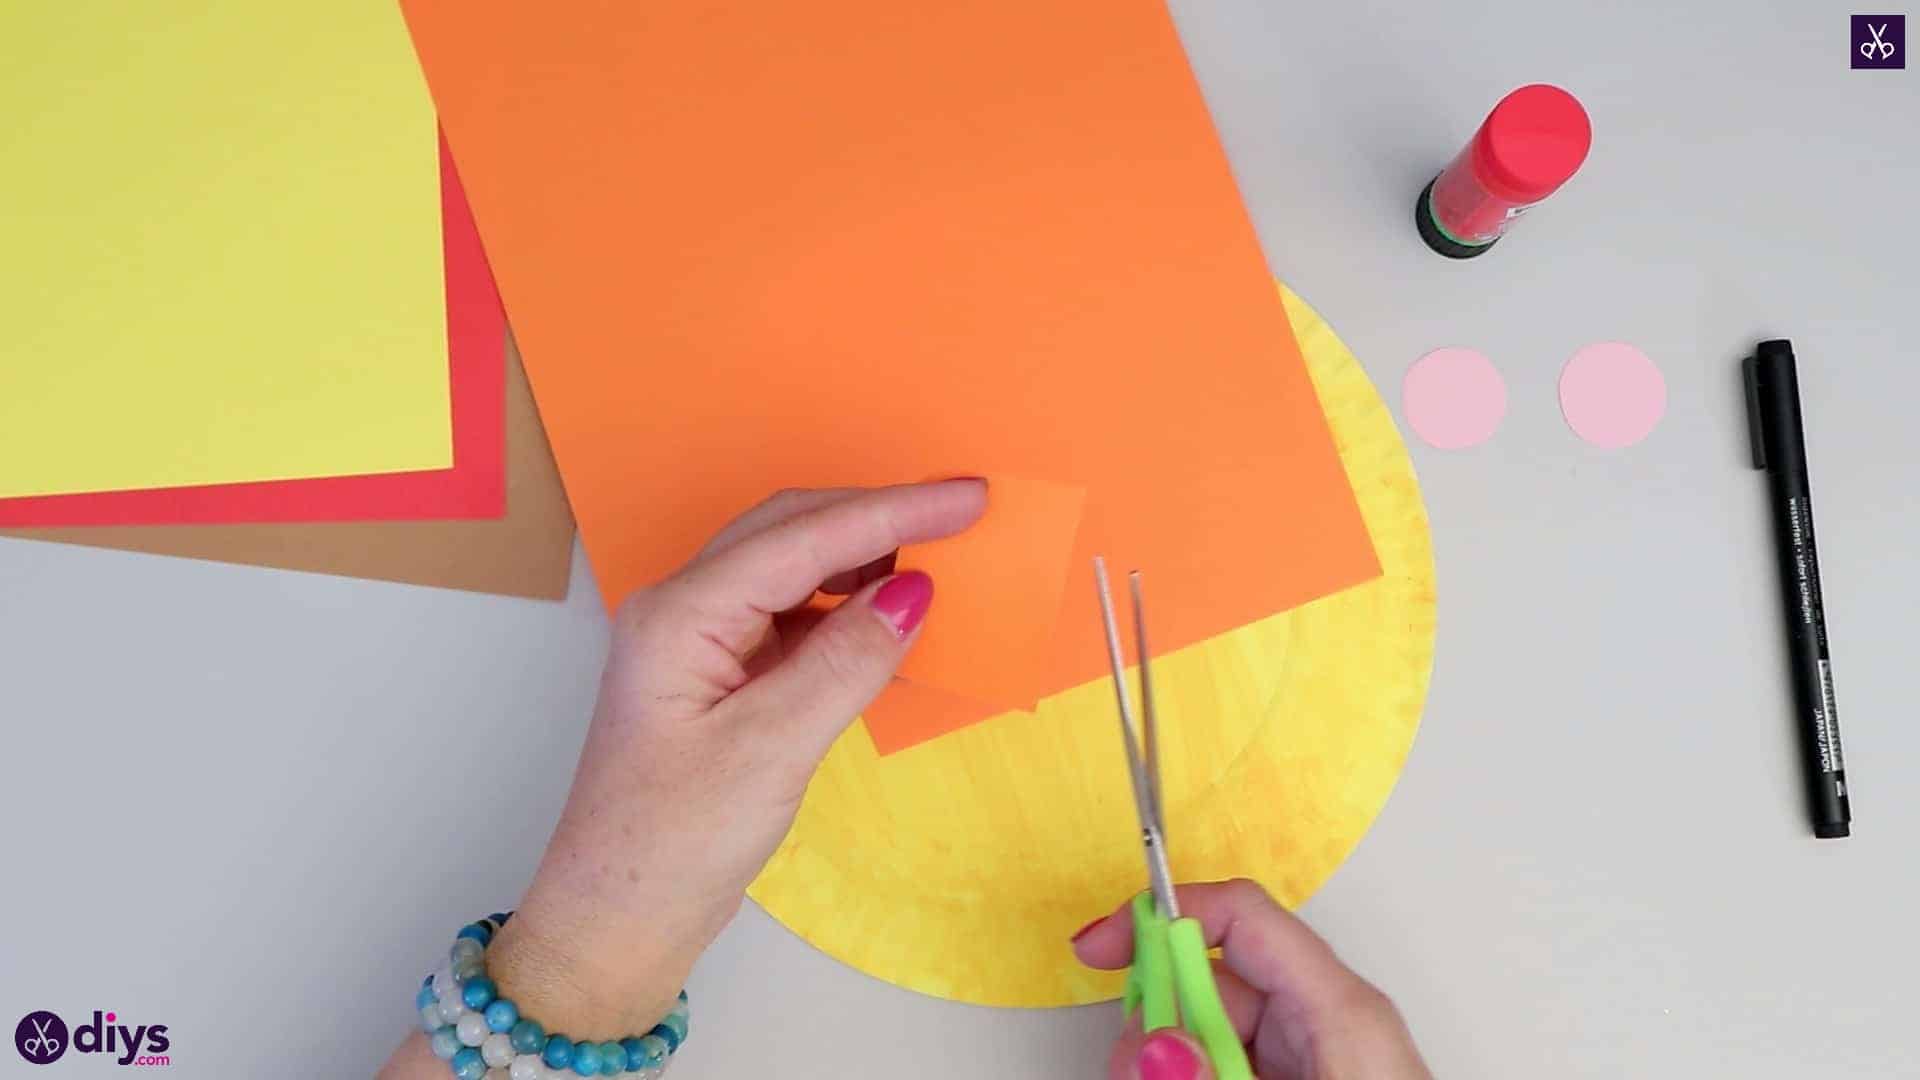
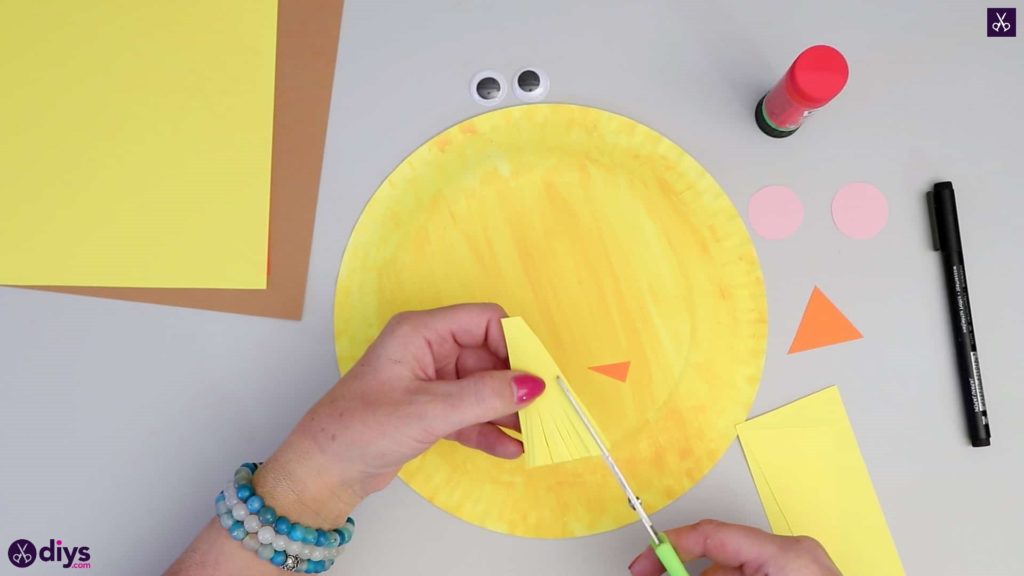
Step 4: cut the nose
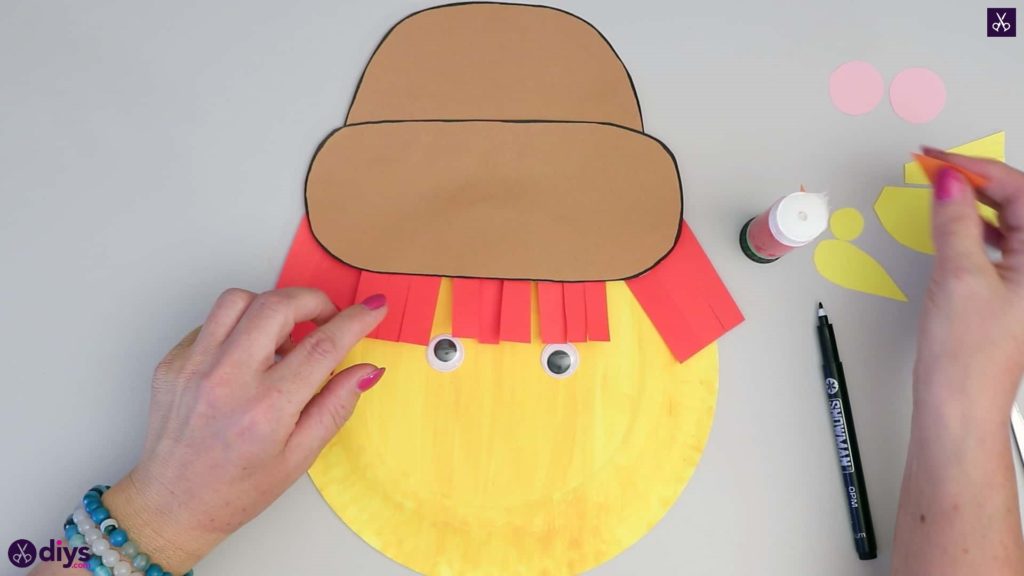
Cut a square from the corner of your orange piece of paper, about half and inch by half an inch. From one edge of this square, cut an even triangle. This will be your scarecrow’s nose. Next, cut off one of the remaining points from where you cut your triangle so you have an even smaller orange triangle. This will be your bird’s beak! Set these aside for the moment as well.

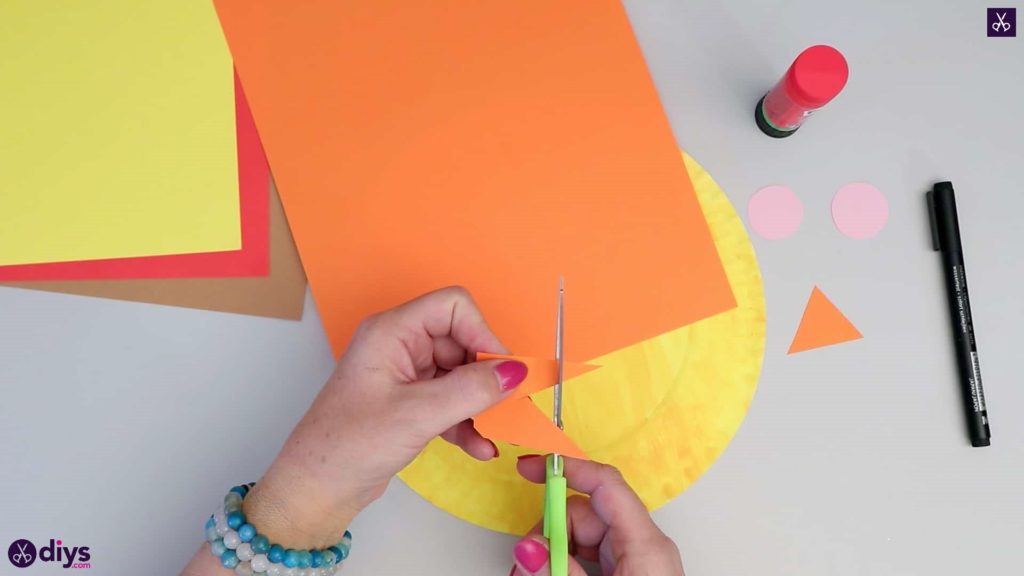
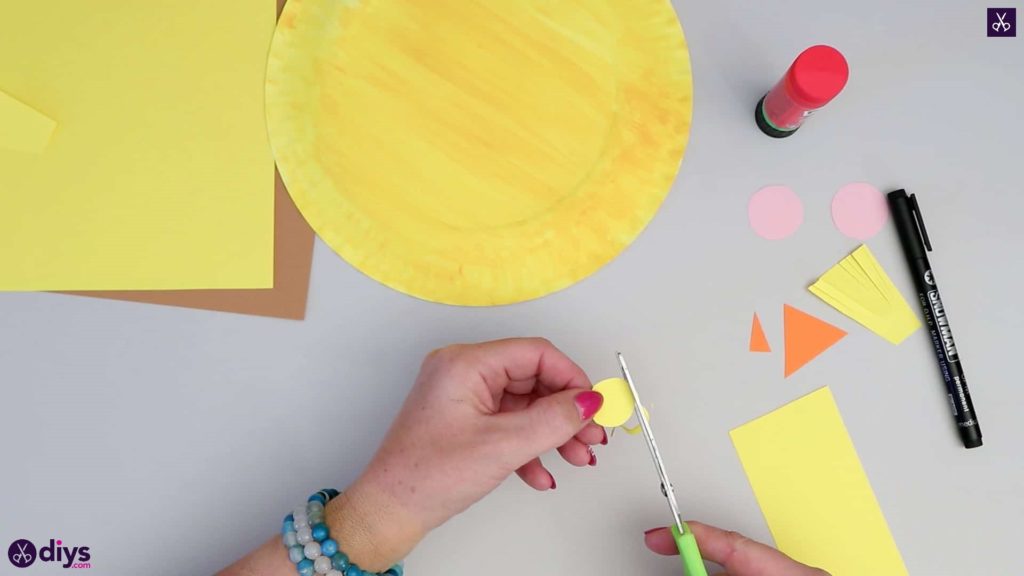
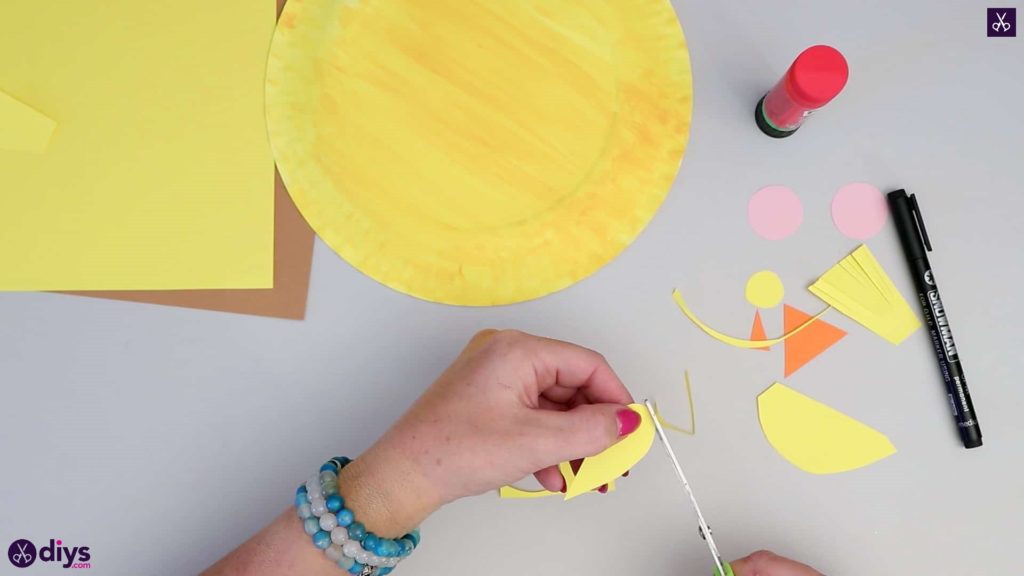
Step 5: make the bird
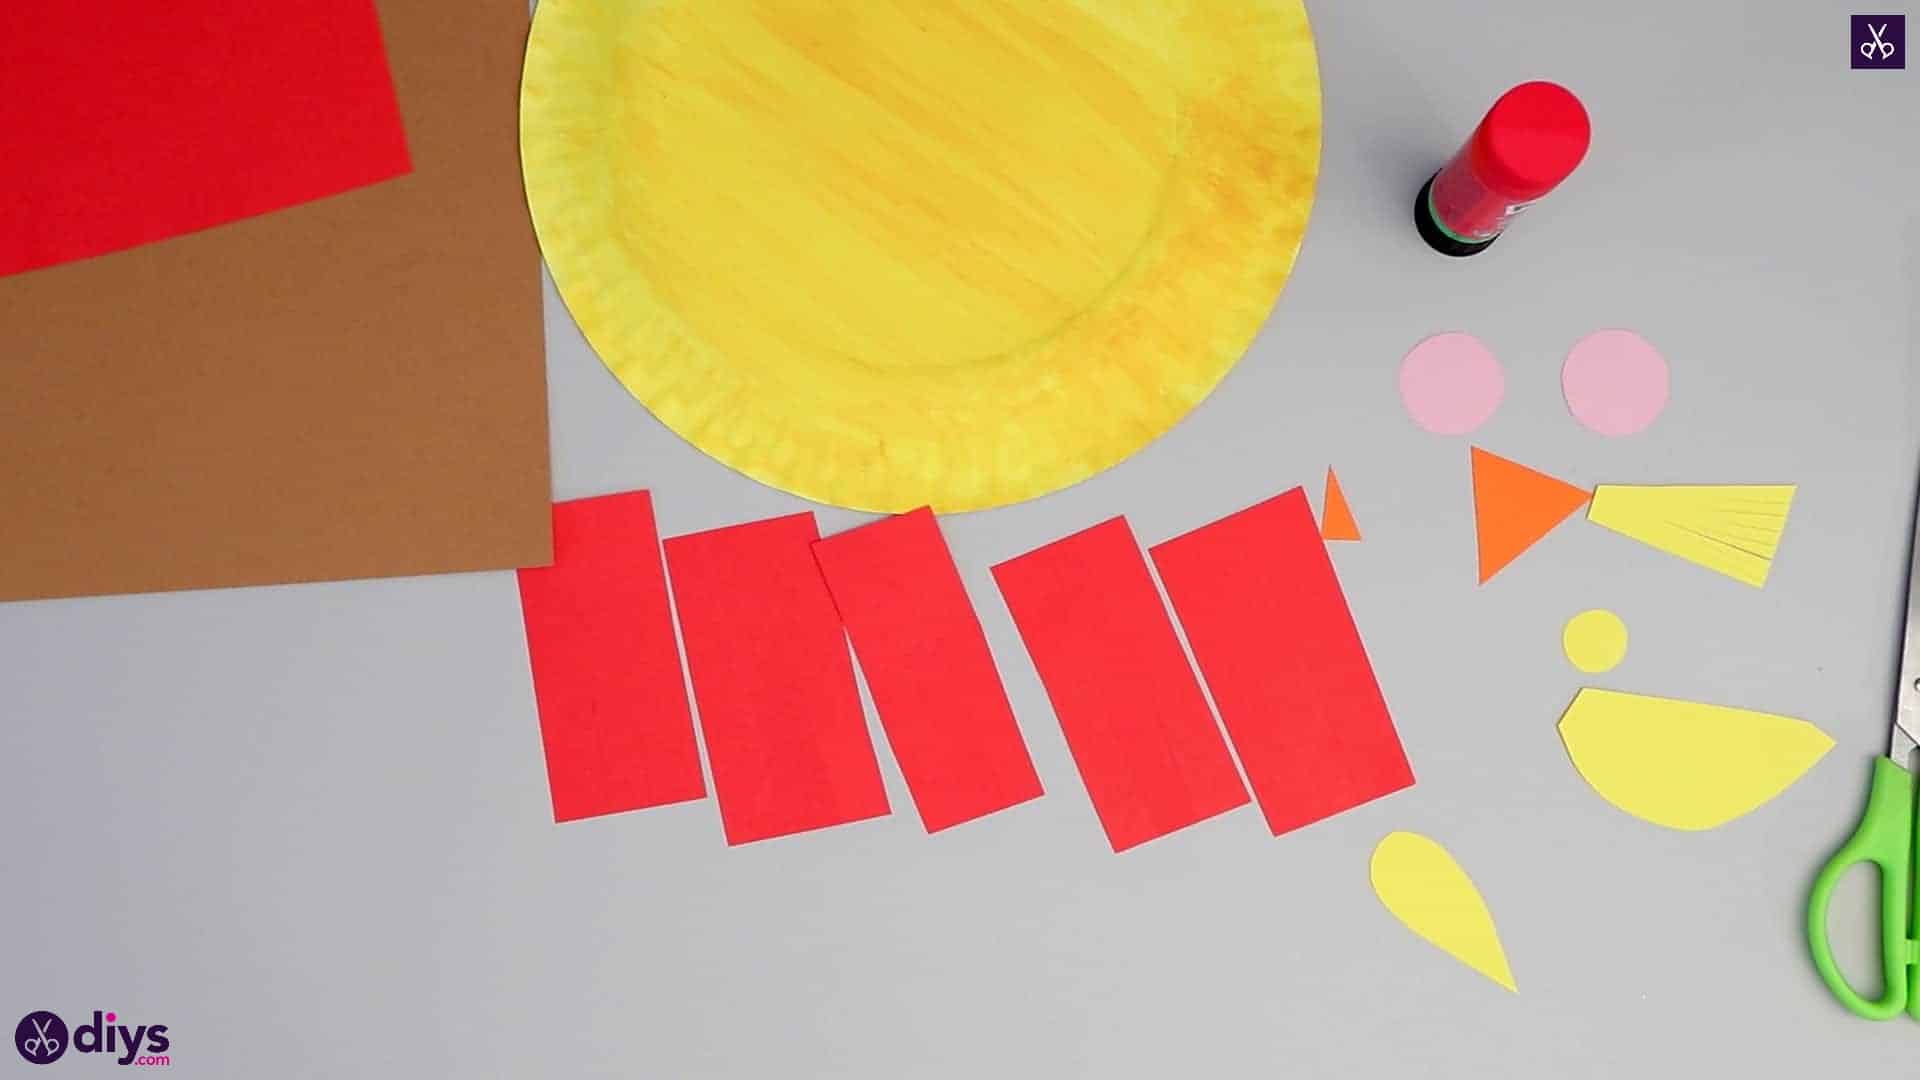
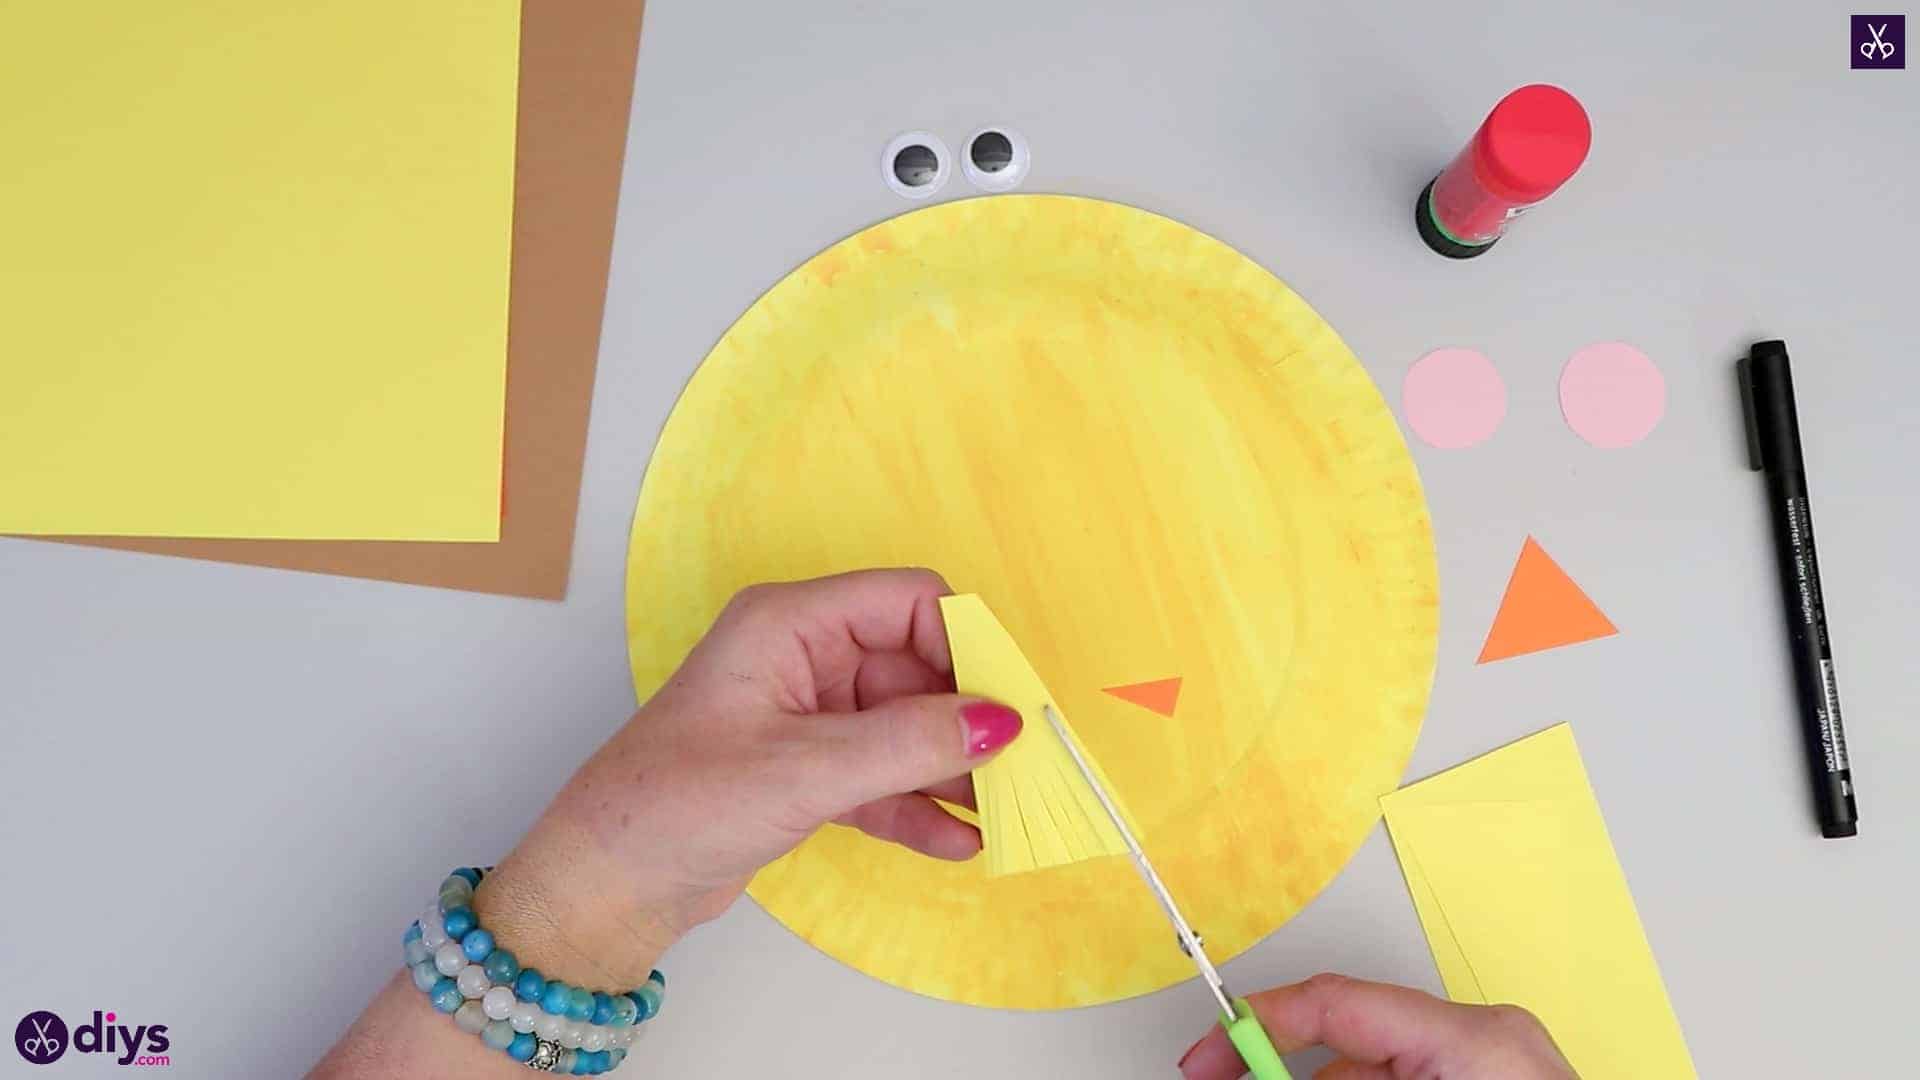
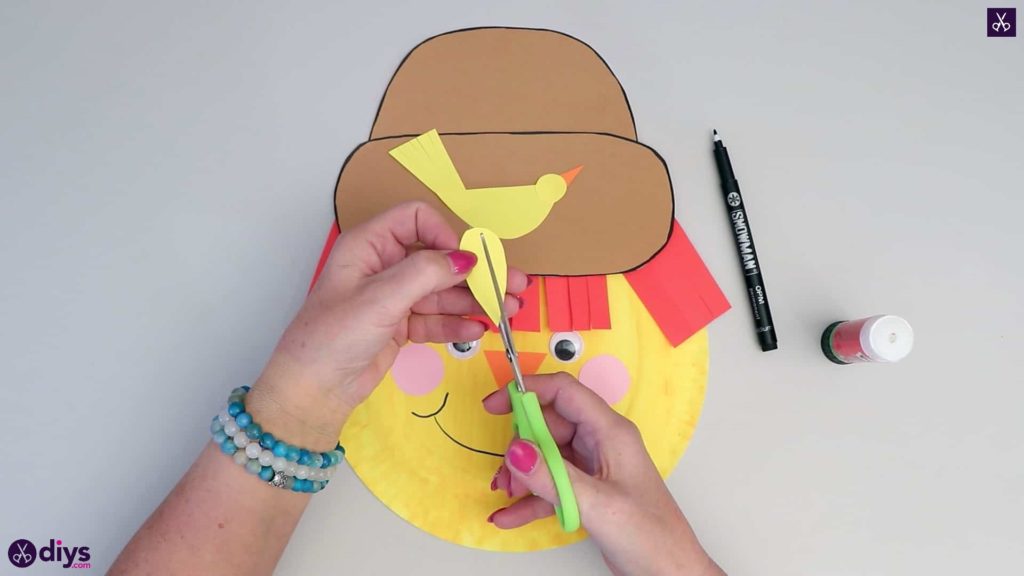
Make the paper bird that will sit in your scarecrow’s hat! I started by cutting a rectangular strip about an inch wide from the long side of my yellow paper. I cut a section about two inches tall from that and narrowed the sides inward like a triangle, but get it a flat top instead of a point. Then, create a fringed bottom edge by making tiny cuts upwards from the flat cut. This will be your bird’s tail. Set that aside and then cut a small circle for the bird’s head. Next, cut a semi-circle shape about two inches long and an inch thick to be the bird’s body. Finally, cut a little wing by cutting the shape of an elongated raindrop. Set all of these aside.
Step 6: make the hair
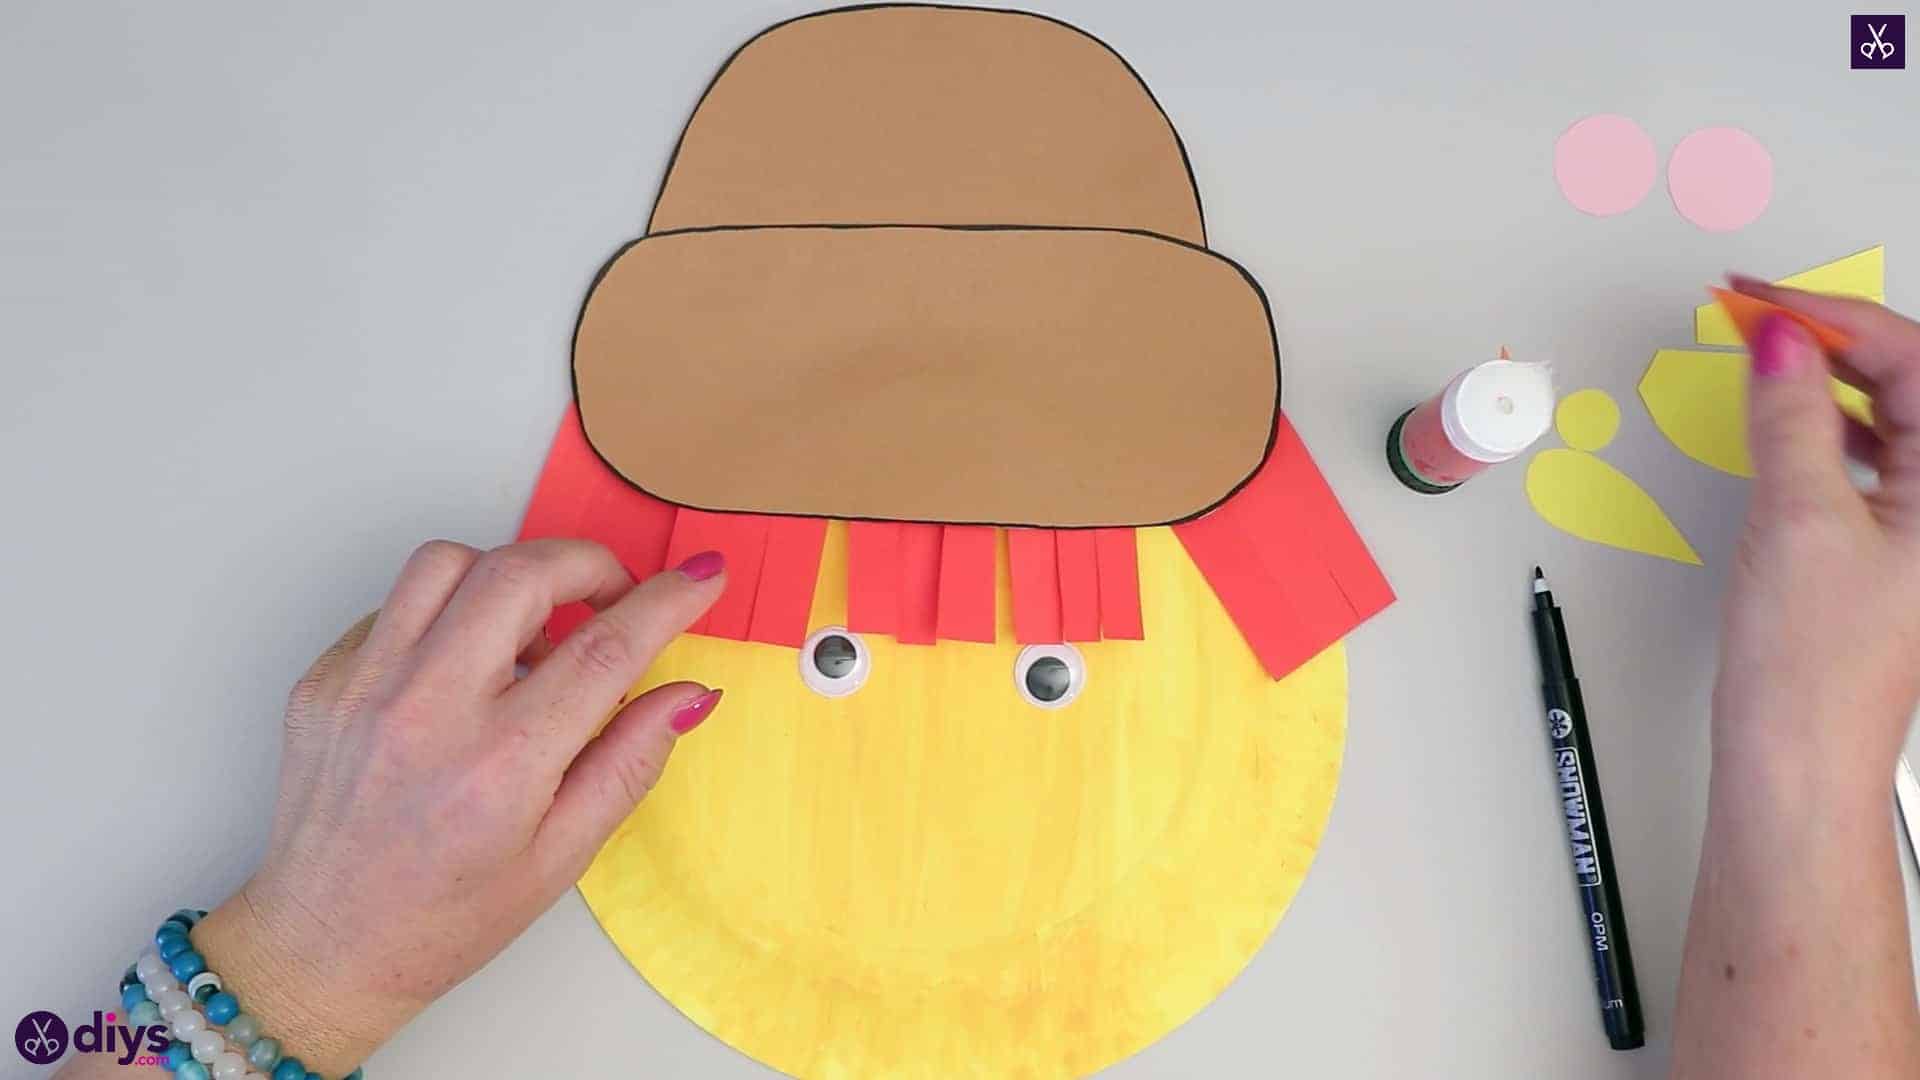
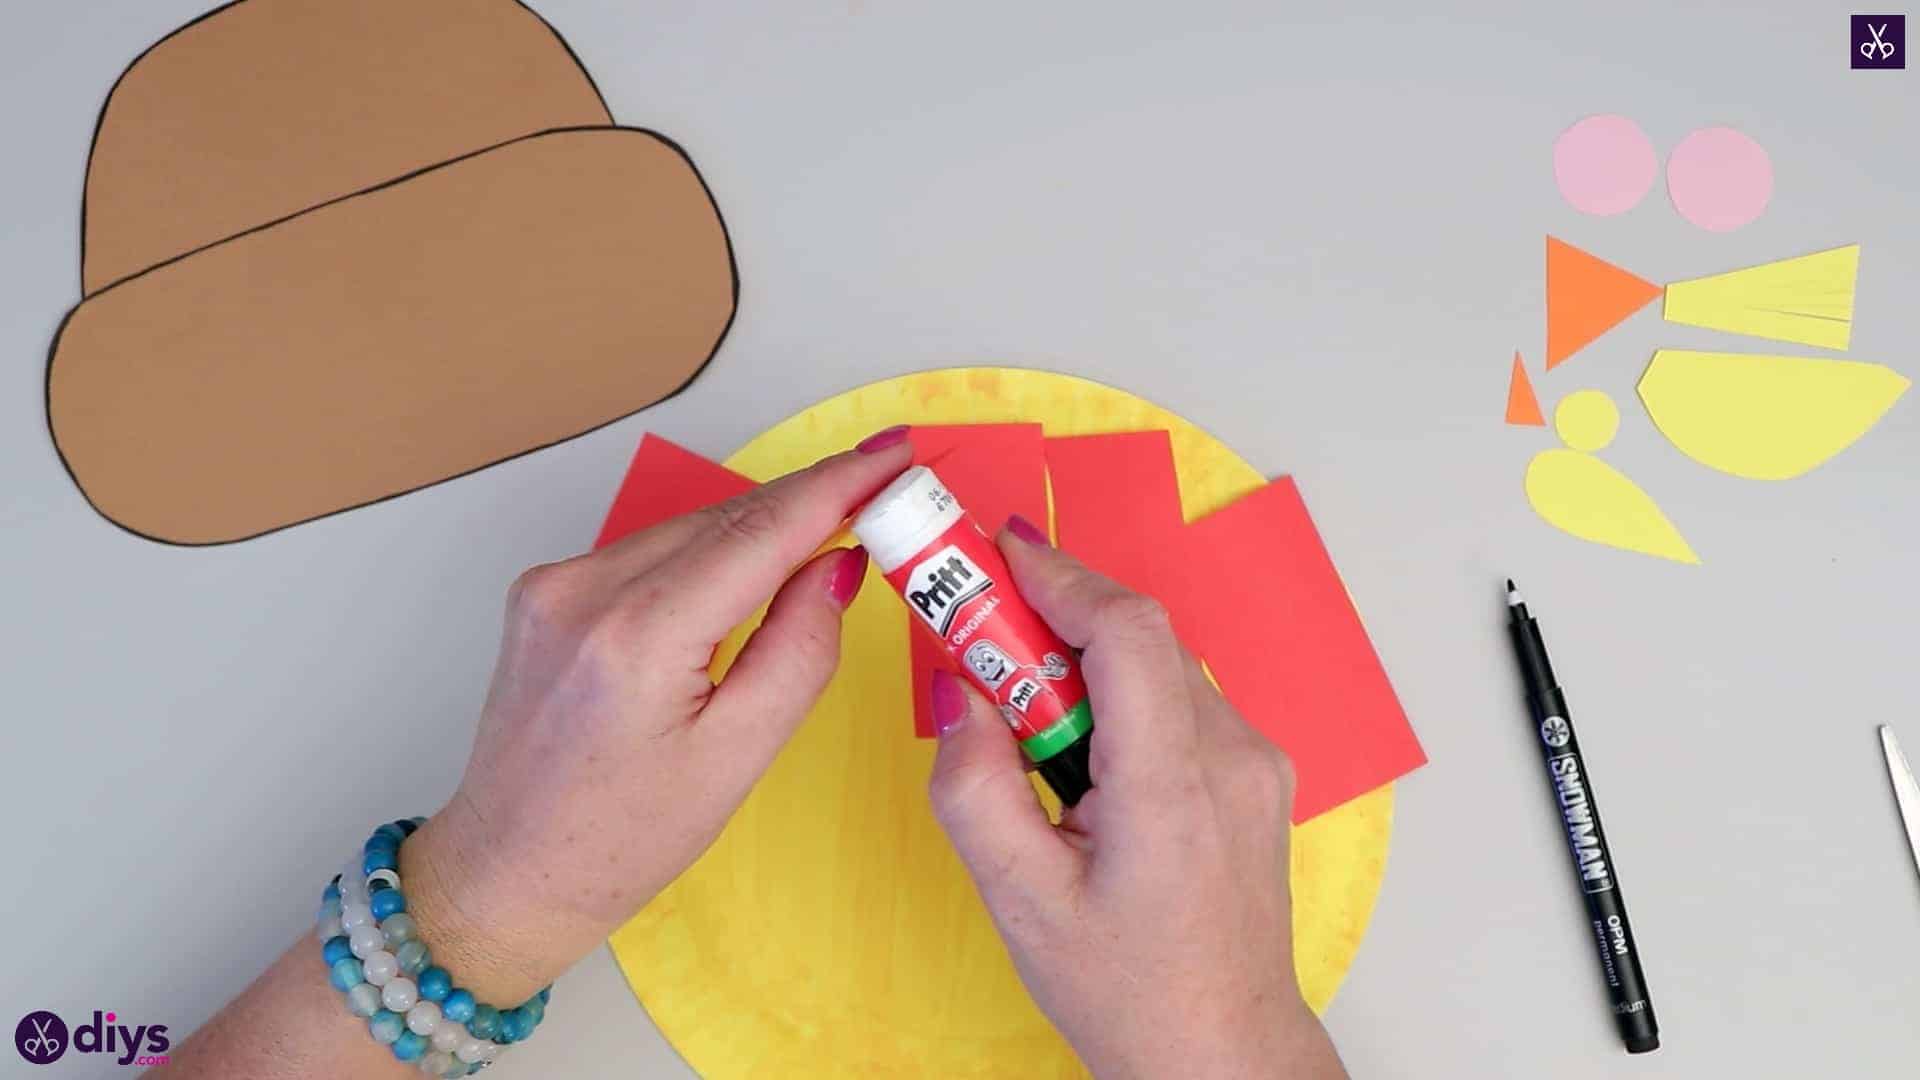
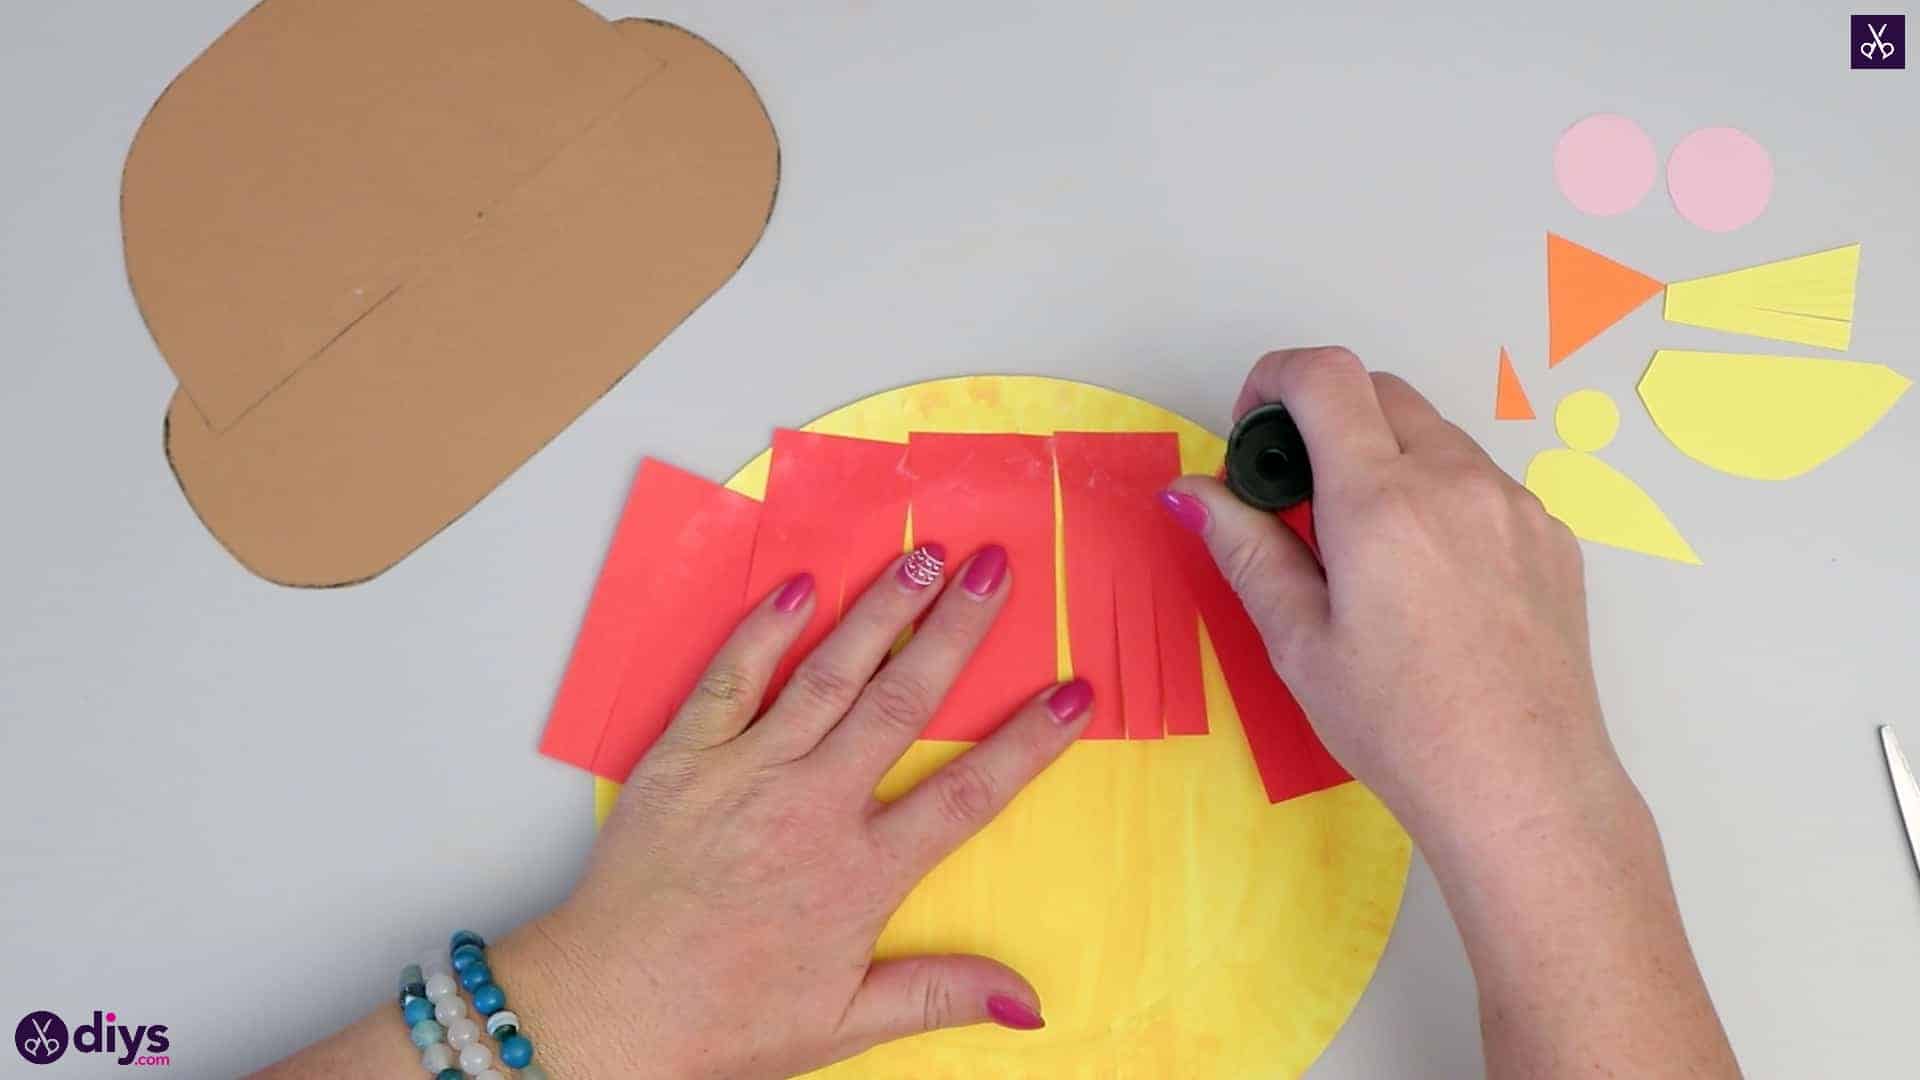
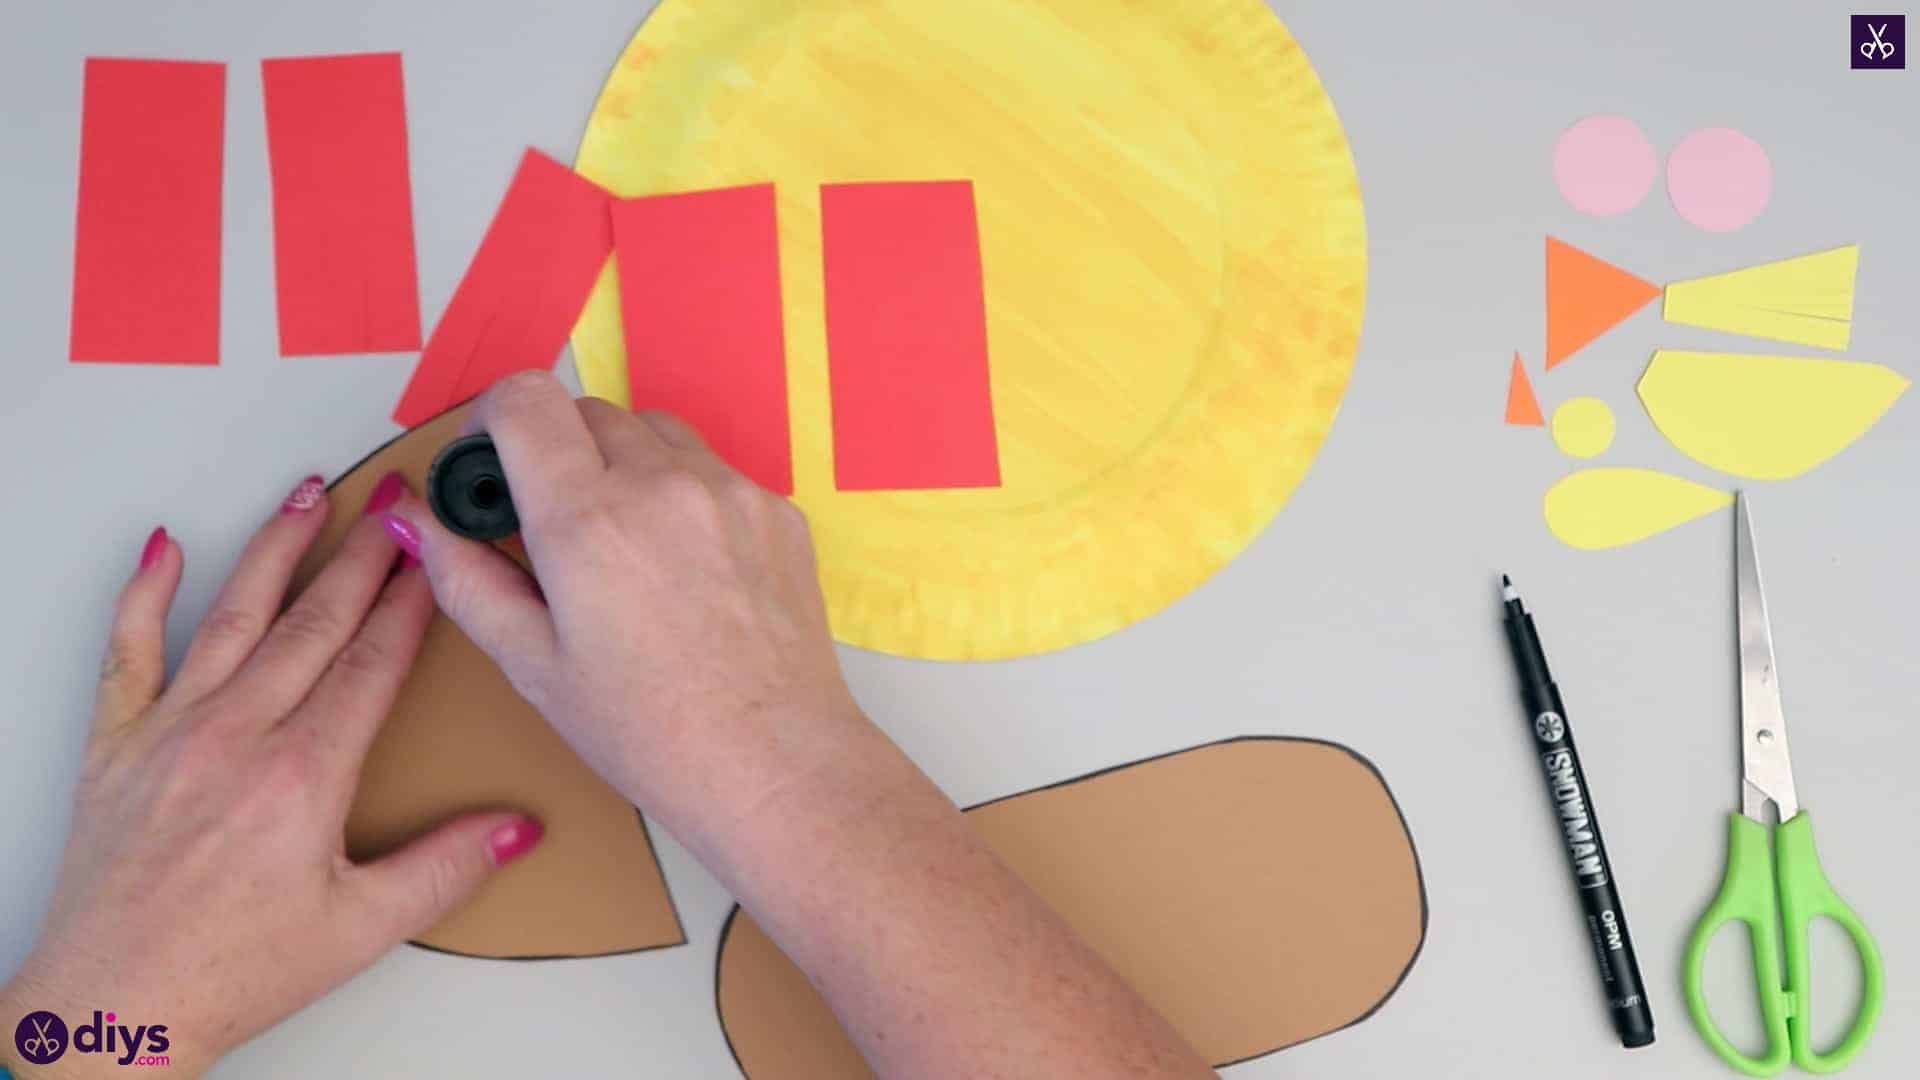
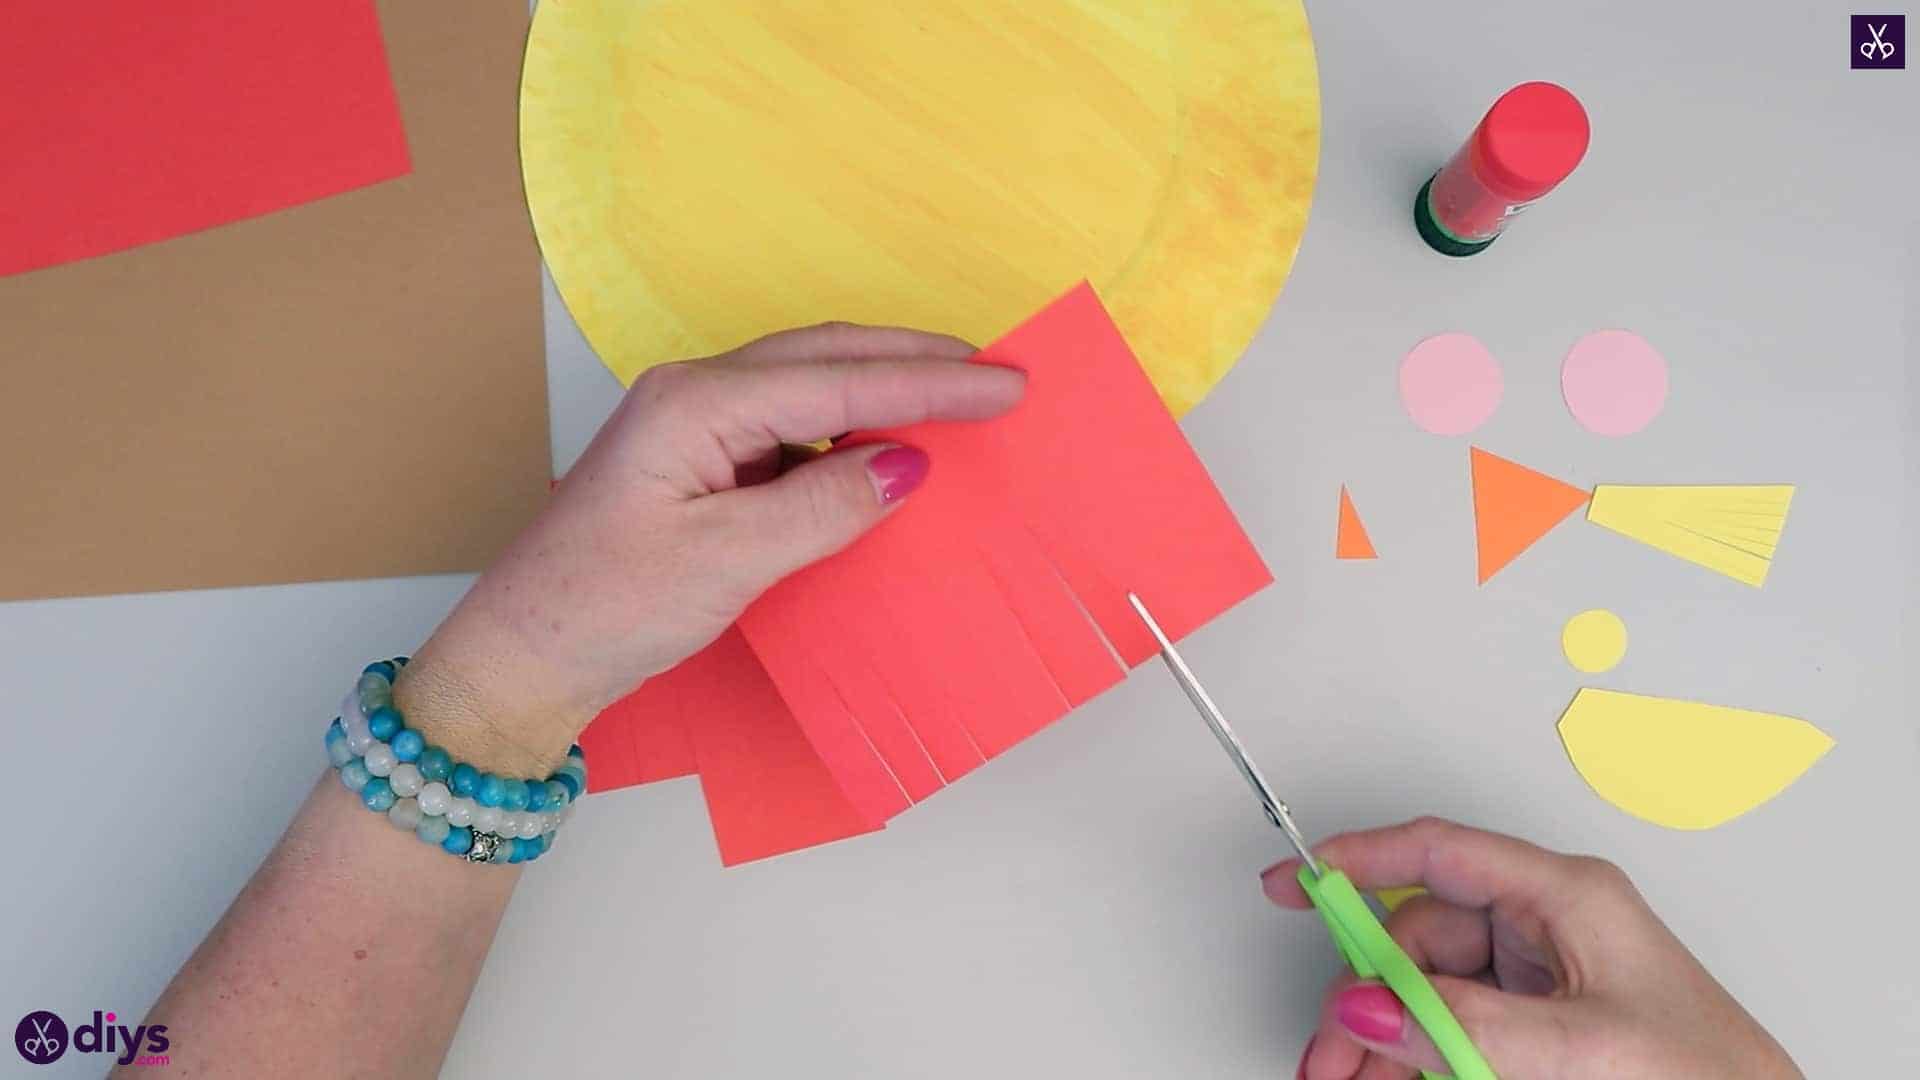
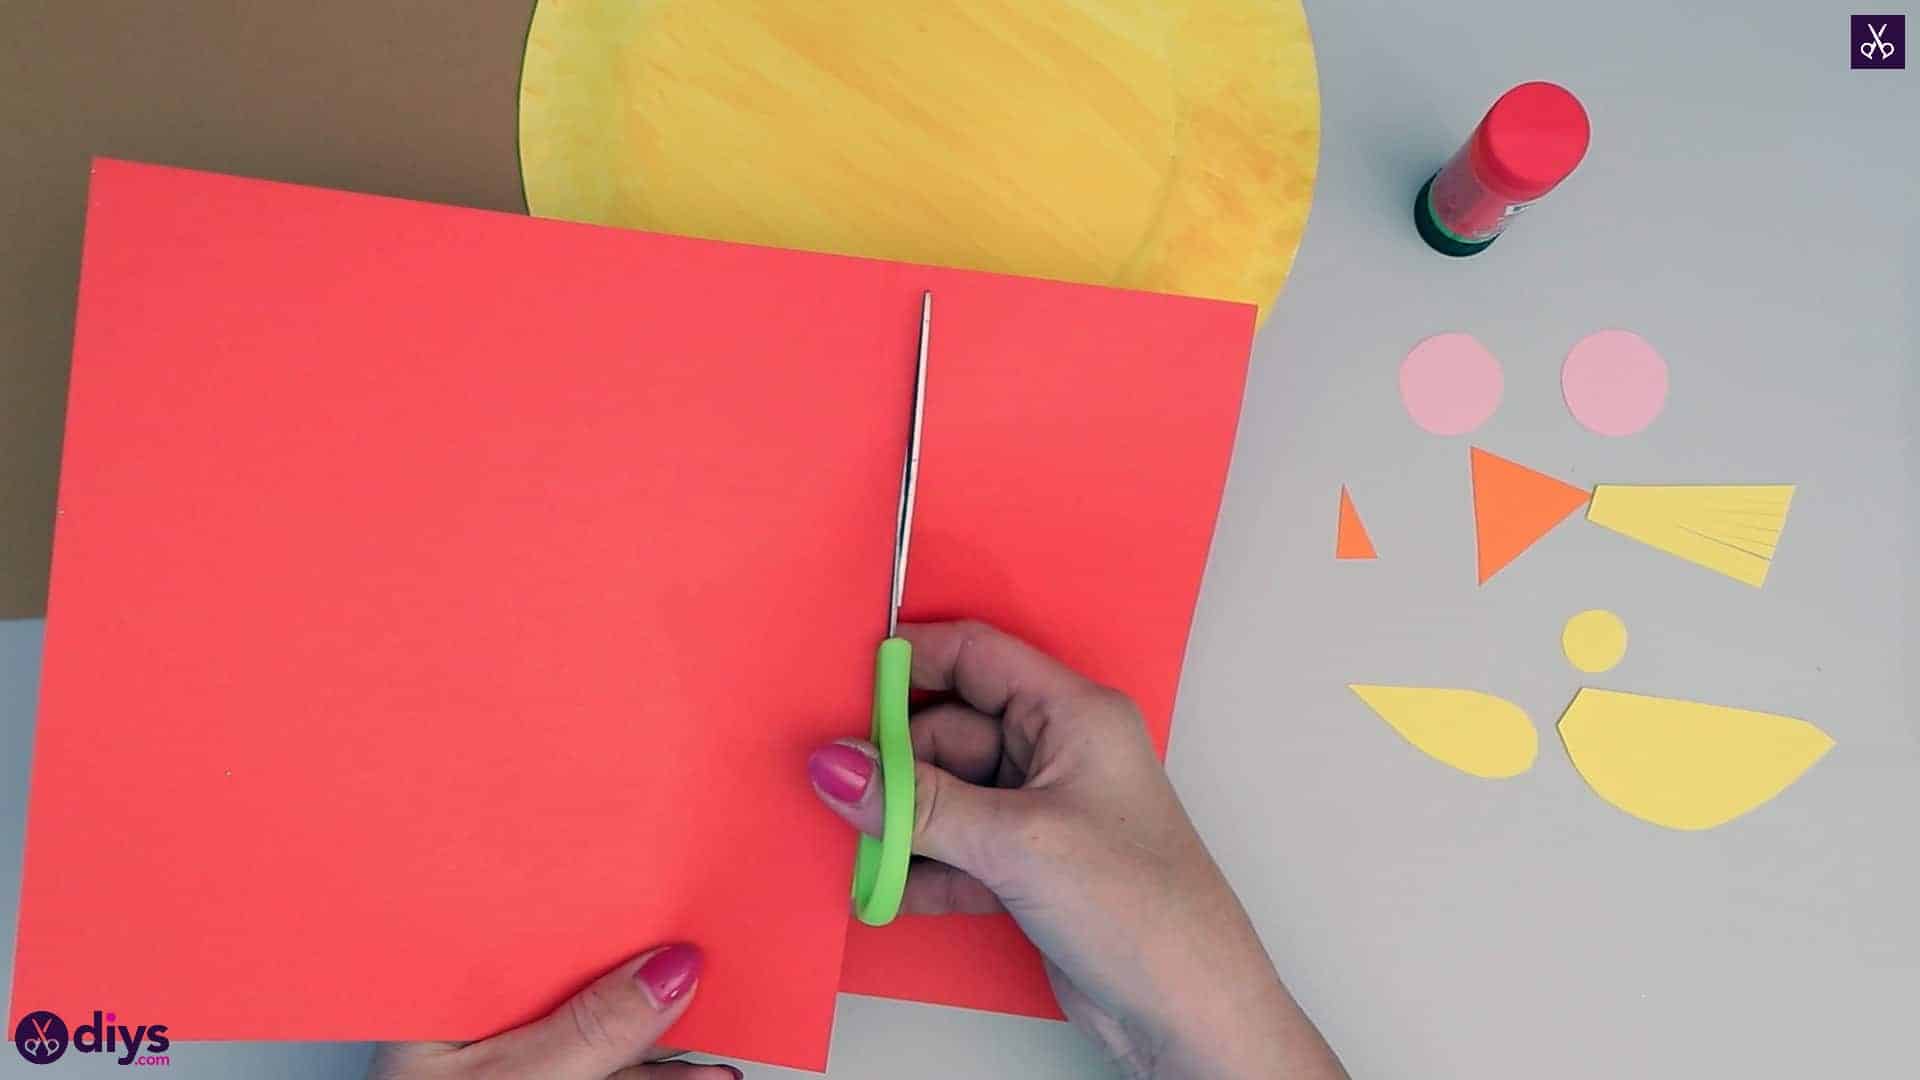
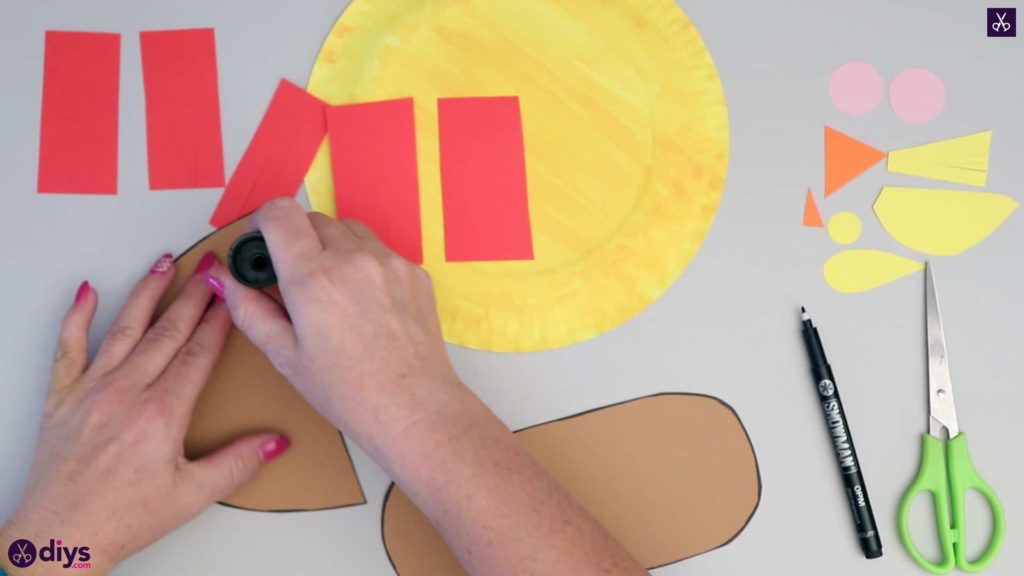
Turn your red page landscape and cut a strip about two inches wide and the full height of the page. Cutting inward from one of the rectangle’s longer edges, cut fringe all down the side from one end to the other, stopping your scissors a few centimetres from the opposite long edge on each cut so that you create fringe rather than cutting all the way across the piece. Once you’ve made a fringed effect all the way down the piece, cut it into five separate sections of fringe. This will be your scarecrow’s hair.


Step 7: make the hat
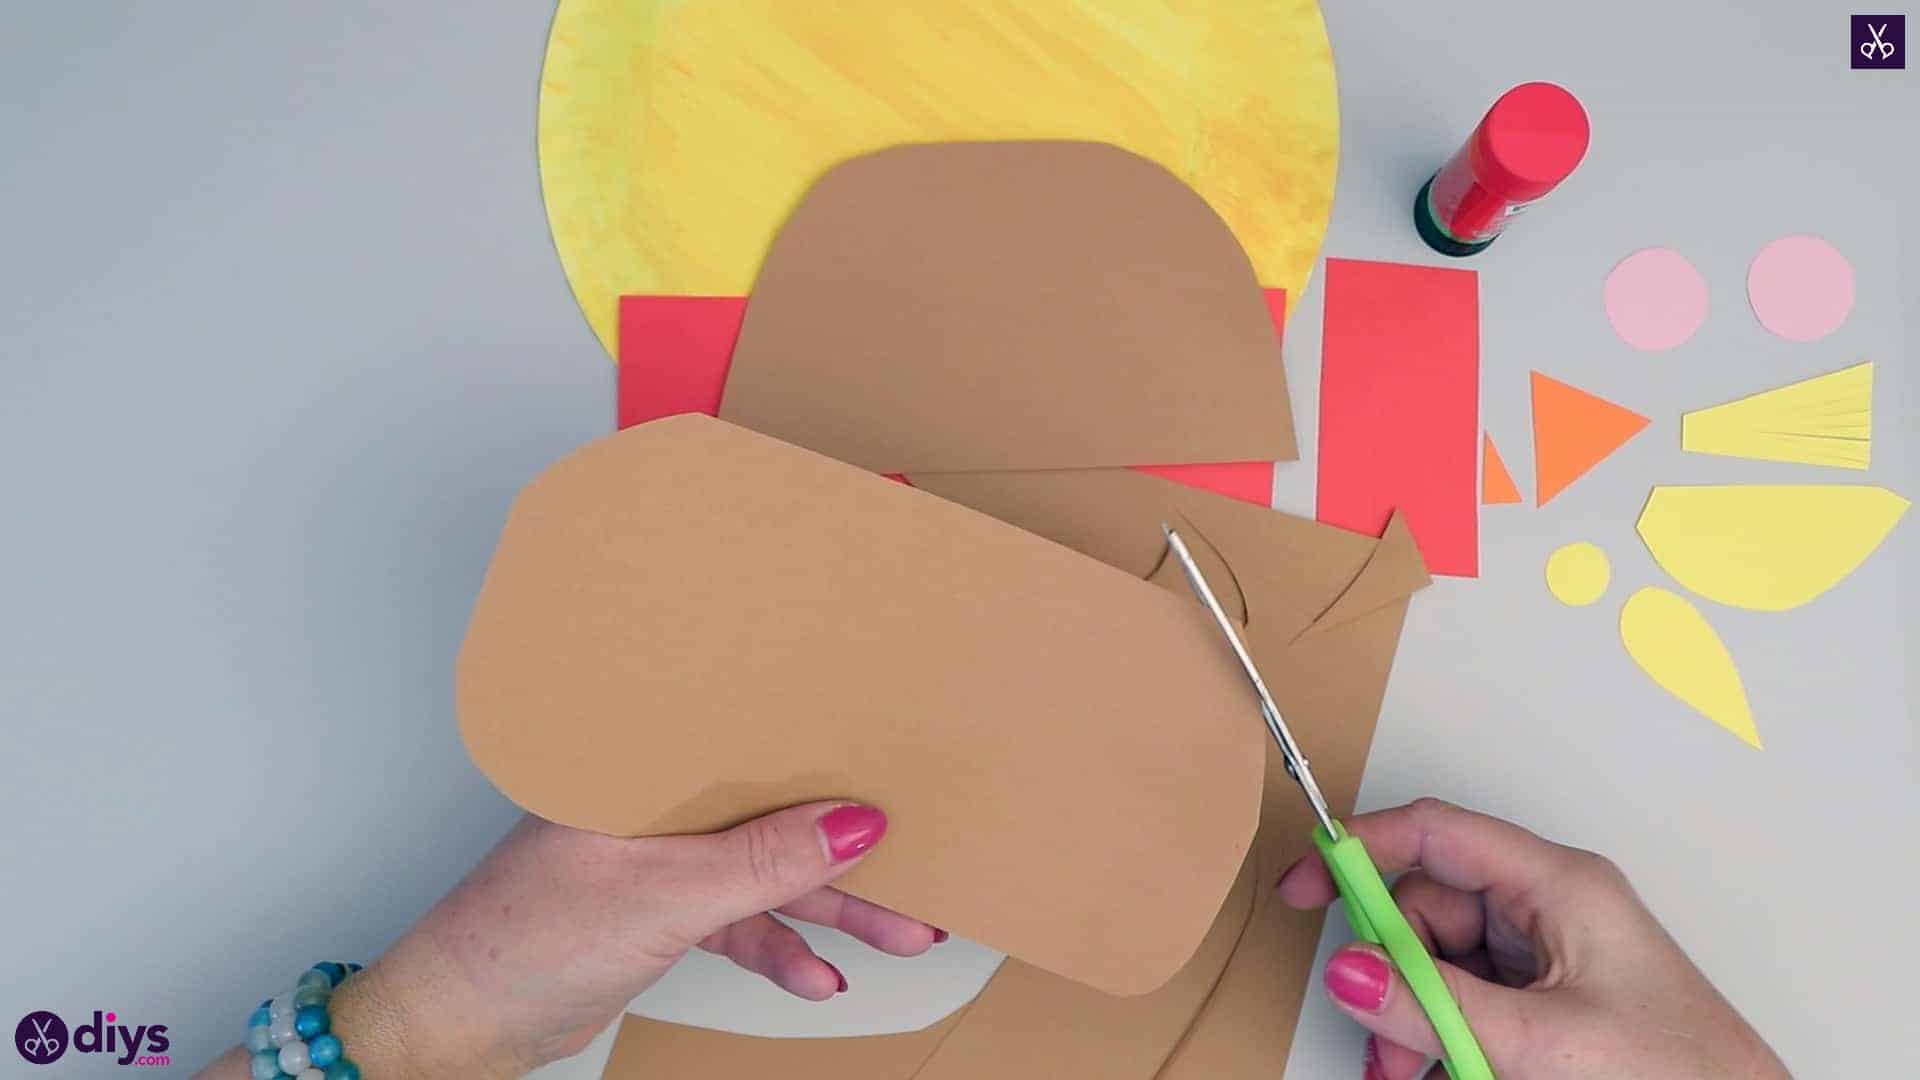
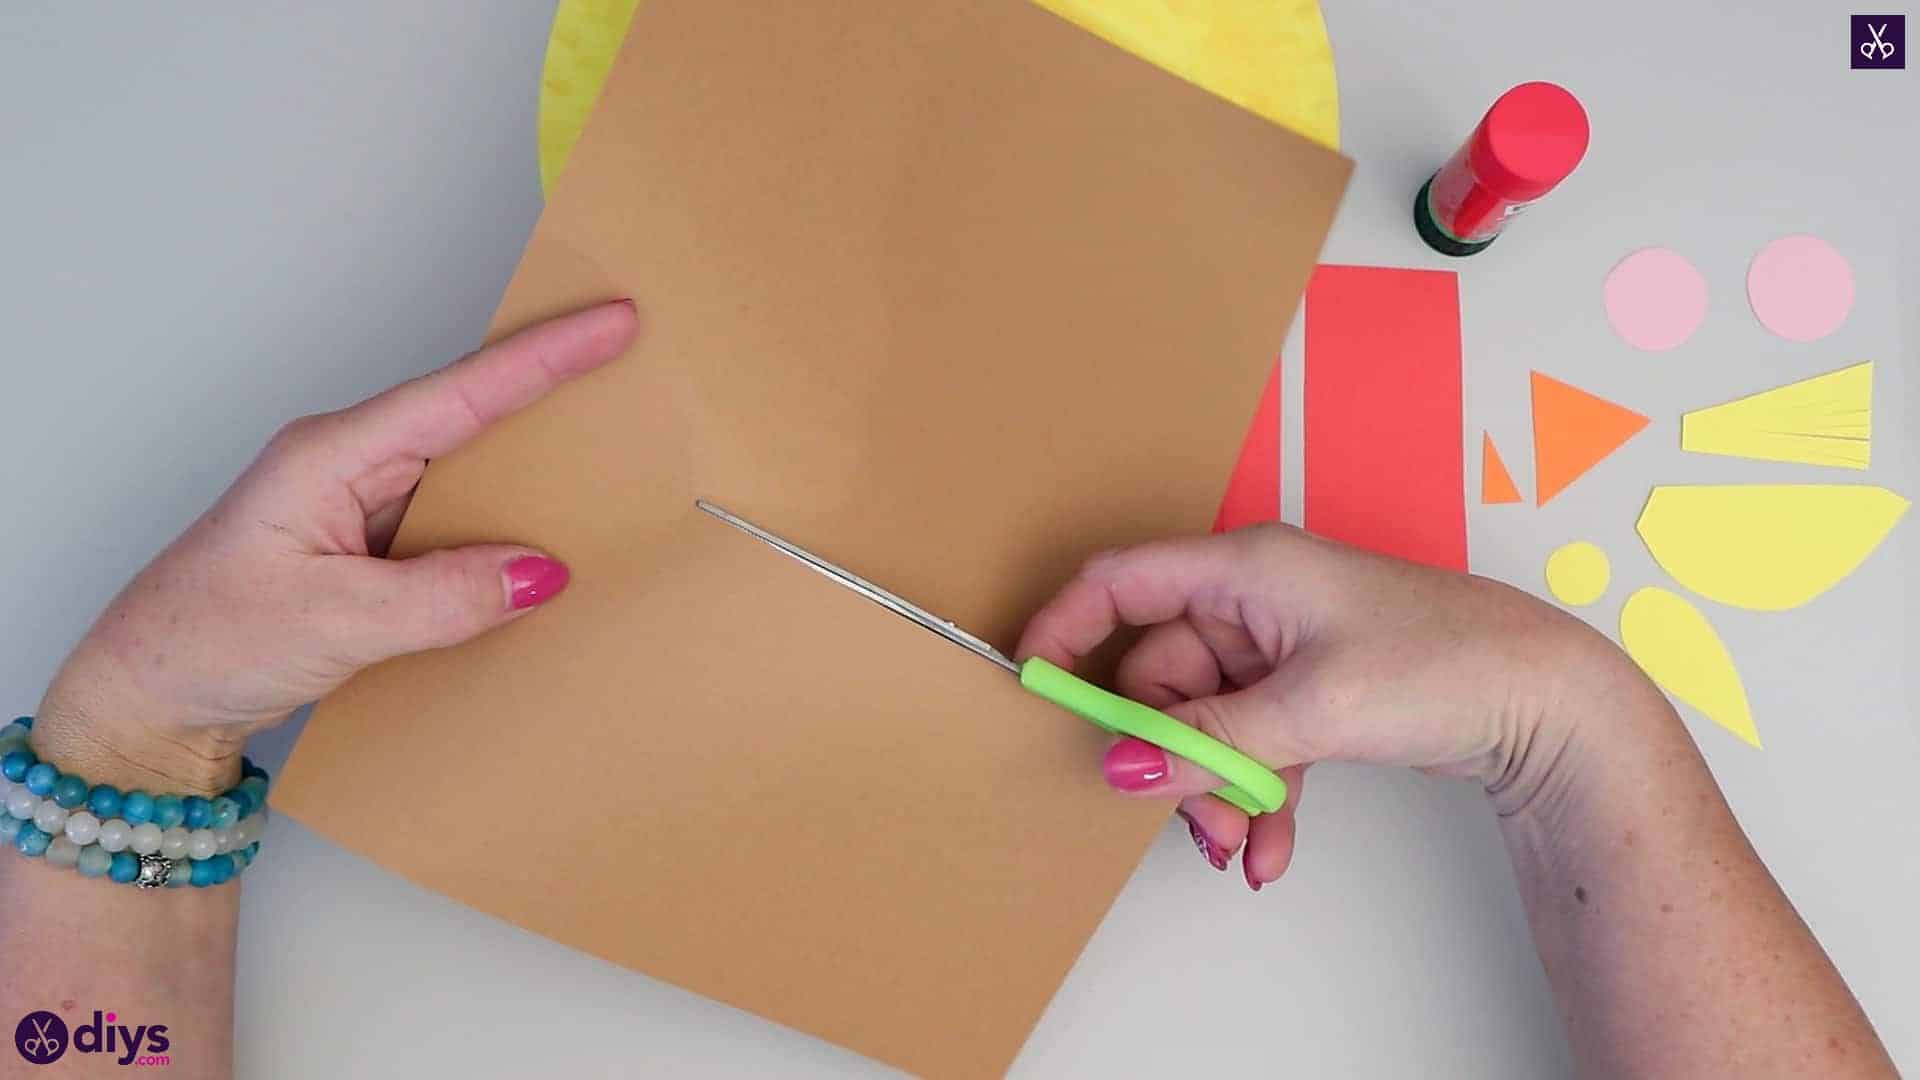
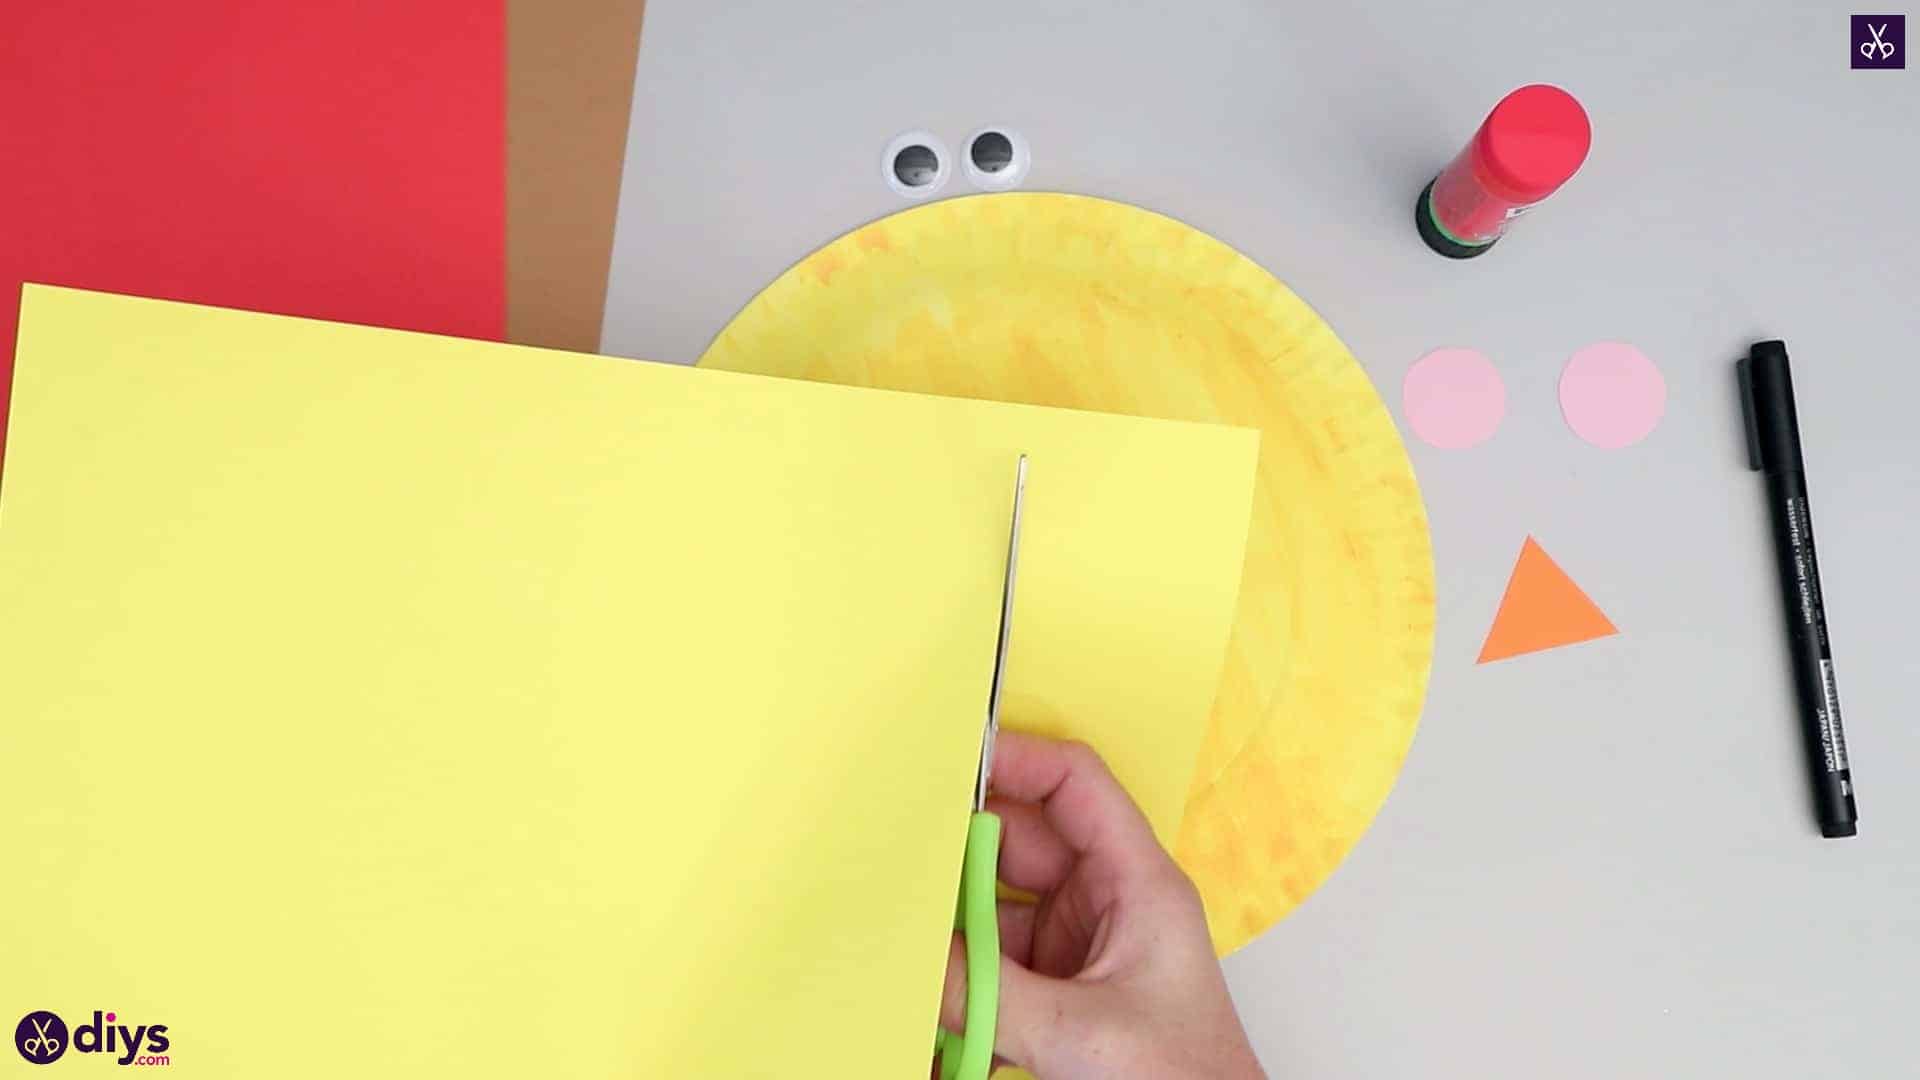
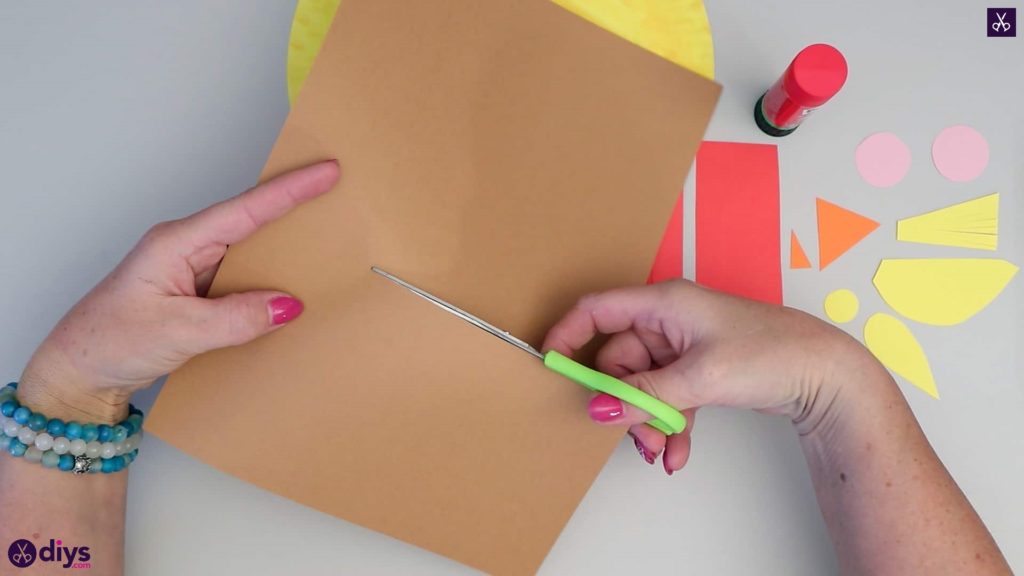
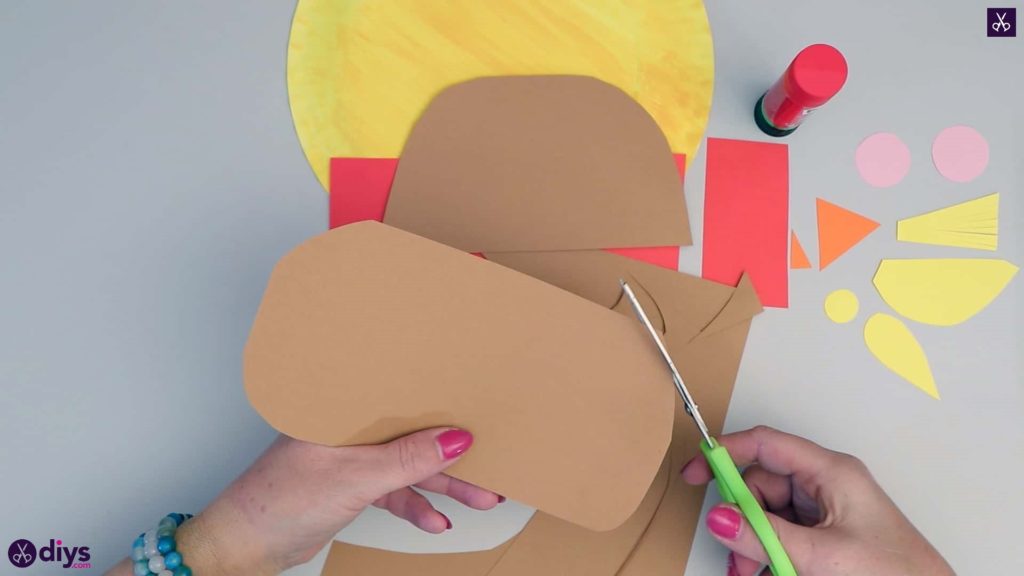
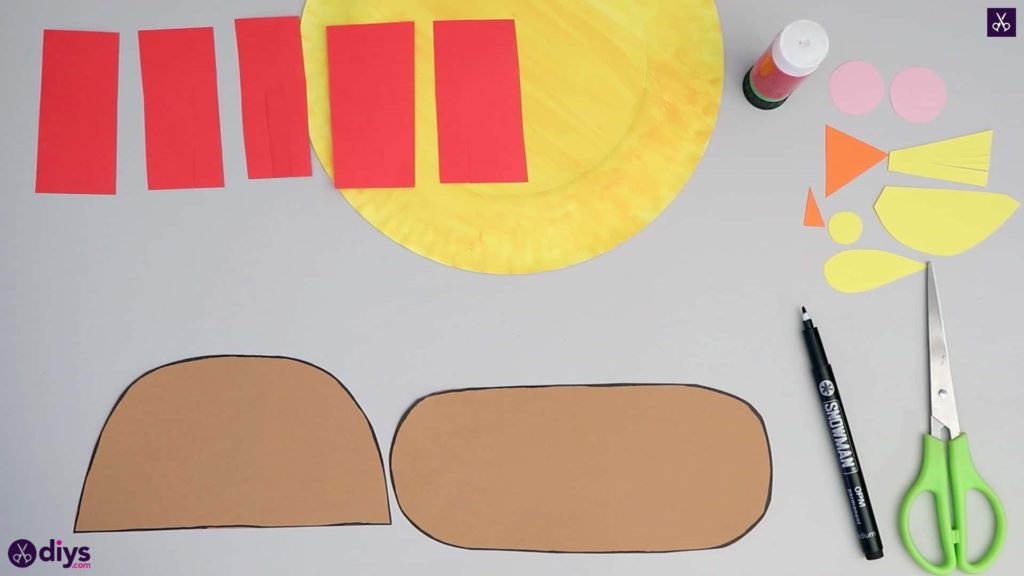
Cut your piece of brown paper into two, leaving one slightly longer than the other. From your larger half, cut a tall semi-circle shape with one straight edge and one rounded. This will be the top of your scarecrow’s hat. Then round the corners off of your small half, making a smoothed rectangular shape. This will be the thick brim of your scarecrow’s hat.
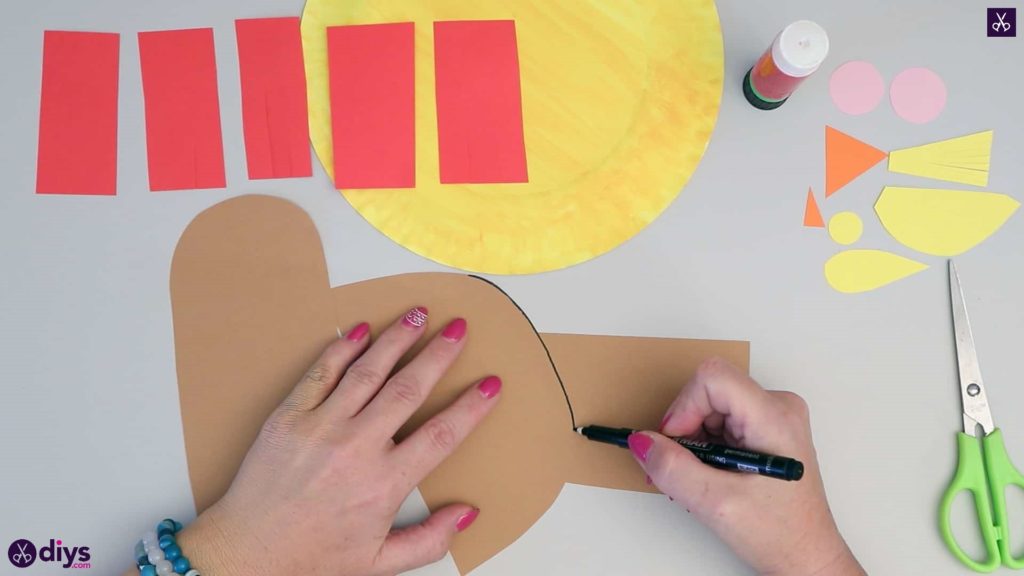
Step 8: outline edges
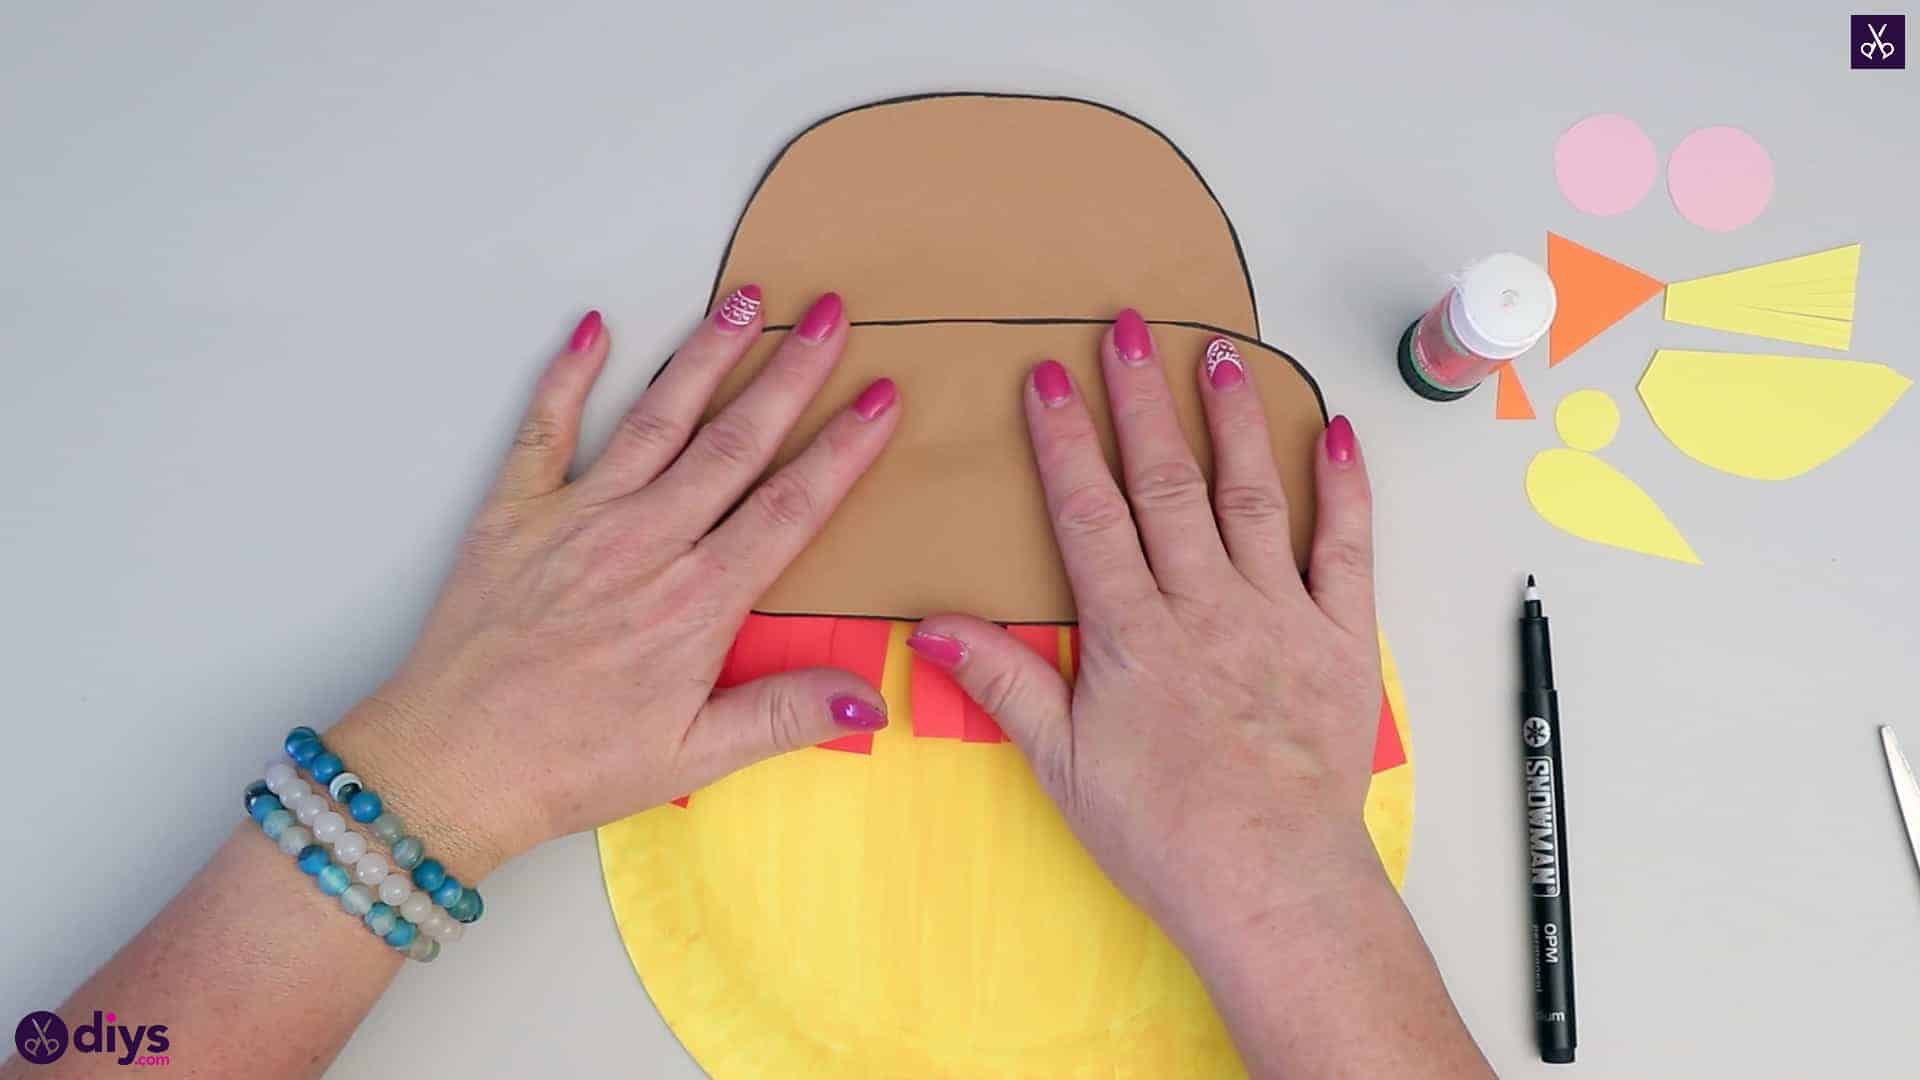
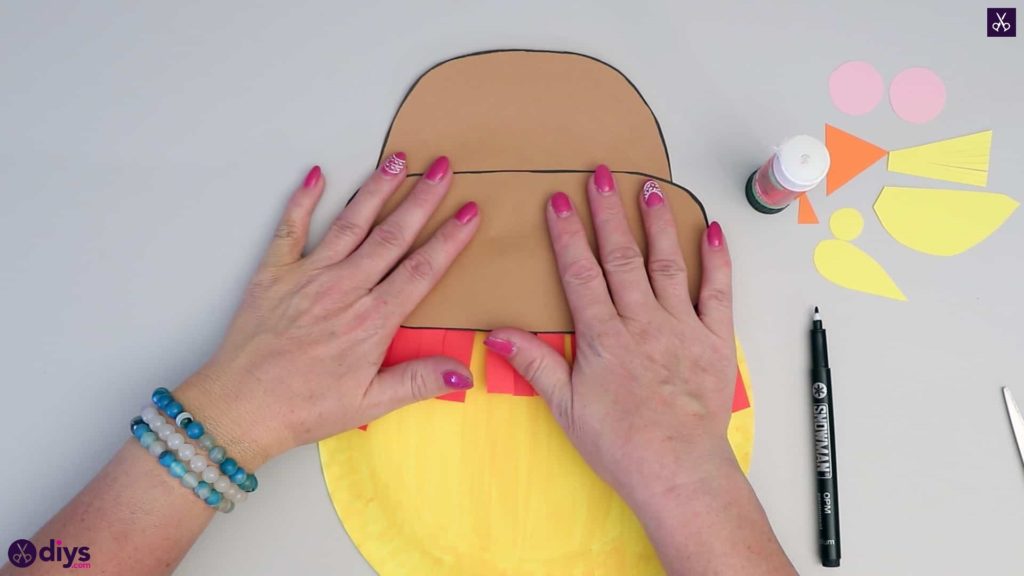
Outline the edges of your two hat pieces with your black marker to give them some definition and a cute cartoonish look. Then apply glue along the front of the flat edge of your hat’s top and stick the brim into place there. You now have a full hat for your scarecrow.
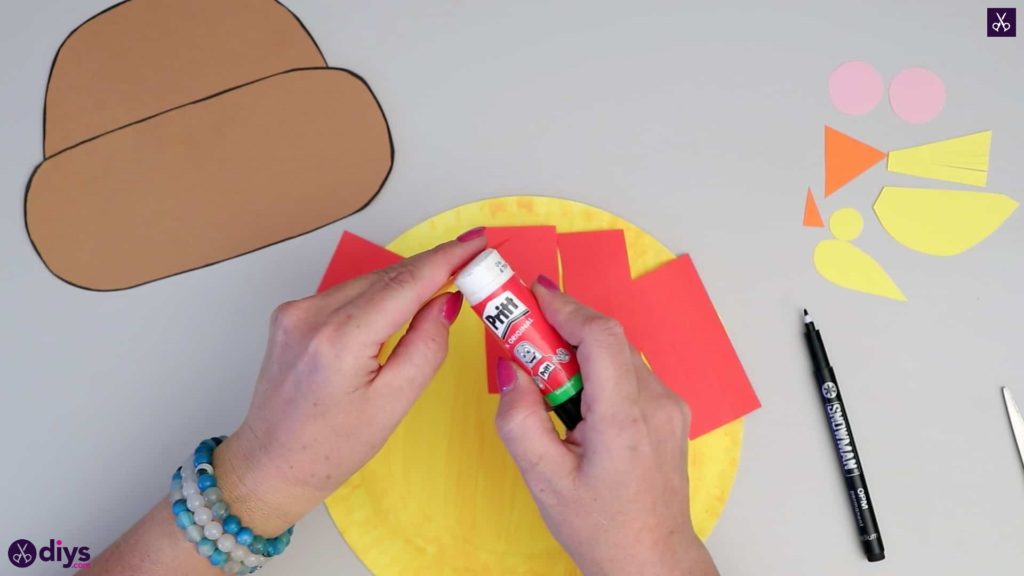
Step 9: start gluing
Arrange your five fringed pieces along the top edge of your plate like hair! I cut five separate pieces so they would be easier to frame my scarecrow’s face with following its rounded shape, rather than just having bangs in an awkward straight line across the top. Once you’ve got the pieces roughly where you want them, apply glue to the un-fringed top ends and glue them into place. Then, apply glue yo the back of the hat’s brim and stick it down on top, over the glue ends of the hair, so the fringe sticks out below.

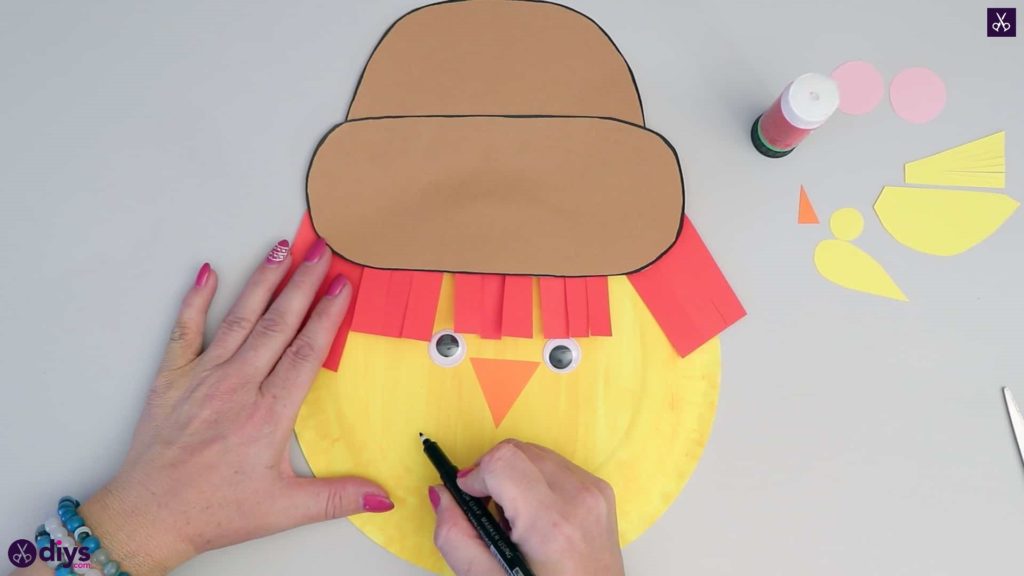
Step 10: finish the face
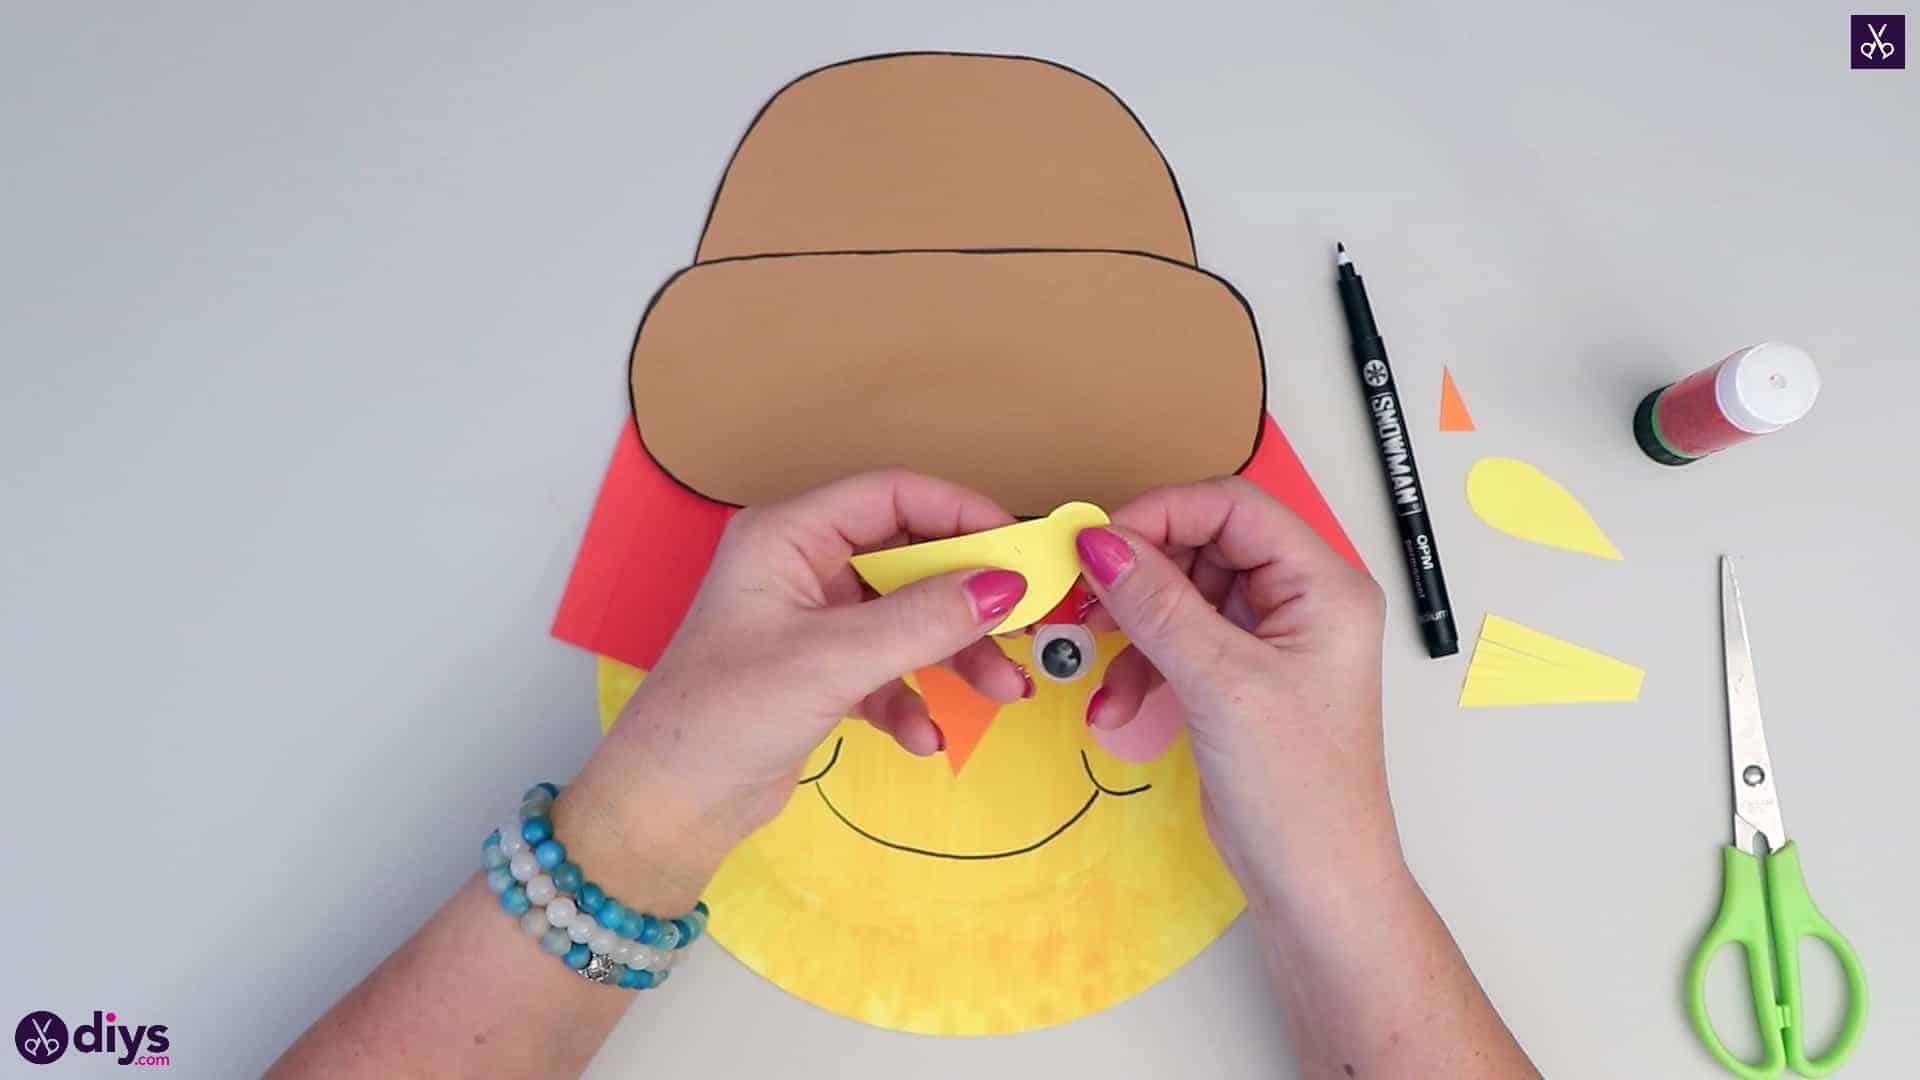
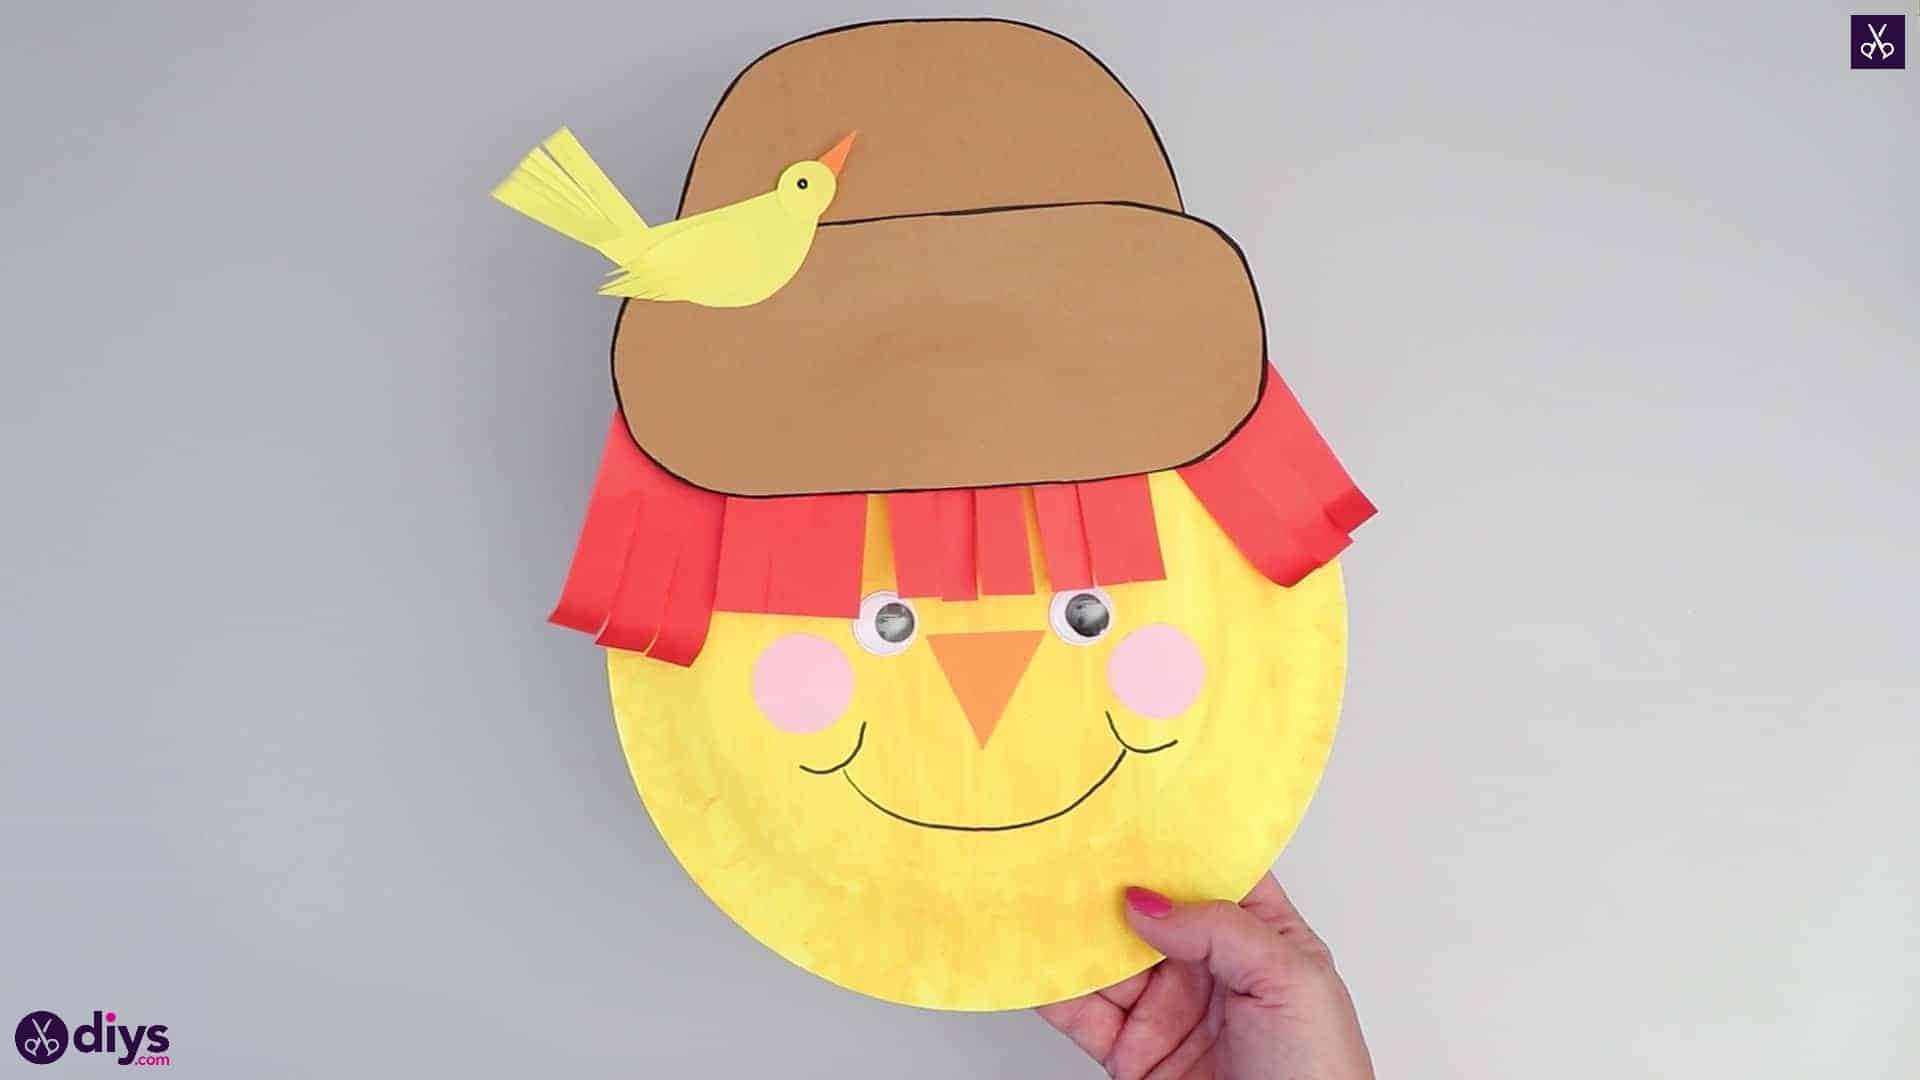
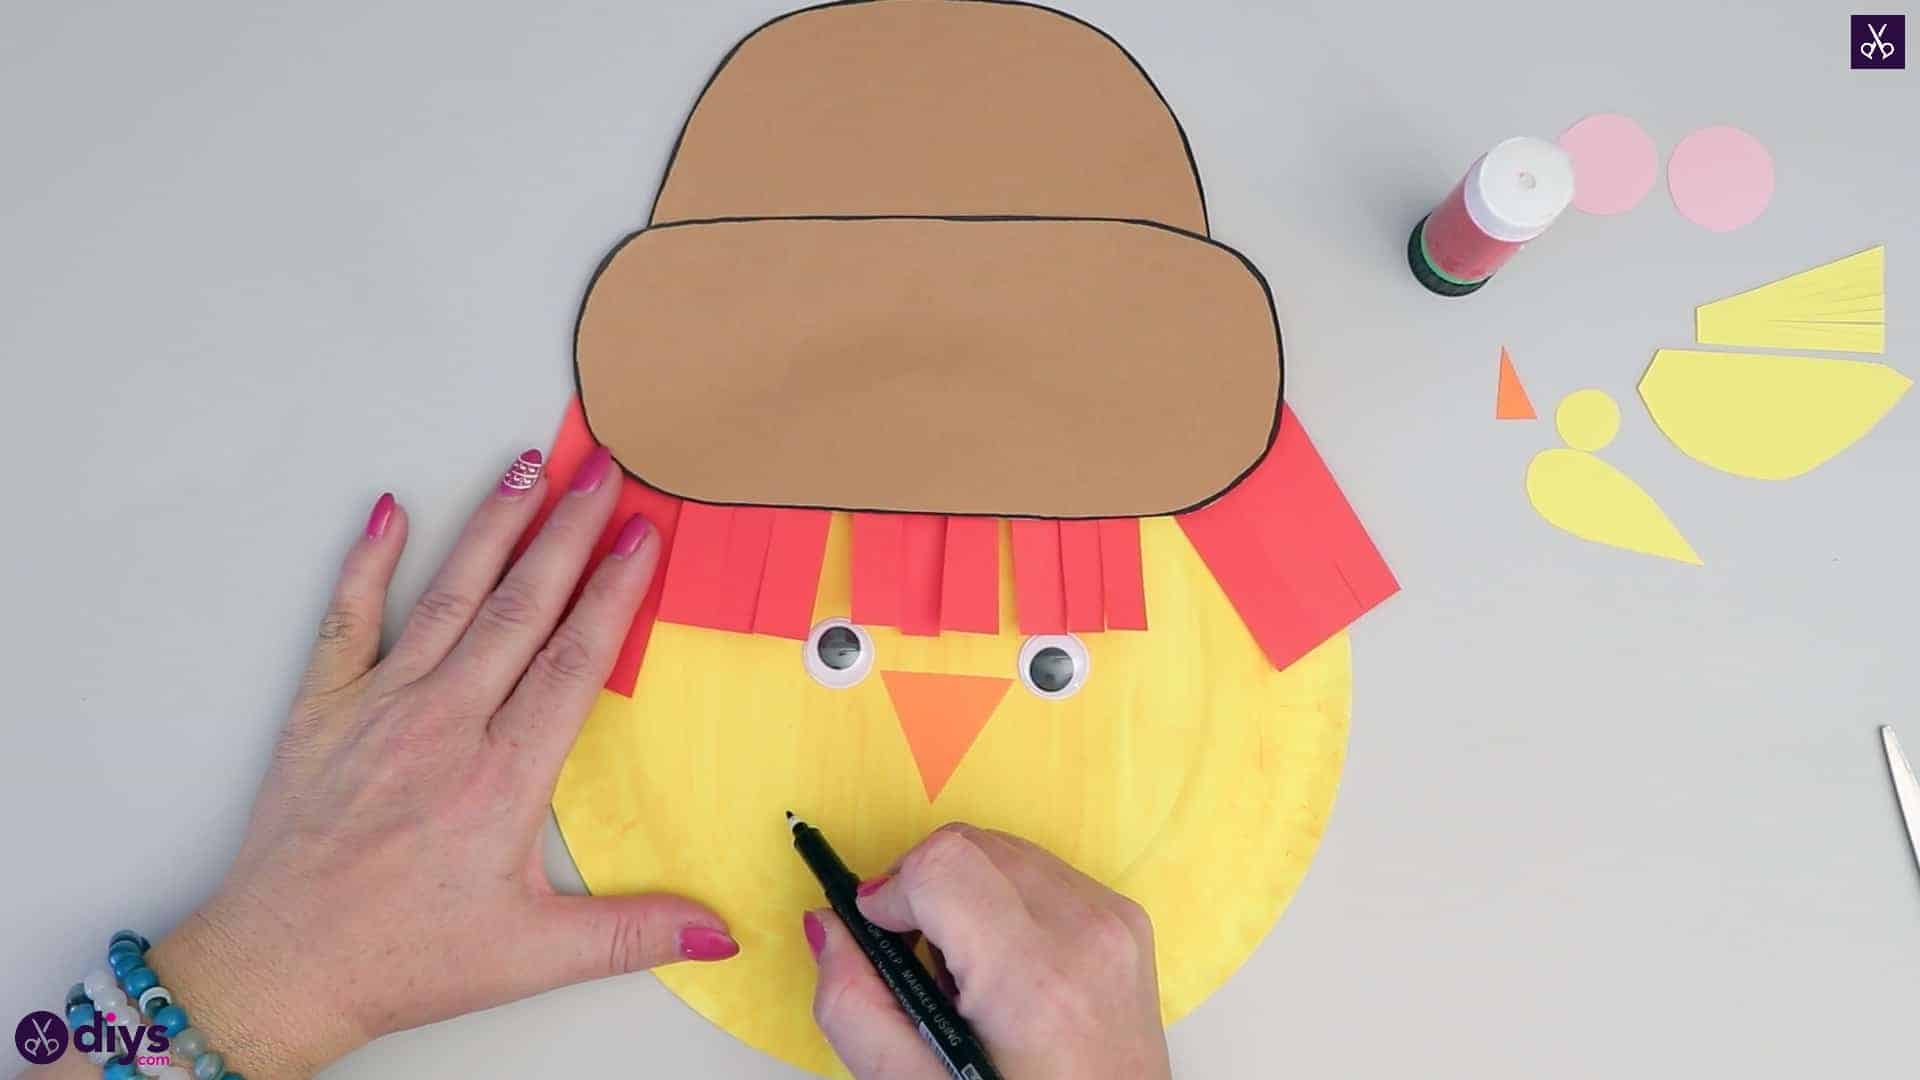
Complete your scarecrow’s face! Glue your googly eyes into place underneath the fringe and use them as a guide to stick down your triangular nose. I flipped mine upside down because it looked better. Use your black marker to draw a smile under the nose and stick down your pink cheeks at either end of the smile.
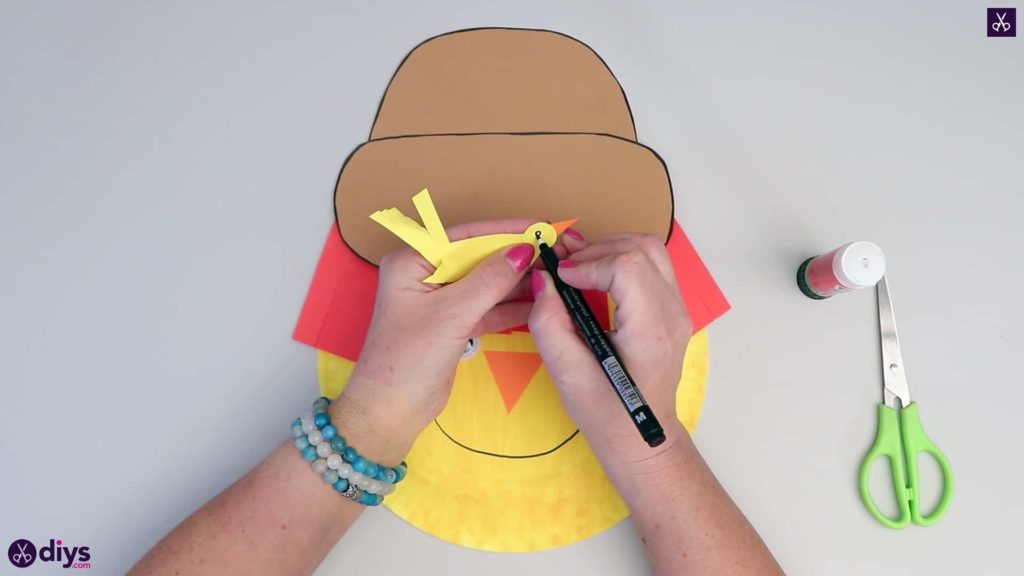
Step 11: add the bird
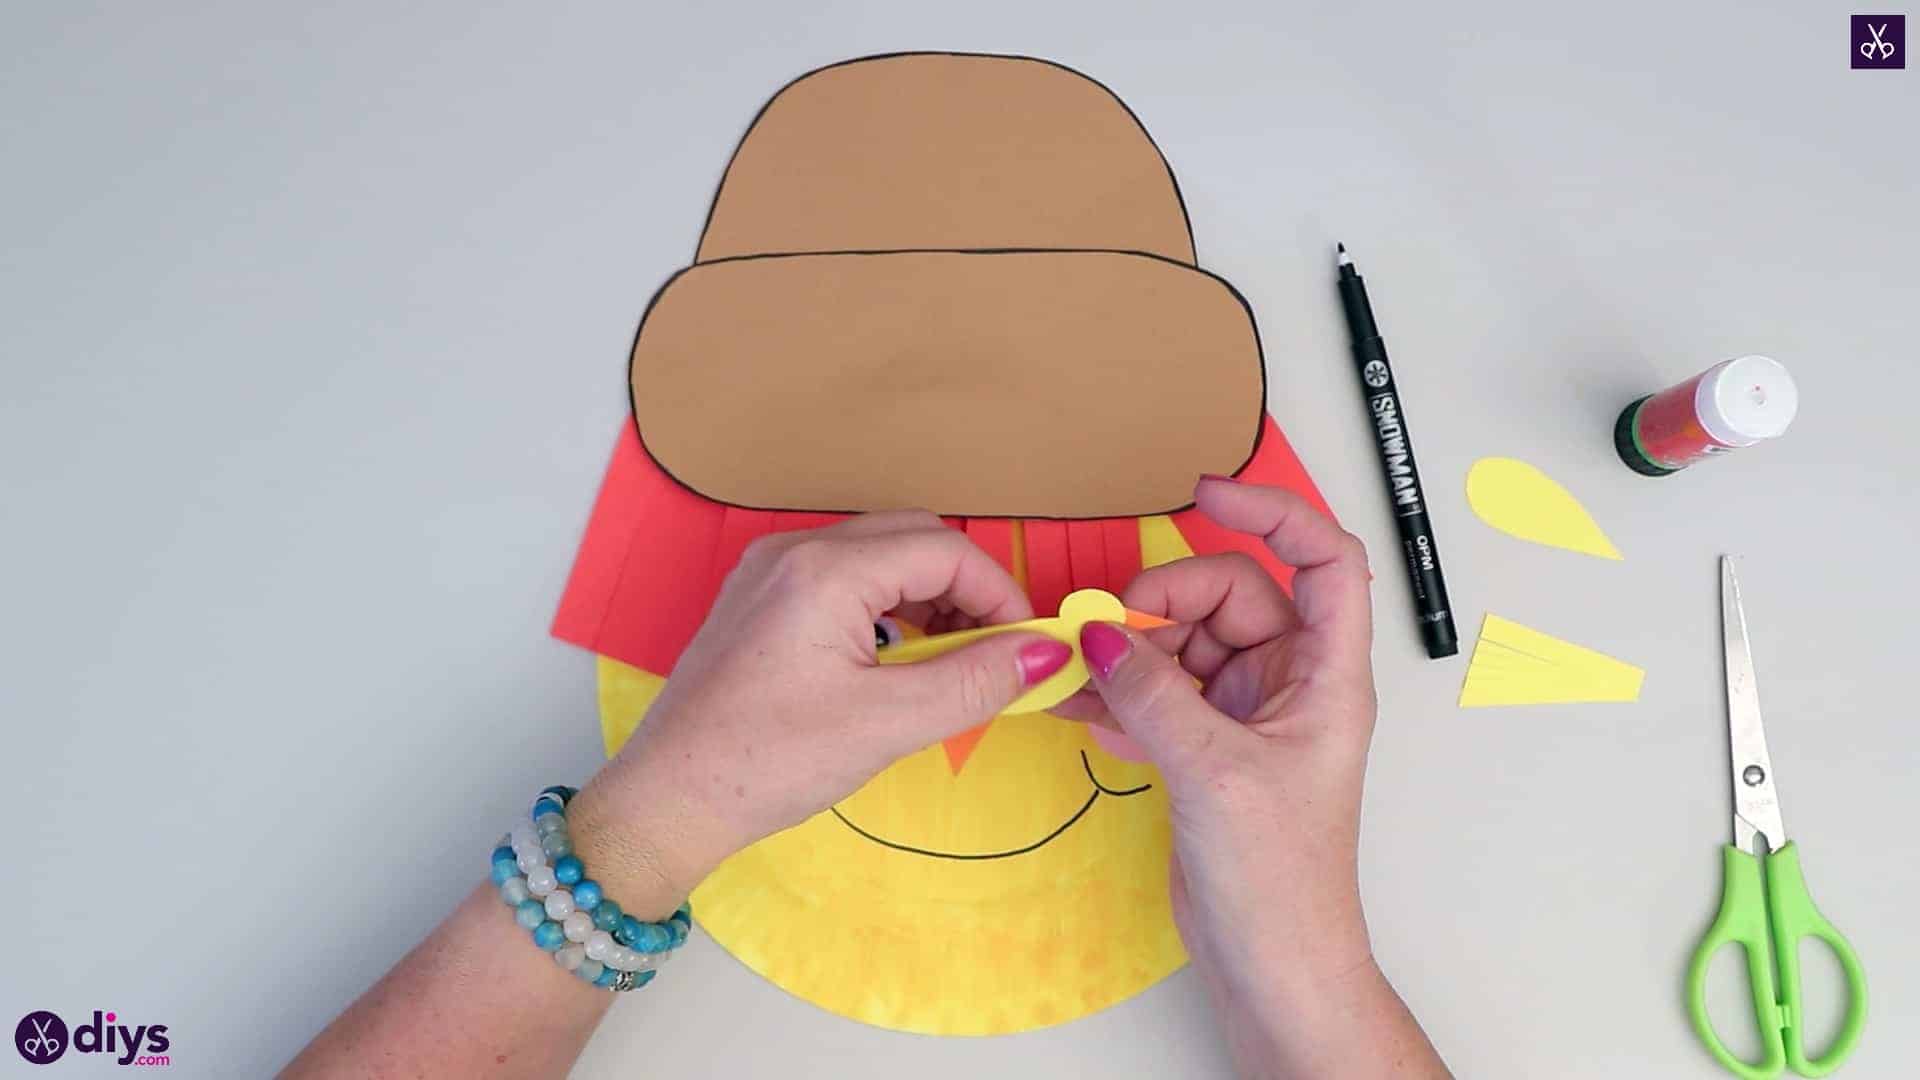
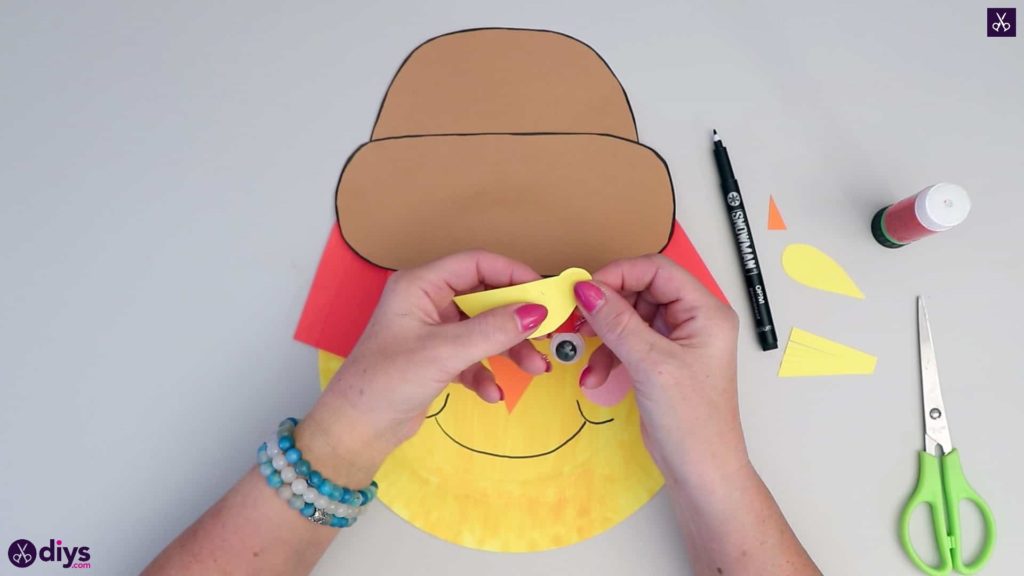
Put your bird together! Apply glue to the back of the bird’s circular head and stick it to one end of the semi-circle body. Then apply glue to the straight end of the point orange beak and stick it to the back of the head so it sticks out the front. Next, put some glue on the narrow flat end of the tail and stick it to the back of the body, at the other end, so the fringed part of the tail sticks up and out. Finally, stick your wing down to the side of the bird’s body, near the top of the semi-circle. I decided last second. to make little cuts in my wig, from the pointed tip in towards the rounded end, to make it look like feathers. Then I stuck it into place. Finally, apply glue to the backside of the bird’s body and stick it to the scarecrow’s hat, overlapping the top edge fo the brim.


That’s all there is to it! Just in case you’d like to try this project out for yourself, here’s a fantastic tutorial video to help you!