DIY Minnie Mouse Candy Holder
Updated on November 19, 2025


Recently, my daughter decided that she wanted to have a Minnie Mouse themed birthday party, so I’ve been trying to come up with ideas for ways we can make little details that will add to the theme of the party. That’s how we found ourselves making these fun little Minnie Mouse themed candy holders!

Check out these step by step instructions complete with photos! If you’d rather follow along with a video tutorial instead of written words, scroll to the bottom of this post to find just what you’re looking for.
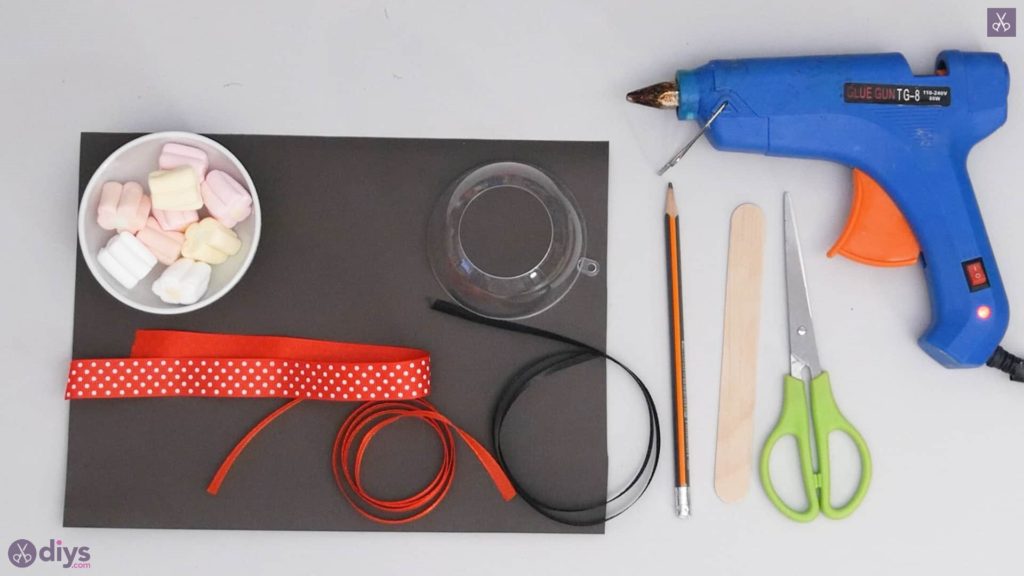
For this project, you’ll need:
- Black cardstock
- An open topped plastic dome (from the local craft store)
- Candies (I chose marshmallows)
- Scissors
- Hot glue
- Ribbon (polka dot red, black, and plain red)
- A pencil
- Large popsicle sticks
Step 1: Gather your materials!
Double check the list and get everything you need placed in front of you.
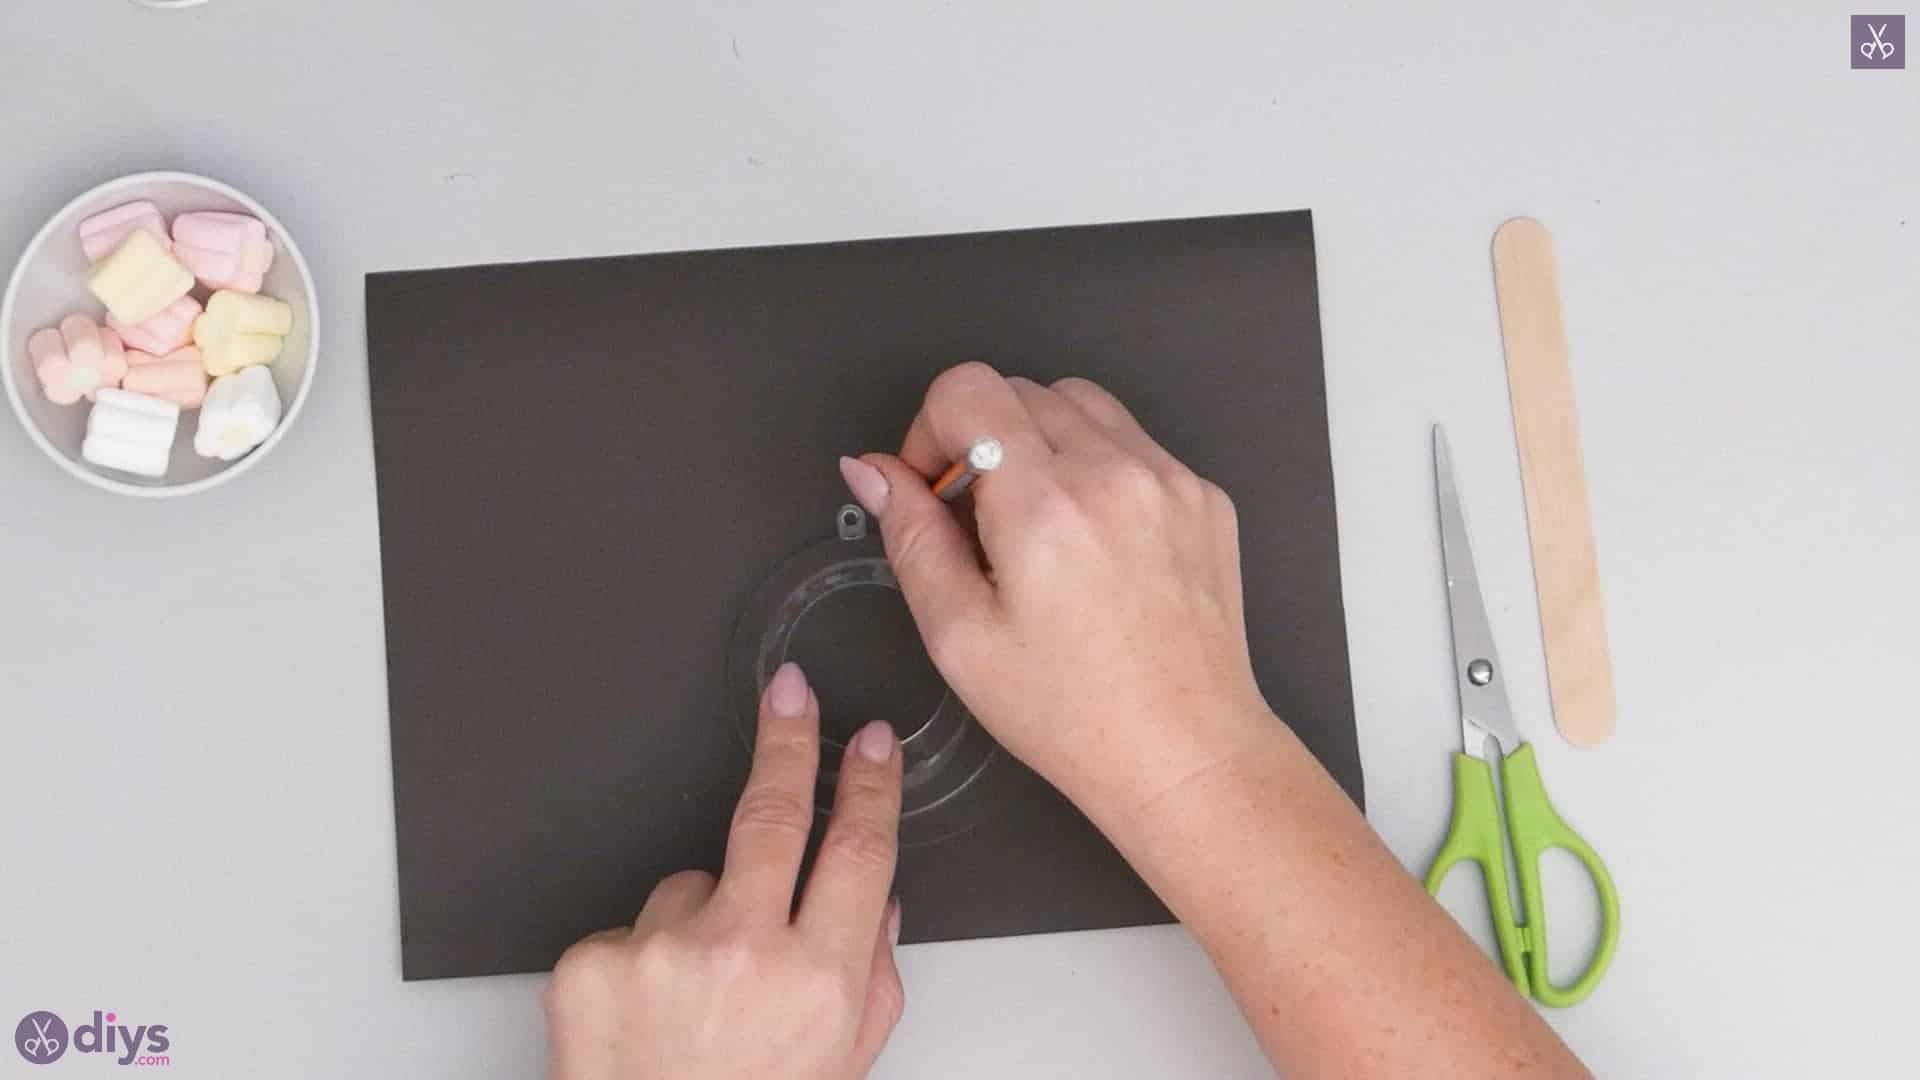
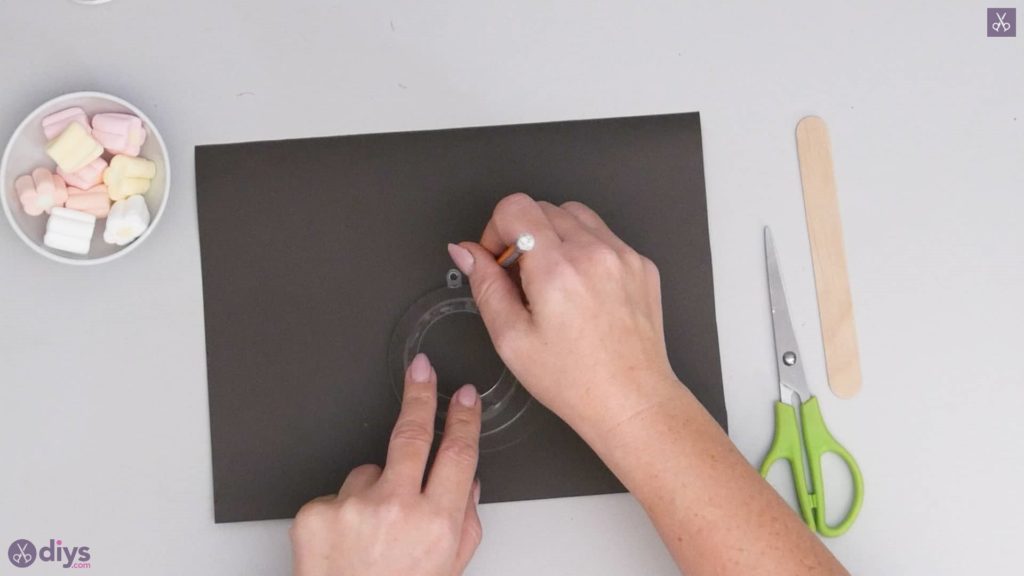
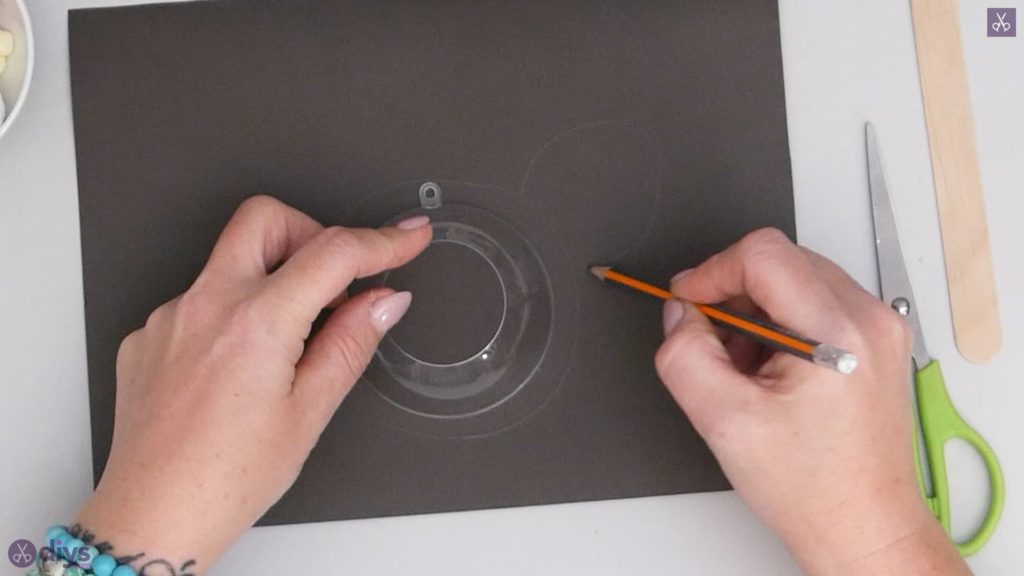
Step 2: trace the circle
Place your plastic dome on your piece of black cardstock, leaving lots of space to work with around it. Use your pencil to trace the shape of a circle around it, leaving a consistent extra space between your pencil and the dome itself of about a half inch, like a border all the way around. Once you’ve completed that circle, draw two smaller circles near where you want the top to be, on either side of a central mark. Let your circles overlap a little; these will be your Minnie Mouse’s ears. Cut the shape out and turn it over. You’ll use the side that doesn’t have pencil markings.
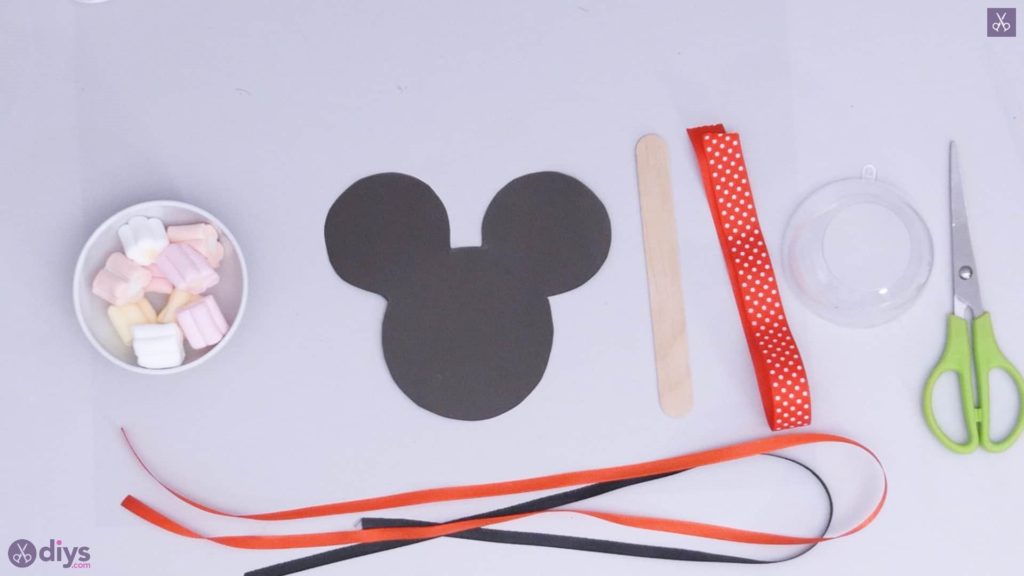
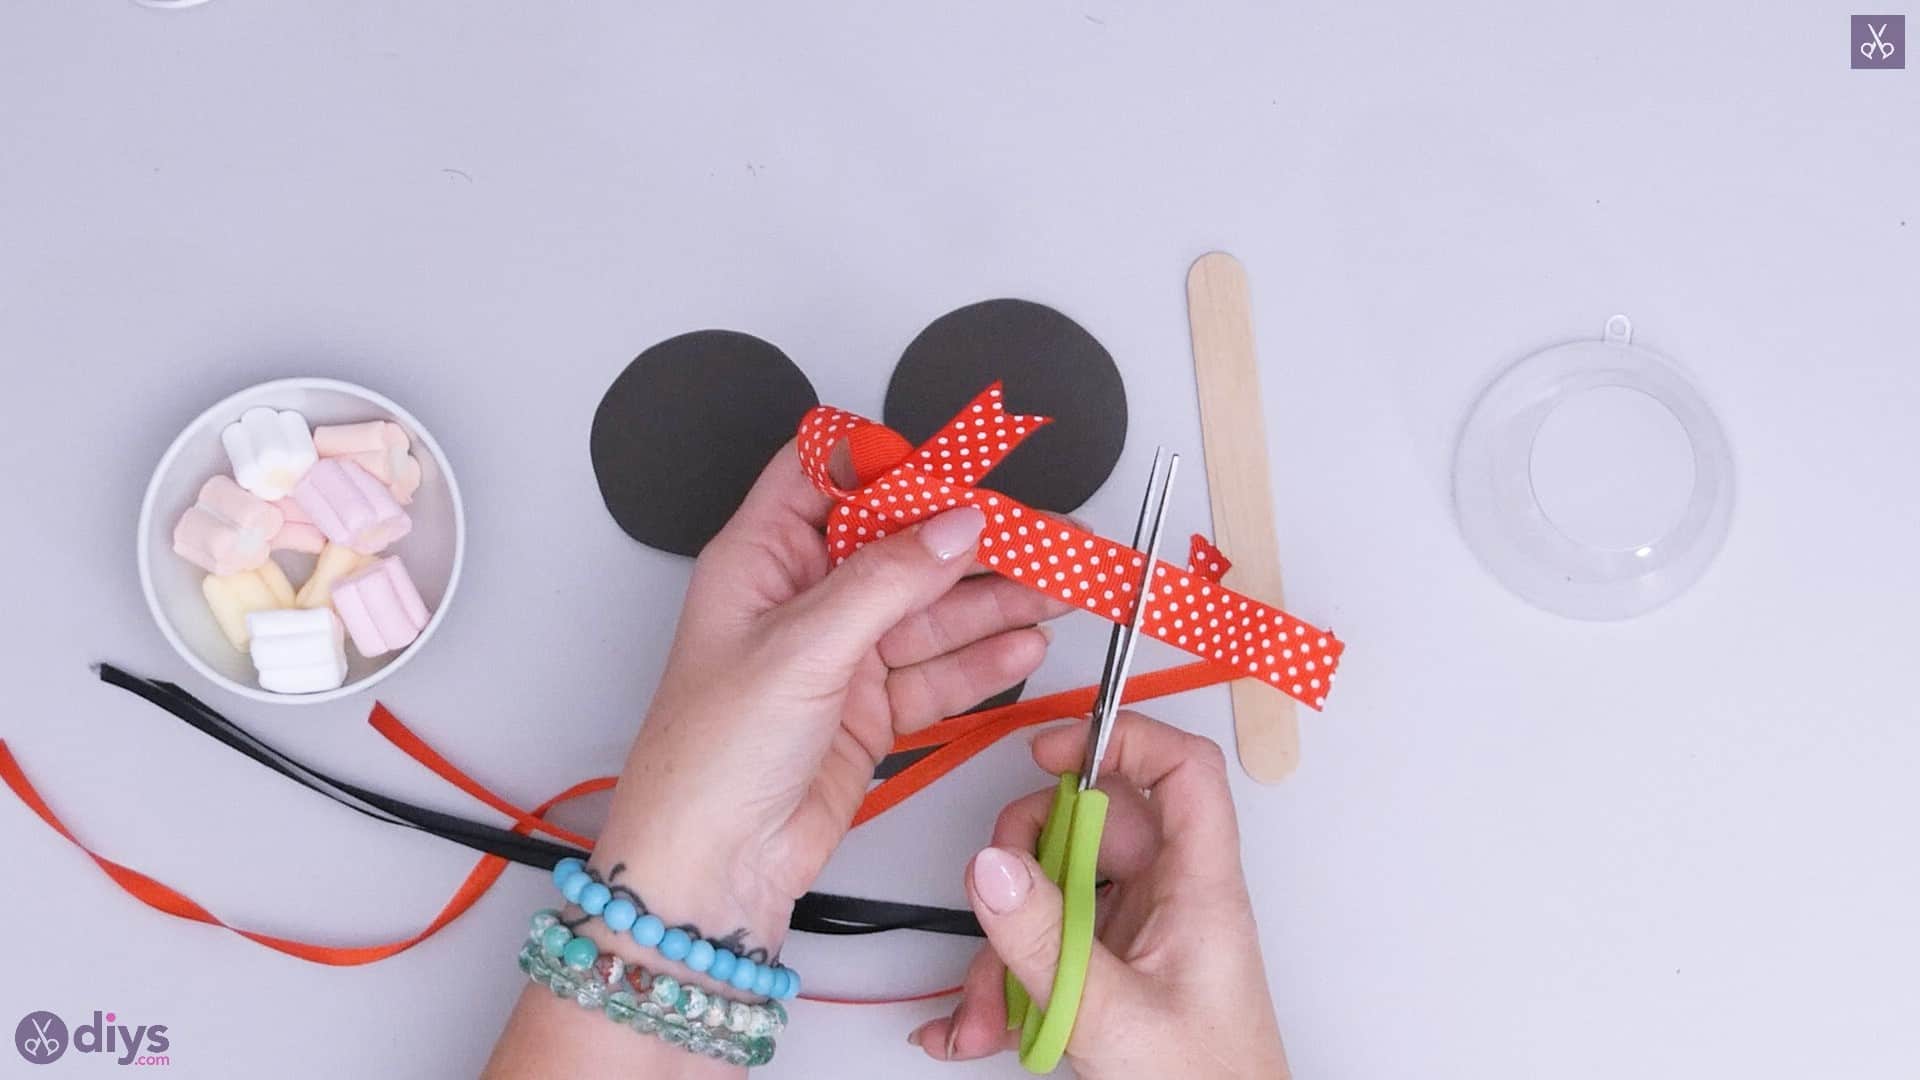
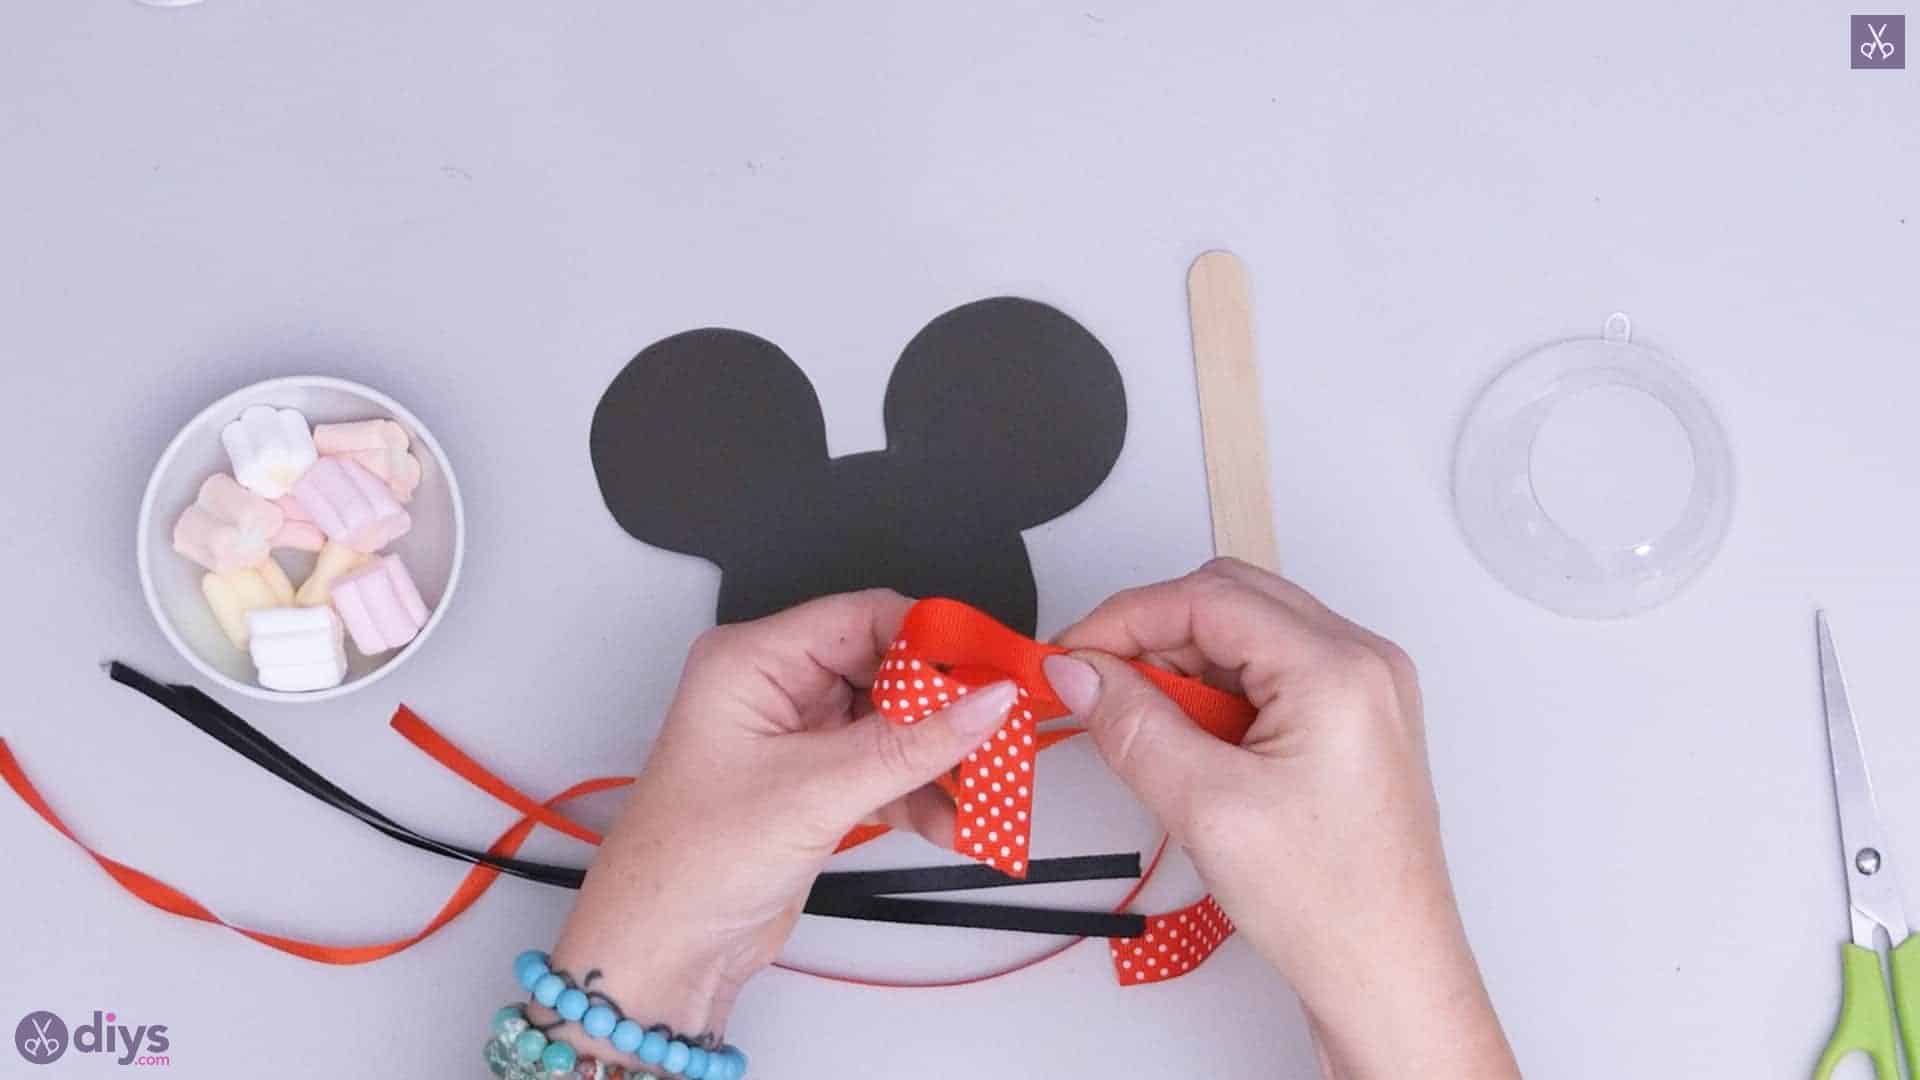
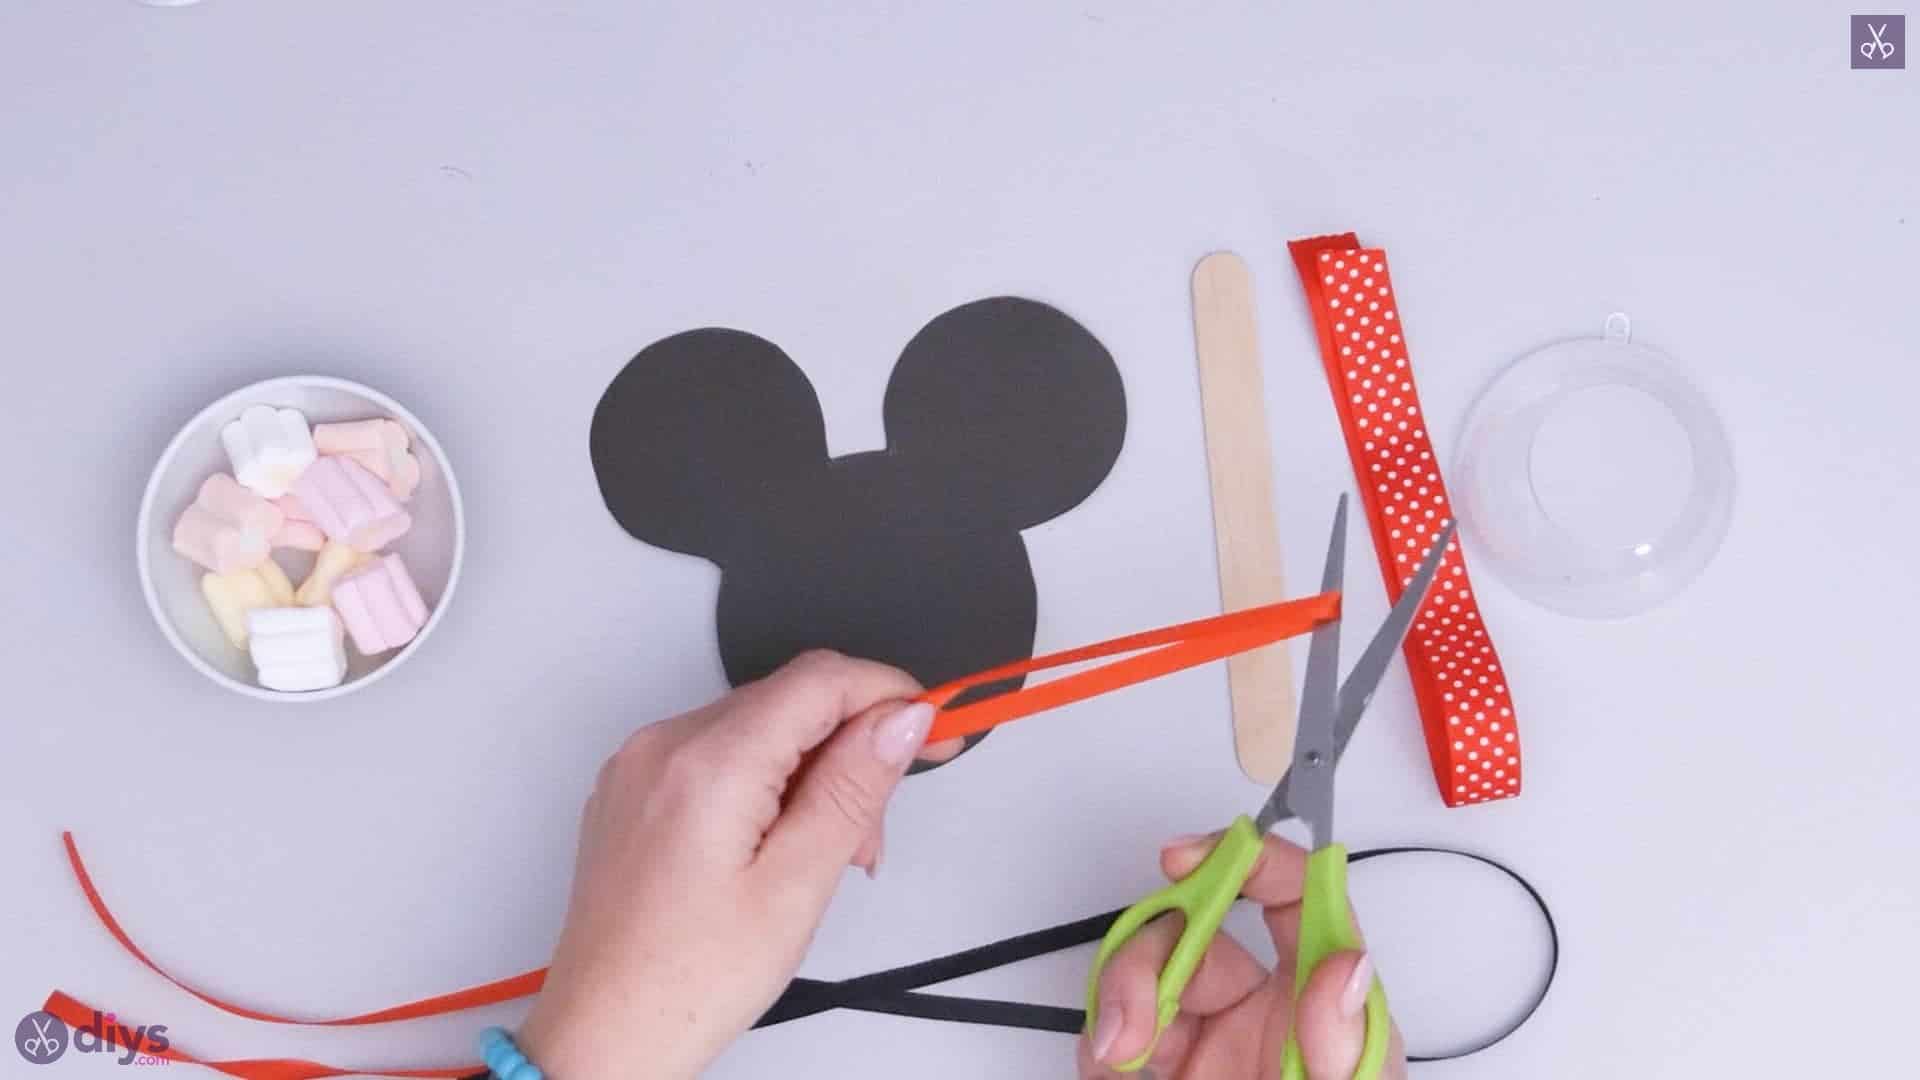
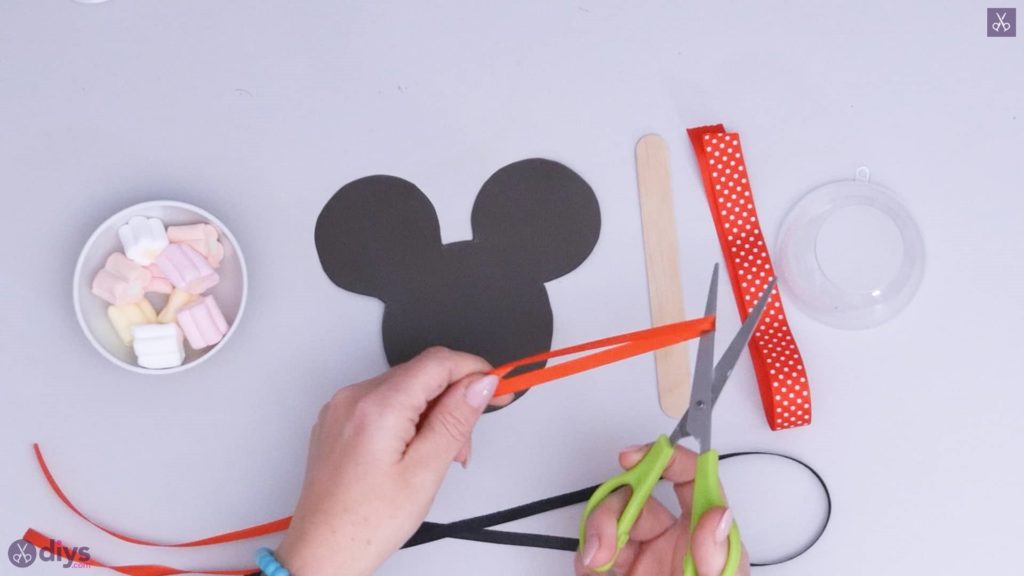
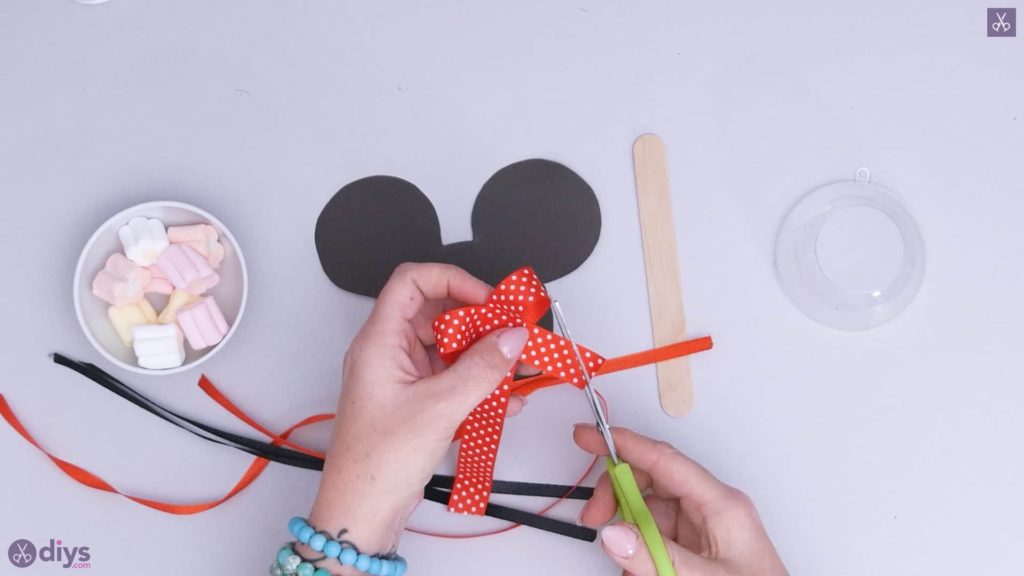
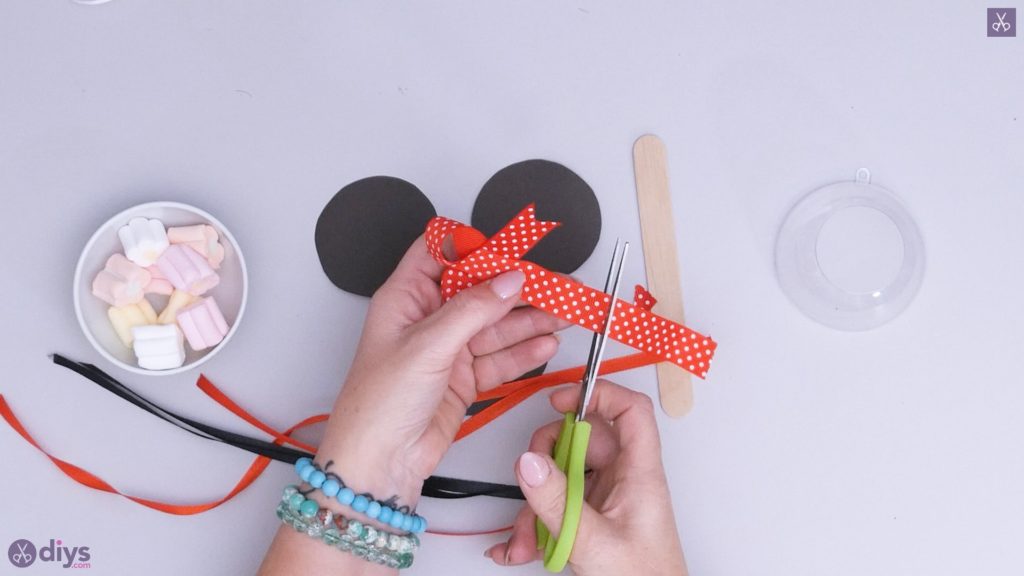
Step 3: ready your ribbon
Get all of your ribbon elements ready! First, cut two pieces of read ribbon that are about six inches long each. Then cut two pieces the same length from your black ribbon. Next, make a bow using your red and white polka dotted ribbon. Do this by curling the end in from the side to make a loop and gluing it down where it crosses over the rest of the ribbon, leaving an inch or so of excess like ribbon ends. The curl the other side in a loop in the same way and glue it down in the centre as well where it crosses over the others. Trim the excess so the two ribbon ends are the same length, and then cut a little triangular notch in each one for detail and to stop them from fraying.


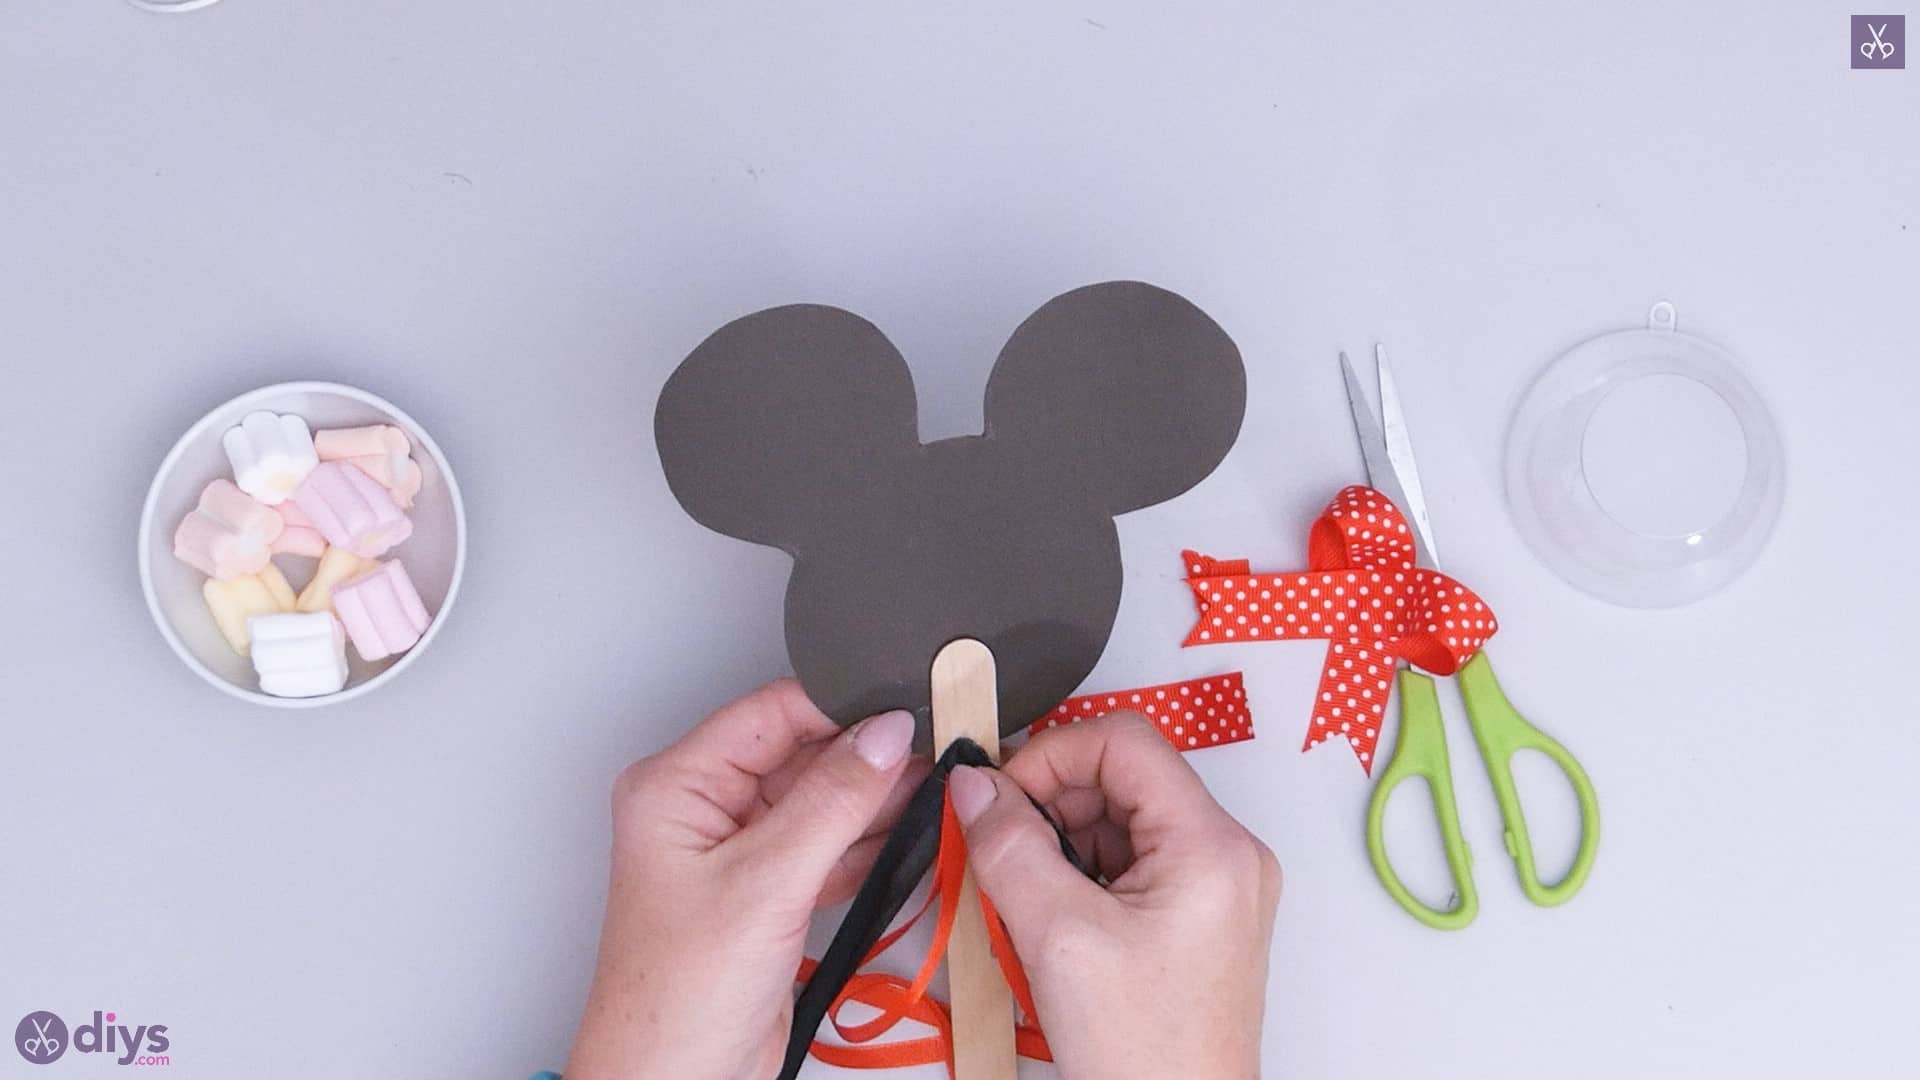
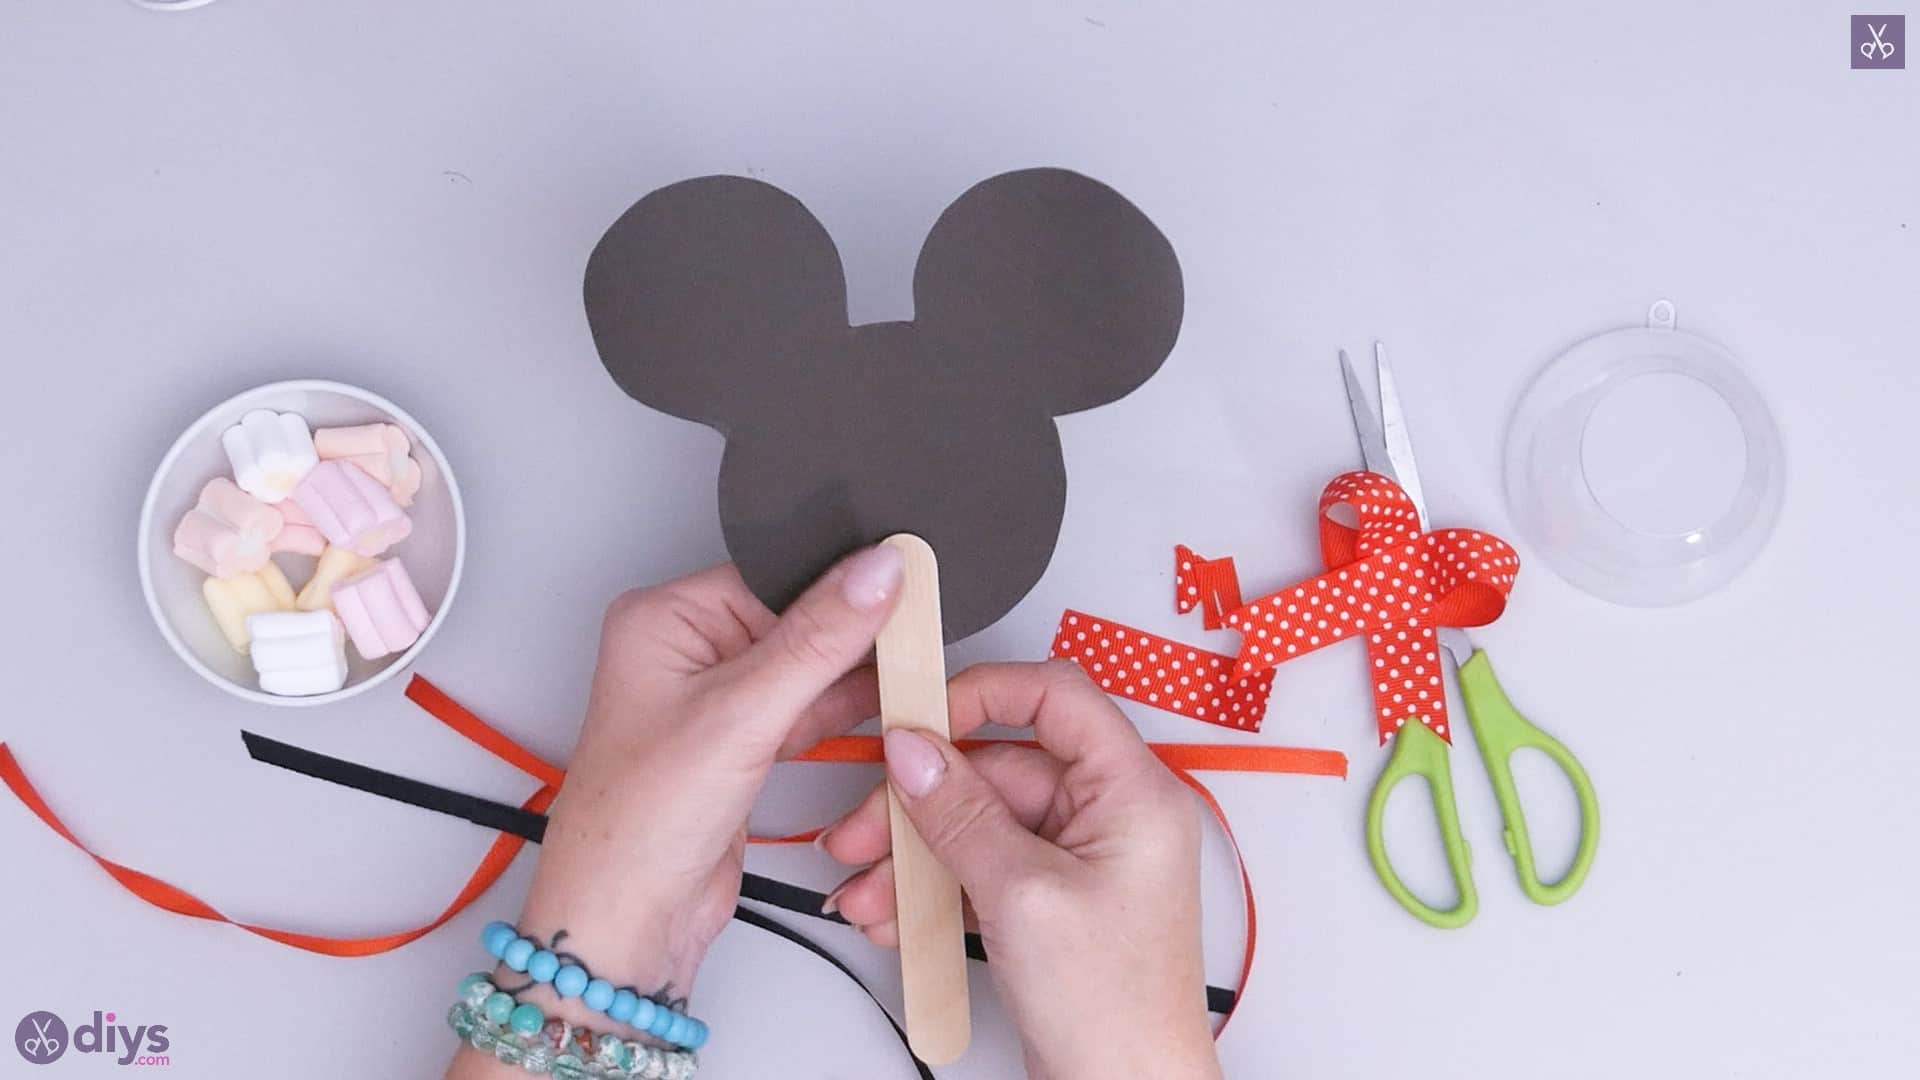
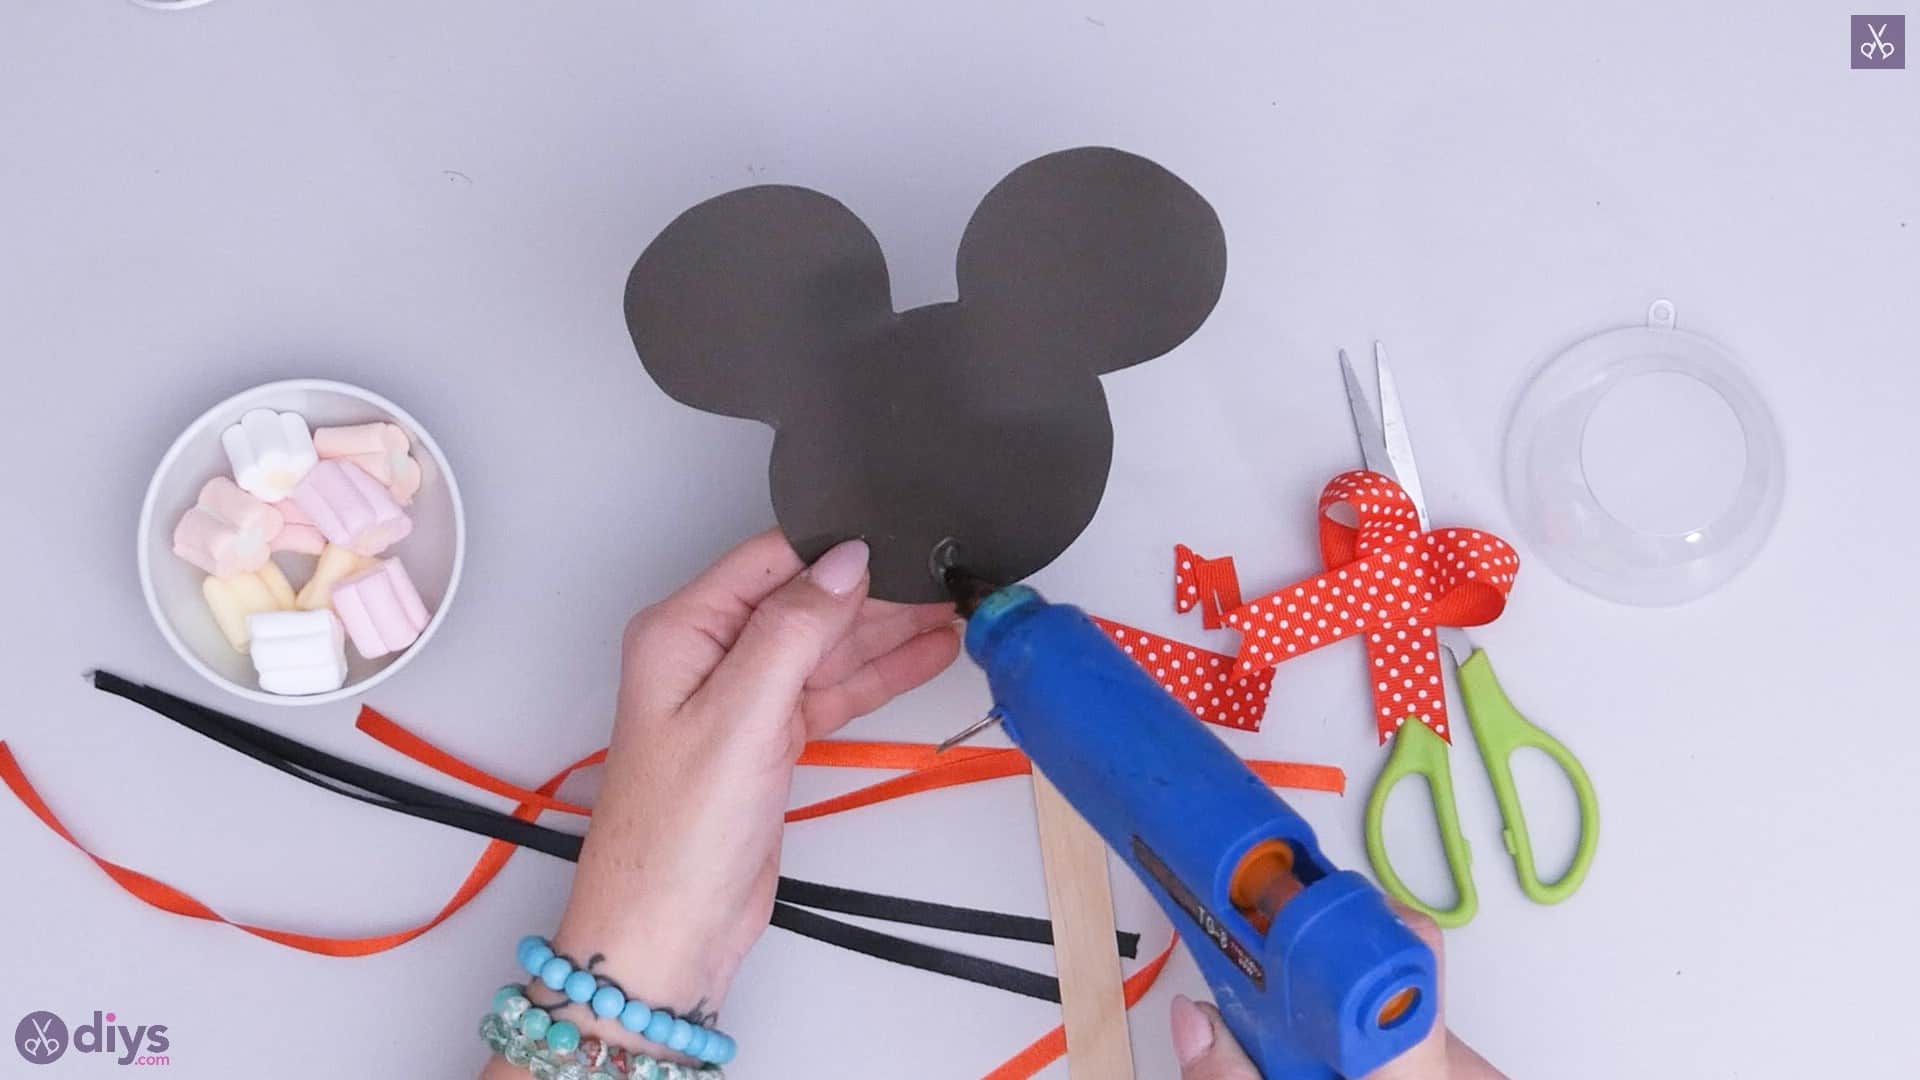
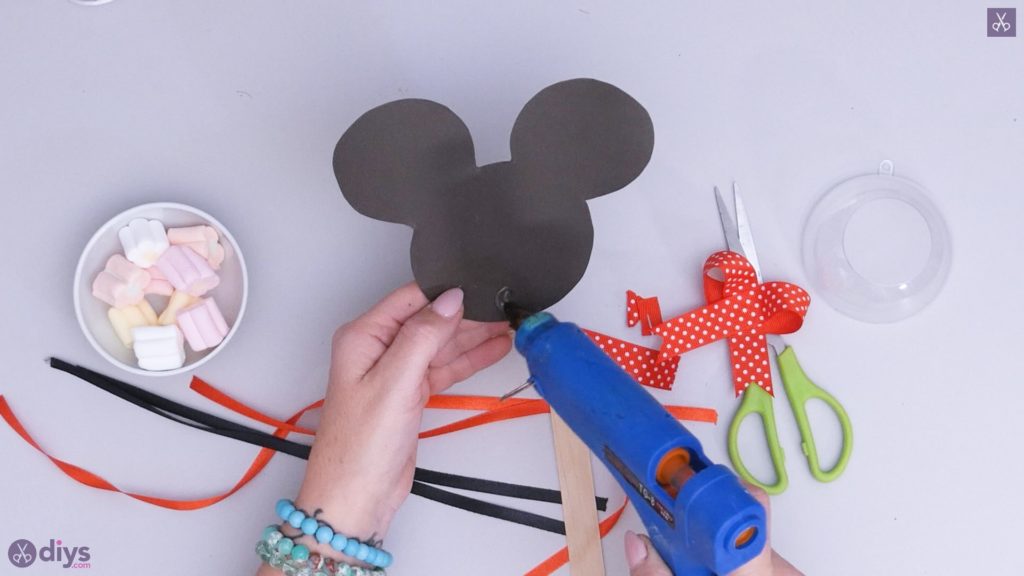
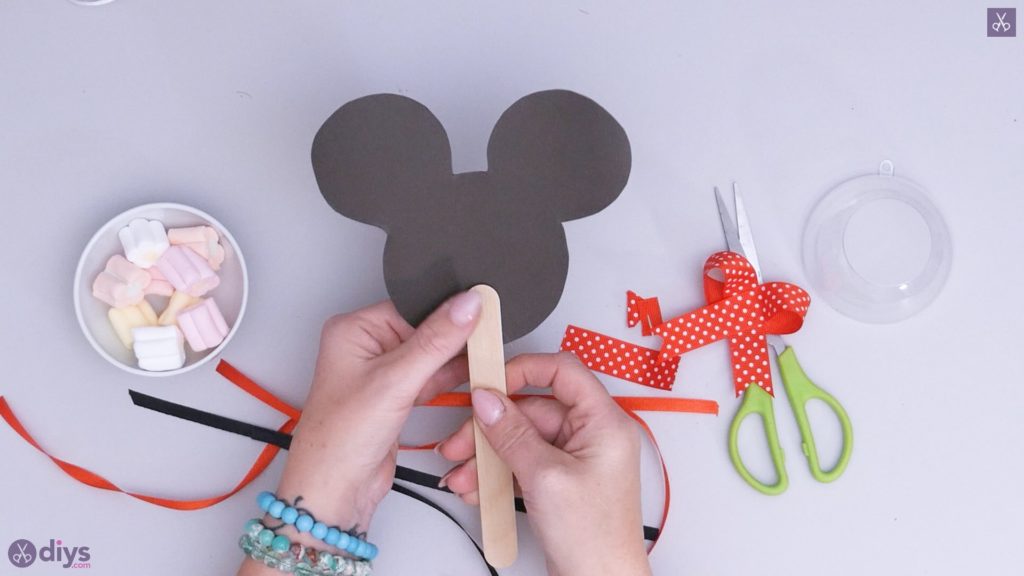
Step 4: attach stick
Apply some glue near the bottom edge of your mouse head and stick the end of a popsicle stick down there. You want it to overlap a little bit, by about half an inch onto the black card.
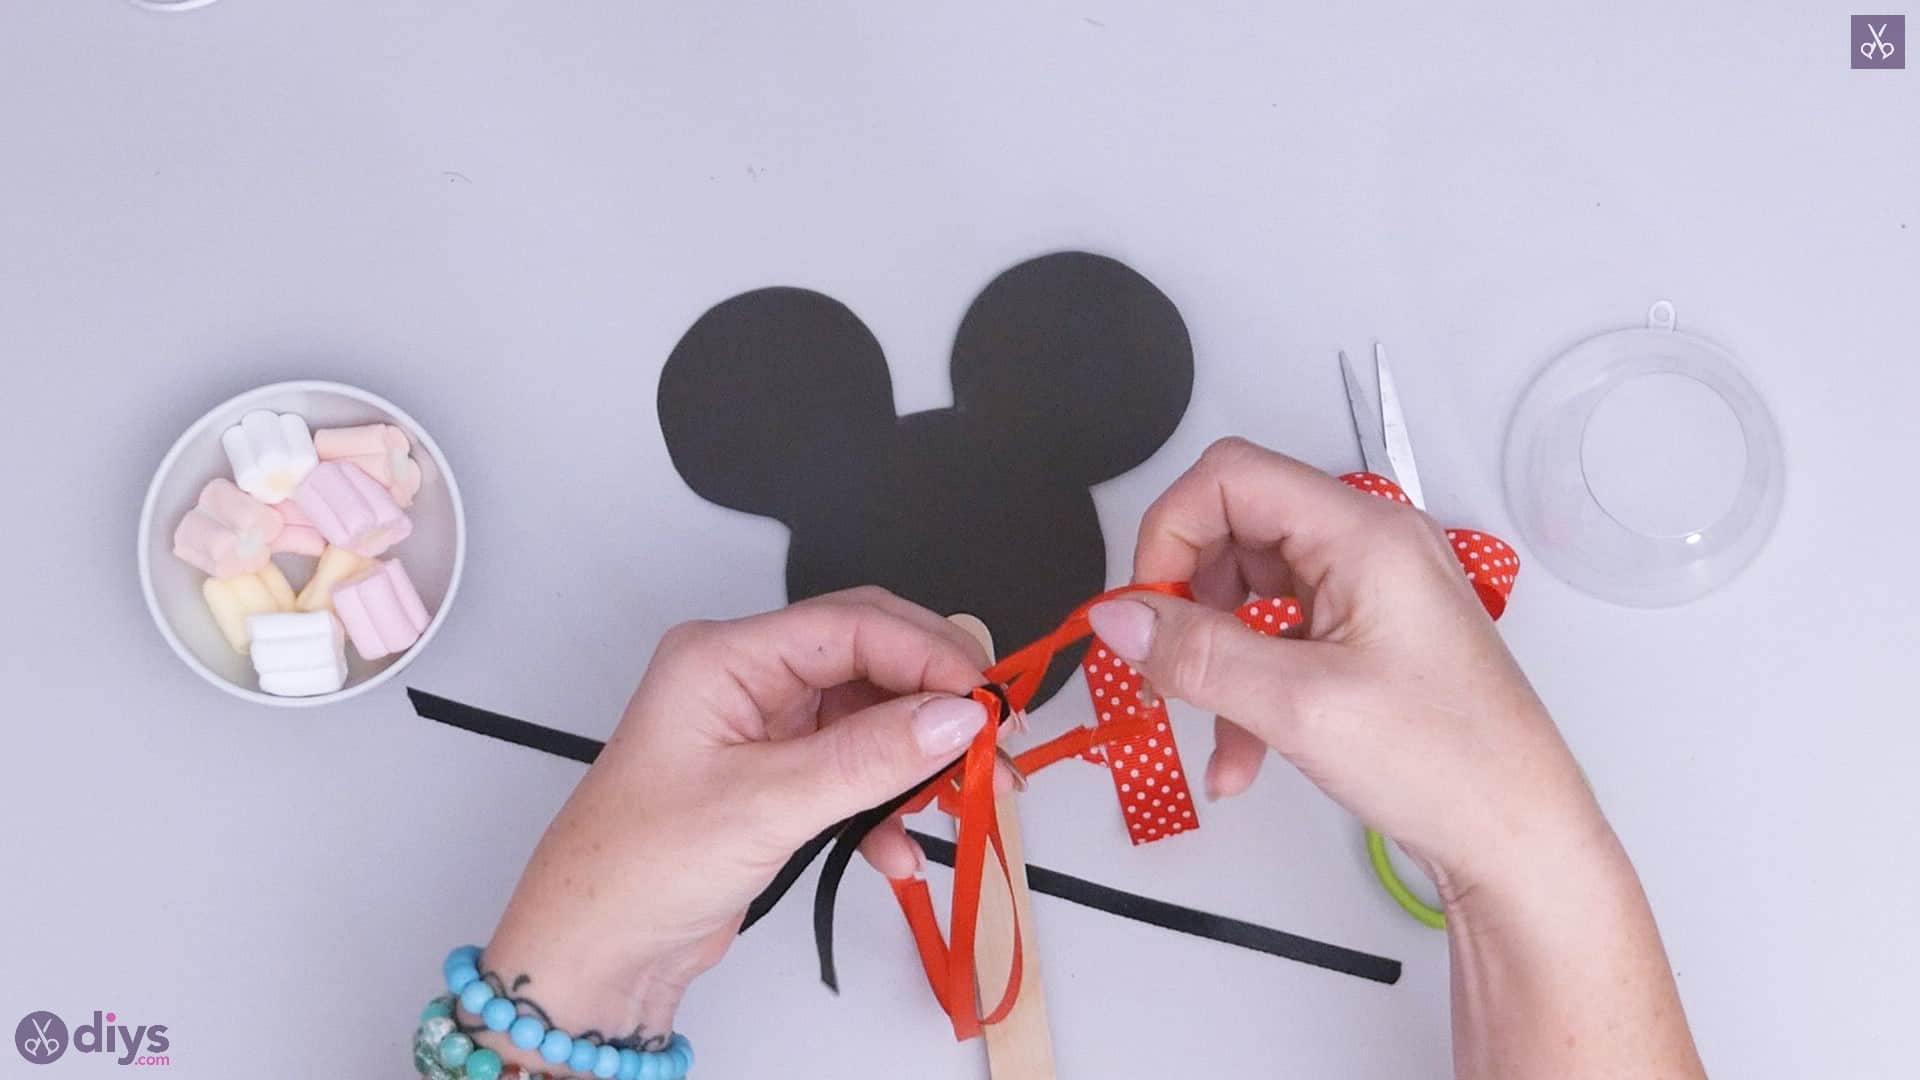
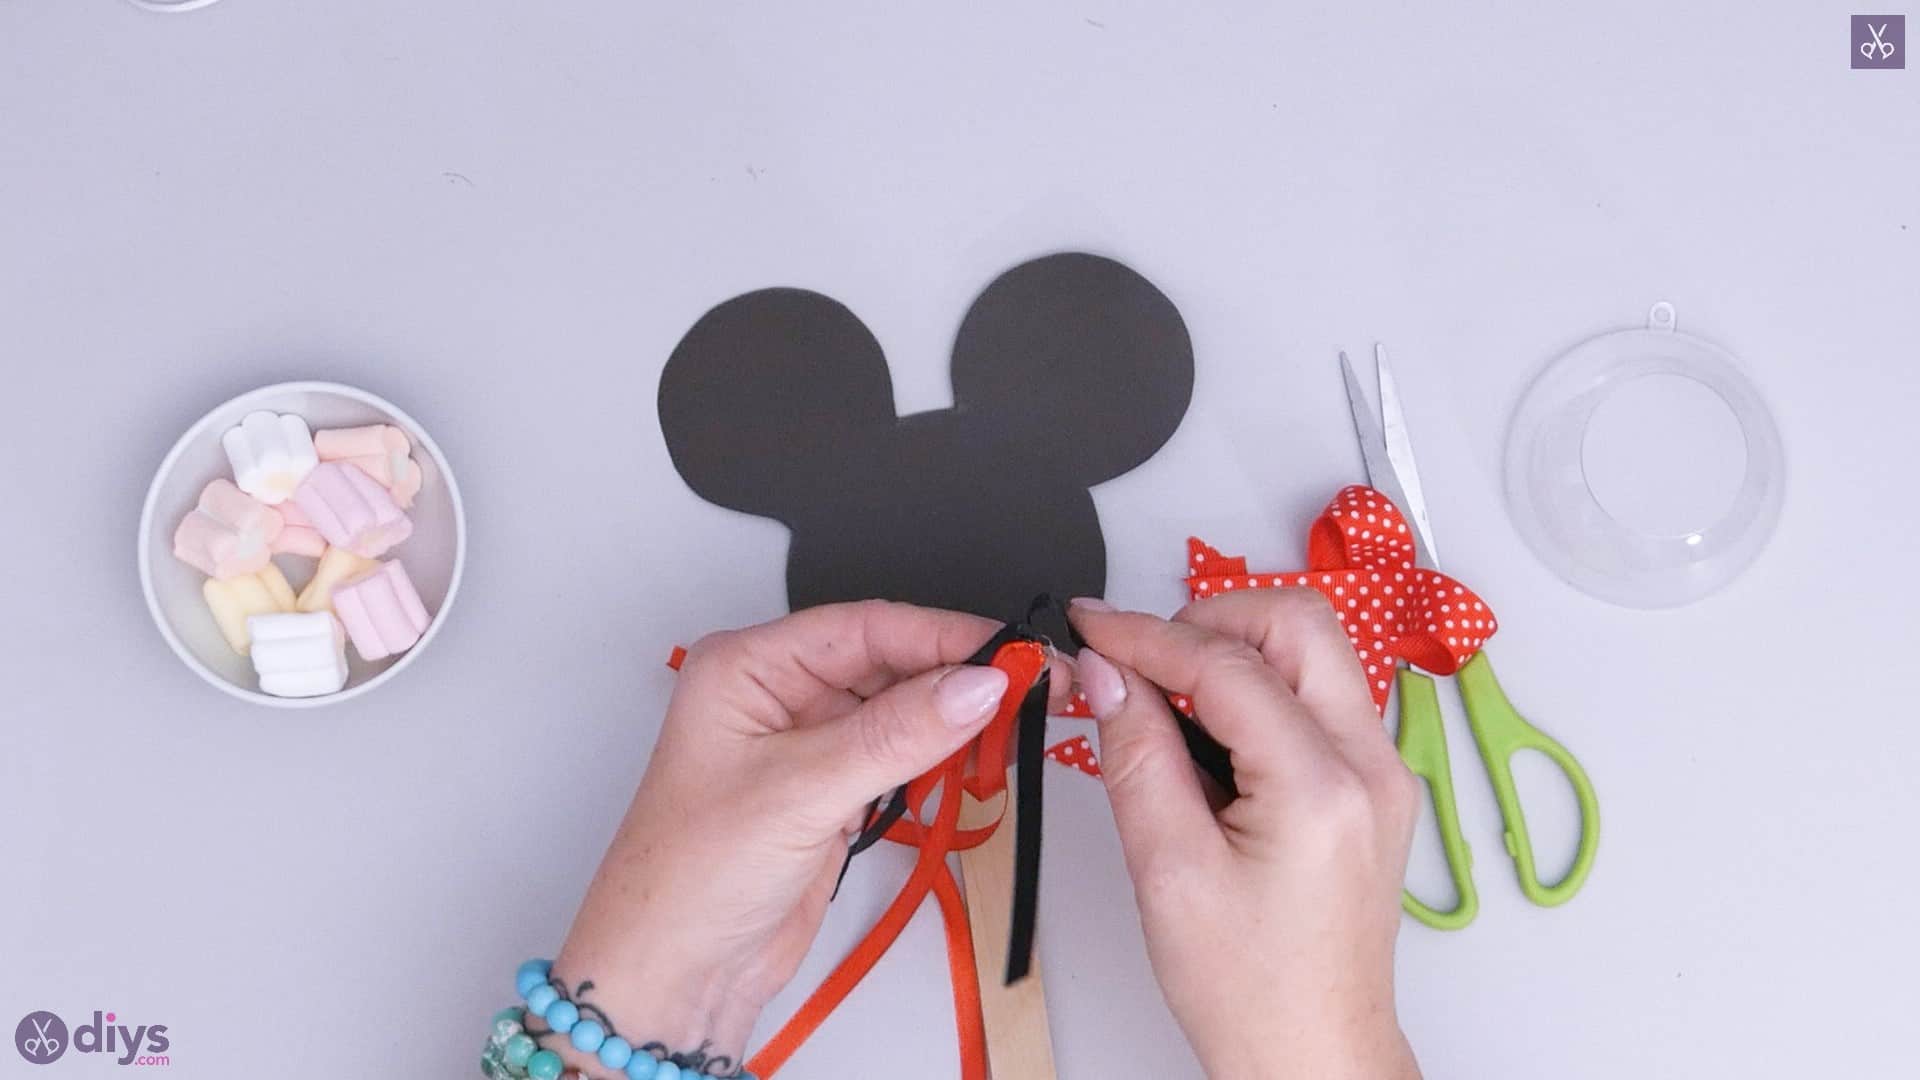
Step 5: add ribbons
Pick up each of your black and red ribbons in turn and fold each one in half. At the halfway point where they crease midway down their length, layer them against each other. Use your glue gun to apply glue to each layer so all of the ribbons are fastened together at that point. I alternated colours and angled mine slightly so the really fanned out. Then apply glue to the popsicle stick, just below where it crosses the edge of the black cardstock and stick the layered base of your ribbon bundle down there.


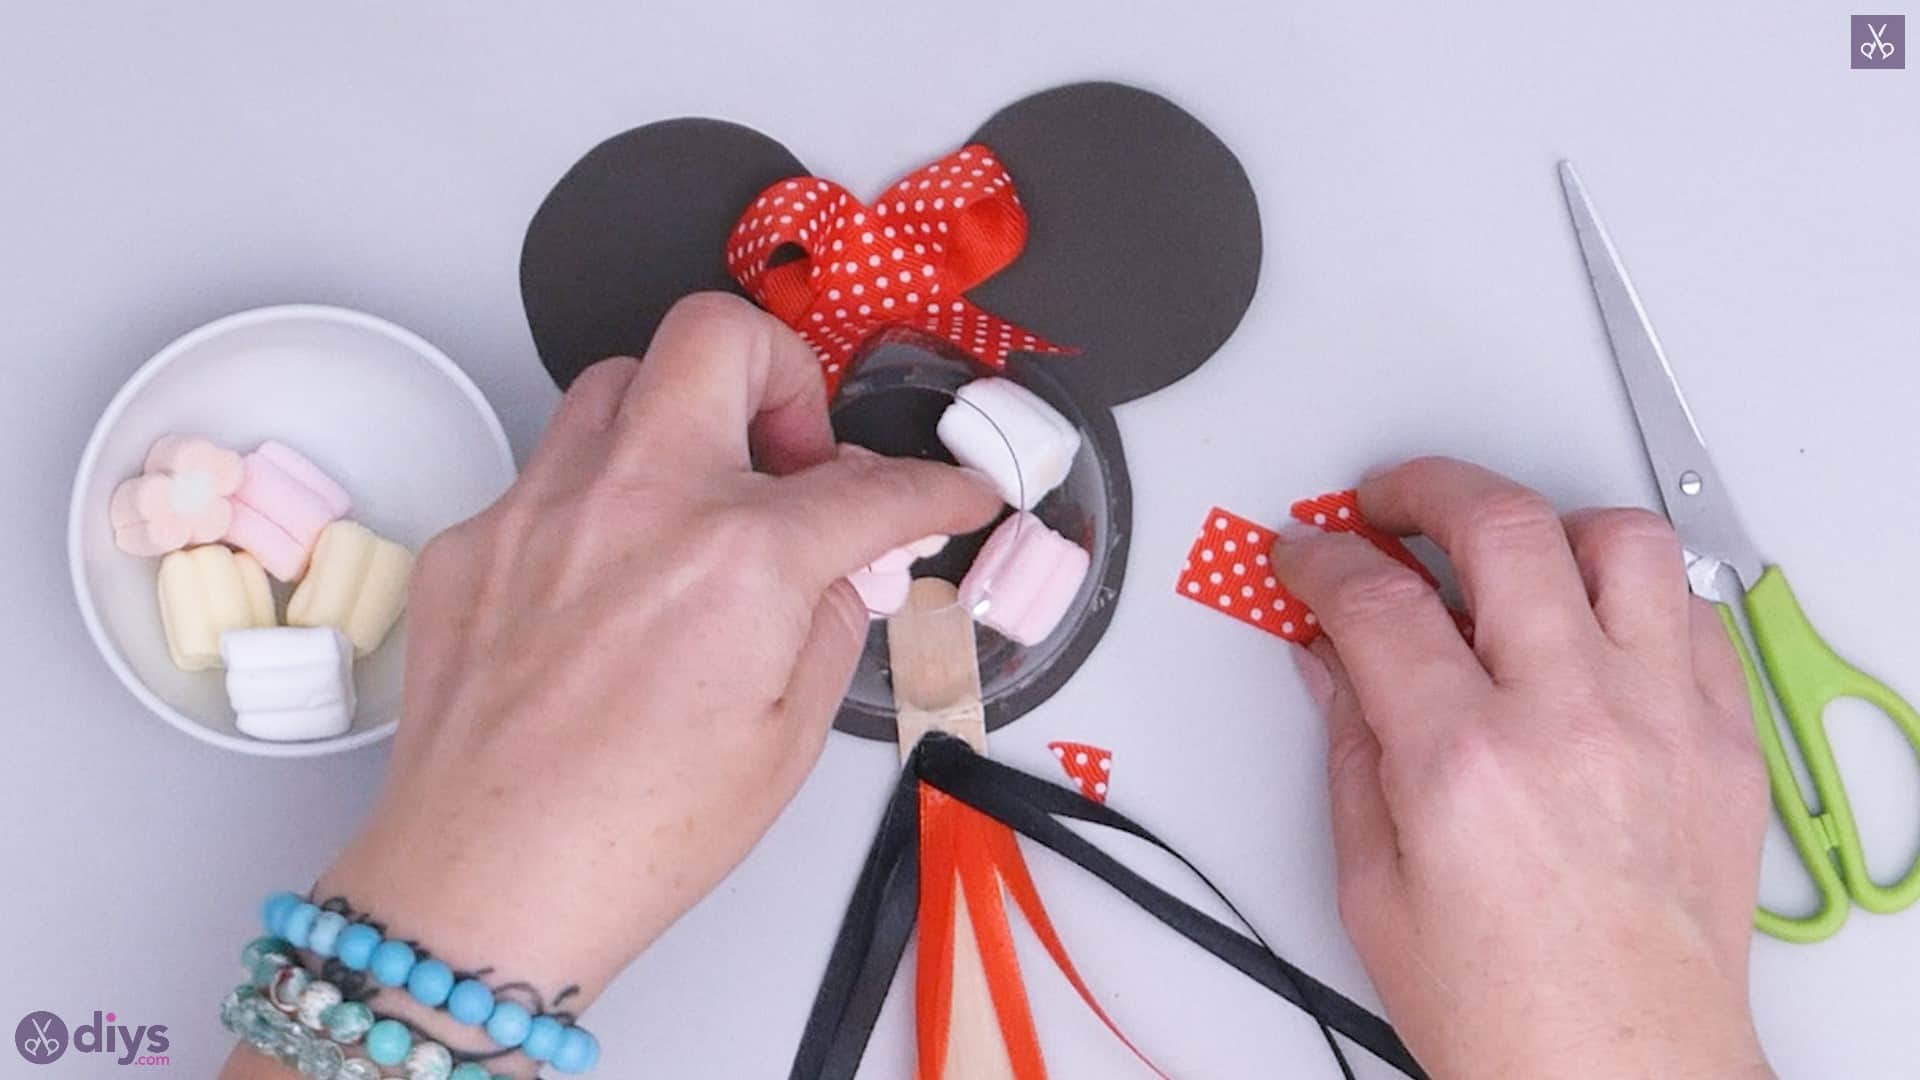
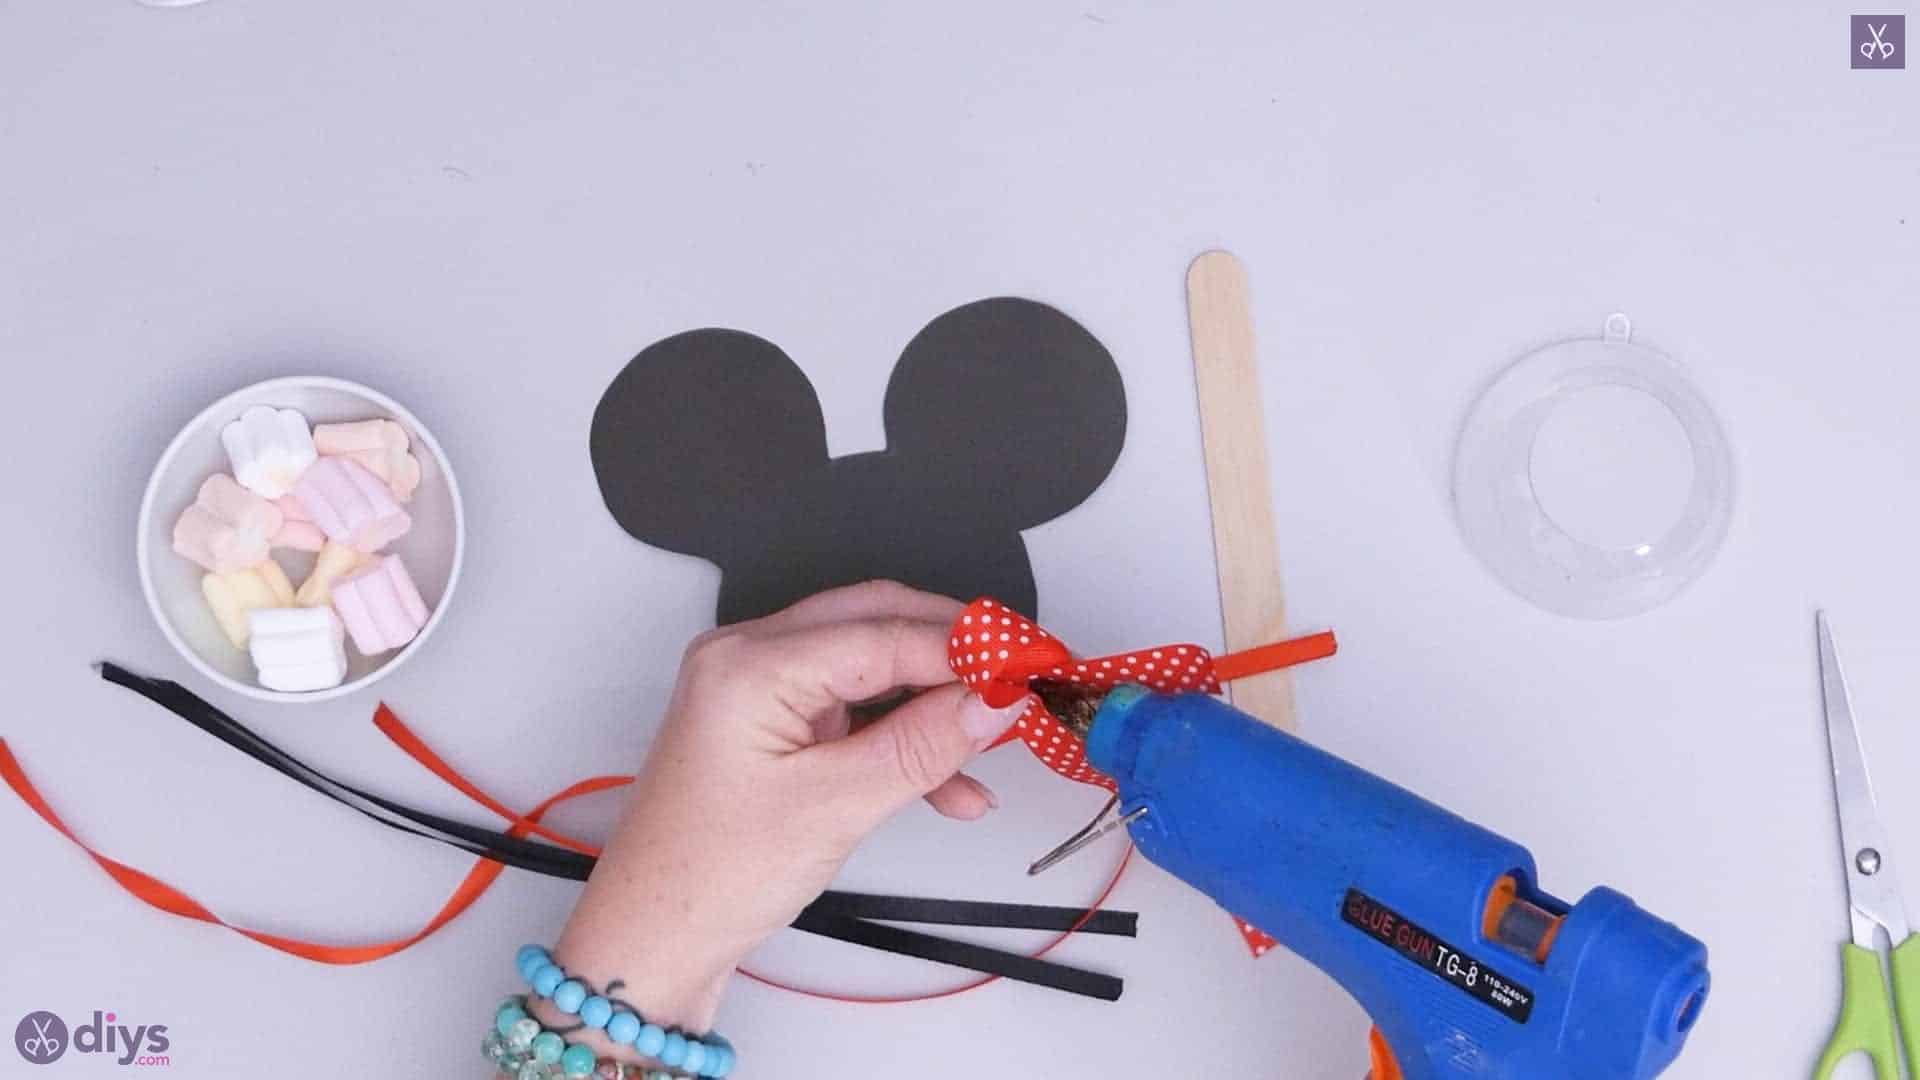
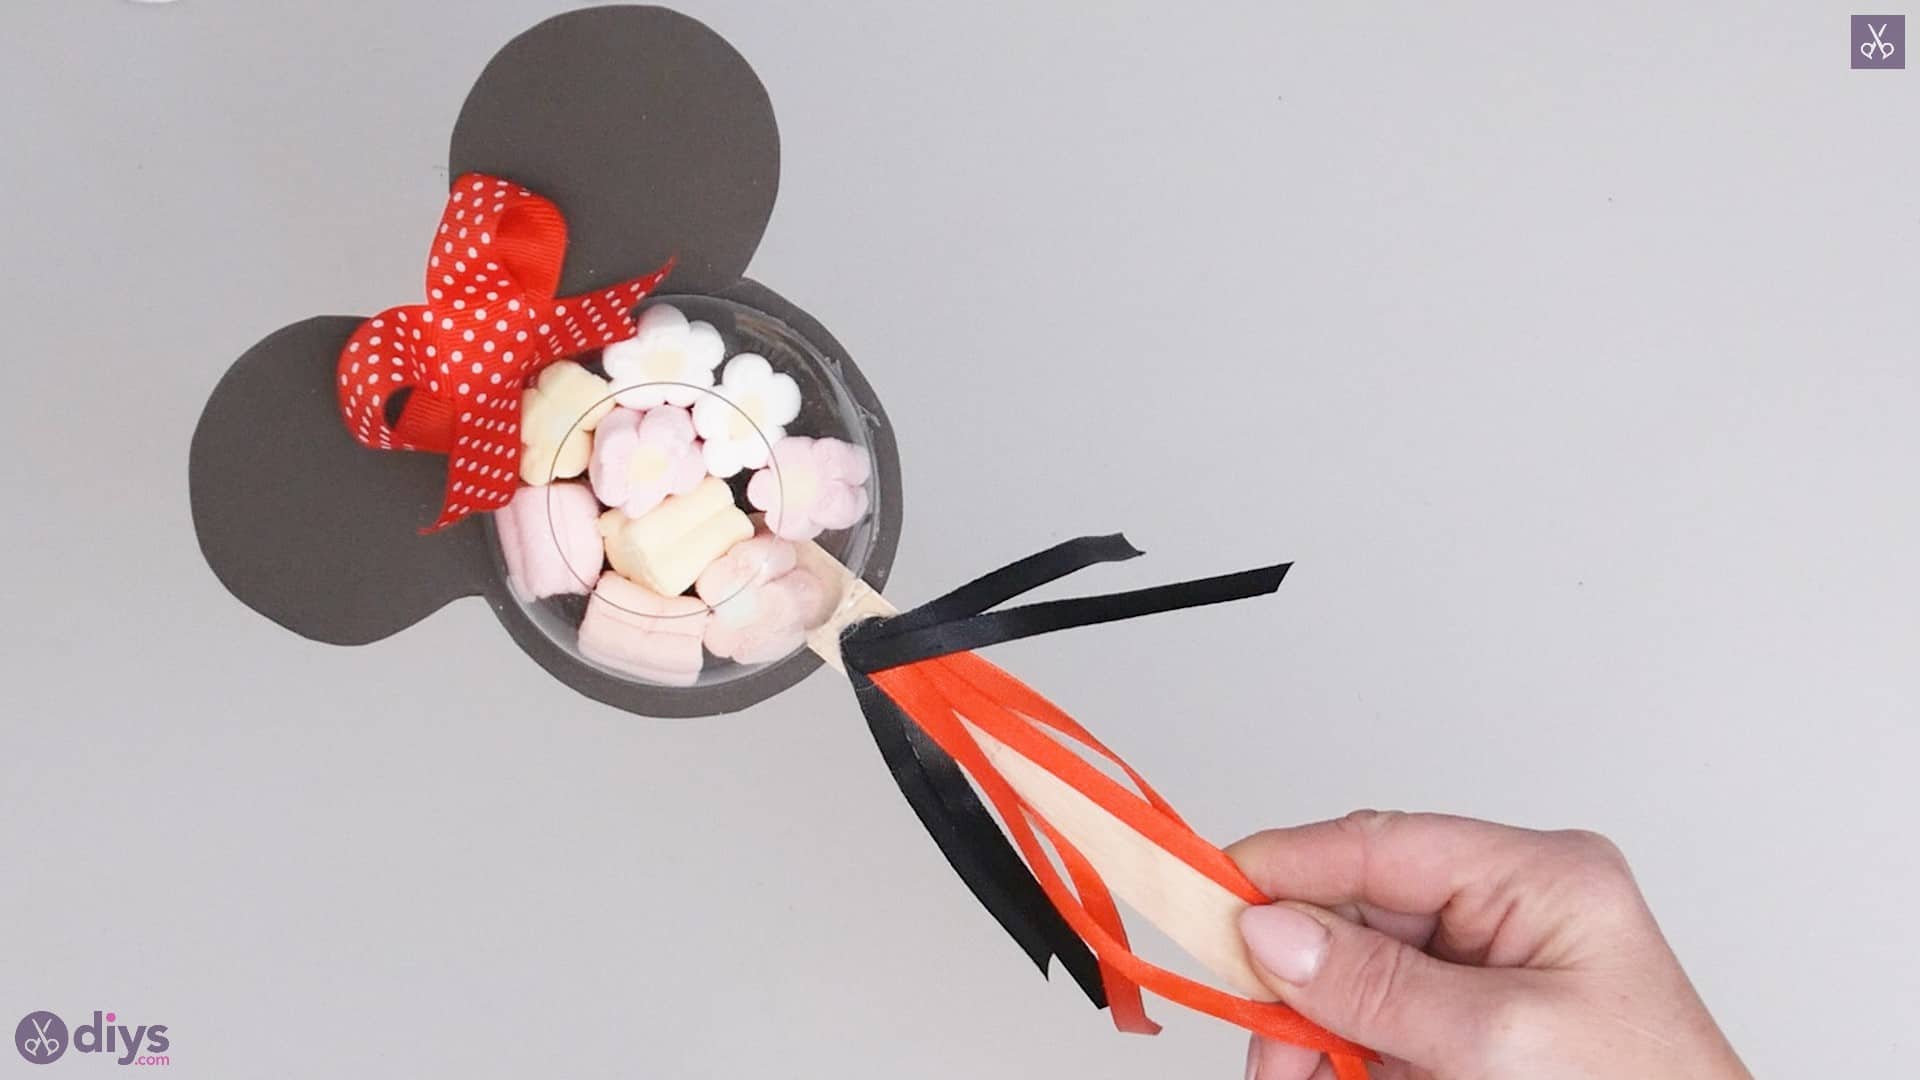
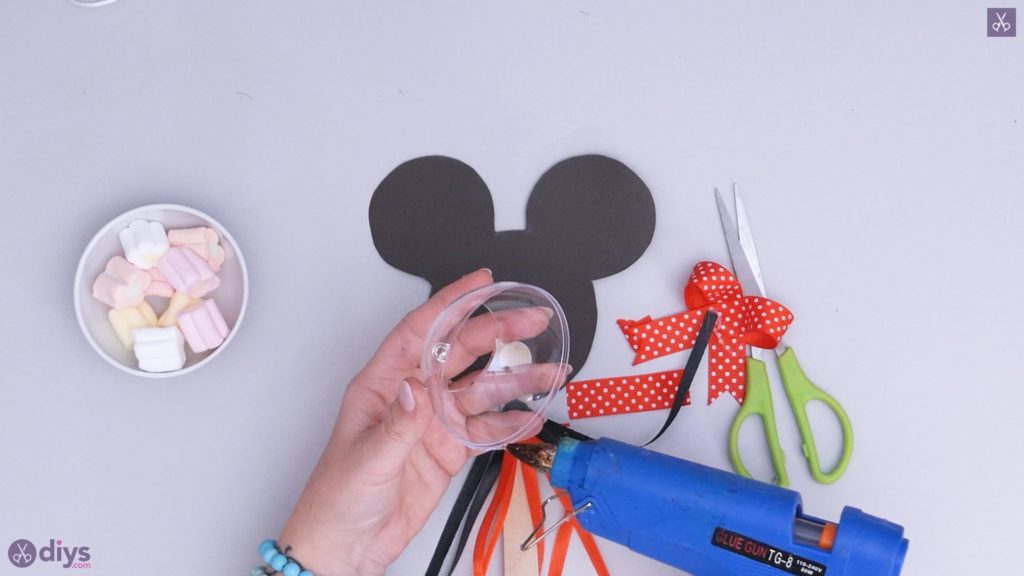
Step 6: apply bowl
Now apply hot glue all the way around the rim of the plastic dome’s larger opening. Stick it down in the centre of your Minnie’s face, in the middle of the large base circle, just like it was positioned when you were tracing around it to draw and cut the shape. Don’t worry if it overlaps with the stick that you just glued down; mine did too and the effect was just fine! Then apply glue on the back of your red and white polka dotted bow and stick it right above your clear plastic dome, right on its to edge, in the middle between your Minnie’s ears.
Step 7: add candy
Fill your plastic dome with candies through its top opening! I filled mine with just enough to be satisfying but not so many that they cam spilling over the bottom lip of the dome’s hole if the kids I handed them to held them by the stick at essentially any angle.

That’s really all there is to it! Leave out the girly details like the hair bow if you’d rather make a Mickey Mouse version instead! Just in case you’d like to try this project out for yourself, here’s a fantastic tutorial video to help you!