How to Craft a Glitter-Dipped Hanging Twig Heart for Valentine’s Day Decor in 5 Steps
Updated on February 13, 2023

A glitter-dipped hanging twig heart adds a romantic decoration to your rustic home, especially around Valentine’s Day. Read on to discover how to make a glitter-dipped hanging twig heart in five easy steps.
A glitter-dipped hanging twig heart is a wall decoration consisting of twigs arranged in a heart pattern and covered with glitter at the tips. Crafting a glitter-dipped hanging twig heart is a relaxing and creative activity that produces a unique piece of artwork for rustic glam interior design. Hang it on a wall, near a window, or by a door. It is also a handmade gift idea for couples, family, and friends for Valentine’s Day, Mother’s Day, 5-year anniversaries (wood), birthdays, and other romantic occasions.
This guide describes the supplies and step-by-step instructions for making a glitter-dipped hanging twig heart. It features images, a video guide, and more tips and tricks to improve your design. This DIY shouldn’t take more than 1 hour to complete.
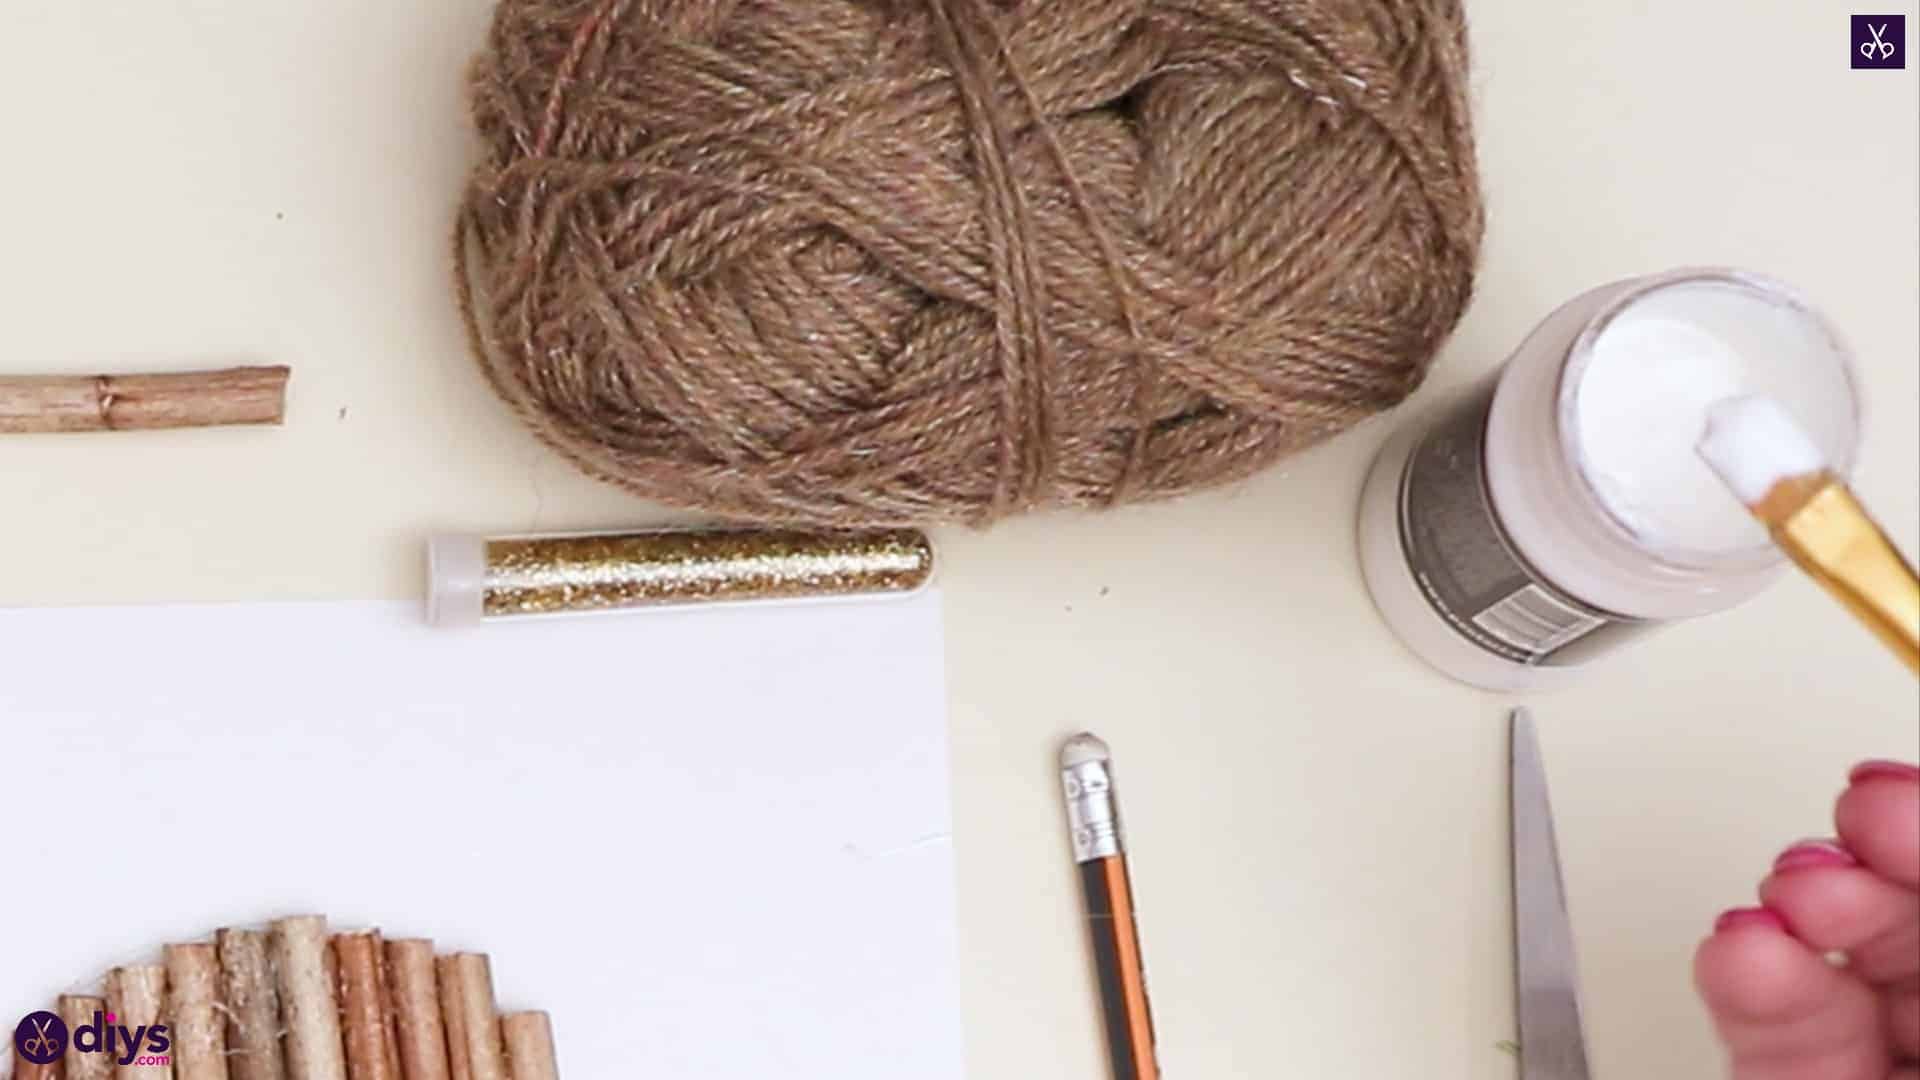
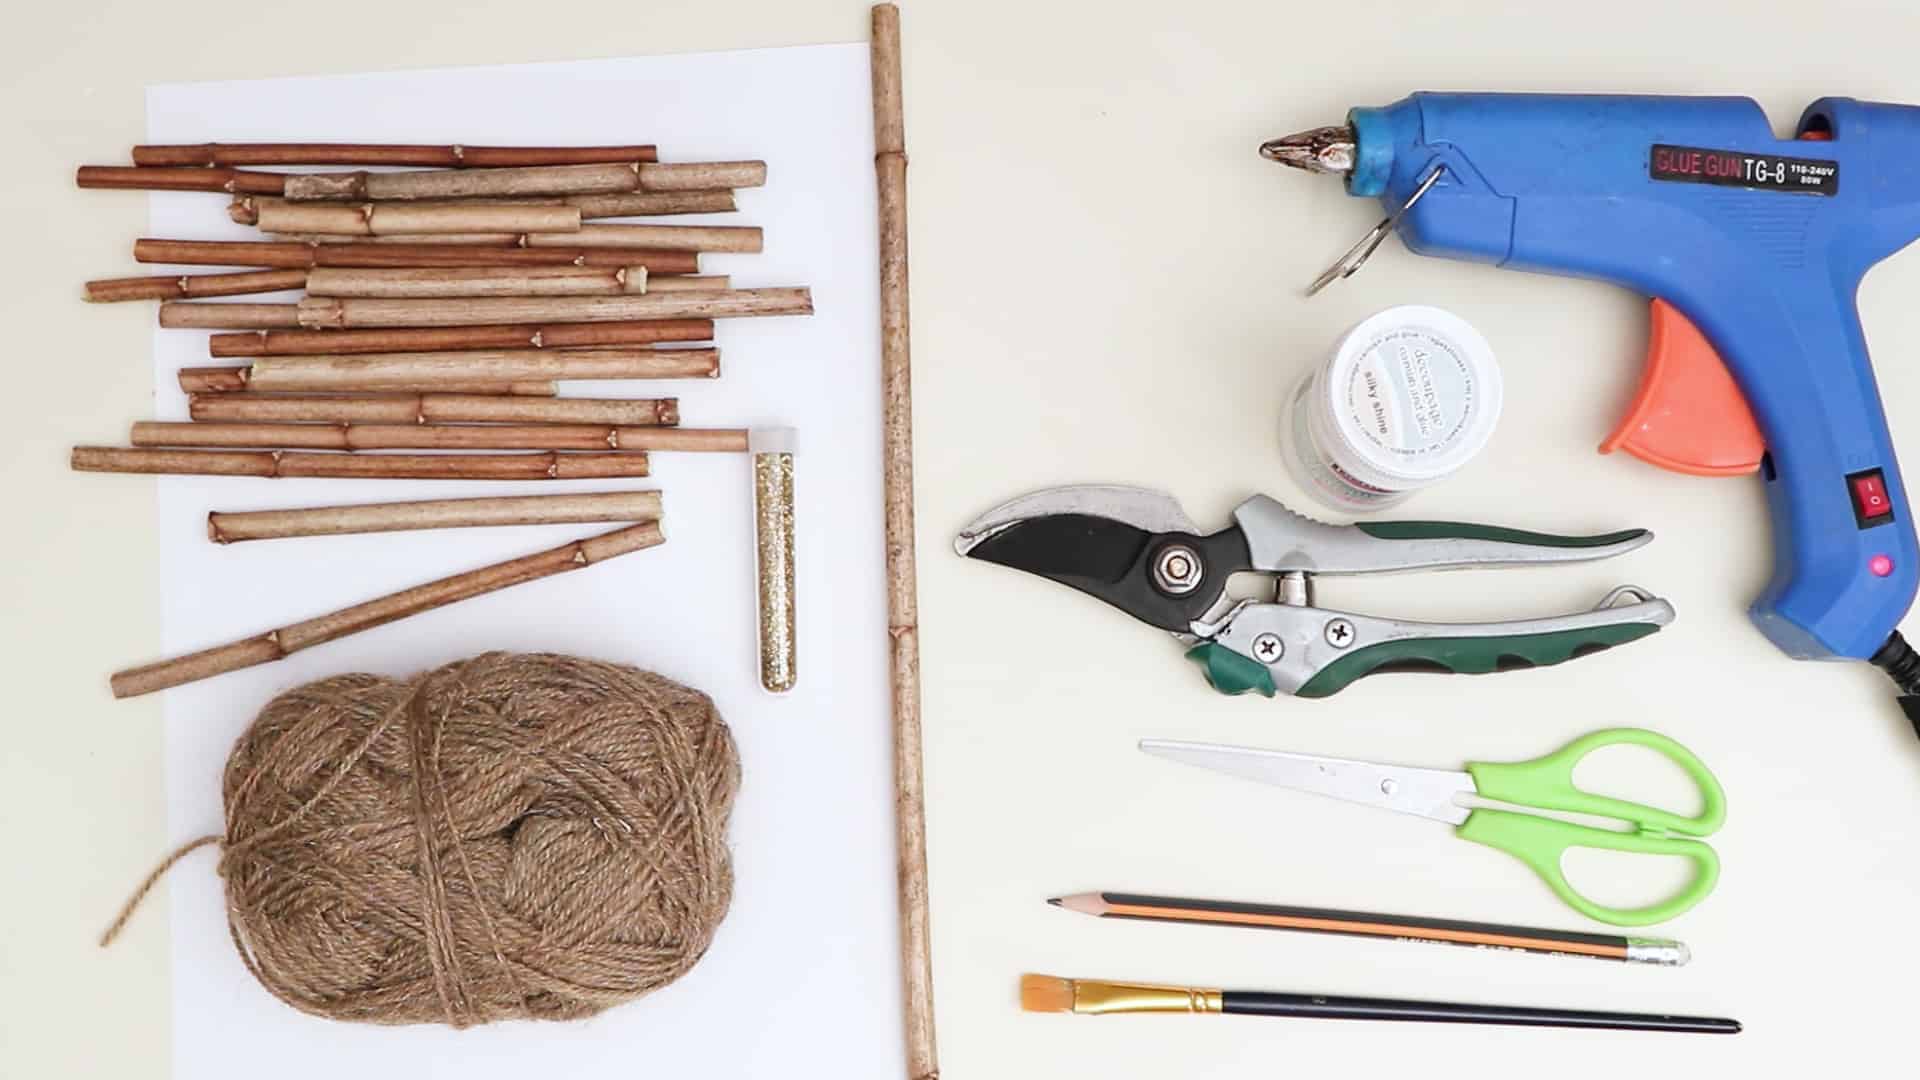
Supplies
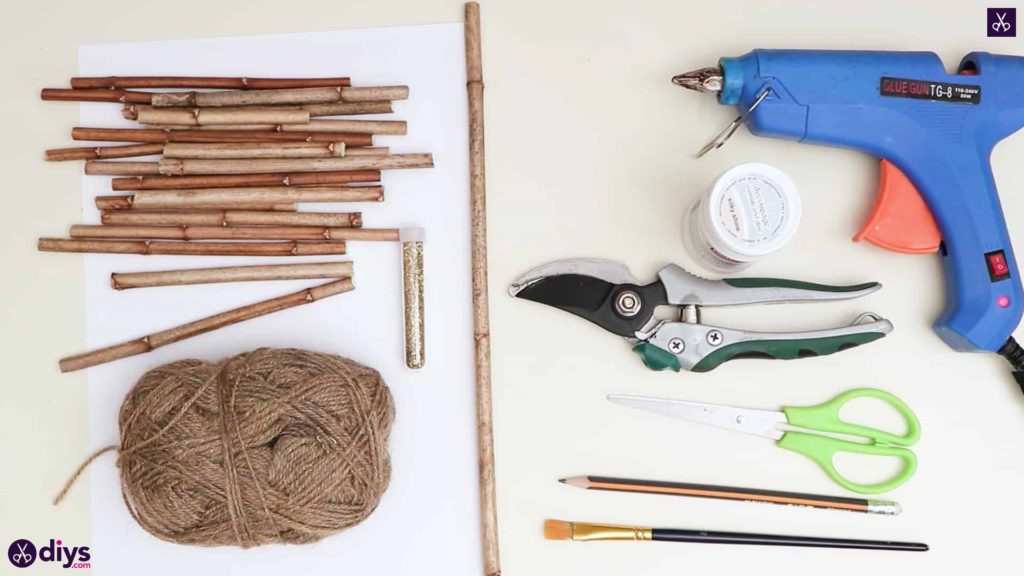
- Twigs as straight as possible, preferably debarked
- Paper sheet
- Pencil
- Secateurs or gardening shears
- Paintbrush
- A hot glue gun with glue
- Gold glitter
- Liquid white glue
- Yarn
- Scissors
How do I craft a gold-dipped hanging twig heart?
Follow these step-by-step instructions to craft a gold-dipped hanging twig heart:
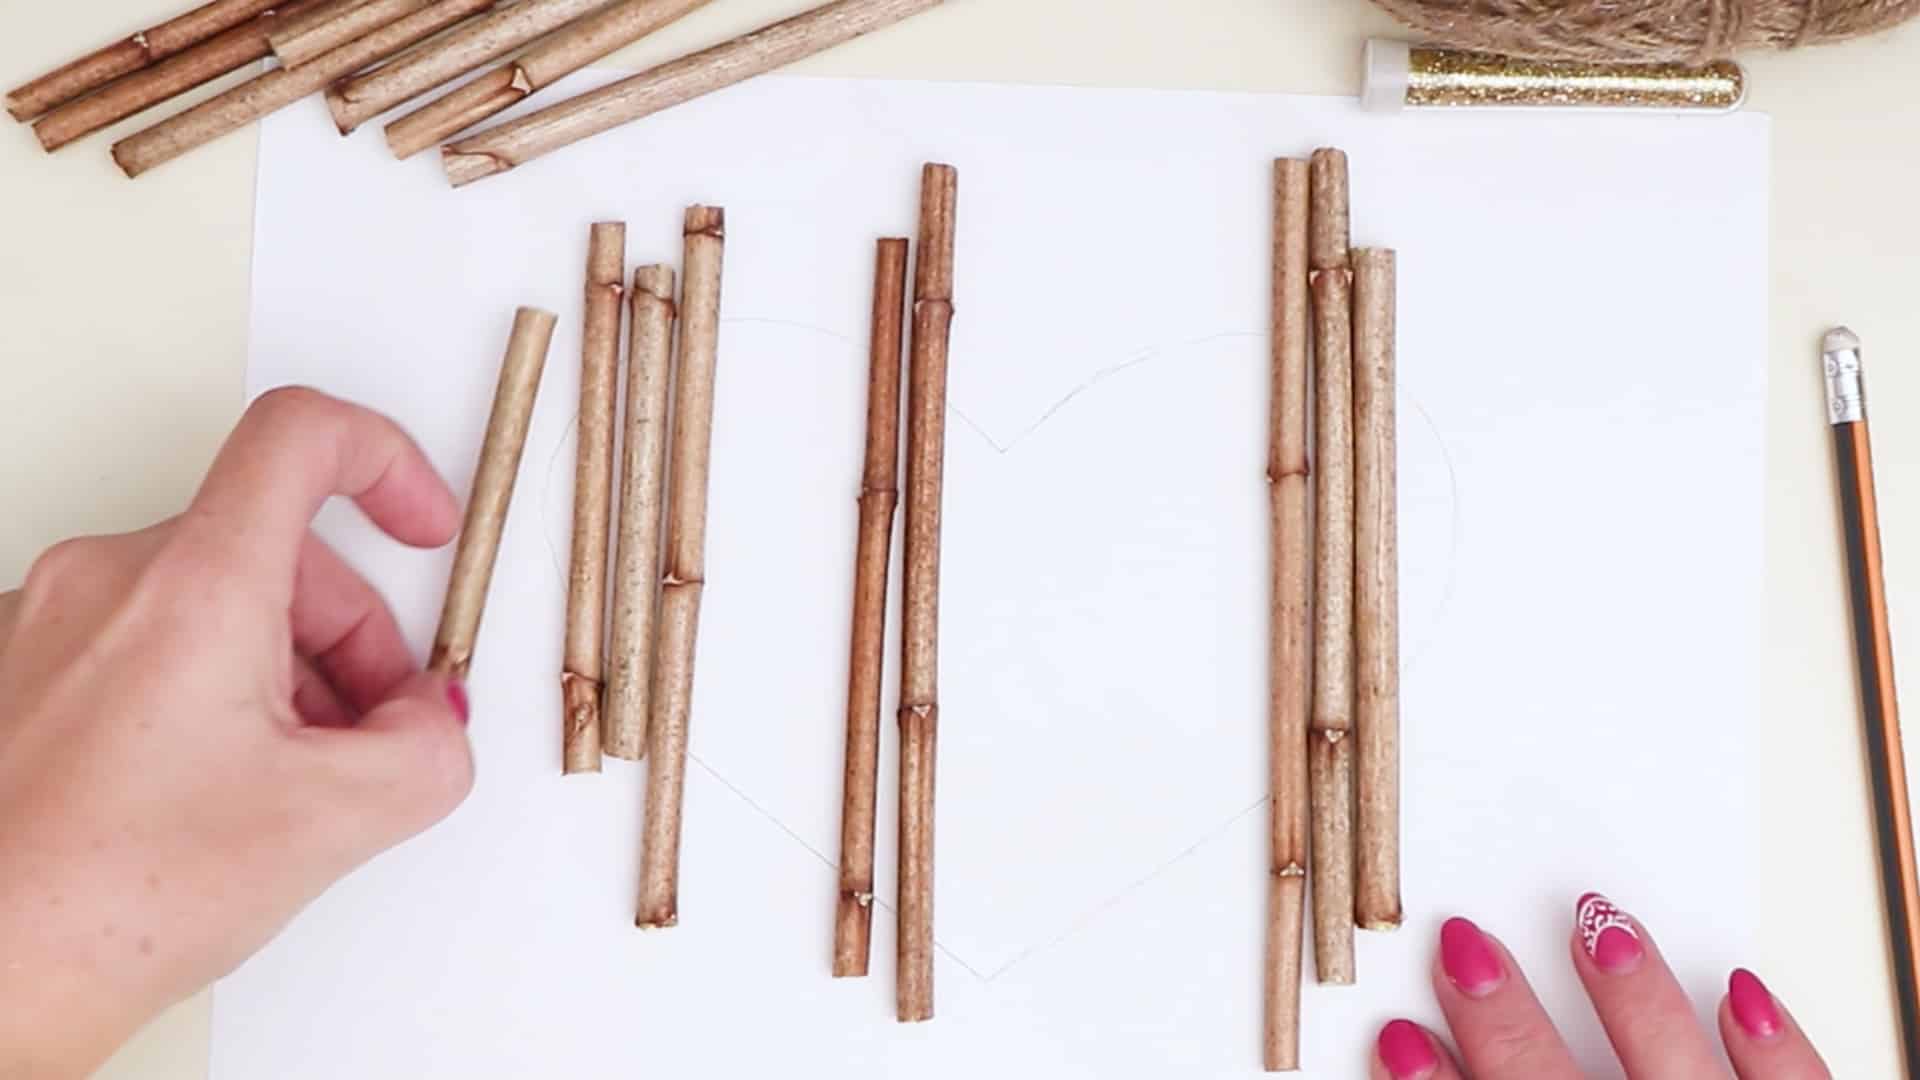
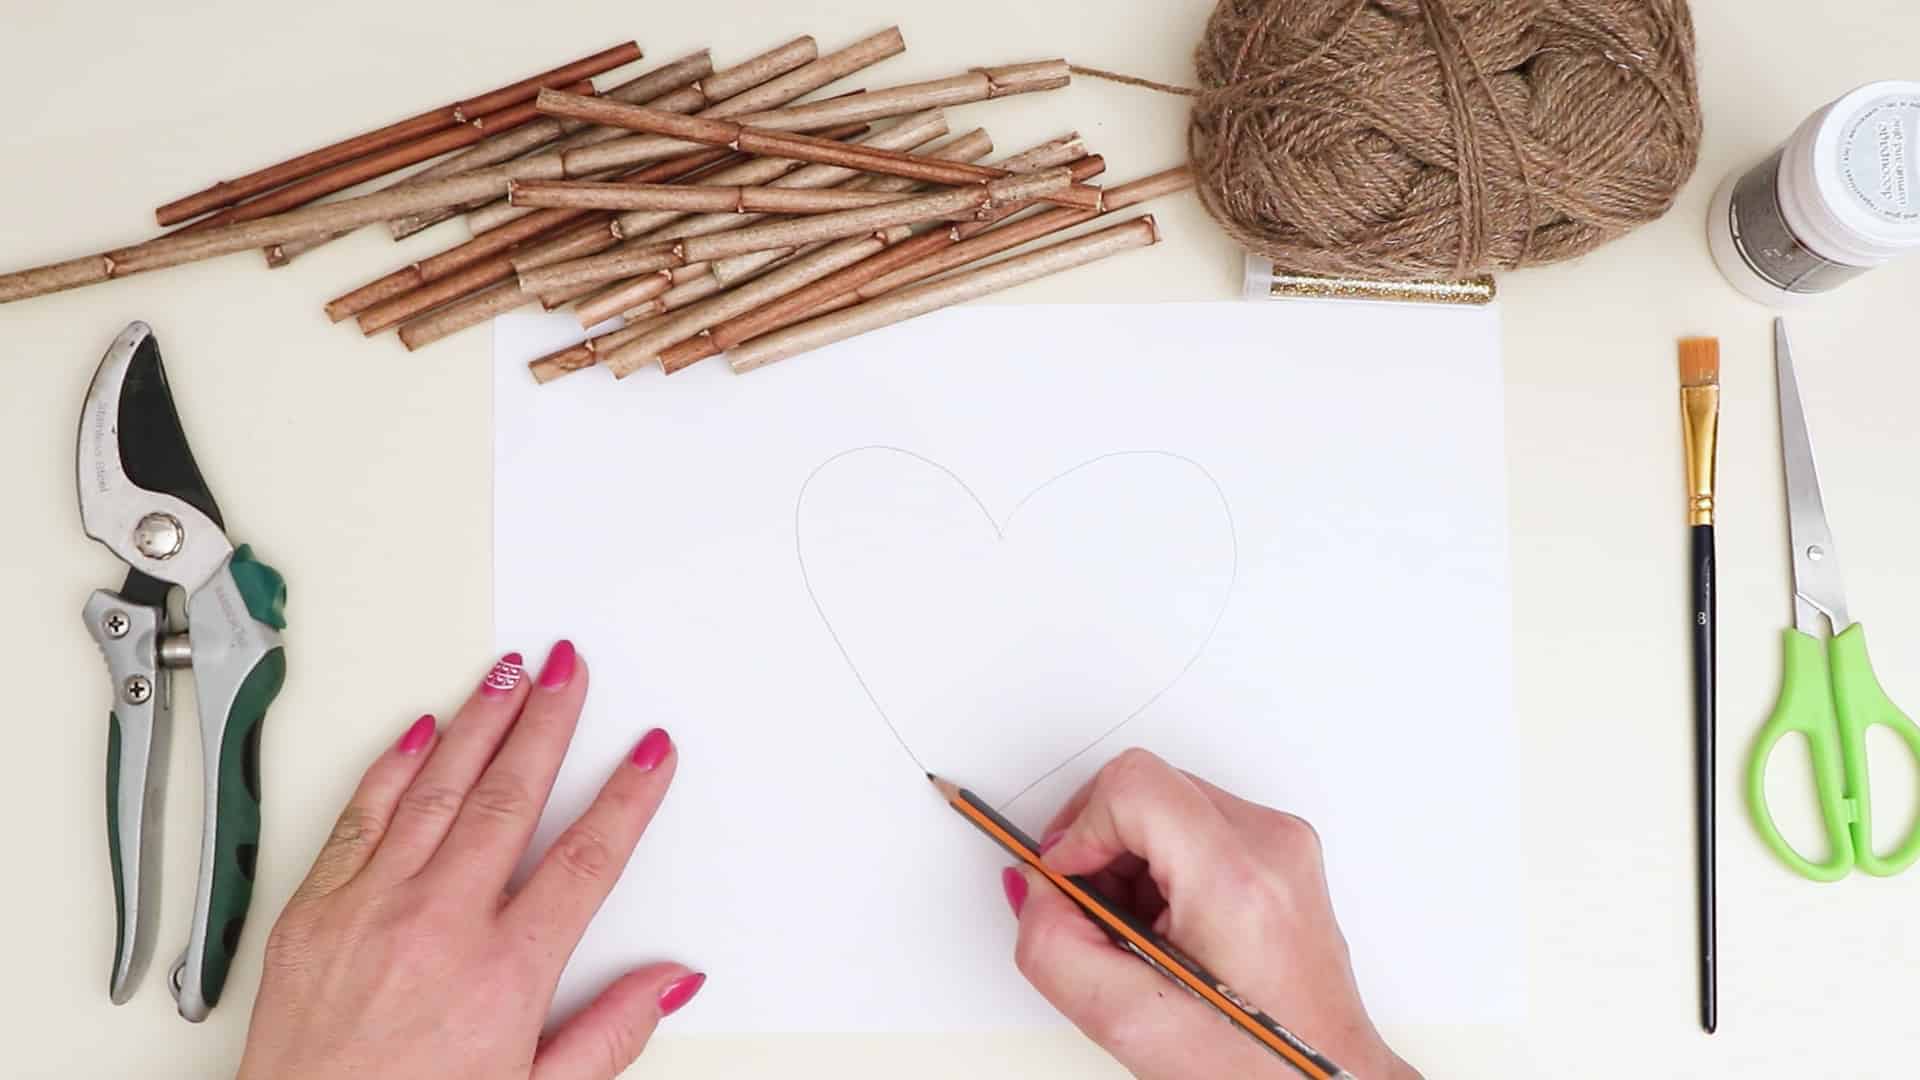
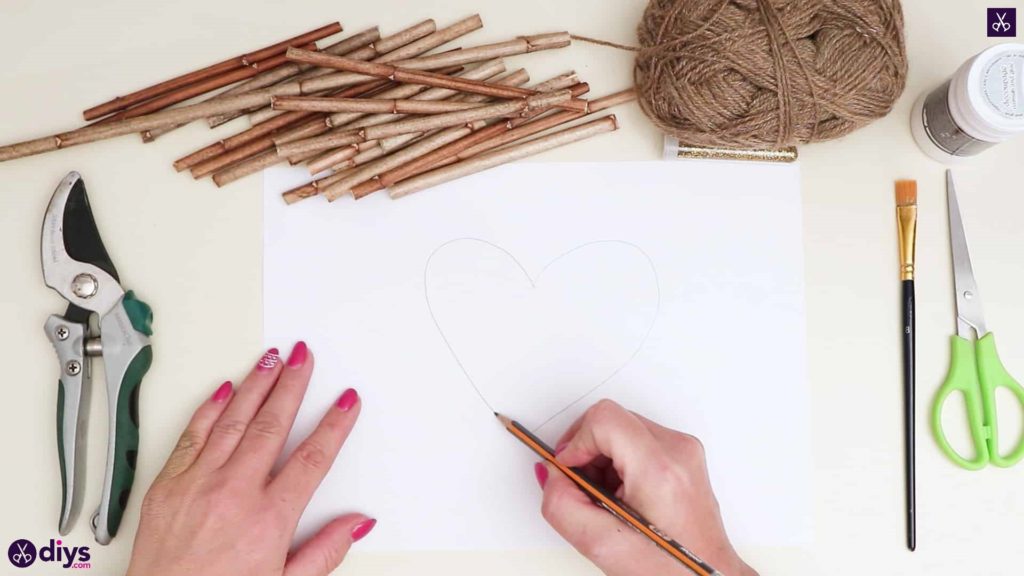
- Sketch a heart: Draw a rough outline of a heart. You will arrange the twigs vertically for this decoration, so ensure the heart isn’t heigher than the longest twig you have.

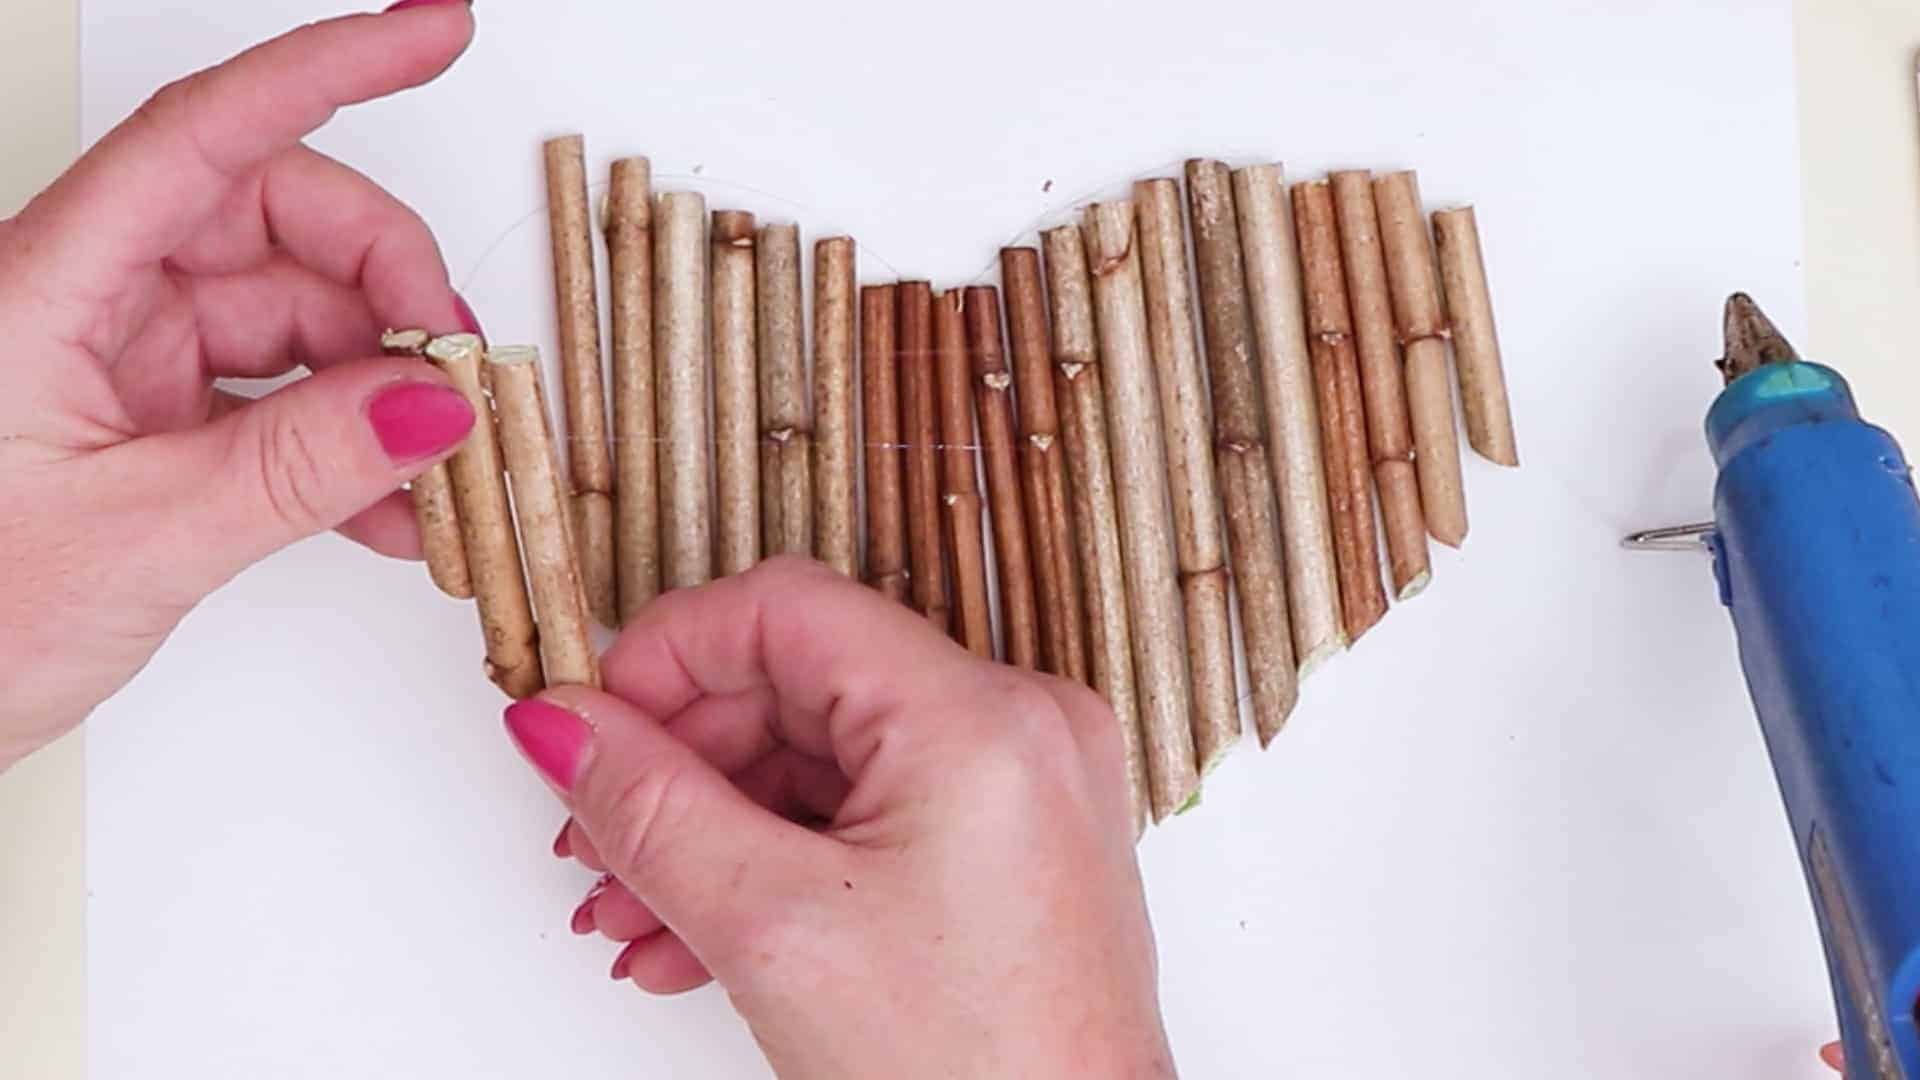
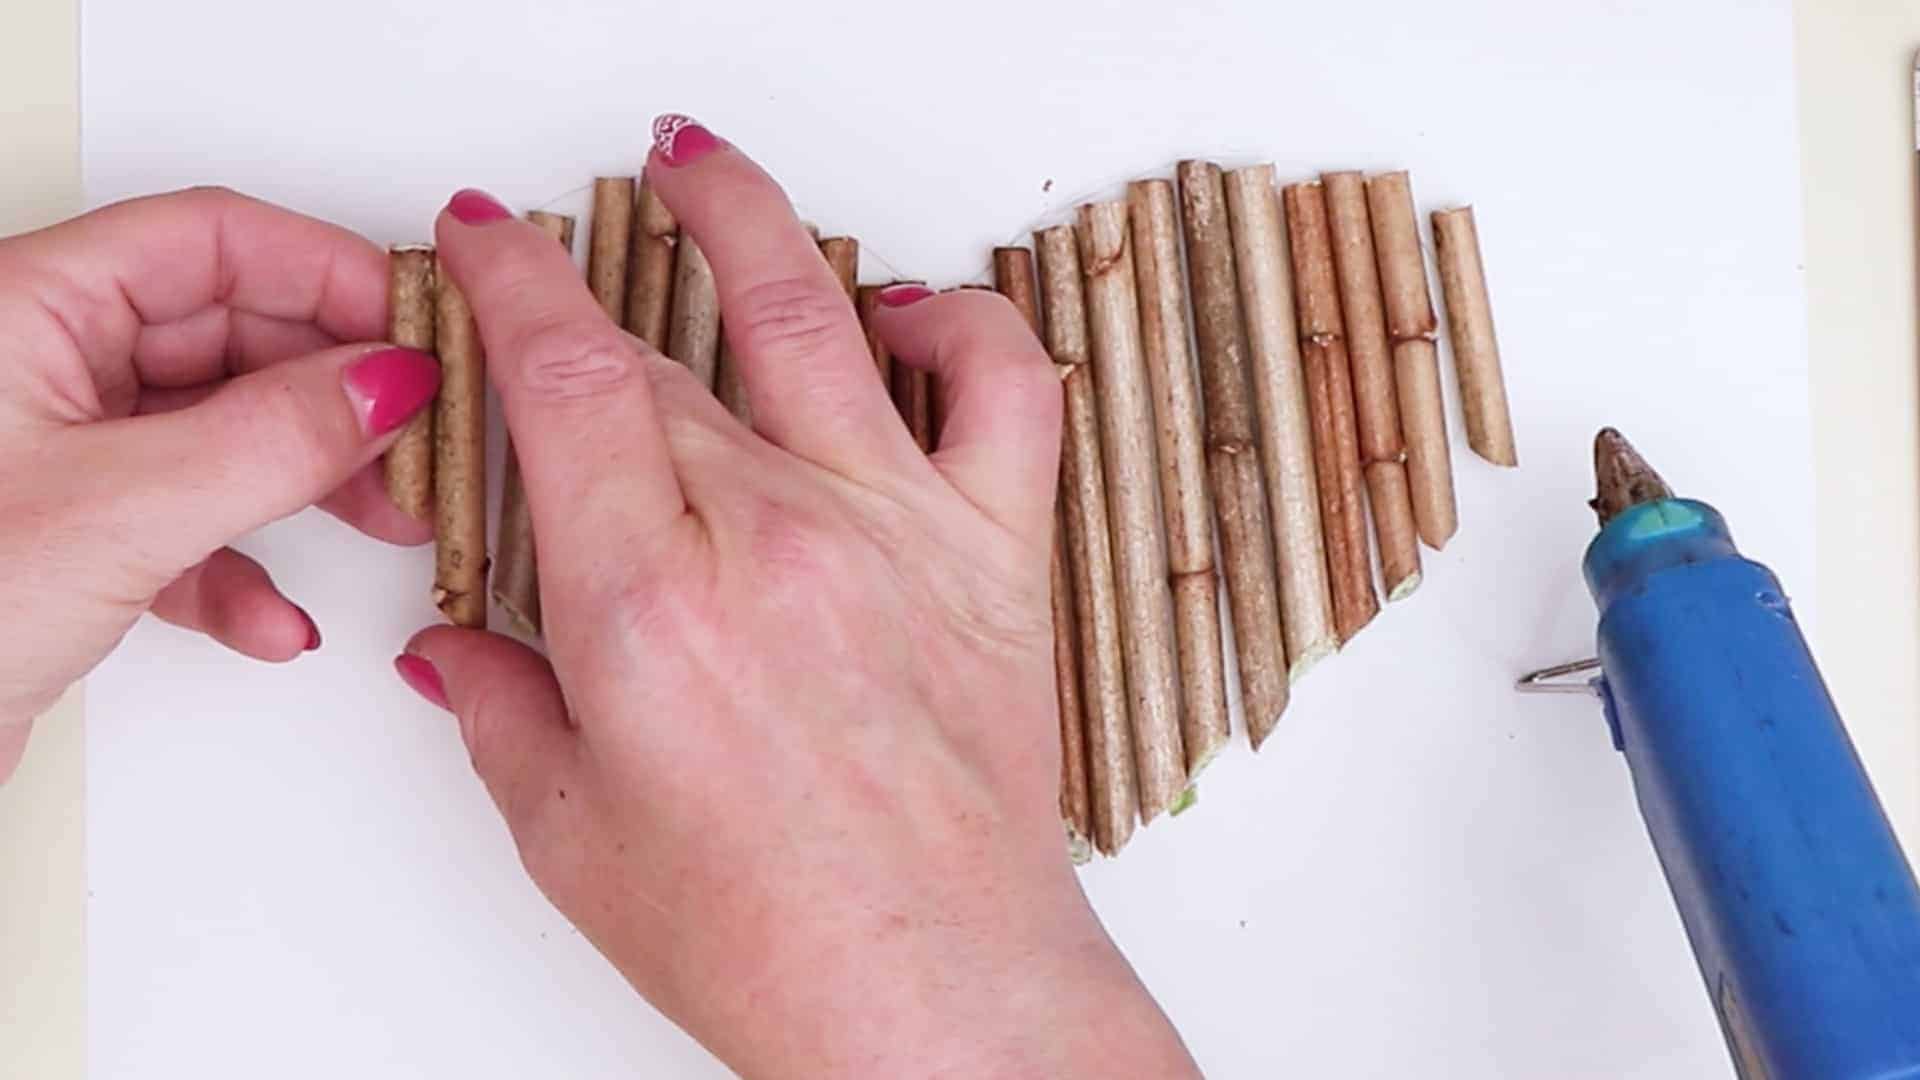
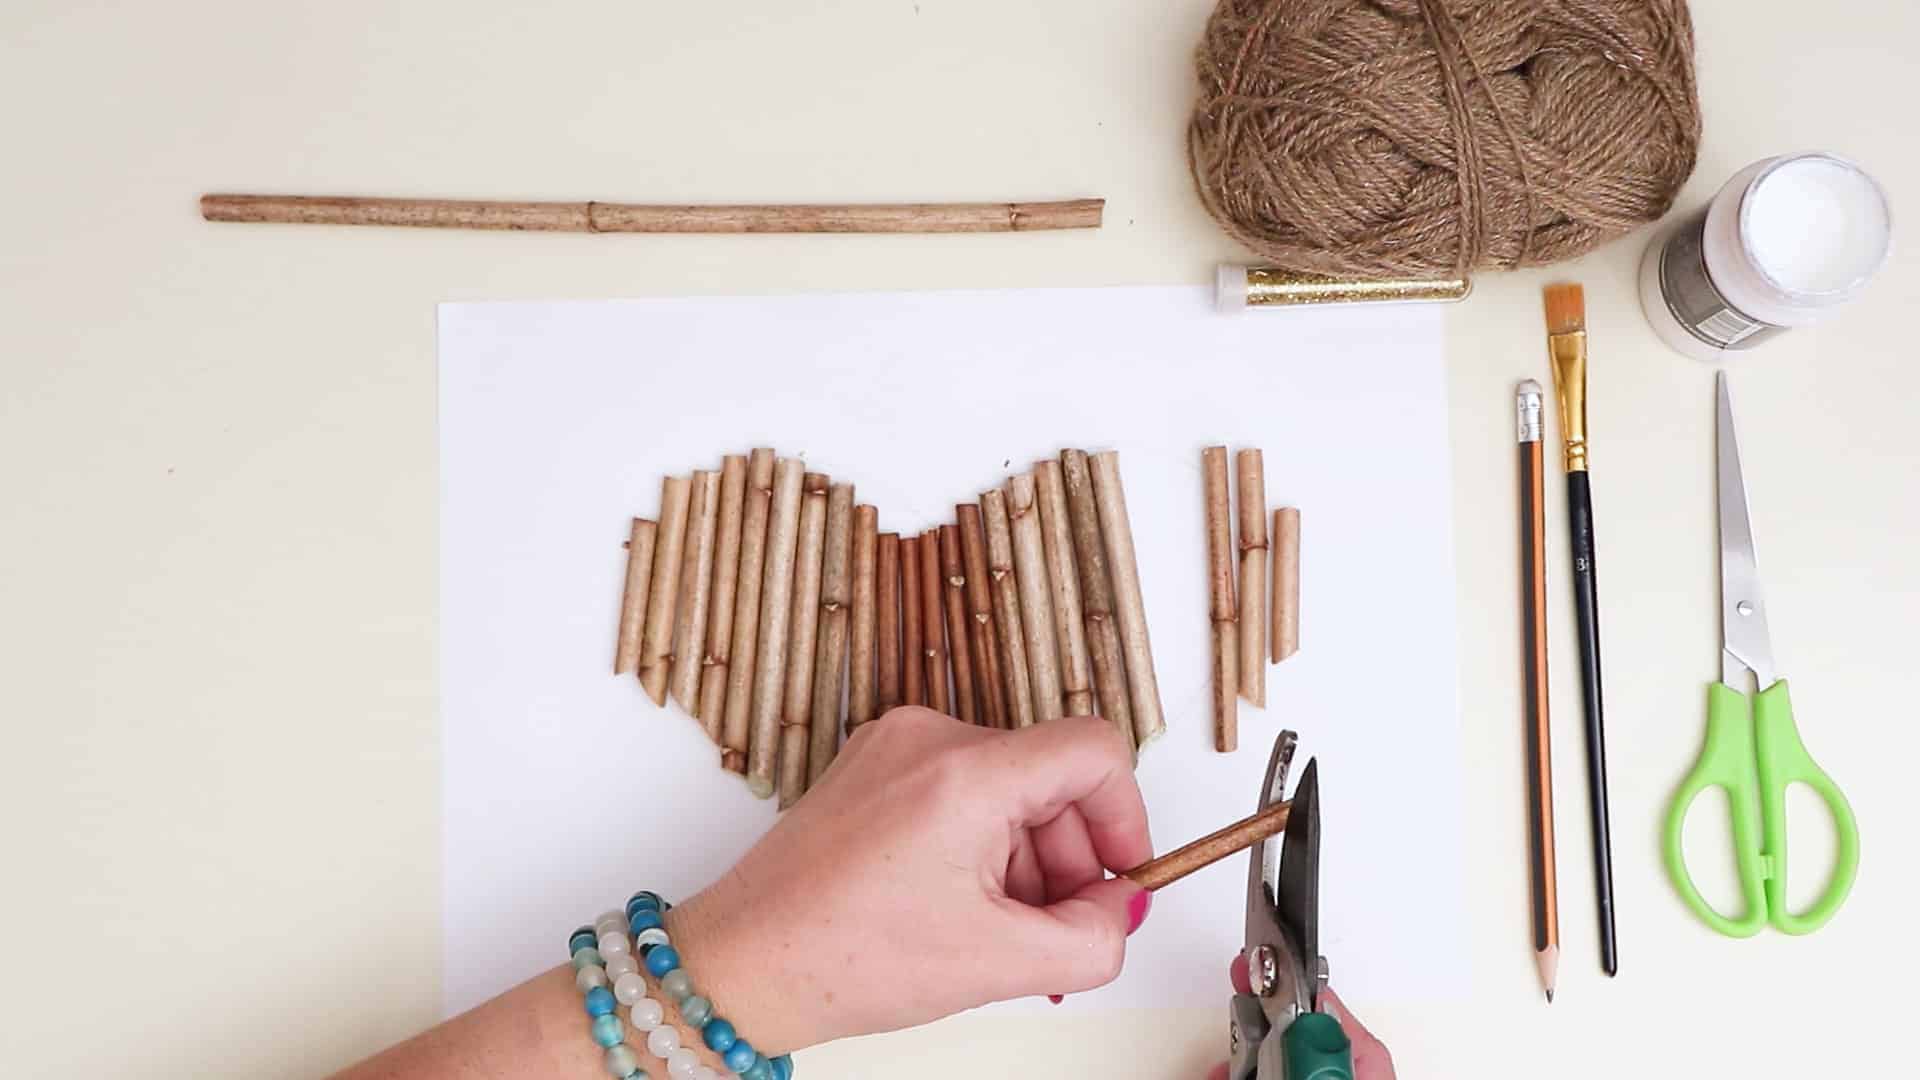
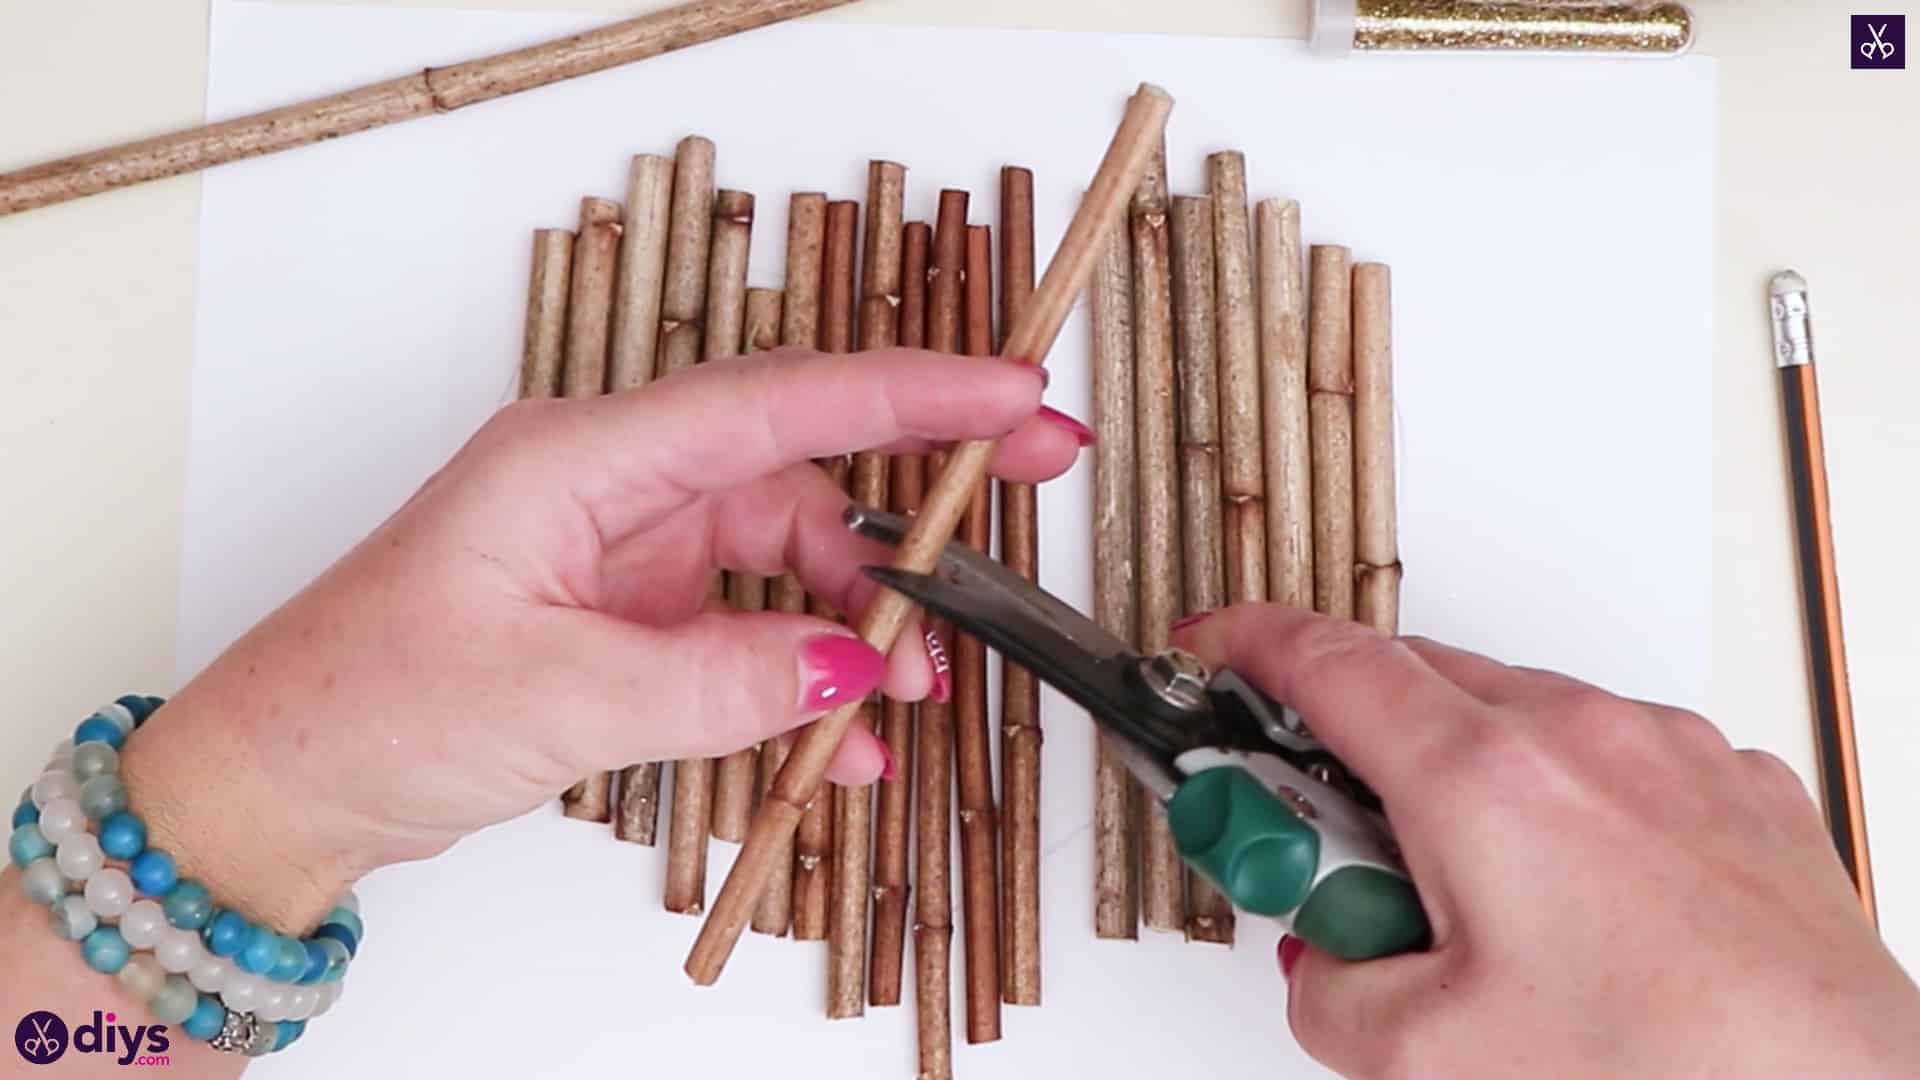
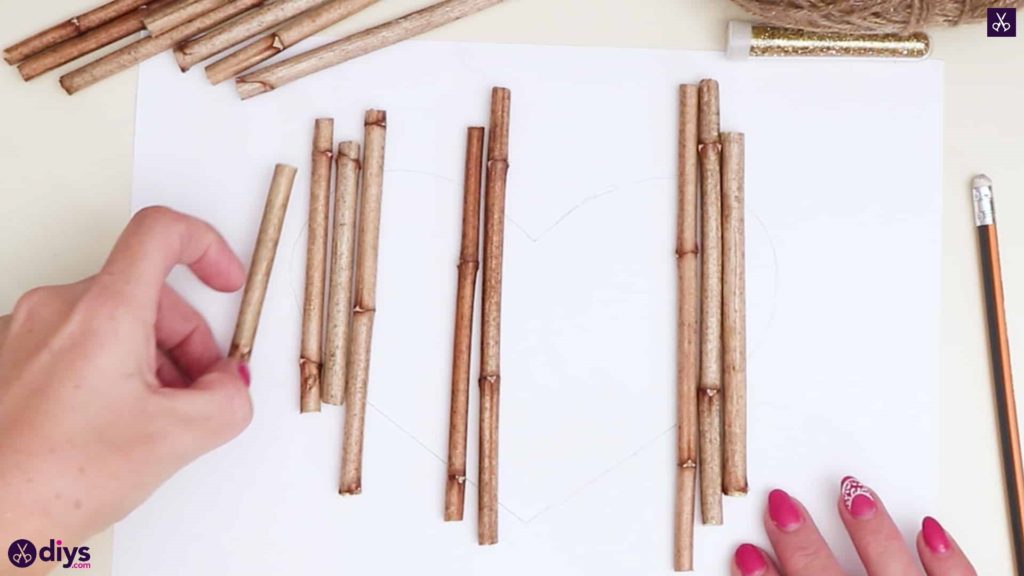
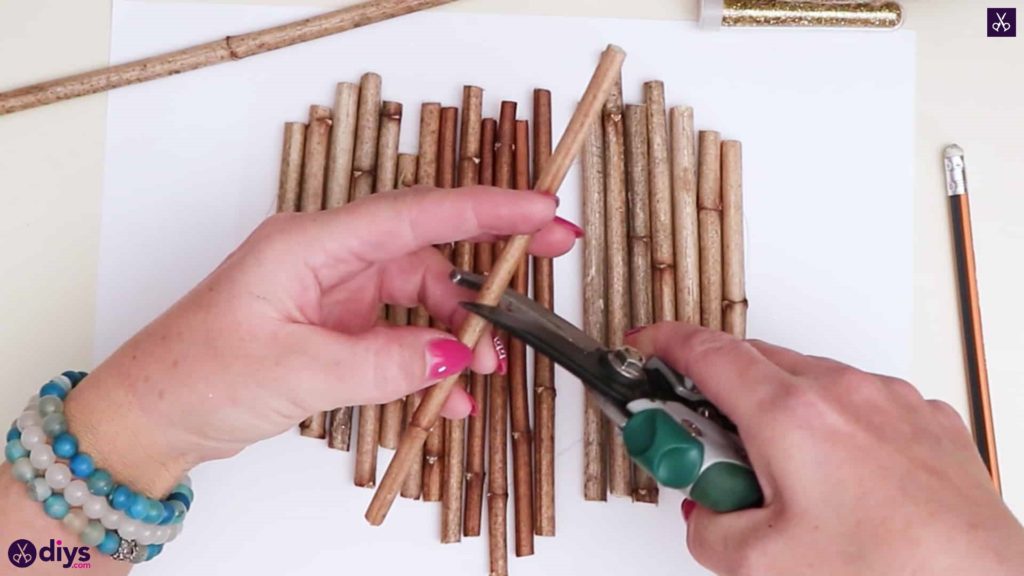
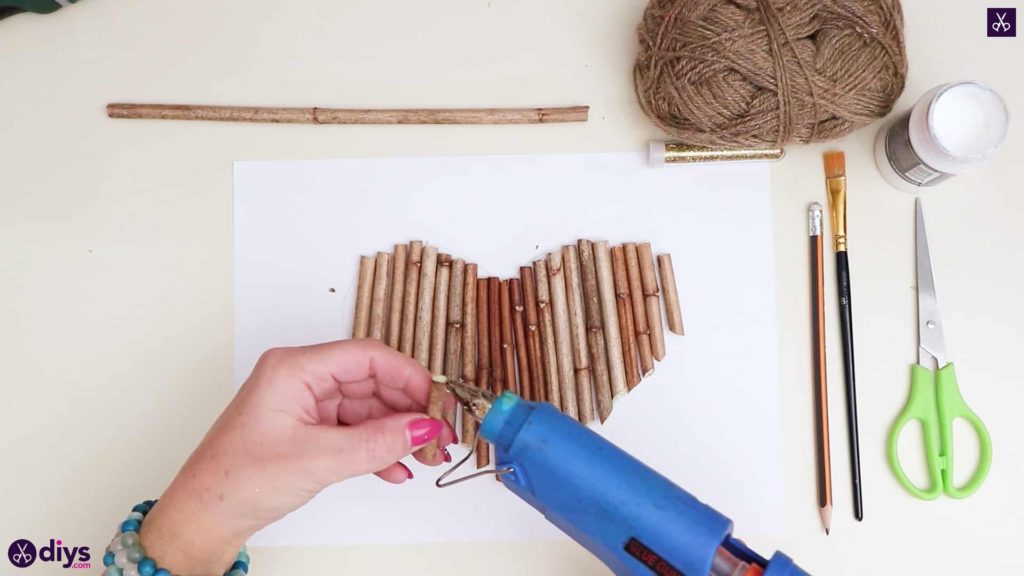
- Cut twigs: Place the twigs on top of the heart template and use the outline as measurement to cut each twig; the goal is to fill out the heart shape.
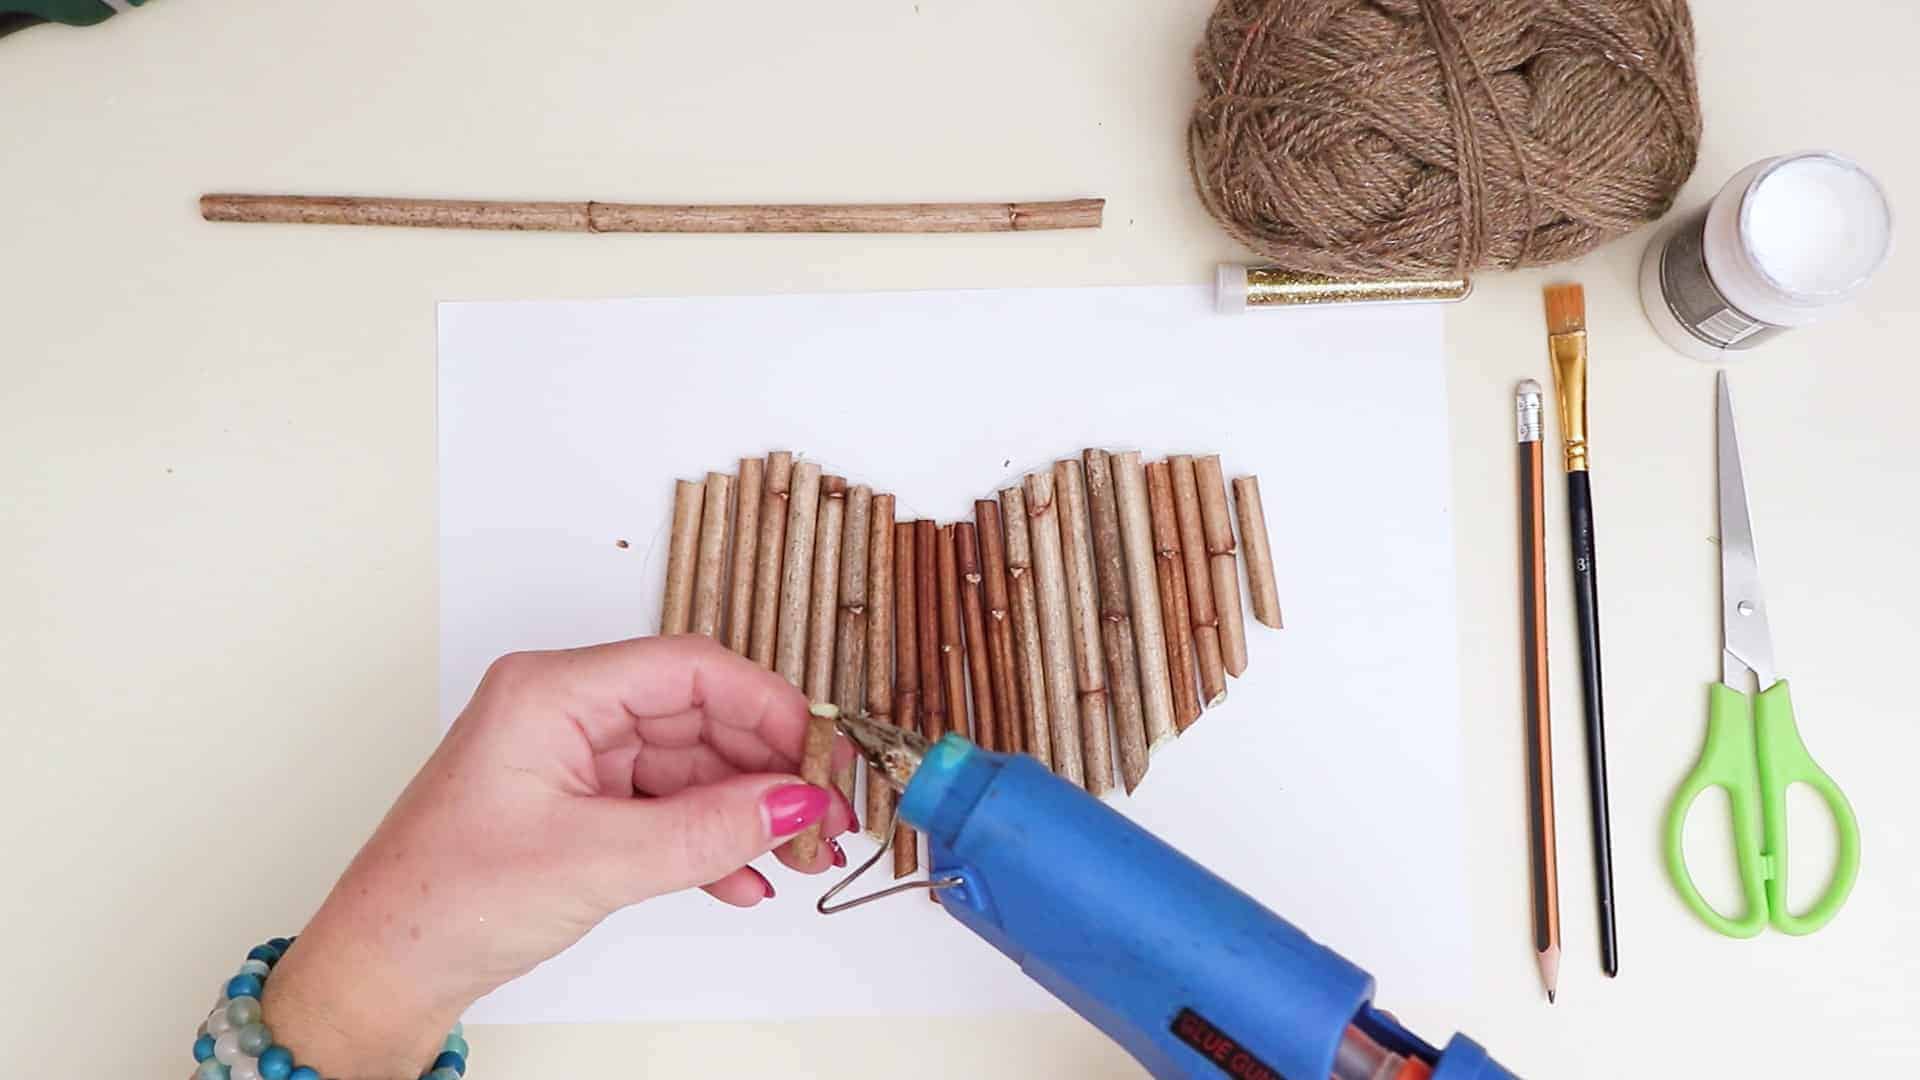
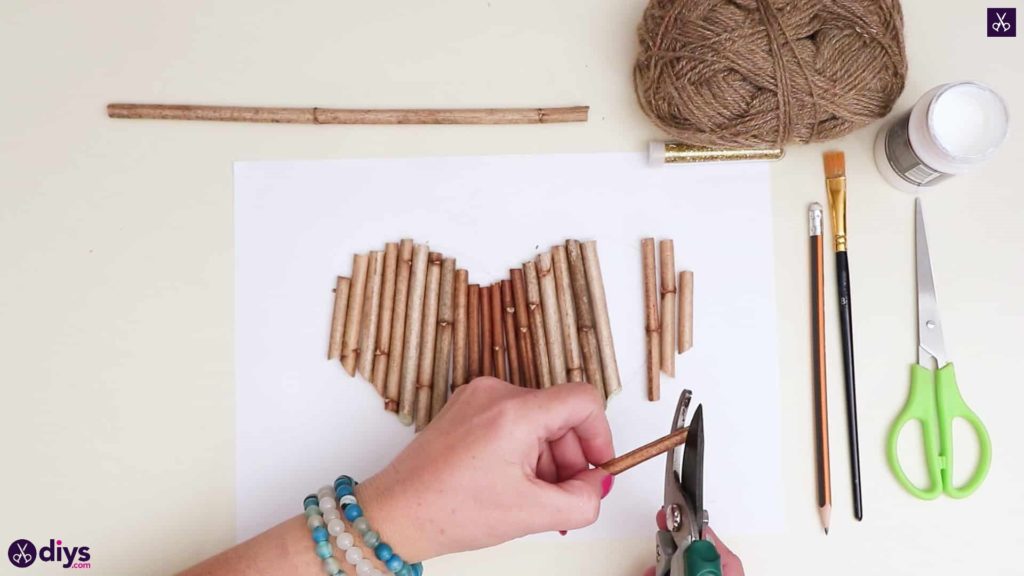
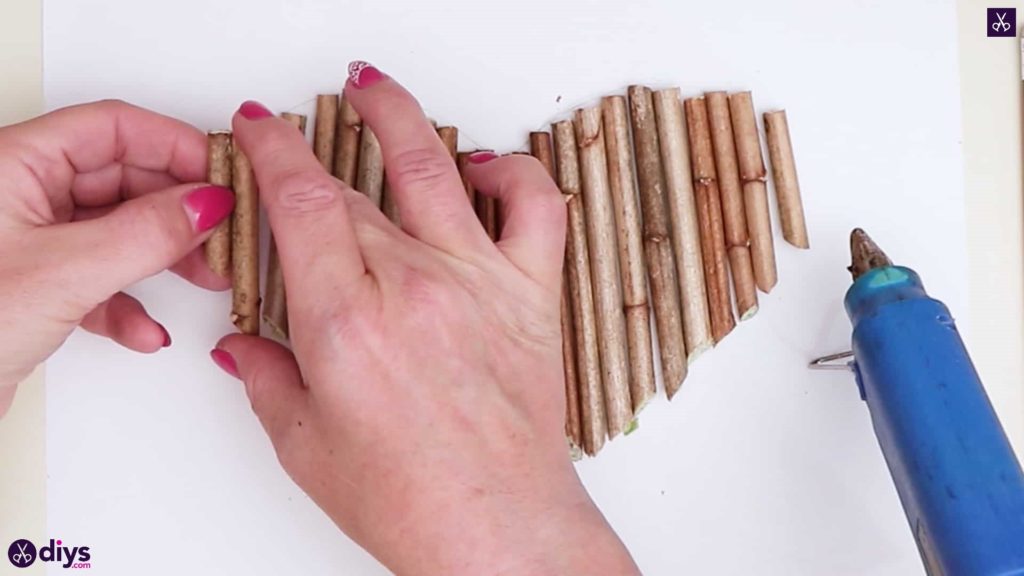
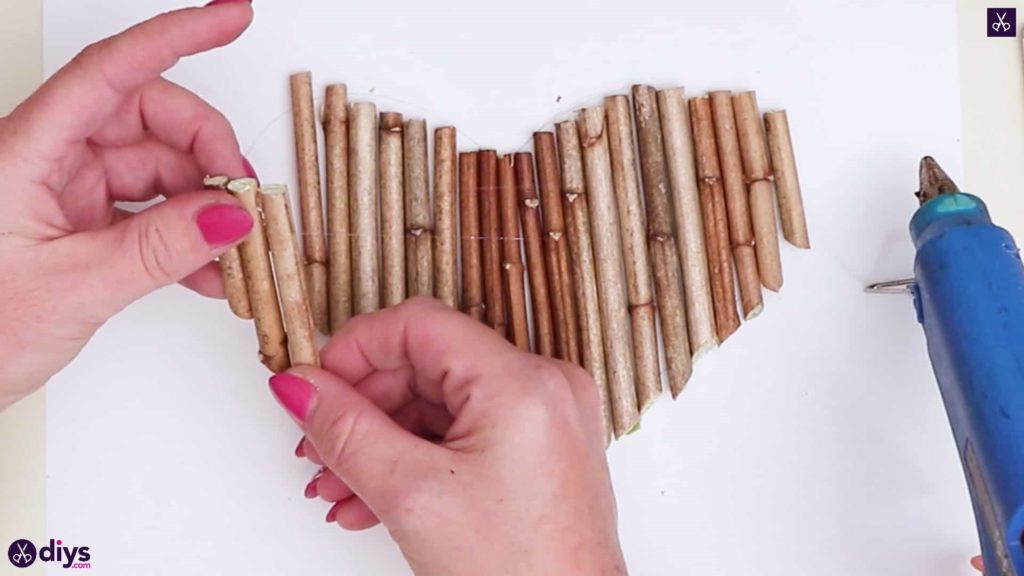
- Assemble a twig heart: Once you are satisfied with the twig arrangement, glue the twigs to each other without sticking them to the paper; it’s best to apply glue to the entire length of the twigs. Wait for the glue to cool before proceeding.
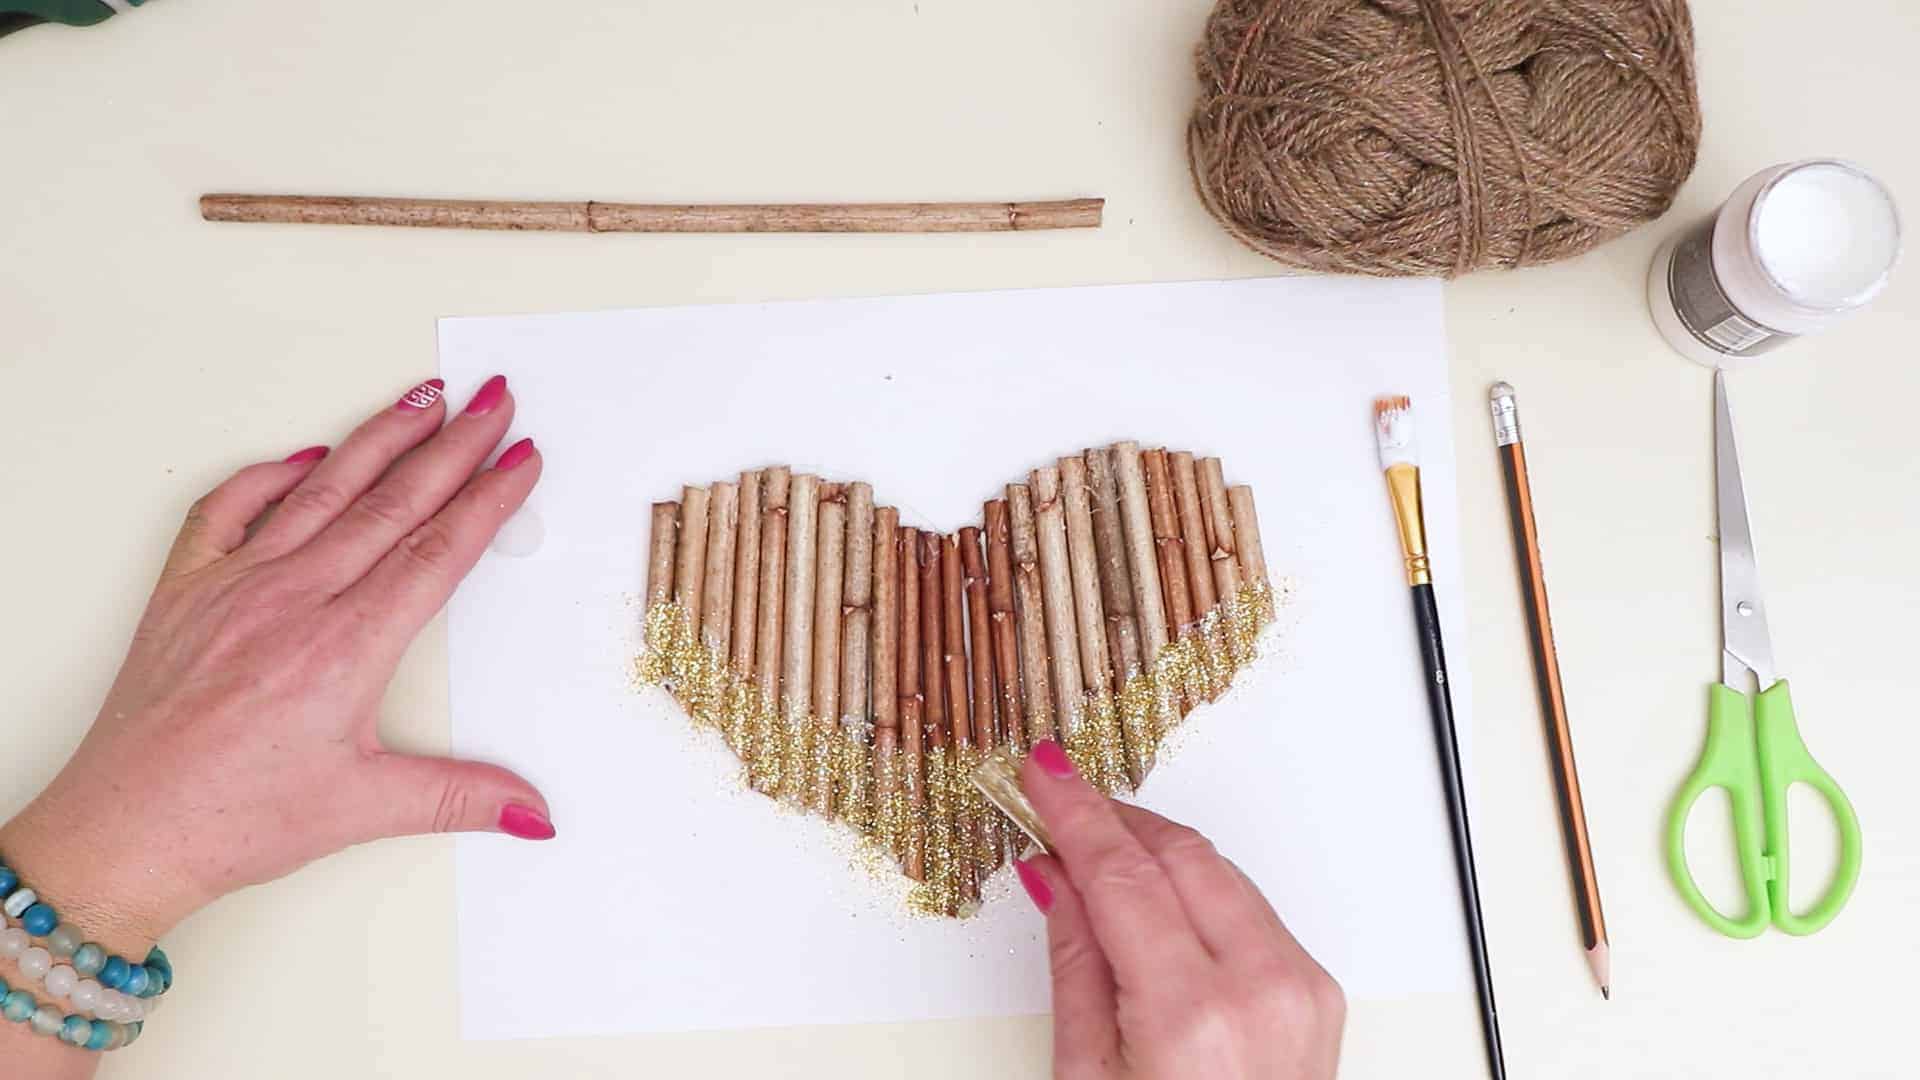
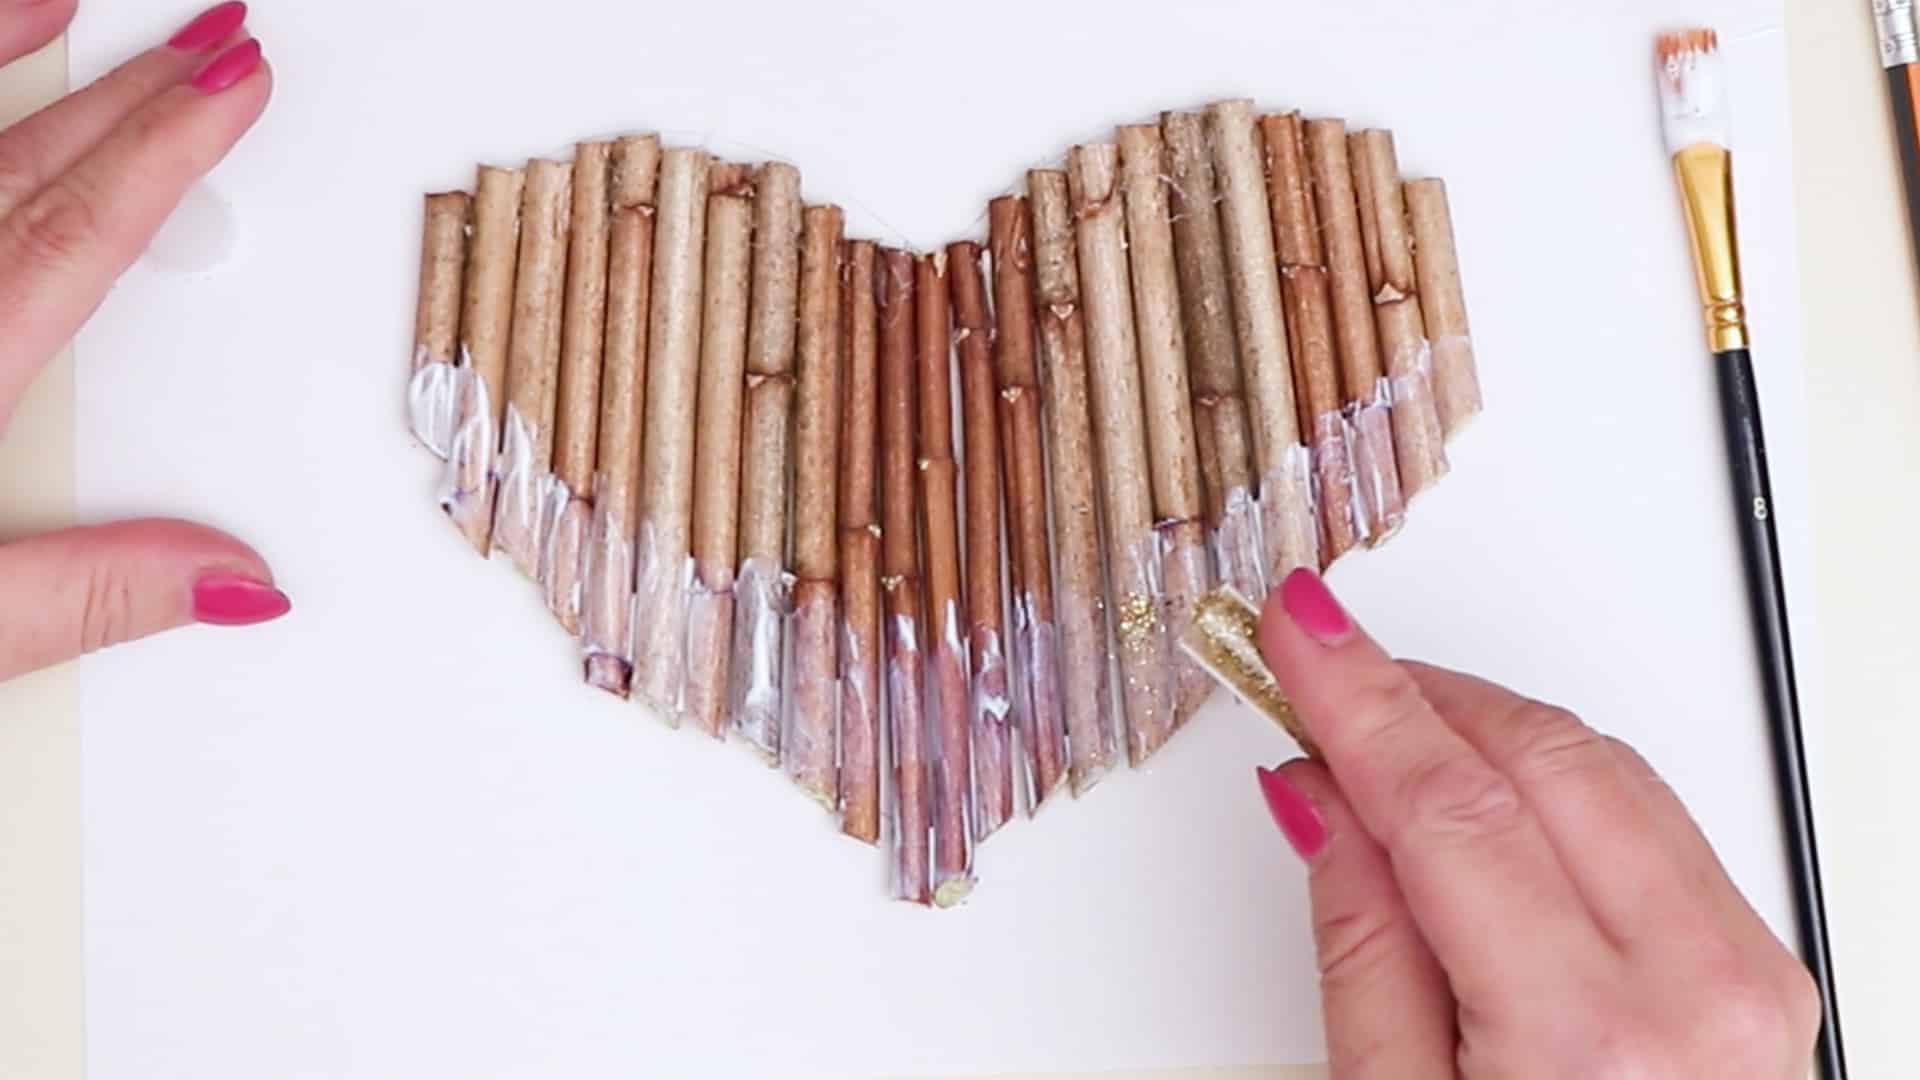
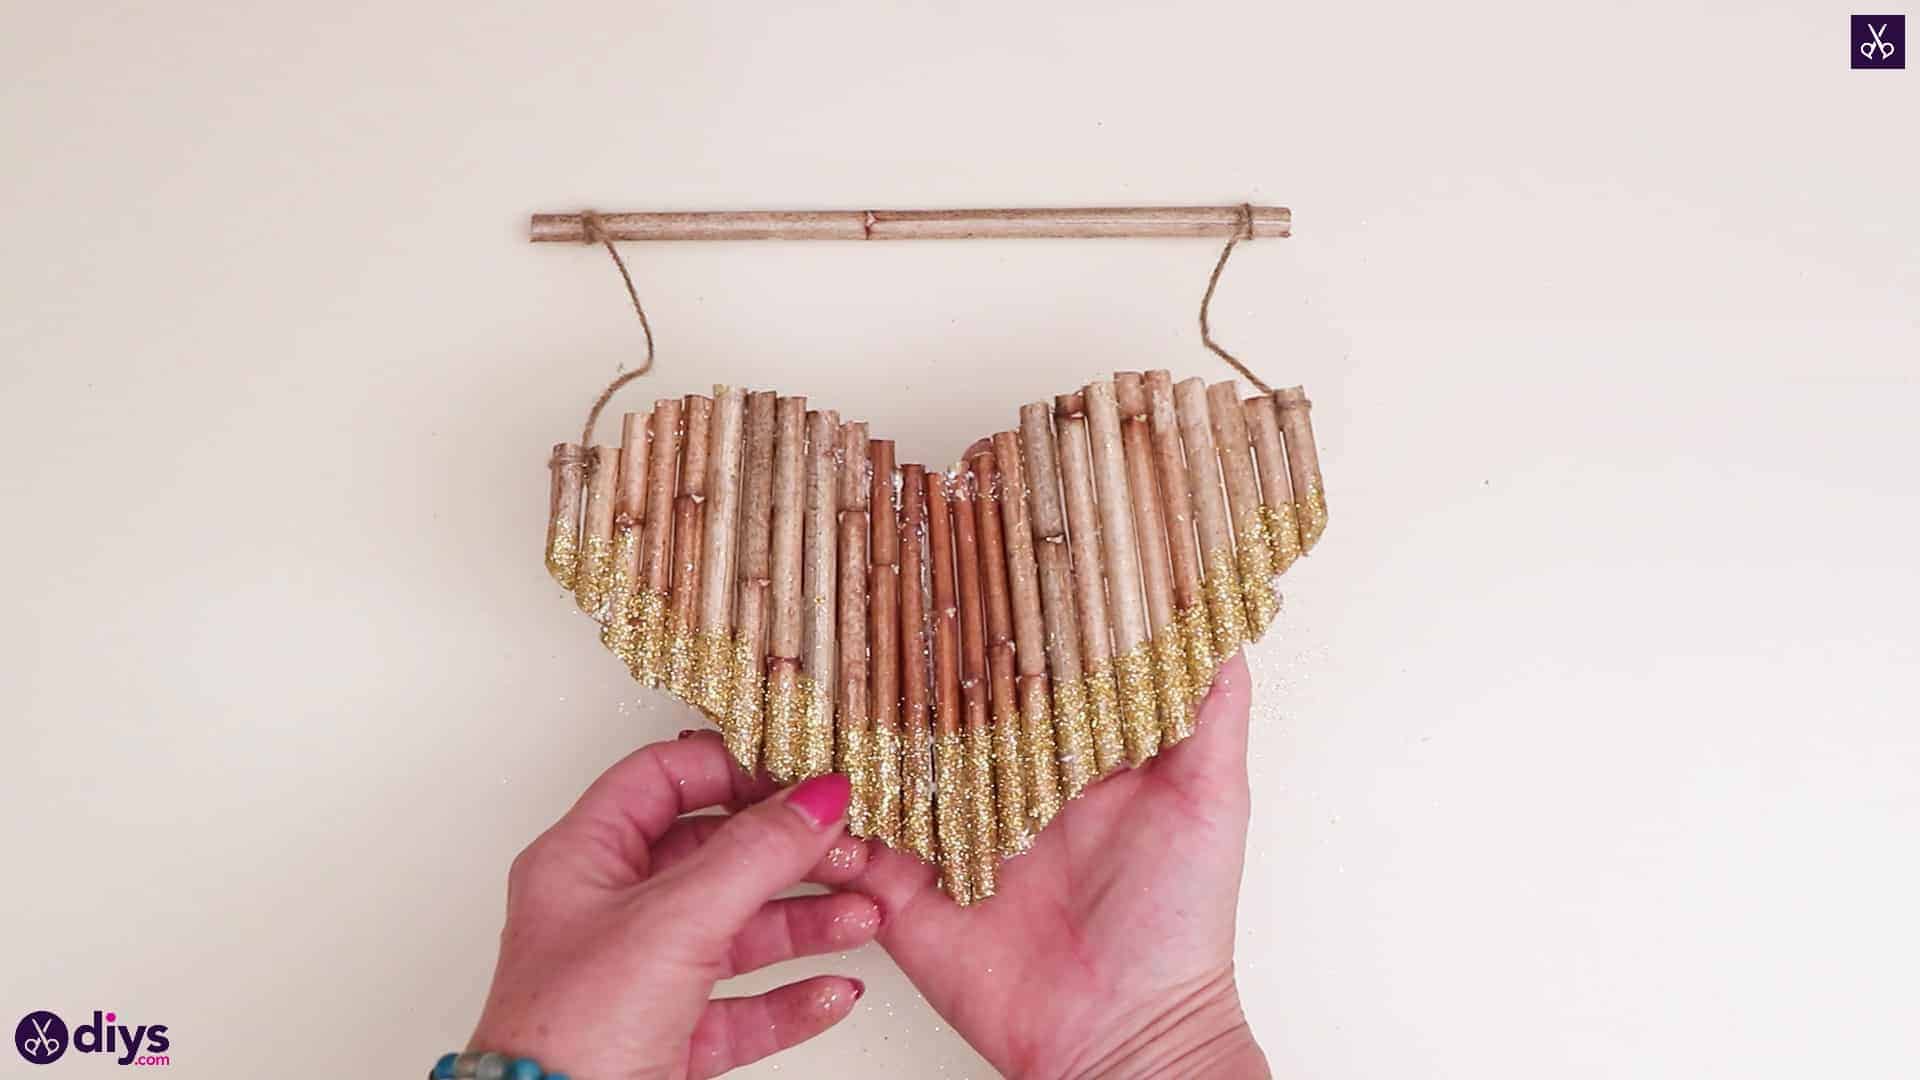
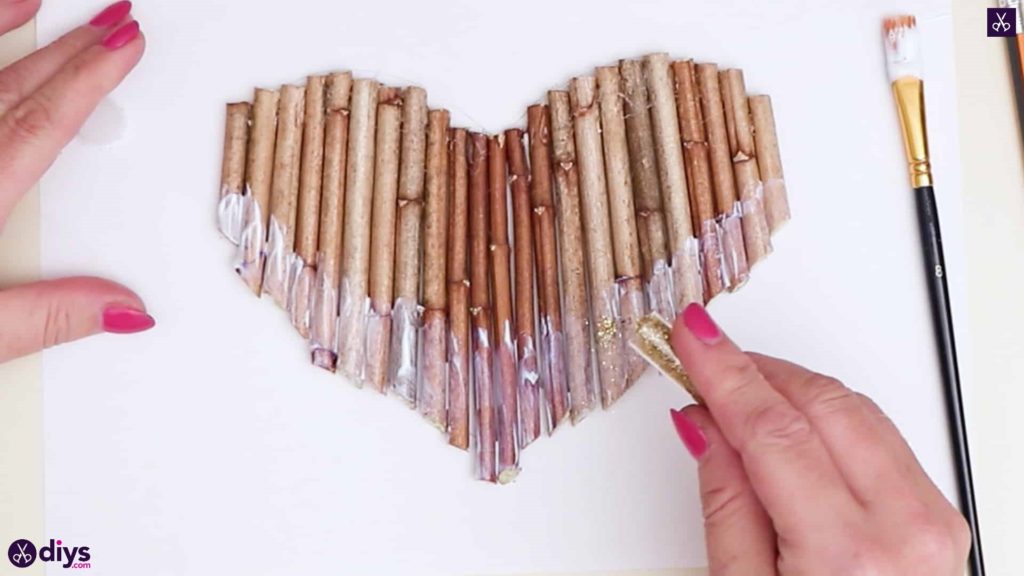
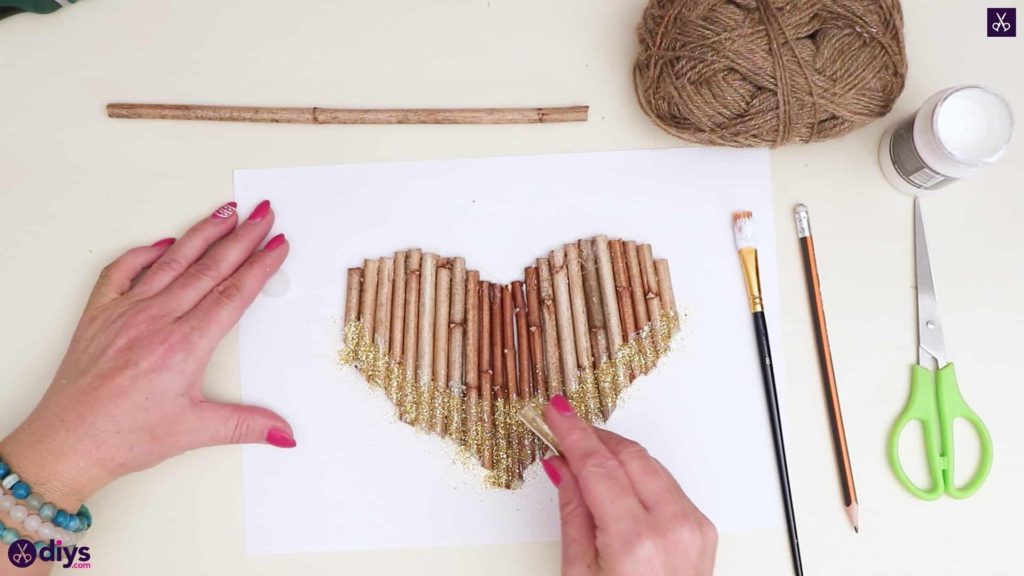
- Add glitter: Apply a thick coat of liquid white glue to the bottom of the twig heart, covering about a third of the decoration. Next, quickly sprinkle the gold glitter over the glue before it dries up.
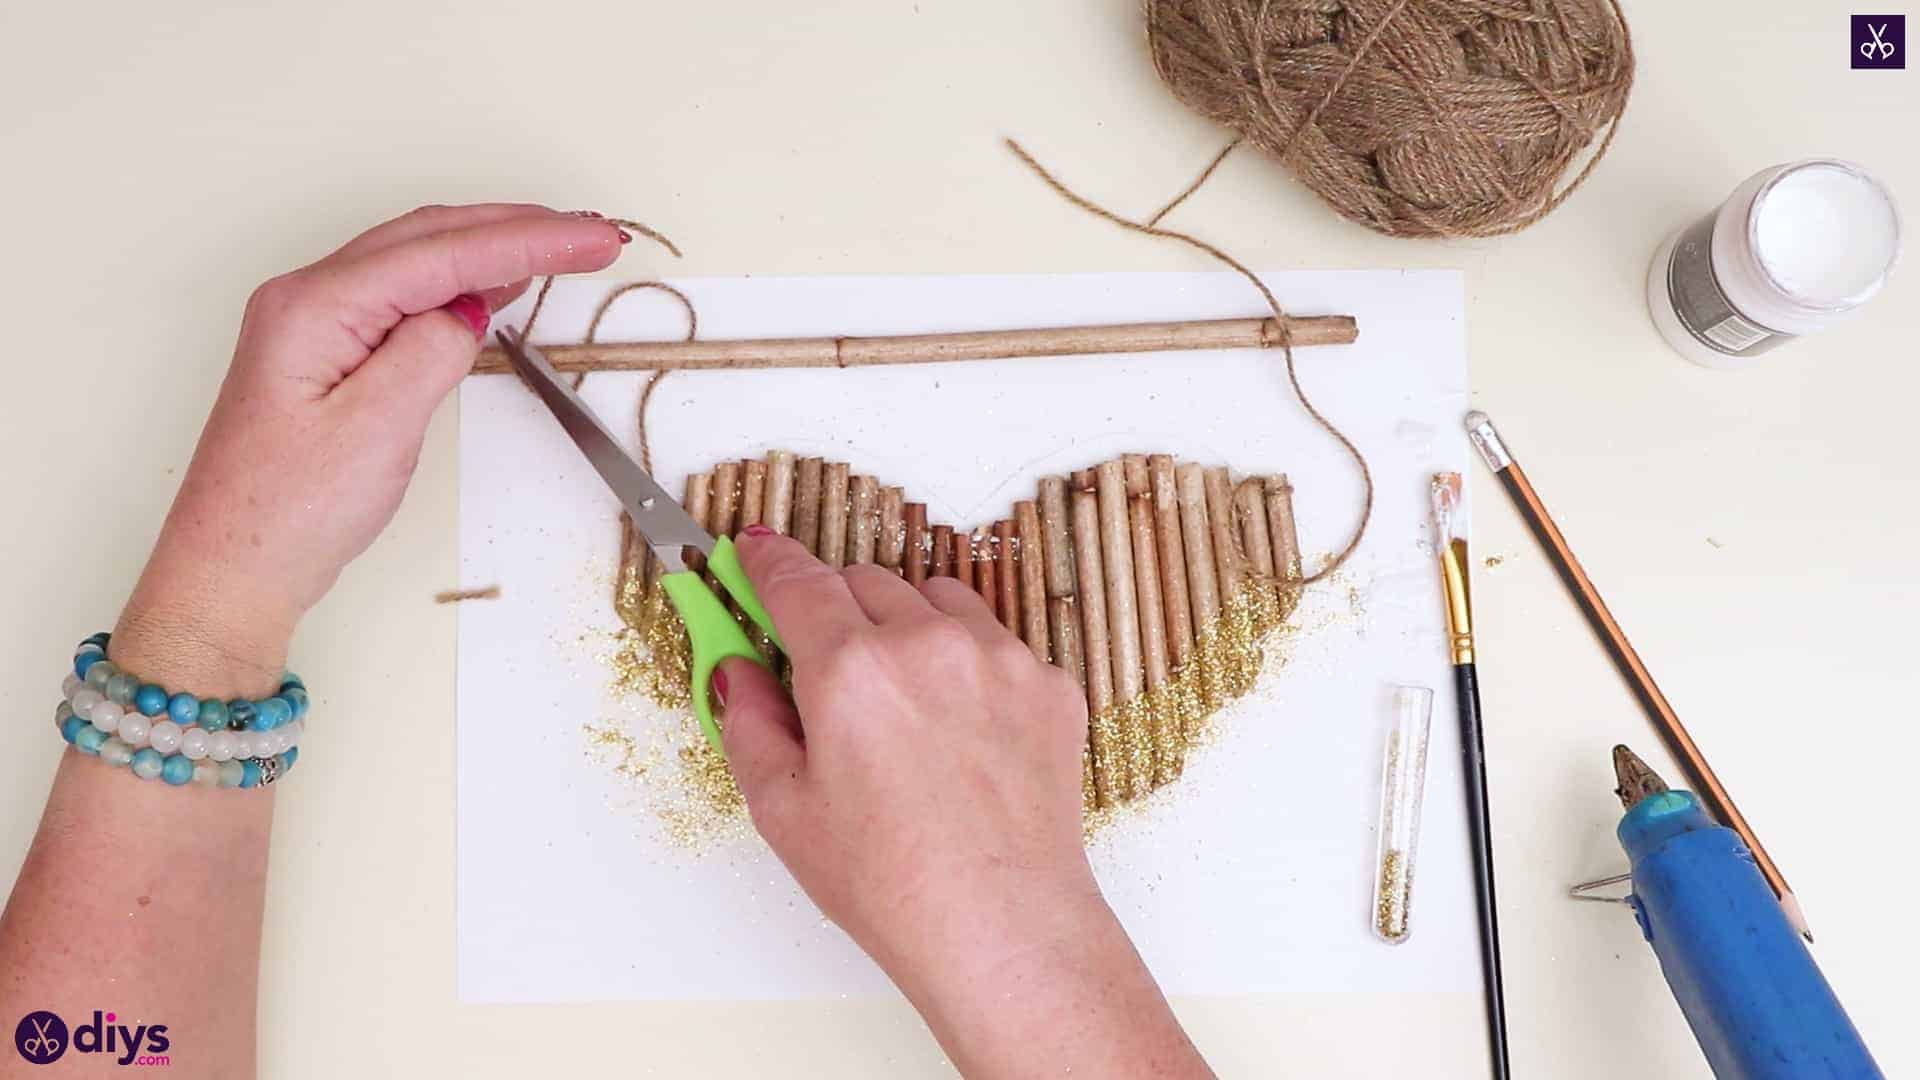
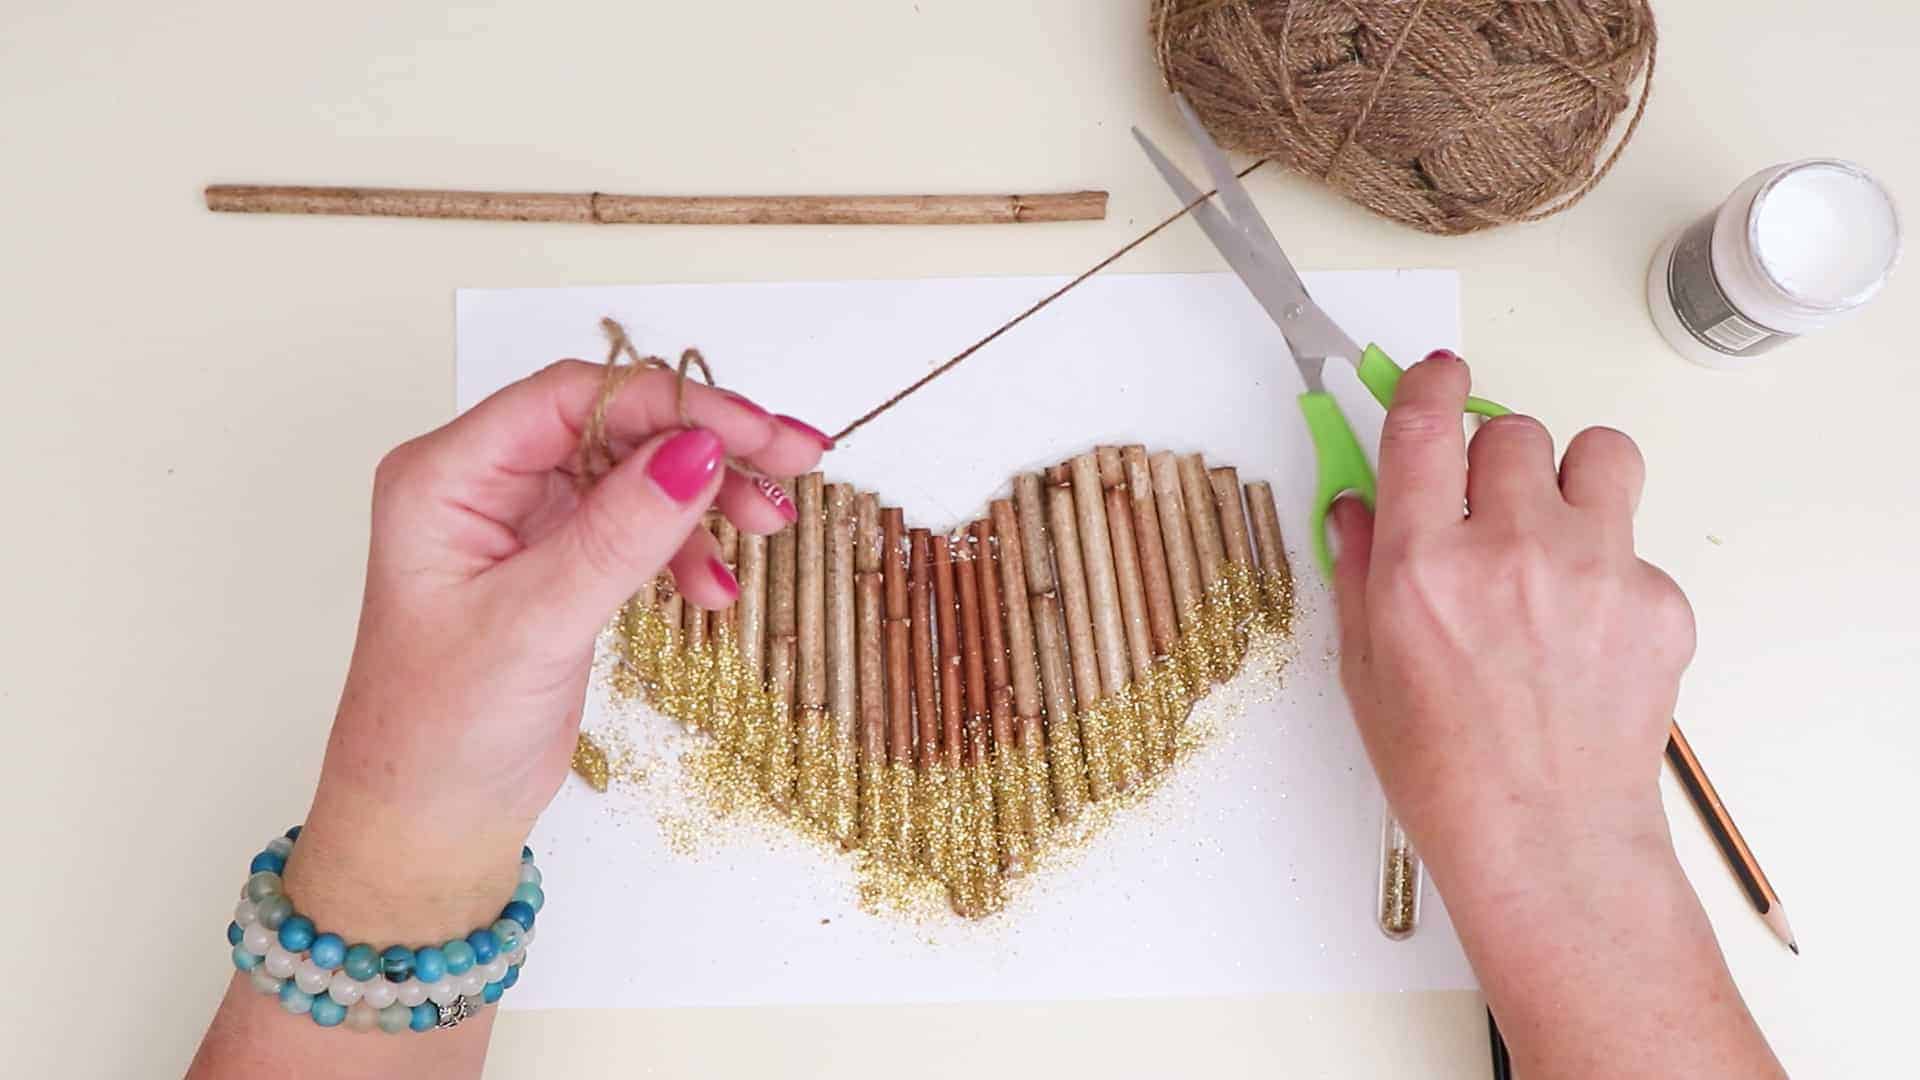
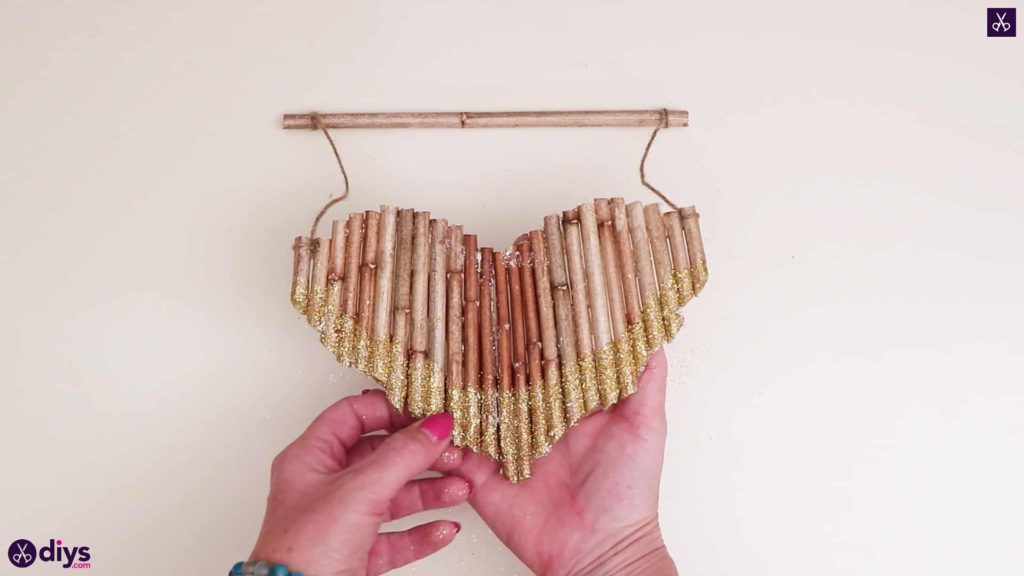
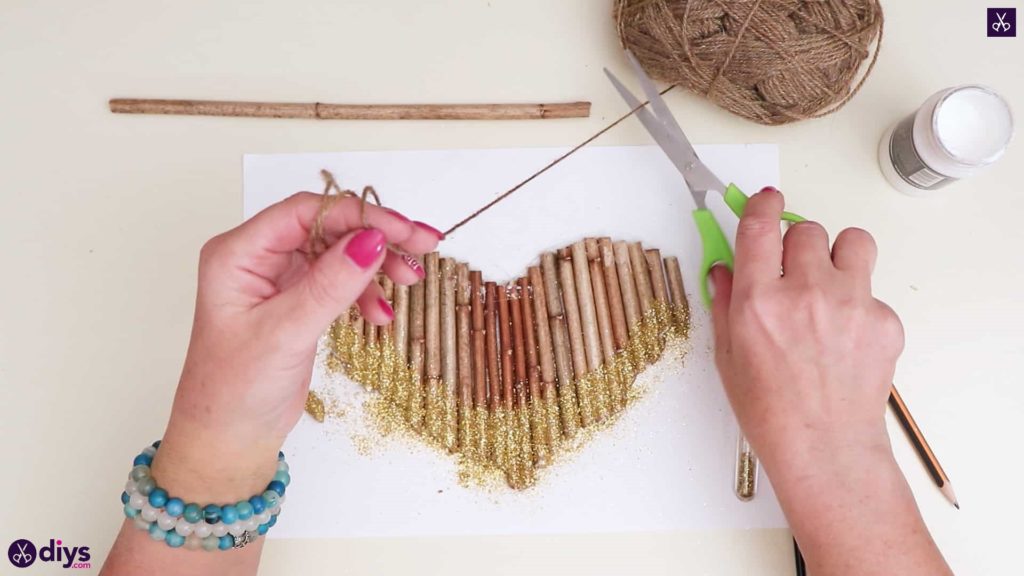
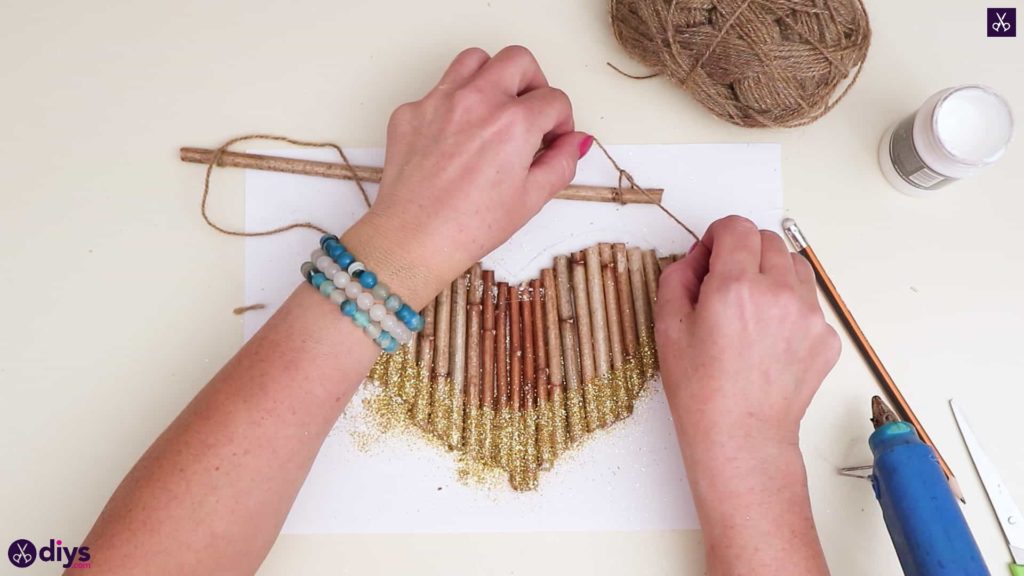
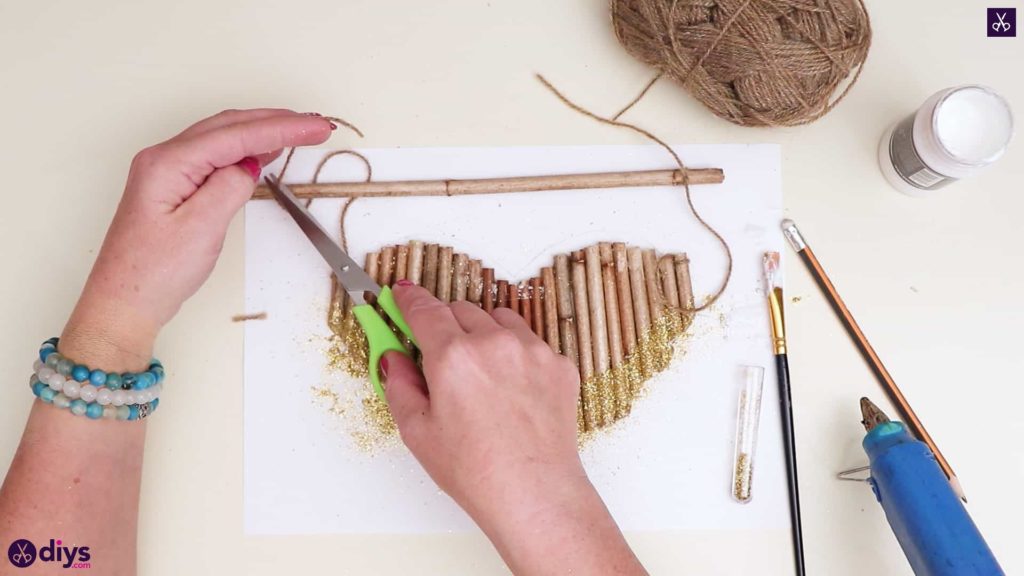
- Create a hanger: Cut a twig as long as the heart’s width, then cut two pieces of yarn about 5 in (13 cm). Tie the yarn pieces to both ends of the long twig to make a hanger. Finally, attach the hanger to the twigs on the left and right of the heart. Your gold-dipped hanging twig heart is now ready!

Video tutorial
Check out the following video guide that better illustrates the processs of crafting a gold-dipped hanging twig heart:
More tips and tricks
Check out the following tips and tricks for improving or changing the gold-dipped hanging twig heart:
- Try other twig layouts: We arranged the twigs vertically, but try other arrangements, like horizontally or diagonally.
- Add more embellishments: Skip the gold glitter and use other decorations, depending on the preferred theme. For example, use pinecones for modern farmhouse interior design or seashells for a beachy feel.
- Add a message: Write something special on the twig heart with a permanent marker or paint to make it even more unique. For instance, write HOME or BLESSED.
Closing thoughts
Crafting a DIY hanging twig heart is a project that anyone can try with the right supplies and by following the instructions outlined in this guide. For more similar projects, check out romantic decorations.