DIY “Day of the Dead” Style Wreath
Updated on June 25, 2021
Day of the dead, or Dia De Los Muertos, is a traditional Mexican holiday that is celebrated on November 1st every year. The decorations are filled with lots of black and white and some pops of bright vibrant color. So today I thought I’d share my take on Dia De Los Muertos decor – a Day of the Dead wreath! It’s easy to make, and it is a refreshing departure from regular Halloween decorations. So read on to check out the simple tutorial.
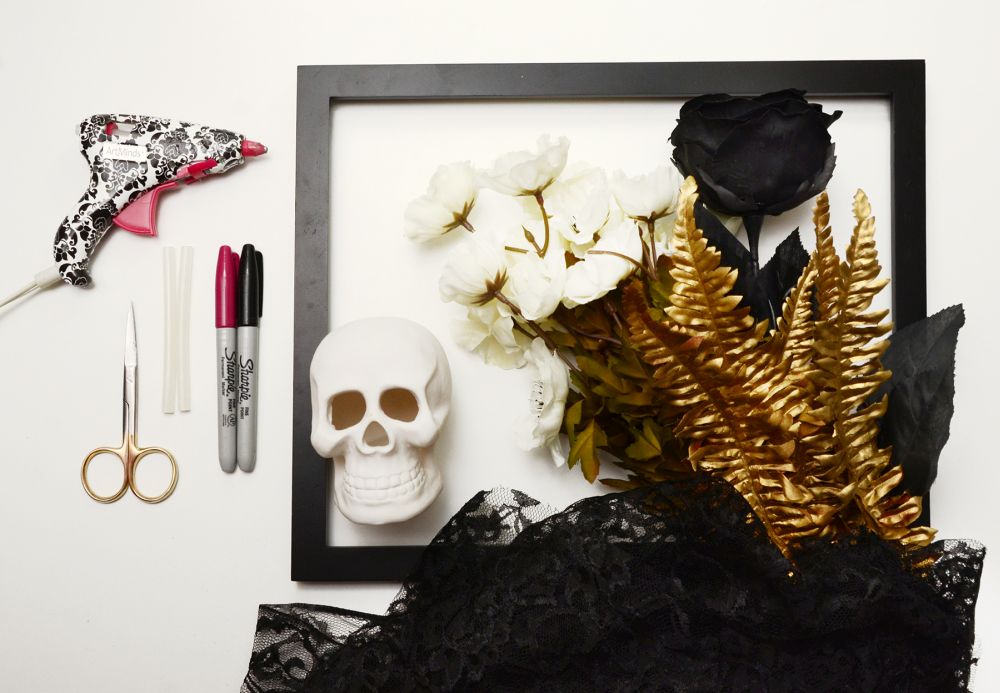
Here’s what you’ll need for your Day of the Dead wreath:
- Unpainted resin skull (something like this)
- 11×14 inch picture frame without glass
- 1/4 yard of black lace fabric
- Black, white and gold artificial flowers
- Hot glue gun with extra glue
- Scissors
- Sharpie markers
- 8″ pliable wire (not pictured)
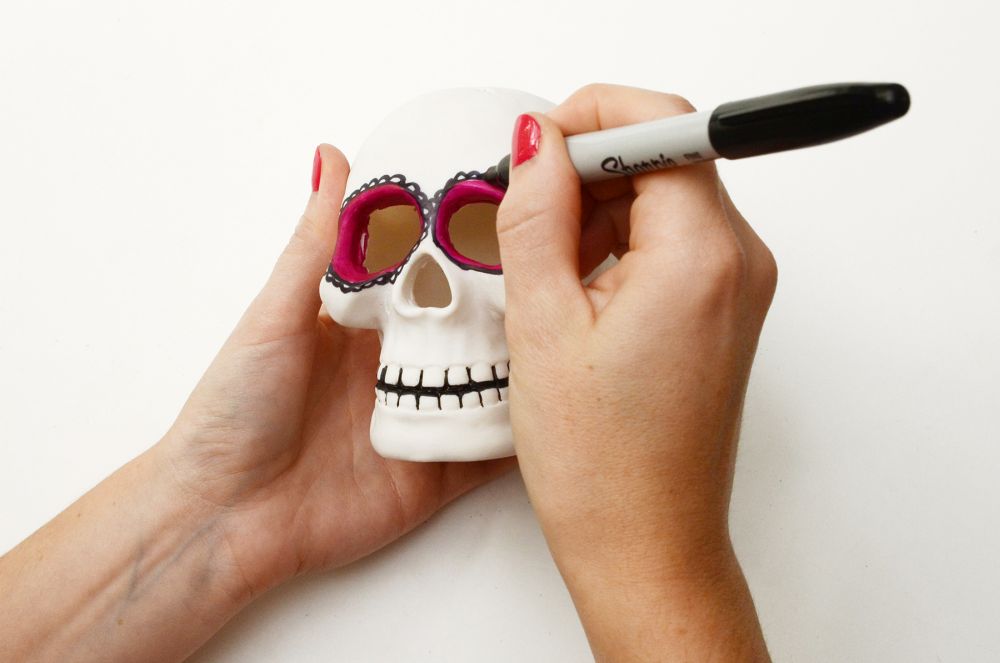
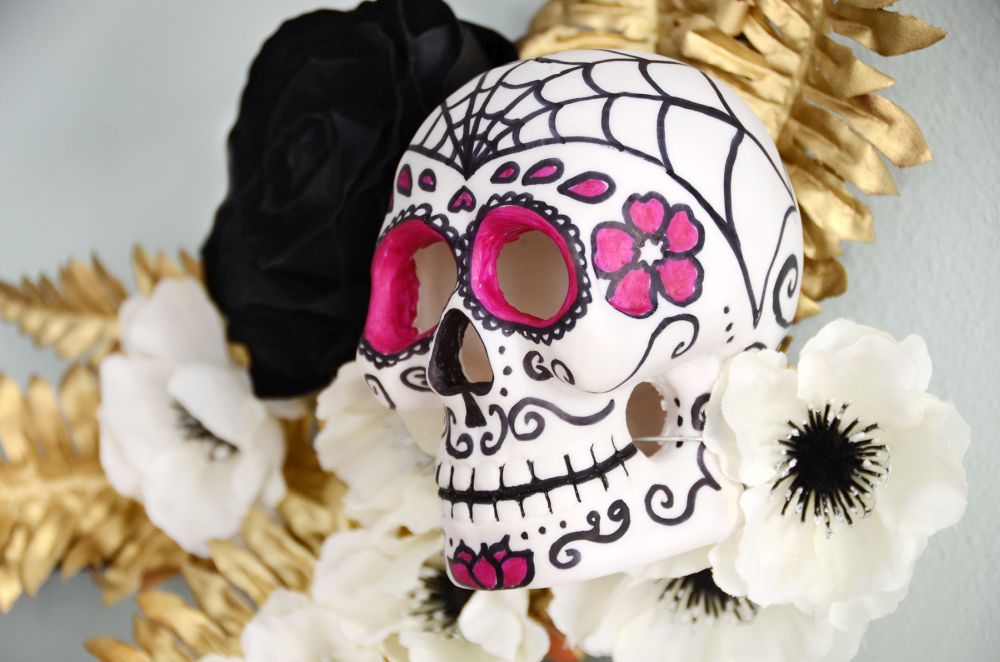
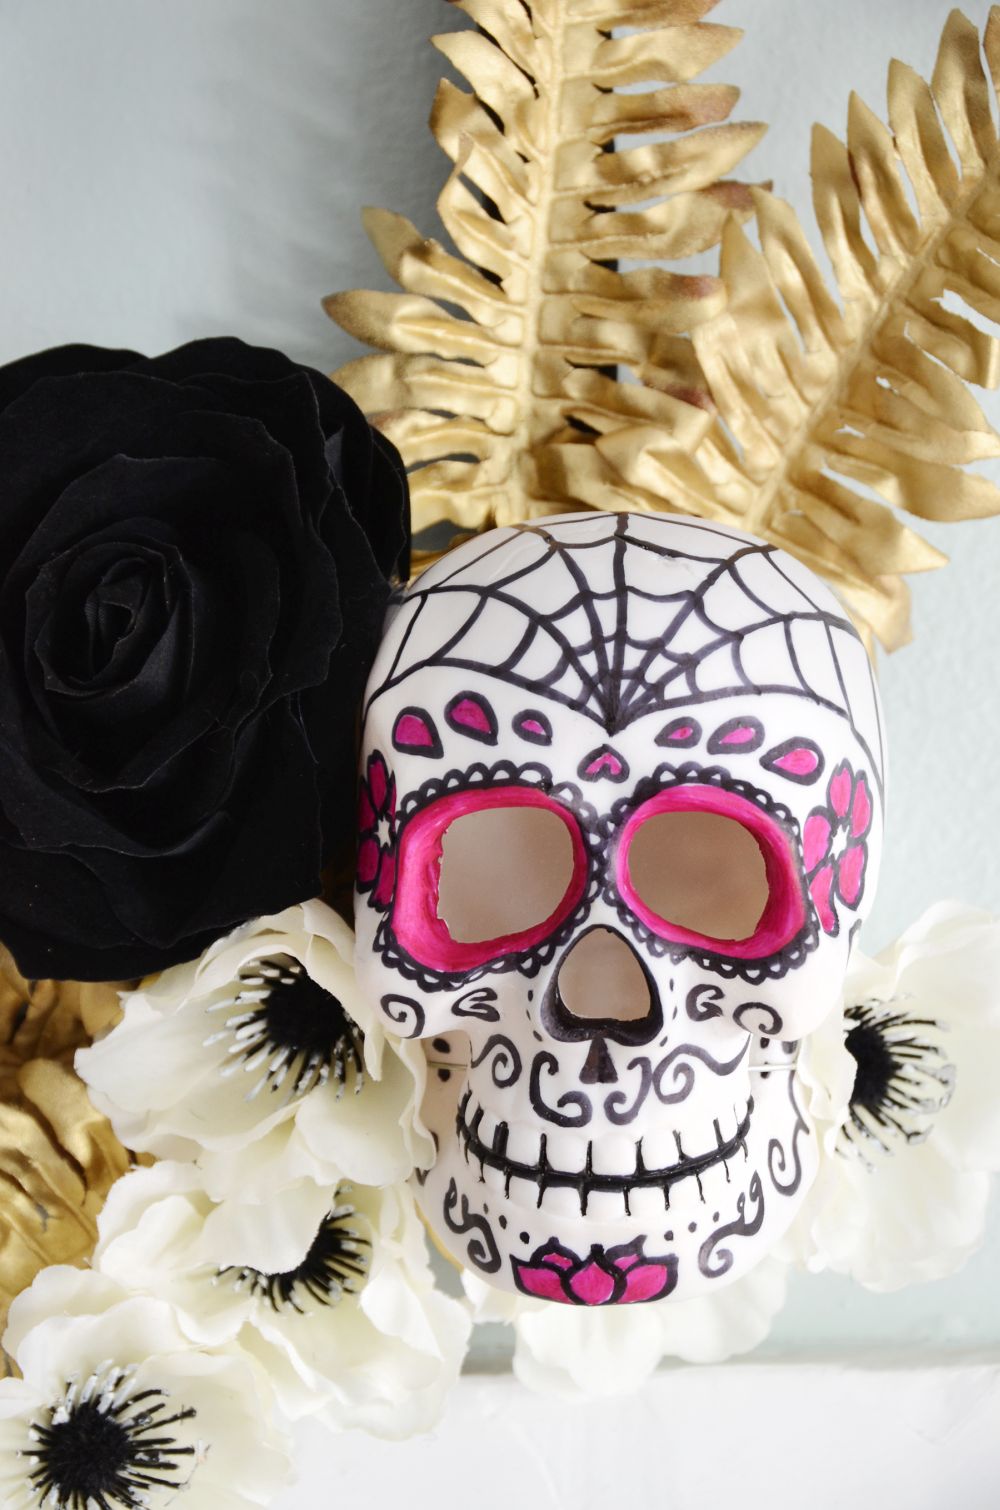
Begin by decorating your resin skull with Sharpie markers. I chose black and magenta to keep things simple, but feel free to add other colors for a more traditional look. The ink should dry quickly, but be sure not to smudge it as you’re working. Feel free to copy my design, or get creative by coming up with your own. Head over here to check out some inspiration.
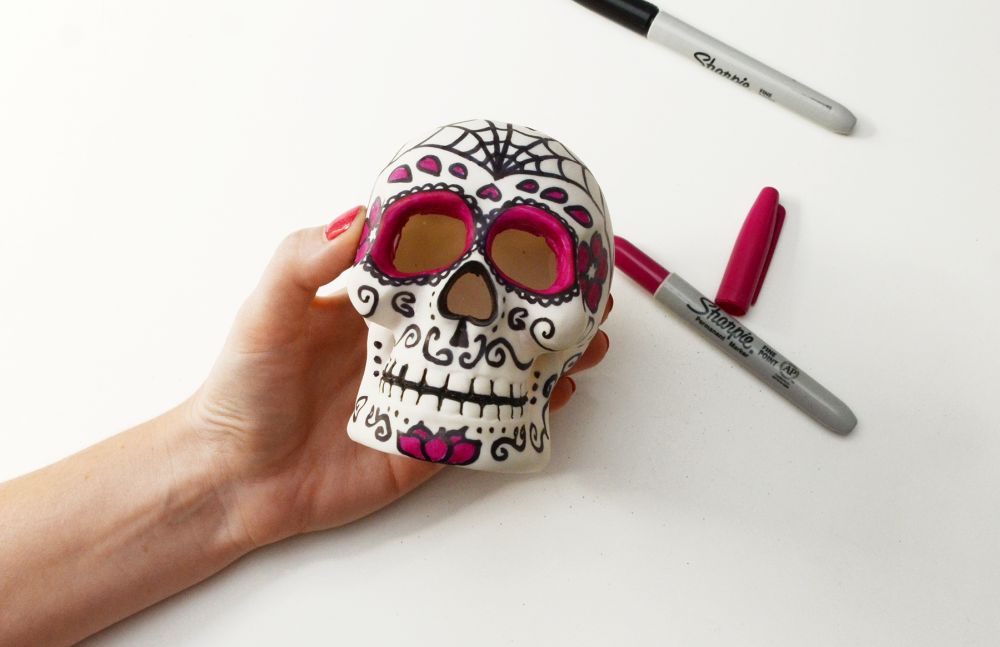
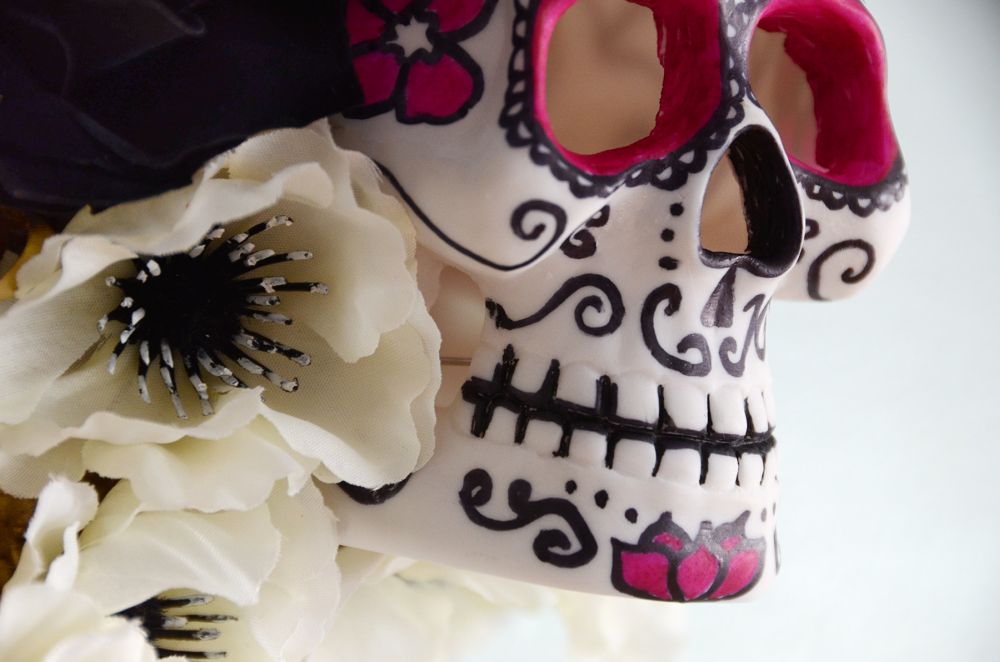
Dia de los muertos skulls, or sugar skulls as they’re often called, almost always have colored circles around the eyes and dark lines between the teeth. They often have a spider web design on the forehead as well.

Flowers are another common element that you might want to add to yours.
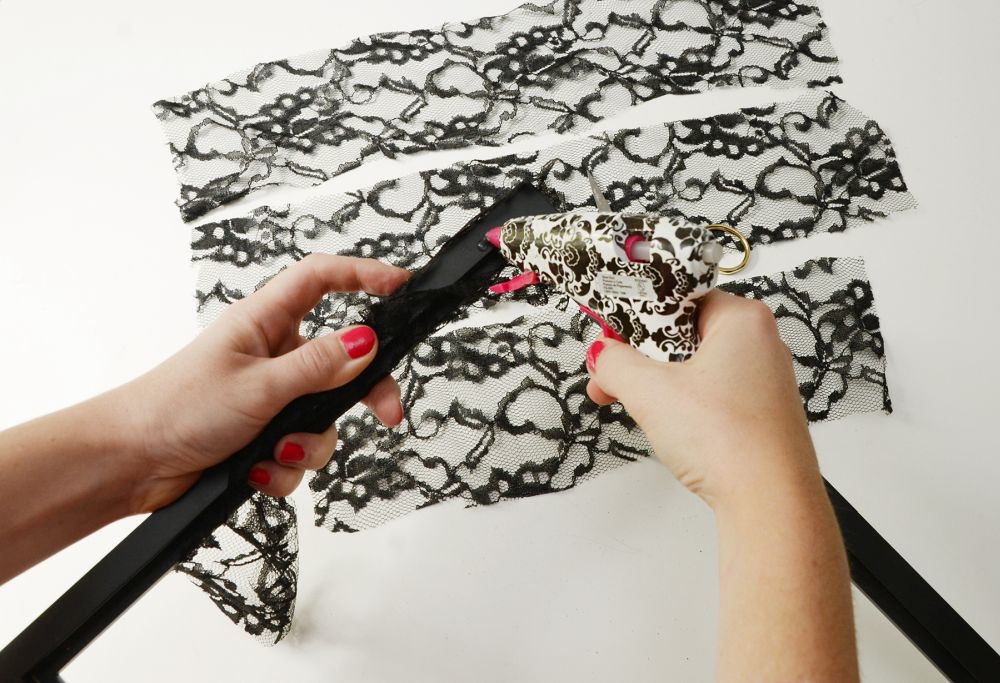
Next, it’s time to create the wreath itself. I’ve used an empty picture frame without the glass to create a modern rectangular wreath shape. Cut out strips of lace and use hot glue to adhere them to the frame (glue it on the back, because the glue will be visible through the holes in the lace).
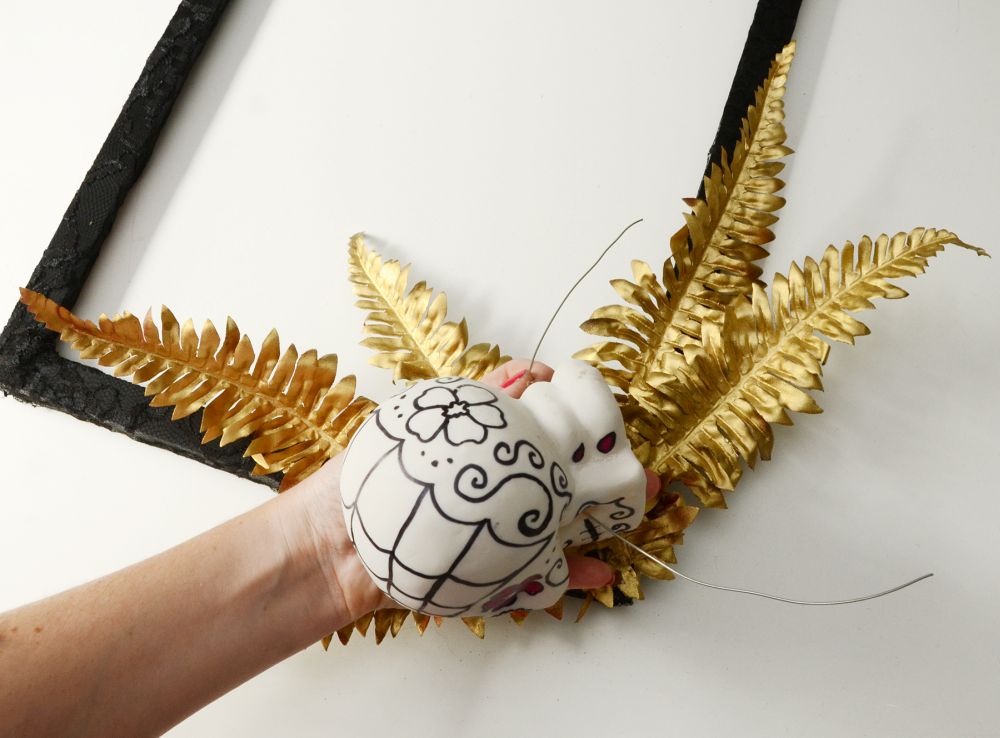
Next, begin gluing other elements to the frame. I started with gold ferns because I wanted those to be in the back. Next, thread your wire through the hole in the skull and wrap it around the corner of the wreath. Twist the wire in the back to secure it.
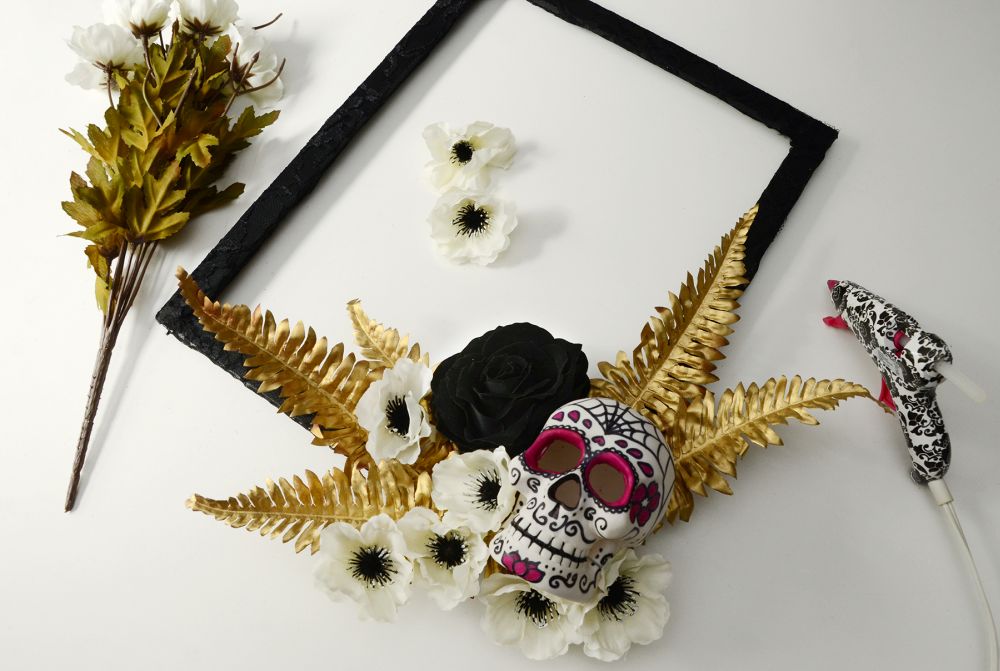
Next begin adding the artificial flowers to the wreath. You won’t use the stems or leaves at all, so just pull the flowers off of the stems. Use hot glue to adhere them to the wreath around the skull.
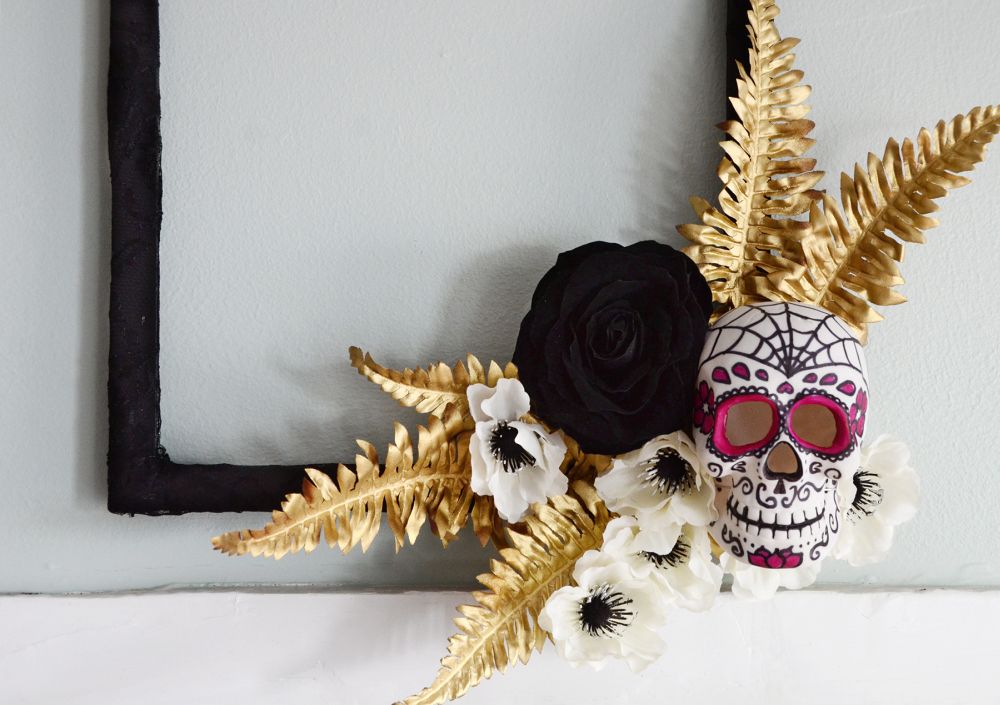
And that’s it, you’re Day of the Dead wreath is finished! There is one thing to note when hanging your wreath – because everything is concentrated in one corner, the right side of the wreath will be much heavier than the left so you’ll want to hang your wall hook to the right instead of in the center to keep it balanced. My hook is located about three quarters of the way over within the frame.
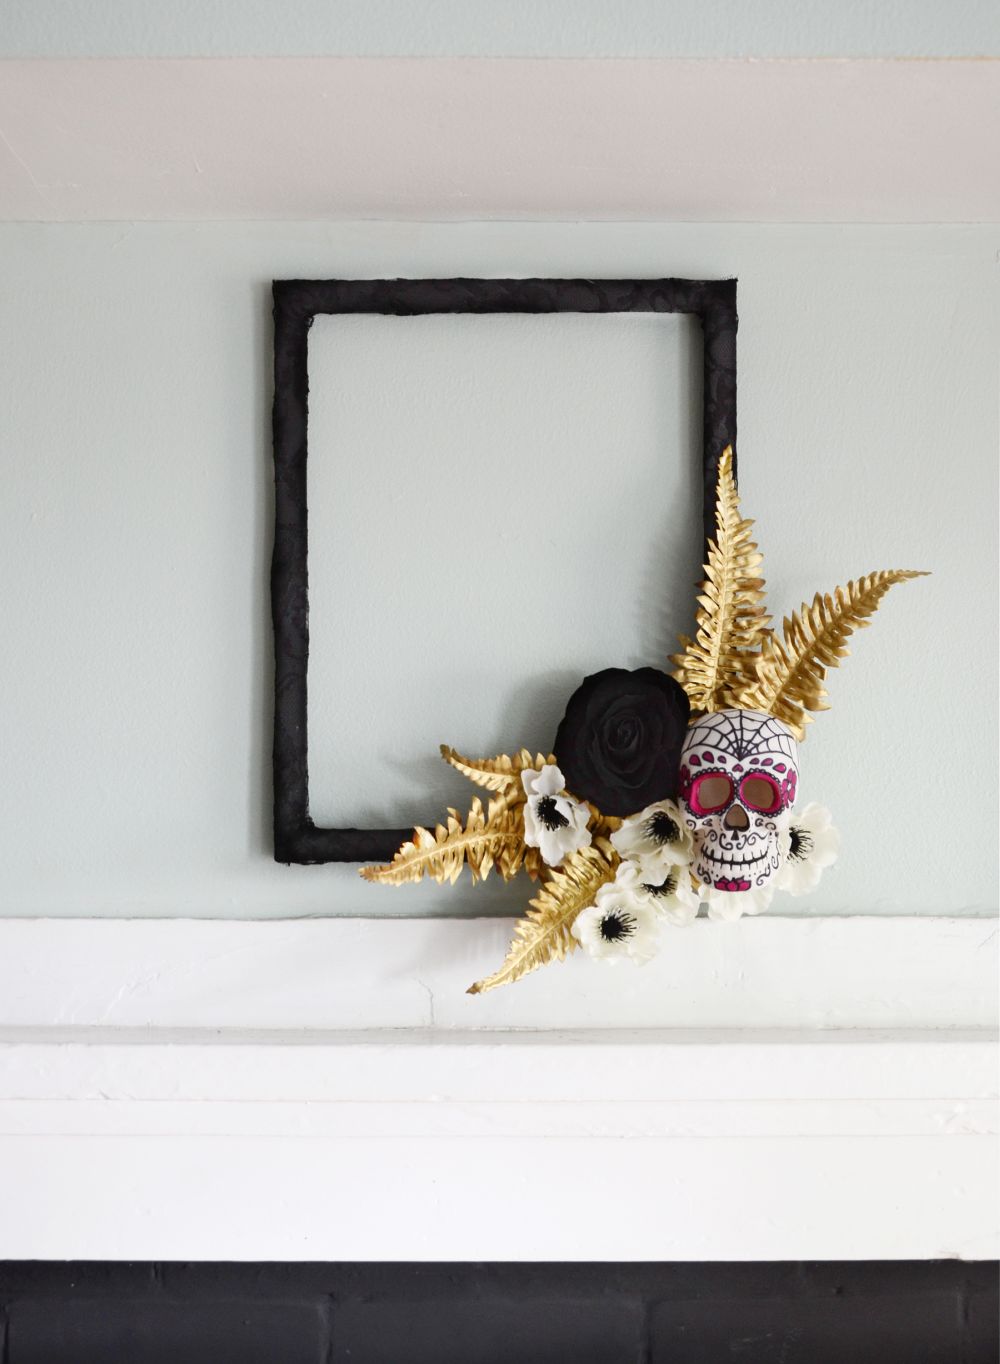
The final product is a nice combination of spooky and elegant, with the combination of the skull and gilded ferns.
So if orange and green aren’t your favorite colors to decorate with, go for this more unique Halloween decor idea.
And since this is made from fairly resilient materials, you can even hang it outside. Just be sure to spray the skull with a sealant so that rain doesn’t ruin your Sharpie art.
Happy crafting everyone!
