DIY Cute Pom Pom Apple
Updated on November 19, 2025


When I was a kid and I was just getting into the world of crafting and learning all different kinds of techniques, I distinctly remember homemade yarn pom poms as being one of my very favourite things to make! These pom pom apples that we made last week are a great example! We even ate sliced apples together afterwards, because what’s better than healthy creativity getting kids excited about eating a healthy snack?

As usual, I did my best to document and outline at least one of the apples we made together so that other DIY enthusiasts might try this craft out for themselves as well. Check out these step by step instructions complete with photos! If you’d rather follow along with a video tutorial instead of written words, scroll to the bottom of this post to find just what you’re looking for.
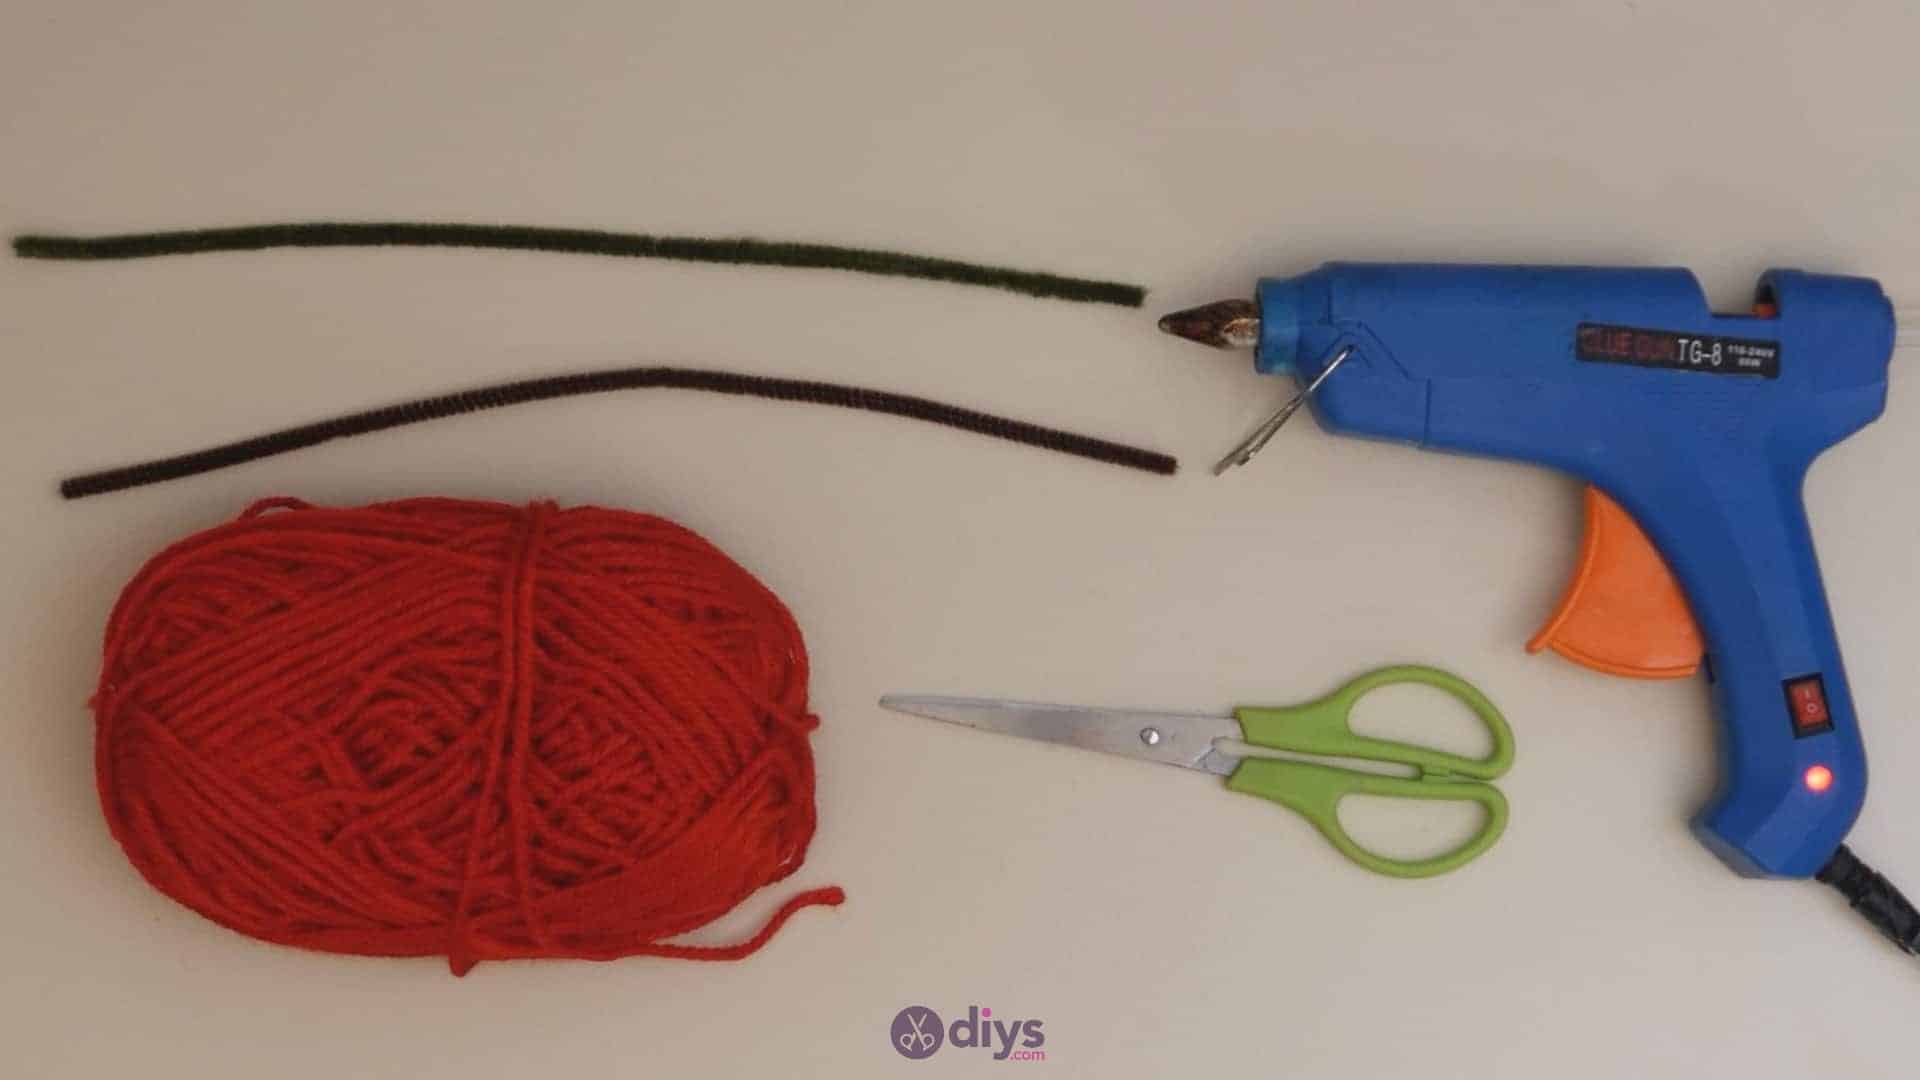
For this project, you’ll need:
- Red yarn
- Pipe cleaner (green and brown)
- Hot glue
- Scissors
Step 1: Gather your materials!
Before starting any craft project, make sure all your materials are in hands reach.

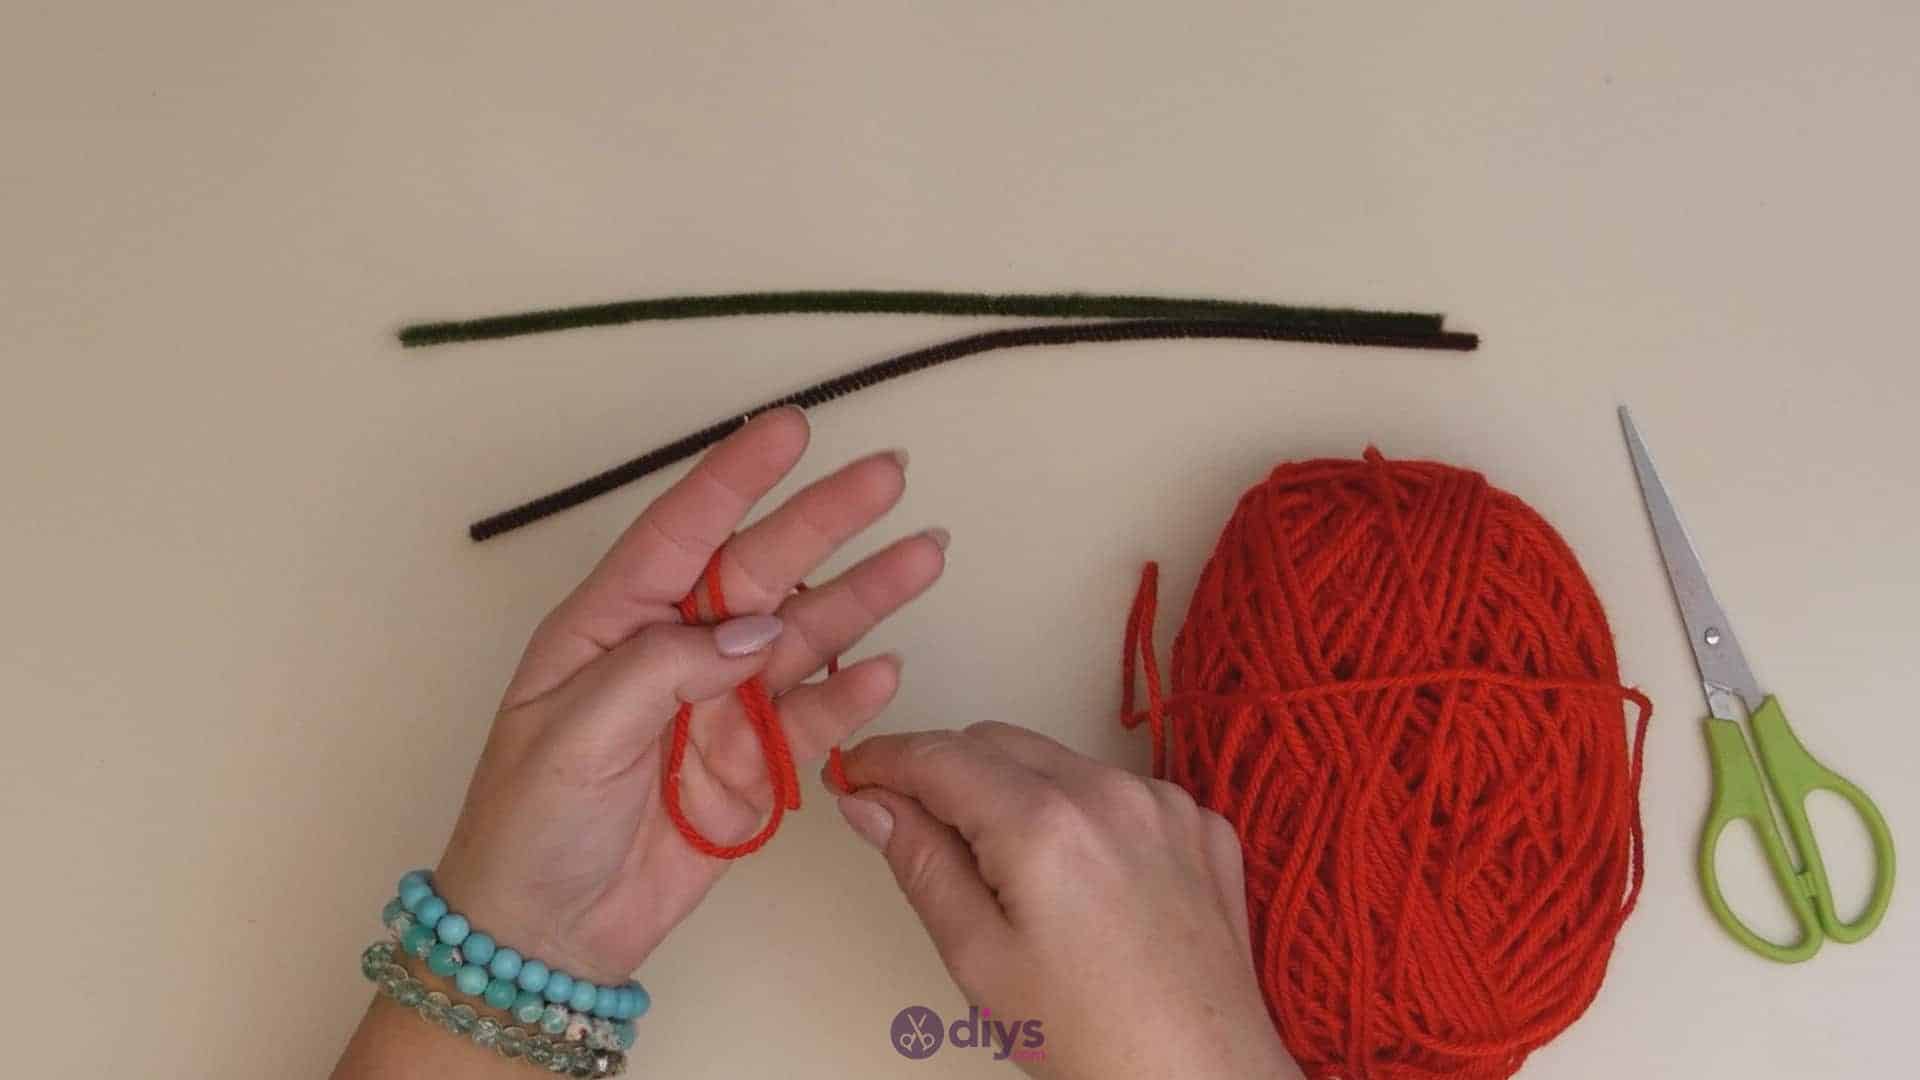
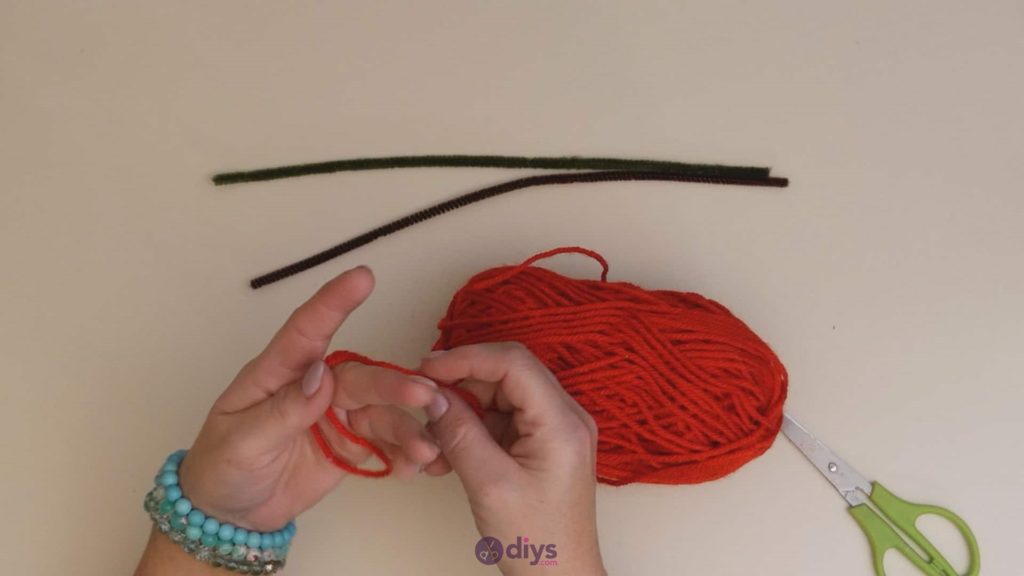
Step 2: Cut yarn
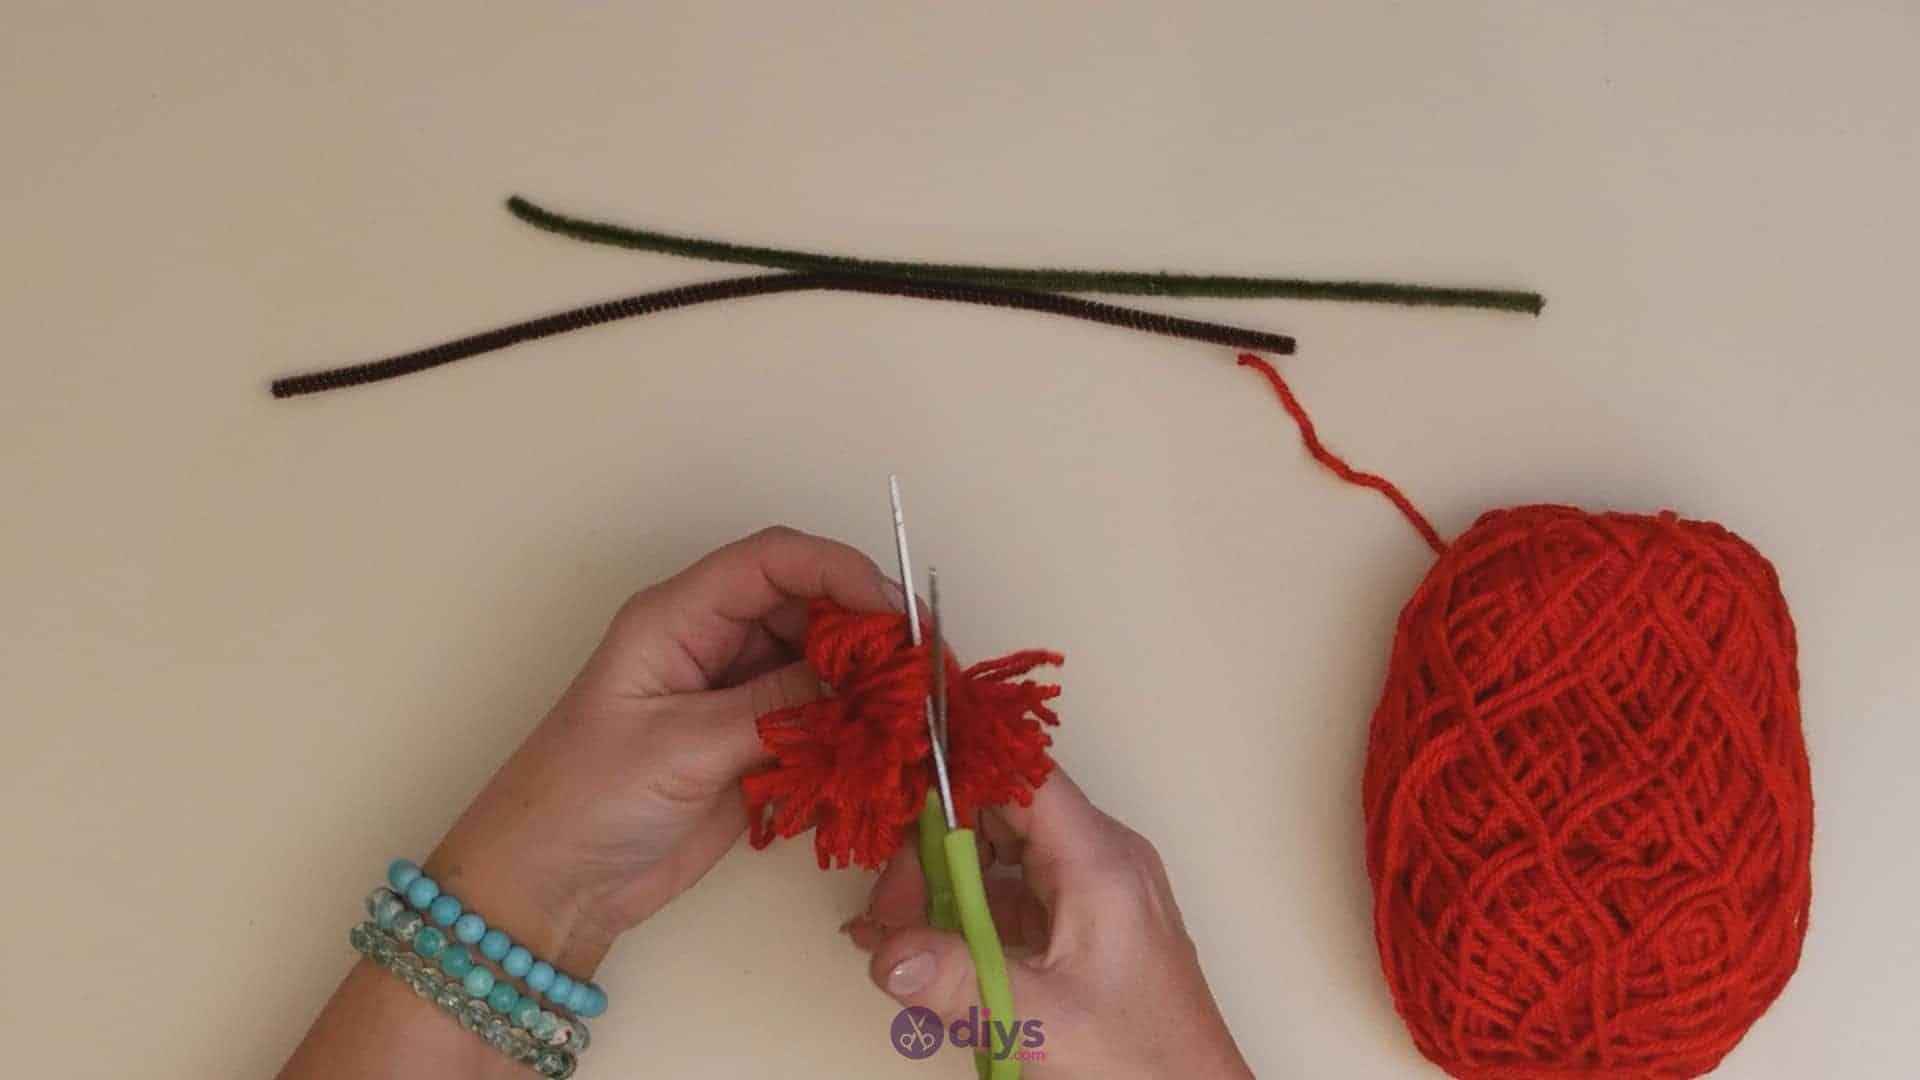
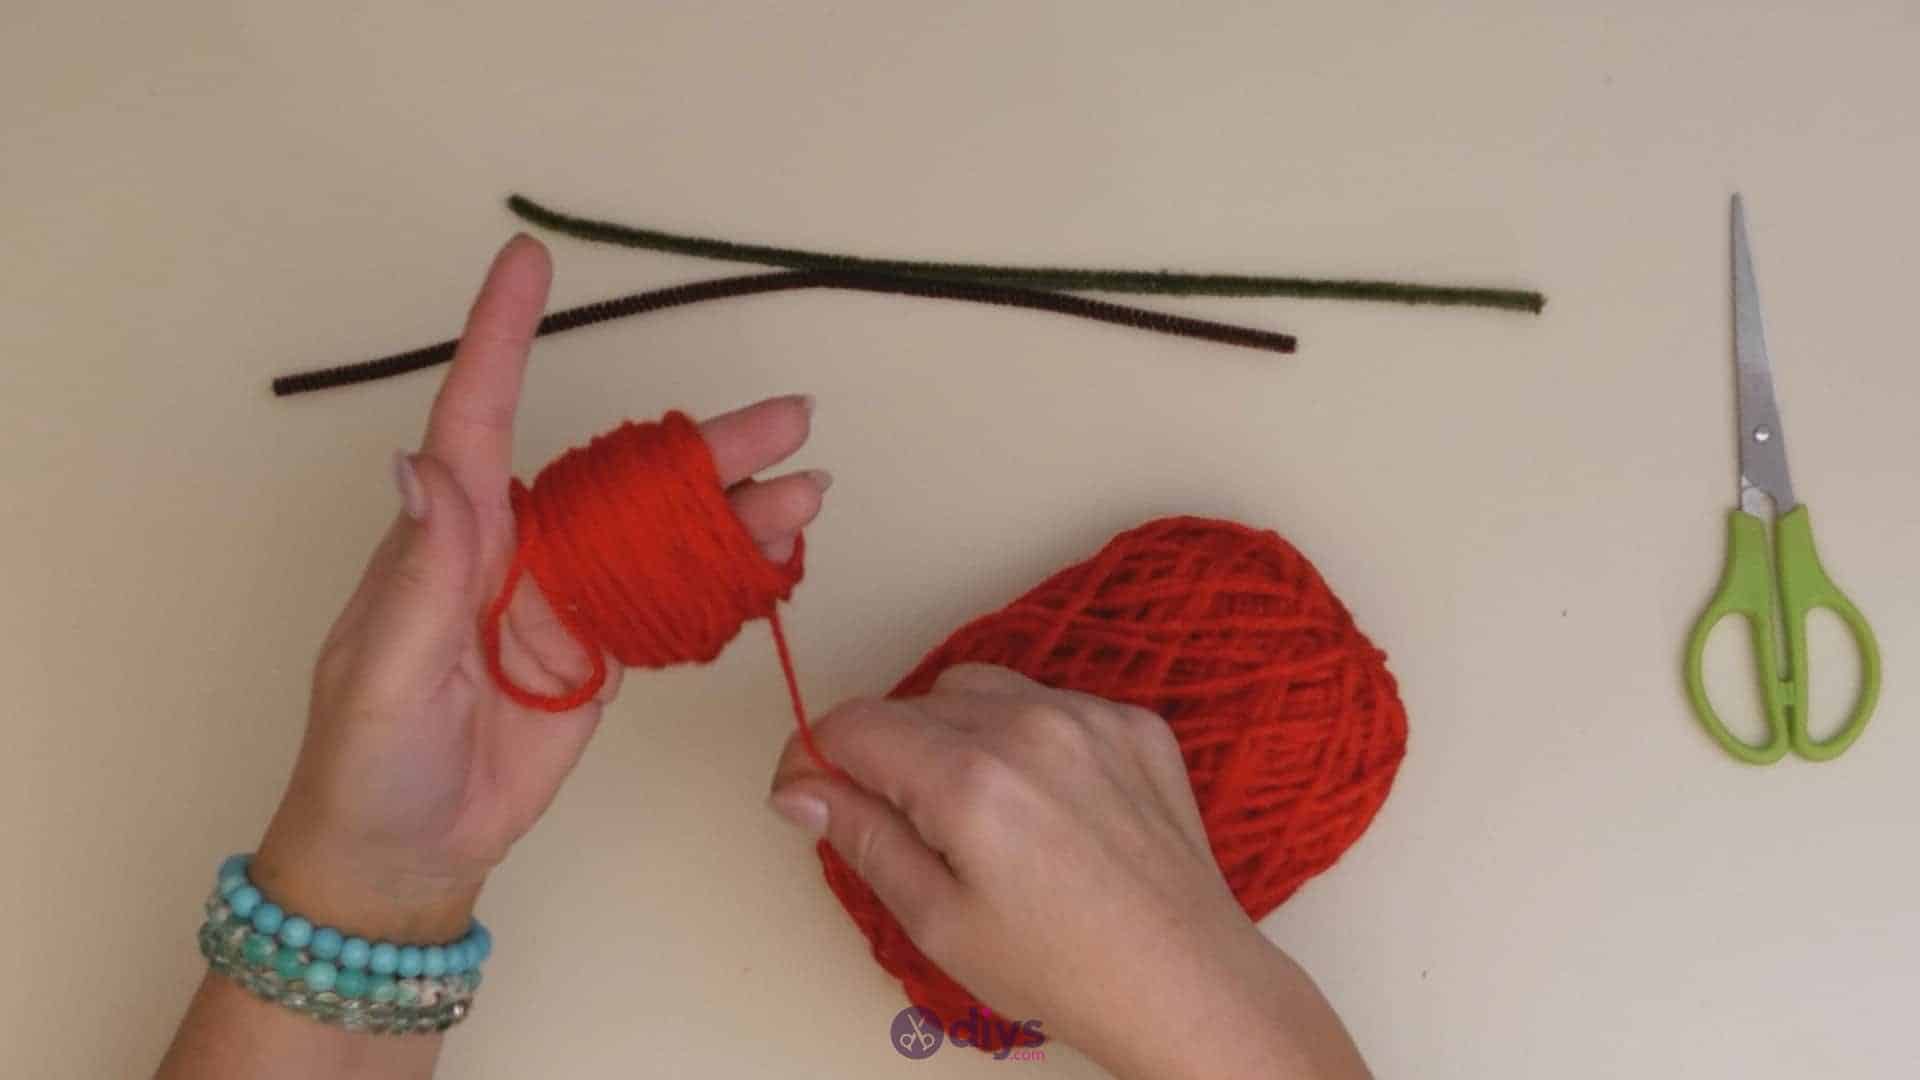
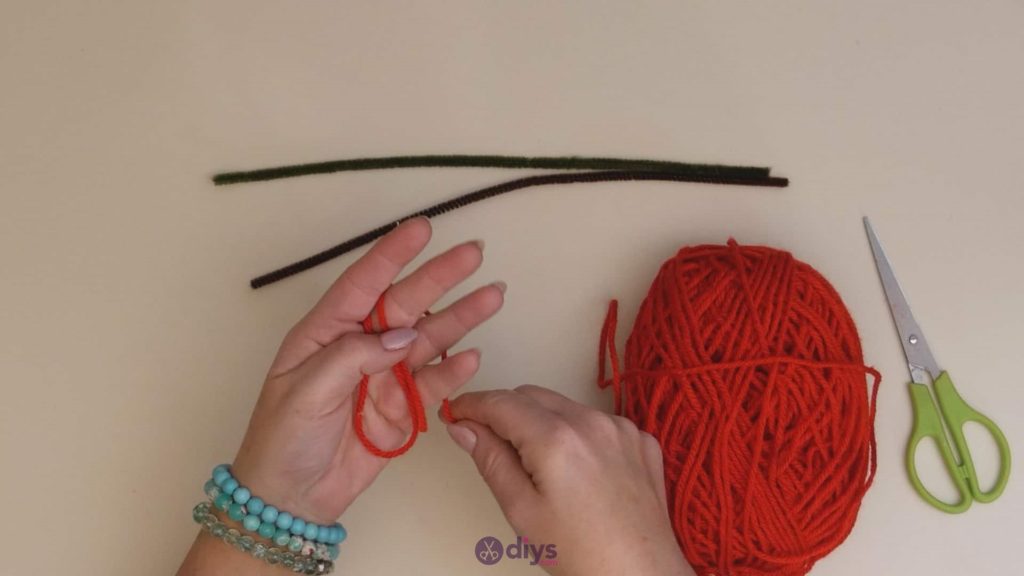
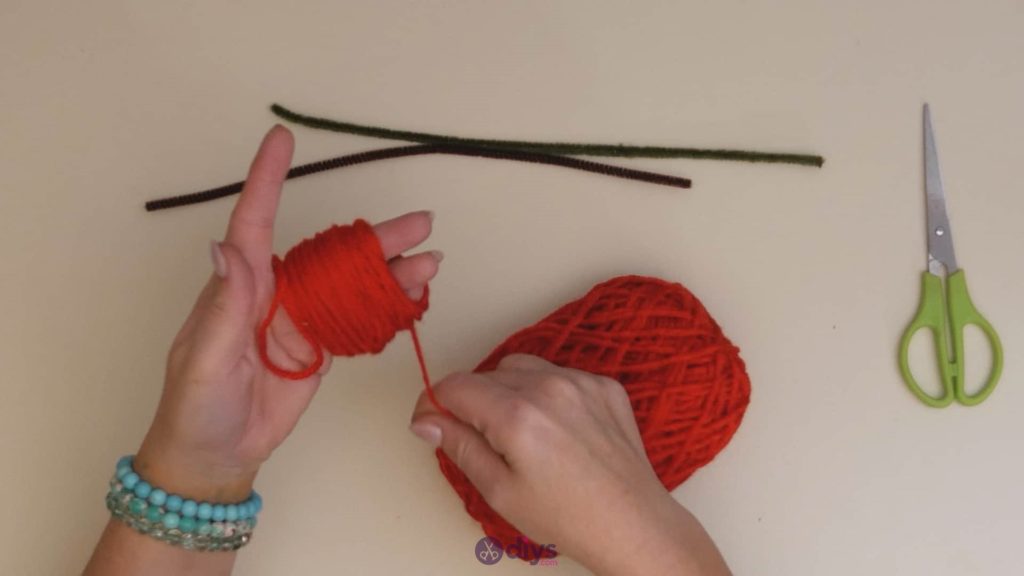
Make your yarn pom pom! Cut a length of yarn about four inches long and fold it in in half so its ends meet and a loop forms at the other end where the halfway point of the original long string is. Place this between your middle and ring fingers on your left hand, with the loop at your palm, pulling it all the way down to the base of your fingers. You’ll hold this here while you make the rest. Now, rest the end of your yarn that’s still attached to the ball against your four fingers held together, positioned vertically so it crosses the inside of all four. Hold the end in place with your thumb and start wrapping the yarn around your four fingers to create a bundle of loops. You can slide your thumb out from under the wrapped yarn once there’s enough in place to hold the end in place for you. Keep wrapping until your bundle is about half an inch thick and an inch wide.
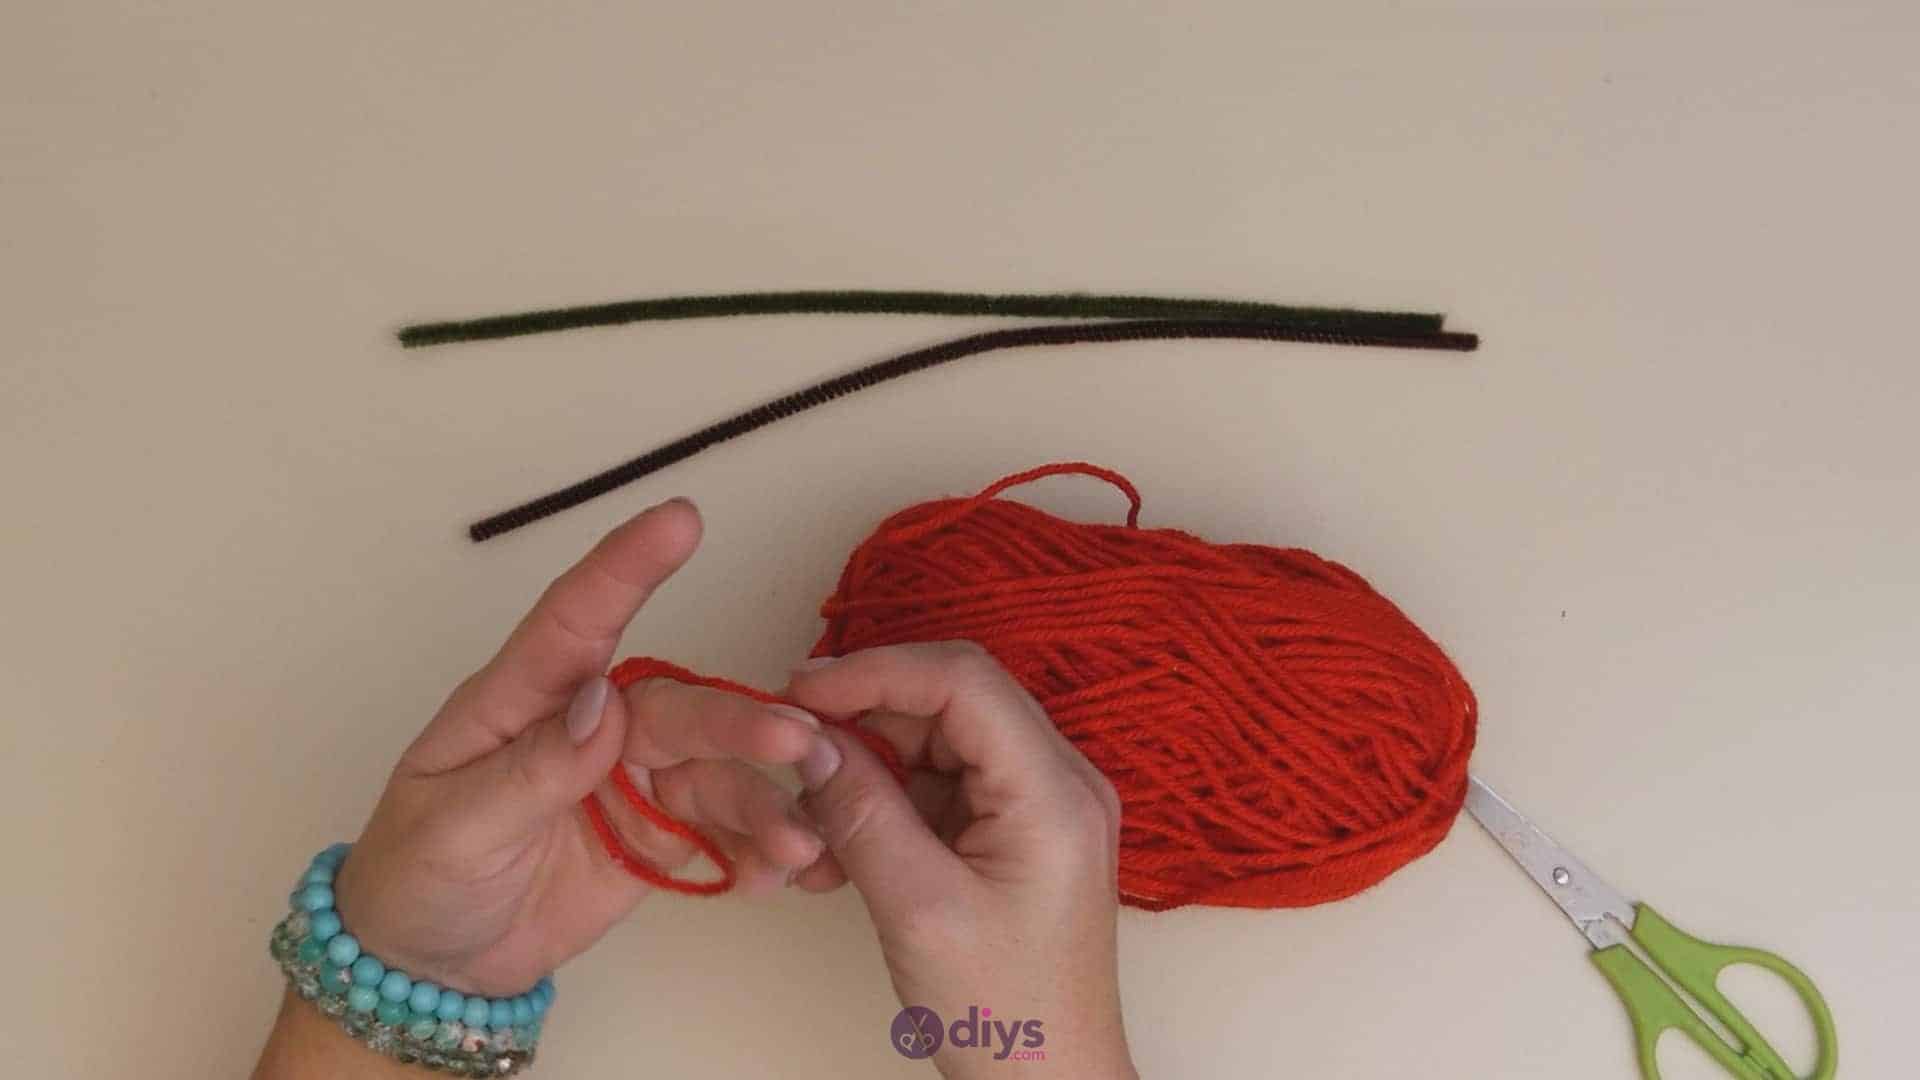
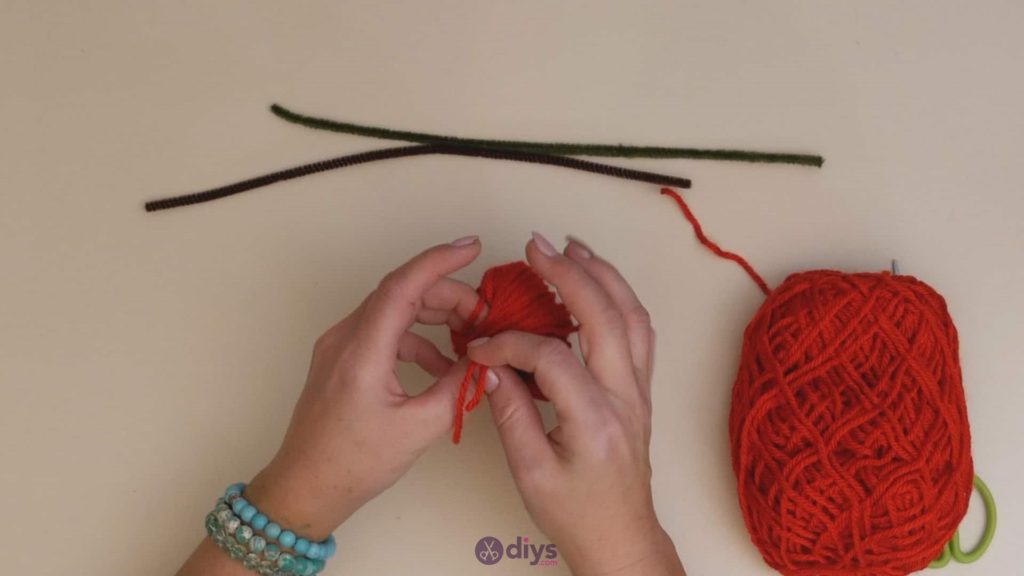
Bring the yarn back to the inside of your hand and hold it in place with your thumb again, cutting a new end loose from the ball with your scissors. With your other hand, pull the loop and ends of your original piece of yarn sitting between your middle and ringer fingers up towards your yarn bundle and bring them around it and together on the other side, where the tips of your fingers are. Pass one of the ends through the loop and pull it a little to start cinching the bundle. Before you pull it too tightly, slide the whole bundle off the tips of your fingers, then keep pulling the string through the loop to cinch the middle of your pom pom and keep everything bundled together. Once you’ve tightened it to your satisfaction, use the second end to tie a tight knot and keep the middle pinched and in place.

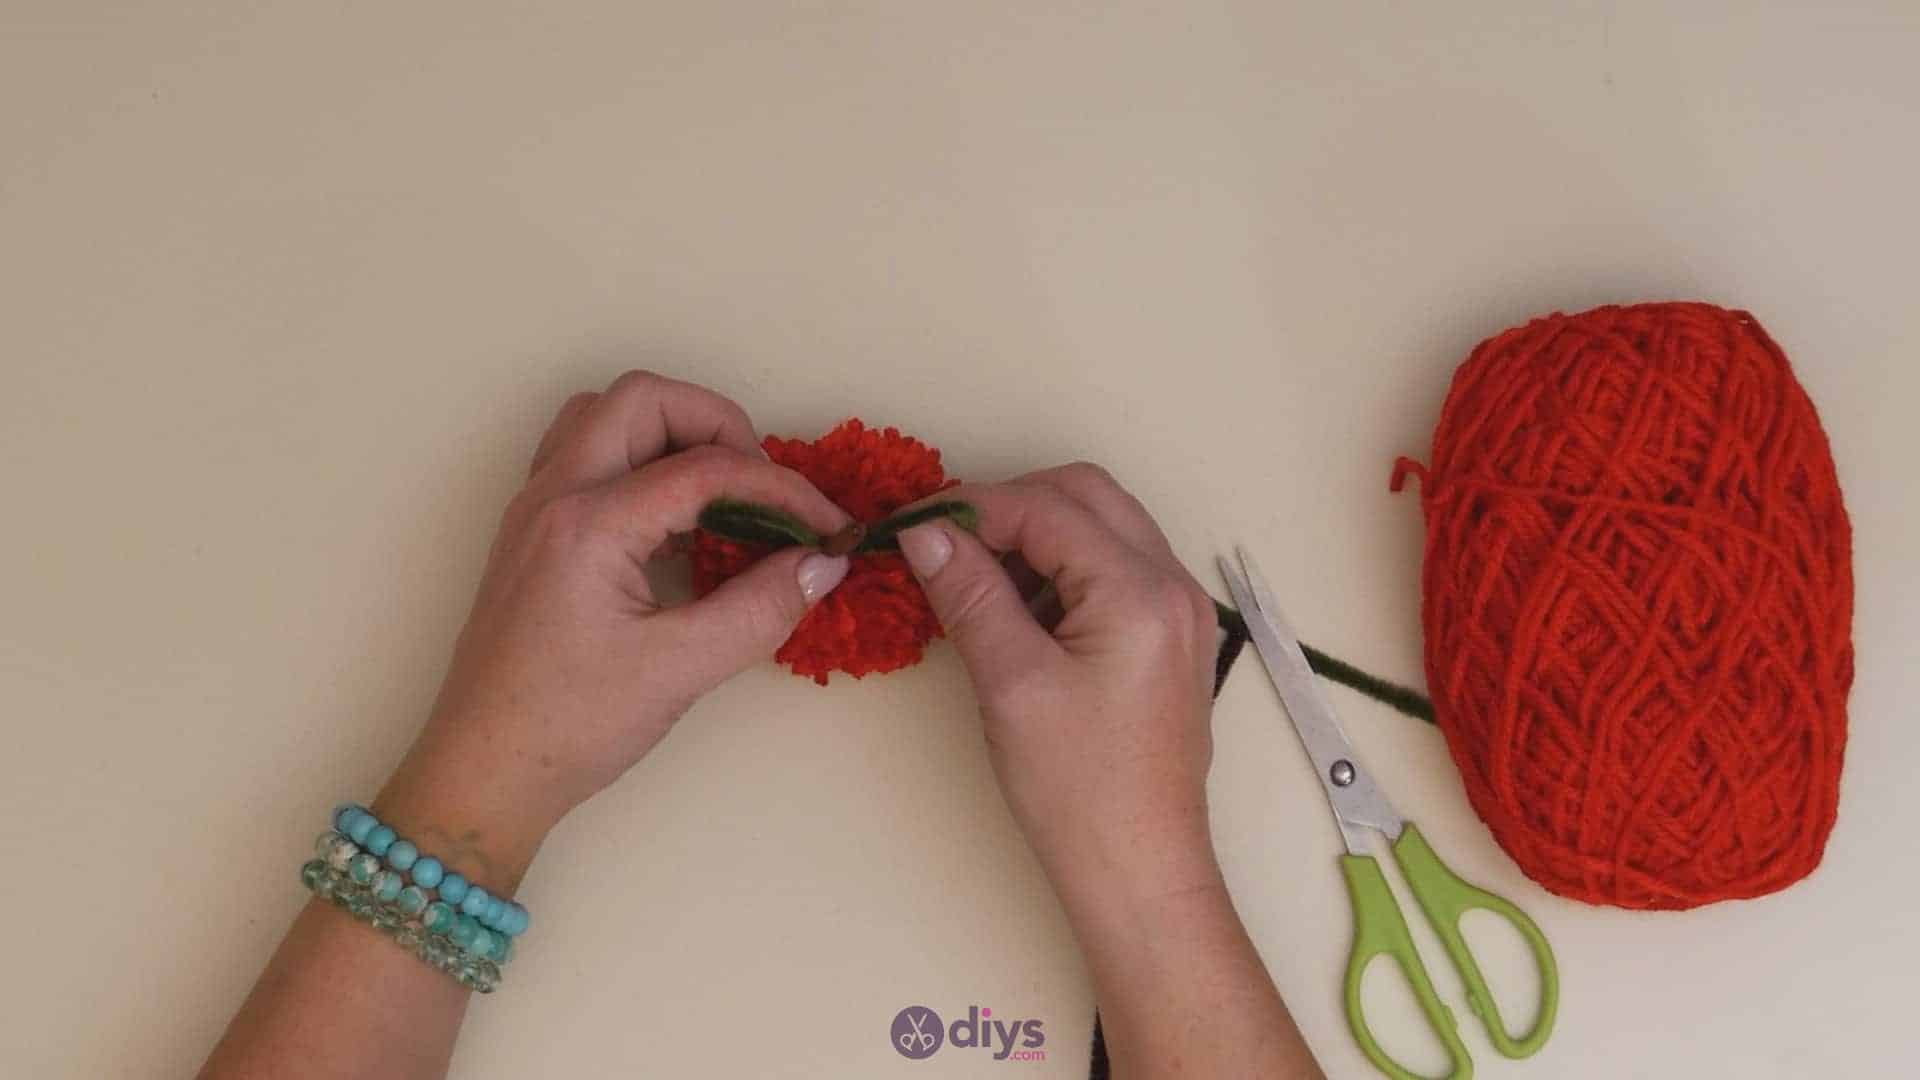
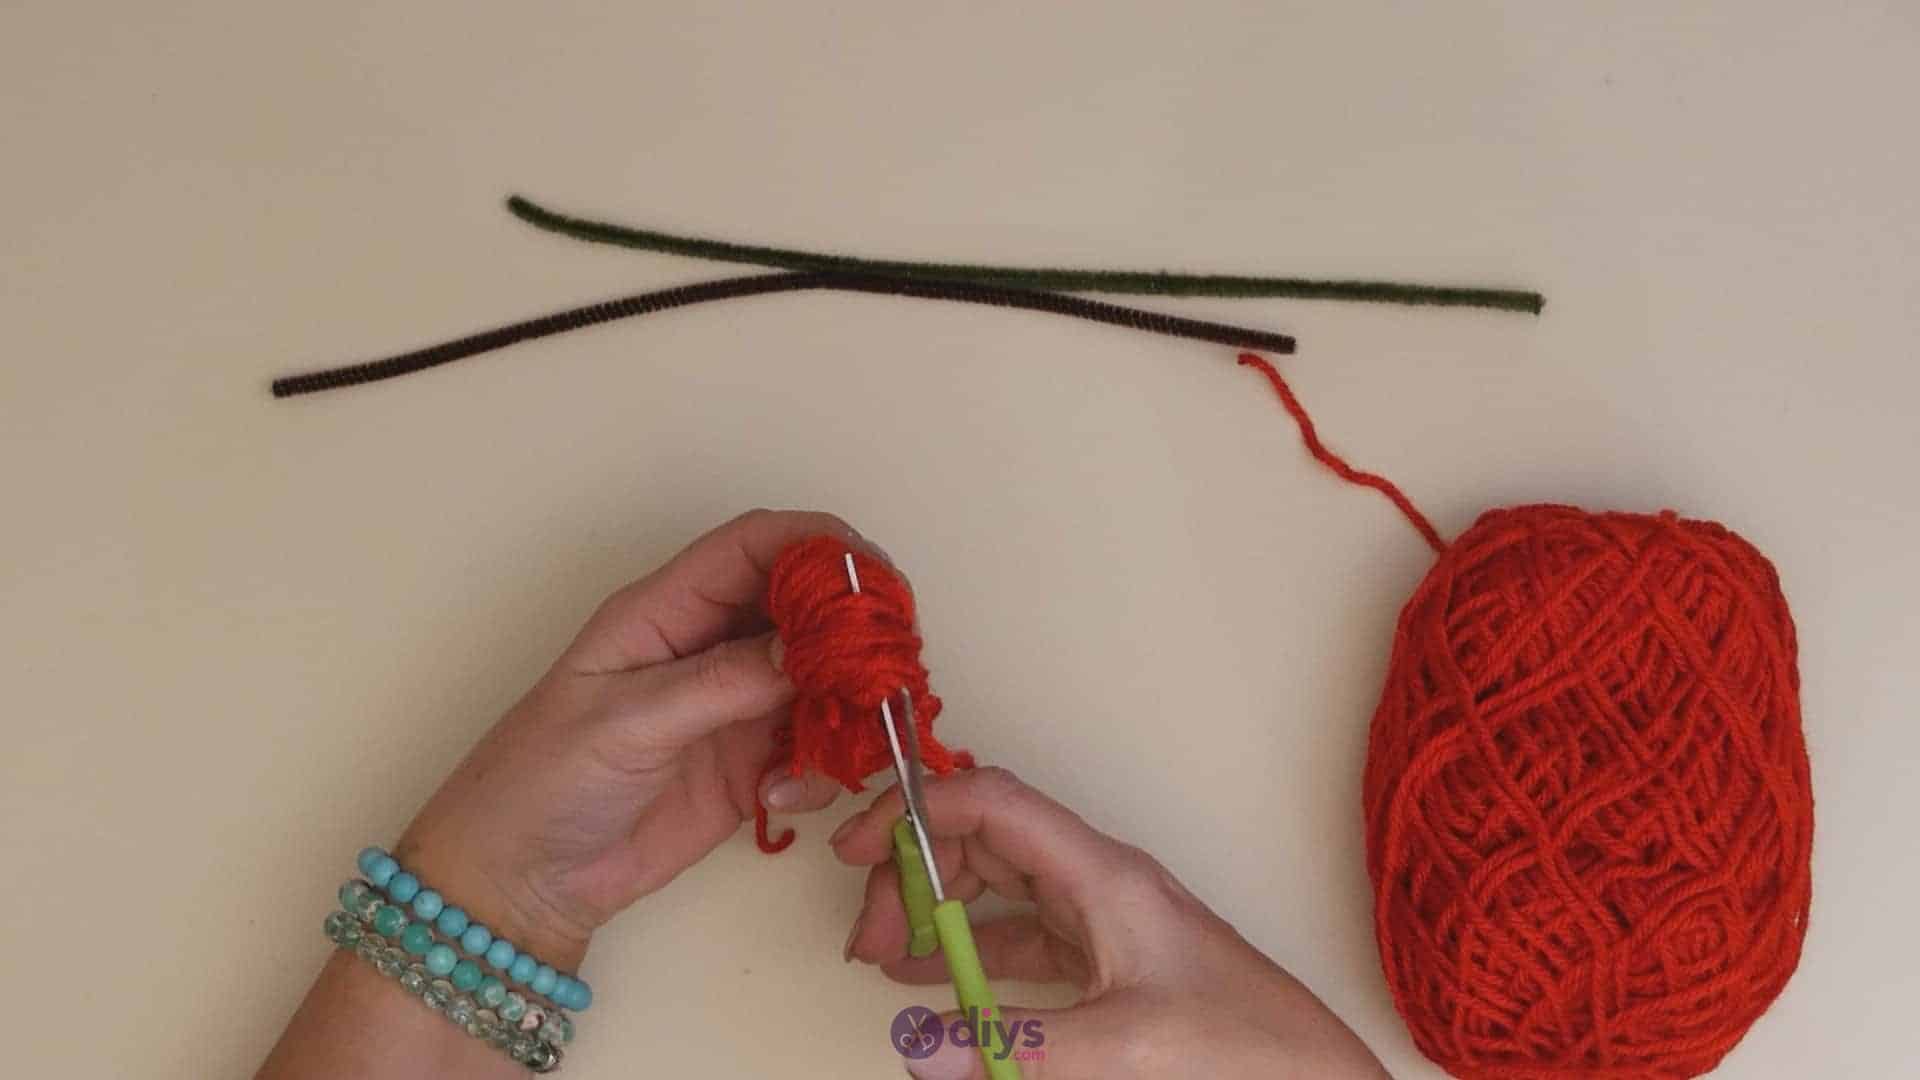
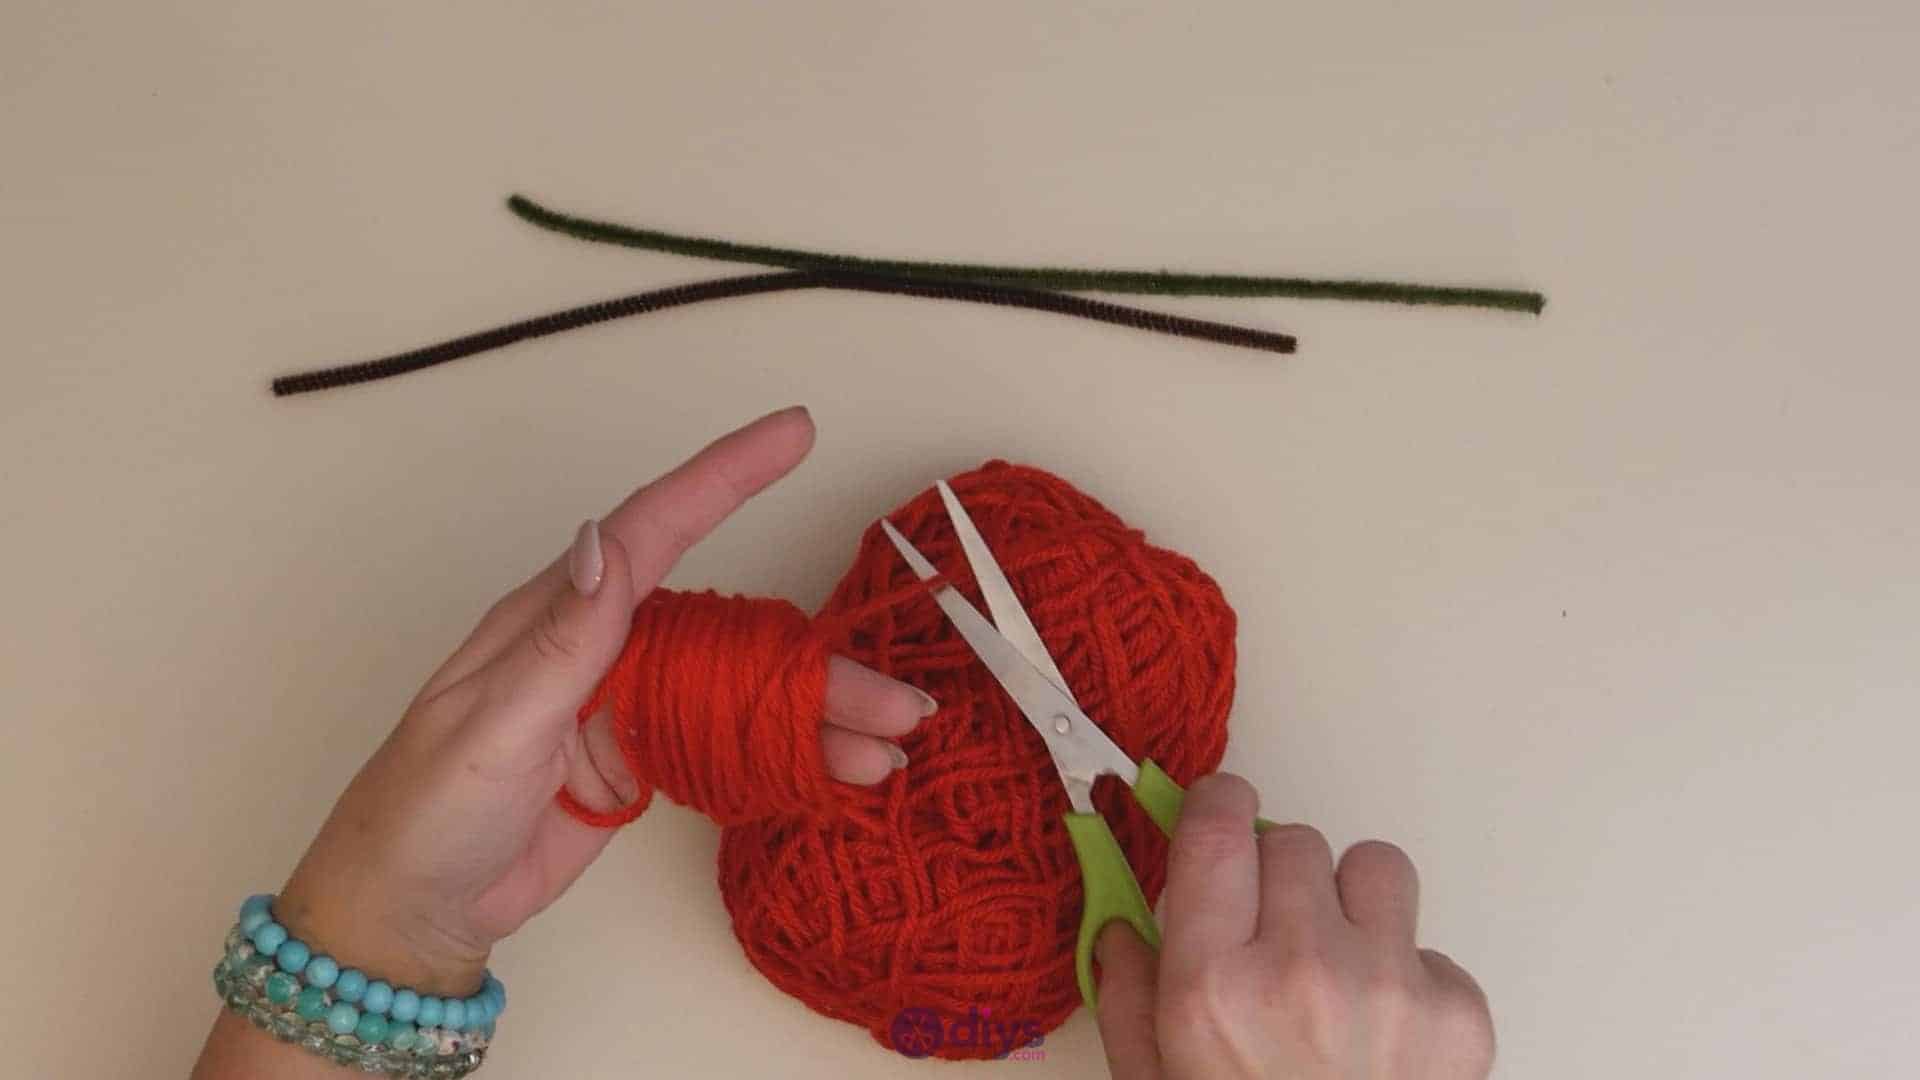
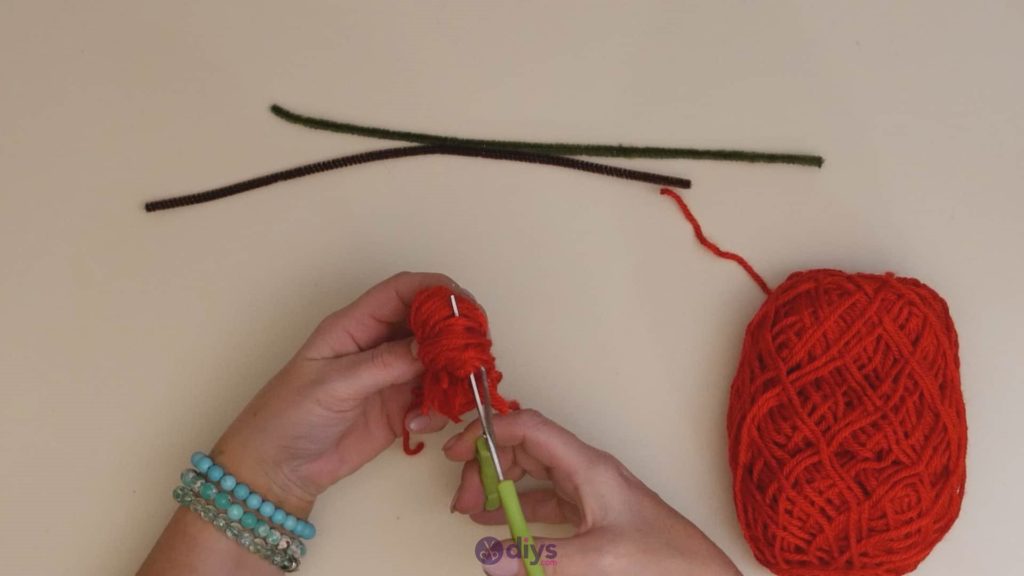
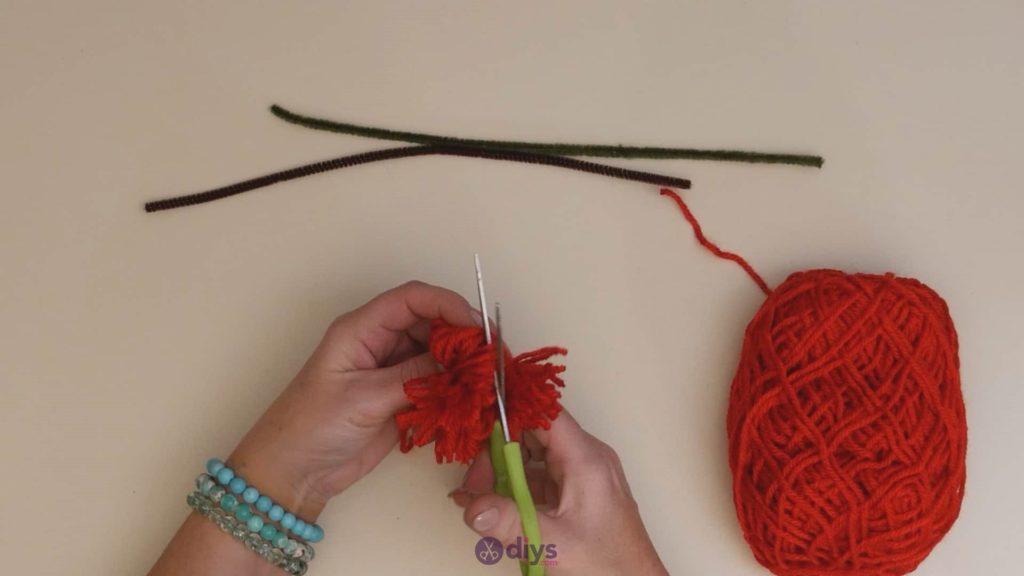
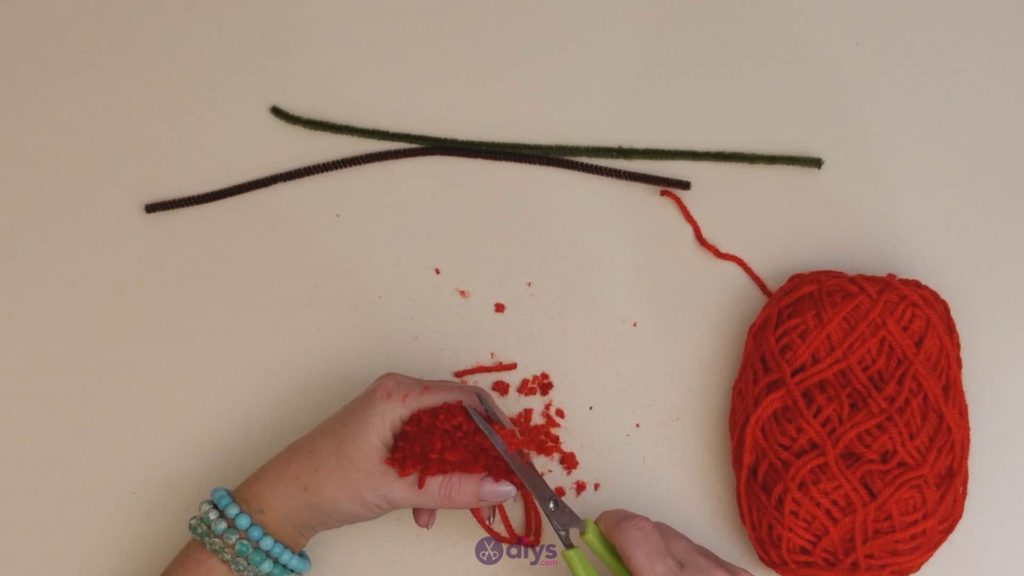
Step 3: Cut loops
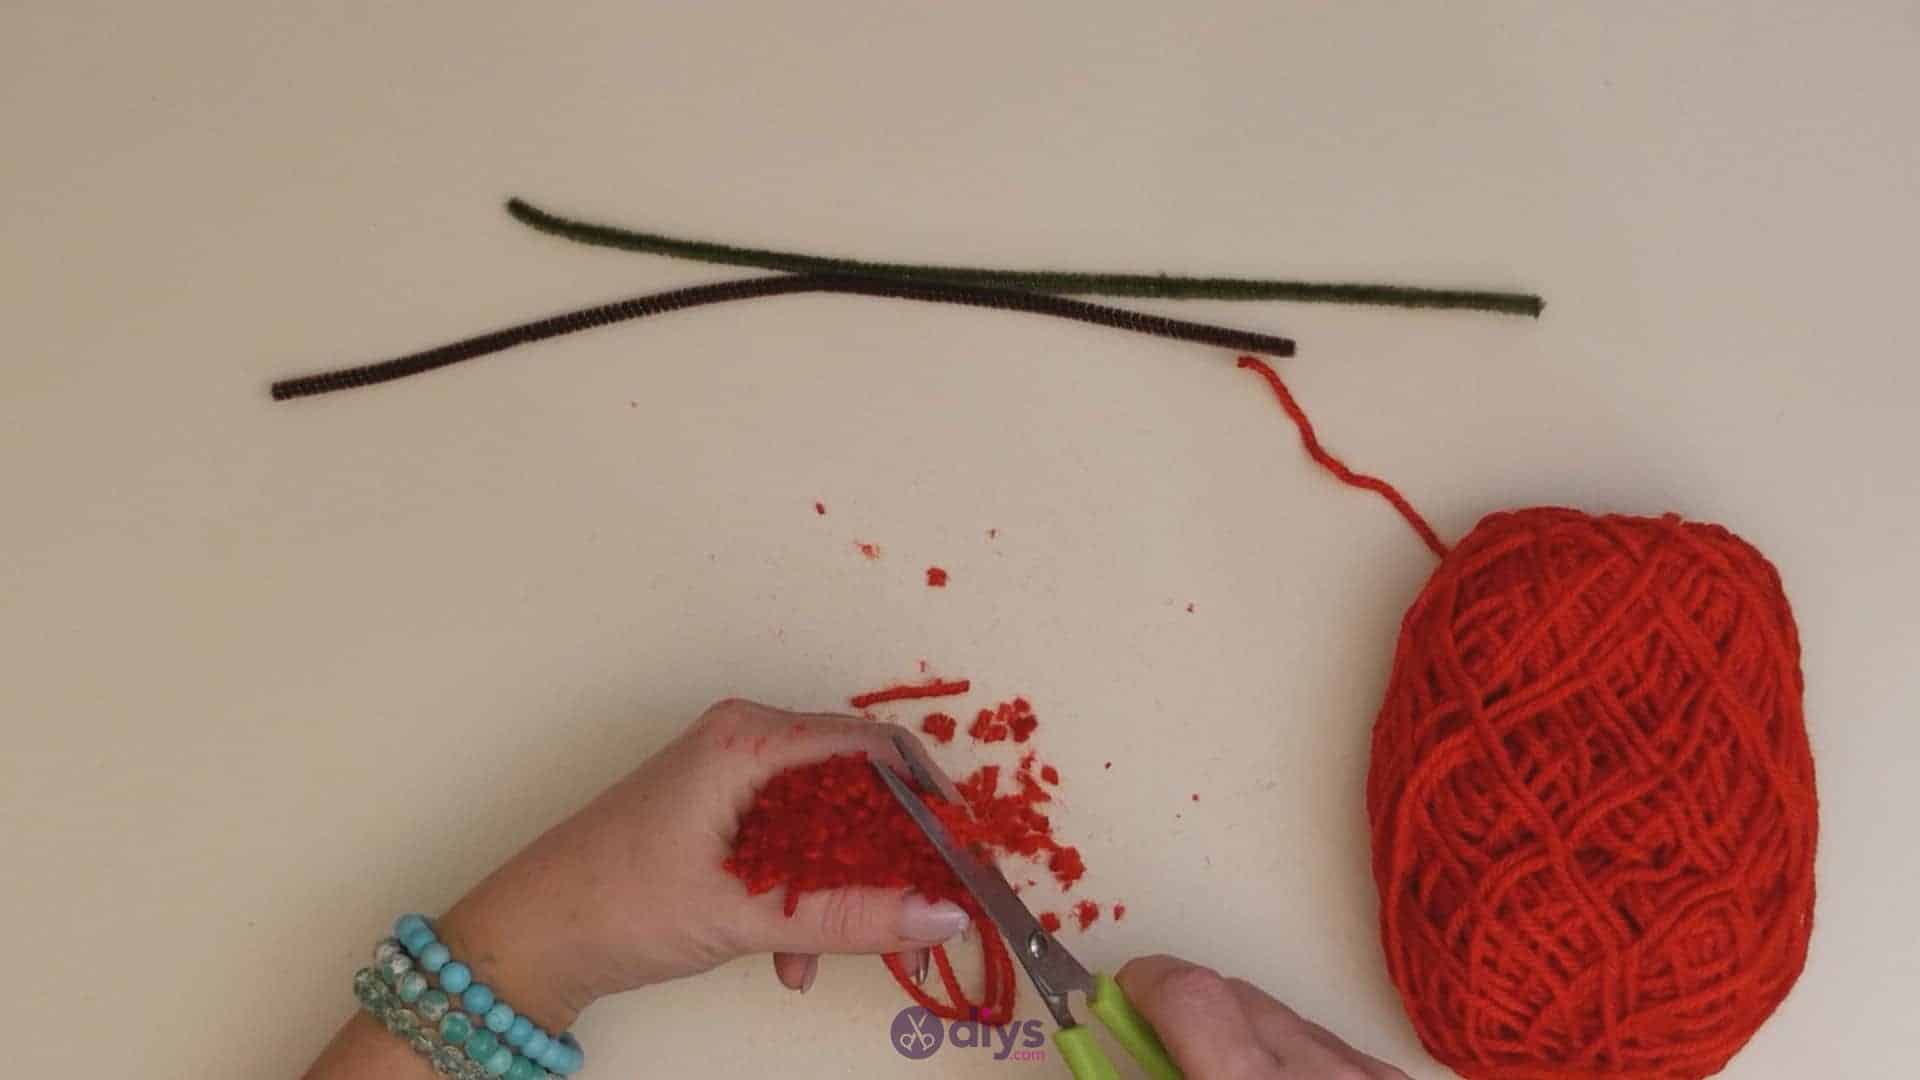
Use your scissors to cut through the loops on either side of your bundle to free them, so they can spring out like fringe. Make sure you cut every loop on both sides. Then trim all the way around the surface of your newly spherical pom pom so all of the ends are even and the ball is smooth. Feel free to adjust and fluff your ends as you please.

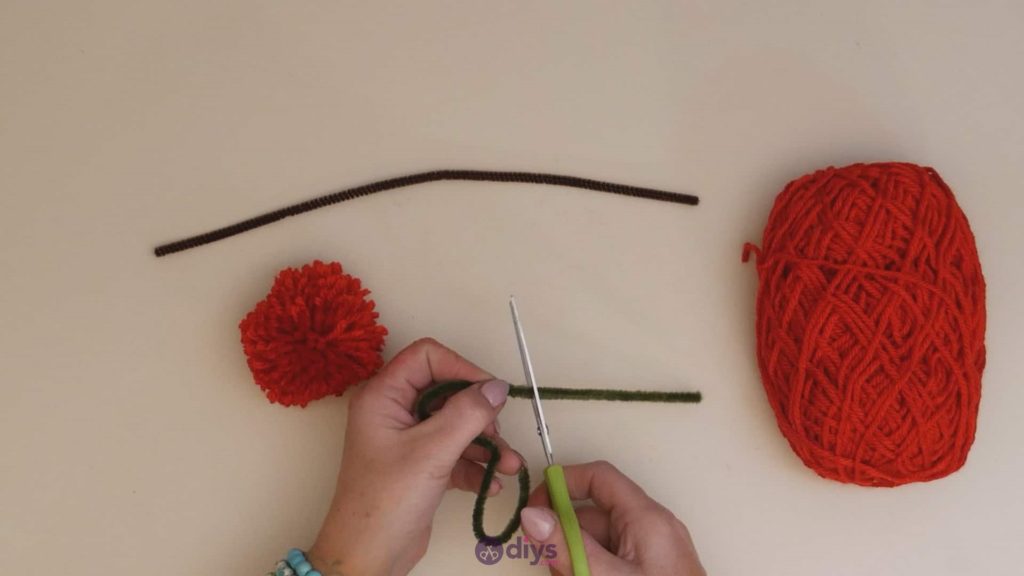
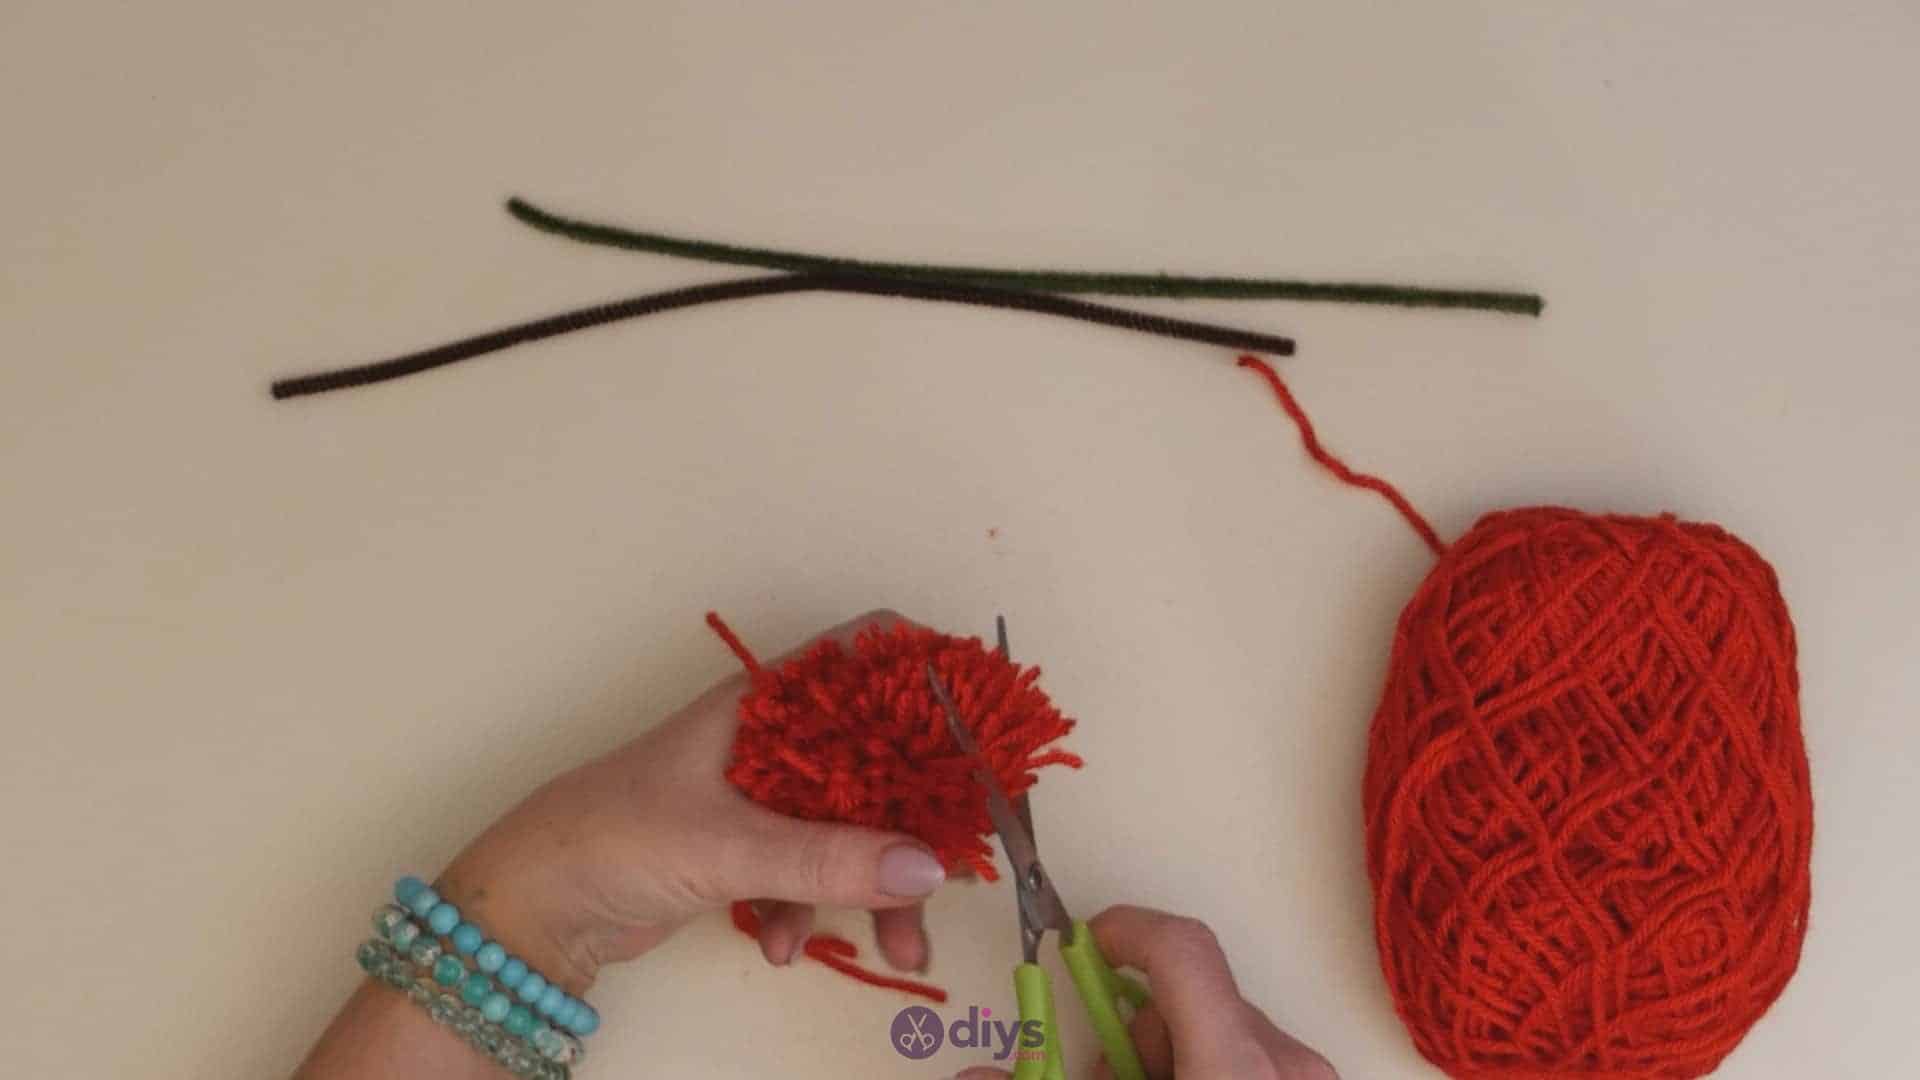
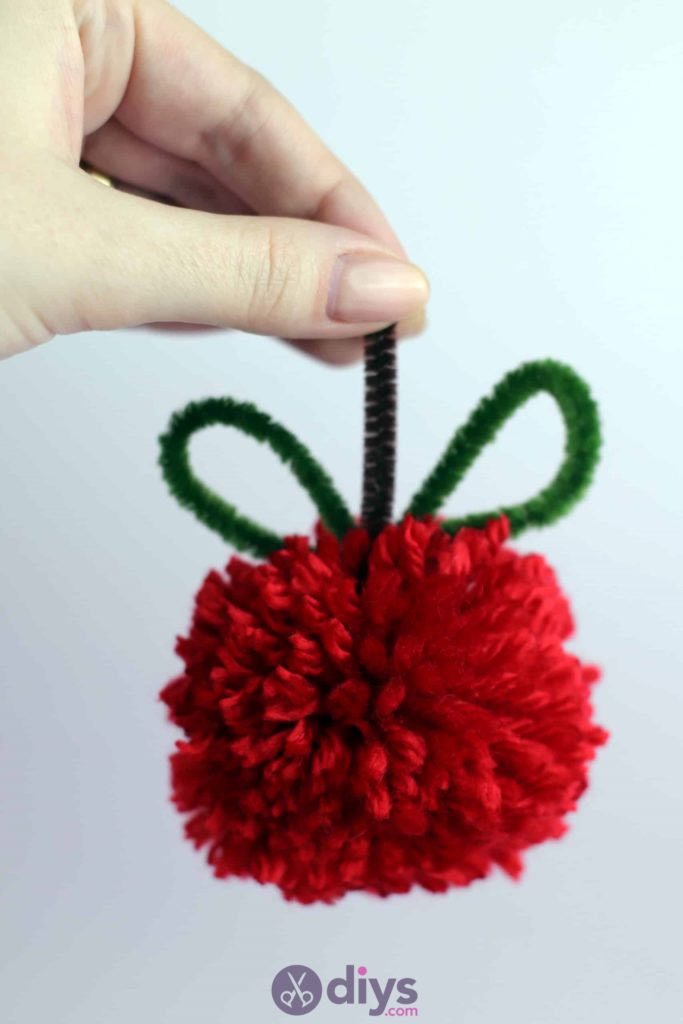
Step 4: Make your leaves
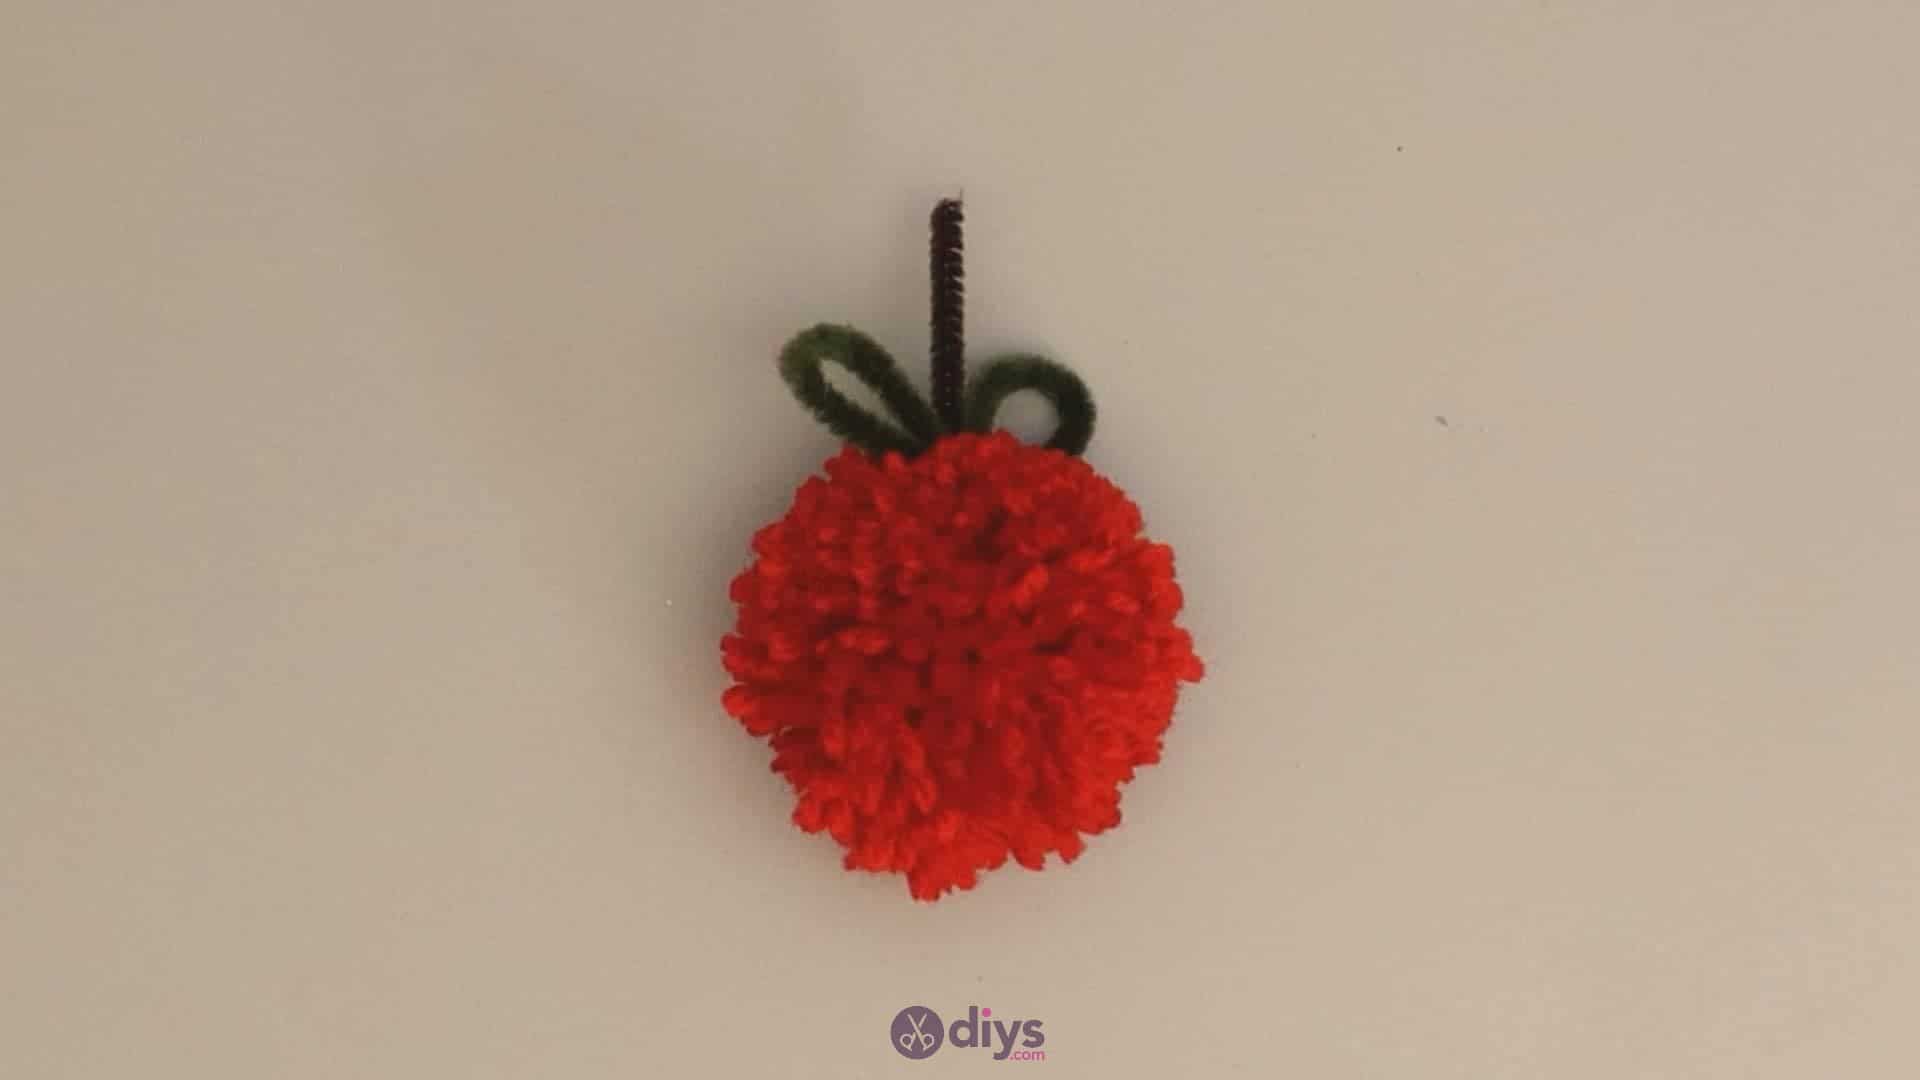
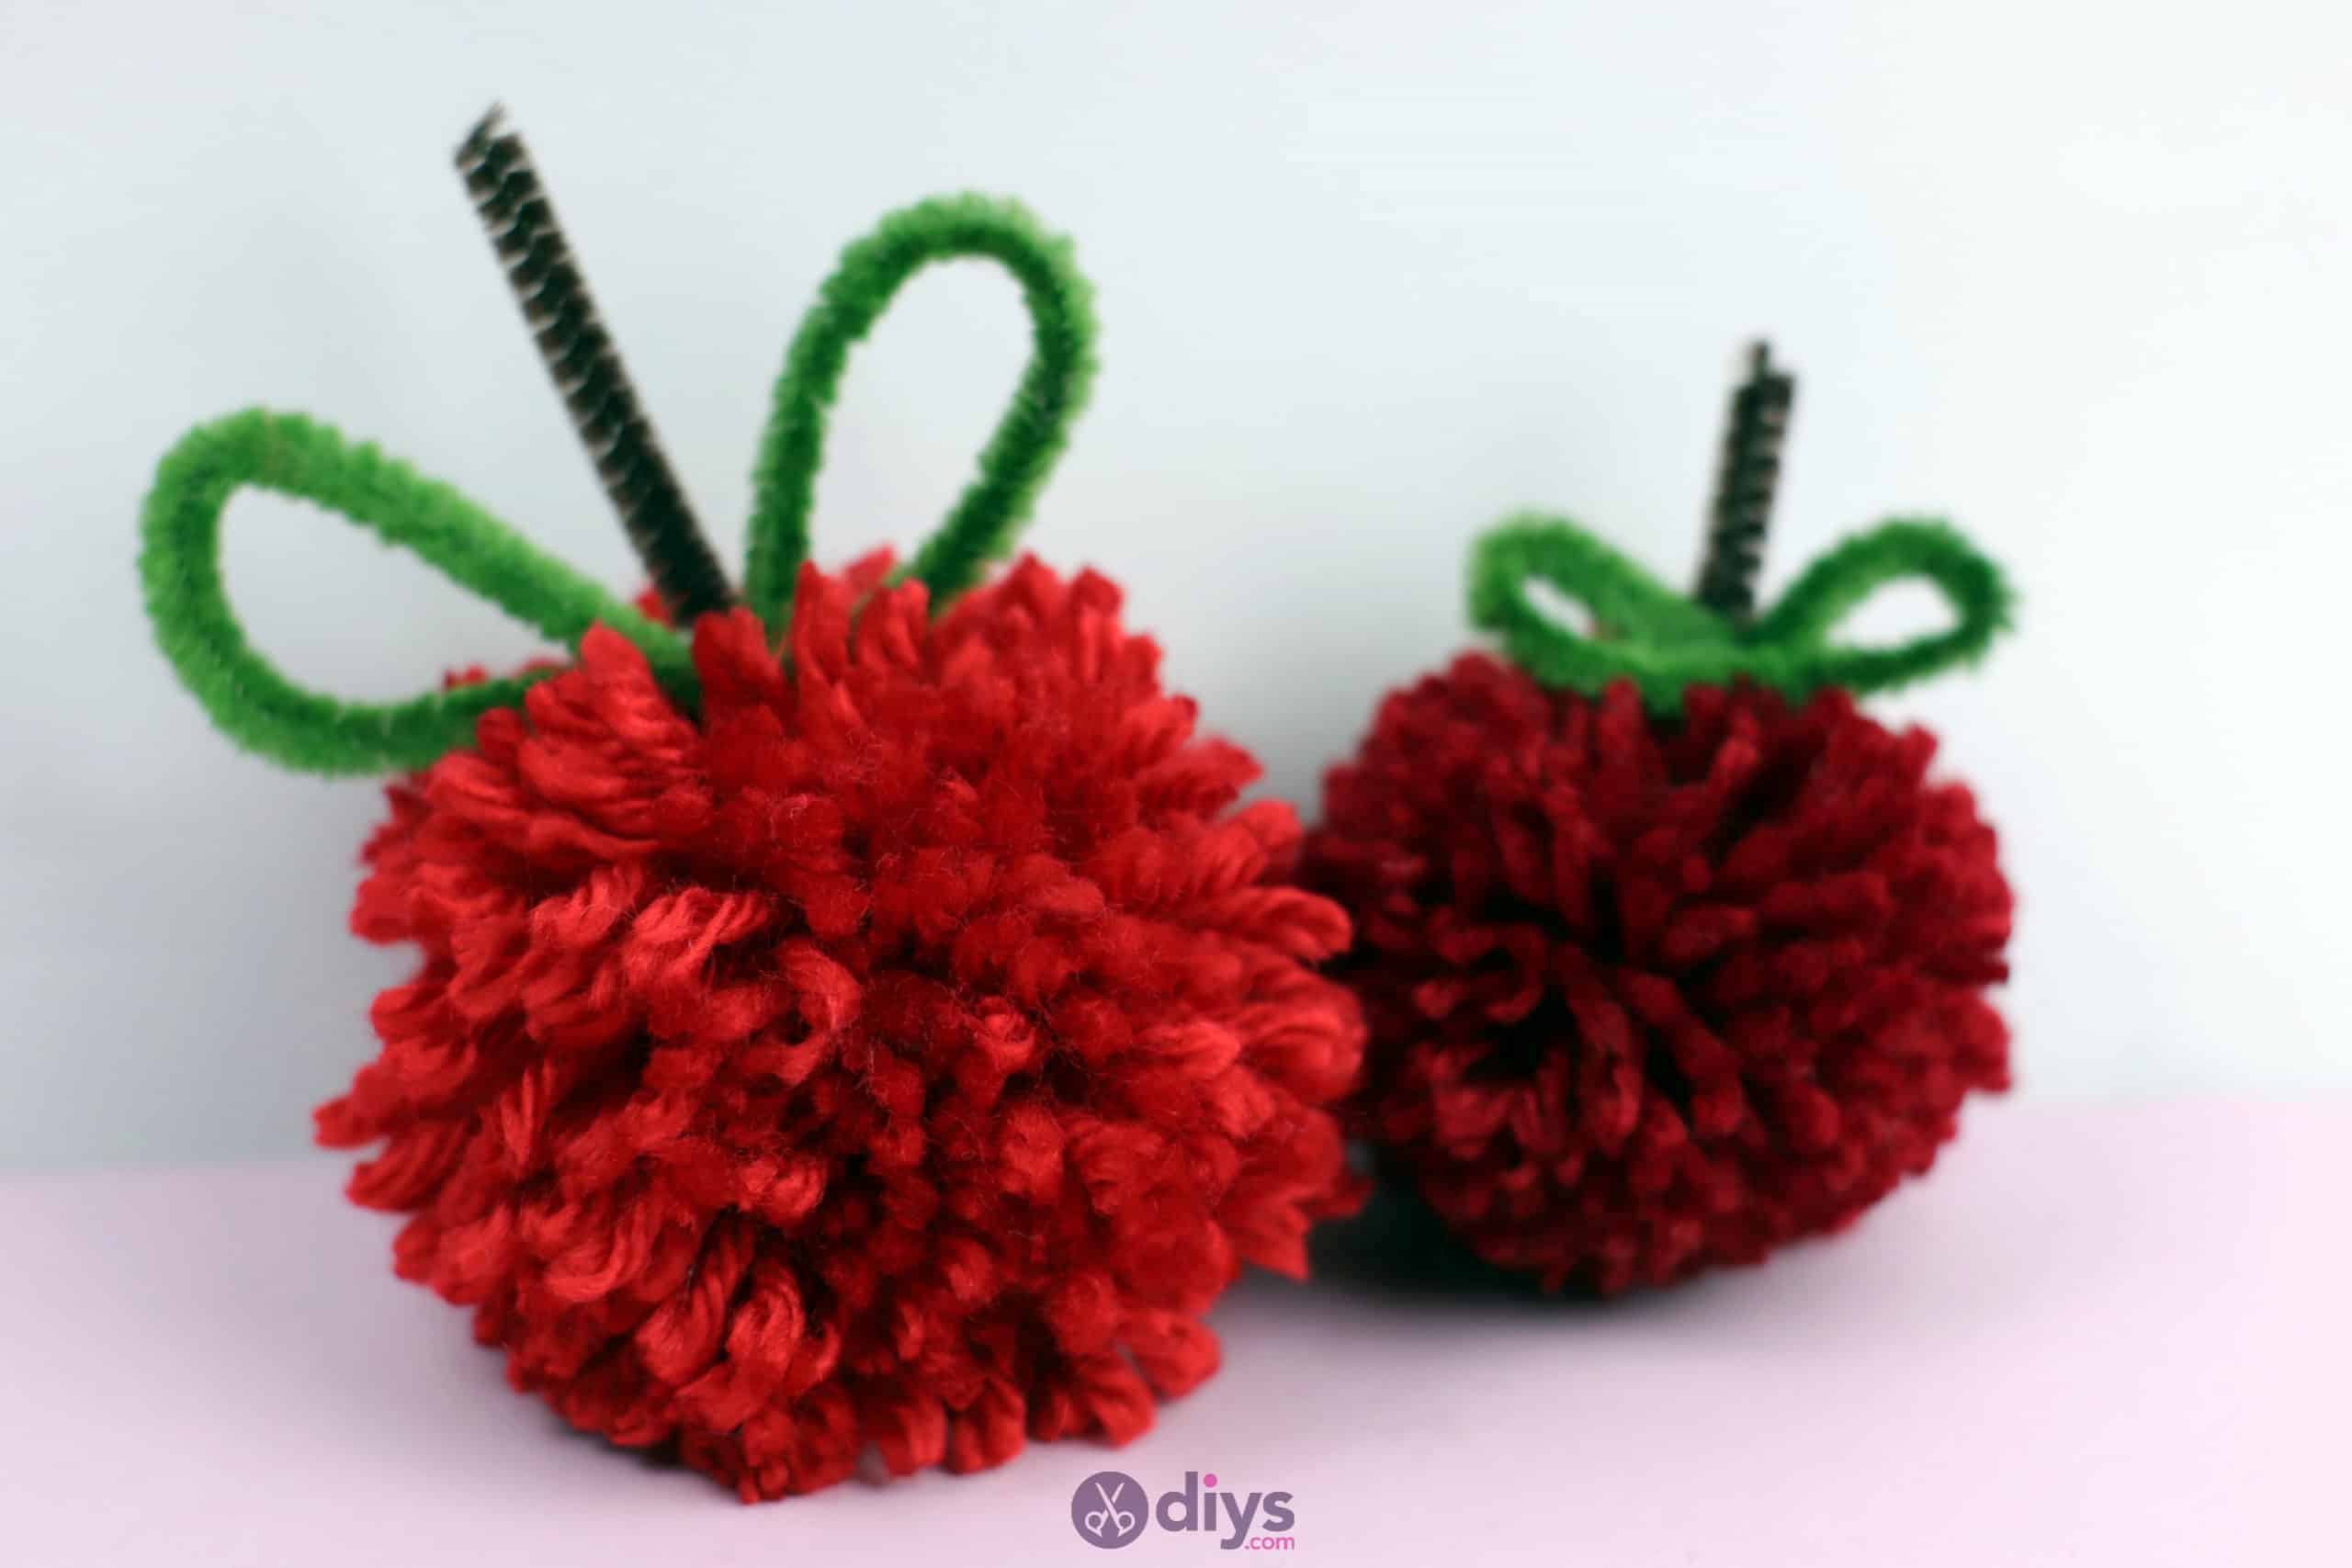
Cut a piece of green pipe cleaner about four inches long. Find the halfway point of this new piece and make a light bend hear so the ends face upwards like a loose V shape. Then, round those ends gently outwards, back the way they came, curving them under to meet at the point of the V shape you made earlier. Apply a dot of glue here and stick the ends in place below the V’s bottom point, then re-shape the rounded shapes on either side until you’re satisfied that they look like leaves for your apple.

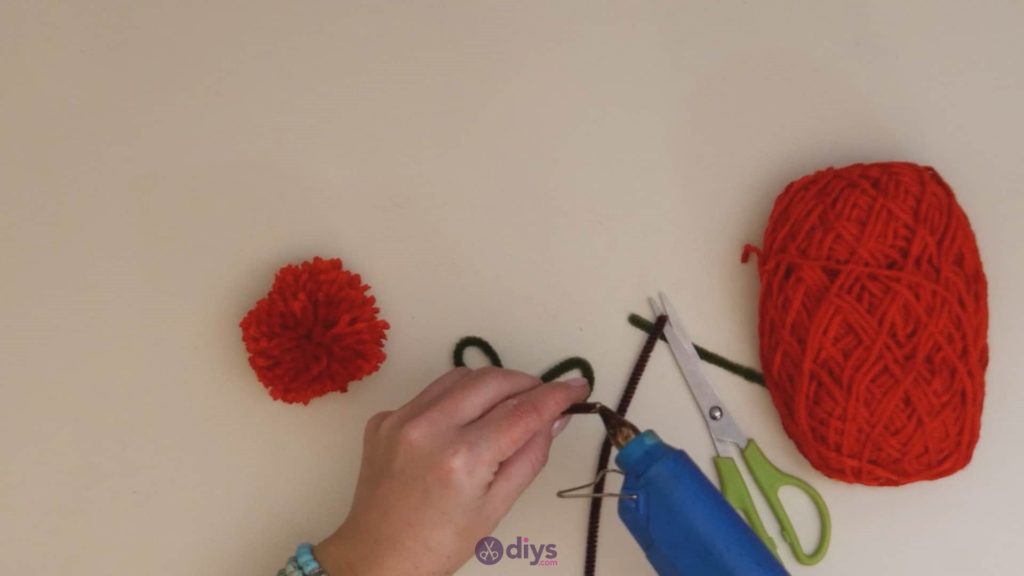
Step 5: Make your stem
Cut a piece of brown pipe cleaner that’s about an inch long and apply hot glue to one end. Stick this piece to your green pipe cleaner leaf piece, right in the centre where you glued the tips of that piece down as well. This will be your apple’s stem.
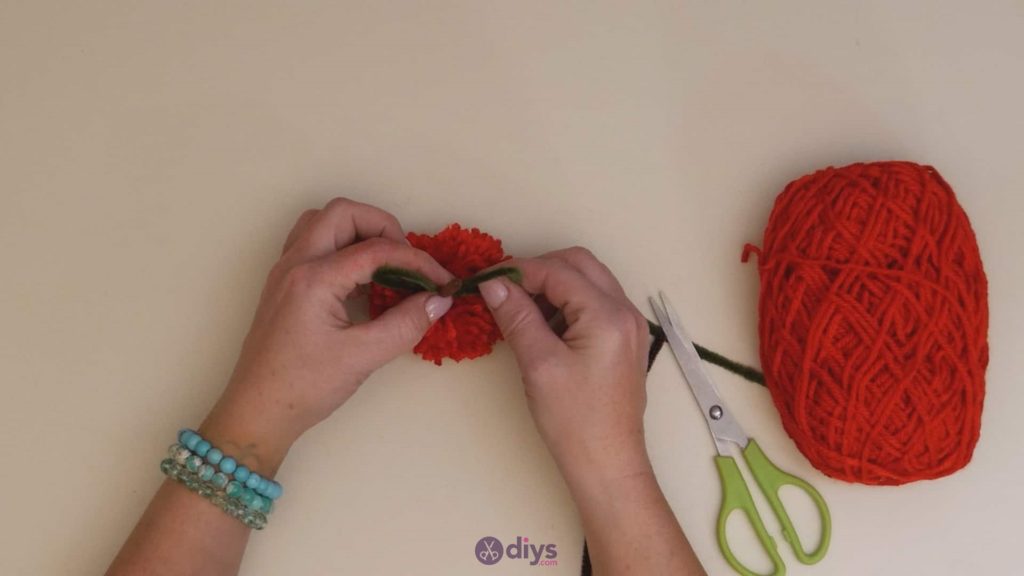
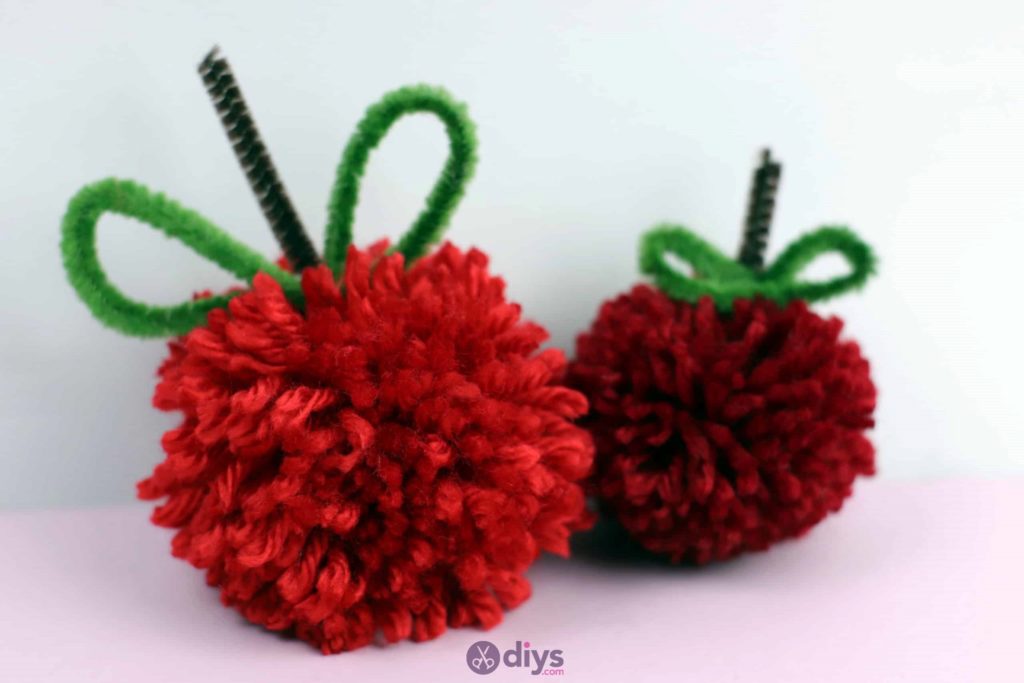
Step 6: Attach leaves and stems
Apply glue to the bottom of the green and brown pipe cleaner piece and press it into the centre top of your red pom pom, right where it would sit on an apple.
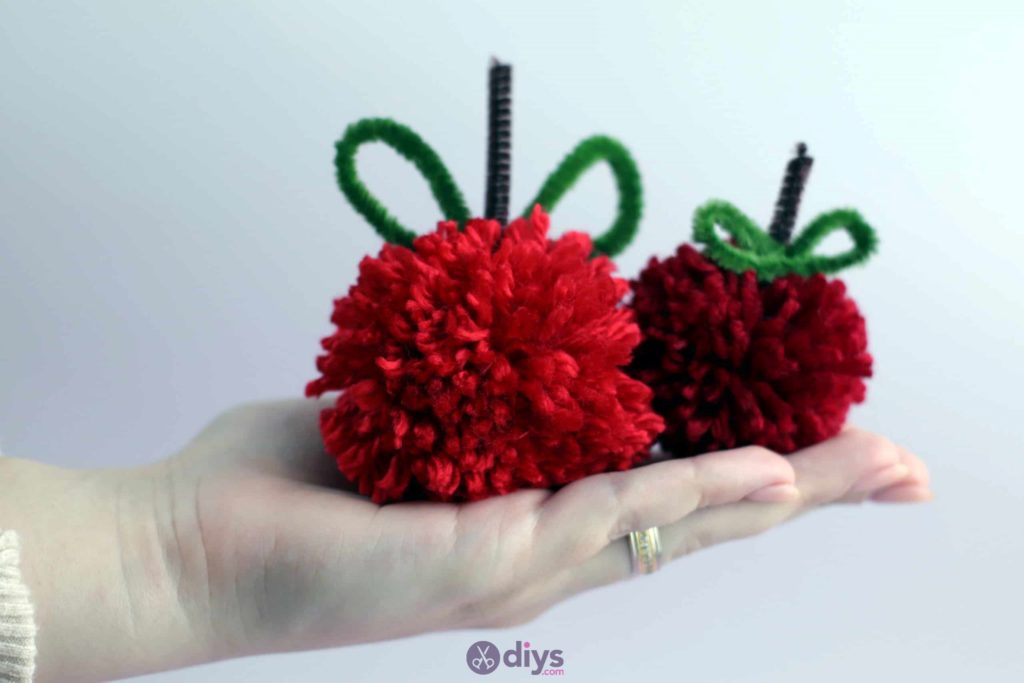
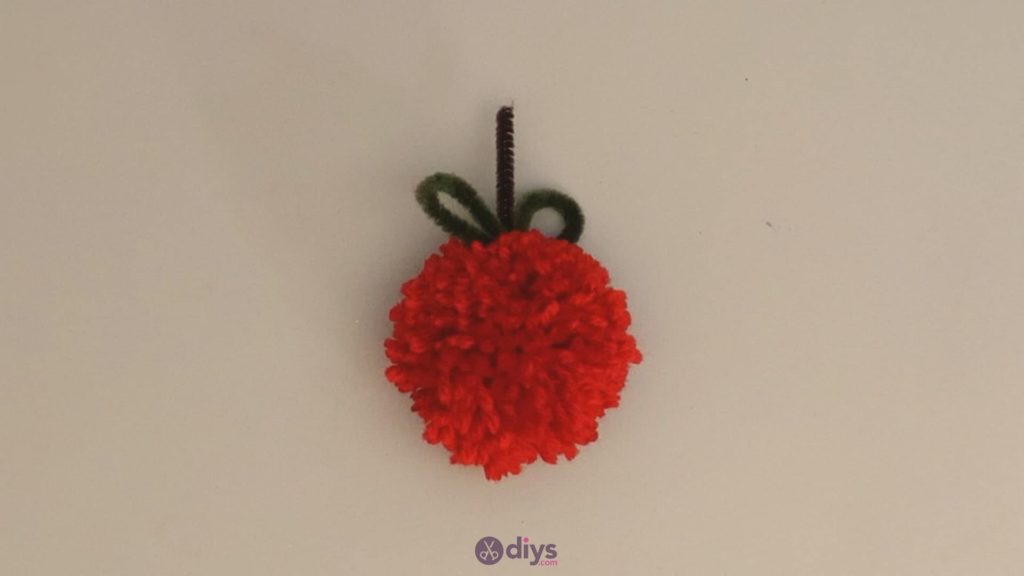
That’s really all there is too it! You could also make versions with green and red yarn in order to create a whole bushel of apples with different kinds involved. We set ours on the mantel piece near some cute photo frames. Just in case you’d like to try this project out for yourself, here’s a fantastic tutorial video to help you!