Concrete Heart and Star Necklace
Updated on November 19, 2025


If I’m being completely honest, I’ve been obsessed with DIY concrete crafts lately. There’s just something so satisfying about making something from scratch in the way that fine particle concrete mix lets you do. Recently, I found myself admiring some of the concrete decor pieces I’ve madeso much that I couldn’t help wishing I could wear a little piece of my work out to show off as I go about my day. That’s how I came up with the idea of buying a much smaller silicone shape form and making some concrete jewelry! I wear necklaces most often, so that’s the direction I decided to go in.
 I was actually so happy with how my little concrete necklaces turned out that I decided to make a couple more in different shapes so I could document and share the simple process too, just in case other crafters who love concrete as much as I do want to see how it’s done. Check out these step by step instructions complete with photos! If you’d rather follow along with a video tutorial instead of written words, scroll to the bottom of this post to find just what you’re looking for.
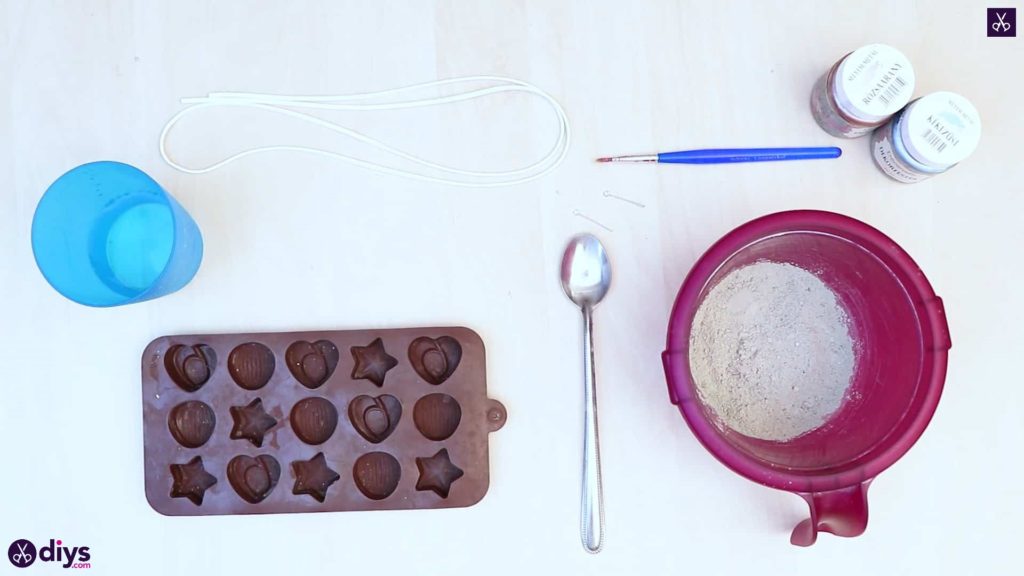
For this project, you’ll need:
- A silicone form
- DIY fine particle cement
- Water
- A plate
- A spoon
- A paintbrush
- Metallic paint (blue and pink)
- A hair pin
- Thin ribbon
Step 1: Gather your materials!
When working with cement, it’s good to get everything prepared.
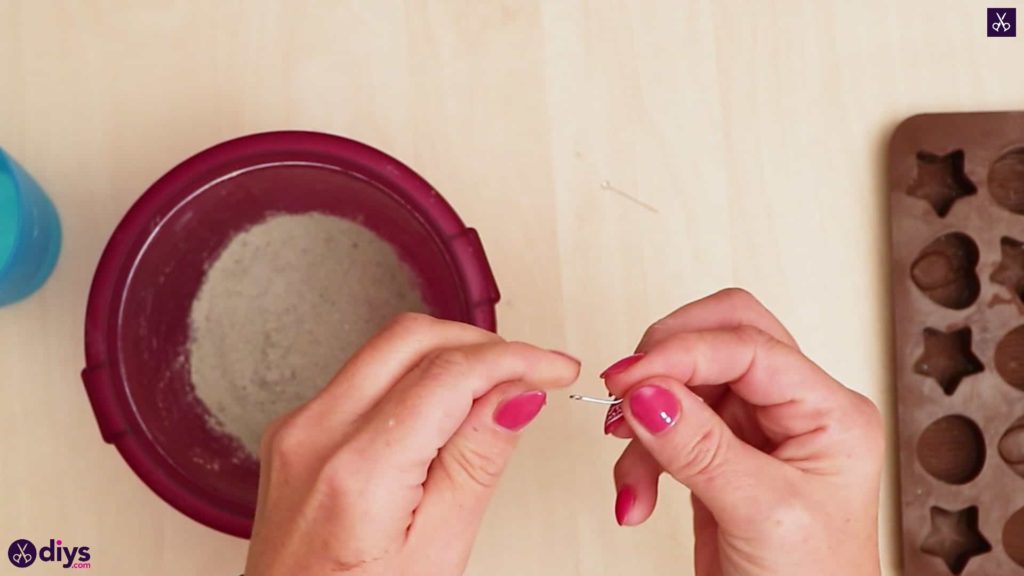
Step 2: form the rings
Cut your hair pin into two pieces and bend each one slightly right in the middle. Bend and curl one end of each piece over into a little loop if your pin doesn’t have looped ends already. These will be the rings on your concrete necklaces pendants that you’ll thread ribbon through like a necklace chain later.
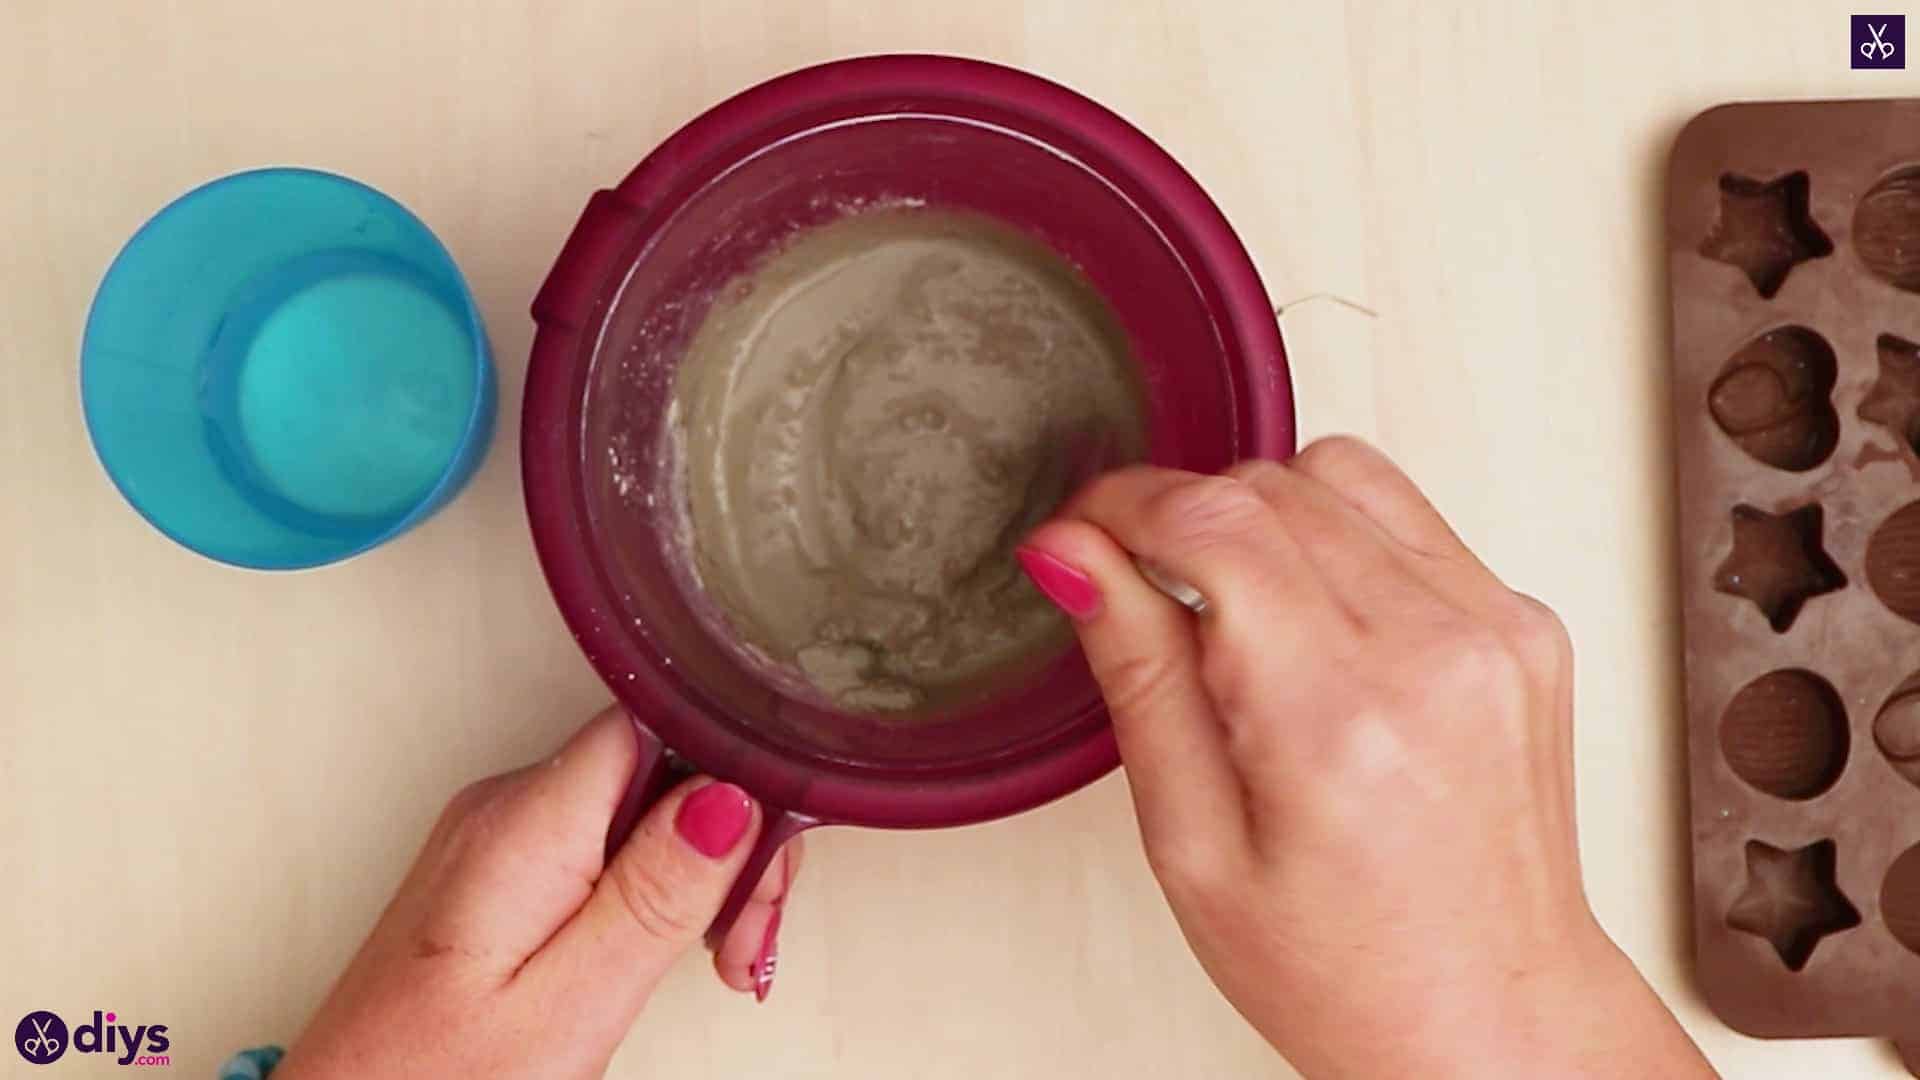
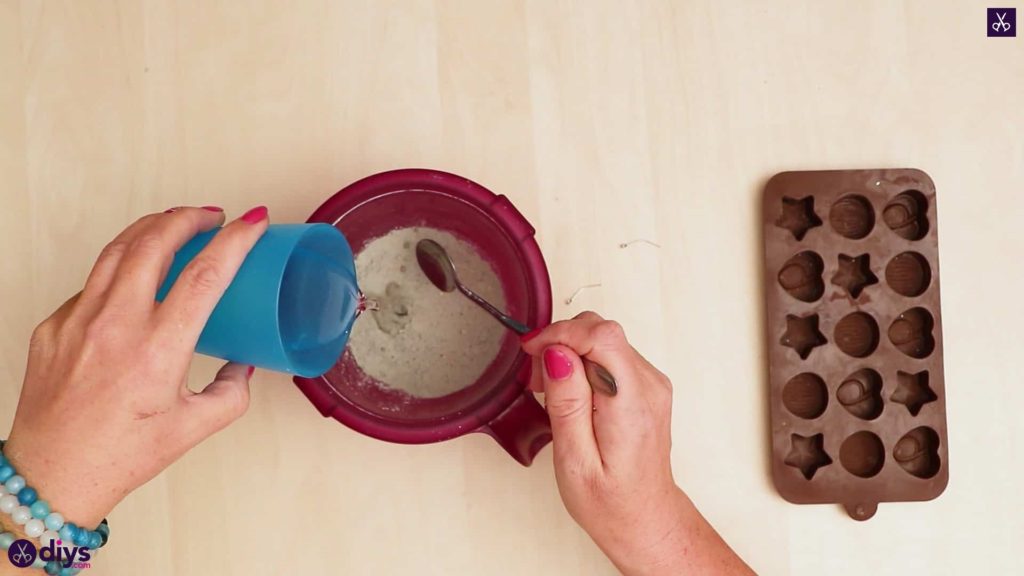
Step 3: mix concrete
Use your spoon to mix your DIY fine particle concrete! Follow the directions on the back of the package to get the ratio of water to mix right to get the proper texture, since this can vary from brand to brand.

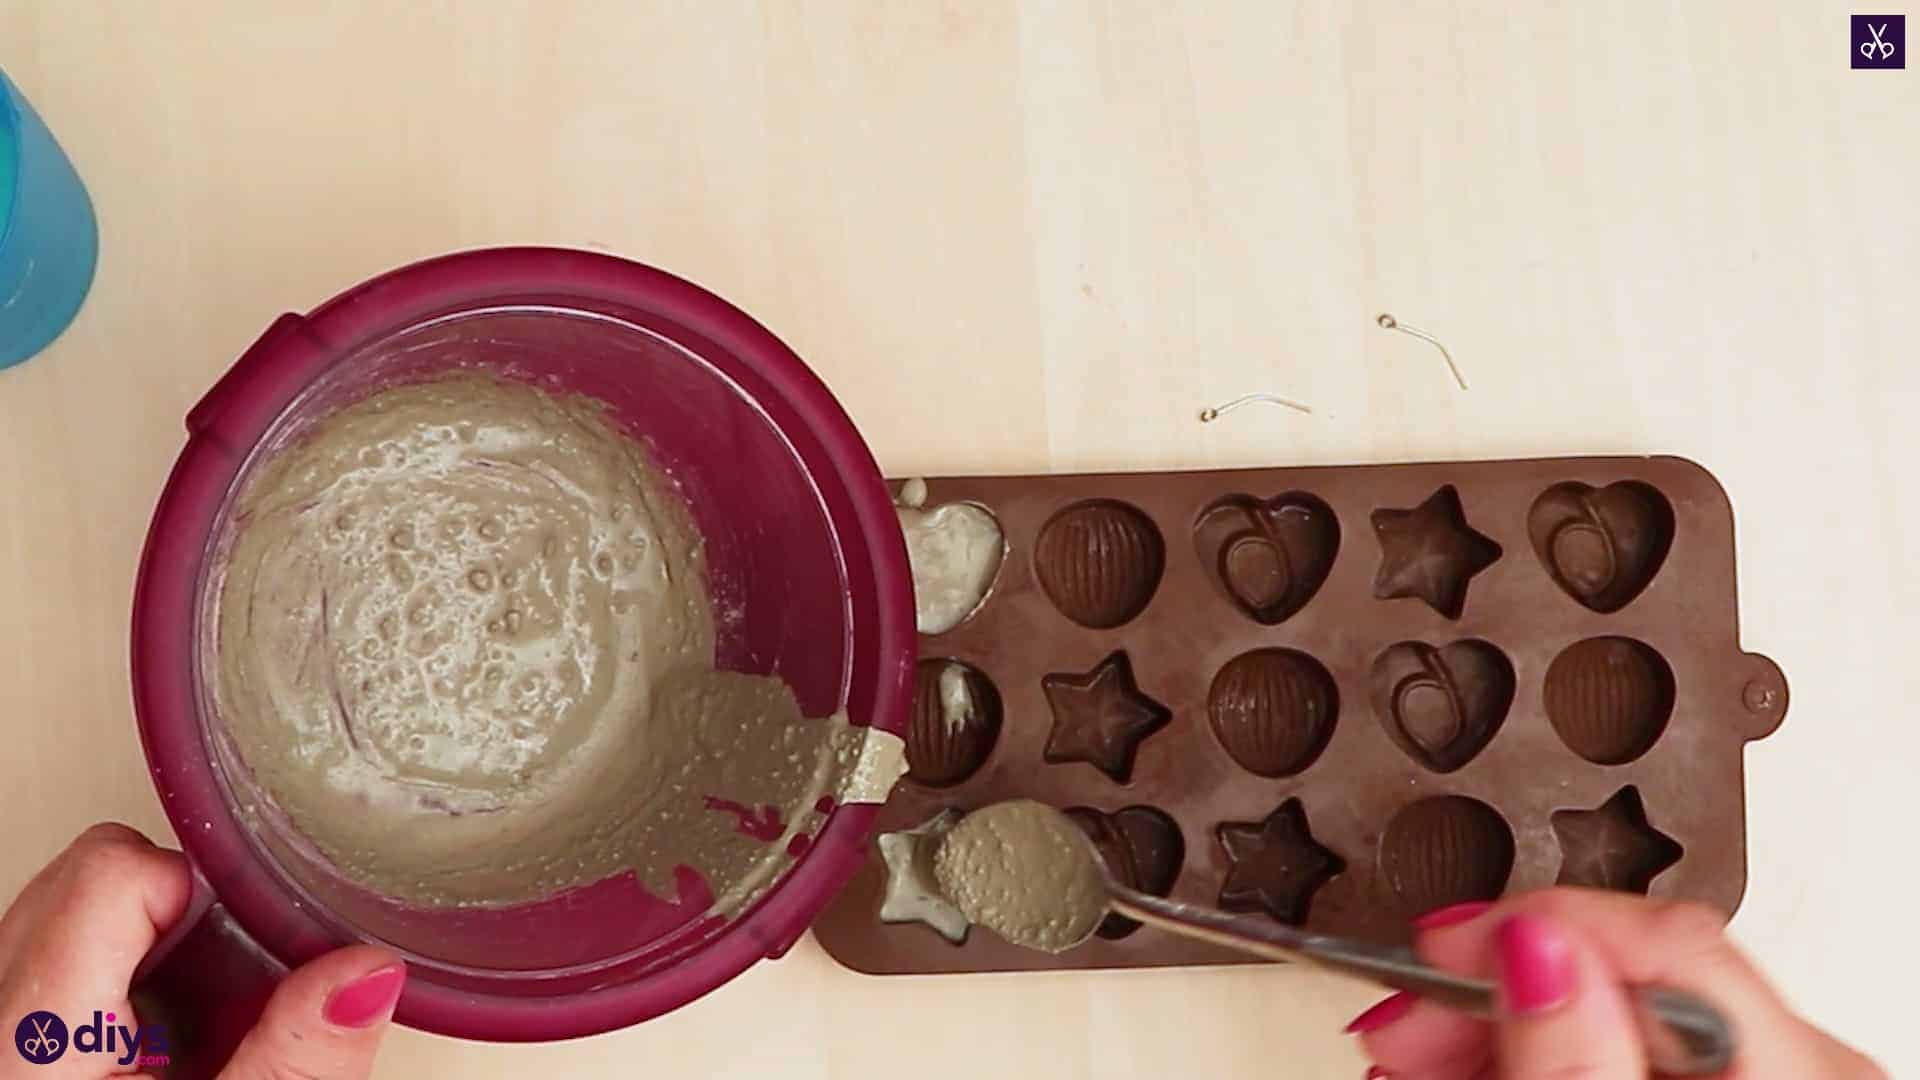
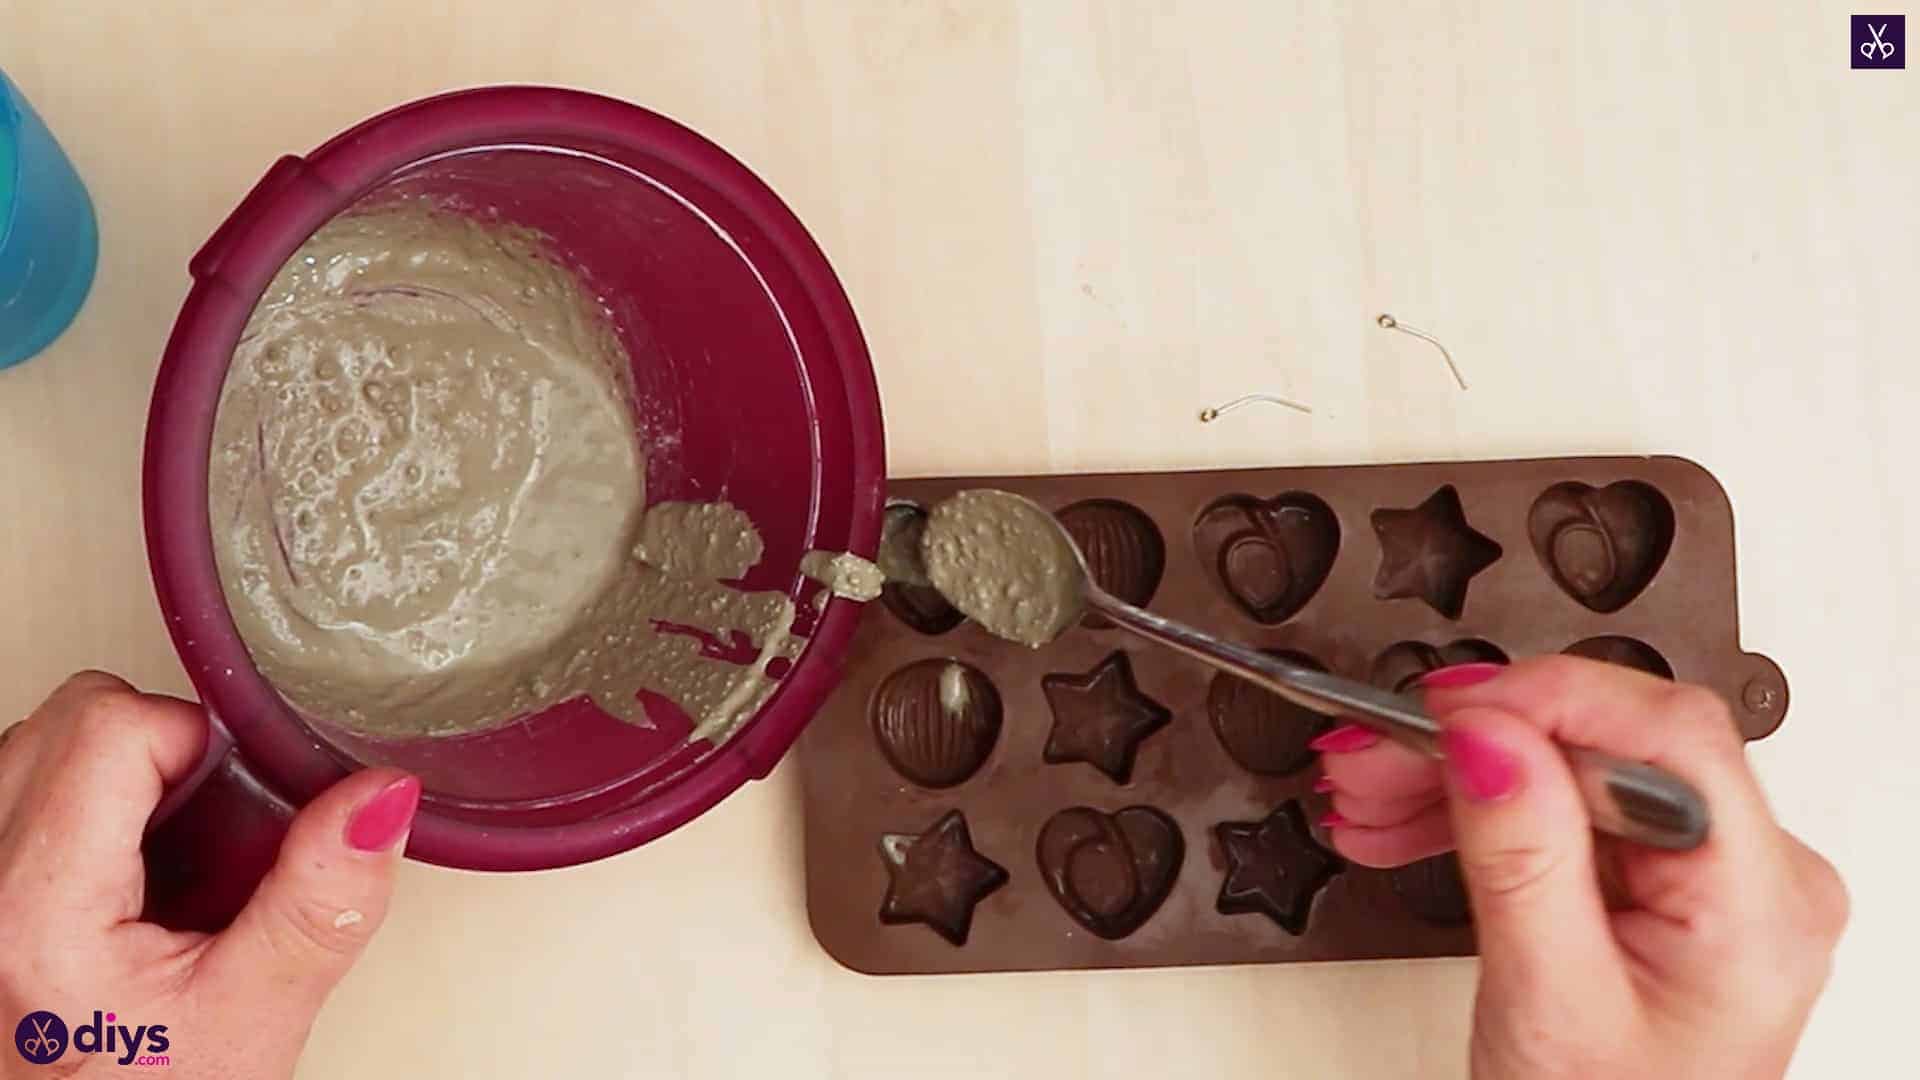
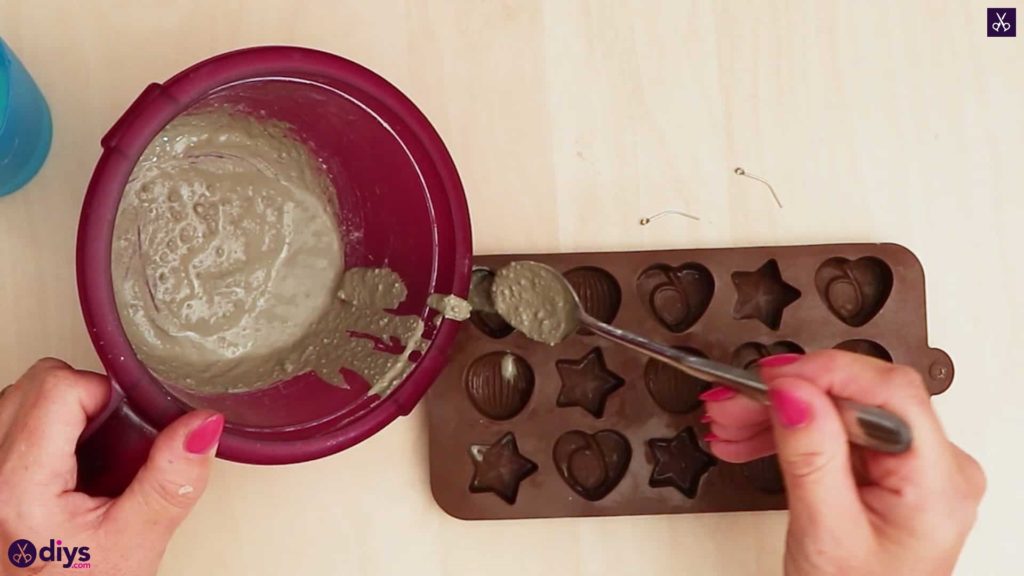
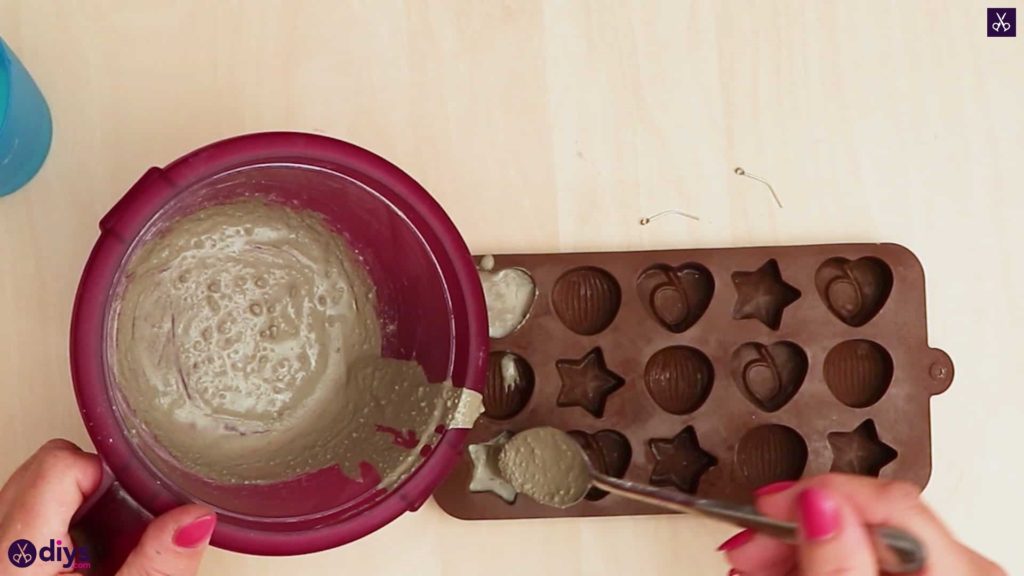
Step 4: fill molds
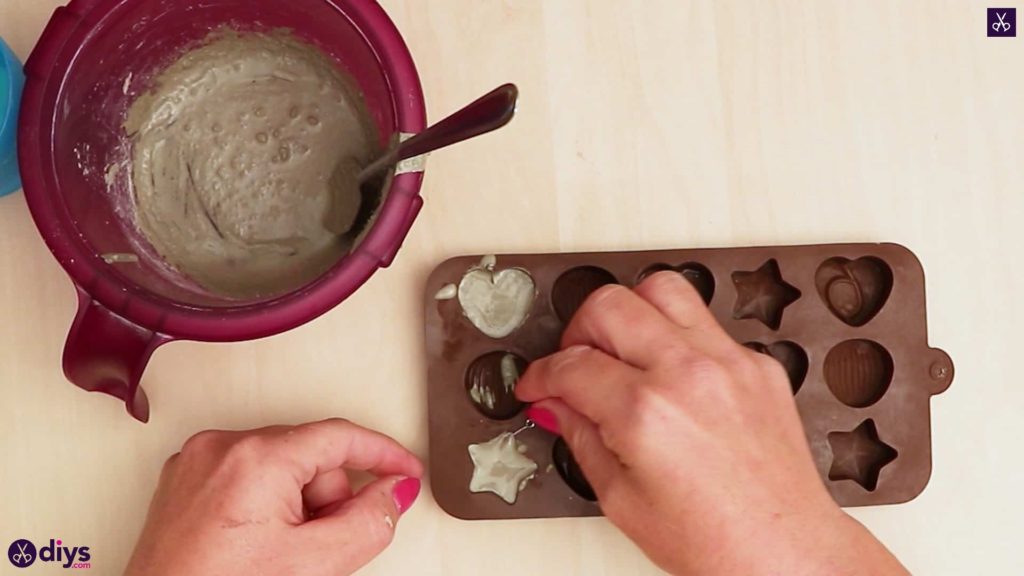
Use your spoon once more to fill the shapes in your silicone form with concrete, leaving just a few millimeters at the top. I chose to do a small heart and a star!
Step 5: place pins
Carefully embed the uncurled end of your hairpins into the concrete in the spot that you’d like to make the top of your pendant, where you want to string the ribbon through later. Leave the part of your pin that you looped sticking out. Set the whole form with your shapes aside to dry.
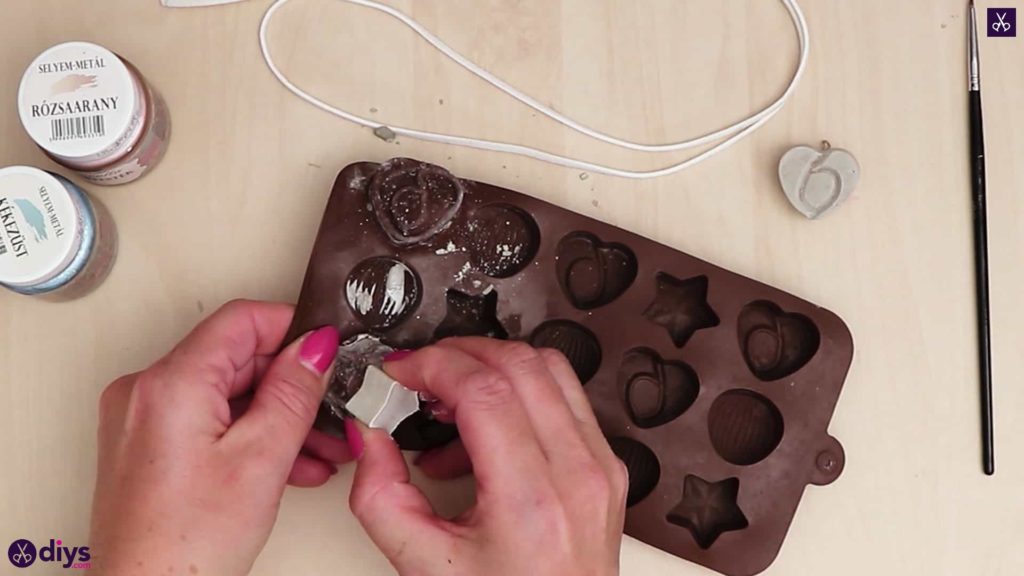
Step 6: remove from mold
Once both concrete shapes have dried thoroughly and all the way through, peel the form away from the sides and pop them out of their mould.
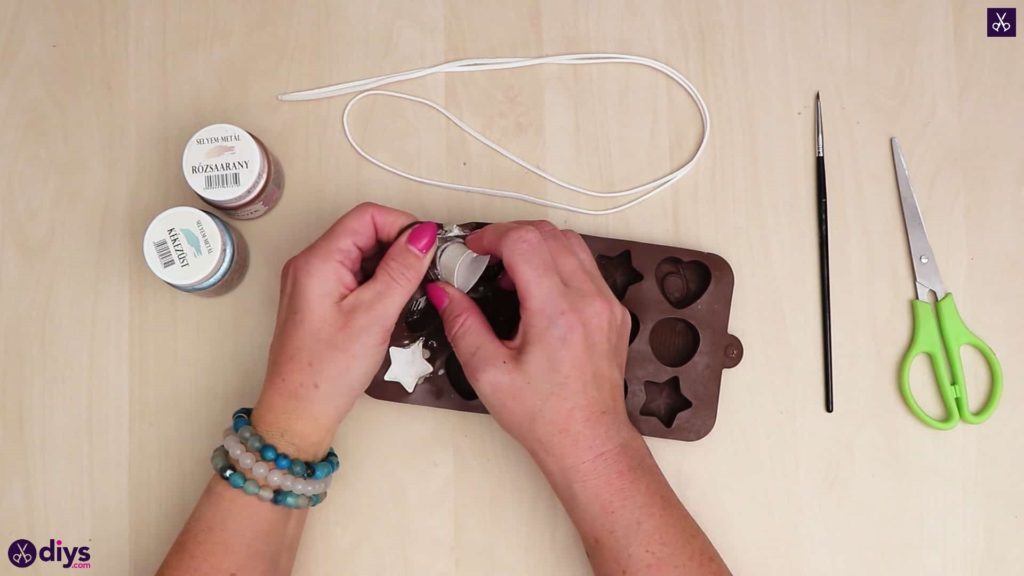
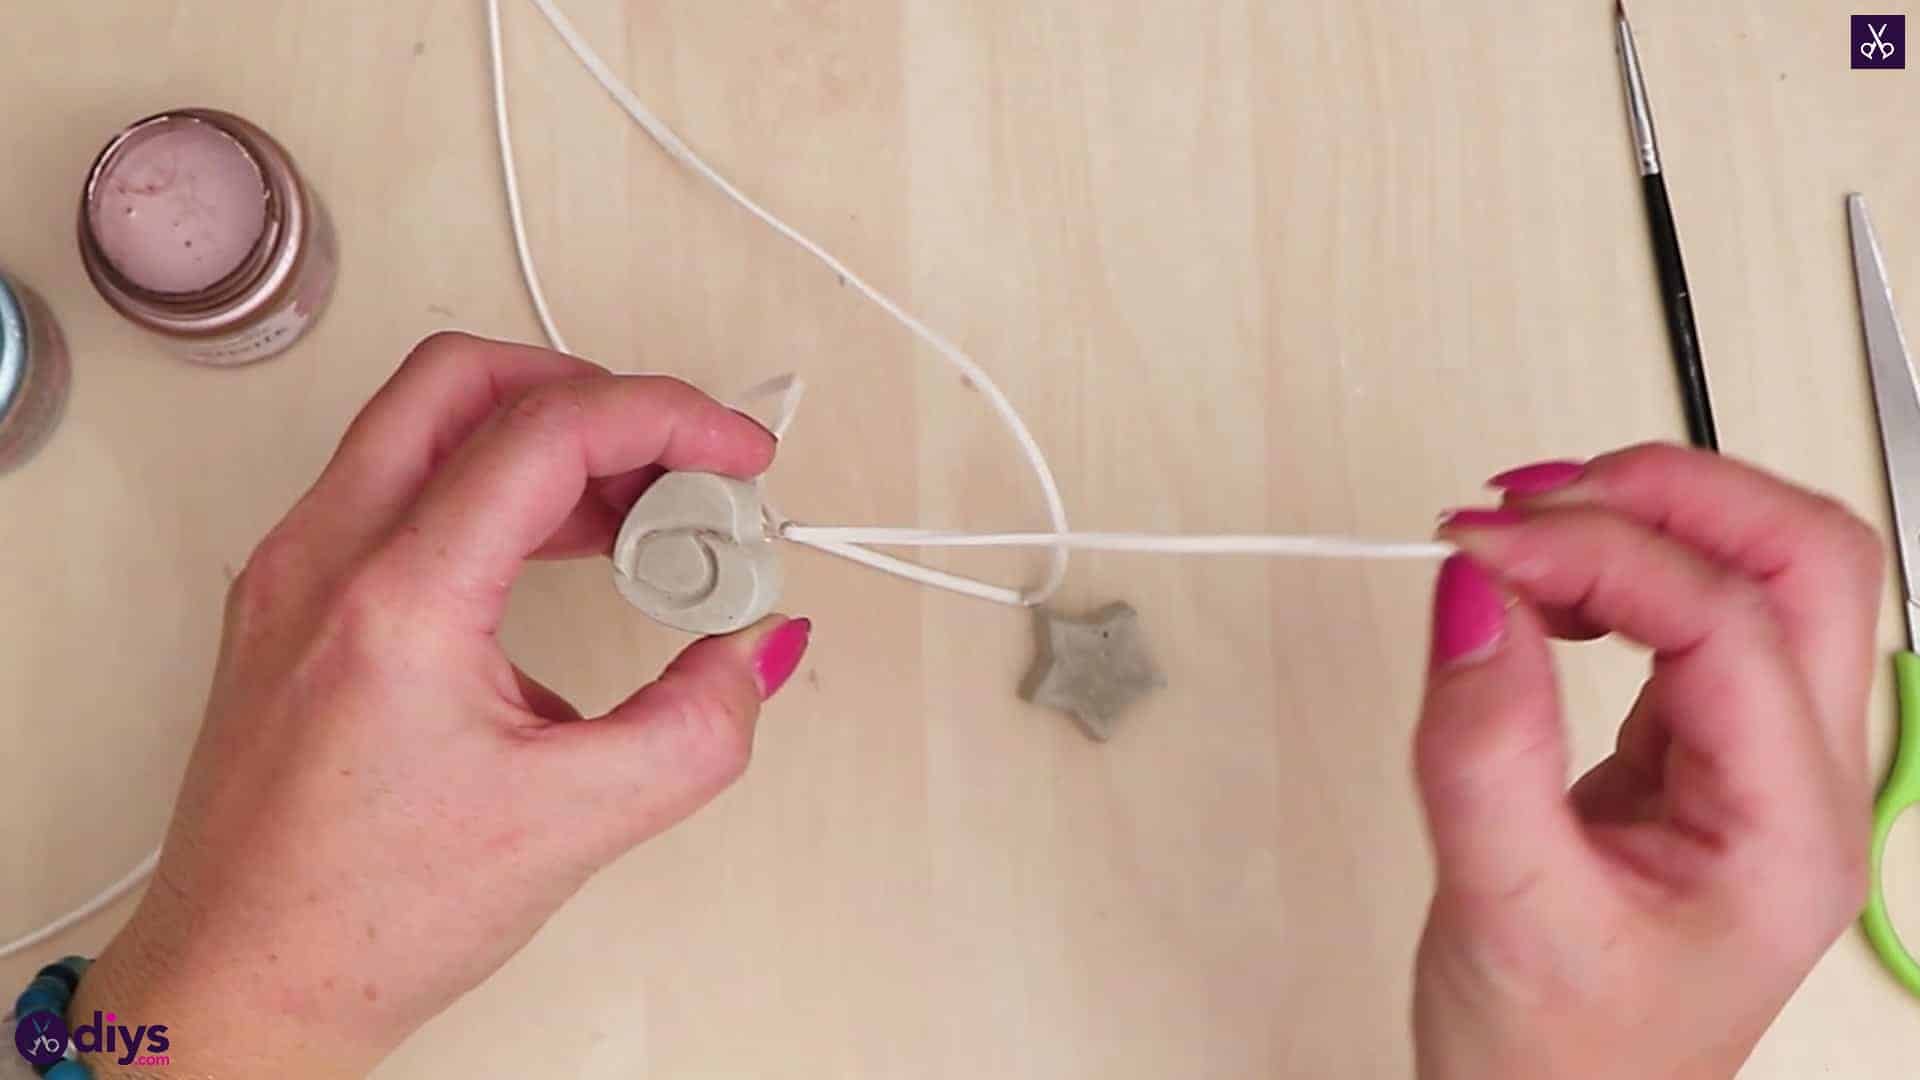
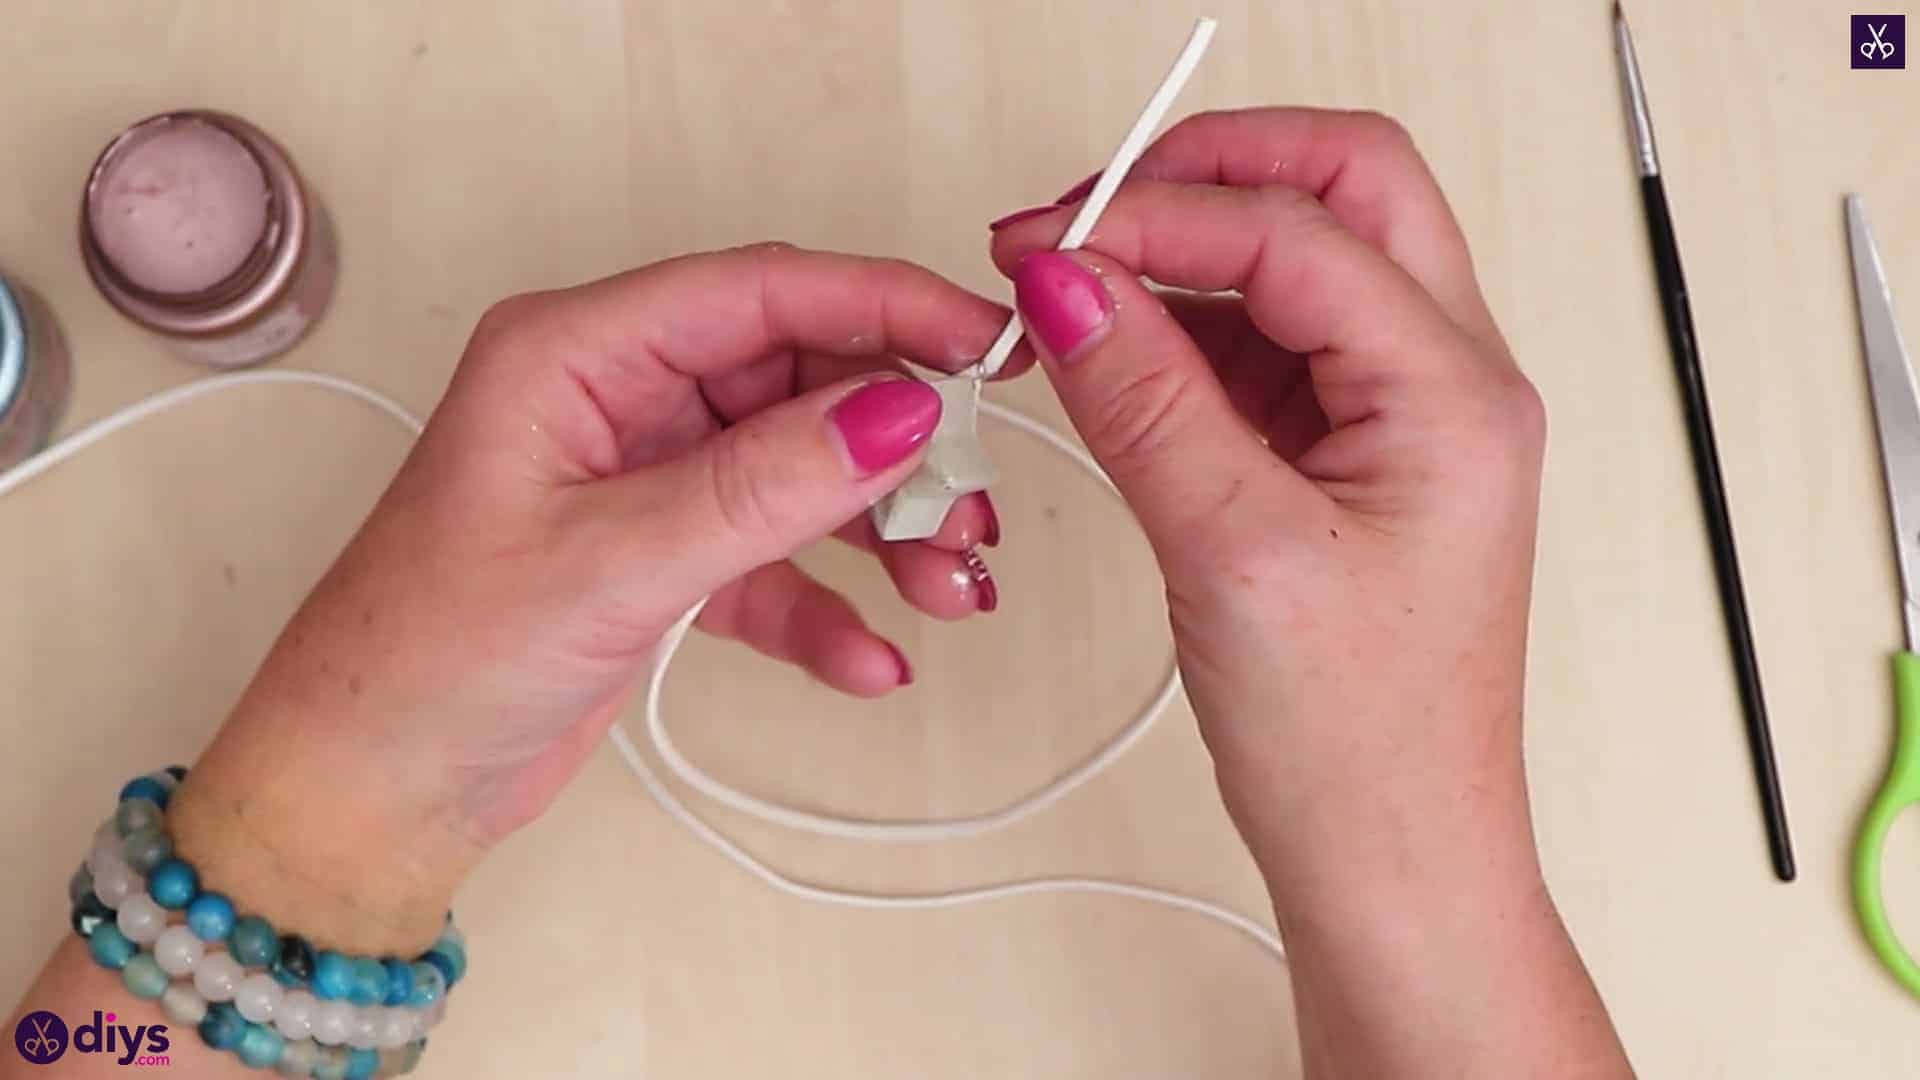
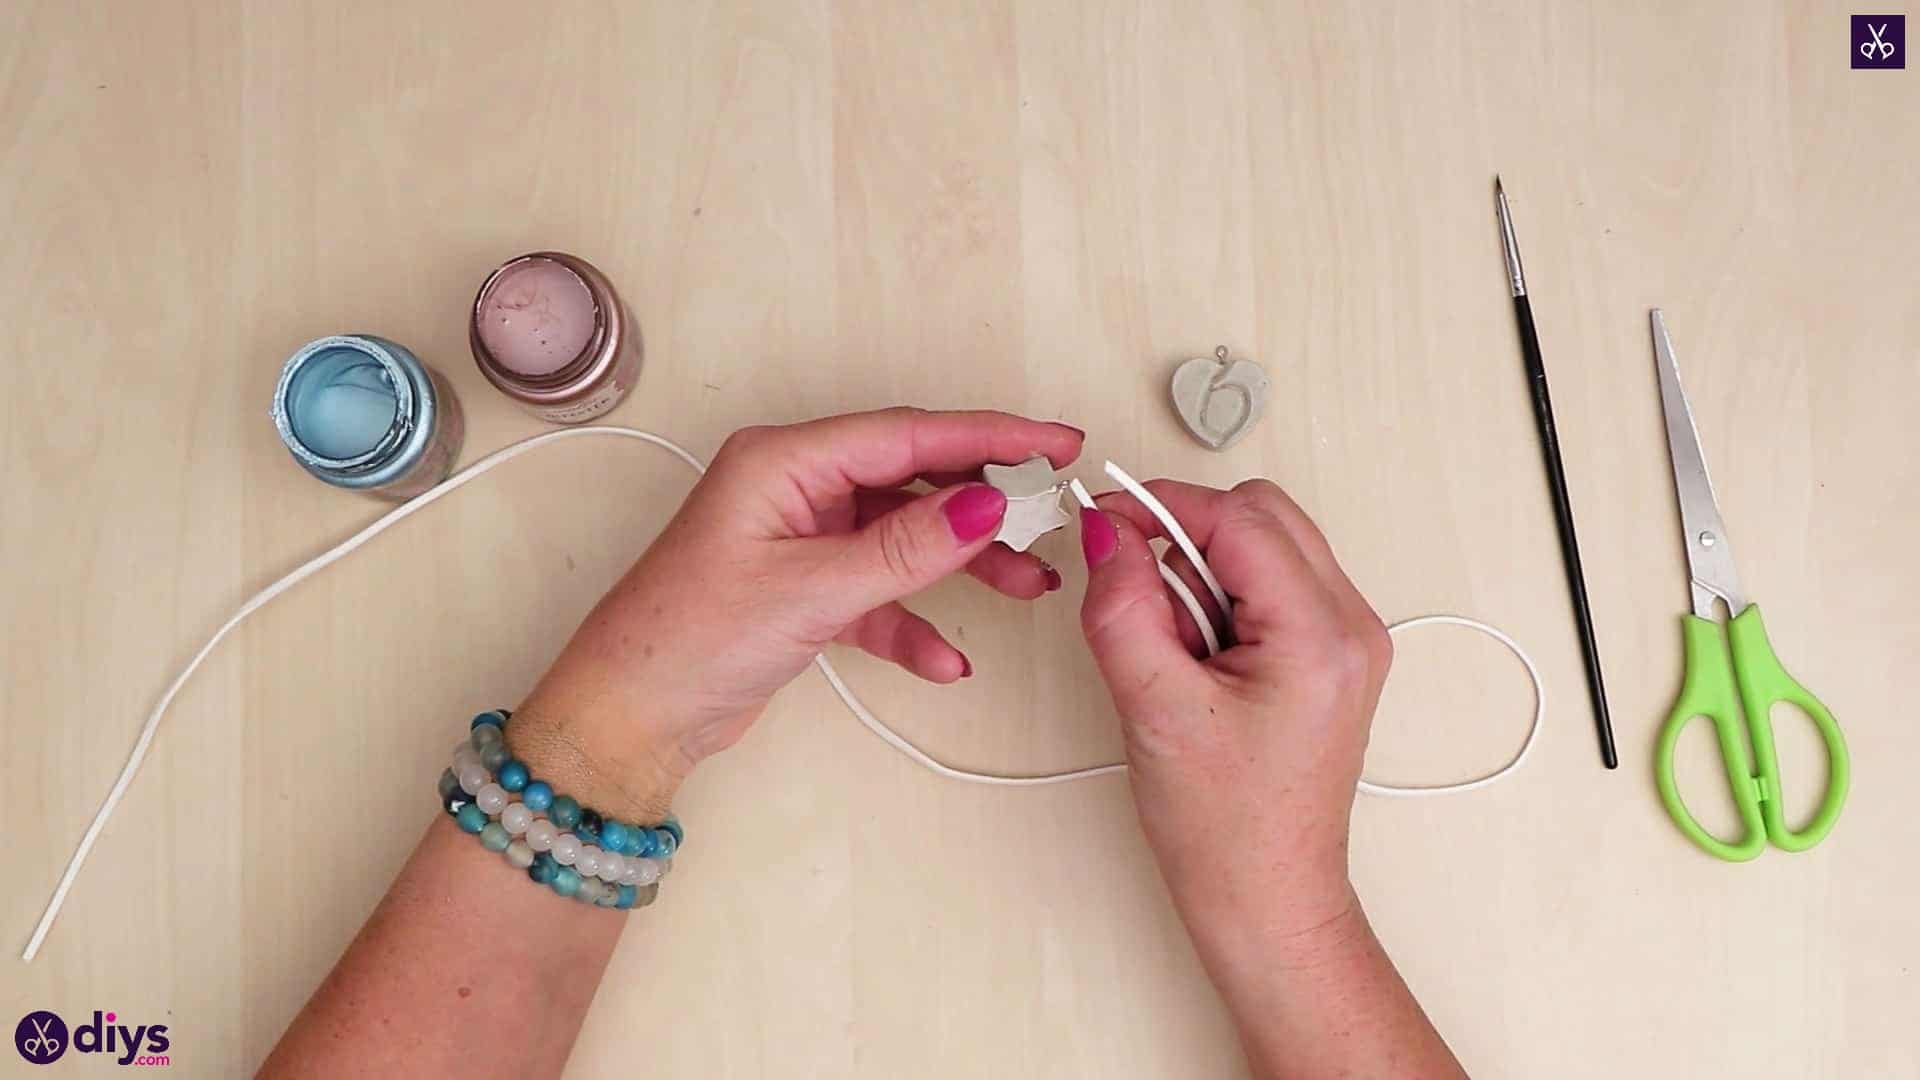
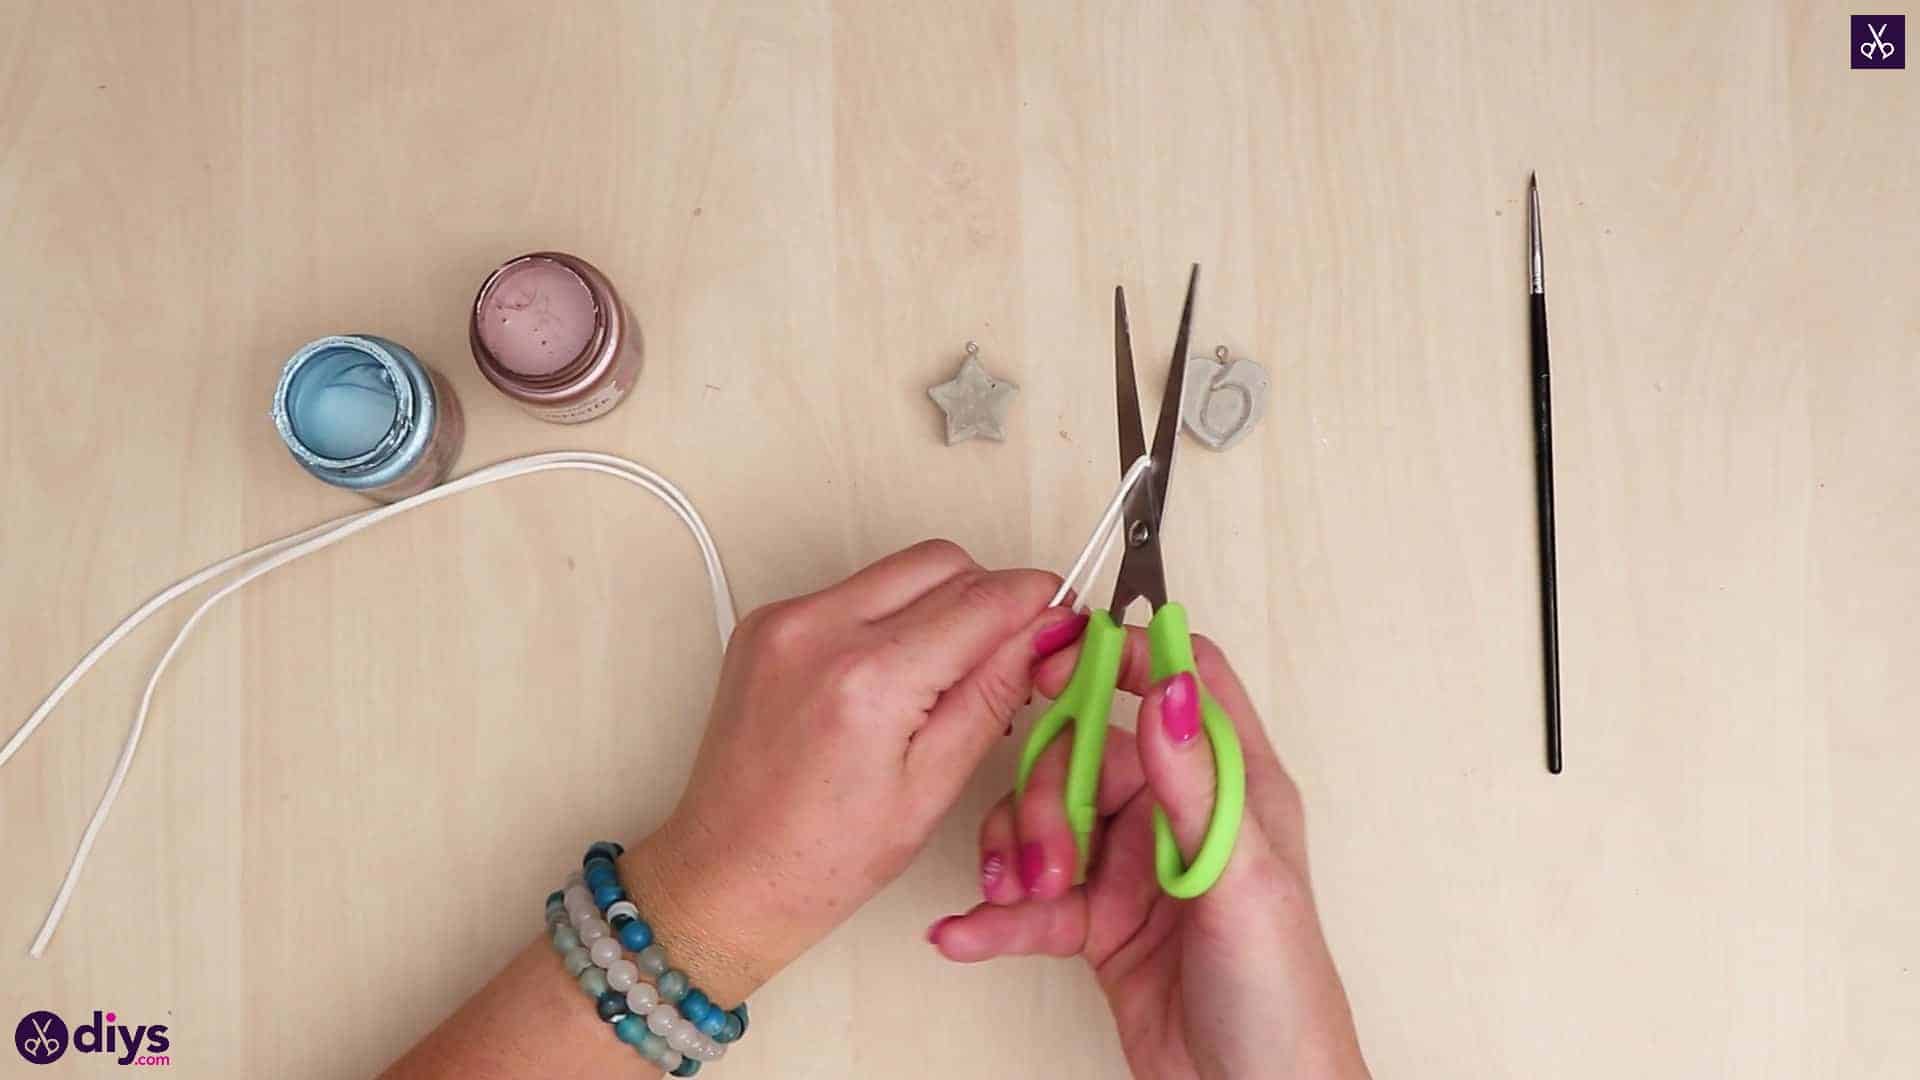
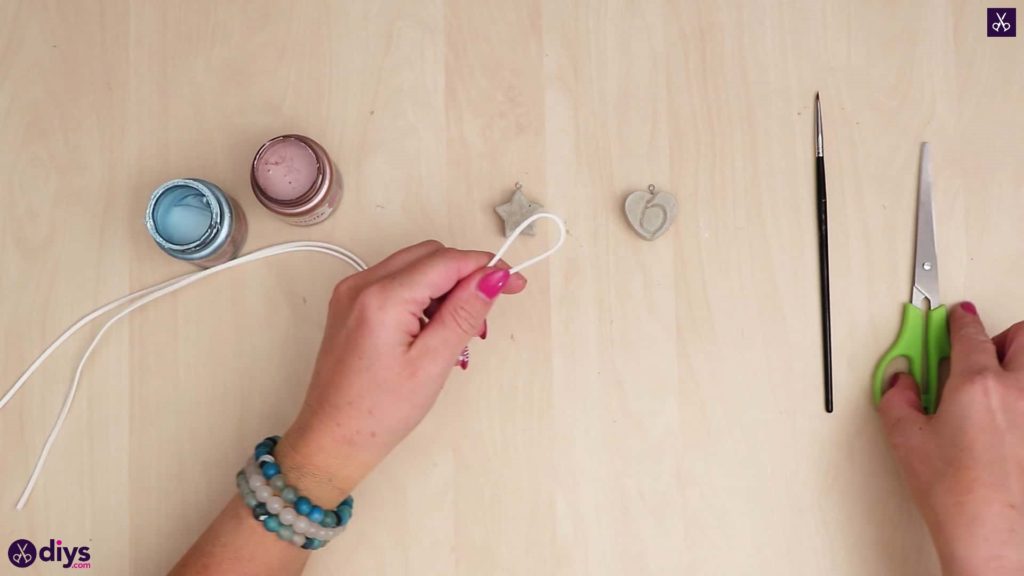
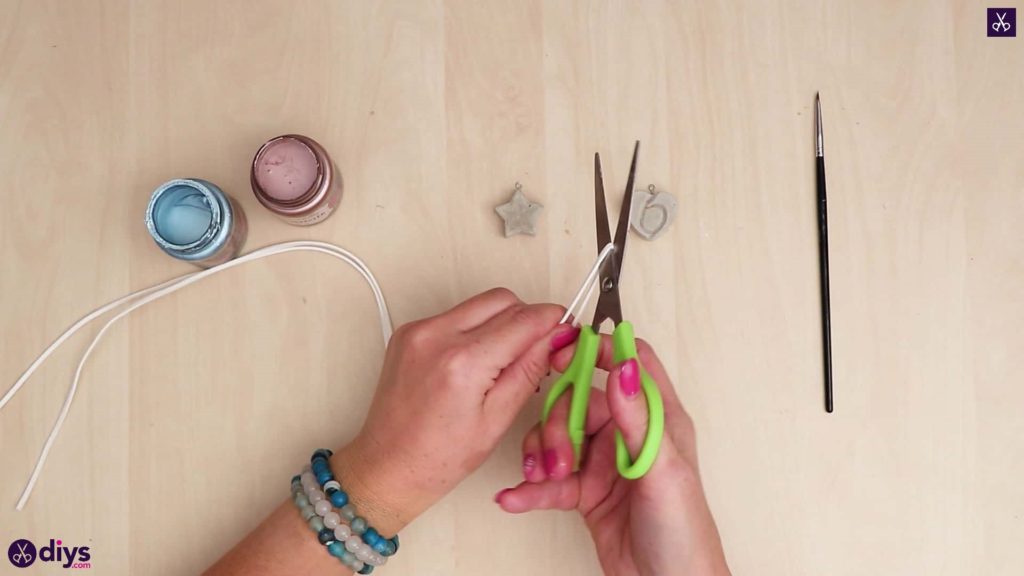
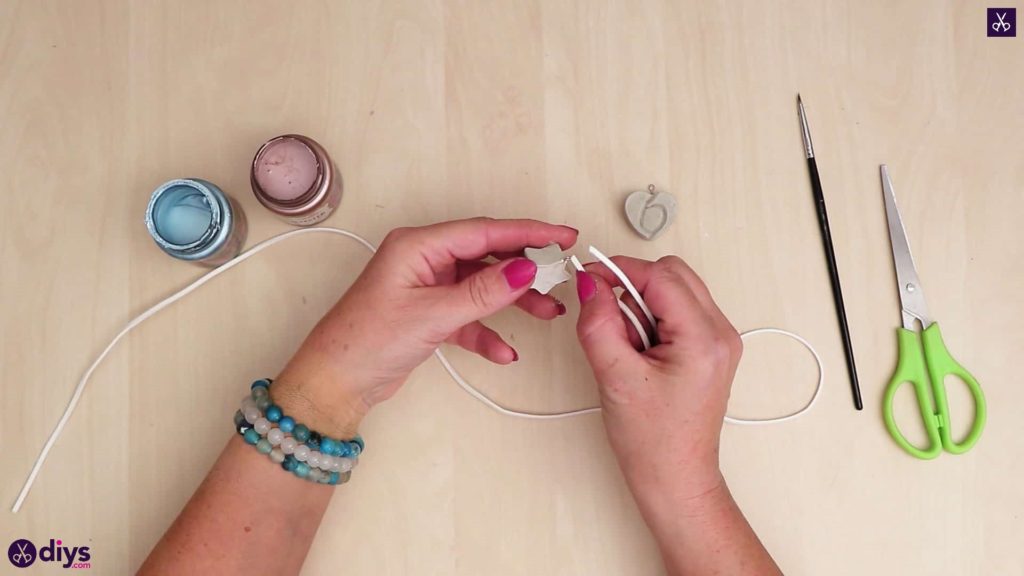
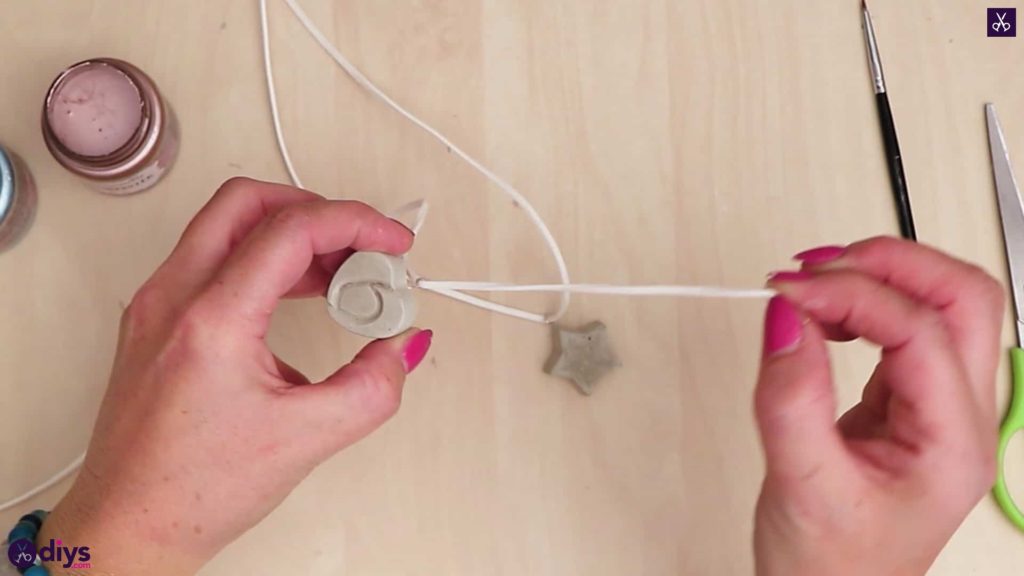
Step 7: cut ribbon
Cut your pieces of ribbon to whatever length you please. I cut two that were just long enough to leave my little concrete pendants sitting just below my collarbones because that’s my favourite length of necklace. Thread the end of one ribbon through the loop on one charm, and the second through the loop on the other.

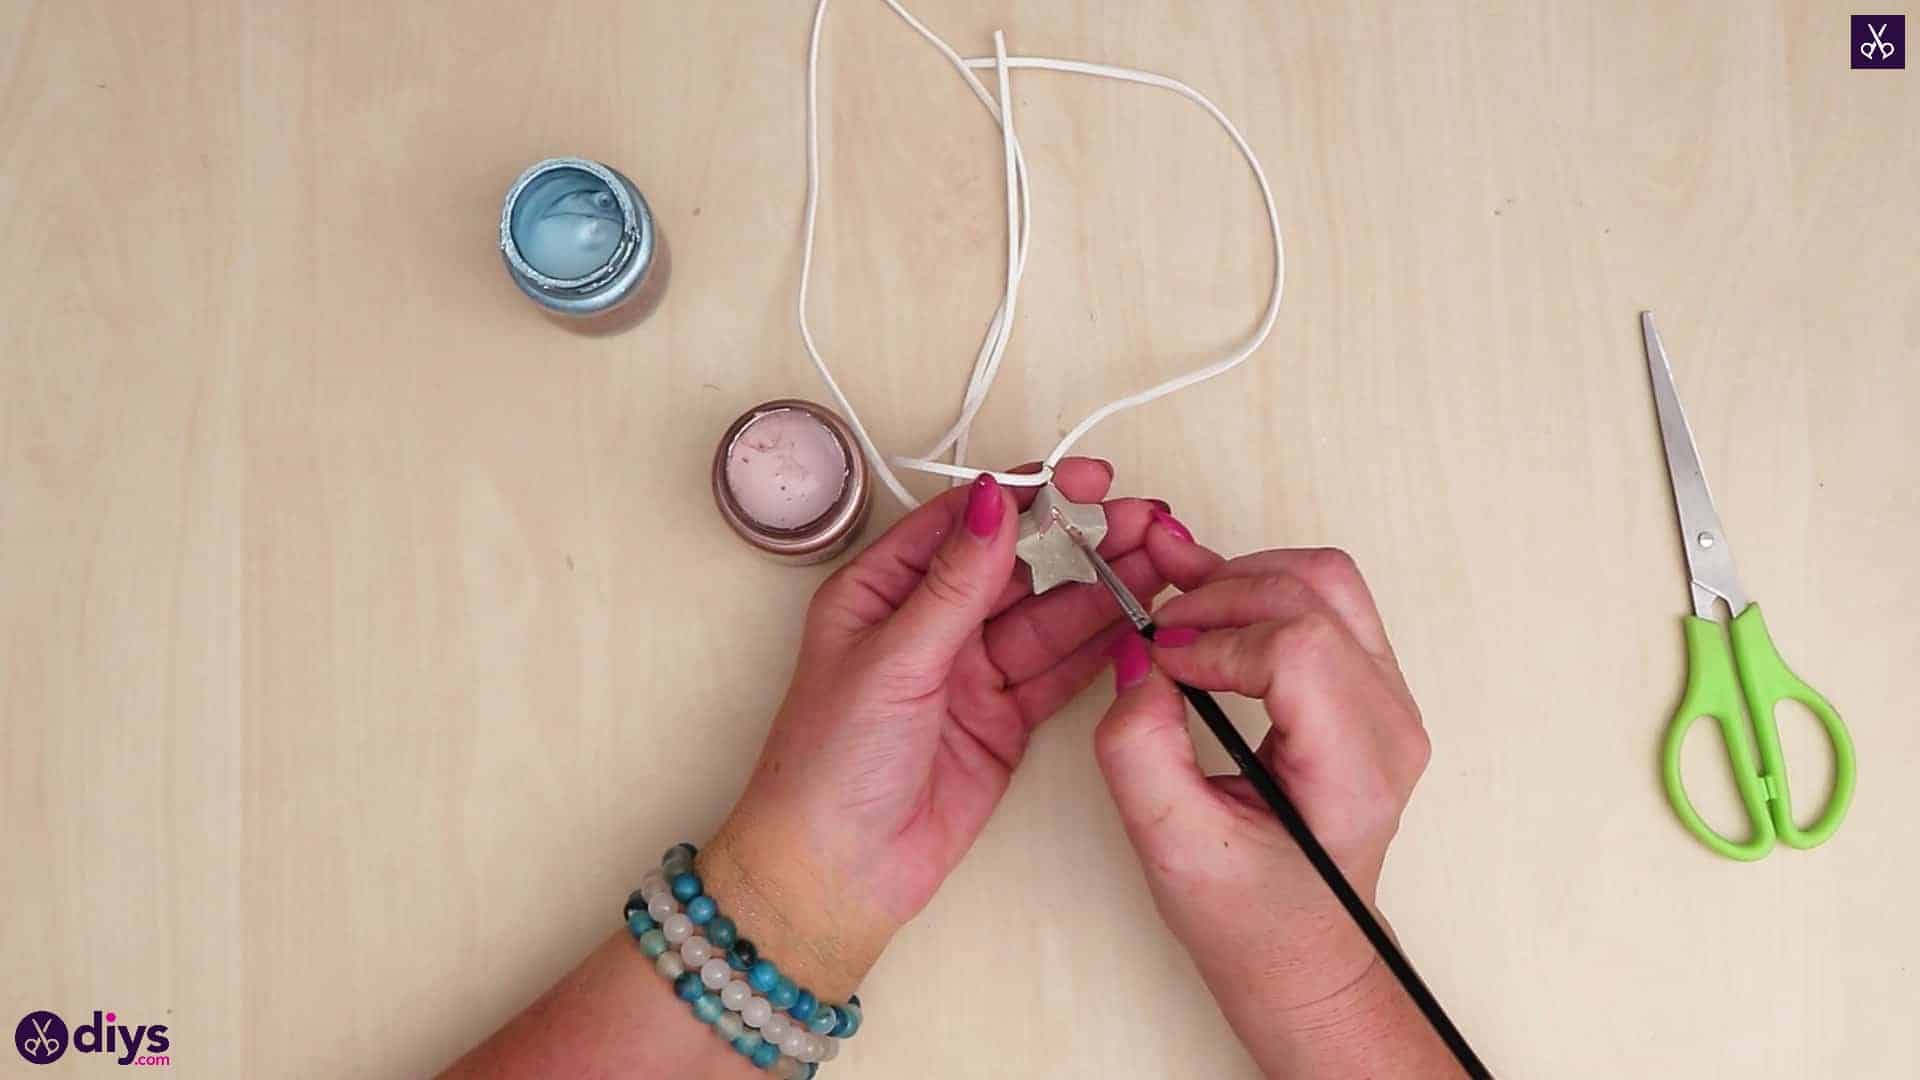
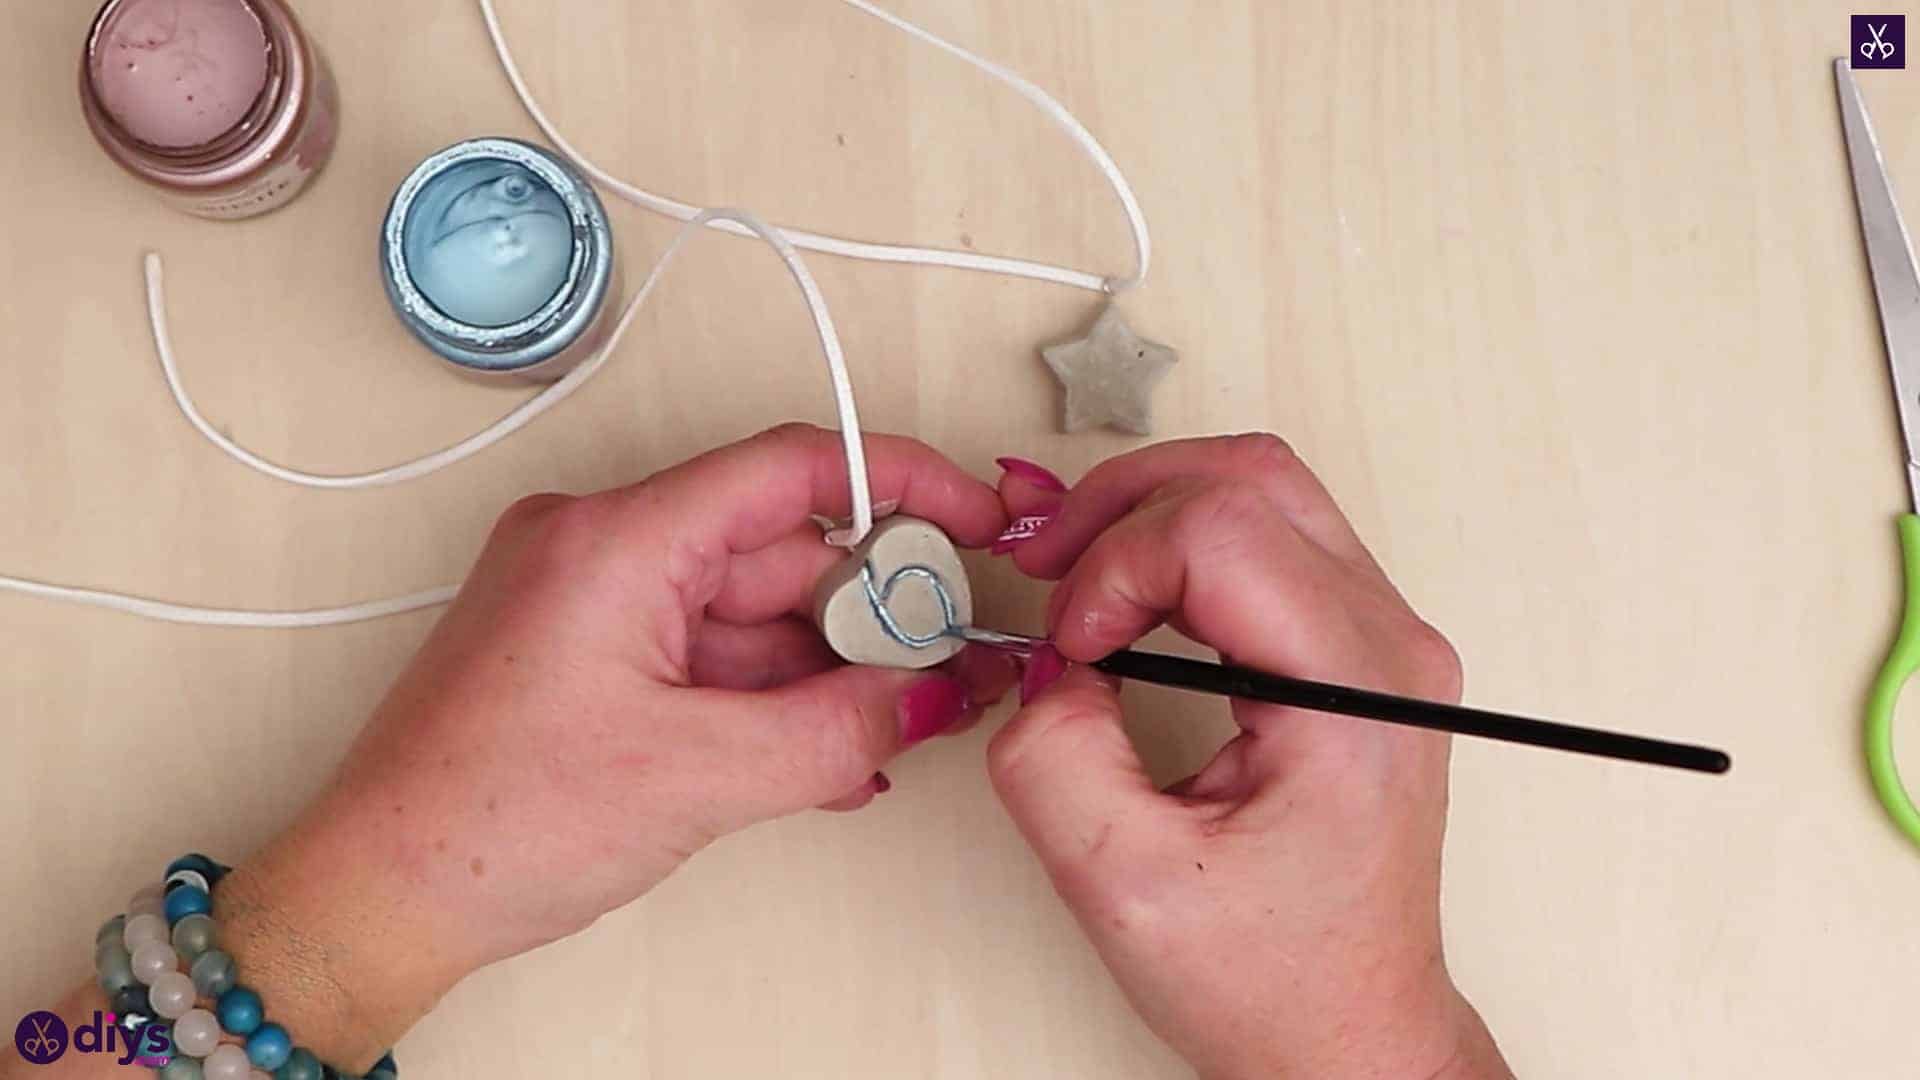
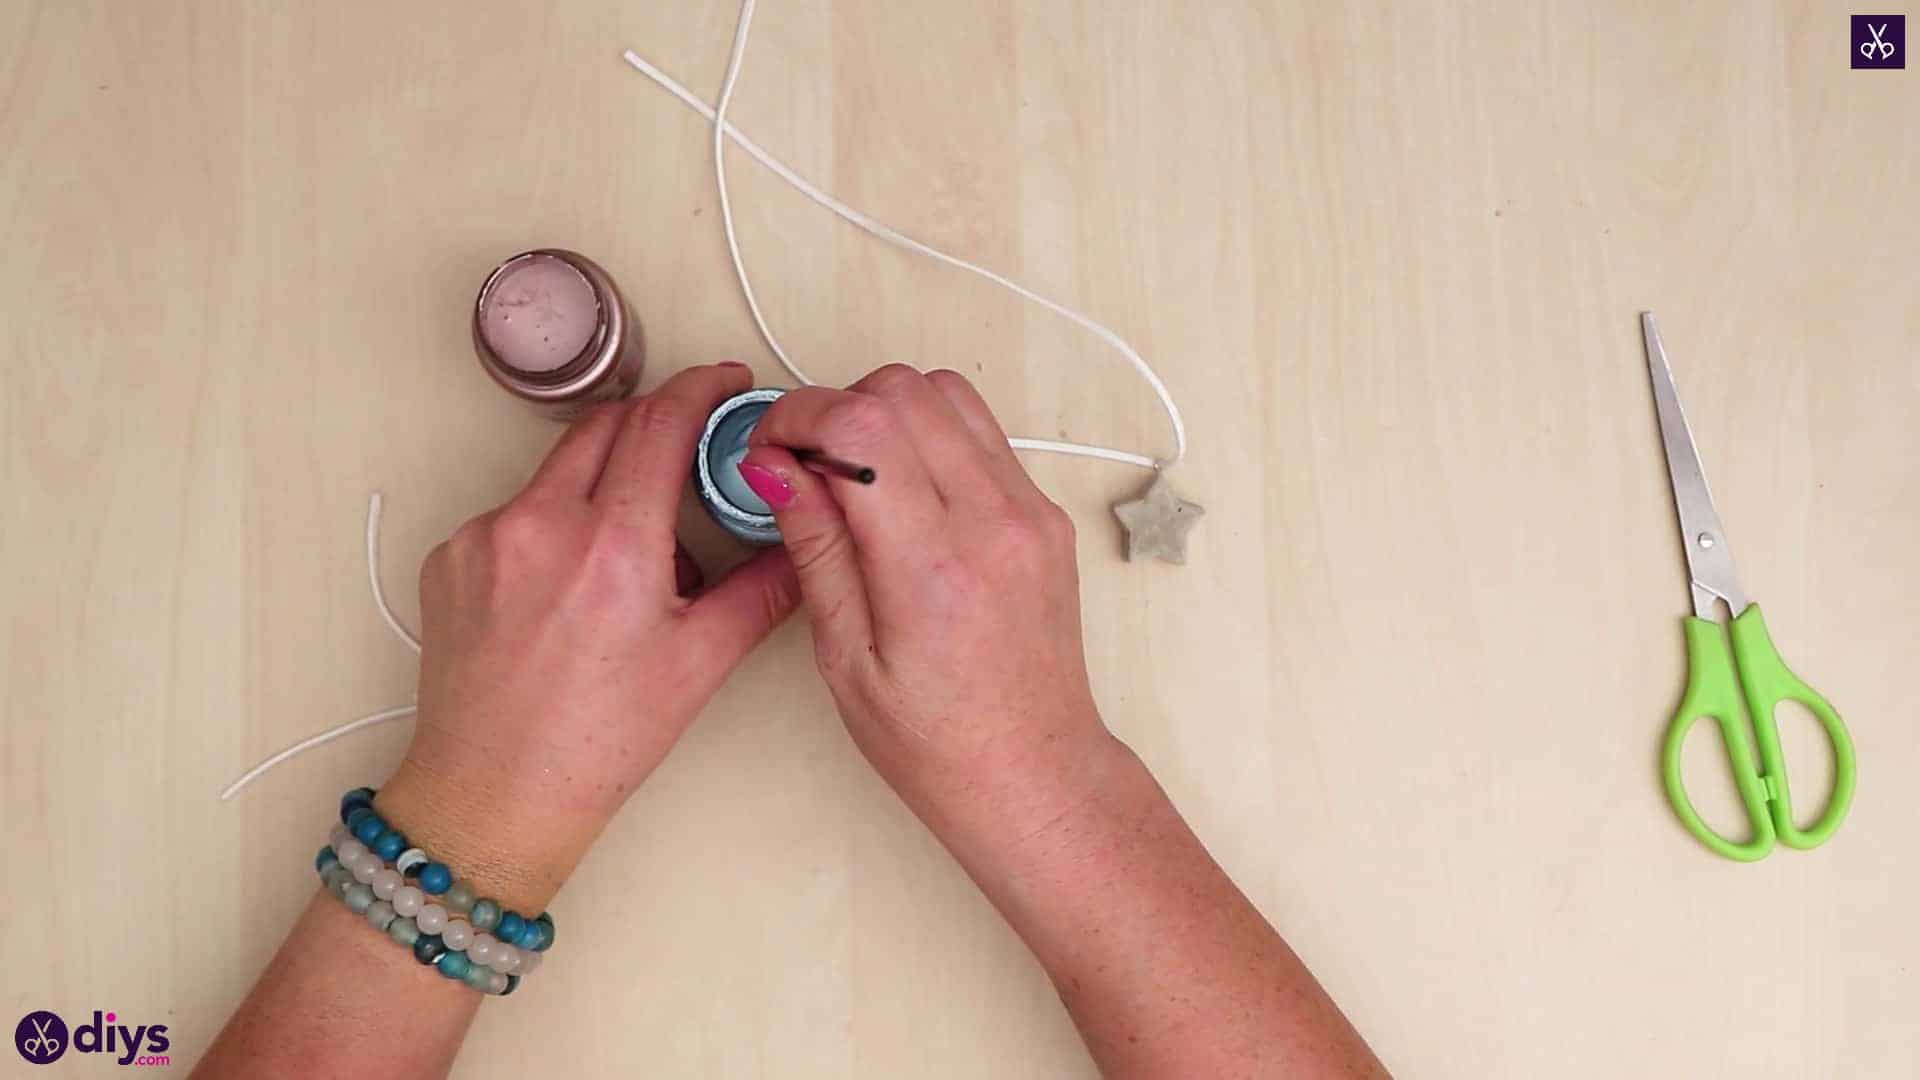
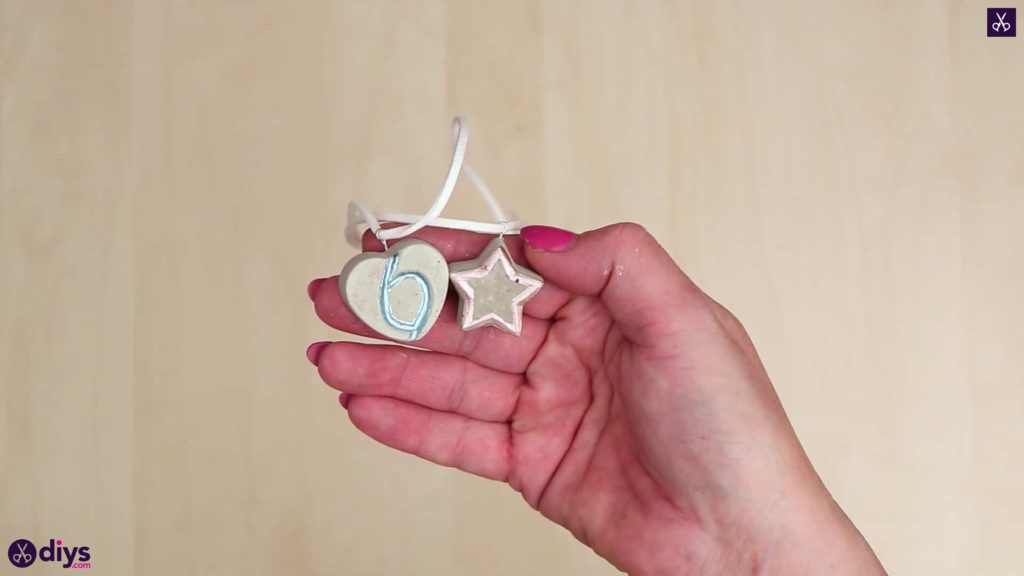
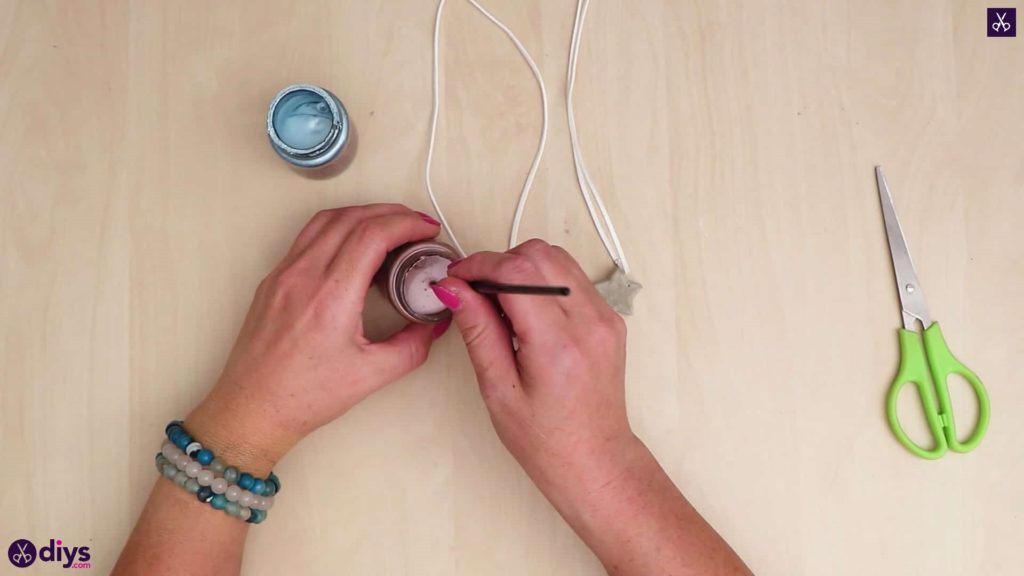
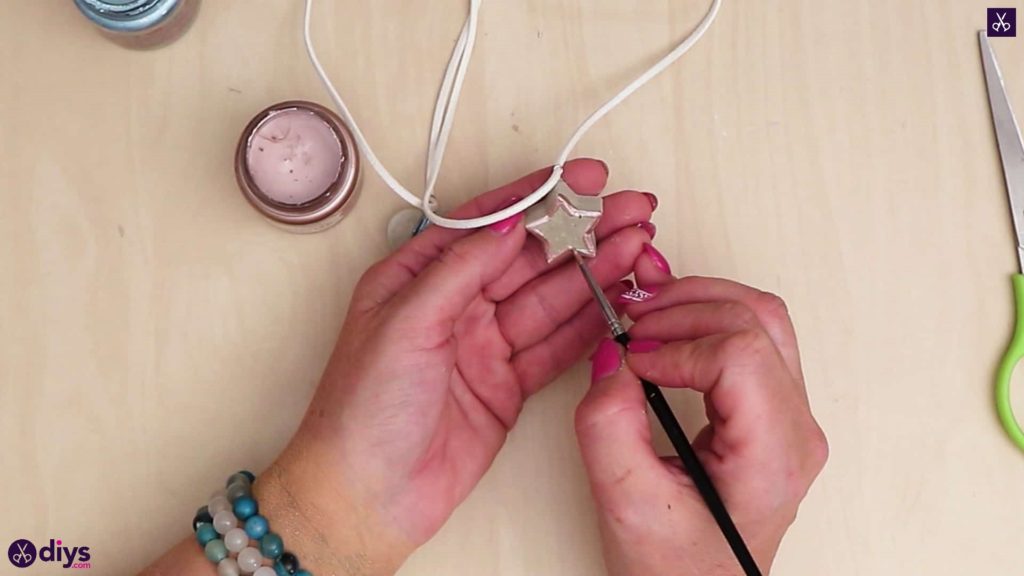
Step 8: paint
Use your paintbrush and paints to add details and colour to your concrete heart and star pendants! I chose to use metallic paints because they gave my designs that extra little bit of sparkle and shine. Feel free to paint your pendants however you please; I chose to just paint outlines because I wanted to maintain that explicitly concrete look rather than covering all of it.


You’re all finished! Feel free to try this same idea using other pendant mould or form shapes too. Just in case you’d like to try this project out for yourself, here’s a fantastic tutorial video to help you!