DIY Concrete Egg Decoration
Updated on June 23, 2021


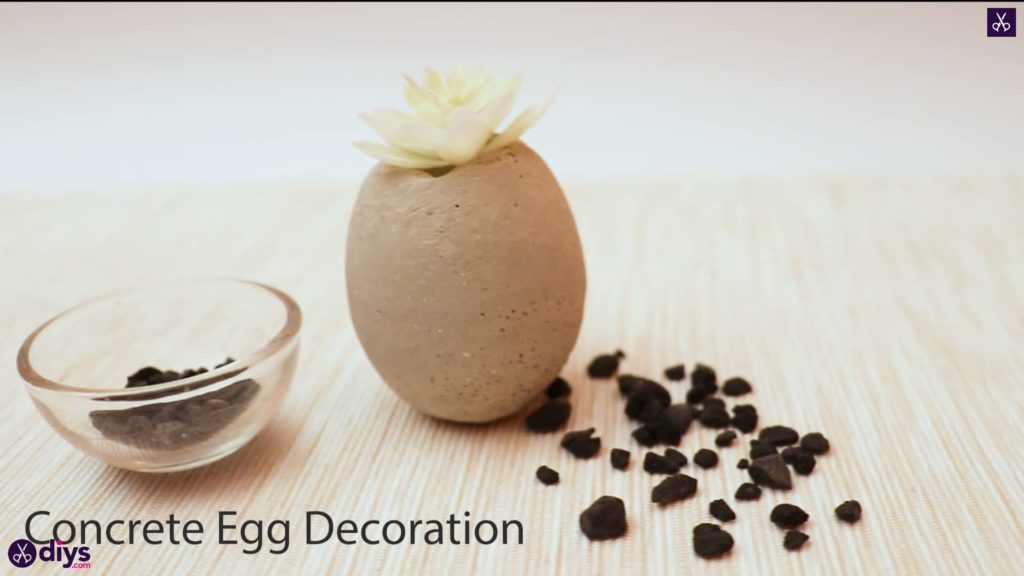
Lately, I’ve been completely in love with the contrast between grey mixed concrete and plants or flowers, which is where I came up with the idea to make concrete eggs that feature space for a flower in the top, like a tiny vase. I was so happy with the finished product that I decided to make another one so I could outlined the process for other people to follow along with too!
Check out this step by step guide, complete with photos, for making a cute little concrete egg decoration in just a few simple steps. If you’re the kind of person who would rather follow along with a video tutorial, scroll to the bottom of this post to find precisely what you’re looking for!
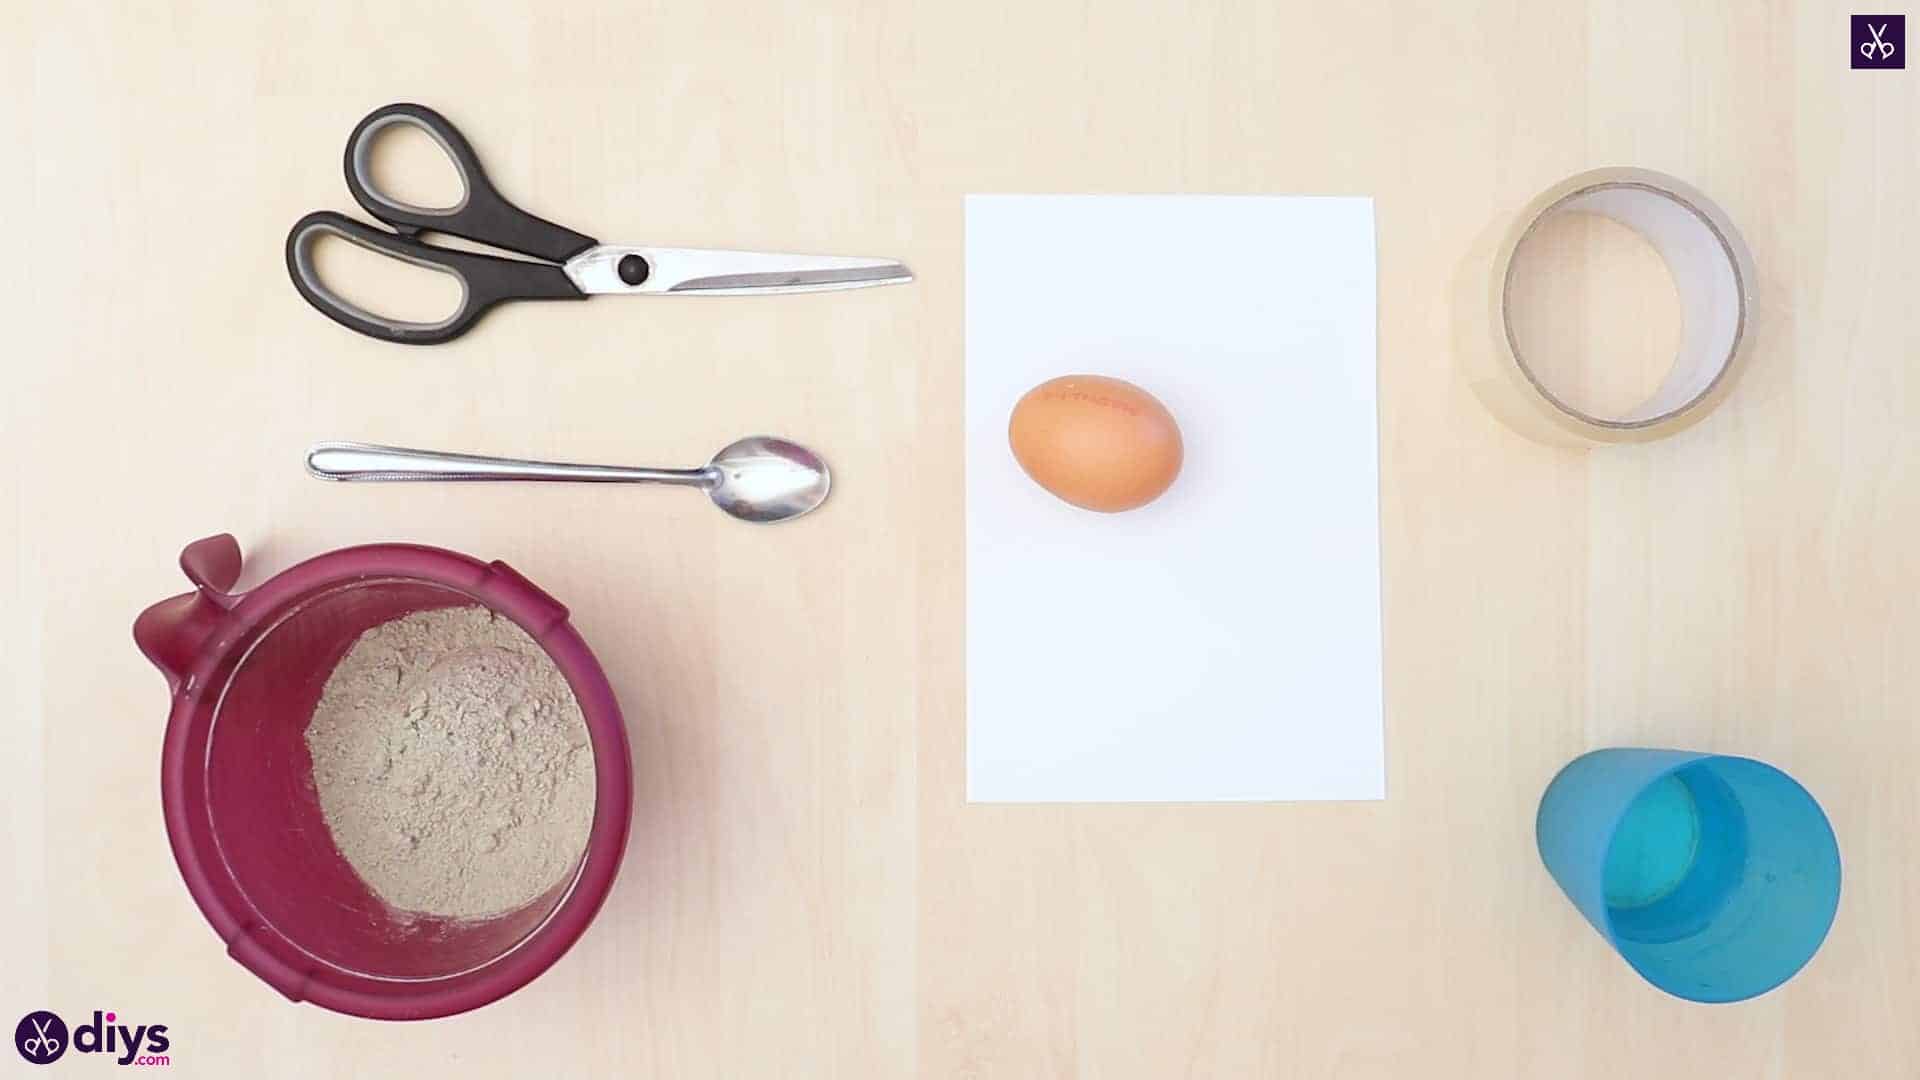
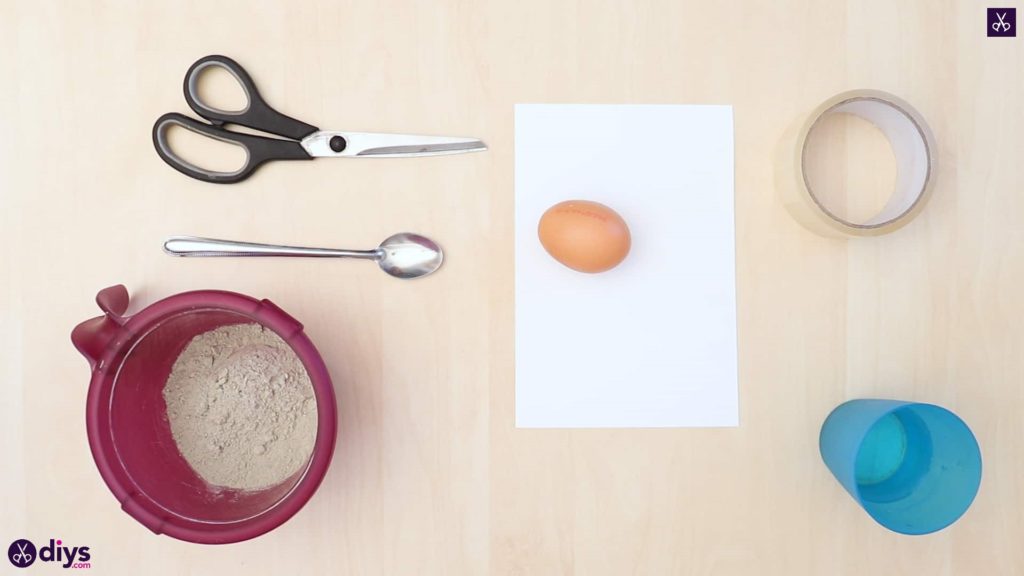
For this project, you’ll need:
- Blown eggs
- DIY fine particle cement
- Water
- A plate
- A spoon
- An abrasive block
- Scissors
- Tape
Step 1: prep
Gather your materials!
Step 2: make a funnel
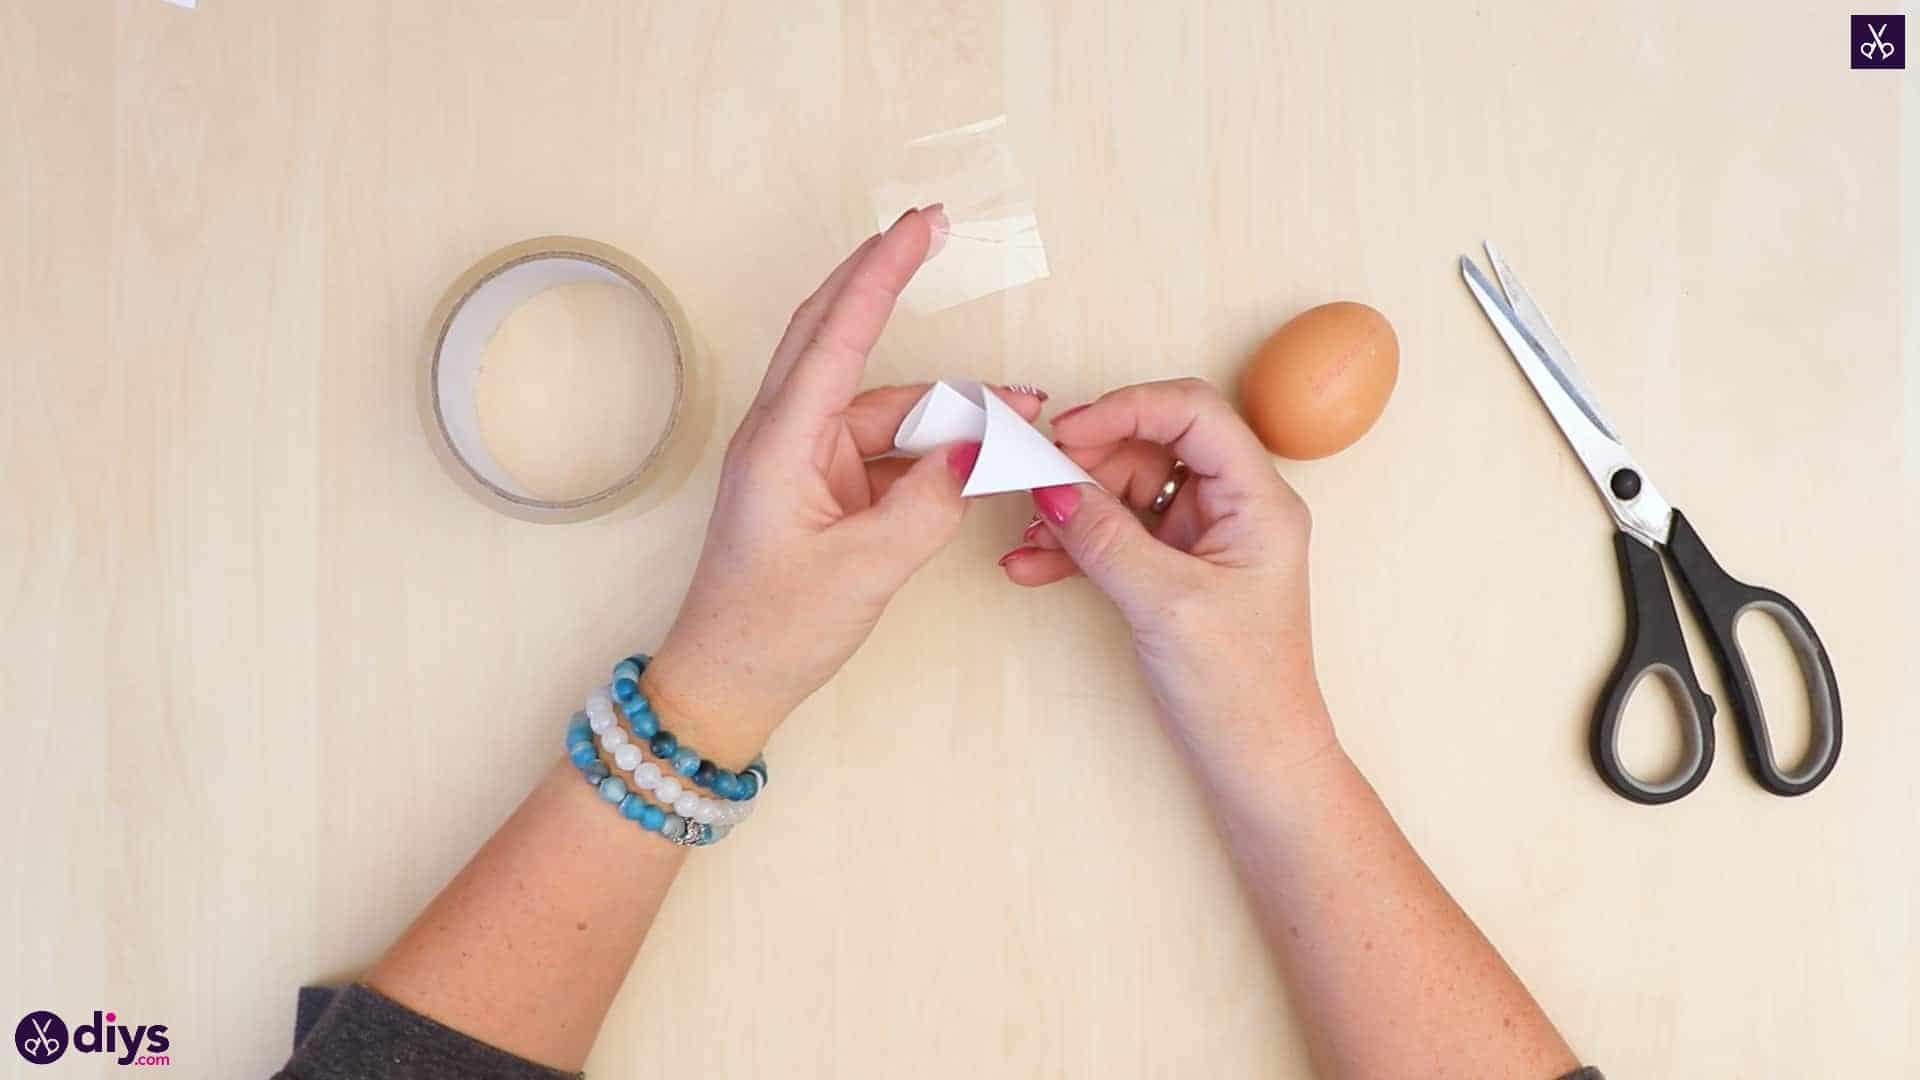
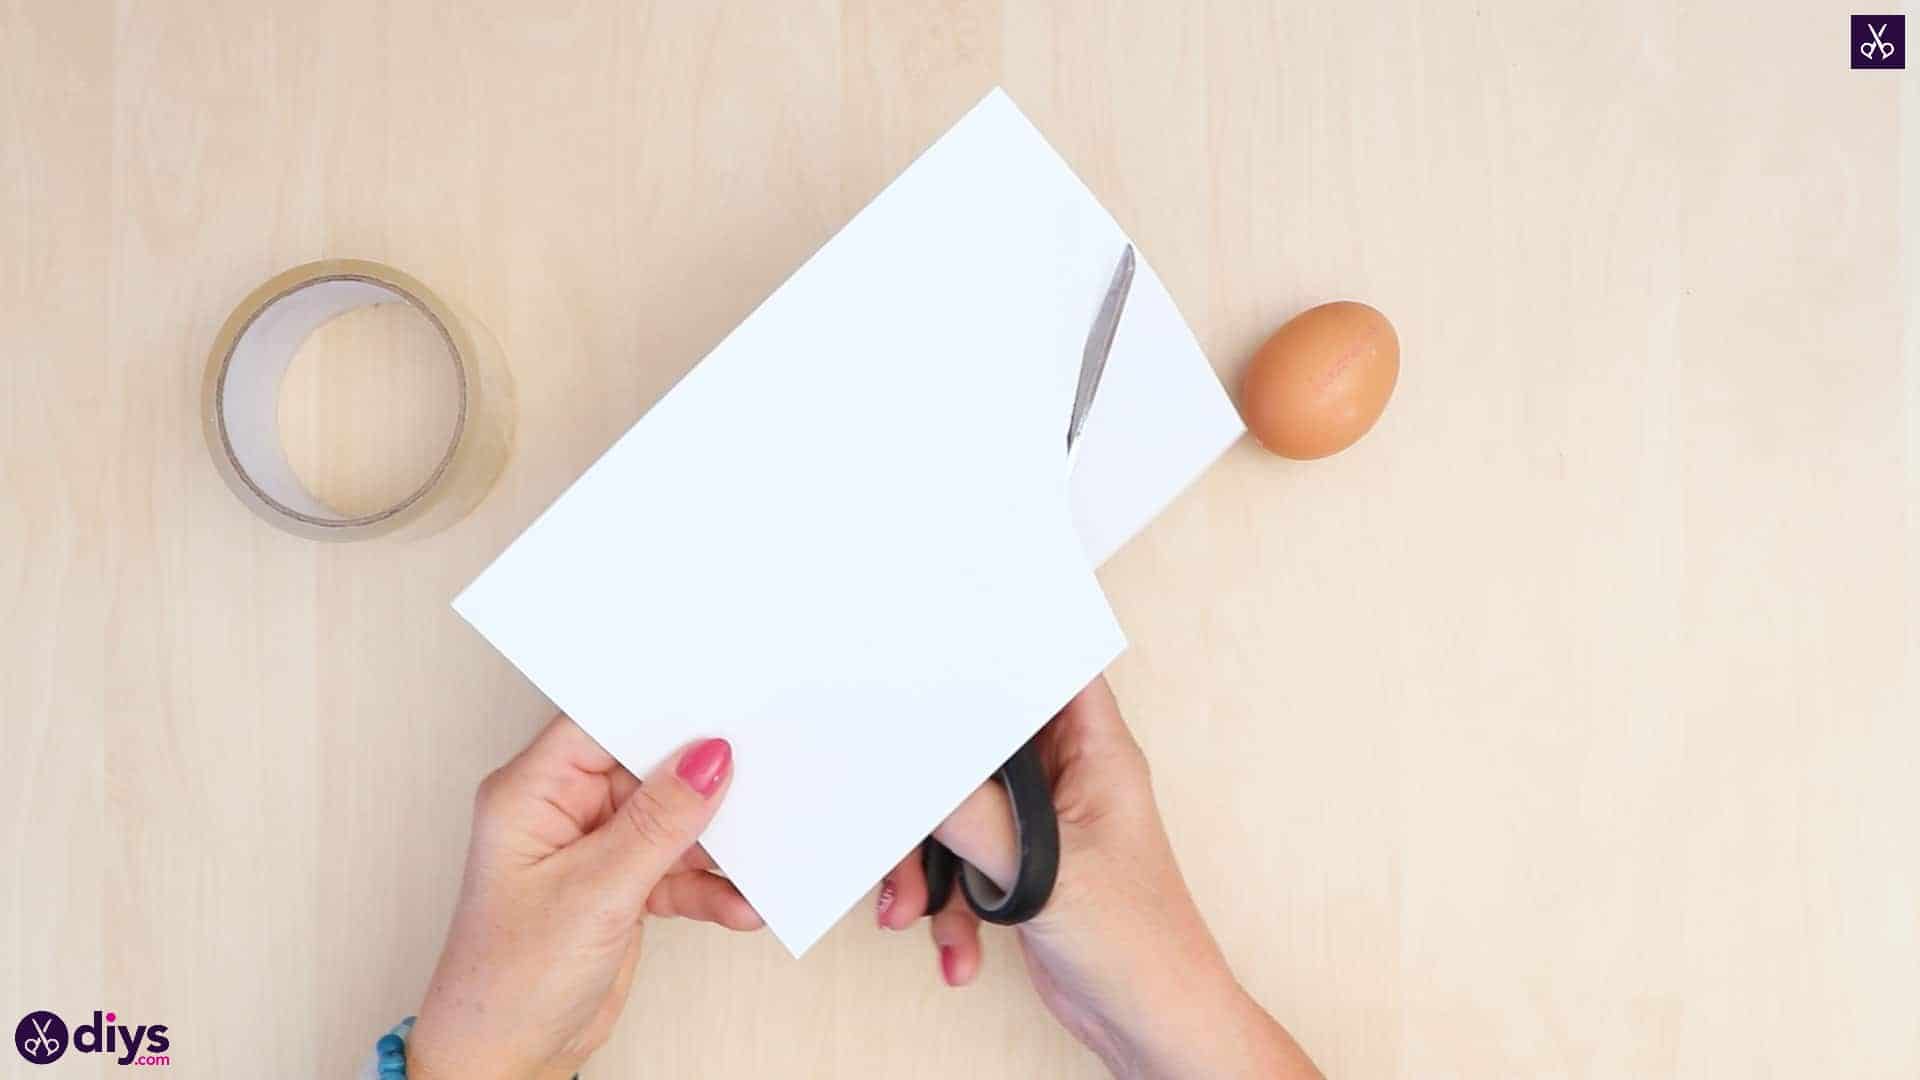
In an arching shape, cut a corner from your sheet of white paper. Make this into a funnel shape by curling the straight edges in towards each other so the rounded end you cut before is large and open and the corner turns into a point. Cut a small piece of tape and use it to stick the edges in place so your new funnel stays in tact.


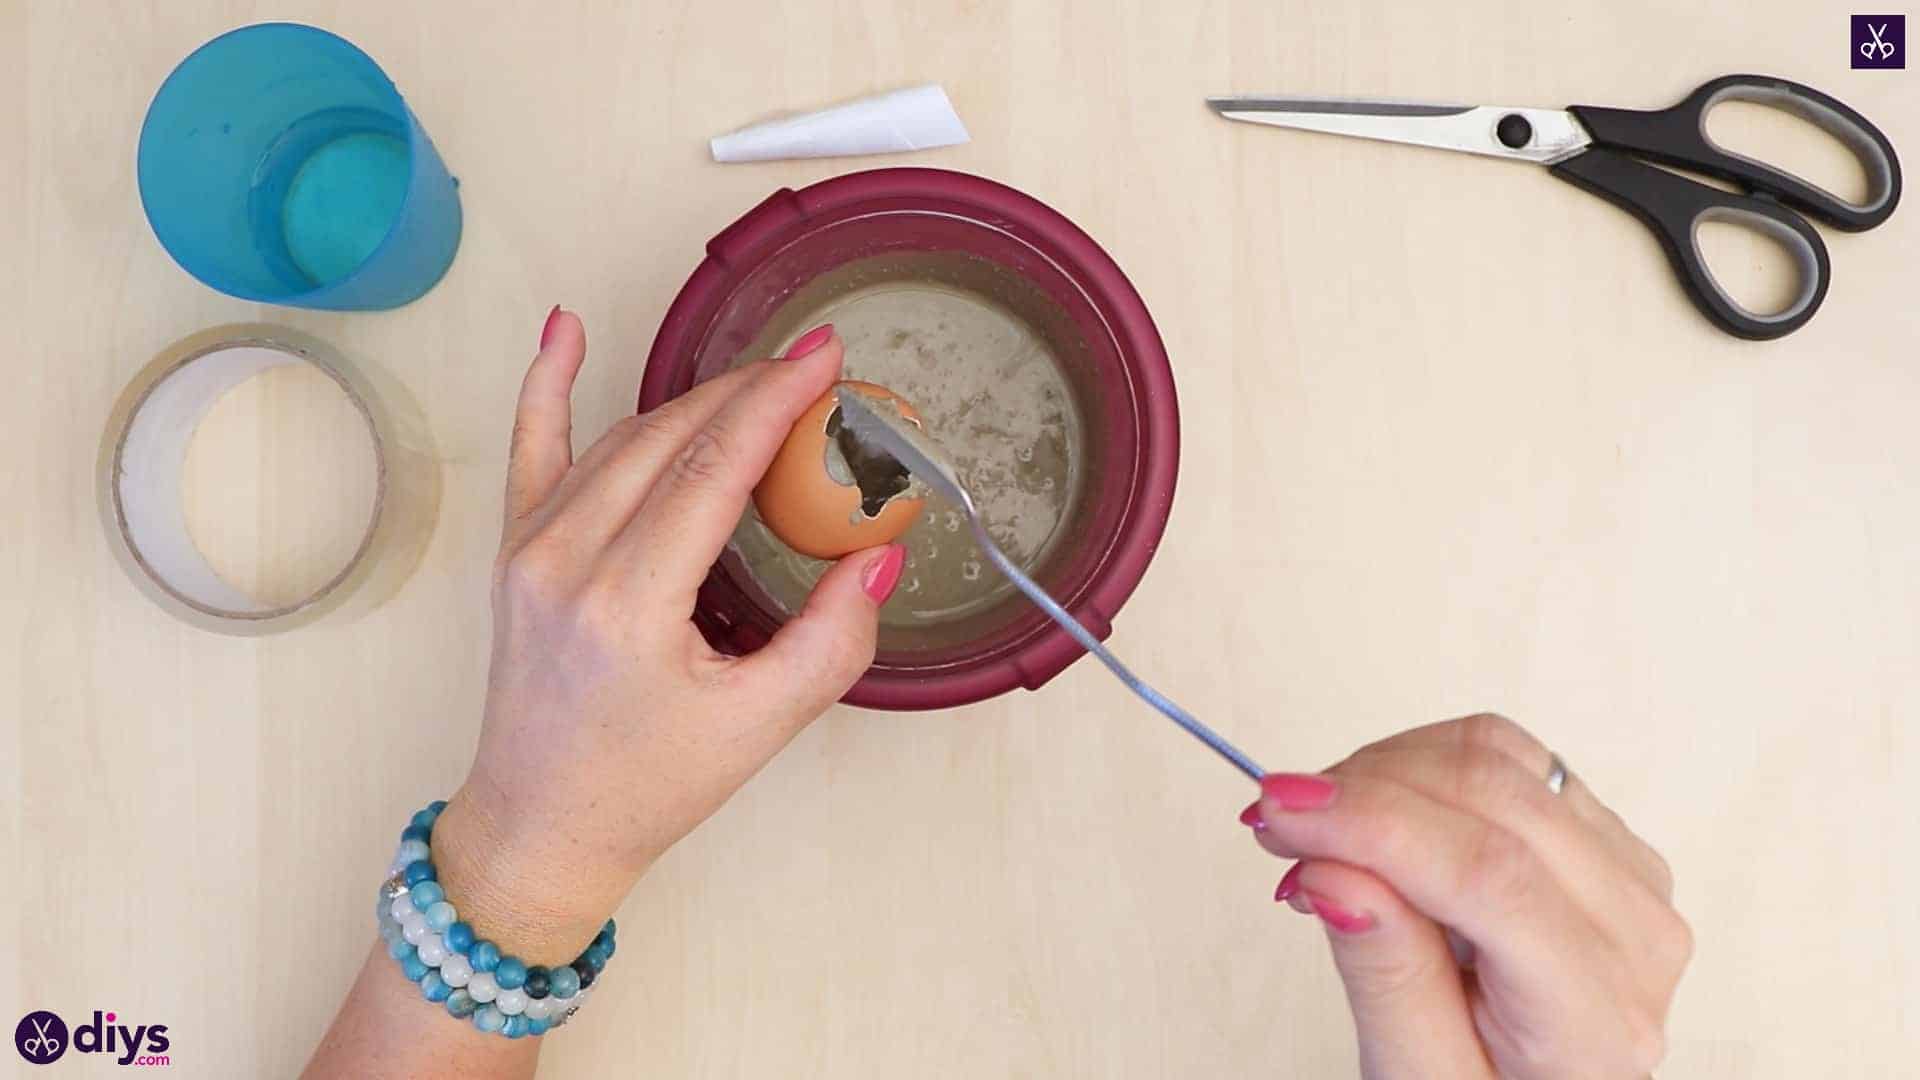
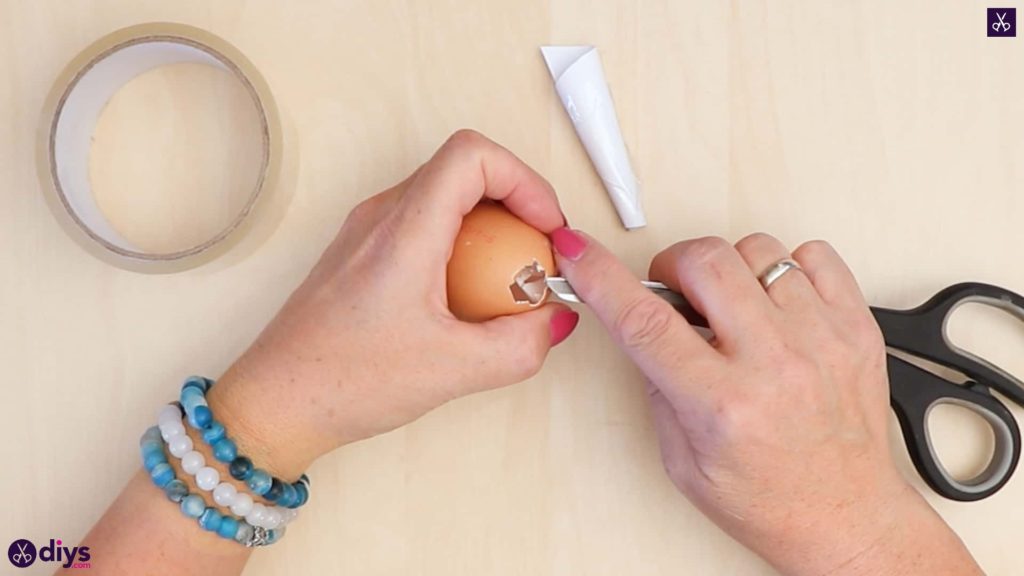
Step 3: clean the egg
I blew the insides of my egg out before starting my craft. I used a pin to poke a small hole in the top and bottom of the egg and then blue hard into the top so the yolk and white came out the other end into a bowl (yes, I cooked and ate it)! Then I rinsed the egg through the little hole and let it dry. Now, you’re ready to make the hole in the top of your egg bigger with the tops of your scissors. I expanded my whole shape until it was about half an inch across.
Step 4: seal the hole
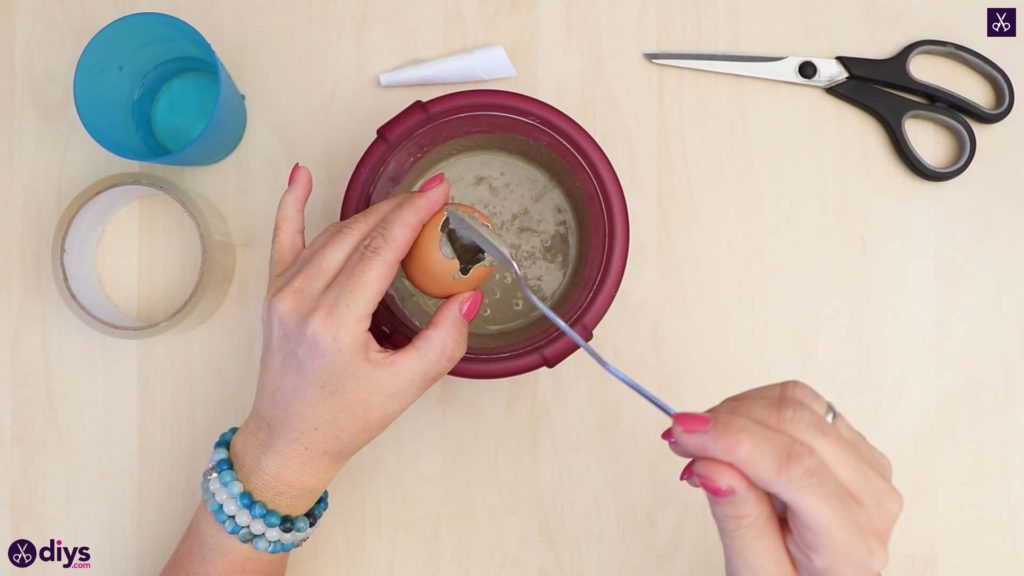
Cut another piece of tape from your roll and stick it over the small pinhole in the bottom of your egg so it’s sealed again.
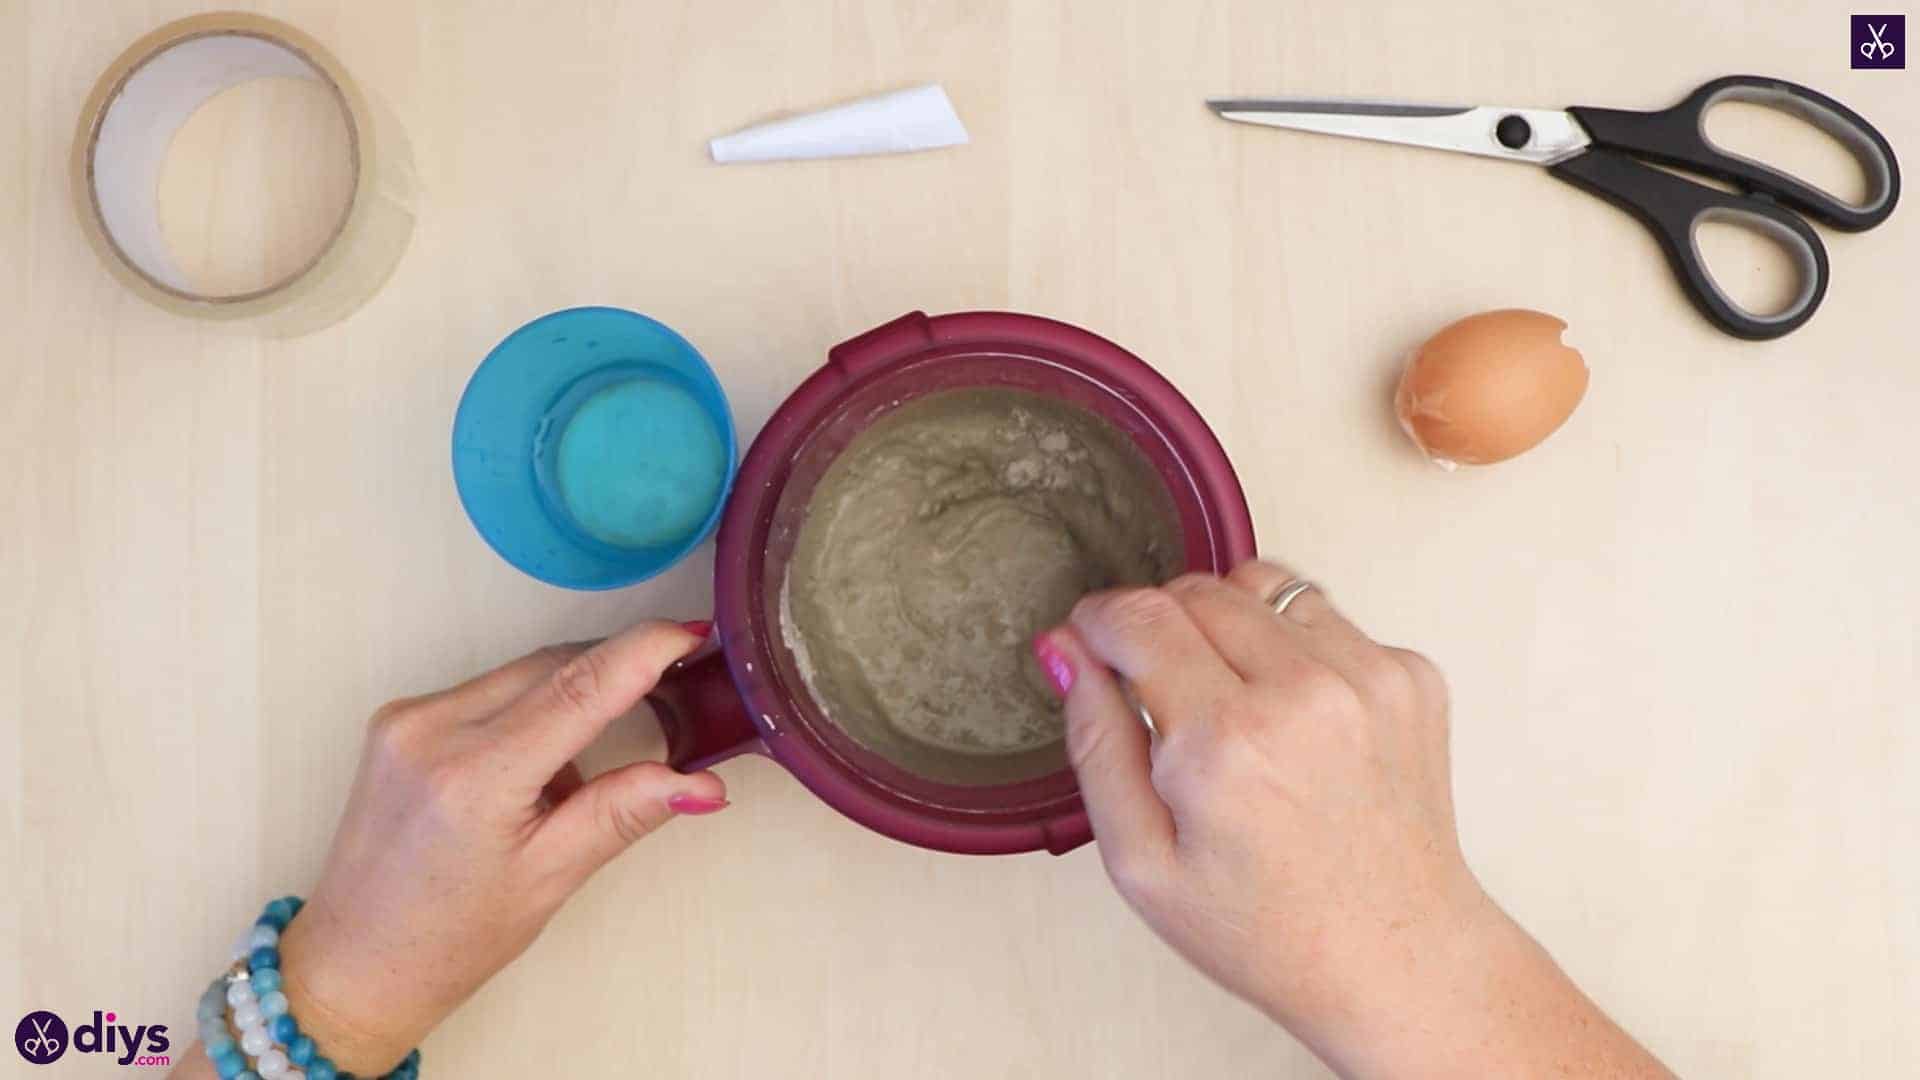
Step 5: mix the concrete
Pour water into your powdered DIY concrete mix and stir it until you have the right consistency. Follow the mixing instructions regarding the ratio of water to powder on the specific mix you bought because each brand can vary.

Step 6: spoon in the concrete
Use your spoon to fill your egg with concrete mix until it is about three quarters of the way full.
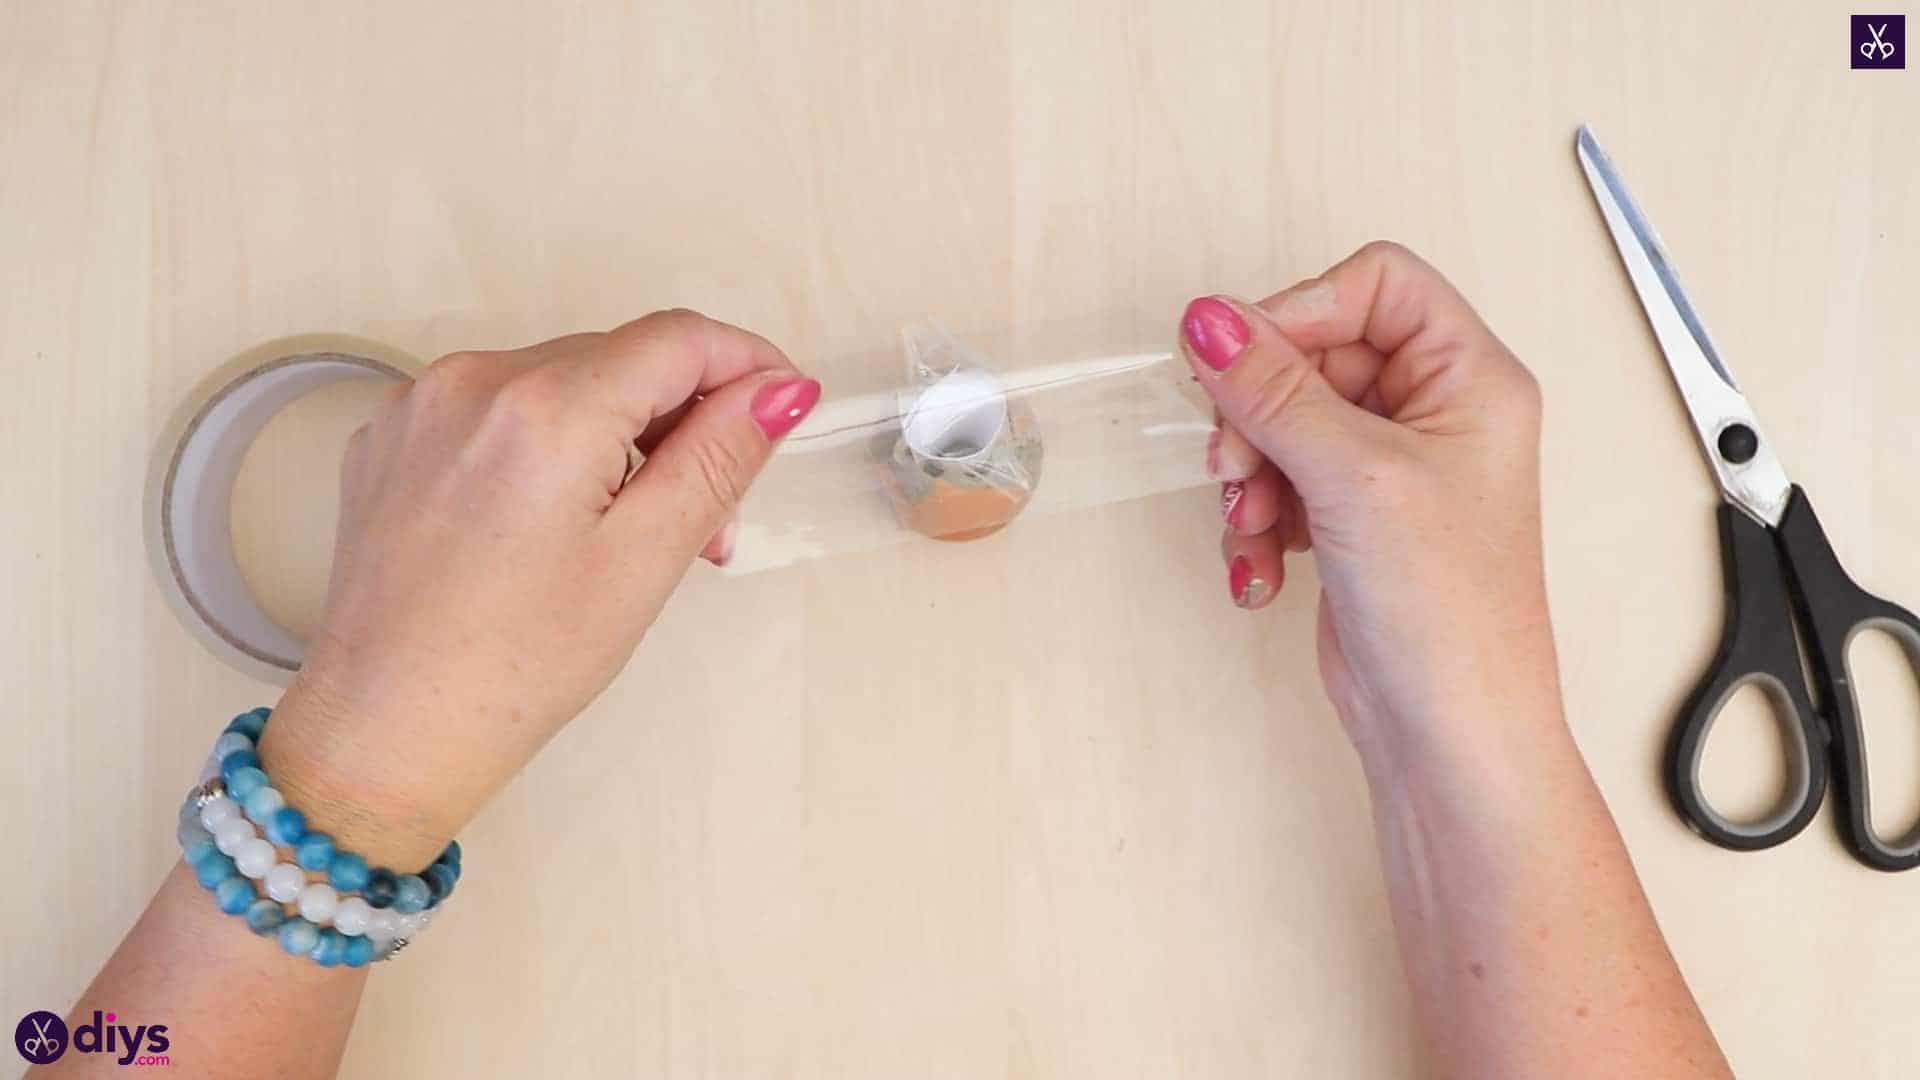
Step 7: use the funnel
Put your paper funnel into the hole in your egg and hold it to one side with your fingers. Then use your spoon to keep filling the rest of your egg to the top. Reposition your paper funnel in the center of the hole.
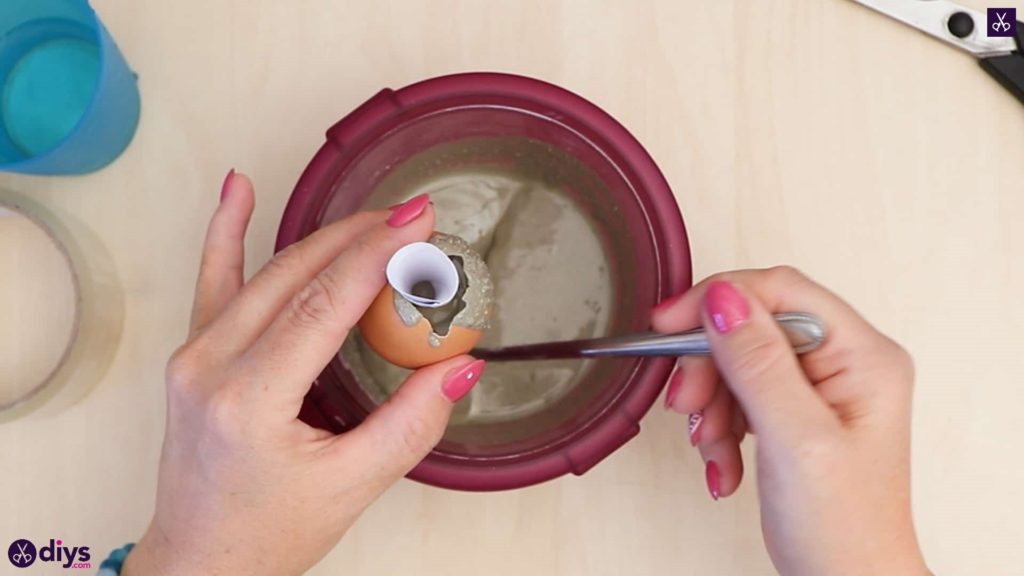
Step 8: tape in place
Cut strips from your roll of tape and use it to stick your paper funnel in place in the center of the egg. Its sides shouldn’t touch the edges of the hole in the egg; you want it to be right in the middle. Next, set your egg aside to let the inside dry entirely.

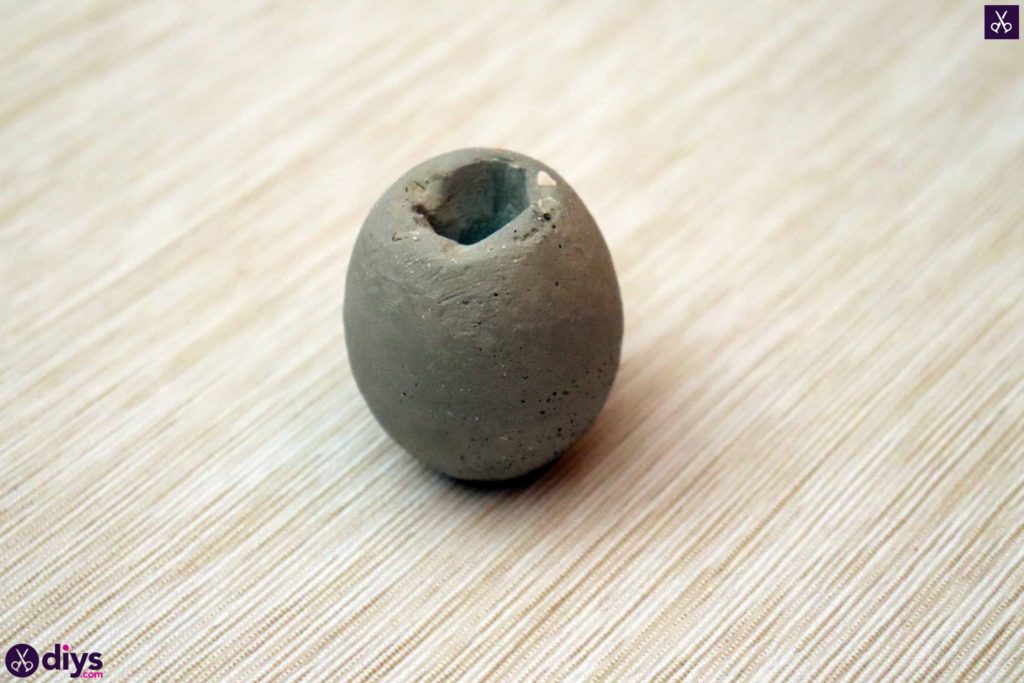
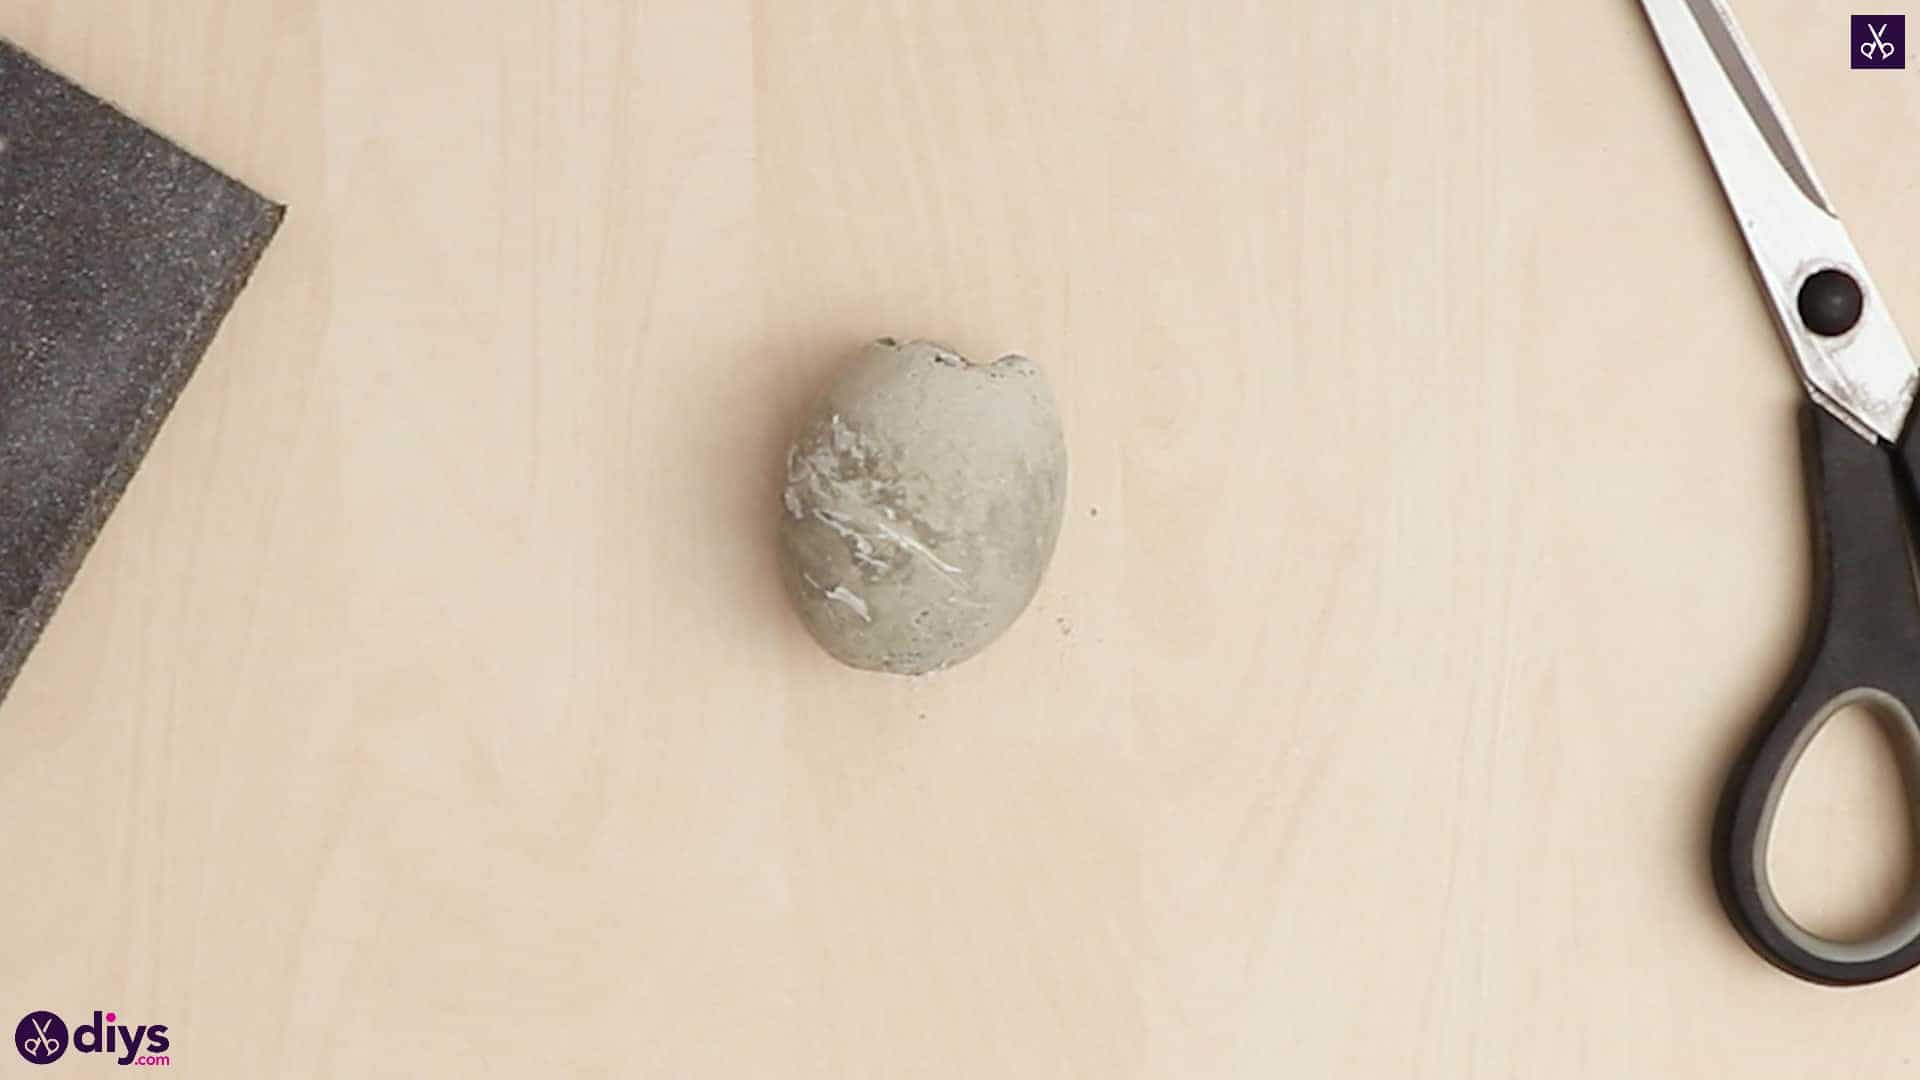
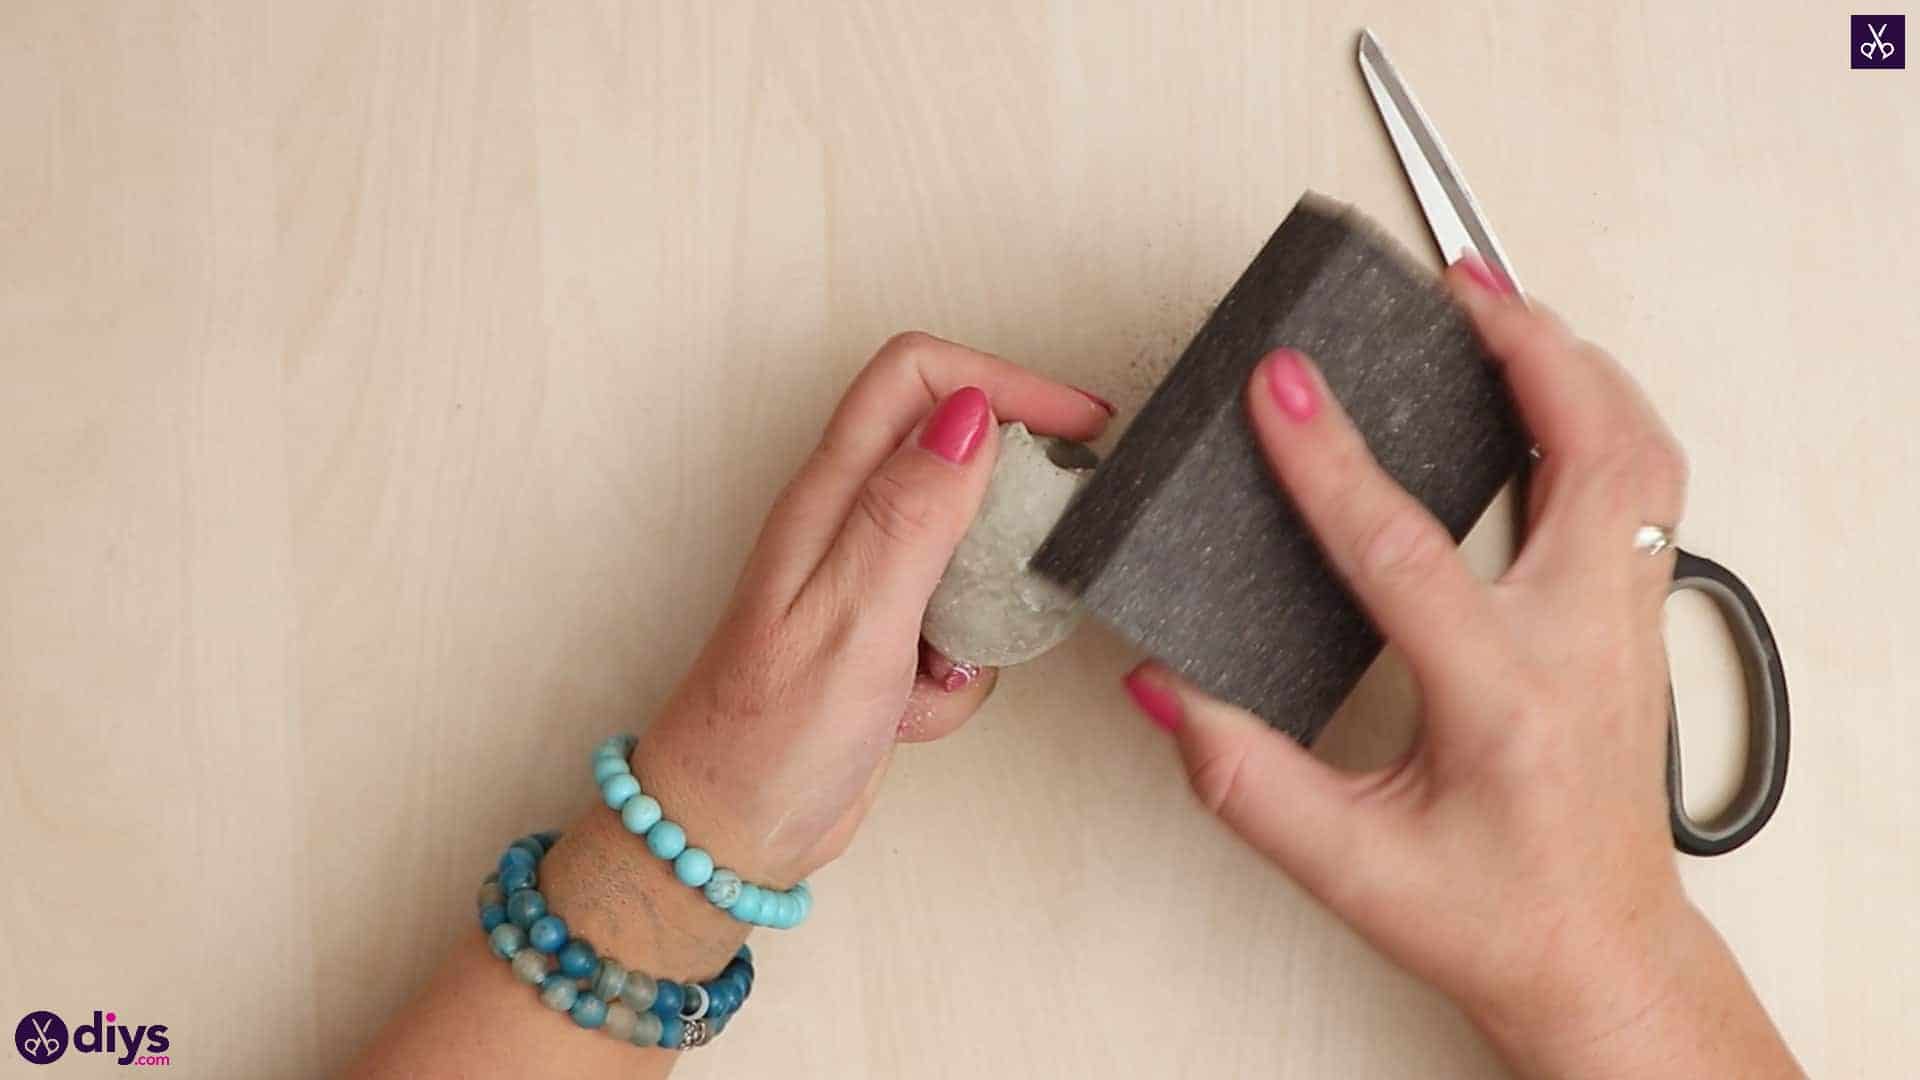
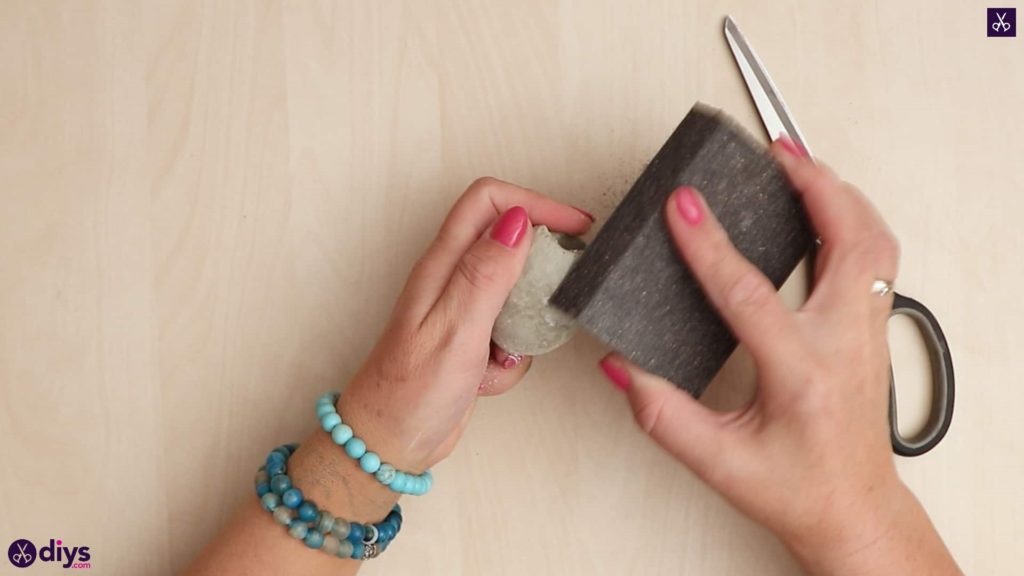
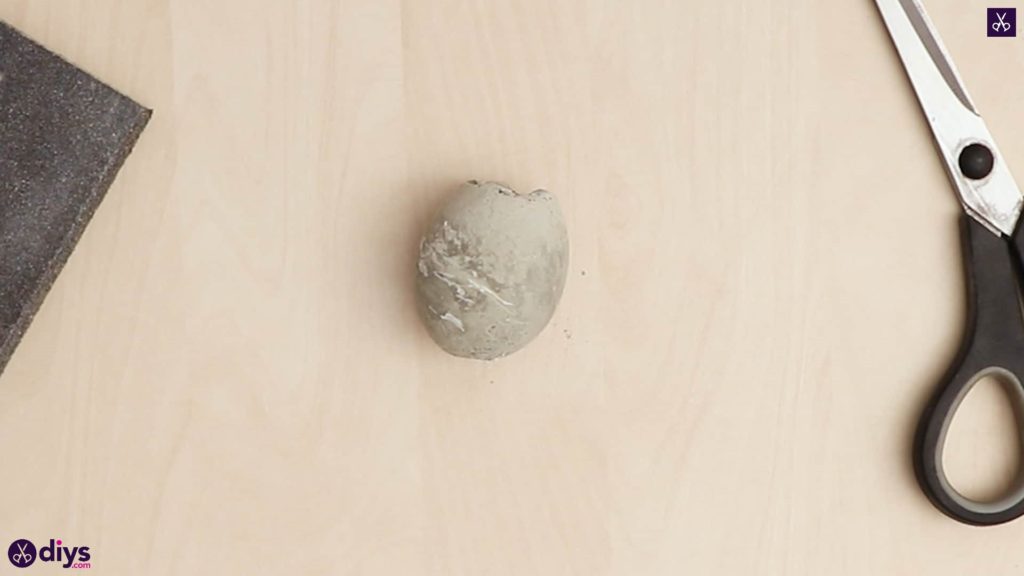
Step 9: remove and sand
Once the concrete inside your egg is dry, lift the tape, carefully pull the paper funnel out of the middle by gently separating it from the edges of the hole it made in the concrete, and then chip the egg shell off the surface of the new concrete egg shape inside. Next, take your abrasive block and sand the surface of the concrete egg until it’s smooth.
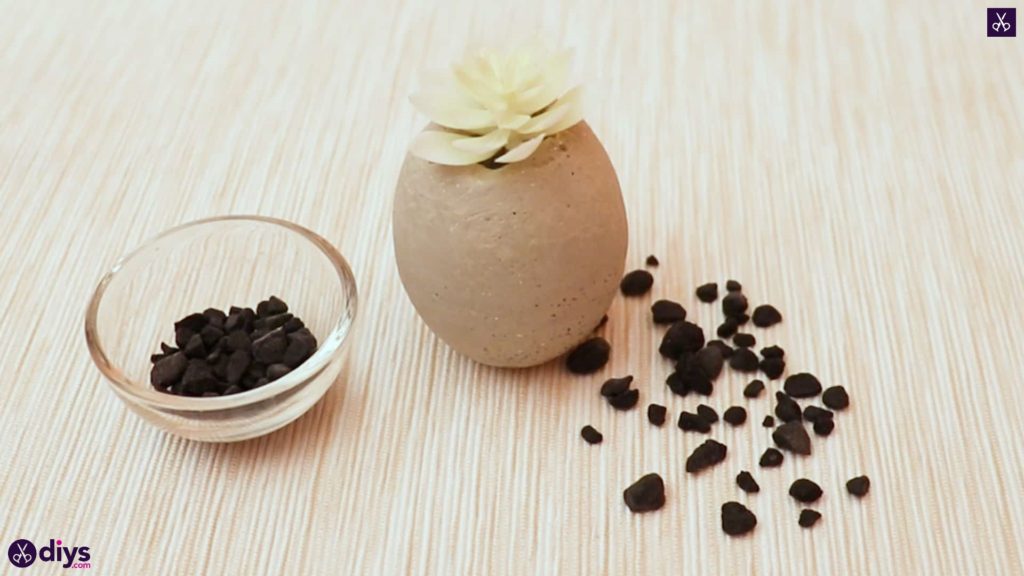
Your concrete egg is all finished and ready to be filled with little flowers or whatever else you please! Just in case you’d like to try this project out for yourself, here’s a fantastic tutorial video to help you!