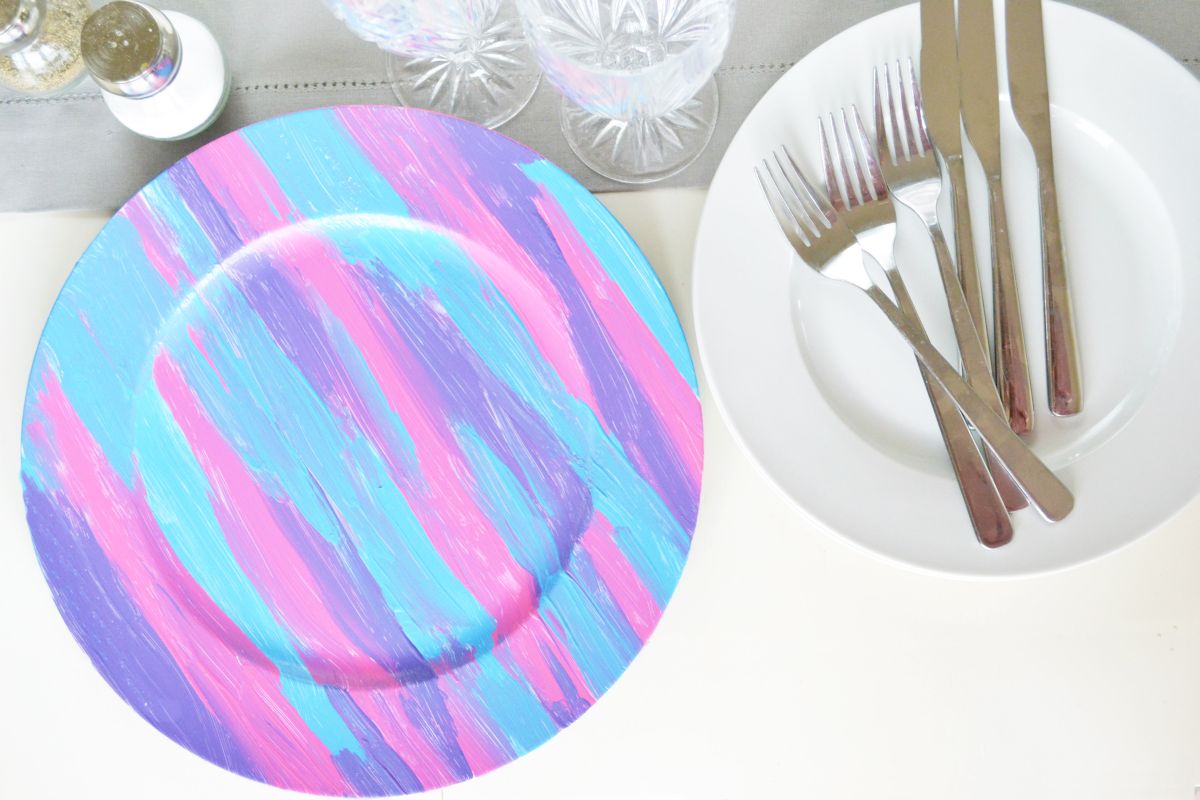
Make Colorful Hand-Painted Chargers for Summer Parties
Updated on June 25, 2021
There’s something so unique about hand painting an item. It’s not only the fact that you took out time to create something with a personal touch, but that no matter how hard you try, one is never exactly like the other. That’s the beauty of hand painting. It gives you a type of freedom with your paintbrush to change a basic item into a more beautiful, unique piece. Even if you’re not Picasso, painting anything can be stress-free and calming. Why not paint something you can use over and over again that’s decorative and stylish for your home. Add some vibrant colors to your tables this Summer, with these whimsical hand-painted chargers.
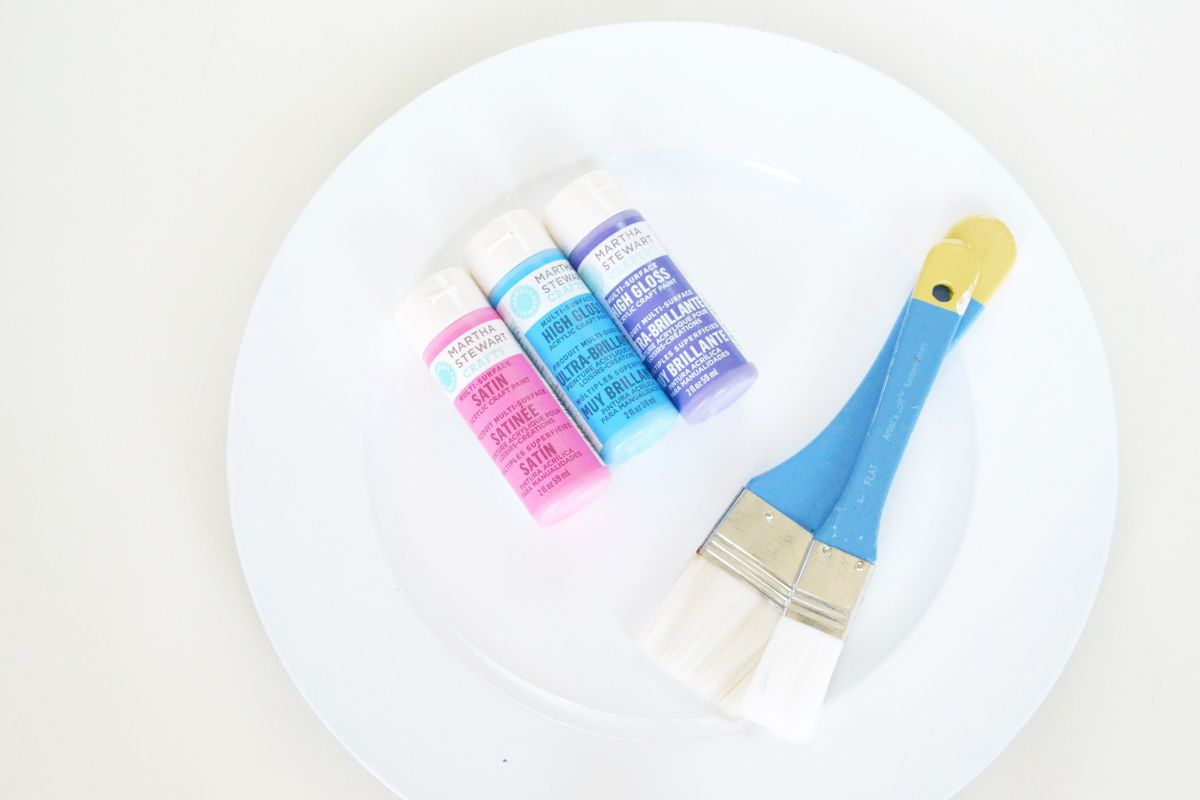
You will need:
- Charger plates
- Paint
- Paintbrushes
- A paper towel
You can paint on acrylic or glass chargers. Just make sure that the paint you use is appropriate for that surface. These acrylic chargers were very inexpensive from my local craft store and were originally white. I prefer to paint on white because the colors pop and become very vibrant once dry.
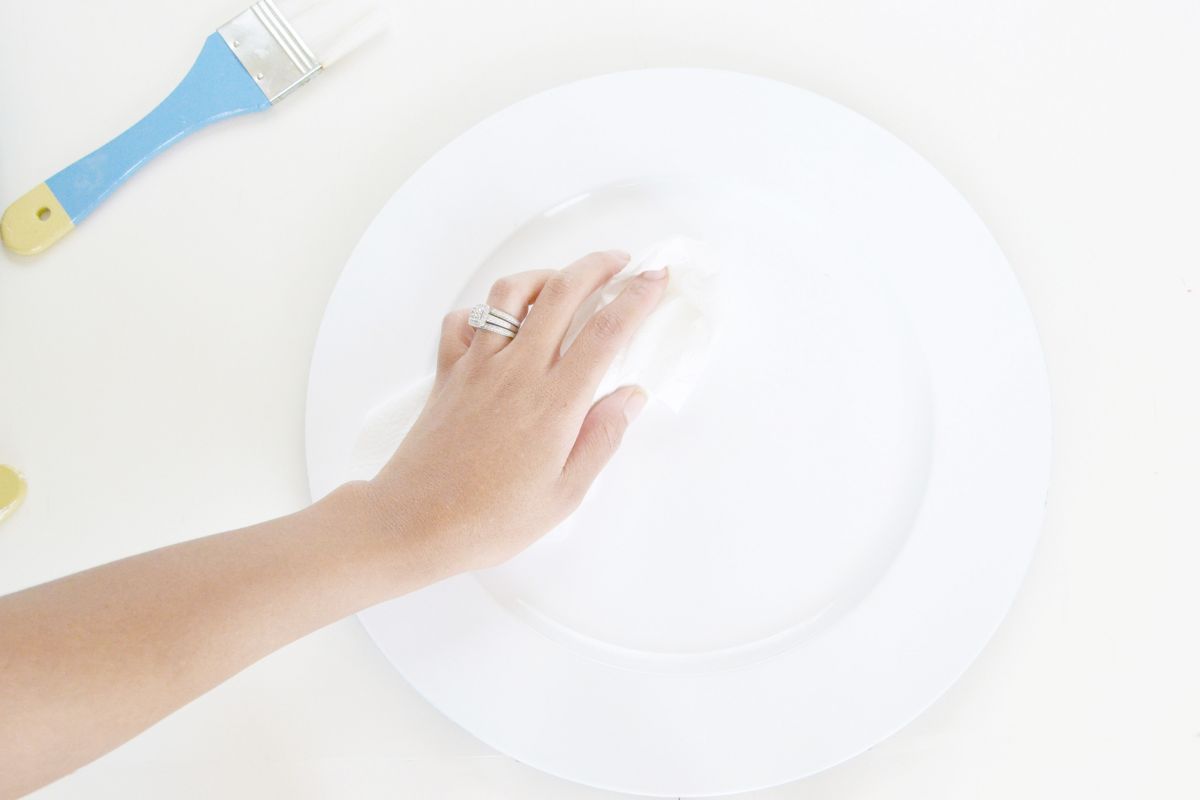
Step 1: Wipe the surface of your charger with a damp towel and let dry. Make sure the charger is completely dry before painting so the paint will adhere to its surface.
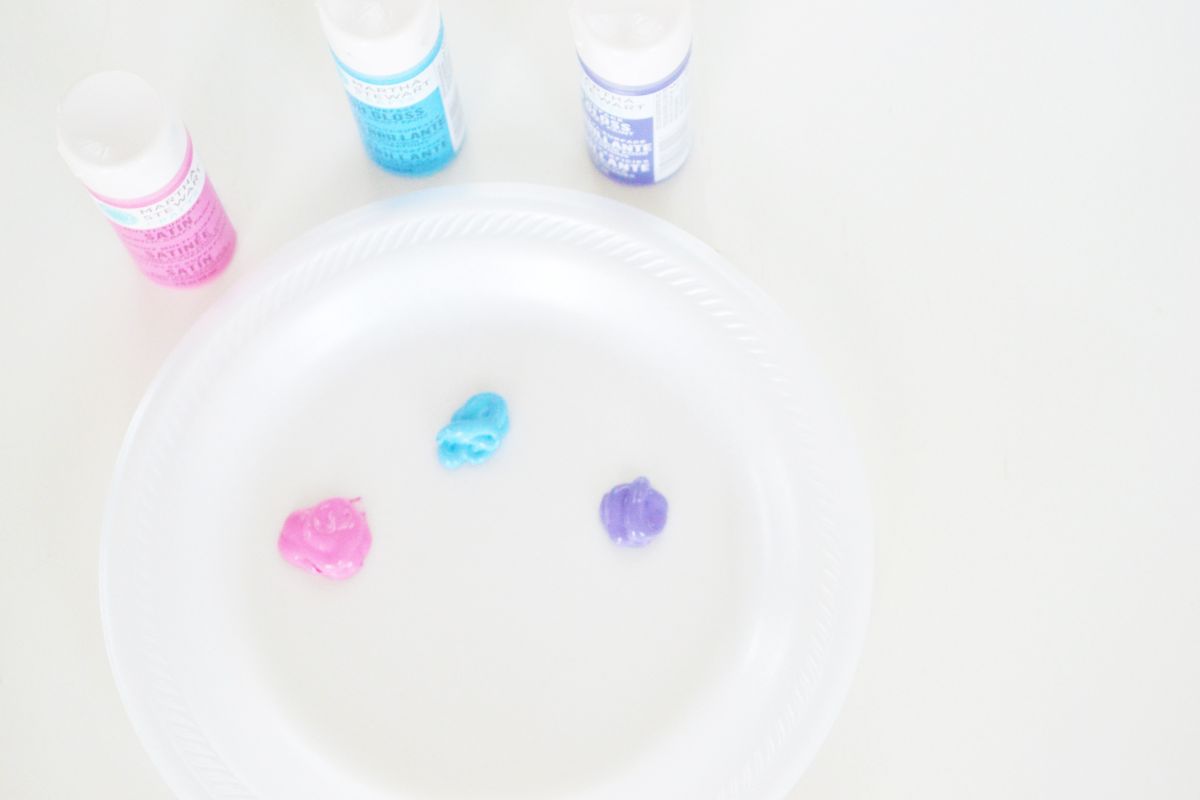
Step 2: Pour your paints on a separate plate or paint palette. Mix the colors to your liking. I am using an acrylic paint, since these will be lightly hand-wiped and not placed in the dishwasher when complete. Here I’ve chosen to do a mixture of high gloss blues, pinks, and purples for a sweet, feminine look.
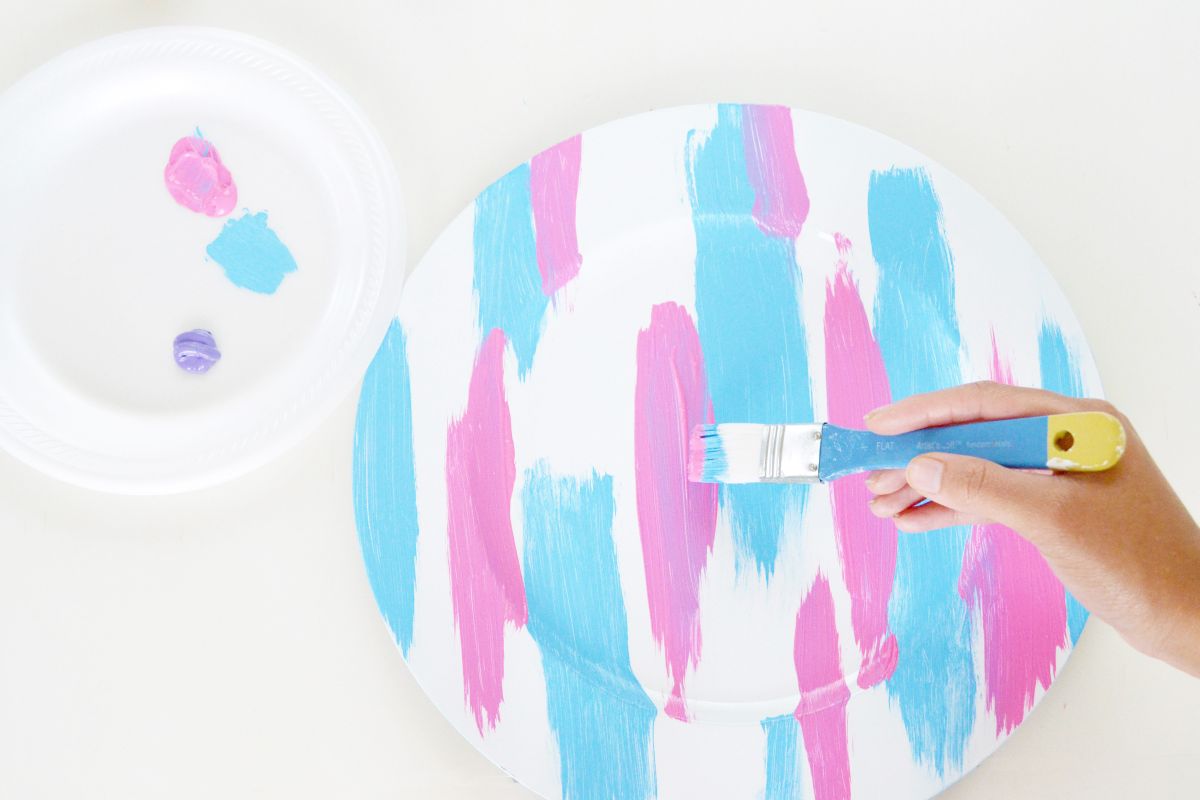
Step 3: Using light brush strokes at first, begin to paint vertical sections of the charger in a single color. Start with one color and continue to the next, building up the color as you go. Let each layer dry before moving to the next color. With acrylic paint, drying time should be within 10-15 minutes. You can be very creative here. Make sure to fill up the entire charger with color, enough so that the white background does not show through. Honestly, there are no rules here. Make it as abstract and creative as you want. It can be tricky painting vertical strokes over the edges of the central area. Take it slow and carefully paint each color in the specific areas you desire.
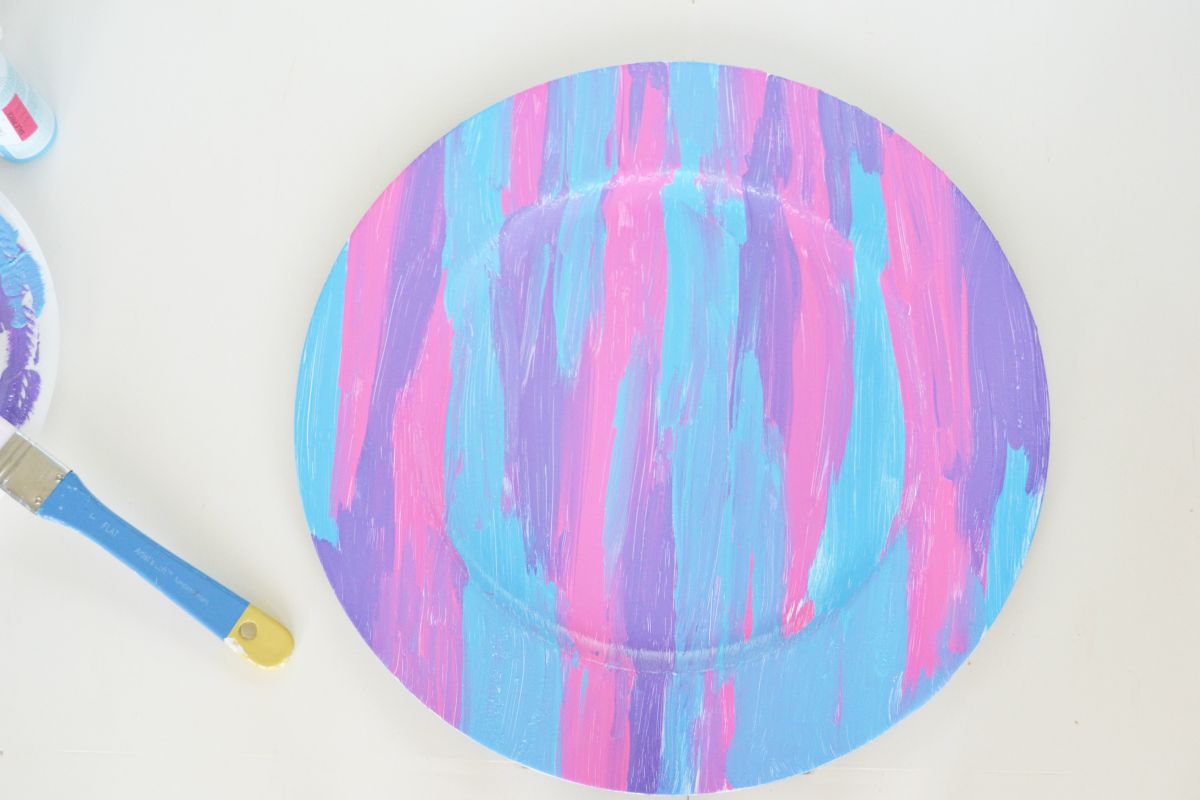
Step 4: When you are satisfied with its look, let the paint fully dry for an hour before using. Try not to rush the drying time. Make sure the charger is completely dry before setting your plates on it.
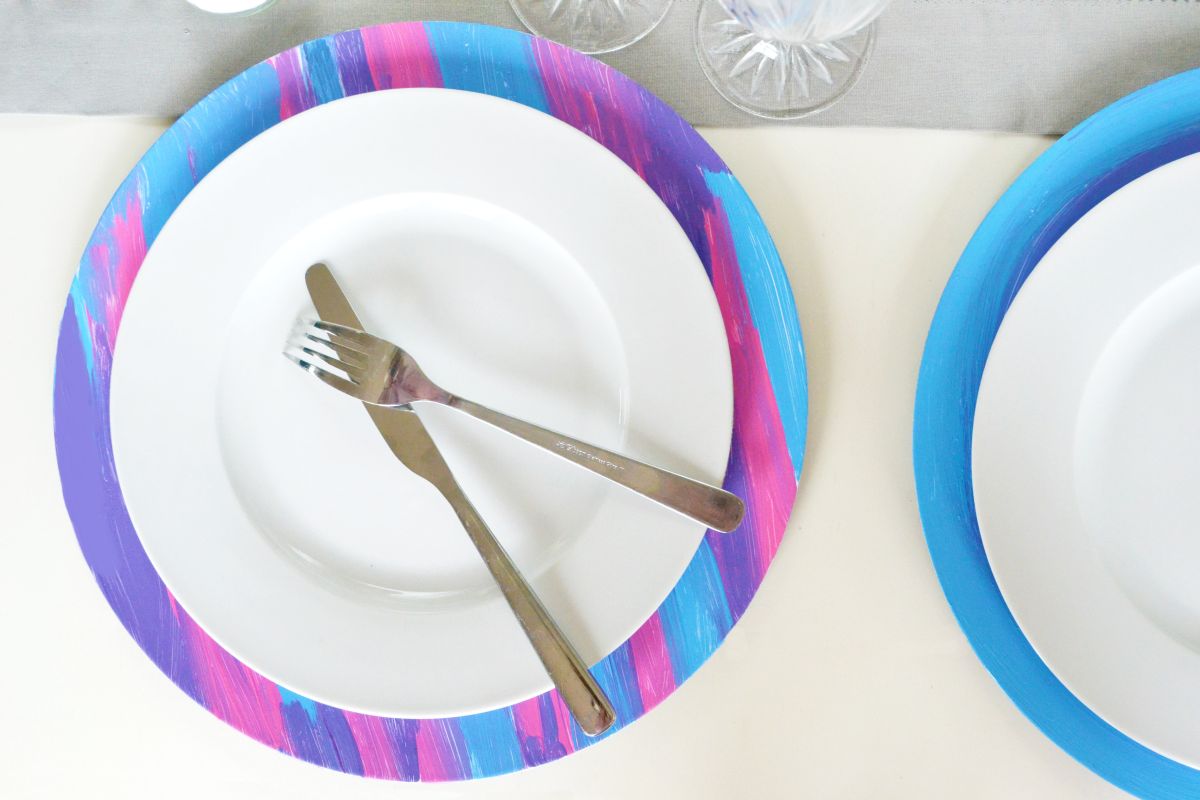
This DIY should only take 15 minutes to do with an hour of drying time. I like that you can always change up this look with a good scrub under a mild detergent and hot water. For a more permanent solution, spray the charger with clear sealant or lacquer. Be sure to store them in a cool, comfortable setting to sustain future use.
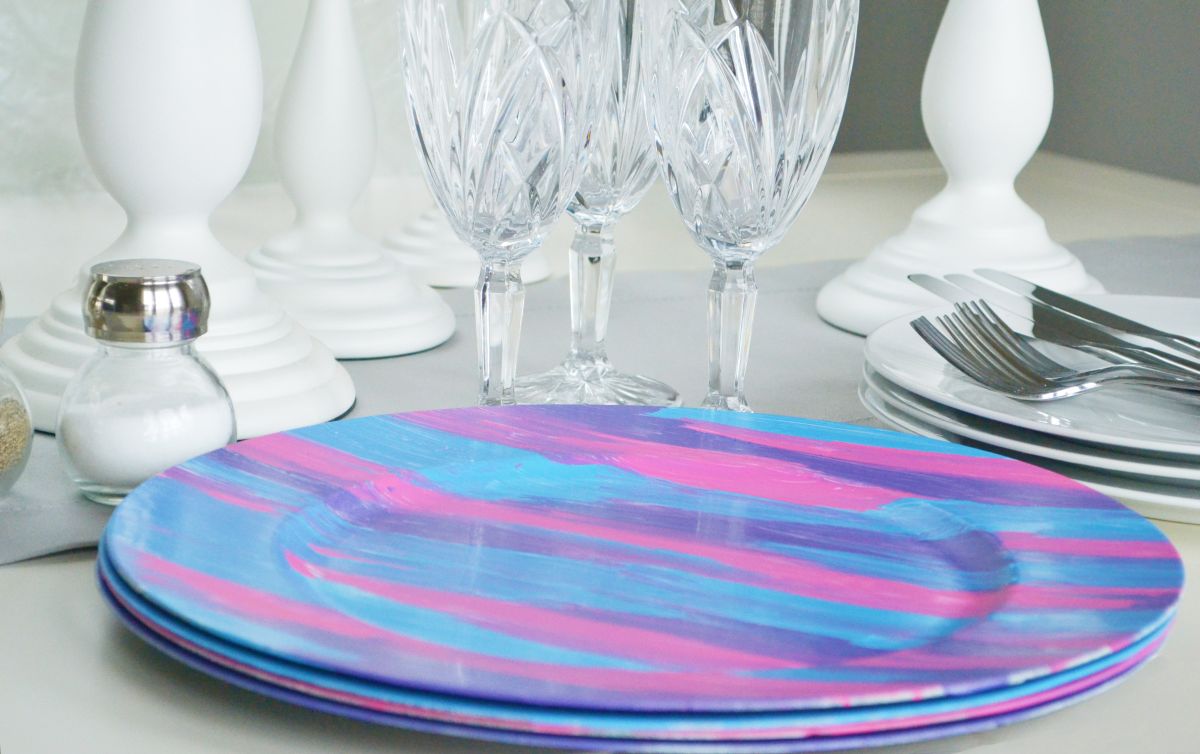
I love how vibrant the color are when using high gloss paints on a glossy charger. The colors really pop and it adds a beautiful touch to any tablescape. Your guests will love the personal touch and unique style of each charger and I’m sure they will want to know how to make their own. To make this a kid-friendly project, let your little ones take a stab at painting their own charger. It will really get their creative minds thinking!
I love diys.com. It’s fun. And I also love about diys.com is they have crafts and so ya.