Carrot Care – How To Grow And Harvest Carrots
Updated on August 9, 2021
The carrot is probably the most ubiquitous vegetable people grow in their gardens. It is easy to grow, requires little attention, and rewards you with a delicious root that’s rich in nutrients. Whether you eat it raw, cut it into salads, or make jam and smoothies, carrot is a staple of many healthy food recipes.
Most beginner gardeners opt to start with carrots because the root vegetable matures quickly, and after just 12 weeks, they’re ready to harvest their first batch. Read on to find more about this succulent vegetable, its health benefits, and how to grow and care for it.
The Carrot at a Glance
A native of Europe, the carrot (Daucus carota) was cultivated first and foremost for its seeds and leaves. The root was a little bitter and of little importance for the farmers at the time, and they probably fed it to their farm animals. But that was all about to change as new hybrids produced a sweeter and crisp root that quickly found a place on every table.
As a biennial plant, the carrot spends the best part of the first year producing sugar to store it in its root. The focus on the root is so great that the first true leaf only emerges from the soil only two weeks after germination.
The leaves grow close to the stem, and with every new leaf, the stem grows thicker. And only when it prepares to flower would the stem grow taller for the clusters of small white flowers to bloom at the top. In the wild, the flowering stem can grow to about 80 inches tall.
The flowers start as males, and after releasing the pollen, the same flower grows a stigma and is ready to receive pollen and fertilize. The flowering cycle takes up to 30 days in all, and usually, you’d want to harvest your carrots before the plant reaches this stage.
But if you’re more interested in harvesting the seeds of the carrot, then you’d let a few plants reach that stage. After pollination, small fruits develop, each containing two seeds.
Benefits of the Carrot
Once the roots of carrot became sweeter, people decided to grow the vegetable for its roots rather than the leaves and seeds. With each new cultivar and hybrid, carrot roots gained more flavors and nutrients. So much so that many dietitians recommend carrots to be part of your daily food intake. Here are some of the health benefits of the vegetable.
- Nutrients: One cup of carrots has about 96 calories, 2 grams of protein, 2 grams of fiber, 22 grams of carbohydrates, and 9 grams of sugar. It also has vitamins A, C, and K.
- Heart Health: Because it has potassium, carrots are good vegetables to eat to improve your heart health. Additionally, the antioxidants filter the free radicals in the bloodstream, which reduces the risk of heart diseases.
- Improves Eyesight: Carrots contain provitamin A carotenoids, which are beneficial to your eyesight.
- Antioxidants: The vegetable is rich in vitamins A and C, which act as antioxidants that bolster the immune system.
- Cancer Protection: This benefit is based on lab studies that show that carrots are effective in treating leukemia.
- Blood Sugar Control: Although carrots have considerable amounts of sugar, the fermented juices of the vegetable actually reduce the blood sugar levels in the blood.
- Better Skin: Carrots also have vitamin C, which is an essential compound in collagen. The more carrots you eat every day, the better your skin gets.
- Liver Health: The carotenoids in the carrots also have an anti-inflammatory effect which improves the liver’s functionality and minimizes liver damage.
How to Grow Carrot
Seeds are the best and easiest way to start carrots. The rule of thumb here is to sow the seeds directly in the garden bed. If you start the seeds indoors, then transplant the seedlings, this will cause root deformity and cracks. Adequate soil and temperatures are also important for a successful carrot patch. Here’s how to start carrots from seeds in easy steps.
- Start by preparing the garden beds for the carrots. Break the topsoil to a depth of 10 inches and turn it upside down.
- Arrange the soil in raised beds to improve the drainage of the soil.
- Mix in bone meal to loosen the soil and make it porous. Don’t use compost or manure just yet since that promotes hairy carrot roots.
- Amend the clay soil to make it loose by adding peat moss or coarse sand.
- Water the tilled soil deeply and leave it under the sun for a couple of days.
- Mix coarse sand in equal amounts with the carrot seeds to make it easier to spread the seeds.
- Sprinkle the seeds along the side of the bed evenly without oversowing it.
- Cover the seeds with a thin layer of soil as light is important for the germination of the seeds.
- Cover the beds with thin plastic sheets to protect the shallow seeds against rainfall and wind blowing them away.
- It will take up to 2 weeks for the true leaves to emerge. Keep the soil moist during that time.
- Remove the plastic covers once the seeds germinate.
- Spray the beds with water every day to get the soil moist and help the carrot roots establish quickly.
- Once the seedlings have developed two sets of true leaves, you can thin them out. Keep at least one inch of space between each seedling.
Carrot Care
To give your carrot plants a good start, you need to prepare the soil well and go to extra lengths to make sure the soil is of good quality. Many gardeners complain about different deformities in the carrots they grow, and poor soil is usually the culprit. So spend some time preparing and cultivating the soil to avoid common carrot growing problems. Here are the main areas of care you will need to pay attention to when growing carrots.
Soil
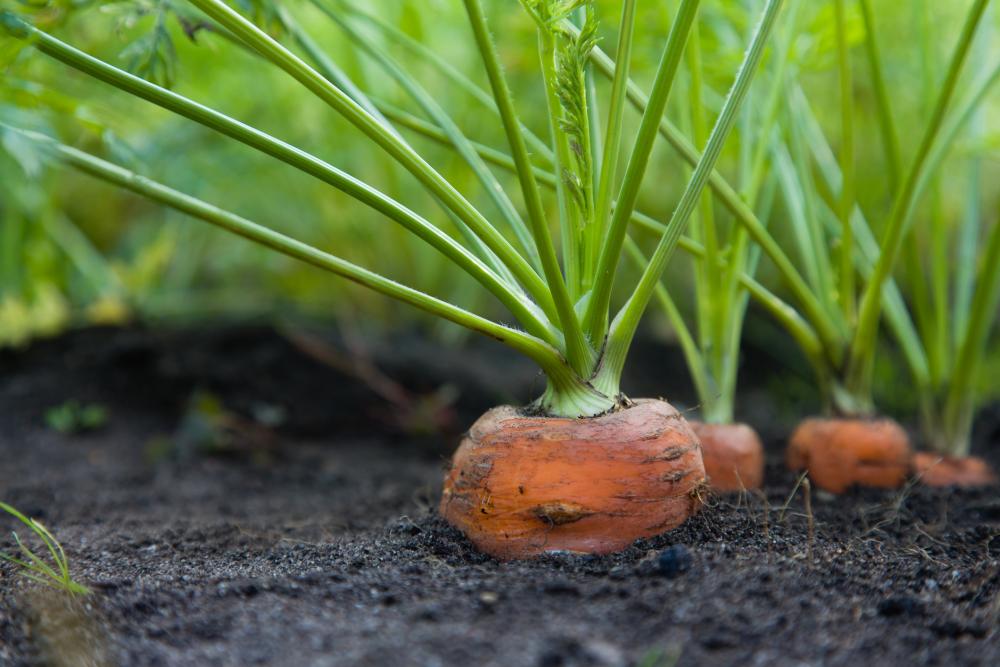
If we can pinpoint a single factor that will make or break your carrot patch, it has to be the soil. That’s because the important part of the vegetable grows deep in the soil. So the soil has to be loose and well-drained so that the roots grow without hindrance. Debris in the soil can lead to carrot deformities and cracks. Also, naturally rich soil is important as long as it’s not packed with nitrogen which leads to carrot forking.
Make sure to till the topsoil and turn between 10 to 12 inches up, water it, and let it rest under the sun for a couple of days. And while some carrot varieties, such as Mini carrots, can grow well in clay and rocky soil, the majority prefer it to be loamy and loose. Create raised beds if the soil is too heavy to improve aeration and drainage. Also, pay attention to the soil pH since slightly acidic soil with pH levels between 6.0 to 8.0 is good enough for the carrots. Of course, your carrots might still grow deformed and out of shape despite your best efforts.
Water
For the same reason that carrots love loose soil, you’d want to keep the soil moist as well. Moist soil is important for the growth and taste of the carrot root. And despite their size, the root is rather sensitive. So dry soil will have more of an impact on the root itself than the leaves. Not just that, but a carrot that grew in dry soil will not taste the same as one that got its fill of moisture. So water your carrots with one inch of water every week. Keep that pace from the moment you sow the seeds until the carrots are ready to harvest. Shallow watering is the key to success.
Fertilizer
Rich soil is another factor for succulent and tasty carrots. Don’t grow carrots in the soil where beans or other legumes have been grown before. That soil would be packed with nitrogen which causes carrot forking and deformities. Instead, you should rely on aged manure, organic compost, and other organic fertilizers to feed your carrot patch. That way, you’ll have naturally sweet carrots with good flavors. Apply the fertilizer once every couple of weeks until the carrots are large enough to harvest.
Temperature
Since you’re sowing carrot seeds directly in the garden, you’ll need to wait for the soil temperature to rise to 55 degrees F. For germination, temperatures between 55 to 75 degrees F are necessary. In warm zones, you can start the seeds as soon as the last frost is over to ensure many harvests per season. Also, make sure to choose a sunny spot since direct sunlight is needed for the growth, sweetness, and flavor of the carrots. And remember to space the seeds between 2 to 4 inches apart to prevent competition between the roots over valuable resources and allow them enough space to grow.
Pests and Diseases
Unfortunately, carrots are susceptible to a bunch of pests and diseases that can wreak havoc with your patch. Even though the roots are deep in the soil, they’re not protected from the attacks of such pests as the carrot rust fly. The larvae of the fly dig into the soil and feed on the root causing a lot of damage as they go unnoticed. You can cover the carrot patch to prevent the fly from laying its eggs on the carrots.
Other pests to keep an eye on are black canker, wireworms, nematodes, flea beetles, and carrot weevils. Not to mention wildlife such as deer and hares that feed on the leaves of the carrot.
As for diseases, Aster yellow disease tops the list. It is the main reason your carrots will have hairy roots and look pale. Pests transmit this disease as they move from one plant to the next, so eliminating pests will keep your carrots protected from the pathogens.
Harvesting Carrot
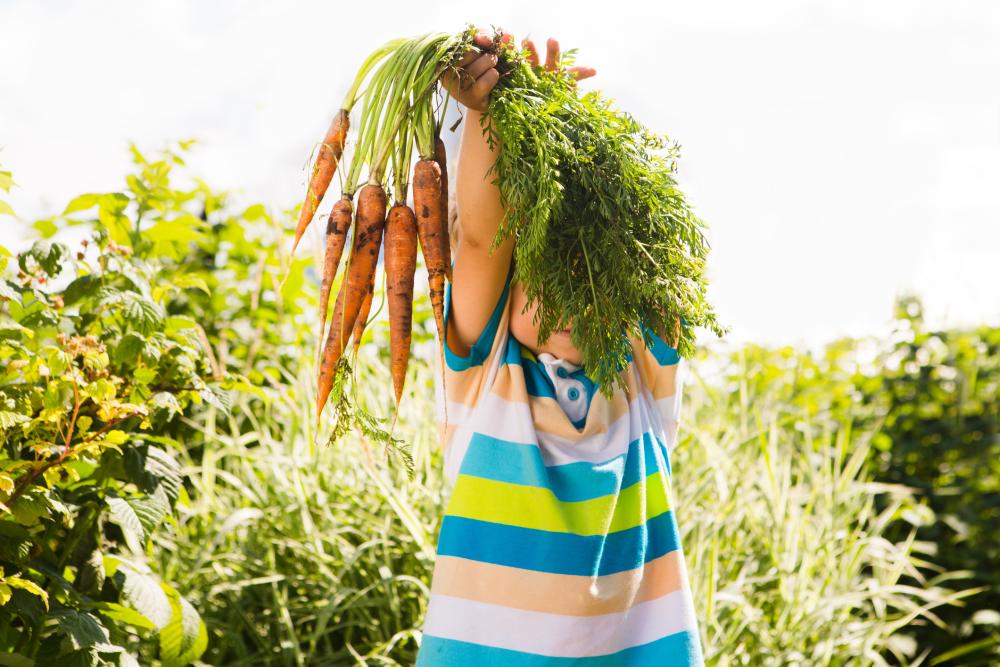
When it comes to harvesting carrots, you should trust your judgment. There’s no clear-cut rule for when to start pulling your carrots out of the ground. But generally, the smaller the carrot, the tastier it is. So if your carrot variety grows to 6 inches long, you can start harvesting it as soon as it reaches 4 inches. Small carrots are tender, succulent, and less likely to be deformed or out of shape.
In warm zones, you should harvest the carrots before the temperature rises above 75 degrees F. Heat diminishes the flavors and sweetness of the carrots and causes them to turn woody.
Don’t leave the carrots in the soil long after harvest time. They’ll flower and produce seeds that render the roots inedible.
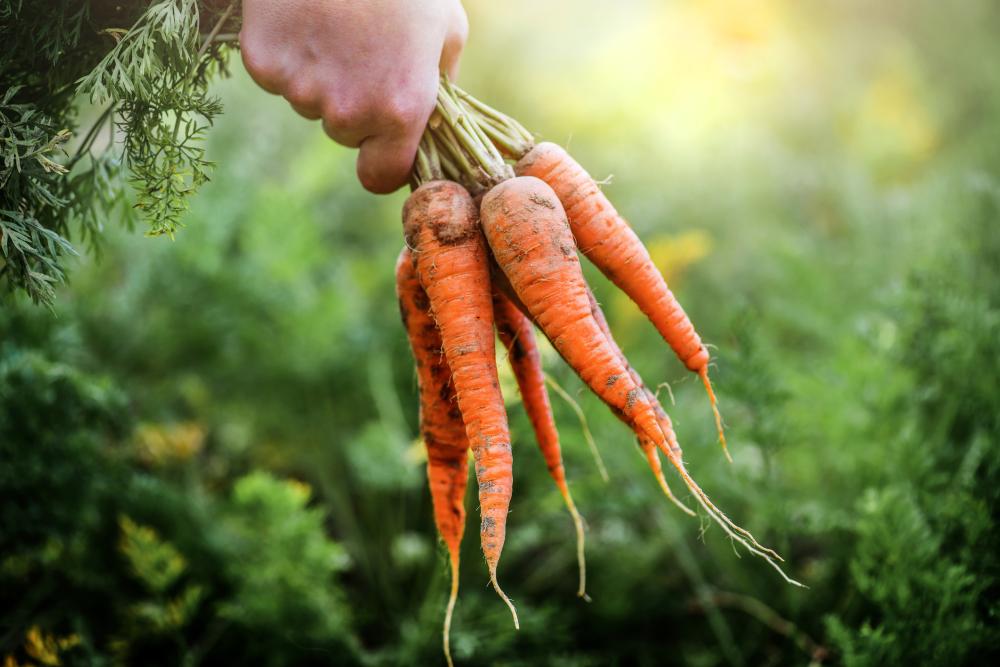
Loosen the soil a little with a spade around the root to make it easier to pull out the carrot without breaking it. After gathering the carrots, cut off the leaves and store the roots in the fridge.