Simple DIY Bunny Lavender Bags
Updated on November 19, 2025
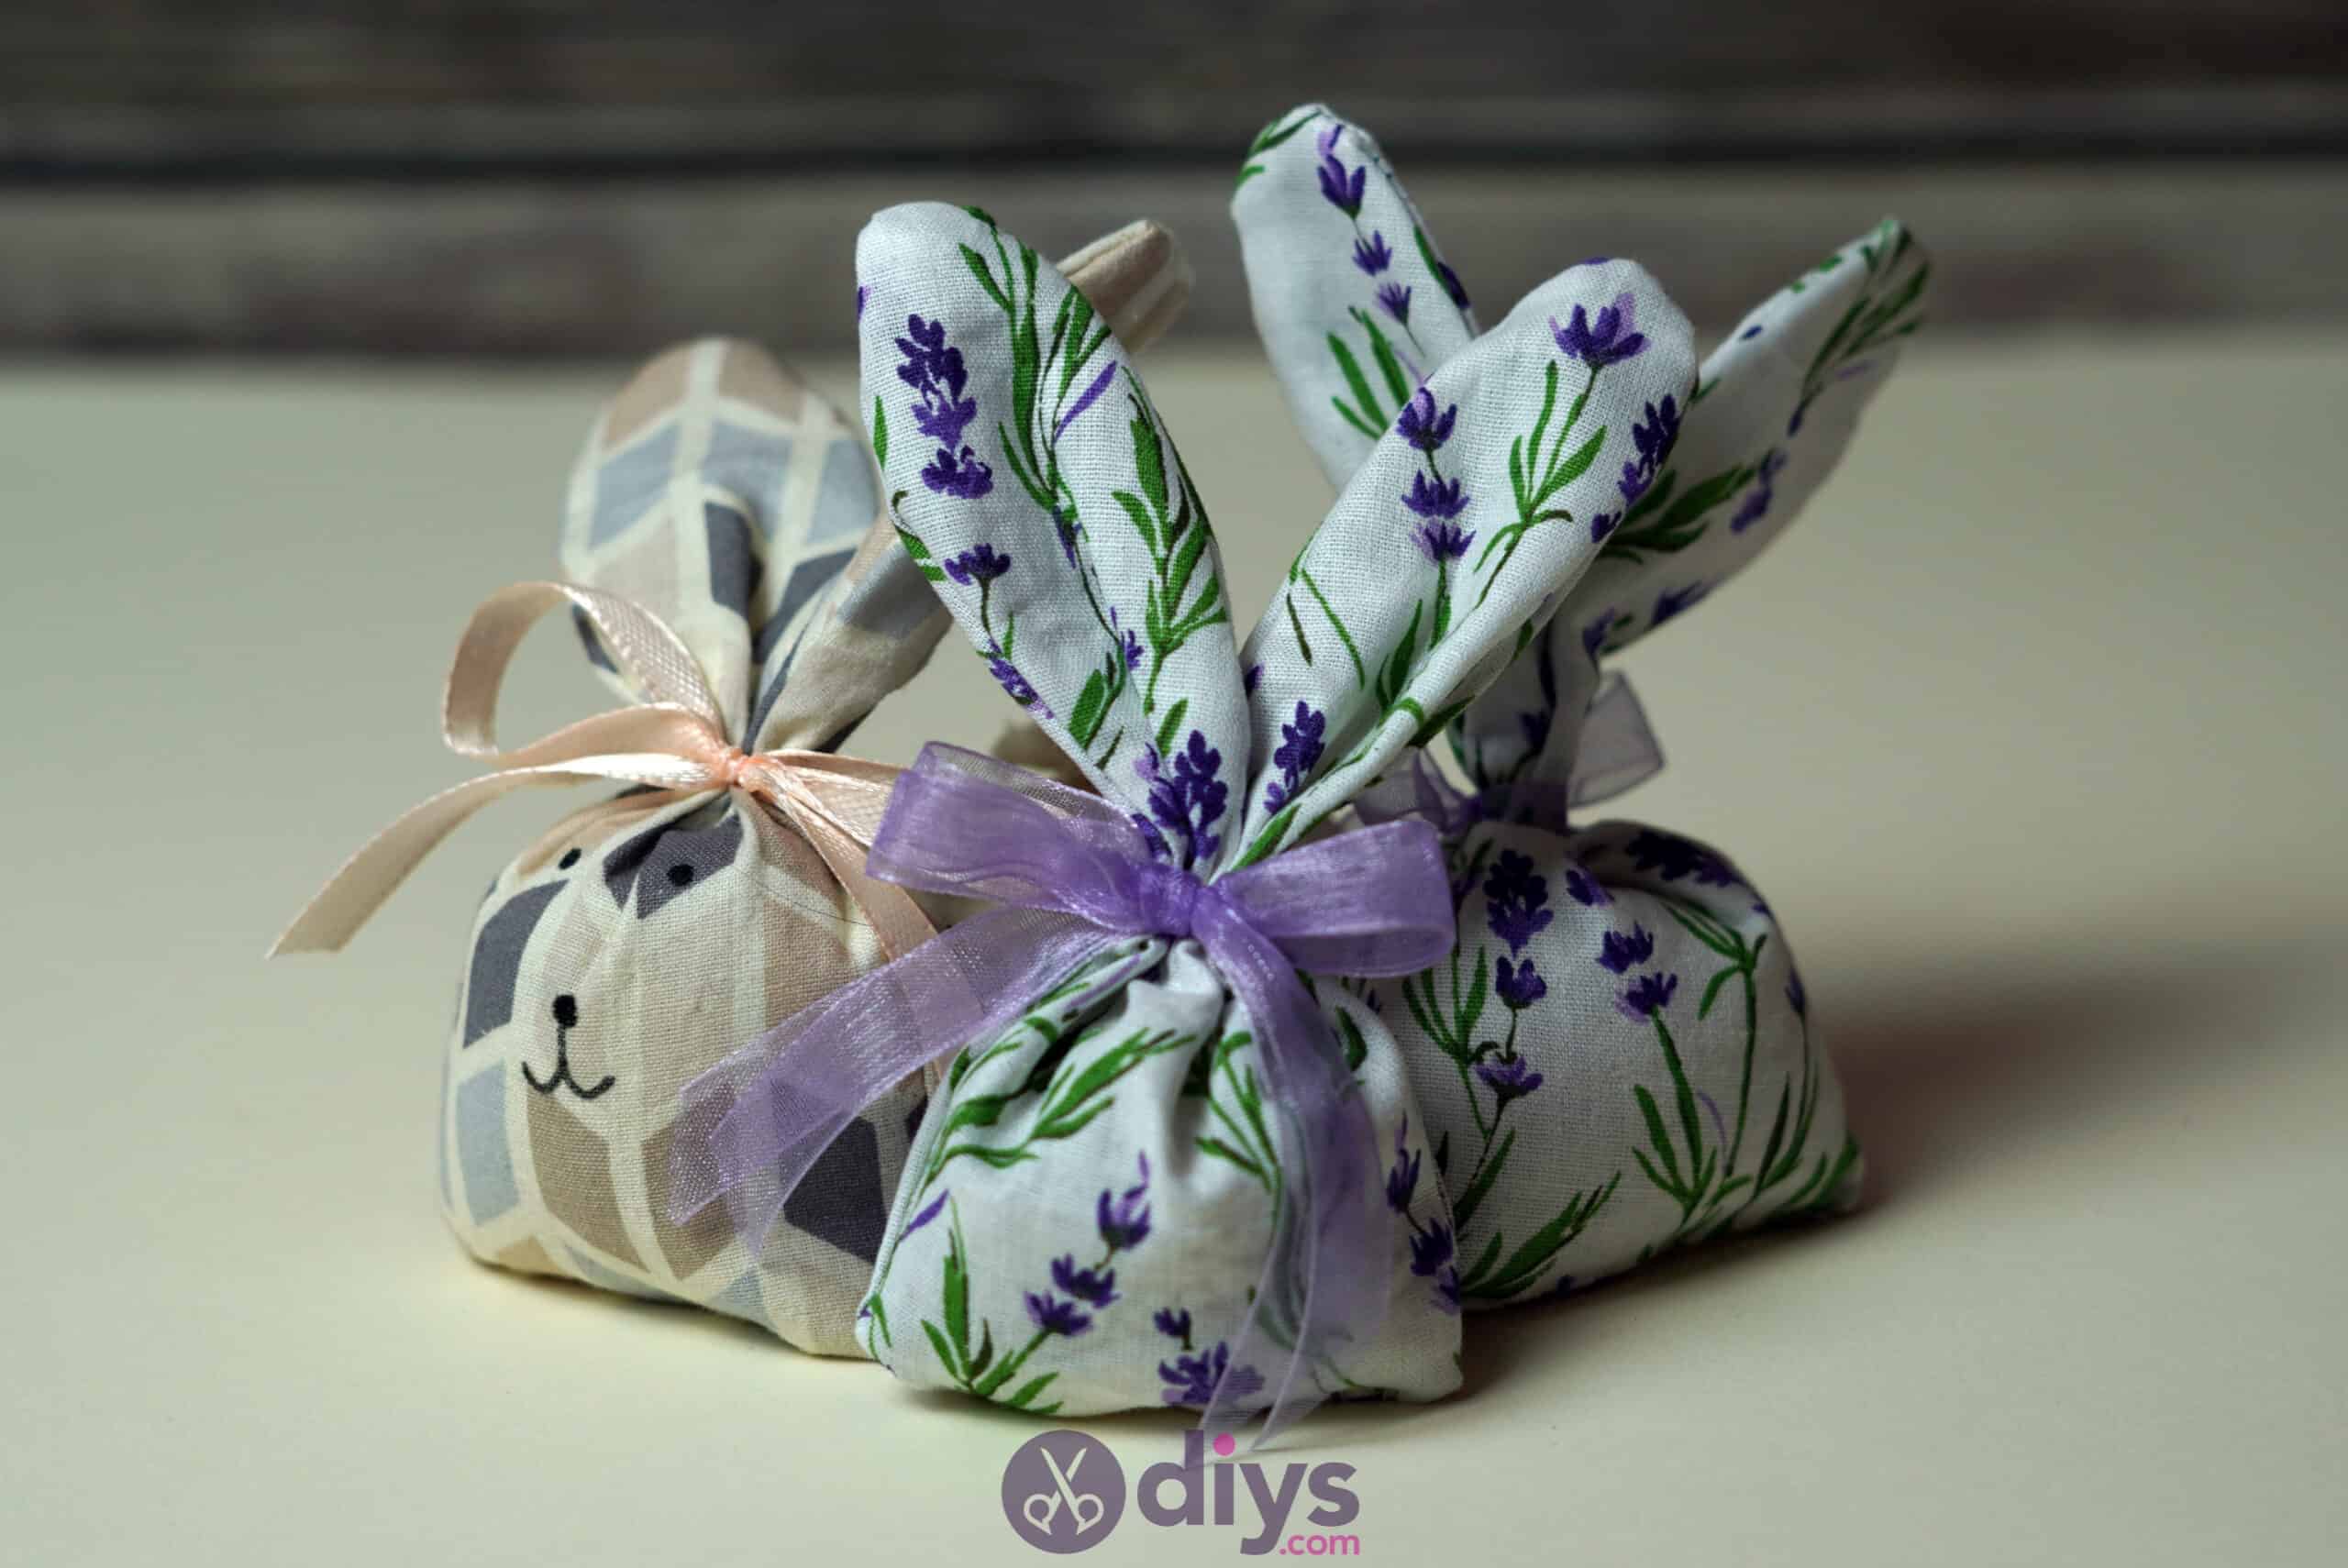
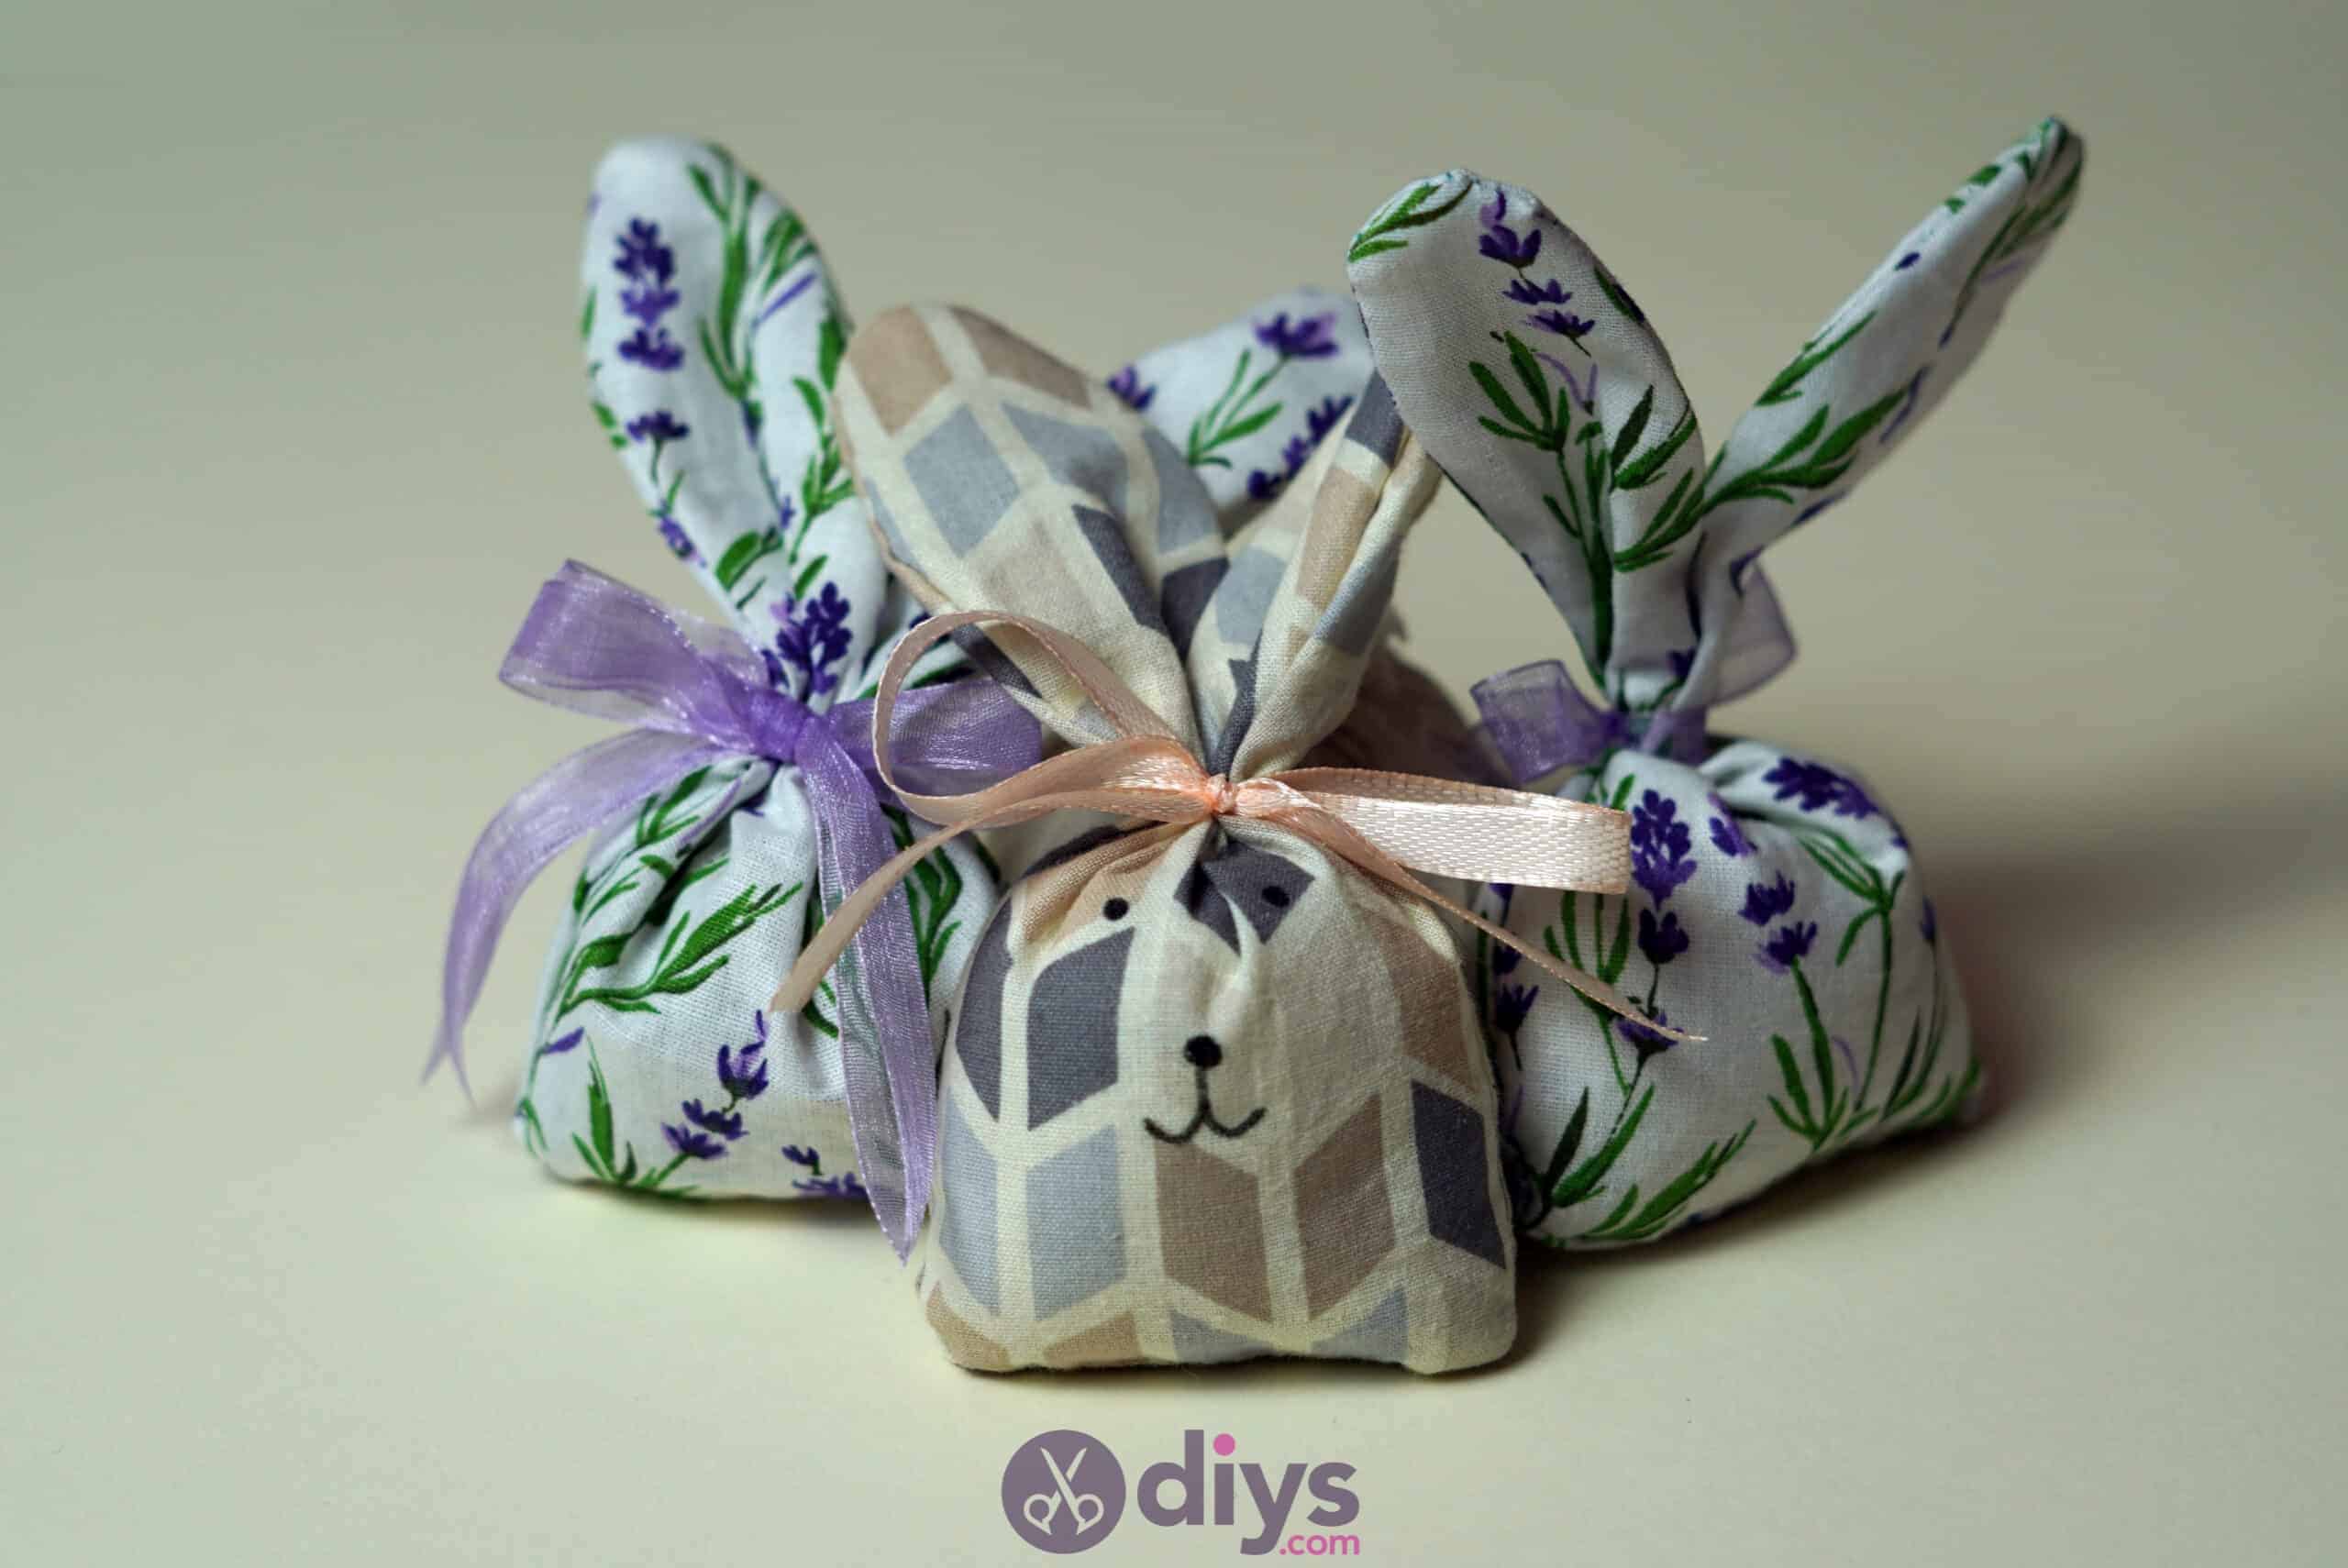


If I had to pick an area of crafting to do for the rest of my life without change, I think I’d have to stick to fabric based crafts. Even when I’m not creating a full garment or very large sewing project, there’s just something about making something new out of simple strips of material that makes me feel incredibly accomplished. Since I’m also someone who’s been very into scented candles, essential oils, and aromatherapy lately, I’m sure you can imagine how thrilled I was when I came across a vintage lavender bag of my grandma’s and had all kinds of family, DIY, and scent related memories of how she used to keep them in her drawers. I was actually so impacted by how happy finding the little bag made me, even though its scent had long gone, that I decided to make some lavender bags of my own. I had plenty of scrap fabric to work with and the bunny ear detail, well… that was quite simply a result of how much I love bunnies!

Check out these step by step instructions complete with photos! If you’d rather follow along with a video tutorial instead of written words, scroll to the bottom of this post to find just what you’re looking for.
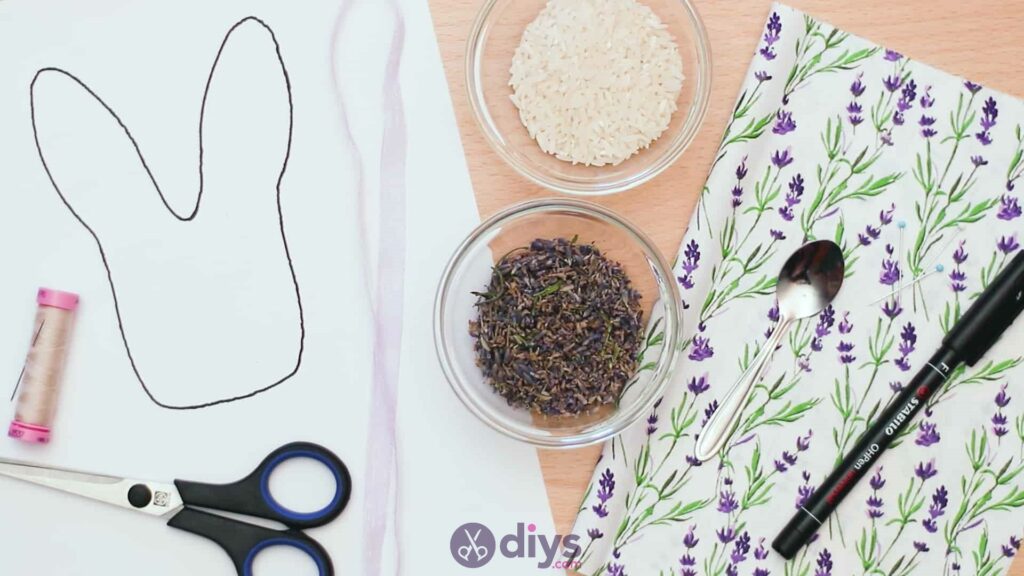
For this project, you’ll need:
- Cotton fabric
- Ribbon
- Needle, thread, and pins
- Scissors
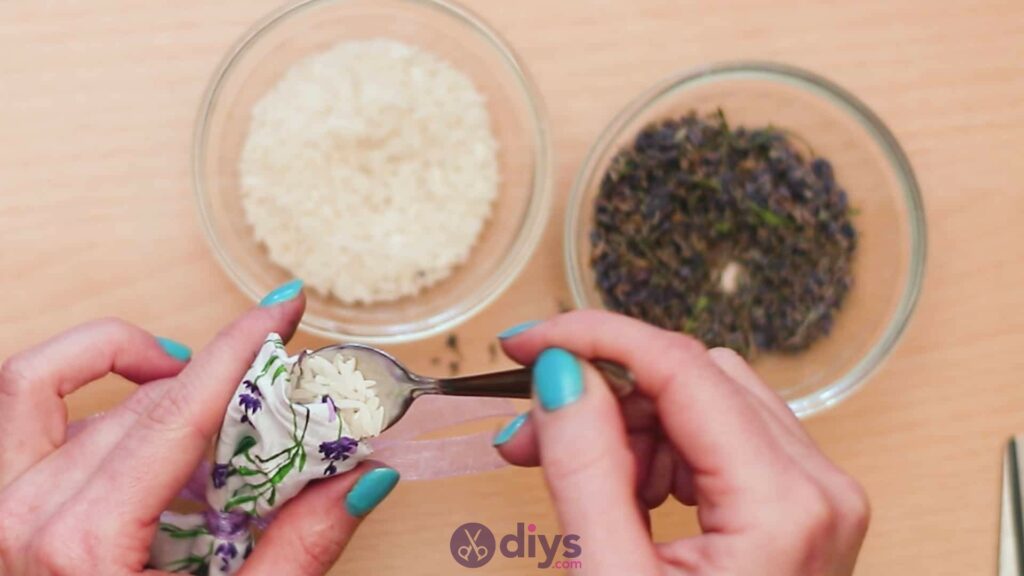
- 1/2 cup dried lavender
- 1/2 cup rice
- Teaspoon
- Pen
- Template
Step 1:
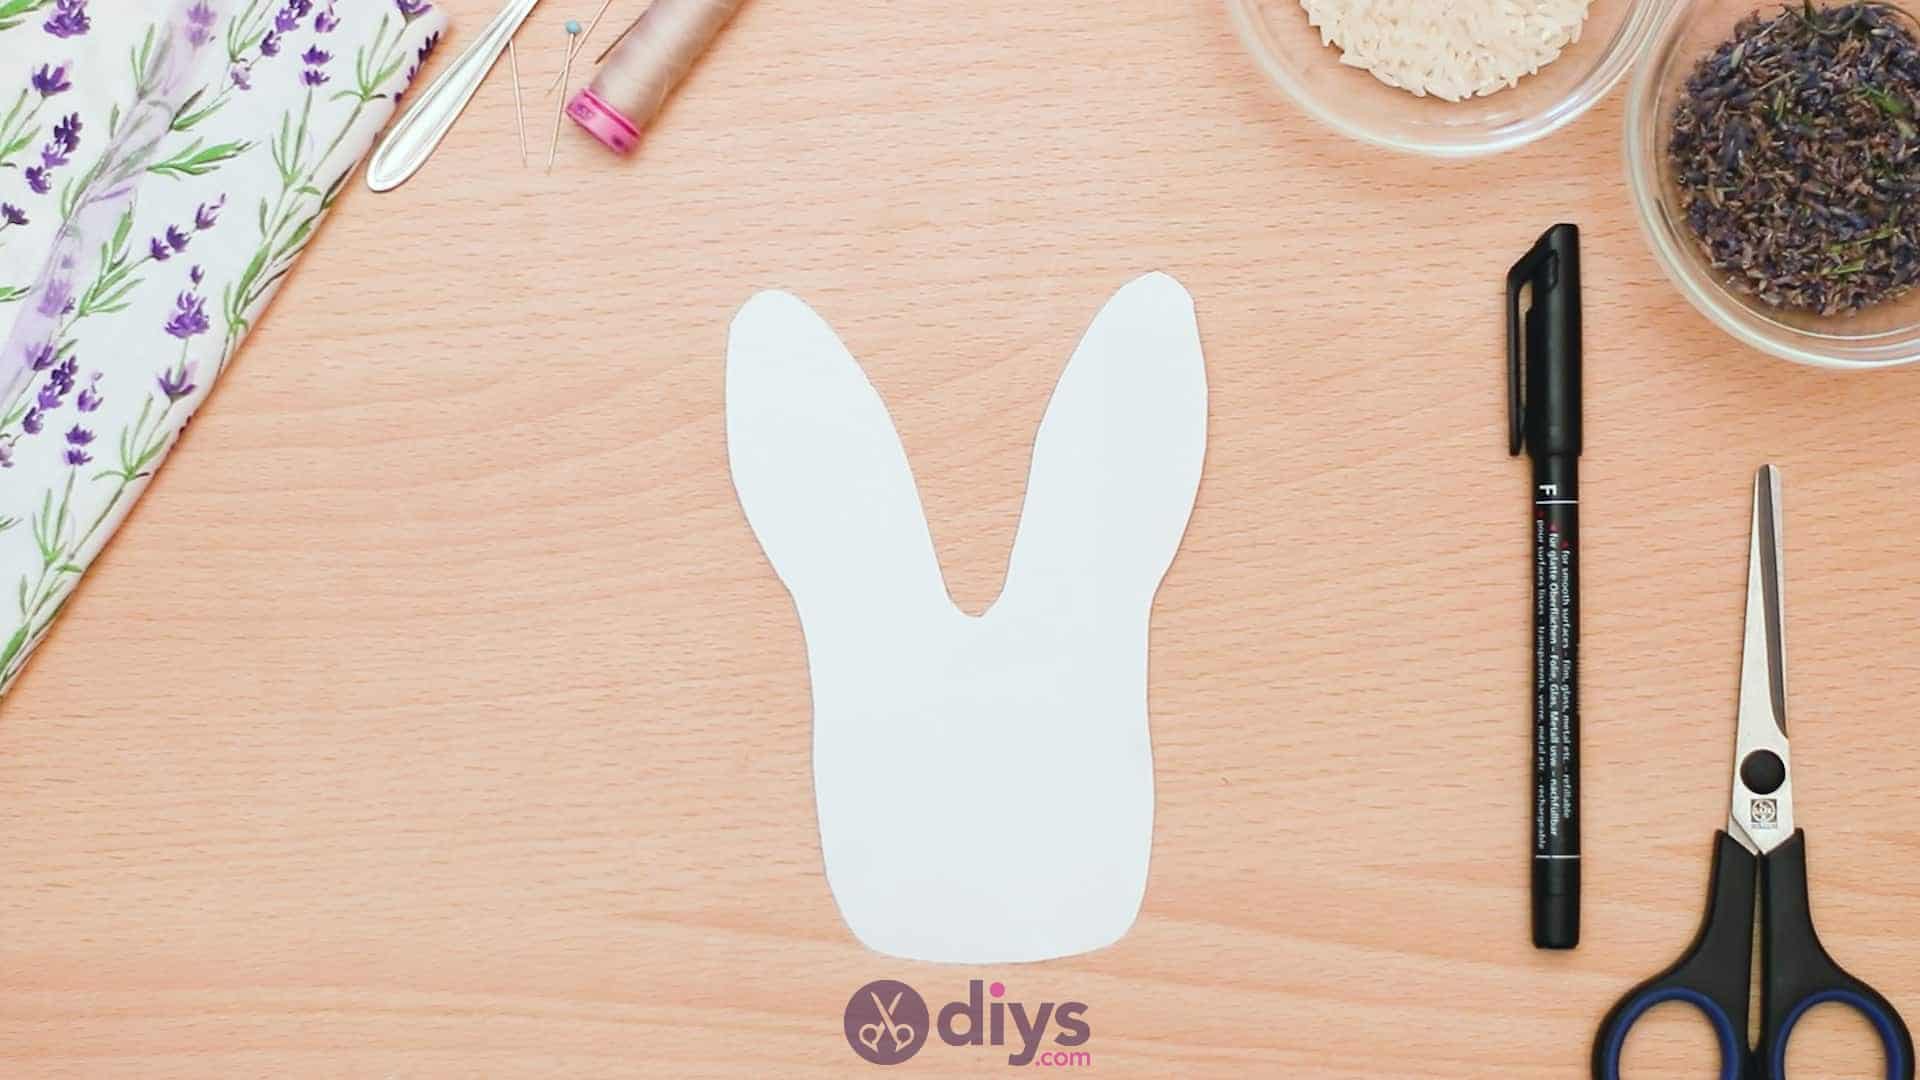
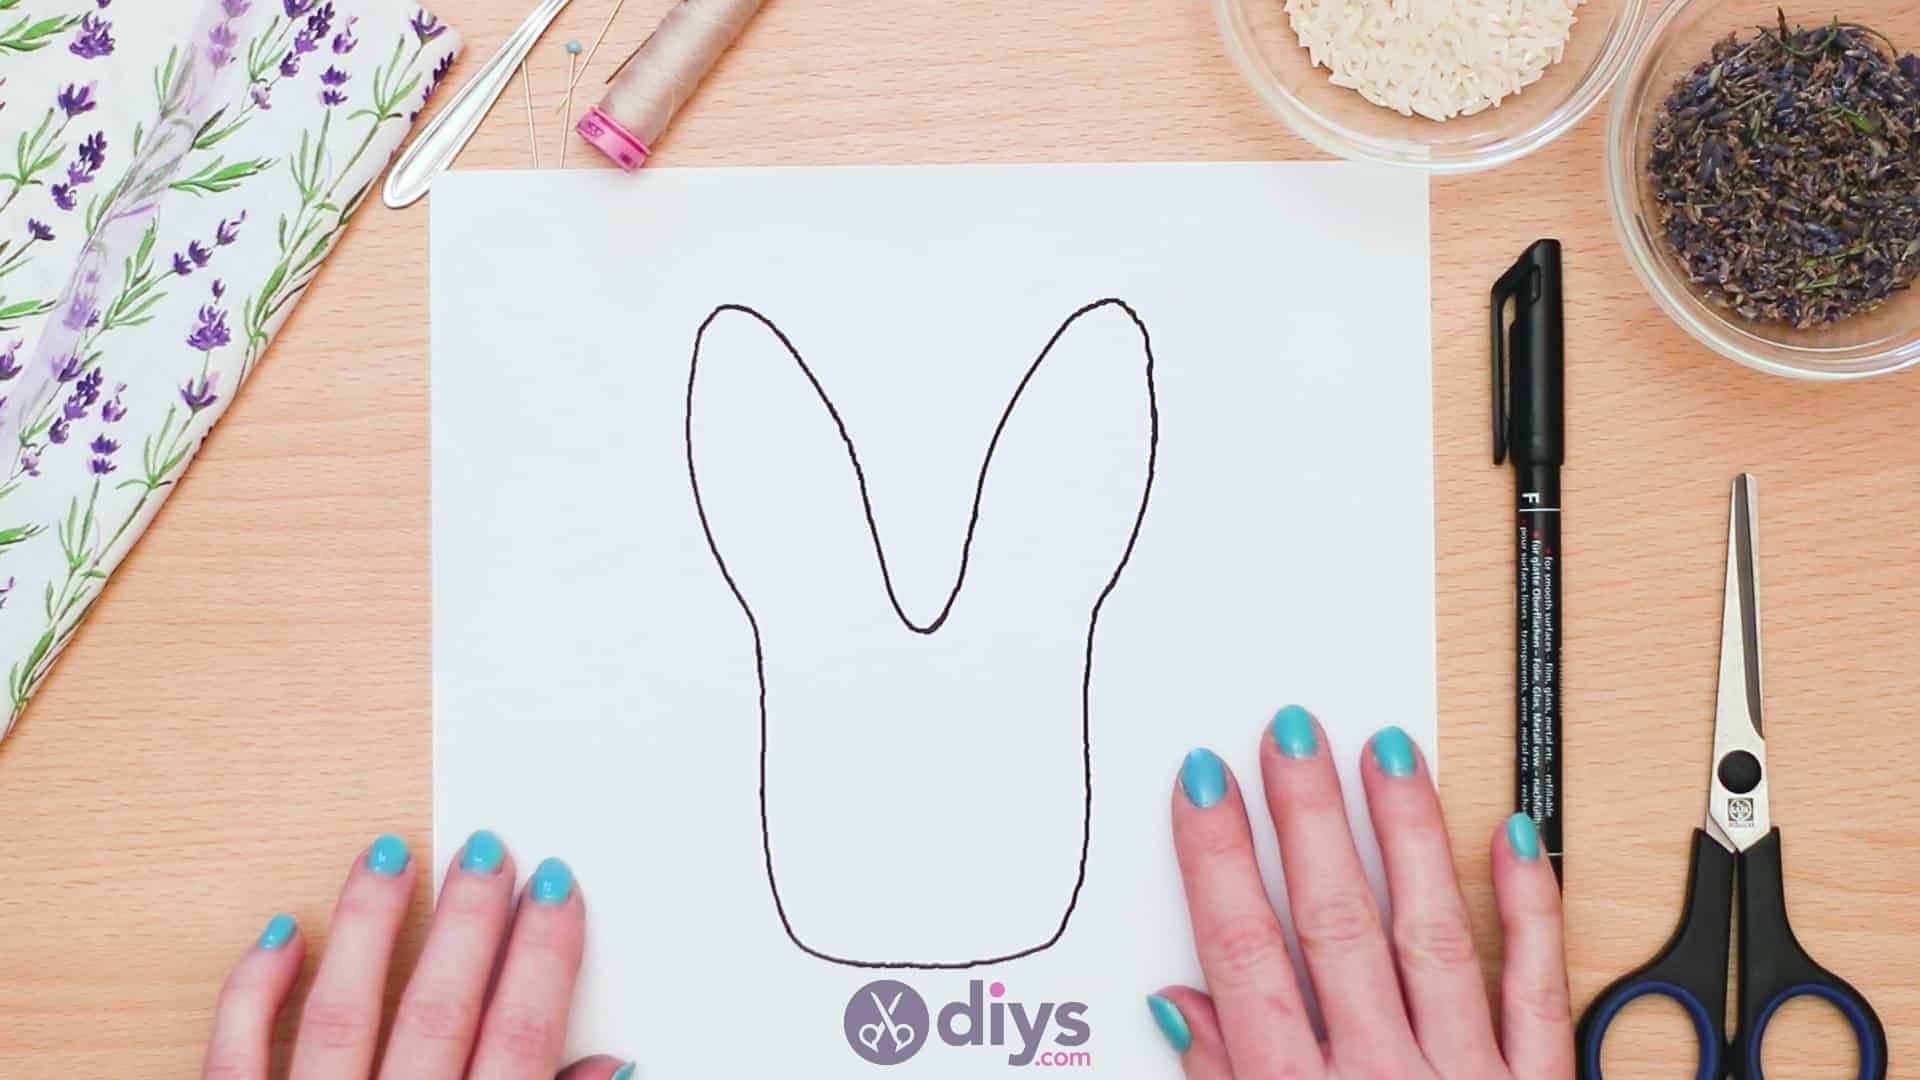
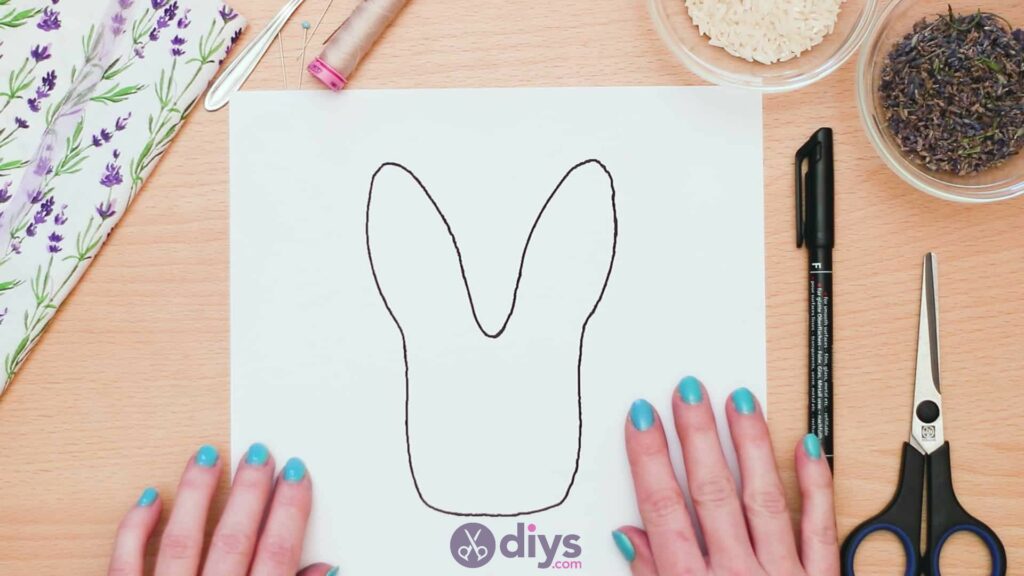
Gather your materials! I printed out my template beforehand.
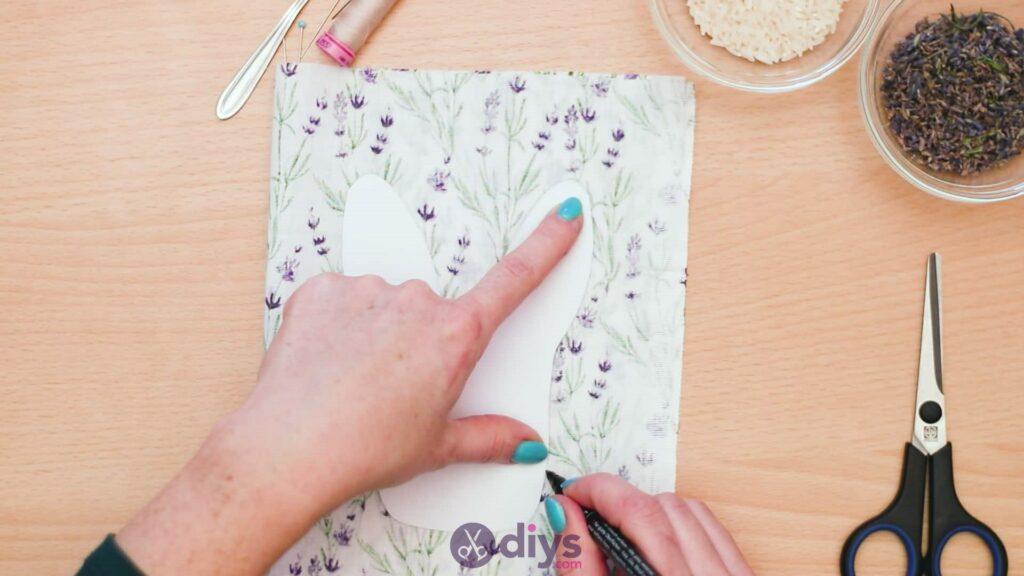
Step 2:
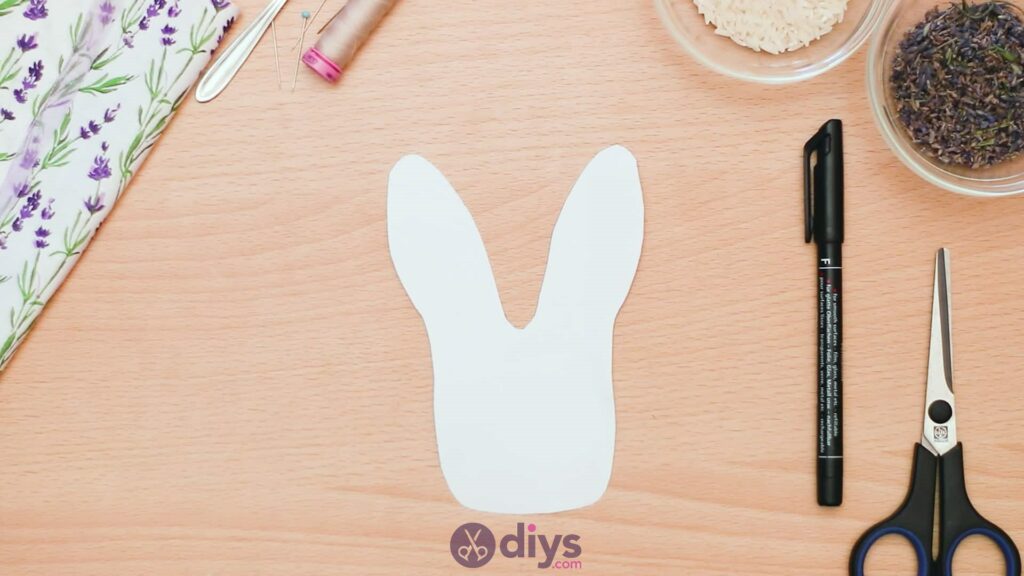
Use your scissors to cut out your template.
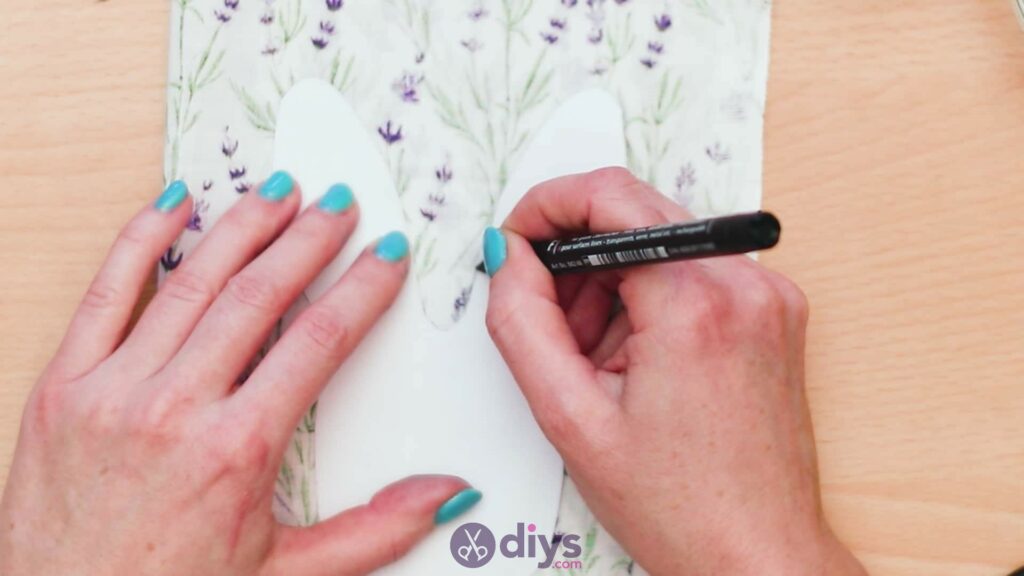
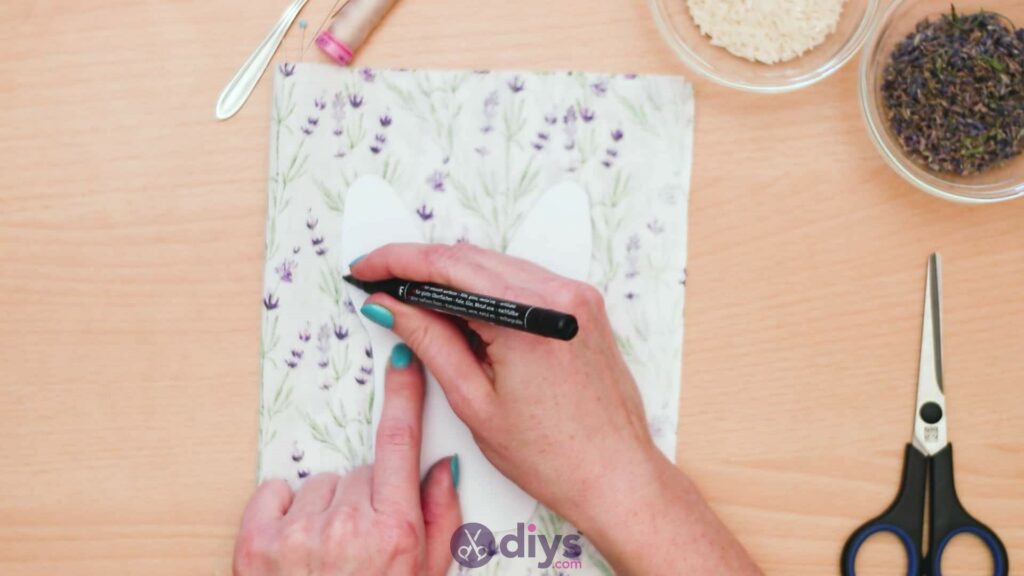
Step 2:
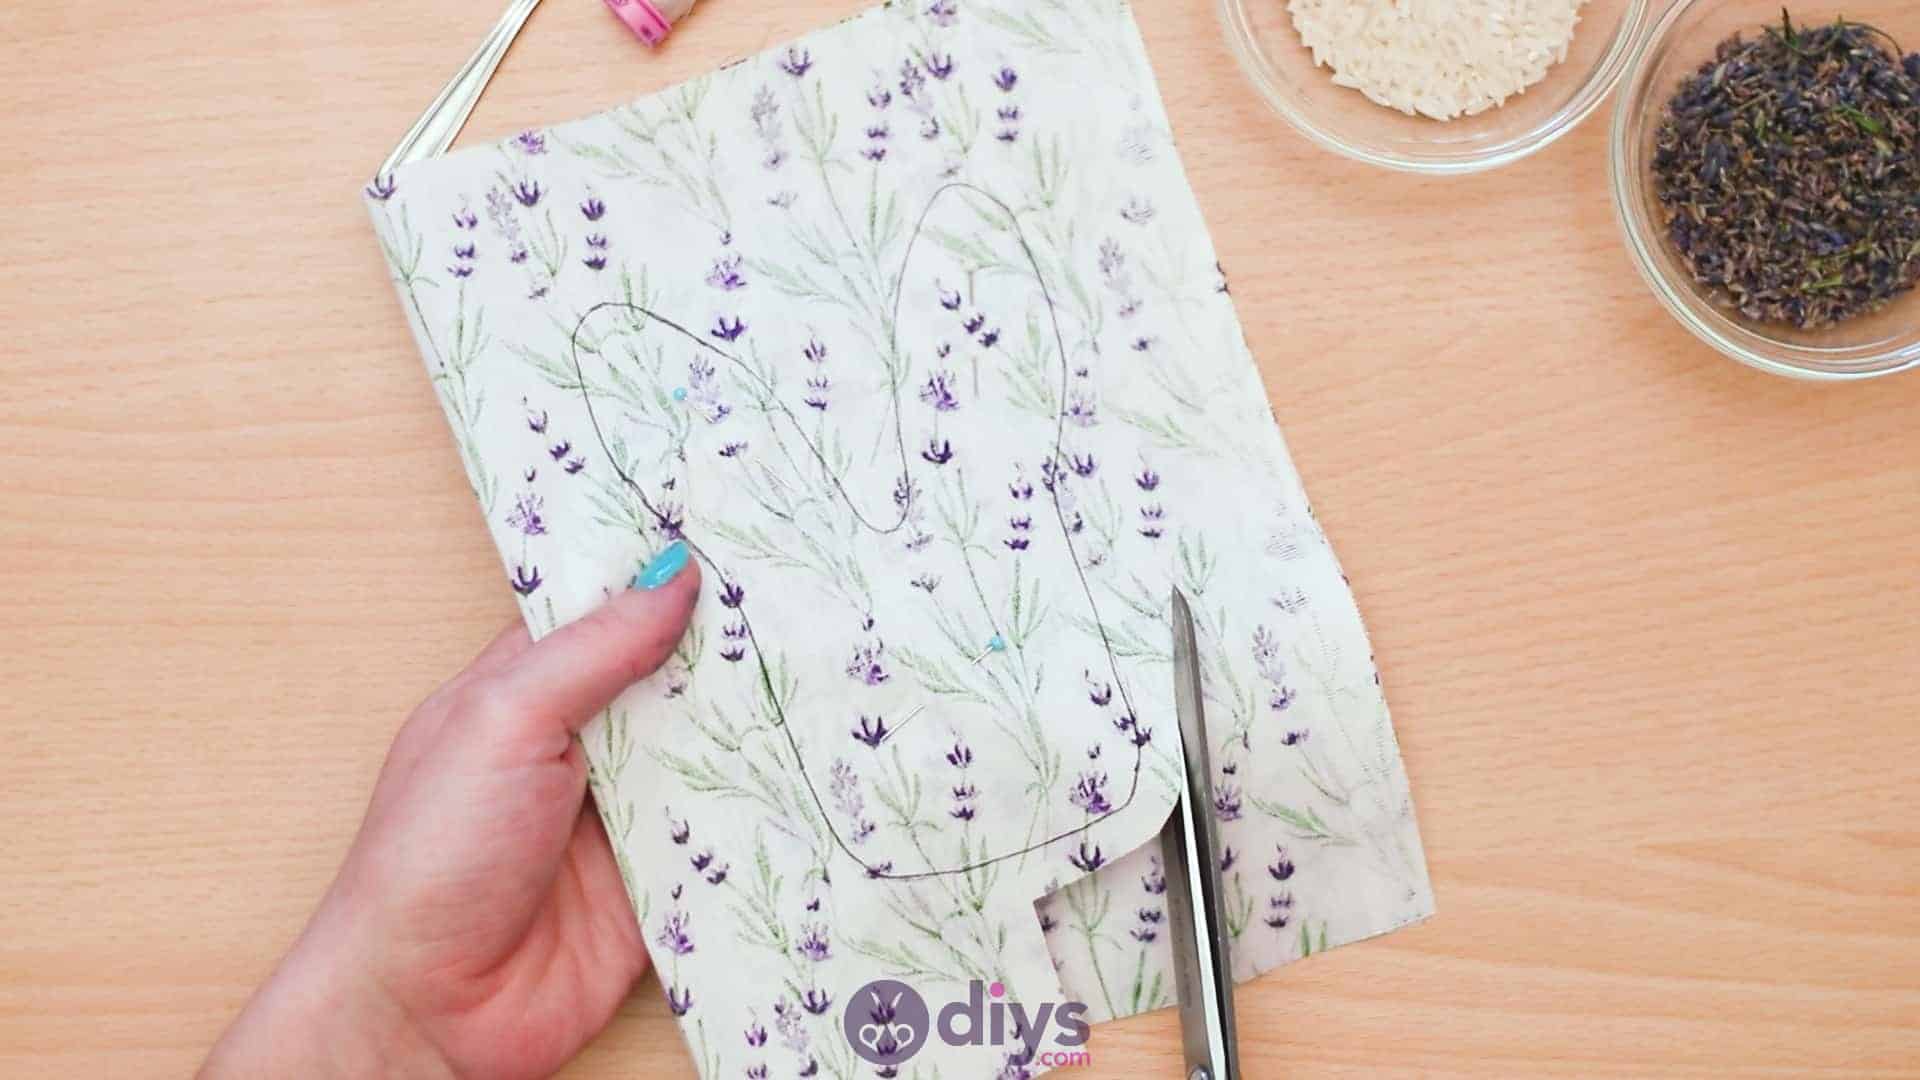
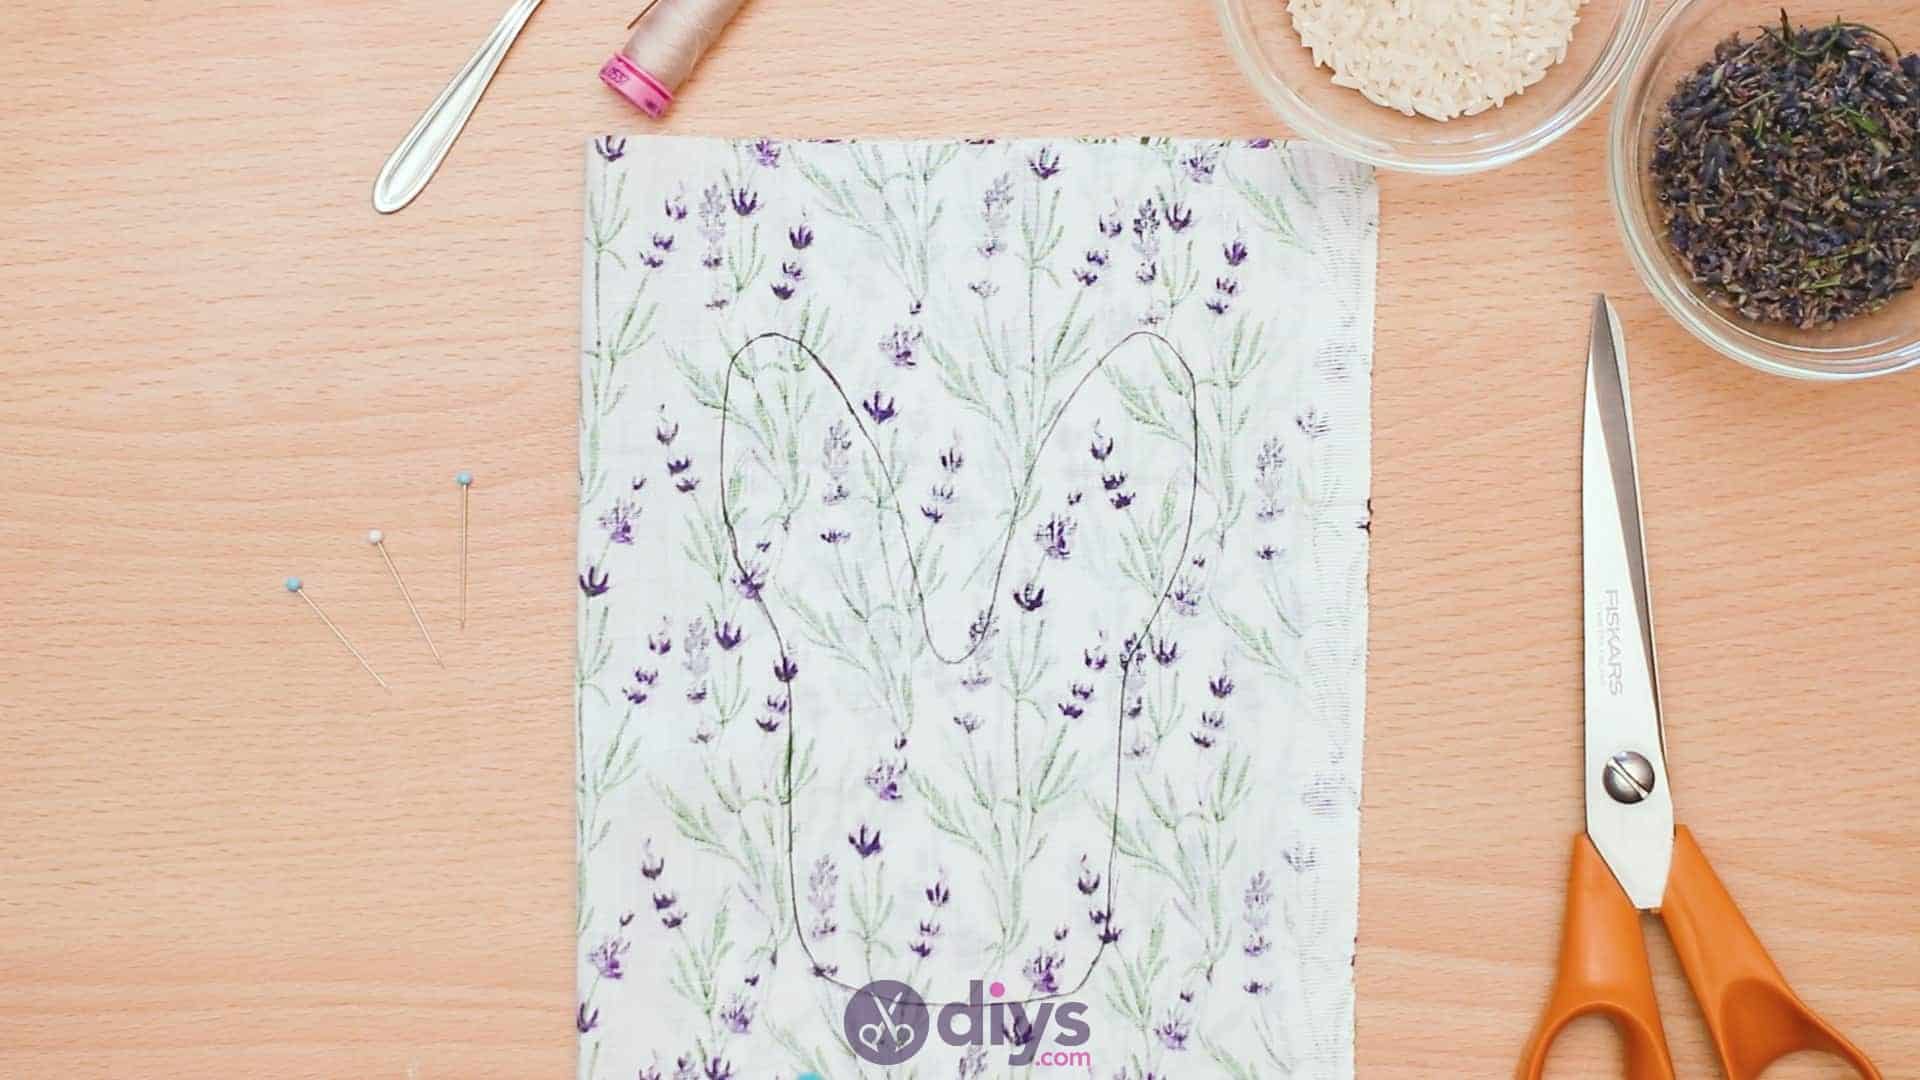
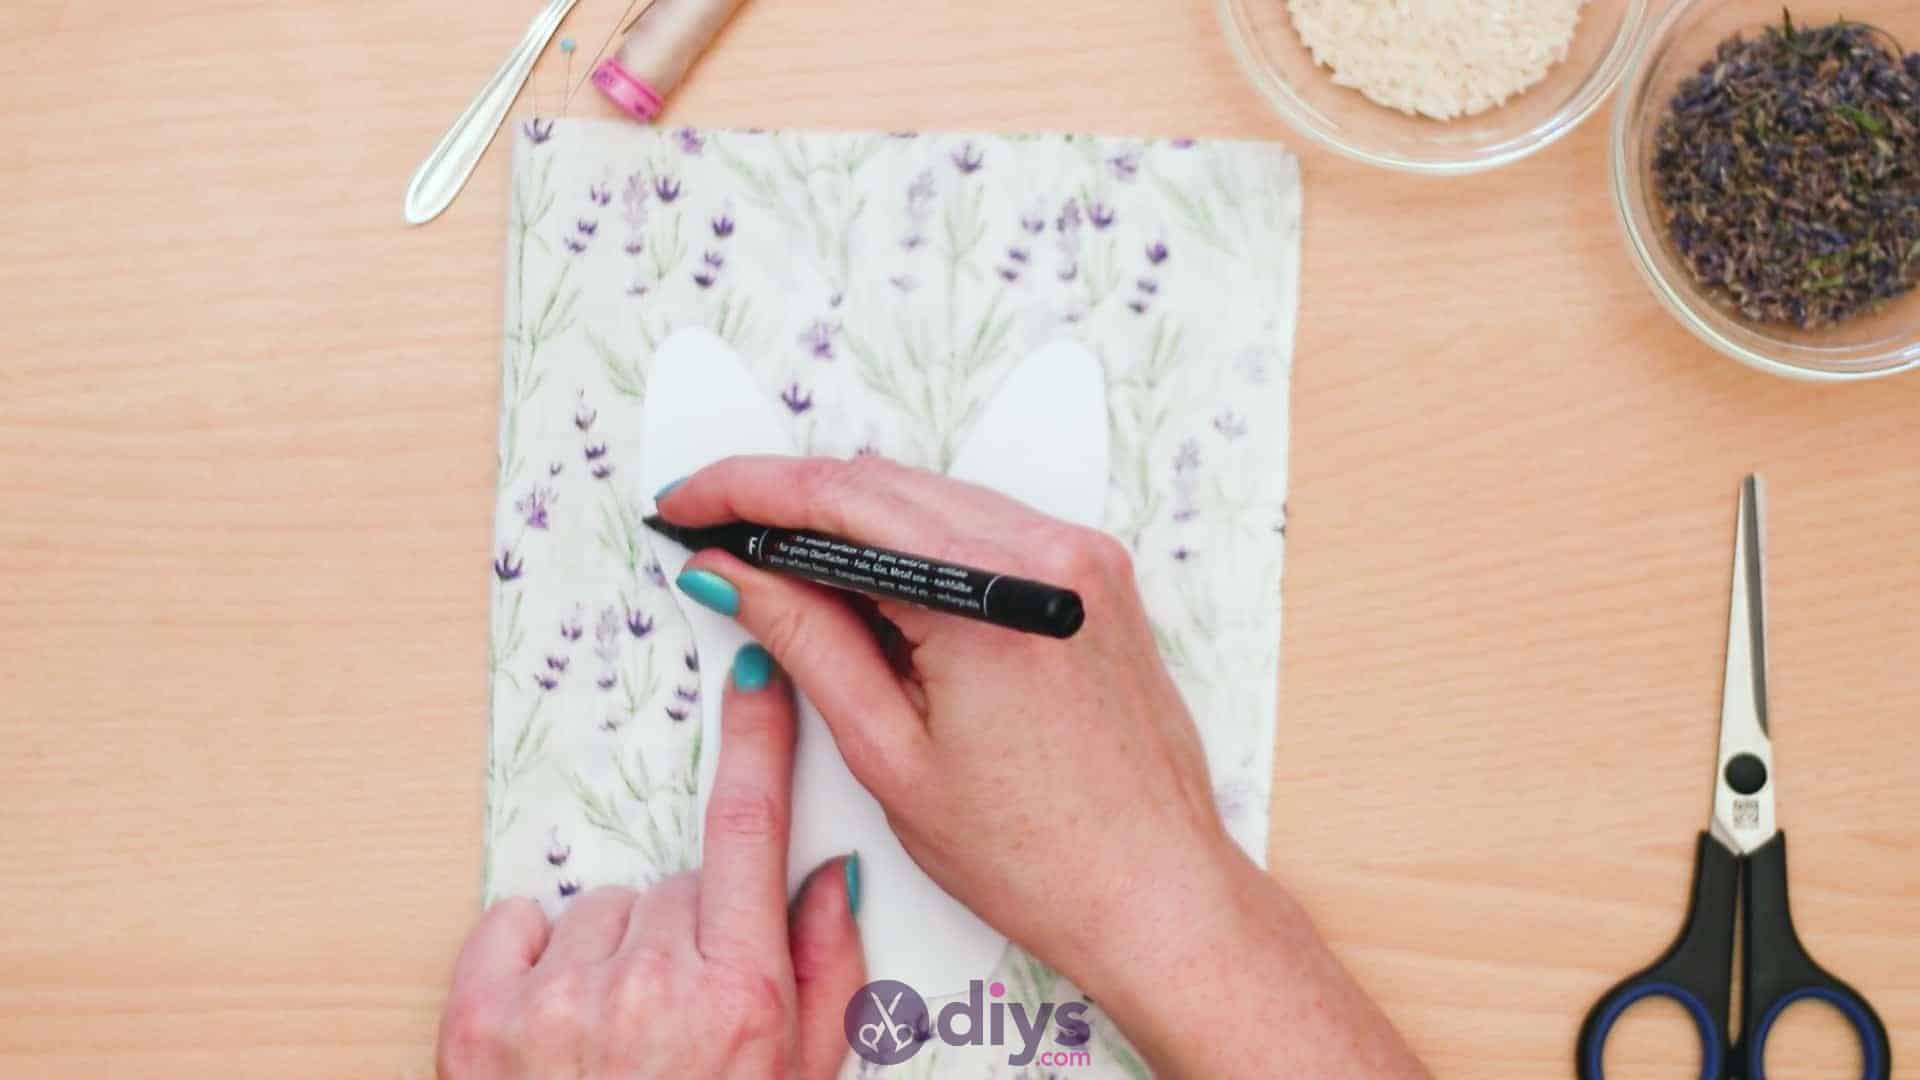
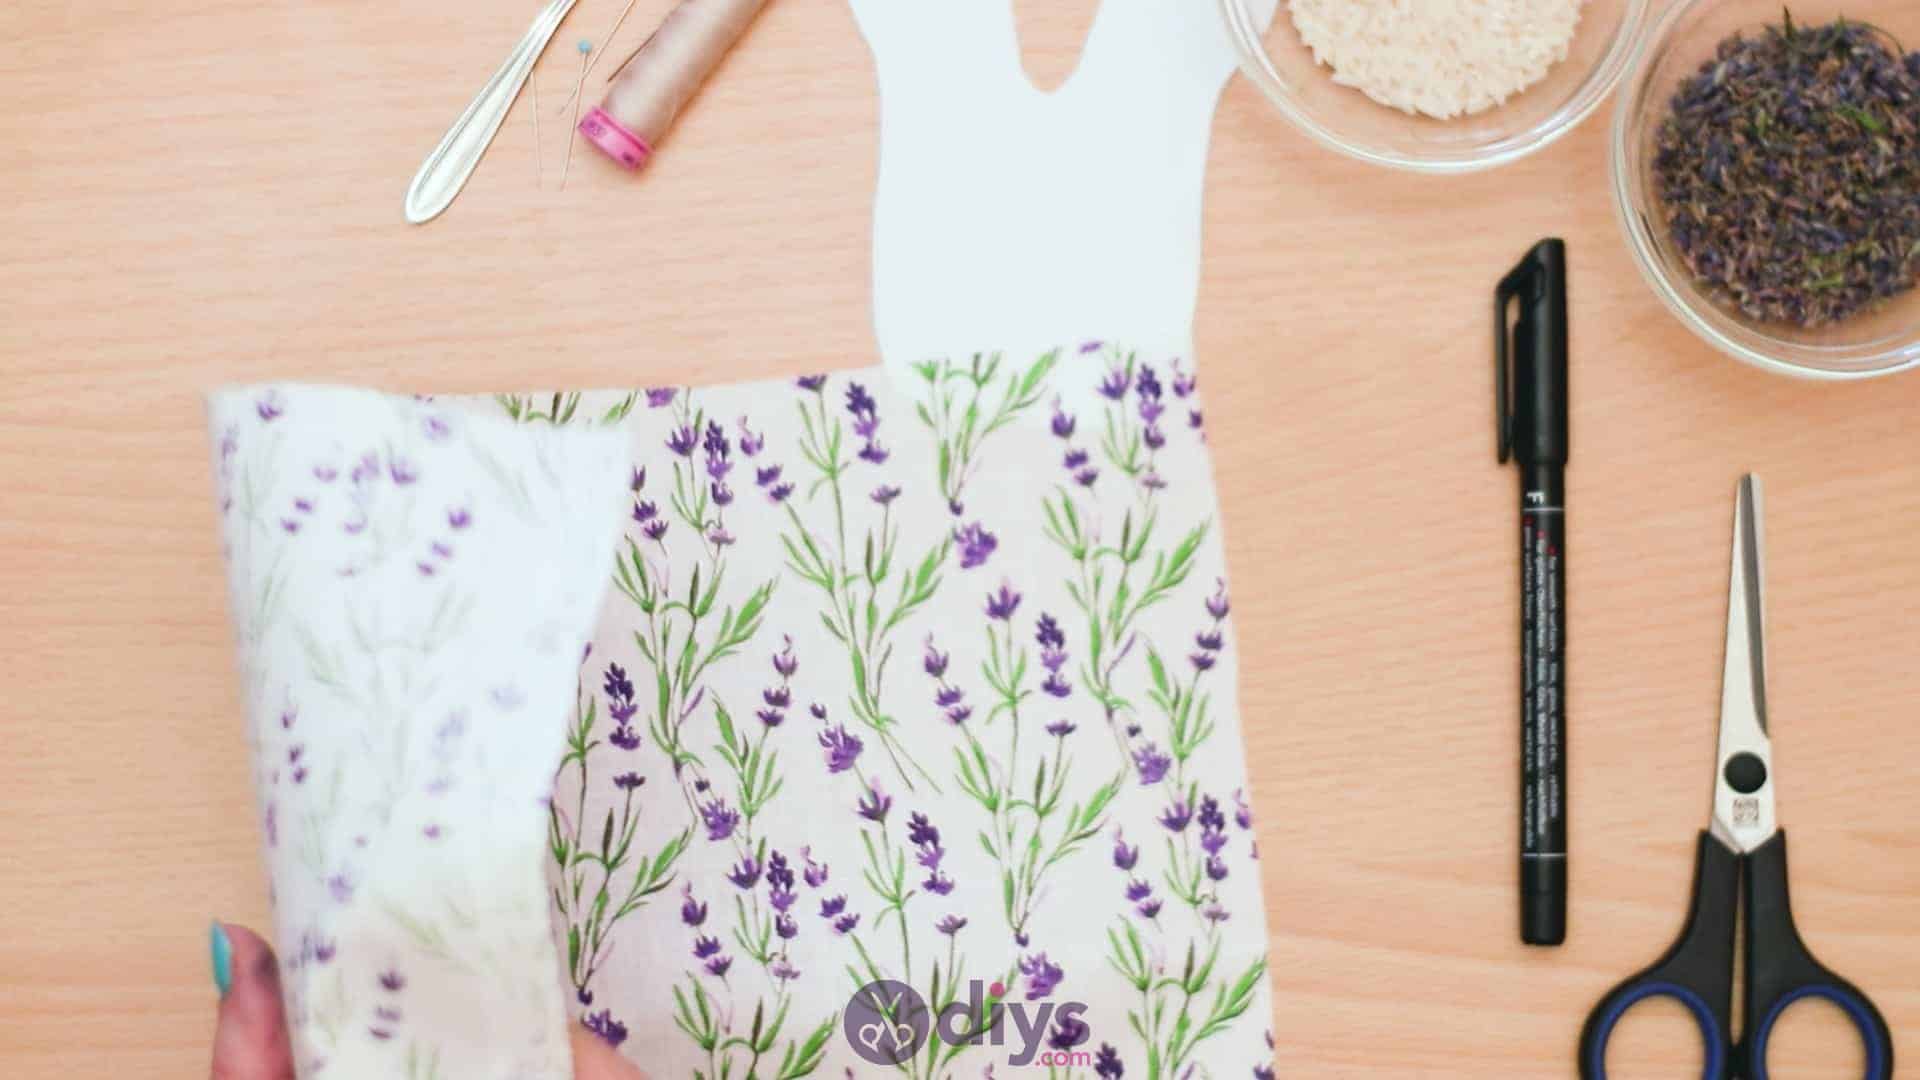
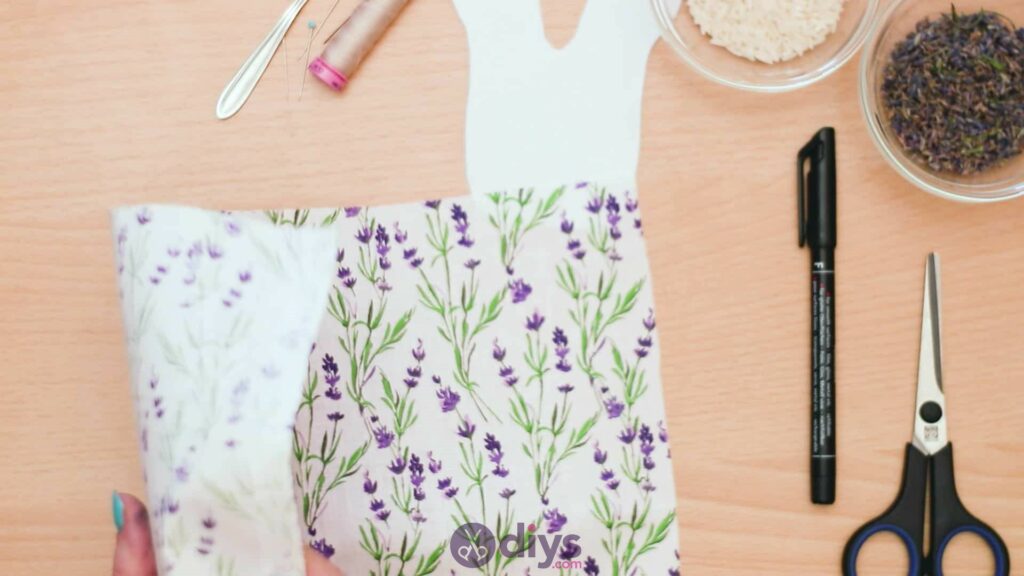
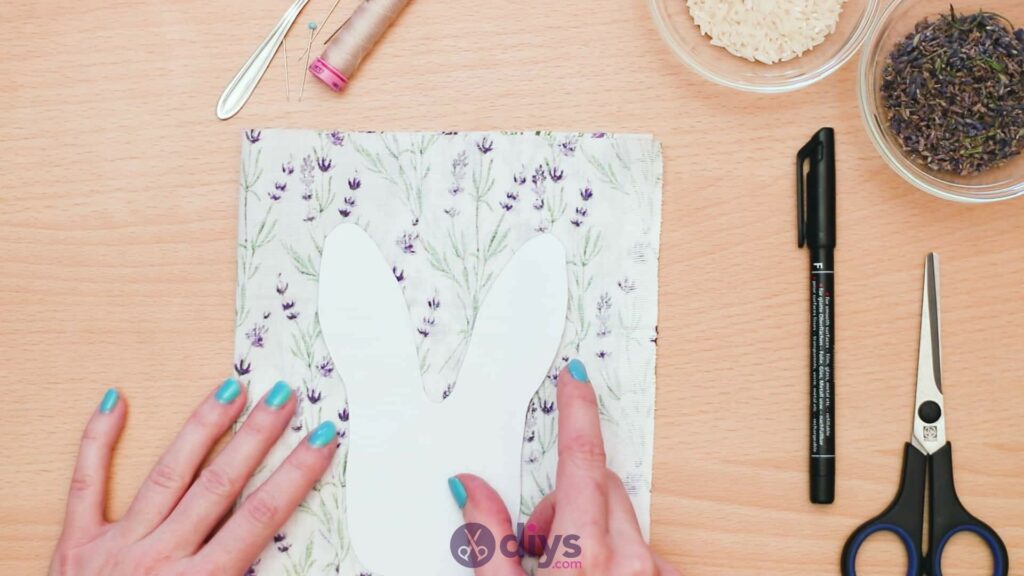
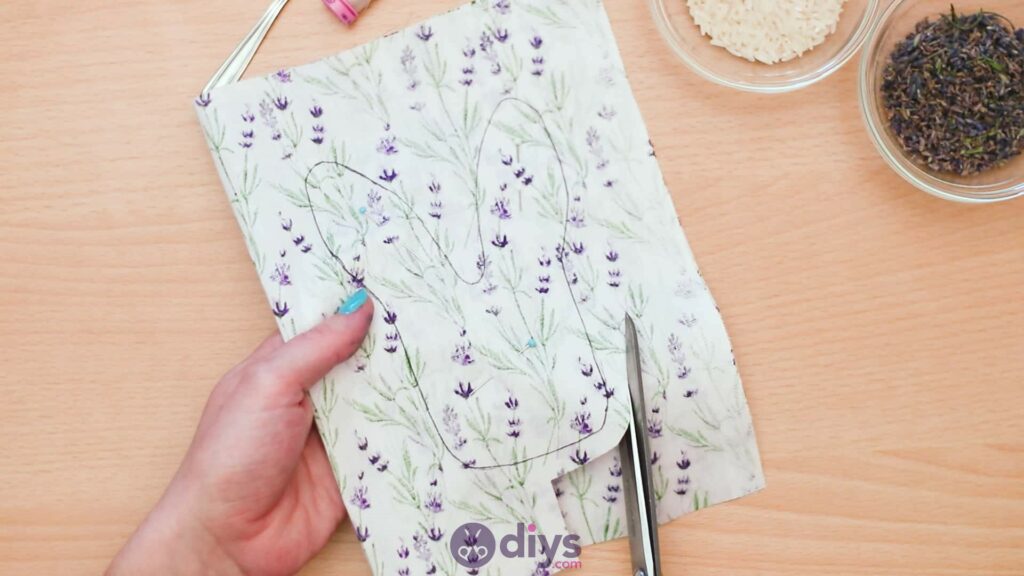
Fold your piece of fabric in half so that the printed patterned sides are both lying against each other on the inside, with the “wrong side” of the fabric facing outwards. Place your template shape down on your fabric and carefully trace around it with your marker or felt pen, making sure you don’t shift the paper or fabric at all as you go. Remove the template from the fabric when you’re finished.

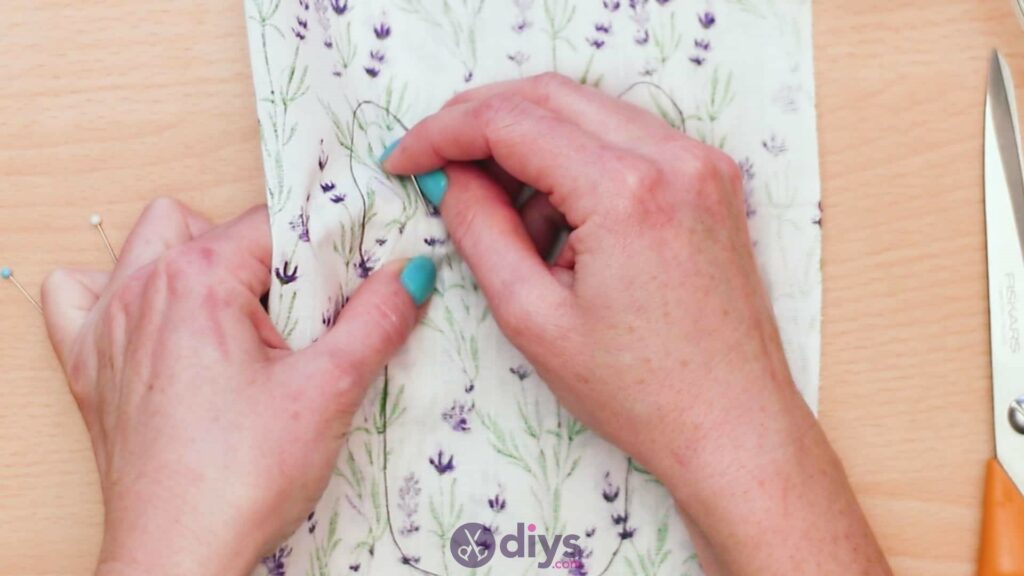
Step 3:
Keep the fabric folded neatly, put three pins through both layers, on the inside of your stencilled shape; one in the main body of the shape and one in each ear at the top. This will keep your fabric layers from sliding around on each other while you cut, ensuring that you get two precise pieces that are the same shape and size as each other with even edges.

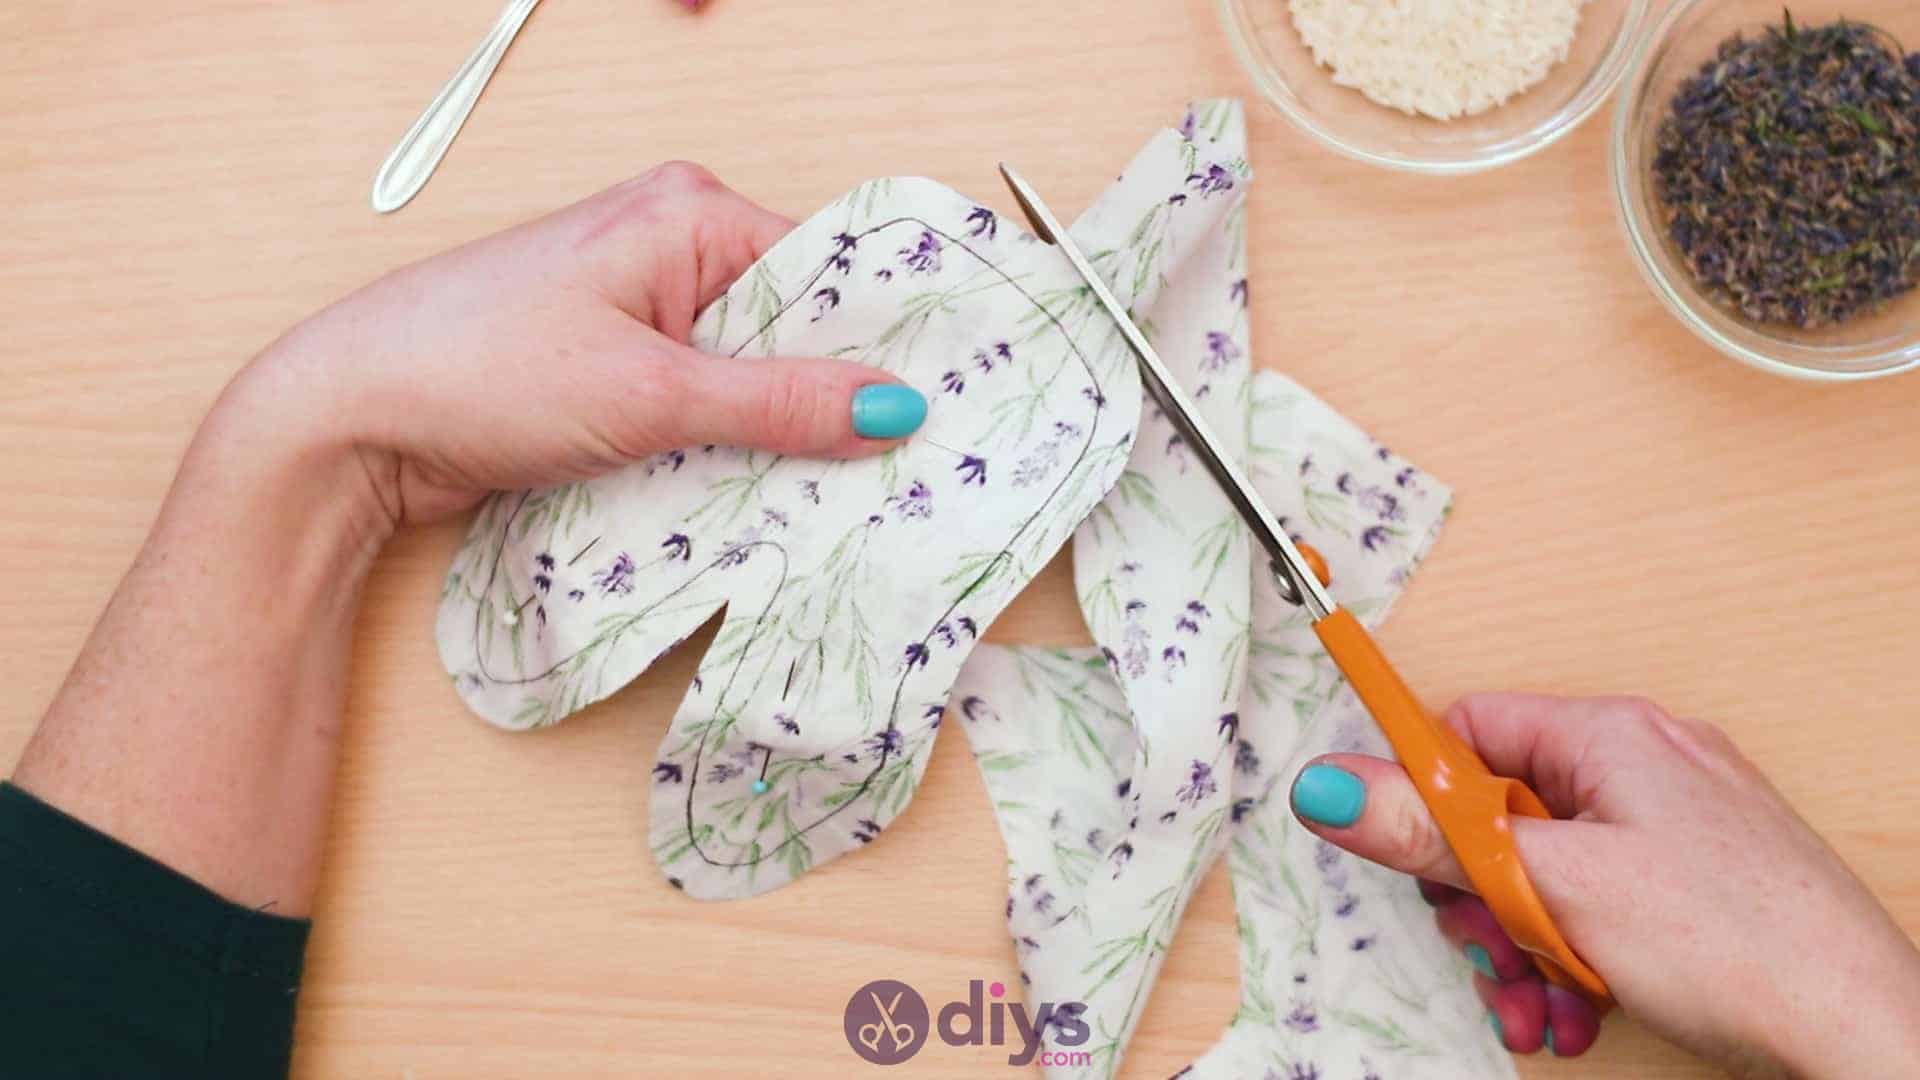
Step 4:
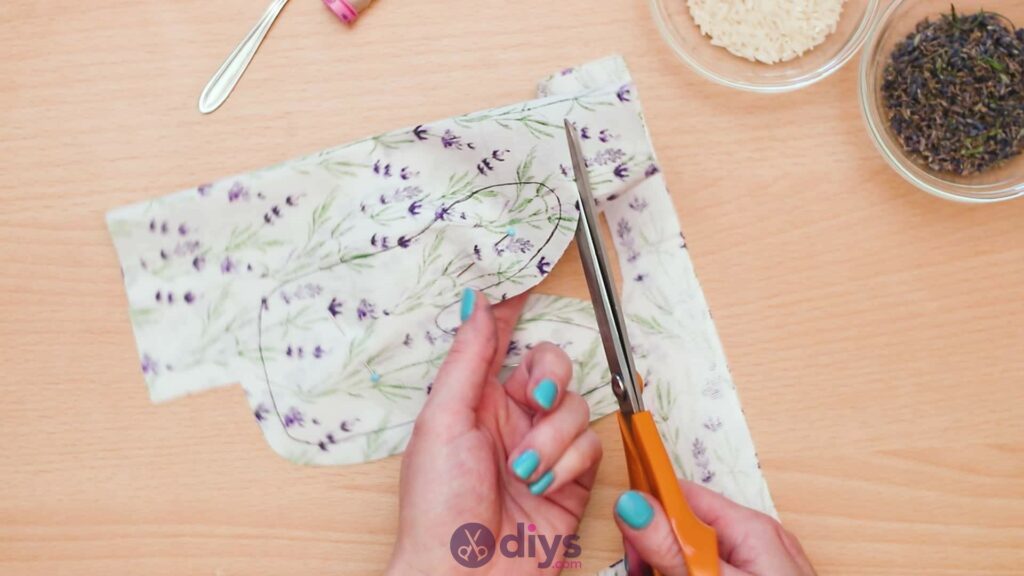
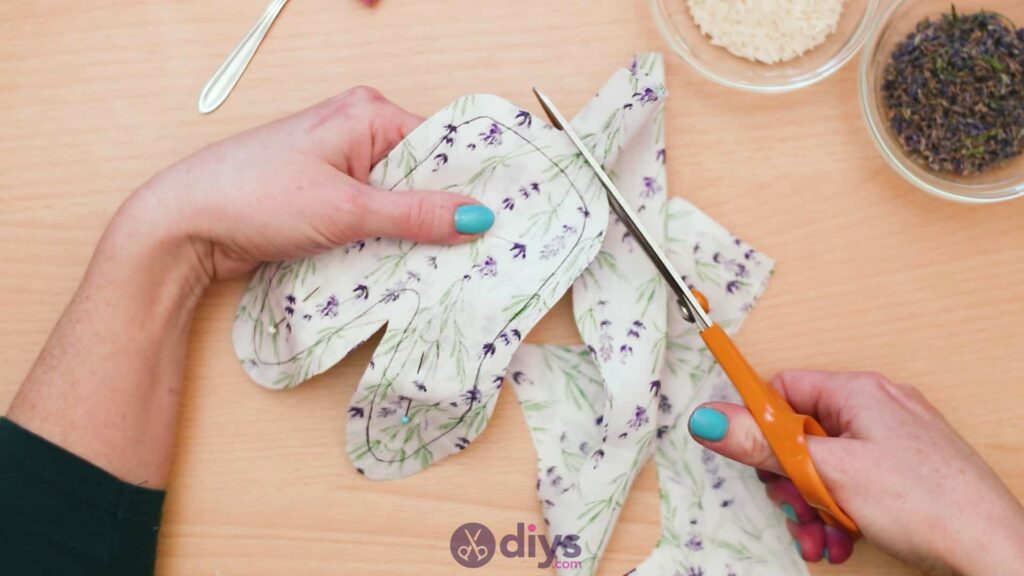
Use your scissors to cut your shape out, making sure that you’re cutting through both layers of fabric. Leave a border of about two centimetres between your scissors and the line you traced earlier; this leaves you room for stitching without shrinking your finished shape any. Leave the two pieces pinned together when you’re done cutting.

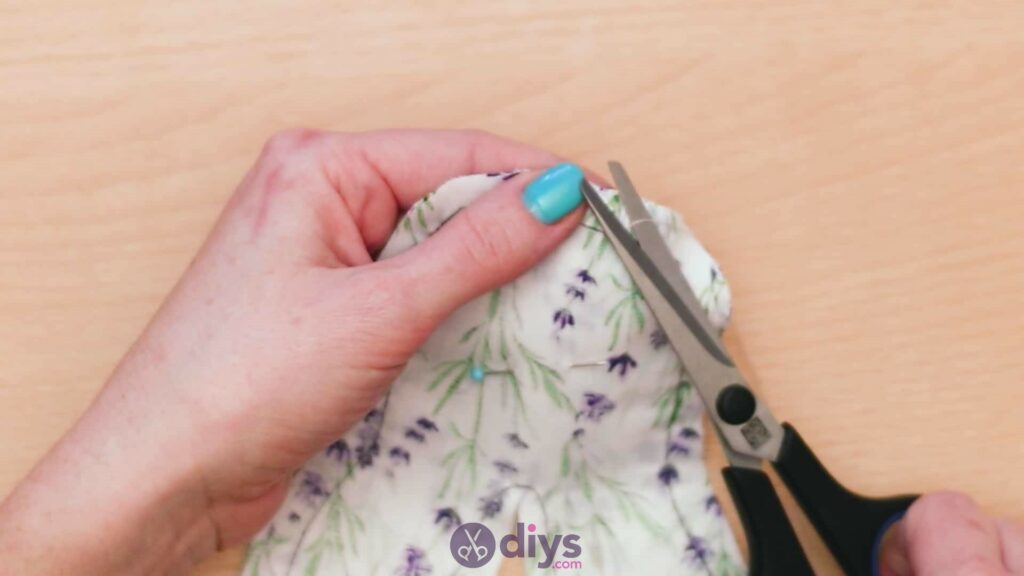
Step 5:
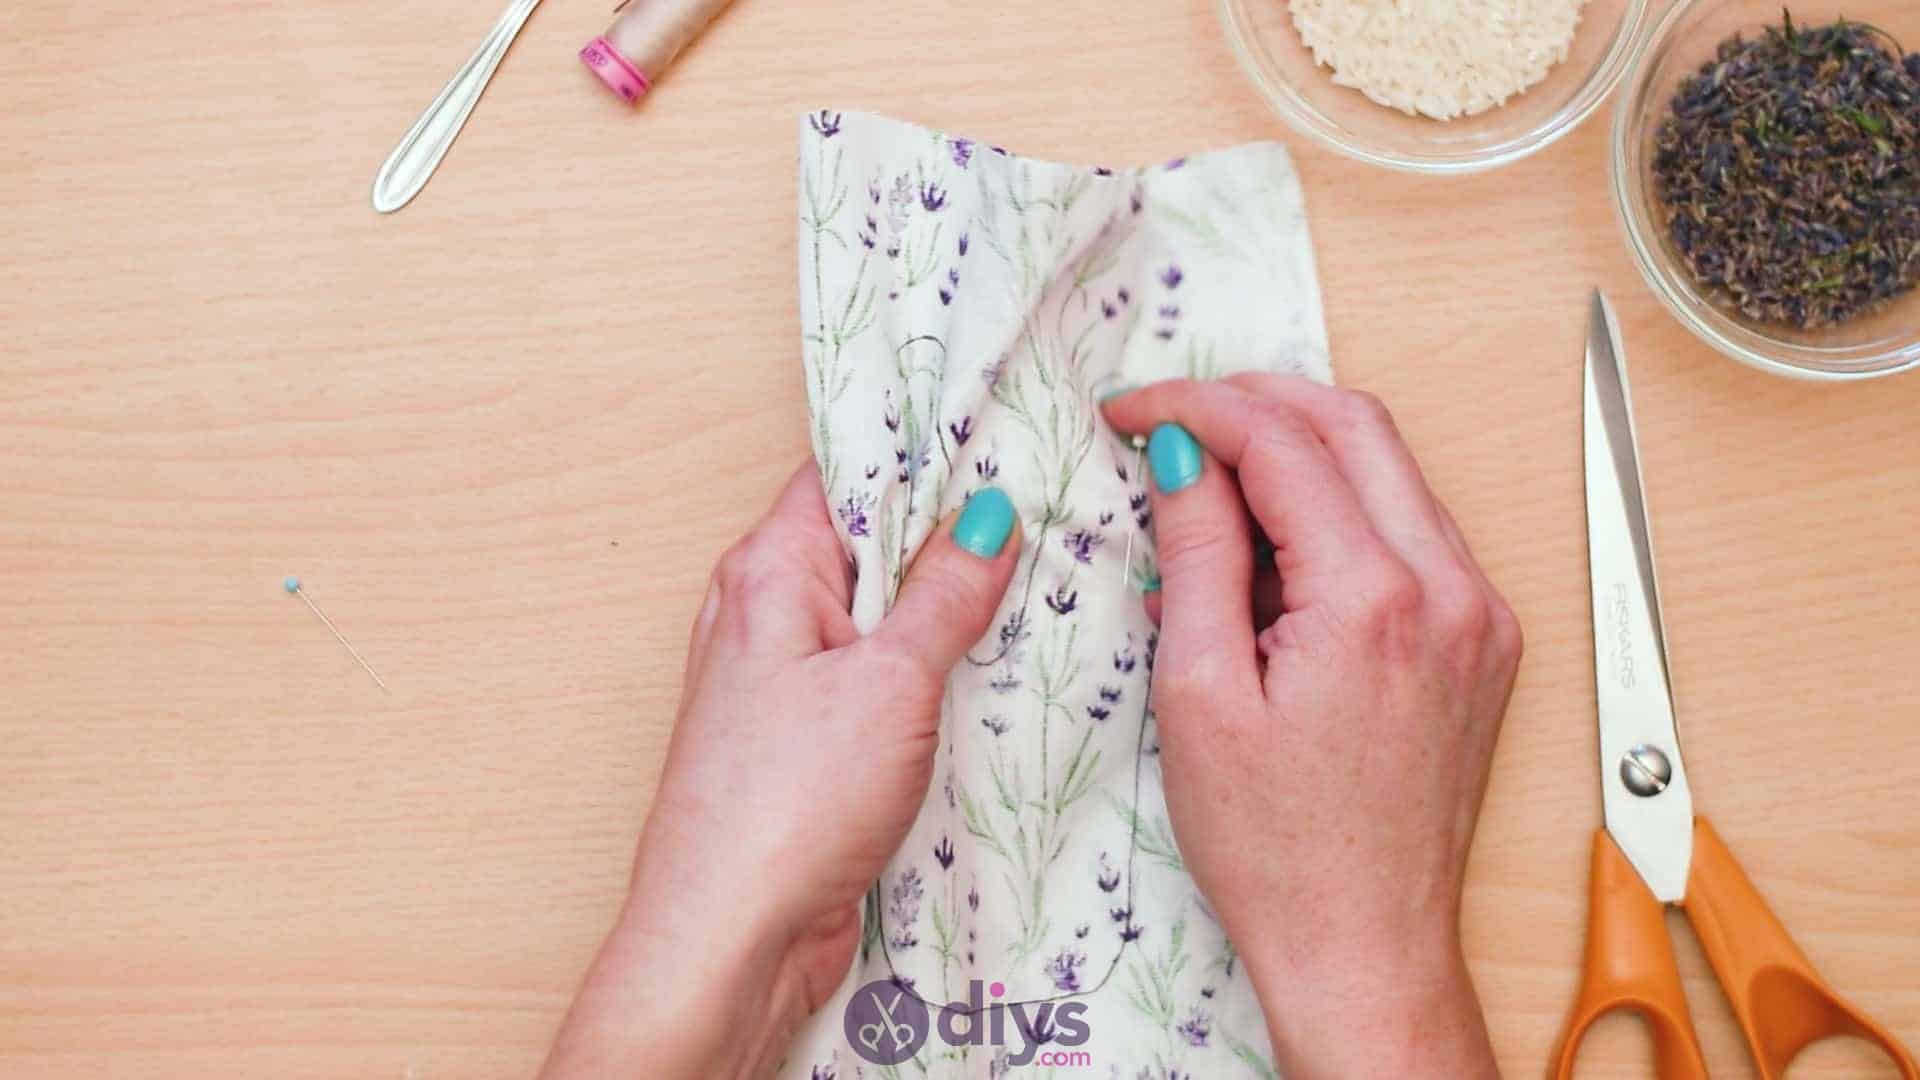
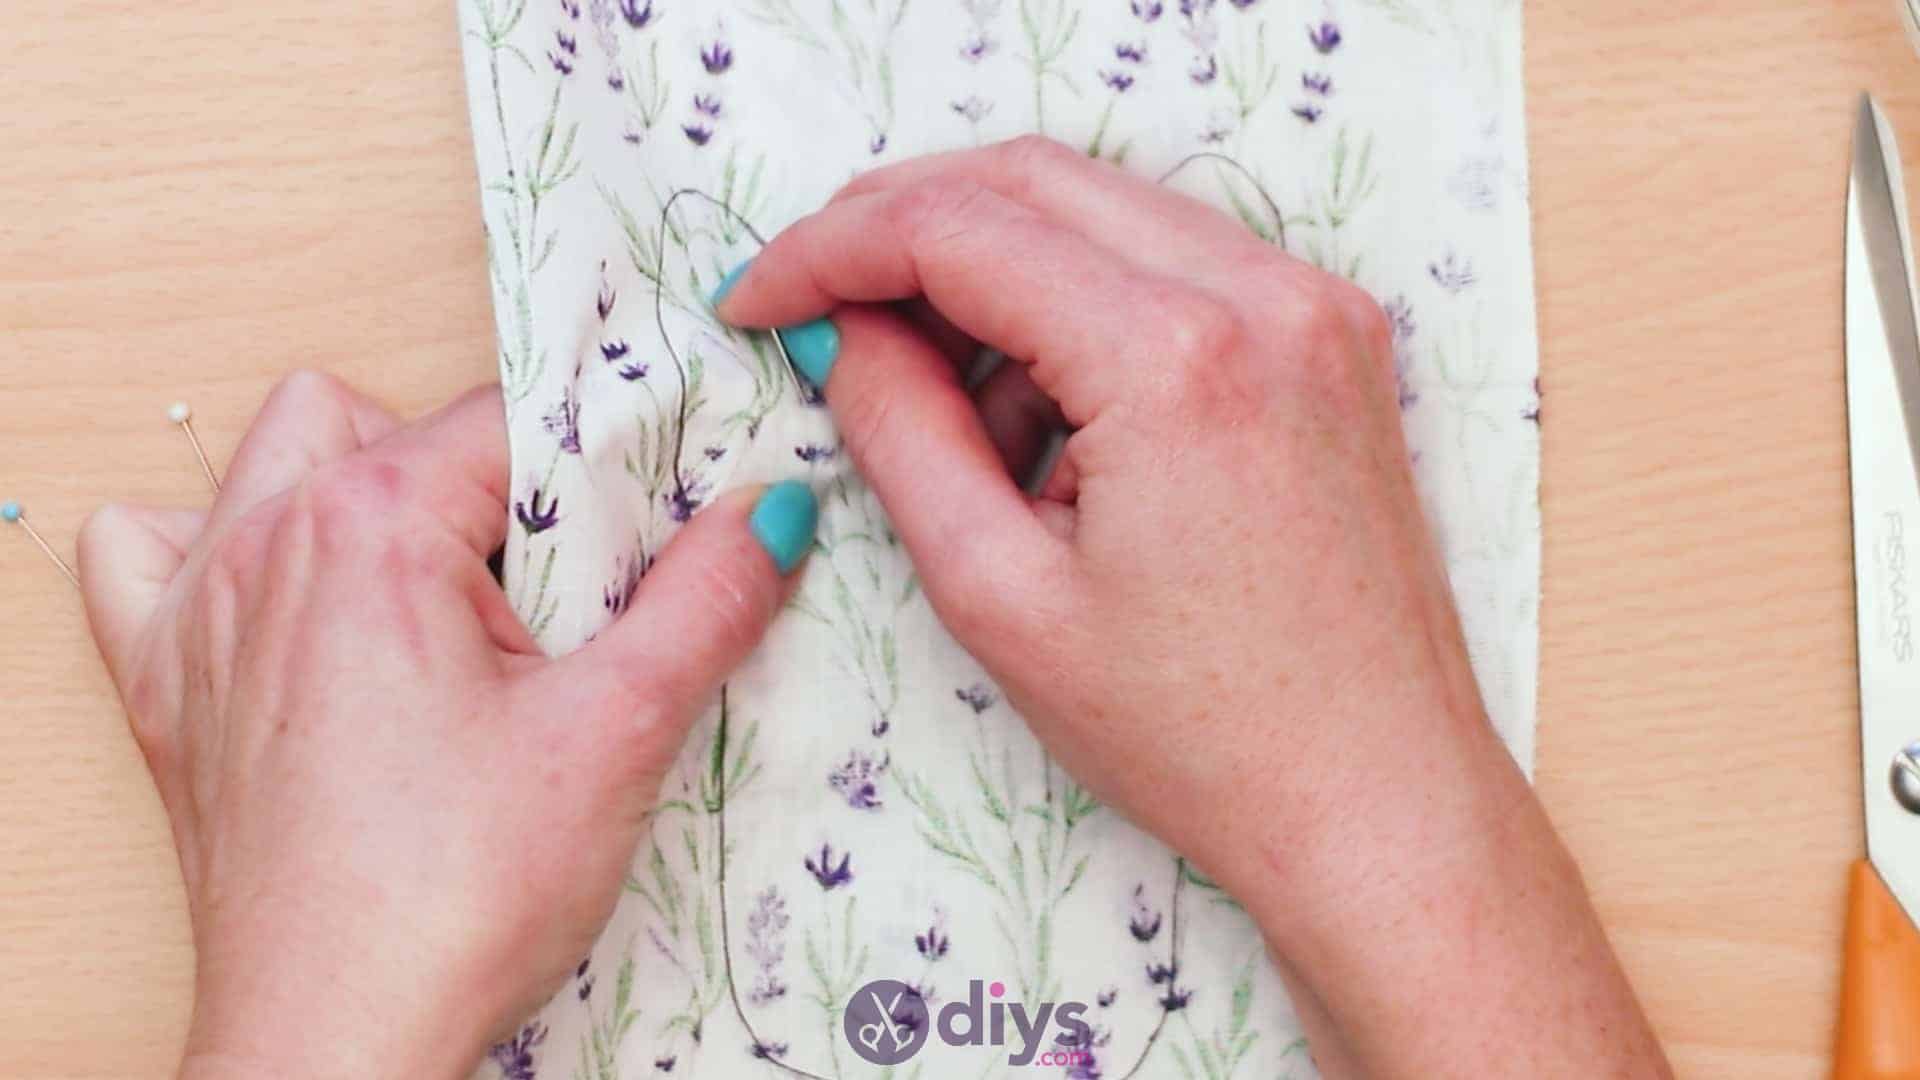
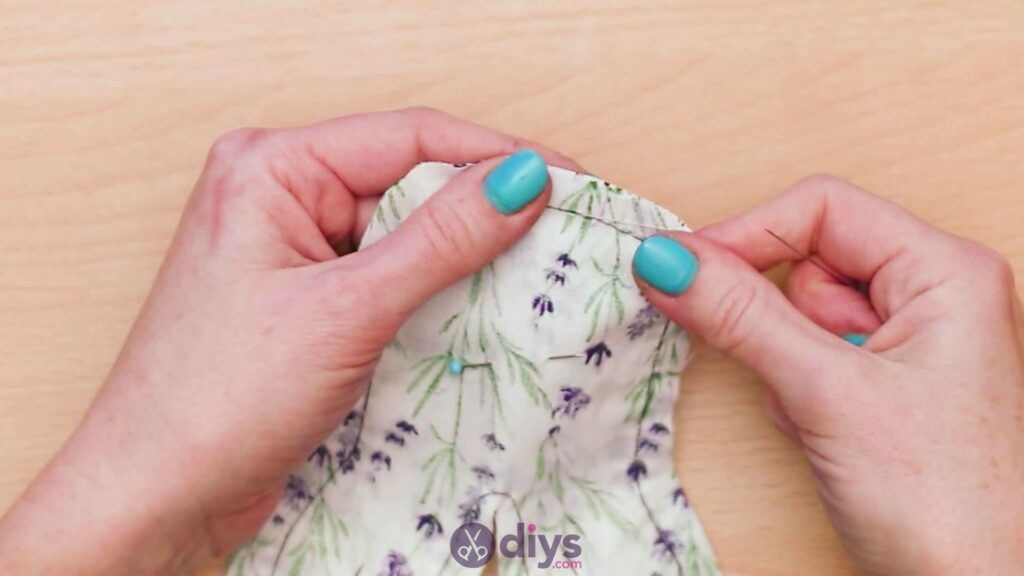
Thread your needle, knot the end of the thread, and hand stitch all the way around the outer edge of your shape (you can follow your traced line or stitch on the outside of it in your border space; whichever you prefer). Sew all the way around the outside of your shape, stitching the two pinned pieces of fabric together, and stop about half an inch before your starting place. Knot the thread there to anchor your stitches and trim the excess to free your needle.
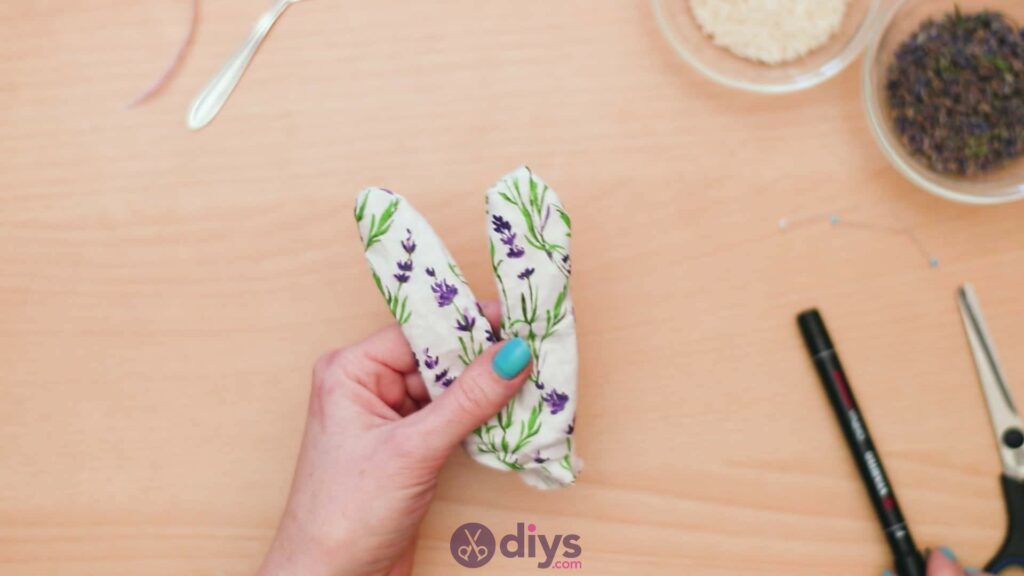
Step 6:
Turn your joined fabric piece inside out from the little hole that you left between your starting and ending points in your sewing. You’ll see that the inside is like a pocket; draw out the patterned side and flip it so the “wrong side” of the fabric is on the inside now and the stitches and marker traces can’t be seen. You’ll also see that your edges are now nice and neatly seamed rather than having the loose edge border you had before. Be sure to straighten out your bunny ears and make sure everything is flipped through neatly.

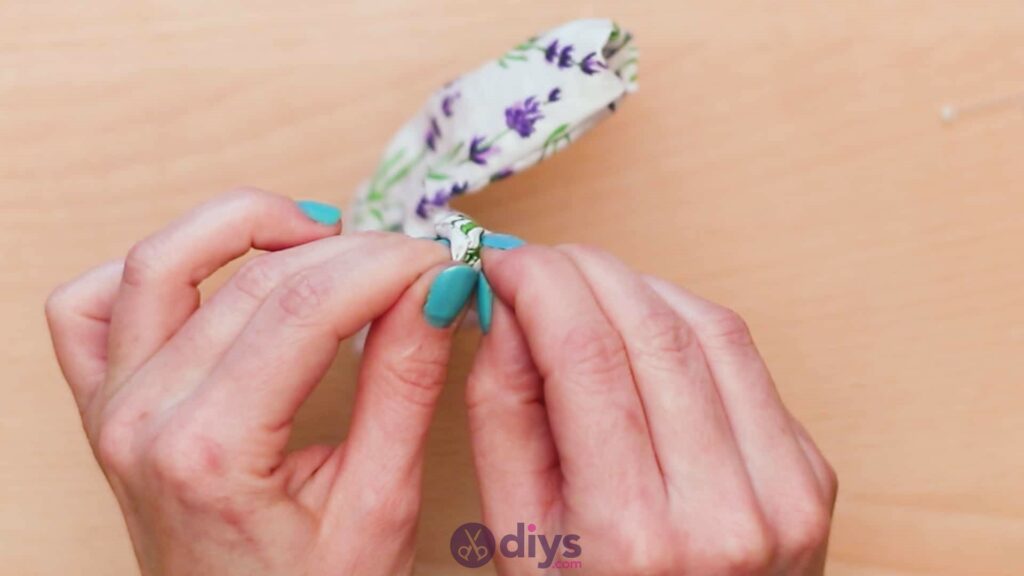
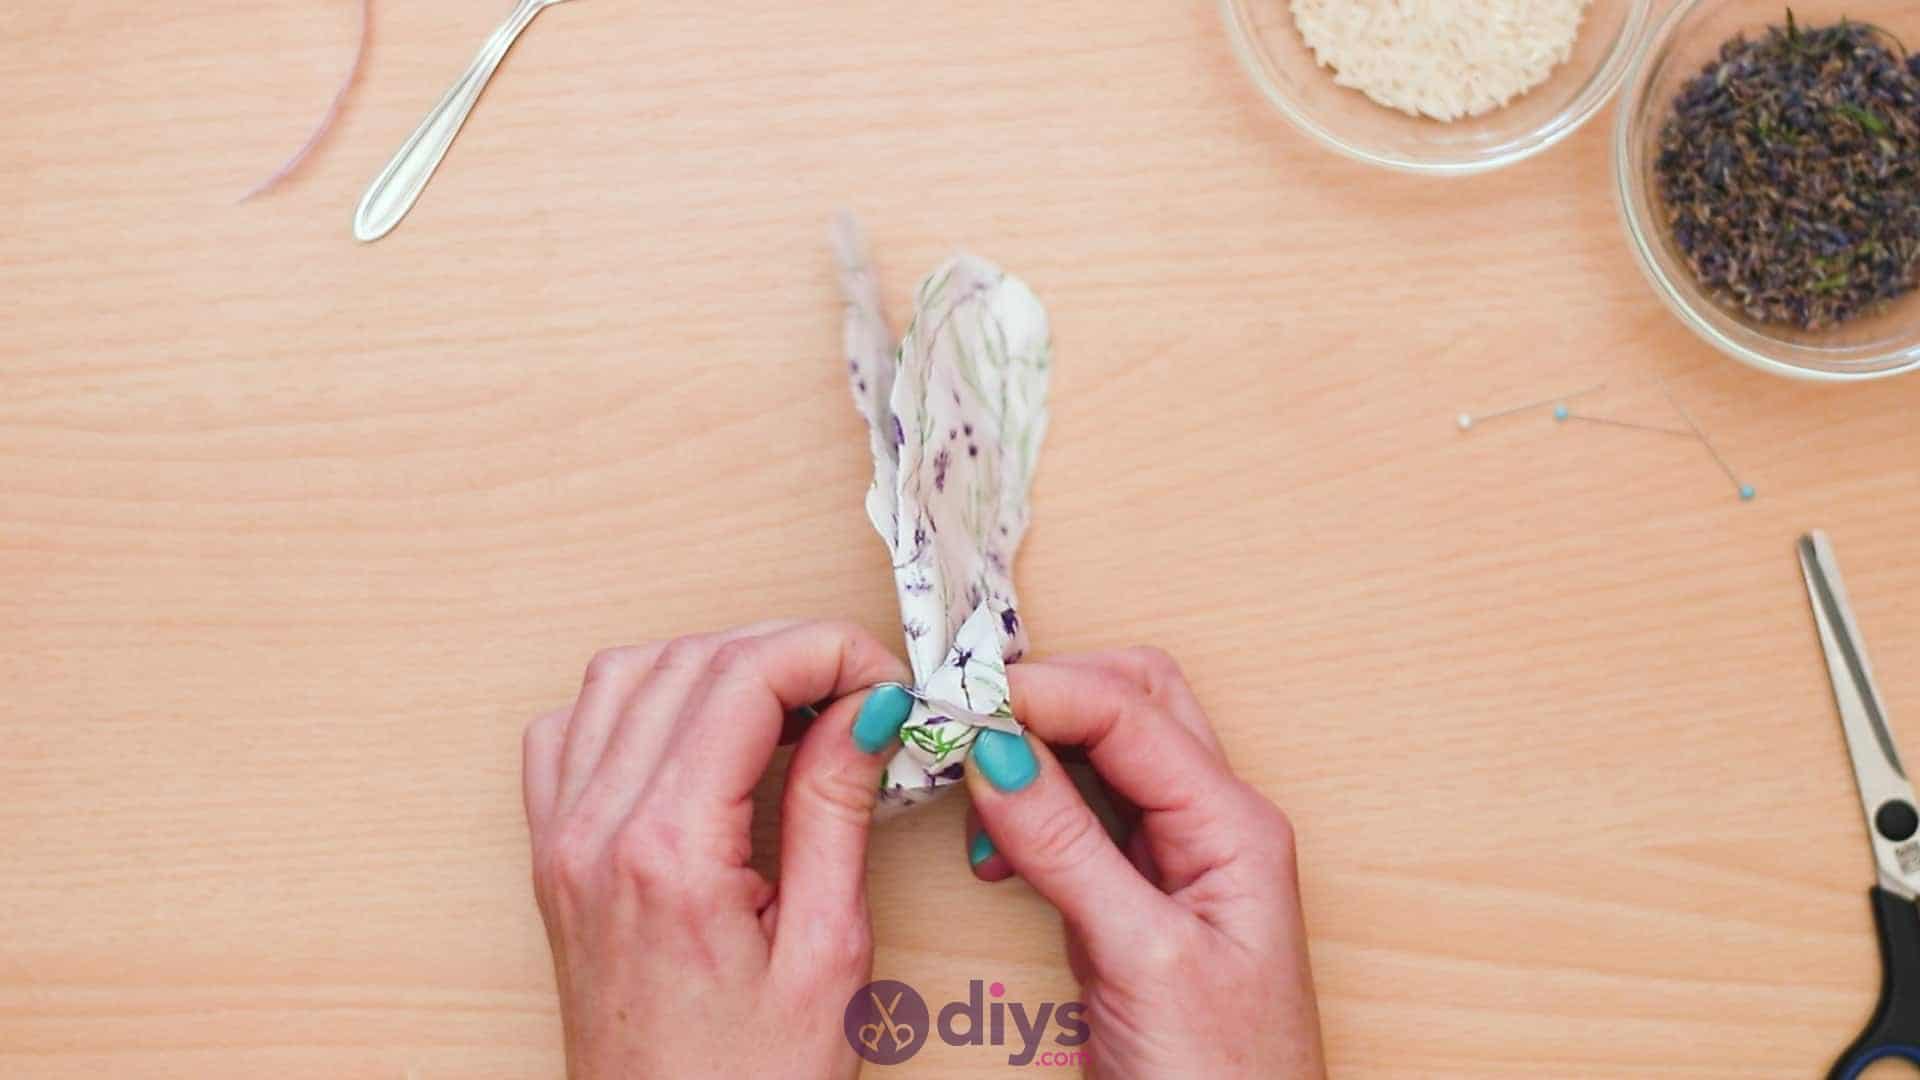
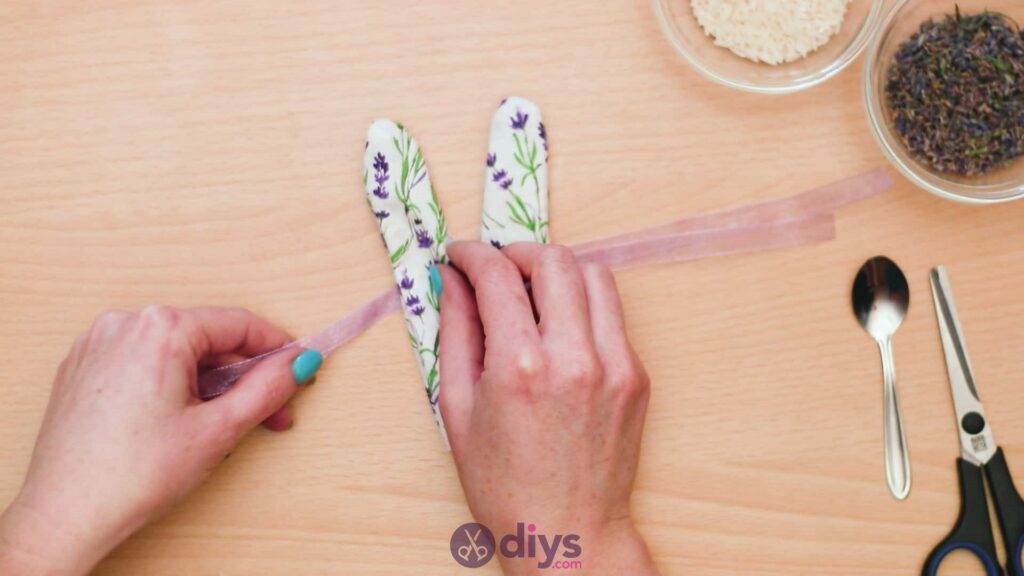
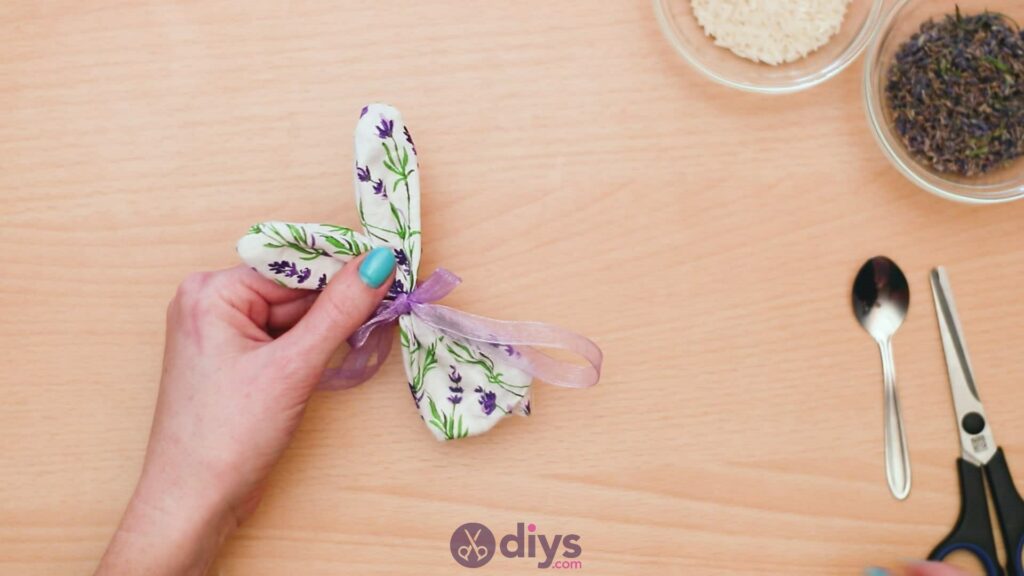
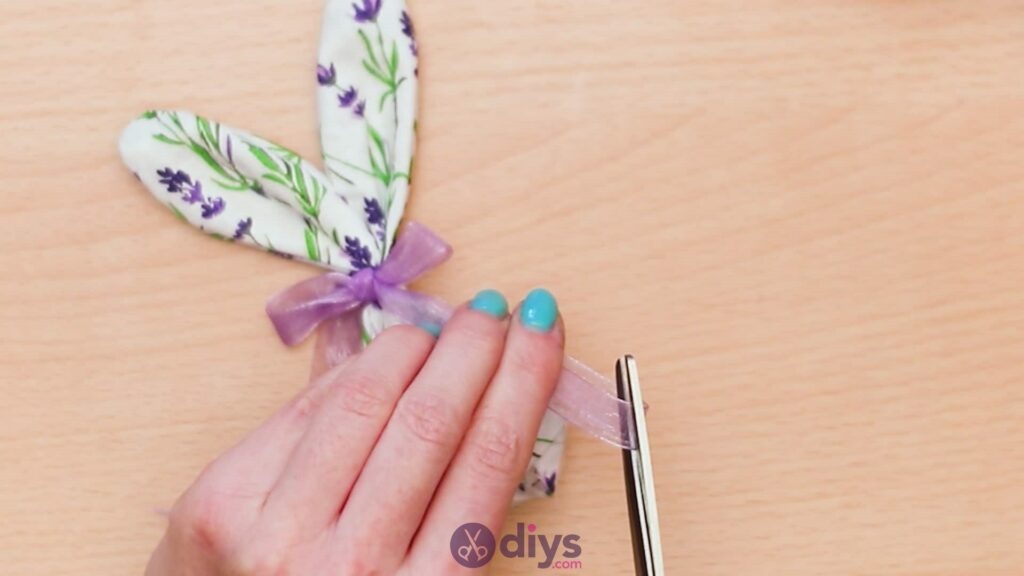
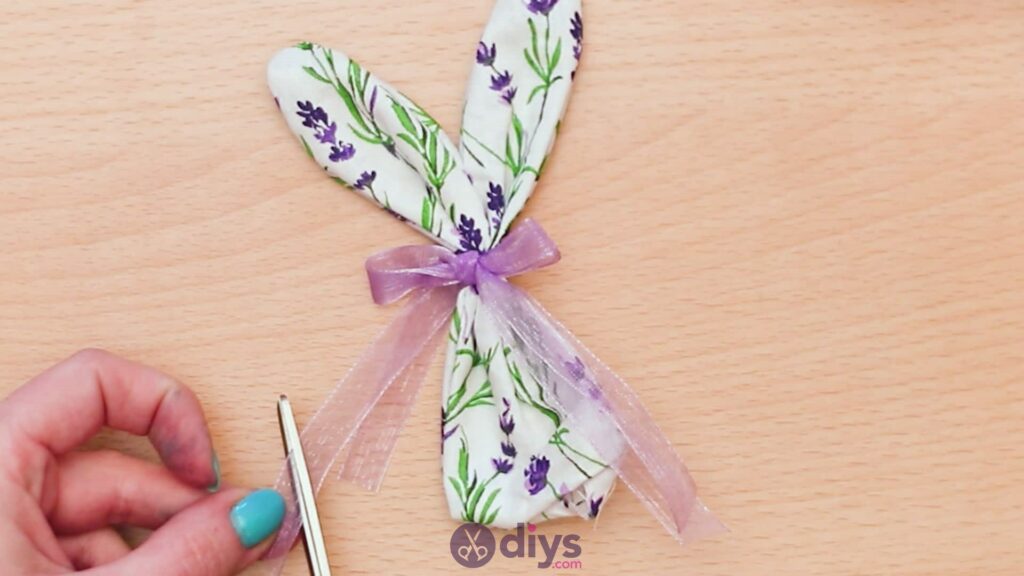
Step 7:
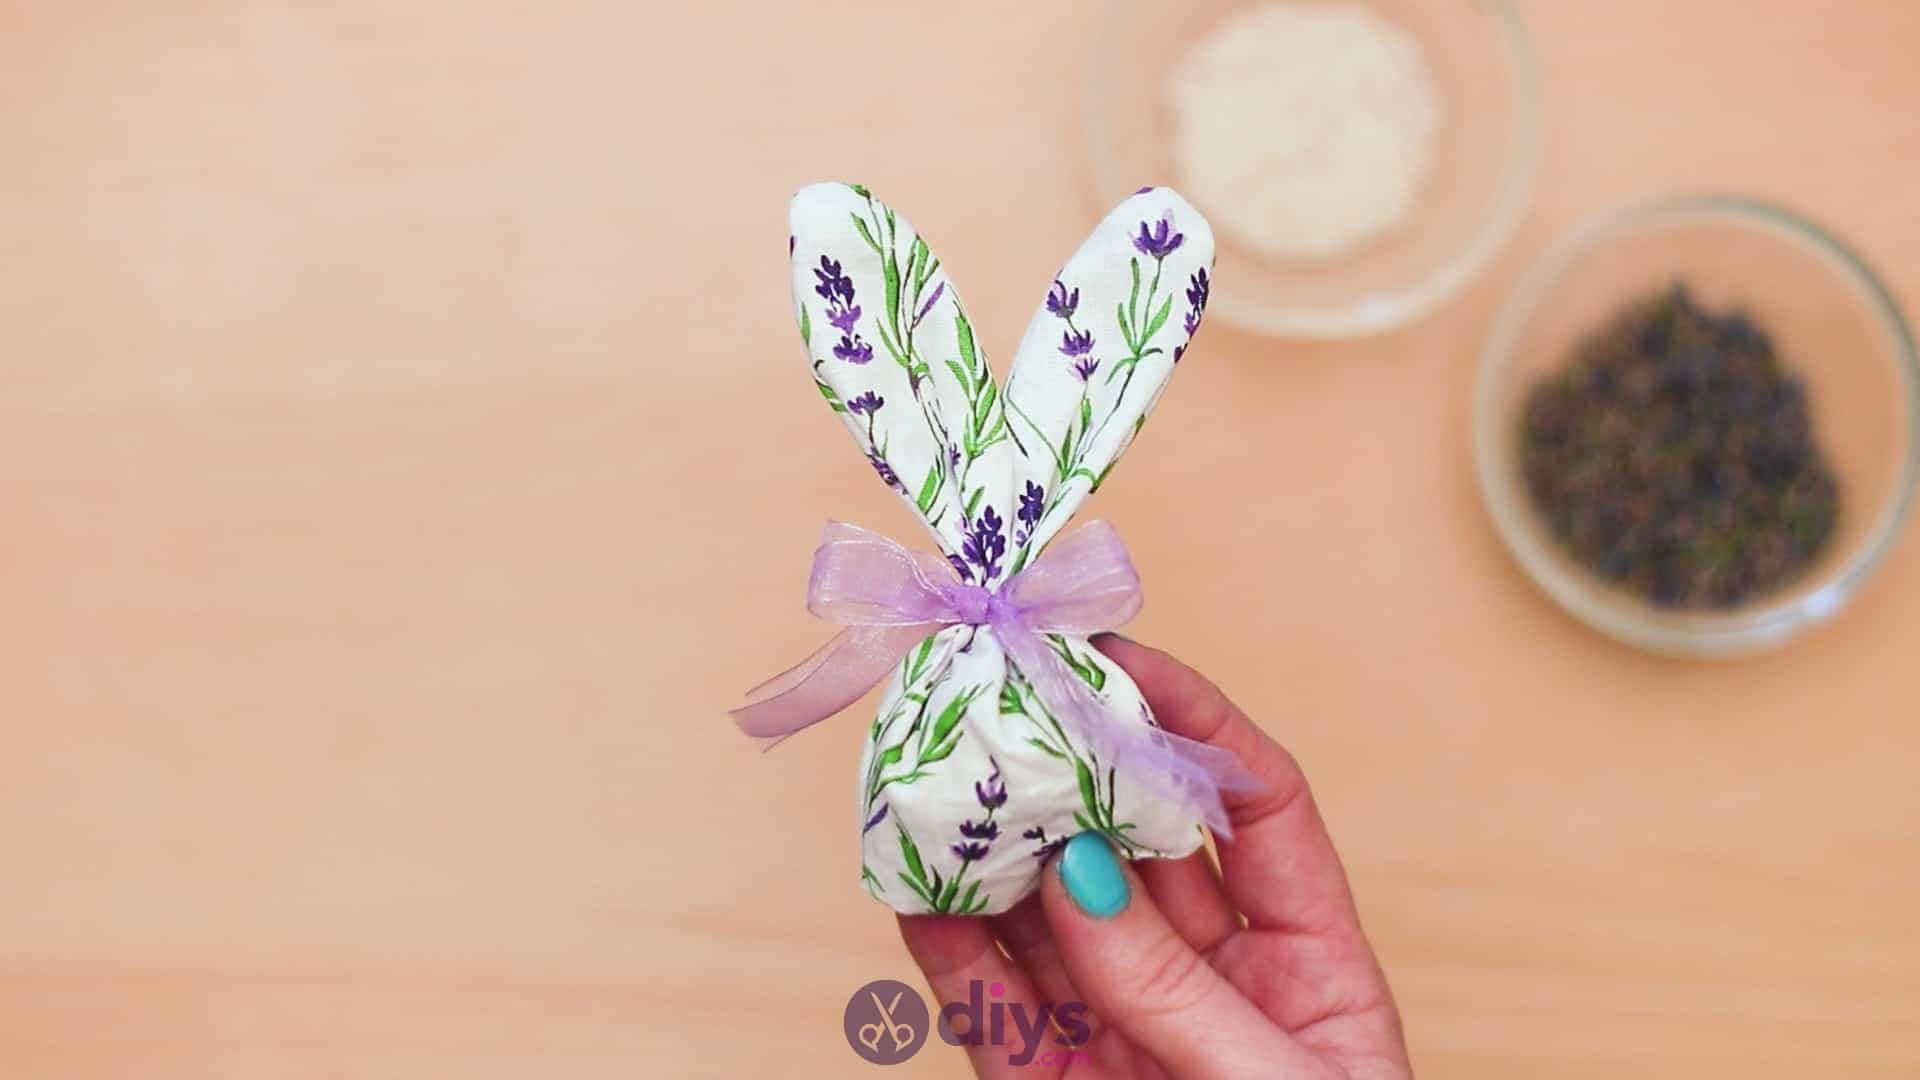
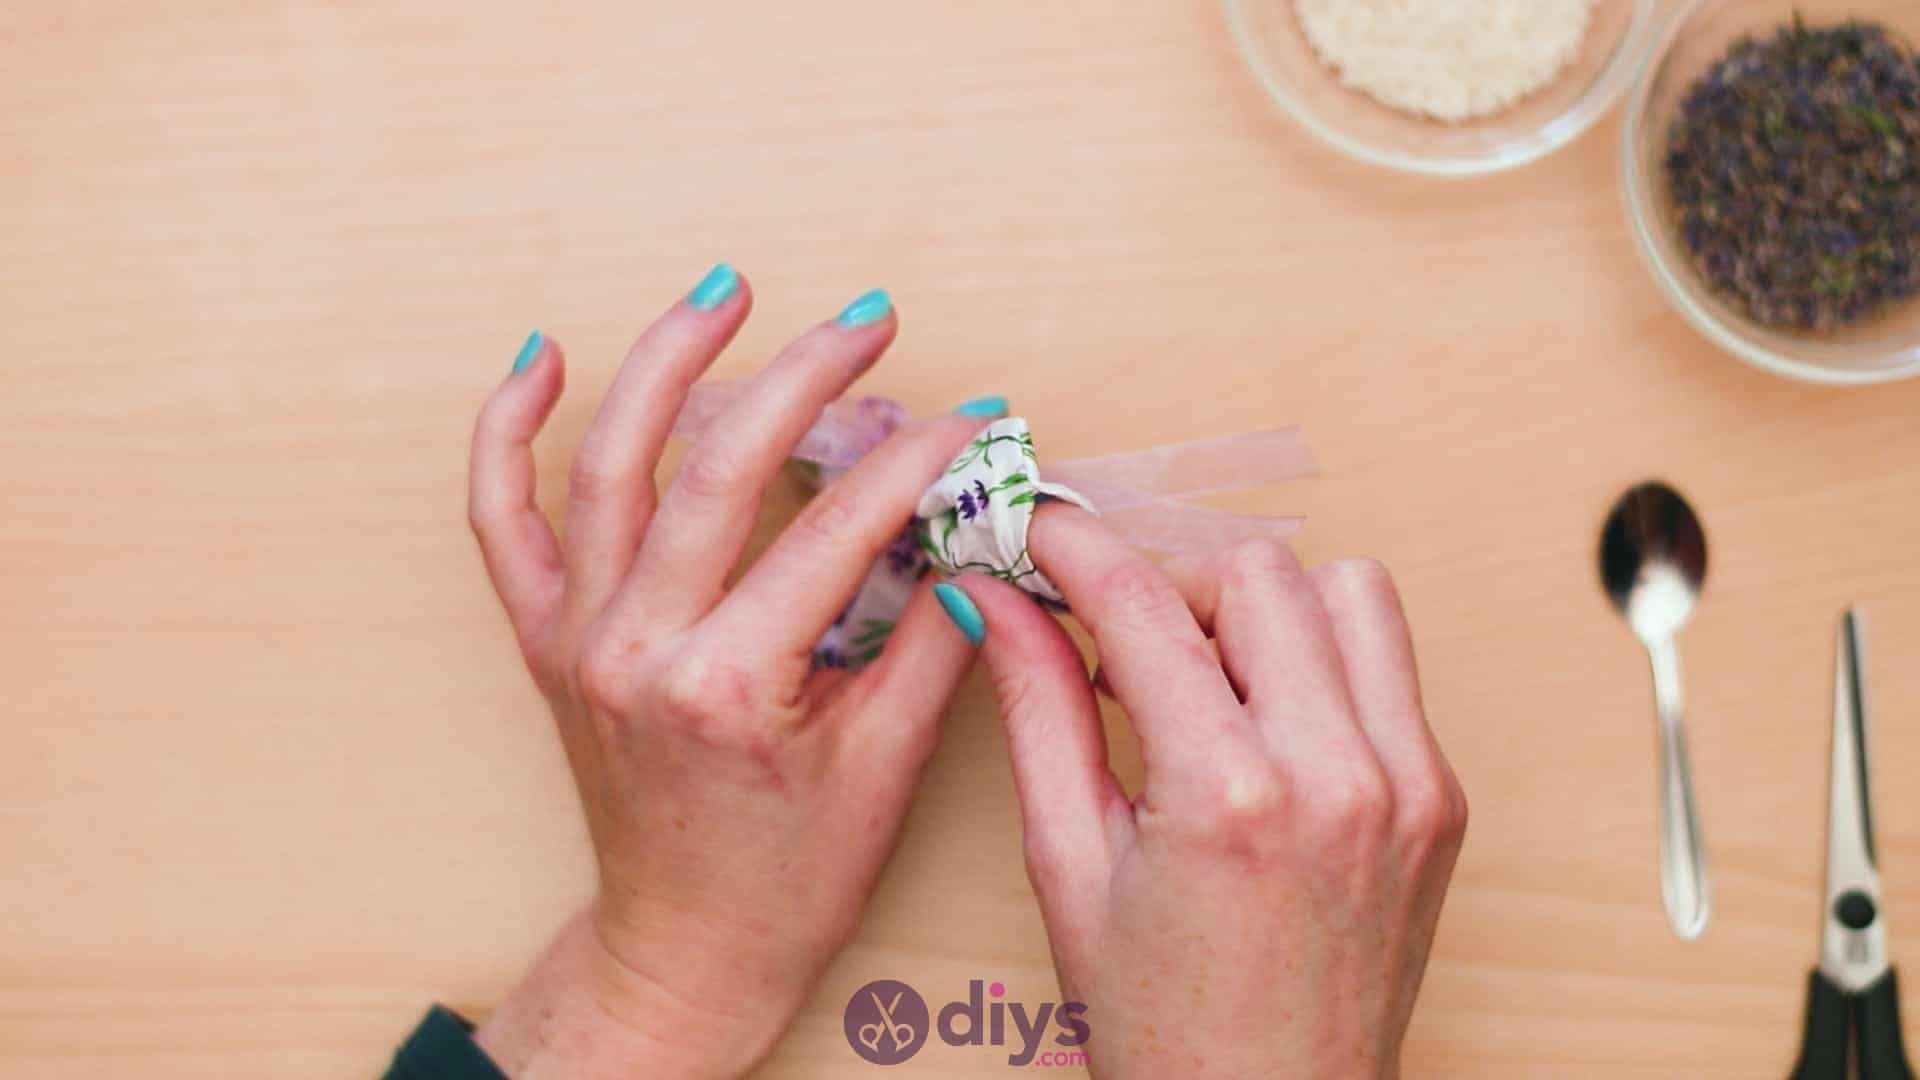
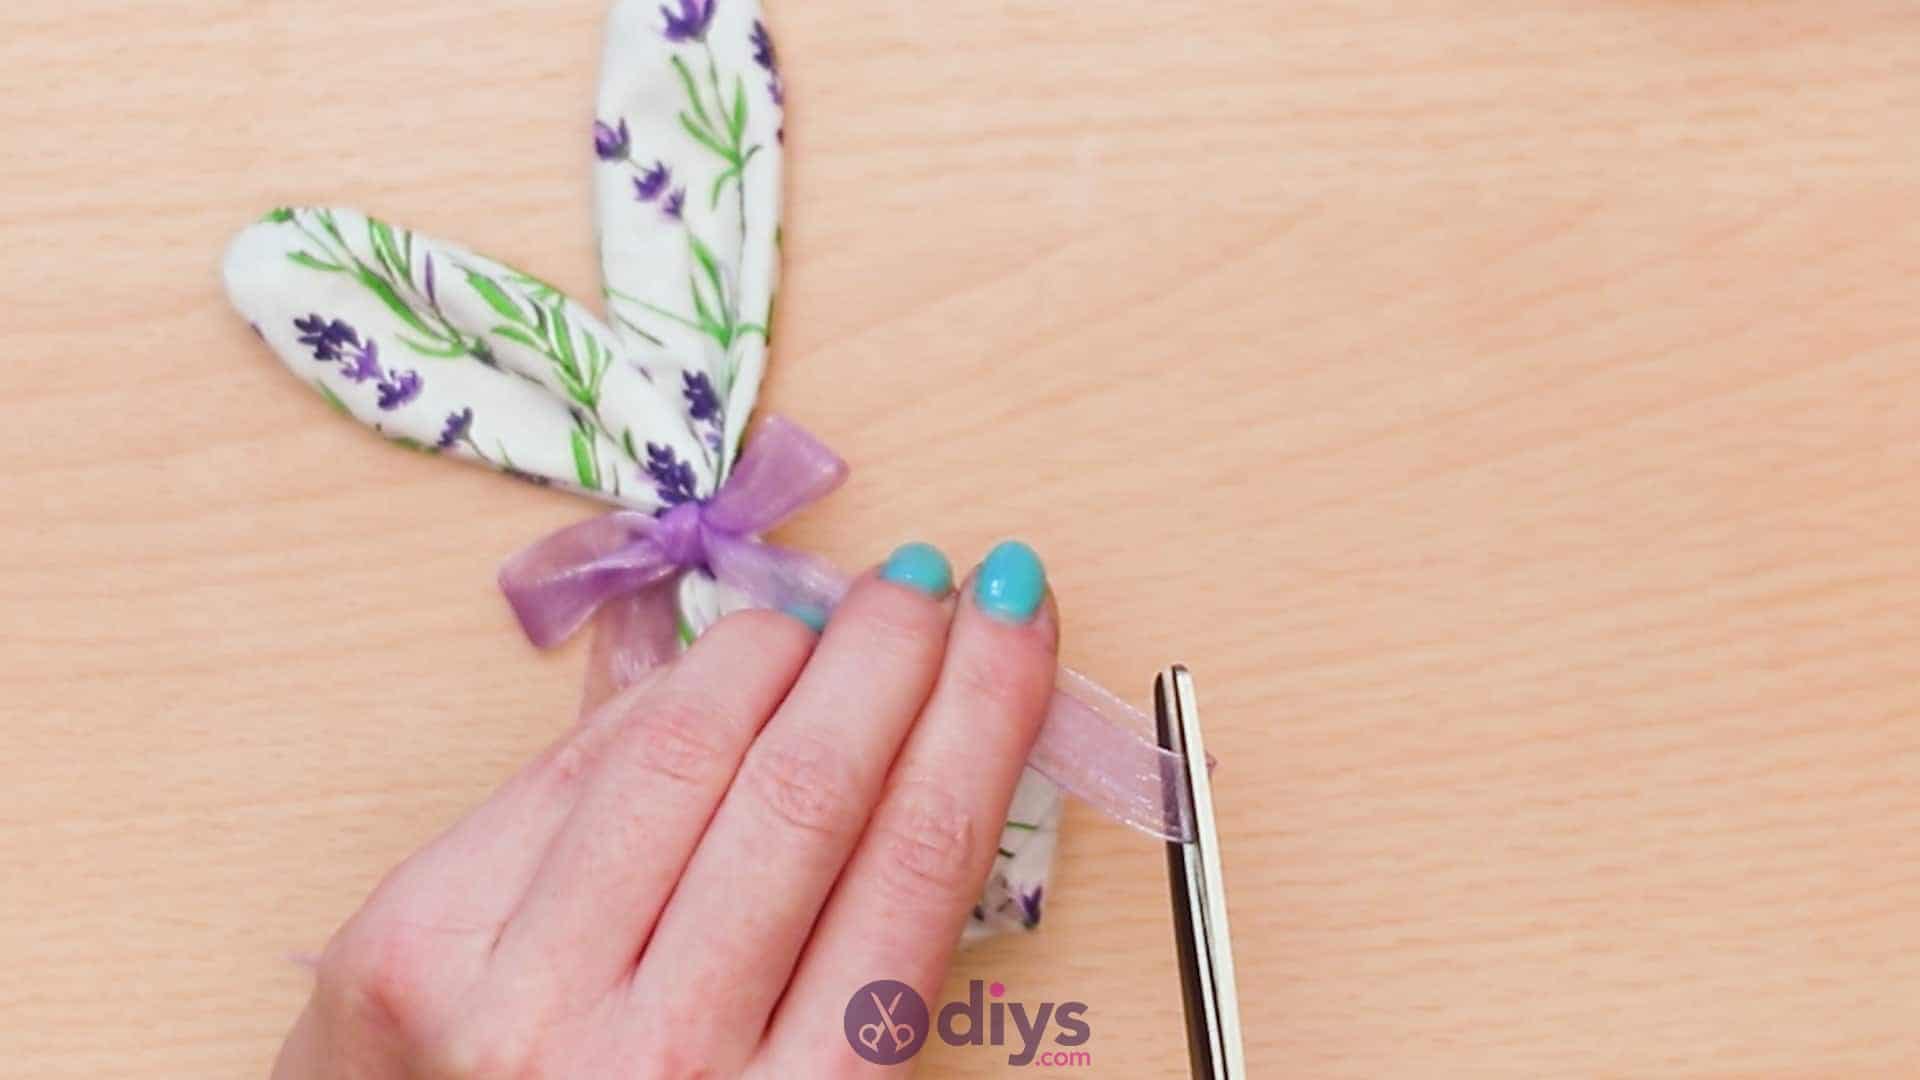
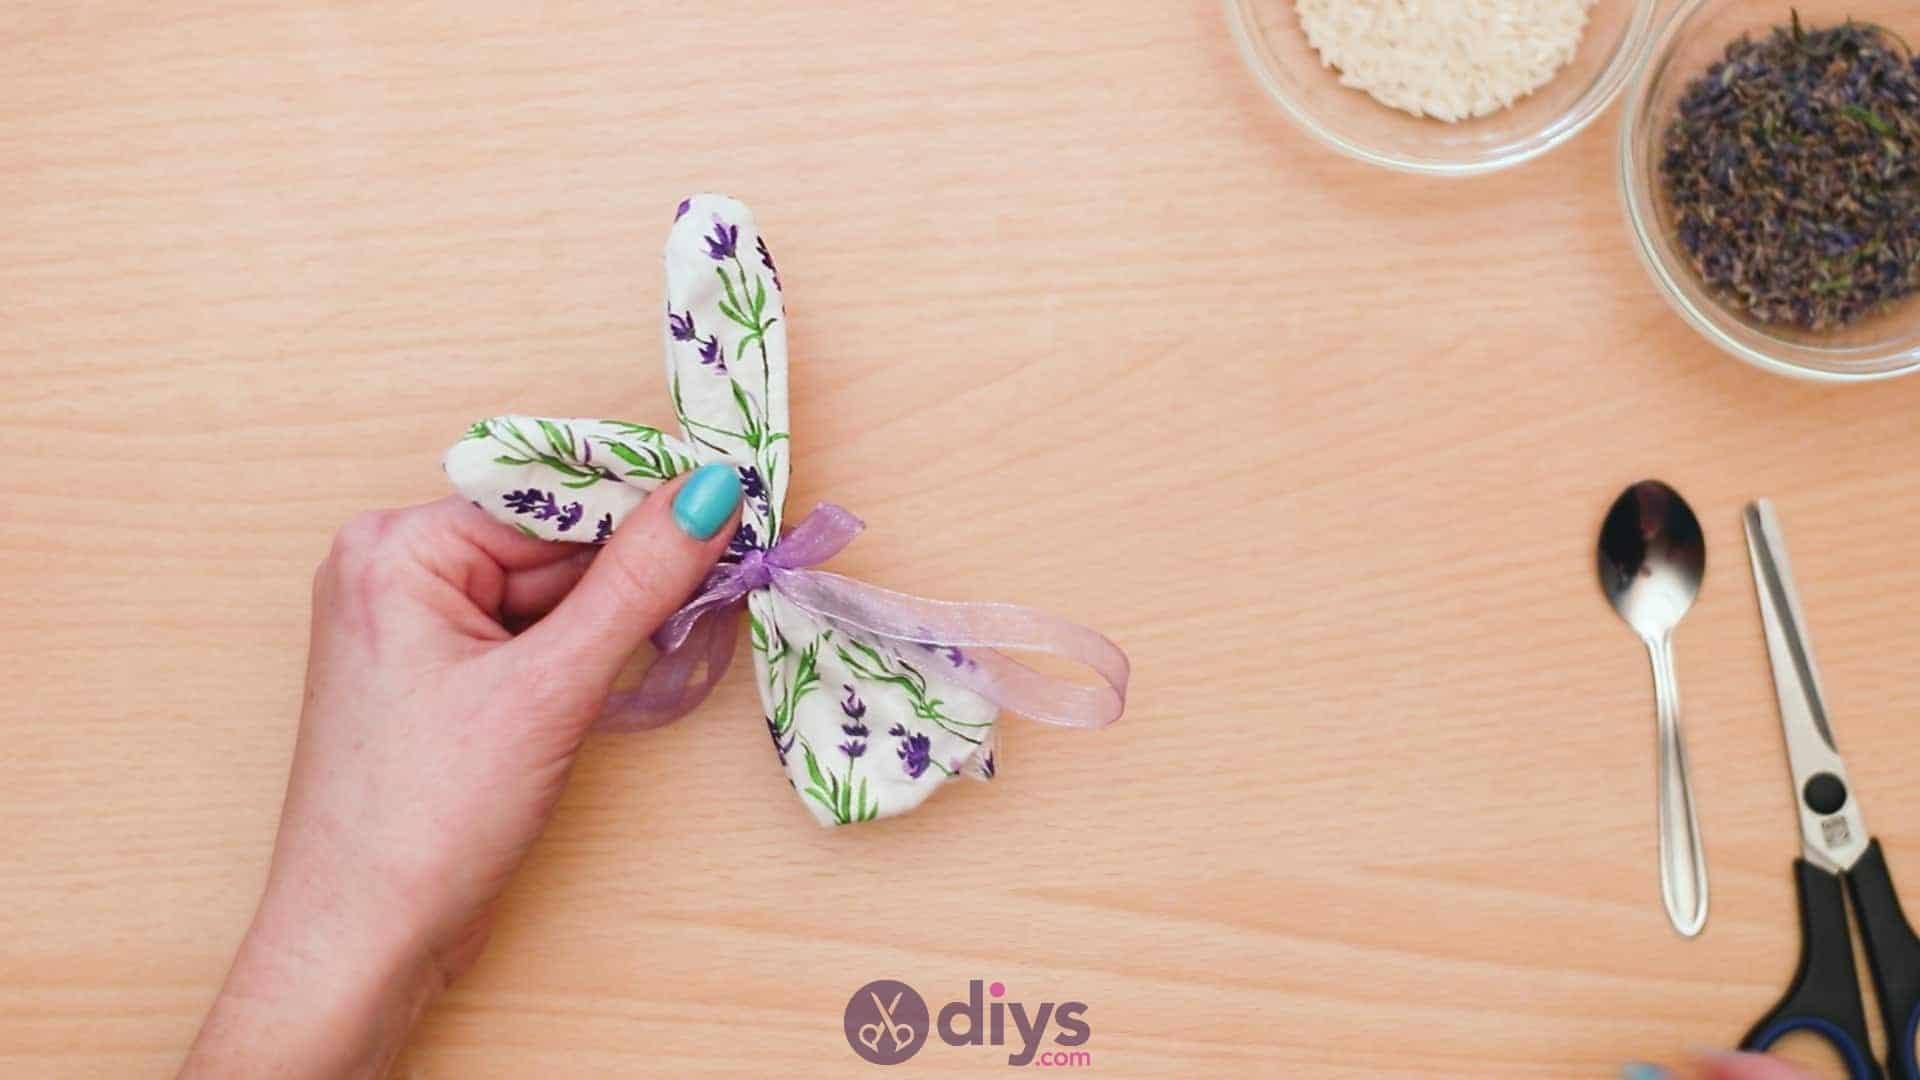
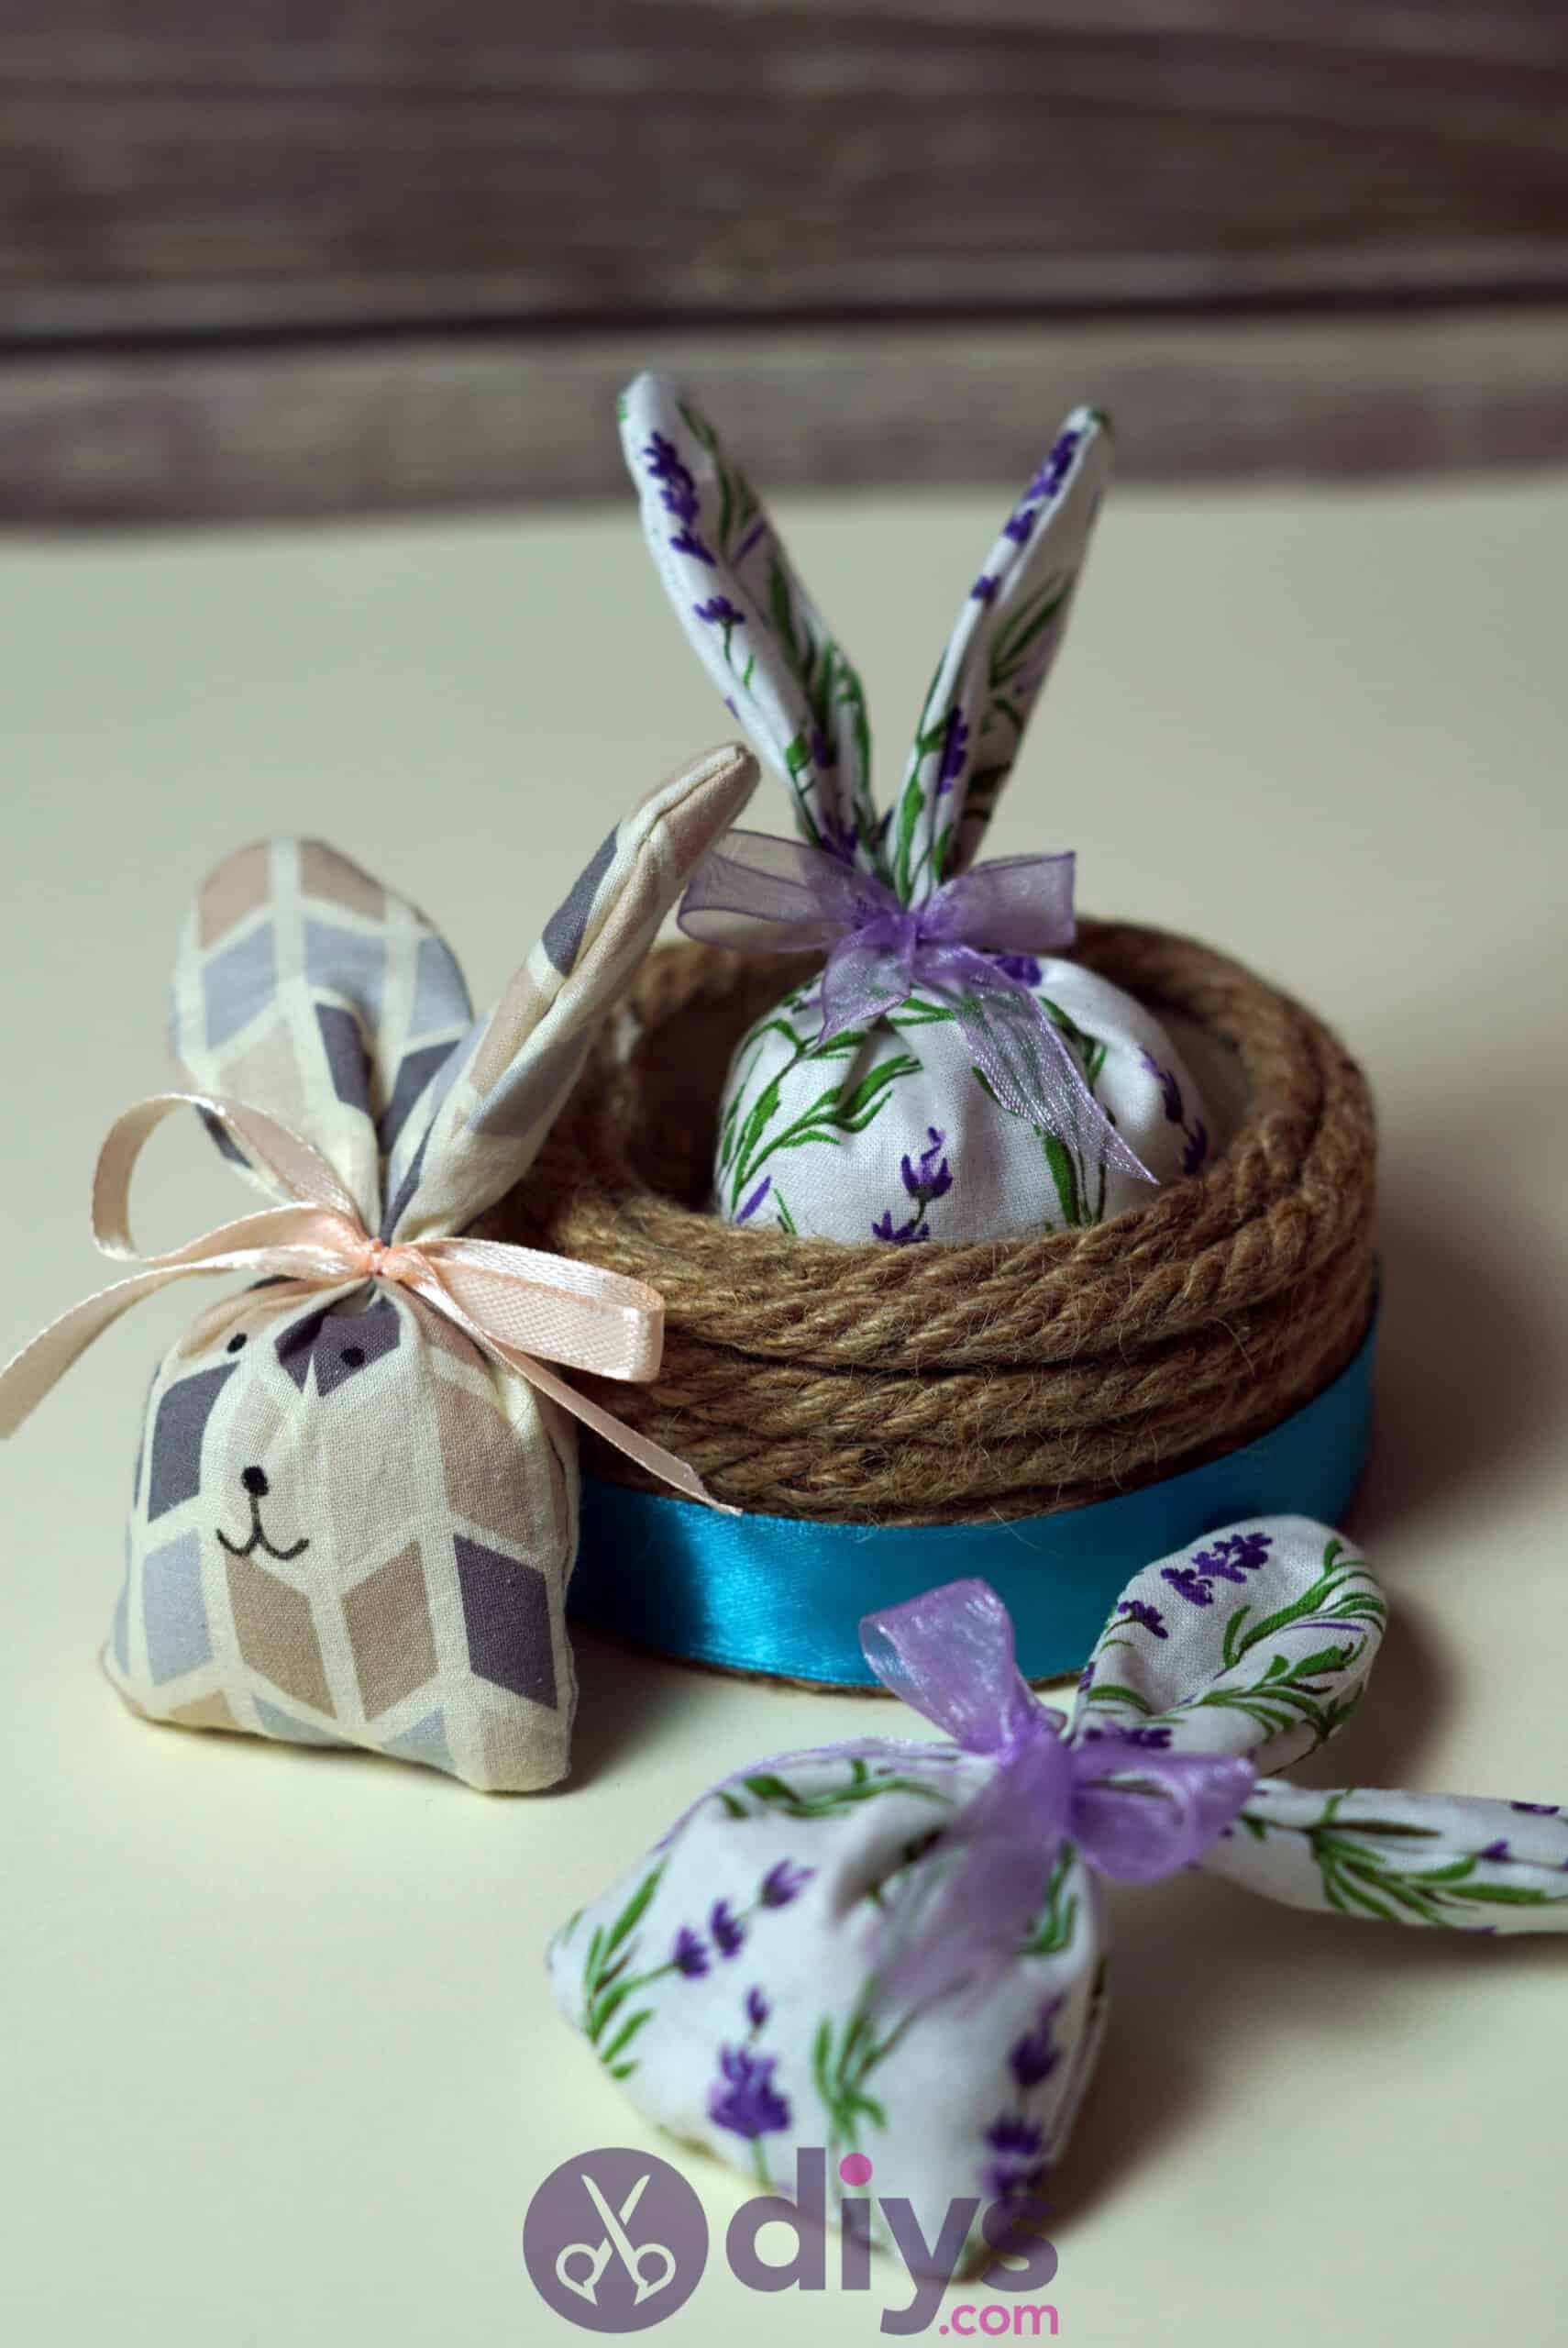
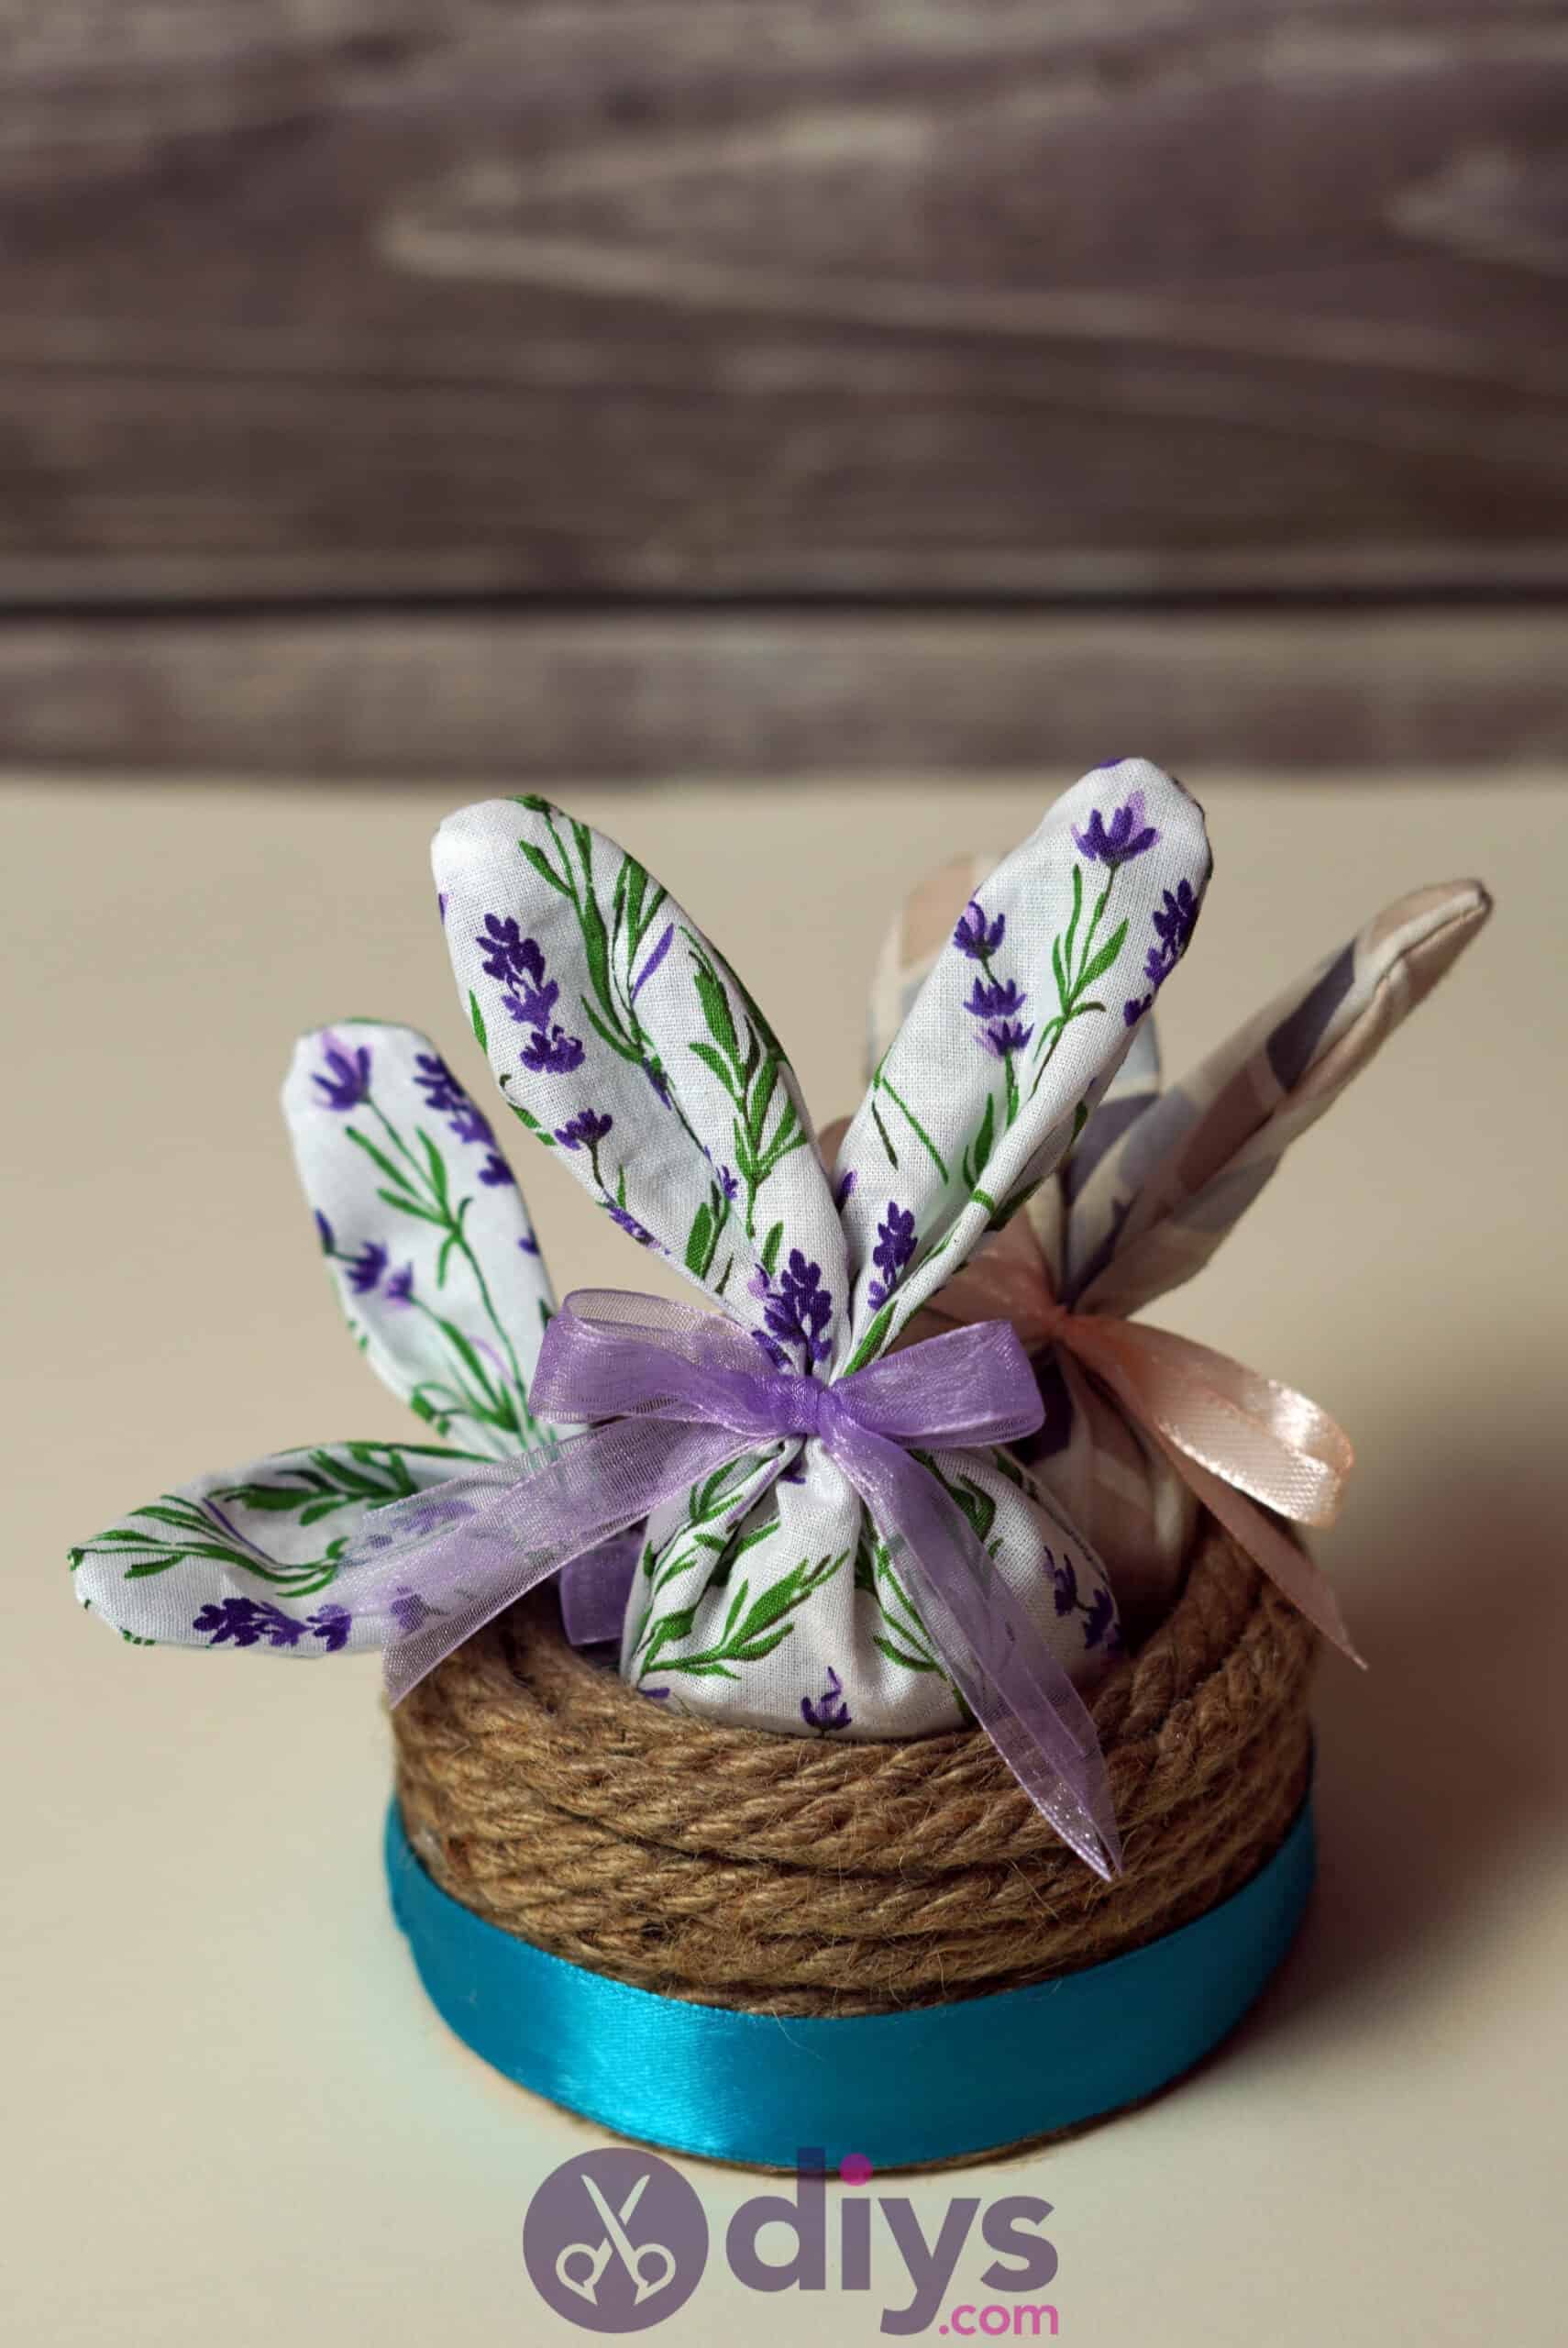
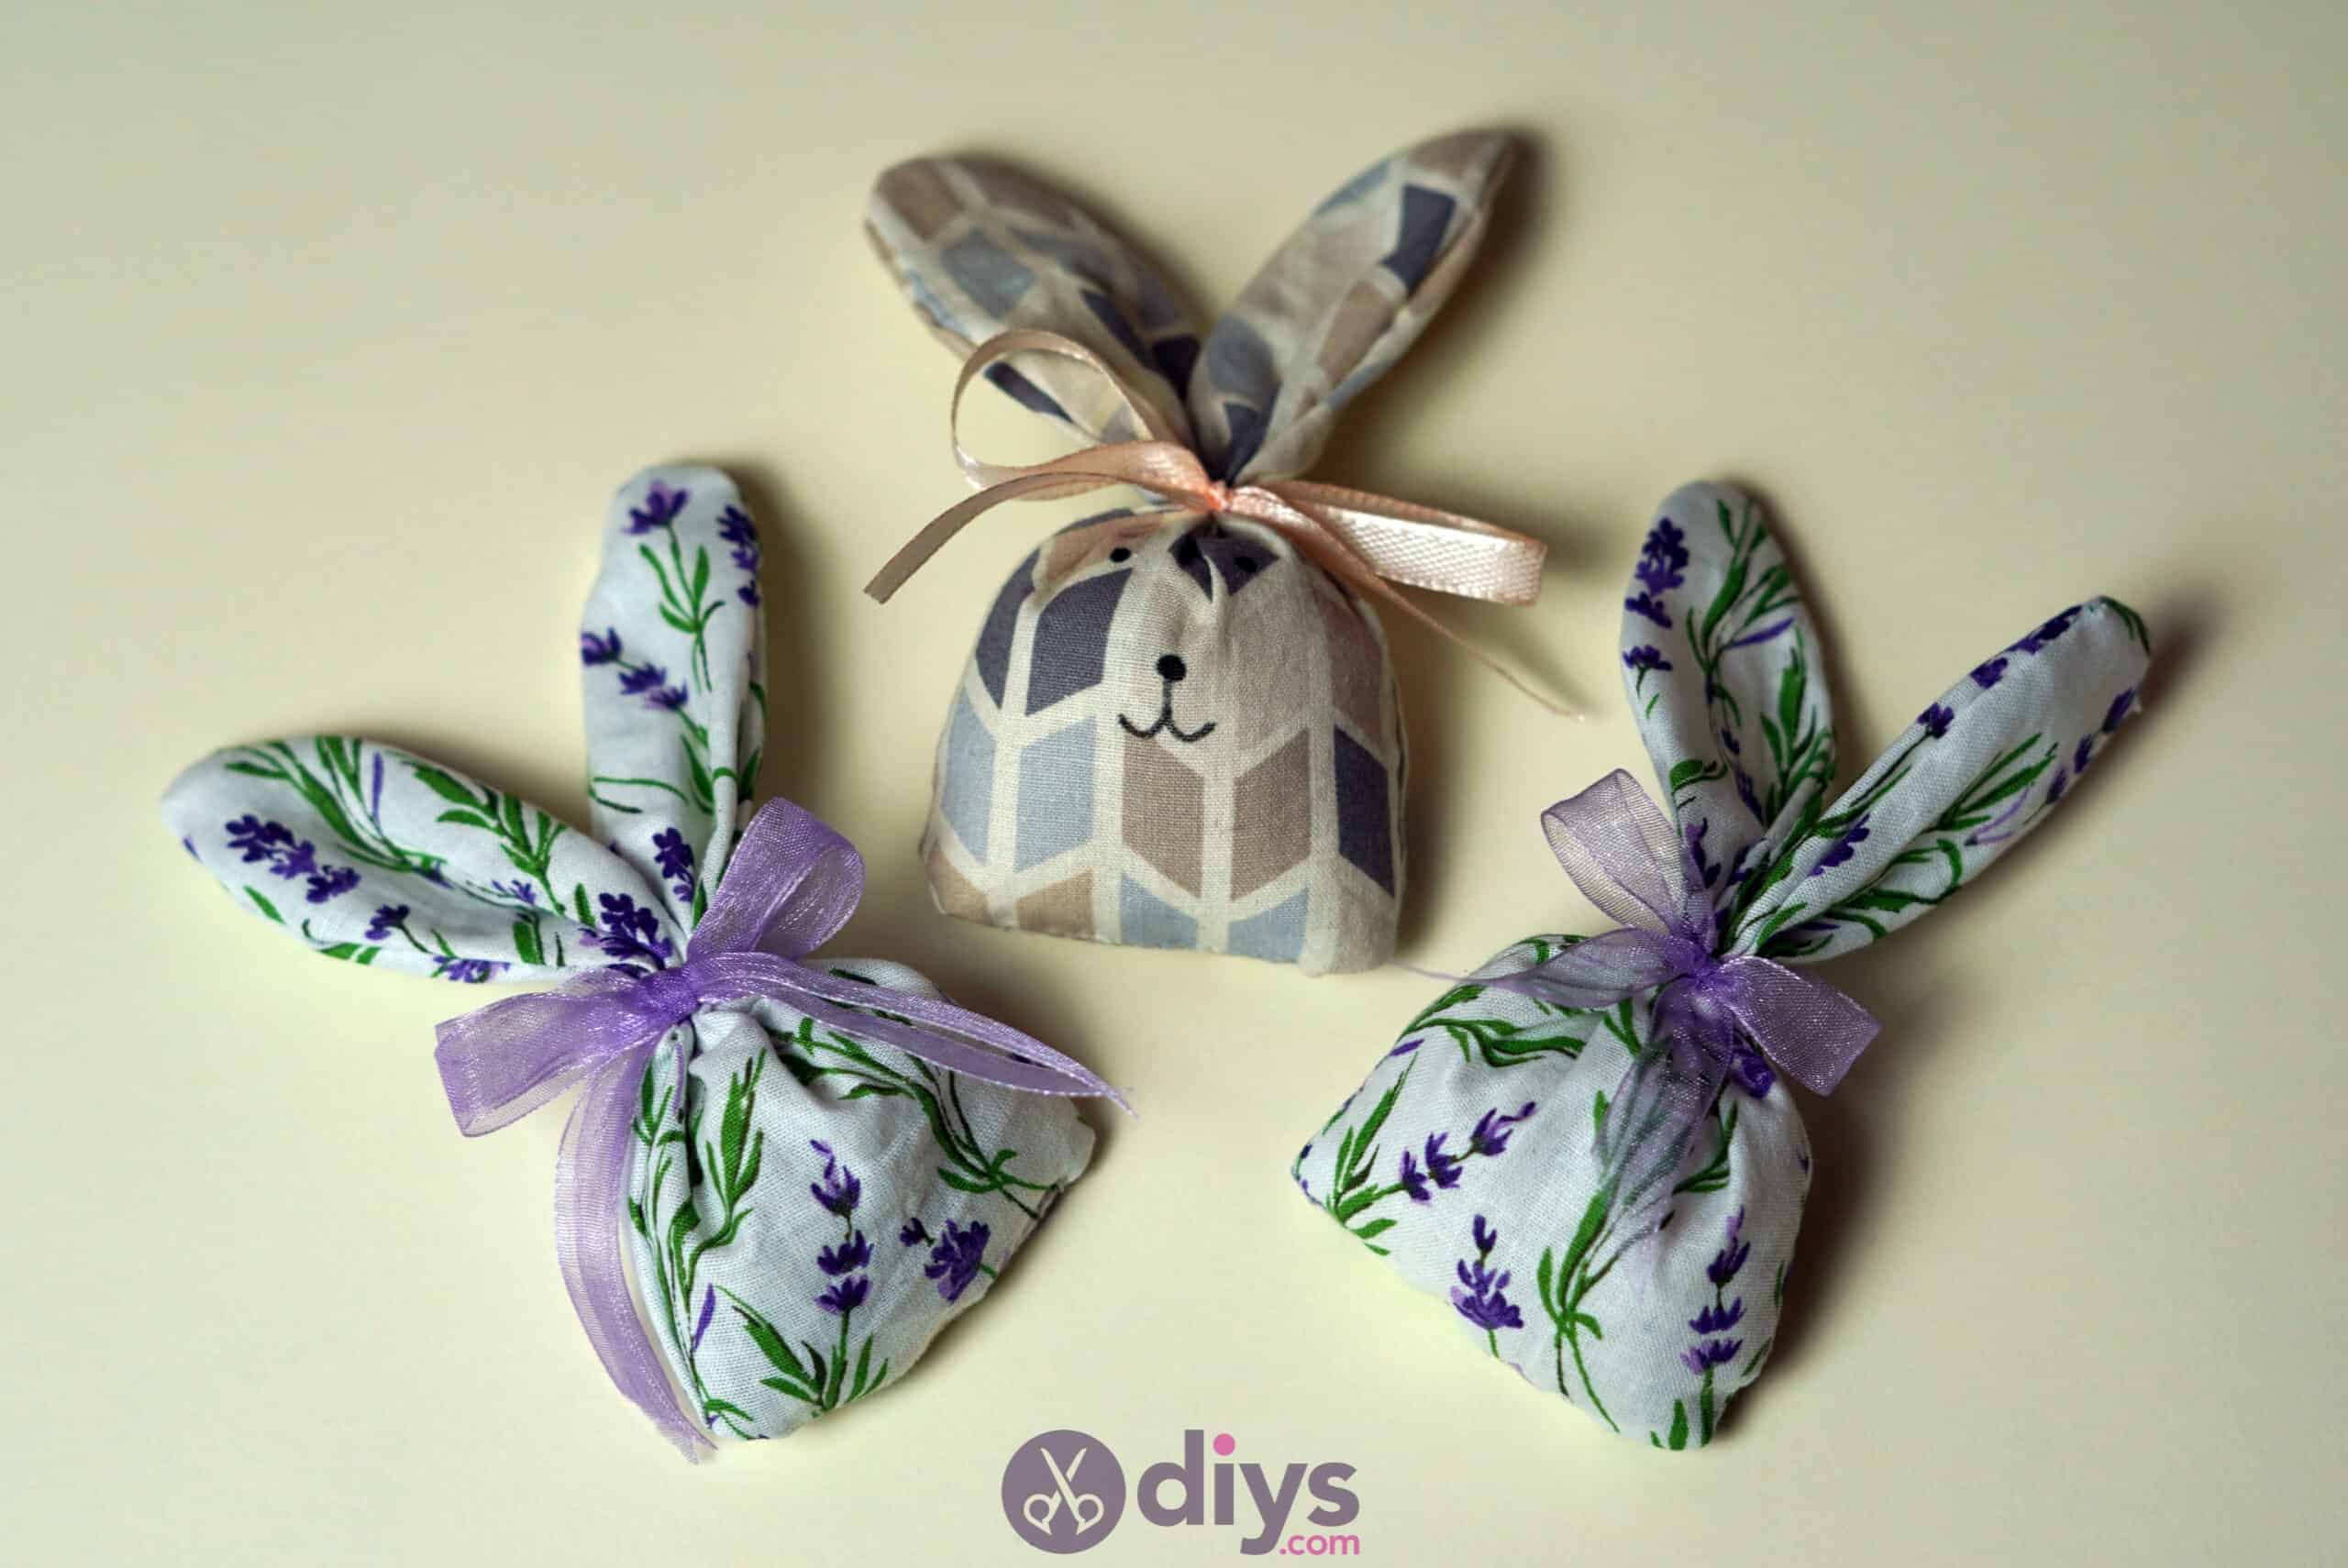
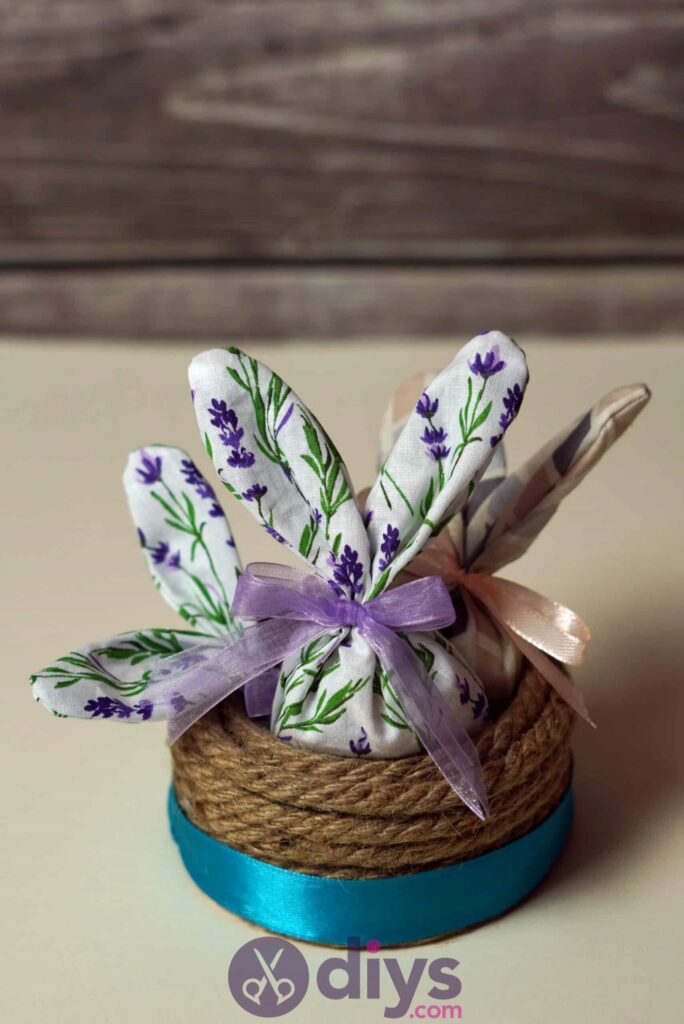
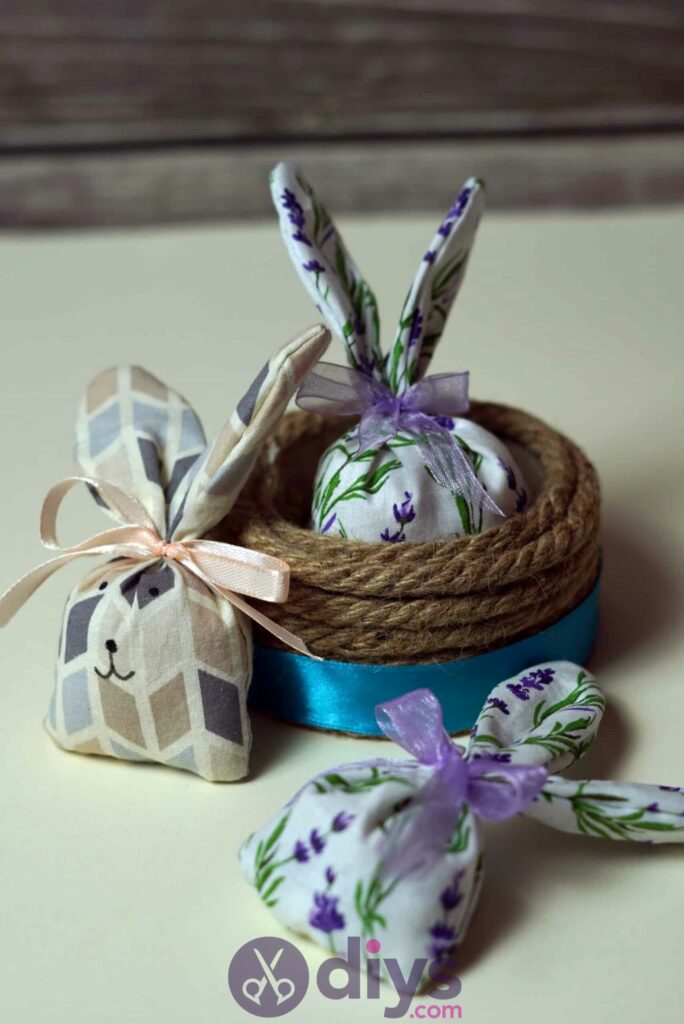
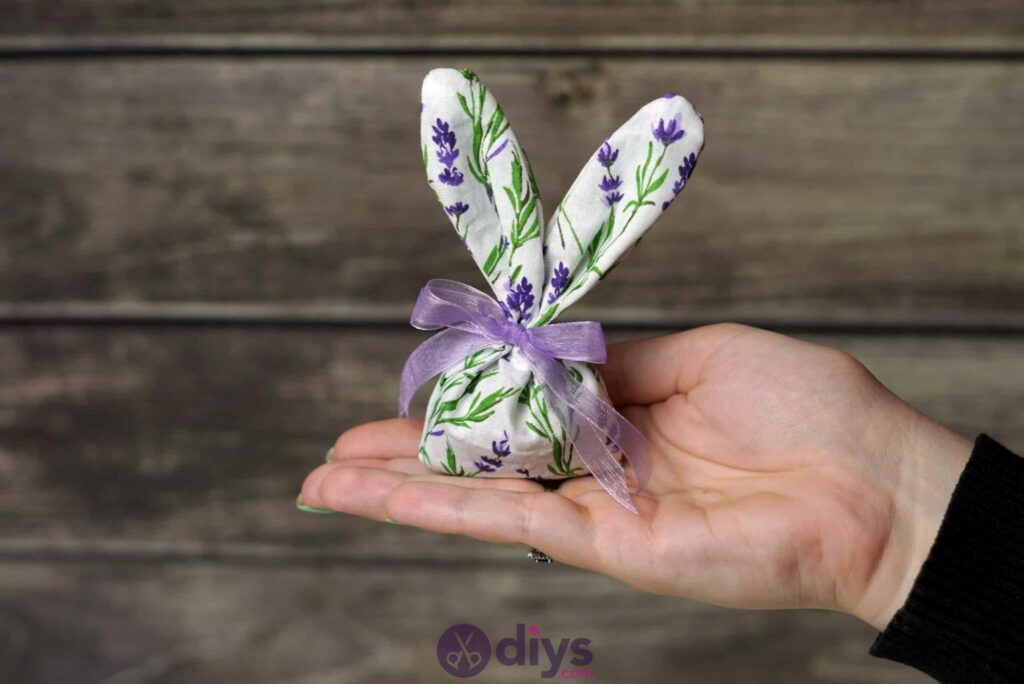
Tie a length of ribbon around your fabric piece right at the base of the ears, where they split off from the top of the main pocket. You’ll cinch the two ears together, keeping them unfilled in the next step so they stay soft and floppy rather than getting stiff. Tie the ends tight and then finish them in a bow. I used my fingers to cut the ends on diagonals to stop the ribbon from fraying.

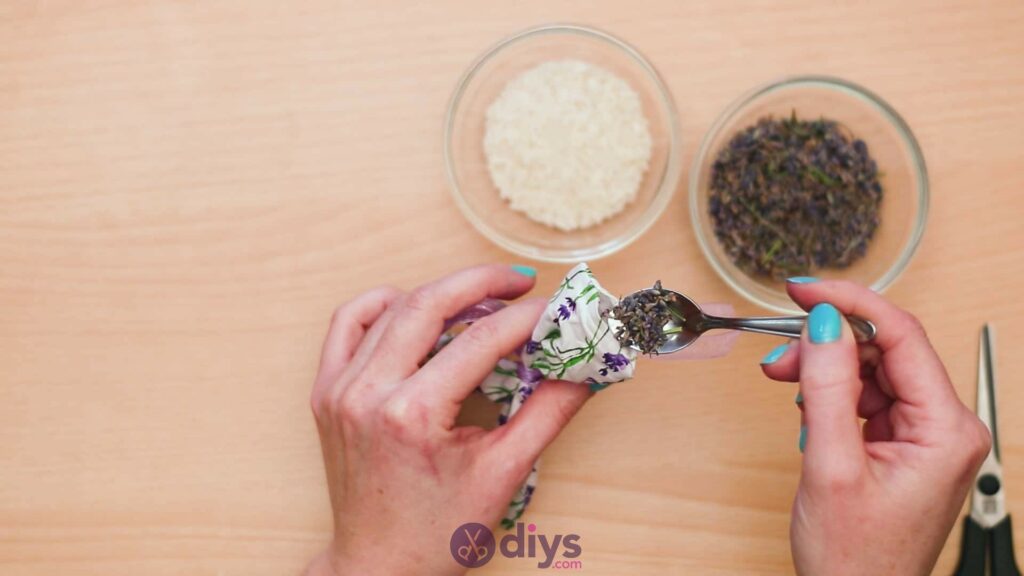
Step 8:
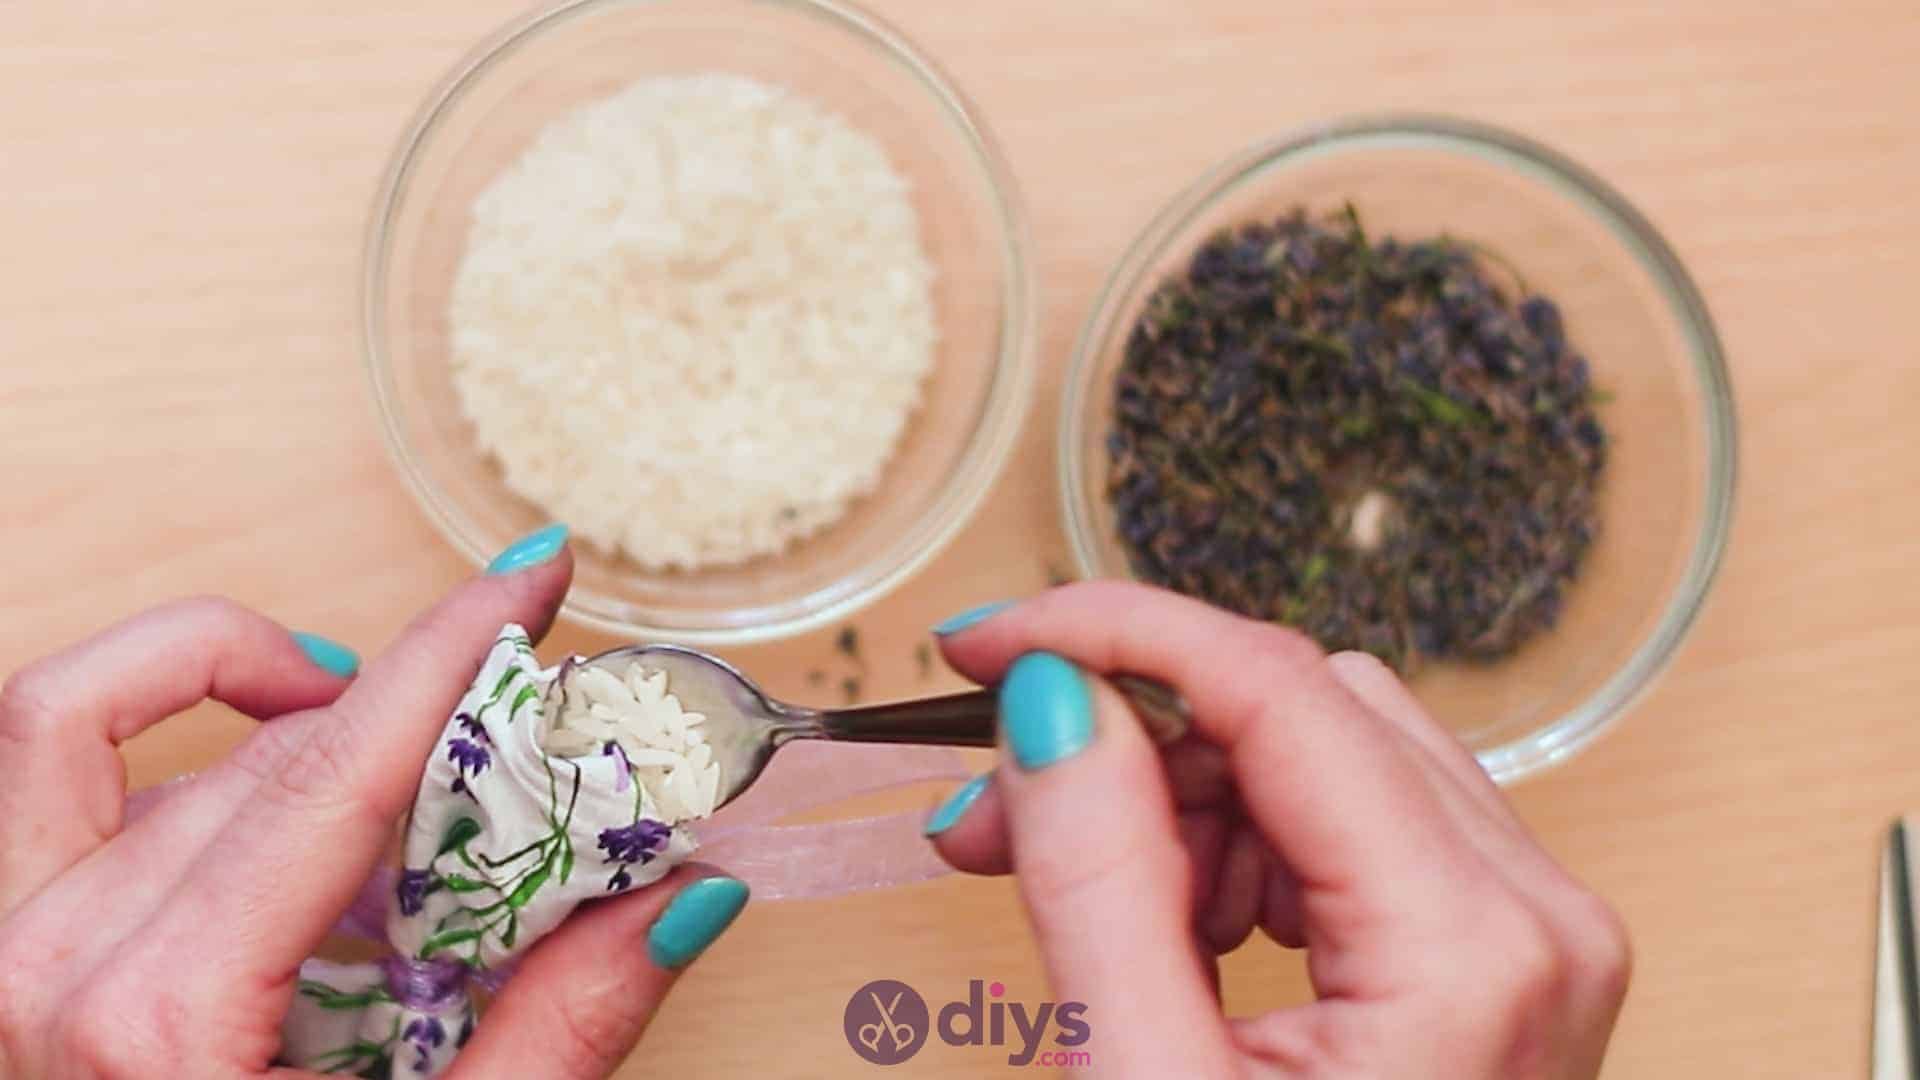
Turn your piece upside down so your opening at the bottom faces upwards. Use a small spoon to fill the bag, alternating spoonfuls of dried lavender and rice. The uncooked rice weights the bag a little and also makes it microwaveable so you can warm it to a small temperature, releasing the scent further and making the piece comforting and calming to hold when you’re trying to relax or sleep. Fill the bag quite well, but make sure to leave yourself enough spare edging to sew your opening together in a moment.
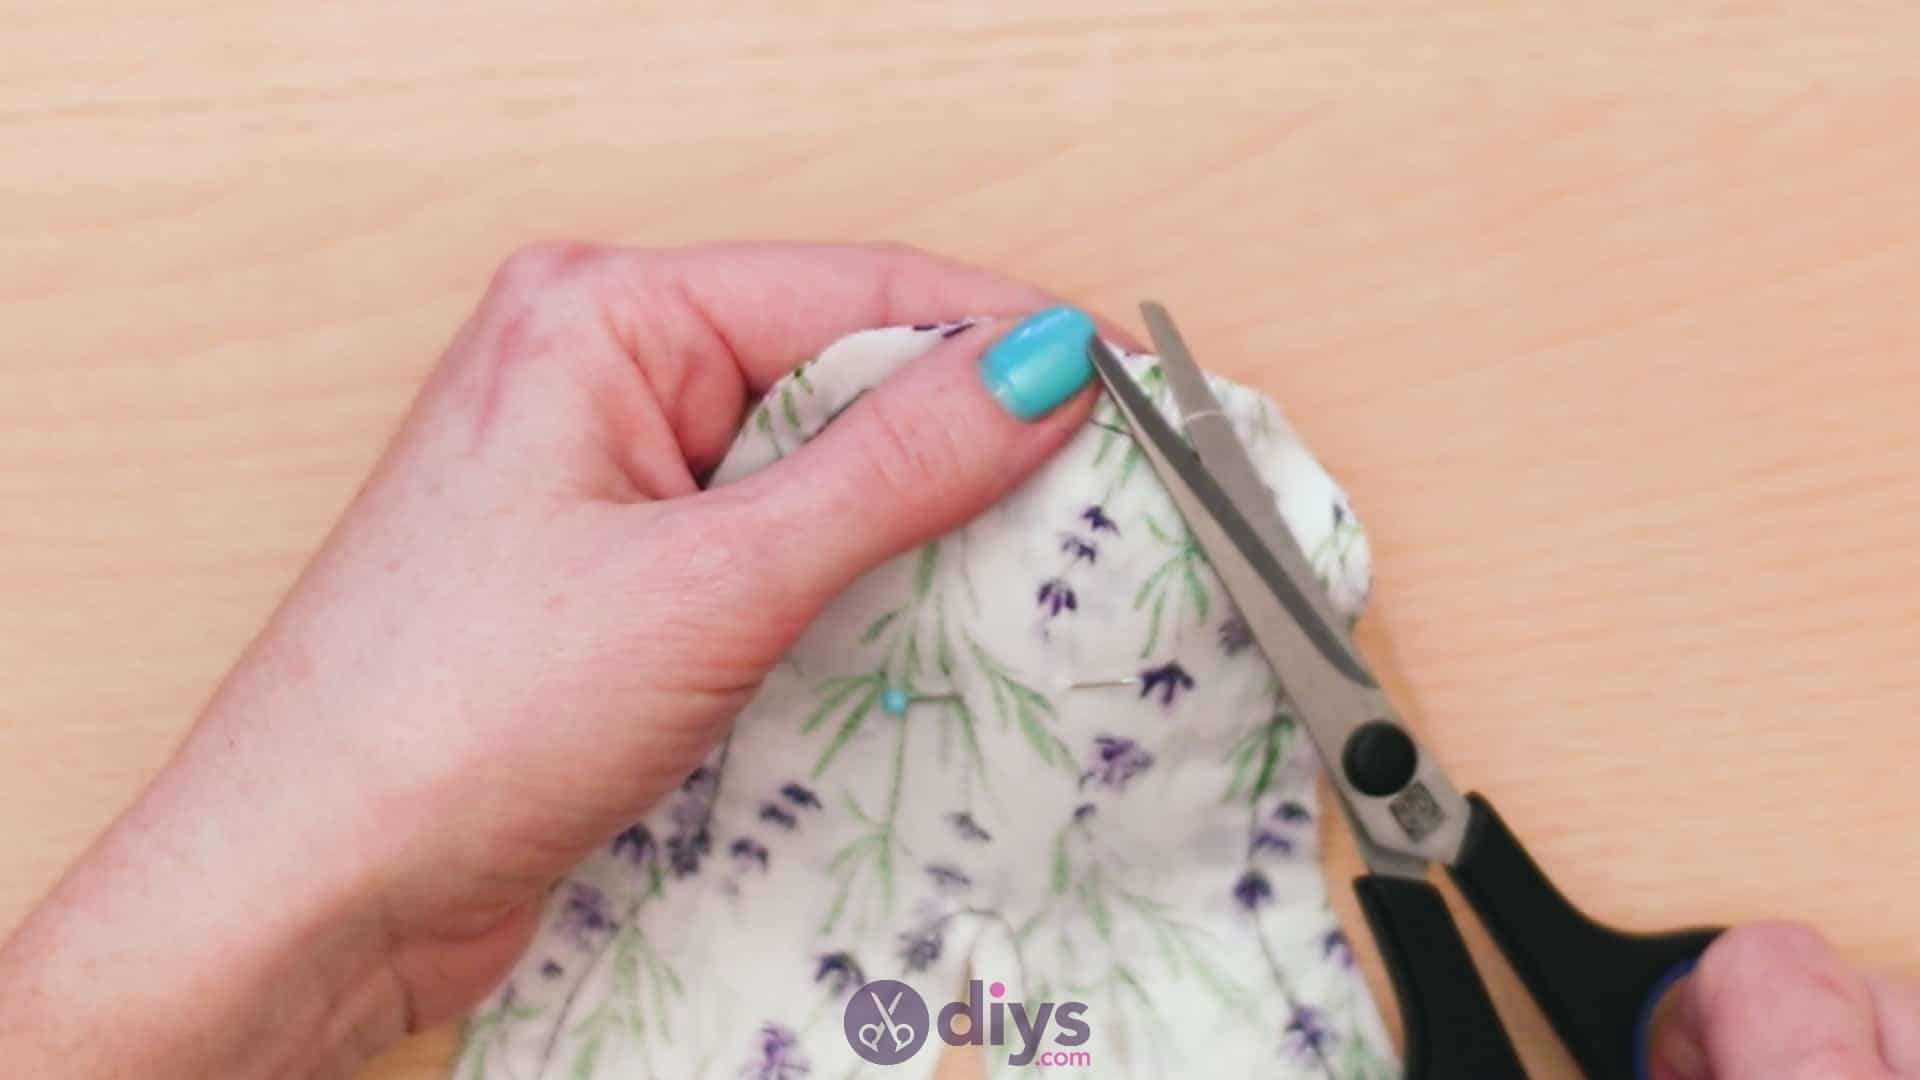
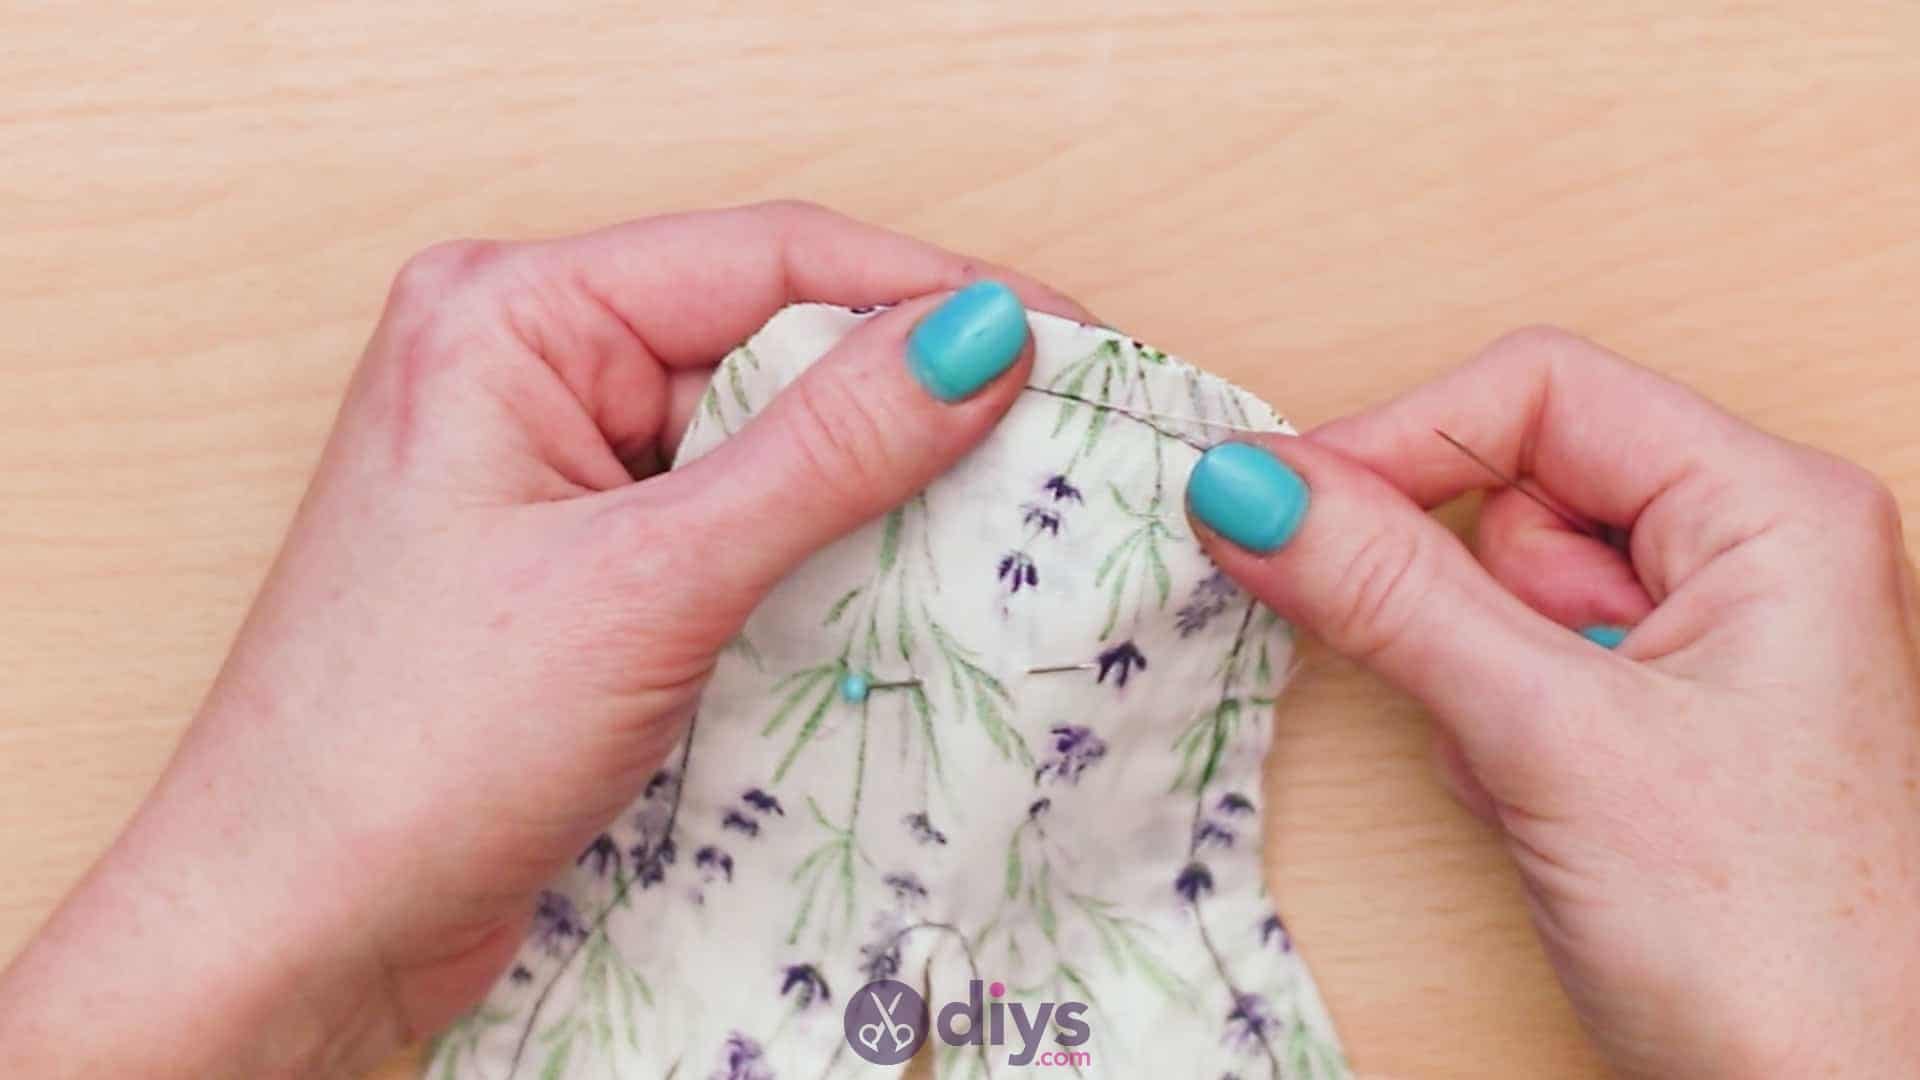
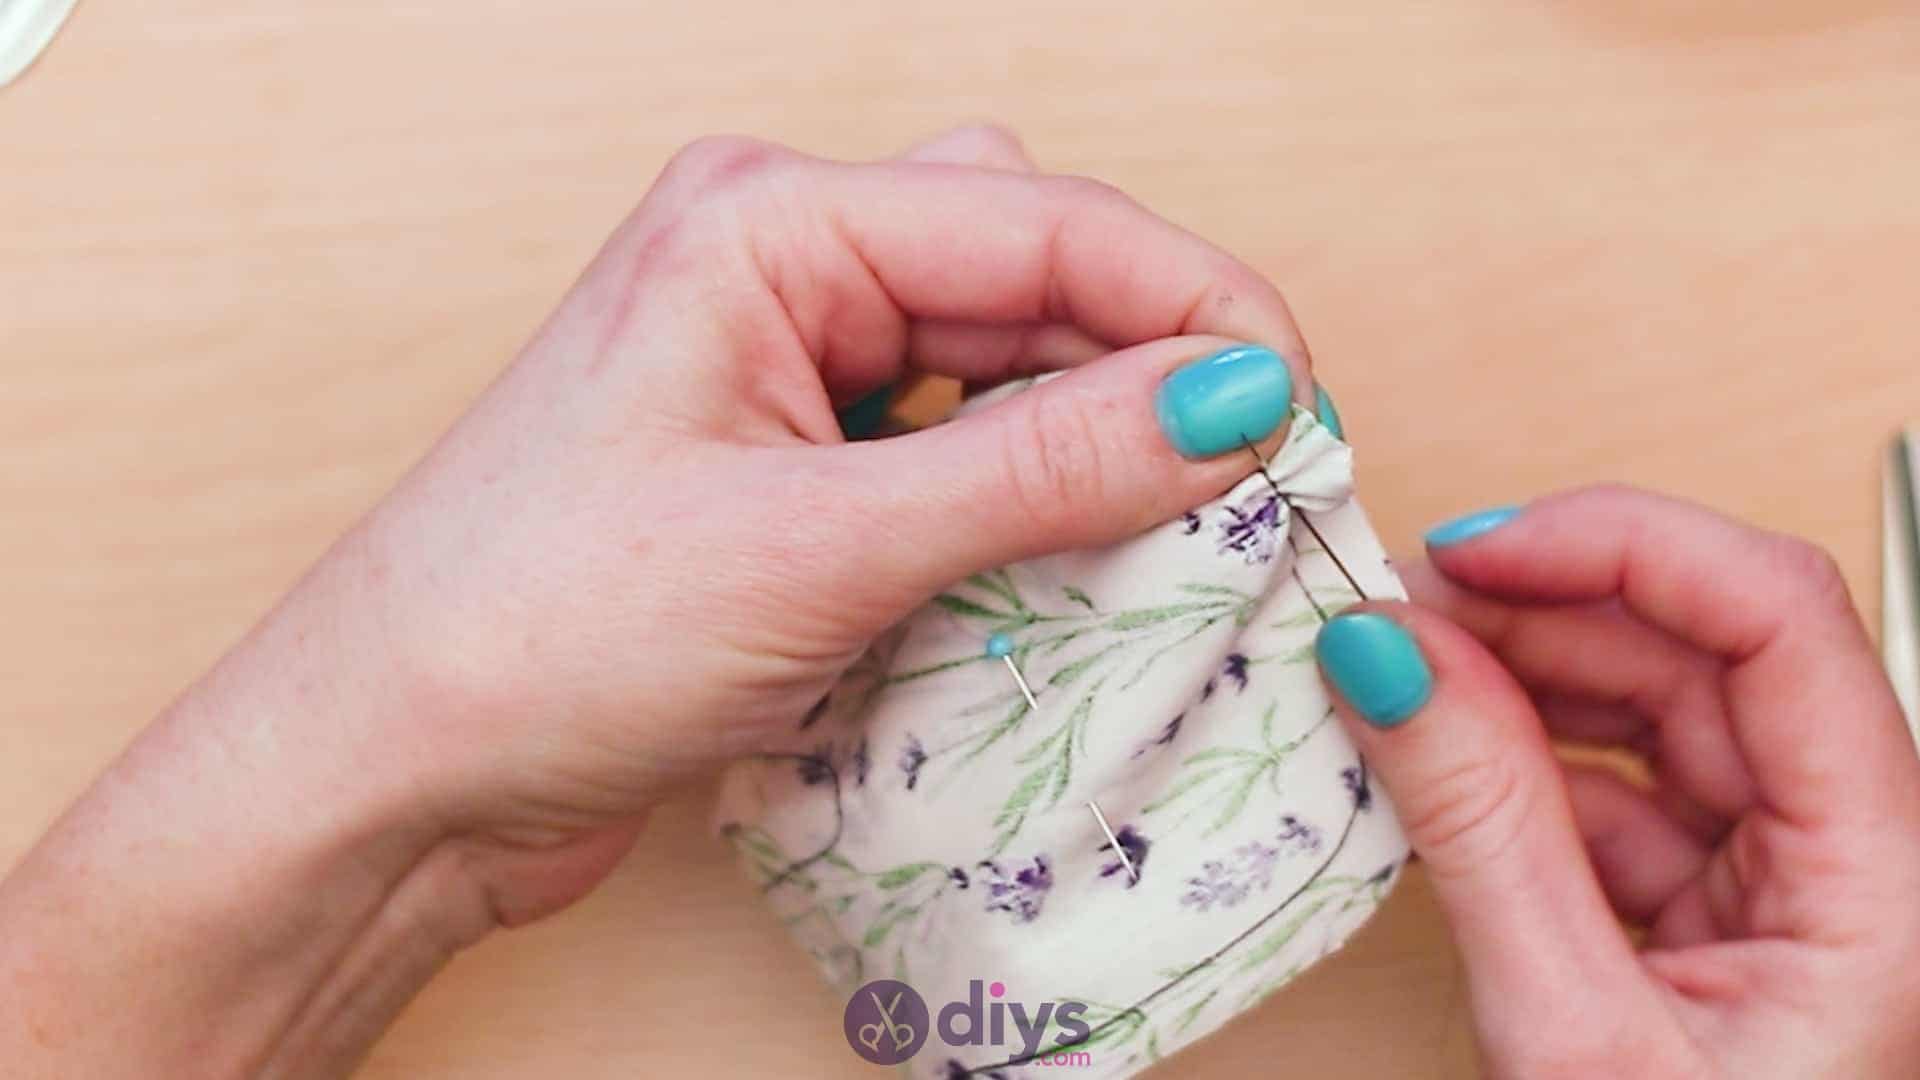
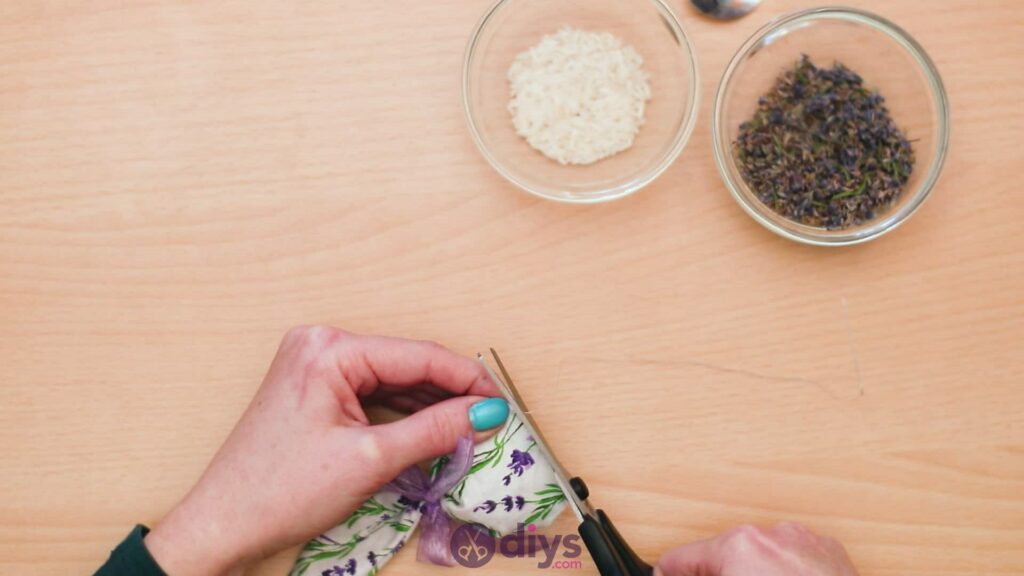
Step 9:
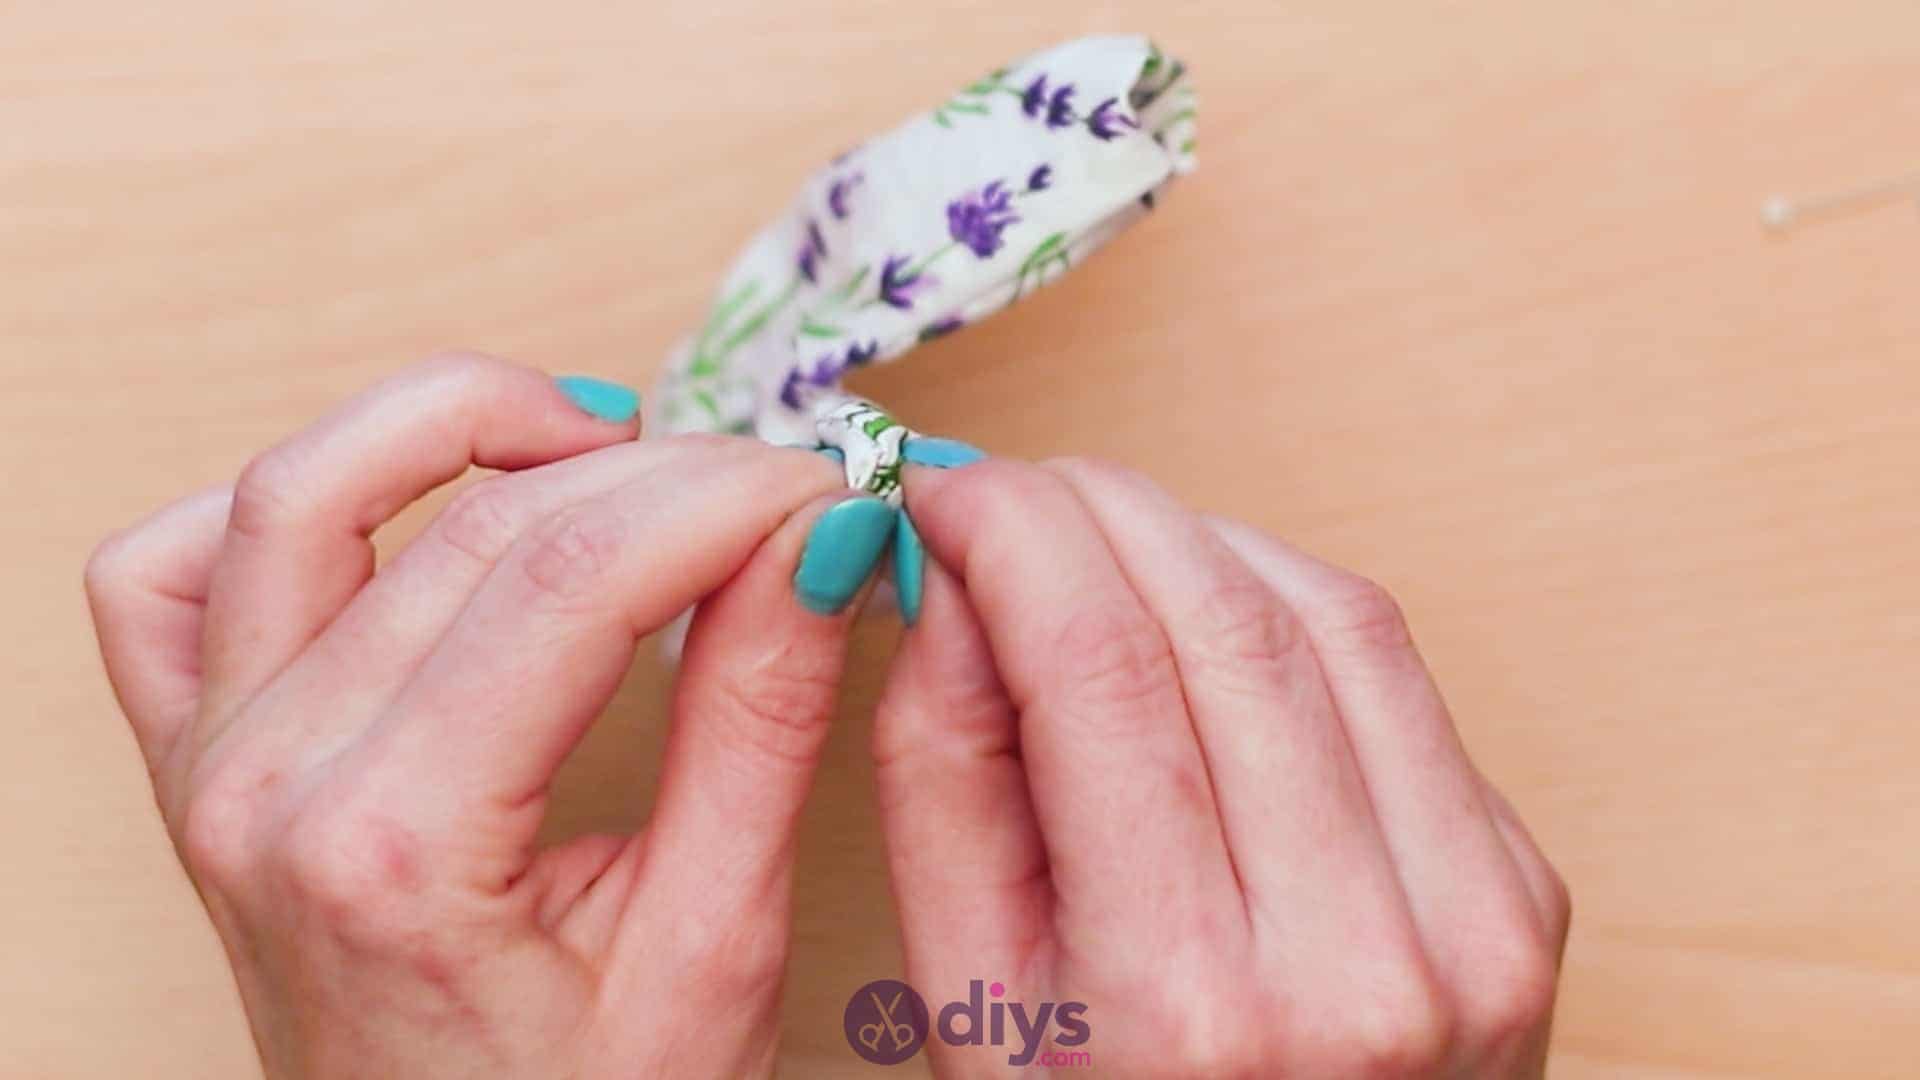
Thread your needle again, knot the end of the thread, and sew your bag closed at the bottom opening. Your cut edges should already be folded inwards directly before and after the hole such that you have two nicely creased sides to sew through in closing your hole, preventing that spot from noticeably interrupting your neat seam. Knot the thread off when you’ve stitched your way across and closed the hole, using your scissors to trim the excess and free the needle.


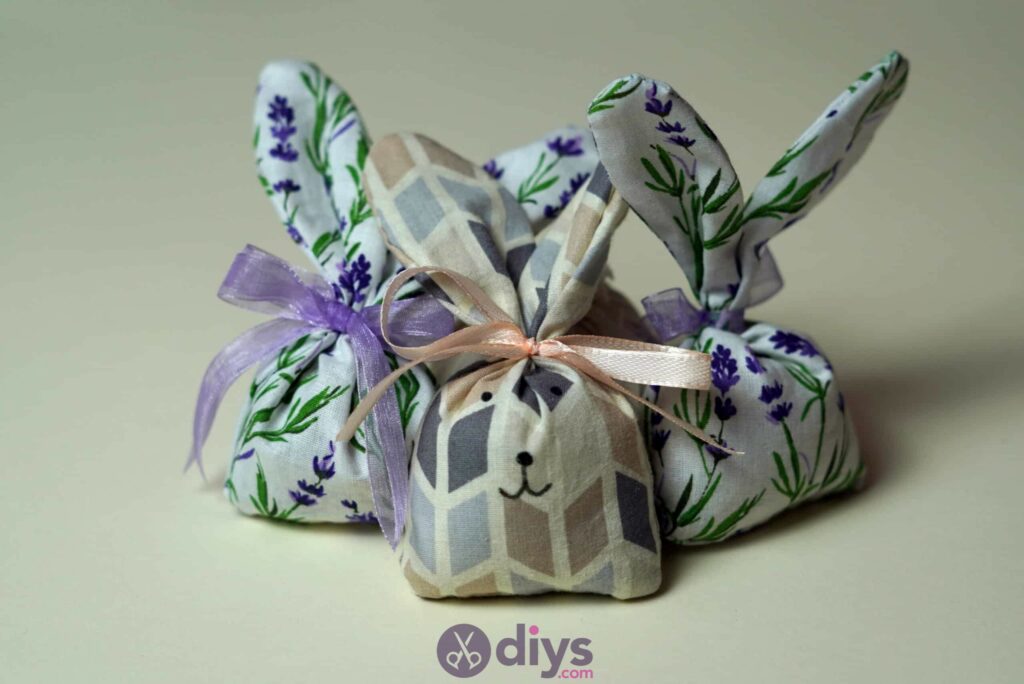
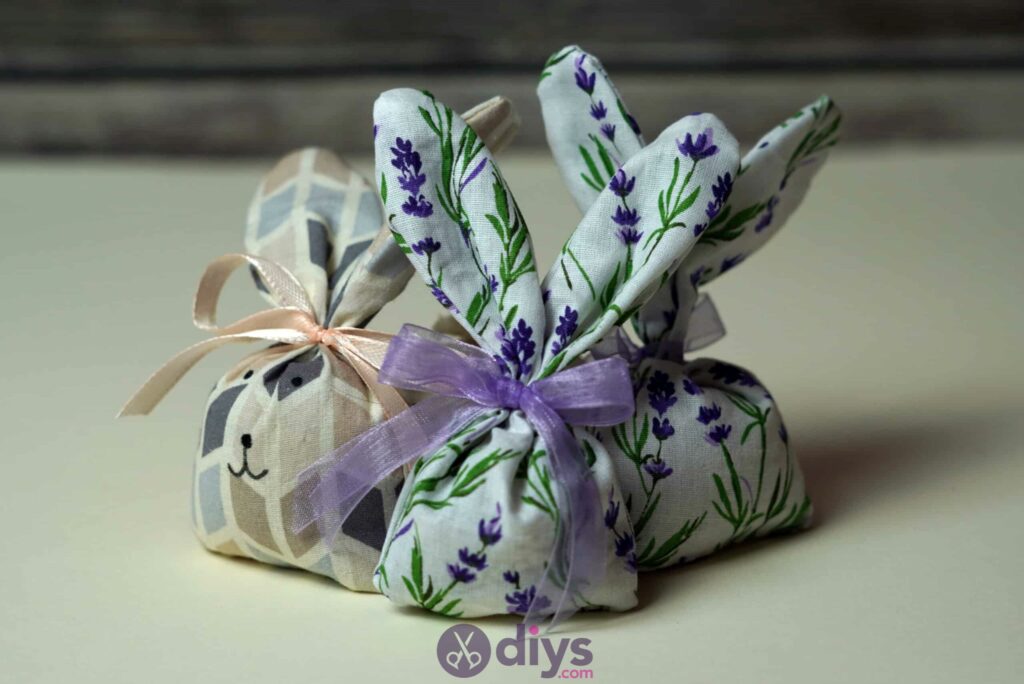
That’s really all there is to it! If you really want to follow the bunny theme even beyond the ears, use a fine tipped marker to draw a nose and bunny smile just under the ribbon, on the main pouch. To see each of these steps in action, check out this video tutorial!