Boston Fern Care – How To Grow Boston Fern
Updated on July 24, 2021
The Boston fern has always been associated with good vibes, positive energy, and a cheerful atmosphere. This is more than just Feng Shui best practices. Scientific research backs up these conclusions as well. As it turns out, this specific fern sucks the pollutants in the air and purifies your living area. That’s something to keep in mind the next time you want to add another houseplant to your sunroom.

Despite the fact that Boston ferns are rather sensitive to the growing environment around them and have many growing problems, they’re very much well worth the trouble. This article walks you through the intricate process of planting, growing, and caring for Boston fern.
All About Boston Fern
Boston fern (Nephrolepis exaltata) is a tropical evergreen plant that grows to about 35 inches high. At such a modest height, it’s the ideal houseplant as it doesn’t take up a lot of space. However, it tends to spread beyond the perimeters of the pot. It is known by many names such as tuber ladder fern, Boston sword fern, fishbone fern, wild Boston fern, and Boston Blue Bell Fern.
A native of both North and South America, the Boston fern thrives in tropical conditions where the temperature is high and the humidity is even higher. And since it only grows in zone 10 to 12, most people grow it as a houseplant indoors.
The broad fronds of the fern are its most distinguishing feature. They grow for up to 30 inches and arch over the basket or container to create a delightful show of green shades. That said, the plant tends to self-propagate with runners that grow into new plants if left unchecked. So regular pruning is recommended to keep the plant in good form.
Although the Boston fern is a cultivar of the sword fern, you’ll hardly see any sword ferns as houseplants these days. Boston fern has proven to be the right plant for all households.
Boston Fern Varieties
As the sword fern went out of favor and the Boston fern gained a foothold in suburban homes, the high demand entailed a flow of cultivars and varieties each competing with their showy fronds and disease-resistance. Here are some of the most popular Boston fern varieties to consider for your home.
- Golden Boston: A popular cultivar that boasts of yellow-green fronds that are both lithe and showy. They tend to shimmer under the sunlight and reflect golden colors that dazzle. The cultivar is known for its low maintenance and disease resistance.
- Whitmanii: Another cultivar that requires low humidity levels than other Boston fern varieties. If you live in a dry area and don’t relish all the misting that ferns need, then this cultivar with a dramatic name is right for you. It saves you money on buying a humidifier as well.
- Fluffy Ruffles: The name says it all. The fronds of this cultivar have wavy leaves that create a fluffy appearance. But that’s not all. The fronds tend to entwine and crisscross to create waves of shimmering greenery that light up a dark corner in your home.
- Massii: If you like everything about your regular Boston fern cultivar but want to change the green shade a little, then Massii is for you. It’s an exact replica of the original variety but with fronds that are a tad darker.
- Hawaiiensis: A Hawaiian variety that catches your eye with its bright green leaves. Each leaf has a line of dark spots outlining it and giving it prominence. At the slightest breeze, the fronds will start dancing and waving their spotted leaves in the air.
- Dallas: A hardy cultivar that survives in low humidity. It can also tolerate low light conditions so you won’t have to keep it near a window sill to bask in the sun. In addition, it has faster growth rates than other fern cultivars. So you’ll need to prune it regularly to prevent it from propagating at will.
If I had to recommend just one cultivar for you to start with, it would have to be the Fluffy Ruffles. Its fashionable fronds and intricate leaves are more showy and dramatic than the other cultivars.
How to Grow Boston Fern
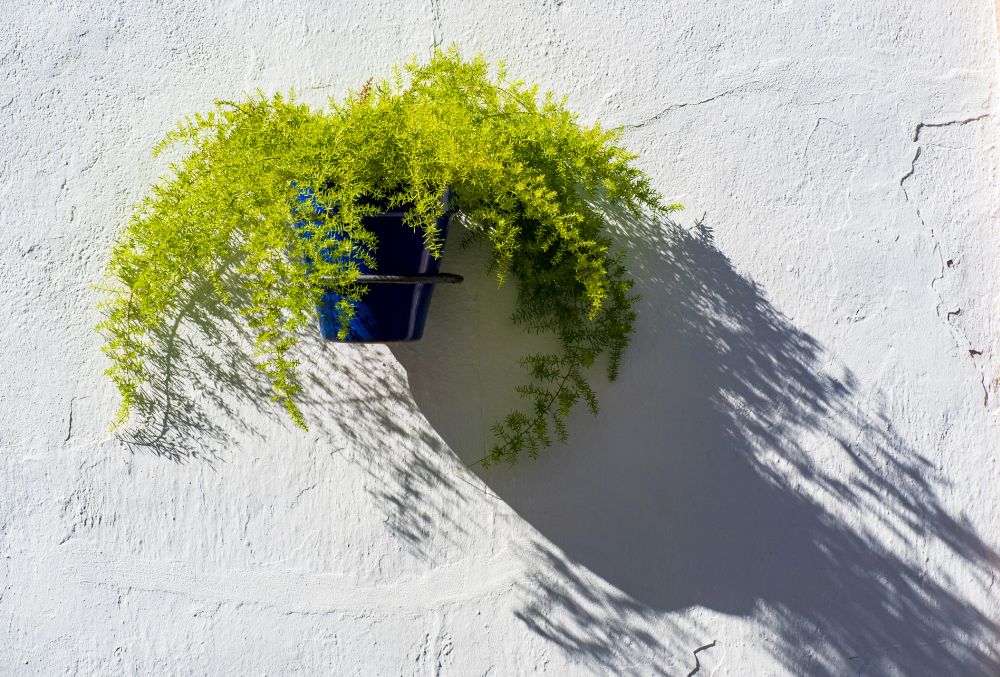
Whether you grow Boston fern indoors or on your porch, indirect sunlight and high humidity are necessary for the success of these tropical plants. I recommend using hanging baskets for these trendy ferns. Their fronds drape around the basket and turn into a green sphere. Here’s how to start your very first Boston fern in easy steps.
- Since the only limitation to how large the fern will grow is the size of the container, choose your container wisely. Start with a small to medium-size container and increase it a few inches every time you repot the fern.
- Fill the pot with a general-purpose potting mix and dig a hole in the middle that’s the same depth as the root ball and slightly wider.
- Ease the fern out of the packaging it came in and examine the roots. Ruffle them out and trim off any damaged or rotten roots.
- Place the fern in the hole and spread out the roots. Backfill the hole with soil and firm it to give the plant enough support to stand upright.
- Water the soil immediately to reduce the shock of transplanting and help the soil settle.
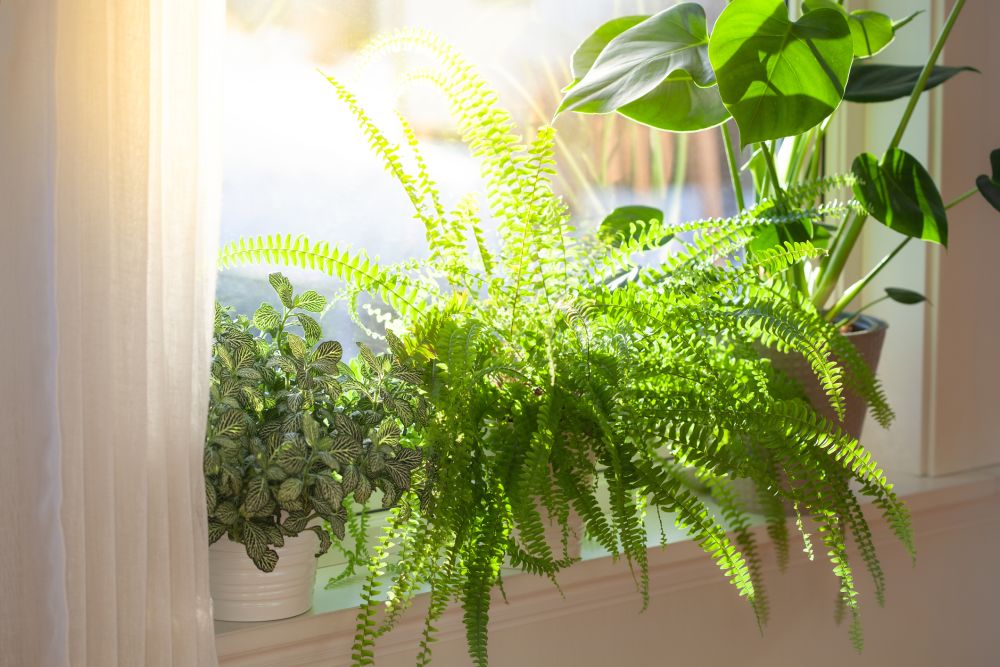
- Place the pot near a window that gets sunlight without exposing the fern to direct sun.
Boston Fern Care
Caring for the Boston fern is a two-way street. The more attentive you are to the fern, the better it looks and cleaner the air in the house. Even though the fronds of the plant are natural air filters, they cannot do that job well if they’re covered with dust or have been attacked with pests and diseases. In addition, pruning should be a regular chore with the Boston fern. With its fast growth rates and self-propagation, this is a plant that needs you to be on your guard.
Soil
The majority of Boston fern plants growing in the US are indoor houseplants. Even if you’re living in zones 10 to 12, it’s not always easy to provide the right humidity levels and temperature requirements that this tropical fern needs. The soil in containers when combined with high temperature means moisture evaporating fast. Most of the time you can’t keep the soil moist the way the plant likes it. So we recommend using a potting mix that has high moisture retention. The pH levels should be between 5.0 to 6.0. That’s slightly acidic which is the closest you can get to the soil in the natural habitat of the fern.
Light
Light can get tricky as far as the Boston fern is concerned. For one thing, the plant needs bright lights to keep its showy fronds looking their best. But exposure to the sun can damage the leaves and dry out the soil as well. So you’ll need to get creative. If you’re keeping the fern indoors, bring it closer to a window facing the west or south. If the sun falls on the fern, pull a lace curtain to filter the light. The same rule applies if you’re keeping the fern out on the deck, a porch, or in the garden. Choose a spot that gets dappled light such as under the shade of a deciduous tree or a bush.
Temperature and Humidity
Since both those elements can make or break your Boston fern, we have to examine them more closely. Your fern needs the temperature to be between 65 degrees to 75 degrees all year round. At night the temperature can be around 55 degrees F without impacting the plant. But if the night temperature drops below 50 degrees F a few nights in a row, the plant will stop growing and the fronds will wilt.
Humidity needs to be at least 80 percent for the fern to thrive. You can either mist the plant every day or invest in a humidifier. Some cultivars can do without constant high humidity in the air such as Whitmanii.
Fertilizer
With no flowers to hog the plant’s resources, the Boston fern can survive on the nutrients in the soil. But sometimes that’s not enough. Especially if the fern has already matured and there are so many fronds to feed. In that case, you can side-dress the plant with any mild liquid fertilizer. Rabbit compost tea is an ideal option since it doesn’t stress out the fern with a sudden growth outburst. For that reason, you should avoid chemical fertilizers. Apply the organic fertilizer once every 6 weeks and hold it off as soon as the plant gets back to normal.
Pruning
As the Bard said, that’s the rub! By providing adequate lighting, humidity, and temperature, the Boston fern has everything it needs to grow fast and reach far. Once the mature plant has reached its peak height, it turns its attention to self-propagating. It does that using tendrils. They grow out of the fern and aim for the ground. Once they reach the soil, they develop roots and become a whole new fern in their own right. And that’s the last thing you’d want.
Another reason for pruning this fern is that it tends to get a ratty look after a couple of years. That’s not your fault. That’s just how this fern rolls. Fronds turn up dead and the leaves shrivel and become brown. When the fern starts to look like a hobo, that’s when you need to intervene.
With your pruning shears, cut the wild-looking fern back to about 3 inches. That will trim off all the fronds and leave a little stub sticking out of the soil. Water the sheared fern and add some fertilizer and soon the fern will grow back to its former luster.
Pests and Diseases
In addition to pruning, Boston fern will keep you on your toes with the number of pests that have the succulent fronds on their menu. Worms, scales, mealybugs, slugs, and caterpillars have developed a taste for the leaves of the cultivar and can strip a whole frond if you don’t intervene.
In most cases, you can pick up the slugs and caterpillars by hand and kill them humanely. I recommend a bucket full of soapy water since it’s a quick way to dispose of the pests. As for the other pests, they’re usually too small to pick up, so rub the fronds with a swab drenched in alcohol. If the infestation is too heavy, spray the fern with neem oil.
Diseases are another nagging issue with these cultivars. Pythium root rot and Rhizoctonia aerial blight are the two common ones. The first will turn the fronds gray and rob them of their sheen. The second appears in the form of black spots on the leaves. Both are fungal infections caused by pests. So getting rid of the insects will reduce the disease infections as well. Remove infected ferns and repot the plant to get rid of fungal spores in the soil.