Boston Fern Growing Problems and How to Fix Them
Updated on July 26, 2021
Boston fern growing problems are the types of issues you have to deal with when growing this fern, either as a houseplant or outdoors. Each environment carries its own challenges for the cultivar. From the right light conditions to keeping the notoriously fast-growing plant in check.
But there are other types of Boston fern growing problems that crop up even when everything else is in good shape. For example, the plant will outgrow its pot and needs repotting, or the fronds turn black for no apparent reason. Even a particularly cold winter can spell trouble for the tropical plant, which means you have to overwinter it.
This article lists the top Boston fern growing problems you might encounter and proposes different ways to fix each problem.
Boston Fern Growing Problems: Black Fronds
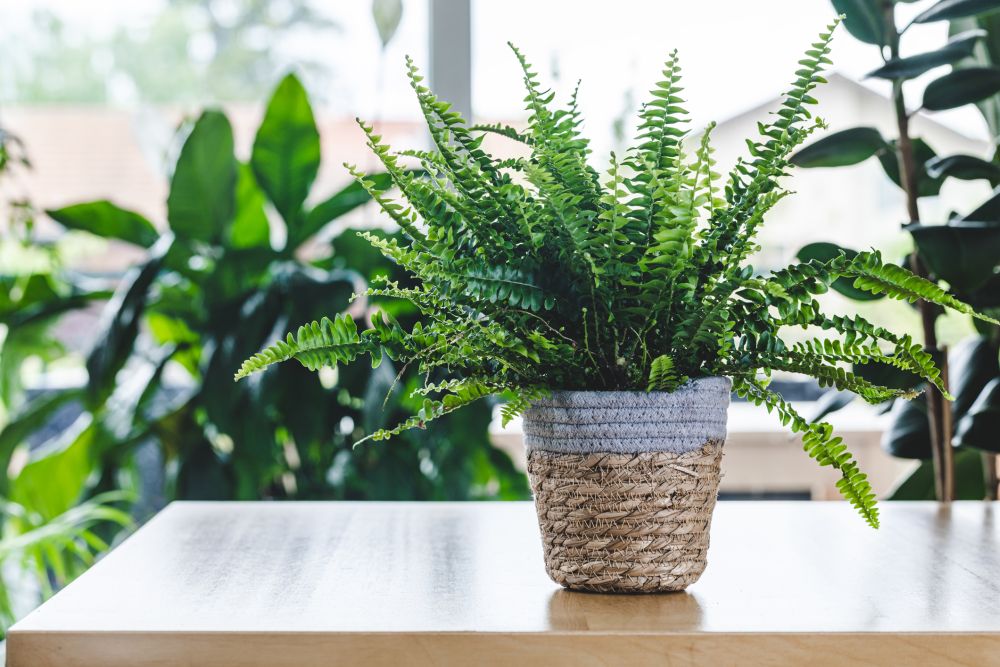
Despite being a nonflowering plant, Boston fern doesn’t need flowers to win over hearts across the board. The cultivar has fronds that arch and sway every way and shimmer under the bright lights. Sometimes, the leaves are dark green, others, they’re light green and glossy. Some hybrids have variegated or purple fronds.
So when the fronds turn black or brown, you have every reason to worry. This could be a symptom of viral disease, or it might be an issue with the light, water, humidity, or soil. So which one is it?
There are two types of black fronds. The good type that happens naturally and the not-so-good type that indicates a pathogen. The good type is the plant’s way of reproducing. Without flowers, some cultivars resort to reproducing through spores. These spores line up in the form of black spots on the edges of the leaves.
The other type of black spots could be caused by nematodes or bacterial soft rot.
How to Fix it
Depending on the nature of the black spots on your Boston fern leaves, you’ll need to take action. Here are a few steps to remedy this situation and avoid losing the fern altogether.
- If the black spots are lined up on the underside of the fern leaf, these are spores for reproduction. You don’t need to take any action since this is a sign your fern is in good health. These spores will drop to the ground eventually.
- If the black spots are on the fronds and the upper side of the leaves, they might be a sign the soil is infected with nematodes. Dump more compost and rotted manure in the soil. The good bacteria in the compost will fight off the nematodes.
- If the black spots grow bigger day after day, they could be bacterial soft rot. Remove infected fronds and destroy them. If the whole plant is infected, you’ll need to start a new Boston fern afresh.
Fern Leaf Drop
Another Boston fern symptom that might have natural causes is fern leaf drop. This Boston fern growing problem has many causes, and some of them are just as harmless as the leaflets are getting too old and have reached the end of their life cycle.
But other times, the problem is an indication of something wrong with the growing conditions. As we have already pointed out, ferns are cultivars with specific needs that have to be met for the plant to grow and thrive. So if you mishandle the watering, change the light conditions, or bring humidity levels down, the plant will let you know by dropping its leaflets. It’s less of a protesting gesture and more of the plant preserving its resources in an environment that is less than ideal for it.
How to Fix it
You’ll need to decide what exactly is causing the fern leaves to drop. Is it something to do with the water, feeding, or humidity? Or is it just the leaves are getting on with age, and there’s no way to turn the clock back? Here is a list of possible causes of fern leaf drop and what you can do about them.
- Age: Fern leaves get old just like every other living thing. And when they get old, they shrivel and die. Then they drop to the ground. However, this happens to a handful of leaves at a time. It’s not like a mass exodus of the leaves. So you have nothing to worry about. New leaves will replace the old ones.
- Infrequent Watering: Ferns like the soil moist. They have a low tolerance for drought. So when you forget to water the pot or let the soil dry out, you’re exacerbating one of the common Boston fern growing problems. Try to maintain moist soil in the pot regularly to prevent the leaves from dropping.
- Salt: If you use chemical fertilizers, chances are there’s a buildup of an insoluble salt in the soil. These are salts that don’t dissolve in water and interfere with the roots absorbing water and nutrients. You’ll need to repot the plant and use fresh soil.
- Low Humidity: Most Boston fern cultivars need humidity levels above 80 percent to function properly. If that’s the cause, you’ll need to mist the plant or place a humidifier near the pot.
Root Nodules
The first time you repot your Boston fern, you’re in for a big surprise. As you take the fern out of the pot, you’ll notice balls attached to the roots. What are these root nodules? Is it a sign of a lethal fern disease? Or are they harmless?
Root nodules on Boston fern plants are a natural phenomenon. They usually form under the surface of the soil where the fronds meet the rhizomes. Moreover, you can use them to propagate a new plant from an old fern. Simply take the root ball out of the soil and place in a plastic bag with moist peat moss. The nodules will soon grow into a lovely fern identical to its parent.
How to Fix it
There’s nothing for you to do about this non-problem. The small bulbs on the roots are a means for the plant to store moisture and nutrients. It’s a way of survival for when you forget to water the pot or the soil becomes depleted. Don’t damage the root nodules since they contain precious resources for the fern.
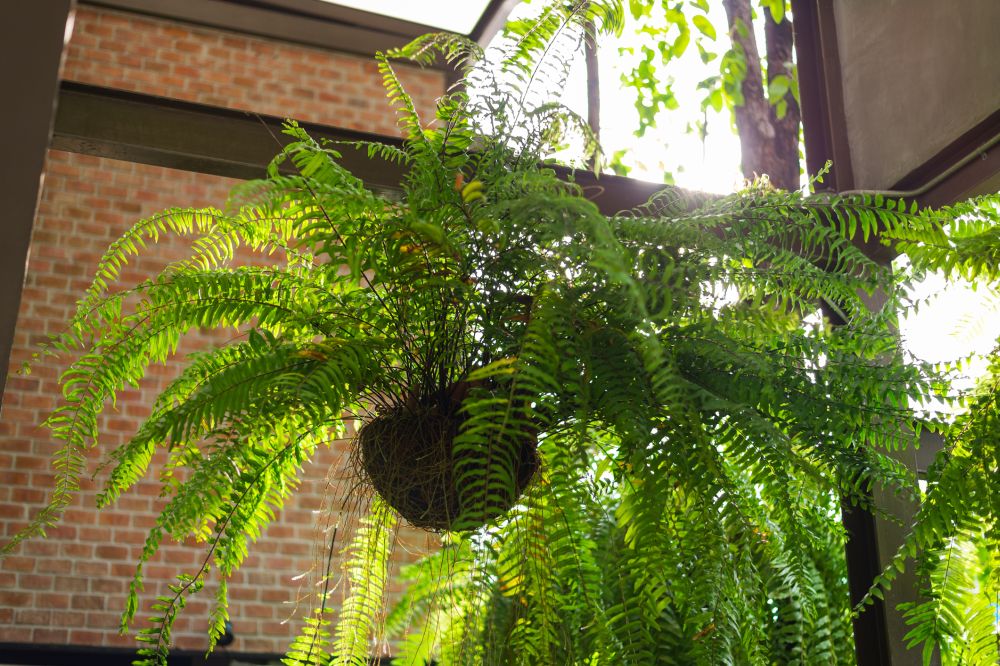
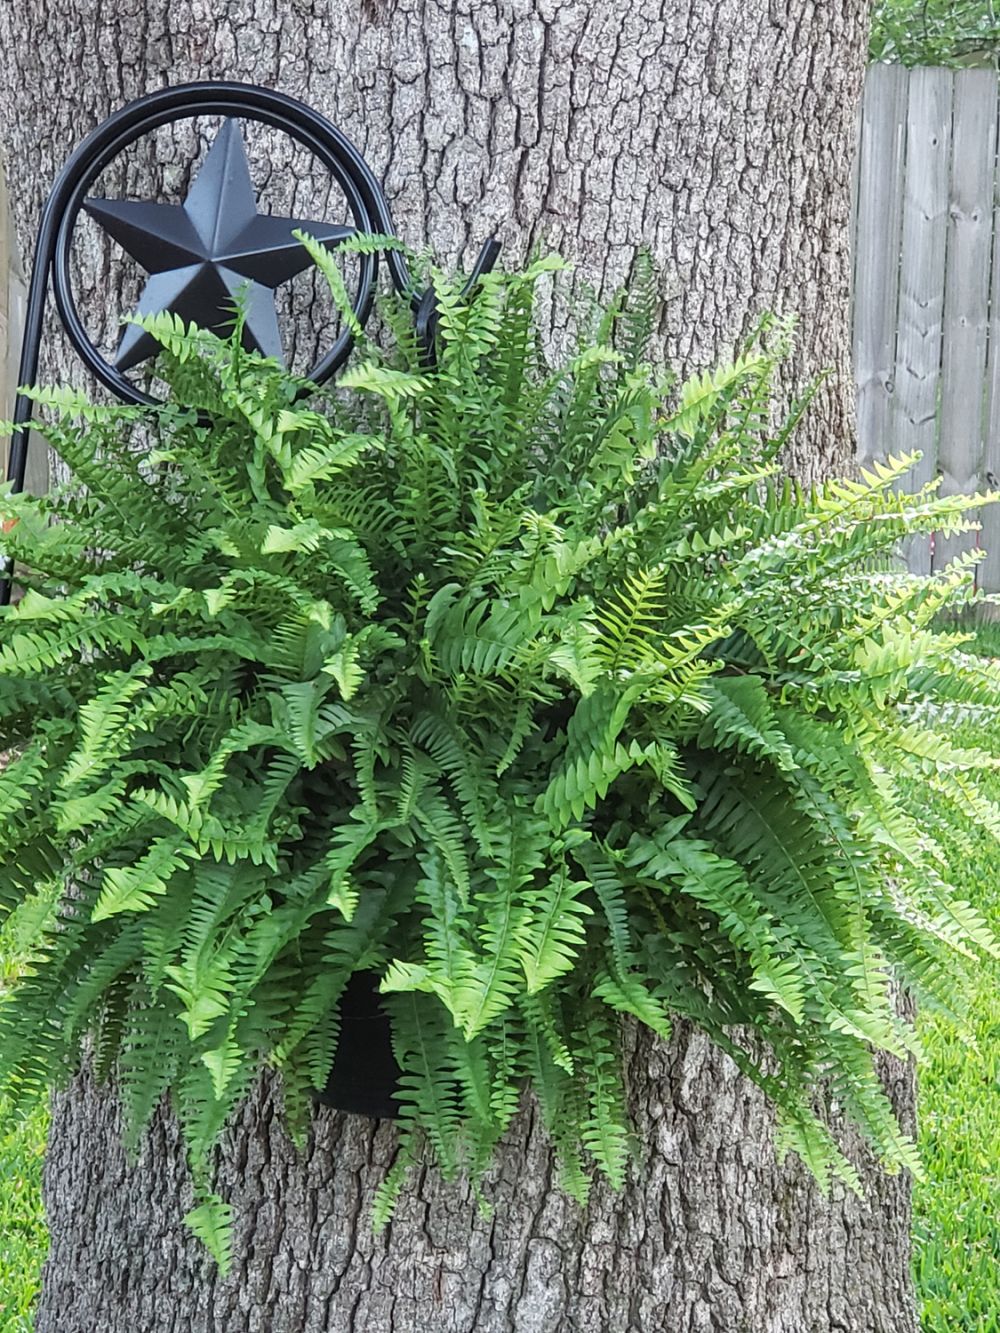
Repotting Boston Fern
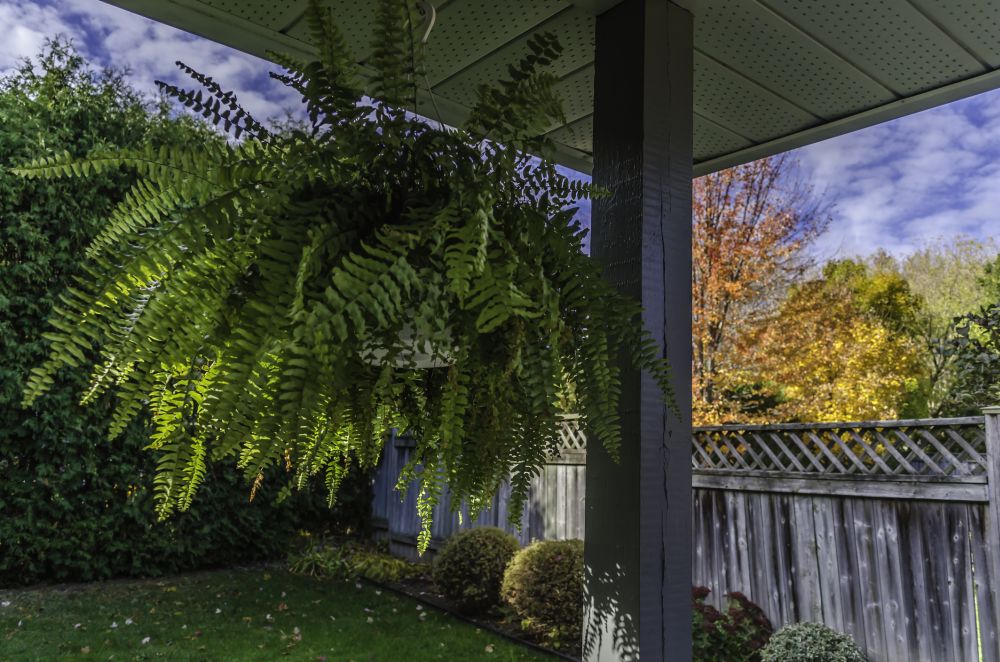
Say what you like about Boston fern, the cultivar sure has its merits. But sooner or later, it will outgrow its pot and the root system pokes out of the sides of the hanging basket. This calls for Boston fern repotting. But there’s a catch.
Boston fern plants grow and take up as much available space as possible. The only limit to their expansion is the size of the pot. So if you repot the fern in a large pot, it will grow quickly to fill it up. In most cases, this is not what you want. You’d want the fern to stay compact and grow slowly every year. So how would you repot Boston fern the right way and when is the right time for repotting?
How to Fix it
One of the first signs that the Boston fern needs repotting is when its growth slows down considerably. That’s your cue. No matter what time of the year it is or whether the fern is in the middle of its growing cycle. When the roots come out of the drainage holes, this is the plant asking for a larger pot. Follow these steps to repot the Boston fern.
- Pick a pot or hanging basket a couple of inches larger than the old container.
- Water the plant a few days before you intend to repot it. This will get the moist soil to stick to the roots and protect them during transplanting.
- Place some pebbles at the bottom to improve drainage then fill the pot with soil to about the halfway mark.
- Ease the fern out of the old pot by tipping it over and give the plant a gentle tug.
- Plant the fern in the new pot and cover the root ball with soil to about 2 inches from the edge.
- Firm the soil around the fern and water it thoroughly to help the soil settle.
Overwintering Boston Fern
Many people don’t know what to do with ferns when the plant goes dormant and the temperature drops in the winter. This is especially true if you’re growing your Boston fern outdoors. You’re not sure if the plant will even come back in the spring or not. And as much as it was fun to have it around all summer, it now looks drab. Some people go as far as throwing away the plant, pot, fern, and soil. That’s a drastic measure and in the world of Boston ferns, it’s totally uncalled for. You simply can save your fern and keep it alive albeit dormant during the winter. So how would you do that?
How to Fix it
The simple answer is to overwinter your Boston fern. It might surprise you how hardy the sensitive fern can be if you take certain precautions. One thing you should not do is to keep the fern in a warm and humid greenhouse during the winter months. You’ll definitely want to toss the plant after that. Instead here’s what you can do.
- Hold off the fertilizer. The last thing your fern needs is new shoots that drain its resources and get damaged easily on cold nights. Allow the plant to go dormant in preparation for the winter.
- Cut back the fronds leaving about 4 inches of the crown above the ground.
- Move the container to a sheltered place away from the cold wind.
- Cover the soil with a thick layer of mulch to prevent the roots from freezing over. You can remove the mulch at the end of the winter.
Boston Fern Growing Problems: Propagation
If you fall in love with the Boston fern growing in your household, who can blame you? The next thing you’d want is to have more ferns just like this one. The solution is to divide the plant and have as many new ferns as you like. Easier said than done? Not really. It’s really that easy.
Boston fern propagation can be achieved through one of two ways: either divide the roots or use runners. Both methods work well.
How to Fix it
Since propagating ferns through spores is rather tricky, I recommend following either of the following ways to start new ferns from a mature plant.
- Propagation by Division: Allow the roots of the fern to dry out by withholding water for a few days. Take the plant out of the pot and cut it in half by slicing the root system. You can keep dividing until you have 8 divisions. Plant each one in a small pot and keep the soil moist. New shoots will grow and replace the old ones.
- Fern Runners: Boston ferns grow runners out of the base of the plant. Cut one of the runners with a blade and plant it in its own pot. Keep the soil moist as the runner grows roots then shoots.