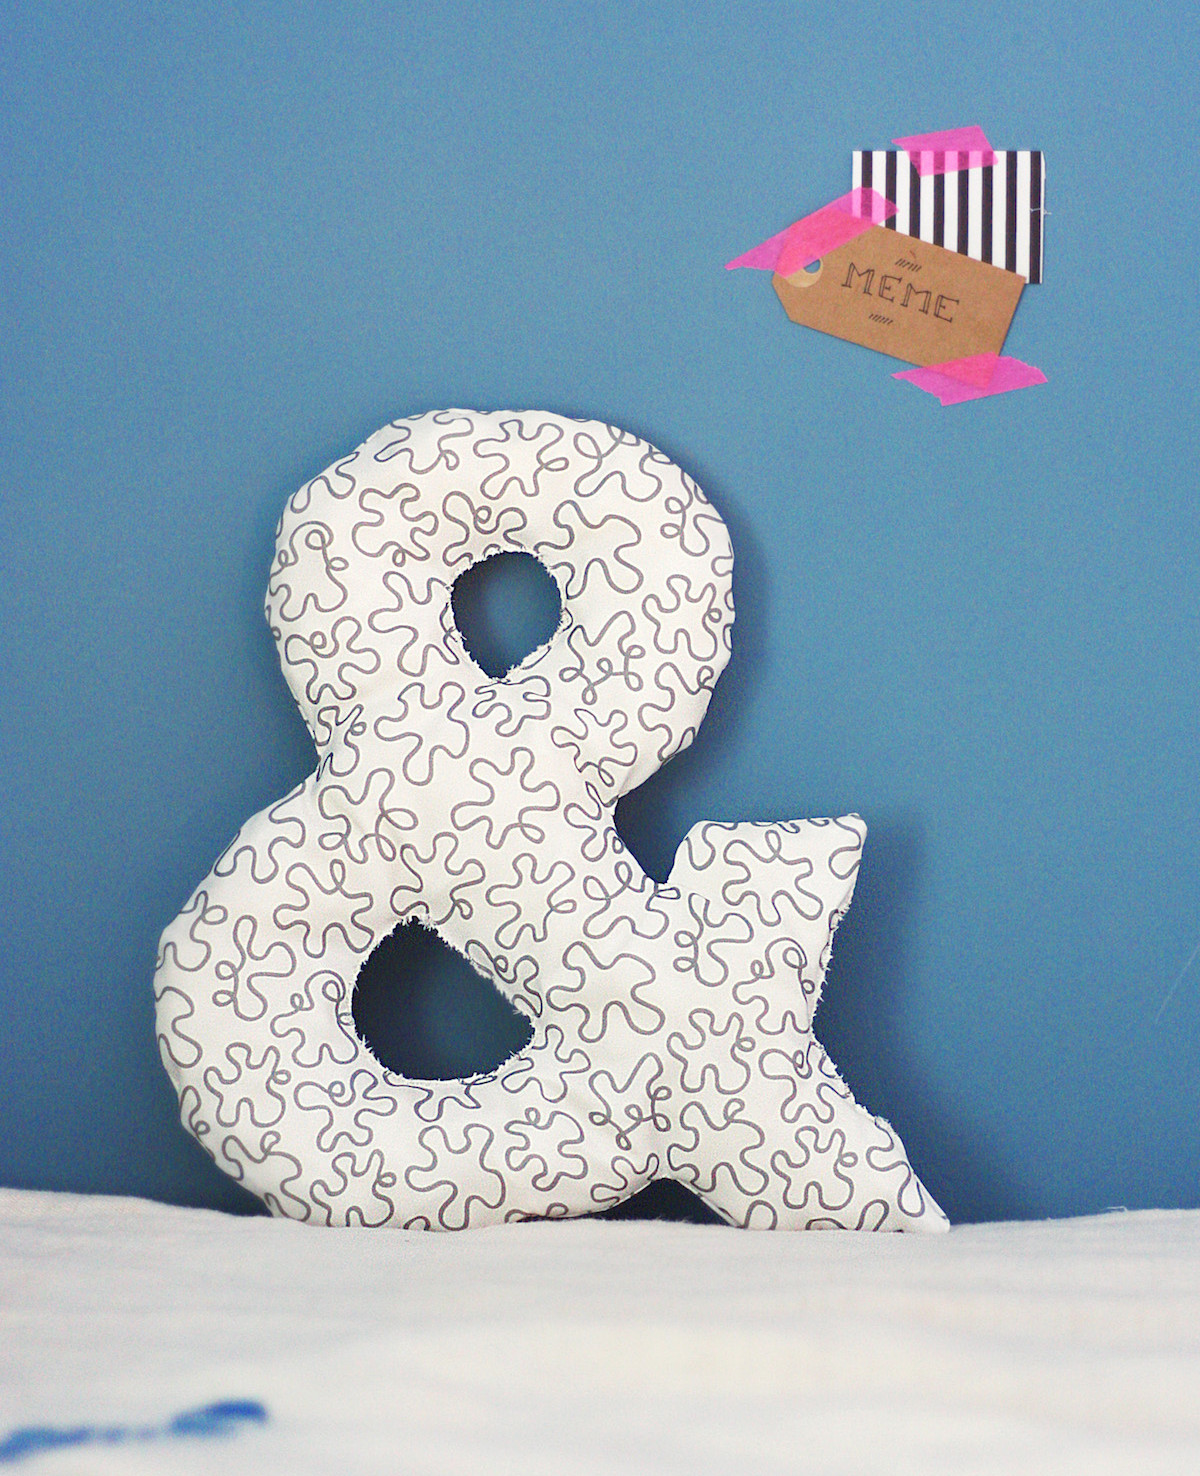
DIY Ampersand Decorative Pillow
Updated on June 25, 2021
Decorative pillows are one of the most cute, easy and fast ways to change look to your home without breaking the bank. Especially if you can DIY them following your tastes and preferences! Plus, you can add your own personal flare to it, just as I did: working as graphic designer and beeing typography lover in all forms and types, I couldn’t resist making myself this cute ampersand shaped pillow. Be aware craft maniacs: this tutorial isn’t as straight forward as most of the ones we feature on DIYs.com but with these easy steps you’ll be able to master the technique and expand to any letter of the alphabet (and beyond!). Let’s get started.
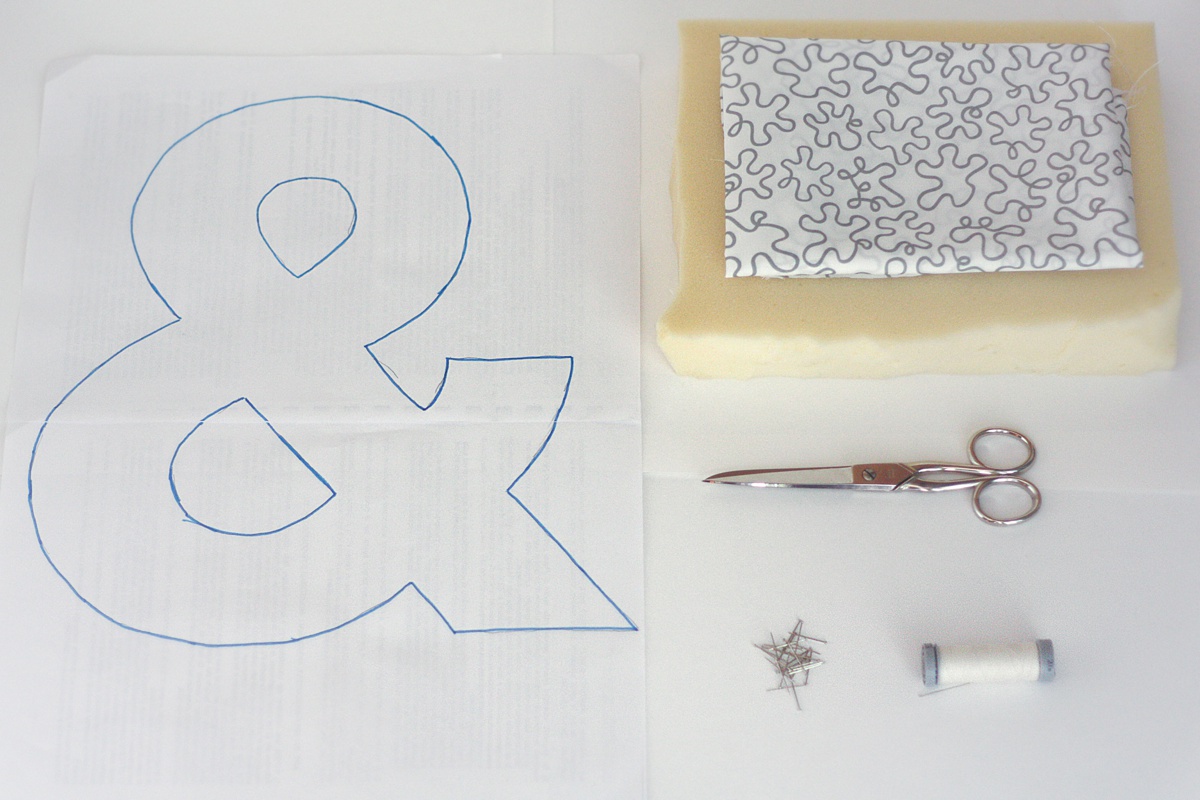
You’ll need:
- textile of your choice (also reused textiles or cushion covers will do just fine. In fact, I’m using an old Ikea KRÅKRIS cushion that I decided to re-shape.)
- stuffing (can be fluffy type or tough type)
- (optional) ampersand printable template
- textile scissors
- pins
- thread and needle
- (optional) sewing machine
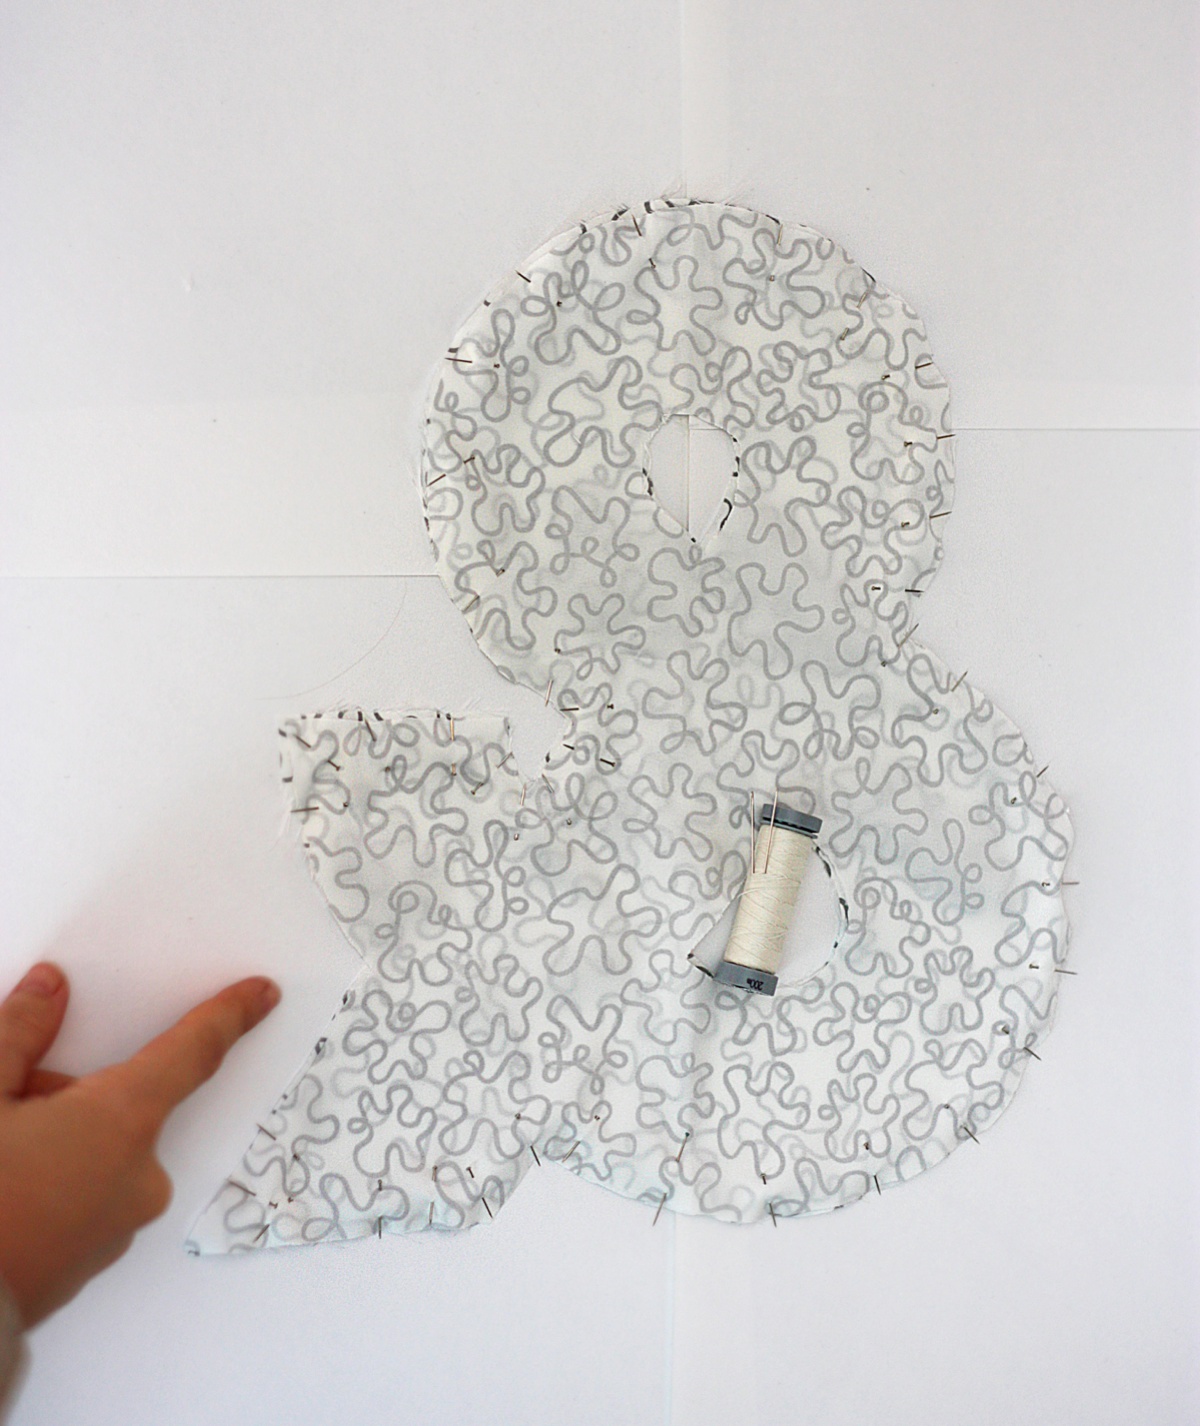
Start by printing out the ampersand template you can find in the materials just above or draw it freehand as I did. You can use your favourite font but I highly recommend not using serif ones (the ones with a small line attached to the ends of the strokes) or handwritten ones, as they would be way too difficult to reproduce while sewing. Also, choose a fat font and the final effect will be much better. My ampersand is sized circa 9.44×9.05 inches (24×23 cm), but you can make it the size you prefer. Cut it out and place it over your chosen textile. Secure with pins.
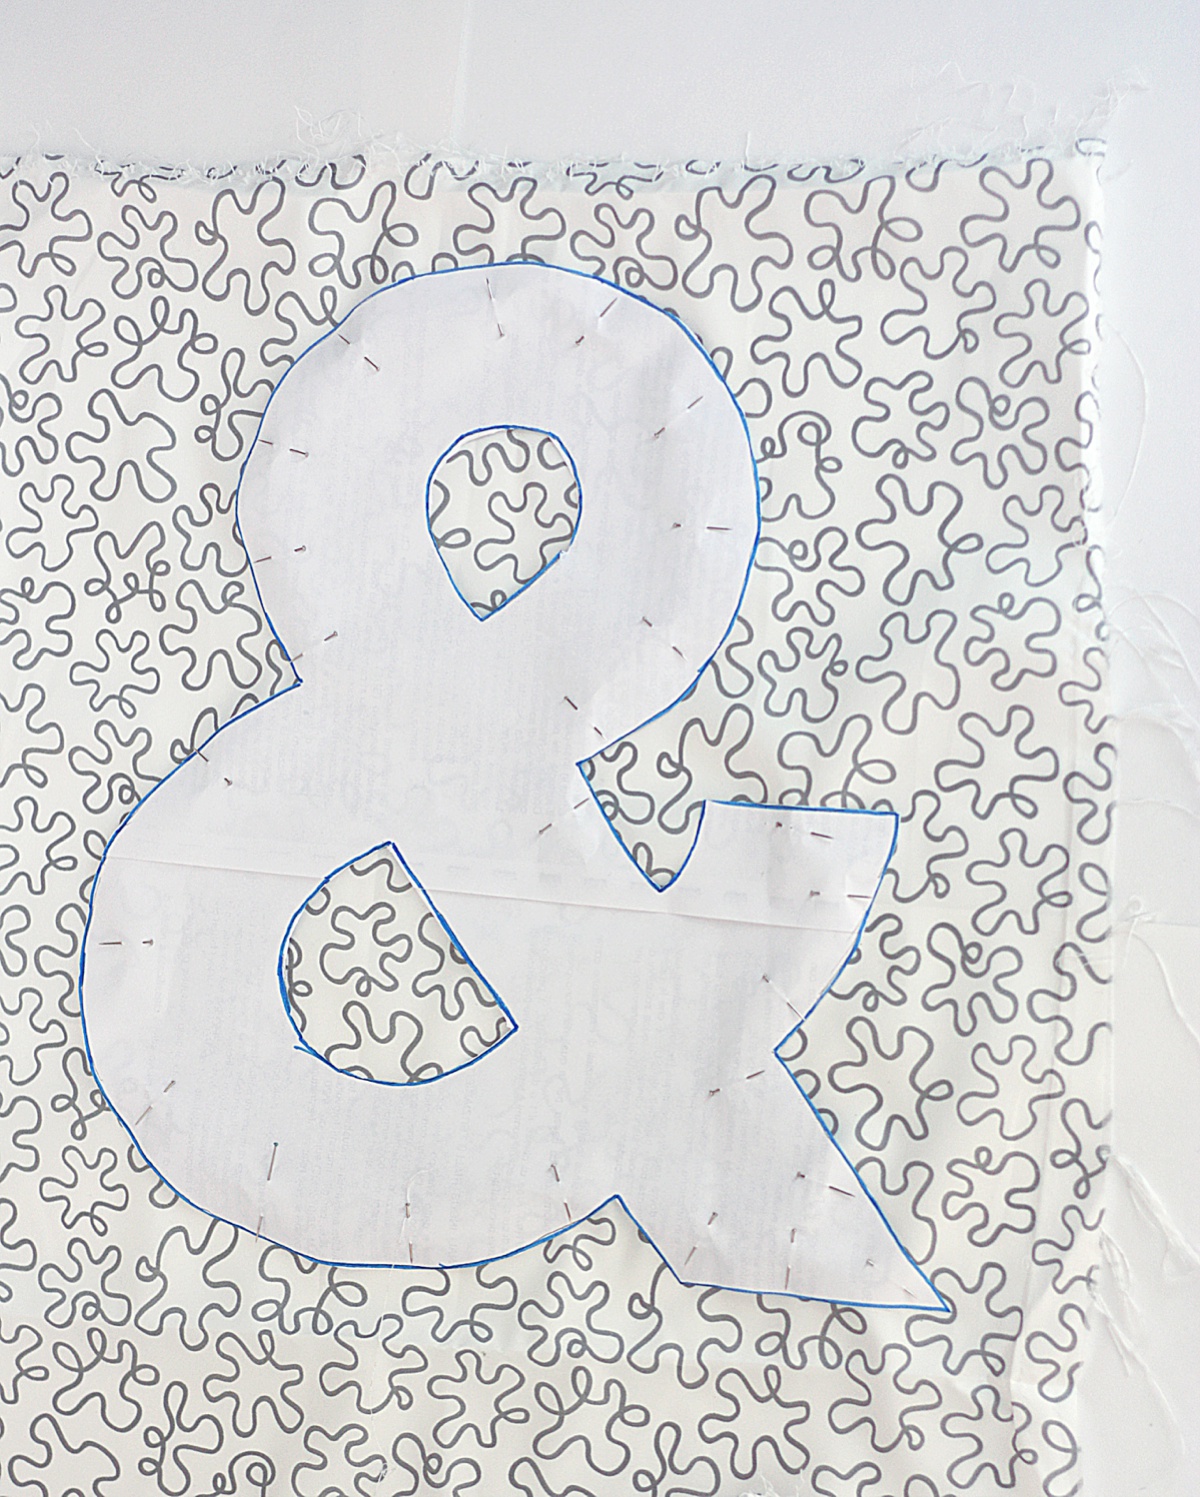
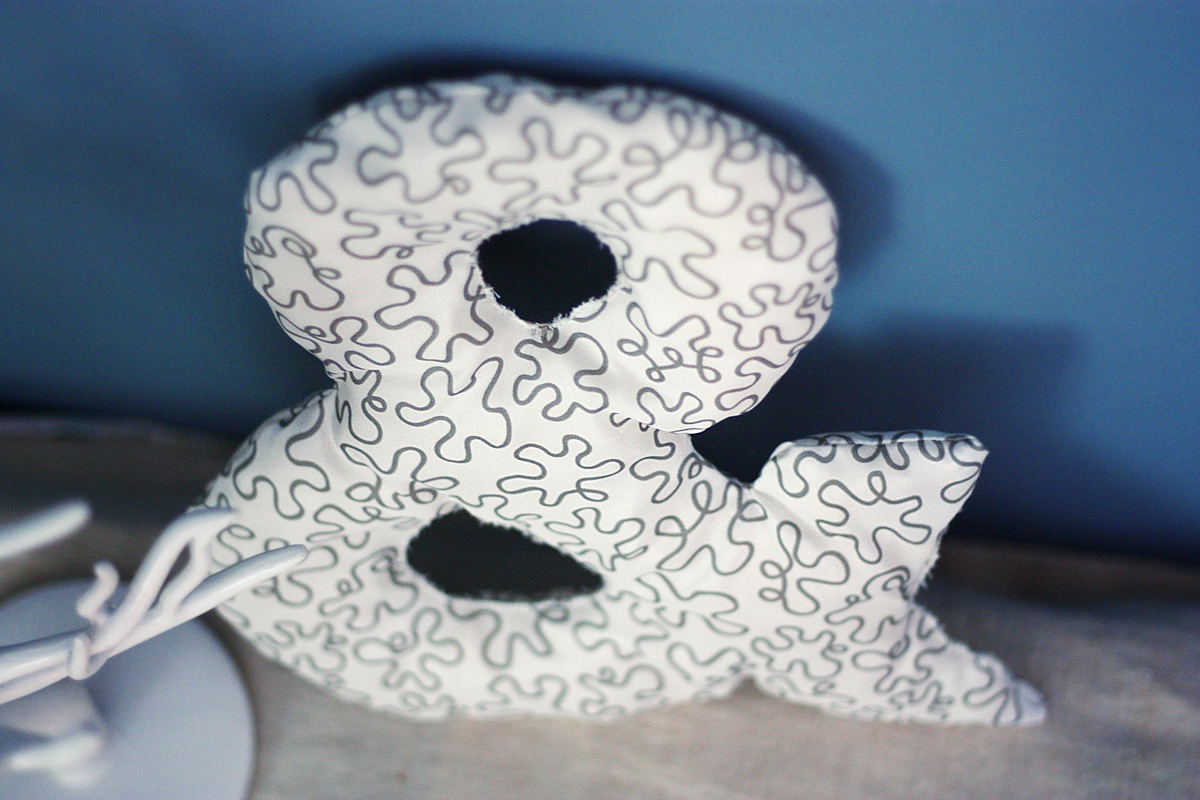
Cut out the shape of the ampersand using textile scissors but remeber: leave about 0.39 inches (1 cm) all around for the sew in the next step. This is also for the central holes.
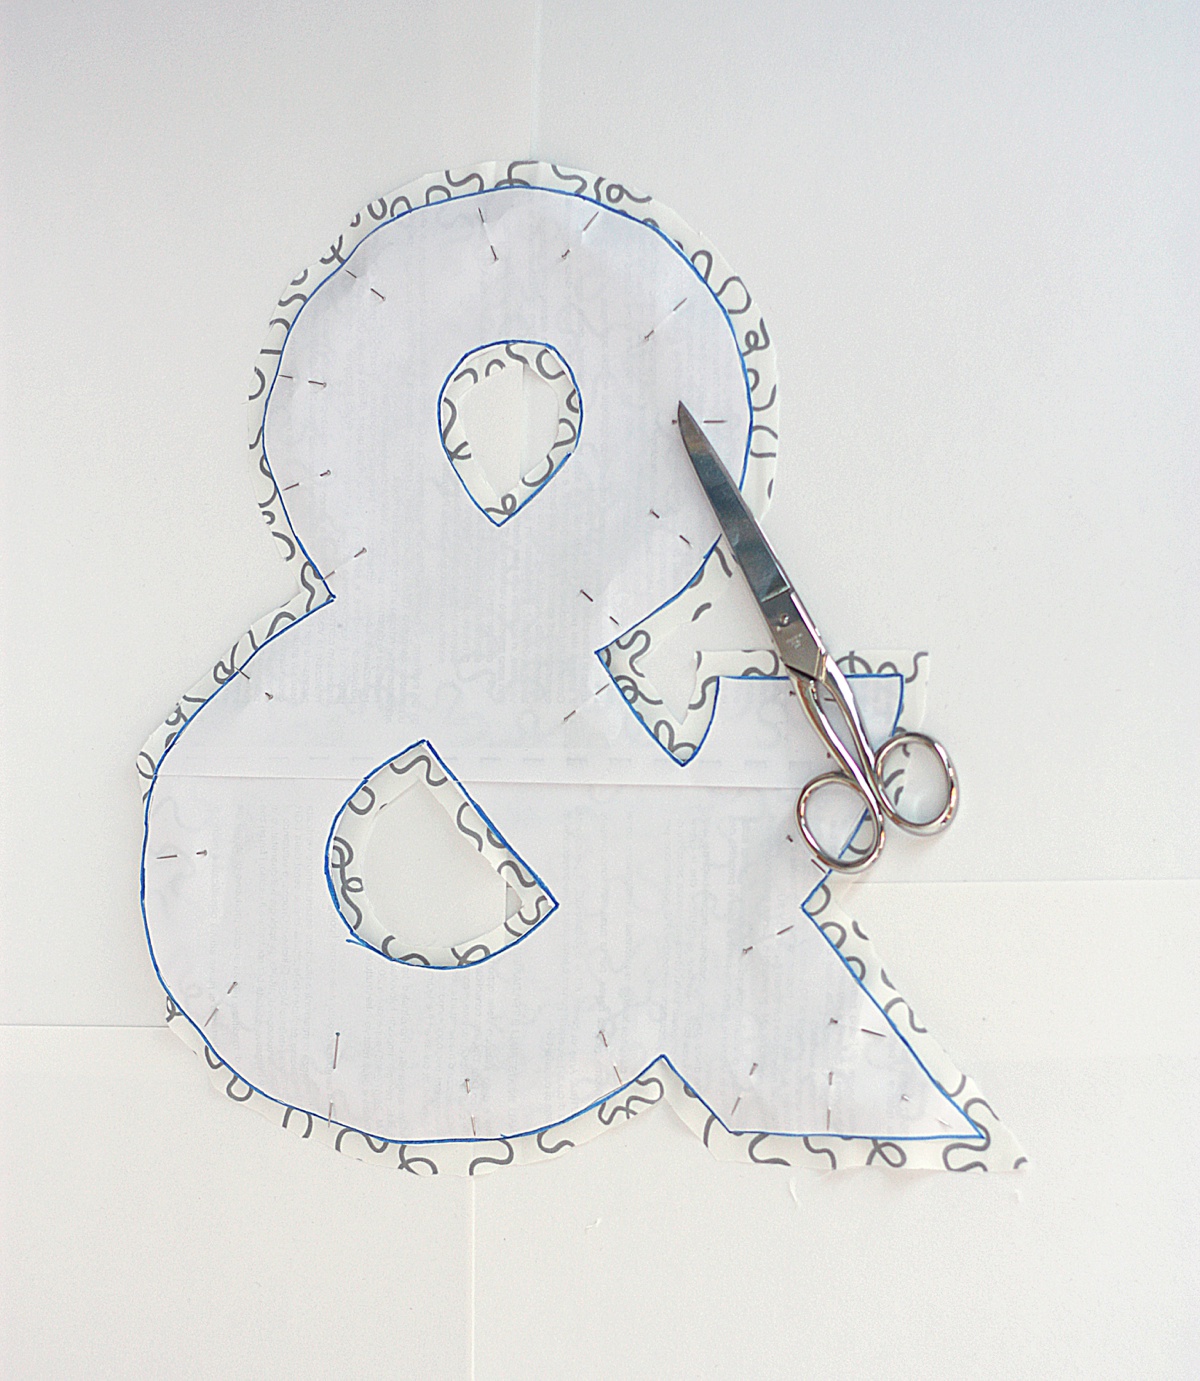
Now repeat the previous steps onto another peace of textile; you should end up with 2 identical shapes. Next, pin them together wrong ends facing each other and sew all the external perimeter. You can either choose to hand stitch (in this case make stitches very tight) or machine stitch. Remember to leave the space I’m indicating unsewn for the next step.
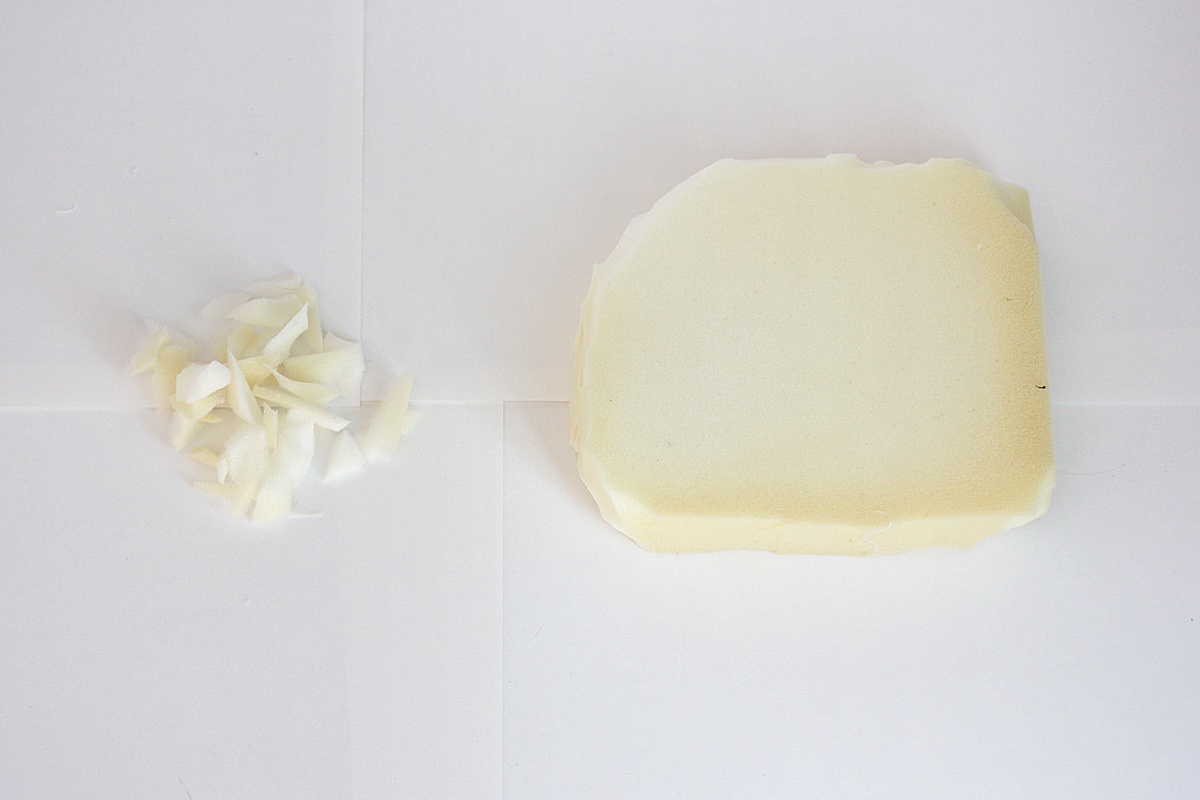
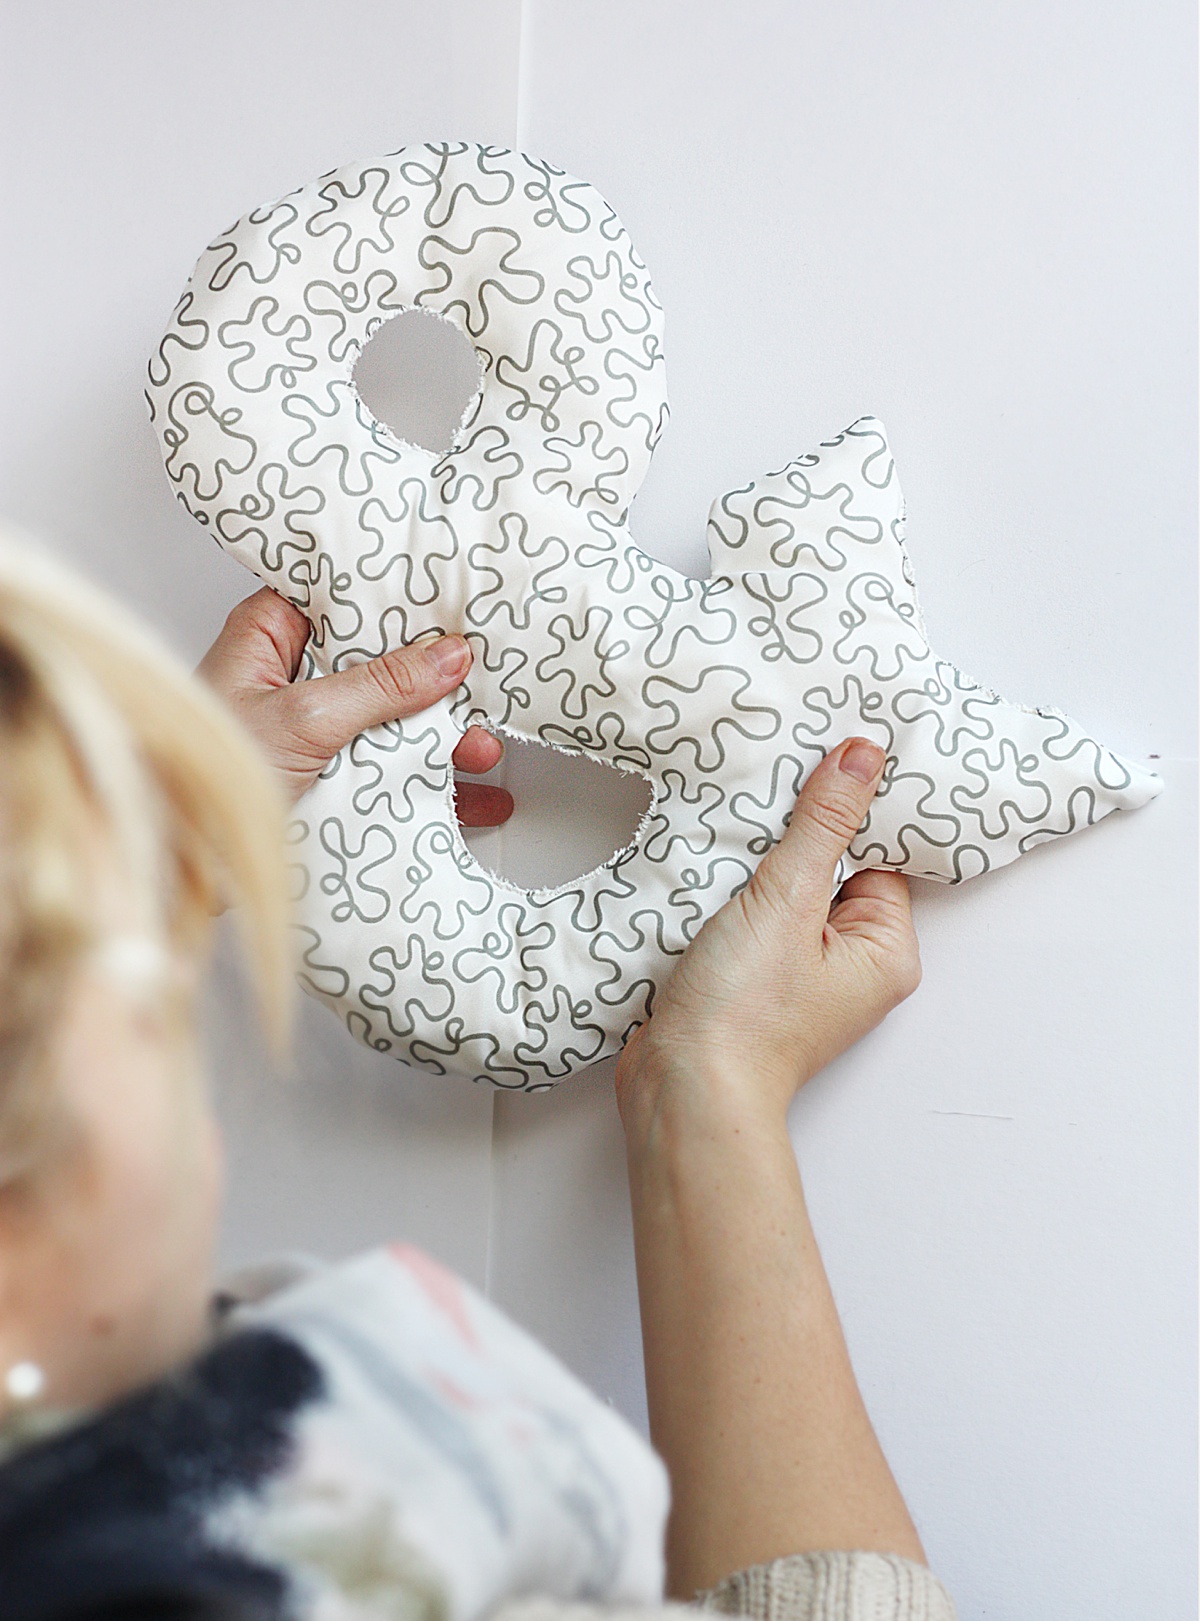
Now turn your shape right way round, making it go through the hole we just left. If you have fluffy stuffing skip this step: if you have tough stuffing, cut it out into lots of small peaces like shown below.
Start hand sewing the top hole of the “&” and once you’re halfway, stop and put some filling on the top part.
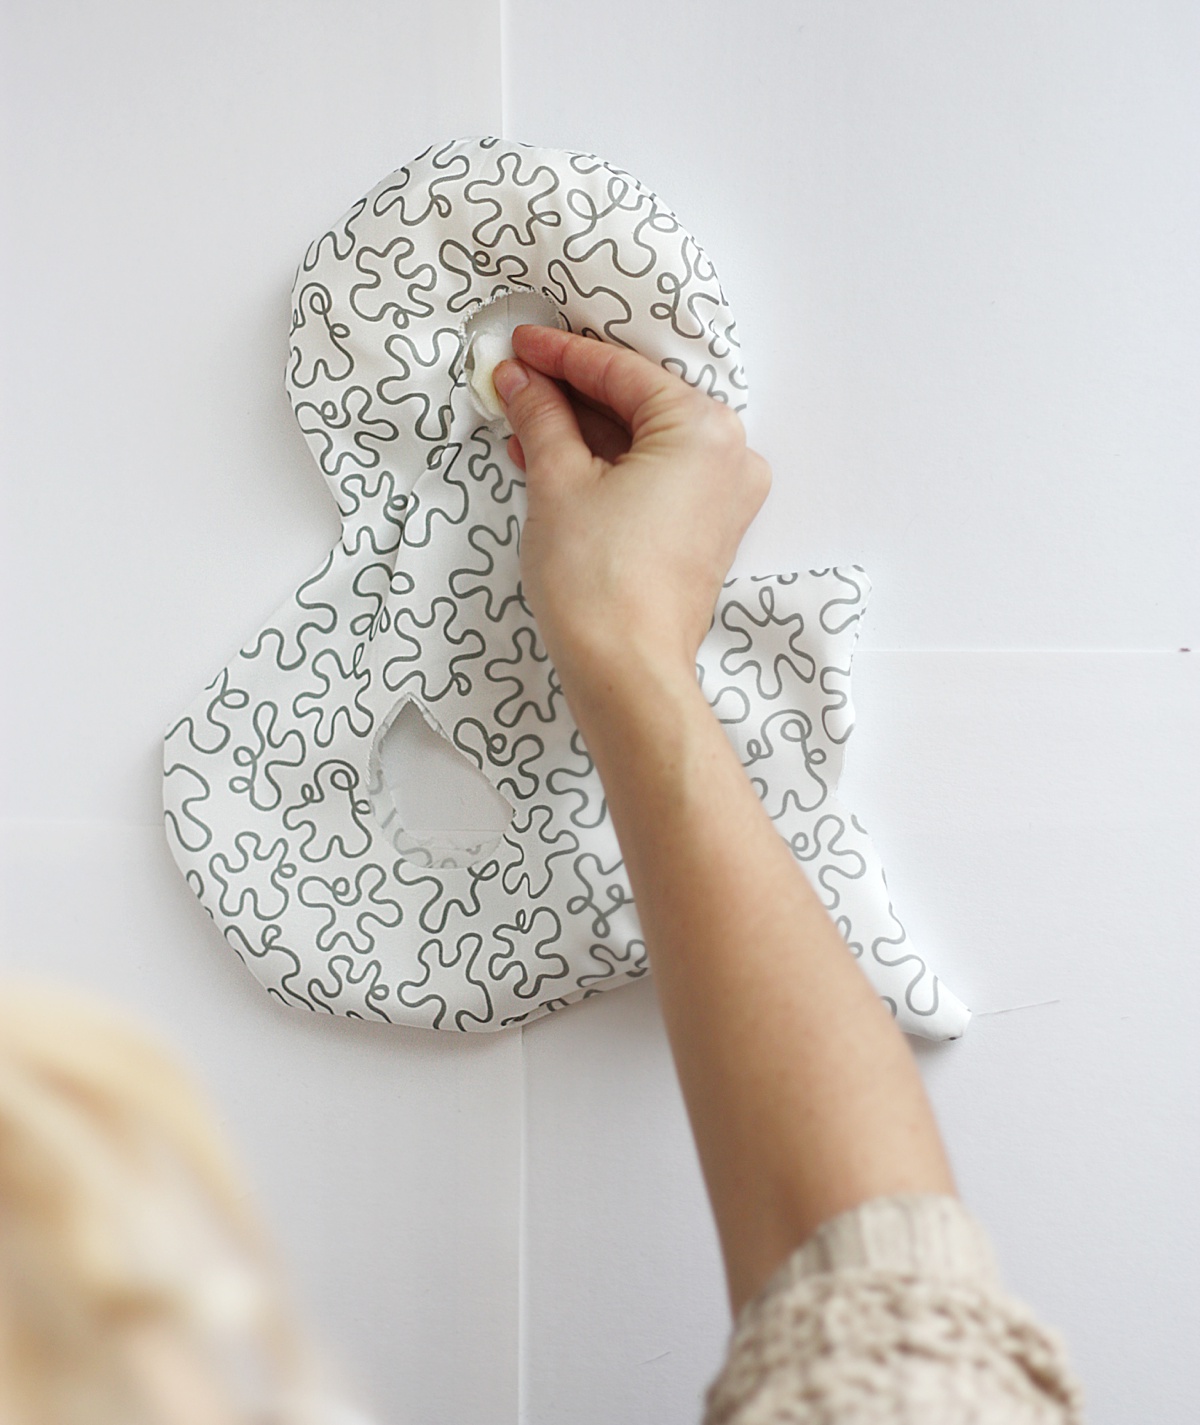
Close the hole and move on stuffing around the second hole. Sew it half way than stop again and add other stuffing. Sew it totally and add stuffing from the open edge.
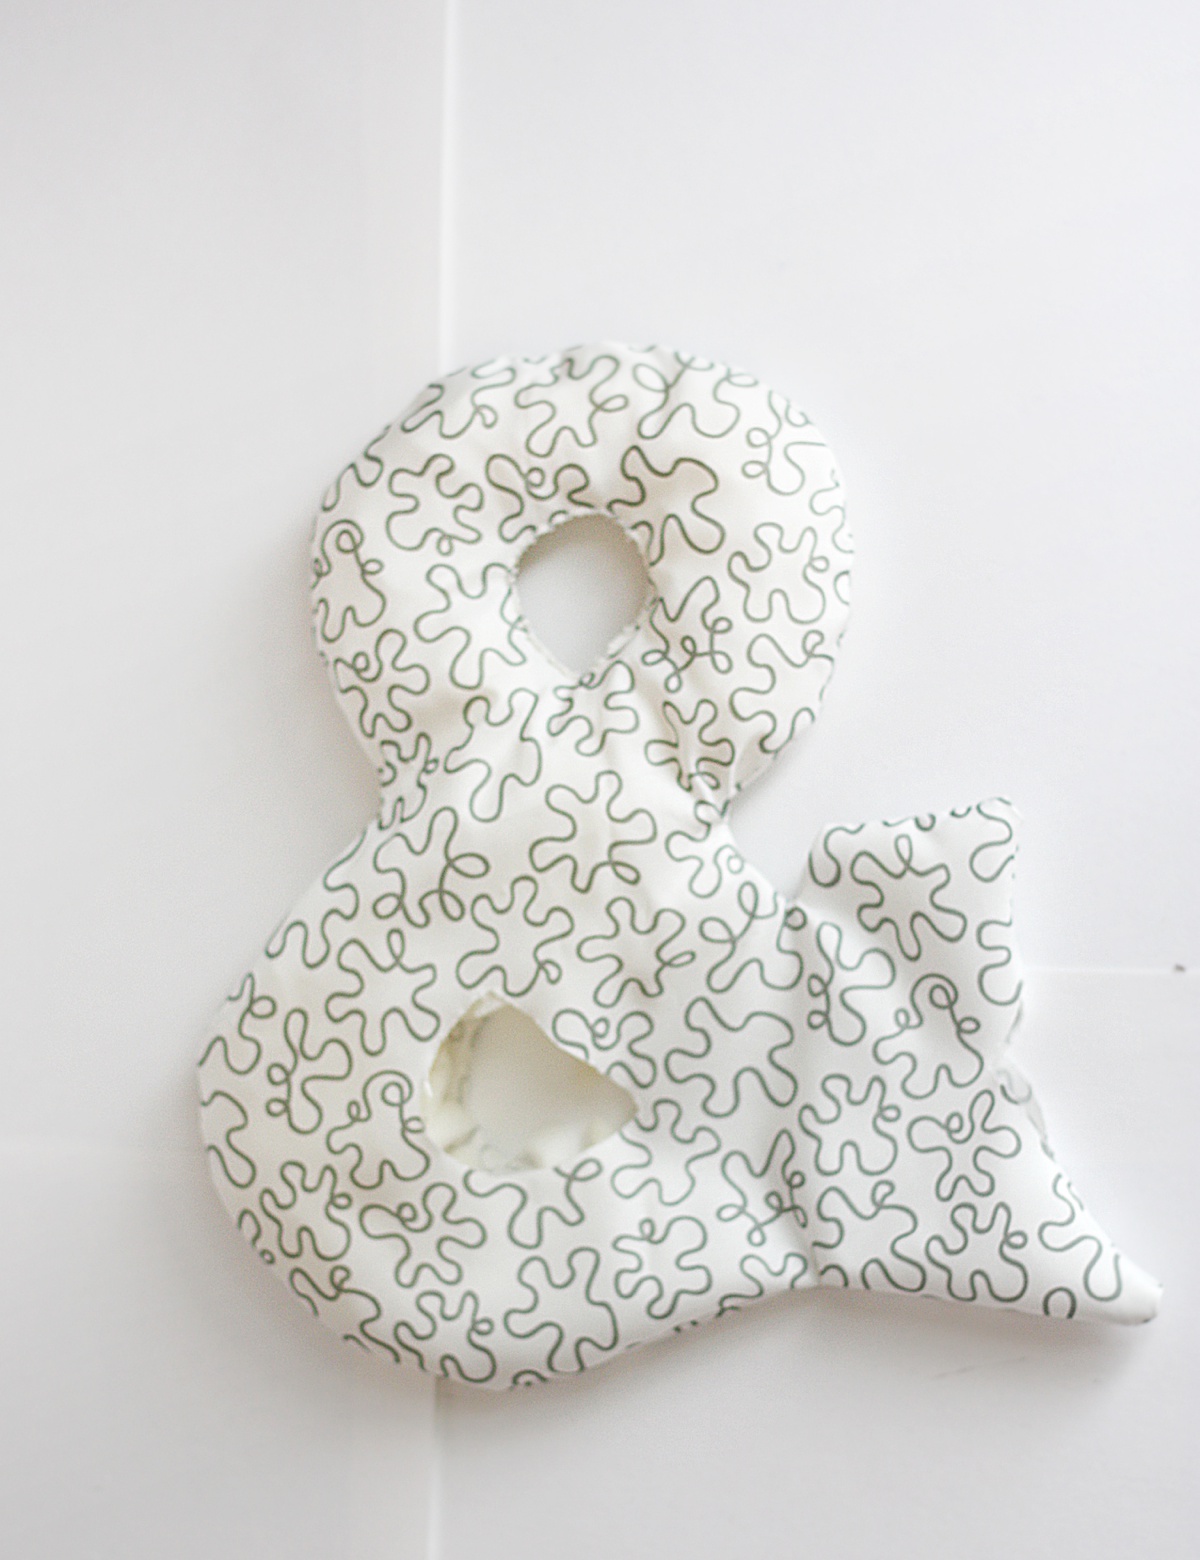
Finally, hand stitch the open end. Play with the filling to make it go evenly all around the shape. We’re done!
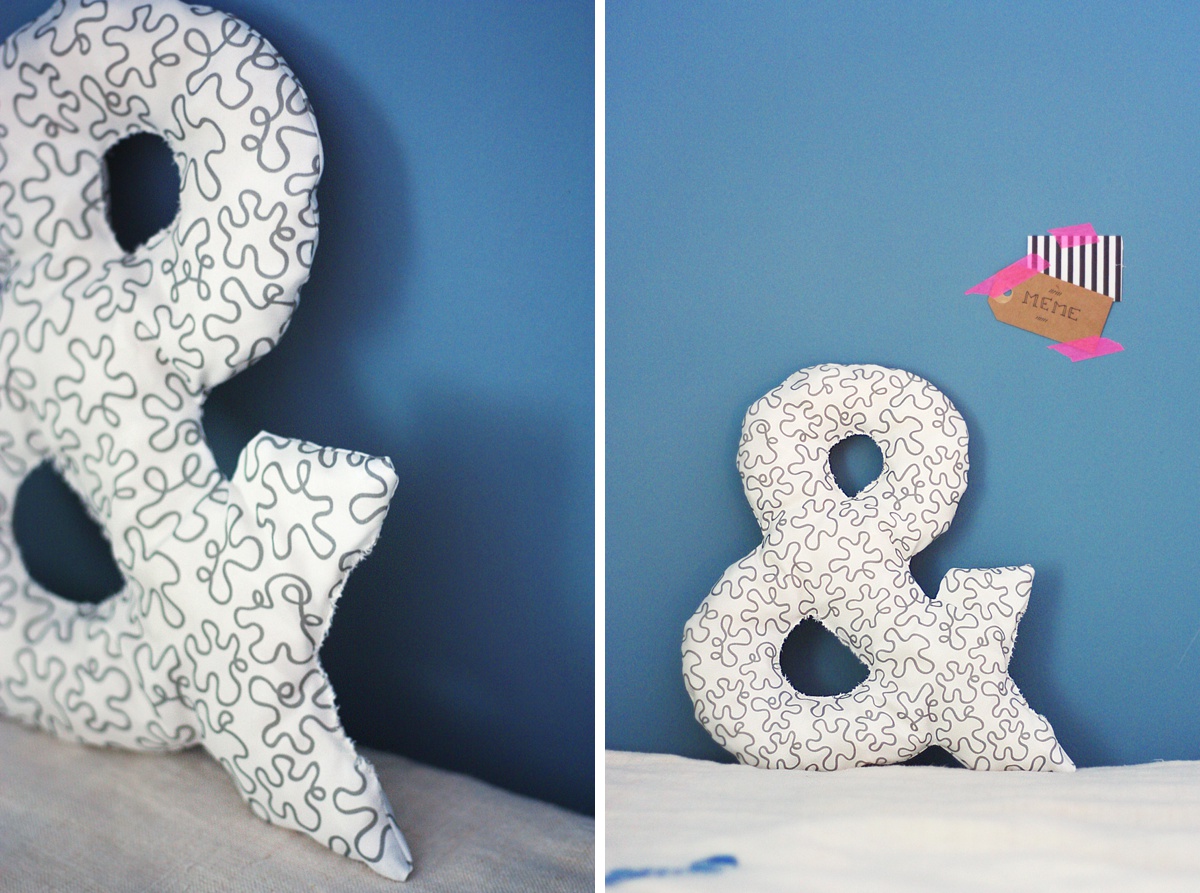
You can decide to place it between your other decorative pillows, or perhaps on a shelf between a frame and a cacti. It should be enough stiff to lean it onto a wall and make it stay vertical. Let us know your thoughts, happy crafting!
Love this! It would look fabulous as a throw cushion on a bed or a sofa, what about personalising by making matching initials for either side? Thank you for sharing, am off to pin to my crafts board, hugs xx