DIY Wooden Serving Board Design With A Burning Tool
Updated on November 19, 2025
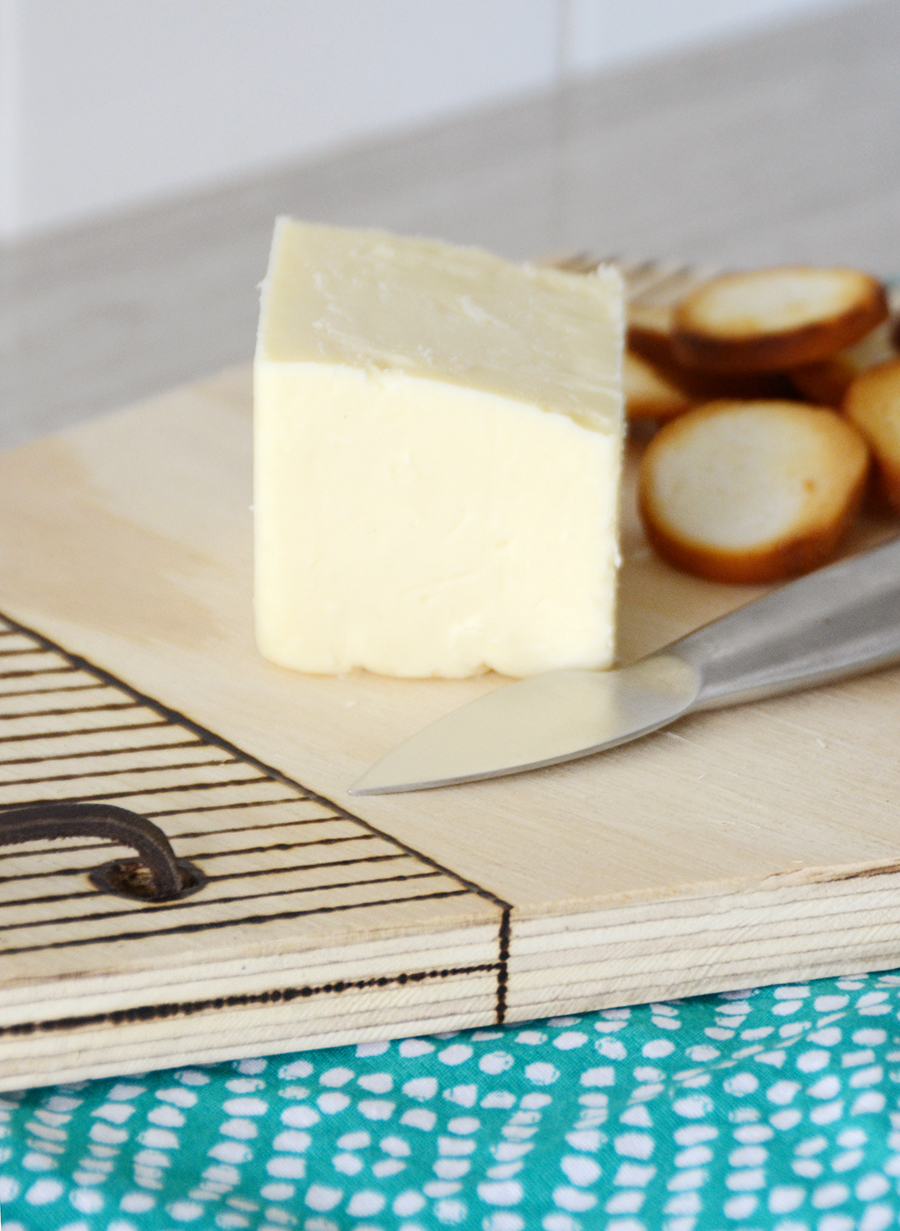
Presentation is always important when you’re serving food to guests, and they’re sure to appreciate it even more if you made the serving piece yourself. Talk about a great conversation starter! So today we’re sharing this incredibly easy DIY wooden serving board that you can do yourself in an afternoon. Read on to check out the full tutorial.
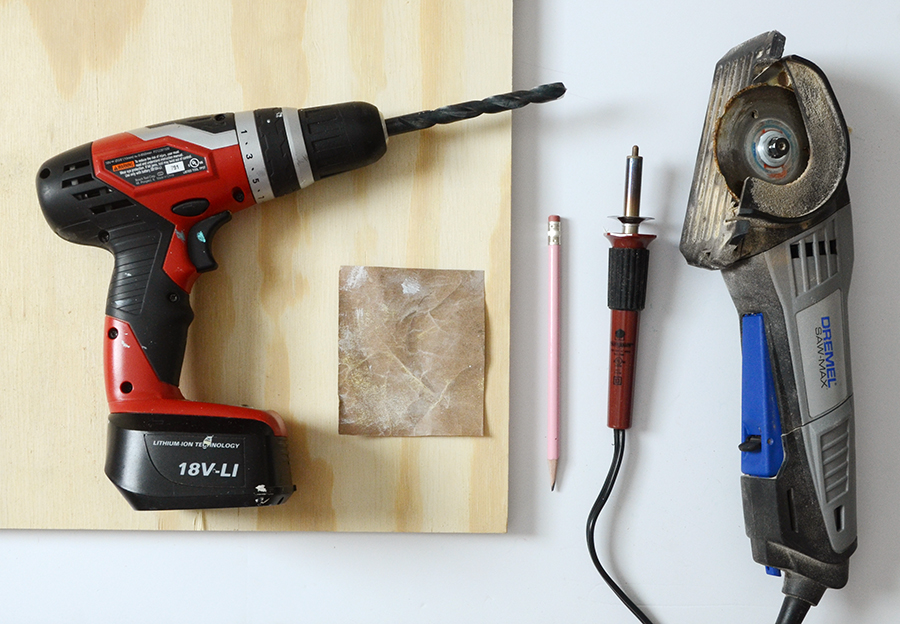
Here’s what you’ll need for your wooden serving board:
- 16×16 inch piece of wood
- Hand saw
- Wood burning tool
- Pencil
- Fine grit sandpaper
- Electric drill with a 1/2 inch bit
- Metal ruler (not pictured)
- Scrap wood (optional)
Instructions step by step to design a cool wooden serving board:
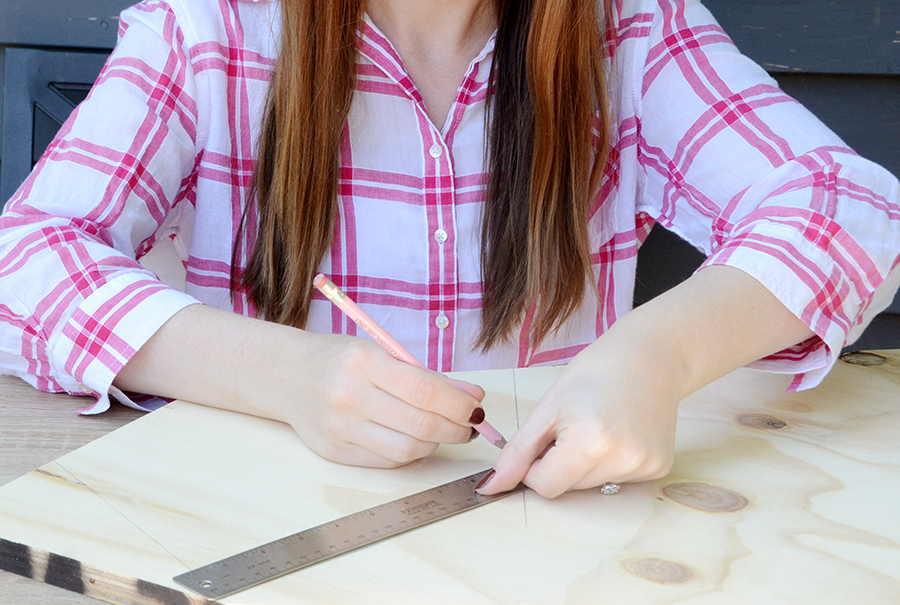
Step 1: Draw
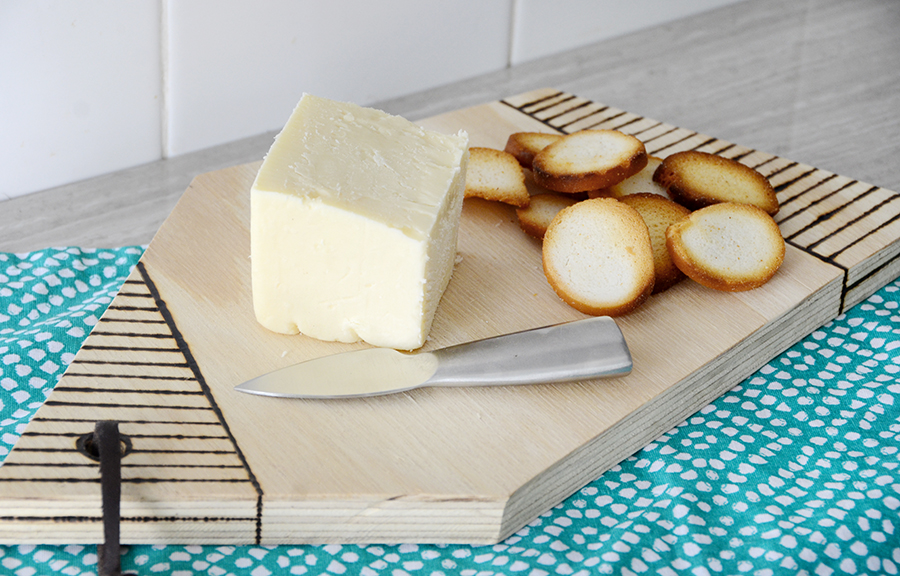
Begin by drawing out your shape. I created a five-sided shape with different lengths on every edge. Use a pencil and ruler to sketch out your shape.
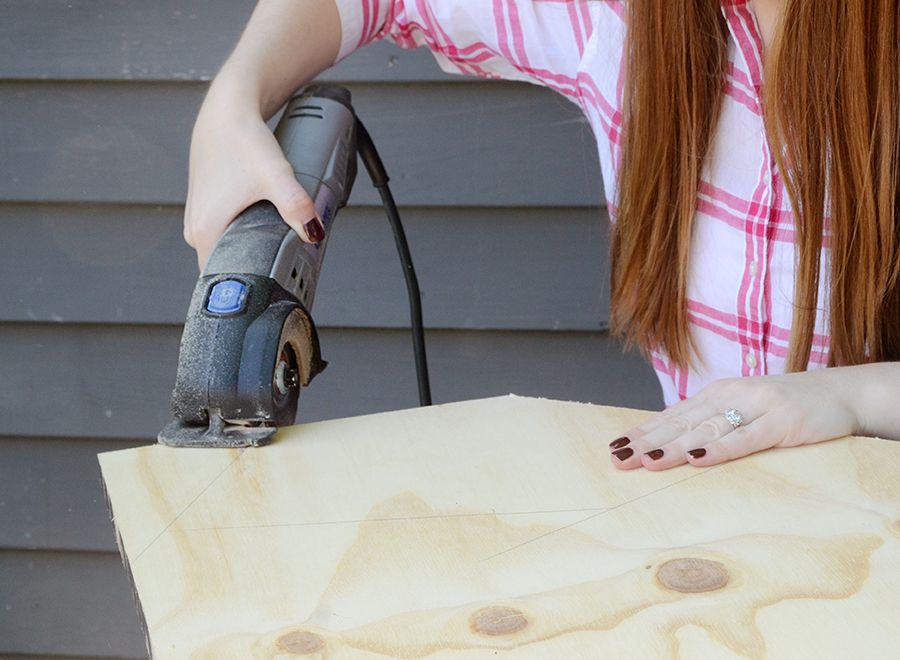
Step 2: Cutting process
Next, cut out your shape using a hand saw. Be sure to wear safety goggles and work on a very sturdy surface.
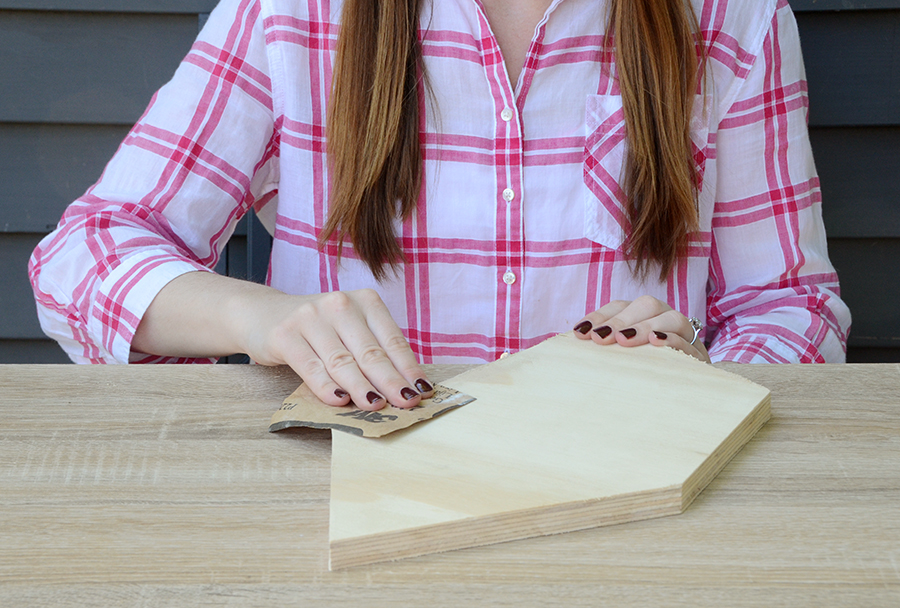
Step 3: Sanding
Sand each edge with fine grit sand paper, until everything is smooth to the touch. Sand with the grain if the top surface of the board needs to be sanded.
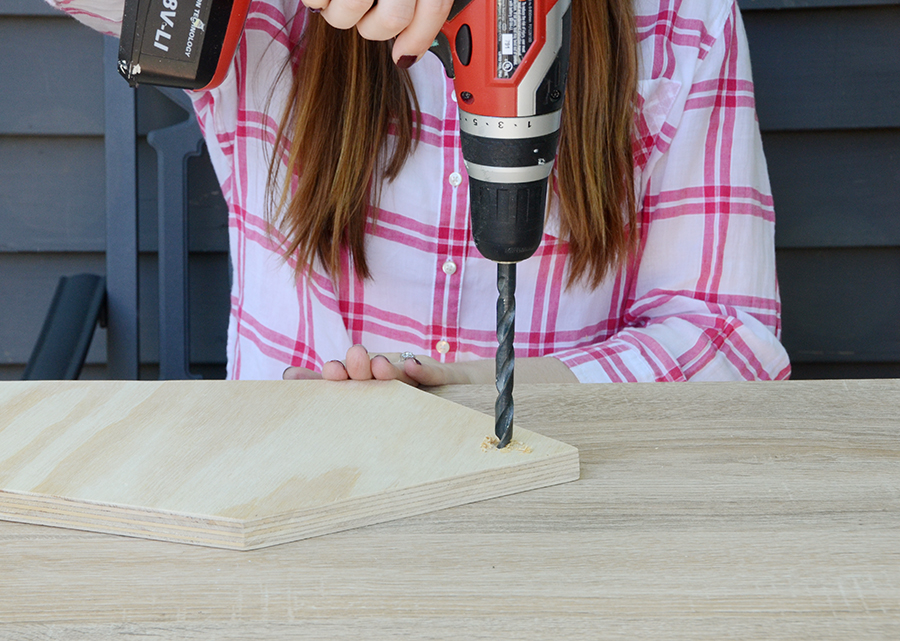
Step 4: Drilling
Drill a hole in one corner to create a place for your board to hang on the wall, if desired. Be sure to put a piece of scrap wood underneath if you care about your work surface.
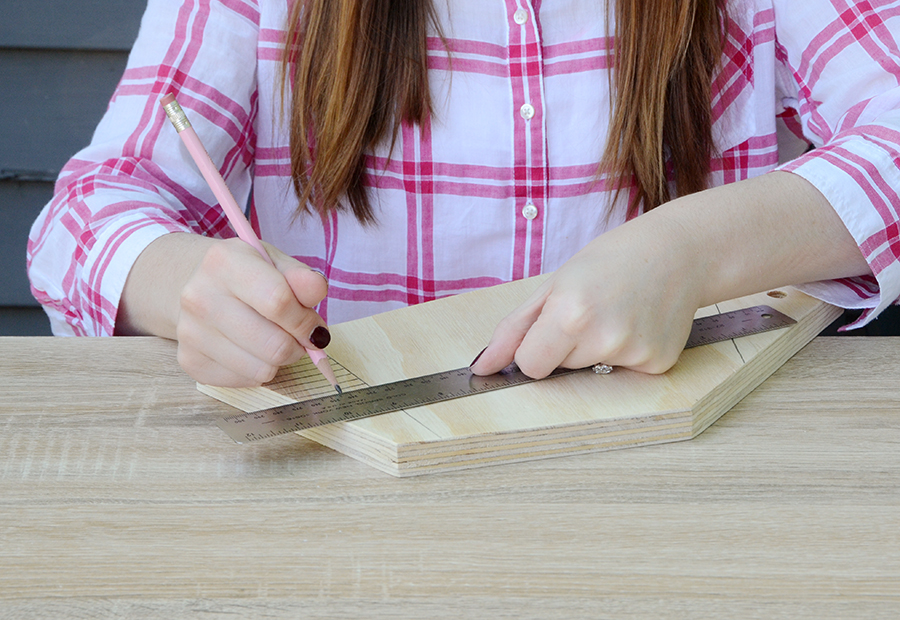
Step 5: Sketch
Next, sketch out your design using a pencil and ruler. I began with one line stretching from one edge across to the opposite one, and then drew perpendicular lines in the space that I created. I repeated this design on the other end, surrounding the hole.
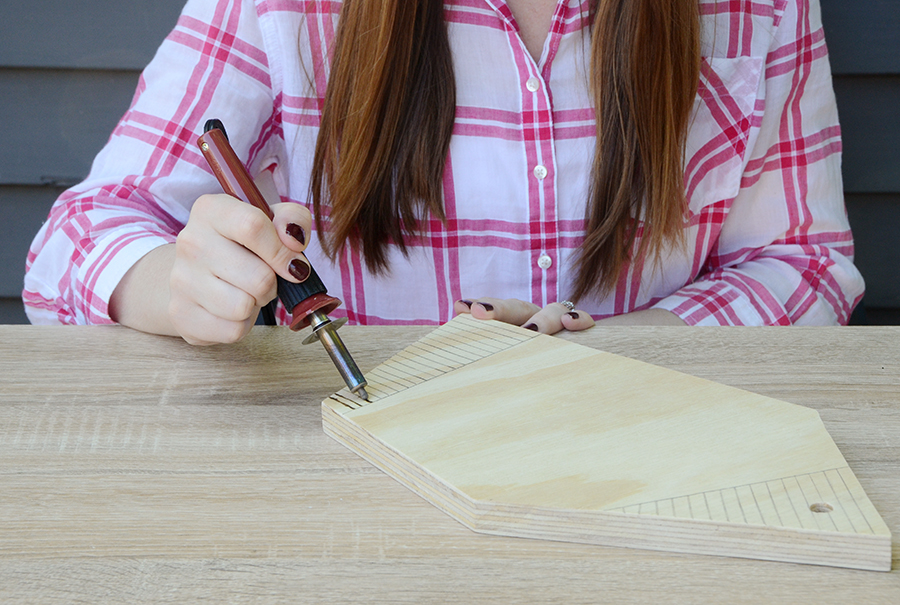
Step 6: Trace lines
Heat up your wood-burning tool and begin to trace the pencil lines that you made earlier. If you’ve never used a wood-burning tool, you will definitely want to try it out on a piece of scrap wood first because it takes a while to get the hang of it. Be careful not to touch the tip to anything other than your serving board because the end is extremely hot. Trace over every line until you’ve covered them all.
You may want to use the metal ruler to guide the burning tool, but be sure not to touch the ruler near where you’re burning because the whole area surrounding it will be super hot. I tied a piece of leather through the hole for an extra bit of style, but you can just leave it as is if you like.
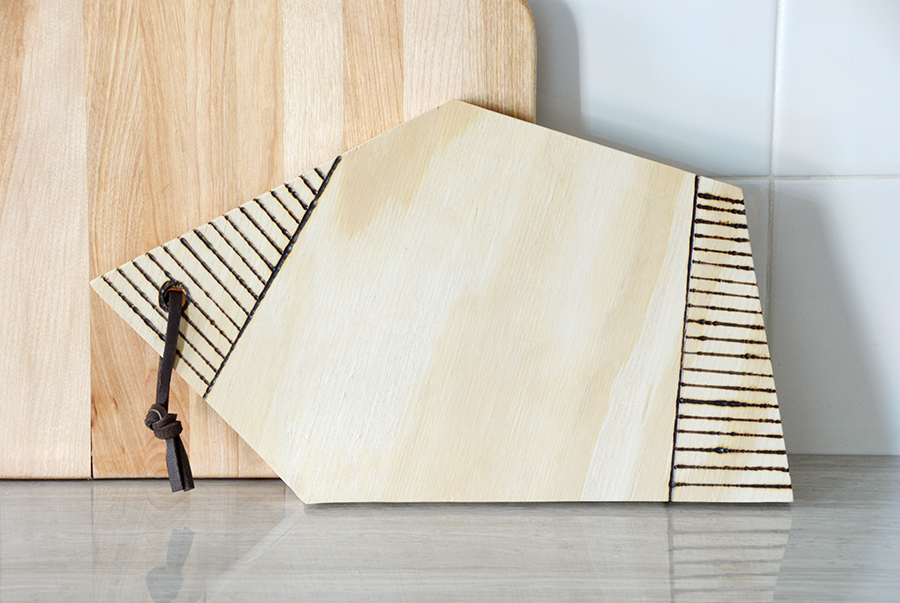
And that’s it – your wood burned serving board is complete. This is a very easy project to do, it just takes a bit of patience to do all of the burnings. But it shouldn’t take you longer than an afternoon unless you do a super complex design.
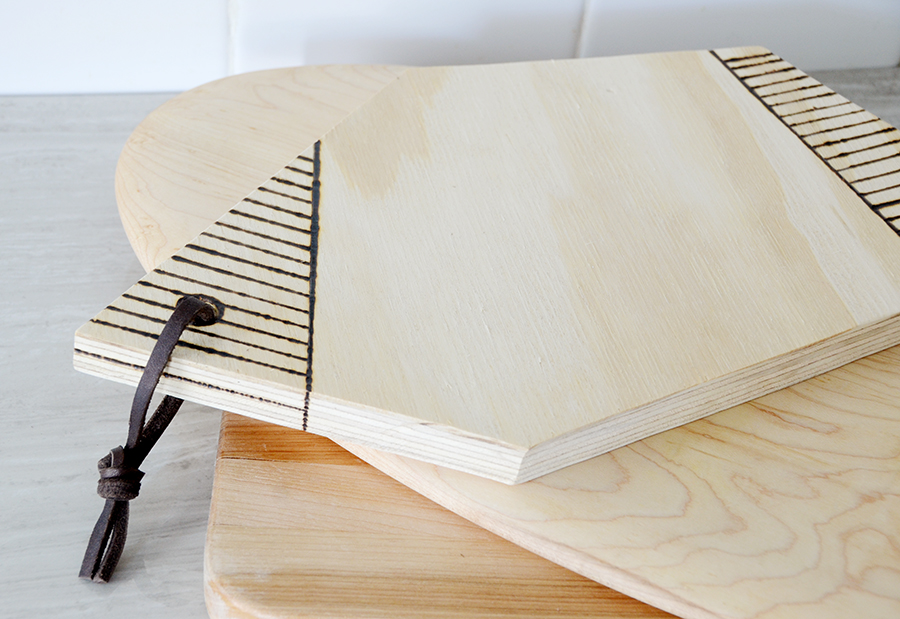
Lines are certainly not the only design option… in fact, they are the hardest to do (in my opinion). Other options include polka dots, larger triangles and even letters or words.
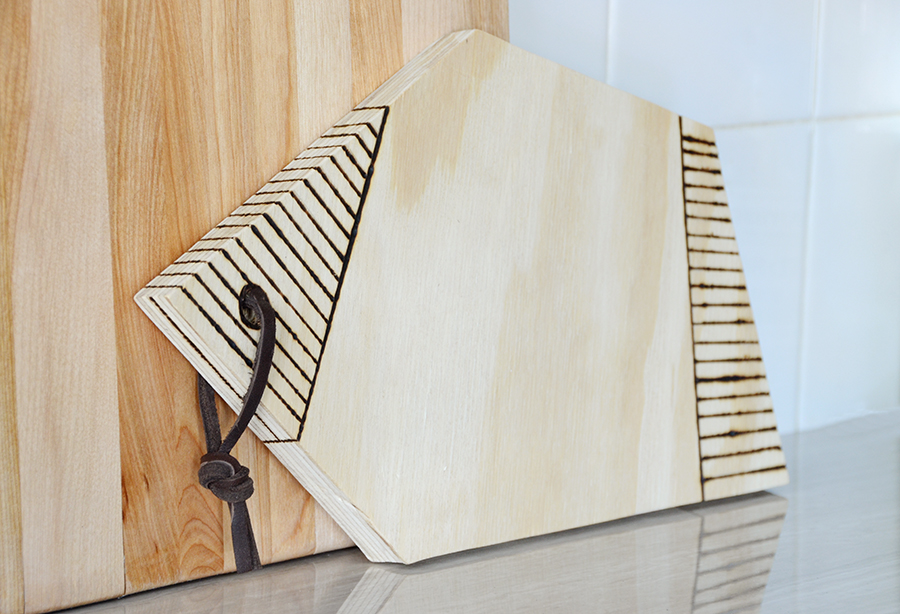
I extended my design onto the edges to give it a more finished look. This is especially important if you have very thick wood. I hope you enjoy making your own wood burned serving board!