How to Craft a Valentine’s Day Tassel Garland in 3 Easy Steps
Updated on November 19, 2025
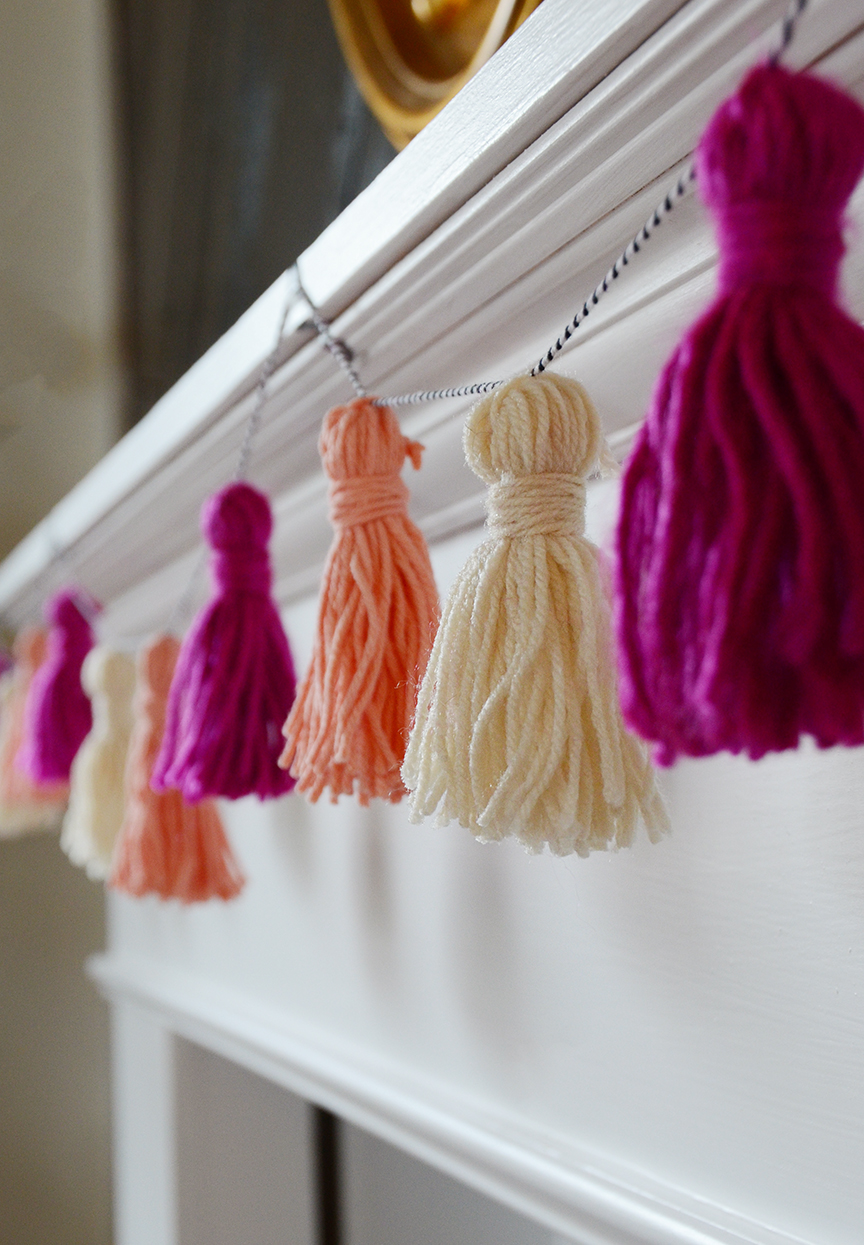
A DIY tassel garland is a lovely way to hang up a heartfelt Valentine’s Day decoration and create a festive atmosphere in your home. Read on to discover how to craft a tassel garland for February 14th in three easy steps.
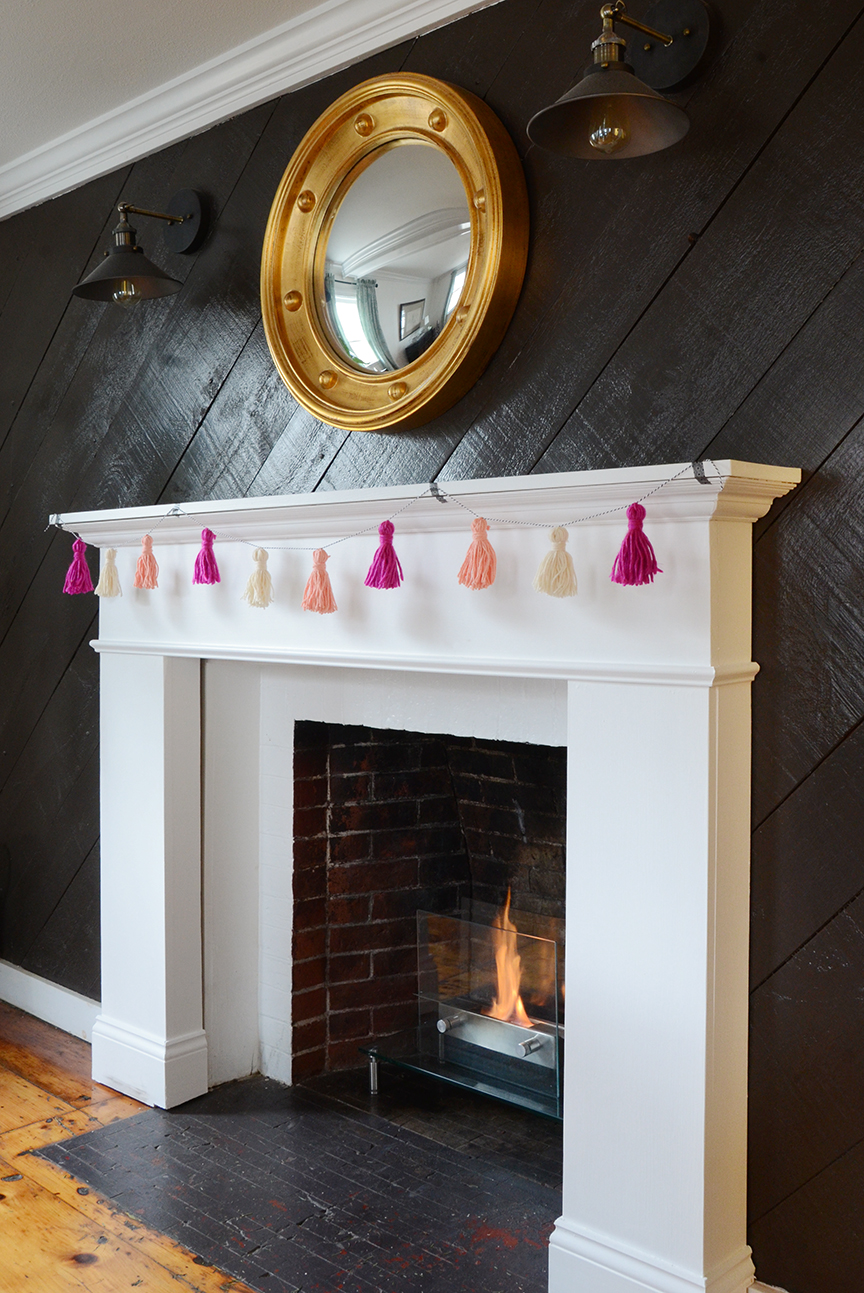
A Valentine’s Day tassel garland is a handcrafted decorative item made of colorful yarn with romantic colors like red, white, and pink. Use a tassel garland to dress up an empty window, mantel, or wall on special occasions such as Valentine’s Day, Mother’s Day, birthdays, or anniversaries.
Tassel crafts are a fun activity for parents and kids alike, and a tassel garland for Valentine’s Day makes no exception. For example, children can pick the yarn colors, while parents can show them how to turn regular yarn into tassels.
This tutorial describes the supplies and step-by-step instructions for making a tassel garland for Valentine’s Day. It contains images and more tips and tricks to improve your design. This DIY project takes anywhere from 30 minutes to 1 hour, depending on the preferred garland length.
Supplies
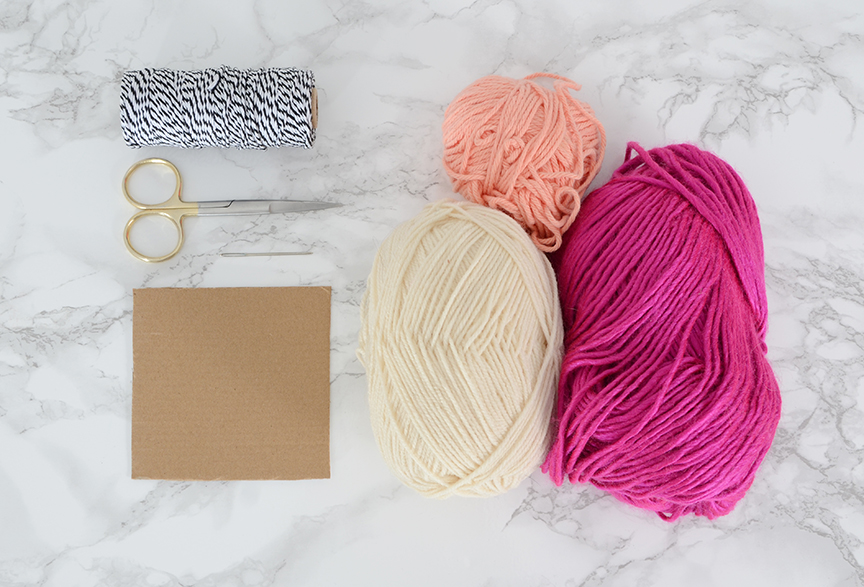
- Colored yarn. We used pink, peach, and cream.
- Baker’s twine
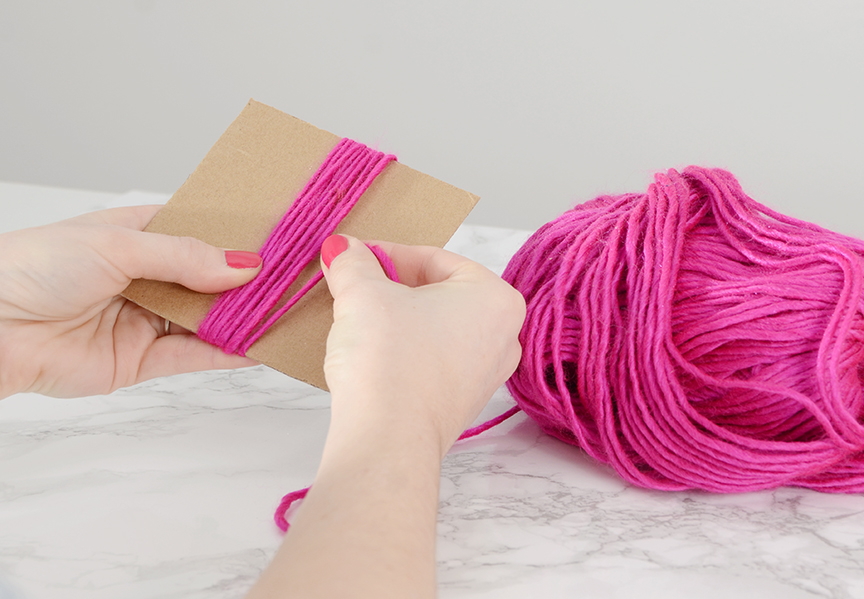
- Cardboard. The cardboard size determines the tassel size. We used 5×5-in (13×13-cm) cardboard.
- Scissors
- Tapestry needle
How do I craft a Valentine’s Day tassel garland?
Follow these step-by-step instructions to craft a tassel garland for February 14th:
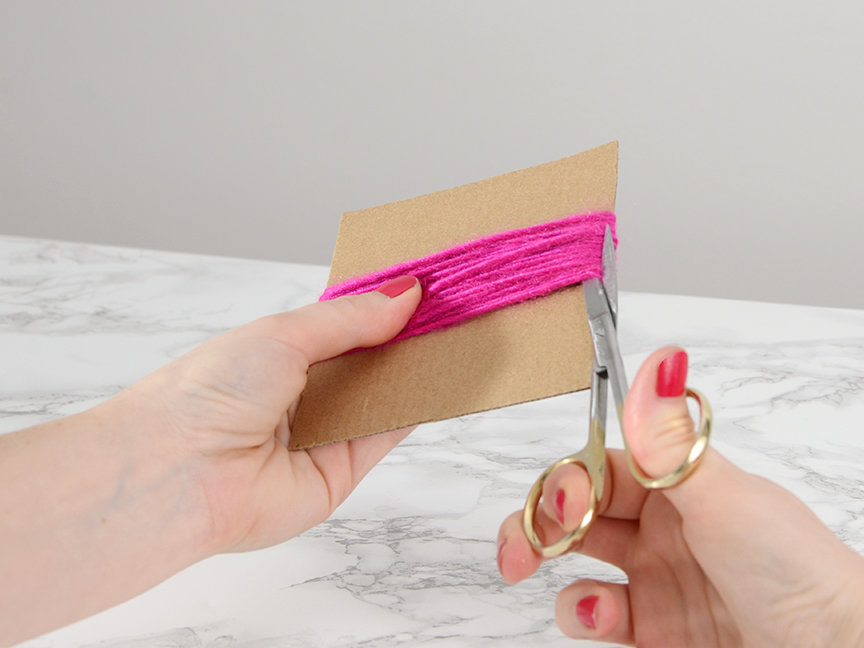
- Prepare the yarn: Wrap yarn around the cardboard square about 10 times; add more wraps to make the tassels extra fluffy. Next, cut the wrapped fabric along both cardboard edges while holding it in a pinch in the middle. Gently place the yarn bundle on a flat surface without untangling it. Repeat this step for each tassel.


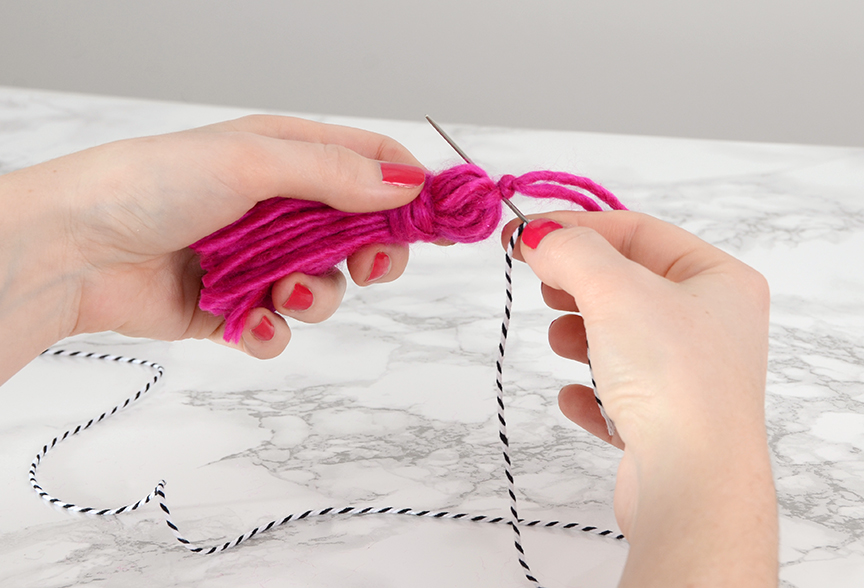
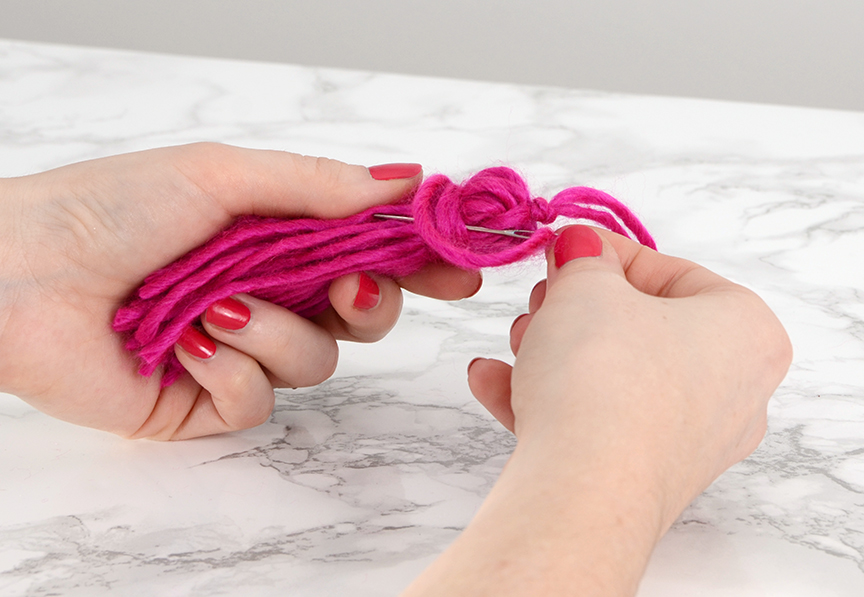
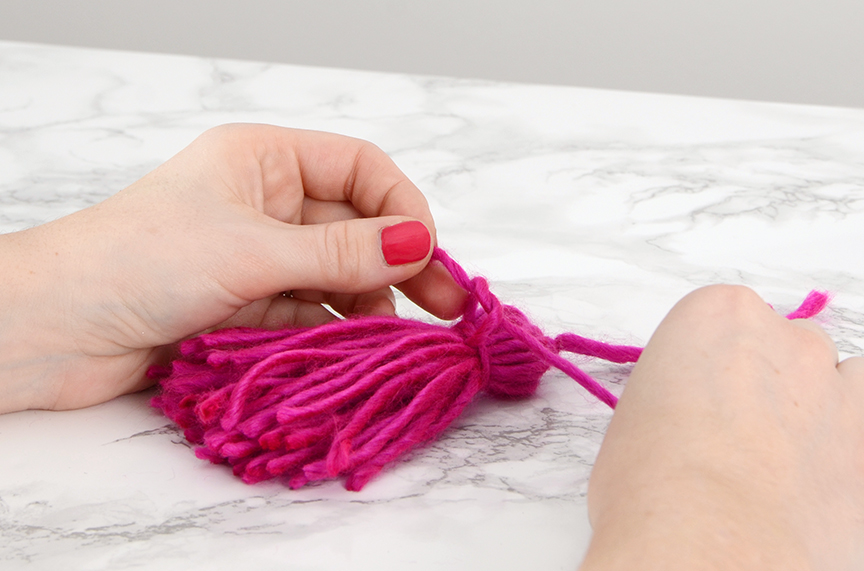
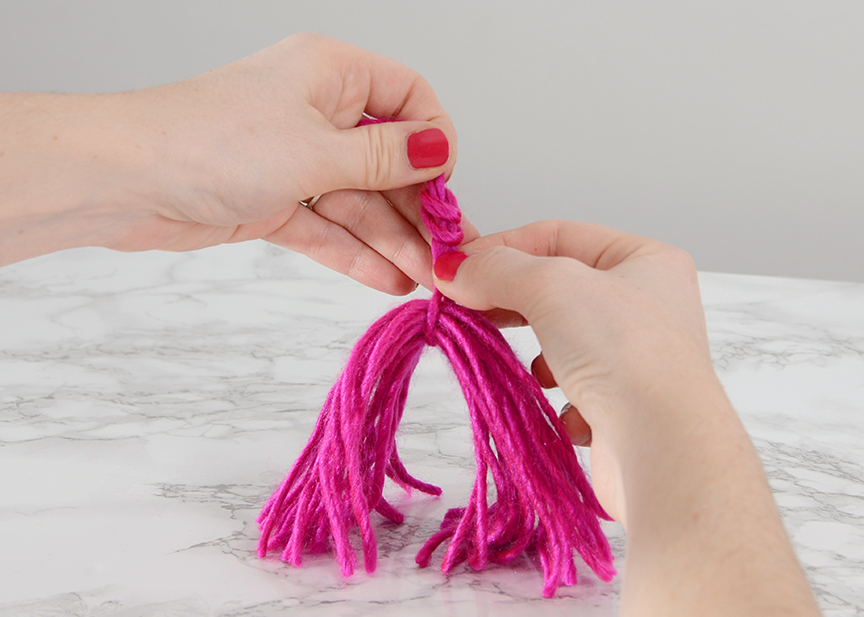
- Make the tassels: Cut an 8-in (20-cm) piece of yarn, wrap it around the middle of the yarn bundle, make a knot, and pull the knot tightly down to the pile of yarn. Keep the yarn folded in half, cut another 8-in (20-cm) piece of yarn, and tie it 1 in (2.5 cm) from the top of the tassel. Tuck the short end of the yarn piece under and wrap the long end around until you have about 8 in (20 cm) left. Repeat this step for all tassels.


- Thread the tassels: Thread the knot of the tassels with baking wire and spread them out evenly, alternating colors. Your Valentine’s Day tassel garland is now ready!


More tips and tricks
Check out the following tips and tricks for improving or changing your DIY romantic tassel garland:
- Easily attach the tassel garland: Use washi tape to attach the garland by the ends to any surface.
- Mix things up: Combine tassels with other crafting materials, such as pom-poms, paper hearts, or other playful and romantic elements to make your Valentine’s Day decoration more interesting.
- Change the theme with colors: Make a tassel garland for any other special occasion by changing colors. For example, use blue shades for a boy’s baby shower or green hues for St. Patrick’s Day.
- Lights and sparkles: Add magic to your tassel garland by including small string lights or glittery stars.
Conclusion
Creating a tassel garland is a fantastic way to add festive cheer to your Valentine’s Day. Whether creating a romantic centerpiece, decorating for a party, or simply sprucing up your home for the day, you can’t go wrong with this DIY project. It’s easy to make with the right supplies and by following the steps outlined in this guide. Check out more decoration ideas for February 14th.