DIY Crescent Moon Hanging Planter
Updated on November 19, 2025
I spotted this metallic crescent moon plant hanger here and I pinned it immediately for inspiration. And since then I have been thinking of recreating this with clay but like any other DIY it was stuck in my waiting to-do list until I ordered for some white clay for another project and instead got this brown colored one. Now it was too late to exchange ( weeks passed by ) and in order to make use of the otherwise not so appealing colored clay I created this planter which I adore now. Hatred gone in the air baby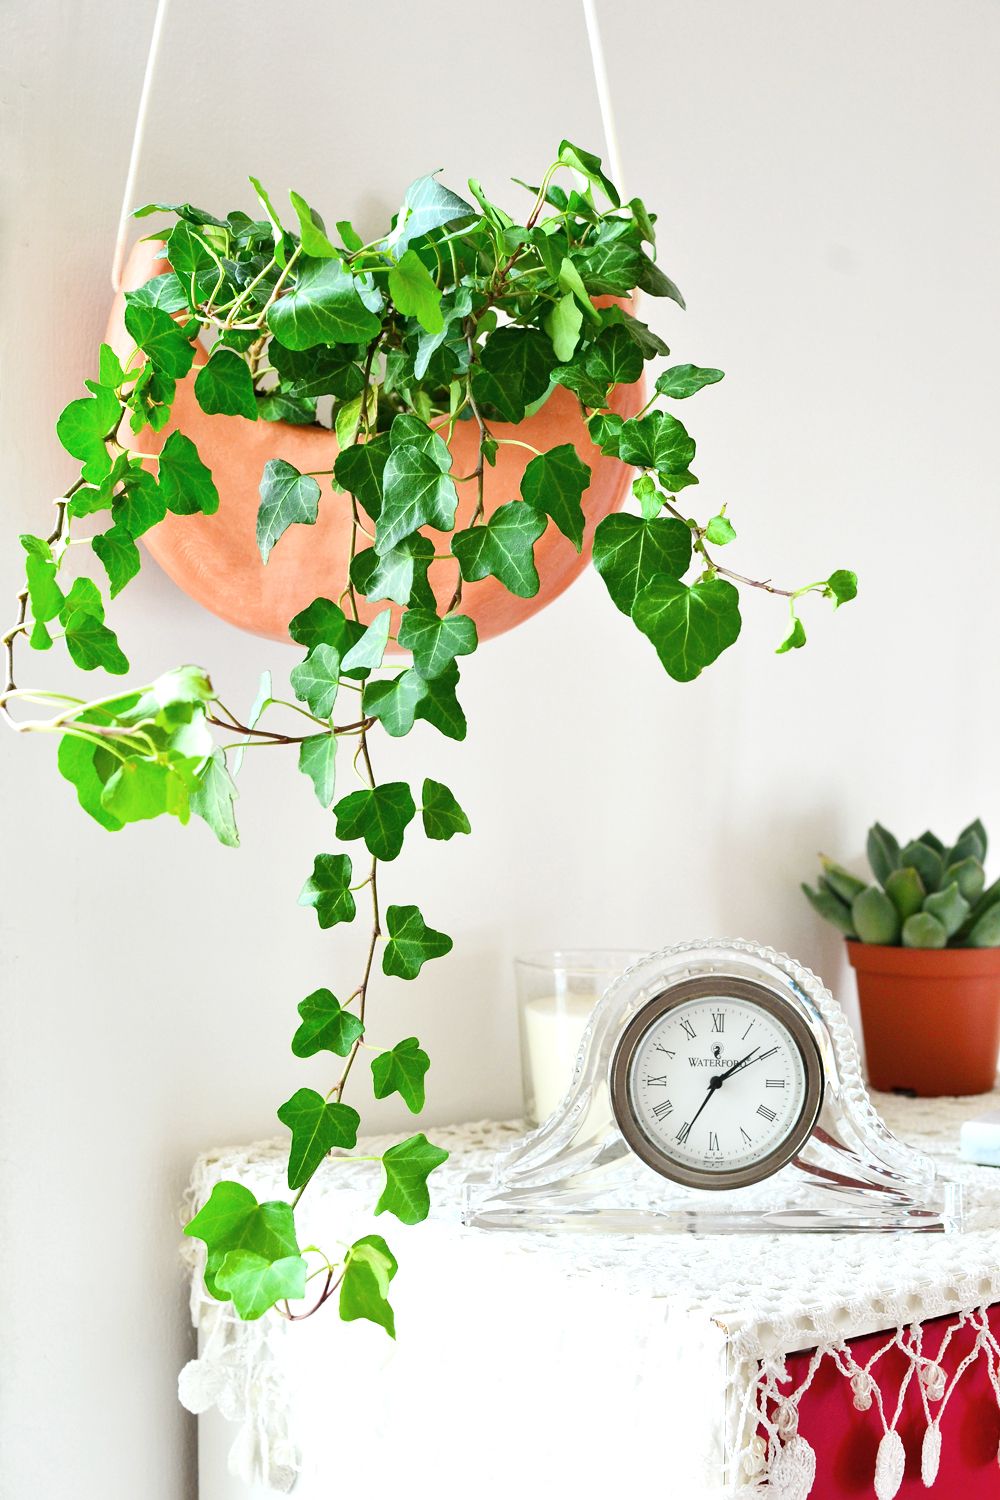
 Let us see what materials we may need to create this crescent moon hanging planter
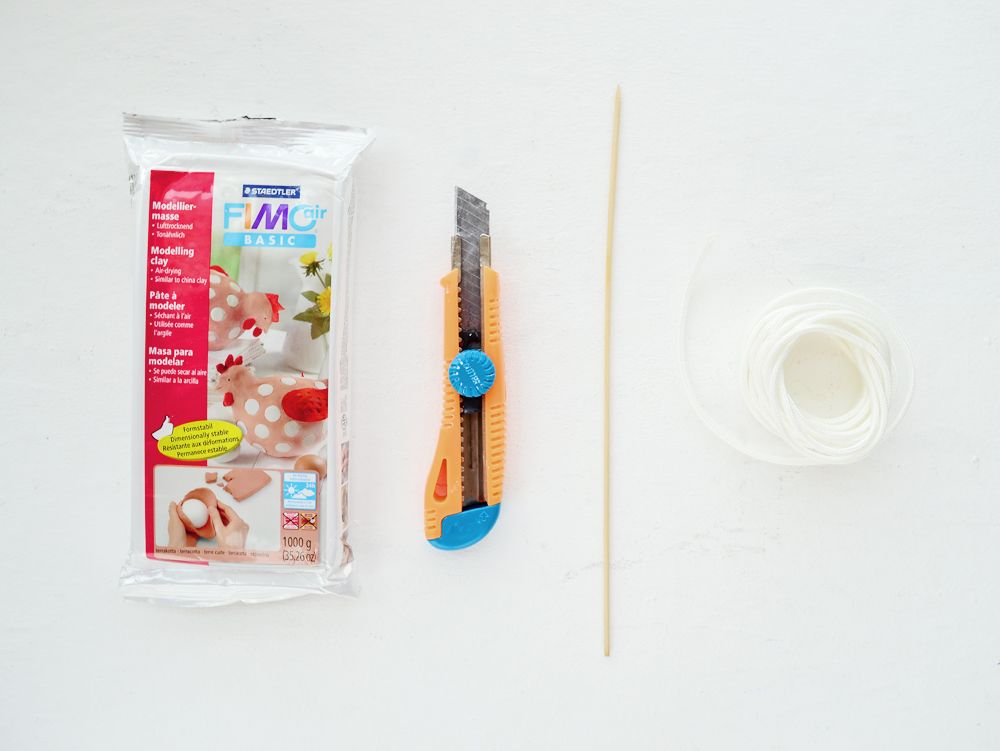
Materials:
- Brown air-dry clay 1 kg
- Strong cotton rope 4mm/5mm
- Kebab skewer
- Cutter
- Round Cork boards X 3
NOTE: As I was experimenting, the cork boards are missing from the image above but you need atleast 3 of them for this DIY
Steps:
On a protected surface, roll over your clay to a thickness of o.4 inch. Next place one of your cork boards over it and cut around the edge of the cork board leaving 1/3 of it open ( you can mark the board to make your work easier)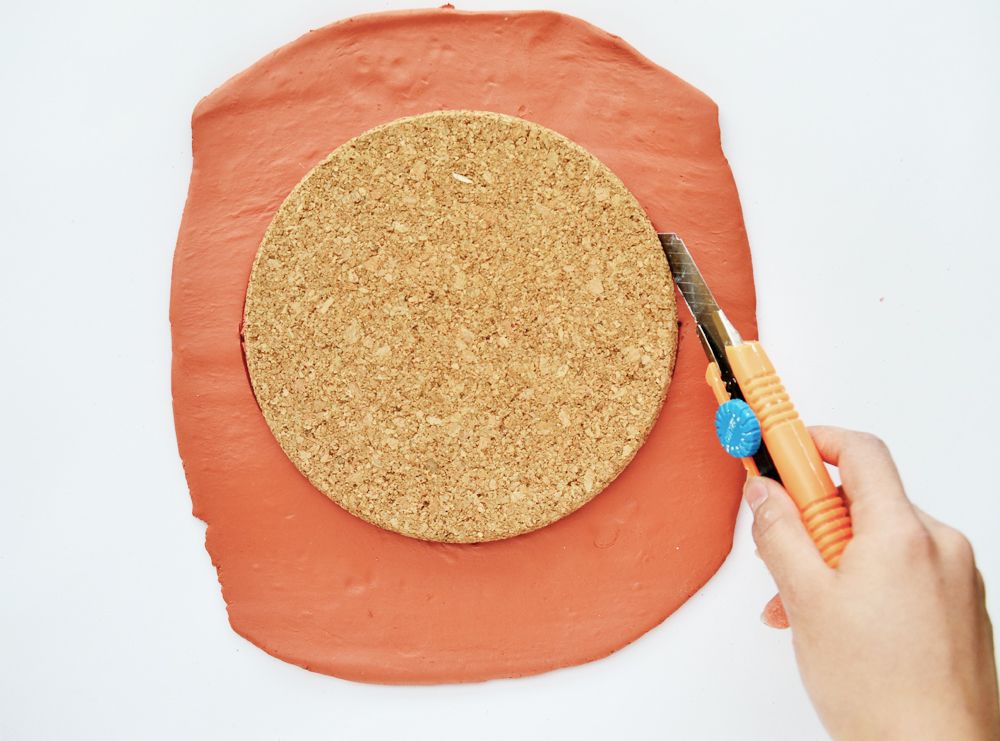 Now place your cork board in a manner that it meets the endings of your previous cutting and then go ahead cut around like so. Repeat the steps to ascertain another identical crescent piece.
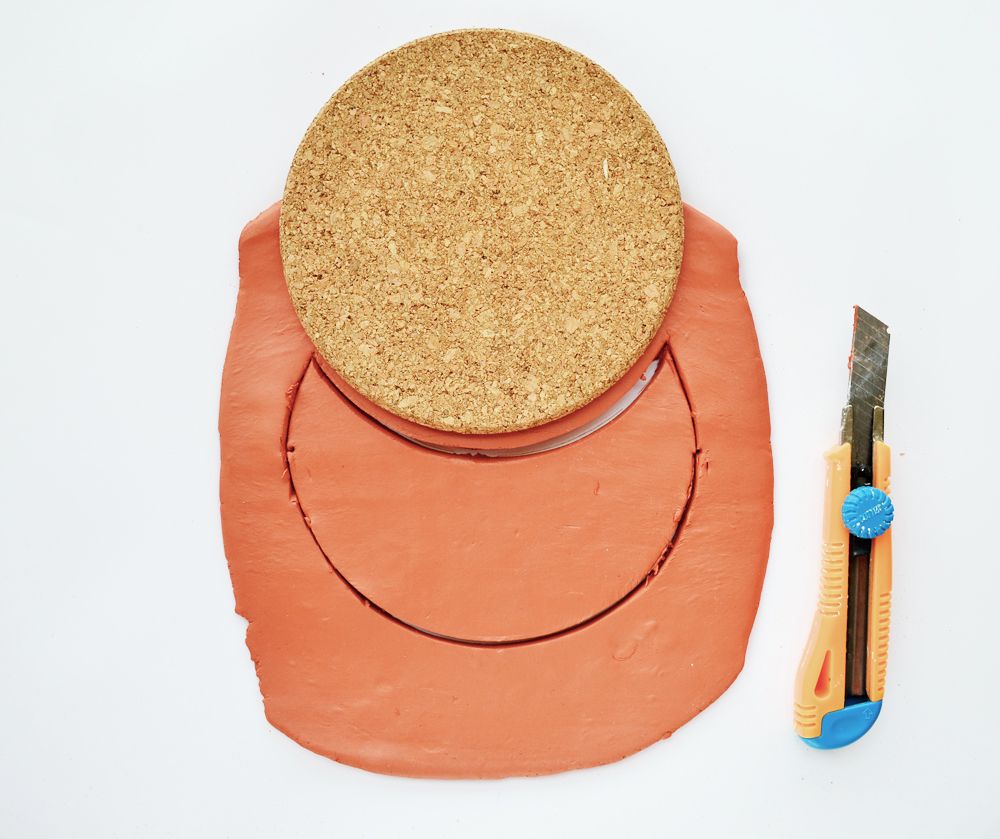 This time for the bottom you will have to roll out a long strip of clay with an estimated 2.5 inch of width and measure it out against your cork boards like so.
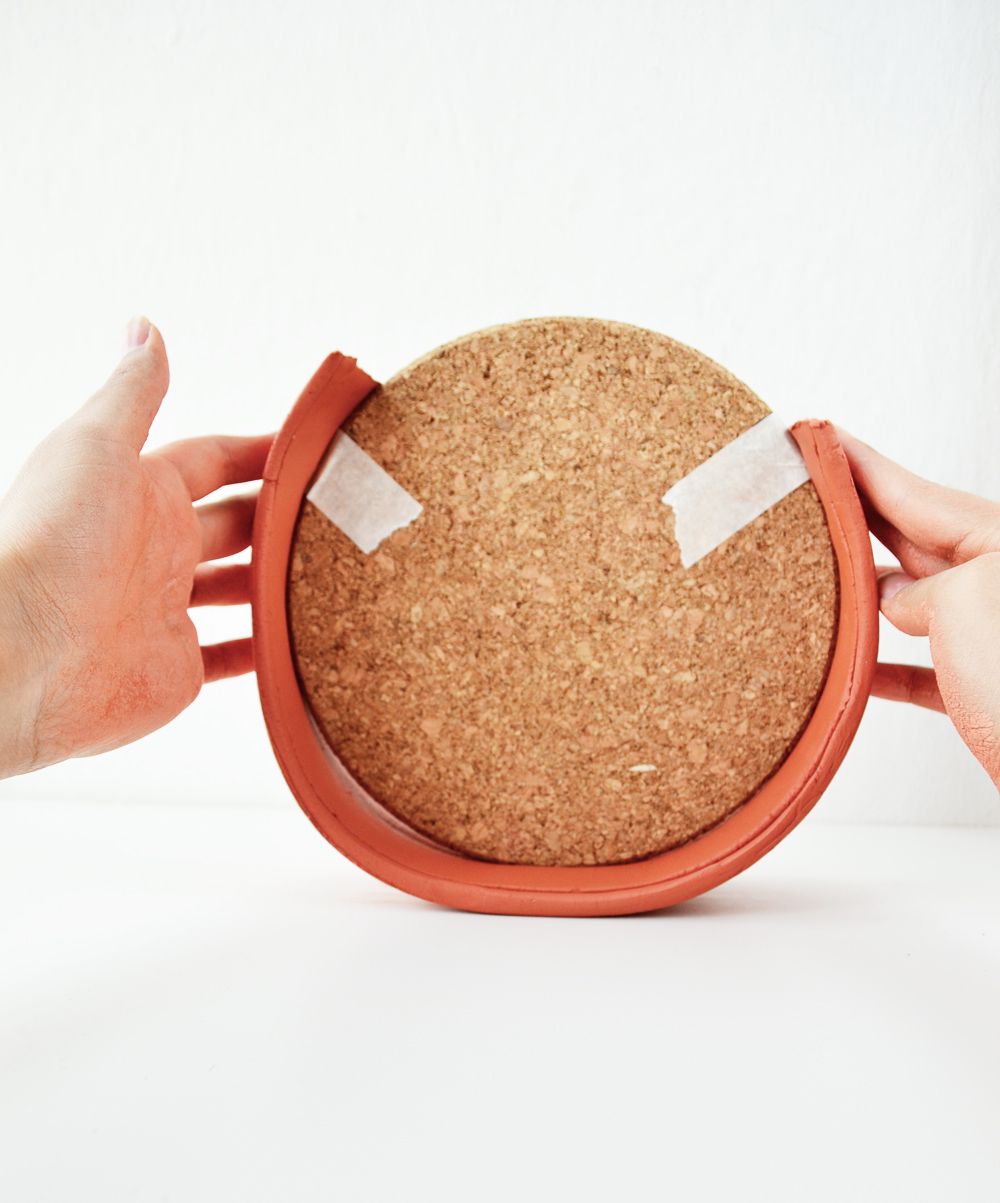 In order, for you to ascertain the shape you will have to tape the three cork boards and use it as an insert for the clay. Make the long strip stand against the cork boards and lay down your first piece of crescent over the cork.
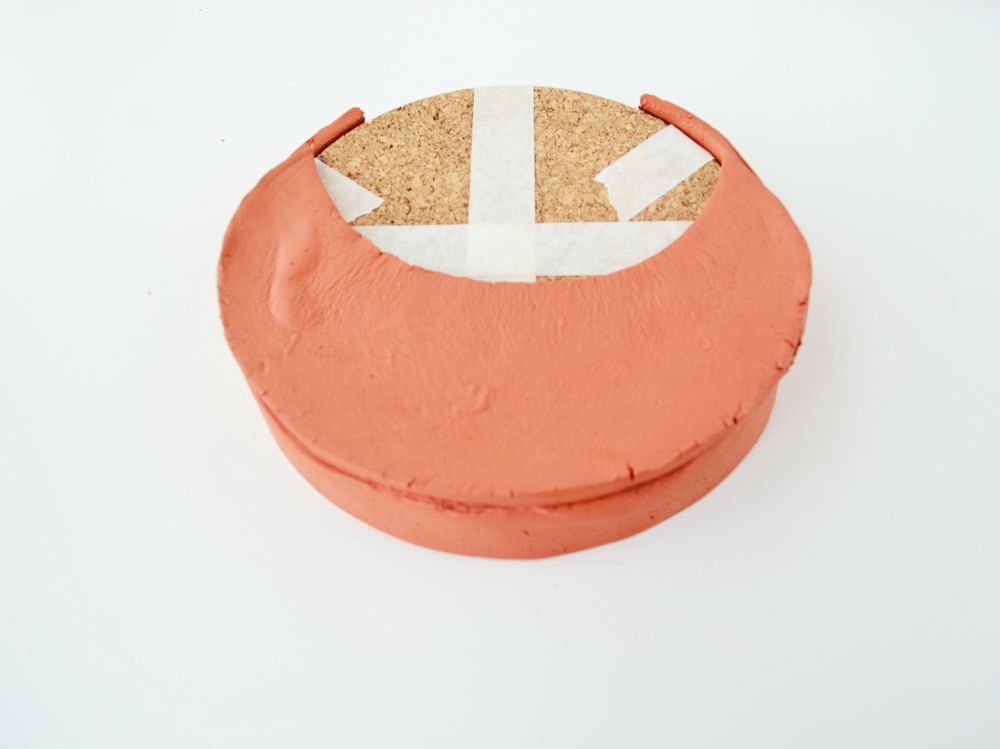 Now begins the real work, wet your finger tips and connect the two pieces by running over it, I ran from top to bottom. Once you think the two clay pieces have adhered to each other, you may want to carefully flip to the other side and repeat the steps for the other crescent piece.
 At this point, you will have irregularities so you can now go back and forth and smoother the edges. Cut off excess clay from the edges if any and make a hole with a skewer on each side of the planter for the cotton rope to go.
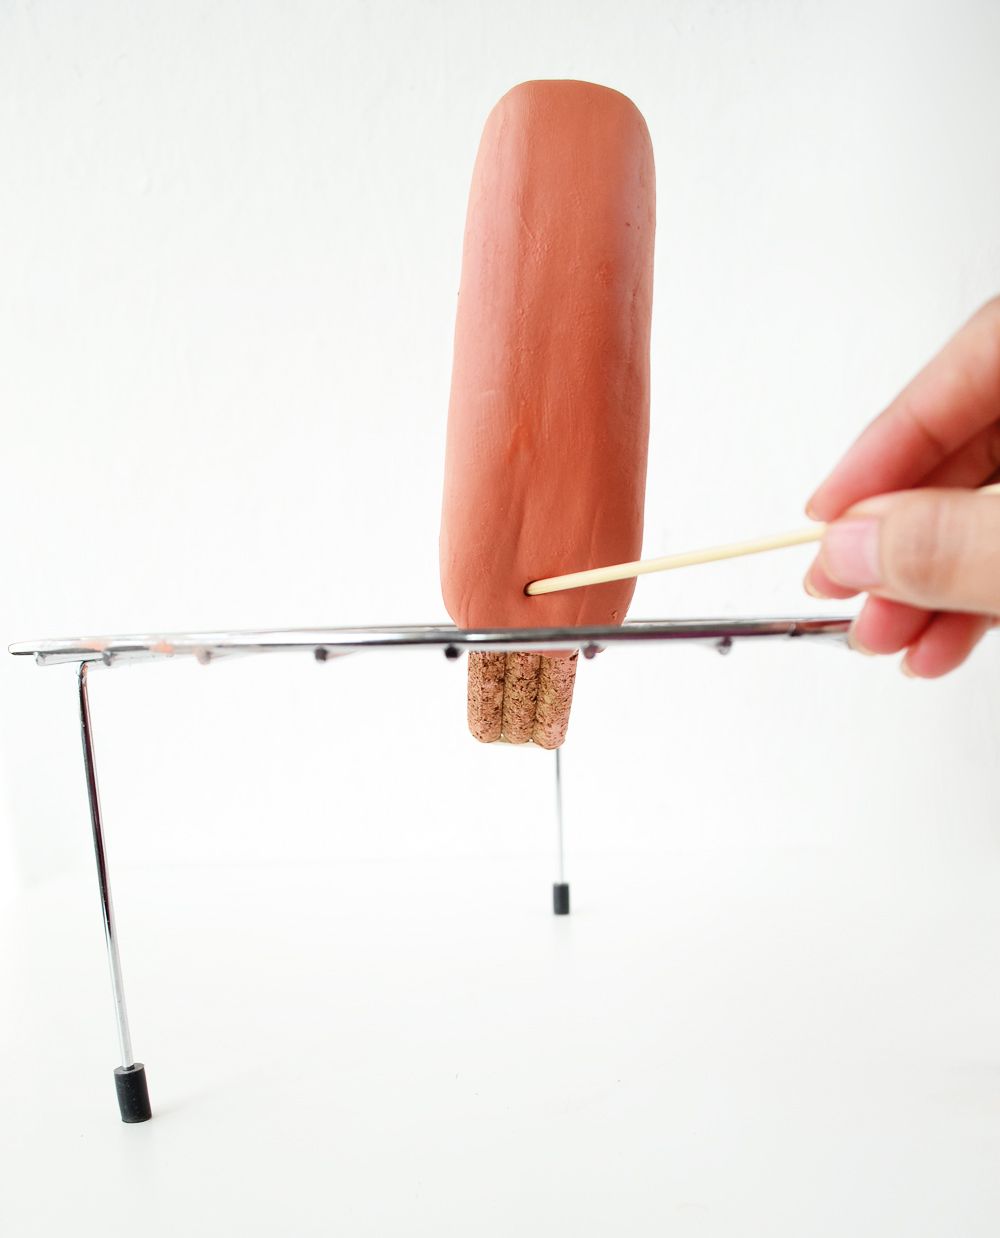 Place your work over a rack to let it firm its shape for 3/4 hrs. Come back later and remove the cork boards carefully. Note that you might end up with some cracks here and there but not to worry you can fill them up with some leftover clay.
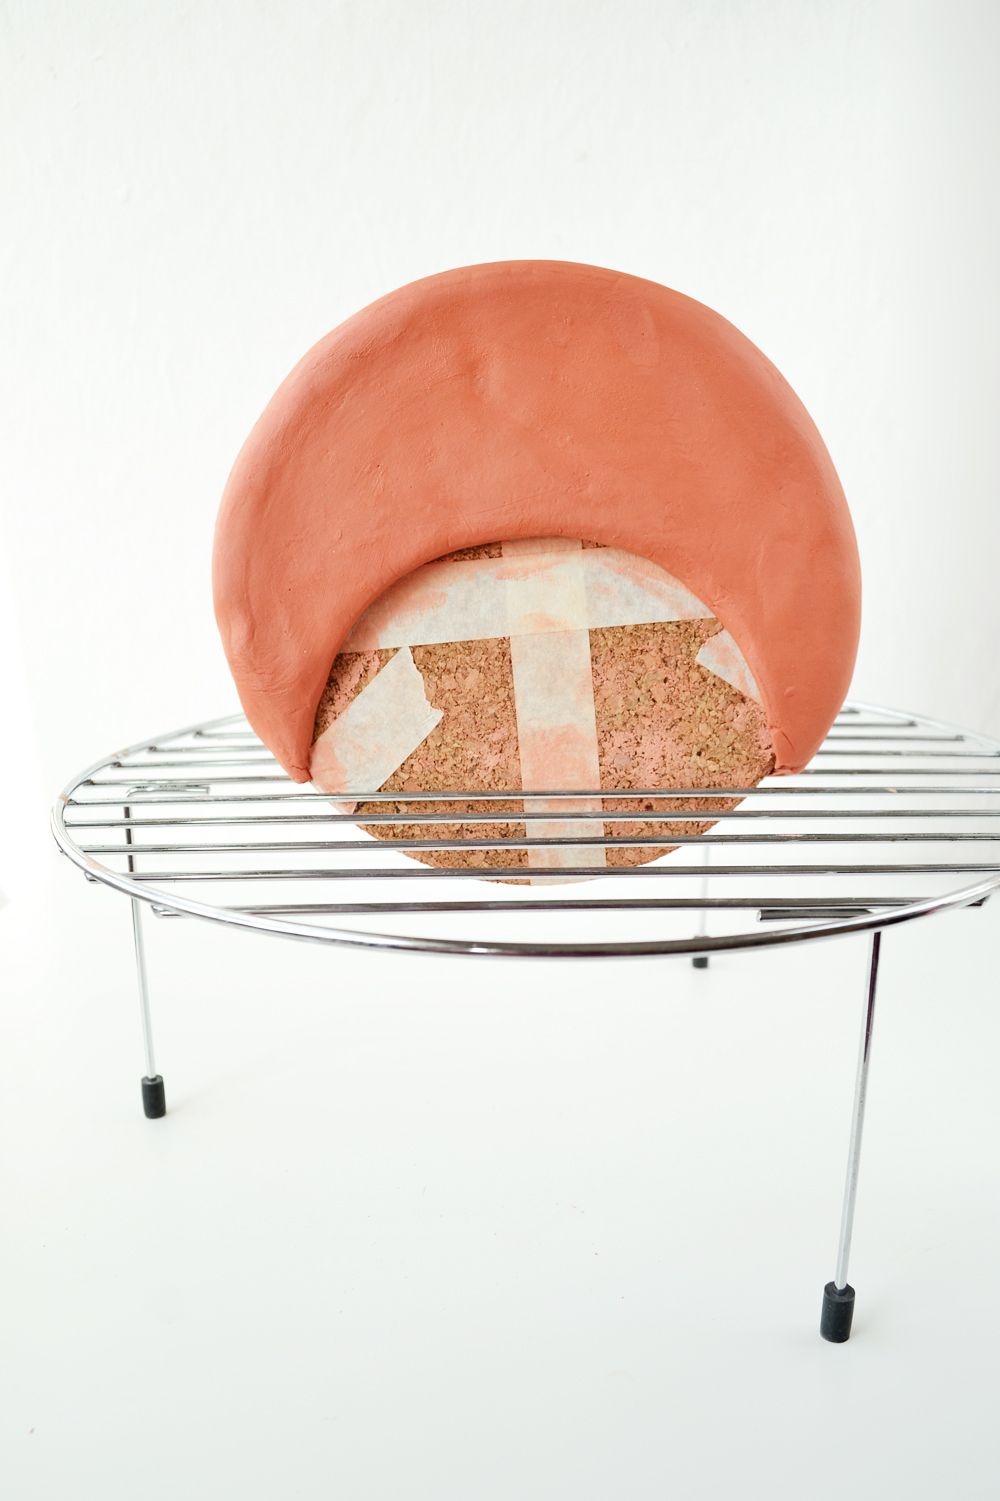 Now you can leave your clay to dry by making it stand on its bottom. If you let it stand by the sides the gap where you ought to put your plants will close slightly. So keep that in mind.Once you are sure that your crescent moon hanging planter has dried ( that was 2 days for me ), you can sand it down and clean with a damp cloth. And voila, you are done and can now insert your plant. I recommend using plants with smaller root system to avoid killing your plant.Since this was my first try, I went with only three cork boards if you want a wider planter with more space for plants to go then you should use more than 3. The cork board I used were from IKEA and they came in a bundle of 3
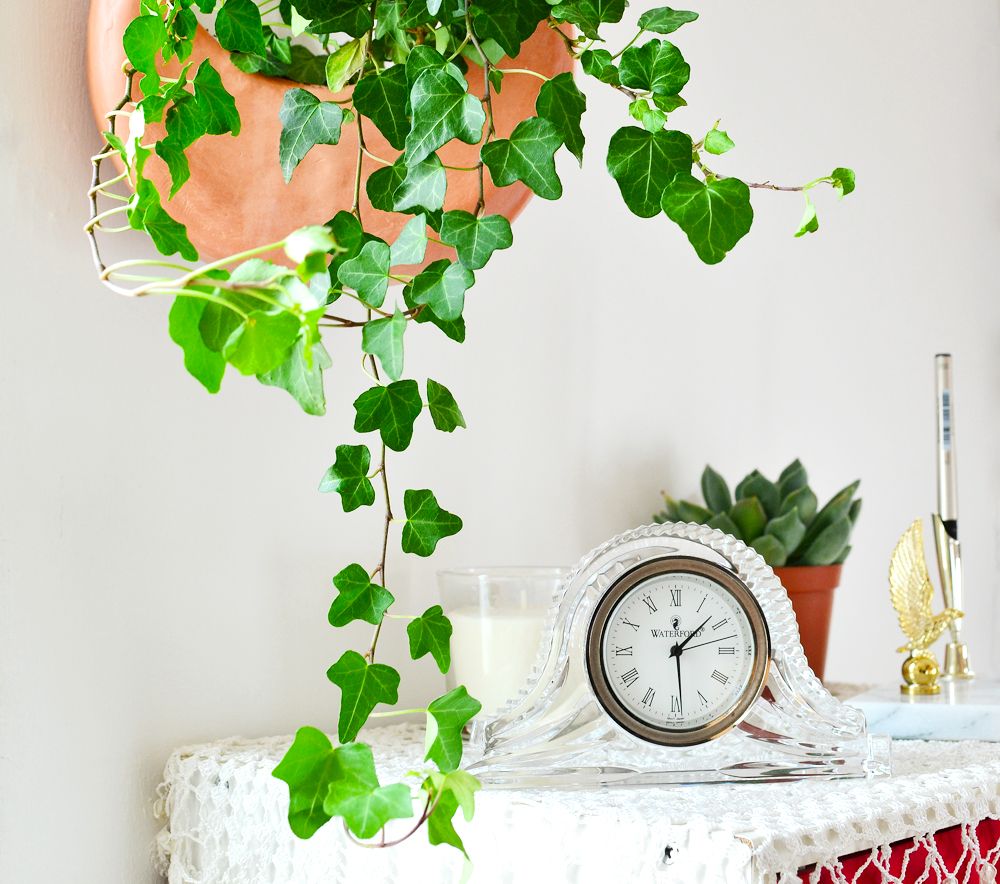
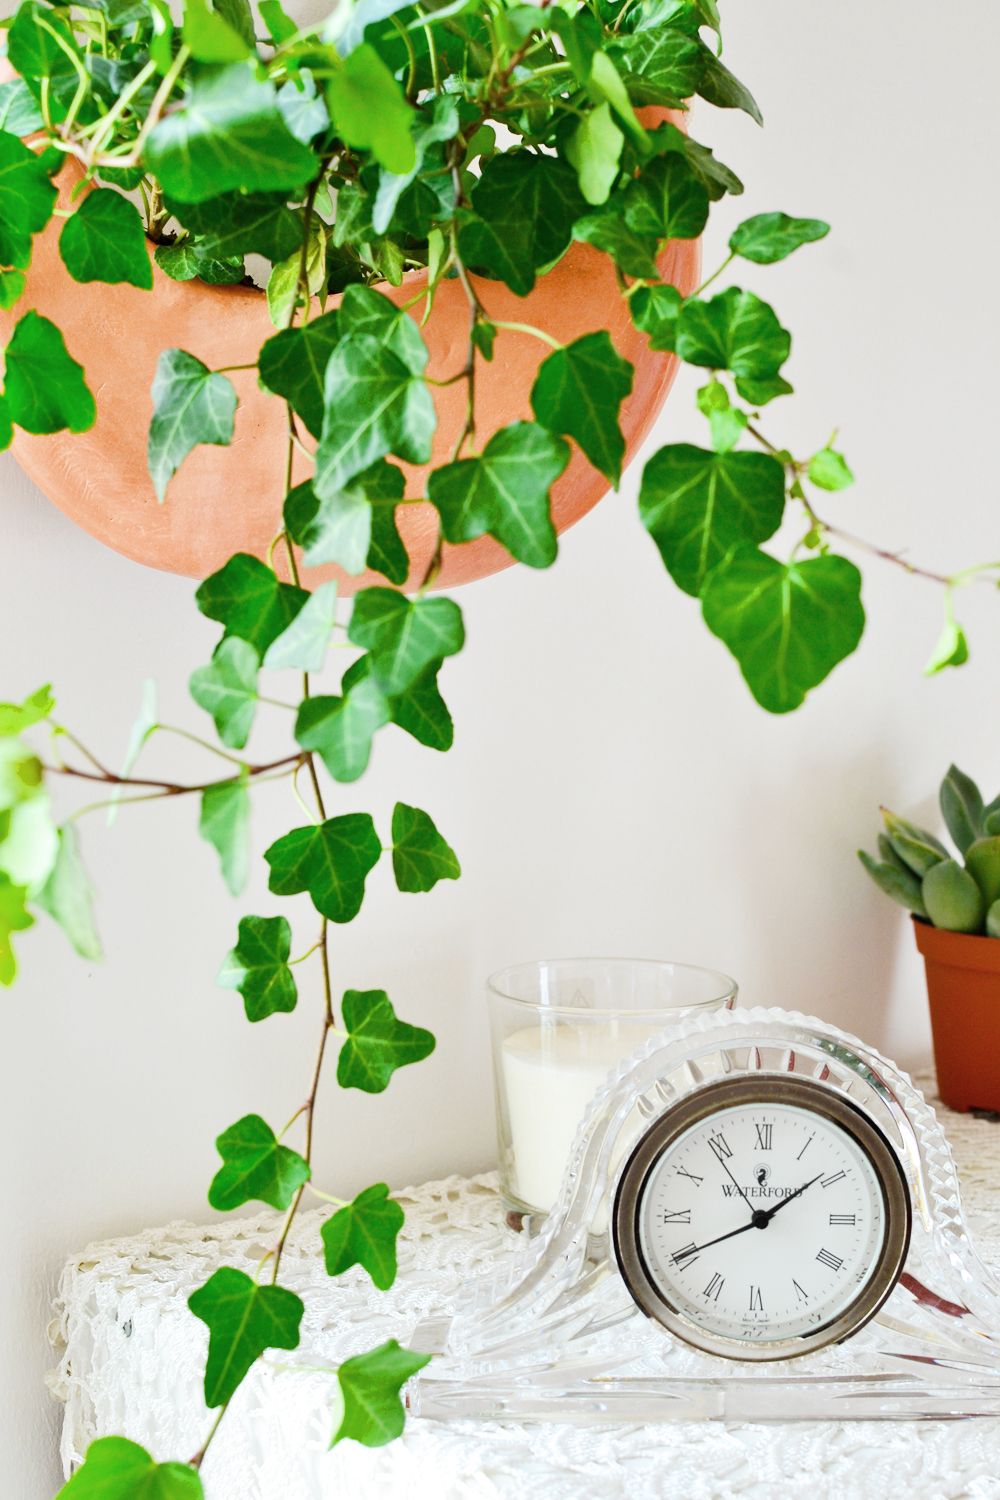
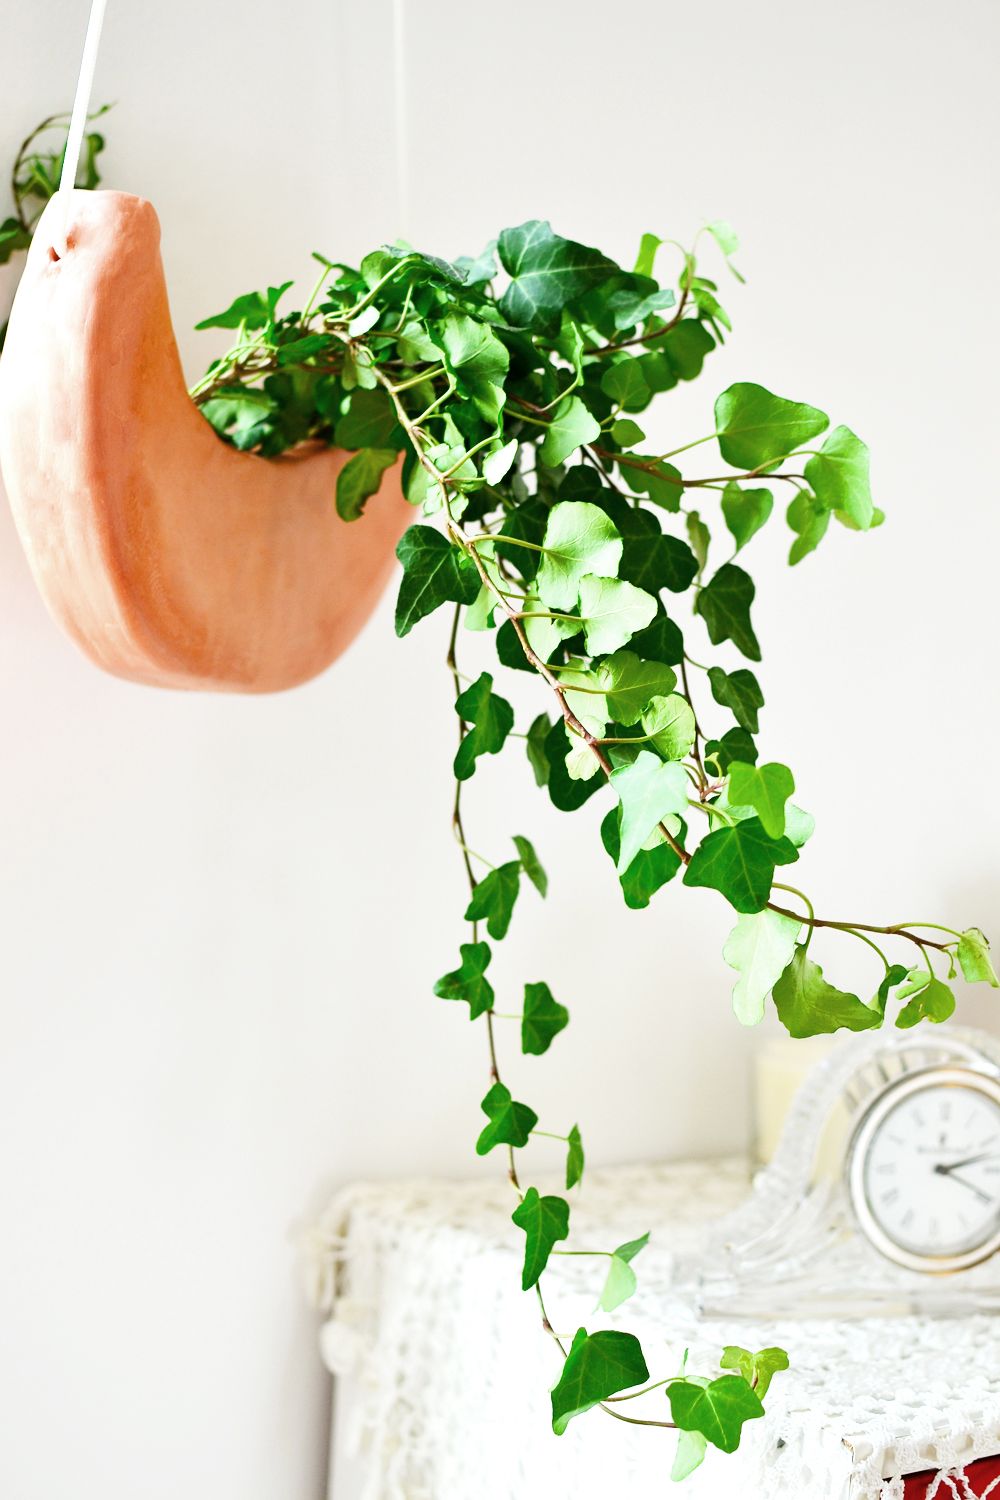 I have certainly fallen in love with my crescent moon hanging planter and it was well worth my time and effort.