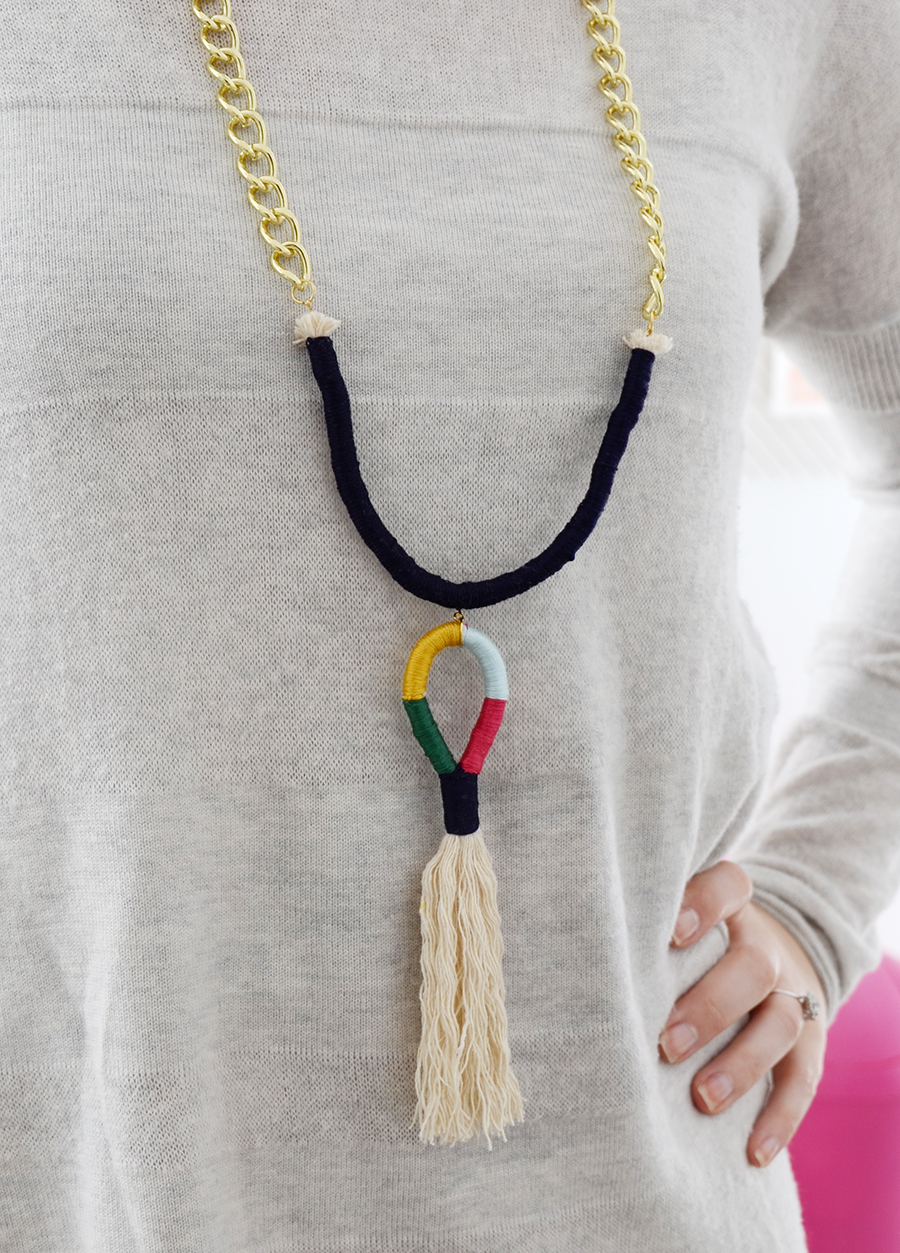
Easy DIY Colorful Tassel Necklace
Updated on November 19, 2025
Today we’re sharing a colorful way to make a tassel necklace… and here’s the best part – it’s totally easy to make! All you’ll need are a few basic materials from your local craft store and twenty spare minutes. Your friends will beg you to make them one too! So let’s get started.
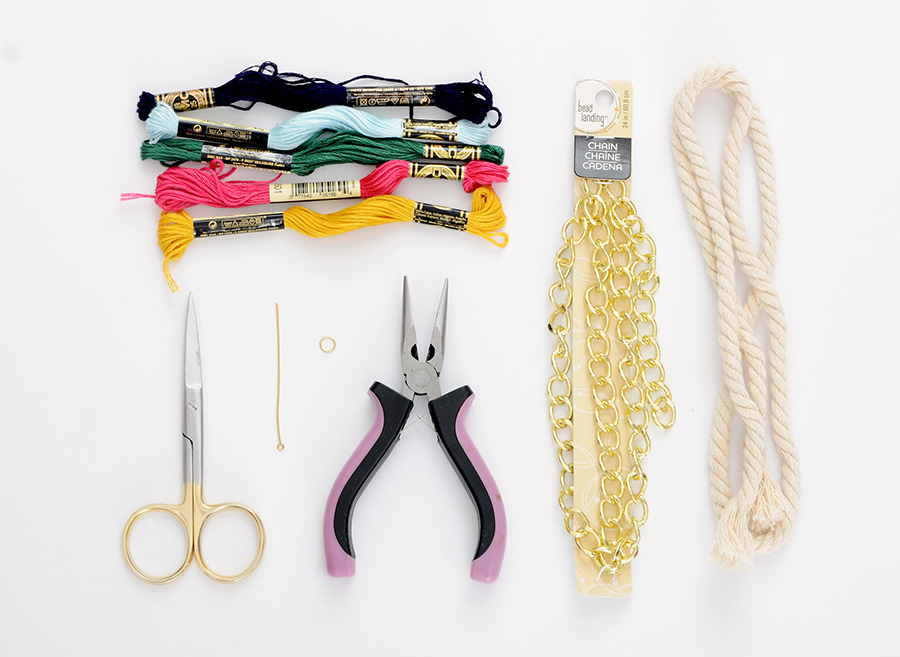
Here’s what you’ll need for your tassel necklace:
- 18″ cotton rope
- 24″ gold chain
- Assorted embroidery floss
- (4) wire pins with loops
- (4) 1/4″ jumprings
- Scissors
- Pliers
- Embroidery needle (not pictured)
Step by step guide to craft a tassel necklace:

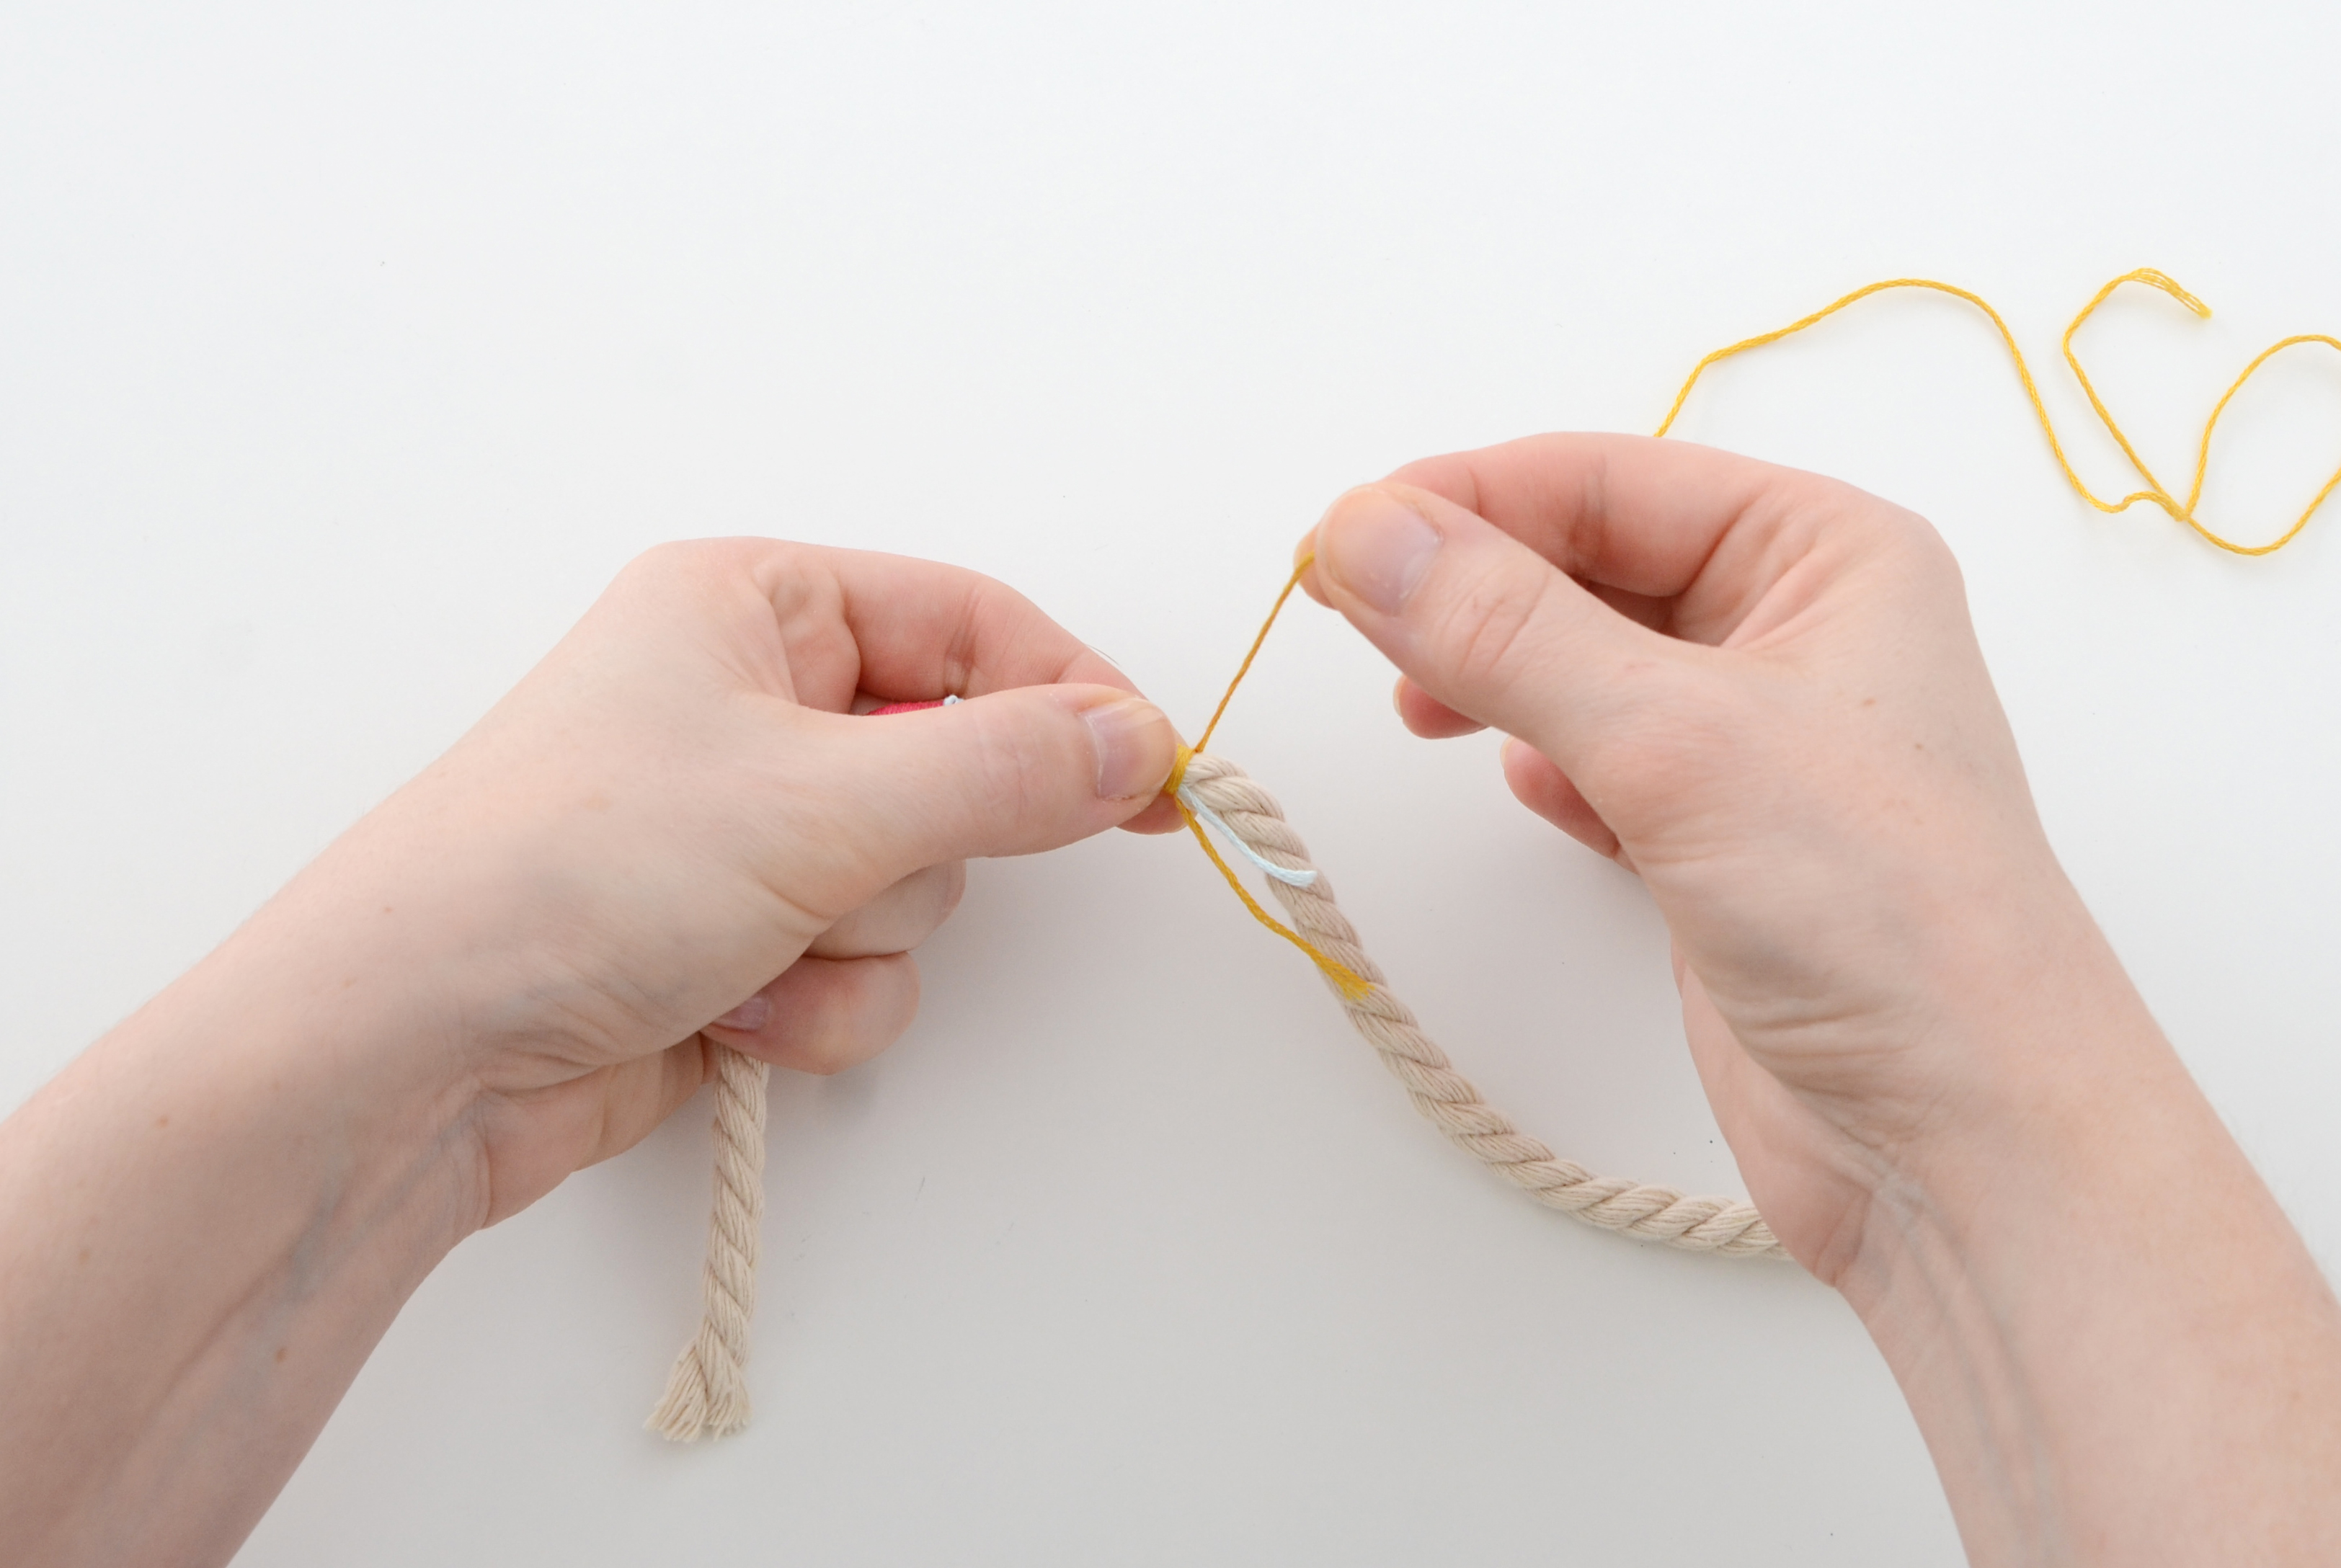
Step 1: cutting rope
Begin by cutting a 12″ piece of rope and tie the end of the first embroidery floss color 2/3 of the way through the rope piece as shown above. Tie it in a double knot so it stays secure.

Step 2: wrapping process
Next, position the tail to the right and begin wrapping the floss over the tail, around and around until you have wrapped about an inch of the rope. Tie the end of the pink floss and leave an inch long tail.
Step 4: Chose collors
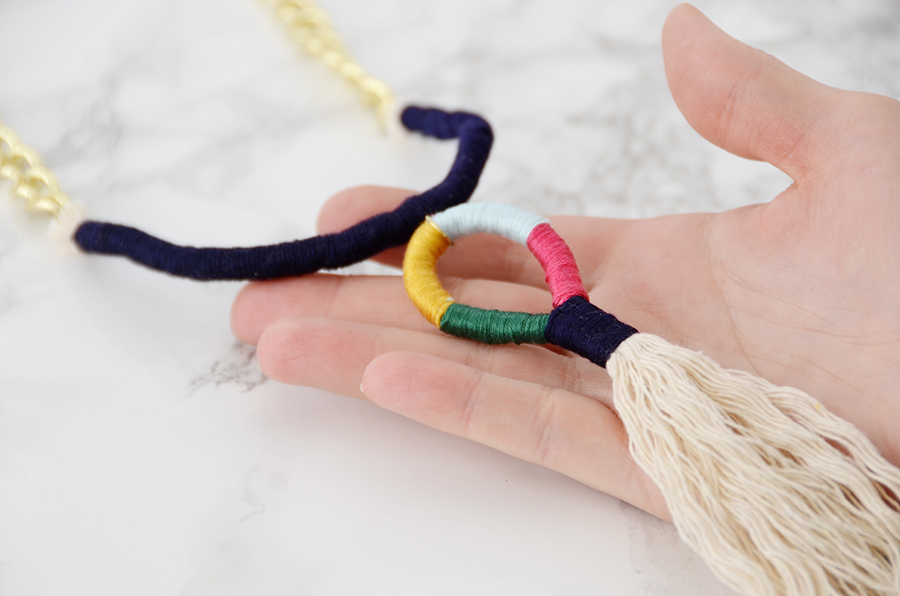
Start your next color, in my case, yellow. Tie the yellow around the rope so that it is flush up against the pink. Wrap the yellow around its own tail as well as the previous one. Tie a knot at the end and do the a couple more colors in the same manner until you have about 4 inches covered.
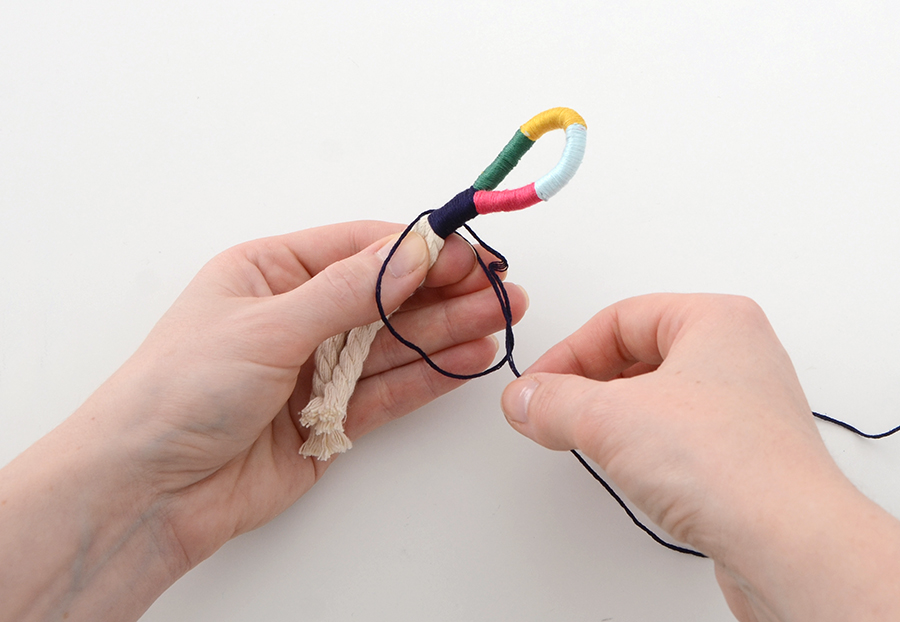
Step 5: Tie the floss bottom
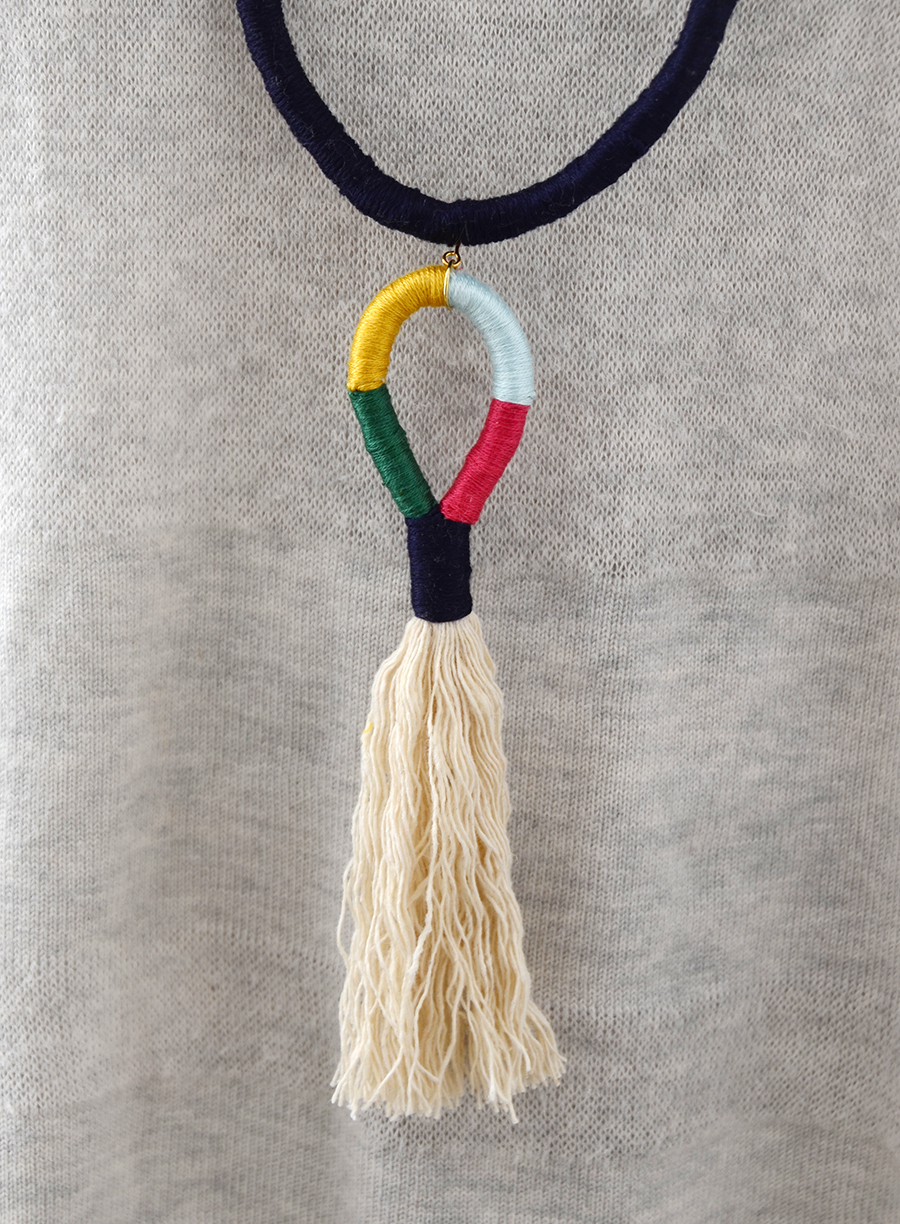
Tie the navy blue floss at the bottom of the green section and then fold the rope in half and wrap it around both sections of the rope, as shown above. Do this for about 3/4 of an inch.
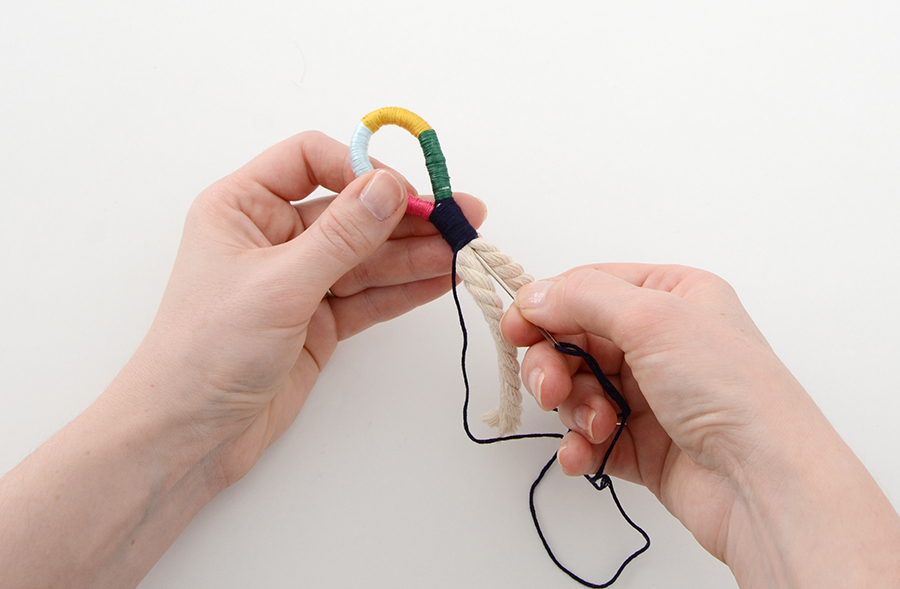
Step 6: knot the end
Tie a knot at the end and then use an embroidery needle to stick the tail back up through the middle of the two pieces of rope. Then trim the end so it isn’t visible.
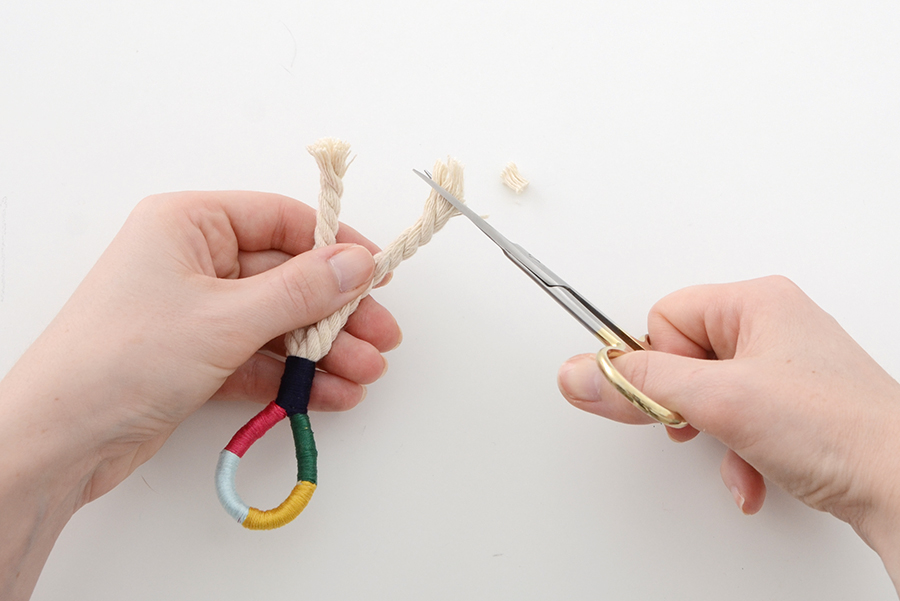
Step 7: bottom cutting
Cut the bottoms of the rope so they are the same length, leaving about 3 inches of rope on each end.
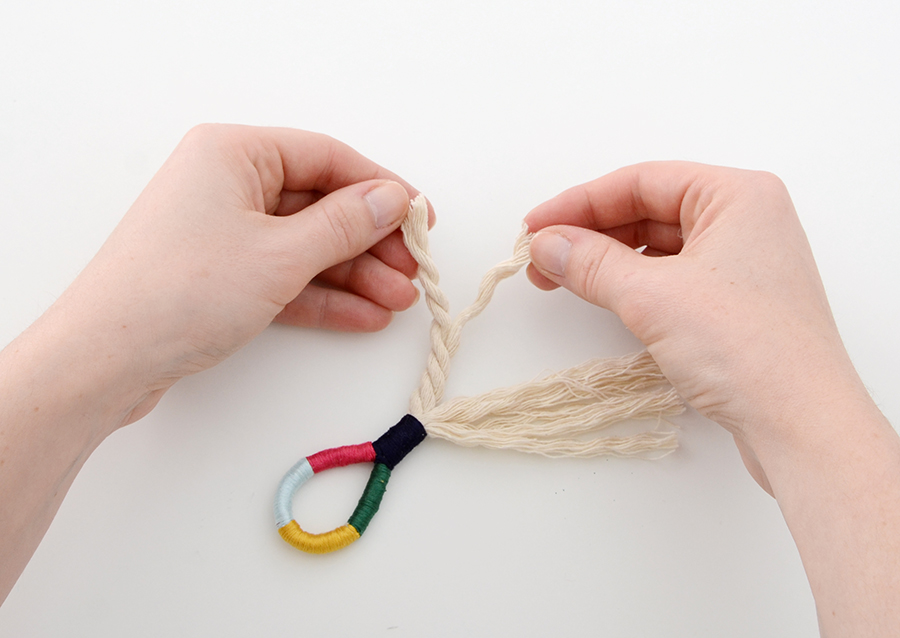
Step 8: unwrap
Unwrap the rope so that it becomes individual threads instead of thick ropes, as shown above.

Step 9: wrap at the end
Next, cut a 6 inch piece of rope and wrap one pin around the end, positioning the loop at the end of the rope. Then begin wrapping the navy blue embroidery floss around and around.

Step 10: Continue wrapping
Before you get too far, wrap another pin around the middle and one at the other end. Continue wrapping the navy floss around until you get to the other end.
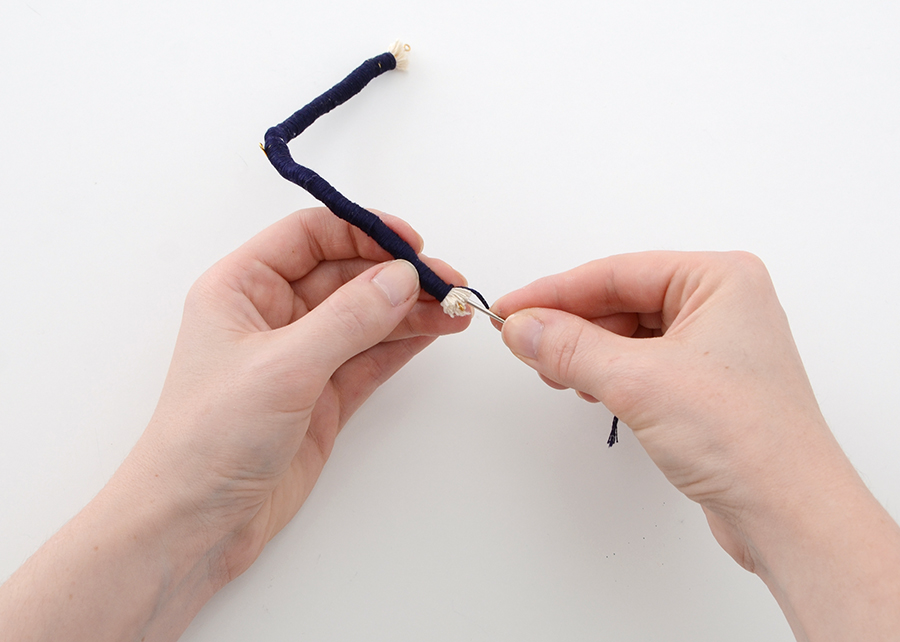
Step 11: embroidery needle to tuck
Tie a knot and use the embroidery needle to tuck the tail up through the rope end and trim the excess.

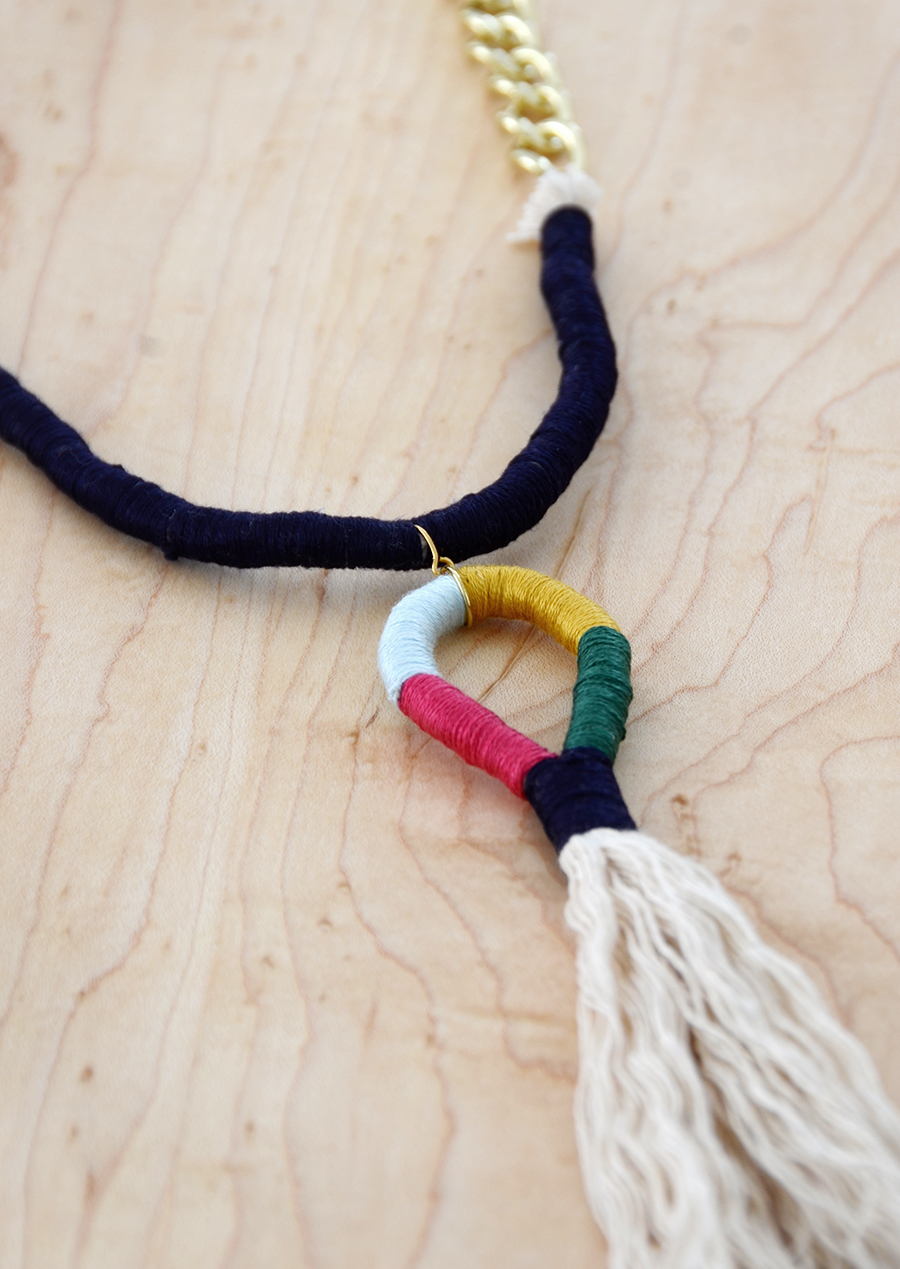
Step 12: attach the tassel
Put a jump ring around the top of the tassel and attach it to the loop that is sticking out of the middle of the navy covered rope. Attach the gold chain to the ends of the navy covered rope with jumprings, and that’s it! You’re ready to rock your stylish new necklace.
Conclusion
This project is fun because you can really get creative with the colors, and also with the metallic elements – try silver, or even rose gold.
You can also vary the width of the colored sections, or even make them uneven. The sky’s the limit… just remember to have fun with it. Happy crafting everyone!