DIY Wine Cork Wreath – How to Make a Wreath With Wine Corks
Updated on November 19, 2025


Wreaths are a great addition to any house, no matter the season. Whether you intend to hang it on your door or simply place it on a table as decoration, it matters very little. Making your own will give you the opportunity to completely control how it looks and what goes on it, so let’s see all the steps it takes to make one.

Our wreath will feature a lot of materials, but the result is breathtaking, not that we’re bragging (we are, a bit). If you follow our instructions, we know yours will turn out just as lovely!
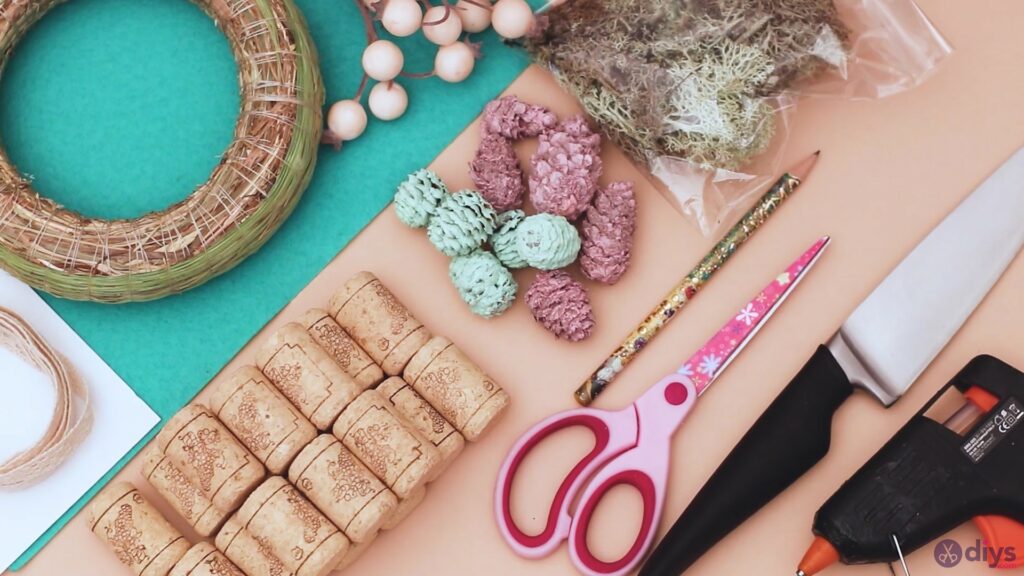
Materials for wine cork wreath
- Straw wreath
- wine corks
- green felt material
- paper
- lace ribbon
- artificial berries
- moss
- colored cones
- pencil
- scissors
- glue gun
- knife
How to make a wine cork wreath
Creating your own wine cork wreath requires quite a few materials and tools so make sure you have them all lined up on your work table. You don’t want to go running around trying to find something you forgot. Also, we should note that for our design we’ll use a straw wreath base. You can get one just like ours, or pick a different wreath base, depending on what you can find. That being said, let’s proceed.
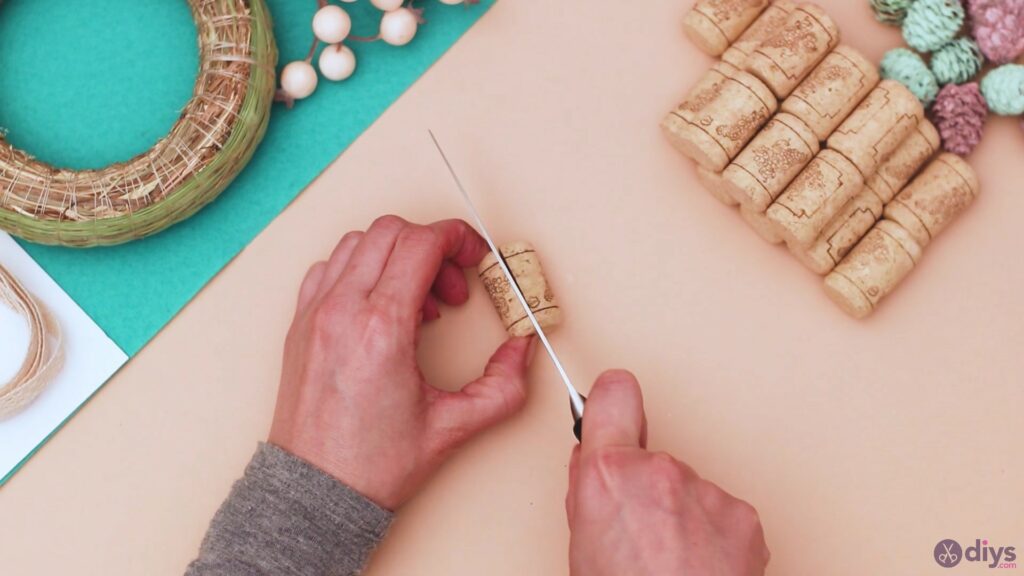
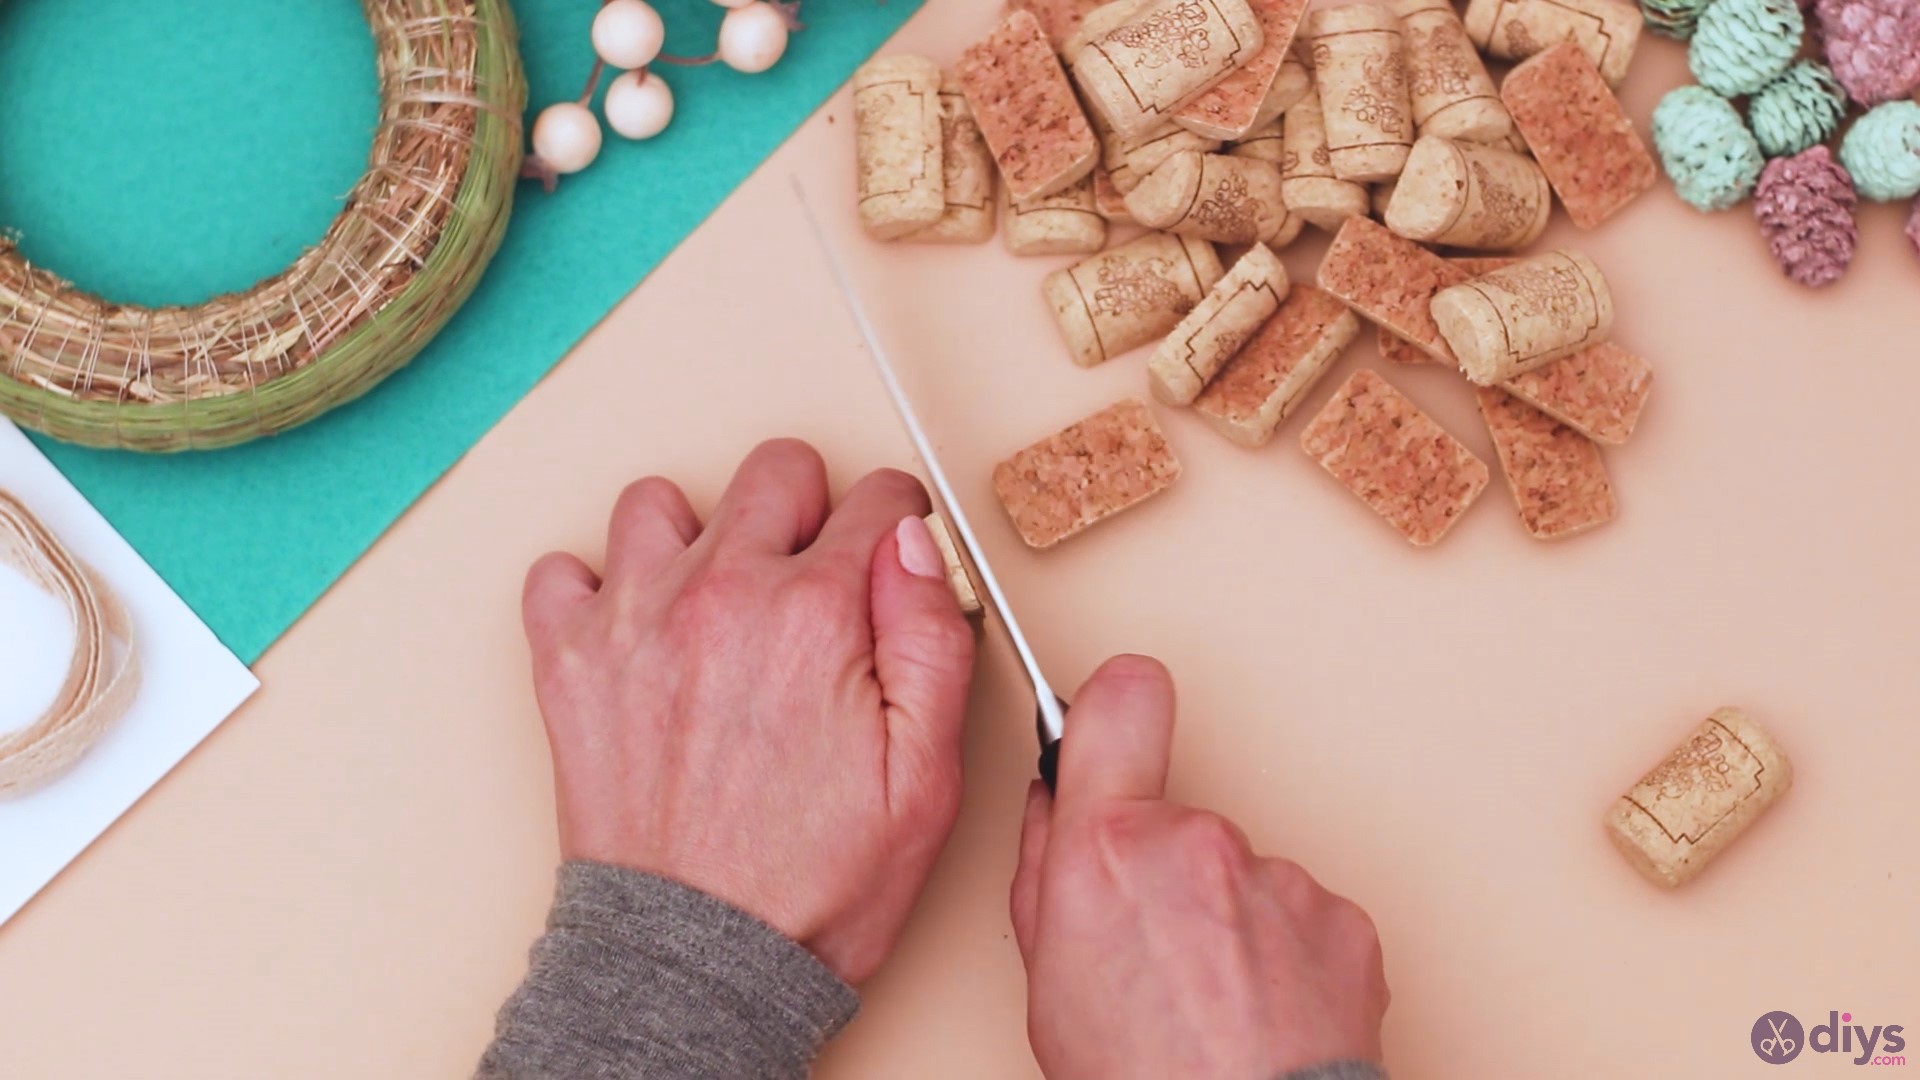
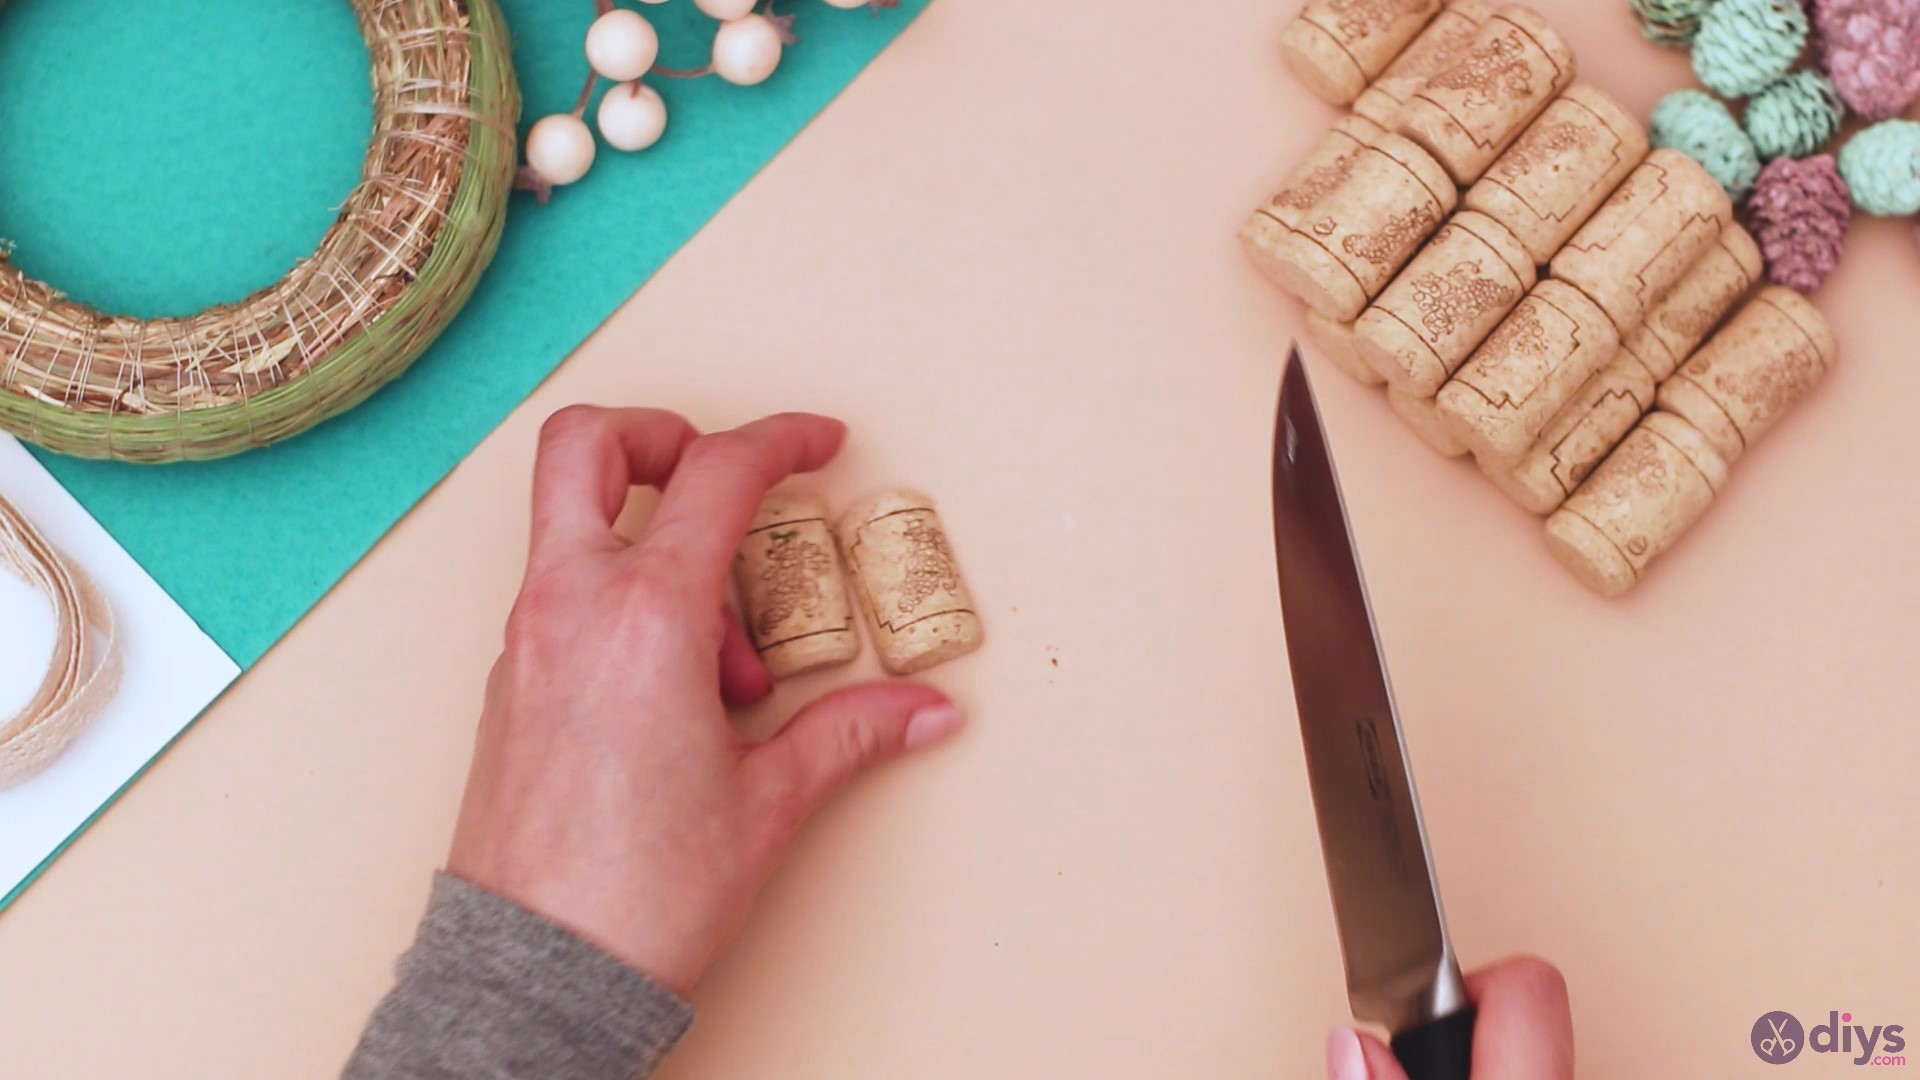
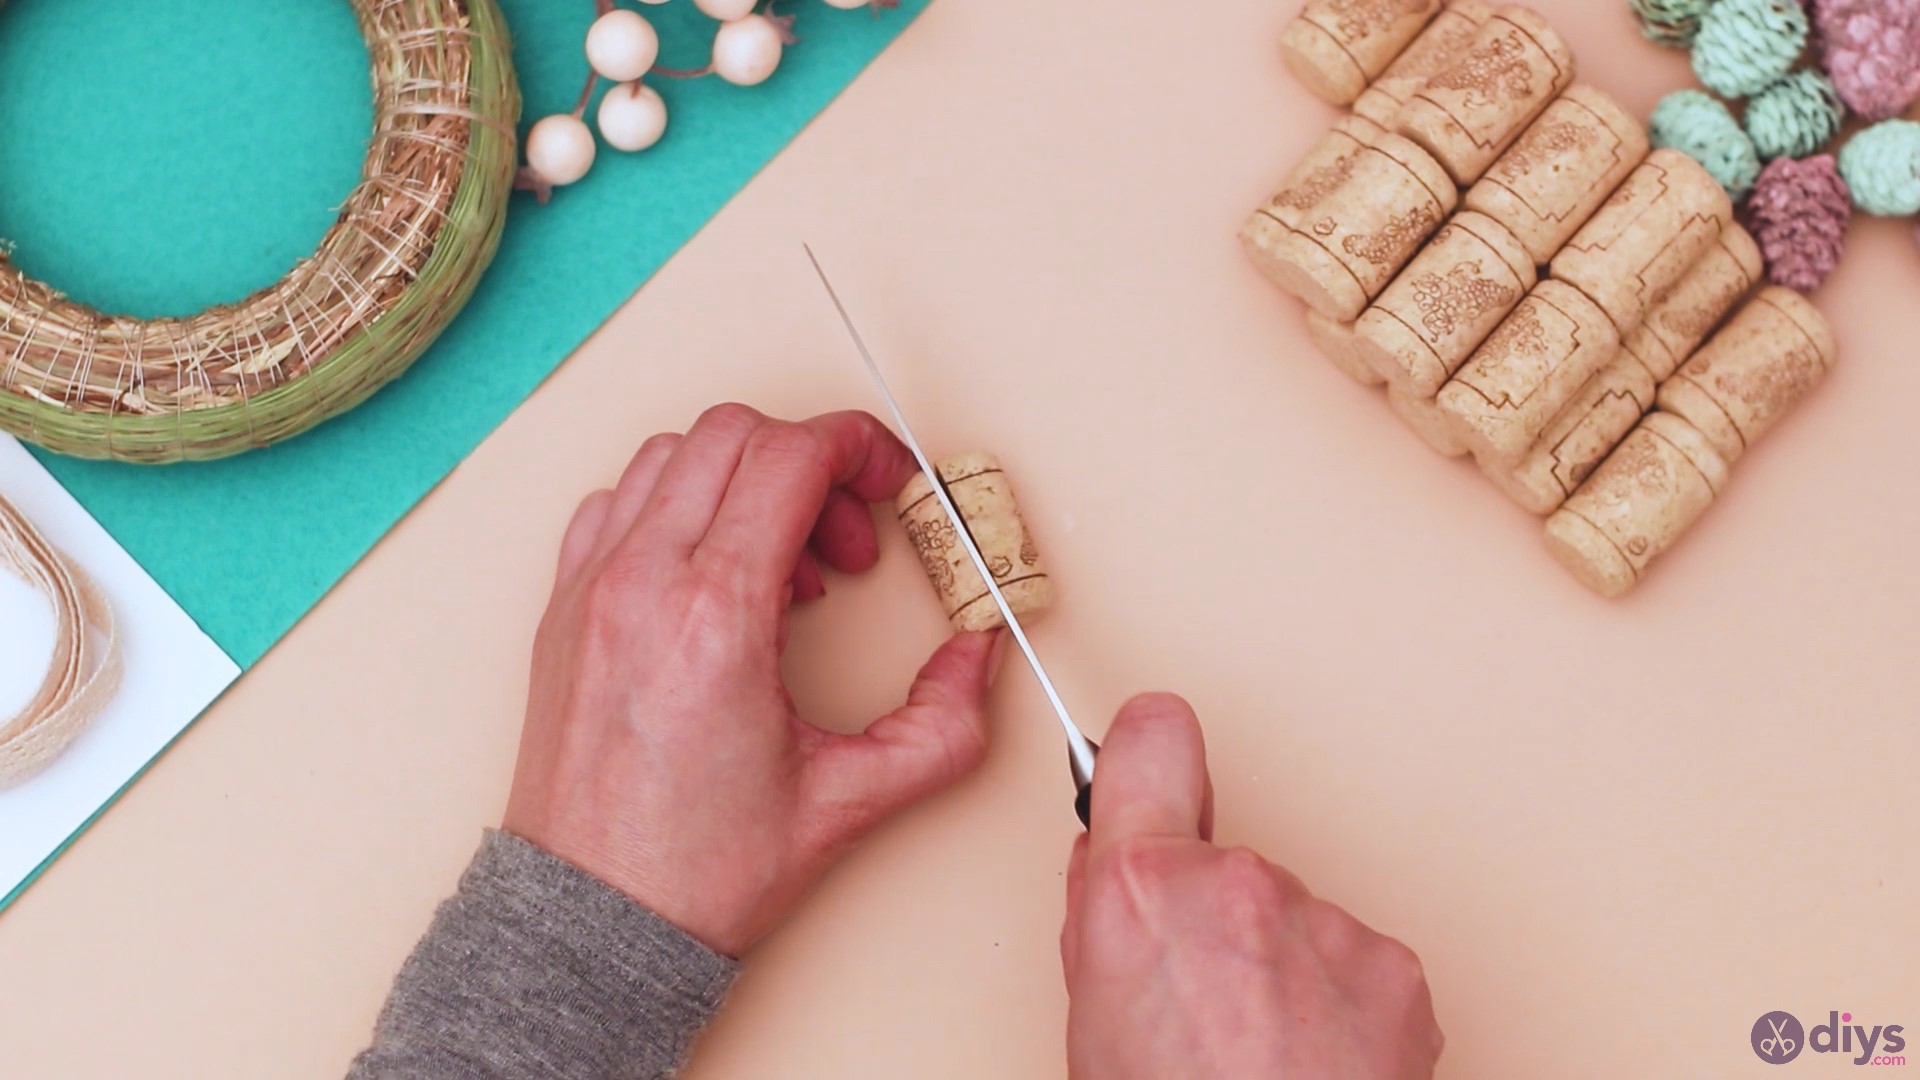
Step 1: Cut the wine corks
We’re going to start off by cutting the wine corks with a pretty sharp knife. You’re going to want to cut your wine corks vertically. Make sure you hold on to the corks tightly and make the cut as straight as you can, right down the middle. The wine cork halves will have to be somewhat equal in size and it really benefits the design if the back of them is rather straight.

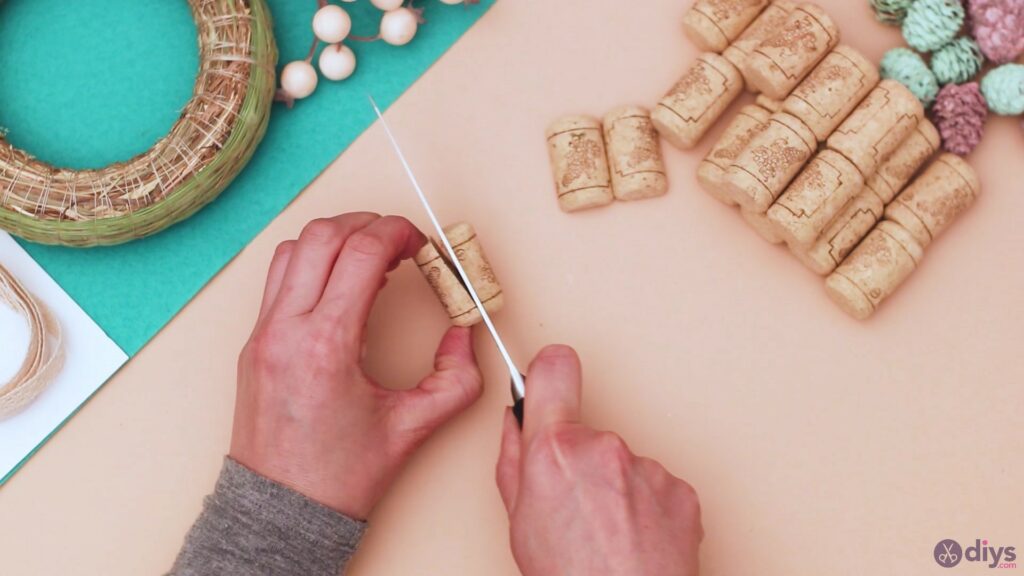
Cut until you go through your whole pile. Since you never really know how many pieces it will take, put some corks aside to cut later if you still need extra pieces.

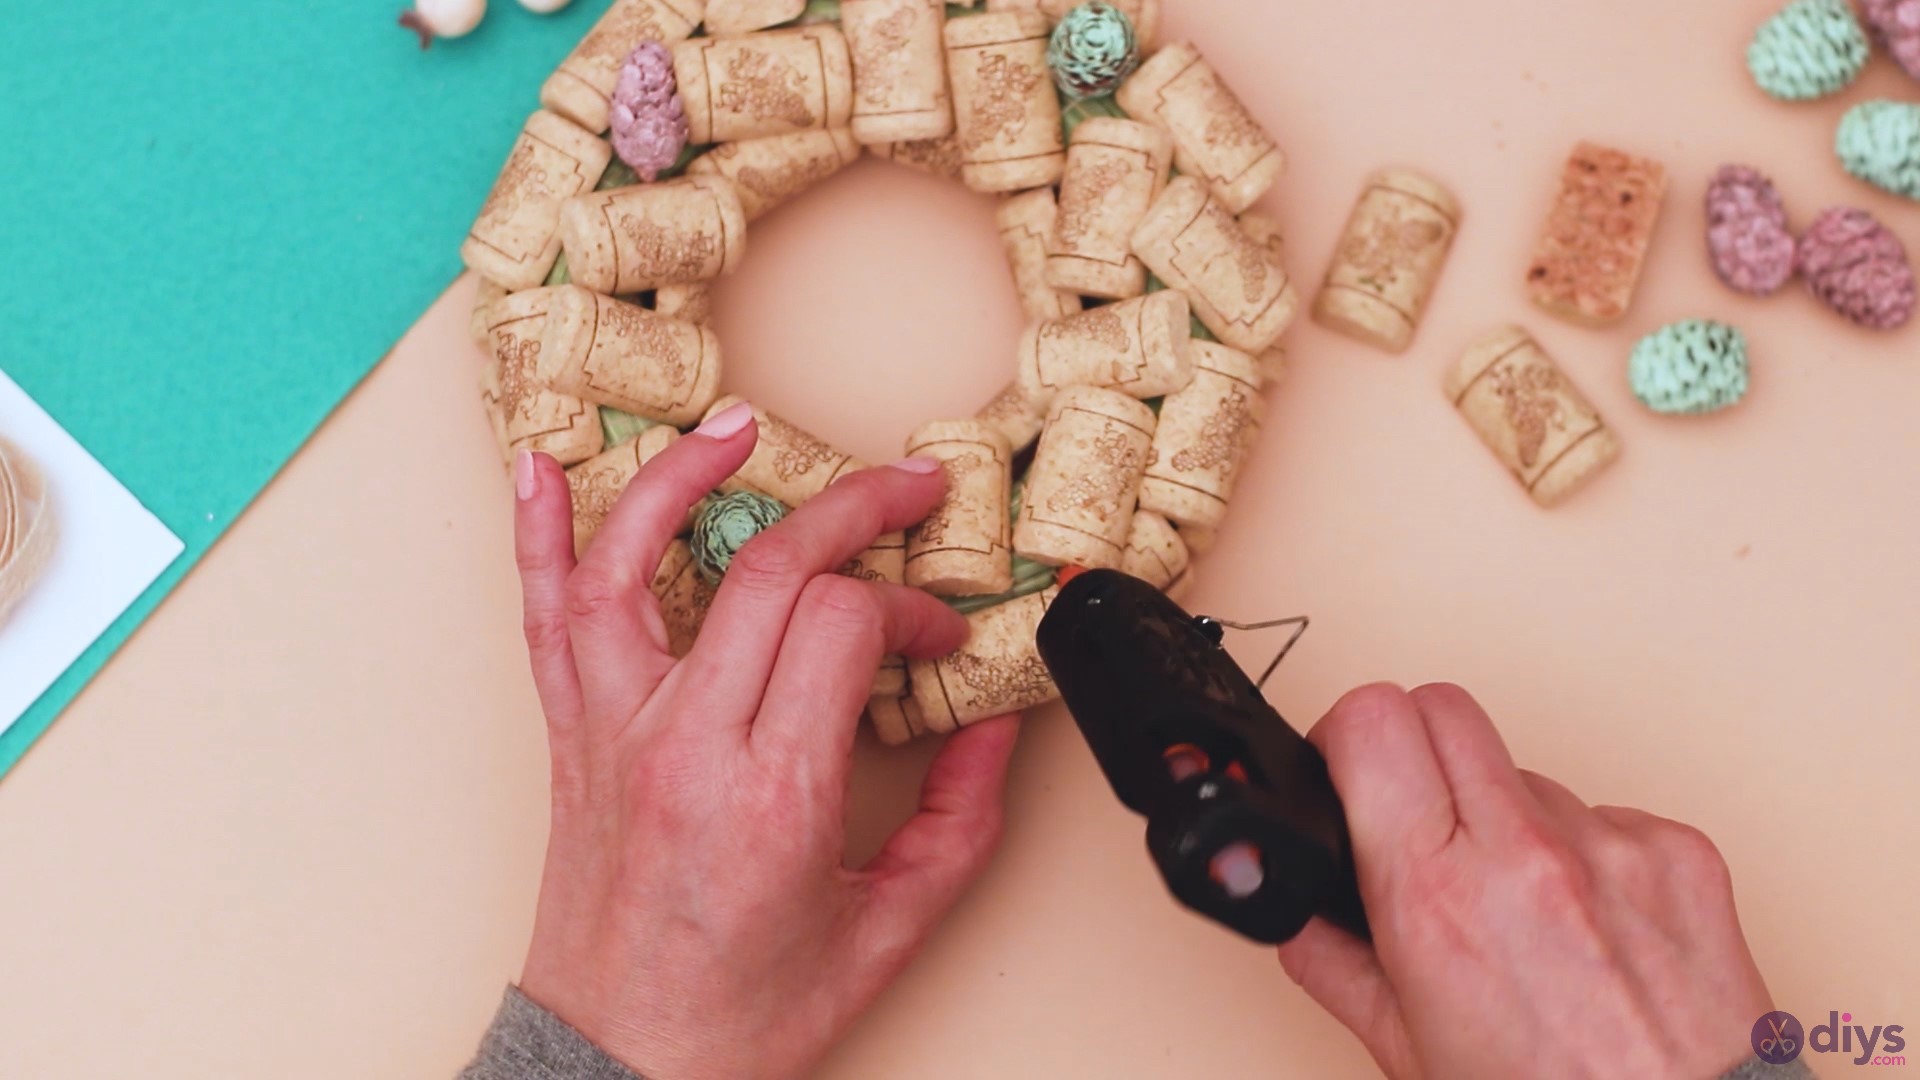
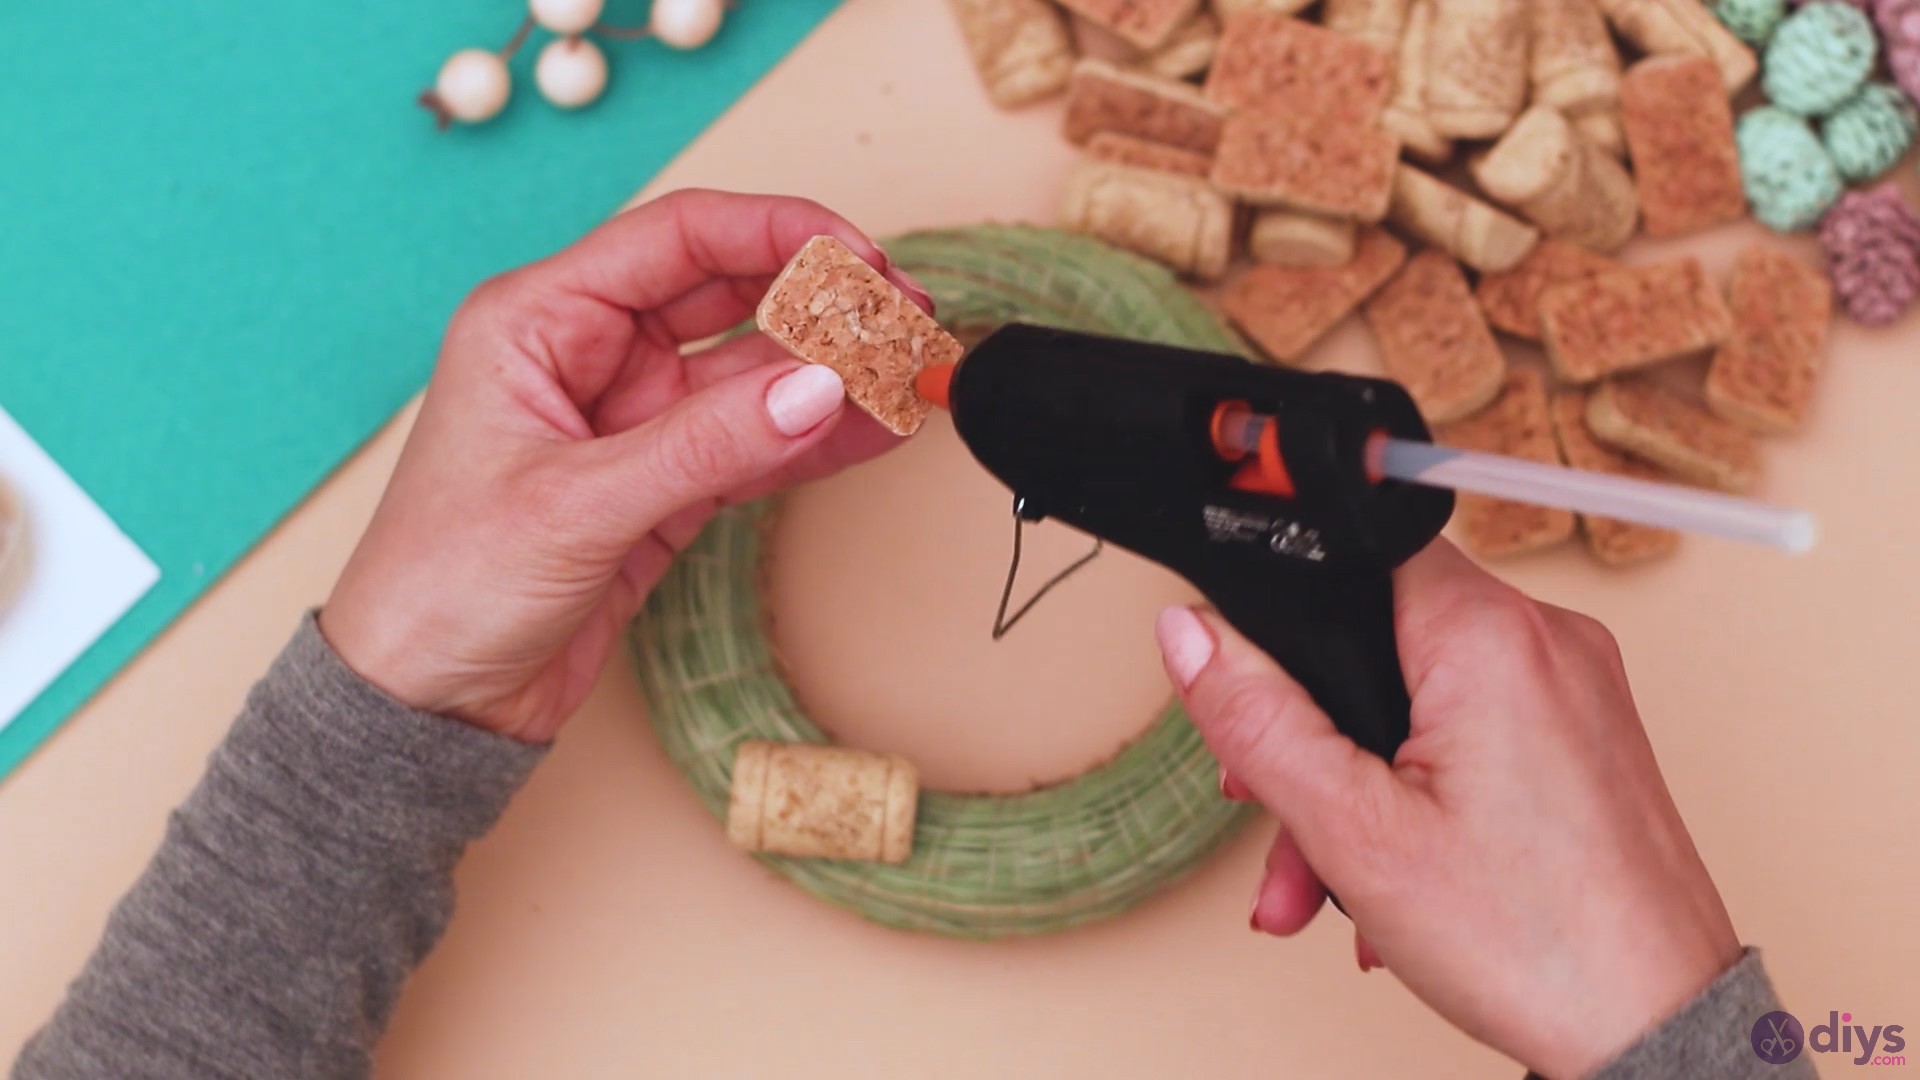
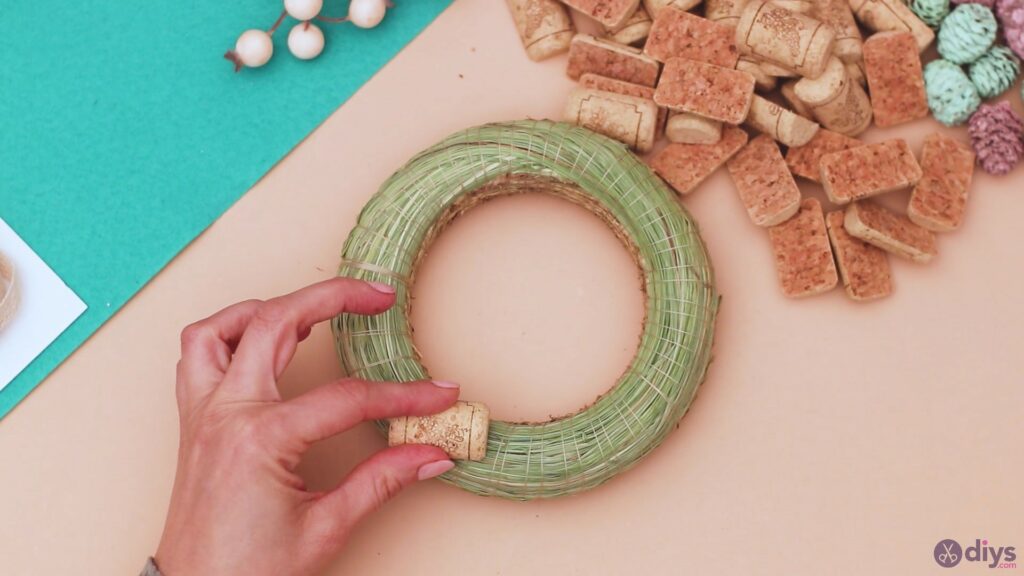
Step 2: Glue the wine corks
Now it’s time to plug in theglue gunand add some to the wine corks you just cut through. As a side note, ourstraw wreath base is green on one side and naturally colored on the other. If your is not like this, you can always use acrylic paint to give it a little bit of color. Just make sure you give it enough time to dry.

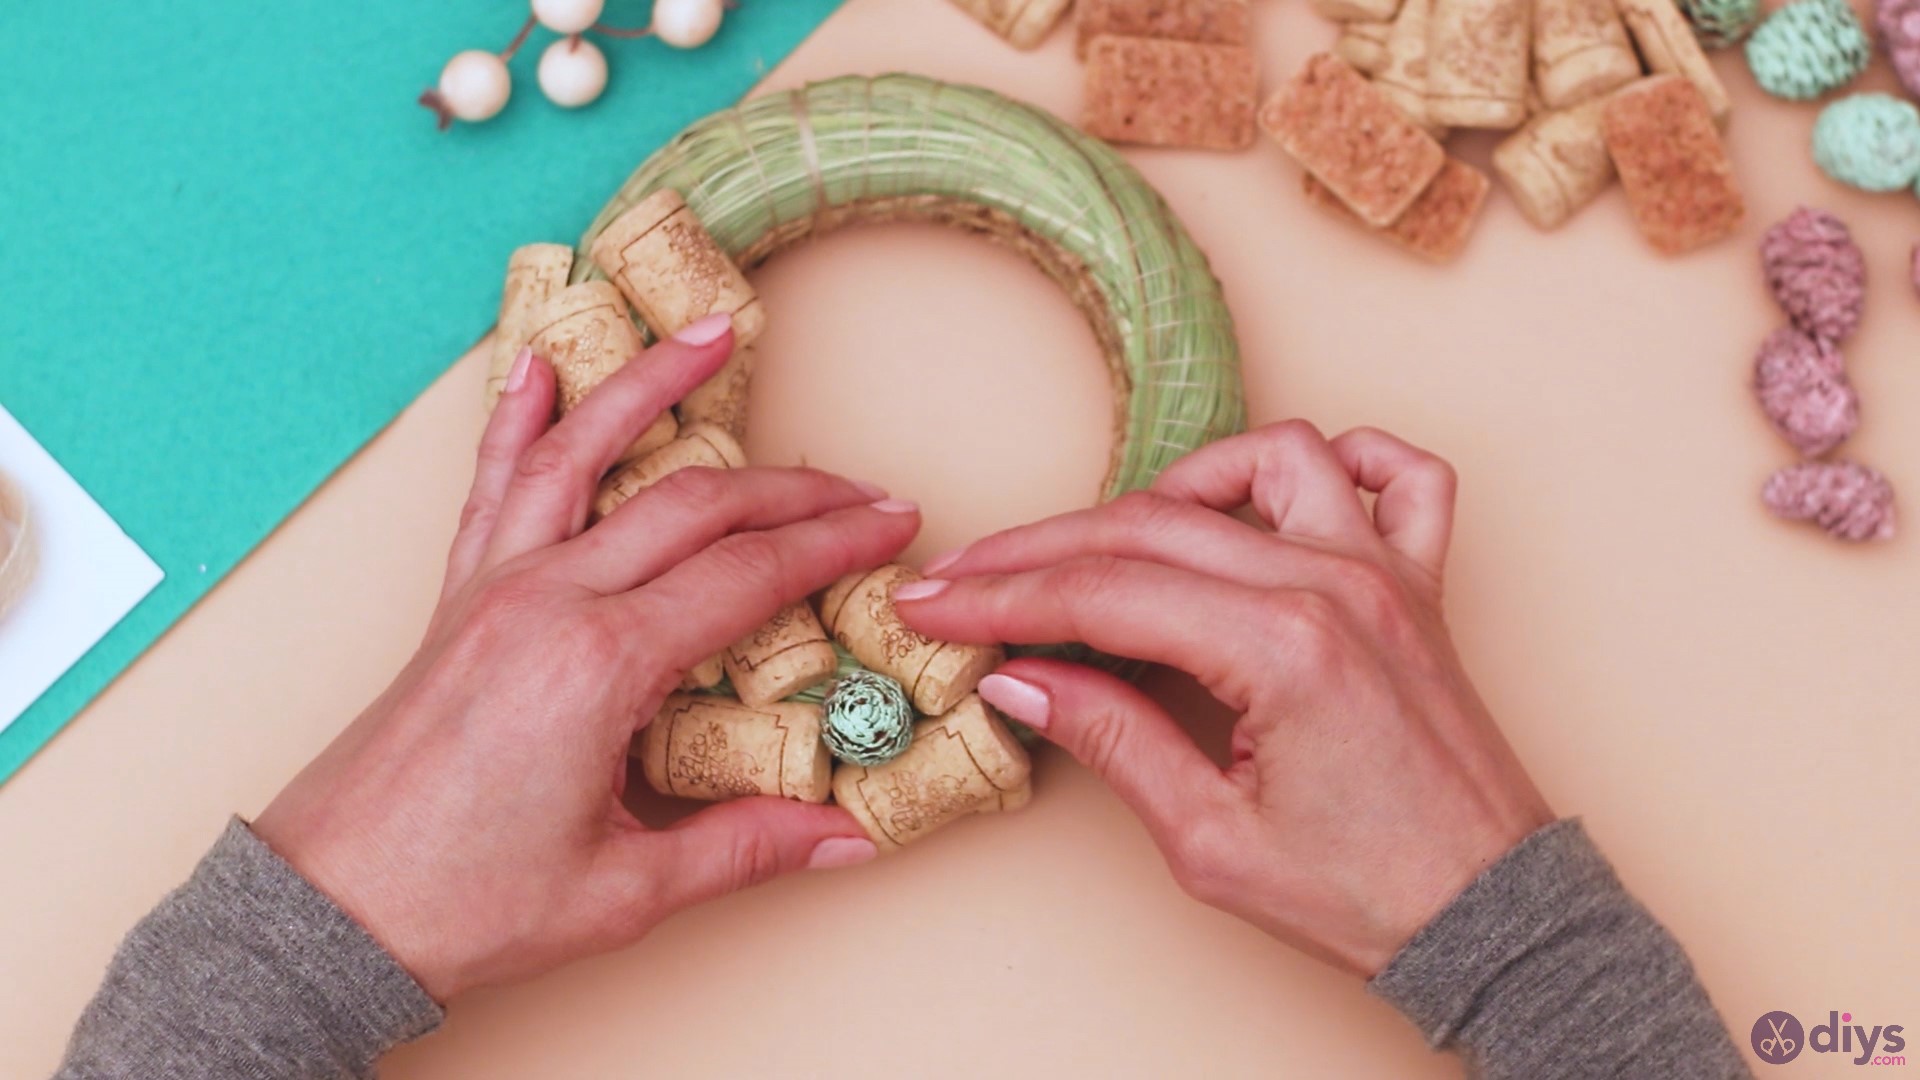
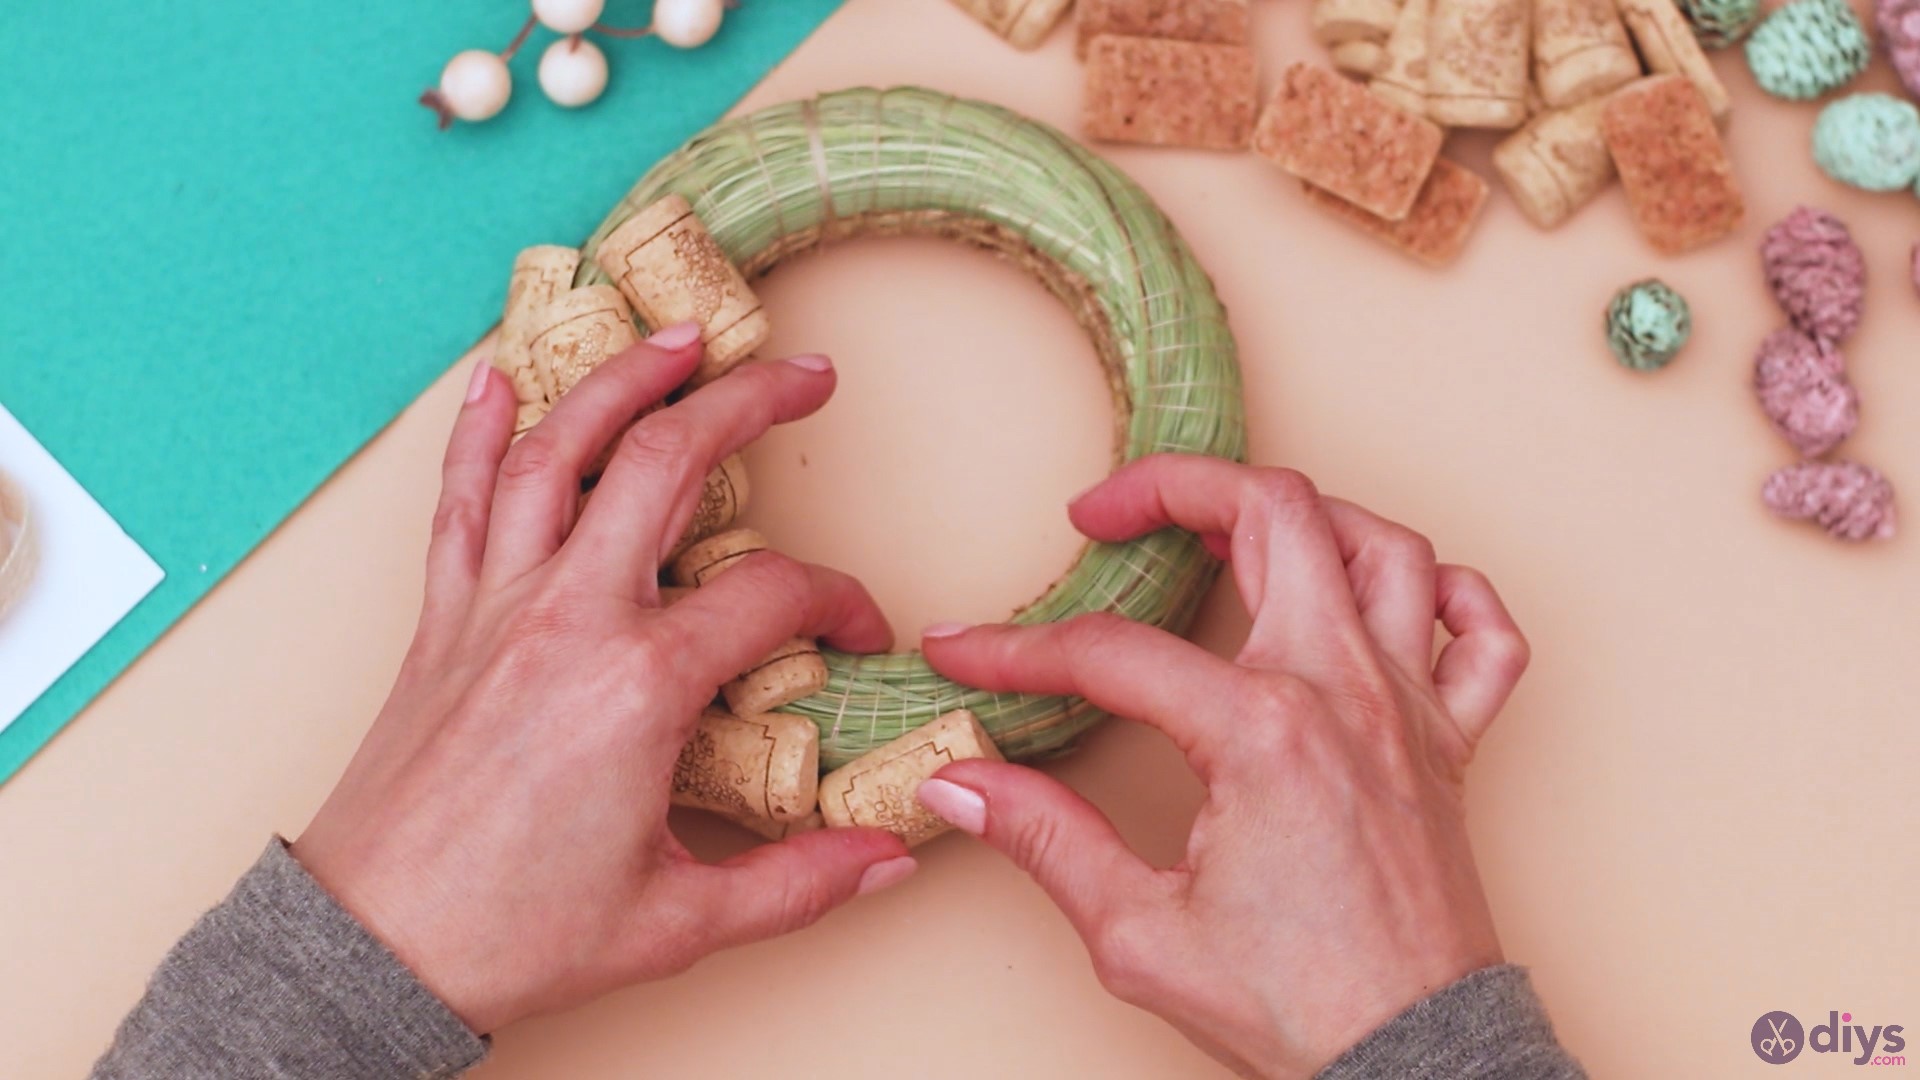
Start placing the wine cork halves on the wreath base. You’re going to want to cover the wreath as much as possible, on all sides, not just the top of the curve; add wine corks on the sides and on the inside of the circle.

For any piece you add to the wreath base, make sure you press the cork for a few seconds to make sure the whole thing dries up. Also, be mindful of the placement of the piece as you may not need to add hot glue over the whole area of the wine cork.
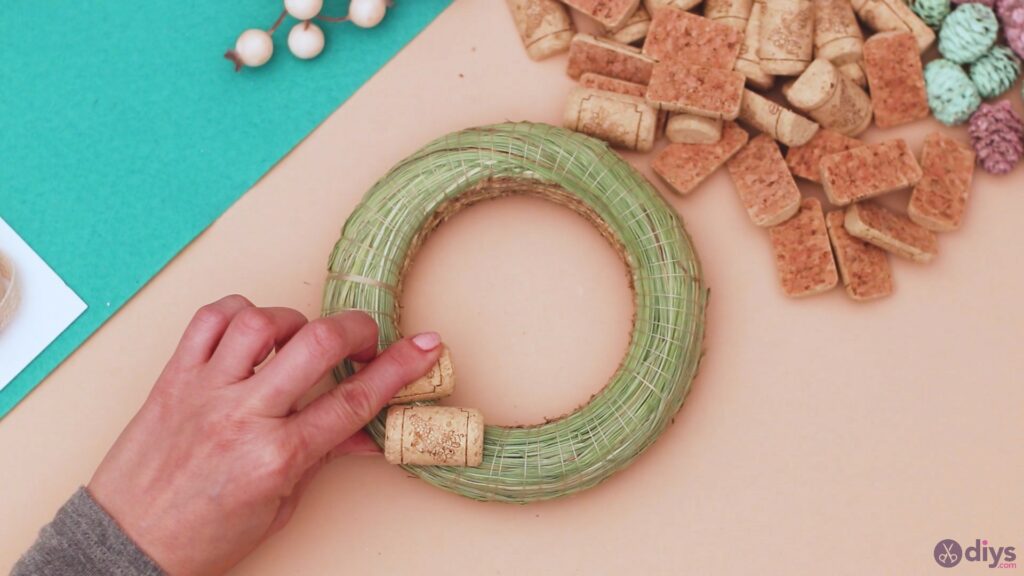

Press the wine corks into the wreath, and make sure you give the pieces the needed curvature for a good coverage. You won’t cover every spot of the wreath, but you want to add as many as possible.

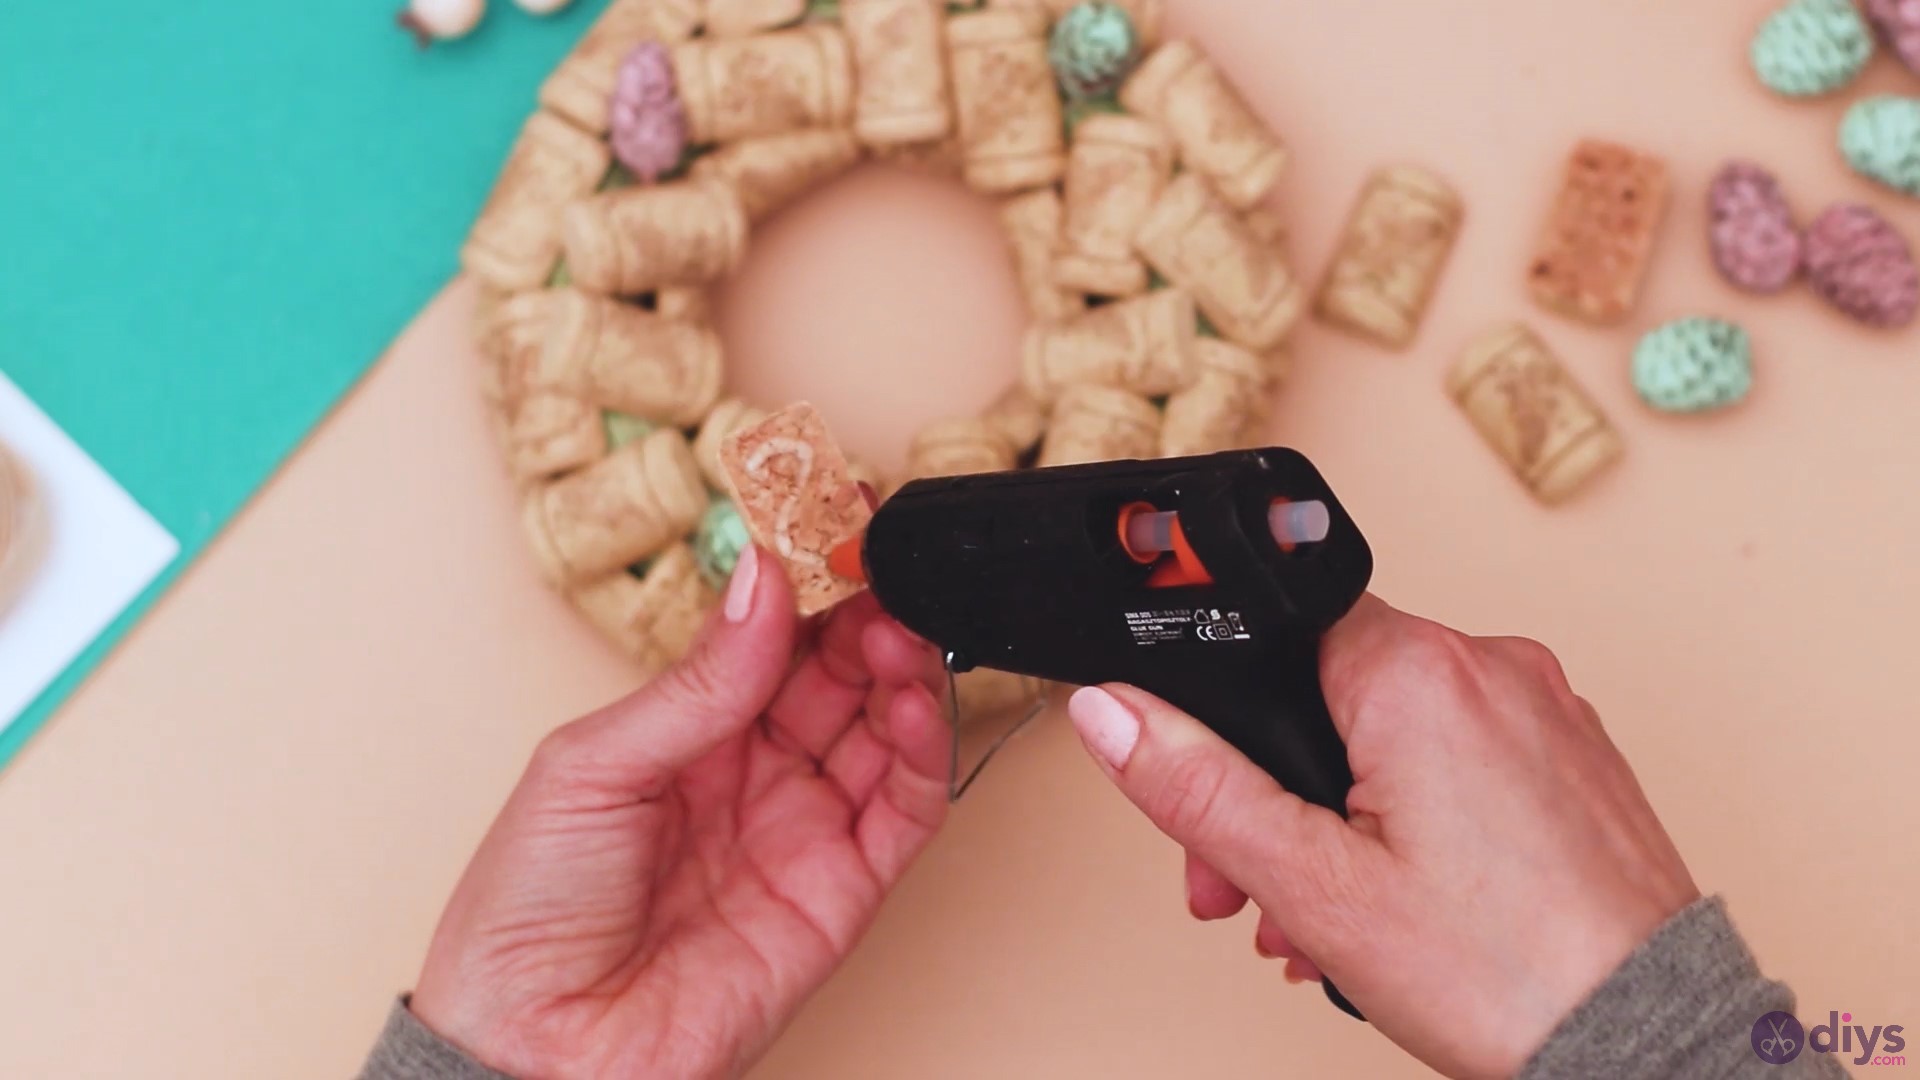
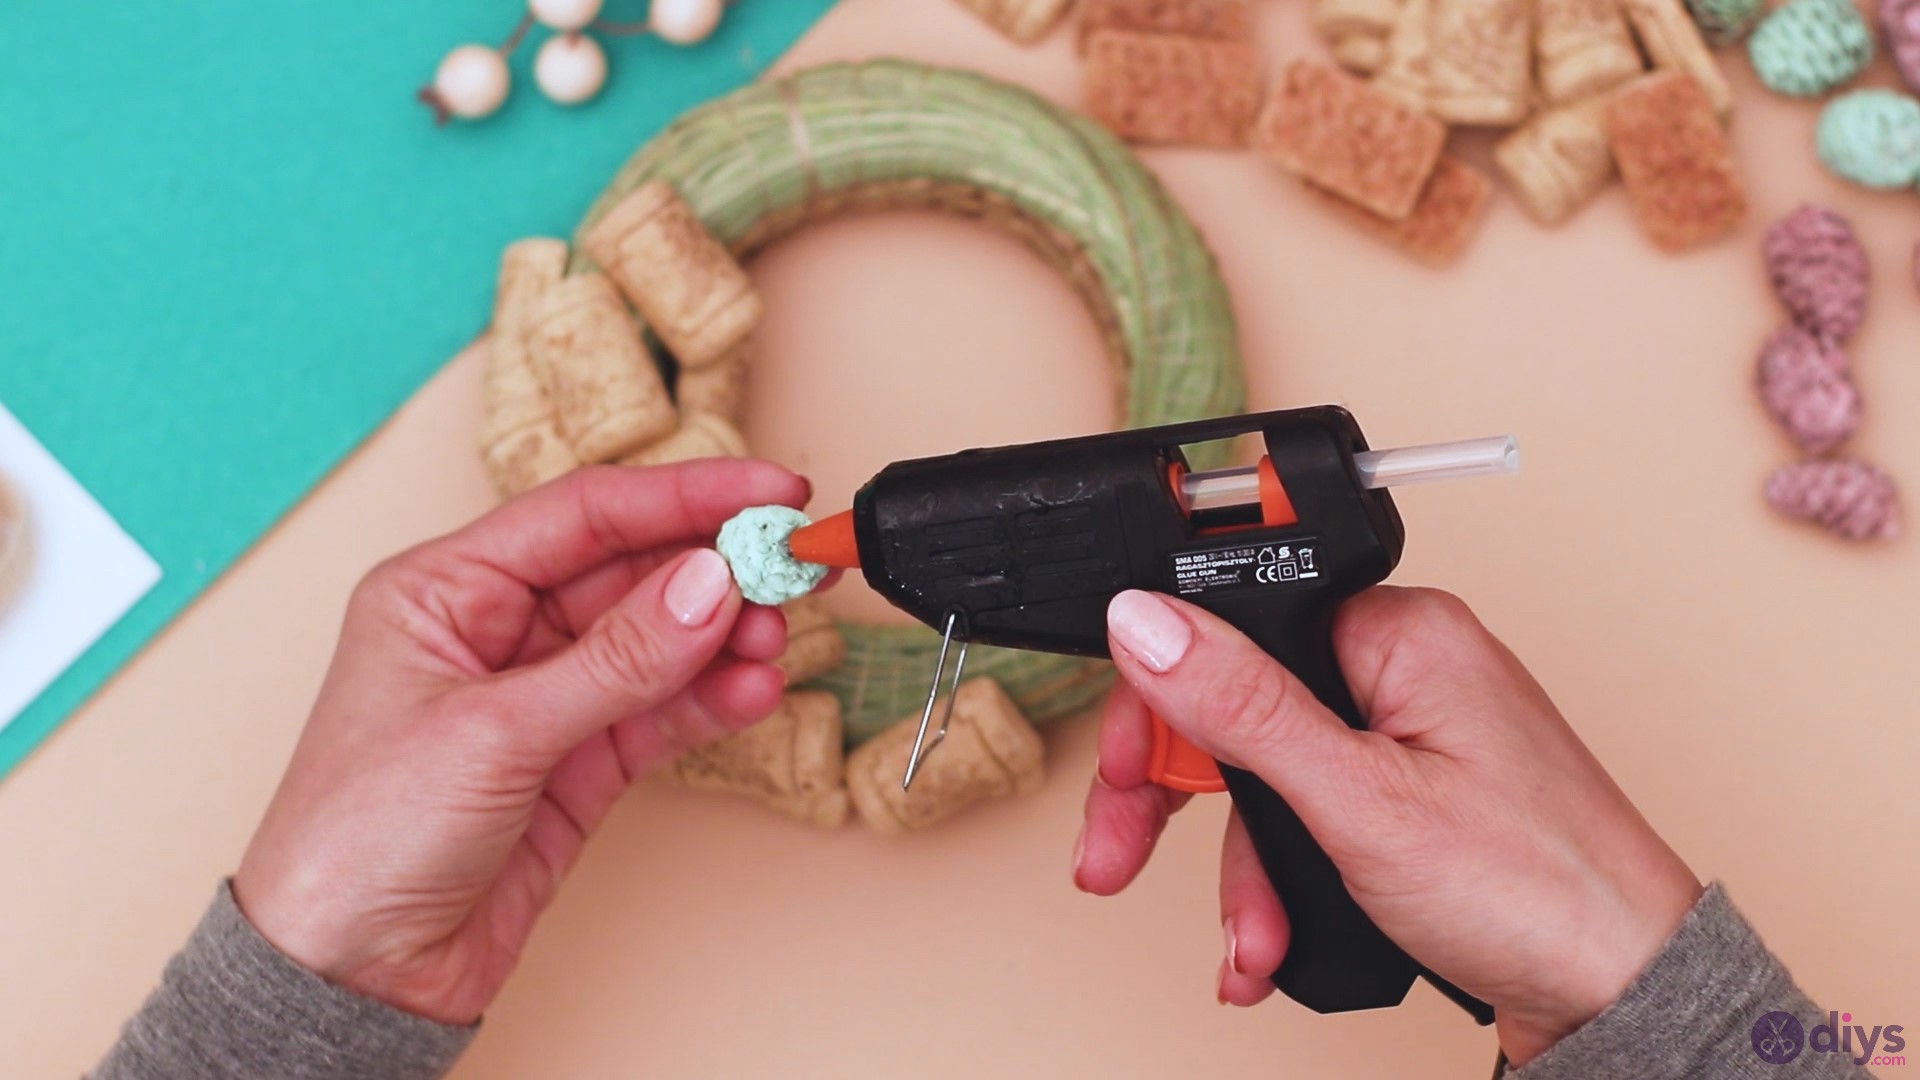
Step 3: Add the Colored Cone
One of the things we had on the material list was colored tree cones.If you don’t have colored ones, natural ones may work as well. However, do make sure you chose smaller pieces. Also, you can go ahead and paint a tree cone on your own if you want to. Just use a little bit of acrylic paint and give it time to dry.
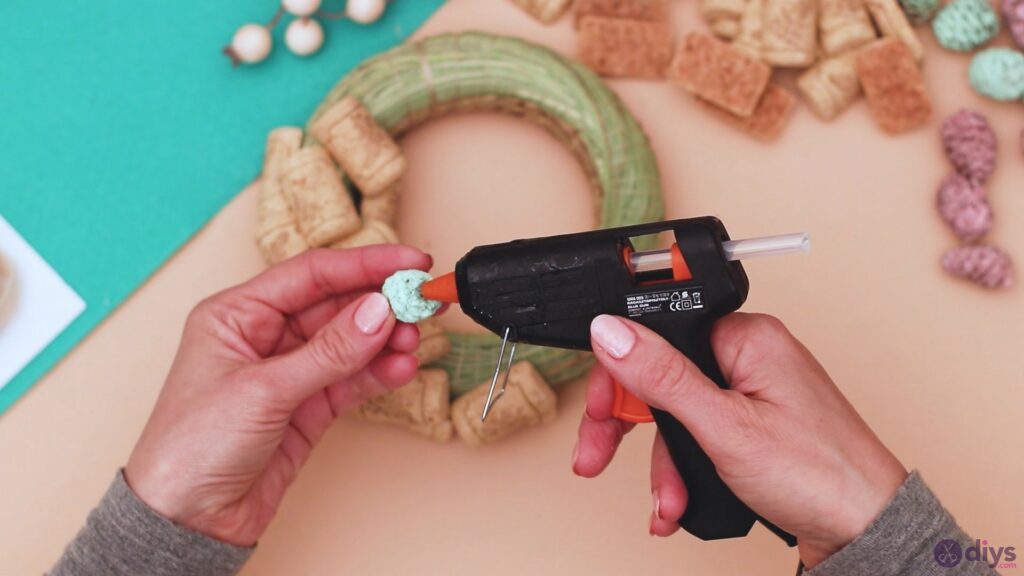
Add some hot glue to the bottom of the cone and place it in what will be the middle of the bottom area of the wreath. Press it for a few seconds and leave the glue off to dry.
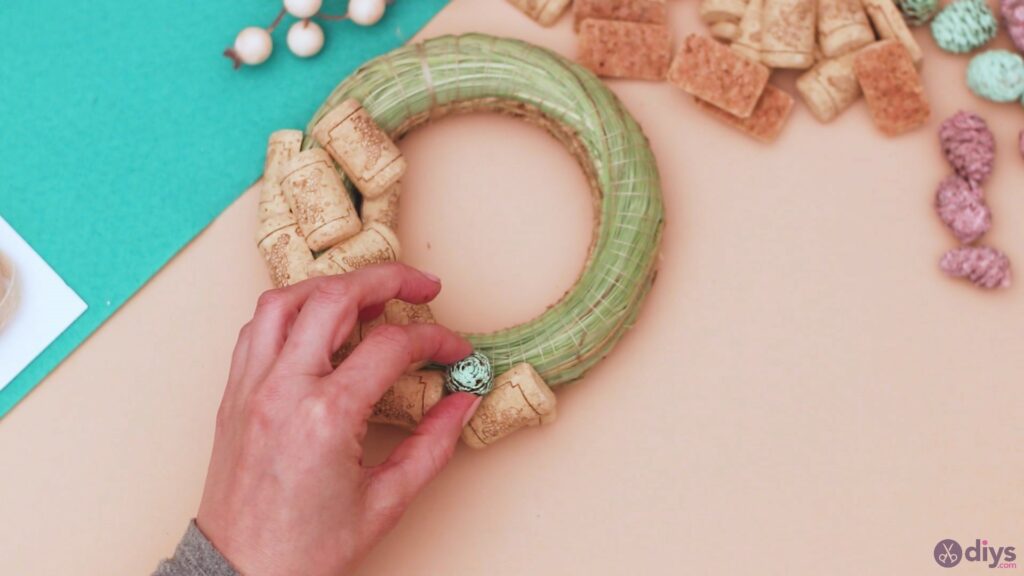
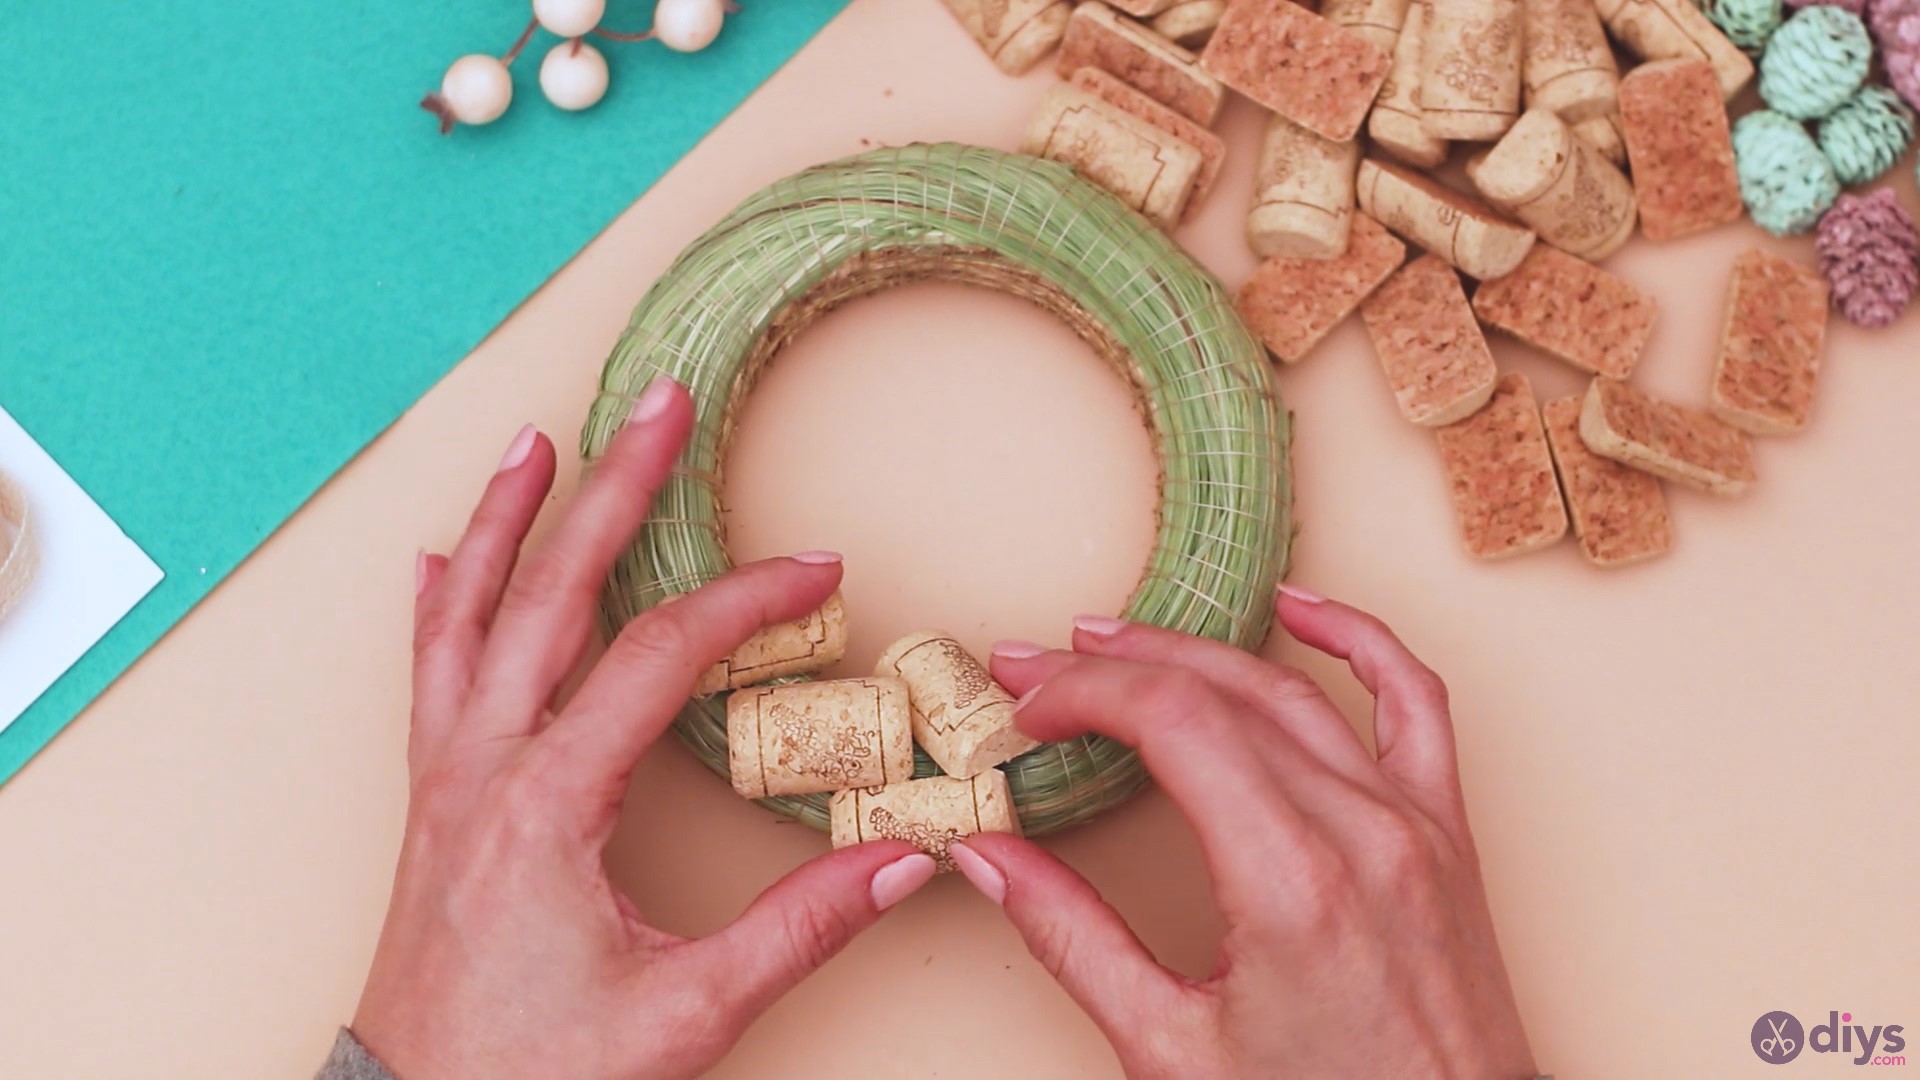
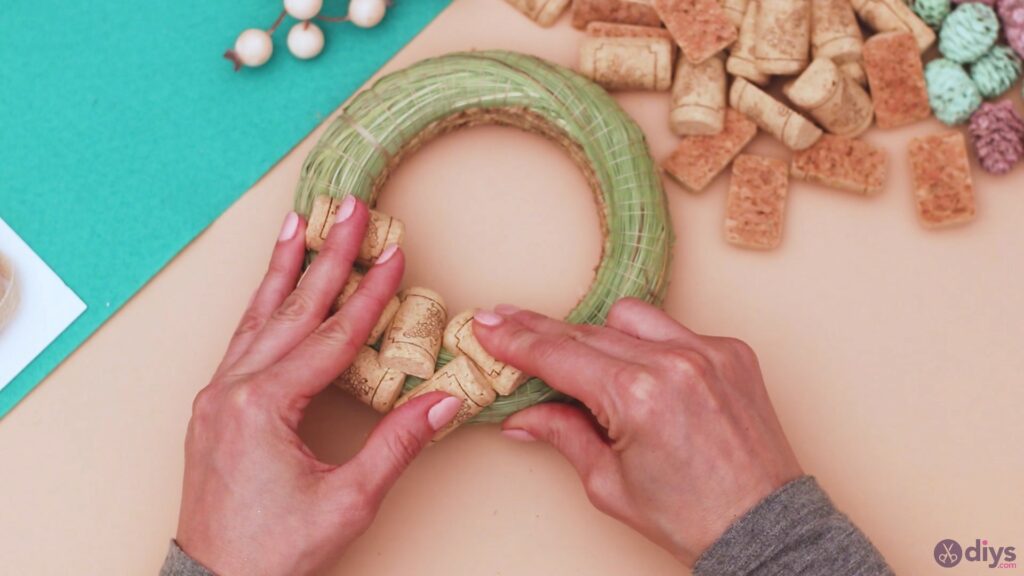
Step 4: Continue Adding Wine Corks and Colored Cones
Now that the first cone has been added to your creation, you can continue building up the design by adding more wine corks. From time to time, add in another cone.


Make sure the wine corks cover the wreath on all sides. You want some of them on the inside of the wreath, others on the side. Even if the base wreath is still visible in some areas, you’ll still have good coverage. Some of the corks will look like they’re on top of others and so on.

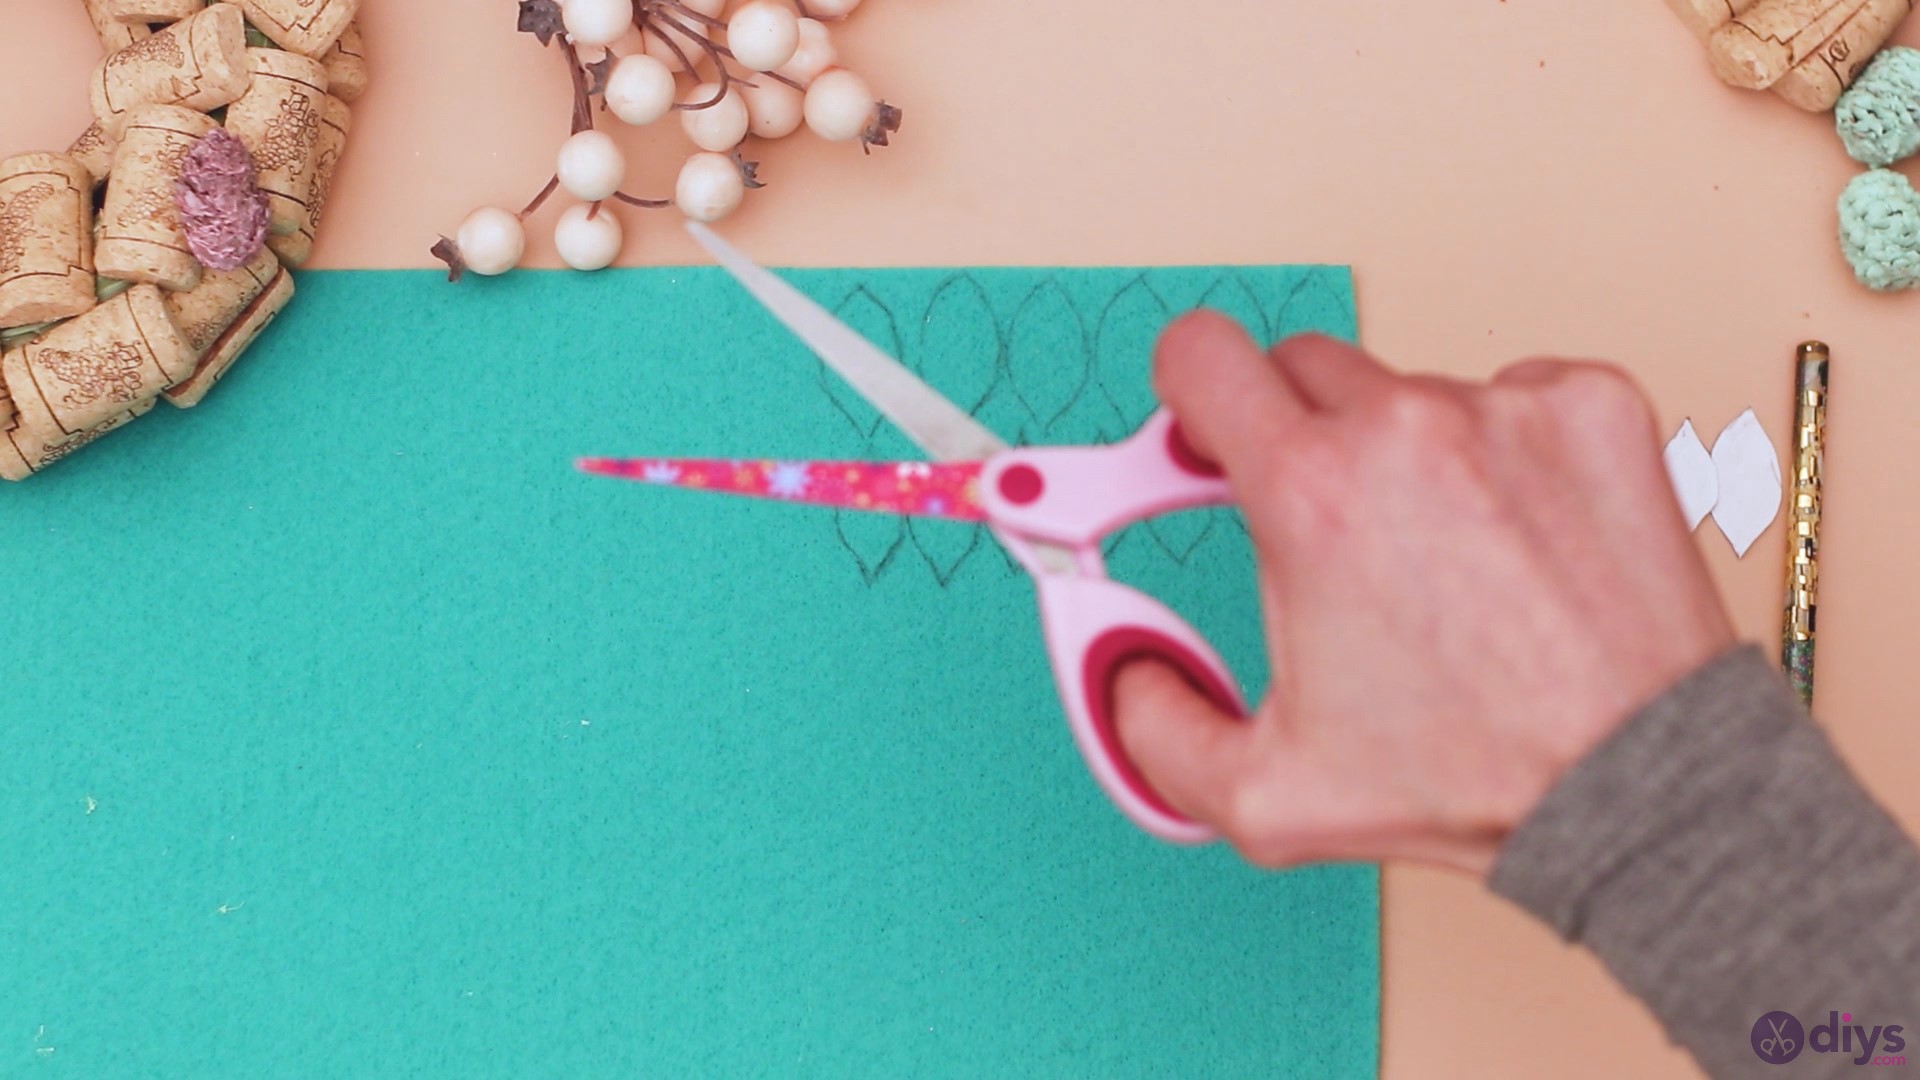
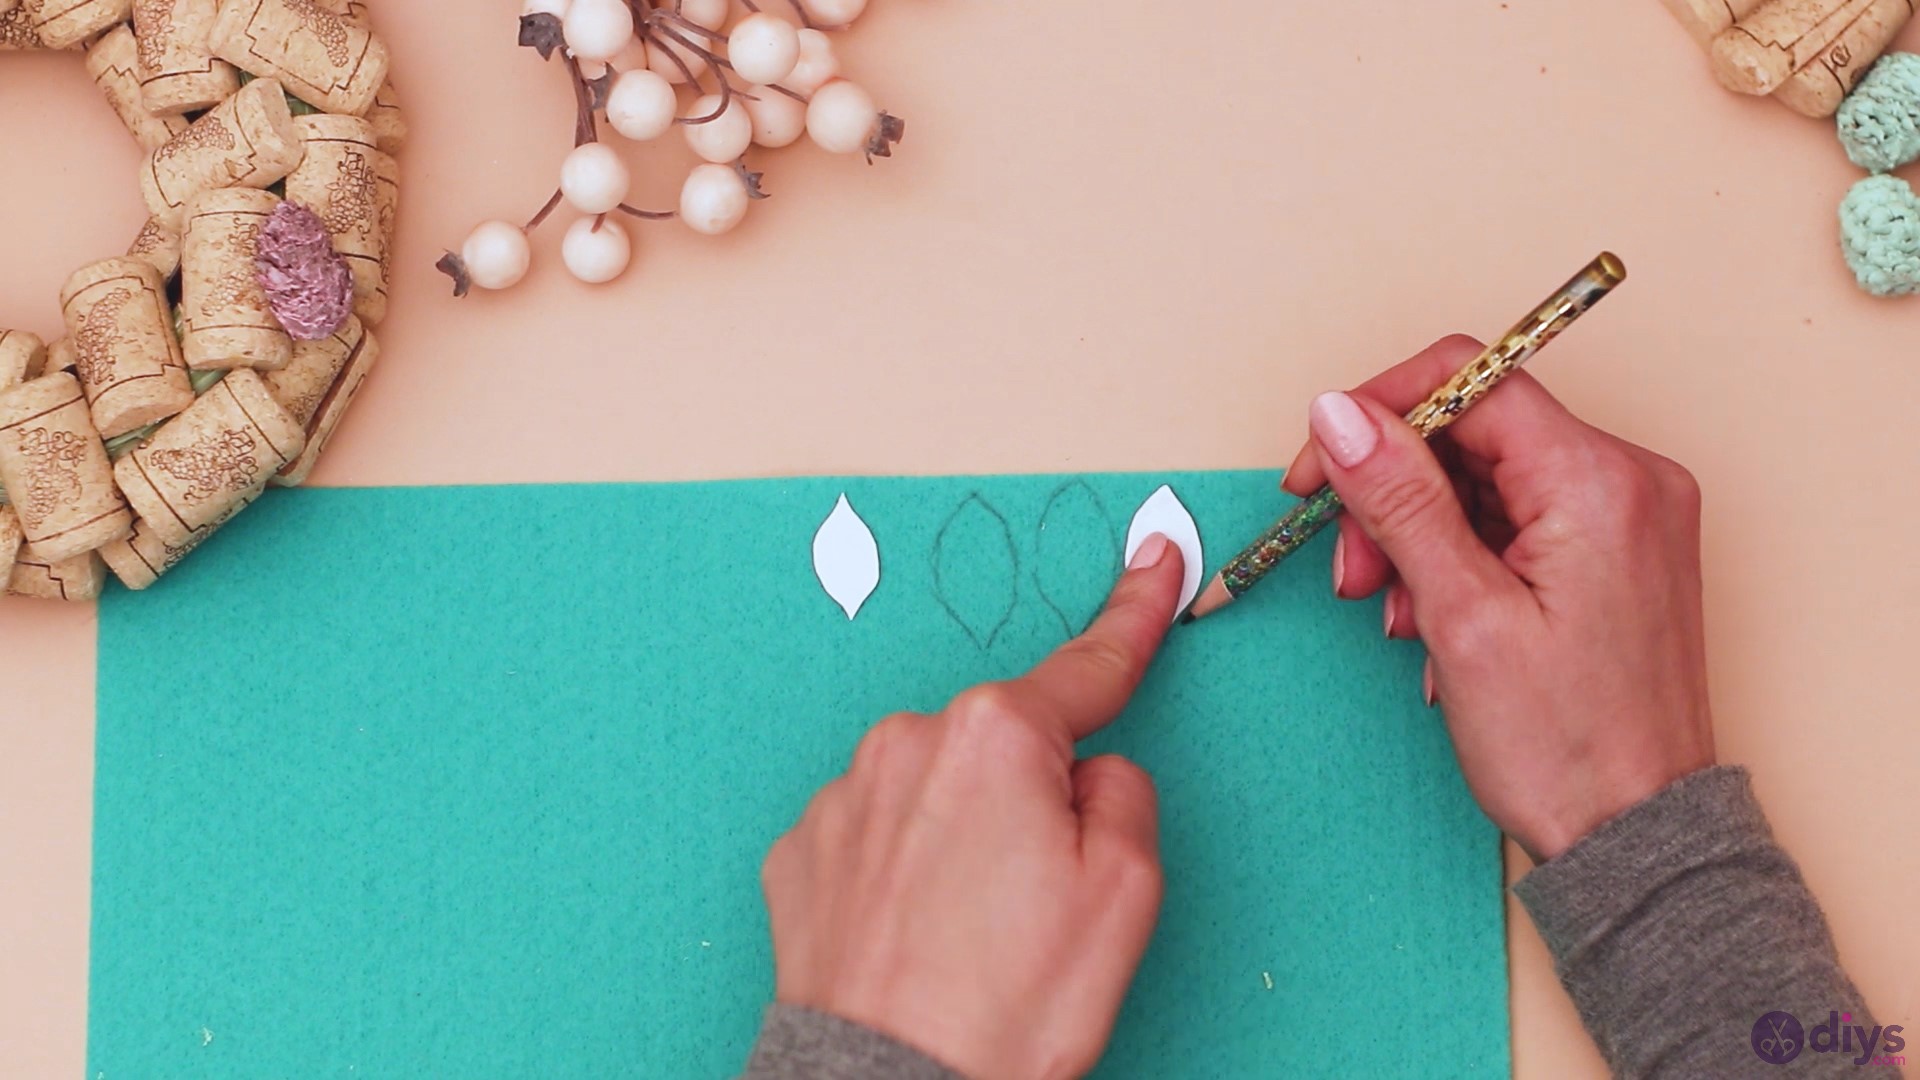
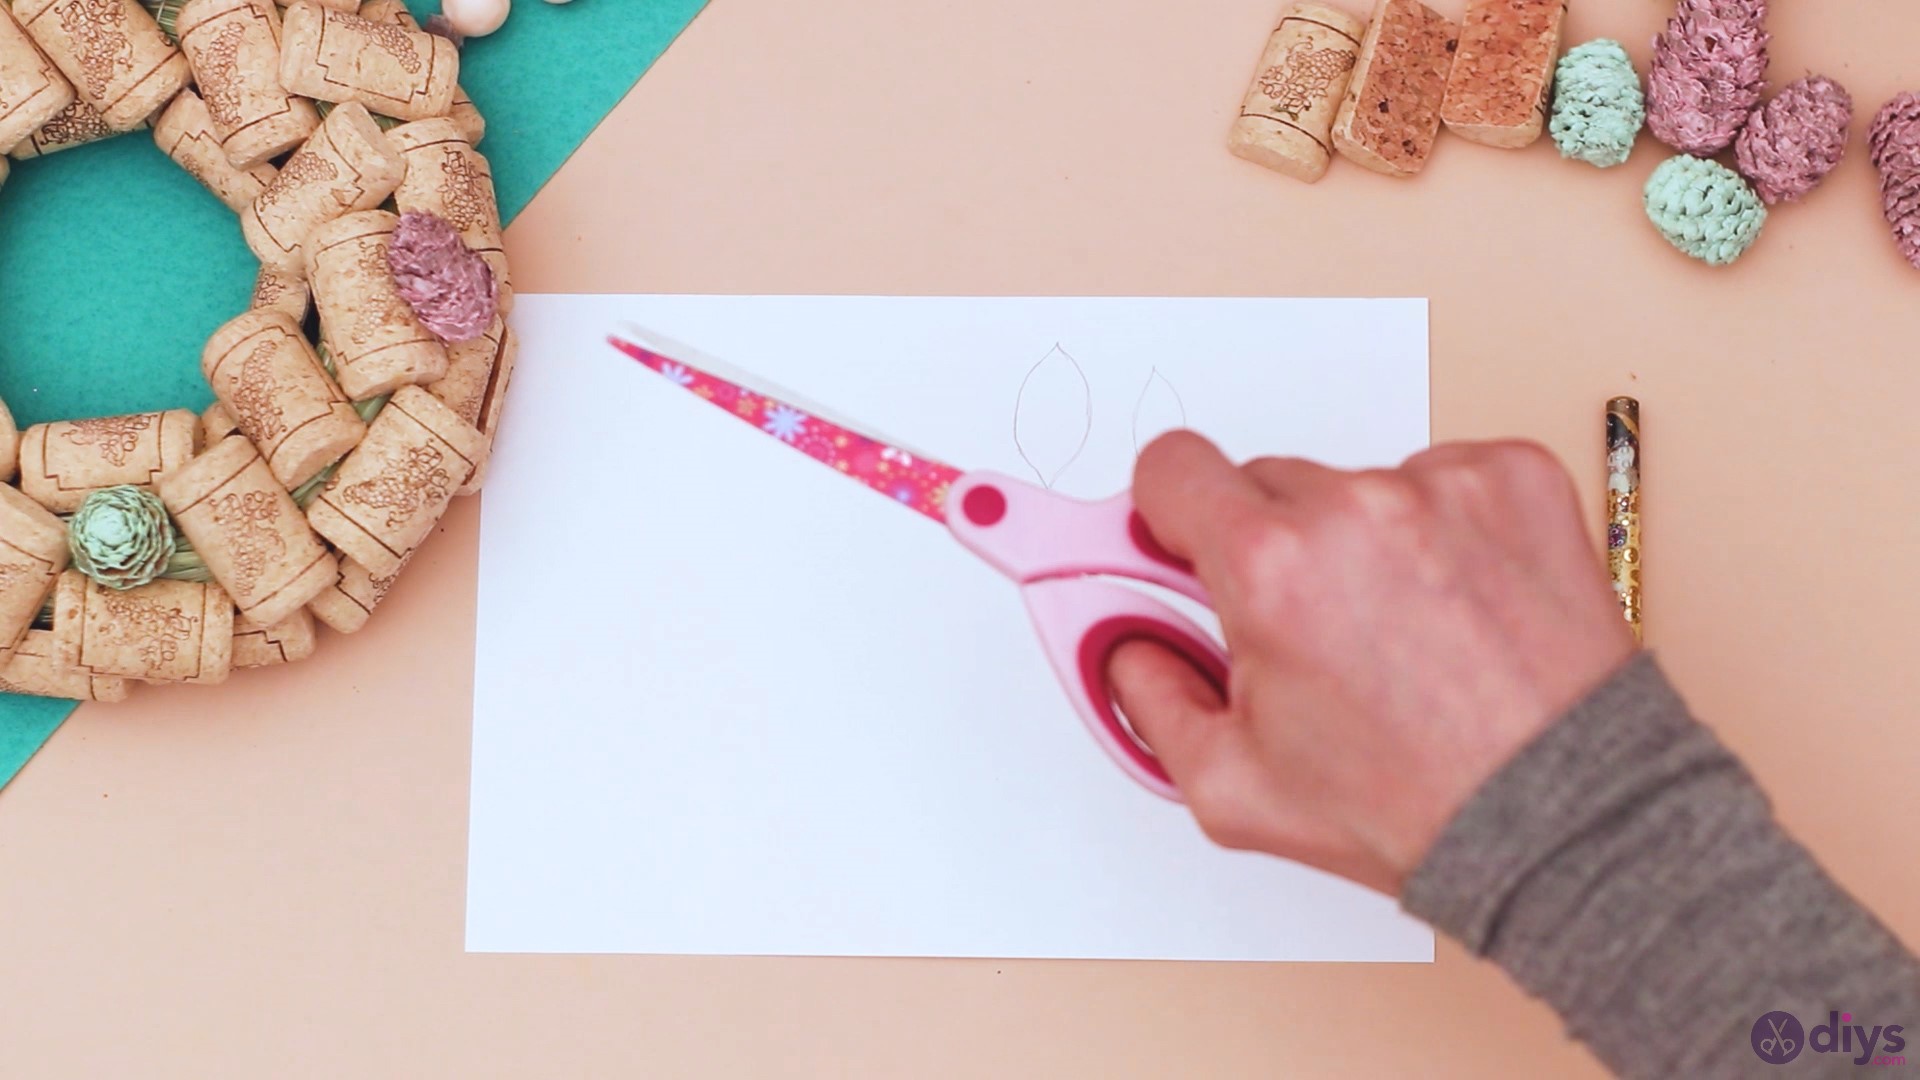
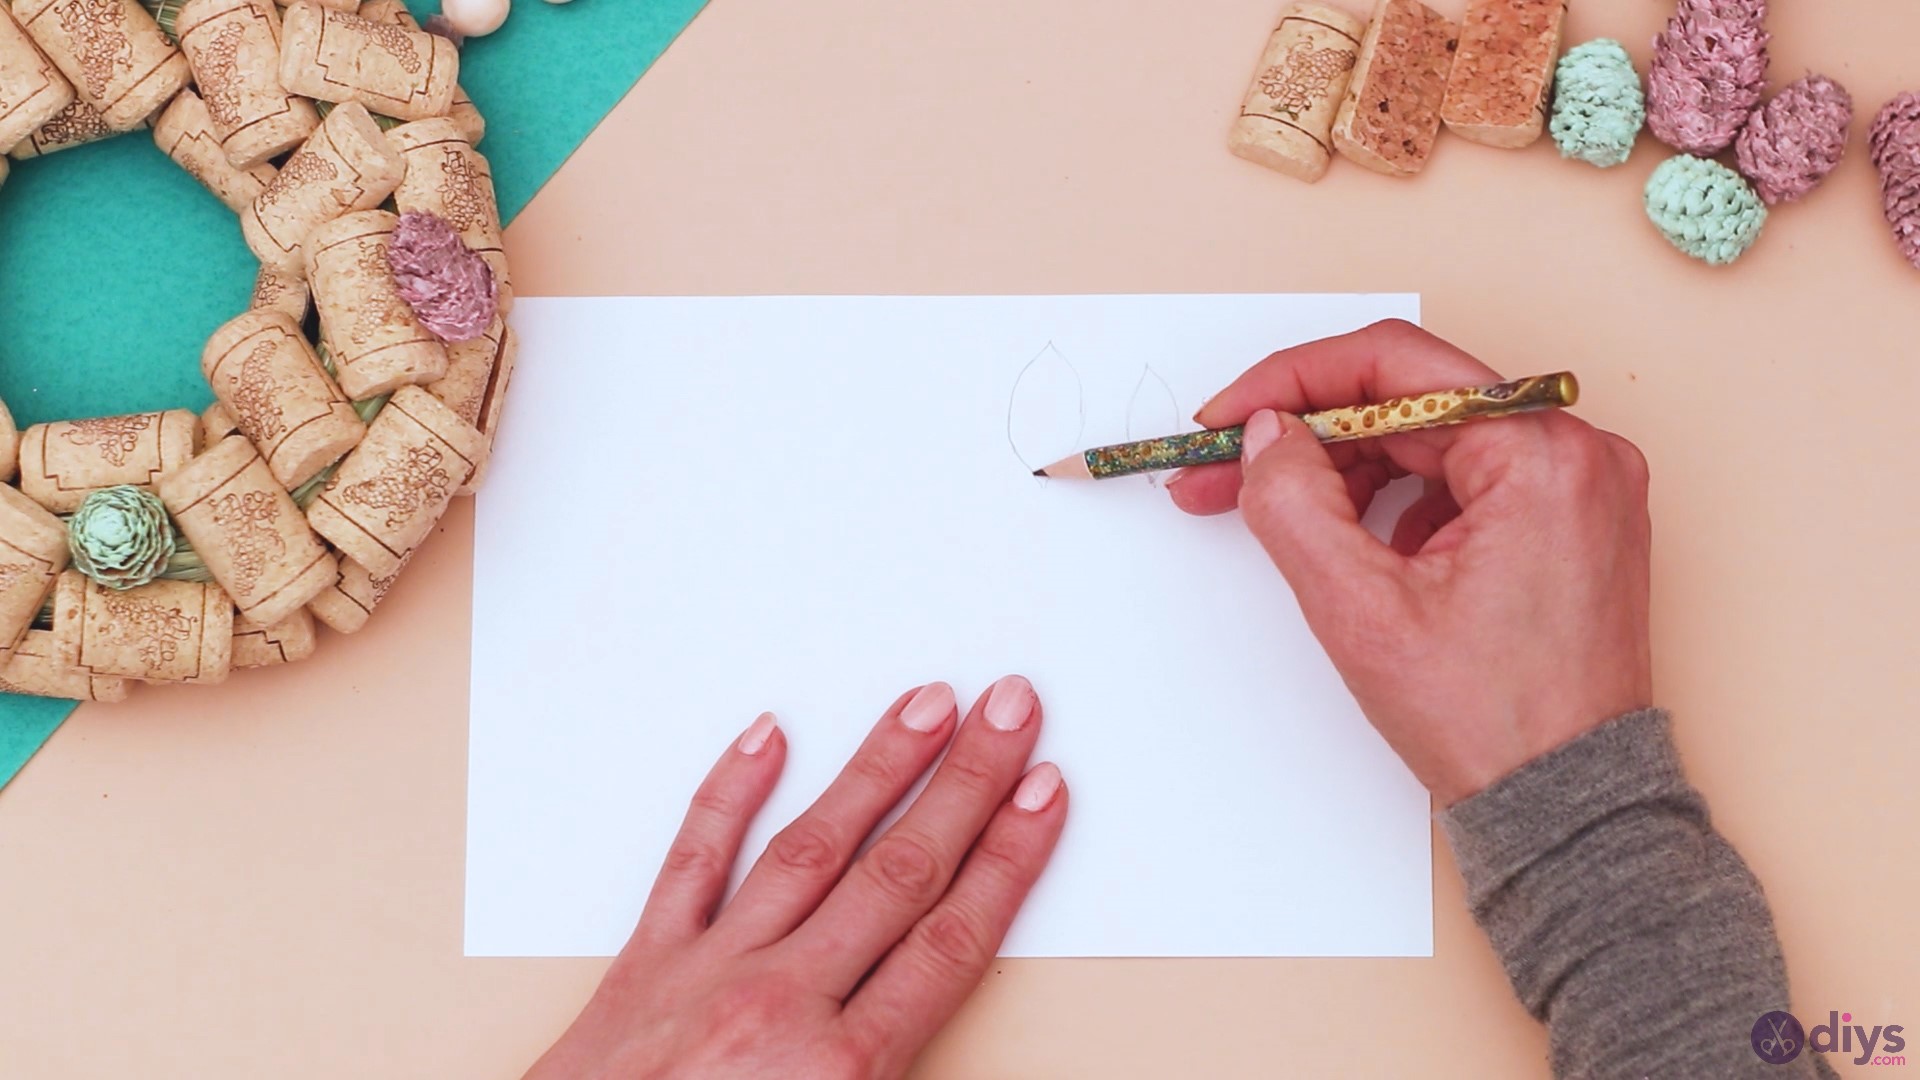
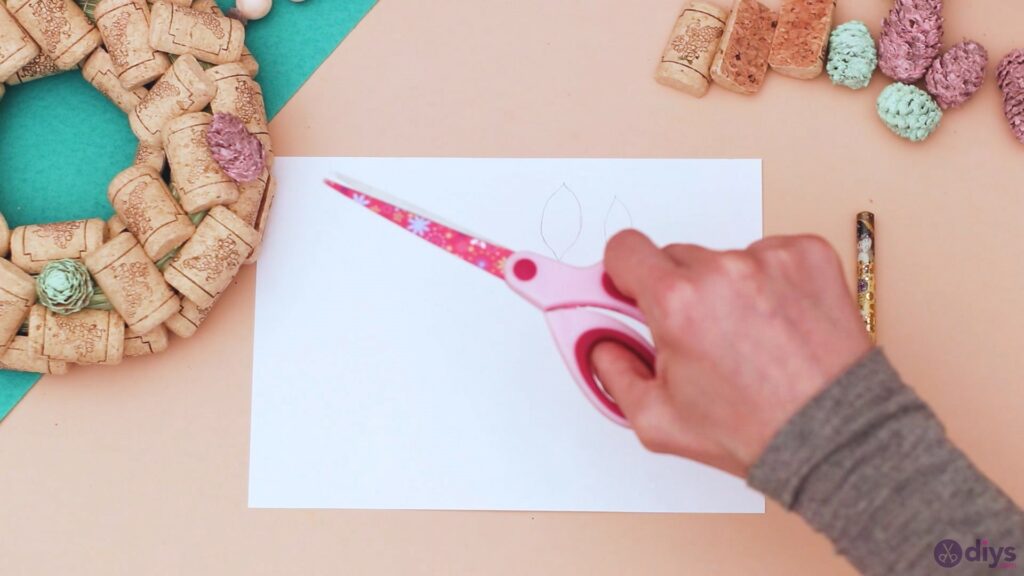
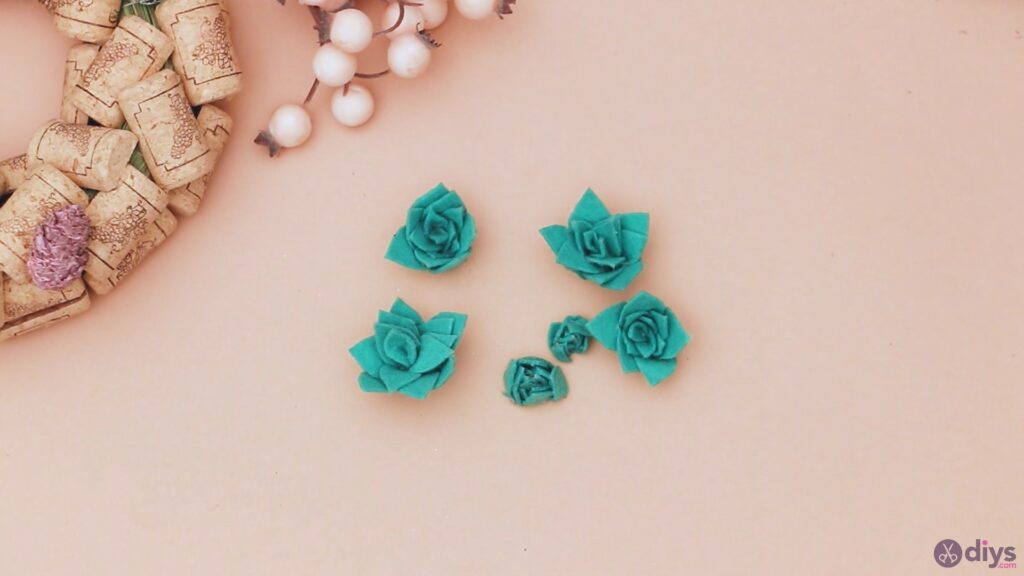
Step 5: Build the Felt Flowers
For our next step, we’re going to start with a piece of paper and a pencil. Draw petal shapes on the paper – you’ll want to do a couple of sizes, at least.

Then, get thescissorsand cut out the paper petals.
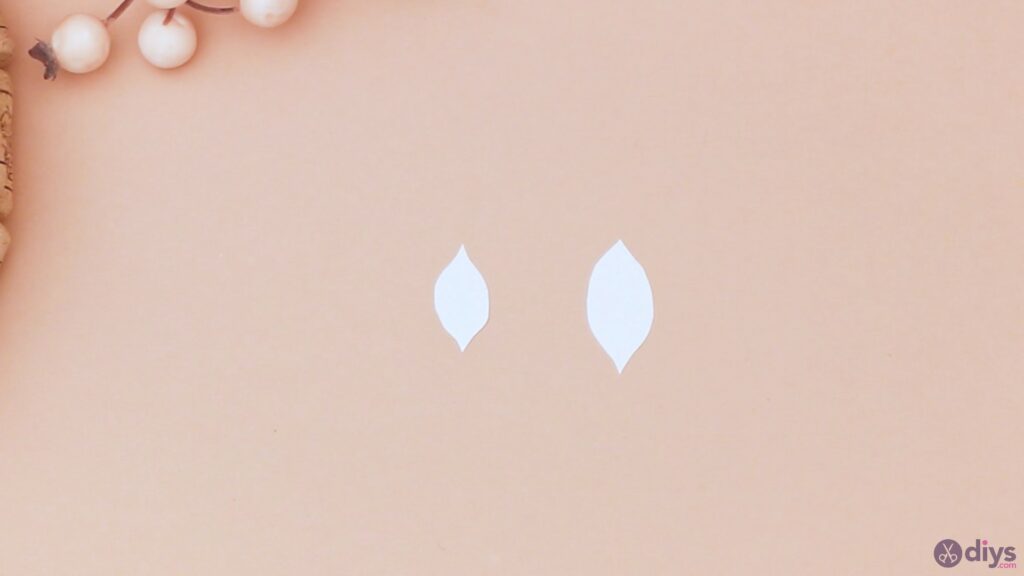
Get thegreen feltand place the petal shapes over the felt. Draw the contour with the pencil. You’ll want to make a lot of these drawings on the green felt.

Then, get the scissors once more and cut out the leaves you drew, both small and large.


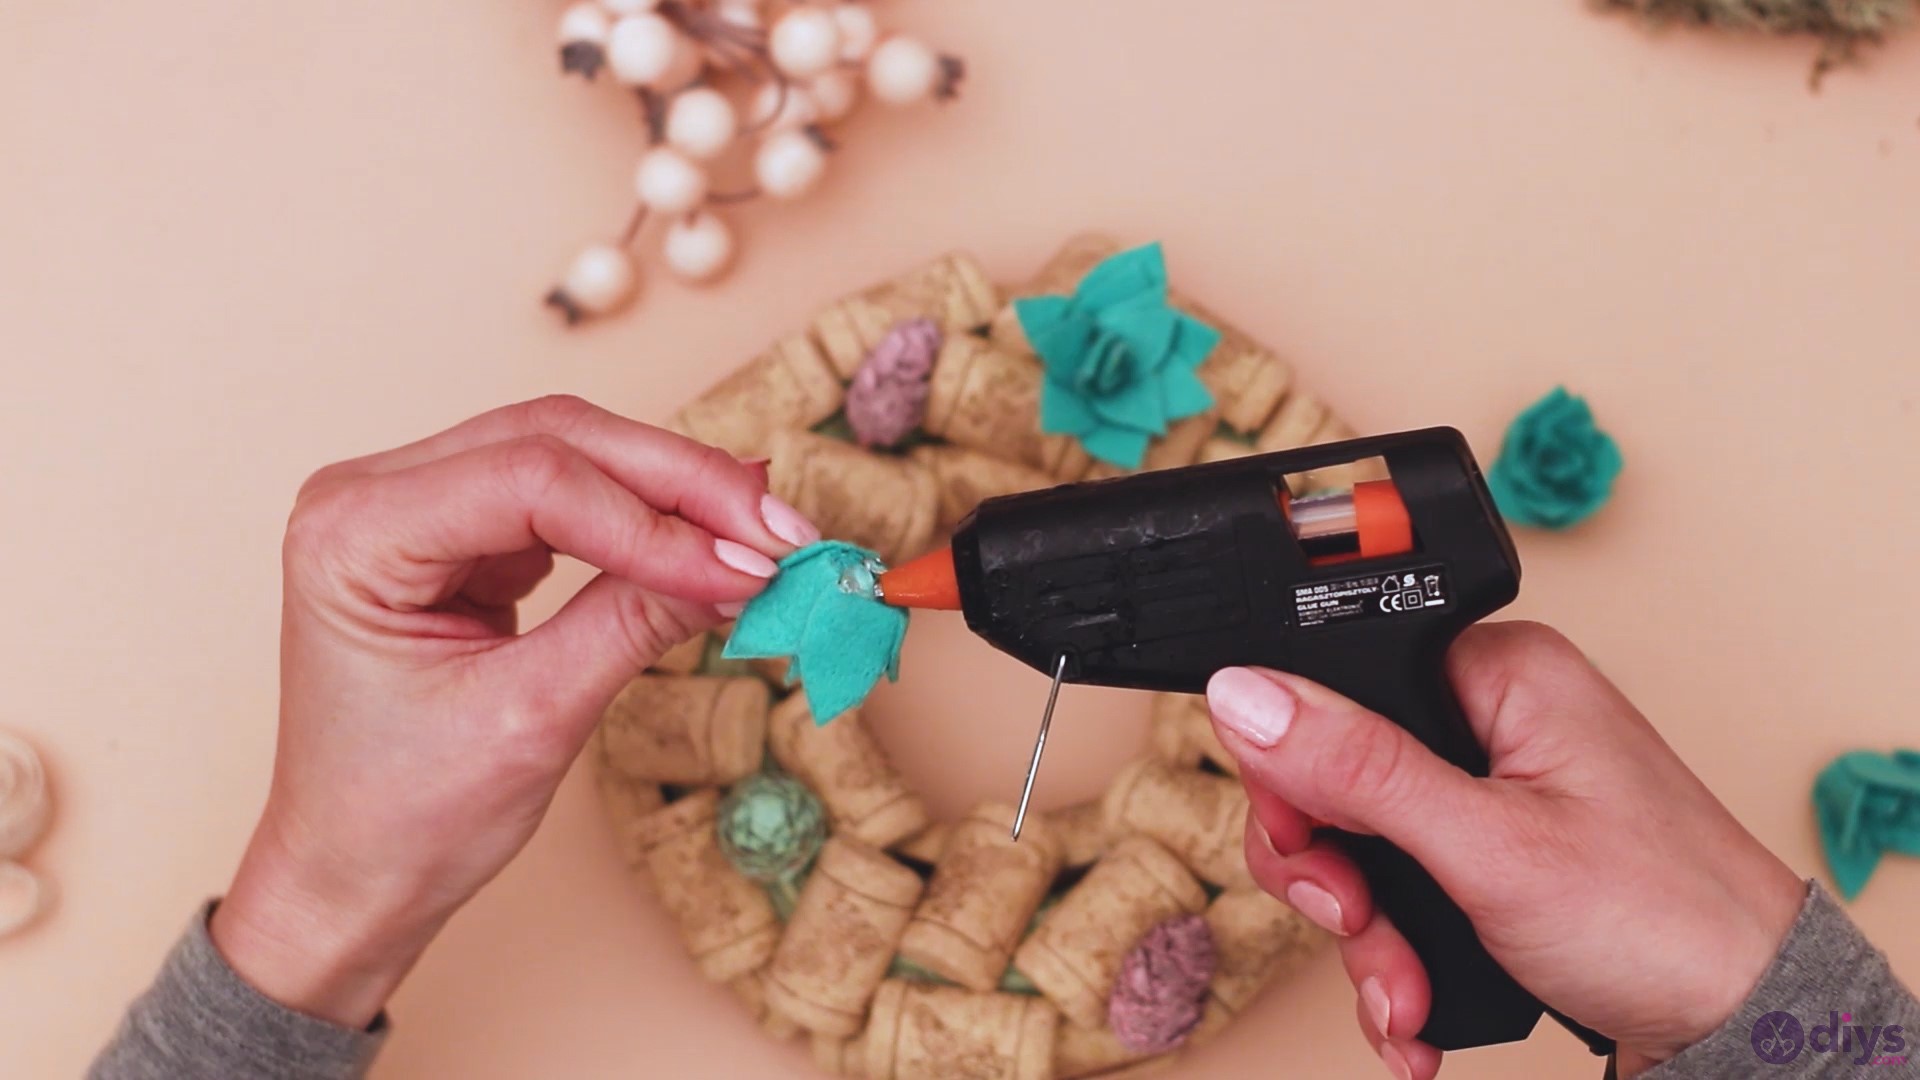
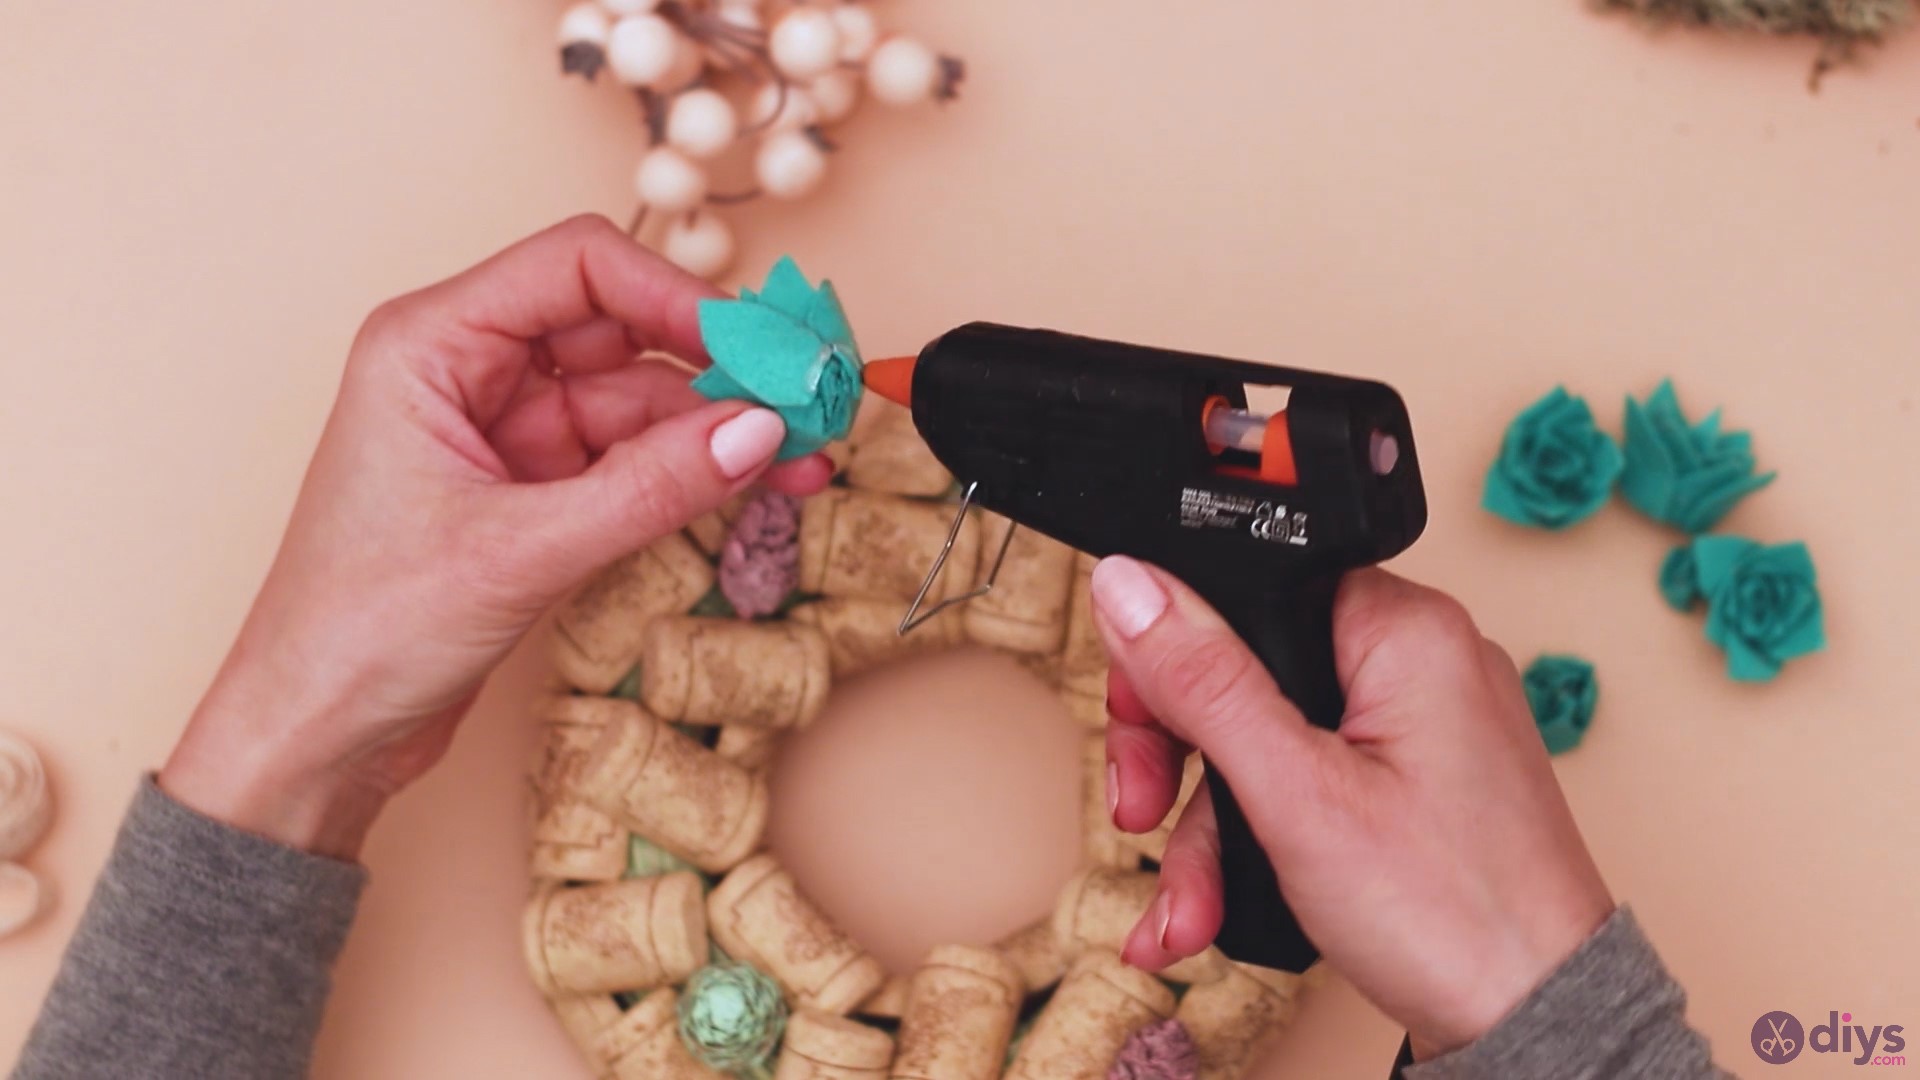
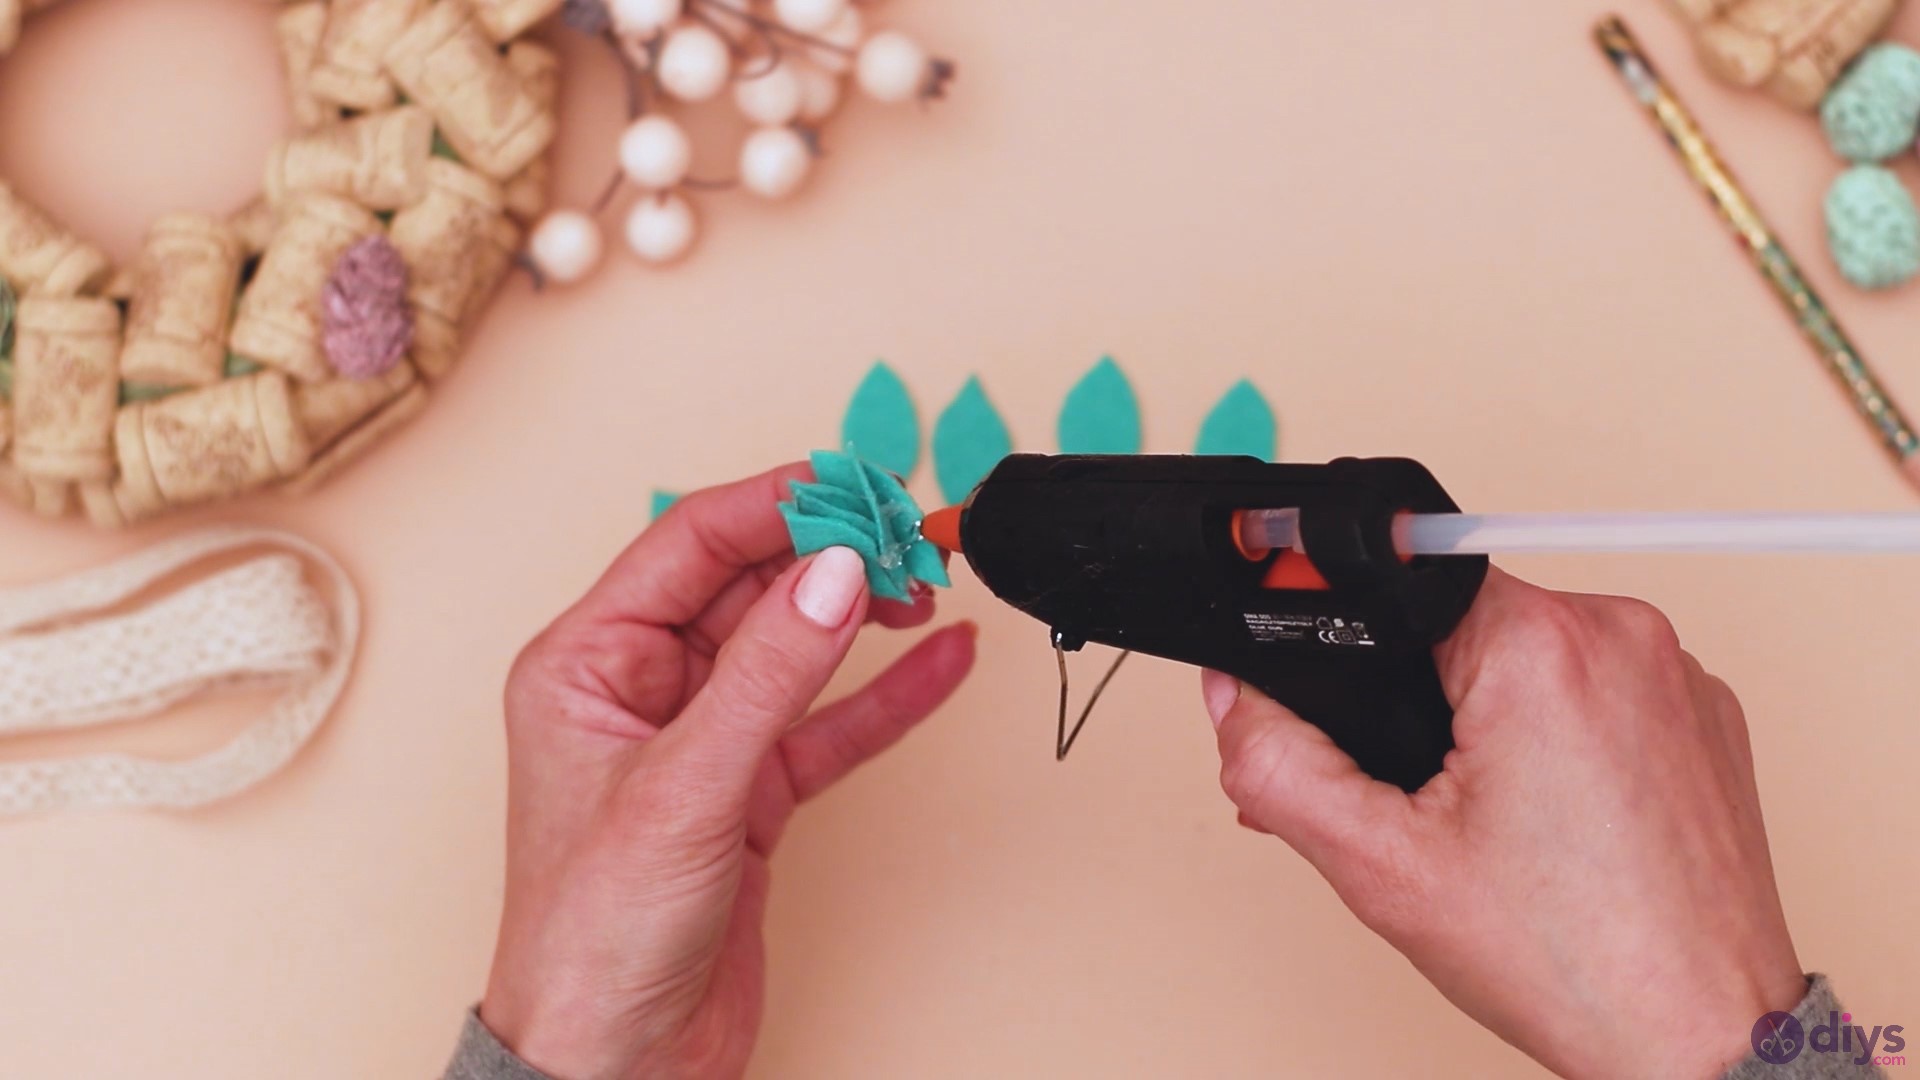
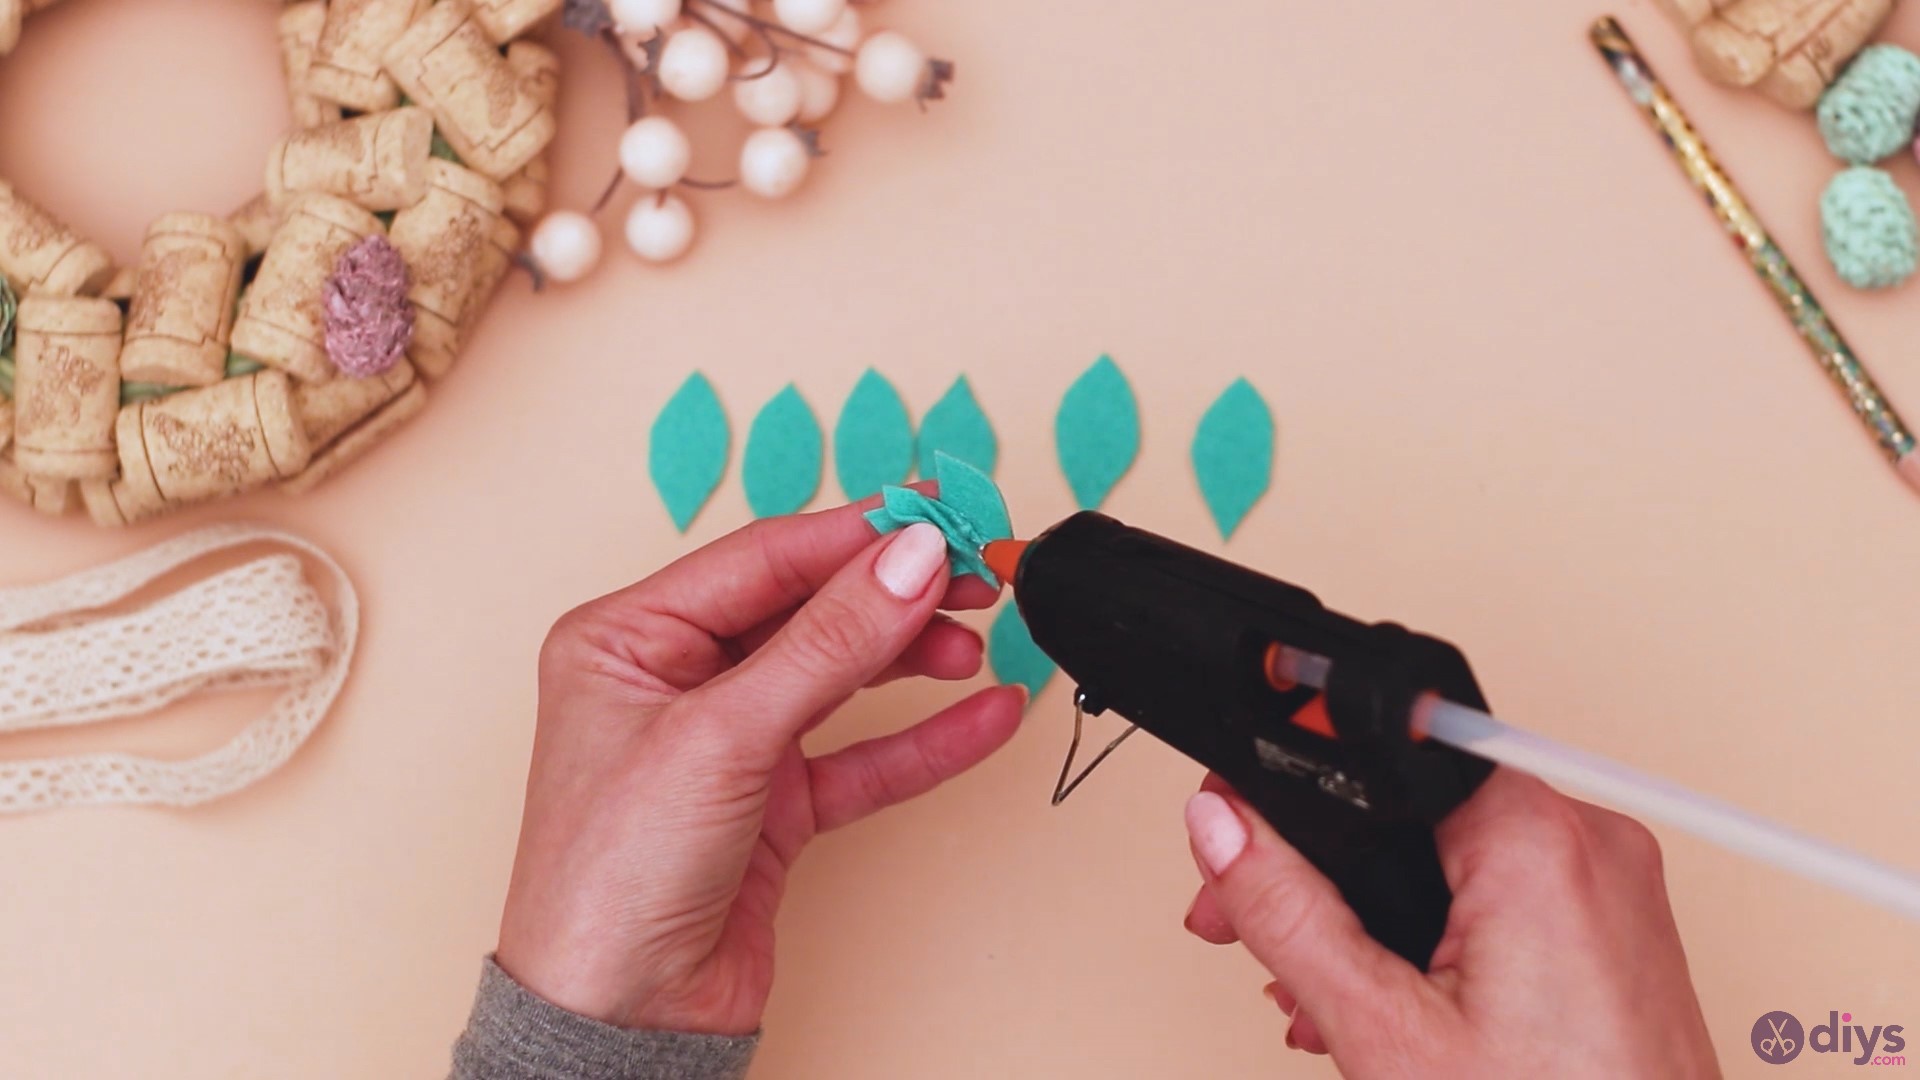
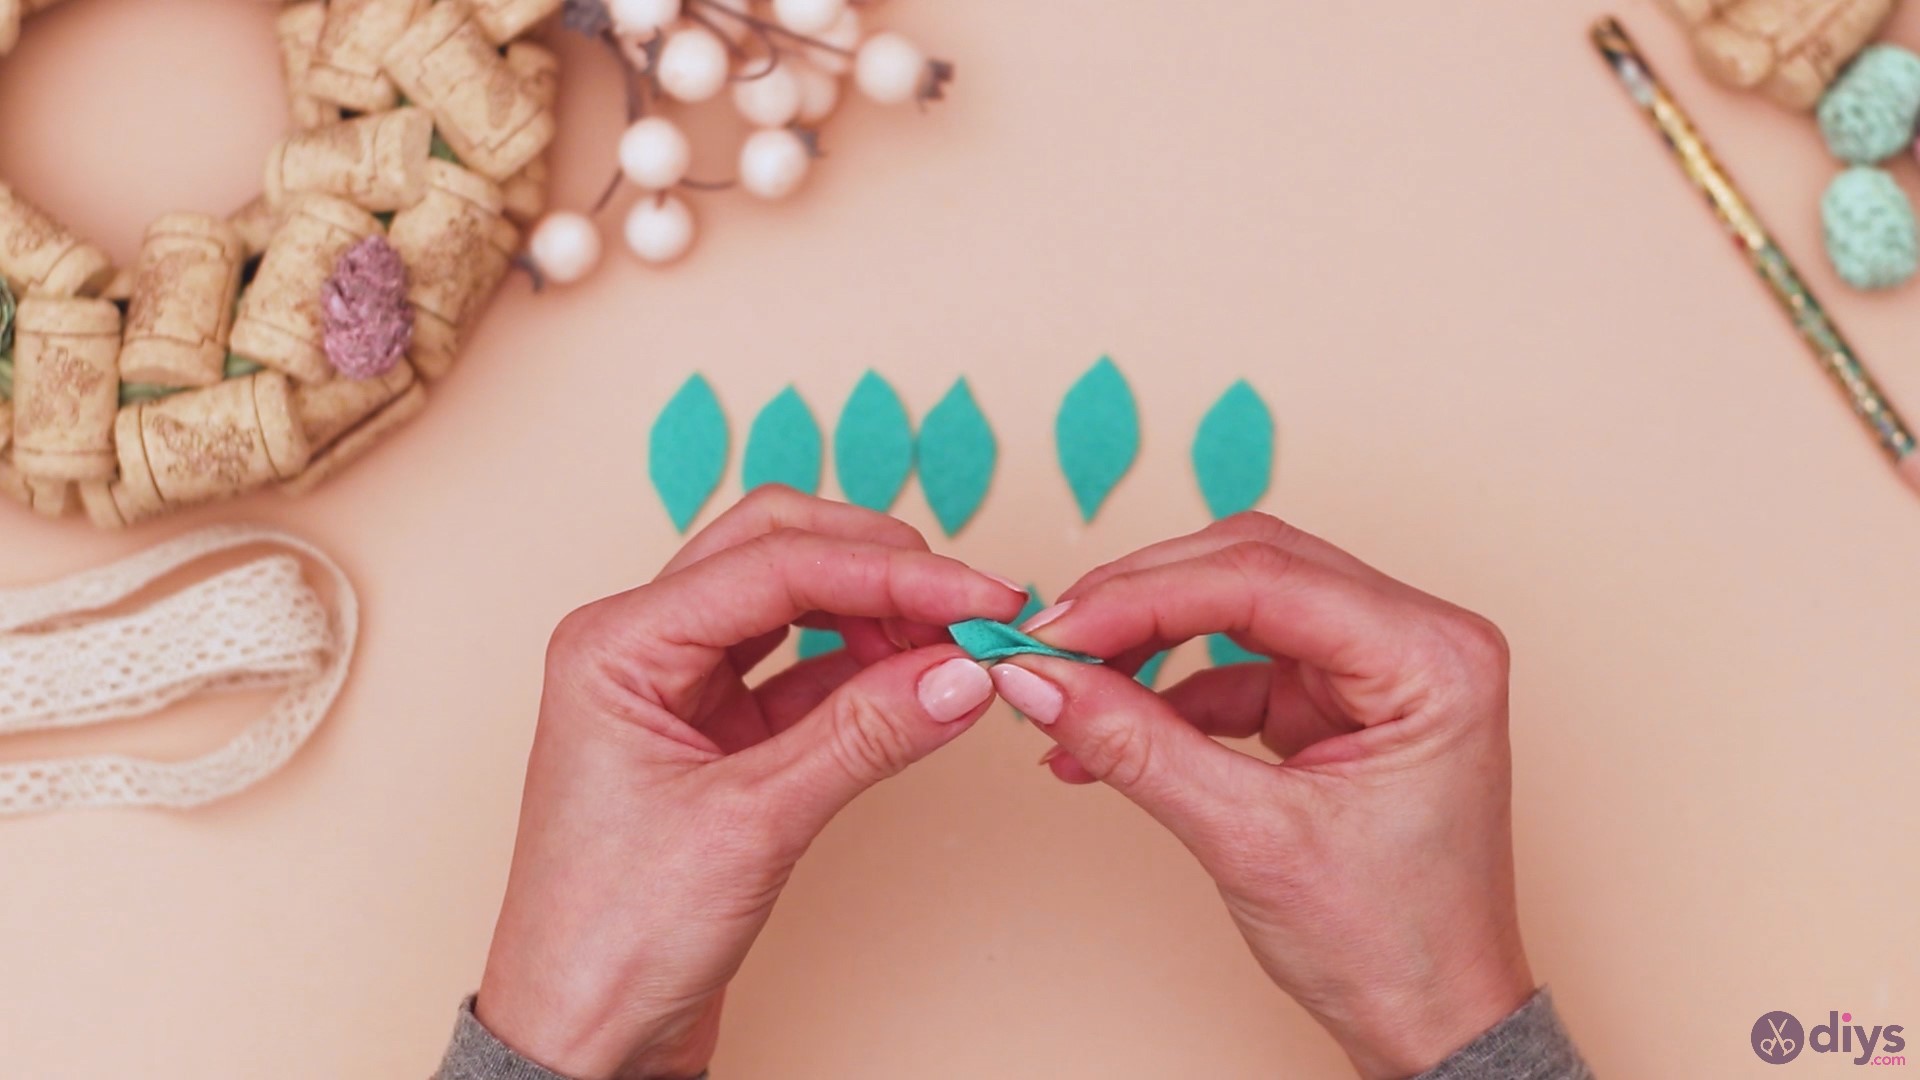
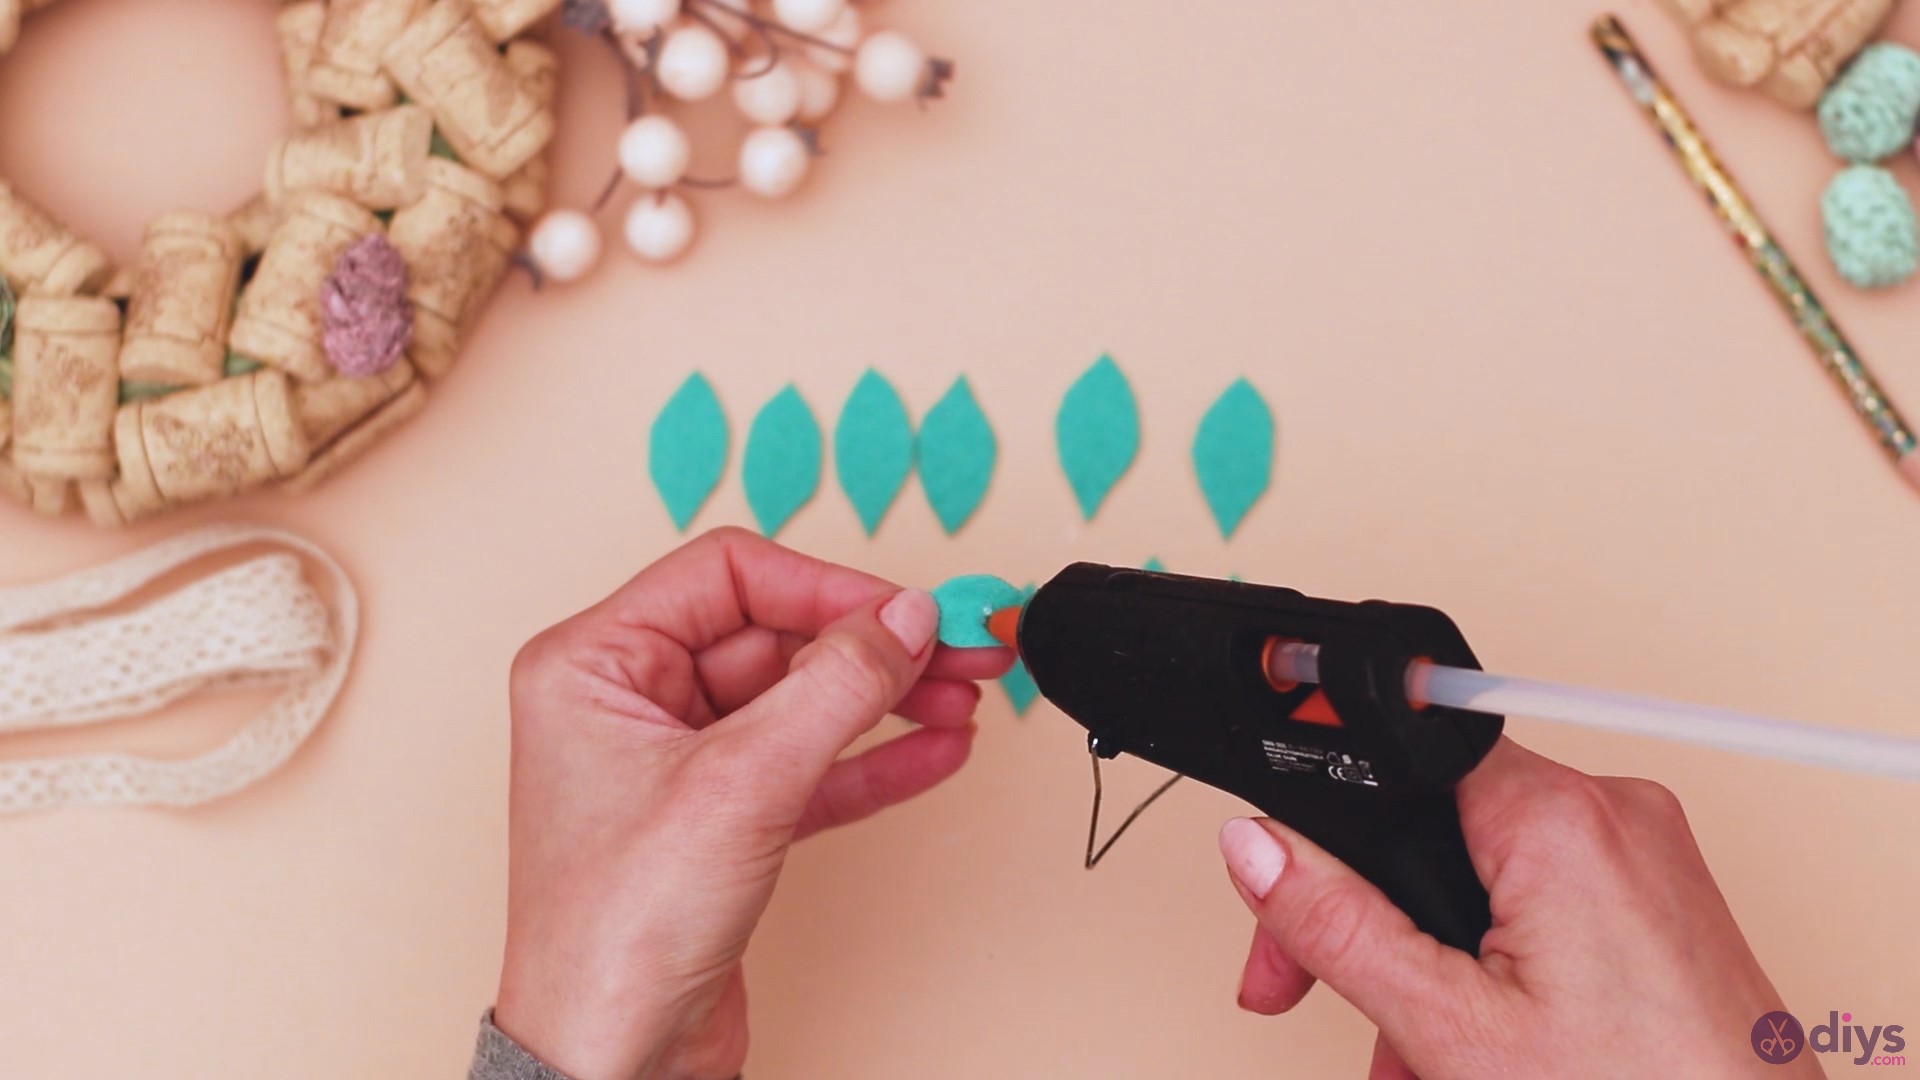
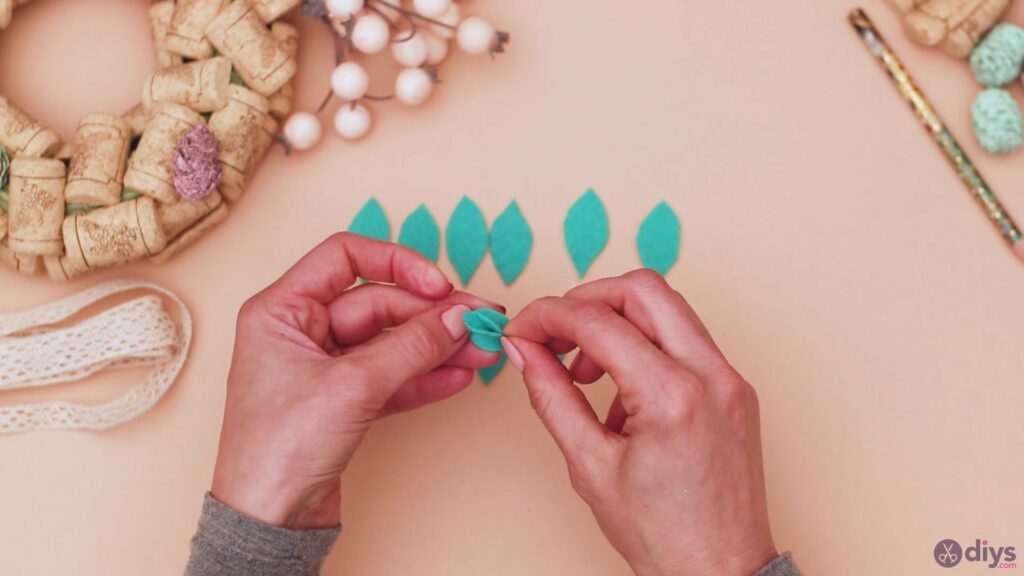
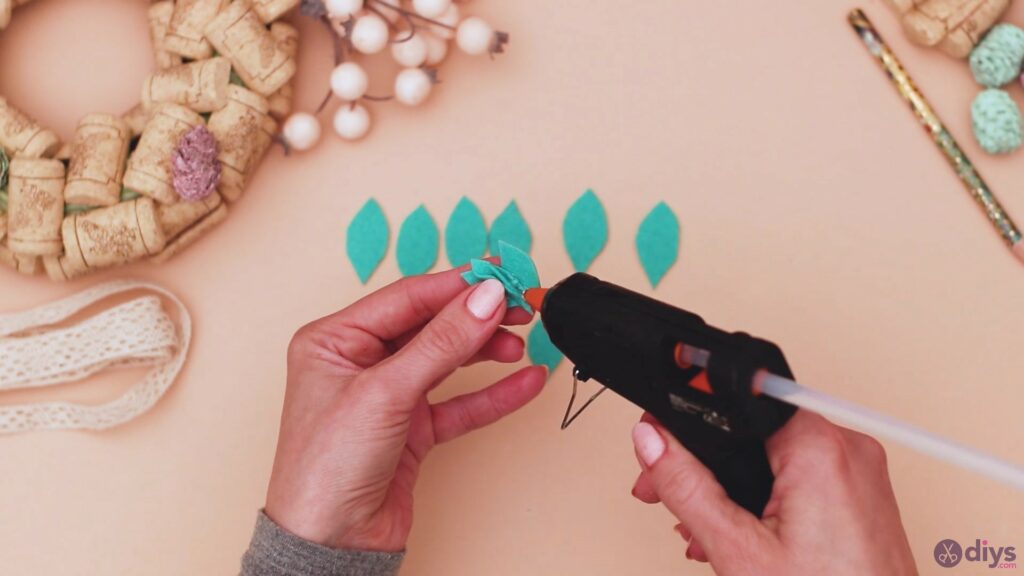
Take one of the smaller petals, fold it a bit to get an idea of the middle of the material, and add hot glue in the center of it. Then, fold the material over itself and hold it tightly until the hot glue sets.


Pick one of the larger petals, add hot glue to its center and press the smaller folded petal inside of it. Add another petal to the side, overlapping slightly, and glue it on.
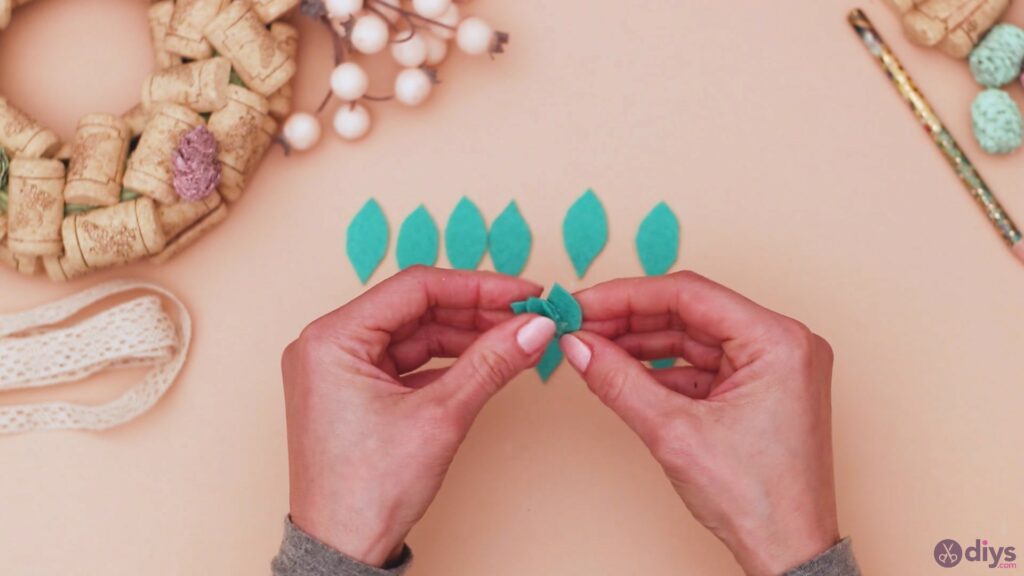
Keep adding the petals one over the other, layering them up to create a beautiful flower shape.
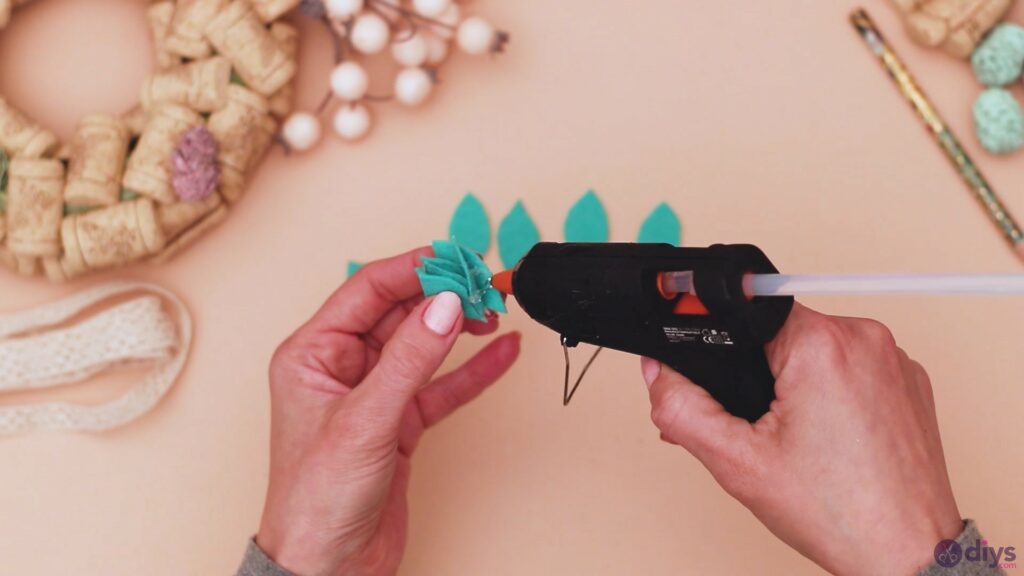
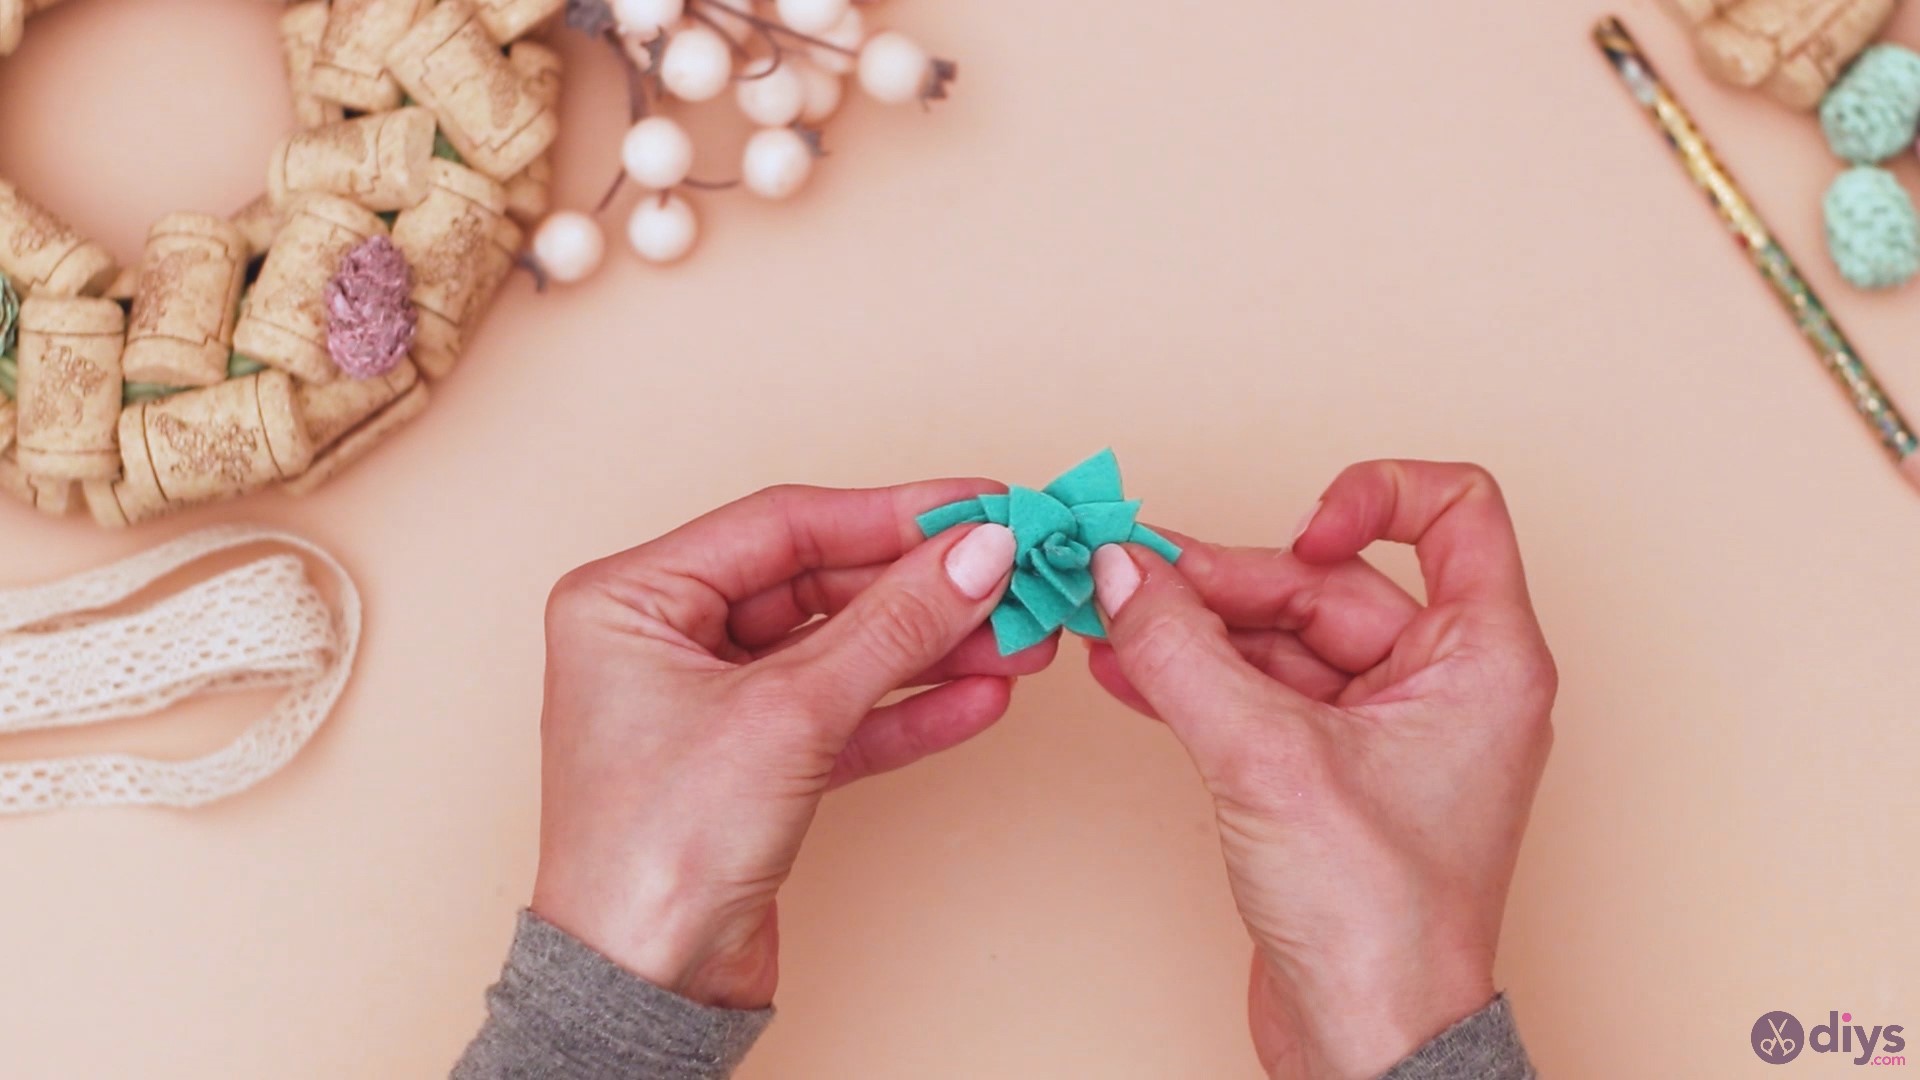
When you’re done adding the petals, turn the material over the middle, making it look more natural. You’ll want to arrange each flower in the same way.

We went ahead and made more of these flowers. We used the same technique but chose to make some of the flowers larger and some smaller. Also, the smaller ones we left with the petals unturned, so they look like buds.
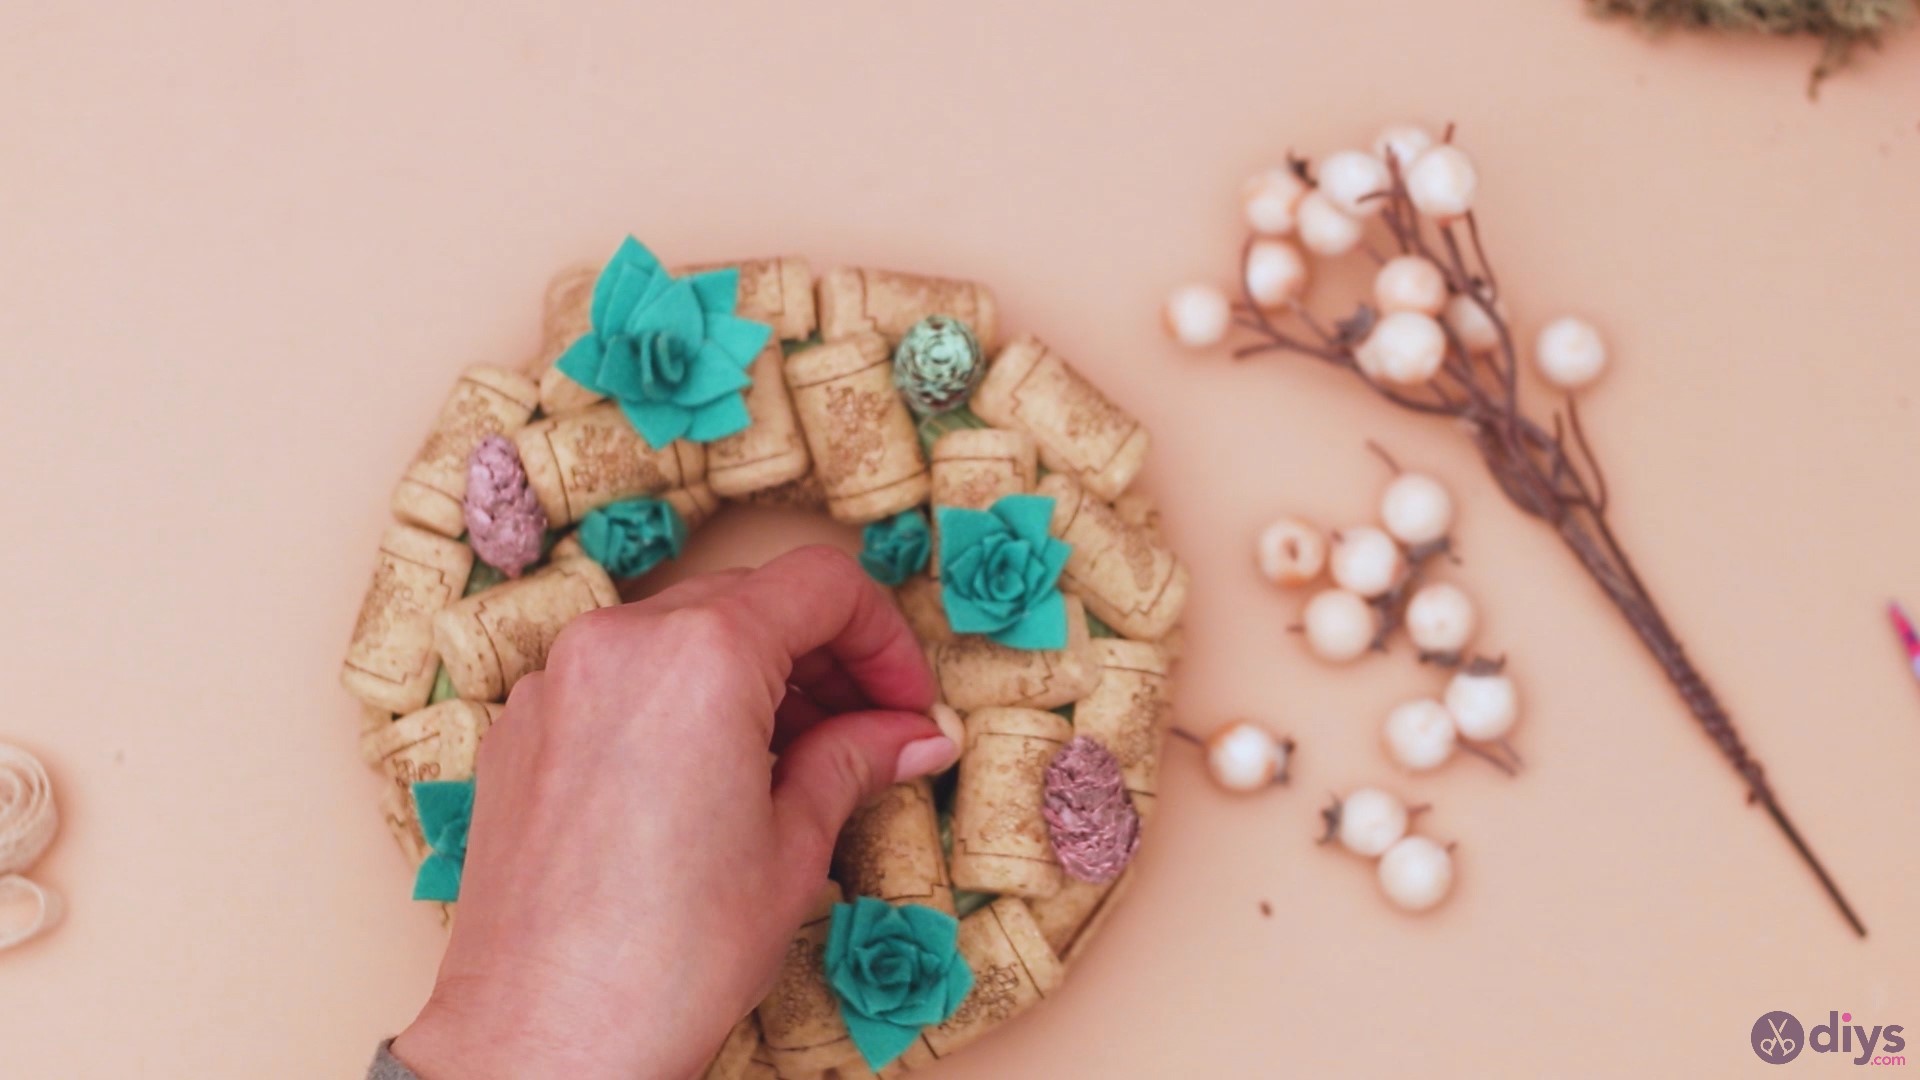
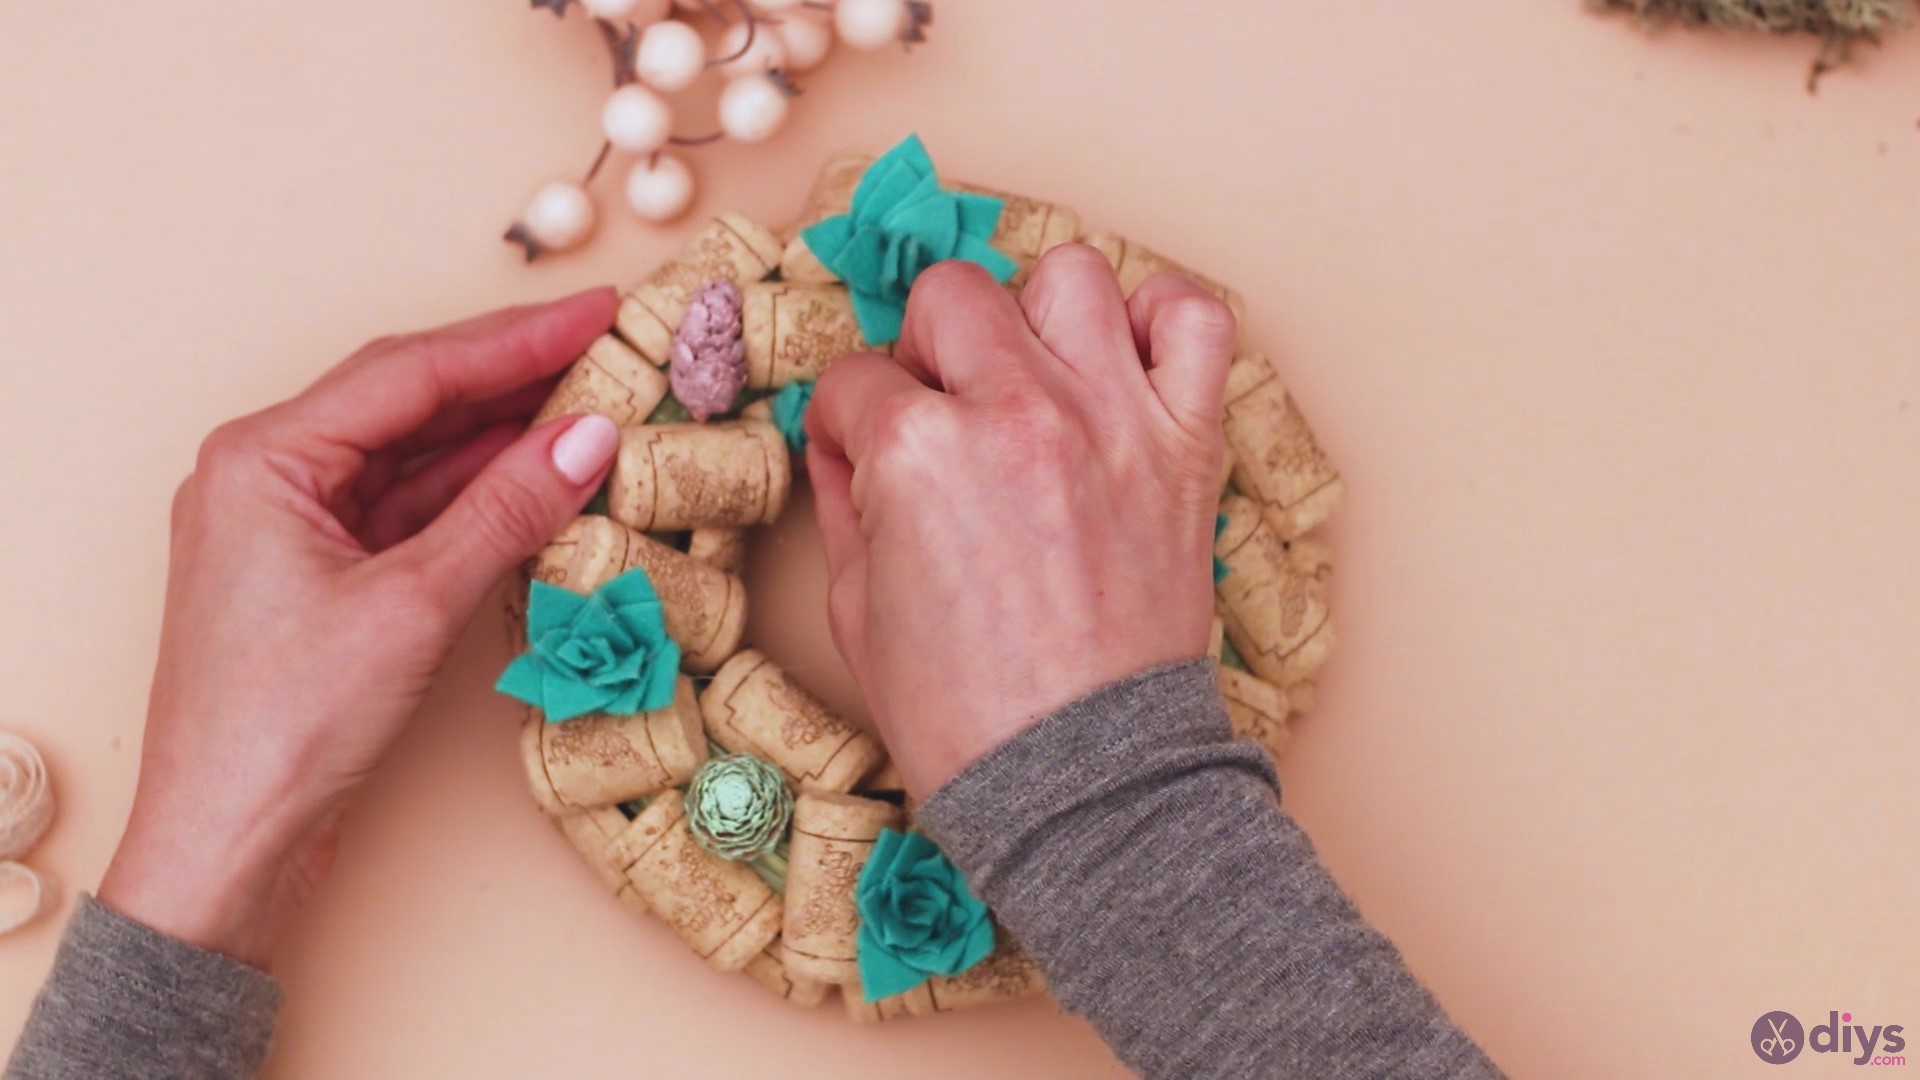
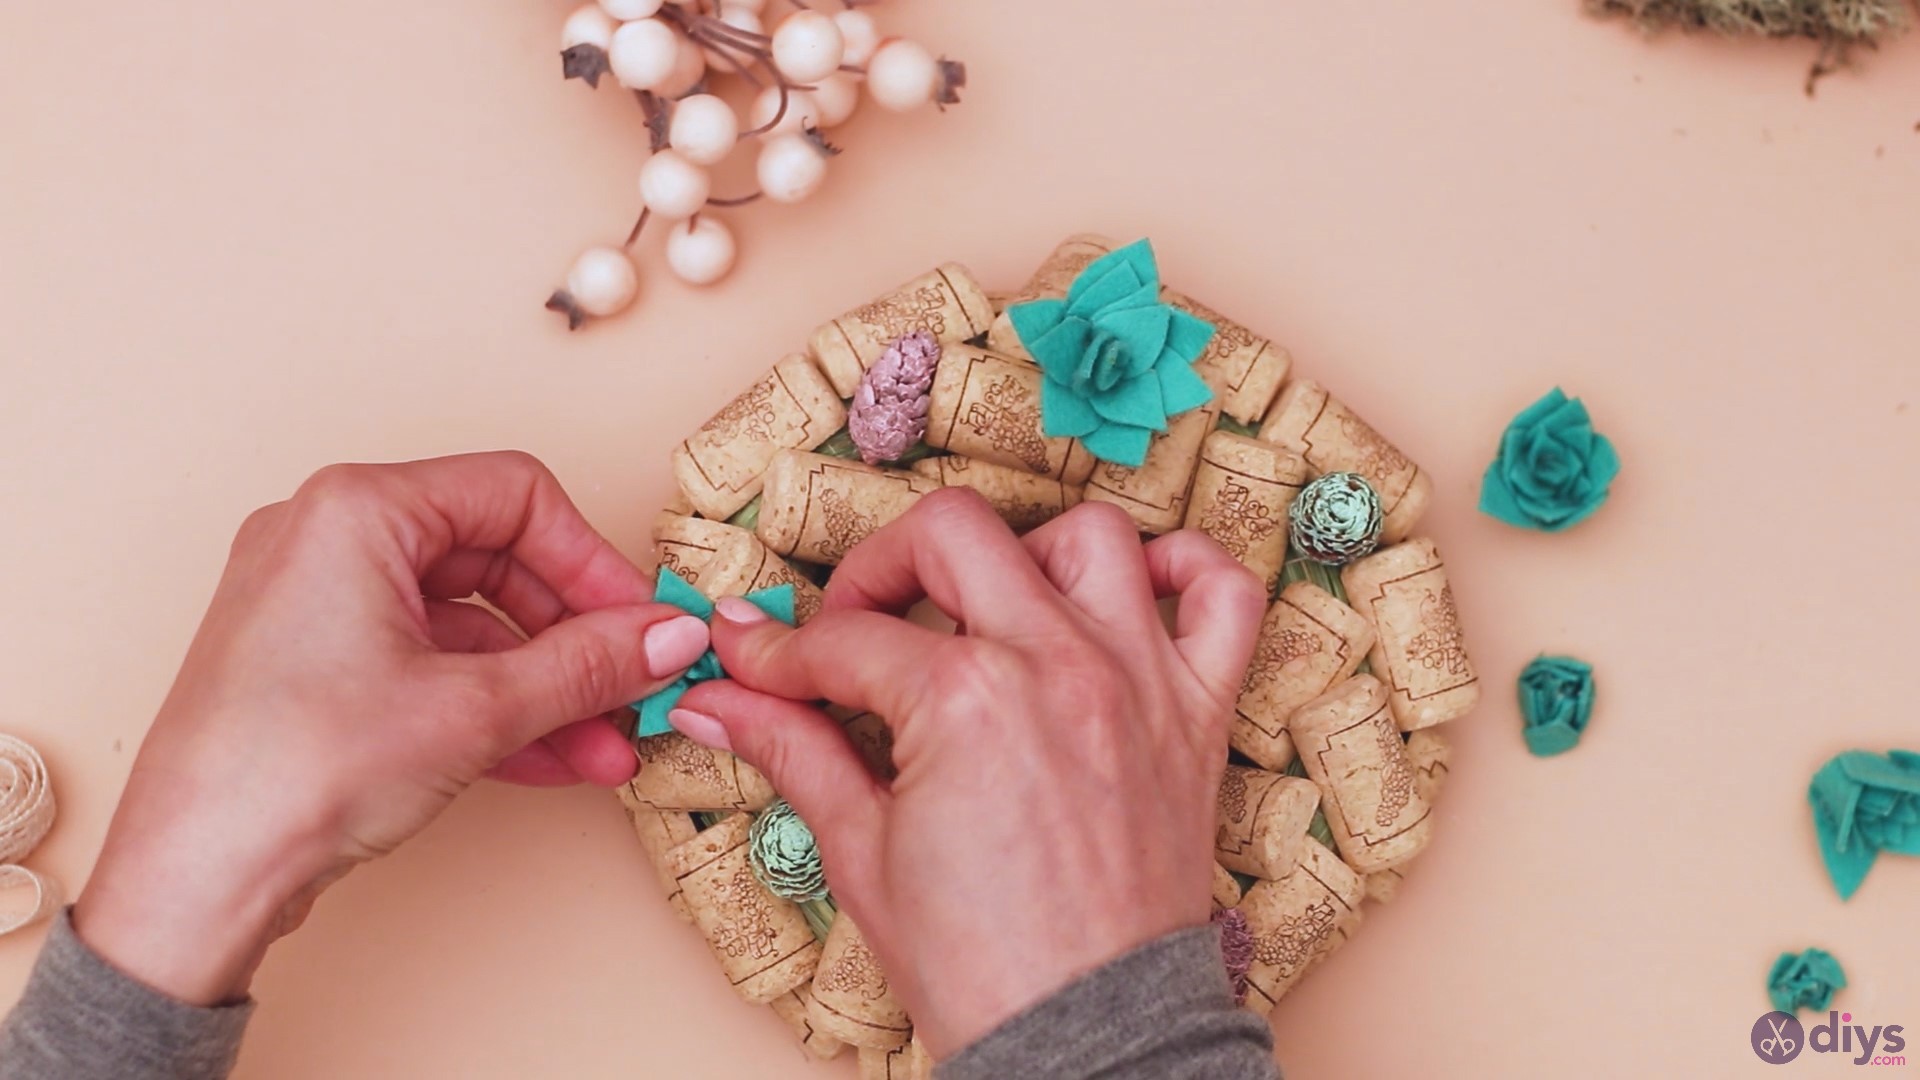
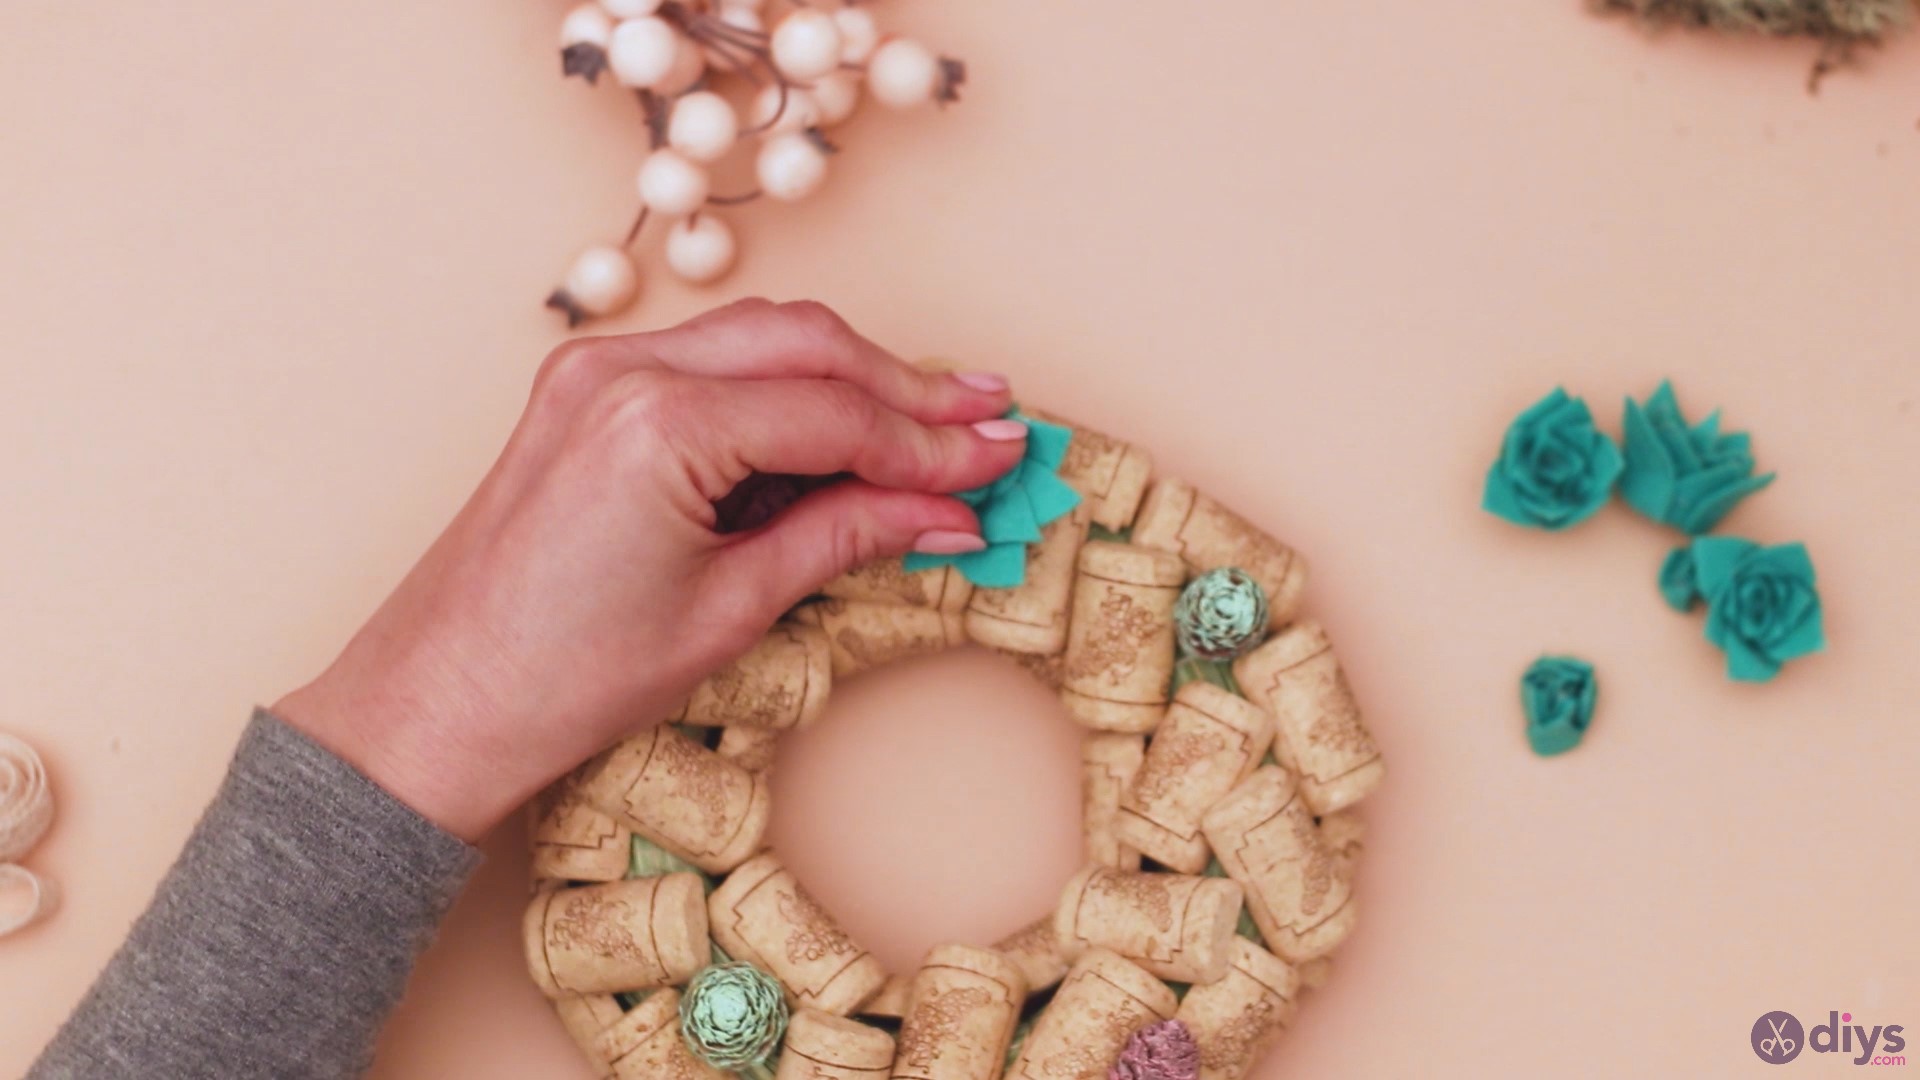
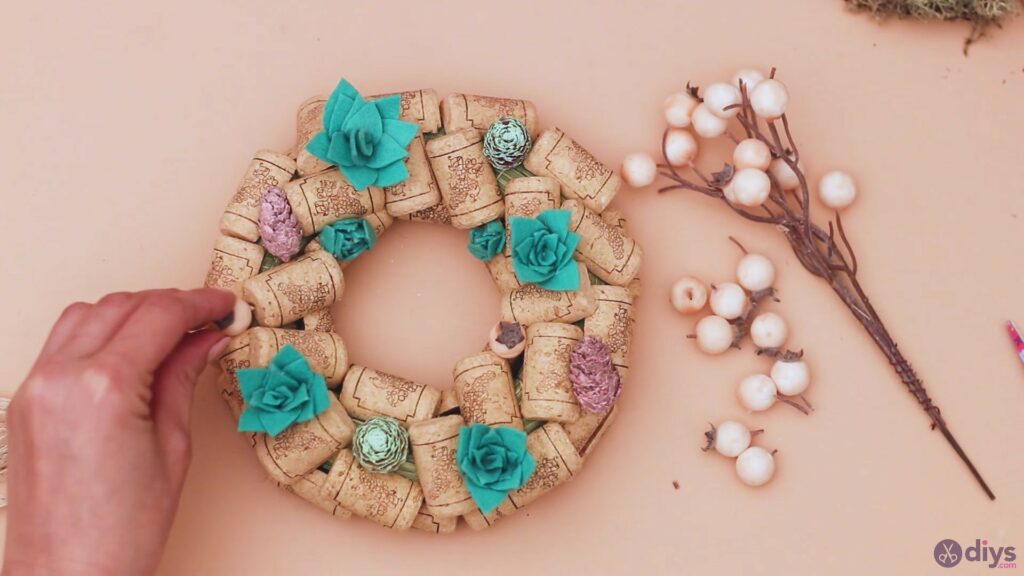
Step 6: Glue the Flowers on the Wreath
Now, we took theglue gunand added hot glue to the bottom of the flowers. Then, we placed each of them in a spot on the wreath. While they are truly beautiful and decorative, we also used them to hide out the spots that were not covered by the wine corks too.


When placing the flowers on the wreath, press them into the corks and wait a few seconds until the glue sets.


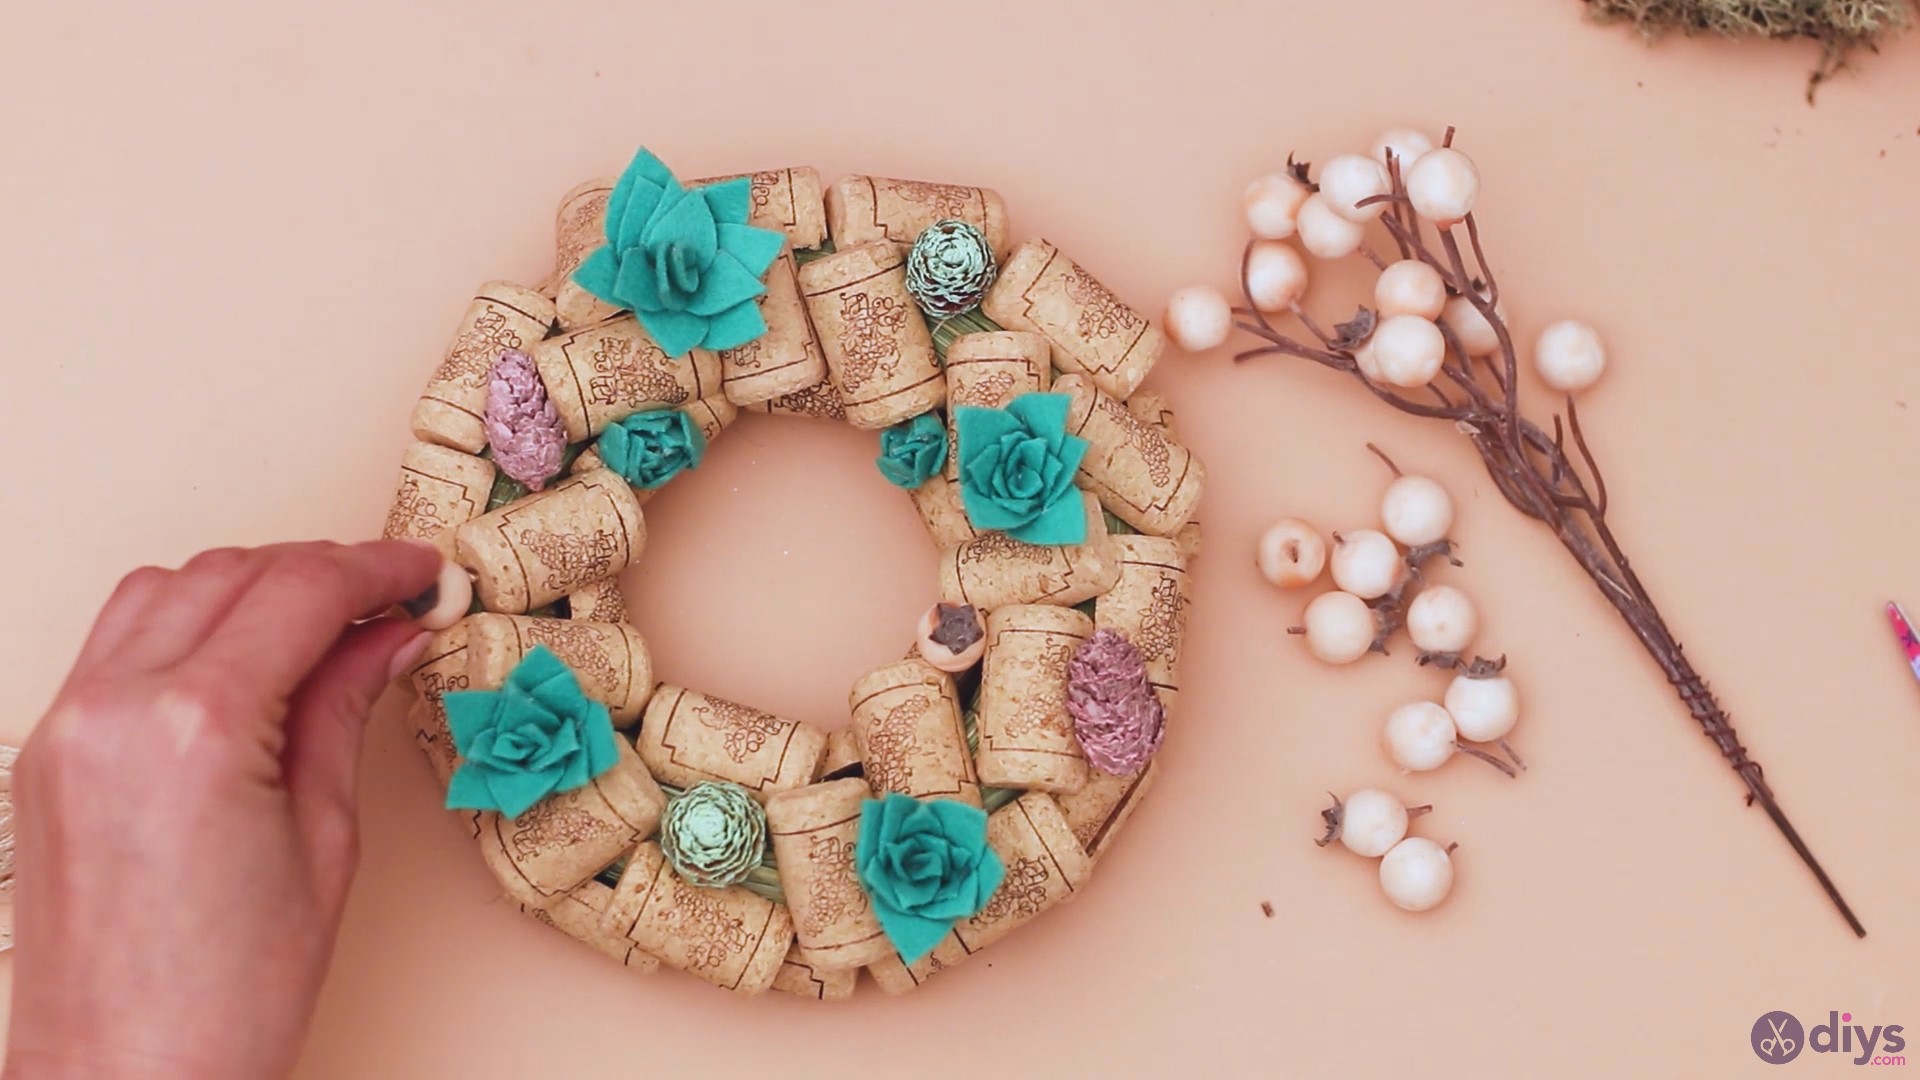
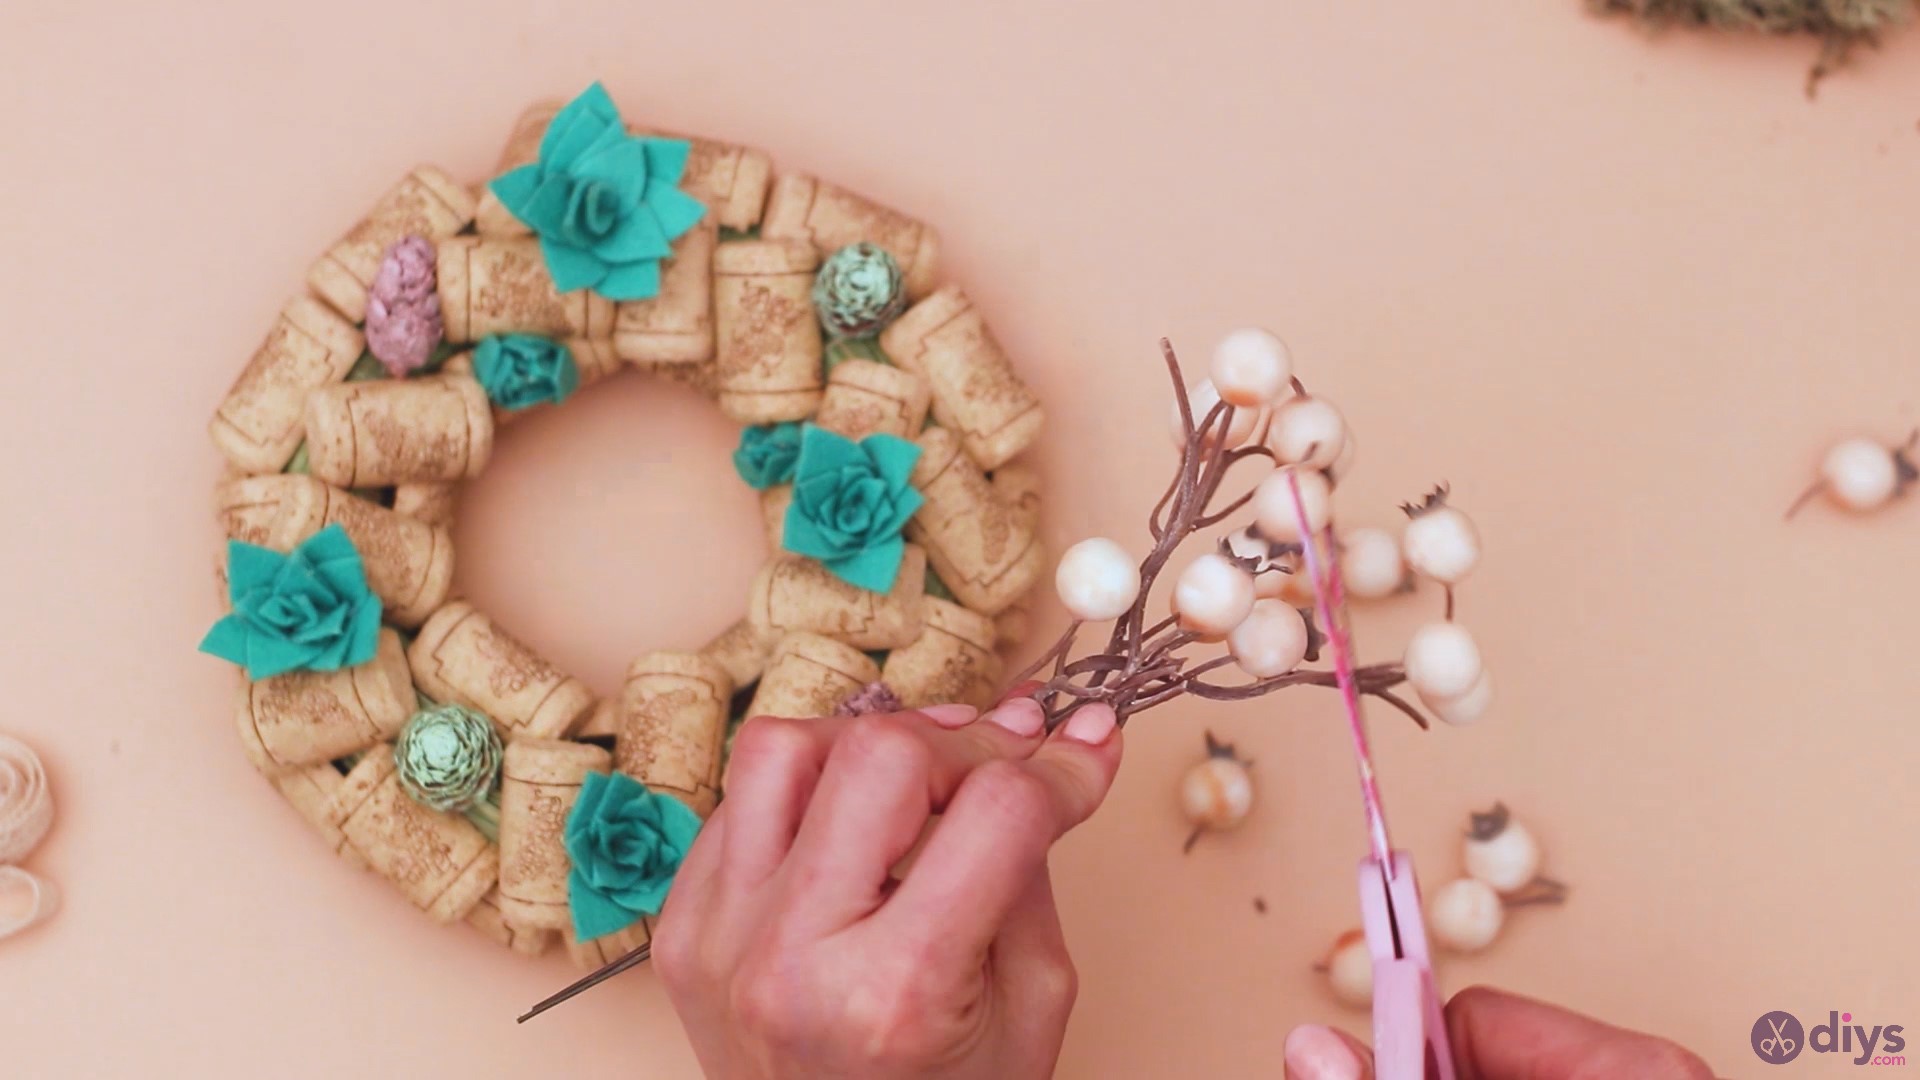
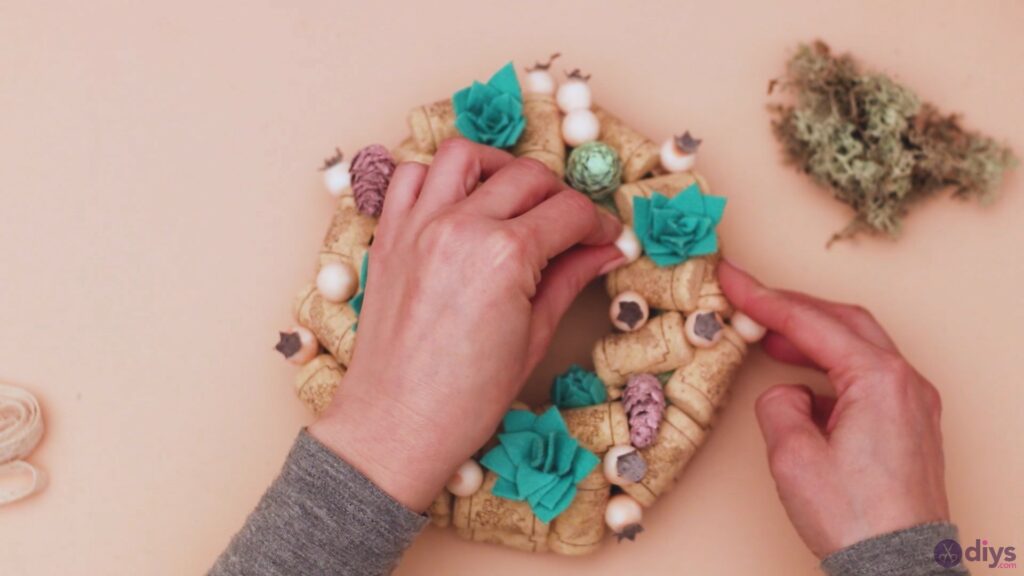
Step 7: Add the Berries
Next, we’ll be adding artificial berries to the design too. Our berries have stems and are part of a small bouquet, so we used the scissors to cut off some of the pieces.
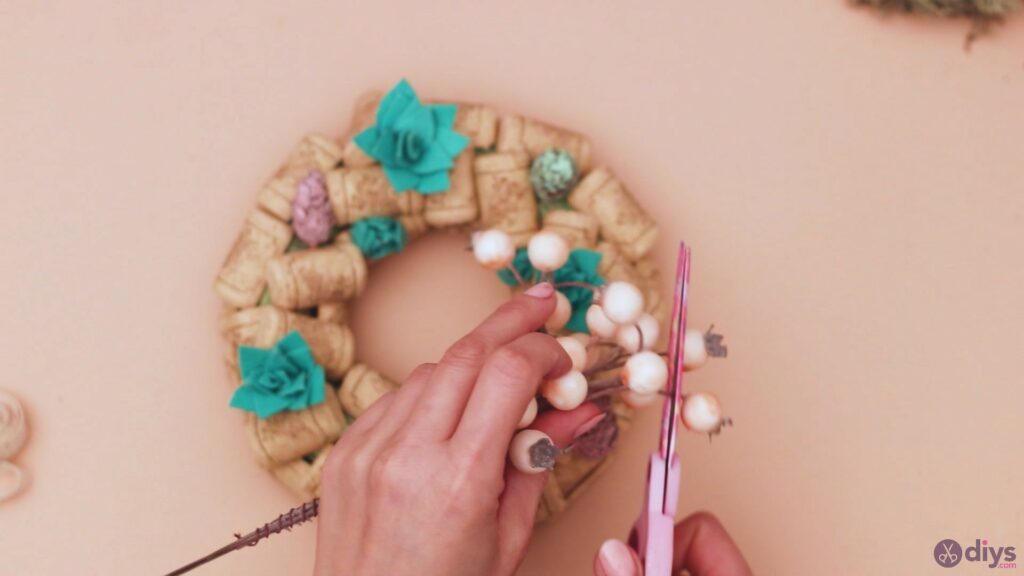
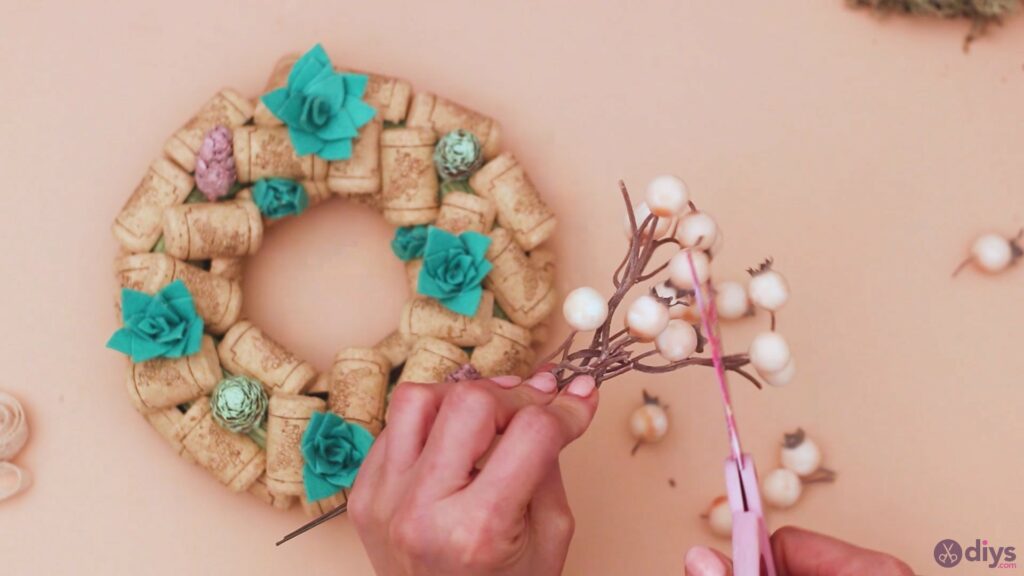
Once you’ve cut out enough berries for your design, you want to take the glue gun and add some hot glue to the bottom of one of these pieces.
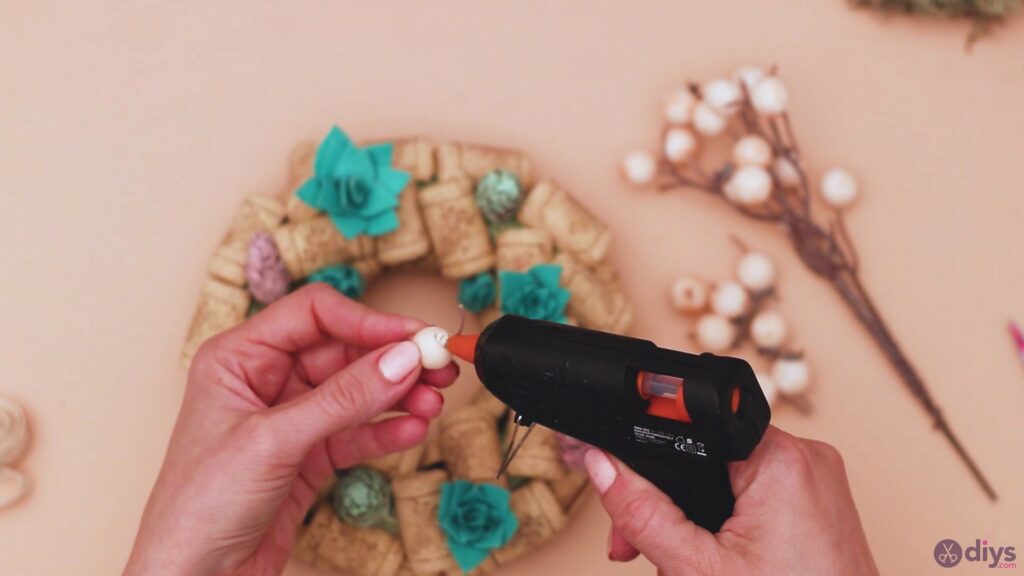
Pick random spots along the wreath and place the berries. Make sure you keep them pressed for a few seconds to make sure the glue is ready.

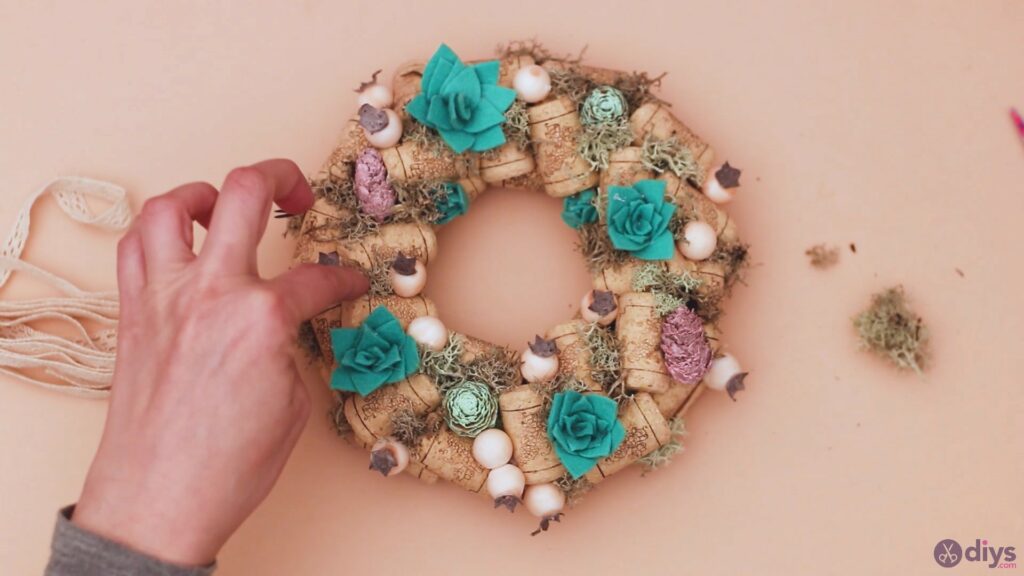
Add all berries until you have them covering almost all the empty spots, creating a beautiful design.
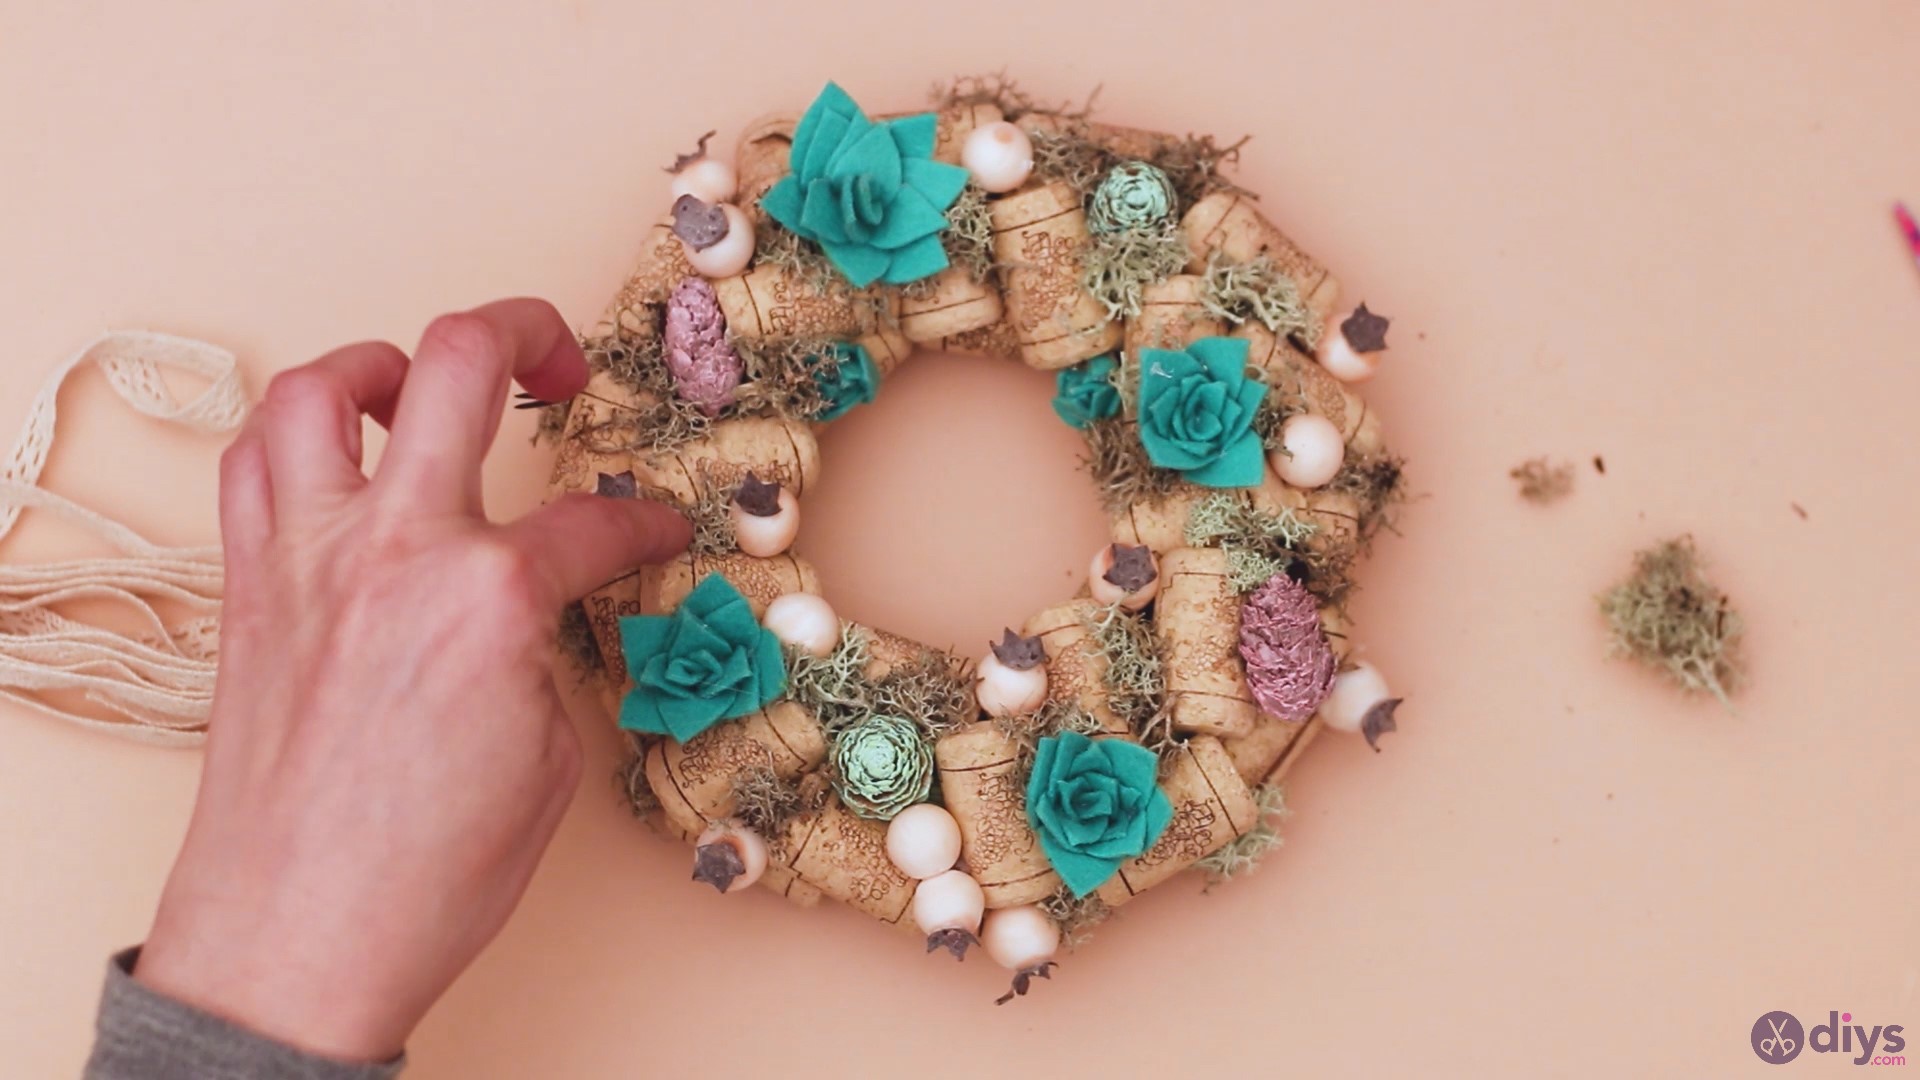
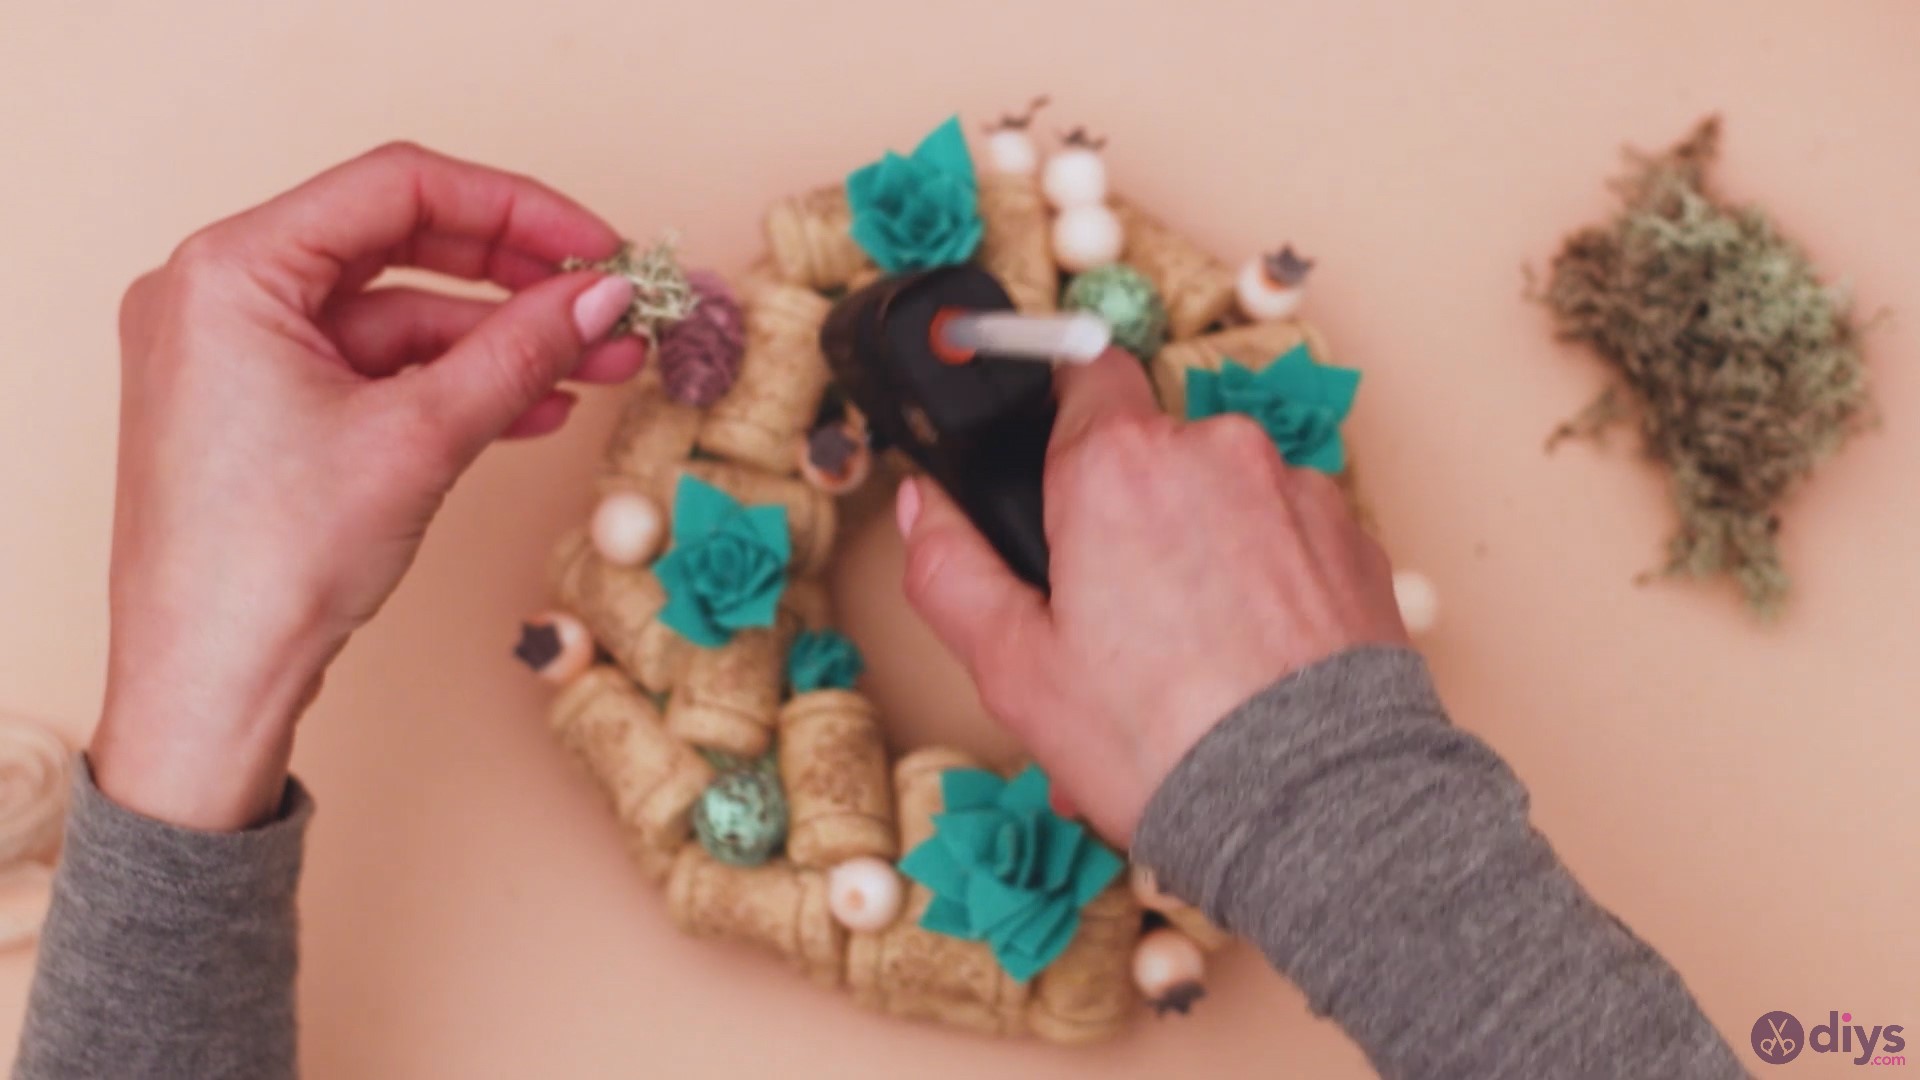
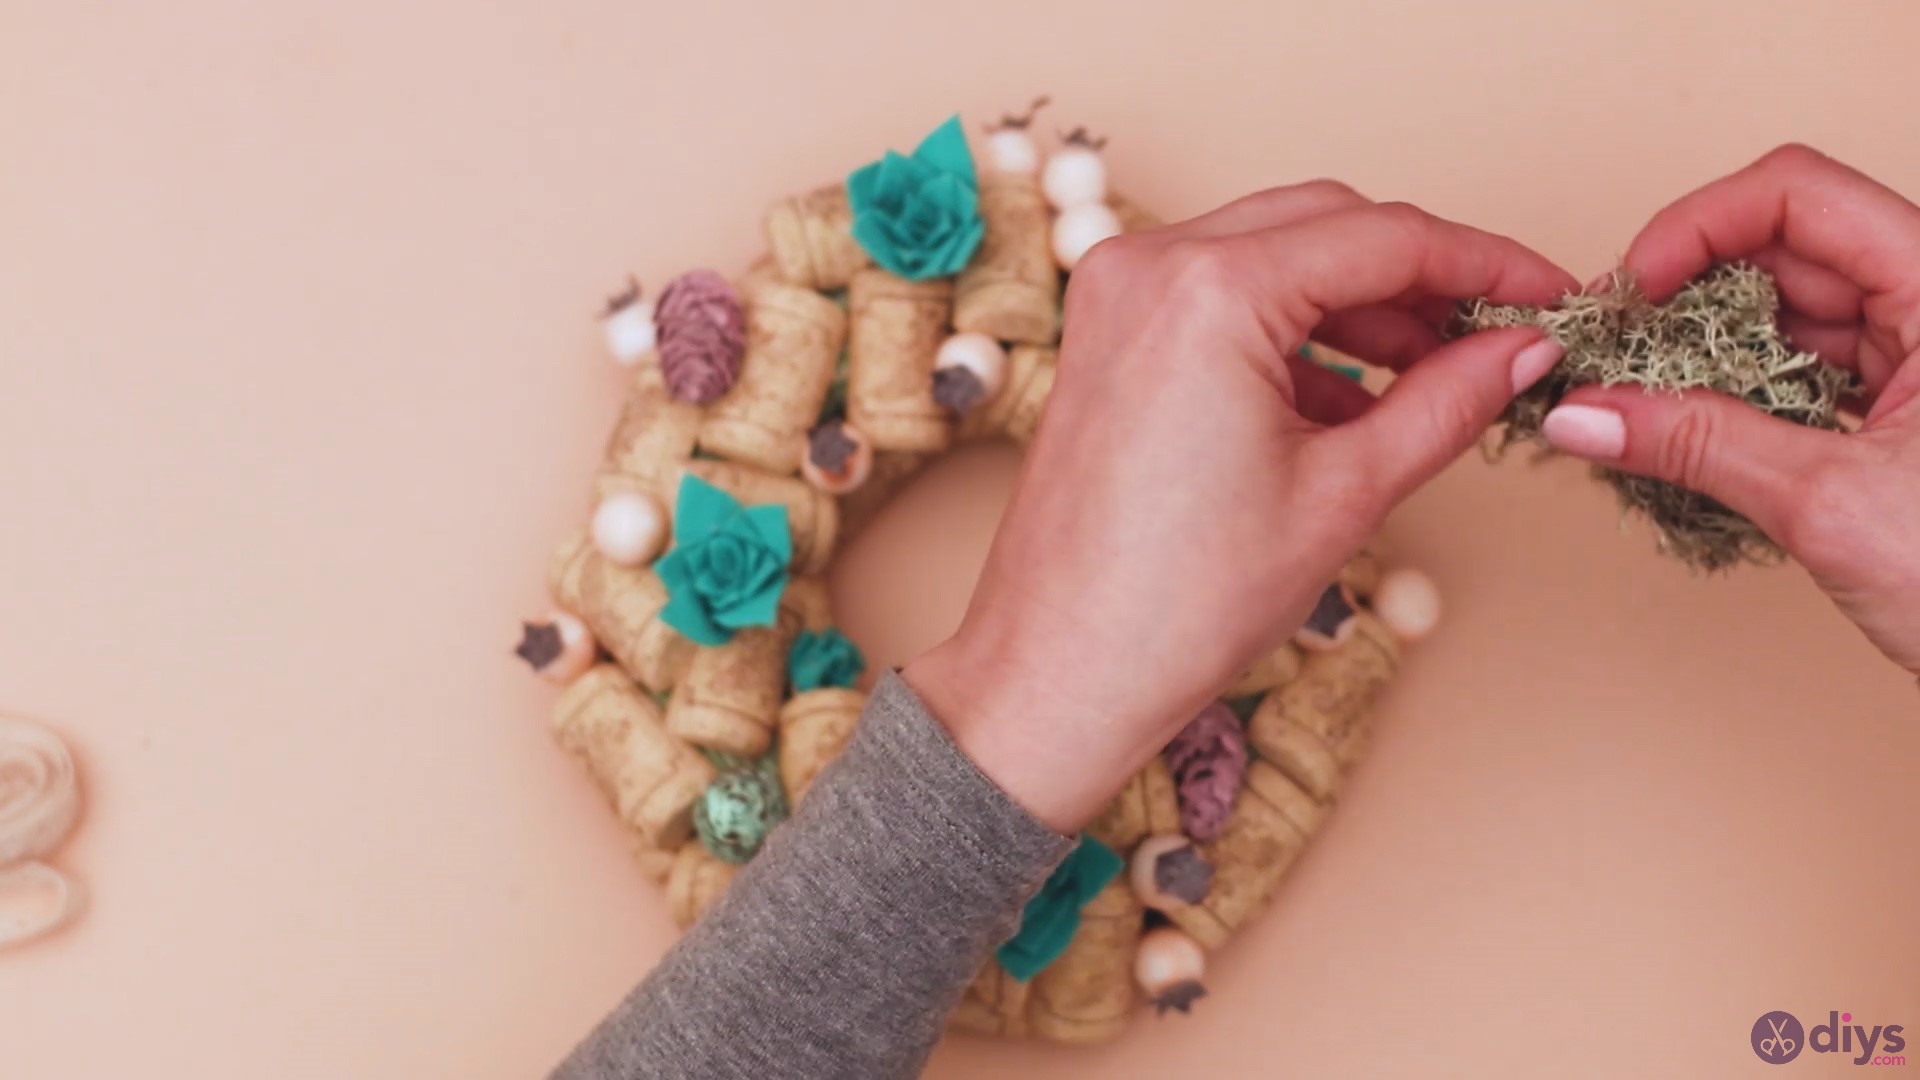
Step 8: Add Some Moss
We didn’t forget that our material list also includedmoss.So, you’re going to have to break off tufts of moss, add some hot glue to a spot you want to cover with them and then place the moss over that spot. For the most part, we used the moss to cover the hard-to-get places between wine corks, trying to further hide the wreath base beneath.
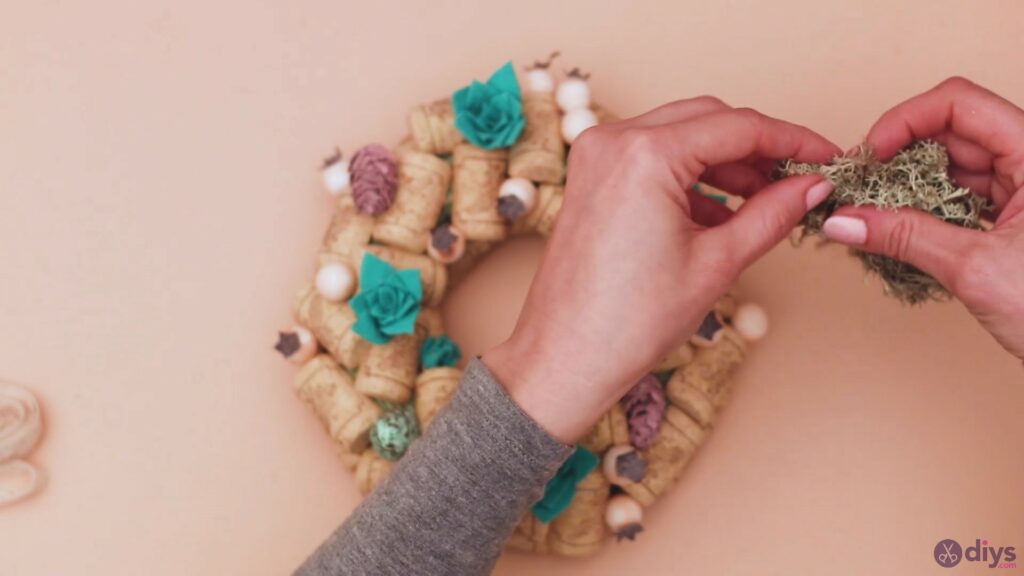

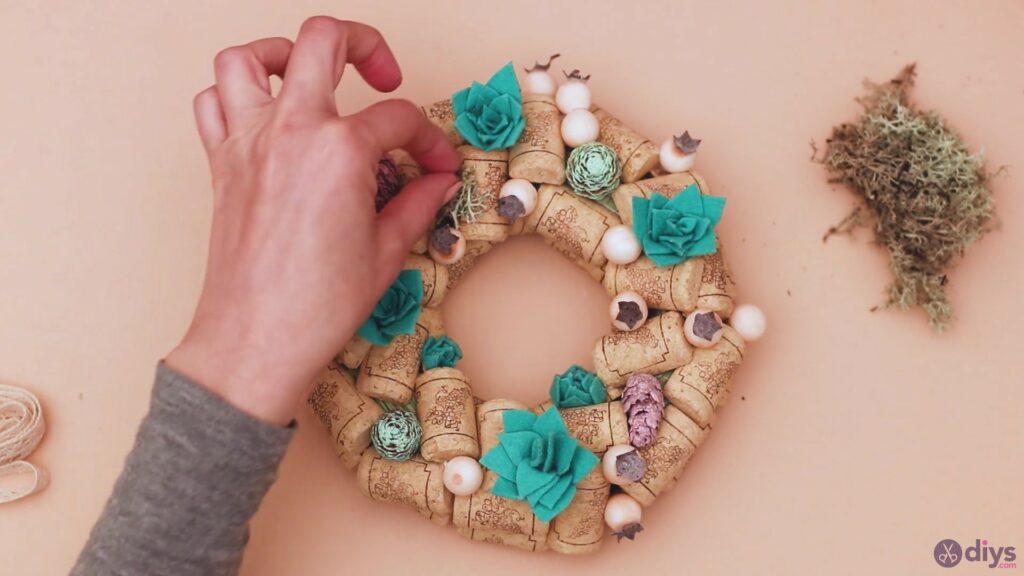
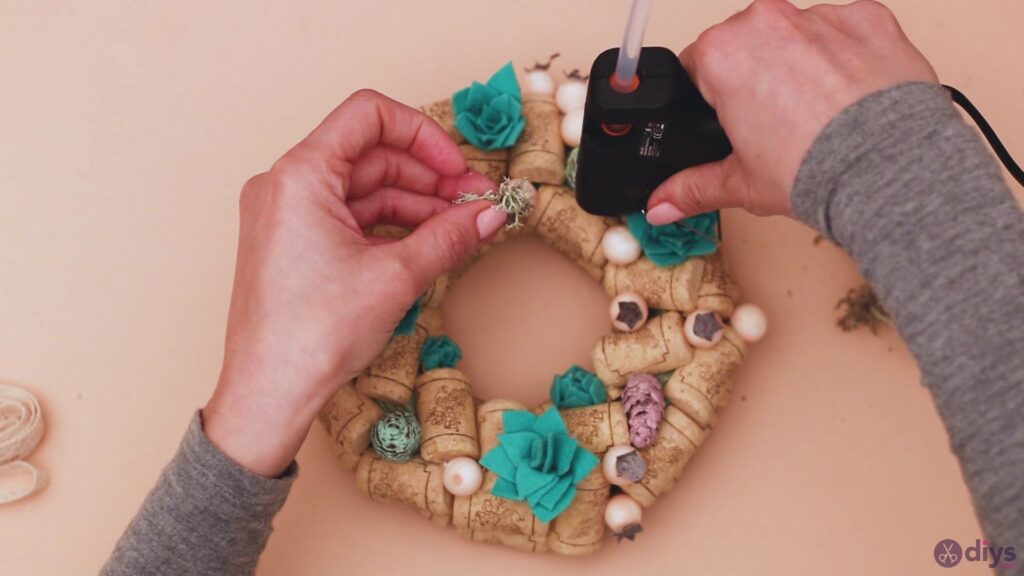
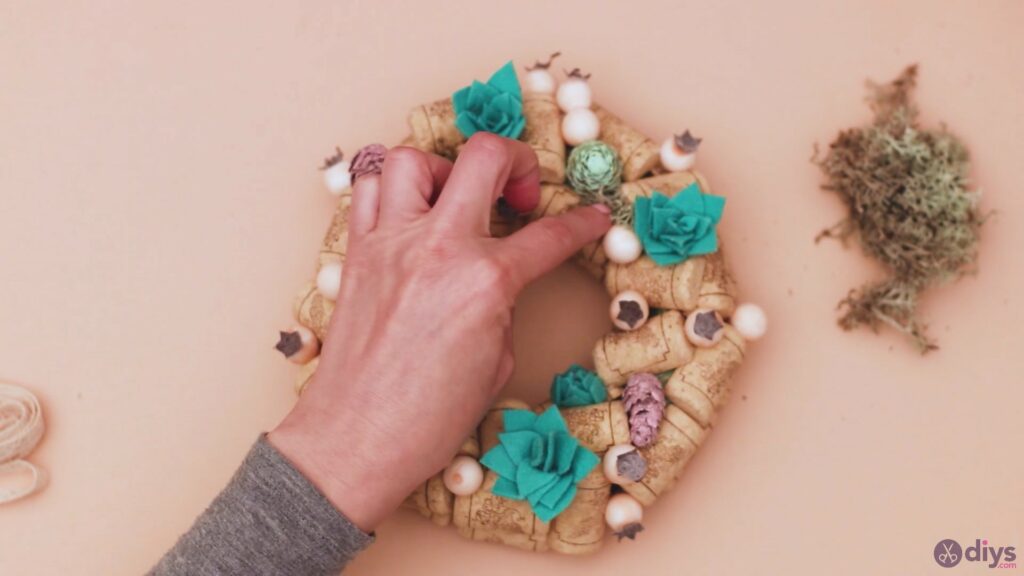
Keep adding moss in more places, even under the flower petals, around the cones and the artificial berries. If two wine cork halves are meeting, you can definitely add a little bit of moss.
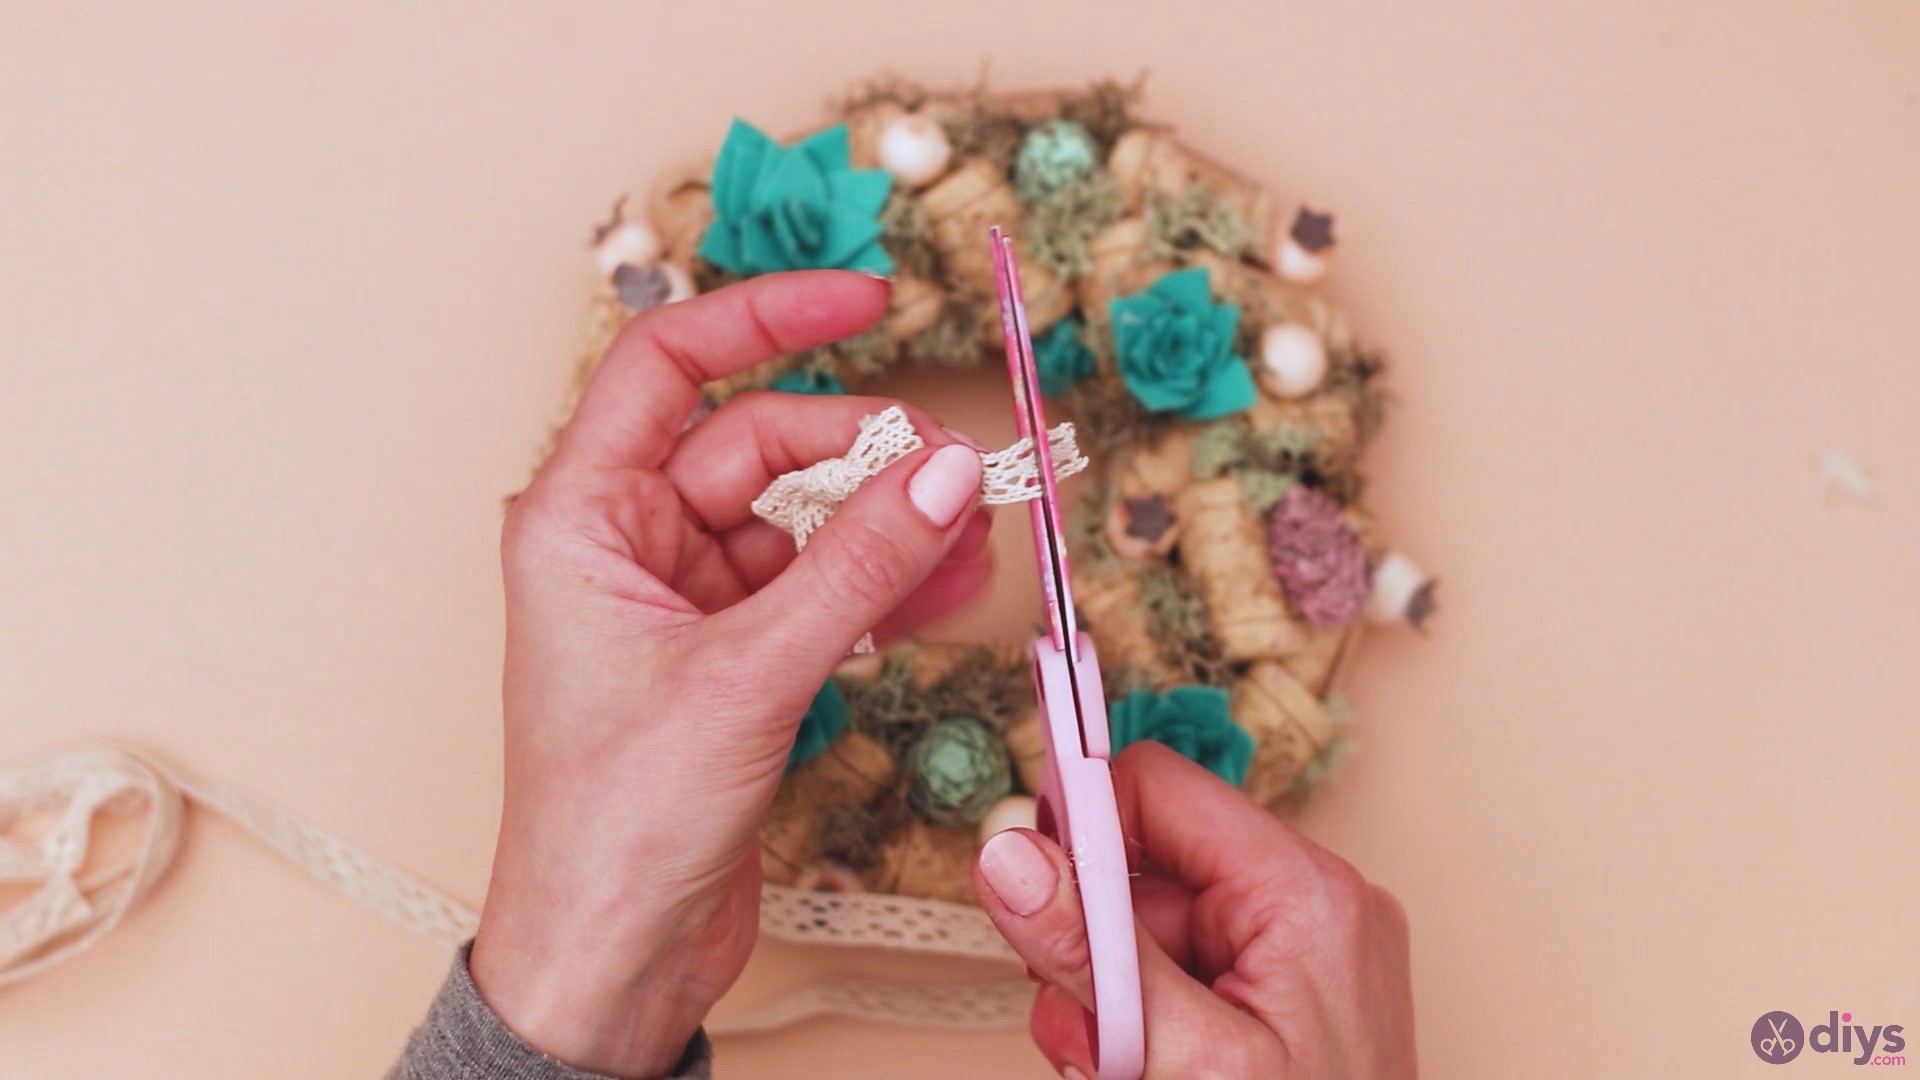
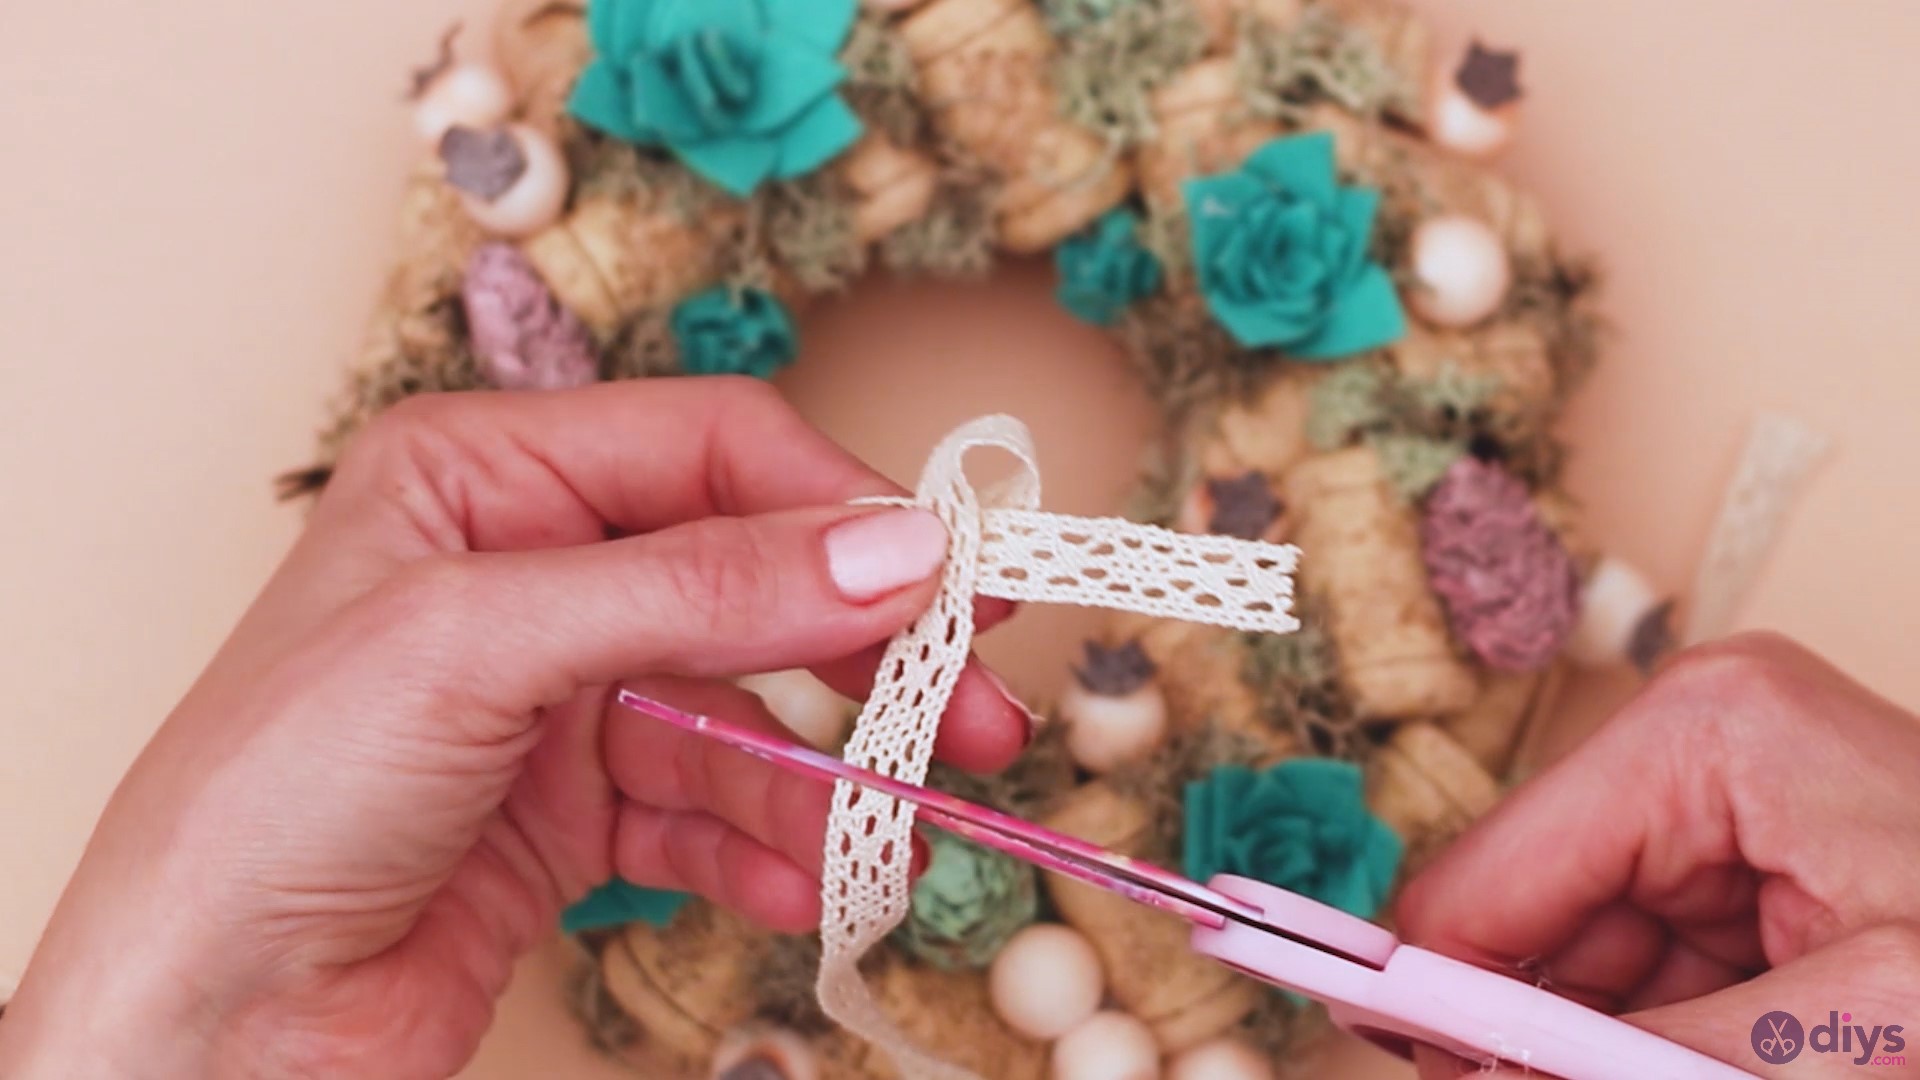
Step 9: Create a Bow
The lace ribbon we have on hand will be used to create a beautiful bow. Fold the material and give it the size you want the bow to have. Cut the ribbon and an extra piece.

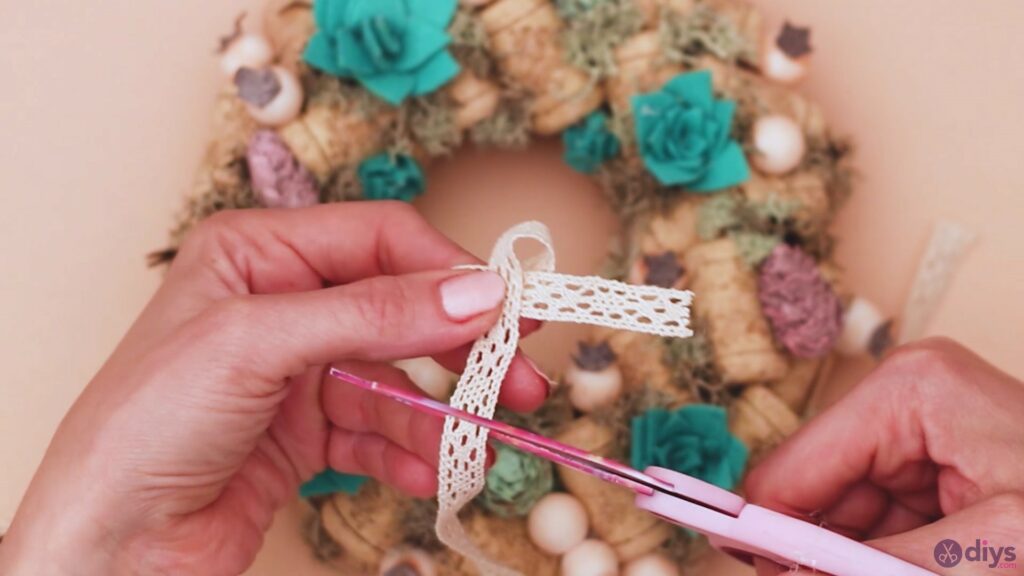
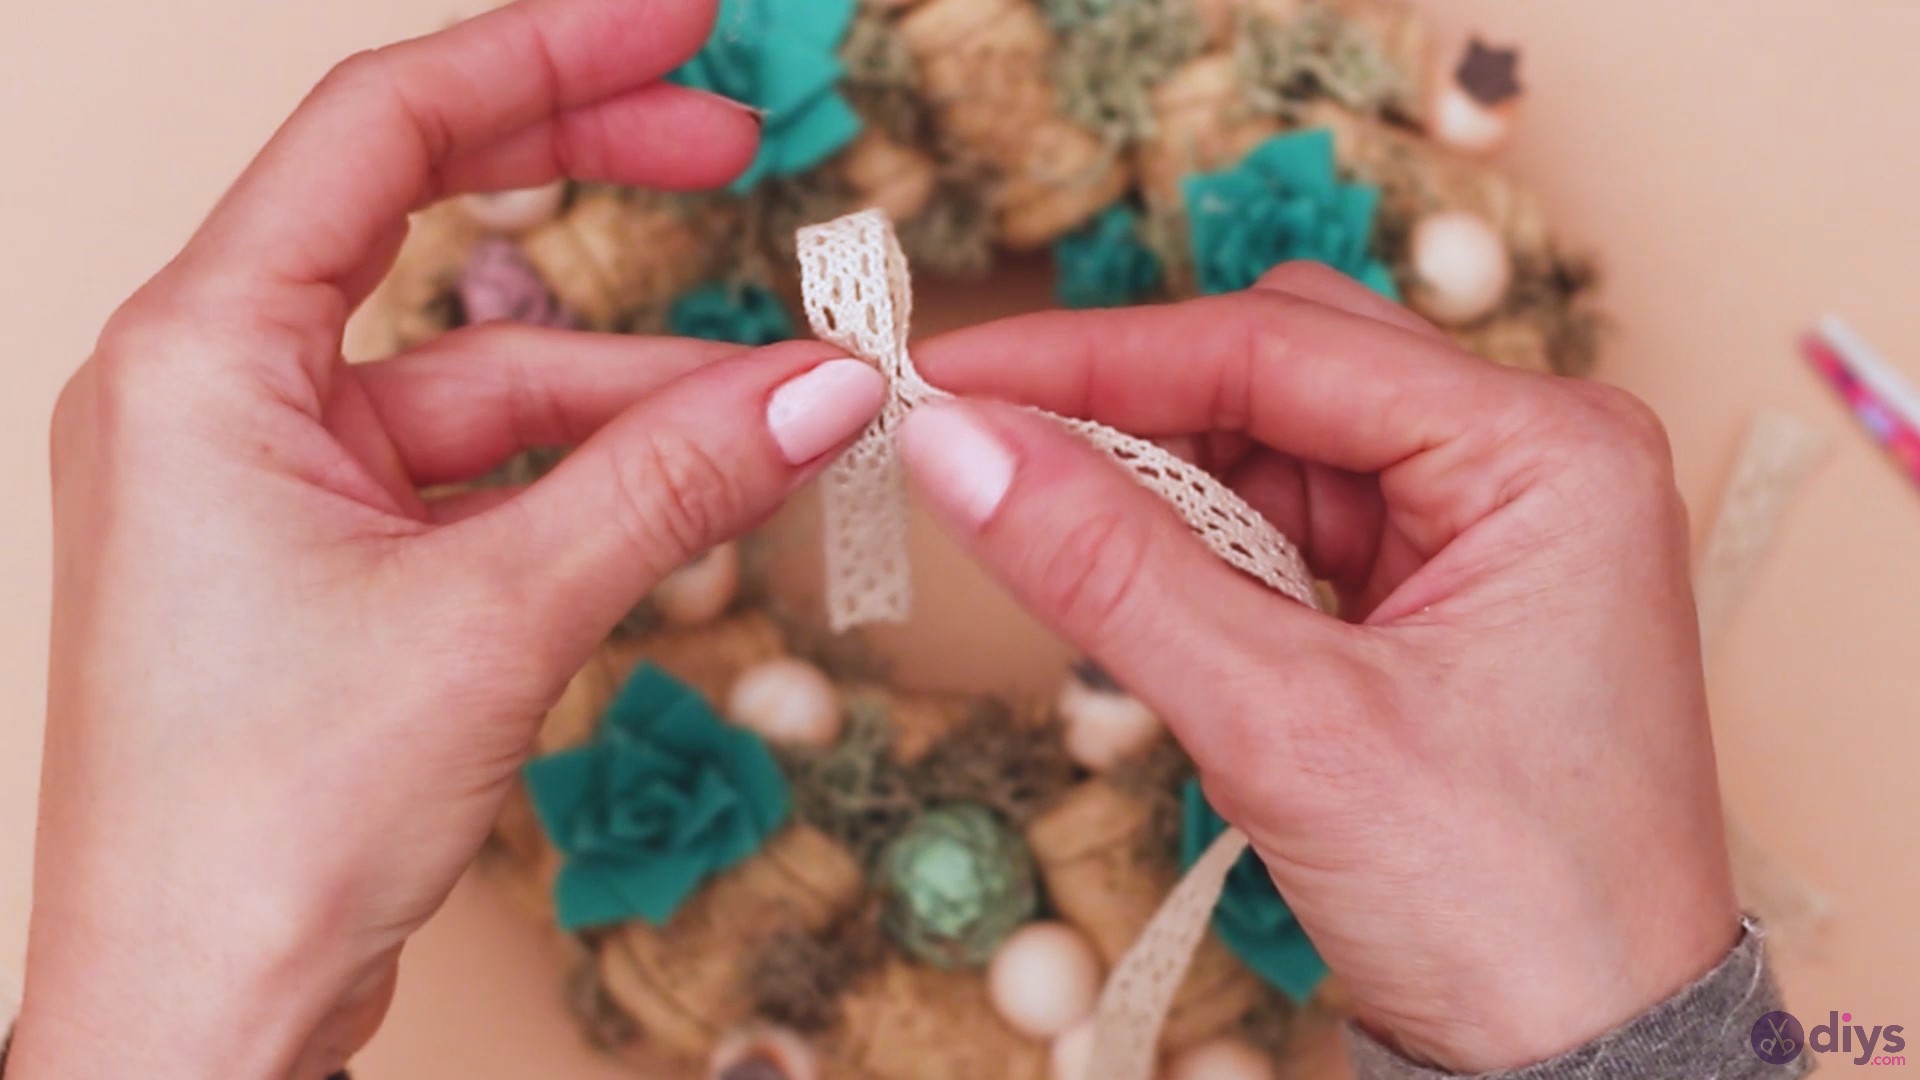
Arrange the ribbon in the shape you want the bow to have, grab the extra piece of ribbon and tie it down the middle, making a knot in the back area.
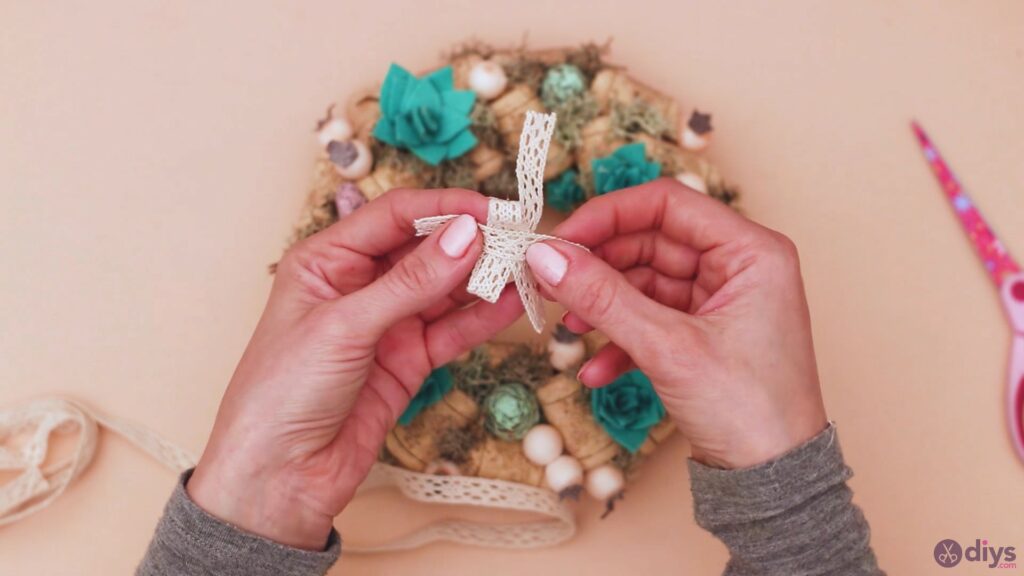
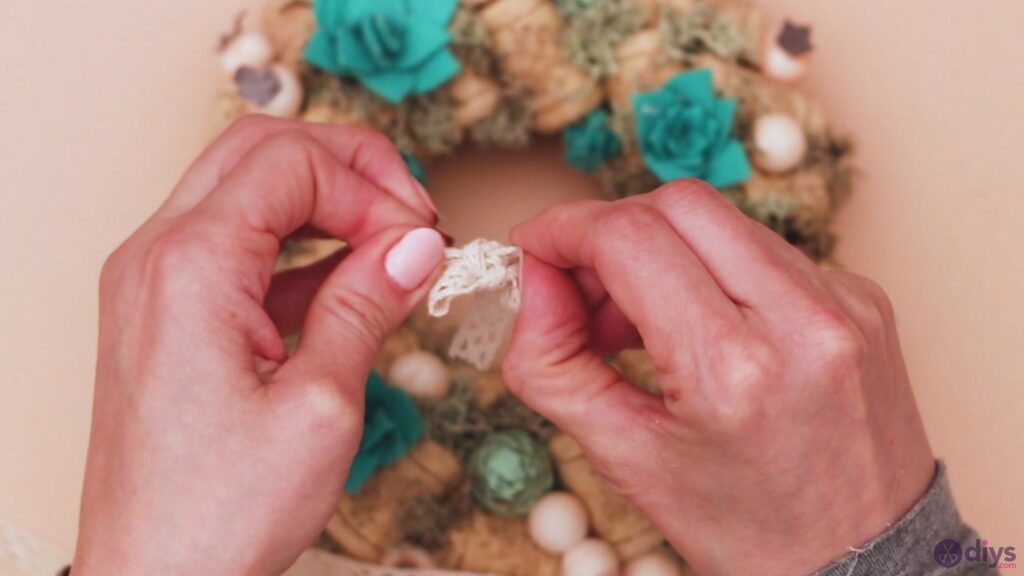
Trim the ends of the lace ribbon once more.

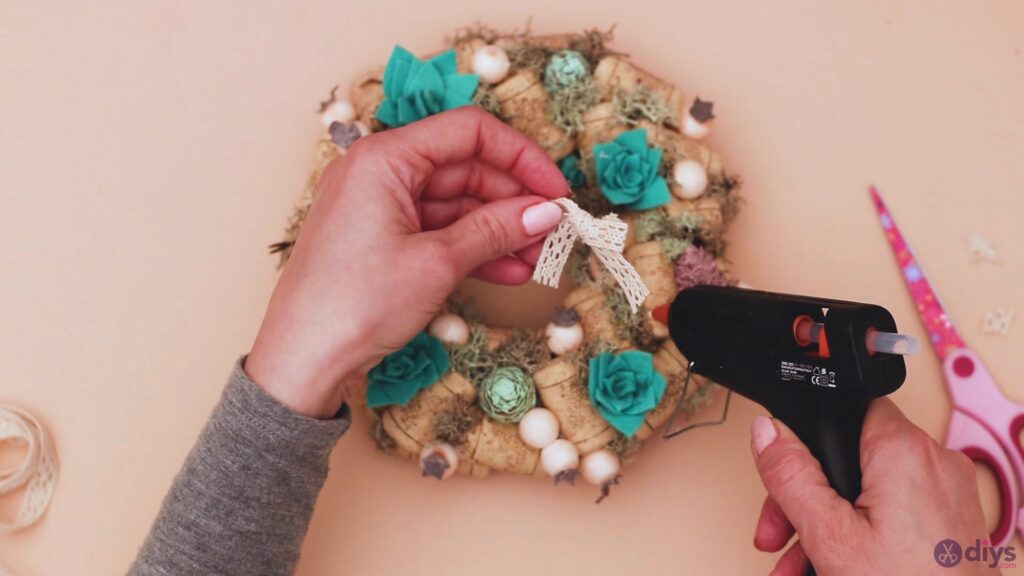
Take the glue gun and add some on top of a cork. We placed it a little to the side, but it all depends on how your design came out. Place the ribbon over the glue and hold it there for a few seconds.
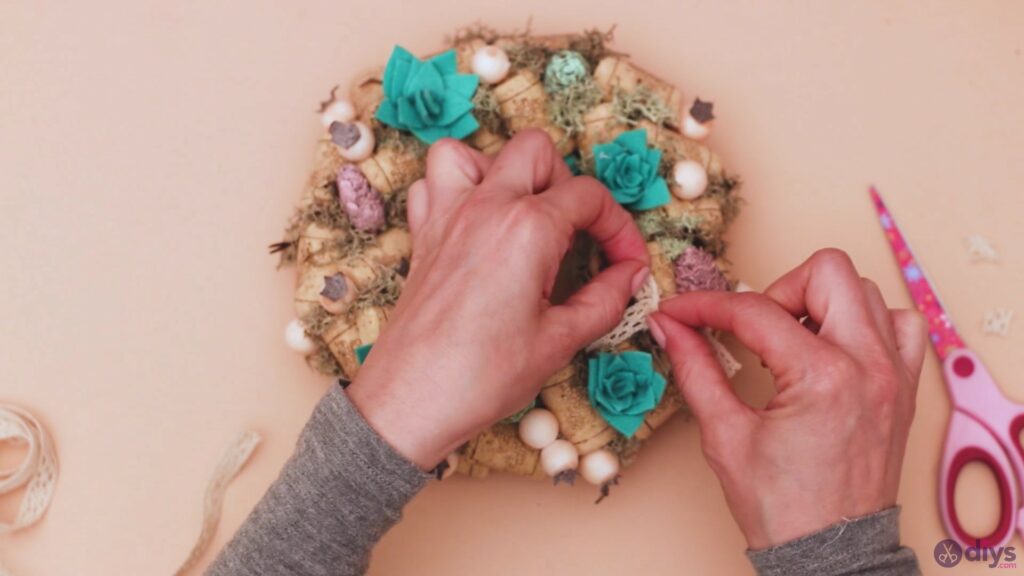
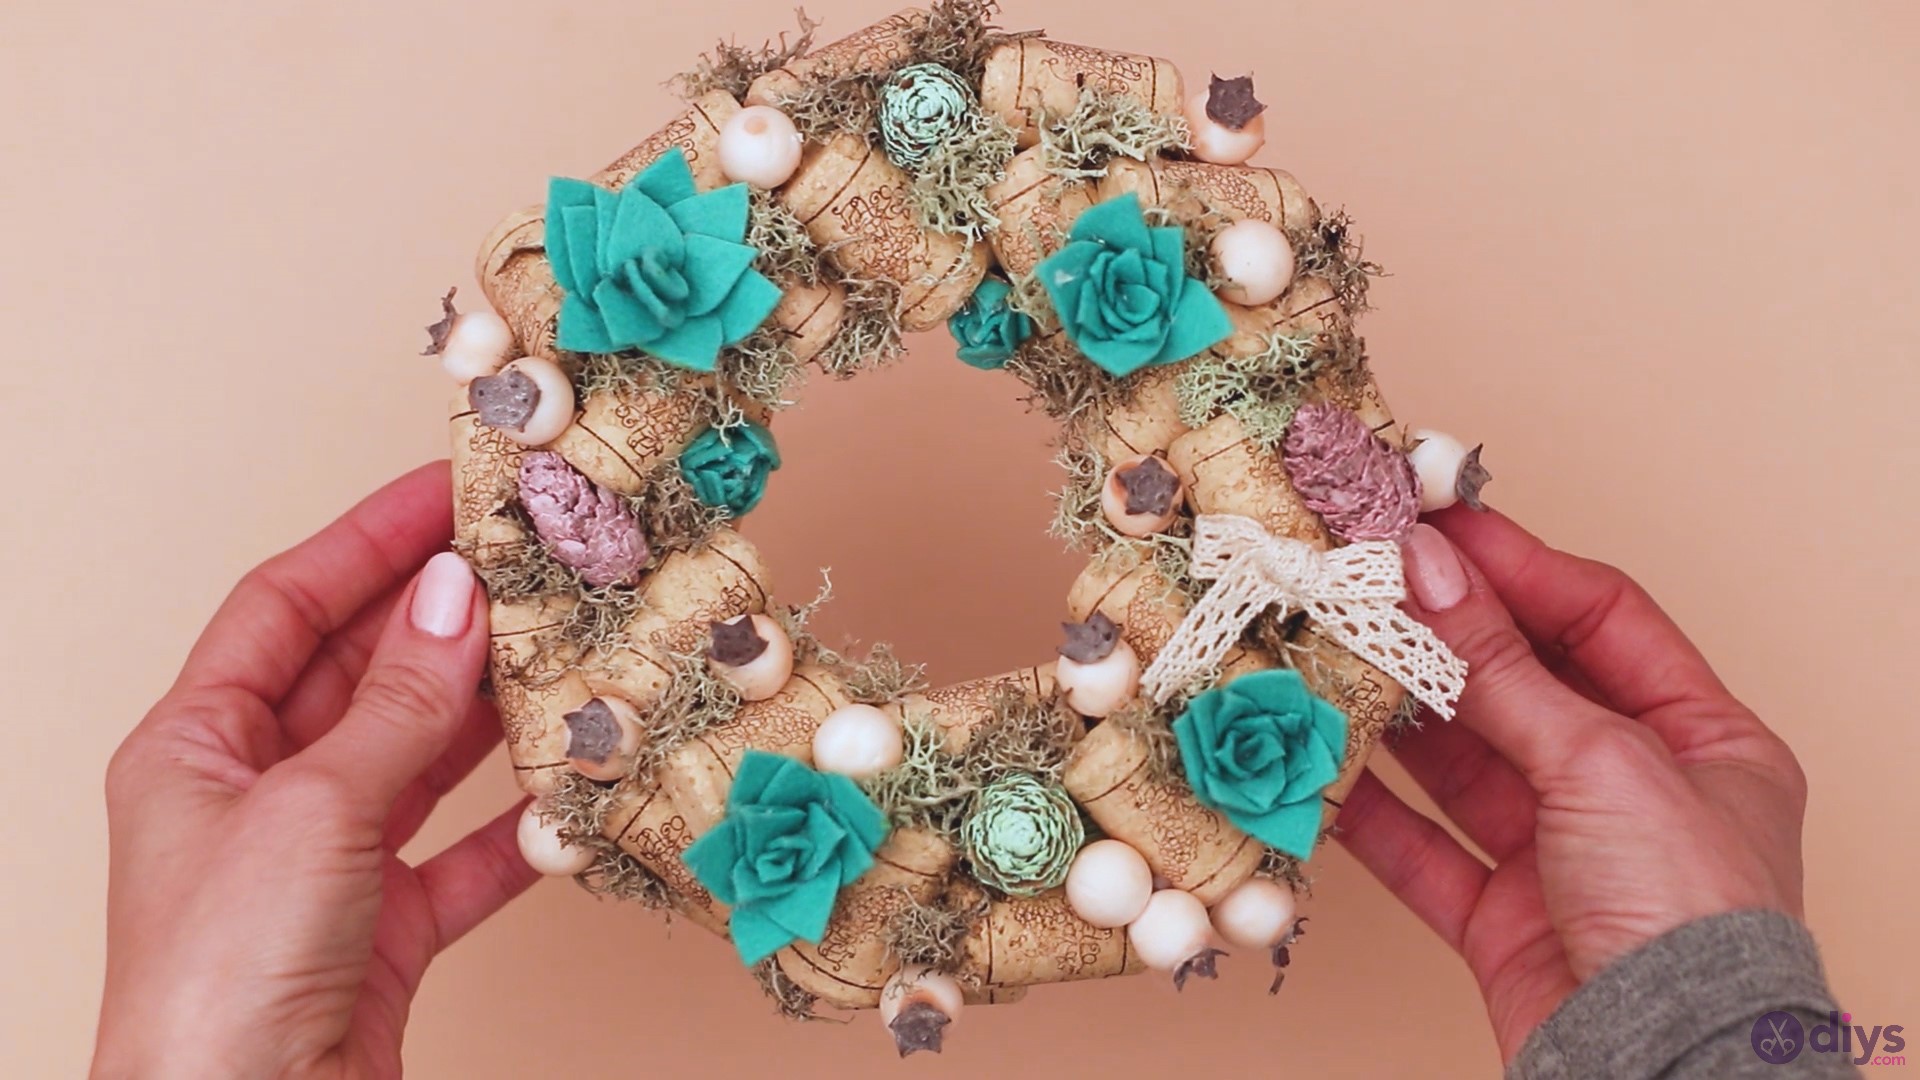
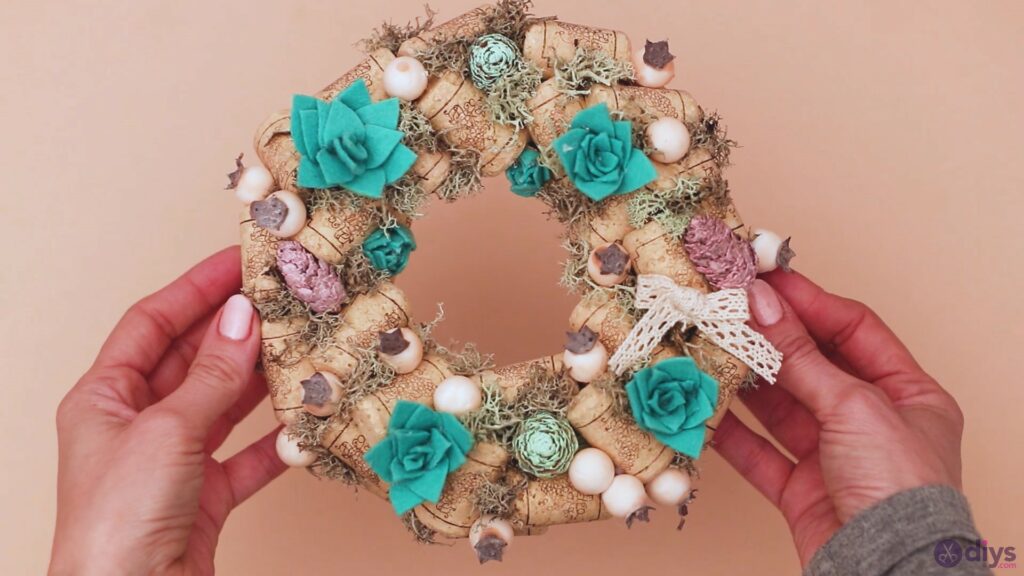
Voila! We have a beautiful wine cork wreath to put on the table or hang on the wall. It looks so nice thanks to all the natural elements and the color scheme.
We would love to see yours as well, so share your pictures with us. Of course, much like any other DIY project, you can customize it to your own needs and desires, as well as to what materials you have at home. Also, if you’d prefer a different color of felt, you can definitely choose another. The same goes for the painted cones and even the berries. We’re sure it’s going to turn out beautifully, no matter which way you choose to go.