DIY Wine Cork Necklace – How to Make a Beautiful Necklace
Updated on November 19, 2025


Just recently, we shared with you a tutorial on how to make yourself a really cool set of wine cork earrings. Now, we’re going to dive in and see how we can create a necklace to go with those earrings so you have a beautiful set.

You’re going to need to have a few plain wine corks, some jewelry-making accessories, and some free time on your hands.
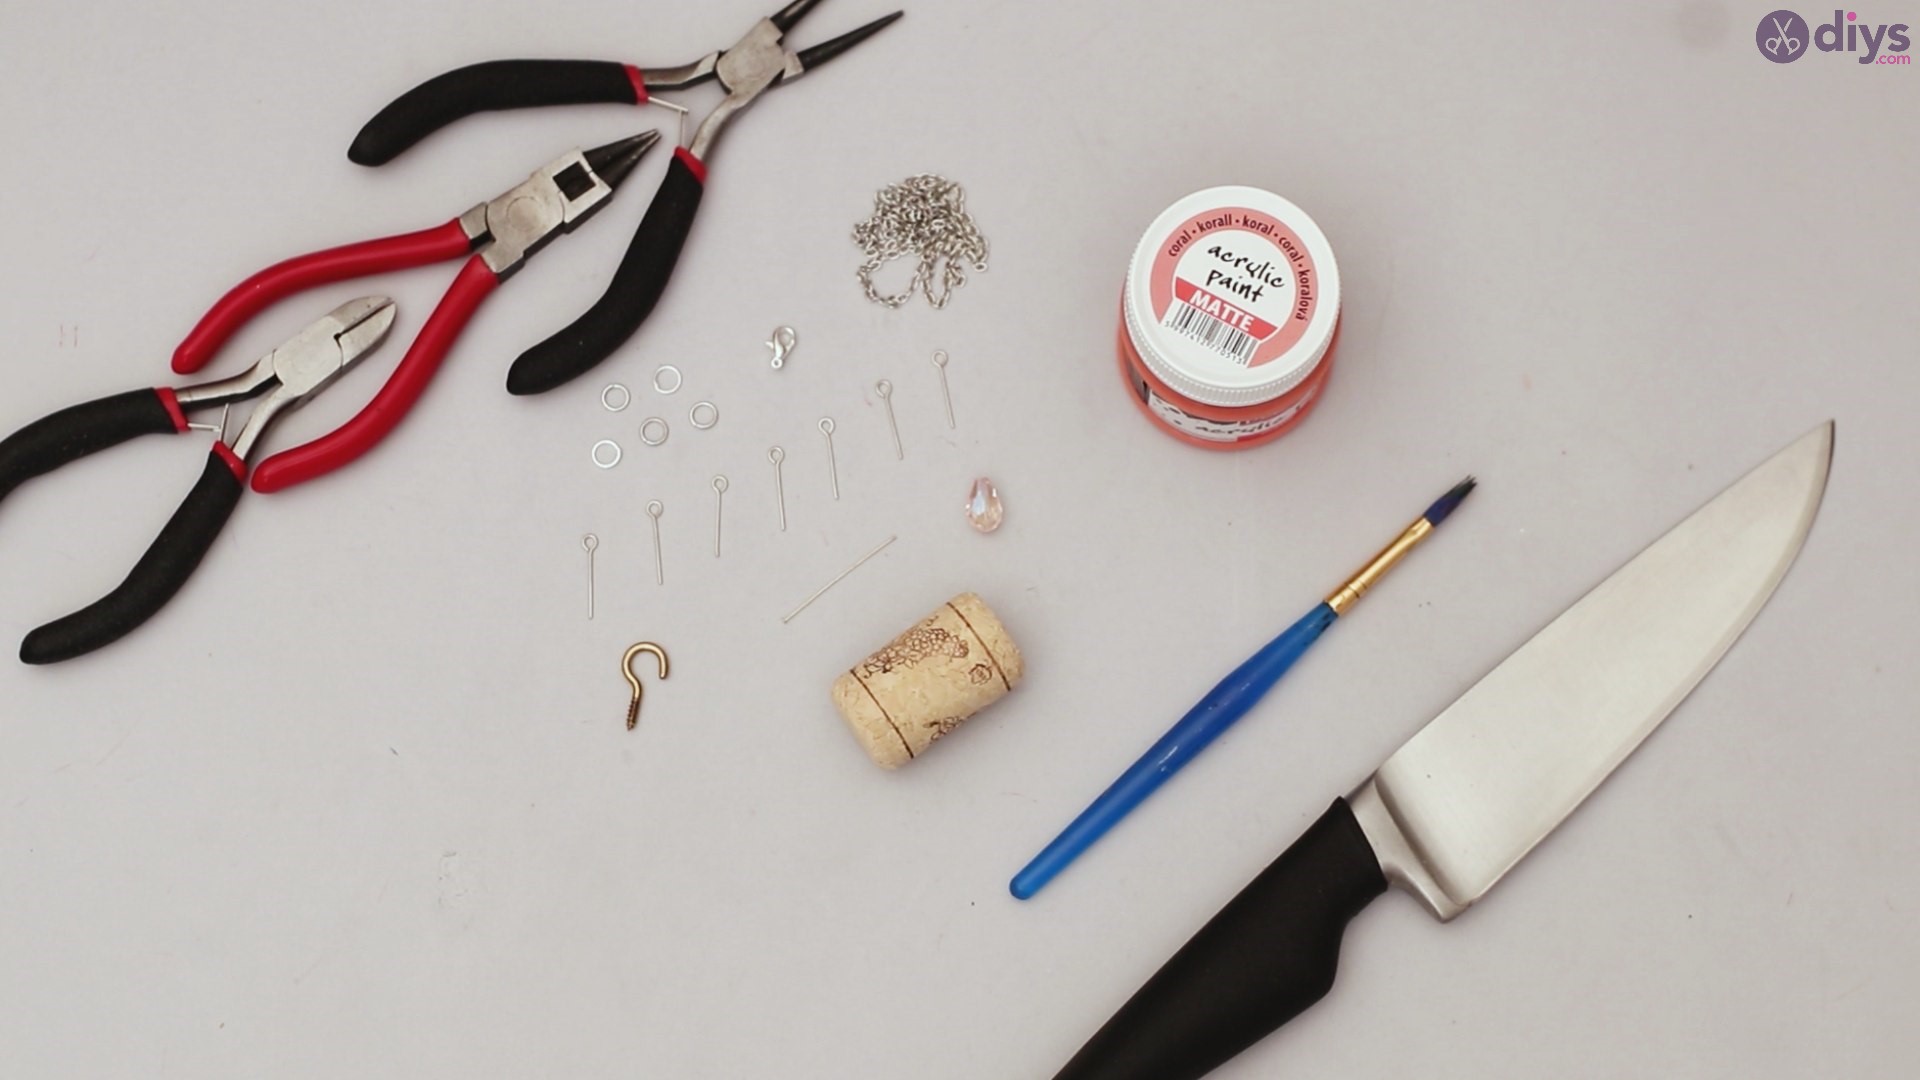
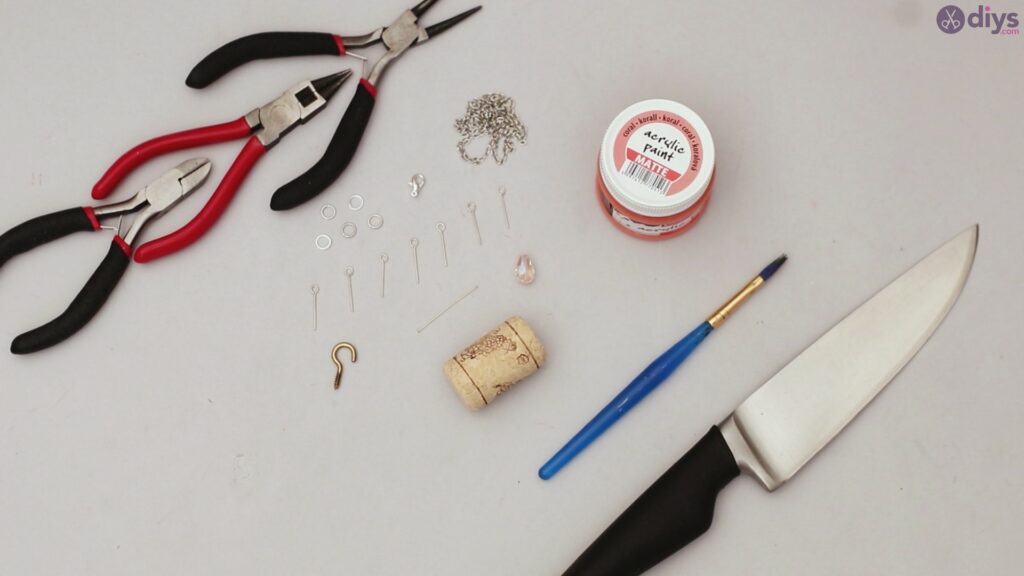
Materials for a wine cork necklace
- wine corks
- open jump rings
- tear-shaped pearl
- head pins
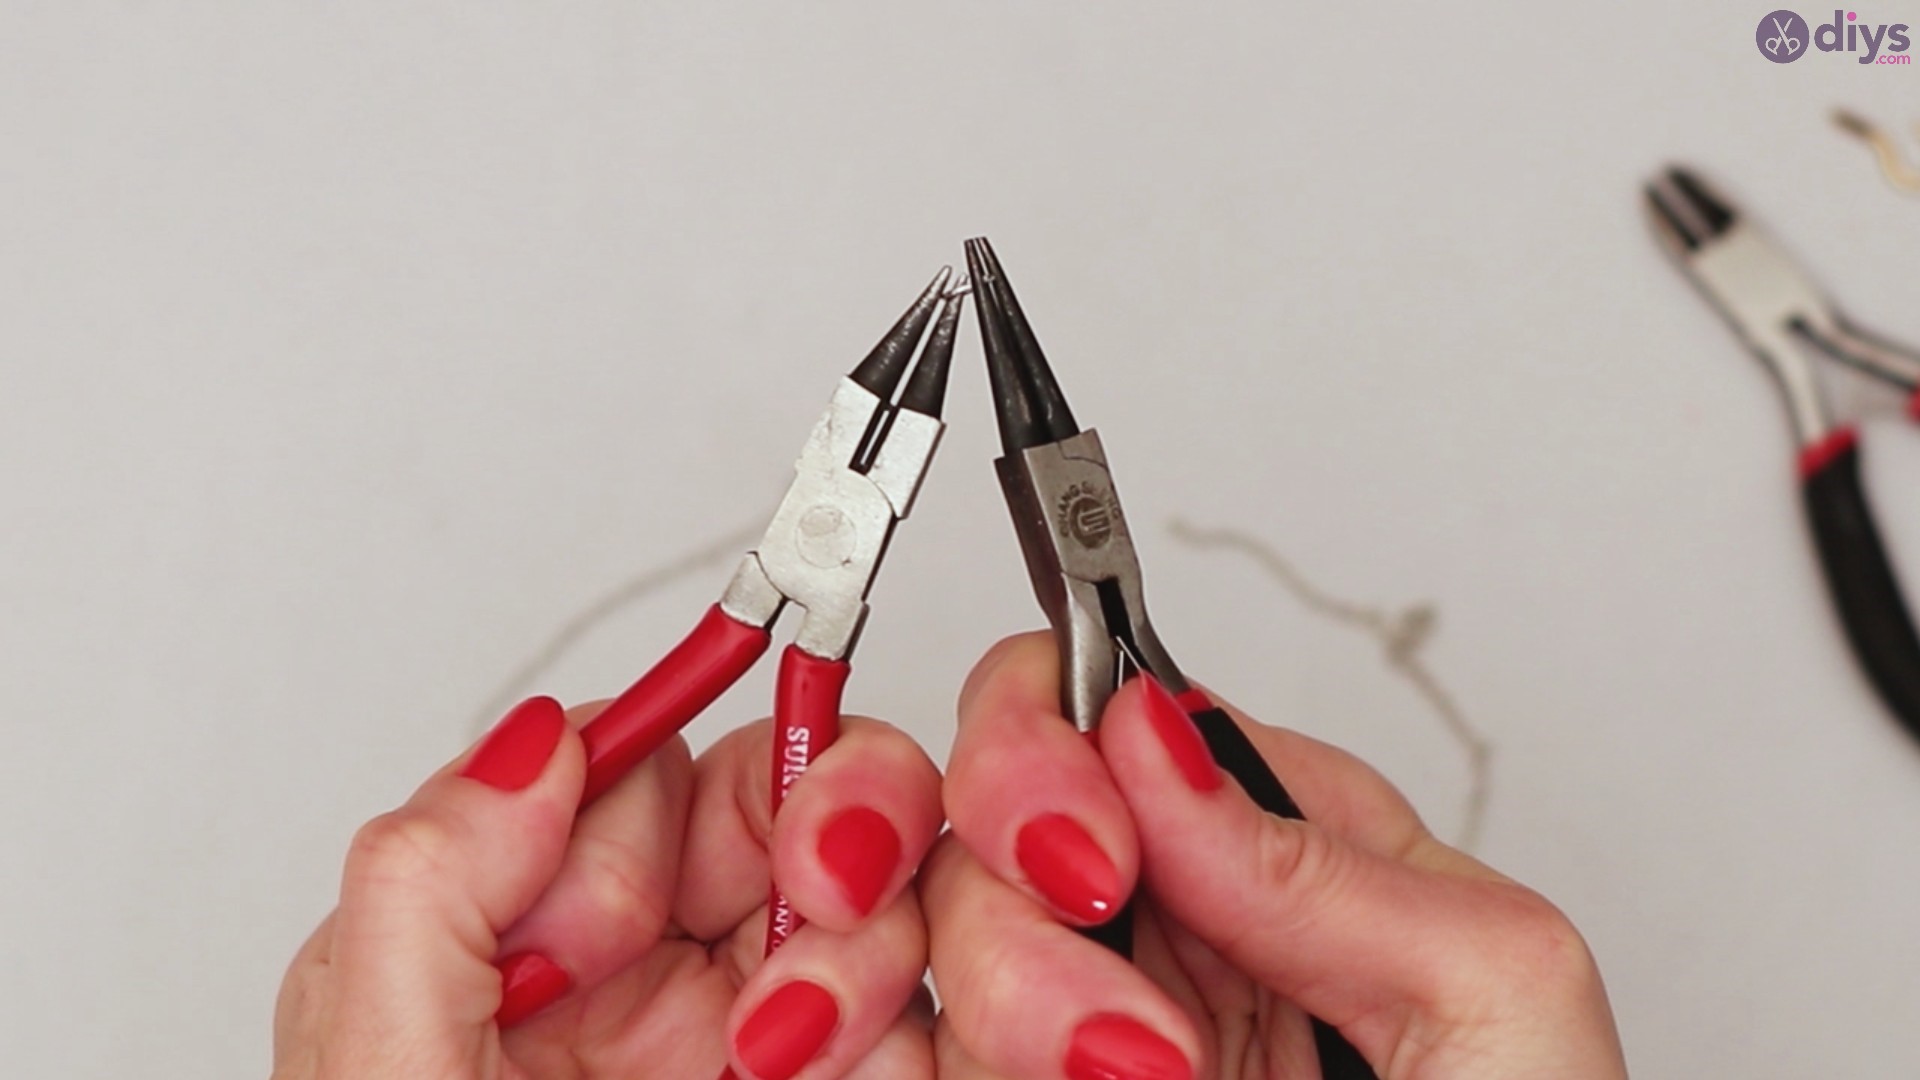
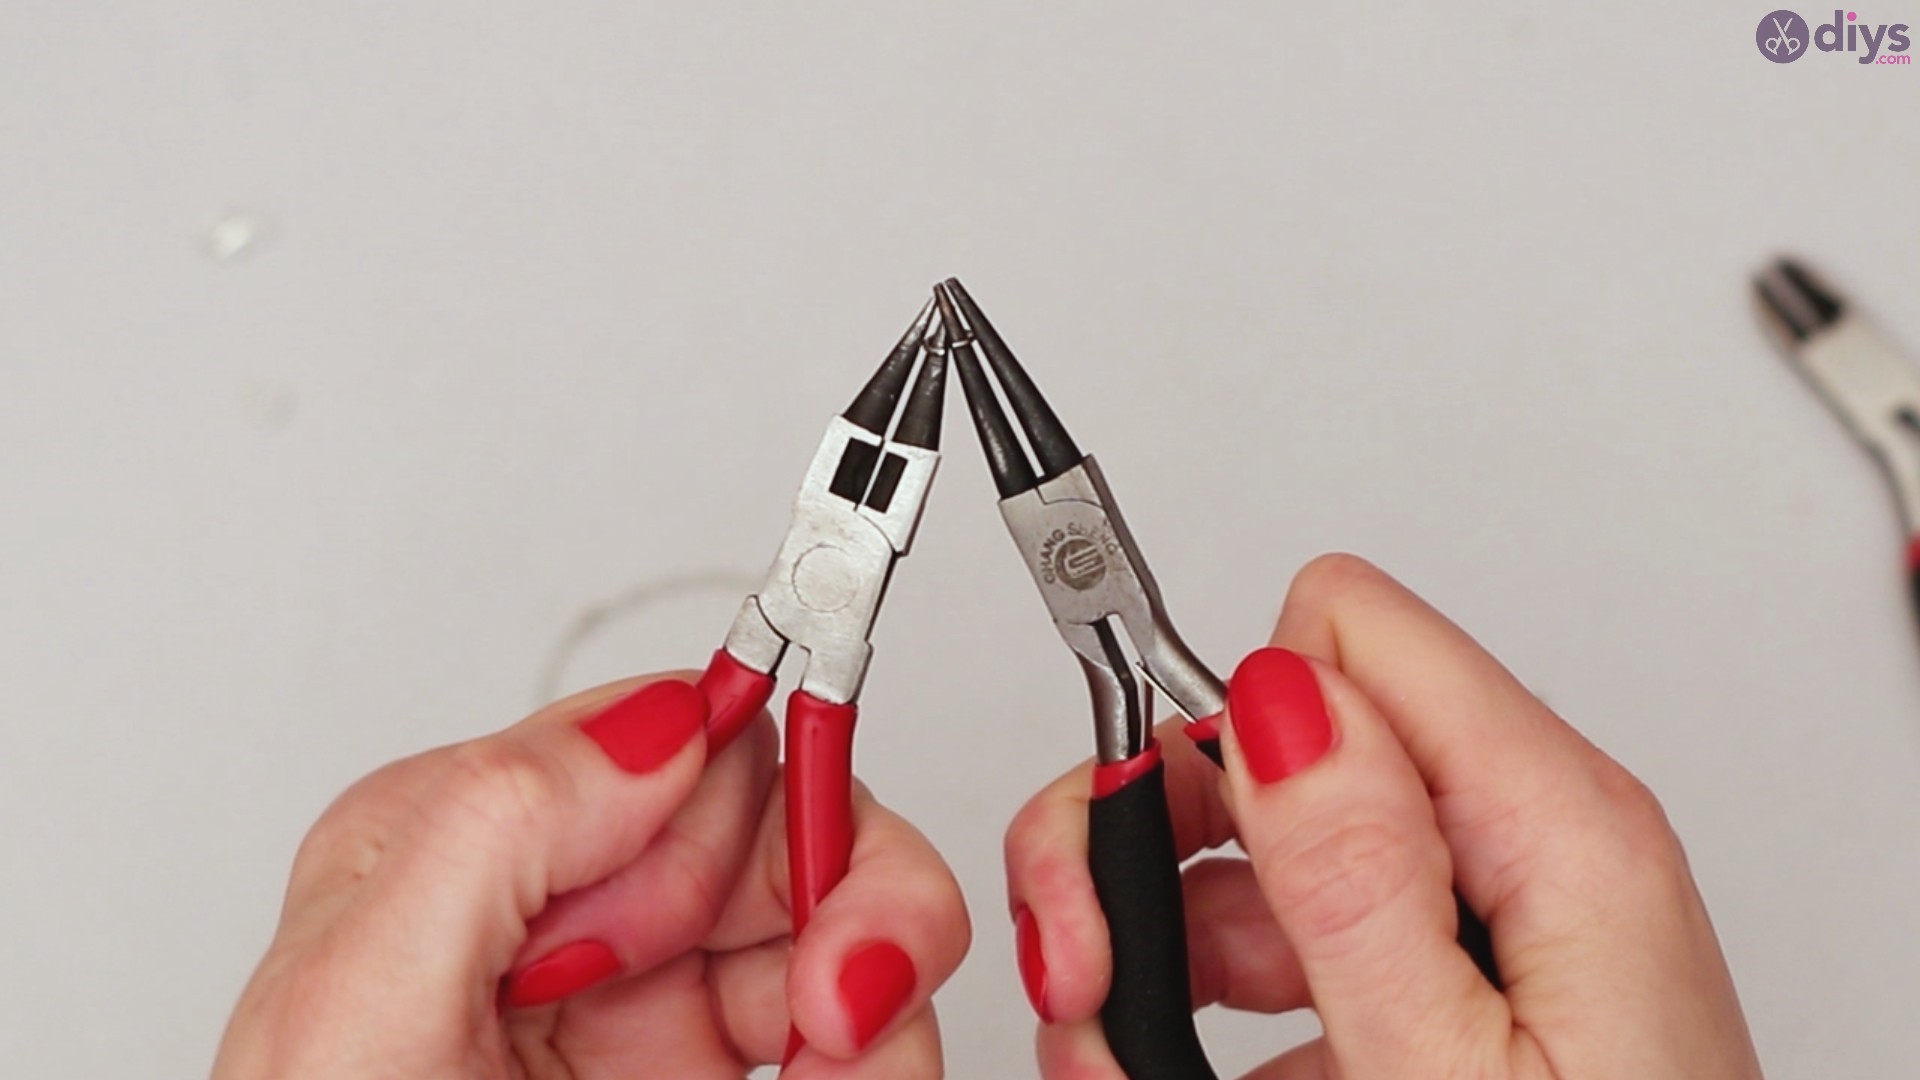
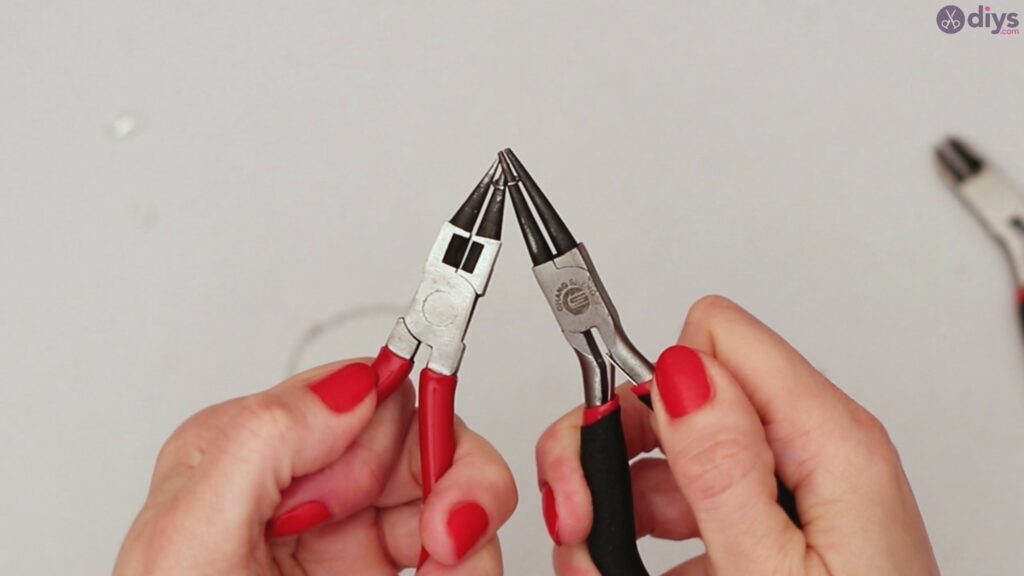
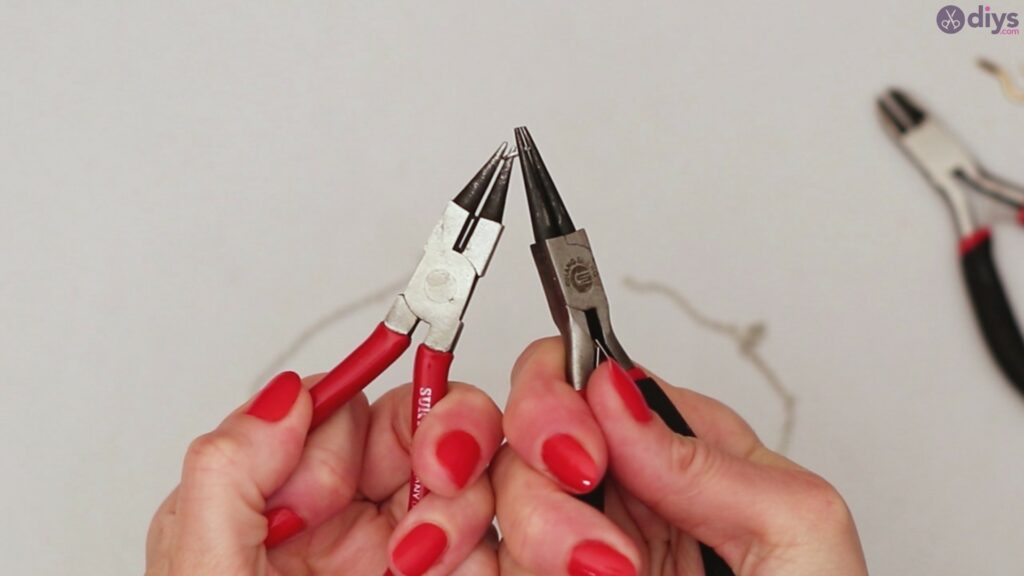
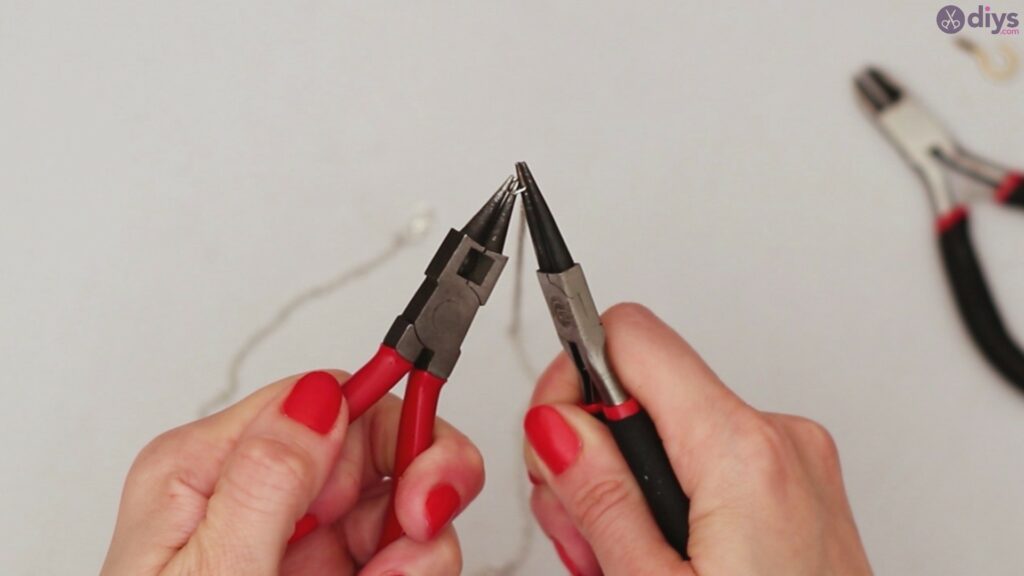
- round-nose pliers
- pliers
- knife
- screw eye pins
- fastener
- chain
- eye pins
- acrylic paint
- paintbrush
How to make a wine cork necklace
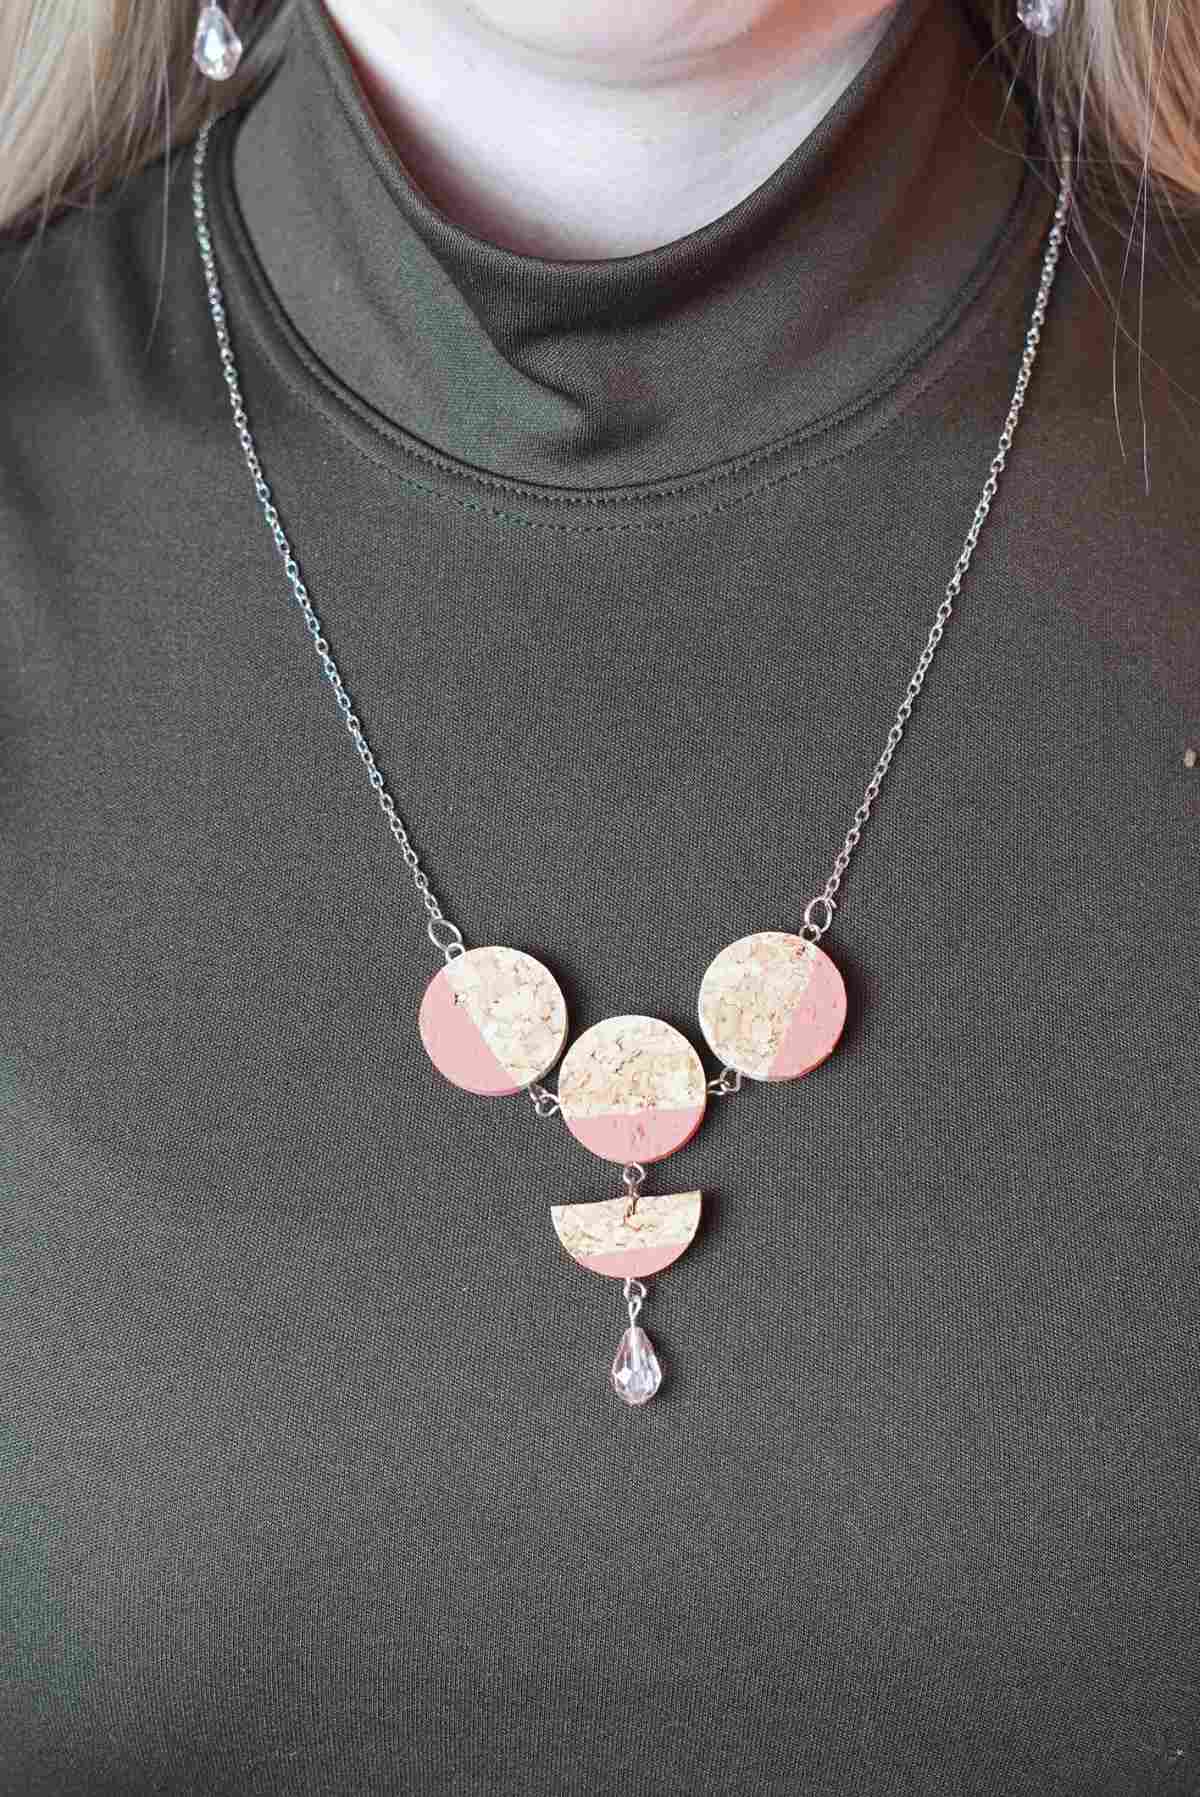
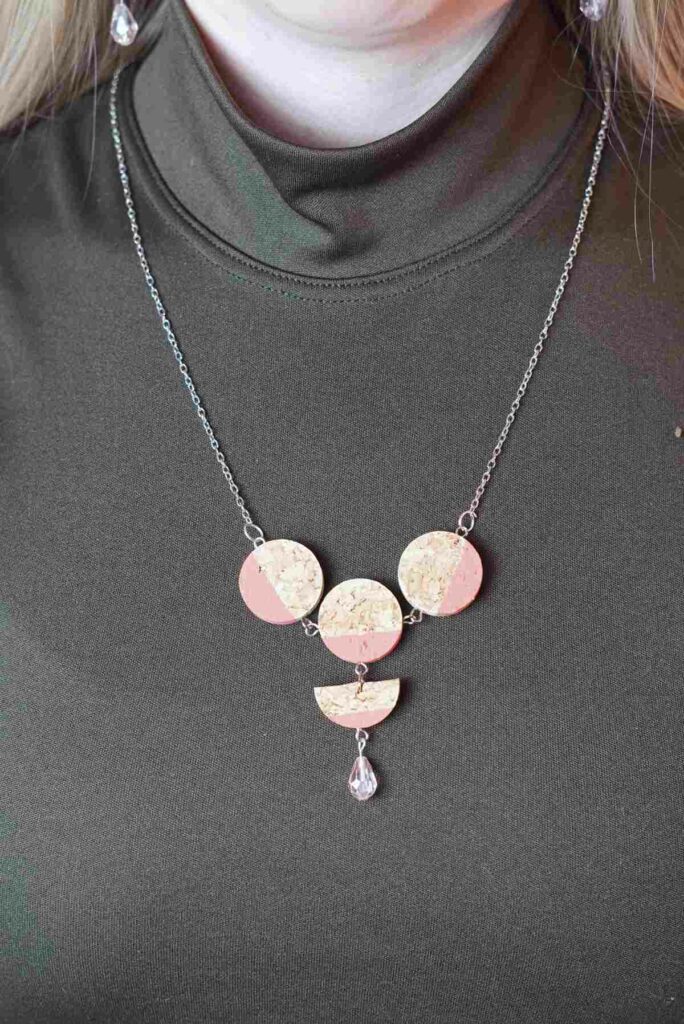
A wine cork necklace will look great with pretty much any day-to-day outfit. Whether you’ll make it for yourself or you have a friend who really likes handmade jewelry, we’re sure it will be a hit.
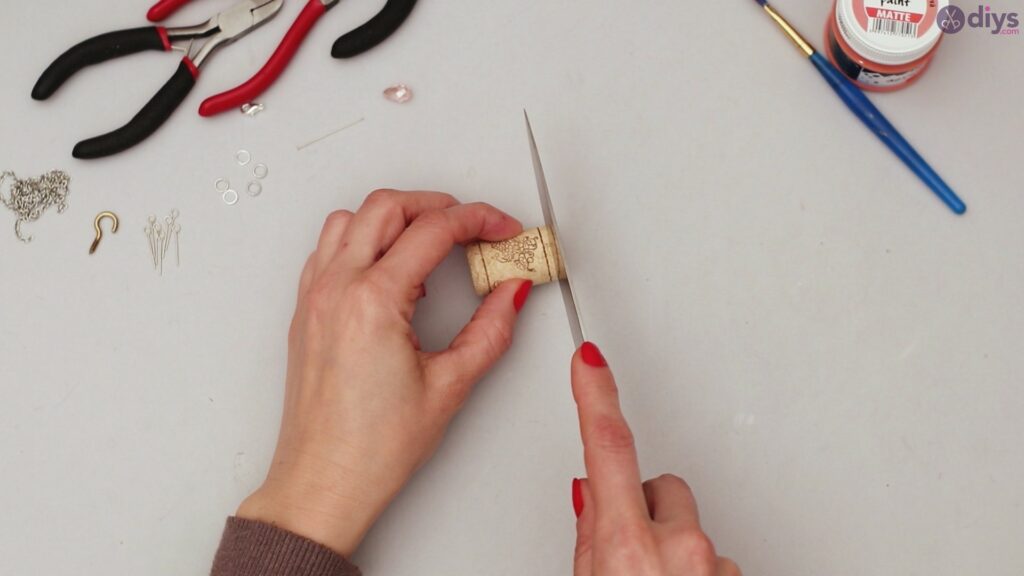
Step 1: Prepare the Corks
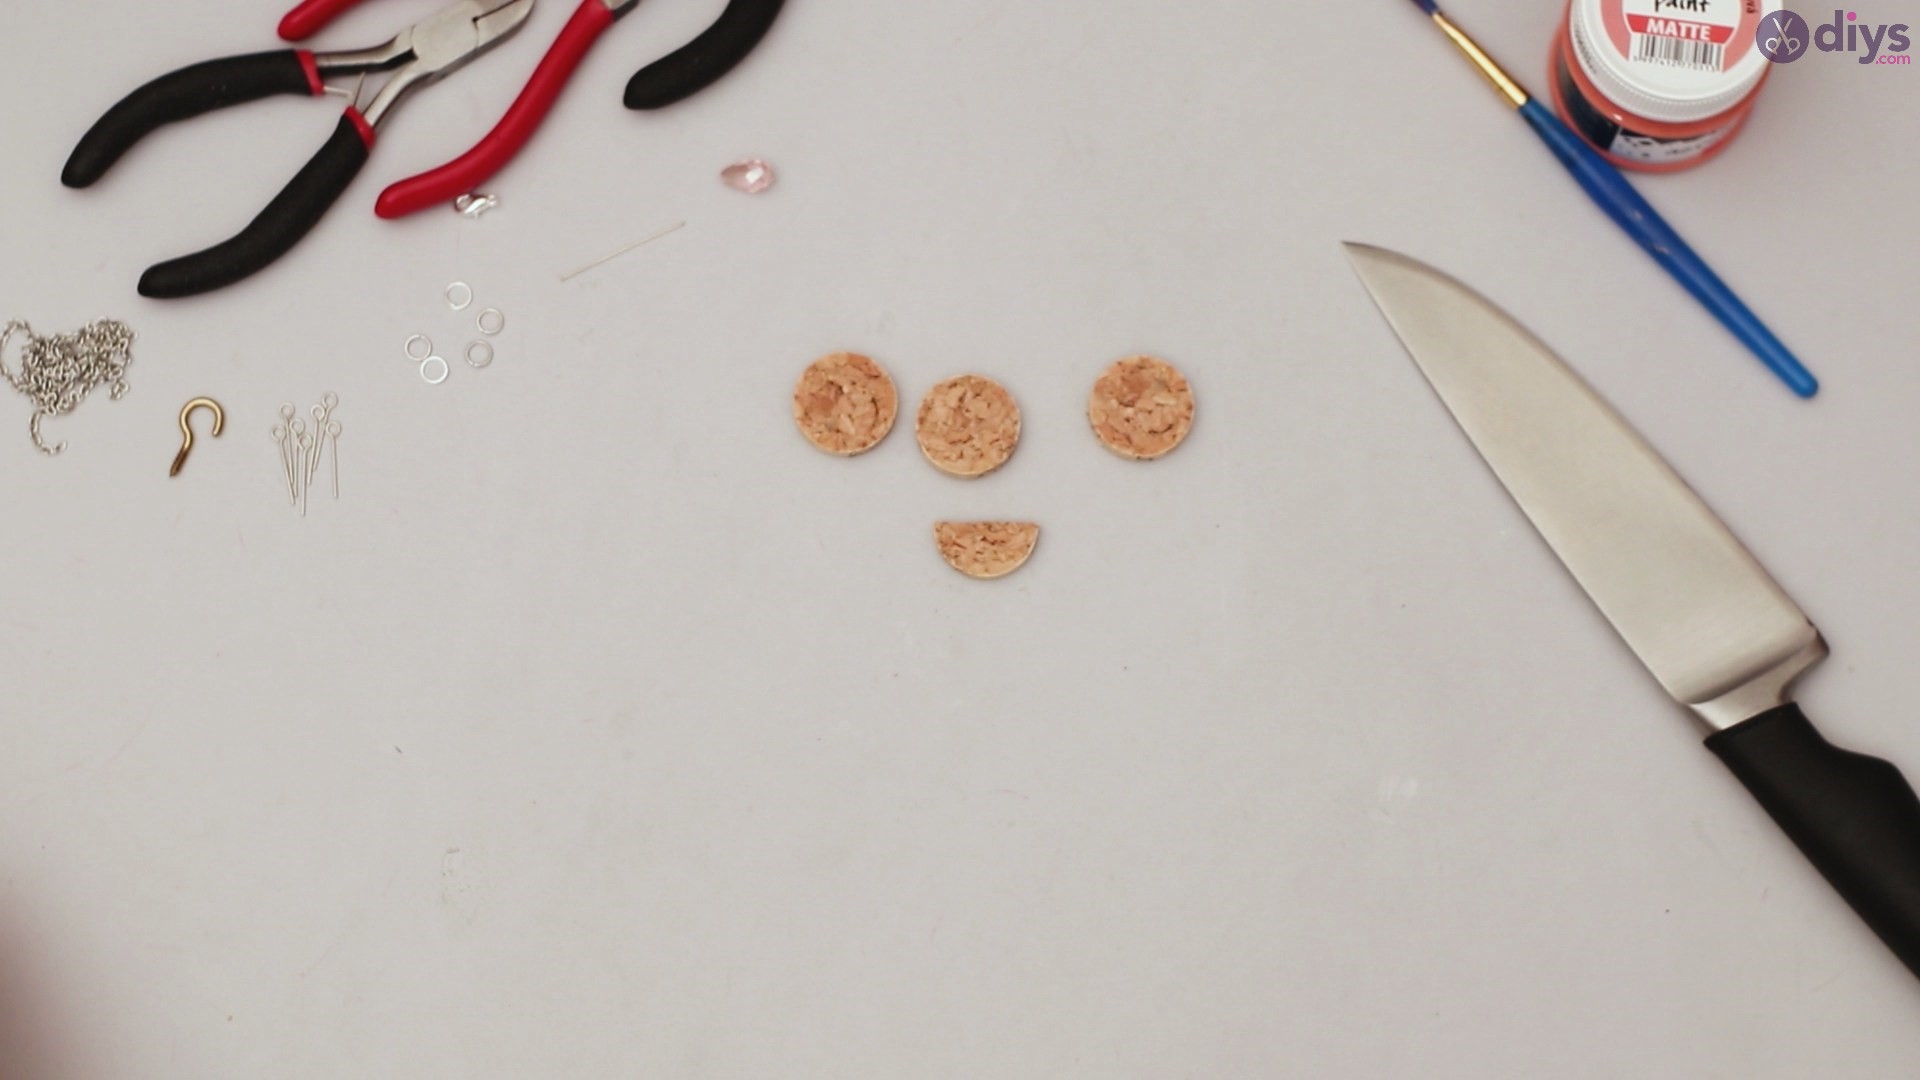
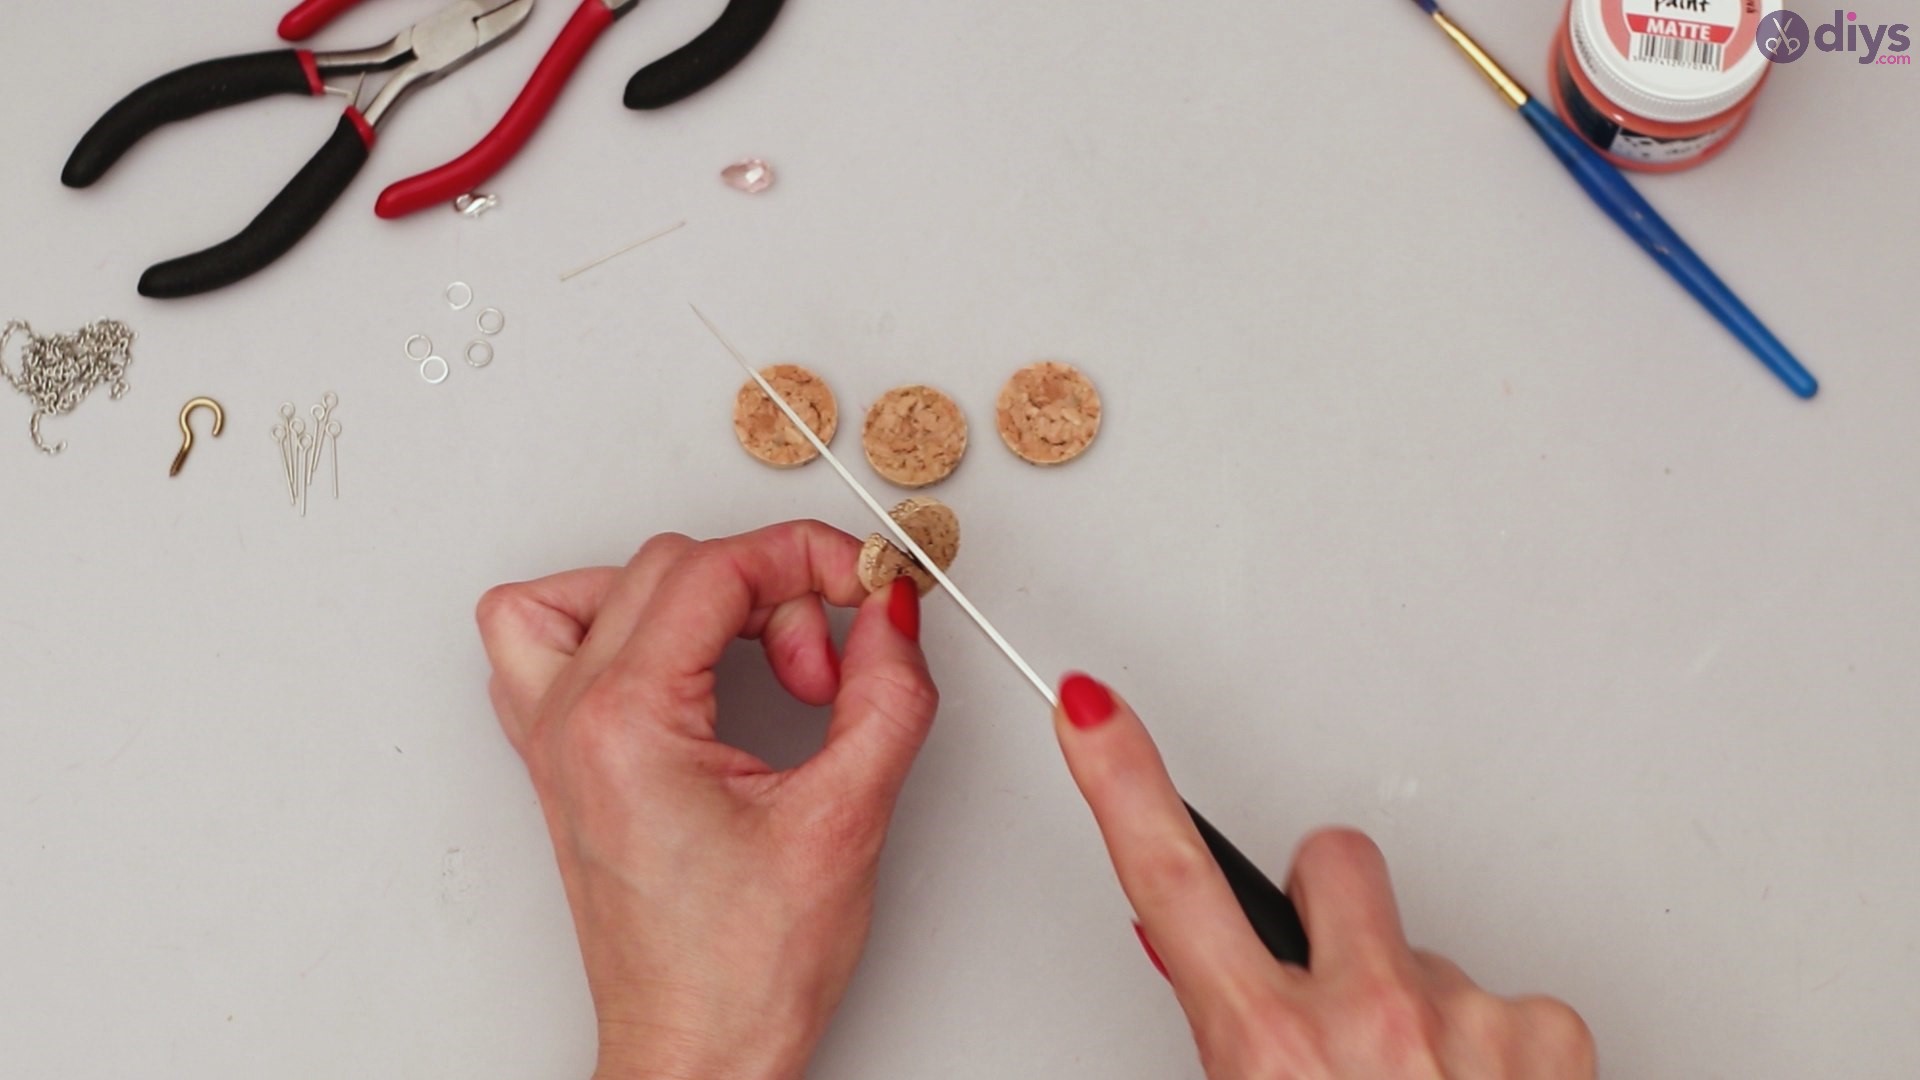
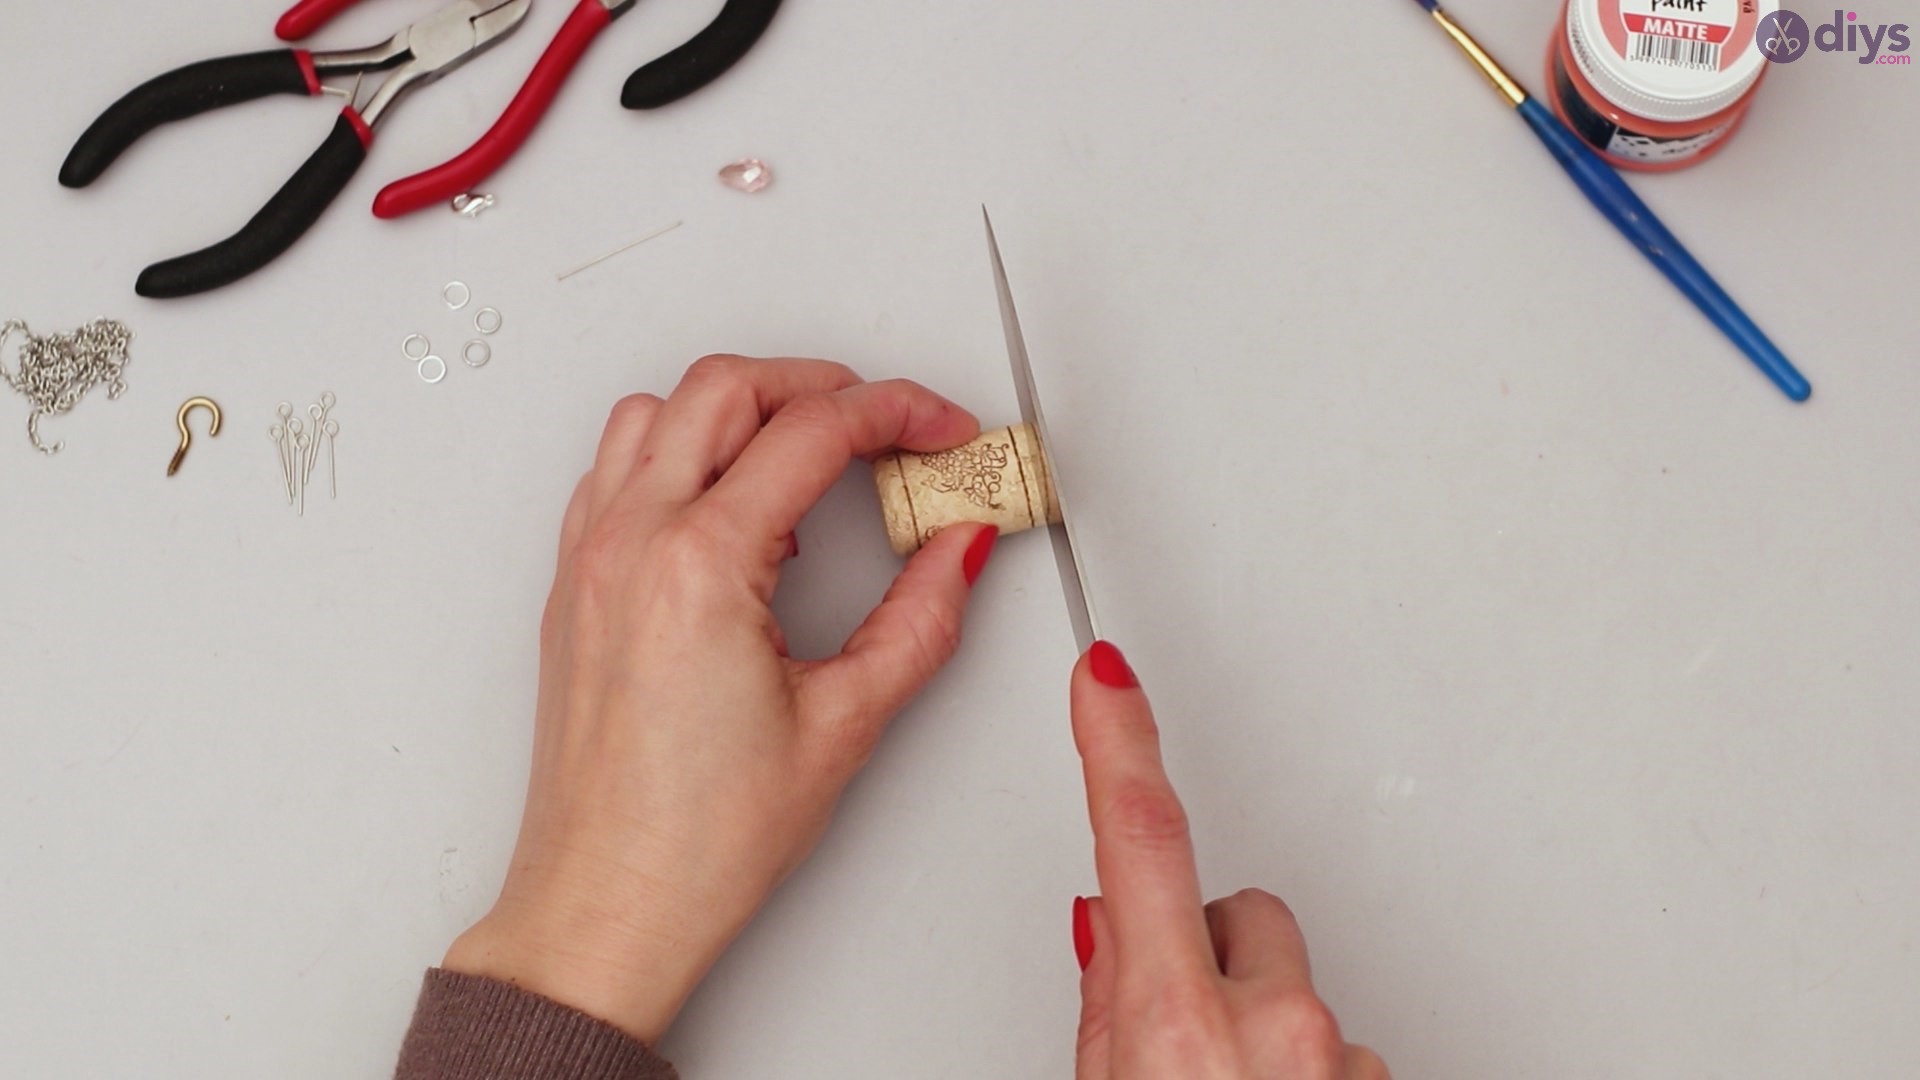
To start our creation, you’ll want to get yourknife and thewine corksand start cutting slices. You want to make them equal-sized so the necklace doesn’t look off. We advise you to have multiple wine corks so you can practice cutting the slices neatly and evenly.
Related: 15 DIY Jewelry Holders
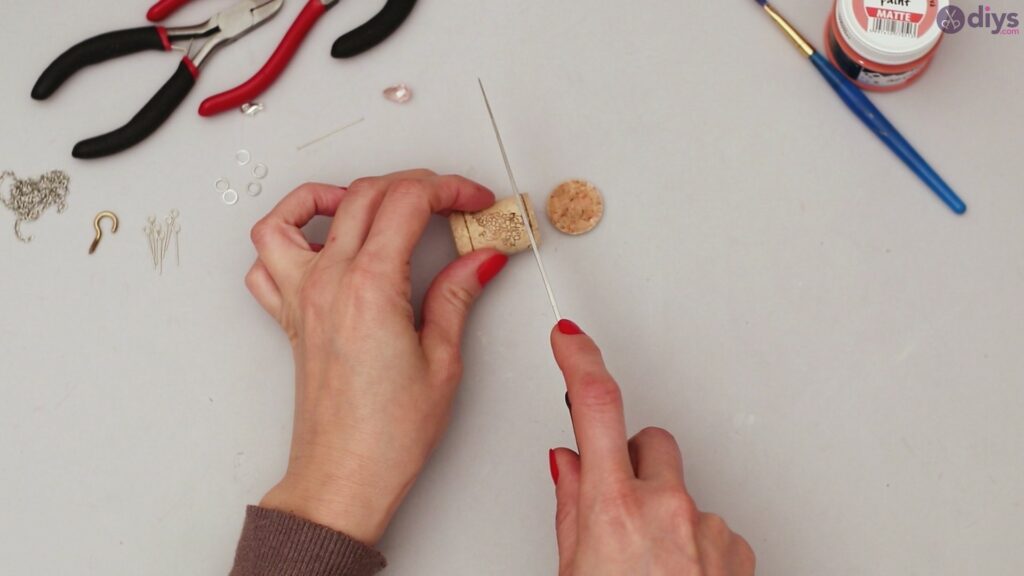
We only need about four slices for our necklace, so you don’t have to make too many, unless you’re planning on making multiple necklaces, of course.
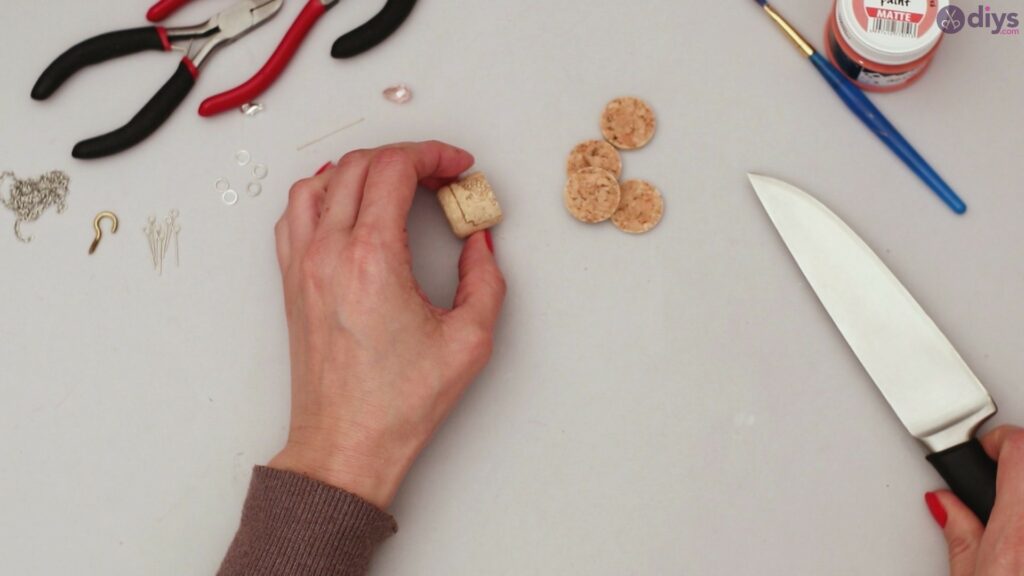
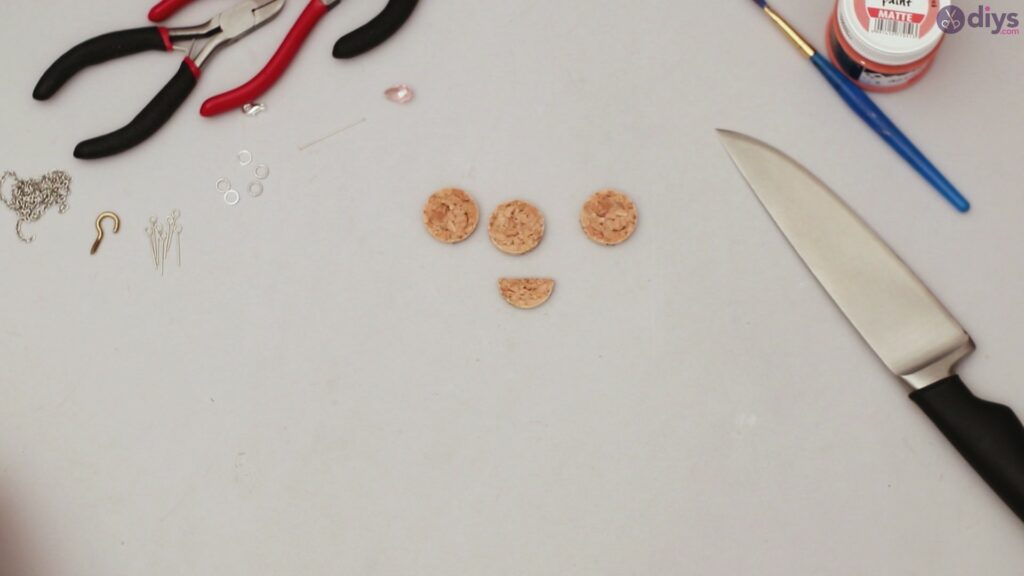
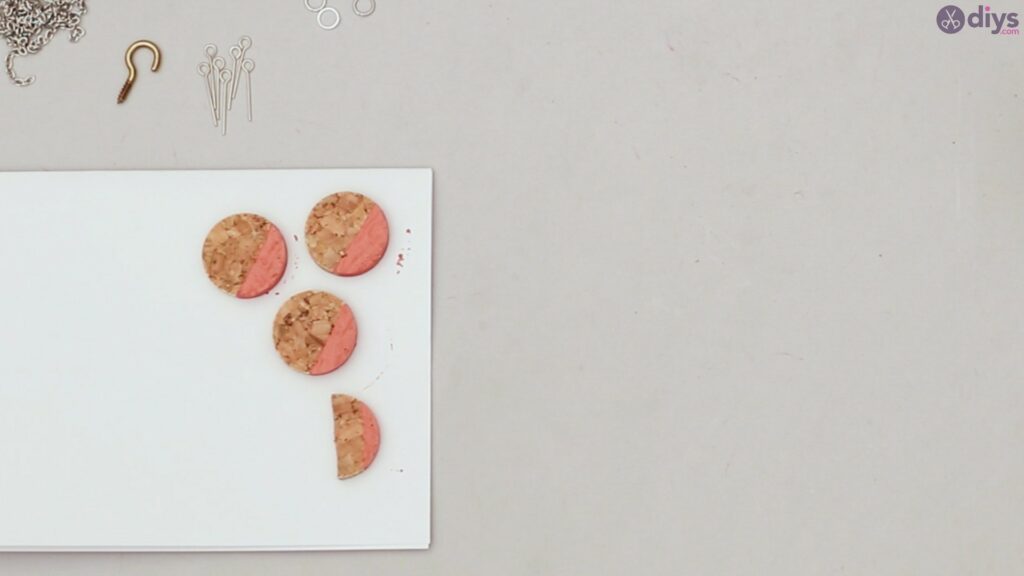
Take one of the slices you just cut and cut it in two. You’ll be using one of those halves as a hanging element to your necklace.

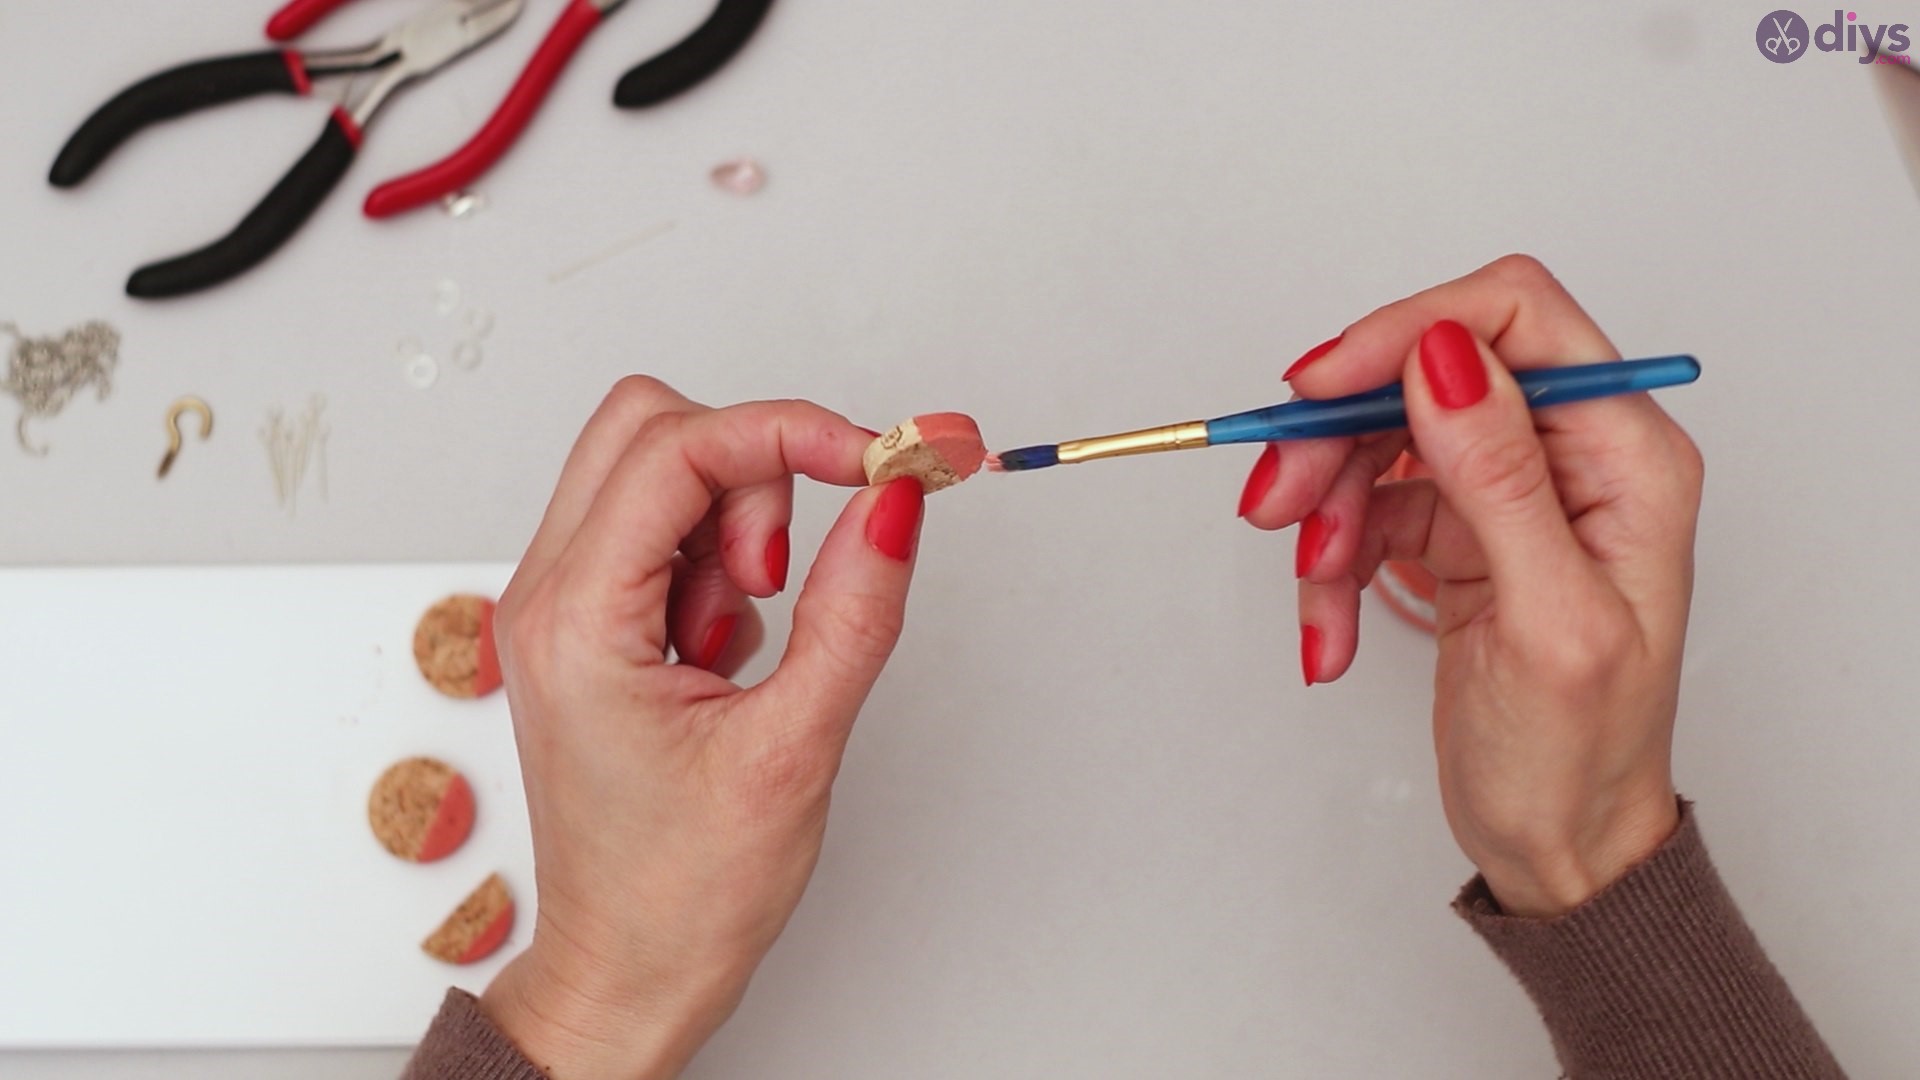
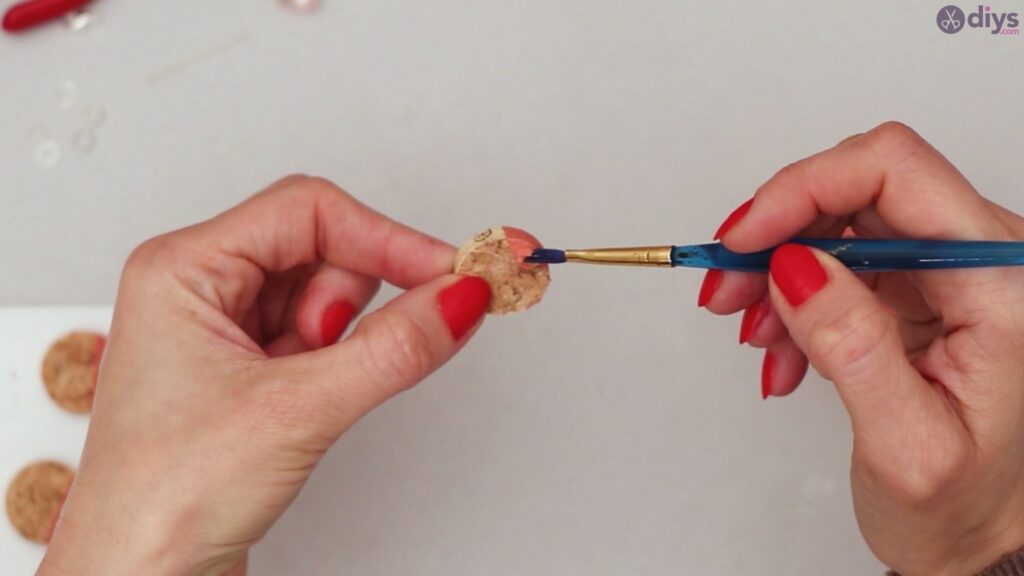
Step 2: Paint the Wine Corks
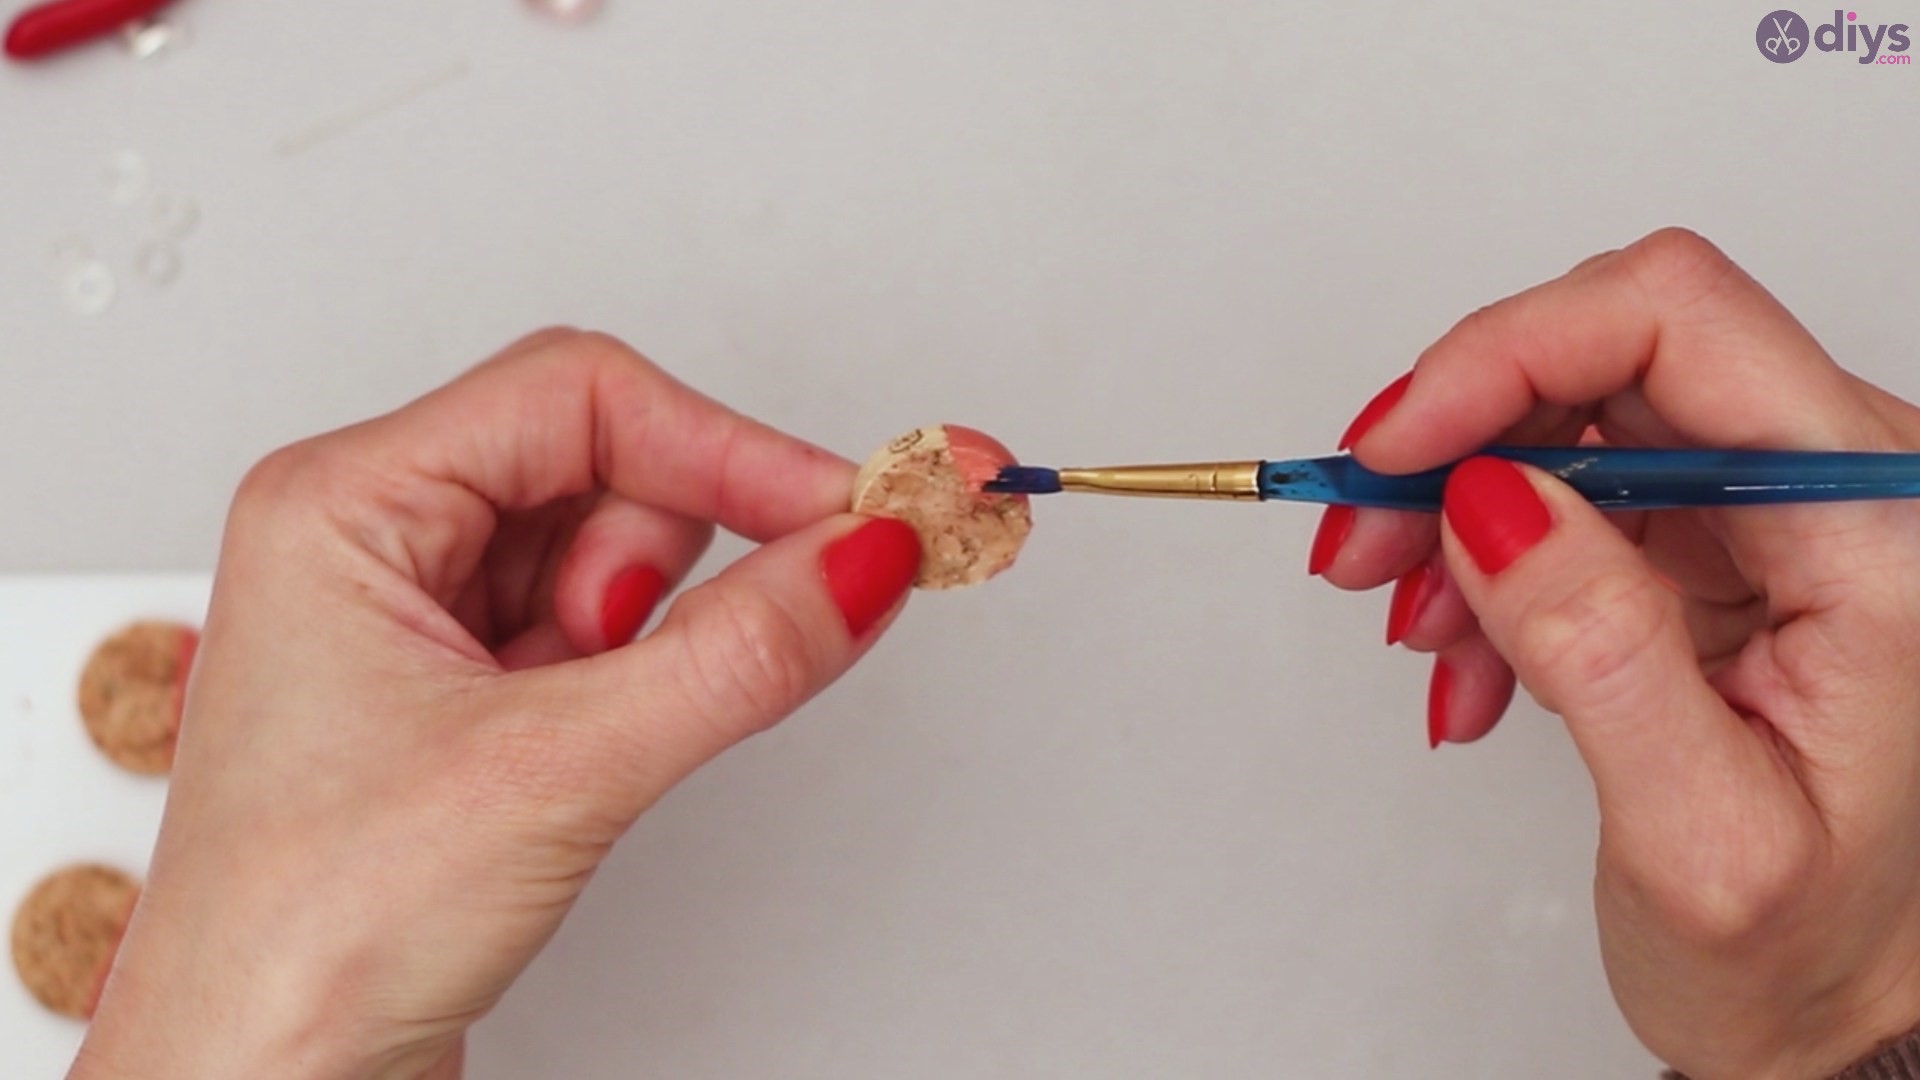
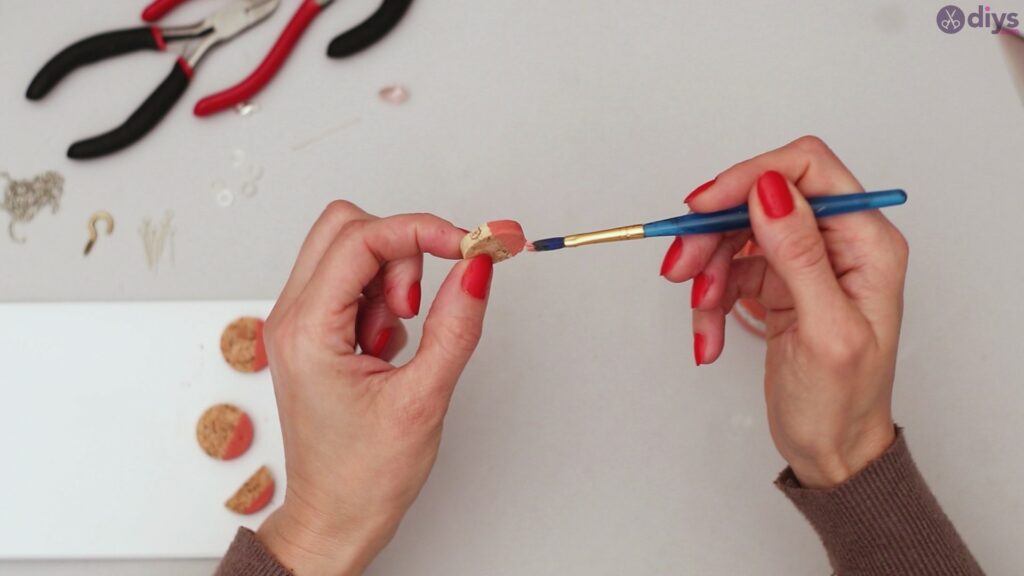
For our next step, we’re going to start painting the wine corks. We chose to go with rose acrylic paint, but you can obviously pick a different color that you think works with the natural shade of the wine cork and your regular style. Dip thepaintbrush into the paint and start adding in the color.


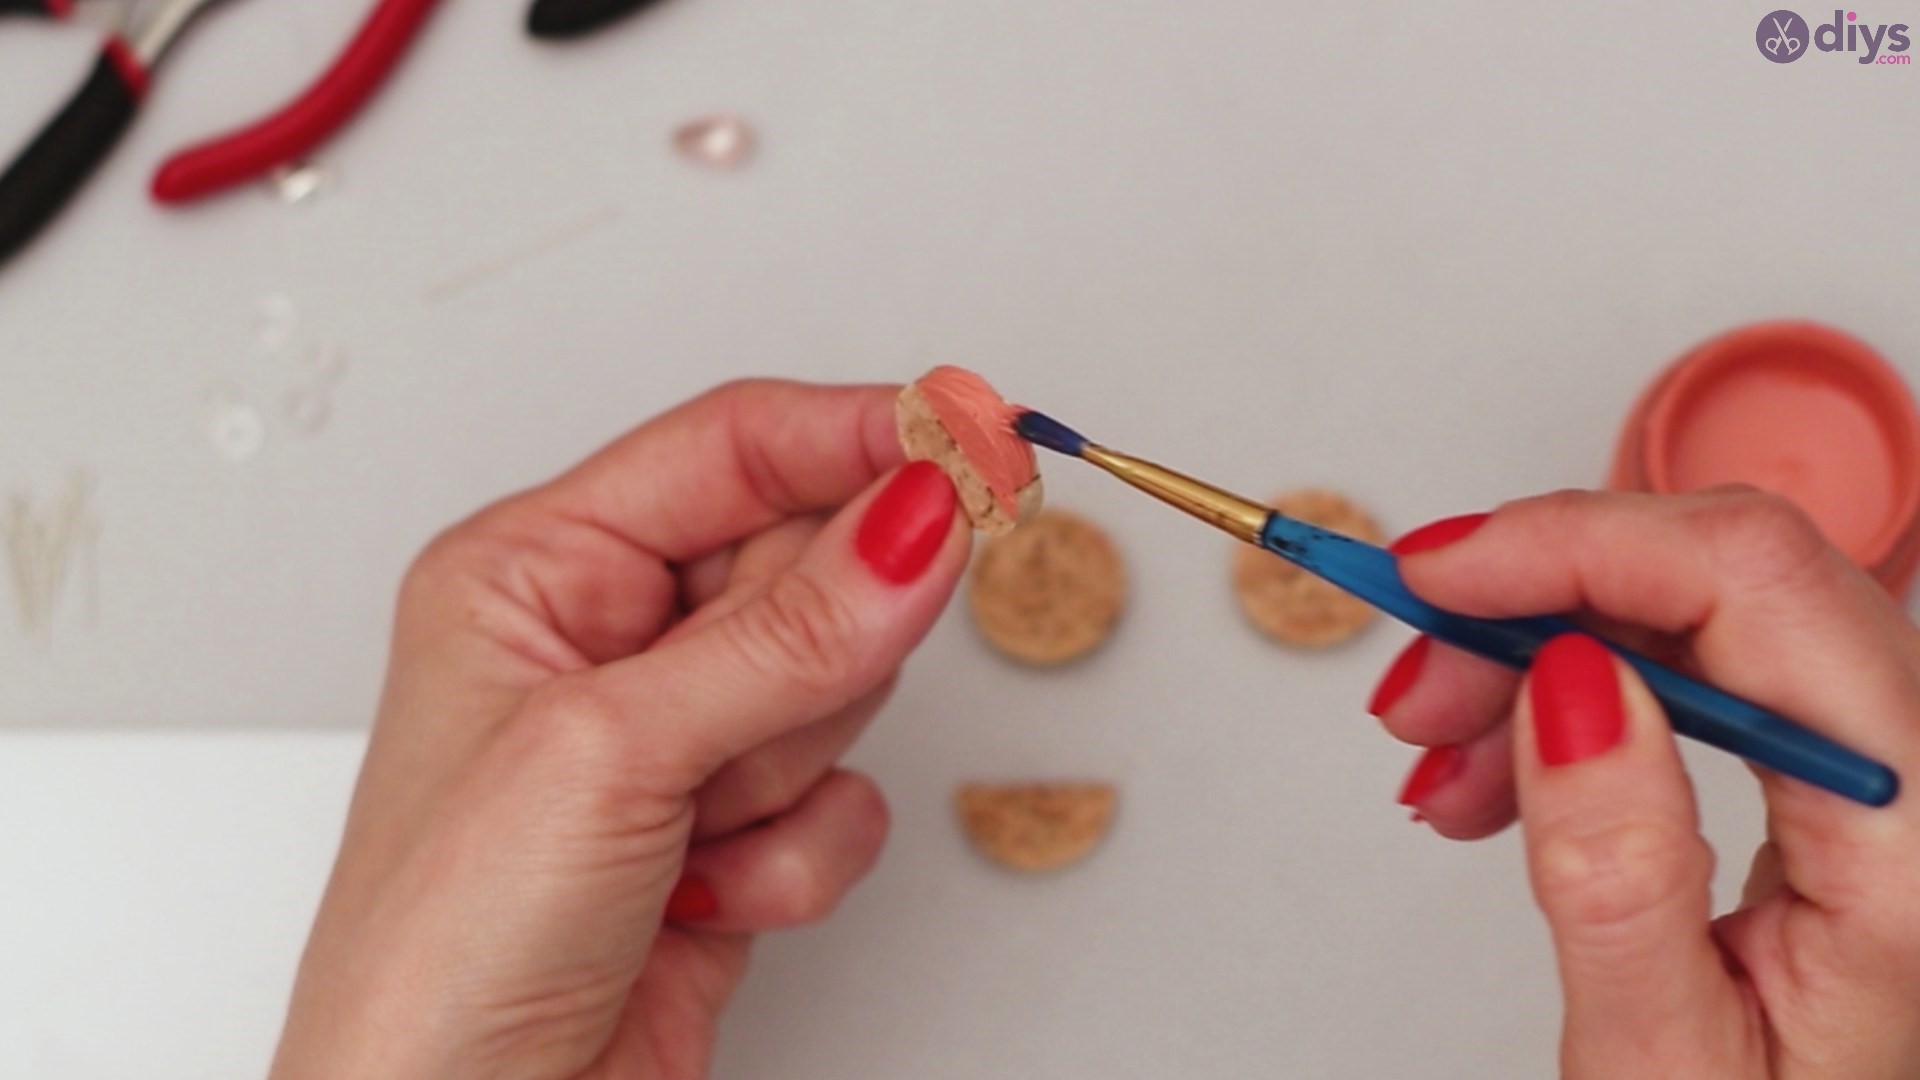
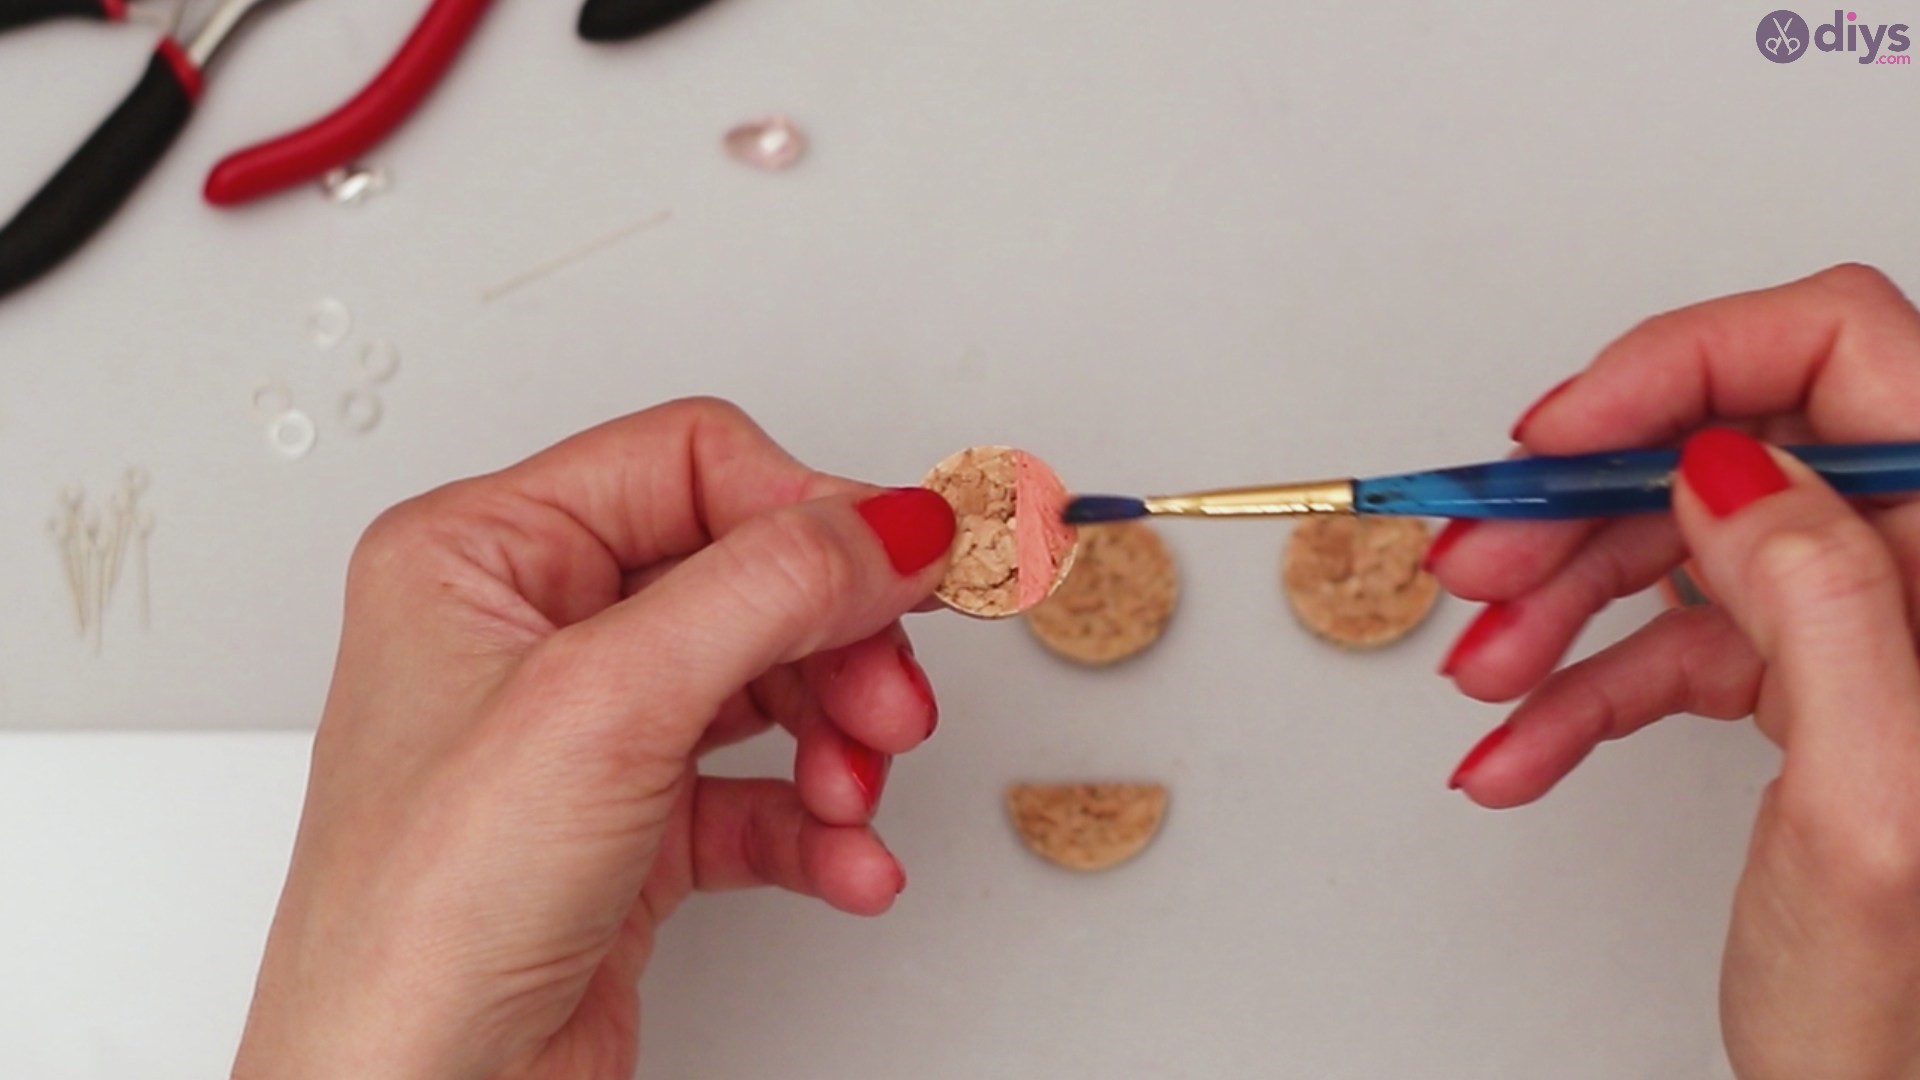
Make sure you paint about a third of the wine cork slice – paint both sides and the edge of the slice too.
Since we’re using acrylic paint, know that it will dry up pretty fast. Although you may be tempted to use water, we advise against it since that will only dilute the shade and make the paint harder to dry over the cork material.
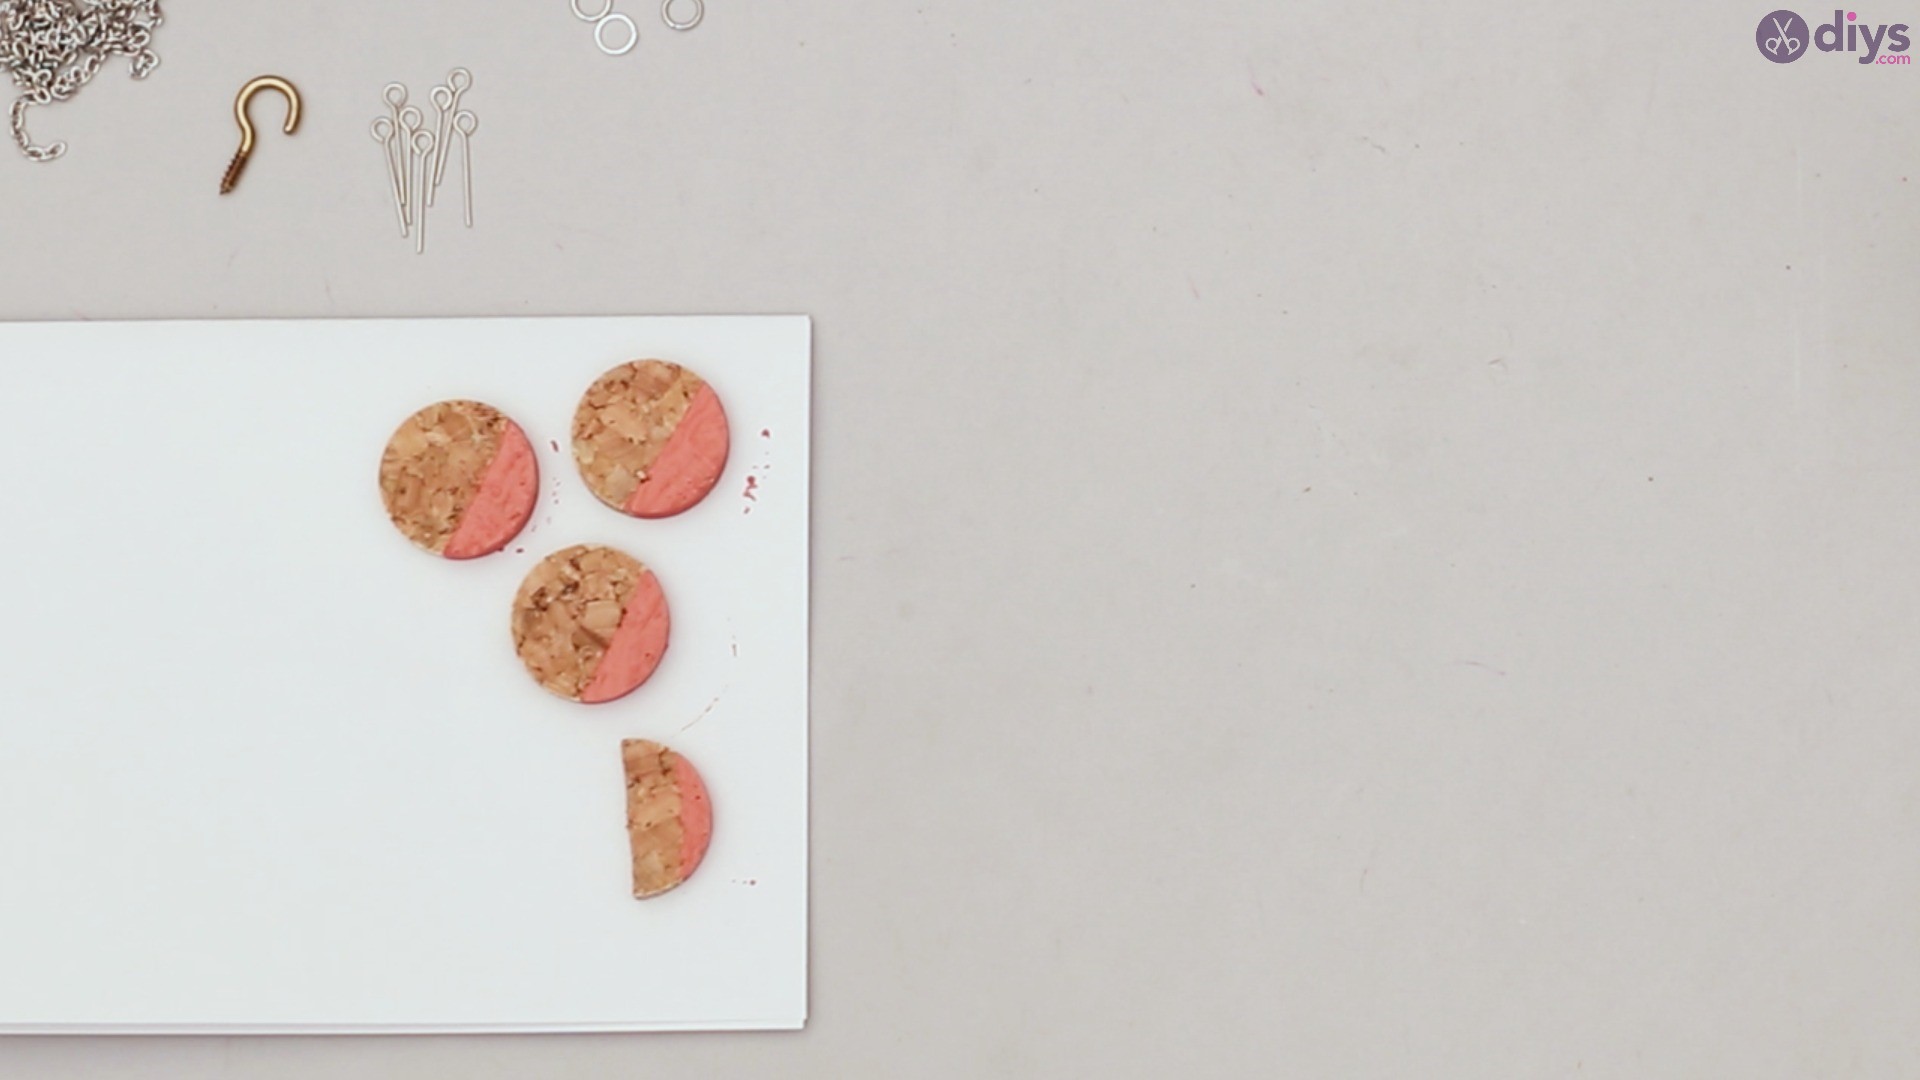
Place the painted wine corks on a piece of paper and leave them off to dry.
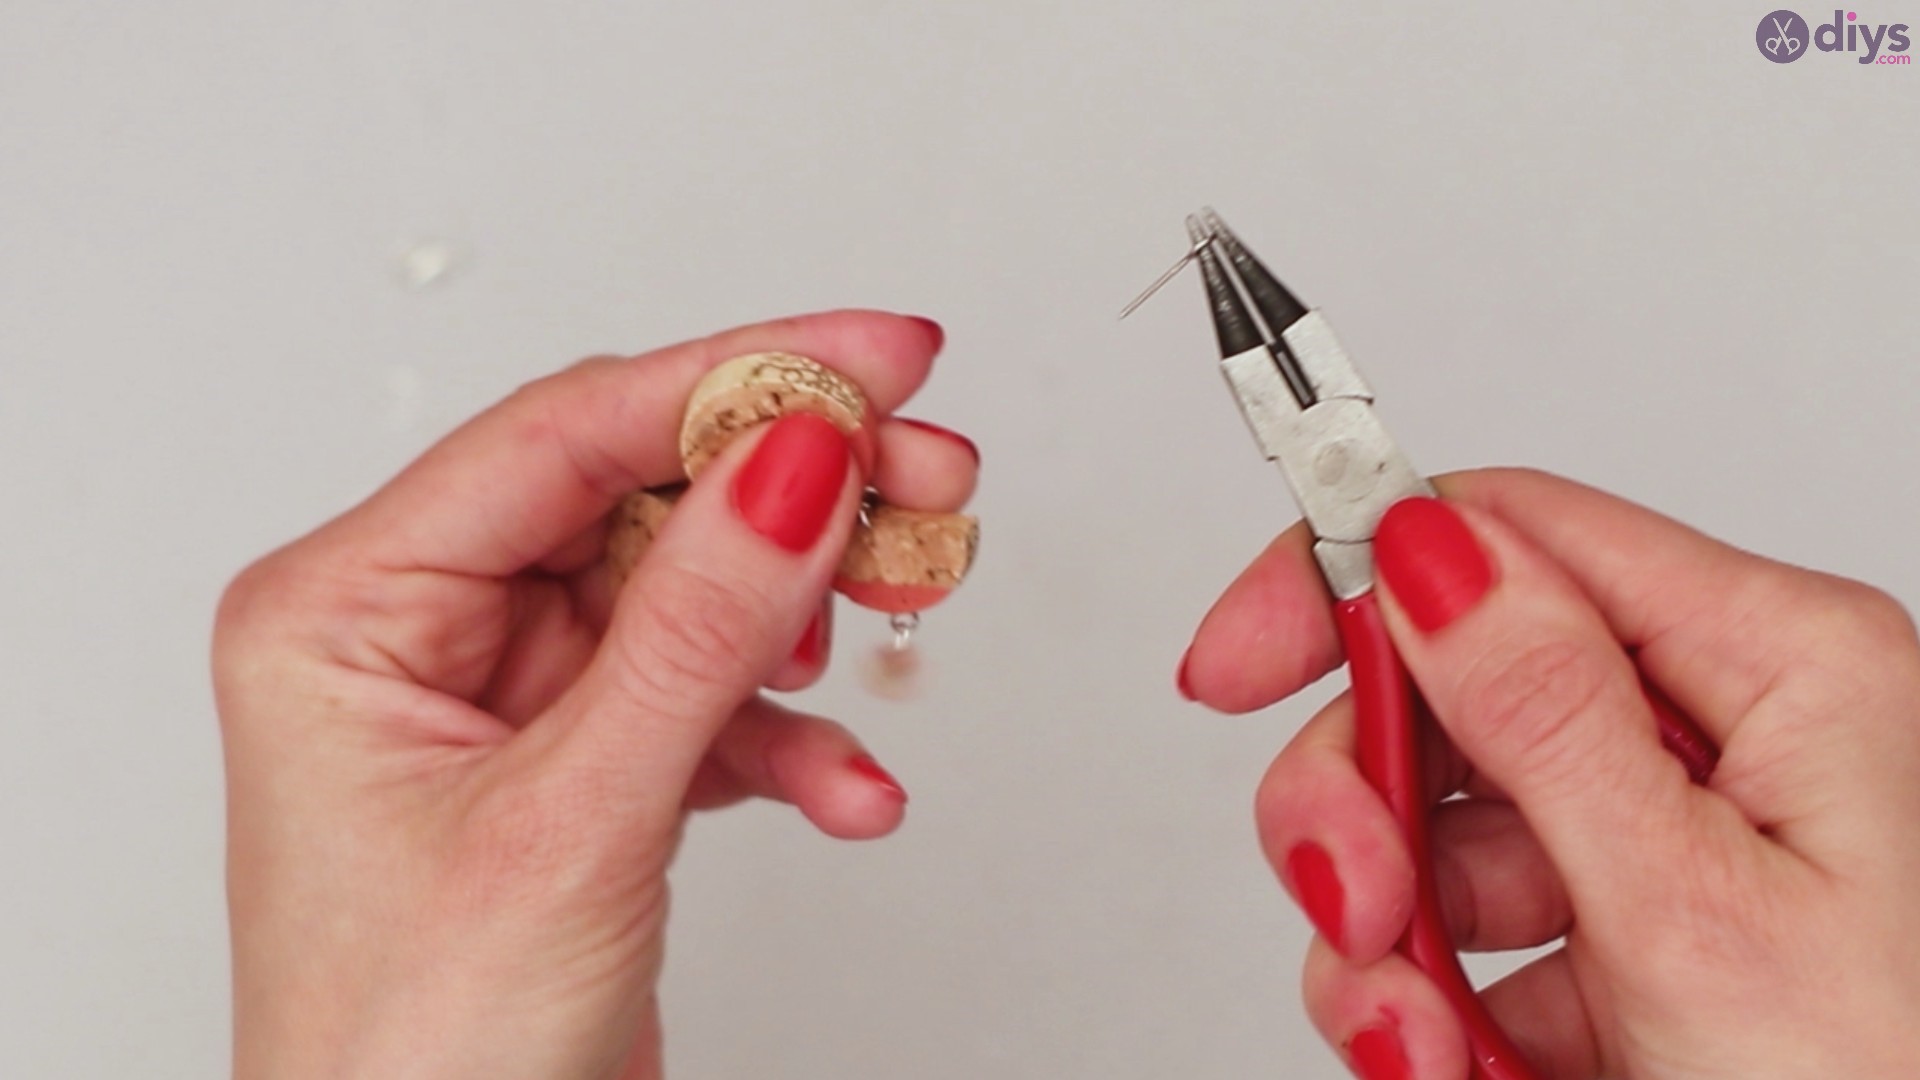
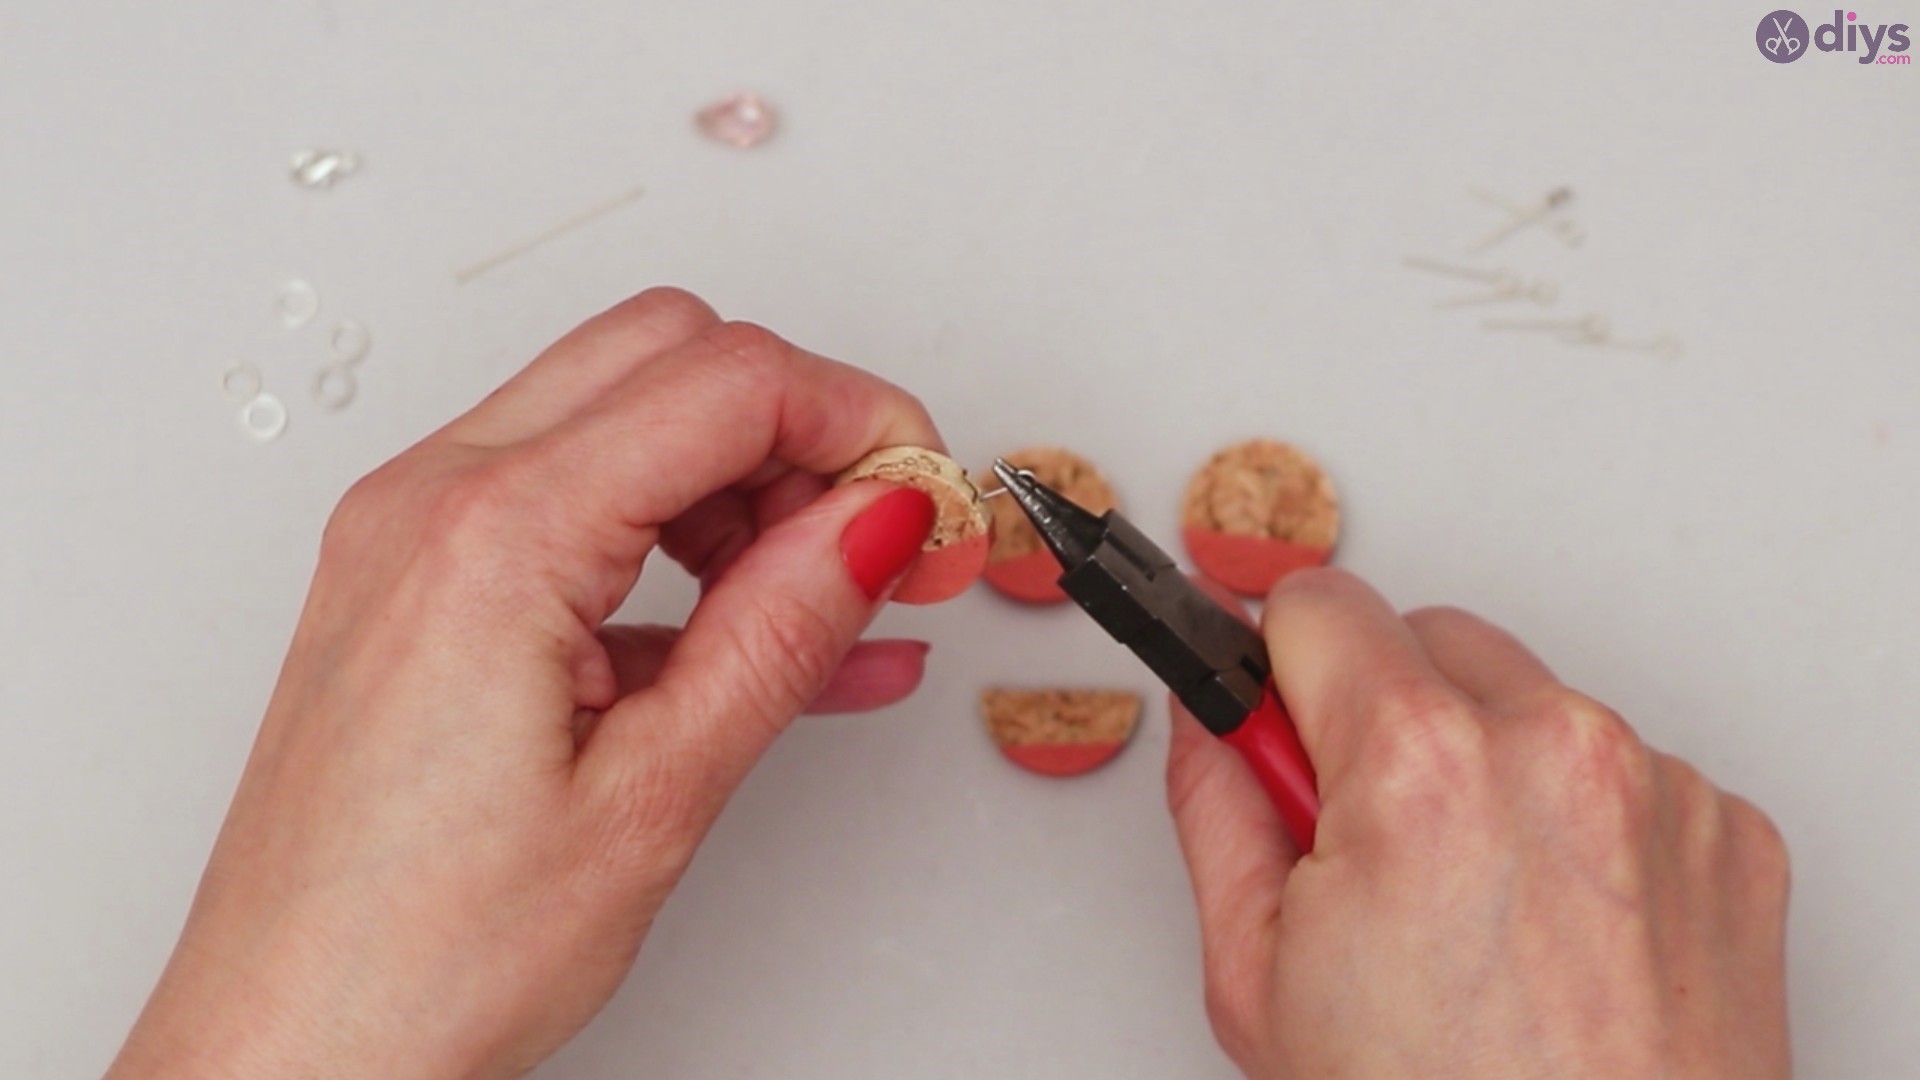
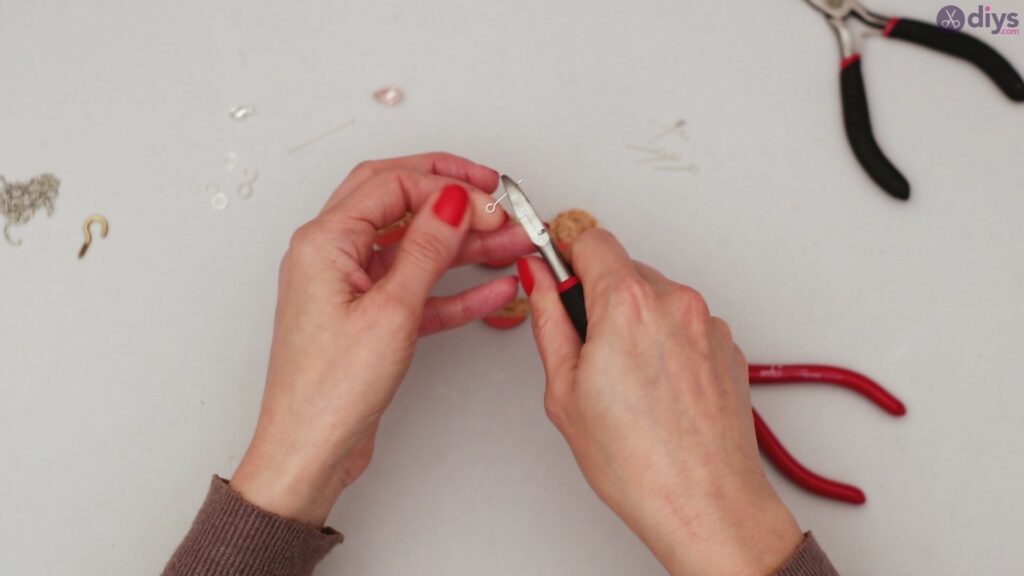
Step 3: Add the Eye Pins
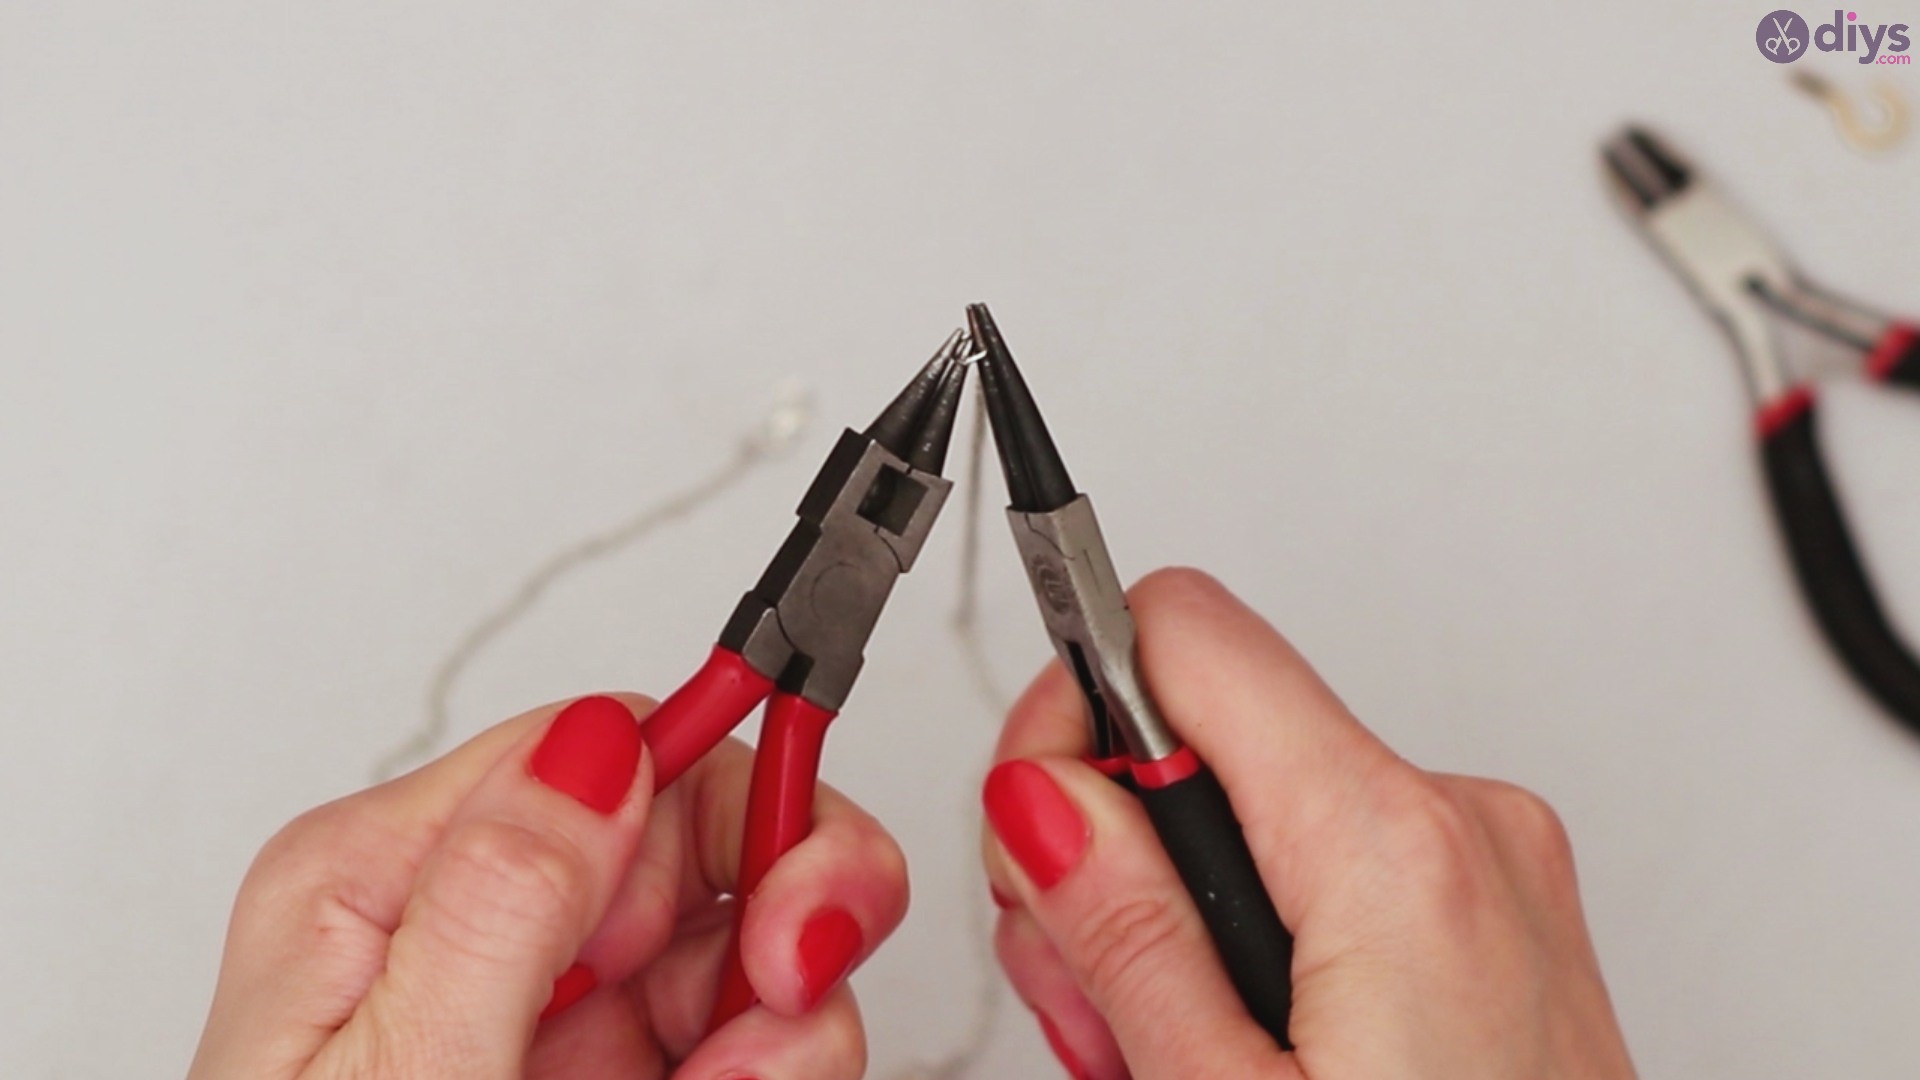
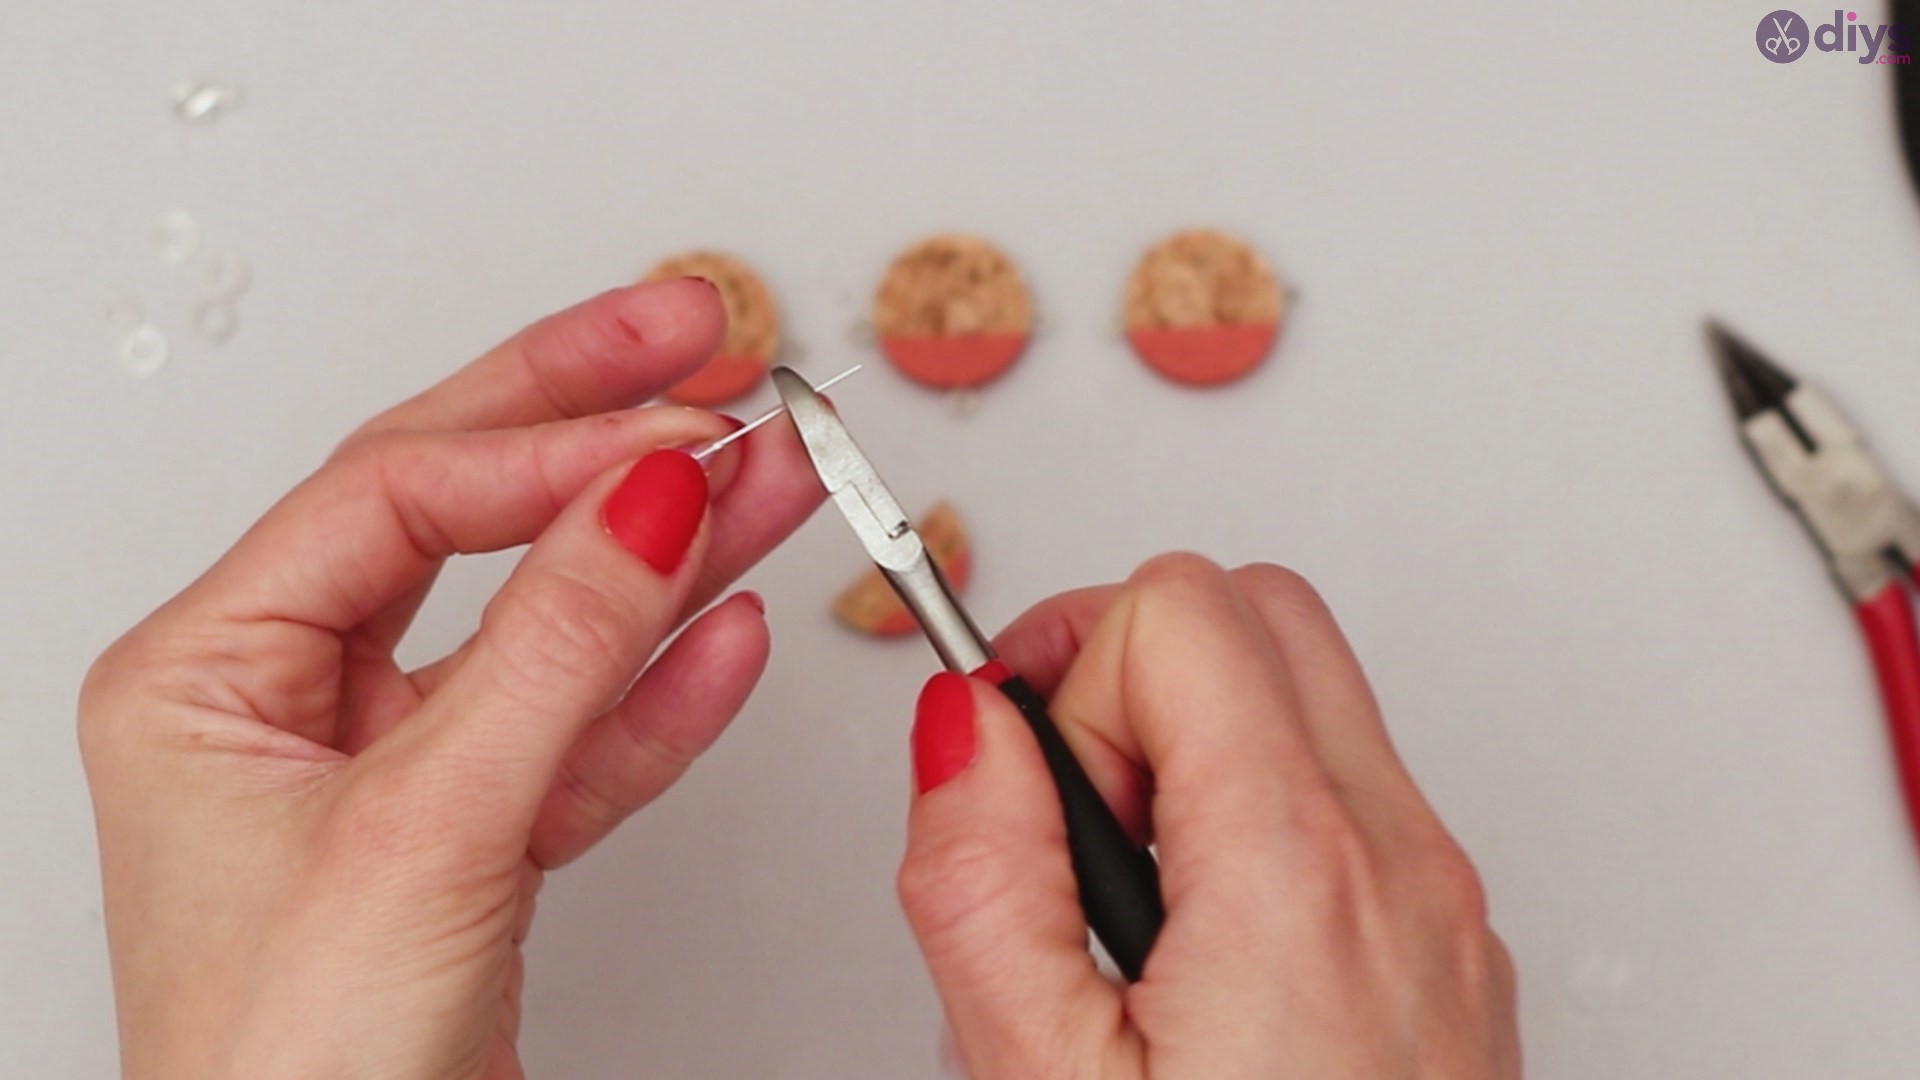
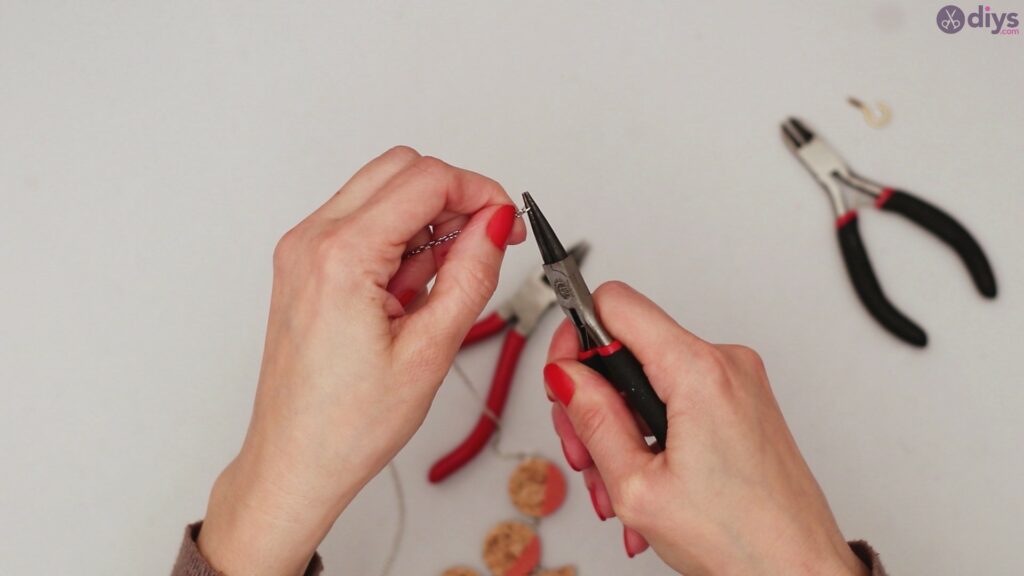
We’re going to start assembling the pieces as soon as the wine cork slices are done drying. Take your pliers and one of the eye pins. Cut off some of the length of the pin if it’s too long. It all depends on what size eye pins you have.
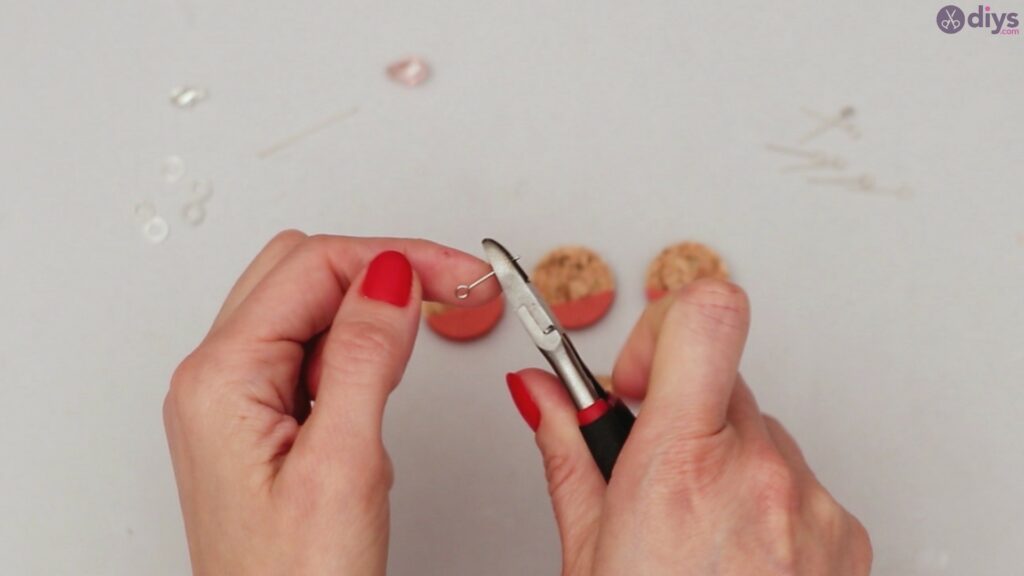

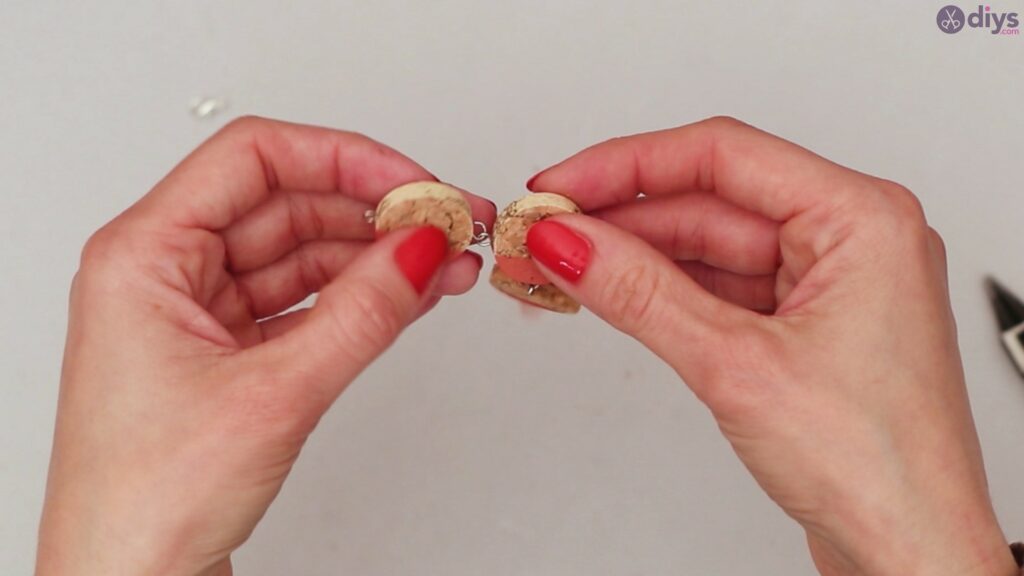
Grab the round-nose pliers, pick the eye pin and push it into the wine cork. You want the painted part to be on the bottom area, so try to measure out the middle of the cork slice – that’s the spot you want to push the eye pin in.

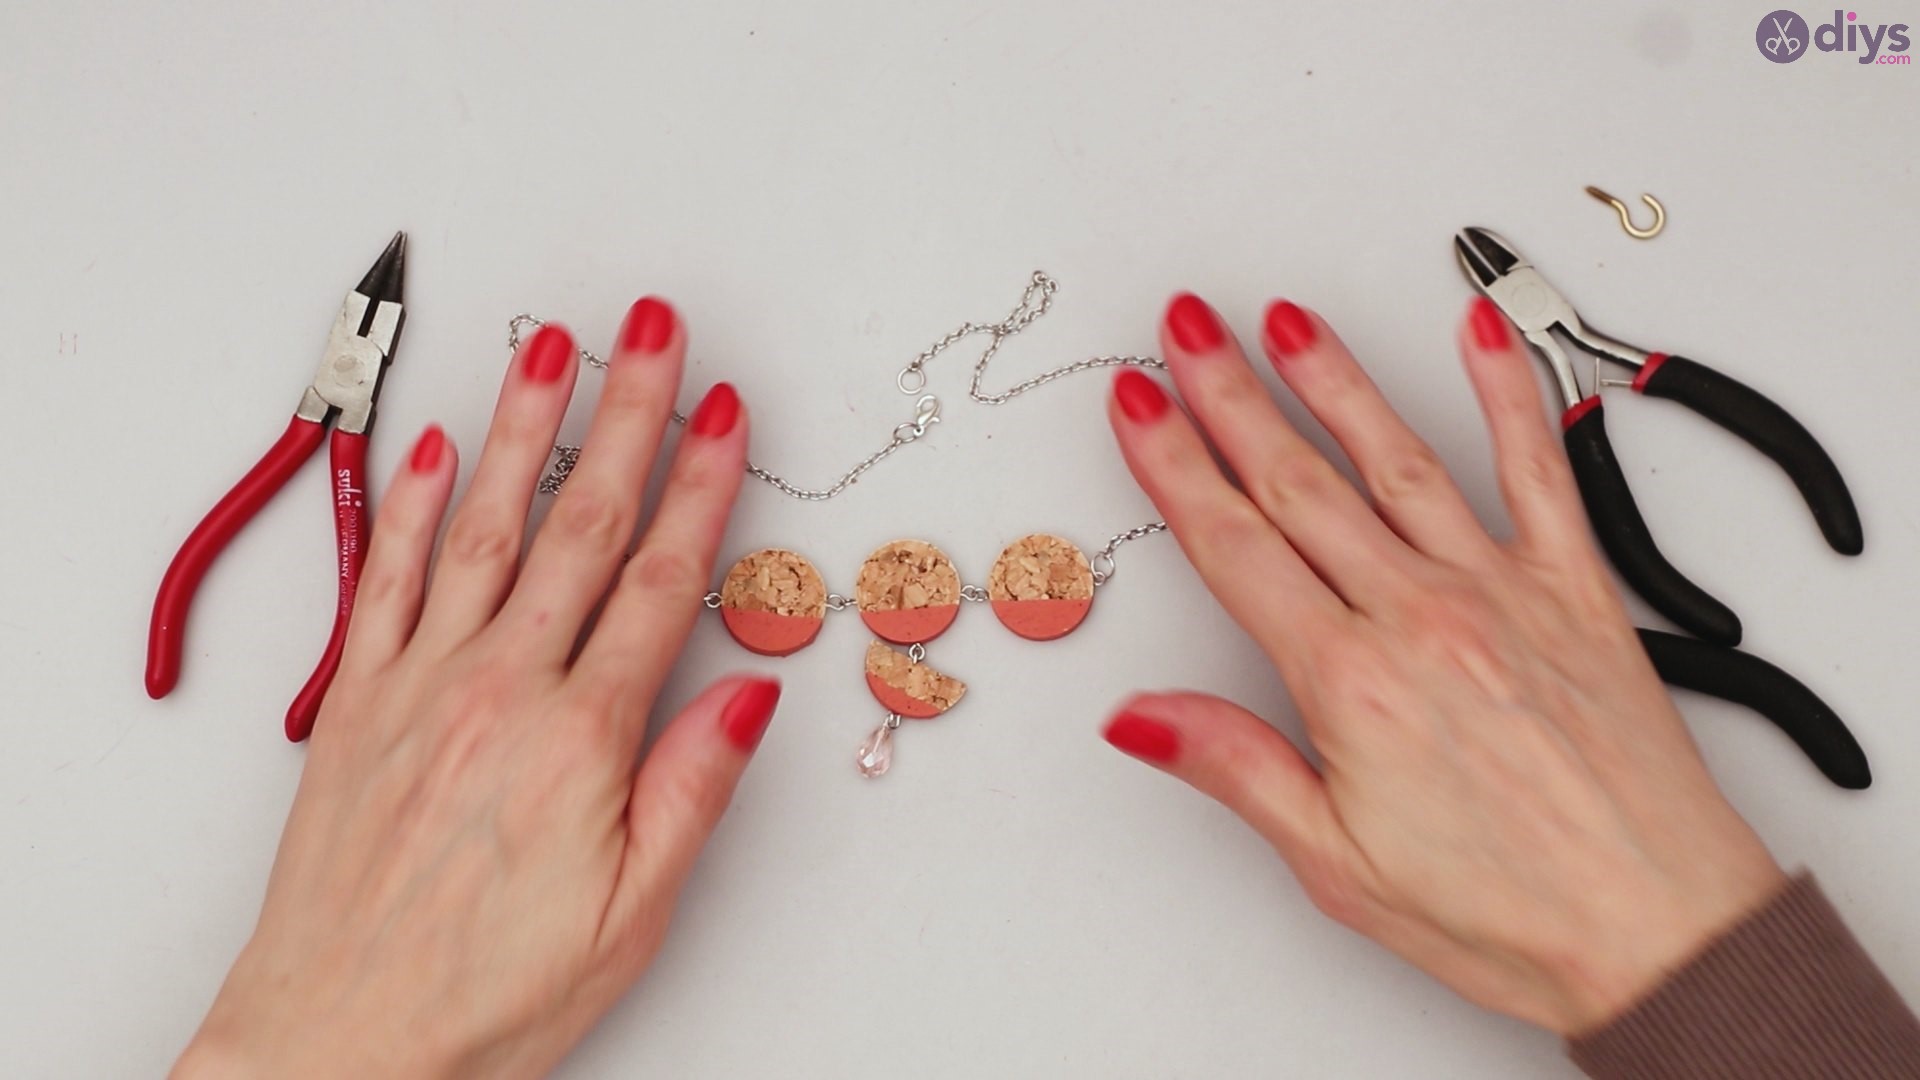
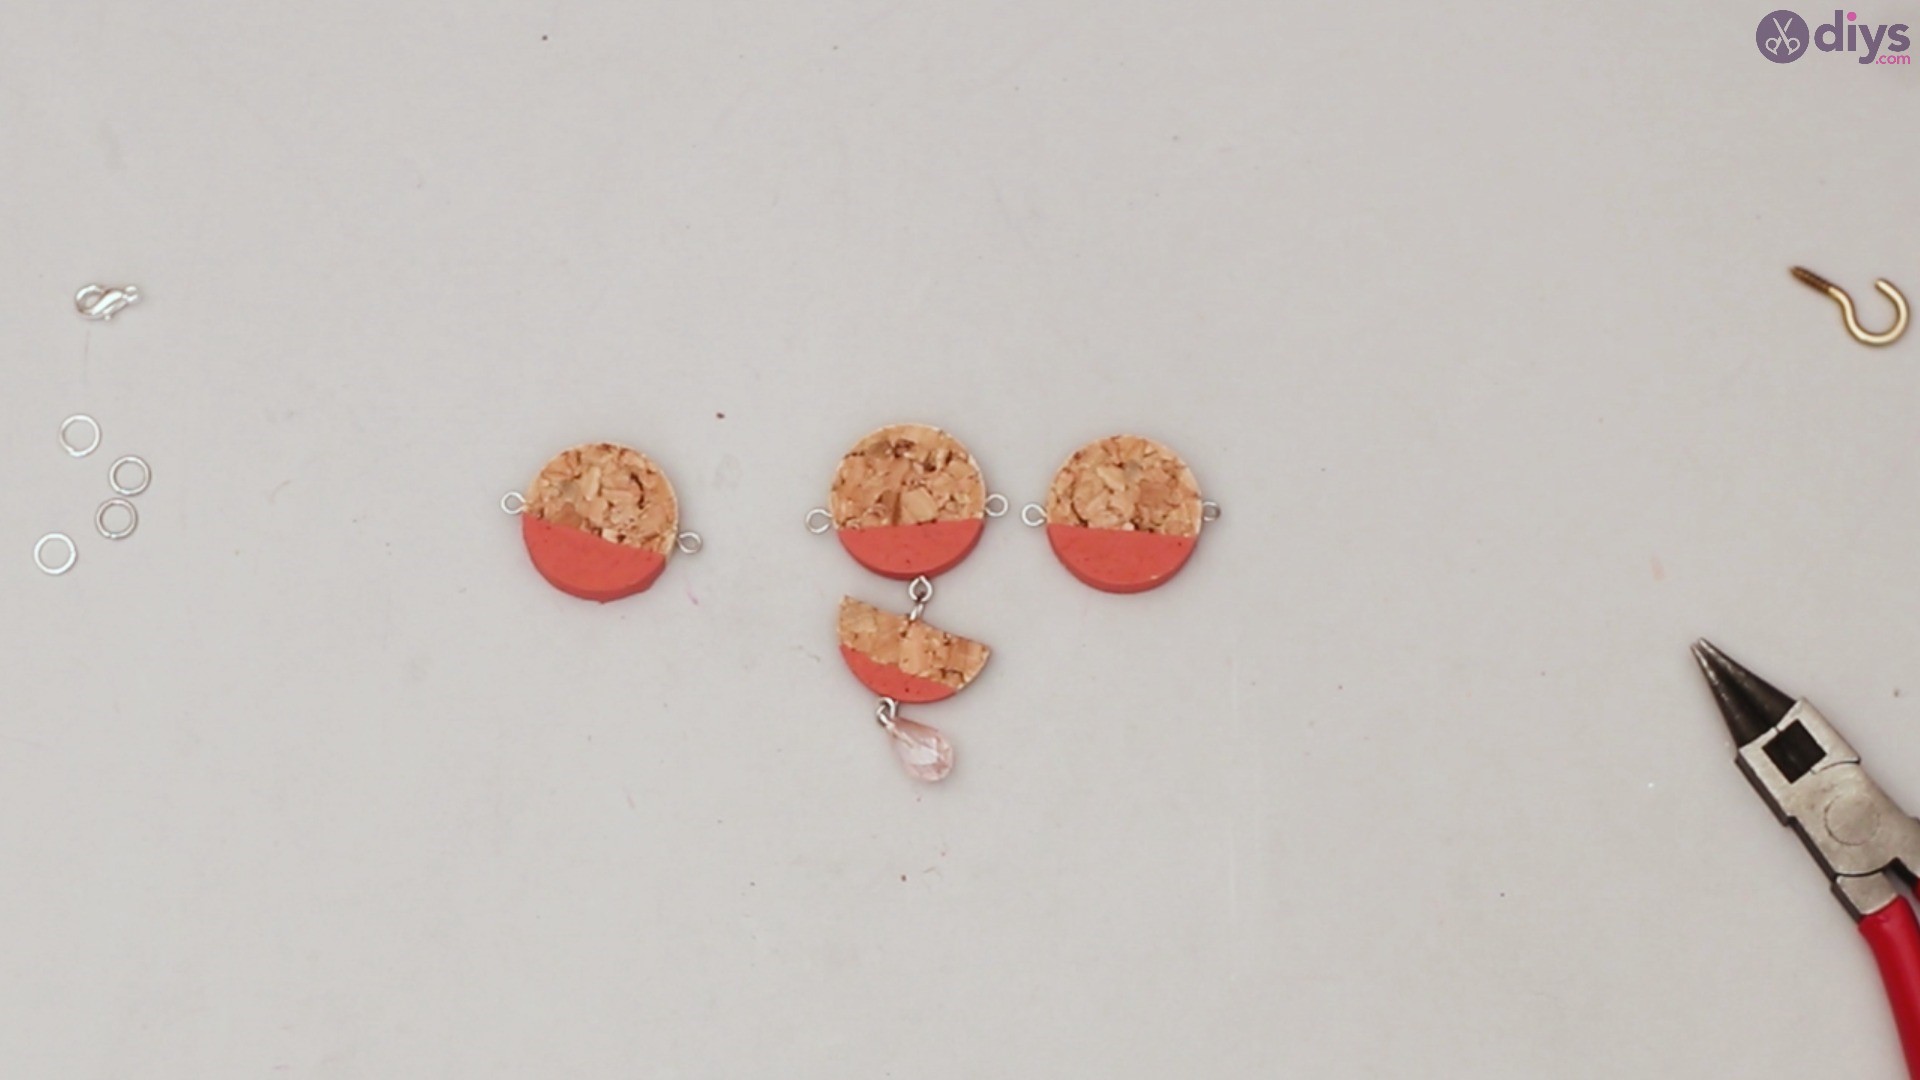
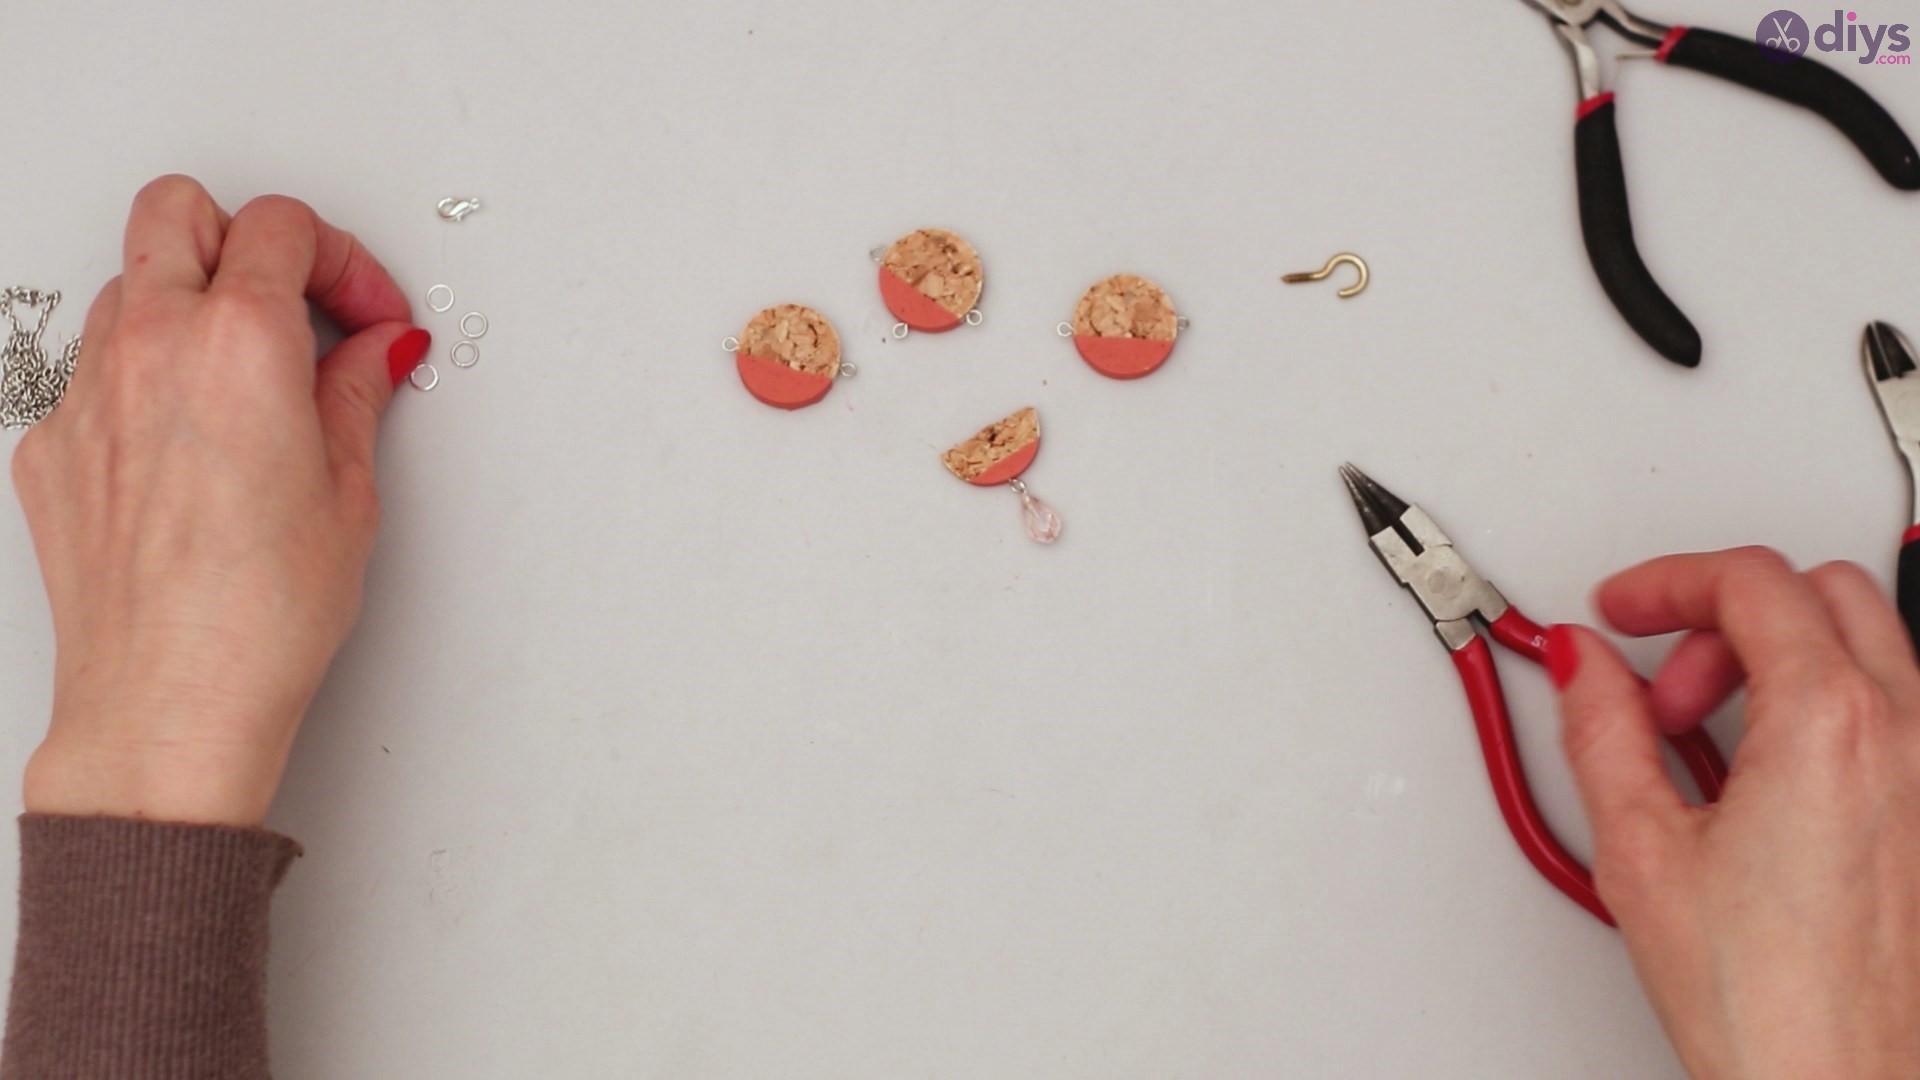
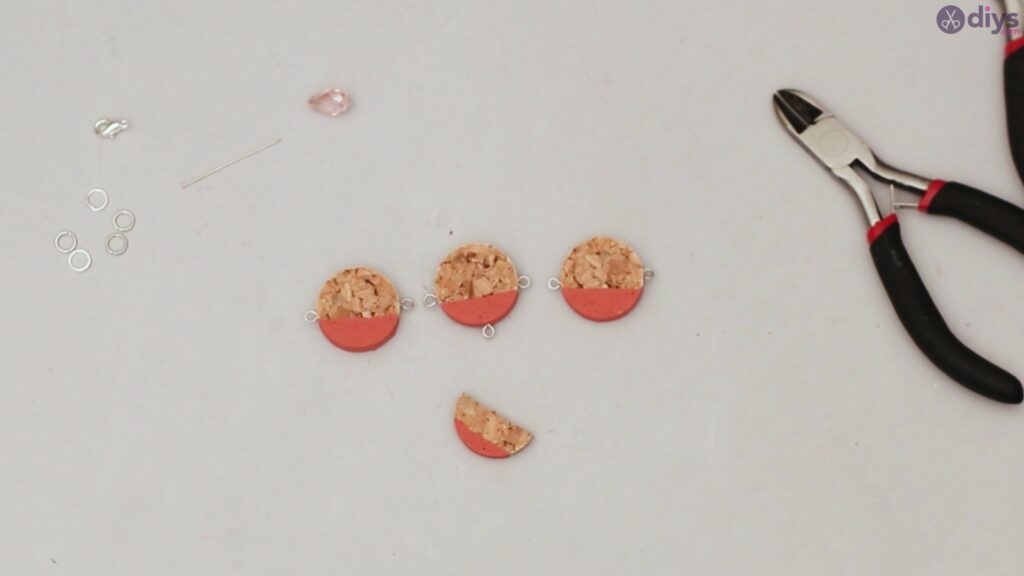
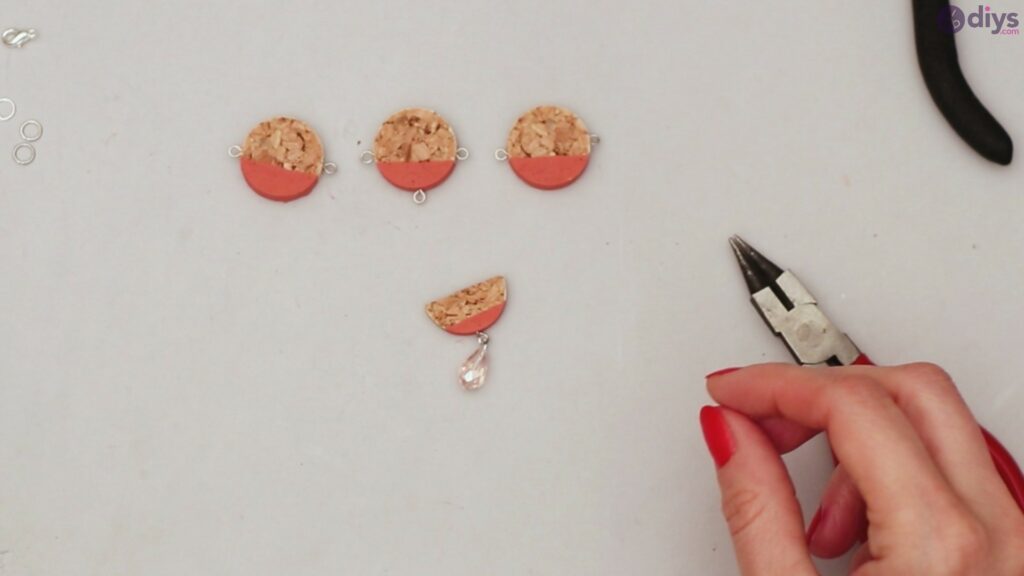
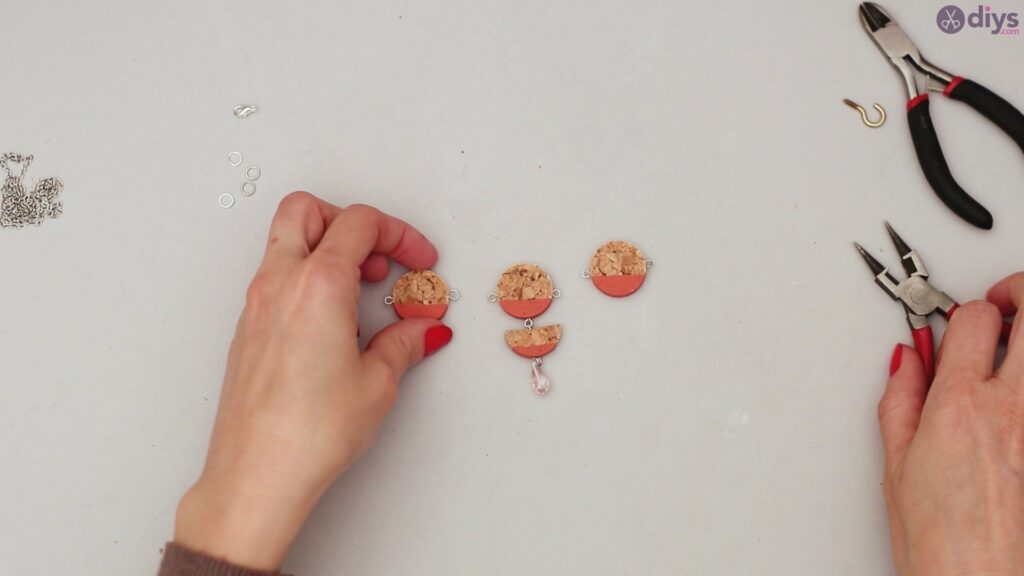
Repeat the process for the other side of the wine cork. Also, do the same for all the painted slices. One of them, which will be the middle piece, should also have a third eye pin on the bottom area, as shown in the picture below. You’ll also want to add one on the bottom of the half-circle too.
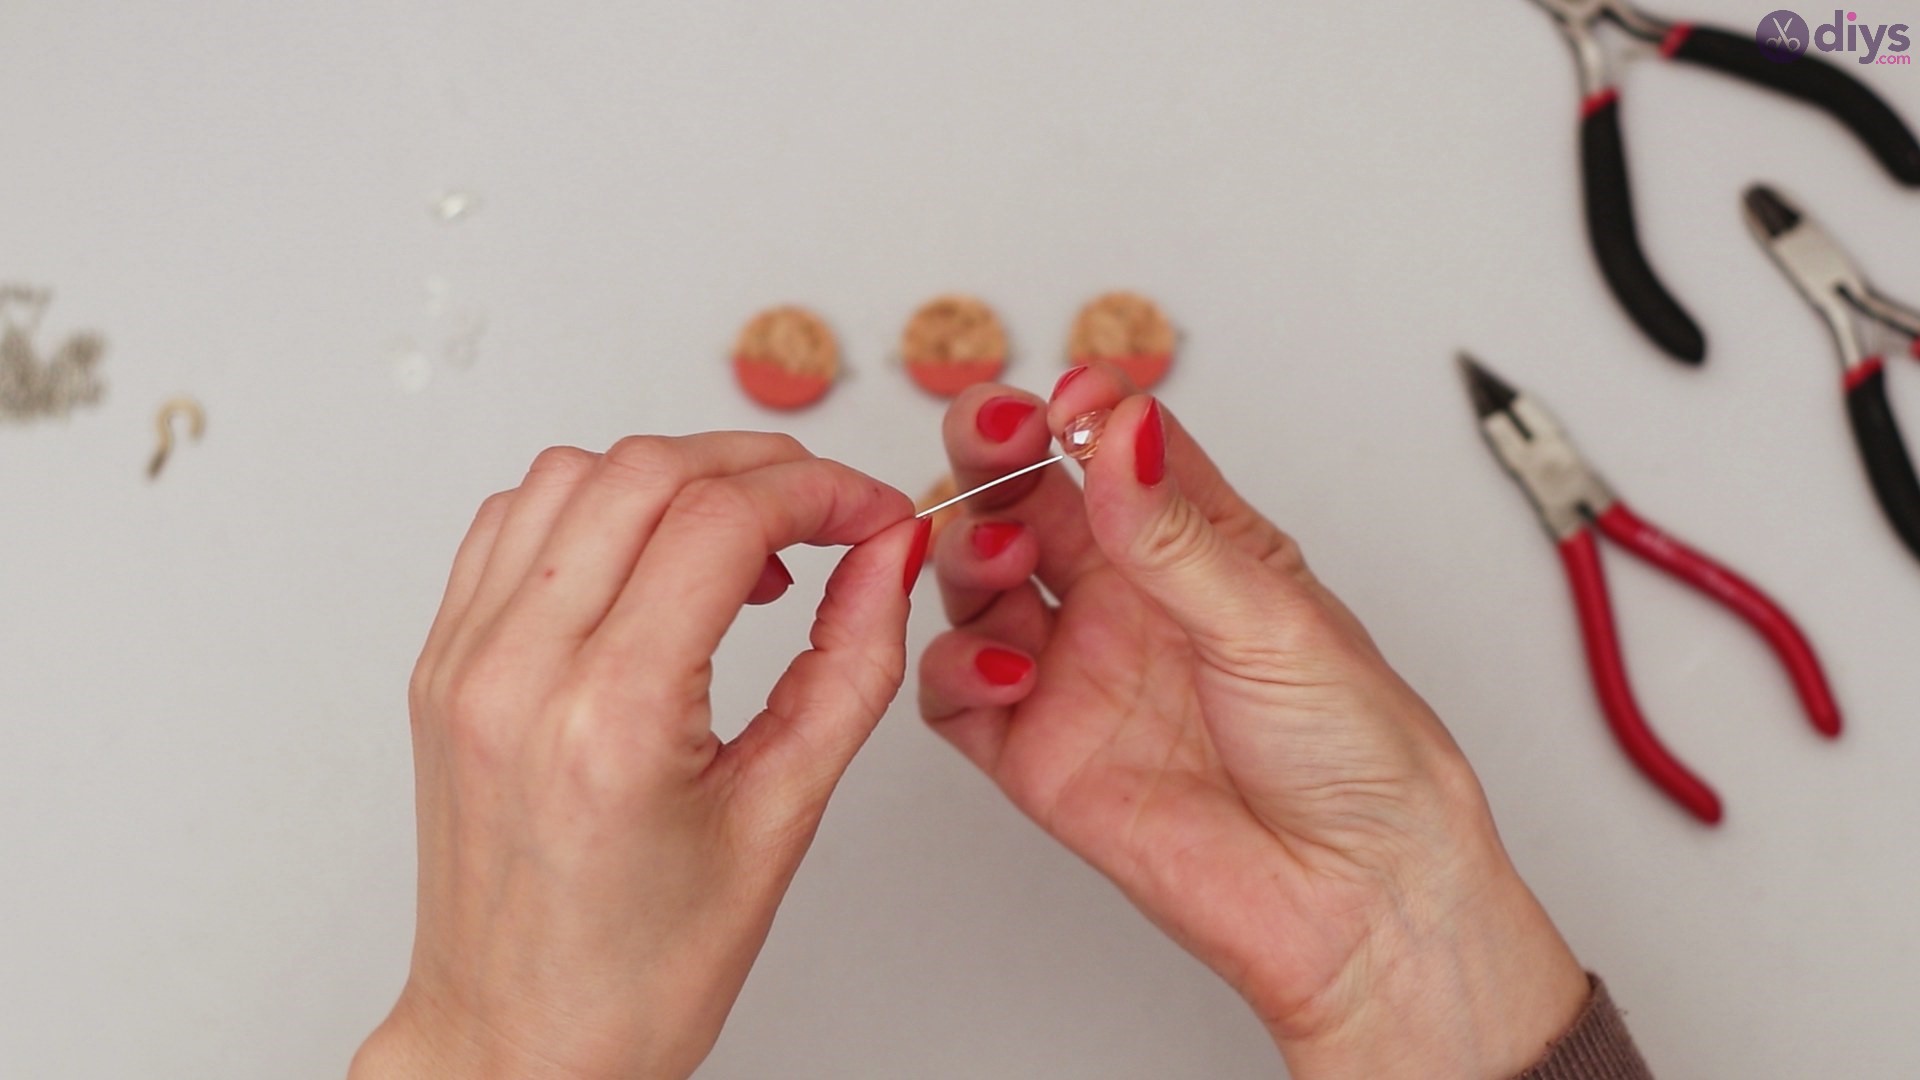
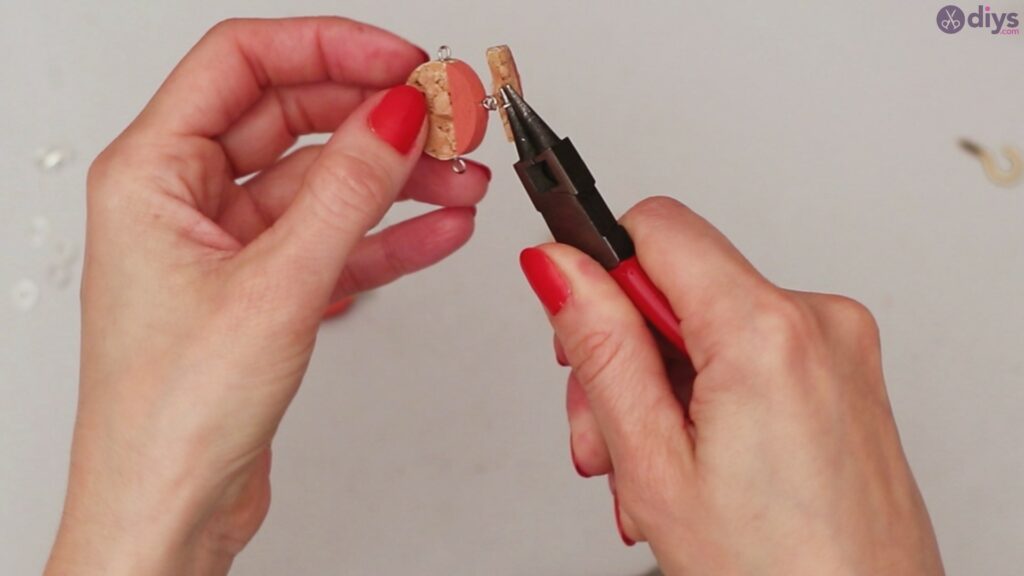
Step 4: Prepare the Pearl Element
Next, we’ll need to get the tear-shaped pearl and the head pin. Pass the pin through the pearl, with the flat head at the bottom of the pearl.
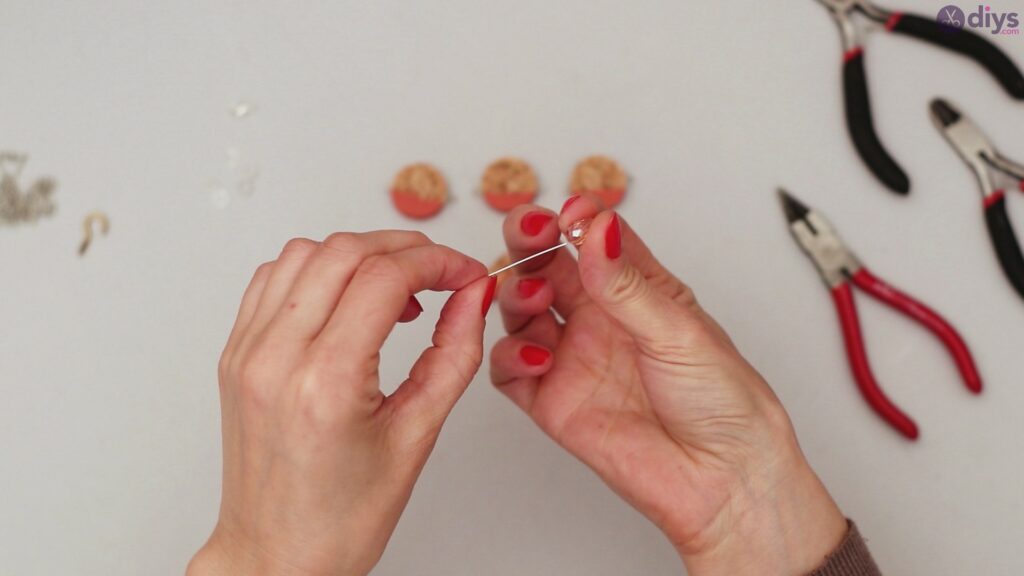

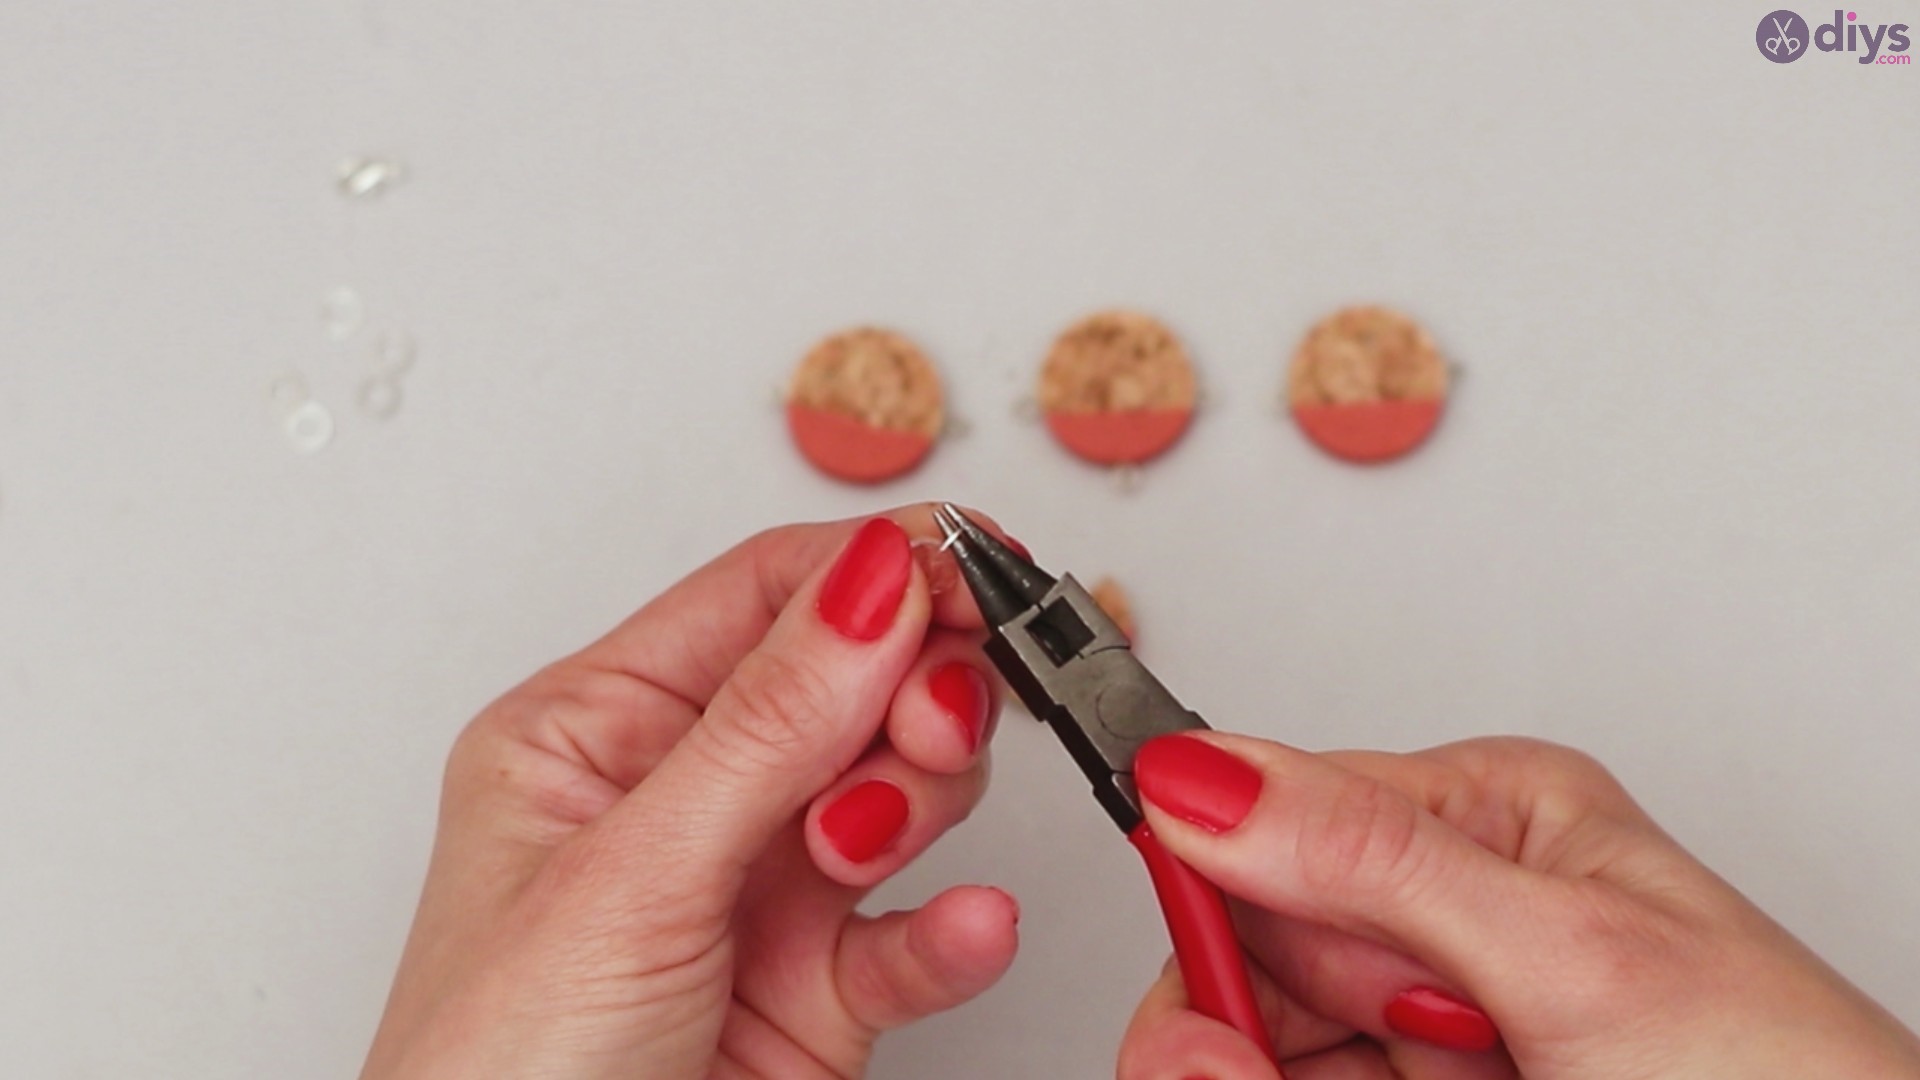
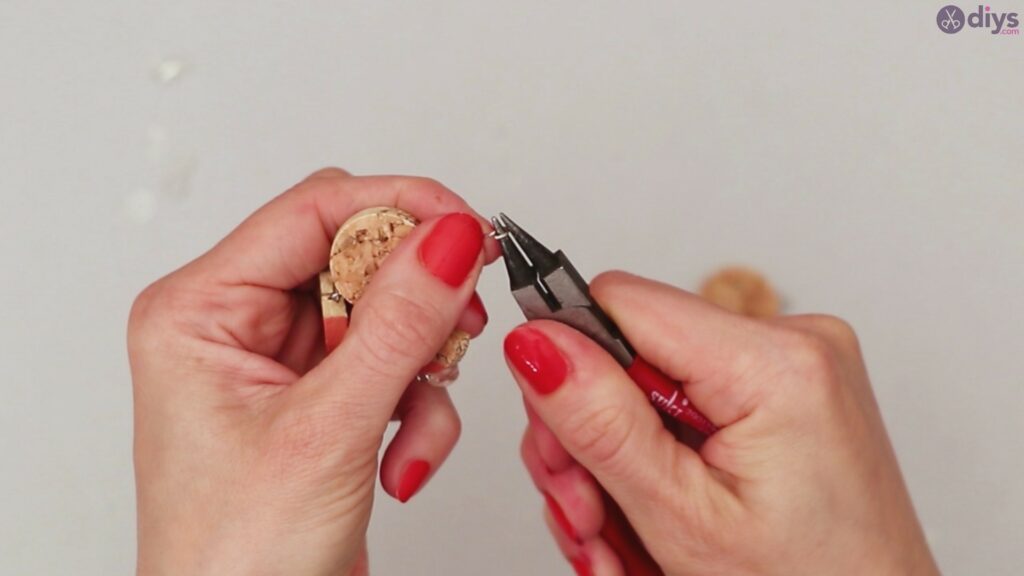
Depending on what size head pins you have, you’ll want to get your pliers and cut the excess material. You want to have enough to create a loop.

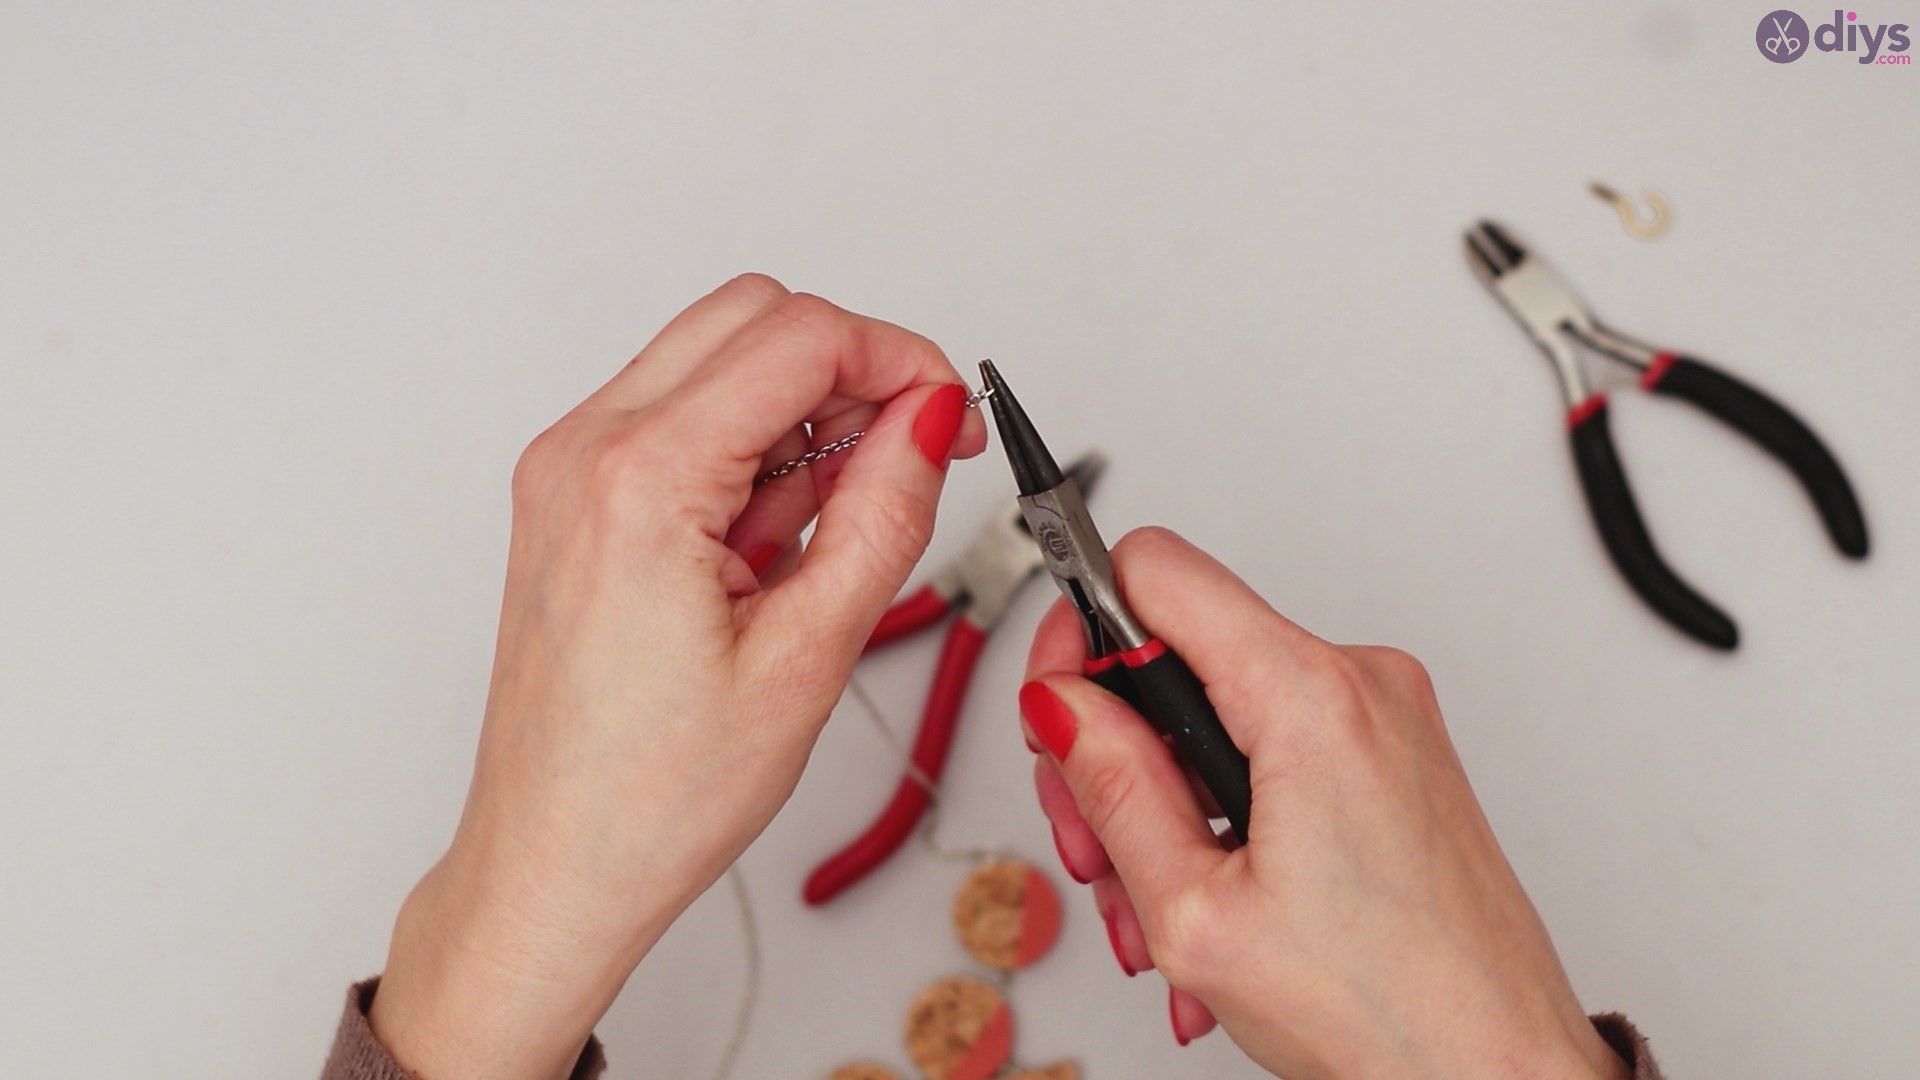
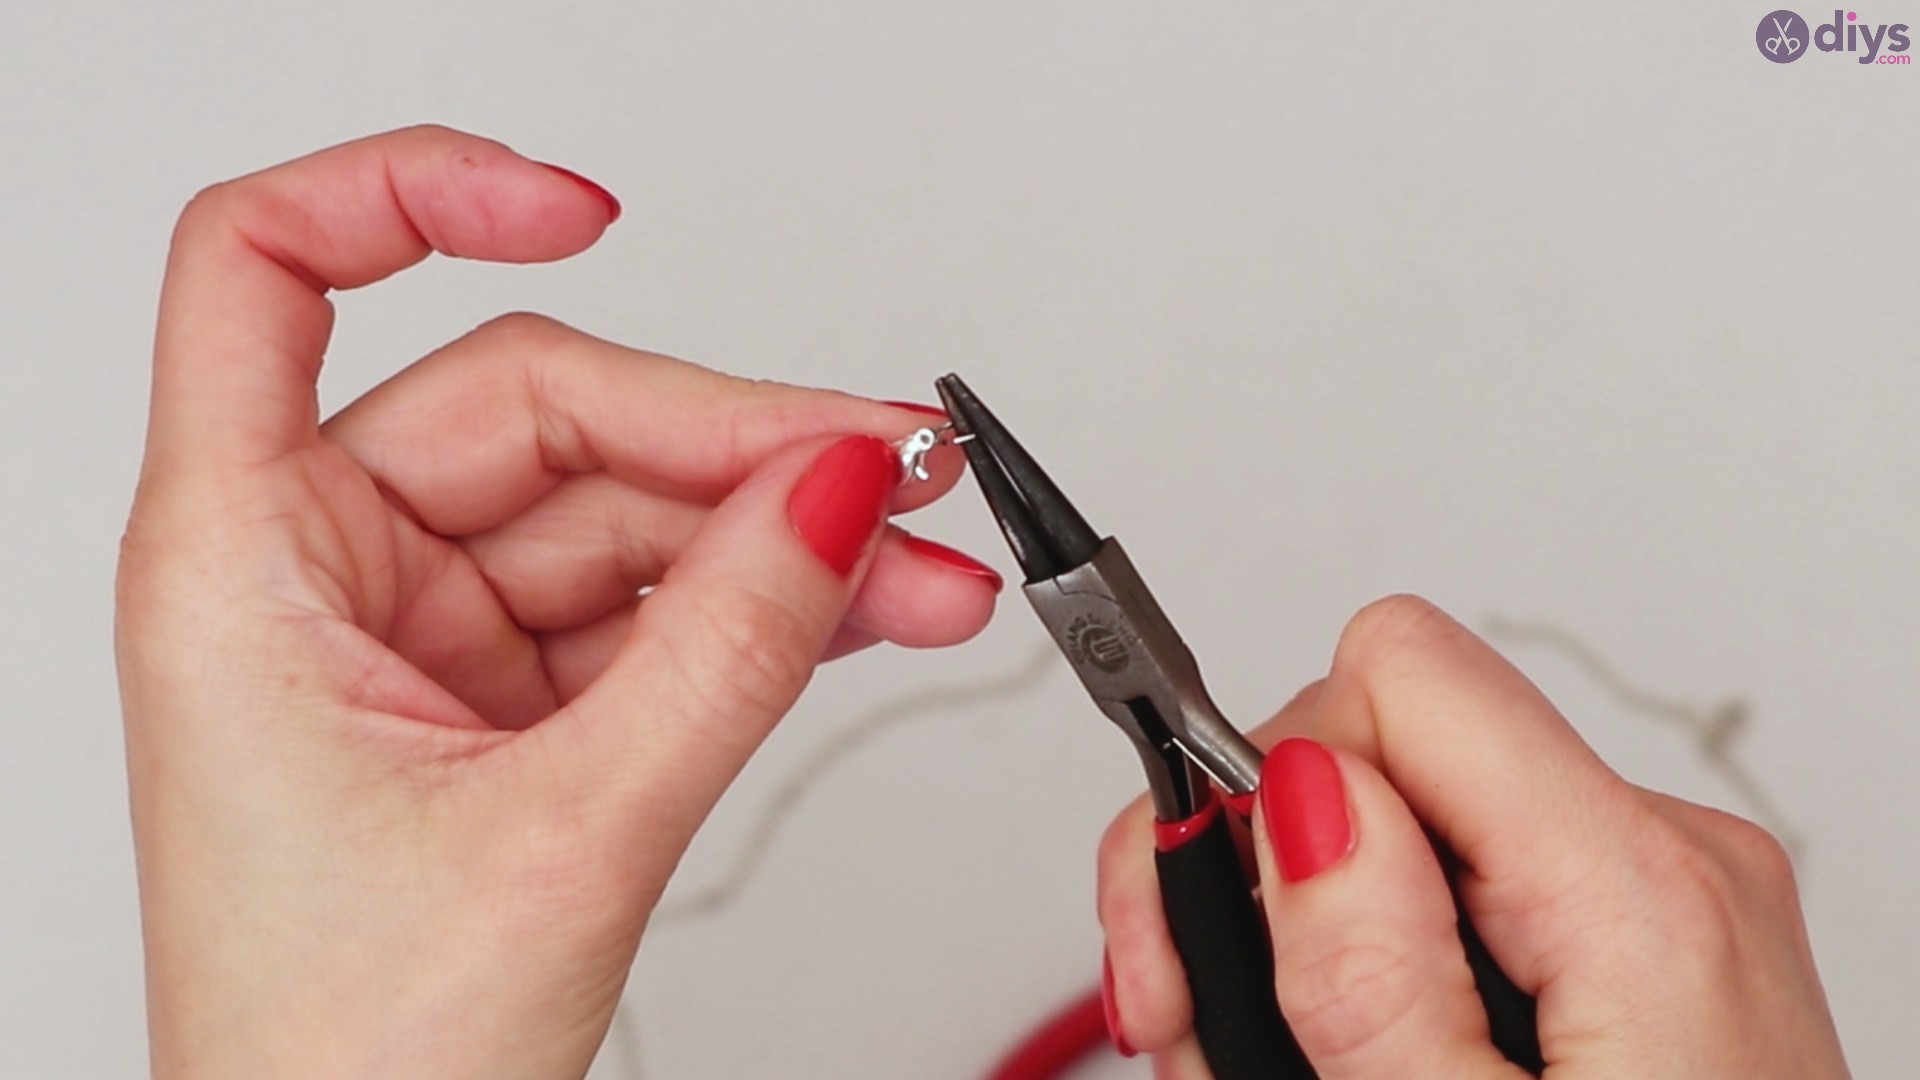
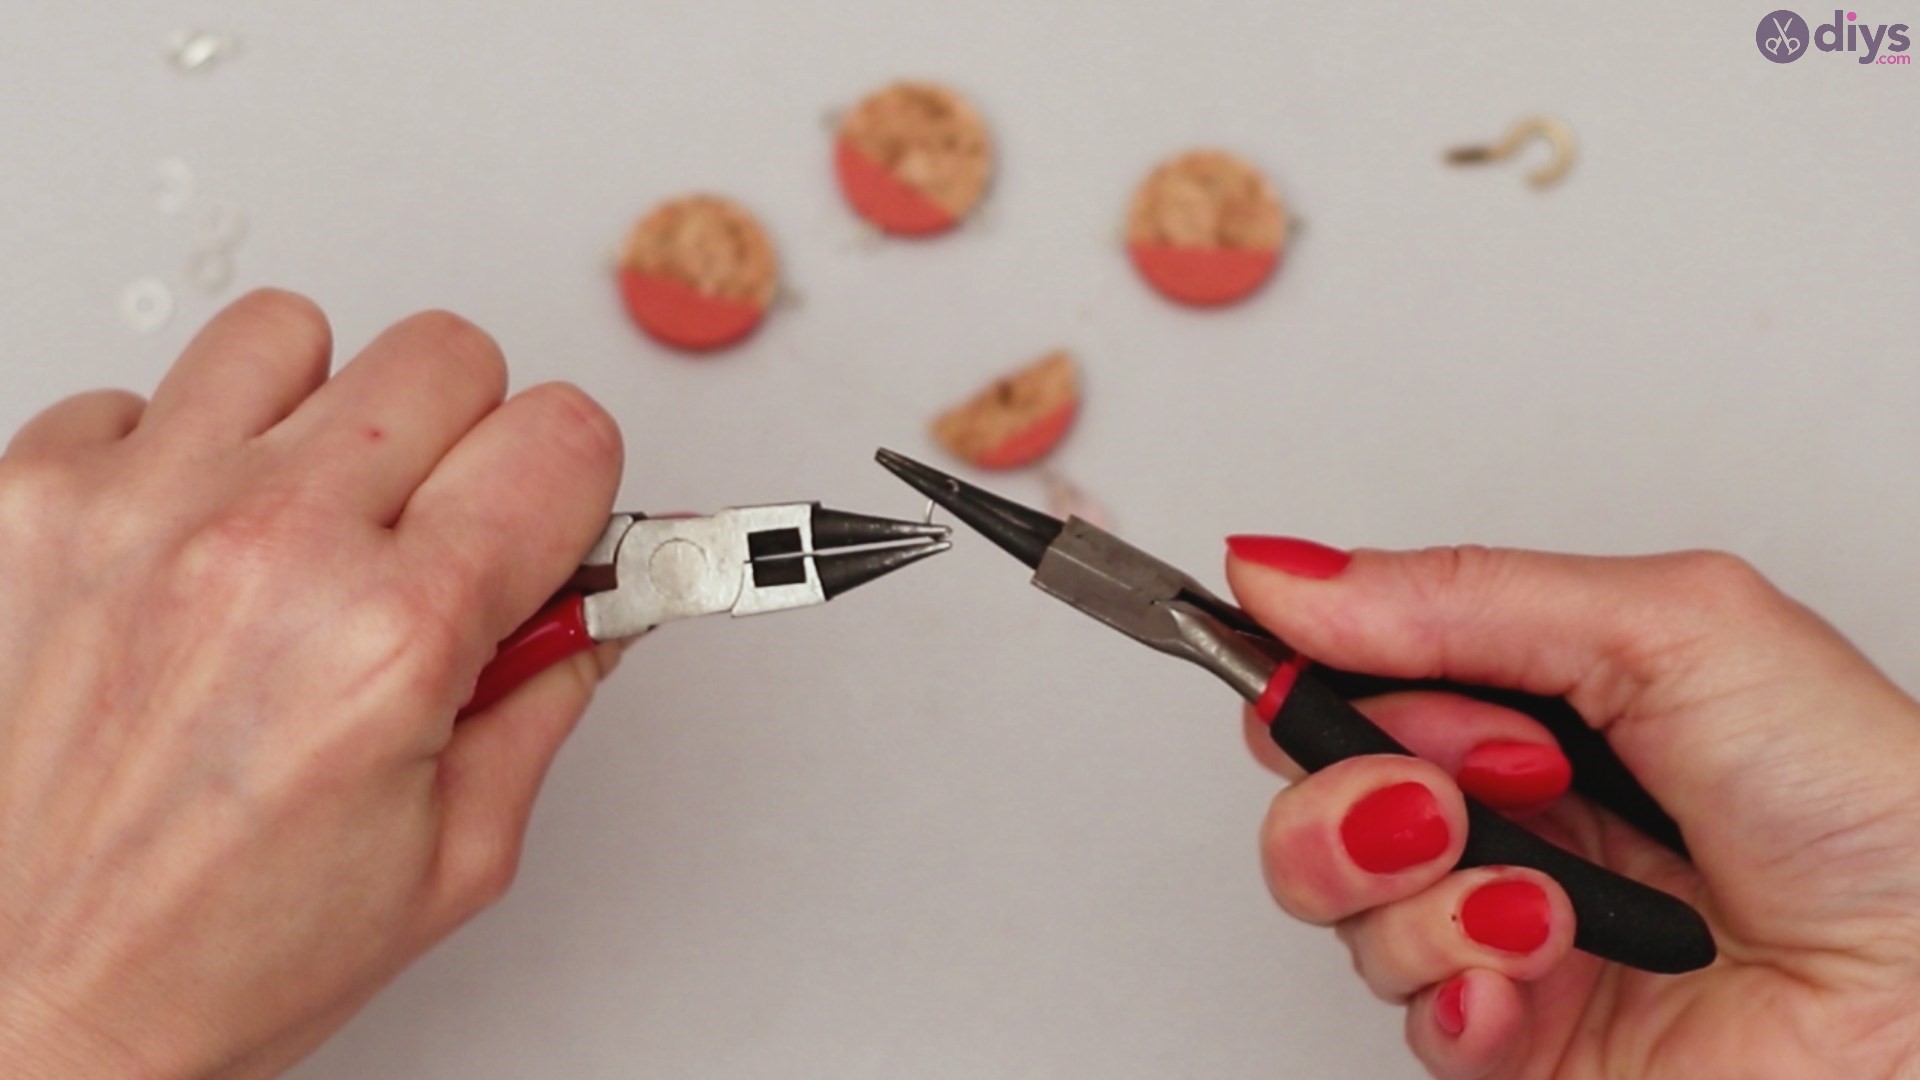
Get the round-nose pliers again, hold the edge of the head pin and turn to create a loop. You want the loop to be medium-sized, so choose the spot on the pliers wisely before bending the material.

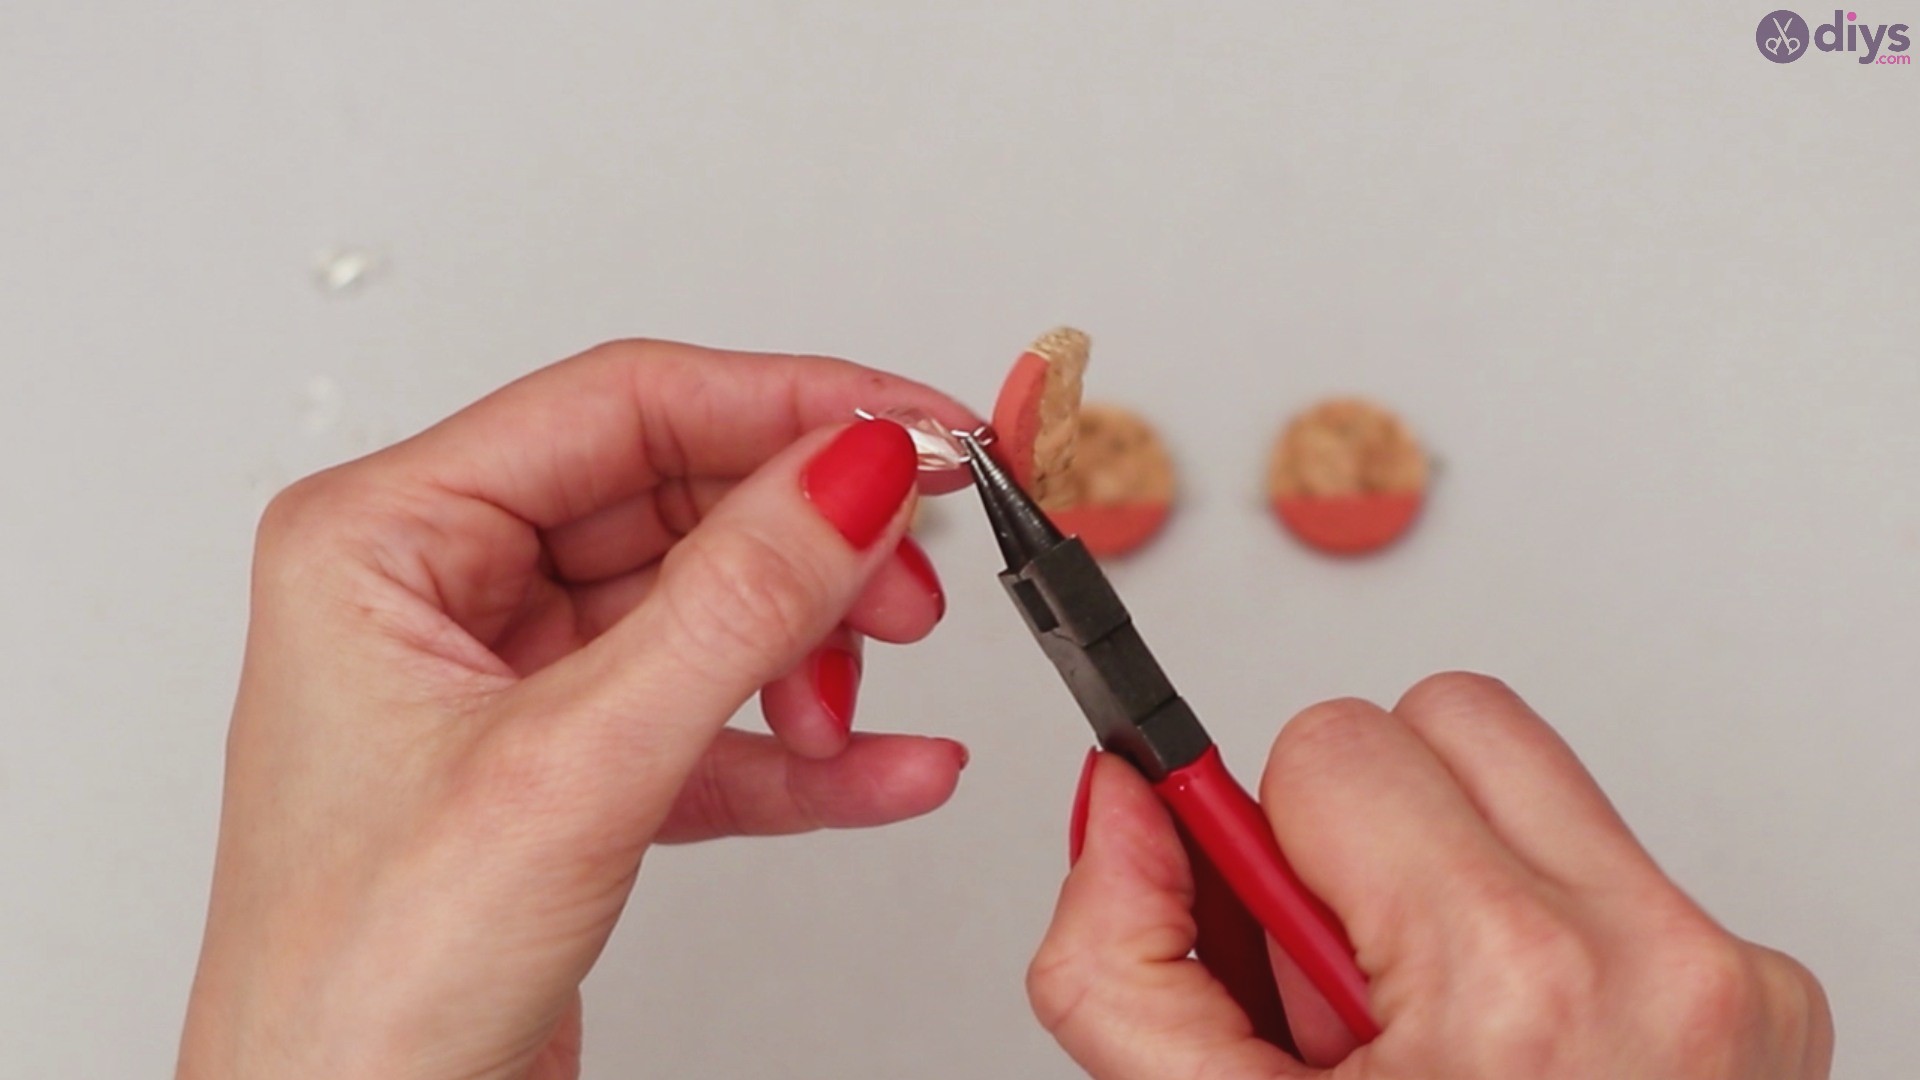
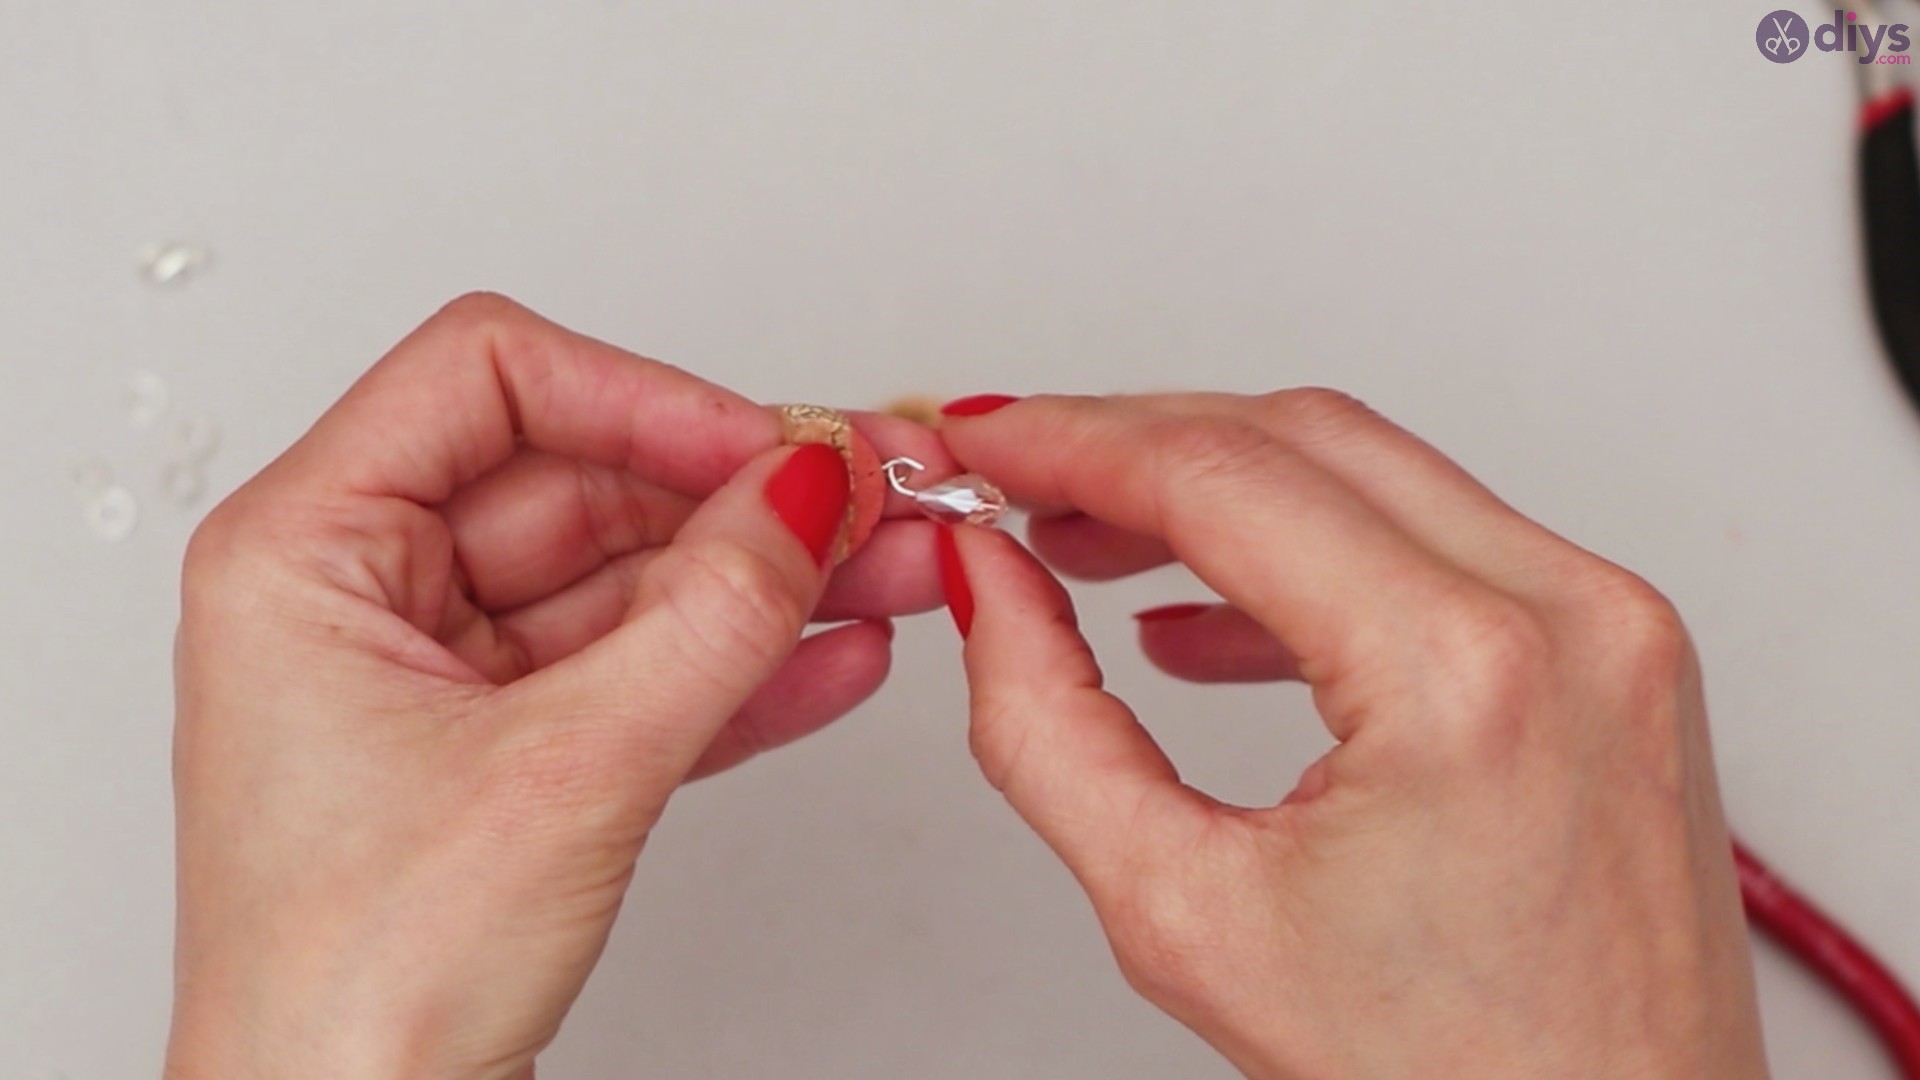
Without closing the loop, push the end through the eye pin attached to the half-circle wine cork.
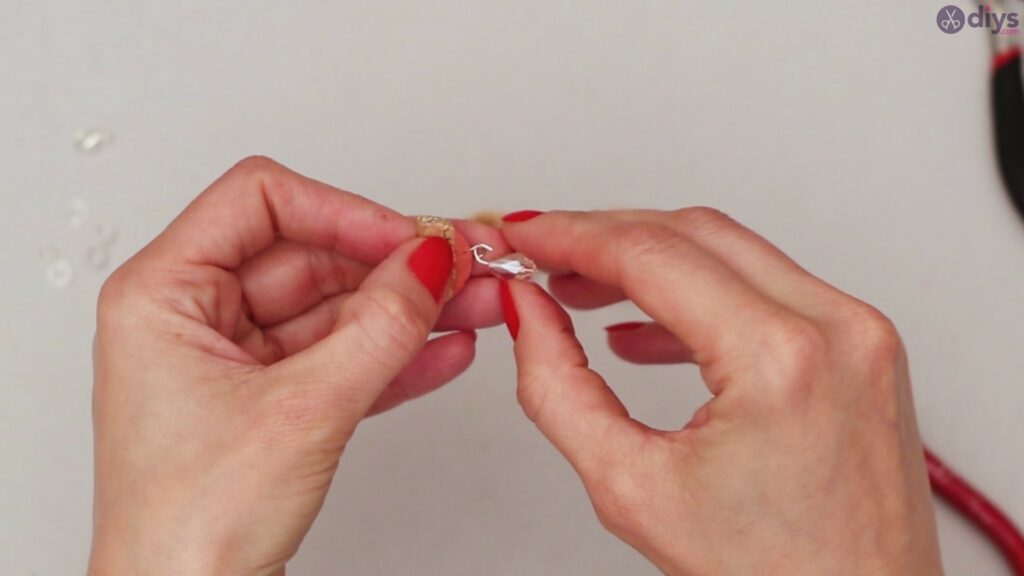
Grab your round-nose pliers once more and close the loop attached to the pearl, so it won’t fall at any point in time. Make sure you close the gap neatly.

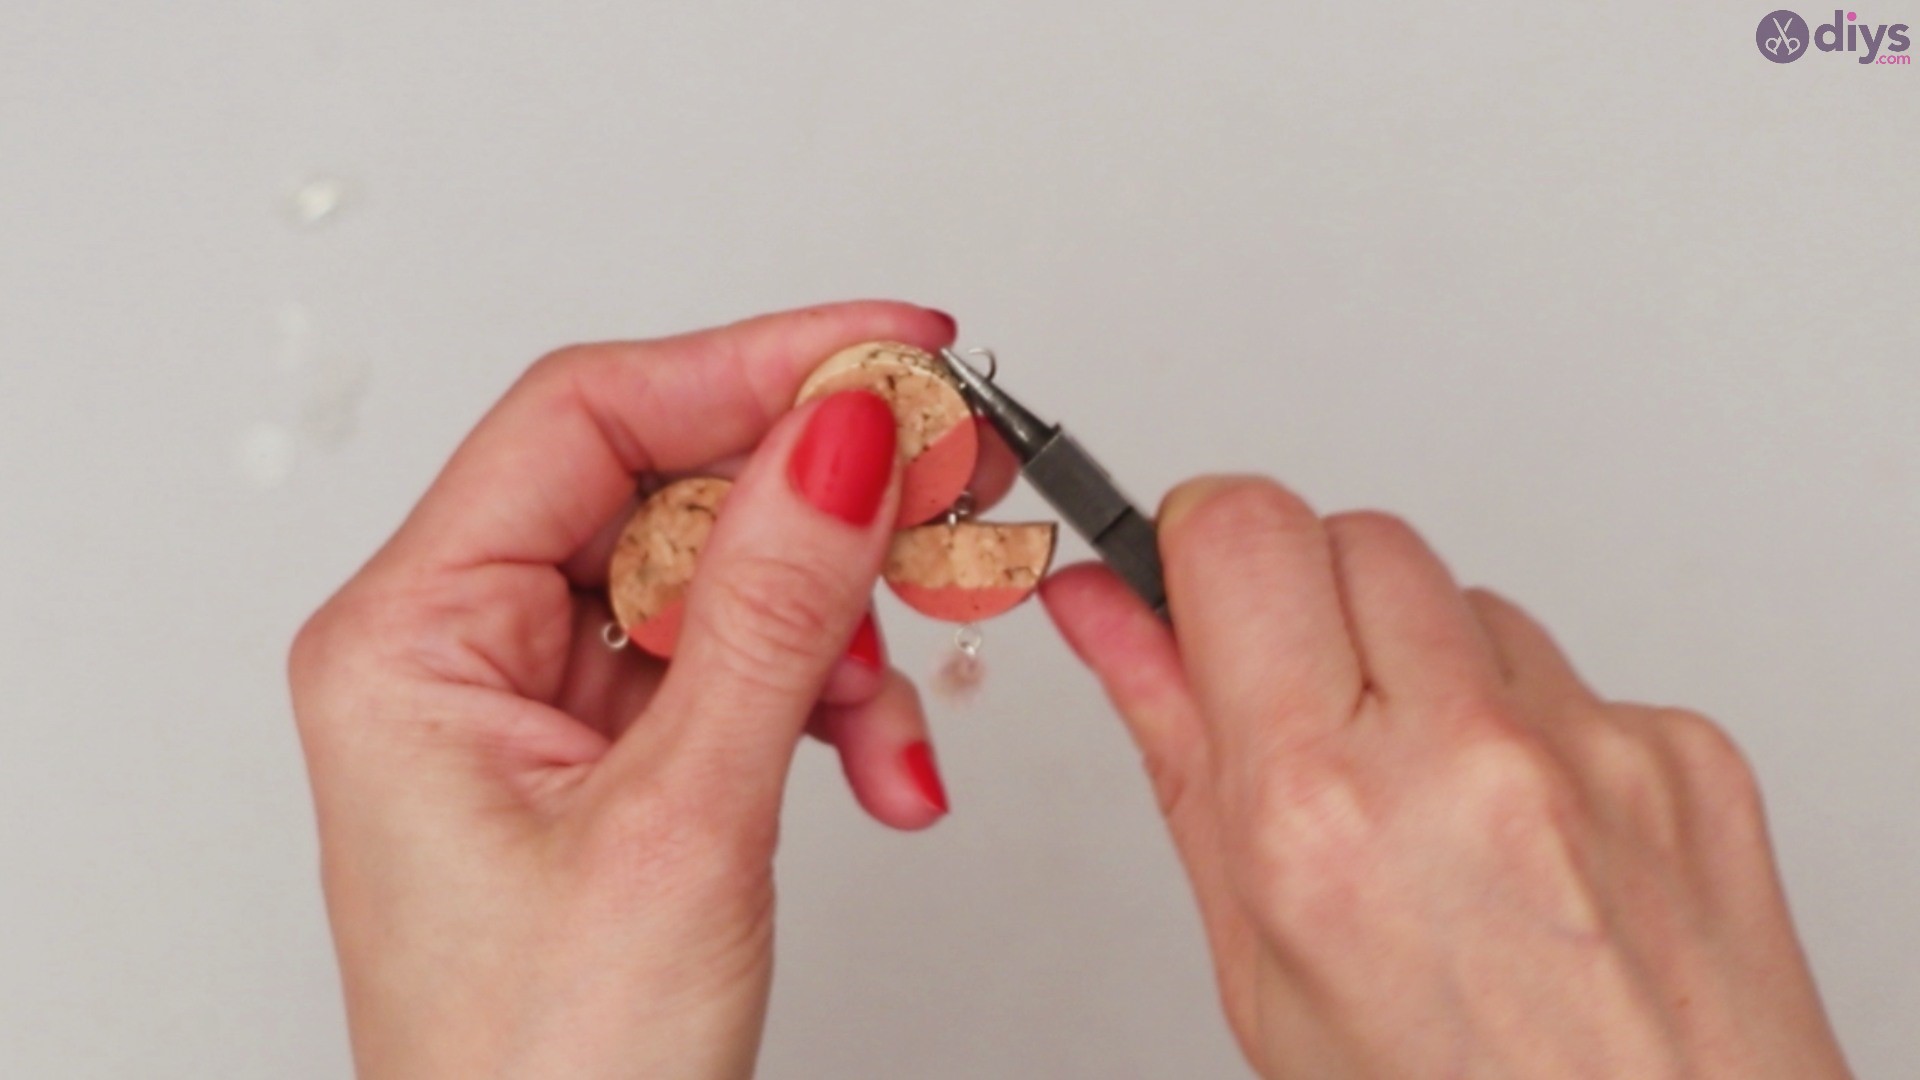
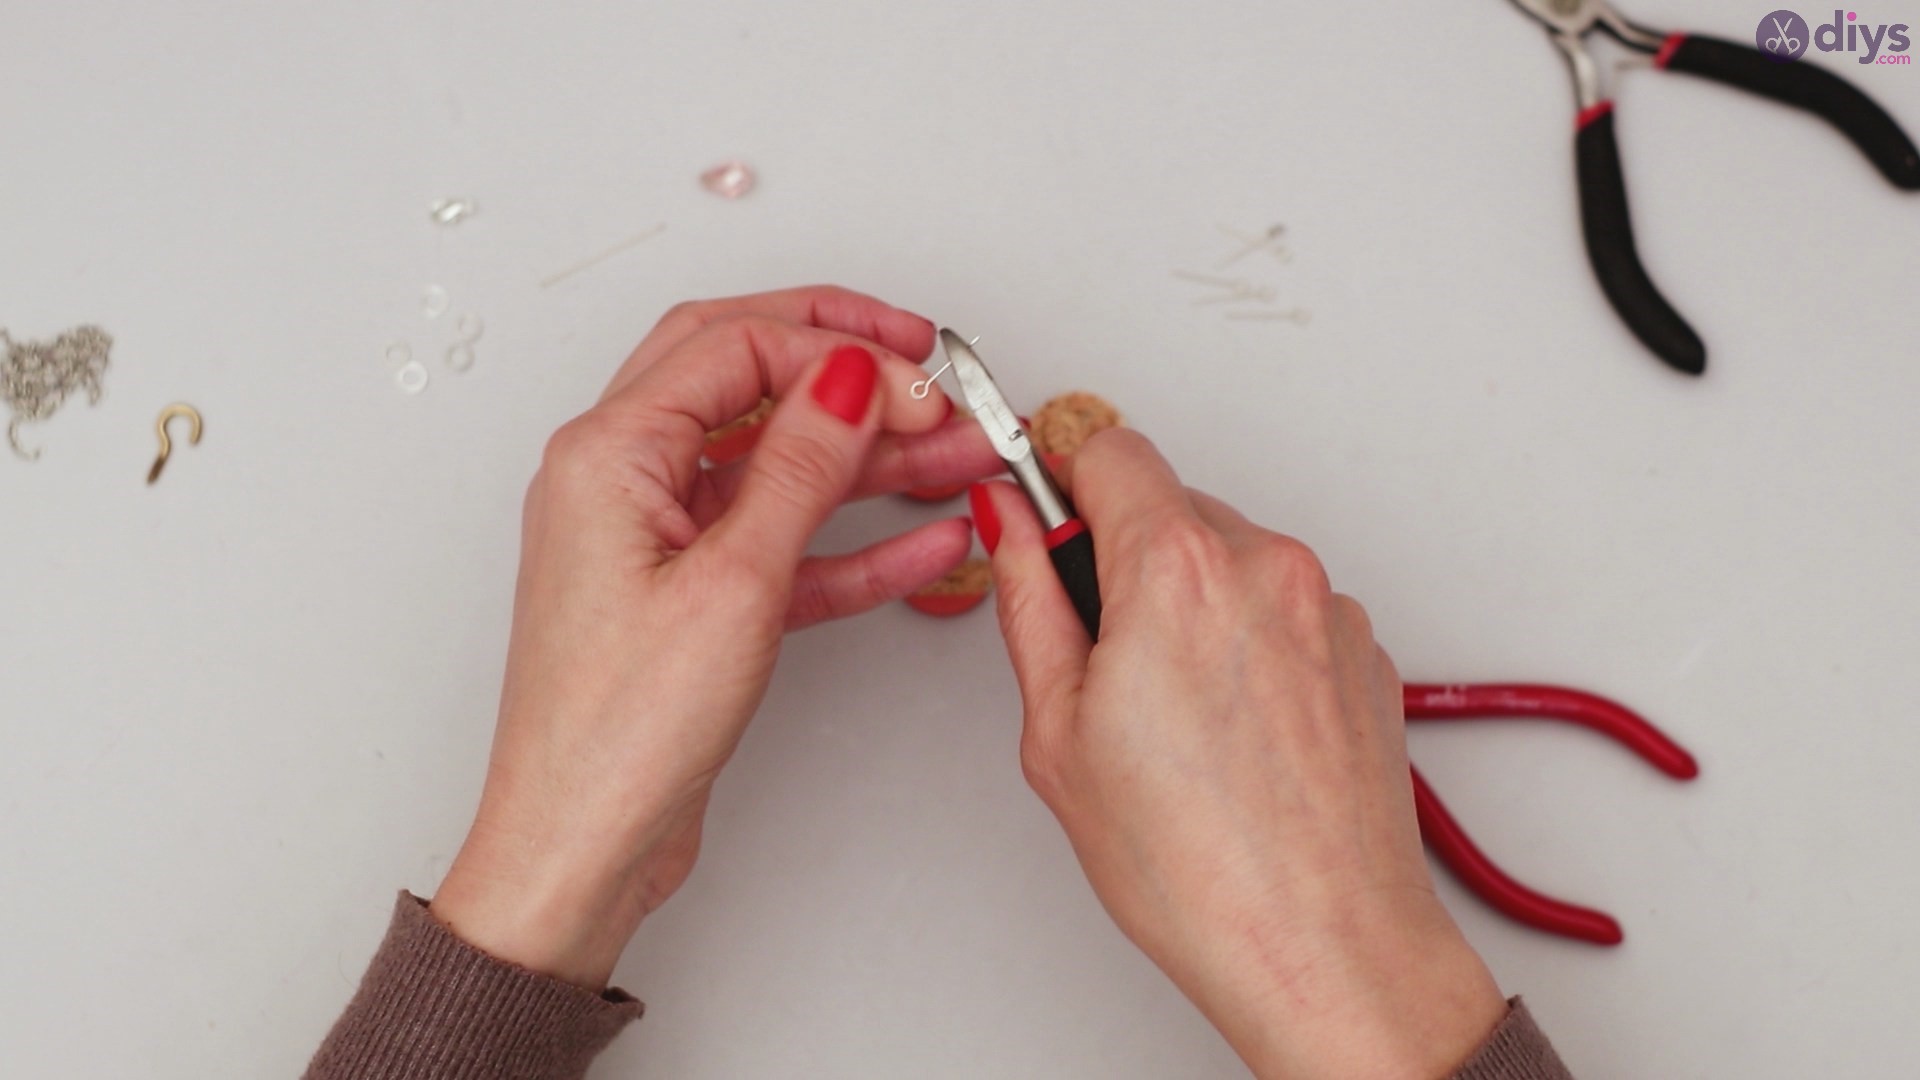
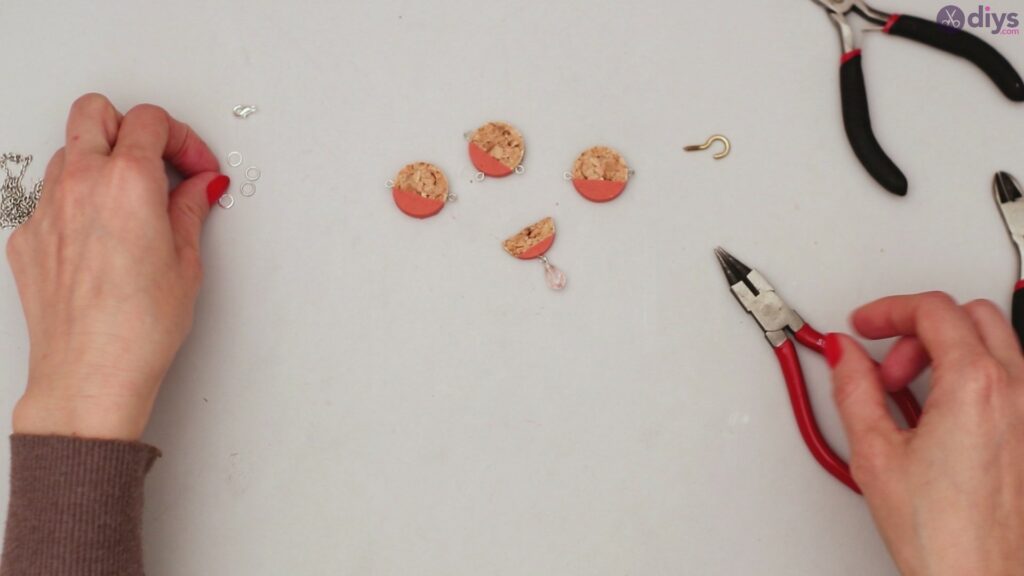
Step 5: Start Assembling the Necklace
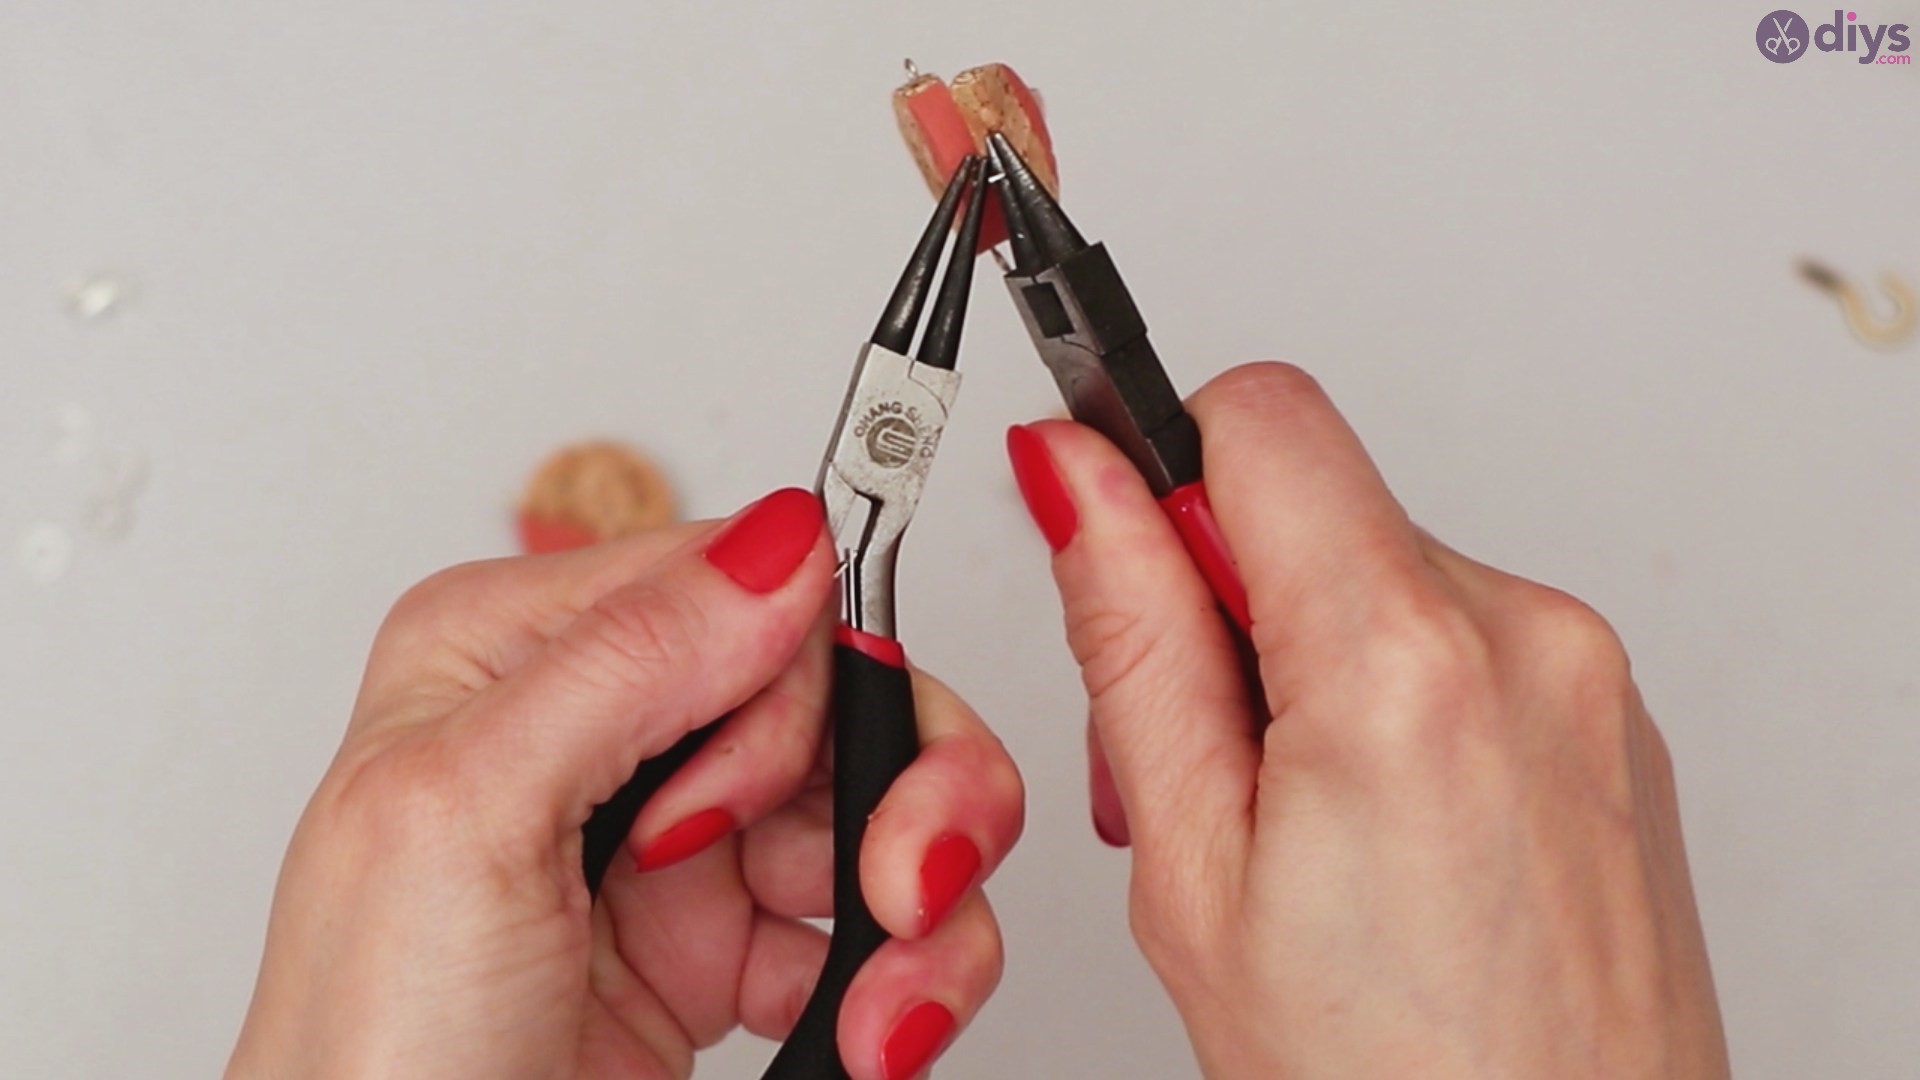
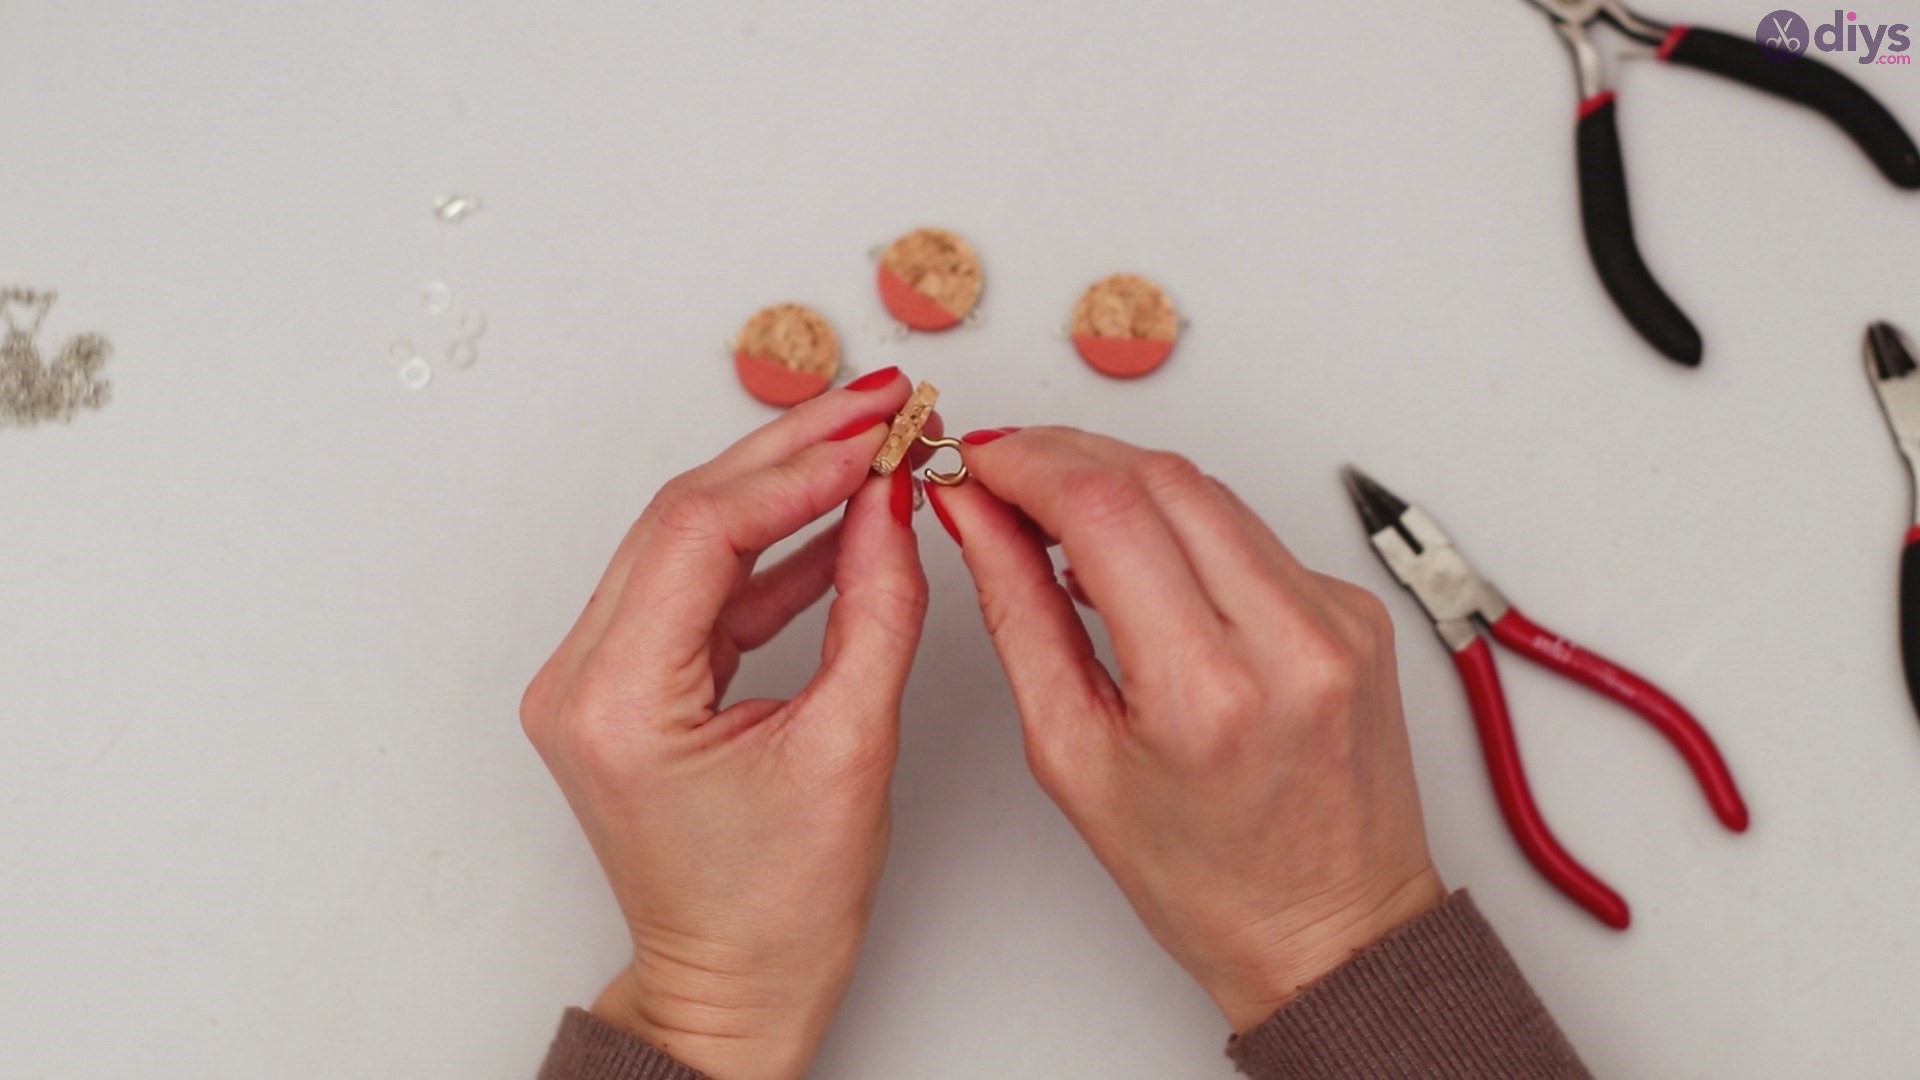
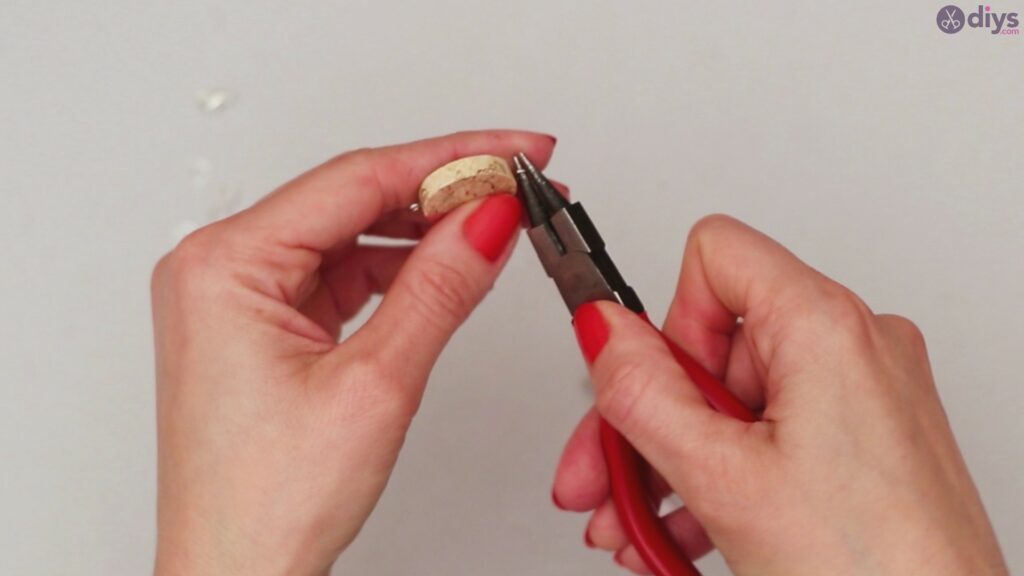
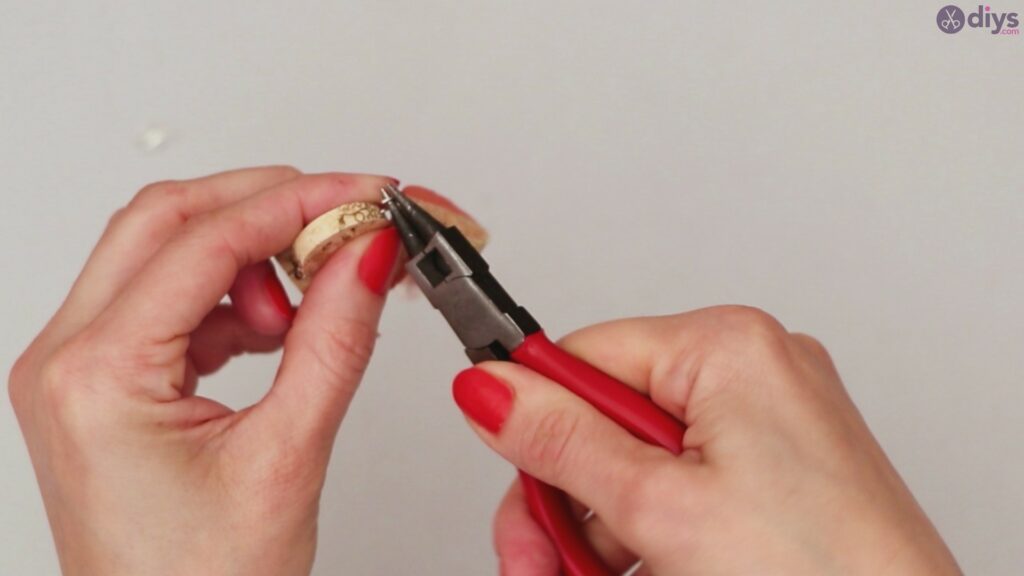
For the next step, you’re going to grab thatscrew eye pin and drill a hole in the half-circle wine cork slice. Make sure you’re pushing the pin in the top middle area of the cork. Once you’ve drilled to the other end, you can take the screw eye pin out.

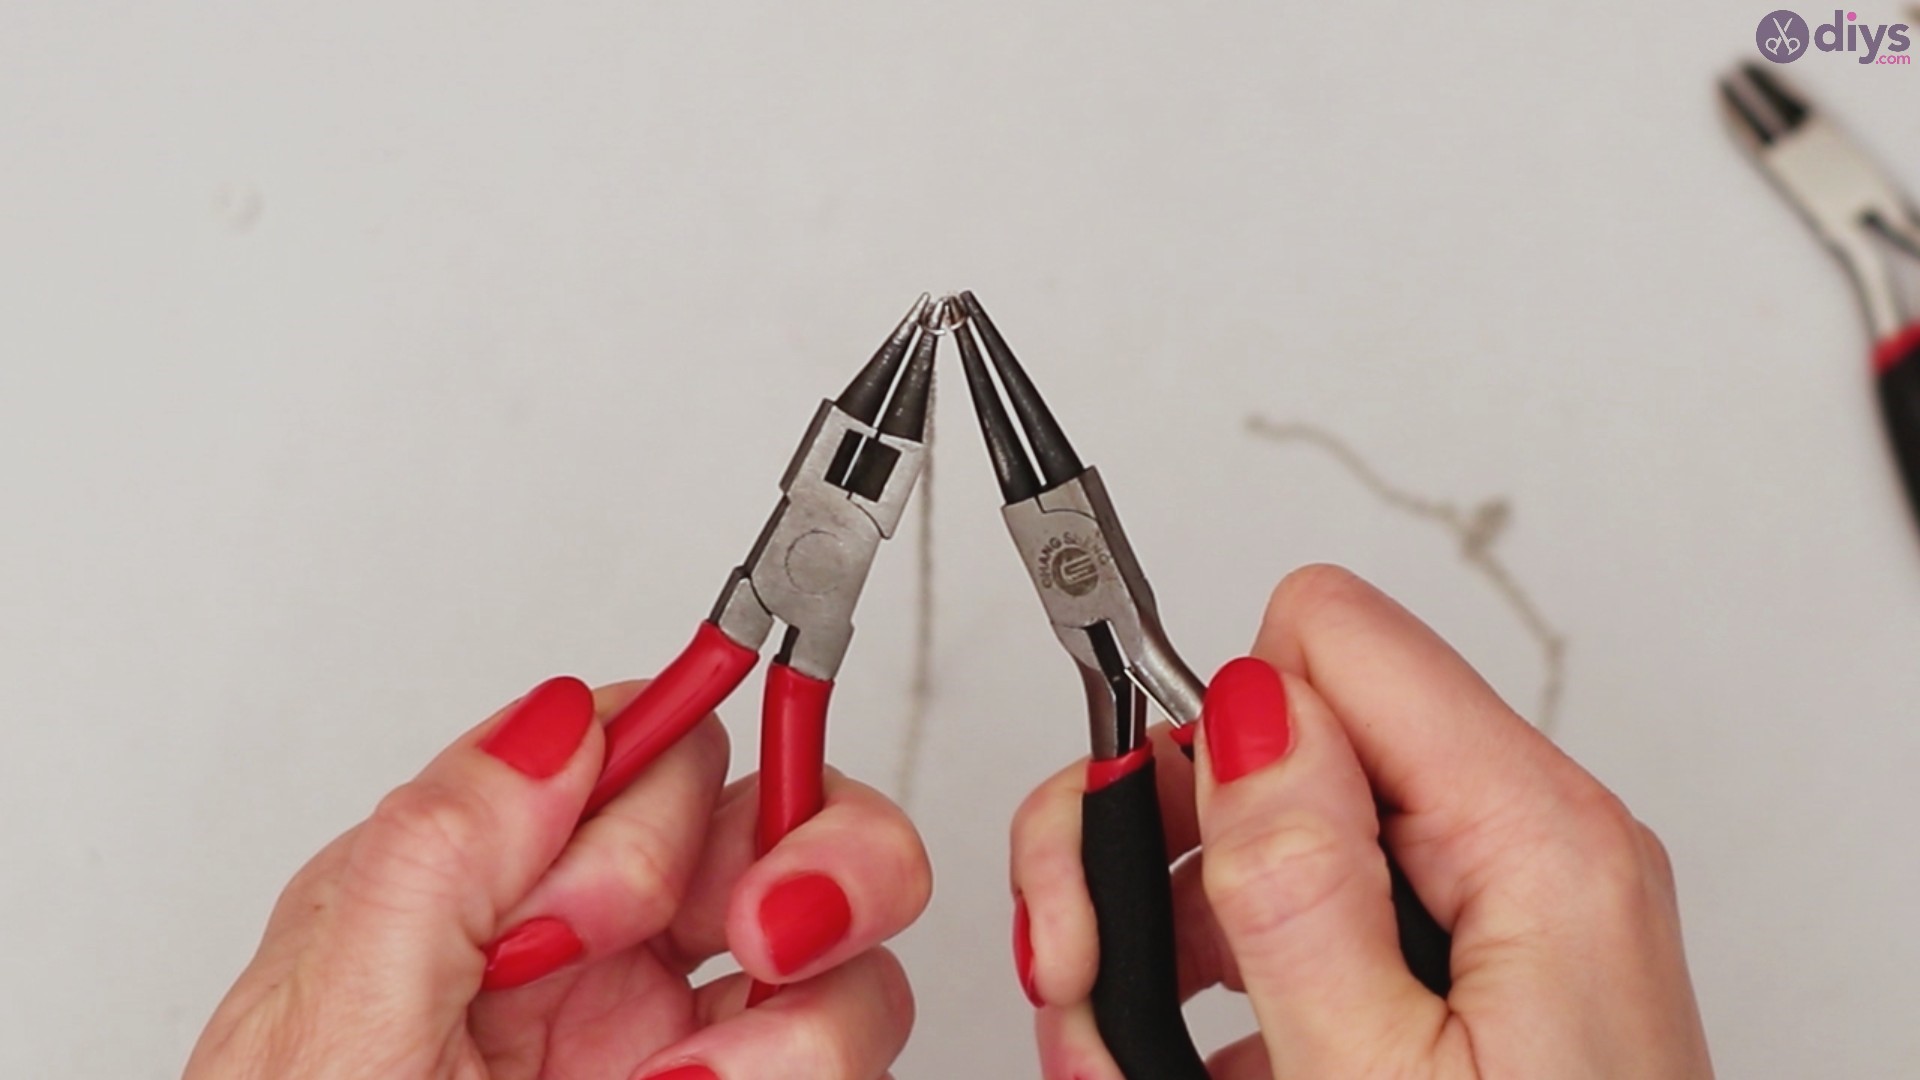
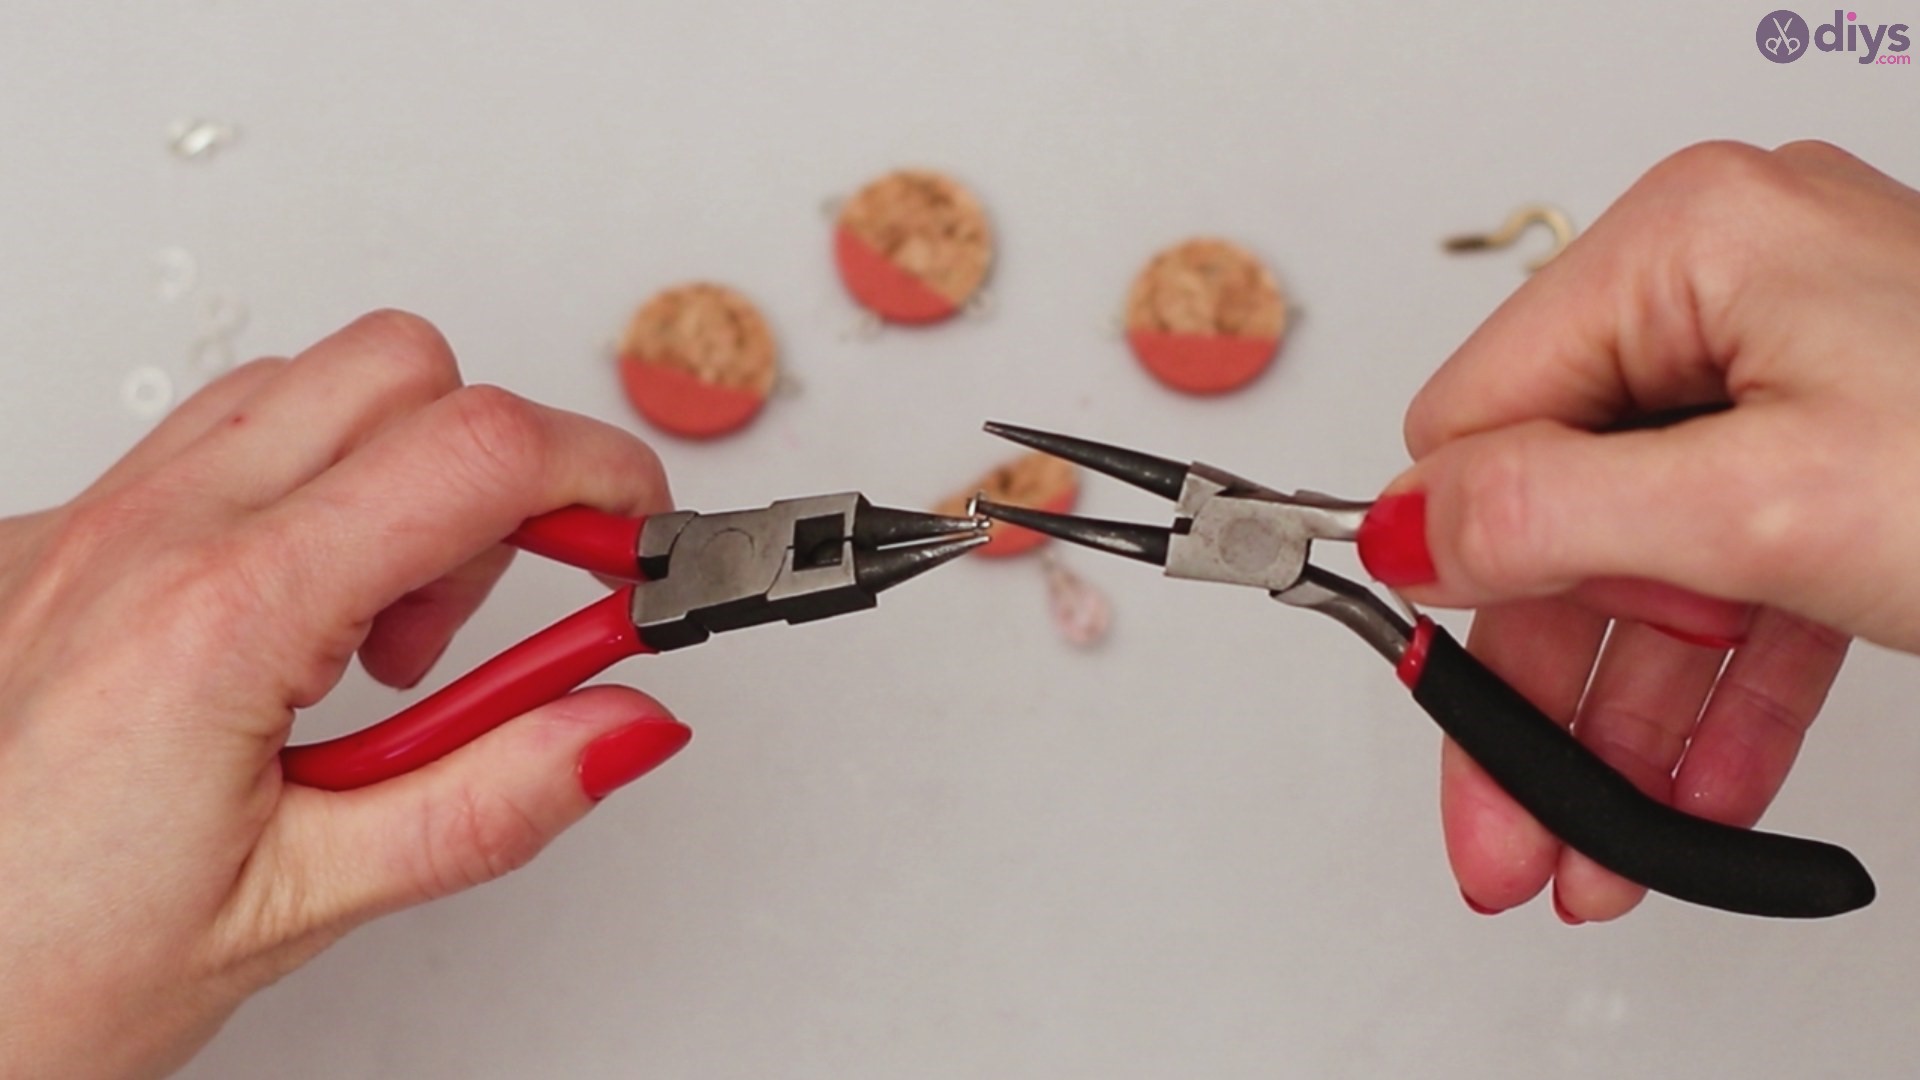
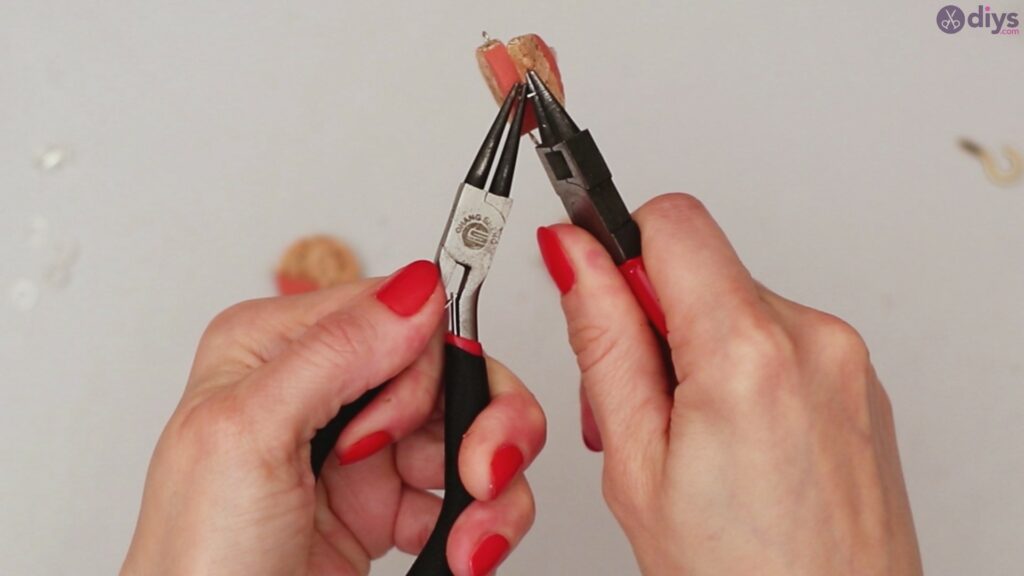
Grab one of the jump rings you prepared, use your round-nose pliers and push the ends apart. Then, push the jump ring through the hole you just drilled through the wine cork.


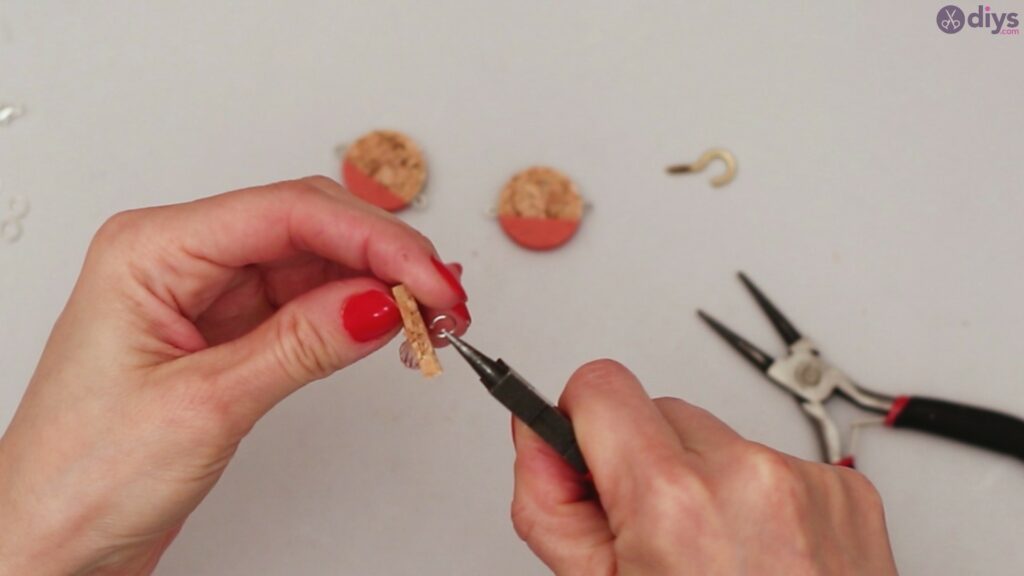
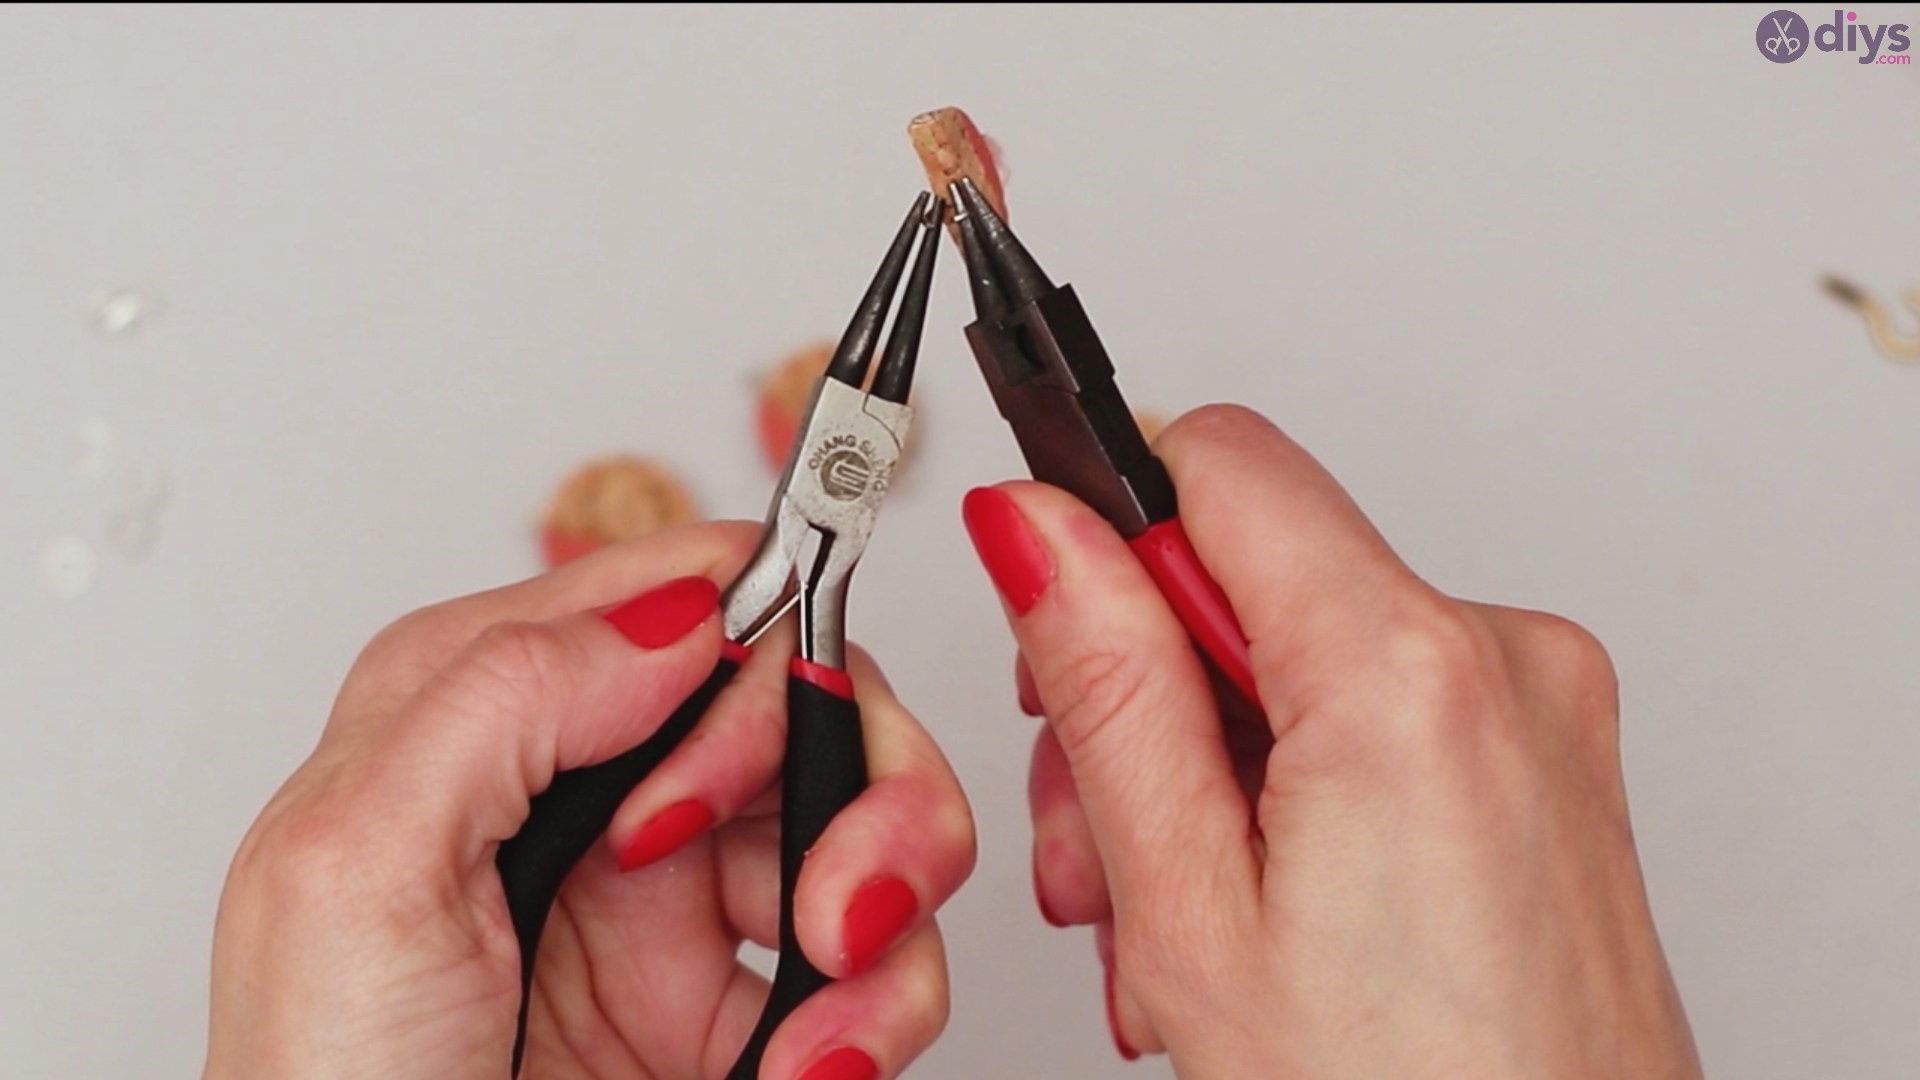
Once more, use your pliers to return the jump ring to a more natural shape. Hold the cork slice with one of the pliers and pick up another cork slice – the one with three eye pins. Push the jump ring through the bottom eye pin.

Use your round-nose pliers to close the gap and secure the loop as tightly as possible. You don’t want the ring to open up as you’ll lose a piece of the necklace.
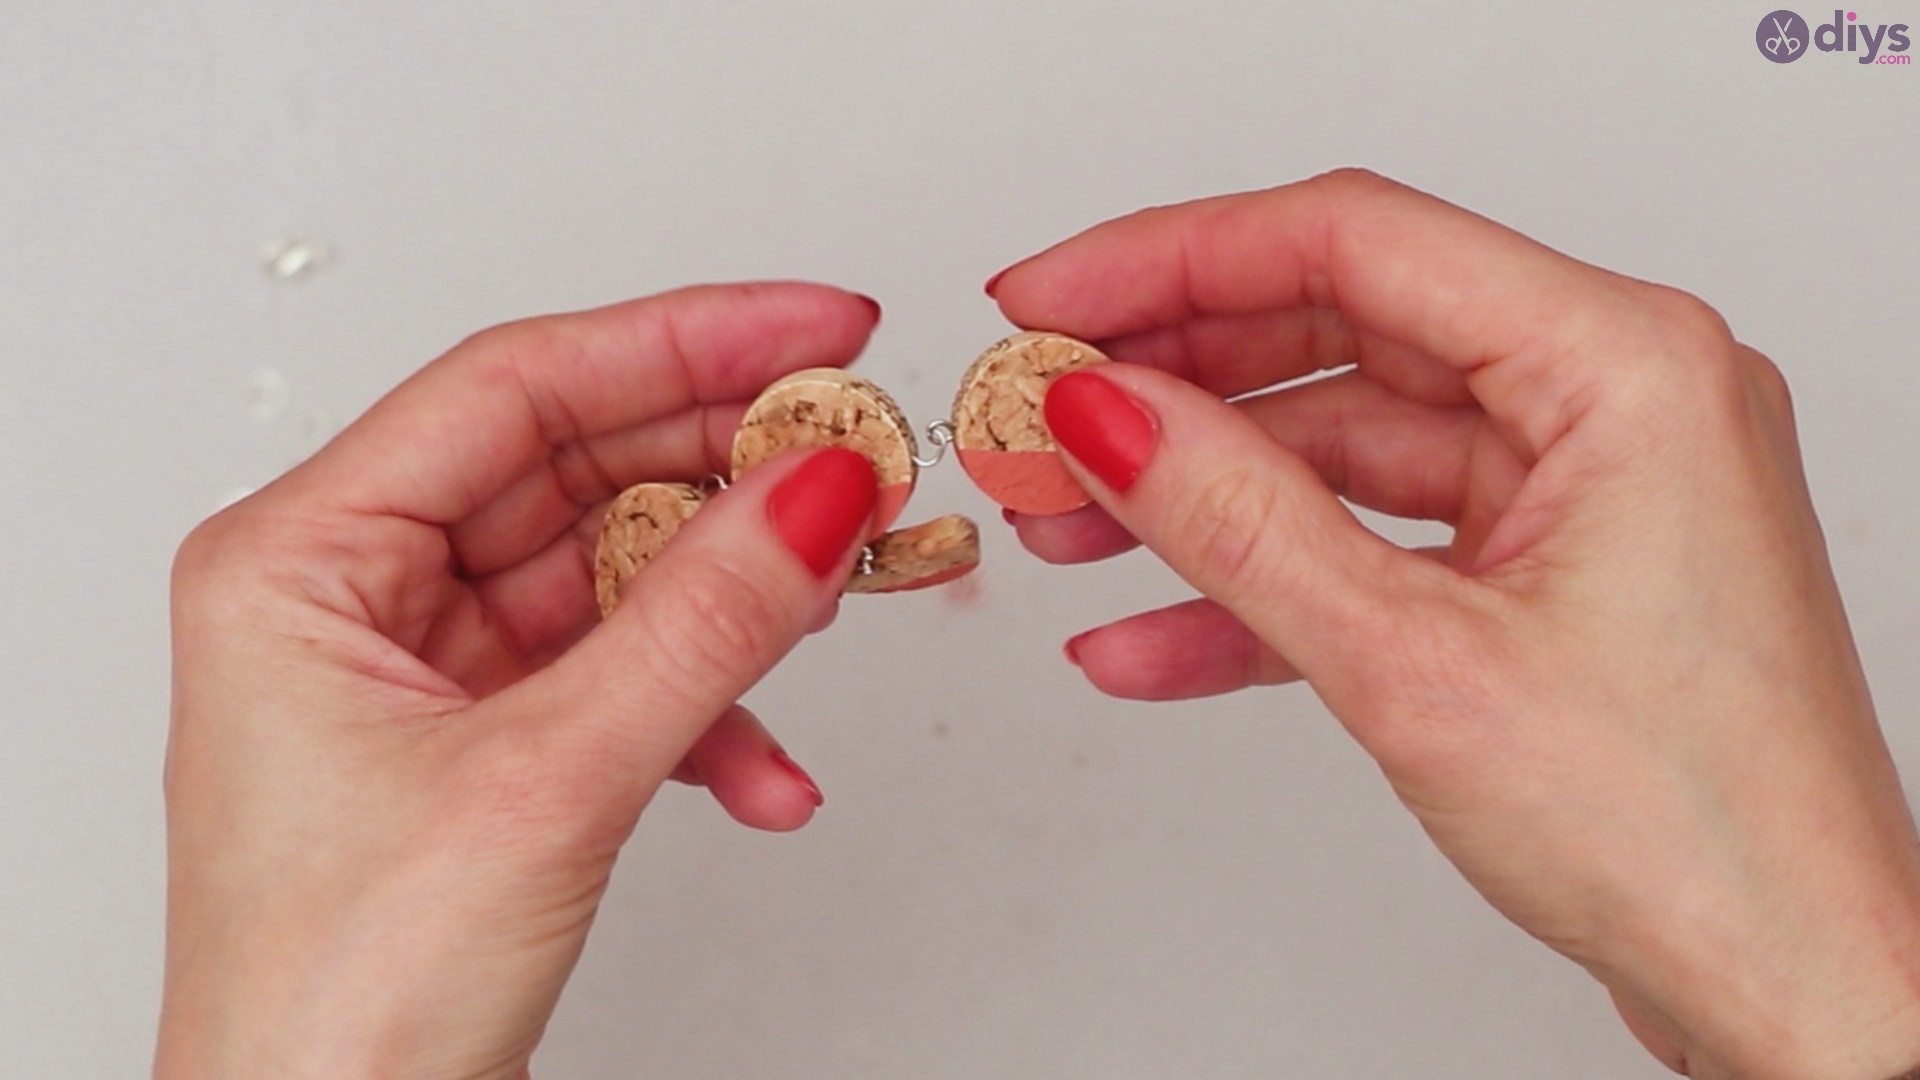
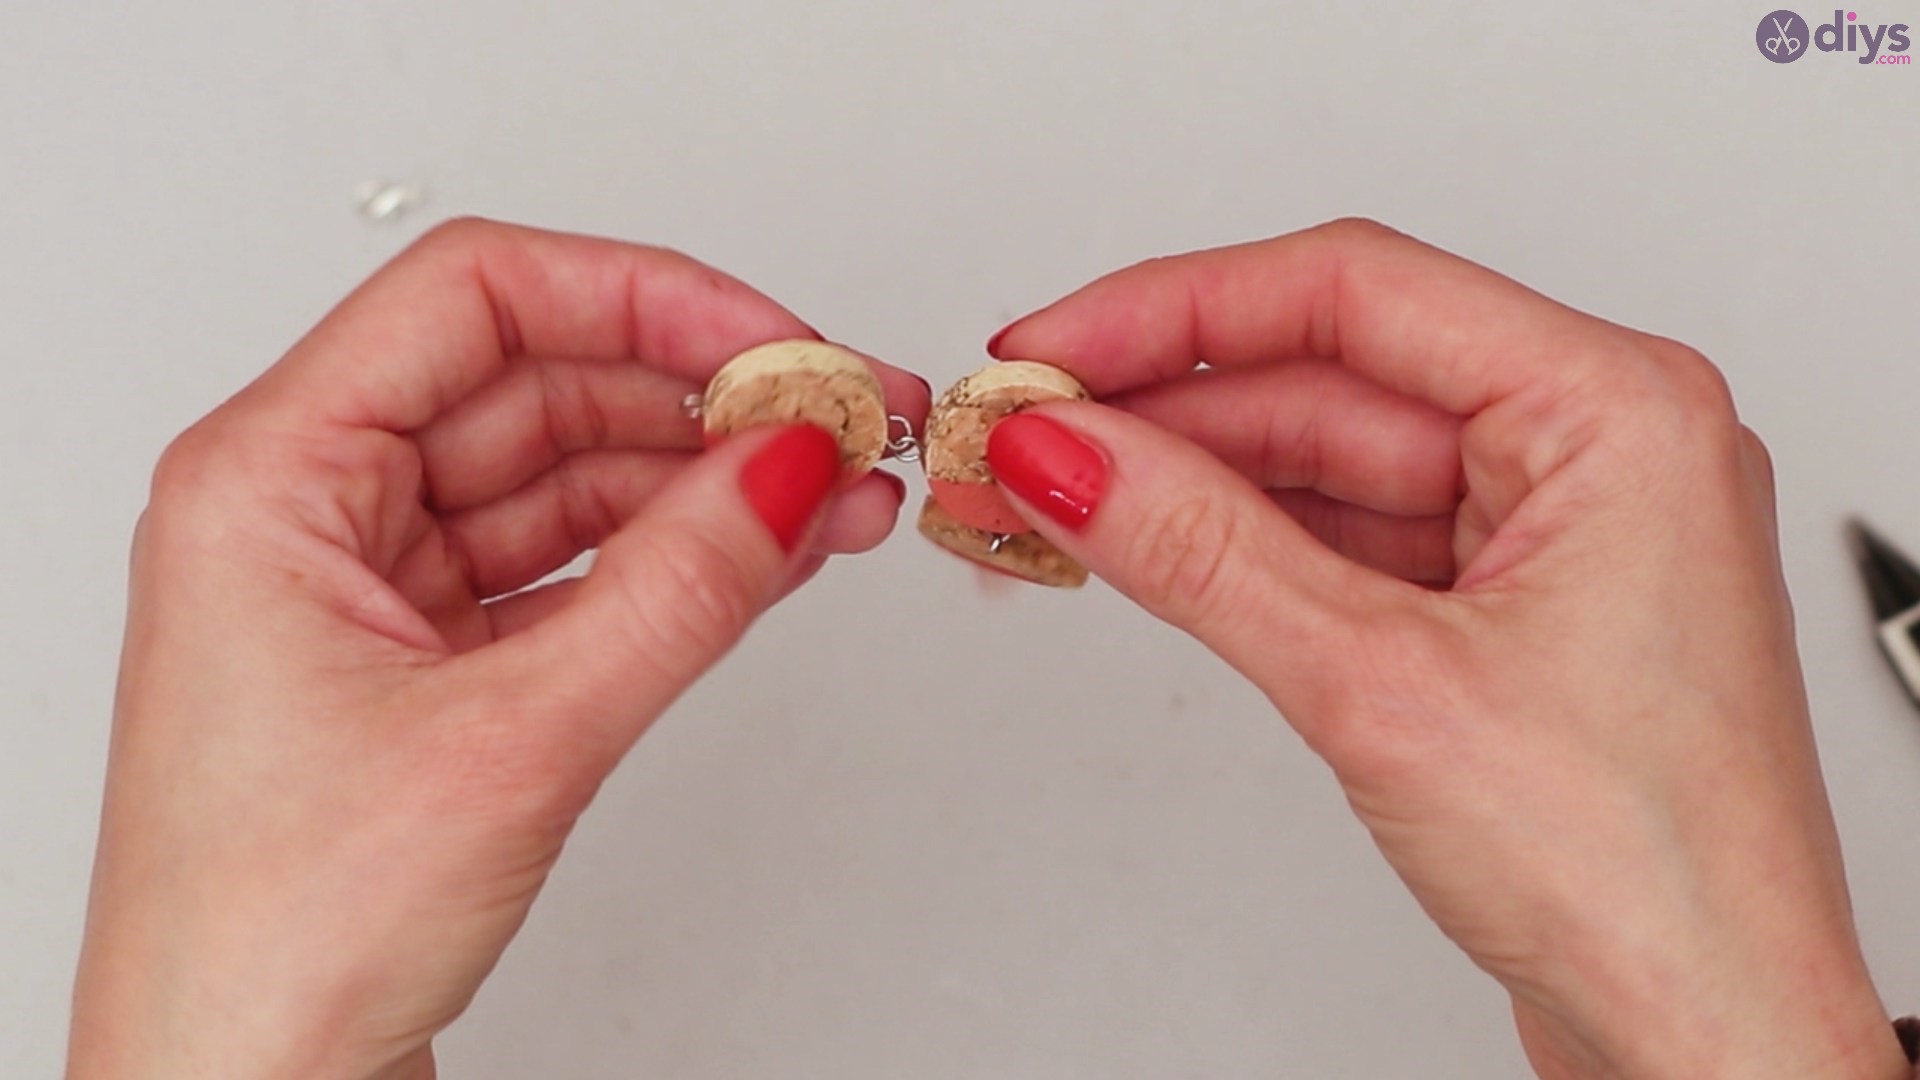
Step 6: Connect the Wine Corks
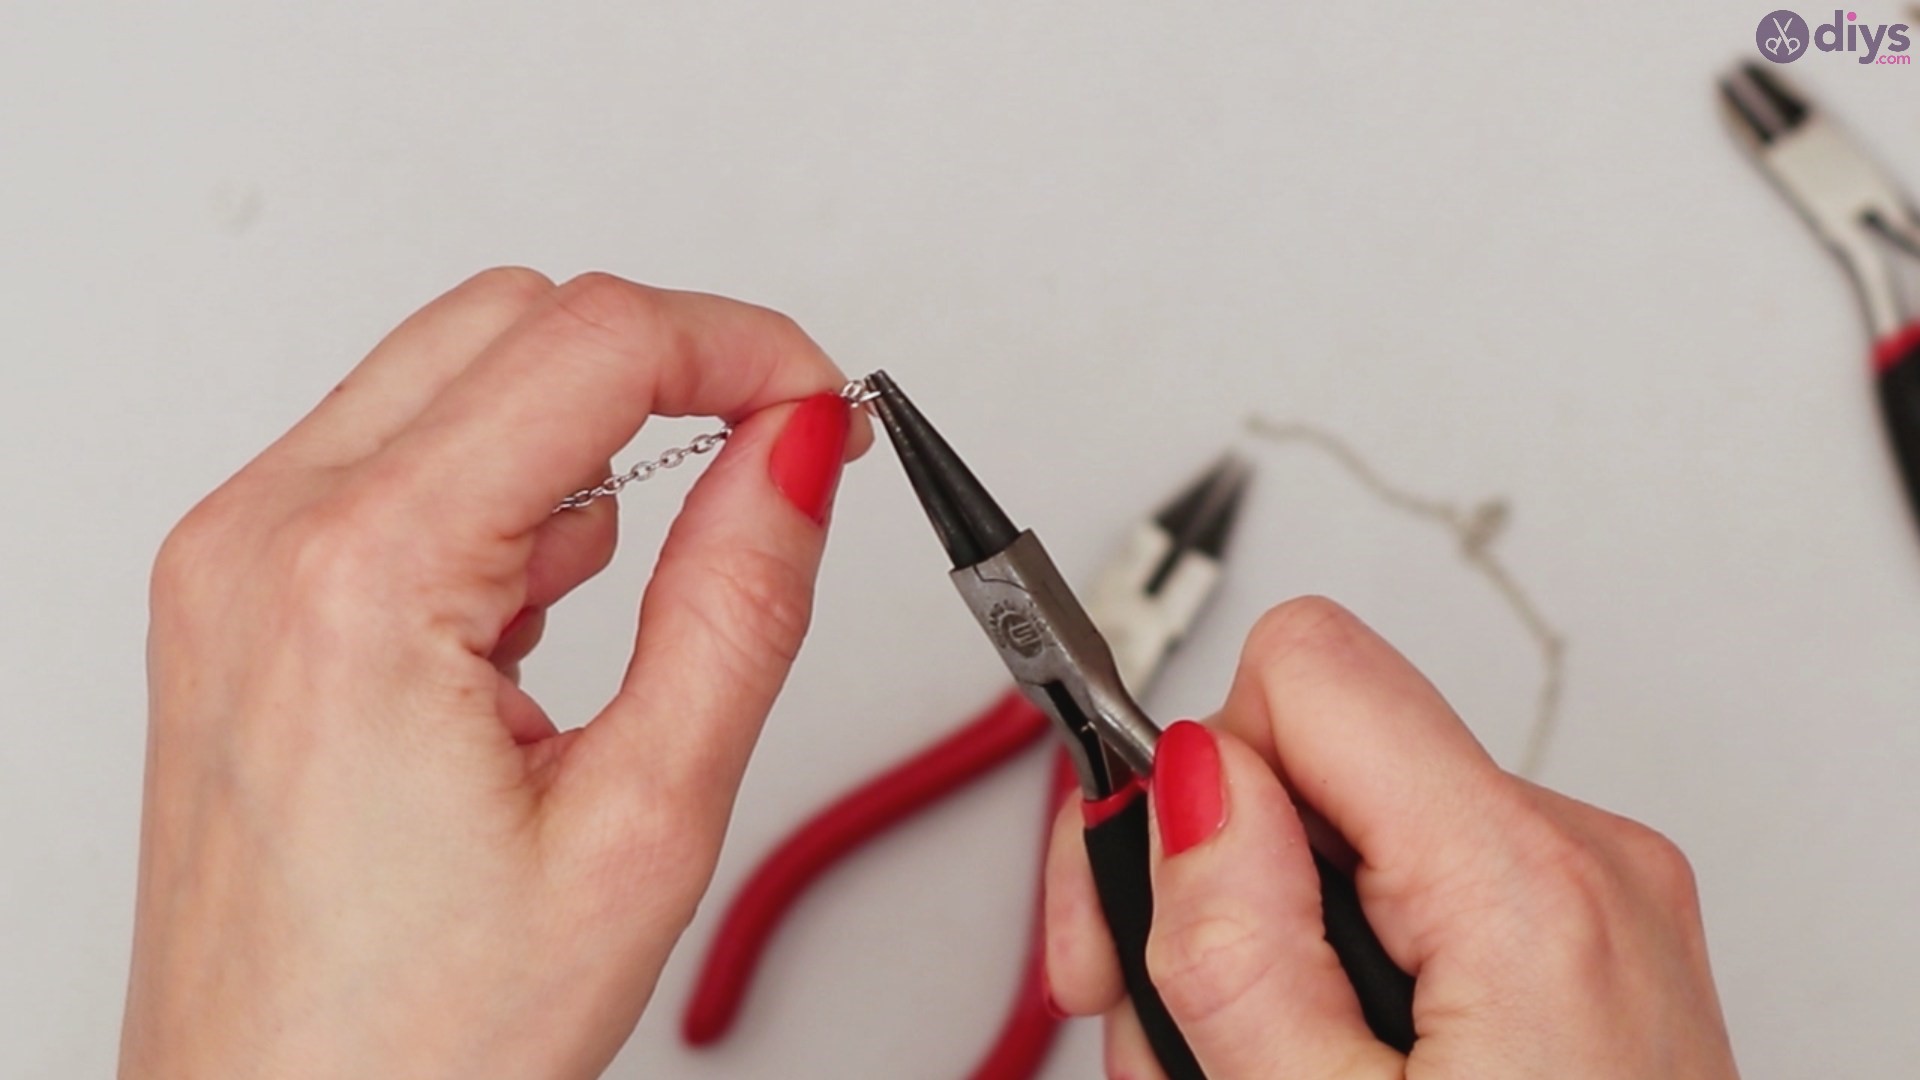
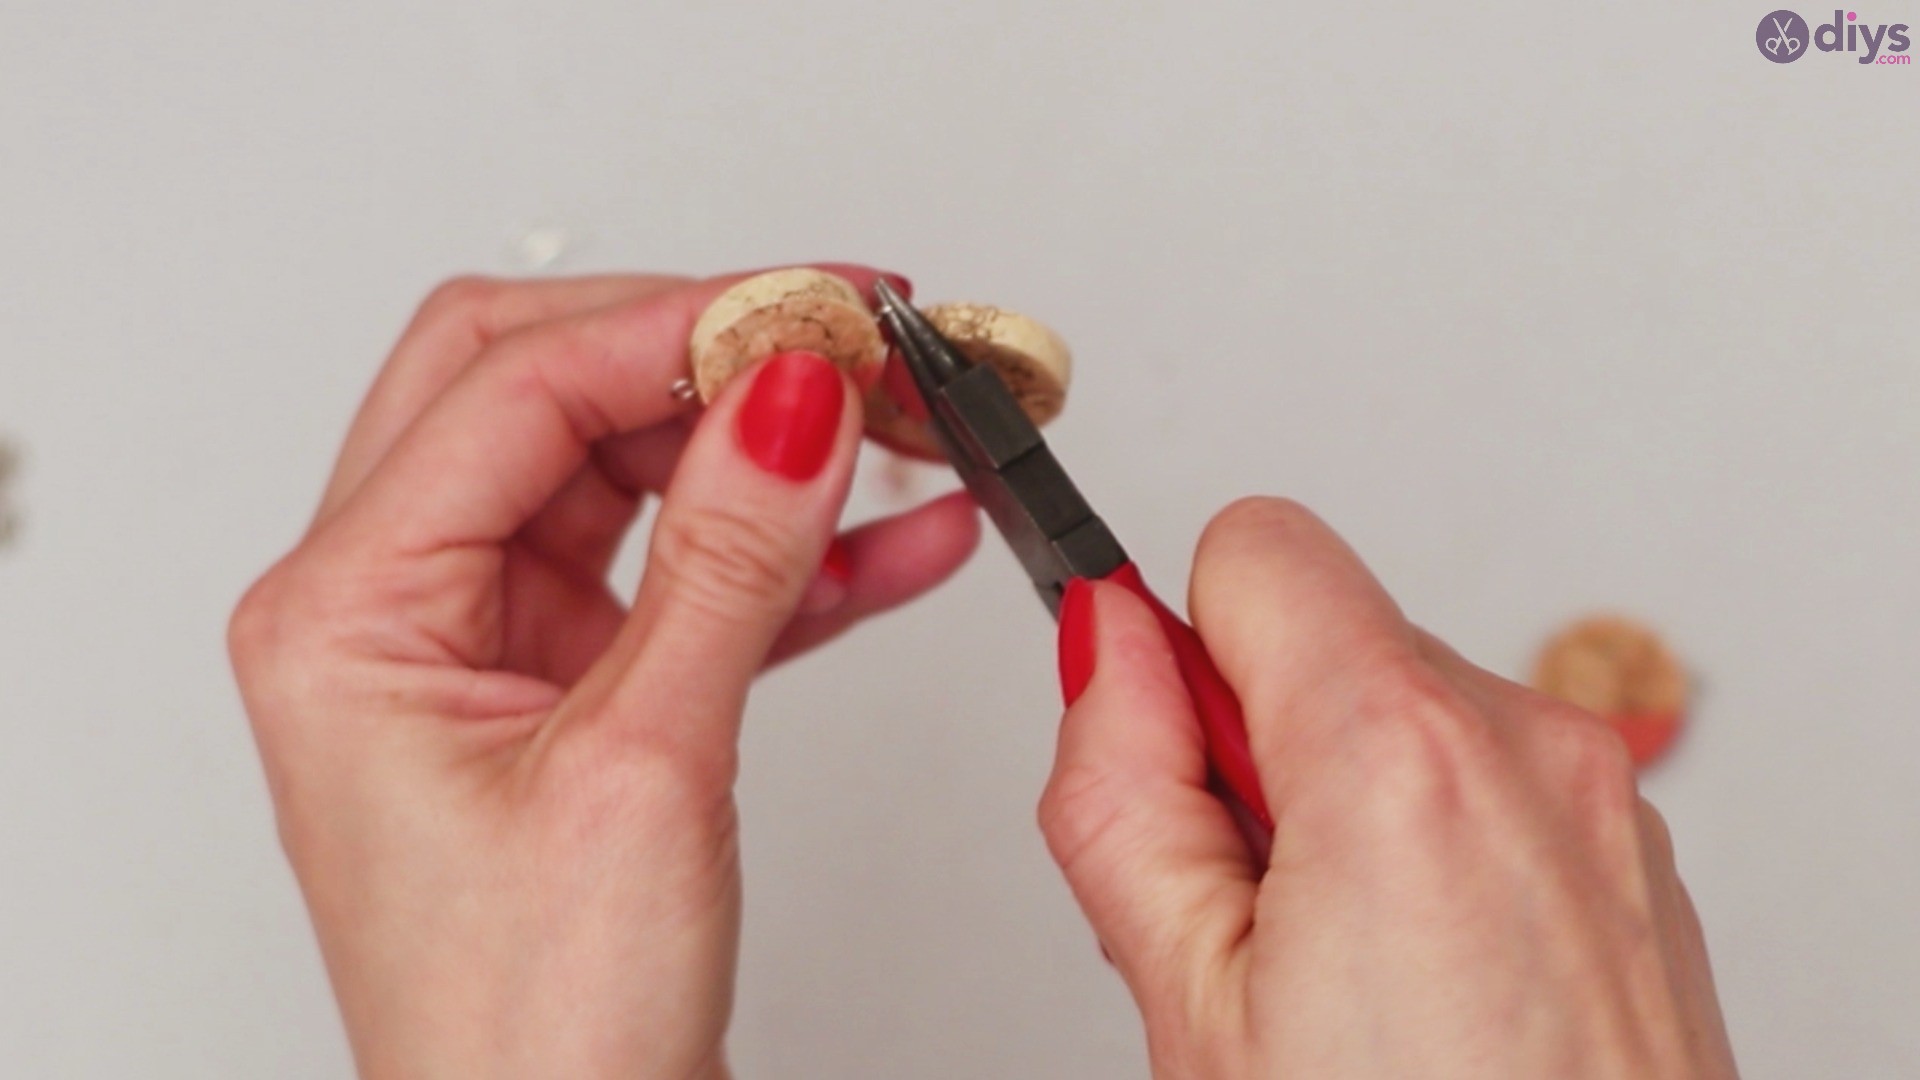
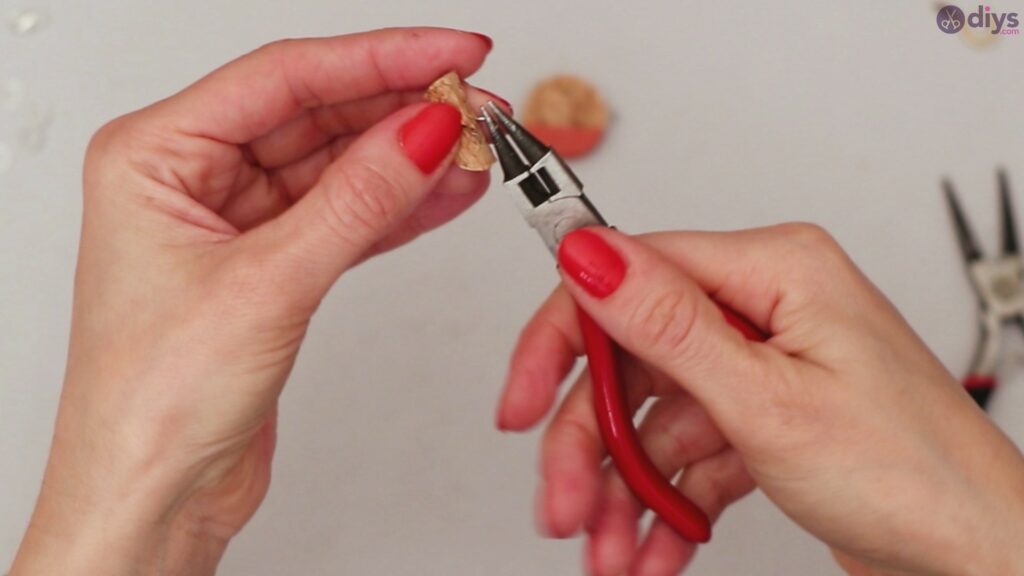
With two of the four wine cork pieces connected, you want to go to the next step now – connecting all the wine cork slices. Grab your round-nose pliers and one of the painted slices. Push the nose through the eye pin and, holding the cork tightly, open up the loop.

Push the opened loop through the eye pin of the neighboring cork piece. Use the pliers to once more secure the loop closed.


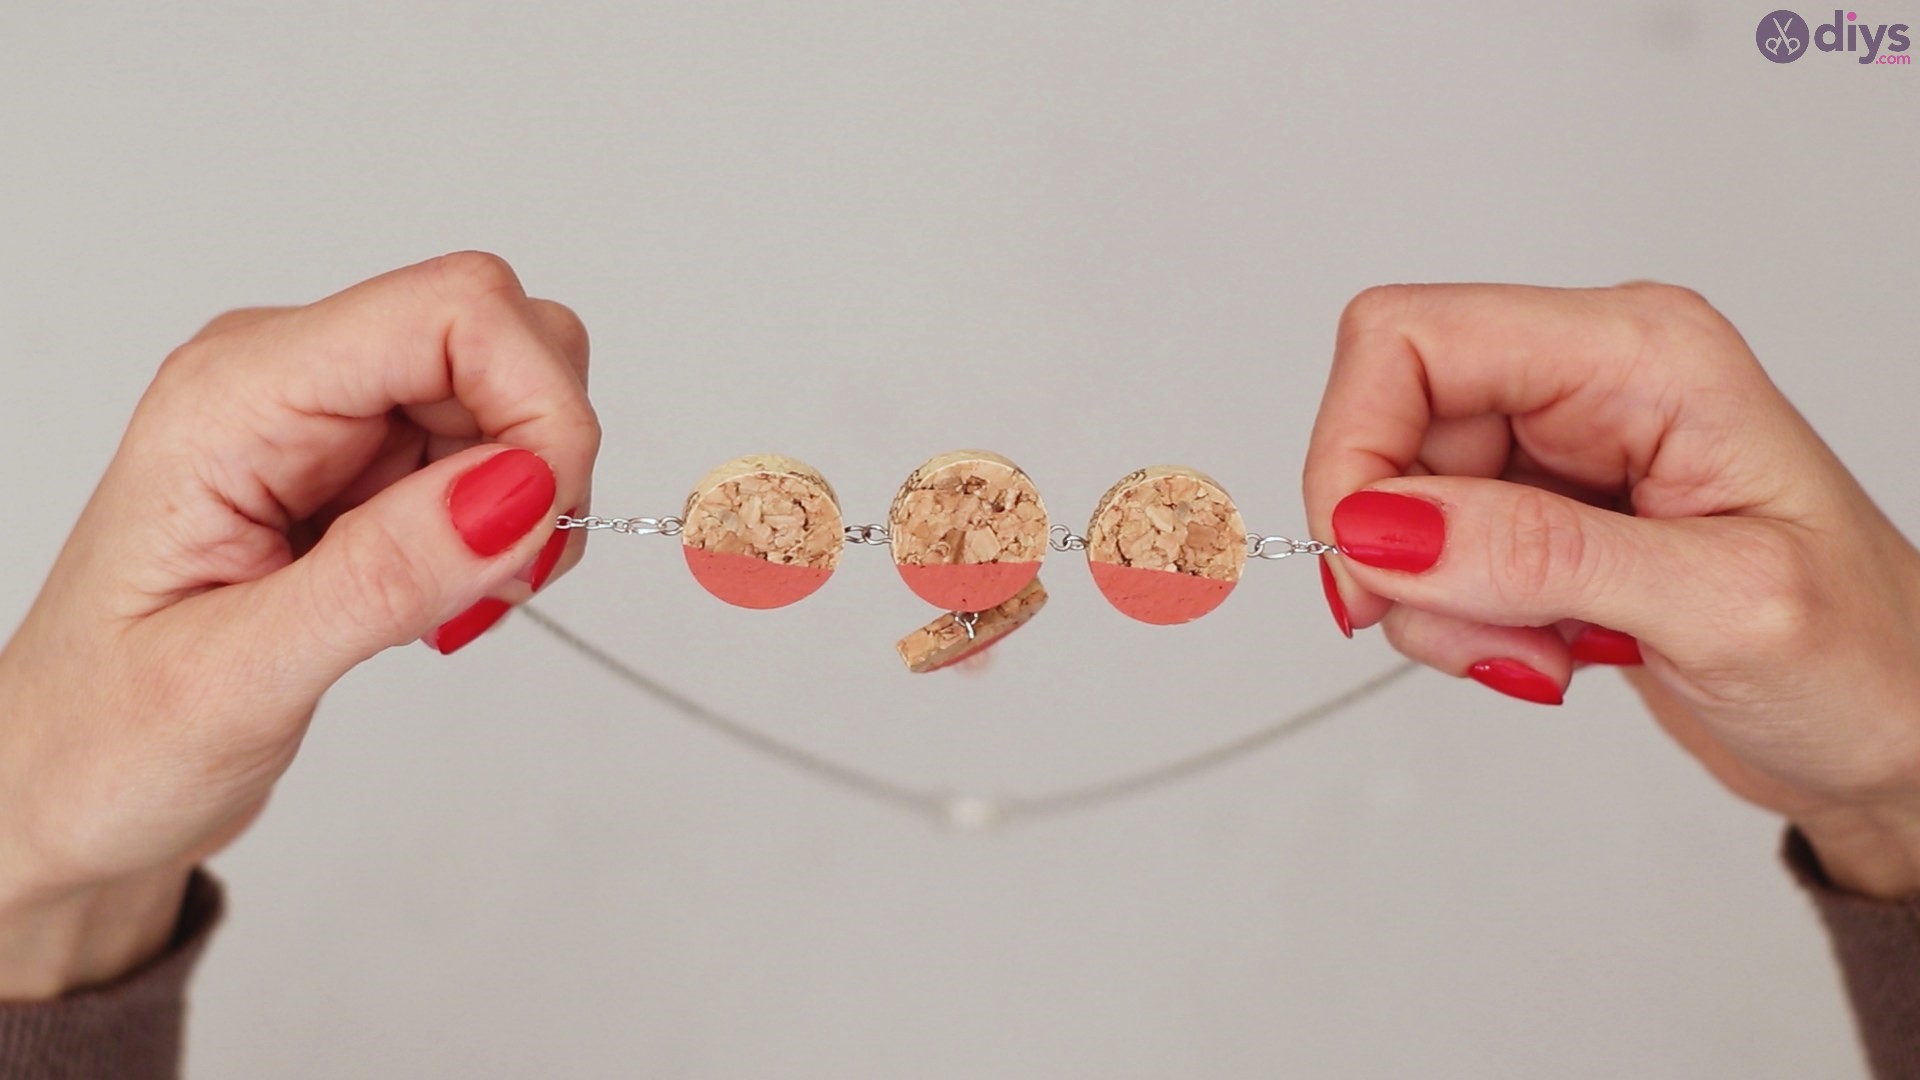
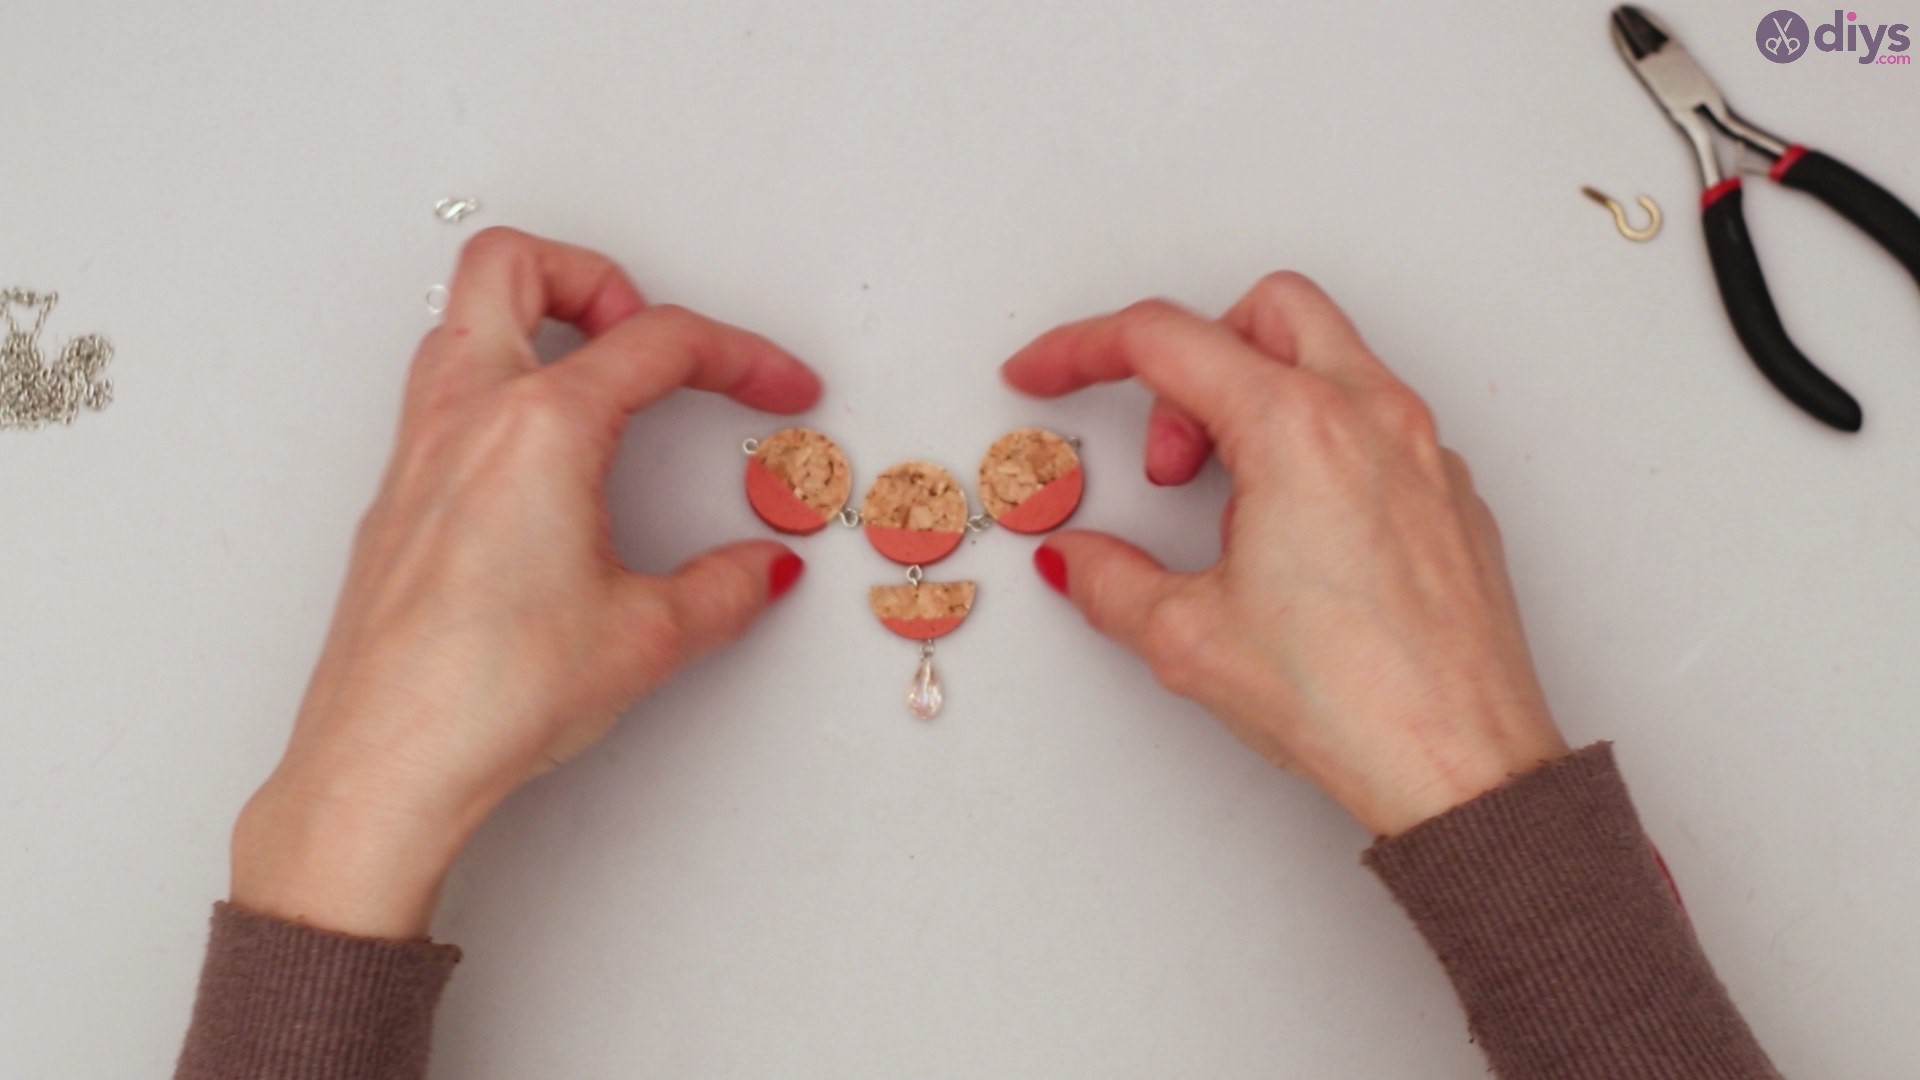
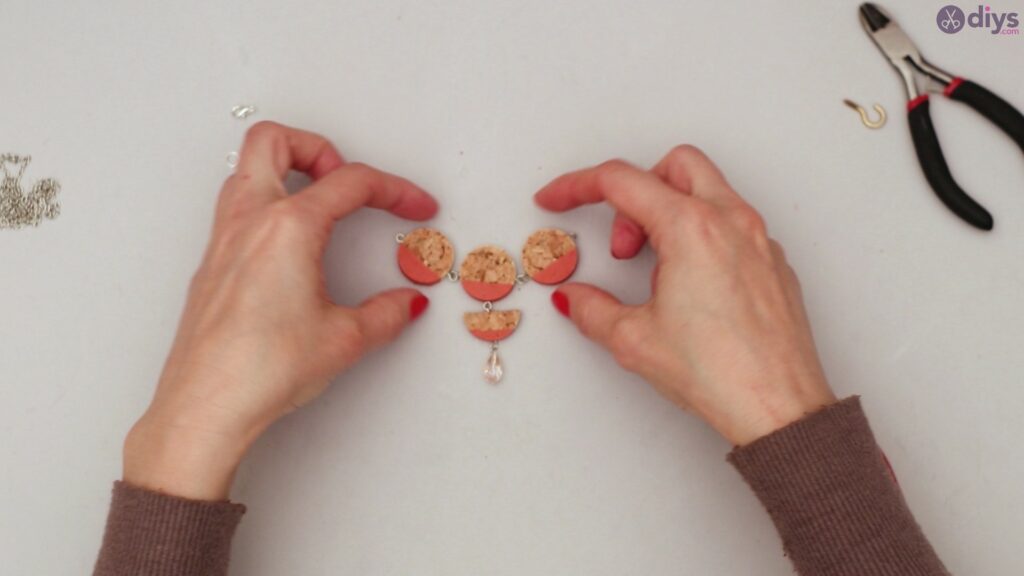
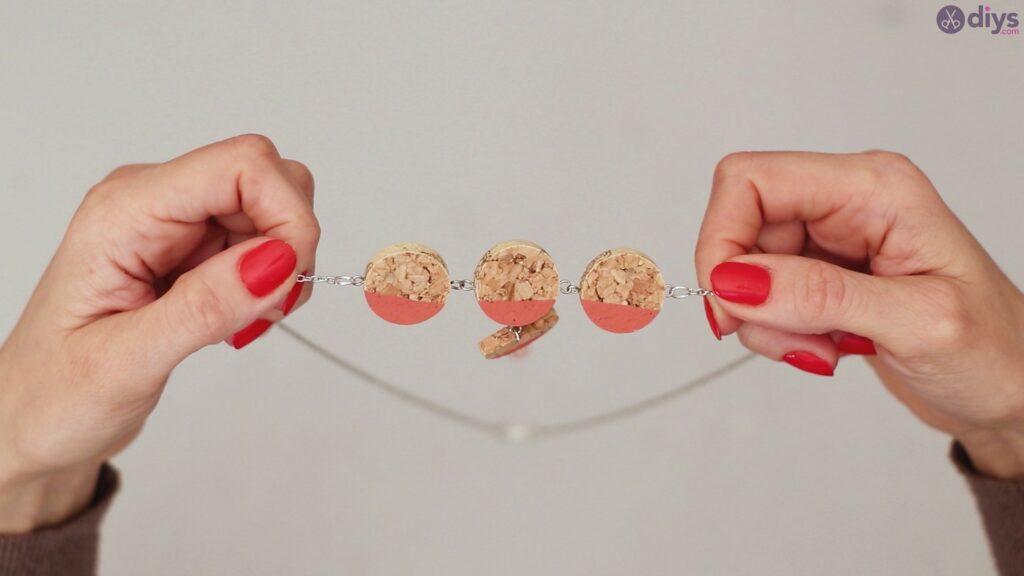
Repeat the process on the other side of the middle cork slice. Connect the last piece of cork and secure the loop.


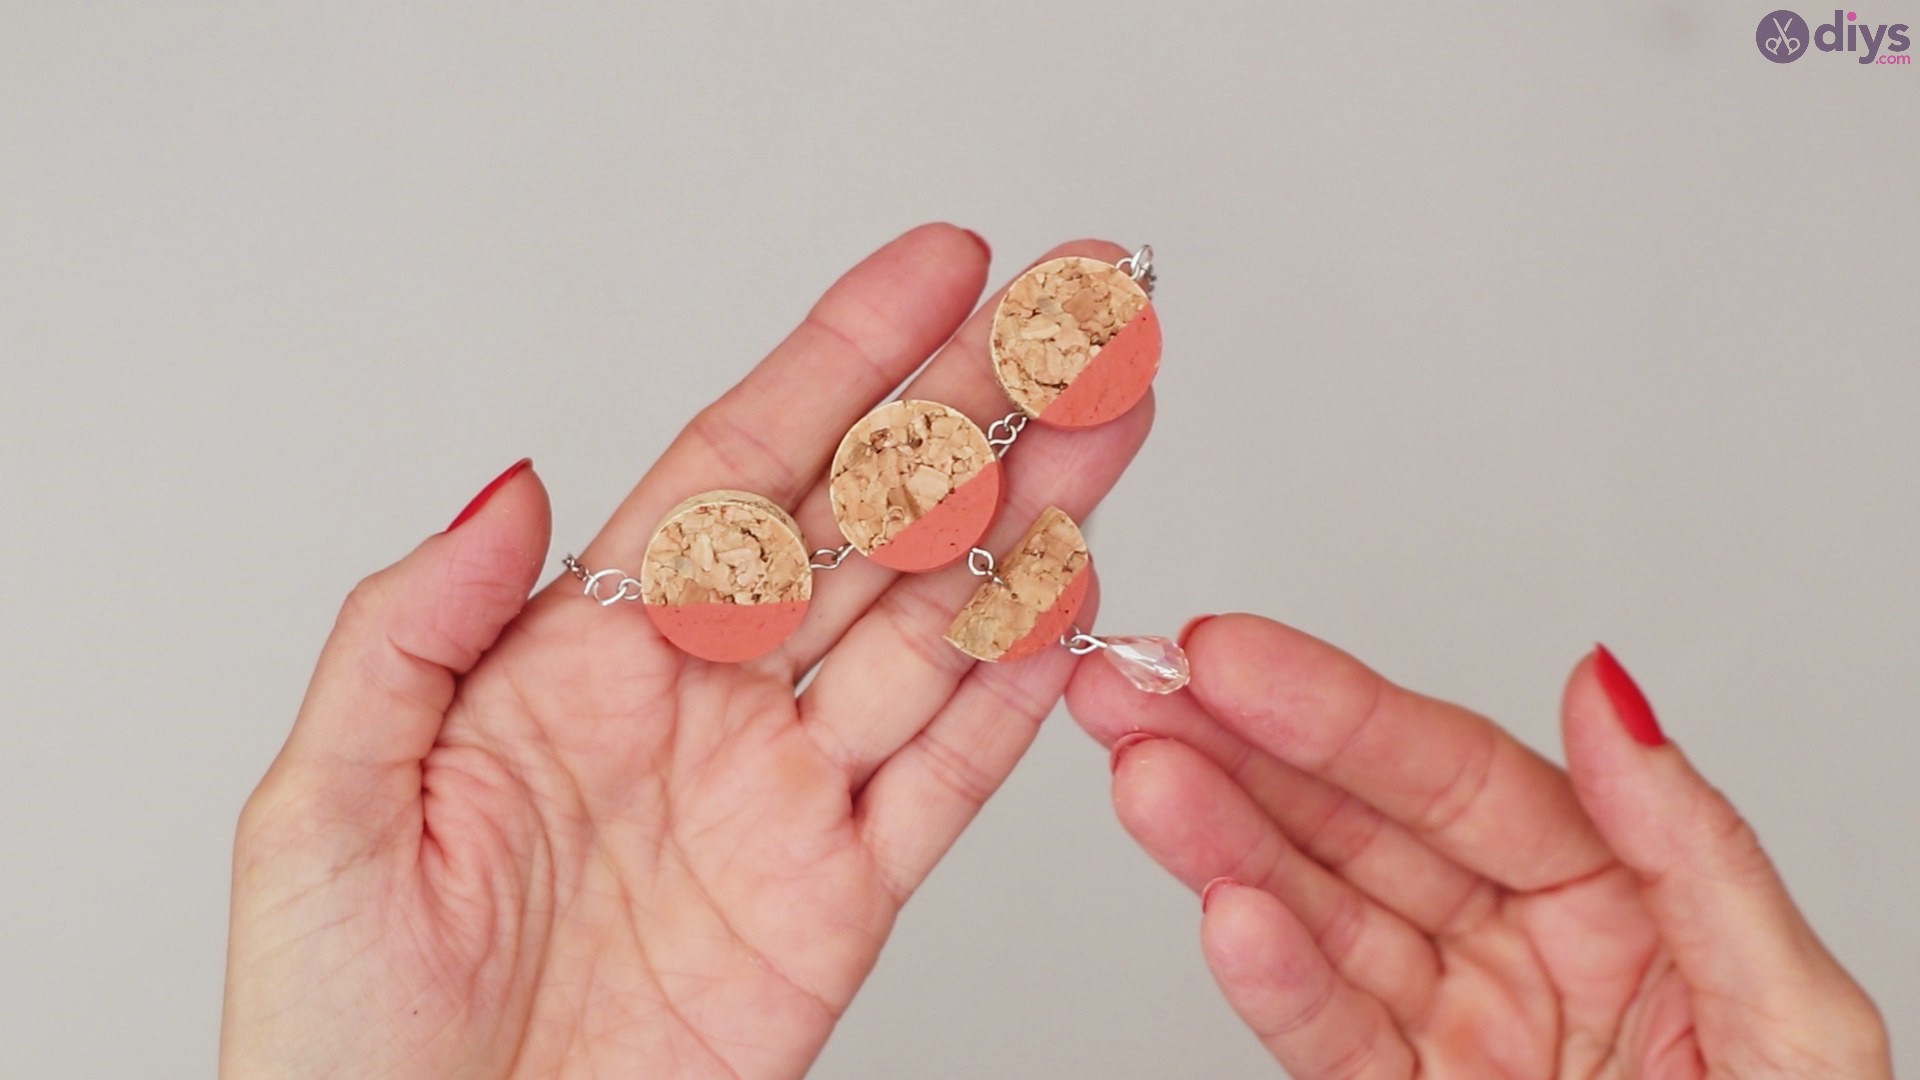
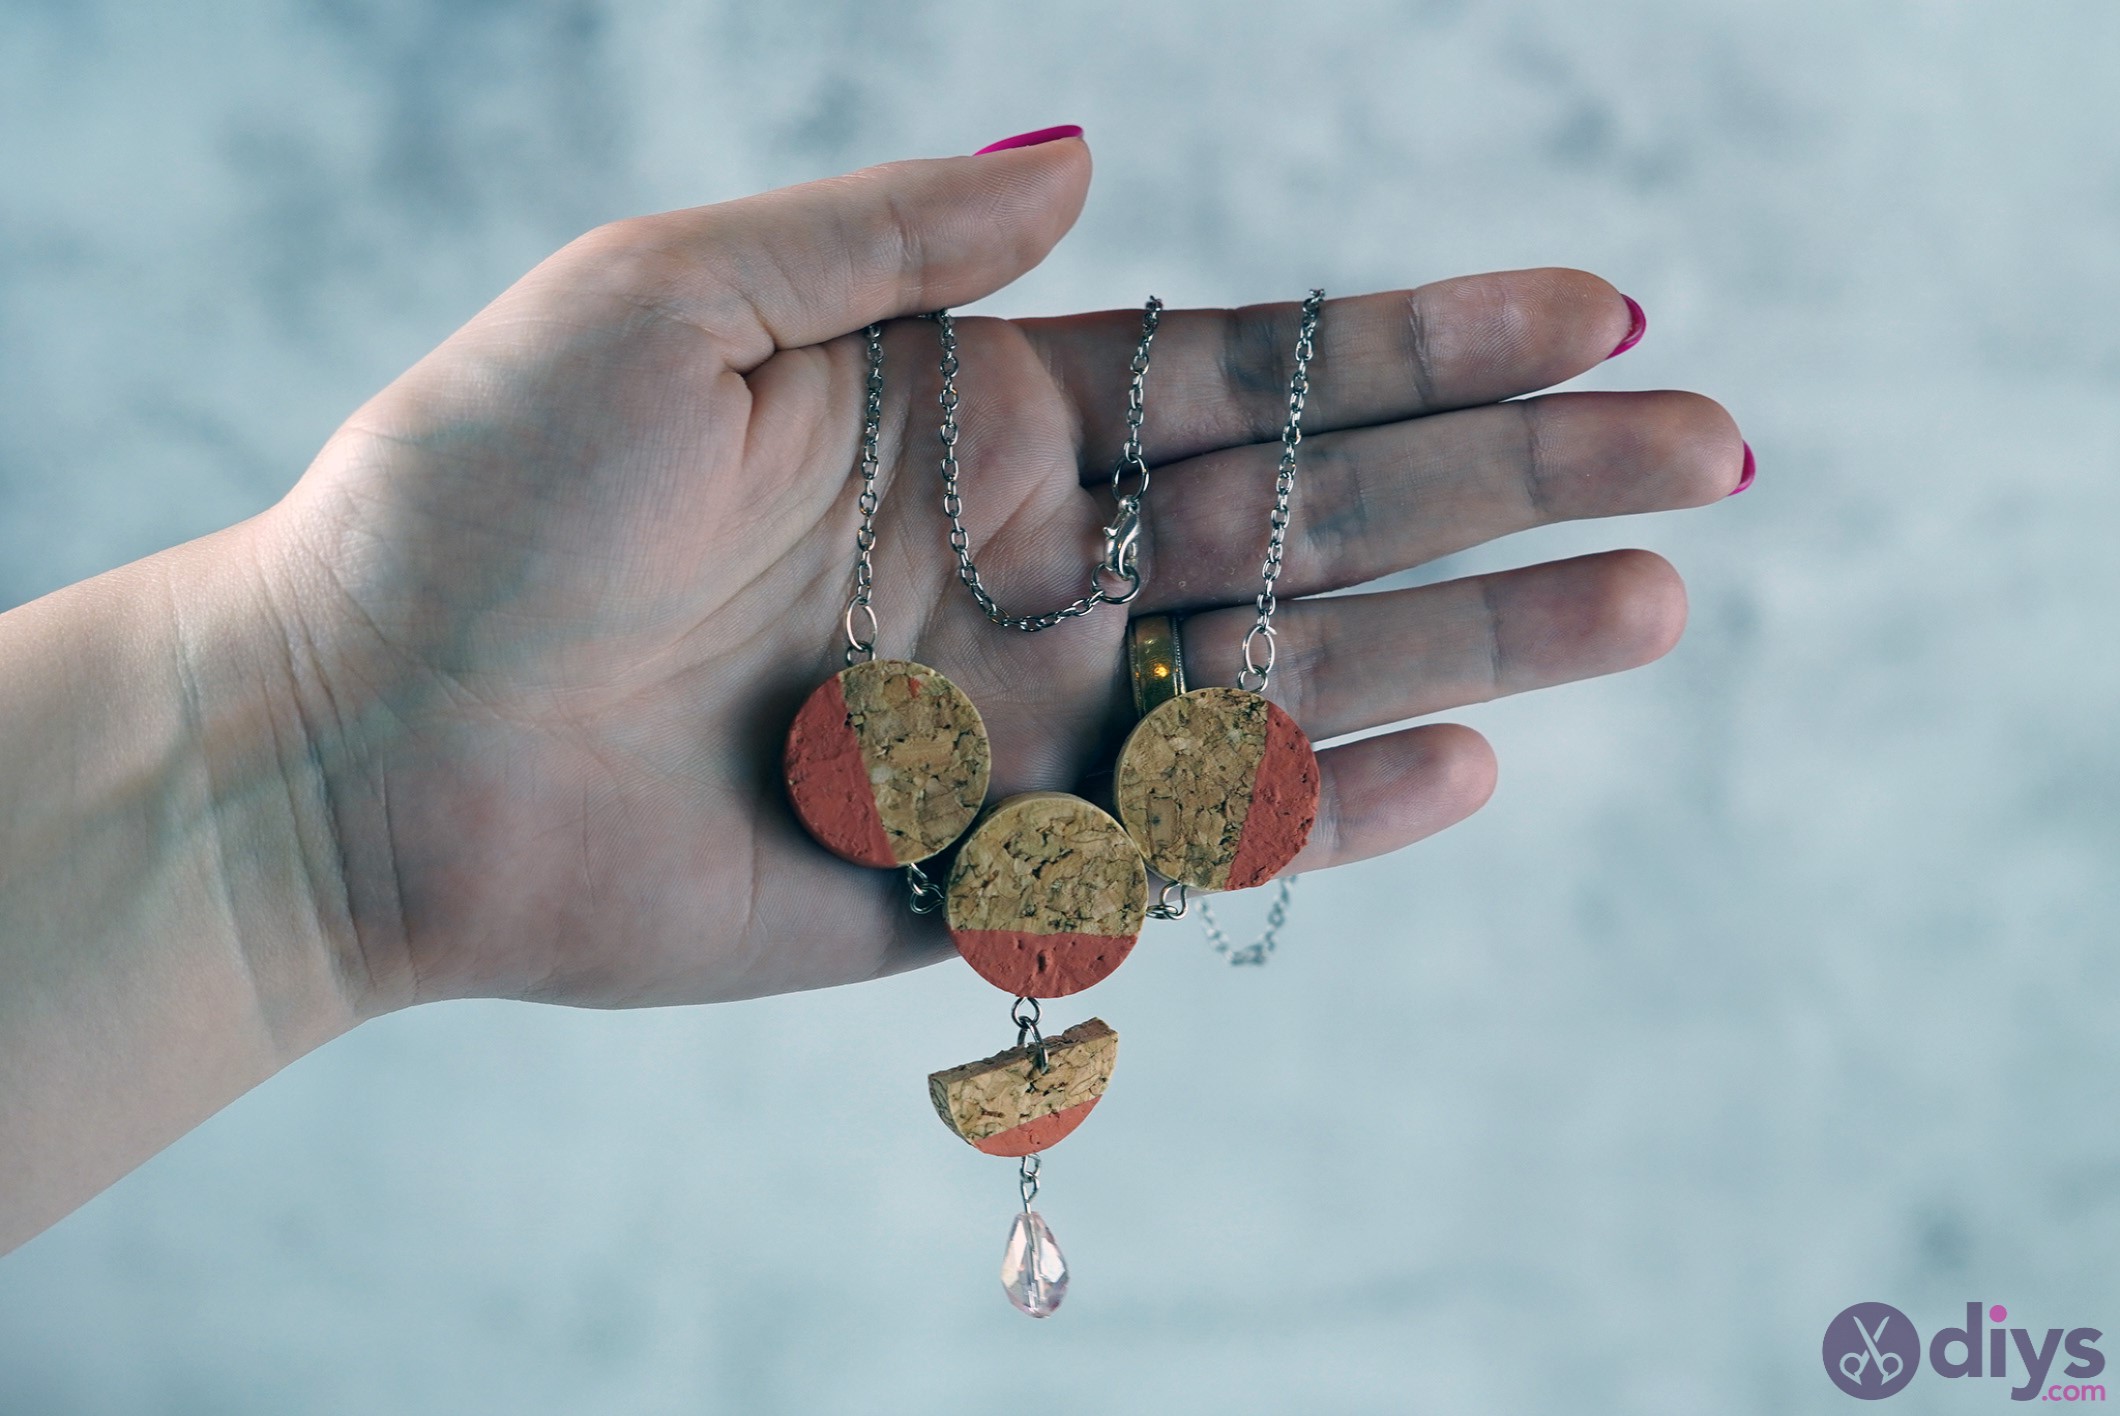
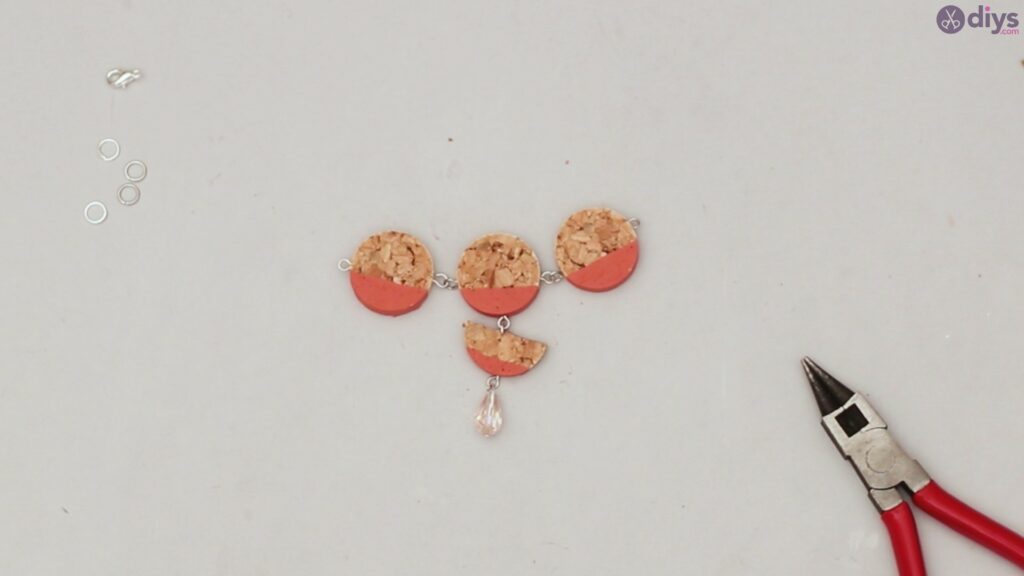
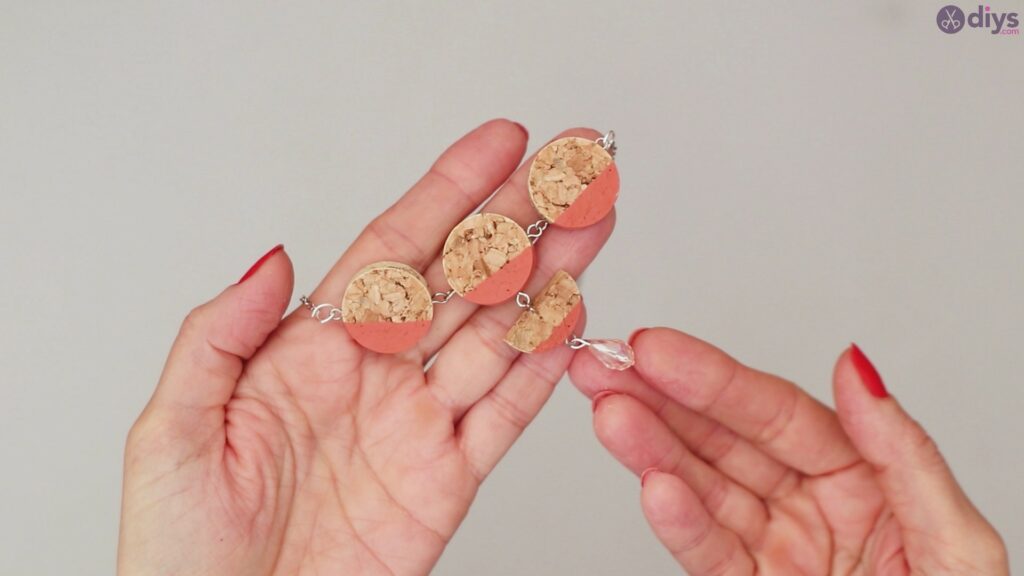
Check out the necklace centerpiece! This is how the four wine cork slices should look!
Step 7: Add the Chain
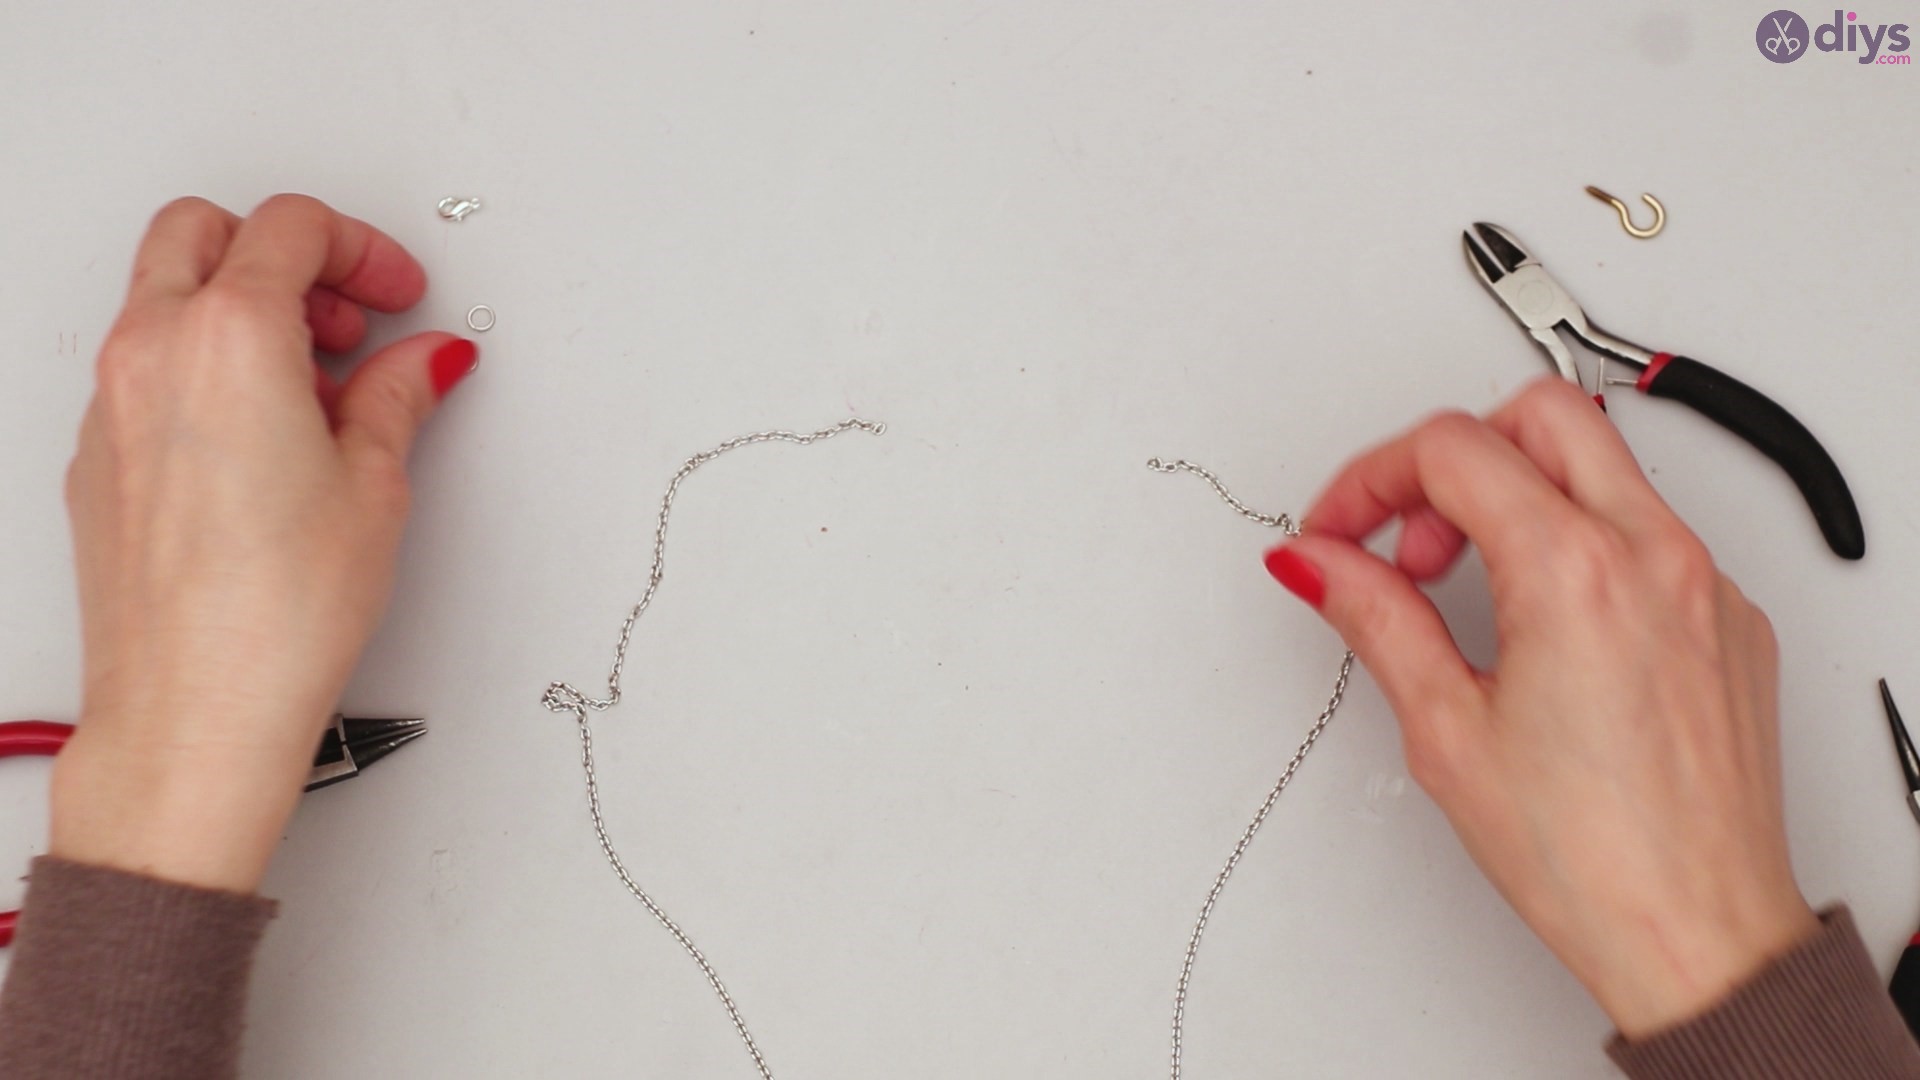
The next step is to add the chain to the cork pieces you just put together. You’ll need thechainand a fewjump rings.

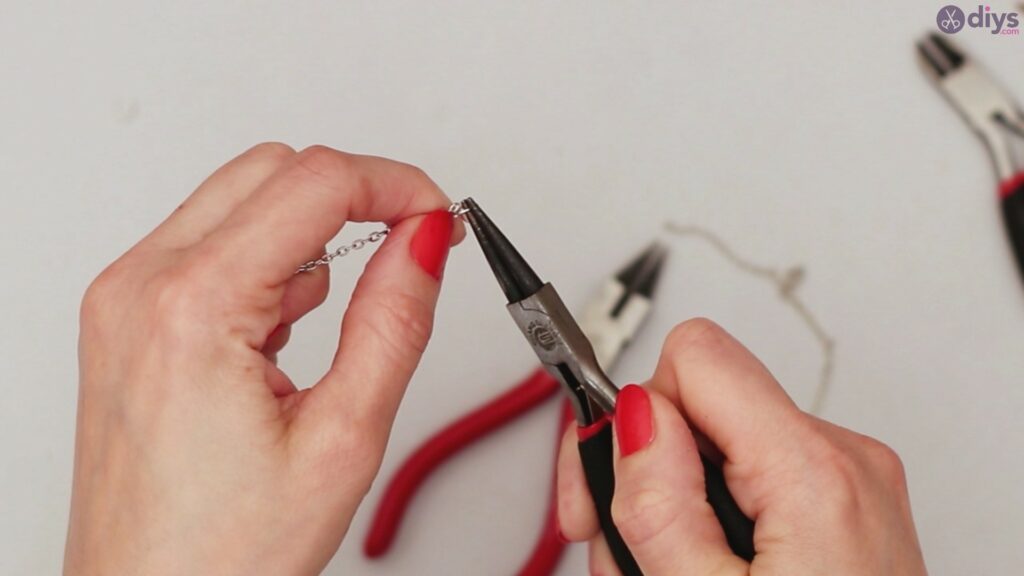
Take one of the jump rings and use the round-nose pliers to open up the loop. Push one of the edges through the end of the lobster claw. Of course, if you have a different type of clasp, that will work too.

Once the ring has gone through the lobster claw, push it through the last link of the chain as well. Use the round-nose pliers to close the loop tightly.

Get another jump ring, open it up with the pliers, and then push it through the link at the other end of the necklace. Through the same loop also push through the eye pins in one of the wine corks. Tightly close the loop.
There you go! Now the necklace is secure on one end, and you can open up the clasp on the other side of the centerpiece. If you’d prefer, you can also split the chain in two and move the clasp to the middle of the chain, so it goes behind your neck instead.
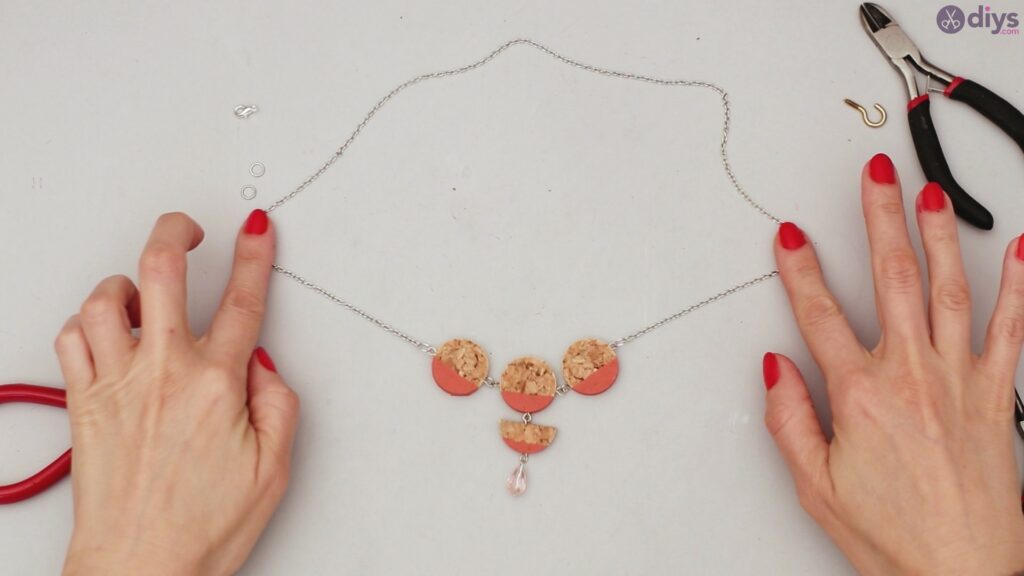
Here it is! Our wine cork necklace is ready to go!

We hope you’ll share your creation with us! Our guide is pretty versatile, as you can choose whatever colors you like, add a different dangling bauble, add more cork pieces, and so on. There are quite a few options you go for and we can’t wait to see how your creation turned out.