DIY Wine Cork Earrings: How to Make Cork Teardrop Earrings
Updated on January 18, 2021


You don’t need to be a master jeweler in order to create these adorable wine cork earrings. They are not only super easy to make, but they also look great and would make a perfect gift for someone you love or as a gift to yourself.
These earrings are highly customizable and are super light on your ear, so you don’t have to worry about heavy earrings irritating your ears. Most of the items needed to make these cute dangly earrings are probably already in your house, and if not, you can easily acquire these items at very little cost at any hobby or craft store within your area.
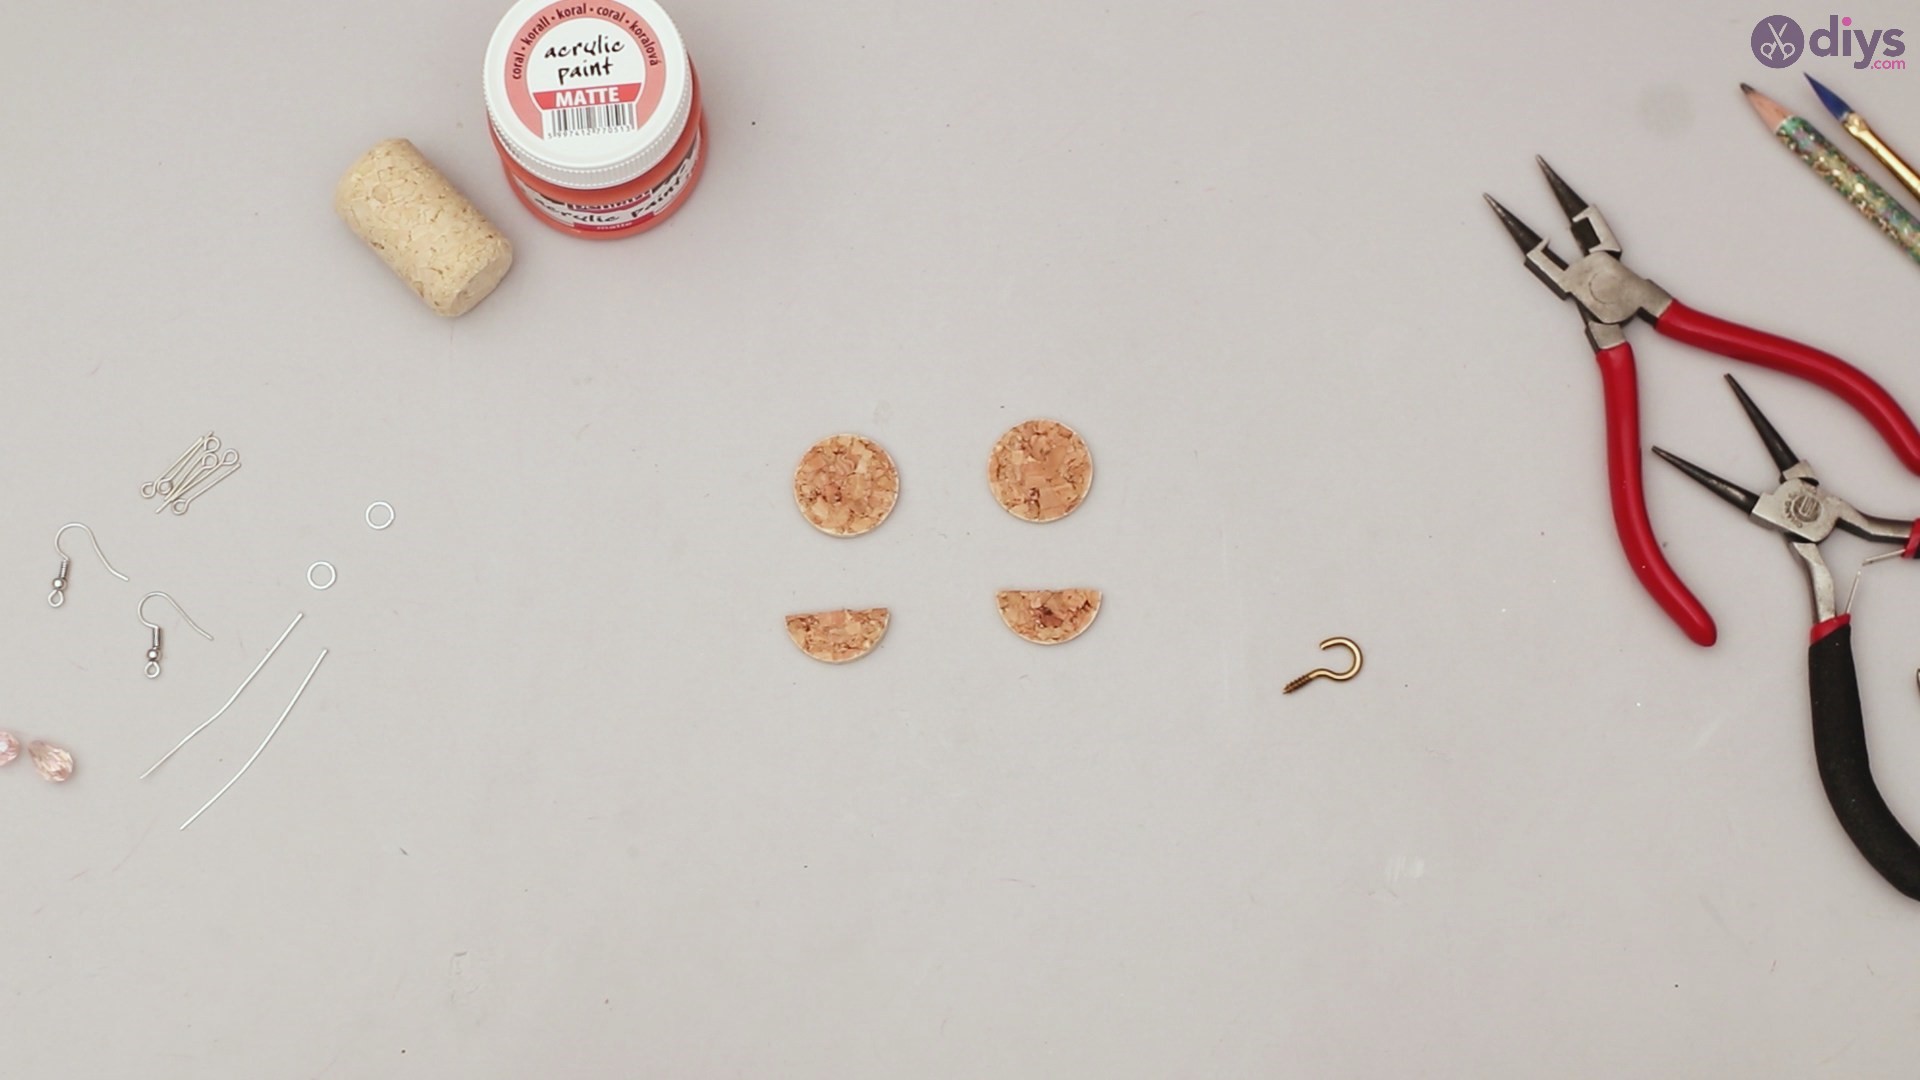
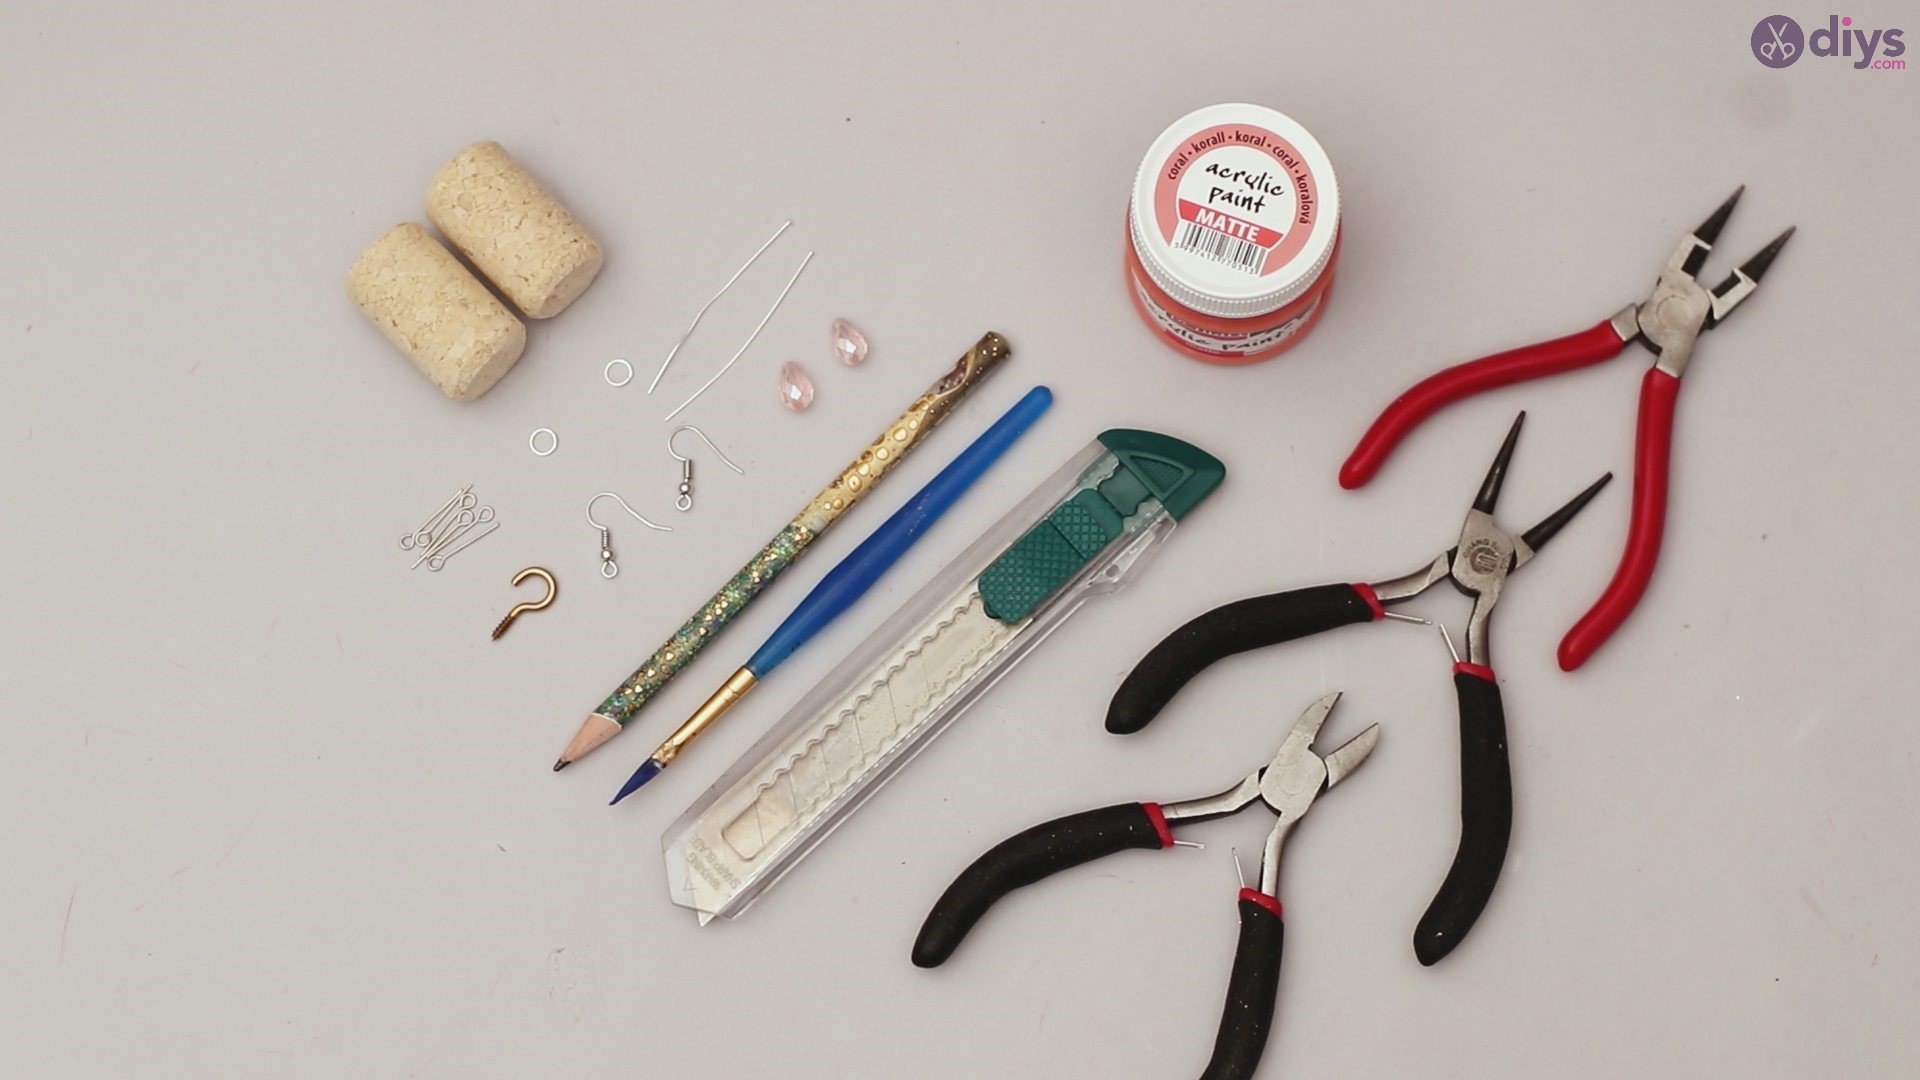
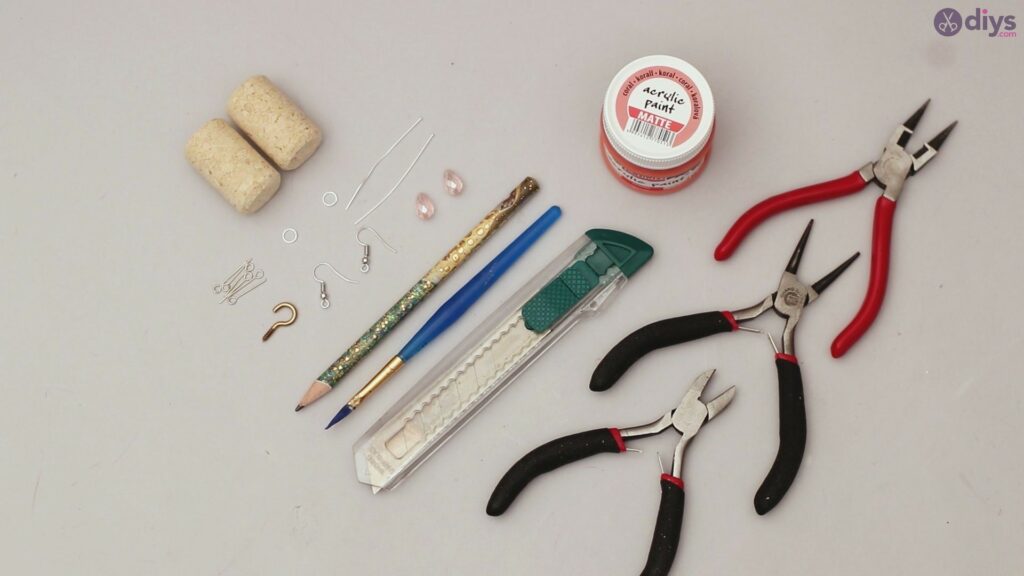
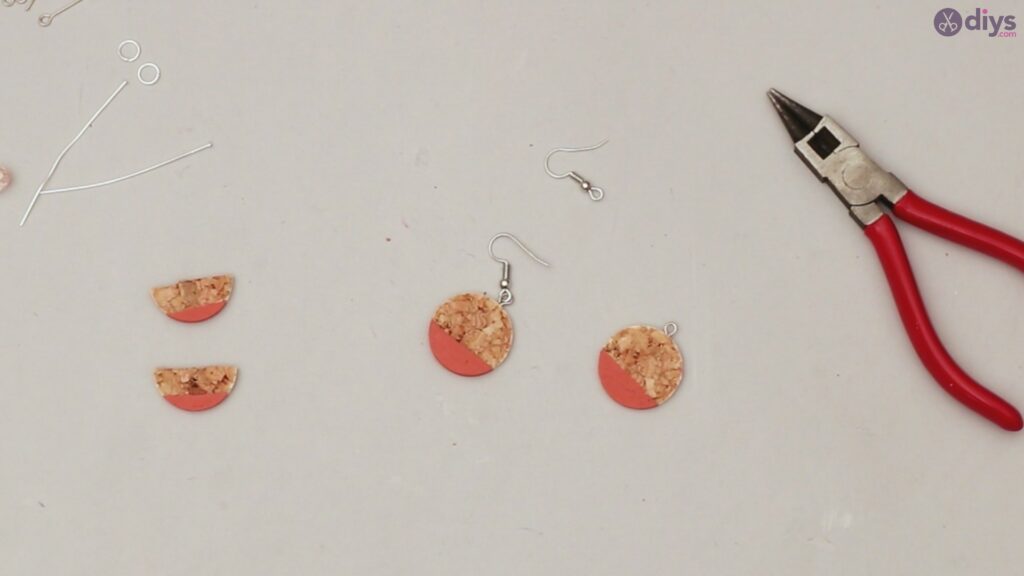
Materials for wine cork earrings
- Wine corks
- 2 drop shaped pearls
- 2 earring hangers
- 2 head mounted wands
- acrylic paint
- paintbrush
- loop mounting rod
- mounting ring
- threaded hanger
- conical tongs
- pincers
- pencil
- folding utility knife
How to make cork teardrop earrings
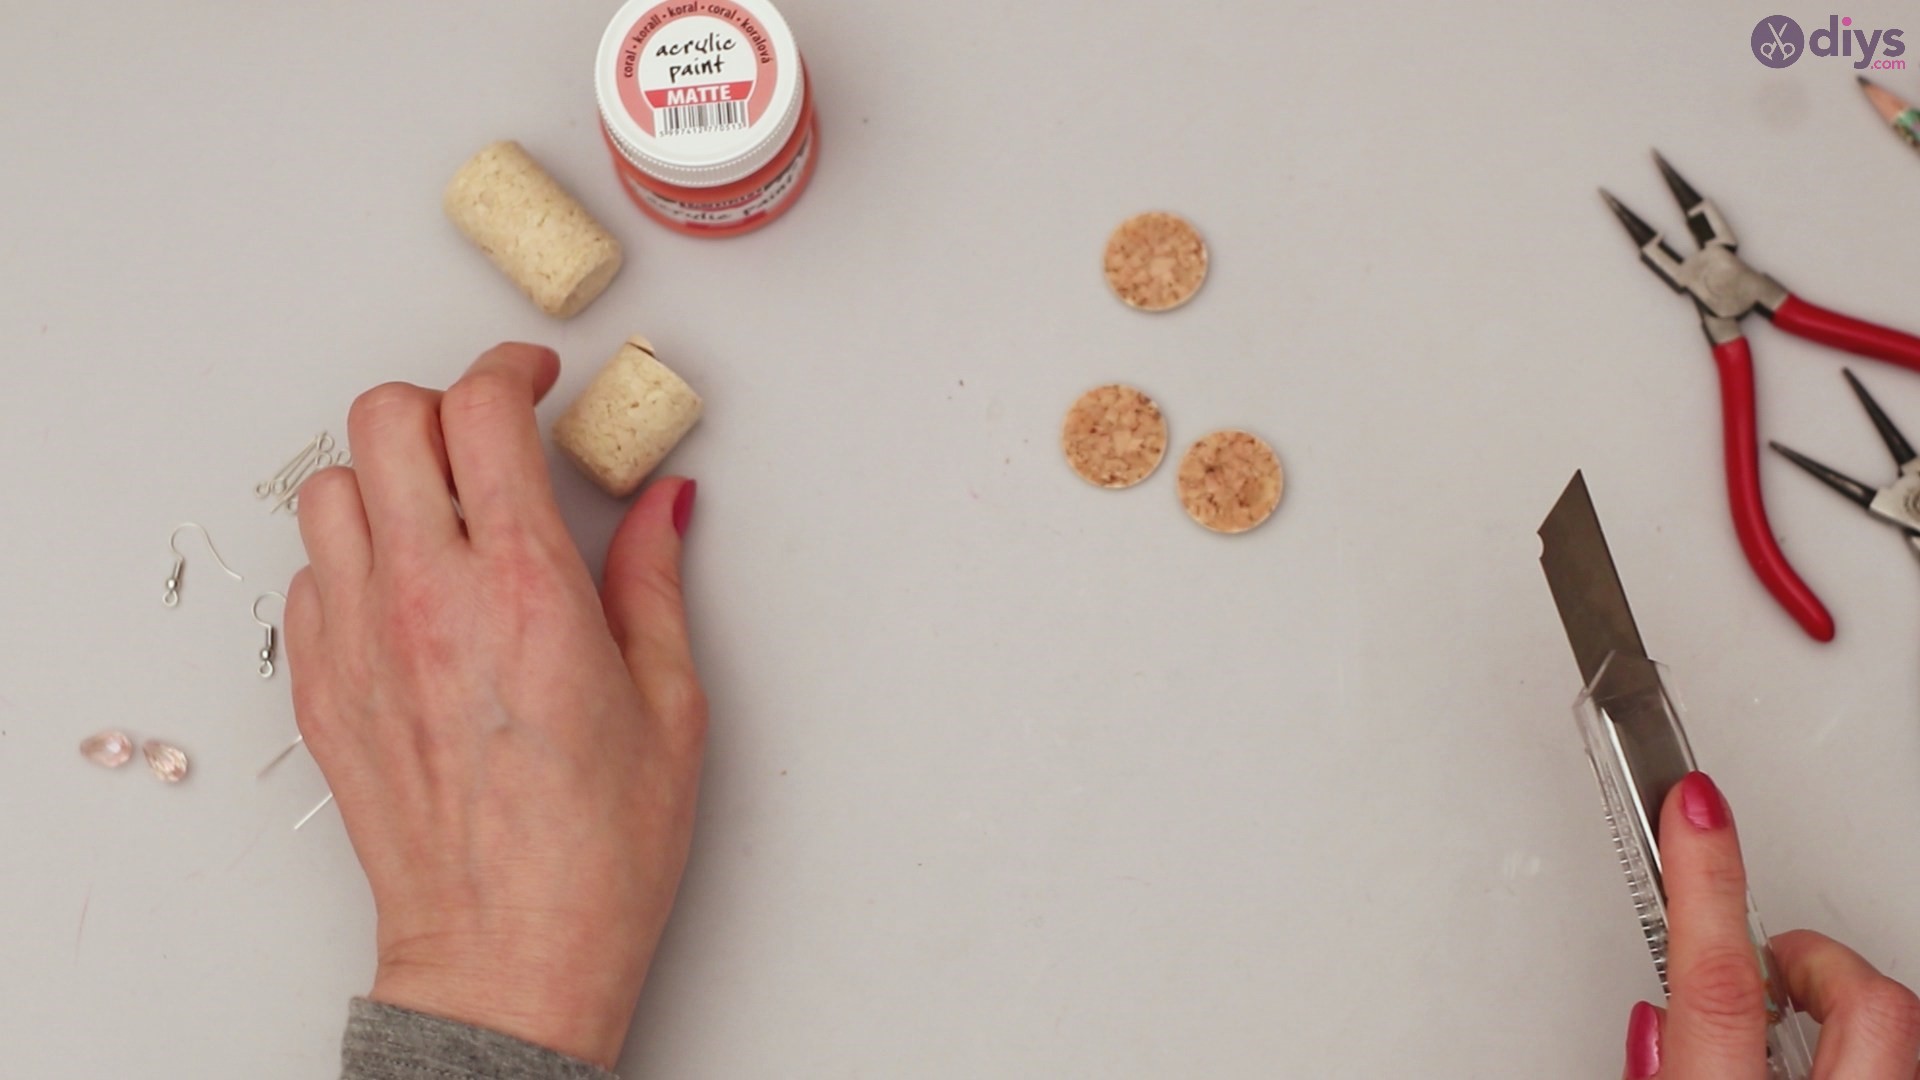
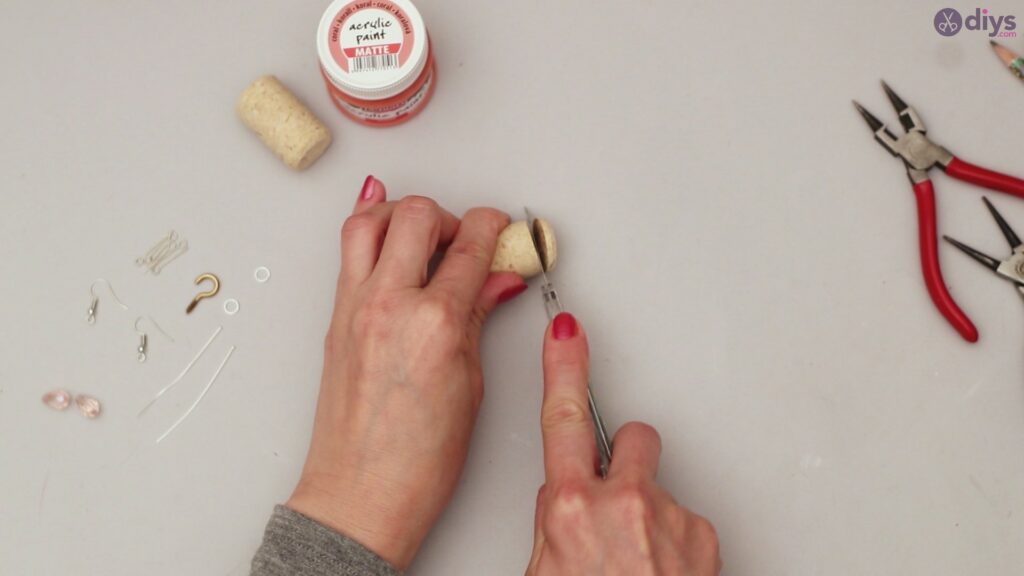
Step 1: Prepare Your Corks
You’re going to want to slice your corks into at least three thin pieces. You don’t have to use the entire cork, but if you’re planning on making several earrings in different colors or to give away as gifts, you might as well cut all your cork slices so that all of your earring pieces are ready to use.
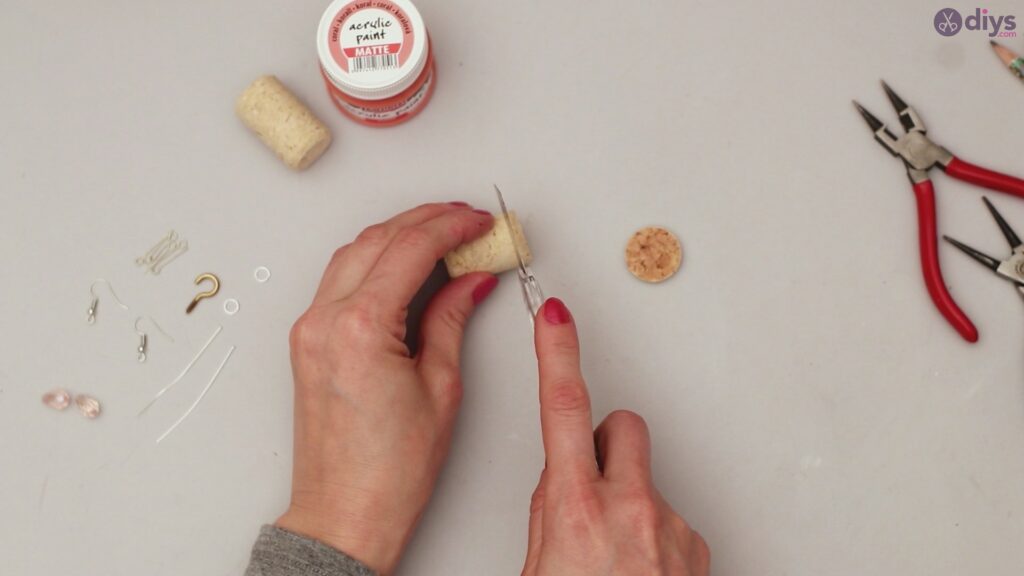
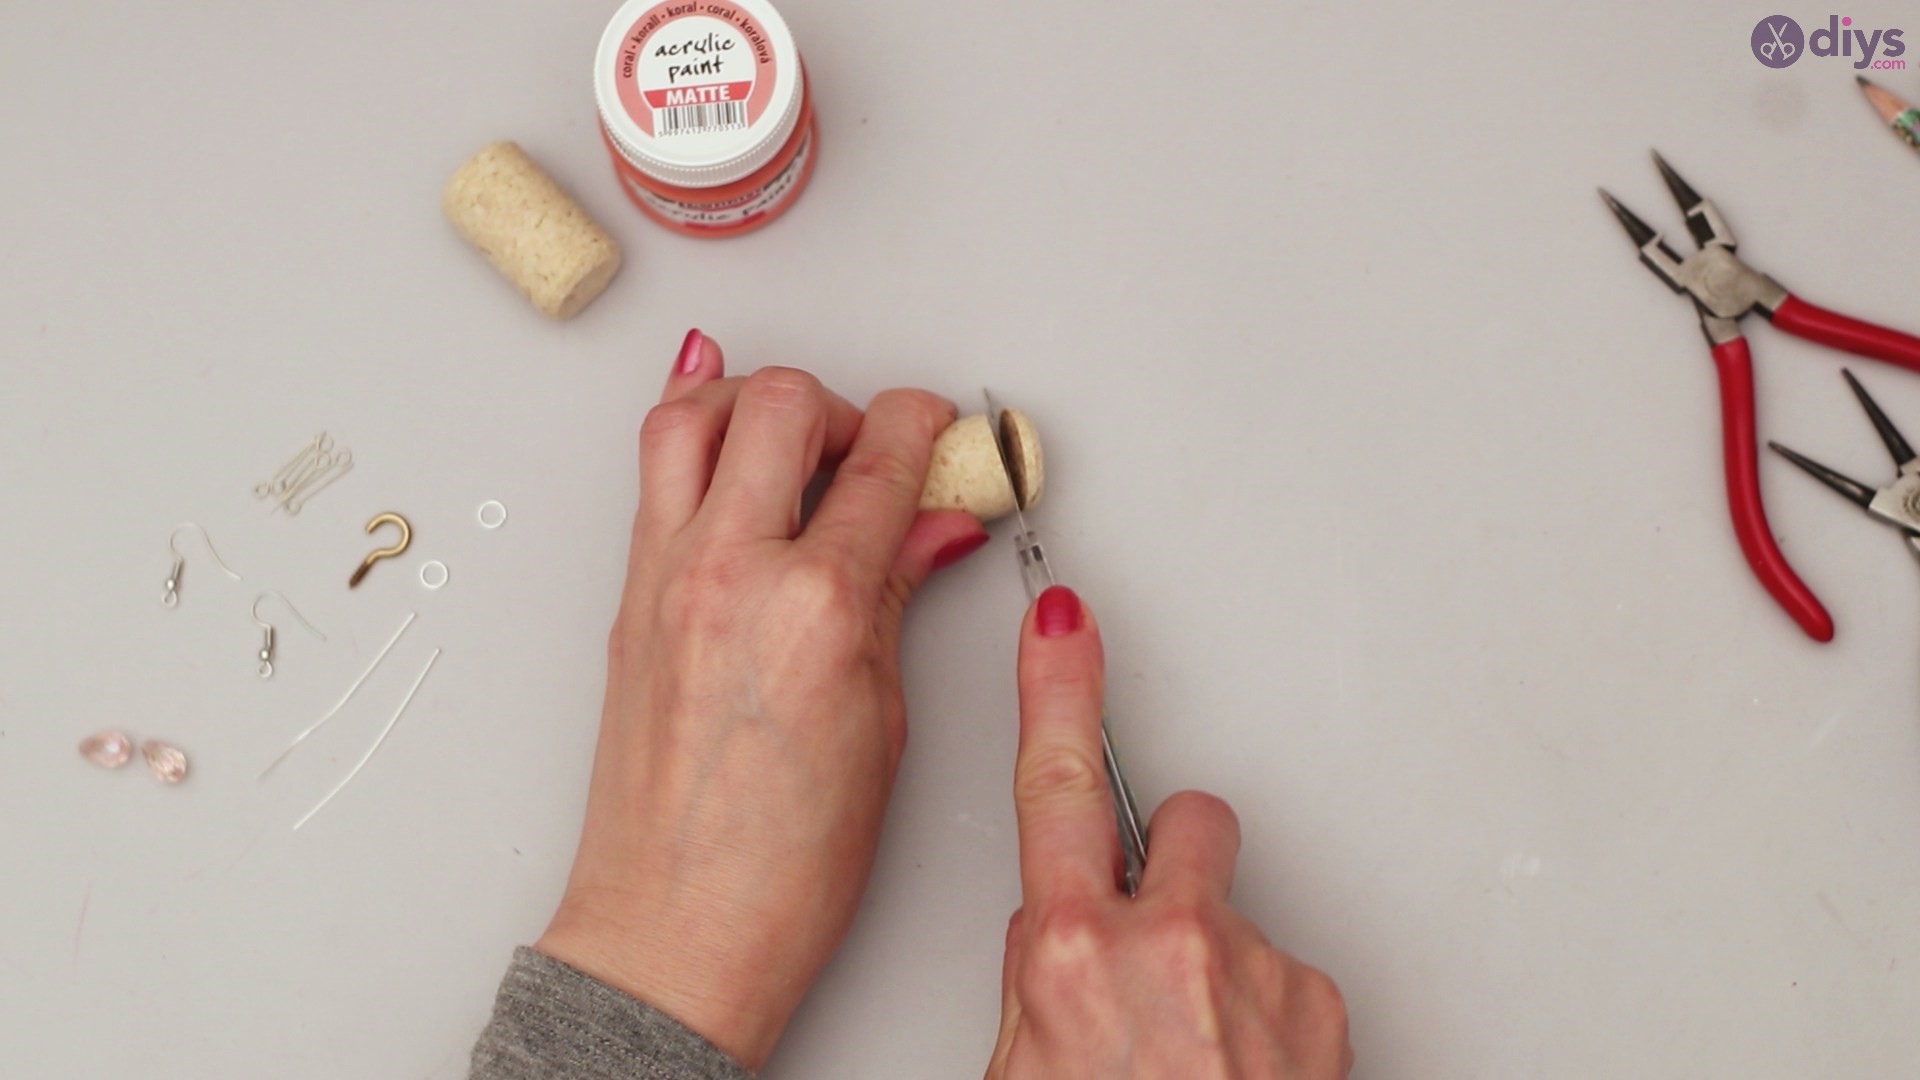
Step 2: Cut Again
Once you have your perfectly sized three cork slices, you are ready to cut the third circle into two halves. This half circle piece will be your last part of the dangly part of the earring. Always remember to be careful when using your razor cutter, as these are incredibly sharp and one slip could cause some pretty nasty cuts.
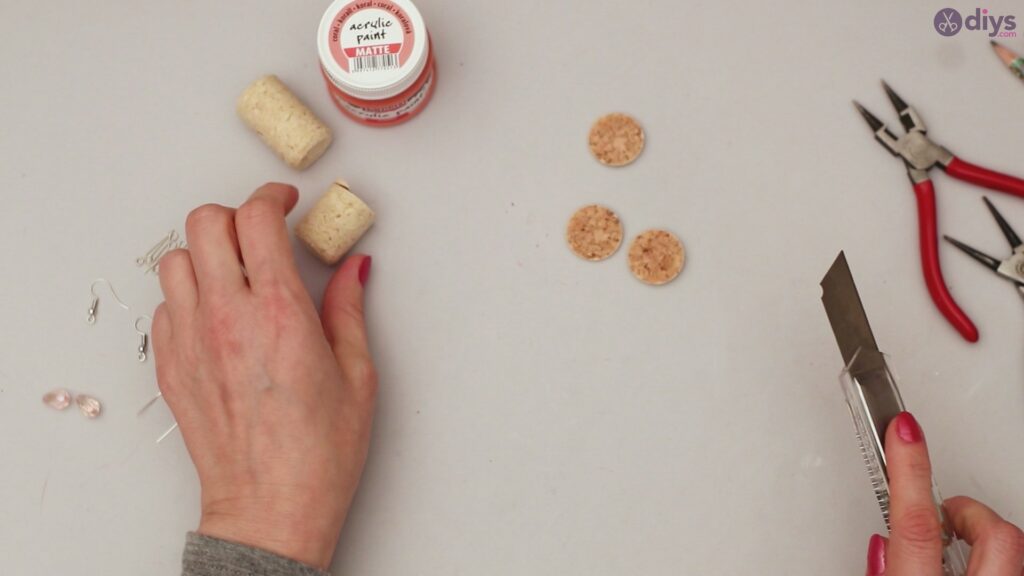
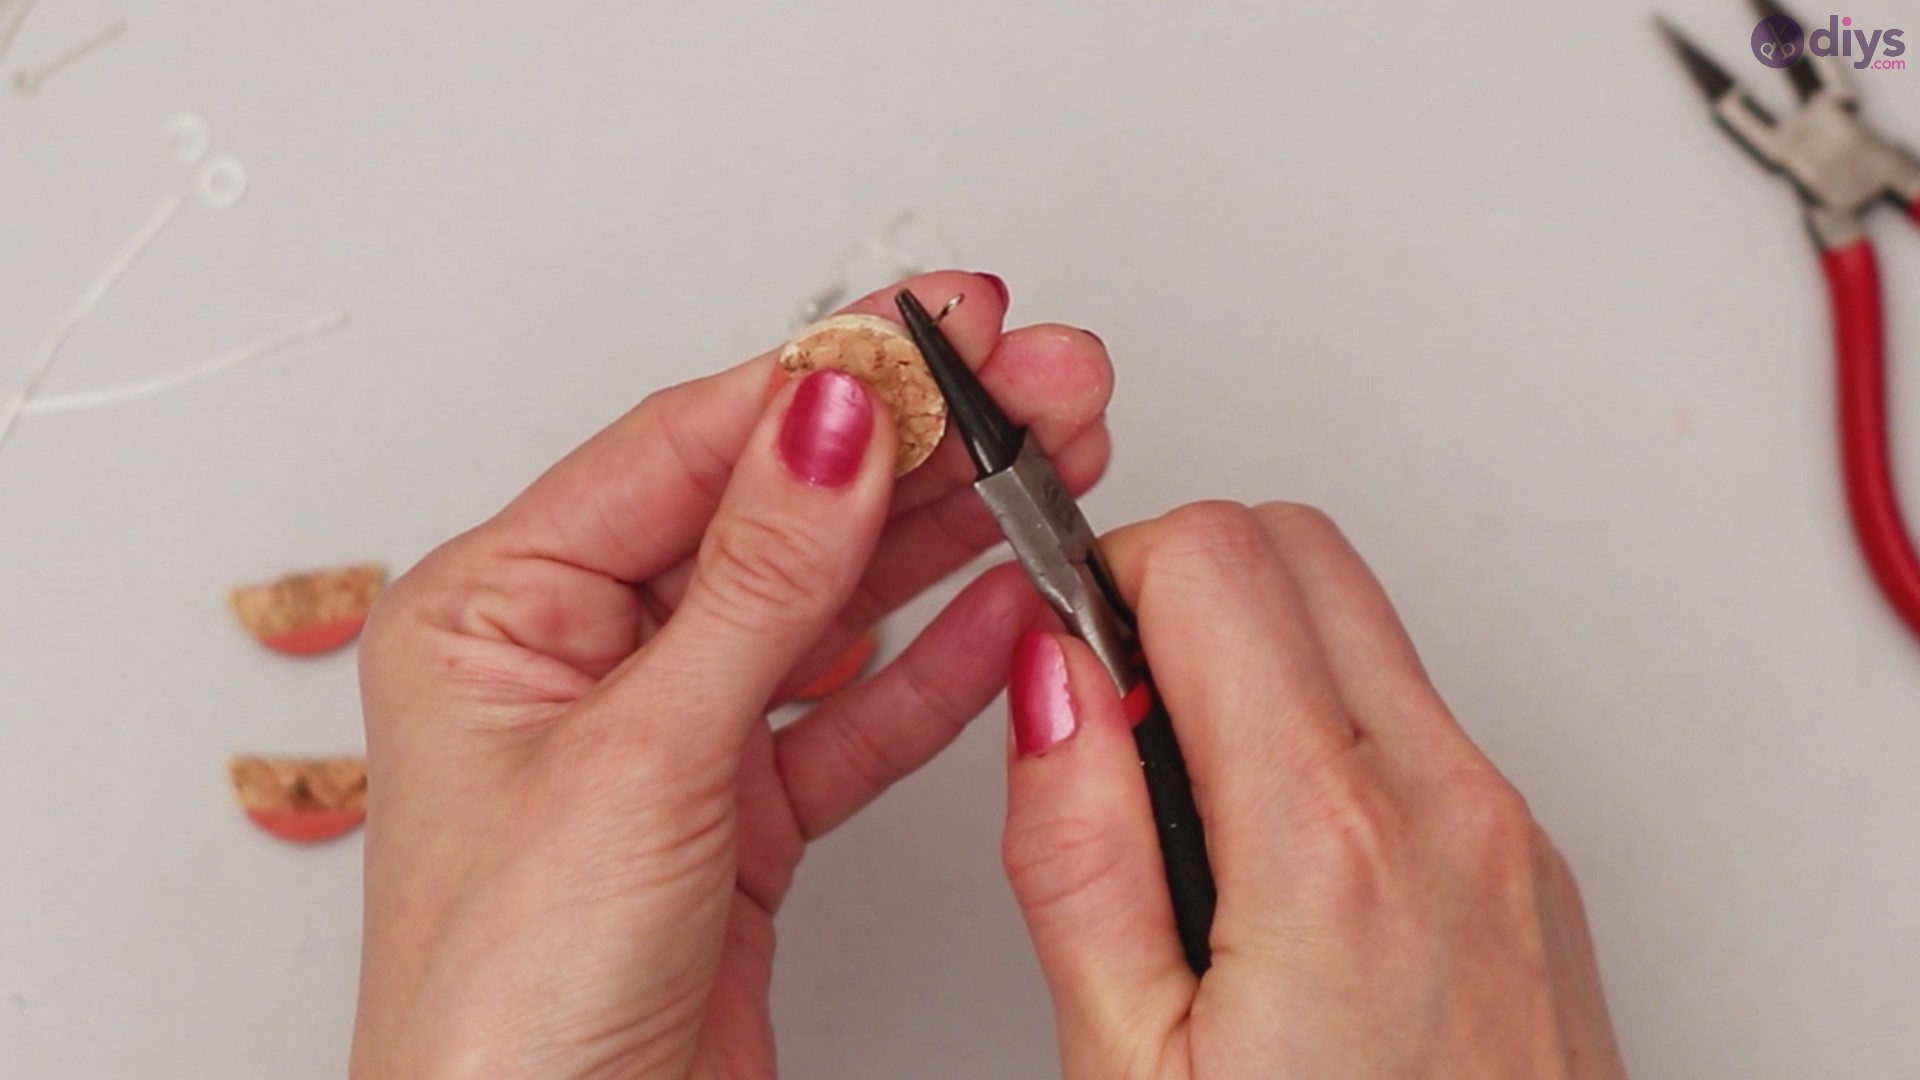
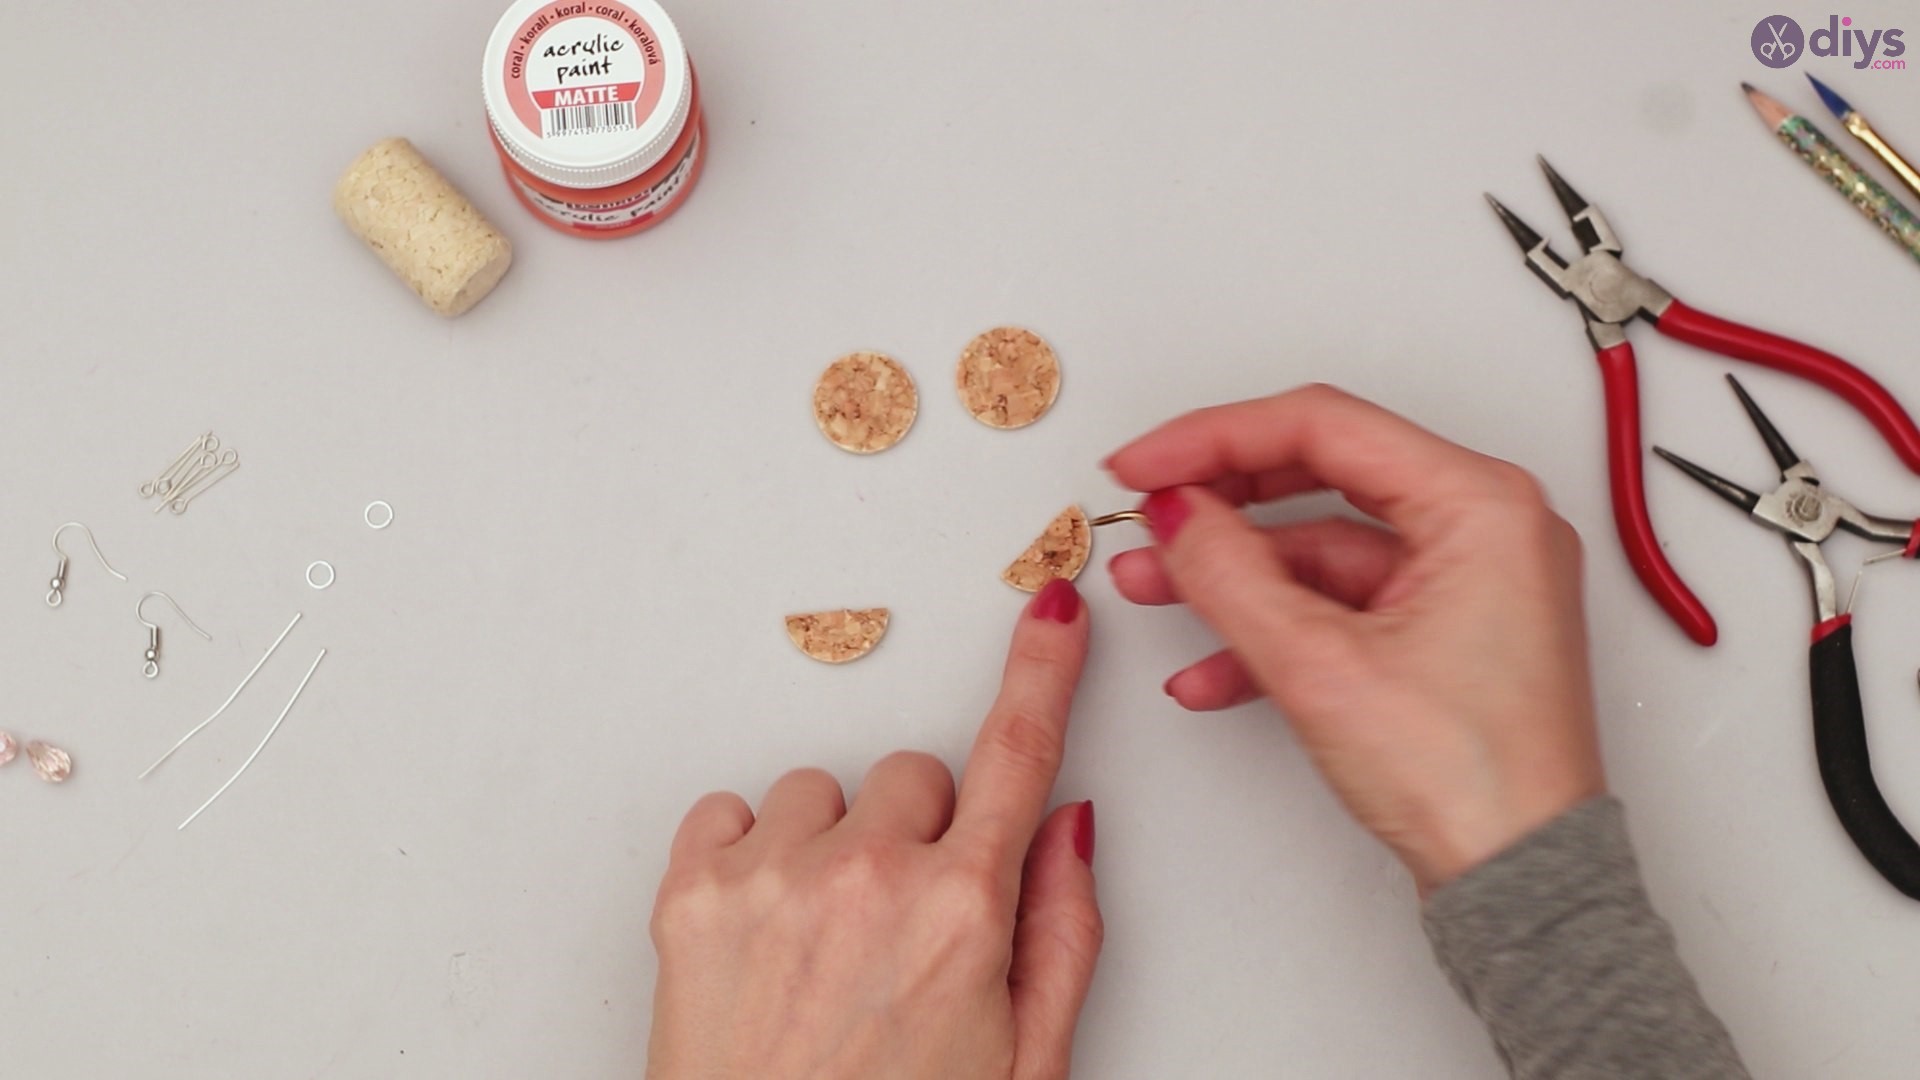
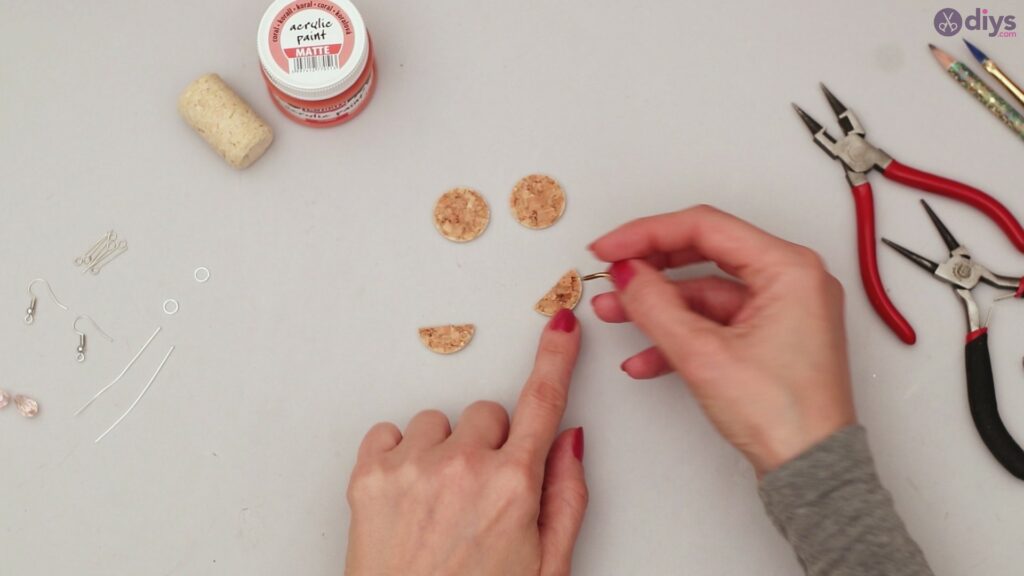
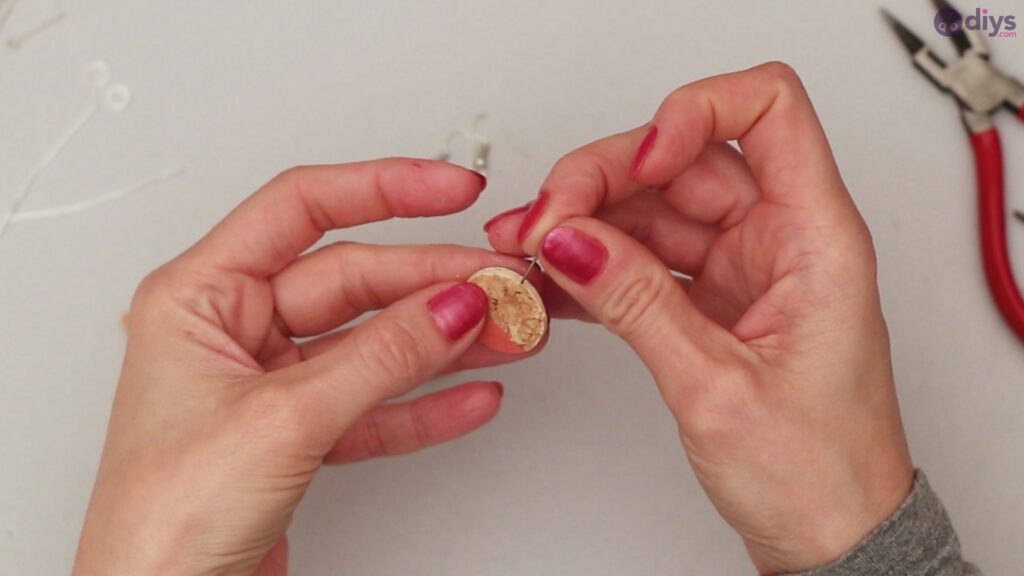
Step 3: Ready Your Pieces
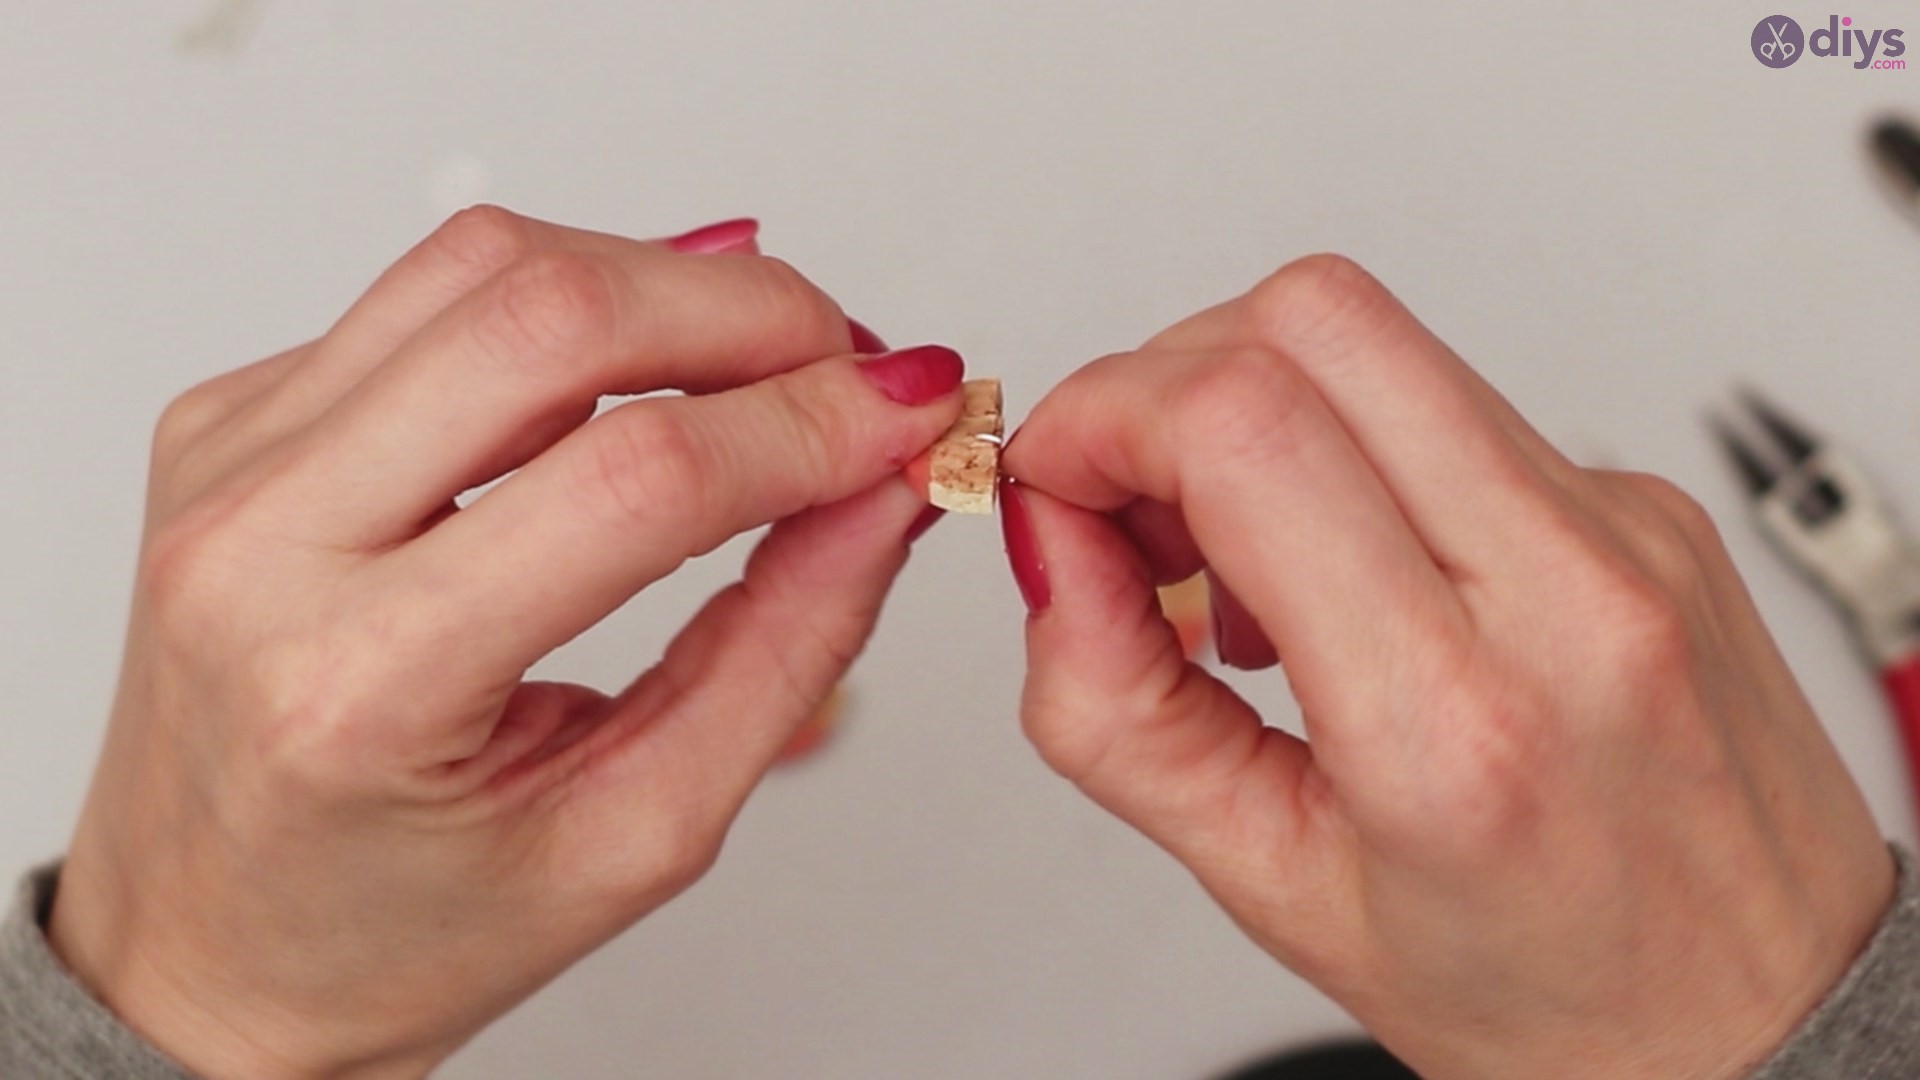
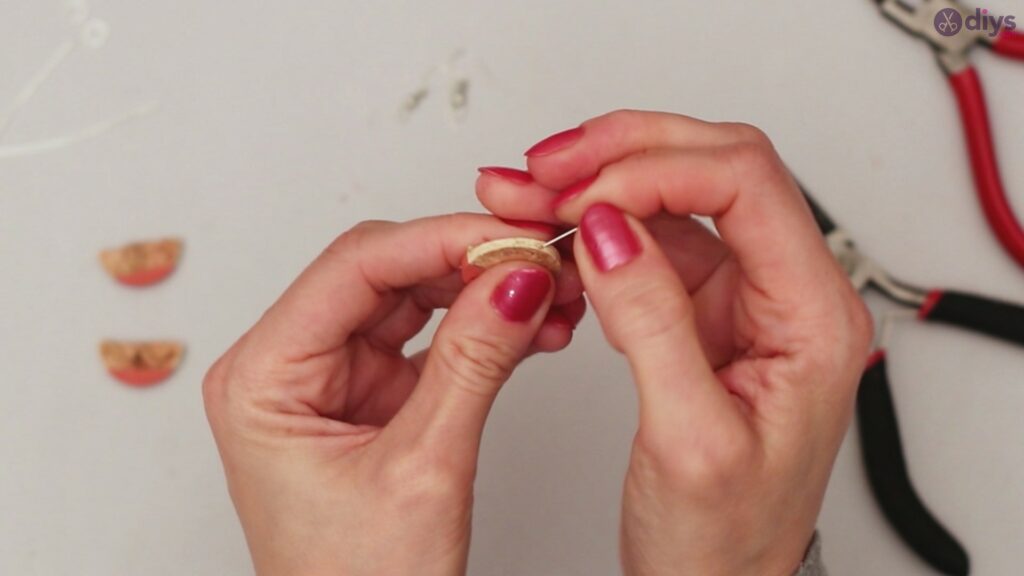
Once you have your two circles and two half circle pieces, you are ready to start prepping the pieces to be conjoined on your earring base. Using your hook piece, gently screw in a hole to the top part of the half circle right along the straight edge. Be careful, as cork can crumble easily and if your break through the entire half, you may have to start all over again in cutting a piece.


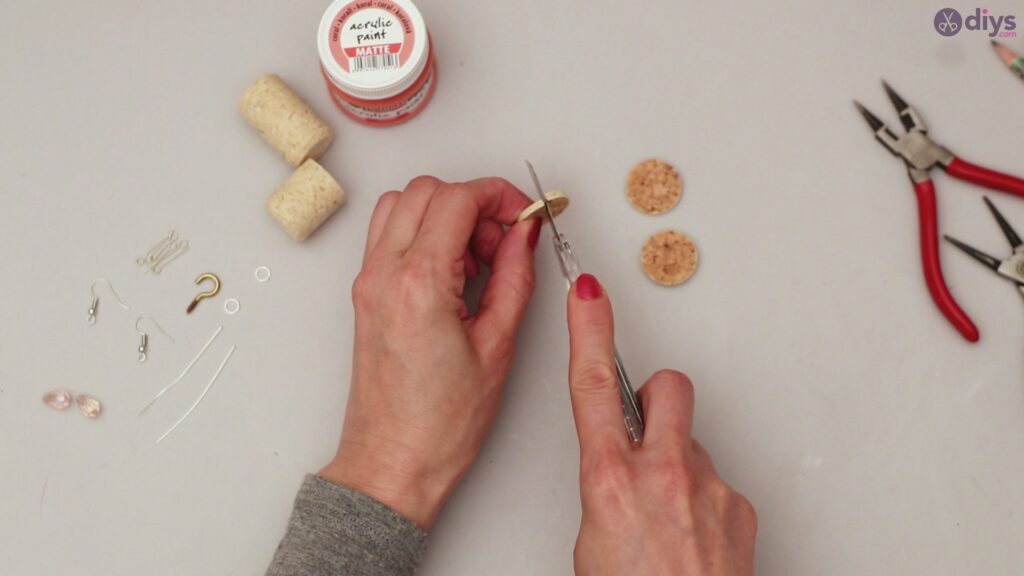
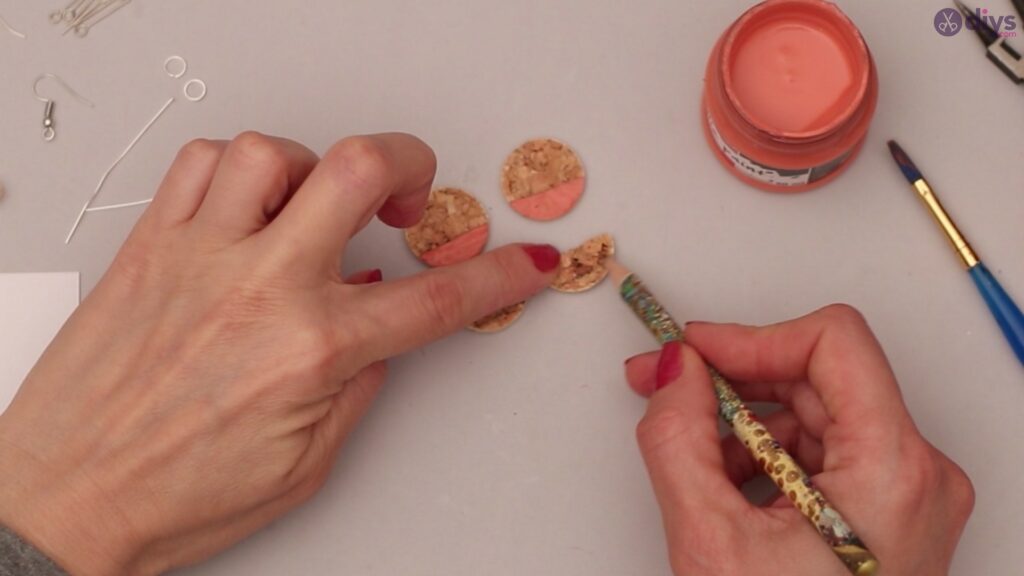
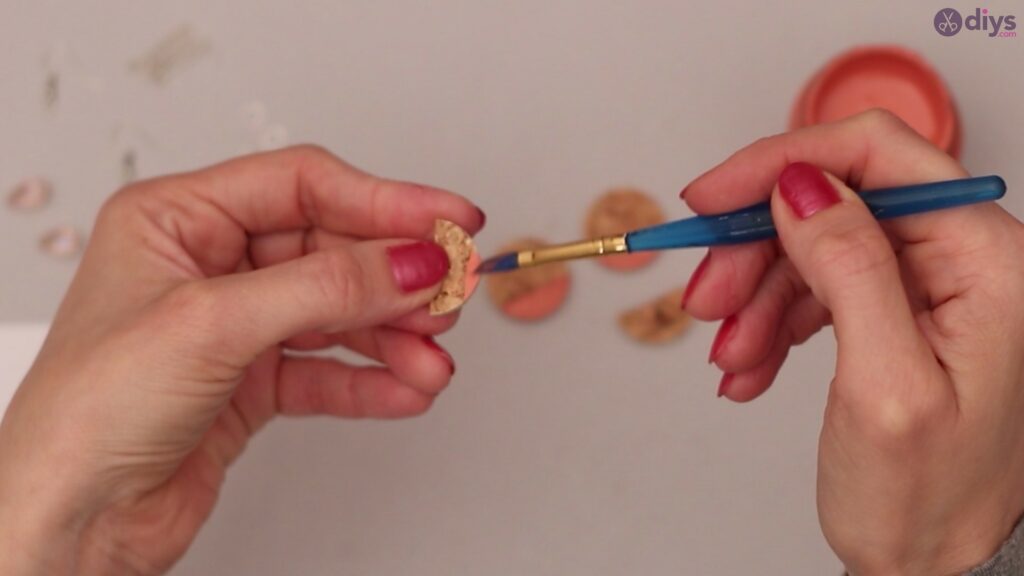
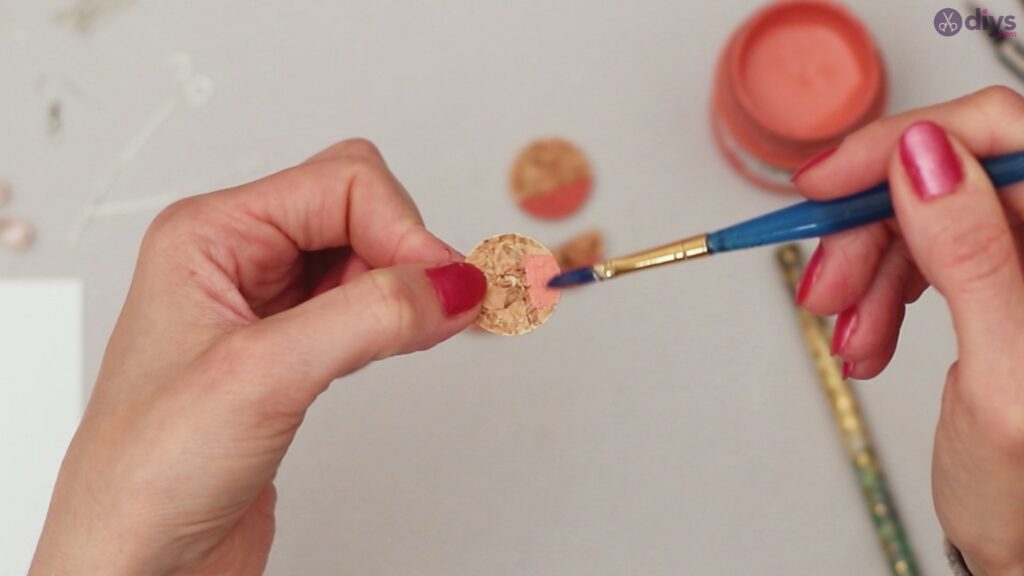
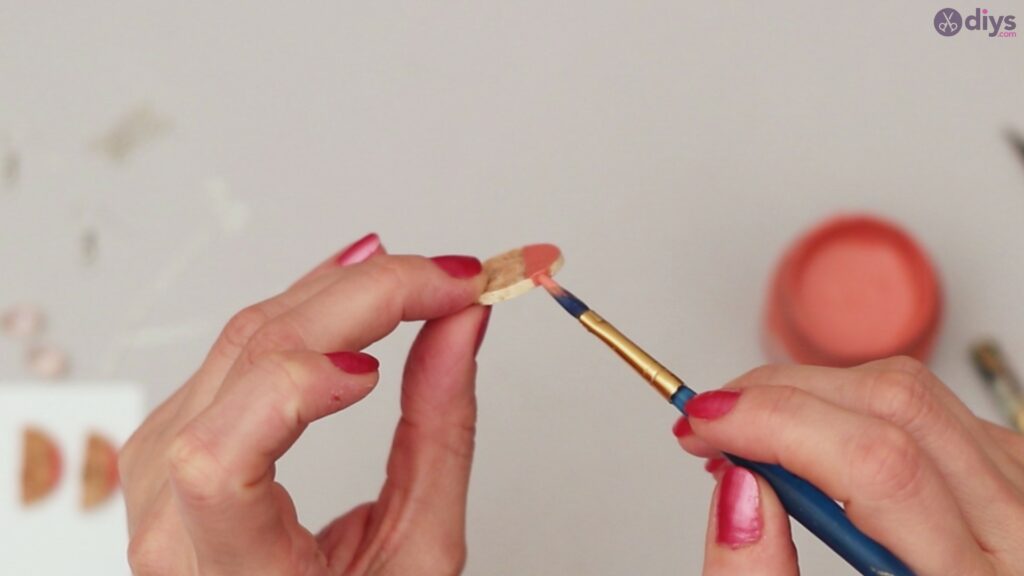
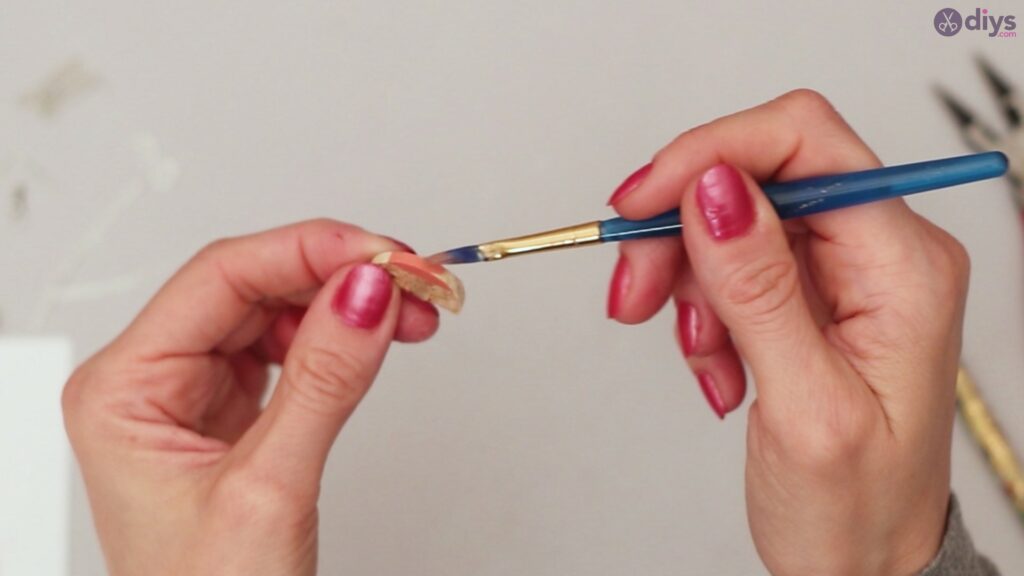
Step 4: Ready to Paint
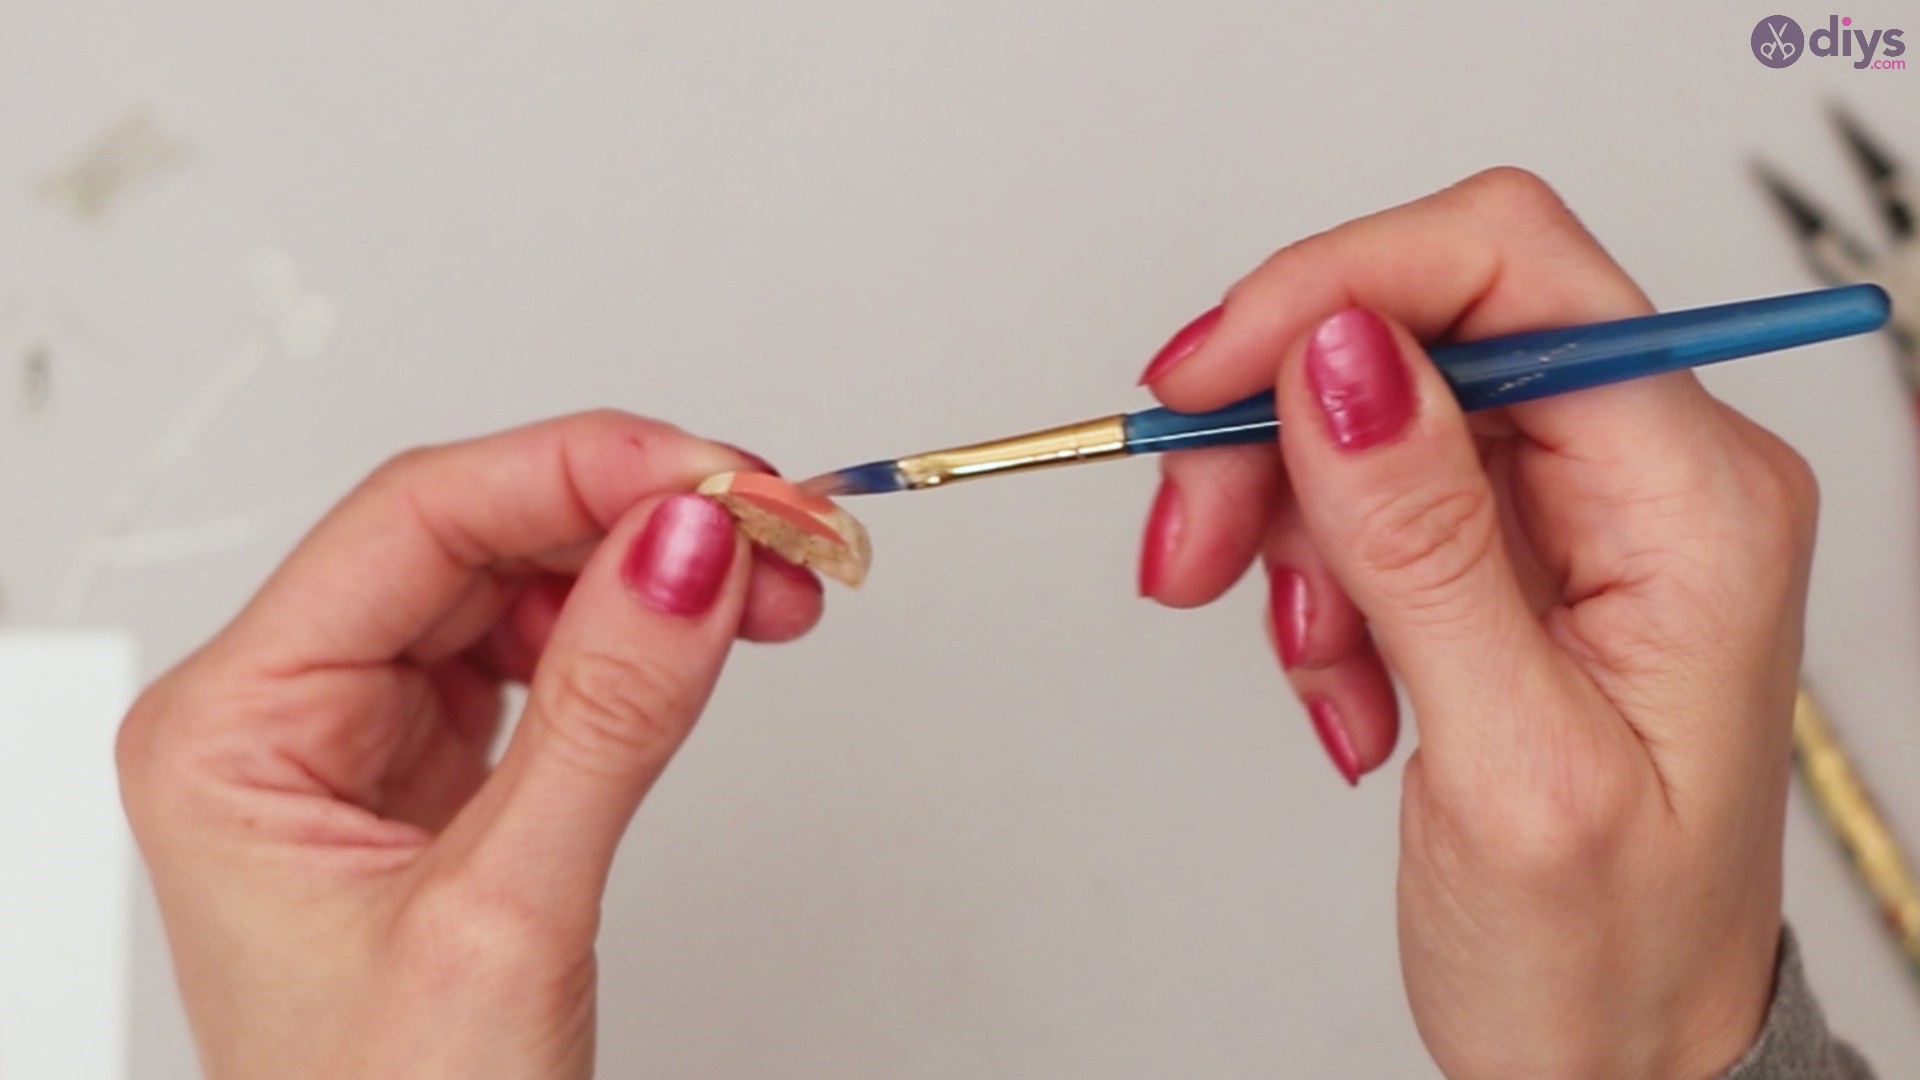
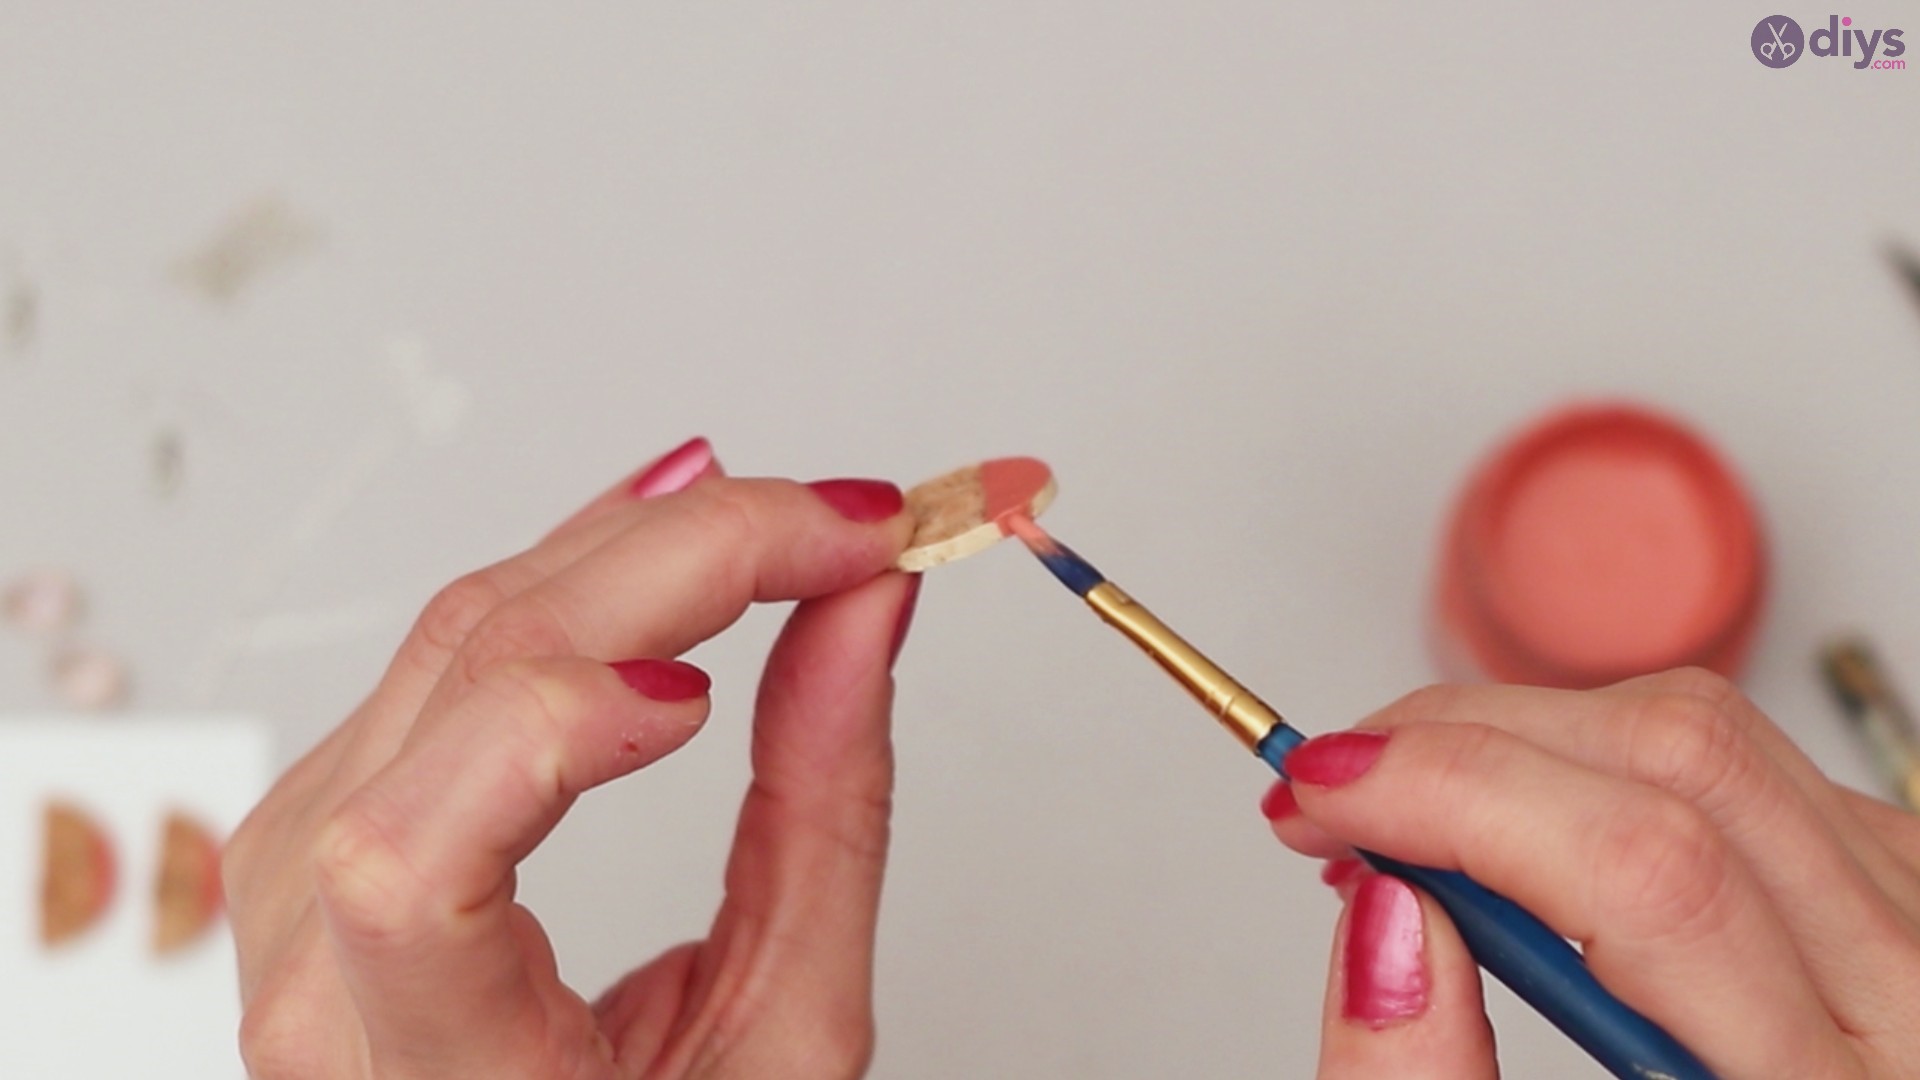
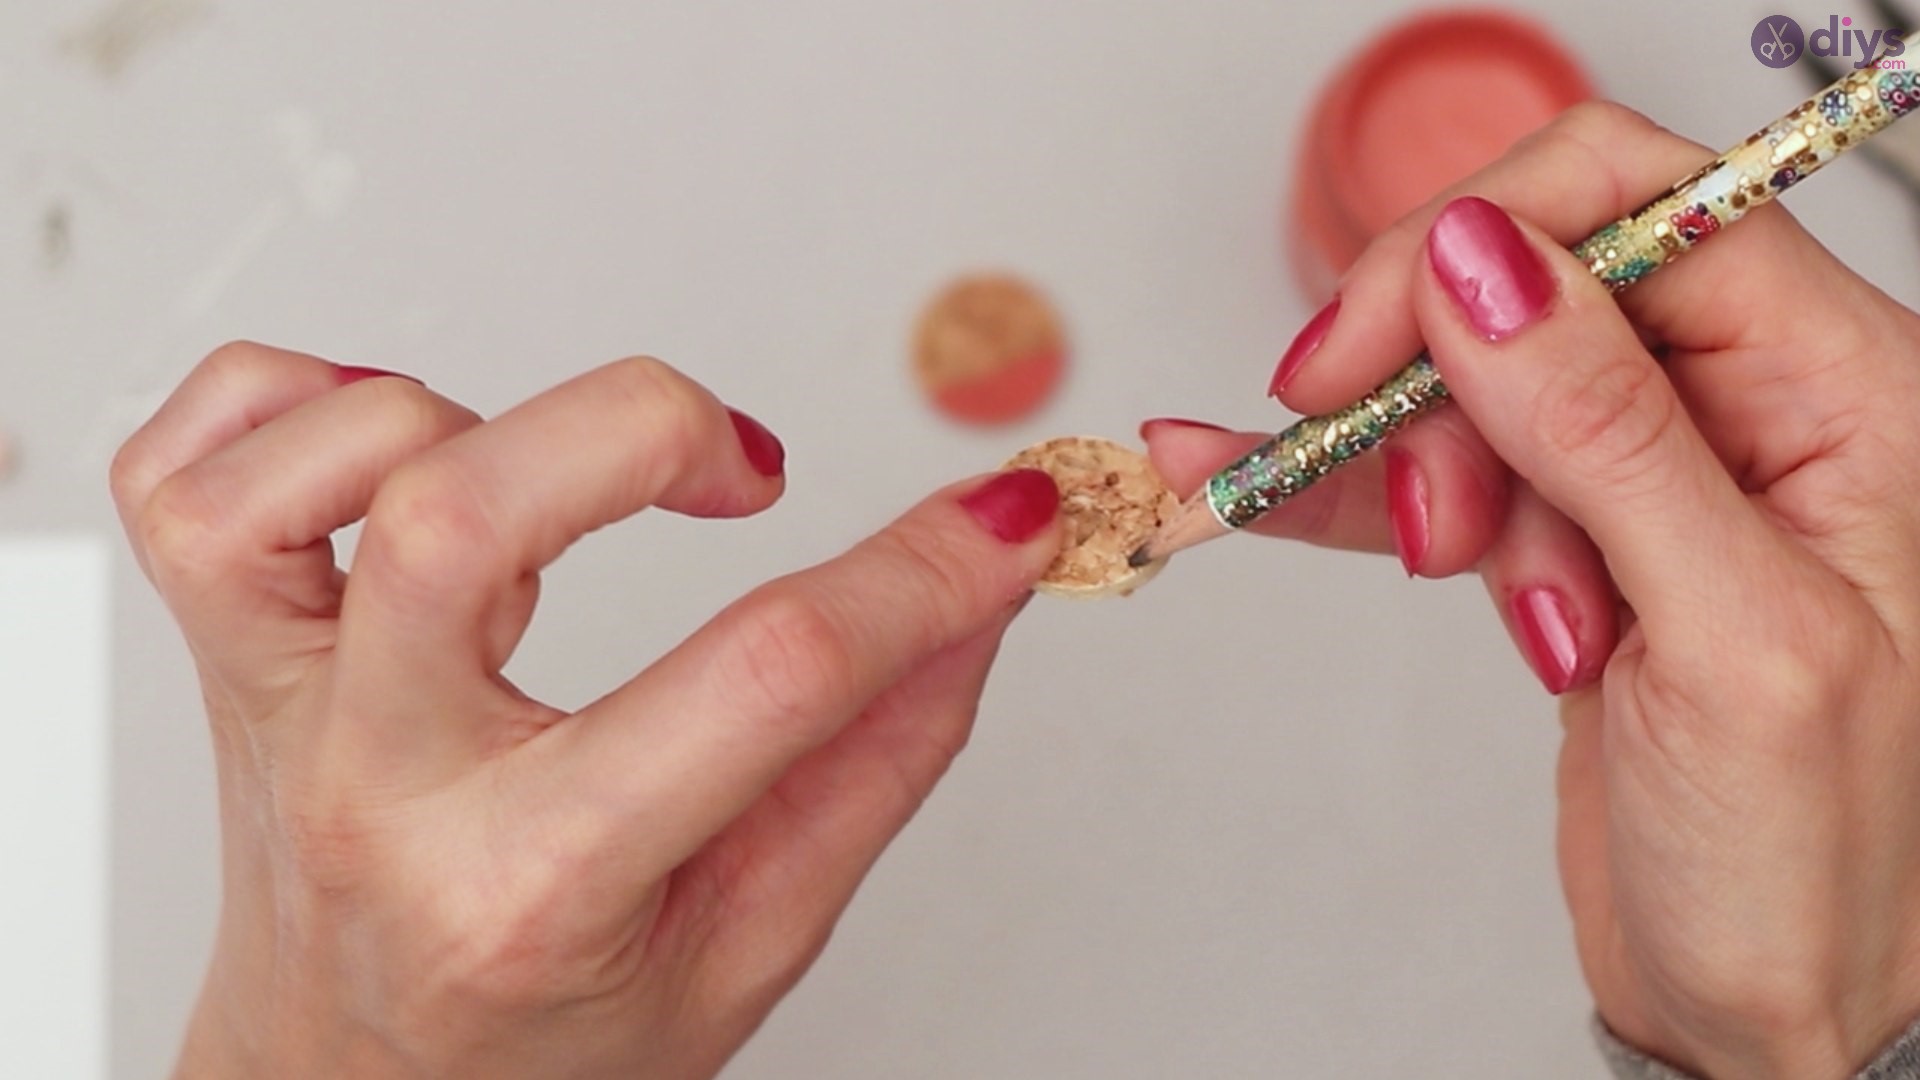
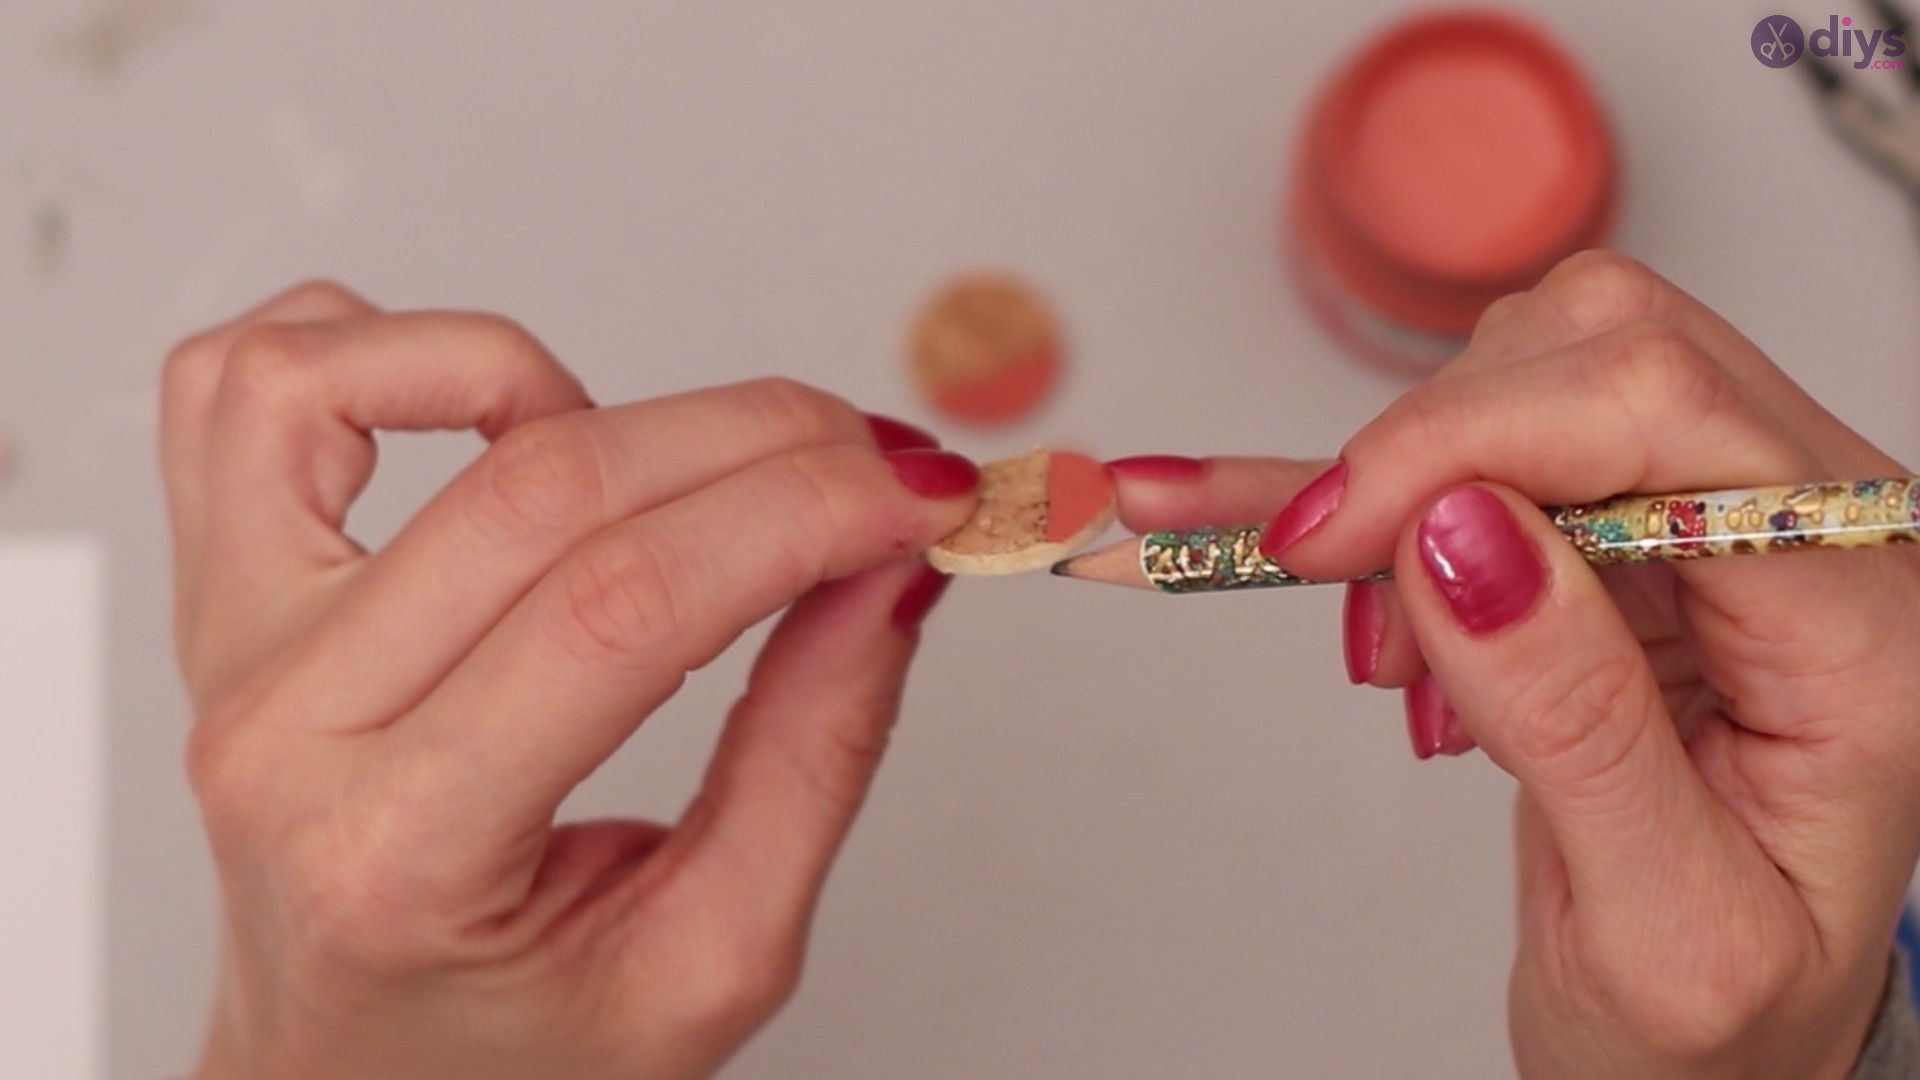
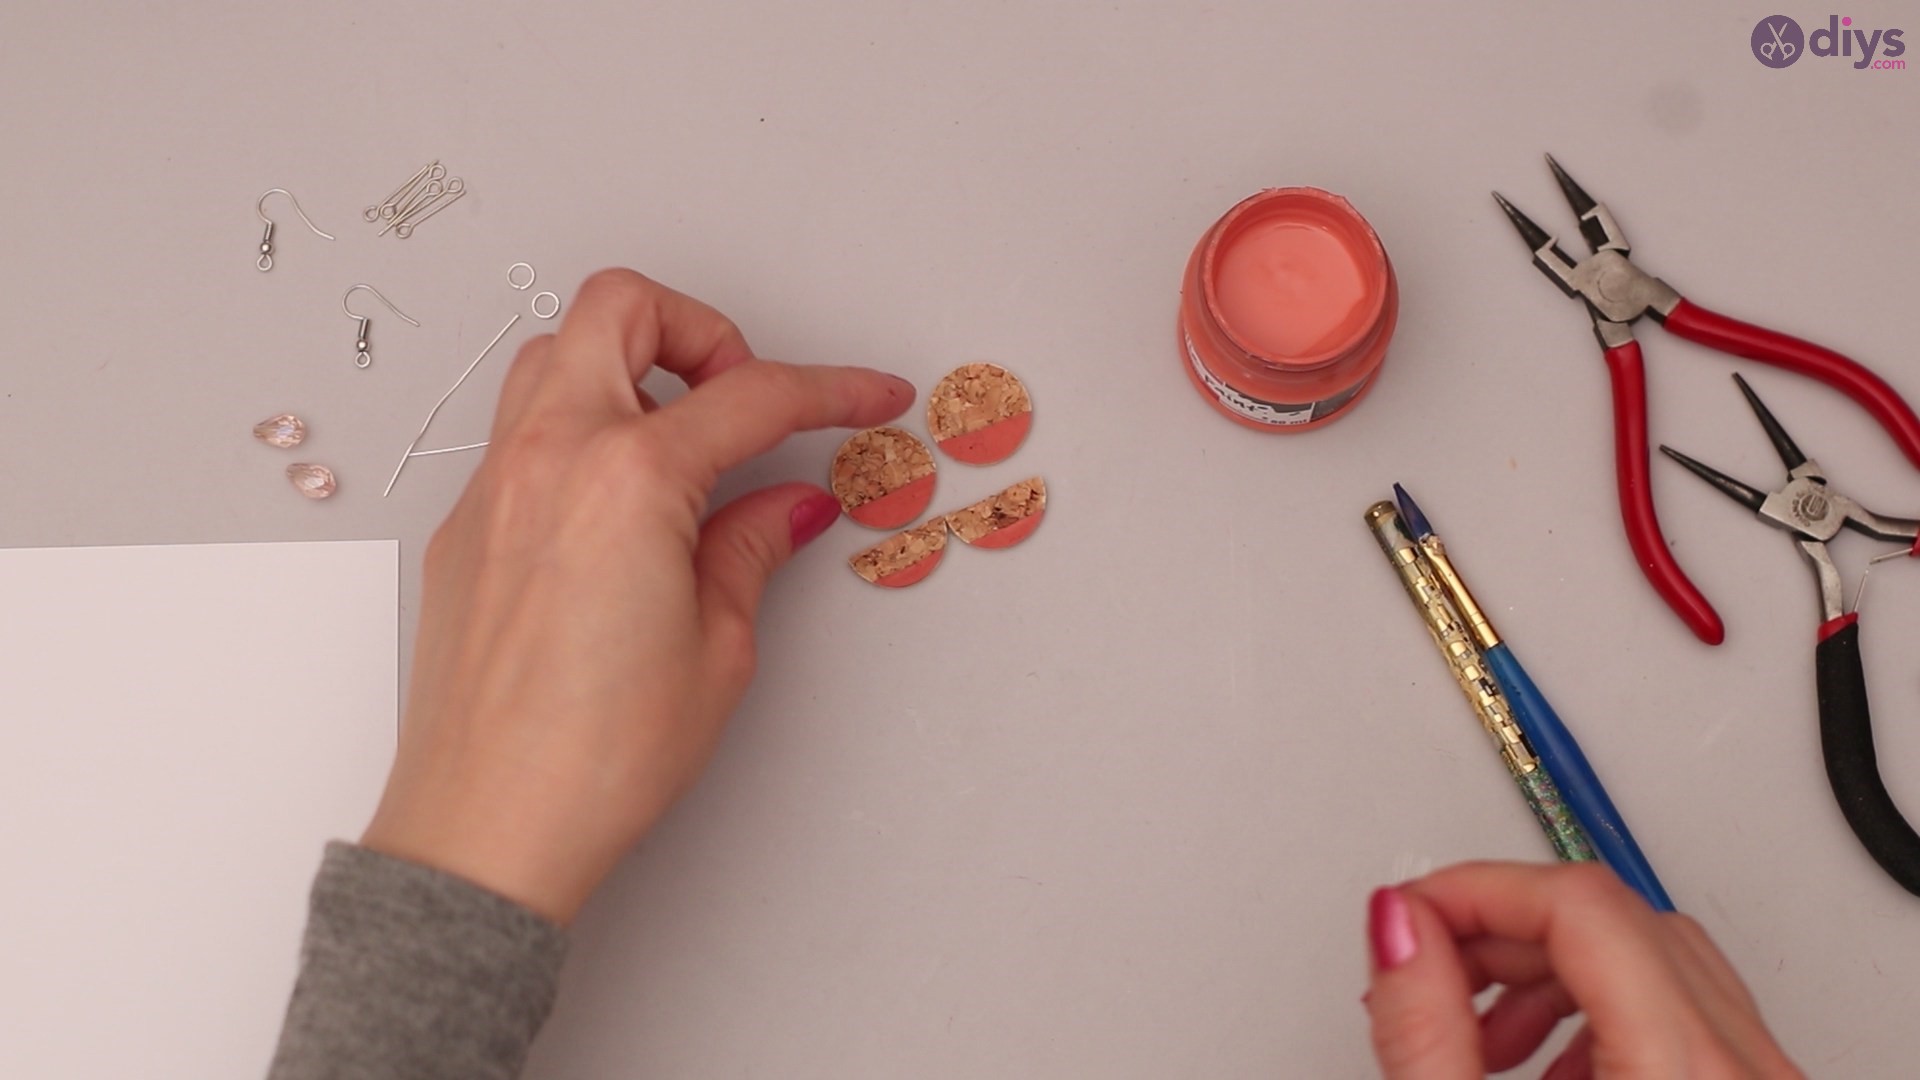
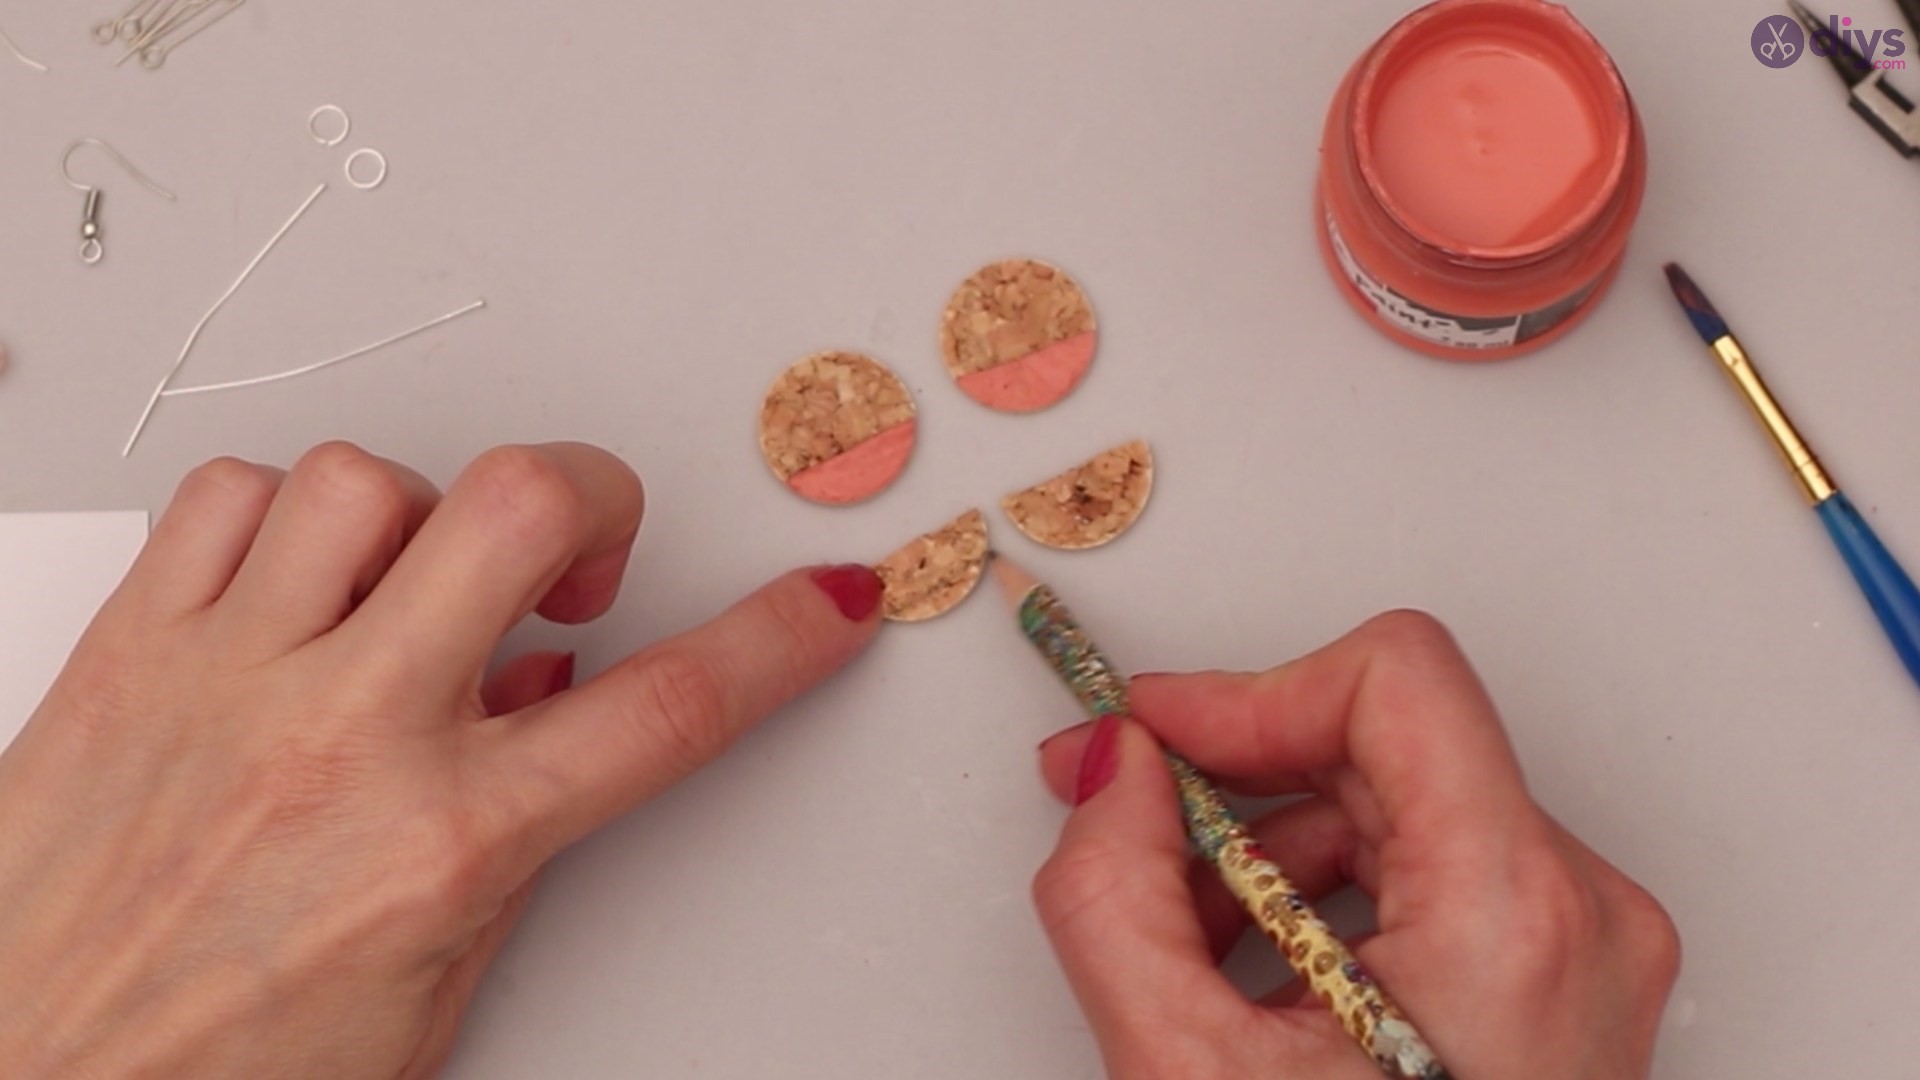
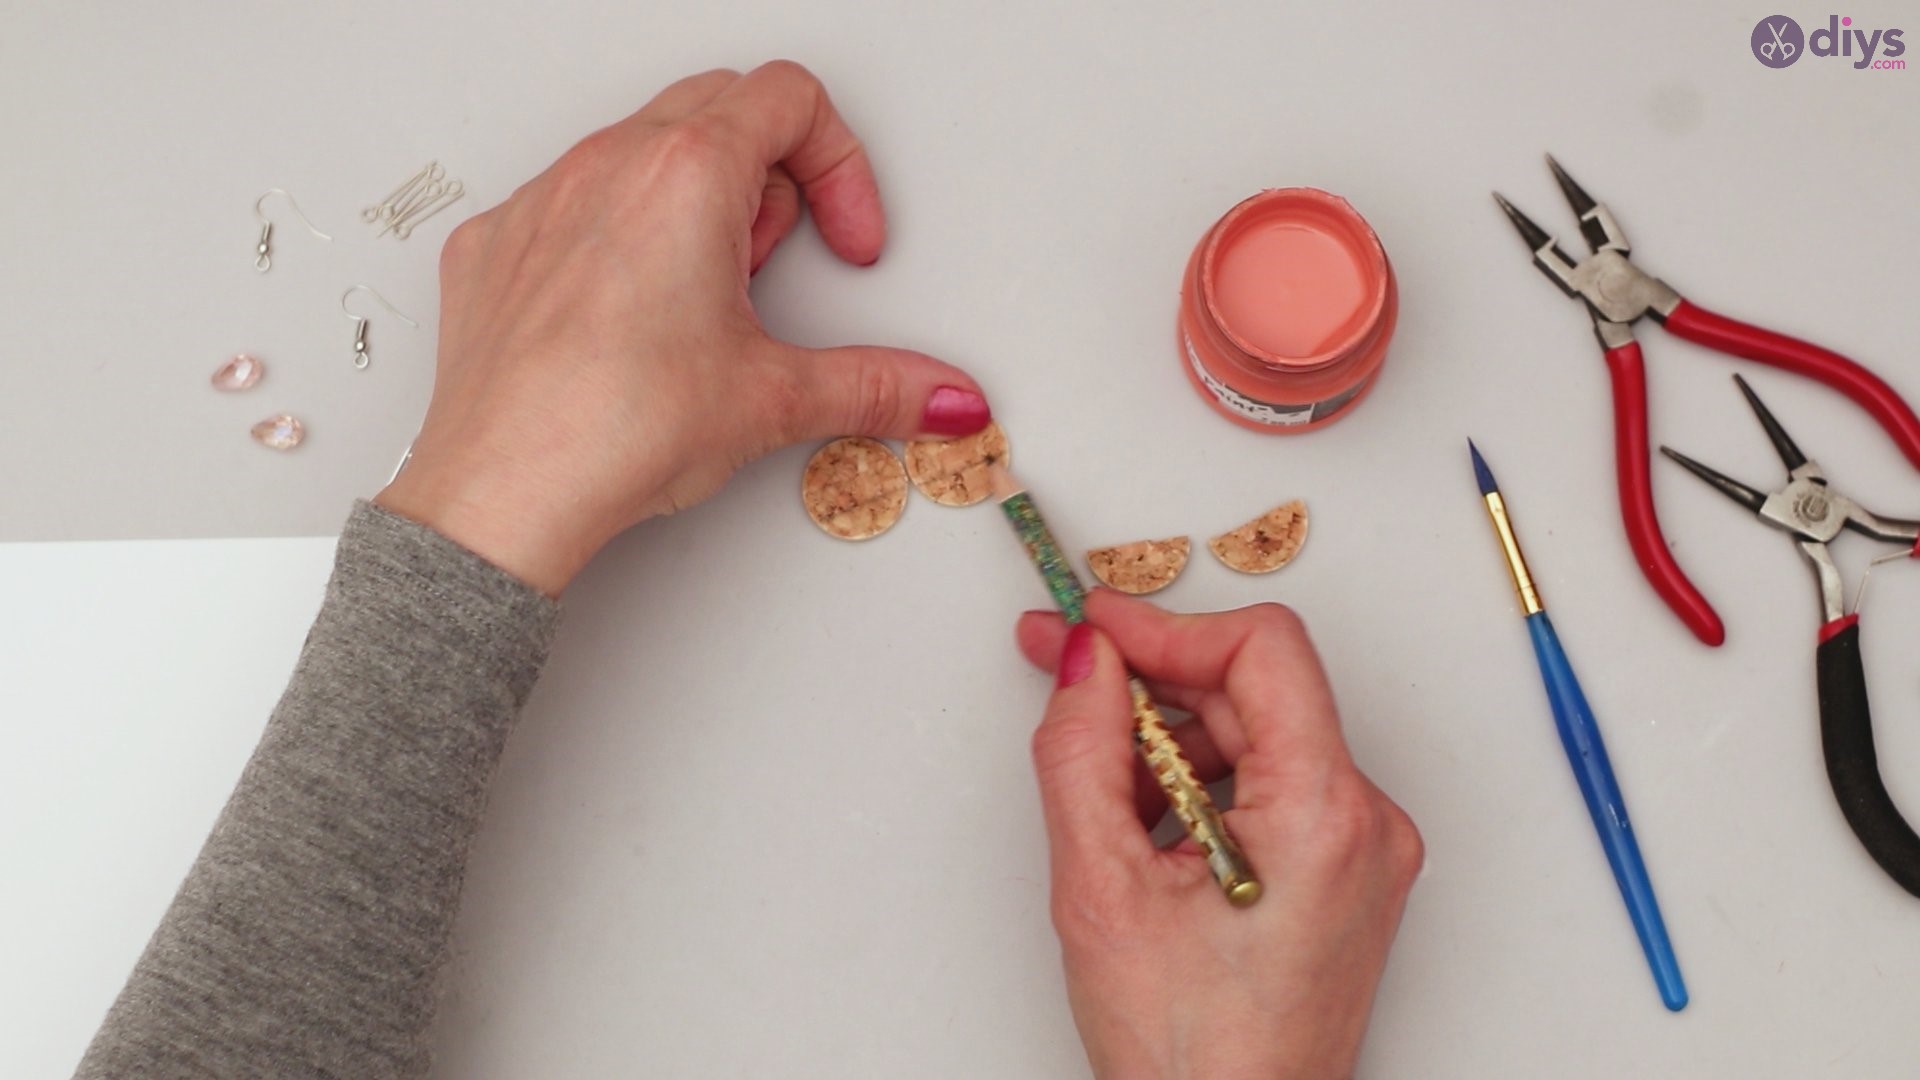
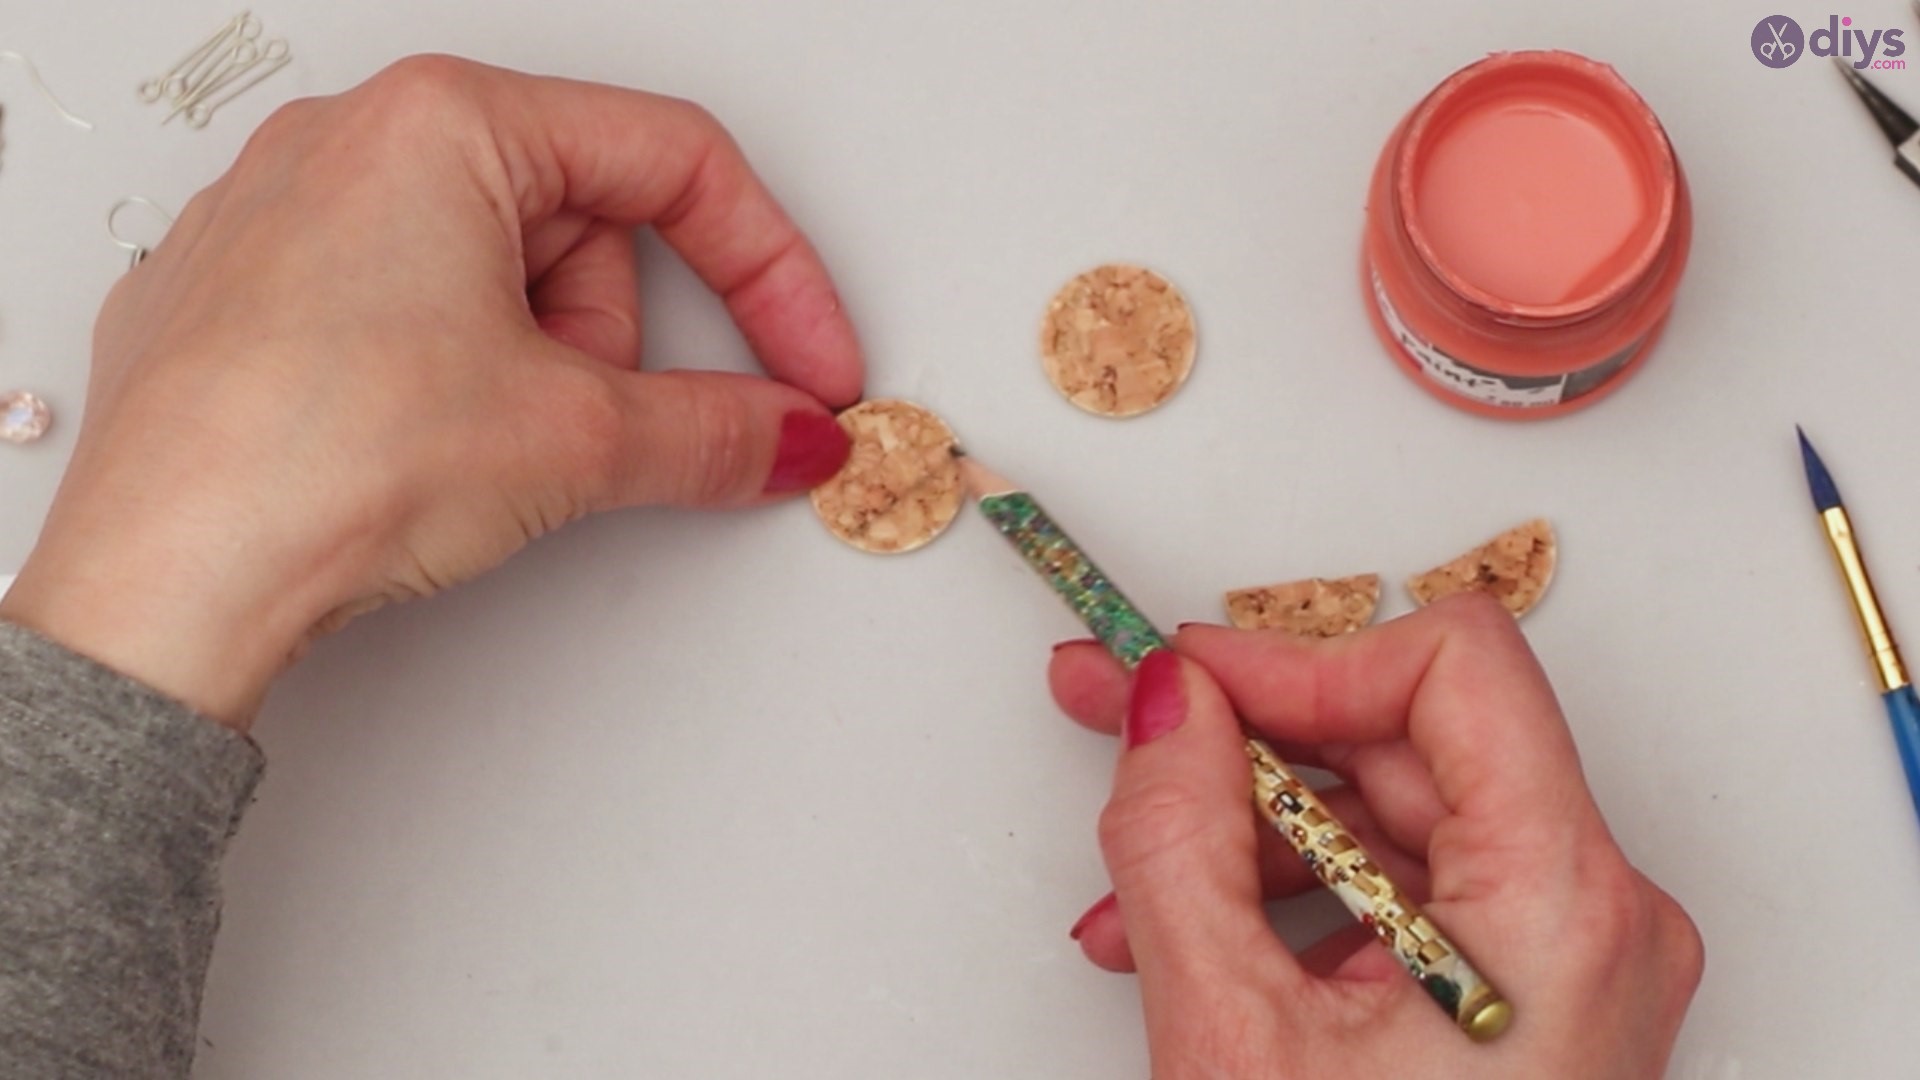
Using a pencil, make a straight line across the base of the two full circle cork pieces. This is where you will paint on your acrylic paint. You can use any color you wish, but for this particular set of earrings, we are using a deep coral color. The cork color and the peachy coral color go well together and you can either leave the other side of your cork slice that natural color or color in that piece as well. Entirely up to your and your specific taste!
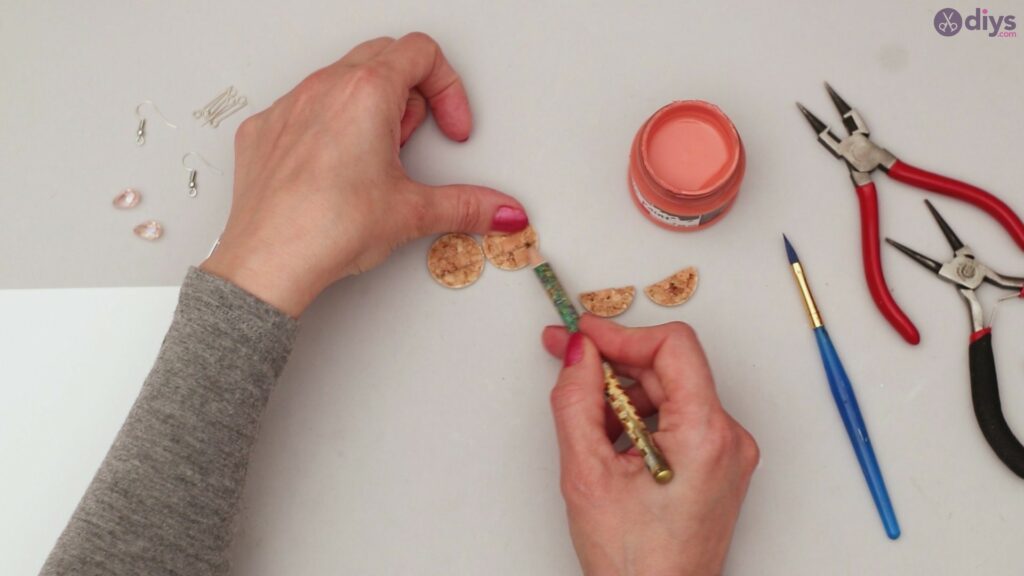
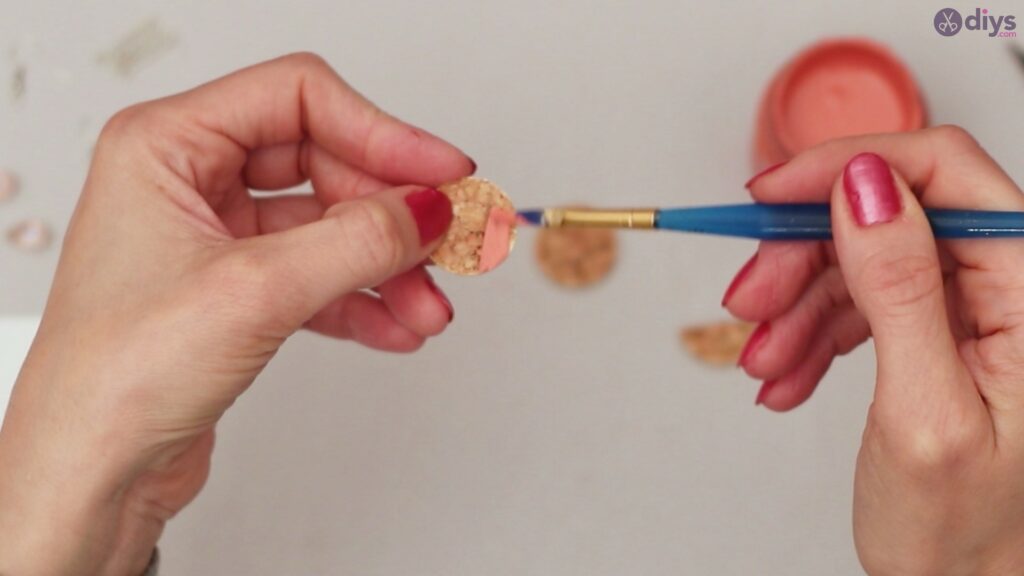
Once you have your full circle pieces painted, you can move on to your half circle pieces. It’s the same concept, just a bit thinner. Use your pencil and draw a straight line across the curve of your two half circle pieces and color in.
Voila! So easy!


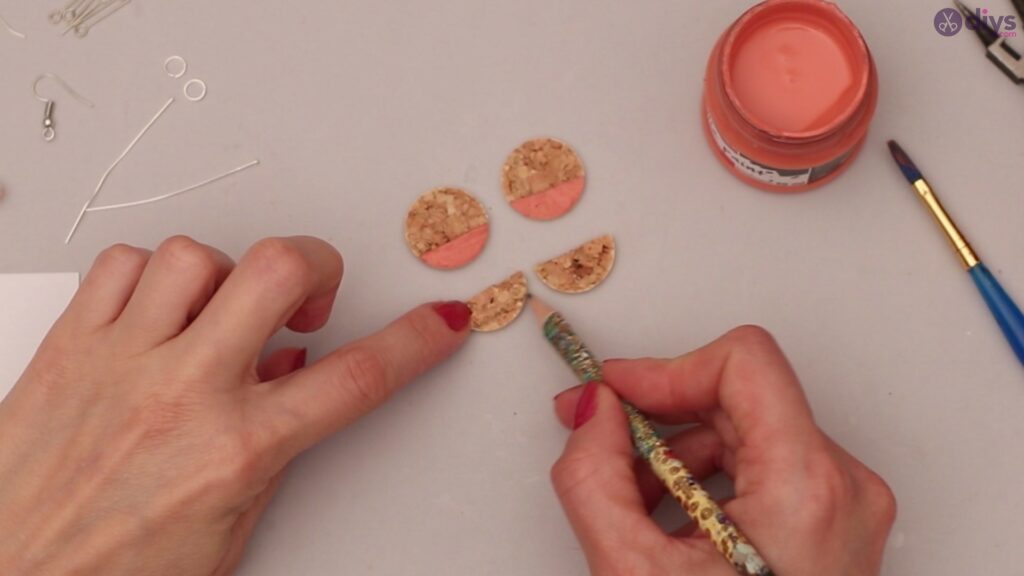
Step 5: Moving to the other side
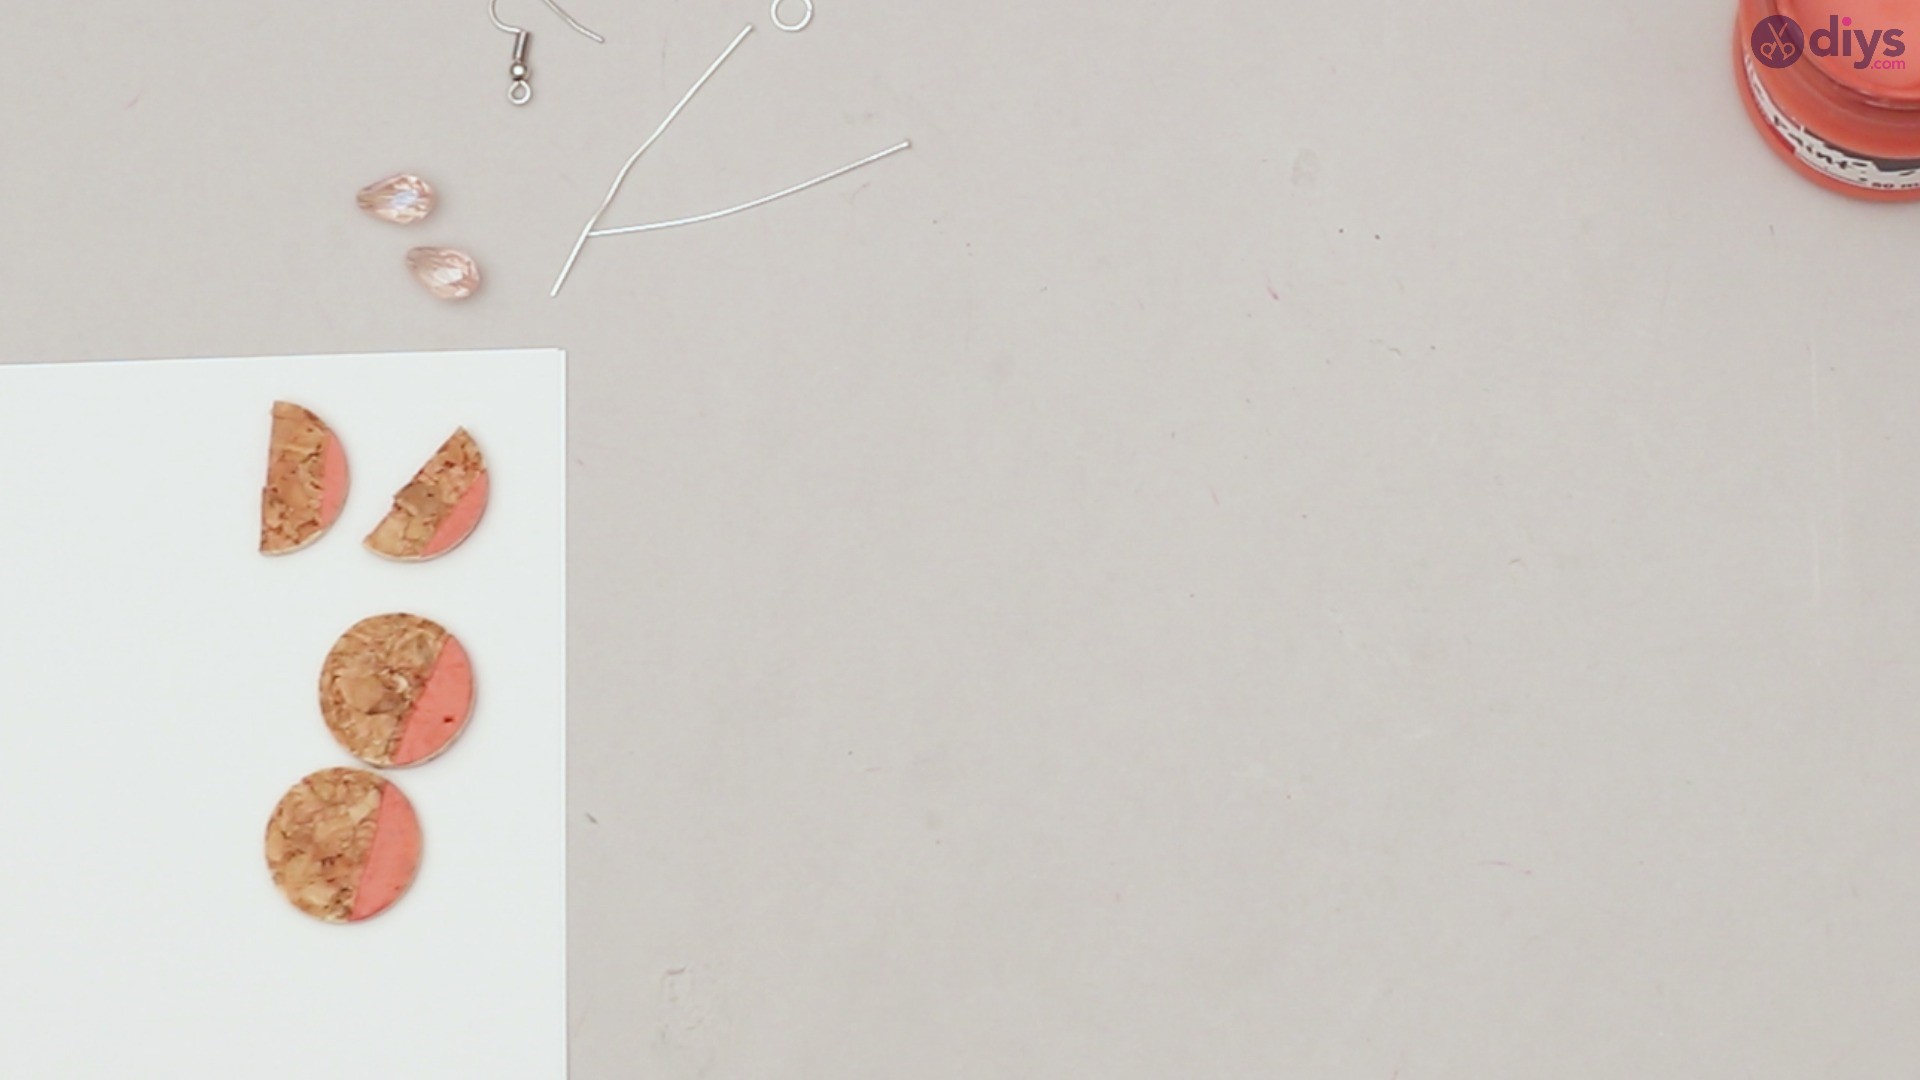
Once the front of your earrings are done, simply repeat the process by paining the backsides of your dried cork pieces. This way, no matter which angle your earrings are at, they will be painted on both sides to show off their awesome design. This is especially great if you live in a windier part of the world and expect your earrings to not lay flat all of the time.


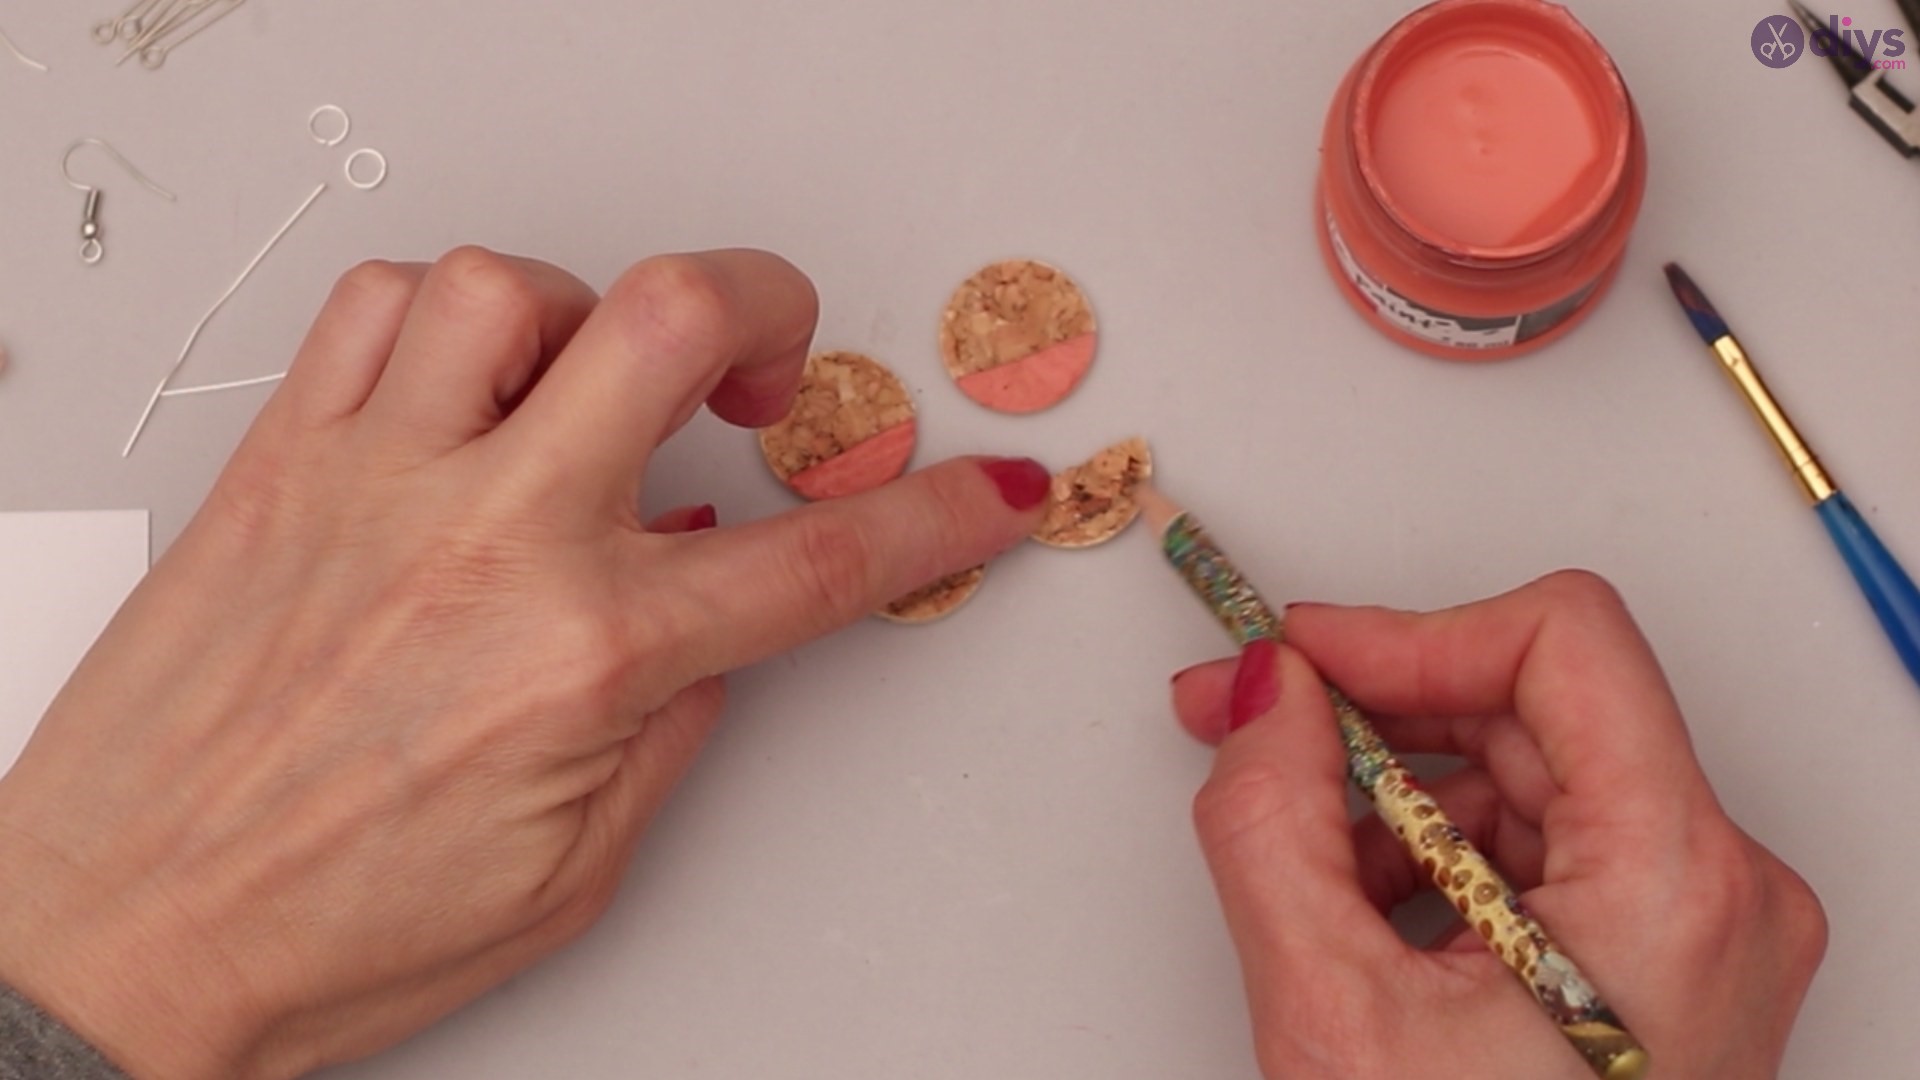
Make sure to let your full circles and half circles completely dry before working on them further. You don’t want to get any unsightly fingerprints stuck into the paint or nick off the wet paint.

Make sure you paint along the edges of your circle pieces, as well, to give your earrings a well polished and well rounded look all the way through. These extra little steps will help make your earrings stand out and look much more professional.
Step 6: Starting Assemblage
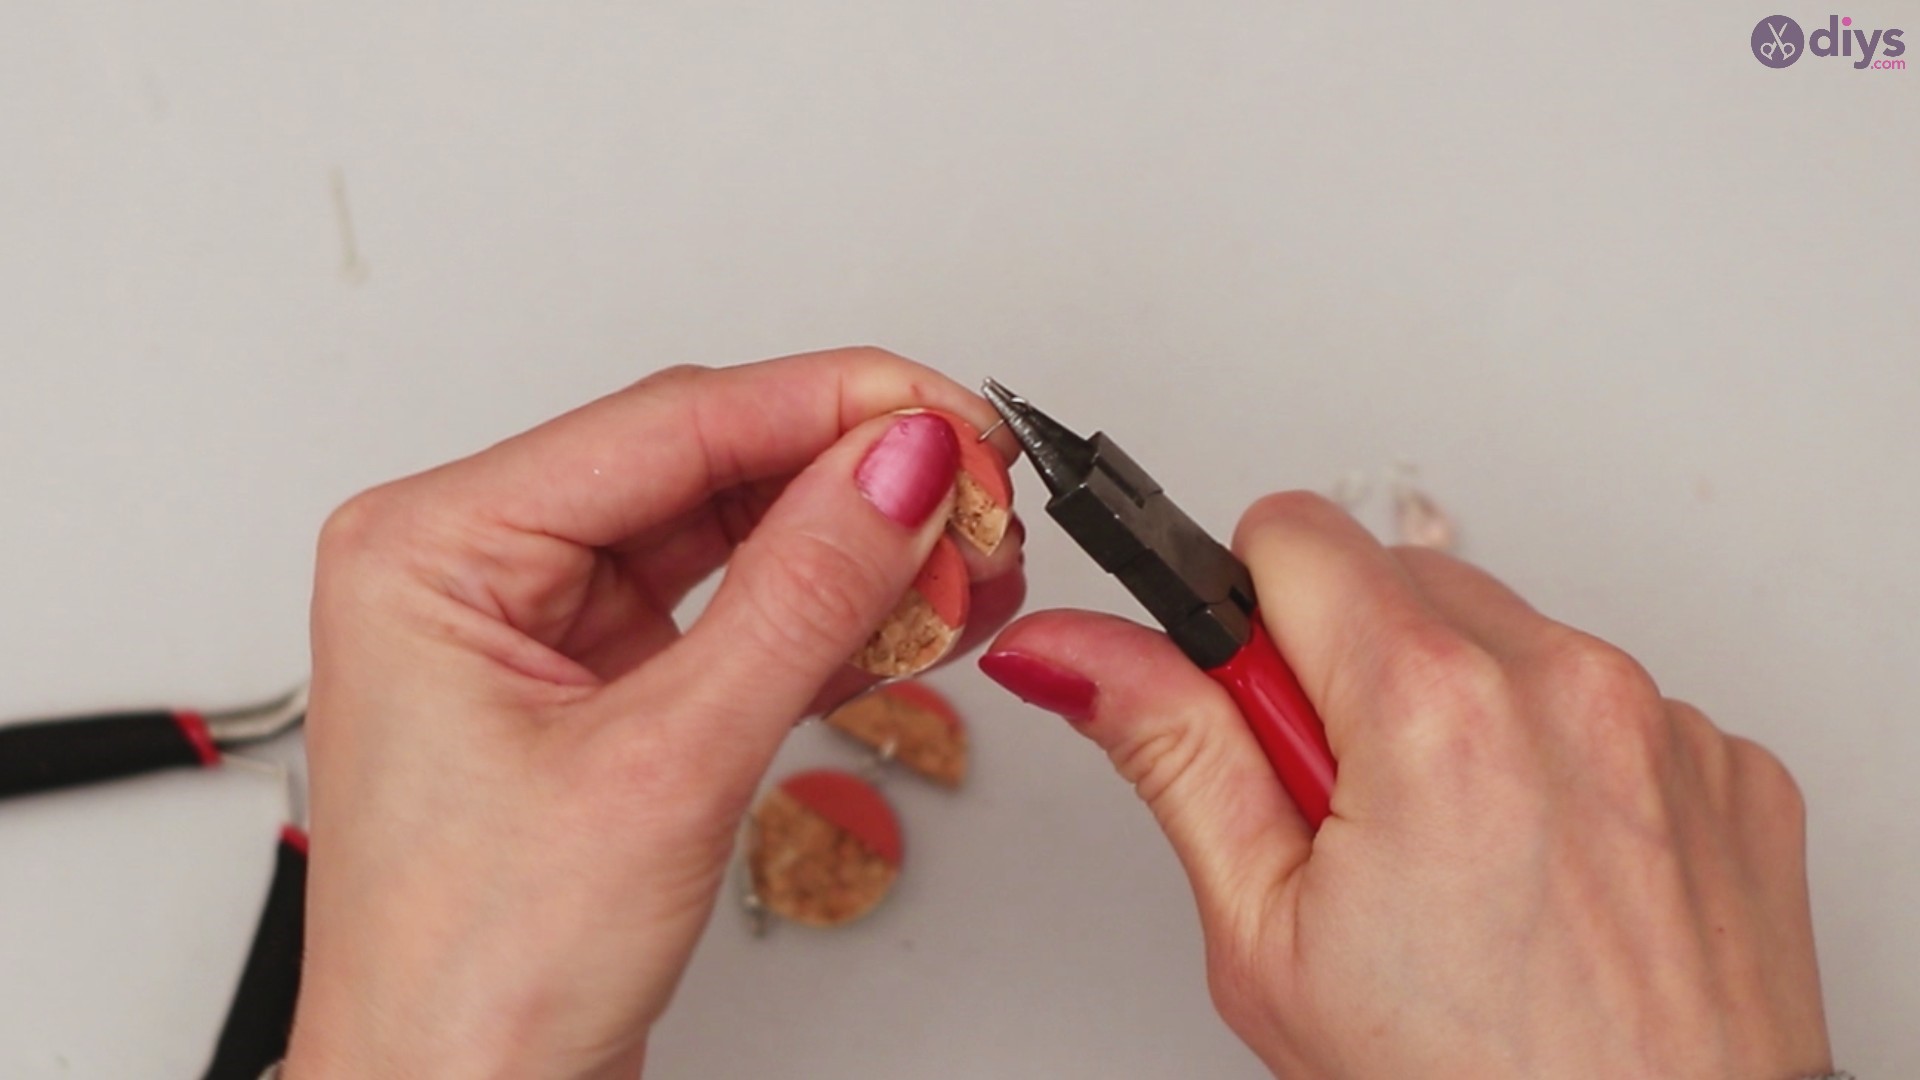
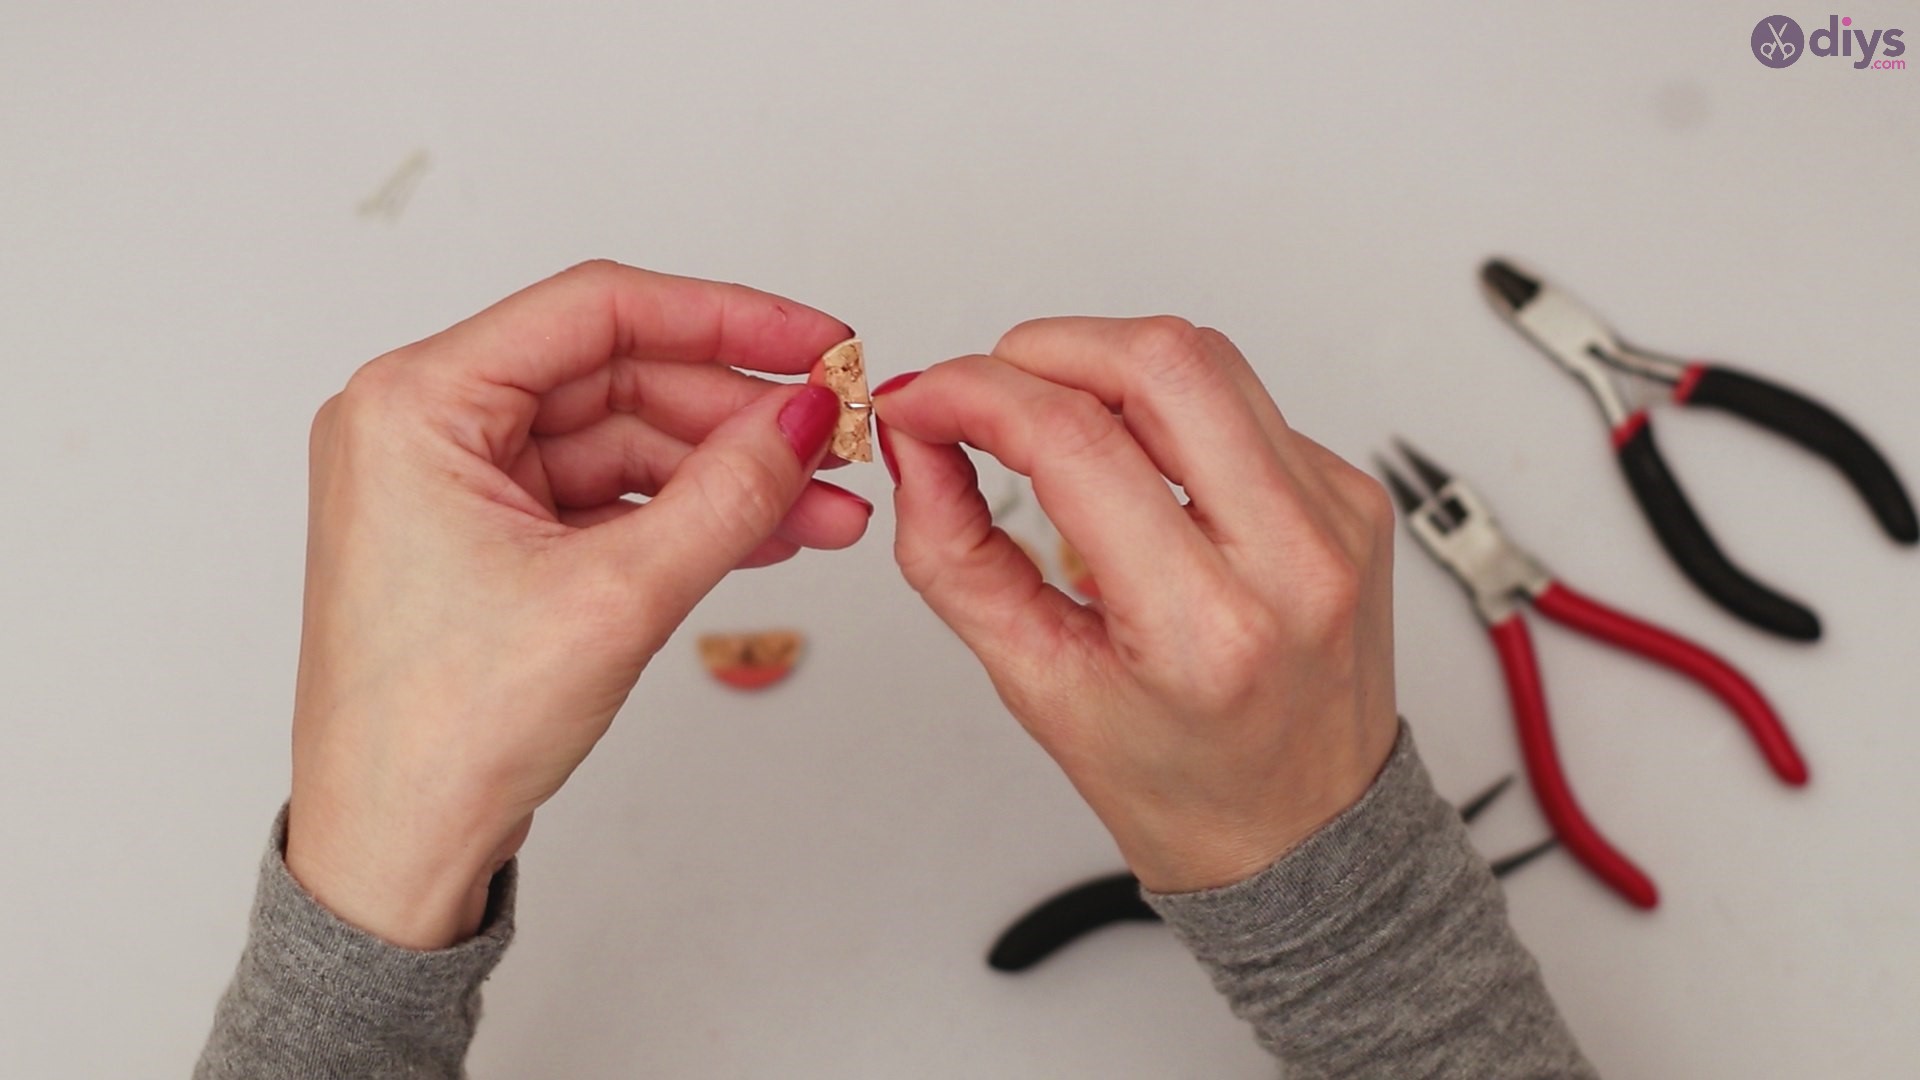
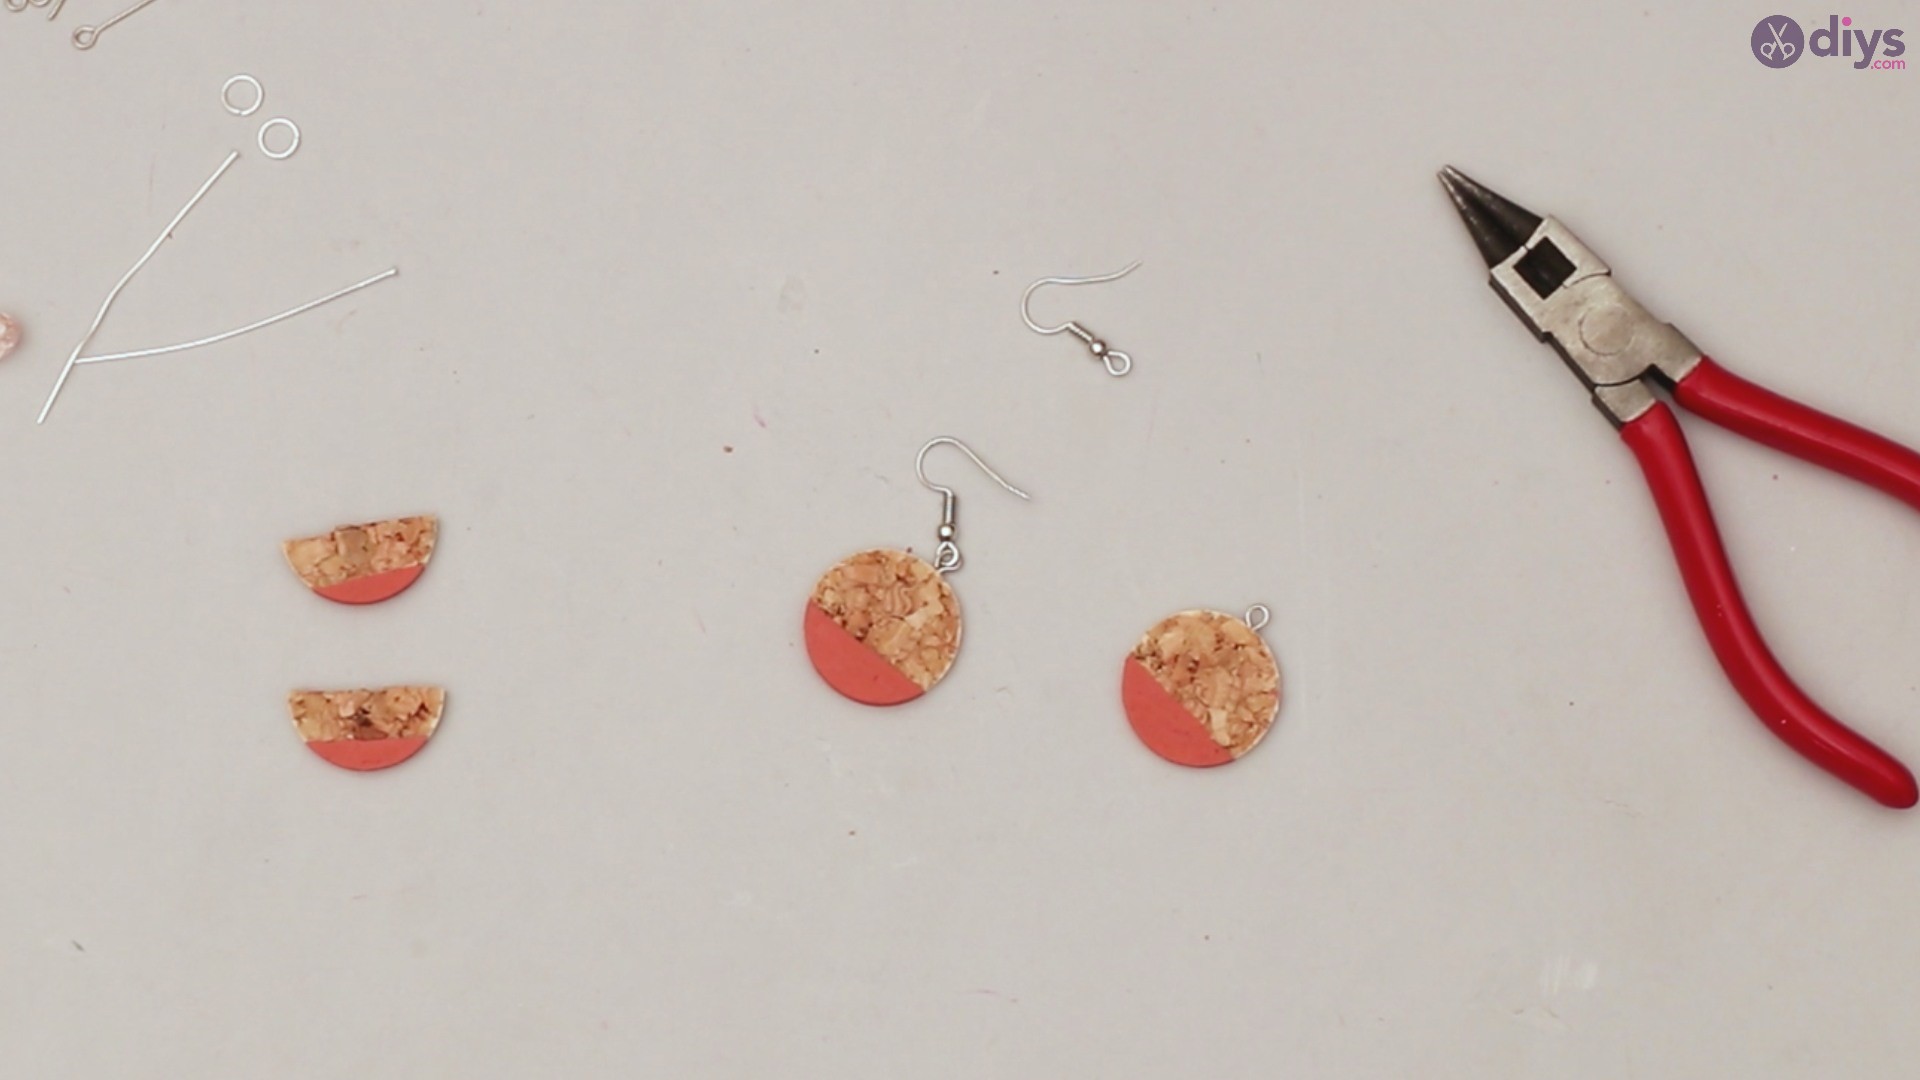
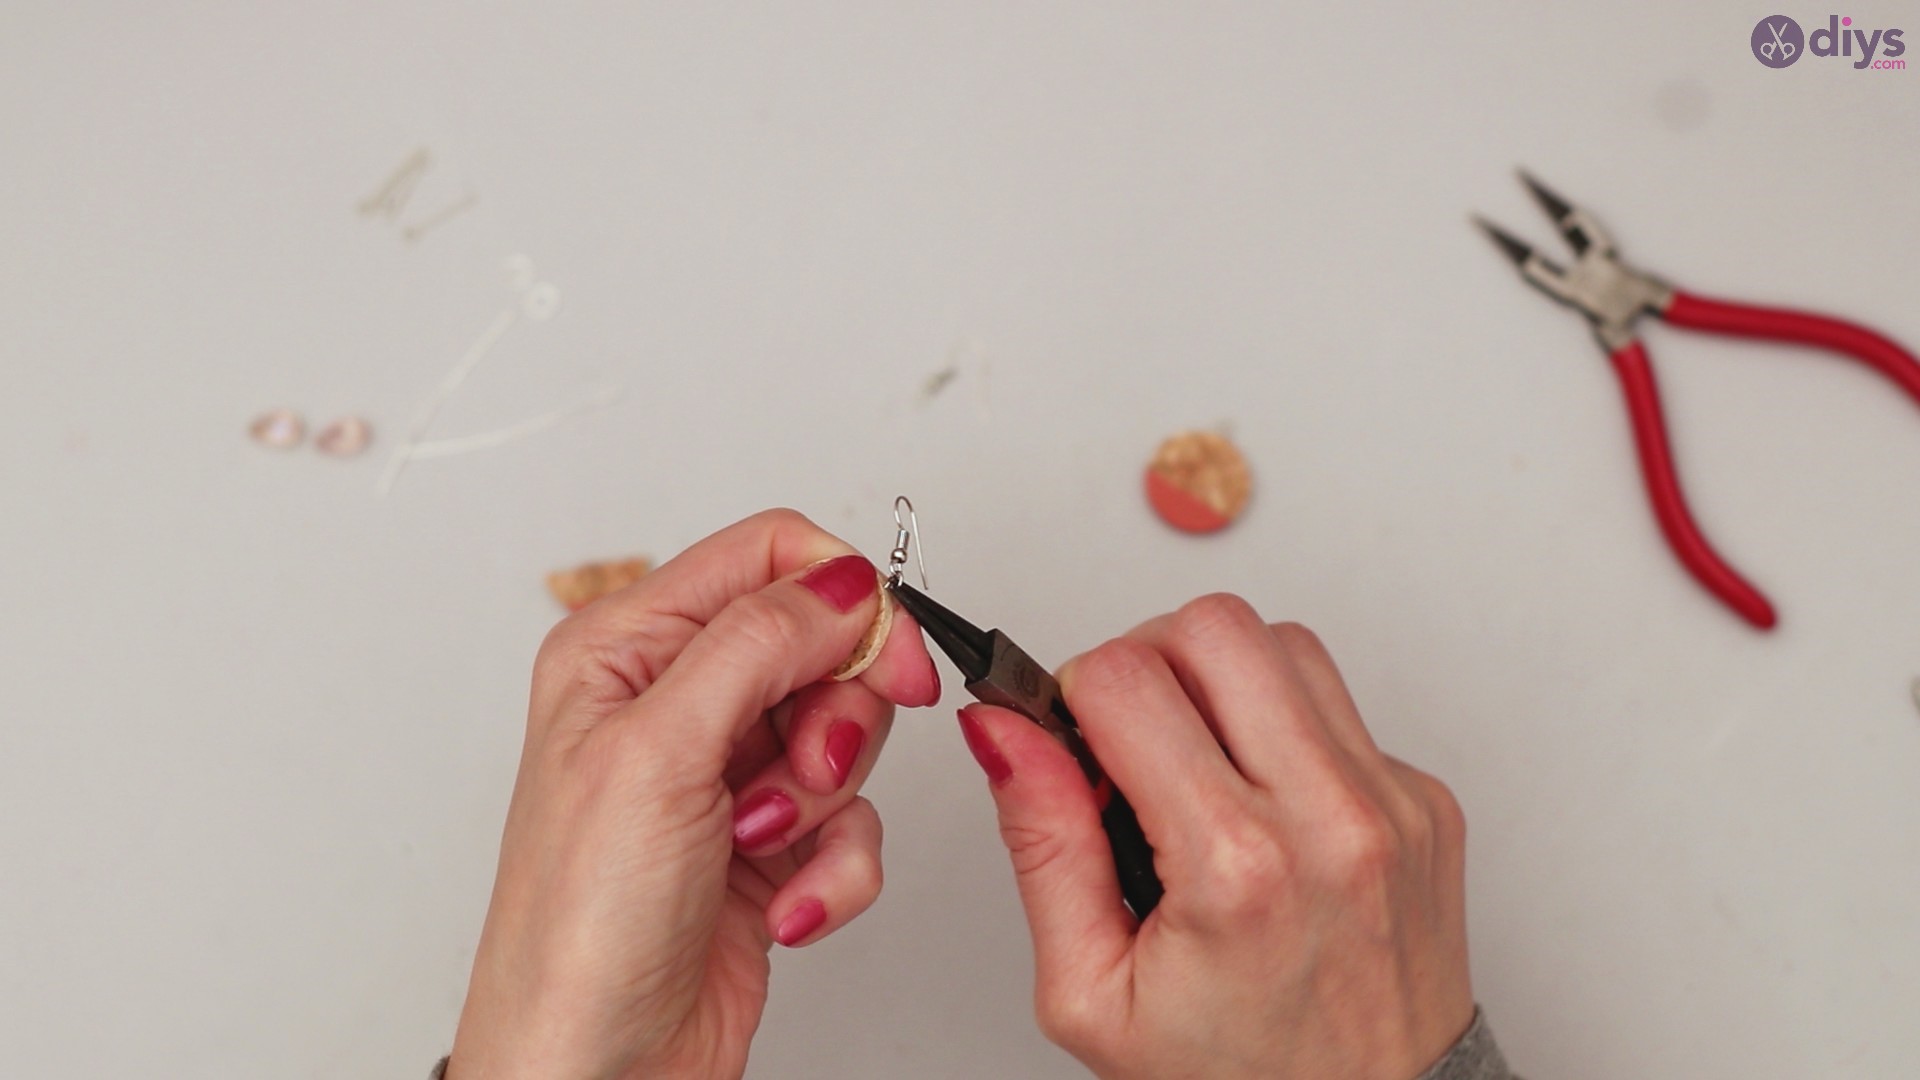
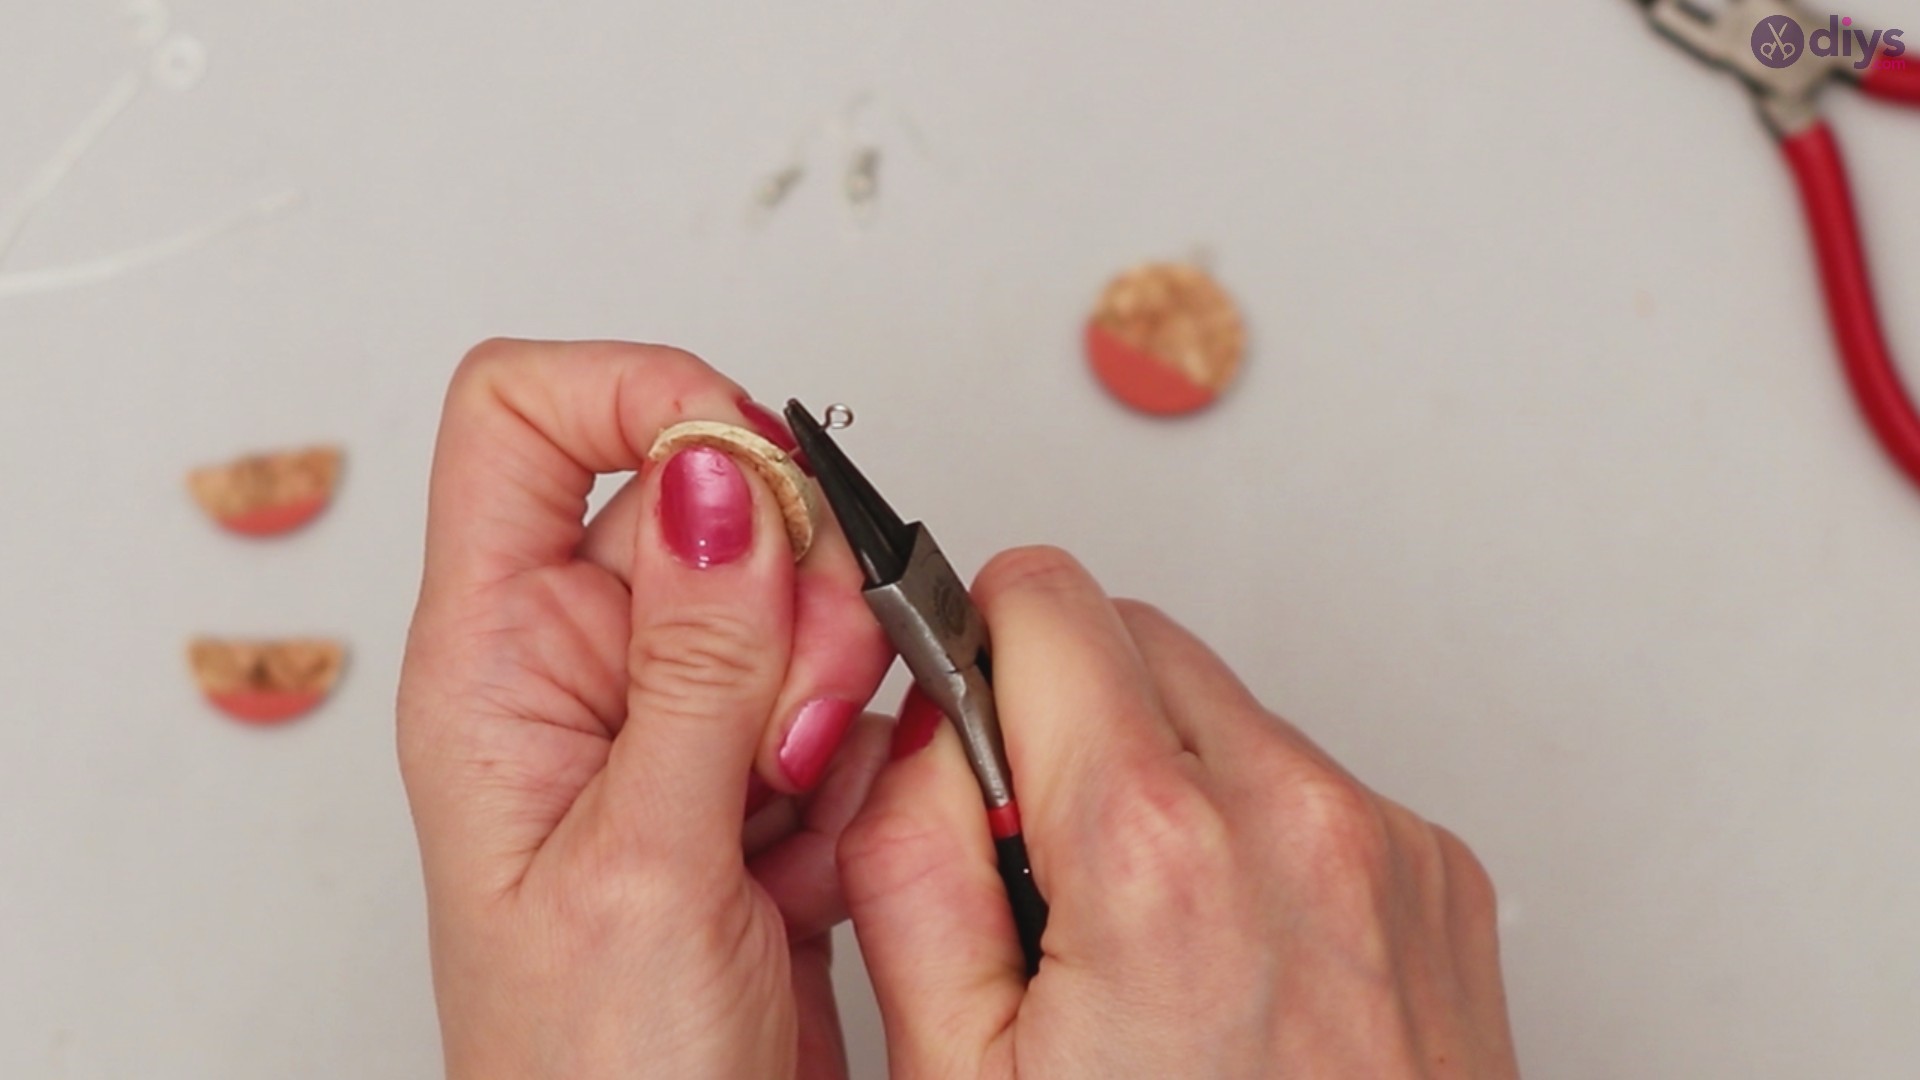
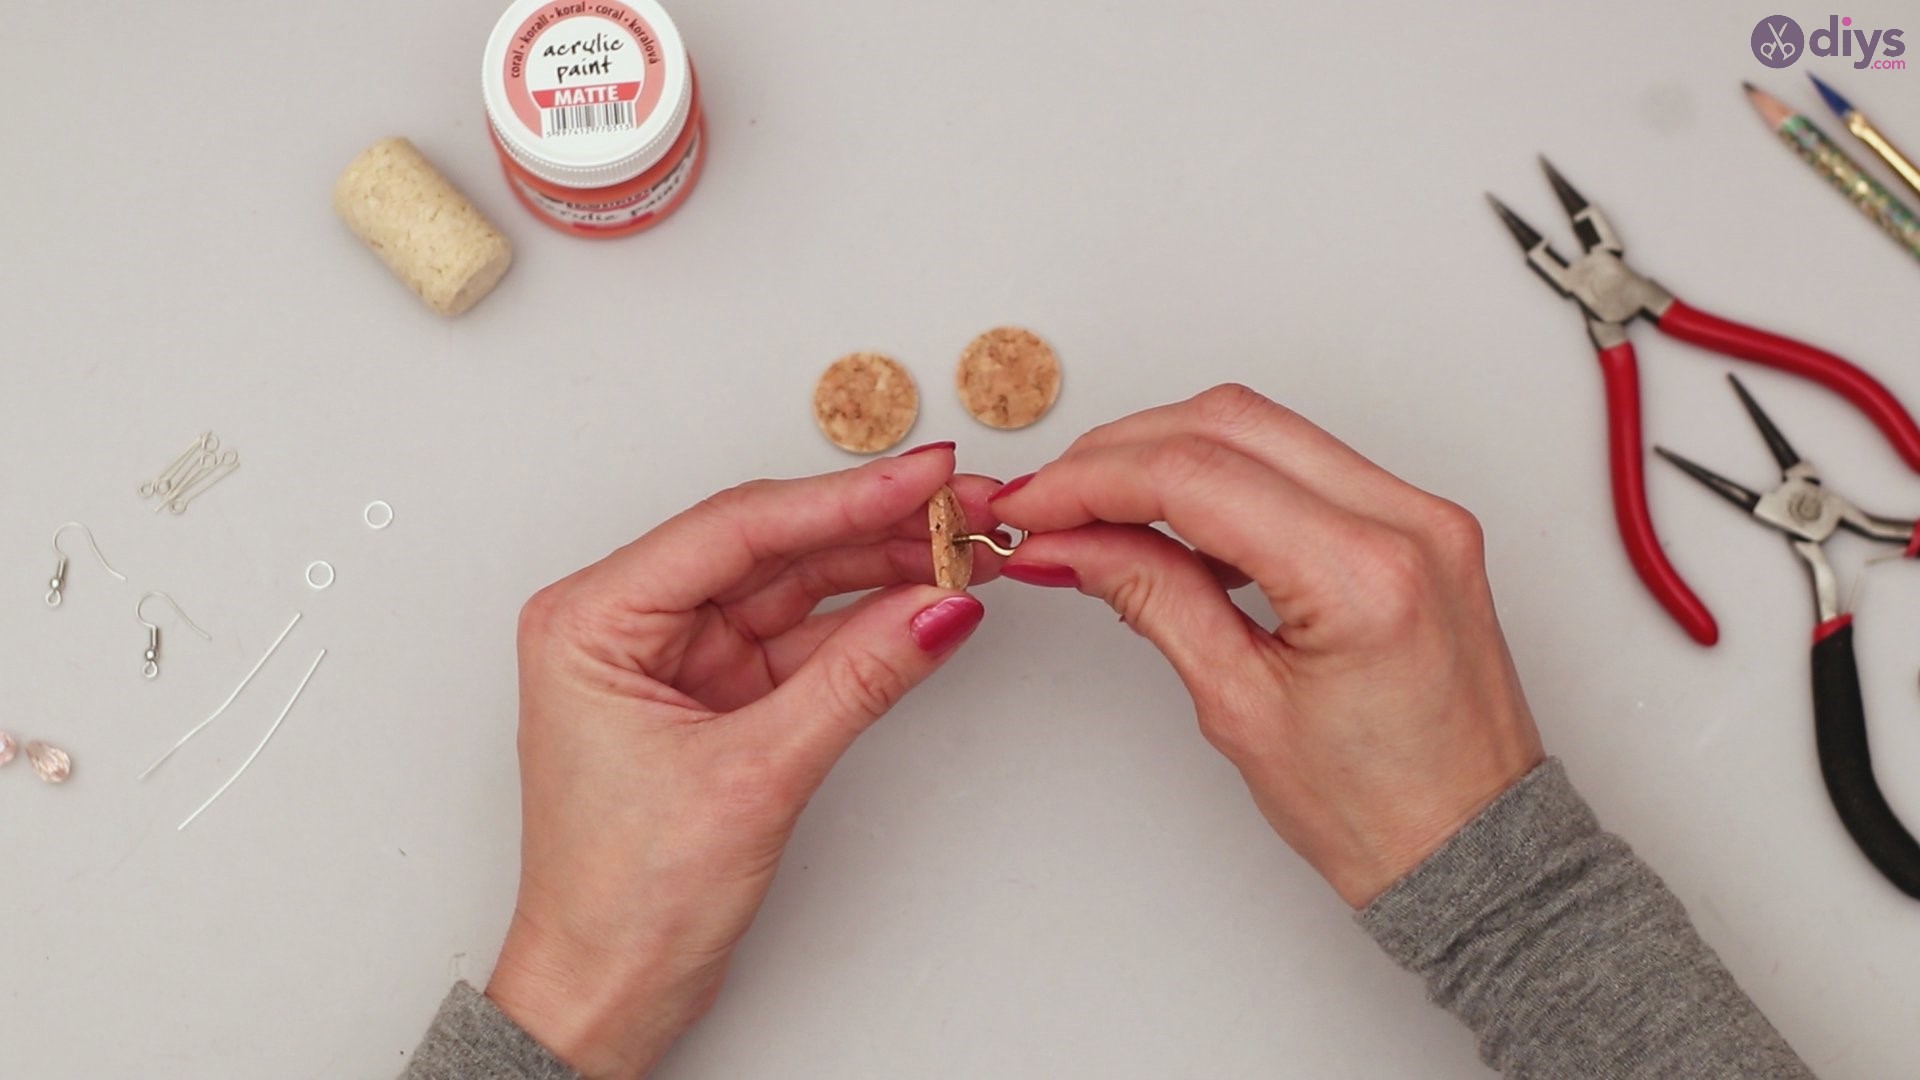
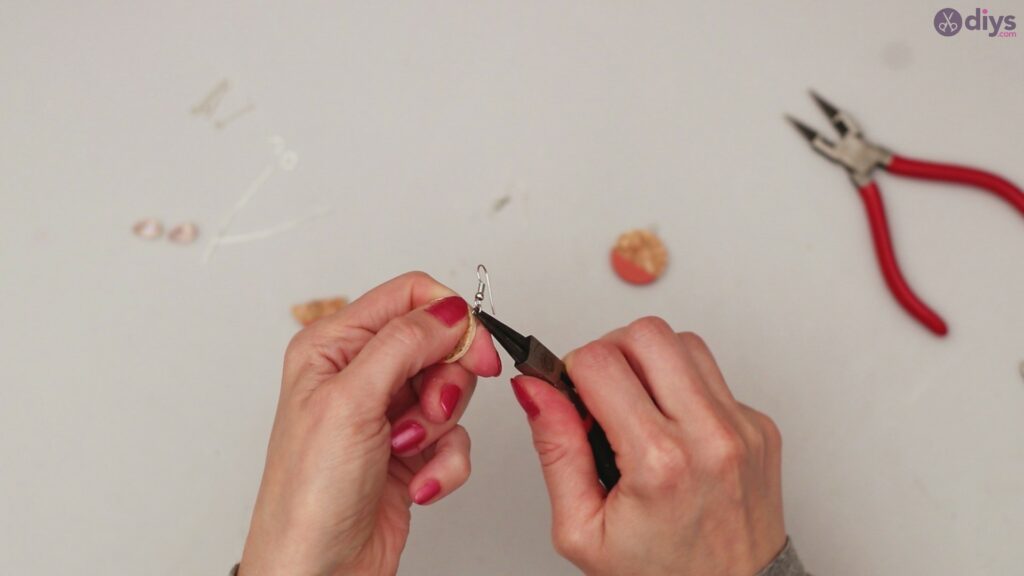
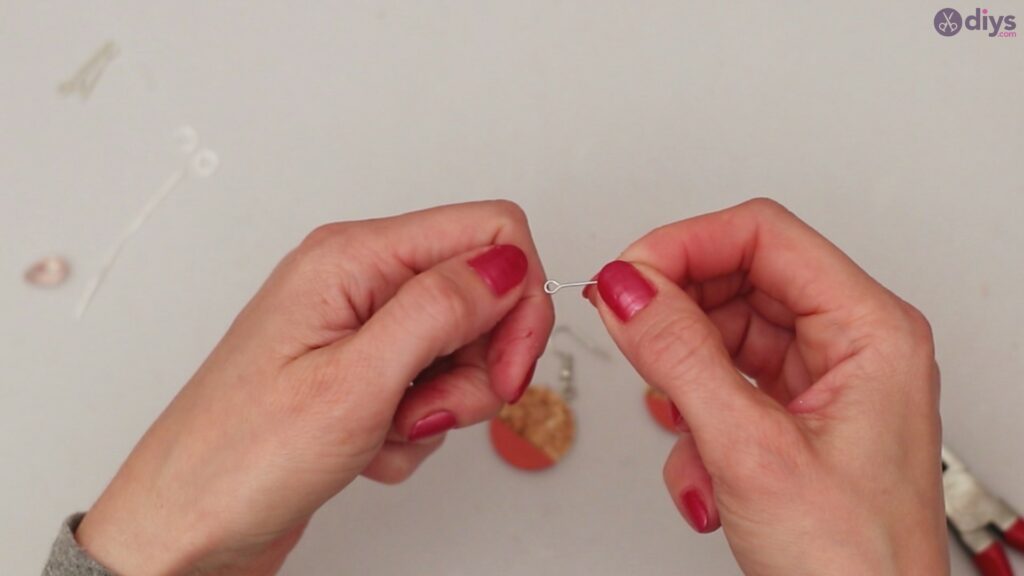
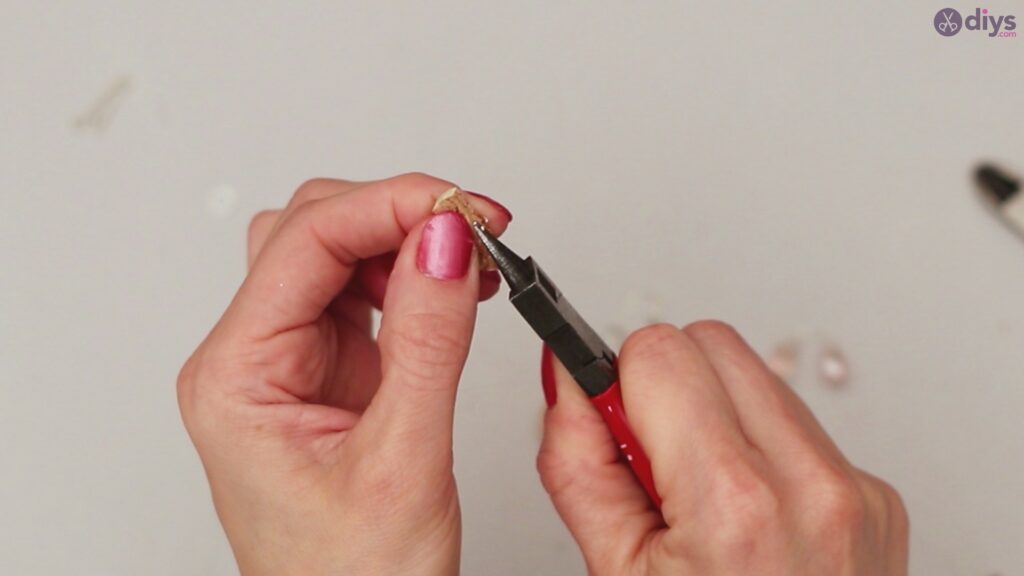
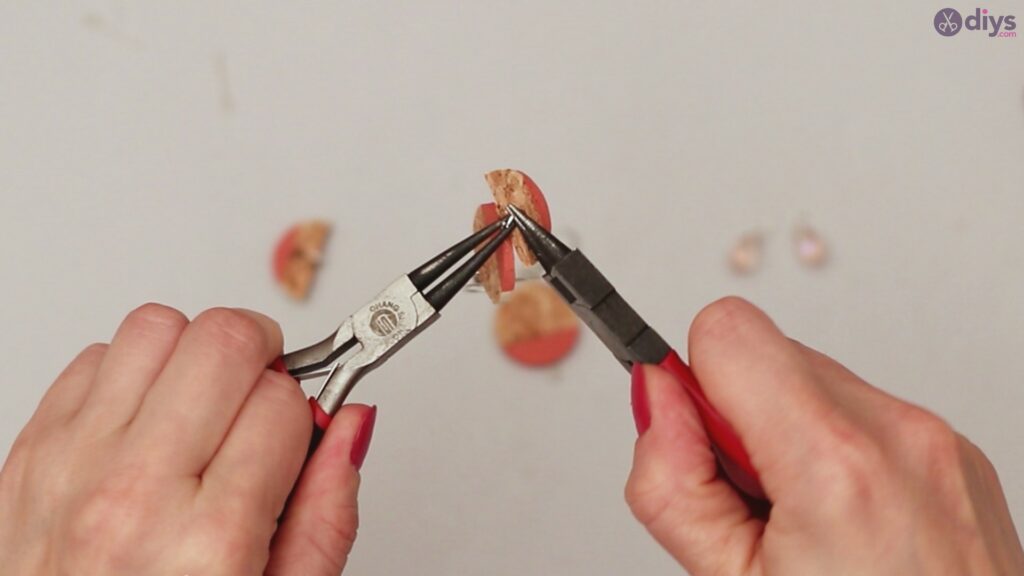
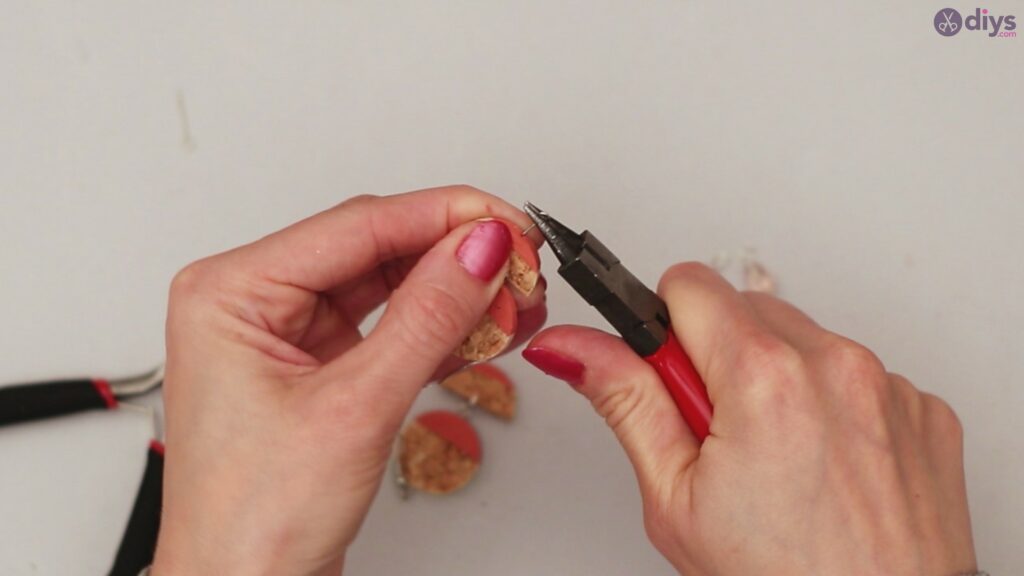
Once your cork pieces are all painted and all dried, you are ready to start getting ready to assemble them. Very carefully pierce your full circle piece at the top of the unpainted half to make a loop for your earring hook. This should be relatively easy to do since cork is soft, but be careful not to apply too much pressure or your cork can rip or break.

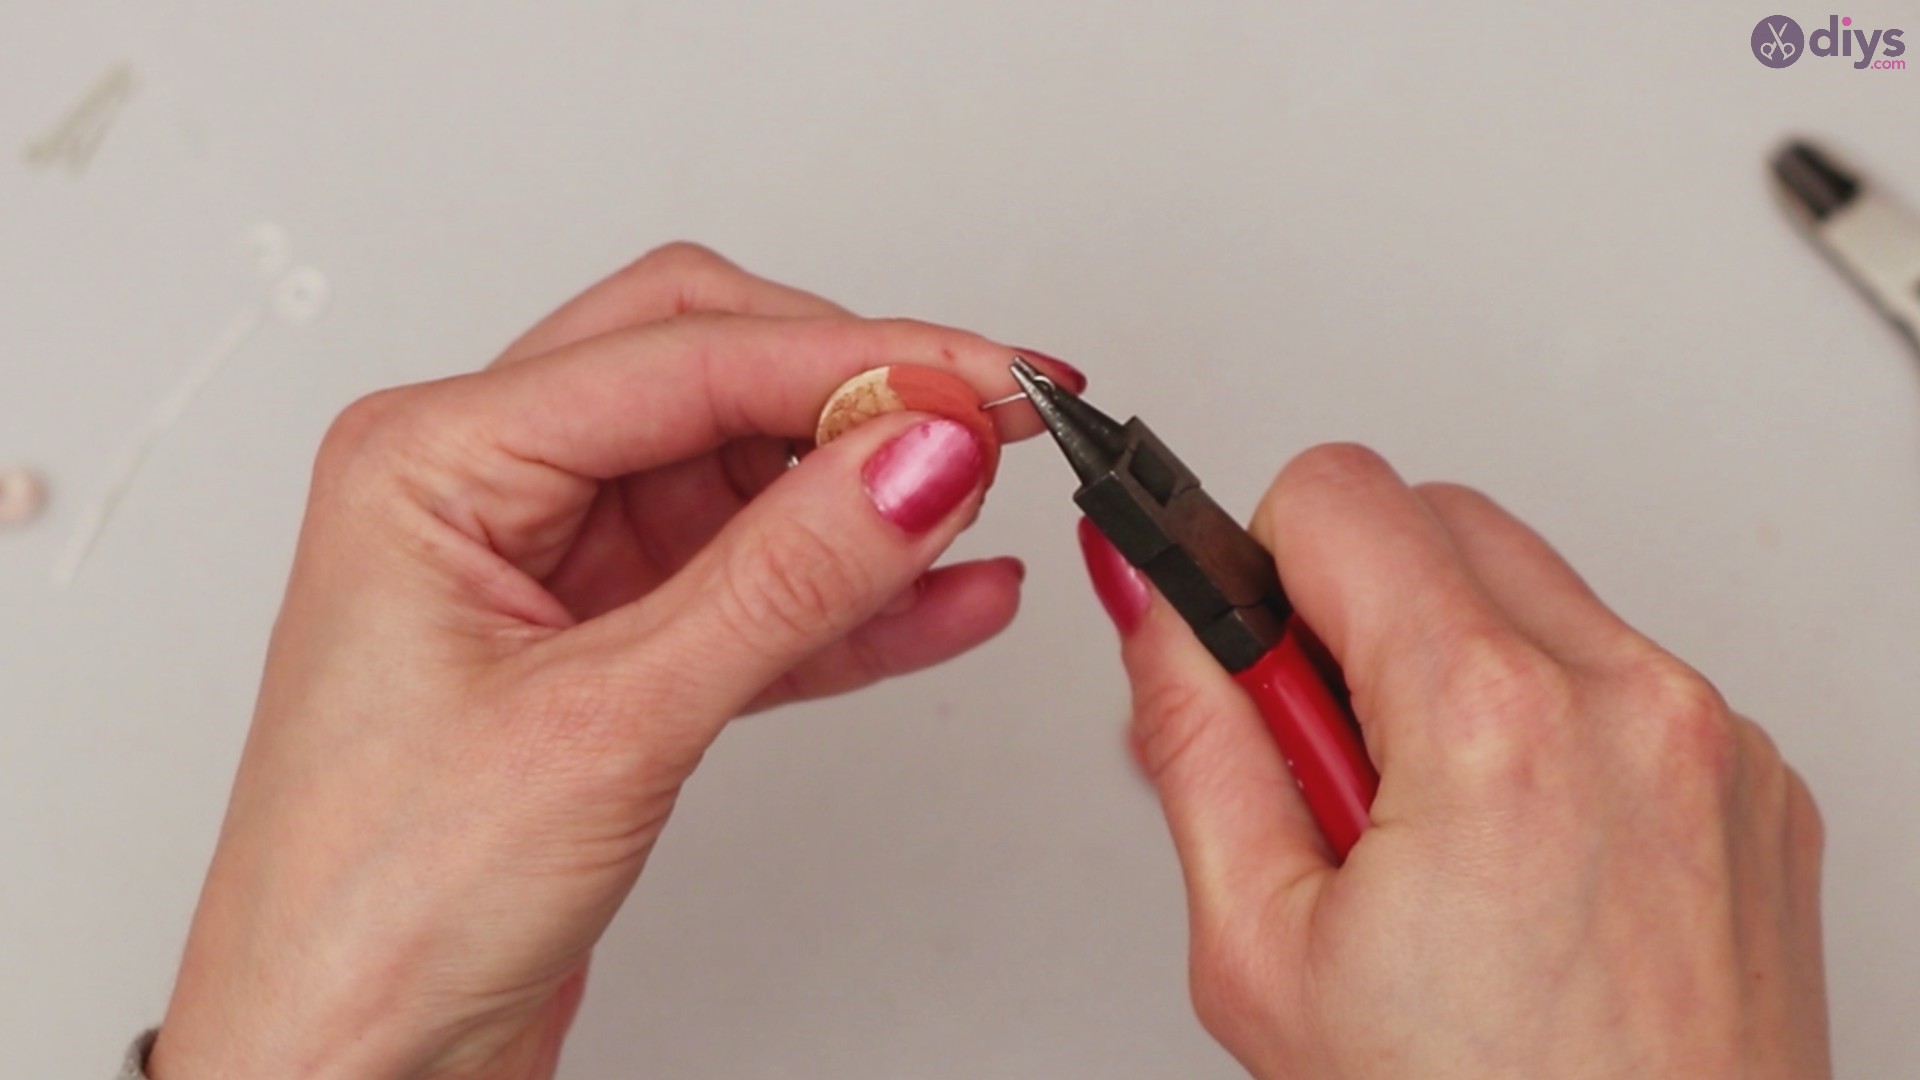
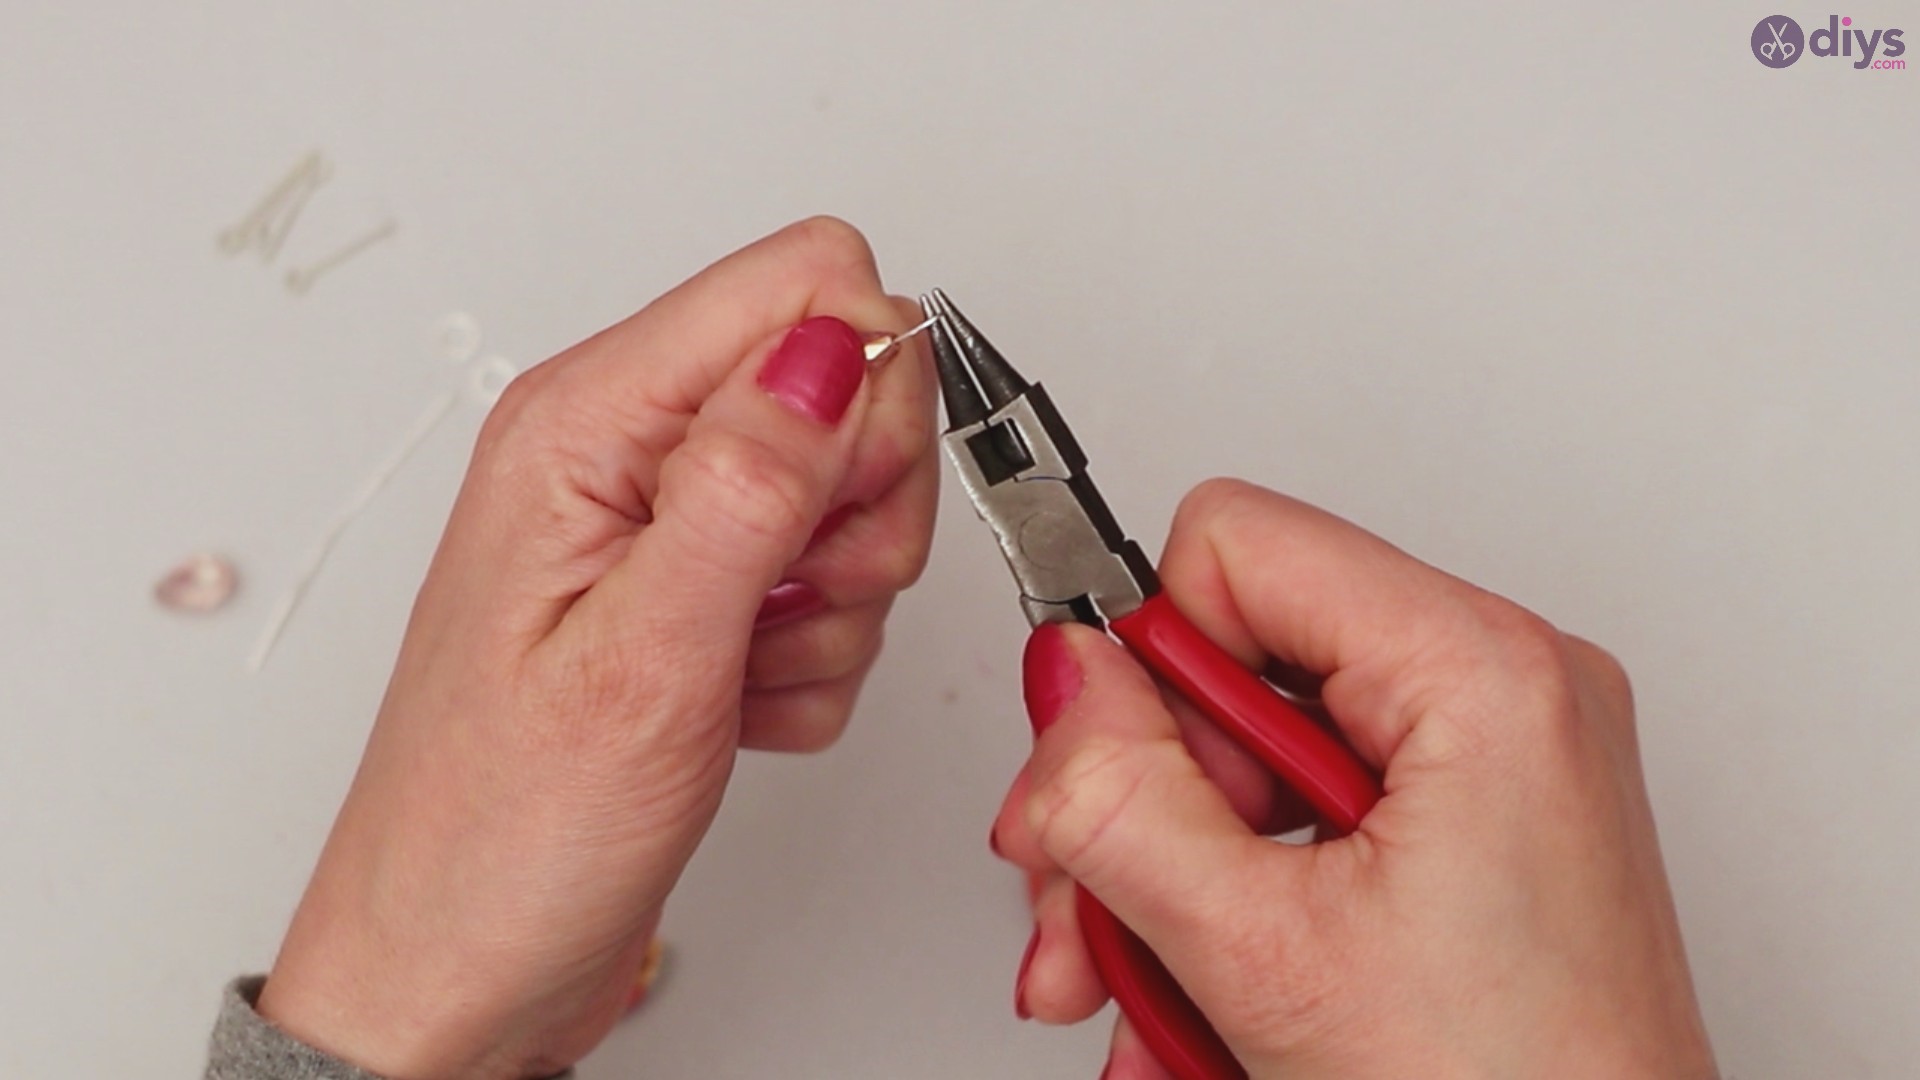
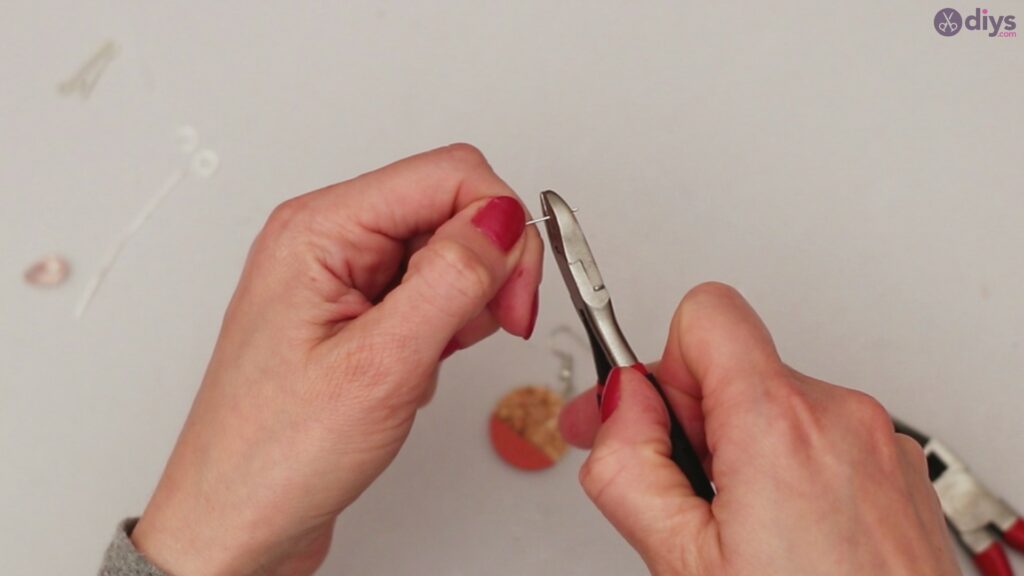
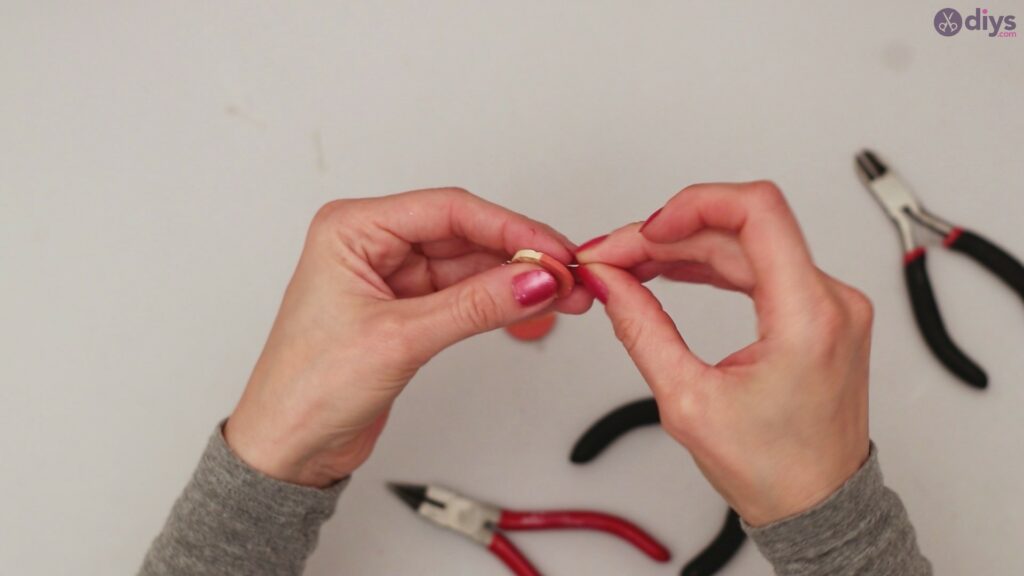
Once your hook is through, very carefully start to curl the wire in order to form a complete loop. This way, you can easily hook this part on to your actual earring base and create that wonderful dangle effect. Your jewelry pliers should have a fine tip that will help you mold the hook into a perfect circle.

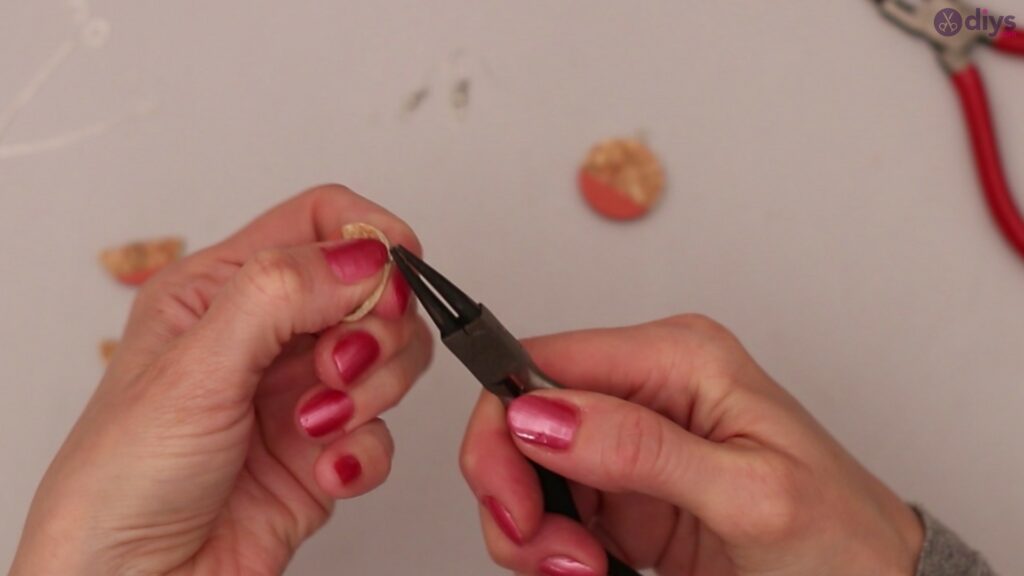
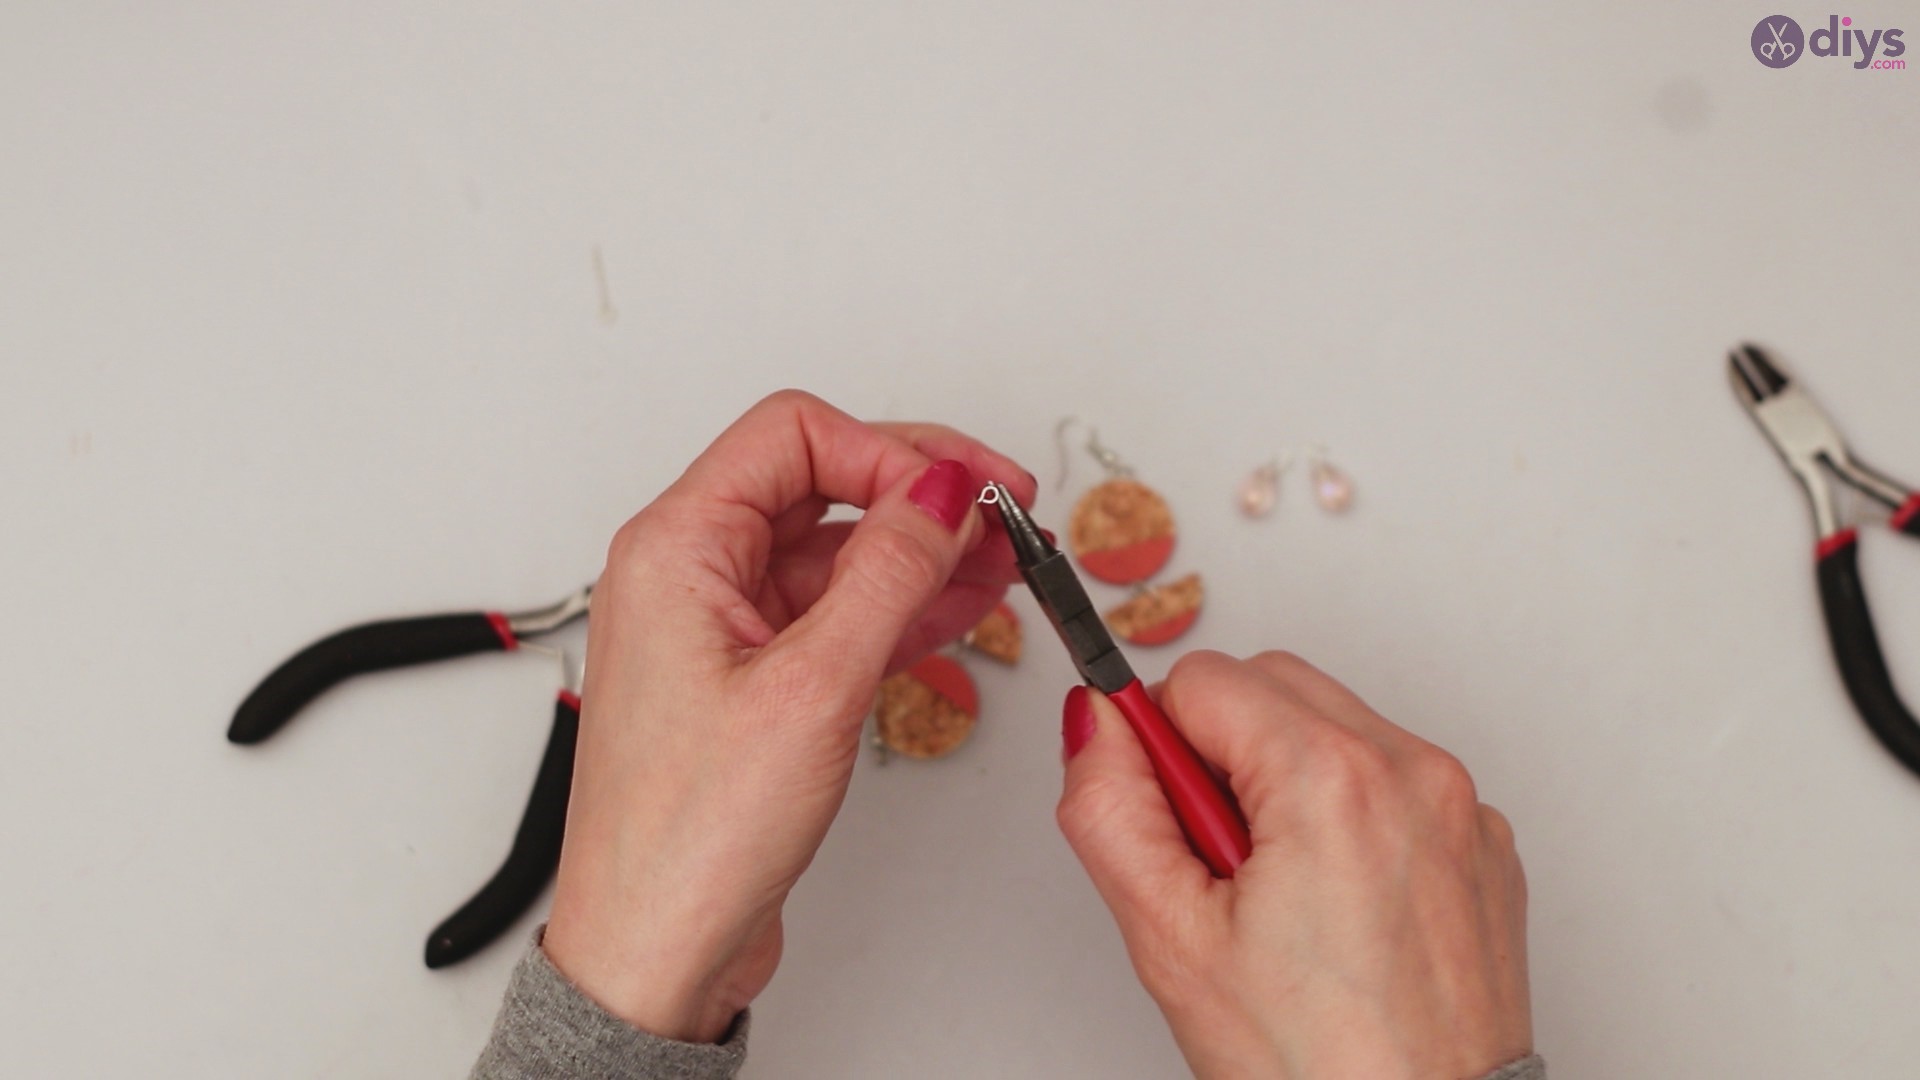
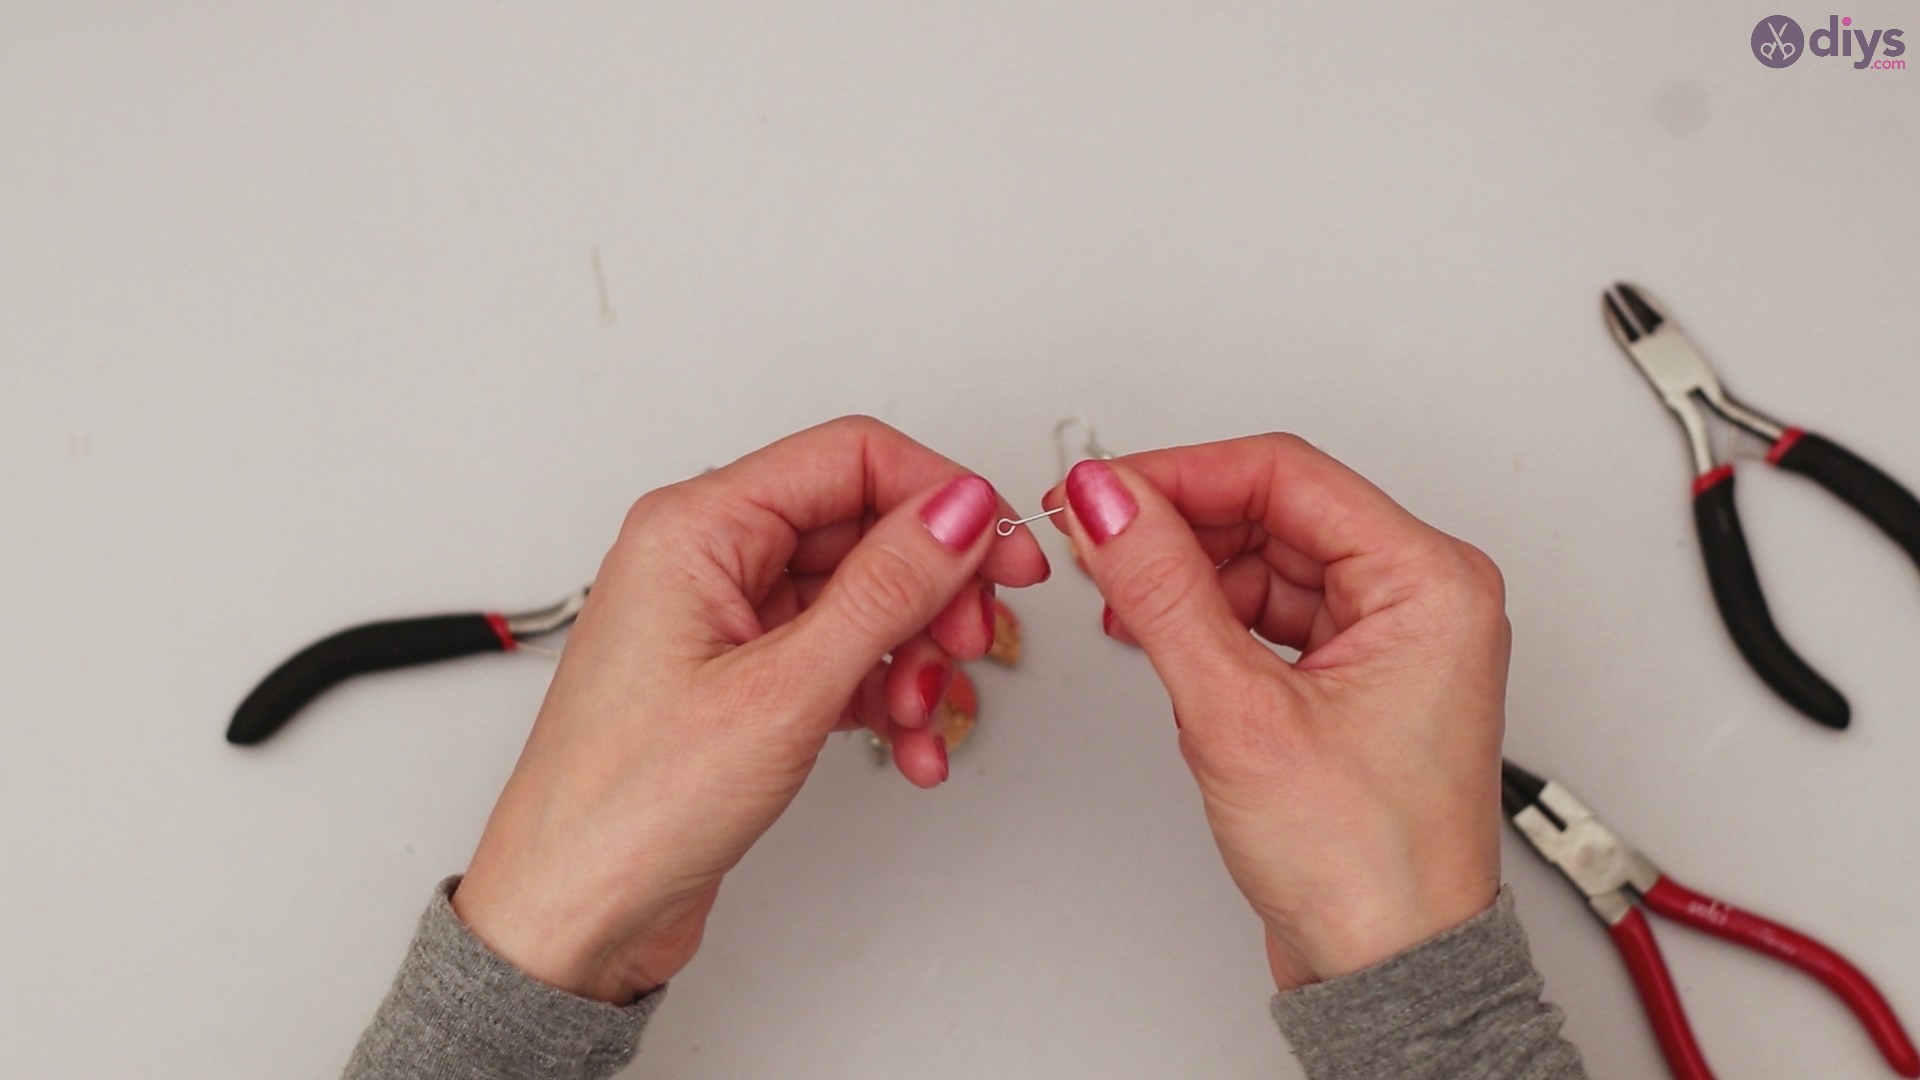
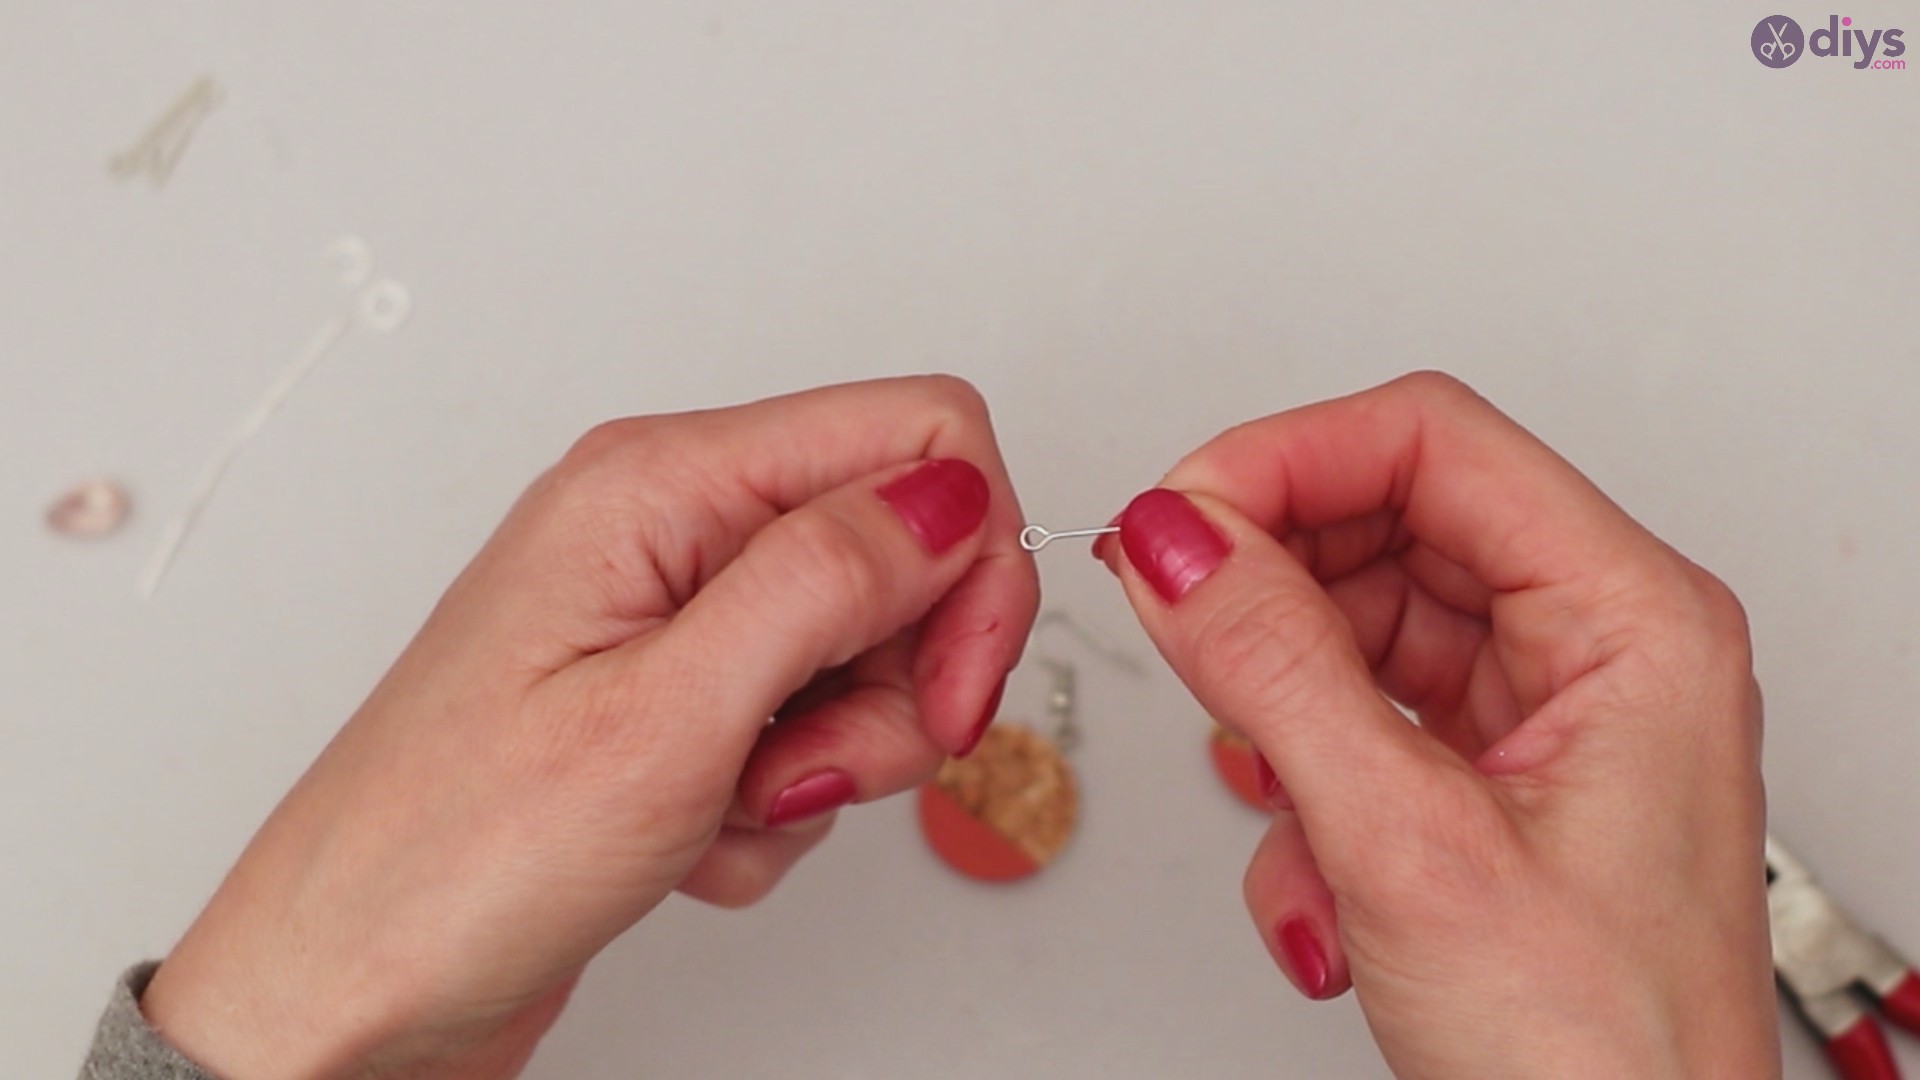
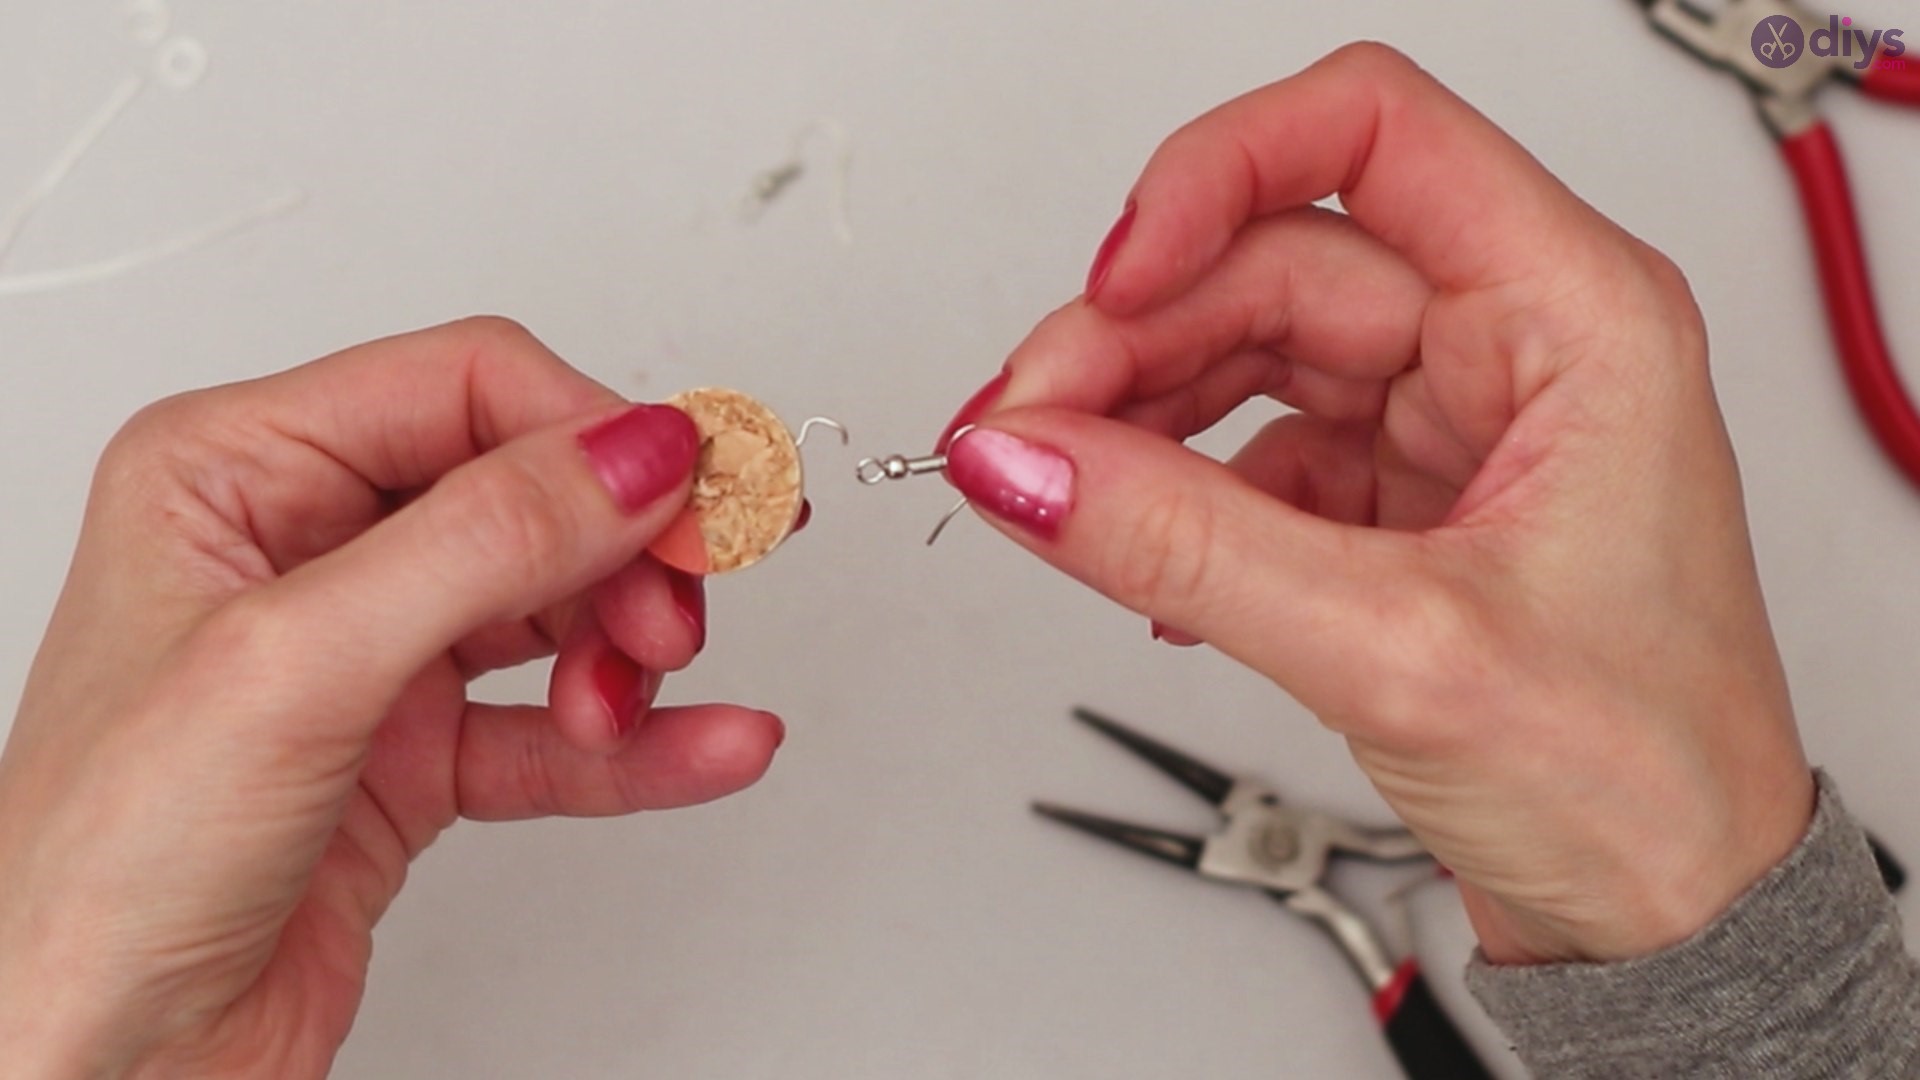
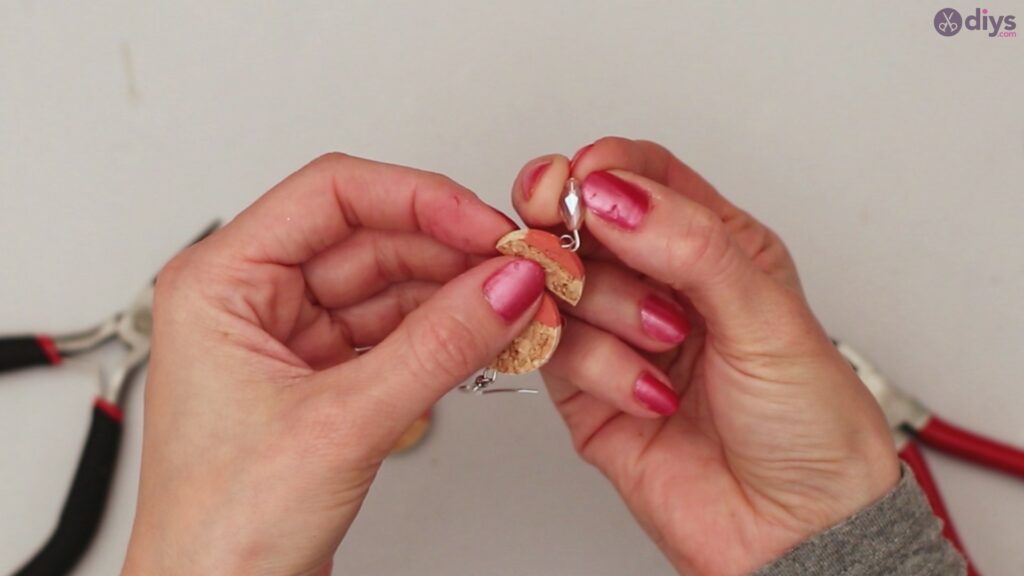
Once this part is done, slide your hook loop onto the wire and you are ready to close it all up to create a perfect dangle earring. Make sure you loop the wire circle back into a round shape if you had to stretch it out a bit to fit in the hook loop.

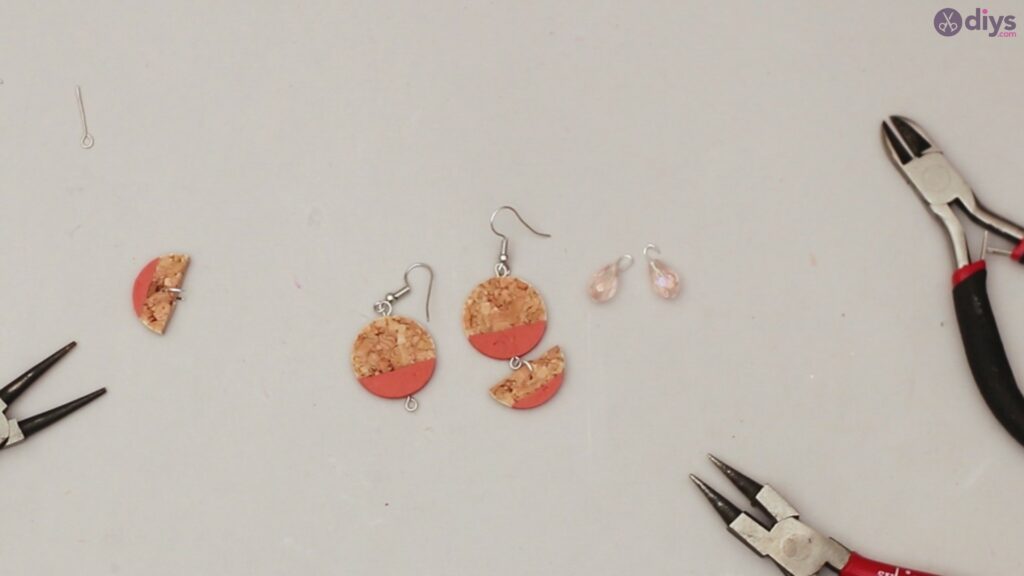
Your finished product should look like this. Make sure your hook wire can’t slip through your wire loop, as this will cause you to lose your earring at some point. Once this step is done on one earring, you are ready to repeat the process for the other earring.
Step 7: The Dangle Effect
So this step is up to you just how dangly your want your earring to be. If you want longer, more dangly earrings, keep going on to step 8, but if you prefer shorter dangly earrings, keep reading for this step. This step includes your full circle cork piece and your stone embellishment only. The half circles are not needed for this step.
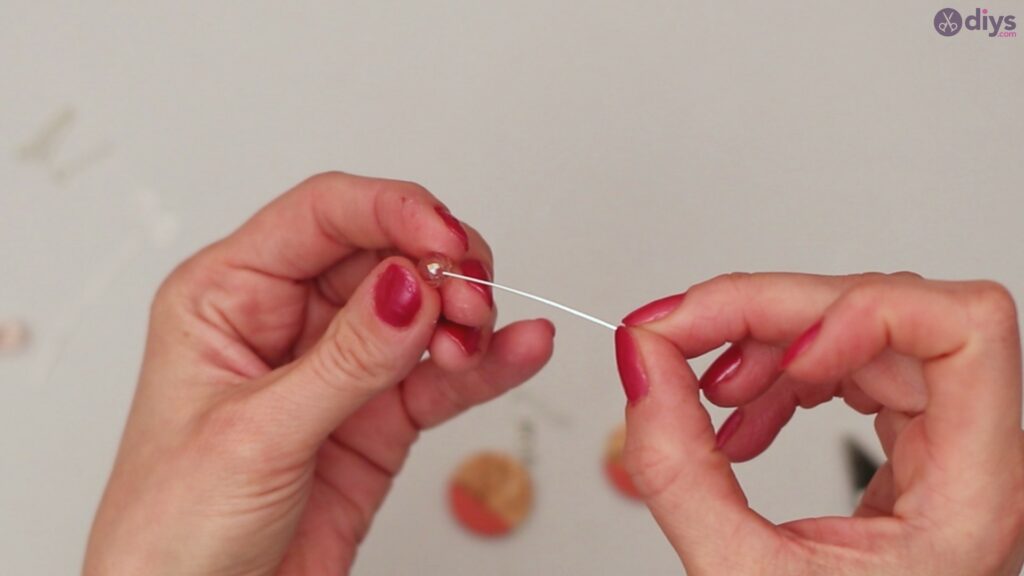

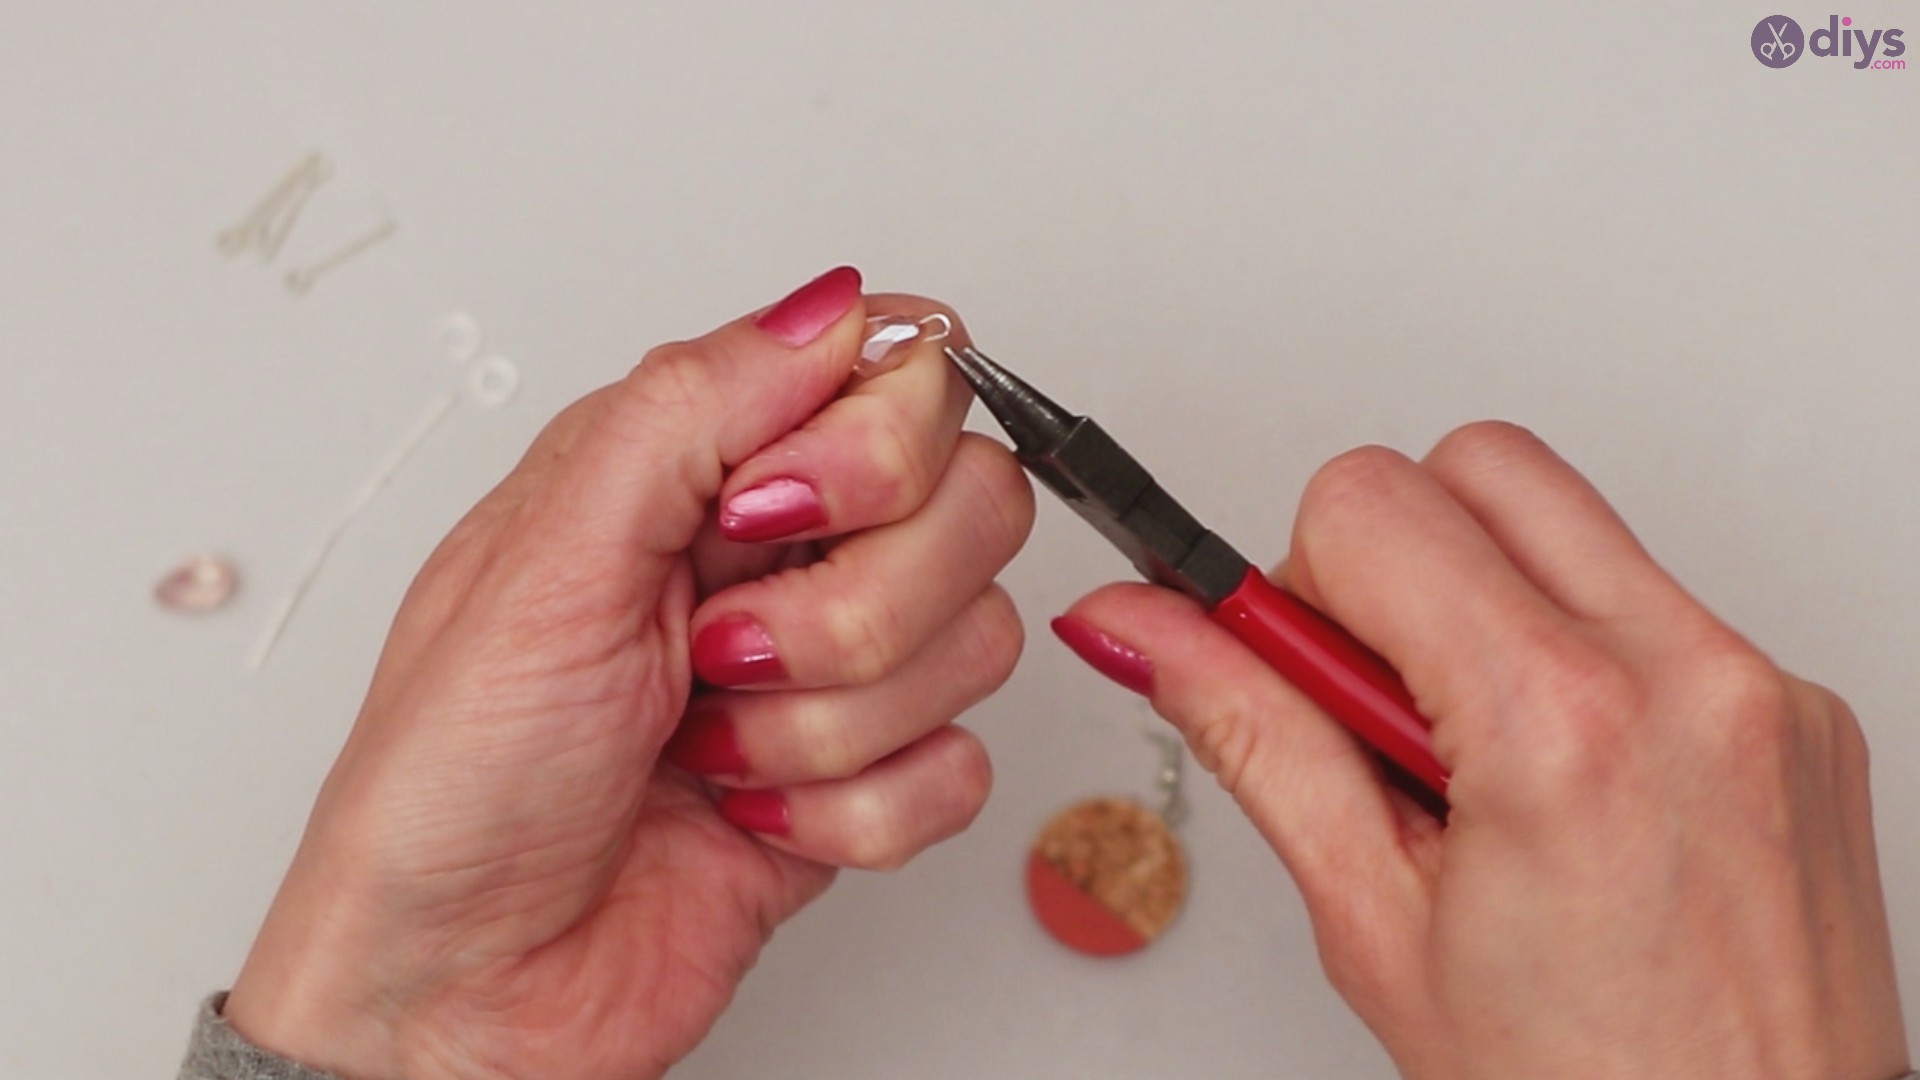
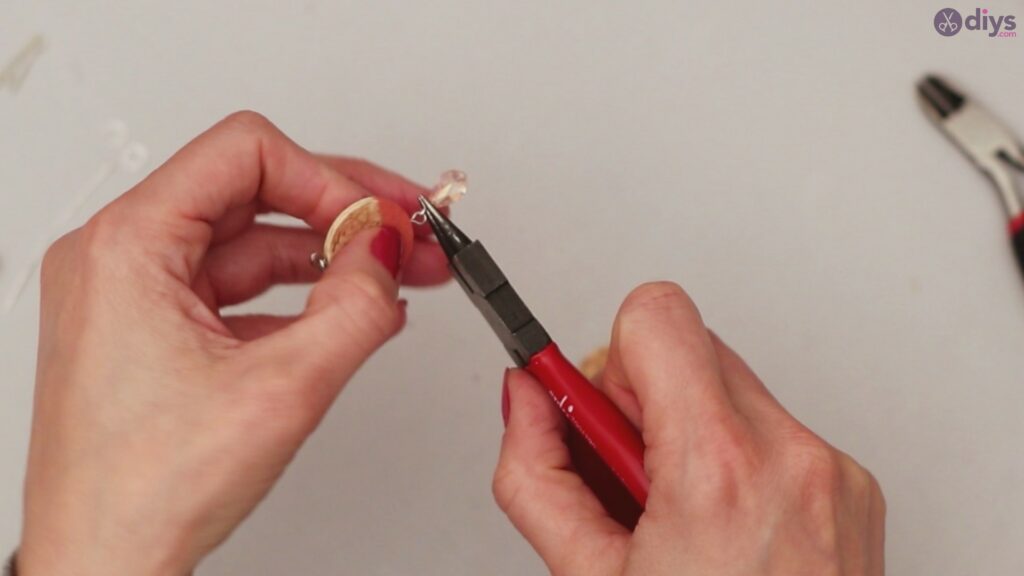
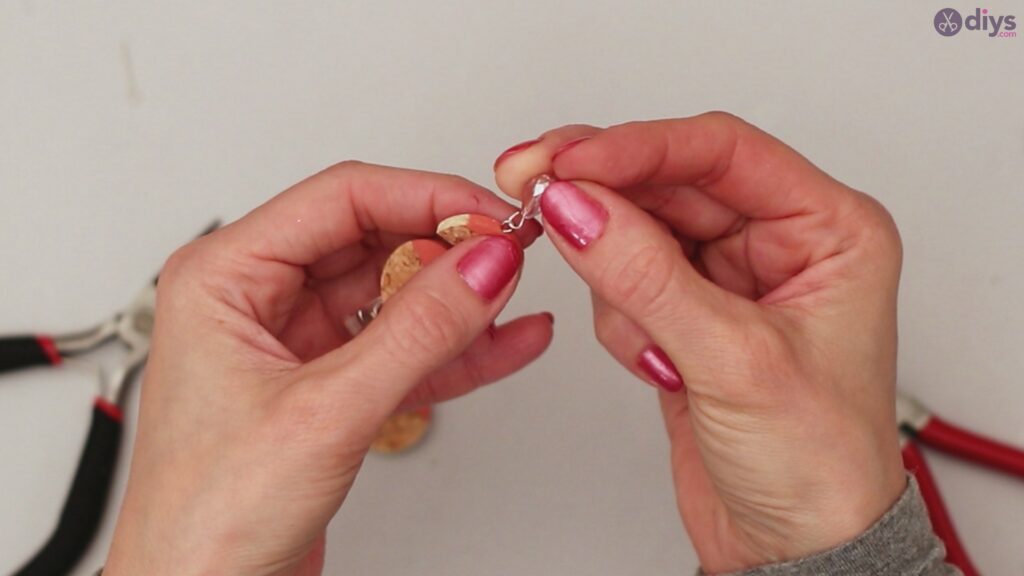
Slide your stone embellishment onto the long wire piece and secure the bottom of the wire under the stone with either a smaller stone or the wire itself should have a flat part in order to secure you stone in place.
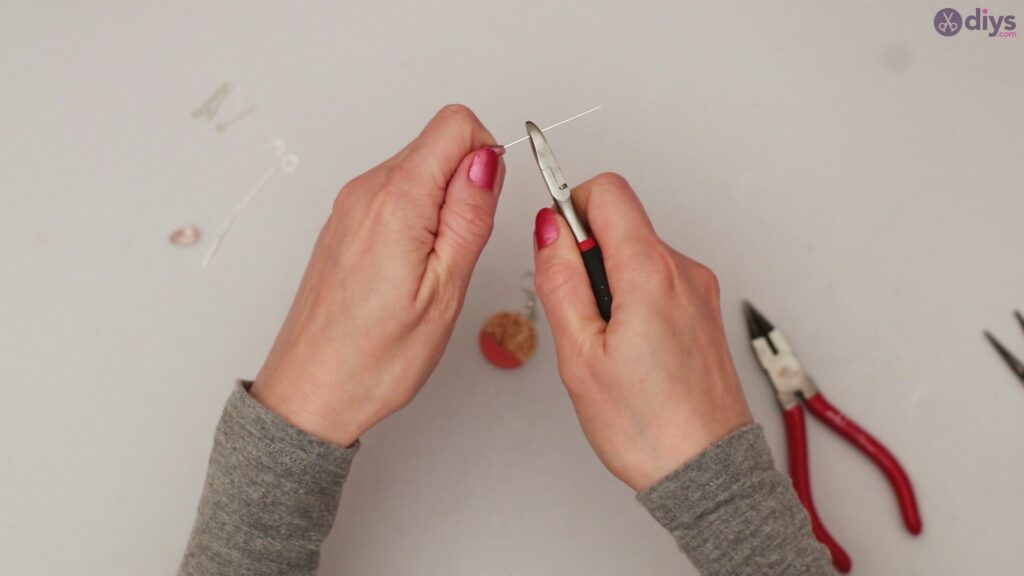
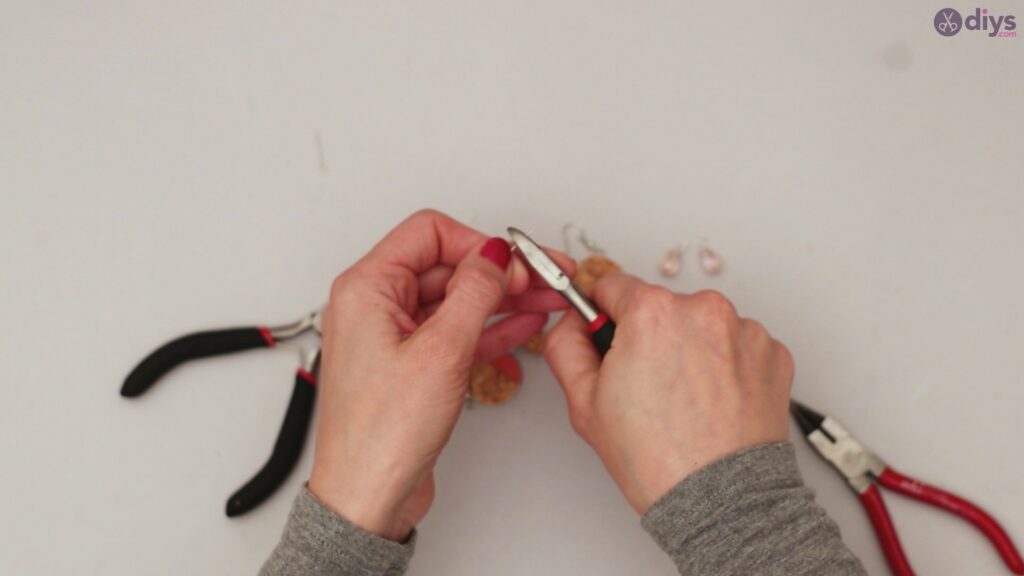
Use your jewelry pliers in order to secure the ends of the wire to keep all of your earring securely in place.

Once you have a perfect loop, you are able to dangle your stone perfectly onto the full circle cork piece. The fastener on the cork piece should be secure, but the wire connecting the stone embellishment should be a bit more loose in order to freely allow the stone to move around on the wire.

Always make sure your loops are secure and make as much of a perfect sealed loop as possible to prevent anything from slipping through the crack of the wire.
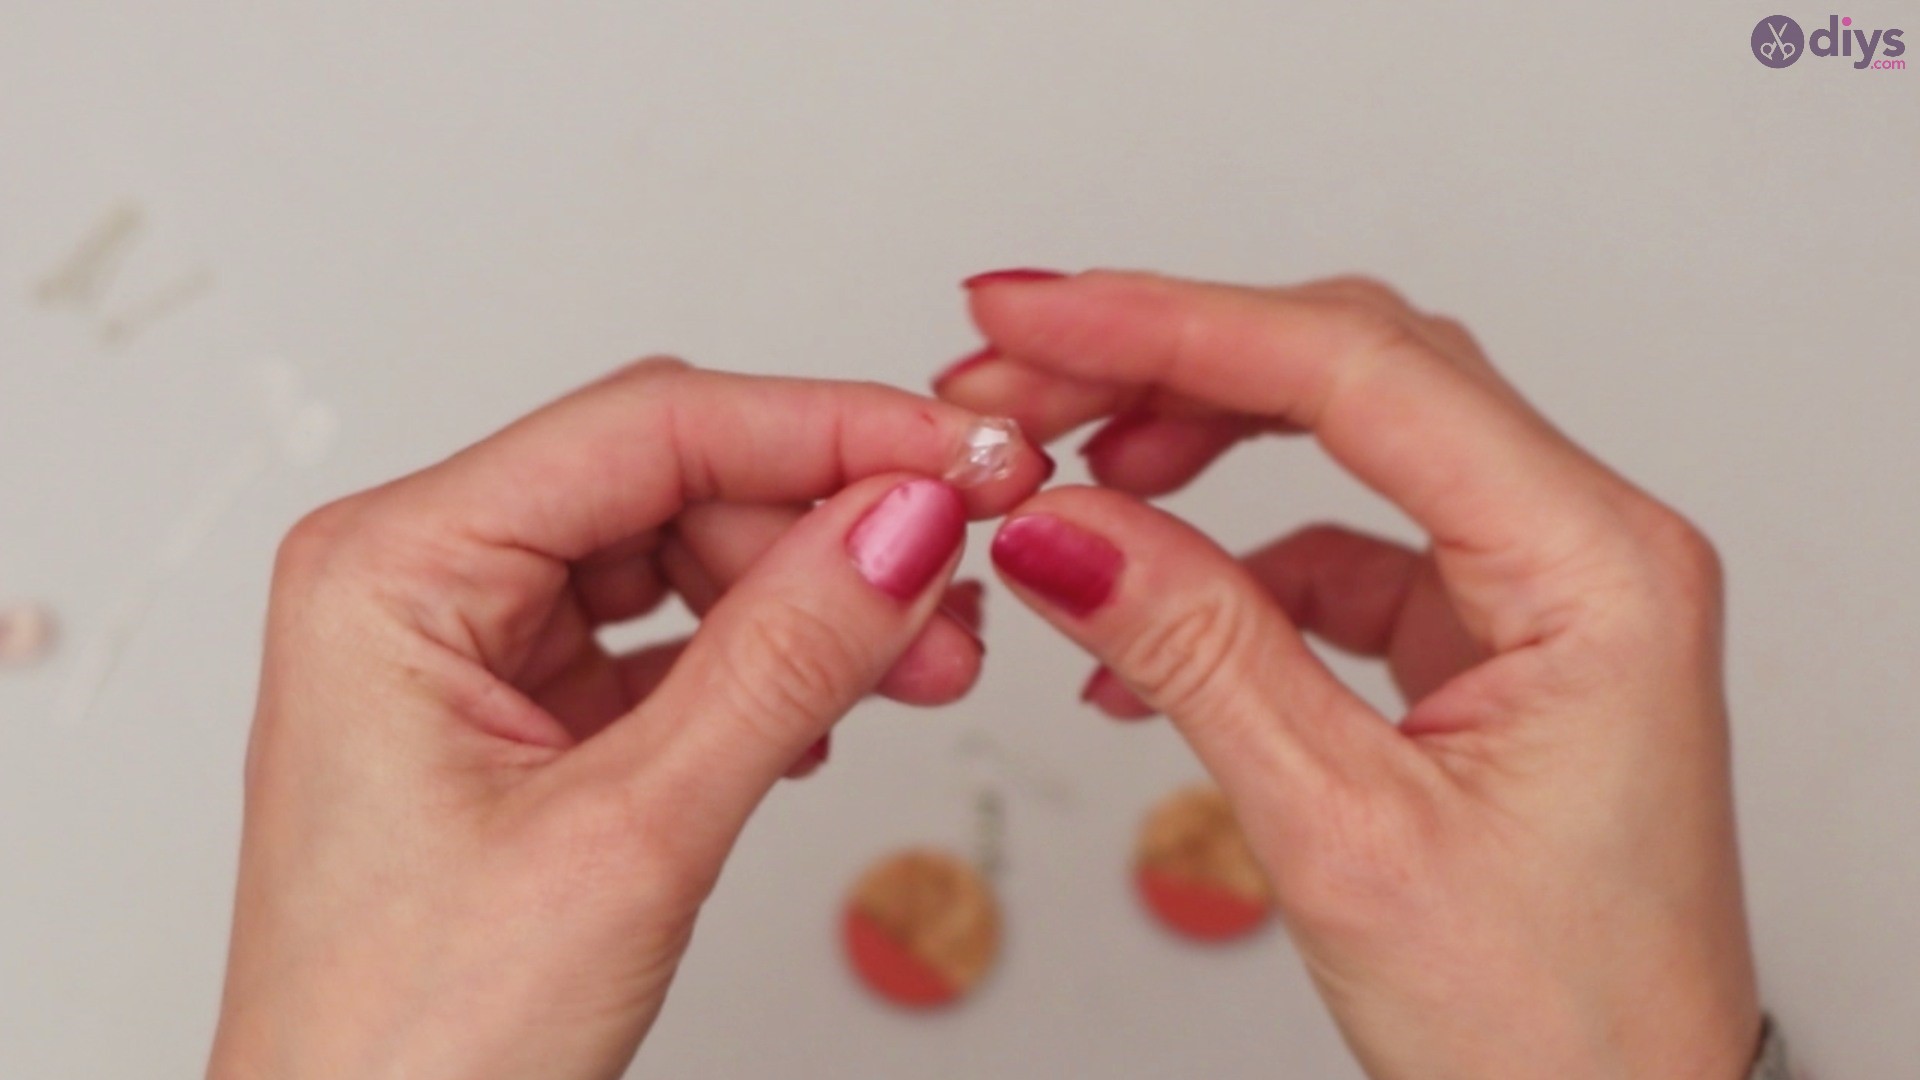
See how easily that stone slips on to your rounded wire piece? Just make sure it’s perfectly secure in place so that you don’t lose your stone later!
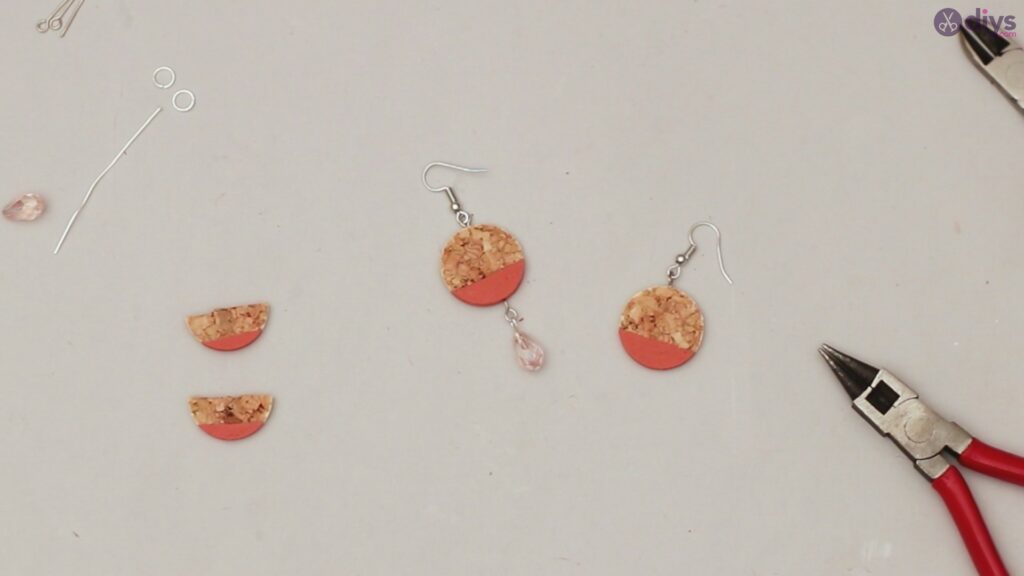
Your finished product for your single dangle earring should look like this. It’s smaller, delicate and super gorgeous. For the next step of this, it’s instructions on how to create a double tiered dangle earring, so if you are fine with your single dangle earring, then you are done, yay! But if you’d like to make another pair of earrings with a double tier or you’ve been waiting for instructions on how to make the double tier, then this is your spot to start reading!

Step 8: Double Tiered Earring
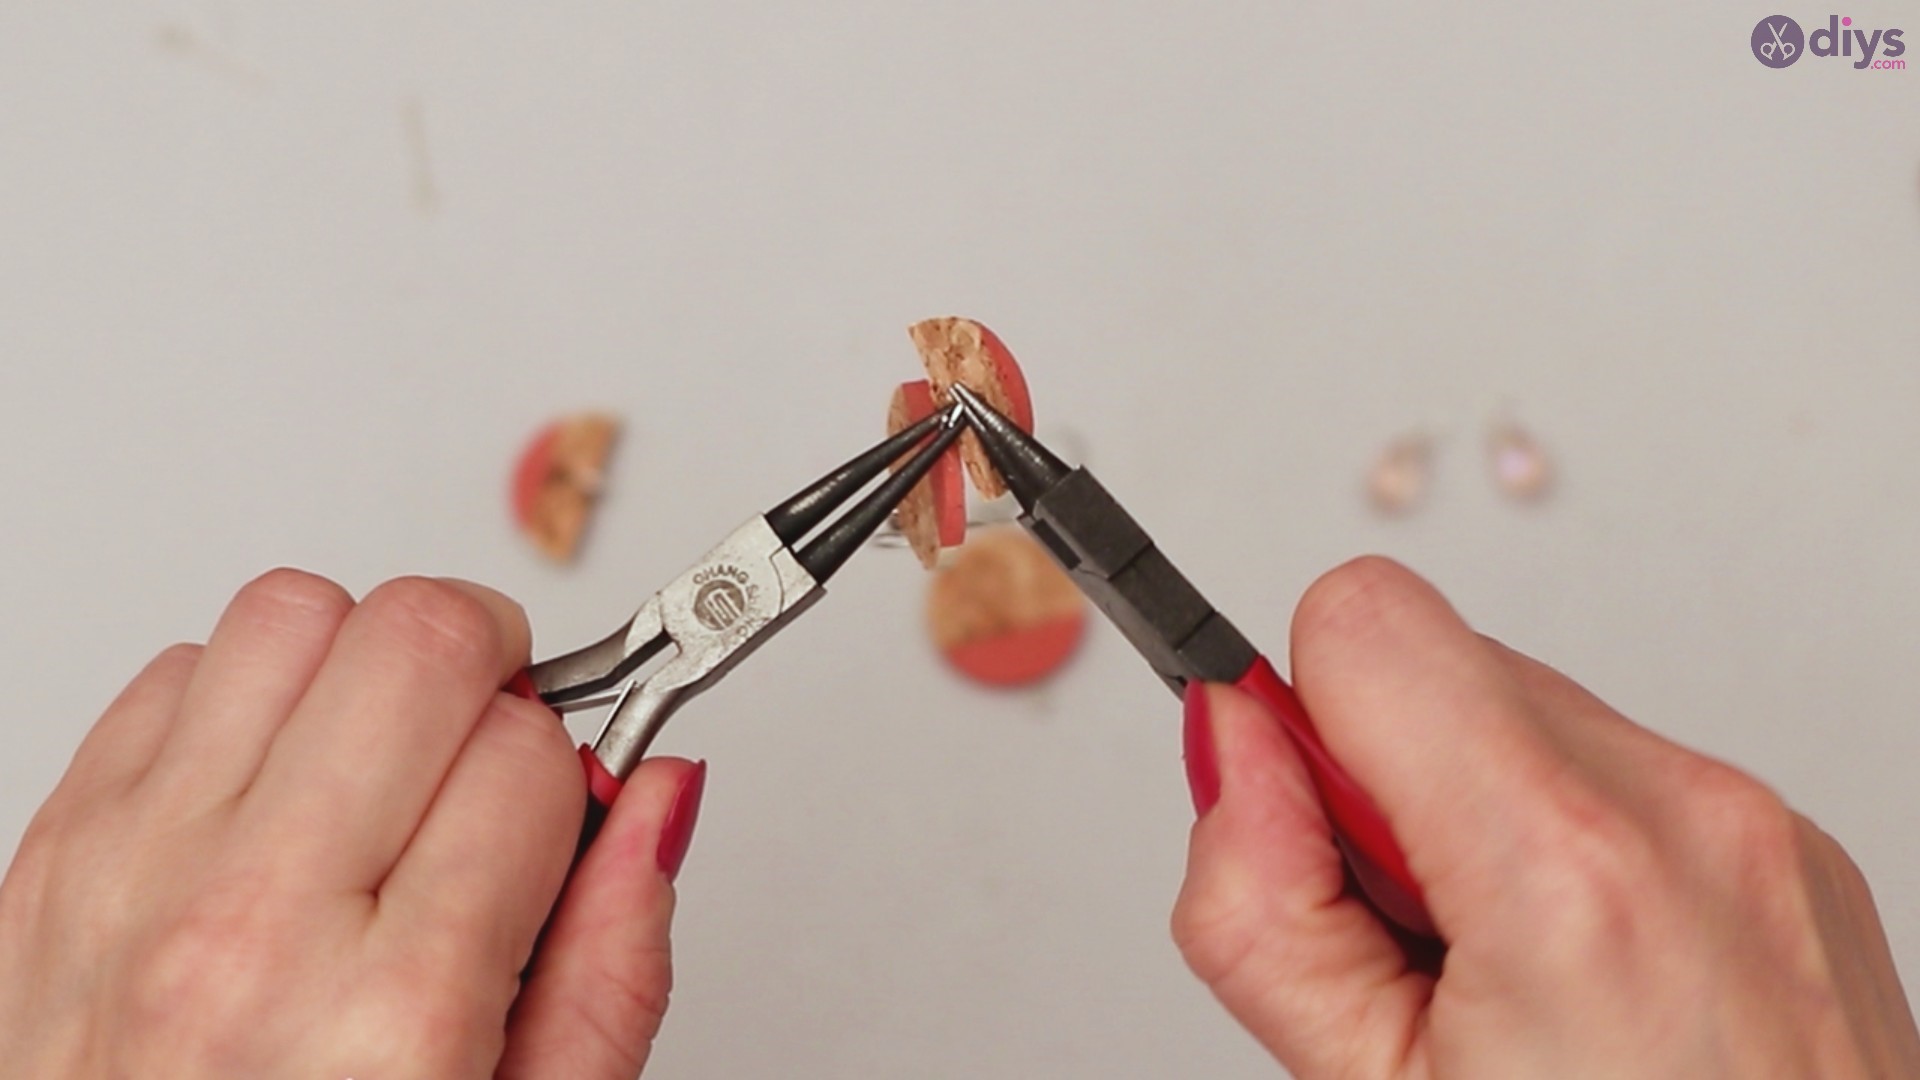
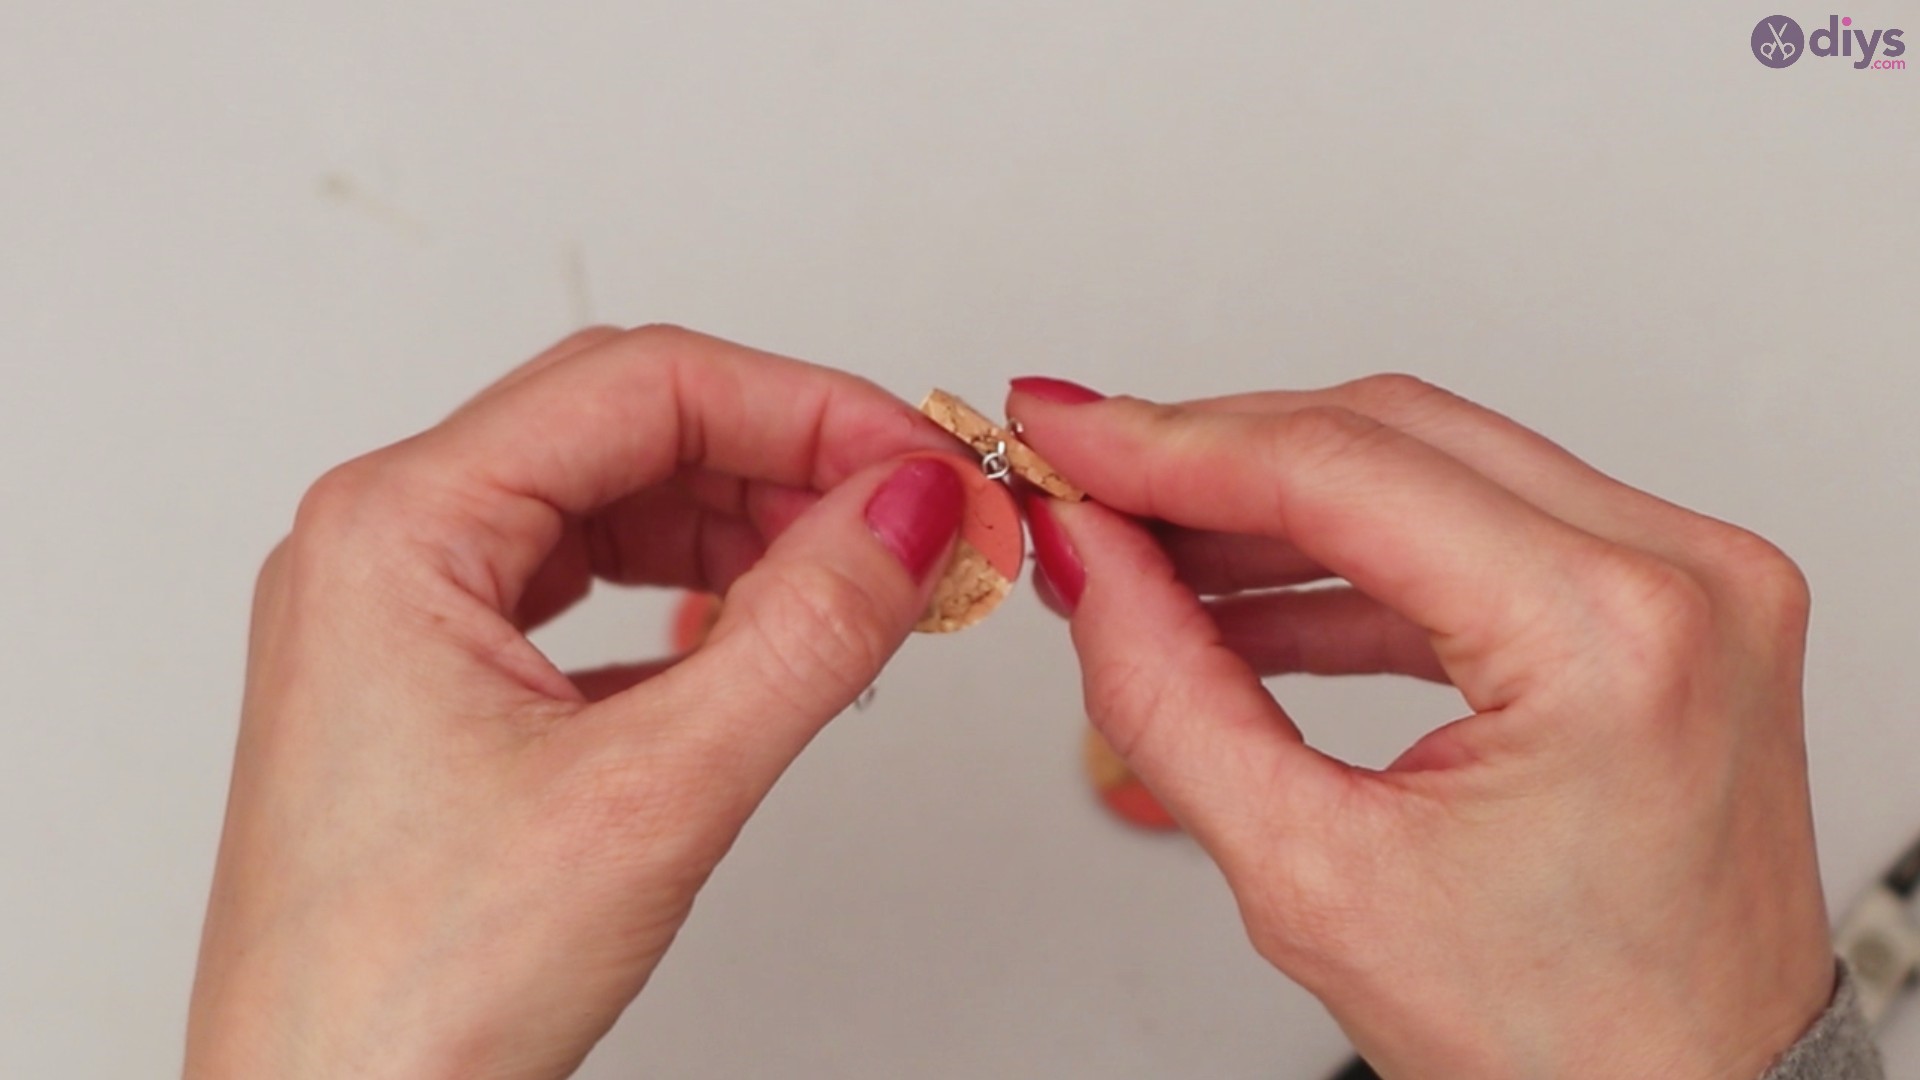
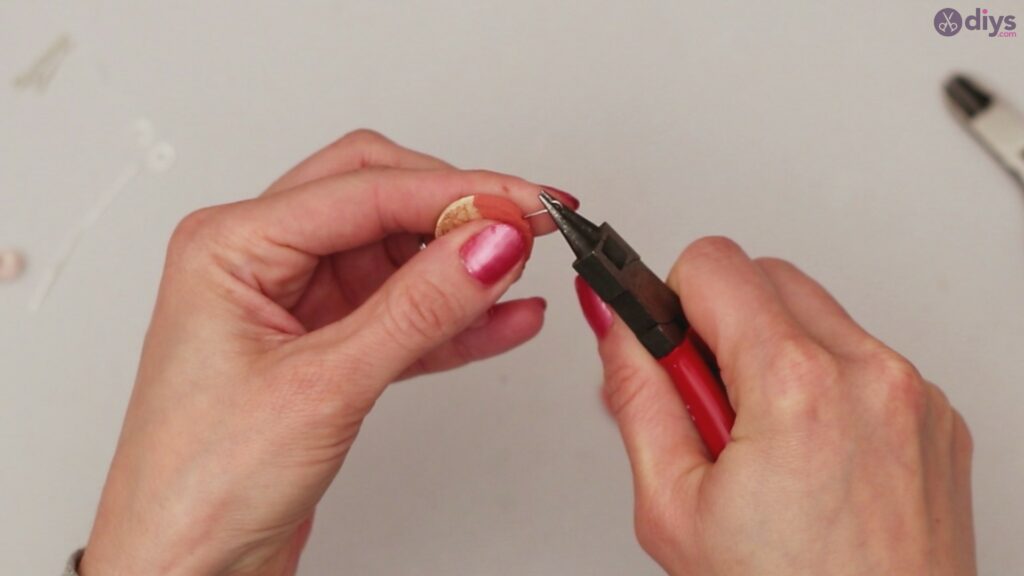
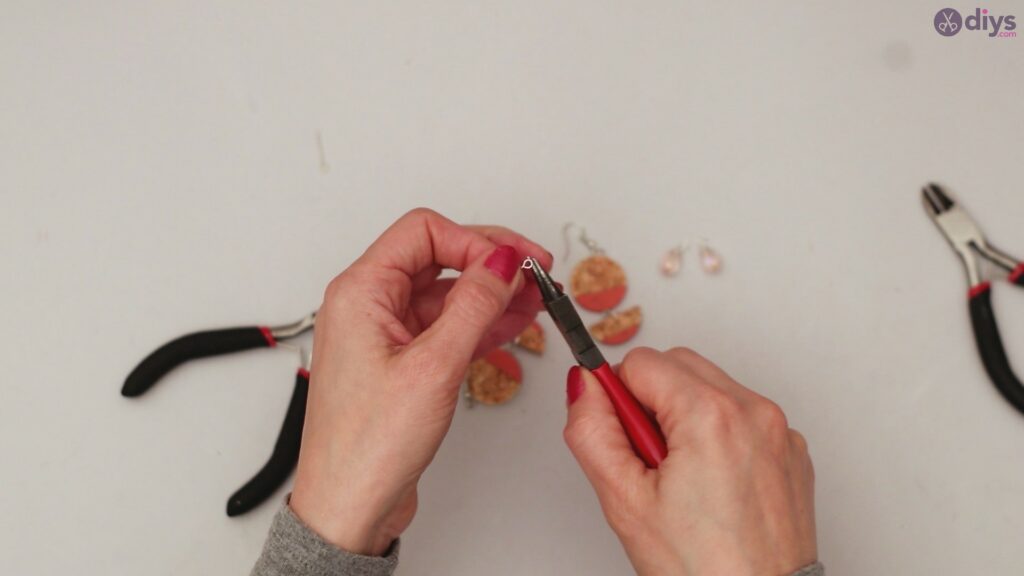
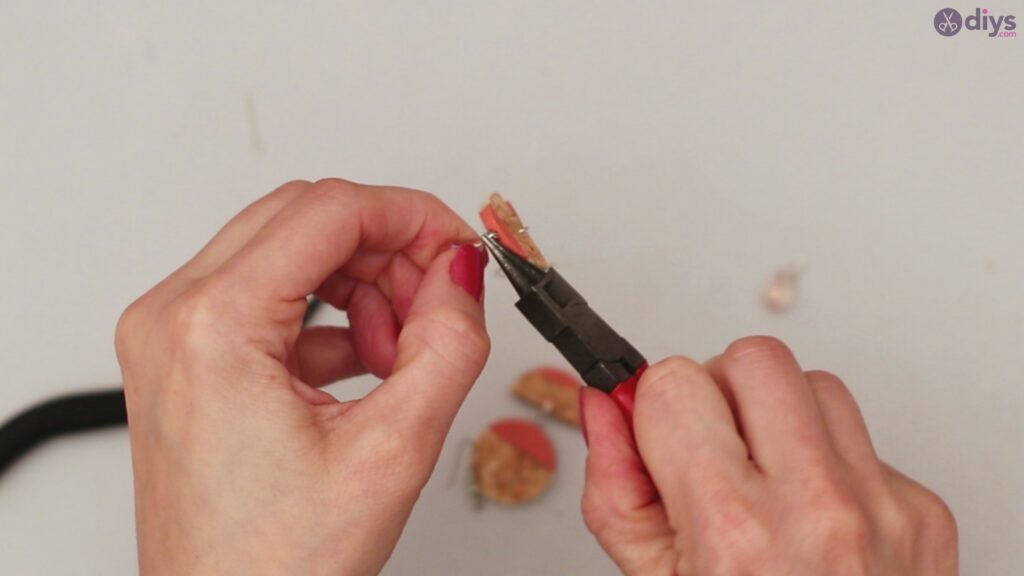
For the double tiered earring which is longer, use your half circle pieces and apply them onto your full circle cork piece by making another wire loop. Use your jewelry pliers to make sure the loop is perfectly circular and can close in an almost perfect loop with no gaps in between the wires.


Working carefully, pierce your full circle cork piece and gently start to pull through with your wire in preparation for adhering your half circle and stone embellishment pieces.
Make sure everything feels secure, but at the same time, loose enough to enable your earrings to move freely around. No one wants a stiff earring jutting out from their ear, so these earrings should be fluid and be able to move with your head naturally.


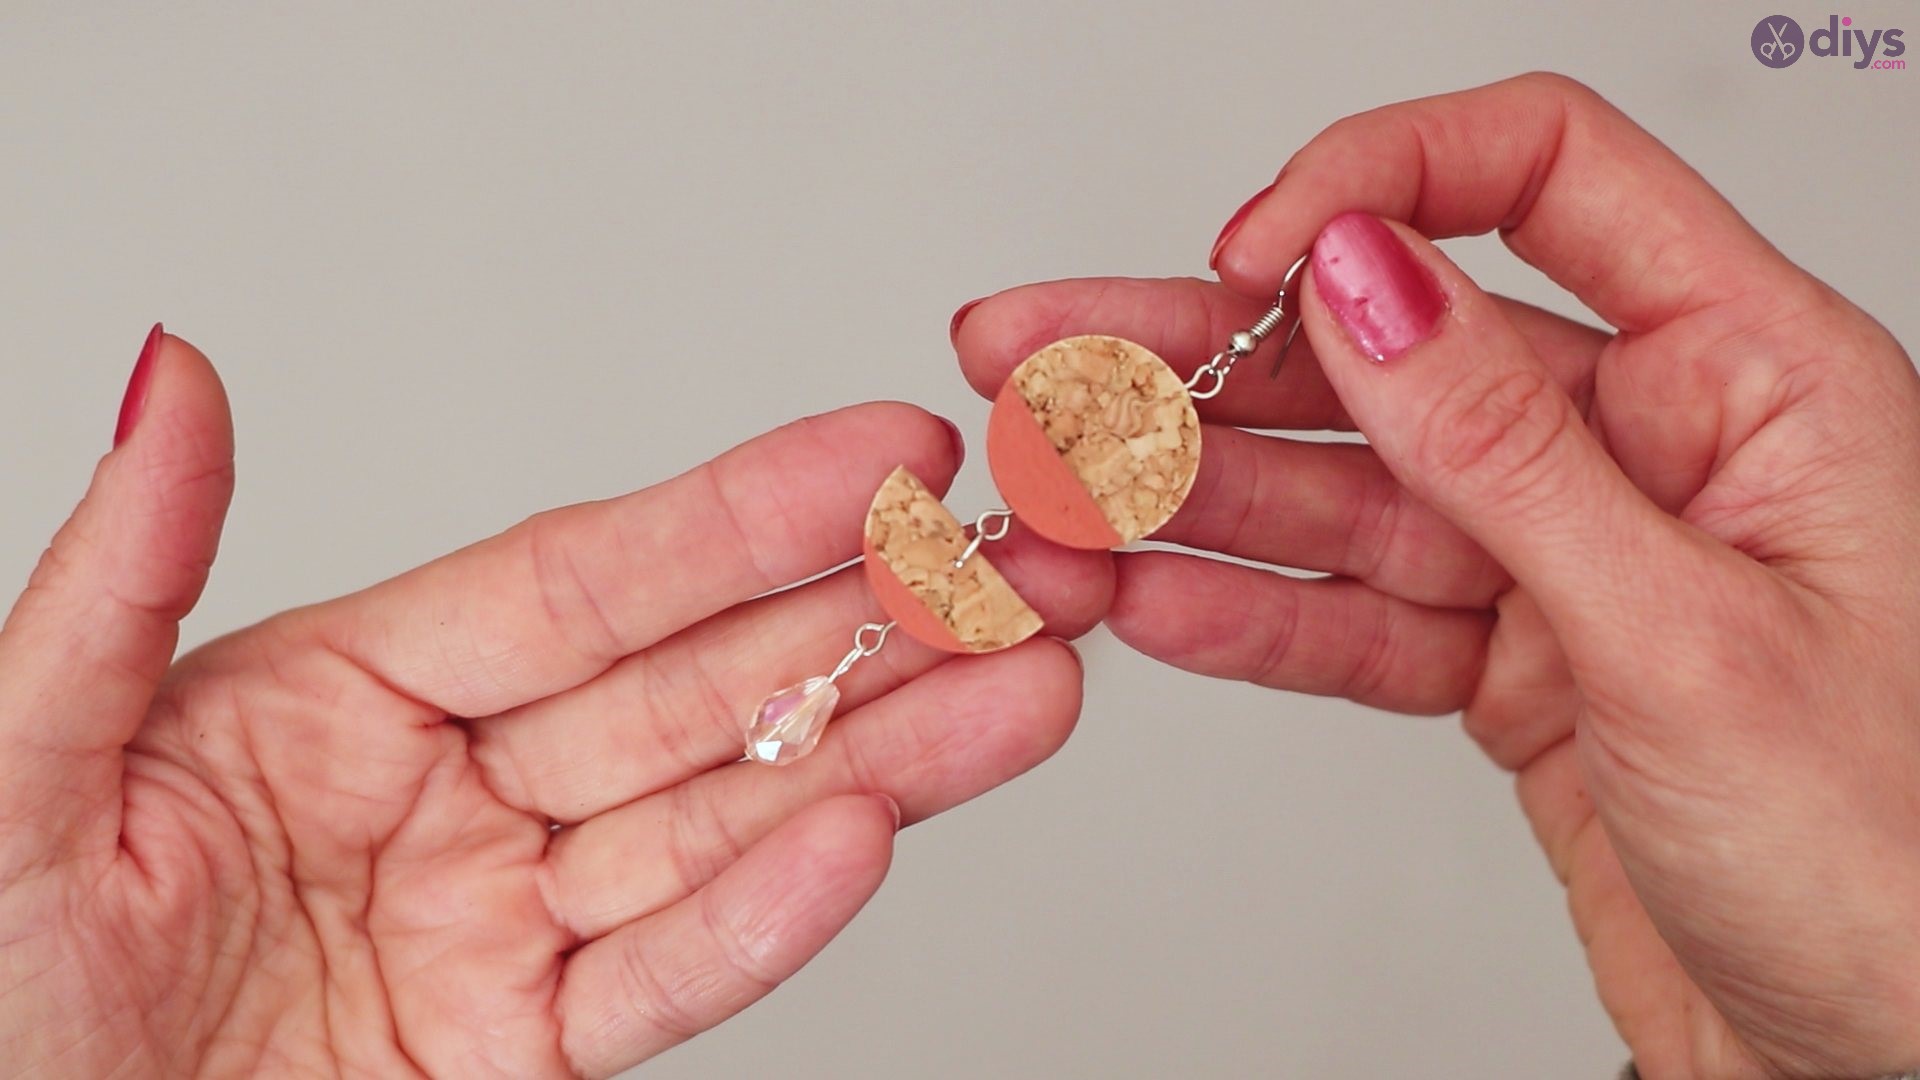
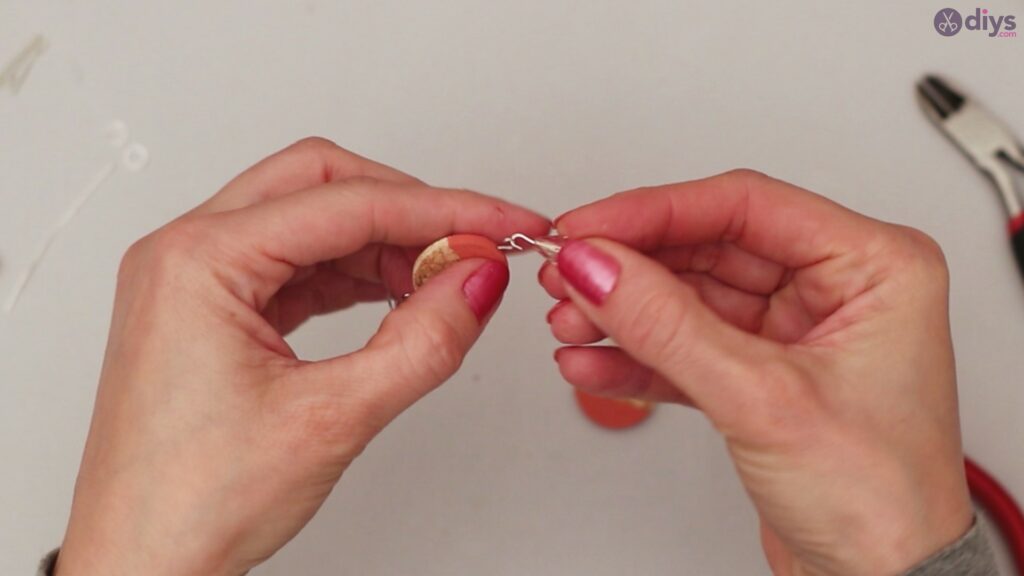
Step 9: Attach all the things
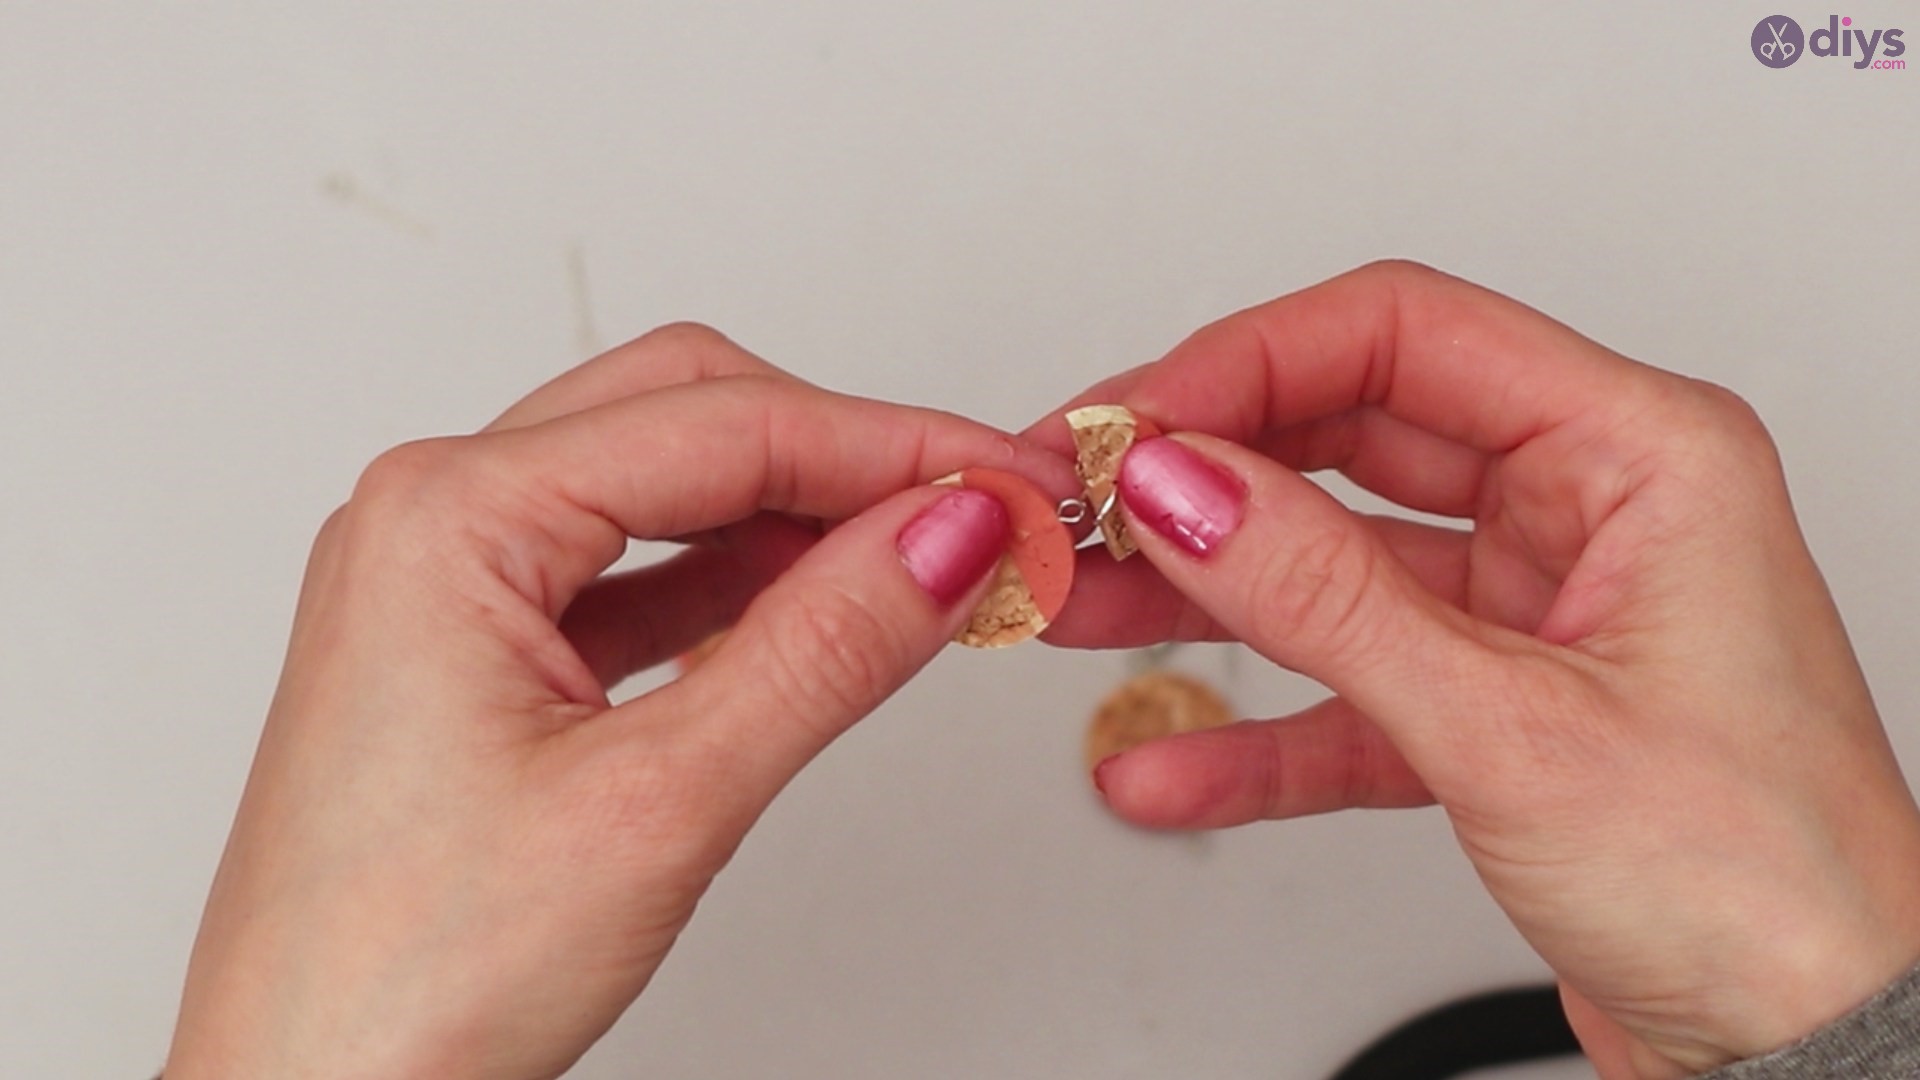
Attach your perfectly looped half circle onto your full circle piece, and then loop on your stone embellishment at the bottom of that, and you’re almost done with your completed two tier earrings set.

Your perfectly attached half circle and full circle should look like this. The last step is to add your embellishment stone which can be any color you like, but make sure it is small enough to create a perfectly cascading dangle effect. A too large stone would make this earring piece look a bit awkward and would make it heavier on the ear.

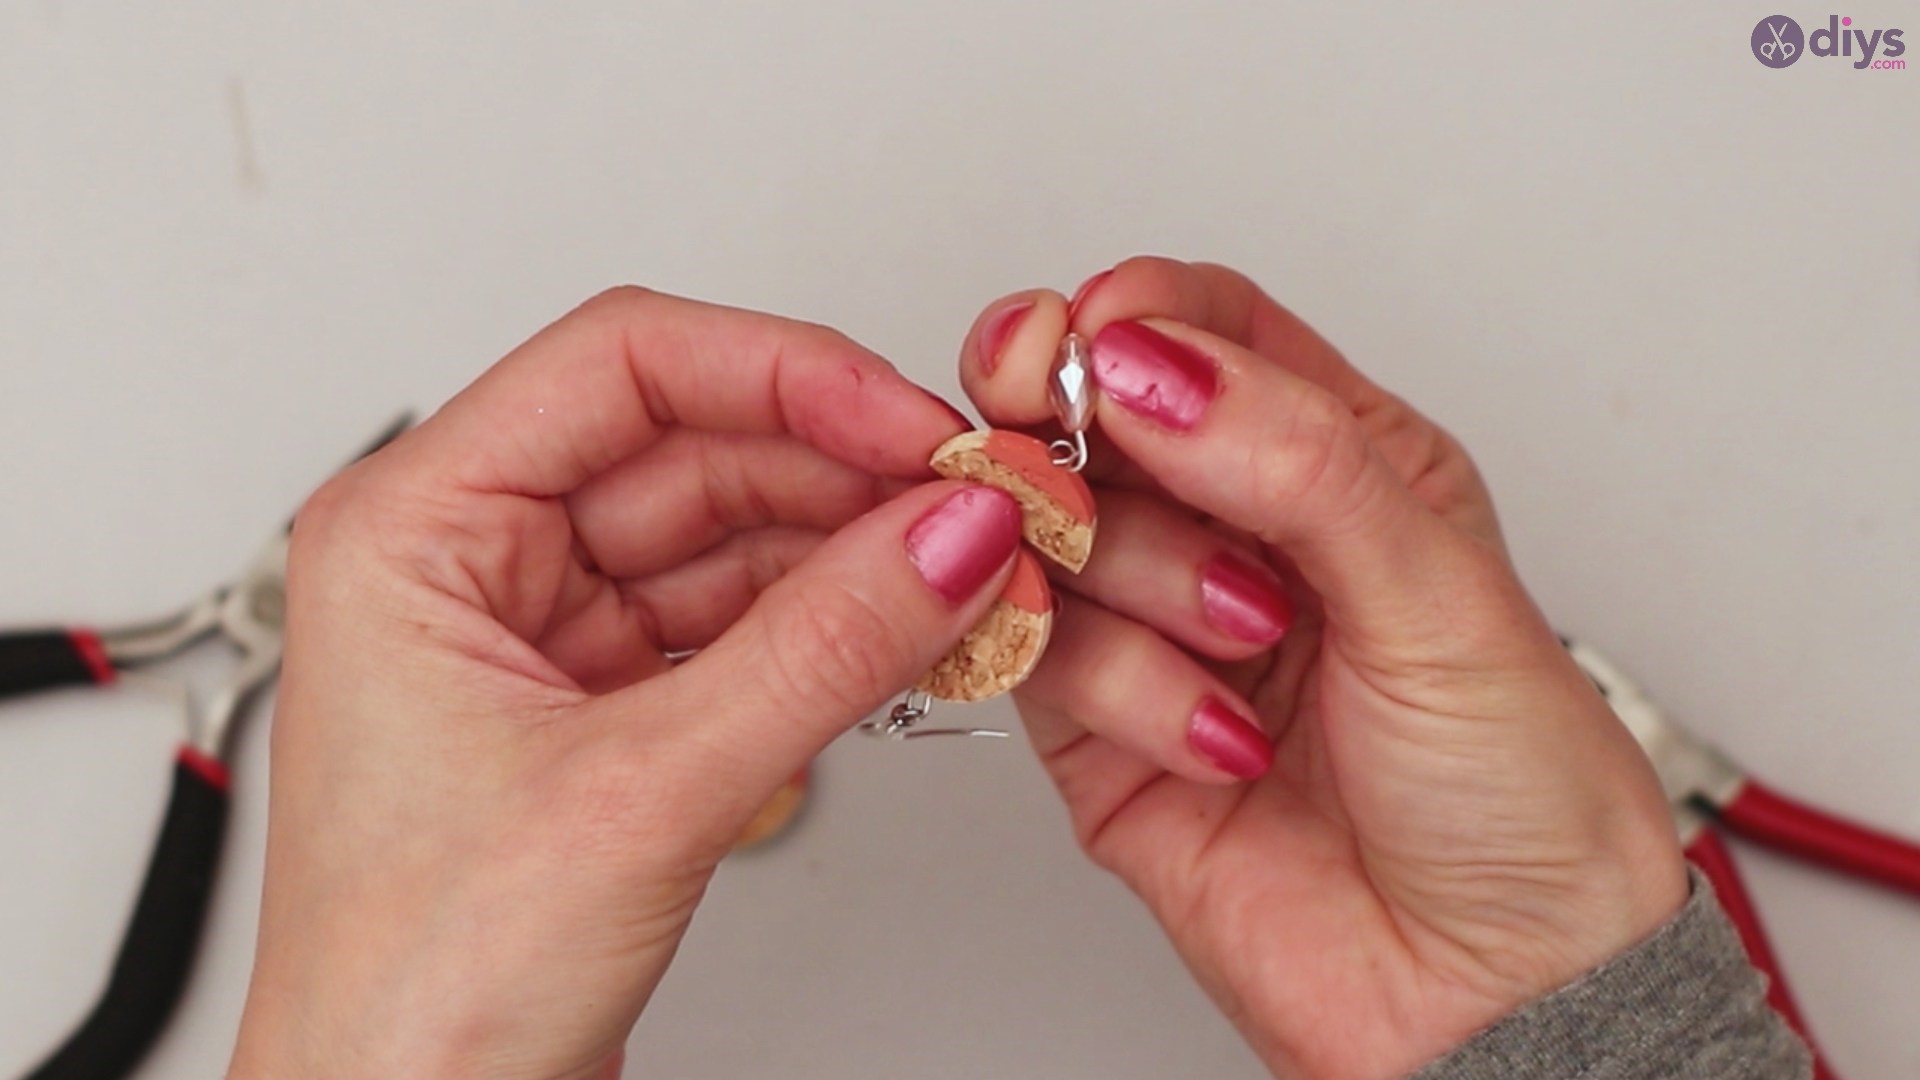
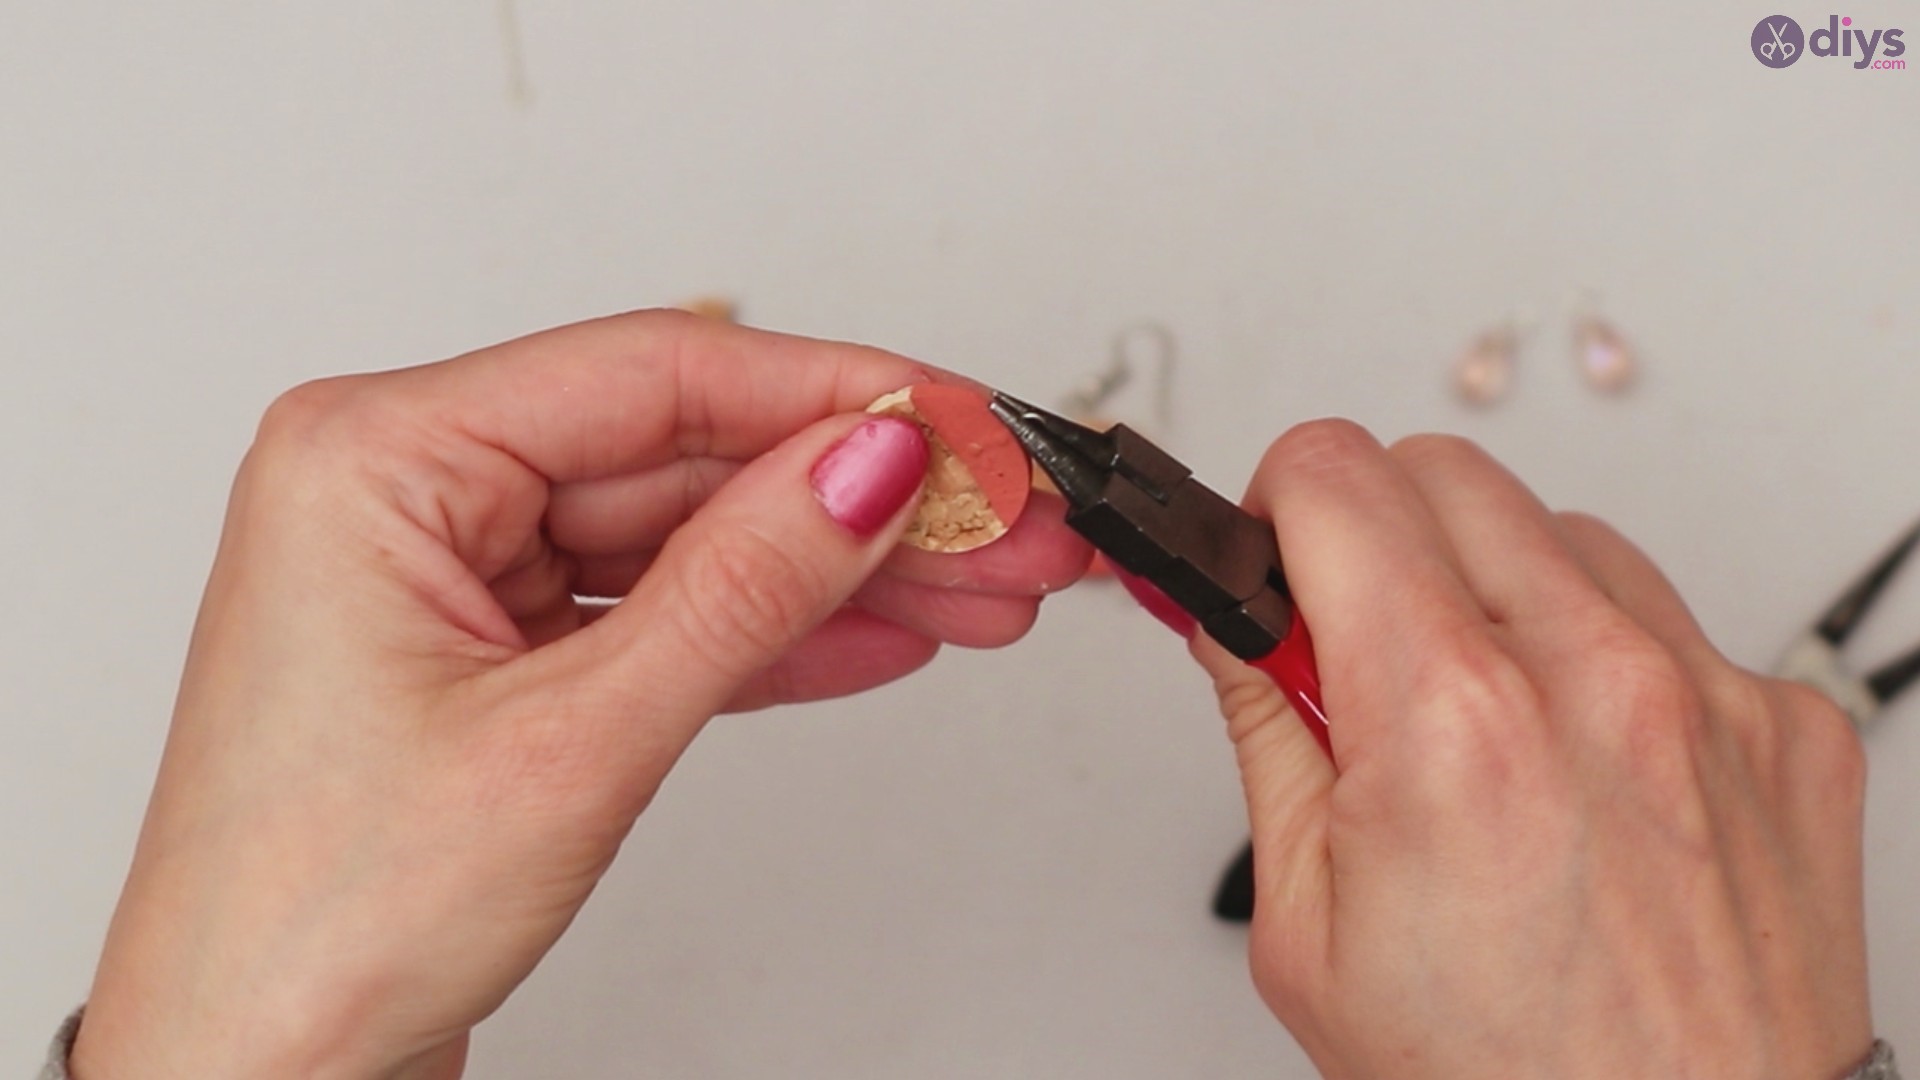
Step 10: Adding the Stone
The stone step is your final step and it’s really what brings the whole cascading earring together. It’s the perfect little addition to bring in the real decorative flair and since you have so many color varieties to choose from, this little dangle stone can add a great color pop to your whole earring set.
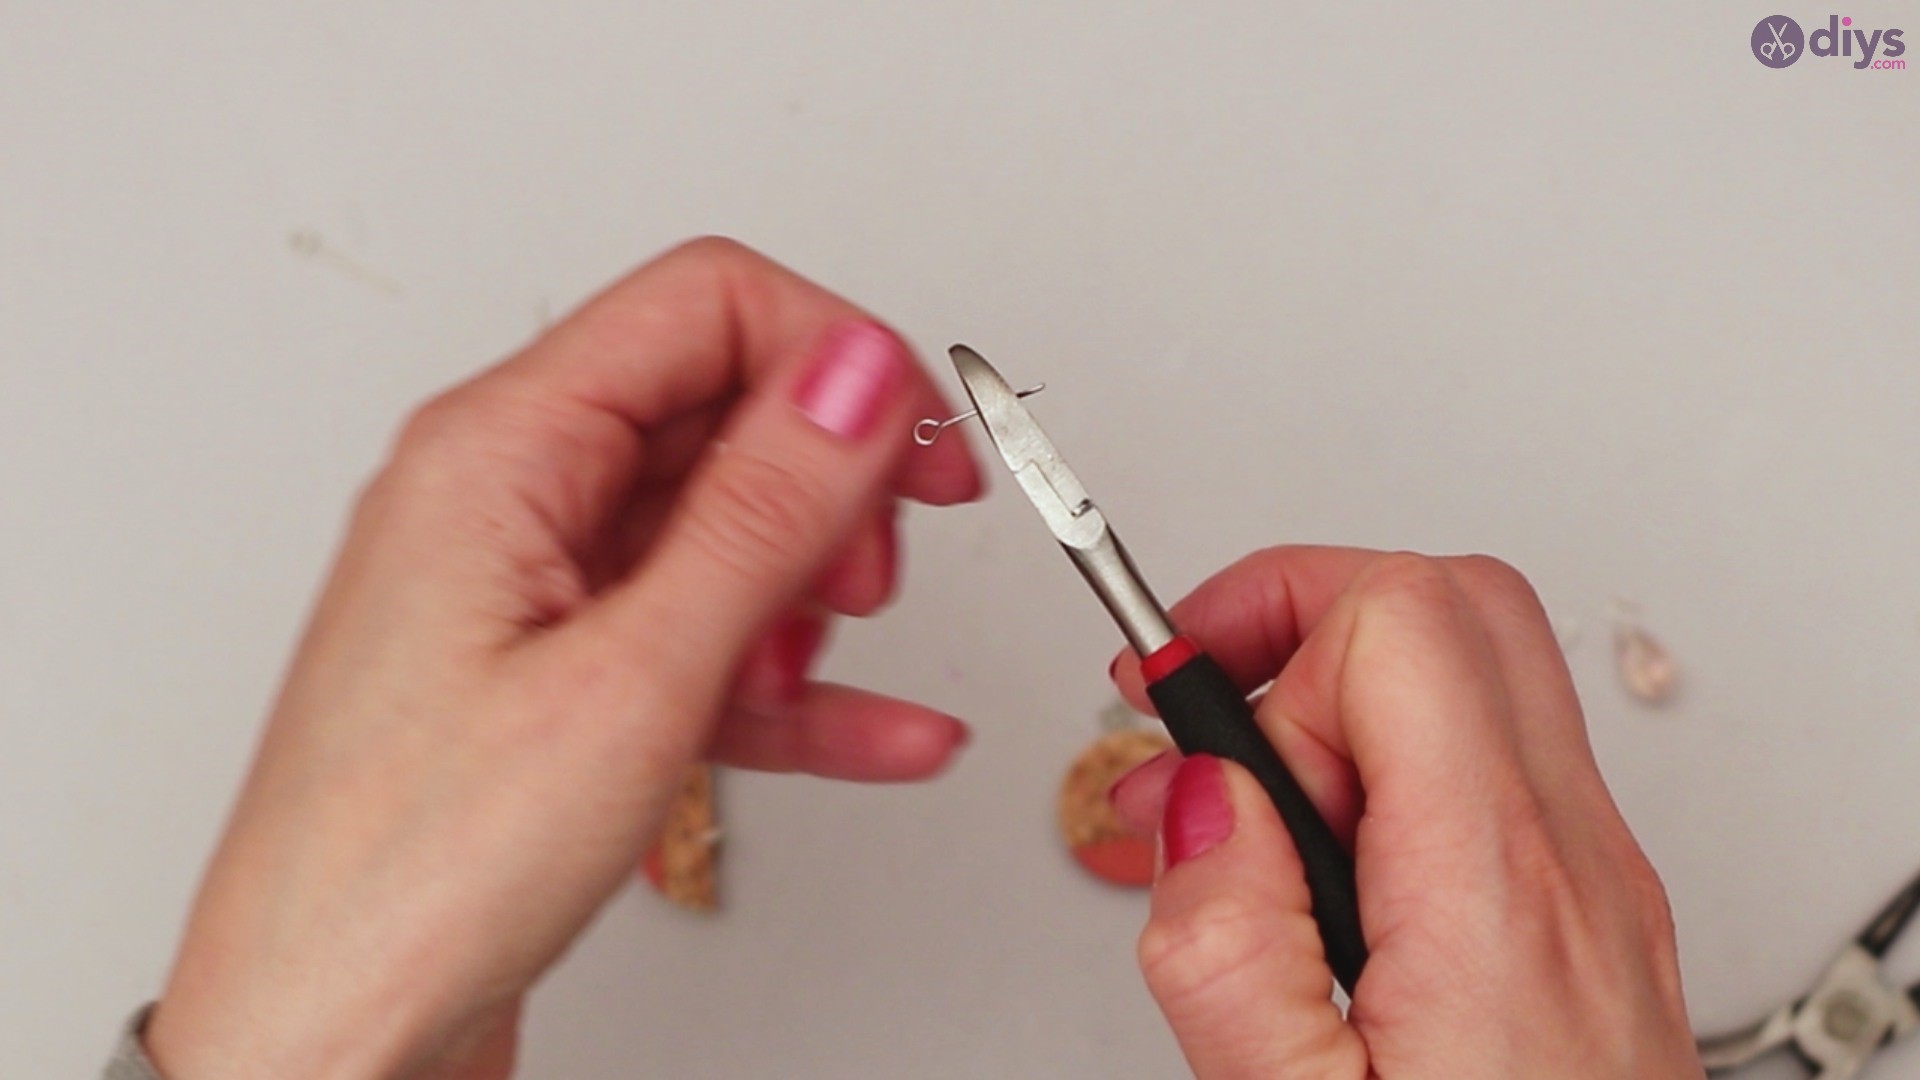
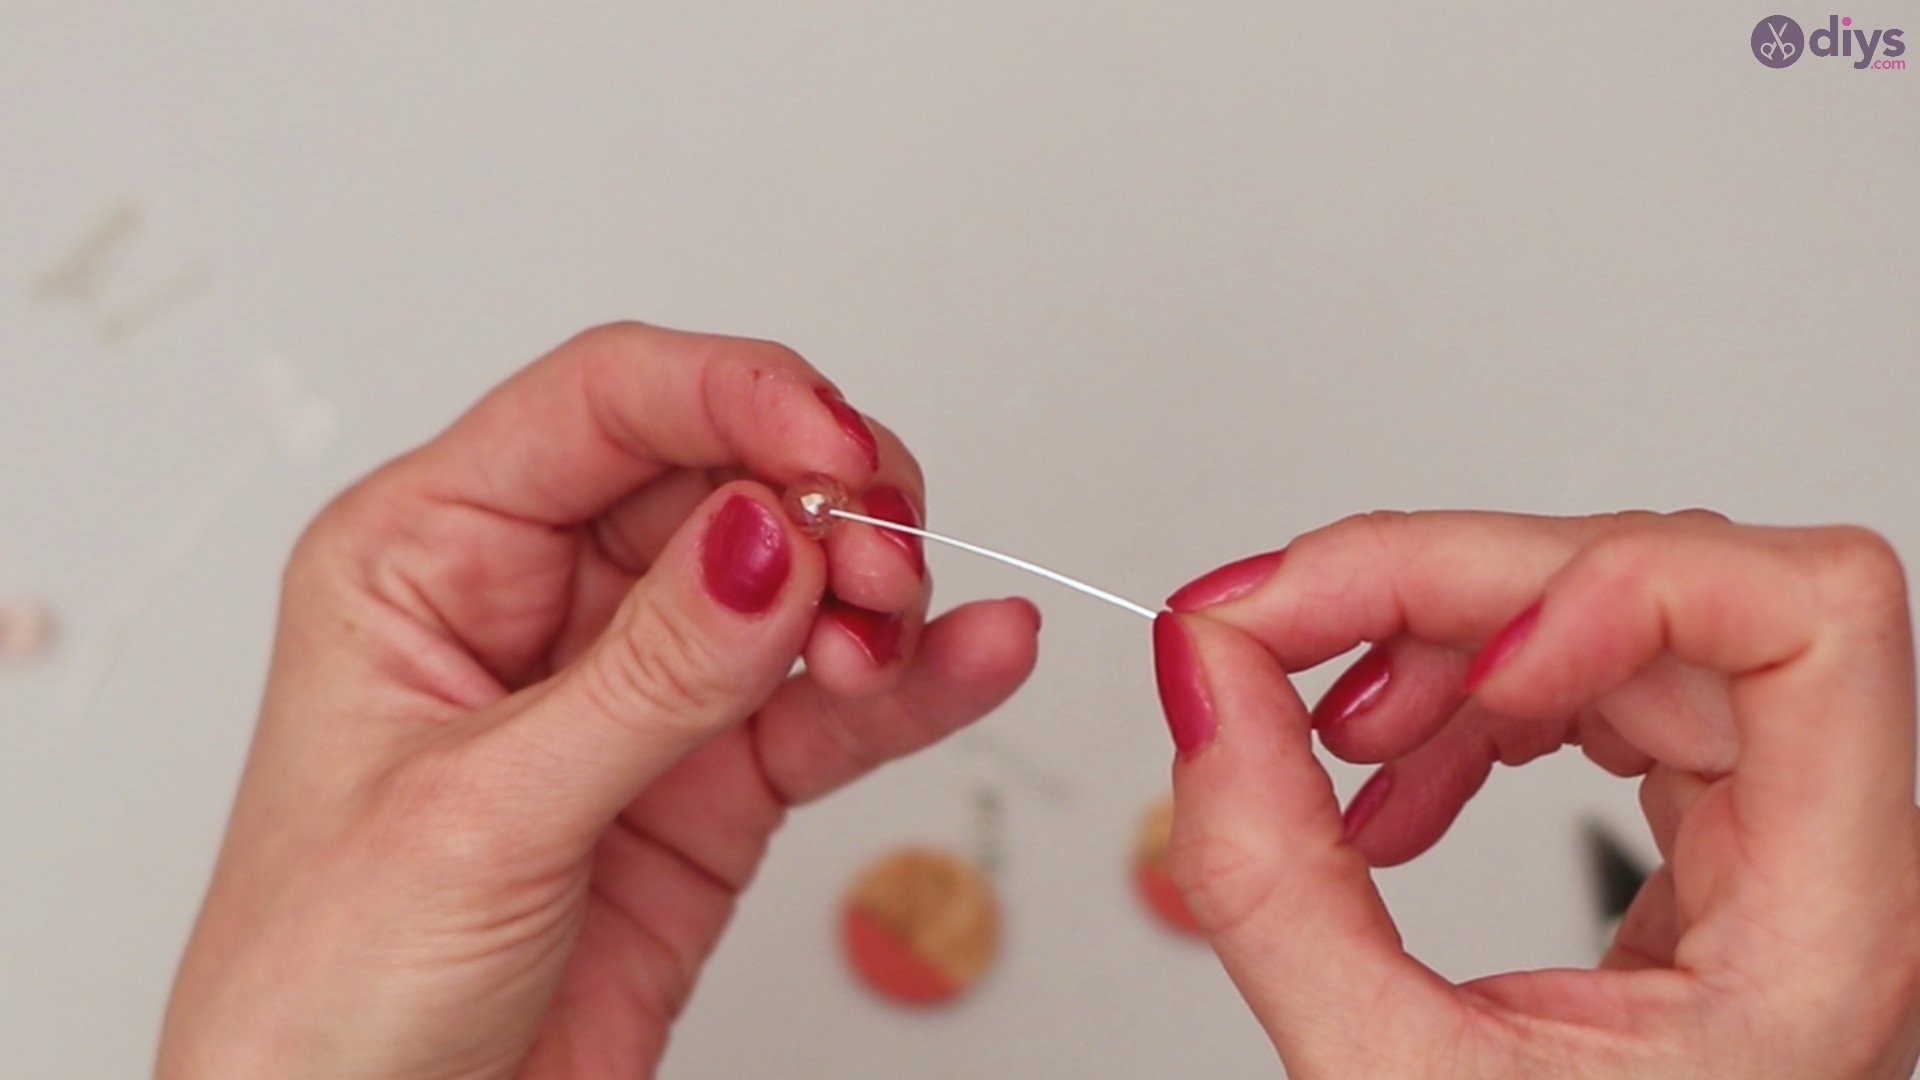
Simply loop the little stone onto your existent wire loop and secure the wire on the loop in order to close it to form a full circle. Try to get the loop to close as tightly as possible to the end to ensure that your stone piece does not slip out at any time. Use your jewelry pliers to help you achieve this.
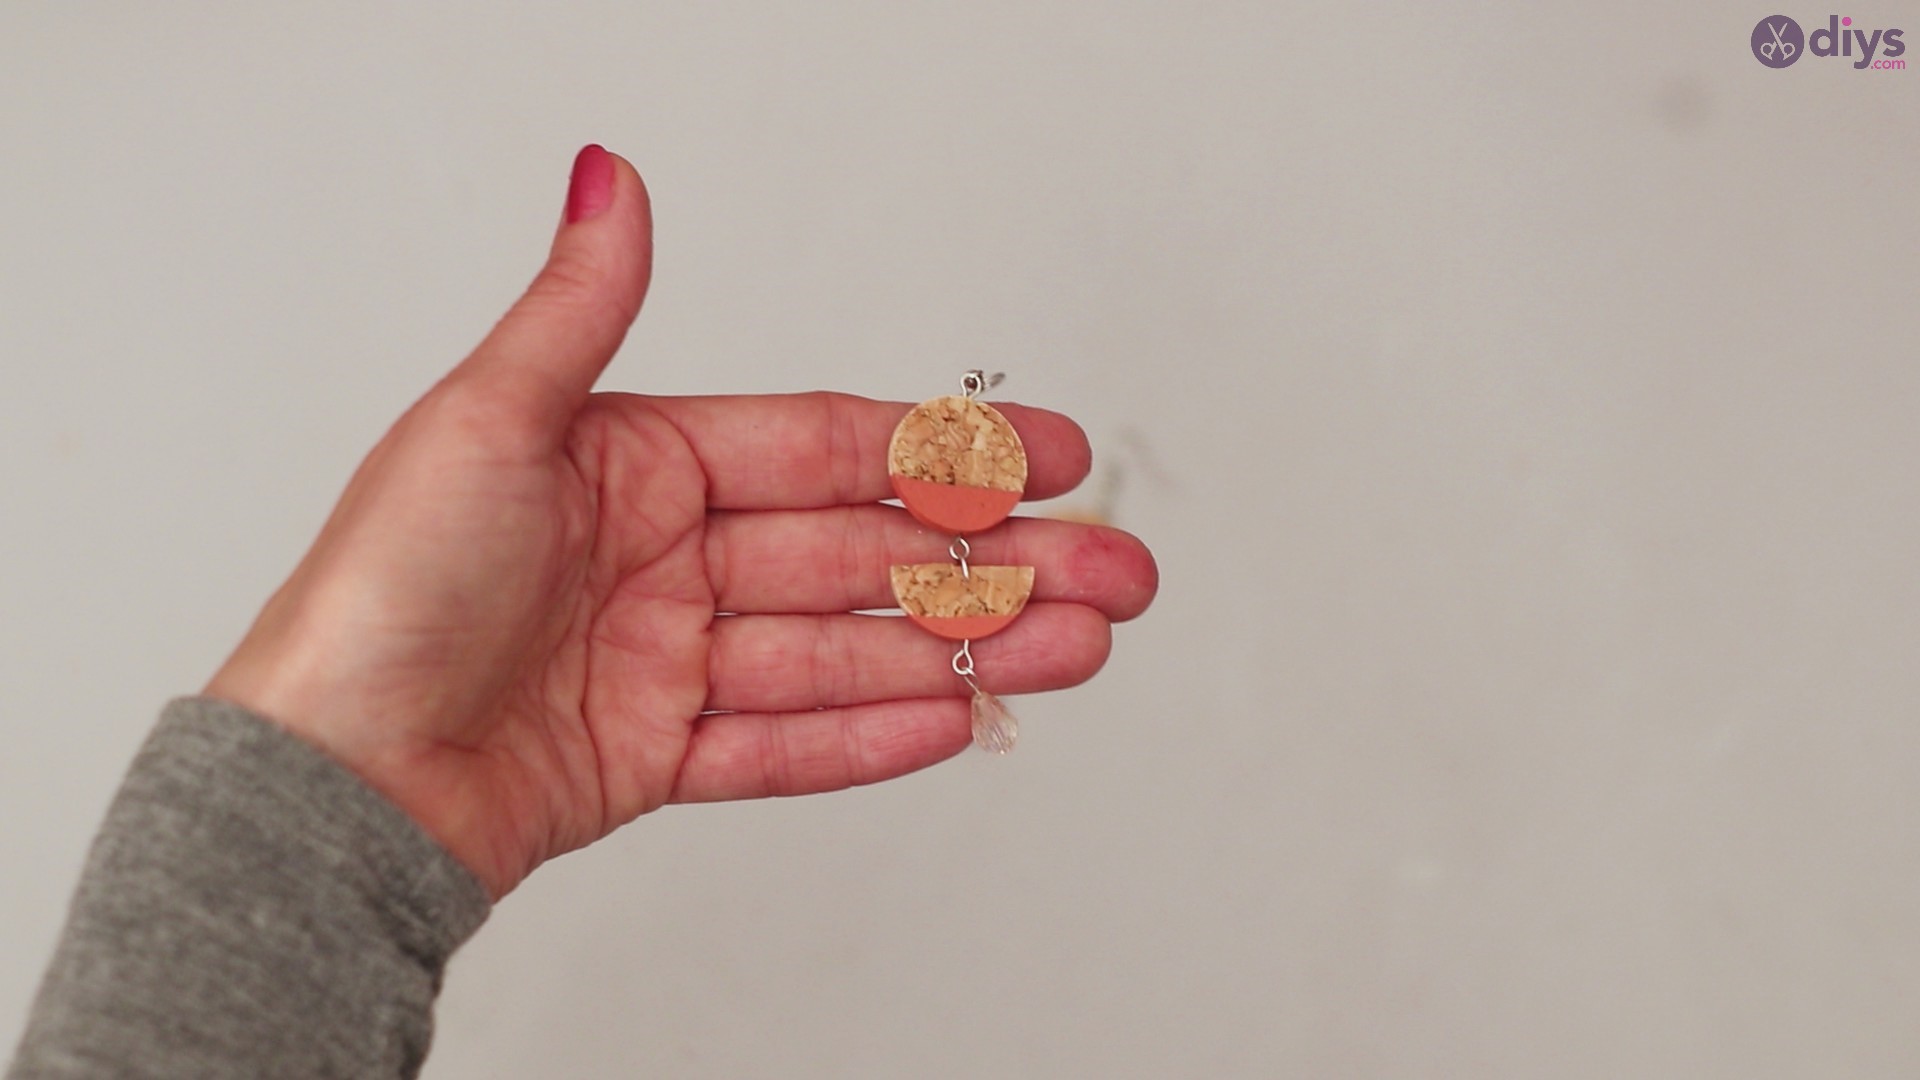
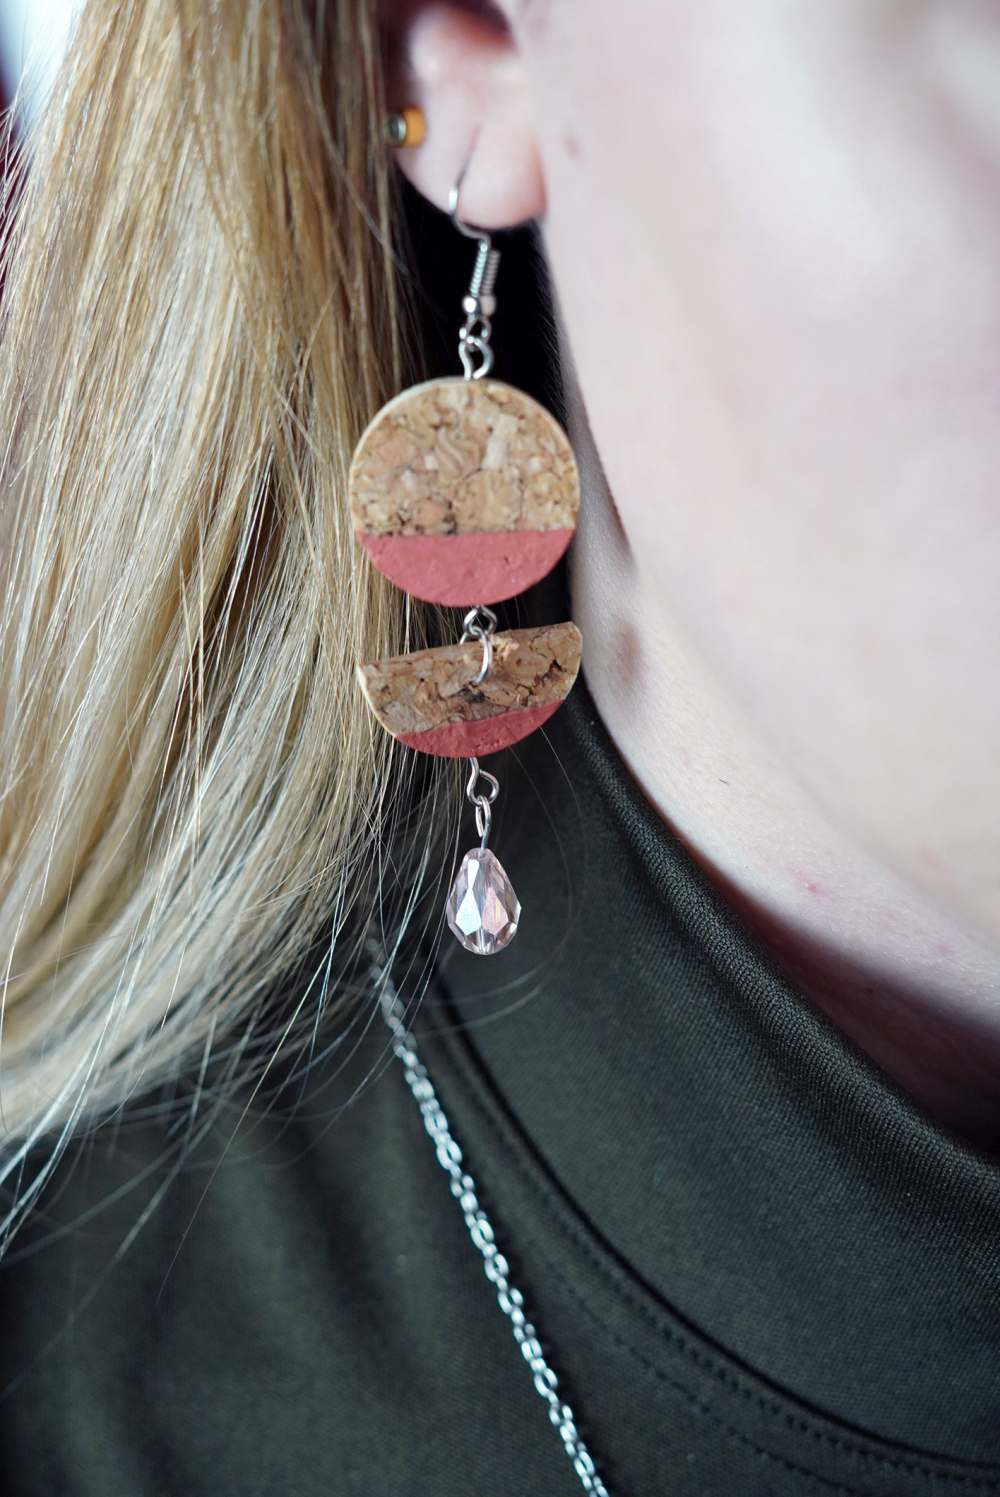
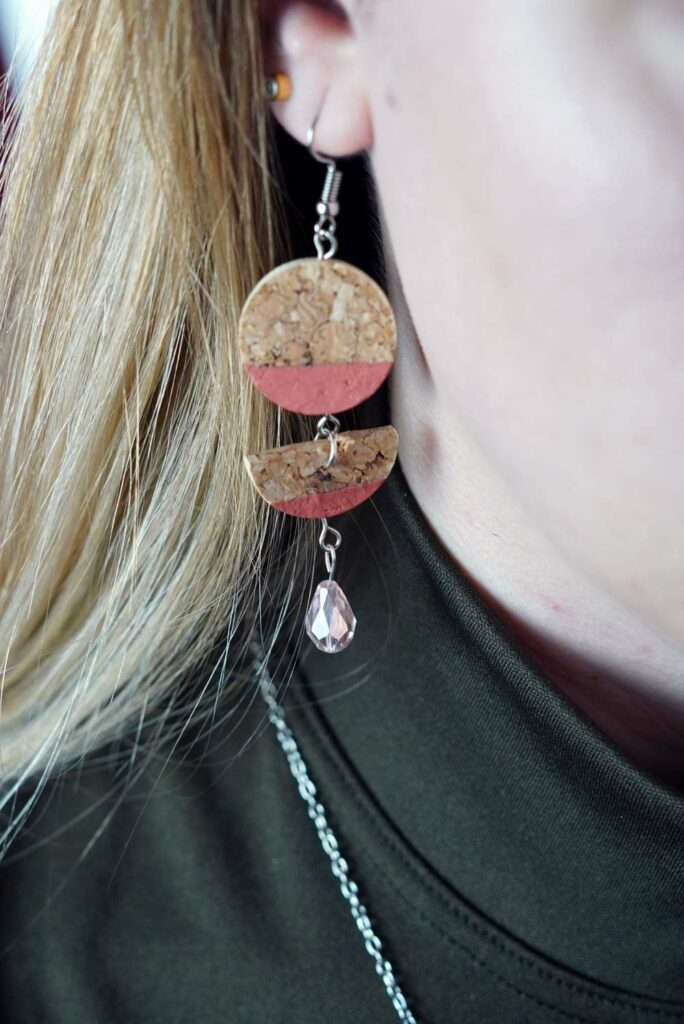
And voila! Once your stone piece is perfectly looped and secured on, you are don’t with your cork double tiered earring. Your finished product should look like the image below, but of course in whichever color scheme you prefer.
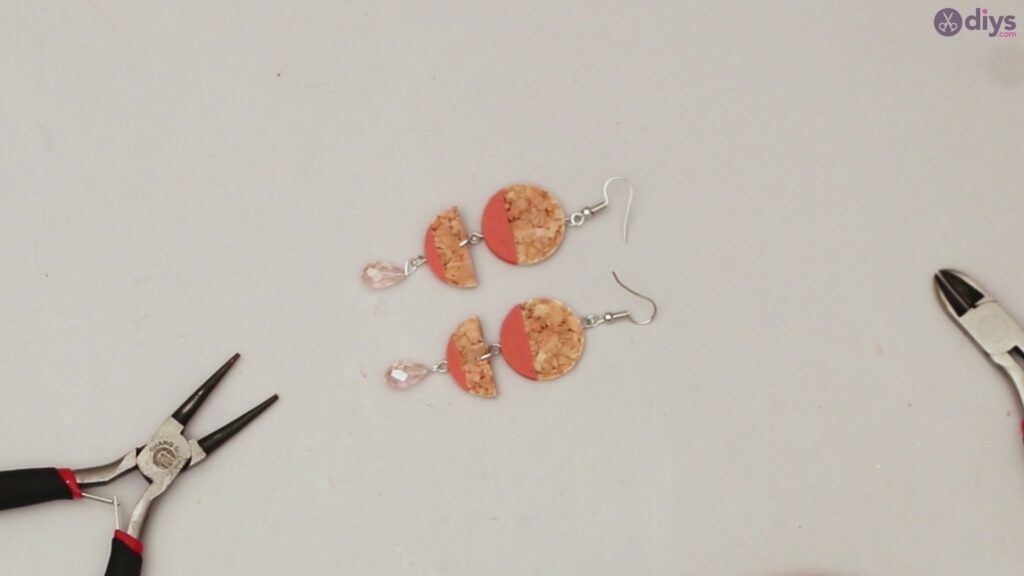
Look how adorable the finished product is!


Cork earrings VIDEO tutorial
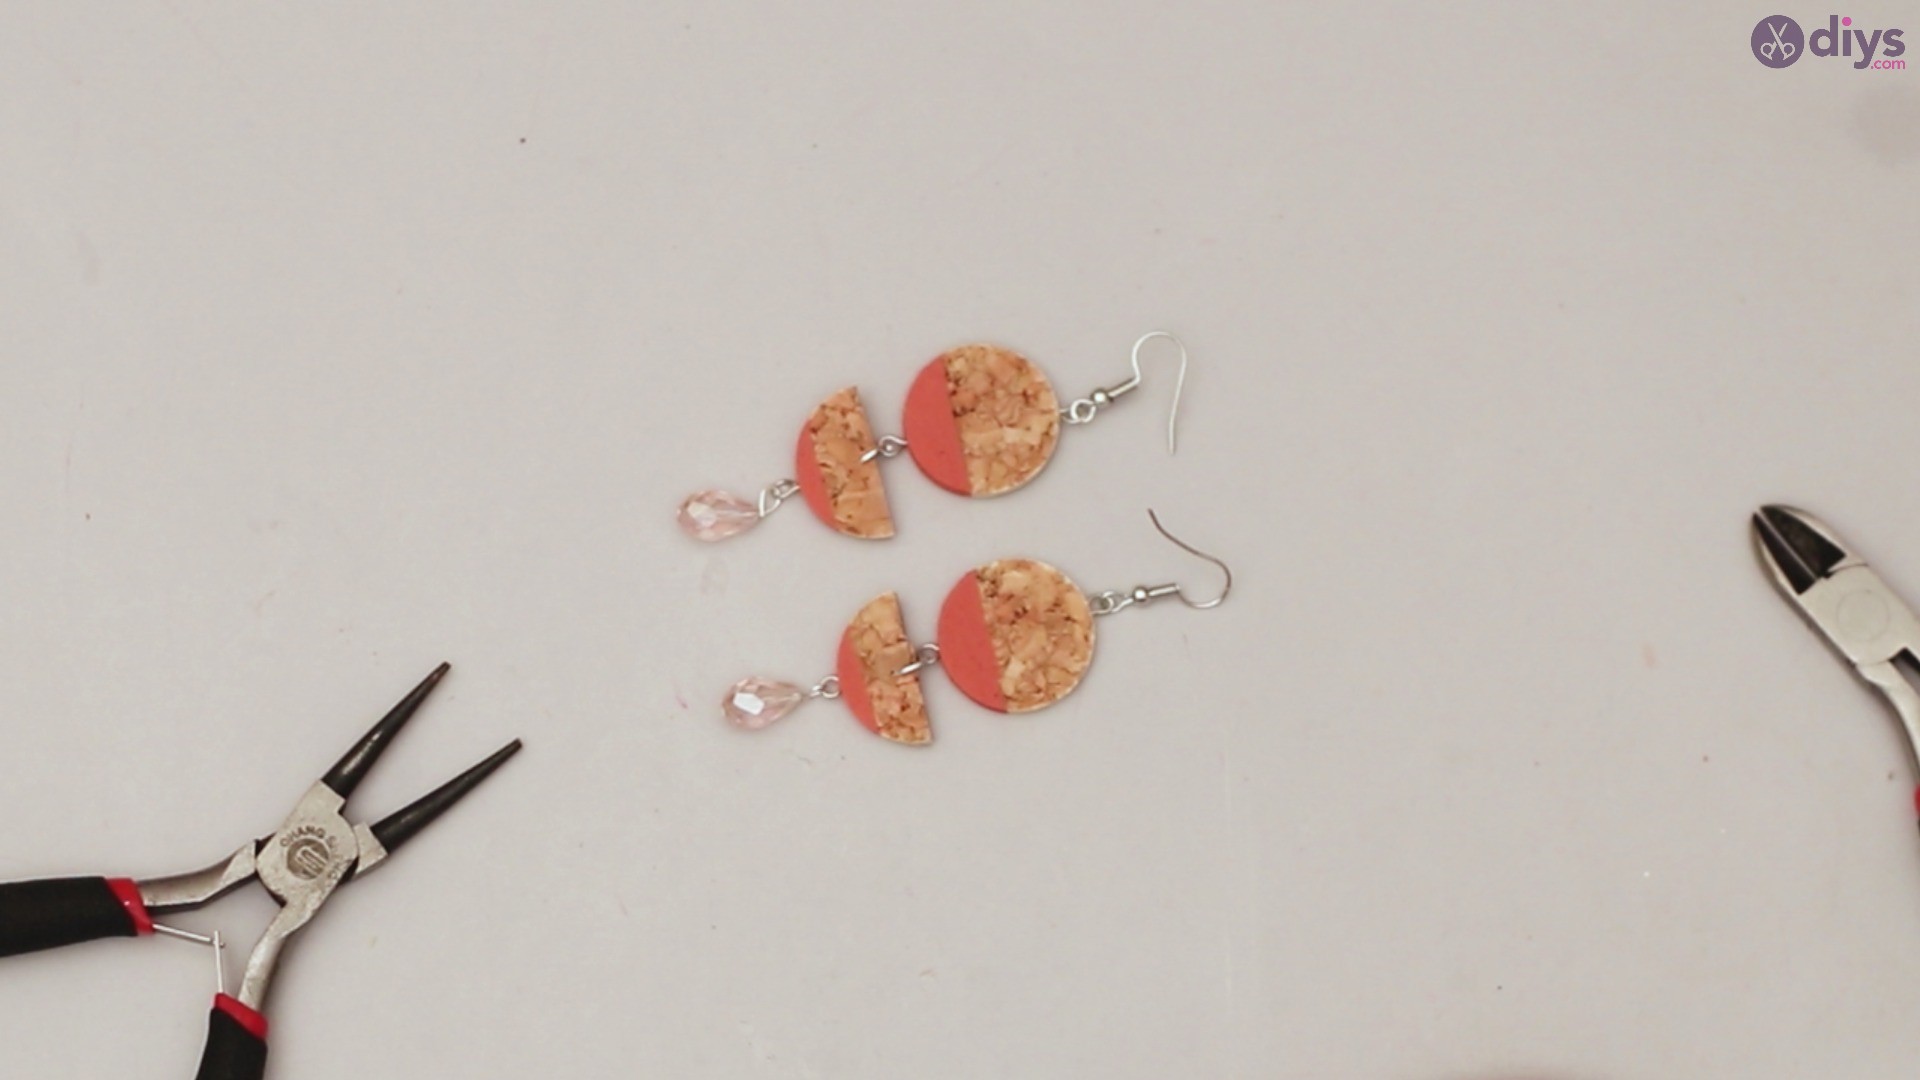
Now you know how to make wine cork earrings
Your finished cork earring can look like the single tiered earring from before or like this double tiered earring — it’s really up to you which look best suits you.
Personally, the double tiered earring has much more motion to it, which may be a bit more fun, but the single tiered earring is also so lovely it’s hard to decide which one looks best. With just a few simple materials, a little patience and creativity, you can create so many different variations of this same earring and give them out as gifts or just a little “thinking of you” memento for a close friend.
Either way, make sure you make some of these earrings for yourself, as these are too cute to simply give away to everyone else.