DIY Twine Wrapped Tin Can Container
Updated on November 19, 2025


When I caught myself staring at a tin can I’d just tossed into my recycling bin and thought about how well it would hold my disorganized and scattered makeup brushes, I decided to incorporate a little bit of country chic looking twine wrapping too! So, check out how I made this DIY twine wrapped tin can container and give it a try!
By the time I’d made one can, I’d already decided I would make more. Of course, I made sure to outline my steps for the rest of you too, as usual. Check out these step by step instructions complete with photos! If you’d rather follow along with a video tutorial instead of written words, scroll to the bottom of this post to find just what you’re looking for.
Twine Wrapped Tin Can Container
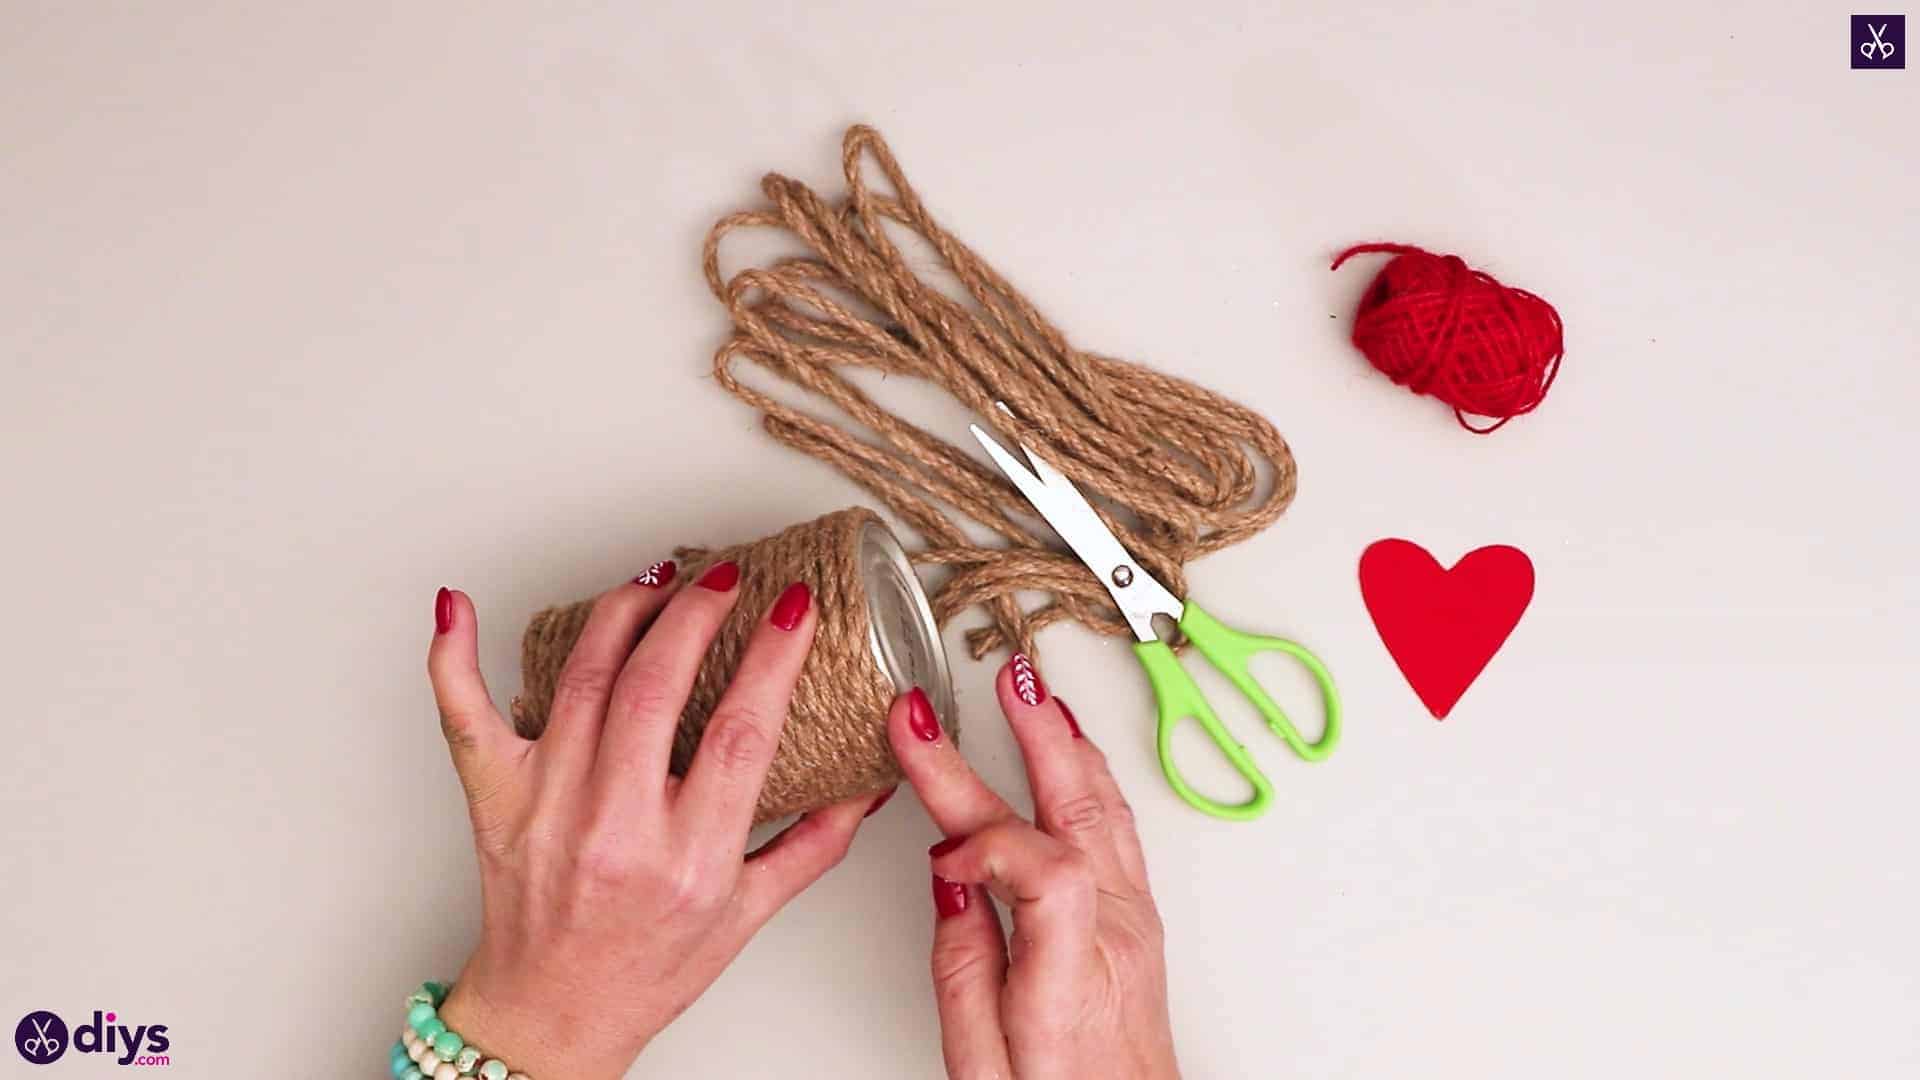
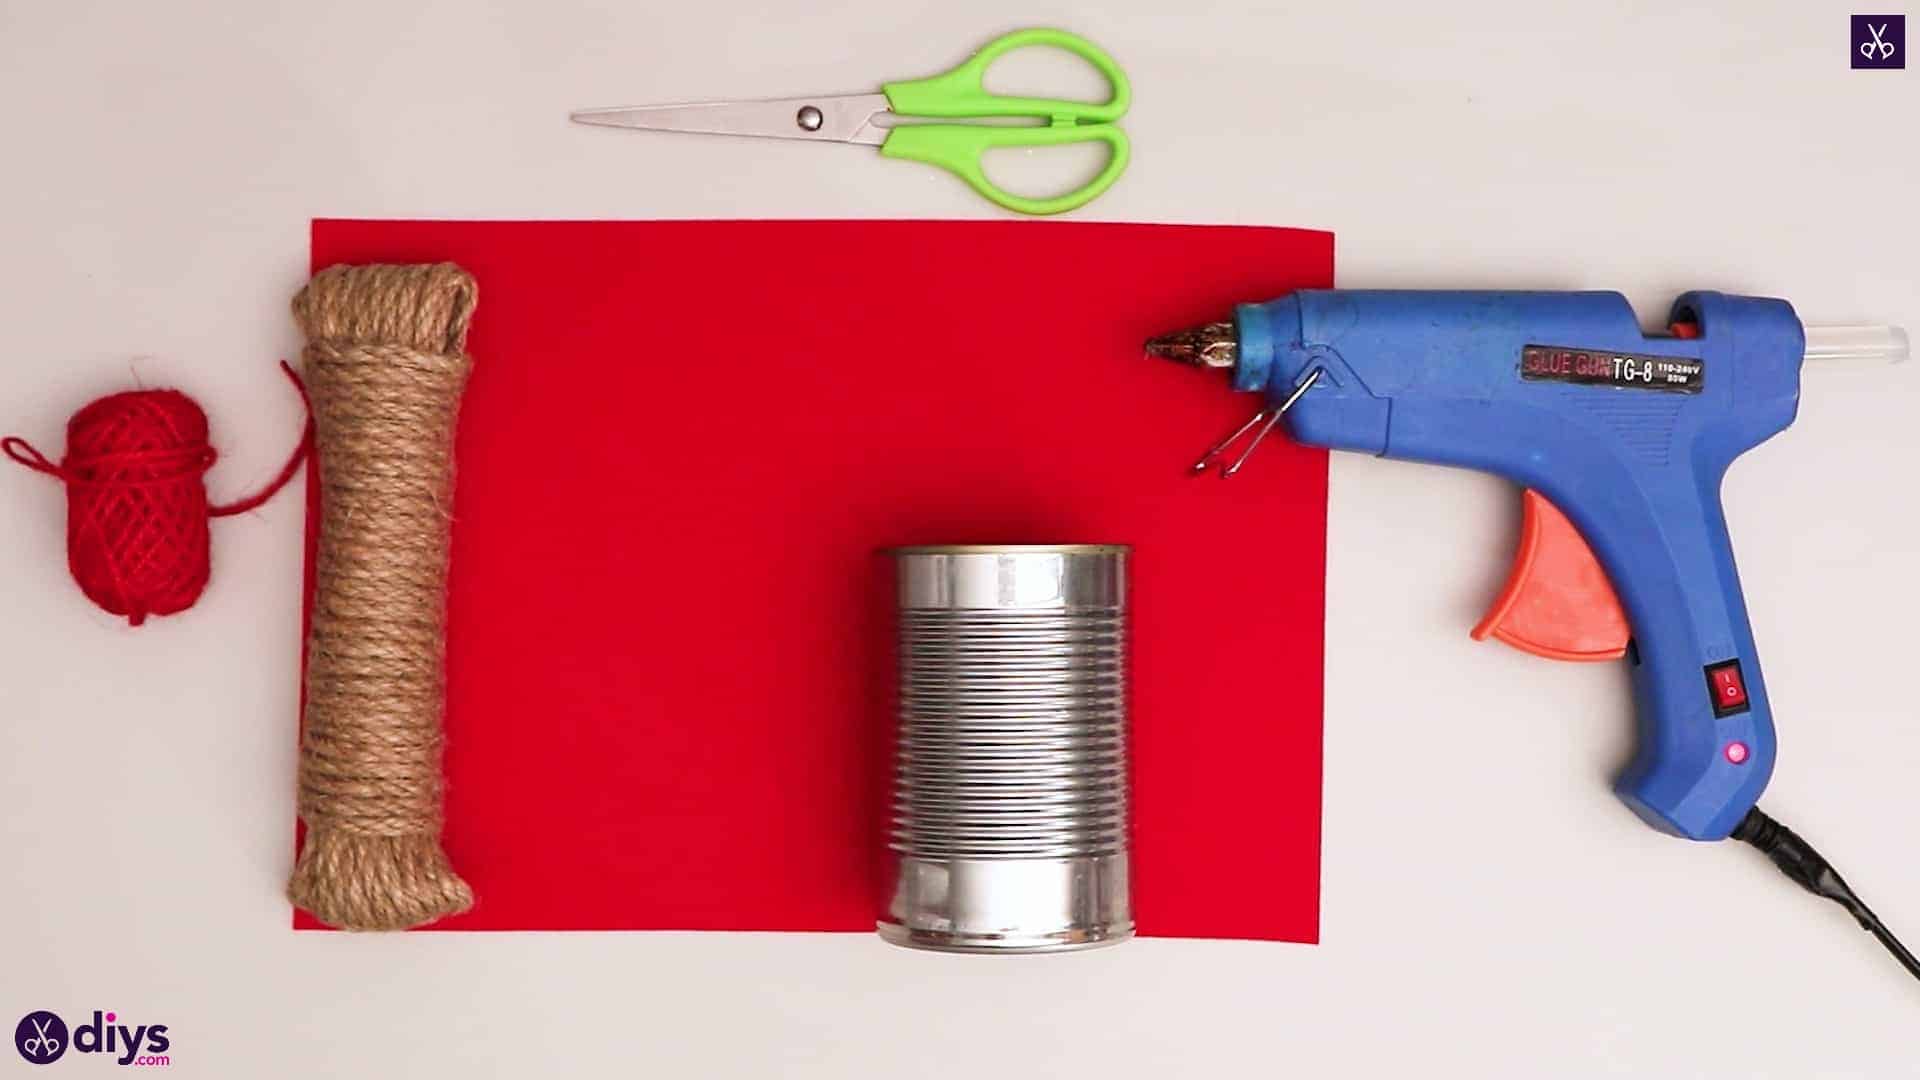
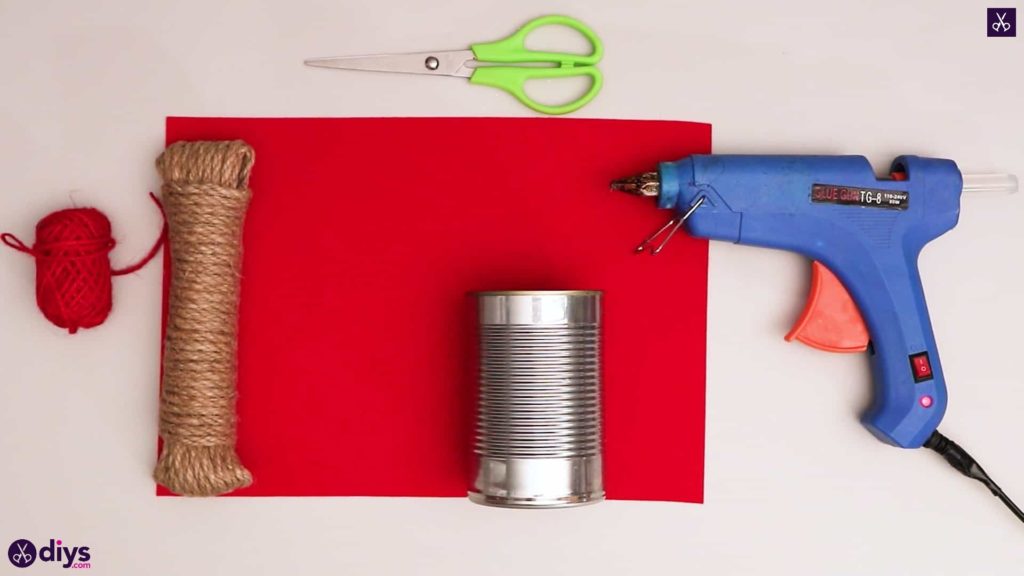
For this project, you’ll need:
- Red felt
- Red yarn
- Hot glue
- Scissors
- A tin can
- Thin rope twine
Step 1: get your items
Gather your materials and place them all within reach!
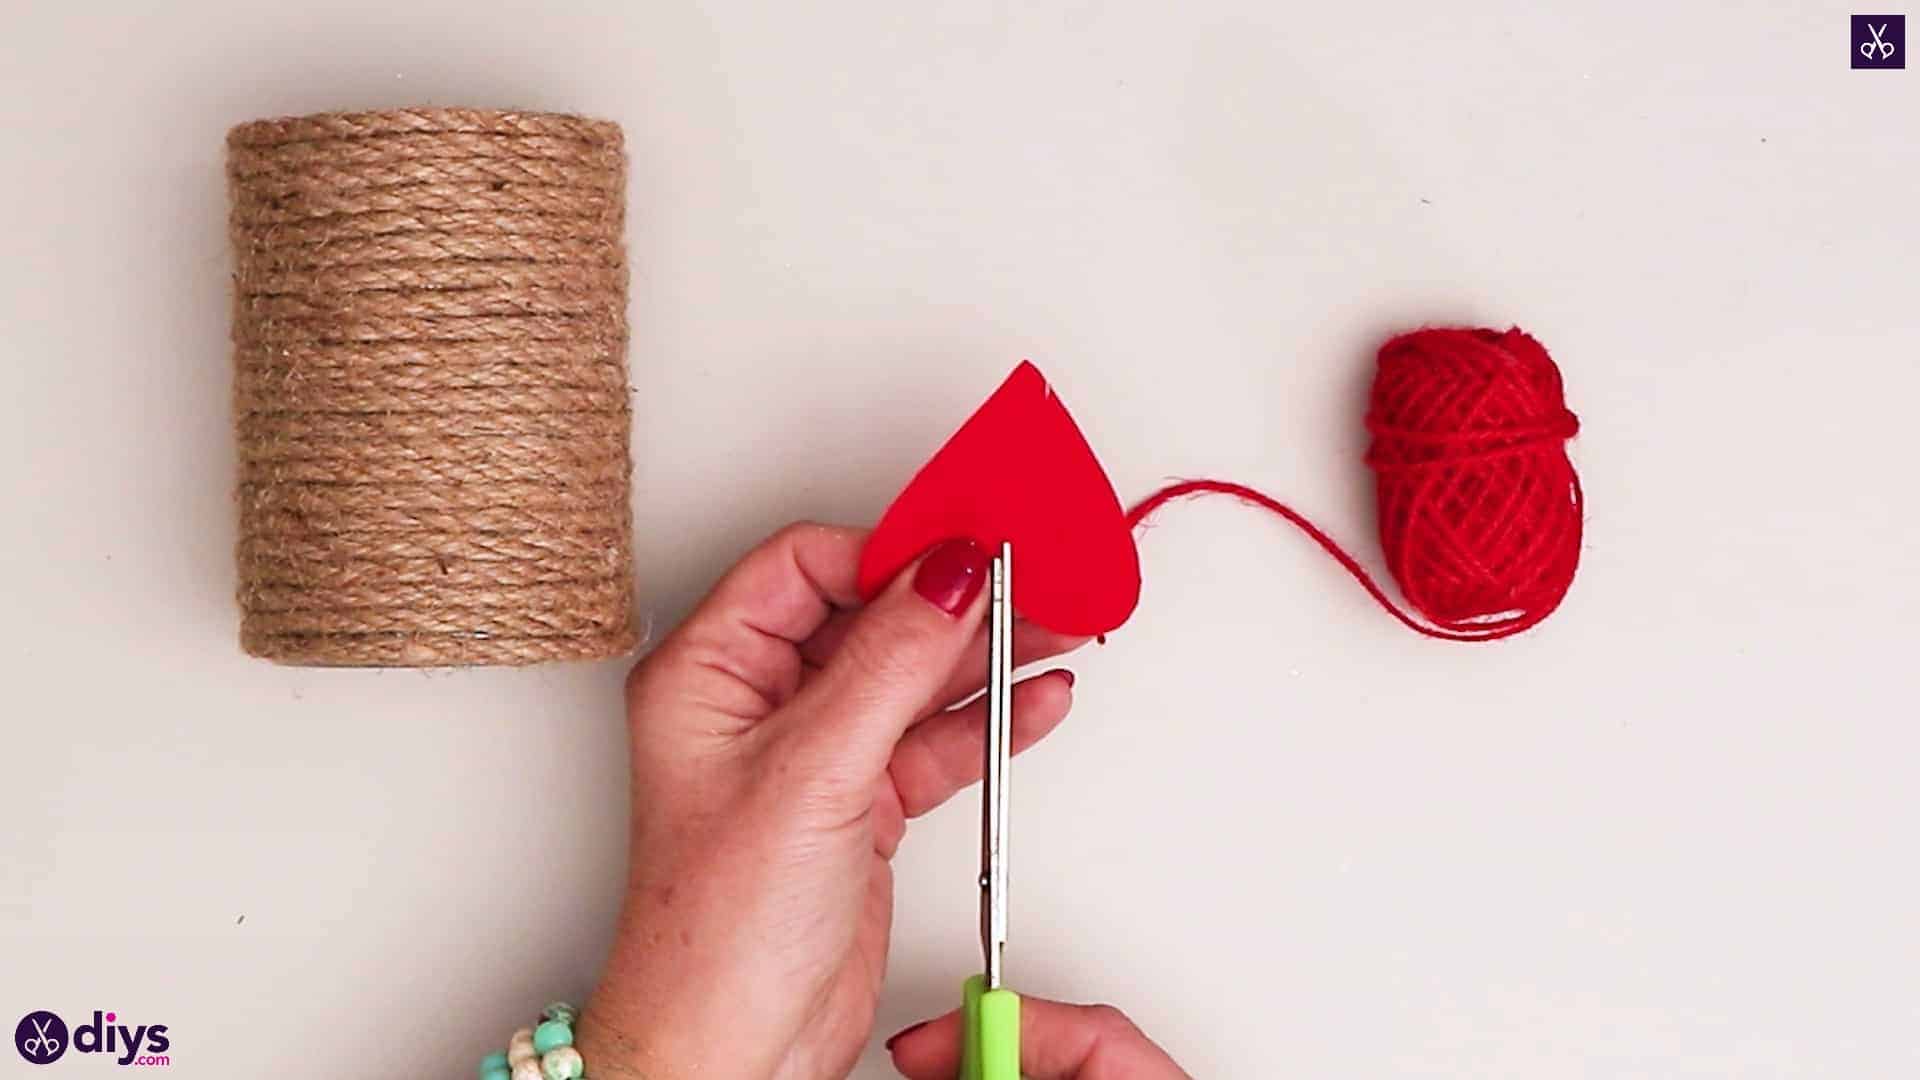
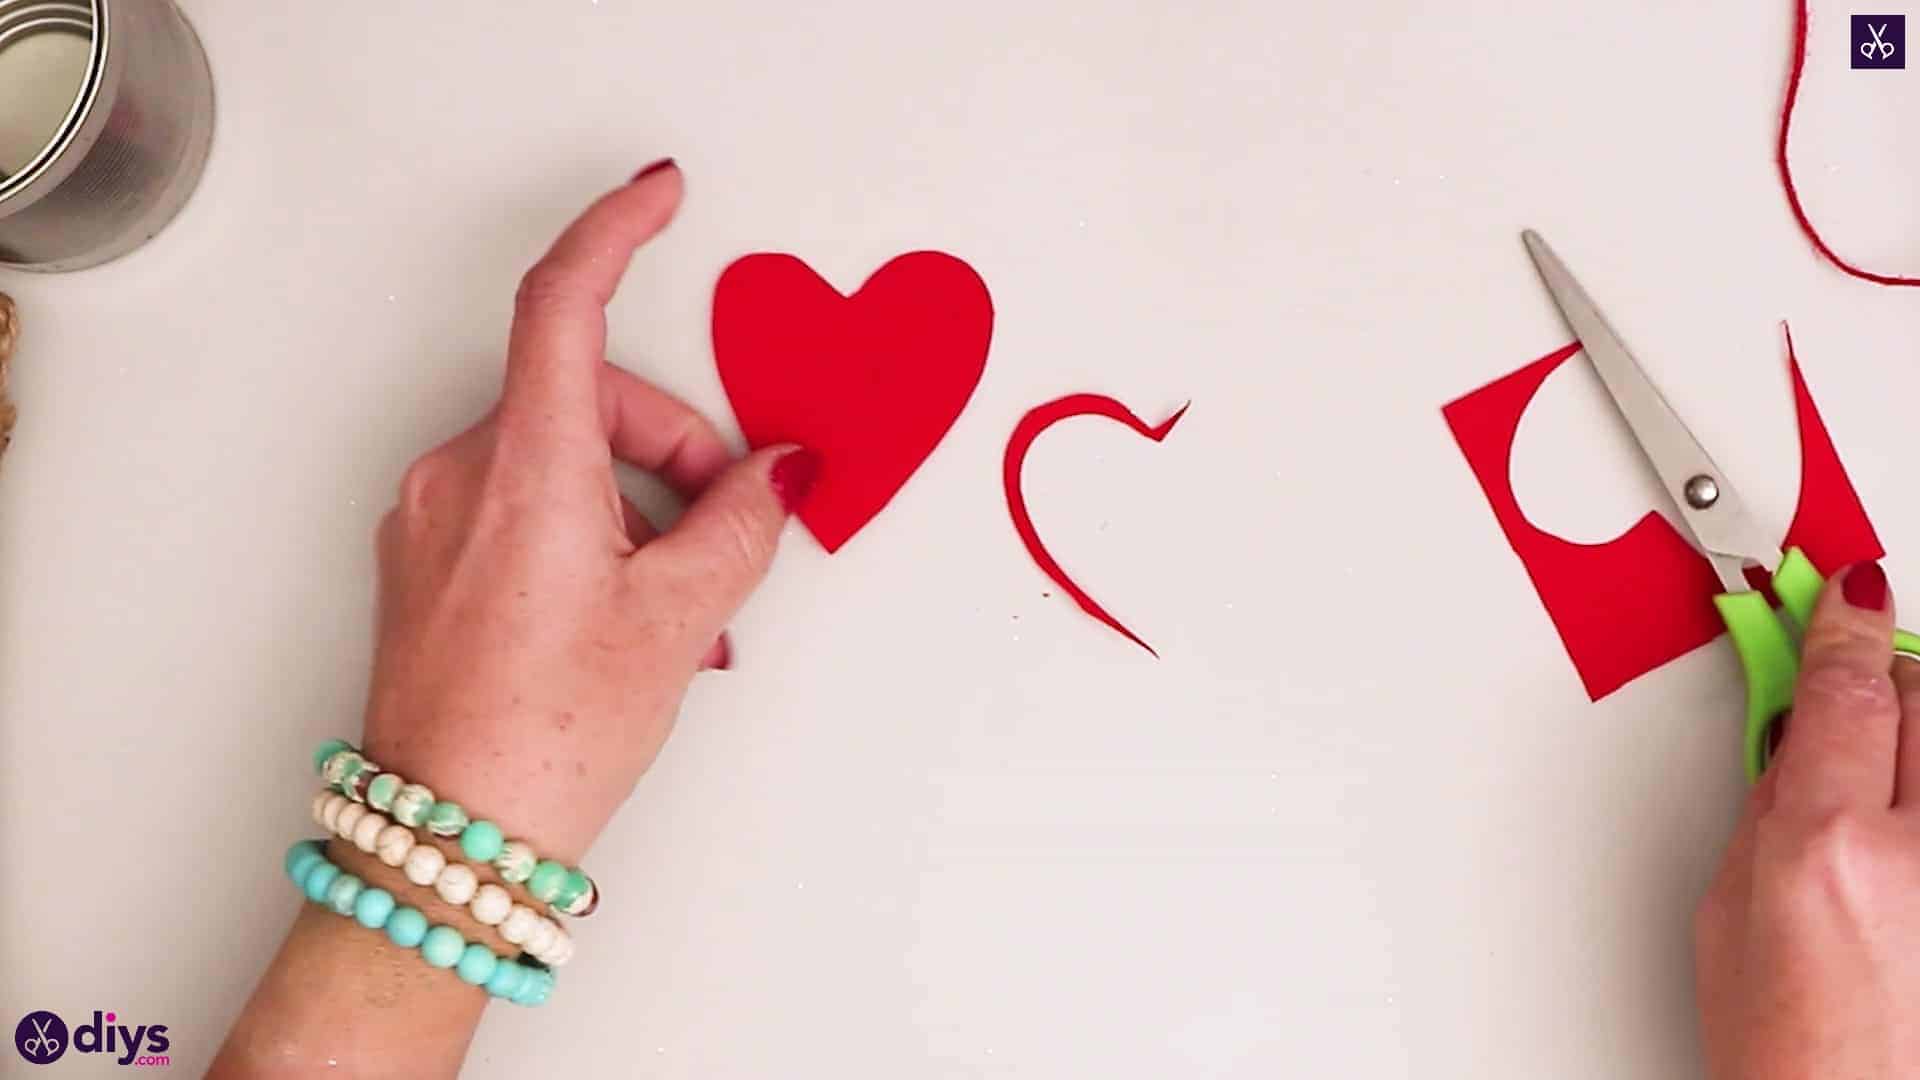
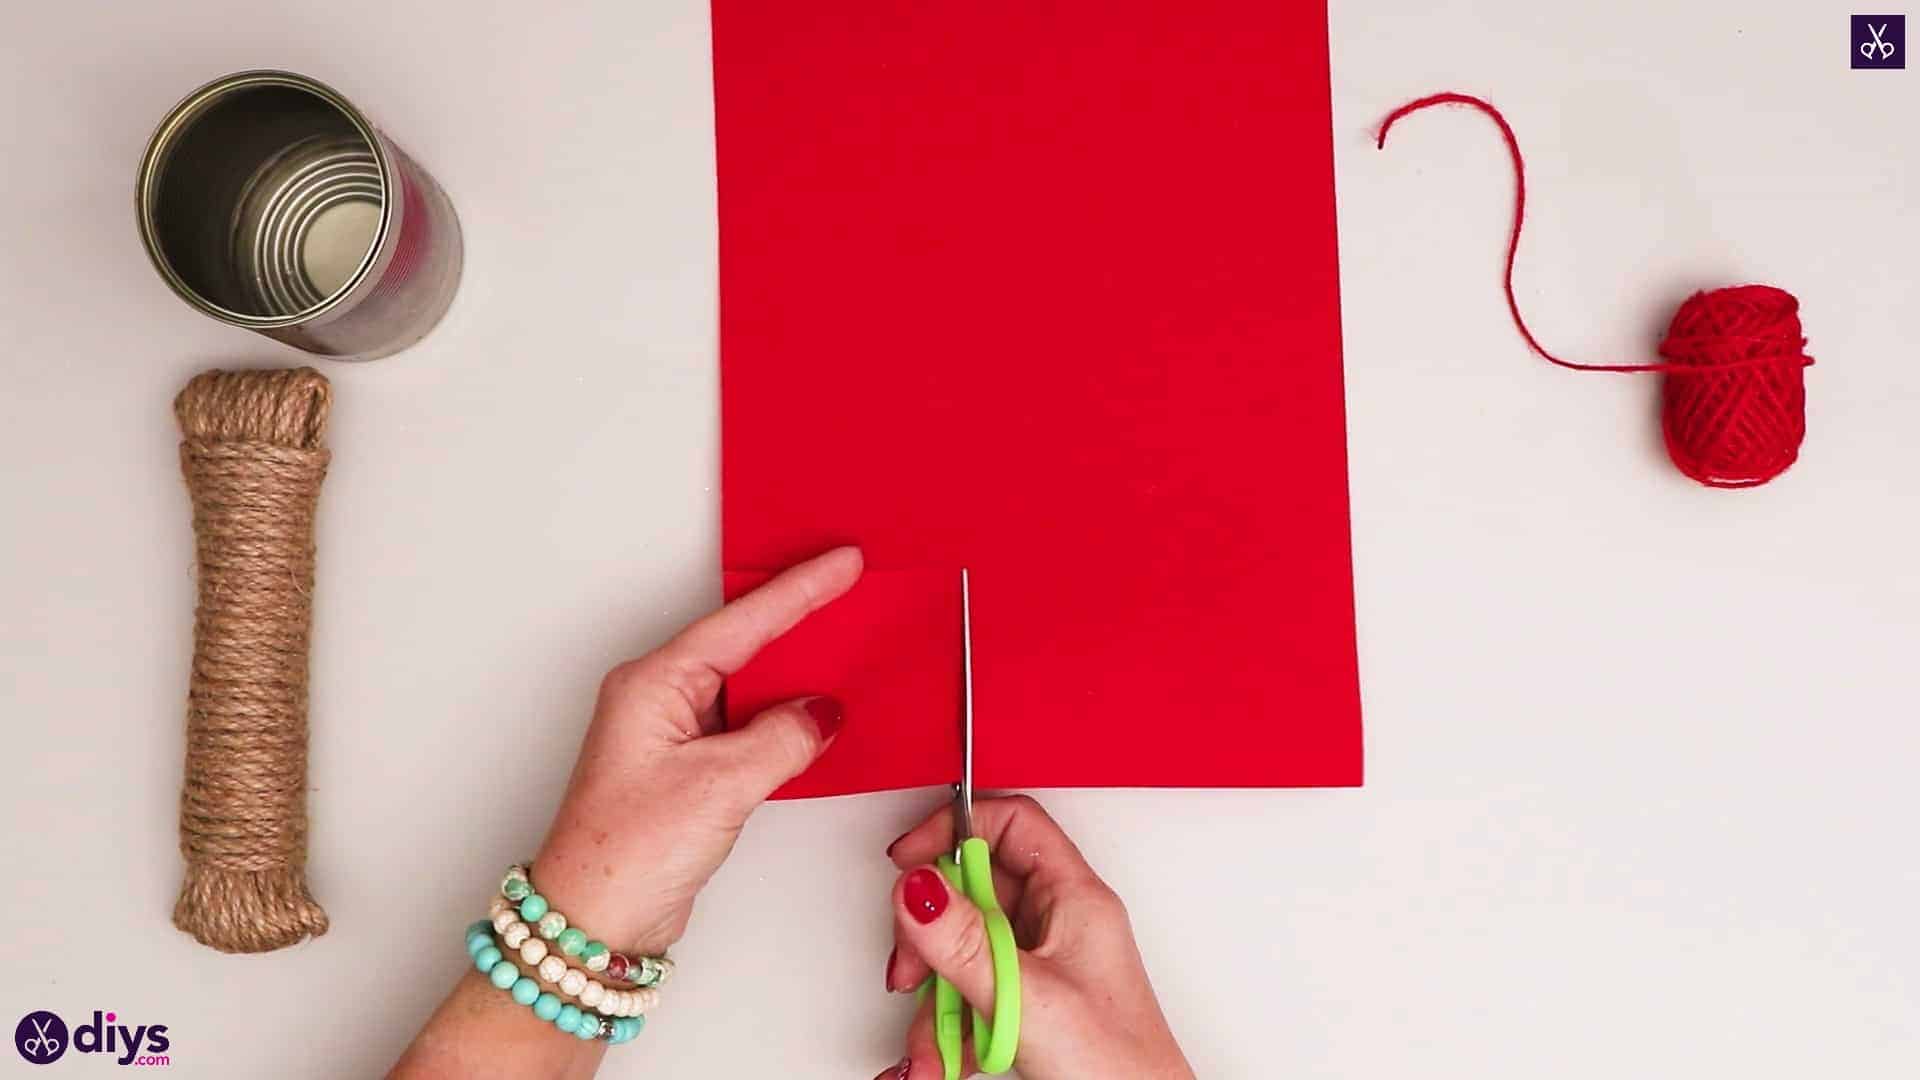
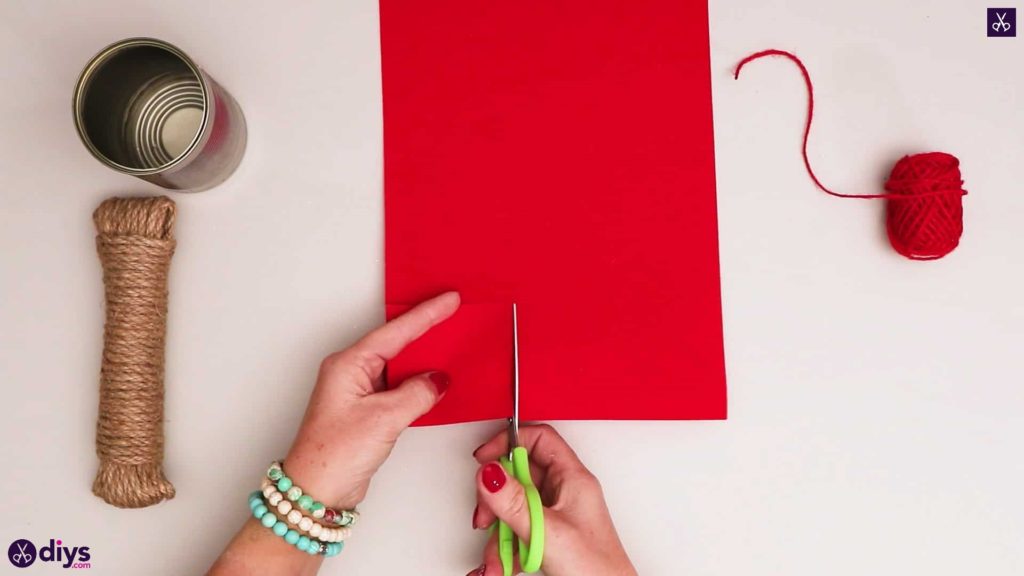
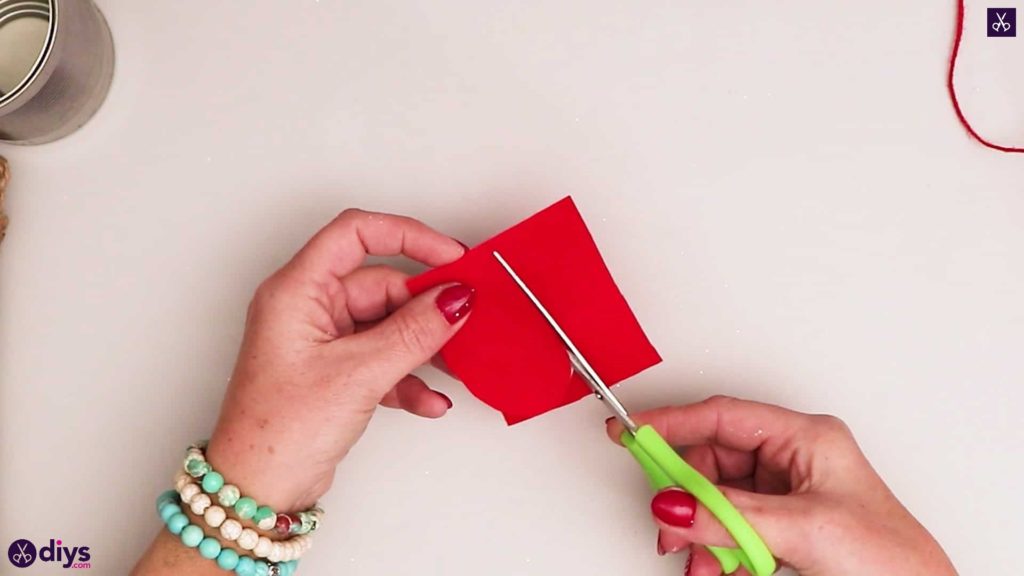
Step 2: cut the heart
Cut a one inch by one inch square from the corner of your red felt. Turn the square a quarter turn so it looks like a diamond; the corner that now faces downwards will by the bottom tip of your can’s heart embellishment. Round off the side and top corners with your scissors to make the two typical rounded shapes at the top of the heart. Set the heart aside for later.

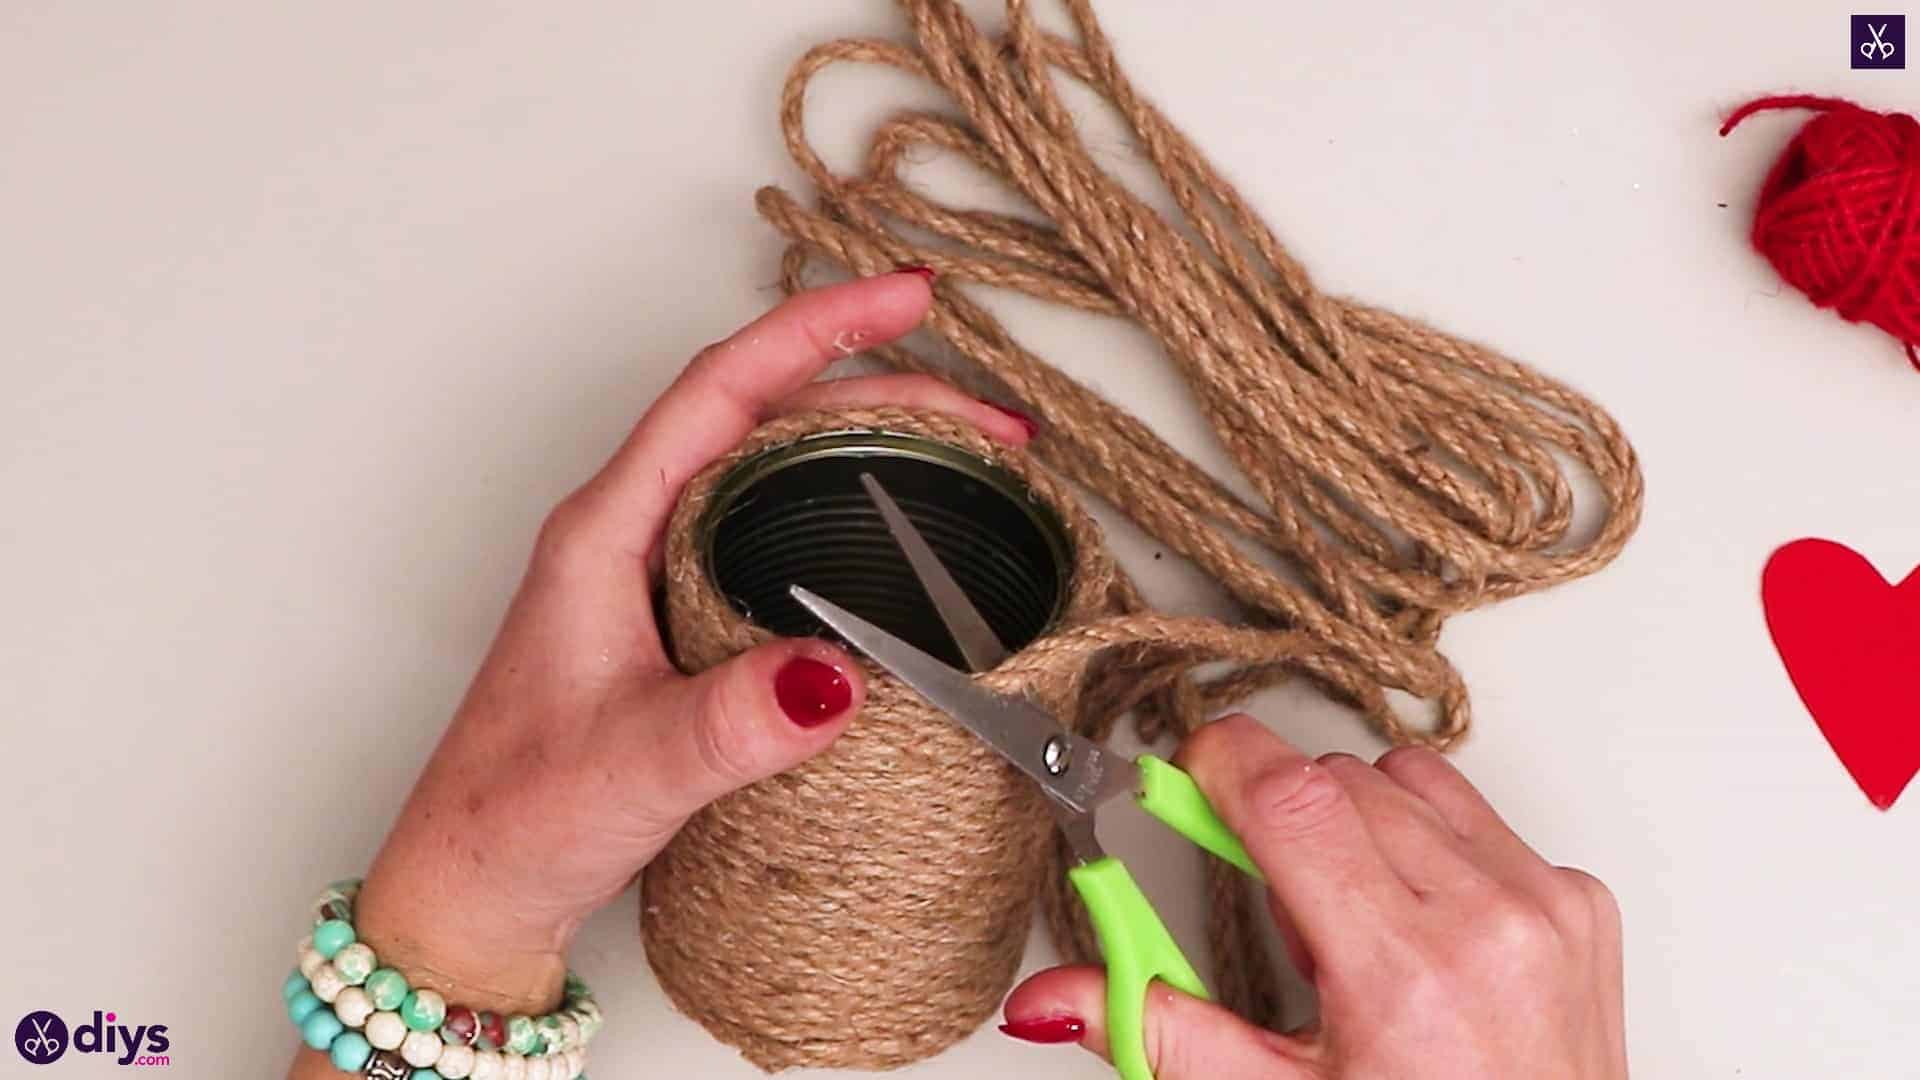
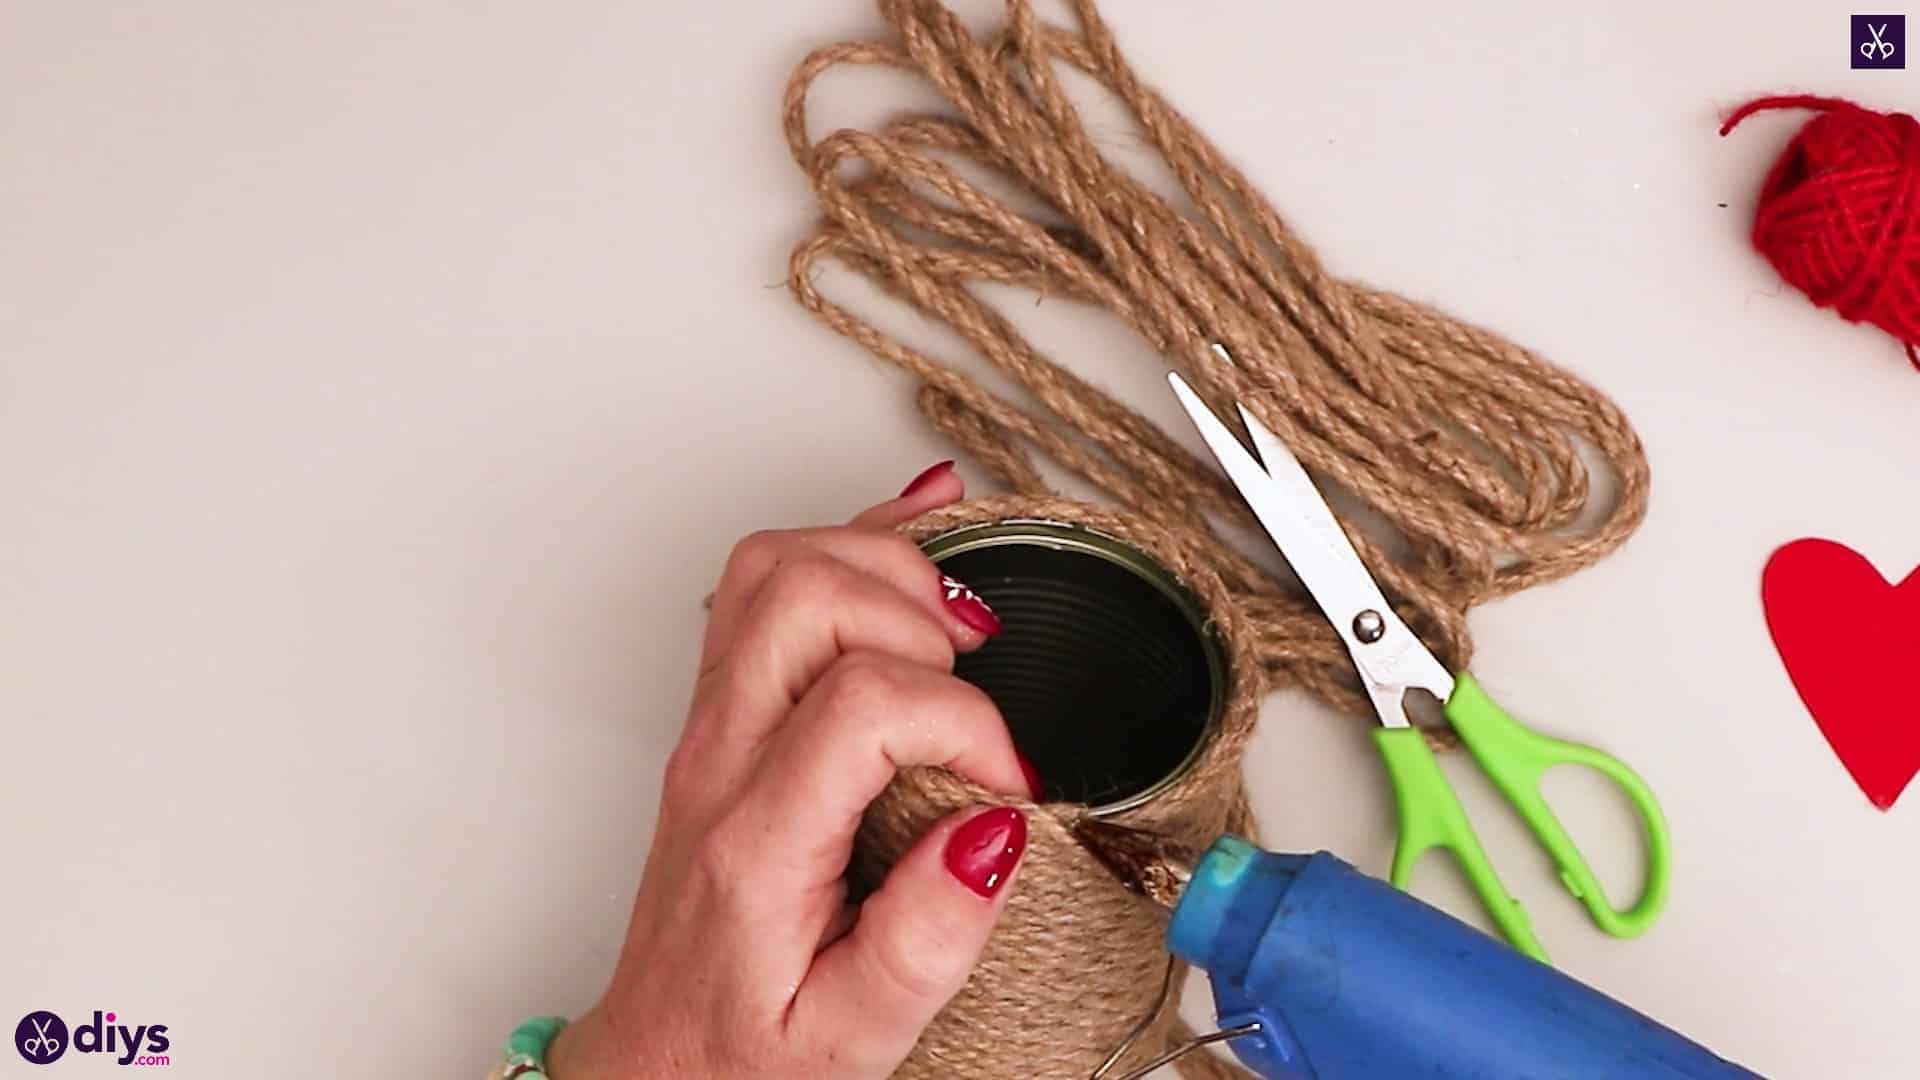
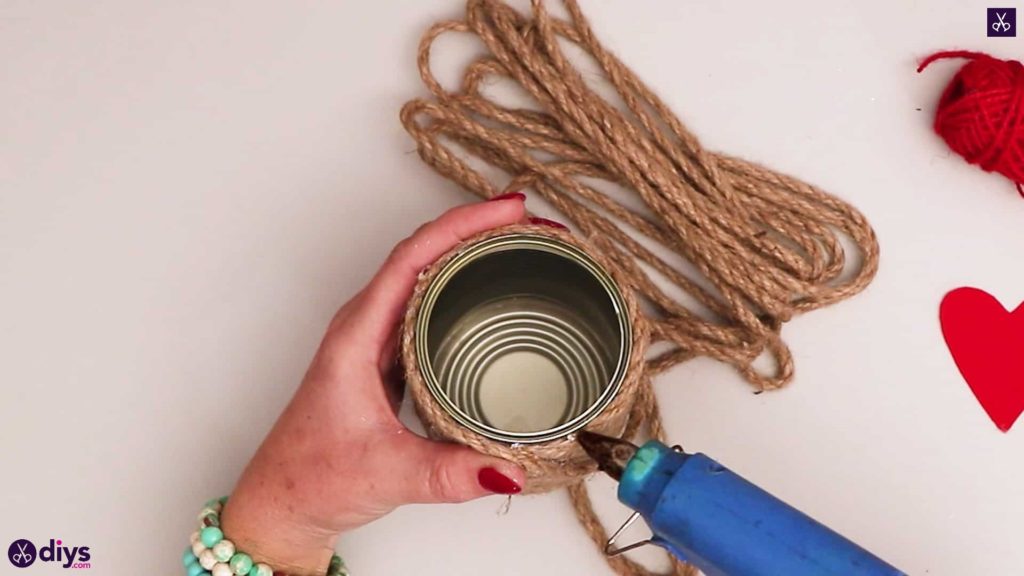
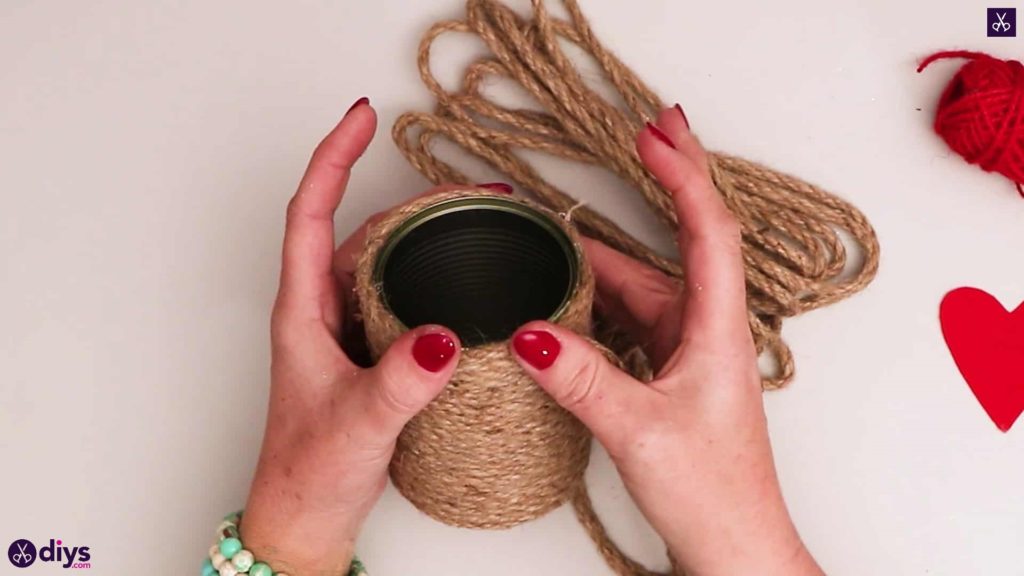
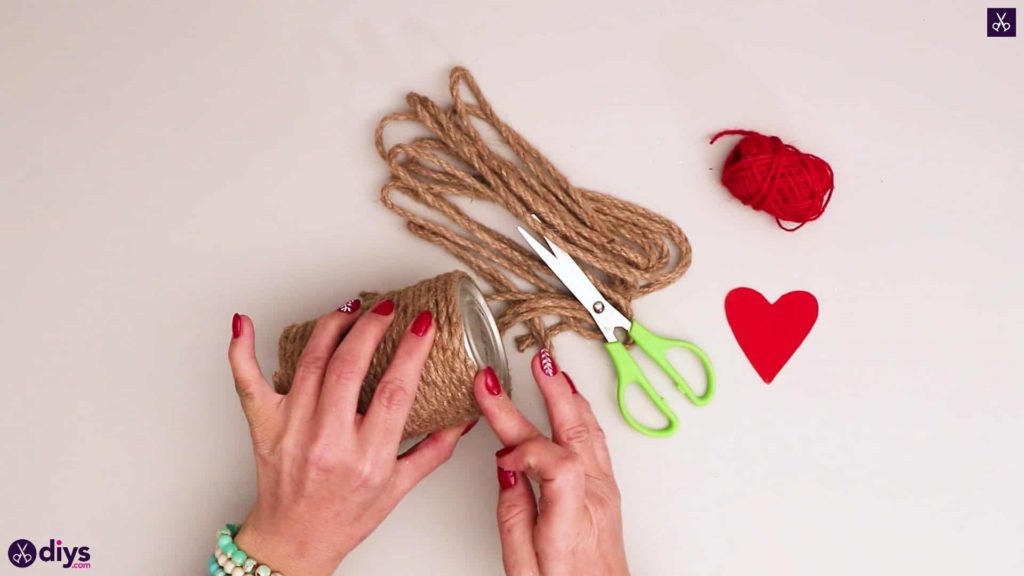
Step 3: start wrapping
Twine wrap your tin can! Start at the bottom of the can, applying a dot of glue somewhere right at the bottom edge to anchor your end into, and then applying more glue along the edge. Wrap the twine rope around the edge following the glue so it sticks. Then you meet back up with your end, apply glue hot glue along the rope you just laid and follow that with your continuing wrapping motions. Keep this process going so the twine rope spirals all the way up the can to the top edge. I glued twine as close to the opening as I could along the top edge until I ran out of can. Cut the excess rope, apply another dot of glue, and stick down that new end. Go back to the first end at the bottom and stick that down better too if it’s loose or hanging out very obviously.


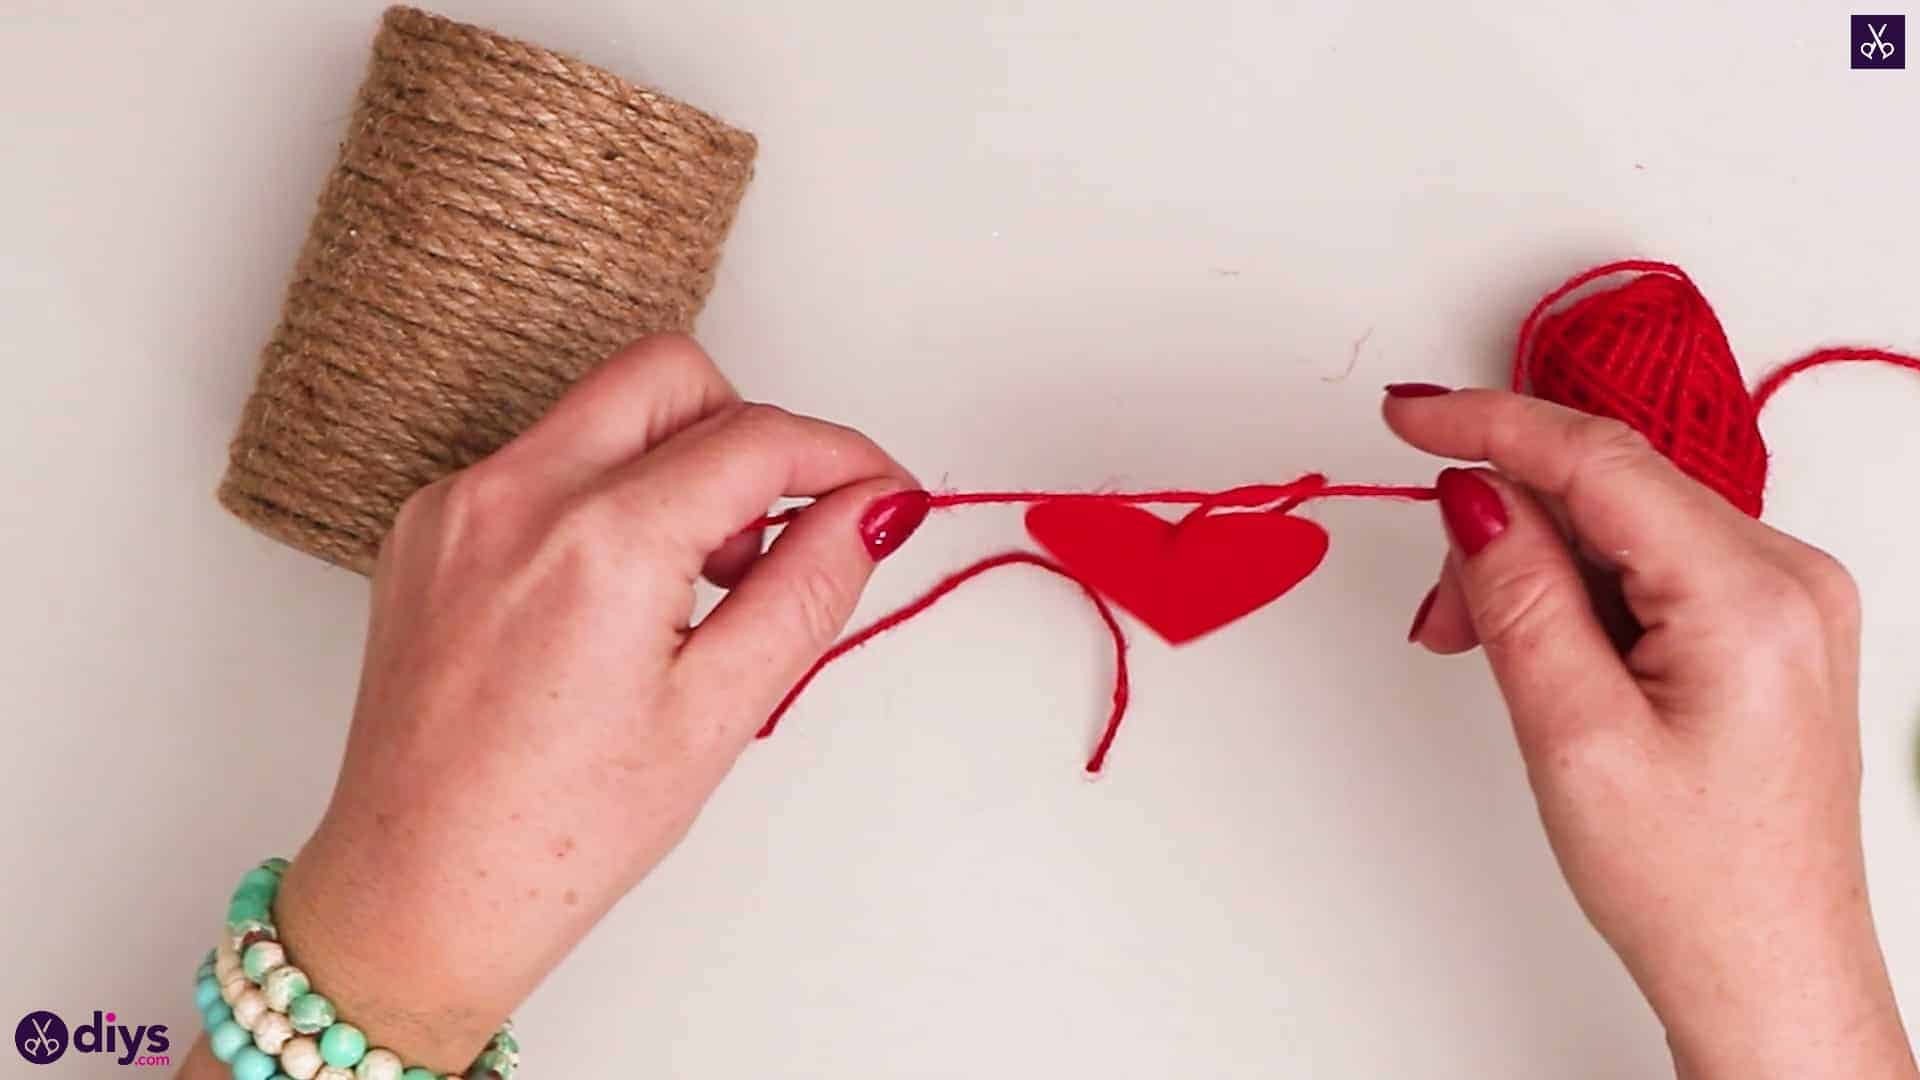
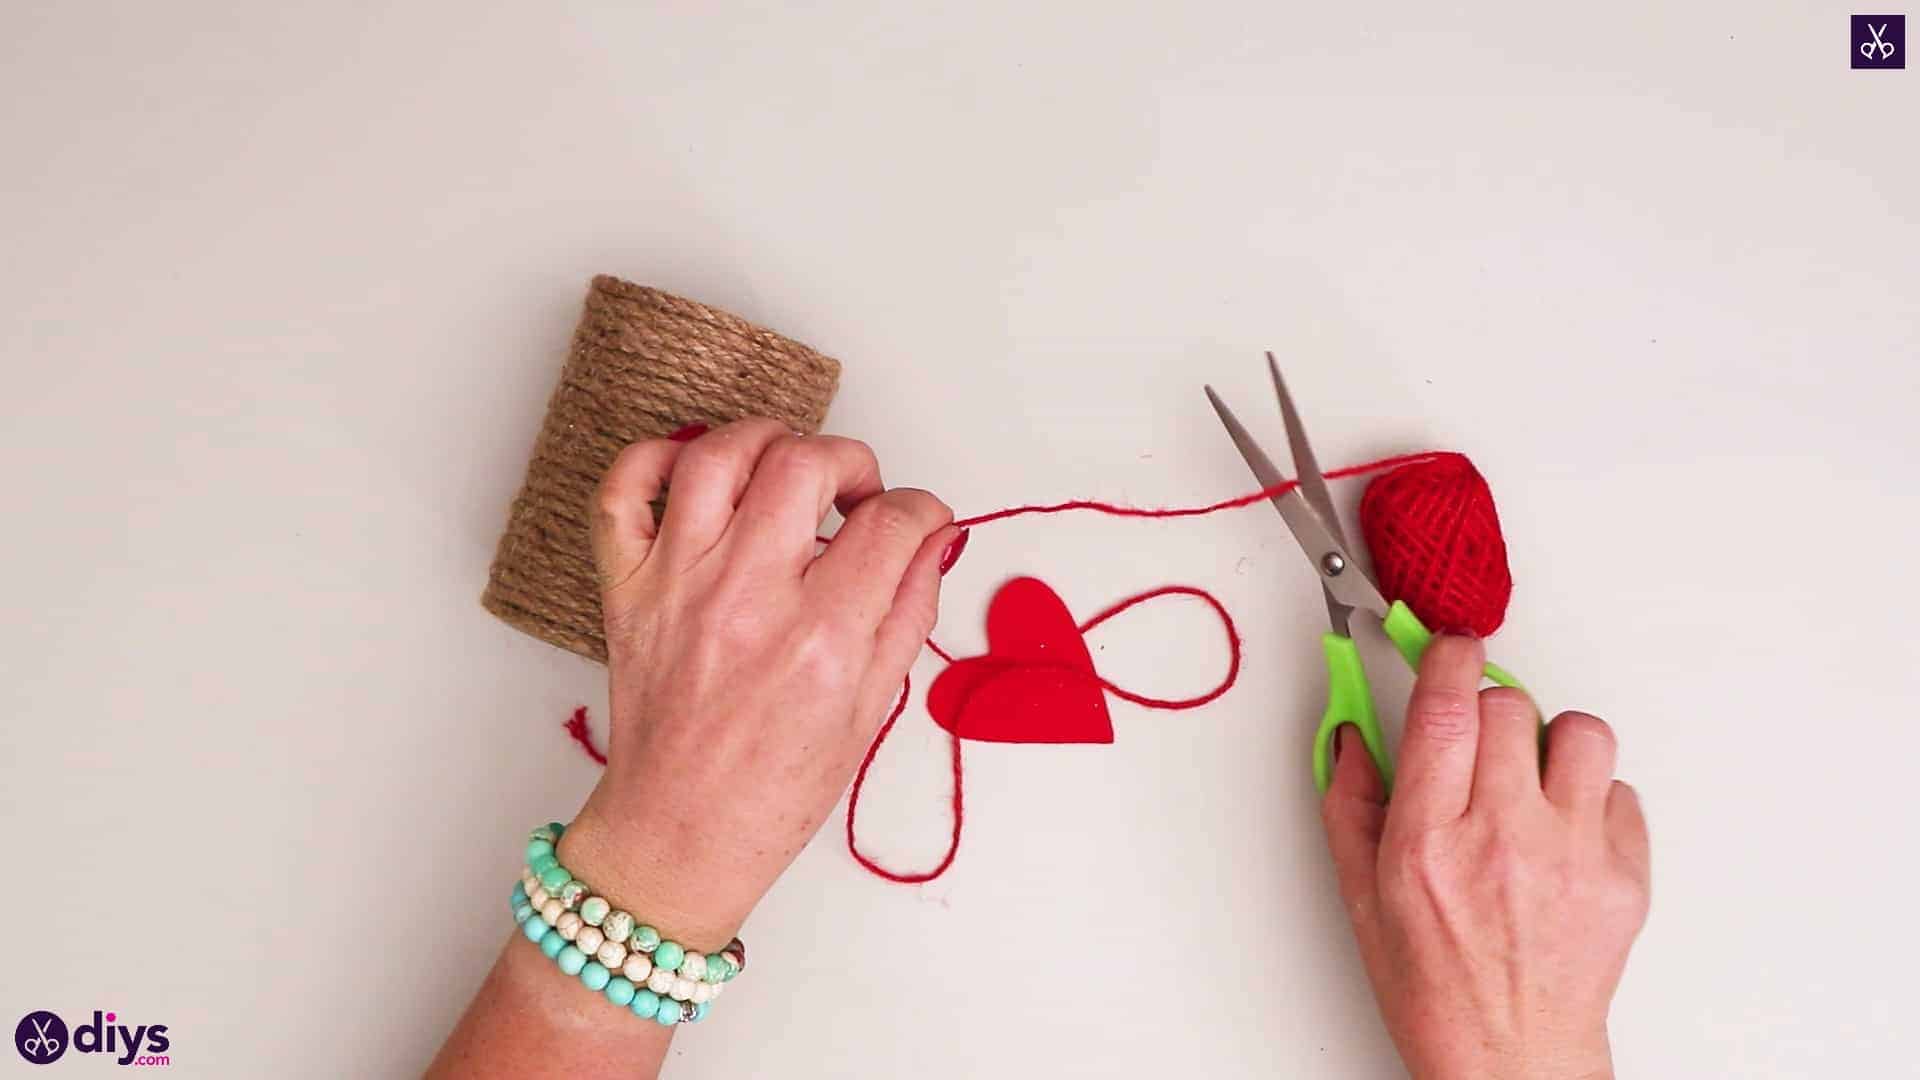
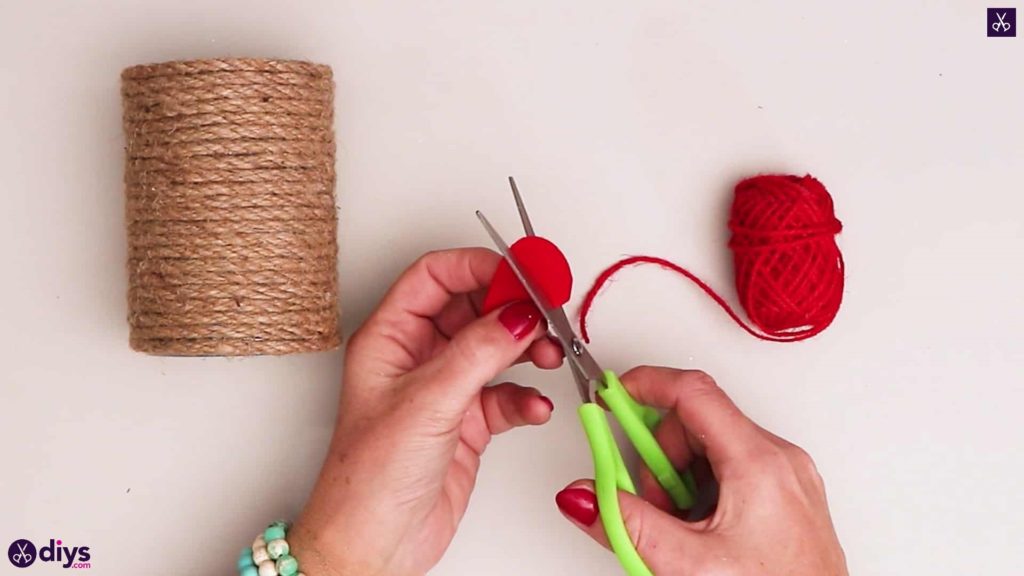
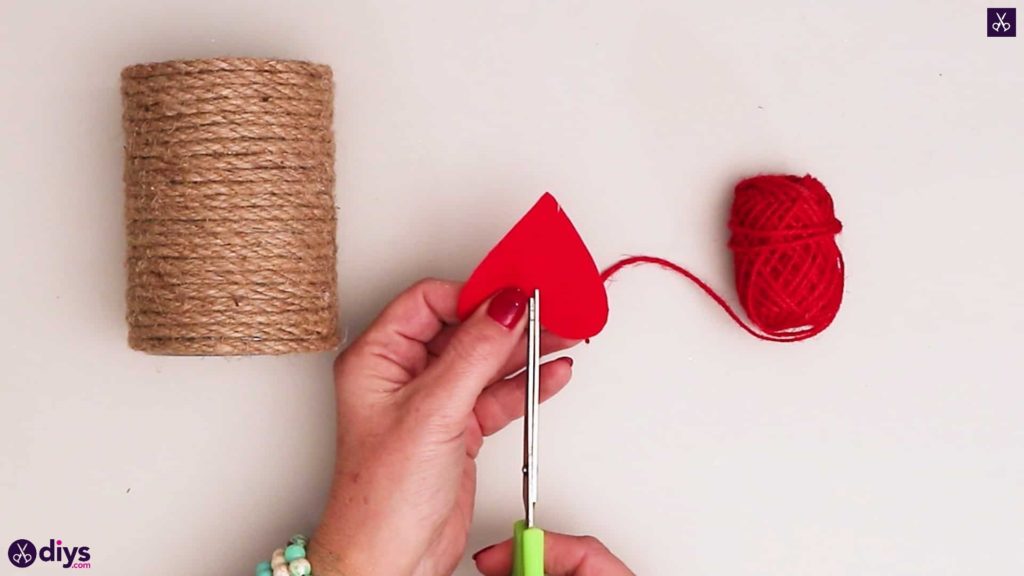
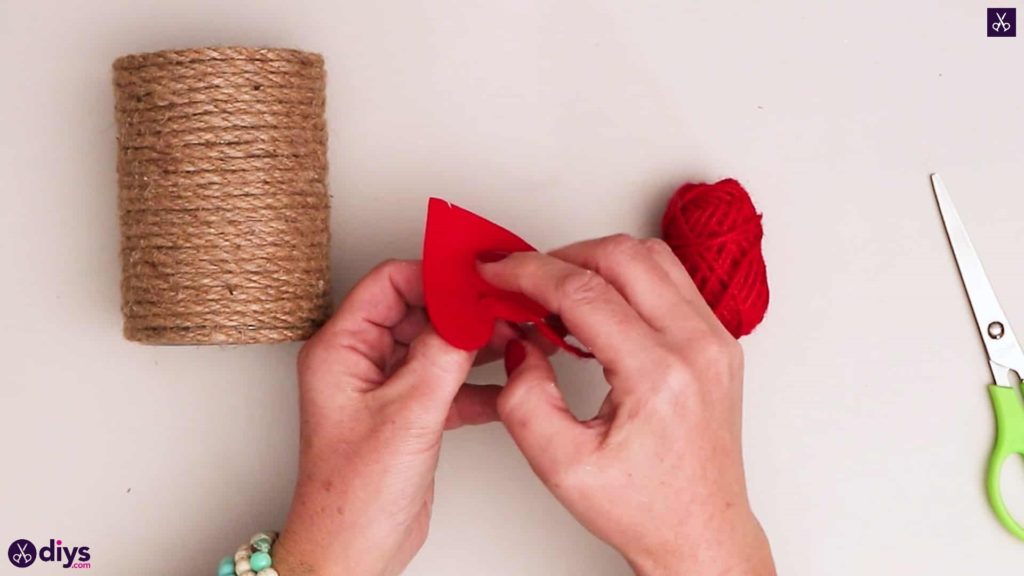
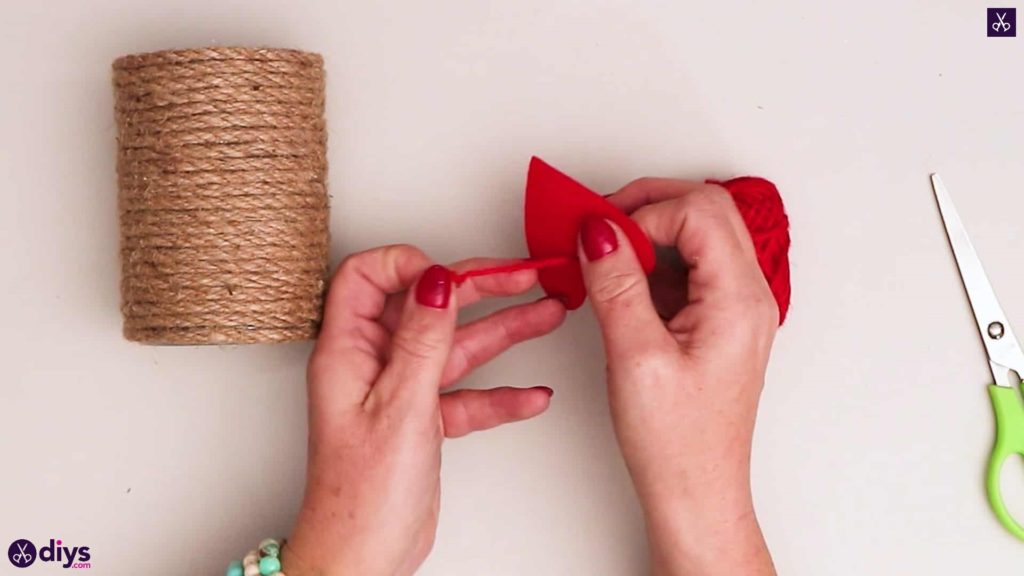
Step 4: thread the heart
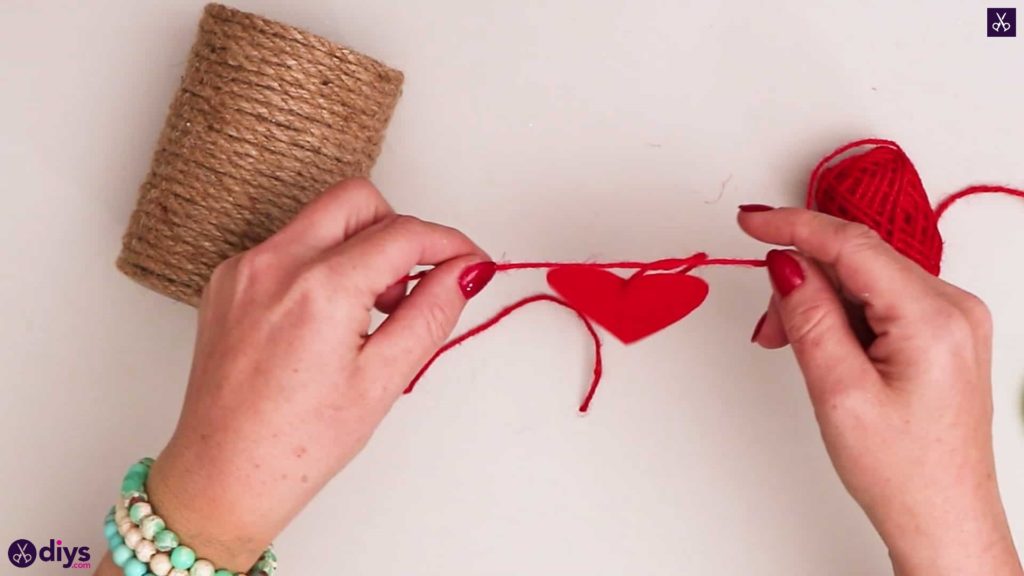
Cut a small hole near the dip in the top of your heart with your scissors. I did this by folding it in half vertically and making a small horizontal cut and then unfolding it, sliding my scissors into the hole pointing downwards towards the bottom point of the heart, and making a tiny vertical cut so that putting something through the opening wouldn’t make the felt crease. Next, cut a length of red yarn about five inches long and thread one end through the hole you just cut in your heart. Slide the heart down to the center of the yarn’s length and tie the yarn in a knot at the dip in the top of the heart so it stays in that place.

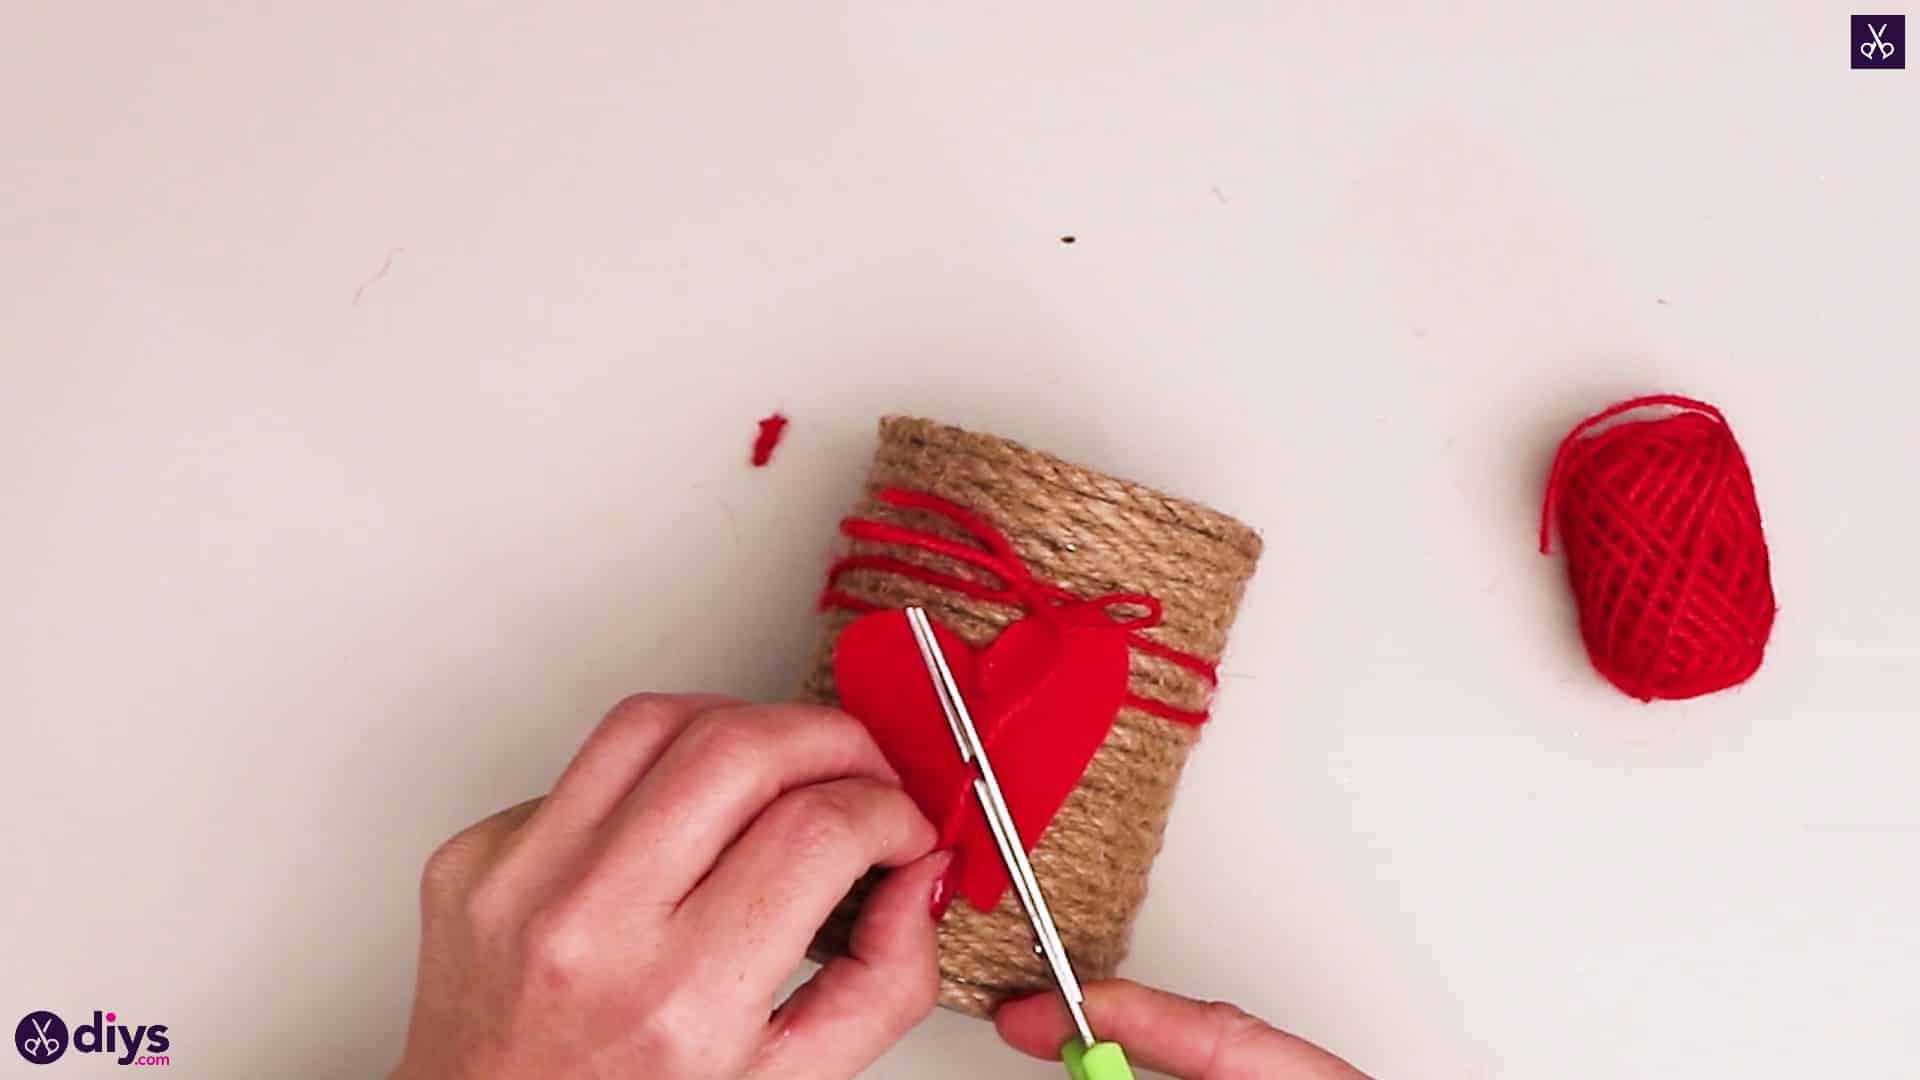
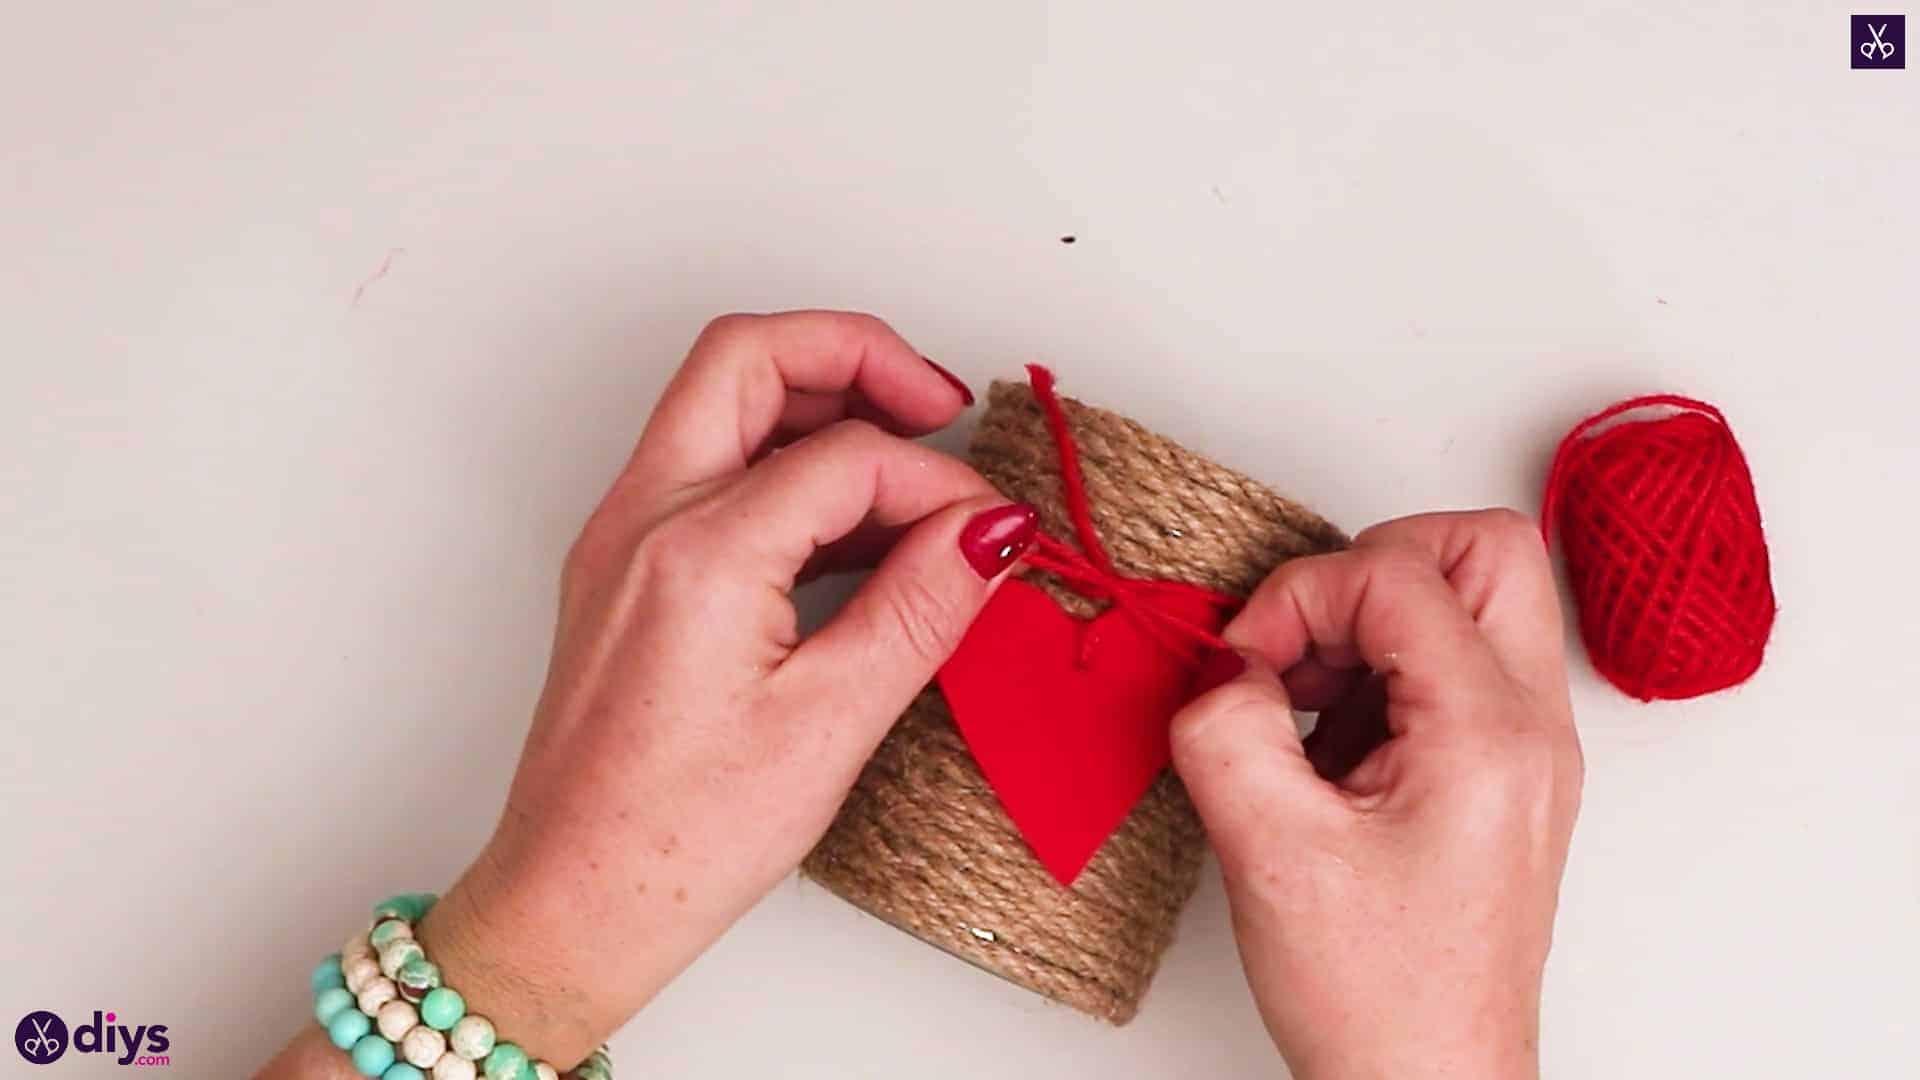
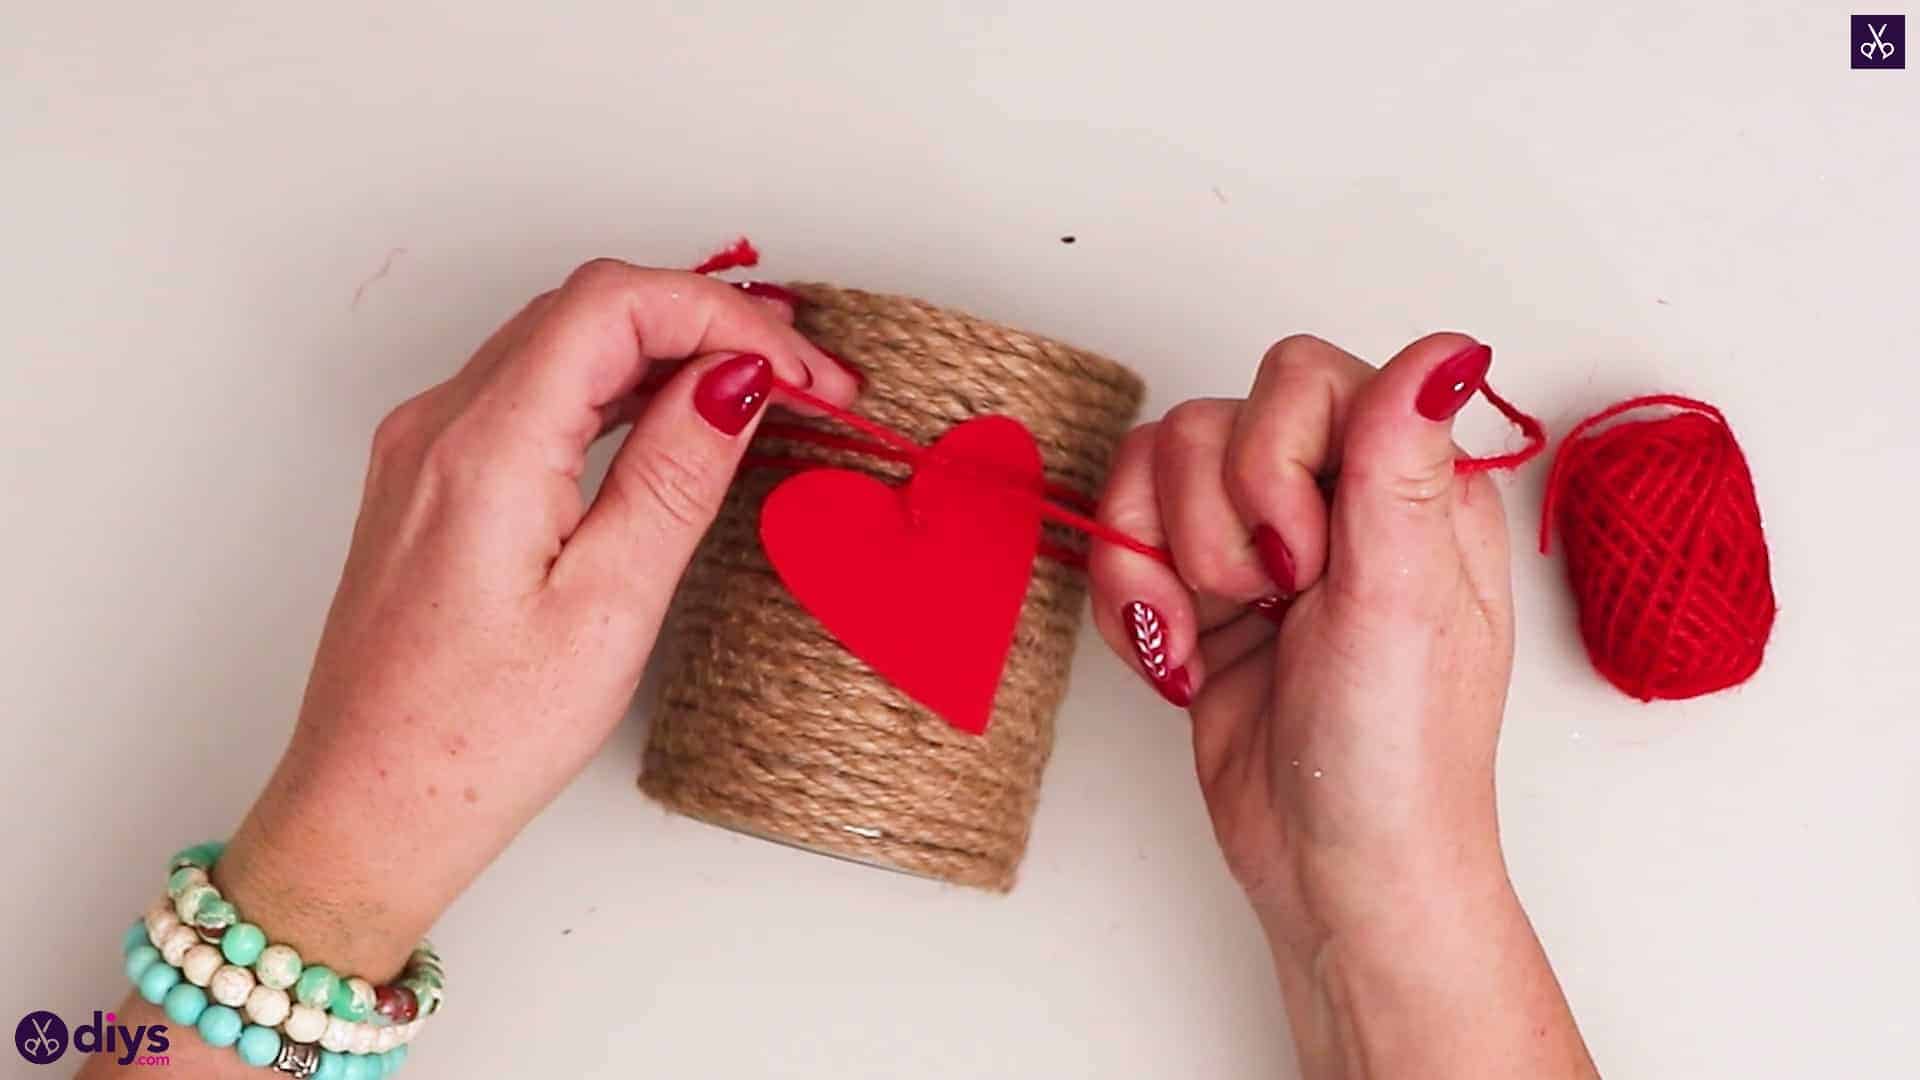
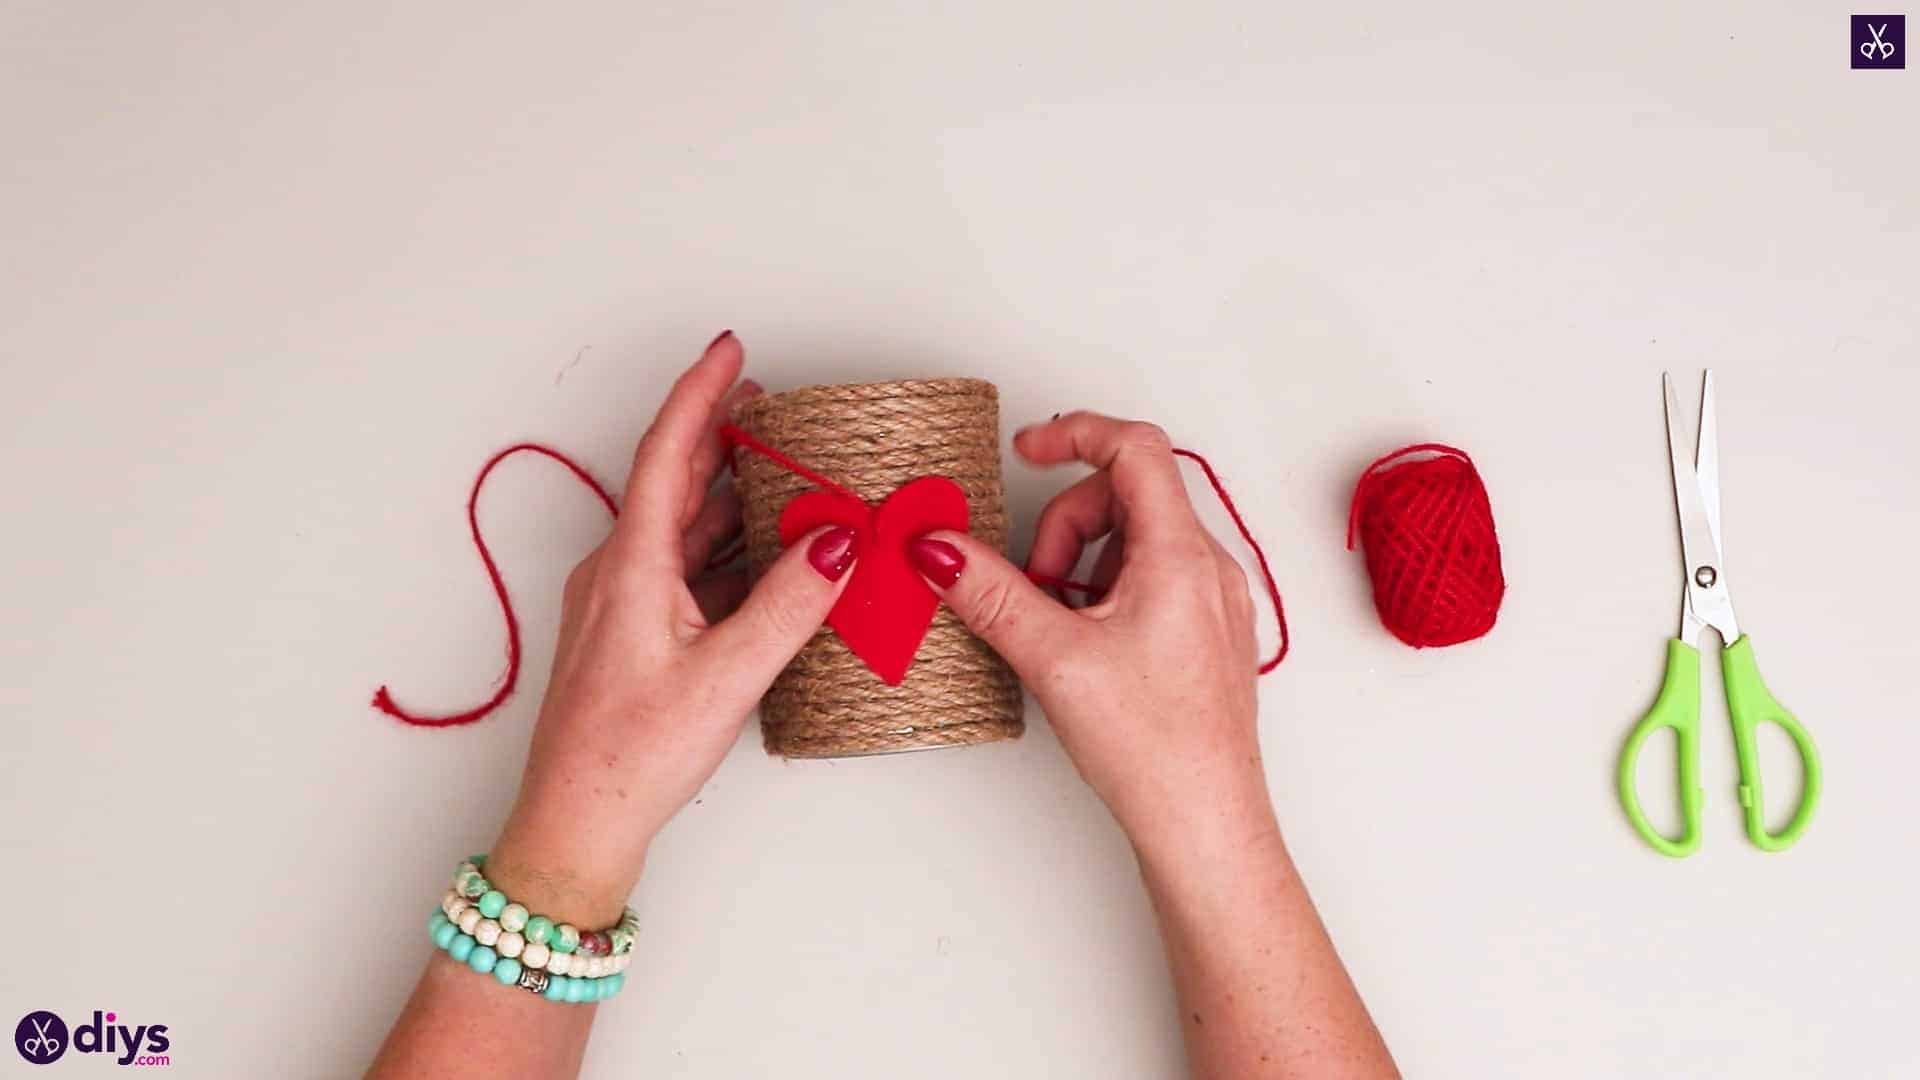
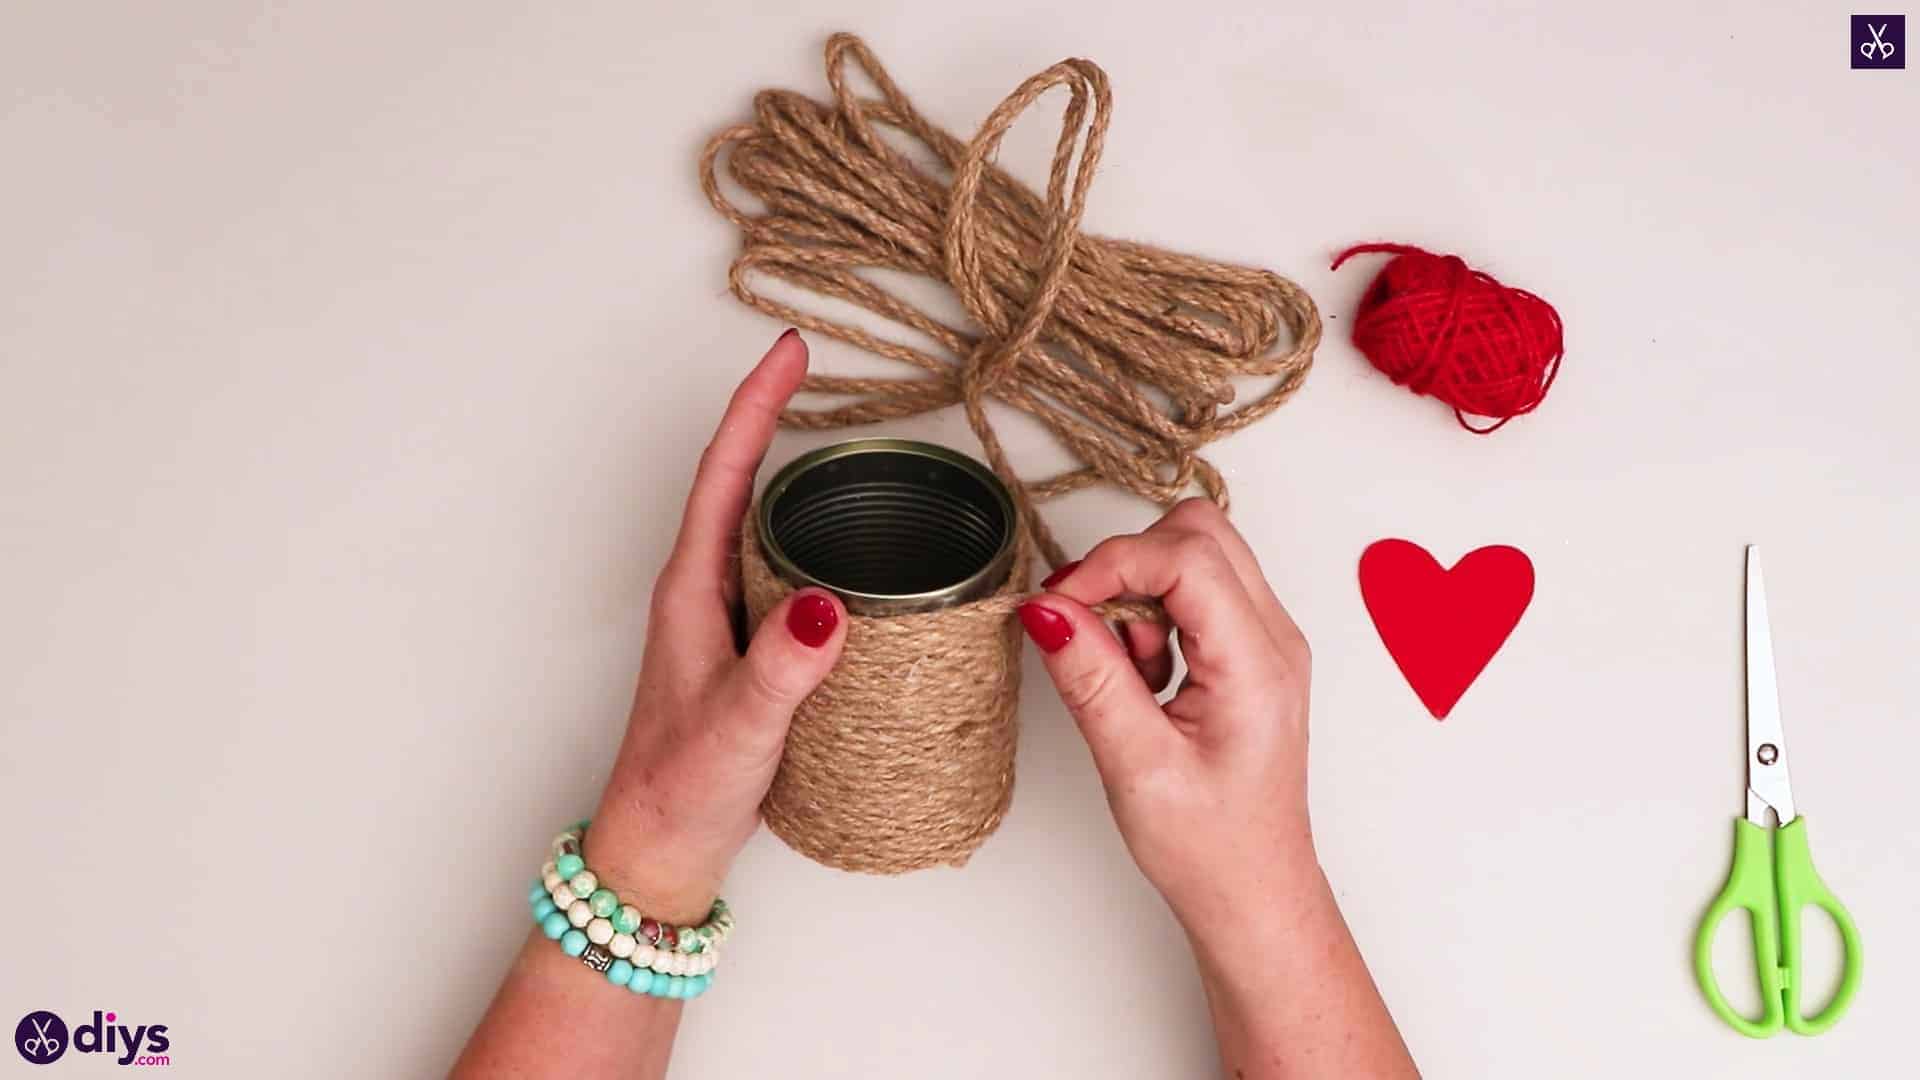
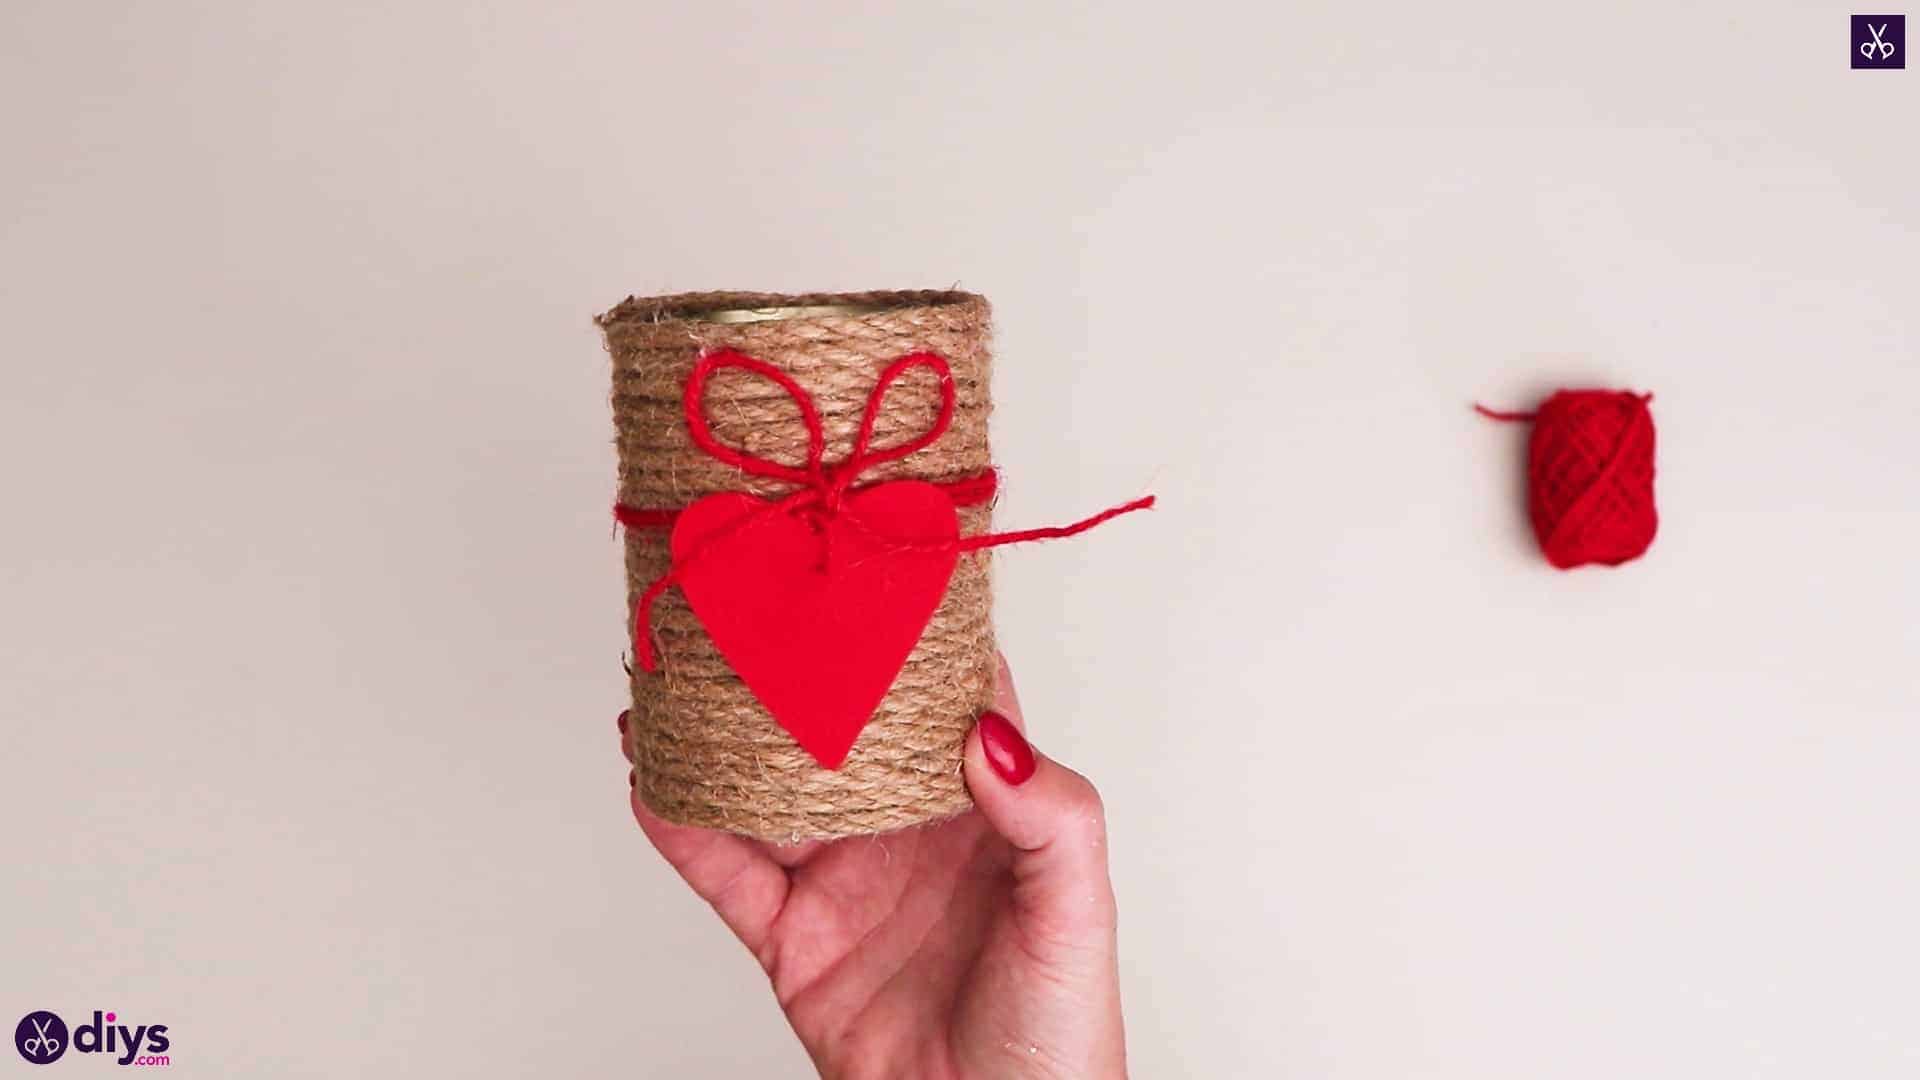
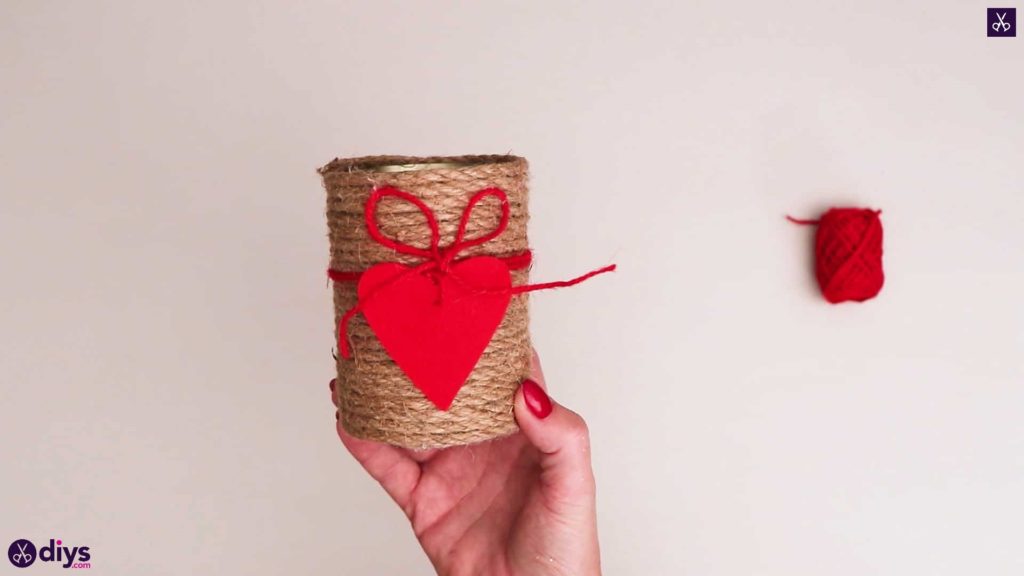
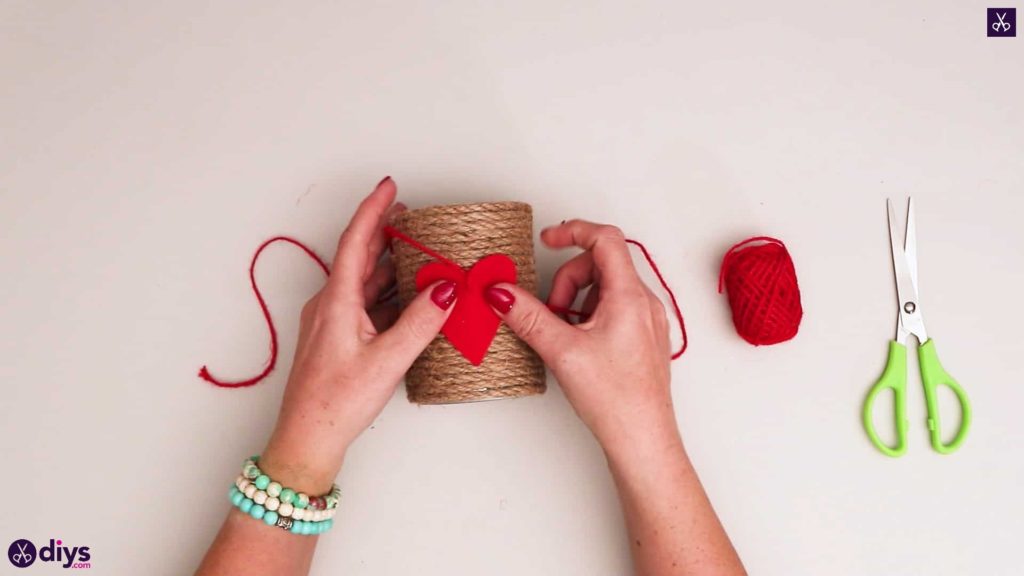
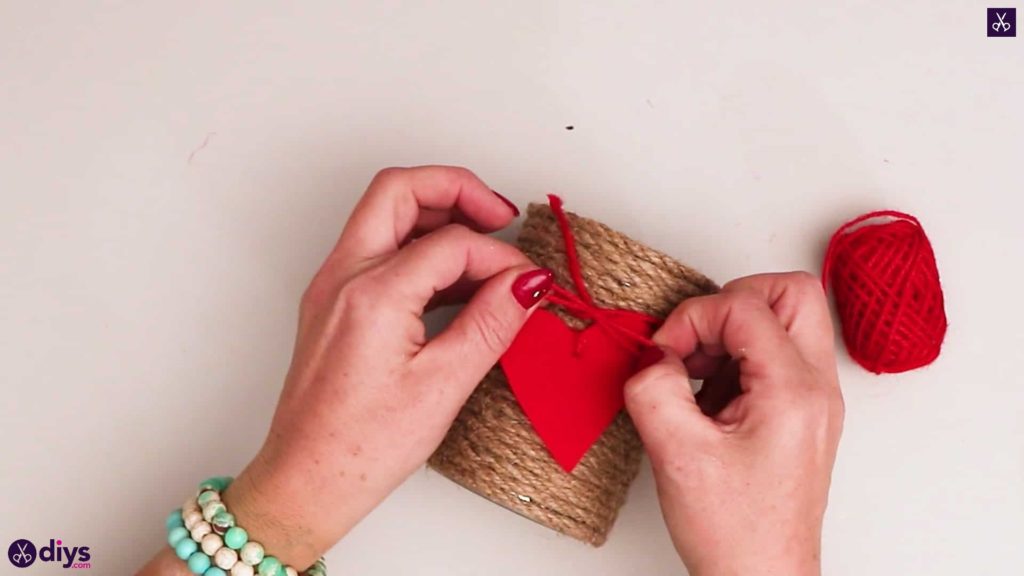
Step 5: attach the heart
Place the heart against whichever part of the tin can you’d like the front to be, about an inch down from the top opening, and wrap the two ends twice around the can from there so they meet back up in the front above the heart. Tie the ends in a double knotted bow and trim the excess if necessary.


Voila! You’re all finished your very reclaimed chic can decor and ready to pick what you want to put in it. It would even look cute with some small flowers blooming out the top! Just in case you’d like to try this project out for yourself, here’s a fantastic tutorial video to help you!