DIY Triangle Dreamcatcher
Updated on November 19, 2025


Whether you’re spiritual, superstitious, or just crafty, a dreamcatcher is a great addition to any bedroom. They are particularly helpful in children’s bedrooms, especially if your child is scared of the dark or has frequent nightmares. Having a dreamcatcher to reassure the child that bad dreams aren’t going to stick around can improve their sleep habits and make everyone healthier. Plus, they are a gorgeous addition to any room. Most dreamcatchers are round, but you can make your own personalized dreamcatcher with a unique triangular design, adding a unique element to your space. You’ll only need a few materials to get started!
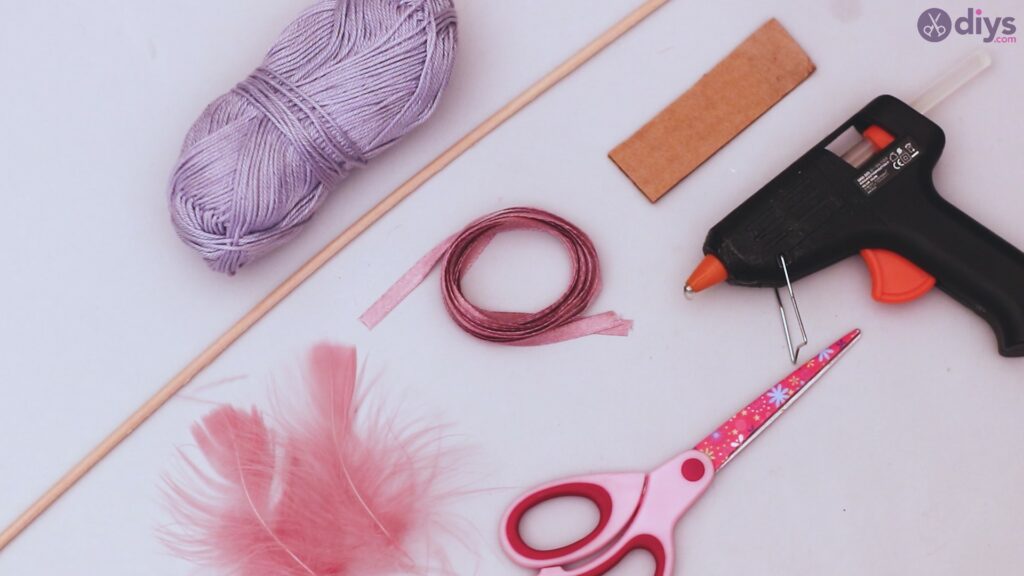
Materials to craft a Dreamcatcher
- Wooden stick
- light purple yarn (or your color of choice)
- glue gun
- silk ribbon
- scissors
- cardboard
- artificial bird feather
Step by step instructions to start the project:
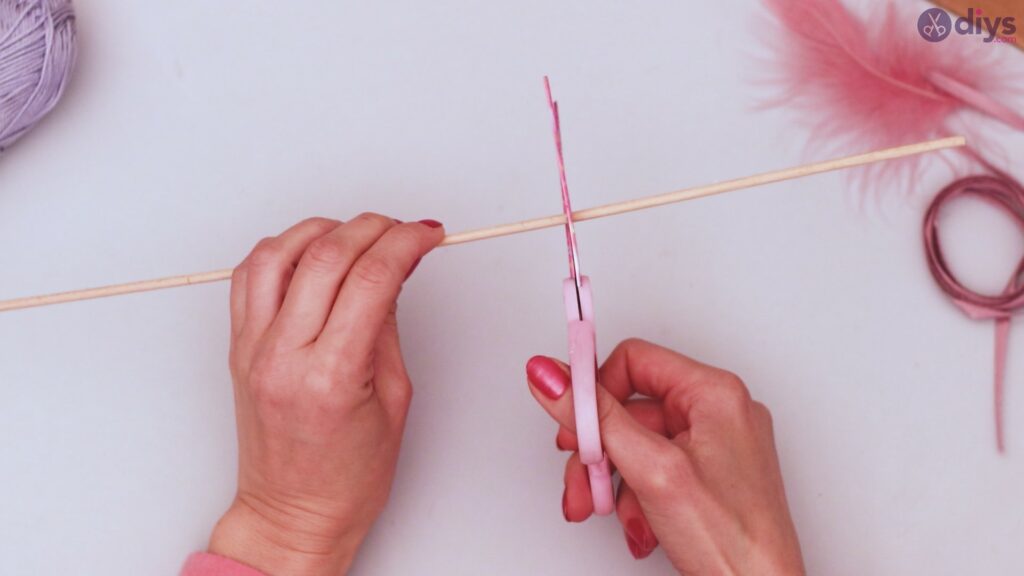
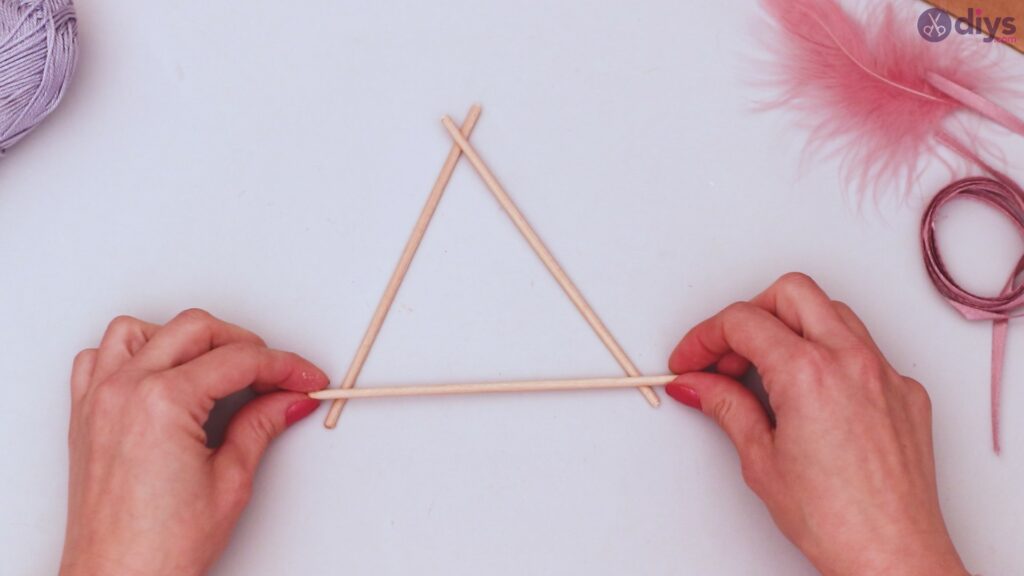
Step 1: Create the frame
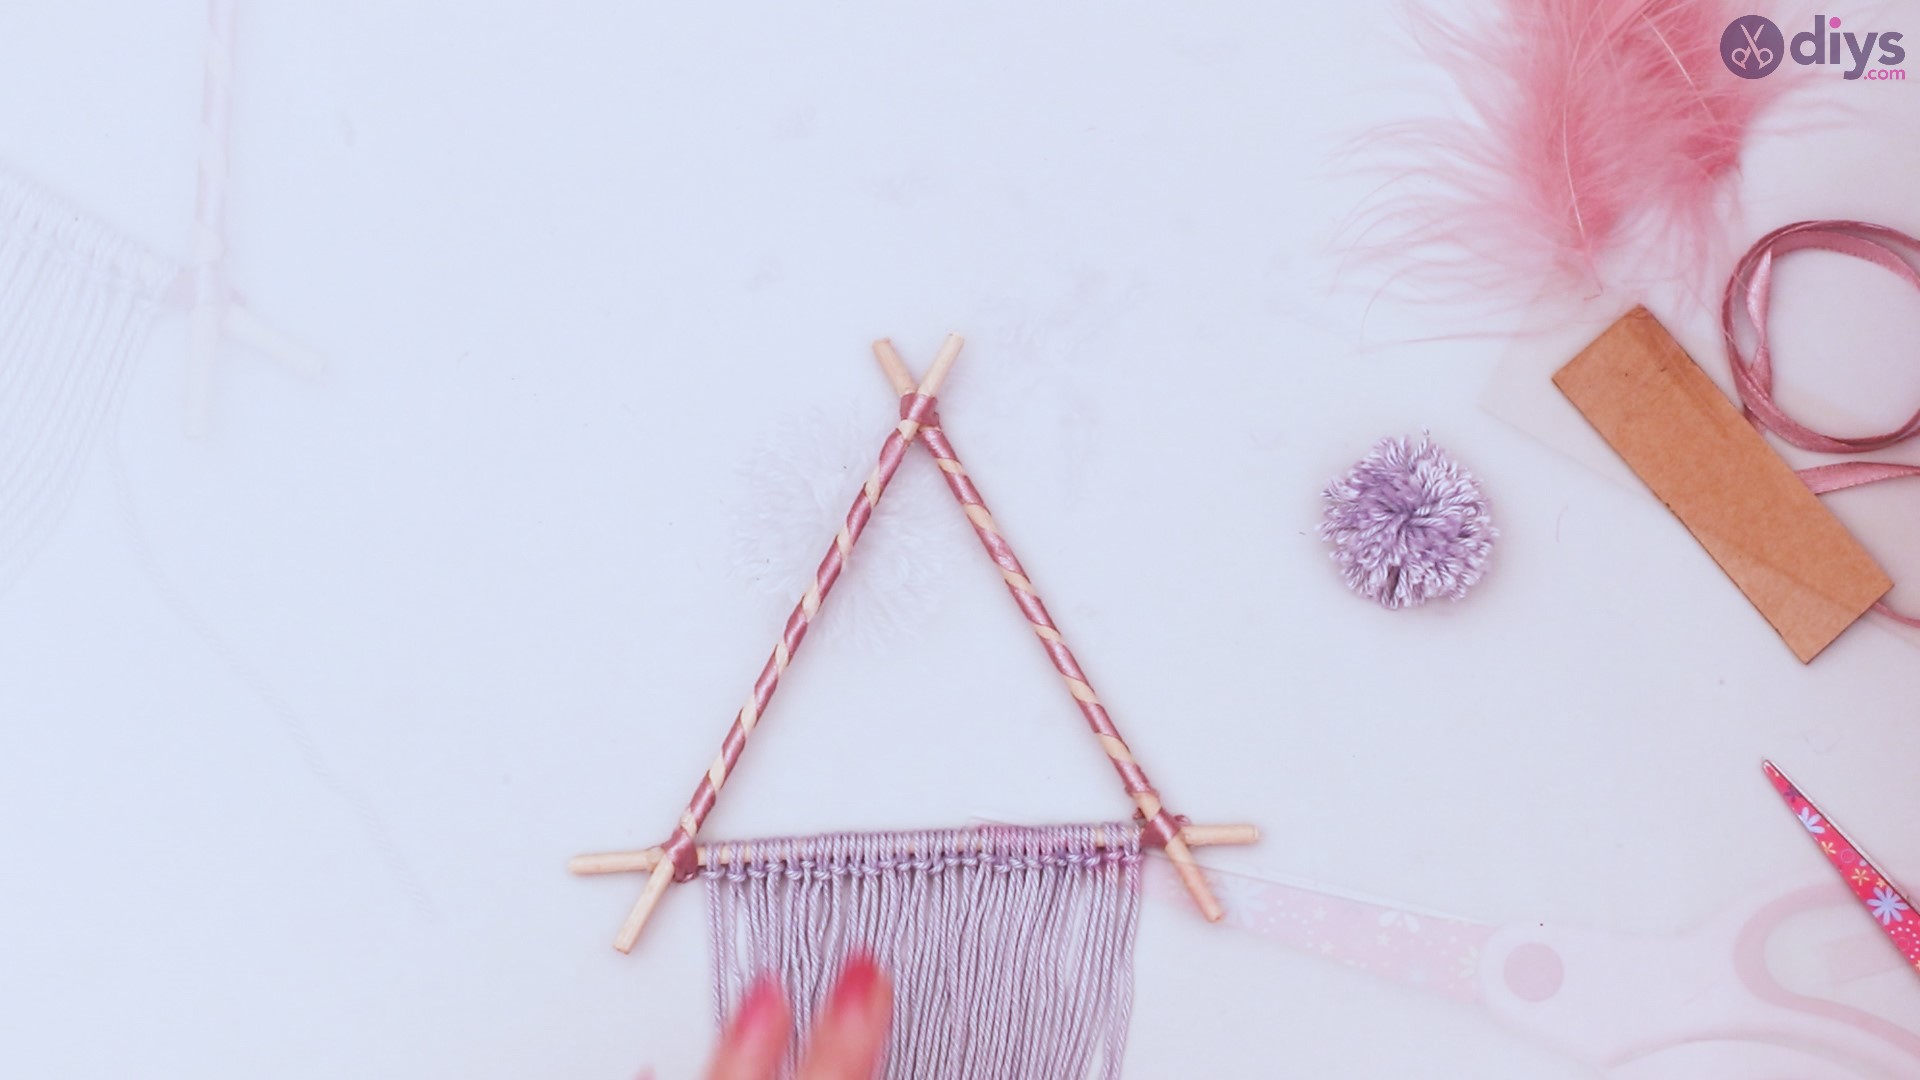
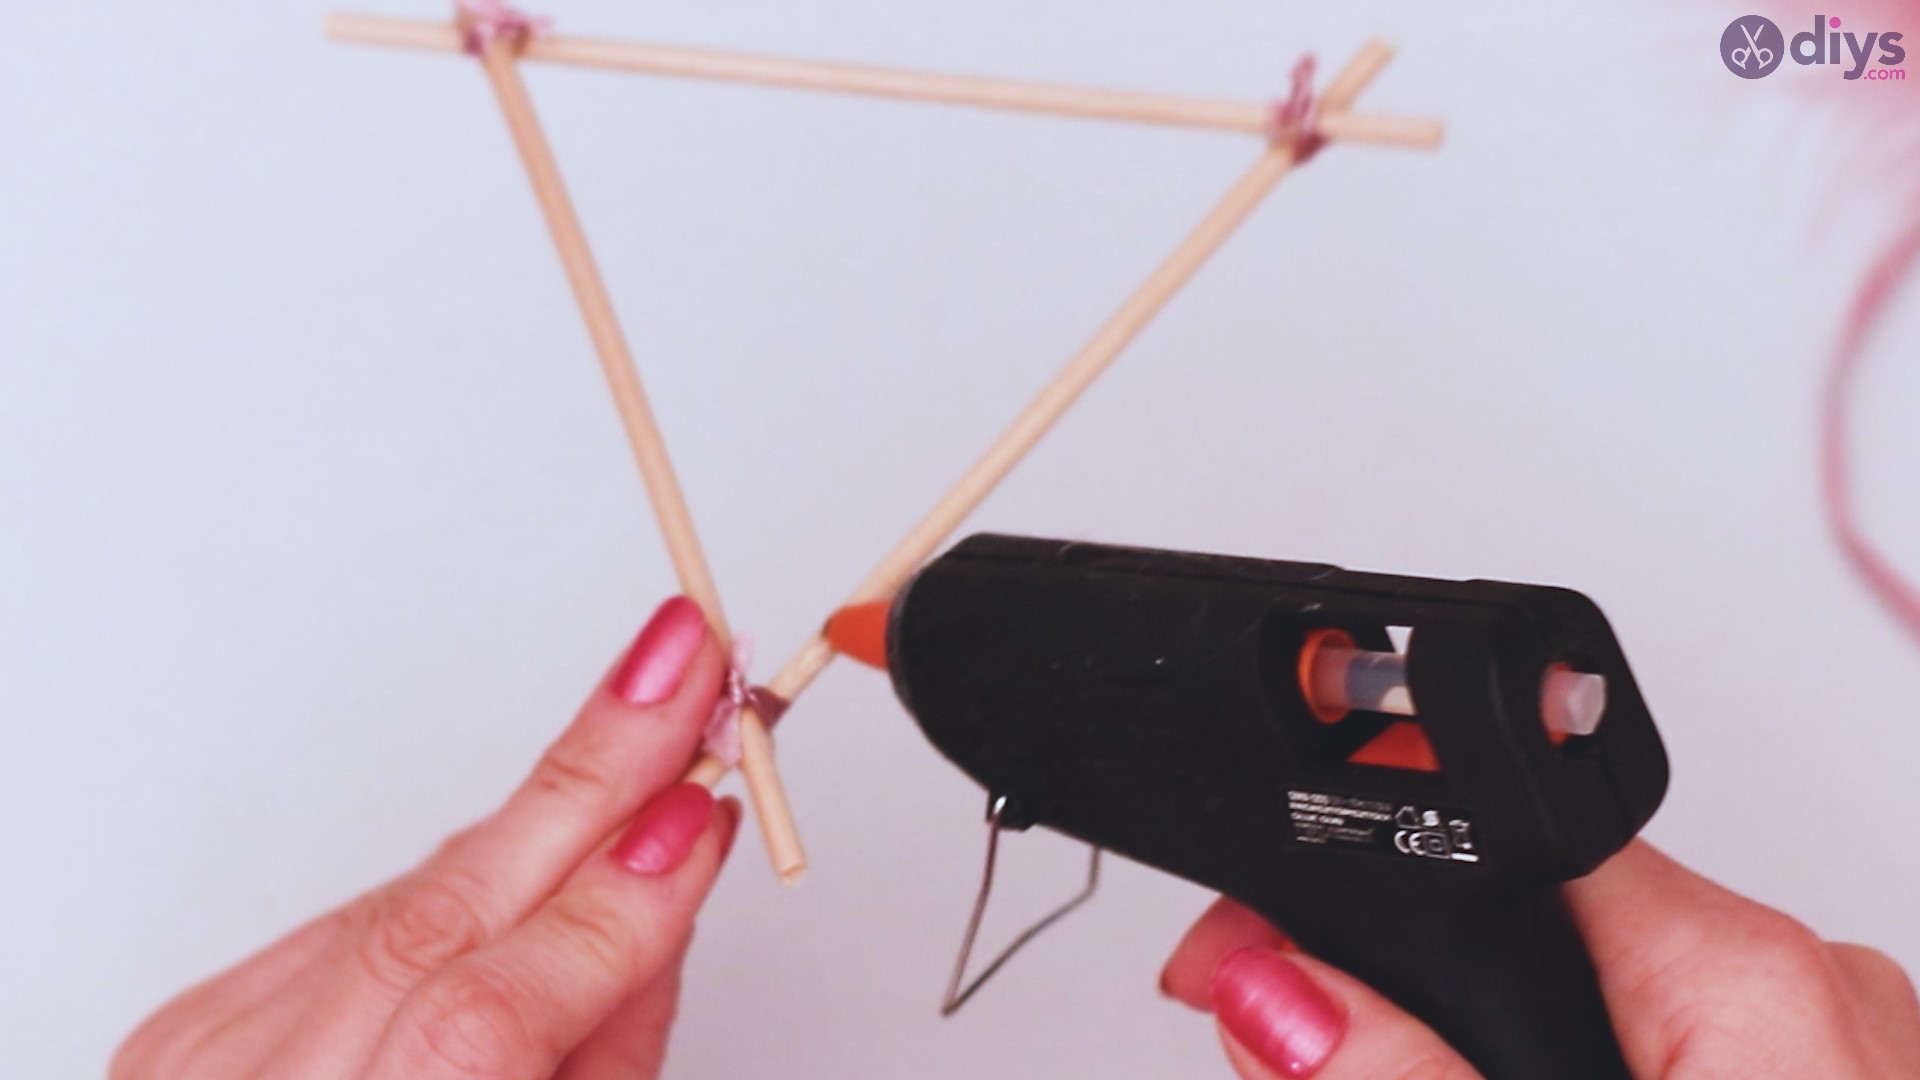
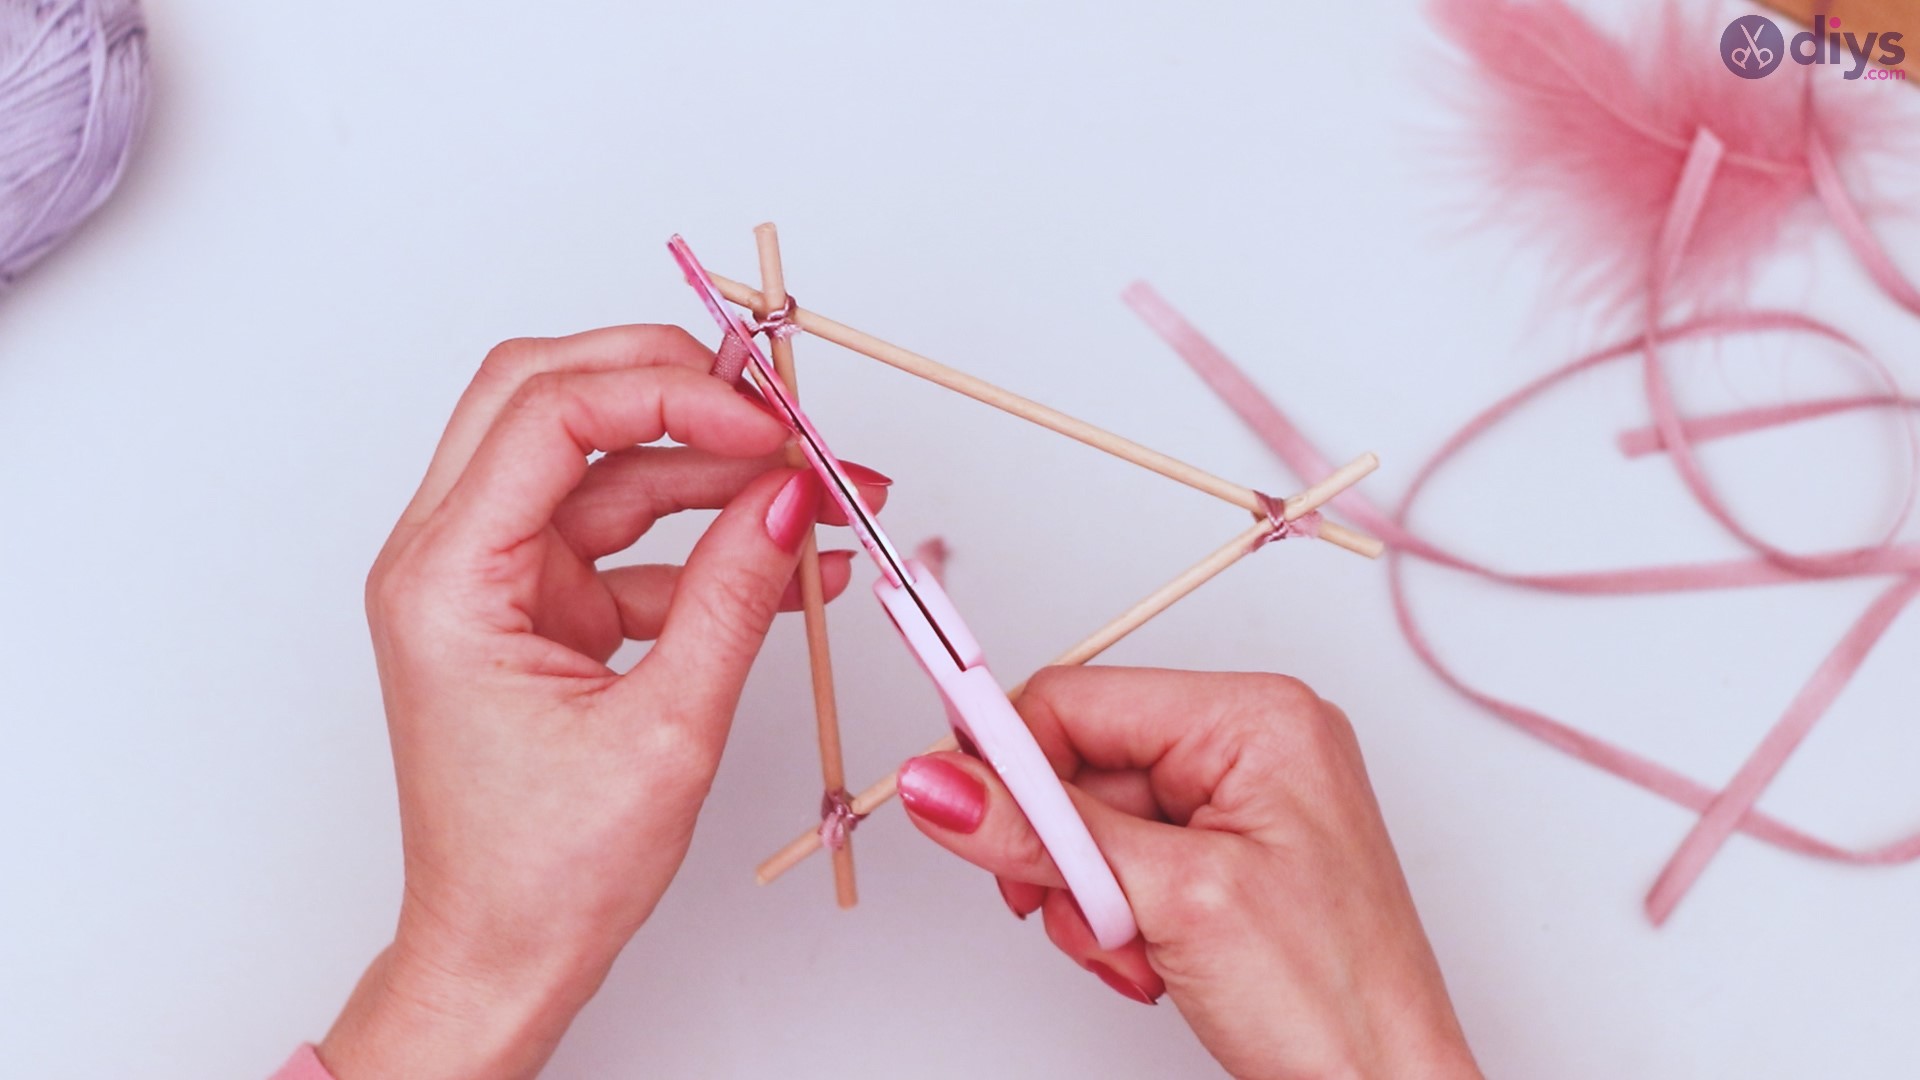
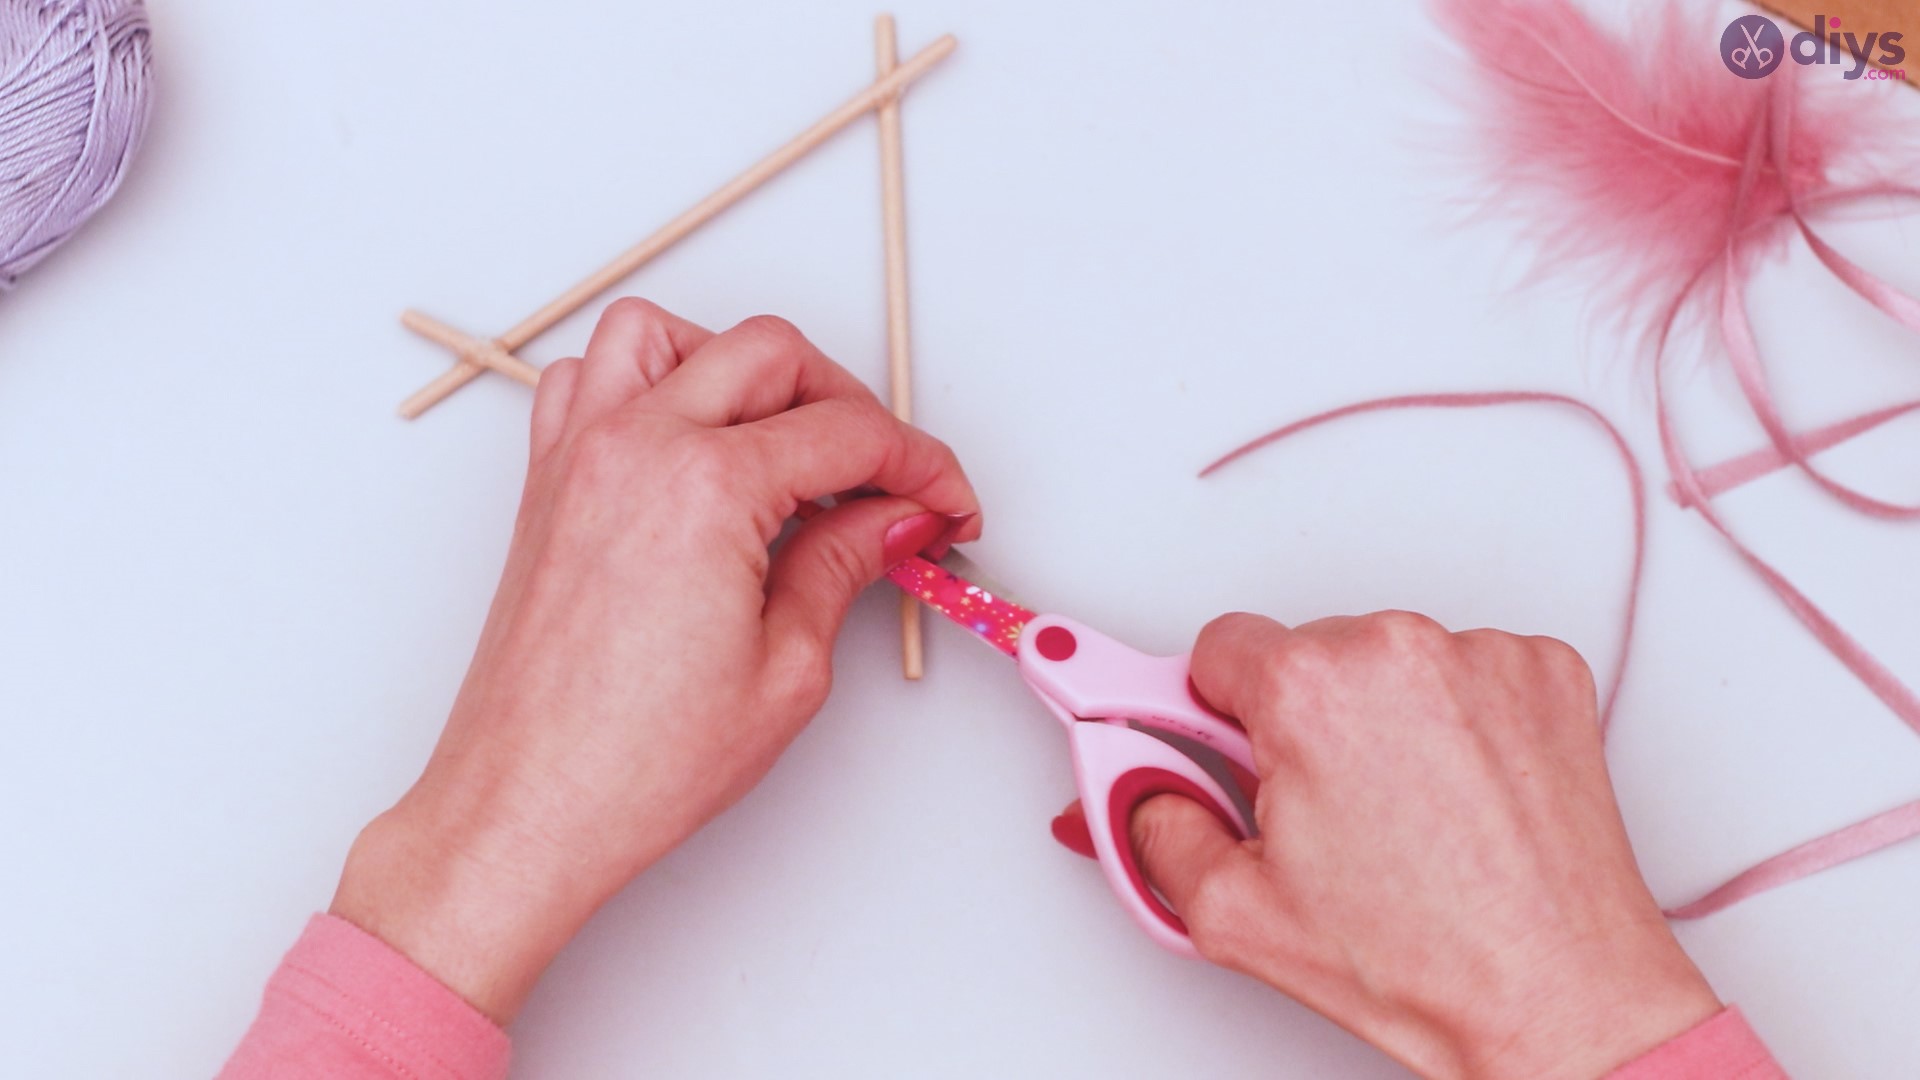
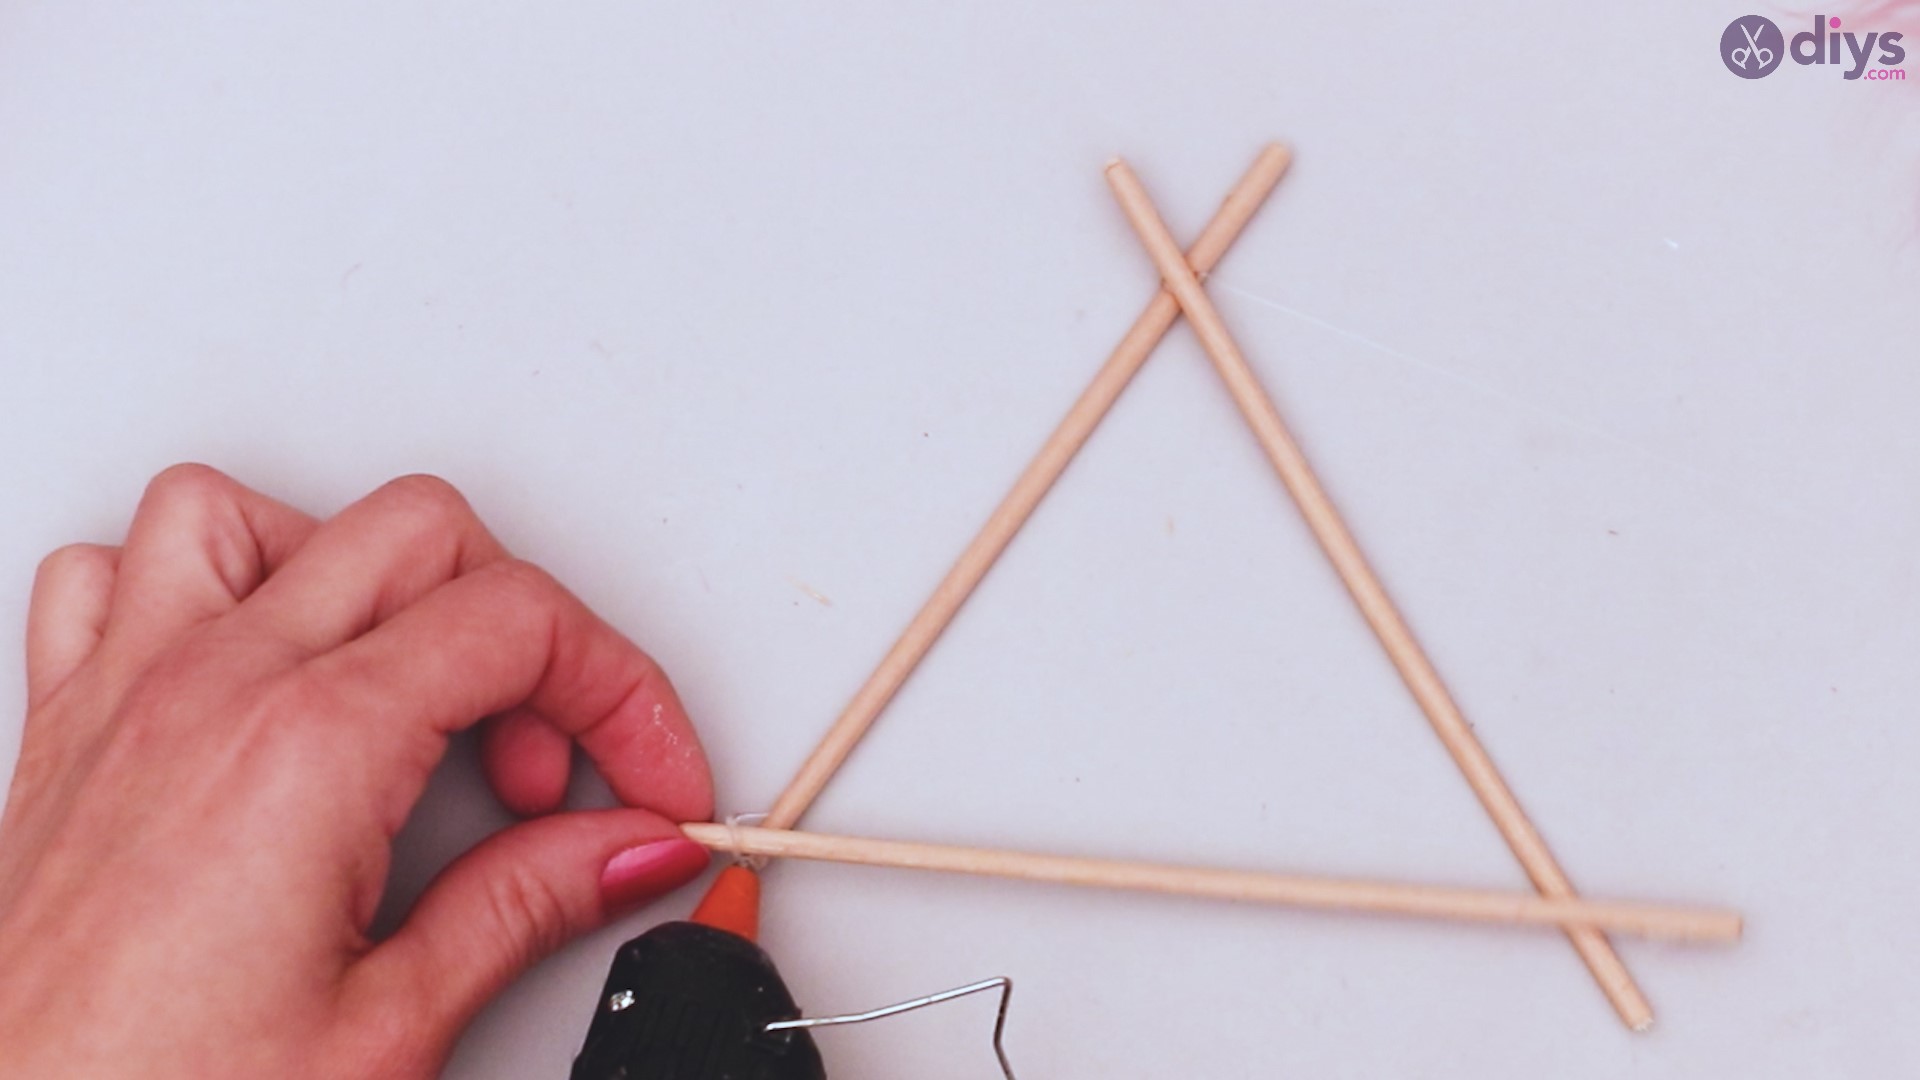
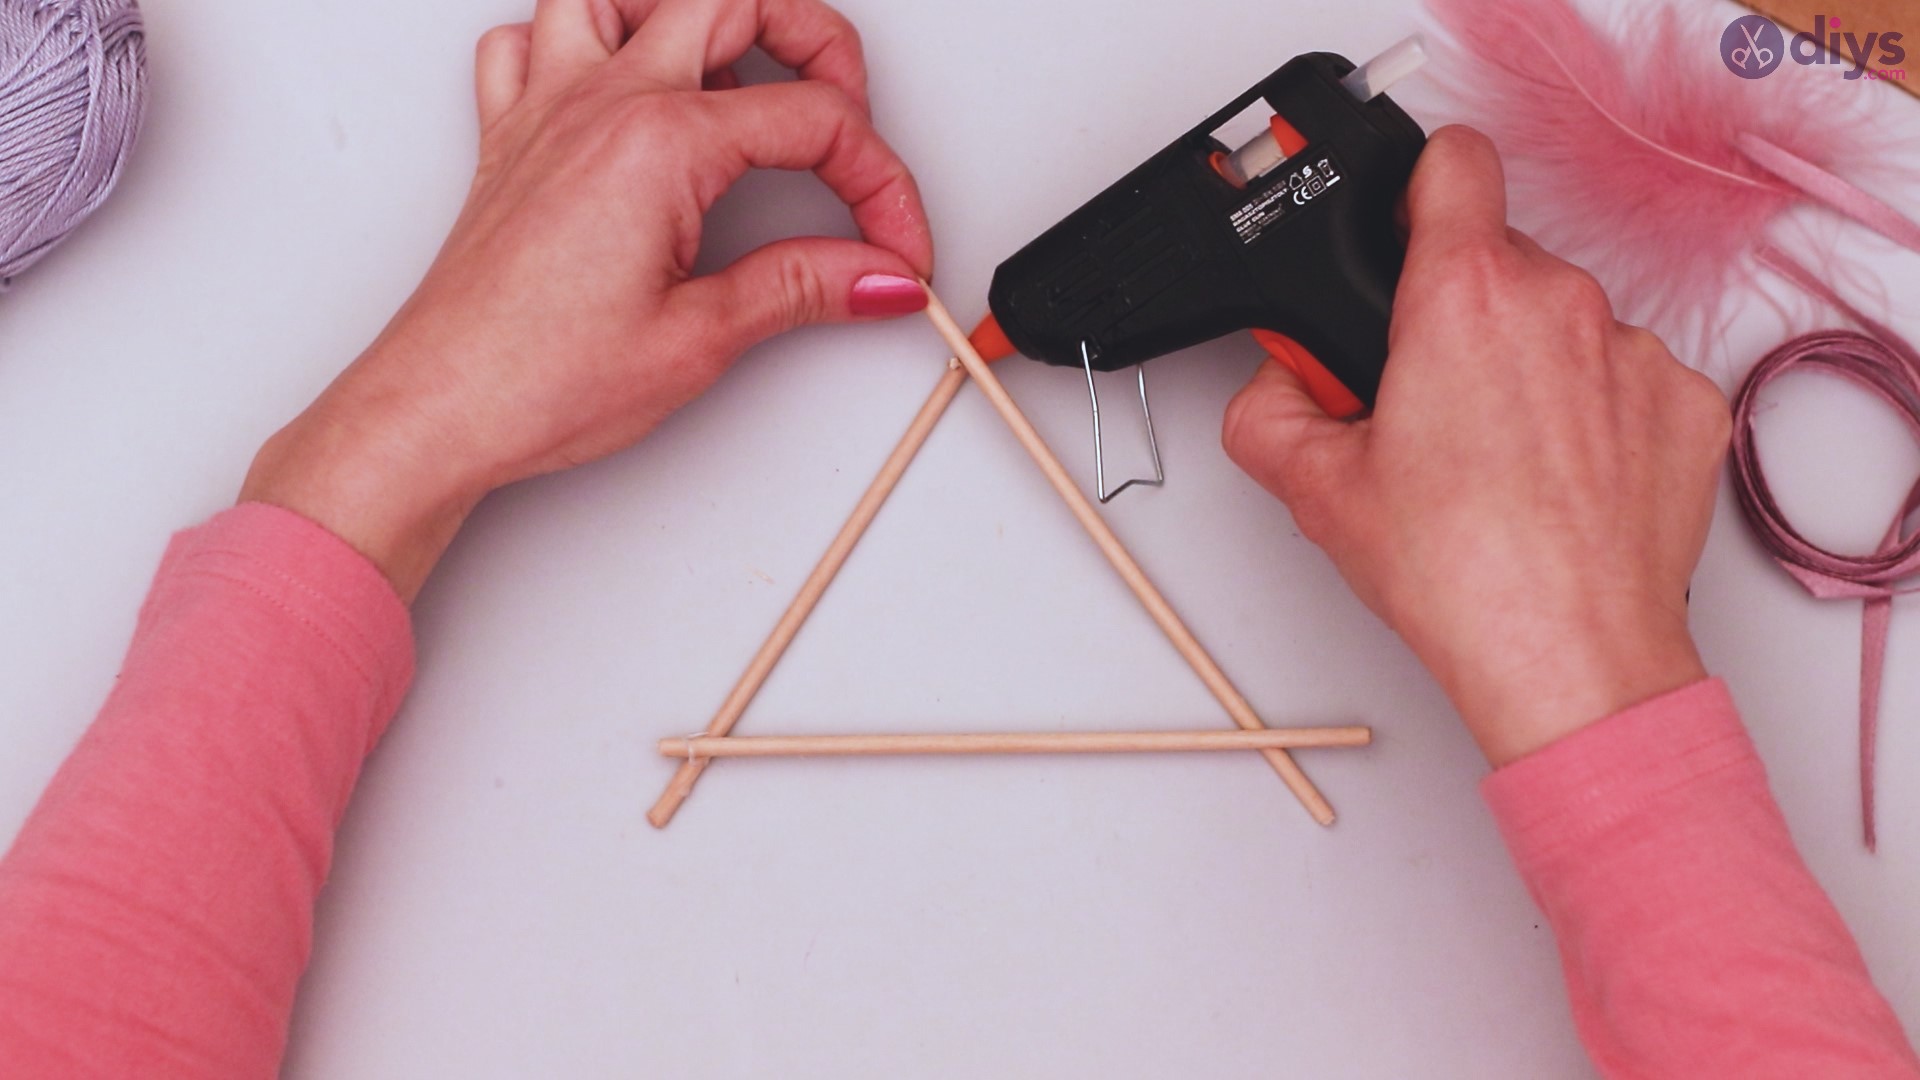
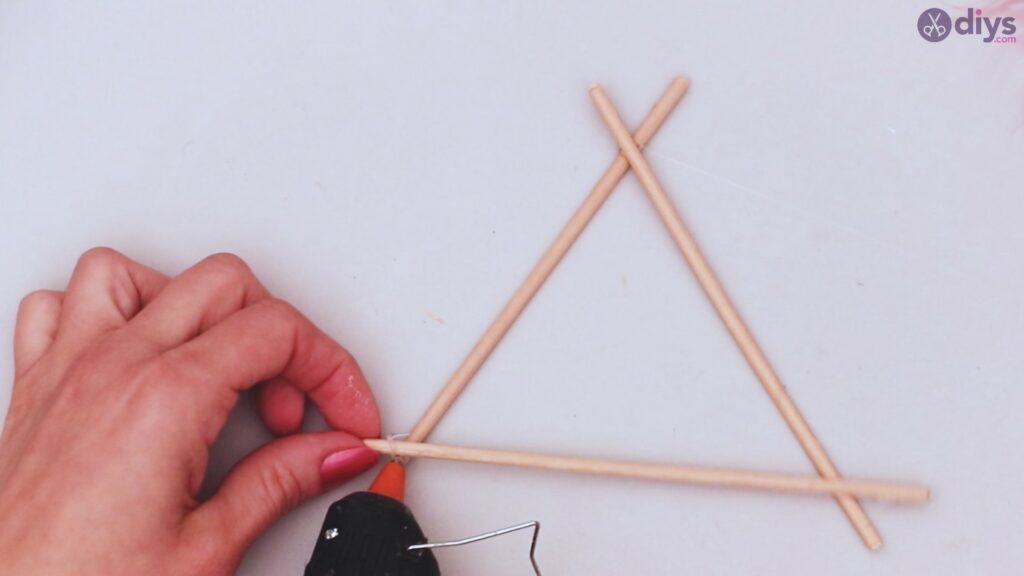
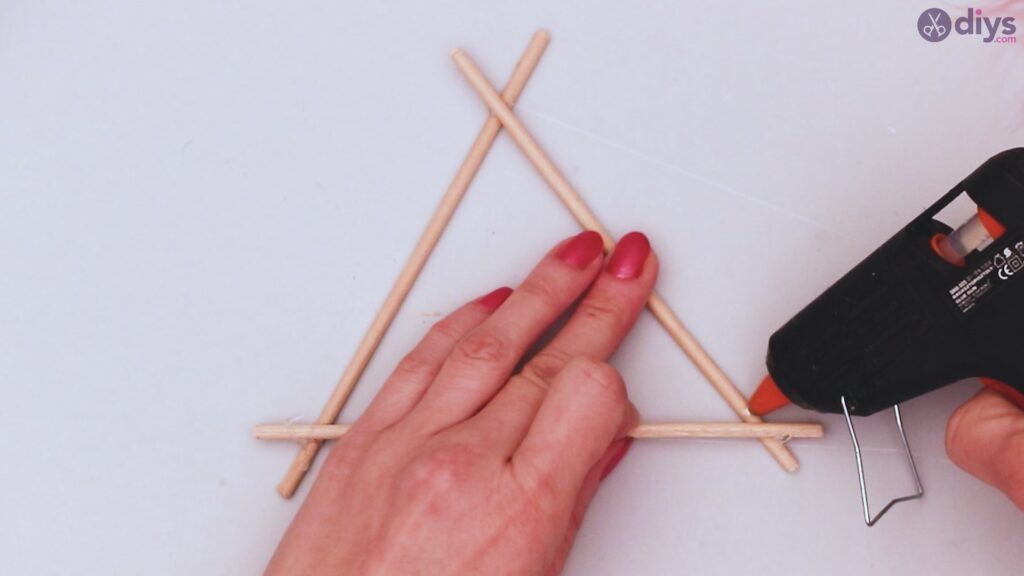
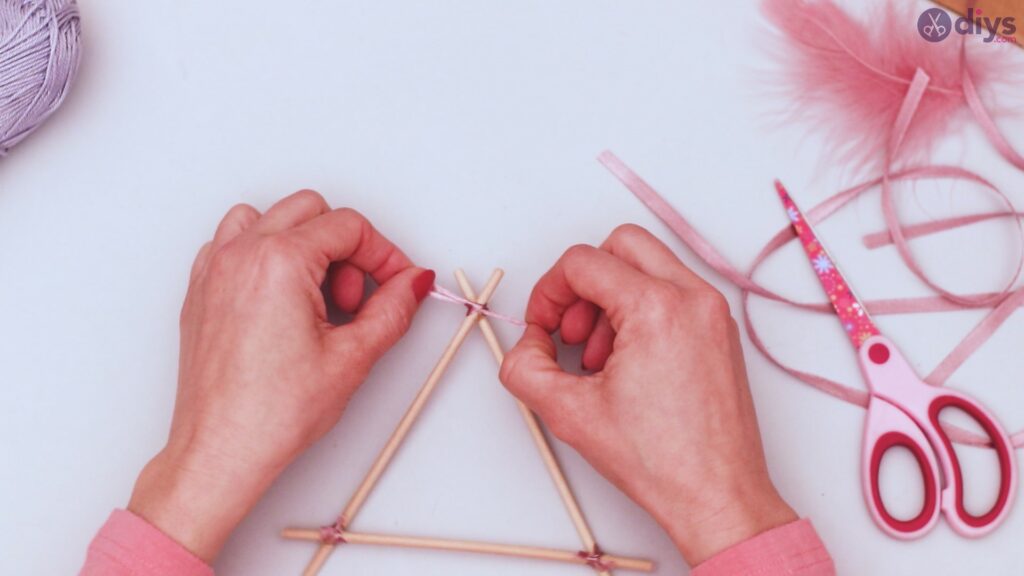
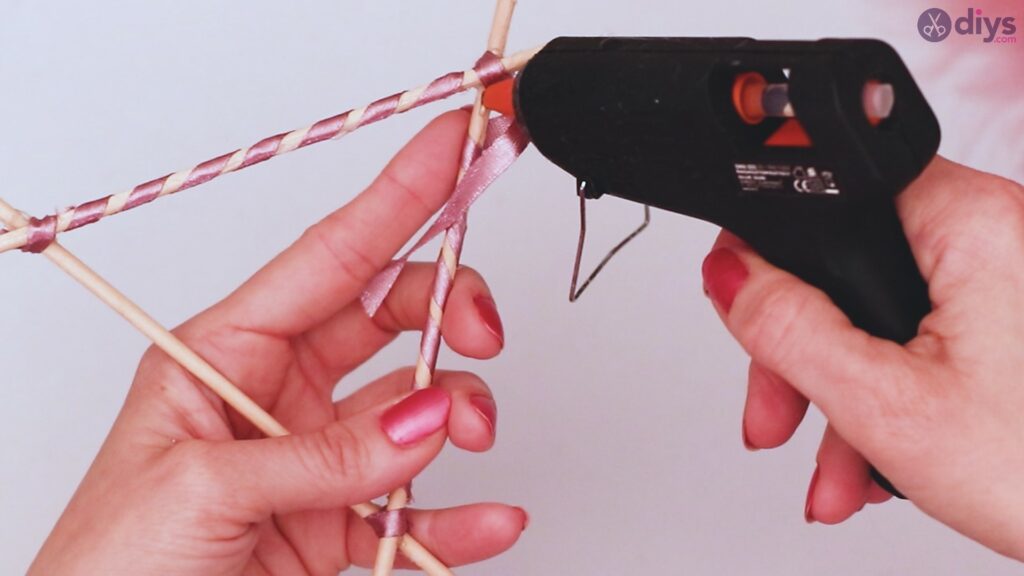
With a pair of scissors, cut your wooden stick into three relatively even pieces. This will form your triangle.

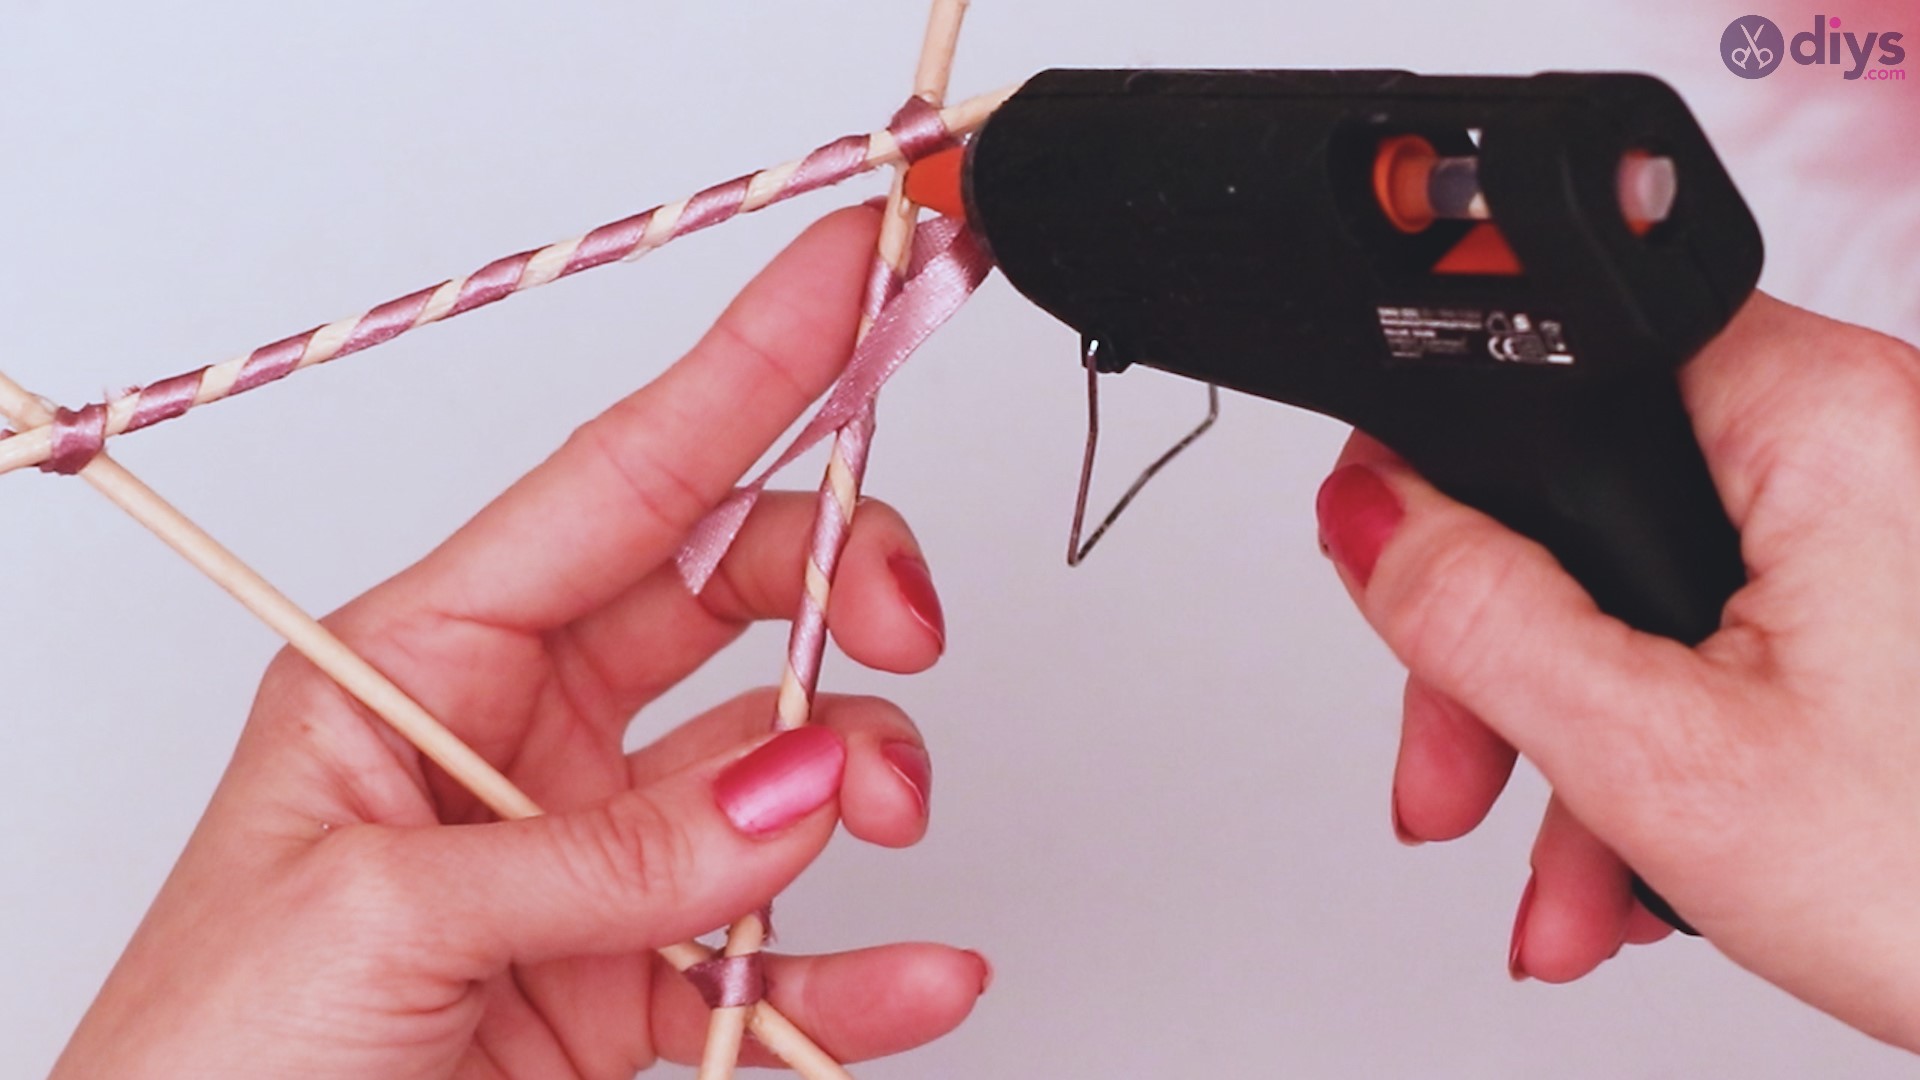
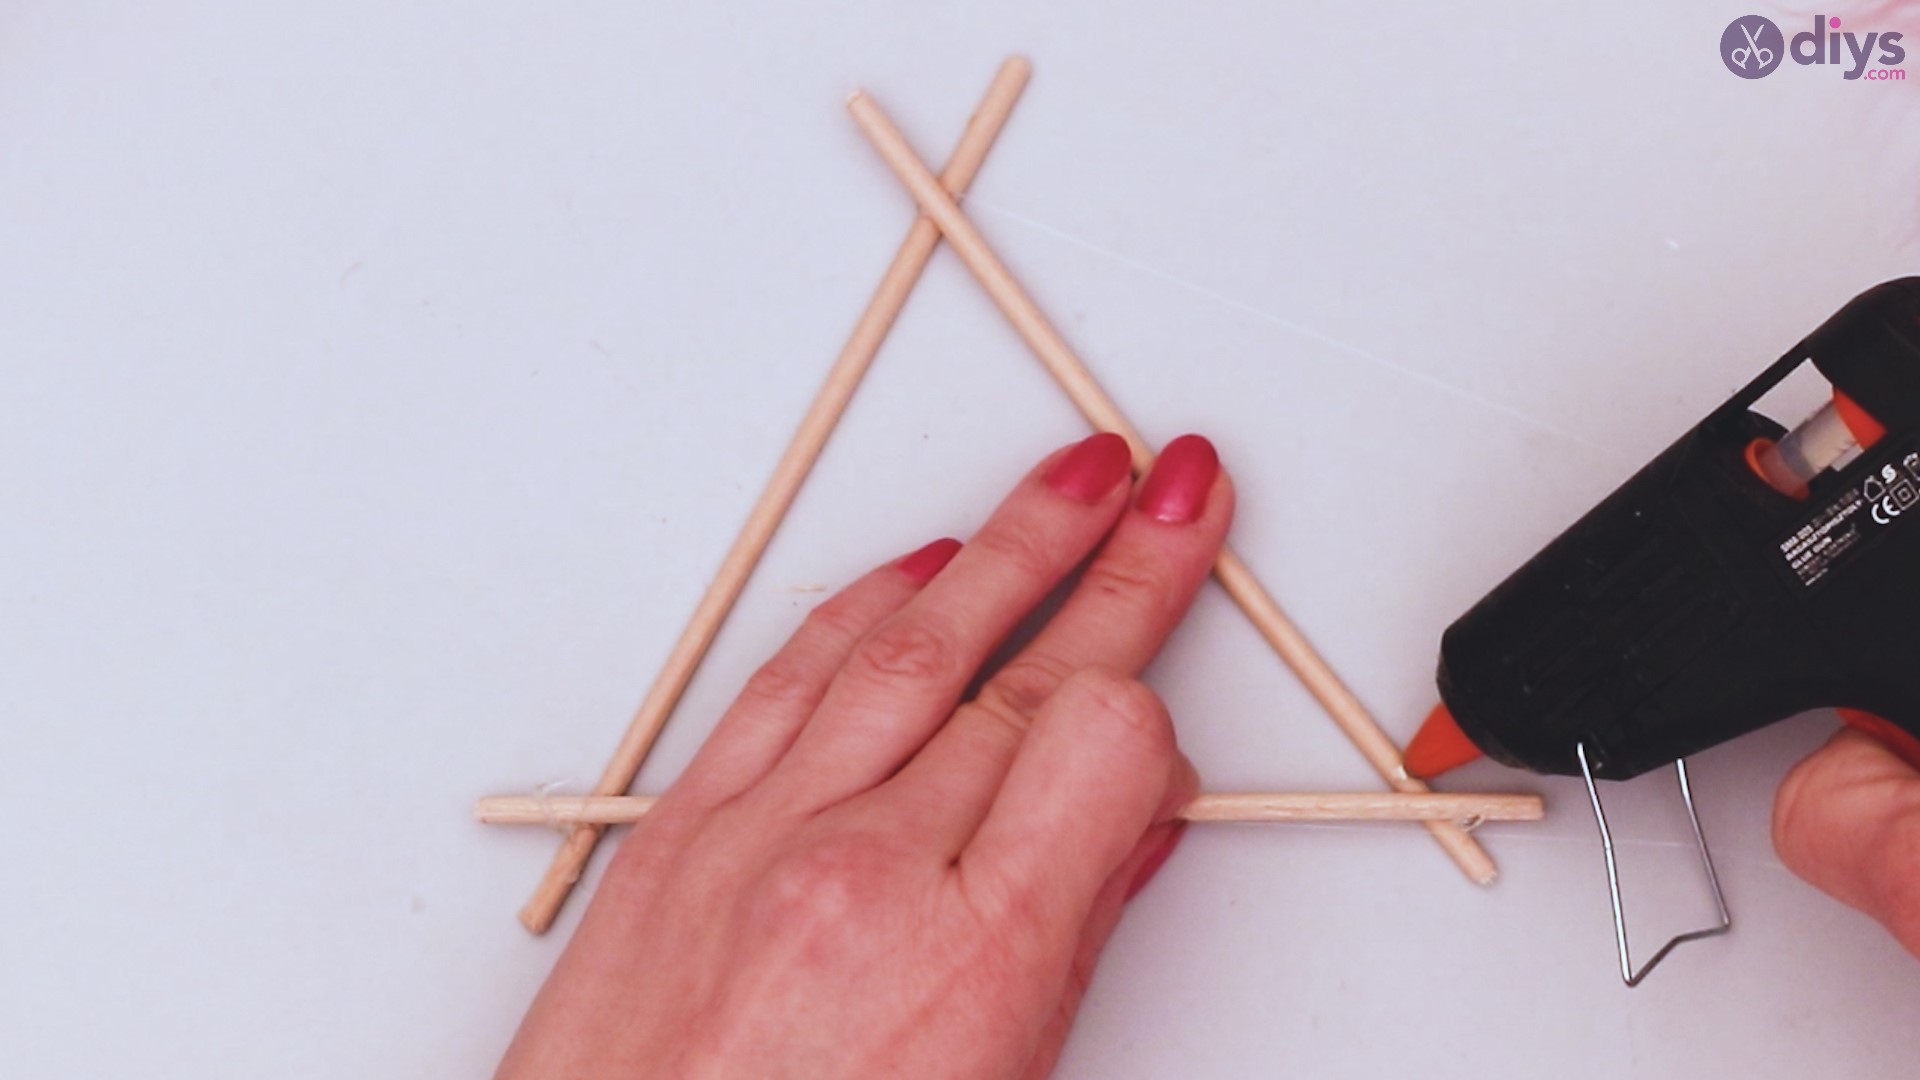
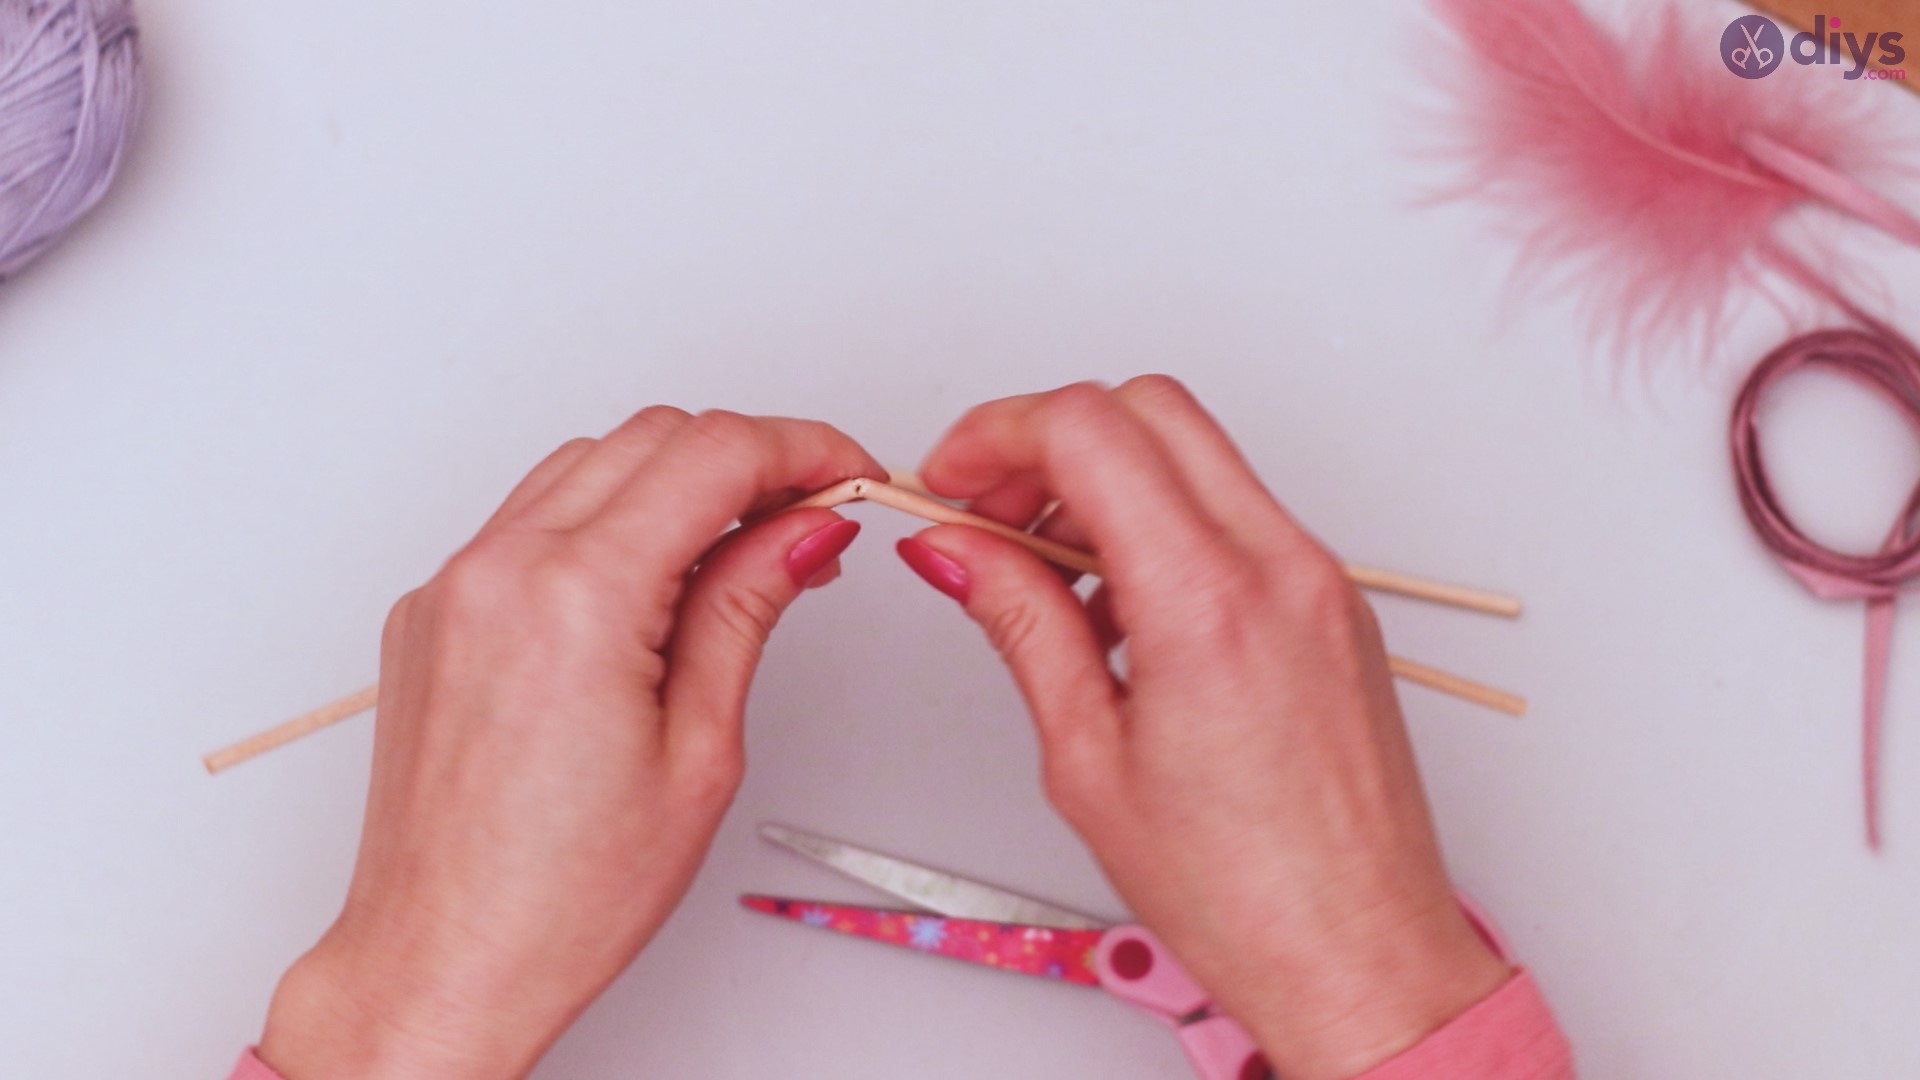
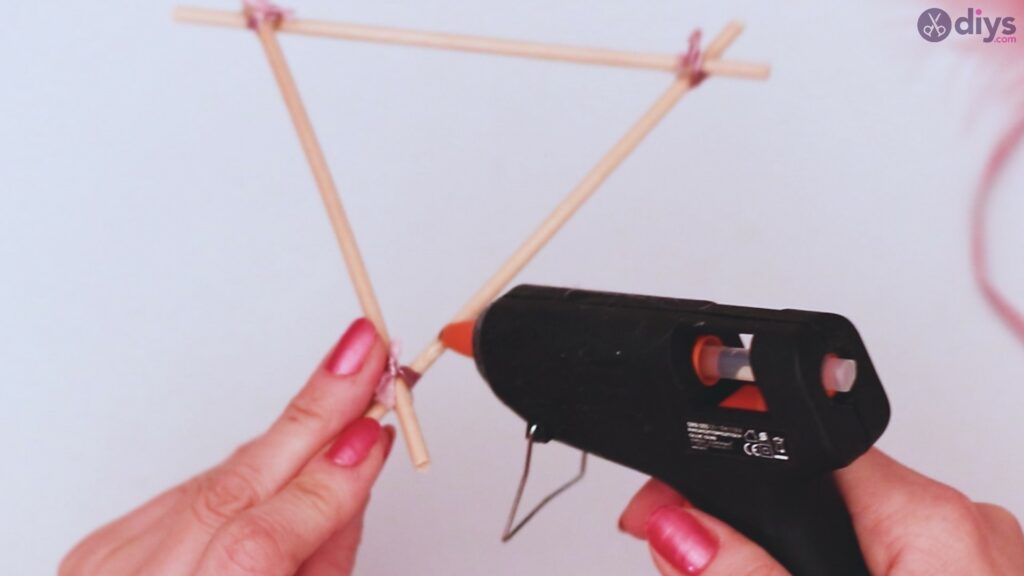
Create the triangle, with your sticks overlapping at the corners. Using your hot glue gun, place a dot of glue at each crossover to connect the sticks together. Allow to dry. This shouldn’t take long.

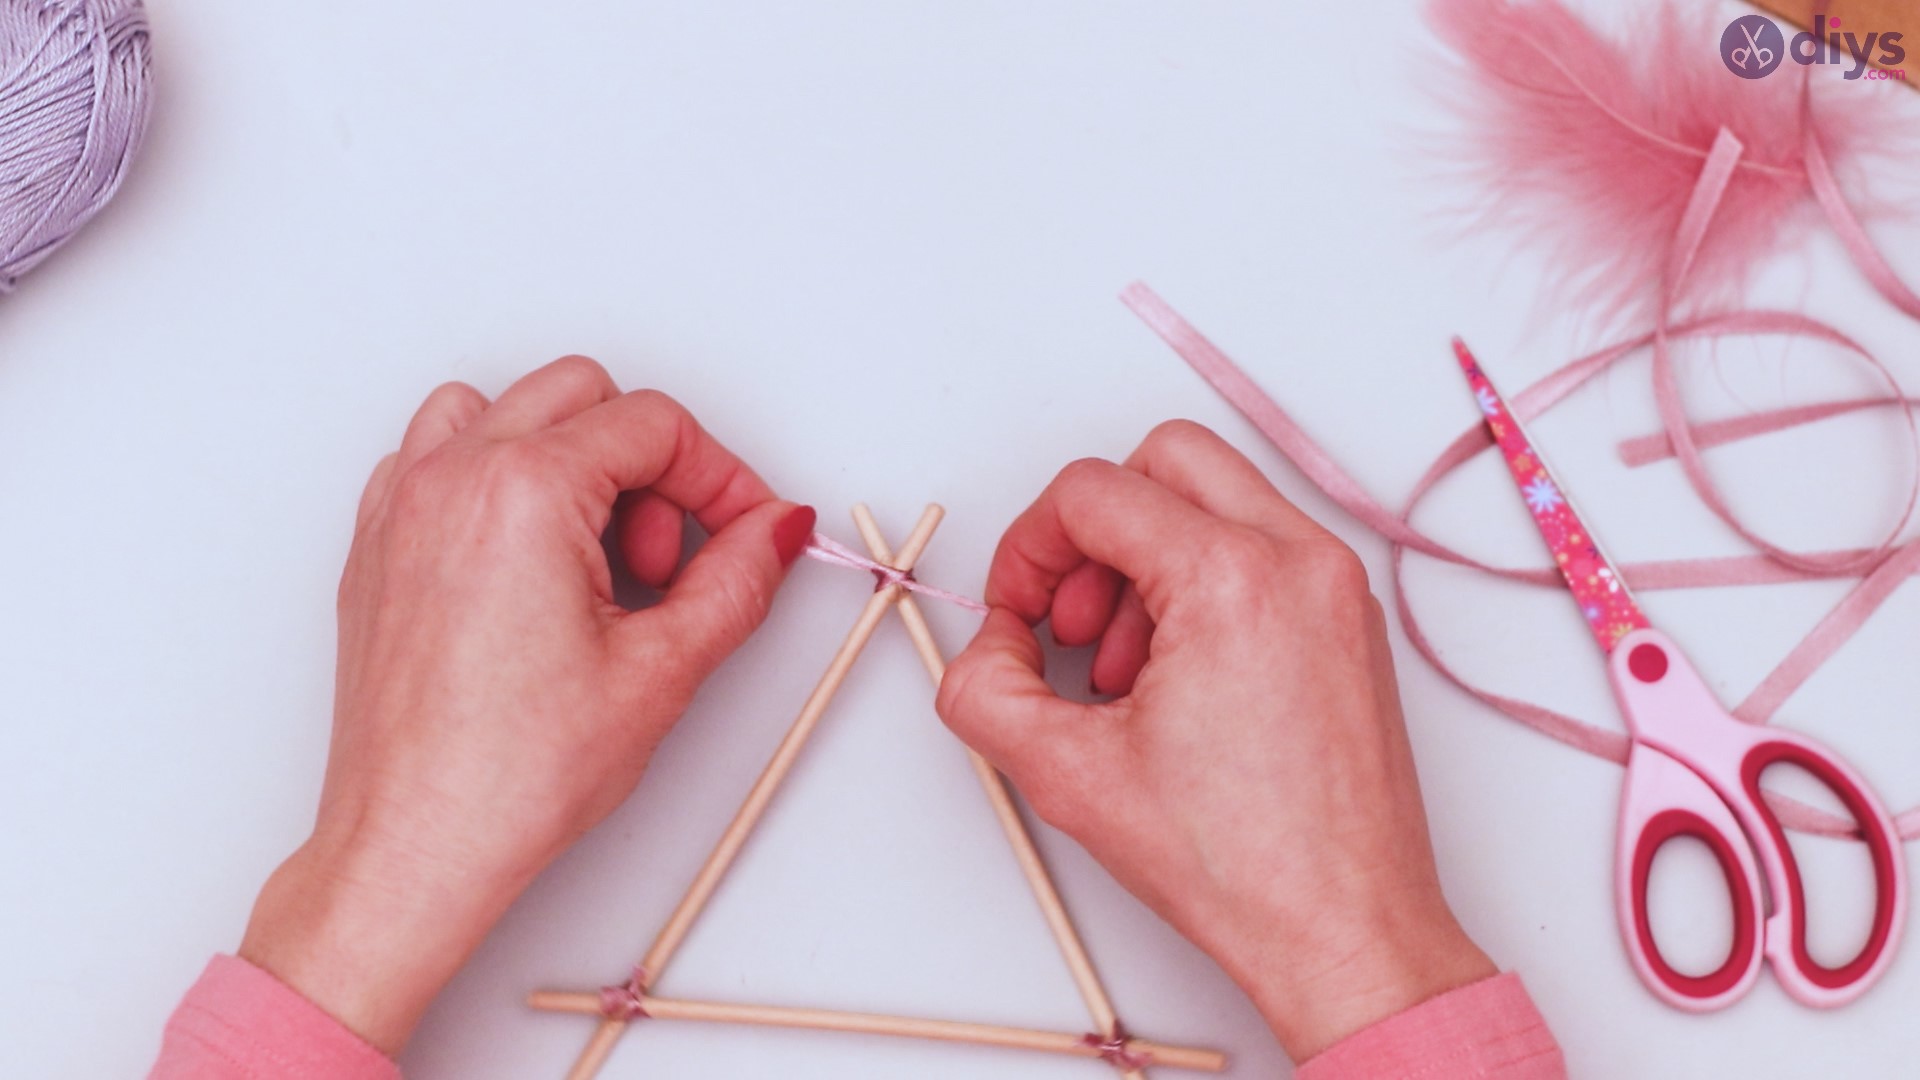
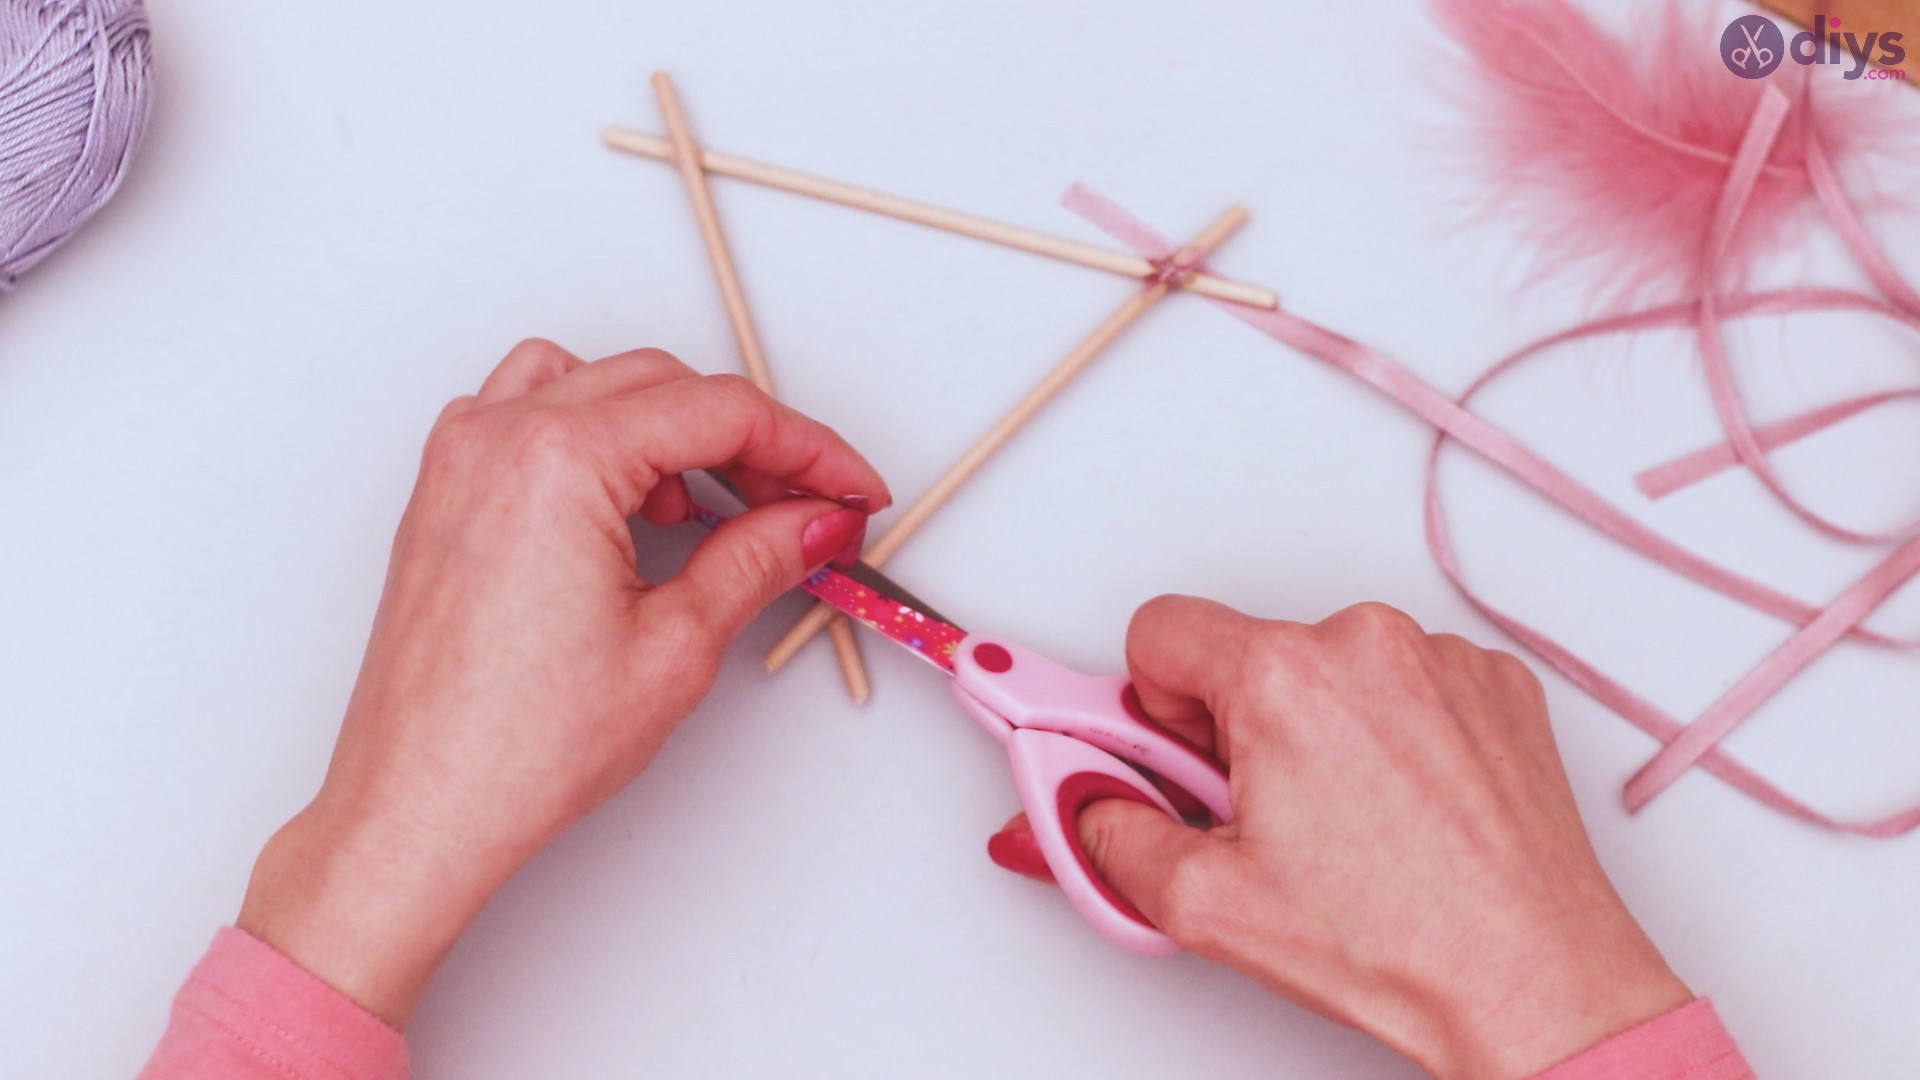
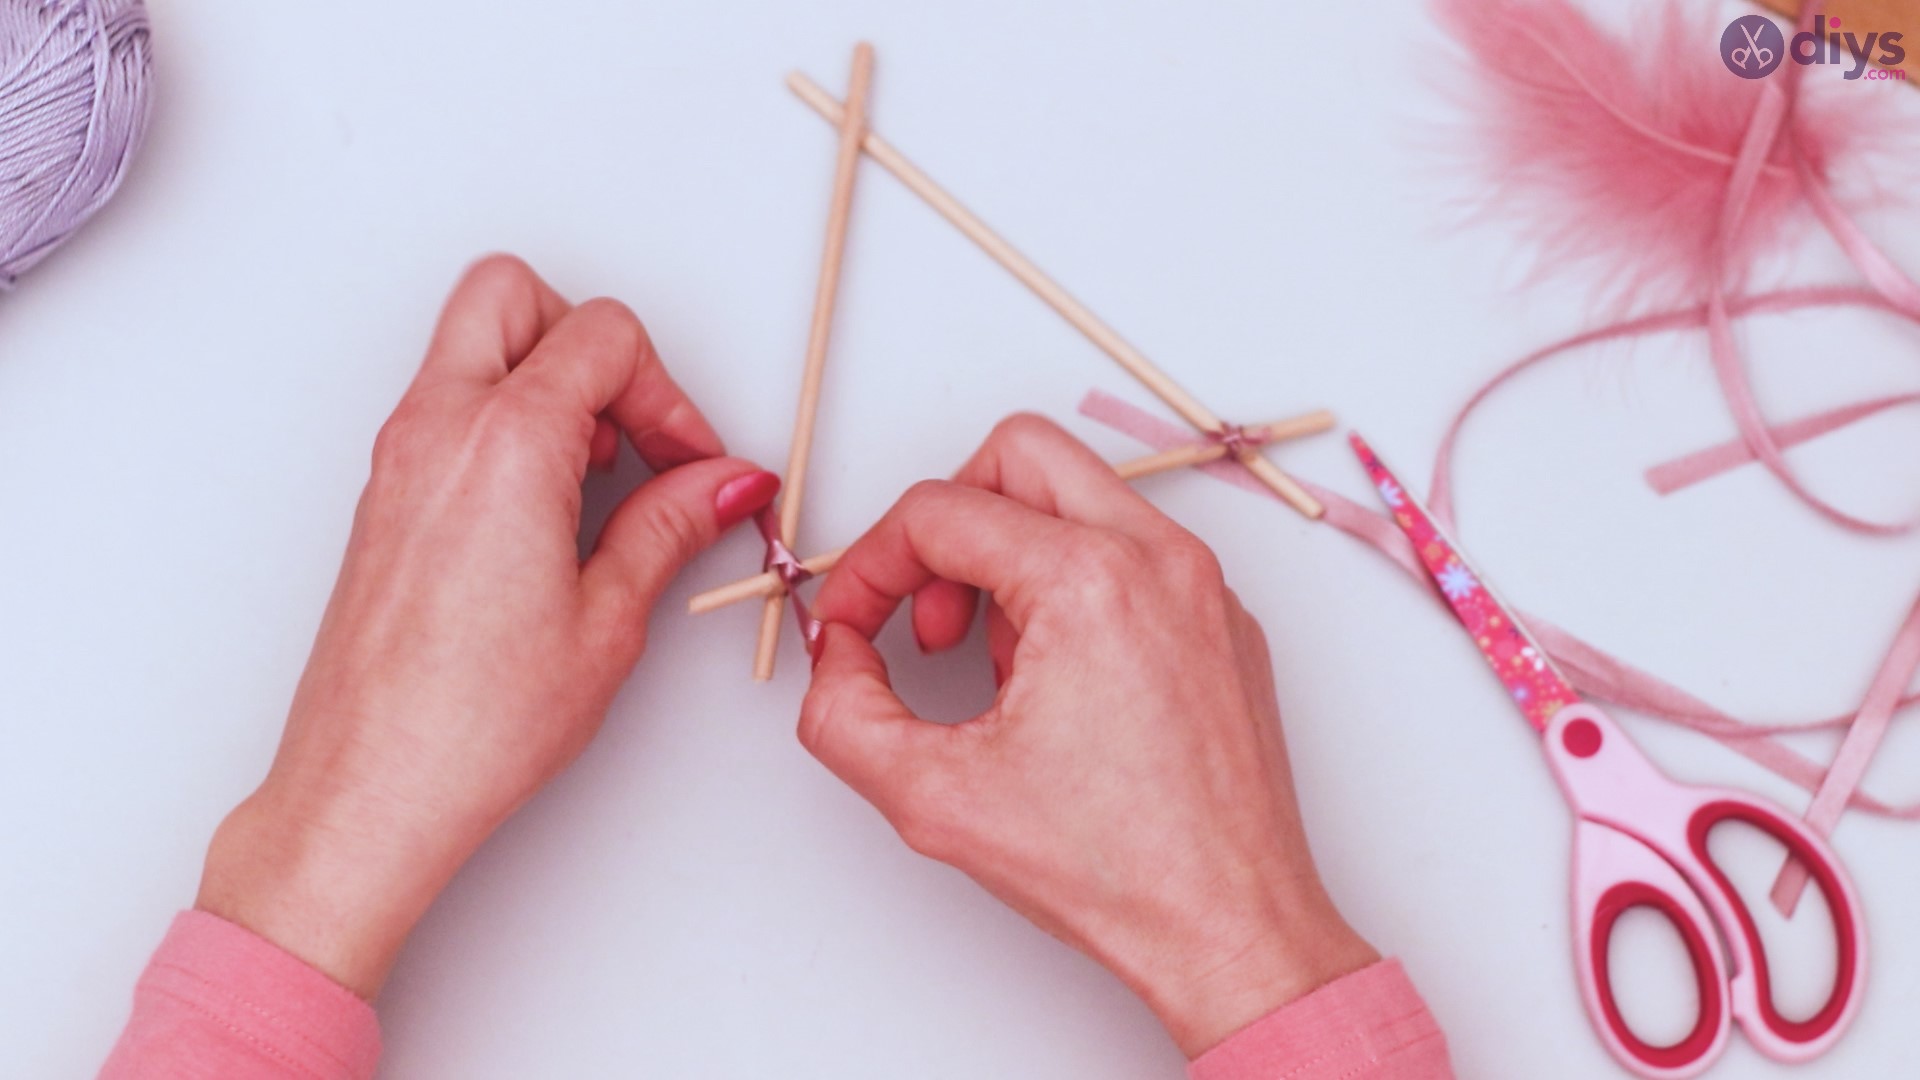
Step 2: Secure and decorate corners
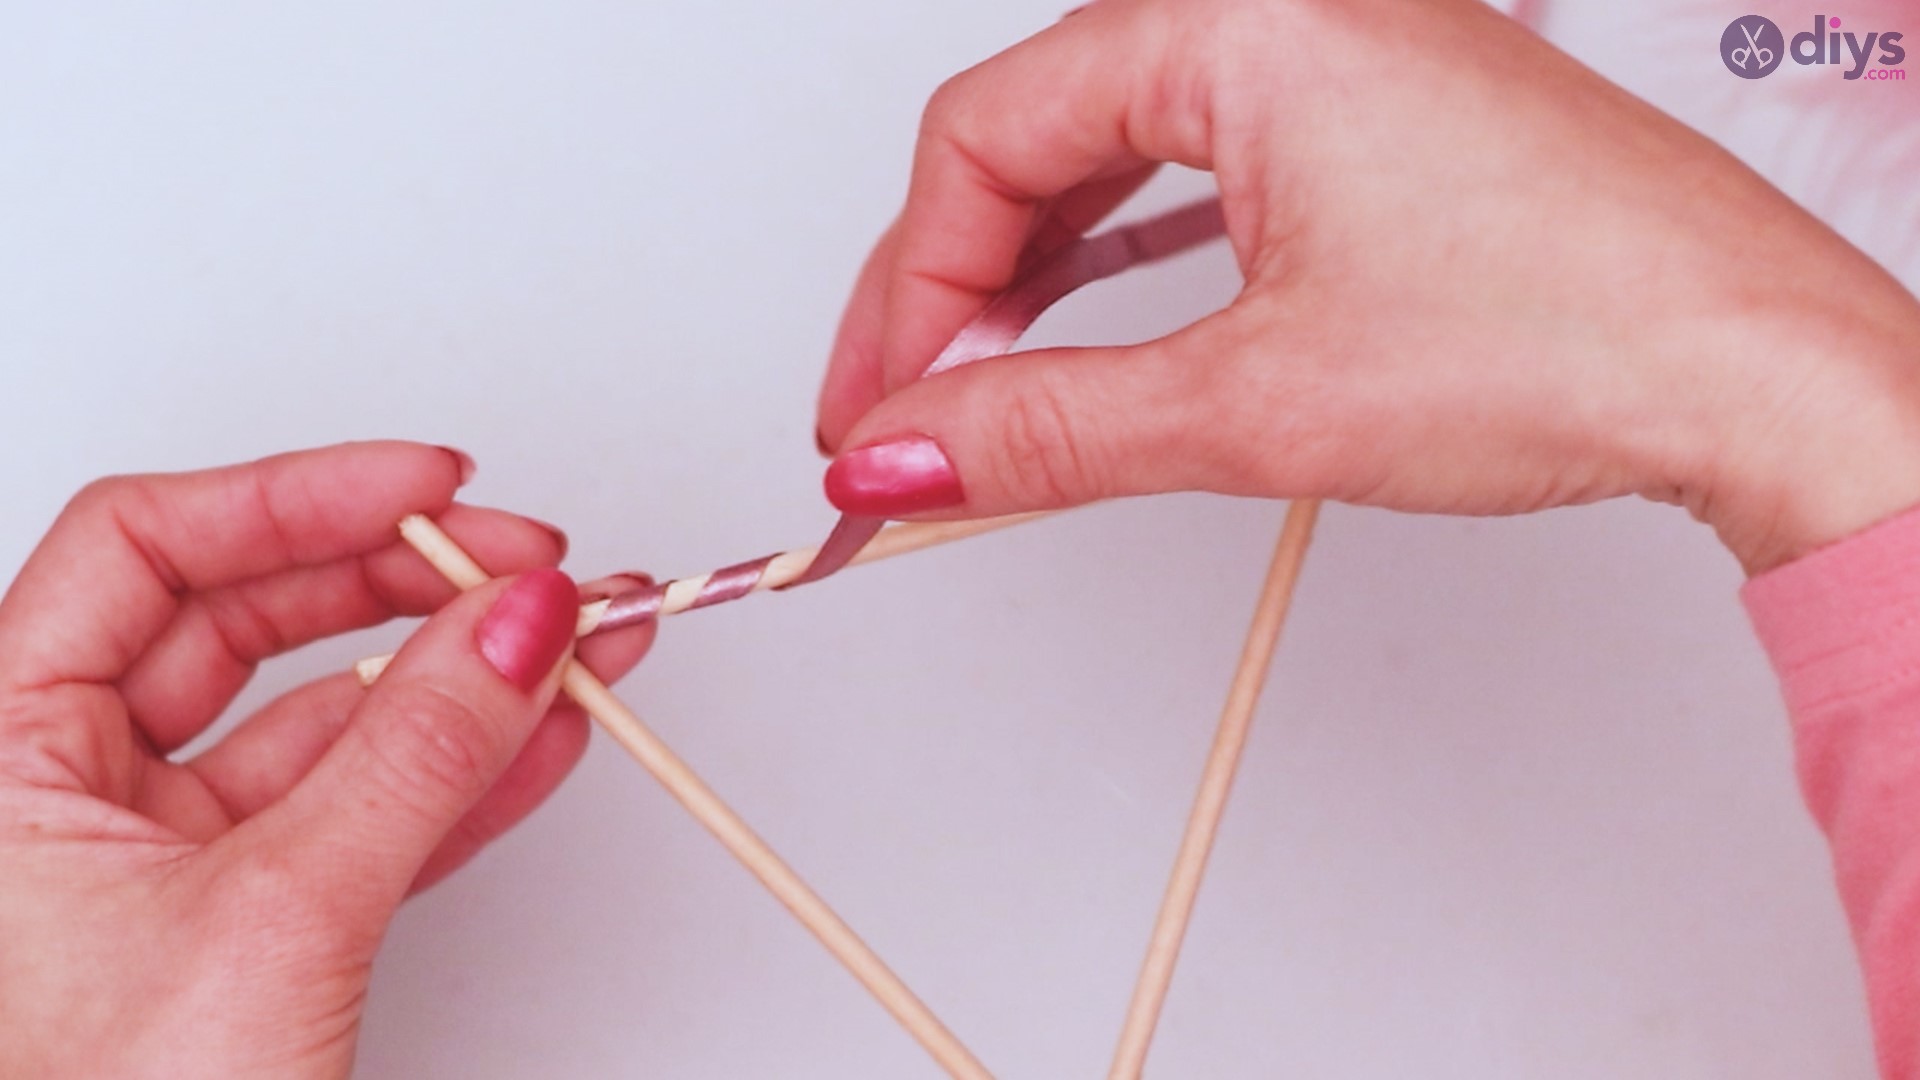
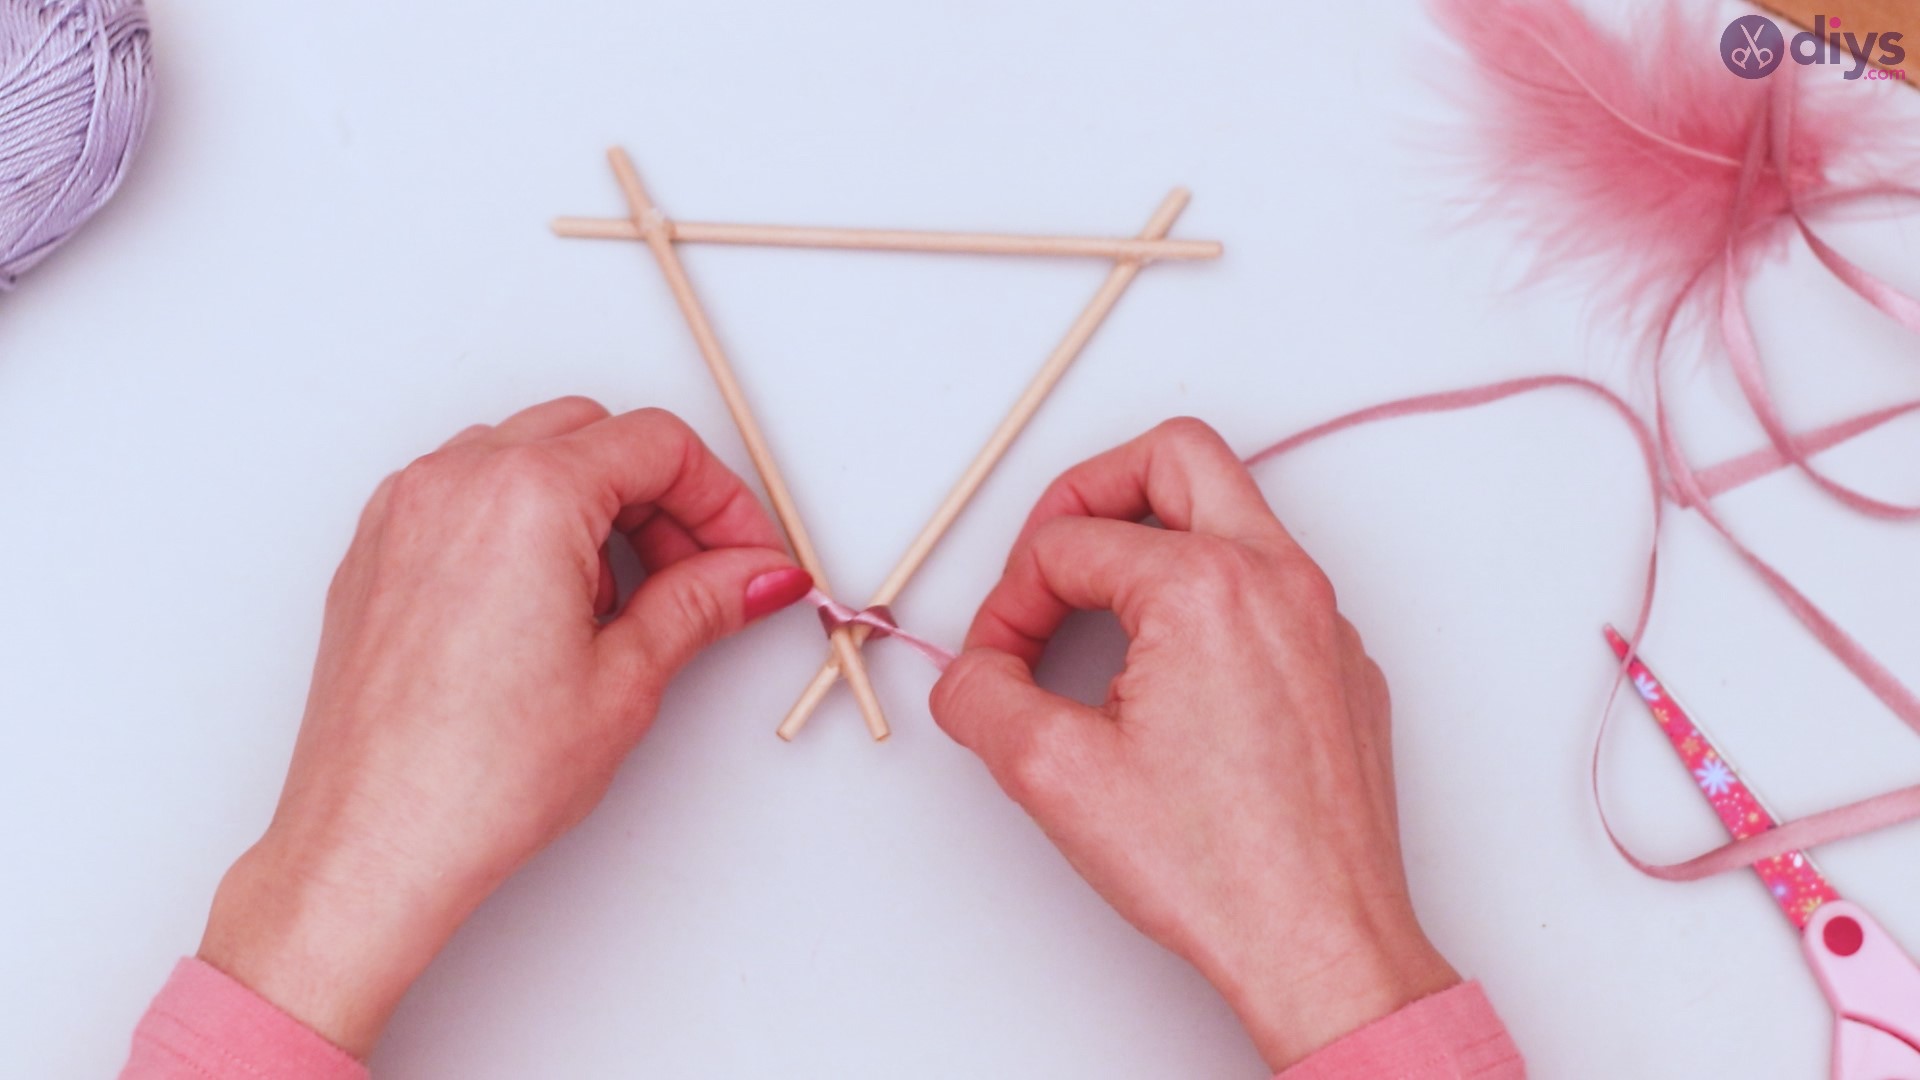
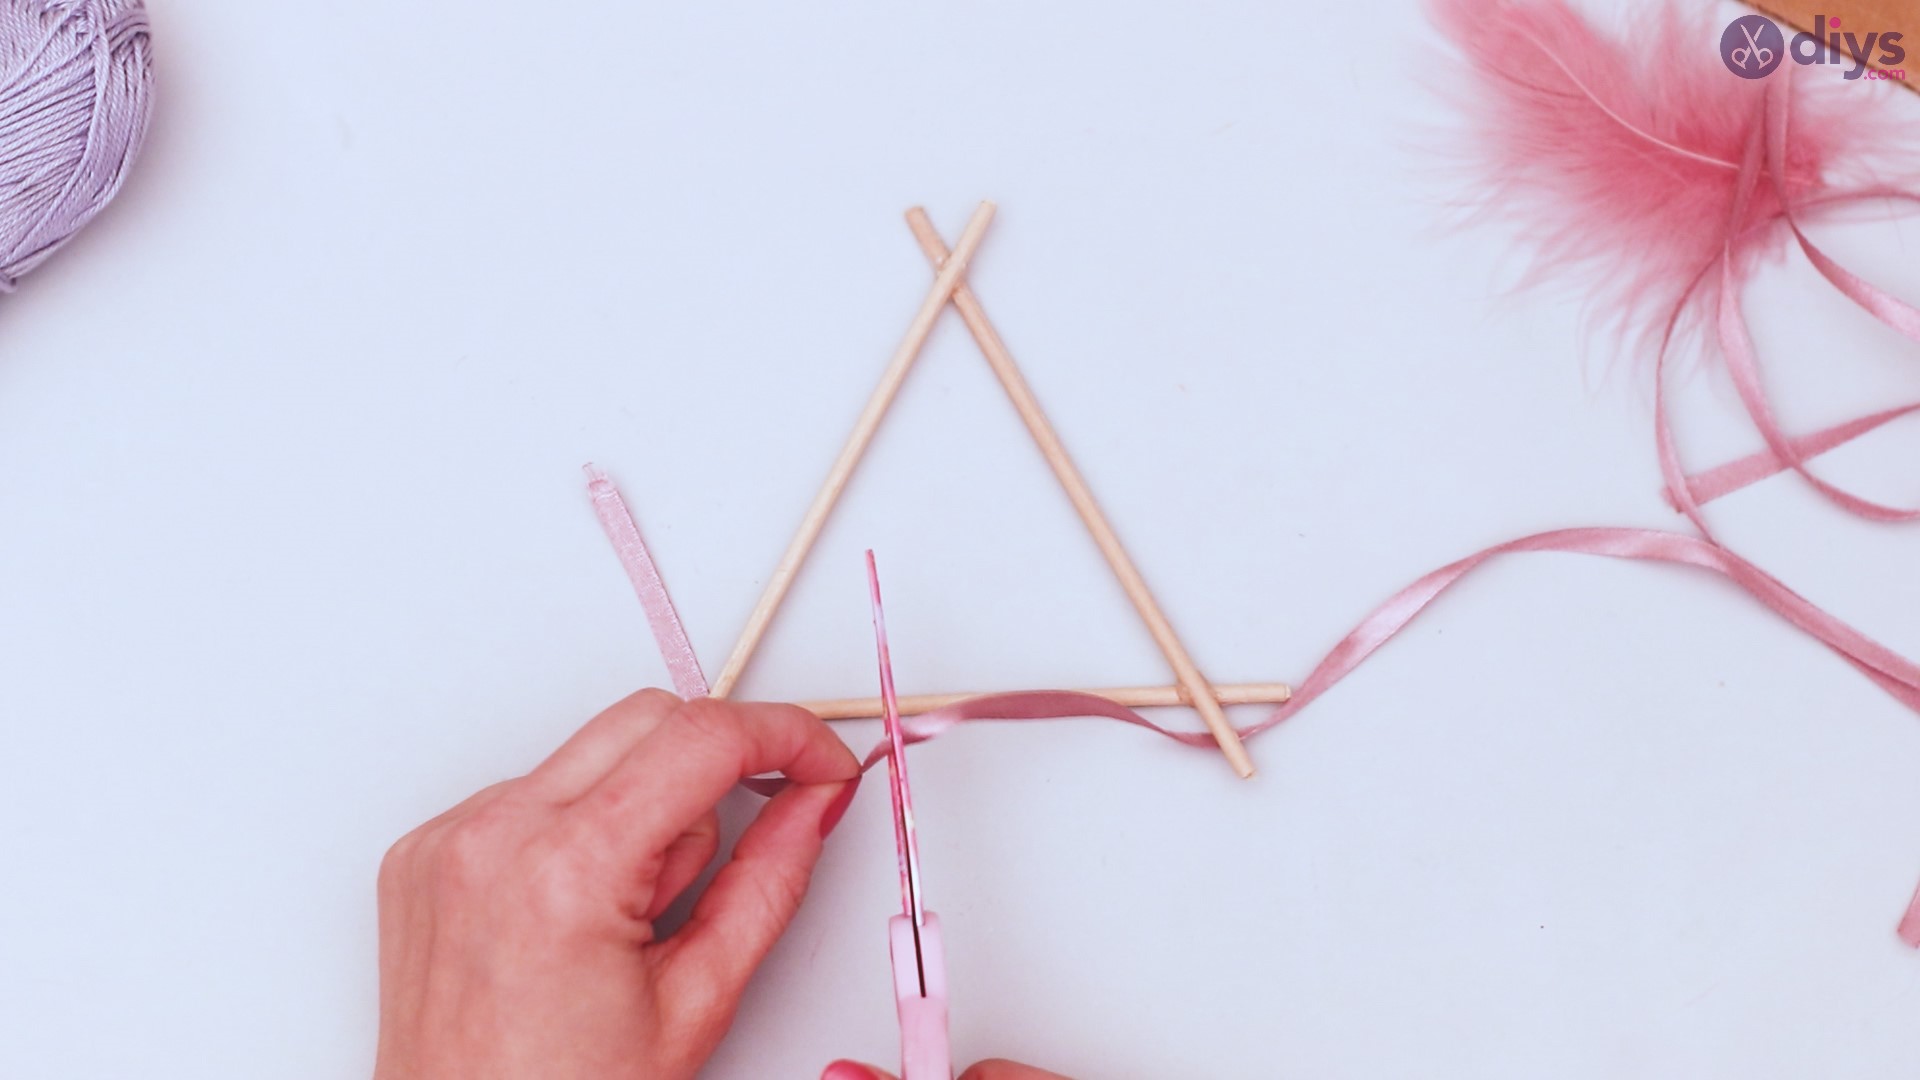
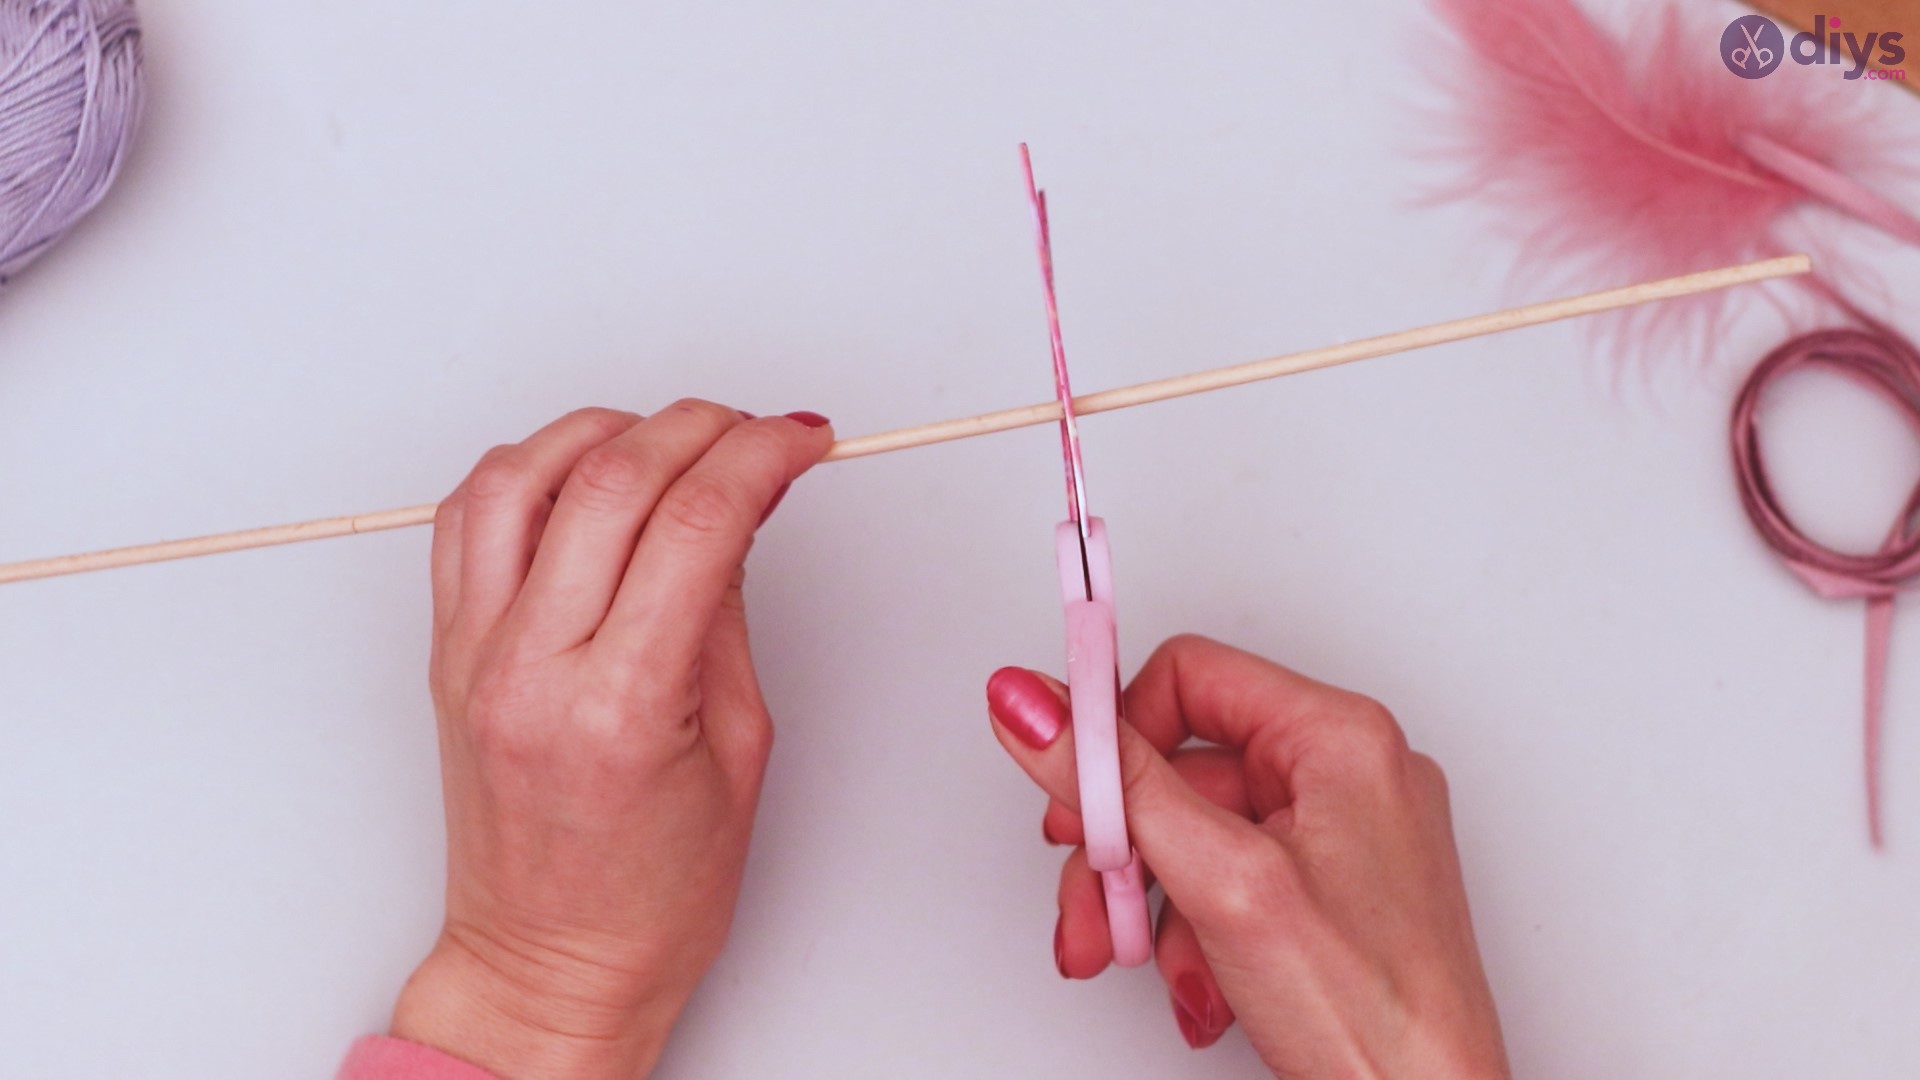
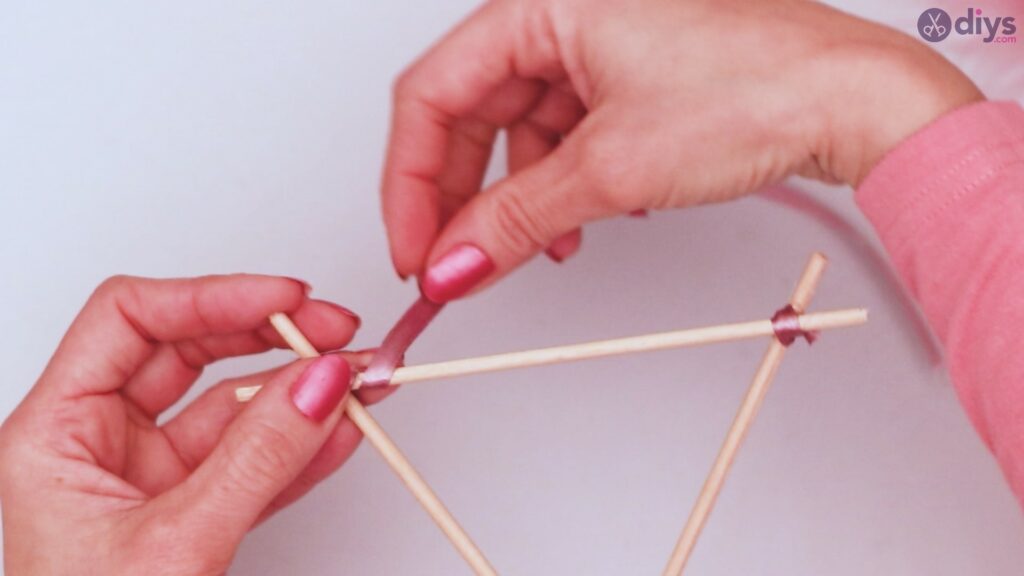
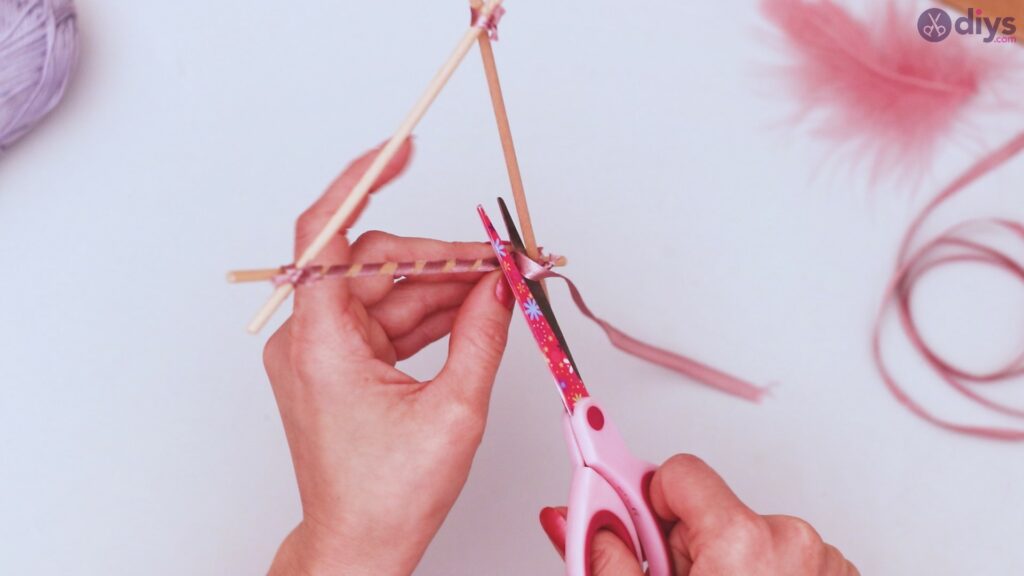
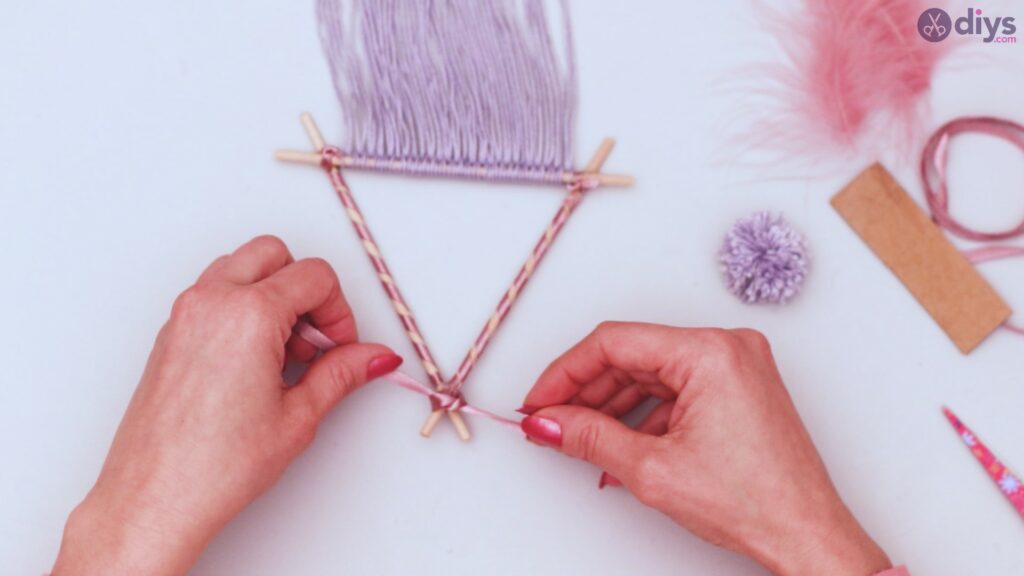
Cut a length of ribbon long enough to wrap a corner of your triangle and tie it off.
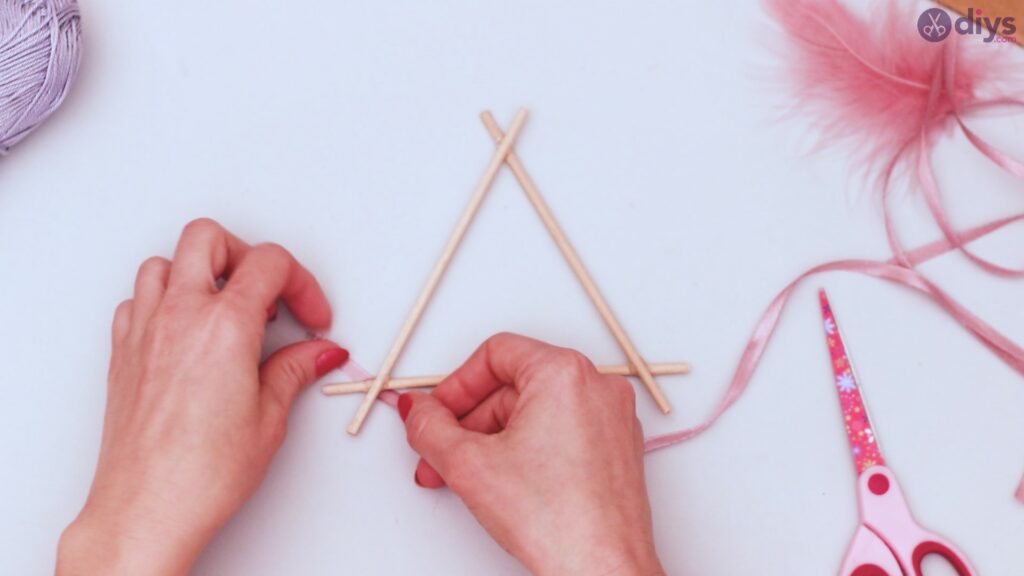

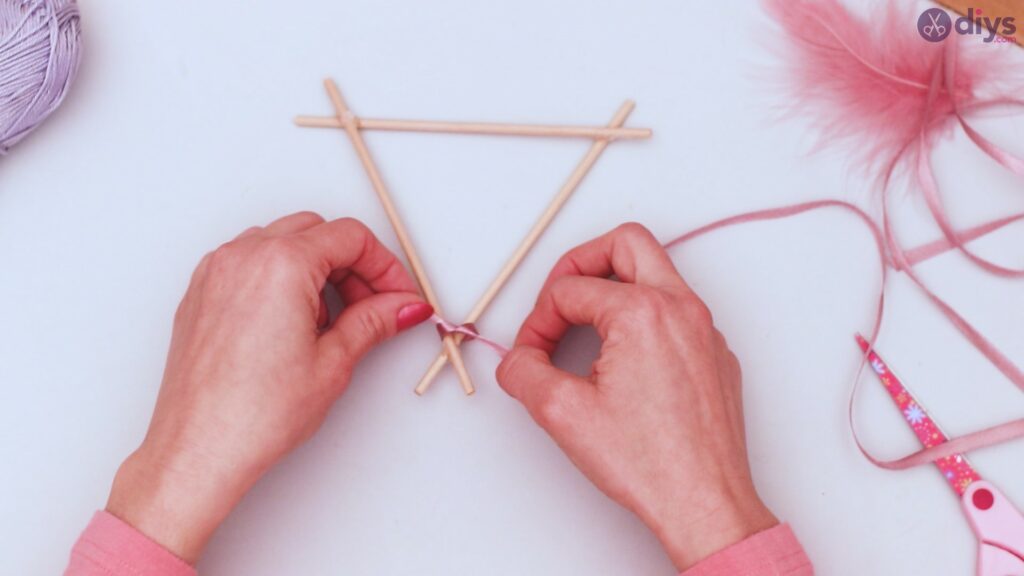
Trim the excess ribbon.

Repeat for all three corners of your triangle. This will hide any flaws in the connection, any excess glue, and help to secure the entire structure while also adding beauty.


Step 3: Wrap the wood
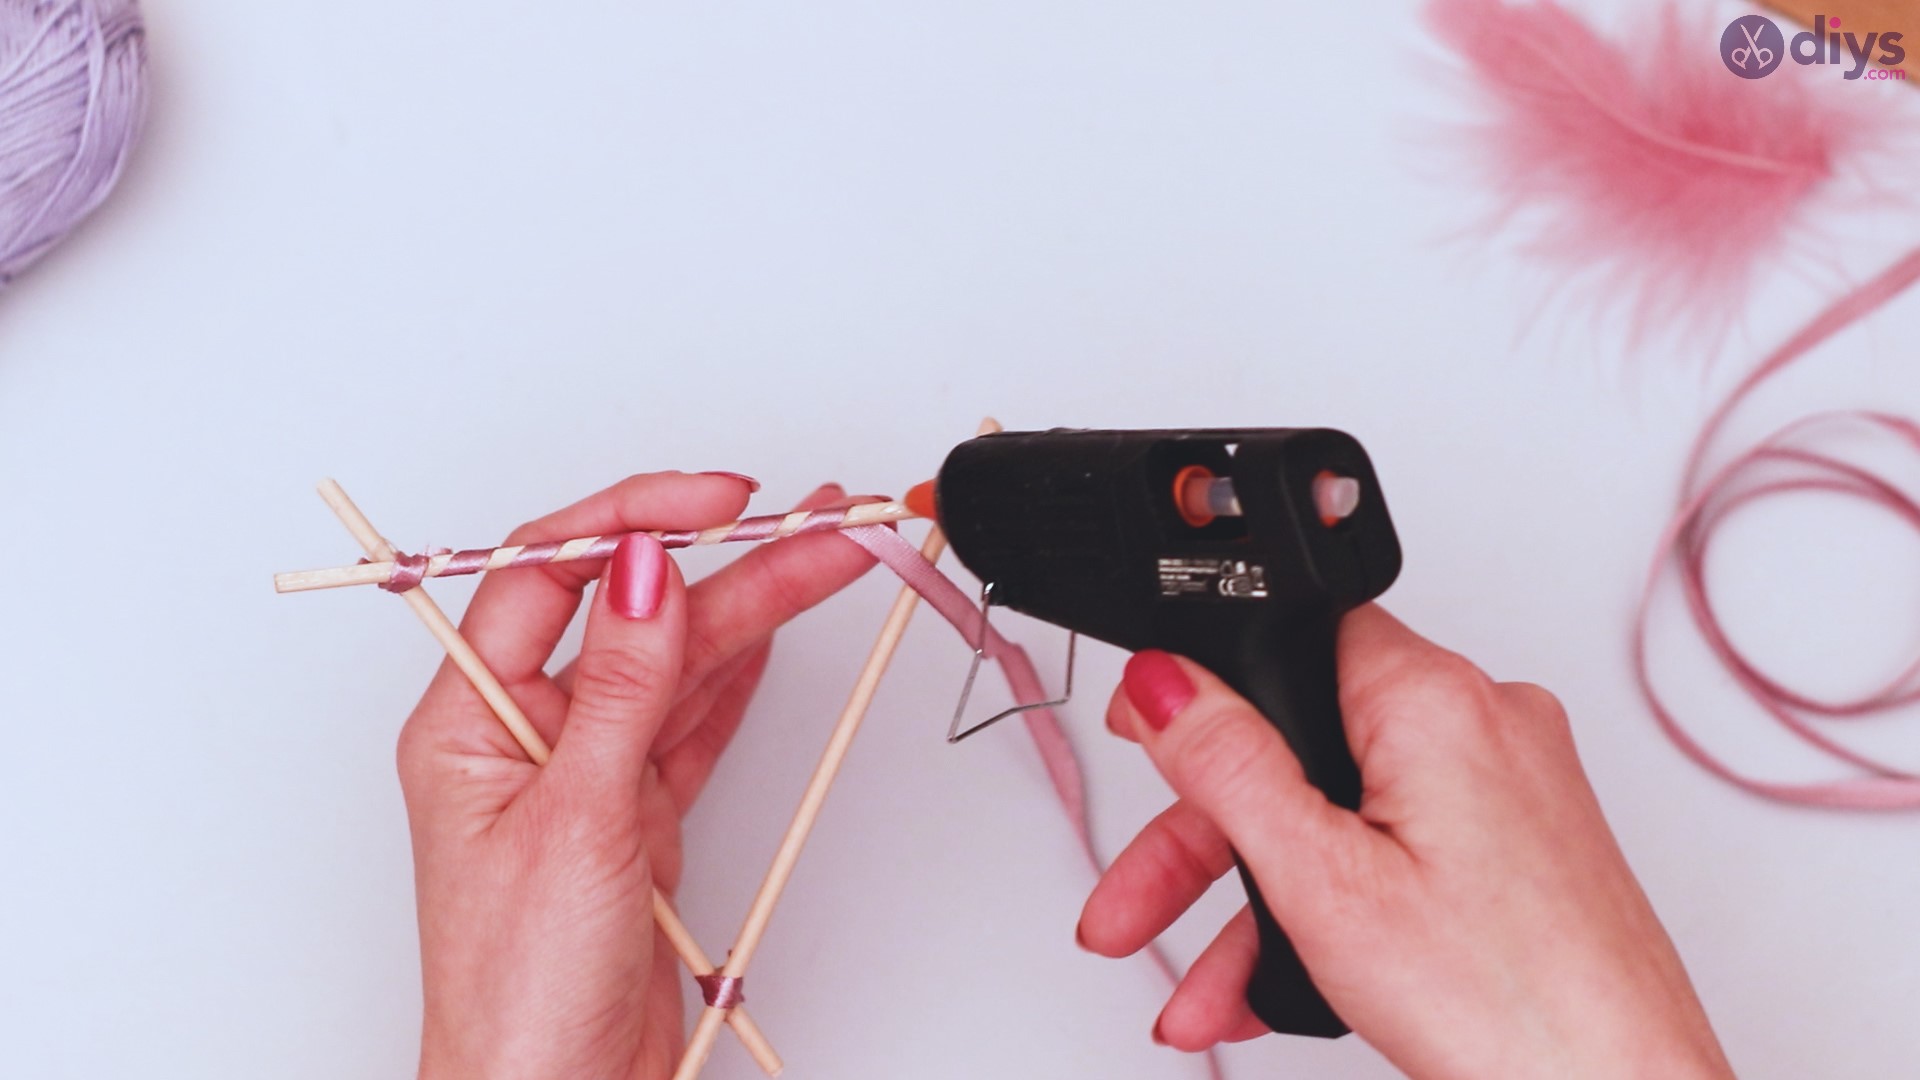
Choose one of the three sides of your triangle to start. Prepare your ribbon and, with your glue gun, place a dot of glue at one end of the stick, preferably on what you want to be the back side of your dreamcatcher.
Press the end of your ribbon to the dot of glue.
Wrap the ribbon around the stick like a barber shop pole, leaving some space in between to give a striped effect.

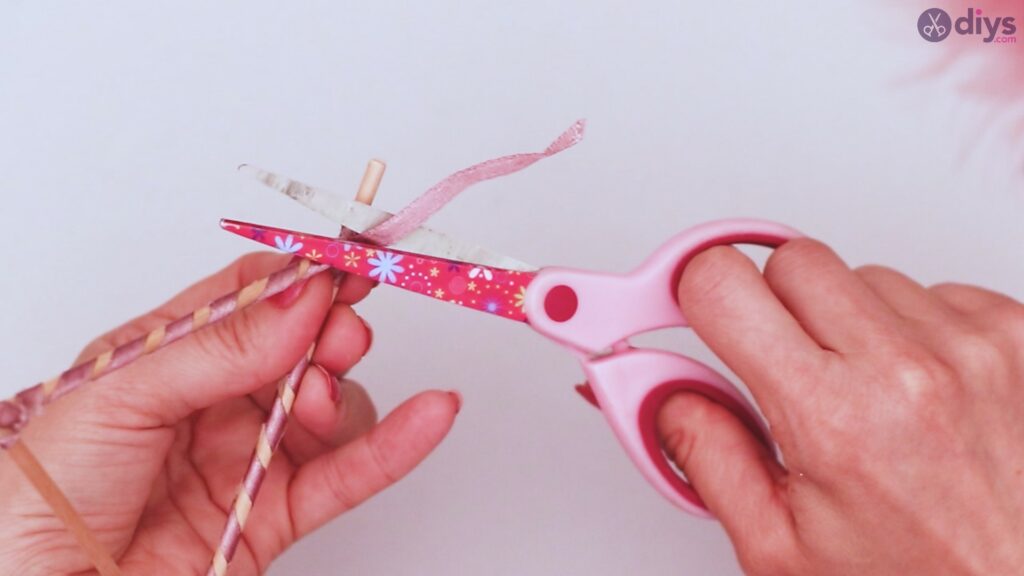
Place another dot of glue at the other end of the stick, and secure the ribbon to it.
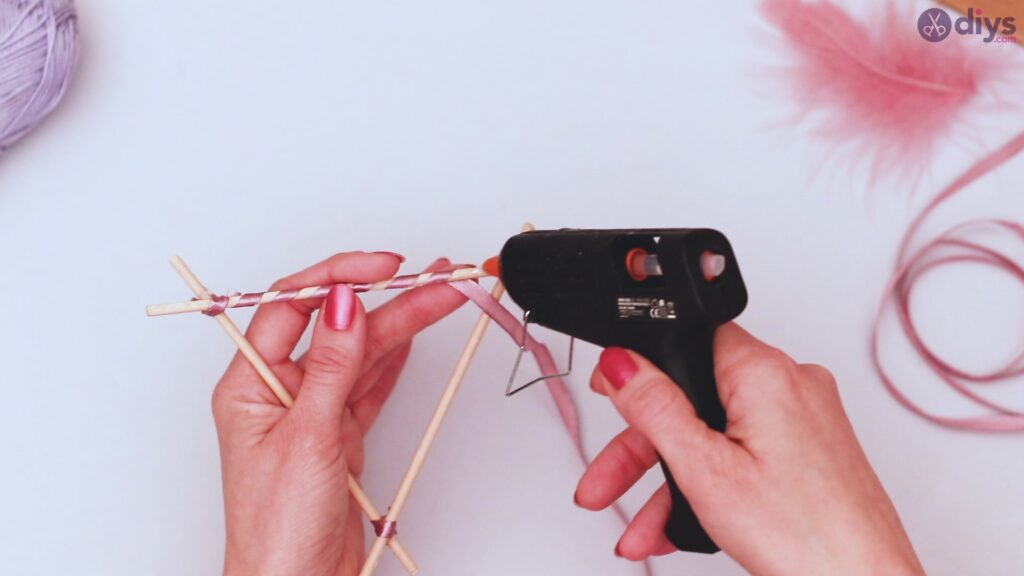
Trim the ribbon so there is no excess hanging off.
Repeat this process on one of the other two sides of your triangle, so that you have two-thirds of the framework for the dreamcatcher wrapped with ribbon.
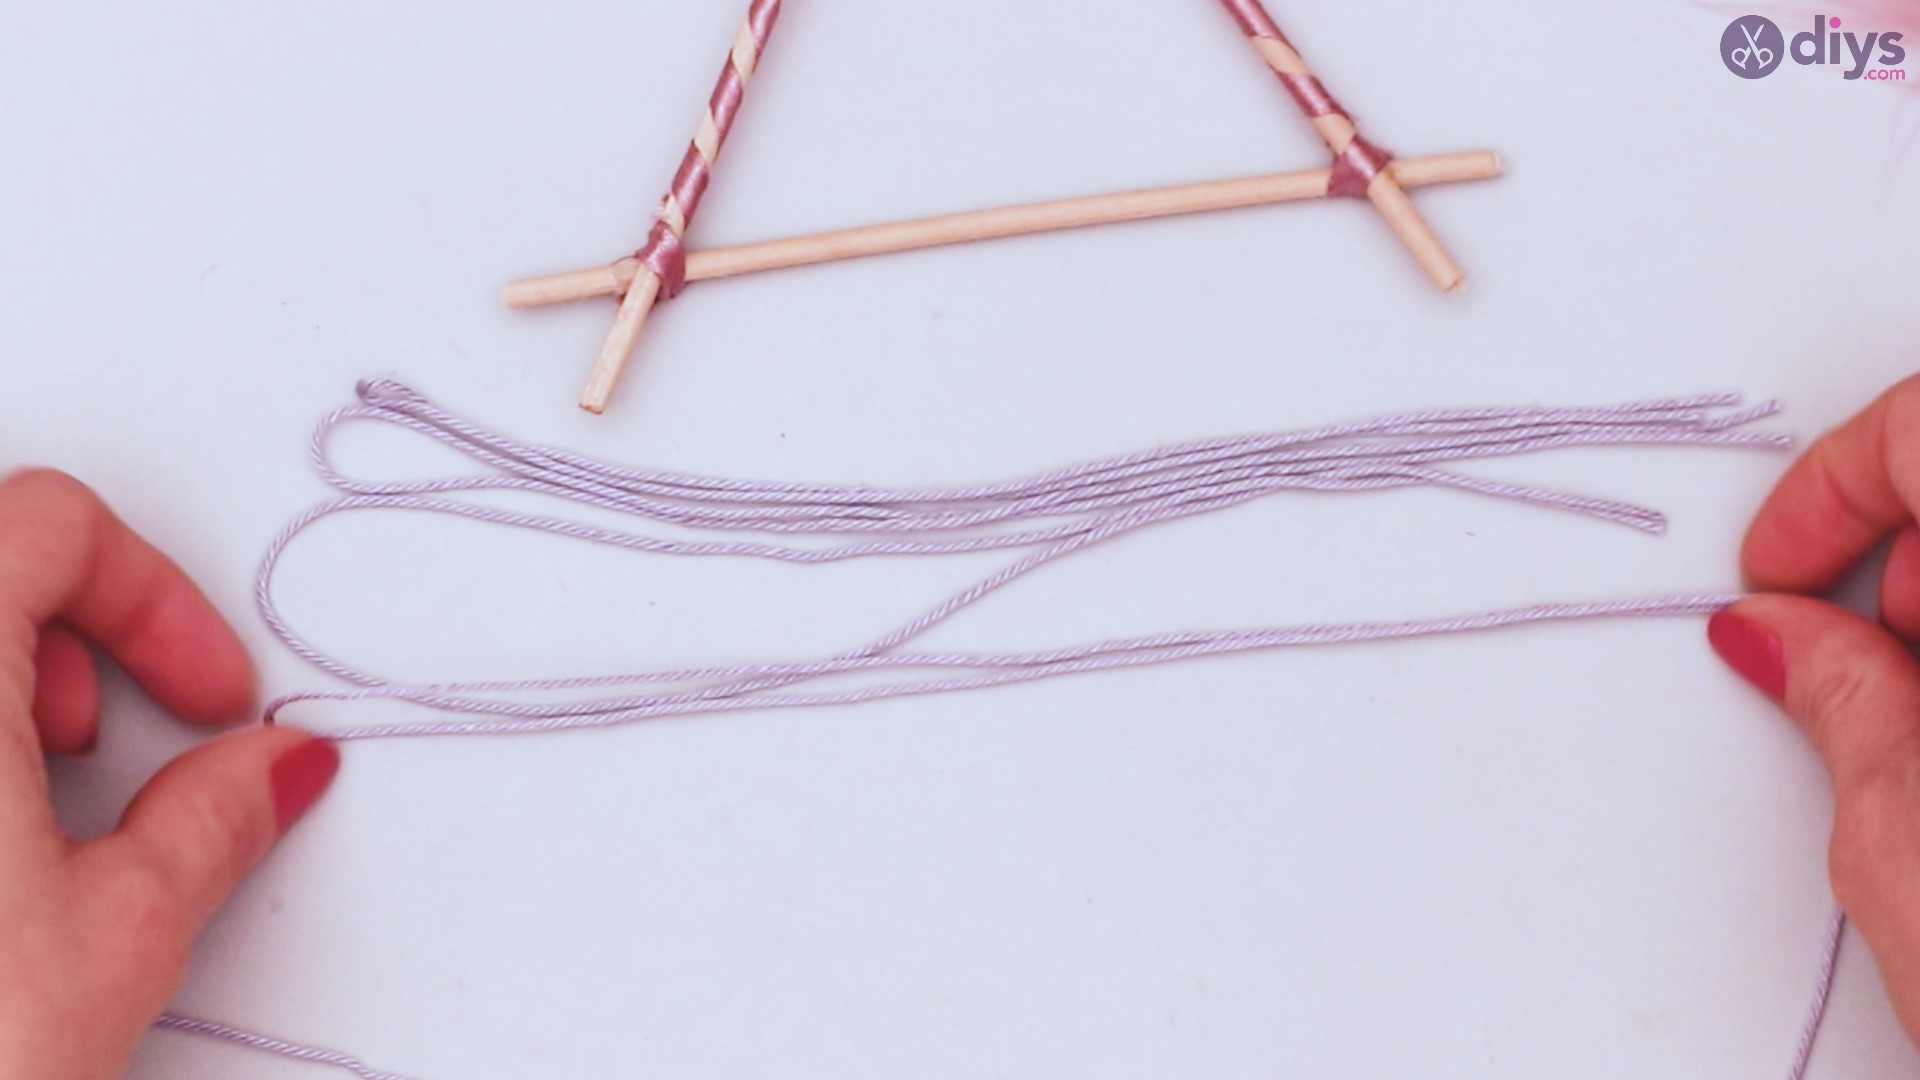
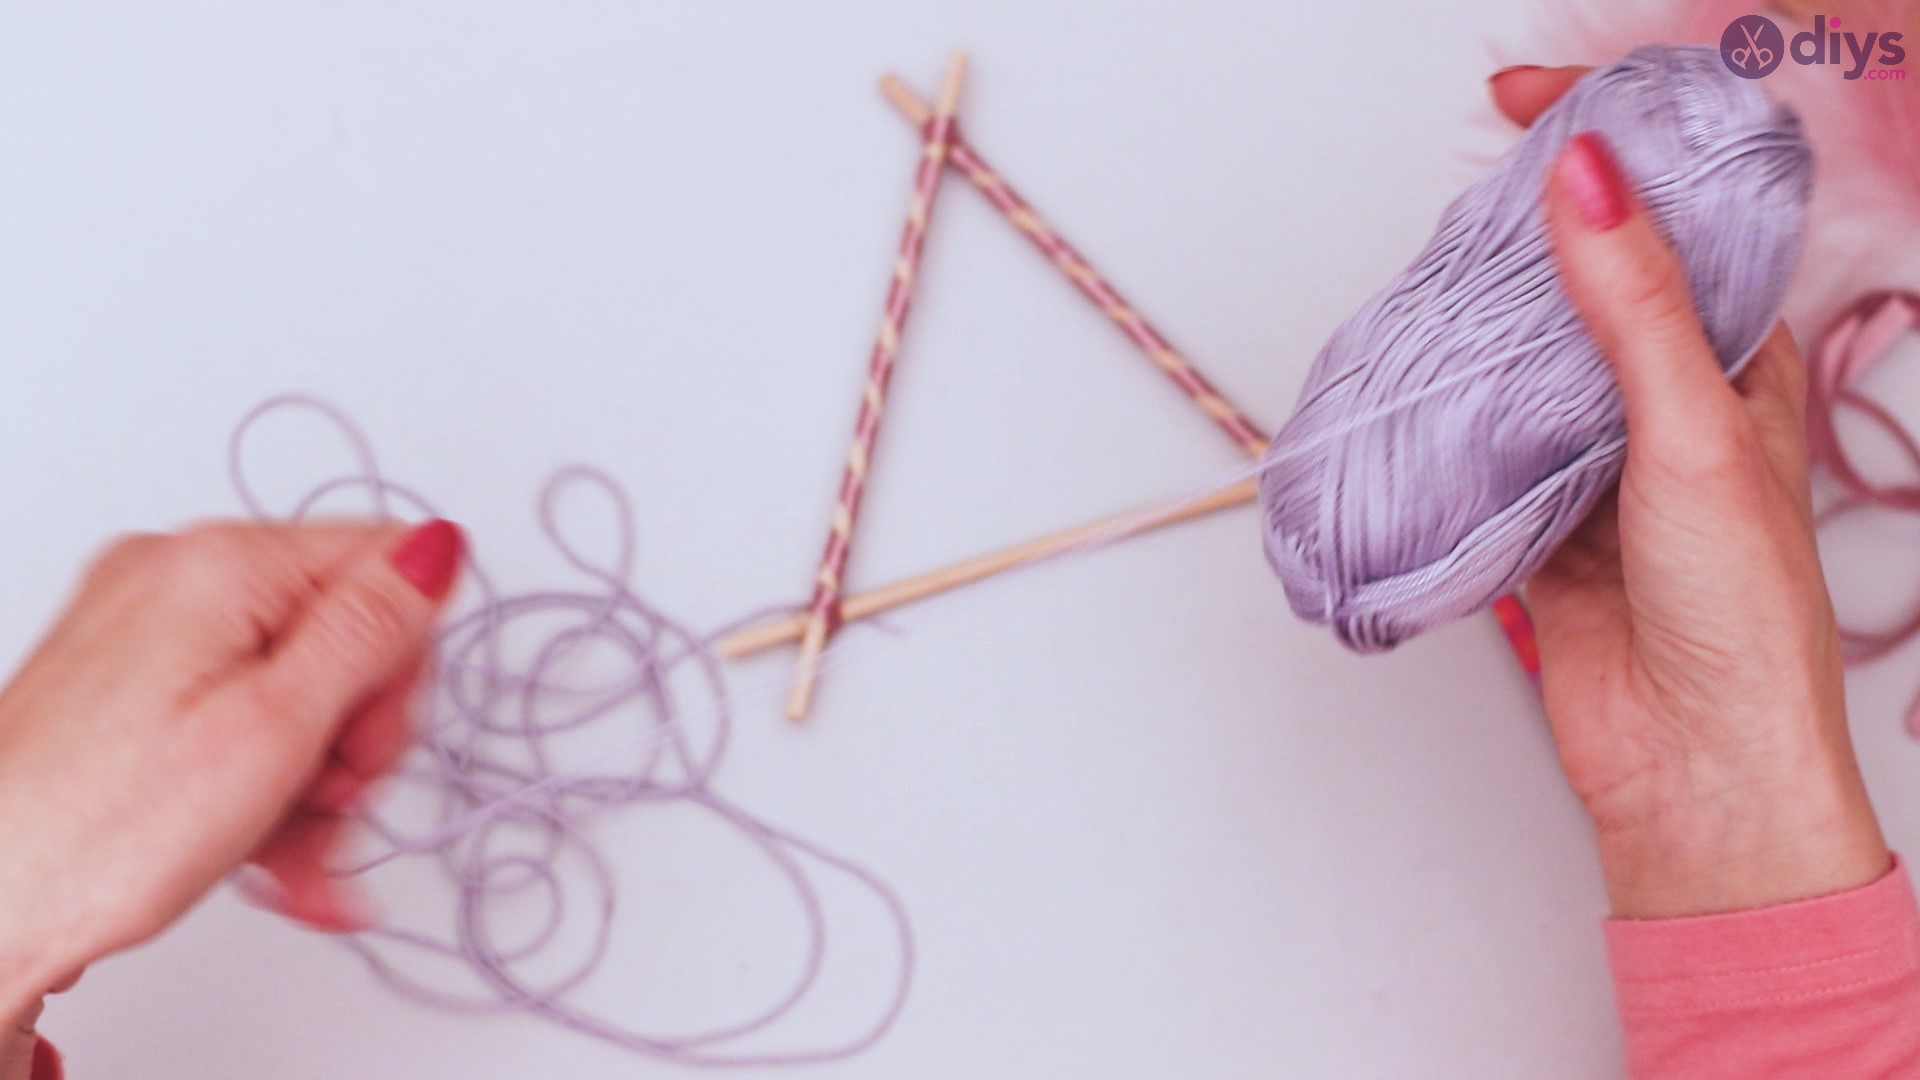
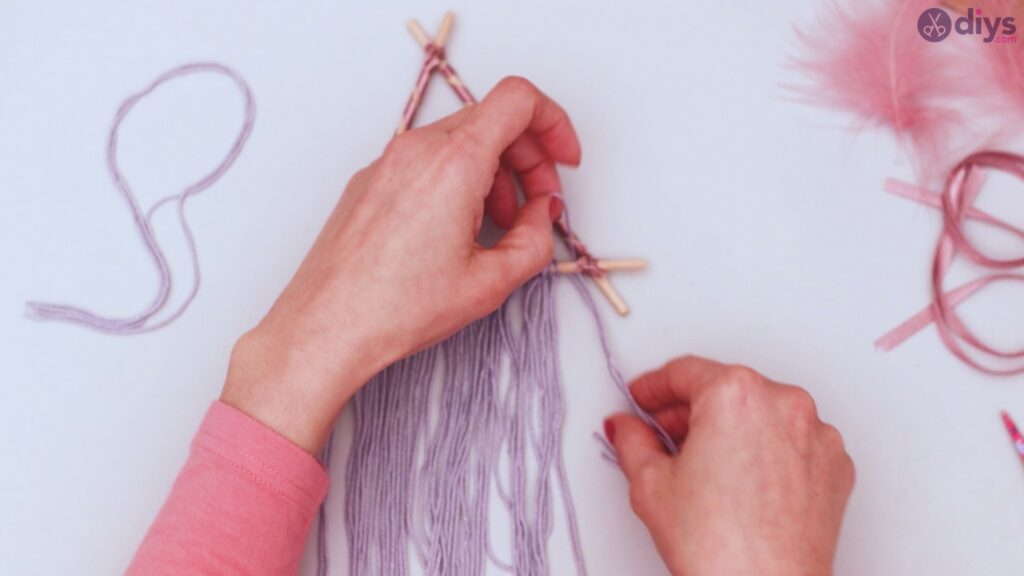
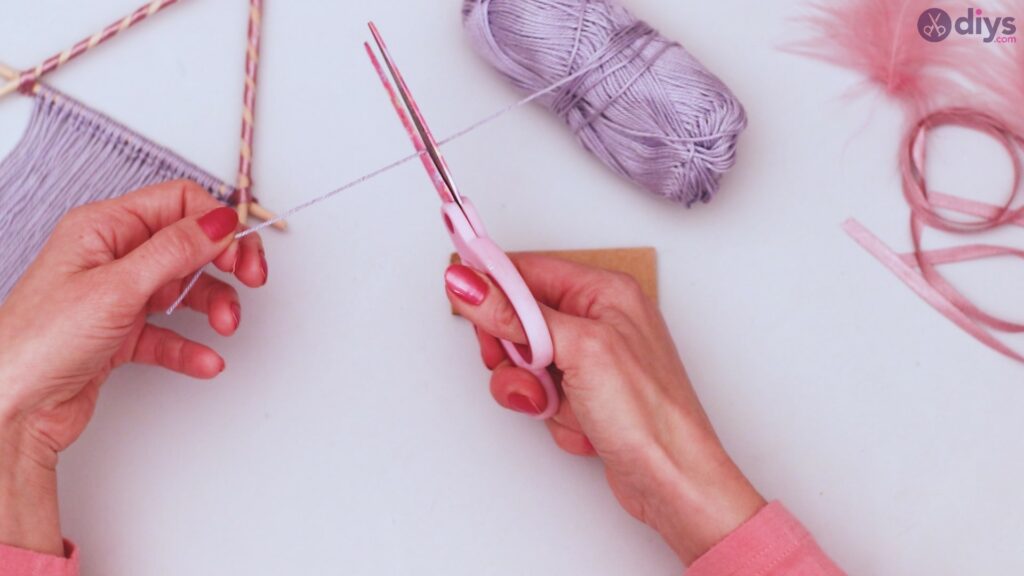
Step 4: Cut your yarn
The lengths of yarn you cut are up to you. I would recommend cutting a length approximately three times the length of one side of your triangle.
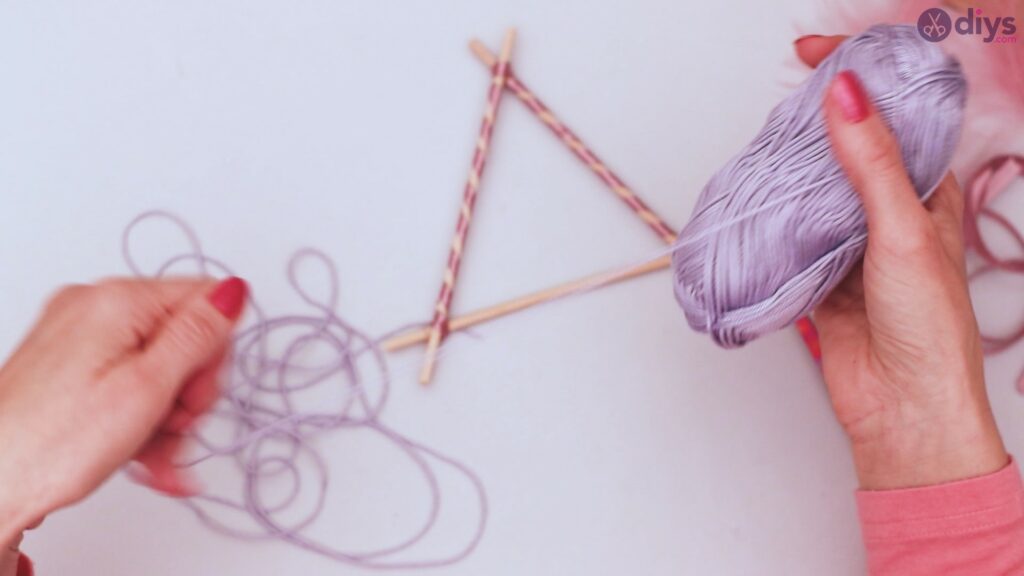

Depending on the size of your dreamcatcher, you may need several dozen lengths of yarn. As you cut them, fold them in half.

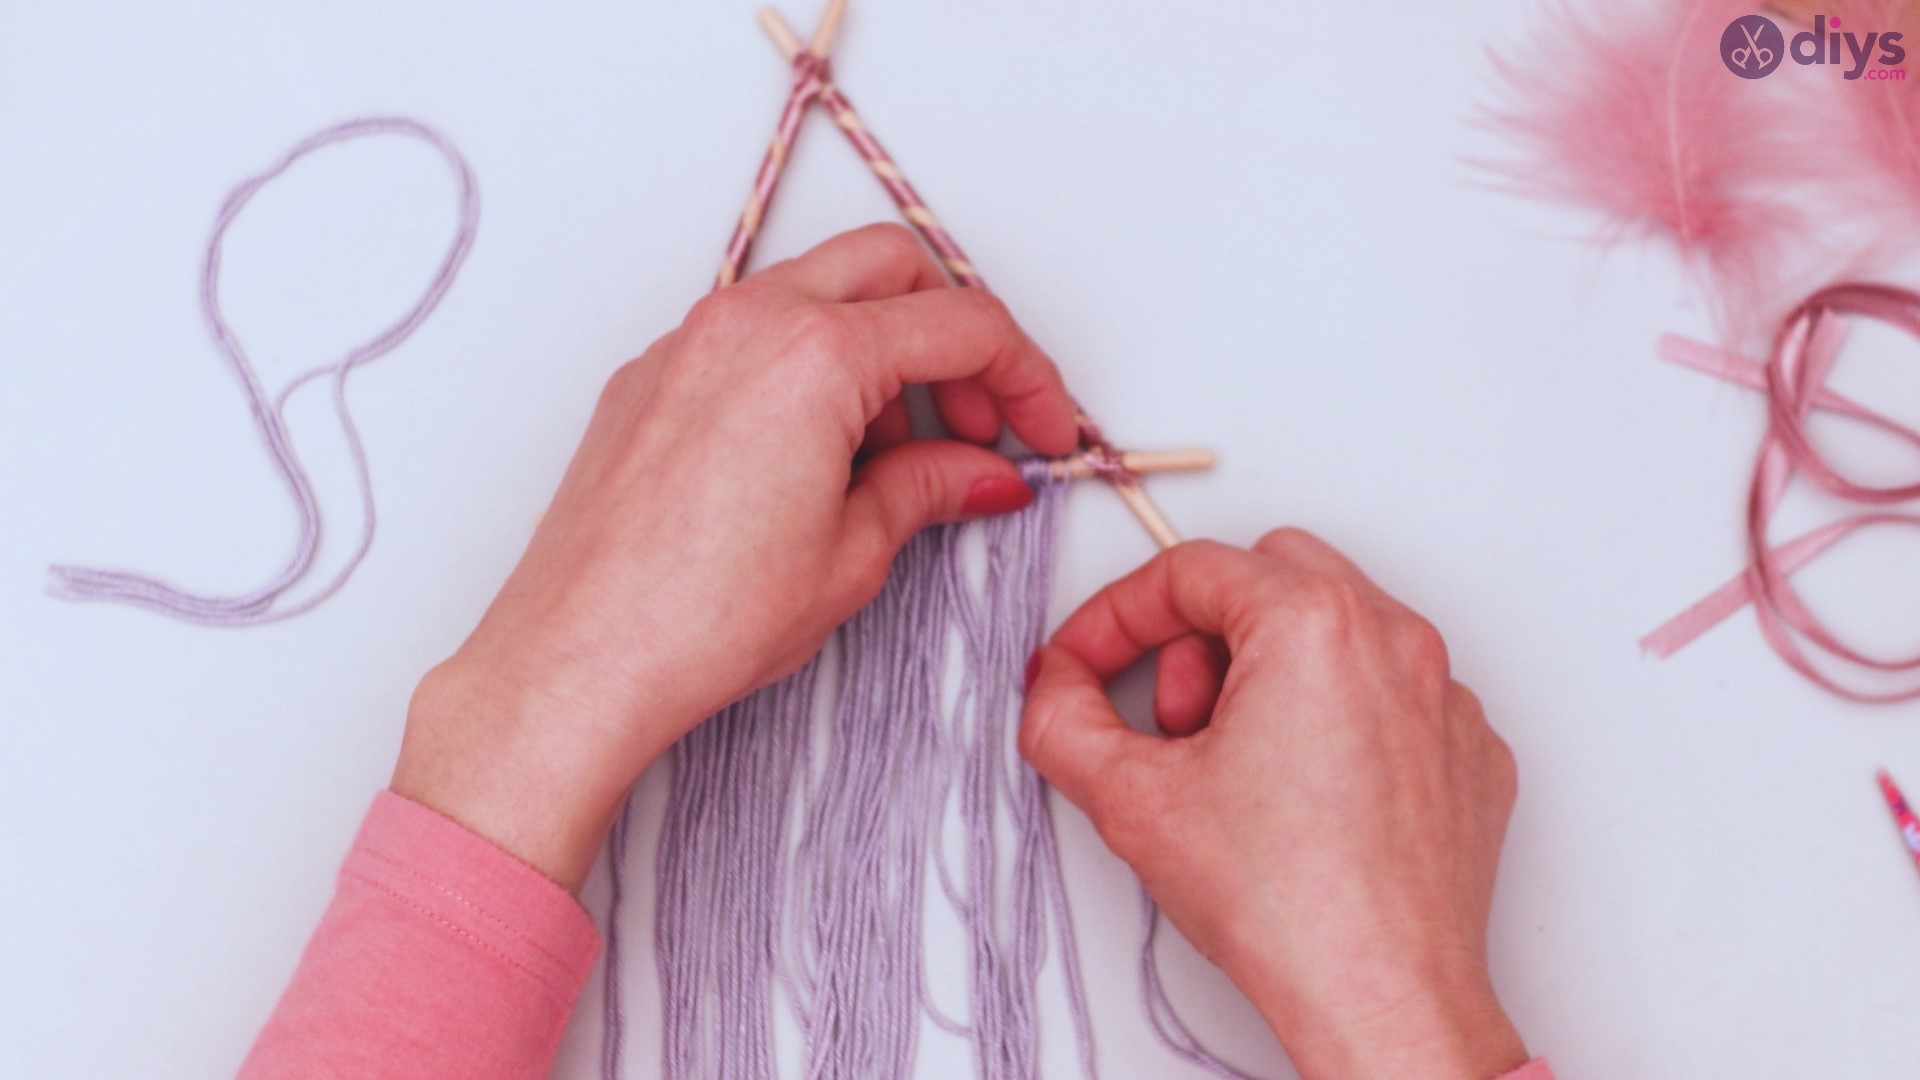
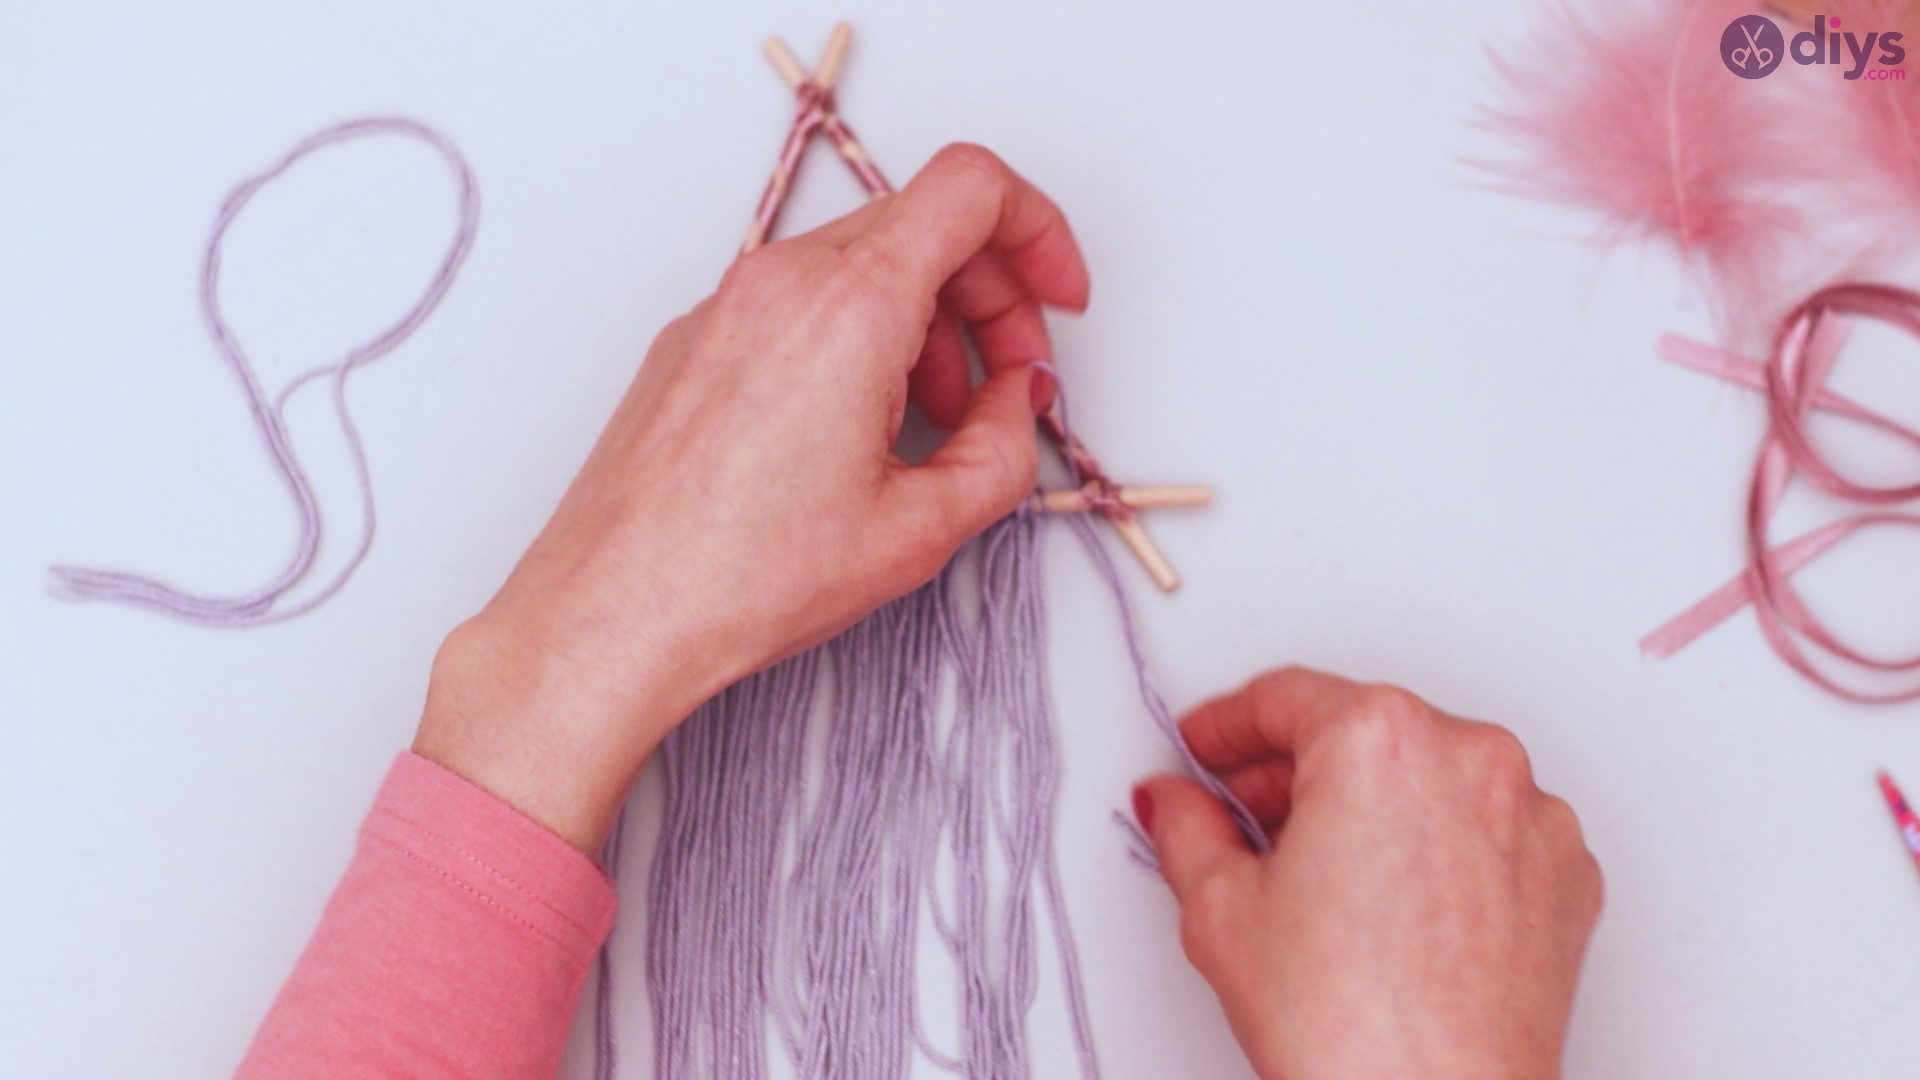
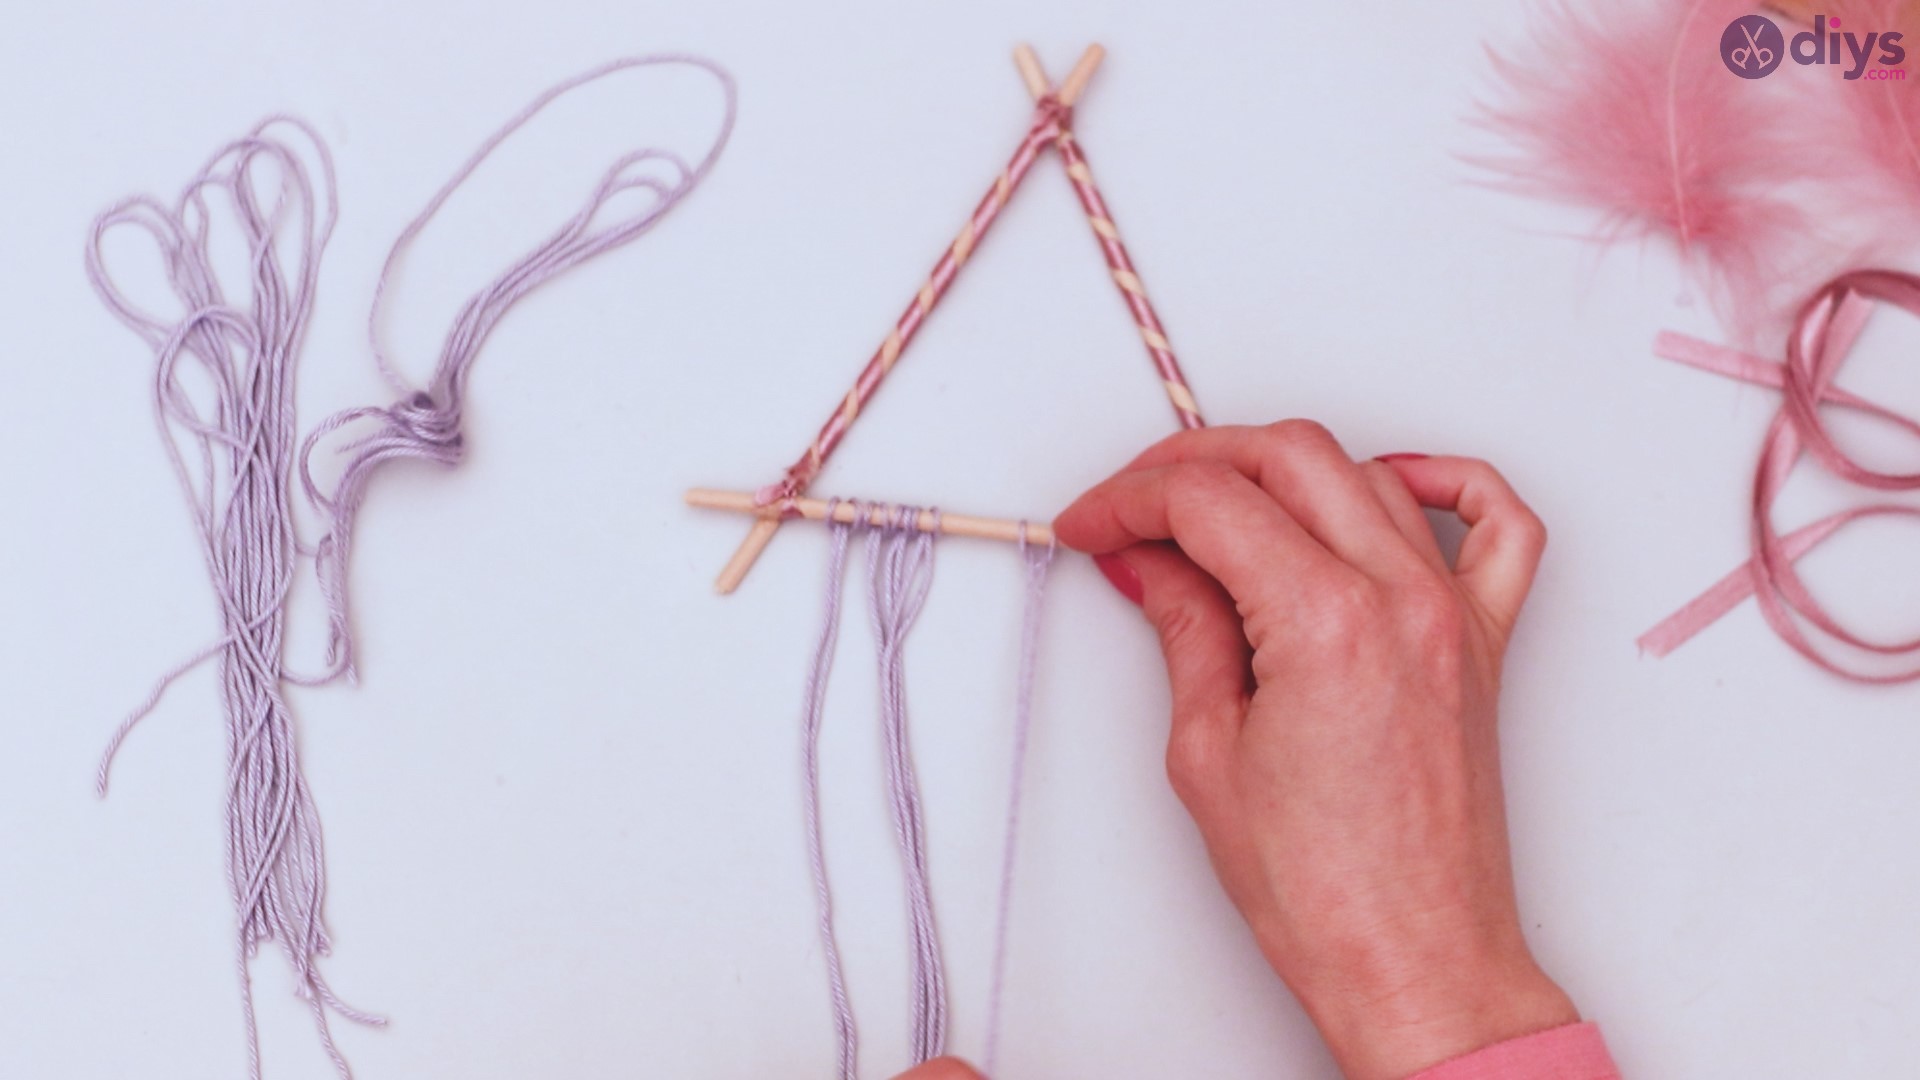
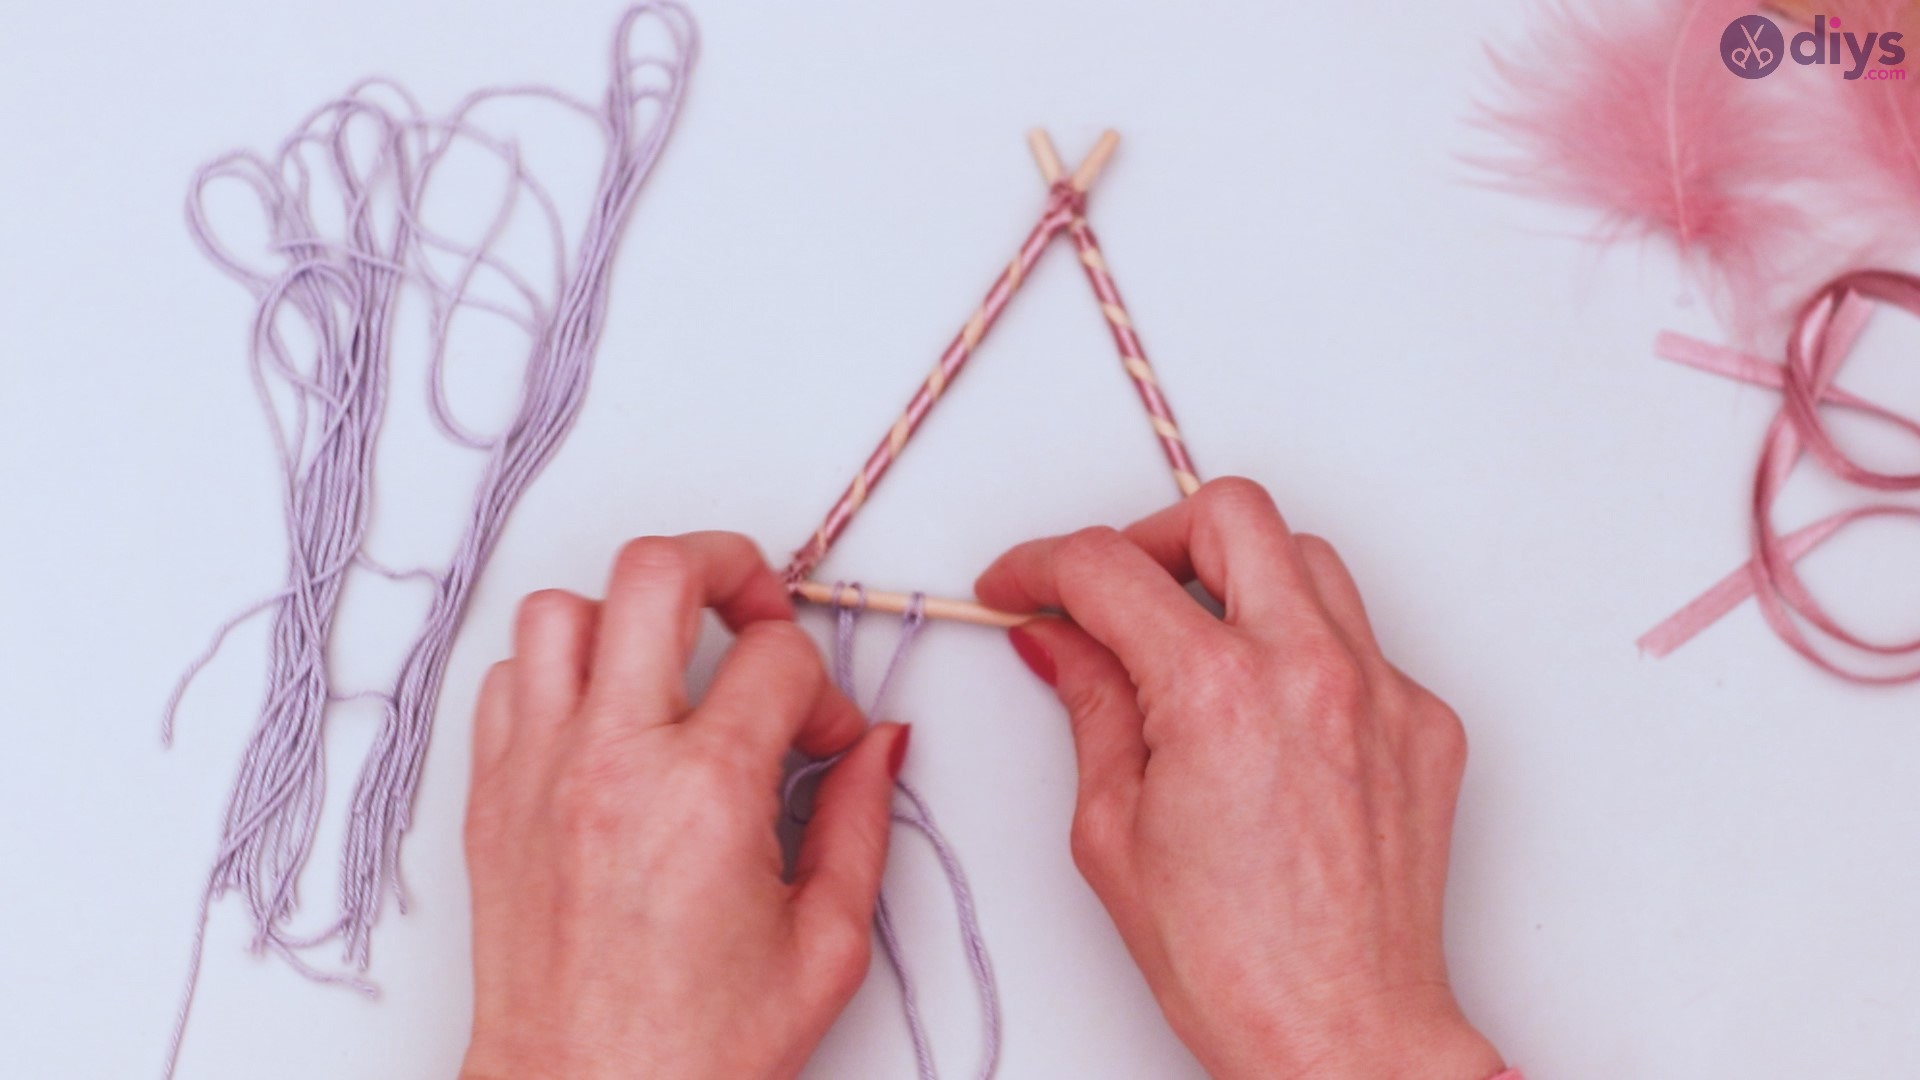
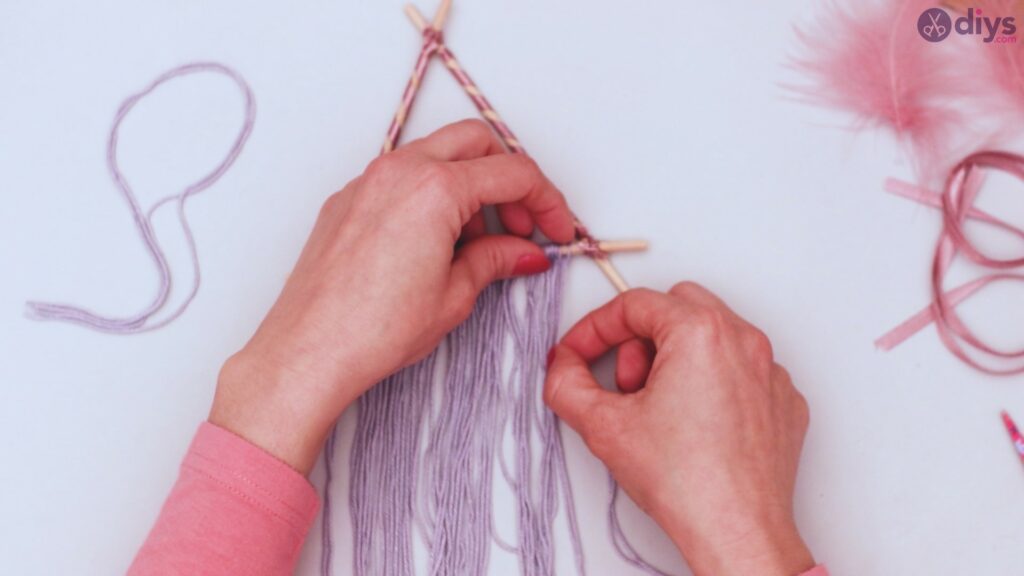
Step 5: Attach to your dreamcatcher
Start with a single length of yarn. Wrap the looping end around the one side of your triangle that isn’t wrapped in ribbon. Bring the ends of the yarn up and feed them through the loop. Pull on the ends to tighten the yarn around the wooden stick.

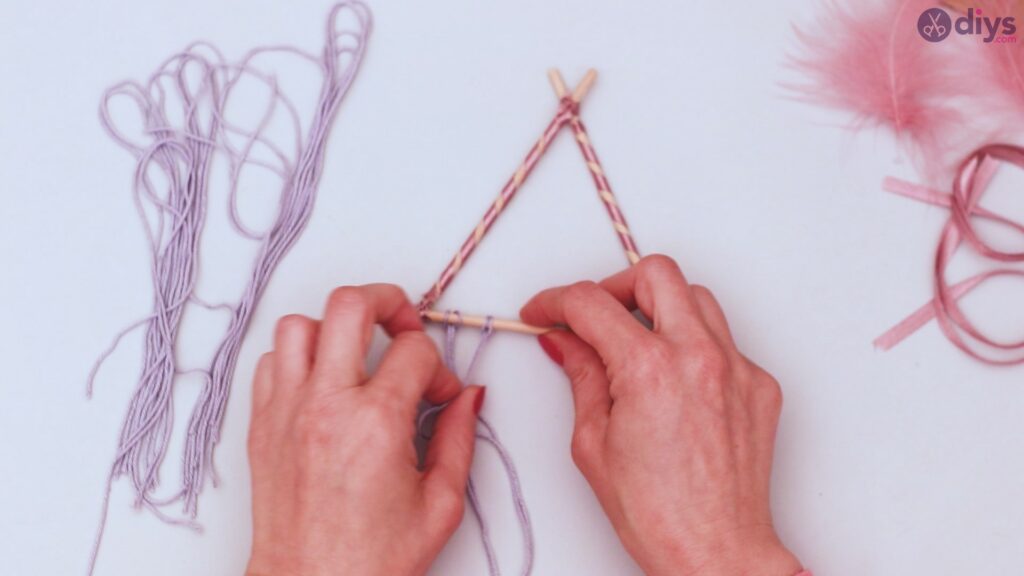
Repeat this process with all of your yarn cuttings. You should have the entire side of your triangle filled with yarn when you’re done.


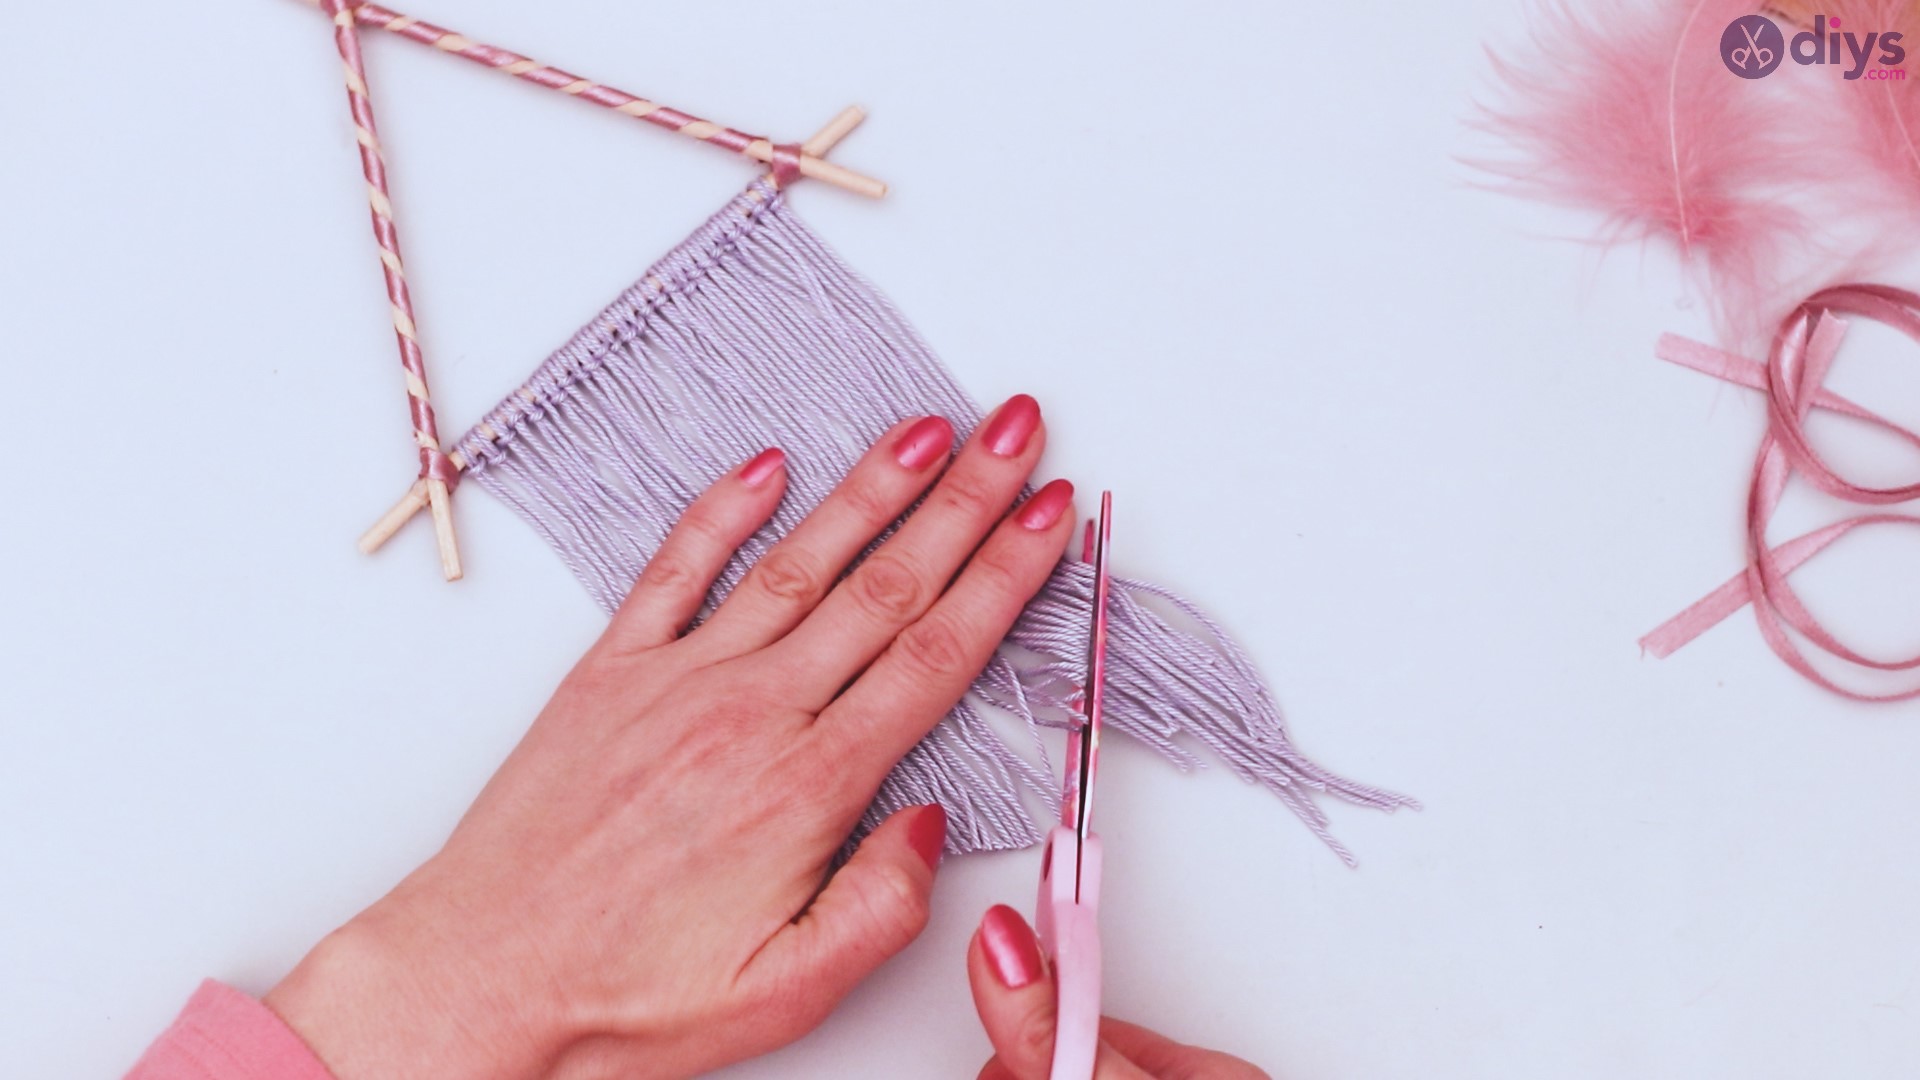
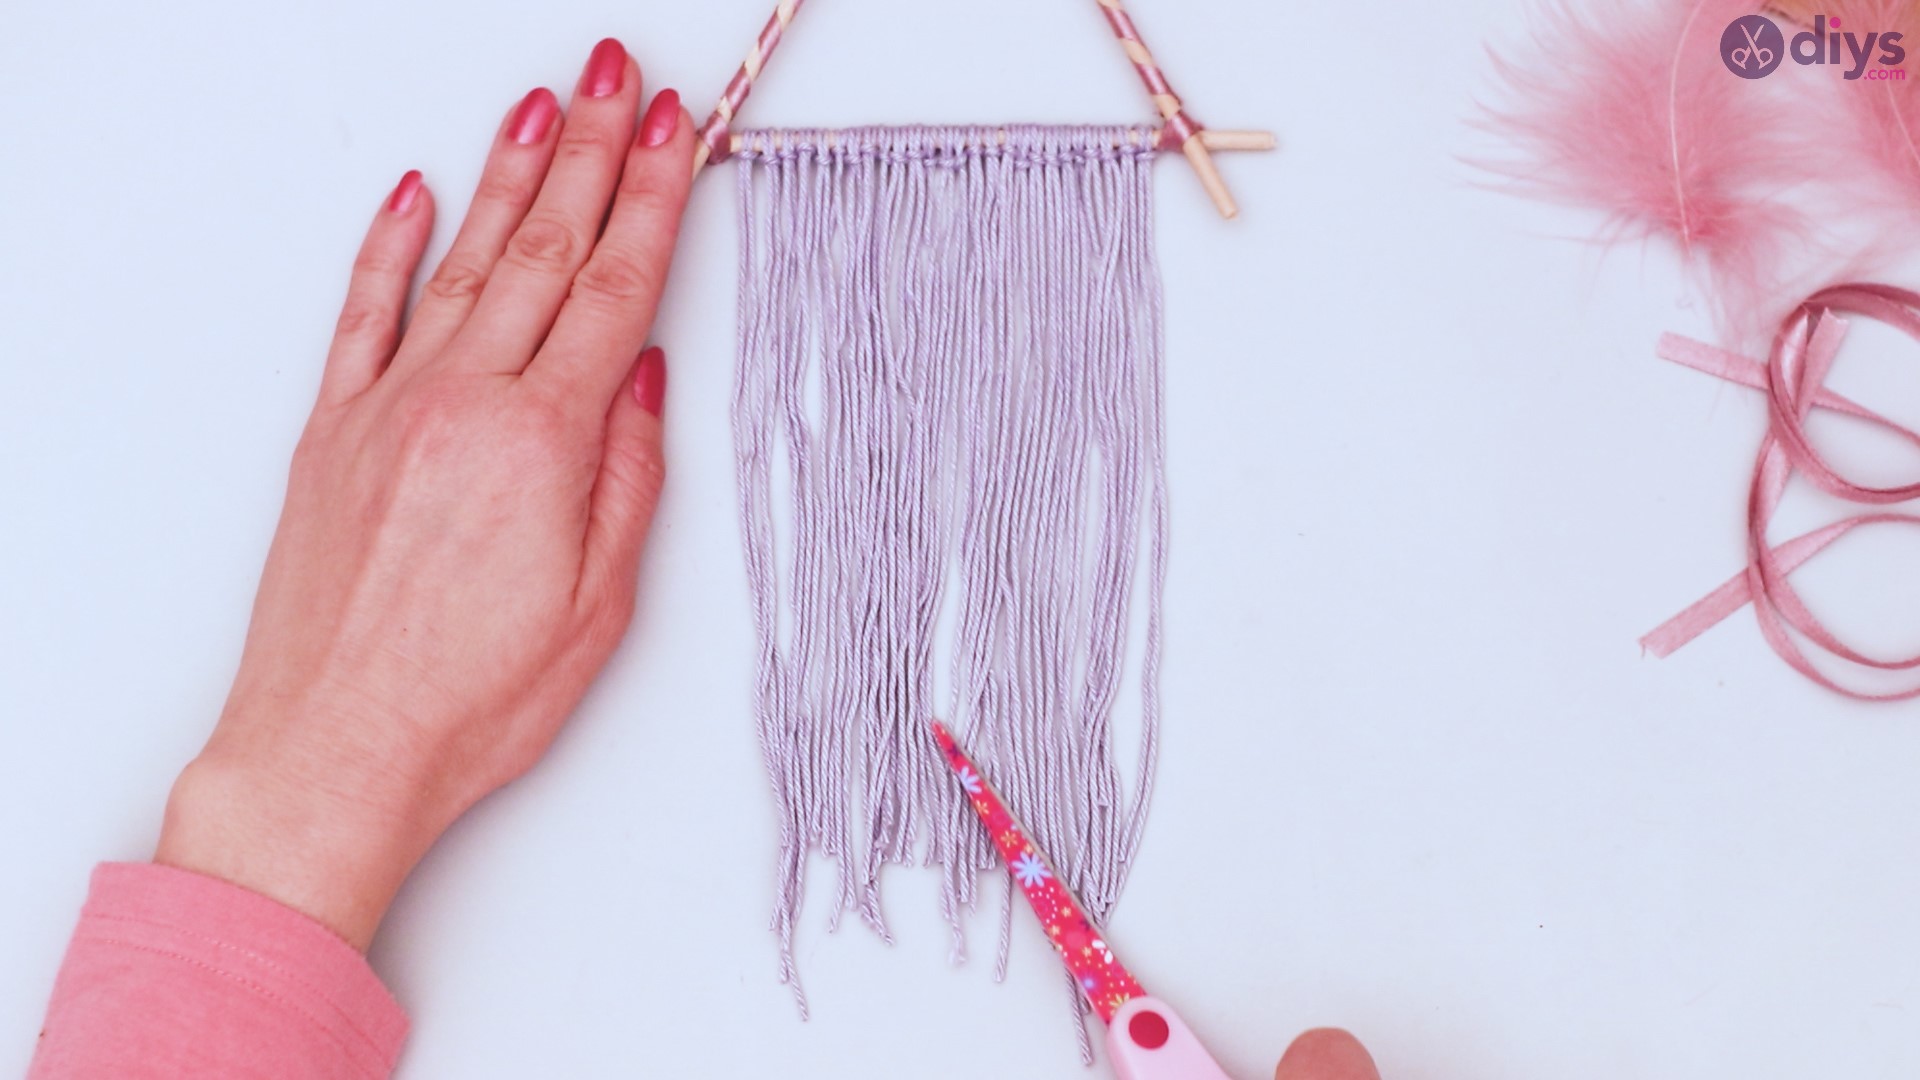
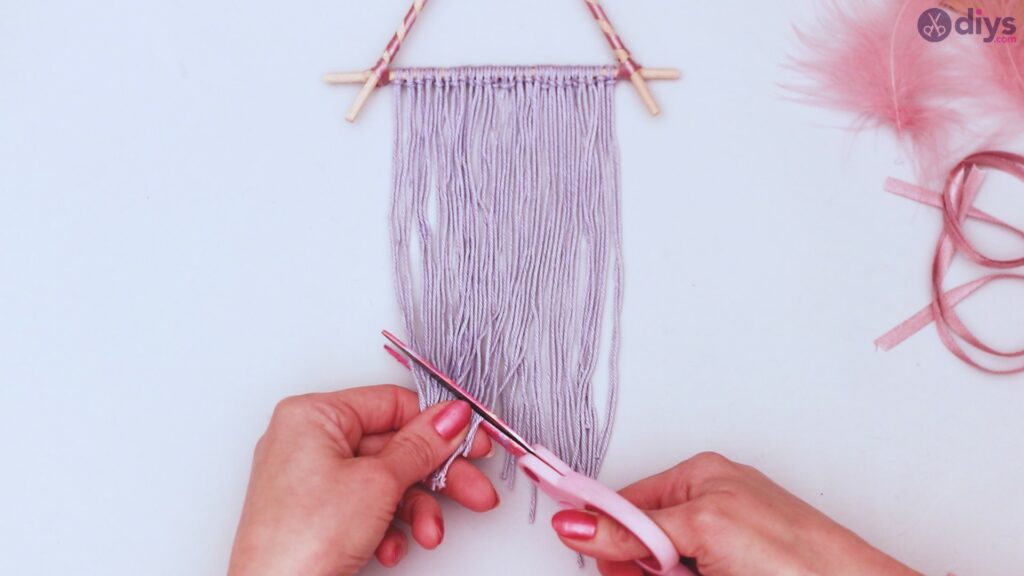
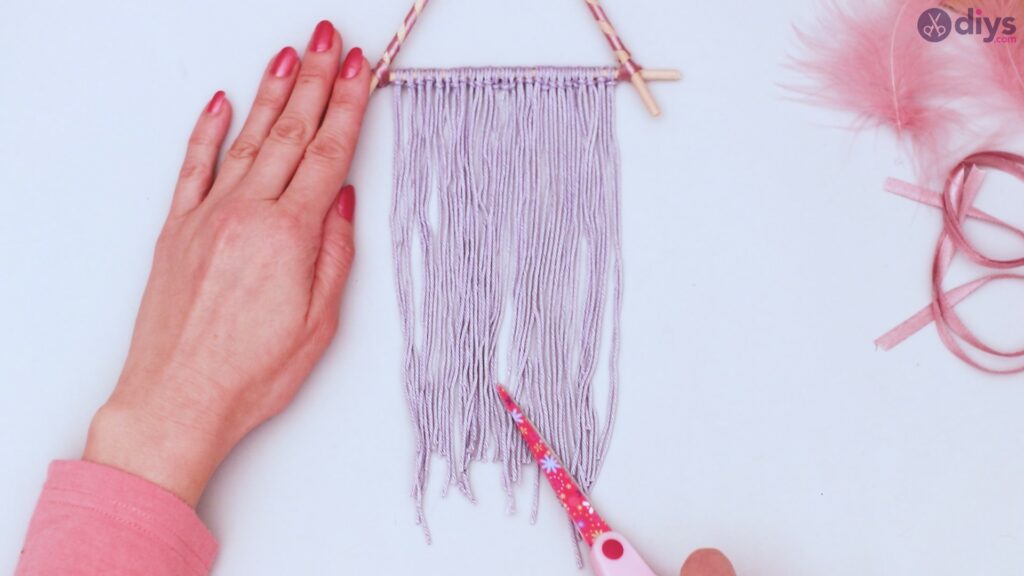
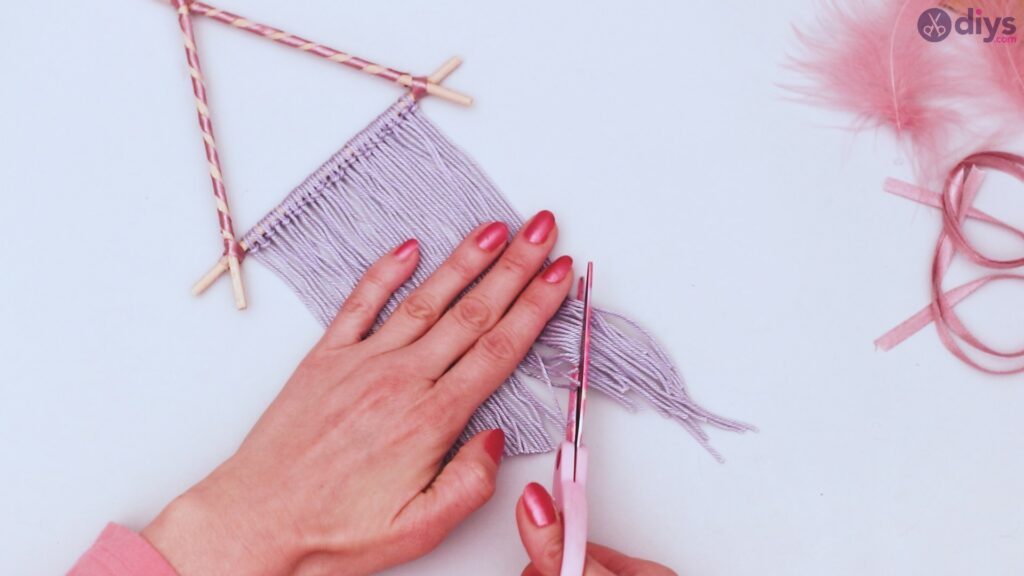
Step 6: Trimming
When you’re satisfied with the amount of yarn you’ve added to the dreamcatcher, use your scissors to trim the yarn. You can choose to make it perfectly even, or you can make it jagged or wavy at the ends. This is a personal choice of design, where you can show off your unique creativity.
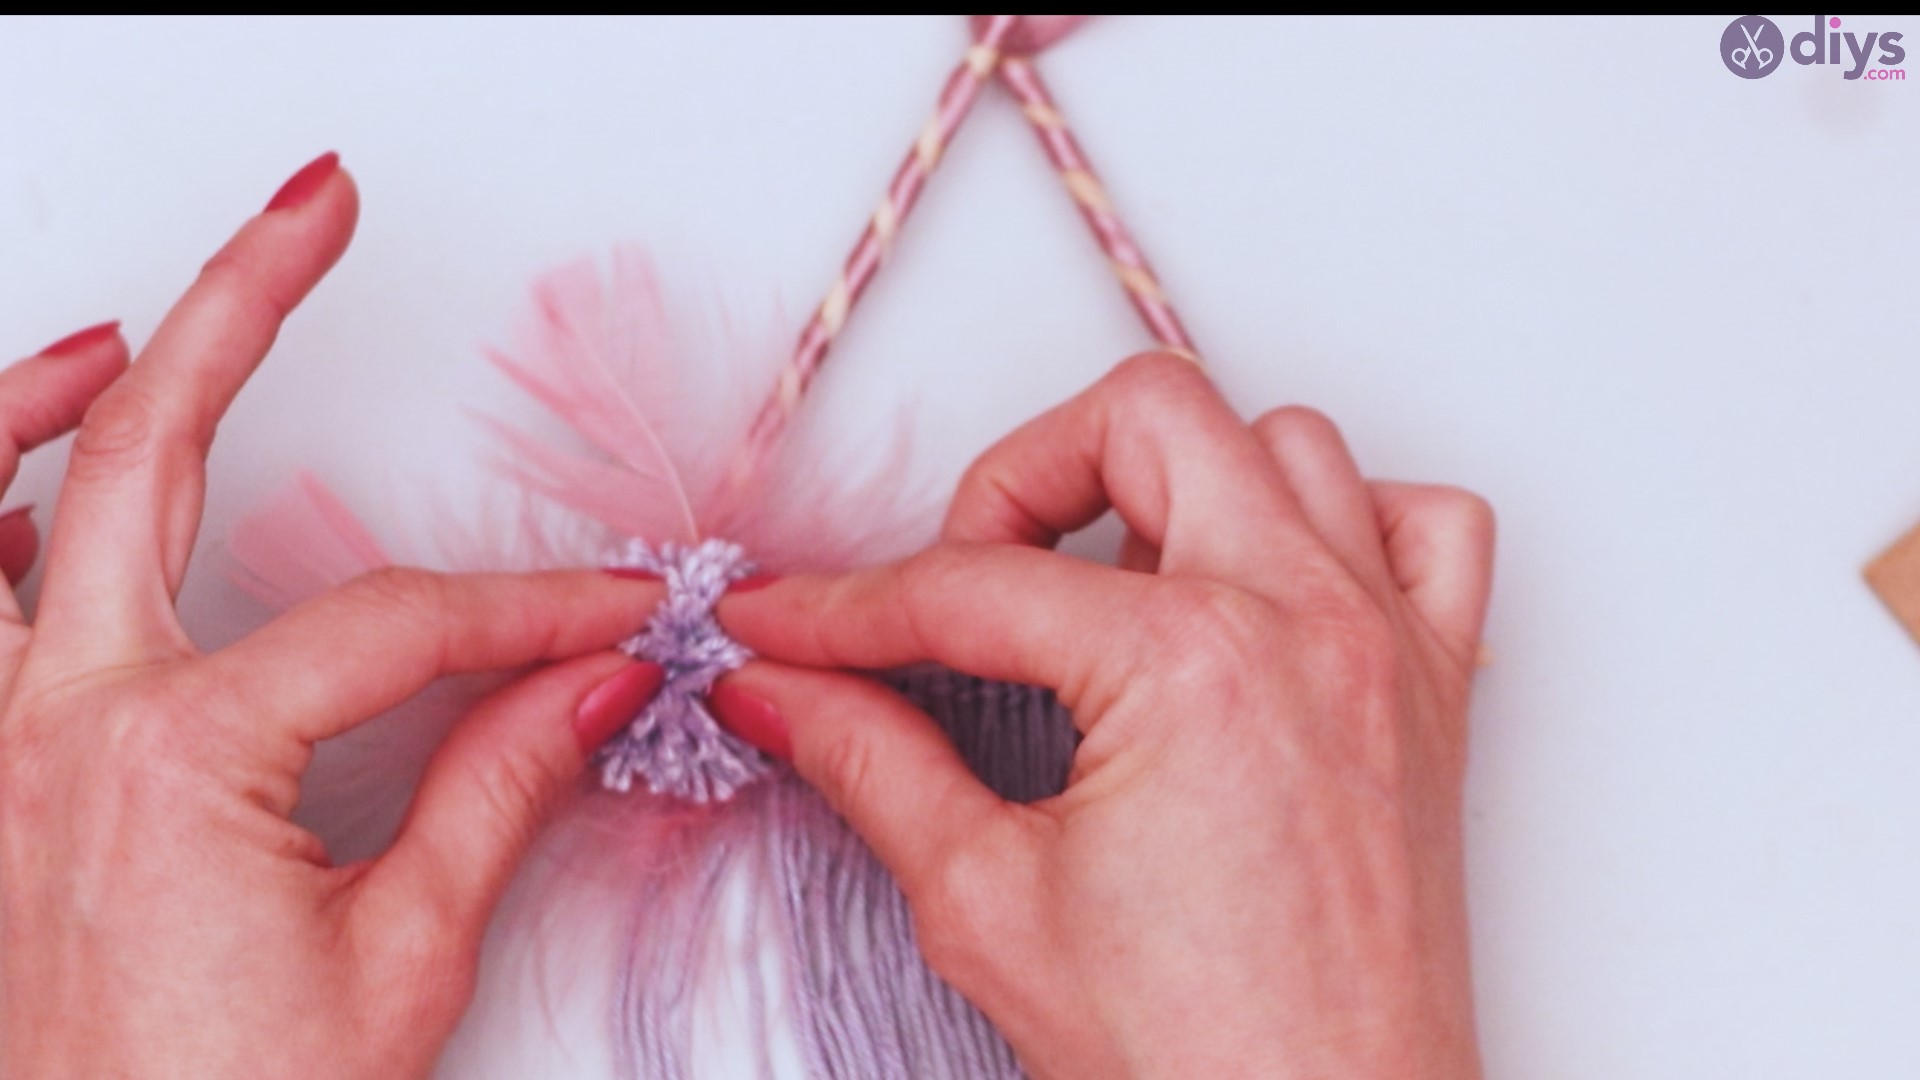
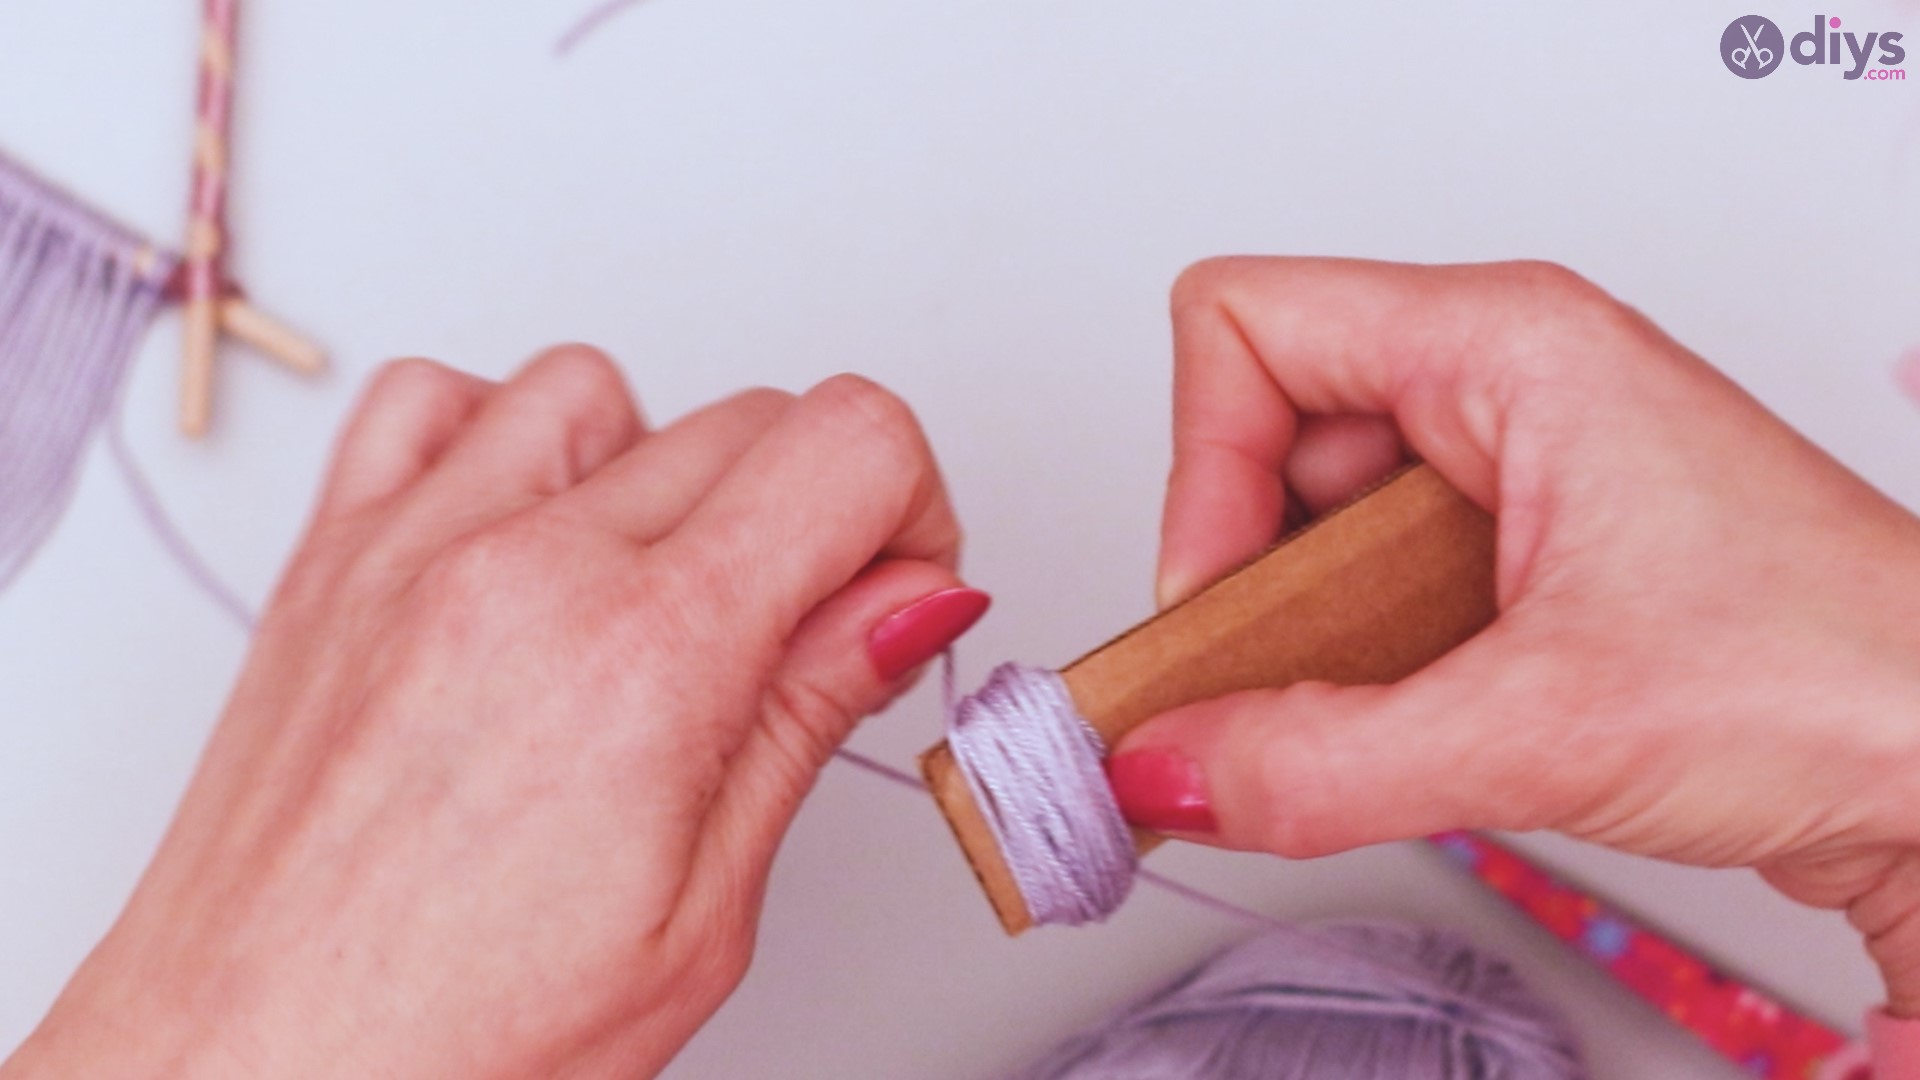
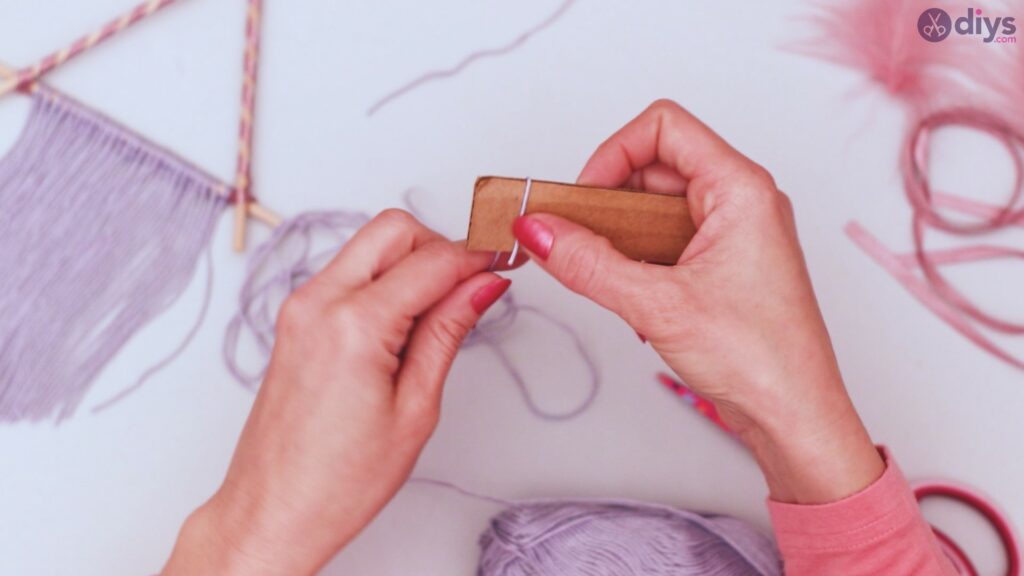
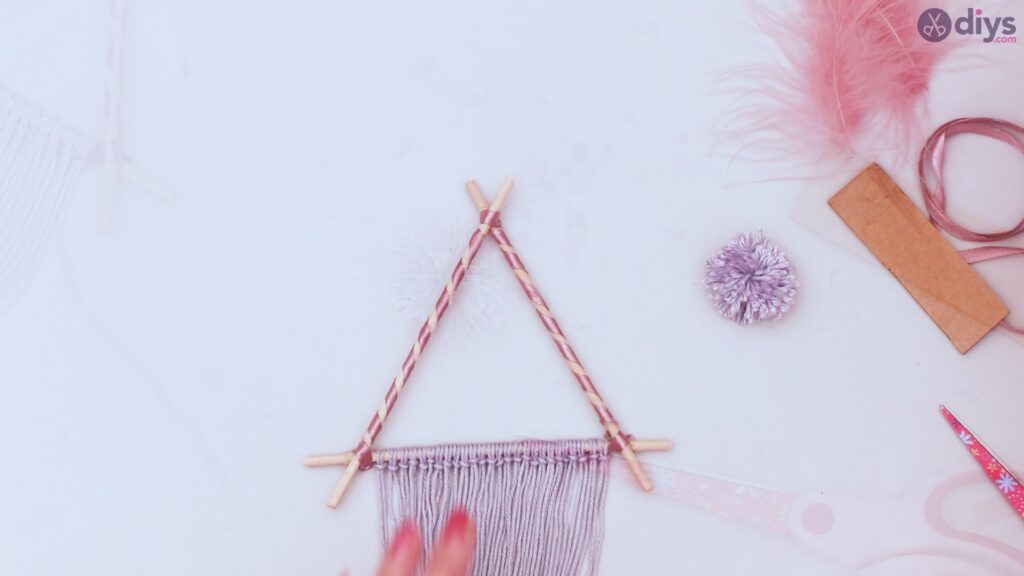
Step 7: Make a pom pom
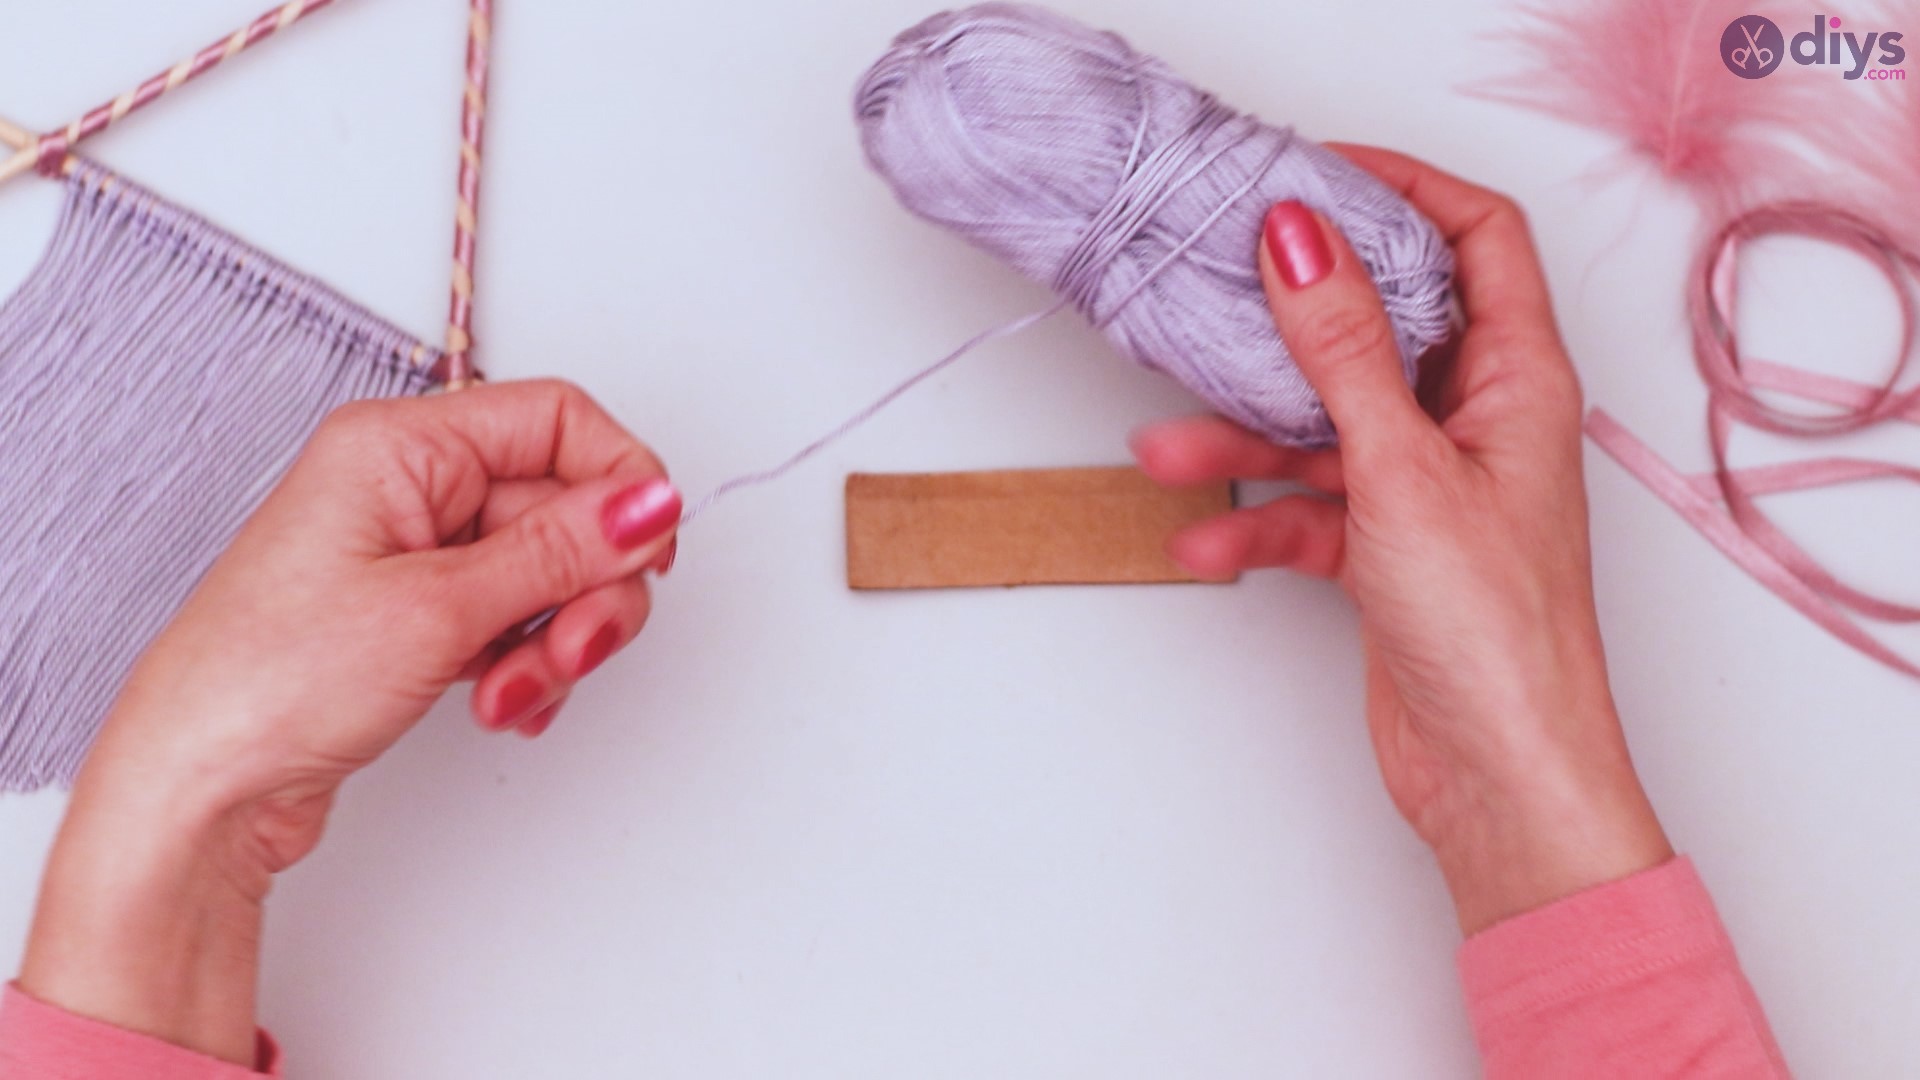
Cut a strip of cardboard. It should be 1 to 2 inches wide, depending on the size you want your pom pom to be, and about 3 to 4 inches long to give you plenty of space to work.

Cut a small string of yarn, long enough to tie around a bundle. Set it aside.
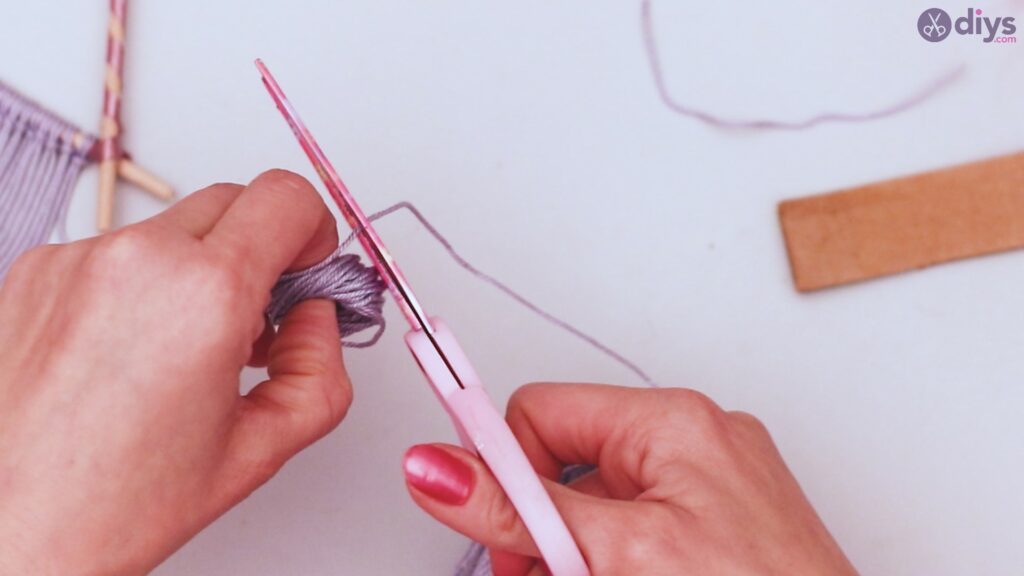
Get your yarn again. Begin to wrap the yarn around the width of cardboard. Wind it around several times, and then slide off the cardboard.

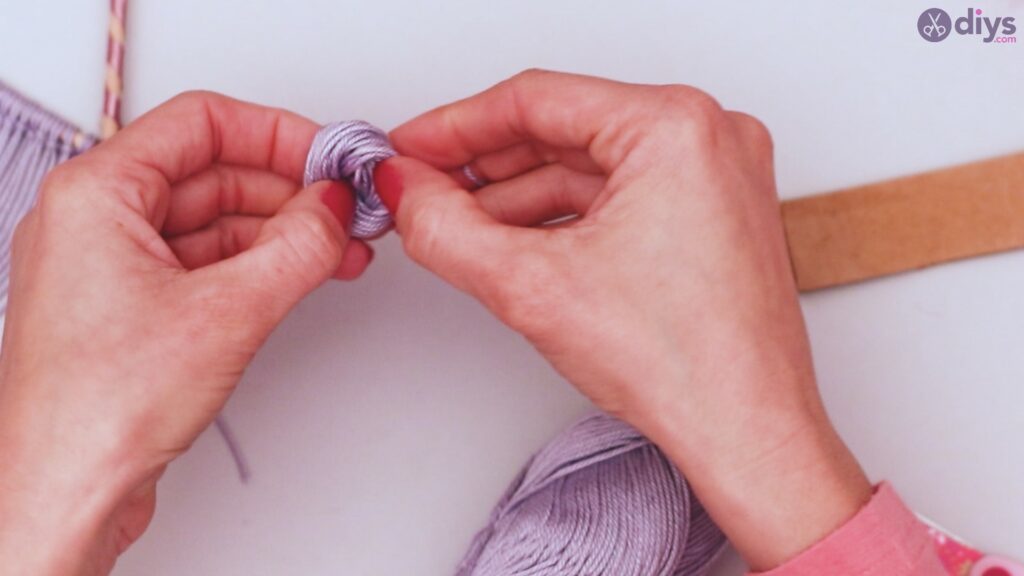
Cut the wound yarn from the roll.
Find the length of yarn you cut before, and tie it around the center of your yarn bundle.
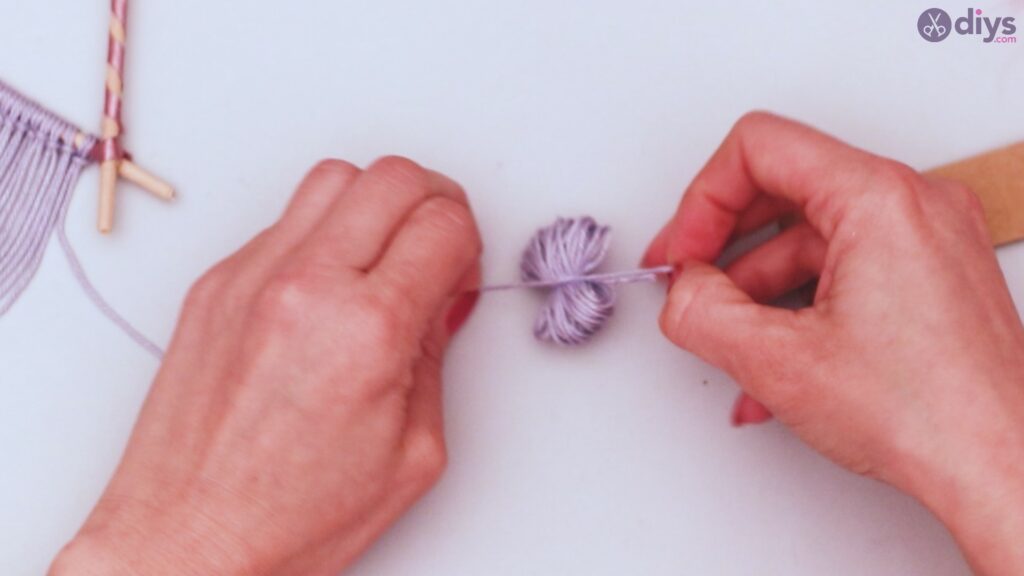
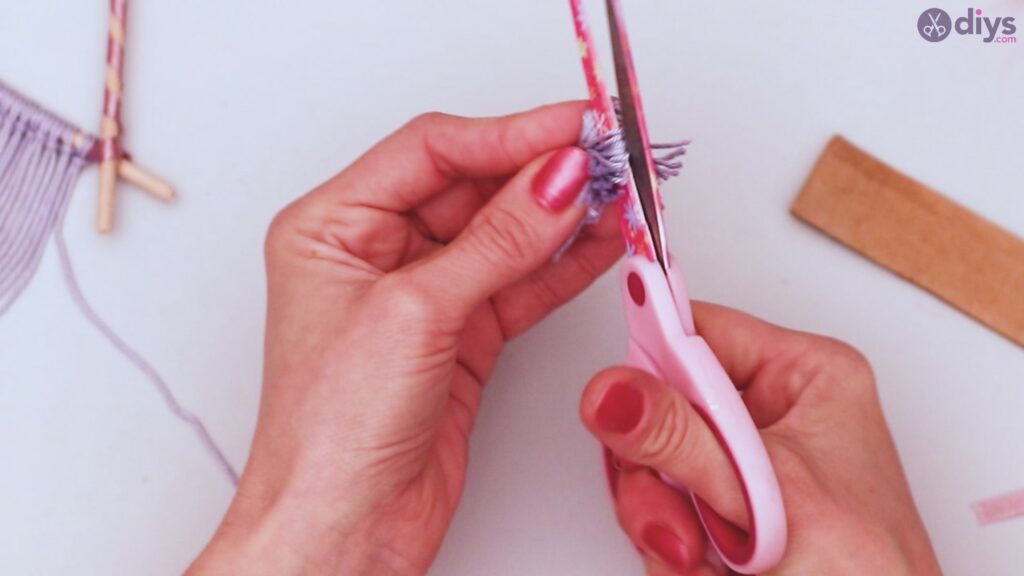
Thread your scissors through the loop on each end and snip so you have all loose ends of yarn. Spread out these ends to create your pom pom.
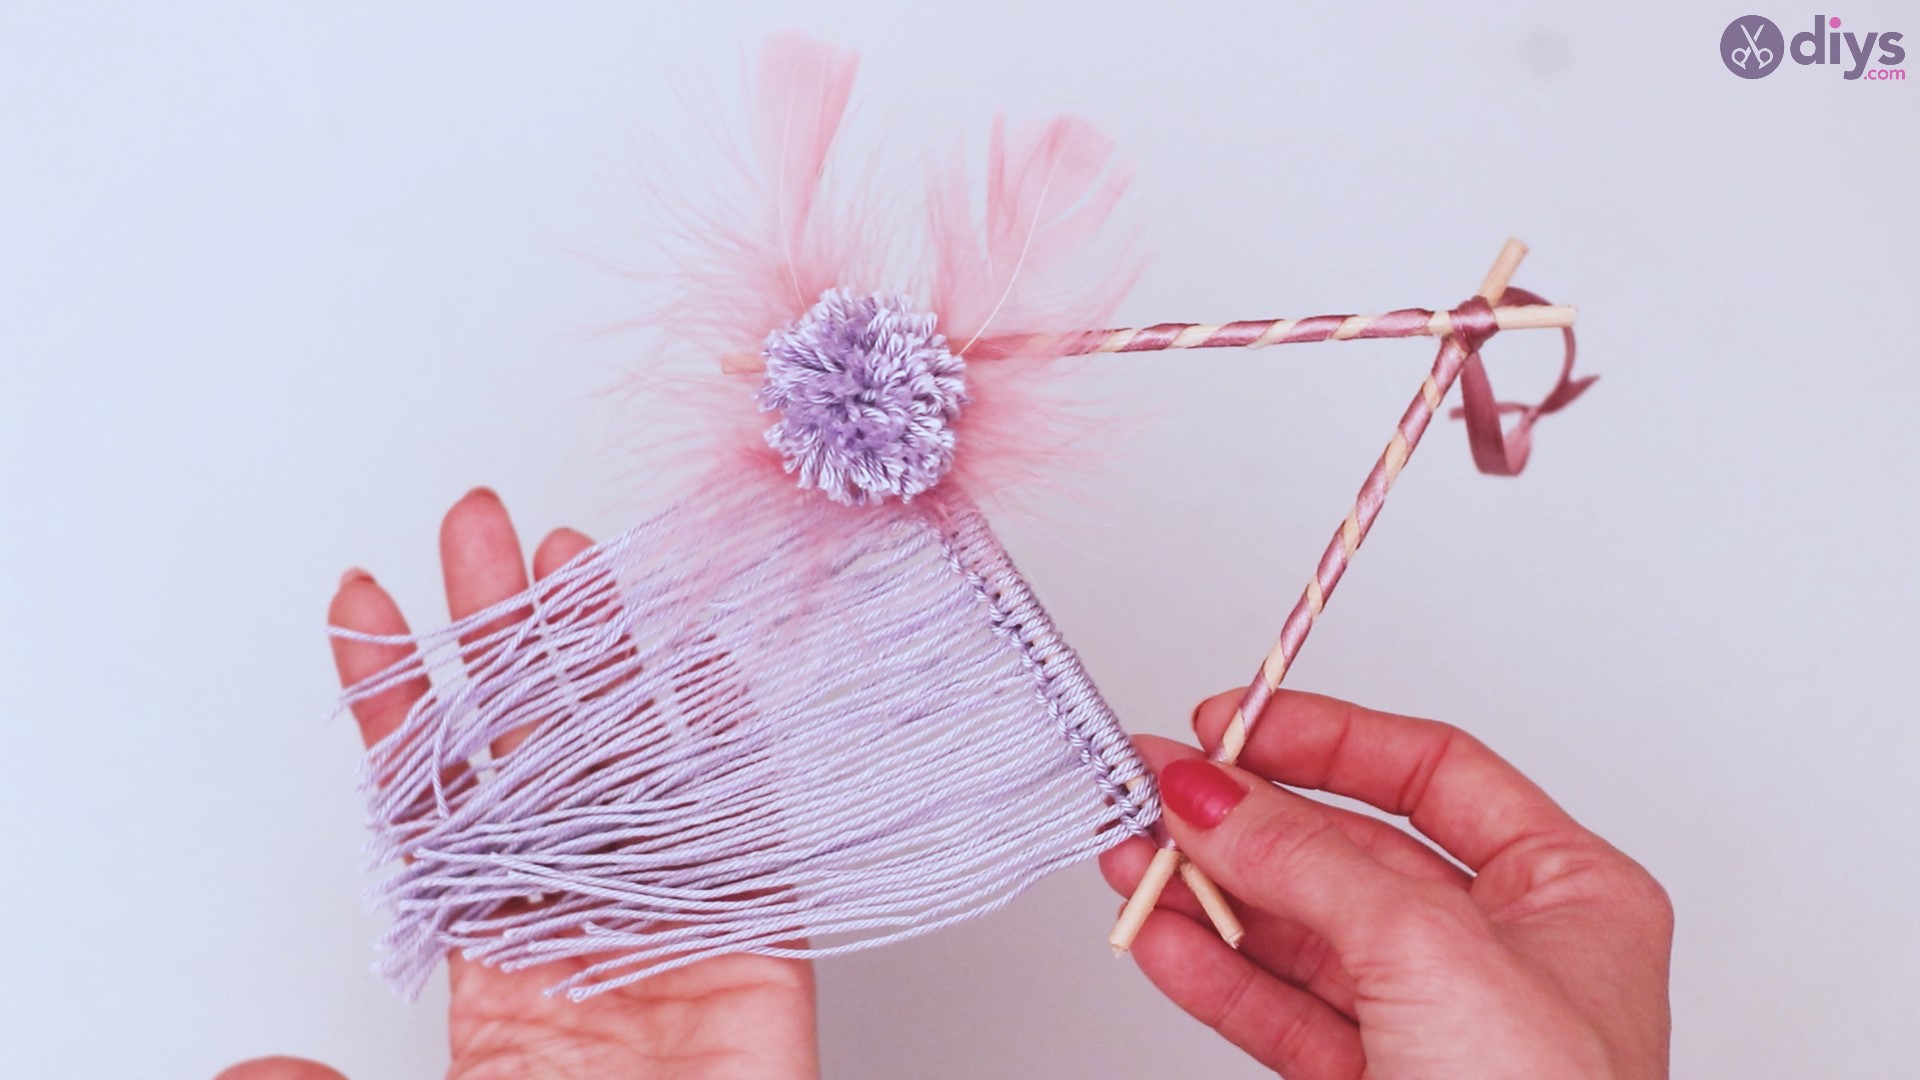
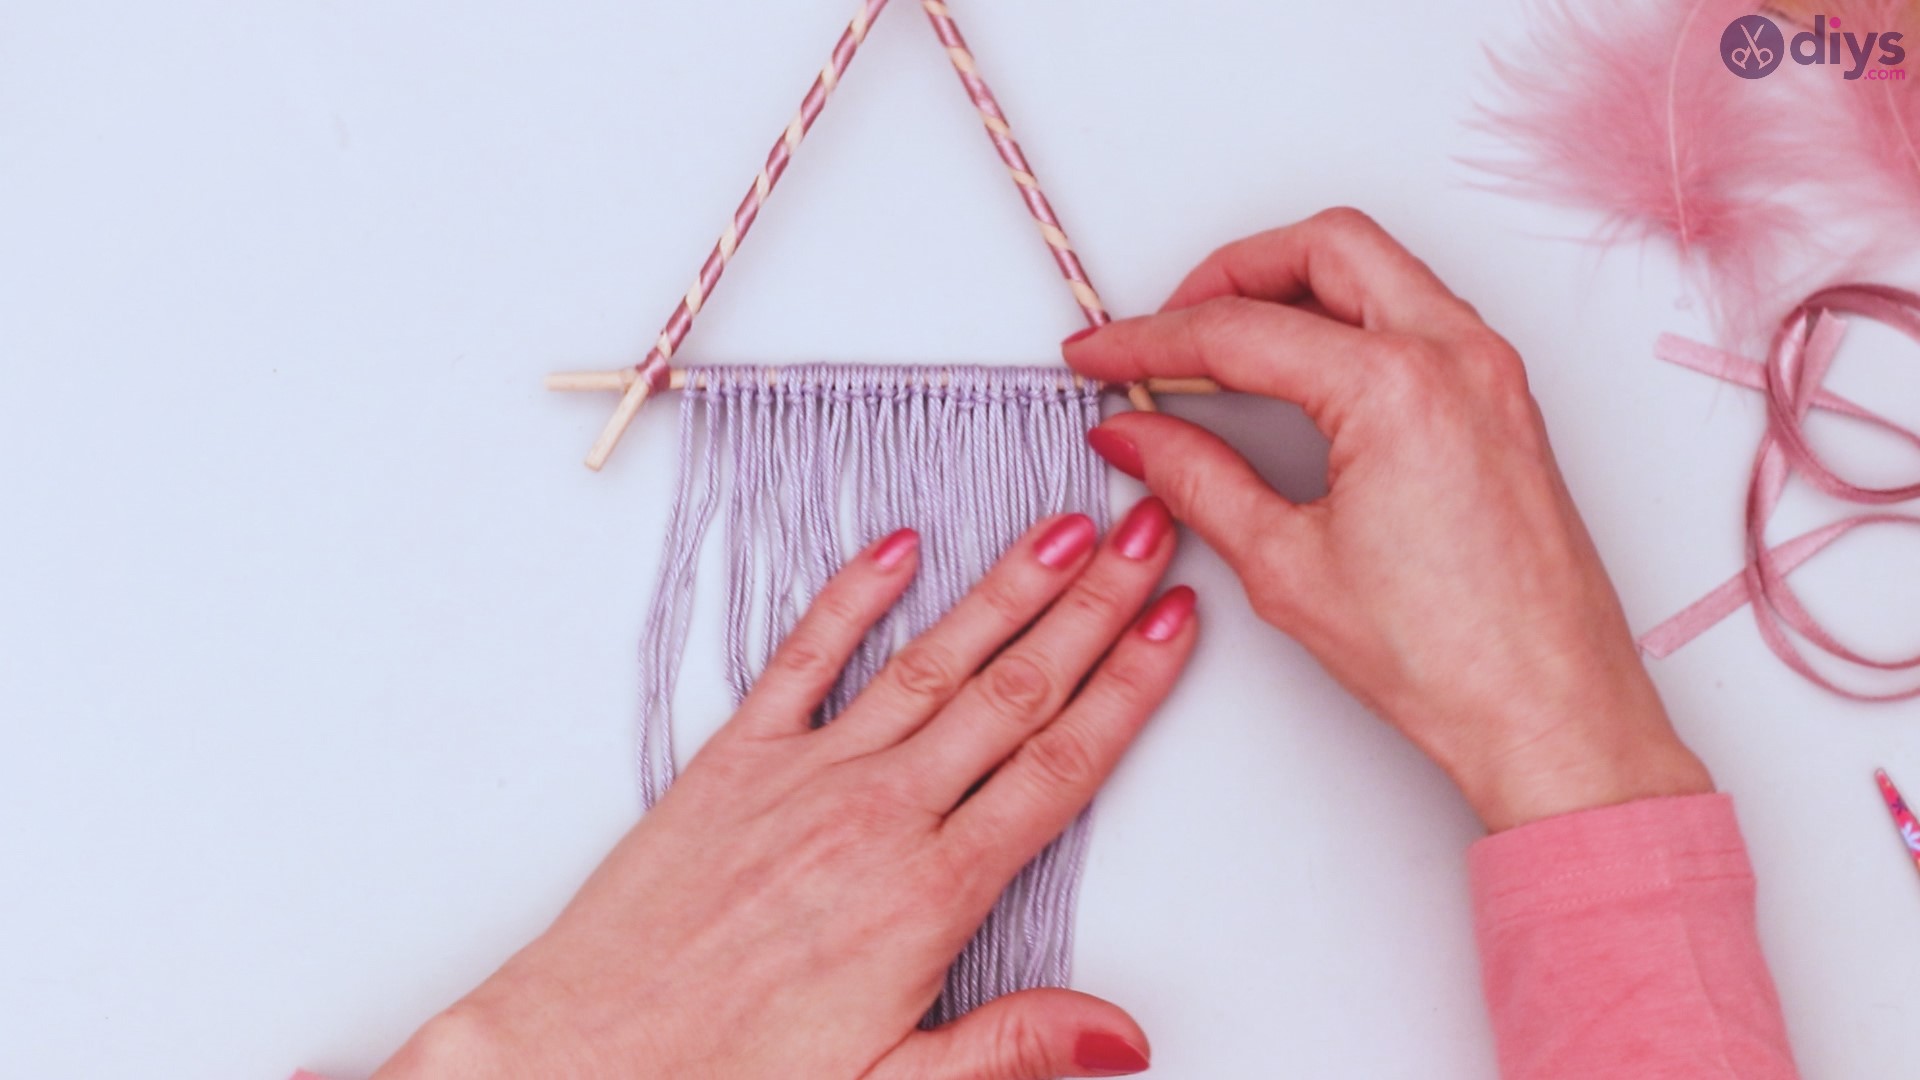
Step 8: Hanging loop
Cut another length of ribbon, 5 or 6 inches long. Wrap it around the top corner of your triangle and tie it off.
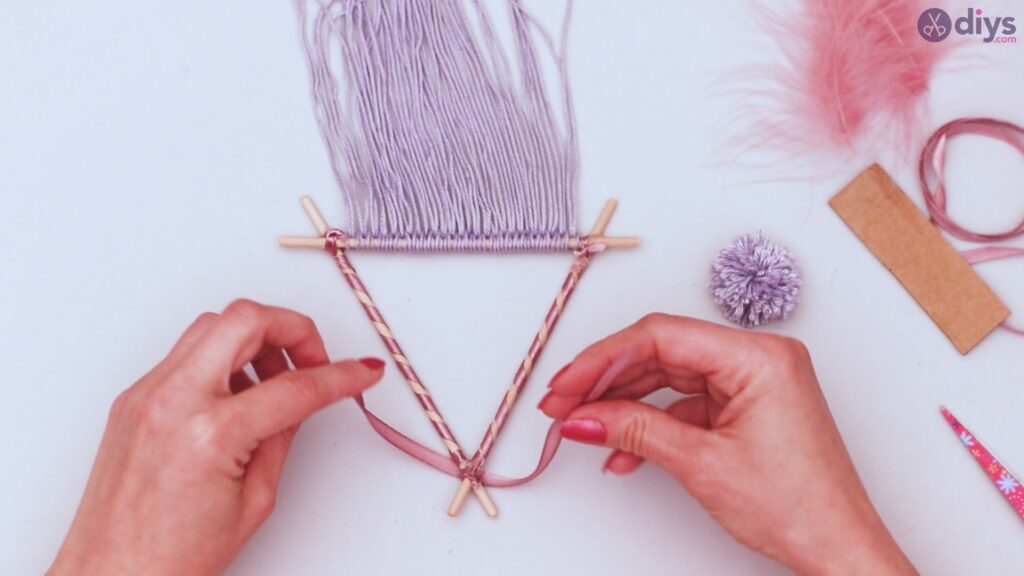
Tie the two ends together in a knot, and trim the excess ribbon. This will create a hanging loop for your dreamcatcher.


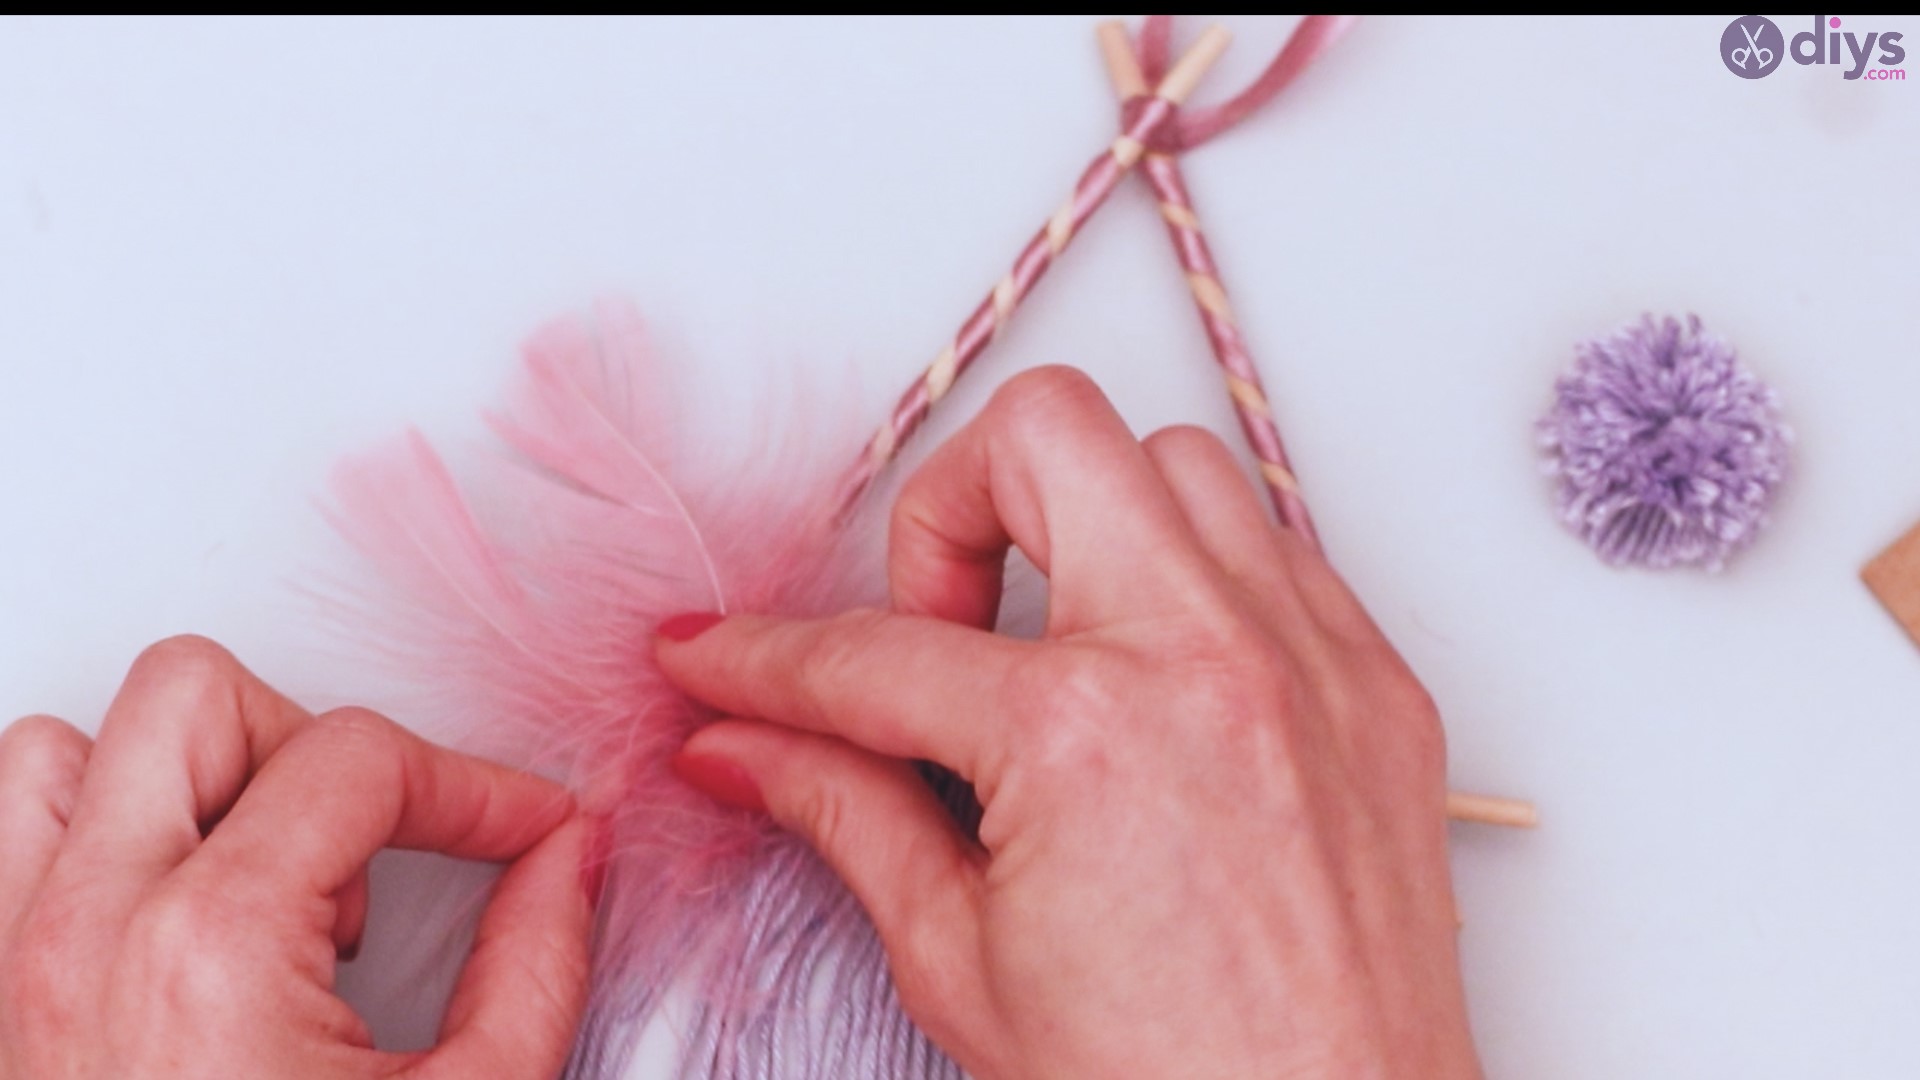
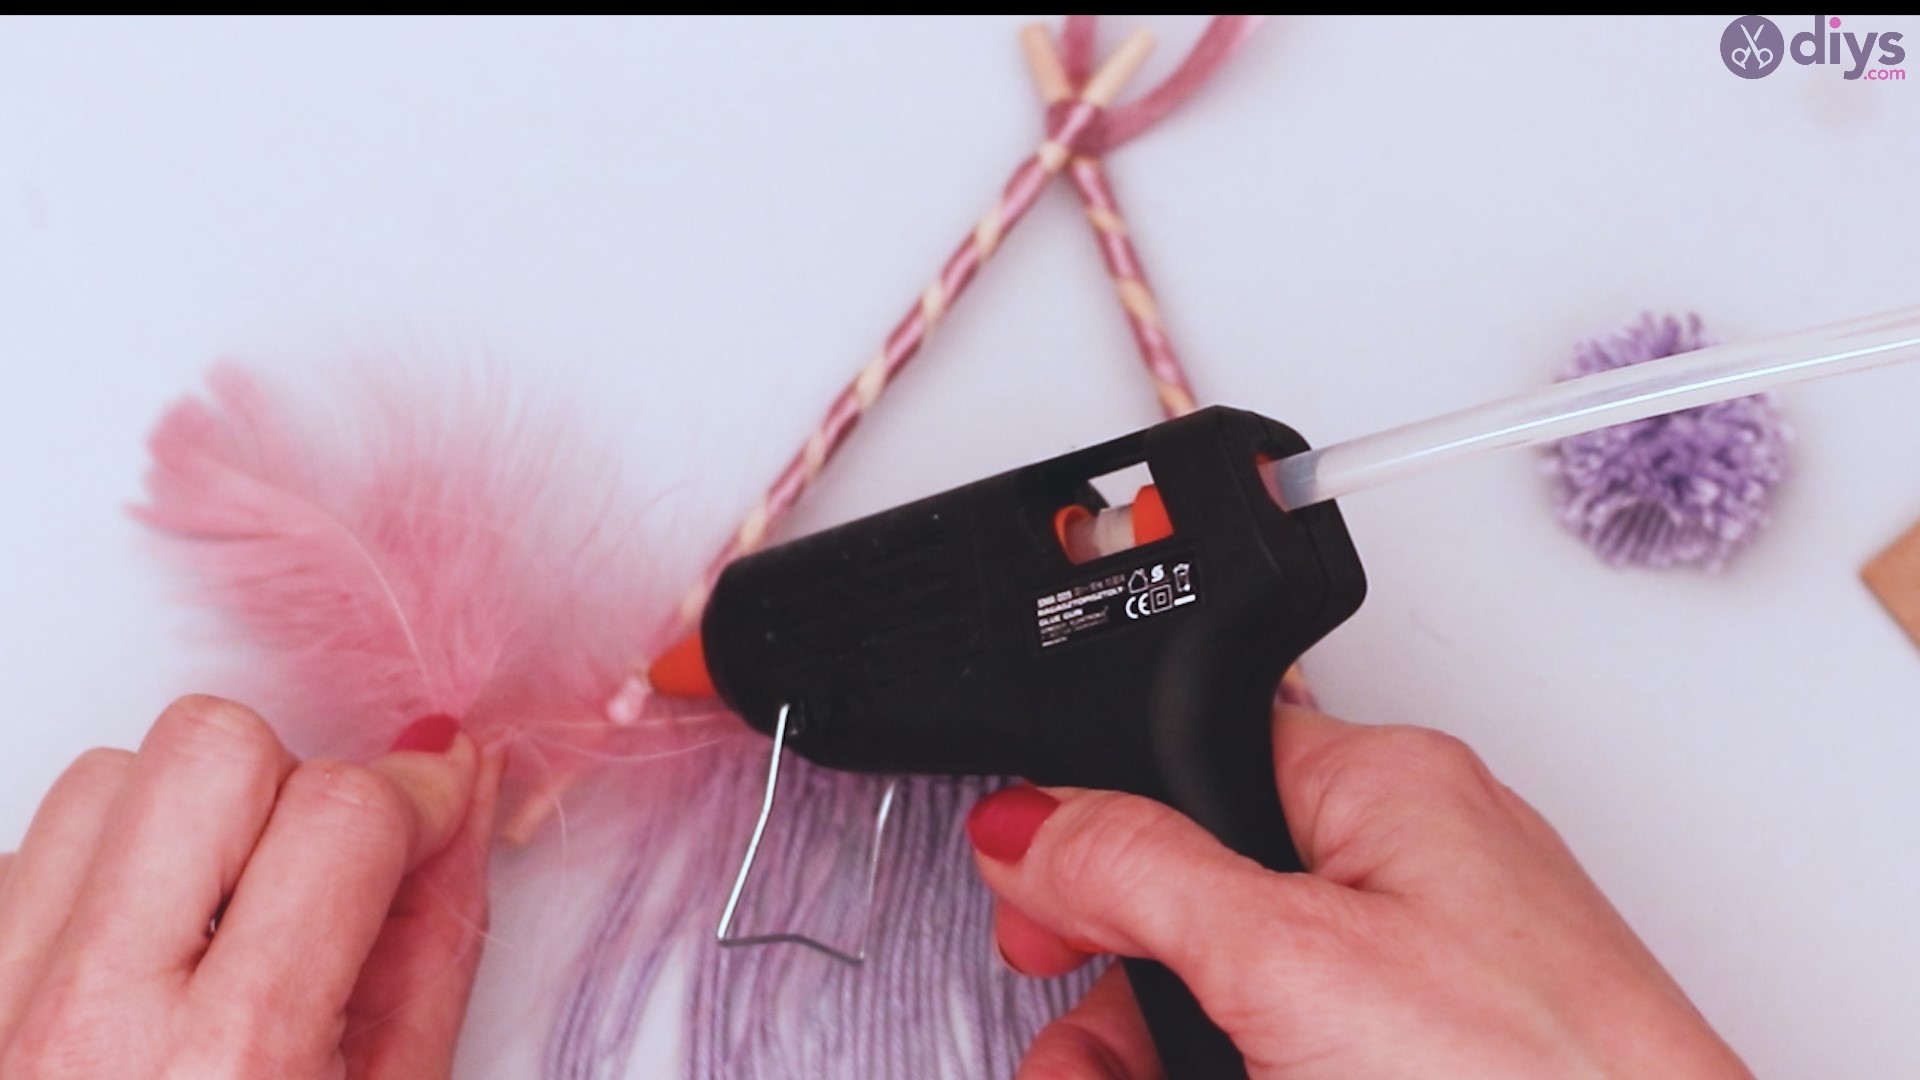
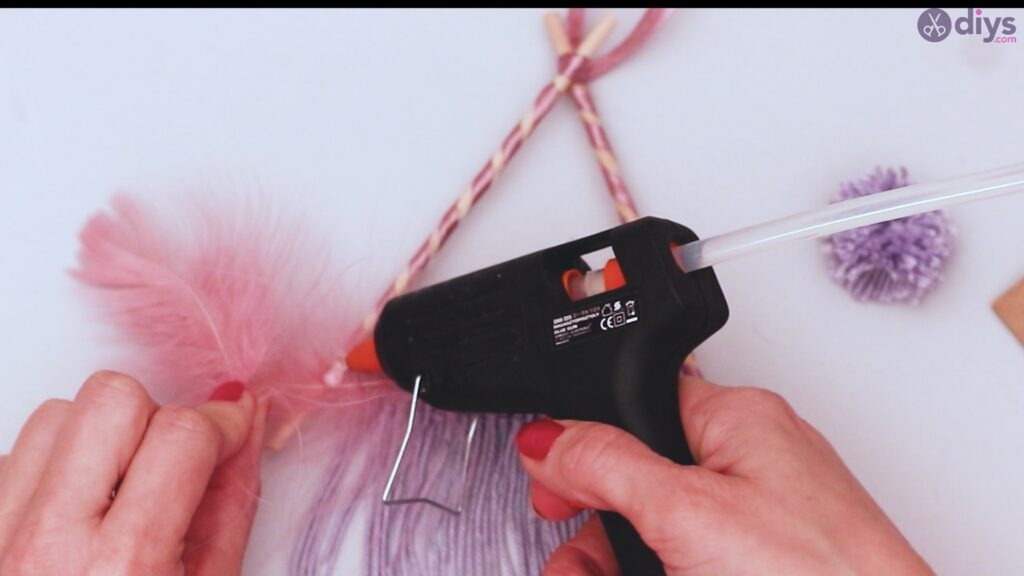
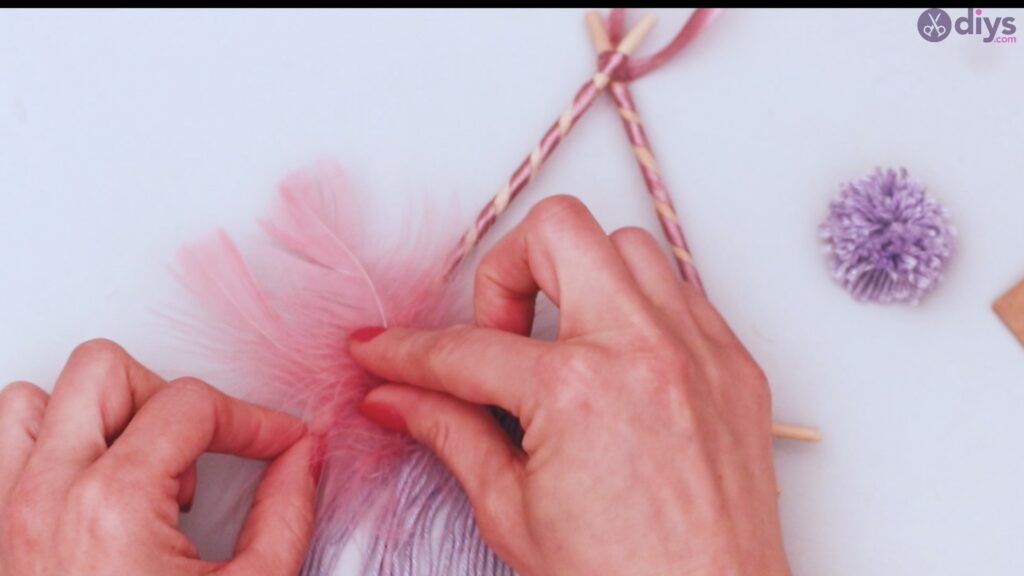
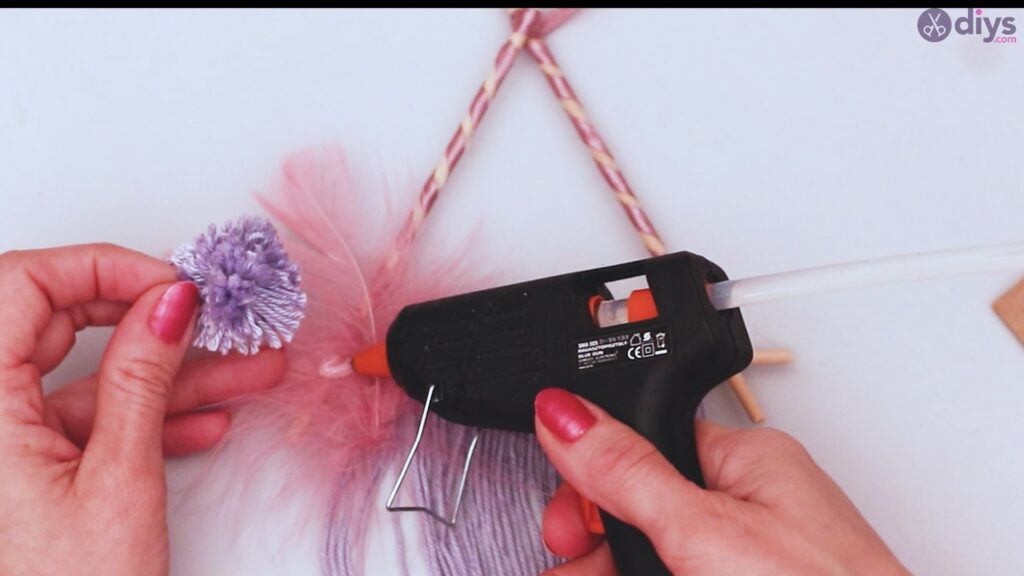
Step 9: Attach your décor
On one of the bottom corners of your triangle, add a dot of hot glue.
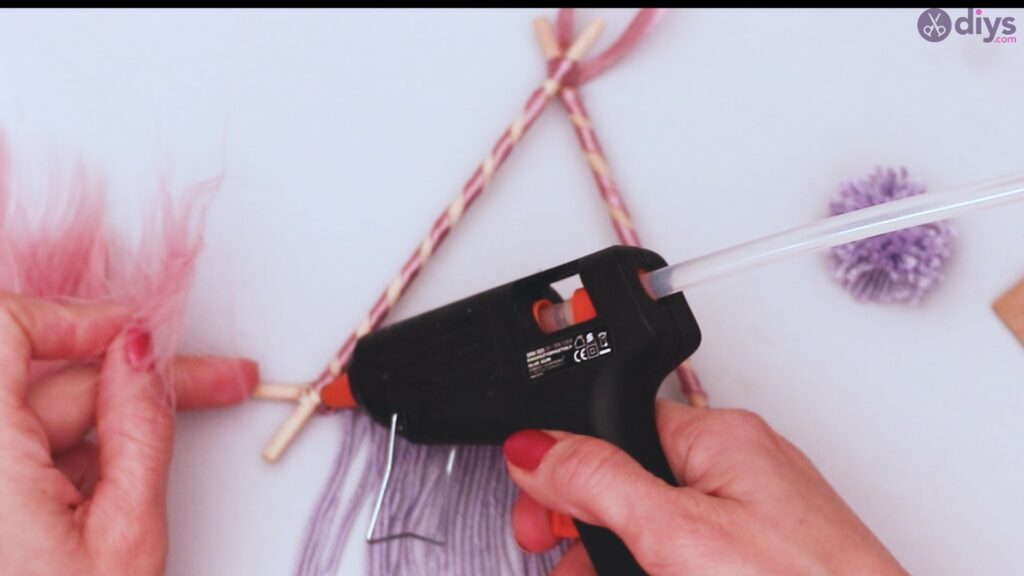
Press your feather to the dot of glue and allow to dry. This shouldn’t take more than a minute.
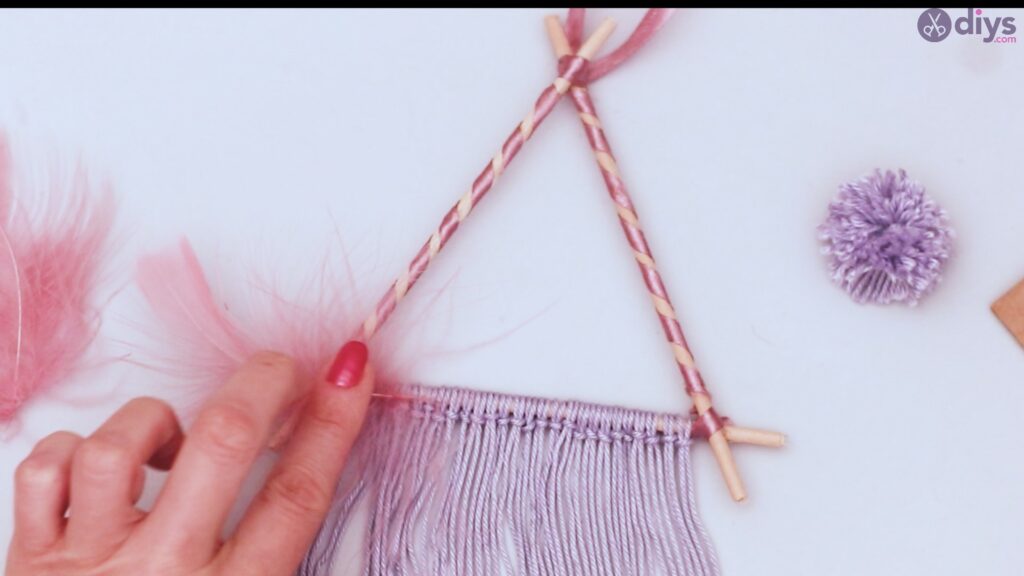
Repeat this for additional feathers, stacking them and angling them to achieve the design you like.
When you’ve finished with the feathers, add another dot of glue, and place the pom pom on top of your feathers at the corner of your dreamcatcher.


The finished product will be a triangular dreamcatcher, complete with fringe, feathers, and décor, that you can hang in any room of your home but can be especially useful in the bedroom. Whether you believe in the power of a dreamcatcher or simply like the design, you can gain quite a bit from it, alleviating worries of children and adding something that personalizes the space.
You can, of course, embellish on this as well, with additional feathers or décor, and you can create the webwork of yarn through the center of the triangle if you desire to mimic the round dreamcatchers you see commercially. Whatever your choice, and however you want to design it, this dreamcatcher will be a welcome addition to your home.