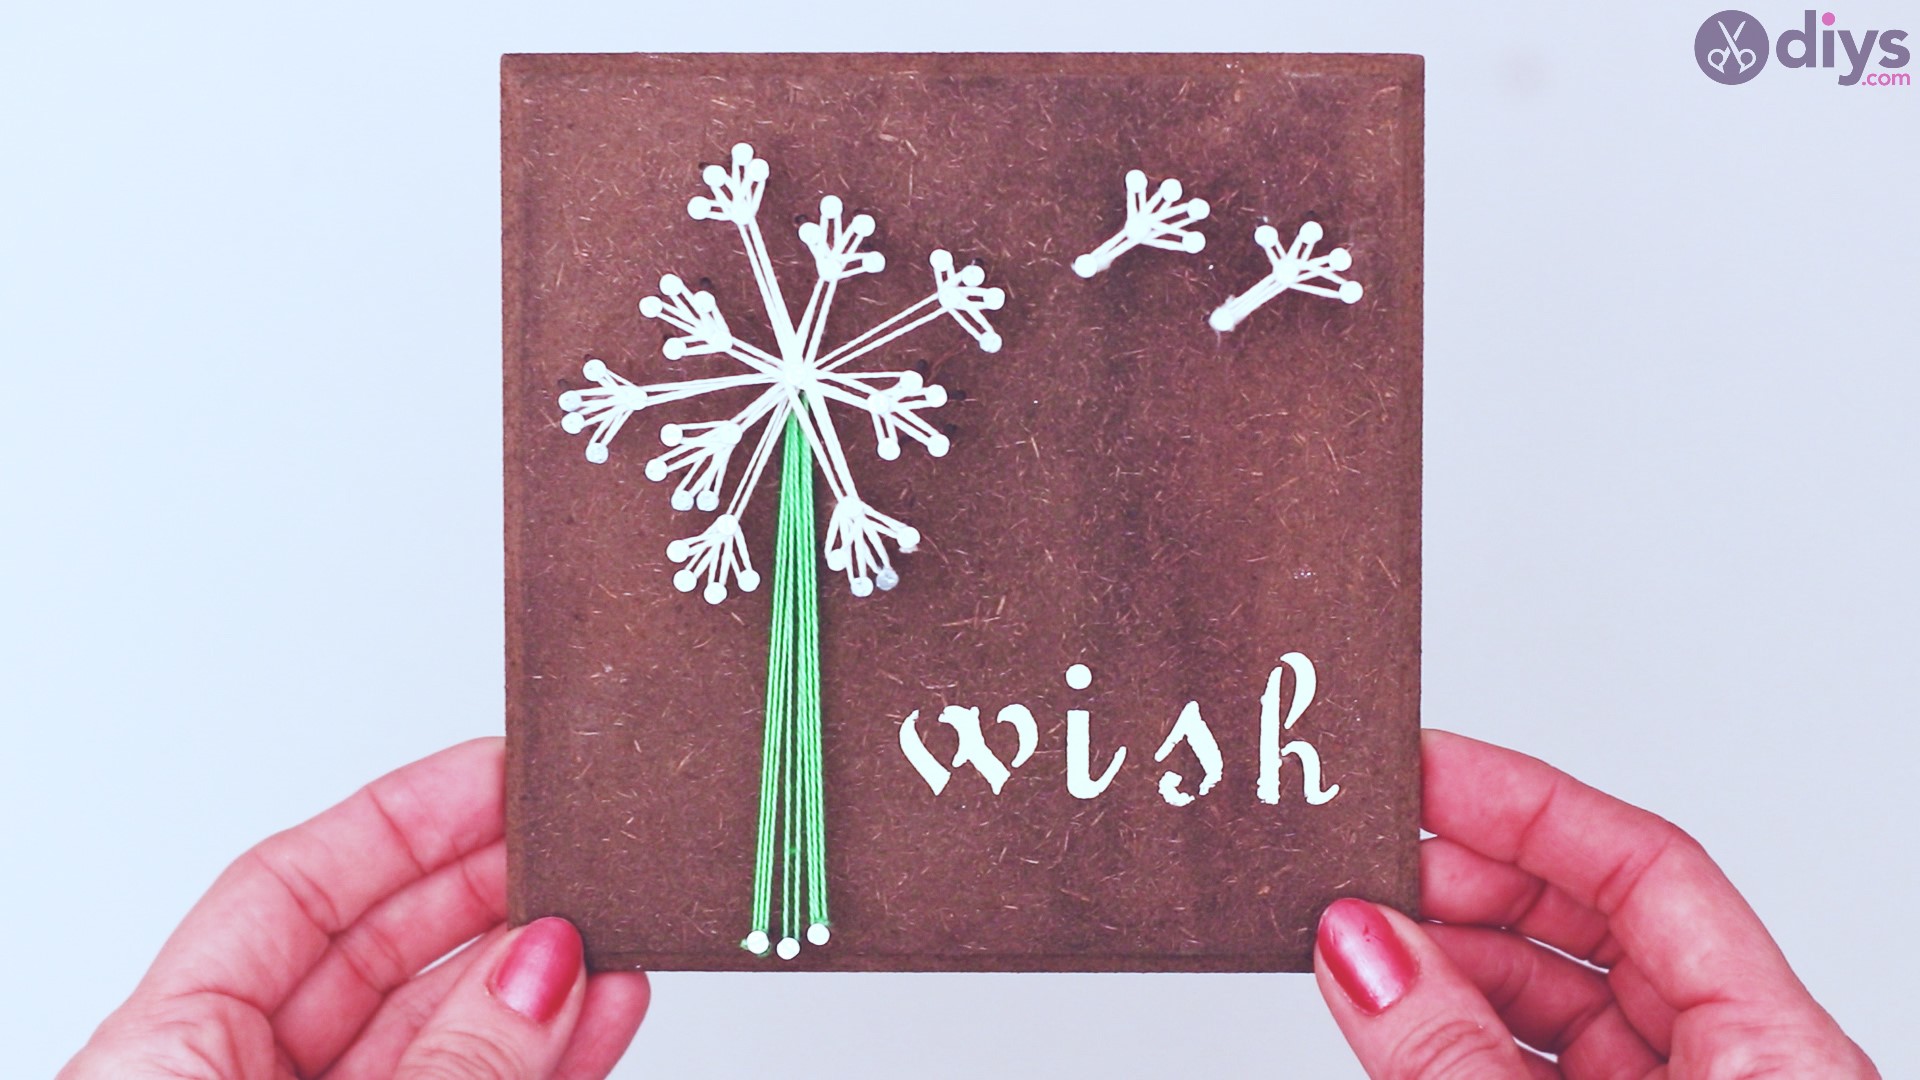
DIY String Dandelion Wall Art
Updated on November 19, 2025


Wall art is a great expression of personal creativity, and working on a piece of art, however simple or intricate, can give you a feeling of satisfaction and accomplishment. That goes for those who are artistically inclined as well as those who don’t feel they have as much natural ability. Whatever your capabilities, there are projects that meet your needs, and with the right instructions, you can achieve greatness. For example, string dandelion wall art doesn’t take a master at arts and crafts to complete. Take a look at the materials you’ll need and just how simple the project can be!
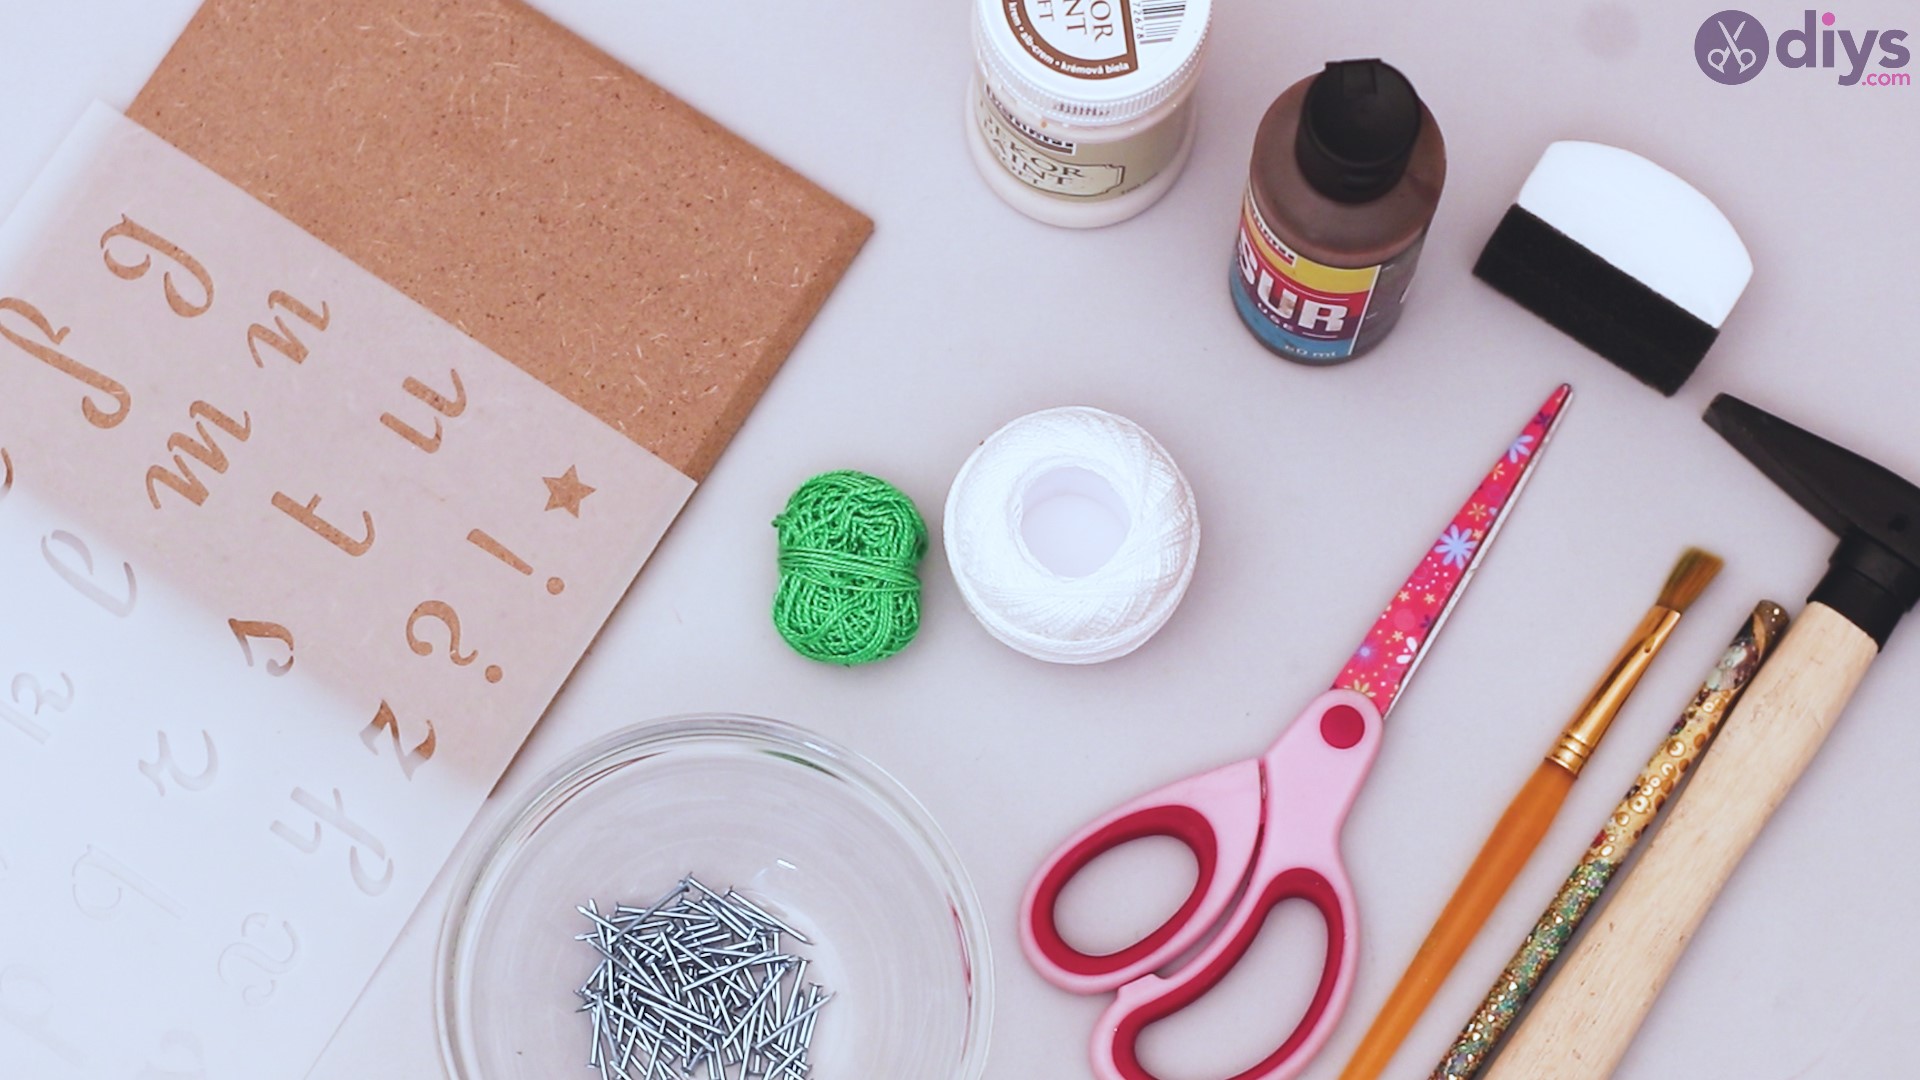
Materials for String Dandelion Wall Art:
- Wood tile
- Studs
- paper
- pencil
- 2 colours of twisted yarn (we suggest green and white)
- white acrylic paint
- sport glaze or stain
- paint brush
- scissors
- hammer
- sponge
- letter pattern
Instruction for the String Dandelion Wall Art:

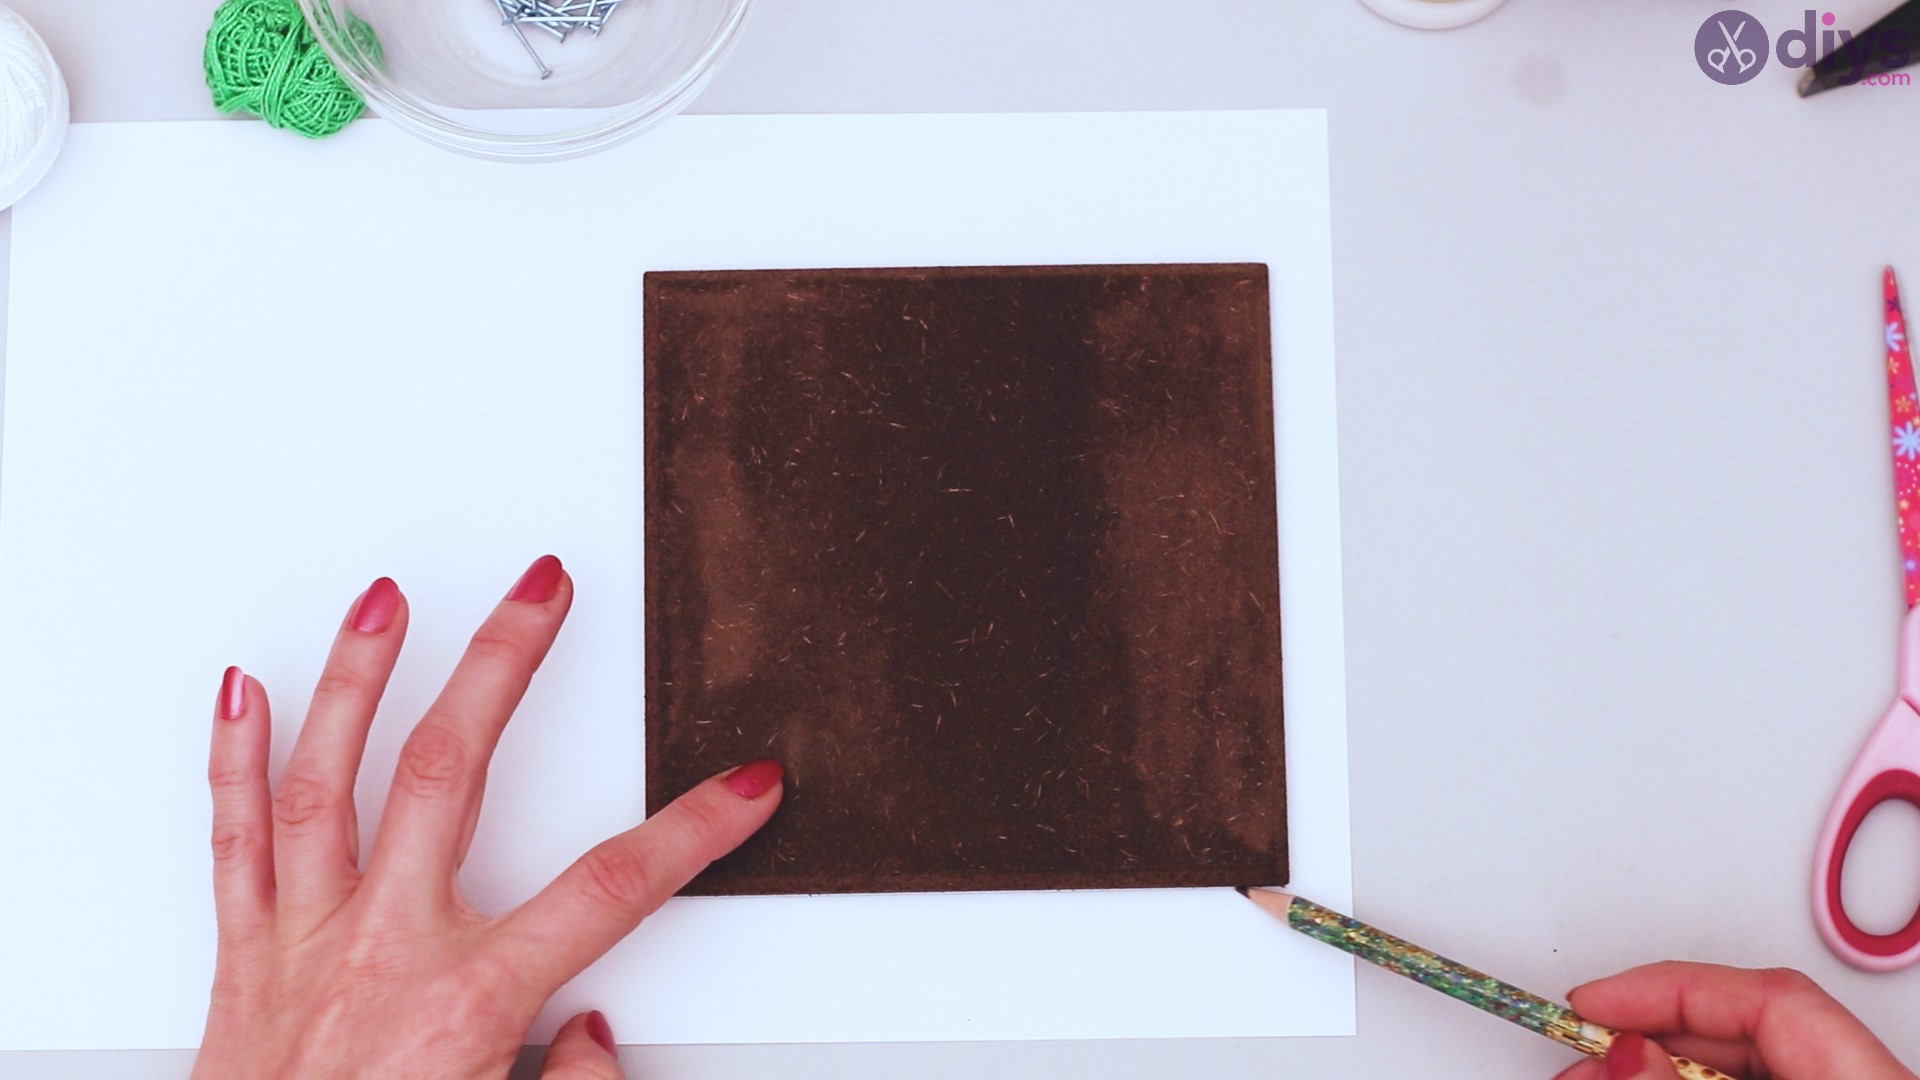
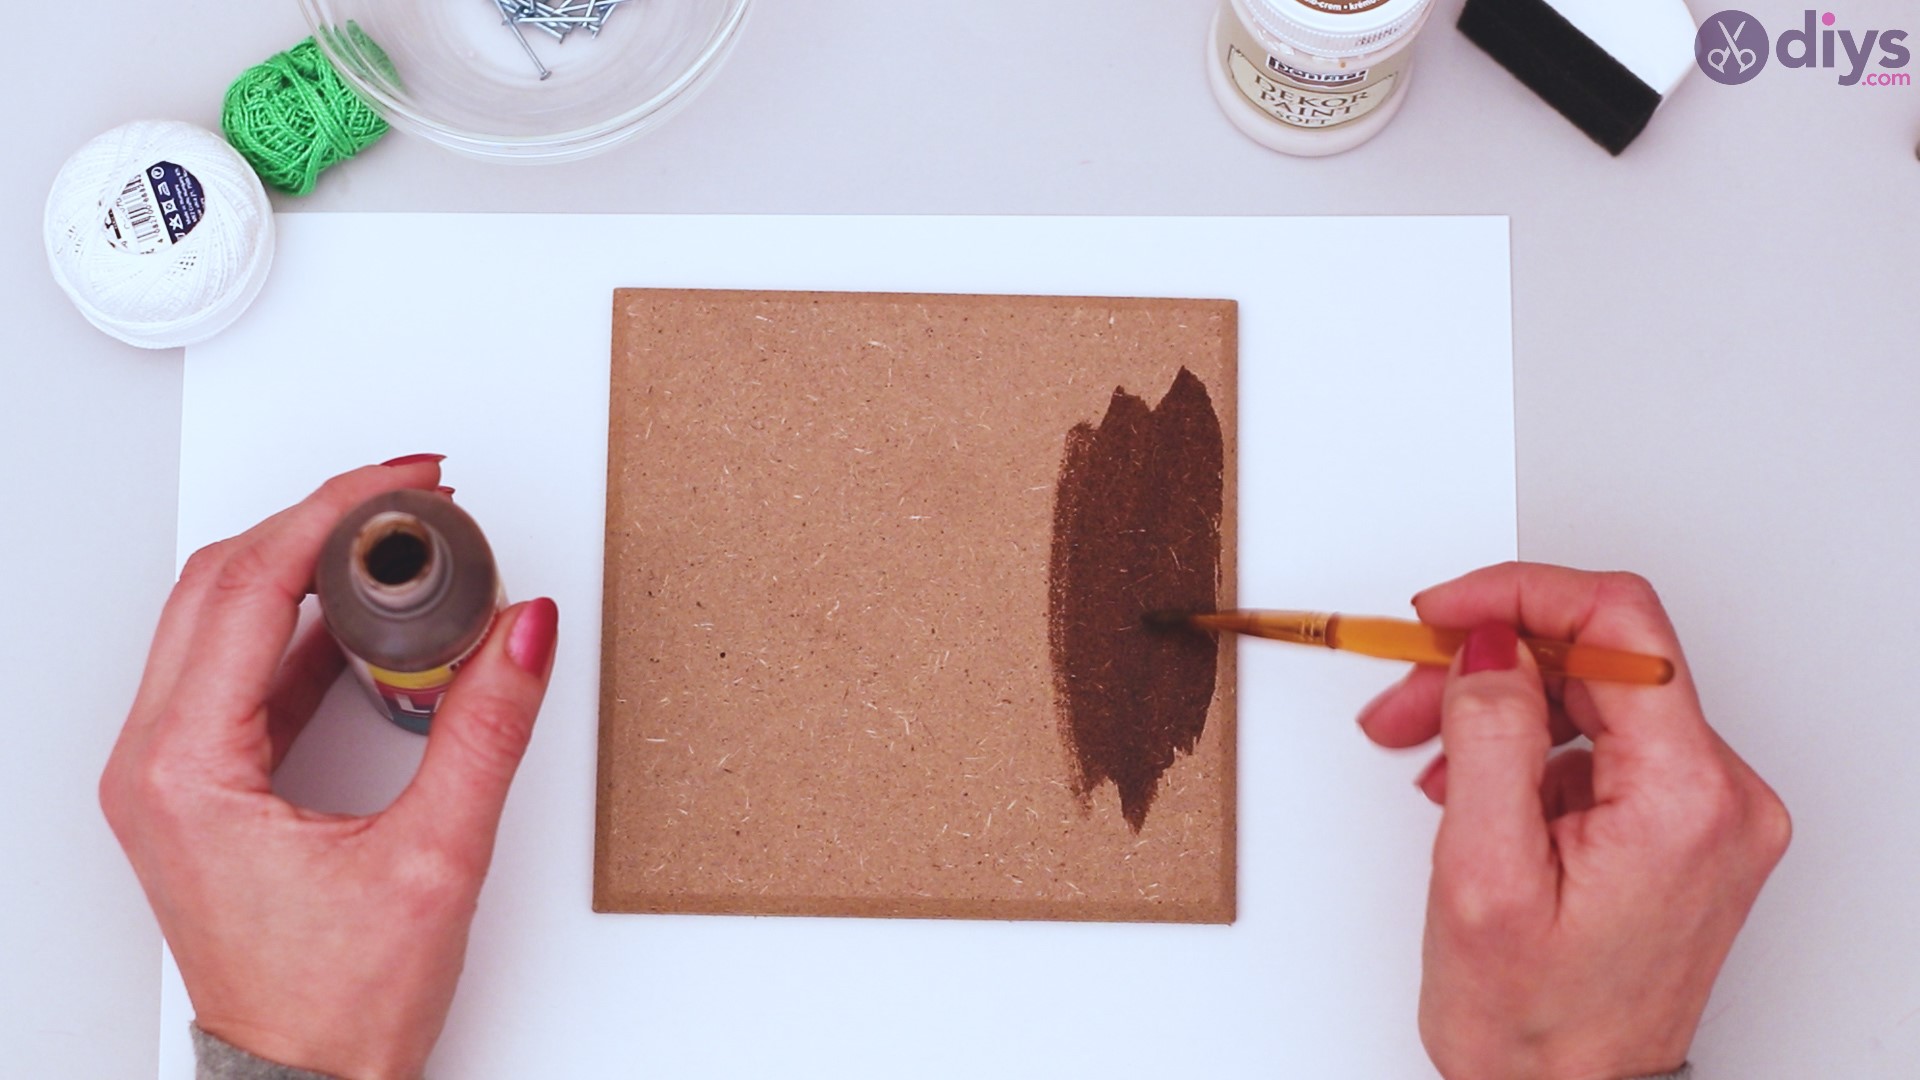
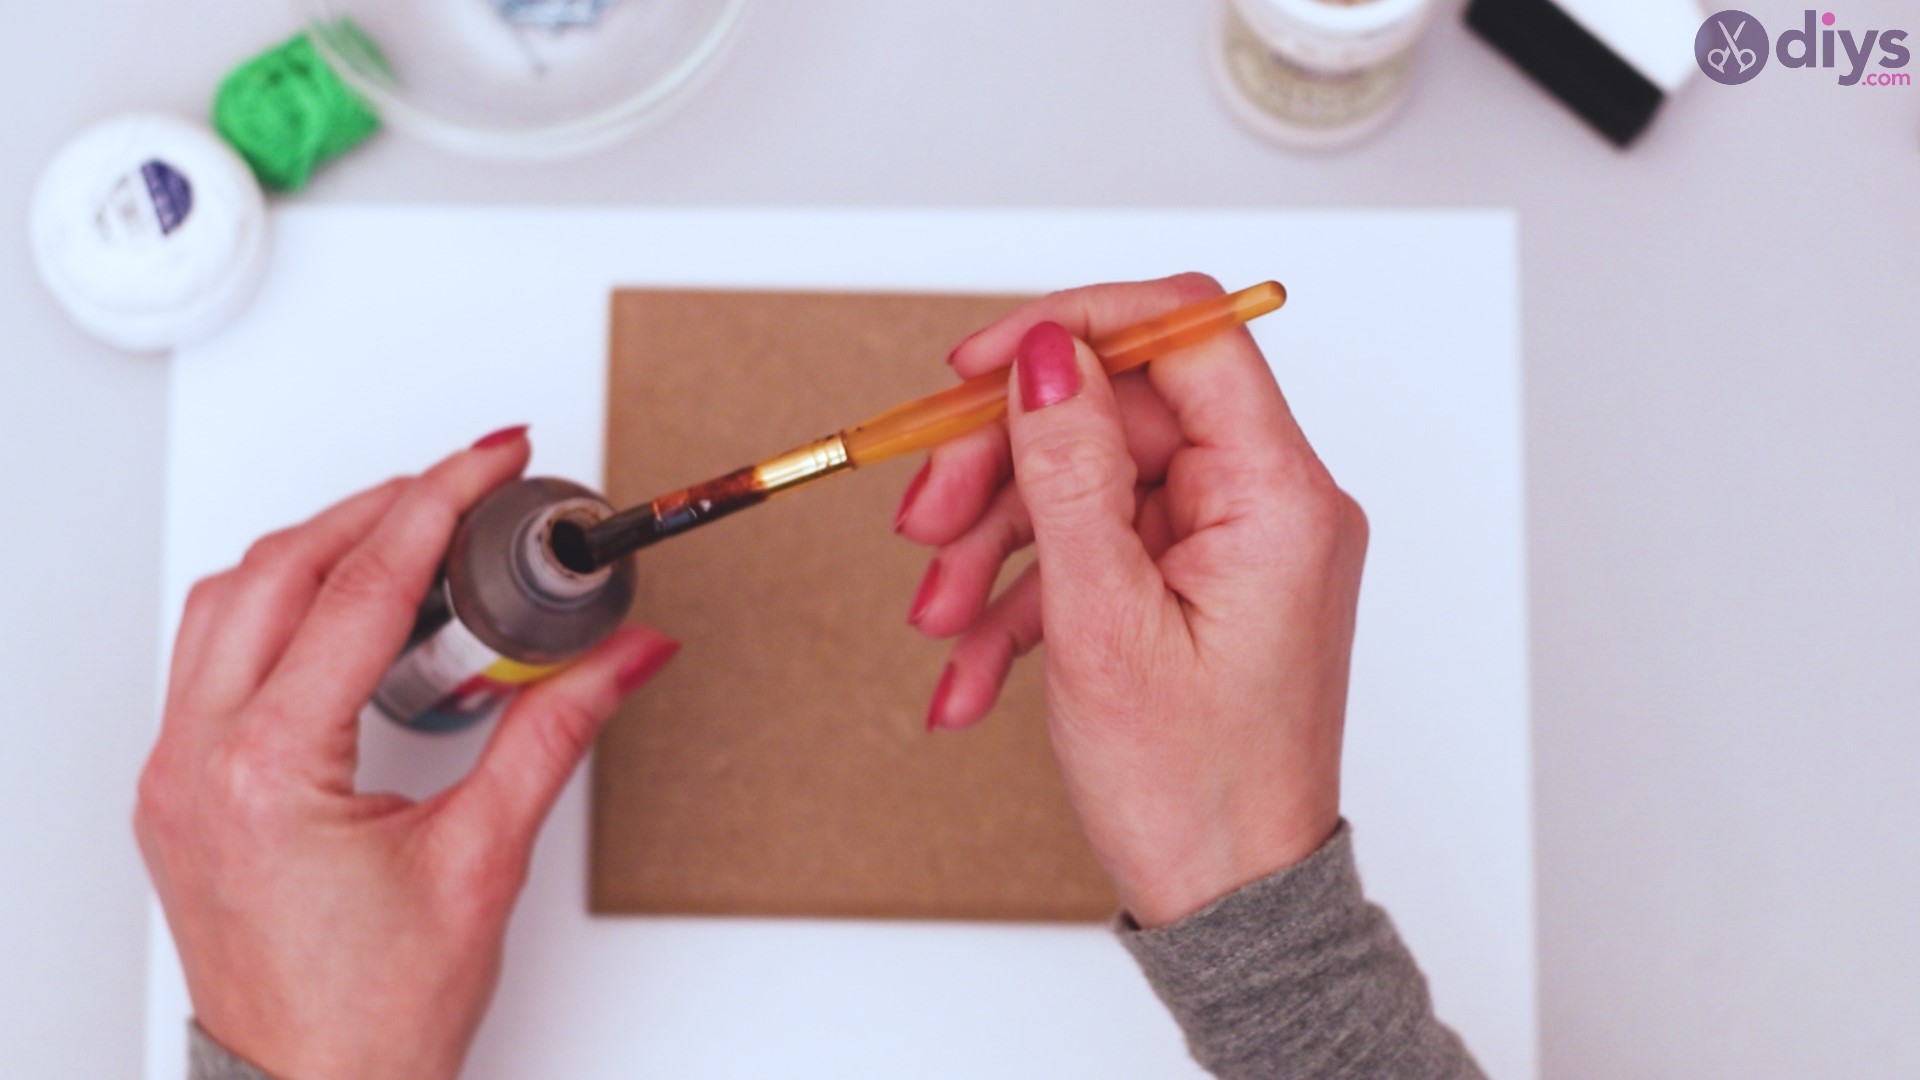
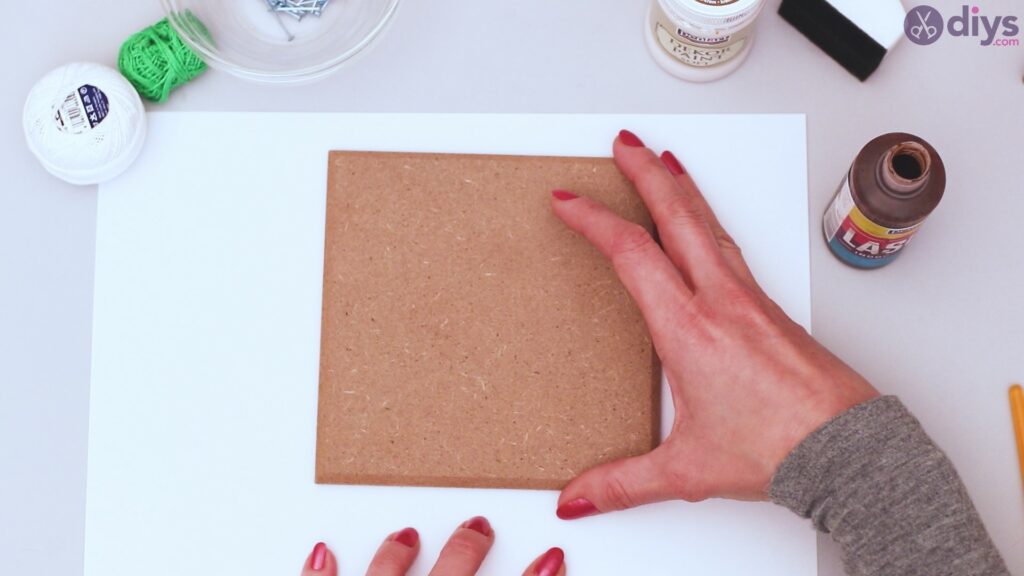
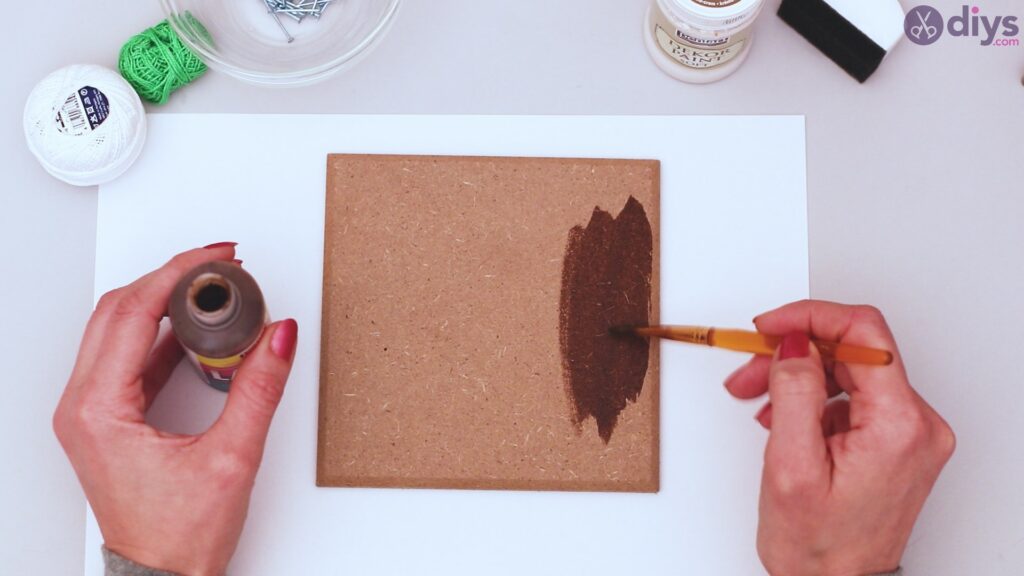
Step 1: Prepare your wood
Take your wooden tile, which could be 8 or 12 inches square, and using a paintbrush and the stain or glaze you’ve chosen, apply a coat to the entire tile. A wider brush will work better so that you get a fuller, more even coat without having to go over it several times.

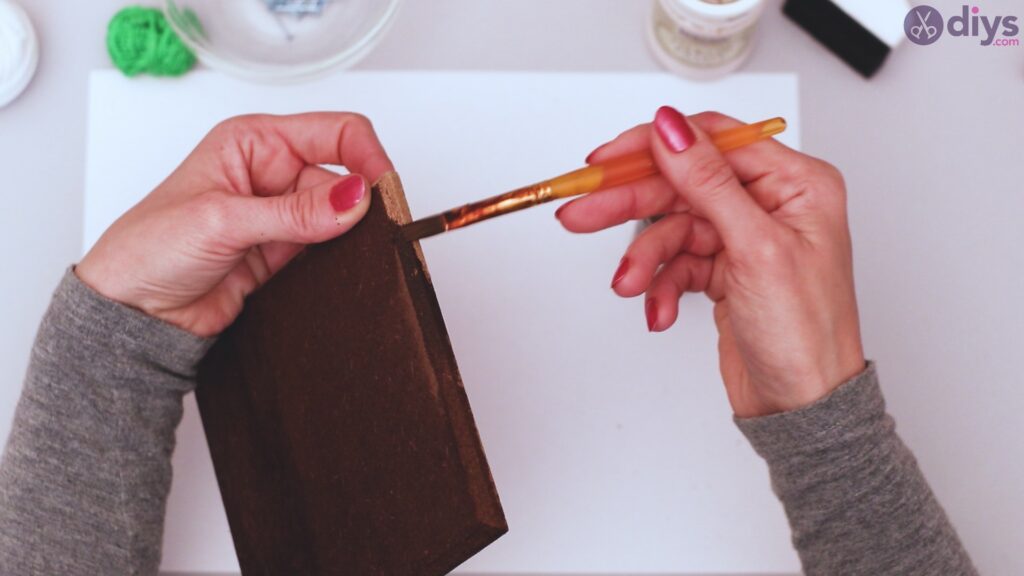
Be sure to get the edges for a continuous aesthetic.
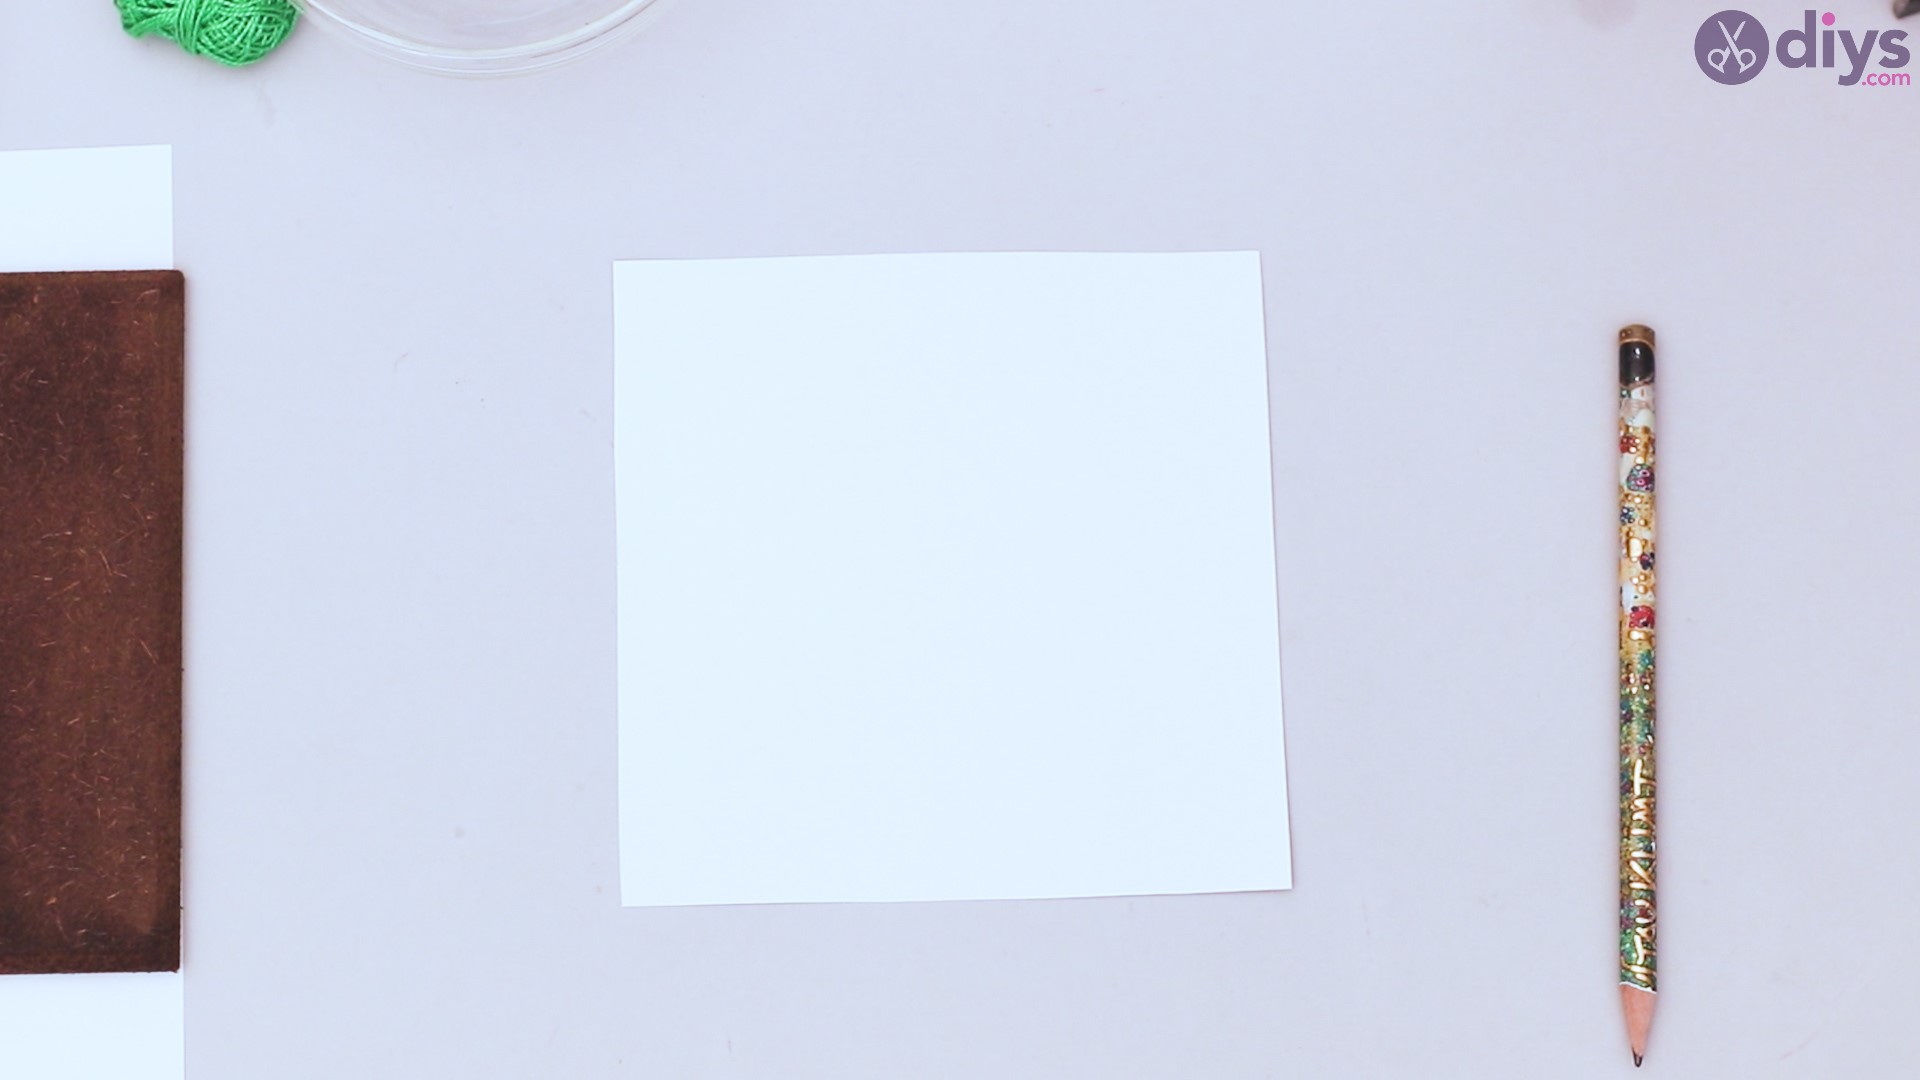
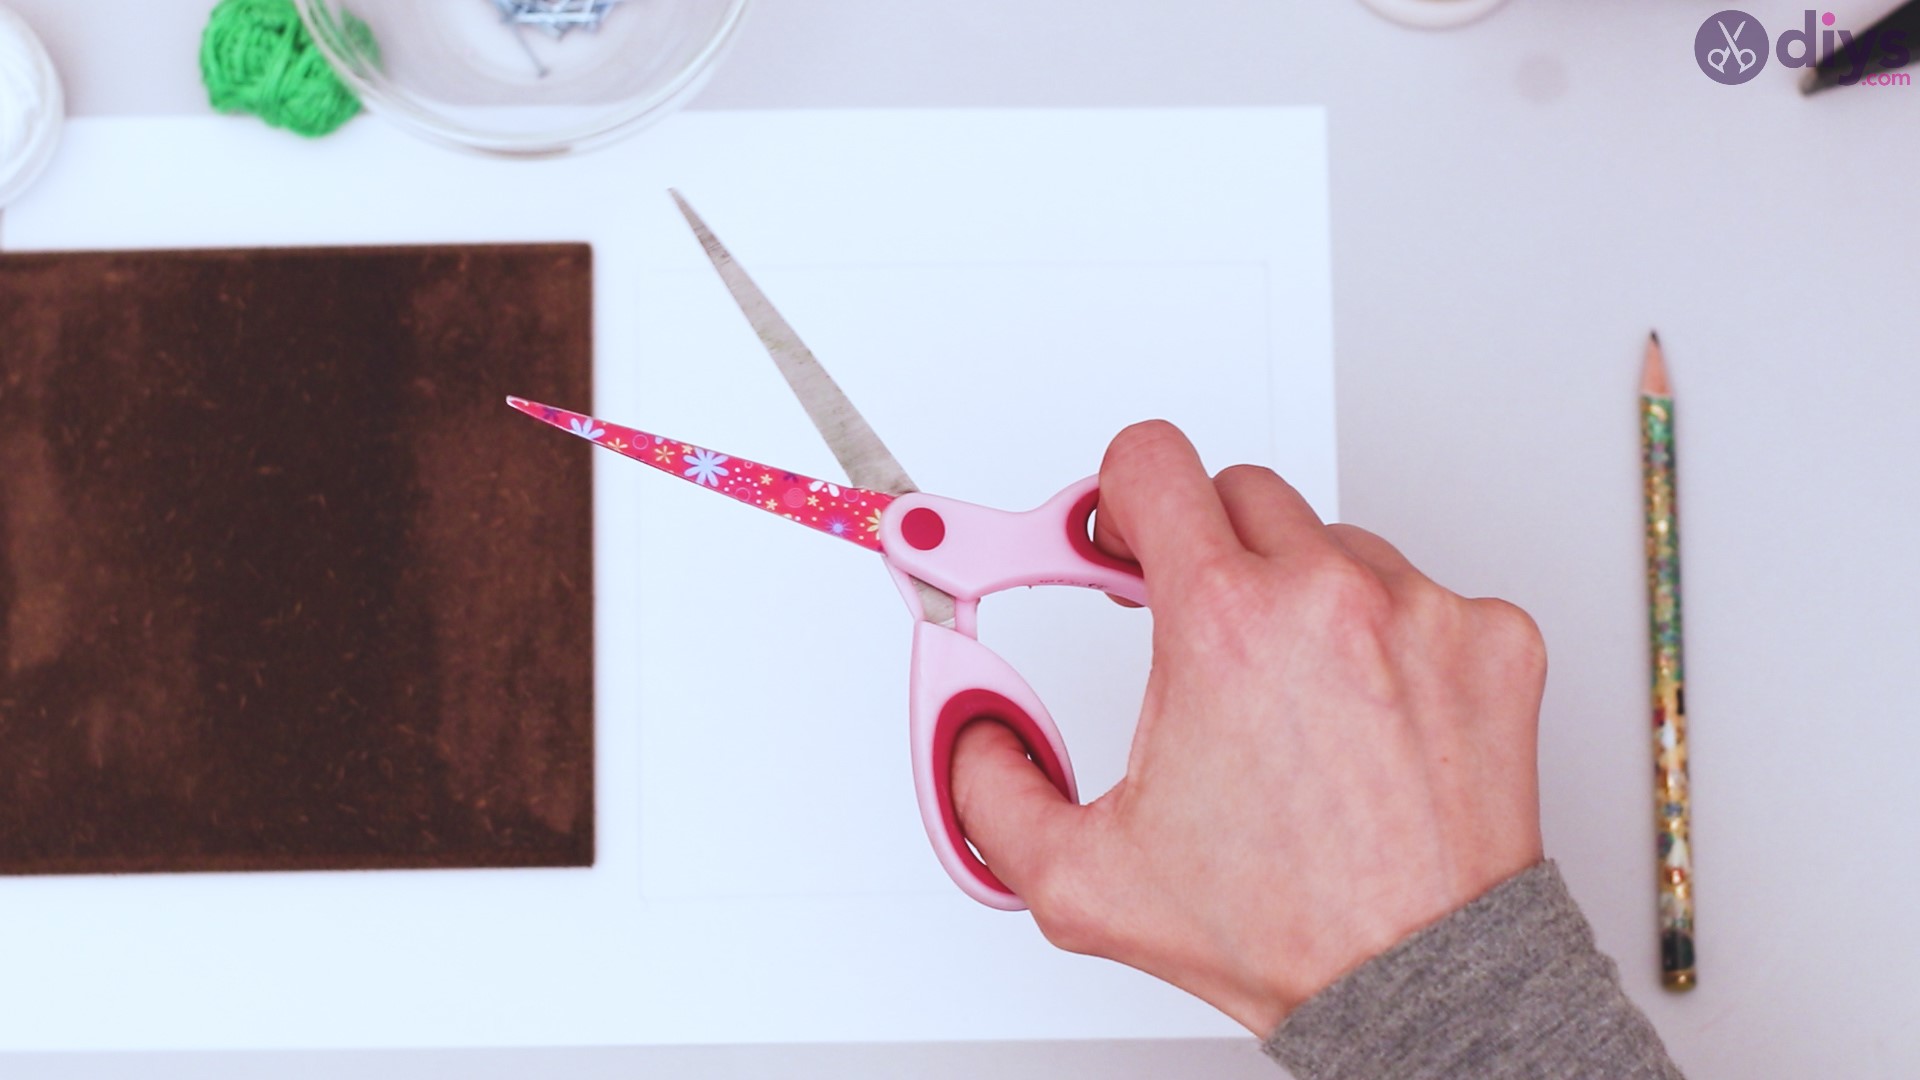
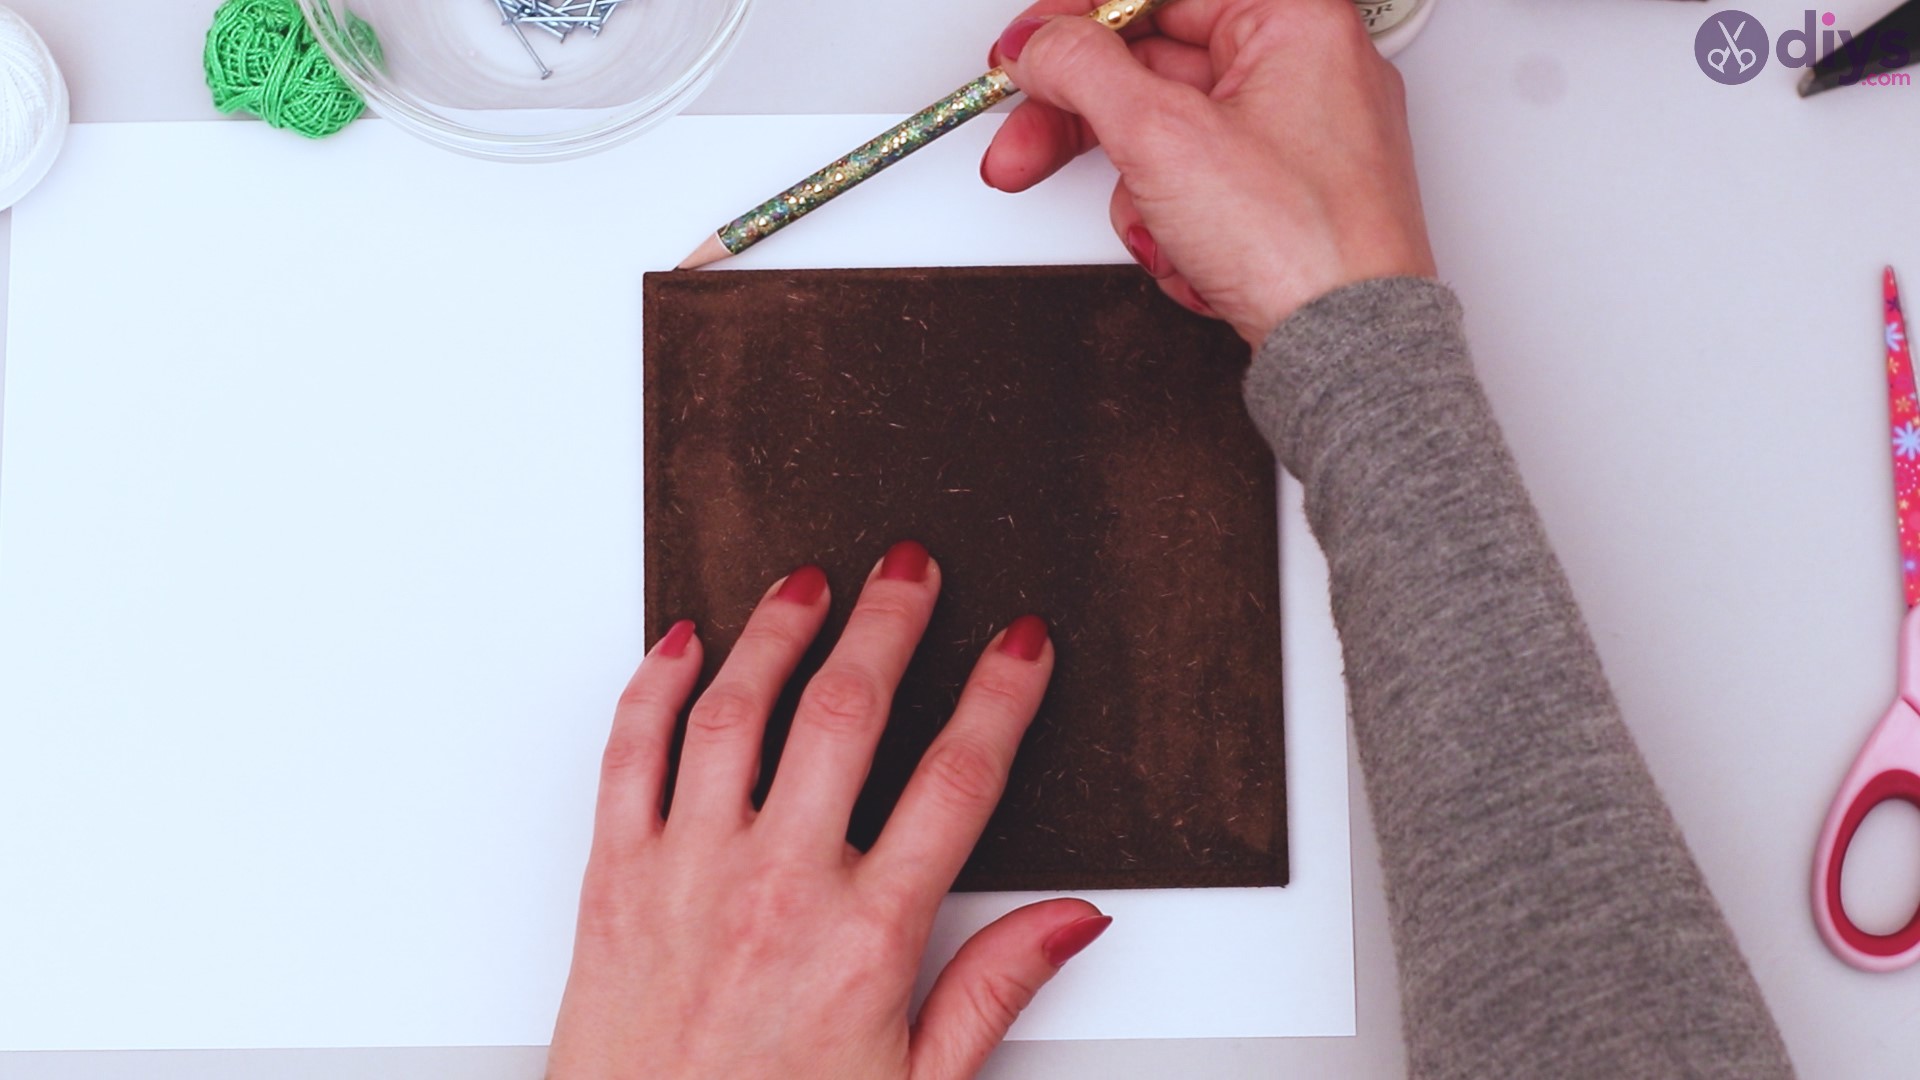
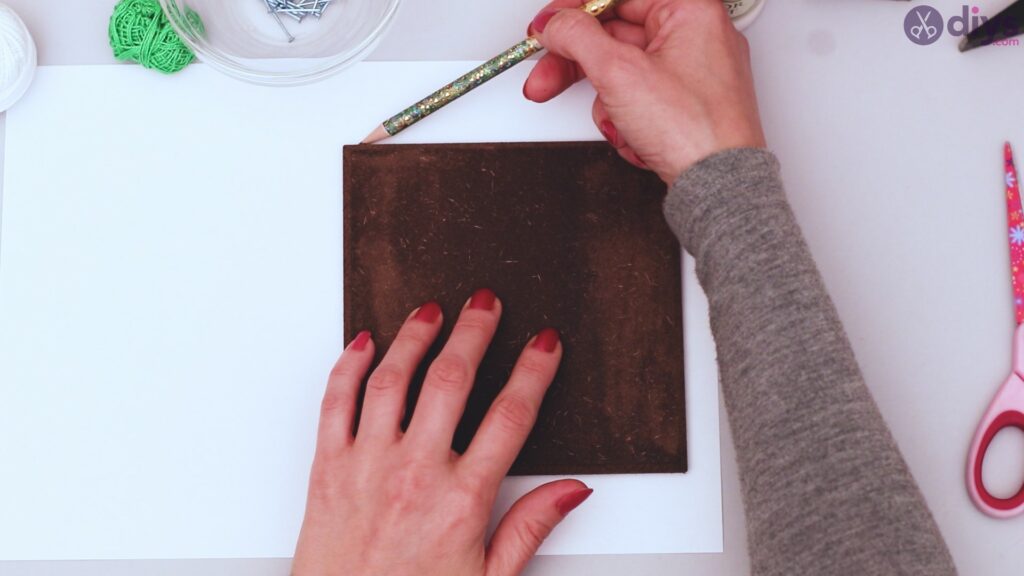
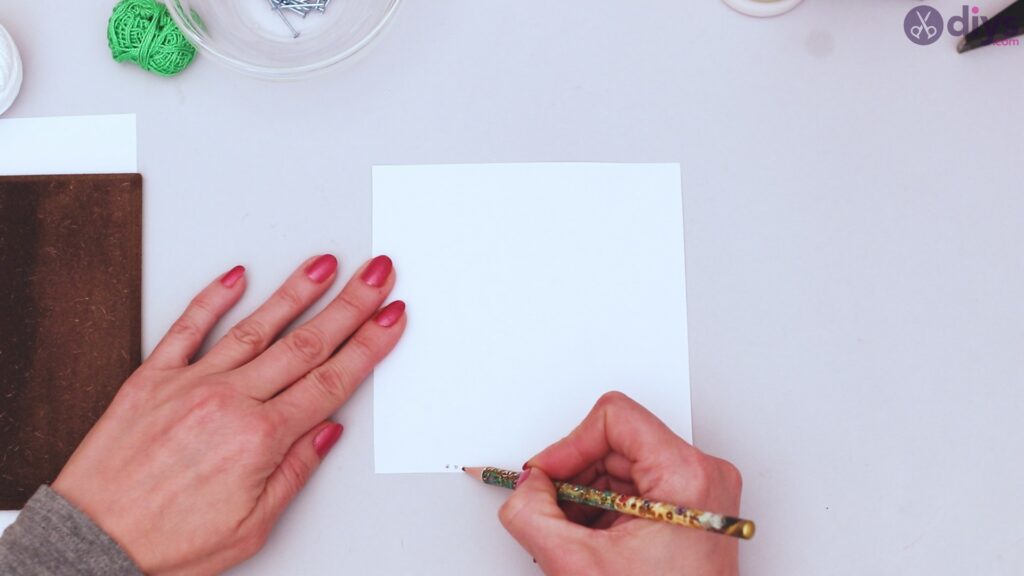
Step 2: Measure paper
Once your tile is dry, place it on your paper and use a pencil to trace around it. This doesn’t have to be perfect, but you want approximately the same shape and size to work with your image.

Cut out the square of paper.


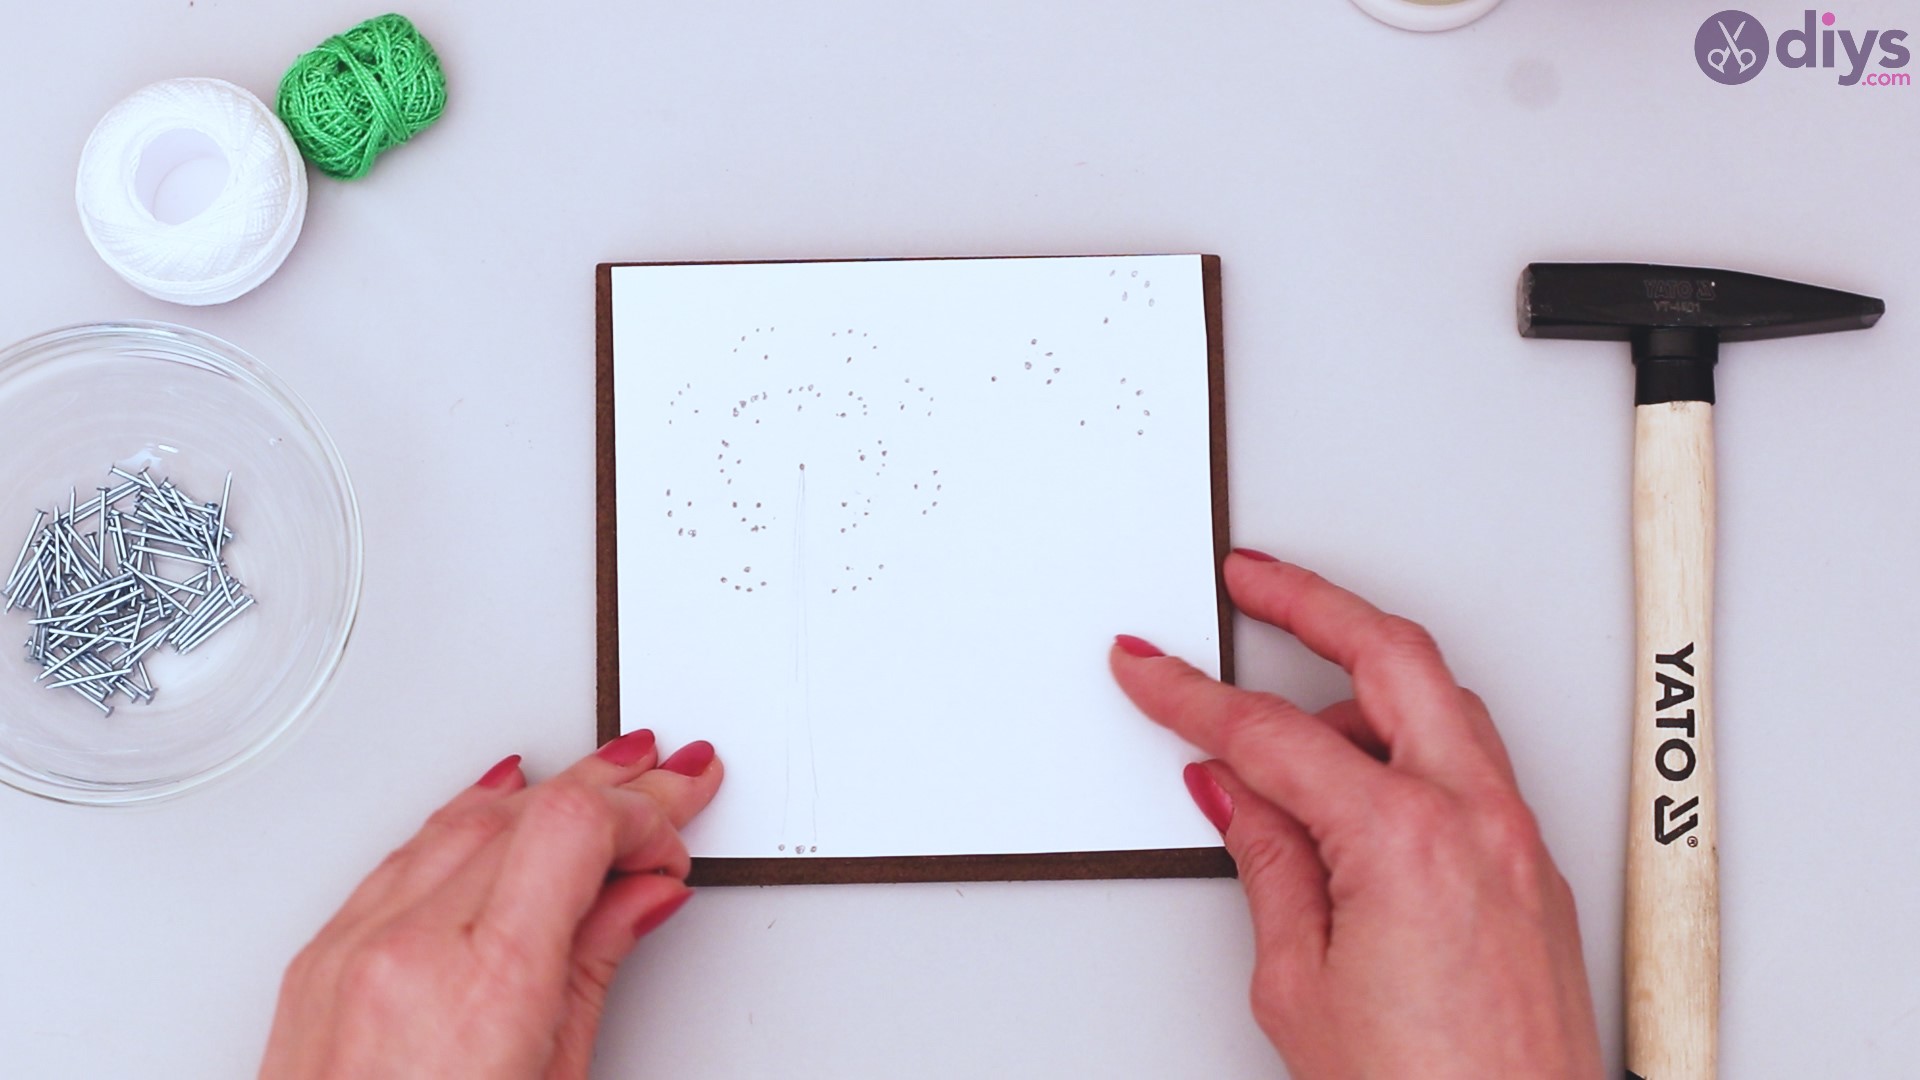
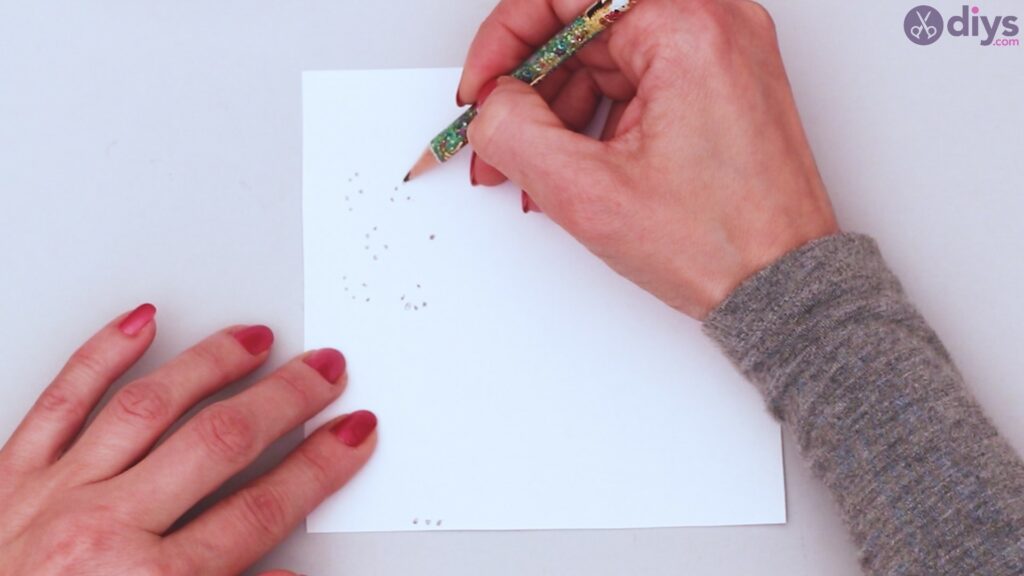
Step 3: Make your pattern
For those who don’t draw, there is no fear! This part is somewhat abstract. At the bottom of your paper, use your pencil to place three dots in a line, fairly close together.
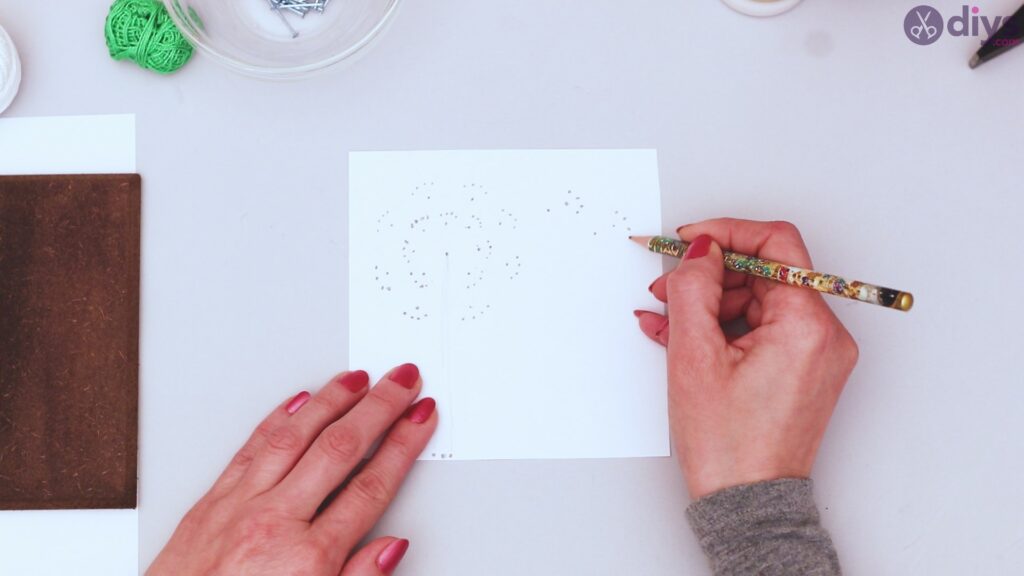
Directly above that, toward the middle of the paper, place one large dot. This will be the center of your dandelion. Then, arrange dots around that central dot so that there are groups. One dot should be closer to that central dot, and then there should be 3 to 4 dots in a moon shape around this dot. Repeat this four to five times around the central dot.
To the right of these gathered dots, create two more clusters, with a single dot ringed by a half moon of dots.
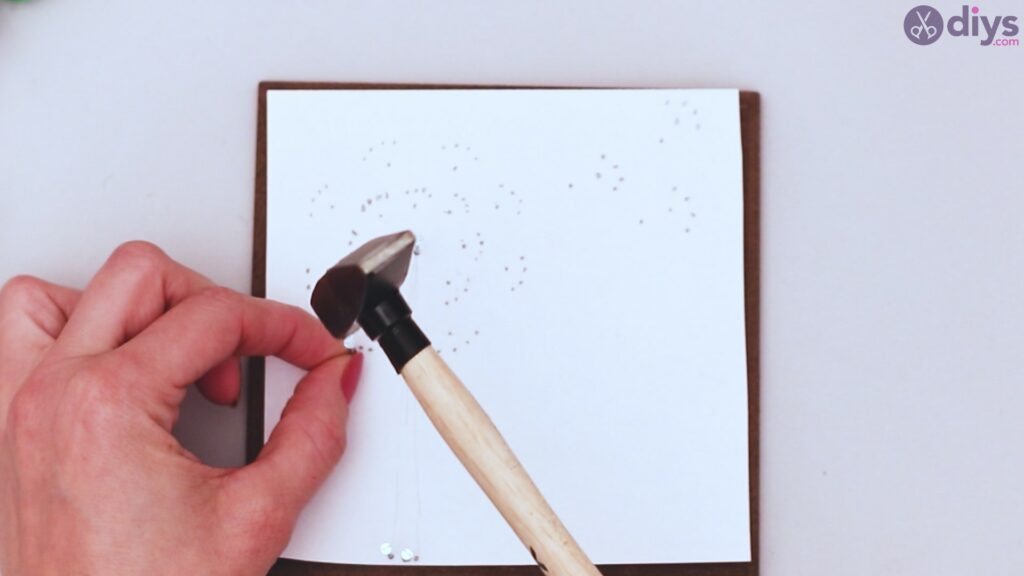
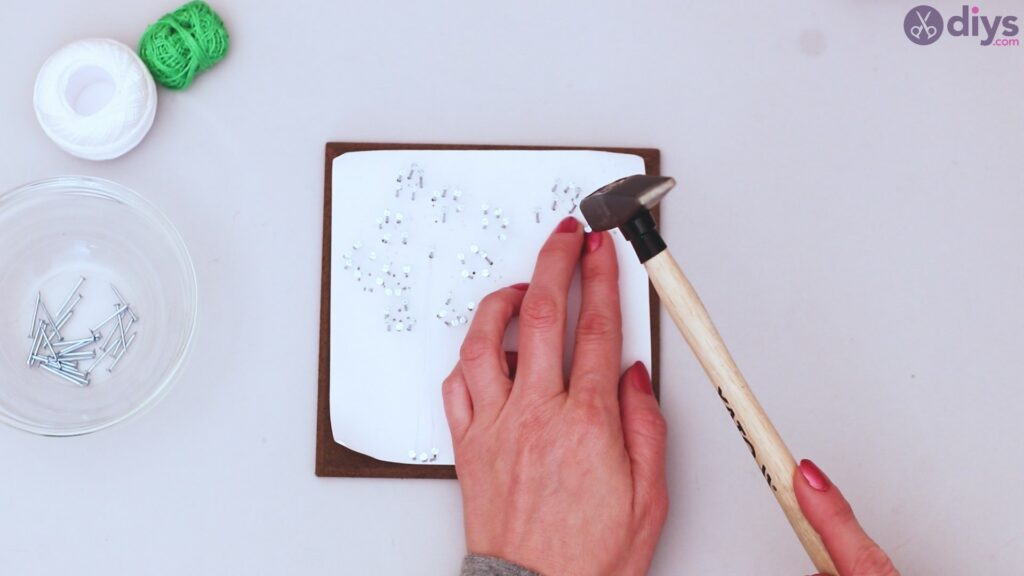
Step 4: Nail it!
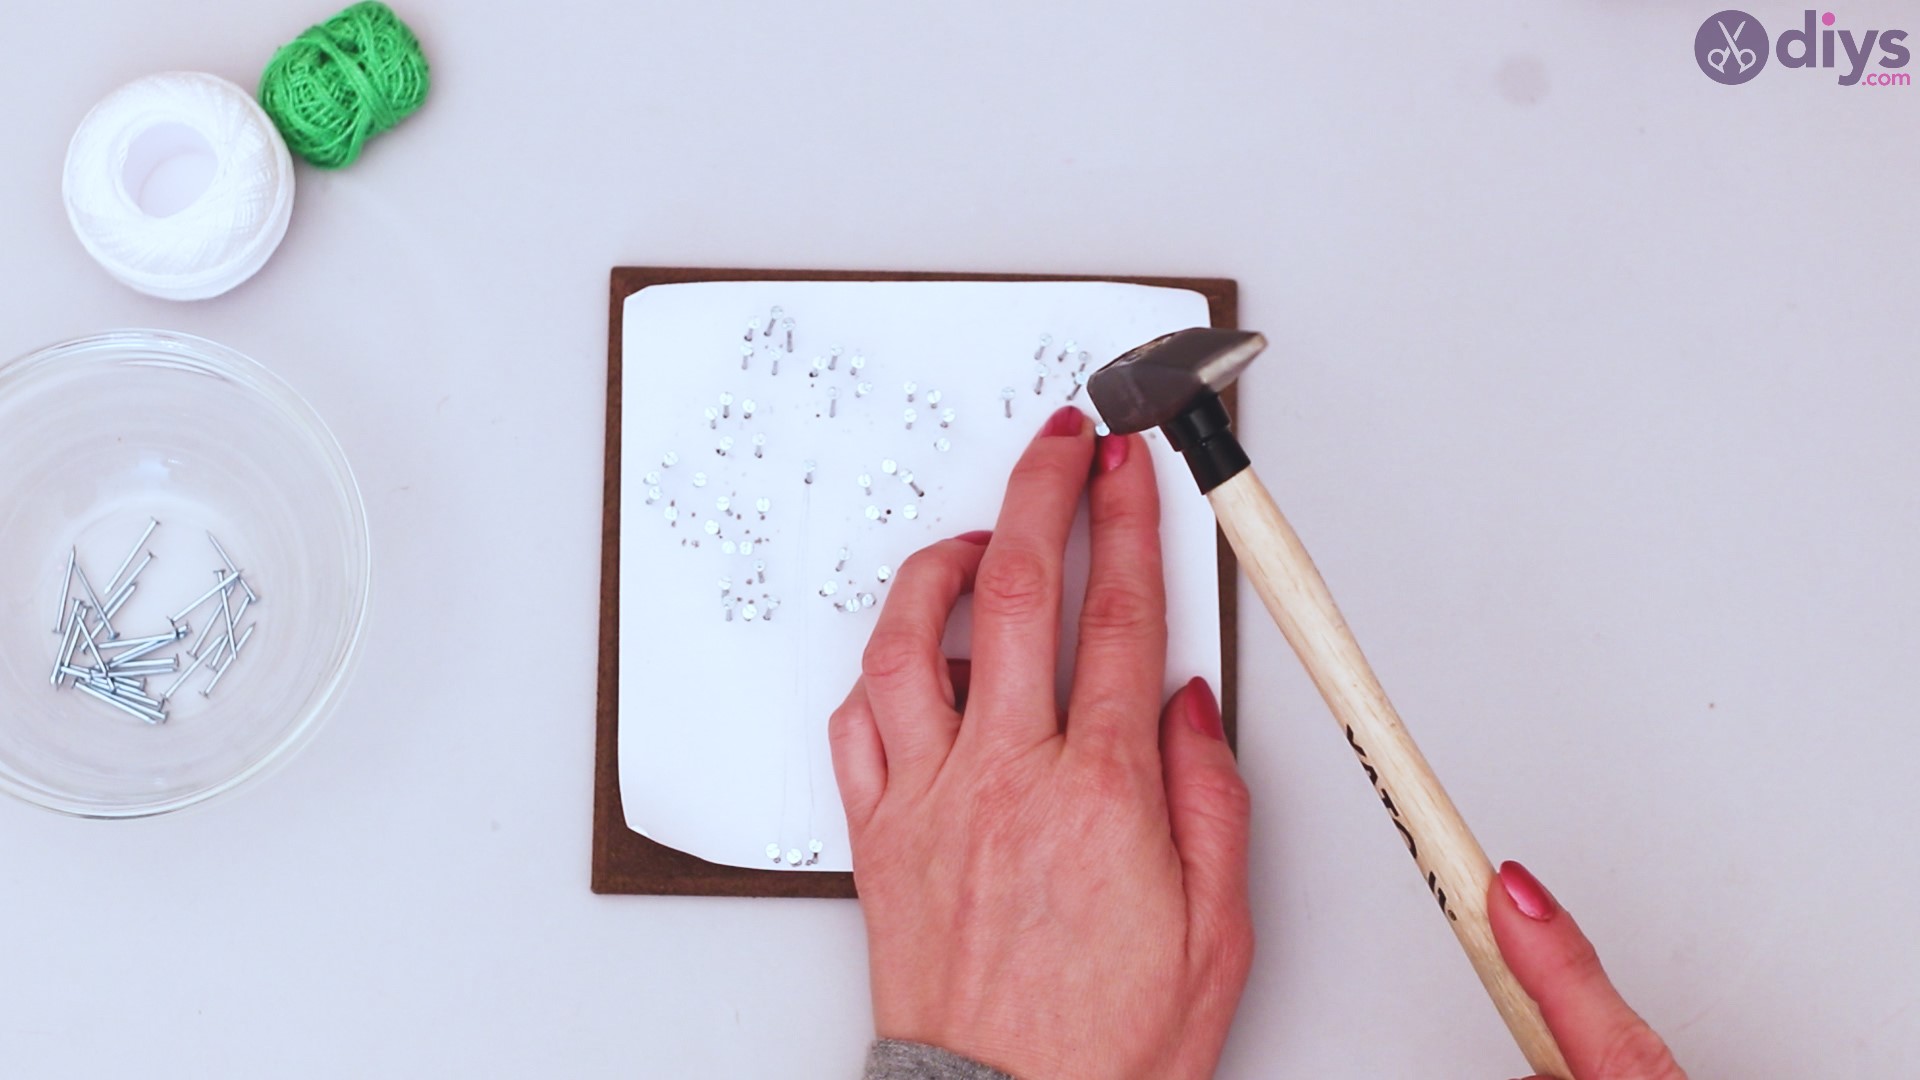
Place the paper with your pattern on top of your wood tile.

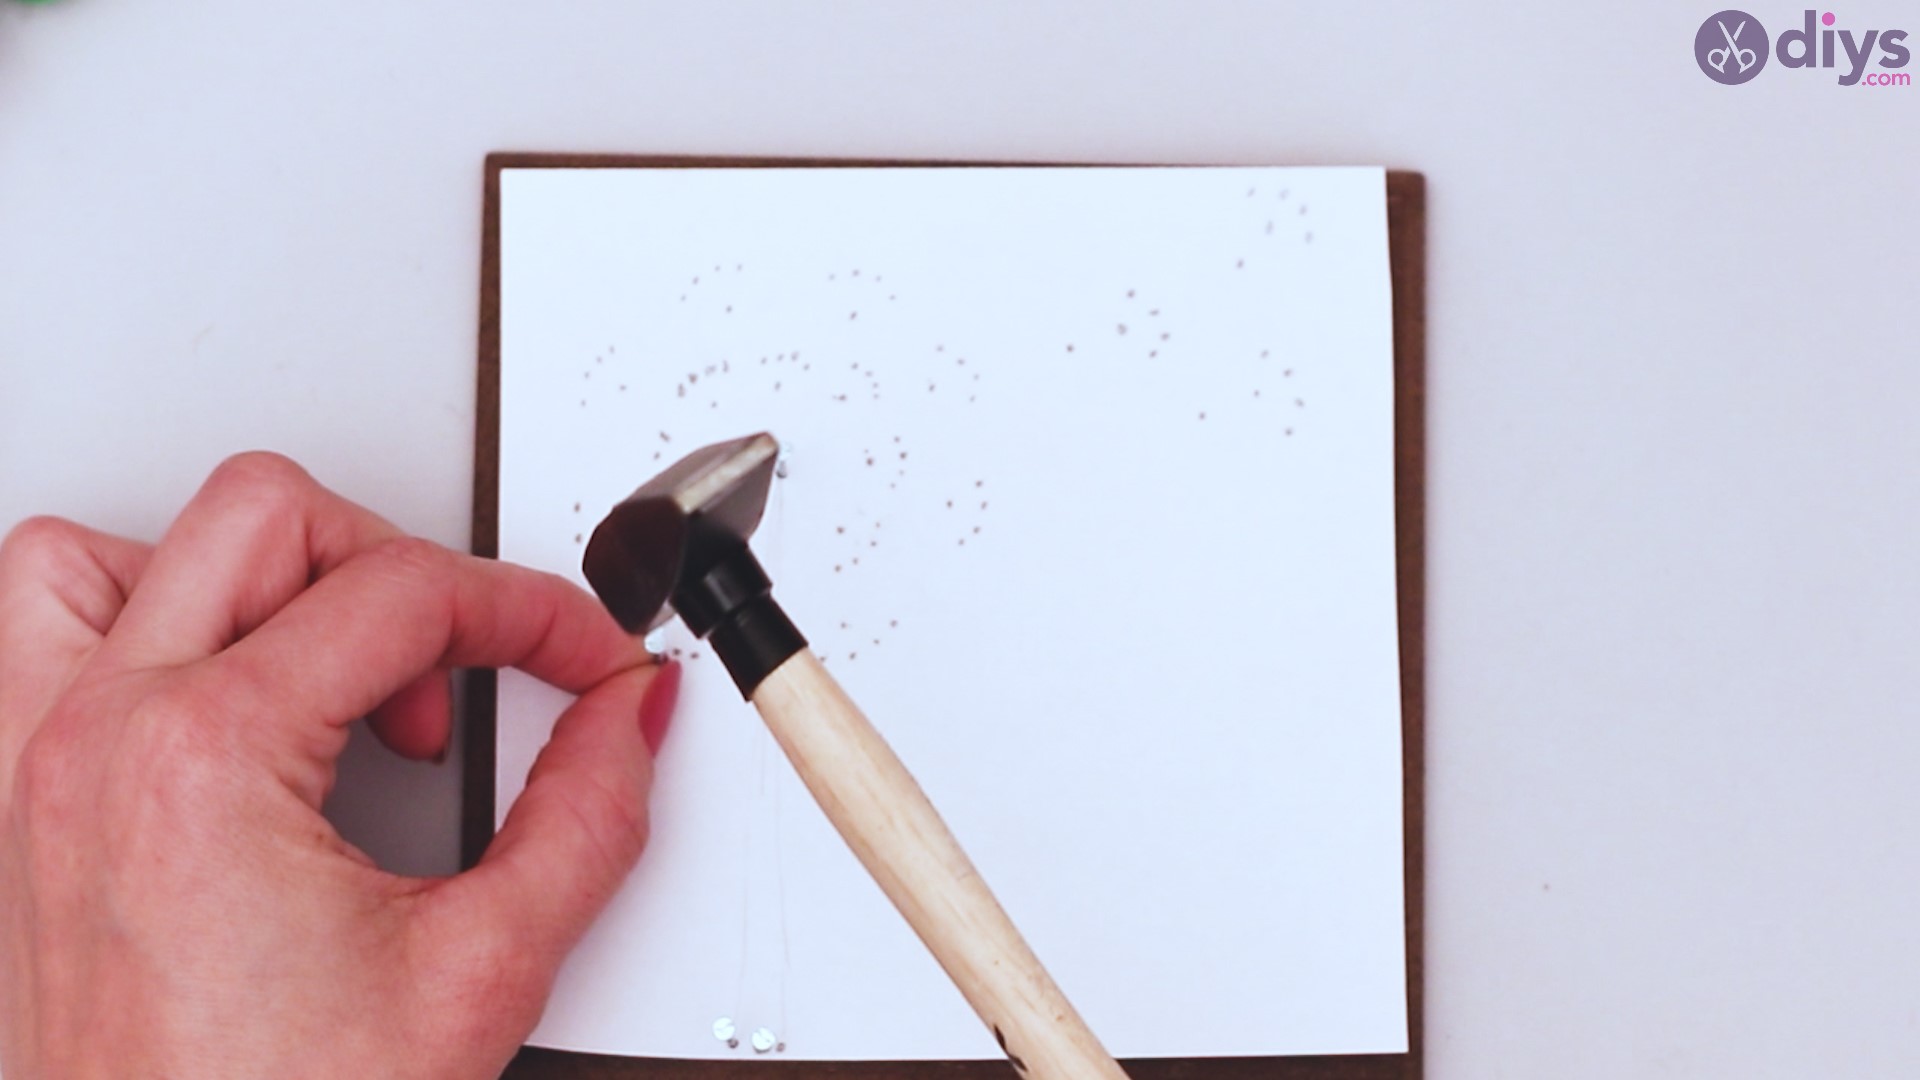
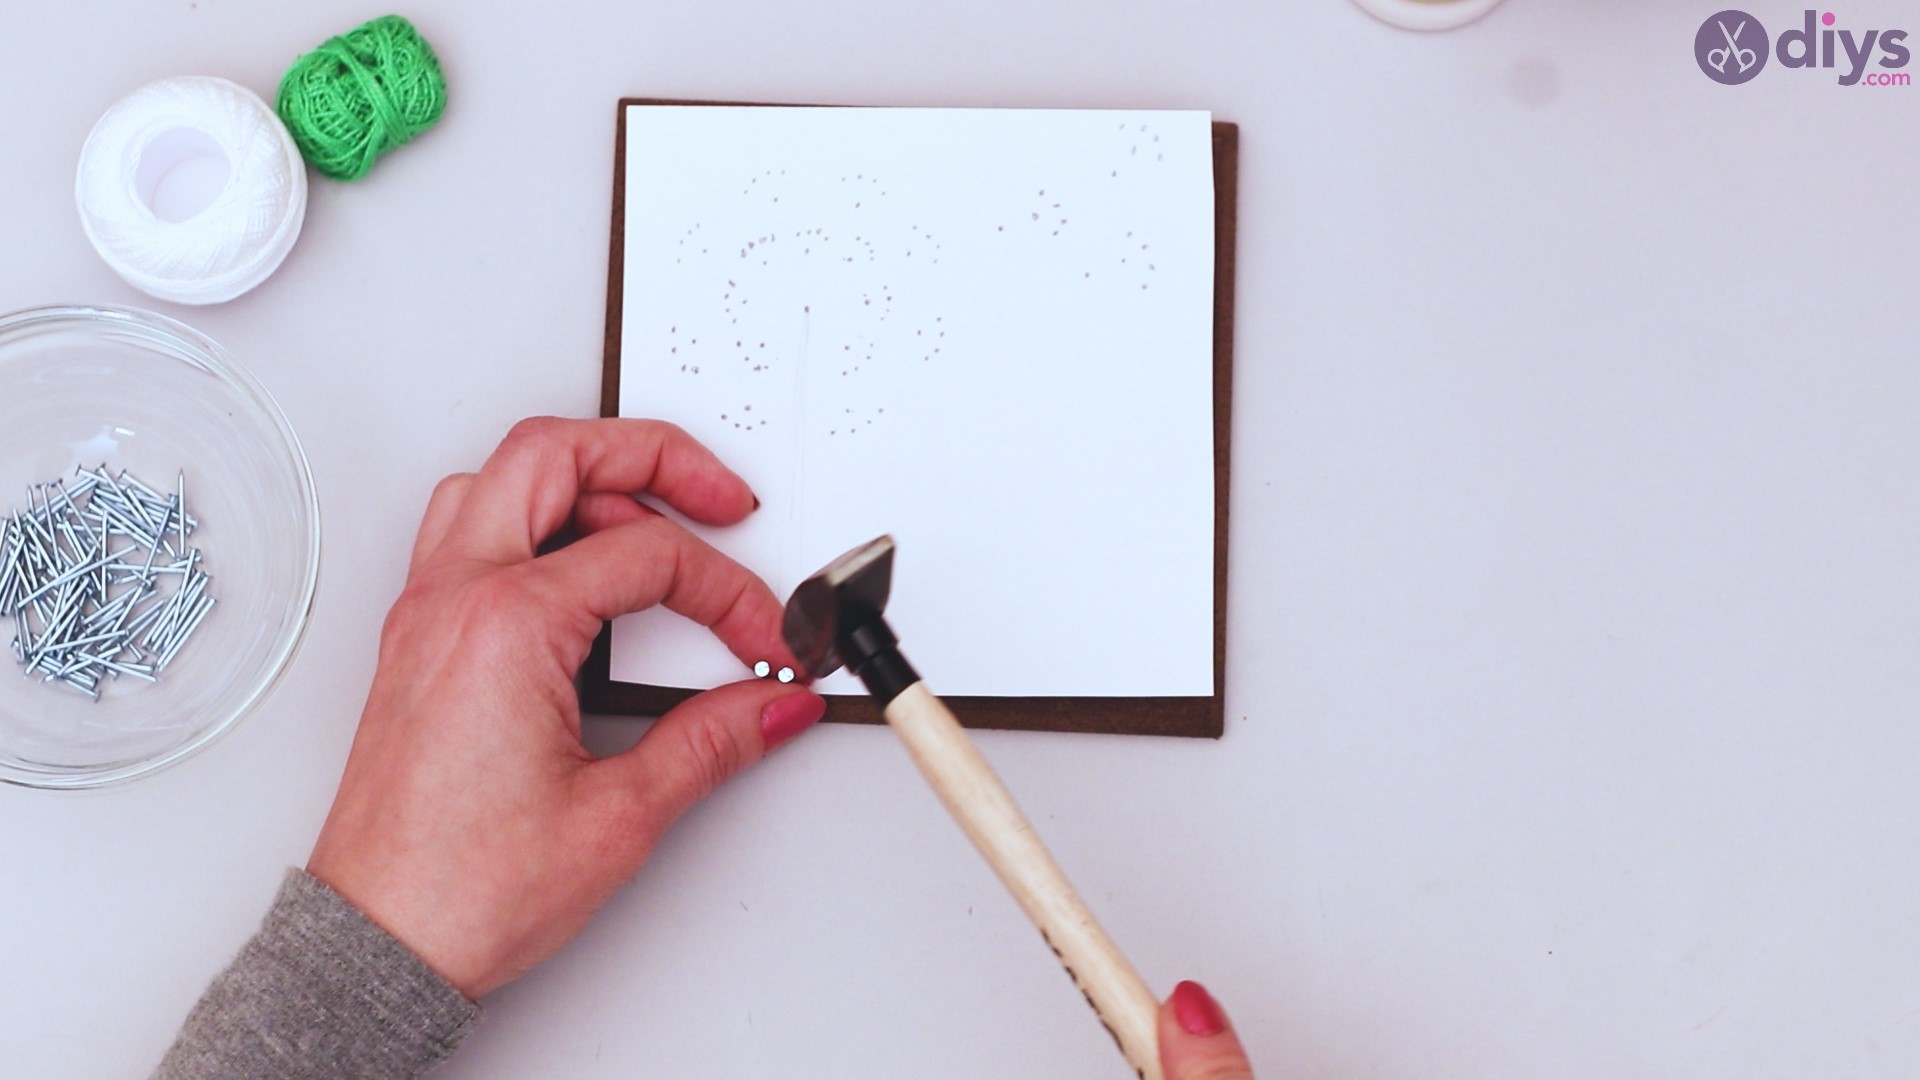
Using a hammer and your studs, place a stud at each dot you’ve made. Carefully nail into the wood tile.


Continue this procedure until there is a stud in every spot where you placed a dot. Don’t nail them all the way through your wood tile. You want them to be sticking up.
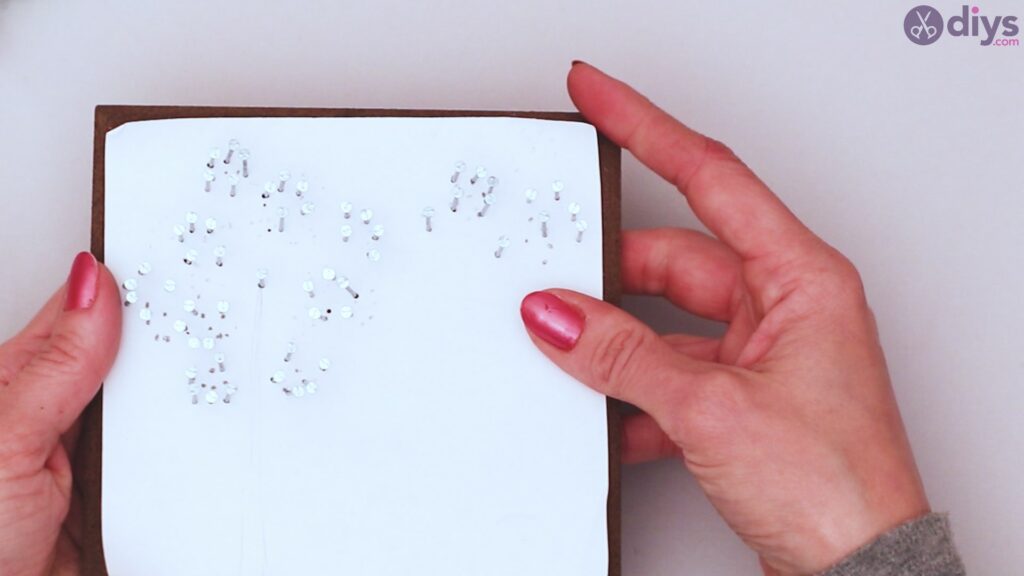
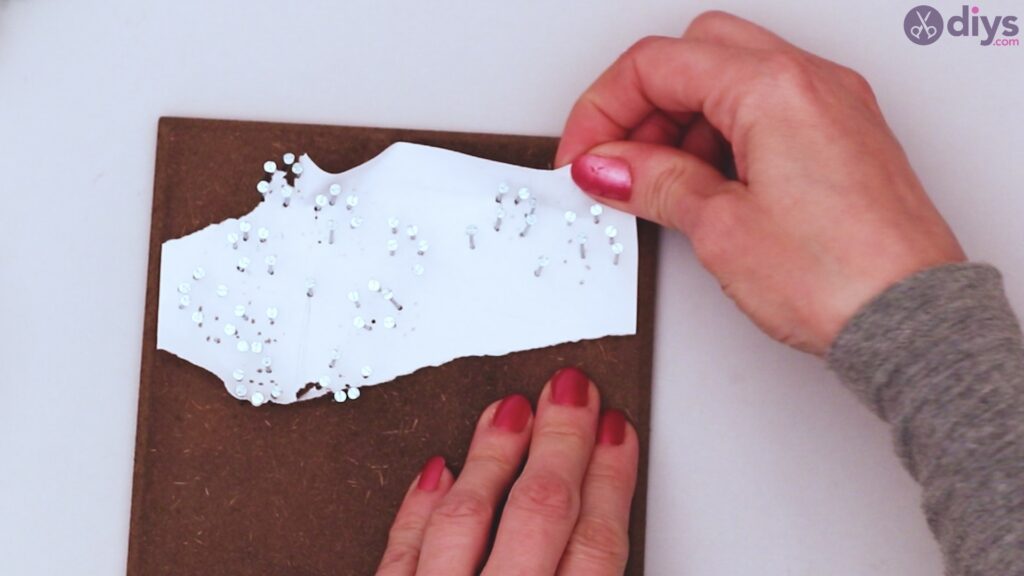
When you’ve finished nailing in all of your studs, tear the paper off, careful not to accidentally remove a stud.
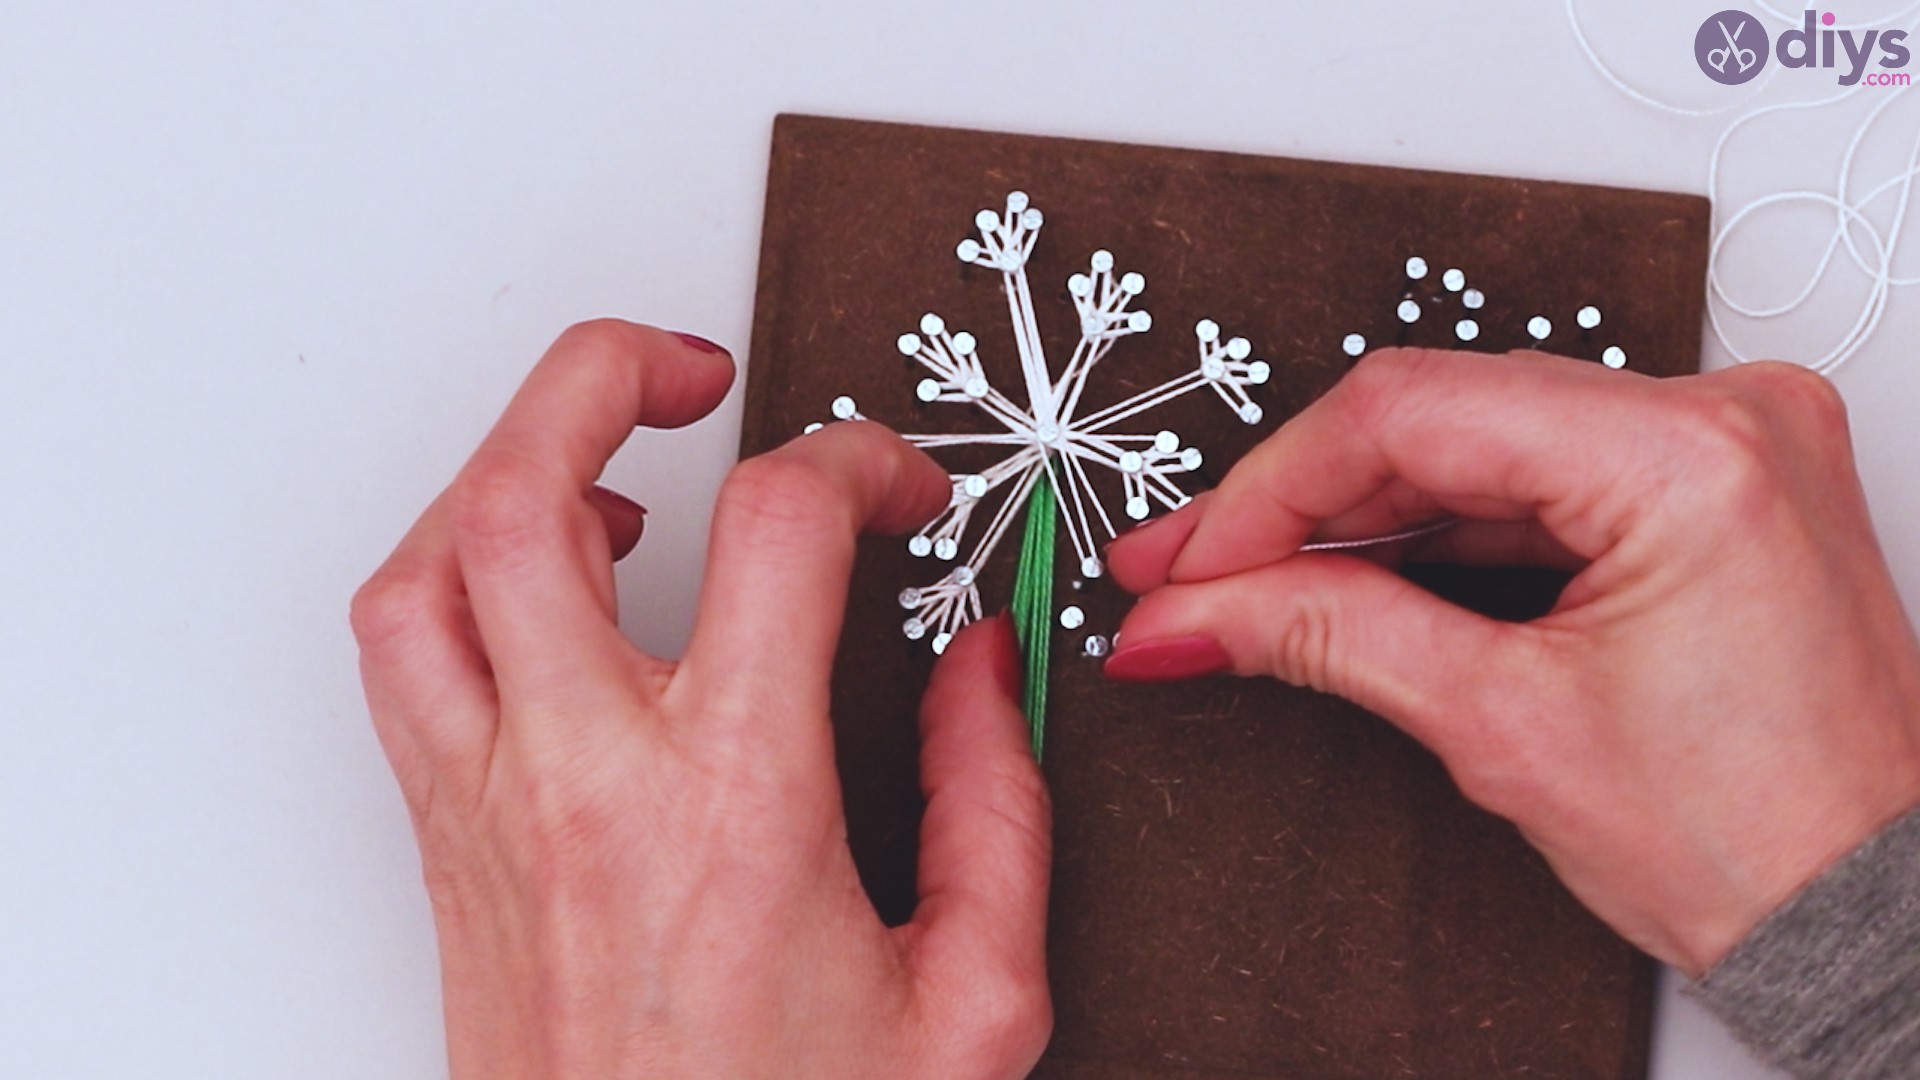
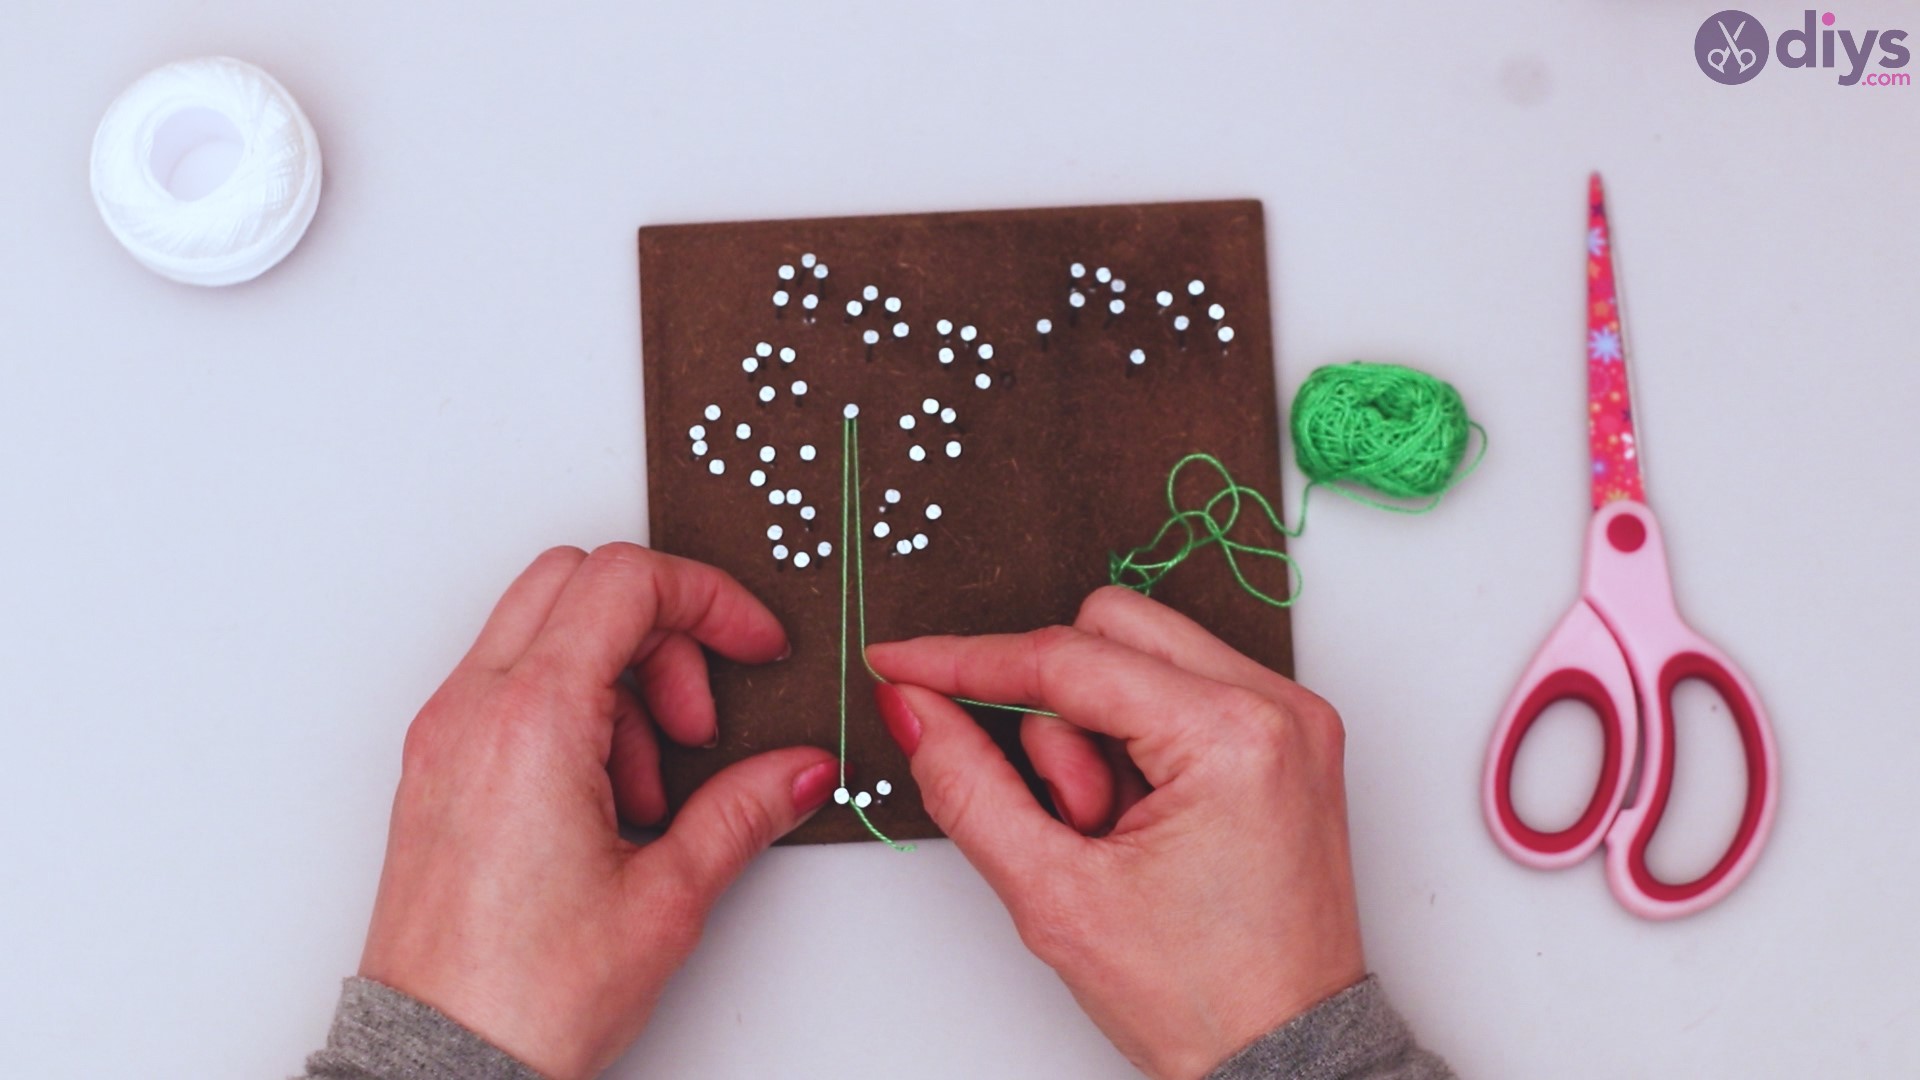
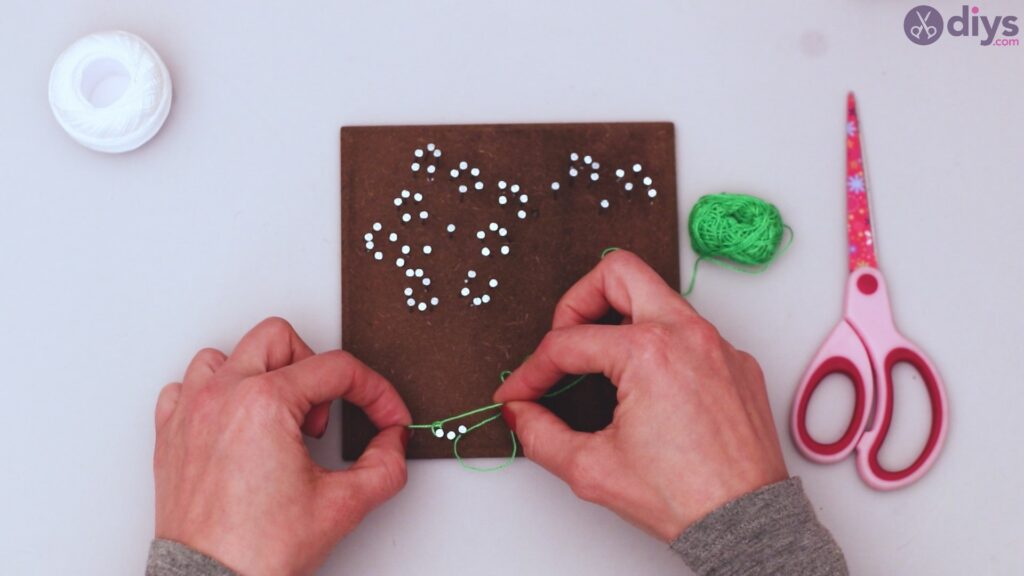
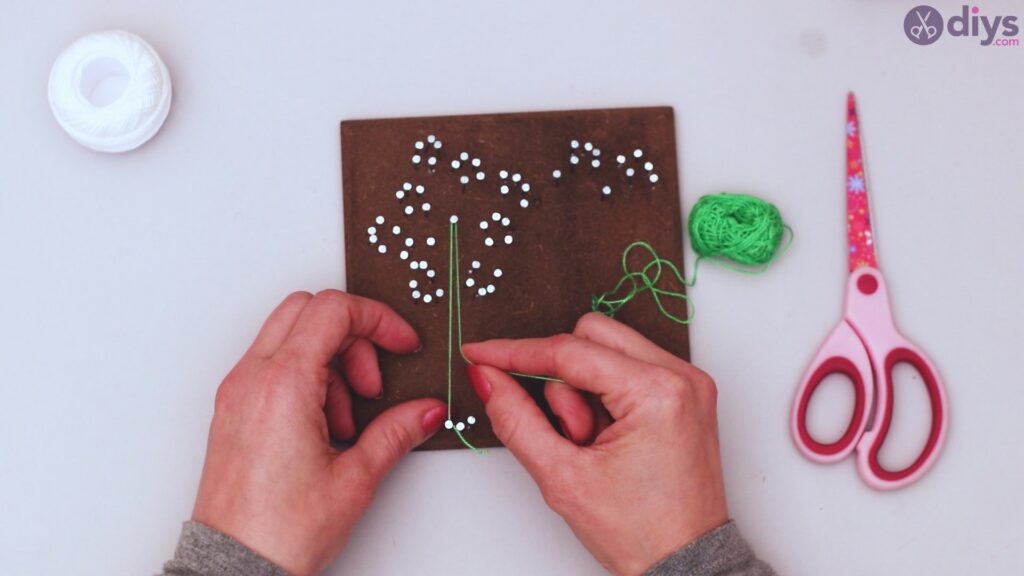
Step 5: Create the stem
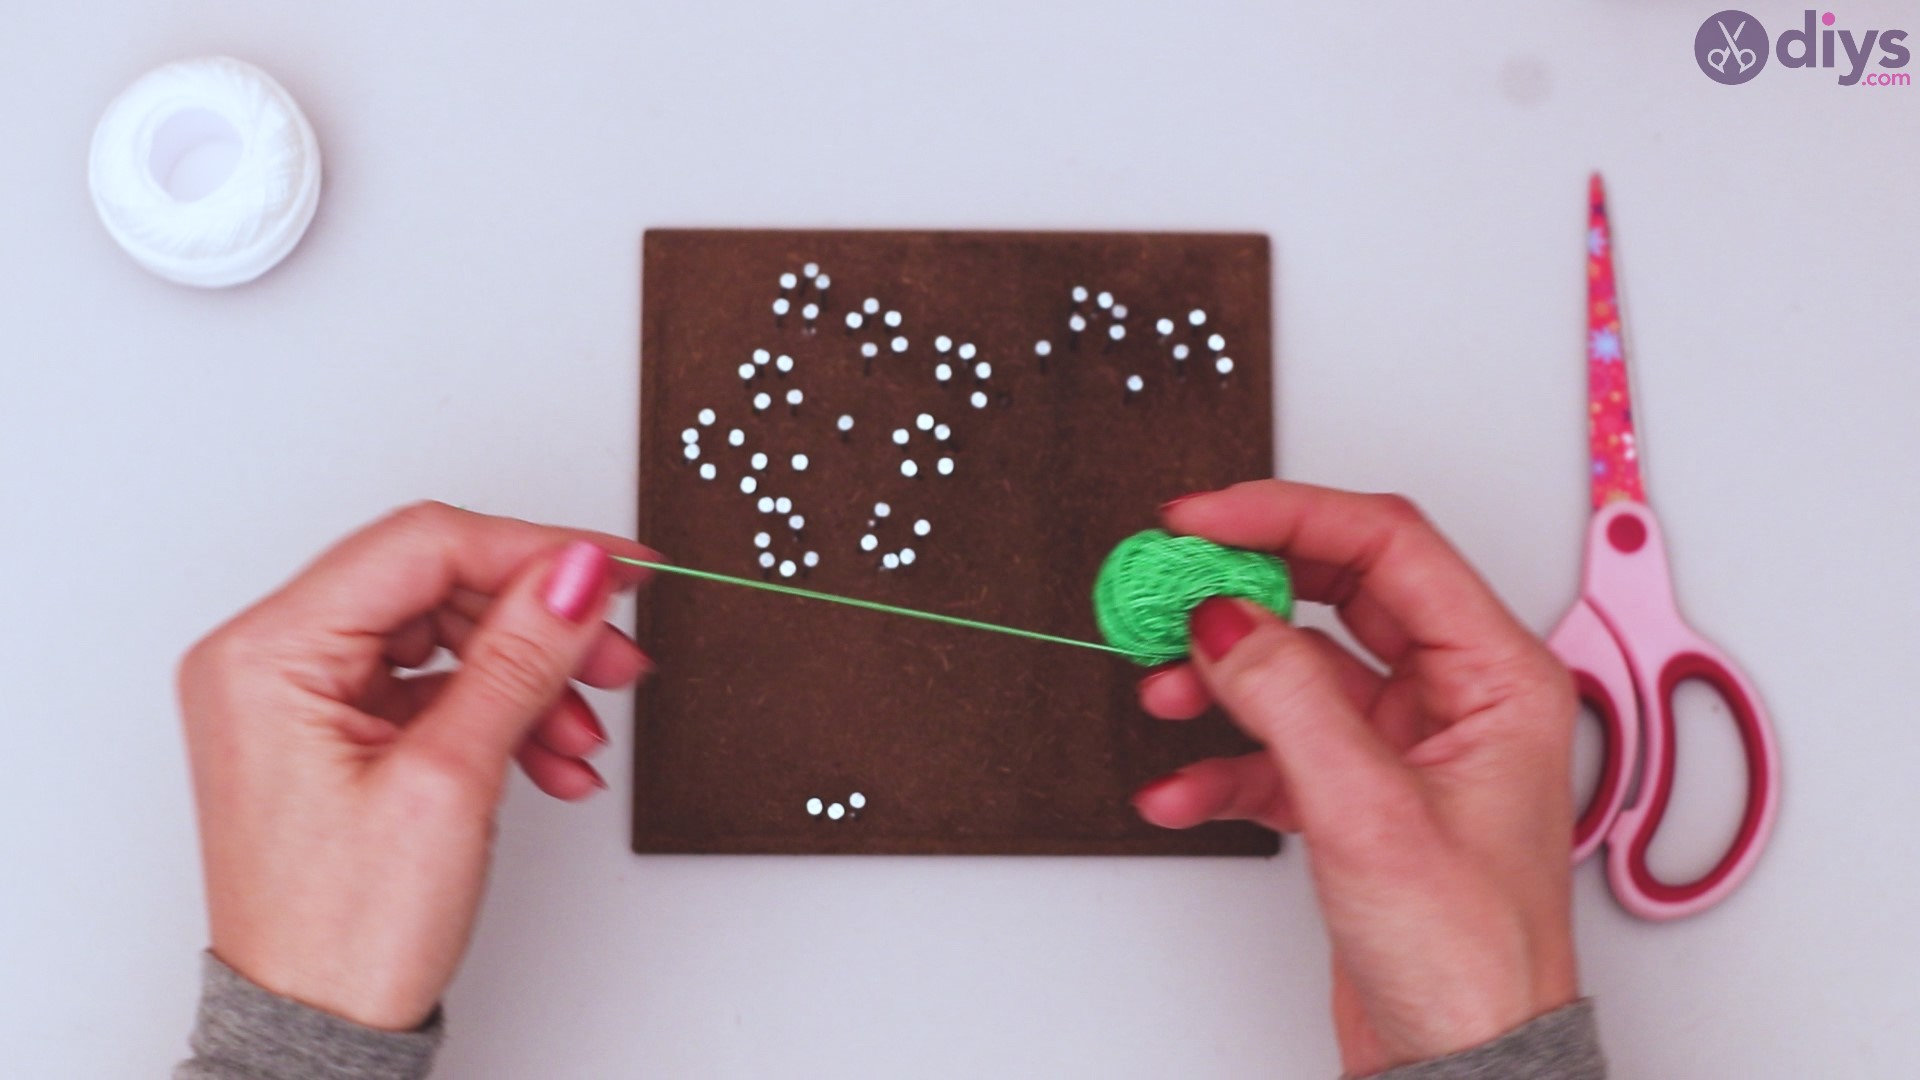
Take one of your colors of yarn and begin to unroll it so you have a good length to work with.

Tie the end around the stud on the far left at the bottom of your tile.
Pull it up to the center stud above, and wrap it around the stud. Then, bring it back down and wrap it around that left stud again.
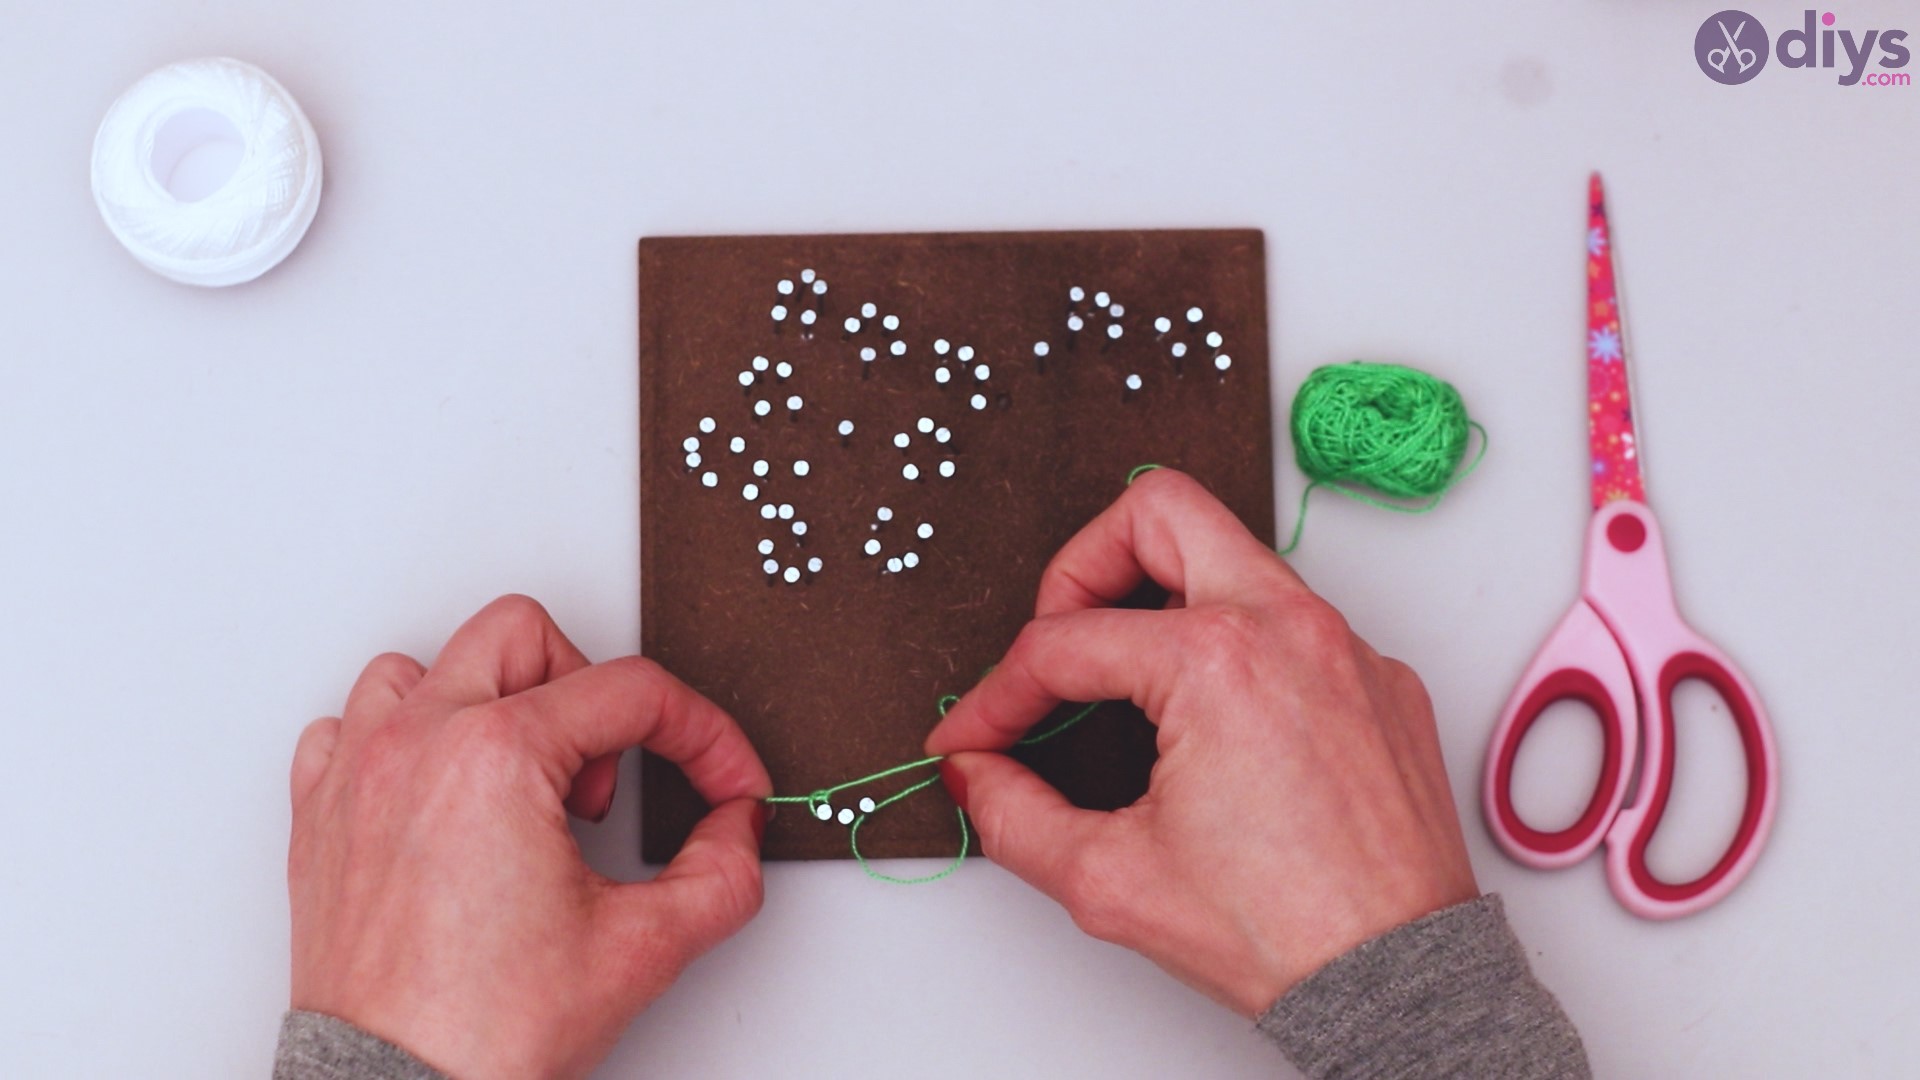
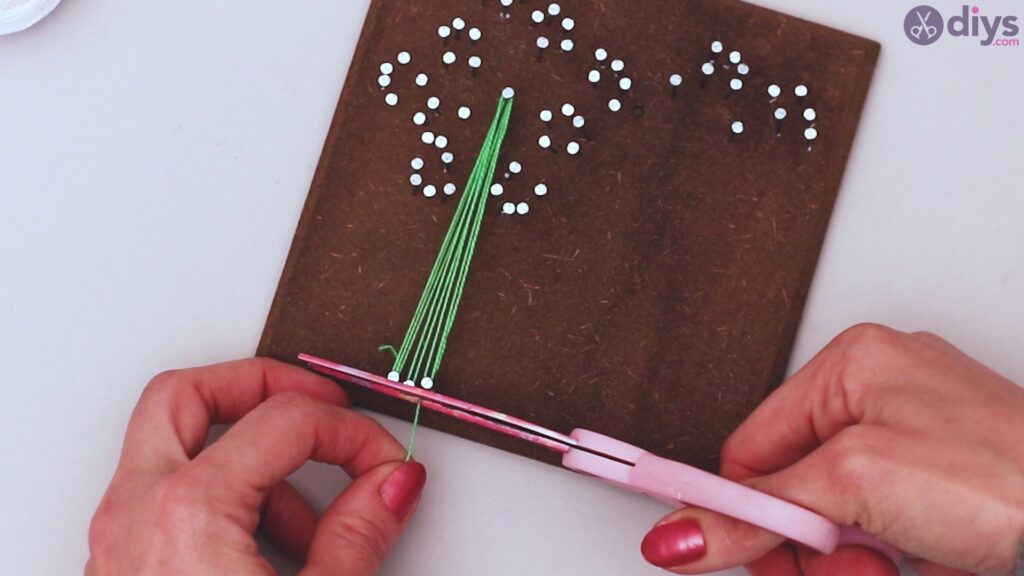
Repeat this without cutting the string with the other two studs at the bottom of the tile. When you’ve wrapped the stud all the way on the right, tie off your yarn.

Carefully trim off any excess yarn at the bottom.
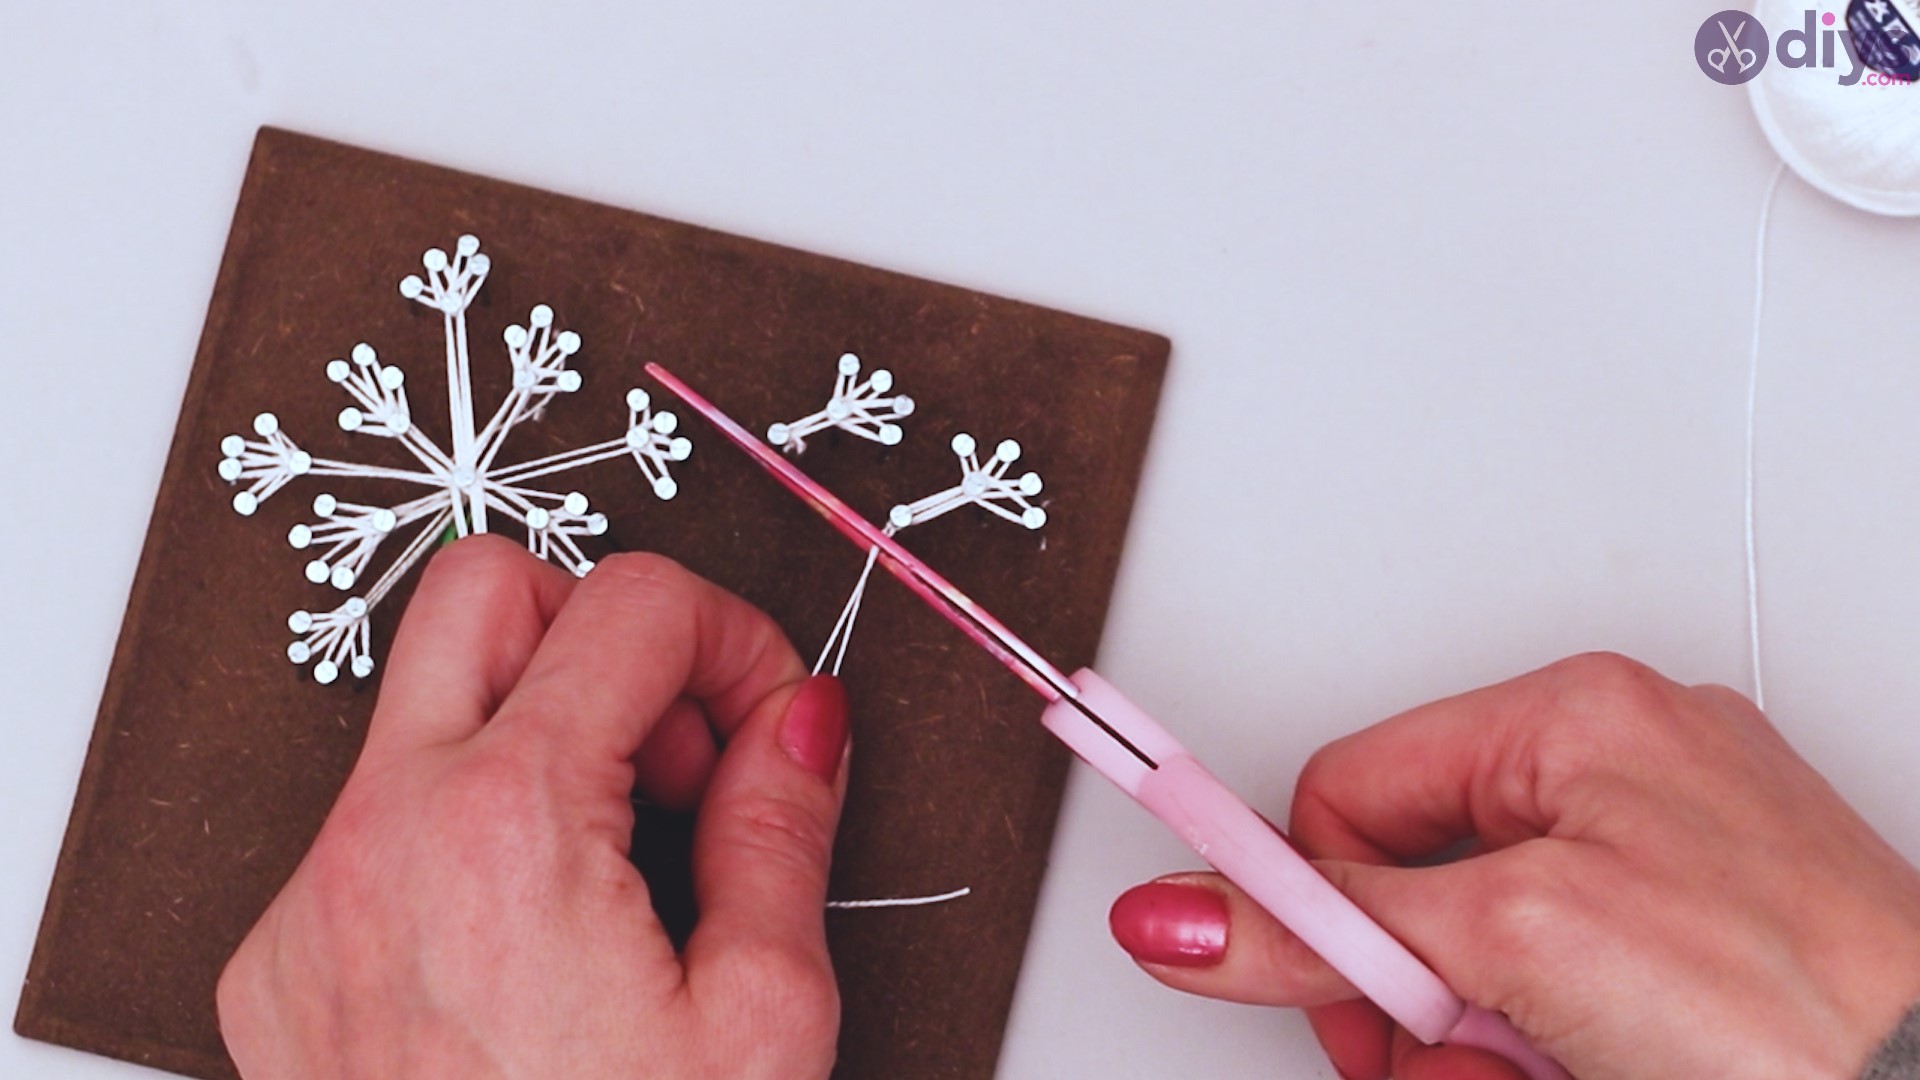
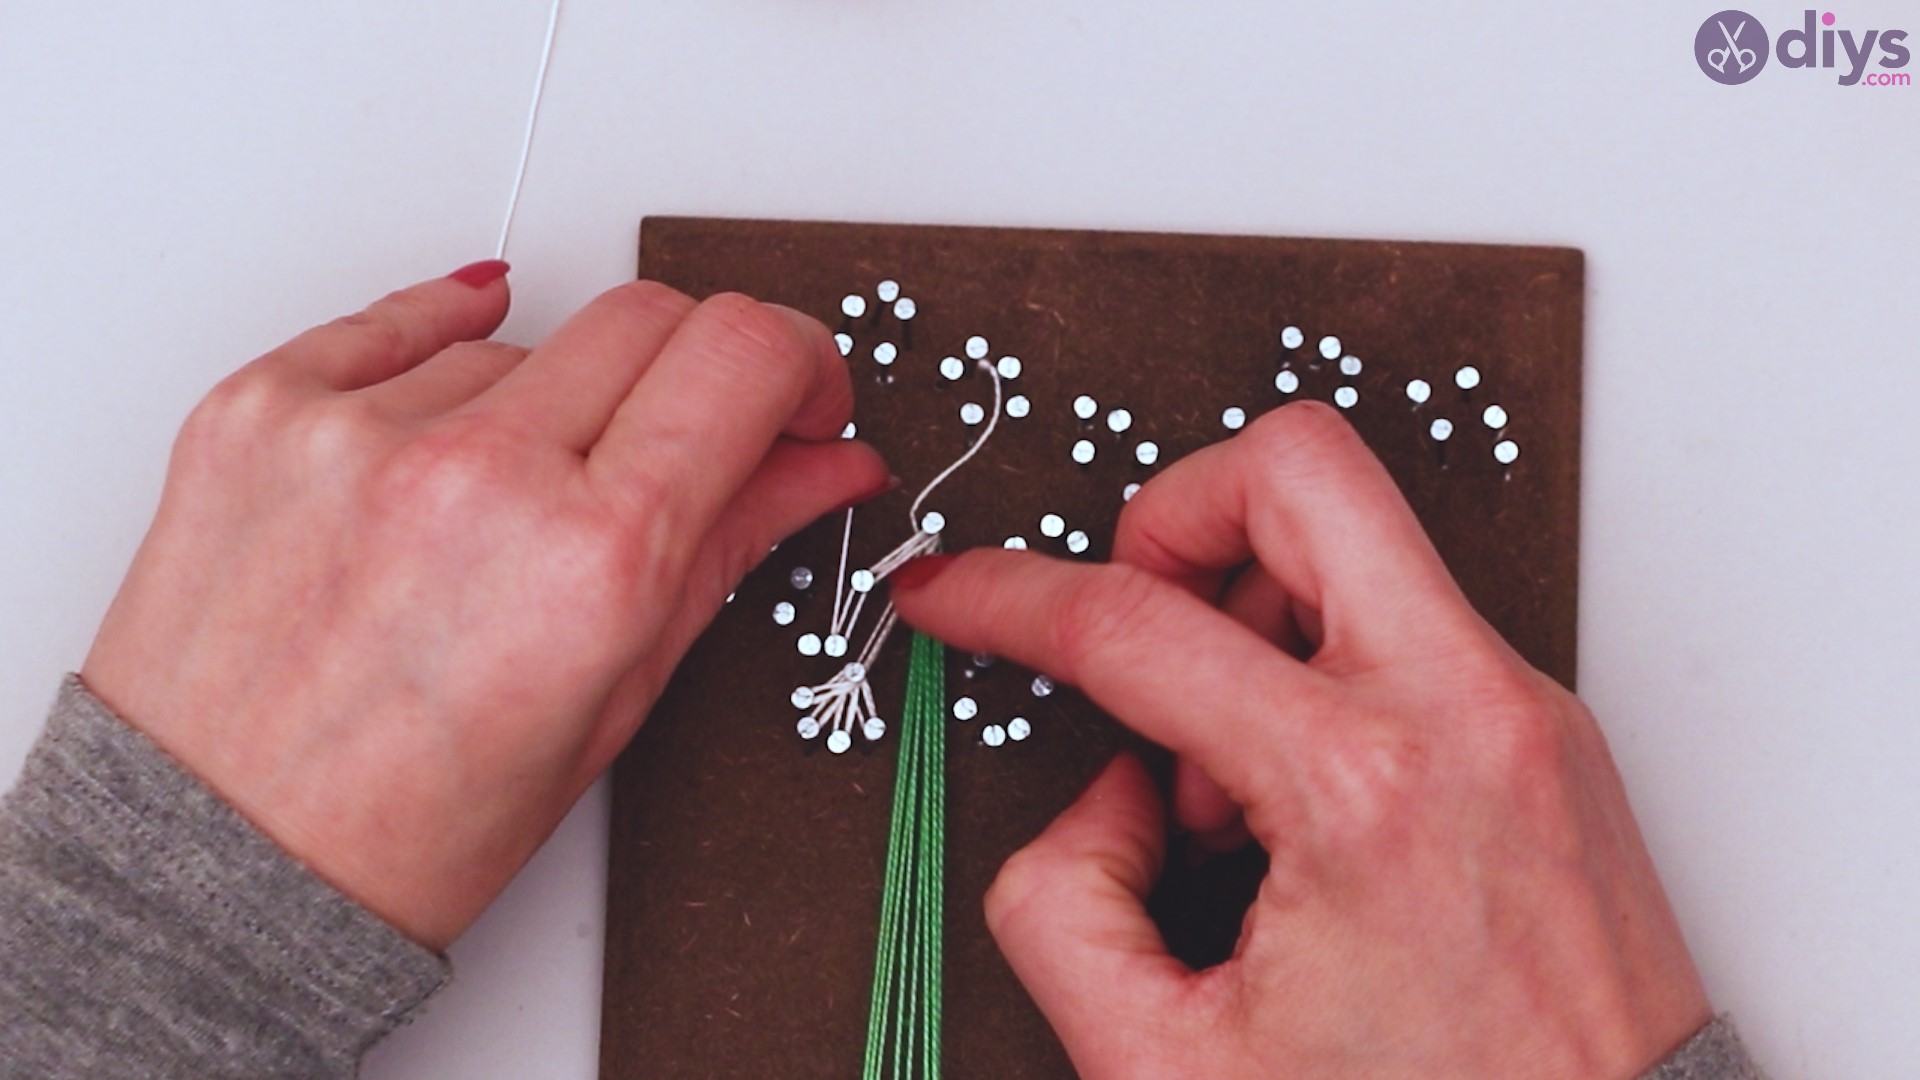
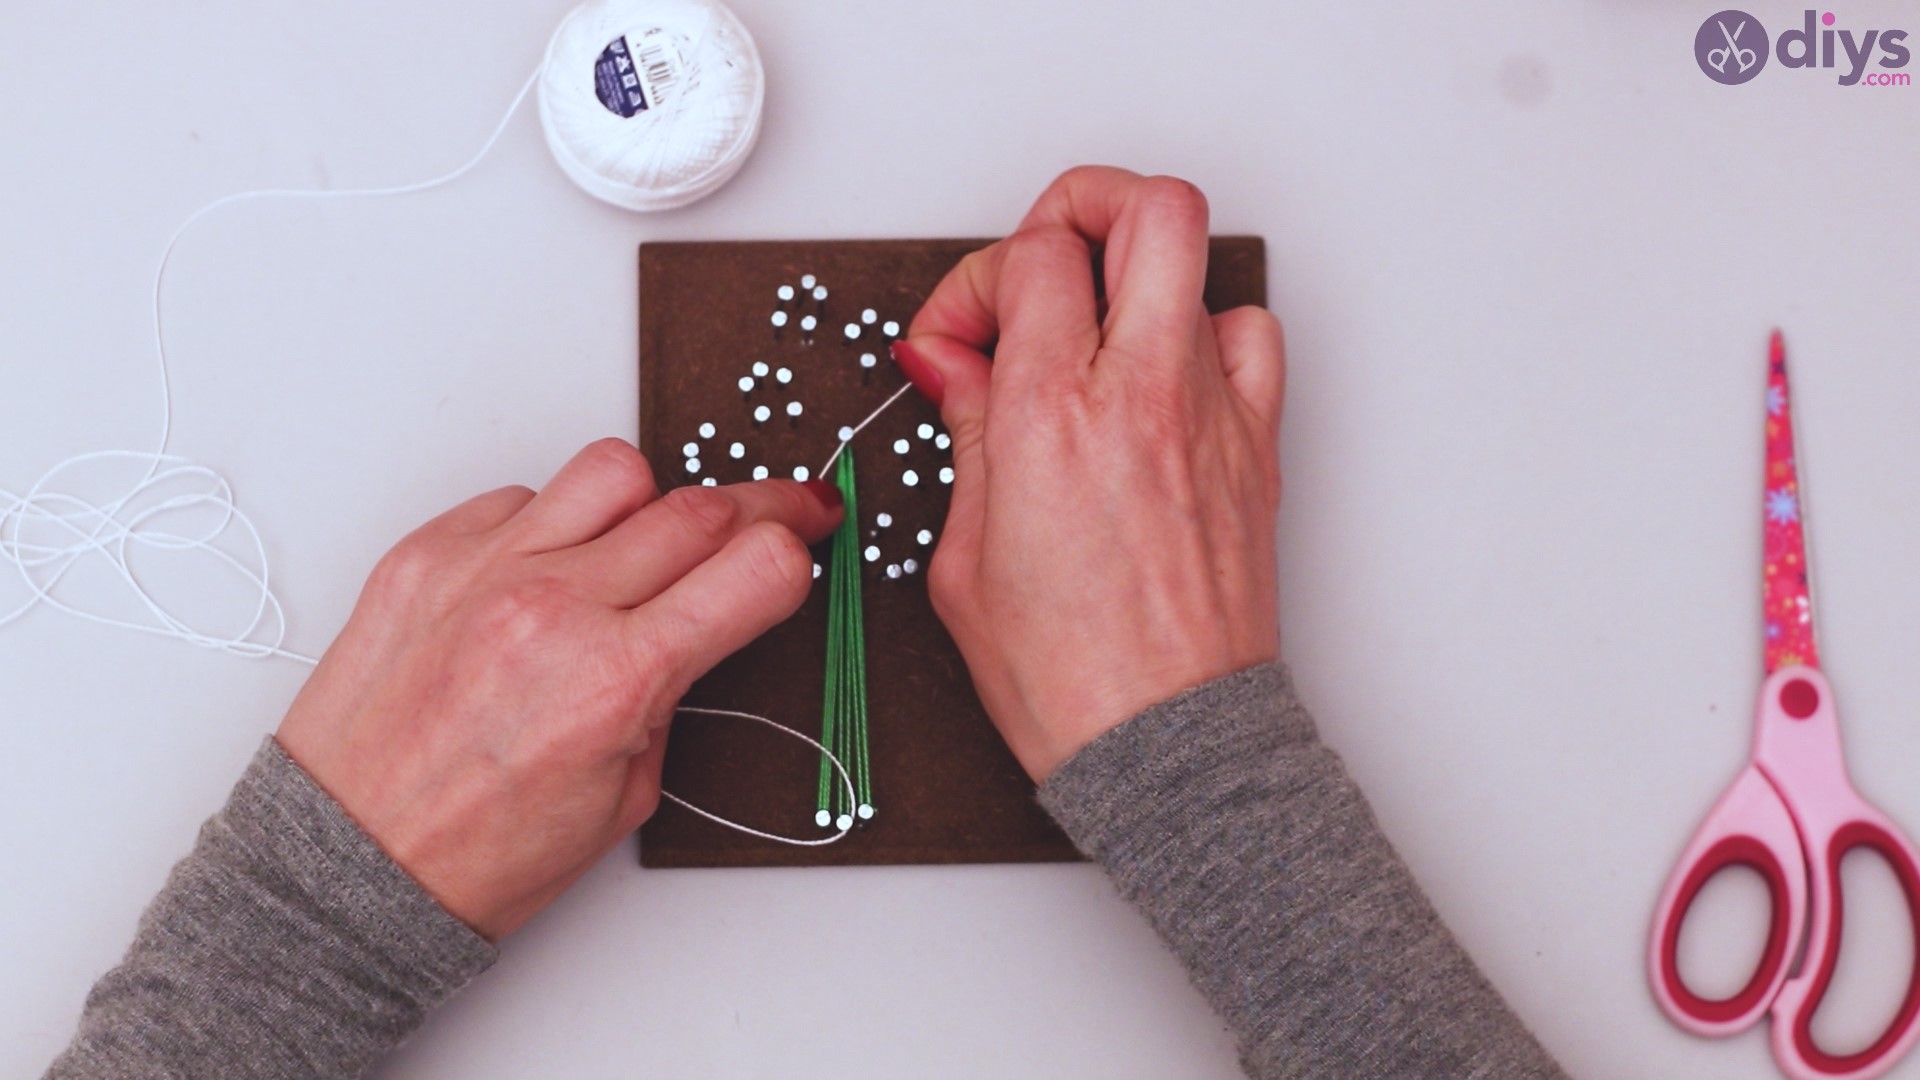
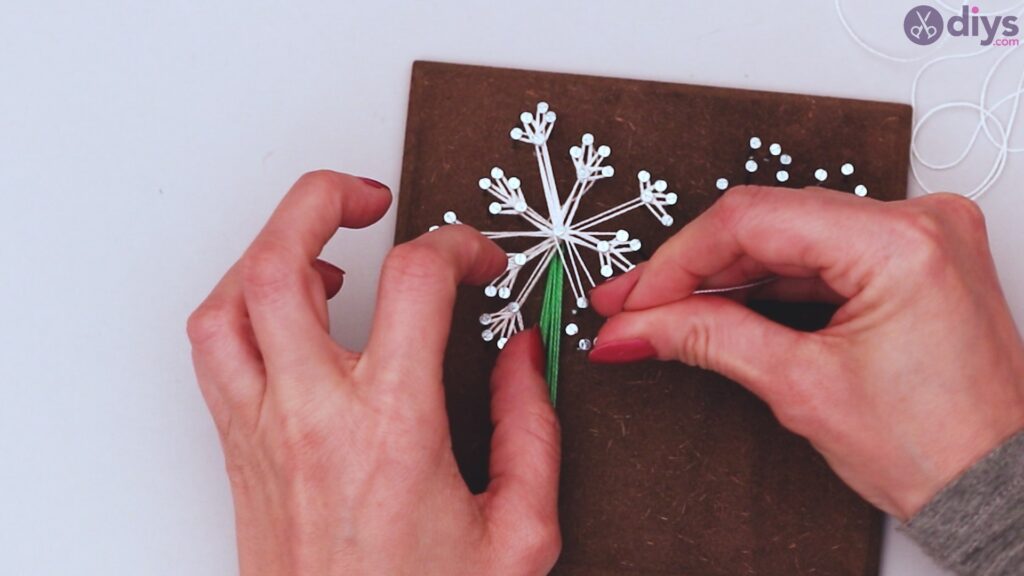
Step 6: Create your seeds
Using your other color of yarn, prepare a long length.
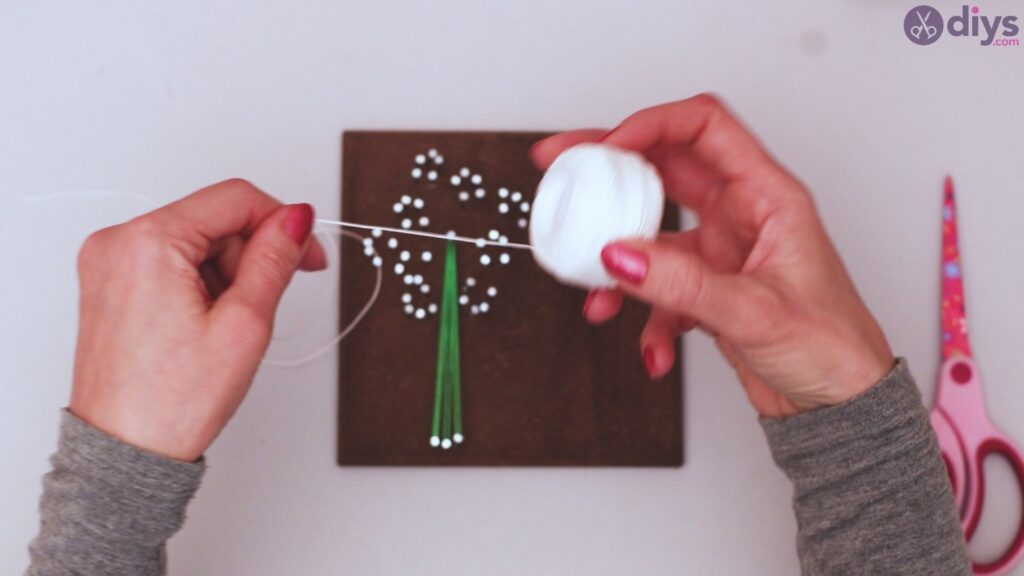
Tie the end around the middle stud.
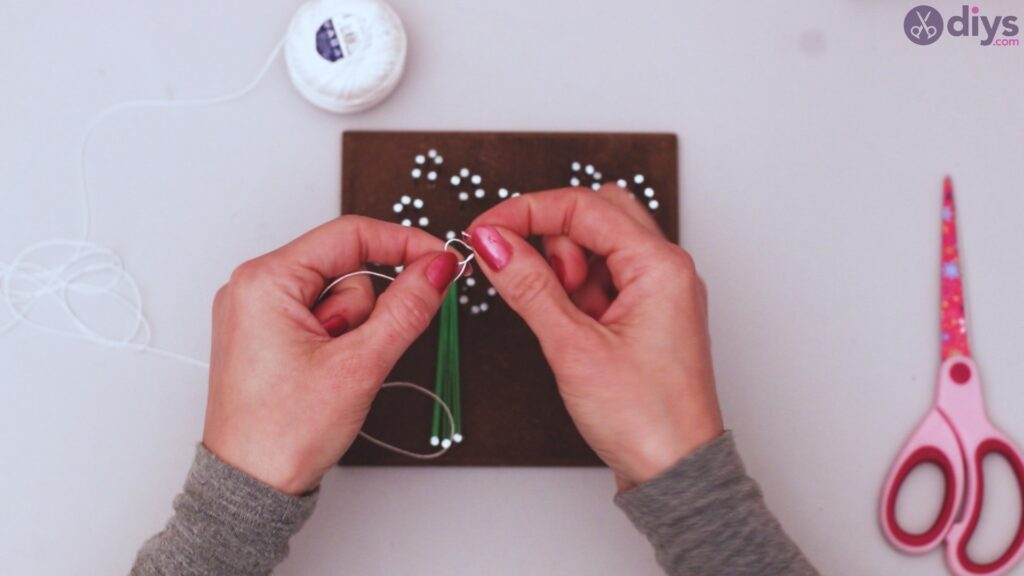

Pull the yarn to the first ‘inner’ stud, and wrap it around the stud. Bring it back to the center stud and wrap it again.

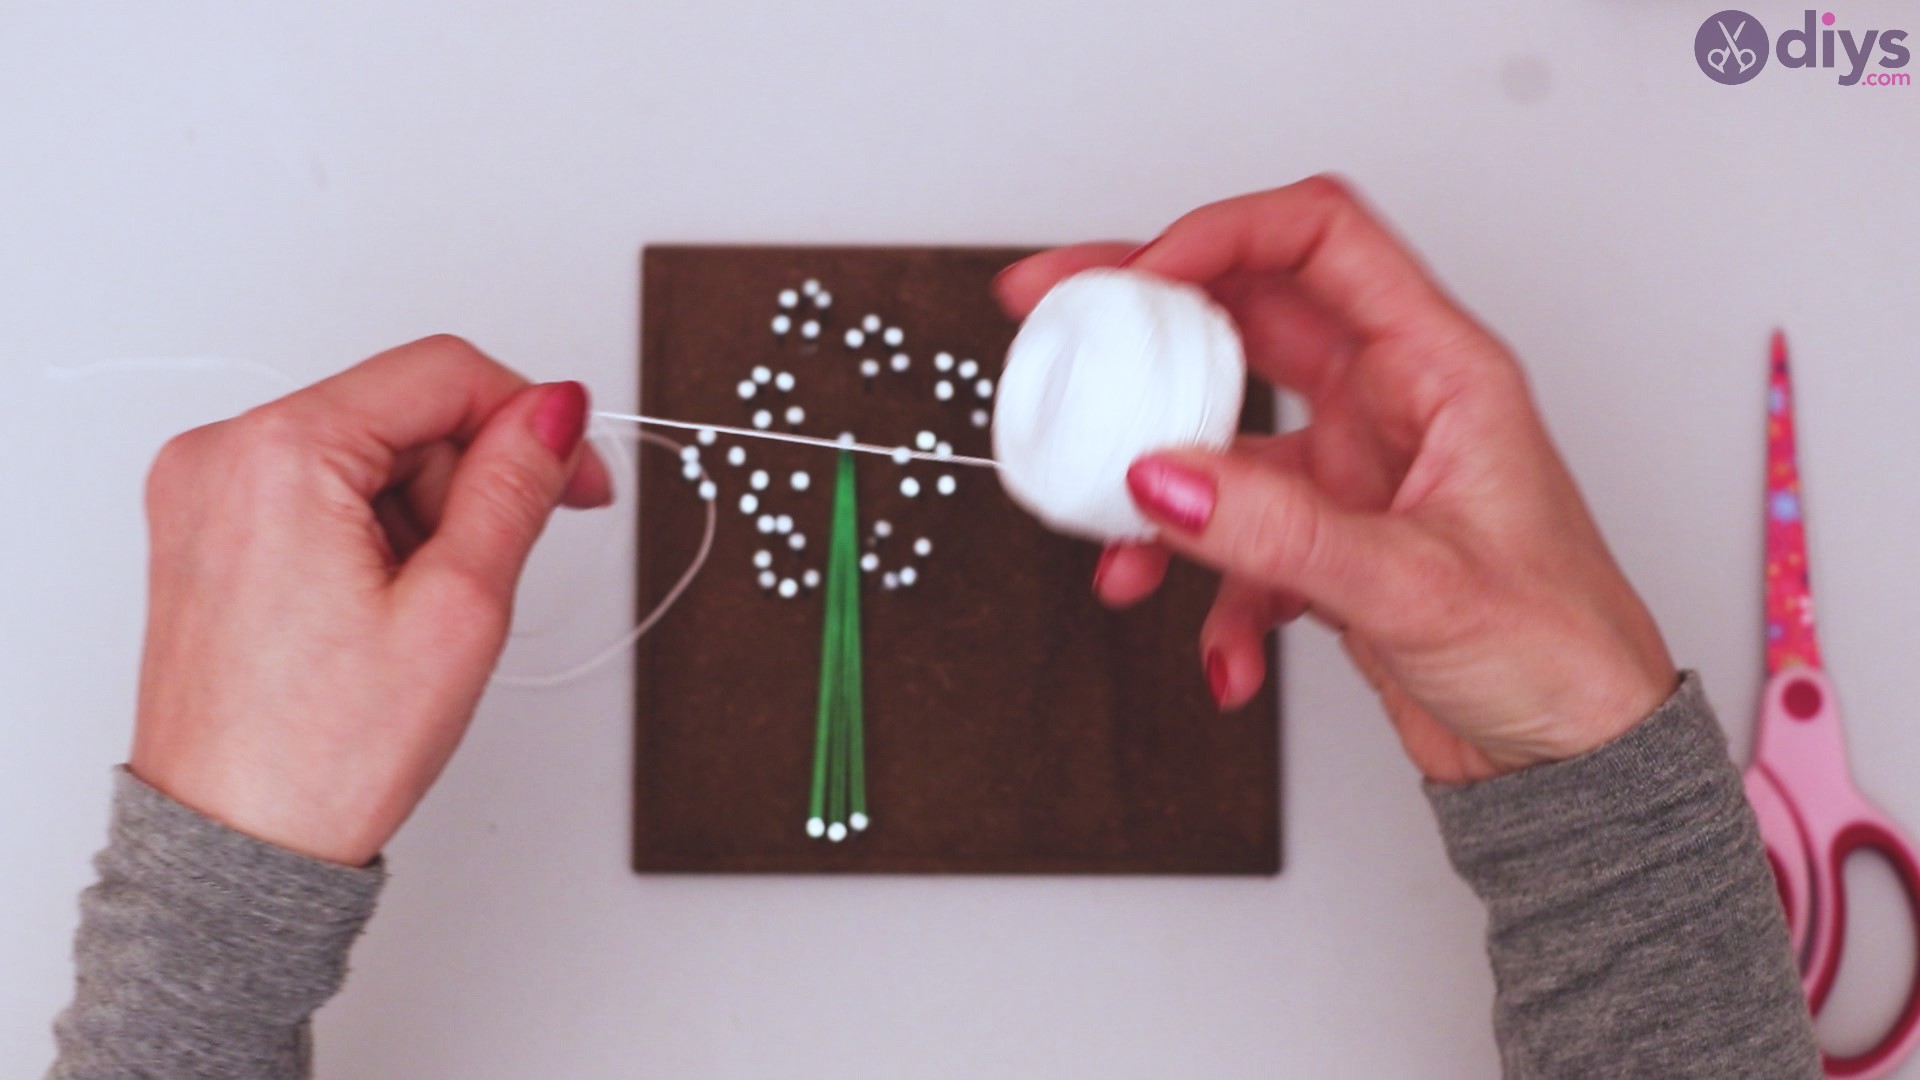
Pull the string back to that inner stud, wrap it, and then draw the yarn to the first of your ring of studs around it. Create a loop back, and repeat this step to each of your studs in the half moon around the stud.

Repeat this entire process for each of the sets of studs around that central stud until you have a completed dandelion. Tie off the yarn in the middle, and trim any excess.
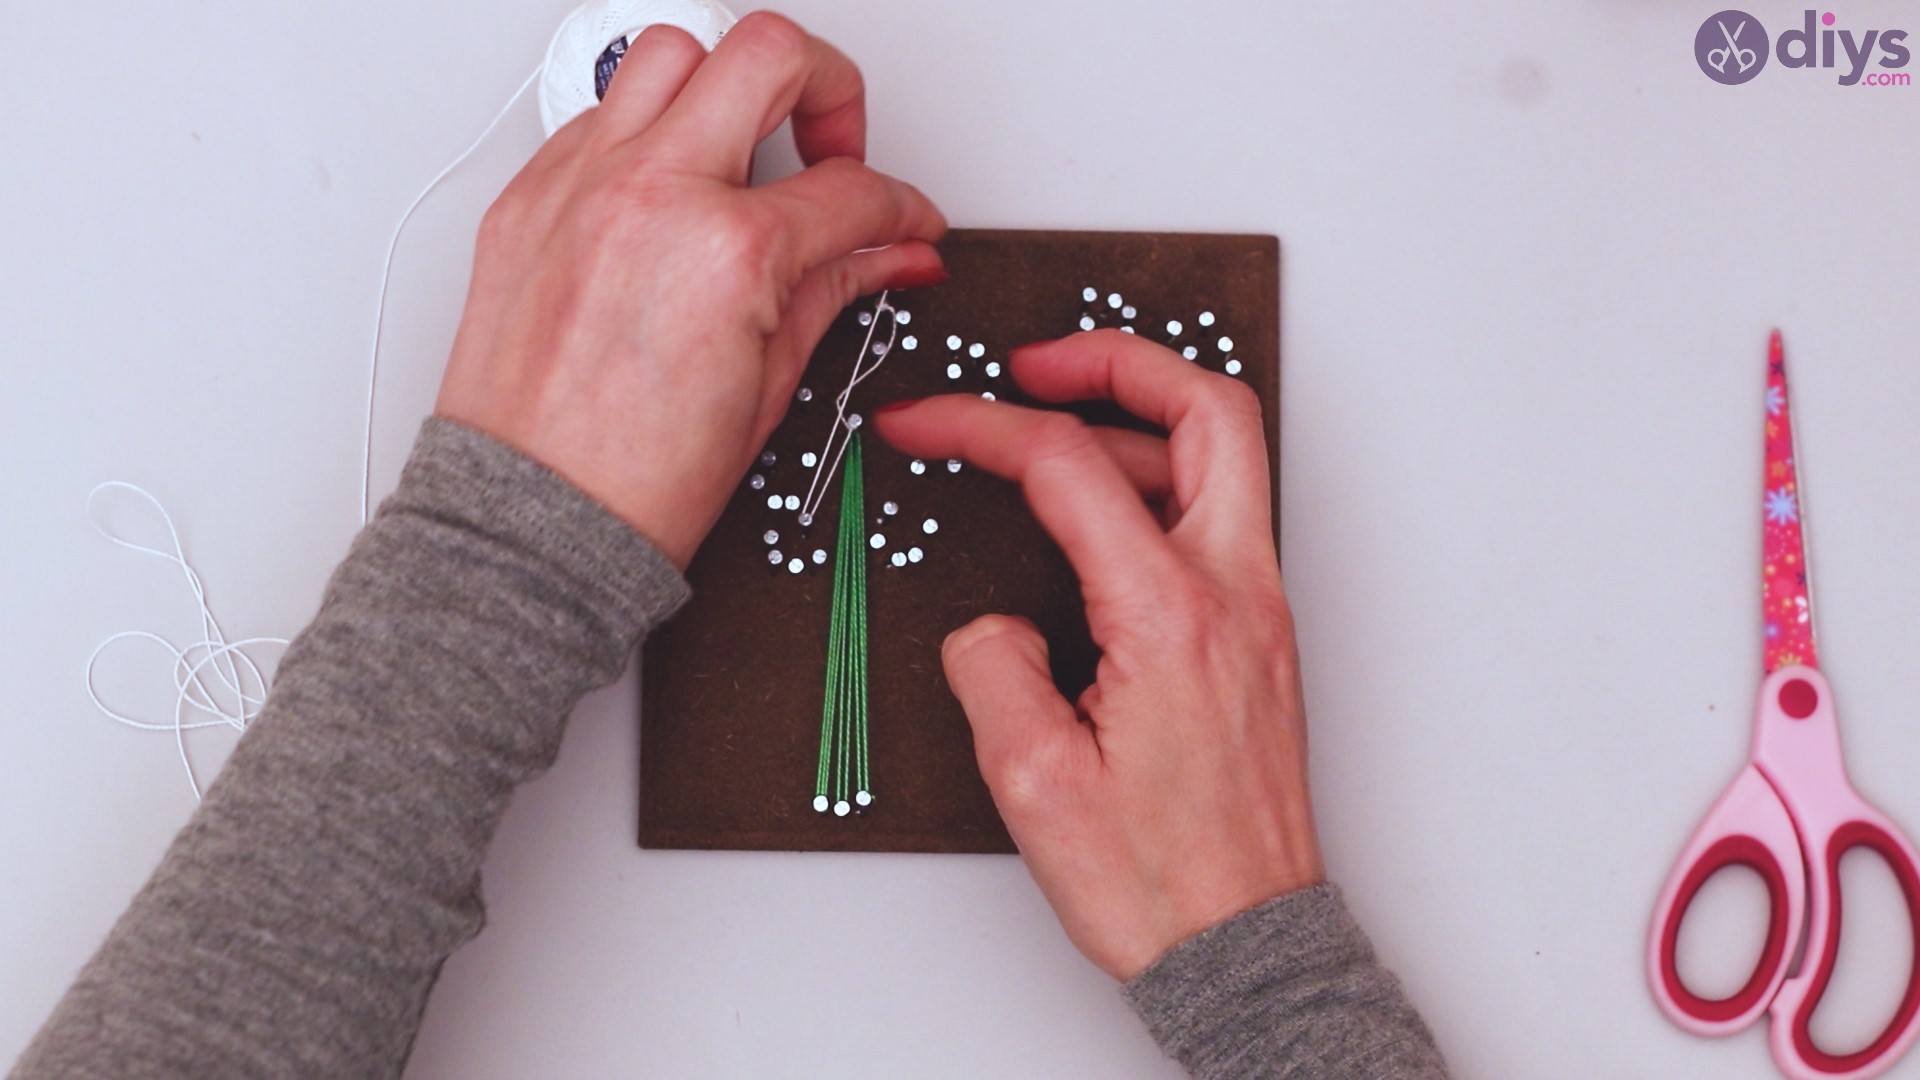
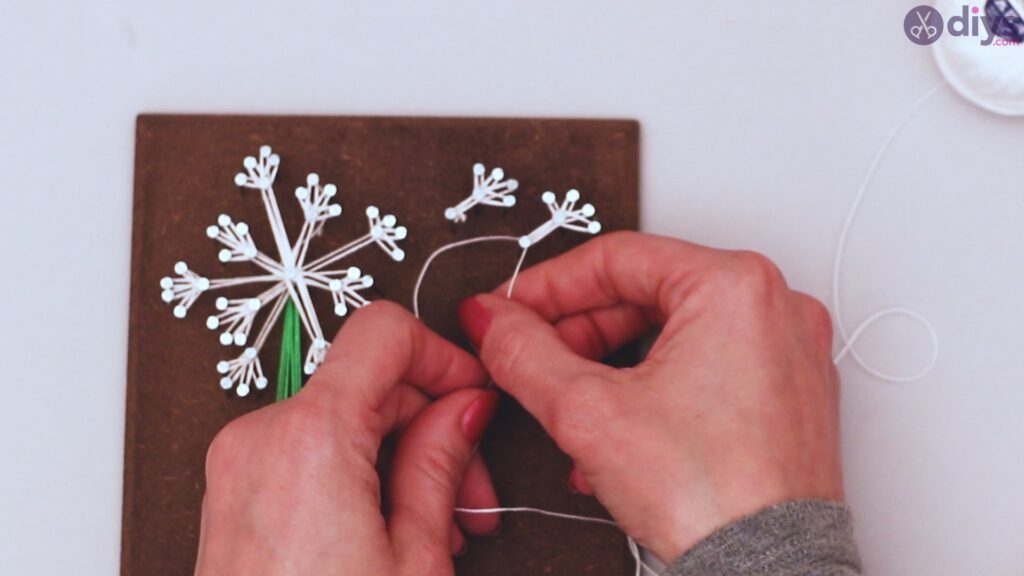
Step 7: Floating seeds
As with the main dandelion, take your yarn and tie it around the single stud for one of your floating seeds.
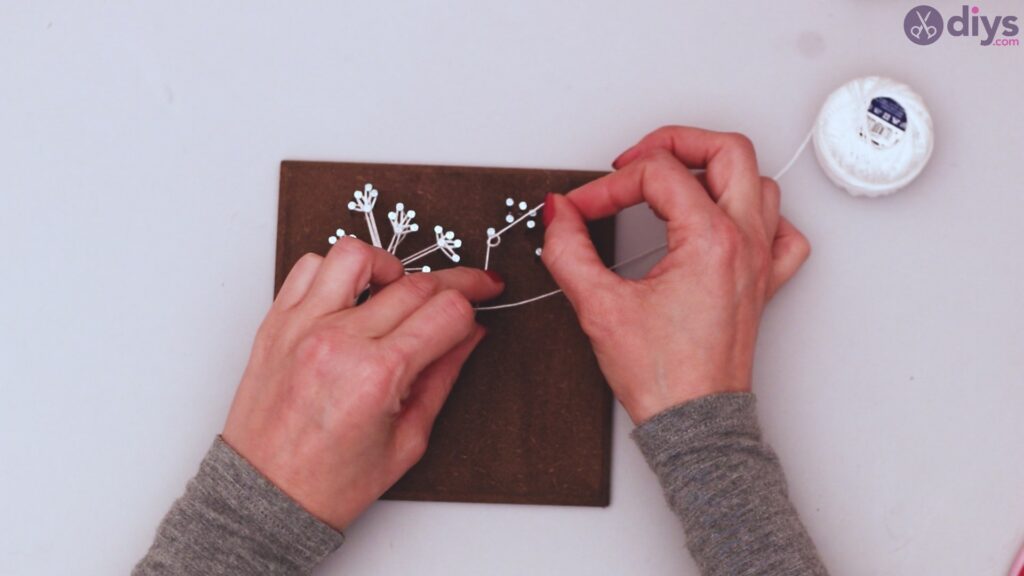
Mimic the same pattern used on the dandelion to create your floating seed, tying off at the end and trimming excess. Repeat for your second floating seed.

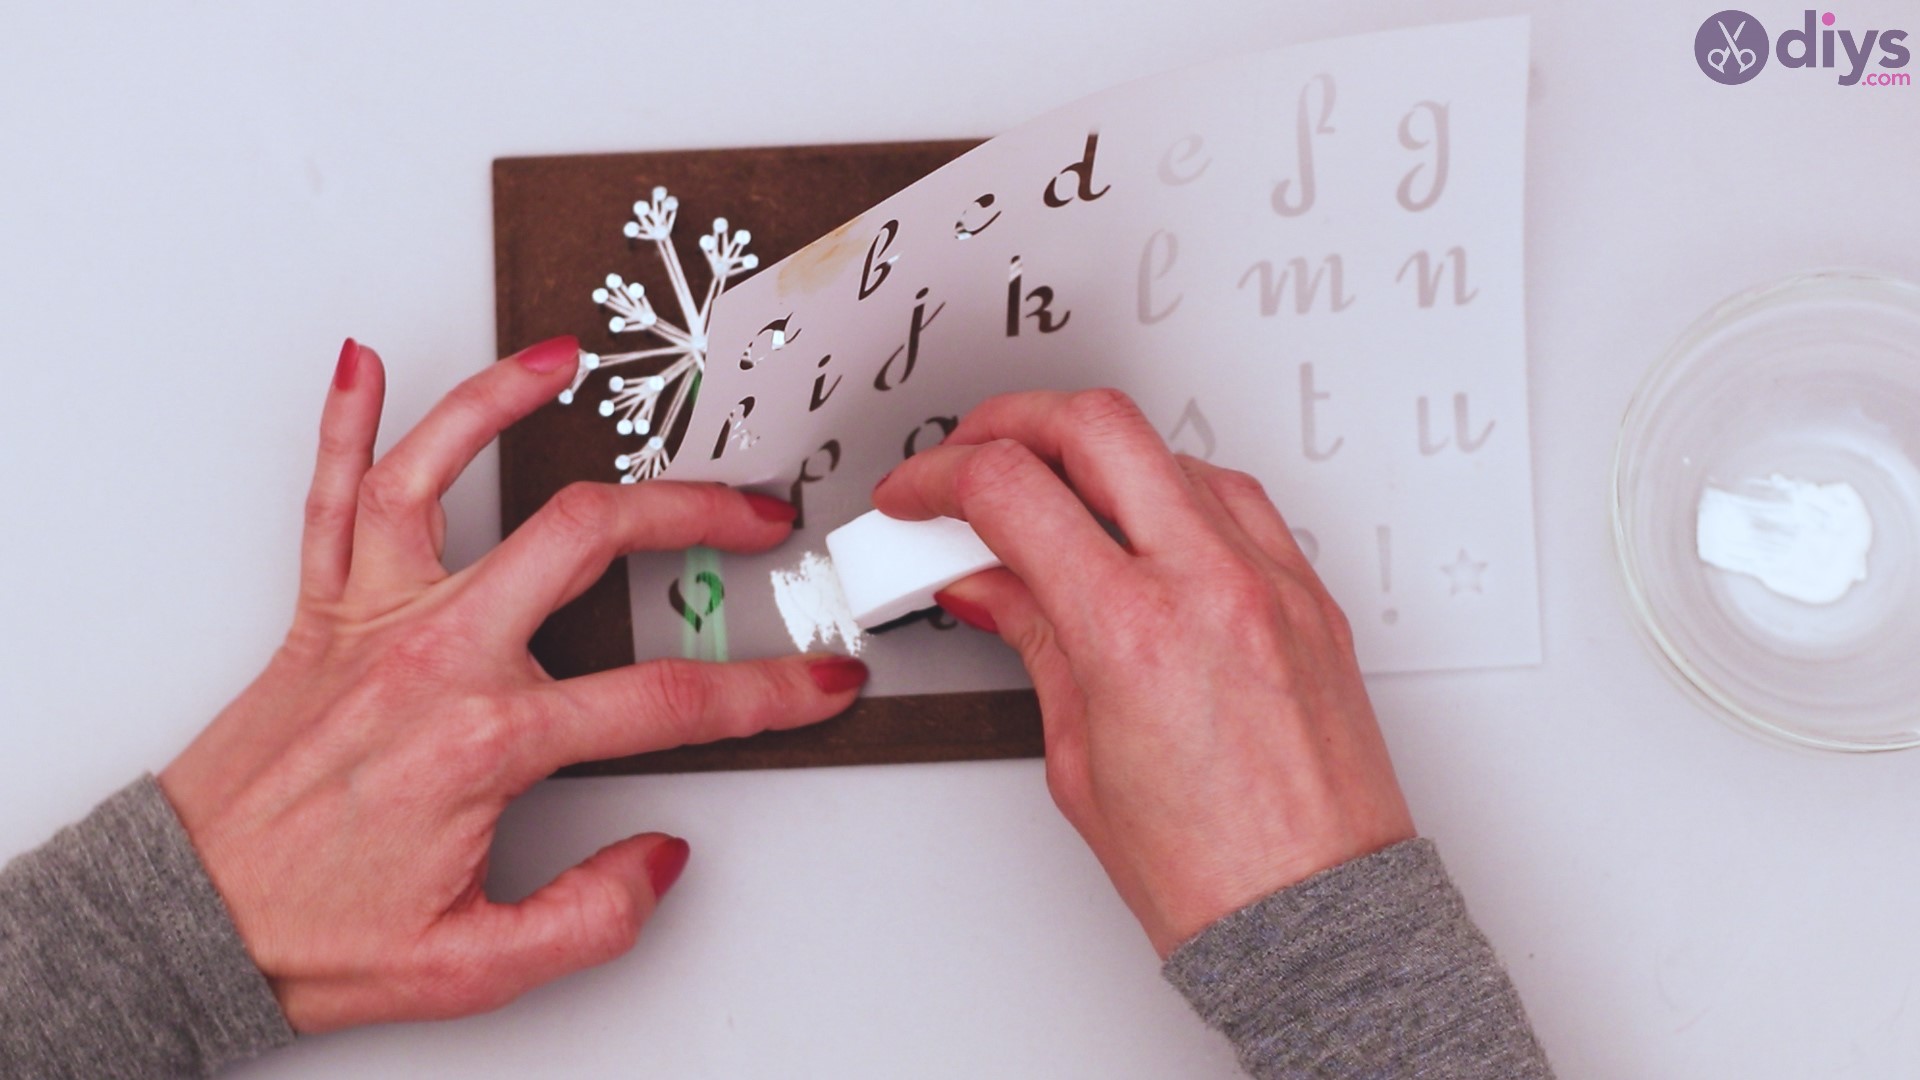
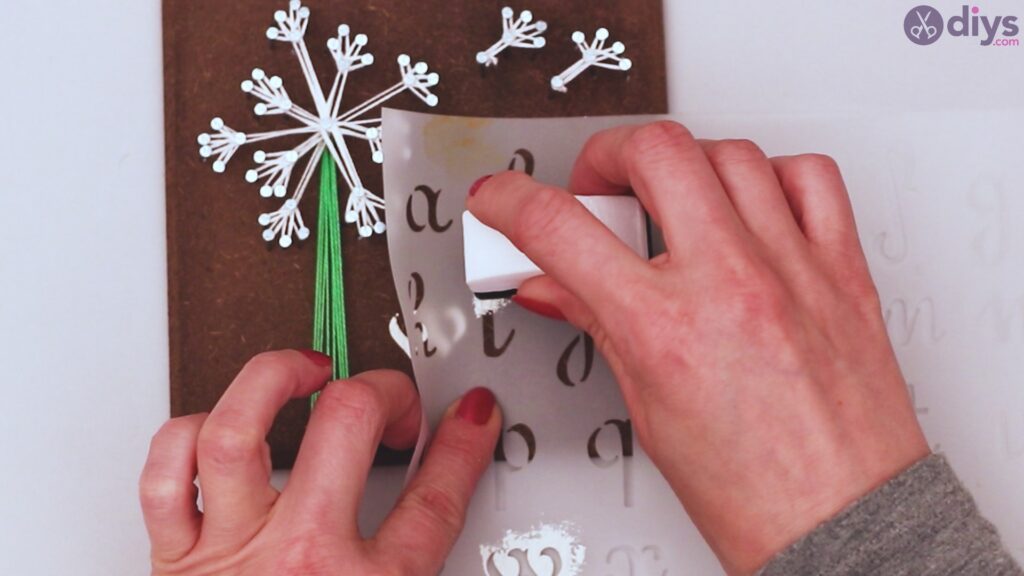
Step 8: Stenciling
The idea of a dandelion, traditionally, is to make a wish and blow the seeds. Therefore, we chose to use the word ‘wish’ as our message.

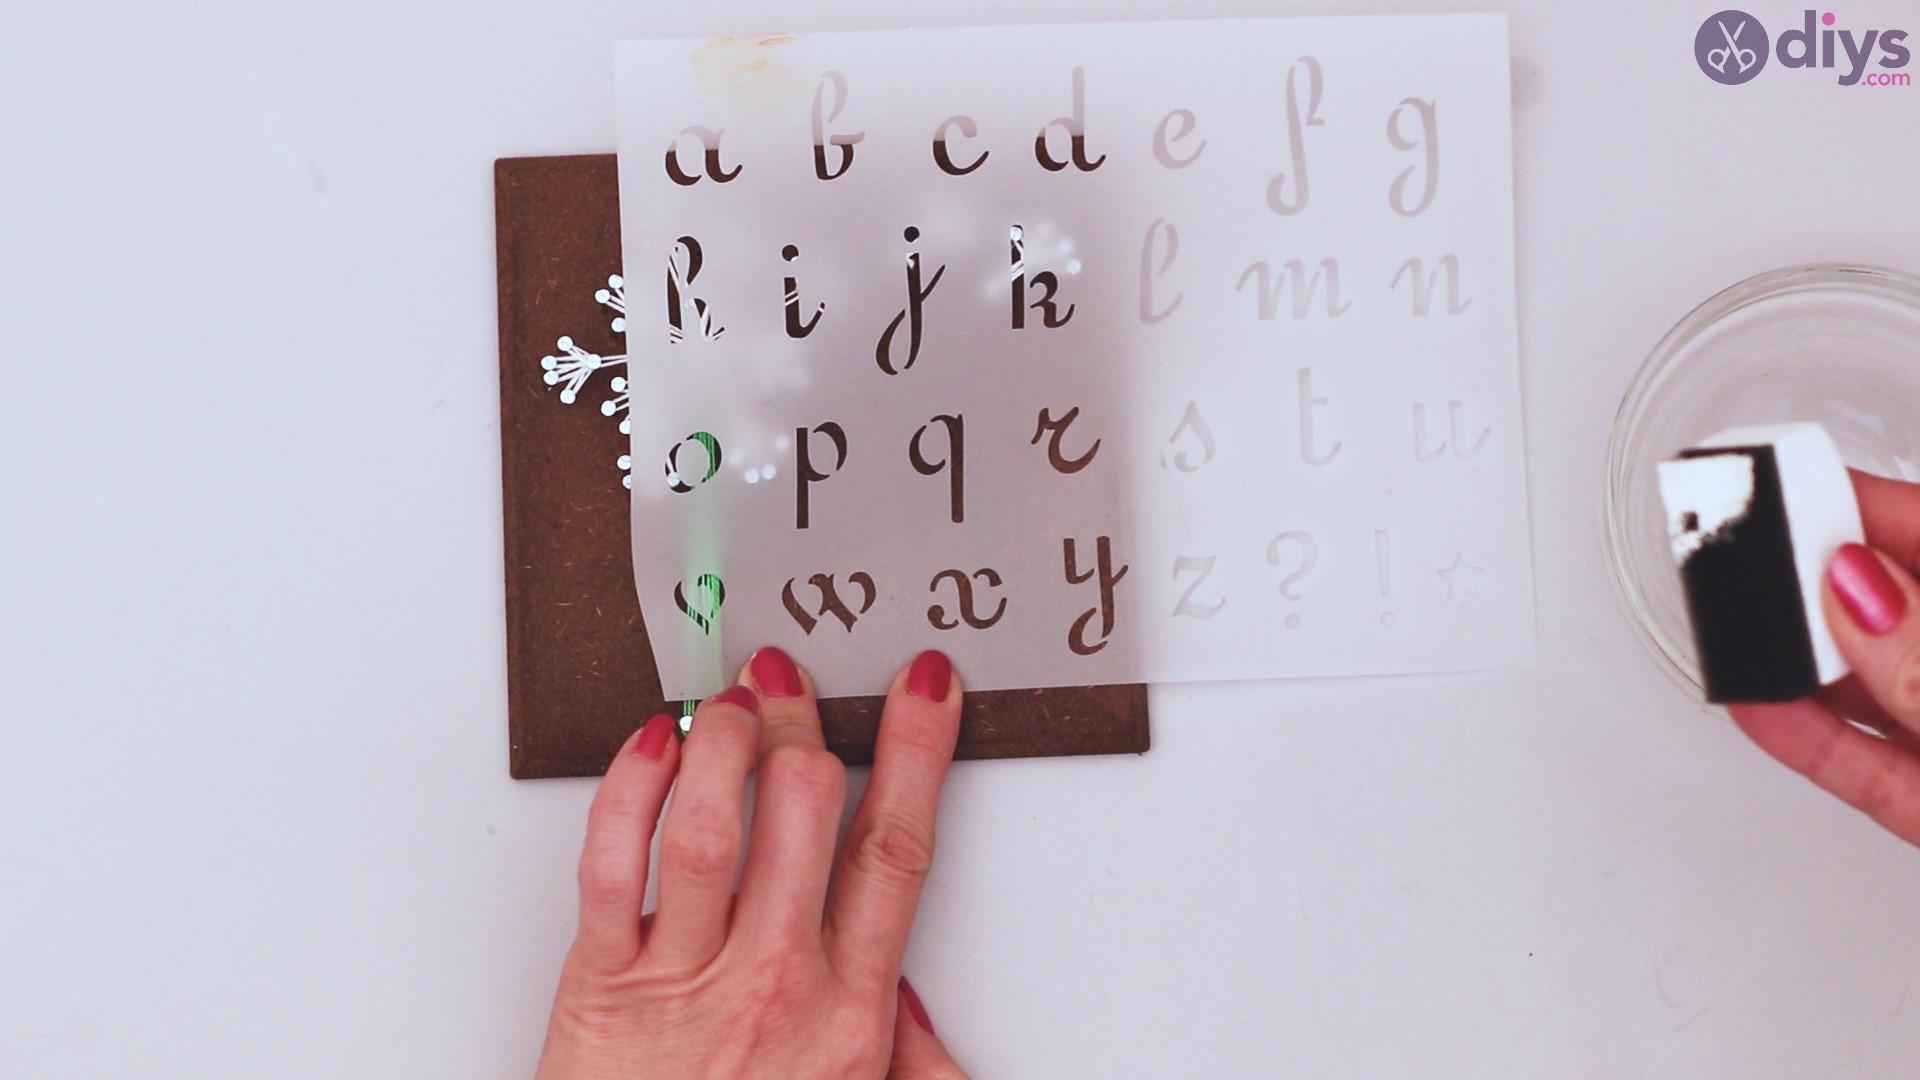
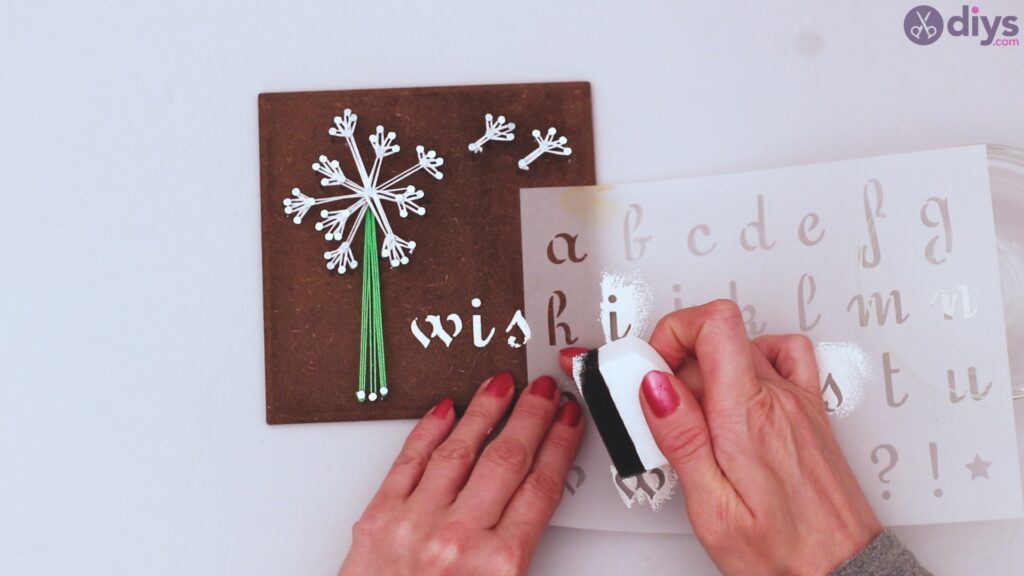
Using the stencil of your choice, line up your first letter where you want it, making sure you can properly space and fit the entire word on your wood tile.
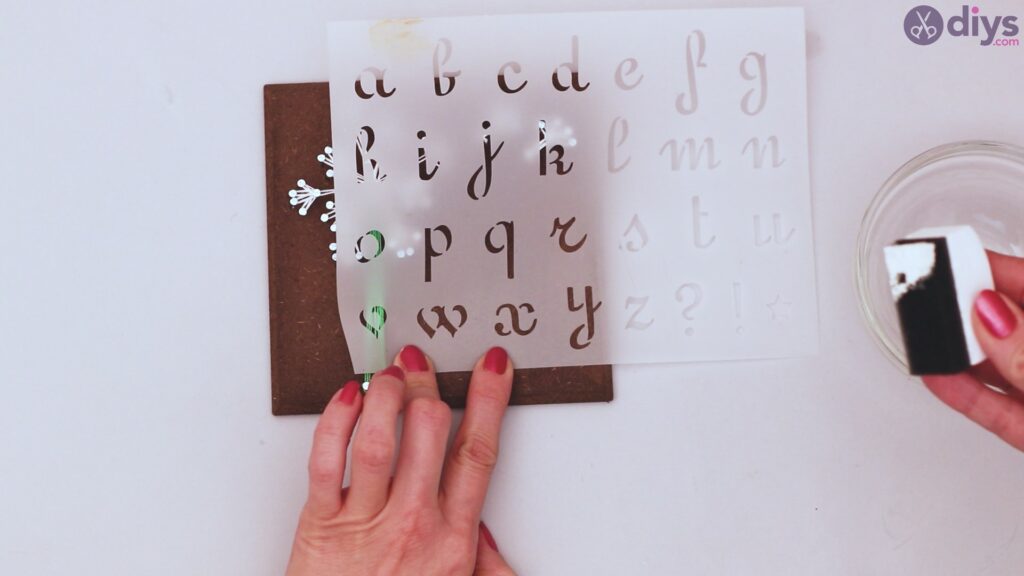
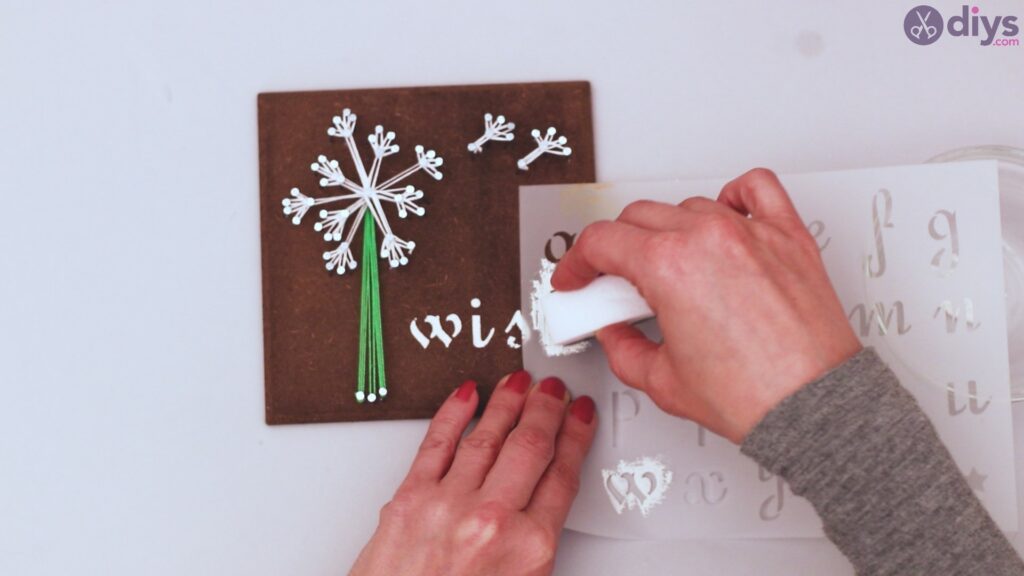
With a sponge and your white acrylic paint, place the sponge with paint on your stencil to press the letter to your tile.

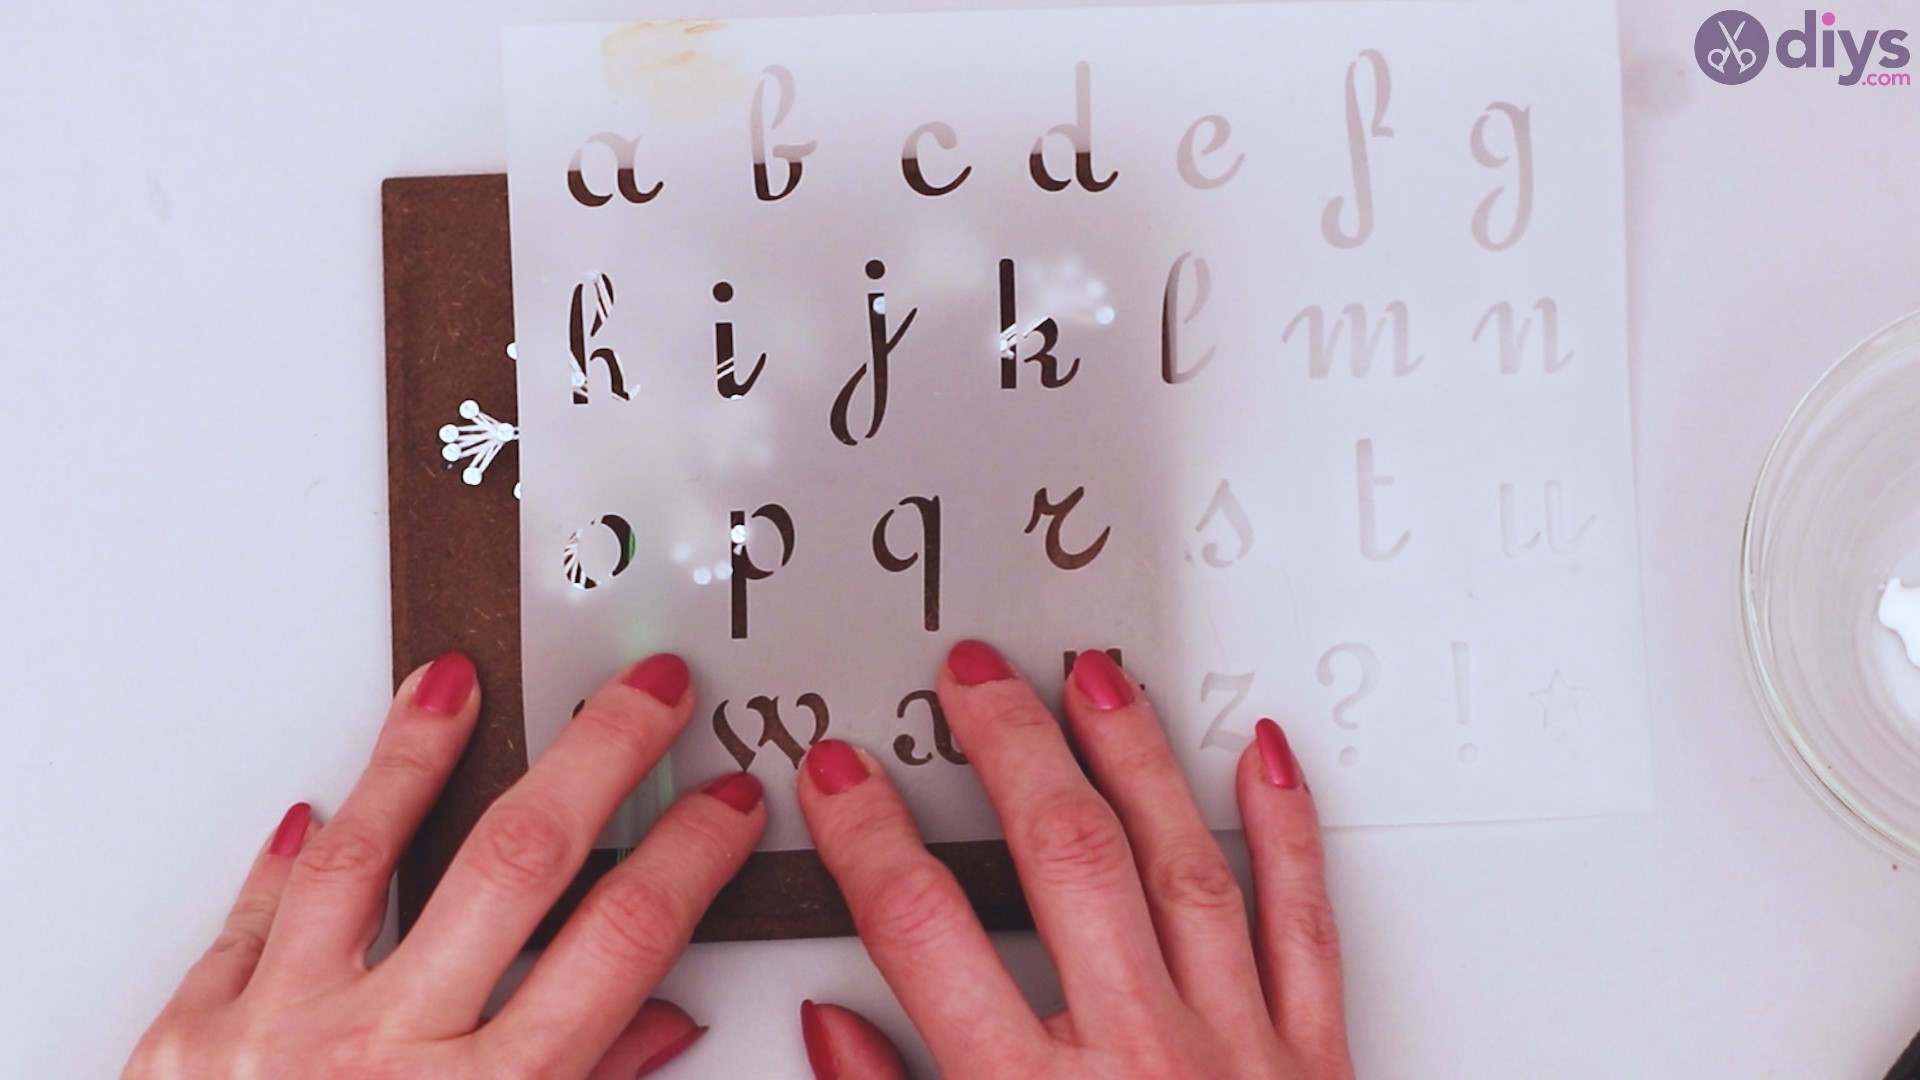
Repeat for the next letter, assuring you have proper spacing and are well aligned, not having the letters crooked.
Complete the word with all the letters. Let the paint dry.

With your finished project, you have numerous options for displaying your string dandelion wall art. You could add two more studs in the upper corners and tie yarn to hang from another stud above. You could use sticky back tape or Velcro to mount invisibly. Whatever your choice, you have a unique design all your own to show off in the area of your choice.
Completing a project like this doesn’t take a lot of special crafting ability, and it can be very satisfying to see that you have made something beautiful to decorate your space. Take a little time and try your hand at it. You may discover a new passion!