DIY Snowflake Art Christmas Decoration
Updated on November 19, 2025


Of all the DIY techniques I’ve mastered over the years, hand painting might be my favourite one, even when it’s simple. That’s why I’ve been thinking about ways to use my holiday crafting as an opportunity to do a little more painting! Since my home has a slightly rustic aesthetic to it, I decided to make some pretty winter art using my hand painting skills and wood. The result was so pretty that I decided to recreate the process and document is so other people might follow along and make their own version too!

Check out these step by step instructions complete with photos! If you’d rather follow along with a video tutorial instead of written words, scroll to the bottom of this post to find just what you’re looking for.
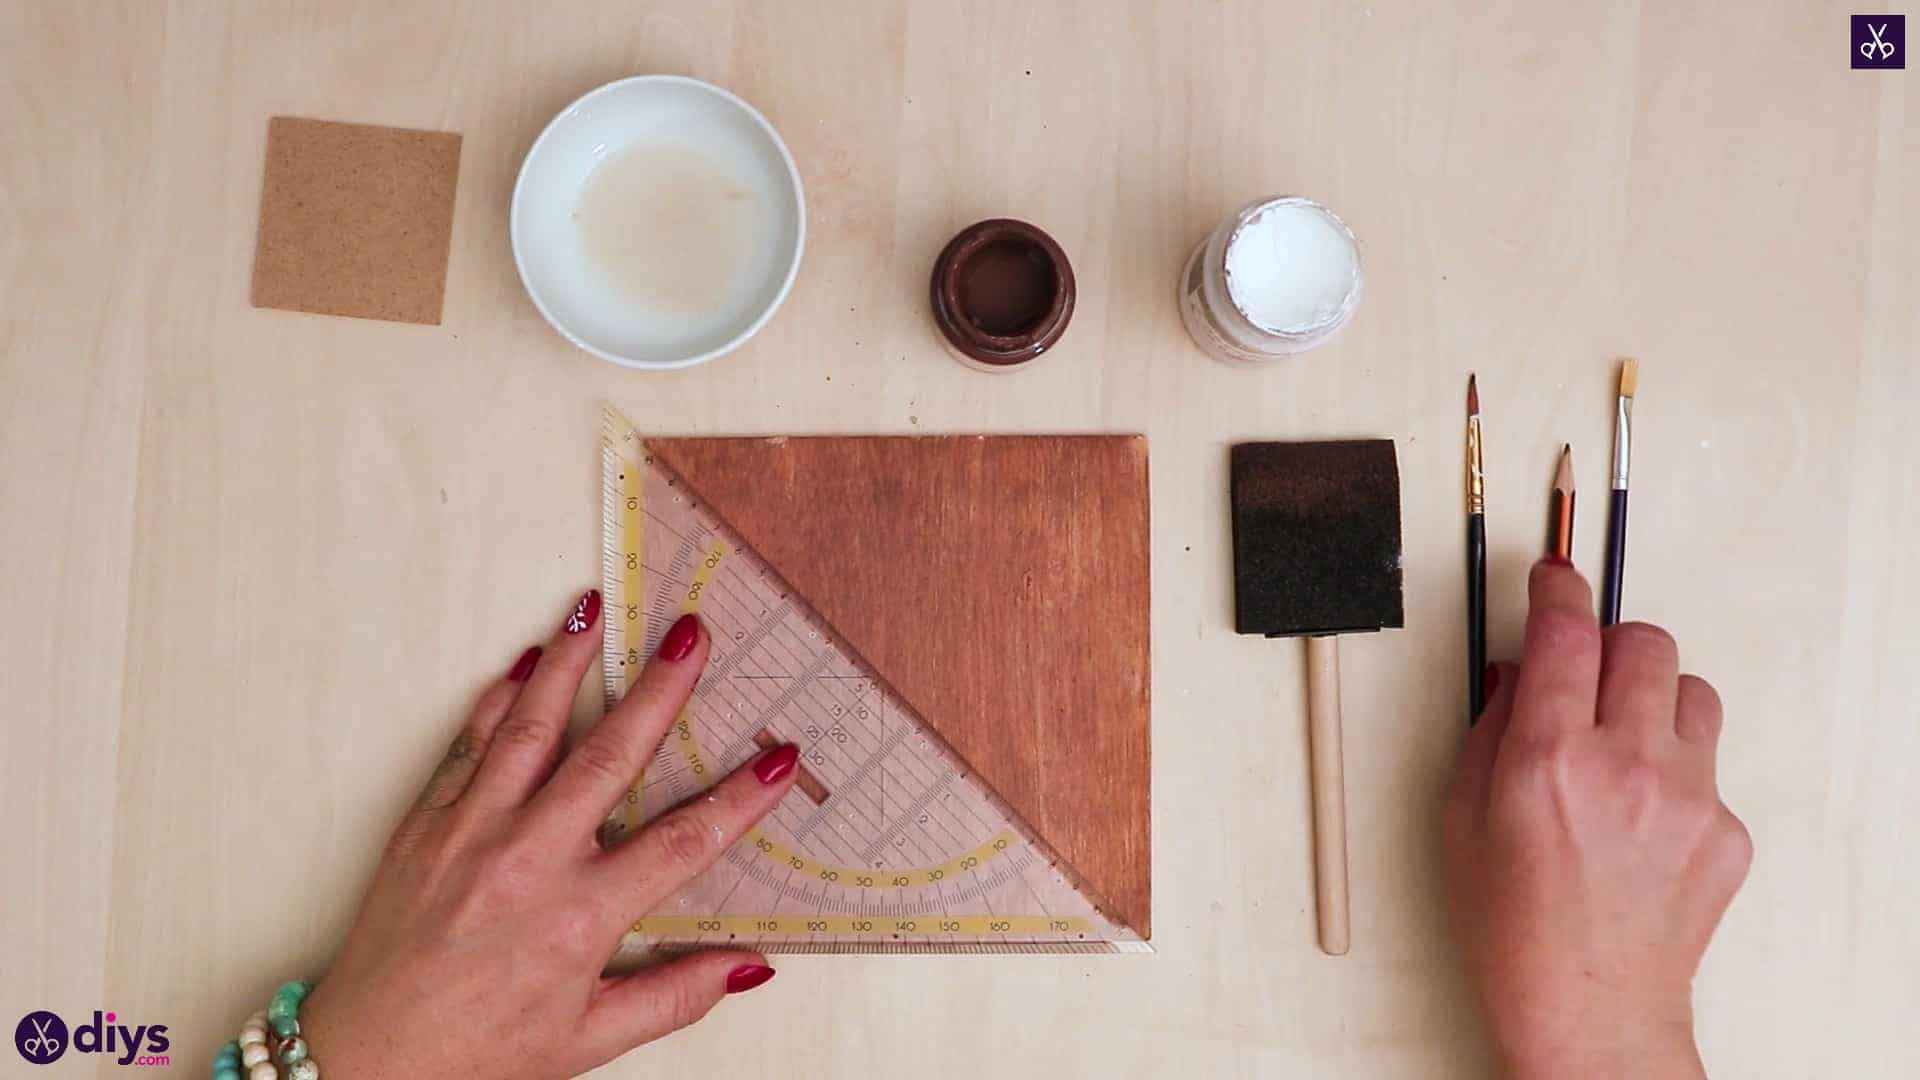
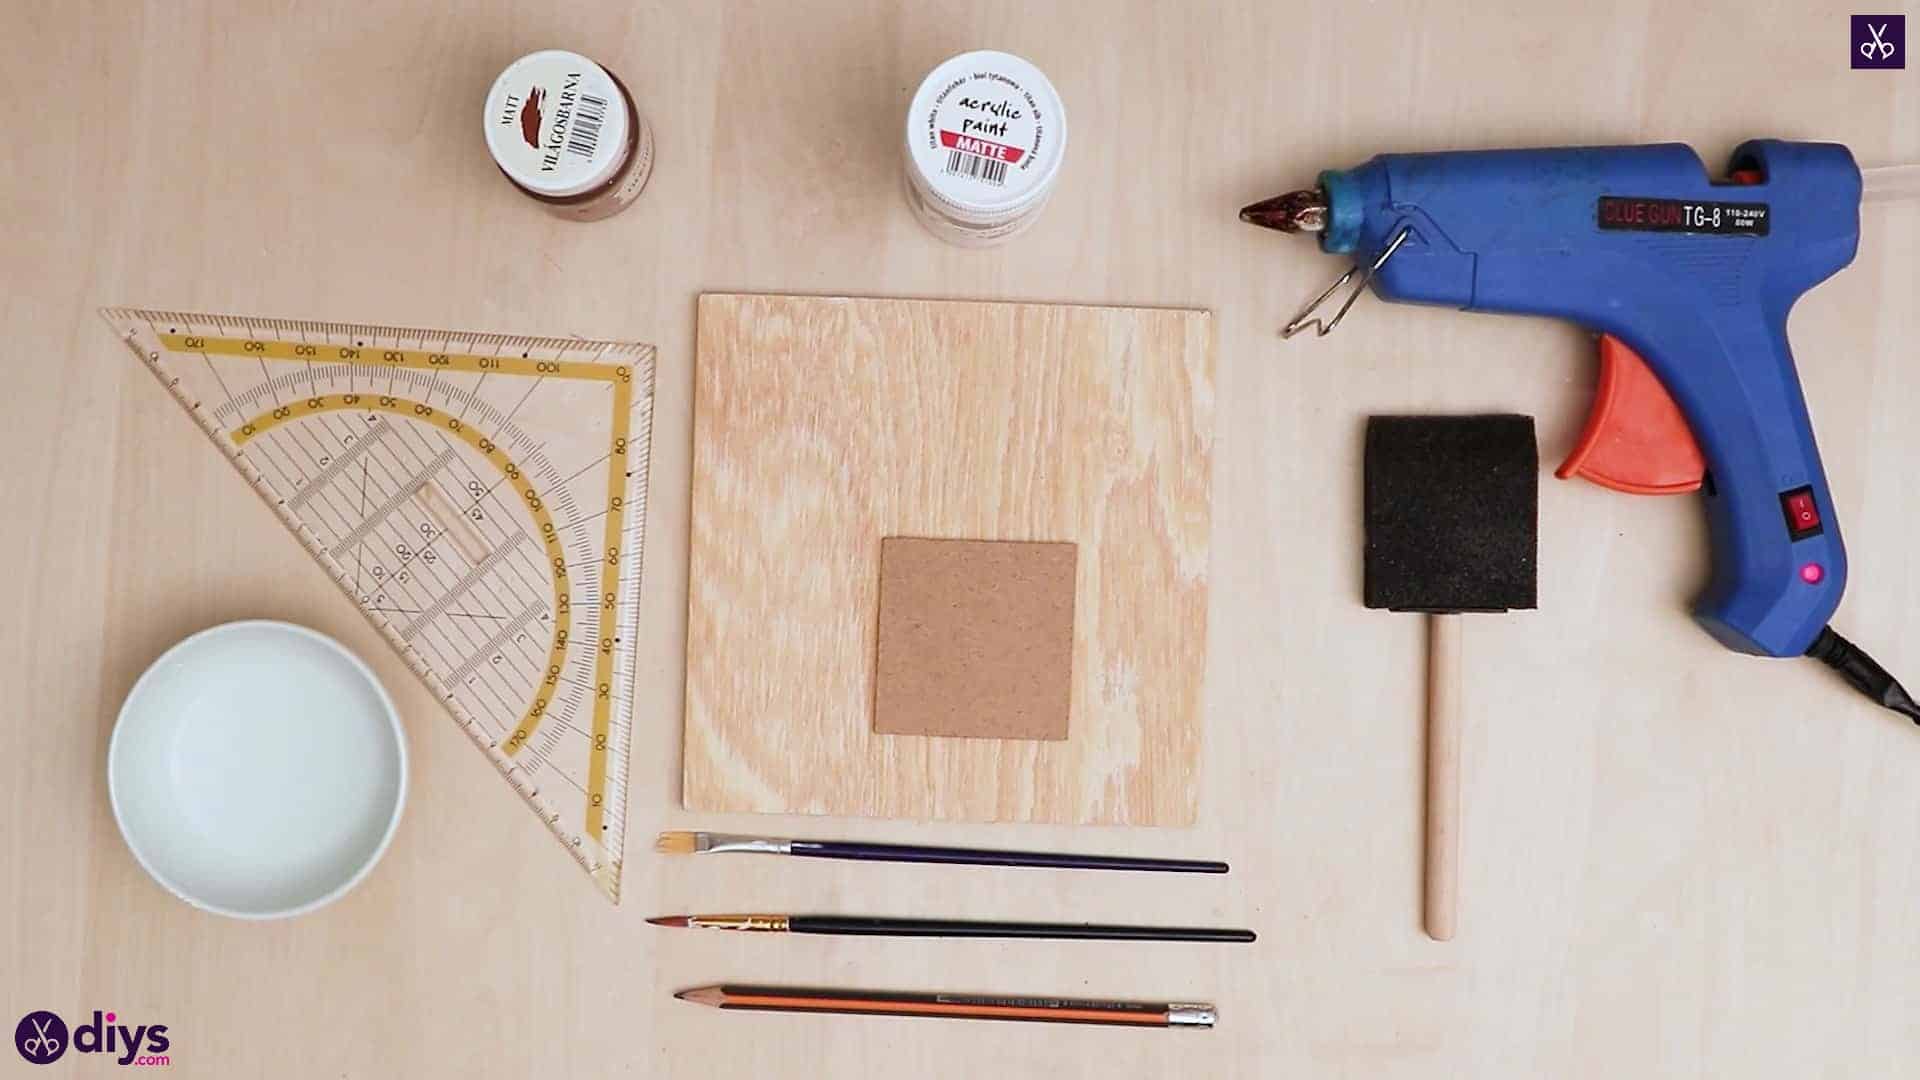
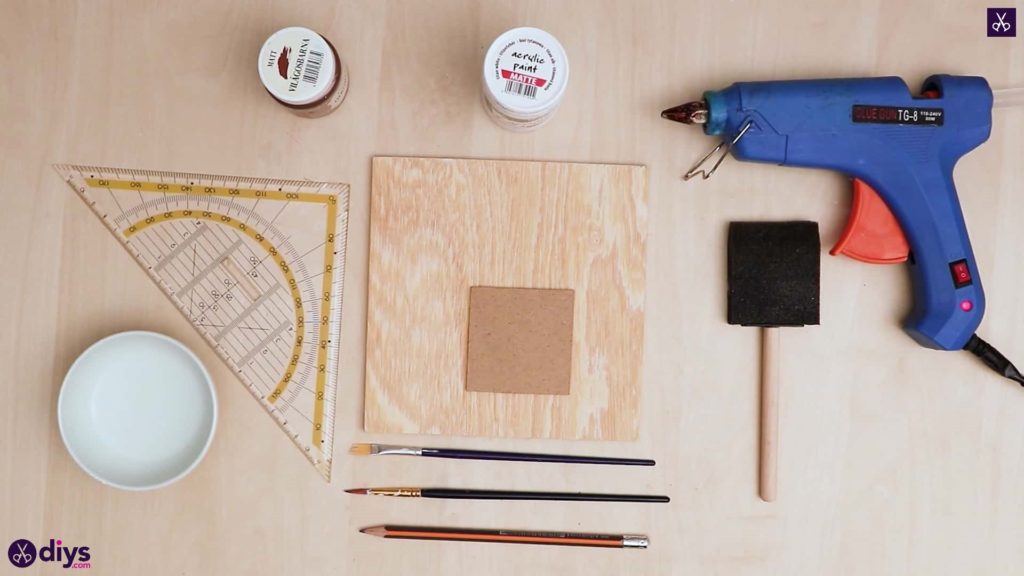
For this project, you’ll need:
- A ruler
- Paint (brown and white)
- Two paintbrushes (one flat and one pointed)
- A paint sponge
- A square piece of particle wood
- Cardboard
- A pencil
- Hot glue
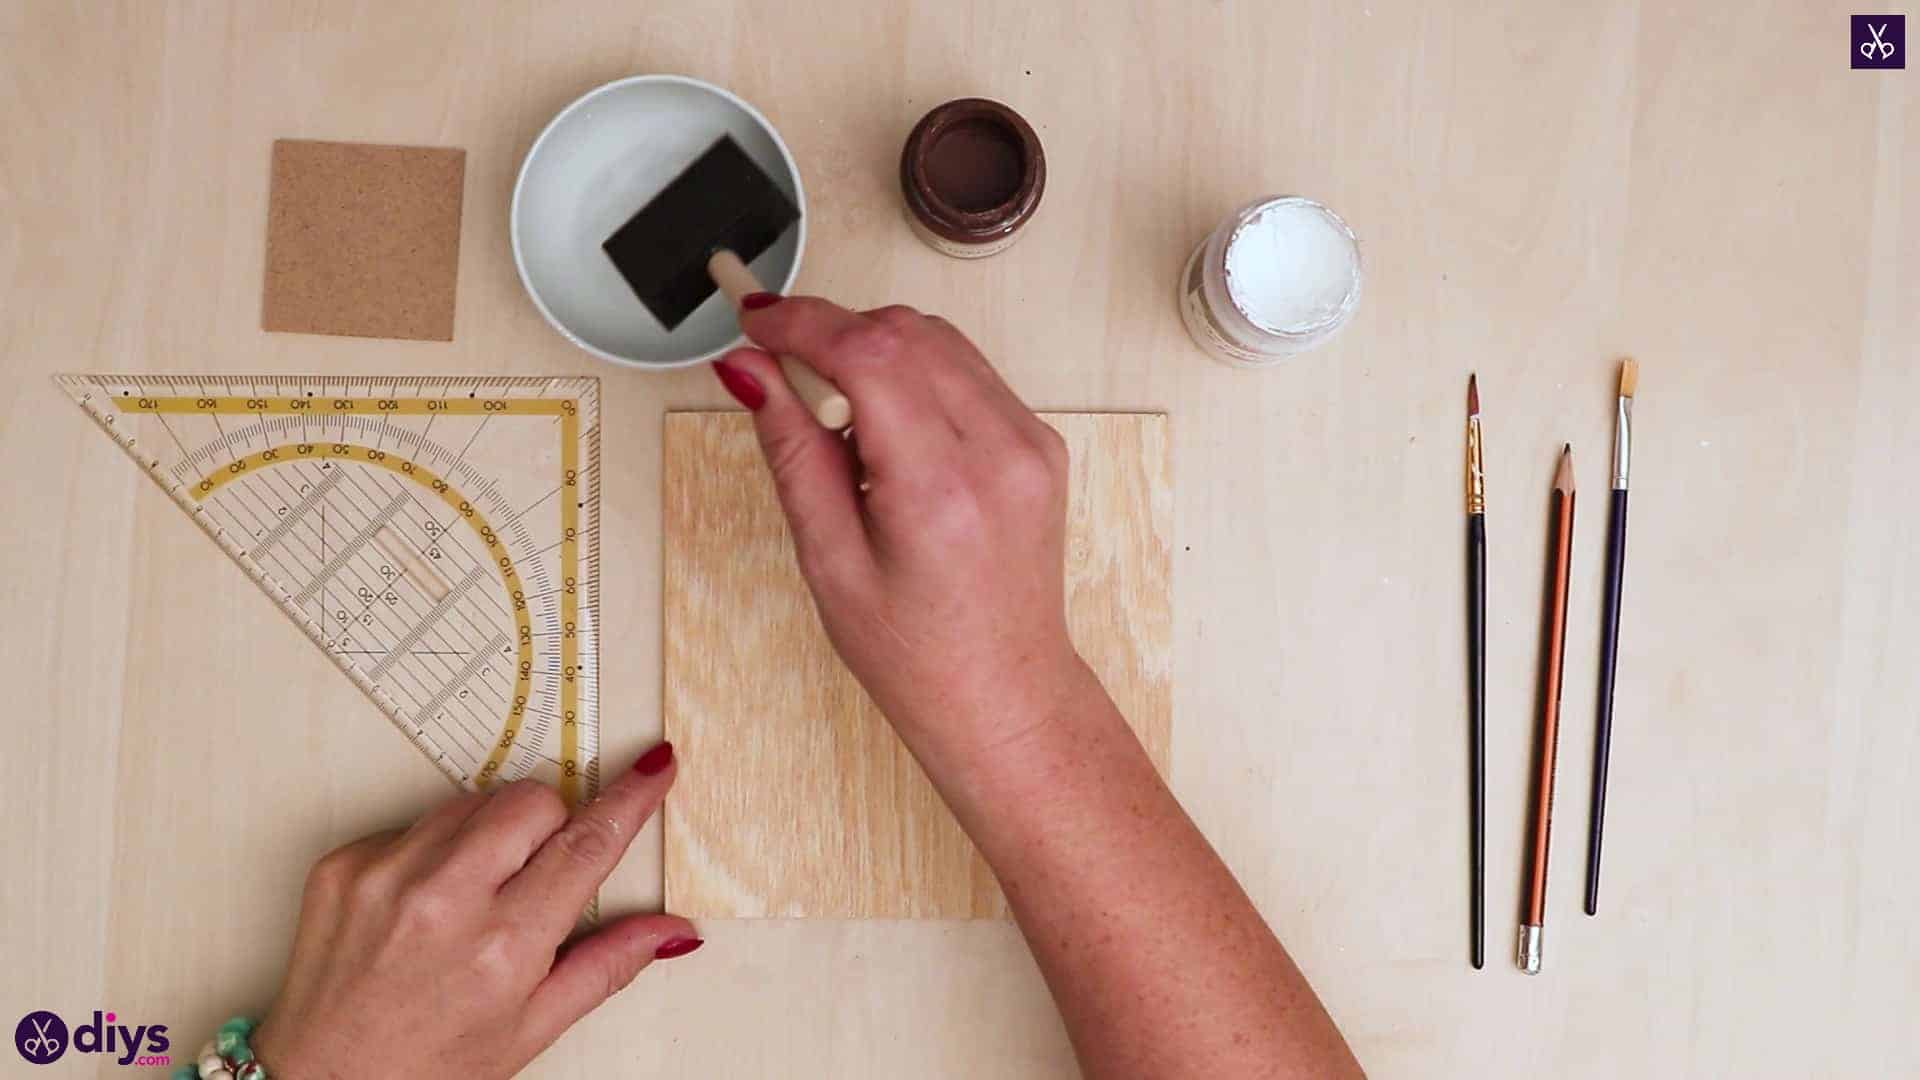
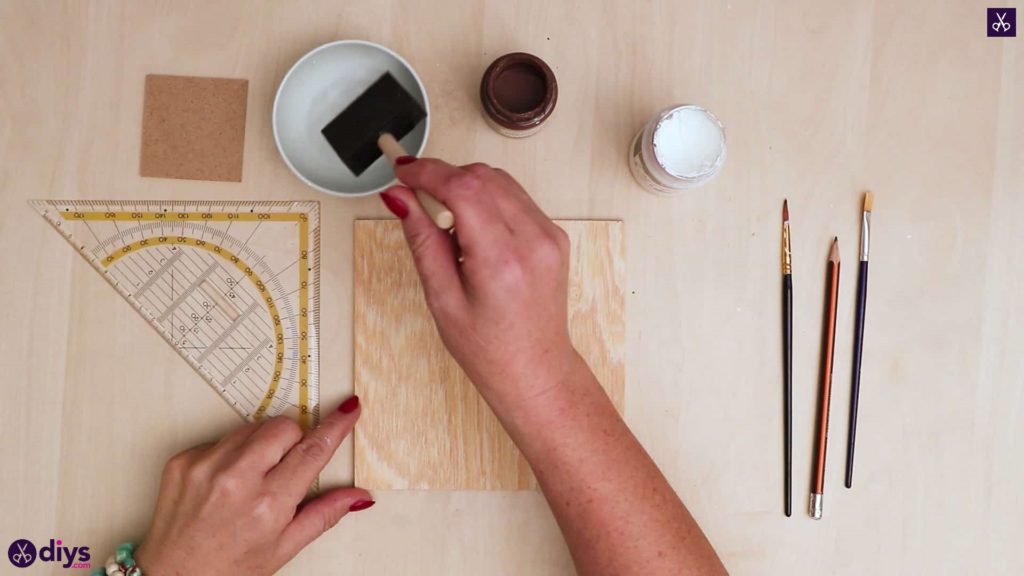
Step 1: Gather your materials!
Get everything from your list of materials and place in front of you.
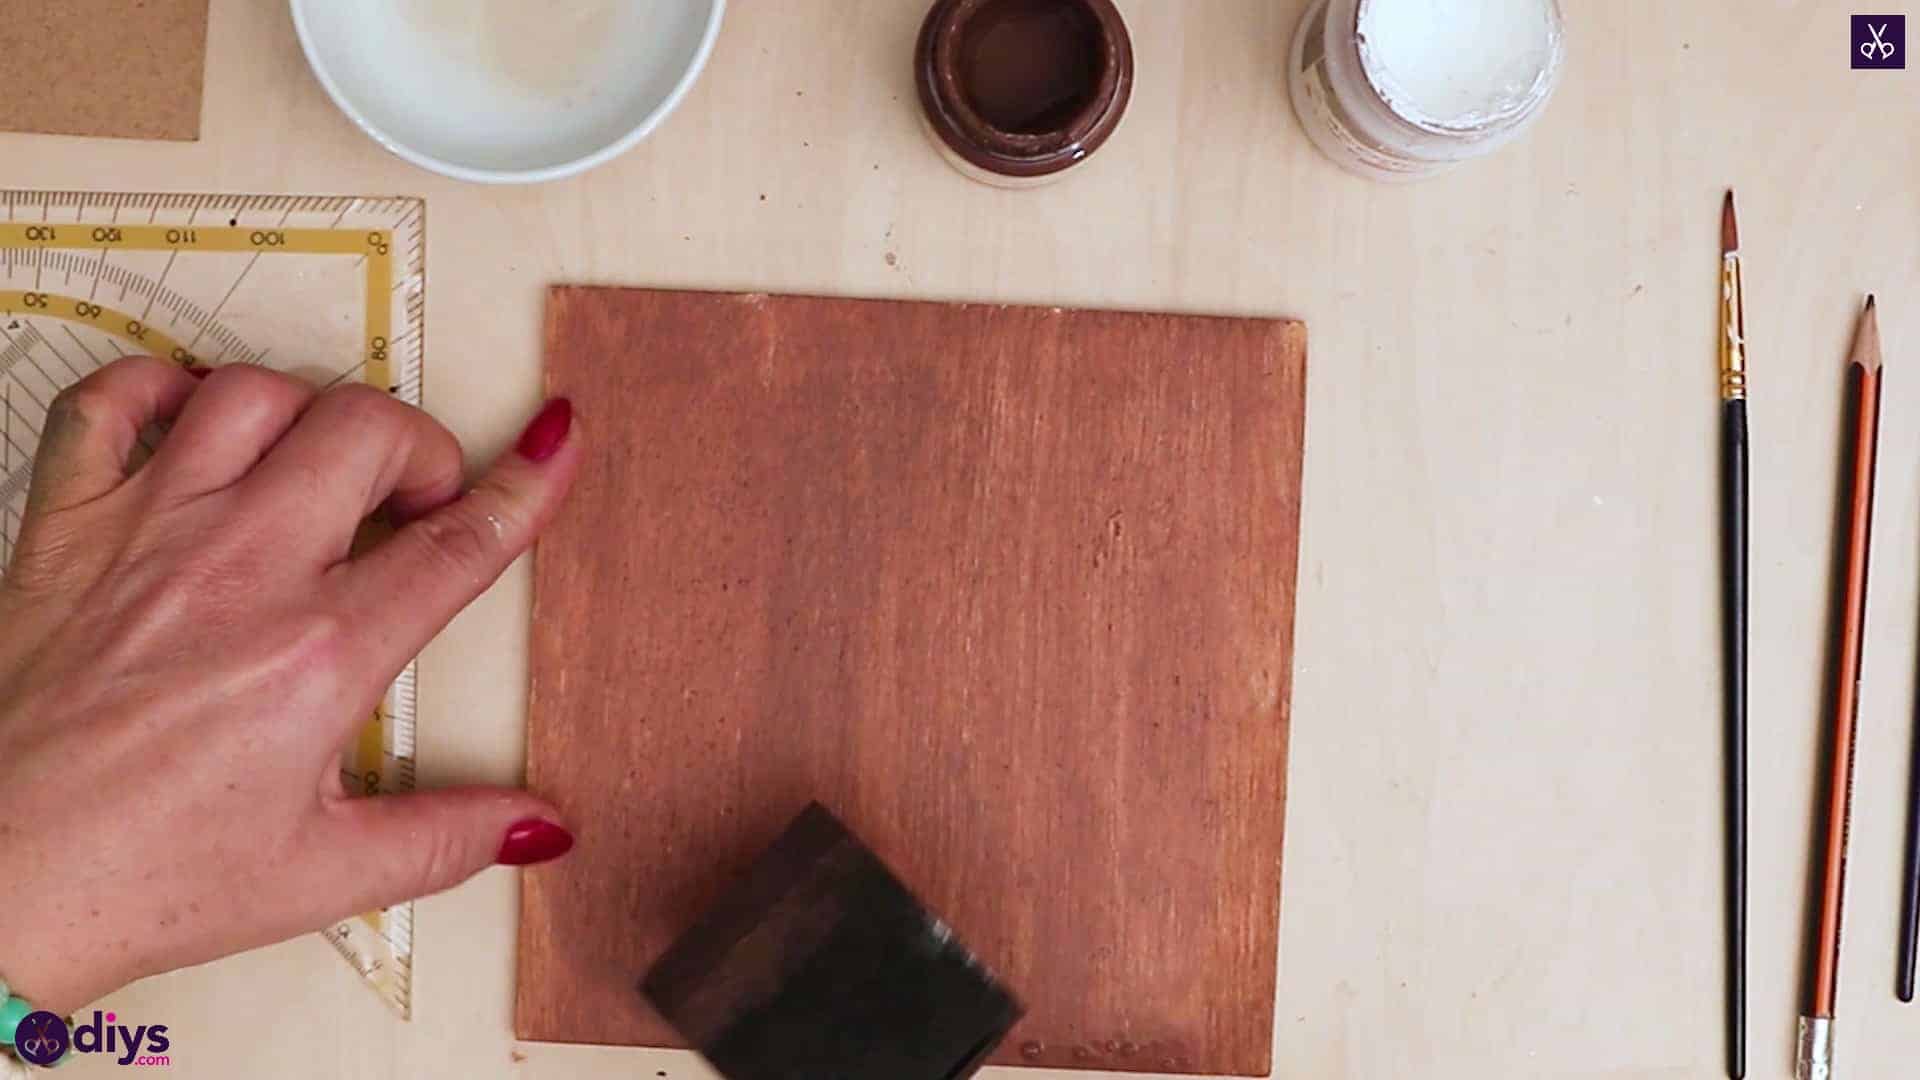
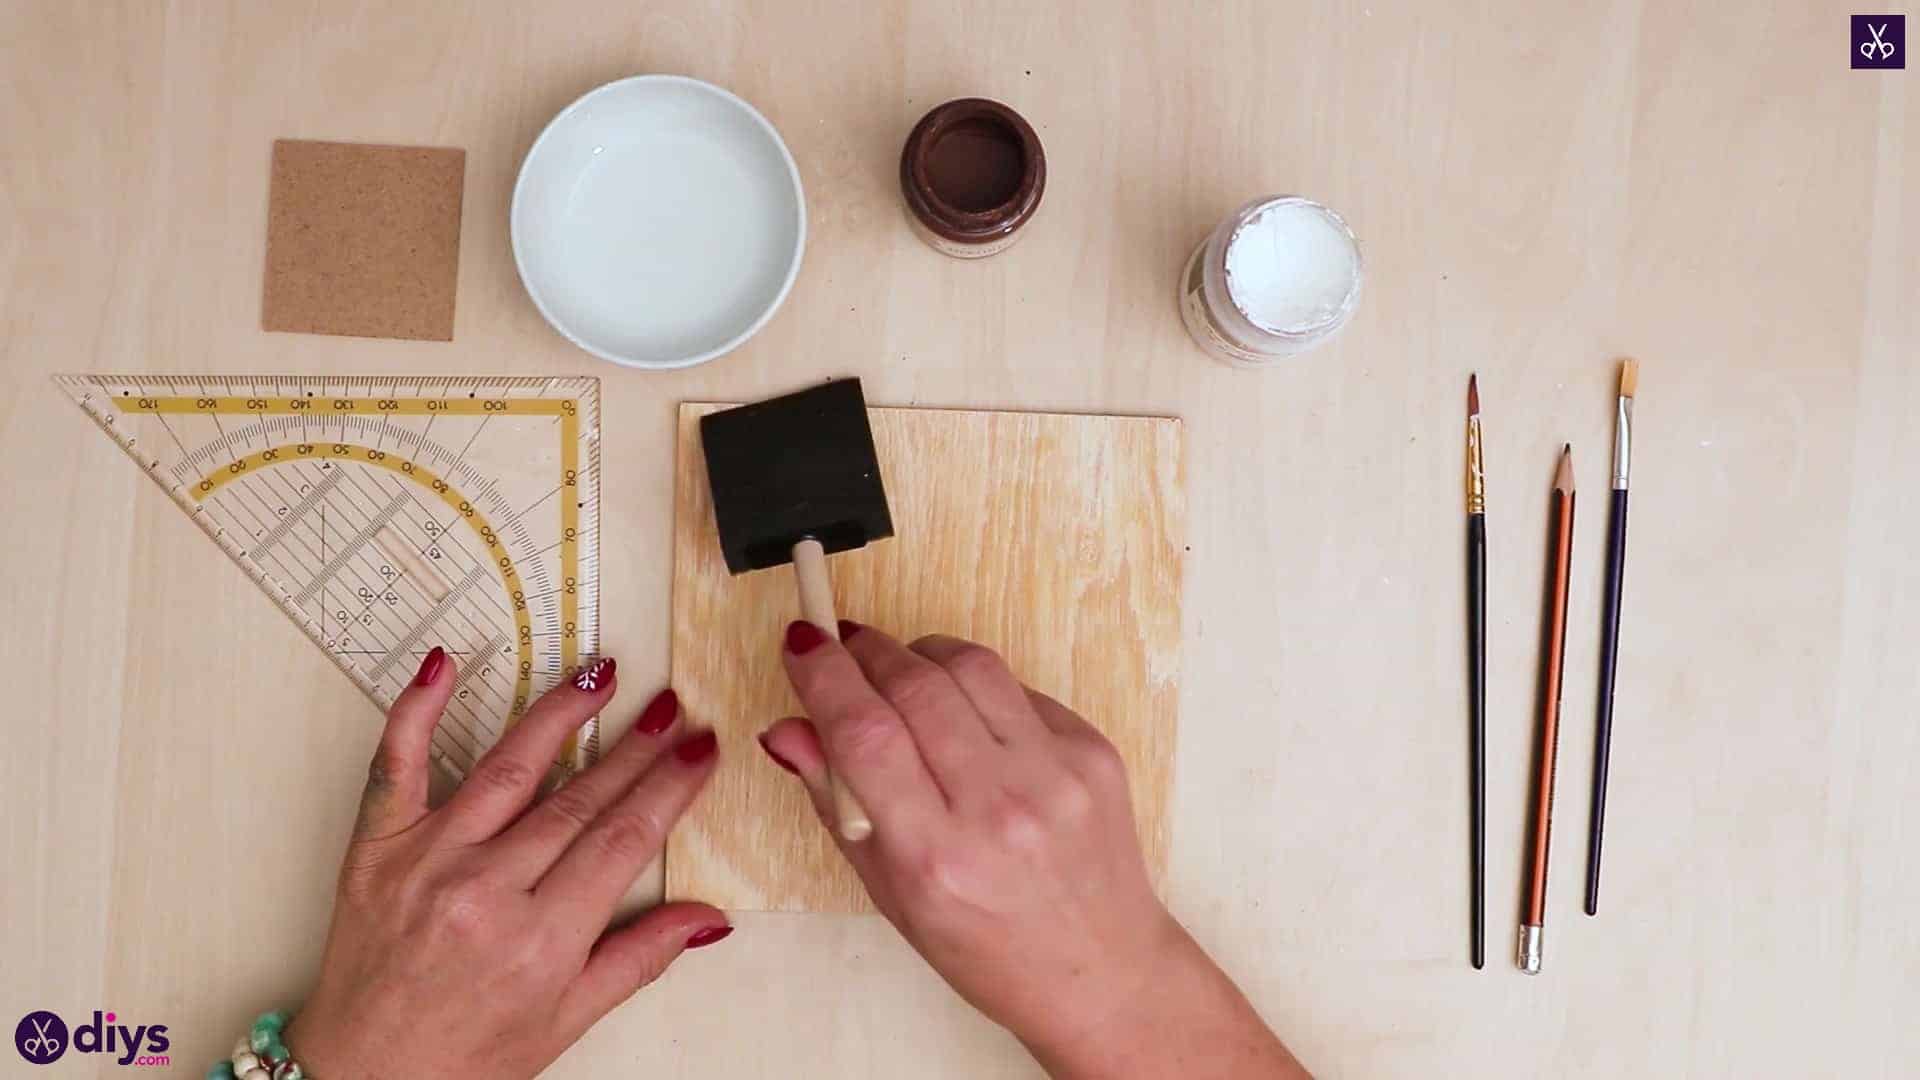
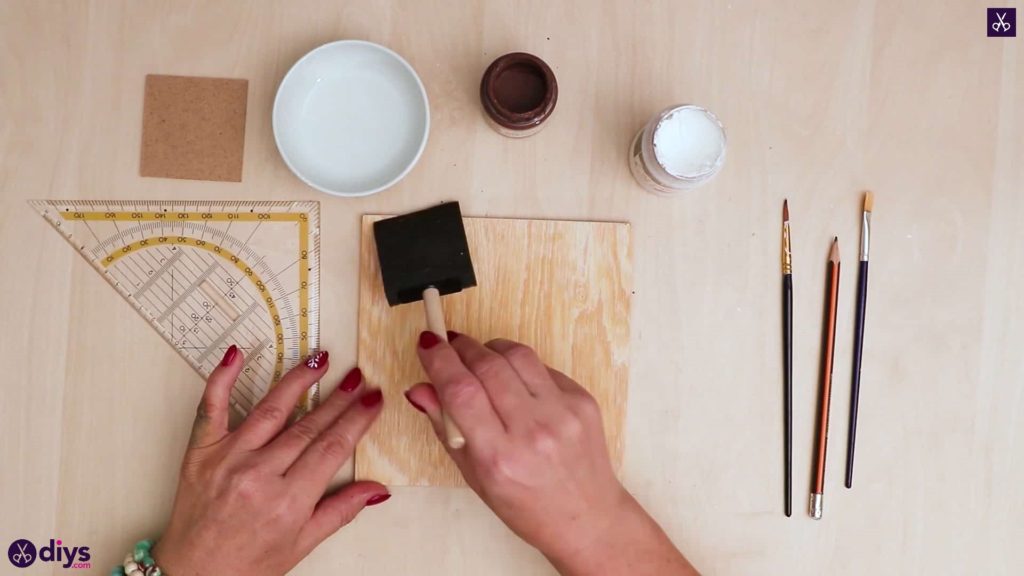
Step 2: wet the board
Dip your paint sponge in water and wet the entire surface of your wooden board.
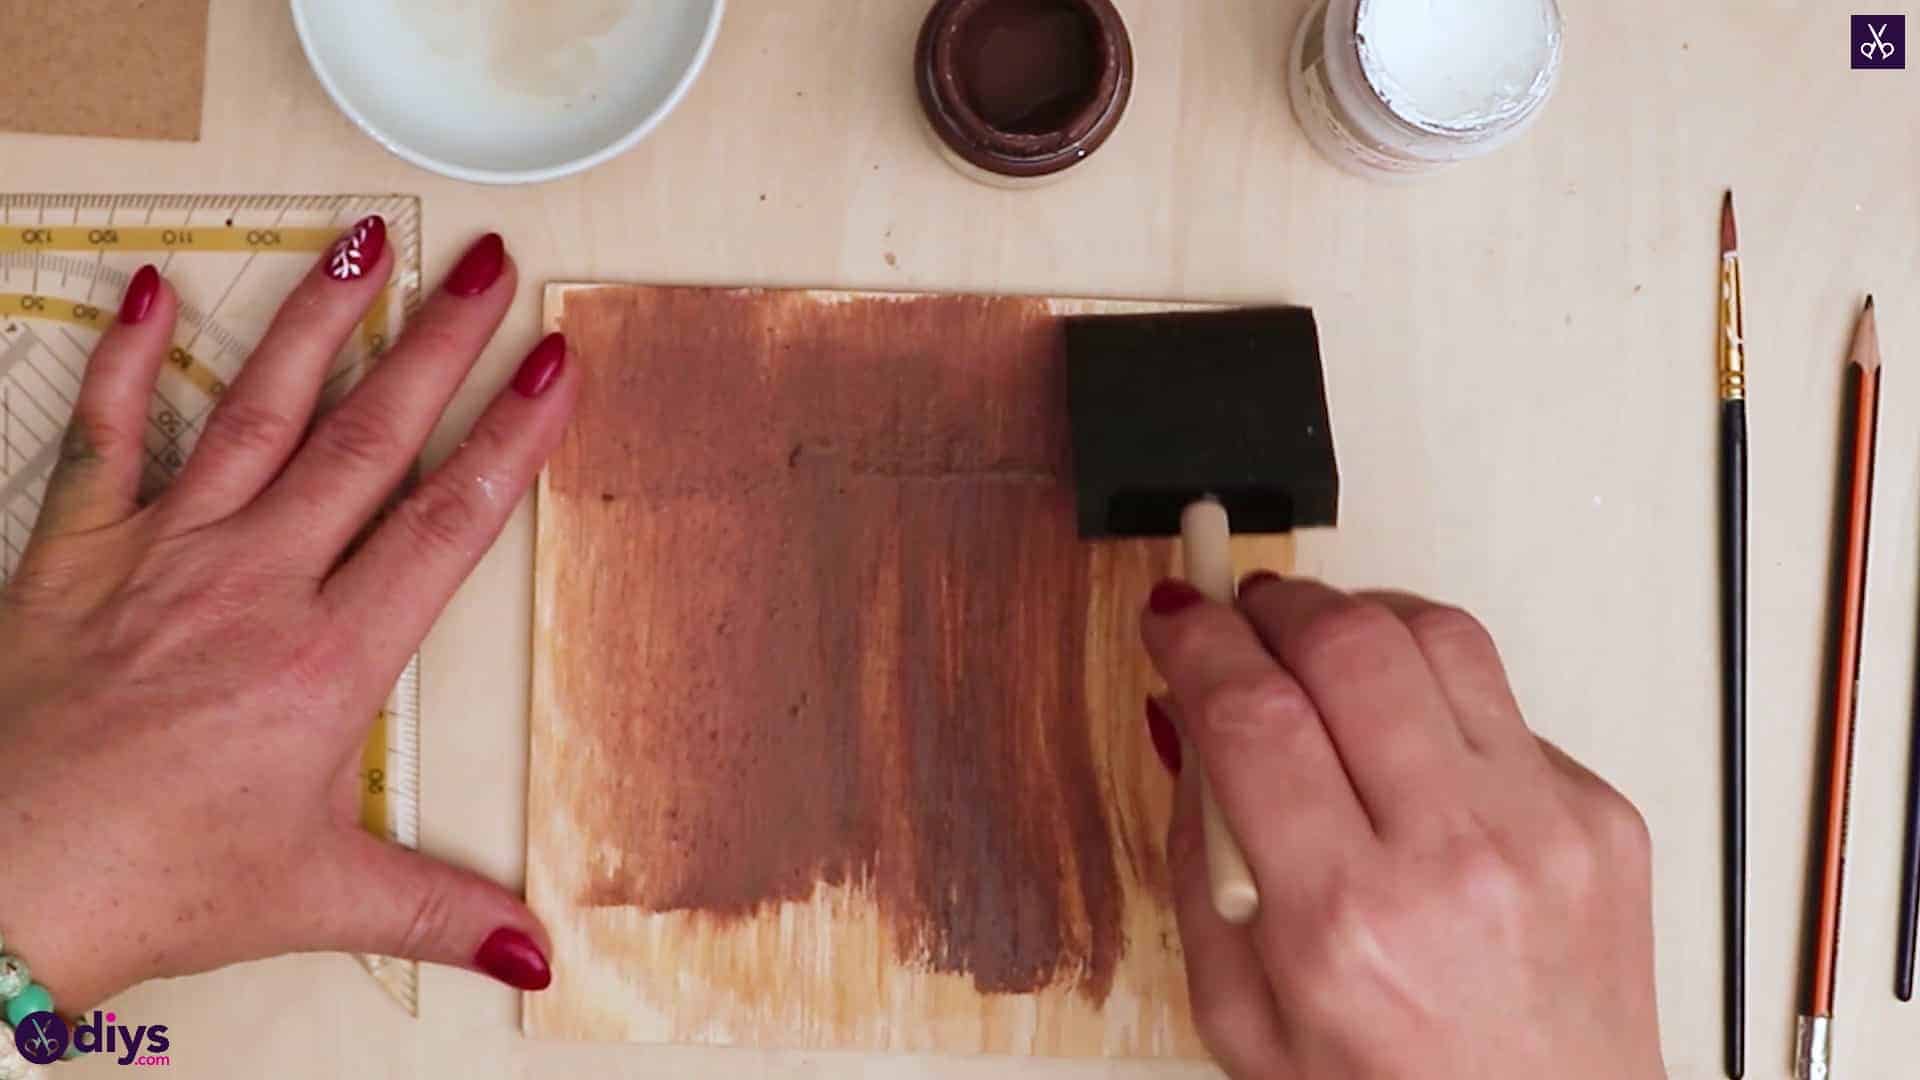
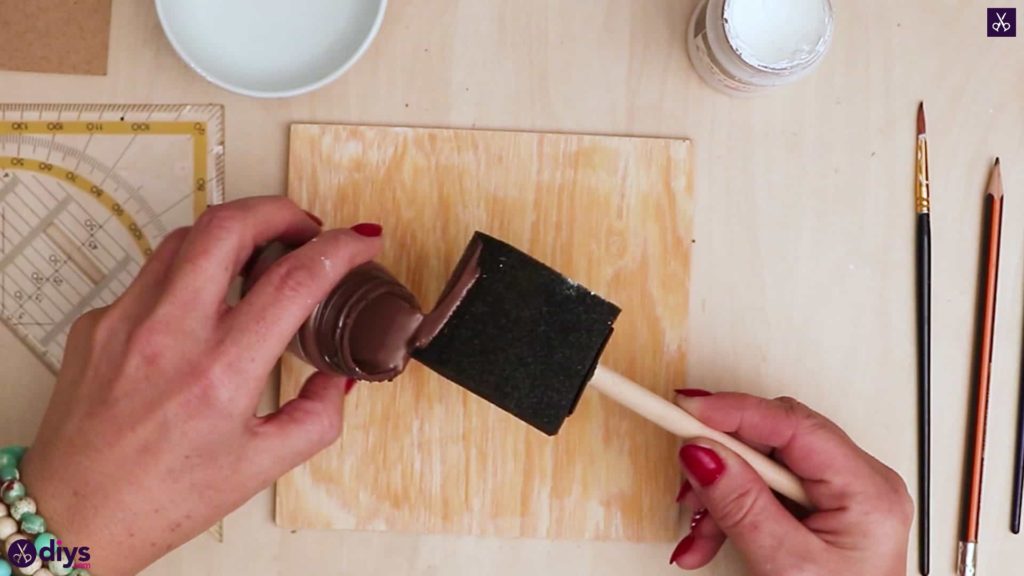
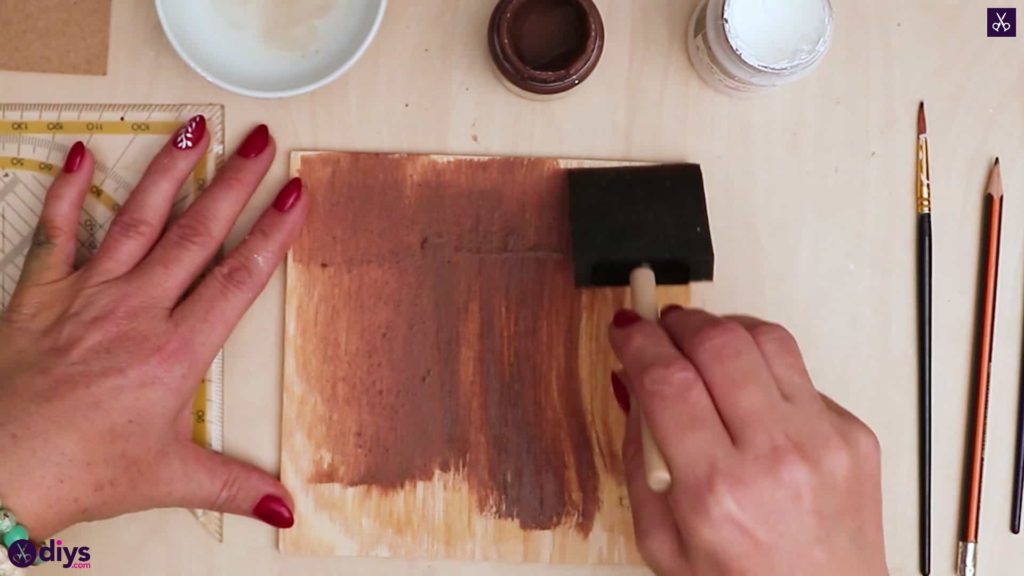
Step 3: apply brown
Re-wet your sponge and then apply brown paint, watering down its opacity. Spread it thinly but evenly across the entire surface of your board so it looks more like a stain than paint.

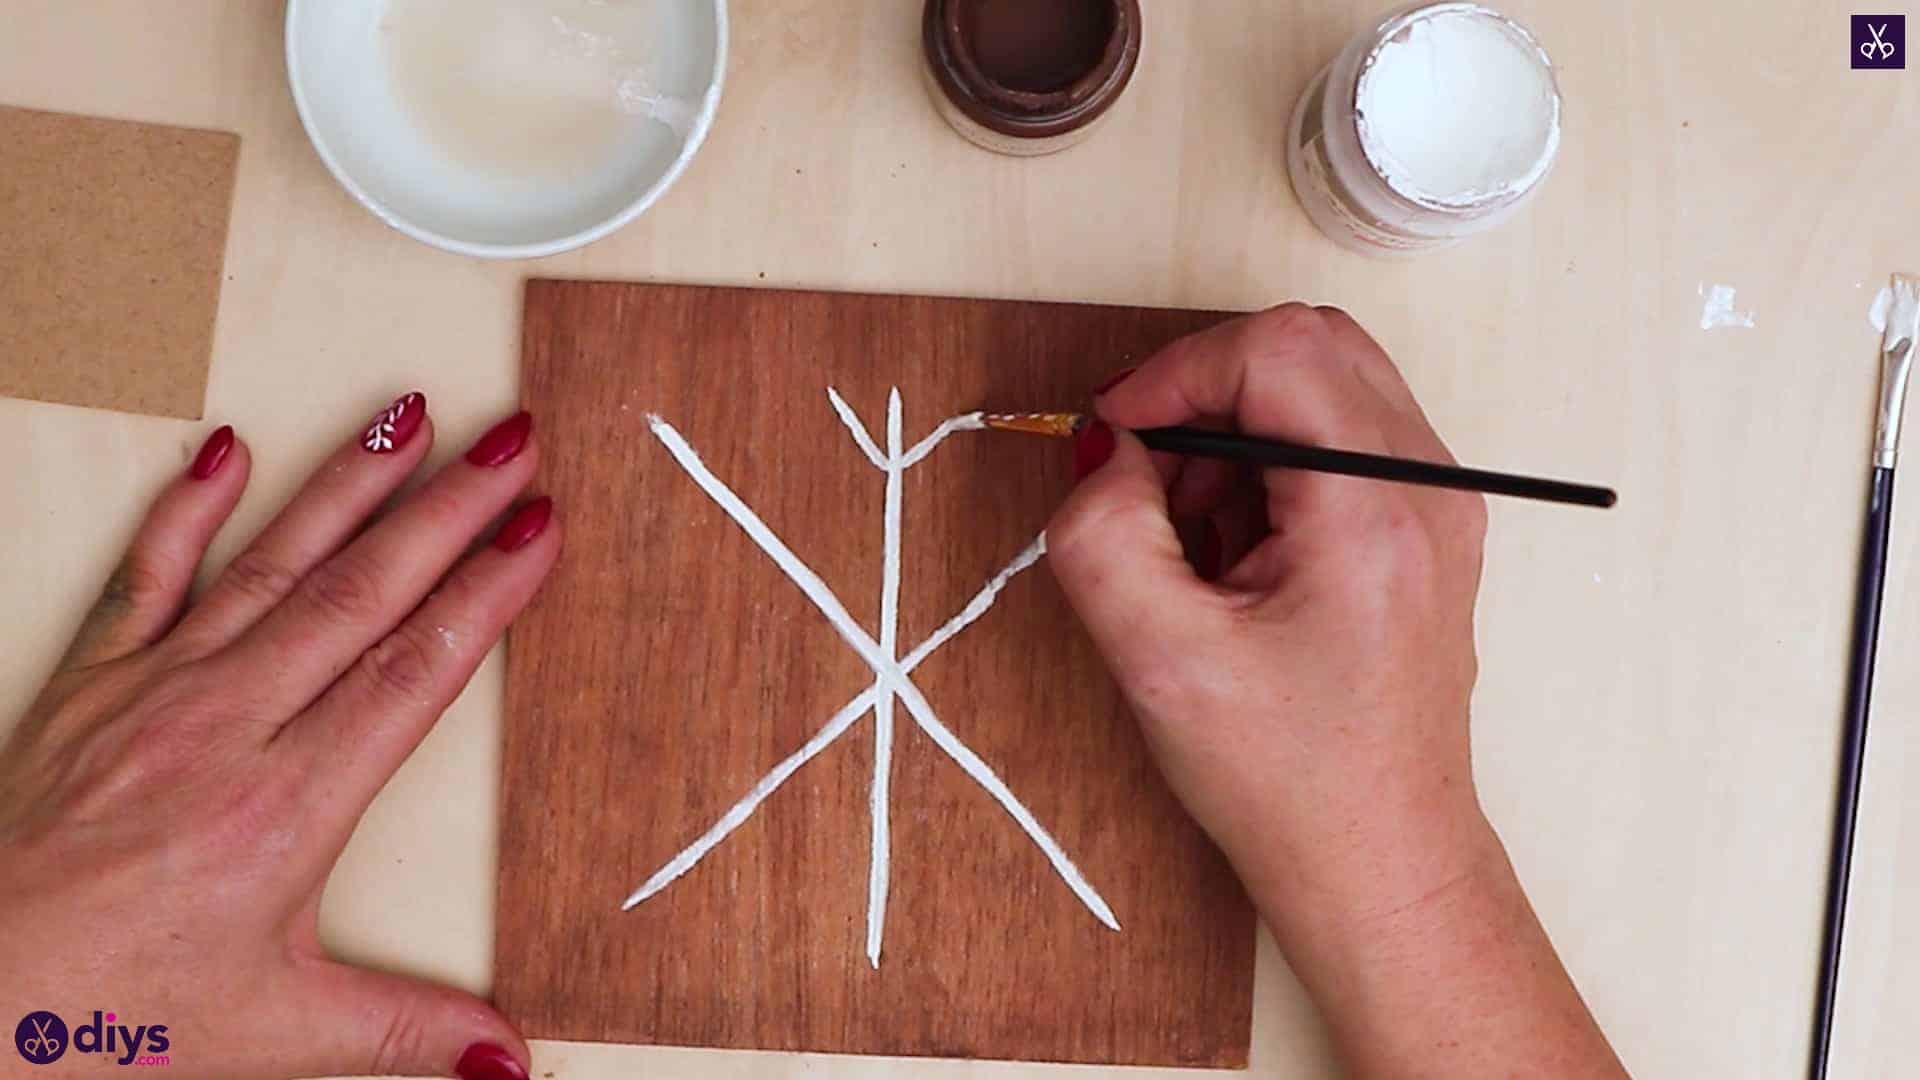
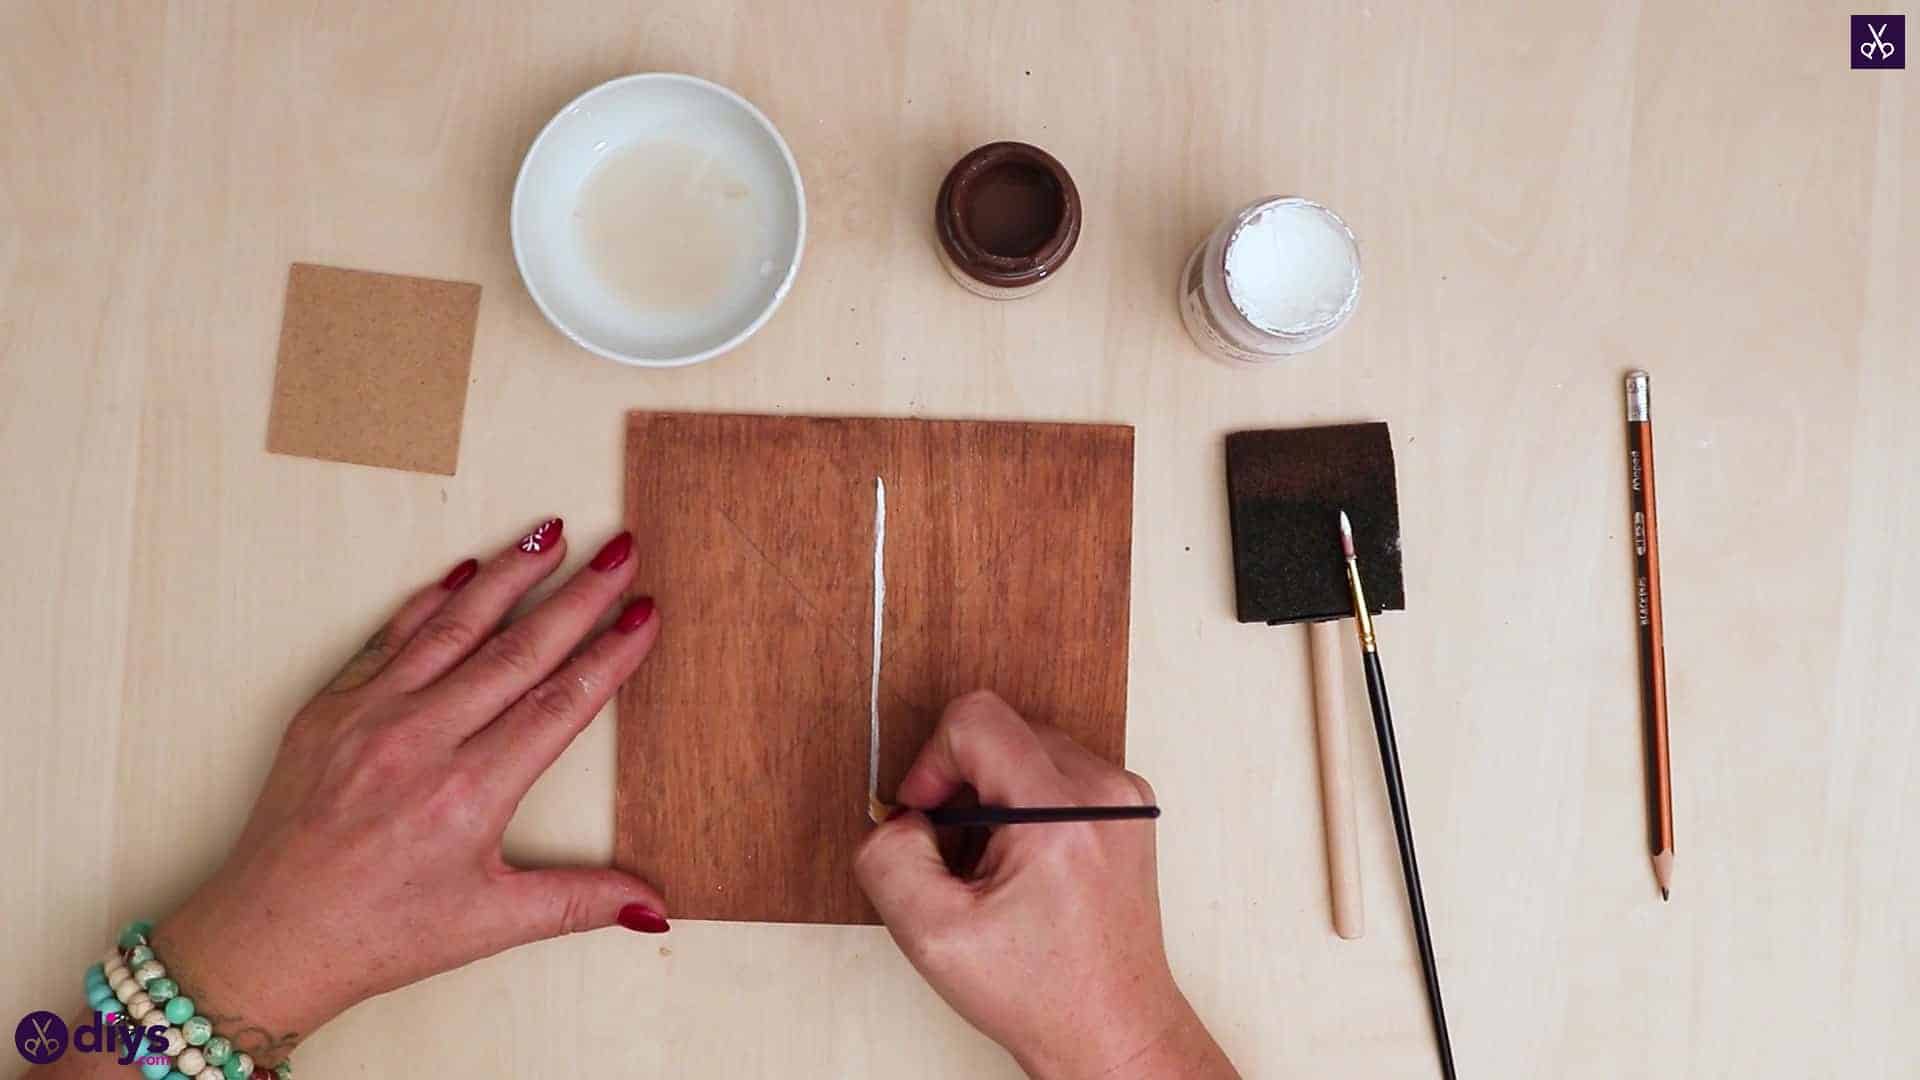
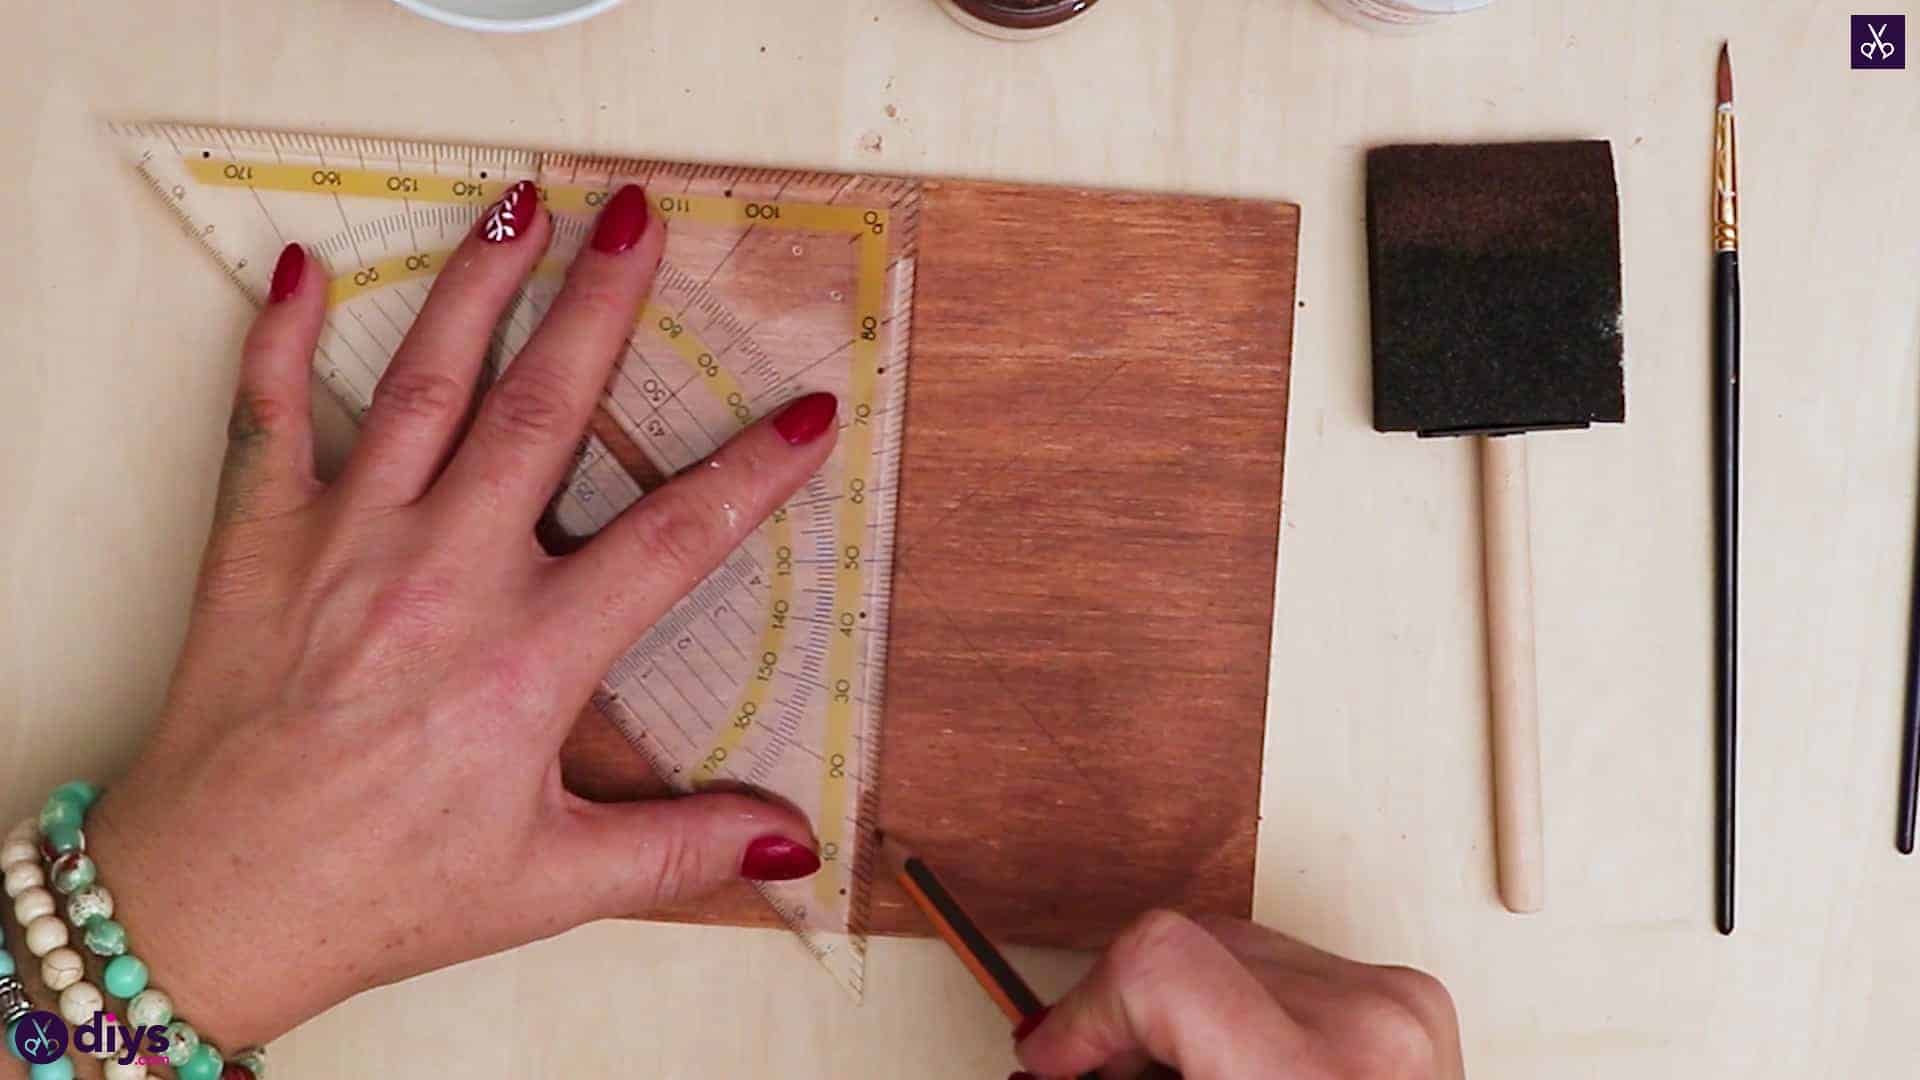
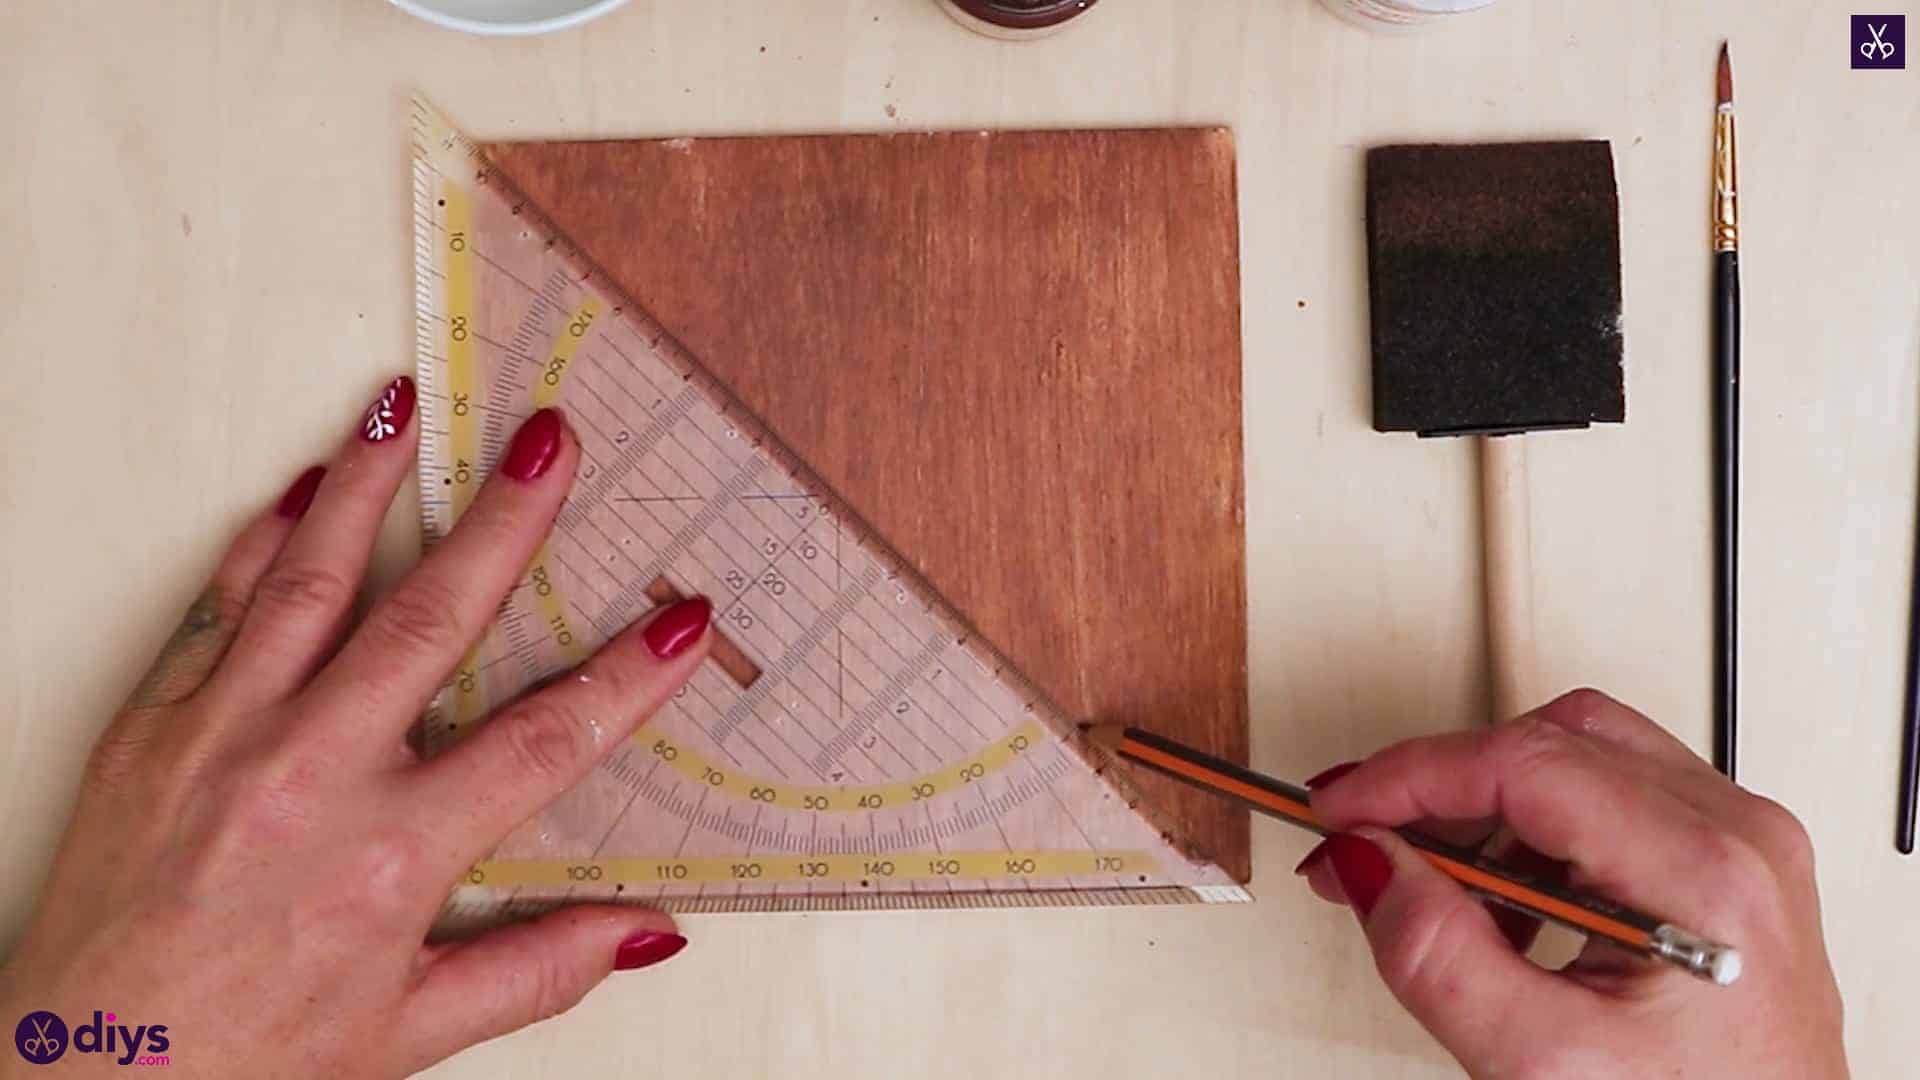
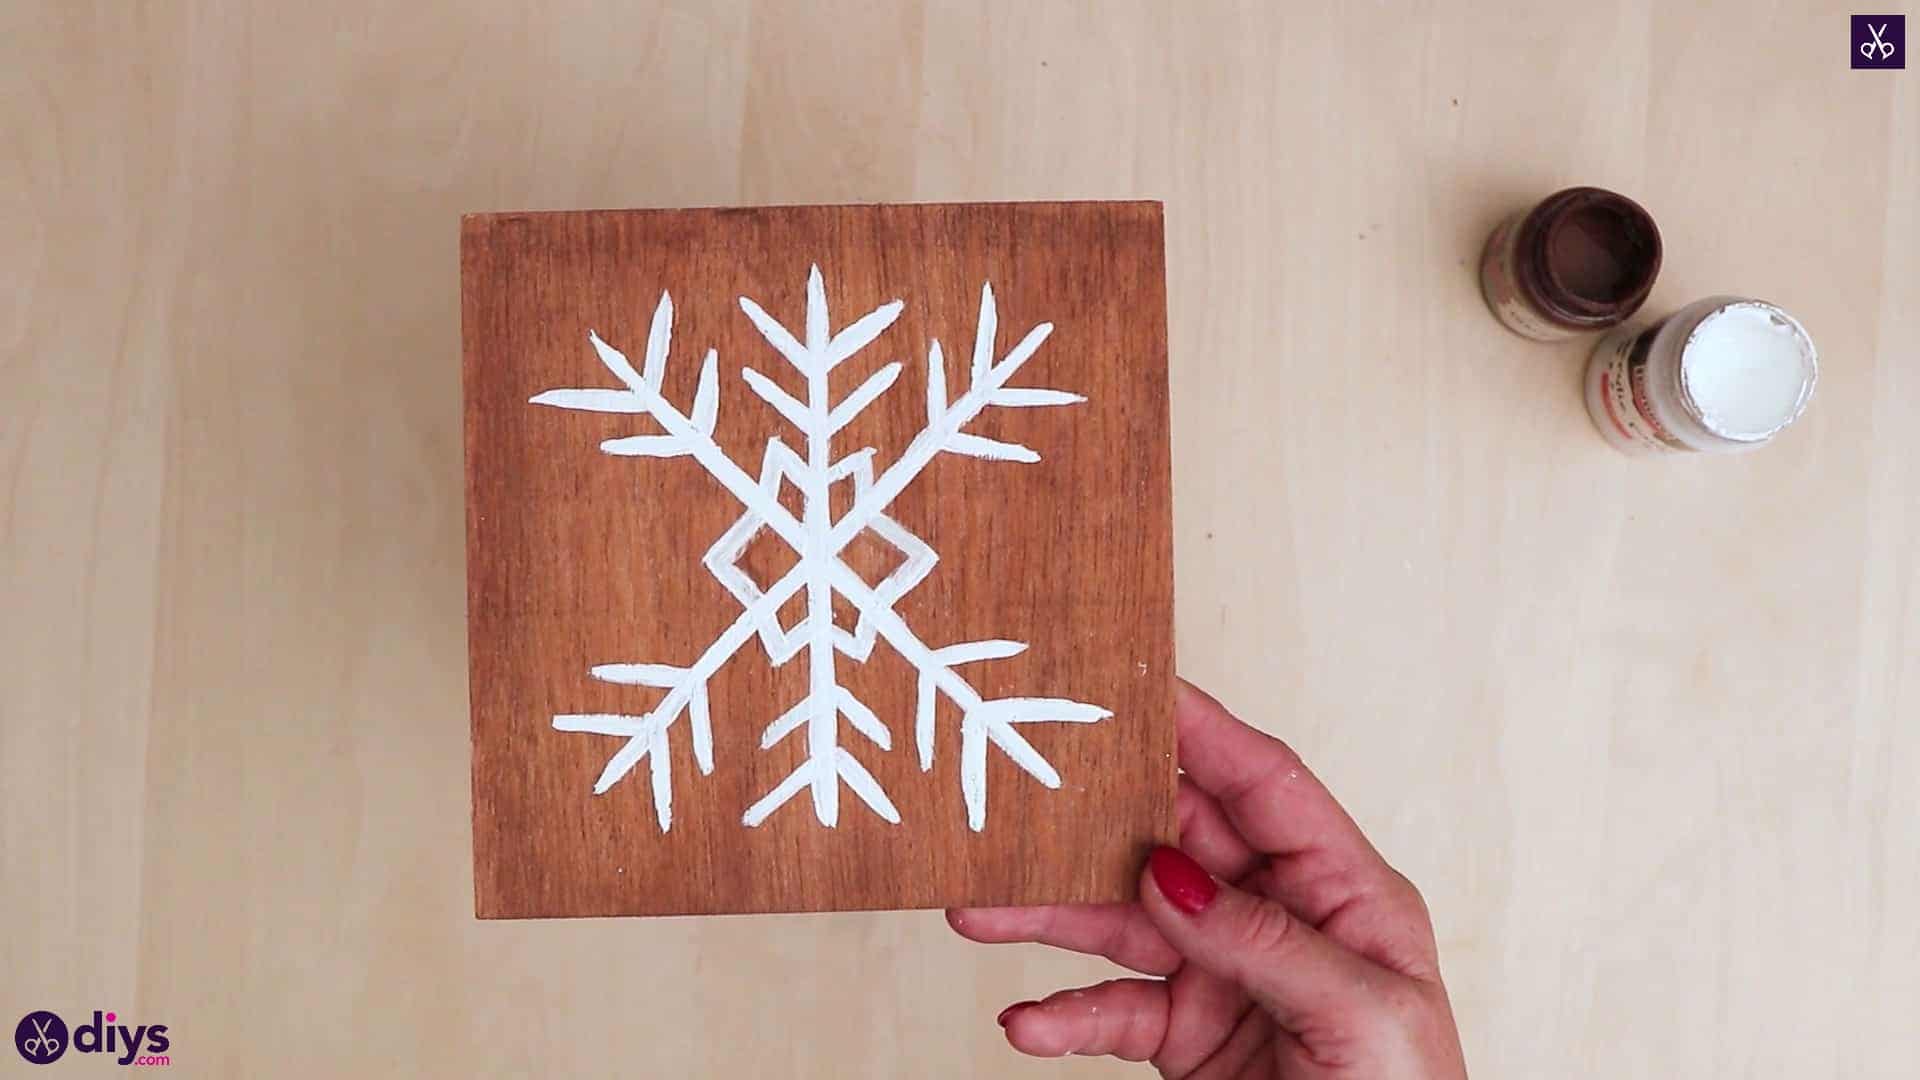
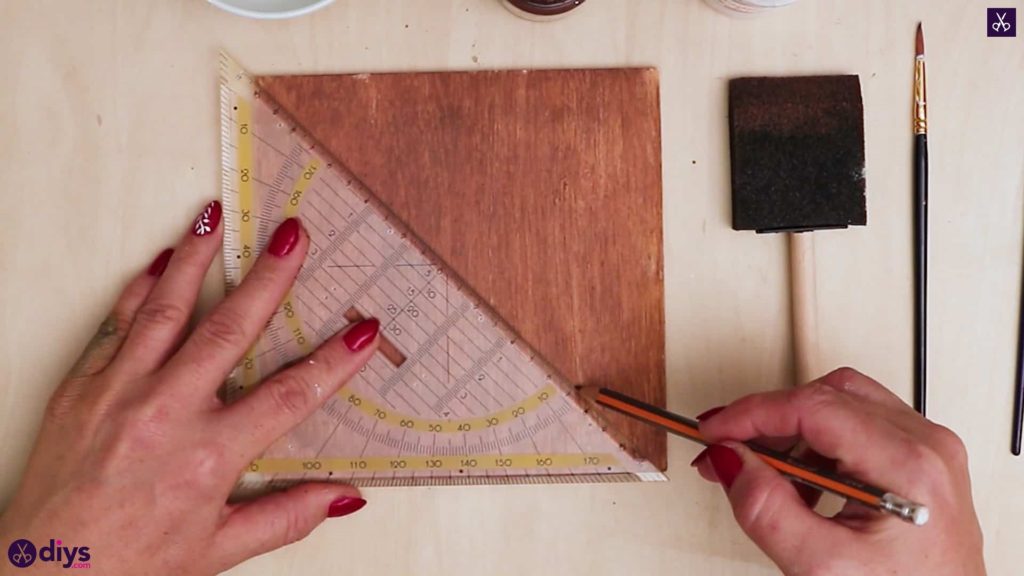
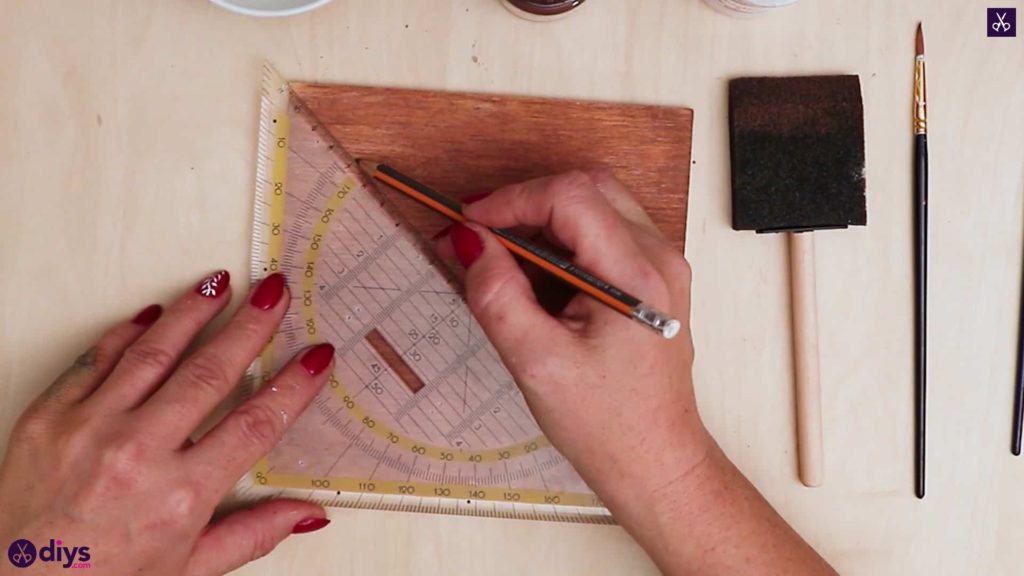
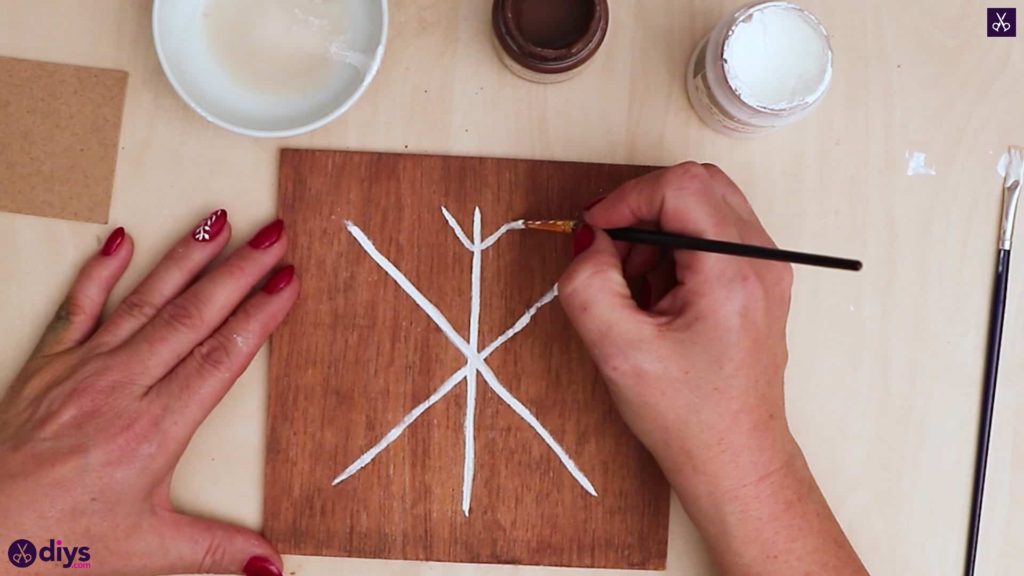
Step 4: draw the snowflake
Place your ruler diagonally across your board from corner to corner, top left to bottom right, and use it as a guide to draw a diagonal line with your pencil; make your line shorter than the ruler so it doesn’t actually read the full way across and touch the corners themselves. Repeat this process in the opposite direction, from the top right corner to the bottom left corner, making this new line the same length as your first one. Next, place your ruler vertically down the board so it passes through the center point where your diagonal lines intersect. Draw a vertical line here that also does not read from edge to edge; you want to leave a little bit of space.


![]()
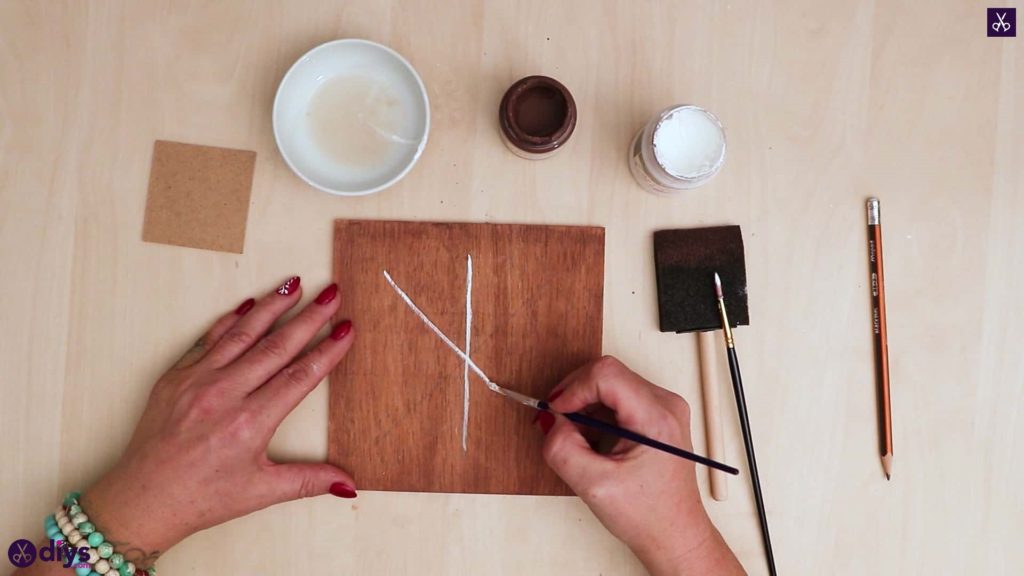
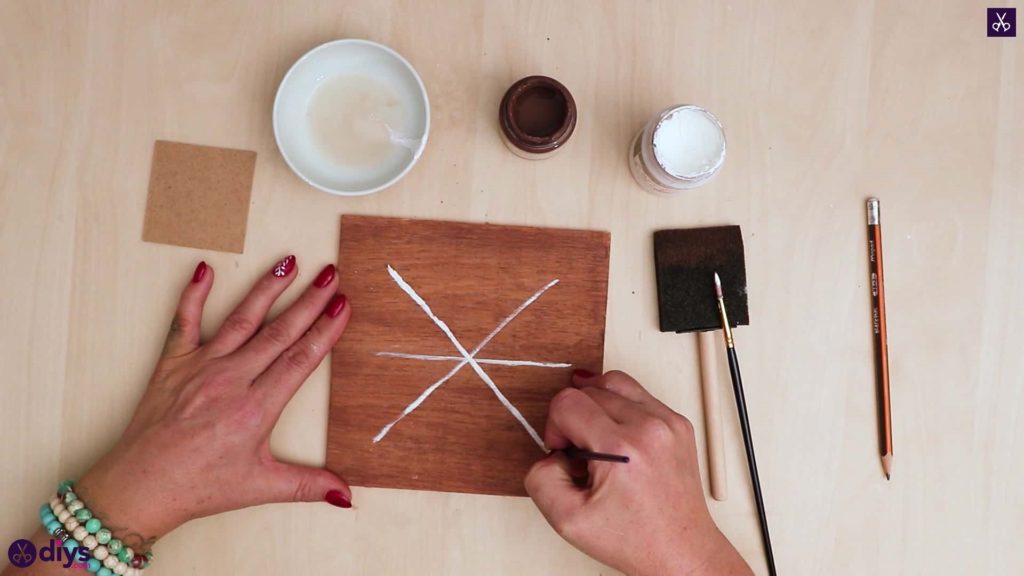
Step 5: paint the snowflake
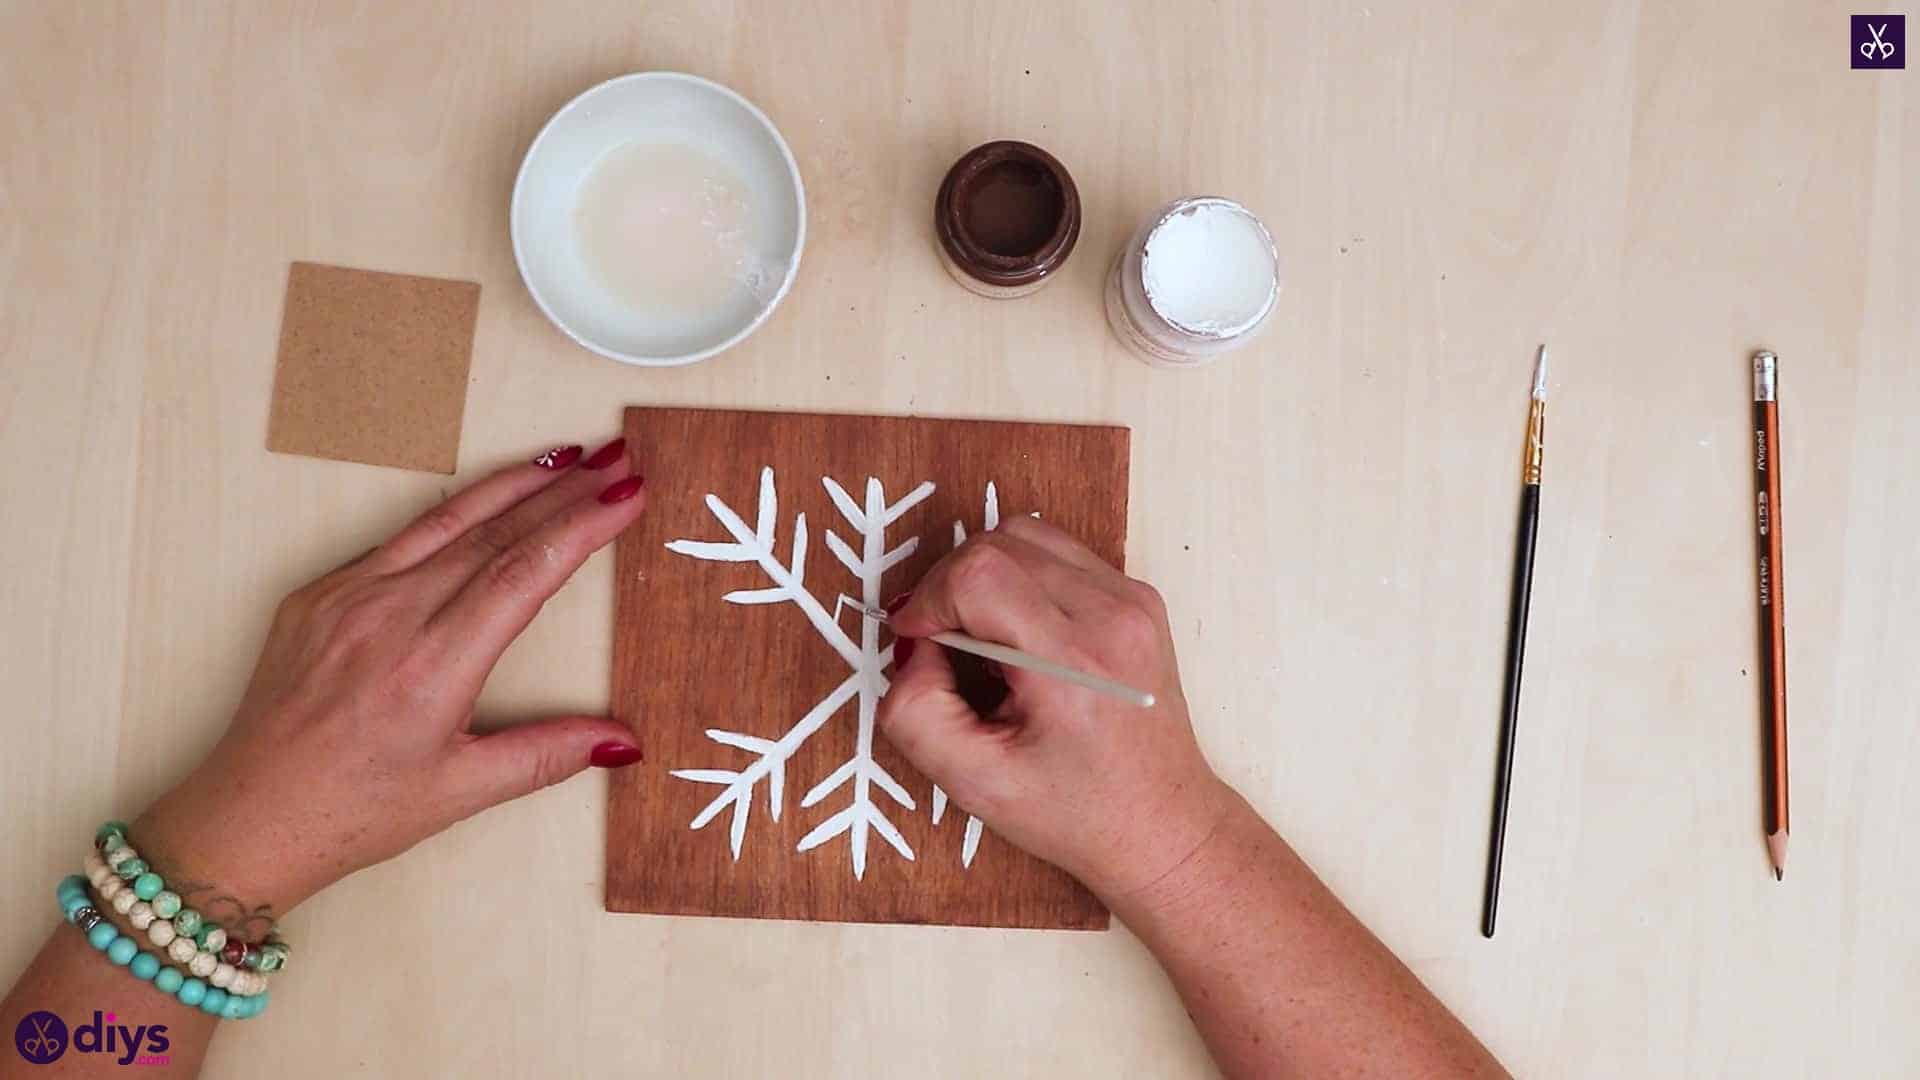
Use your pointed paintbrush and paint to trace your pencilled in lines in white in order to make the base of your snowflake art. I freehanded my lines rather than using the ruler because I liked the charm that not using the ruler gave my shape.

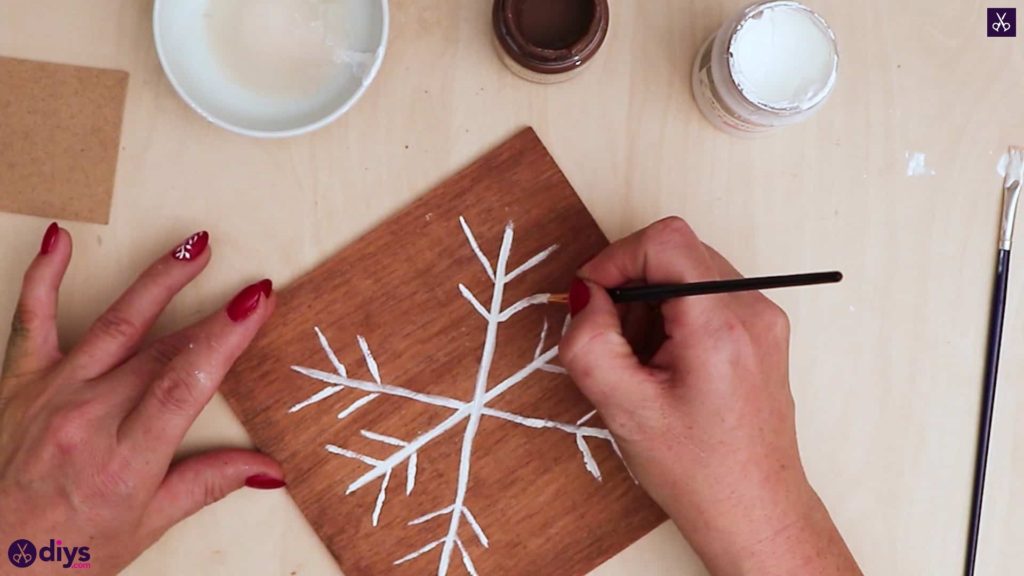
Step 6: add the tips
At the end of each line, add two small lines pointing in the same direction but diagonally away from the tip, starting about a centimetre in. This adds intricacy and detail to your snowflake shape. Further in towards the middle, add another diagonal detail to each one, like the tail feathers of an arrow.
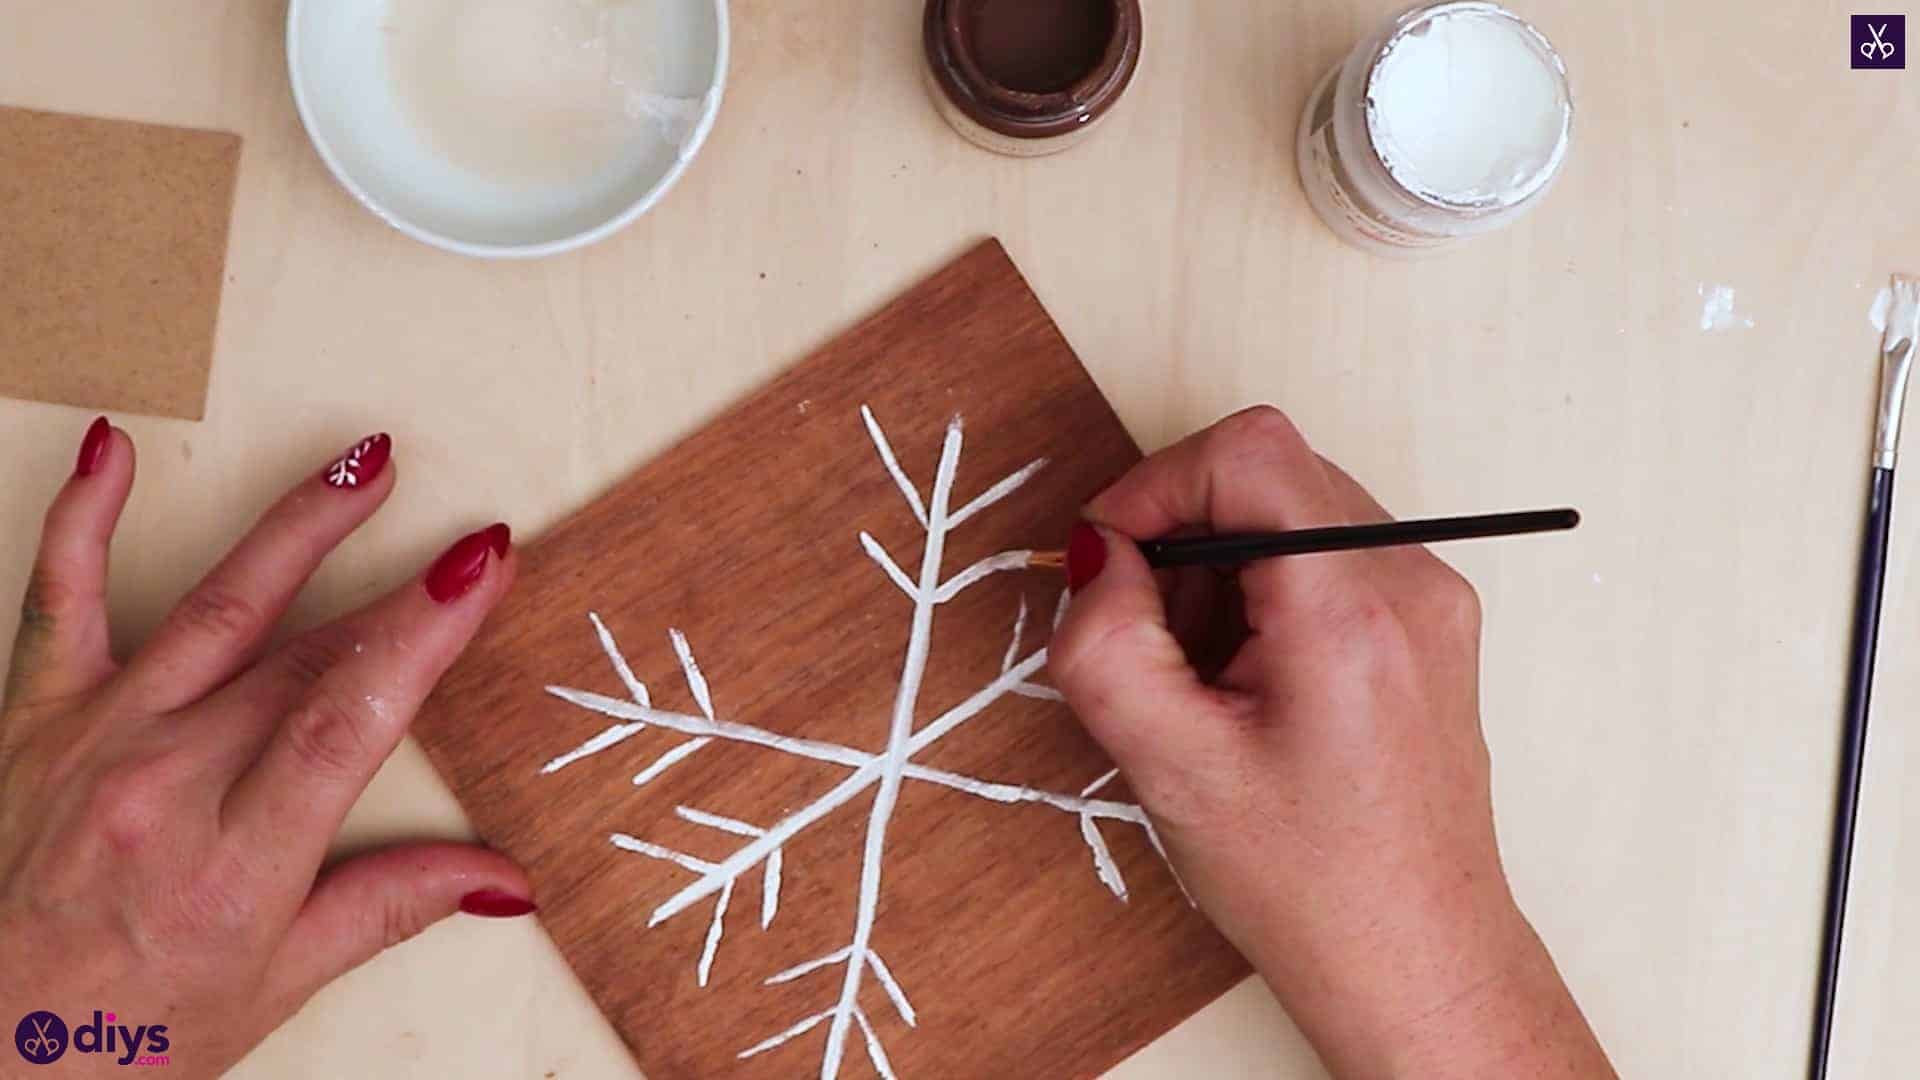
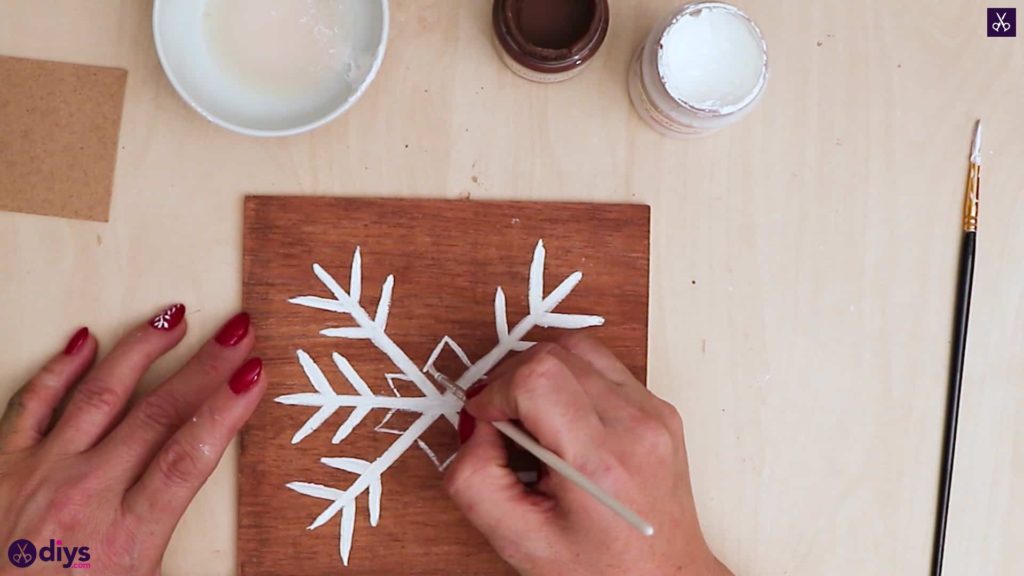
Step 7: finer details
Use the flat end of your larger paintbrush to create peaked shapes connecting the lines of your base snowflake shape near the center. Angle your brush diagonally upwards from each line so it meets the top of another central line angled in the opposite direction on the line across from it, making a shape like the top of a triangle. Repeat the process all the way around to add central detail to the snowflake too.

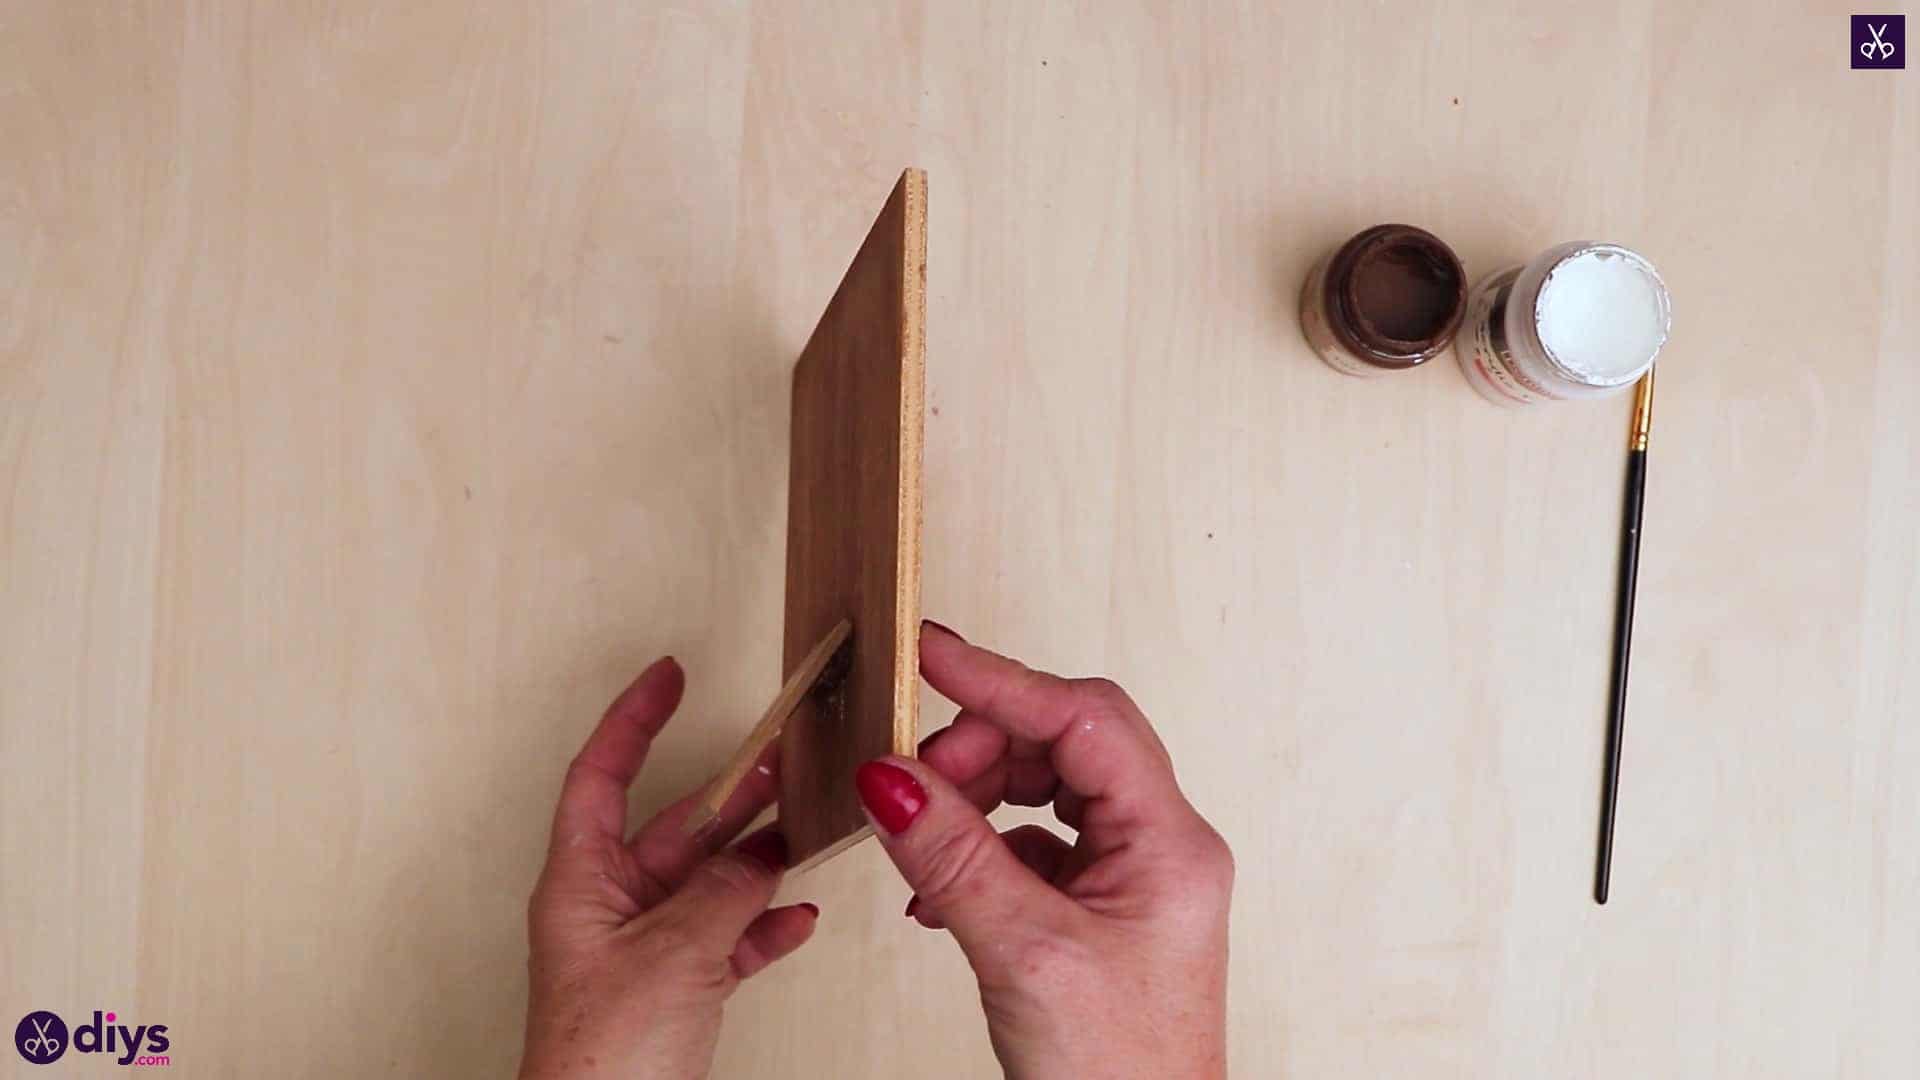
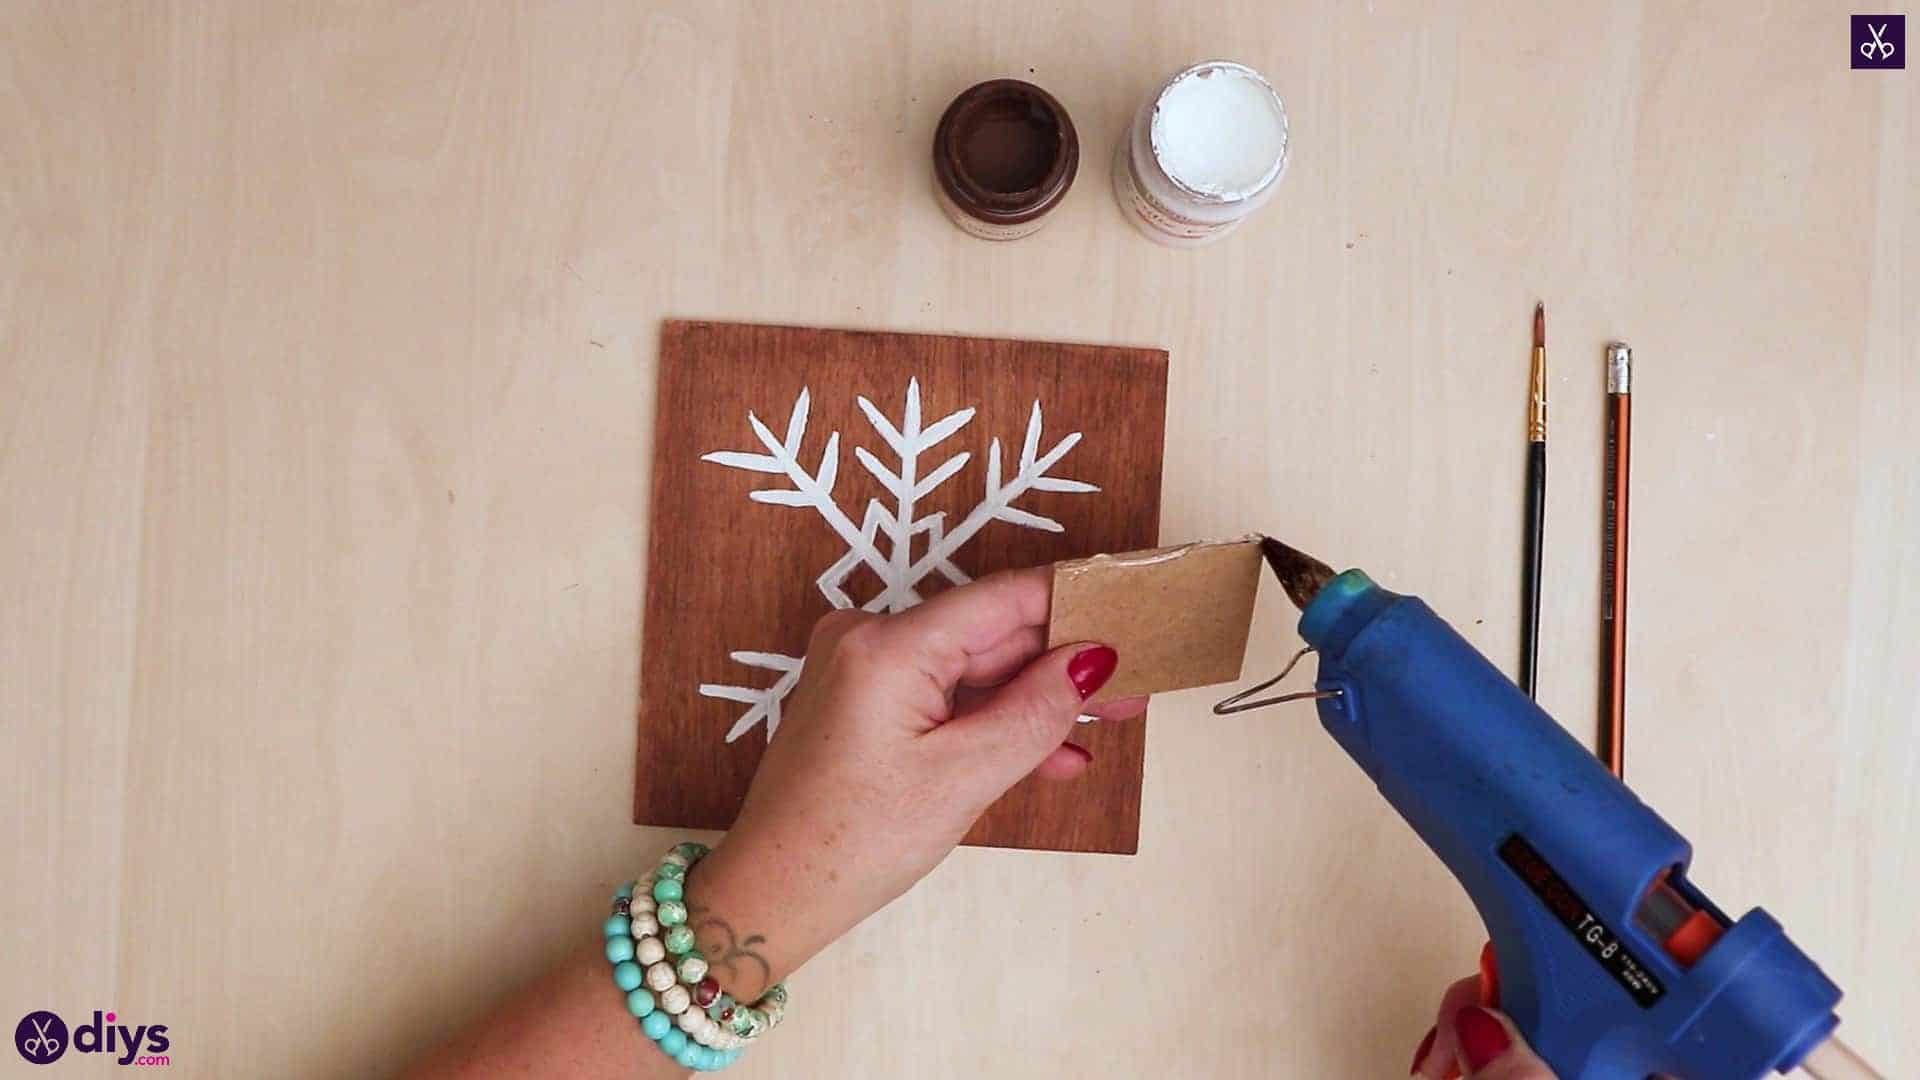
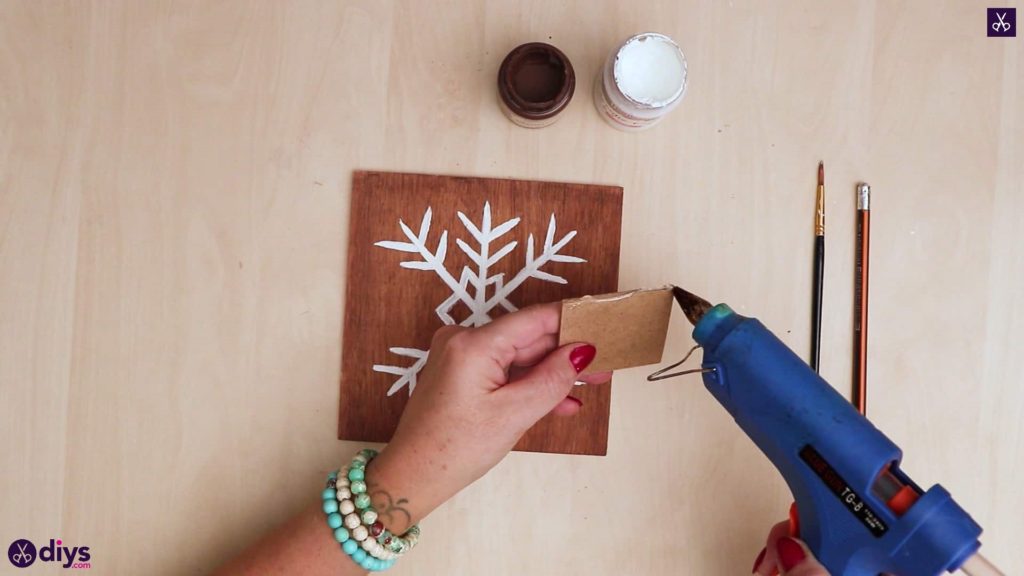
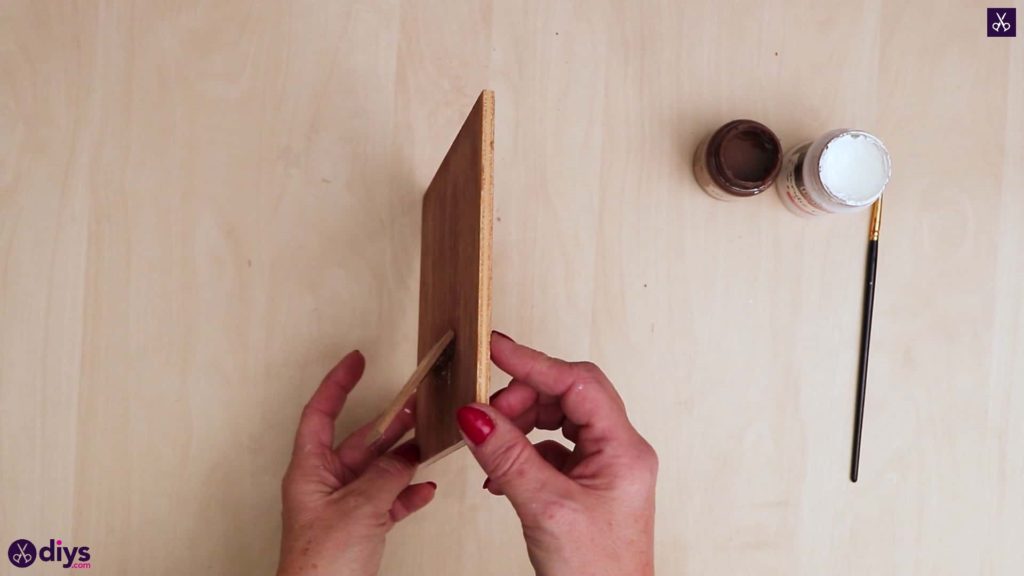
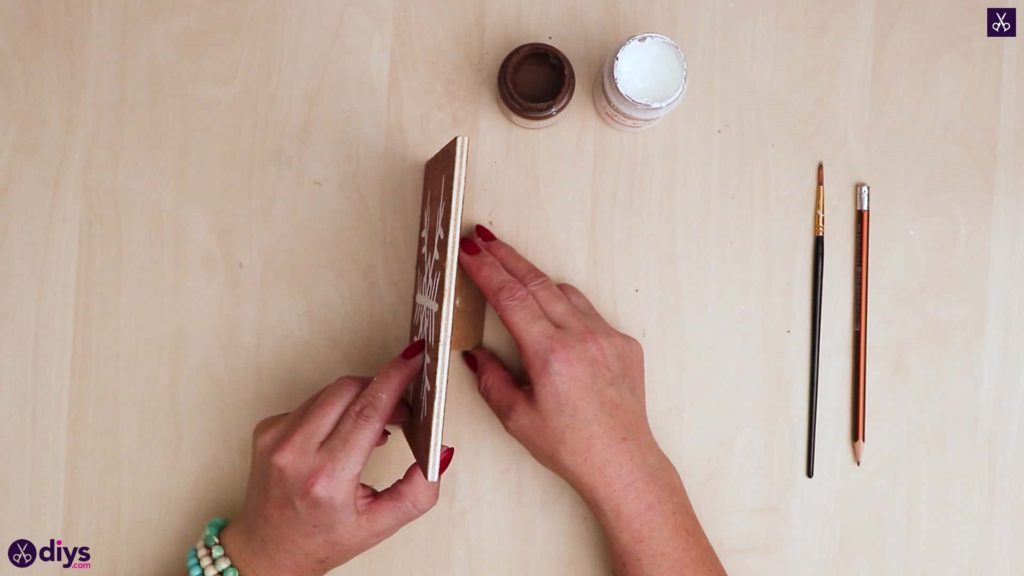
Step 8: make stand
Cut a one inch by one inch square from your cardboard and apply hot glue all along one edge. Stick it down at an angle on the back of your painted board, low enough down that it touches a table level with the bottom edge of the board with your painted design on it. Once the glue has dried, this will prop your art up like the stand of a picture frame.
You’re all finished! Just in case you’d like to try this project out for yourself, here’s a fantastic tutorial video to help you!