Make Your Own Seed Bead Ring – Video Tutorial
Updated on June 23, 2021


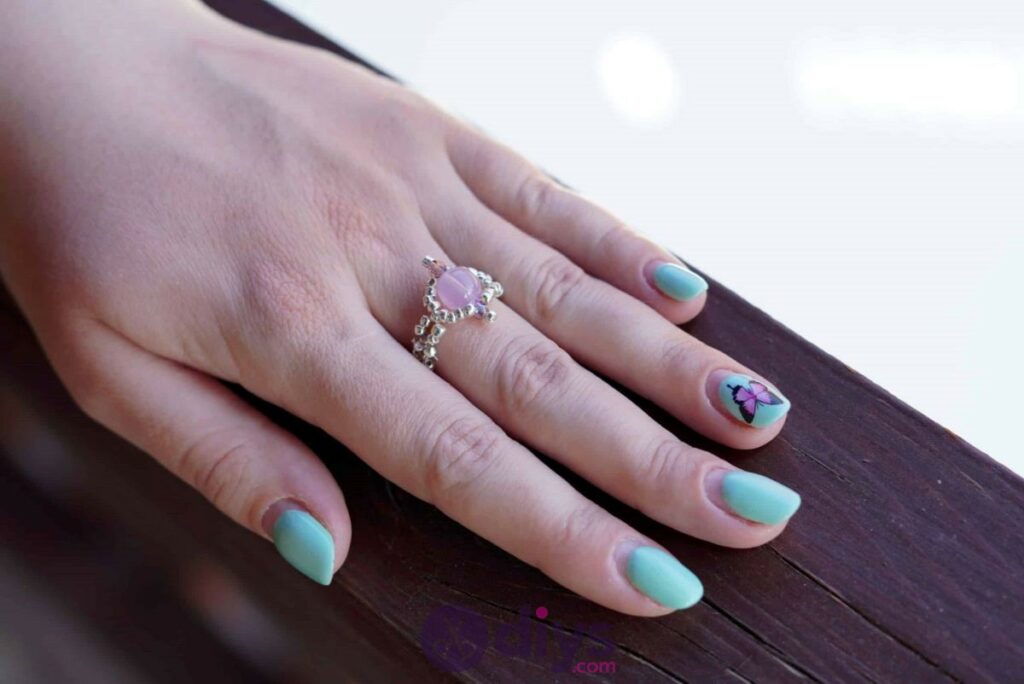
Have you ever seen a lovely, delicate piece of jewelry in a store and wondered whether you might actually be able to make something similar yourself with the supplies you have at home? We’ve taken the guesswork out a project like that with this tutorial on how to make your own seed bead ring!
Once I’d started wearing my first one around and gotten a number of compliments on it, I realized it was a simple project that all kinds of crafty accessory lovers would love. It would also make a great gift! That’s why I decided to make a few more, document the process, and share it for other people to try out as well.
Check out these step by step seed bead instructions, complete with photos! If you’re more of a visual learner and you’d rather follow along with a video tutorial, scroll to the bottom of this post to find one at the end.
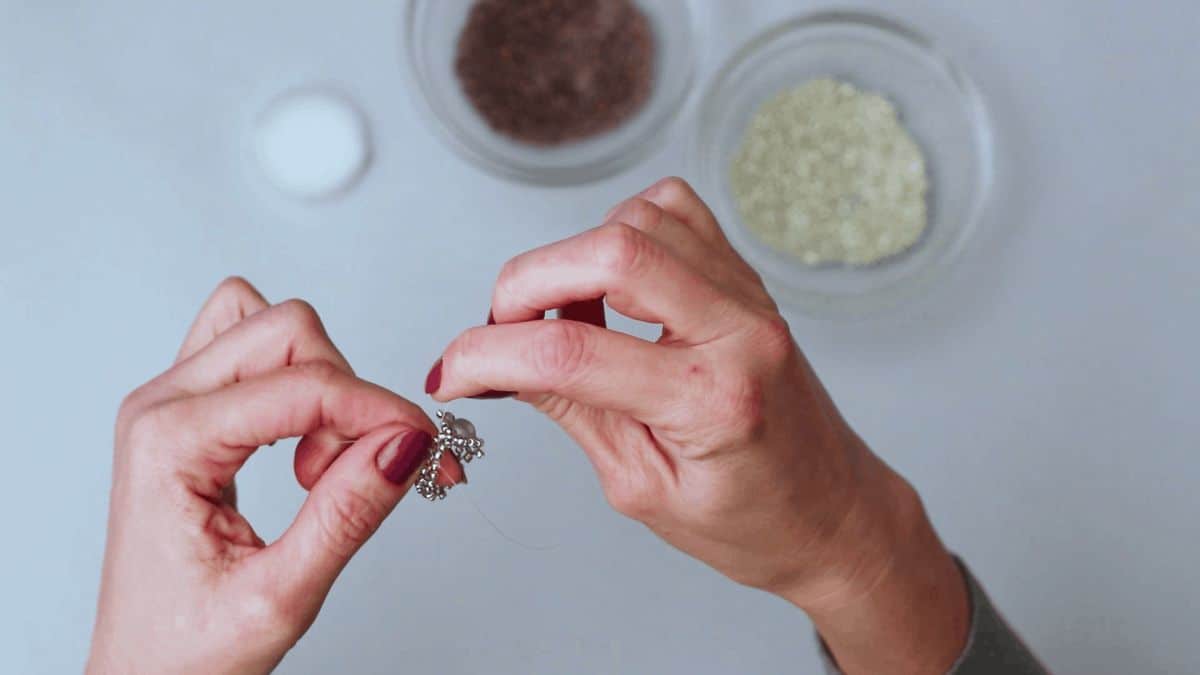
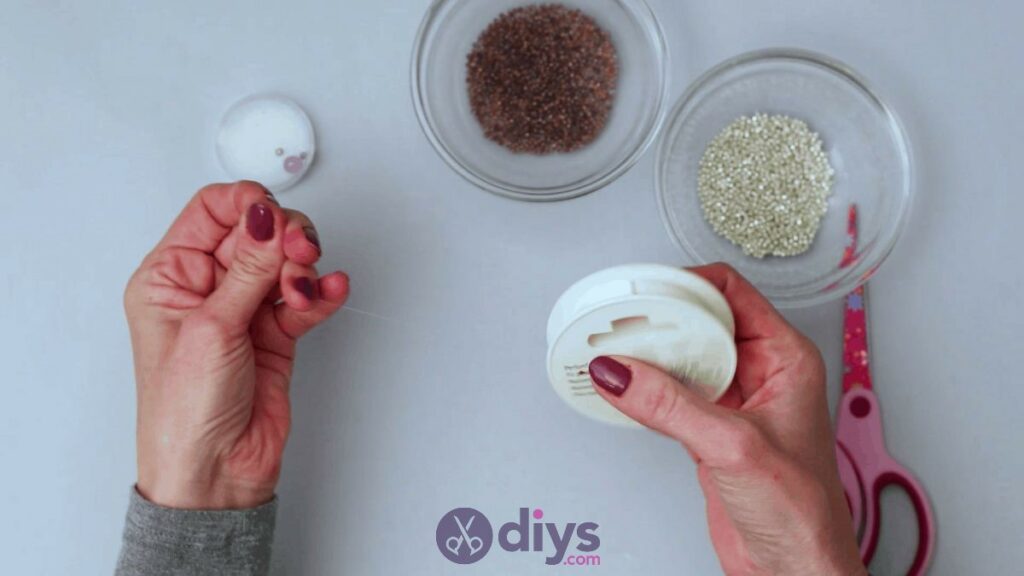
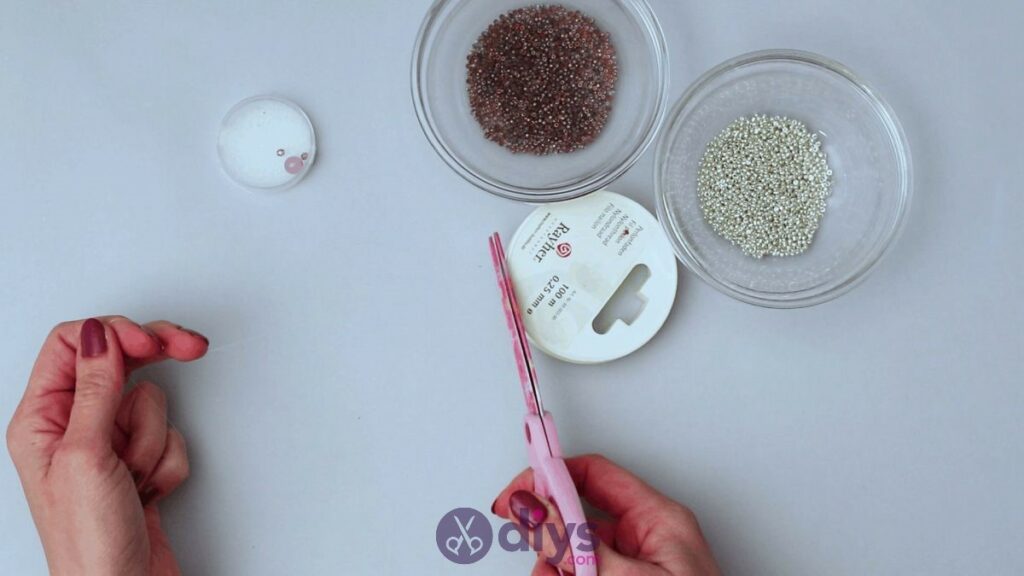
For this project, you’ll need:
- Jewelry line
- Scissors
- 1 big pearl bead
- 2 smaller pearl beads
- Seed or porridge pearls (in one or two colours, depending on whether you want a solid pattern or to alternate)
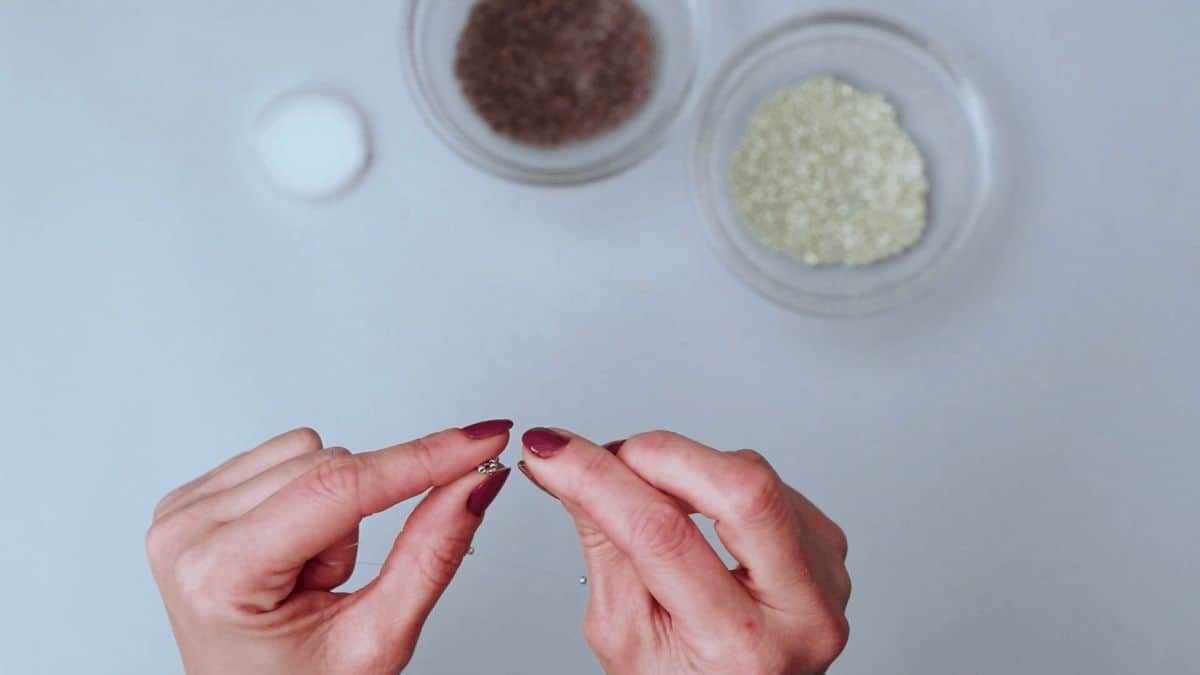
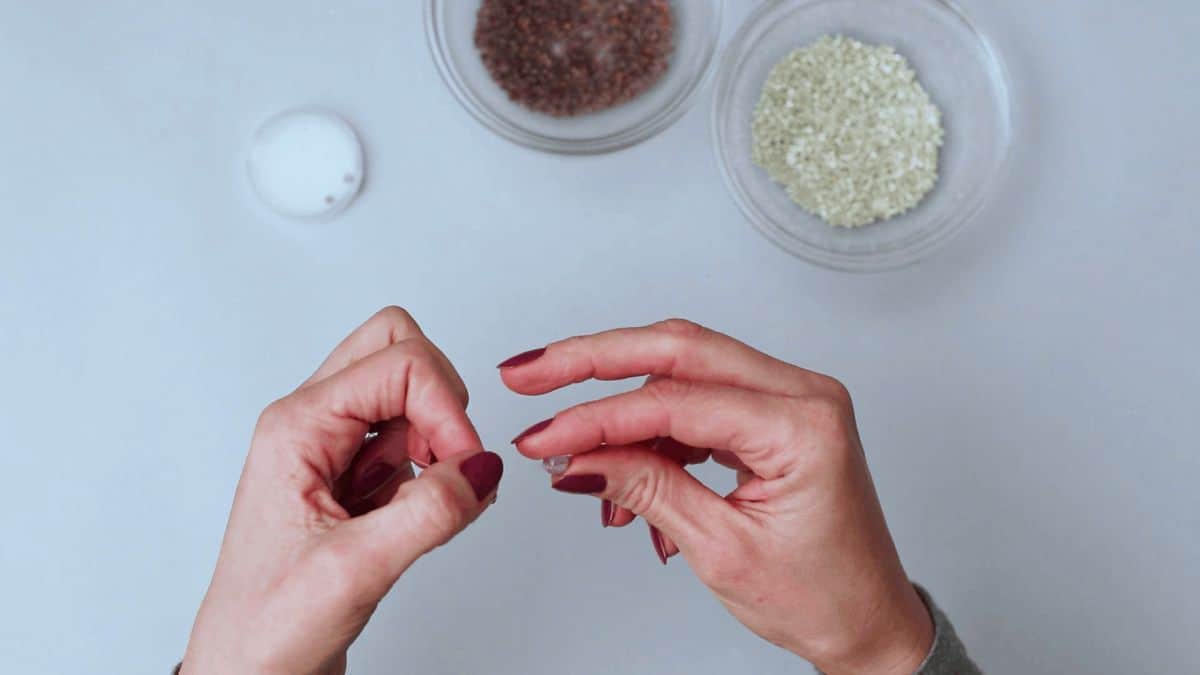
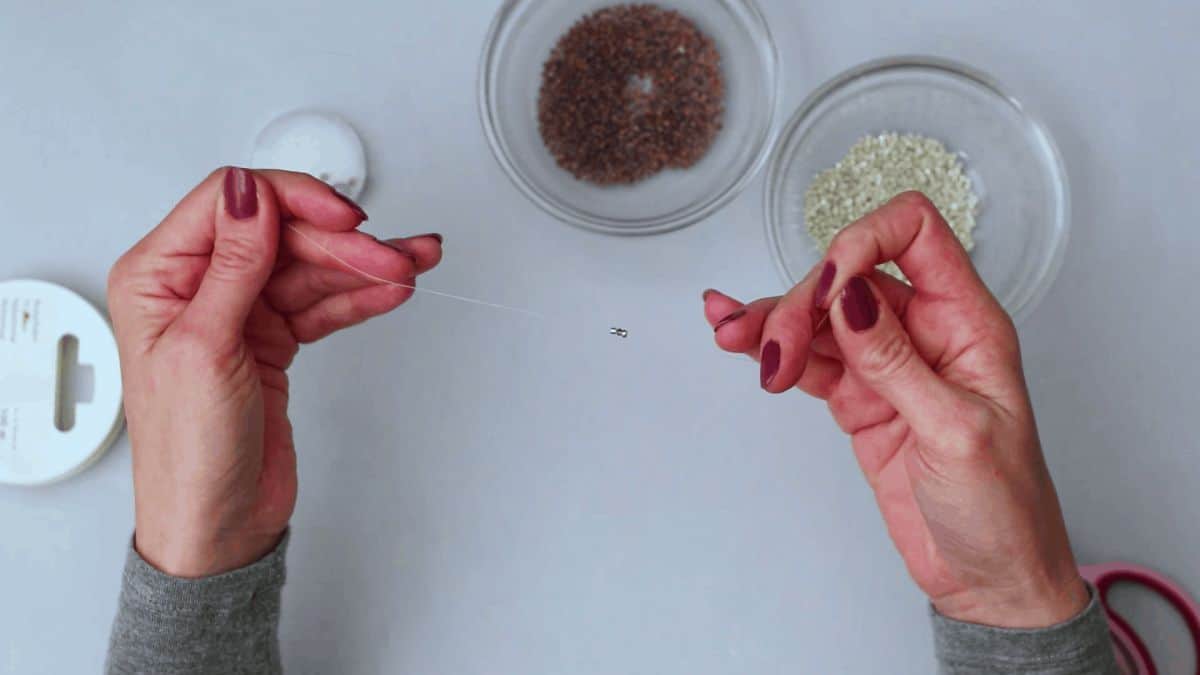
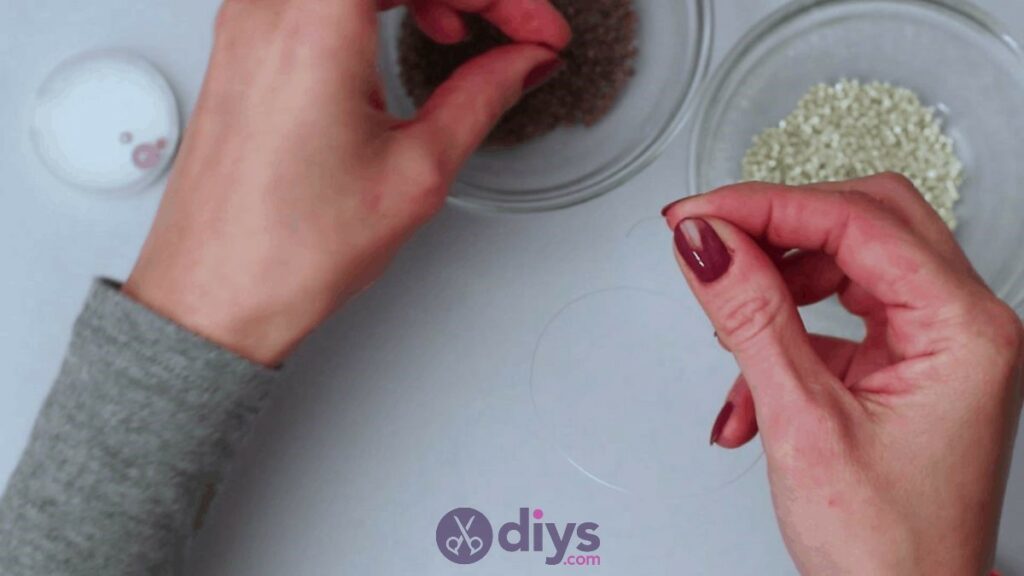
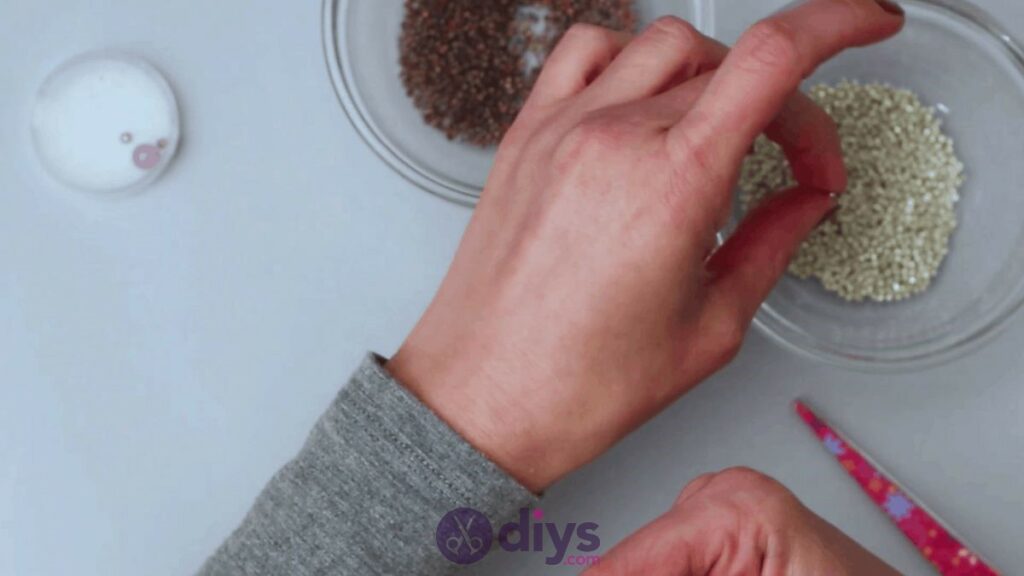
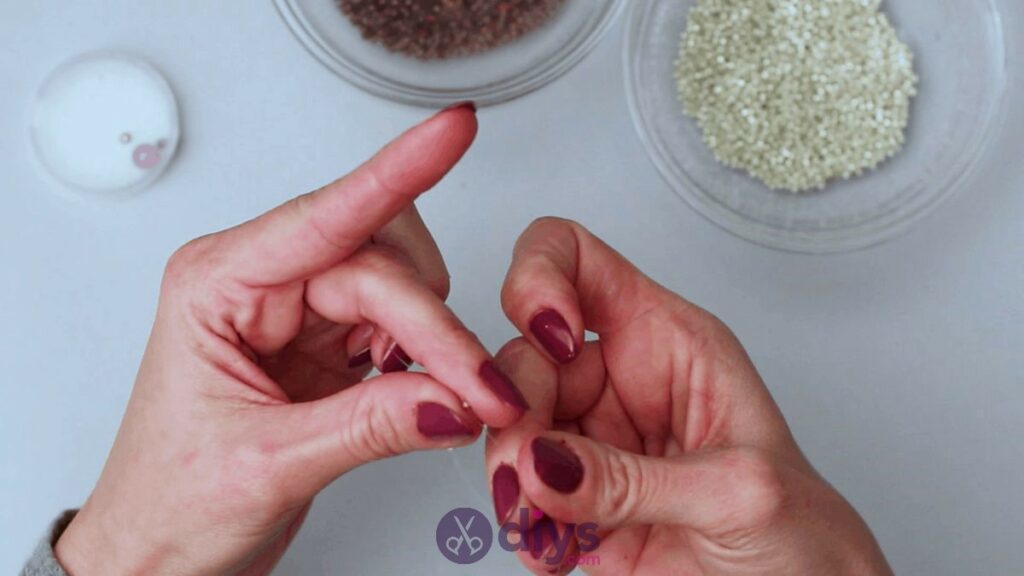
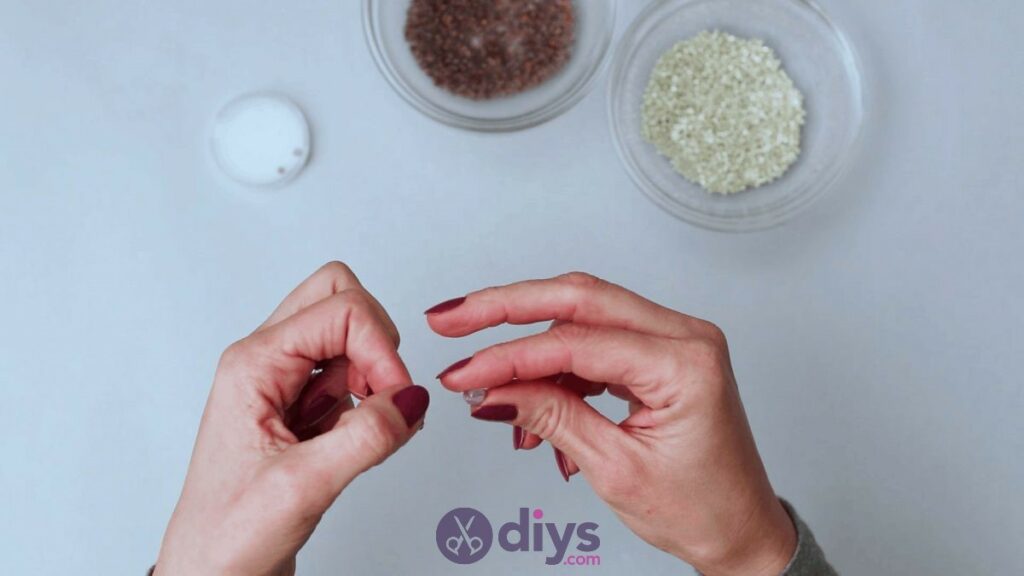
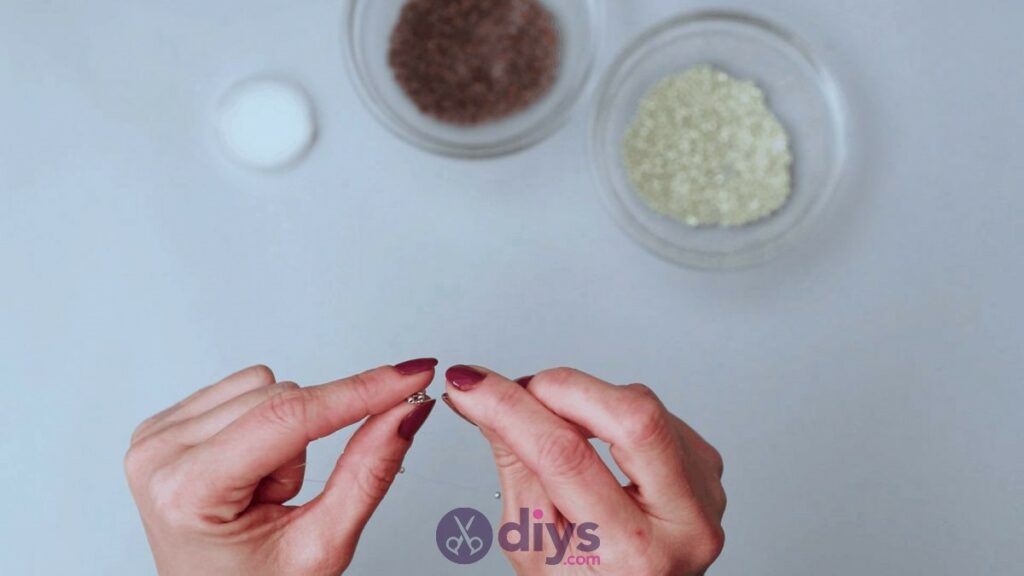
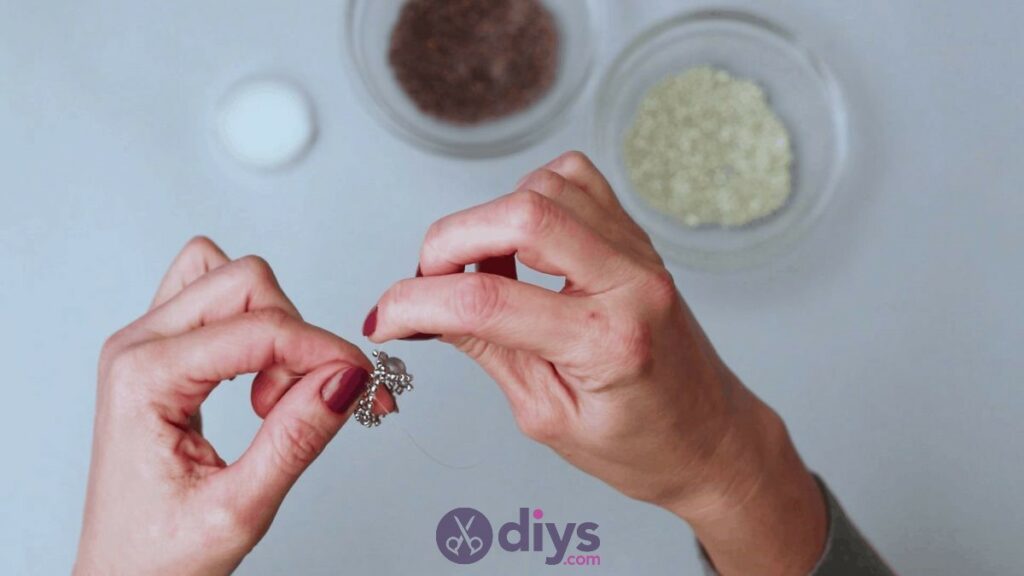
Step 1: Gather your materials!
Ensure you’ve got everything you need before starting.
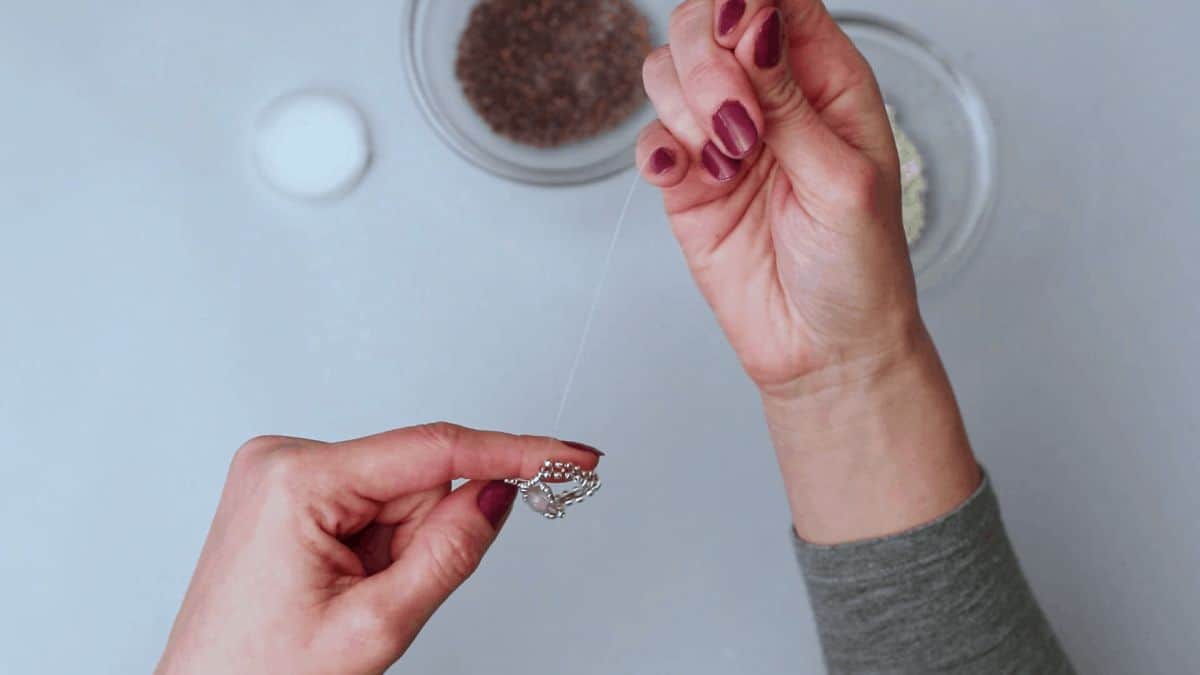
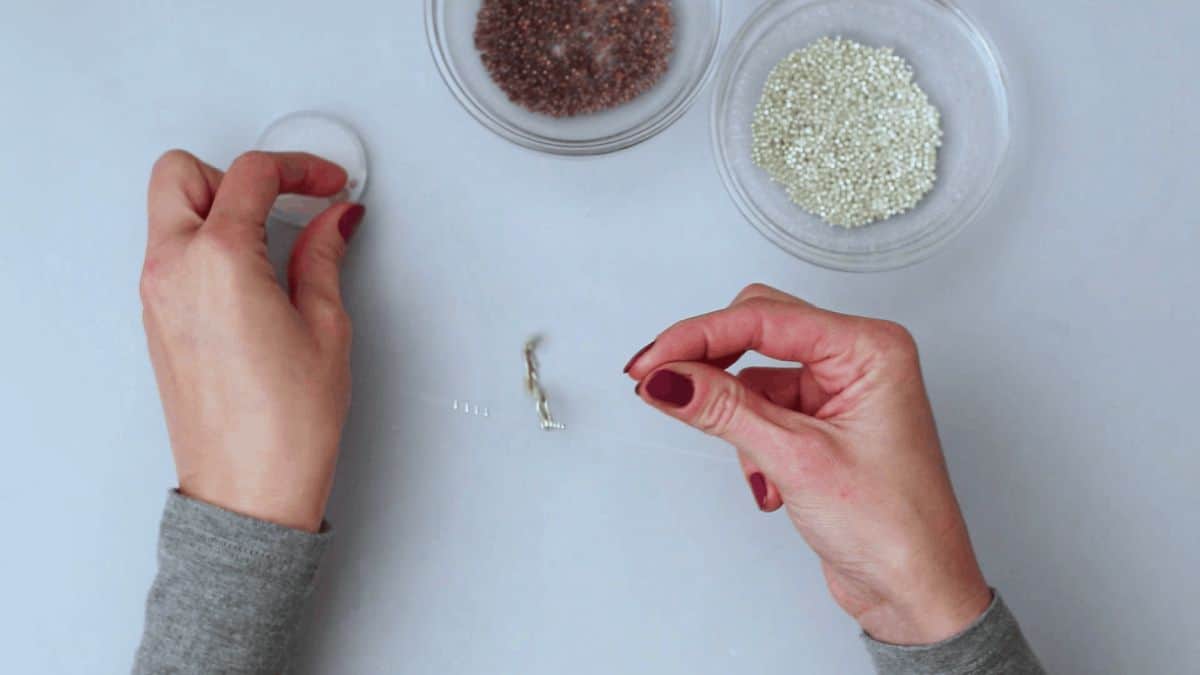
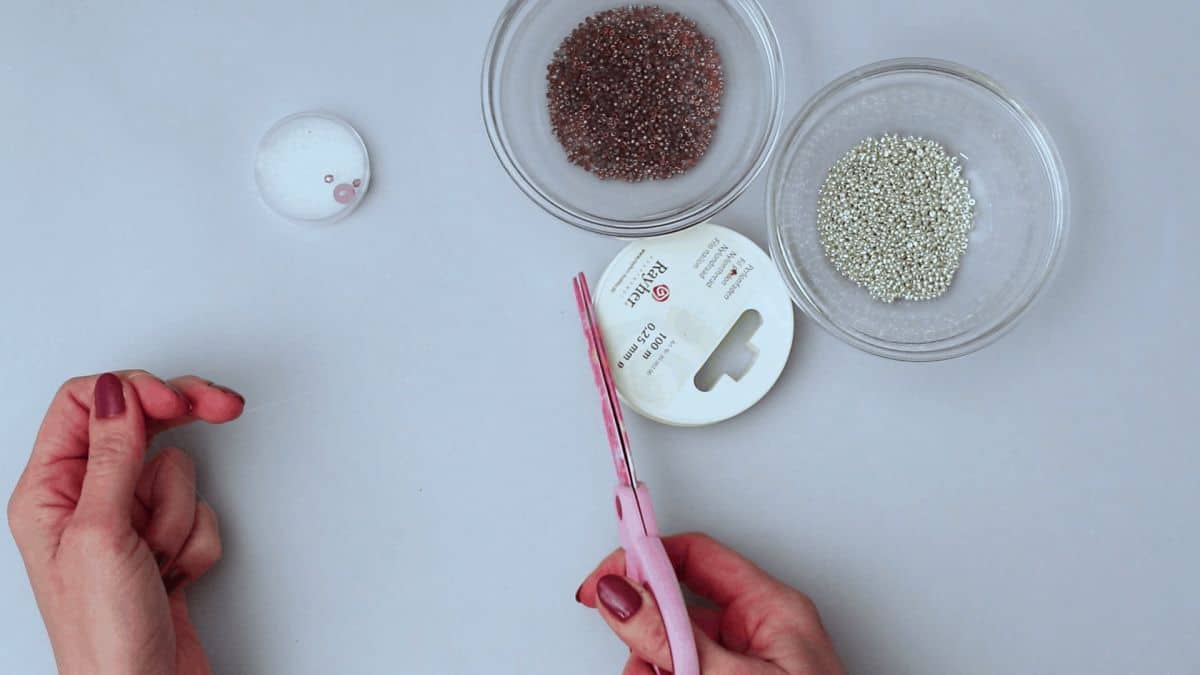
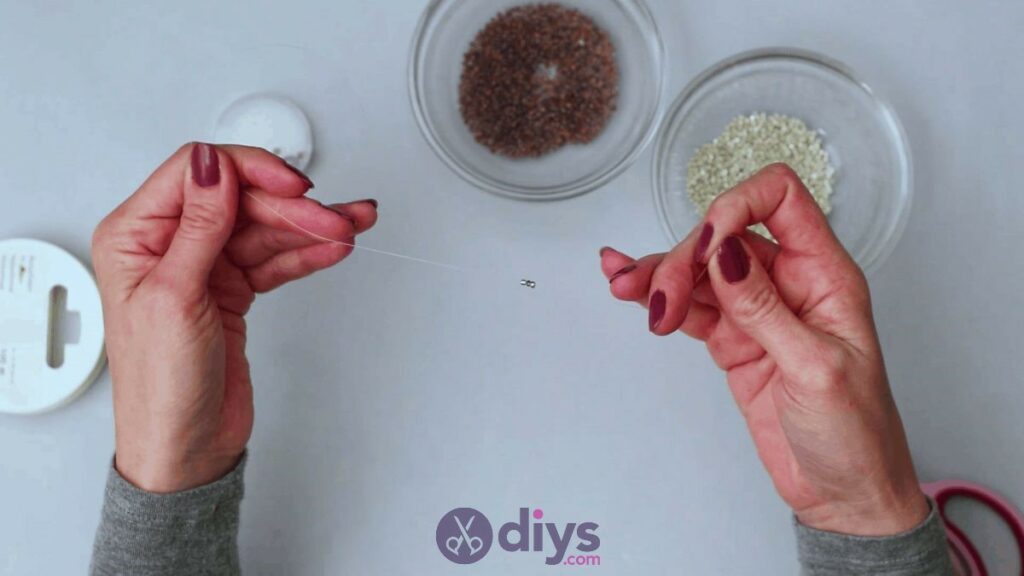
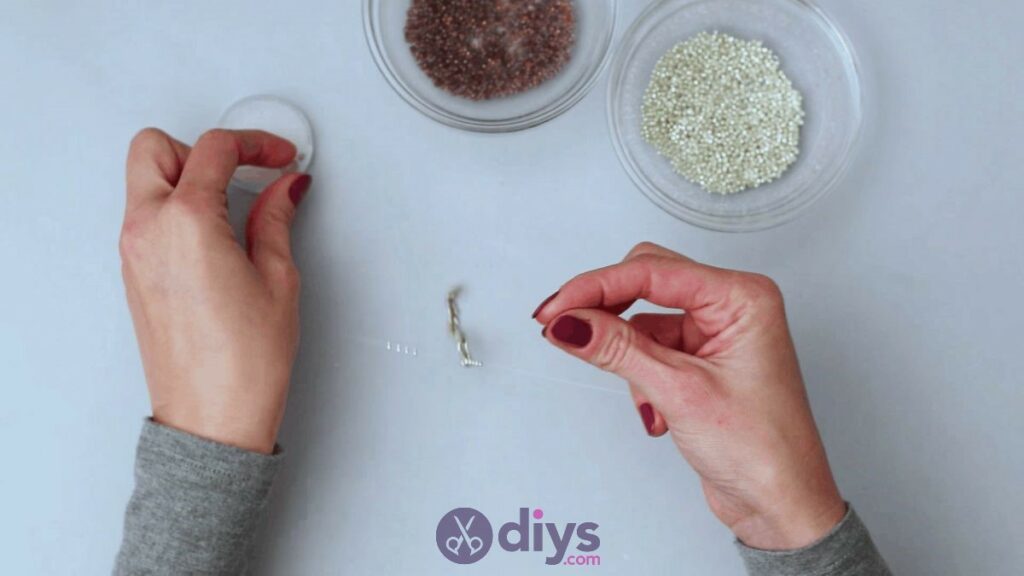
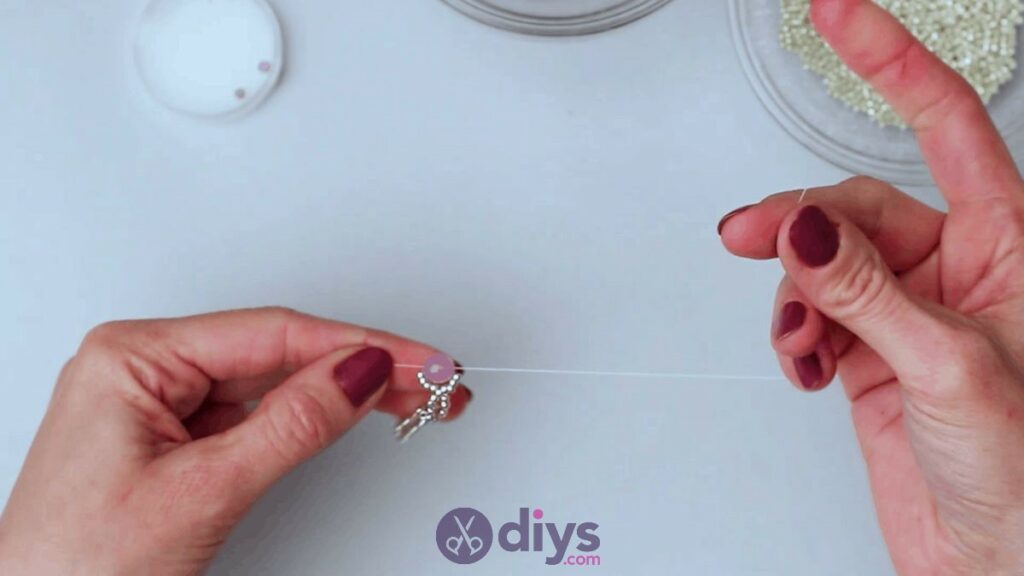
Step 2: Cut your string
Cut a piece of jewelry line or twine about six inches long; this is longer than you’ll really need, but you want to leave yourself room to work with since you can always trim off excess but you can’t add more if you cut it too short.
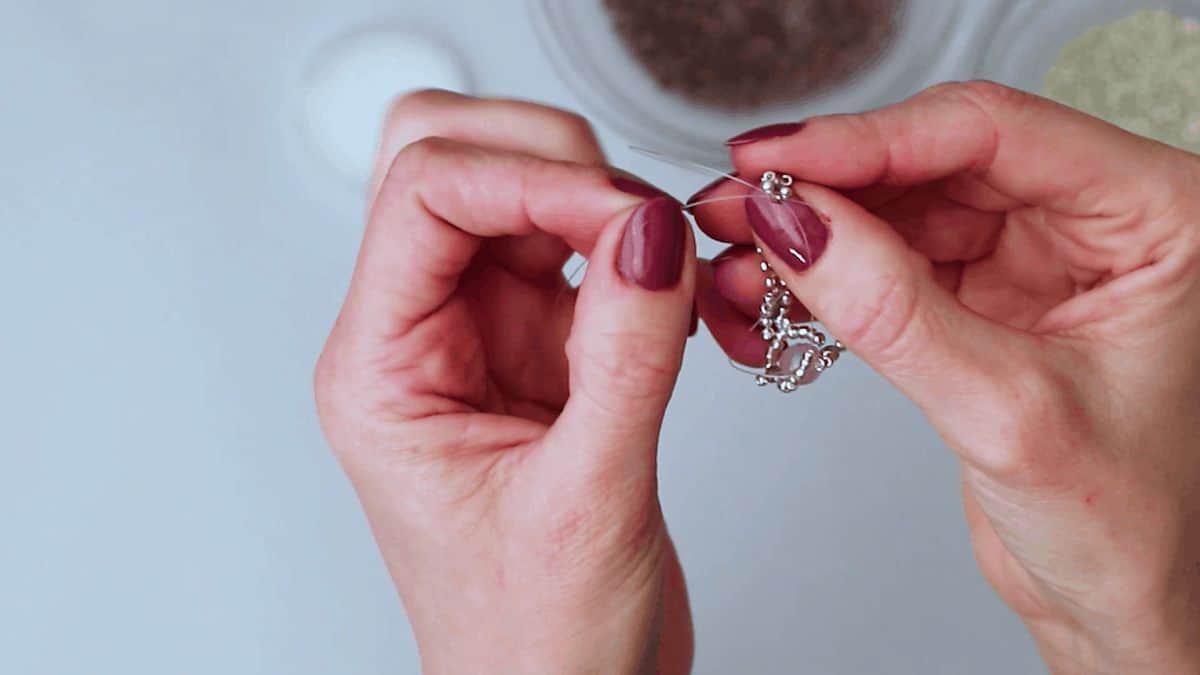
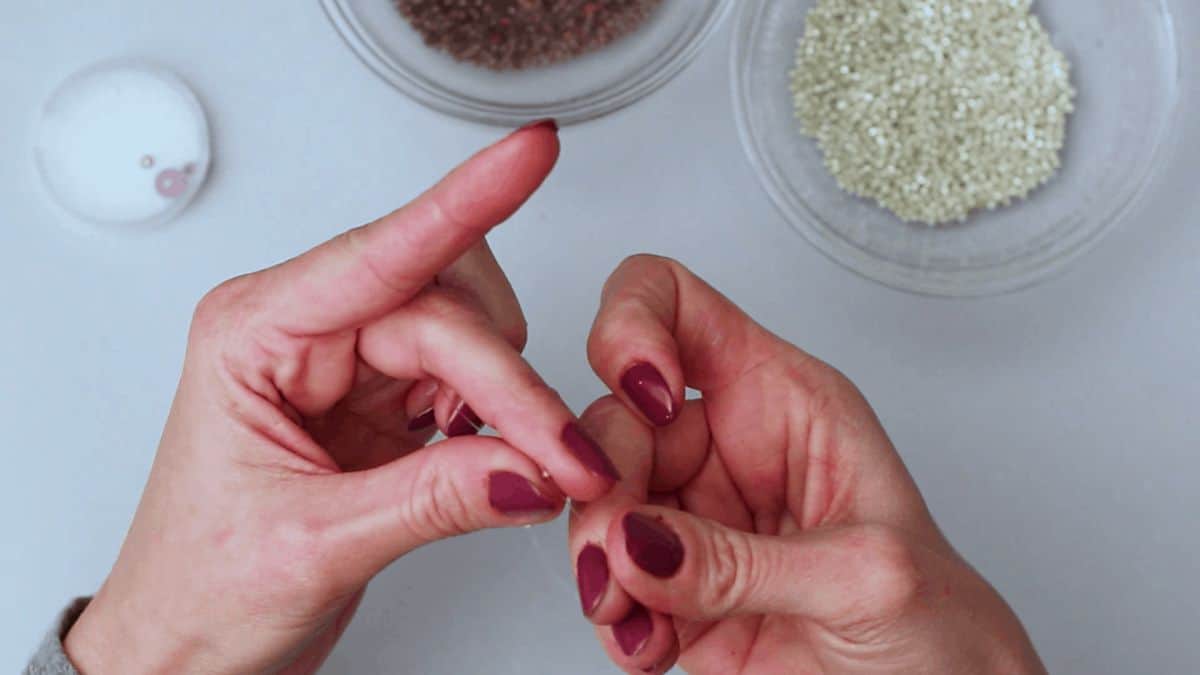
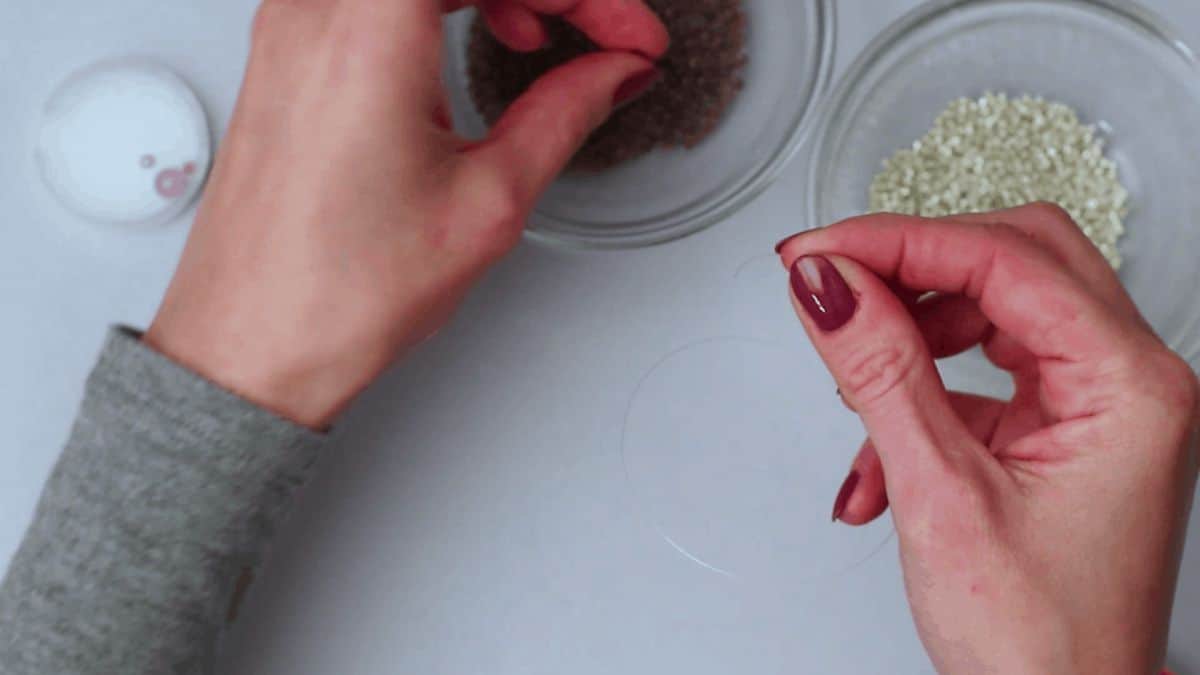
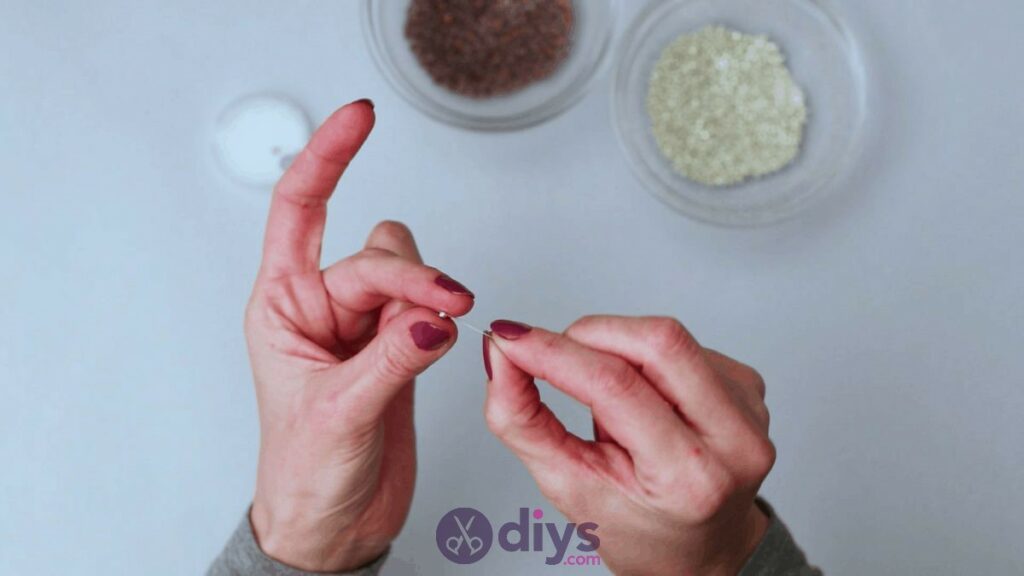
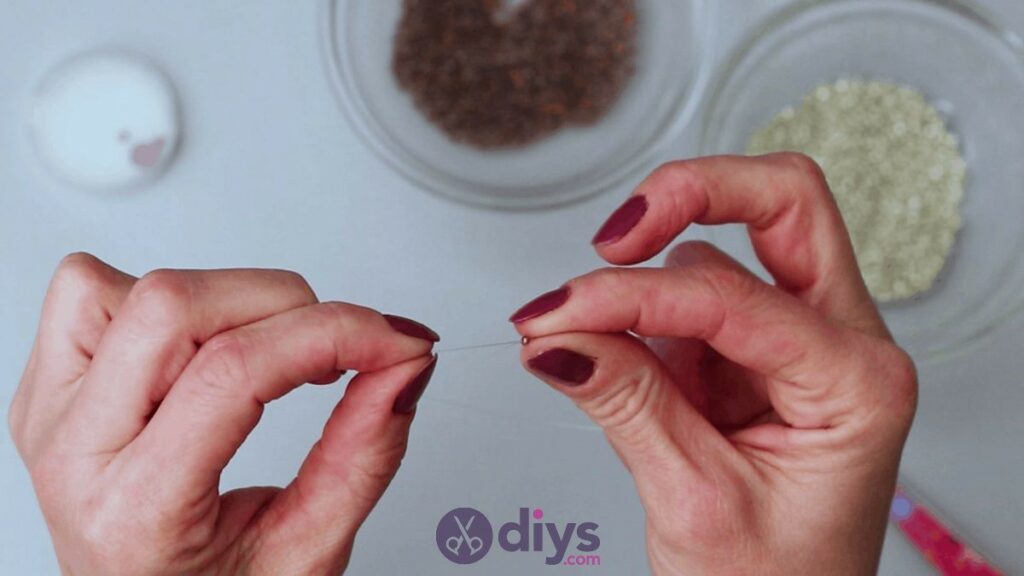
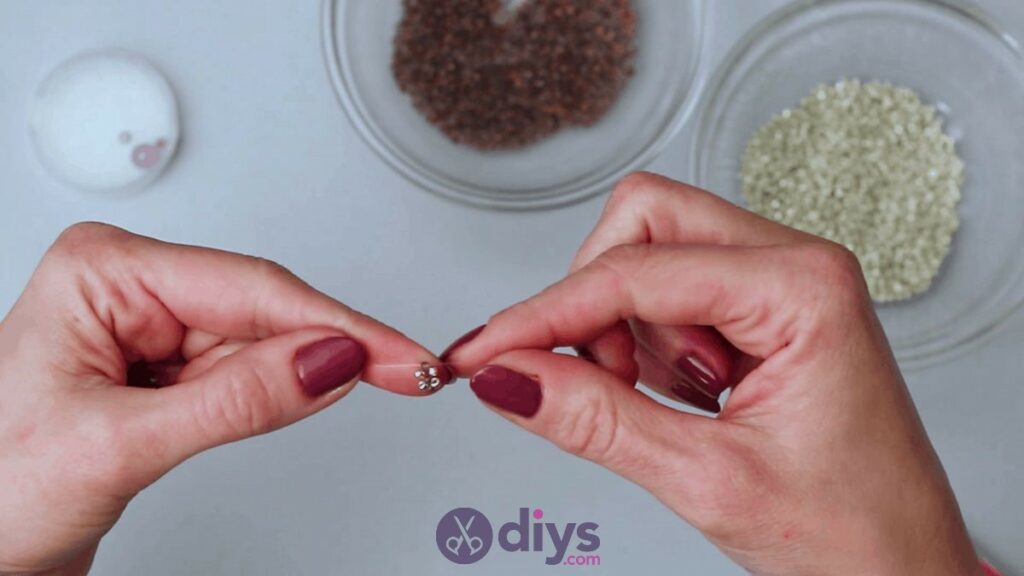
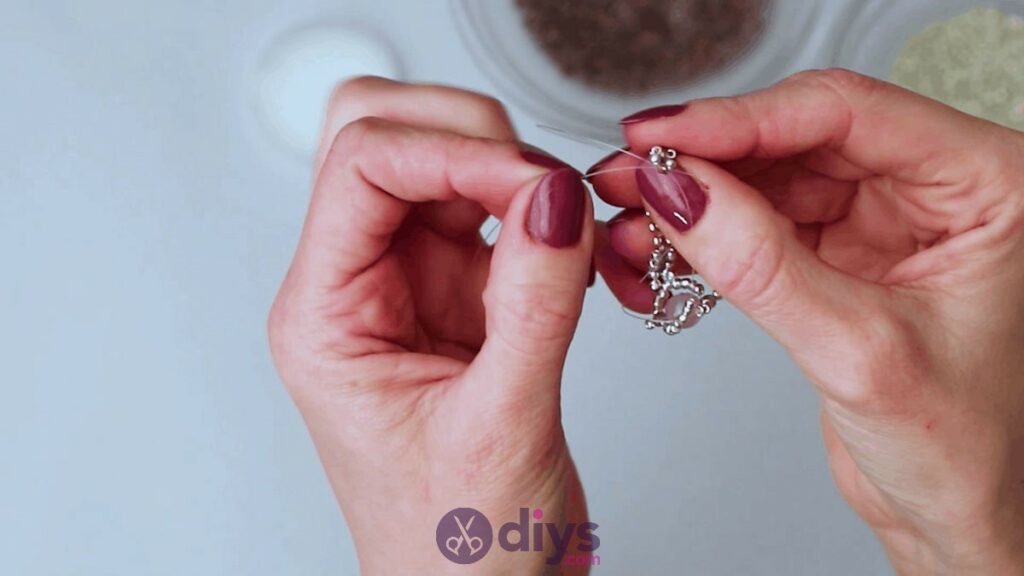
Step 3: Start beading
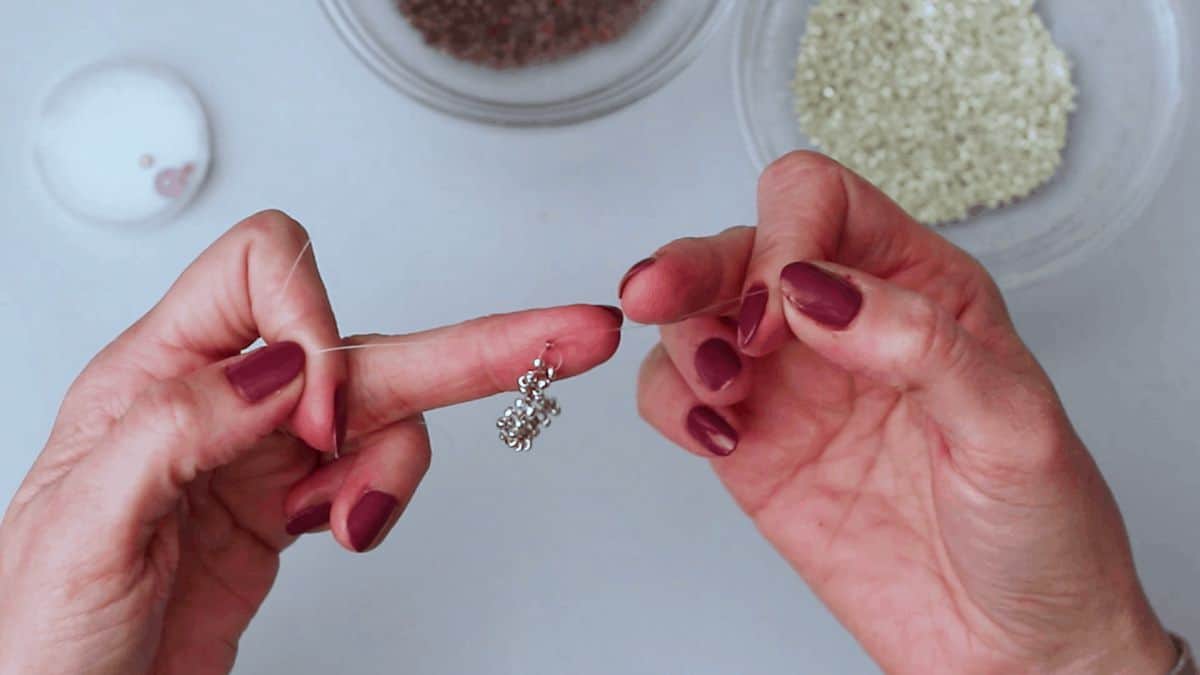
Start by threading three small seed beads onto your line and slide them down to the centre, right at the halfway point of your string. If you’ve decided to use more than one shade of seed bead for dimension, alternate them.


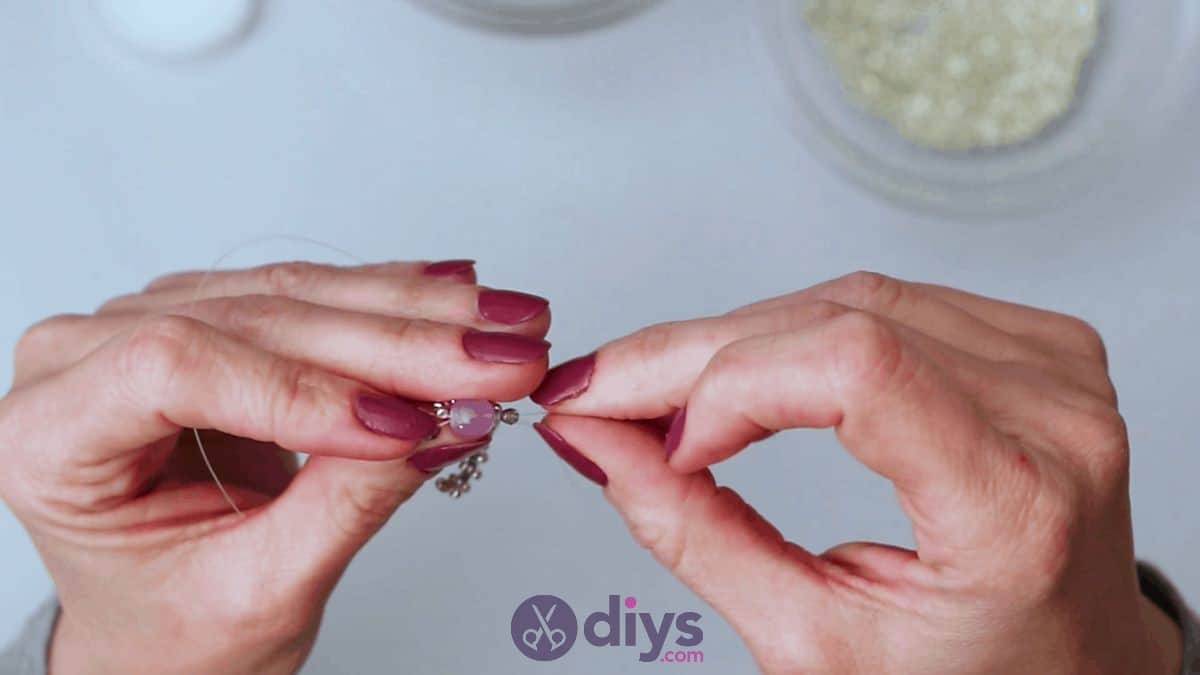
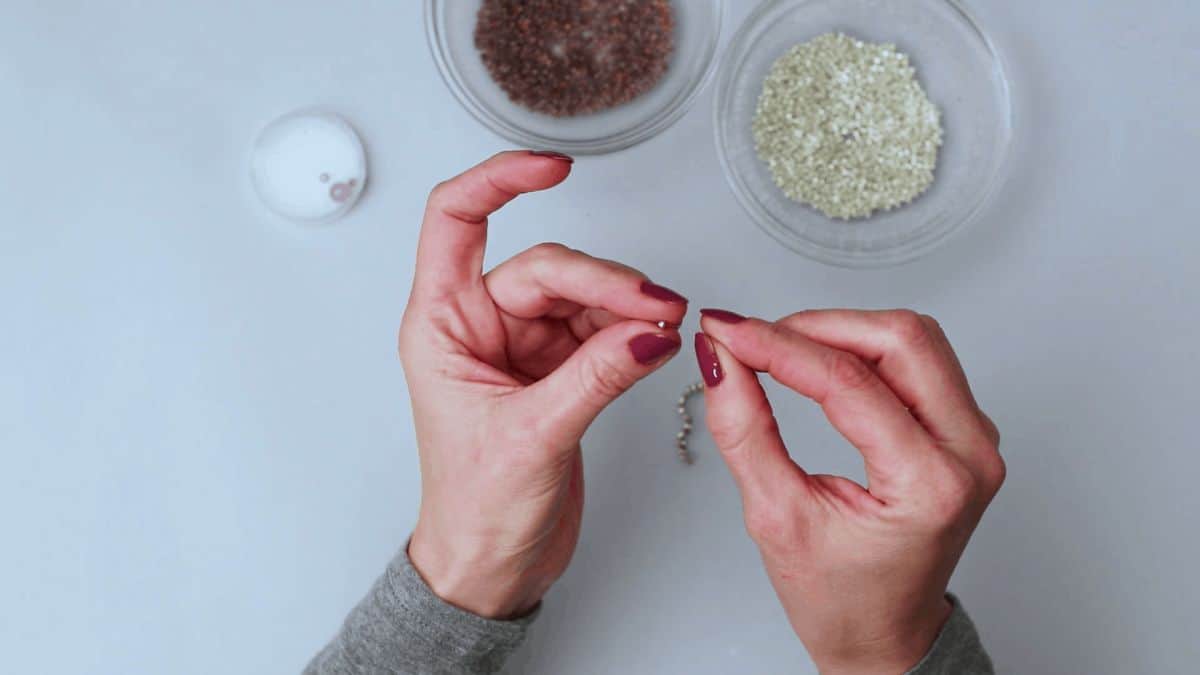
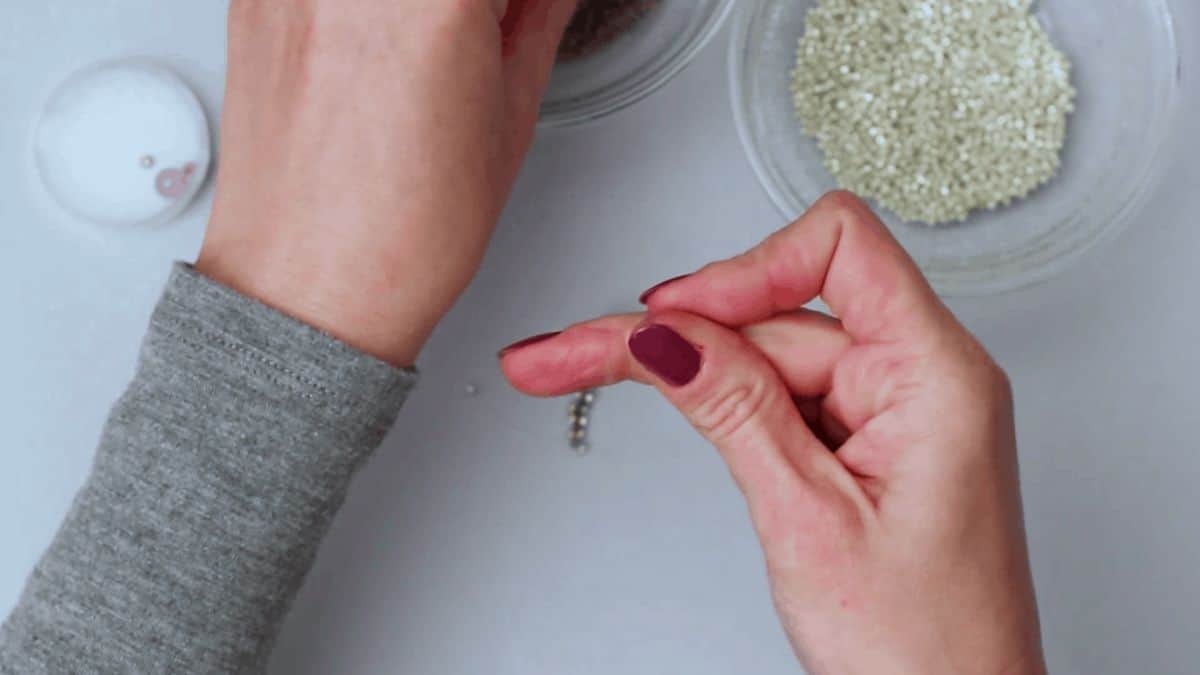
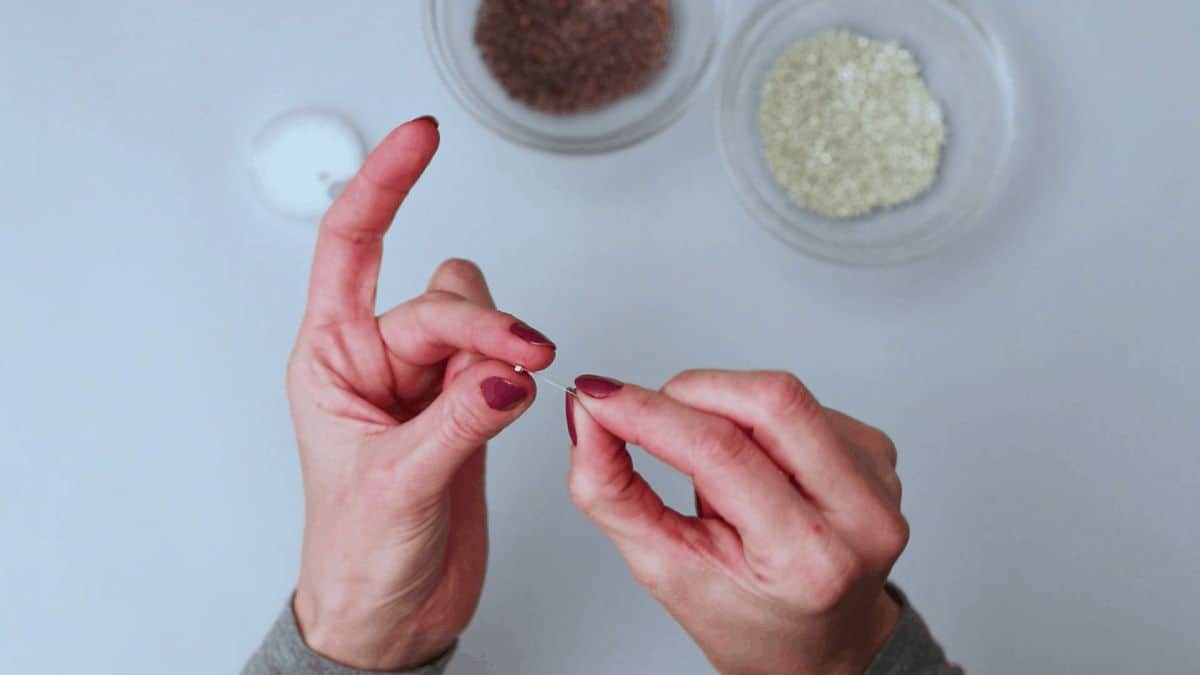
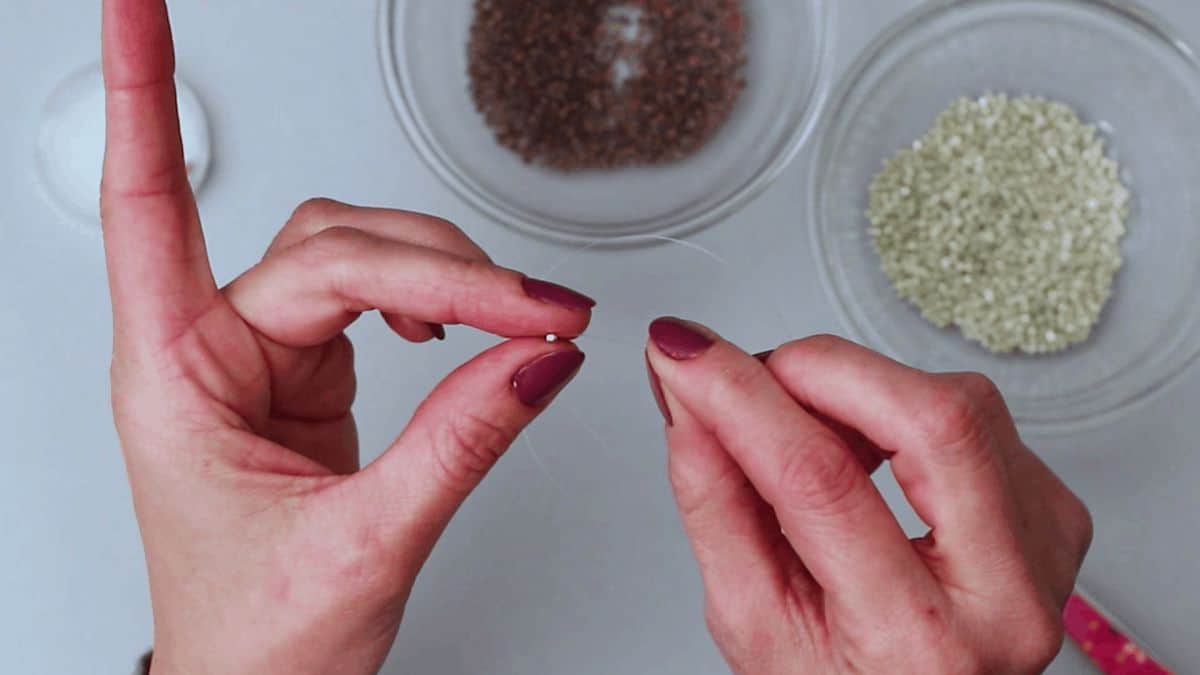
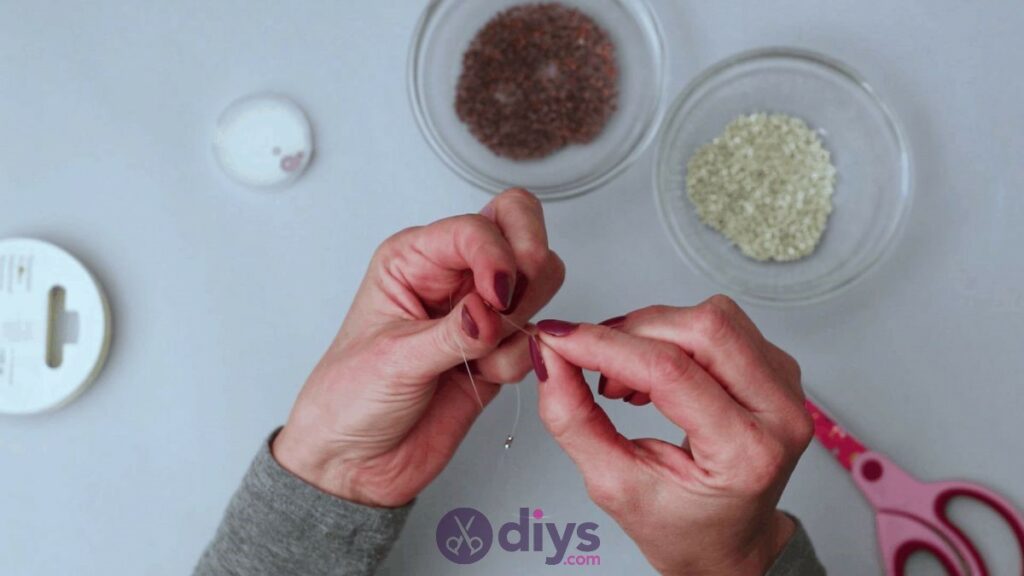
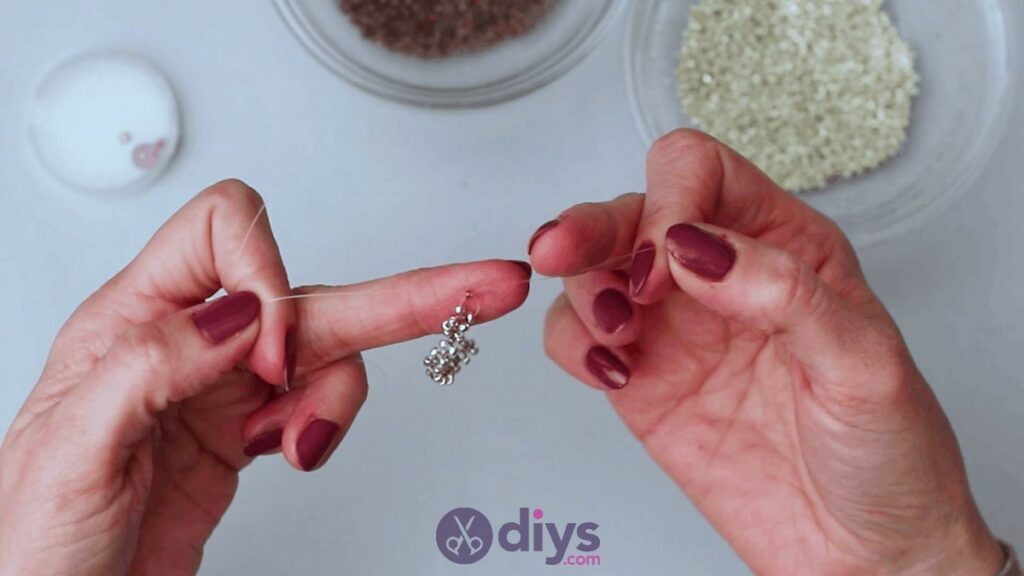
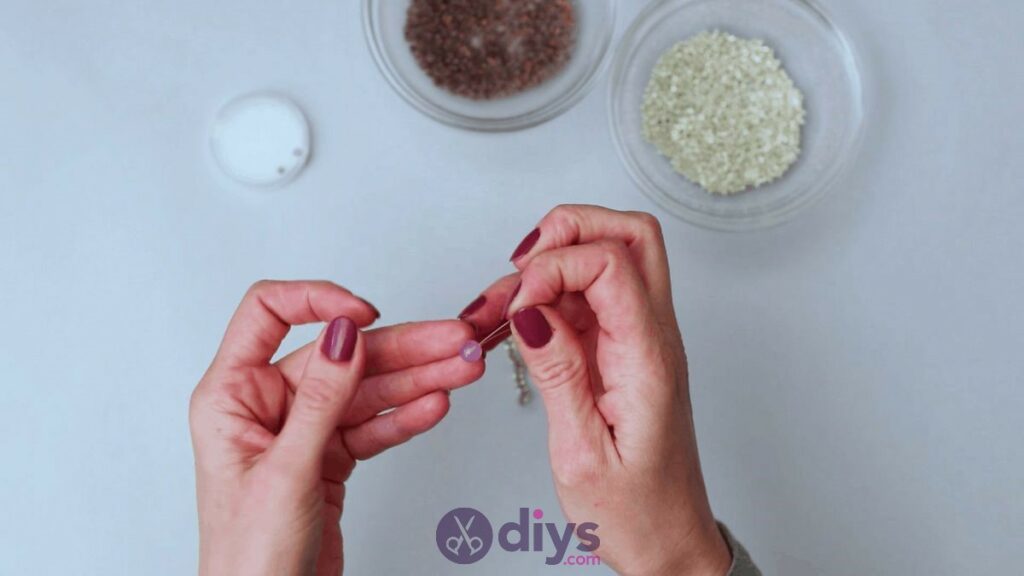
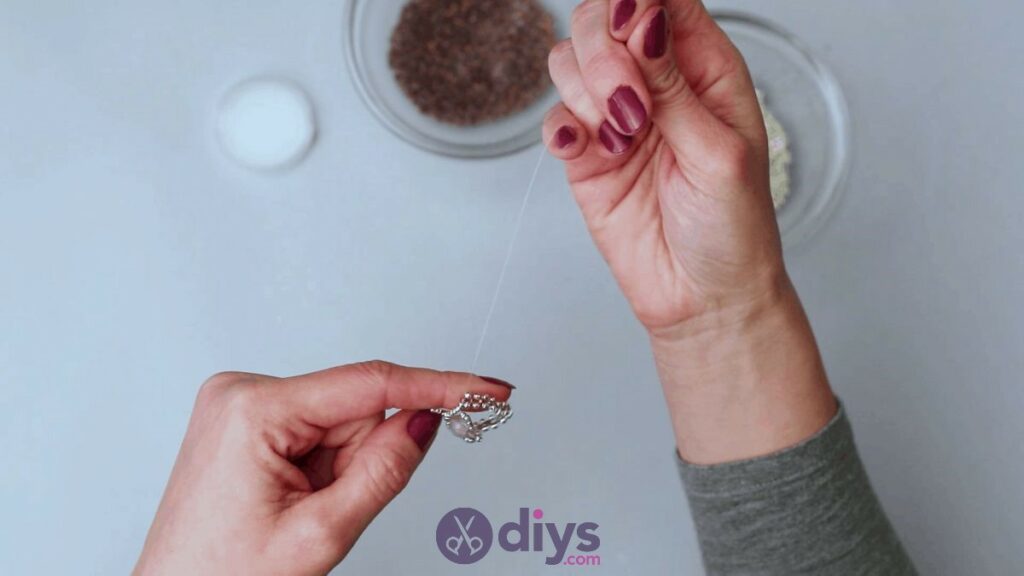
Step 4: Making your ends
Take a fourth bead (use the next colour due if you’re alternating) and string it onto one side of your line about an inch. Hold it in place with your fingers and then bring the other end up and slide that end through the bead too, but from the other side, putting it in about an inch as well. Now you have two even-length tips sticking out of opposite side of the bead. Pull them evenly so the loop created at the bottom with your three previous beads on it comes towards the bead you crossed your ends through, adjusting as necessarily so that everything stays even and this fourth bead comes down to meet the second bead so you have an even cluster of four at your centre and a loose line end on either side.
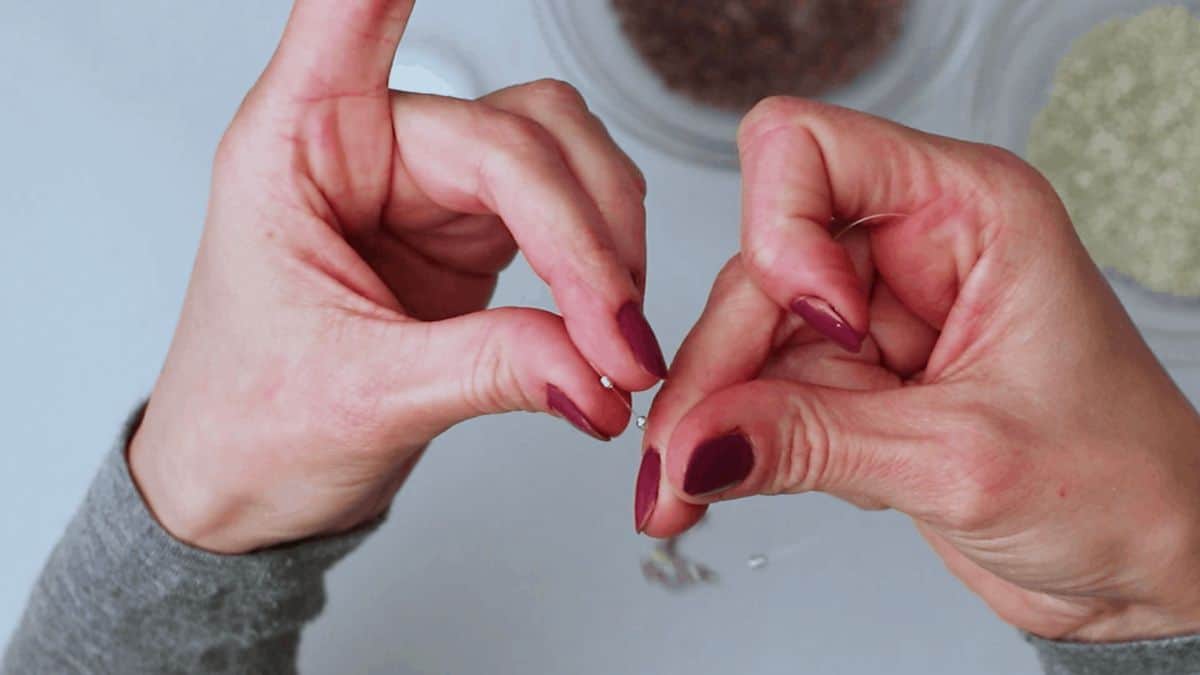
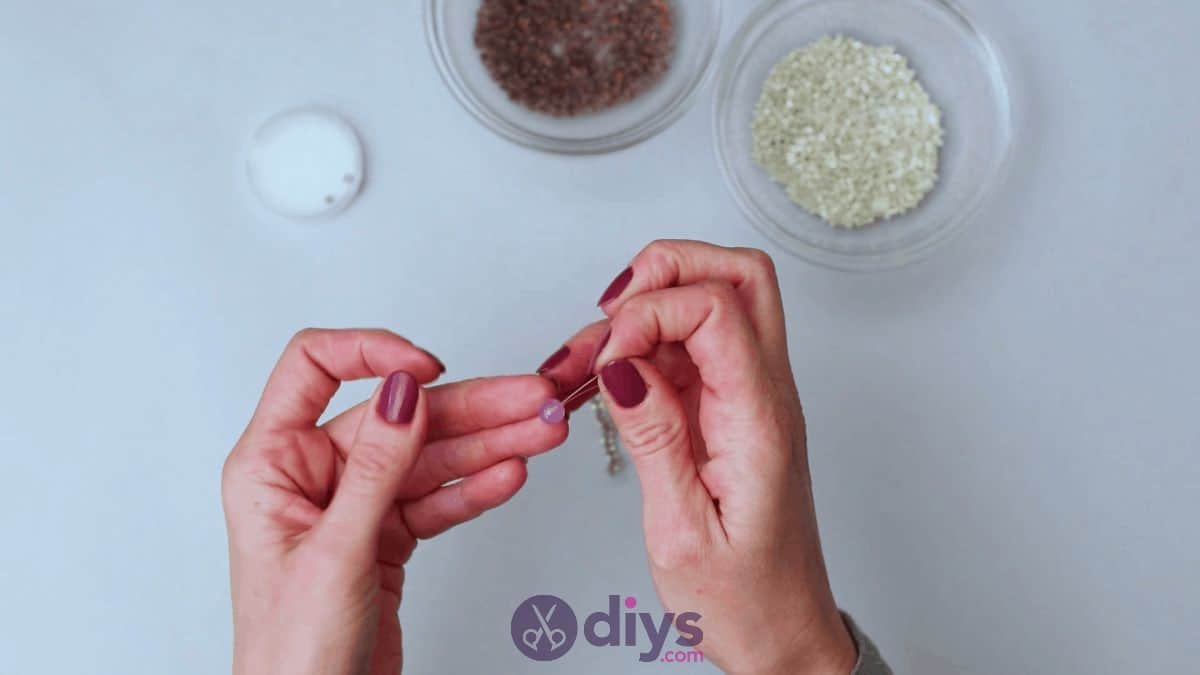
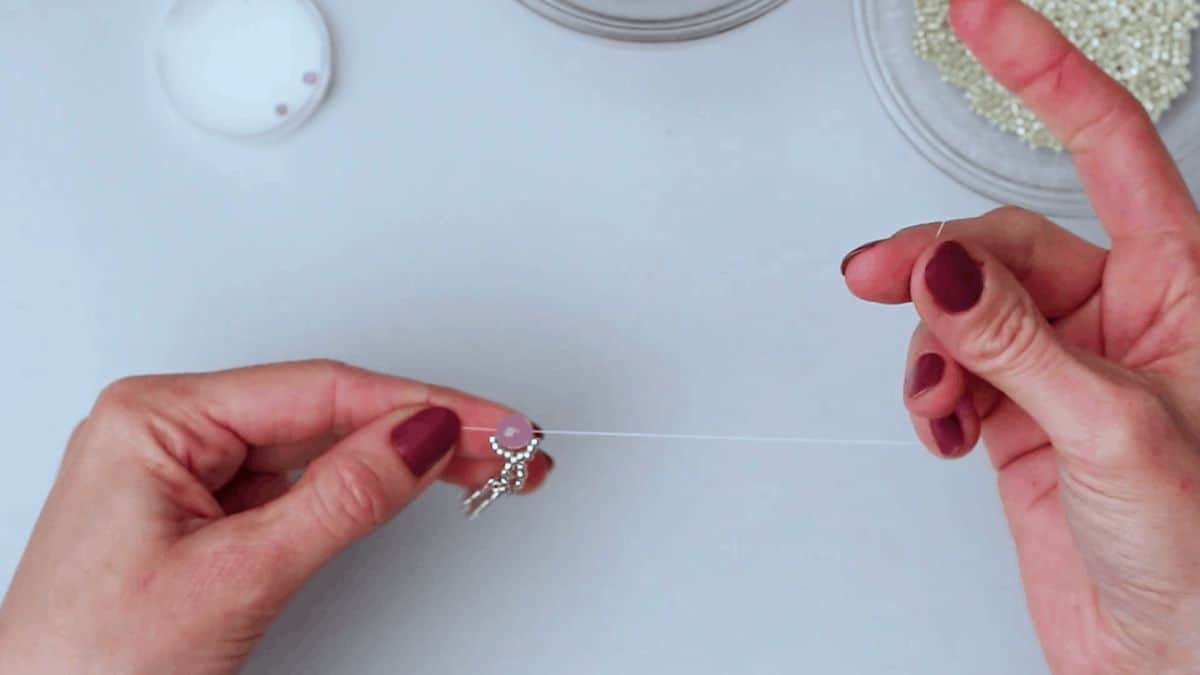
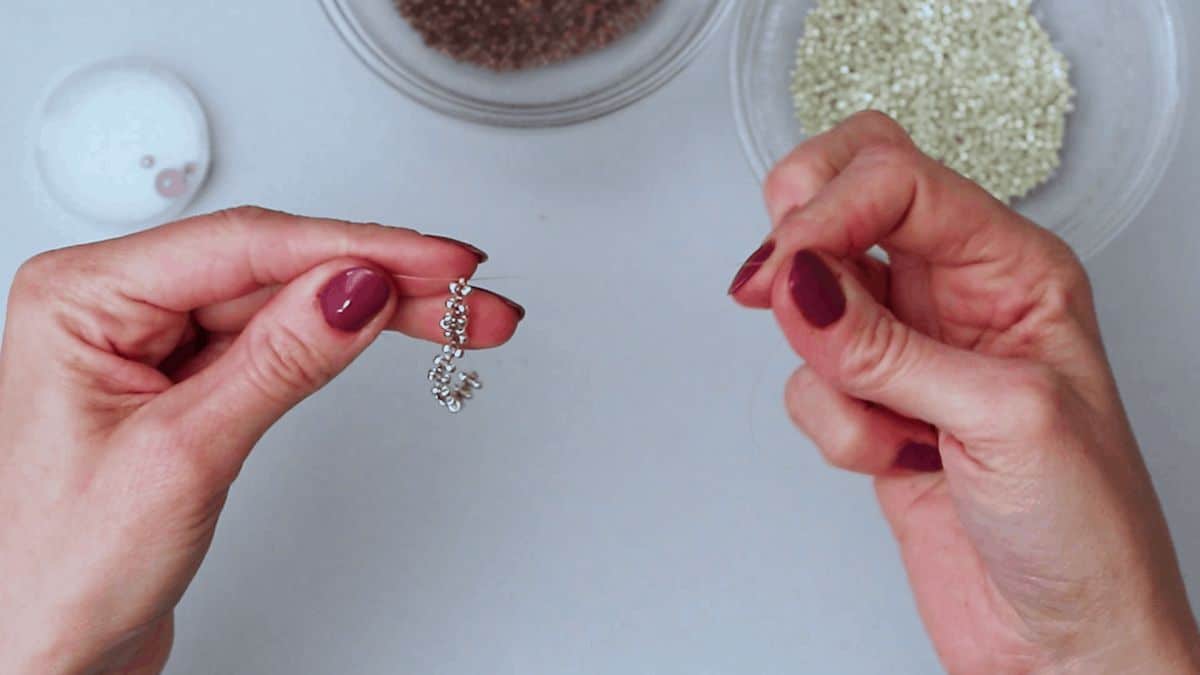
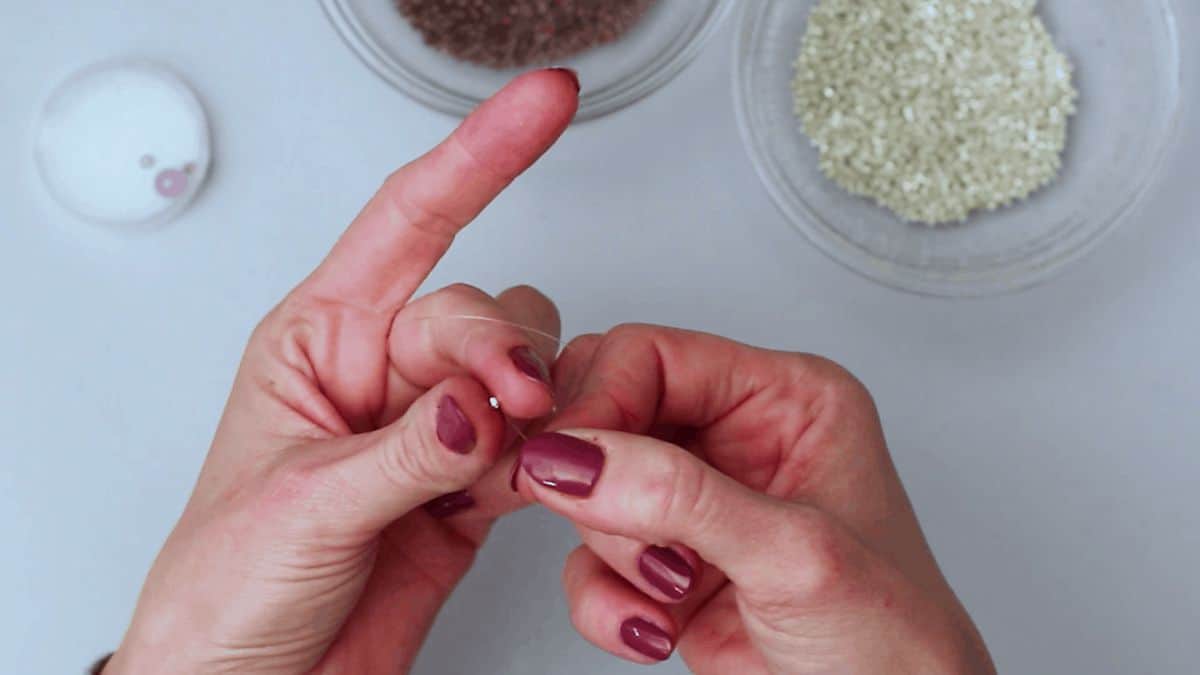
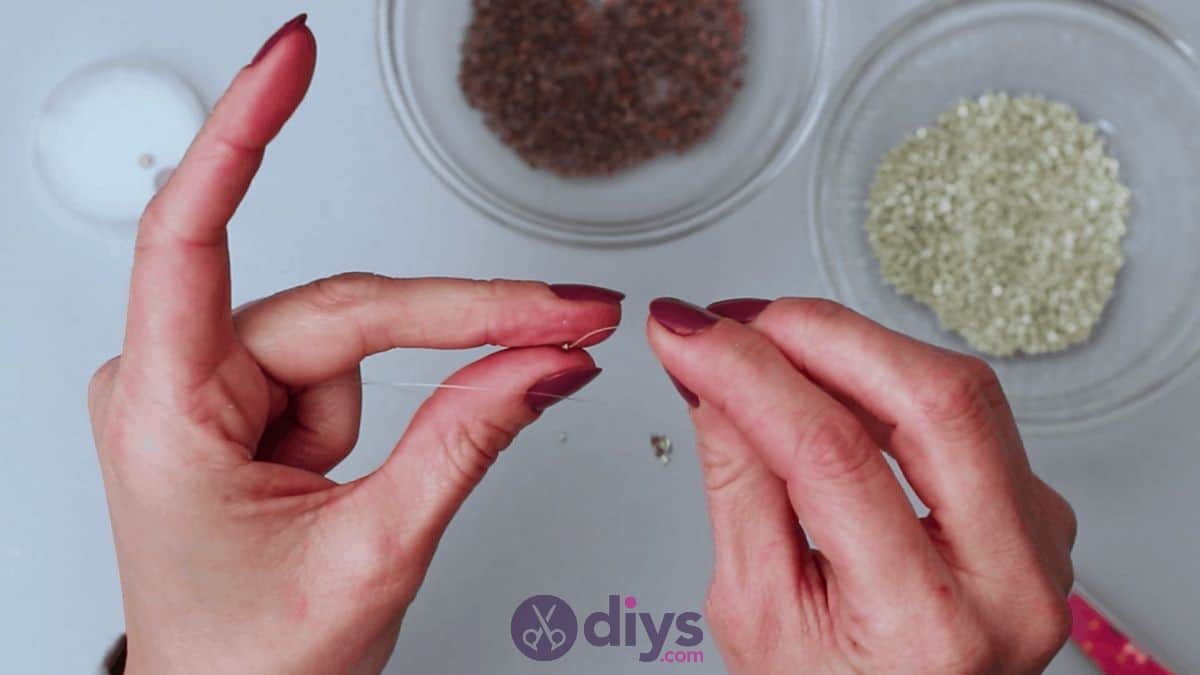
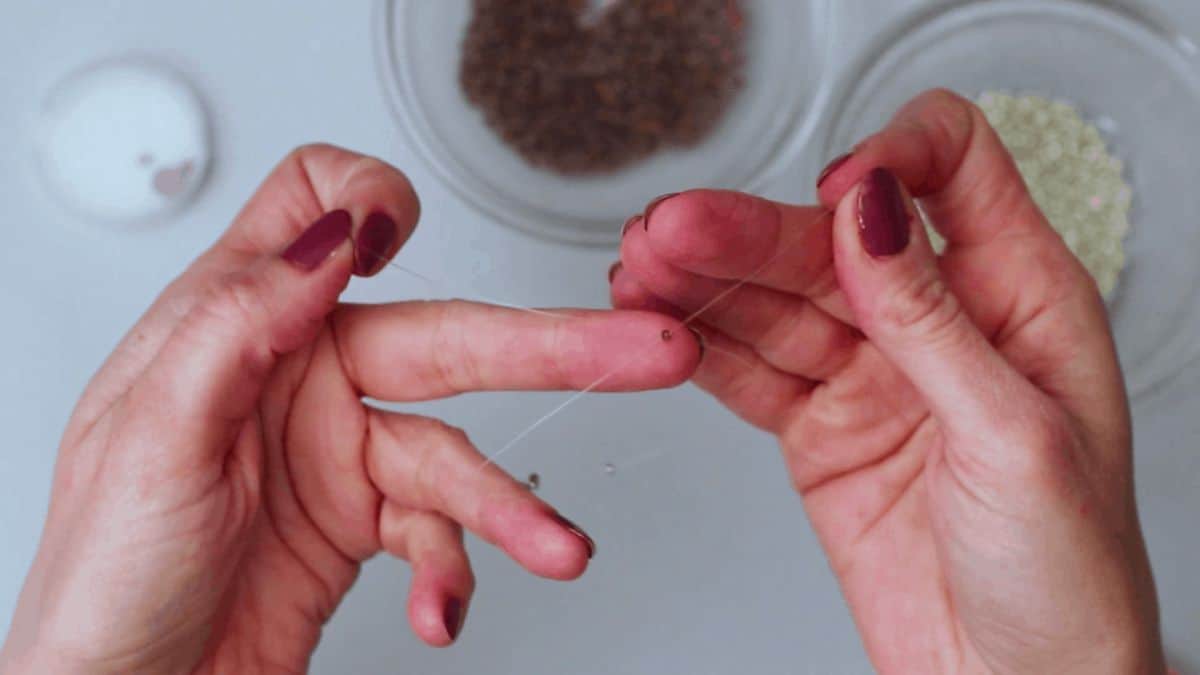
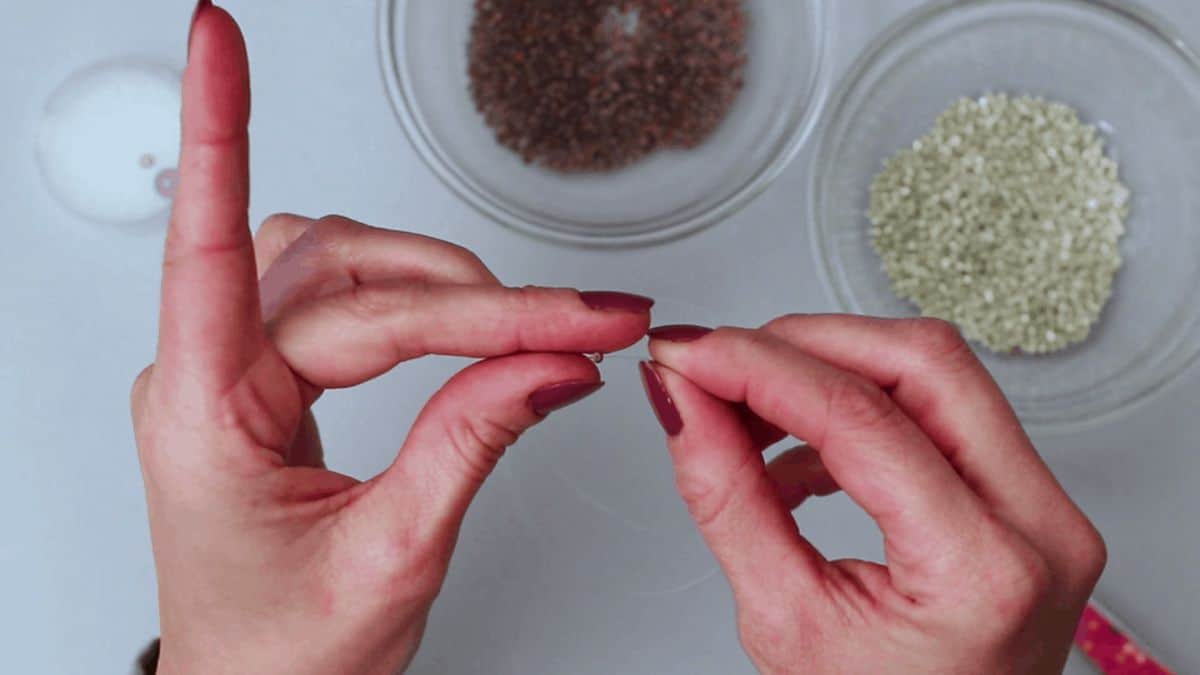
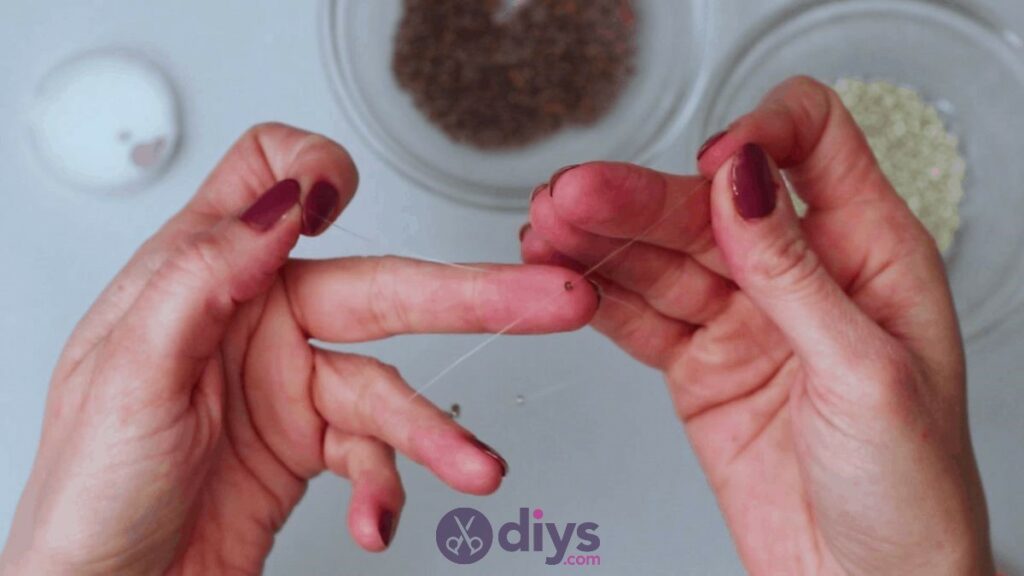
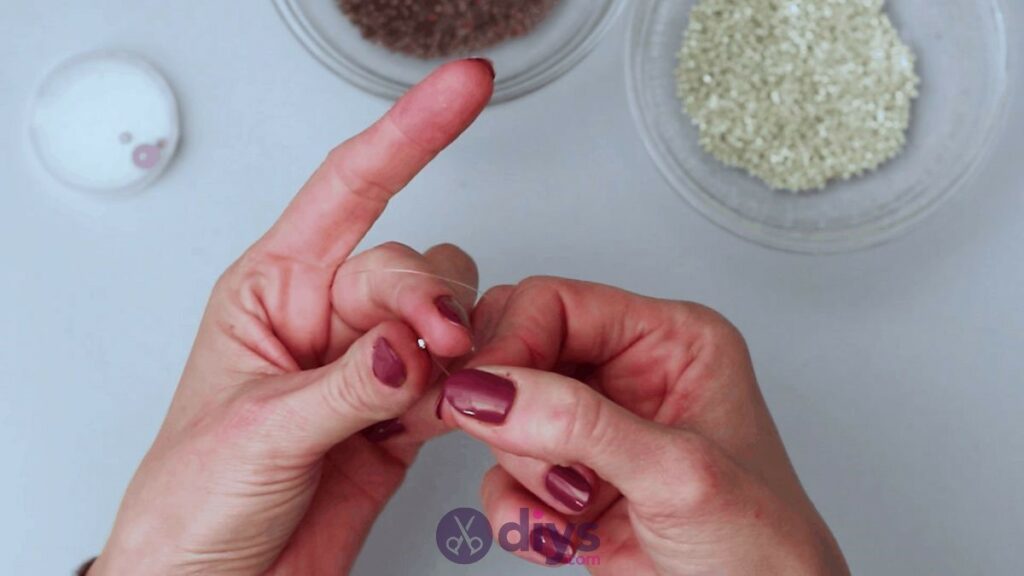
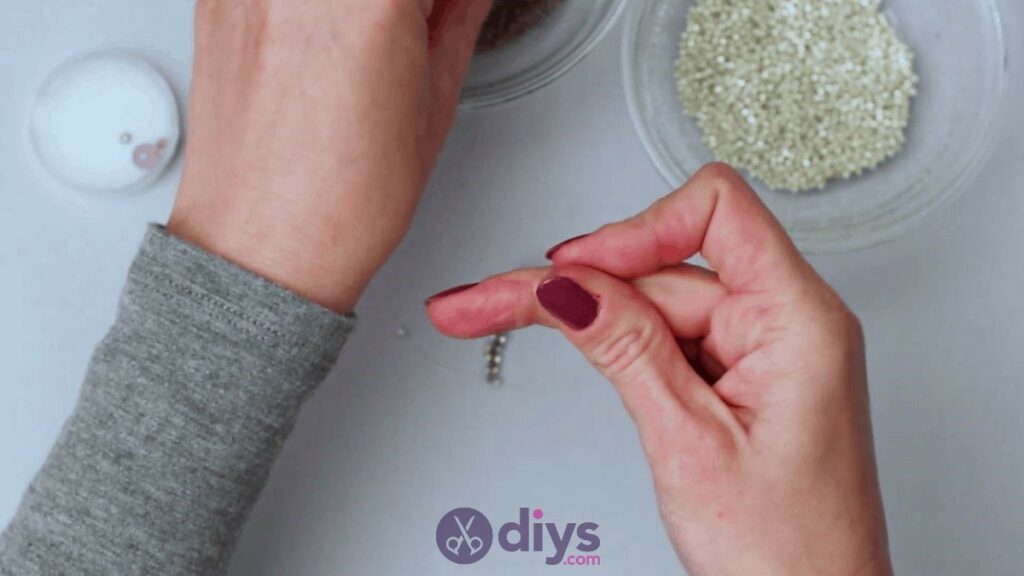
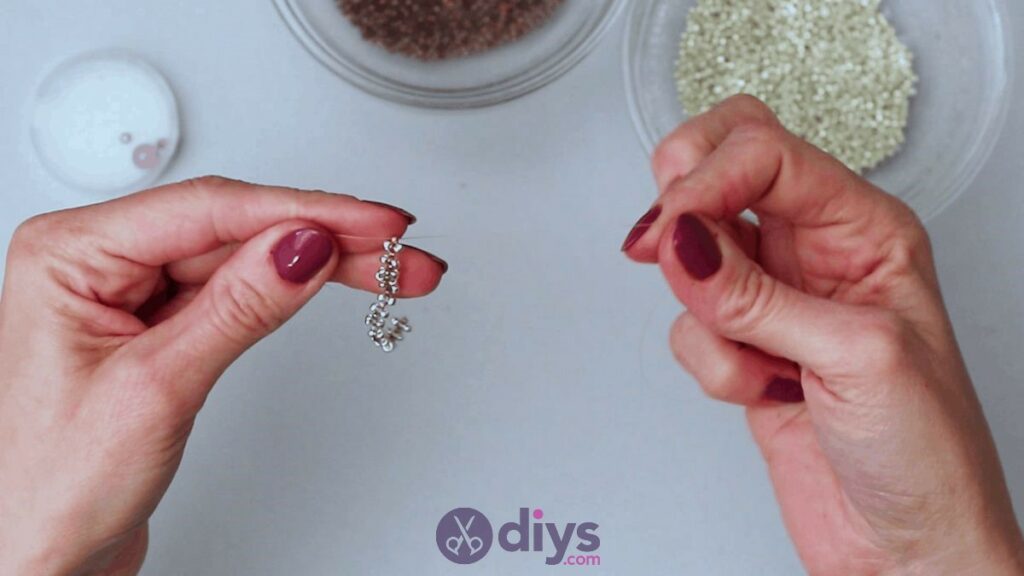
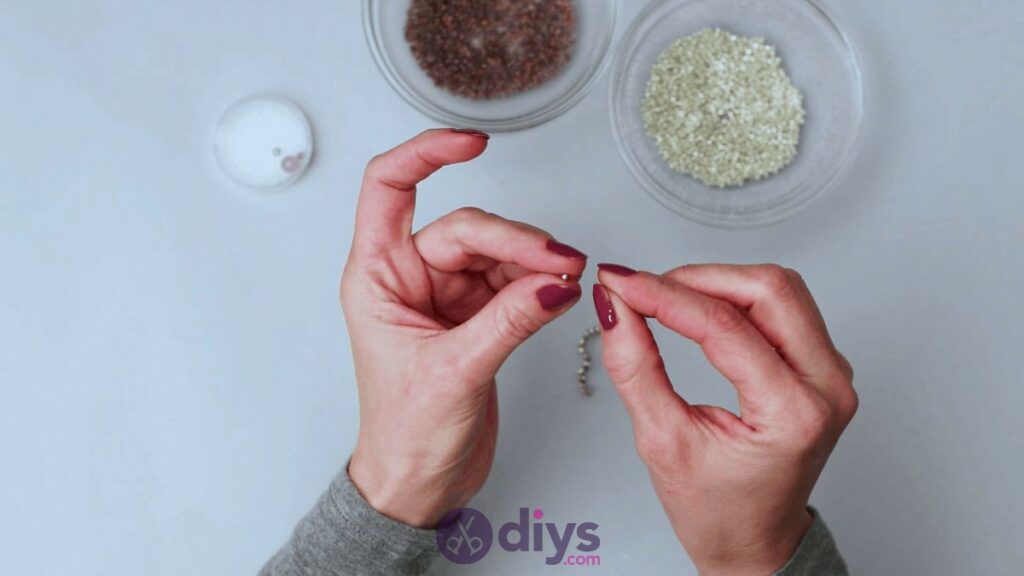
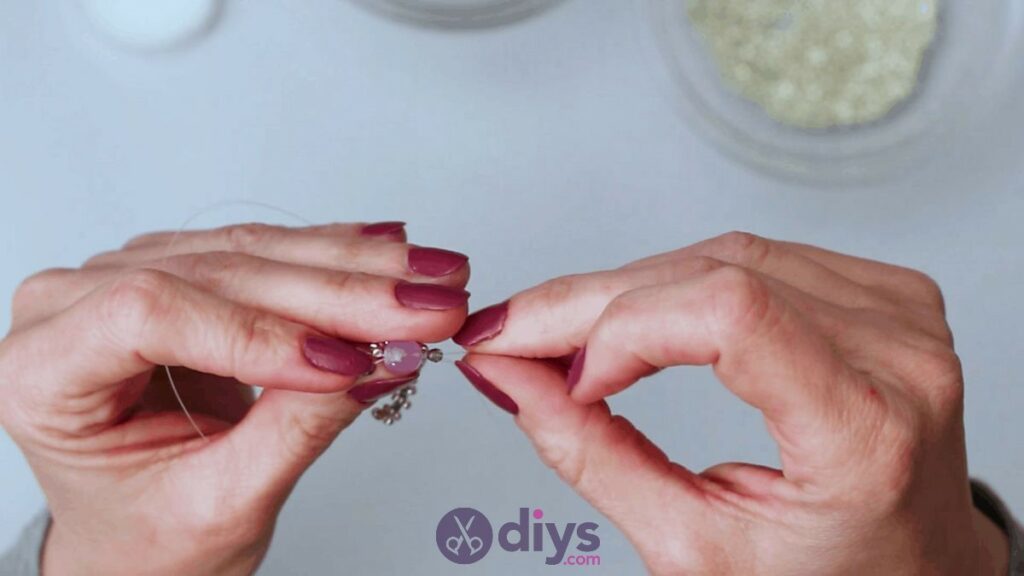
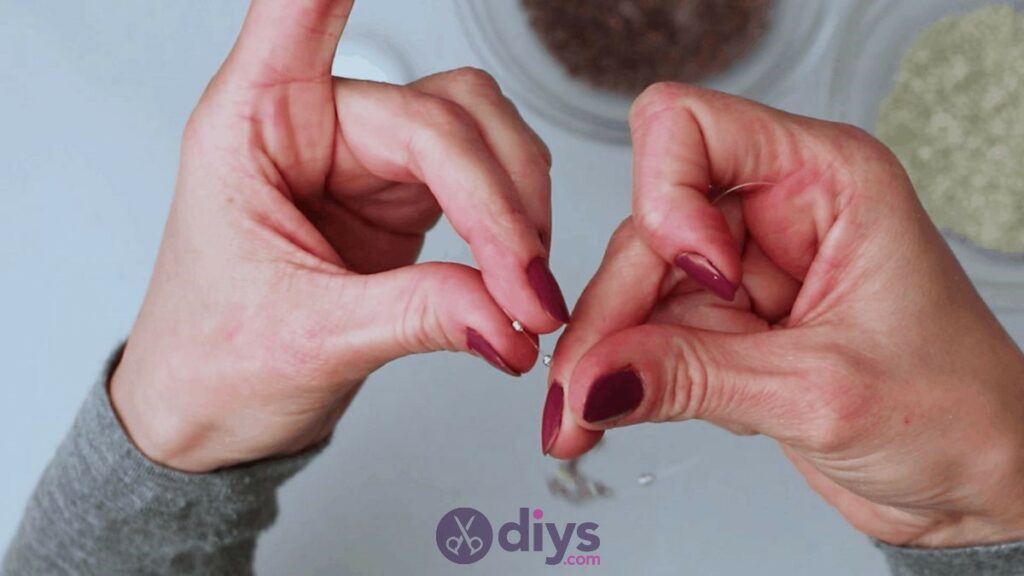
Step 5: repeat
You’ll now repeat this entire process from the start, over and over, to create the band of your ring. Continue until the beaded strip is long enough to wrap around the bottom of the finger you want to wear it on, from one side to the other, leaving about 2 cm at the top of your finger uncovered. For each repeat, you’ll thread your first bead down the right end, the second one down the left end, and cross through the third bead; you won’t need a fourth bead because the cluster before the one you’re working on acts as a centre bead. Make sure you keep your ends evenly sized when you cross them through every third bead so your band sits straight.
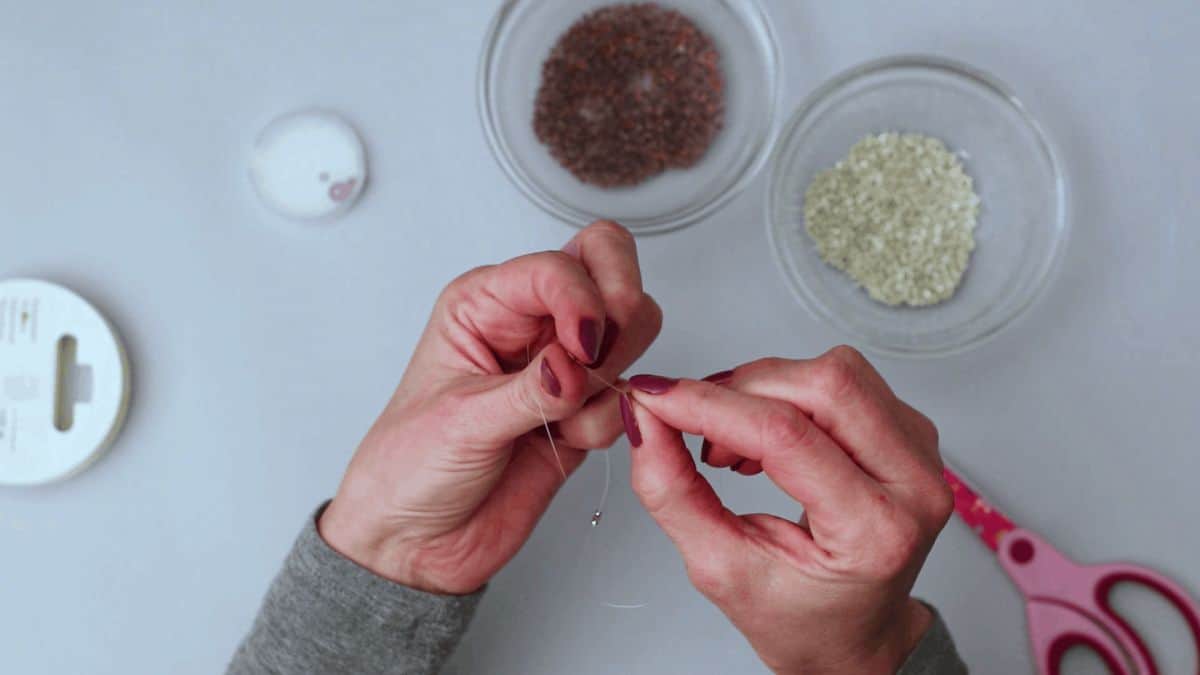
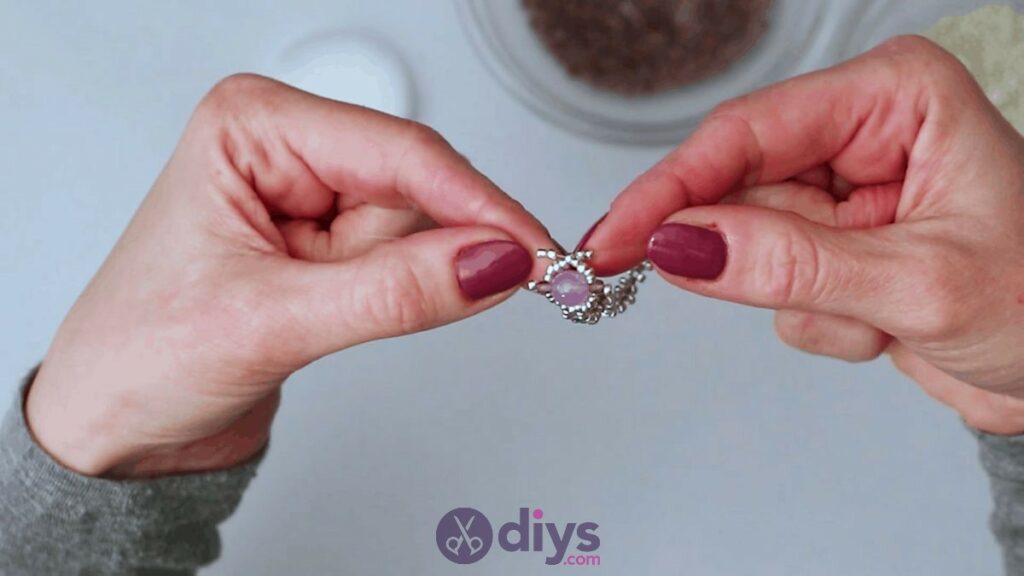
Step 6: making the design
Now you’ll create a little contrast loop for pretty detail before you set in your feature bead, which is what will sit on the top of your finger. Start just like your repeats, by threading one bead down each end. Next, thread onemore bead down each end, so you have two on either side, andthen put in your crossing bead, where both ends loop through it to centre it. You’ll notice a little loop in the band. If you’re alternating colours, work this step all in one colour, rather than making your crossing bead your contrast colour like before.

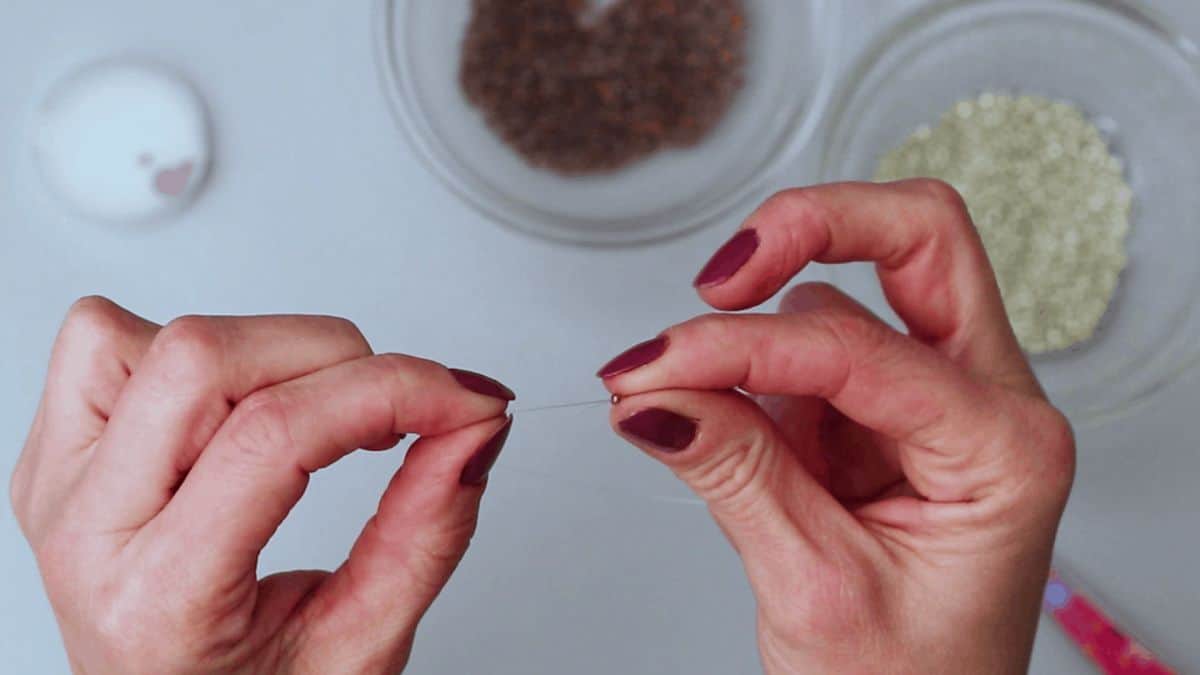
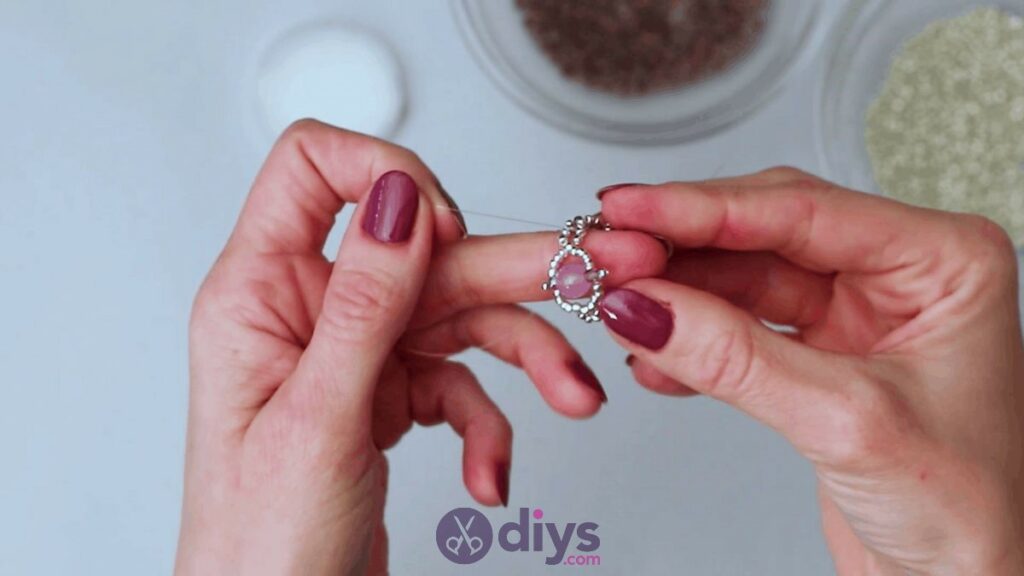
Step 7: prepare size
Set up to frame one side of your feature bead, which will sit on top of your finger. Do this by threading four of your dominant colour beads down one side and another four down the other. Your biggest bead will rest between these in a moment, so they wrap around one side of it.
Step 8: adding feature bead
Now, you’ll cross both ends through your big central pearl or bead just the same as you did with the smaller beads before. Because of the size difference and the beads you’ve pre-string on either end in the last step, however, the smaller beads will wrap around one side of the bigger one and it will nestle in the centre between them, meeting the end of your band and the last decorative loop you put into it. Make sure to pull your ends through evenly again so the bead or pearl sits right and in line with your band and the four beads that wrap around its sides sit evenly too.
Step 9: bringing it together
Turn your attention to your other two beads that are smaller than your feature bead or pearl but larger than your seed beads. These are what you’ll string on next; thread one onto each end (i.e. one on each side) so that one rests against the top of your feature pearl or bead and the other rests against the bottom. Now take one two seed beads (in your dominant colour, if you’re alternating) and thread one onto each one of your ends, so that each of the middle sized beads you just placed has one smaller seed bead resting against its outer side.
Next, on each side, fold the end of your line over so it wraps around the little seed bead you just placed, thread it through the outer hole in the medium sized bead, and keep threading it through the hole in your large feature bead so that it pokes out its other side. Pull the end through, but so that it doesnot also thread through your medium and seed beads on that opposite side; you want to pull it out the far side of your largest beadbetween that and your medium bead. Repeat this whole folding and threading process on your other side, with your other end, threading to the opposite side (i.e. the one you started on) in the same way. You’ve just anchored all the beads into place in the centre.
Step 10: closing the circle
Now, just like you did right before you placed your largest bead, thread four dominant colour seed beads onto each end, so they rest on each side of your big pearl or bead. Take one more seed bead in that colour- a fifth one- and crossboth ends through it from either side and heading in either direction, just like you did with your fourth or contrast beads when you were doing the repeats in your band. Pull the ends evenly so everything stays lined up right until the beads wrap around the far side of your primary bead, closing the circle and framing it all the way around.
Step 11: repeat loop
Next you’ll repeat the beaded loop detail that you created on the other side of the feature pearl or bead, between that and the straight band. One each side, thread two seed beads onto each end and slide them down to meet the previous bead (if you’re alternating, use your dominant colour).
Step 12: finishing
Instead of closing the loop shape with a fifth bead like you did in the first one, you’ll use the end or tip bead (which is also in your dominant colour, if you’re alternating) from the very end of your ring band, back where you started when you made your first cluster. Grab the free end of the ring band and fold it around under the feature bead or pearl so it comes towards your ends like you’re completing the ring. Thread your line ends on both sides through that first tip bead you started with, putting them through from opposite sides to cross, just like you did for the repeats in your band earlier. Pull them evenly until the band slides to meet the little loop detail you just finished, closing the circle of the ring. Pull the ends tight enough to settle the beads together well but not tight enough to make any of the shapes buckle, then tie your line ends in a very tight double knot.
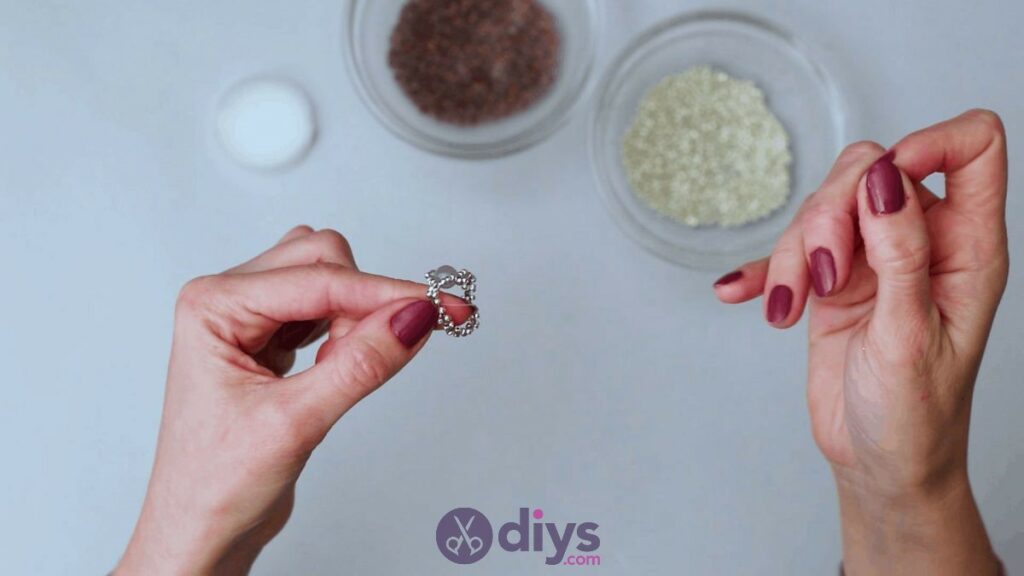
Step 13: all done!
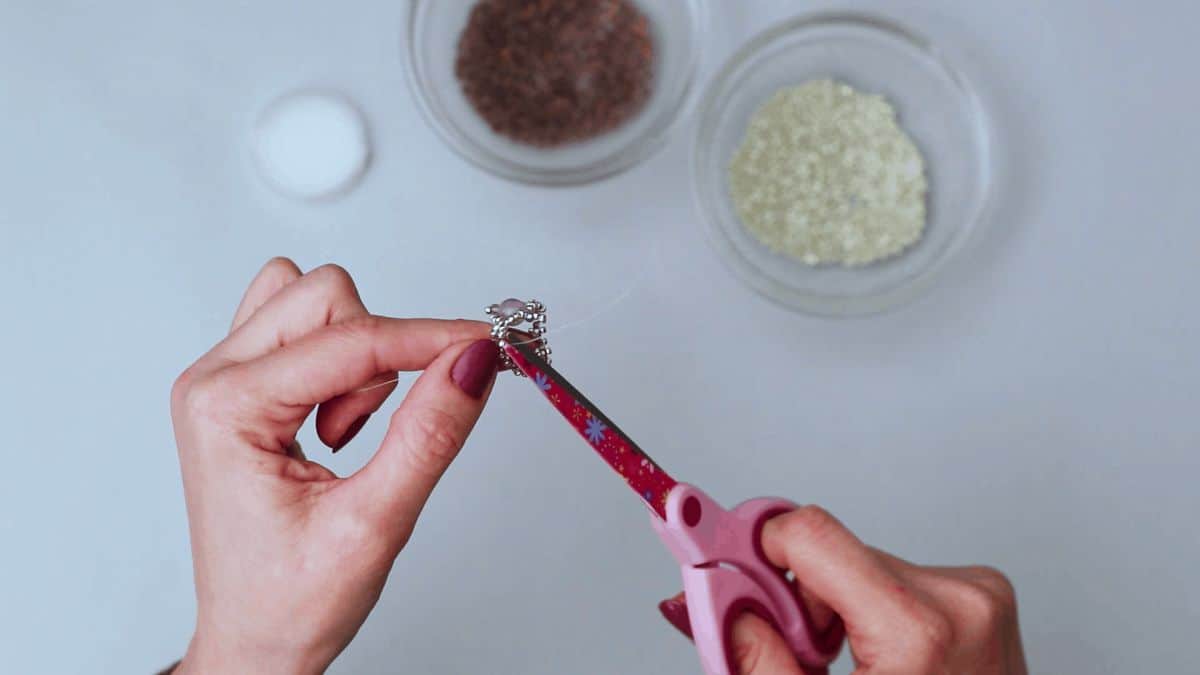
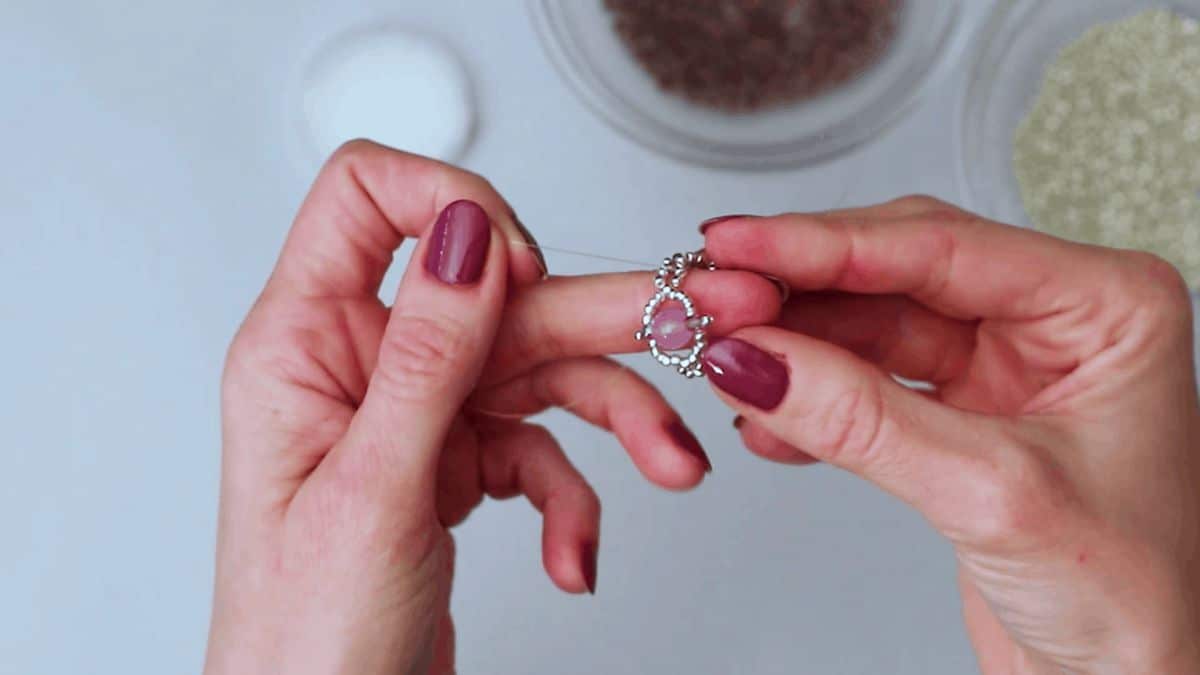
Before you trim your knot ends, bend them towards one of the beads in the band, directly below the knot. Thread each end through a bead hole once, pulling it all the way through the other side. This will stop you from having little line ends sticking up noticeably and at awkward angles directly out of your knot, will take the ends further from your finger so they can’t scratch or annoy you, and will also pull your knot down between the beads more subtly so it doesn’t show and your ending place isn’t as obvious. Once you’ve pulled both line ends through, trim the excess with your scissors.

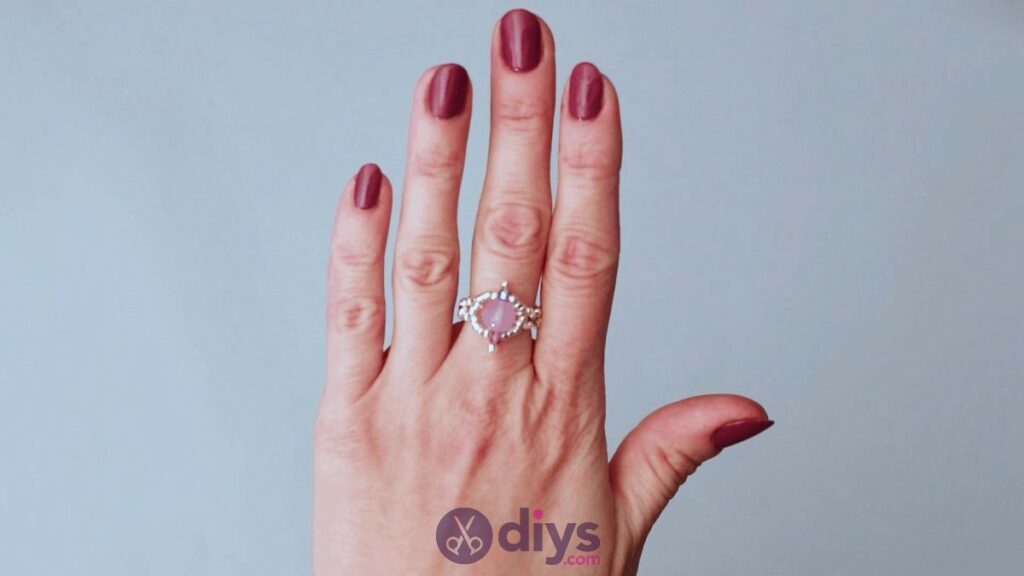
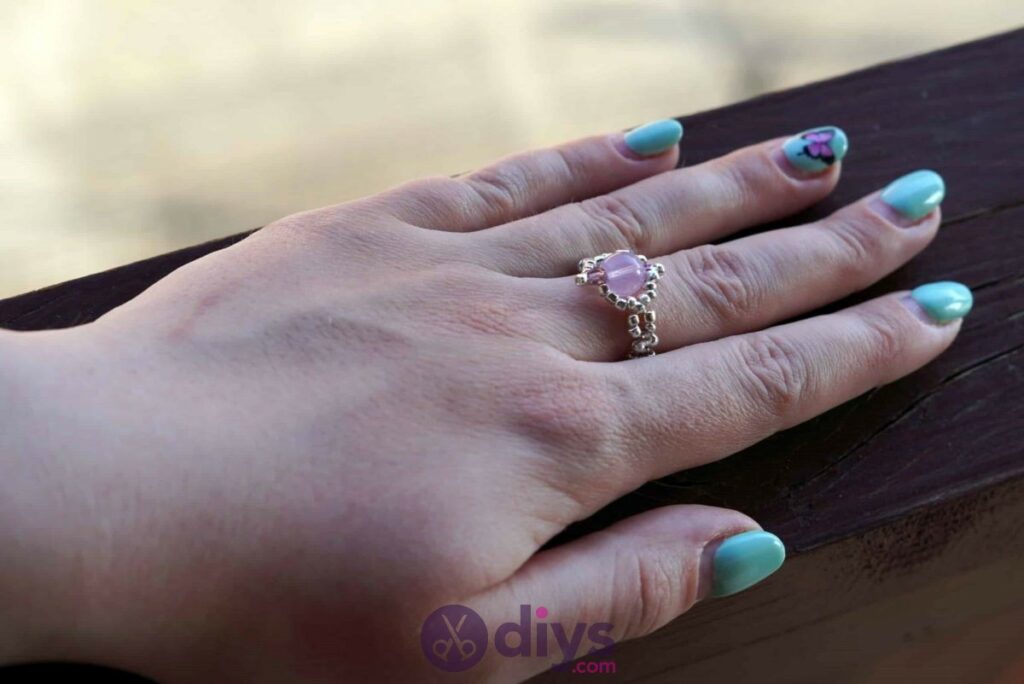
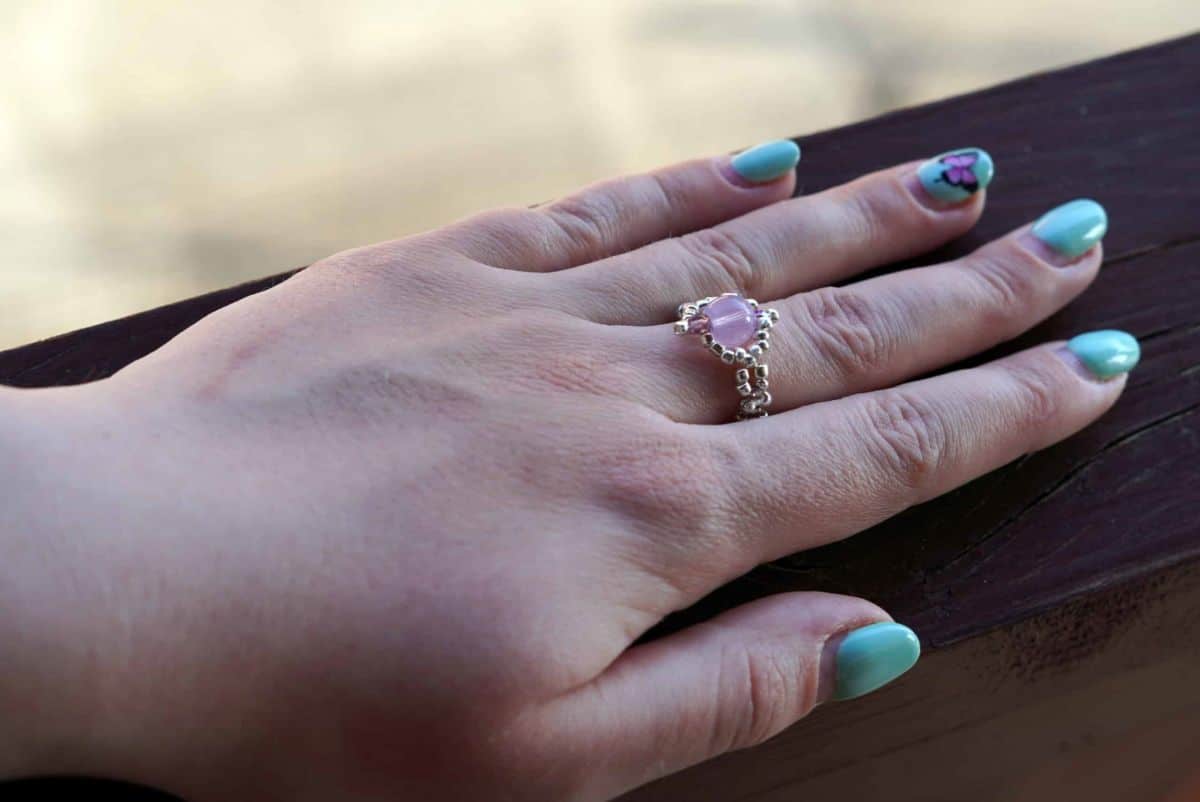
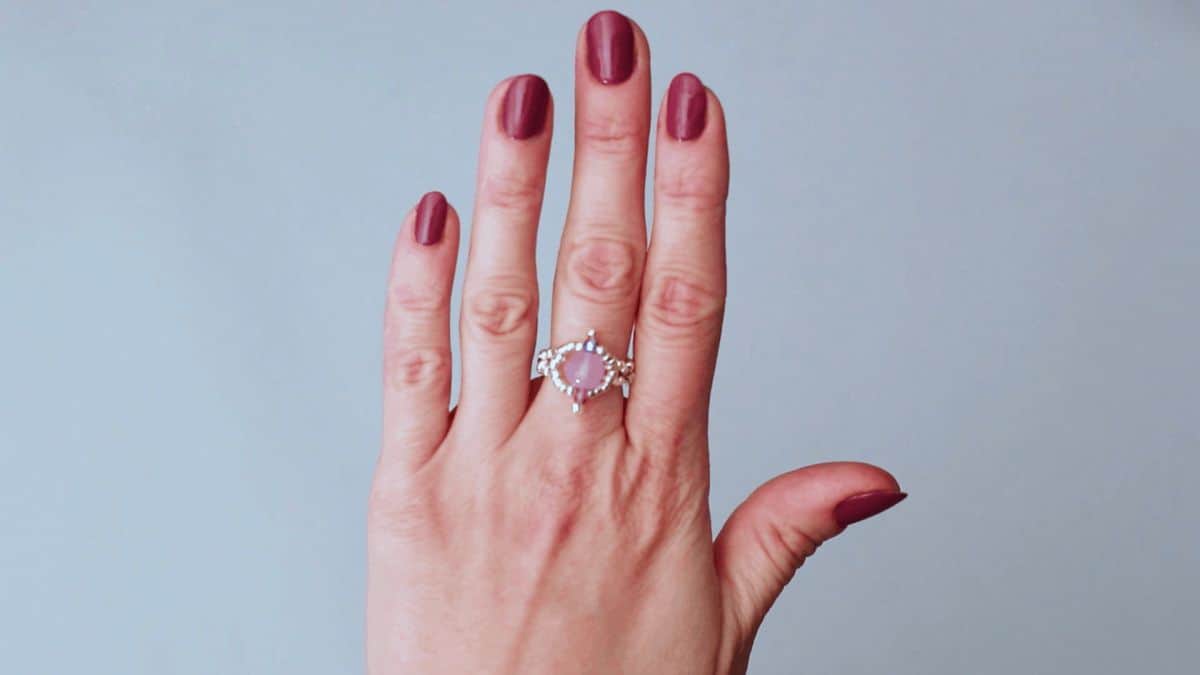
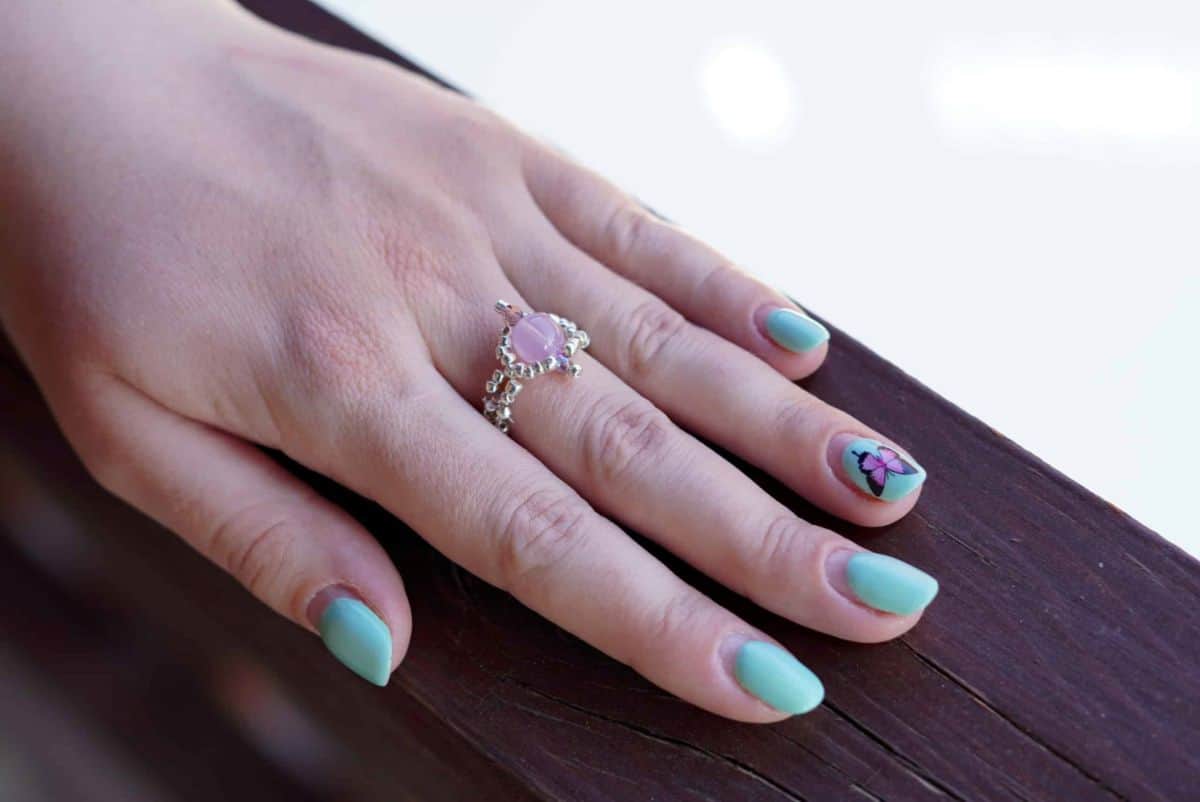
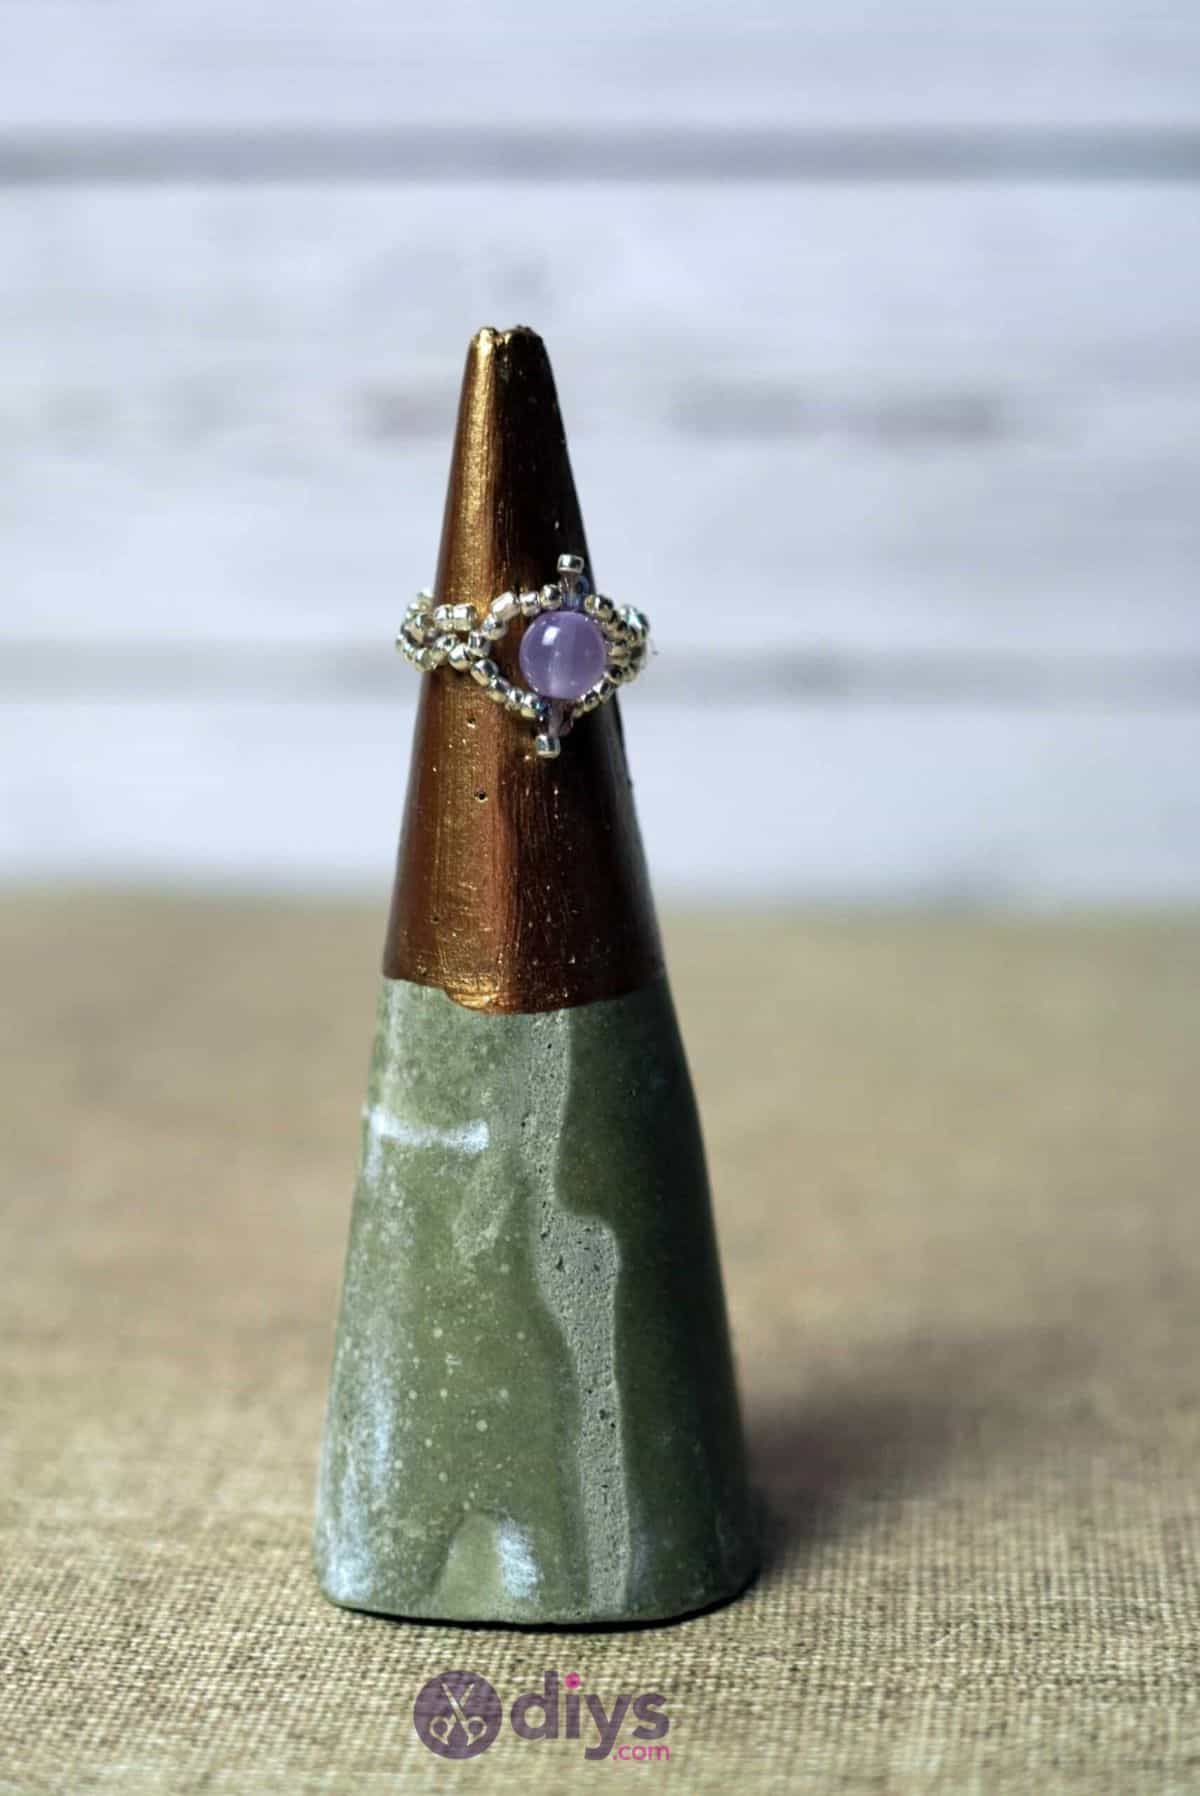
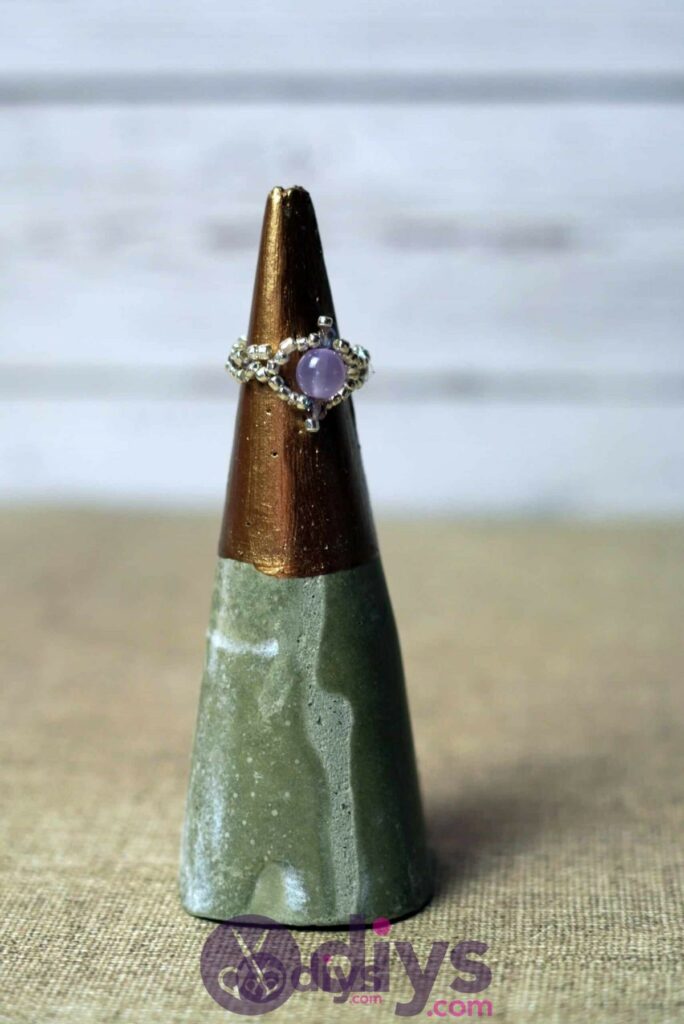
Your ring is finished and ready to wear! Feel free to play with all different colour patterns within your beading while following this method and shape. Just in case you’d like to try this project out for yourself, here’s a fantastic tutorial video to help you!