DIY Rope Wrapped Candle Holder
Updated on November 19, 2025


I had a great DIY idea to use rustic rope. These charming little rope wrapped candle holders were the result! Check out just how we made this beauty in this step by step tutorial.

I was so happy with the first one I completed that I made three more almost immediately to give myself a whole matching set. I also documented the crafting process I put into them just in case other decor and DIY enthusiasts might like to try their hand at my idea as well. Check out these step by step instructions complete with photos! If you’d rather follow along with a video tutorial instead of written words, scroll to the bottom of this post to find just what you’re looking for.
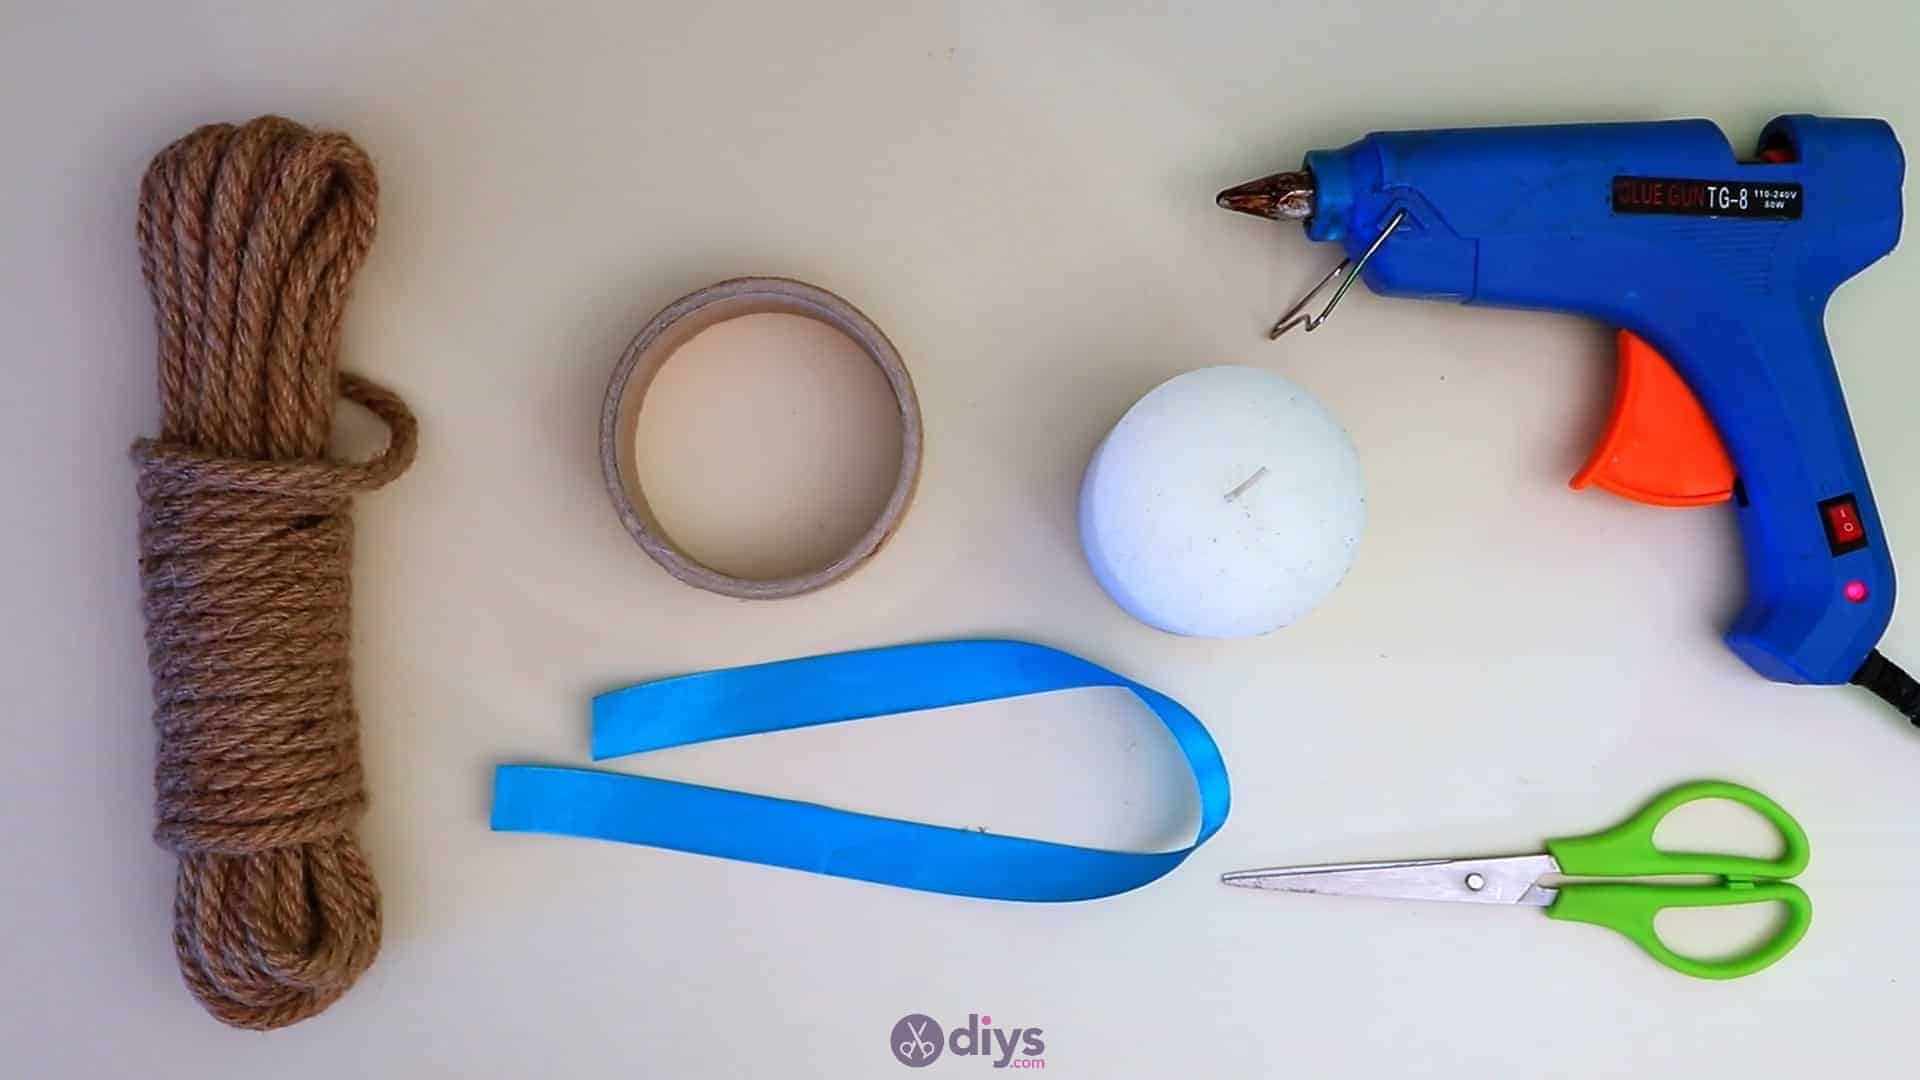
For this project, you’ll need:
- Thick jute yarn
- Blue ribbon
- Scissors
- A hot glue gun
- Paper cylinder (like the empty middle of a toll of duct tape
- A candle
Step 1: Gather your materials!
Get all the items from your list.

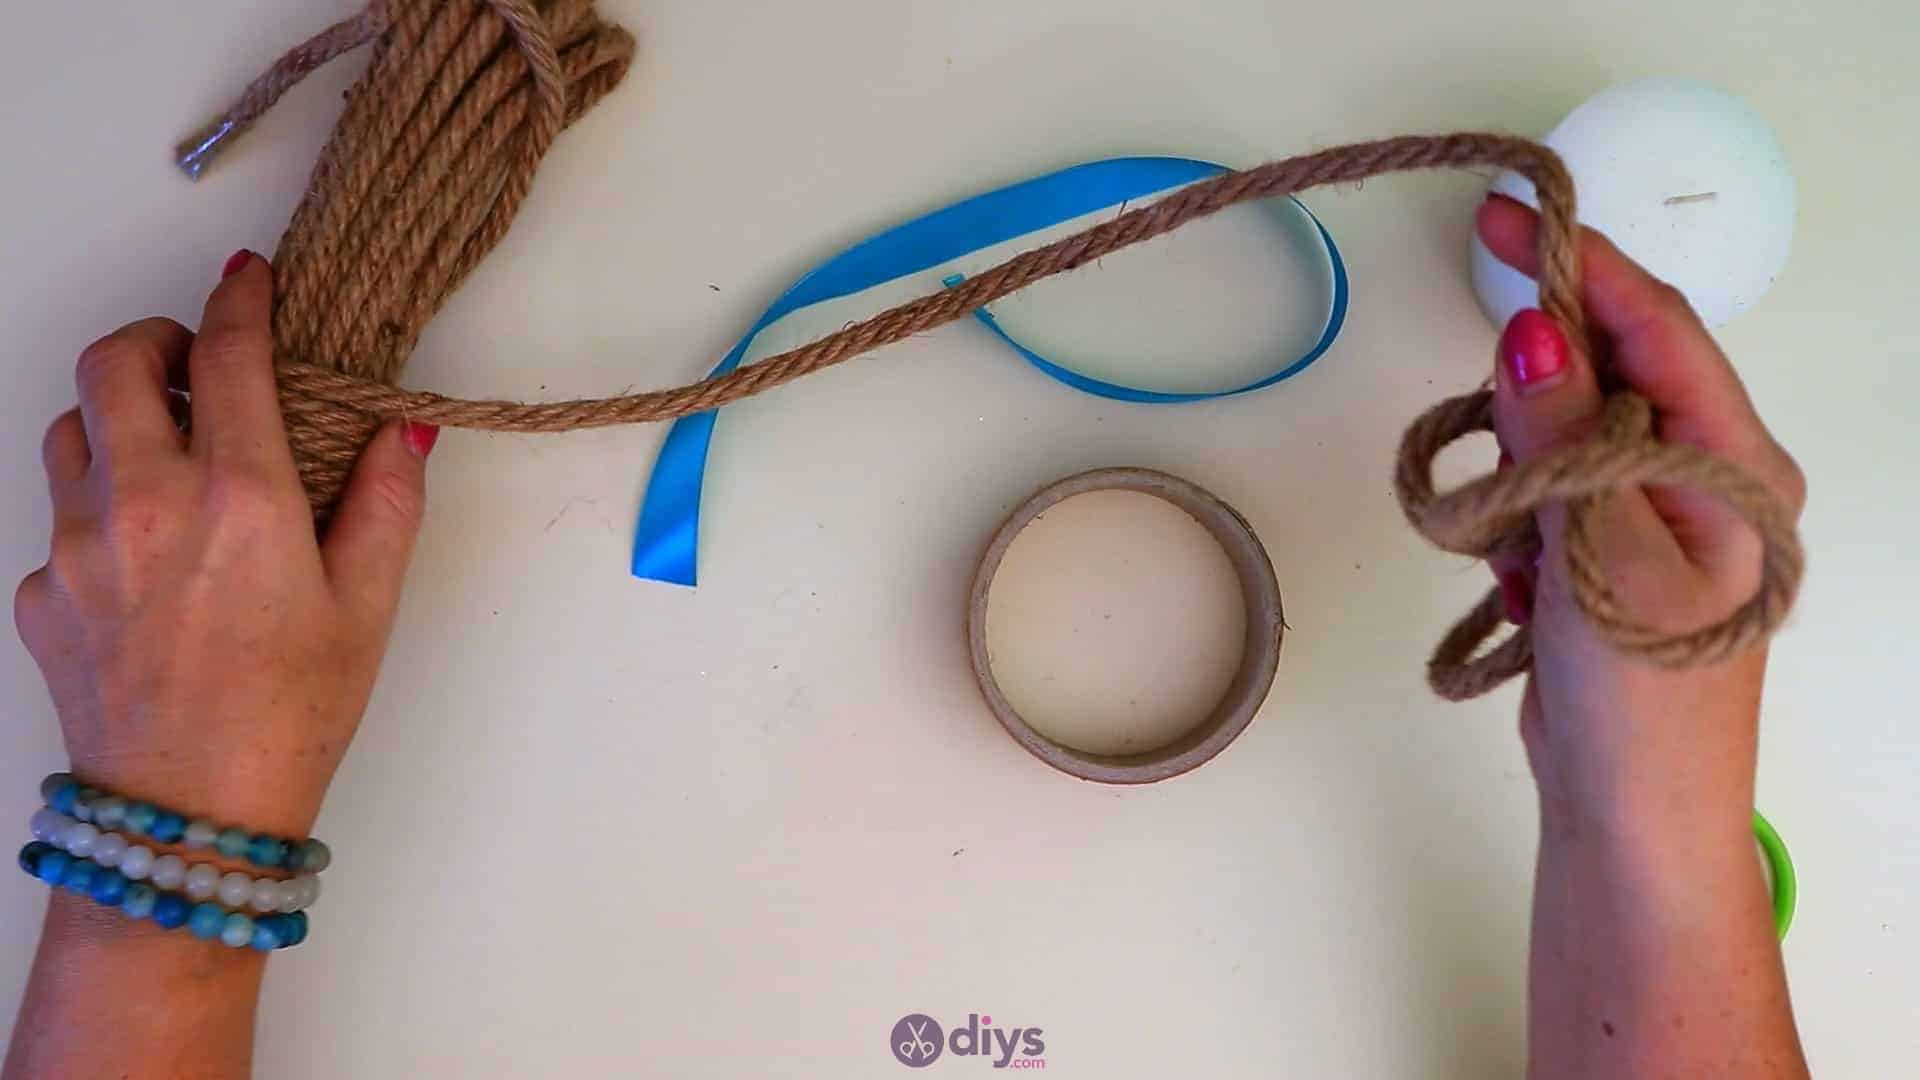
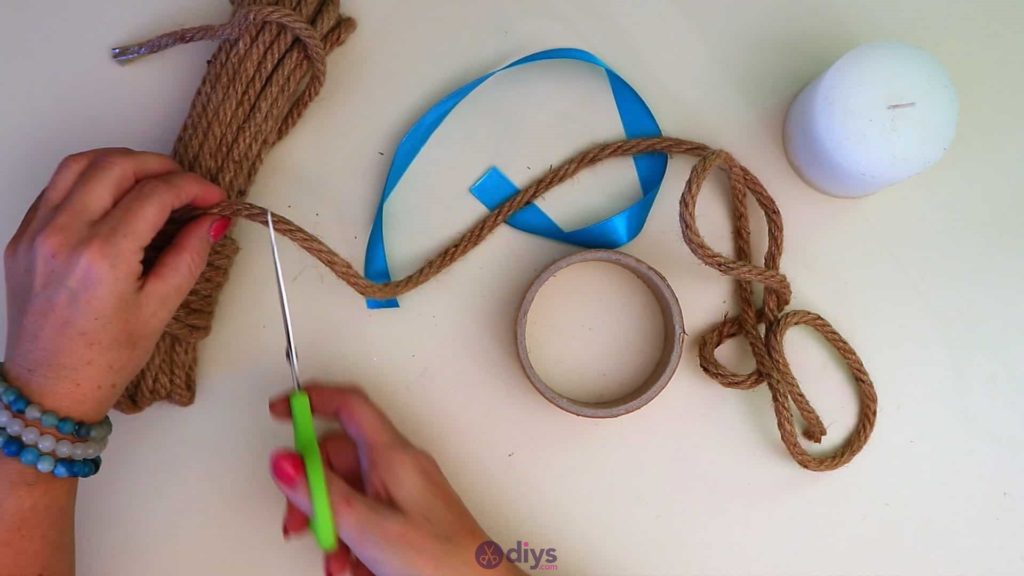
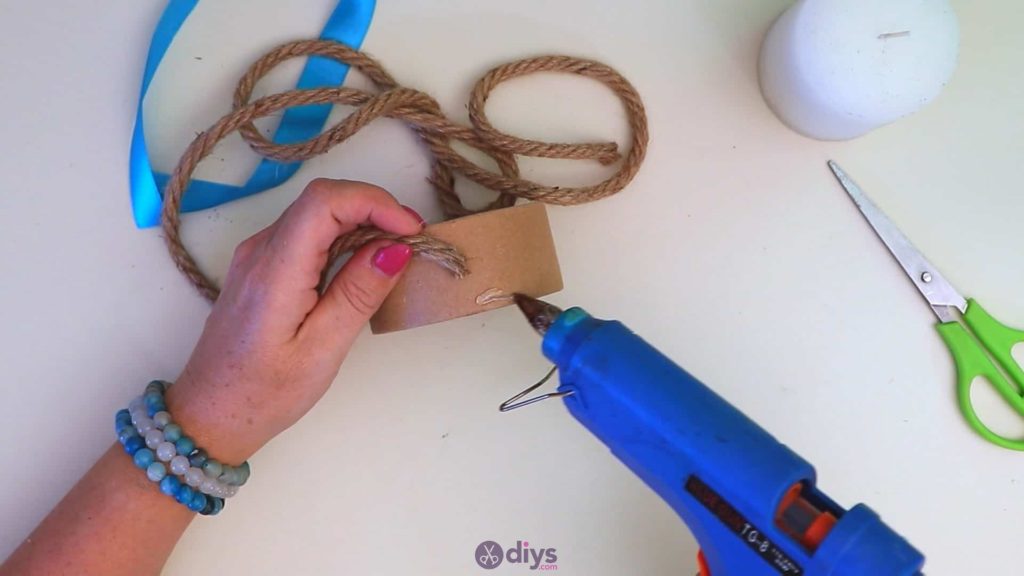
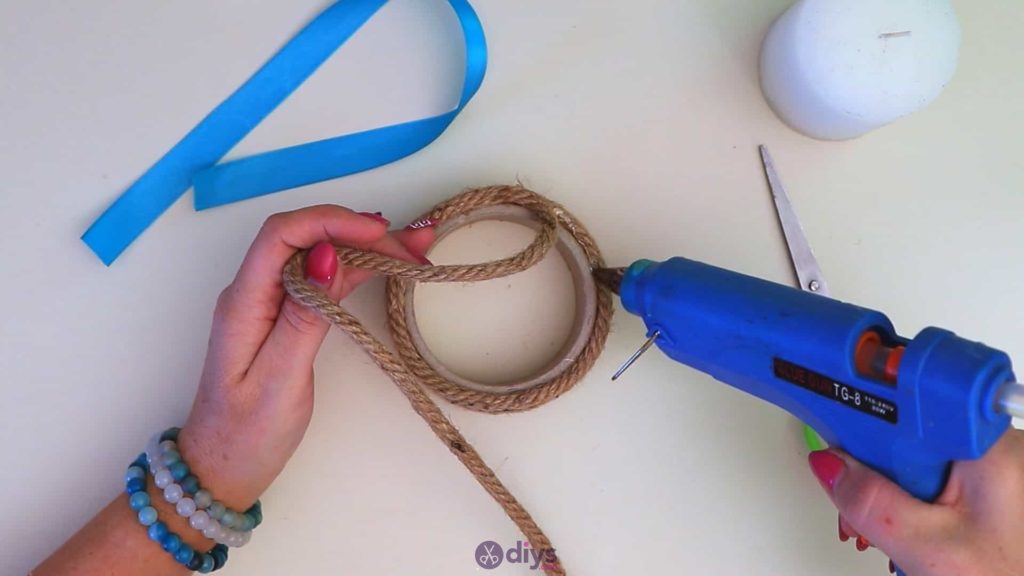
Step 2: cut your rope
Cut about ten inches of length from your jute yarn (or however long you think you’ll need to fully cover your paper or cardboard cylinder using wrapping techniques.

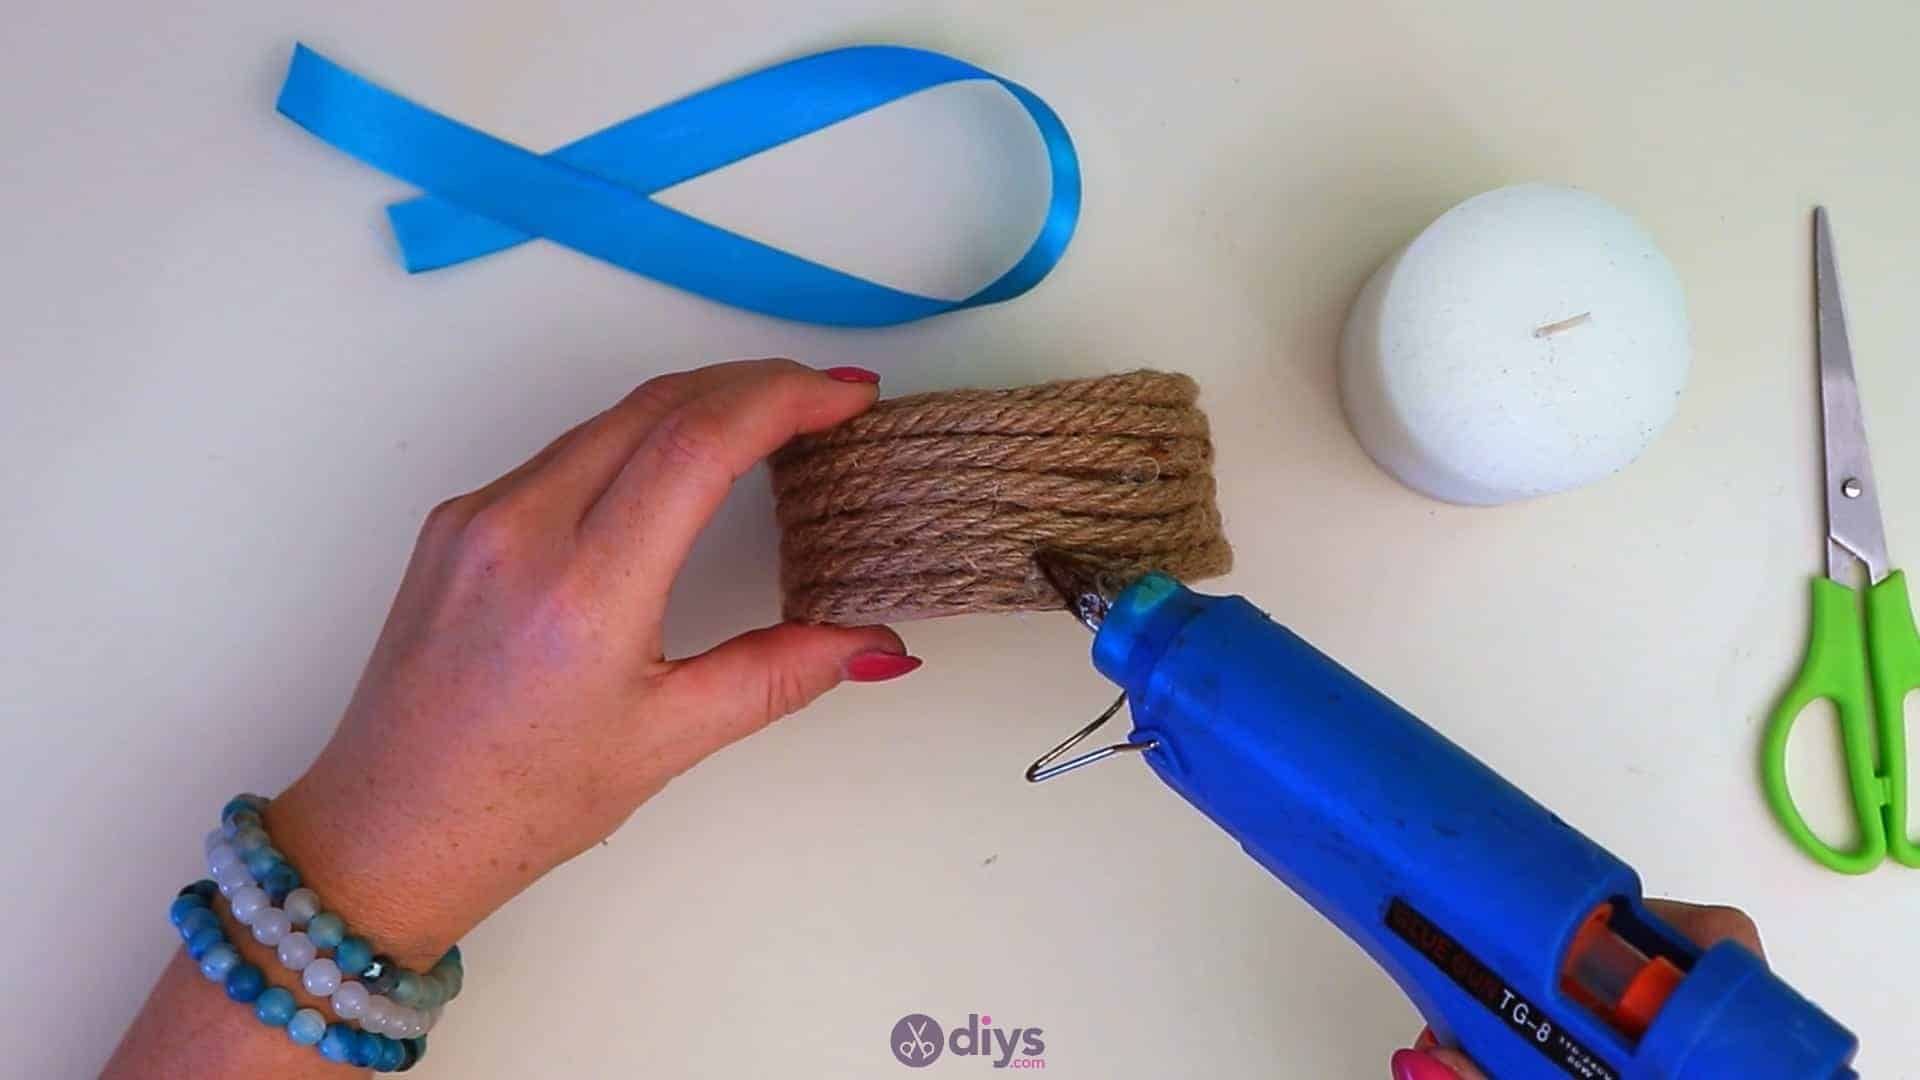
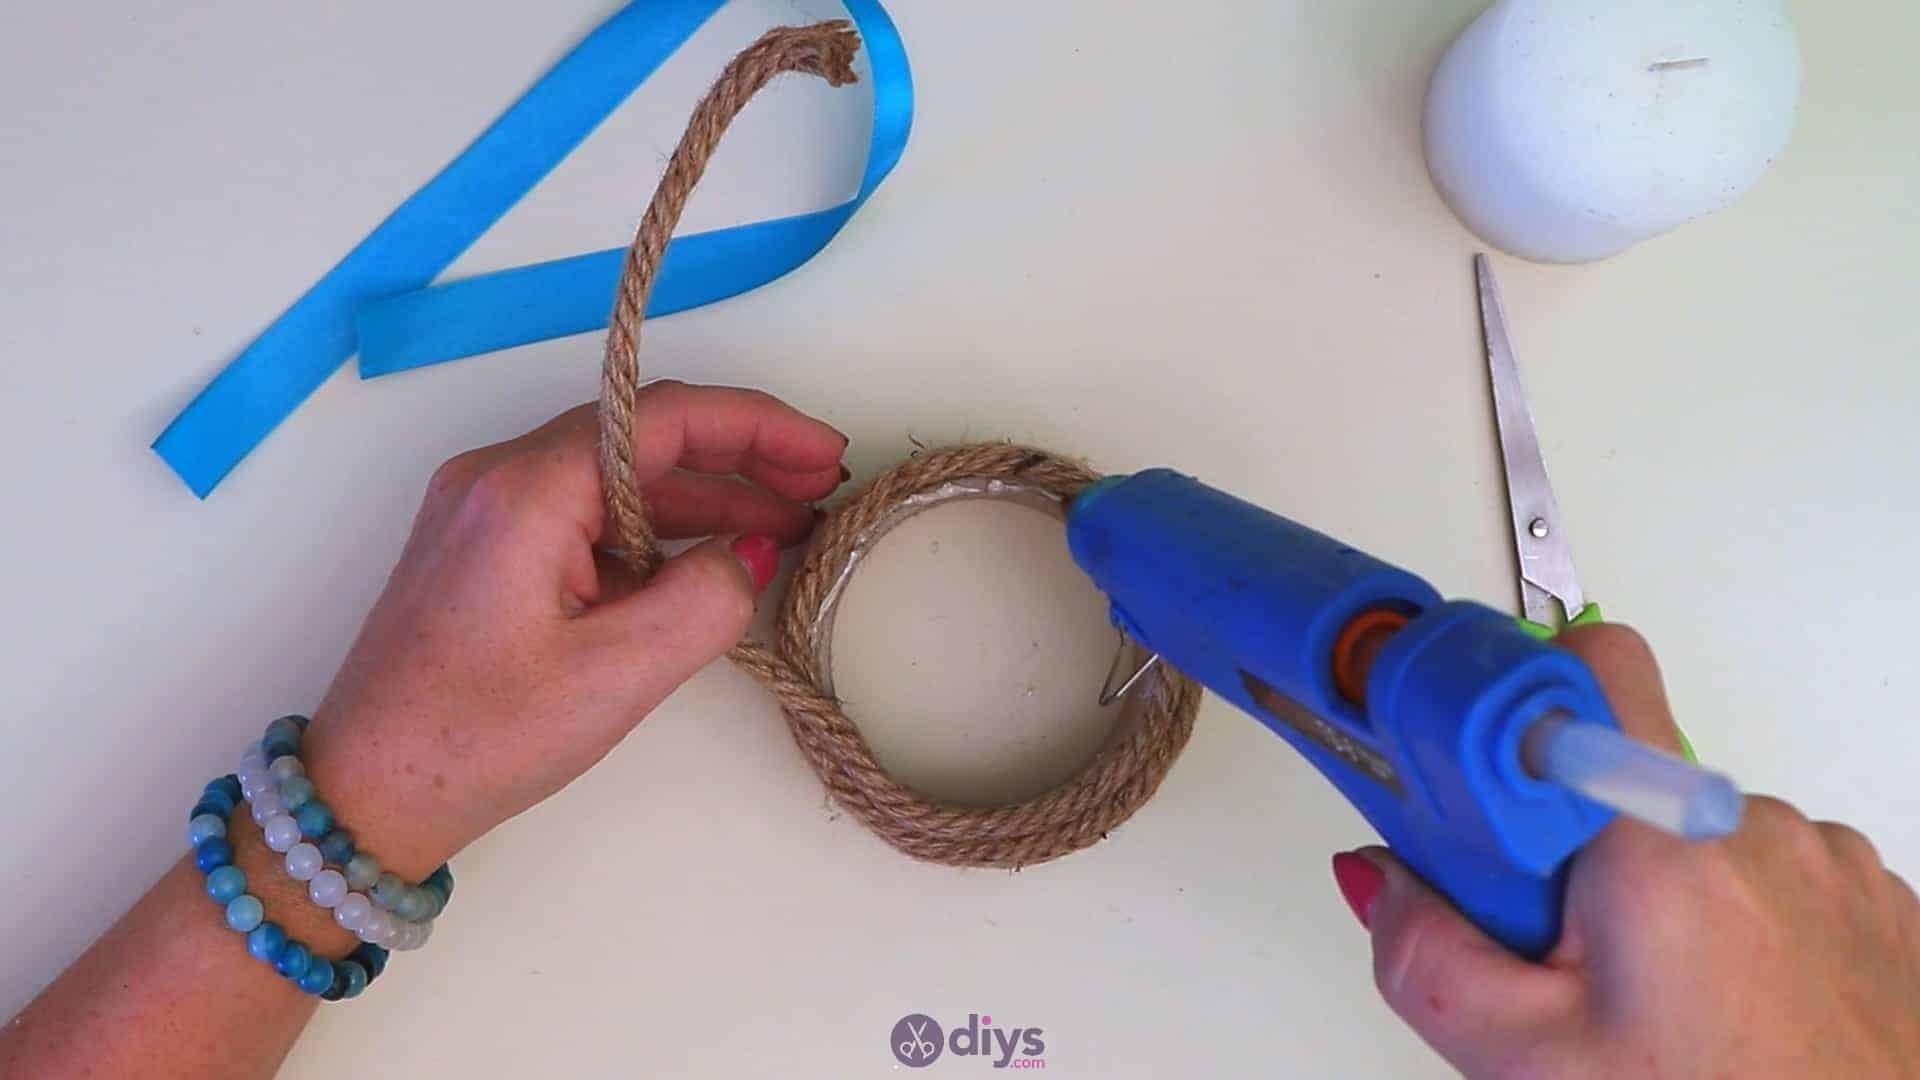
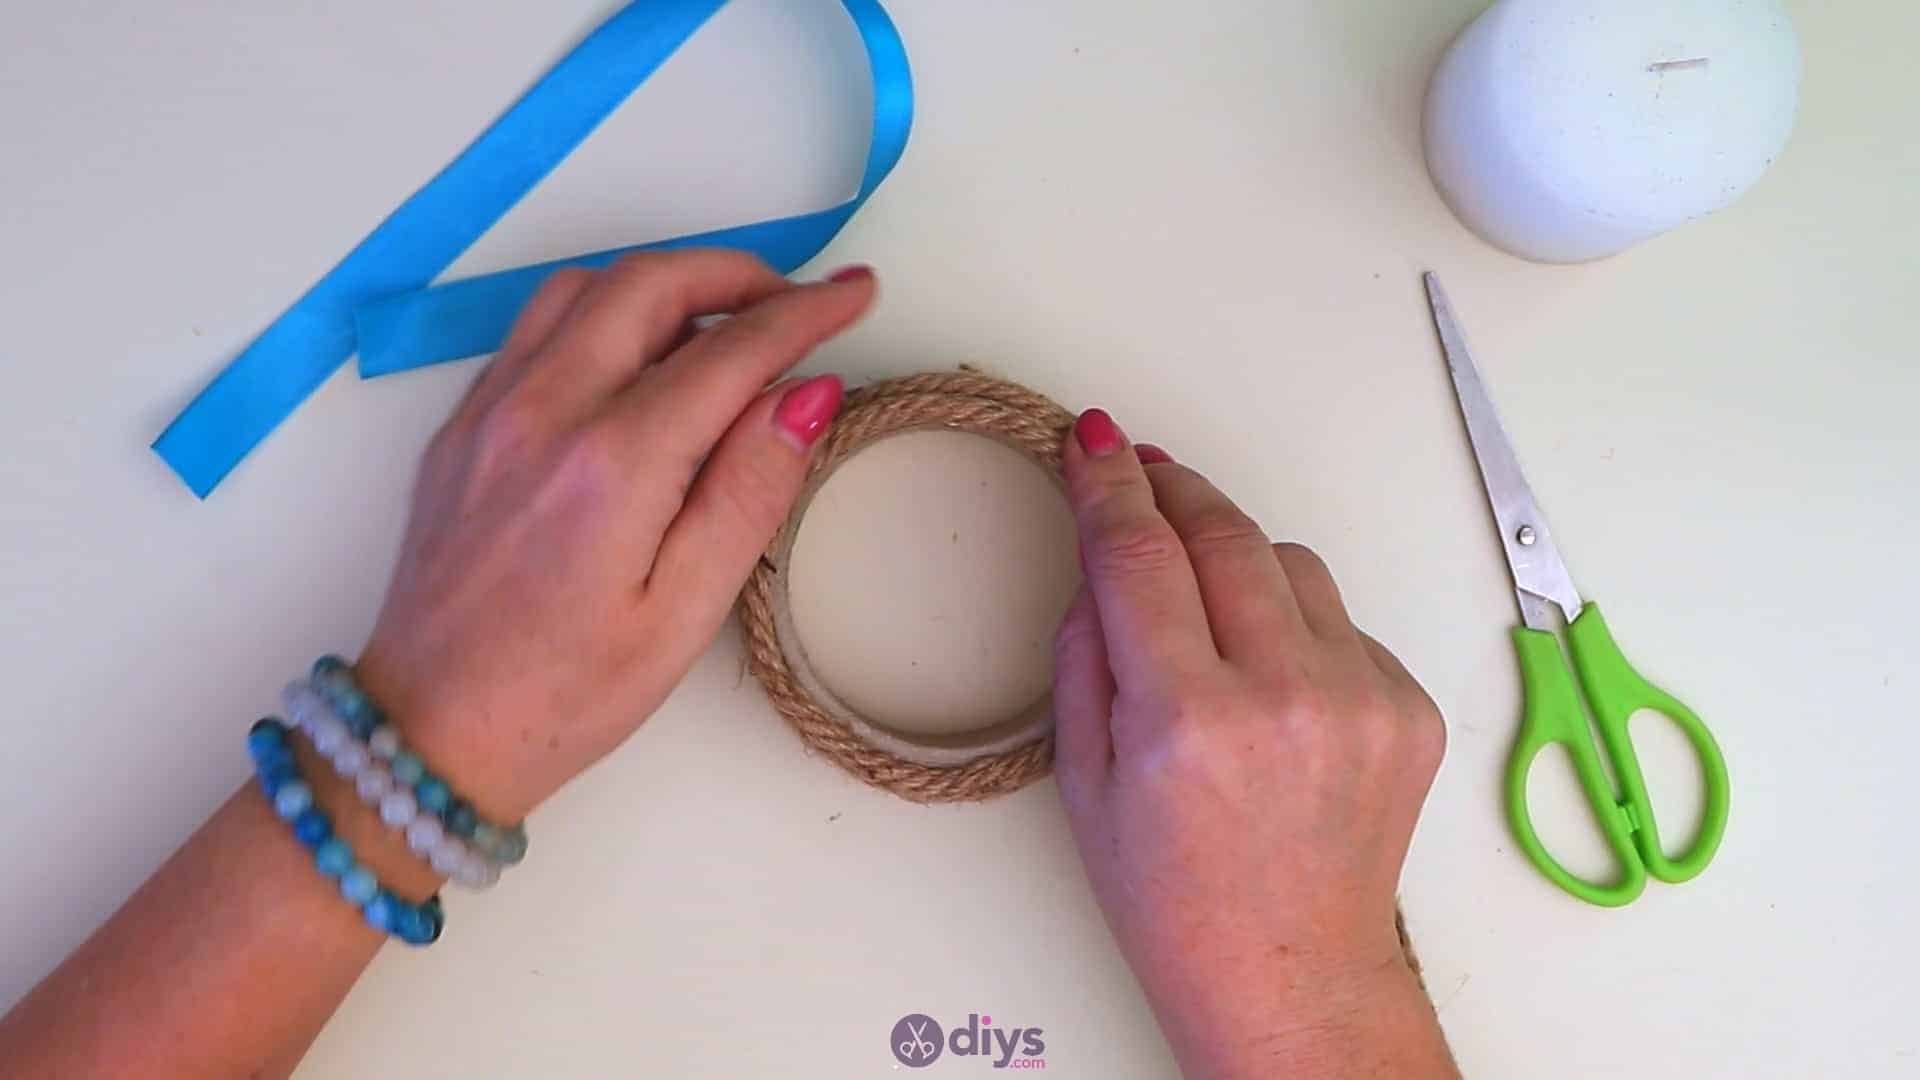
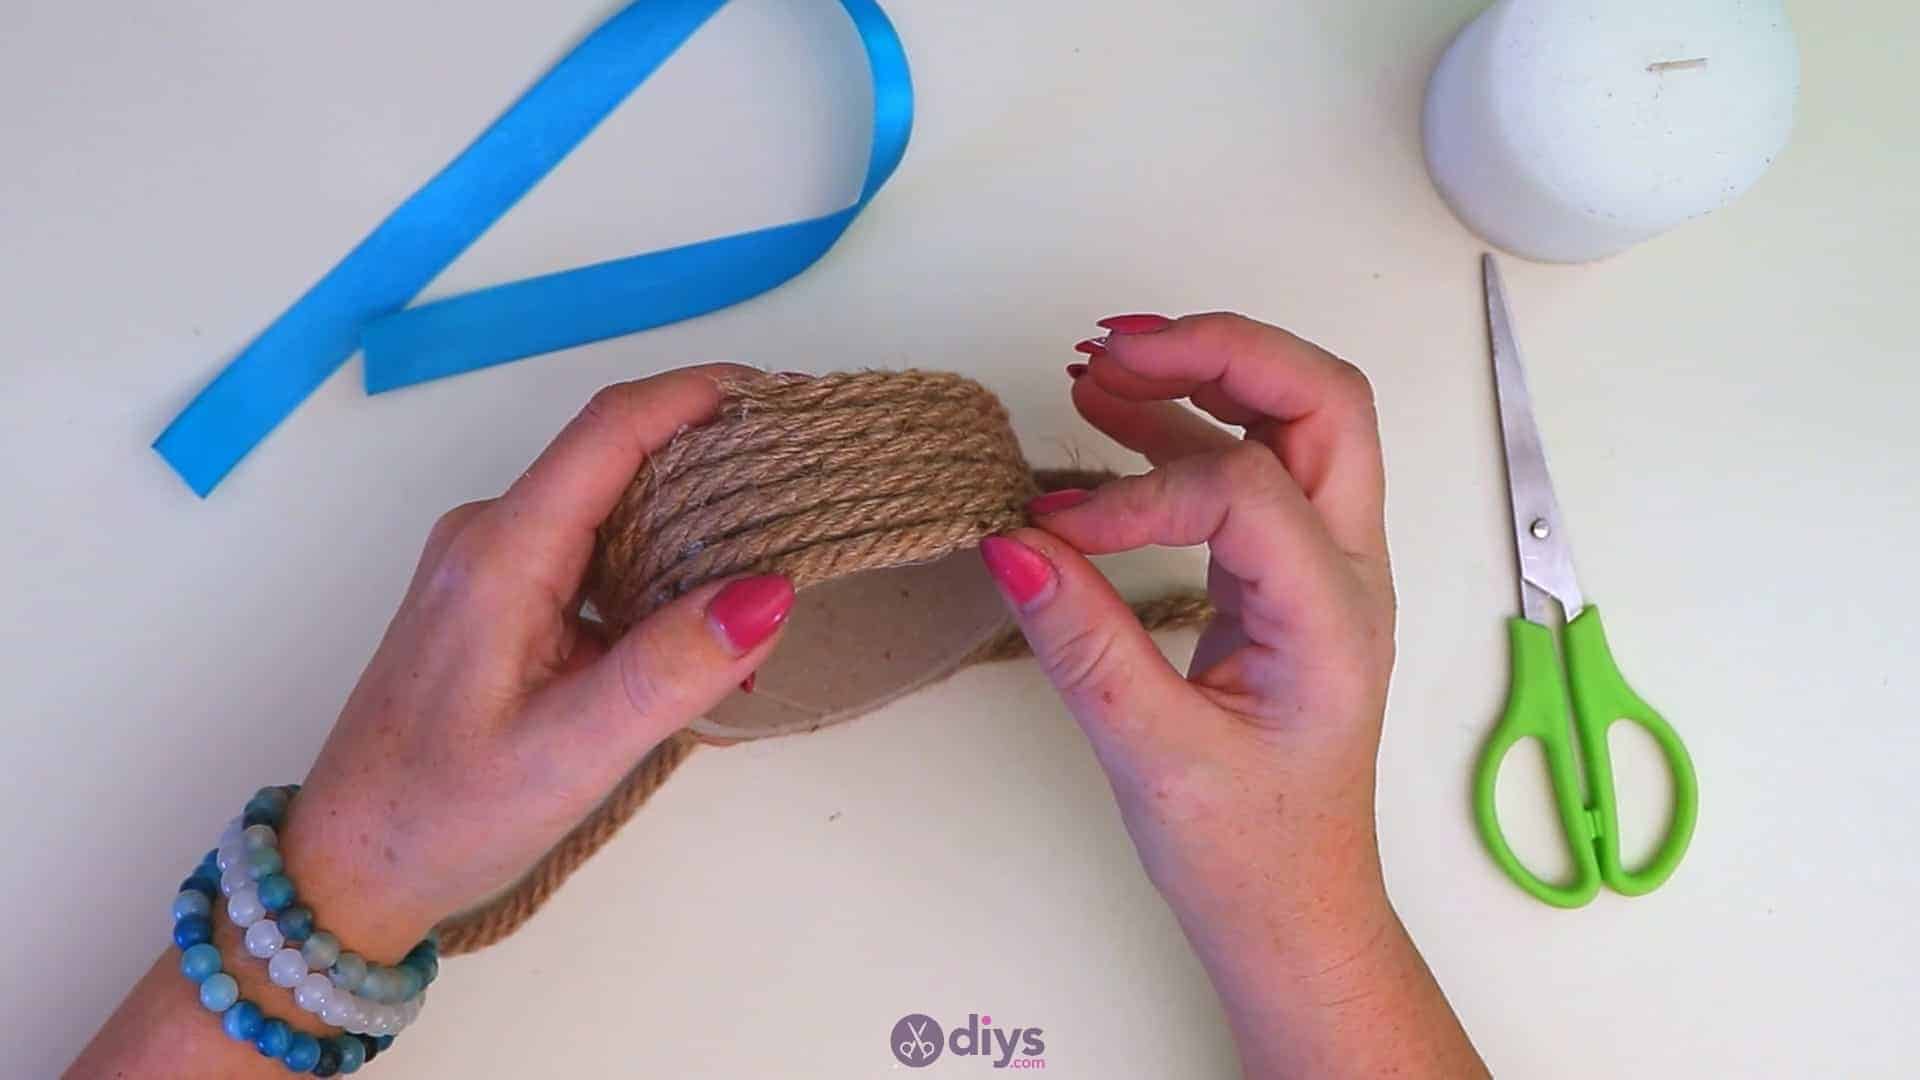
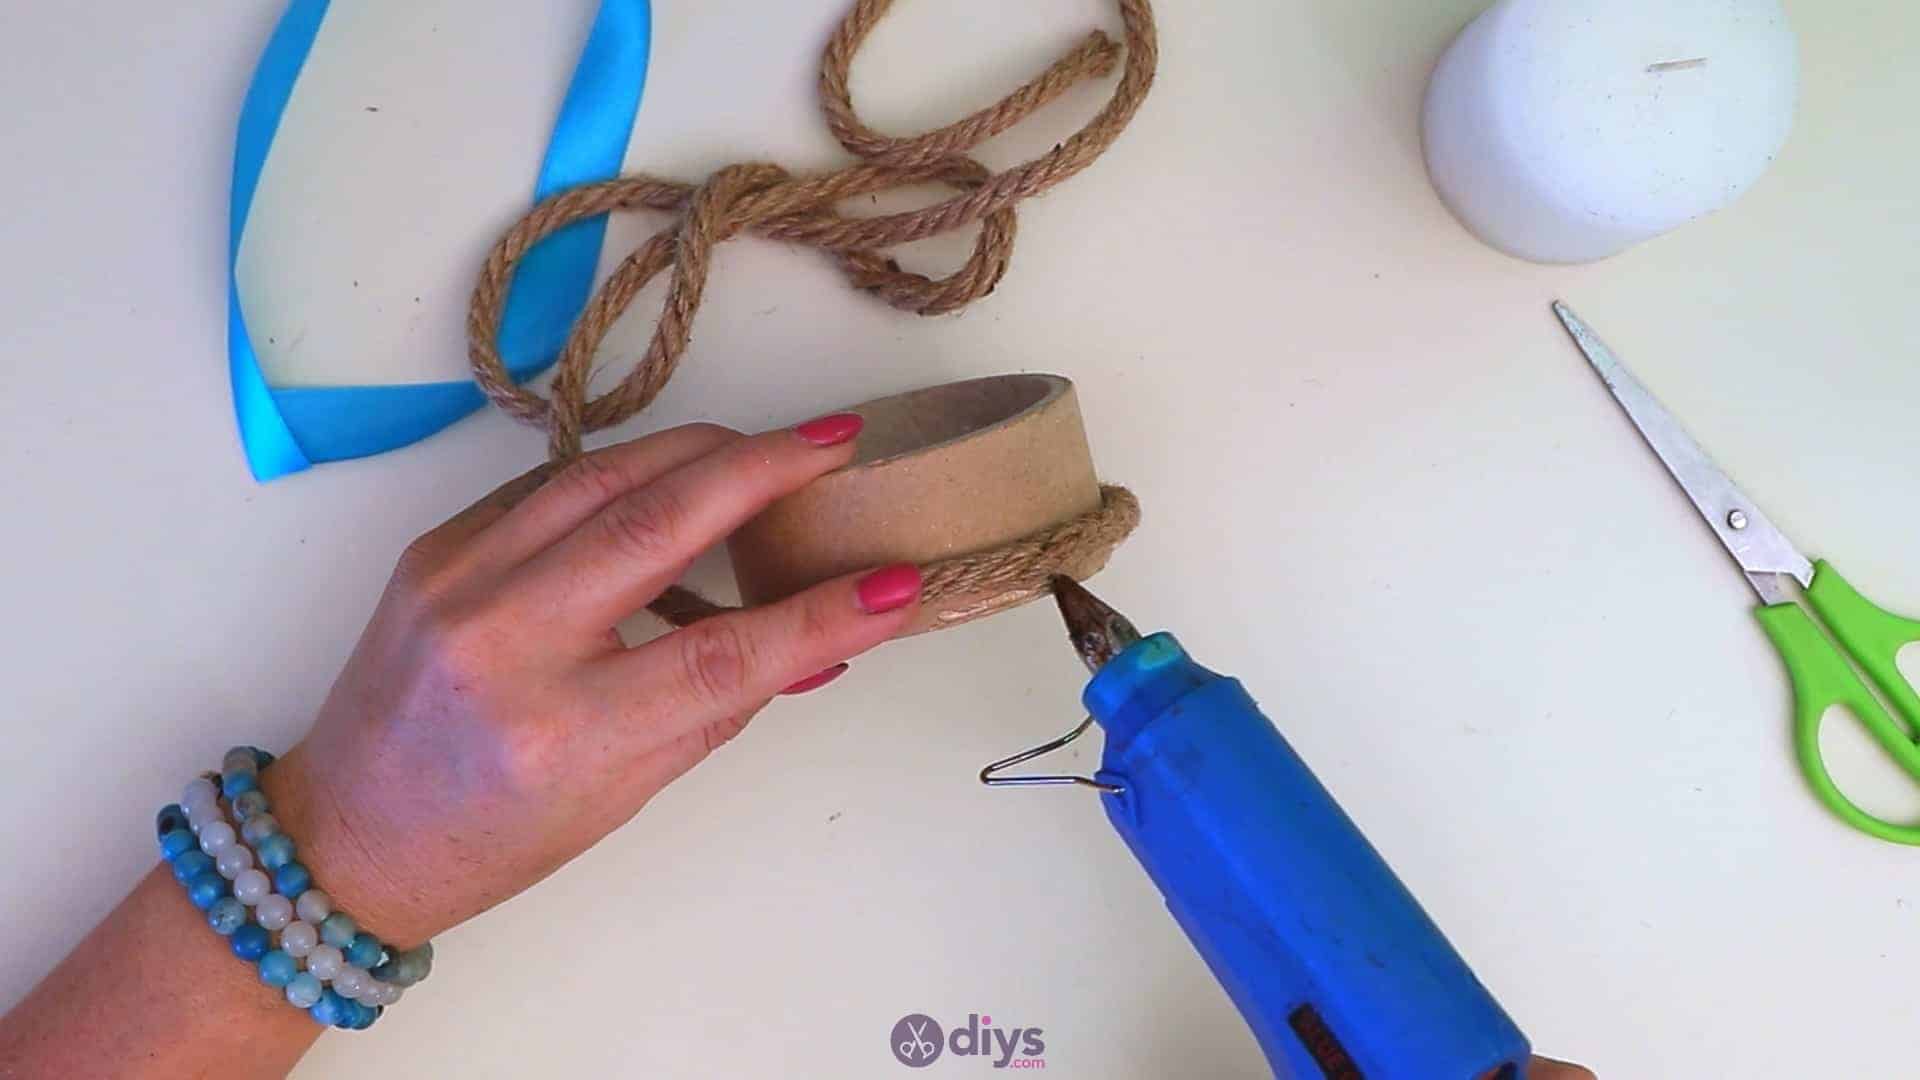
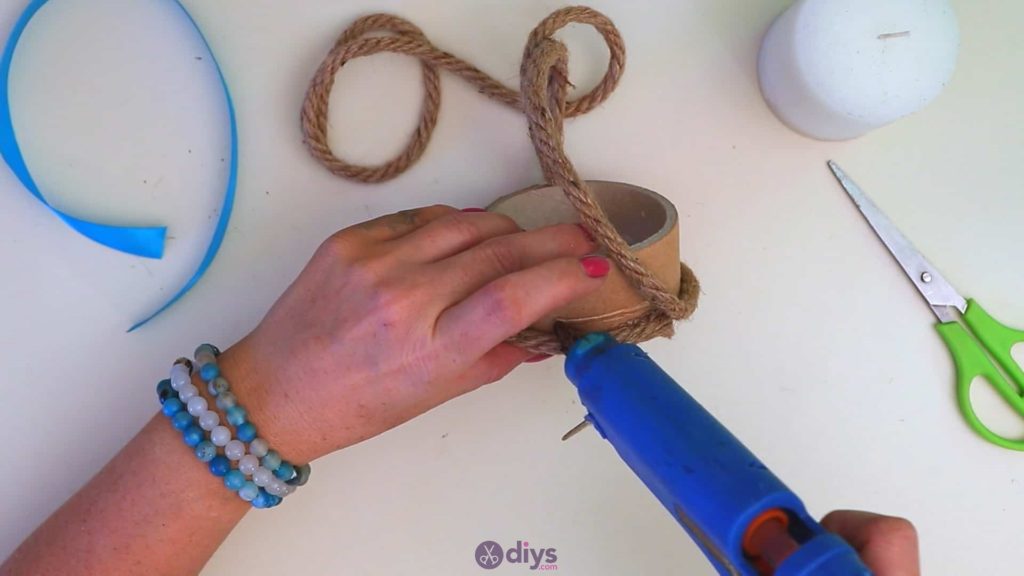
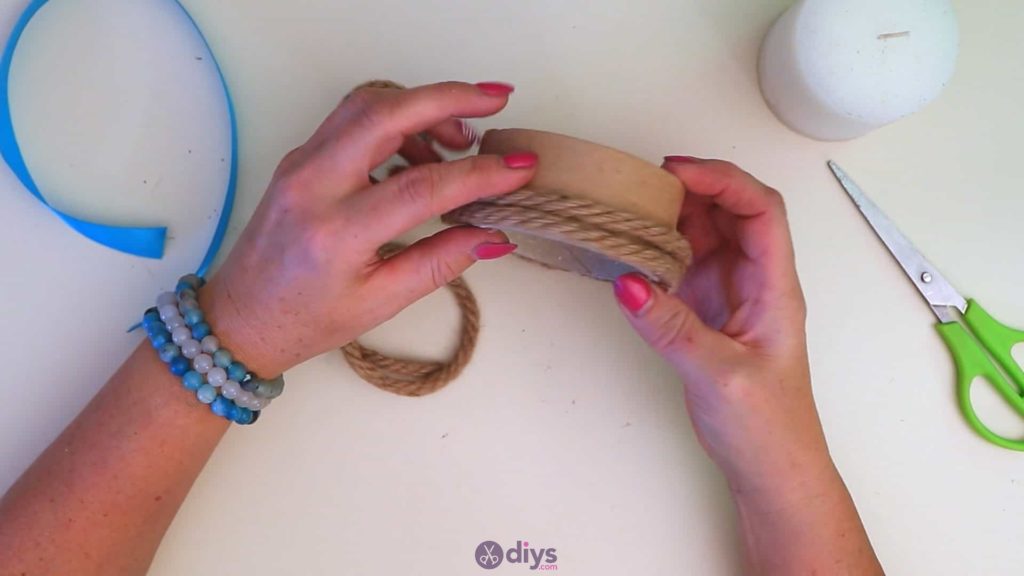
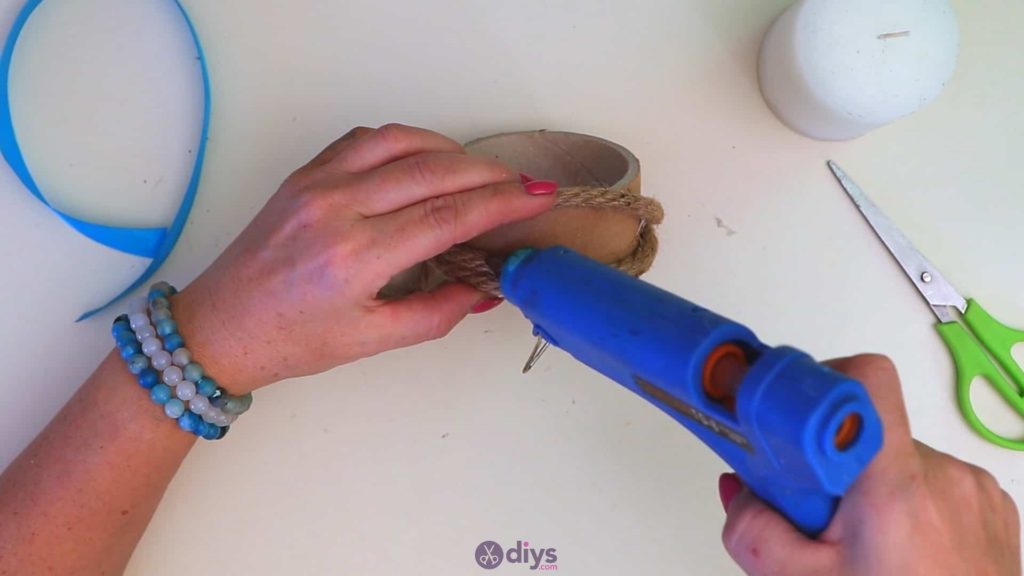
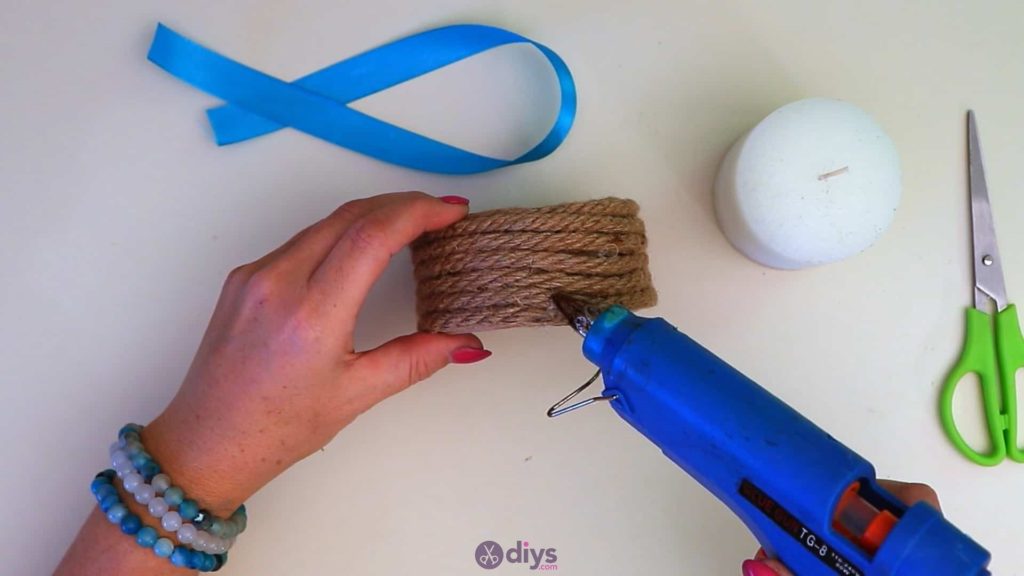
Step 3: start gluing
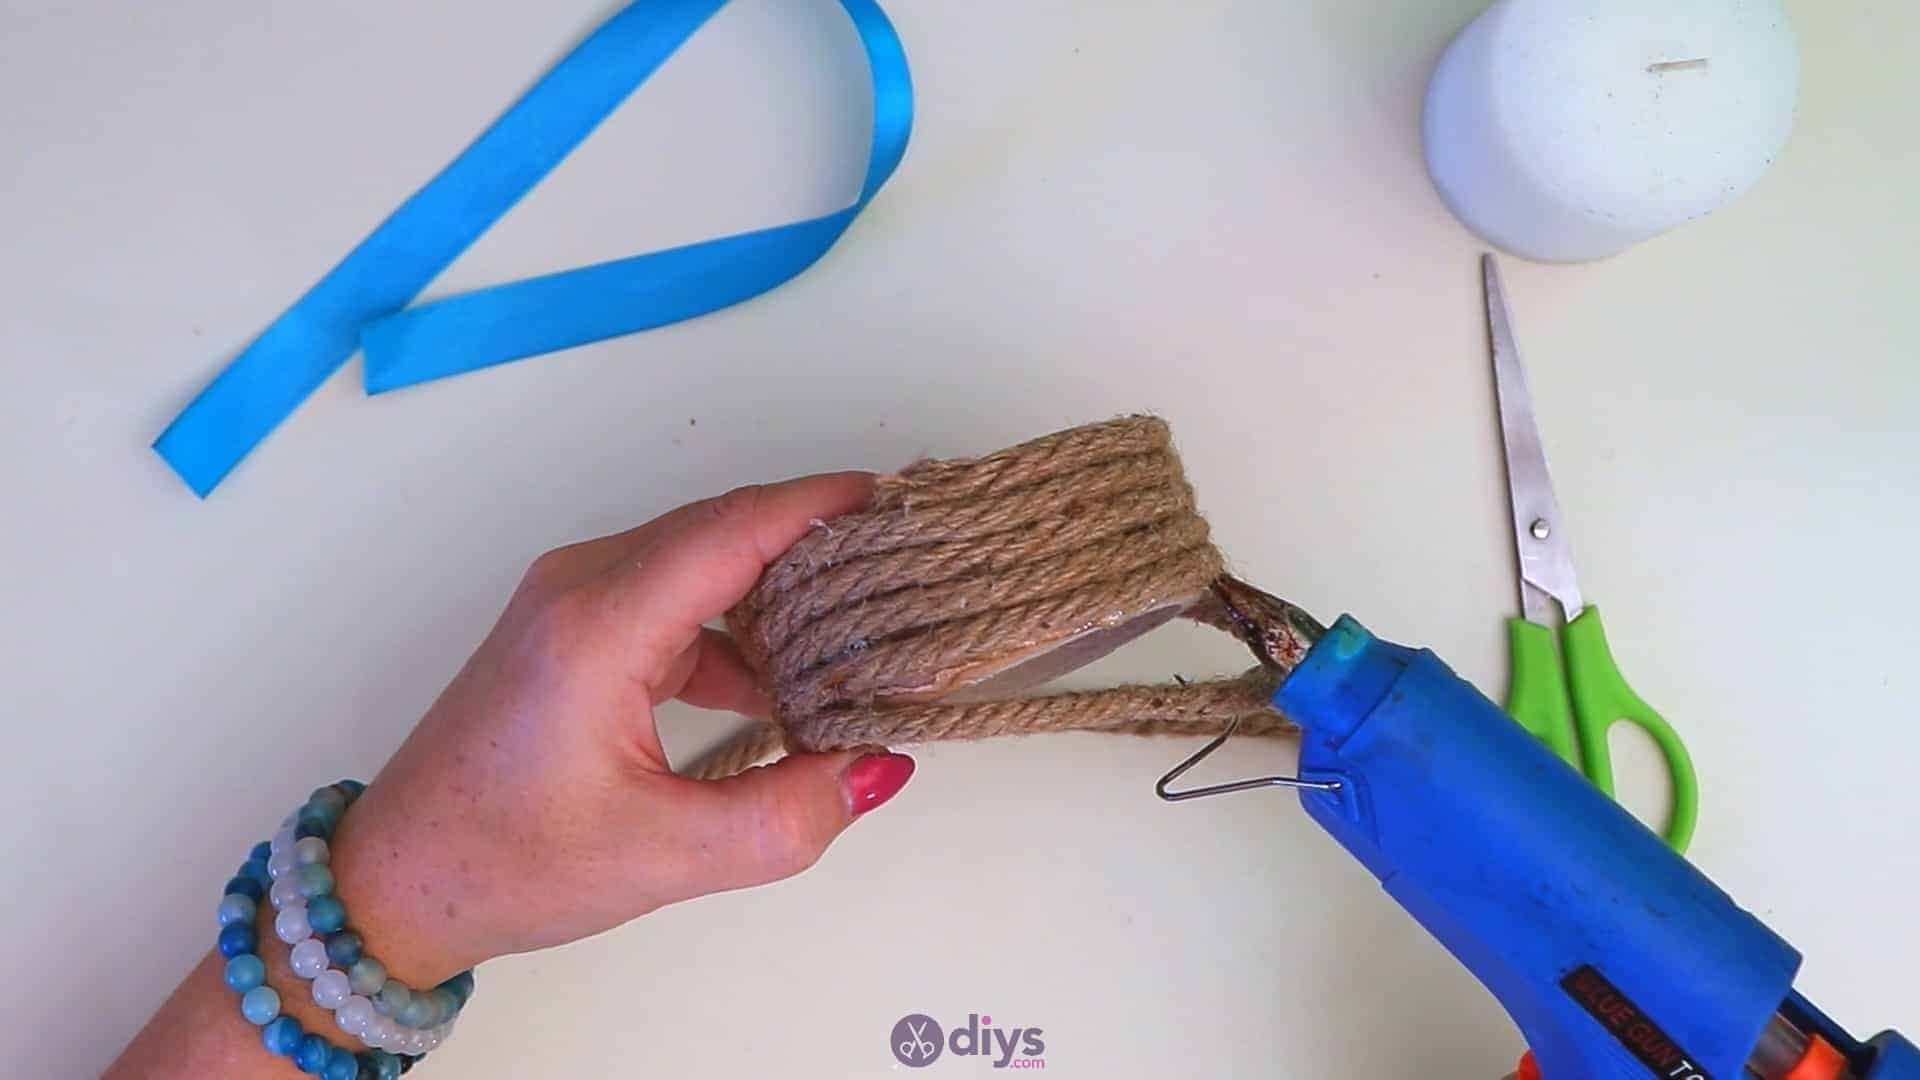
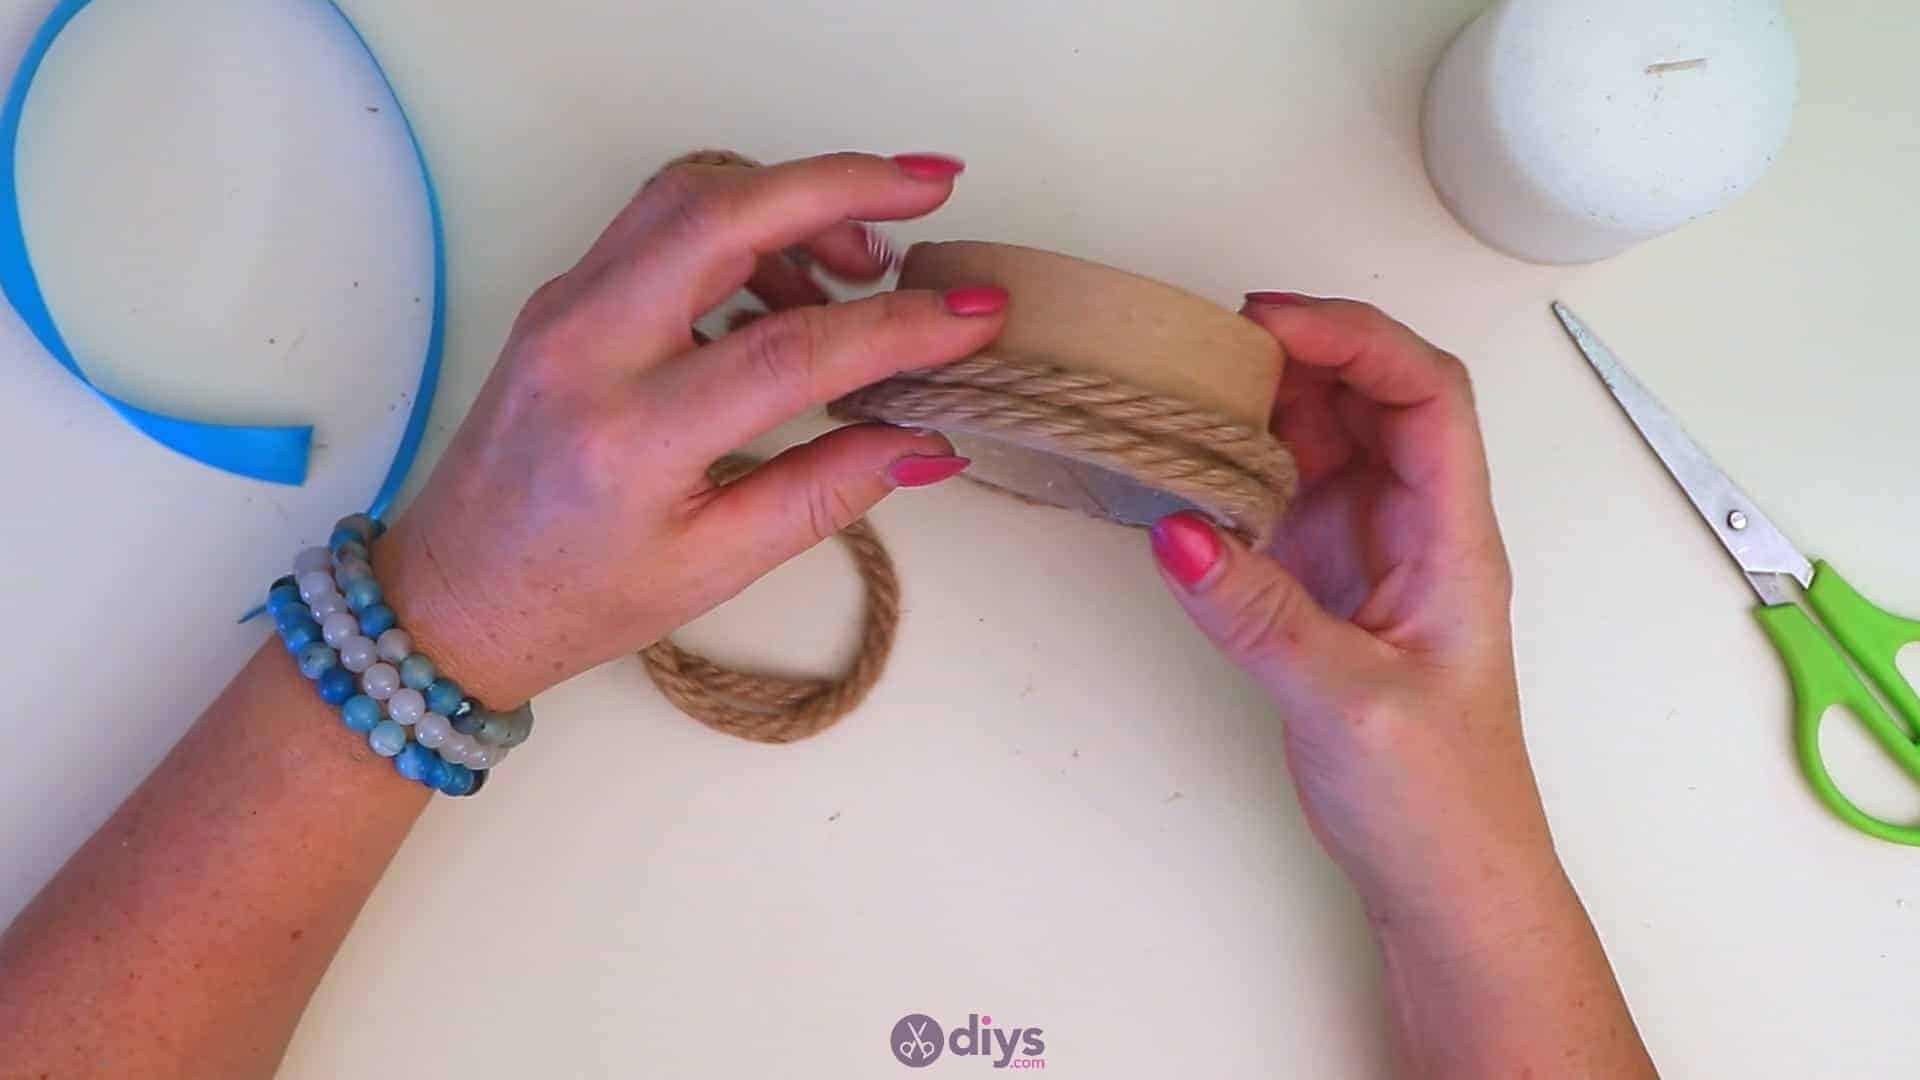
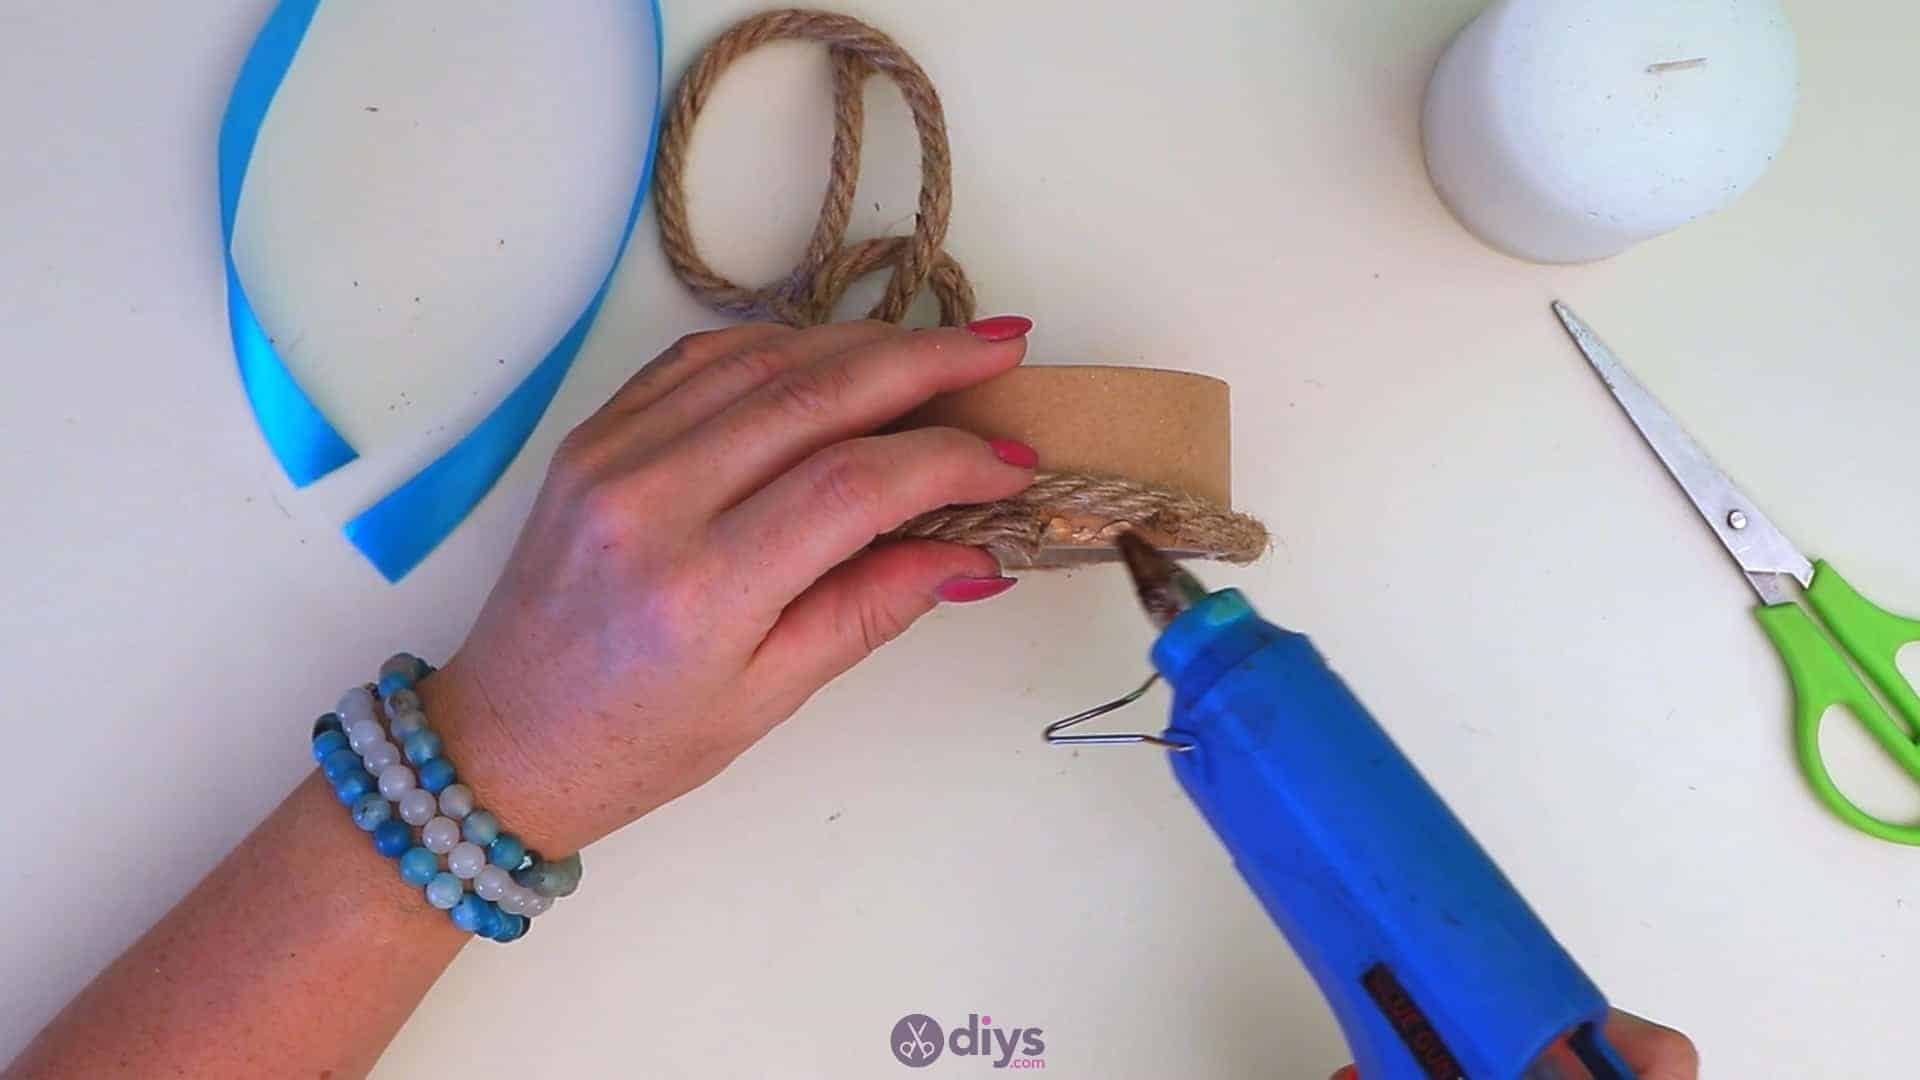
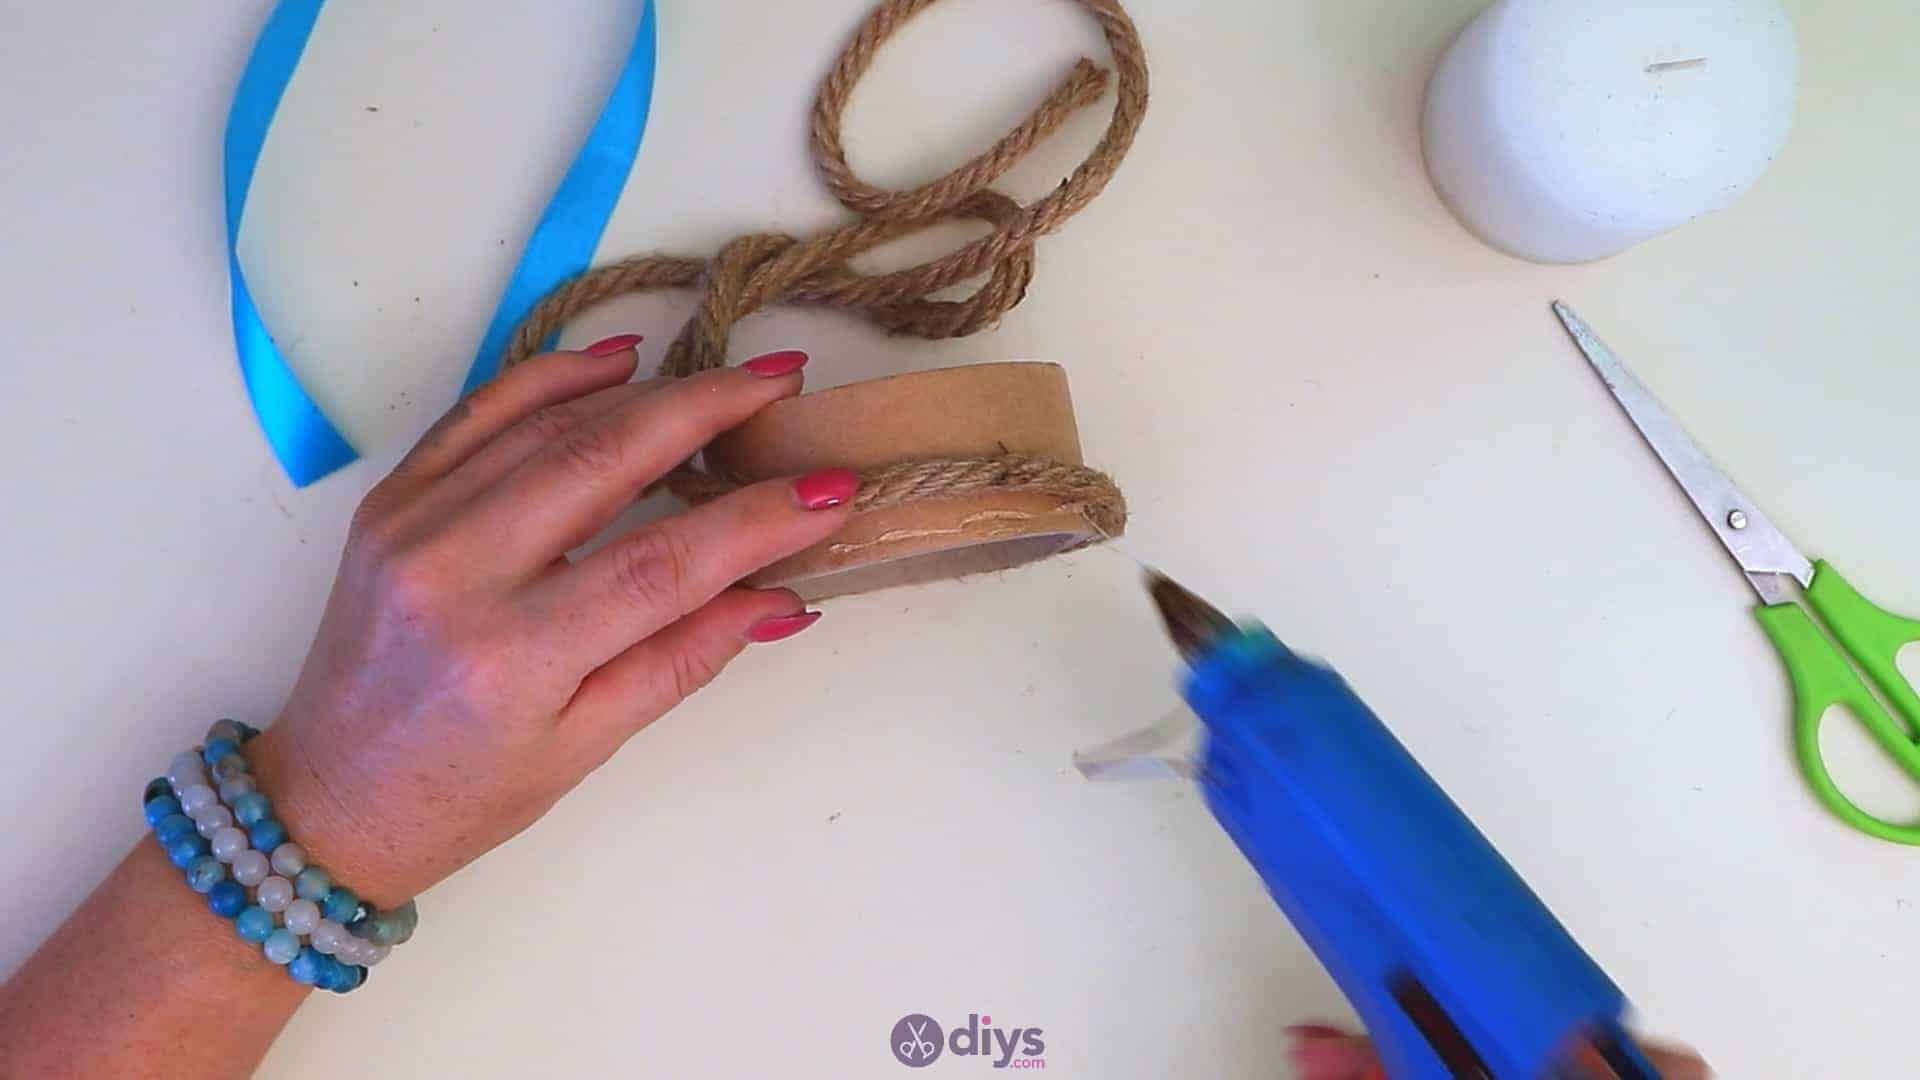
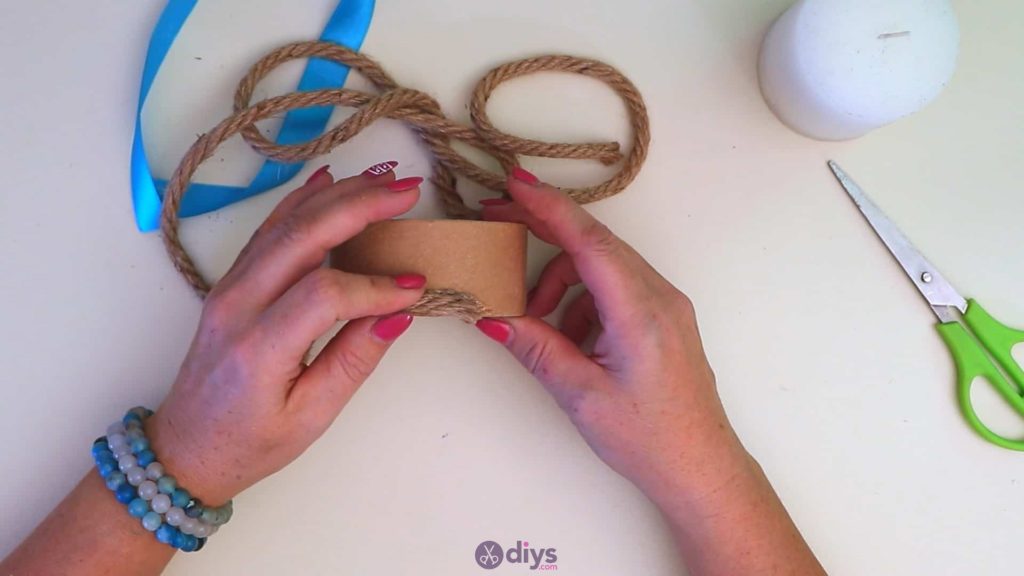
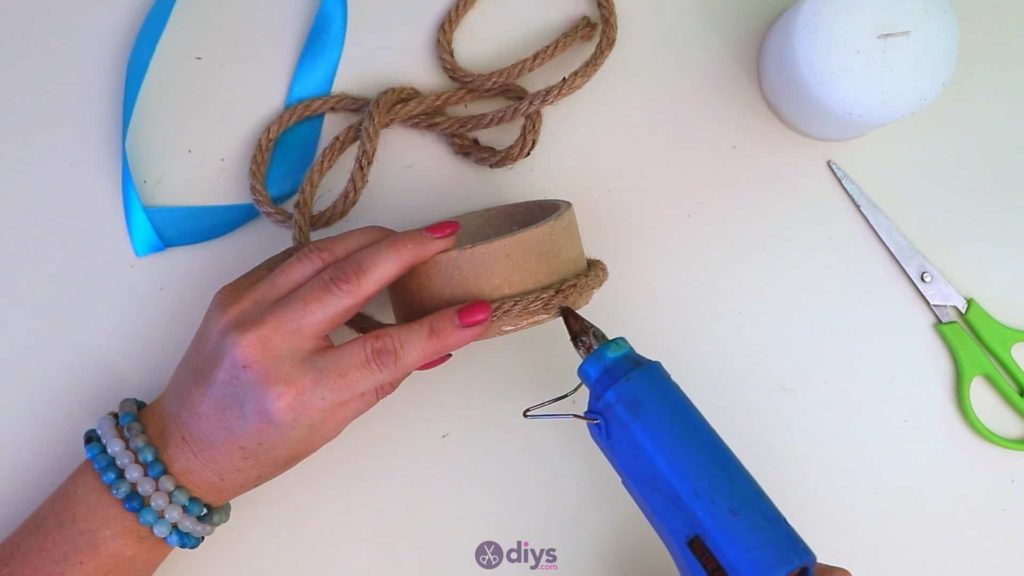
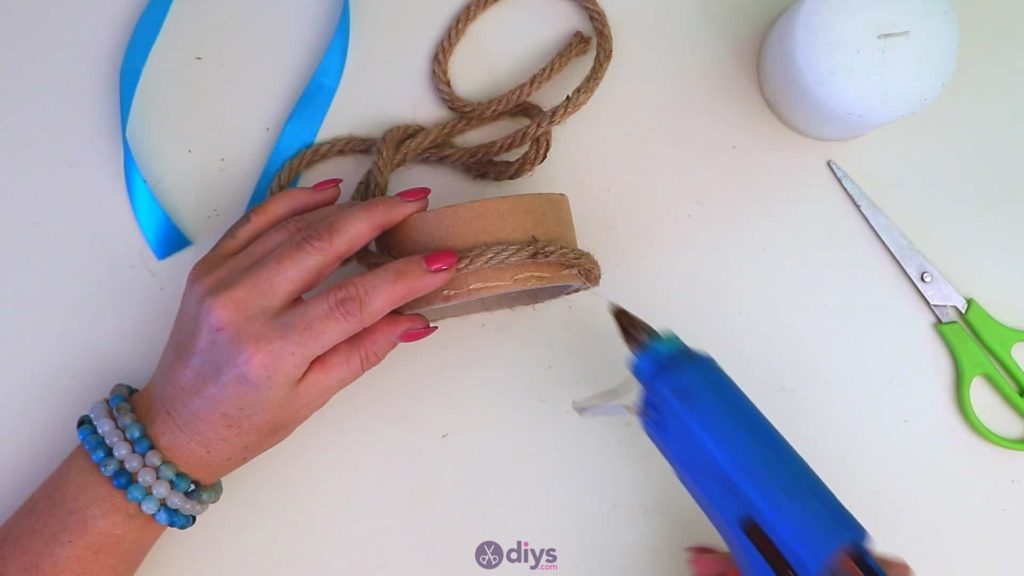
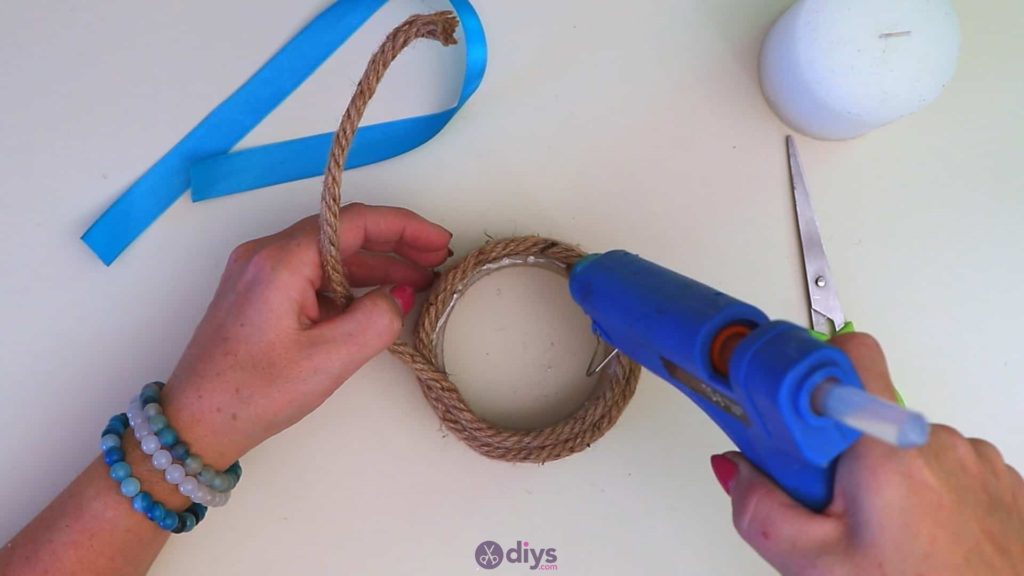
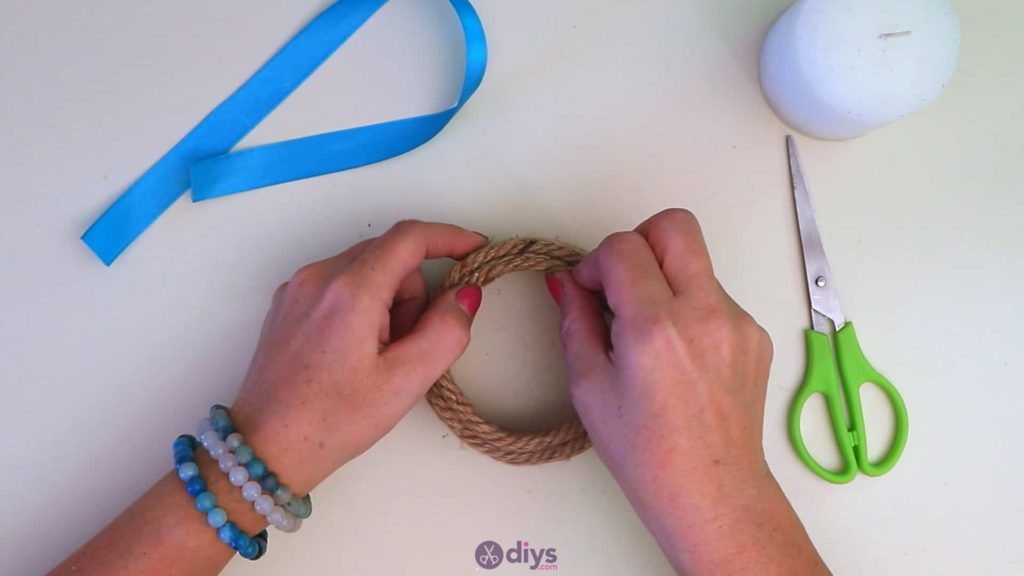
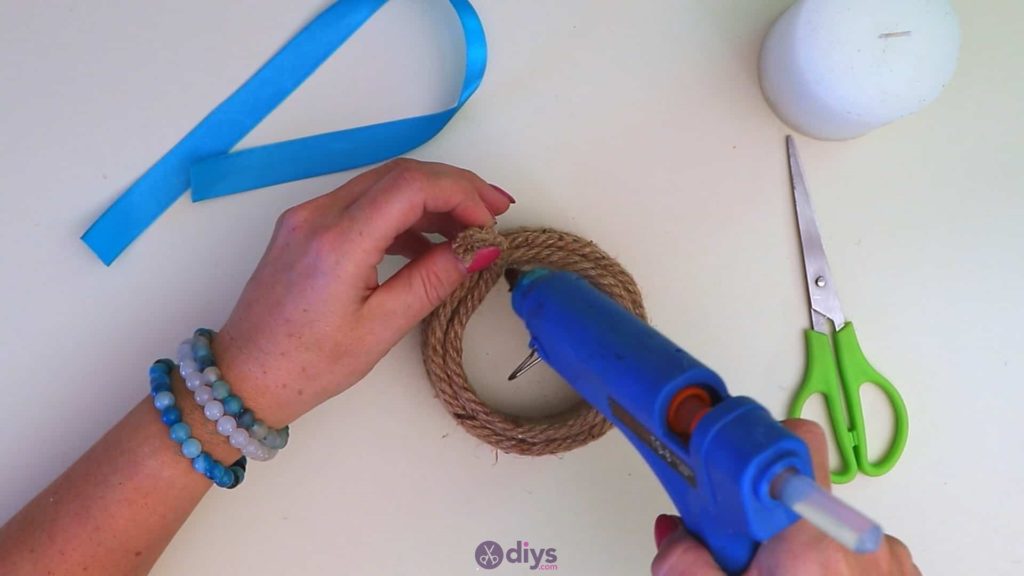
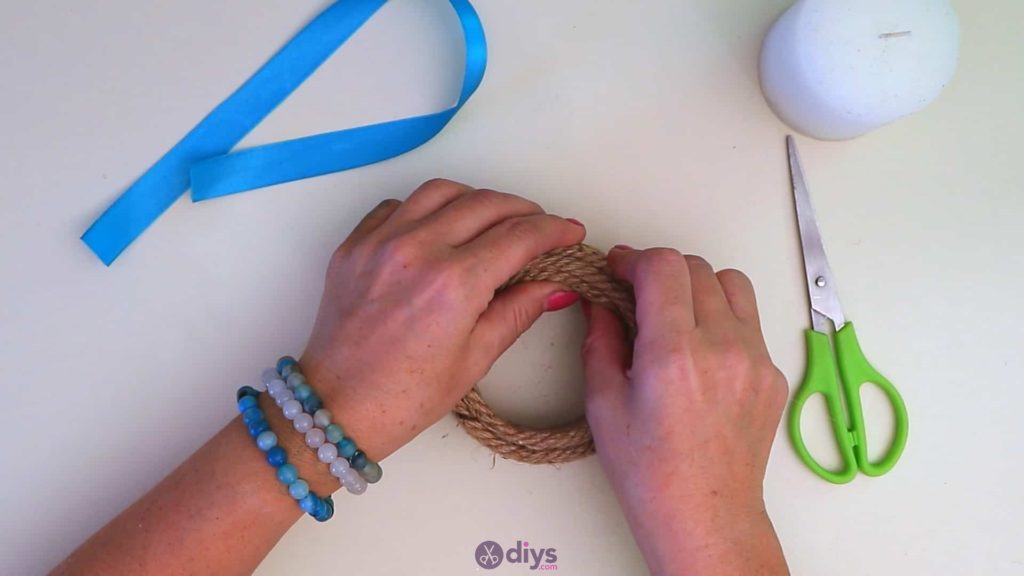
Apply some glue along the very edge of your cardboard or paper cylinder. Place the end of your jute rope horizontally along the edge, sticking it down in the glue as close to the edge as possible. Stick the rest of the rope horizontally along that edge, keeping its length lined up with it as evenly and close as possible. Keep gluing the rope along that edge until you meet back up with your other end. Now, start applying glue along the side of the rope you already laid down and continuing wrapping that way! You’ll notice that your rope starts spiralling up the height of your cylinder. Continue this process all the way up to the top, and then do one more to cover the very top edge for a finished look. Glue your end down well, tucking it in as well as you can and then trim it free from any excess rope you have left.


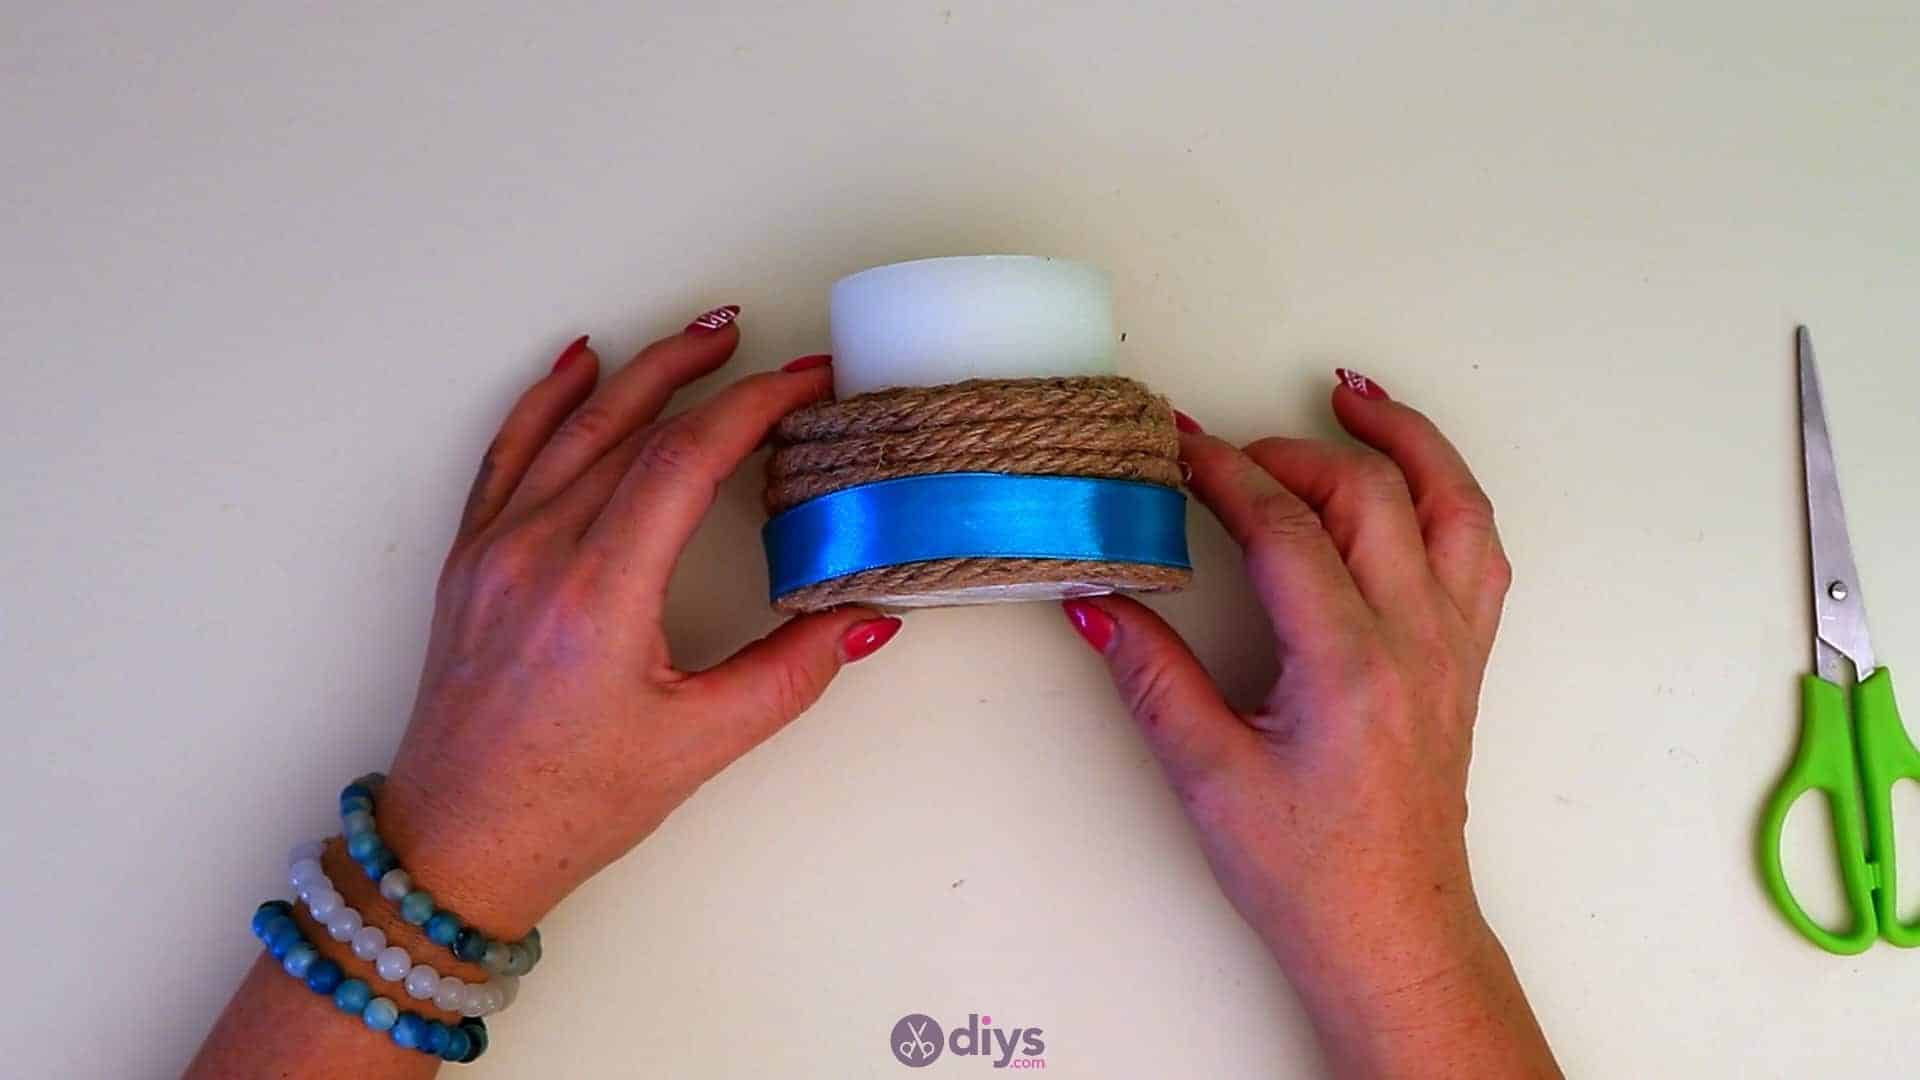
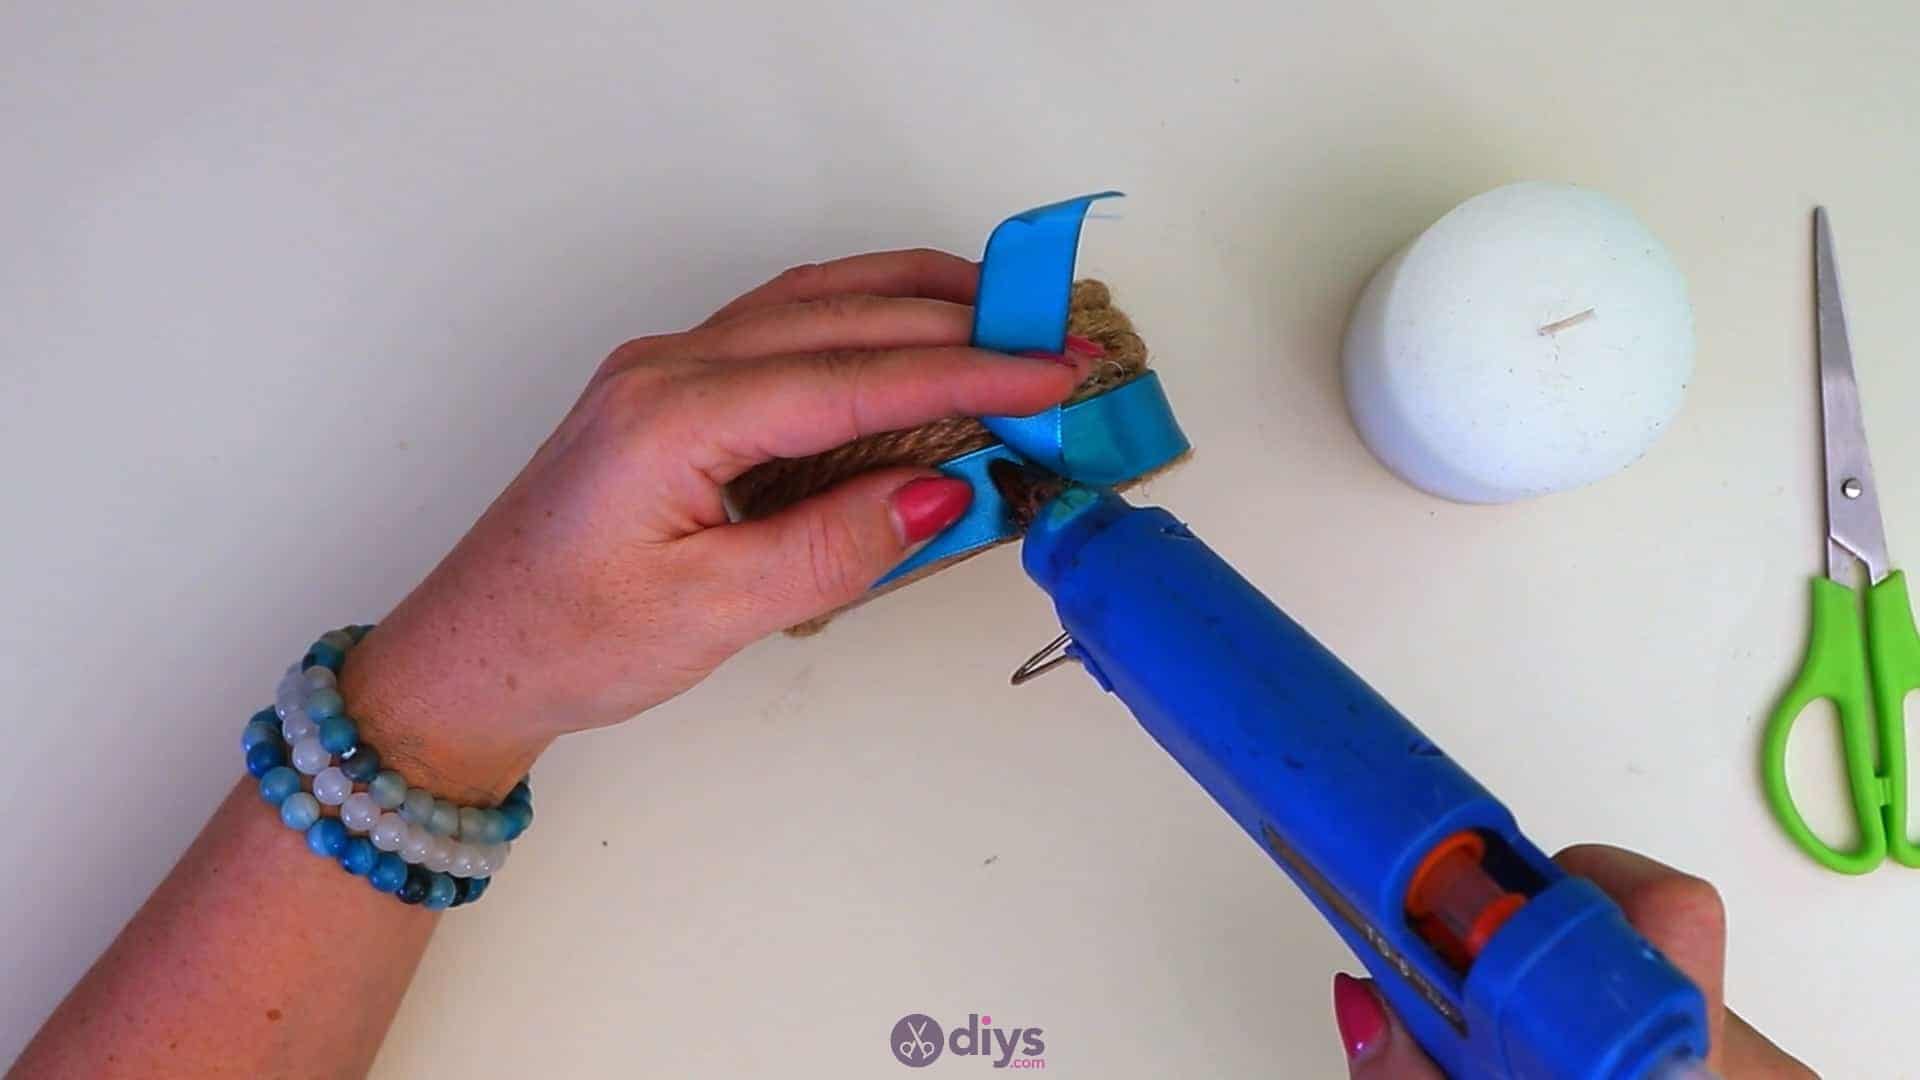
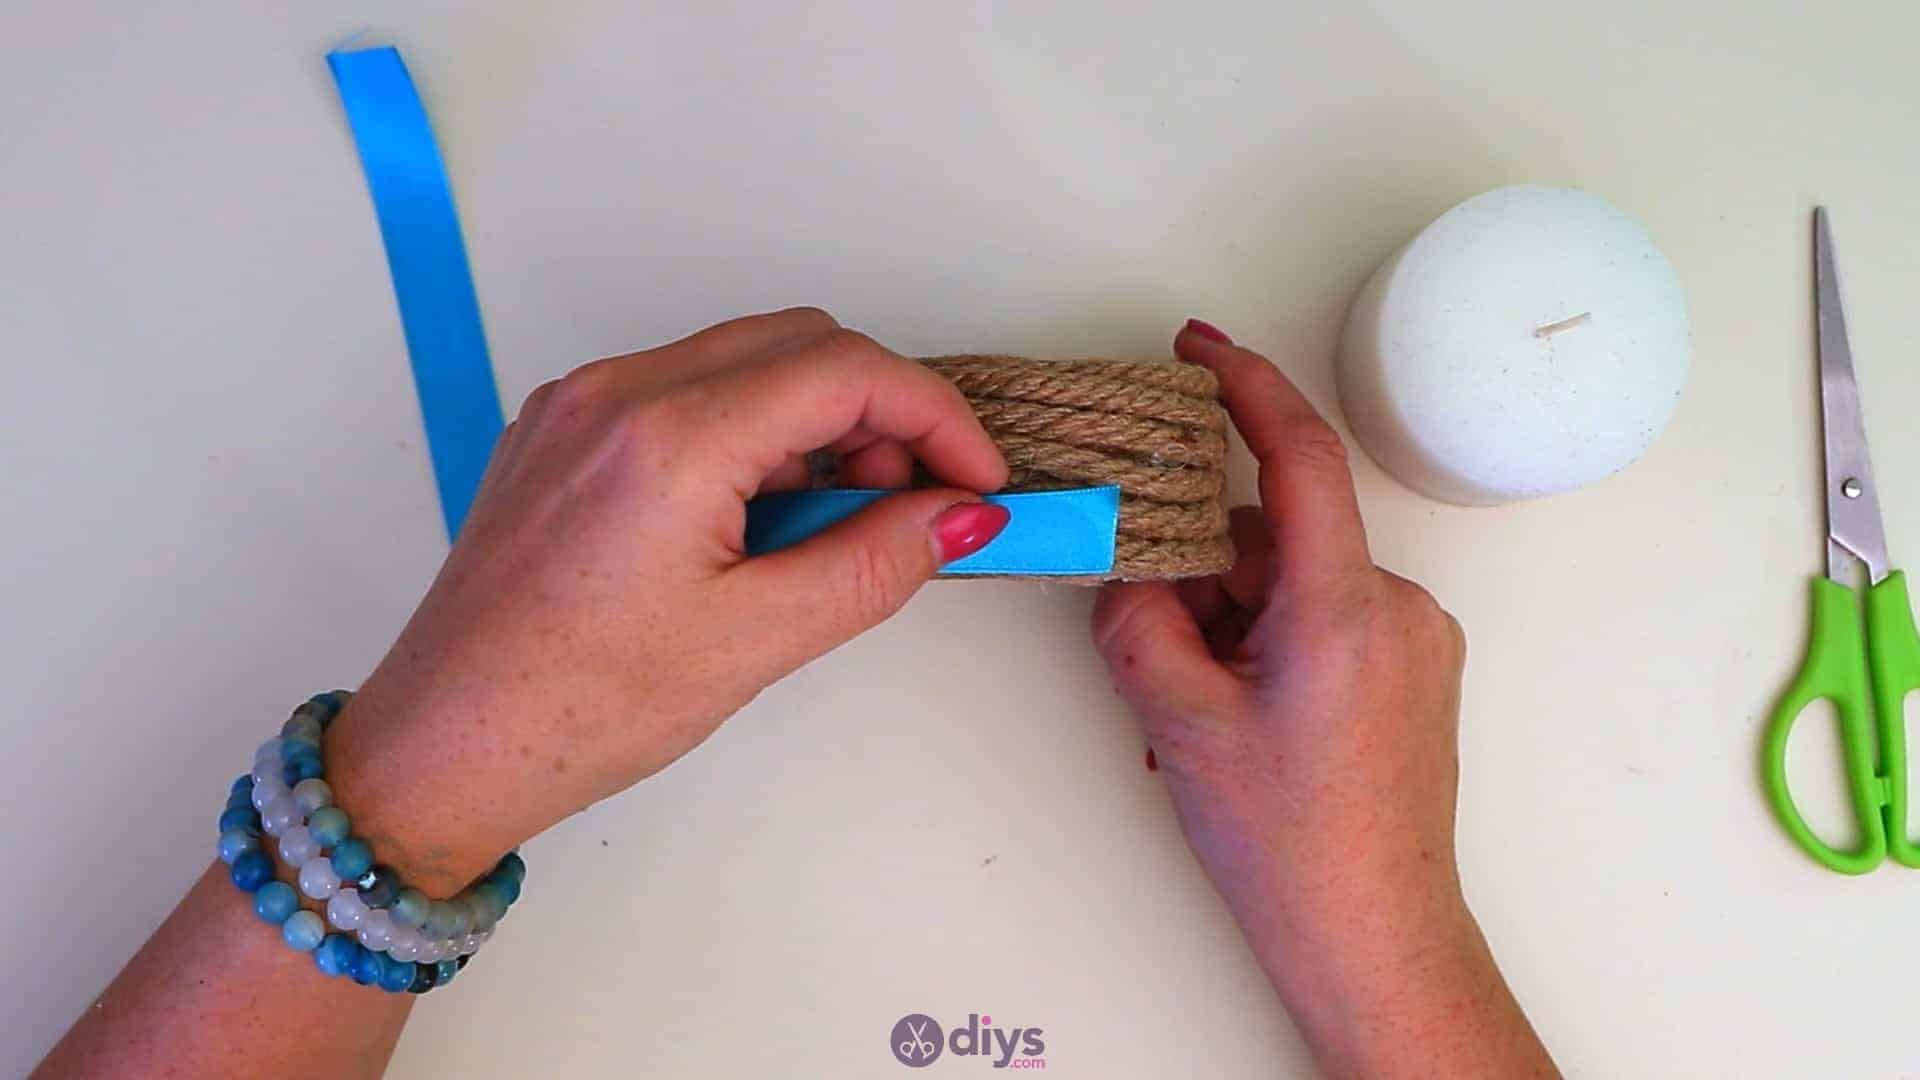
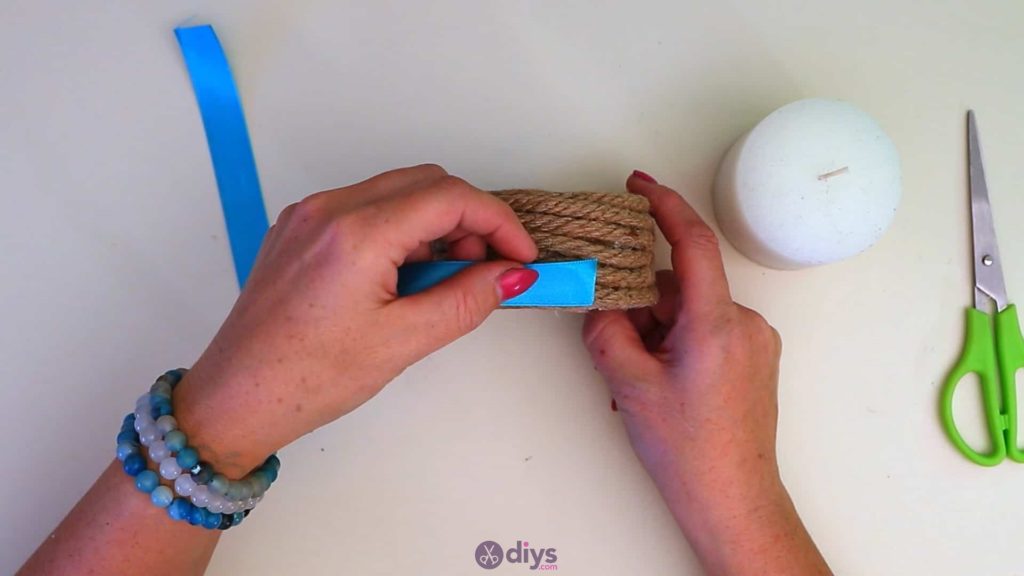
Step 4: add ribbon
Apply some hot glue near the bottom edge once again, just like you did before but this time on top of your jute rope. Turn your ribbon the same way you did with your rope earlier and stick its end down. Wrap it around the bottom edge of your rope wrapped cylinder like you did before as well, keeping its edge as close to the bottom edge of your whole piece as possible until you meet back up with your original end. Apply glue there, cut a new end by trimming off the excess, and stick it down with your other end.

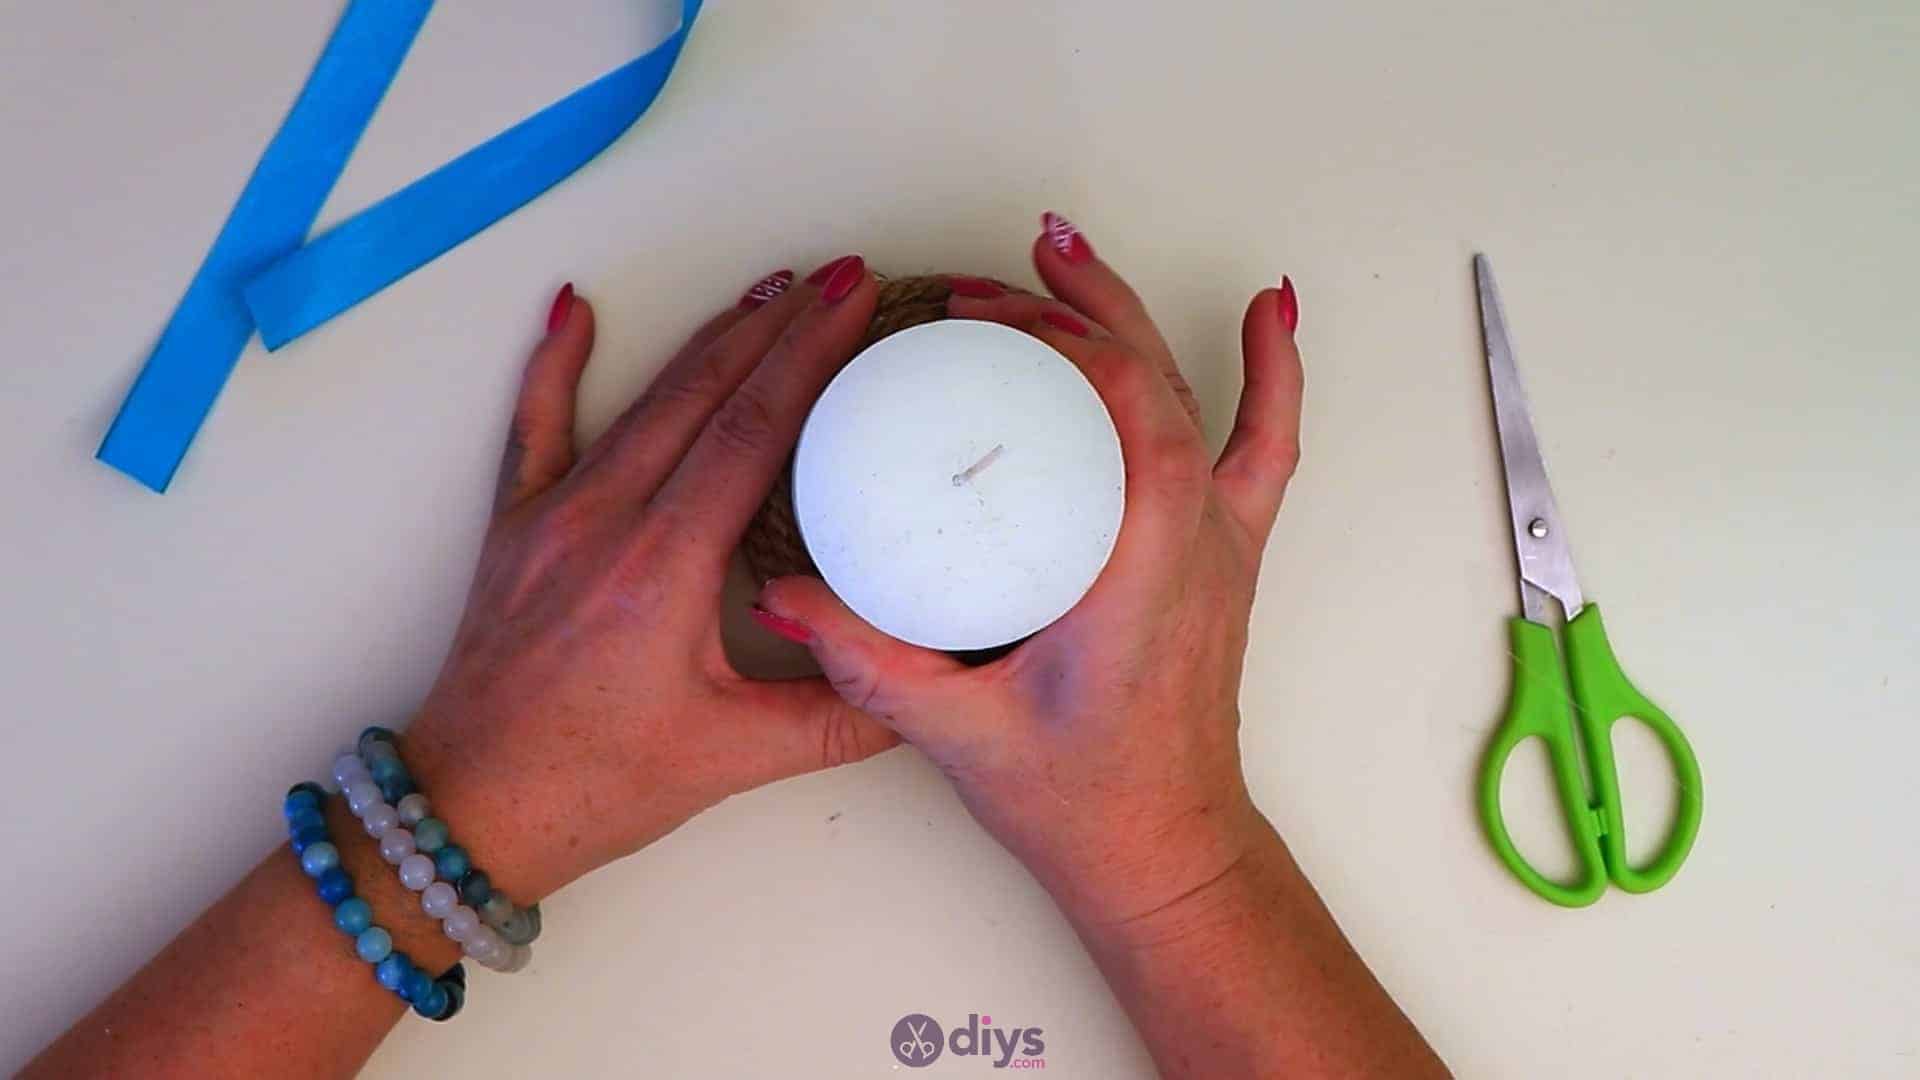
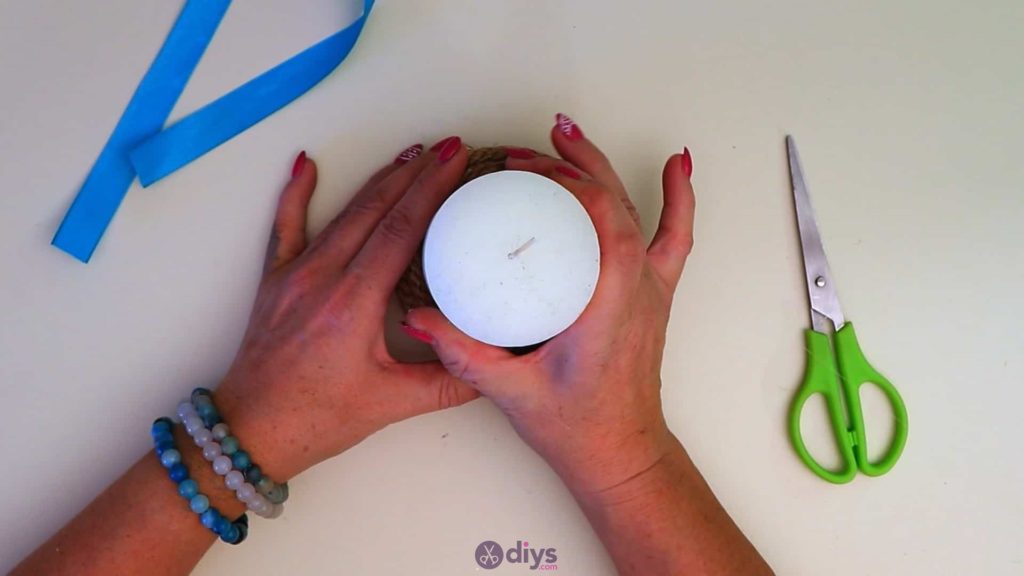
Step 5: place candle
Place your candle inside the middle of the cylinder and voila! A new rustic chic jute tope wrapped candle holder.

Your candle holder is officially wrapped! Feel free to use other colours of ribbon if you’d rather. Just in case you’d like to try this project out for yourself, here’s a fantastic tutorial video to help you!