How to Make a Rainbow Paper Sun
Updated on November 19, 2025


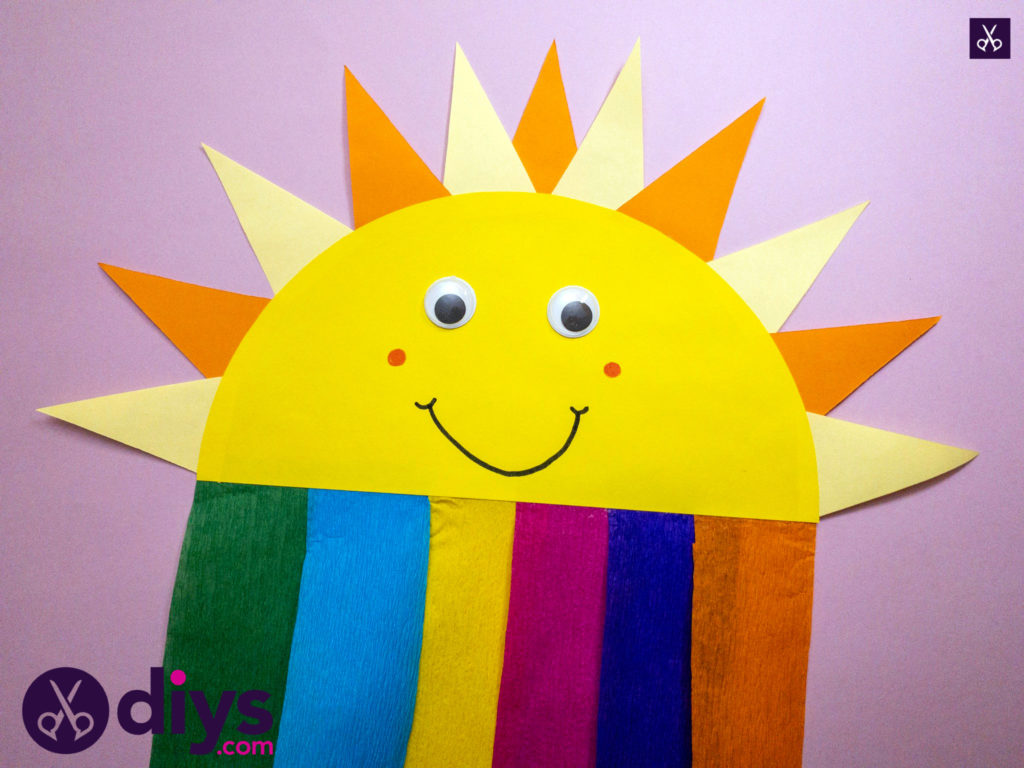
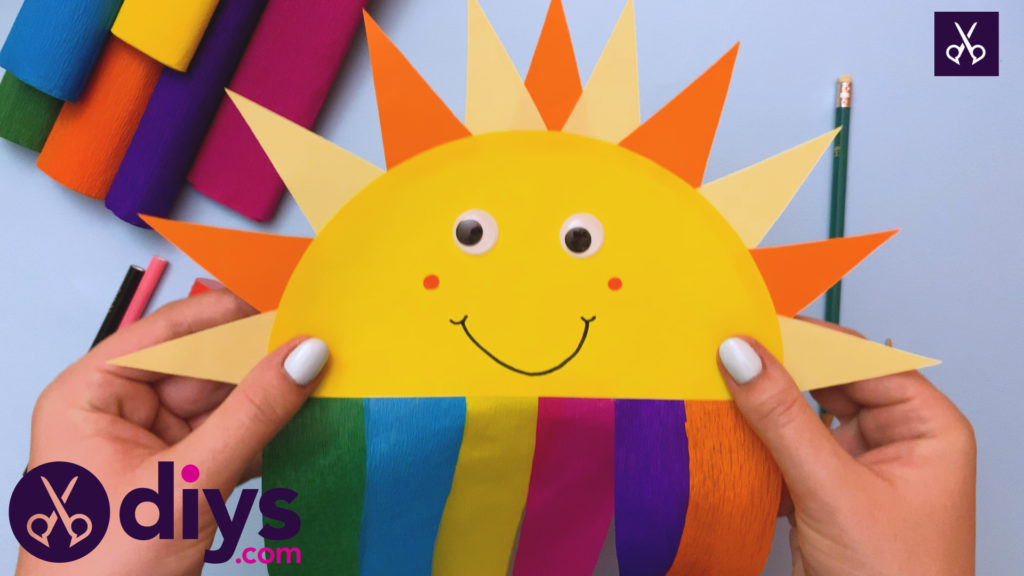
This is the perfect craft for elementary school teachers, stay at home parents, or those of us who just love to craft with kids. Learn how I put together this rainbow paper sun right here and try it yourself!

Just in case you love the idea of making a simple happy rainbow sun from paper just as much as we did, if not more, here are the steps I followed to make it happen. There’s also a video tutorial at the end of this post, just to make thingsreally clear!
For this project, you’ll need:
- Yellow and orange paper
- Crepe paper (any colour you like)
- Glue stick
- Scissors
- Black and pink markers
- Googly eyes

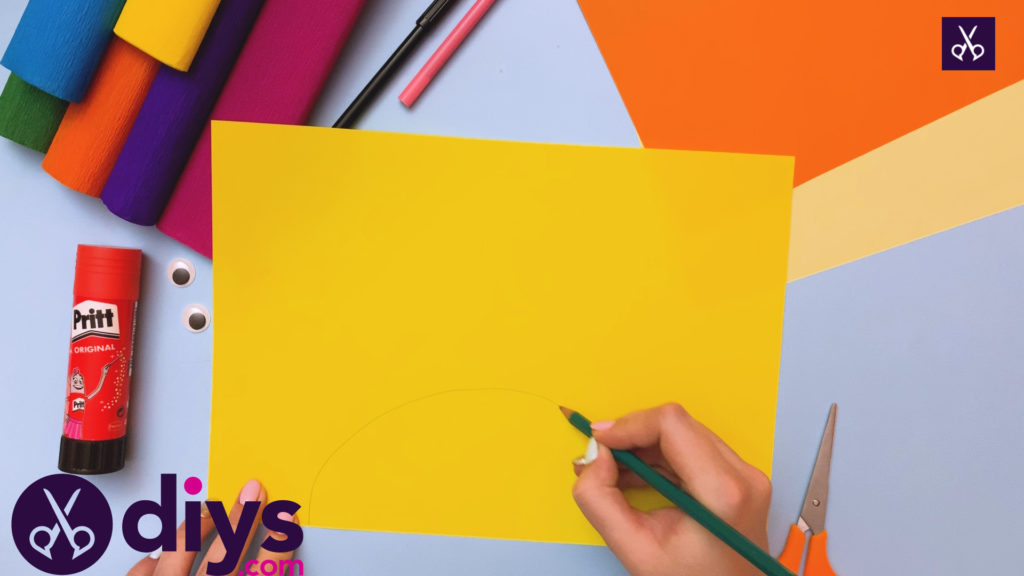
Step 1: Gather your materials!
Take your brightest yellow sheet of paper and, along its longest edge, draw a semi-circle, using the edge as your flat bottom and using your pencil to draw a slow arch about four inches long. This will be the body of your sun.
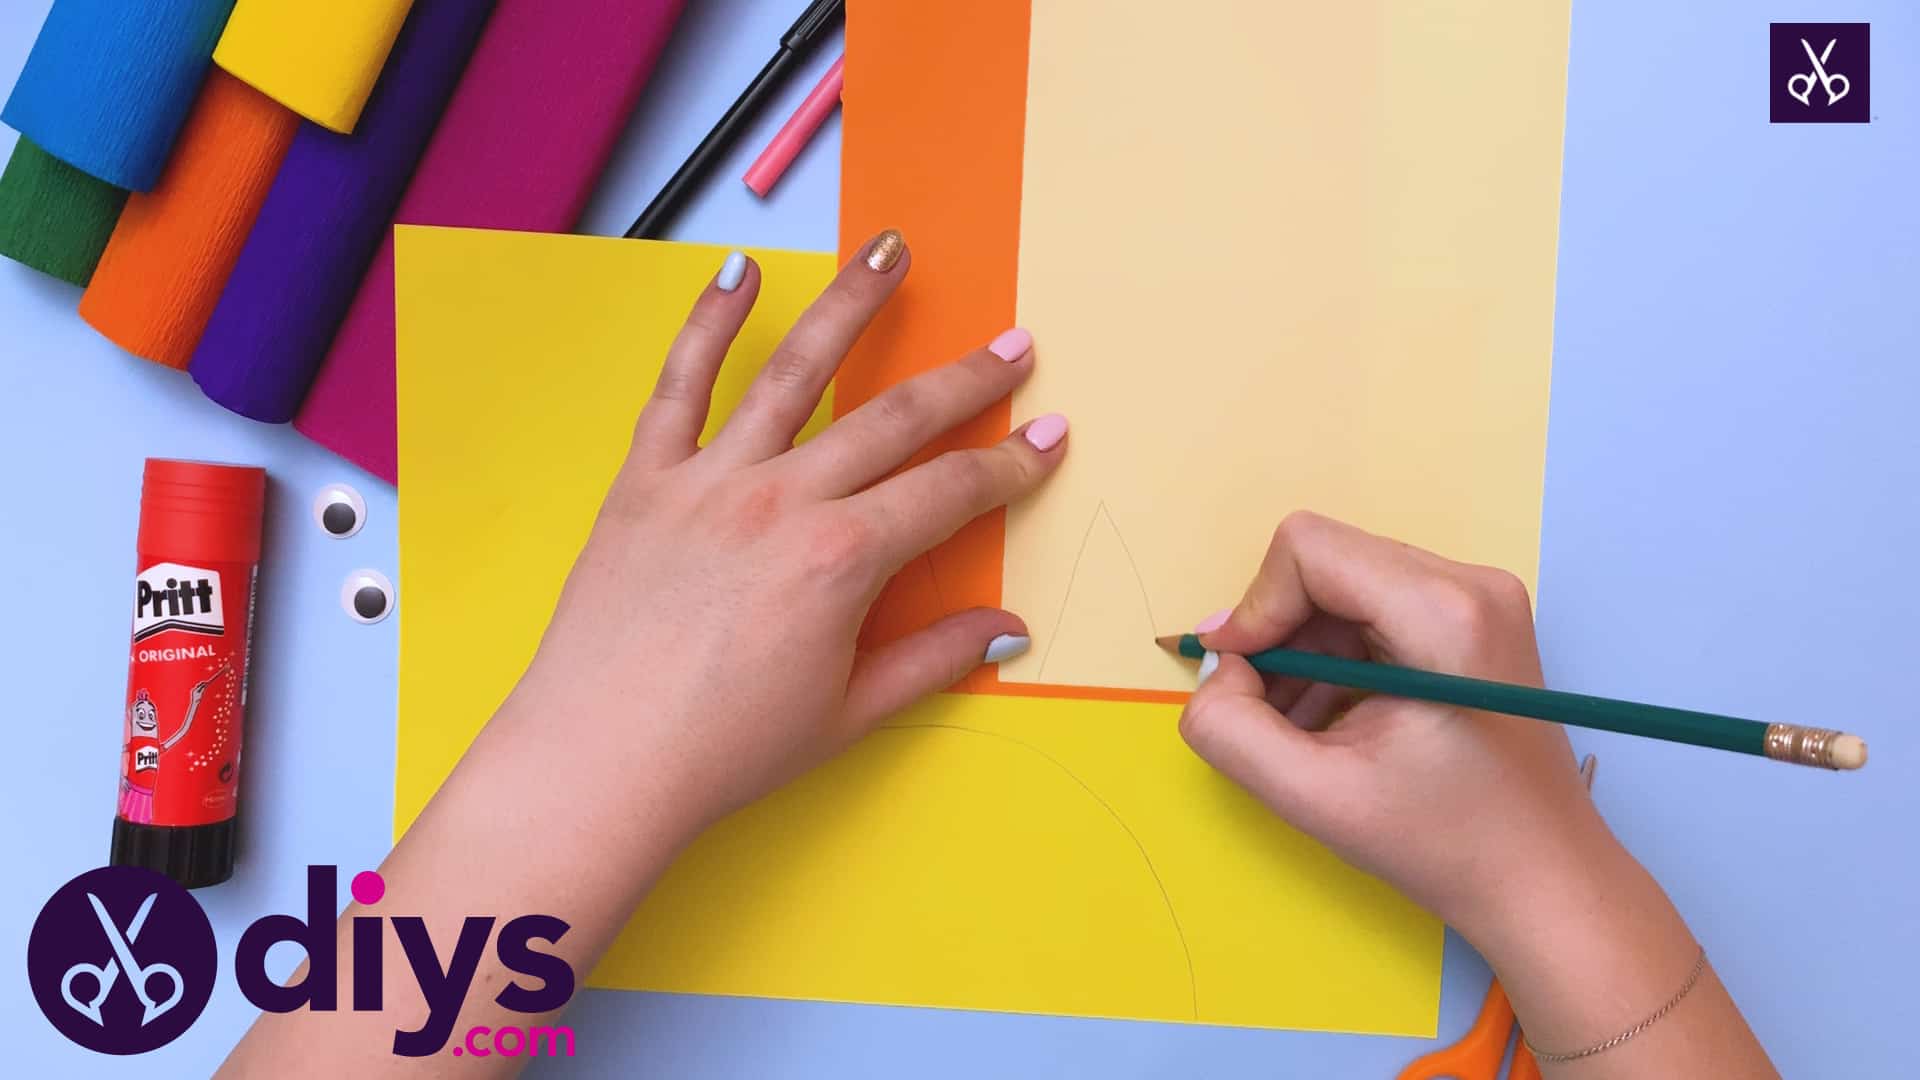
Step 2: make the rays
On your lighter yellow and orange sheets of paper, draw the shape of a triangle along the bottom, using that edge as your straight line again. These will be your sun’s rays. I chose to make six rays in each colour. You can either hand draw six separate triangles in each colour like I did or draw one, cut it out, and trace it like a template for the rest of them to make sure they’re all exactly the same shape and size. Do whatever sounds easier to you! Either way, cut out all of your rays.

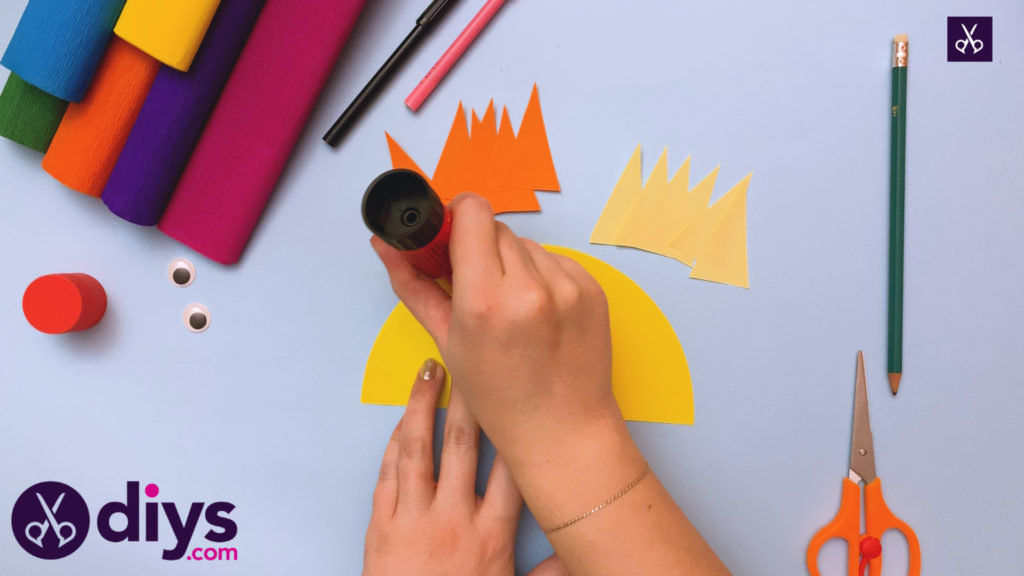
Step 3: start gluing
Apply glue all the way around the outer arching edge of your sun, on the front side that is facing you. You do not need to apply glue along the straight bottom edge right now.
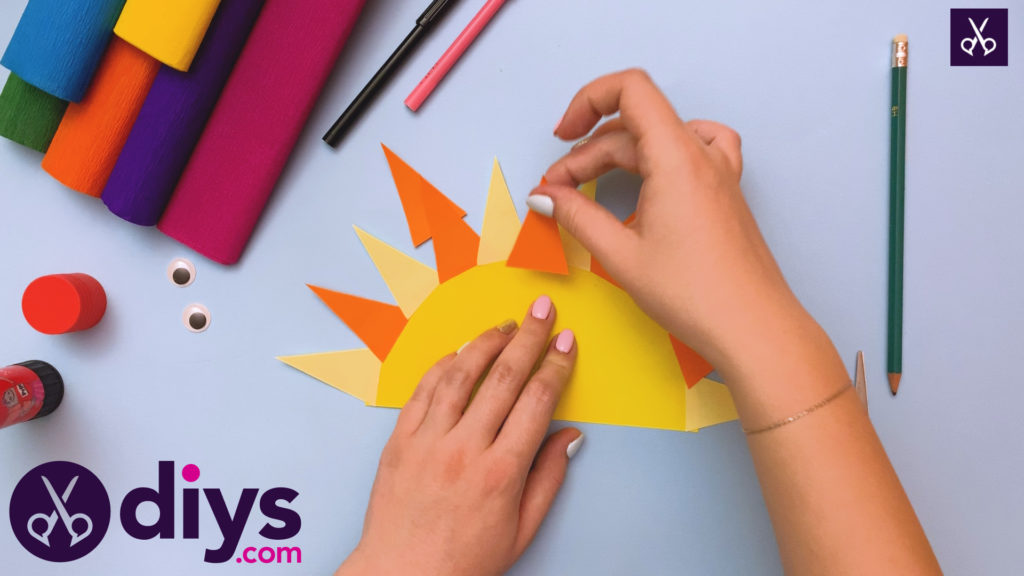
Step 4: arrange
Carefully arrange your sun’s rays all along that top rounded edge, sticking their straight bases down into the glue. I chose to do an alternating colour pattern to give the project a bit of depth and detail.
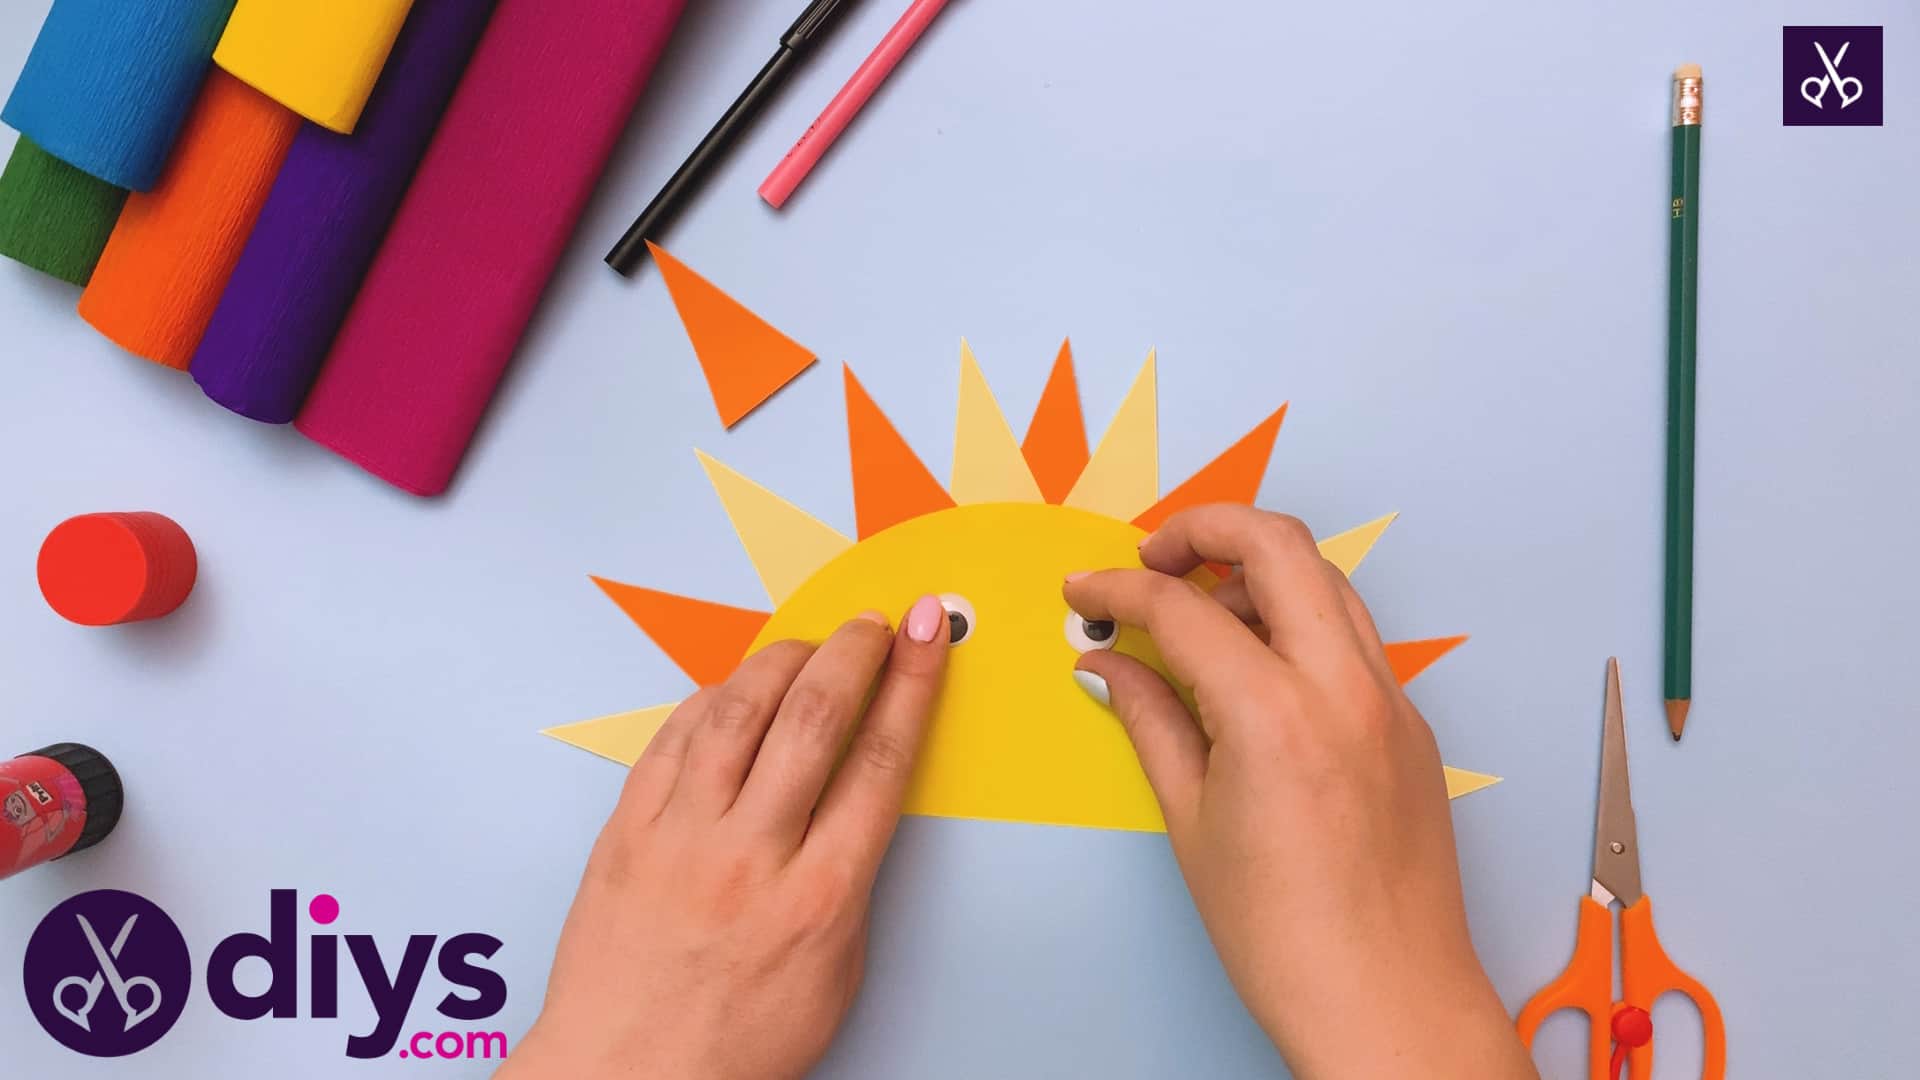
Step 5: add eyes
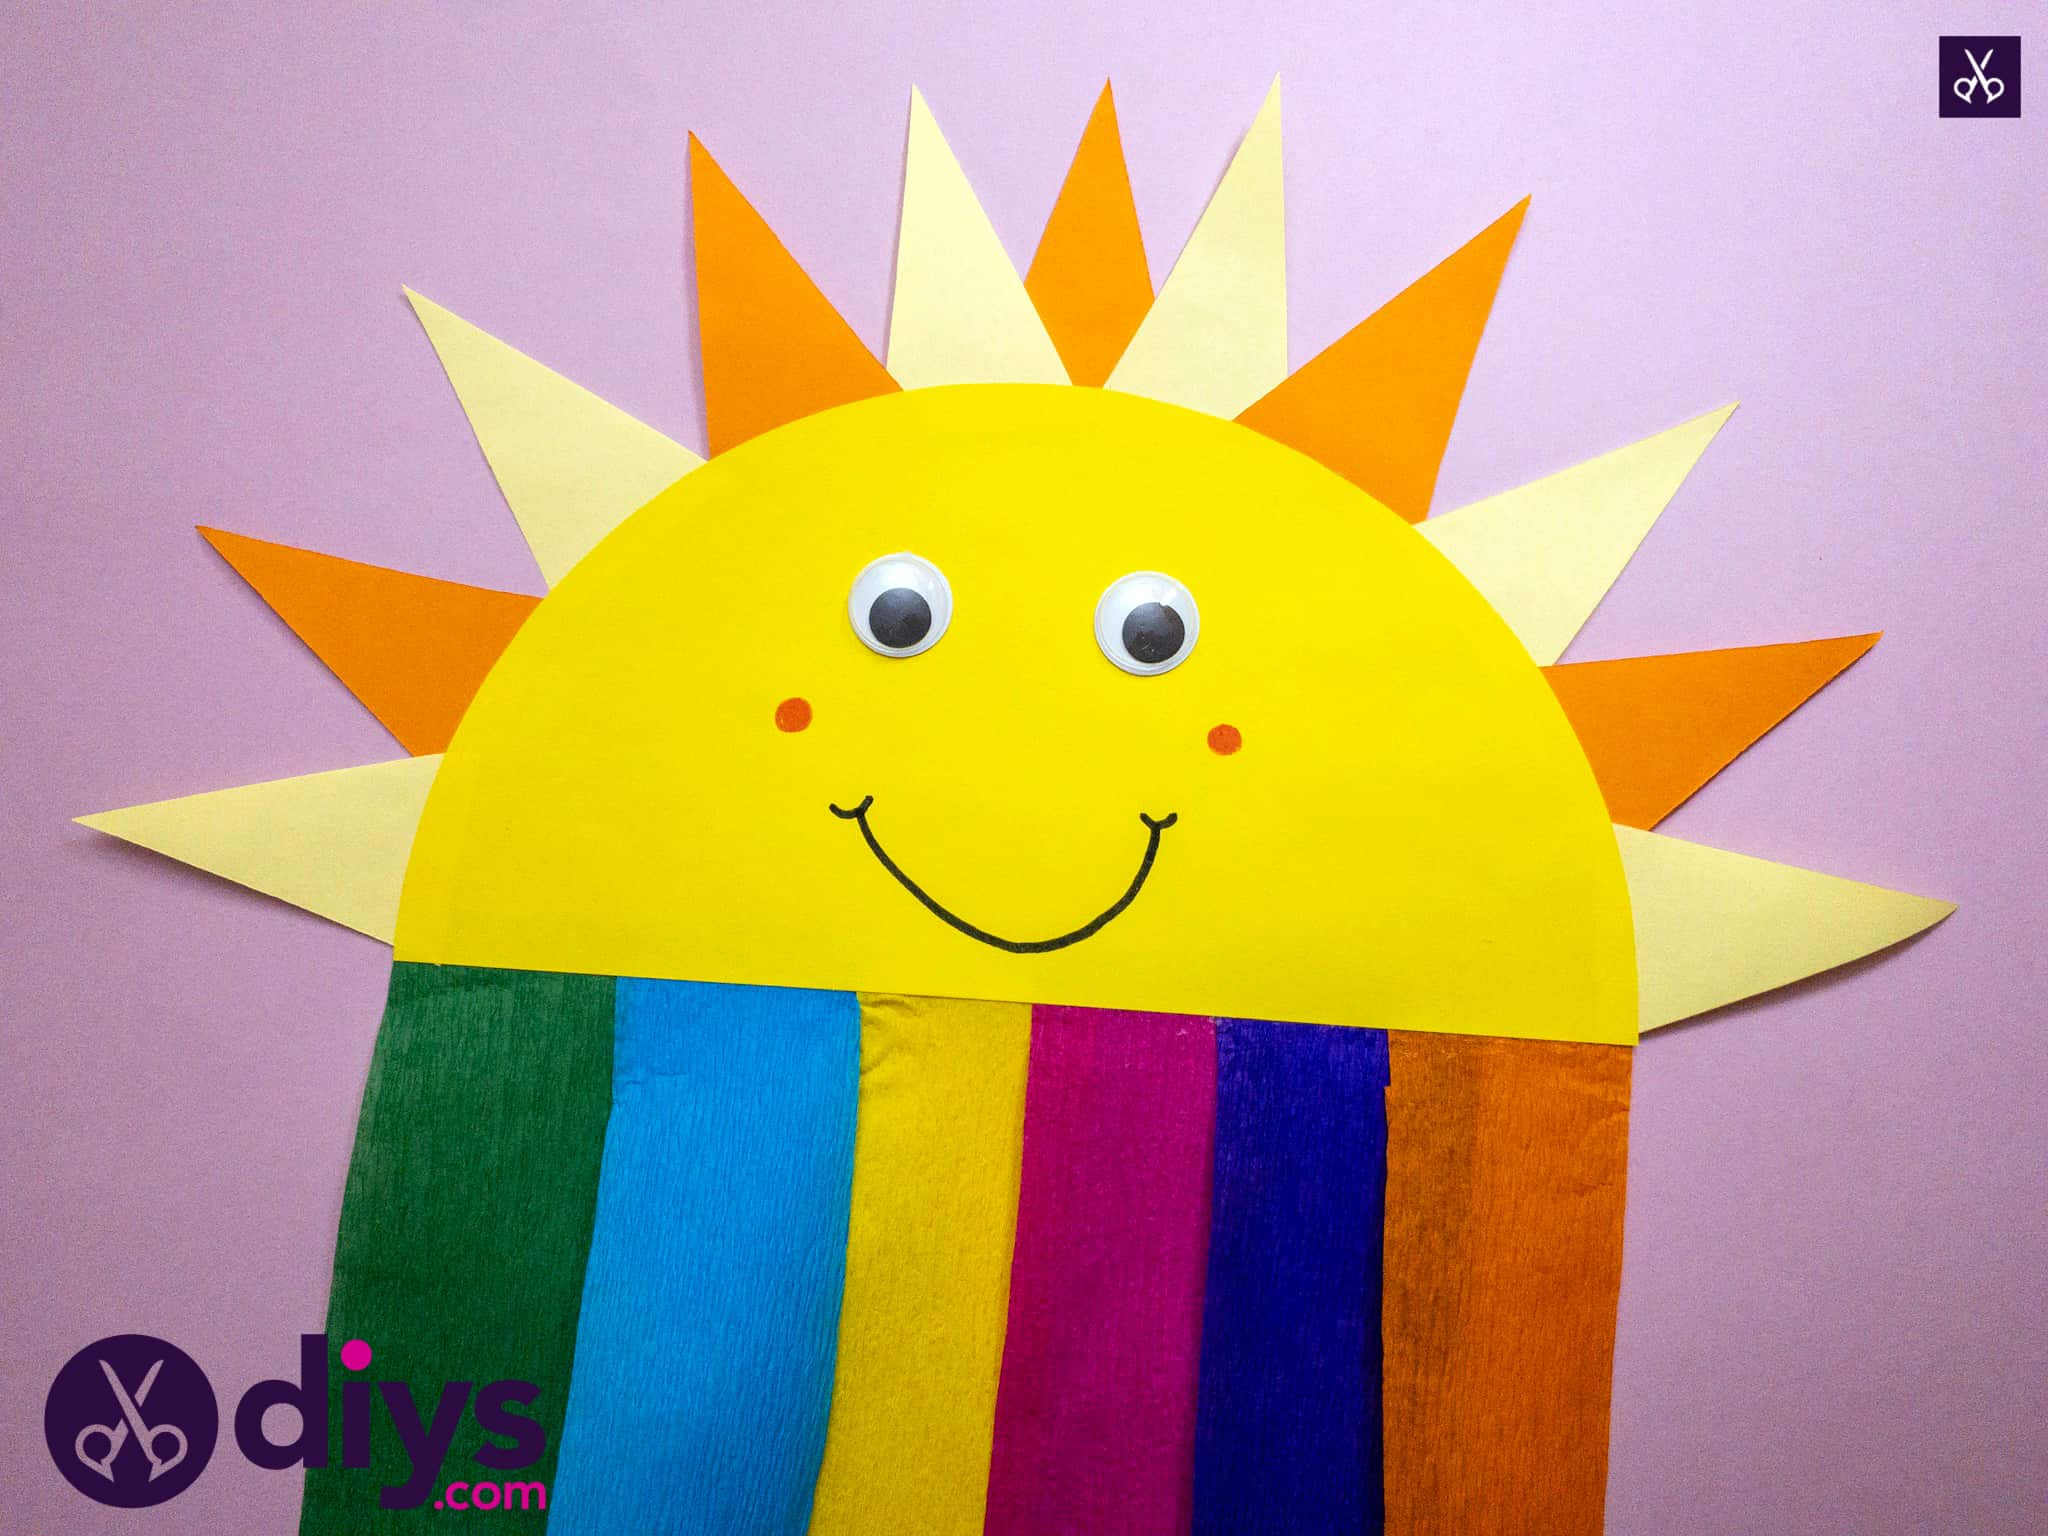
Glue your googly eyes onto your yellow semi-circle to start making your sun’s face! I stuck mine on in the middle but up high in order to leave room for the rest of its features. Below the eyes, use your black marker to draw a smile and your pink marker to make a little circle like a blushing cheek on each side.

Step 6: cut crepe strips
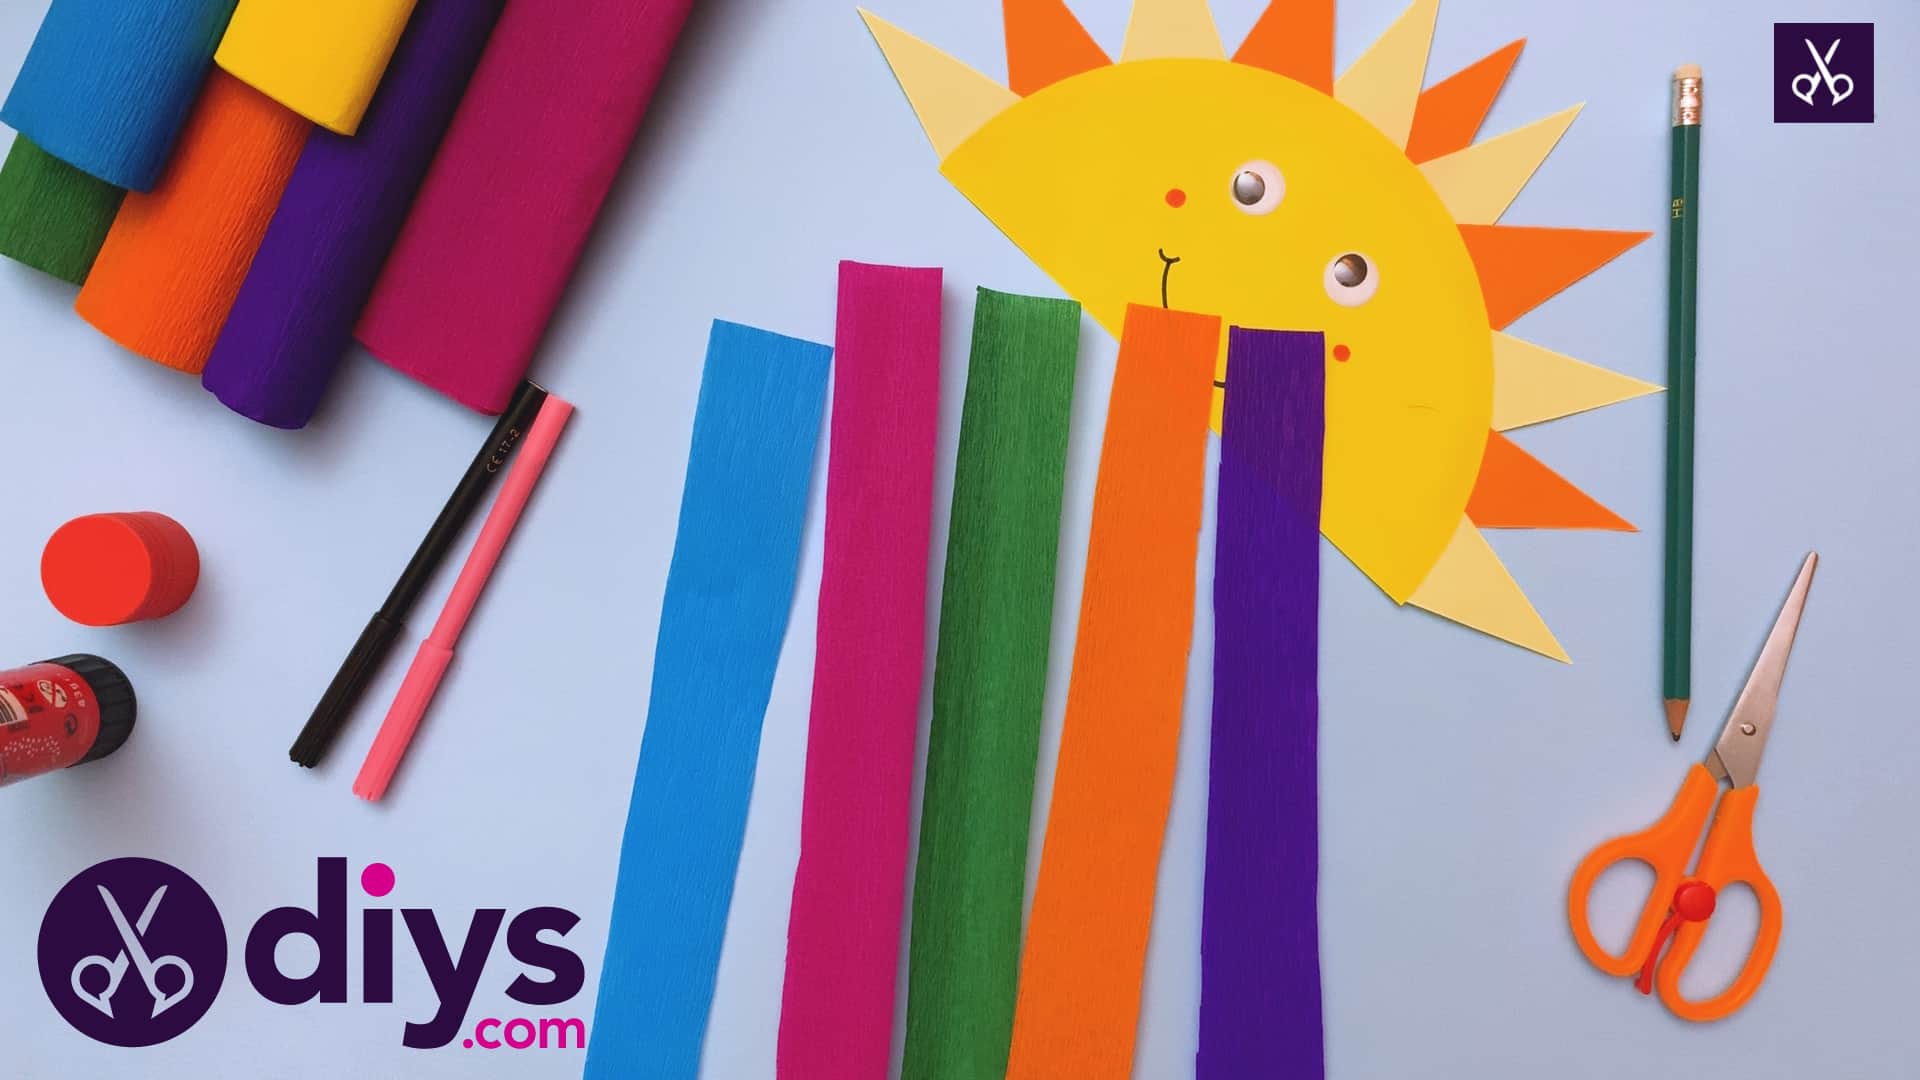
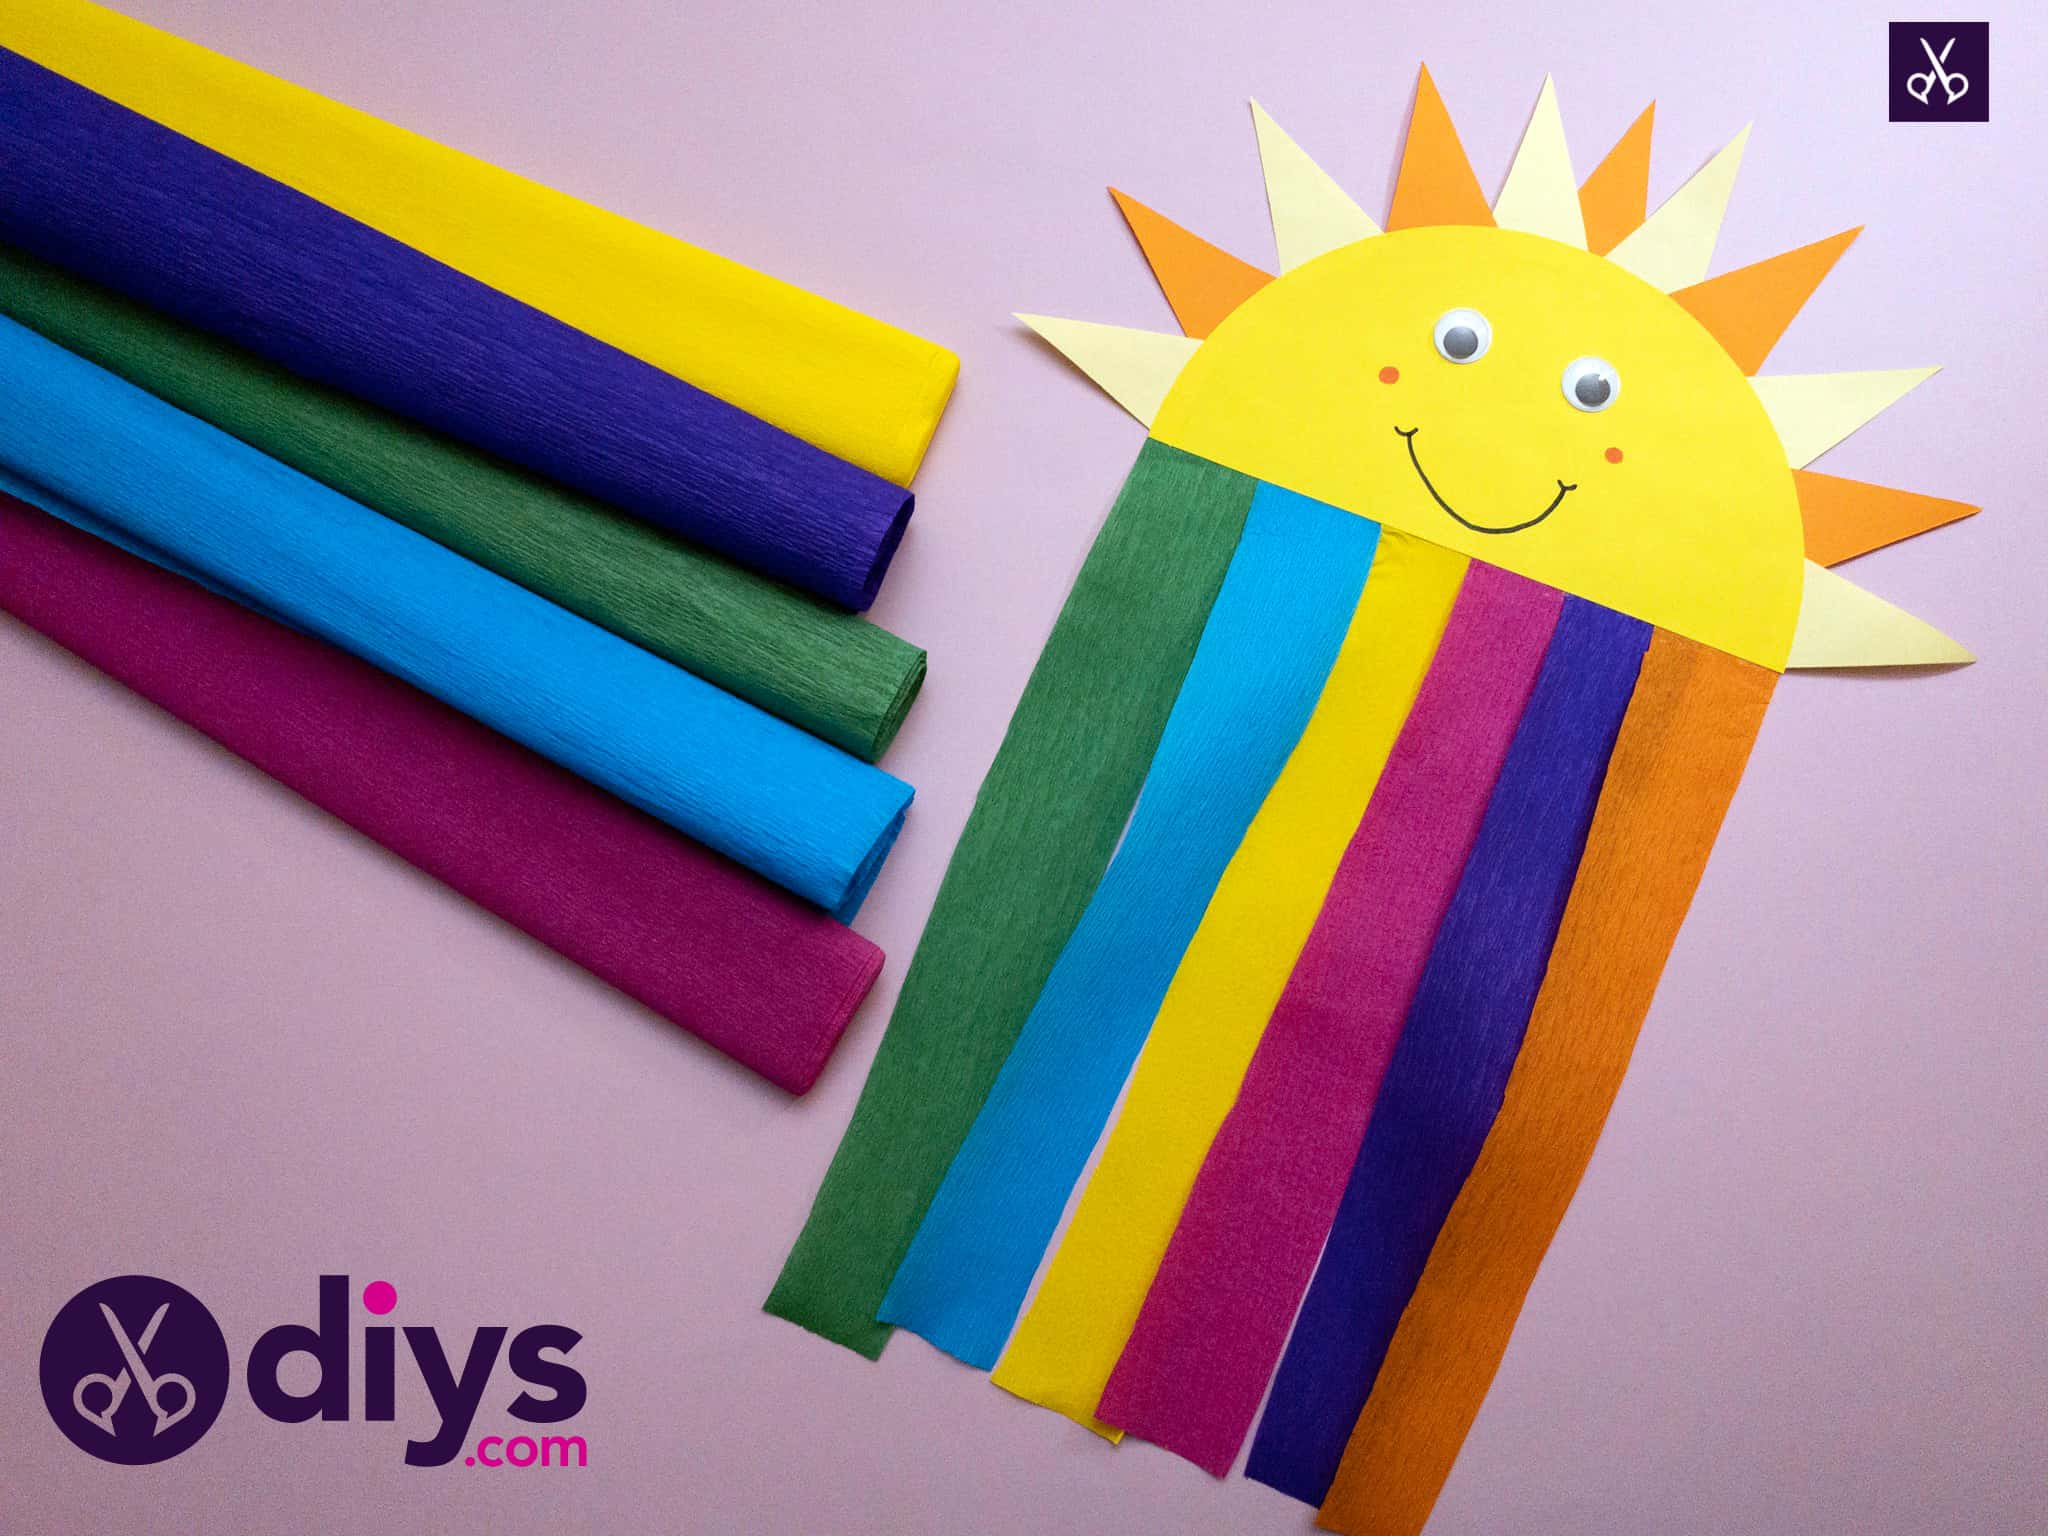
Cut a strip of pink crepe paper from your roll. I made my strips about an inch wide and about five inches long.

Step 7: other colors
Next, cut a strip the same size from each of your other coloured paper rolls. Besides pink, I chose to work with blue, yellow, green, orange, and purple, but you could do whatever colours you like. These are just the ones that looked the closest to the real rainbow spectrum!

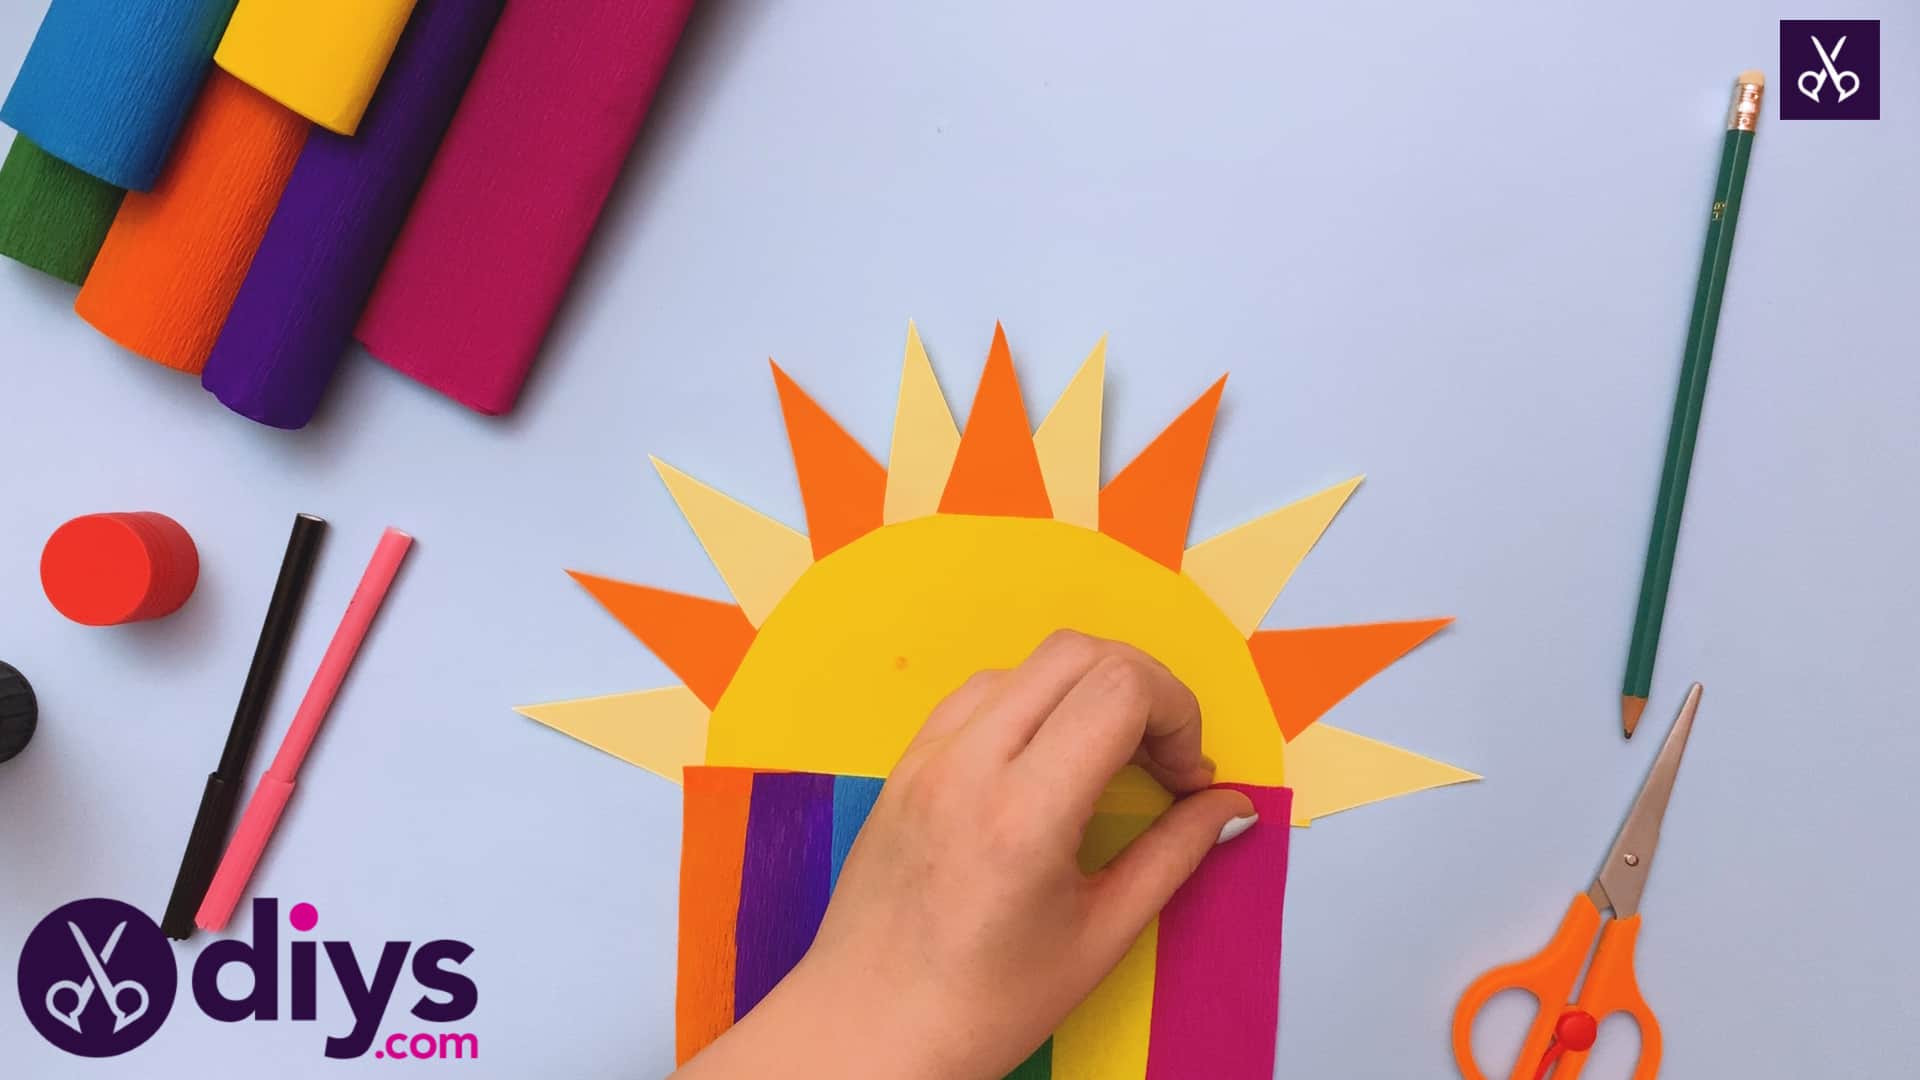
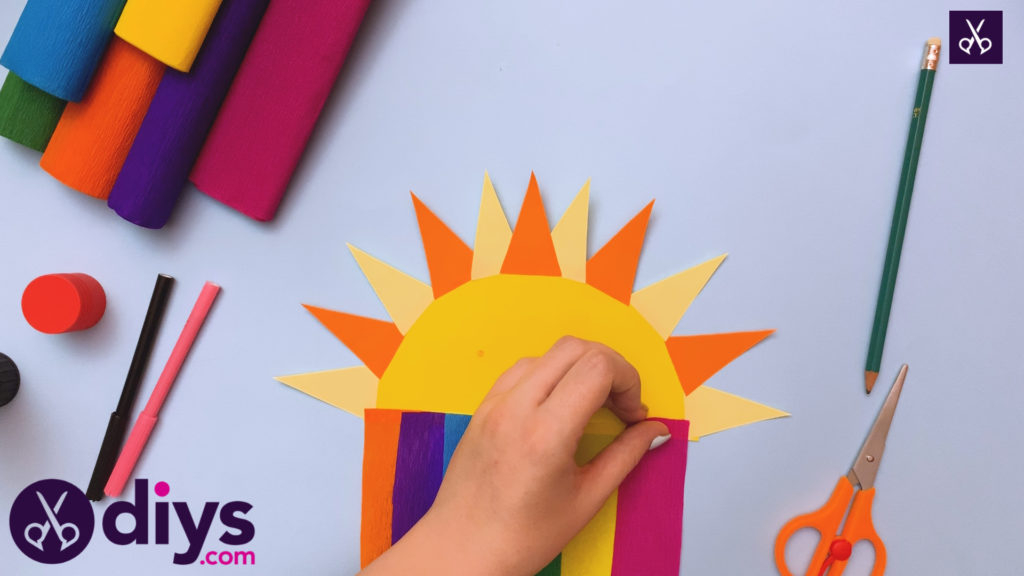
Step 8: glue strips
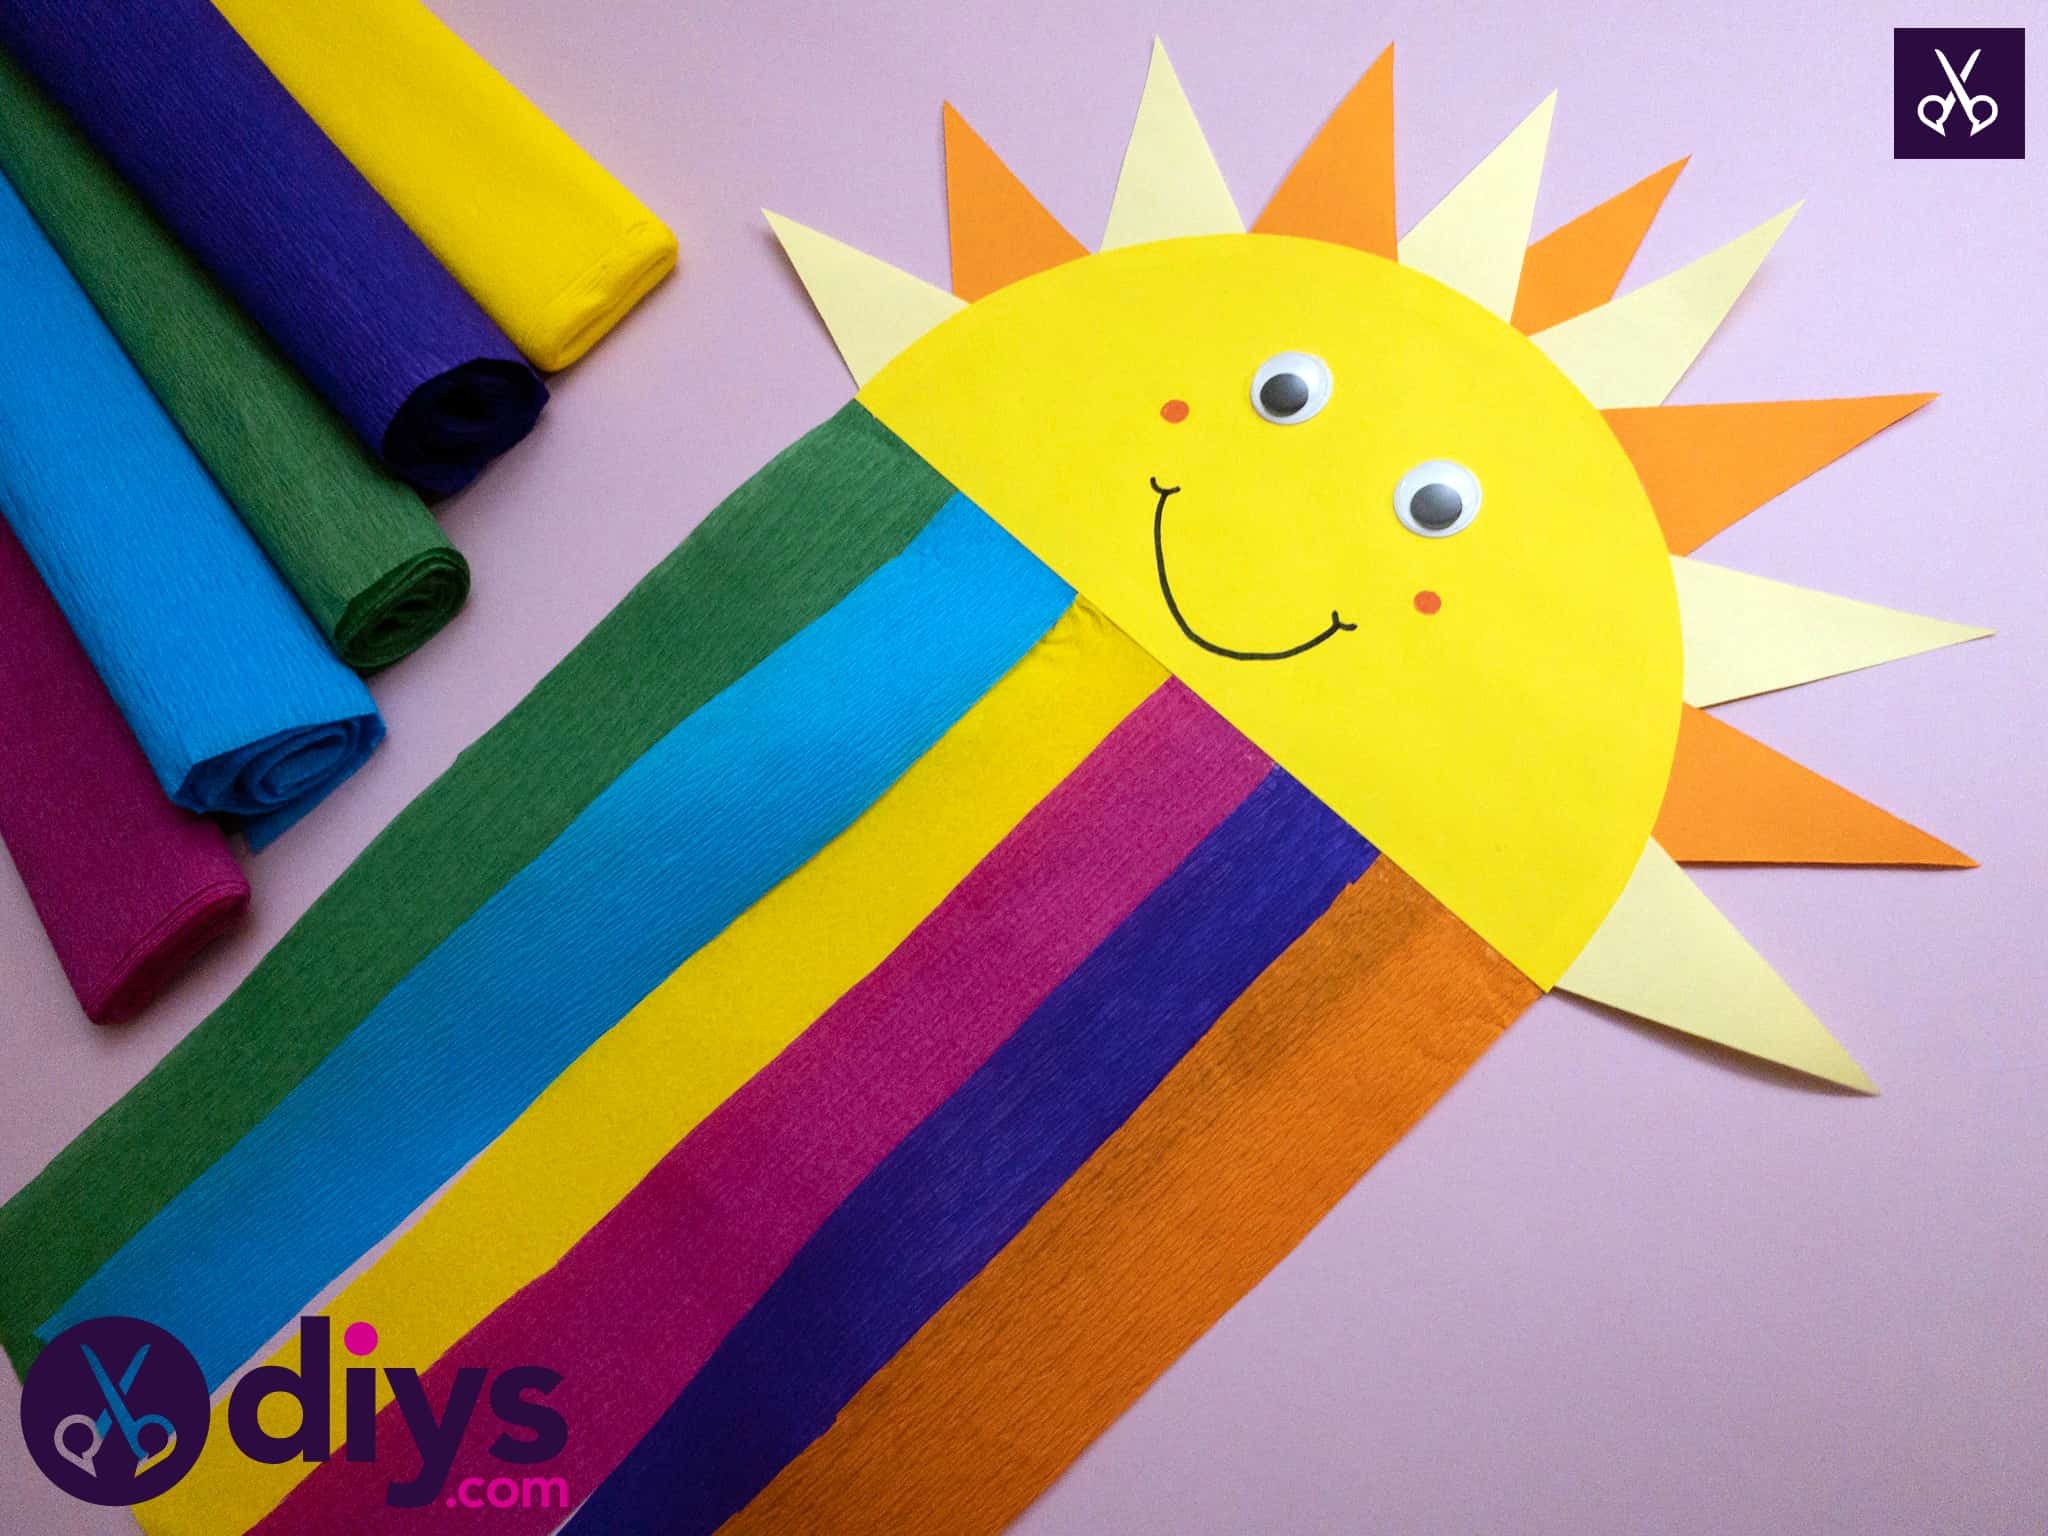
Flip your sun over and apply glue all along its straight bottom edge on the back side. Glue your coloured rainbow strips in a line all along the bottom, so their top edge only overlaps with the yellow semi-circle by a couple centimetres. You want lots of nice, bright coloured paper hanging down below the sun because that’s what makes your rainbow!
Flip the sun back over and voila! You’re all finished. We adore how bright and cheerful this version is, but you could also try it out in pastels and get something equally cute.
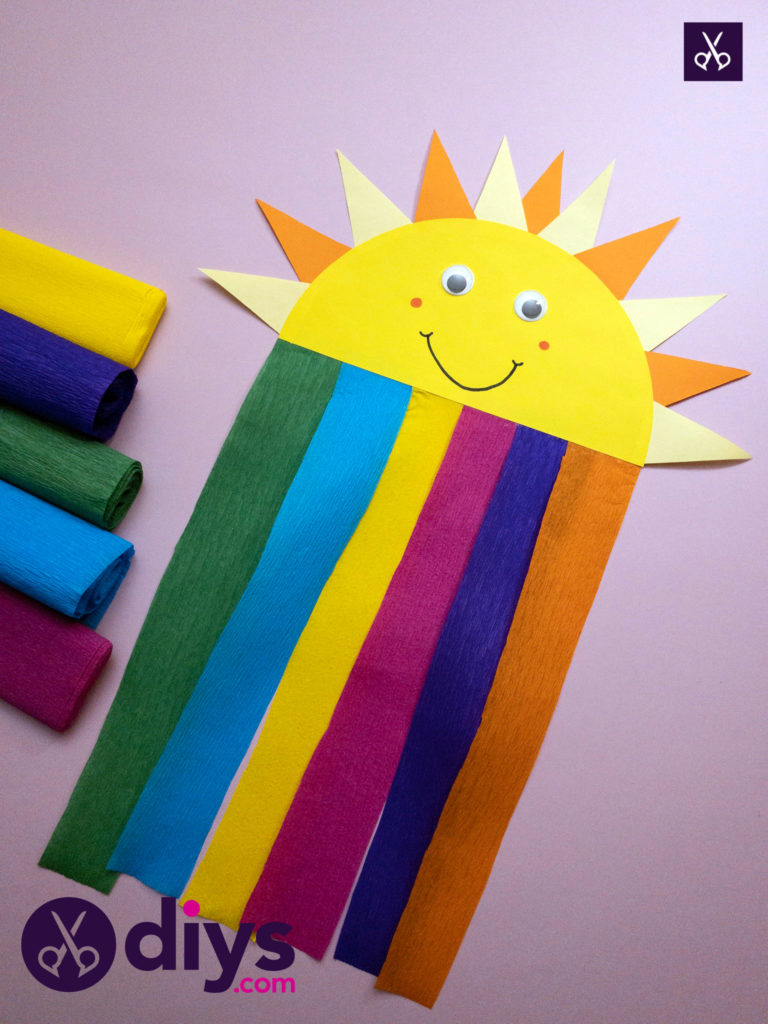
Just in case you’d like to try this project out as well, here’s an awesome tutorial video to give you a hand!