Popsicle Stick Santa Hat Christmas Tree Ornament
Updated on November 19, 2025

It might not bequite time for Christmas yet, but my kids love the holidays so much that we’ve long been crafting Christmas themed things already! If I’m being honest, we’ve basically been making Christmas ornaments together since the morning after Halloween. There are just so many fun things they can make, even if we stick to just the supplies I already have in the craft room and the techniques they’re used to! Last week, I helped them make adorable little Santa hat ornaments from popsicle sticks and they loved doing it so much that I couldn’t help making an extra one in order to show everyone how simply they can be done.
Check out these step by step instructions for making a popsicle stick Santa hat ornament, complete with photos! If you’d much prefer to follow along with a video tutorial instead of written instructions, scroll to the bottom of this post to find what you’re looking for.
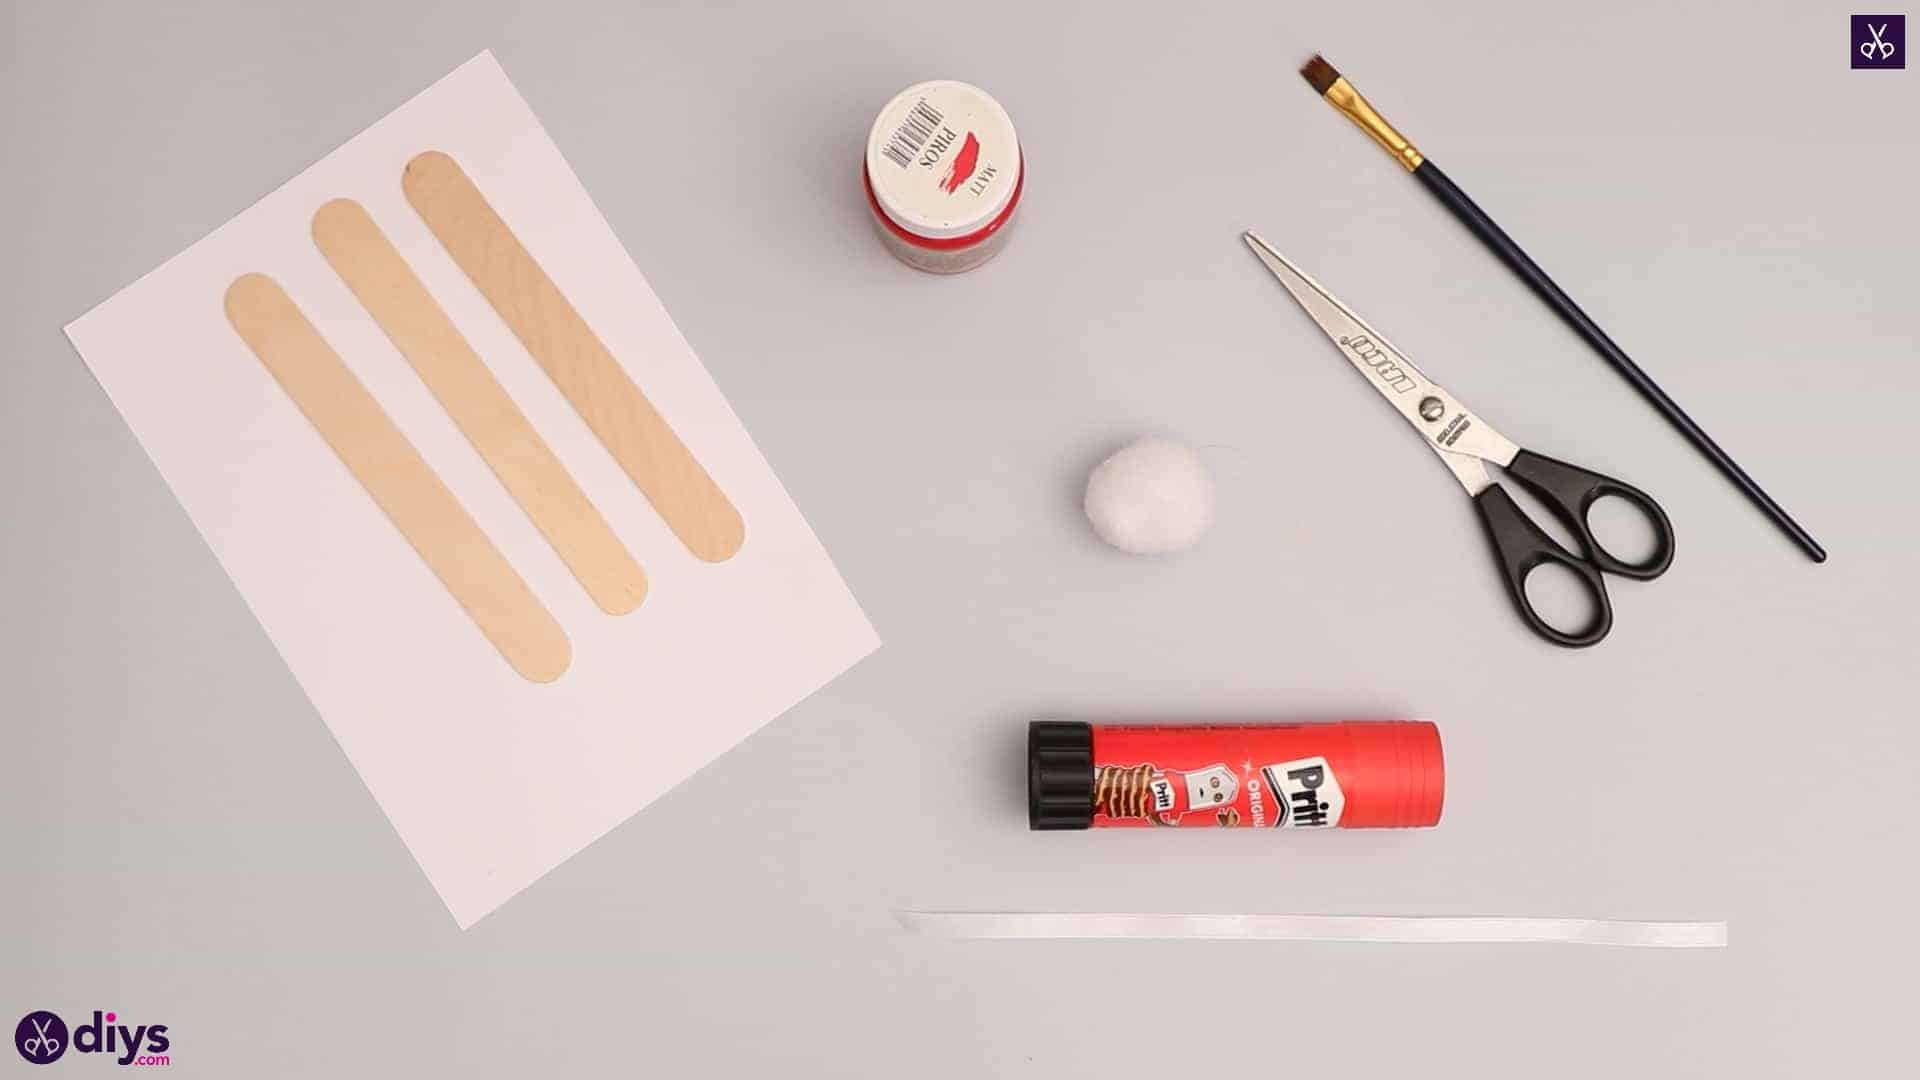
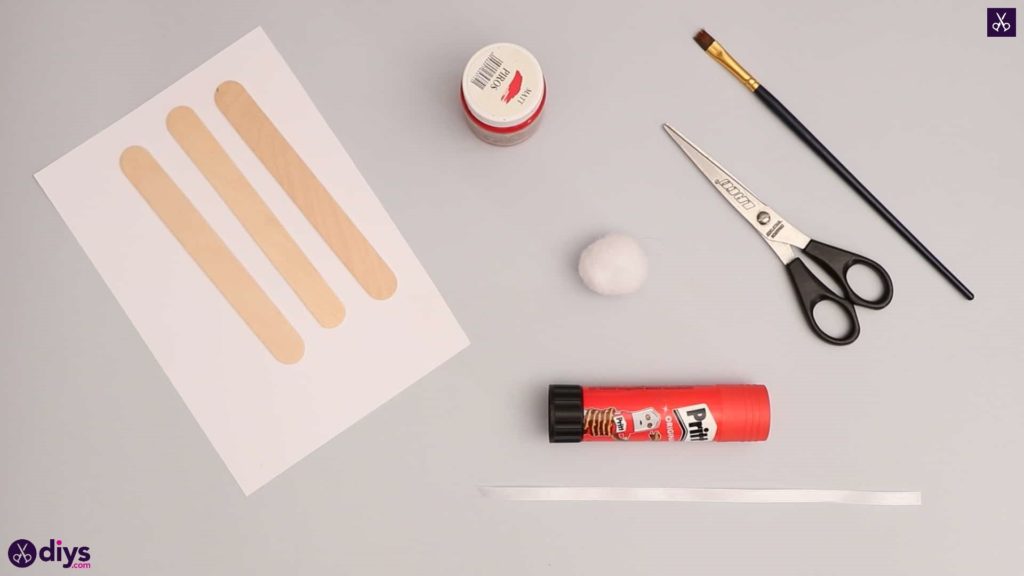
For this project, you’ll need:
- White pom poms
- Popsicle sticks
- A white ribbon
- A glue stick
- Red paint
- A paintbrush
- White cardboard
Step 1: Gather your materials!
Check your list and get what you need.
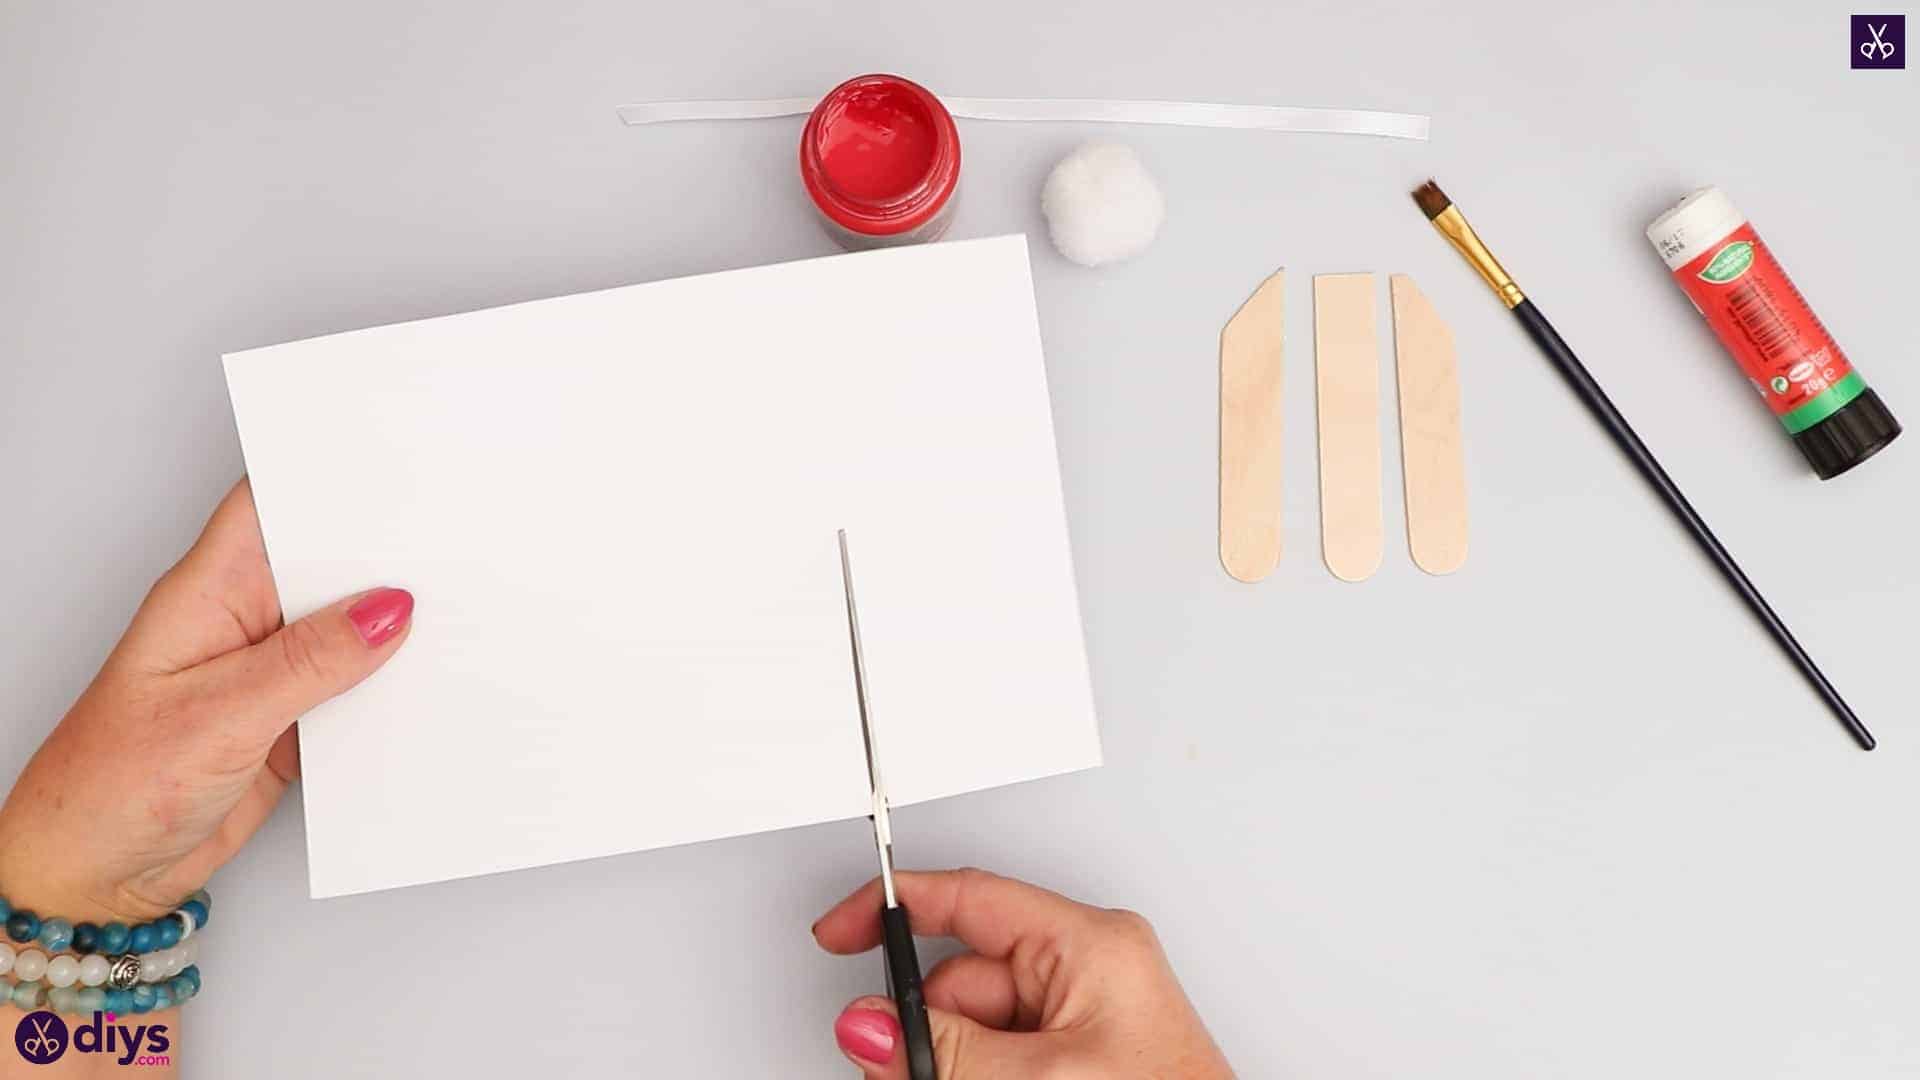
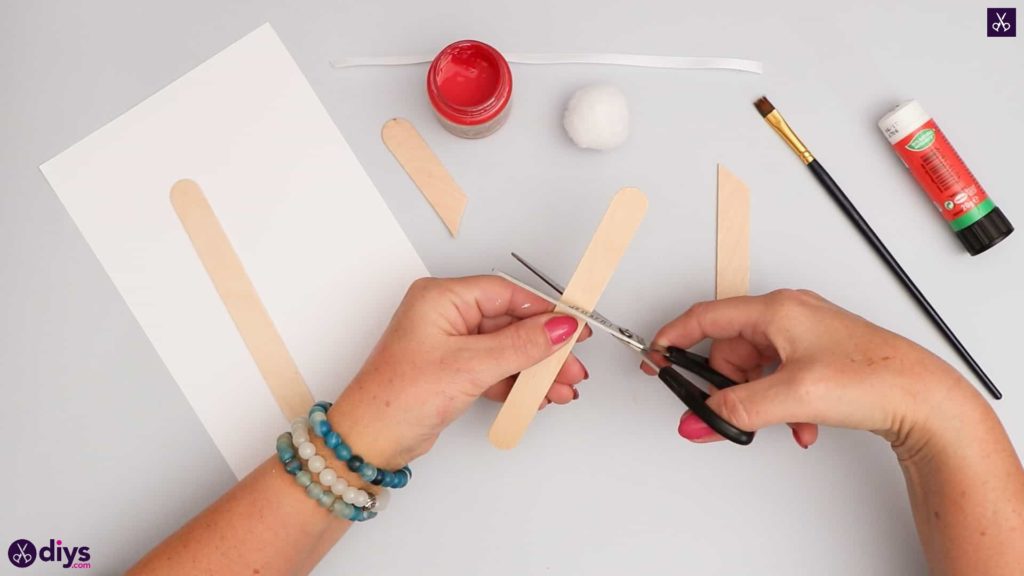
Step 2: cut sticks
Cut each of your popsicle sticks in half right in the middle of their length. You’ll cut the first one at a diagonal with your scissors aimed downward for a right leaning point, your second one straight across for a flat edge, and your third one with your scissors angled diagonally upward for a left leaning point.
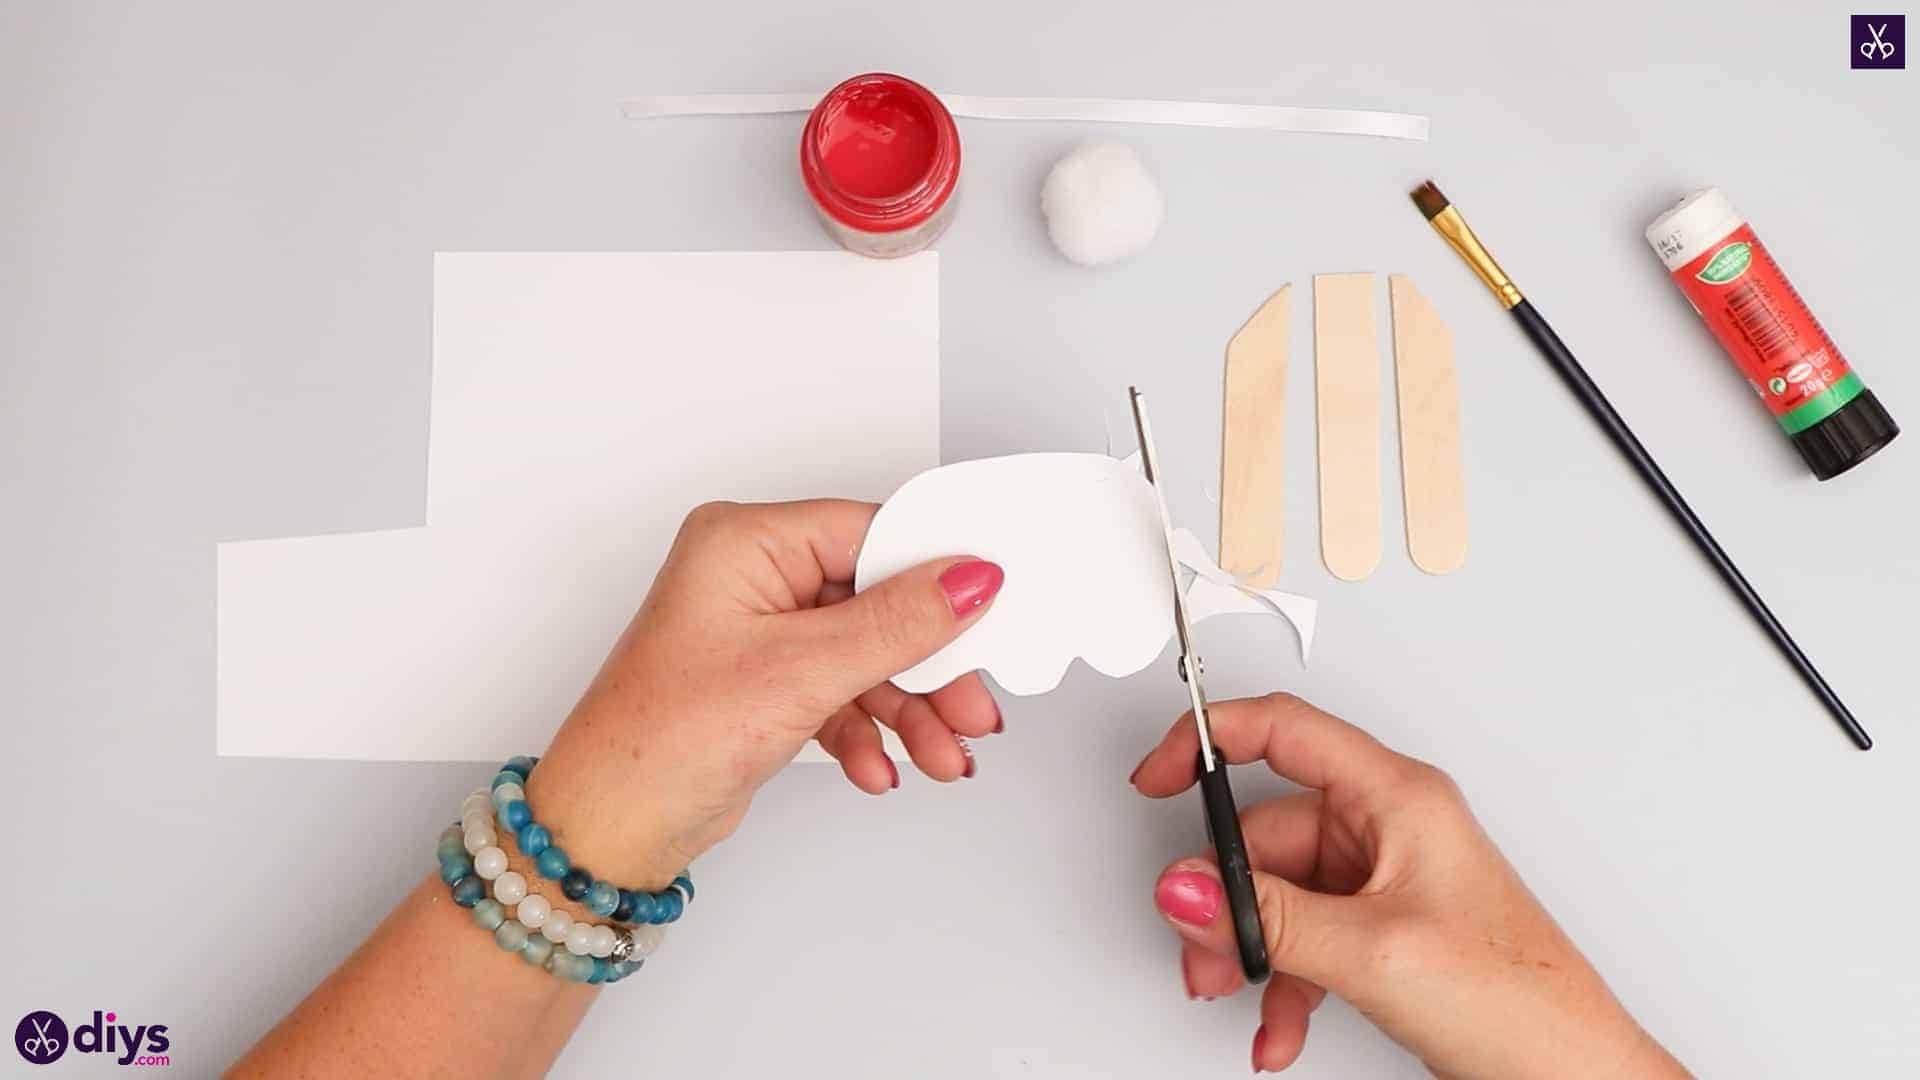
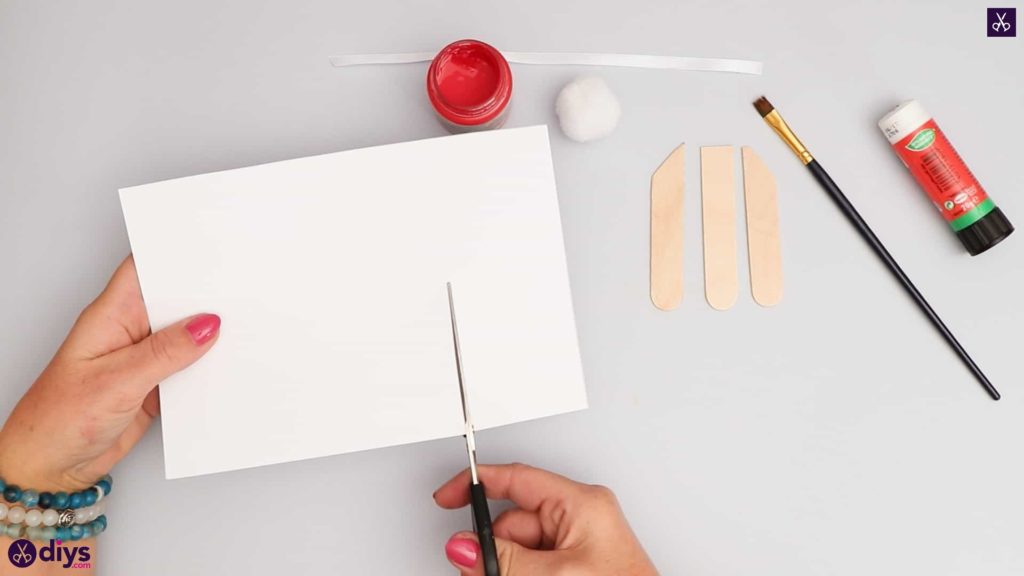
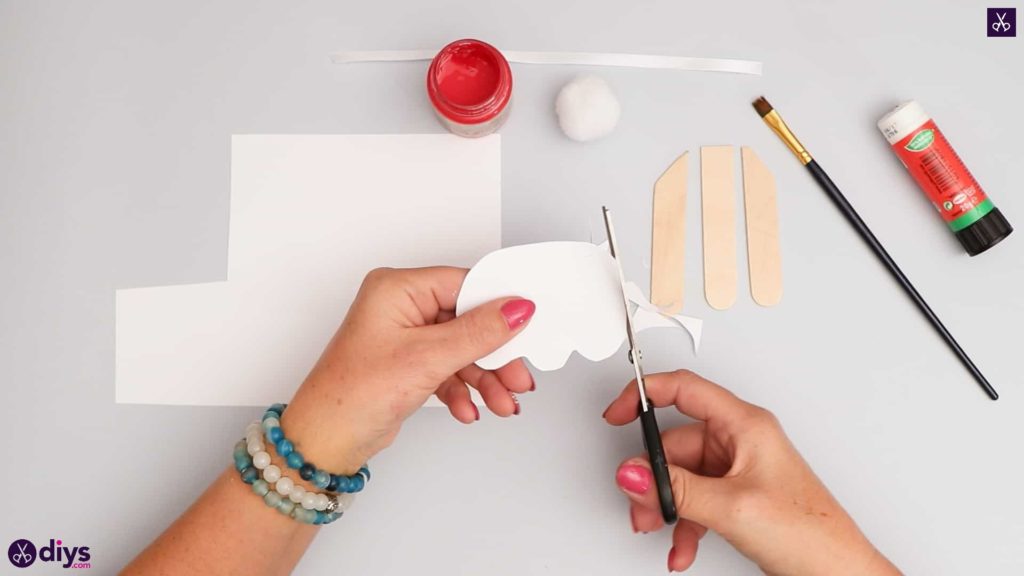
Step 3: cut the trim
Cut out a rounded oval shape from your white paper. Along one long side, cut a rounded waving shape, almost like a cloud. This will be the cotton-like fur trim around the bottom of your Santa hat.
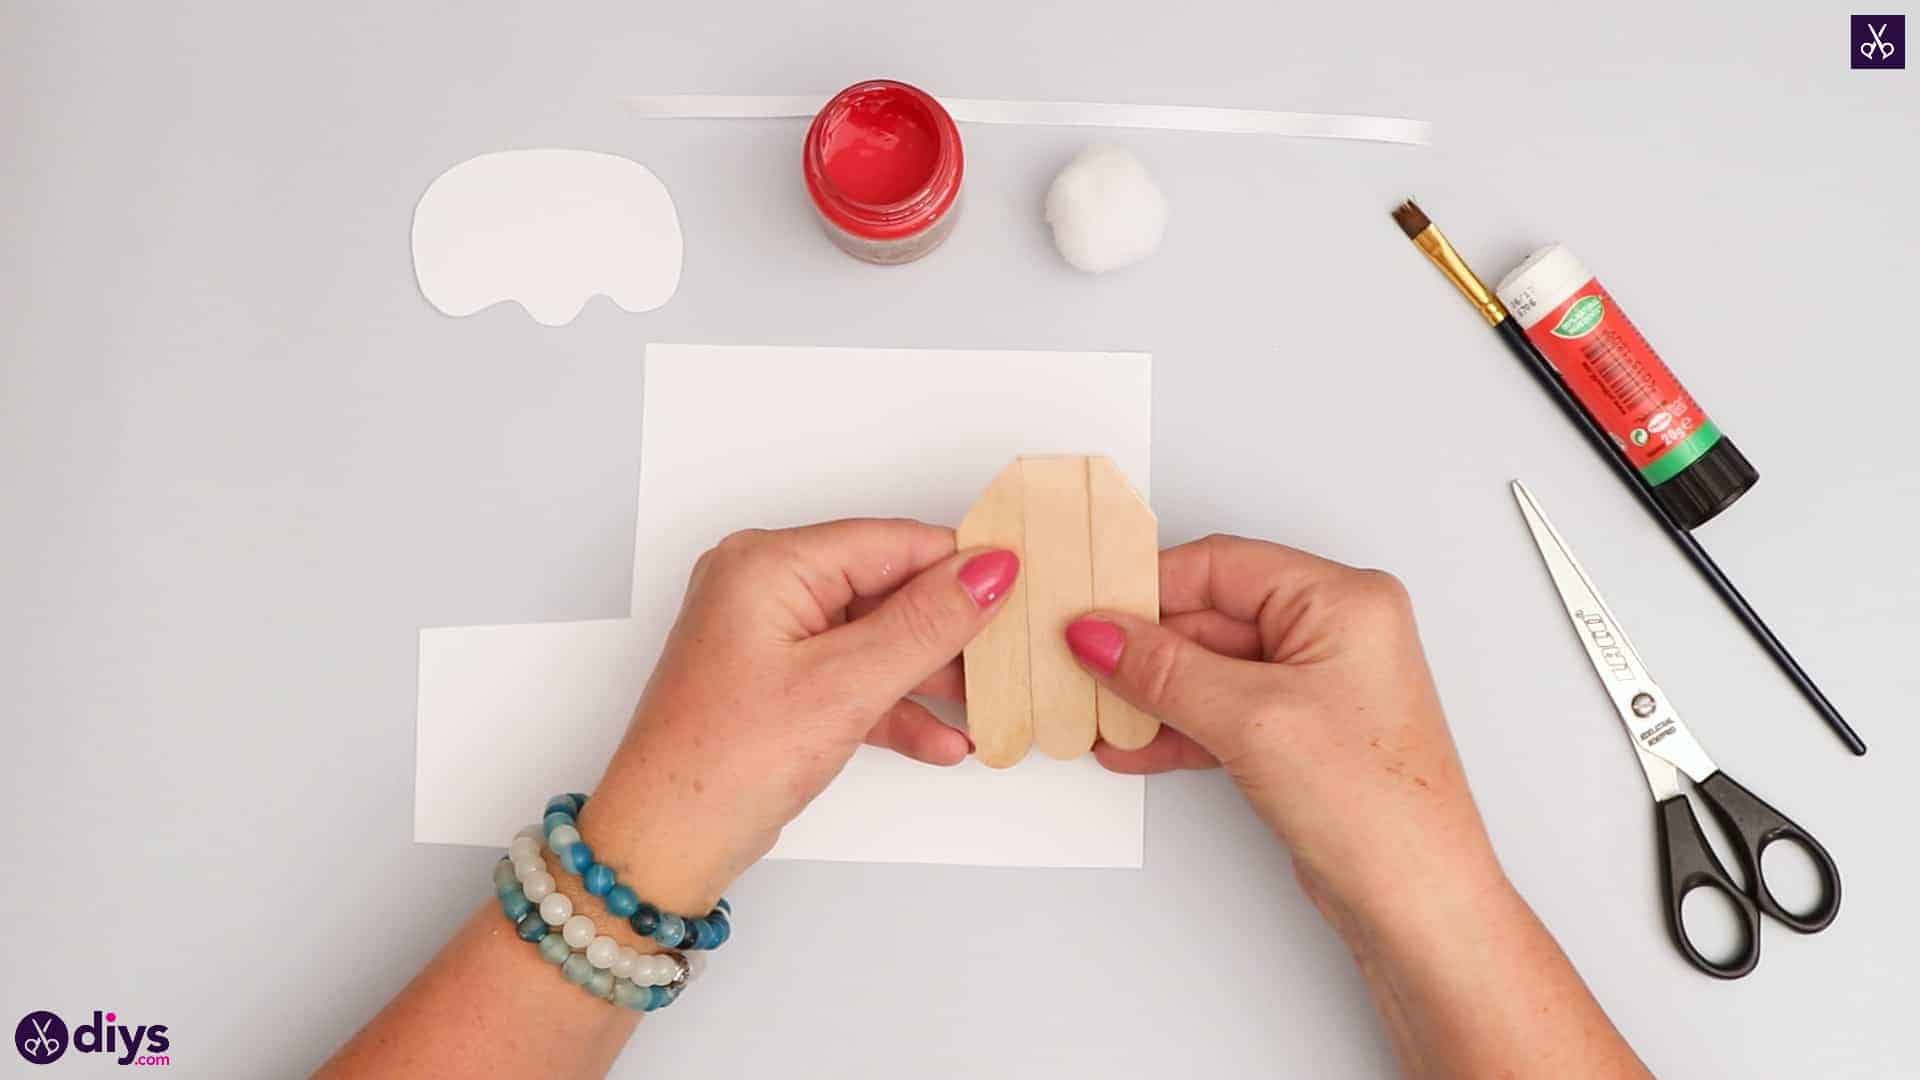
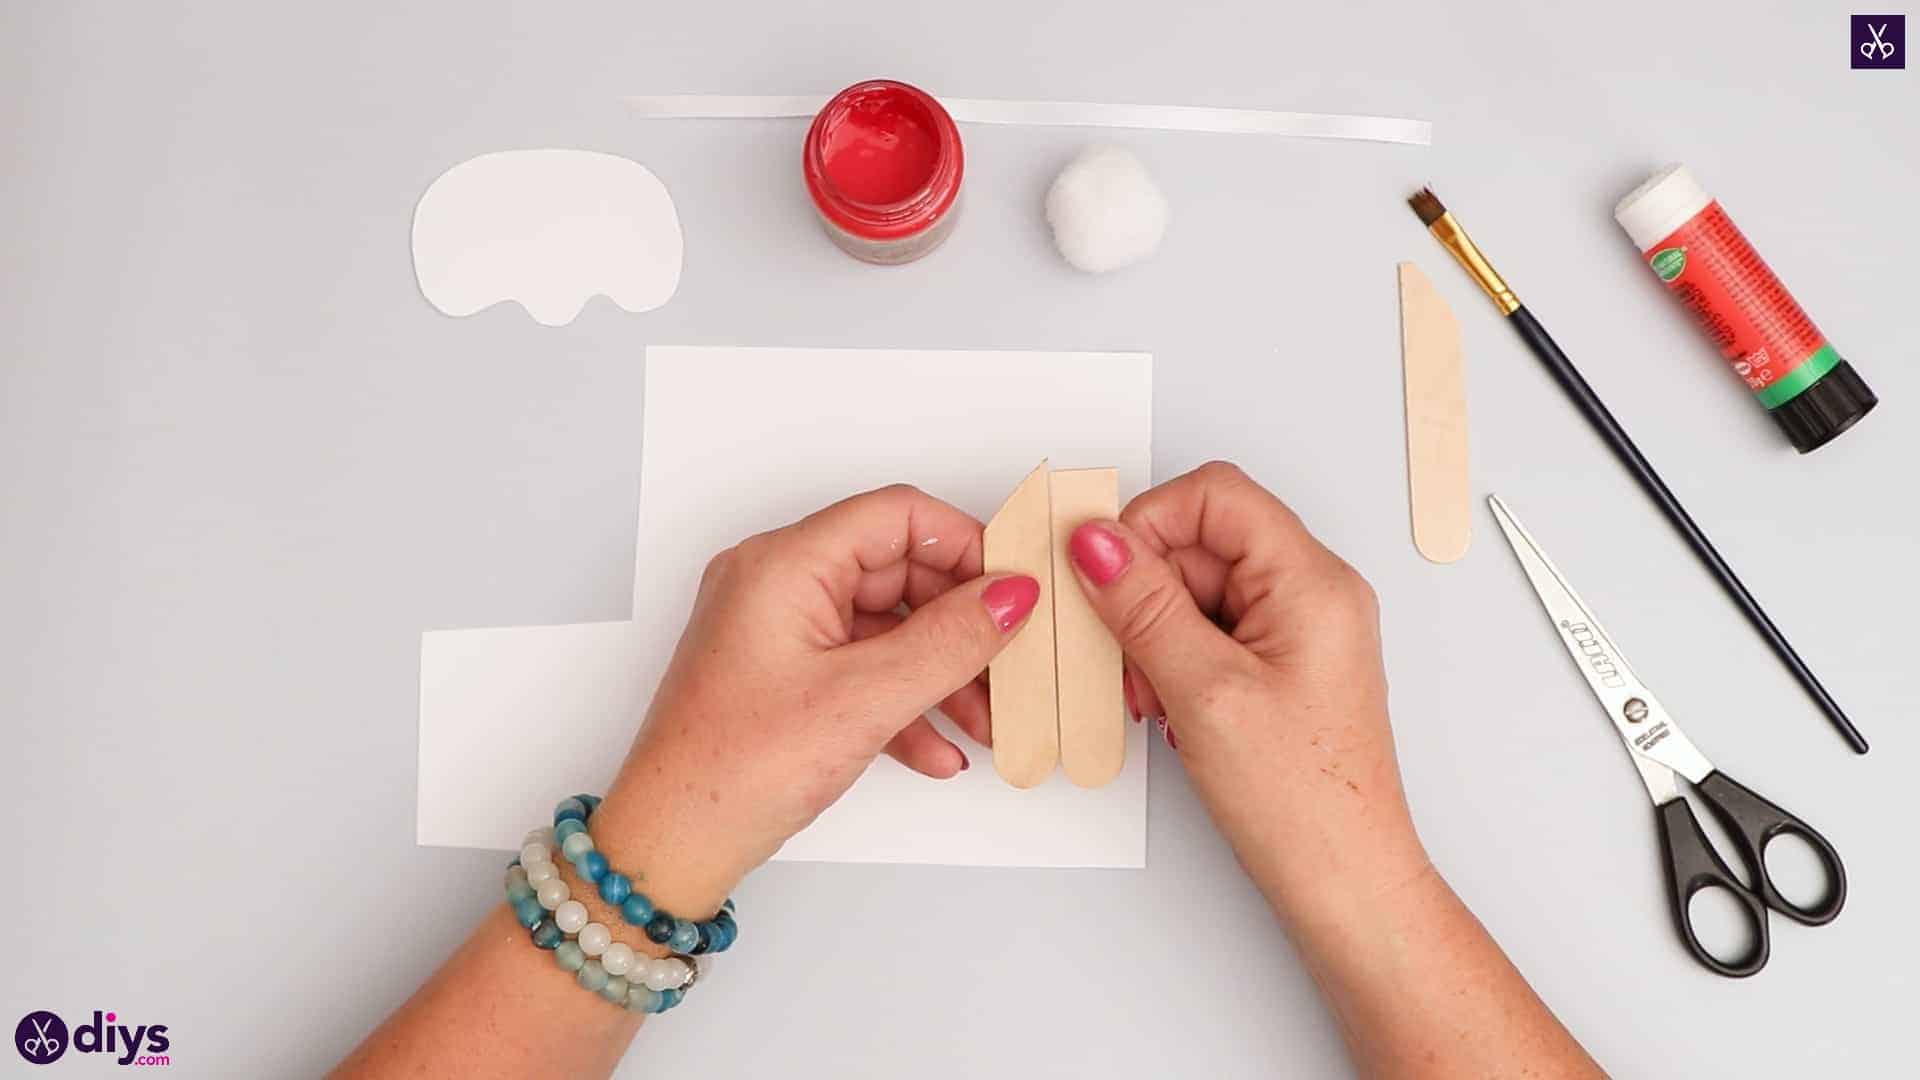
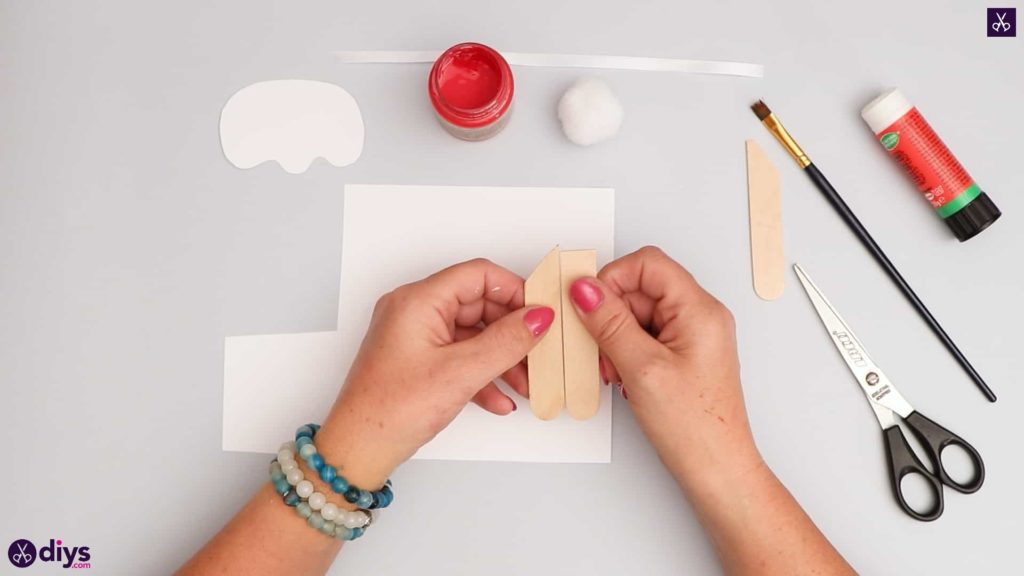
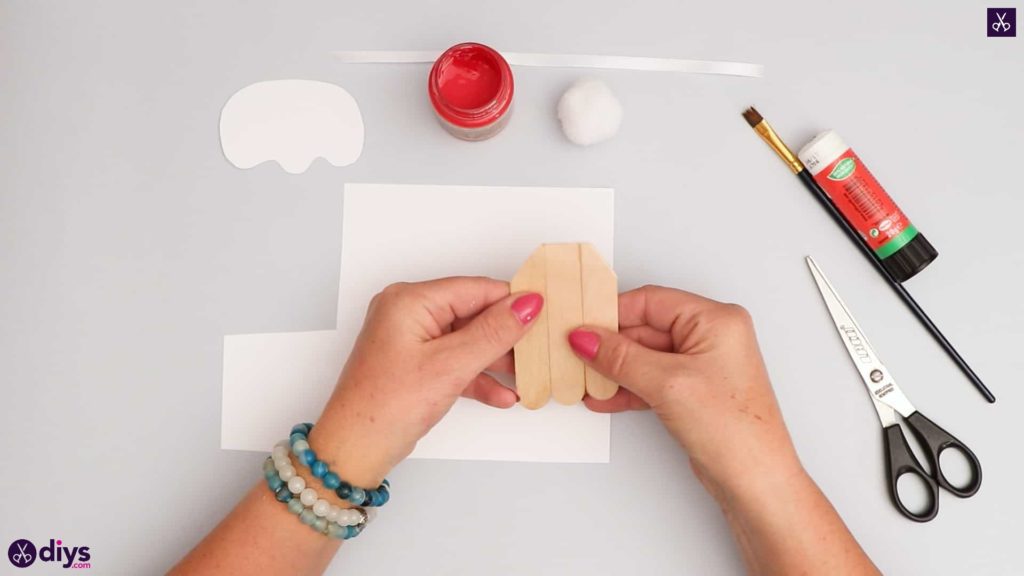
Step 4: glue together
Apply glue along the right hand edge of the popsicle stick with the diagonal edge that angles to a point on the right. Stick it to the left hand edge of the popsicle stick with the straight cut edge. Then apply glue to the right hand edge of that same straight cut piece and stick it to the left hand edge of the piece that has a diagonal cut coming to a point on the left. The effect is a hat shape that tapers towards the top middle.
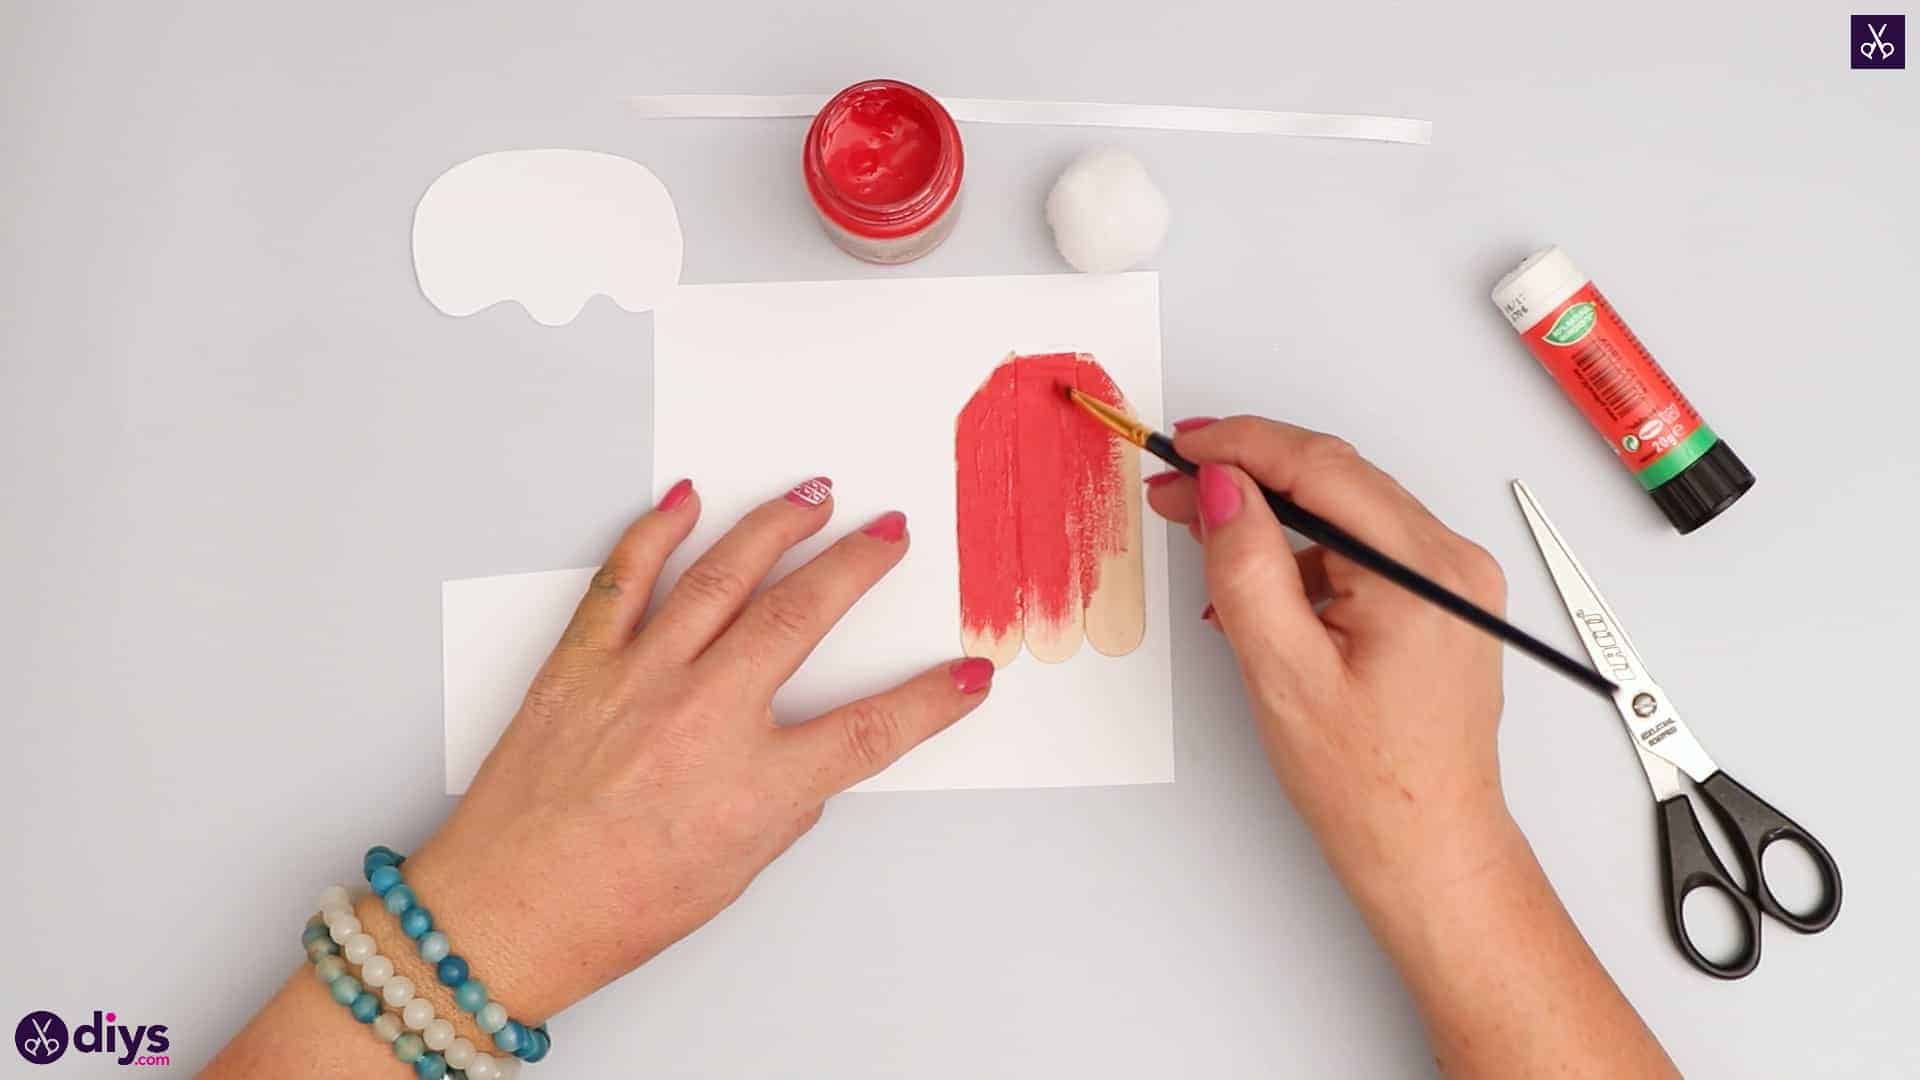
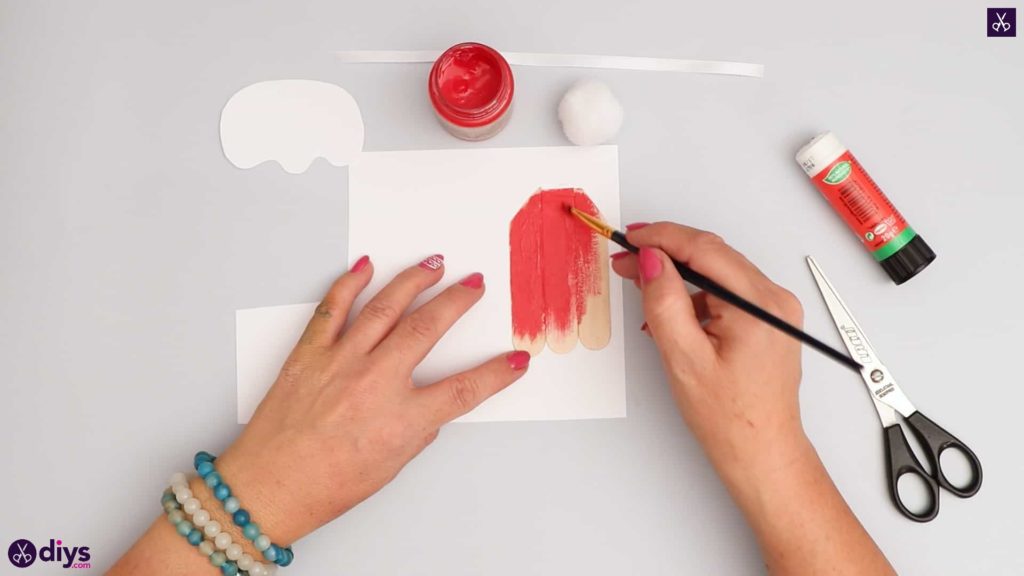
Step 5: paint
Use your paintbrush to paint your popsicle stick hat base entirely red. Set it aside to dry.
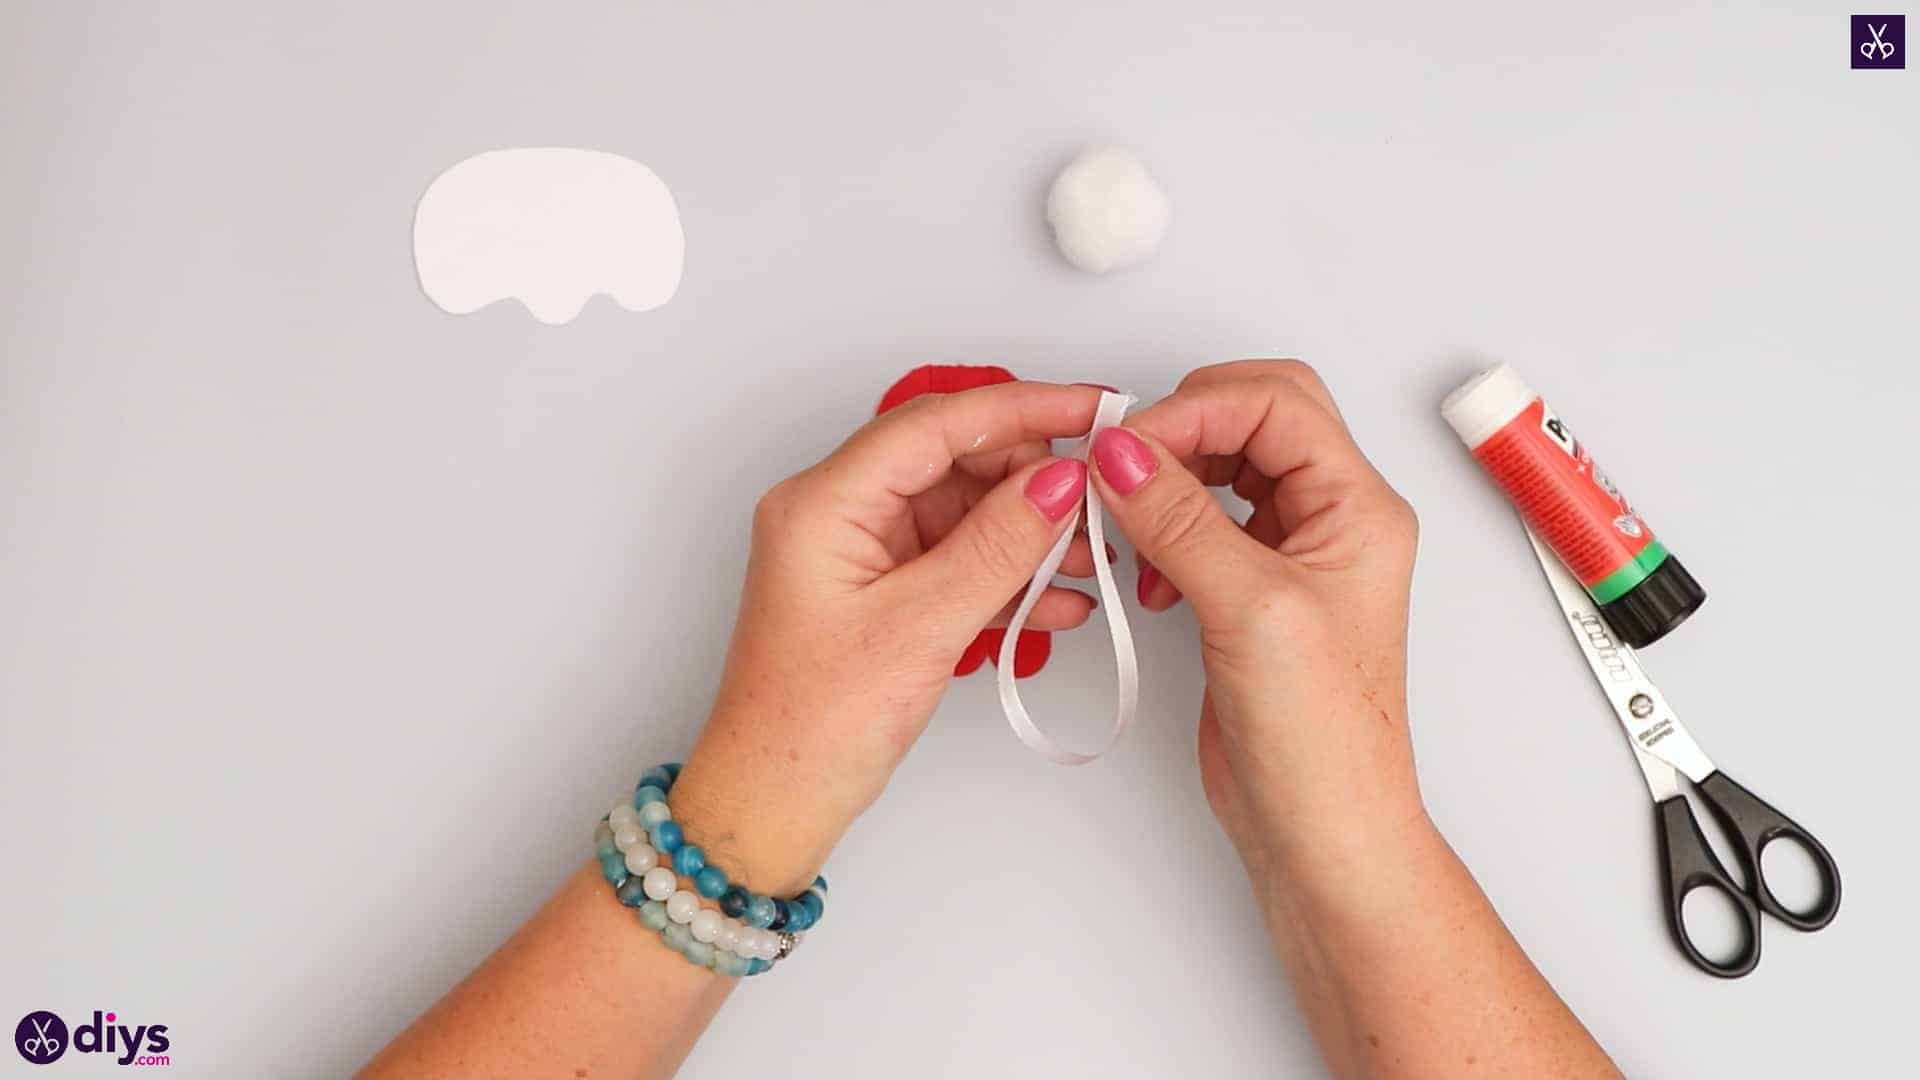
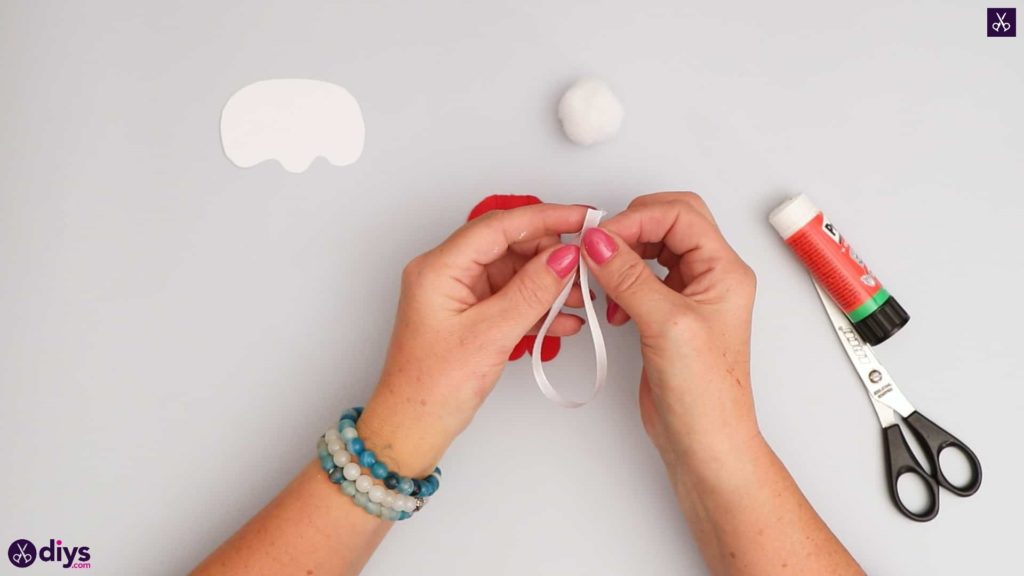
Step 6: make the ribbon
Cut your white ribbon to a piece of about four inches long. Apply glue at one end and fold the ribbon in half to bring the other end even with it. Stick them together. Then apply glue to the back of these ends and stick the new ribbon loop to the back of your dry popsicle stick hat so you have something to hang your ornament from when it’s finished.
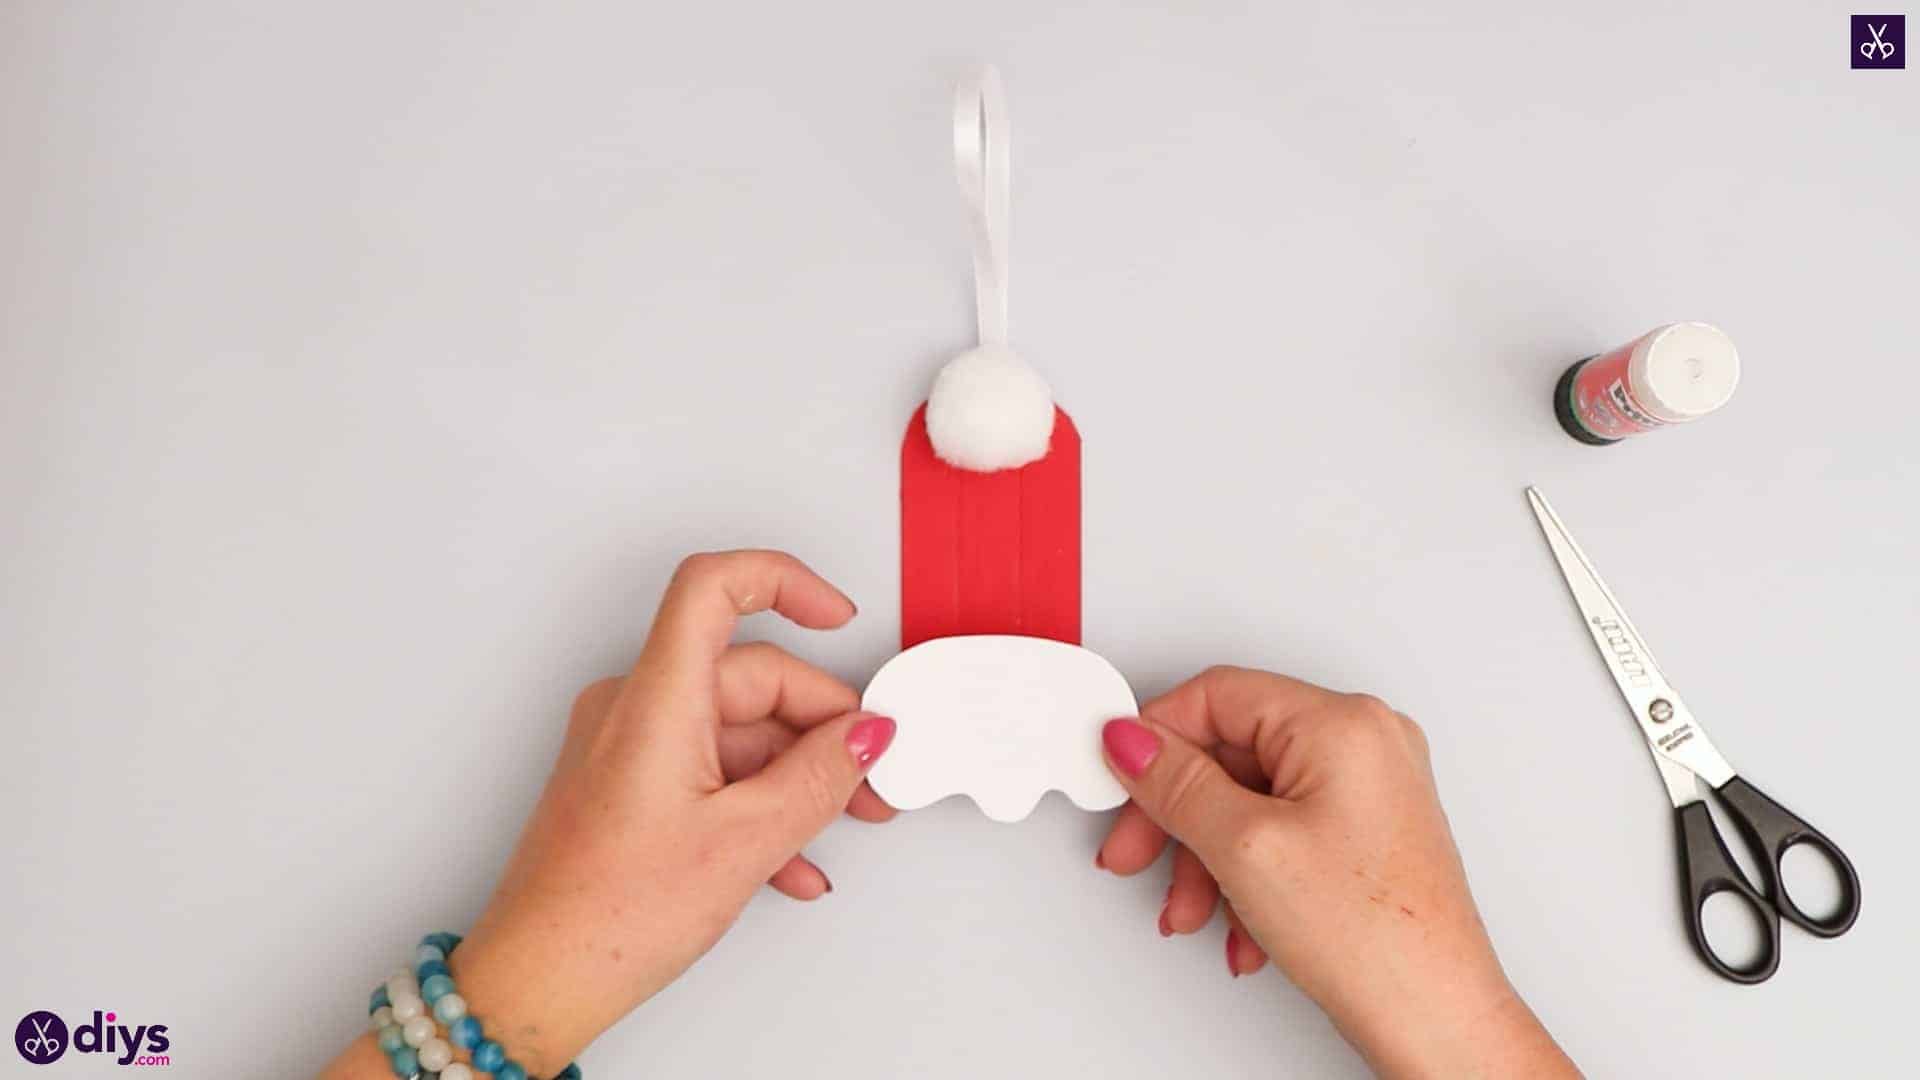
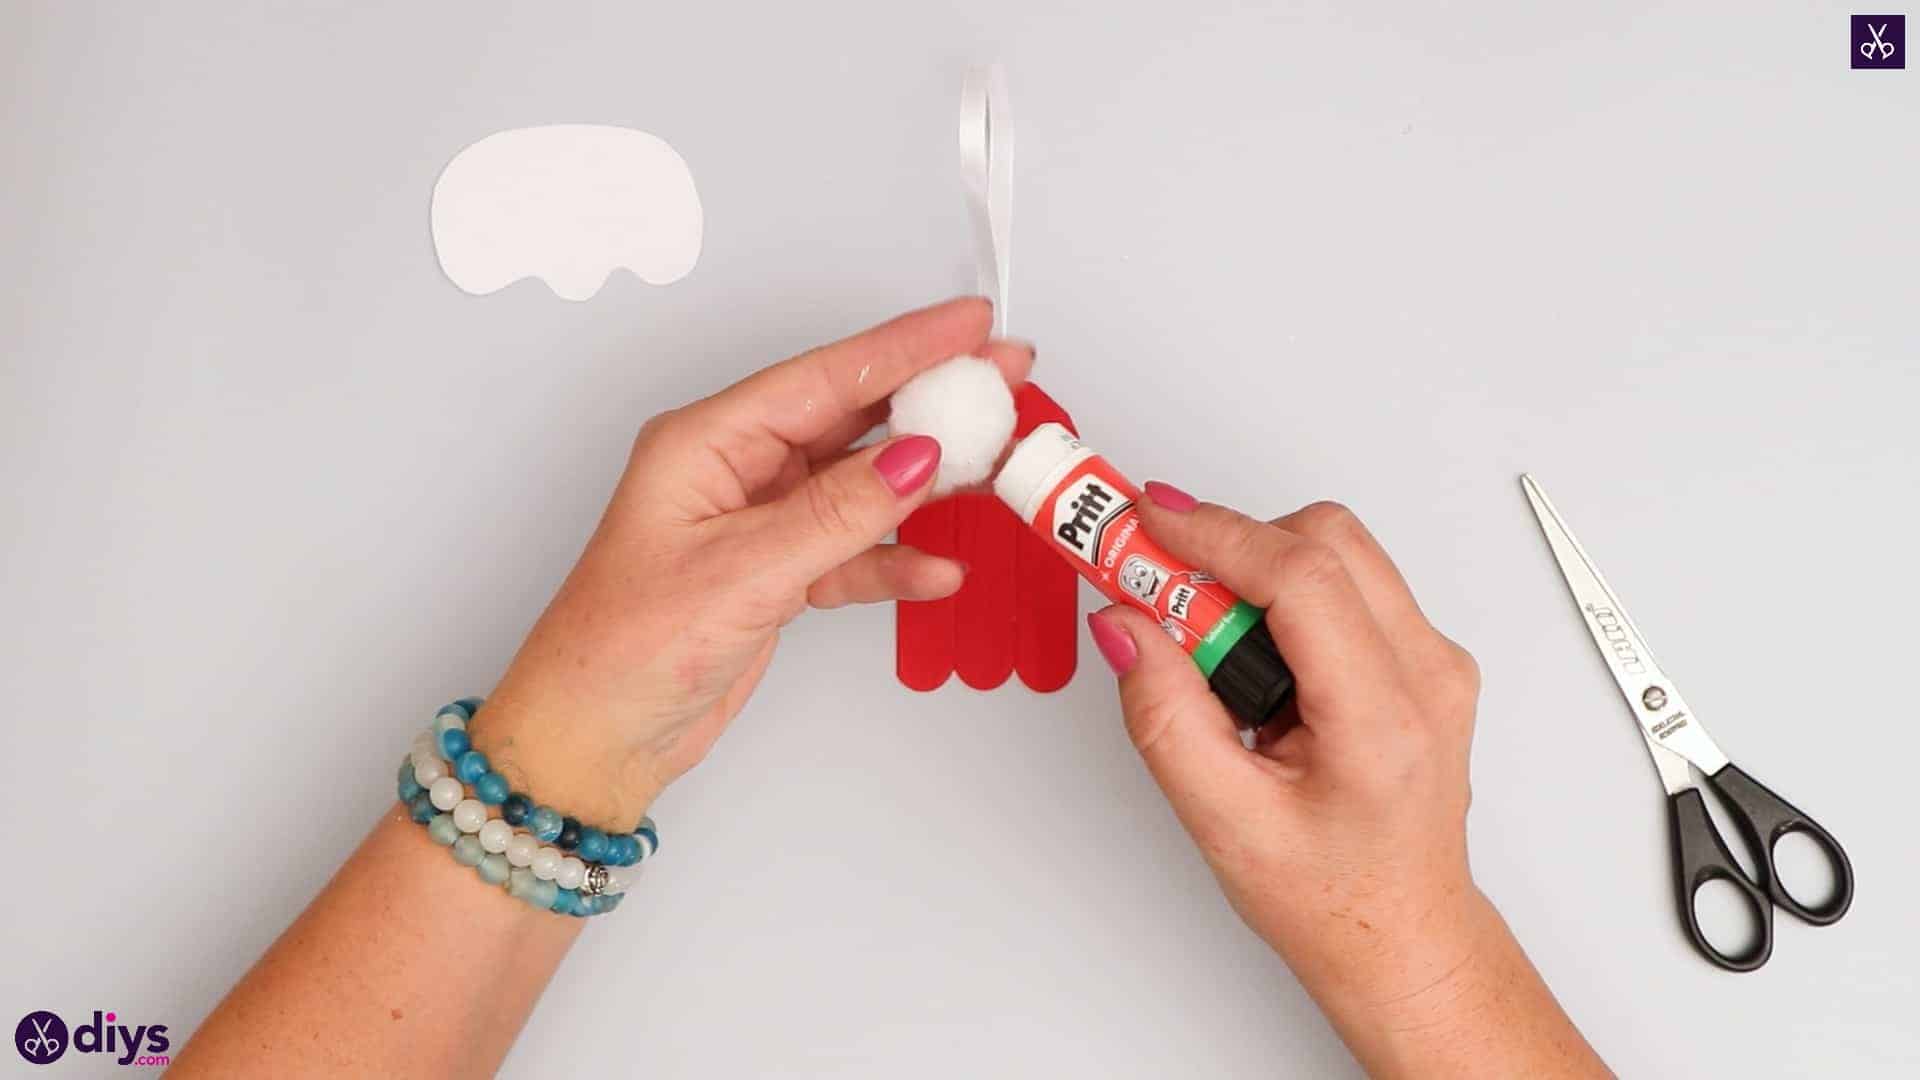
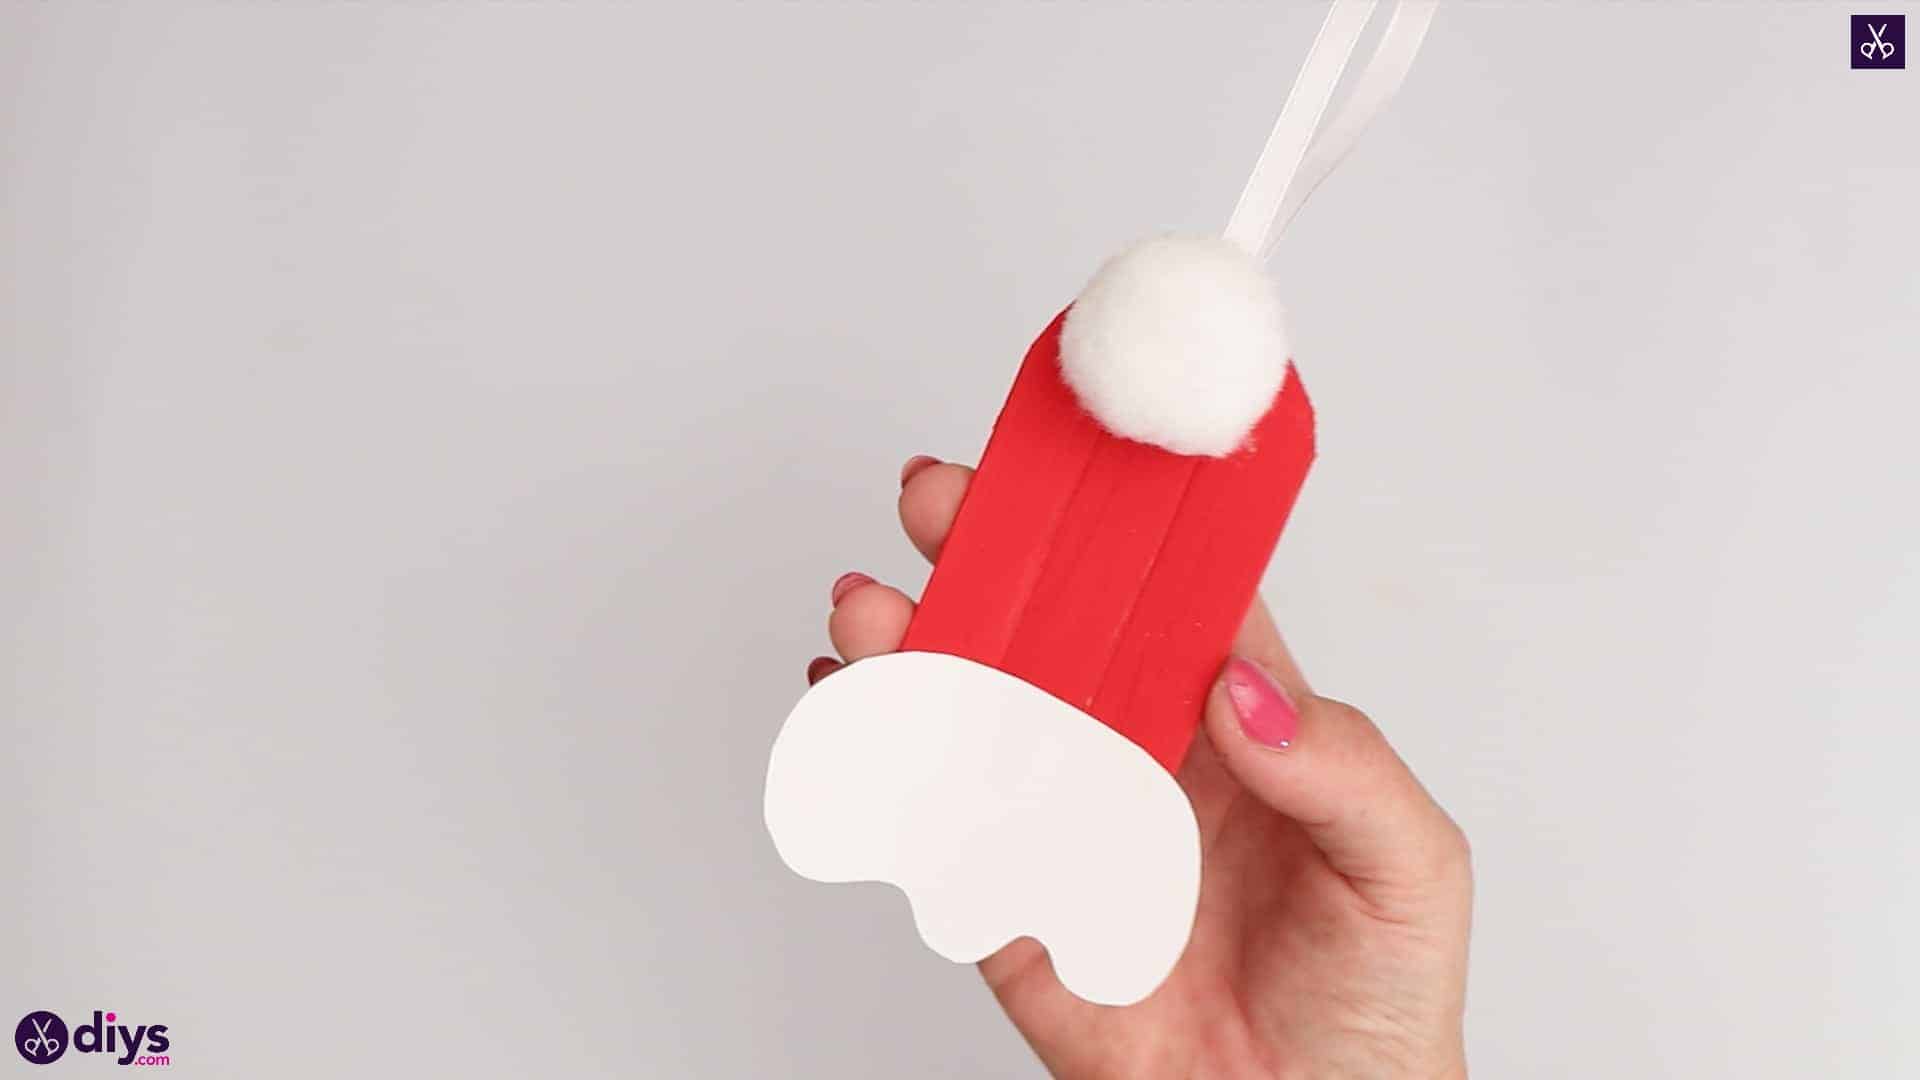
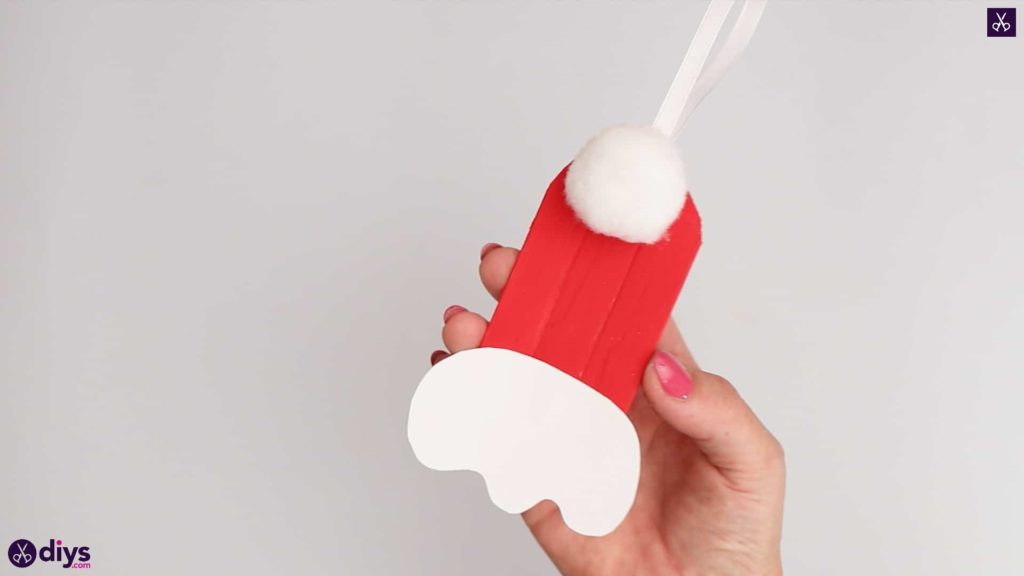
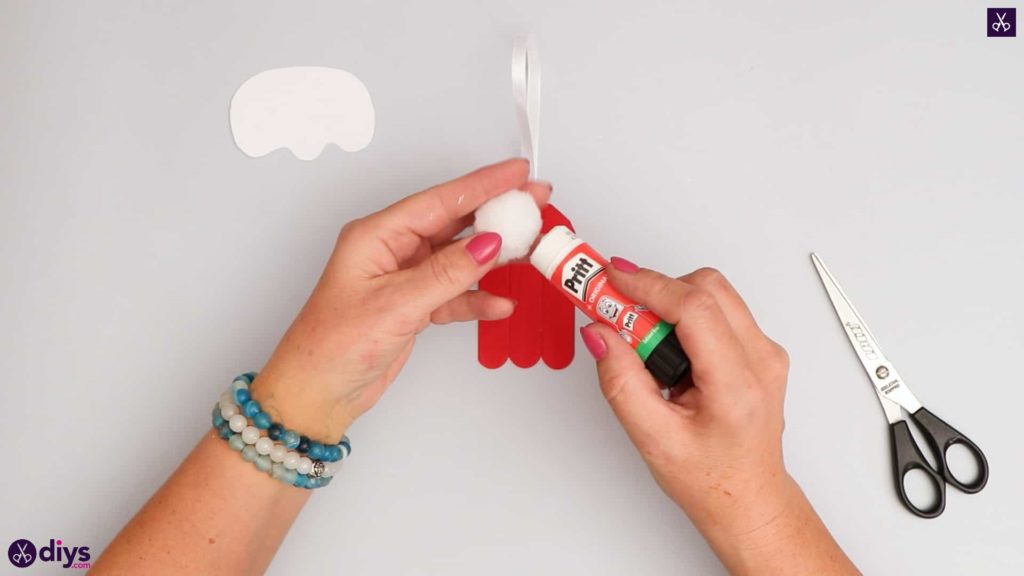
Step 7: add the pom pom
Apply glue to the back of your white crafting pom pom and stick it to the top of the hat, right in the middle where it tapers upward.
Step 8: finish
Apply glue to the back of your white fur trim shape and stick it along the bottom edge of your hat.

That really is all there is to it! Just in case you’d like to try this project out for yourself, here’s a fantastic tutorial video to help you!