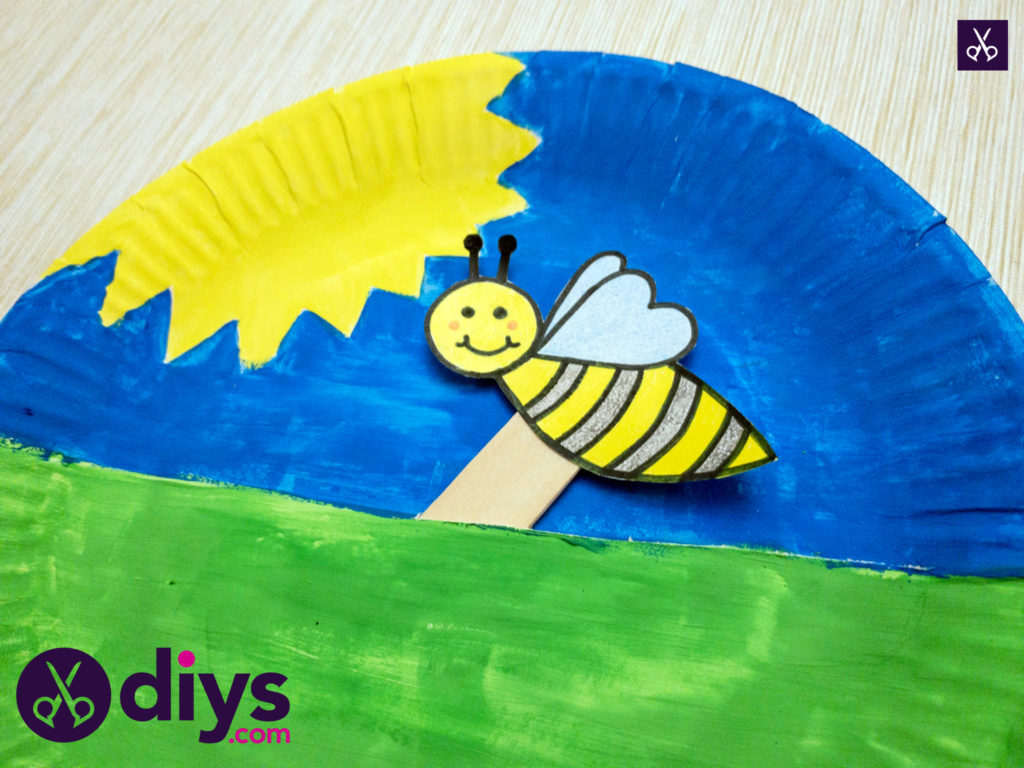
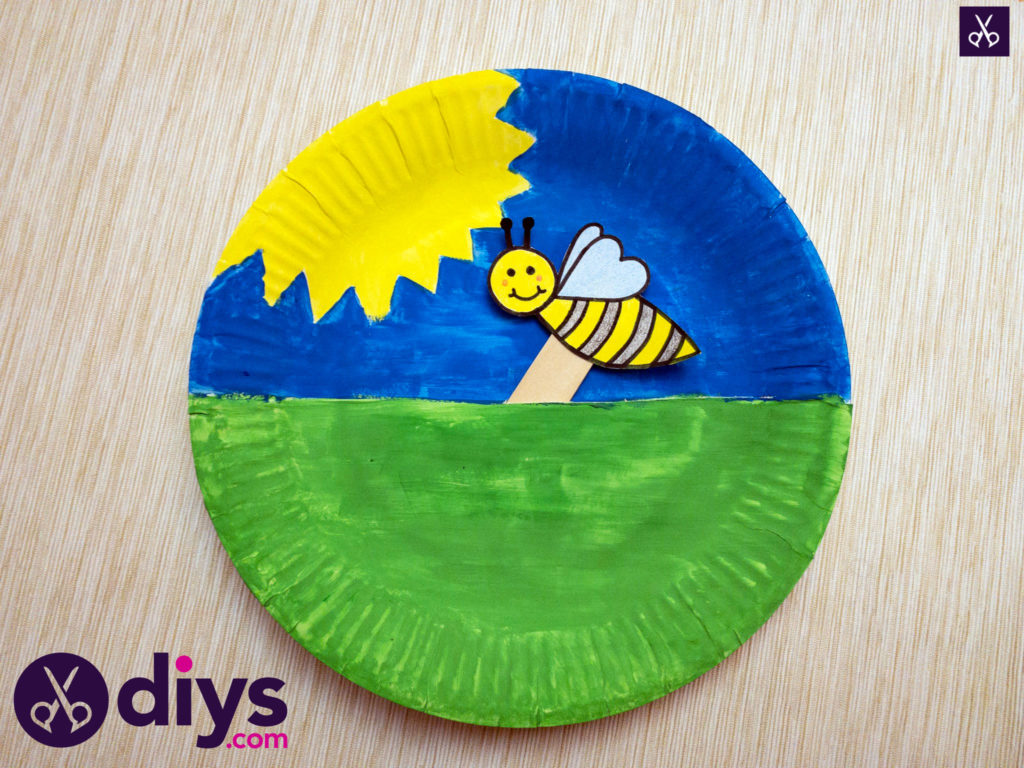
How to Make A Paper Plate Bee Puppet
Updated on November 19, 2025


Recently, I happened to scroll by a tutorial talking about fun, simple ways to make paper plate puppets and I loved the basic concept, but I knew my kids would much prefer to make something bee themed as well. They learned about bees in school recently and they’re hardly talked about anything since. That’s why I decided to make a tutorial of my own, this time outlining the process for making the same project, just with a bee shaped puppet piece instead of bears or frogs like I saw elsewhere!
Here are the simple steps I followed to make a bumble bee paper plate puppet with my little ones. You’ll find a full video tutorial at the end too, just in case you learn better visually.

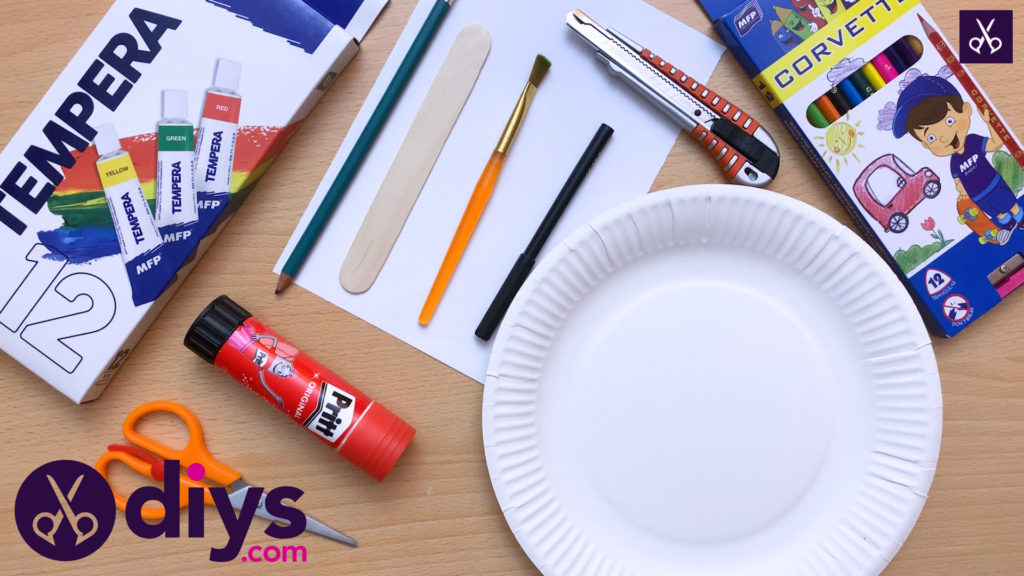
For this project, you’ll need:
- Paper plate
- Paint (the kind of your choice in yellow, blue, and green)
- Paintbrush
- Coloured pencils (in red, black, yellow, and blue)
- Pen
- Marker (black)
- Popsicle stick
- Glue stick
- Scissors
- Craft knife


Step 1: get ready
Gather your materials!
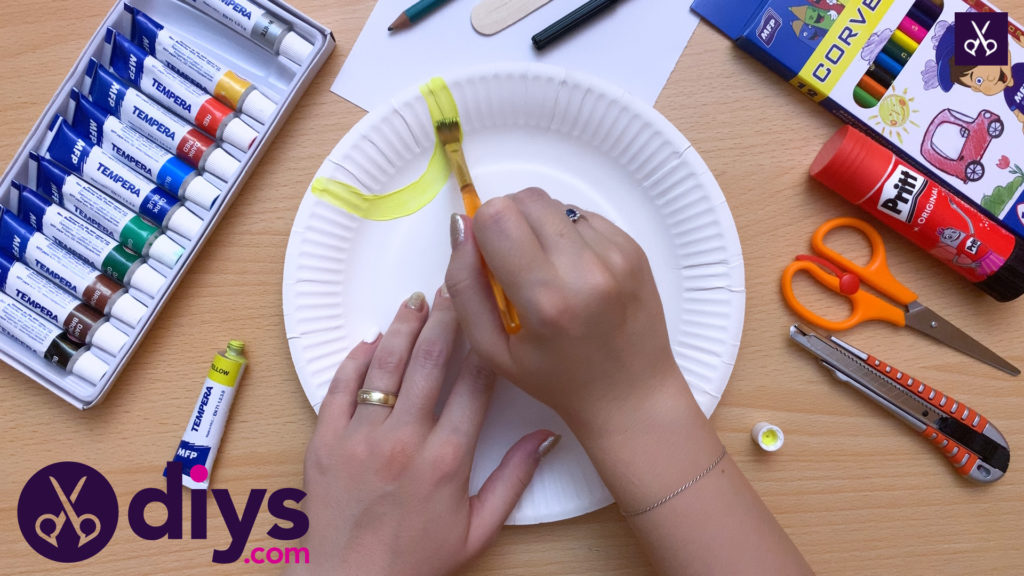
Step 2: paint the sun
Use your yellow paint to paint the shape of a sun in the top left of your paper plate. You might add hints or orange and other shades too if you really want to create a realistic work of art, but I decided to keep mine simple, since I knew that’s what my kids would prefer to do when we got down to making this craft together.
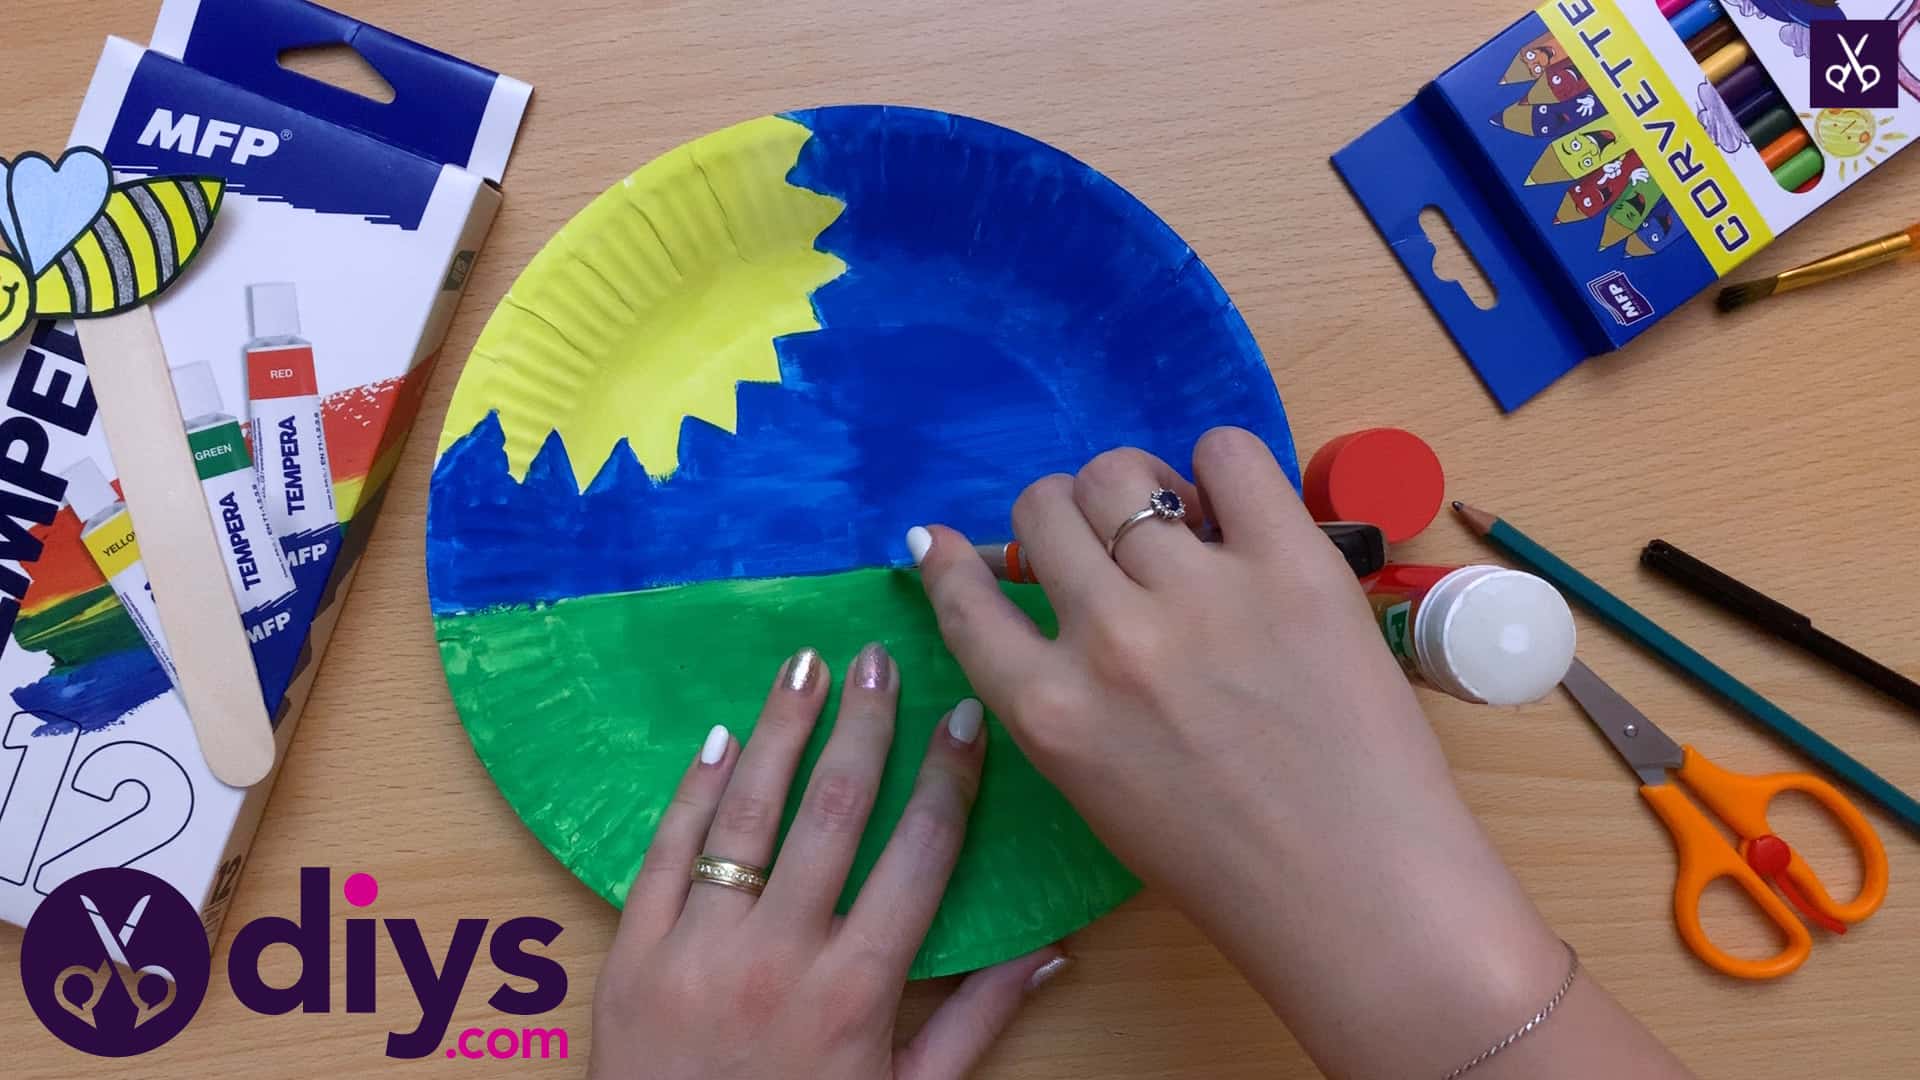
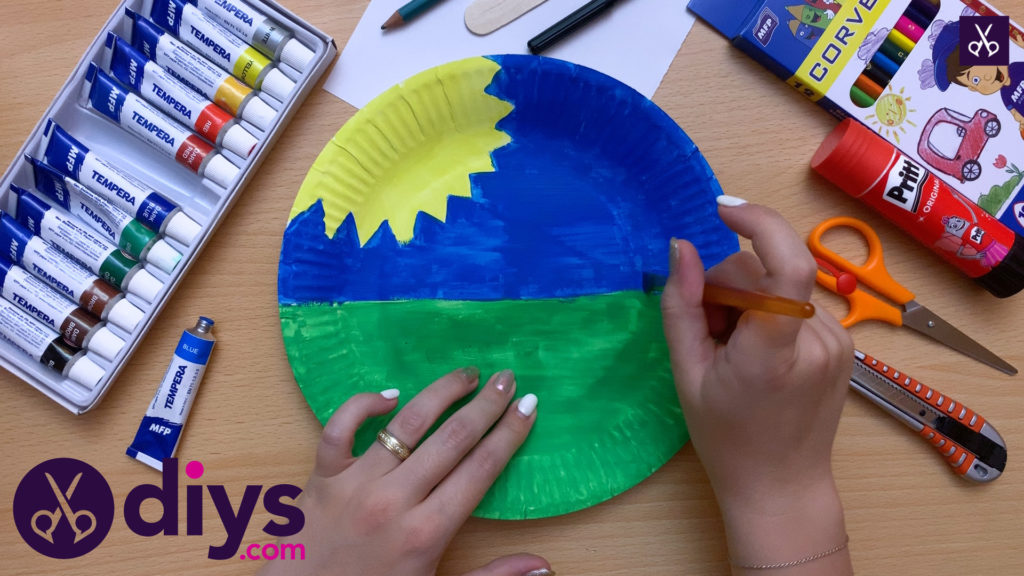
Step 3: paint the grass
Paint the bottom half of your plate green to look like grass! We painted a straight green line half way down and filled in the semi-circle below that line with solid green. This line is important because you’ll make a cut here later and that’s where your puppet will move.

Step 4: paint the sky
Paint the upper semi-circle of your plate that isn’t already green a nice shade of sky blue! Be careful to paint around your sun, of course. I opted to paint the sun first and then paint blue around it, rather than painting the sun right on top of a full blue half circle, because putting the yellow paint directly on the white of the paper plate lets it show up more brilliantly and brightly.
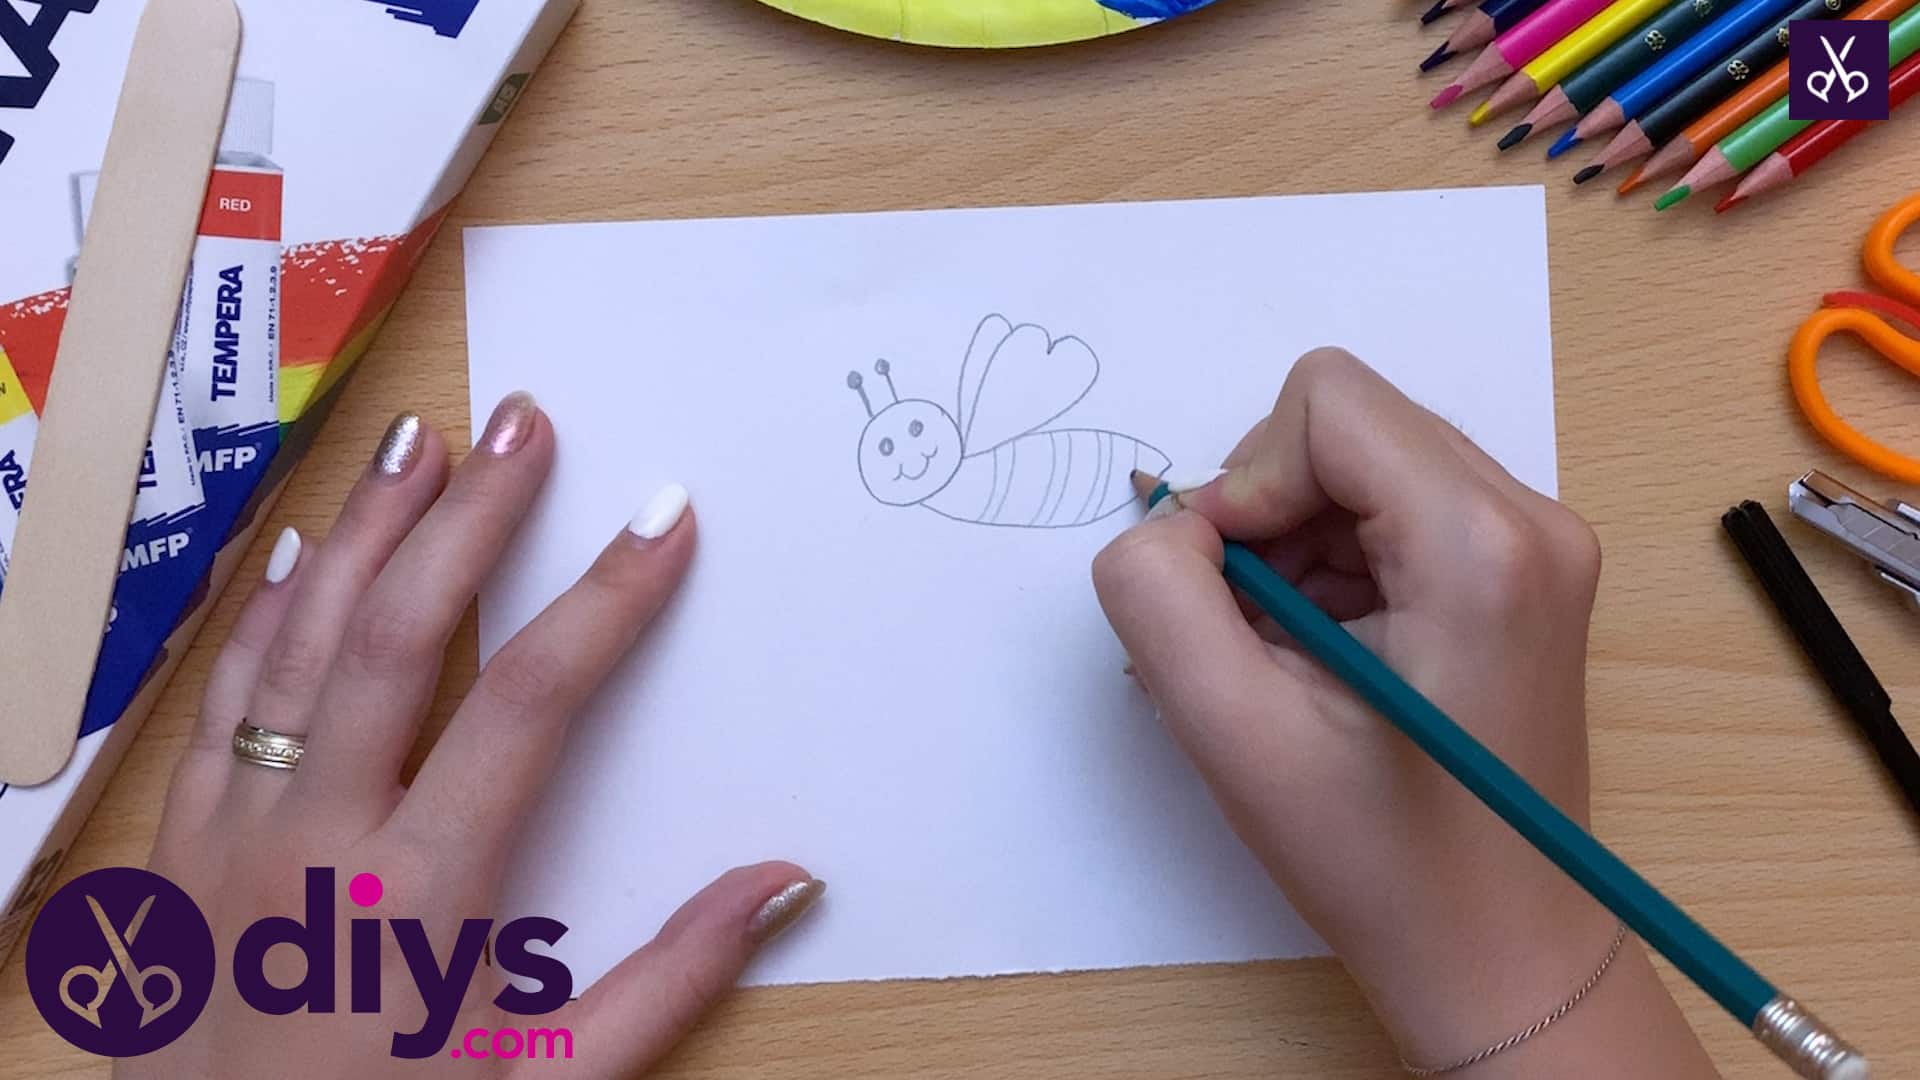
Step 5: draw the bee
On a separate piece of paper, draw the shape of a little bumble bee. I kept my design simple but added a little bit of detail for personality. I liked the idea of making a happy little bee! I kept it pretty small to make sure it would fit comfortably within the setting I just painted on my paper plate. My bee was only a couple inches wide and about an inch tall from tummy to wings.

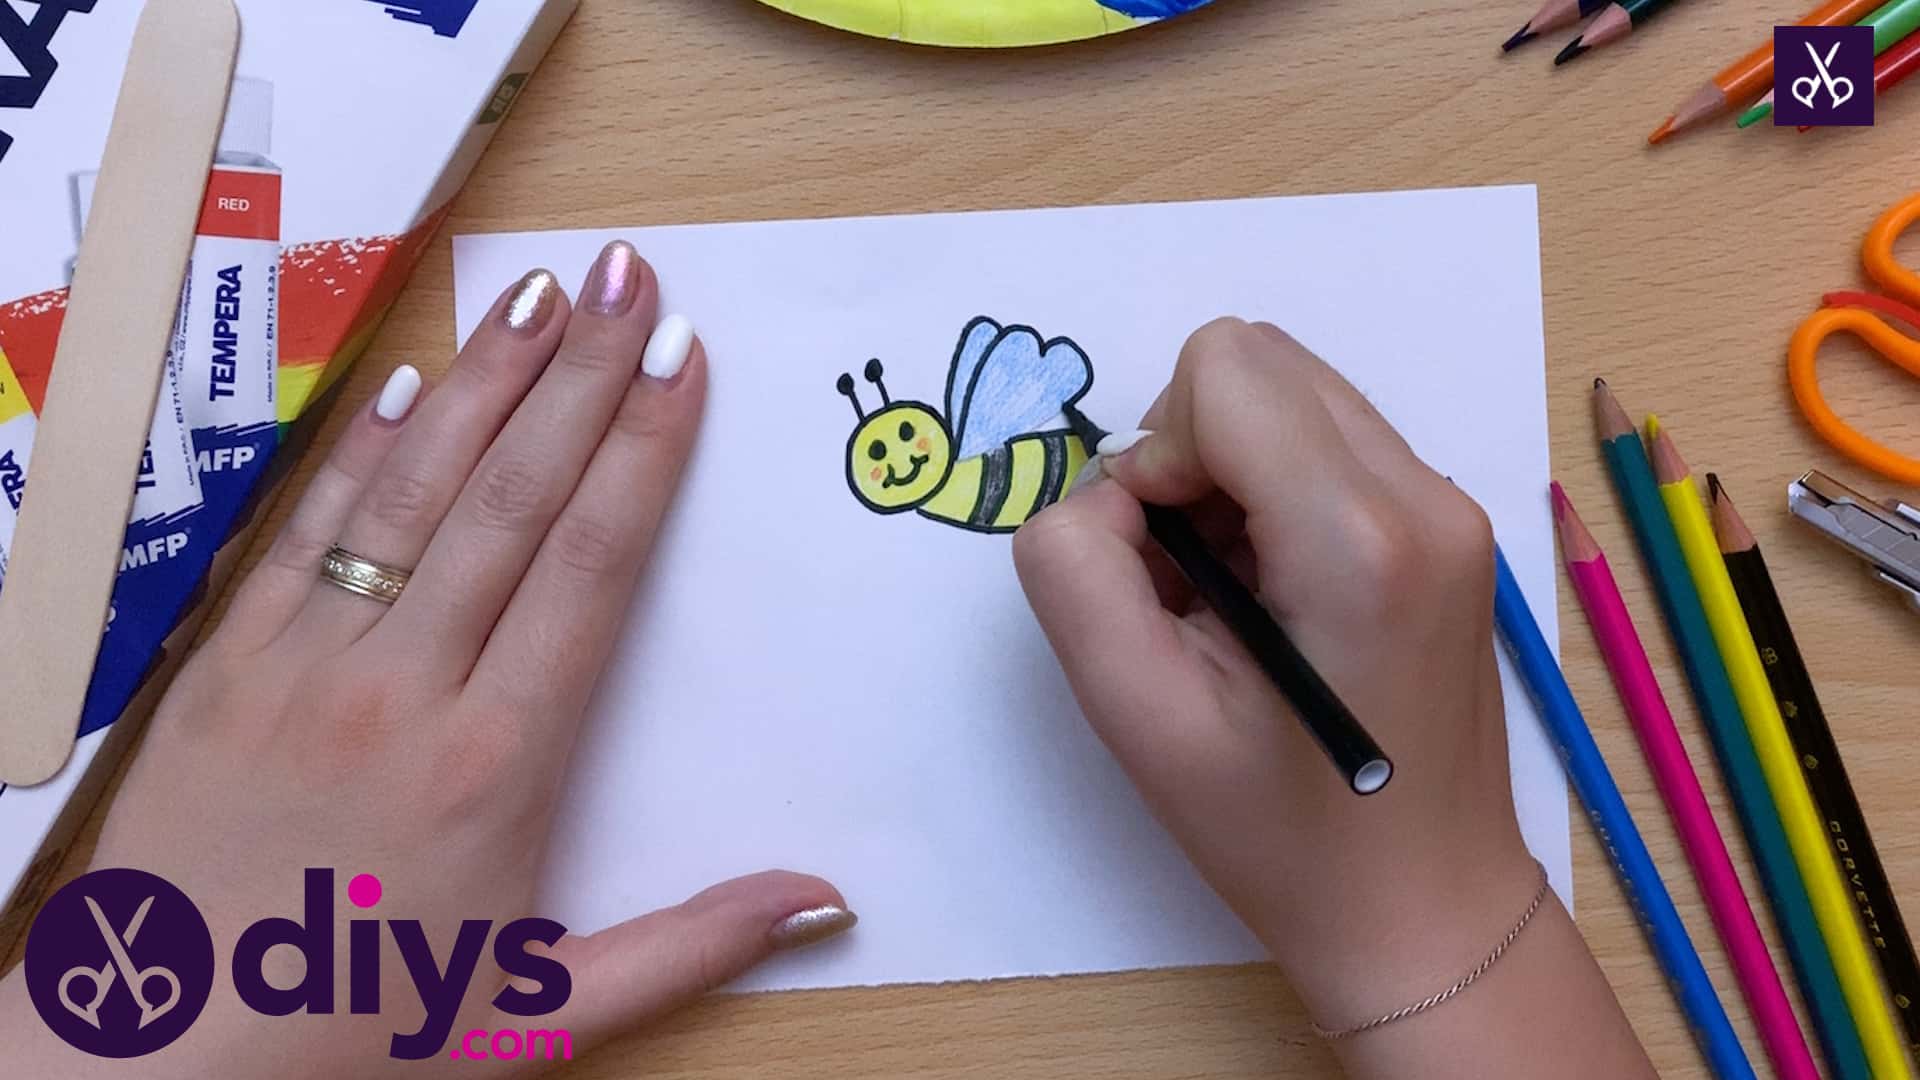
Step 6: color
Colour your bee in! I used pencil crayons to add the colour detail and then outlined the bee and all of its features to really make the drawing pop against the colours of the plate. I used classic black and white for the body and stripes but got a little bit creative elsewhere, making the wings blue to give them depth and adding little blushing cheeks, just because I thought it was cute.

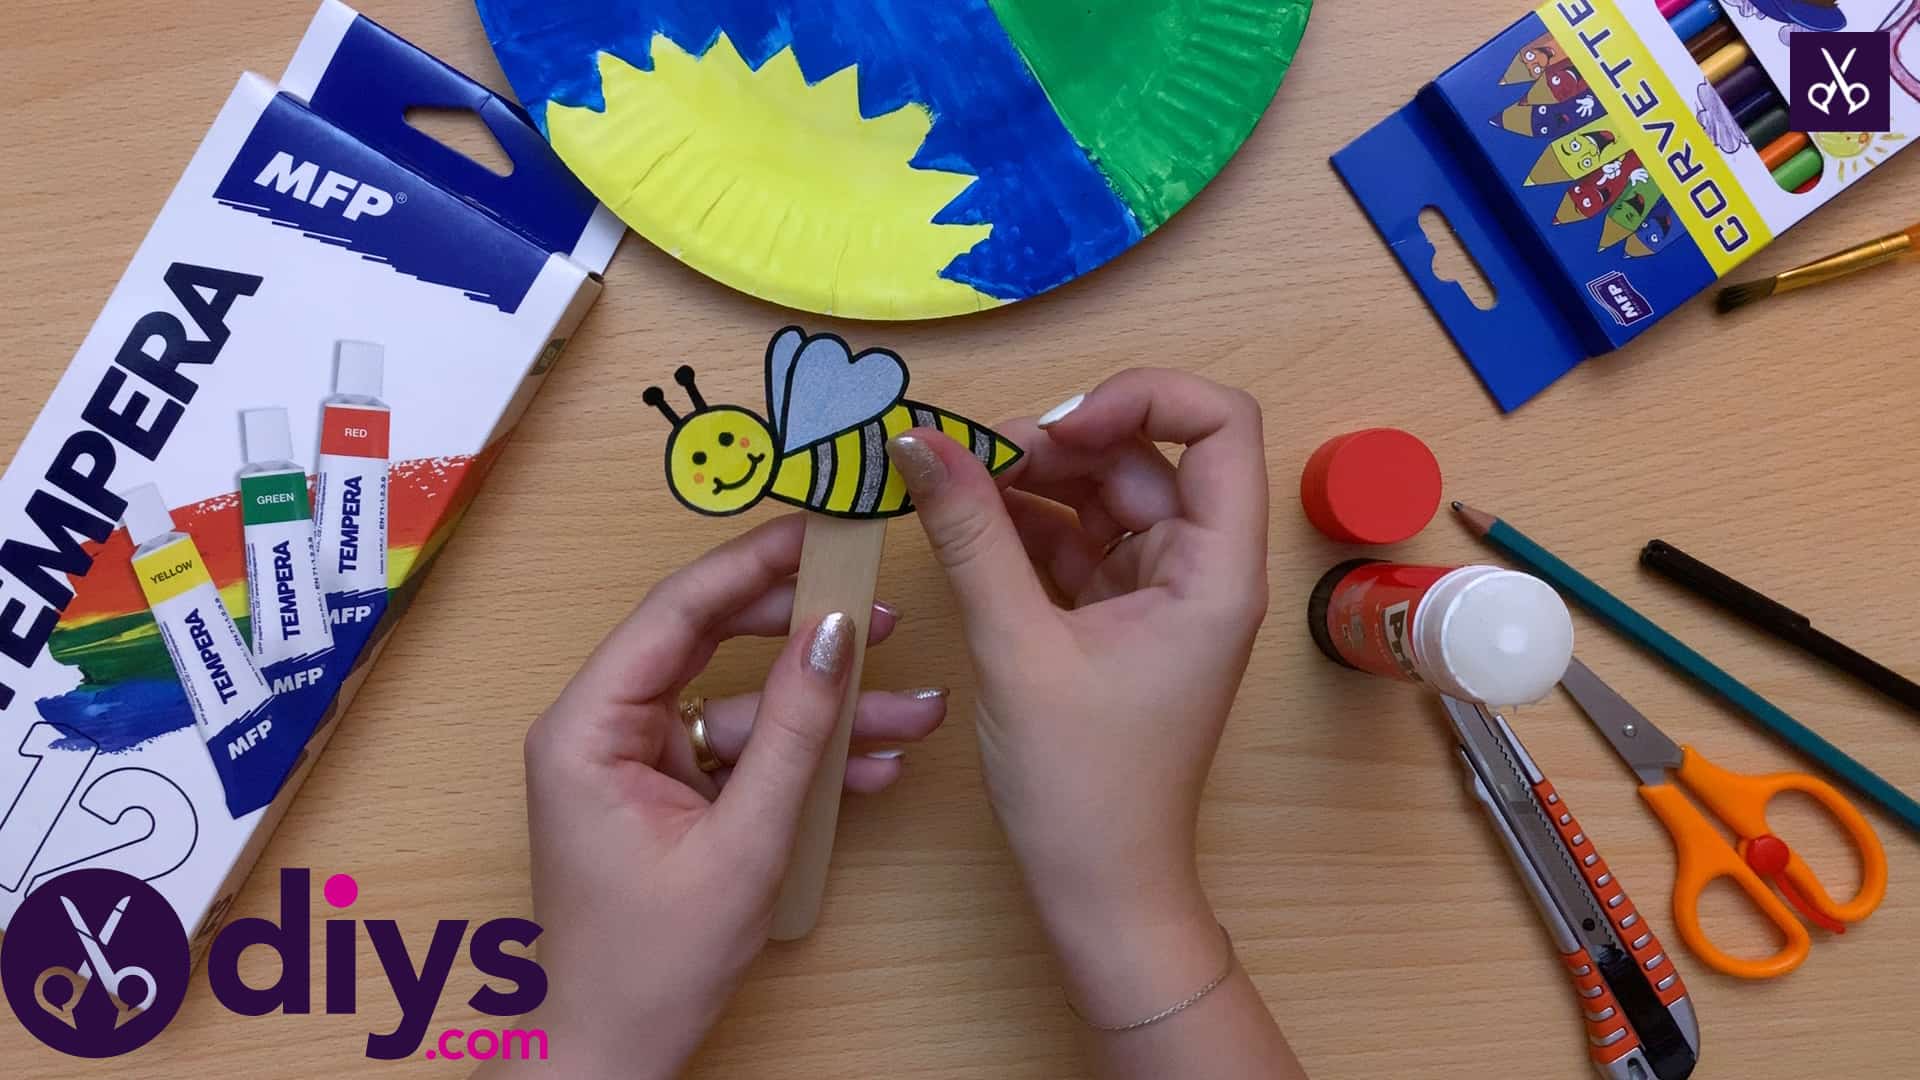
Step 7: cut
Cut your bee out carefully all around its outside shape. Use your glue stick to apply glue to the back and then stick it firmly to one end of your popsicle or crafting stick.
Step 8: make a slit
Using your craft knife, cut a straight line across the very middle of your plate, where the green of the grass and the blue of the sky meet. Make sure that youdo not cut all the way across the plate past its edges! You’re trying to create a sort of slit in the middle, rather than actually cutting the whole plate in half. I put my plate down on a crafting surface that already has some damage and won’t be hurt by a few nicks and scratches and then pressed the tip of my knife down lightly and simply cut a straight line where the colours met.

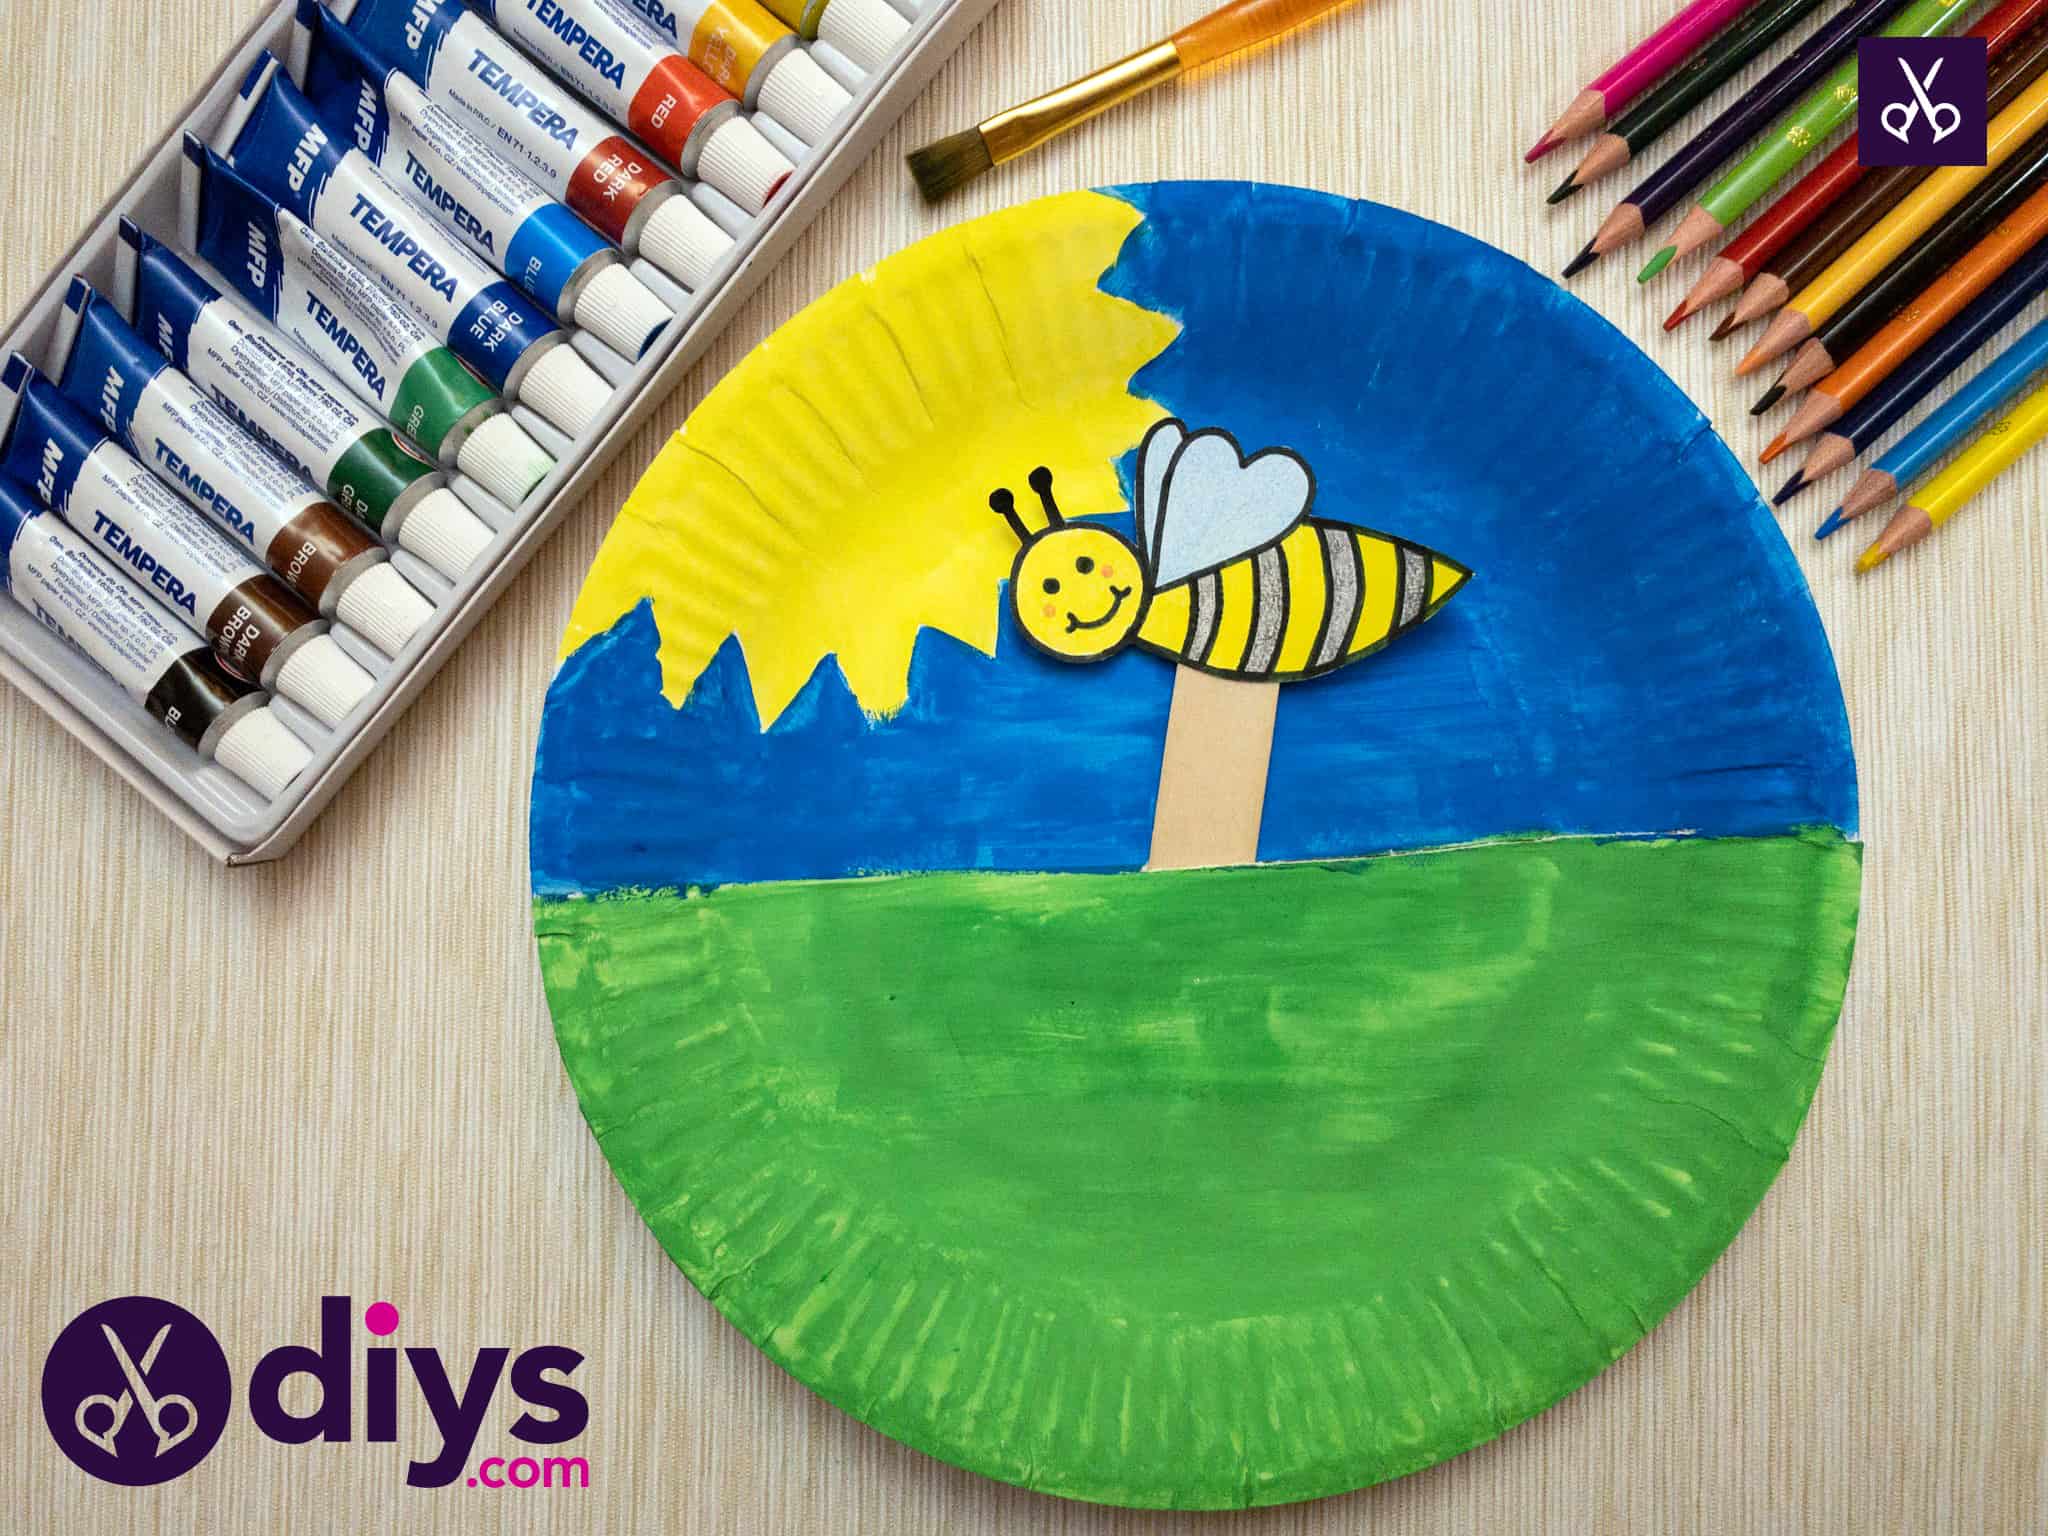
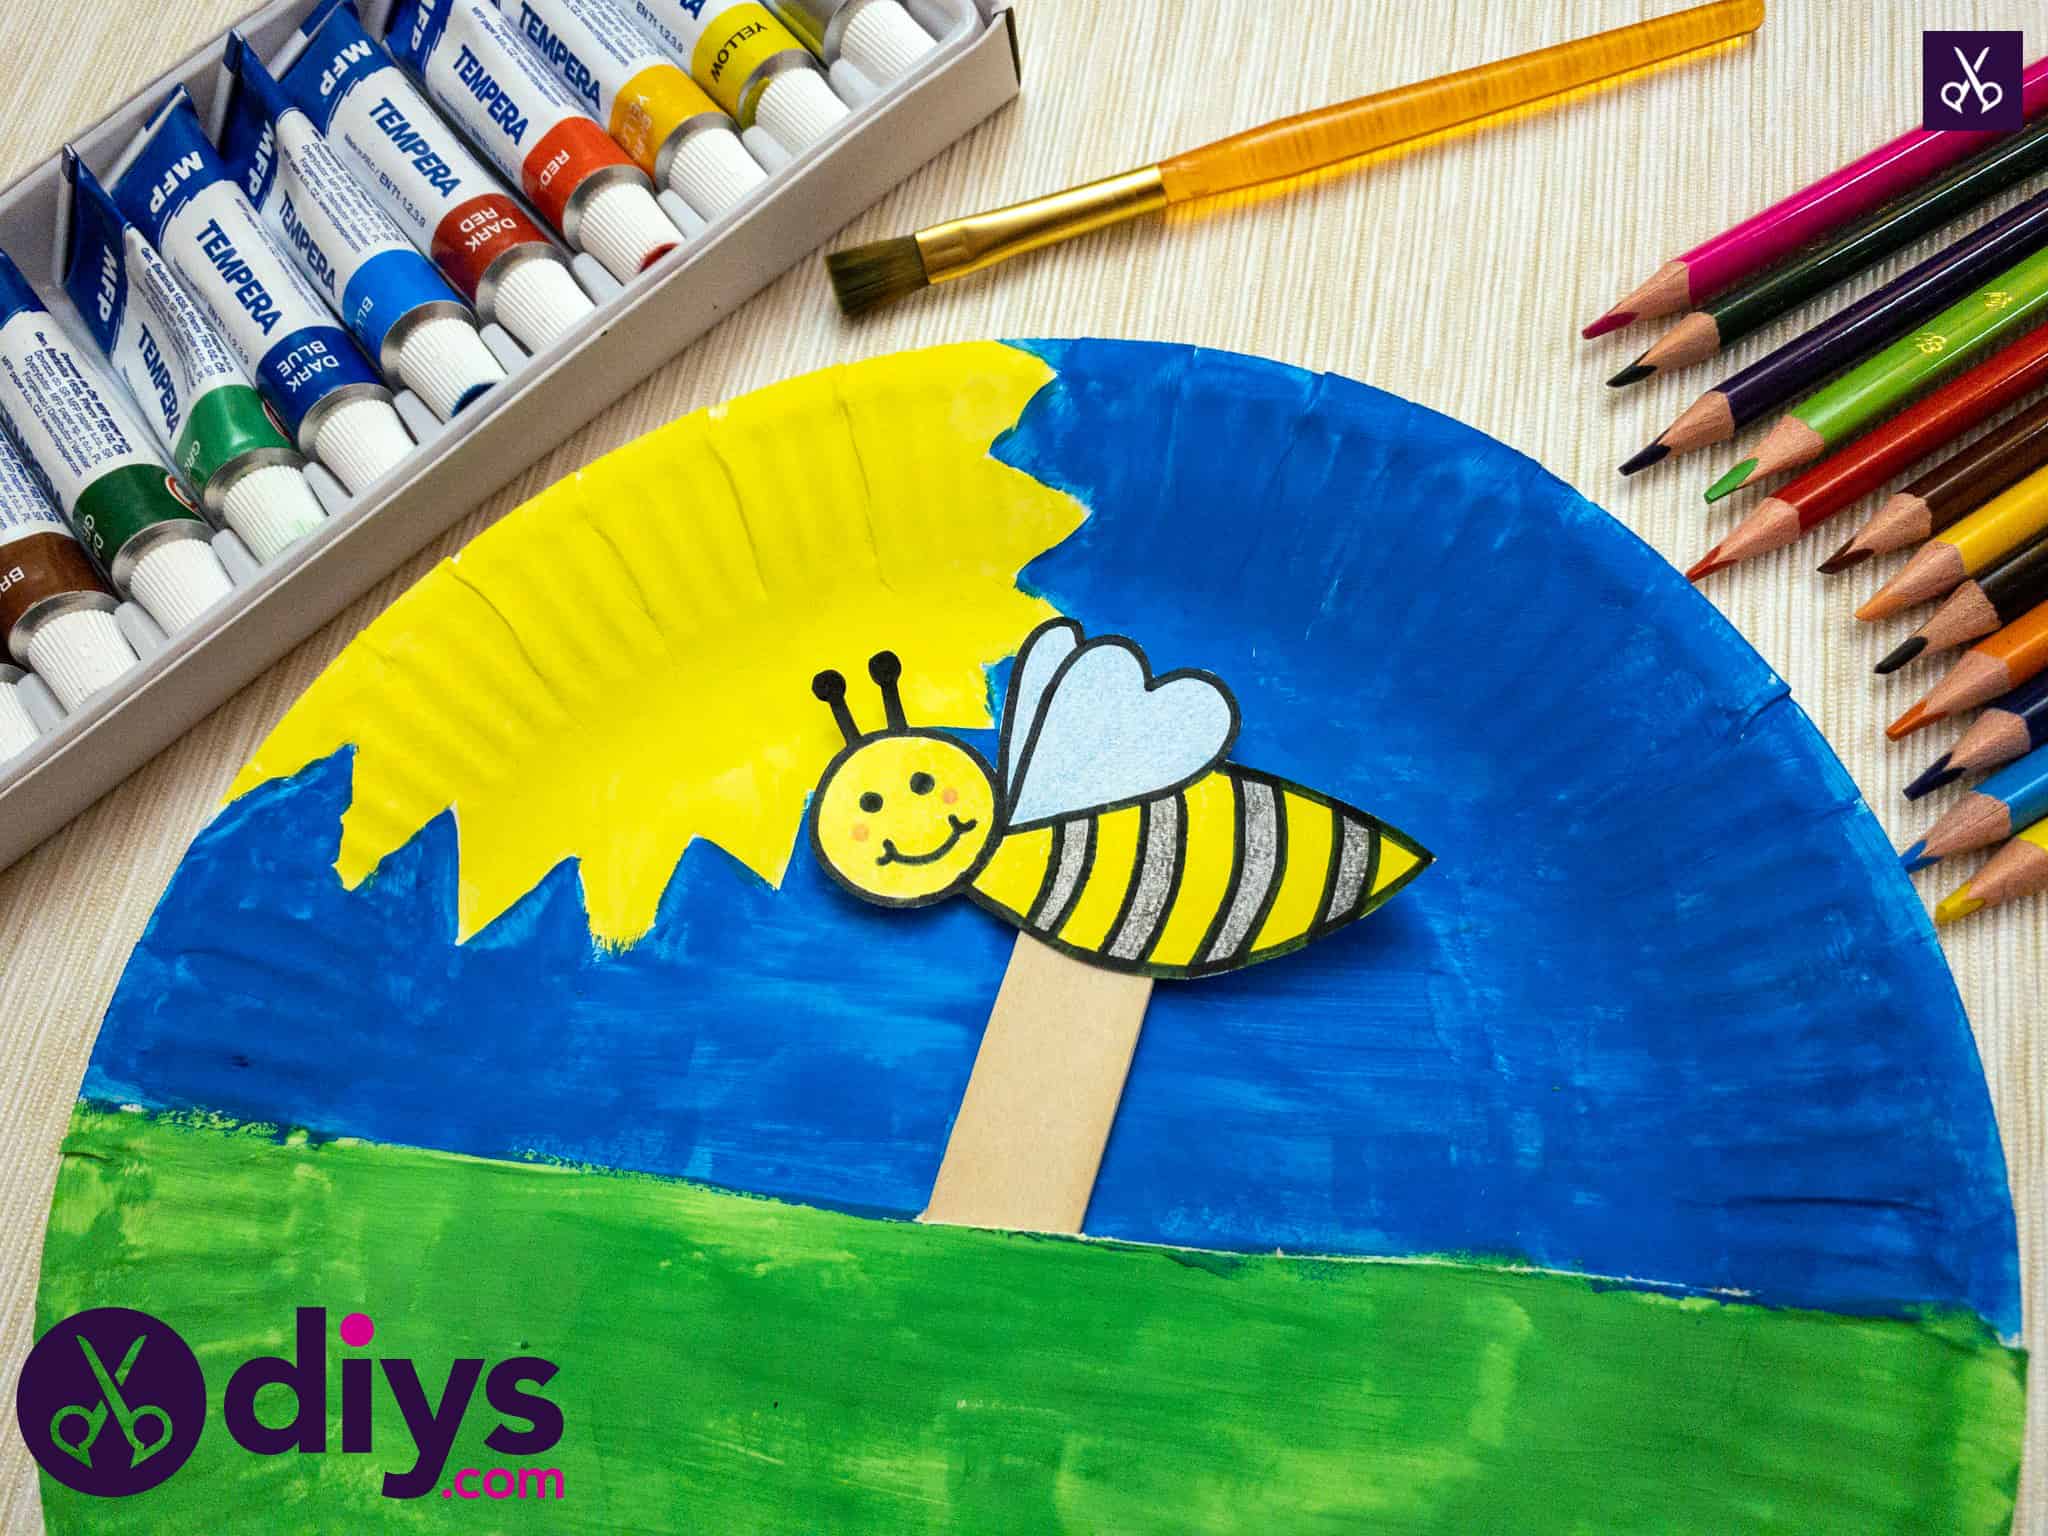
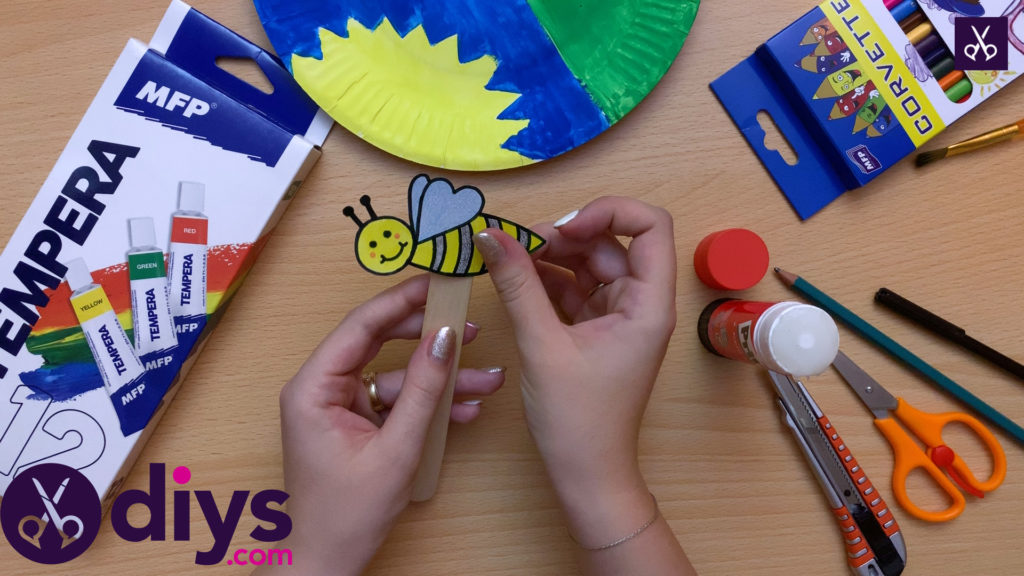
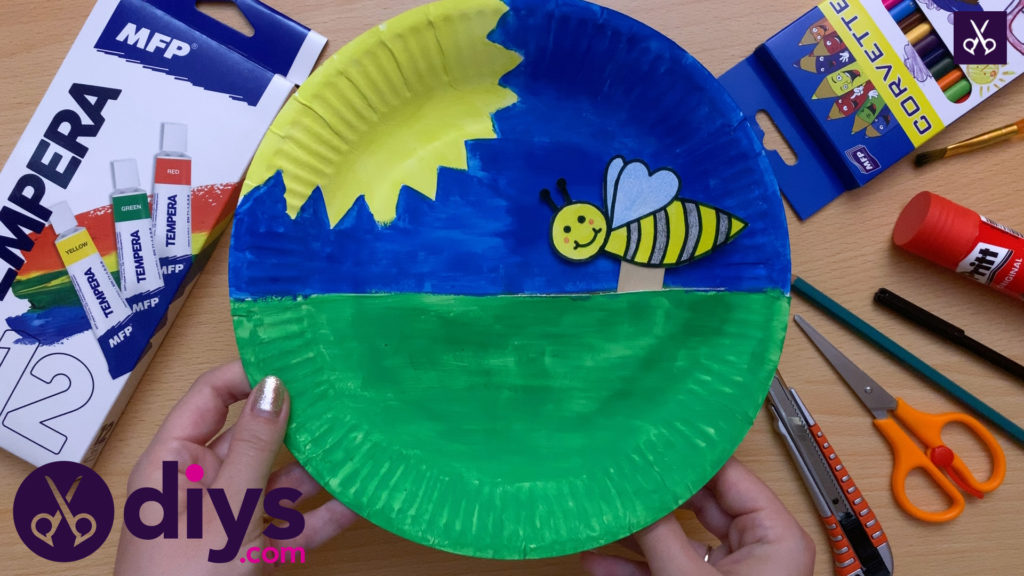
Step 9: finish
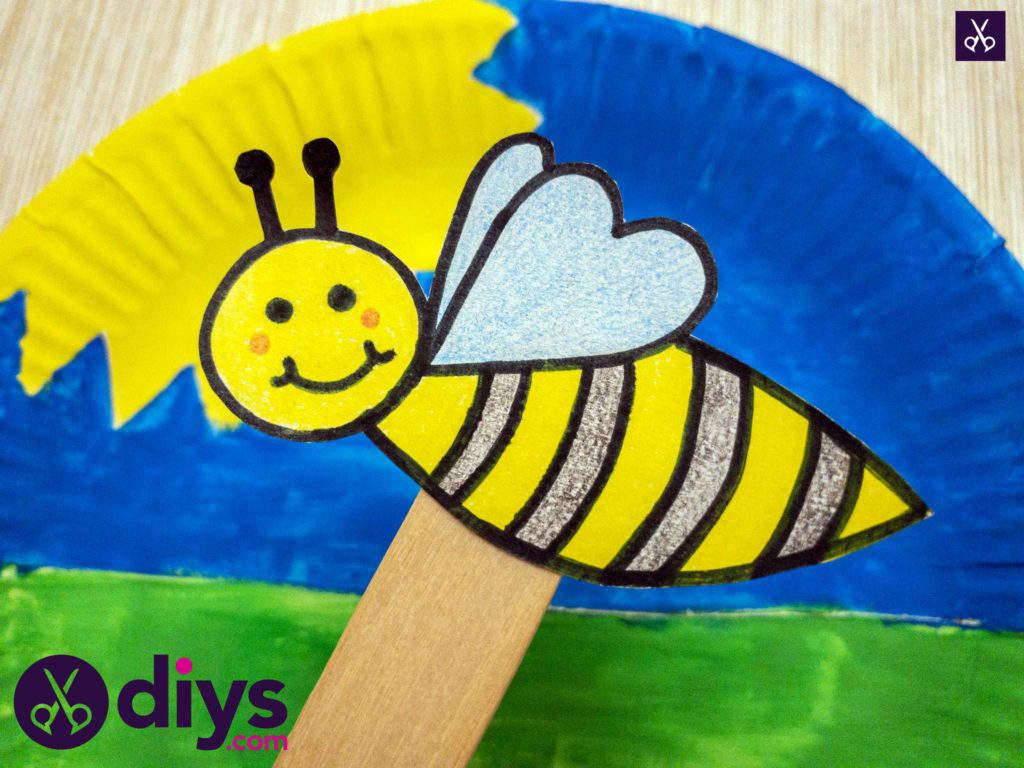
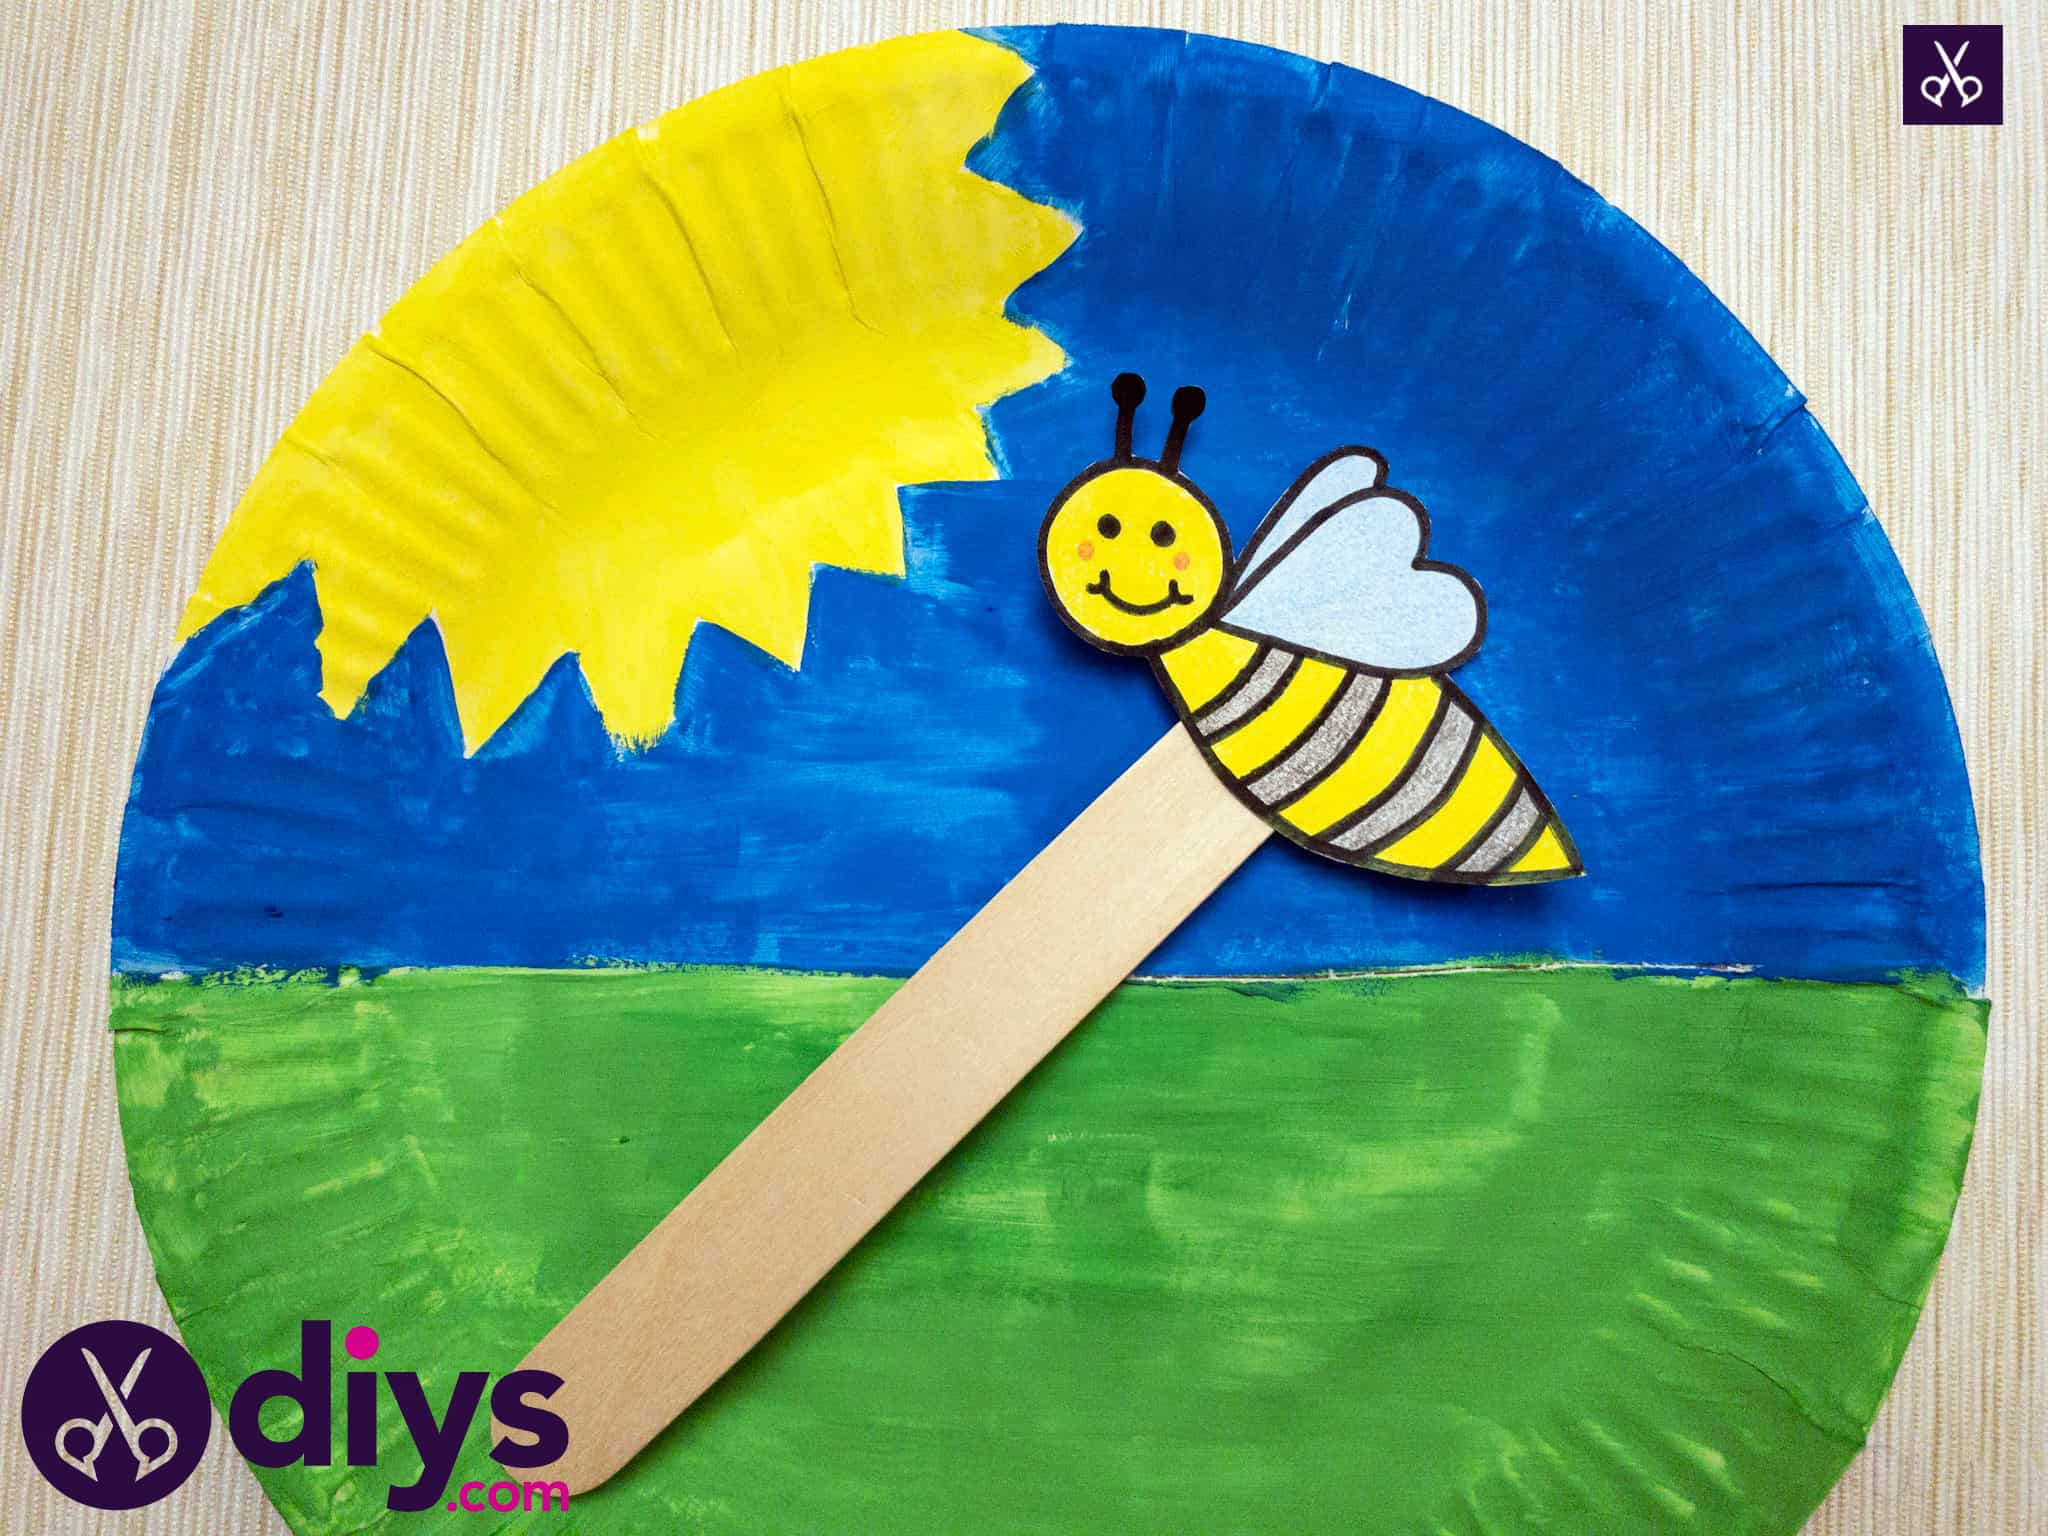
Slide your popsicle stick into the newly cut slit so that the end with the bee sits above the cut and the bee rests against the sky painted on the plate’s surface. The end of the stick will poke downward and out the back, like a handle. This is the part you’ll grab and move to make the bee “fly” back and forth across the front of the plate!

There you have it! Of course, if you’d rather make something other than a bumble bee, you can follow most of these steps and then just draw yourself another little create, like a bird.
You can find a full, detailed video tutorial for this awesome project here!