How to Make a Paper Cone Witch for Halloween
Updated on November 19, 2025


We’re all about Halloween crafts right now. In reading about DIY paper cone projects, I wasn’t sure I’d ever seen a witch themed one but I know that my kids are currently totally obsessed with witches, so I decided to make my own tutorial to fill the gap!
If you’d like to learn how to make a simple paper cone witch too, check these step by step instructions complete with photos! If you’re the kind of crafter who prefers to follow video tutorials, then keep scrolling and you’ll find one at the end of this post.
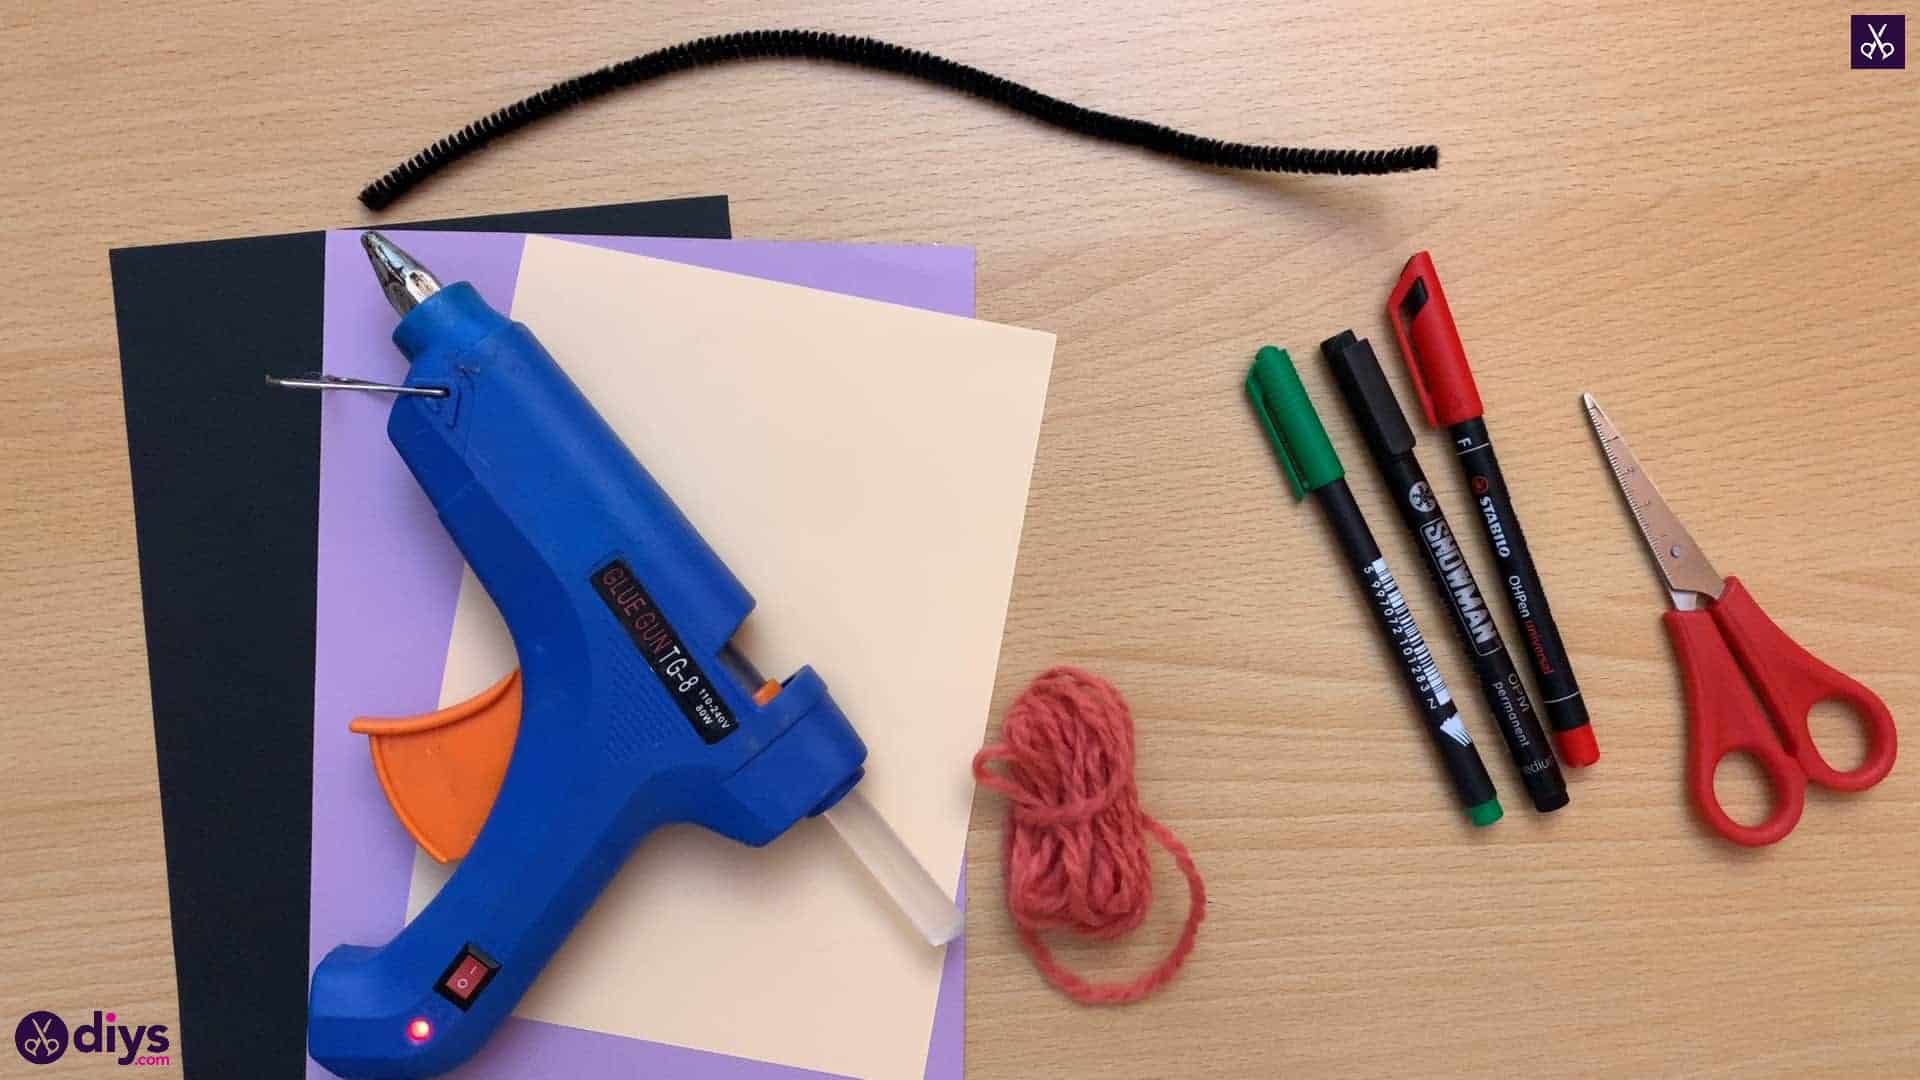
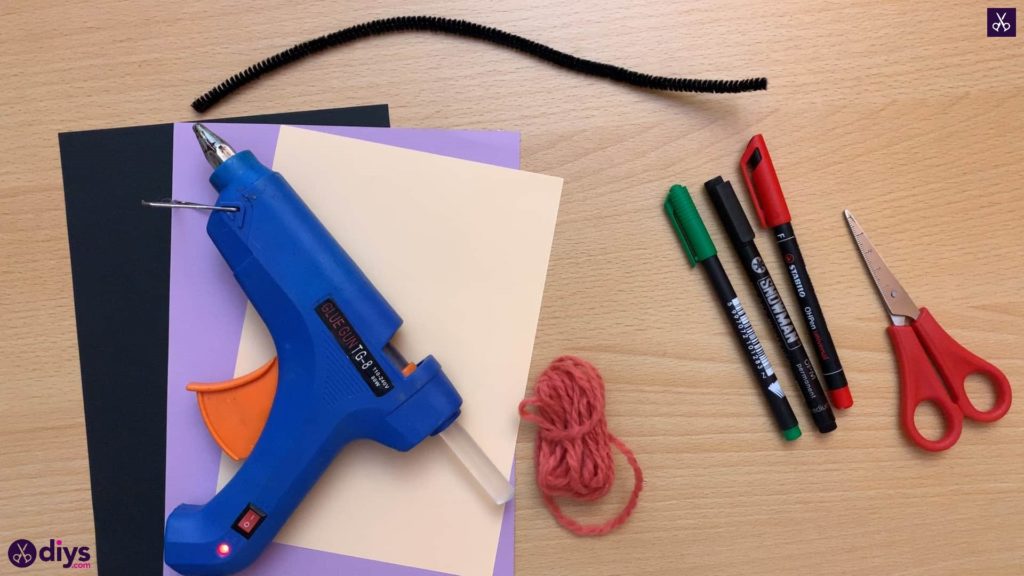
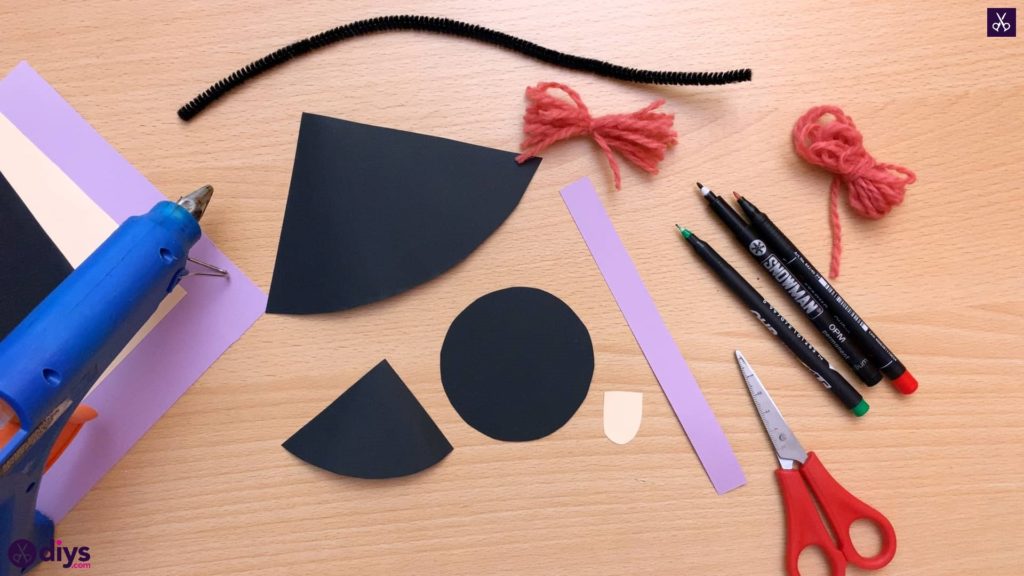
For this project, you’ll need:
- Scissors
- Construction paper (black, cream, and purple)
- Orange yarn
- Black pipe cleaner
- Felt tip pens (black, green, and red)
- A glue gun
Step 1: prep
Gather your supplies!
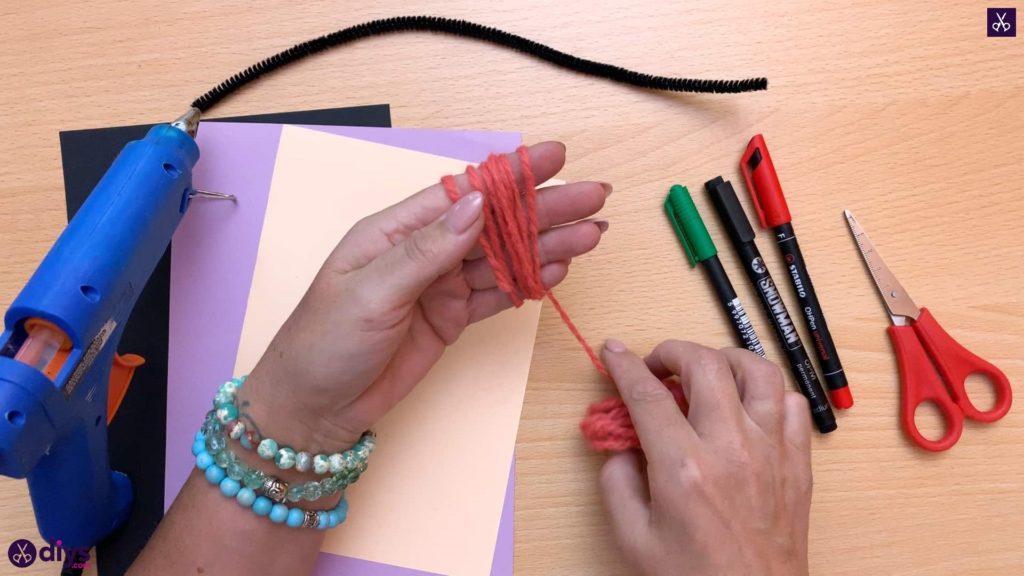
Step 2: the hair
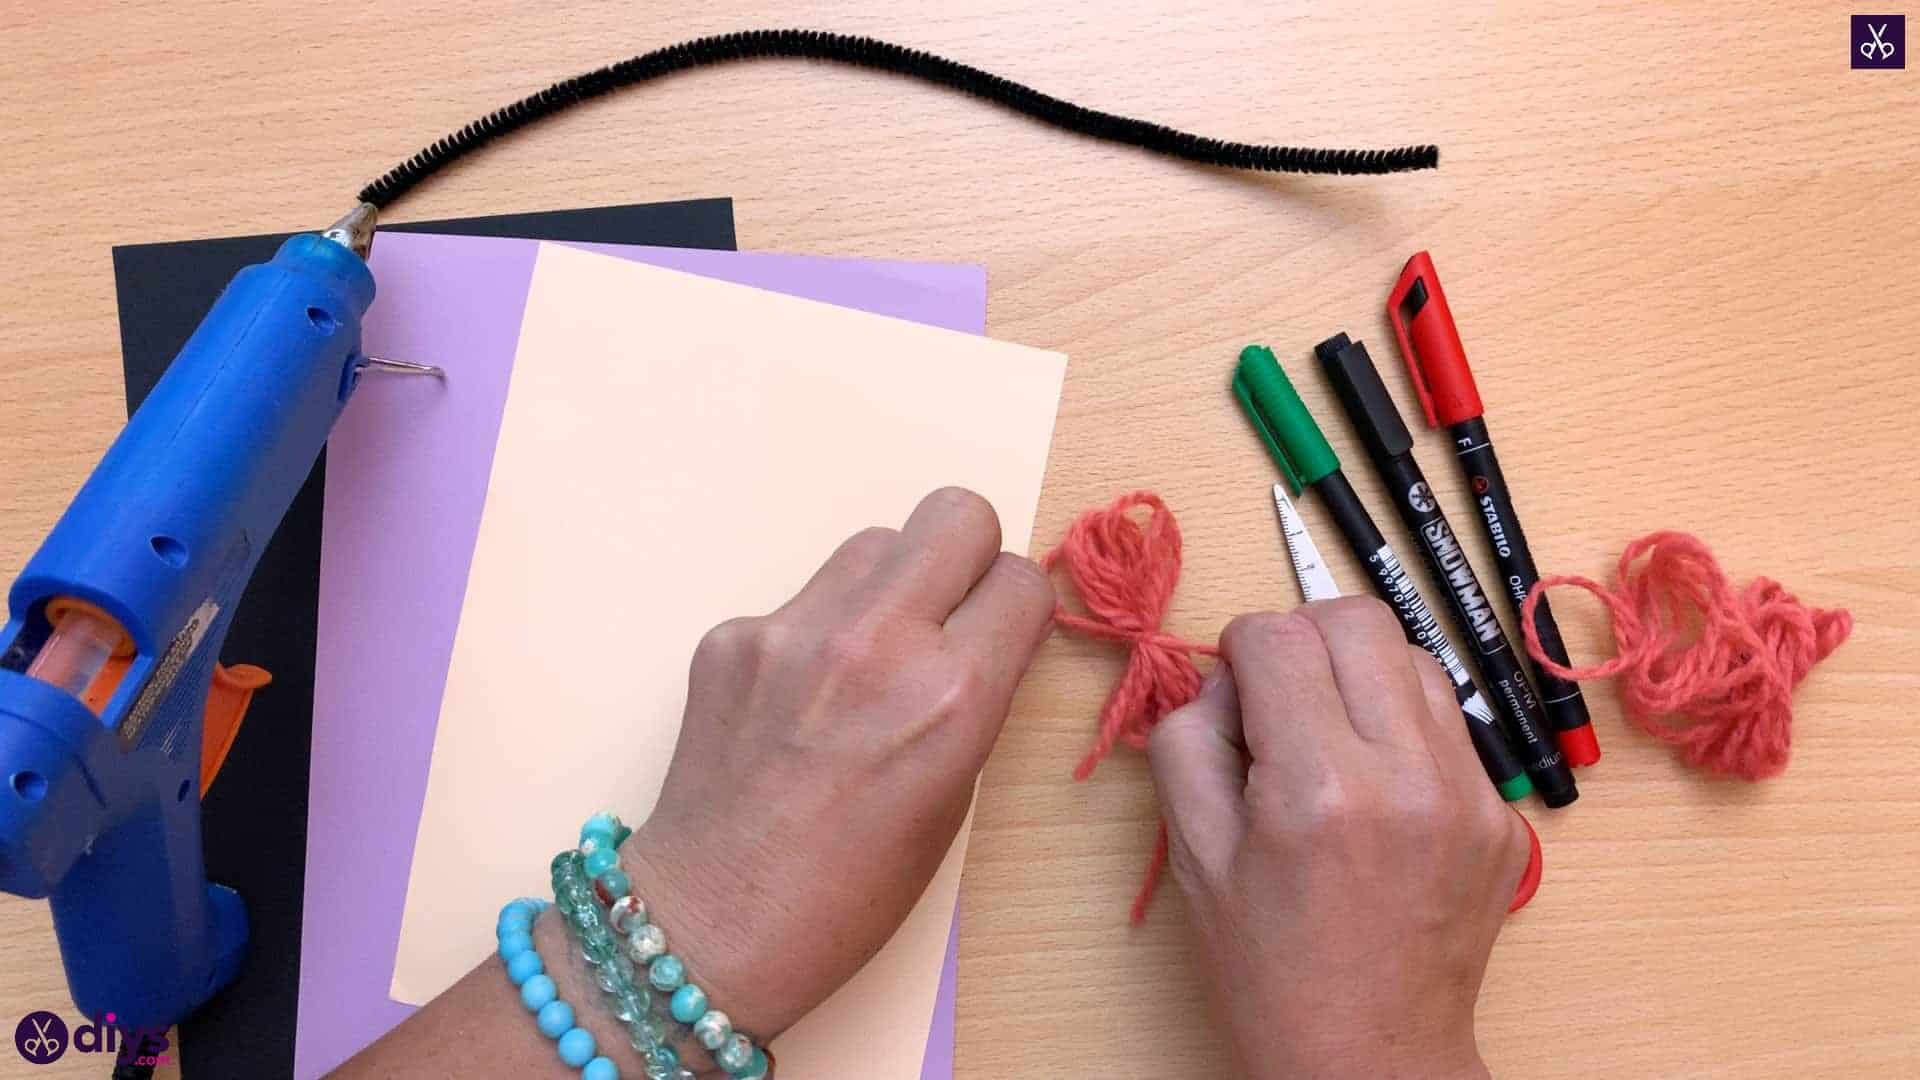
Start your witch’s hair by taking the end of your yarn and pinching it between your thumb and the base of your middle finger on the inside of your hand. Wind the yarn around and around the ditch of all for of your fingers several times, depending how much hair you want to give your witch.
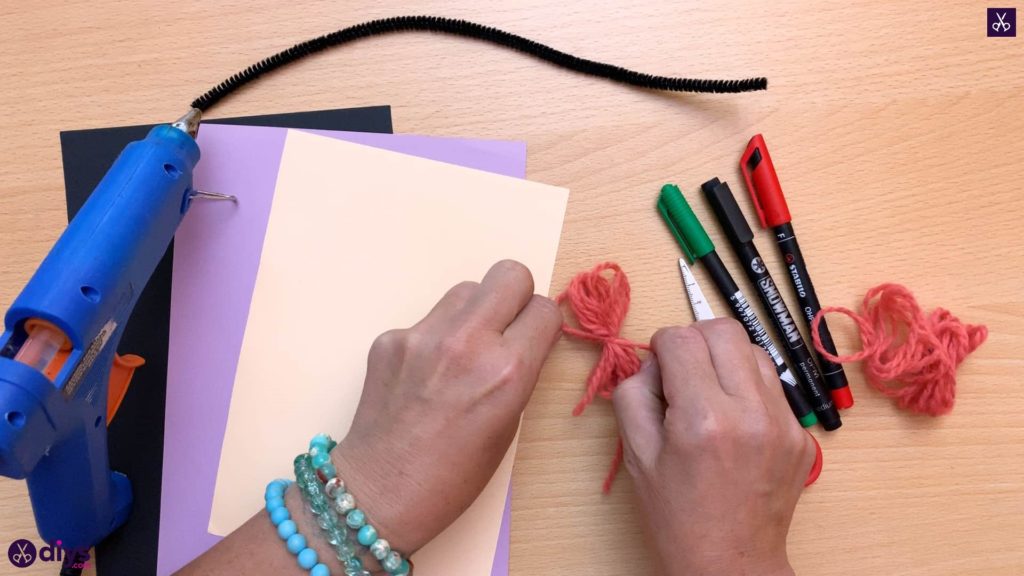
Step 3: tie
Slide your wound yarn off the ends of your fingers and pinch it in the middle to keep it from unraveling. Cut a short length of yarn from the spare that you have left over and tie it around the middle of the wrapped bundle. I double knotted mine to make sure it was really tight and wouldn’t come undone.
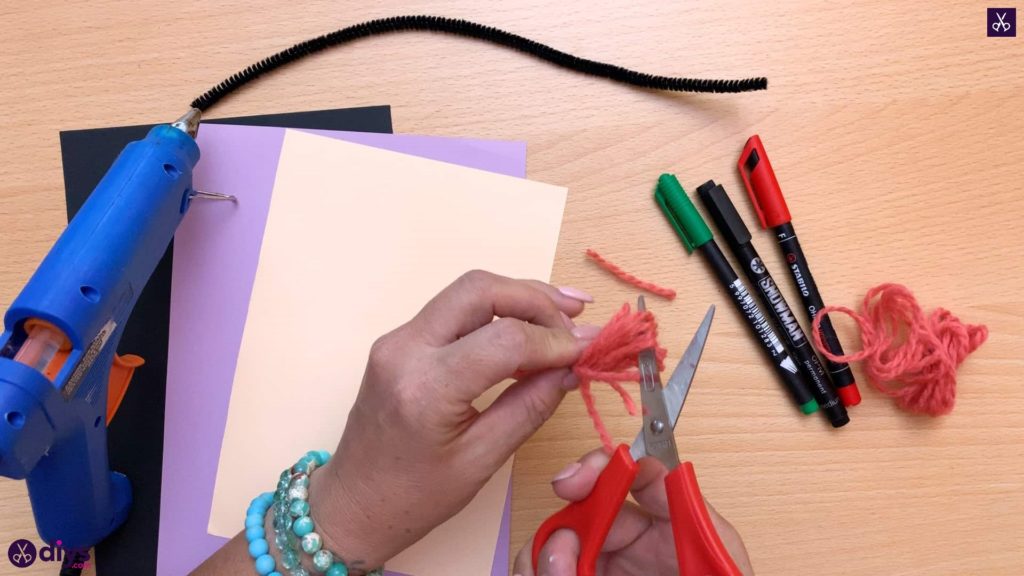
Step 4: cut
Use your scissors to cut the loops on each end of the yarn bundle you’ve just tied so you have fringy ends instead of rounded ones. You don’t need to trim the excess ends of the yarn you tied in the center if they blend in with the rest! This will be your witch’s hair. Set it aside for now.
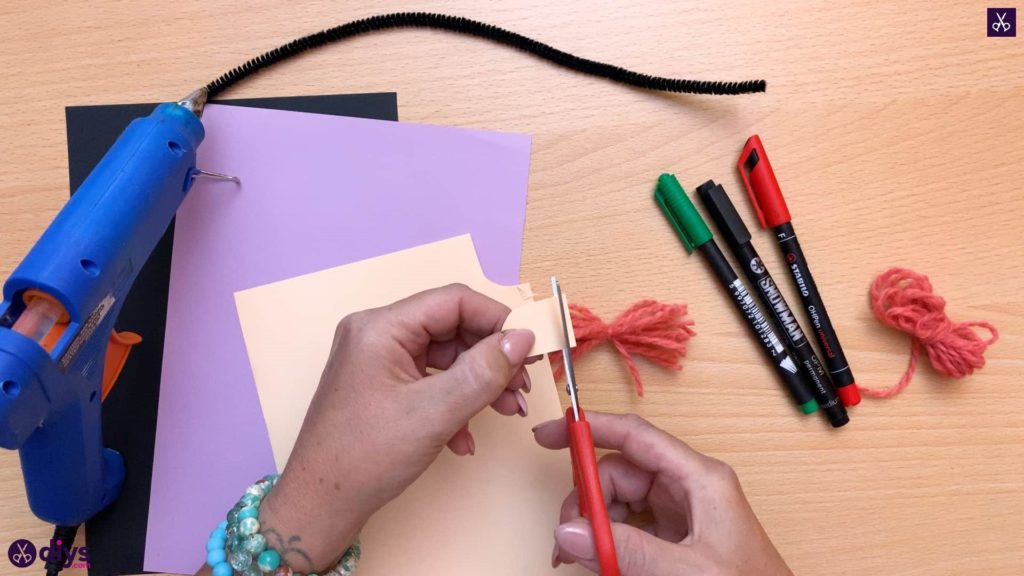
Step 5: cut the face
Cute a small rectangular shape from the corner of your cream coloured paper. Round the corners off of one end but leave the straight edge on the other end. This will be your witch’s face.
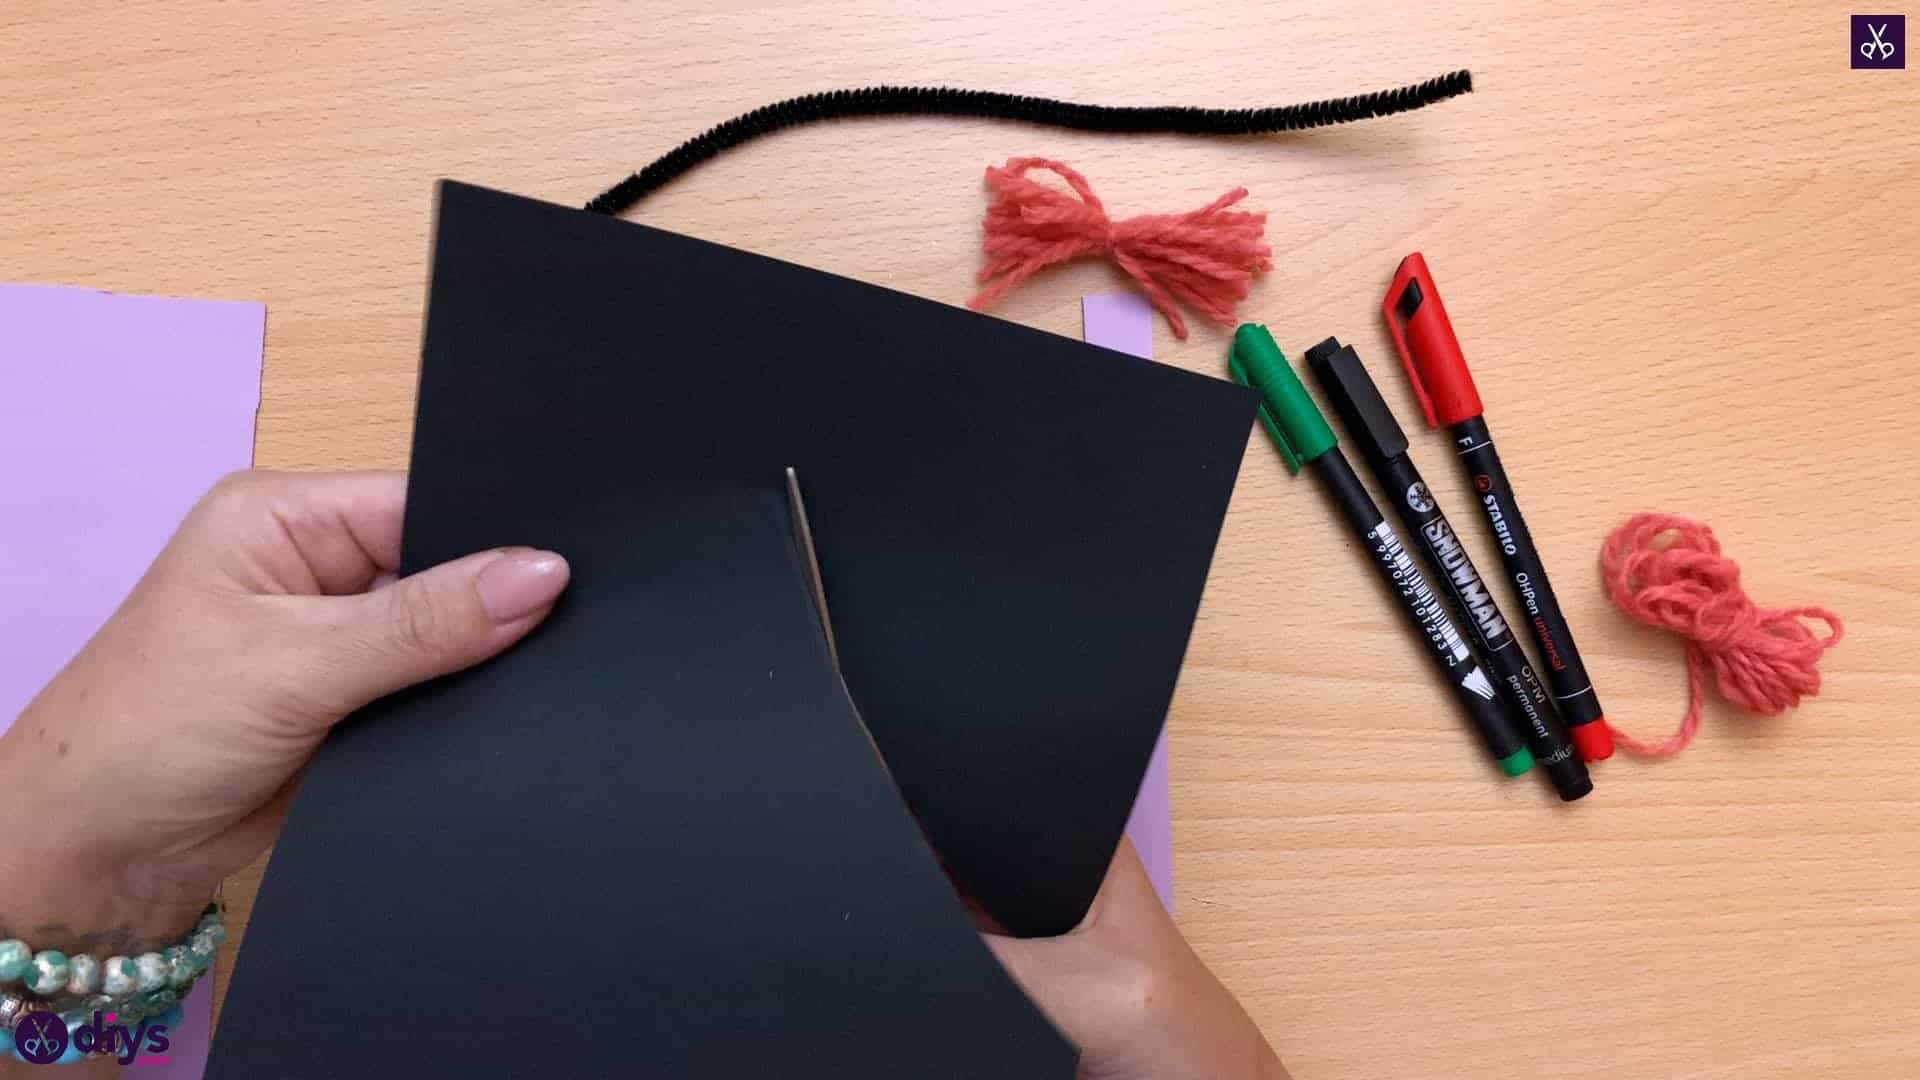
Step 6: hat accessories
Cut a strip a few centimetres wide from the width of your purple paper. This will be the band of your witch’s hat. Next, cut out the main piece that will turn into your witch’s cone shaped body. Do this by cutting a rounded arc shape from one lone side to one short side of your black paper, about three inches from the corner equidistantly.

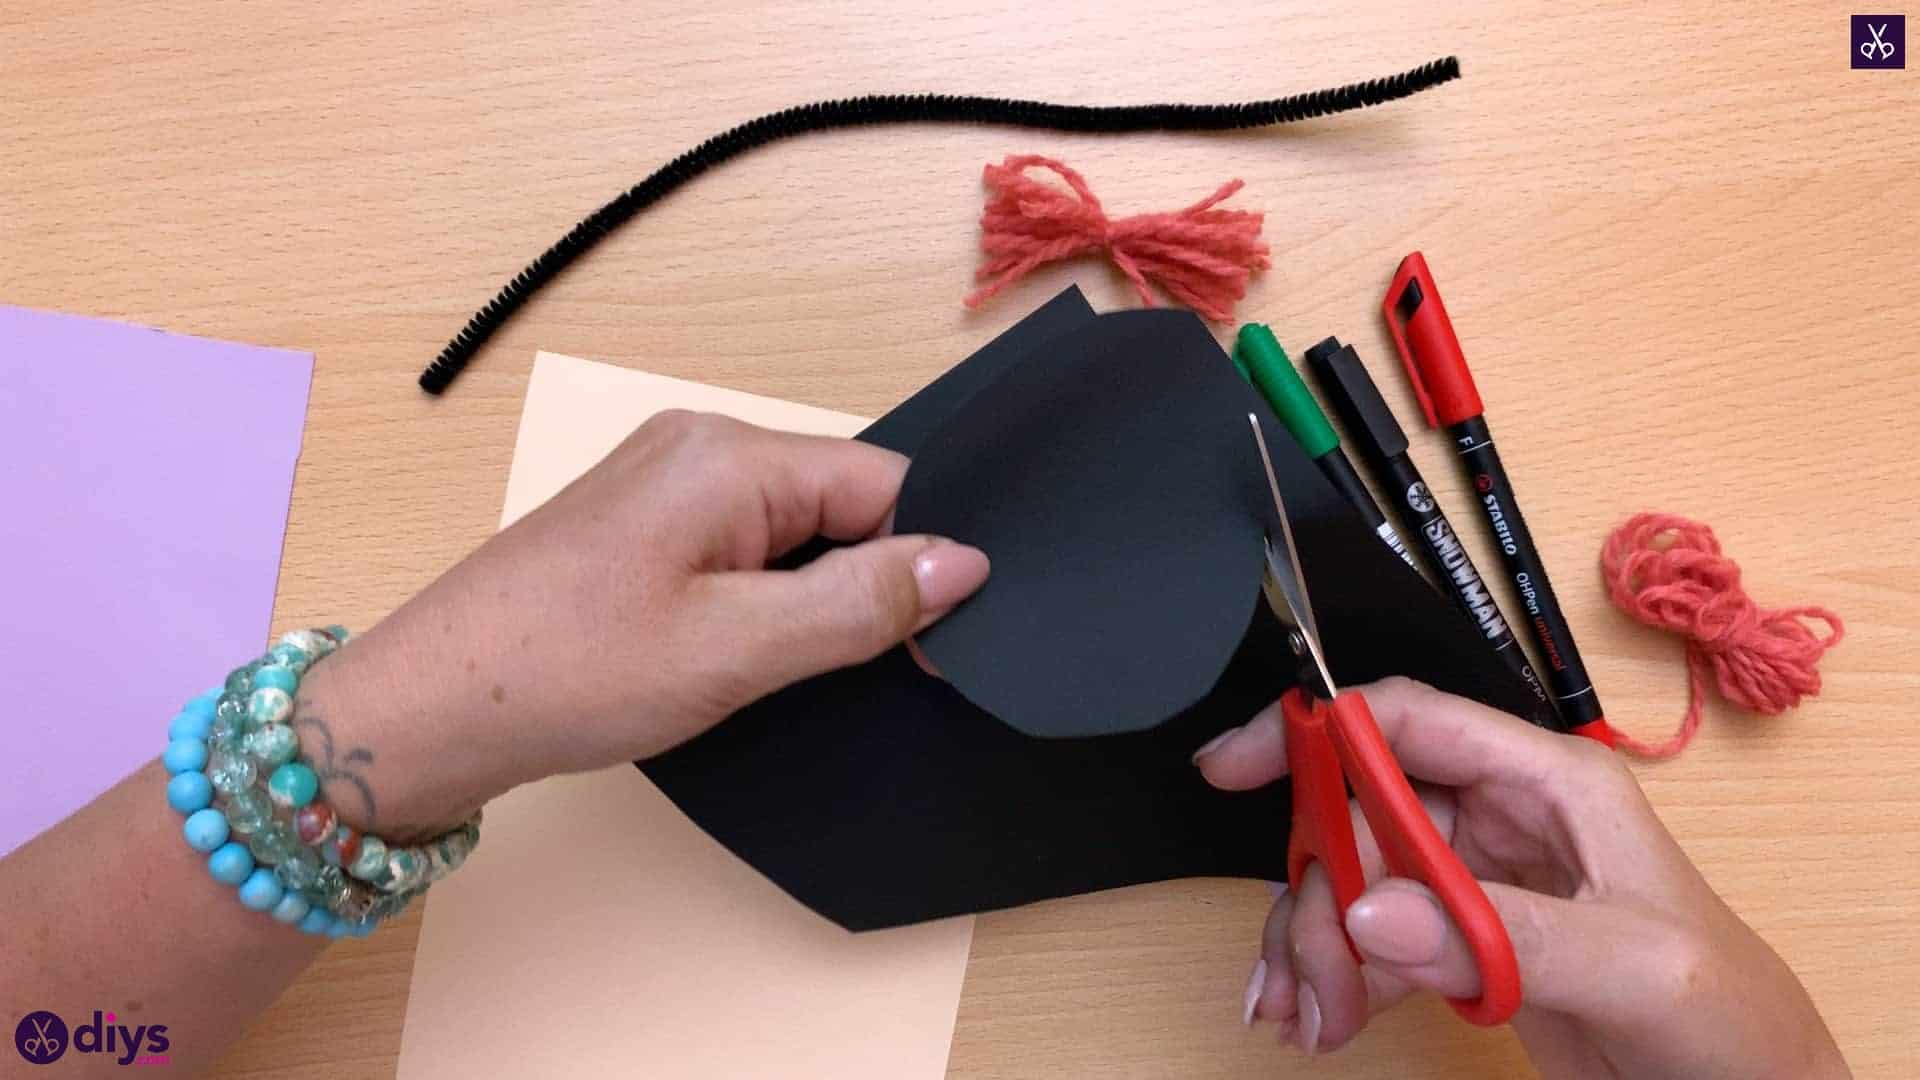
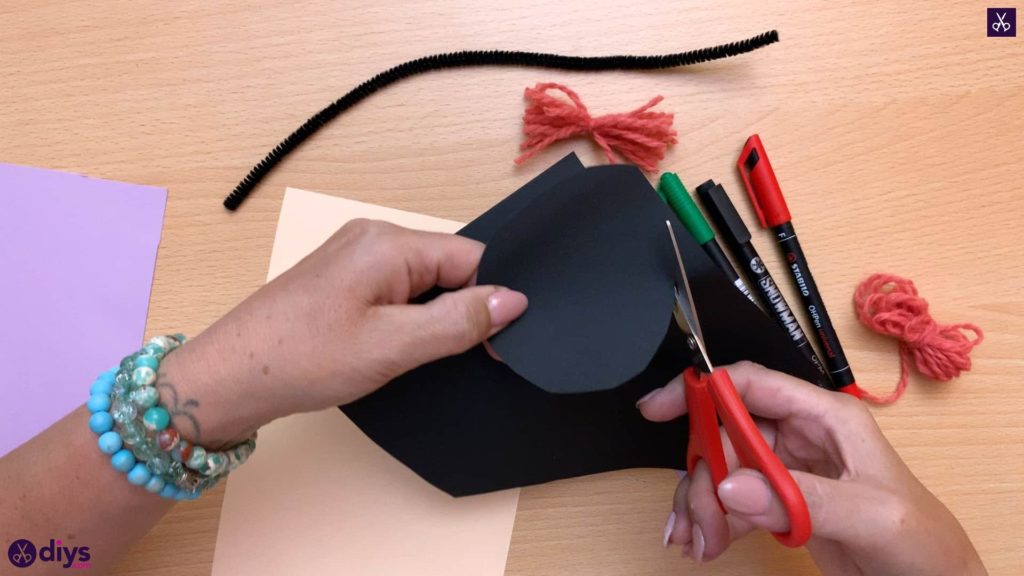
Step 7: all your pieces
Cut the pieces for your hat out of the black paper as well! Start by cutting out a circle that’s about two inches across. Then cut out another arced corner shape from another corner, but this time starting and finishing your arc only about an inch from the corner instead. You now have all your paper pieces cut out and ready to be assembled.
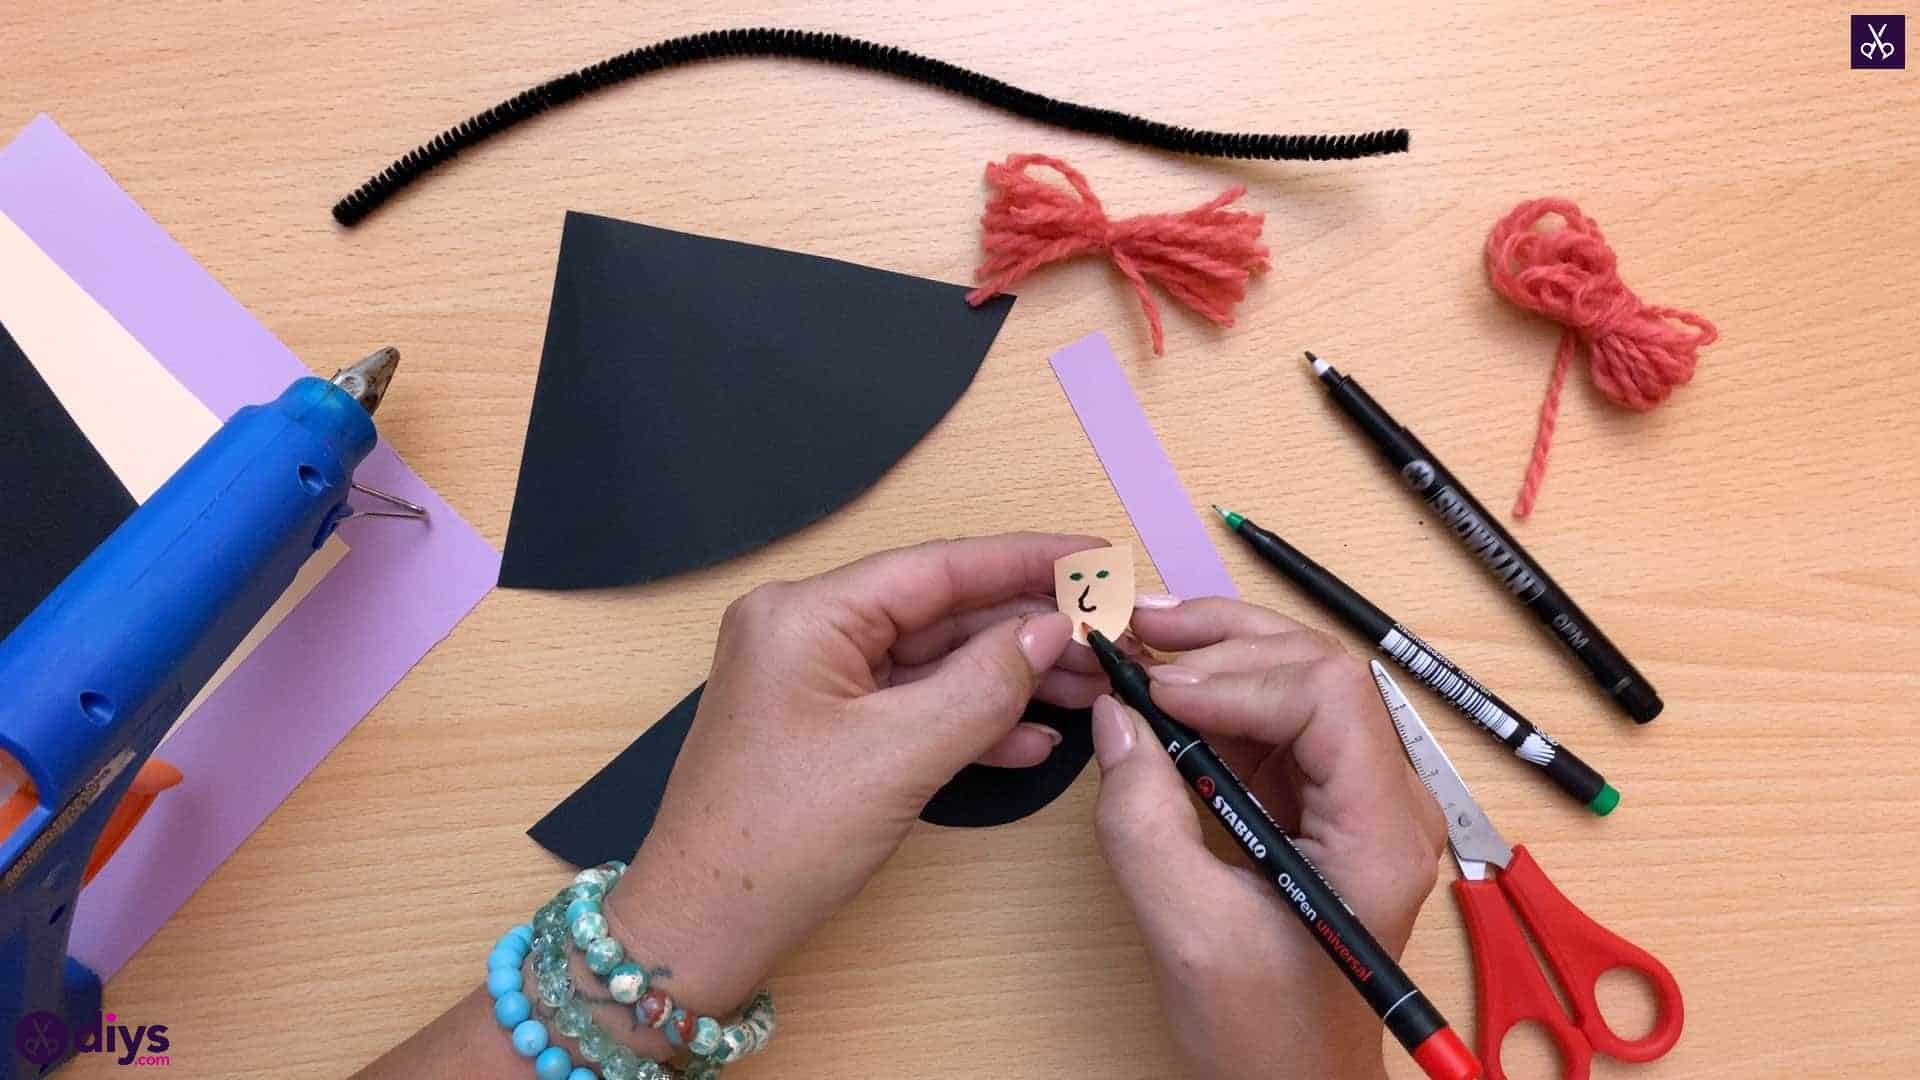
Step 8: draw the face
Draw your witch’s features onto the face you cut from your cream coloured paper earlier. I used the green marker for the eyes, the black marker to outlined the nose, and the red marker to make the smile.

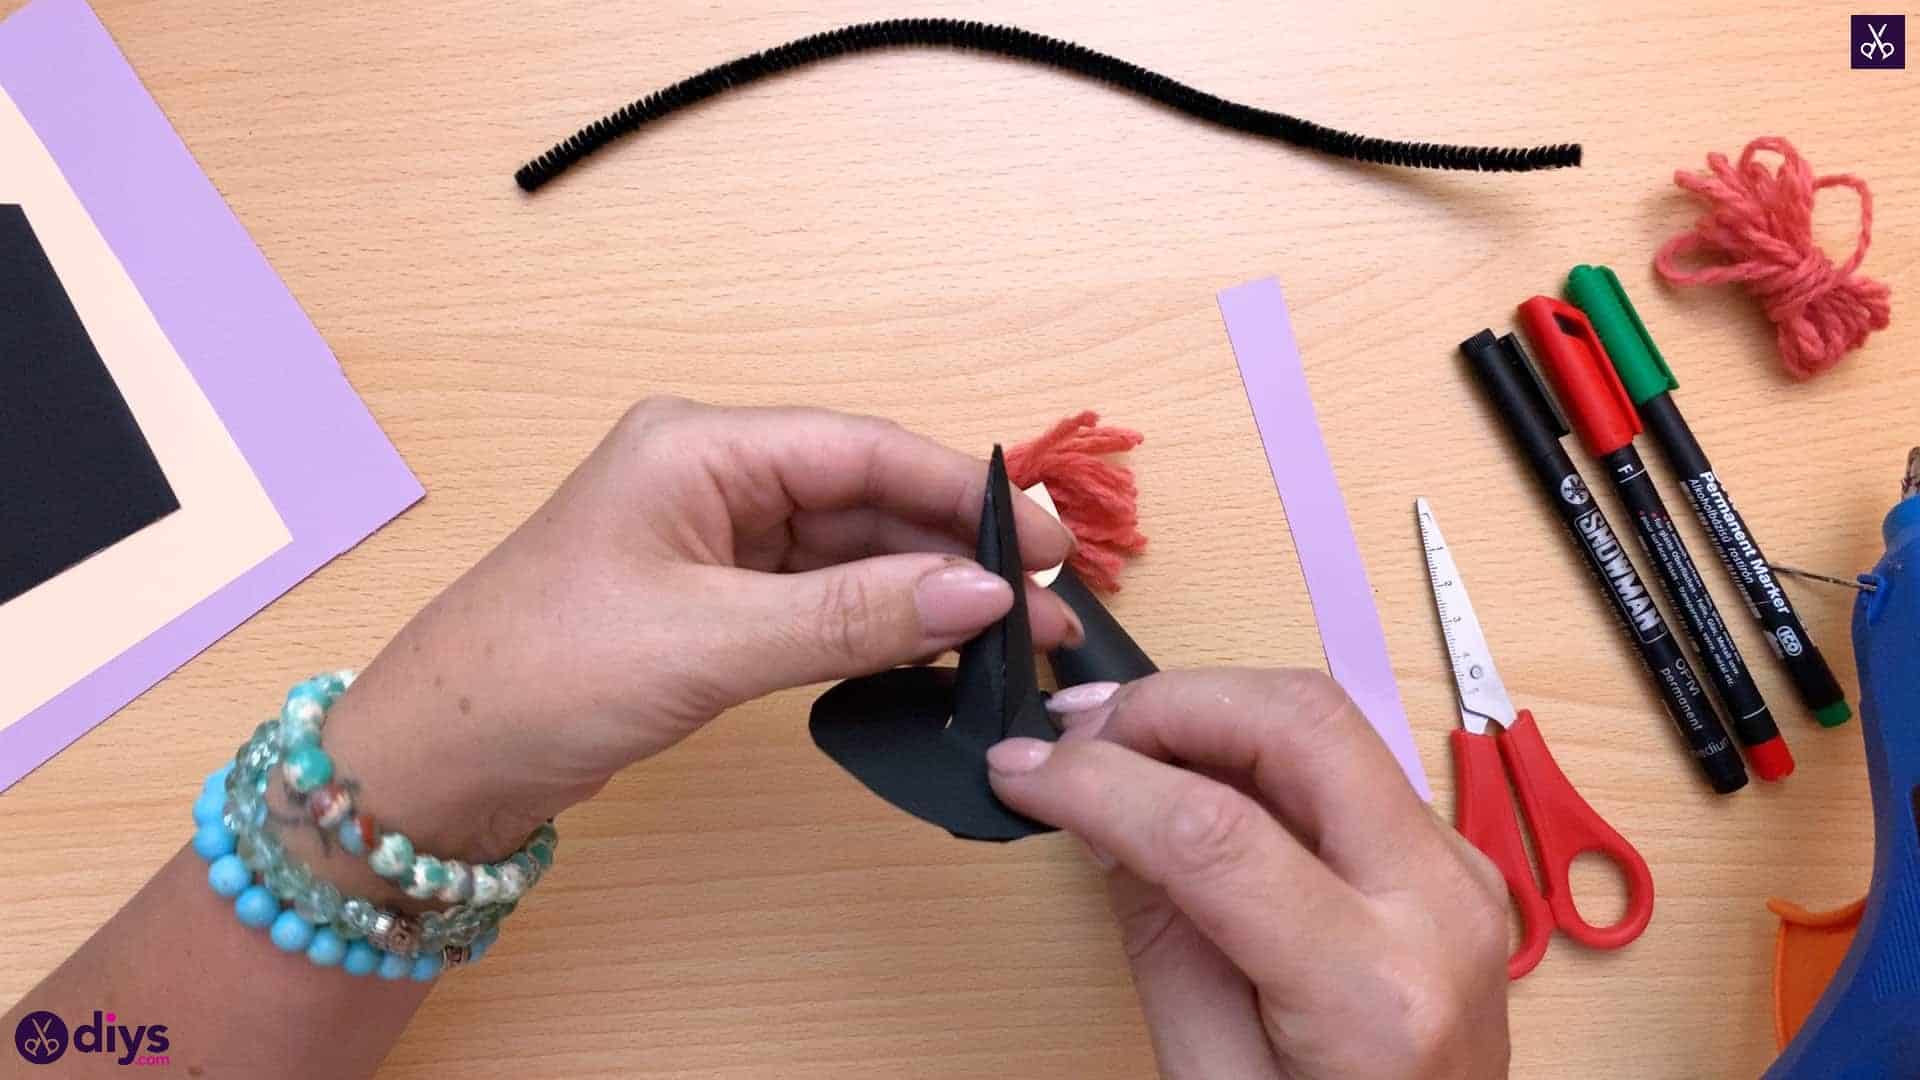
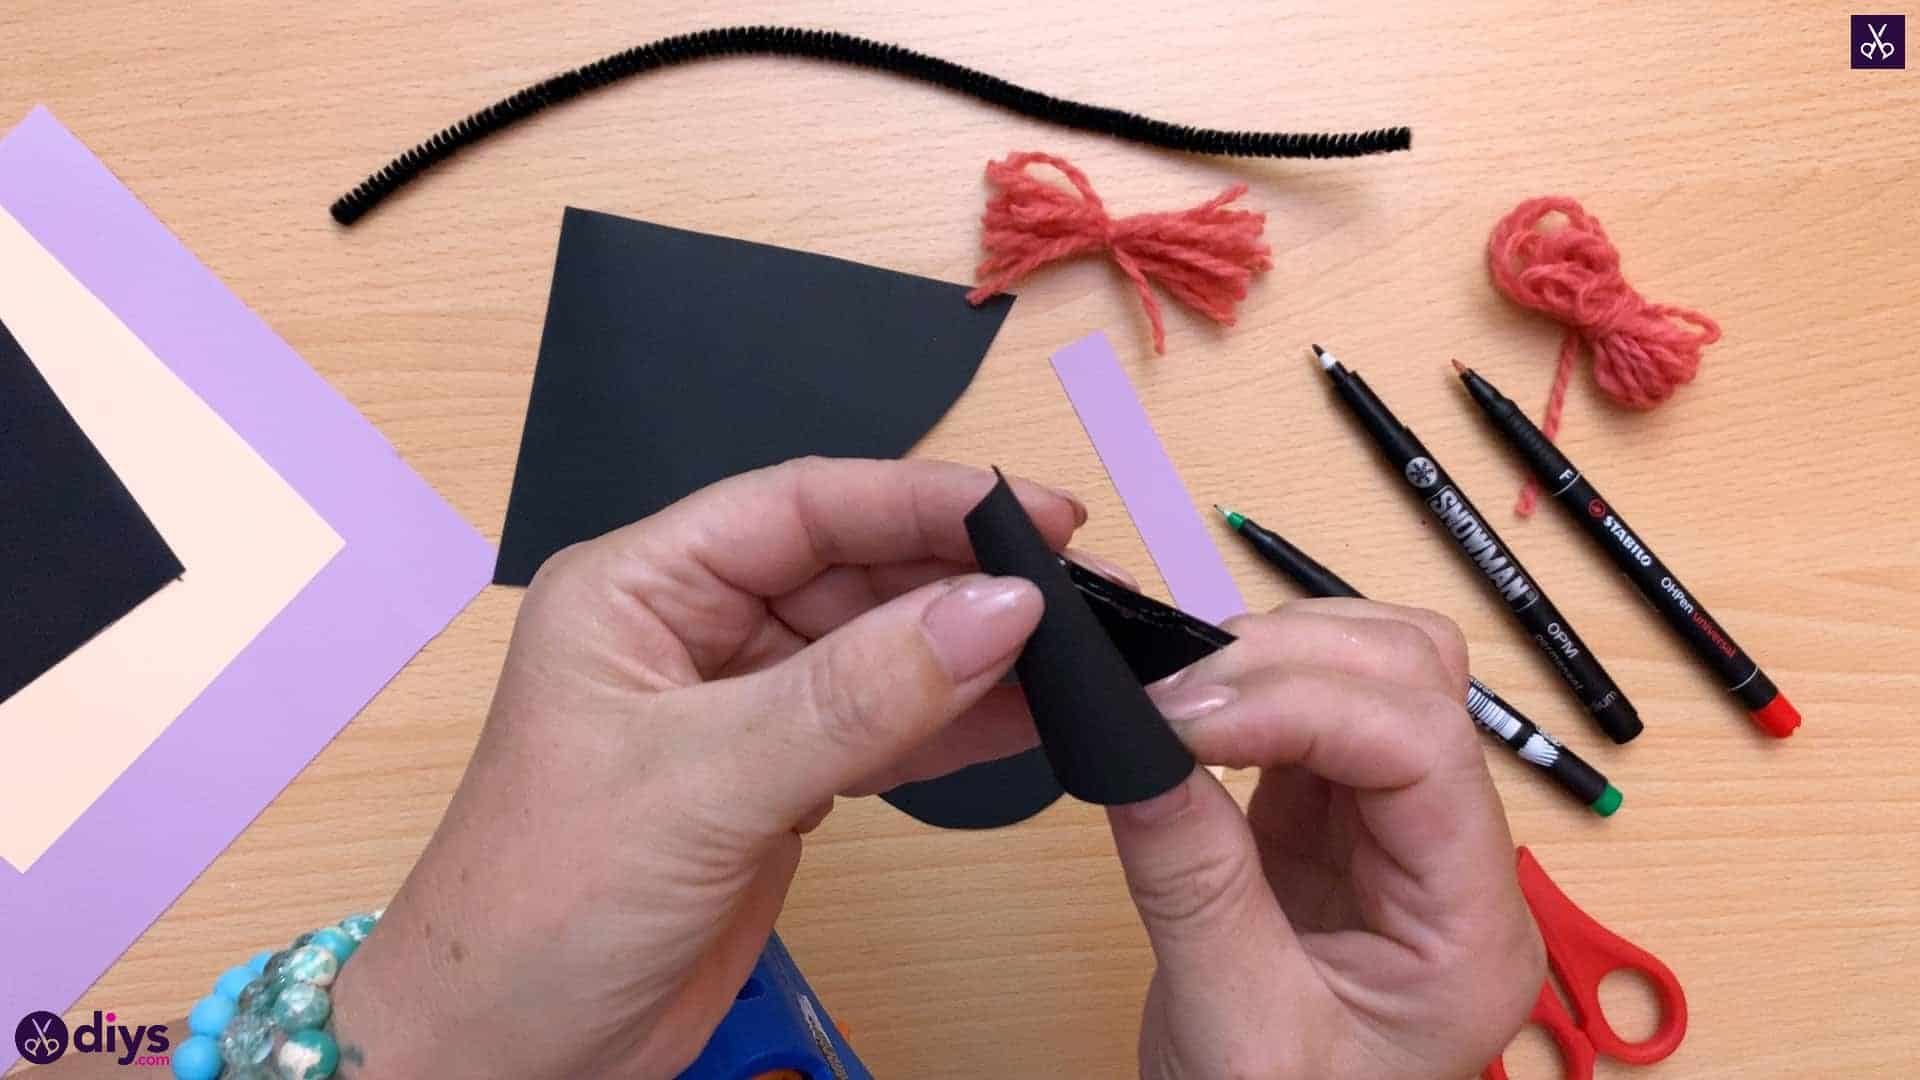
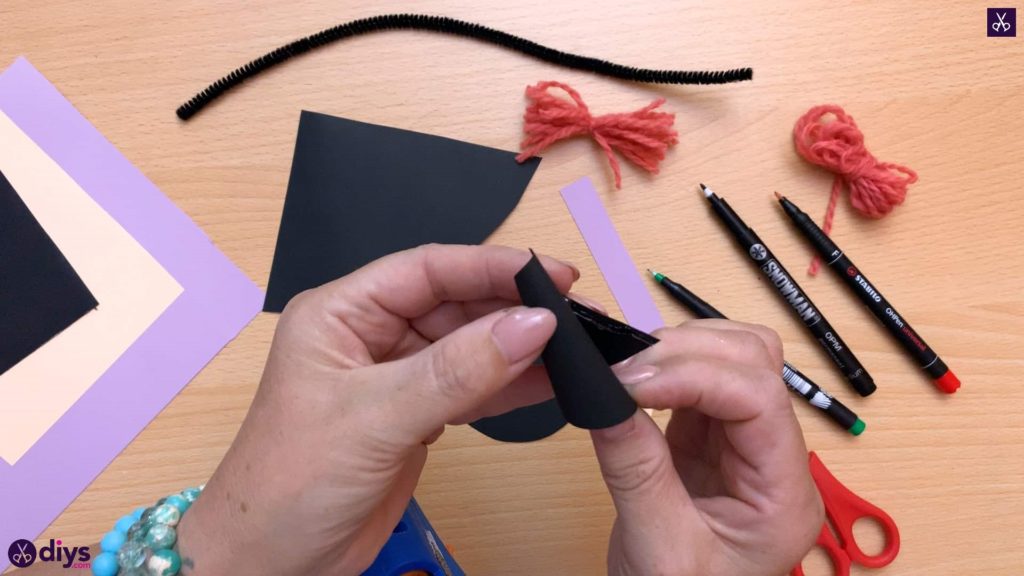
Step 9: cone for the hat
Use your glue gun to apply glue down one of the straight sides on your smaller arced corner shape. Curl the other straight edge inward and rolled it towards the side with the glue so the top where the corner is turns into a point and the rounded bottom makes a circle. Stick the glued edge down to the surface where it meets the paper and voila! You’ve got your first paper cone. This small of the eventual two black cones with make up the pointy part of the witch’s hat.
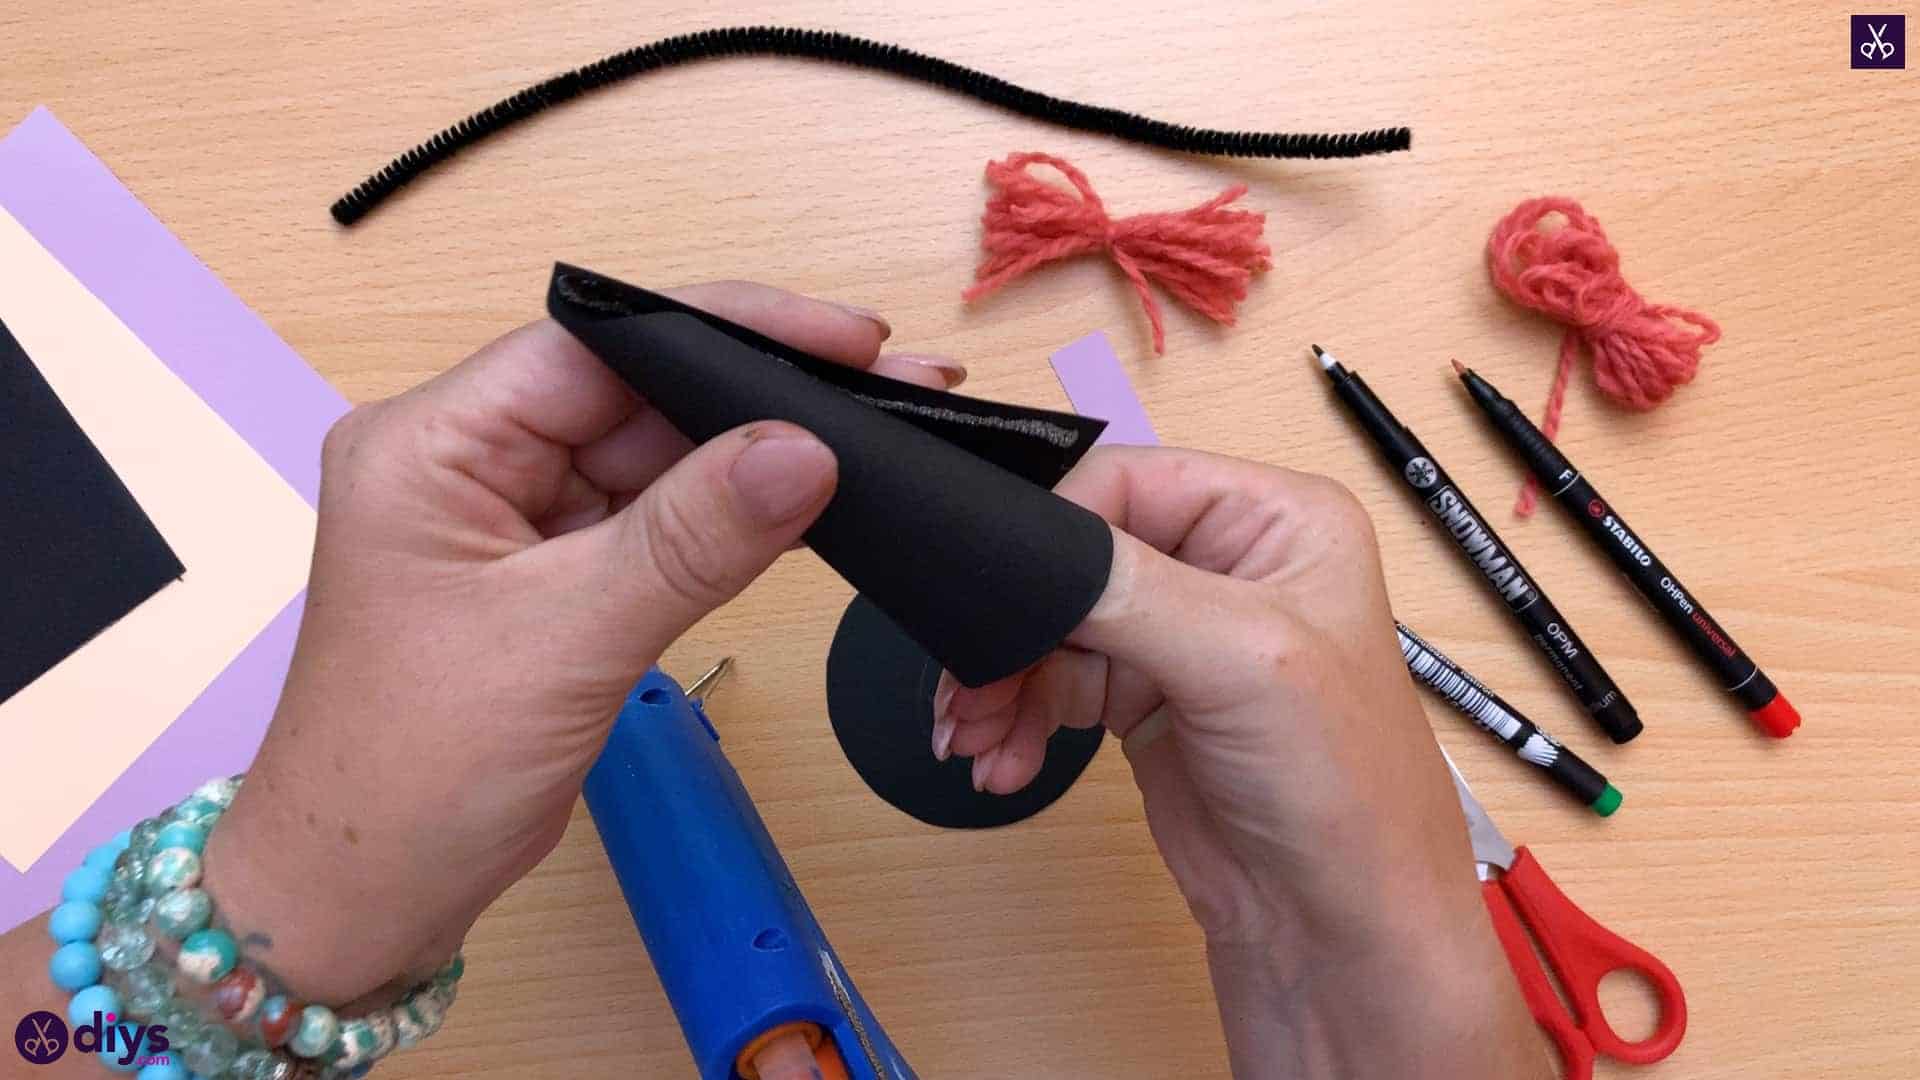
Step 10: cone for the body
Repeat the rolling and gluing process on the second arced corner piece that you cut from your black paper to make a second, larger cone! This bigger cone with be your witch’s body.

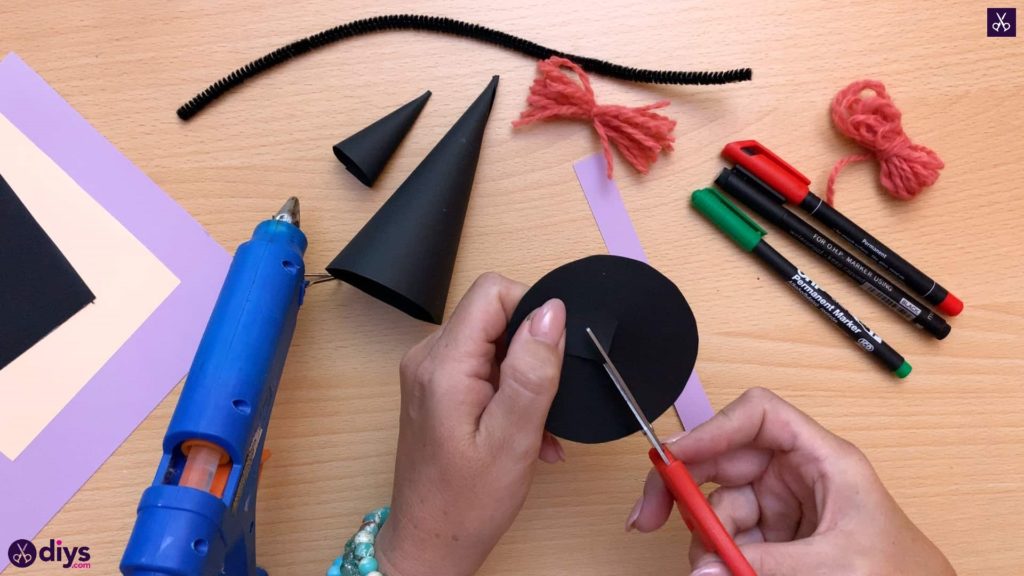
Step 11: make a snip
In the center of the black circle you cut out earlier, poke a hole with your scissors. Then cut small one centimetre lines outwards from that mark all the way around like a star. This will help you attach the circle, which will become the brim of your witch’s hat, to the smaller cone that is the point of the hat.
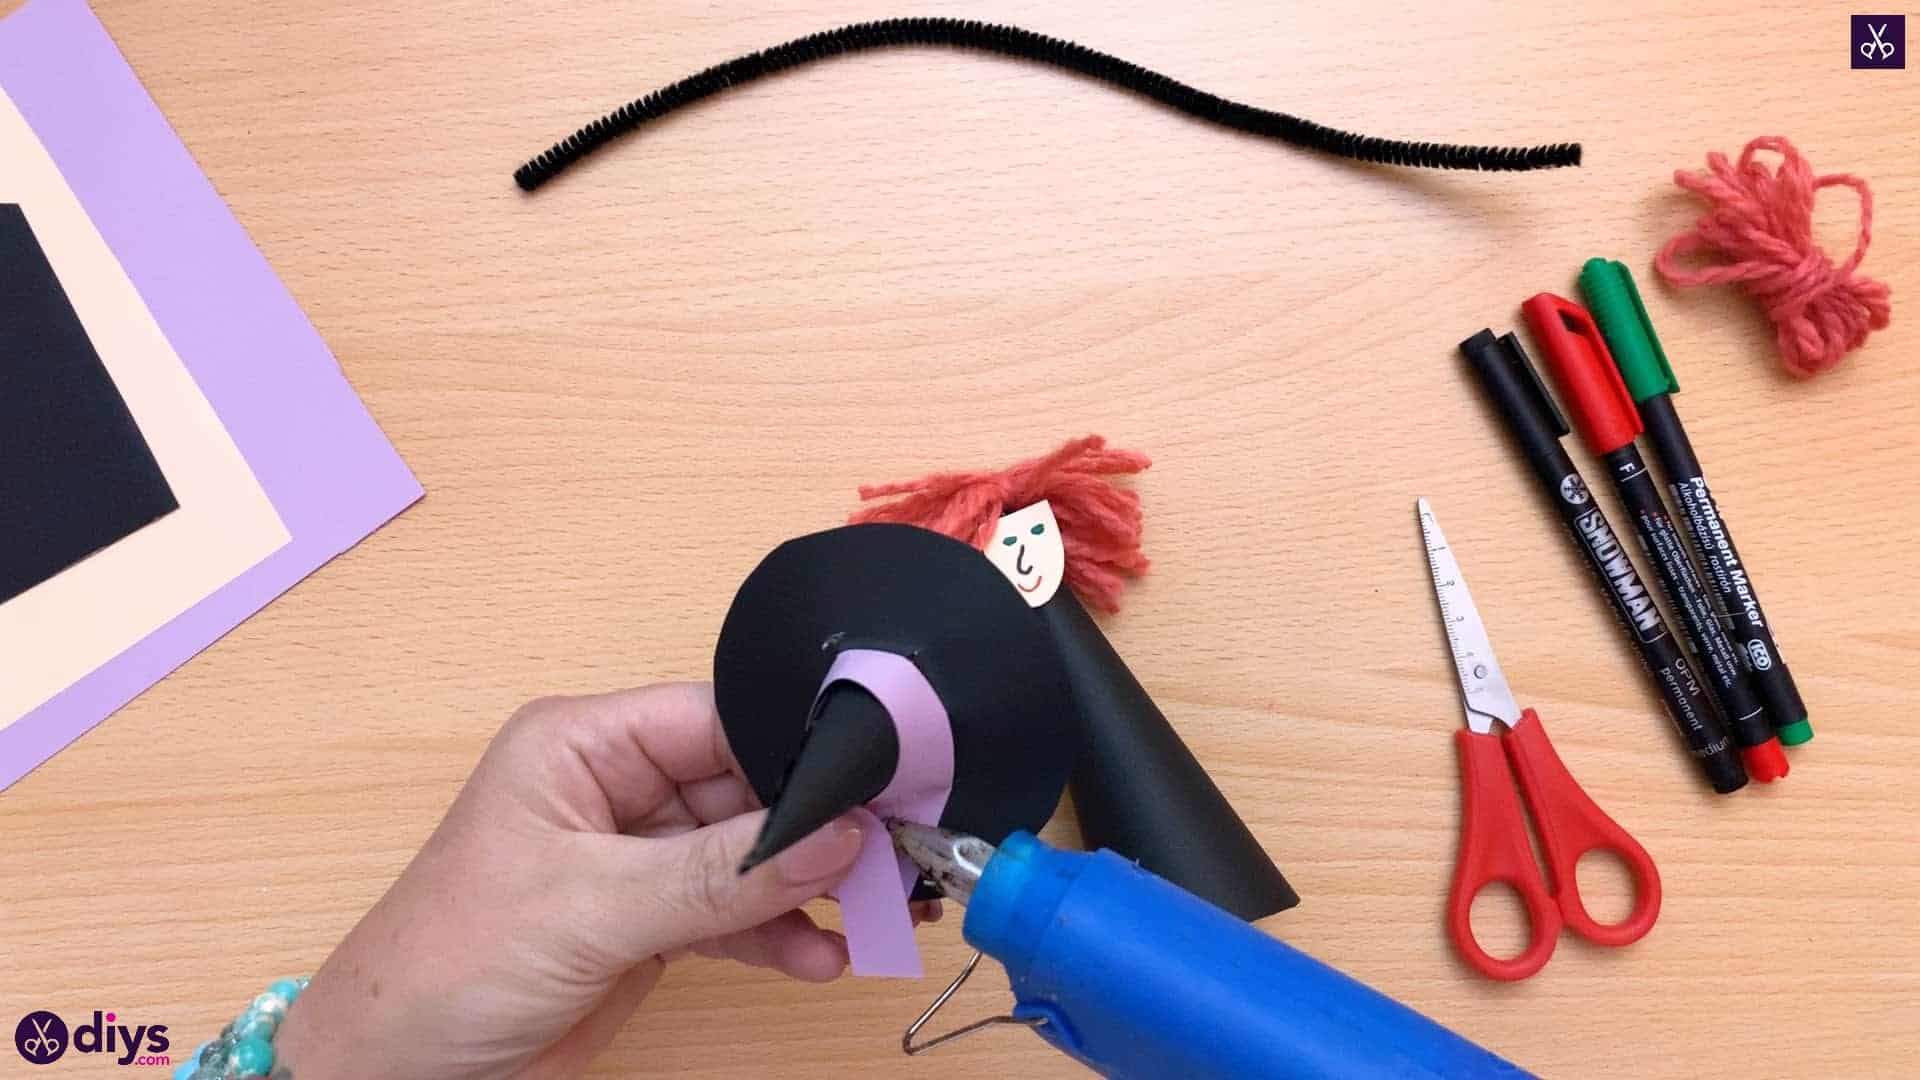
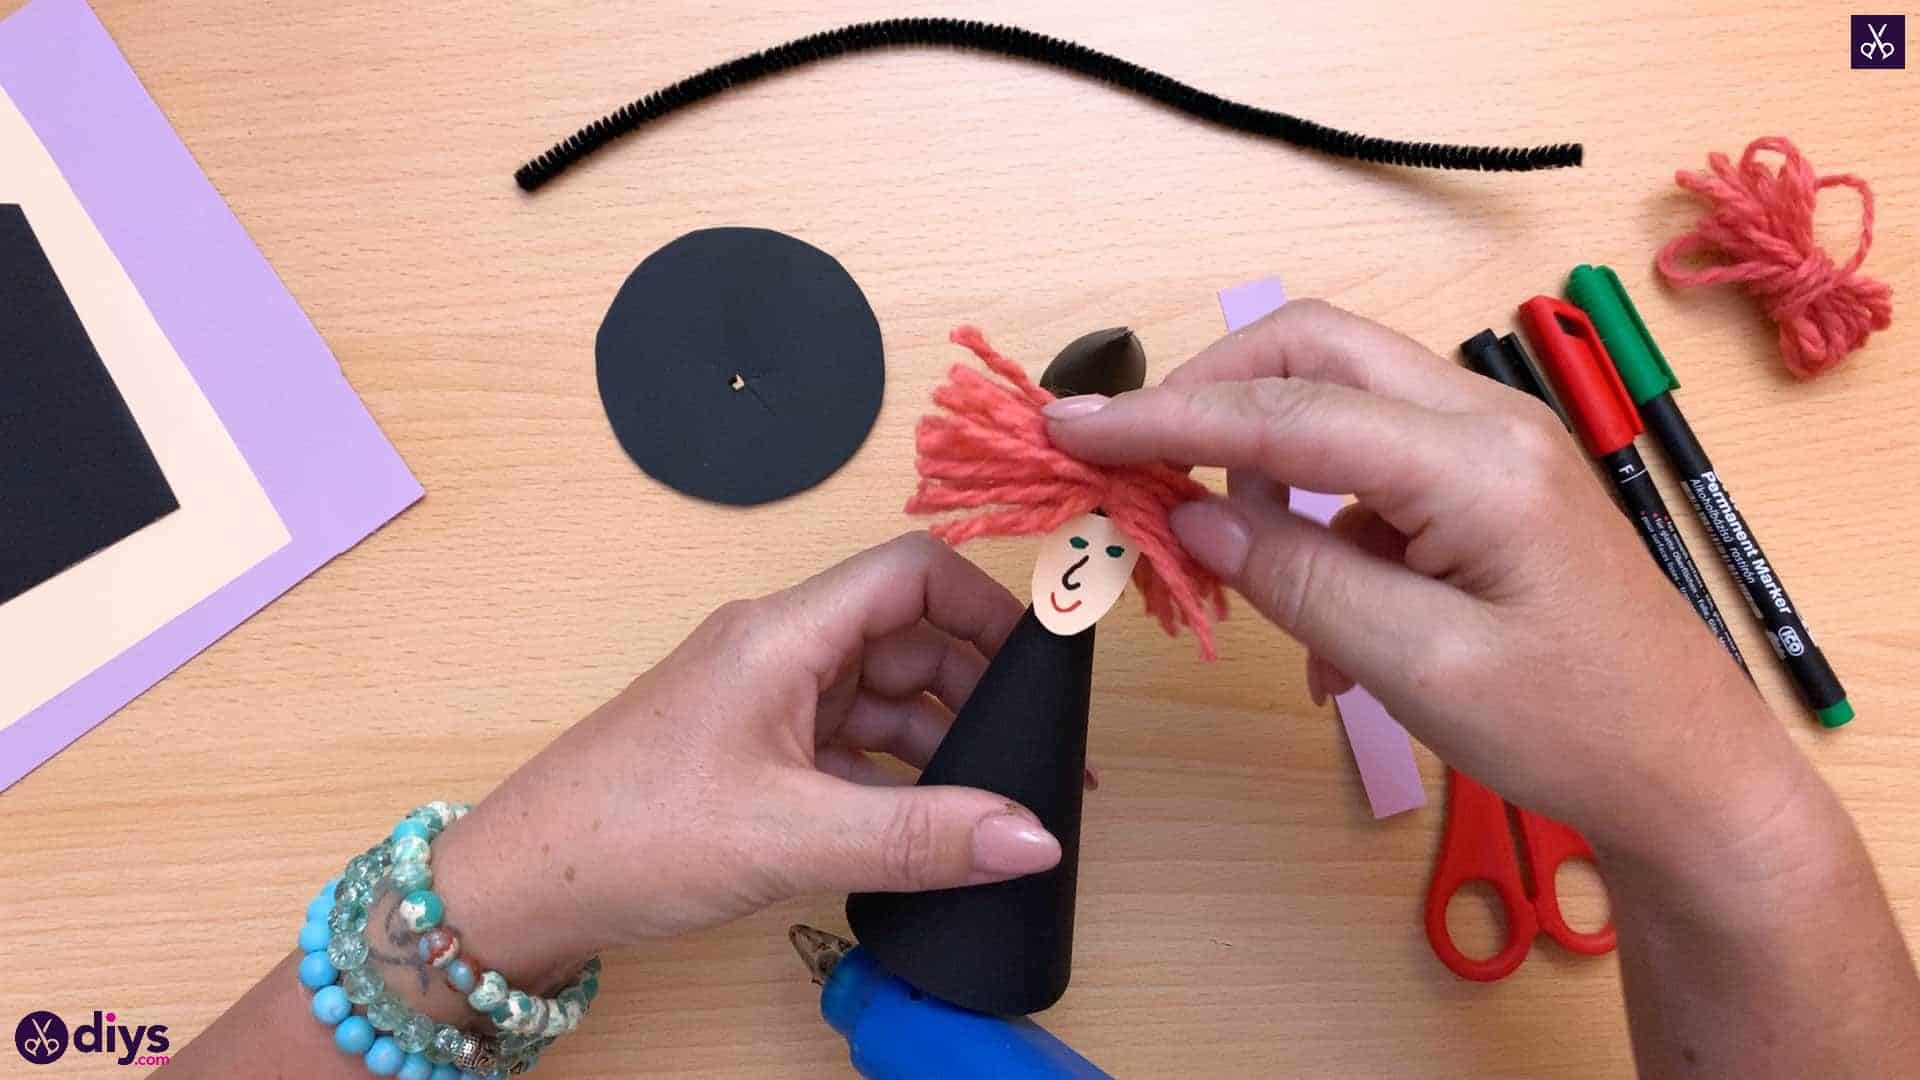
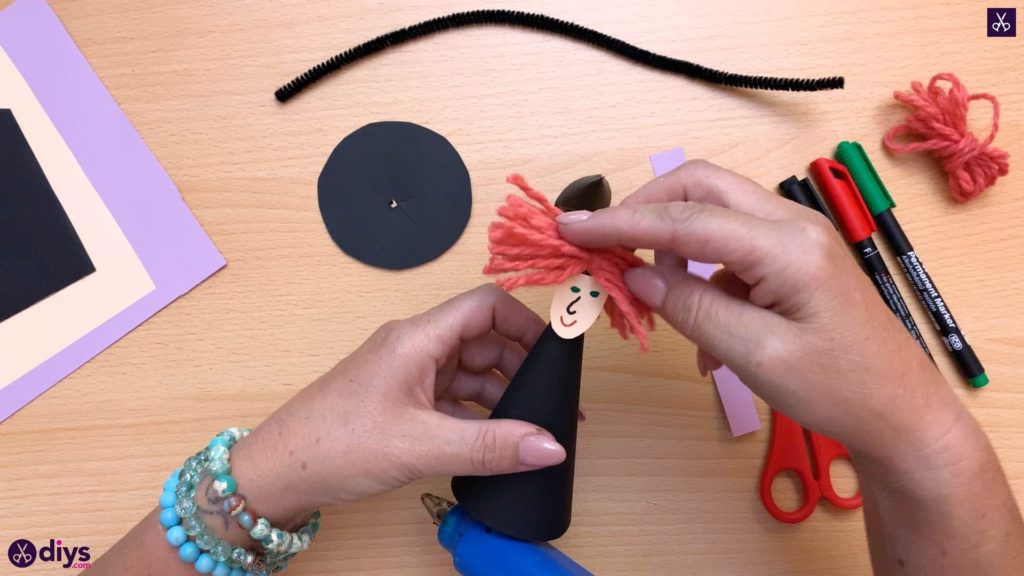
Step 12: start gluing
Use your glue gun to apply glue to the point at the top of the larger black cone. Stick your witch’s face onnear the top, leaving the very point free to glue the hair onto right at the center where you cinched it with the spare tied piece. Your witch now has a completed head on her body!
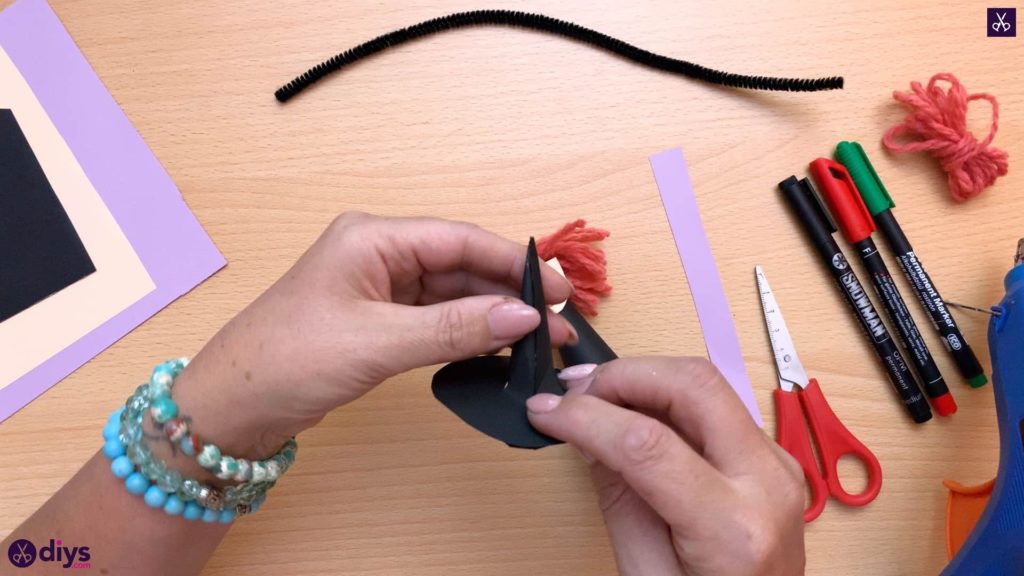
Step 13: make the brim
Apply glue all along the circular bottom edge of your smaller black cone. Put the tip of the cone at the top through the expanding hole you cut in the black circle earlier and push the circle down the cone until it sits around that bottom edge, sticking in the glue to become your hat’s brim.
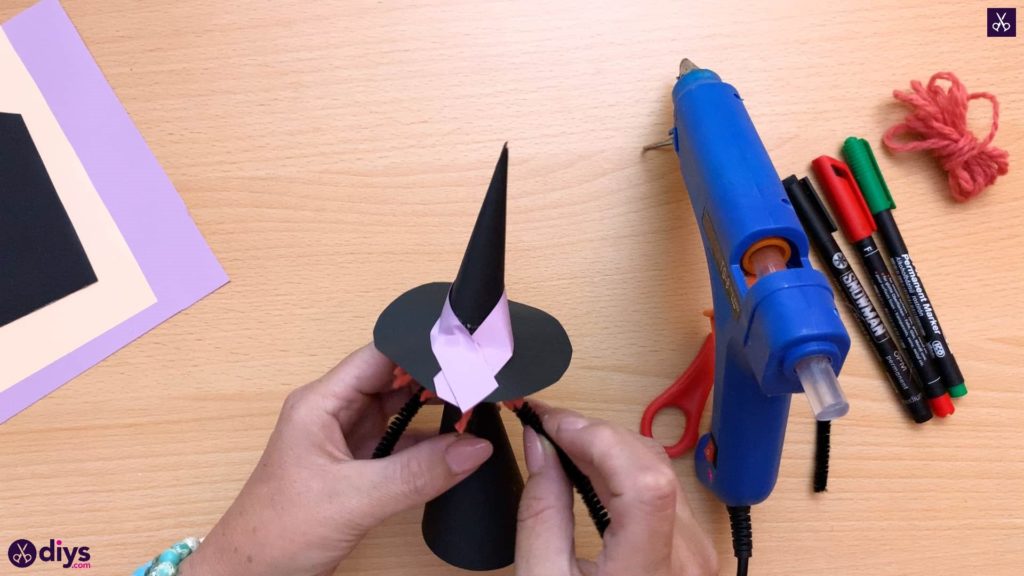
Step 14: add the ribbon
Wrap the purple strip you cut out earlier around the point of the hat where the cone and the brim meet so it looks like a hat band. I left my ends a little long so they cross over at the back for some cute detail, but I did trim them to be the same length. Glue the purple piece in place where it crosses over closer to the black paper, letting the ends stick out like ties.

Step 15: glue to head
Apply a small dab of glue to the witch’s hair on either side and press the hat down so her head fits right into the inside of the cone the way a hat would actually sit on someone’s head. Don’t press so hard that her face gets hidden! You just want it to rest slightly snuggly on the hair.

Step 16: add arms
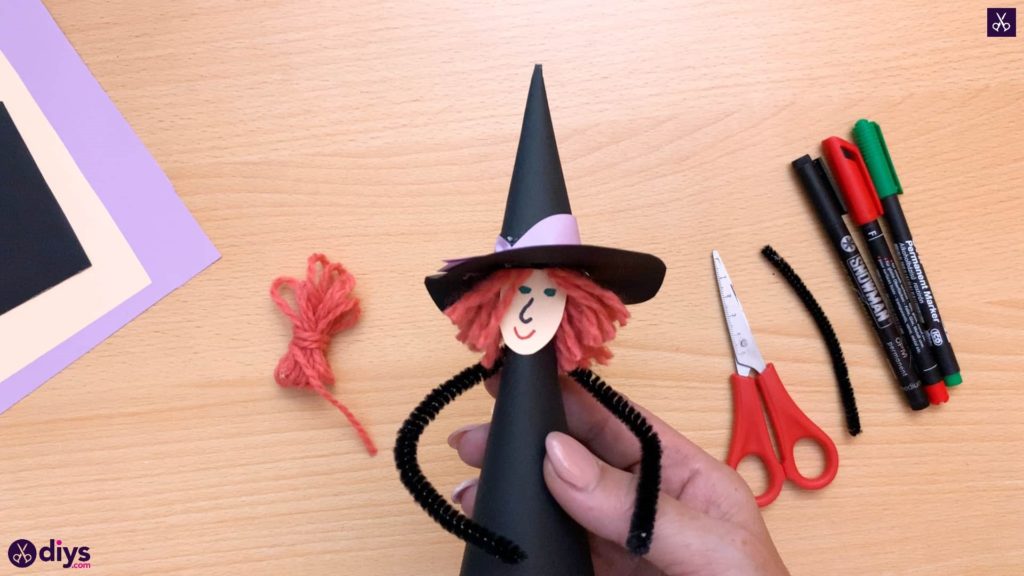
Cut your black pipe cleaner in half. you’ll only use one half here to make the witch’s arms. Bend your halved pipe cleaner in half again but only pinch it slightly. place some glue on the back of the cone, behind and slightly below the witch’s head, and glue the pipe cleaner in place at the bend so the ends become arms on either side.
That’s your aper cone witch all finished! We currently have a whole selection of these sitting on our window sill because my kids enjoyed making them so much. Just in case you’d like to try this project out for yourself, here’s a fantastic tutorial video to help you!