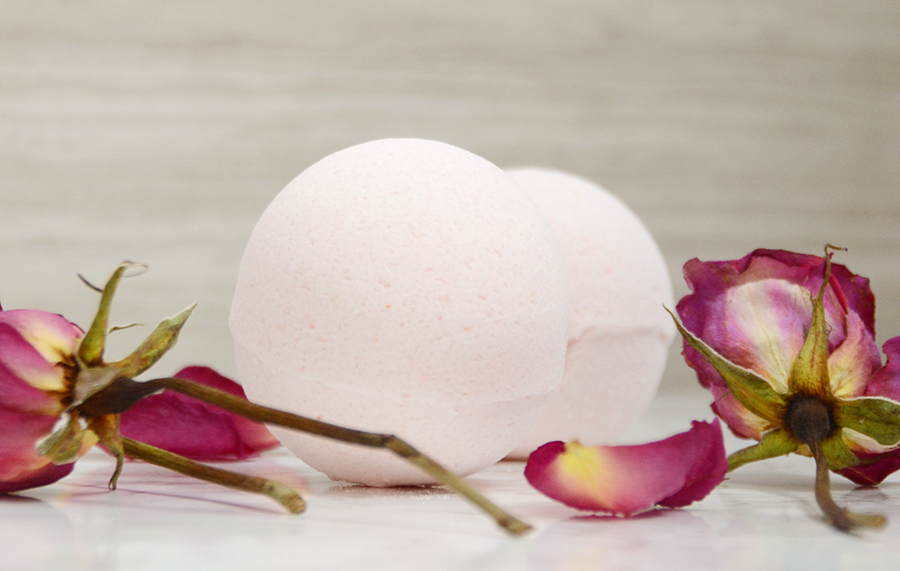
DIY Bath Bombs With Orange Scent – Homemade Recipe
Updated on June 25, 2021
Bath bombs have become super popular lately, thanks in part to stores like Lush that have brought them to the mass market. If you haven’t experienced one before, you’re going to want to give it a try! You drop one in the bathtub, and it fizzes and bubbles and smells delicious. And today I’m going to share a simple recipe to make your bath bombs at home. So let’s get started.
Here’s what you’ll need for your bath bombs:
- 1 cup of baking soda
- 1/2 cup of cornstarch
- 1/2 cup of citric acid
- 1/2 cup of Epsom salt
- 3 teaspoons of water
- 3 teaspoons of coconut oil (melted)
- 8-10 drops of orange essential oil
- 1 tablespoon of orange zest
- Food coloring (optional)
- Bath bomb mold or another mold
Step by step directions to make the homemade bath bombs:
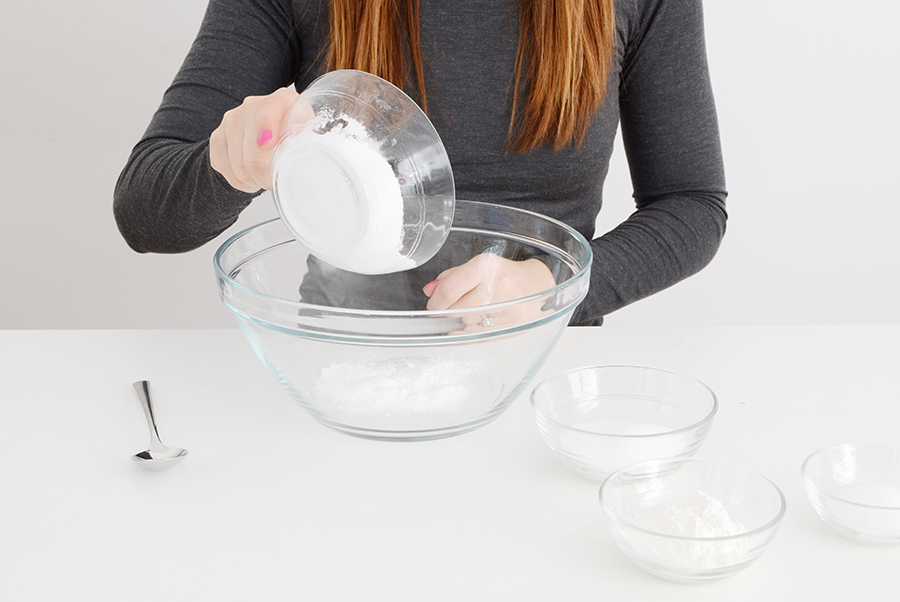
Step 1: mixing ingredients
Begin by mixing all of the dry ingredients together in the bowl. This includes the baking soda, cornstarch, citric acid and epsom salt.

Step 2: mix well with a spoon
Stir it up well with a spoon, making sure that all the ingredients are incorporated.
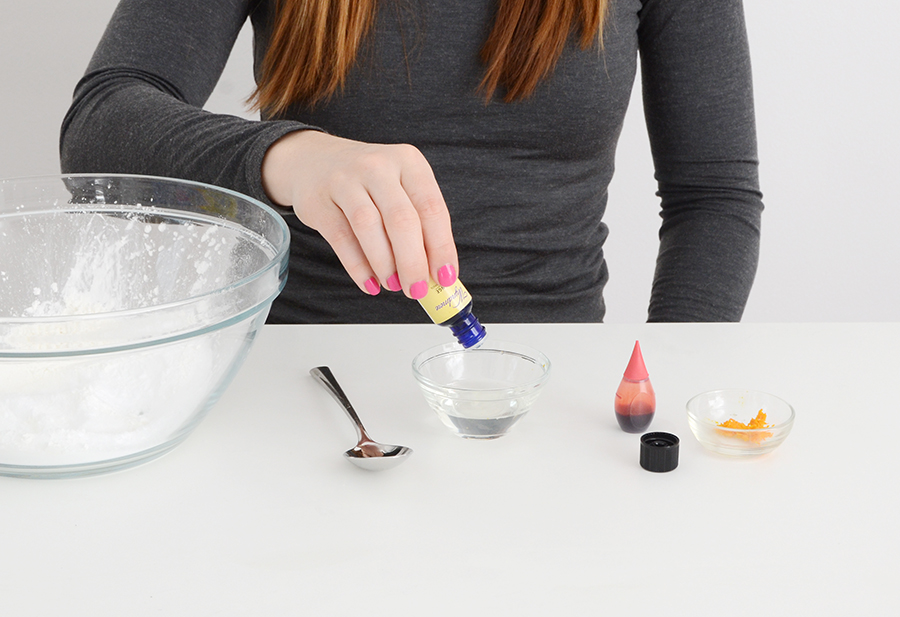
Step 3: melting in the microwave process
In a separate small glass bowl, melt the coconut oil in the microwave. It took about 30 seconds to melt mine. Be sure to use an oven mitt to remove it from the microwave in case the bowl is hot. Next, add the essential oil.
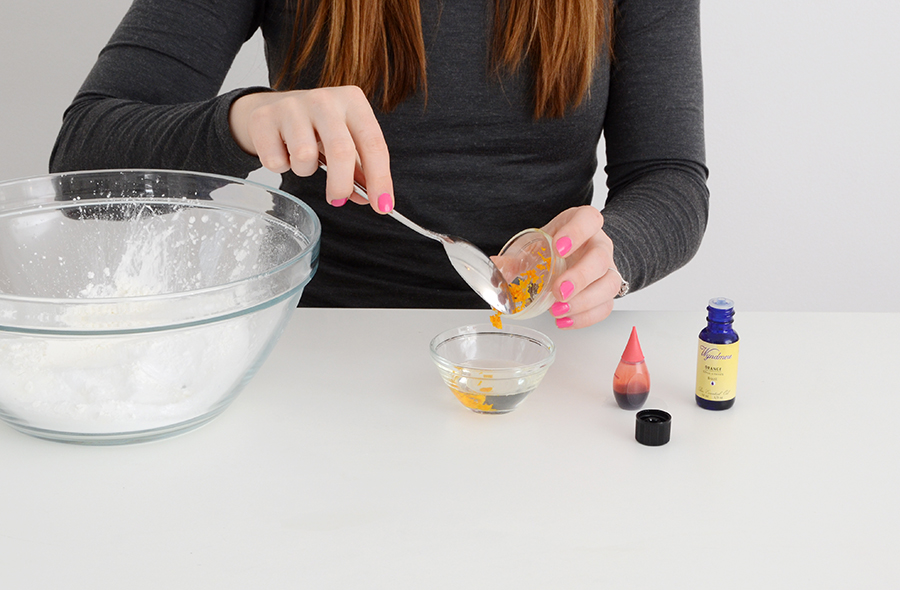
Step 4: Add orange
Next, zest an orange and add 1 tablespoon of it to the coconut oil mixture. Now is the time to add a drop or two of food coloring if you like, and don’t forget the water. Stir the ingredients well.
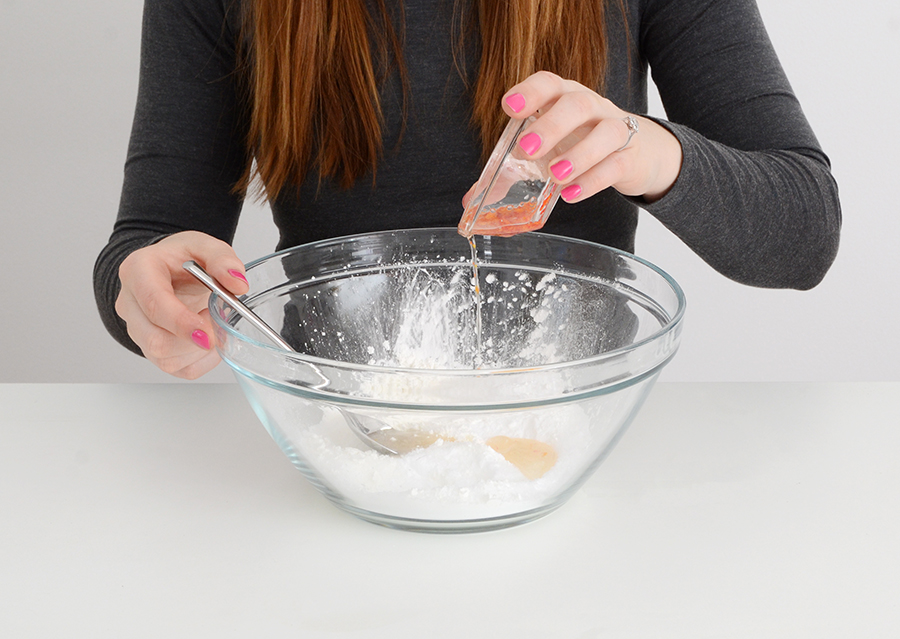
Step 5: mix all ingredients
Pour the wet ingredients into the dry ones very slowly, and stir as you go with your other hand.
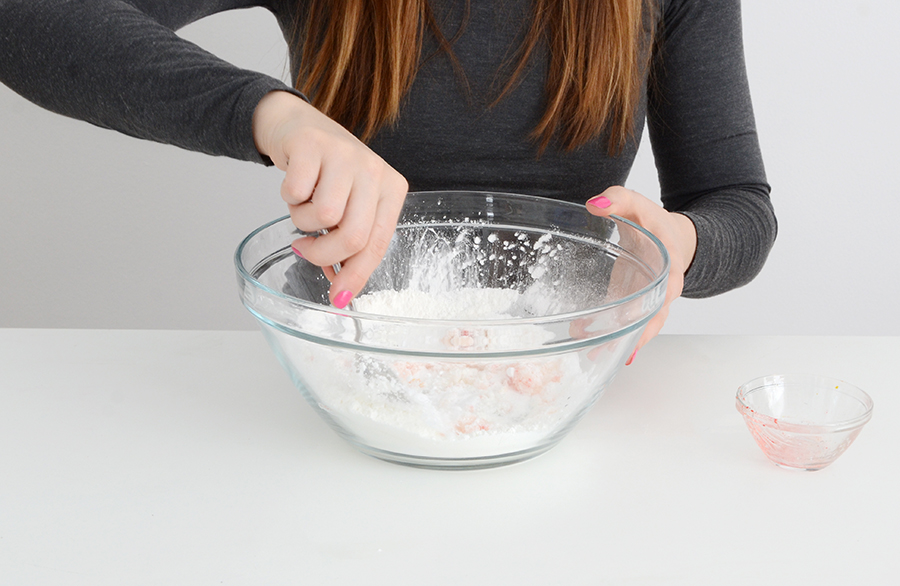
Step 6: Smooth sand
Stir gently until everything is incorporated together. It should be the consistency of damp sand. I was surprised that the mix wasn’t wetter, but it worked perfectly! The best test is to use your hands to try to pack it into a ball. If it sticks together, then you’re ready to put it in your molds.
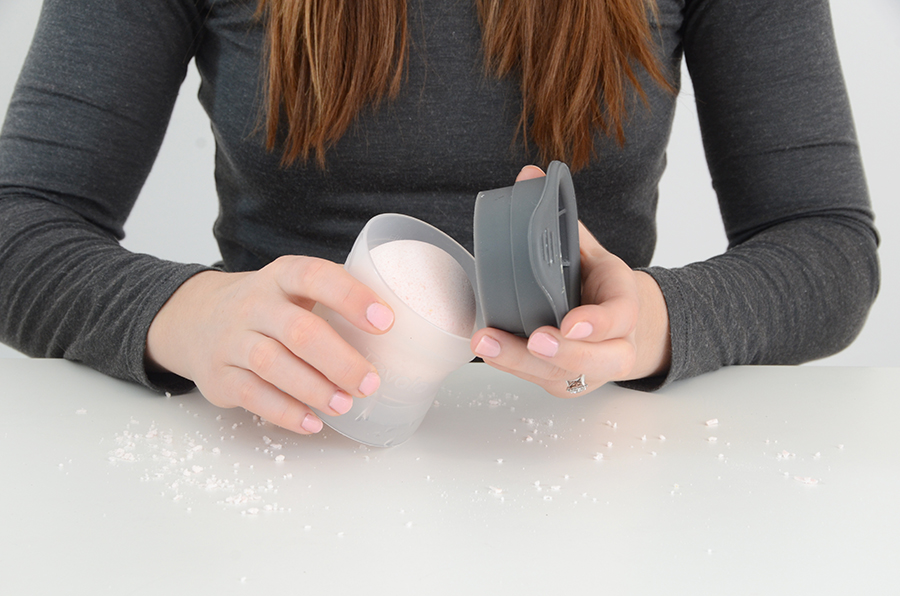
Step 7: Prepare the mold
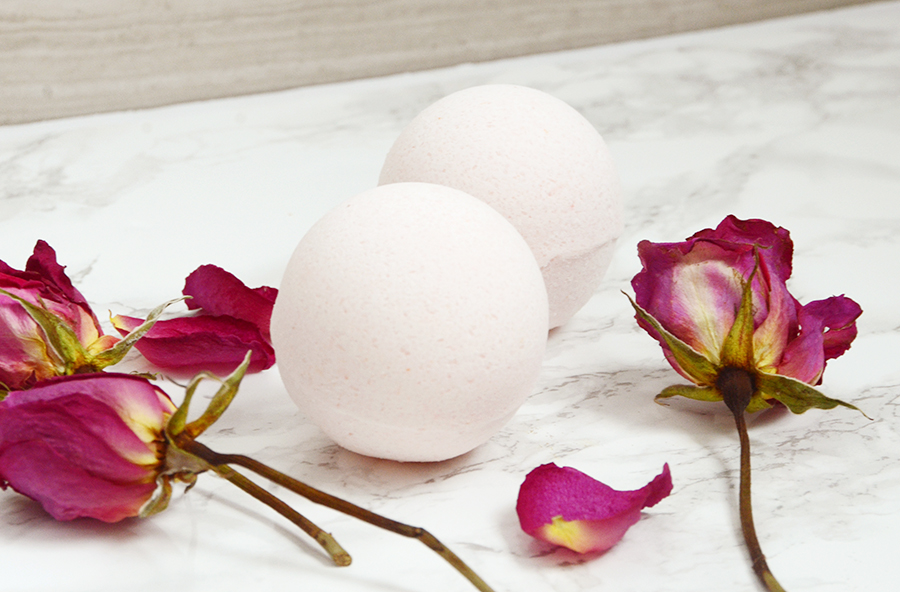
I used a mold that is meant for making round ice cubes, and it worked well. You can also buy molds mades specifically for bath bombs. Pack each half of your mold tightly with the mixture and then put the two halves together, squeezing hard. Gently remove each half of the mold and set your bath bomb on a paper towel to cure. Make a couple more using the rest of your mixture, and set them aside to cure overnight. When you get up in the morning, they will be hard and ready to use!
Conclusion
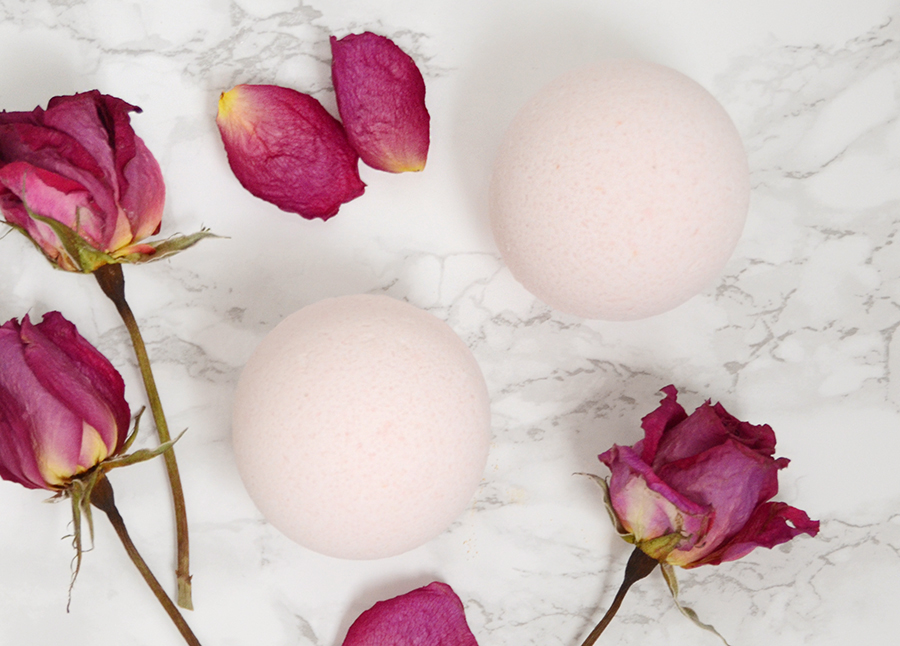
The fun thing about bath bombs is that you can experiment with many different elements. You might add dried flowers to the bottom of the mold before filling it up, or you could try different scents and colors. You could even do two colors, and make each bomb with half one color and half another!
It’s so much fun to put them in water… they fizz and whirl around every which way. Check out my video below to watch it in action!