How to Make a Multi Strand Seed Bead Necklace
Updated on November 19, 2025

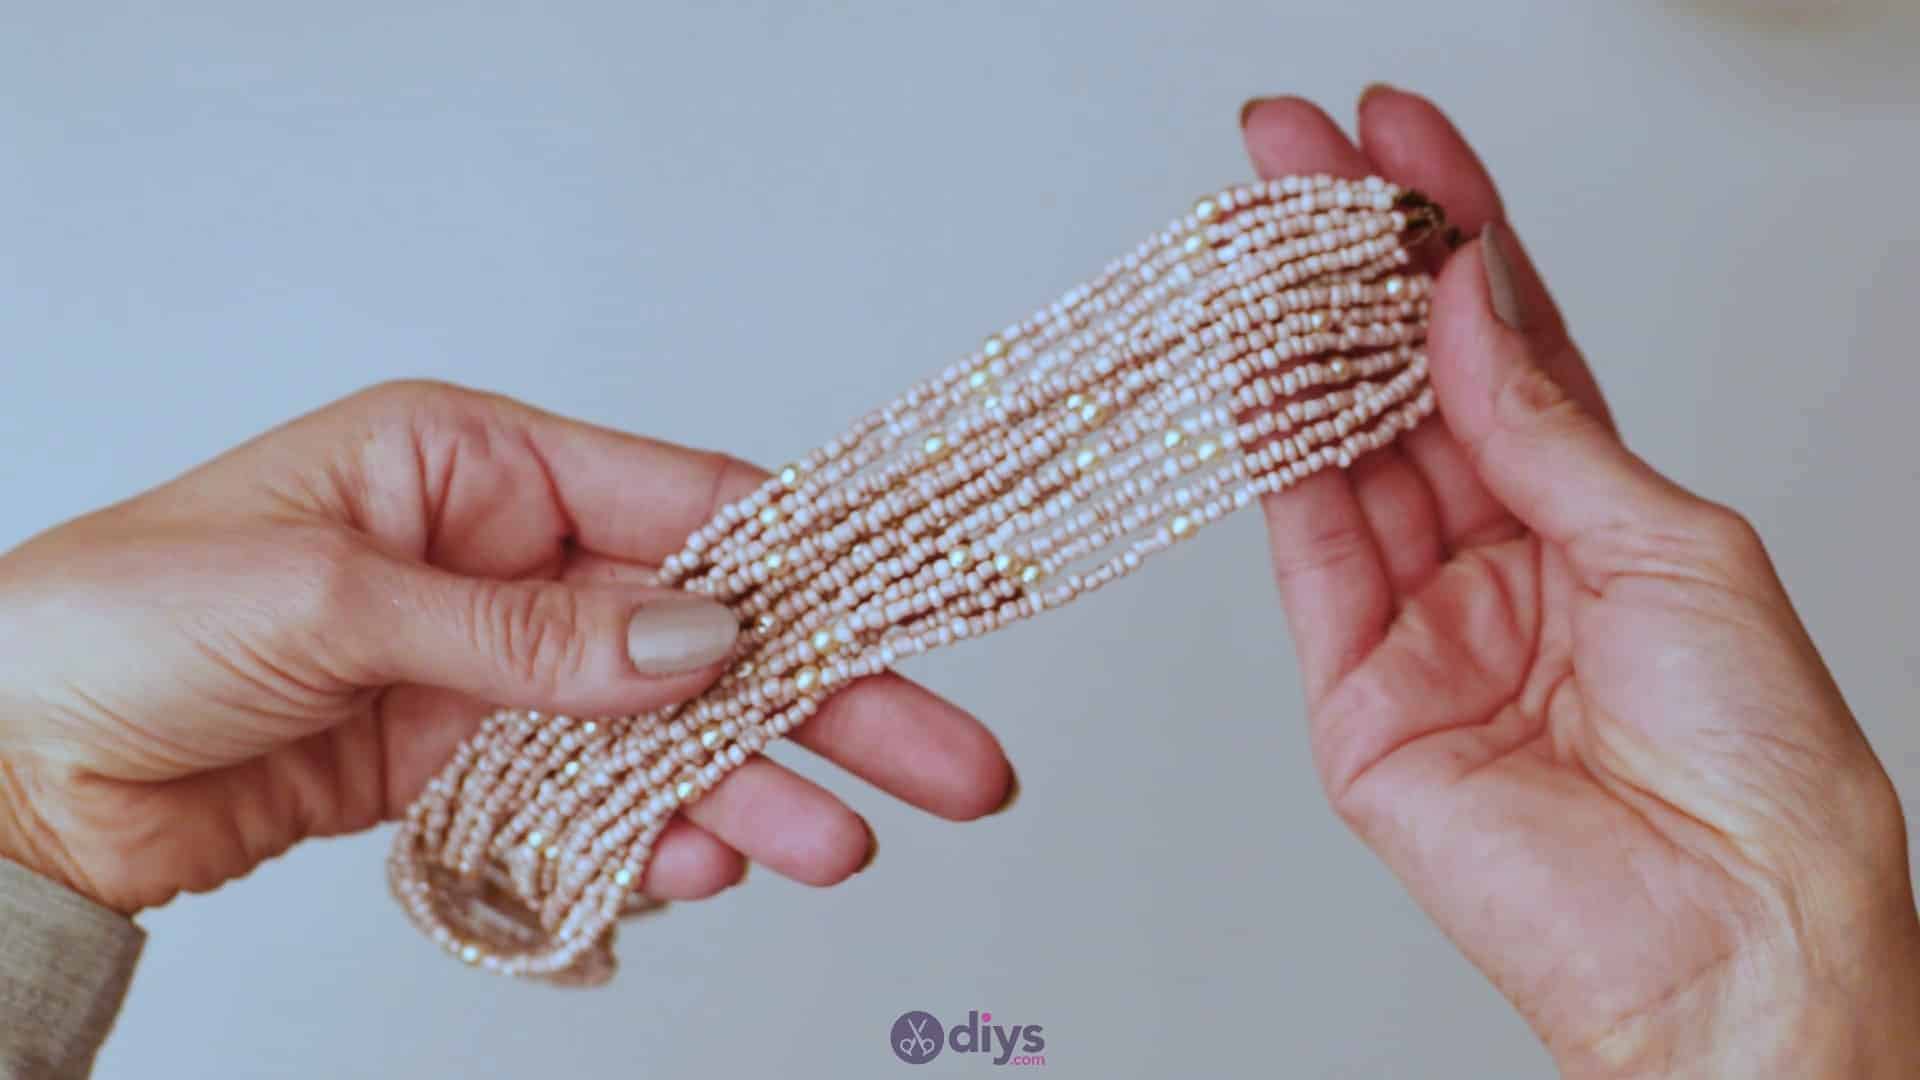


Homemade jewelry makes the perfect gift for just about anyone in your life, especially a mom, sister, or friend. But if you’re unsure how to do it, this step by step tutorial on how to make a multi strand seed bead necklace is just what you need!
By switching up the colors and bead styles, you could make a unique gift for friends and family this year. Or keep them al for yourself and leave people wondering where you got the gorgeous jewelry! Read on to see how we put this one together, or scroll to the bottom to watch our video if you’re more of a visual learner.
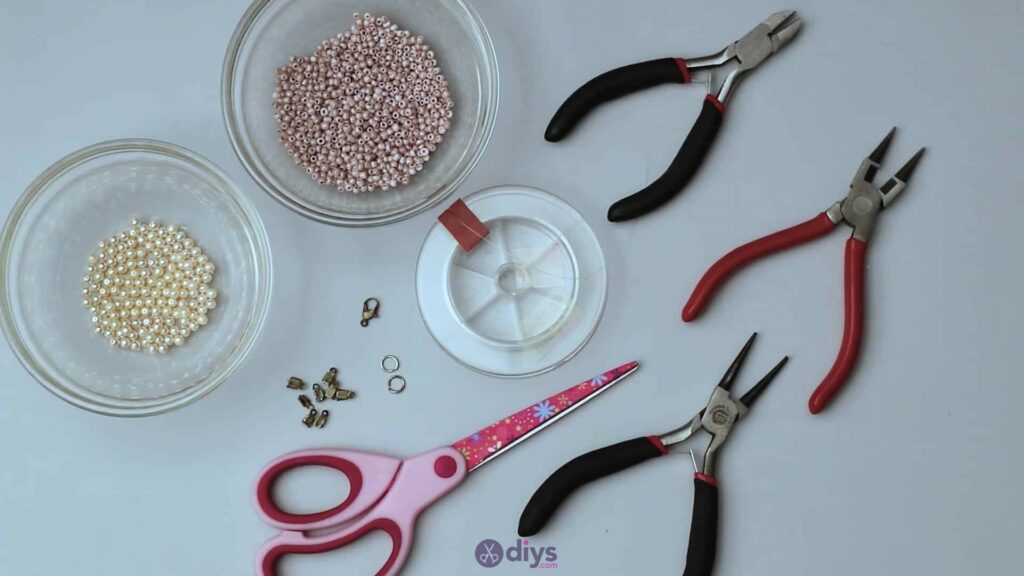
For this project, you’ll need:
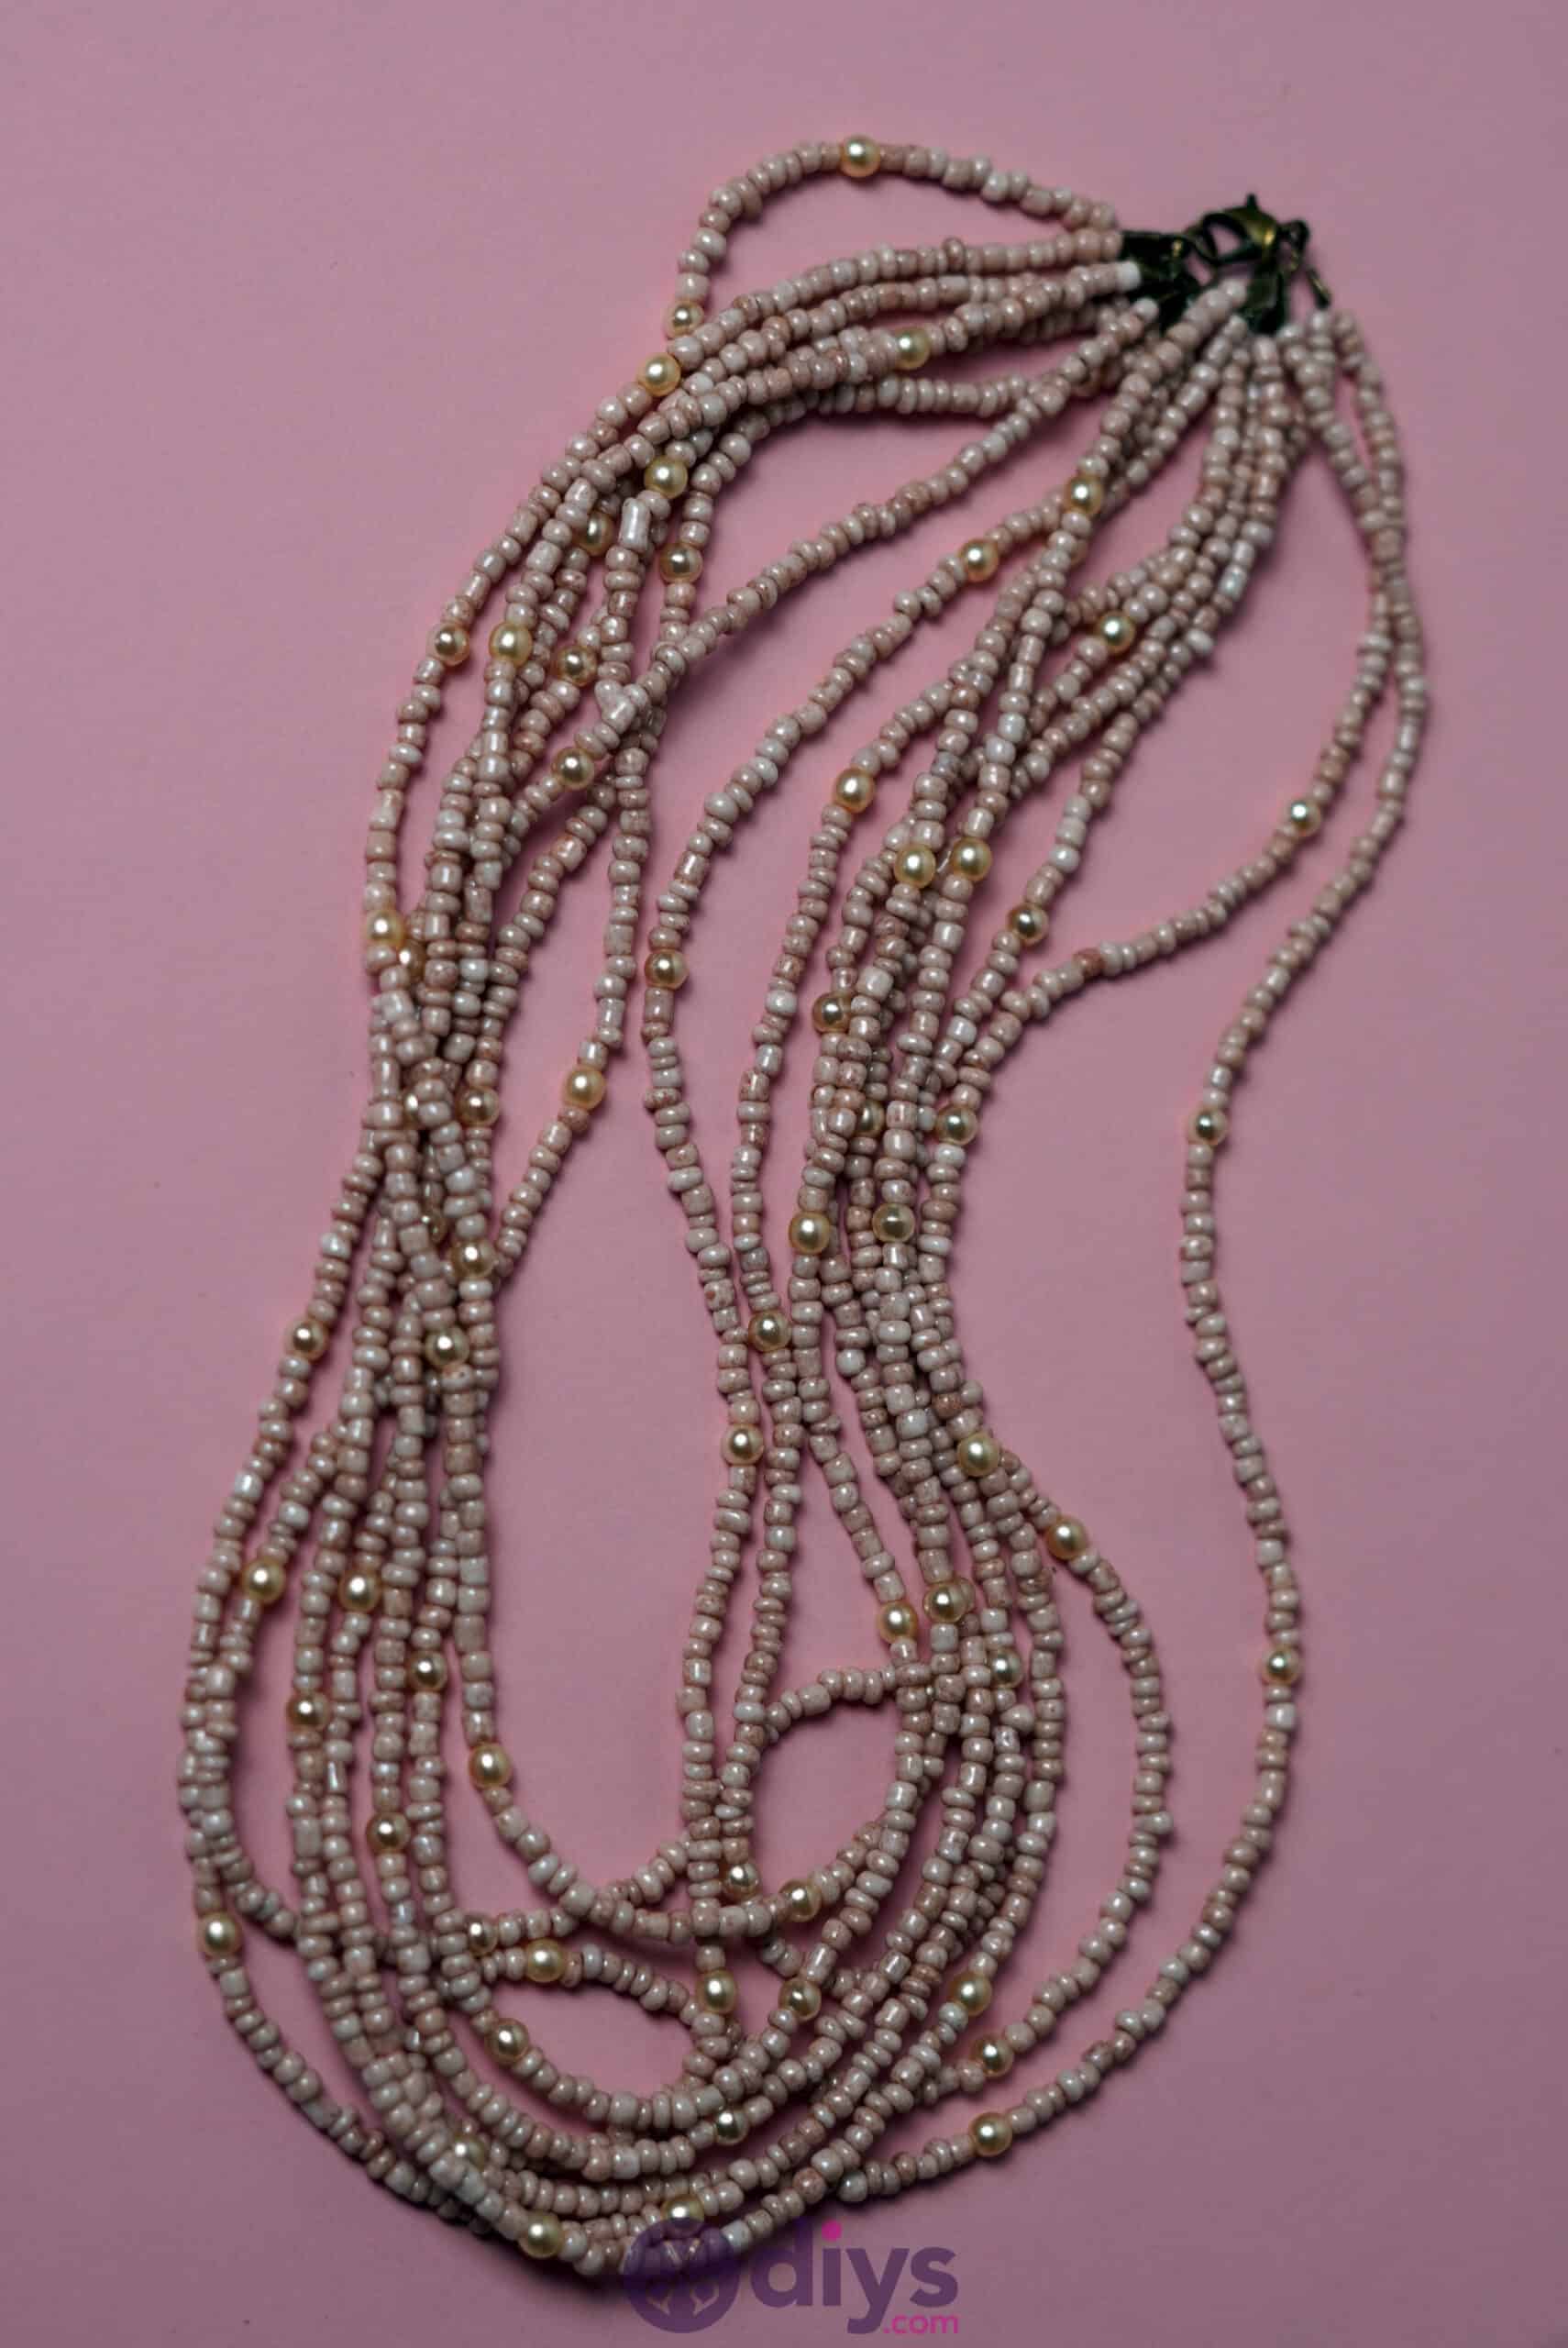
- Rose pink porridge or seed pearls
- White pearl
- Jewelry line
- Scissors
- 8 line endings
- 1 fastener
- 2 mounting rings
- Conical tongs
- Pincers
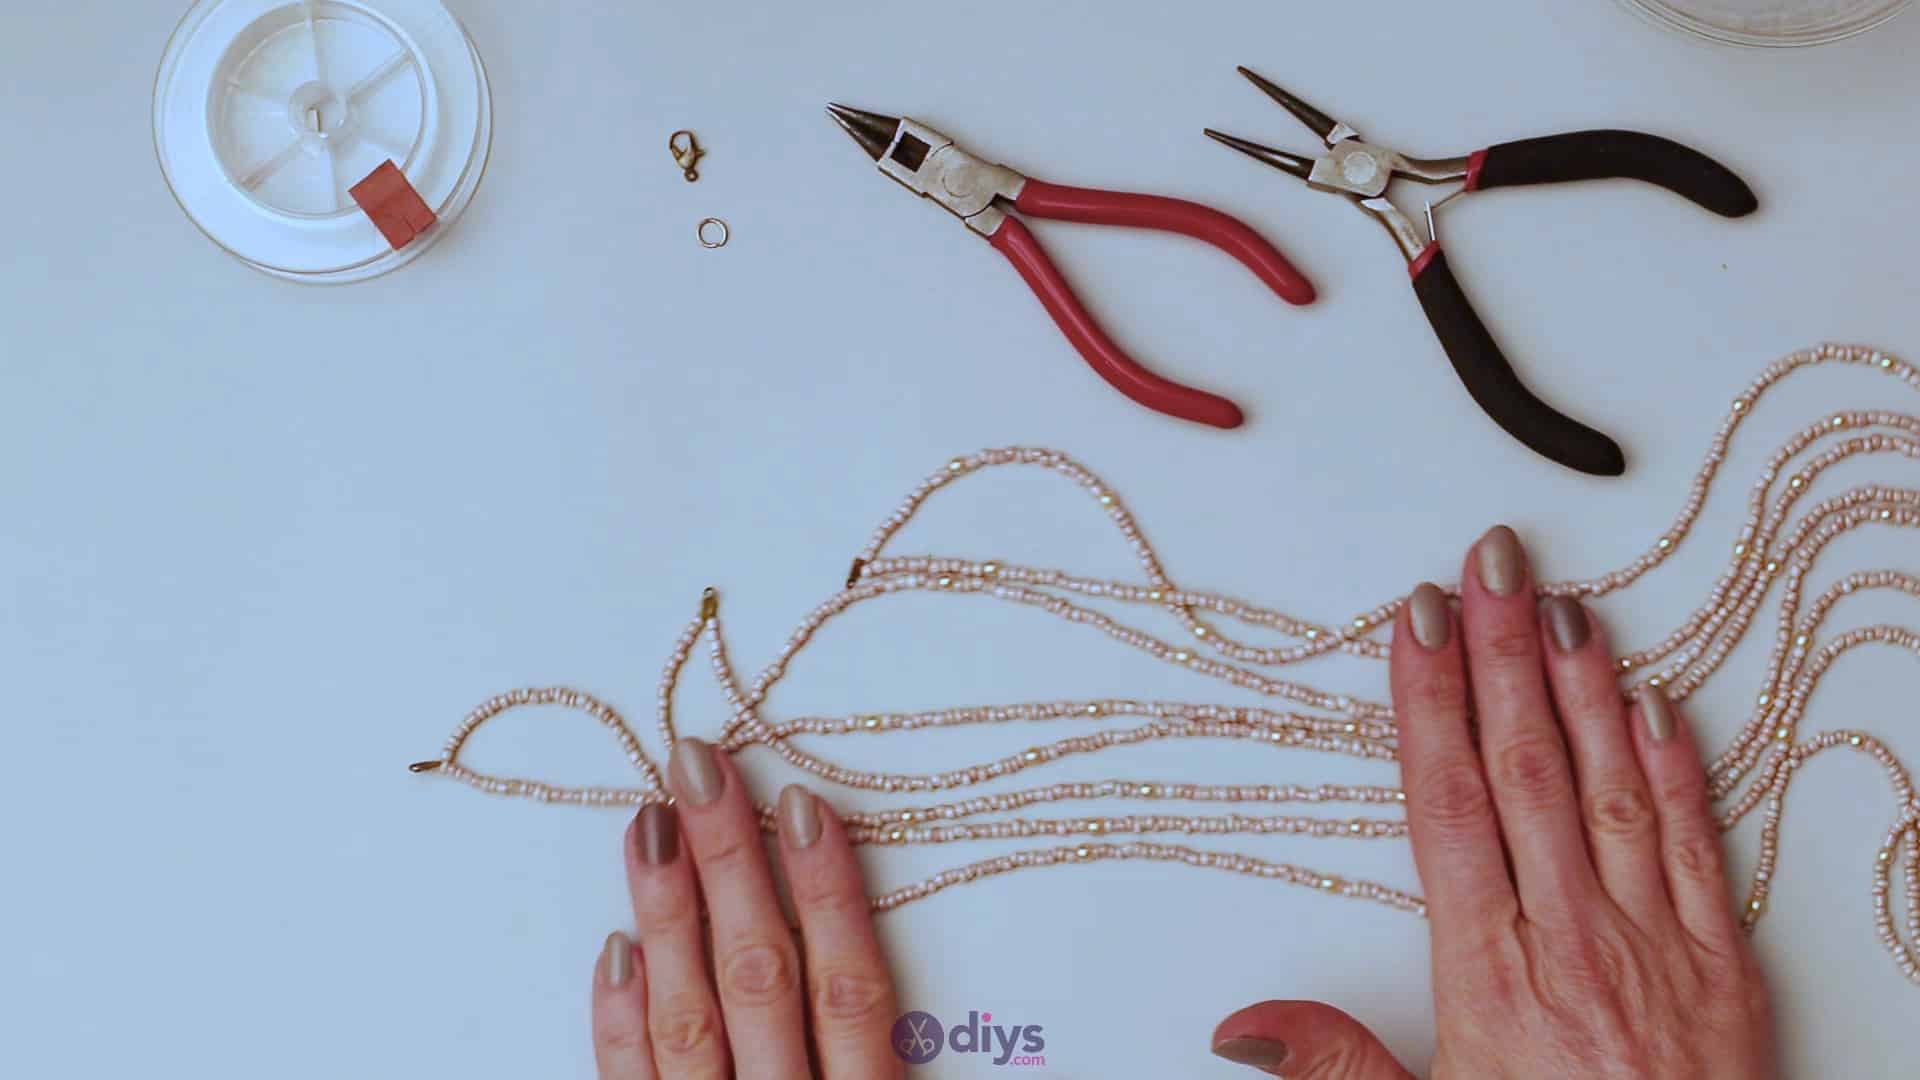
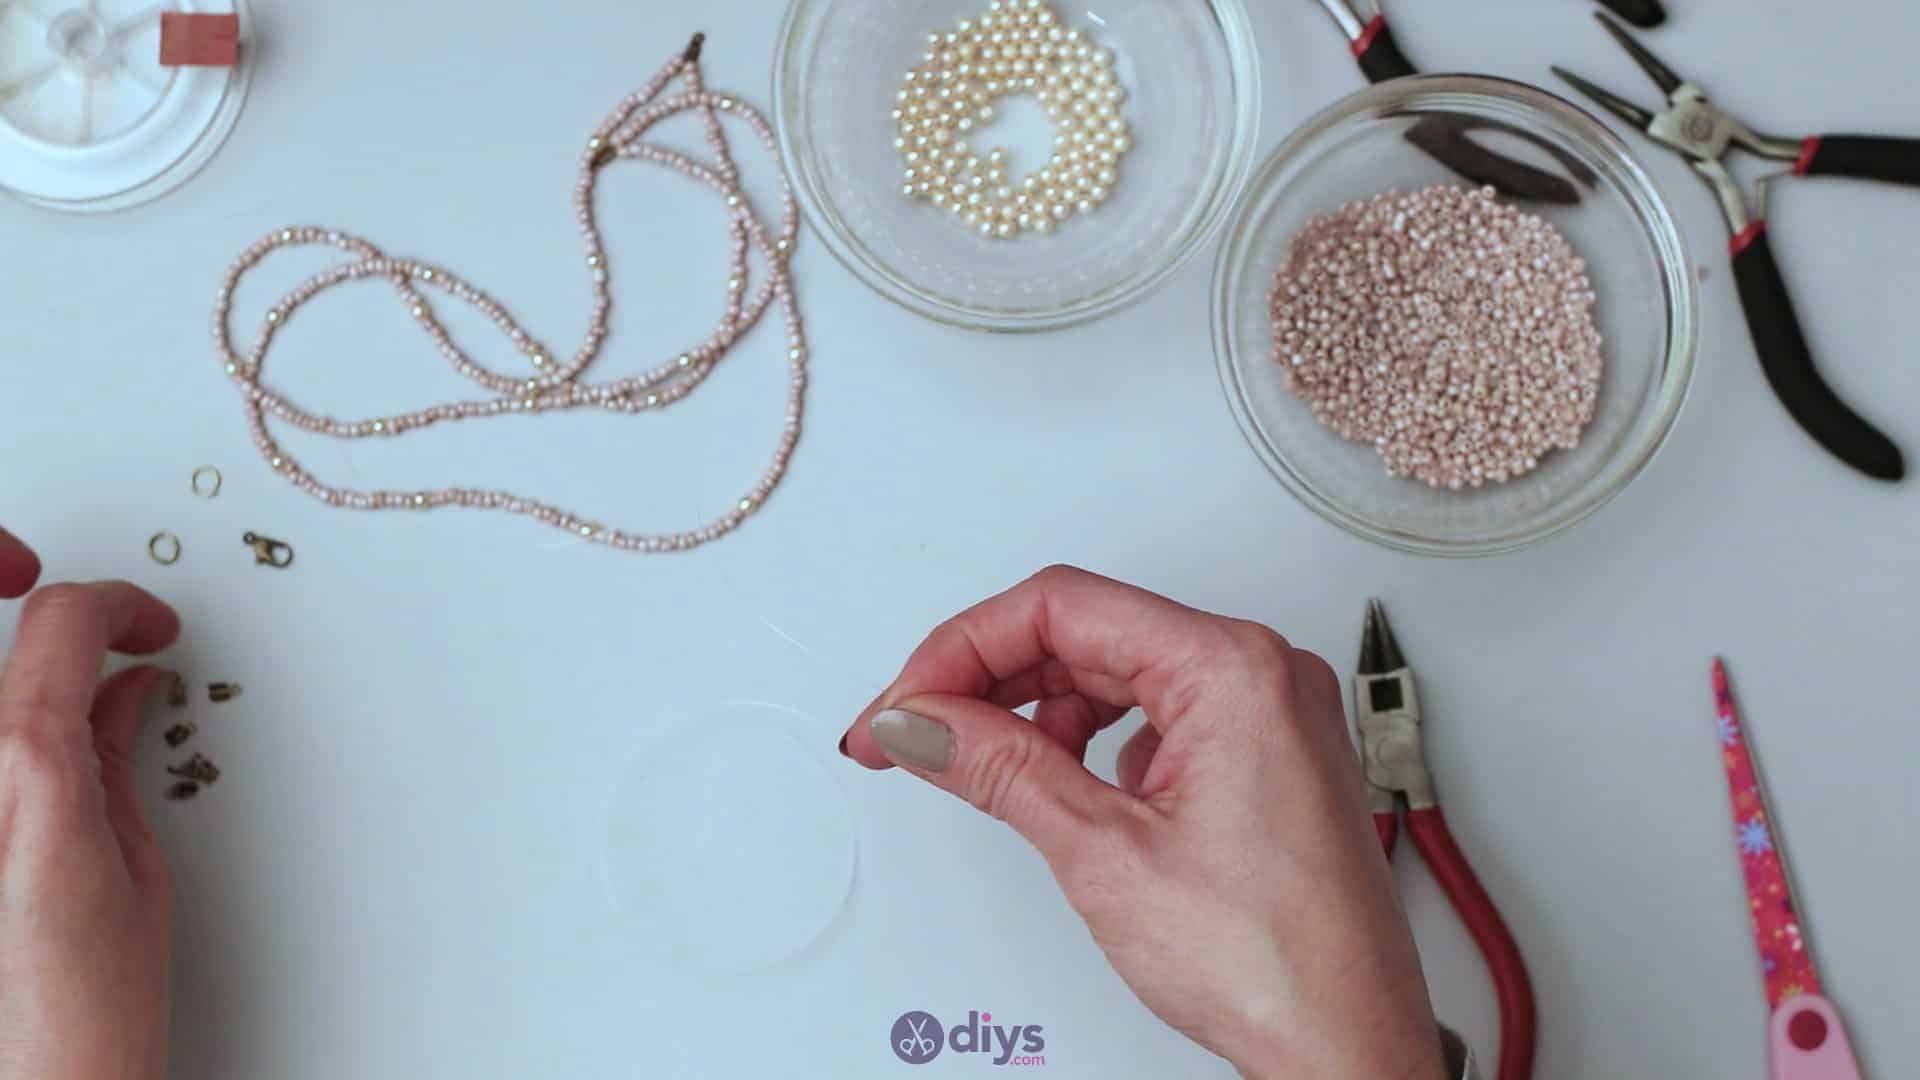
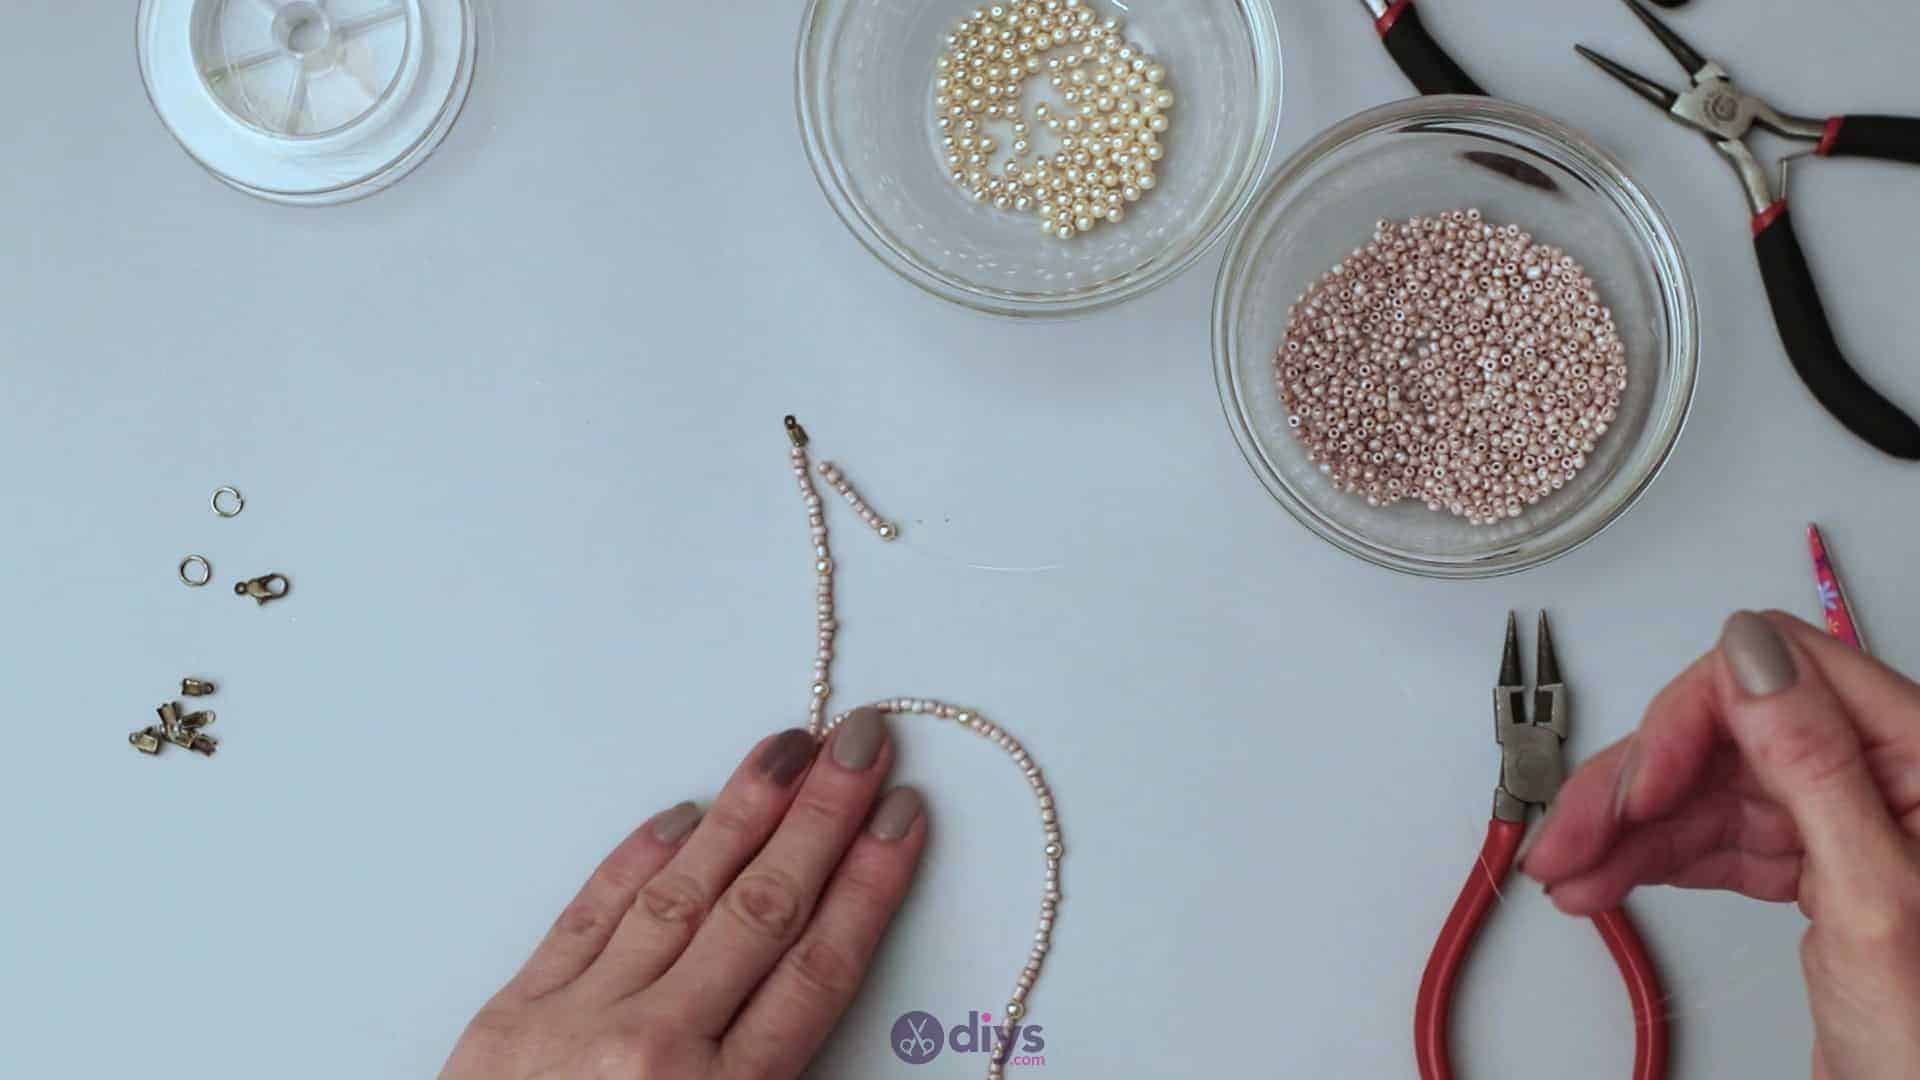
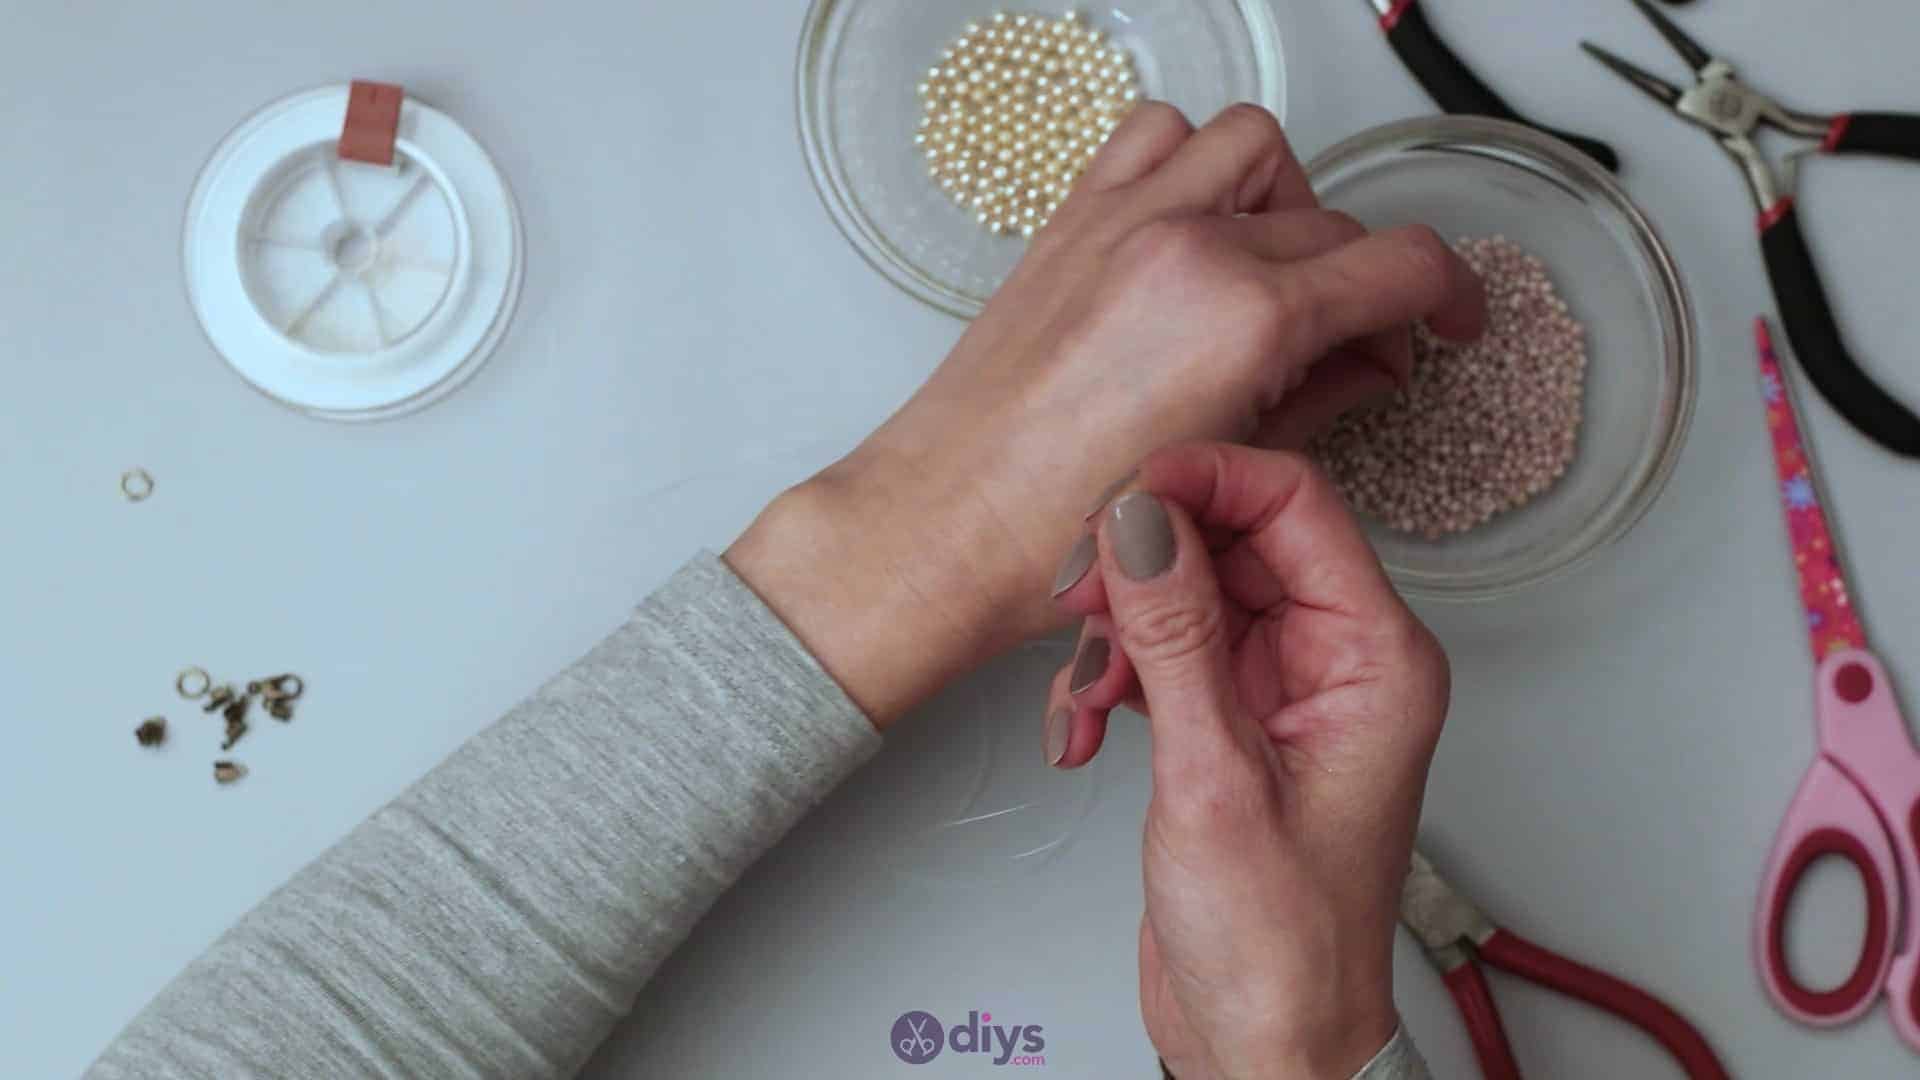
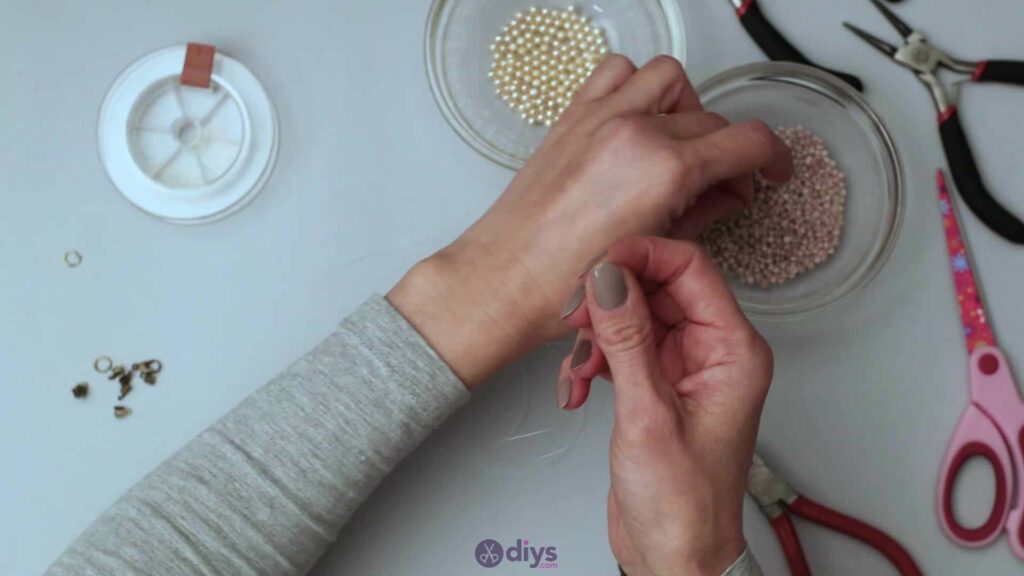
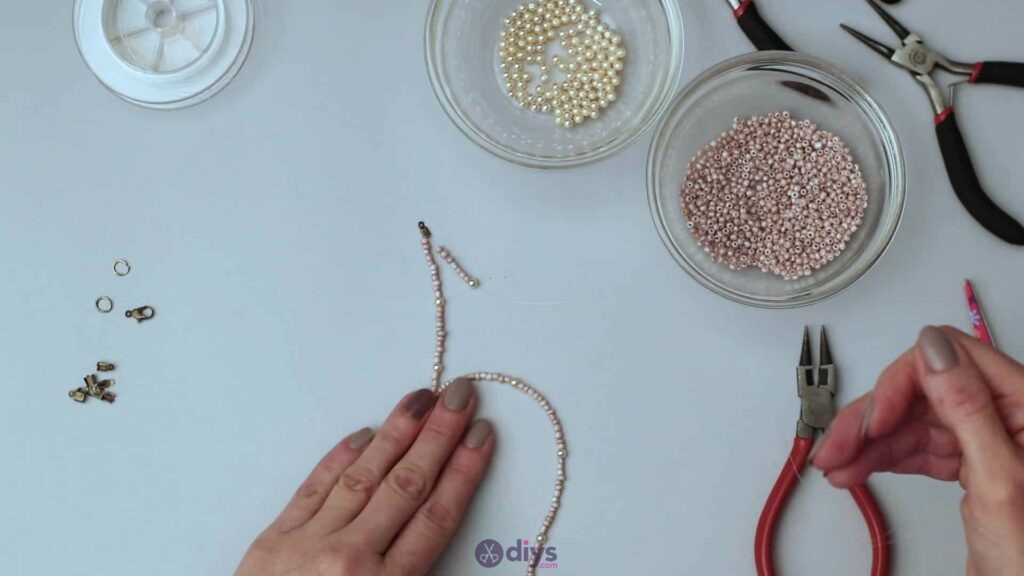
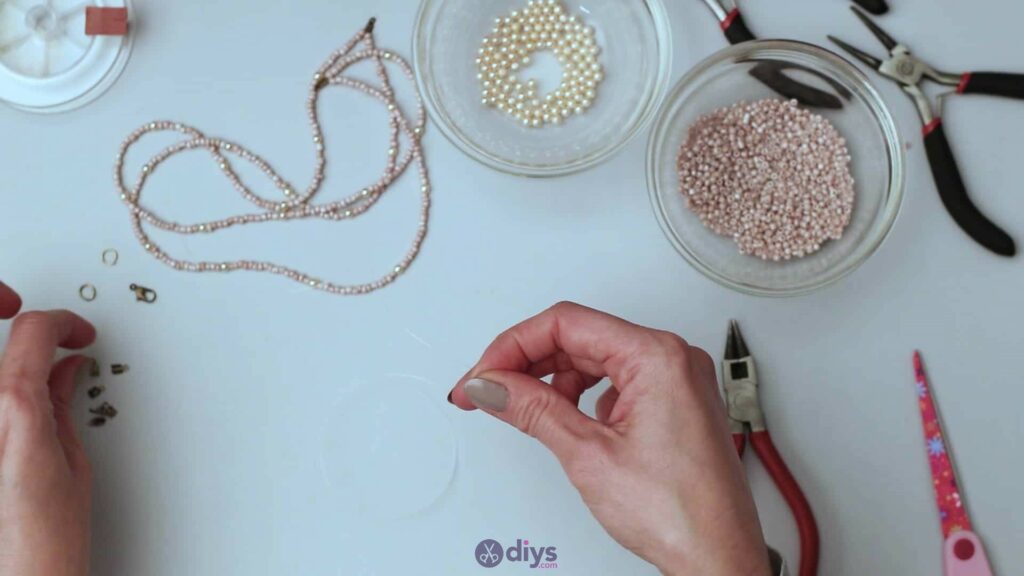
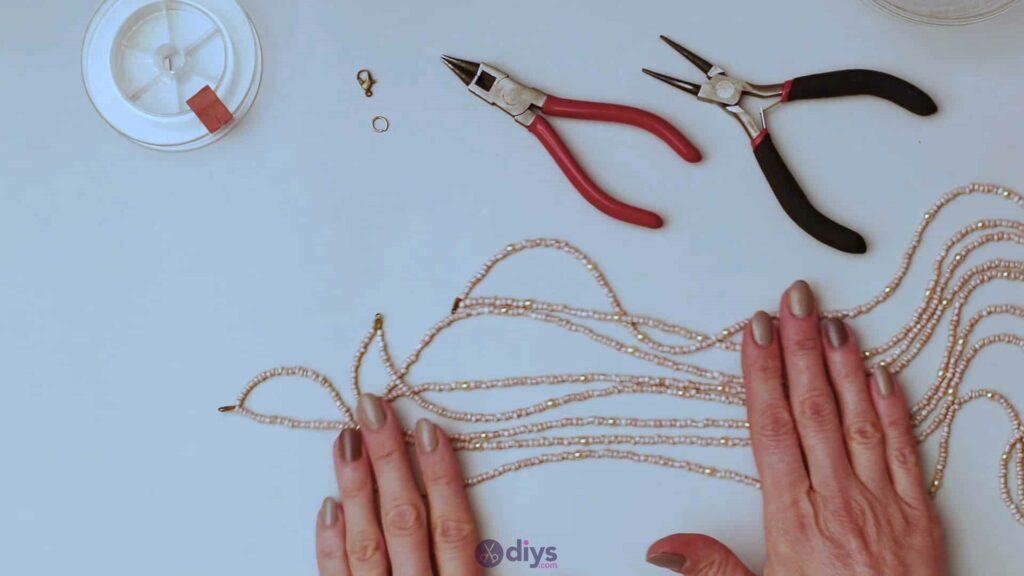
Step 1: Gather your materials!
I found it most effective to divide my beads into small bowls so I could have an easier time reaching to get them with my fingers, but without having them roll across my work surface.
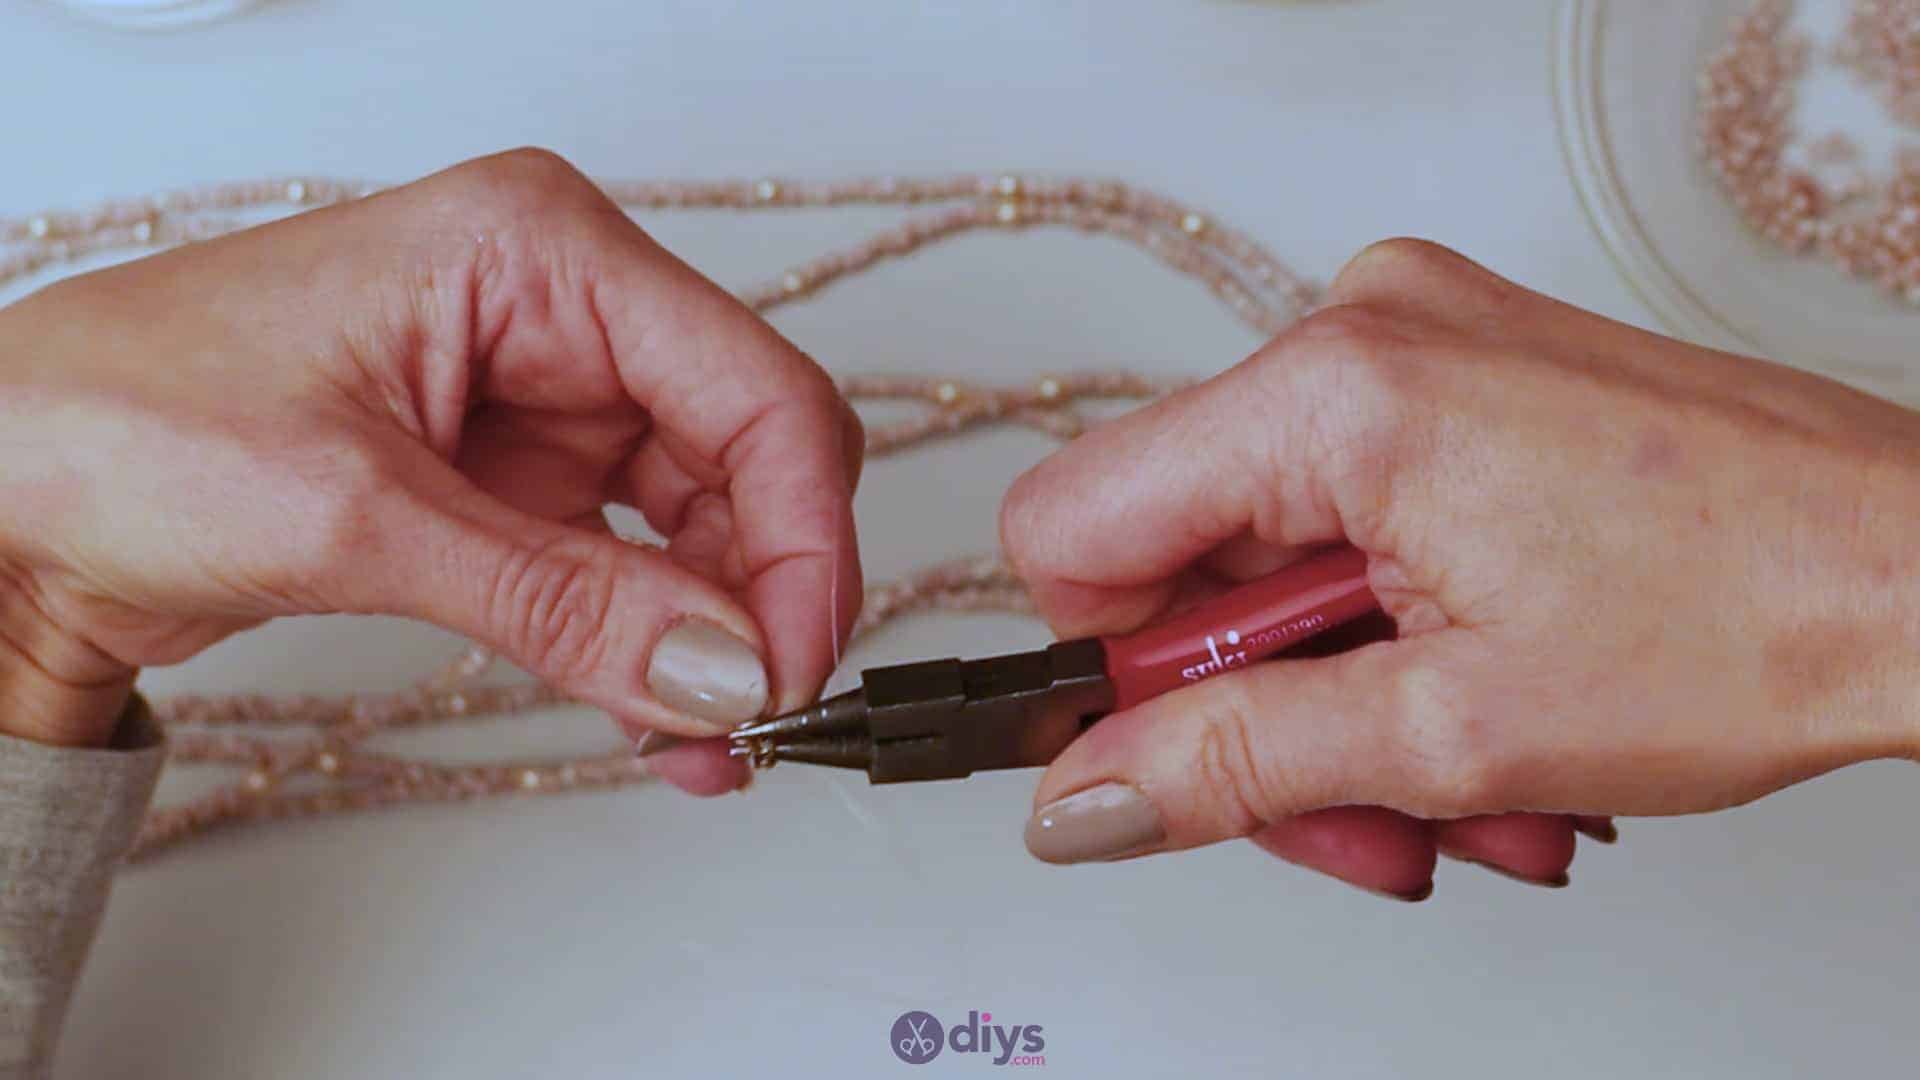
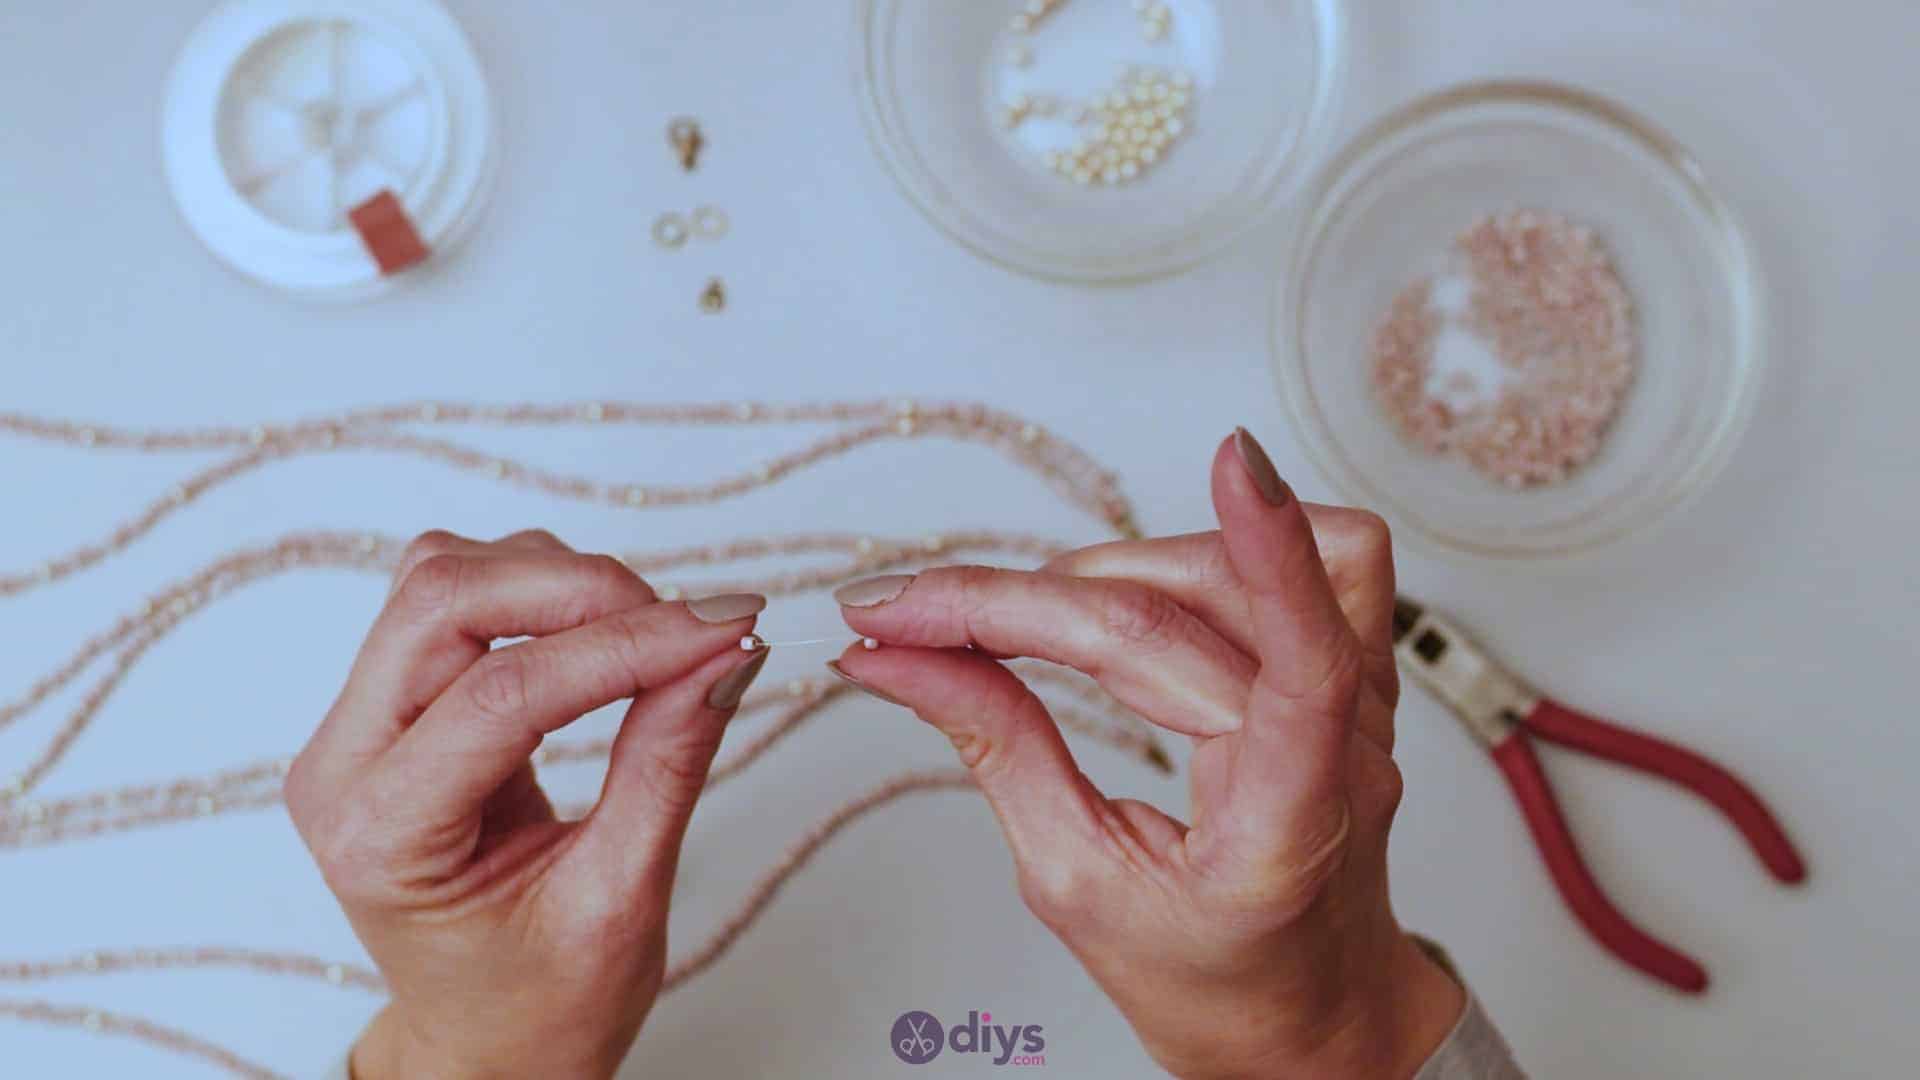
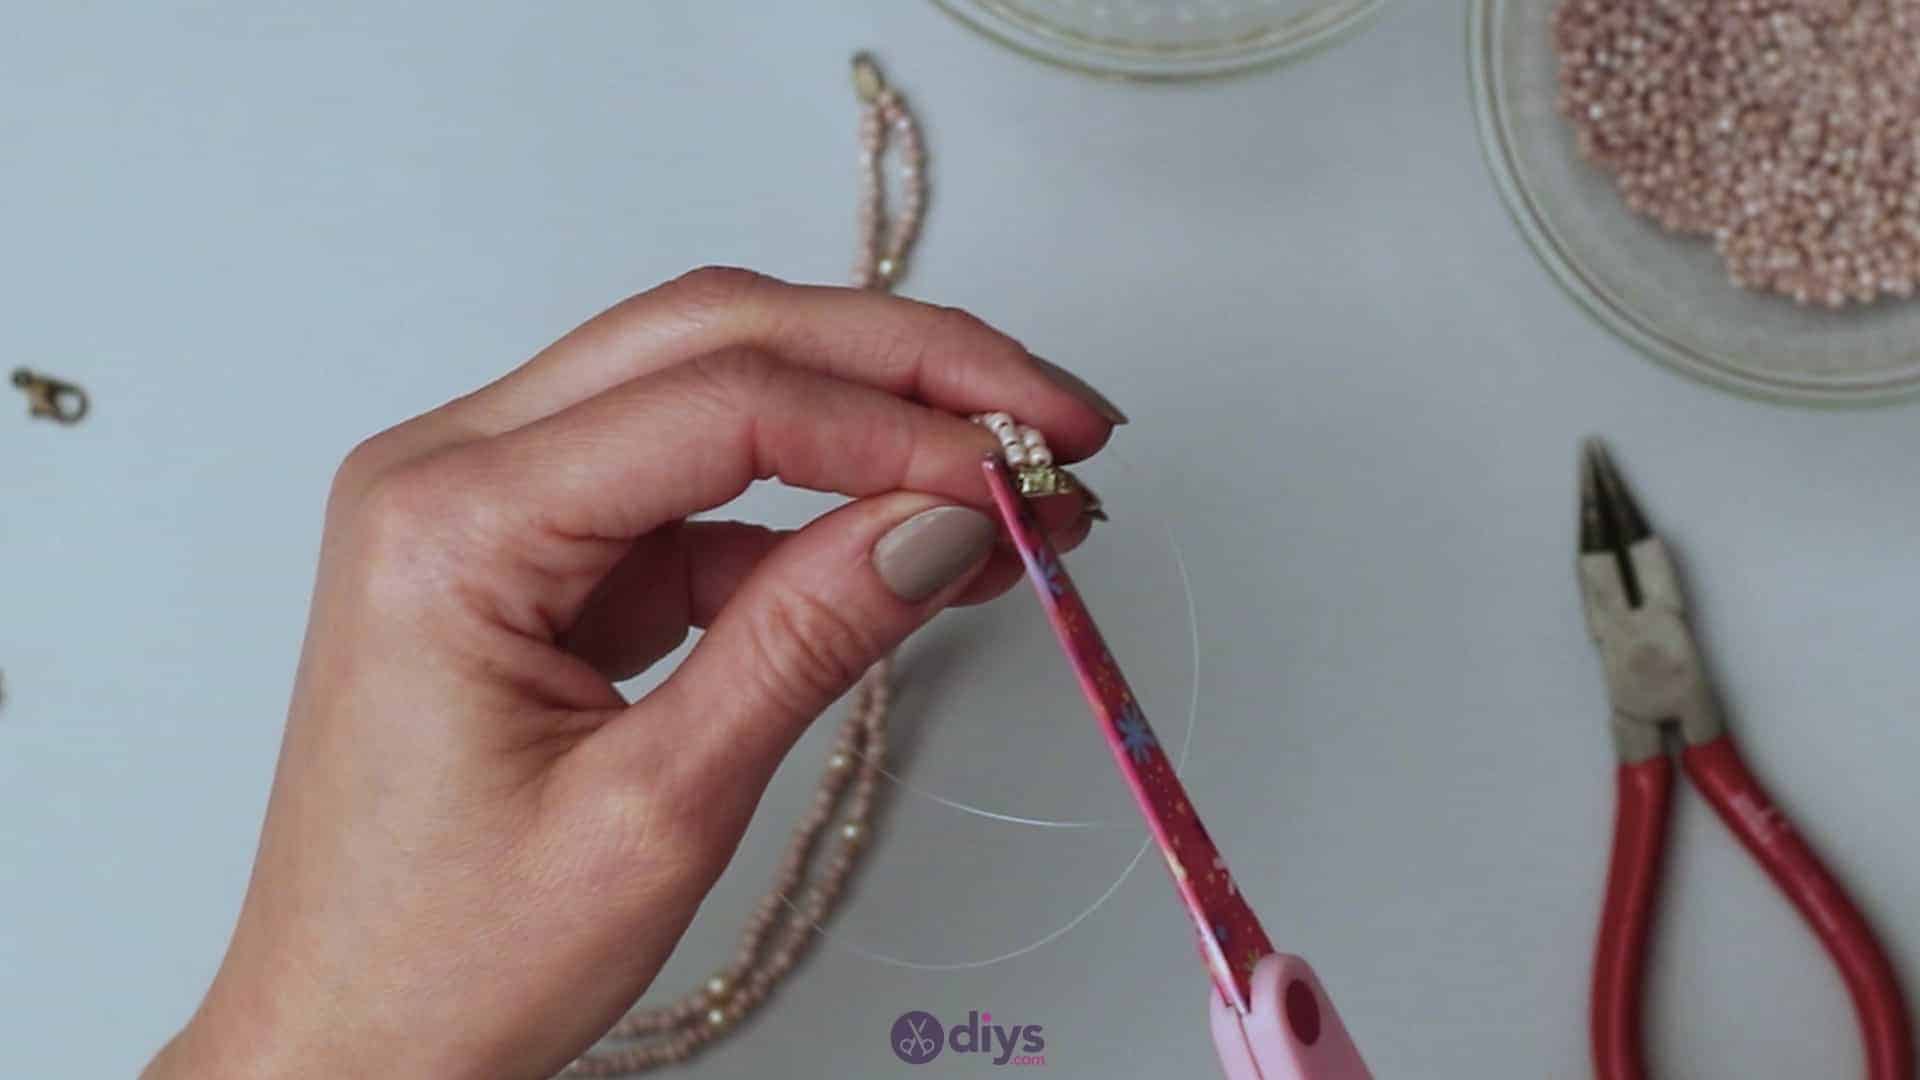
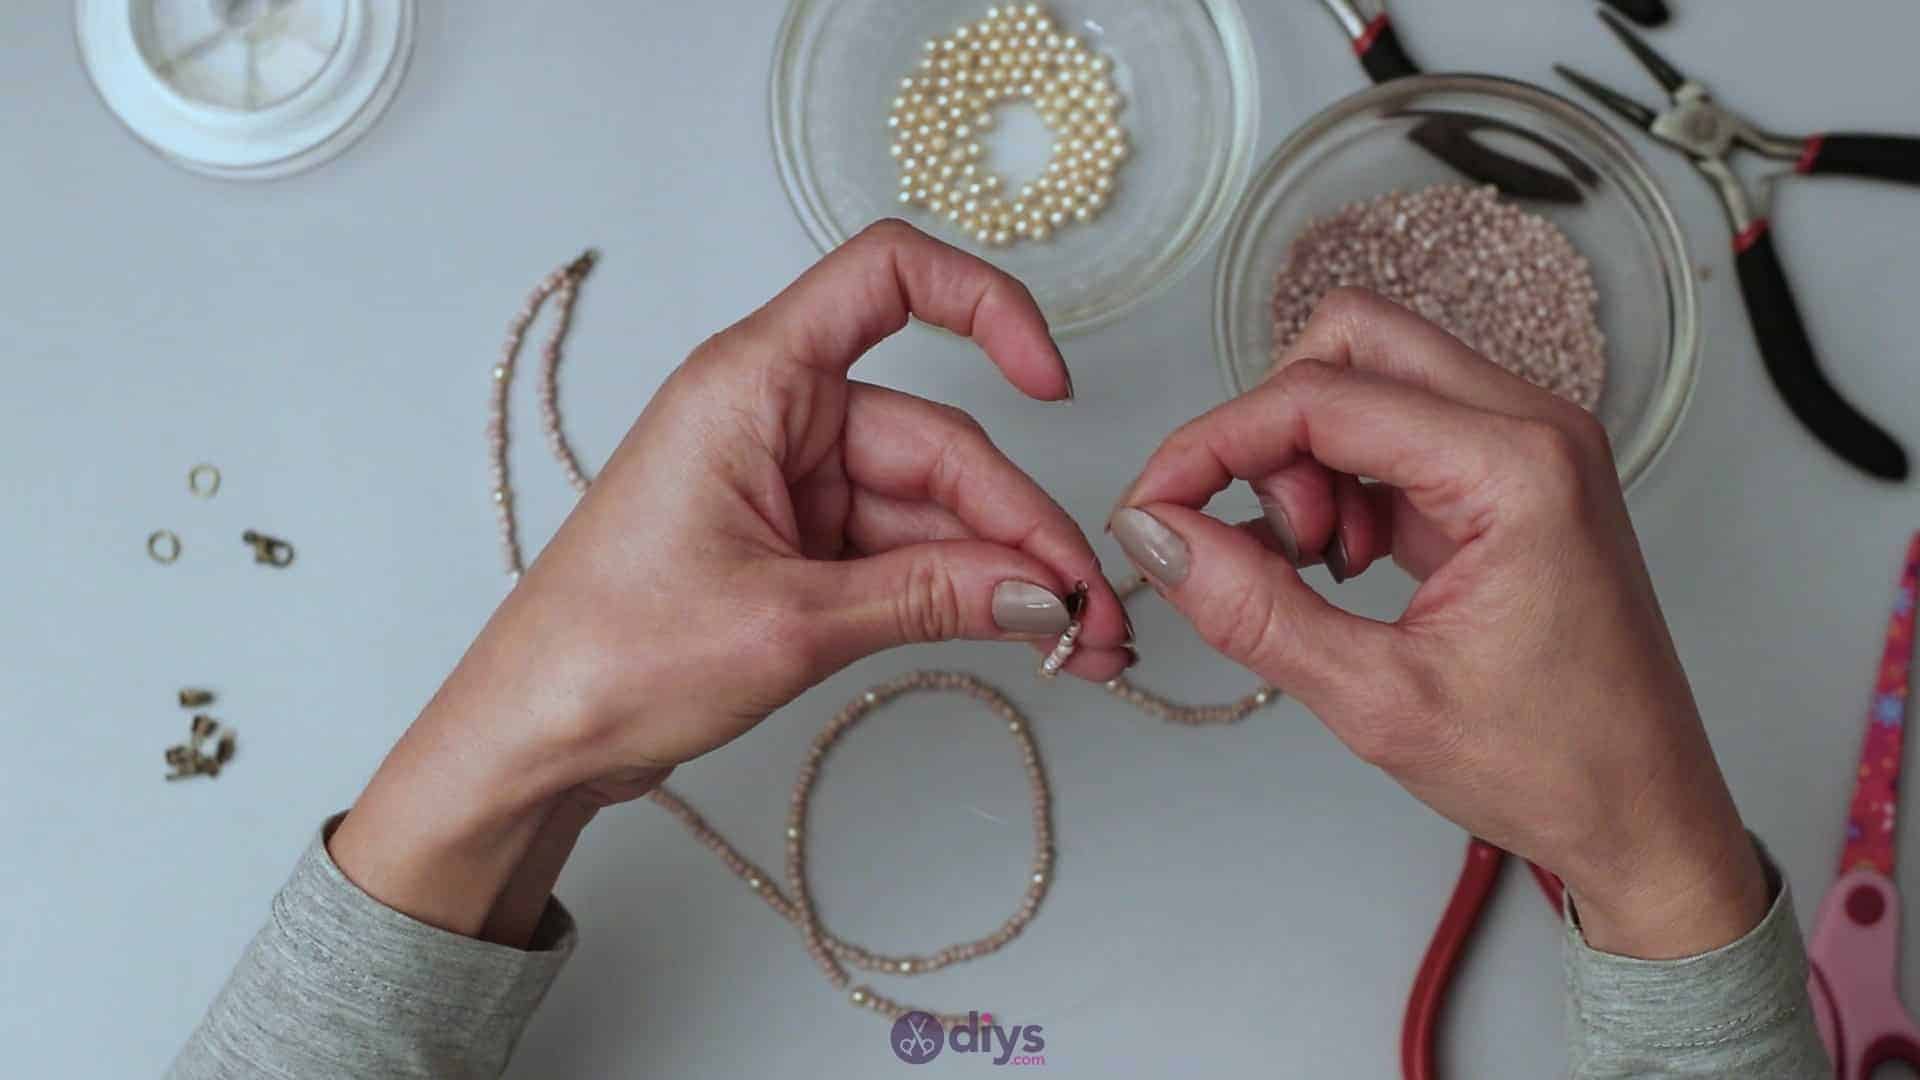
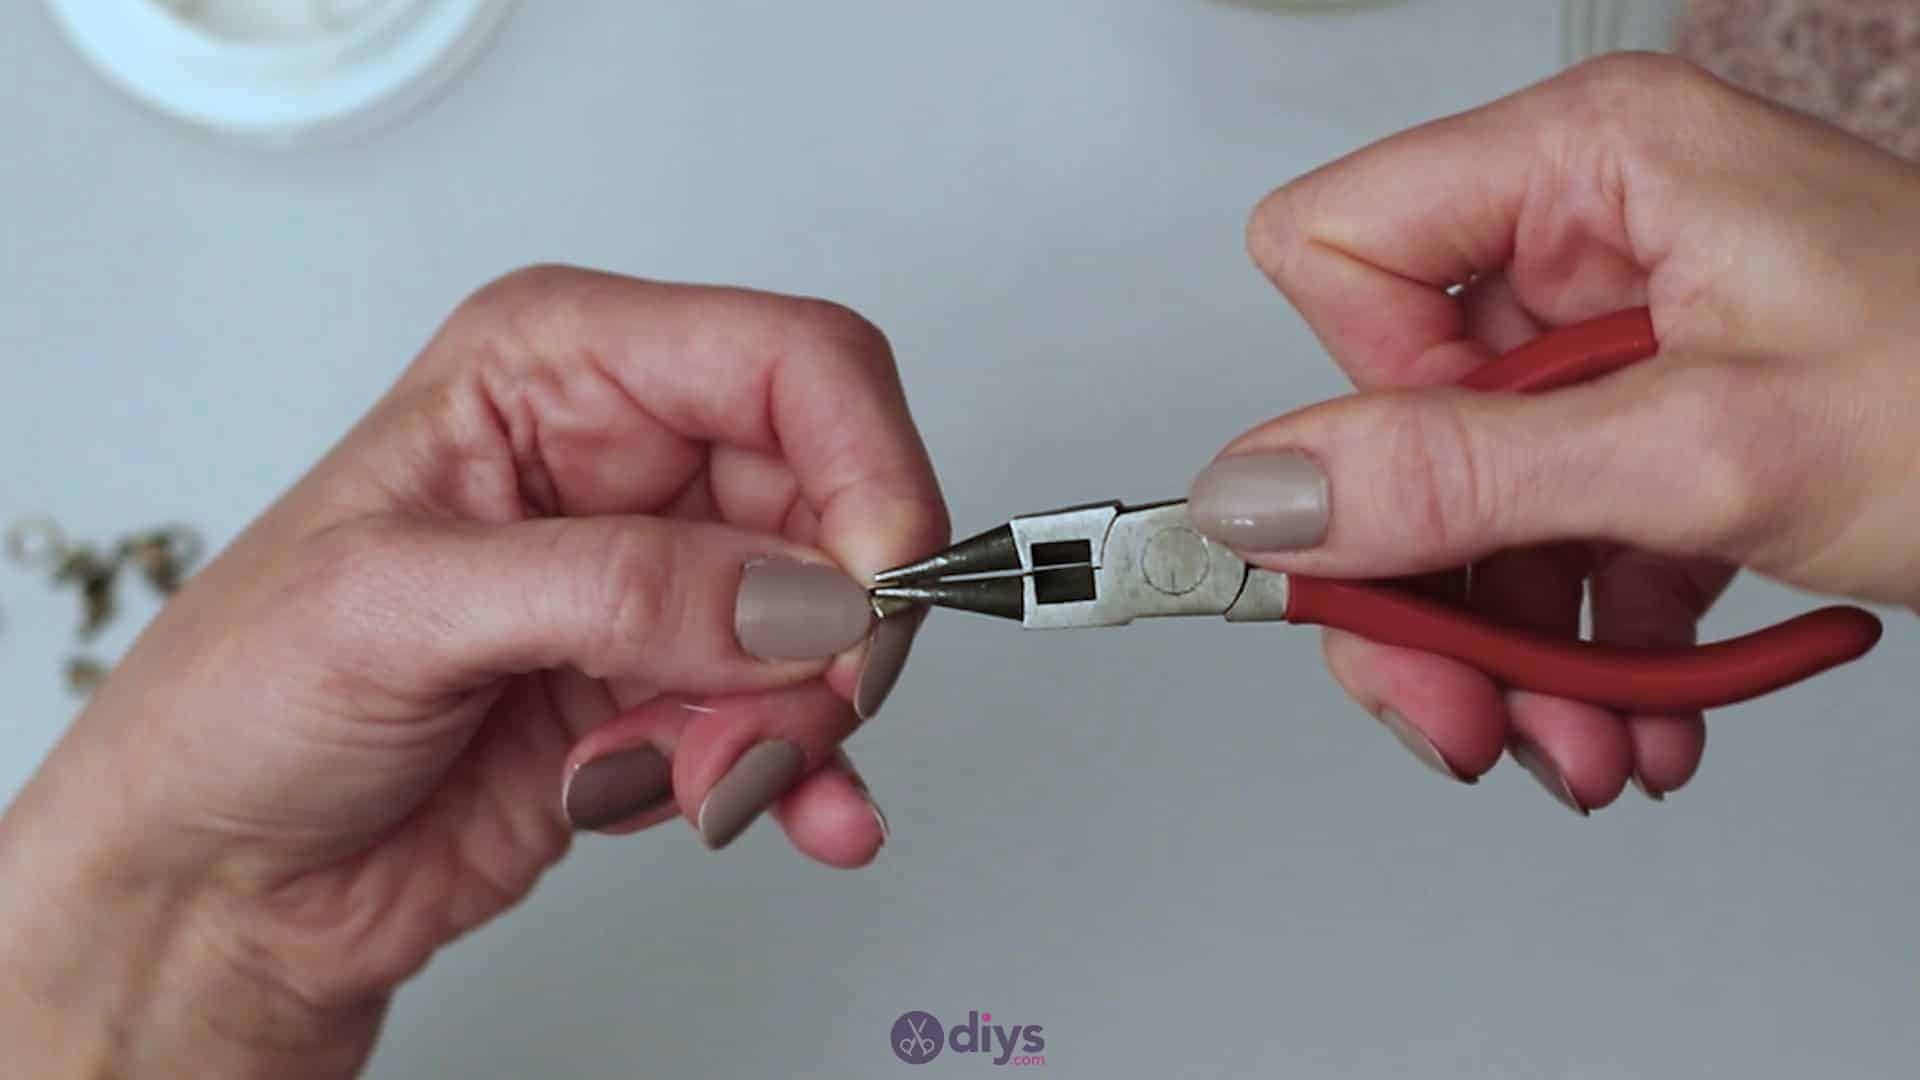
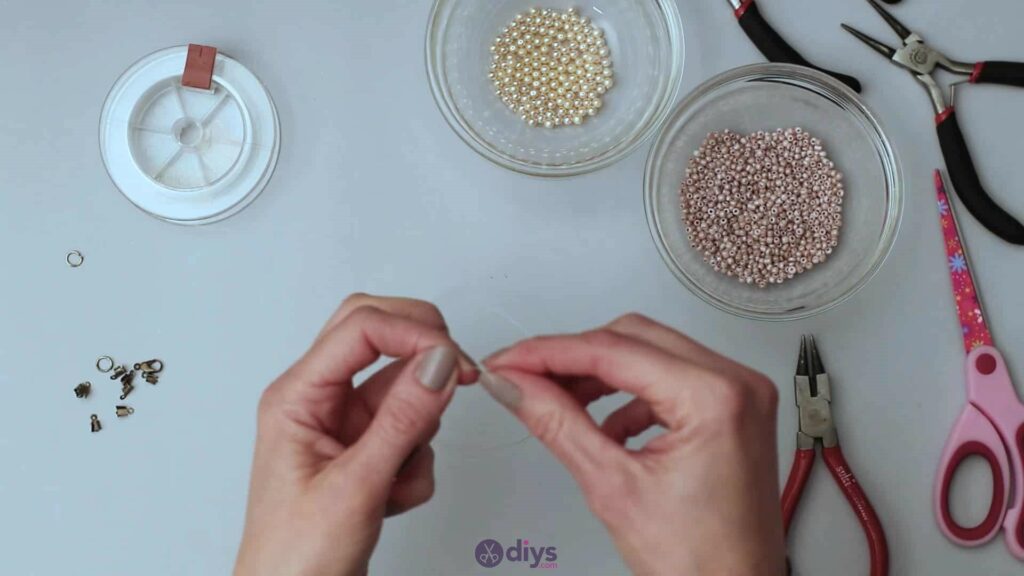
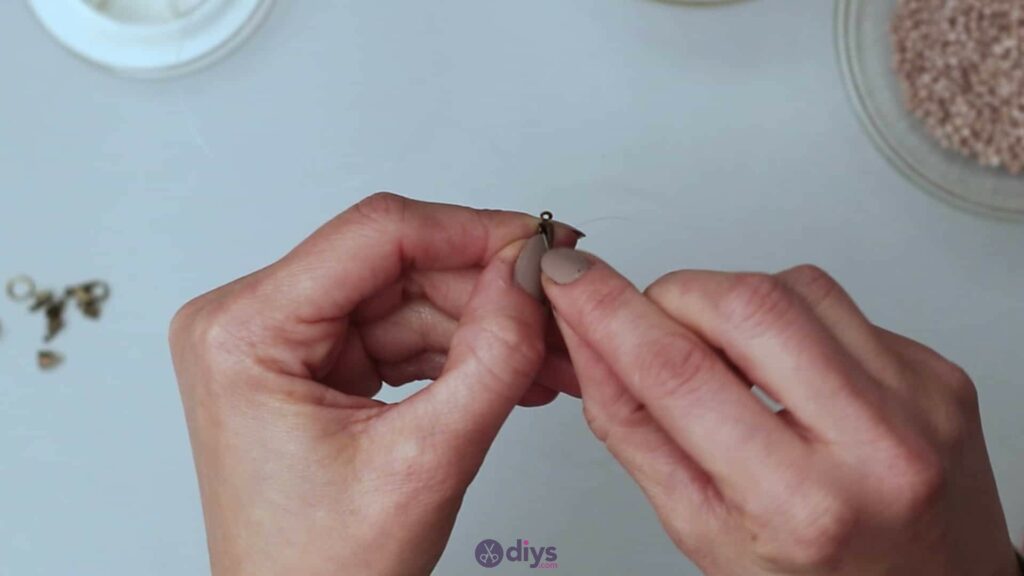
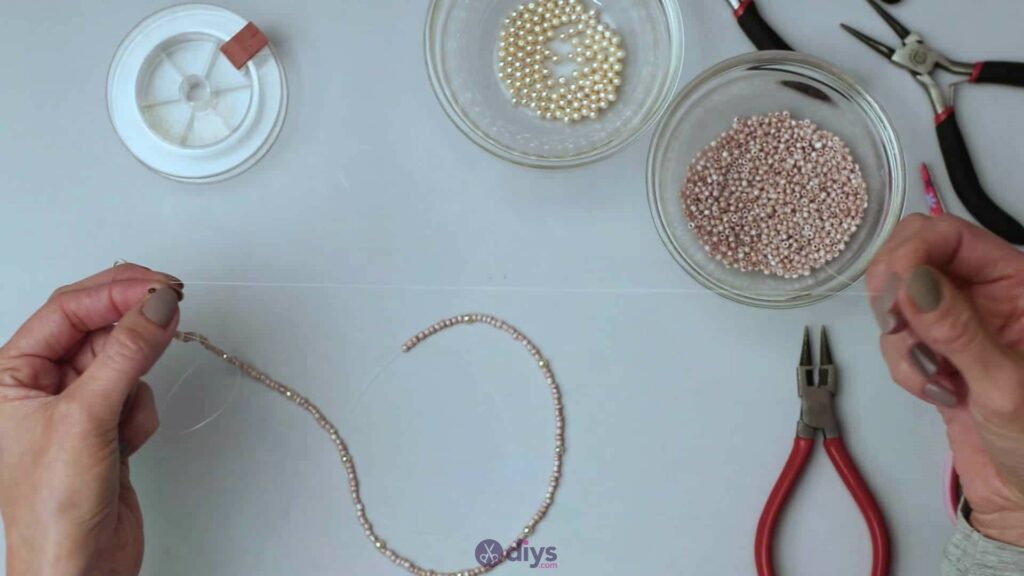
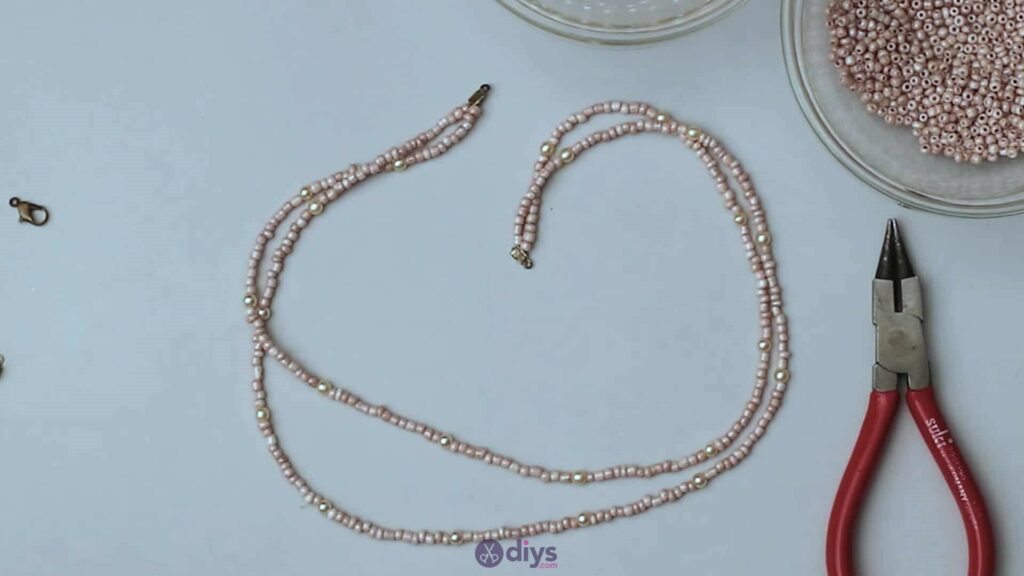
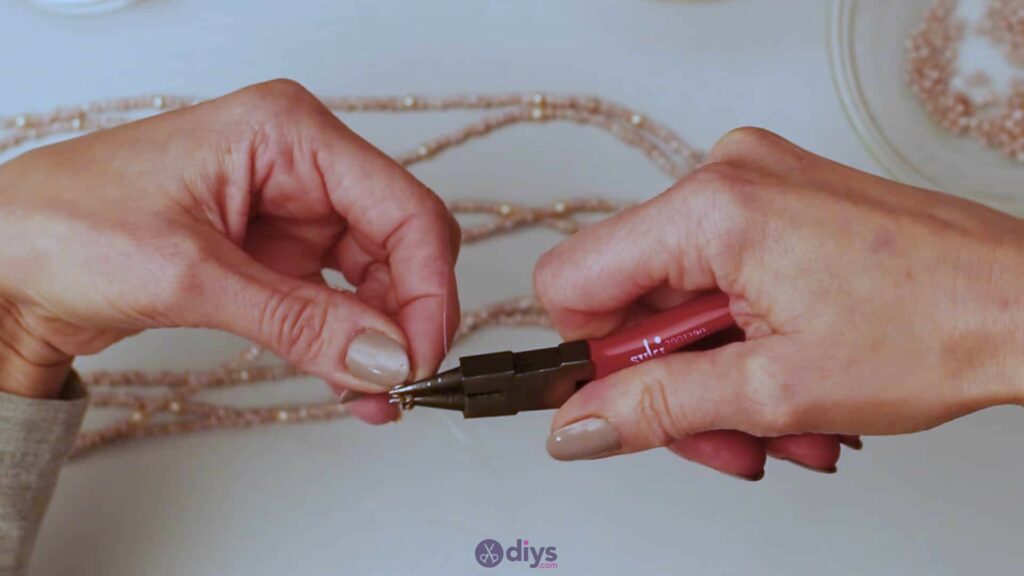
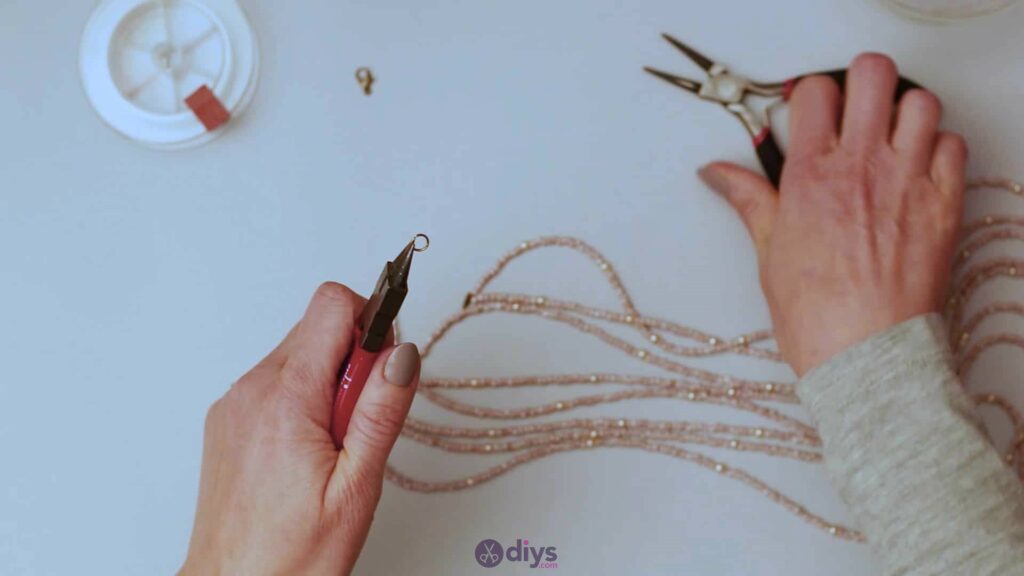
Step 2: cut your lines
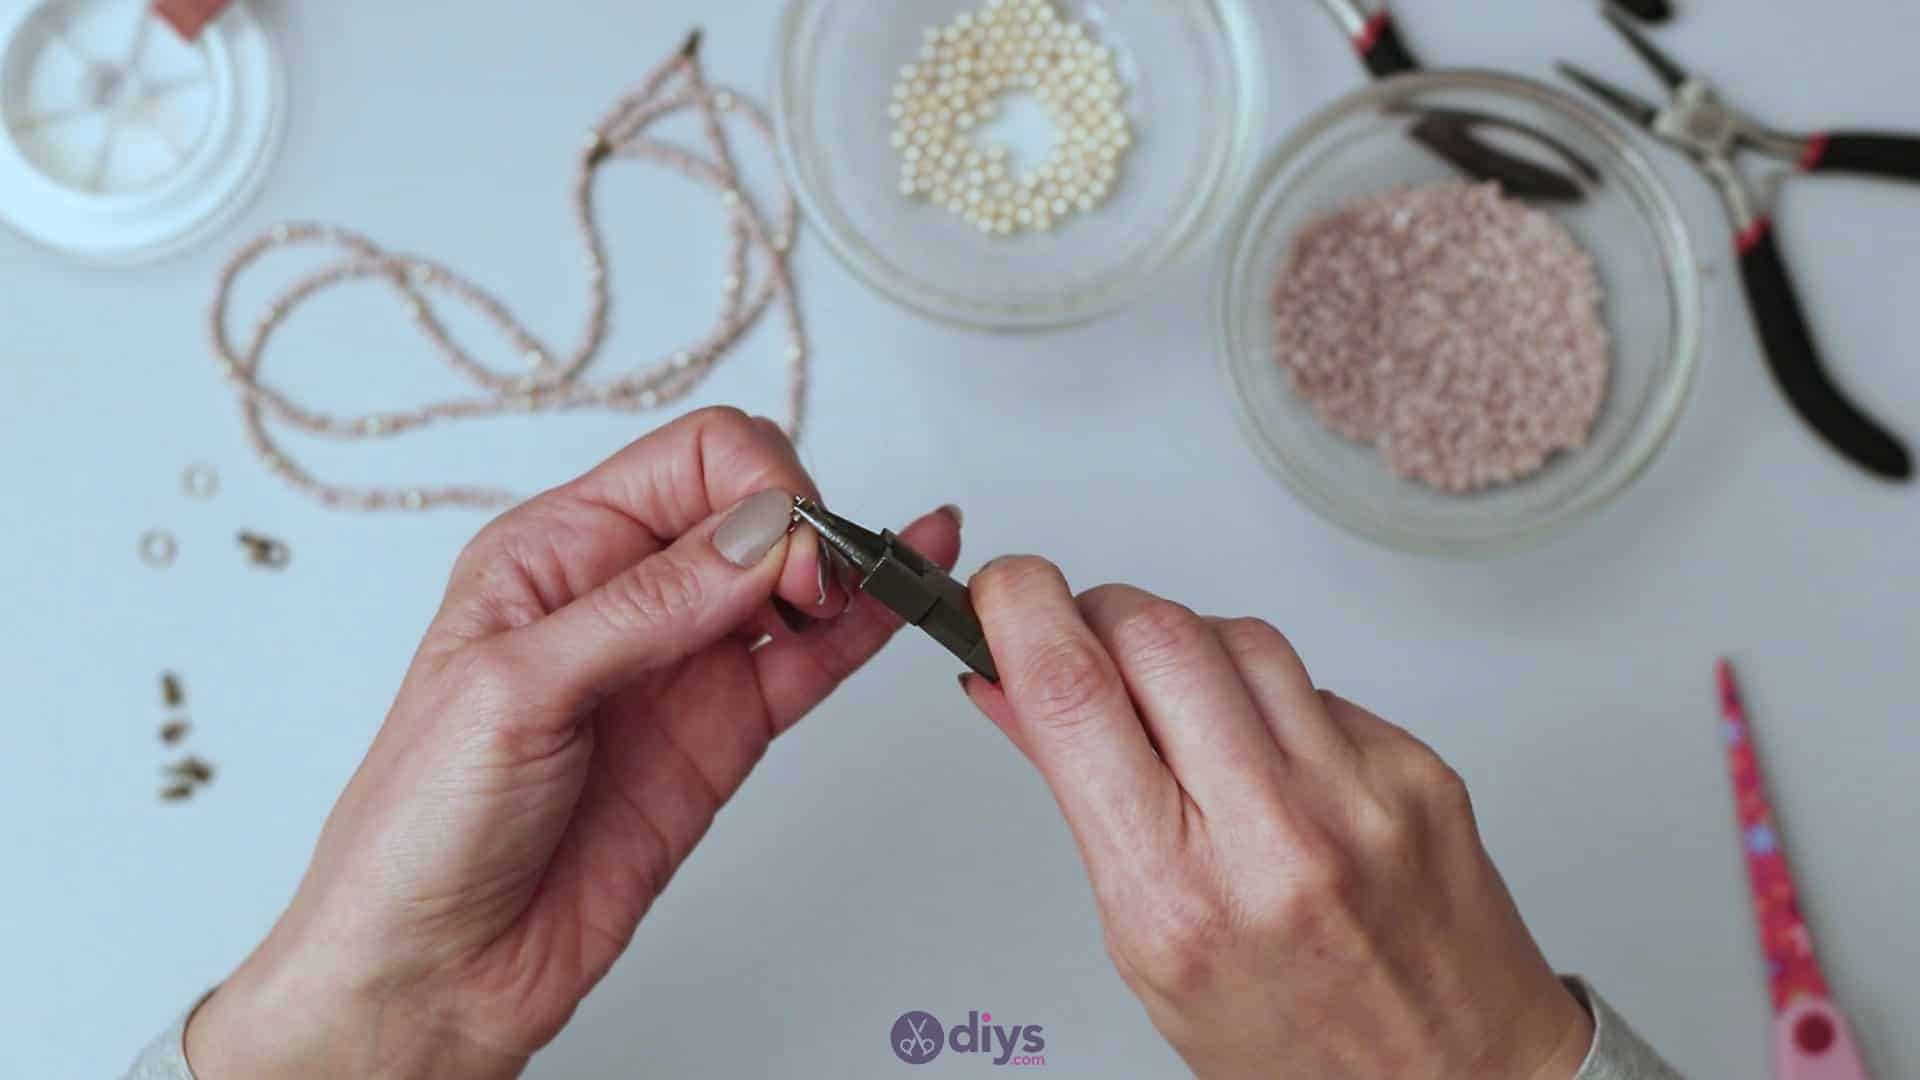
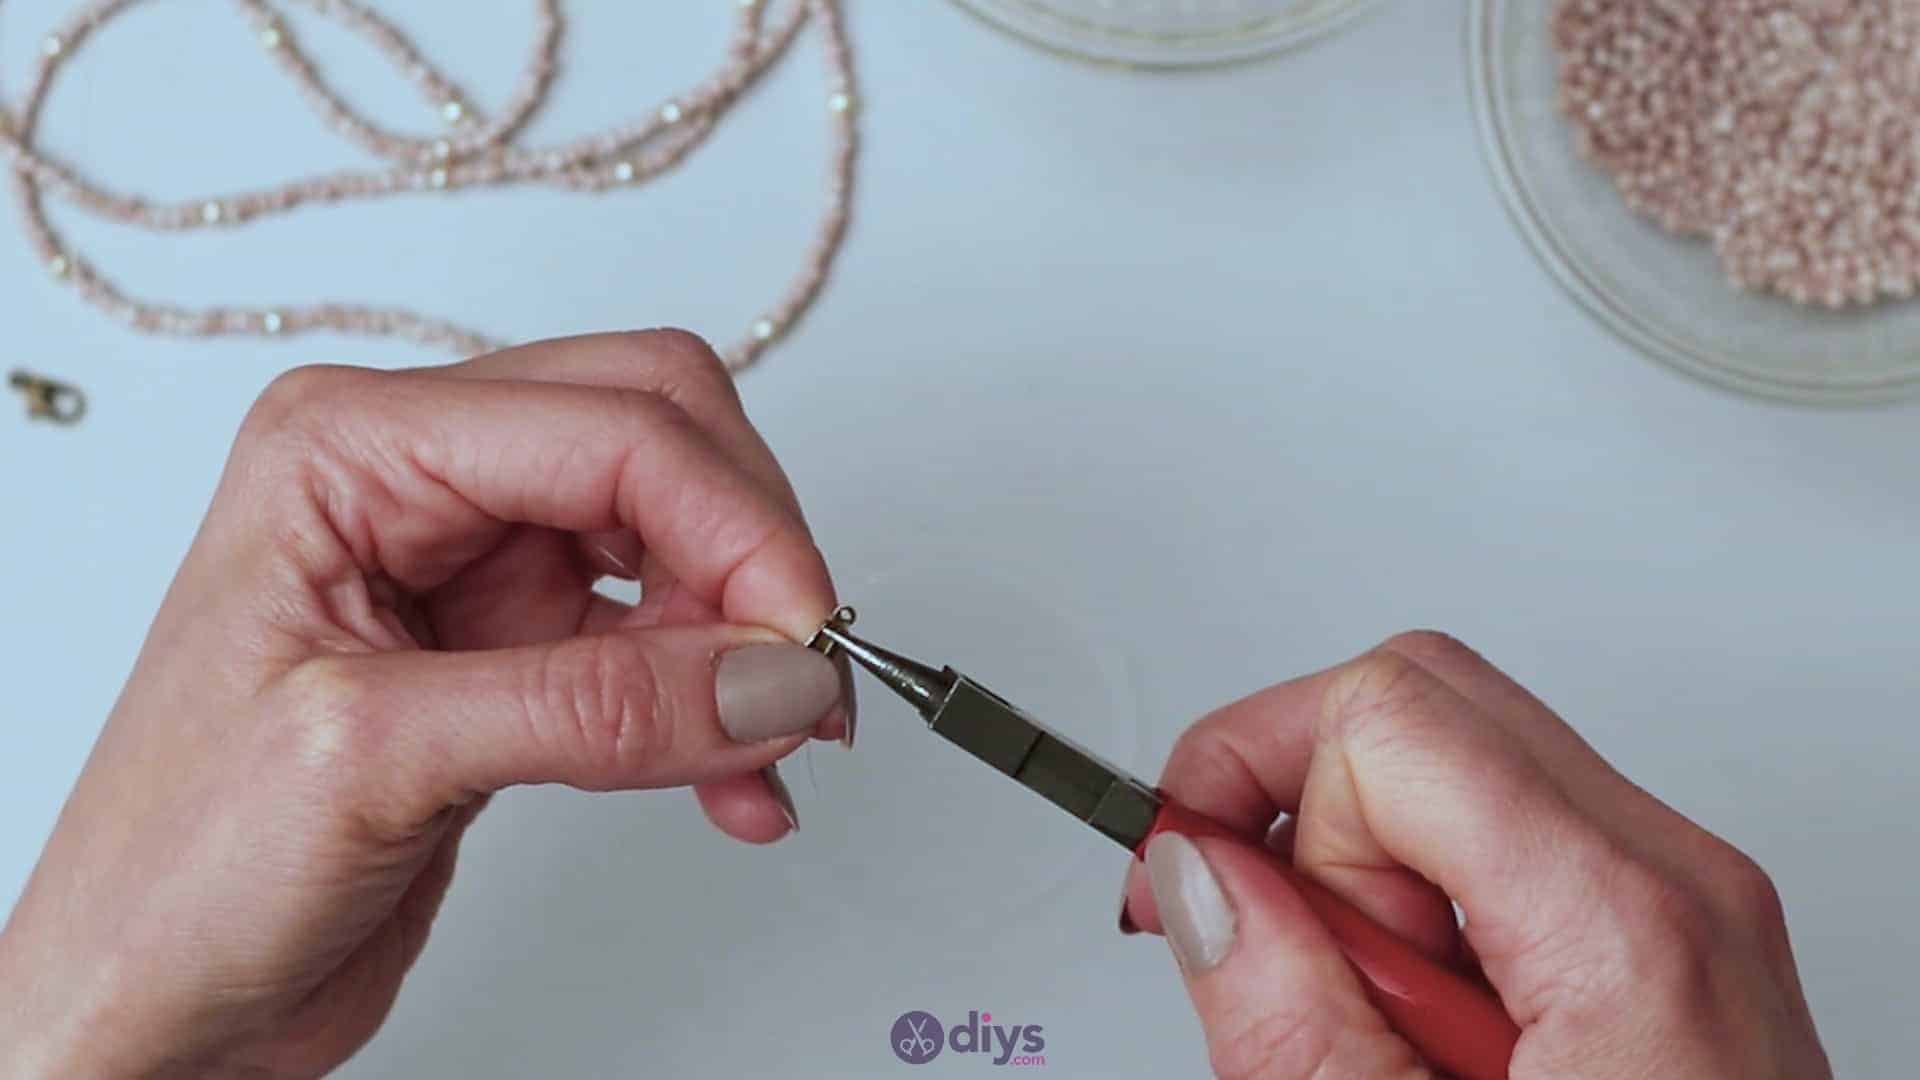
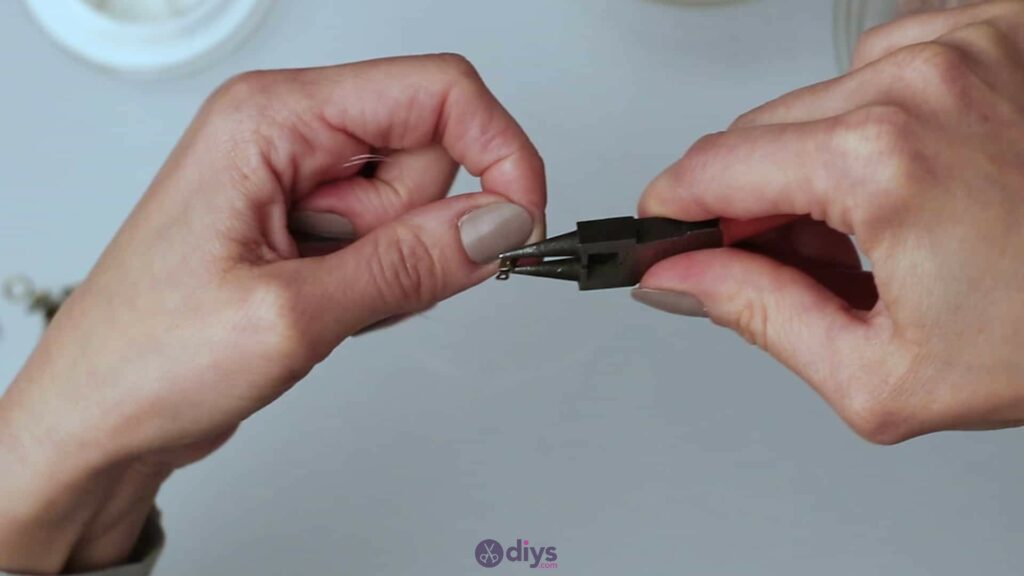
Cut two pieces of jewelry line about eight inches long. These will be your longest strand in the eventual necklace. Pinch the two lines together at one end with their tips held evenly between the opened sides of one of your eight line ending pieces. I looped mine in horizontally between the clamping sides and around in order to provide more grip. Use your pincers to bend the pieces of the line end closed, shutting them on the ends of your jewelry line pieces nice and tightly. Your other end will stay free for now in order to let you string beads on. Trim any excess line from the pinched ends for neatness.

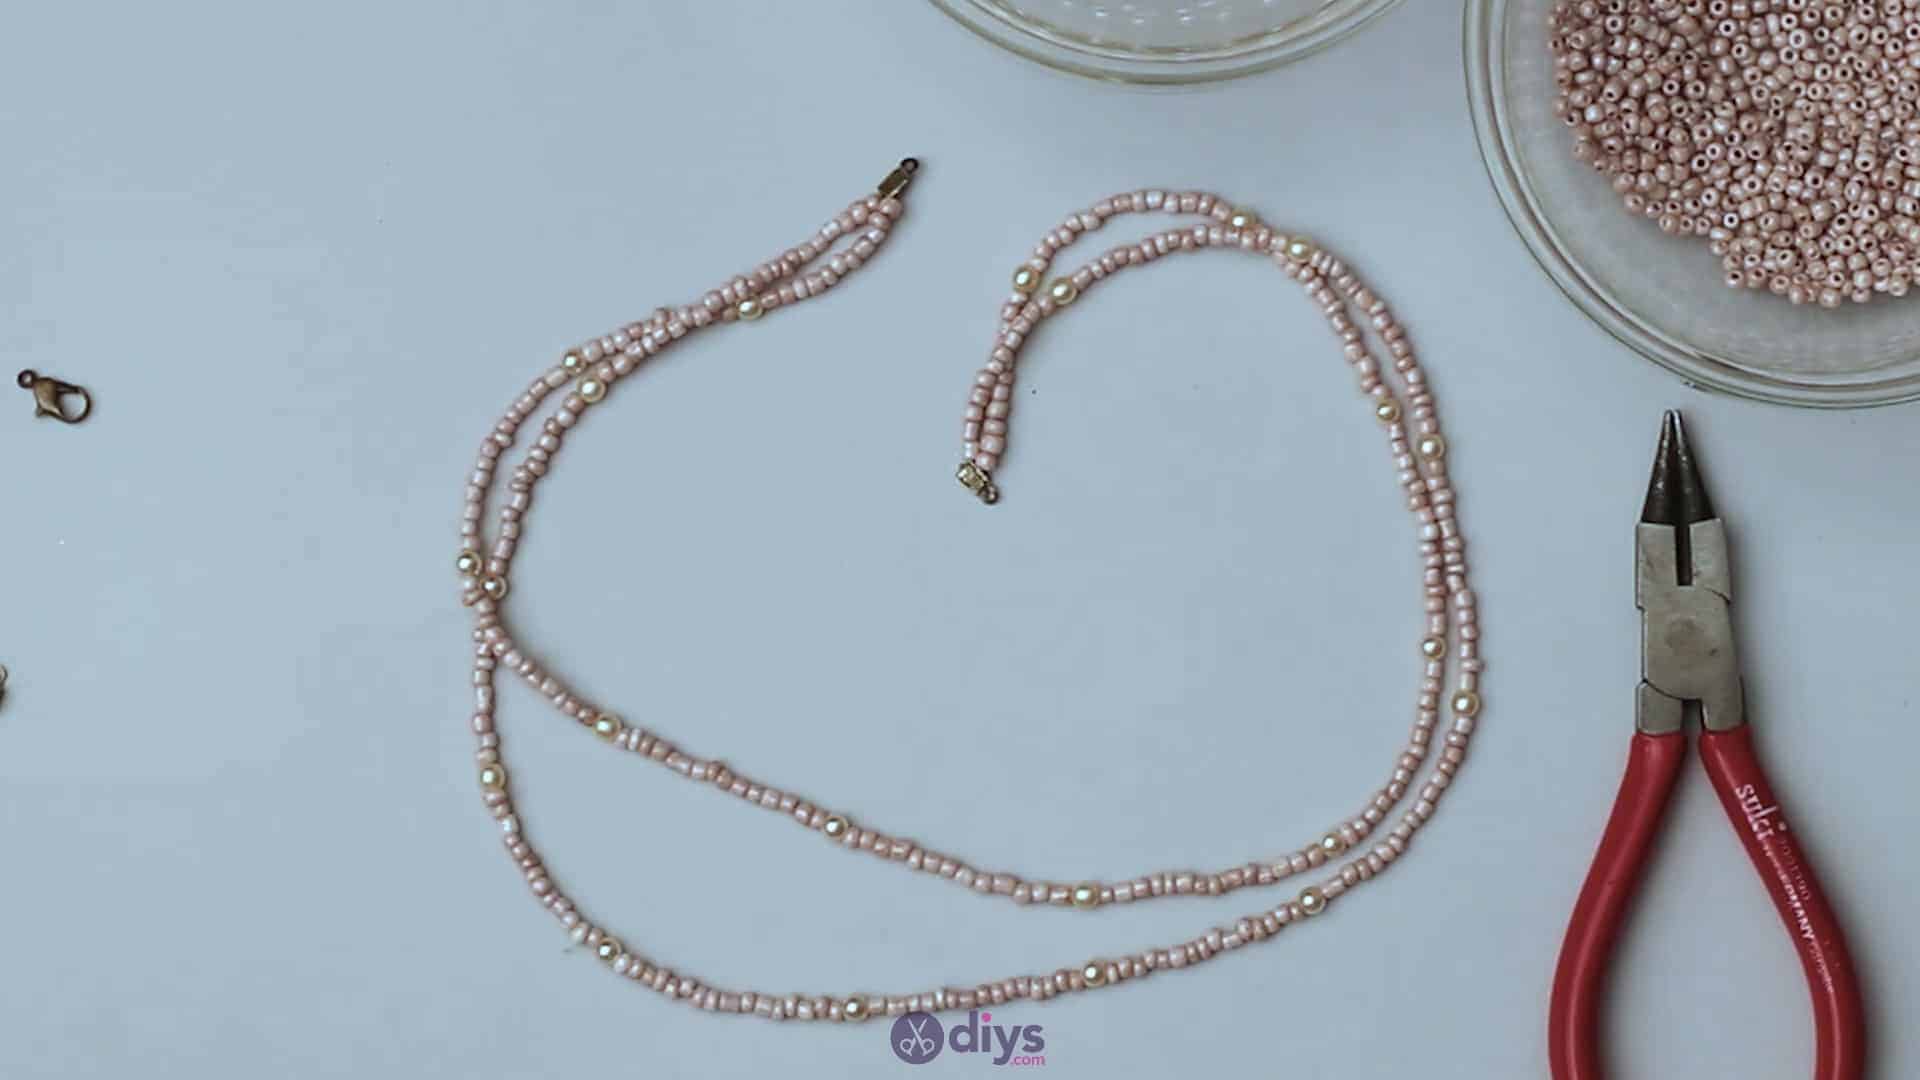
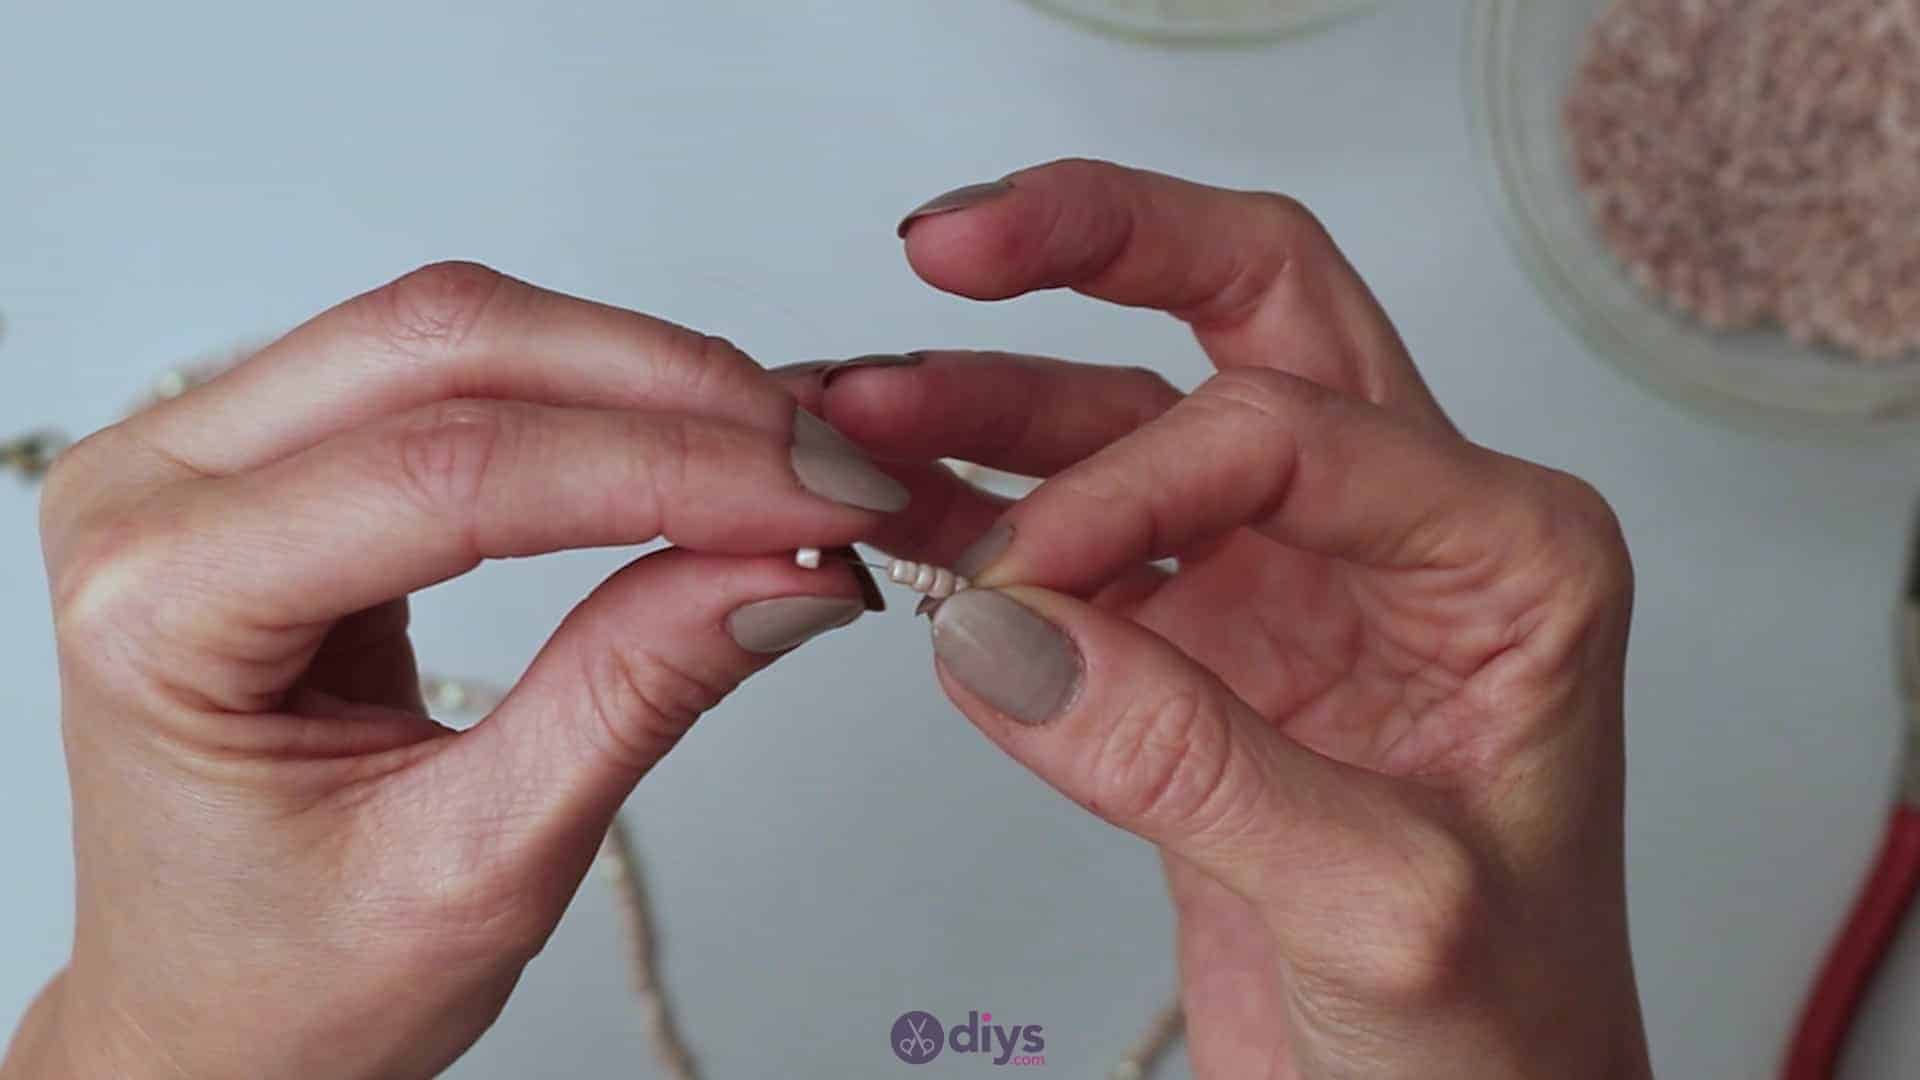
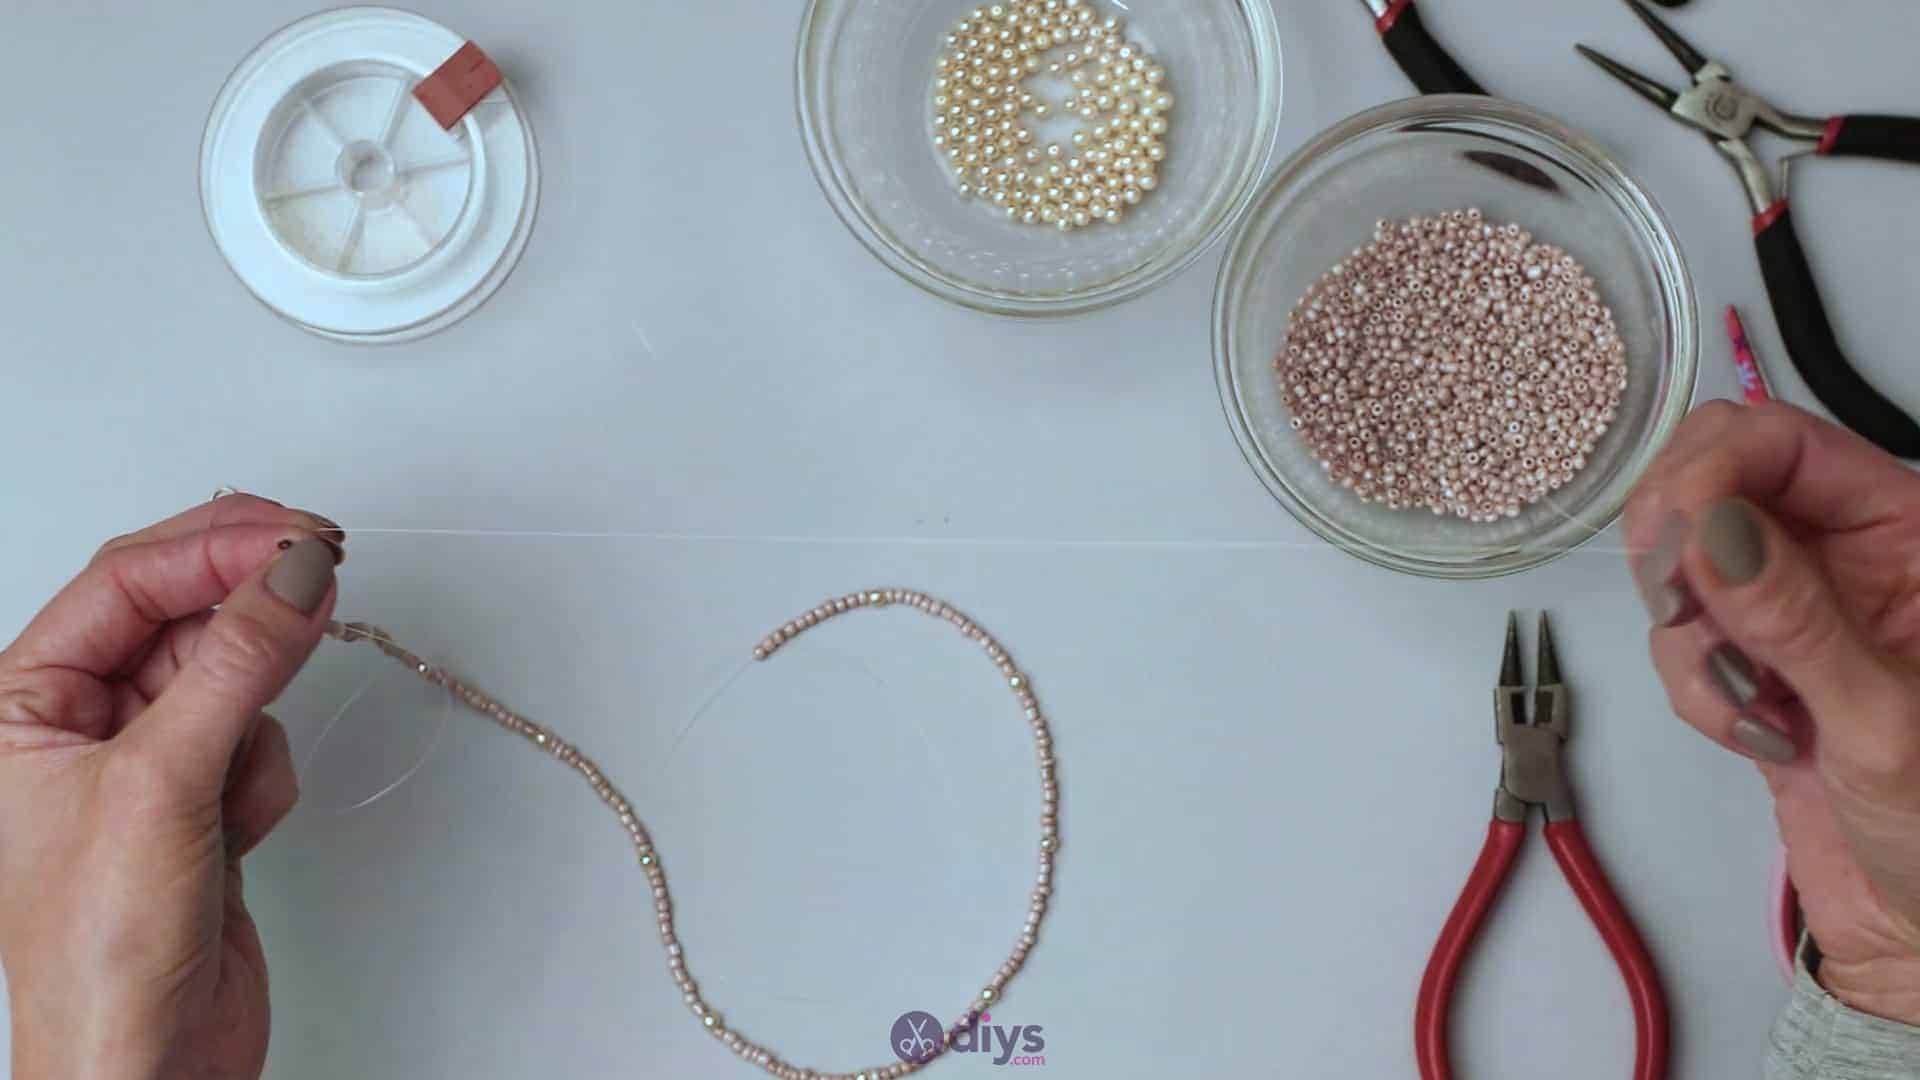
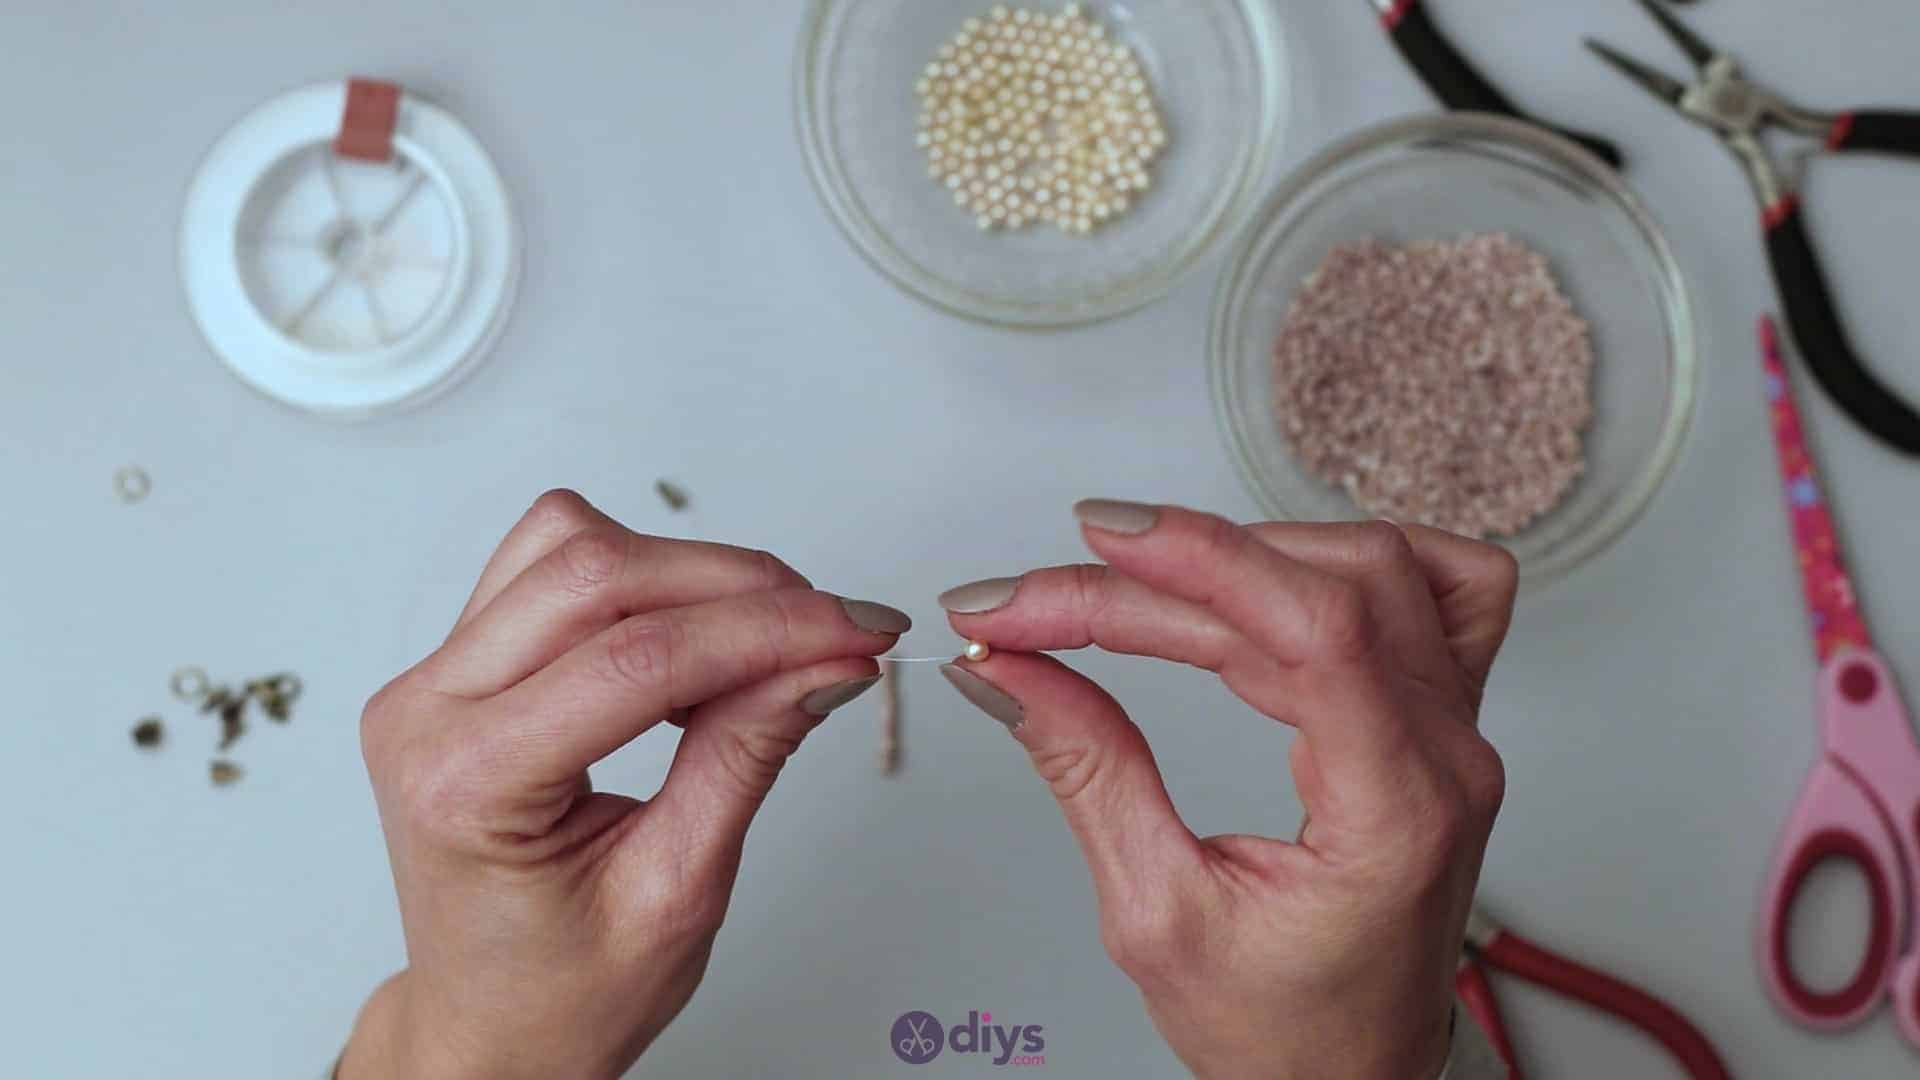
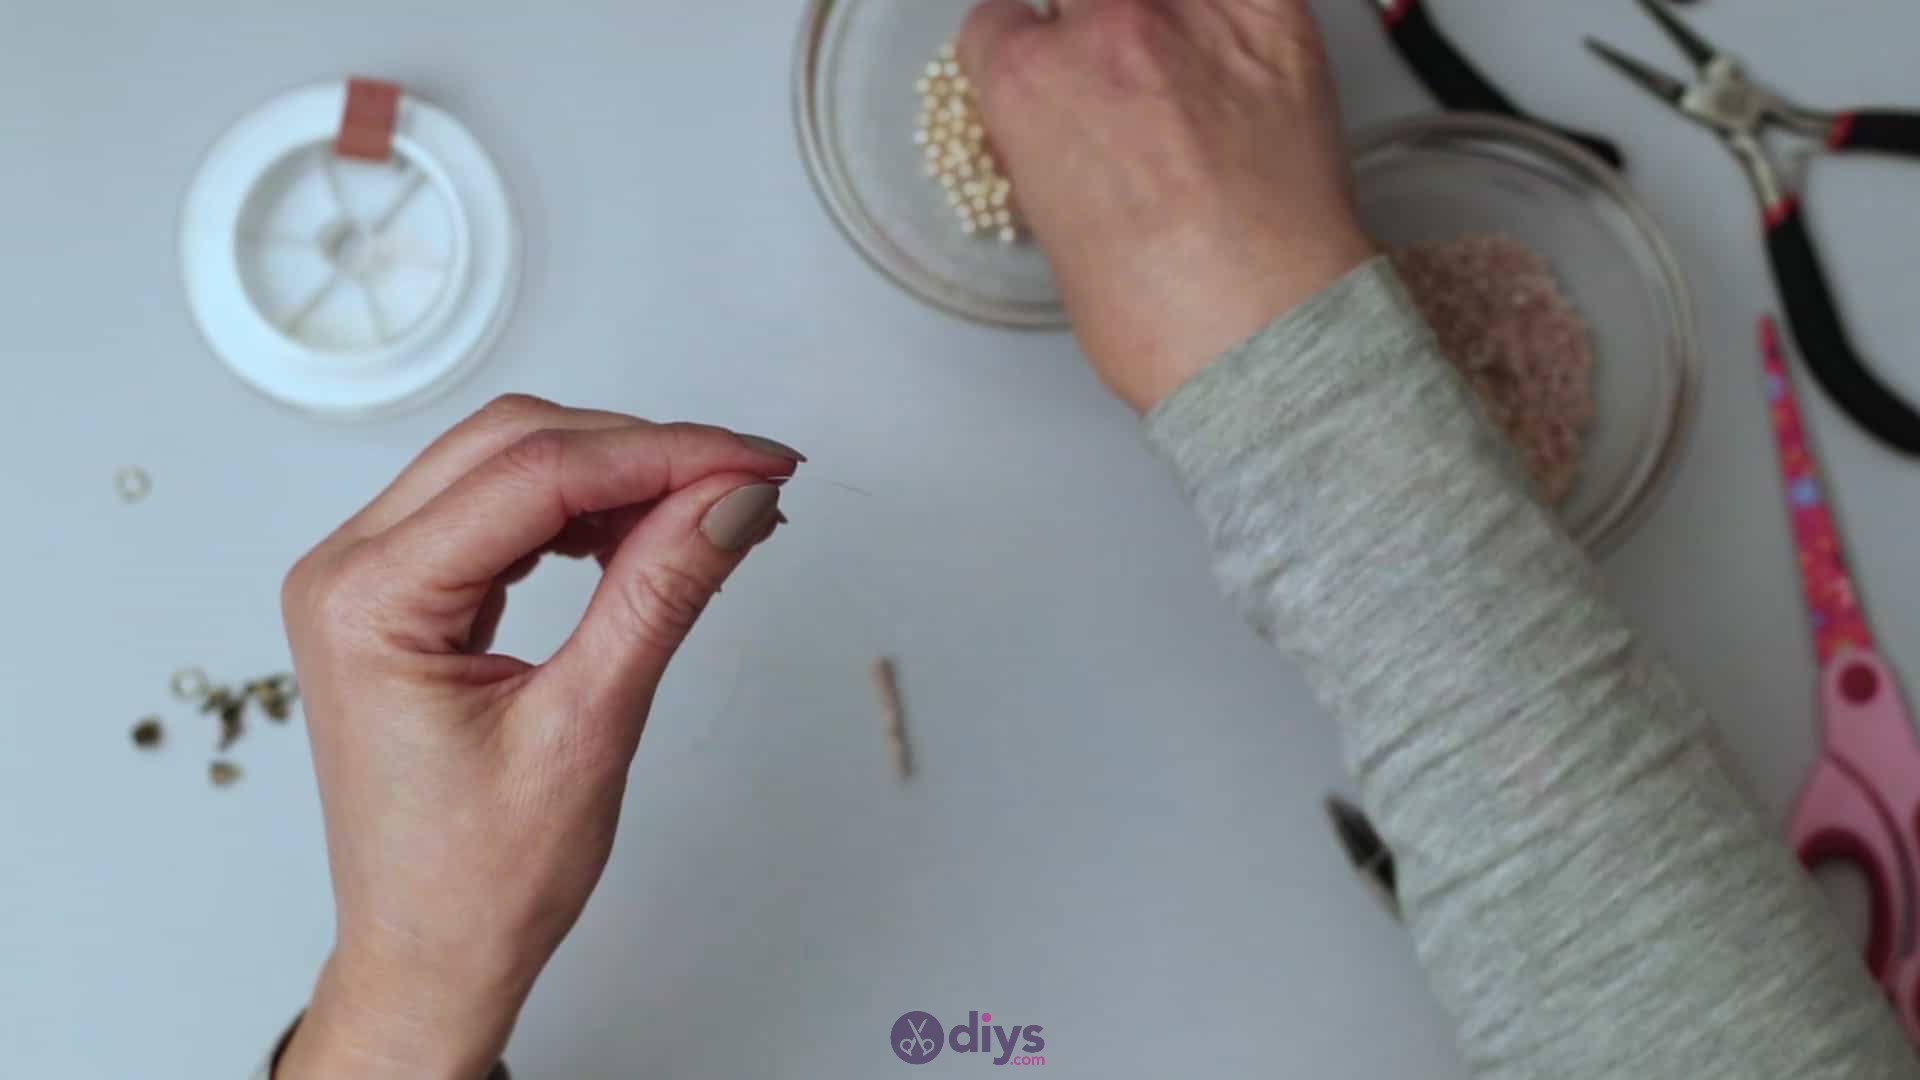
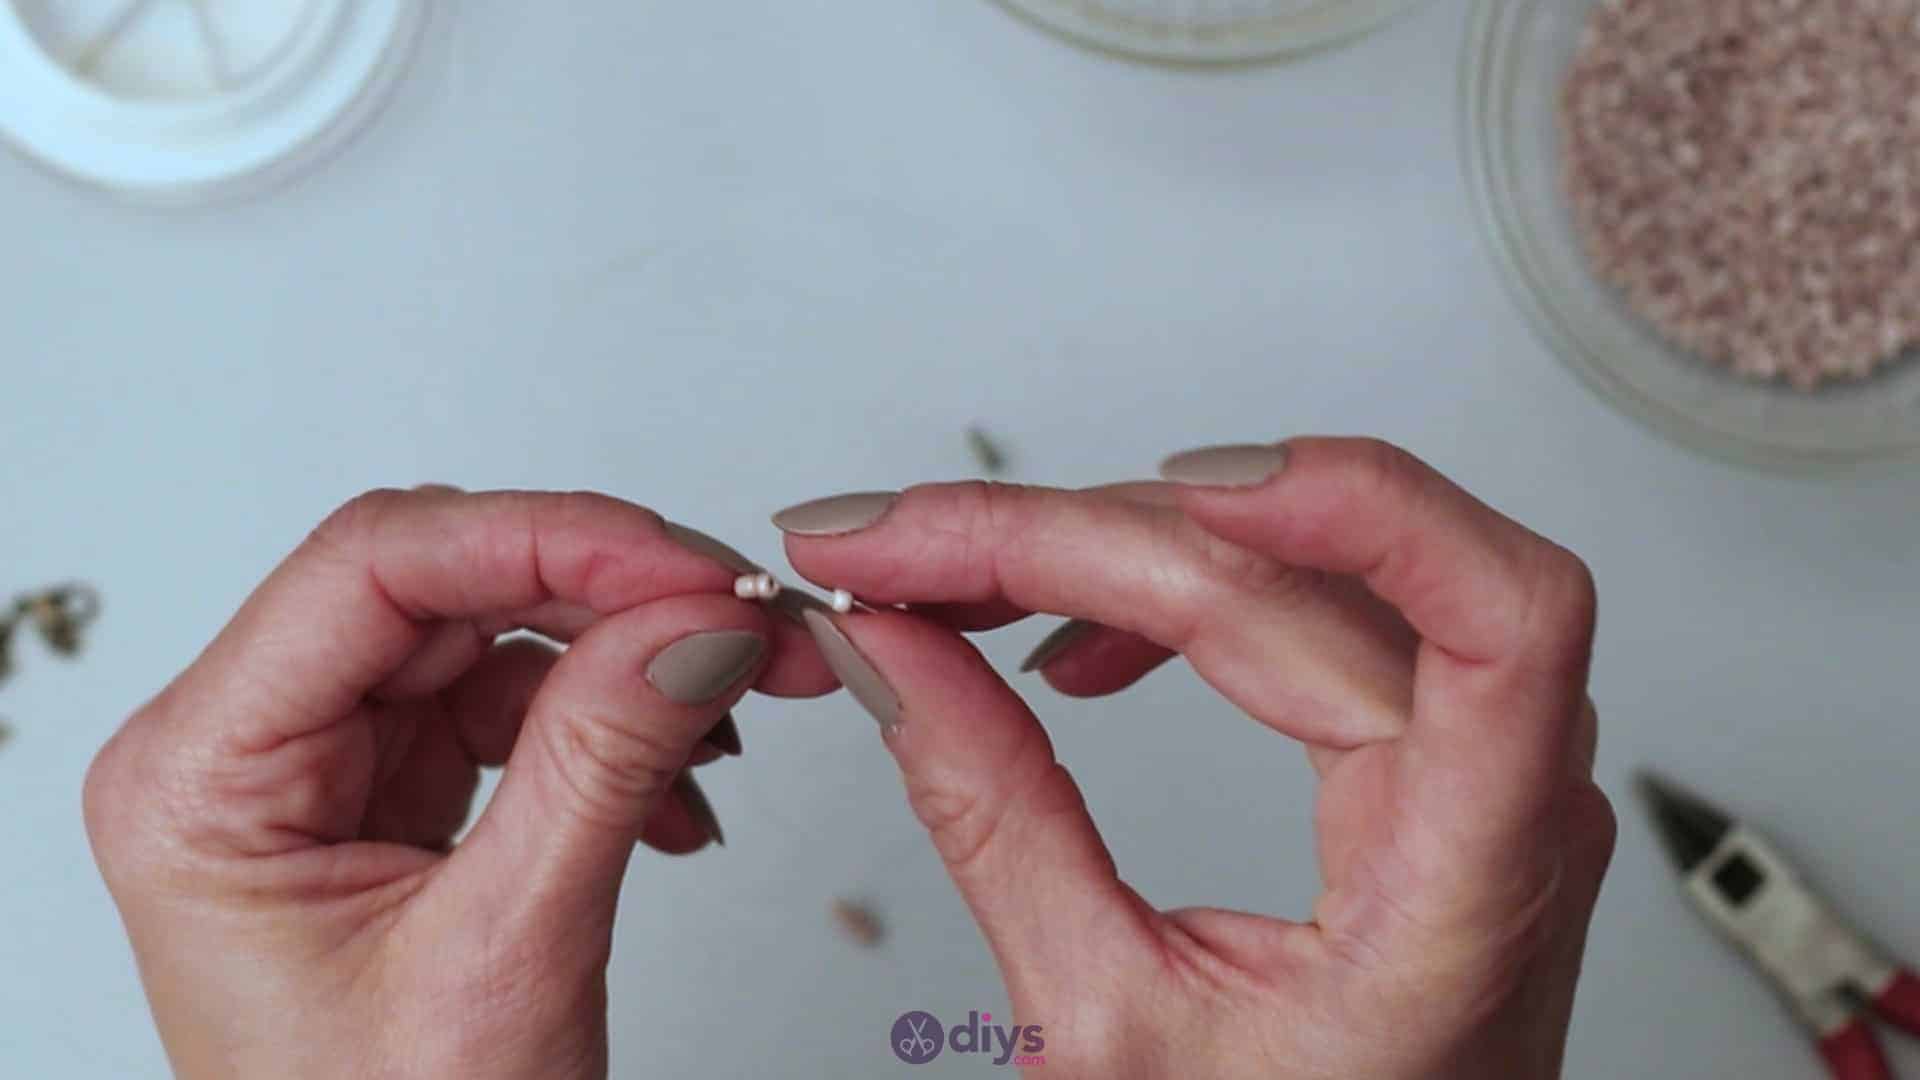
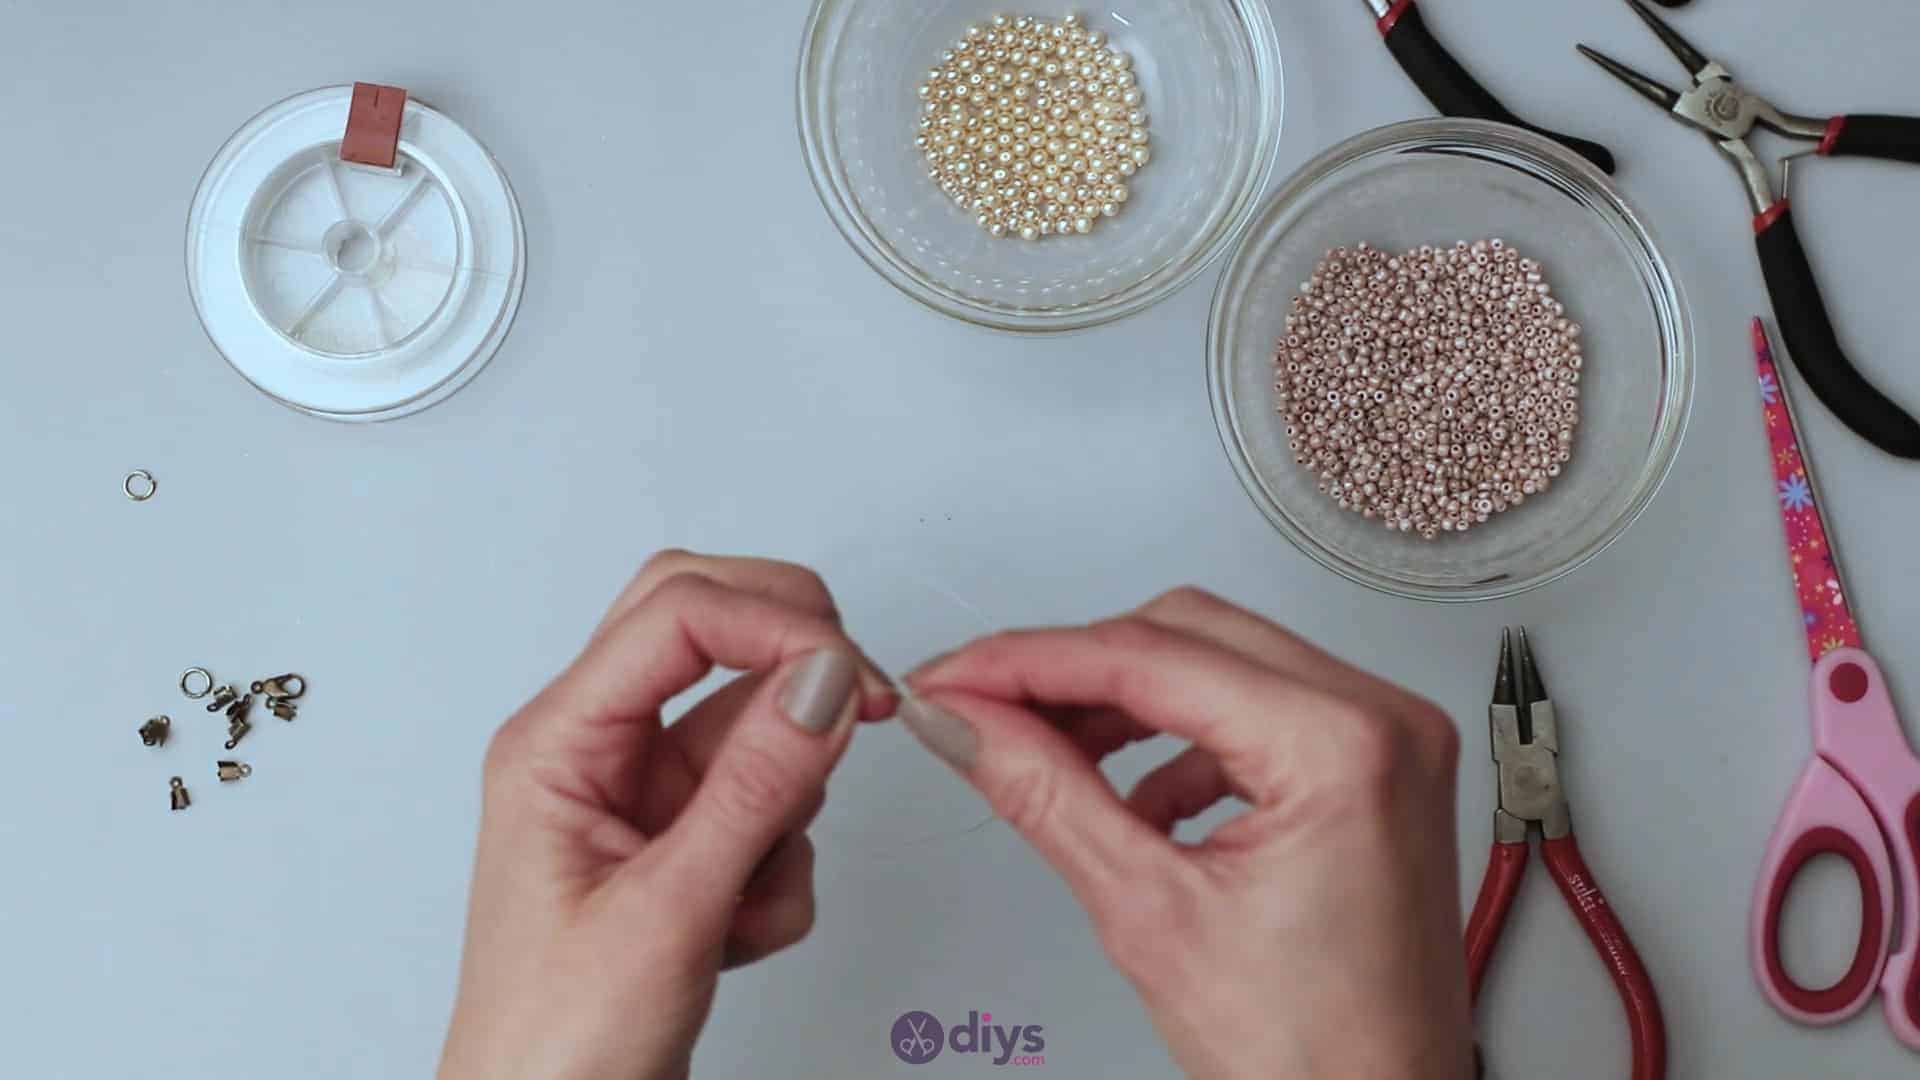
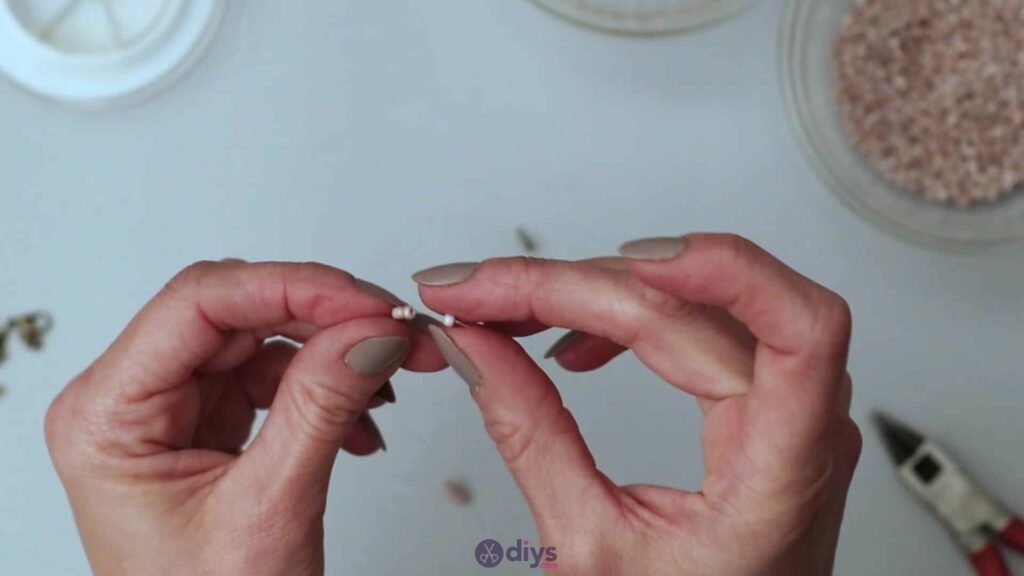
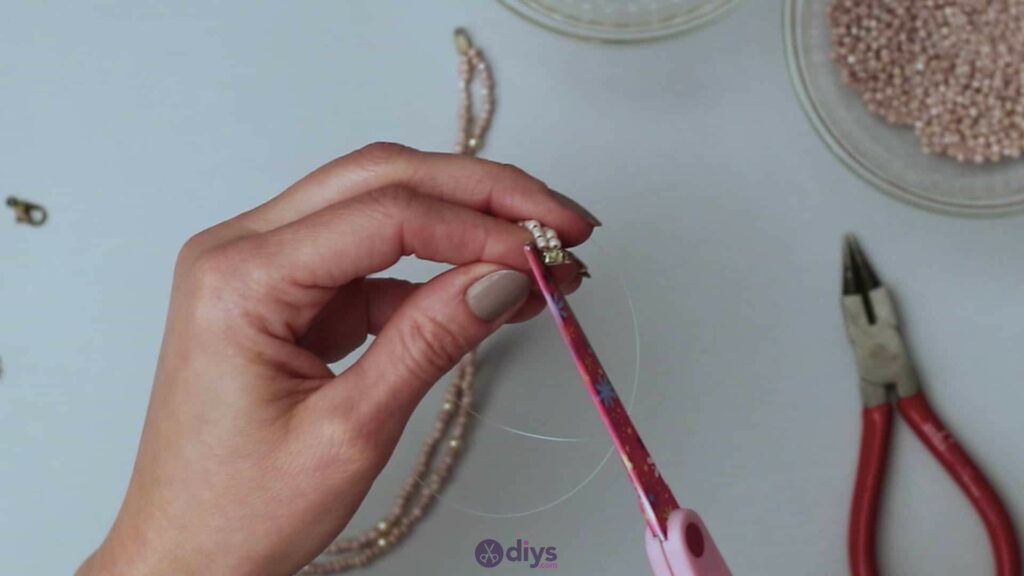
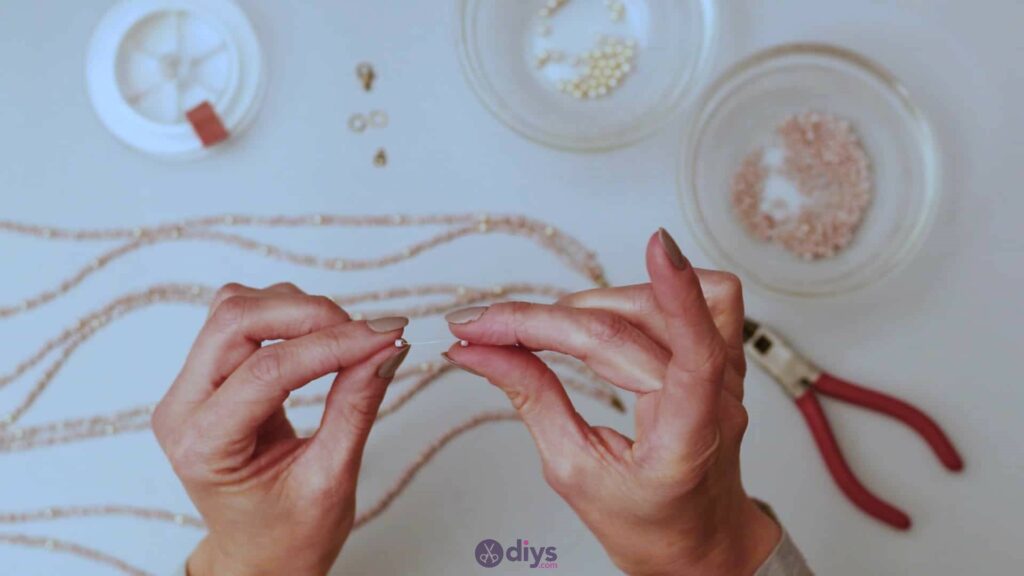
Step 2: start beading
Start stringing beads onto the free end of your first clamped jewelry line in whatever fashion you please; I opted to fill my string mostly with my rosy coloured seed beads, including one of my slightly larger pearled beads periodically for a bit of interspersed shine. Keep beading in this simple manner until you’ve filled almost the entire string with the exception of at least an inch on the end. Carefully lie that line down and pick up the second one that you clamped alongside it in the line end. Bead it in the same manner (you don’t have to place your pearls or accent beads in precisely the same spots; fill the line however you think looks best).


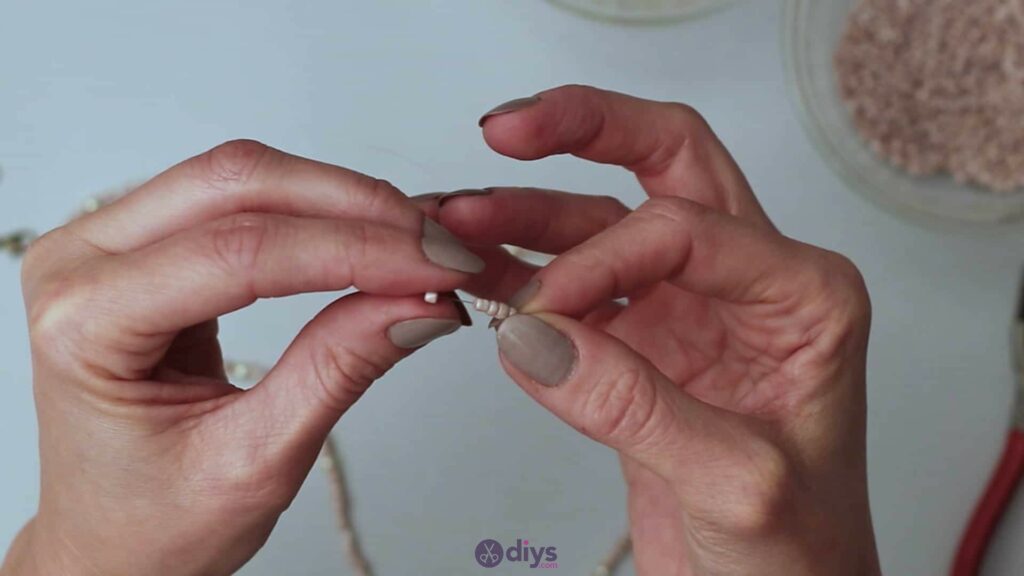
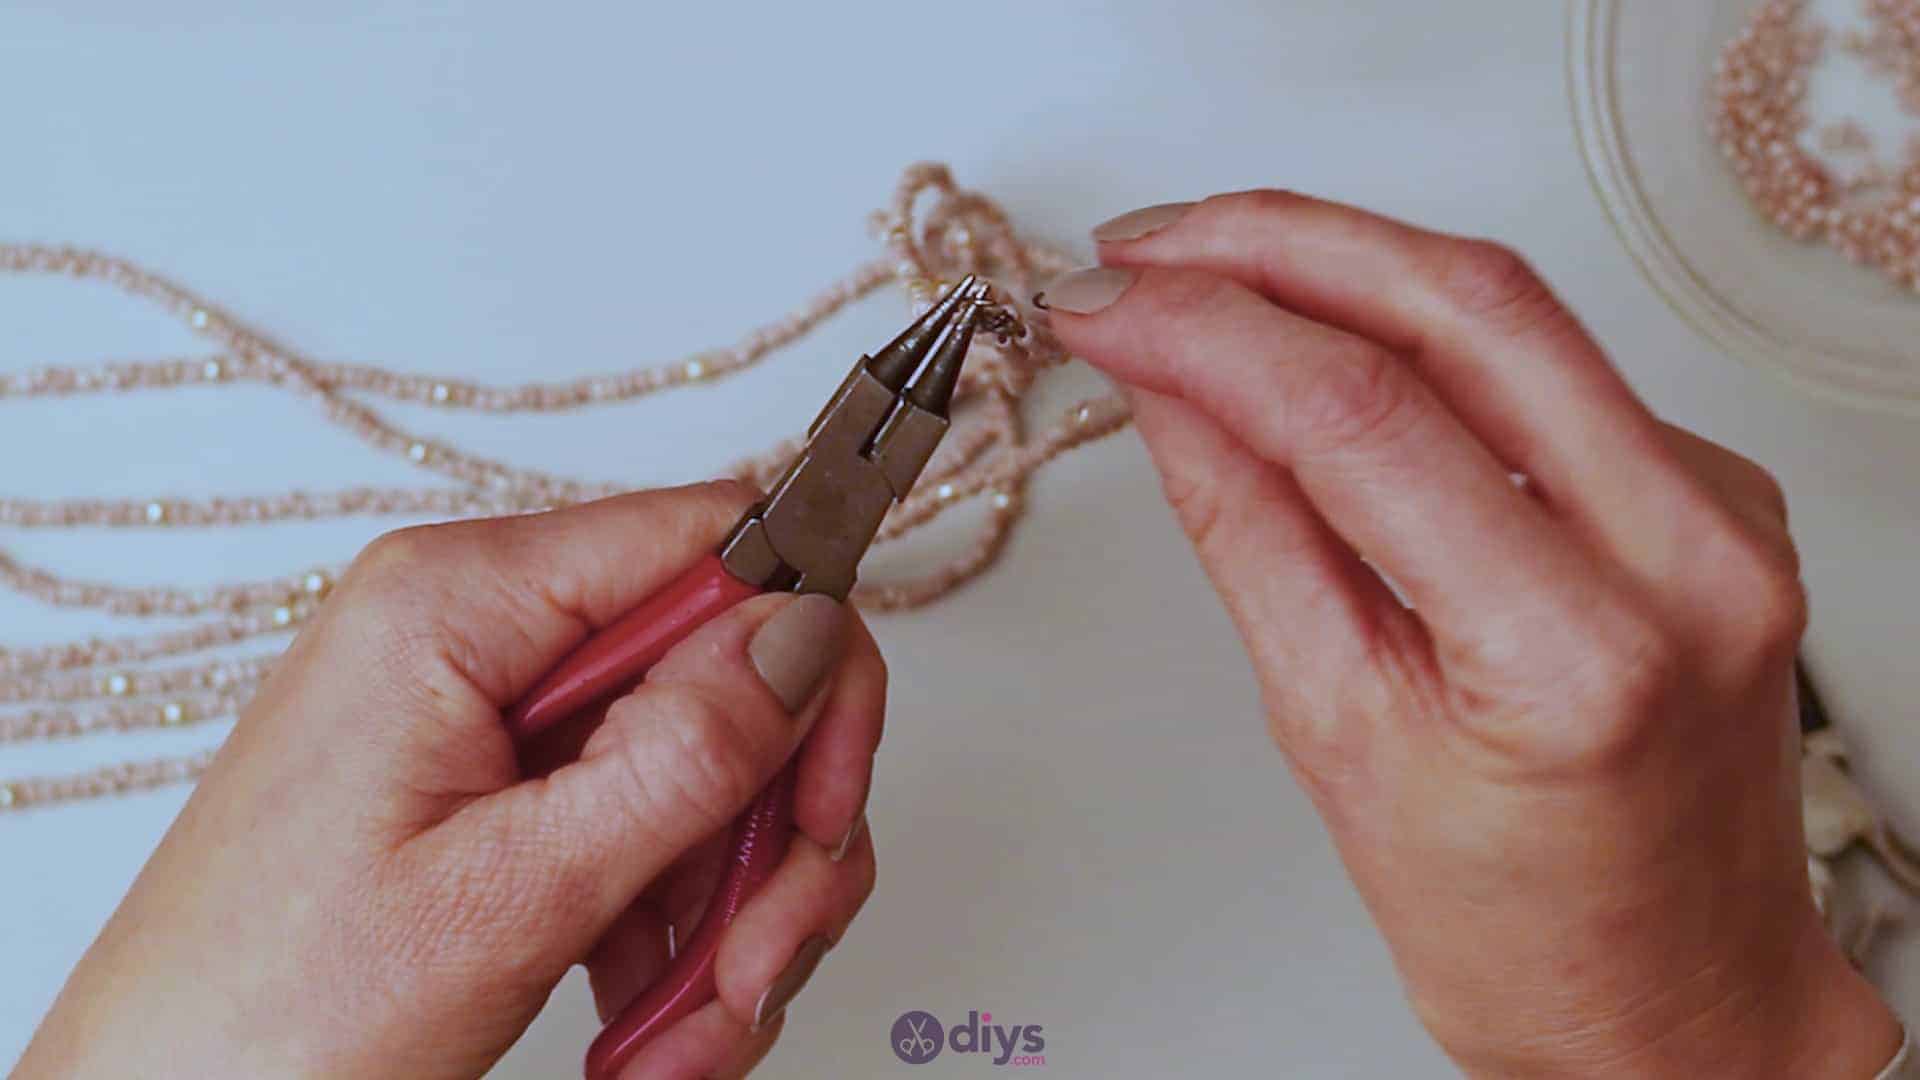
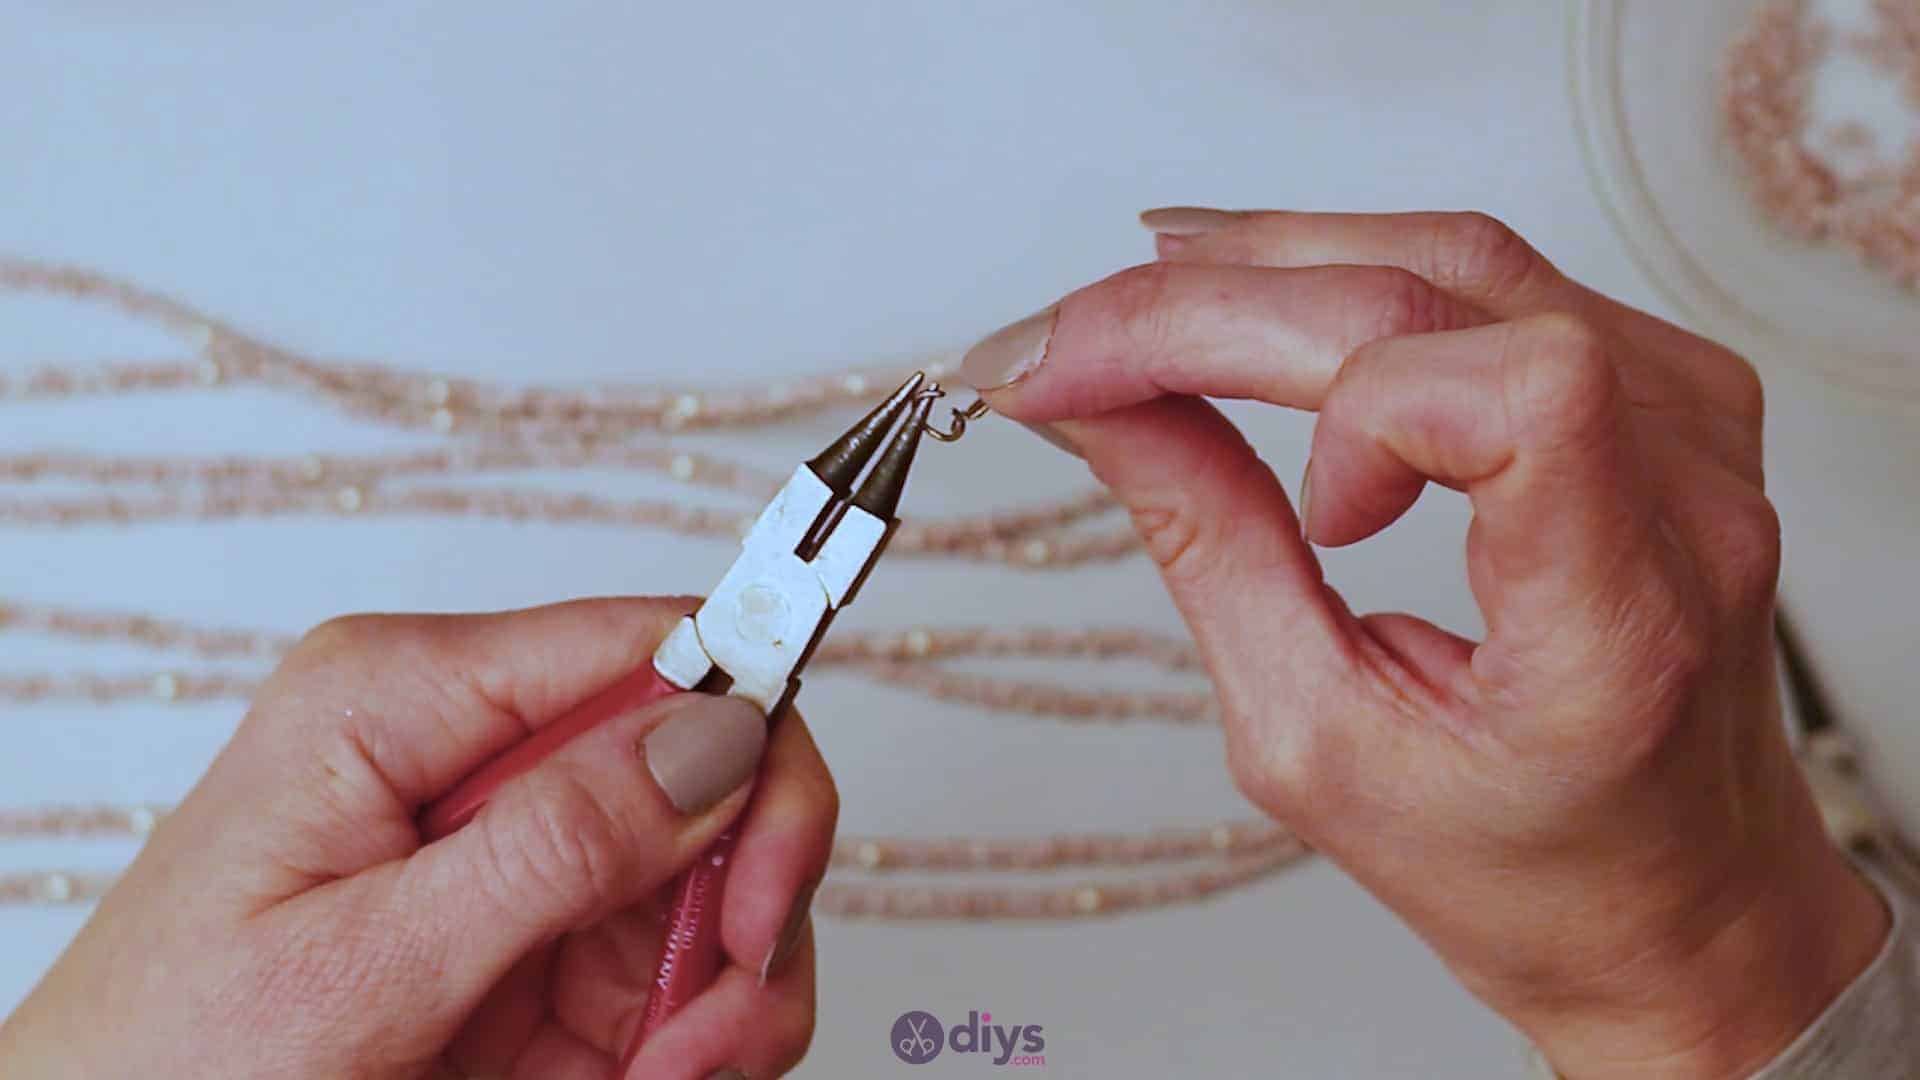
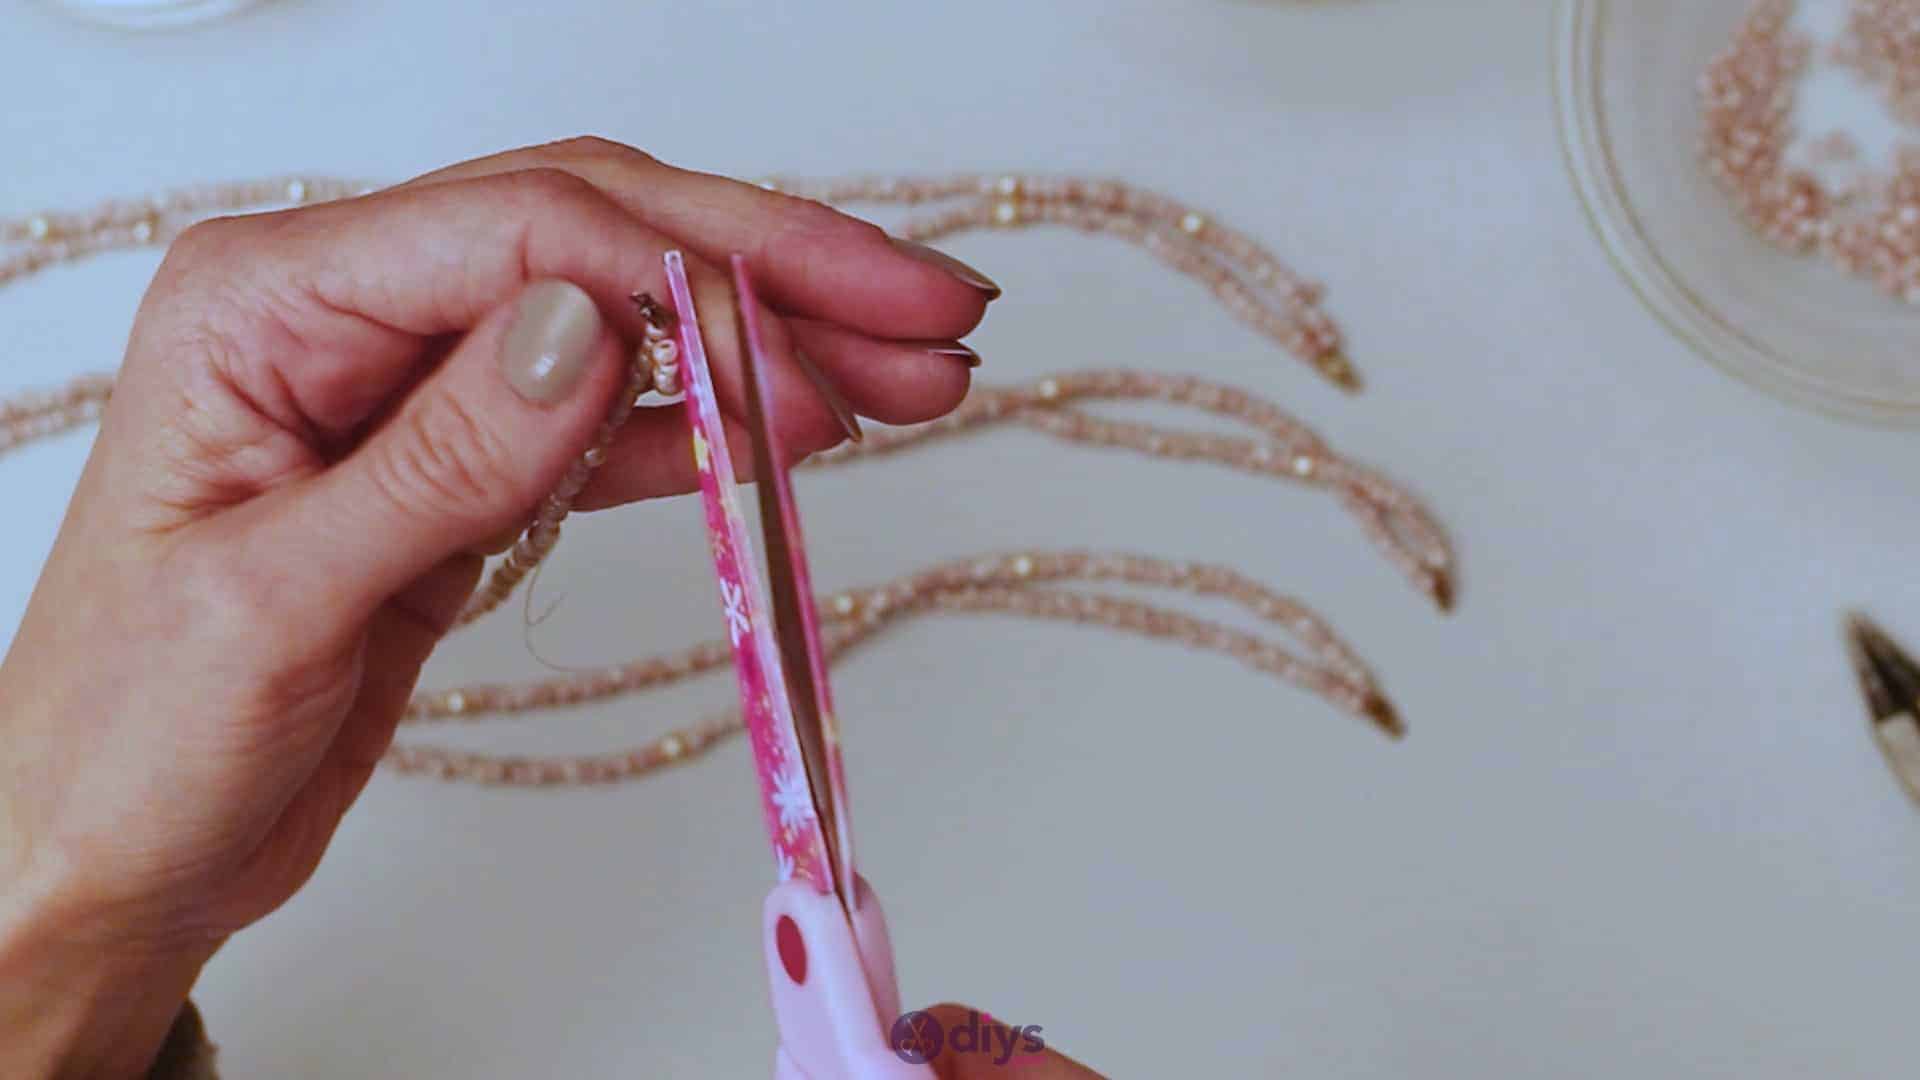
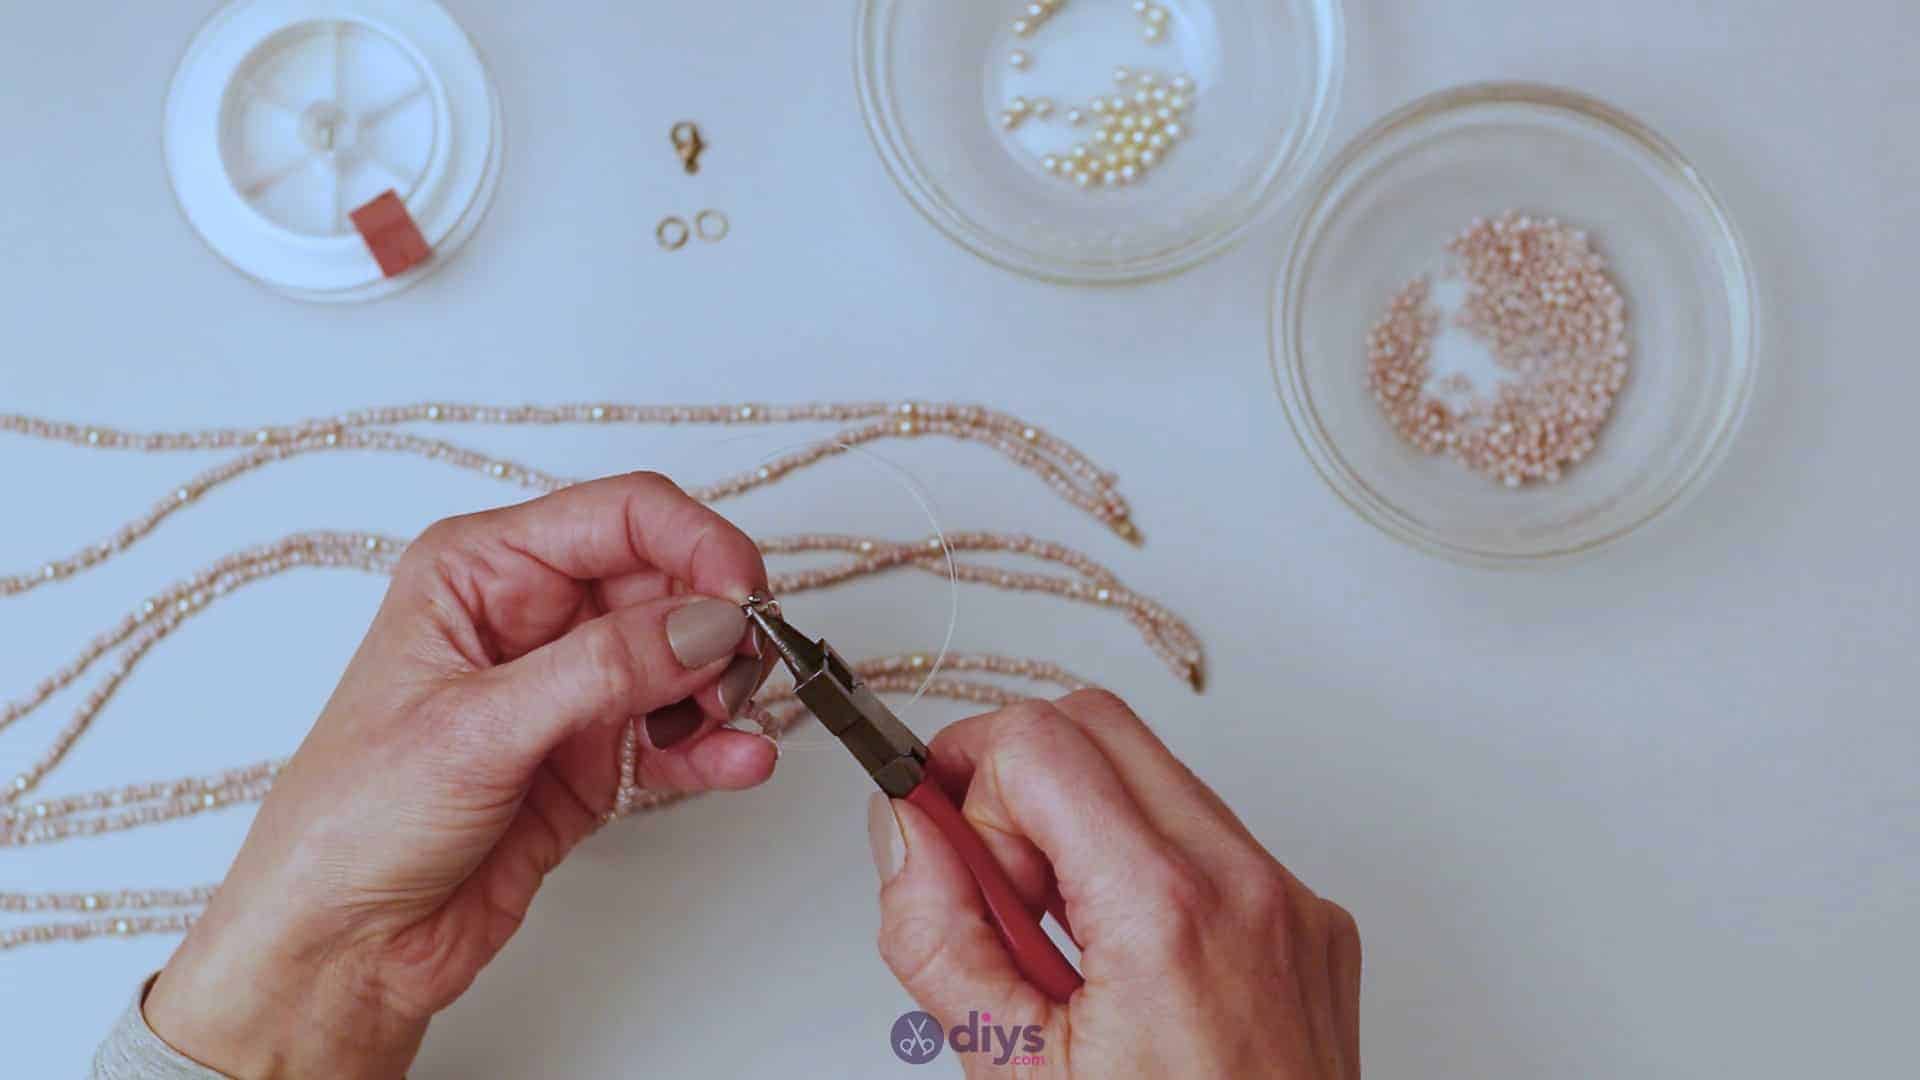
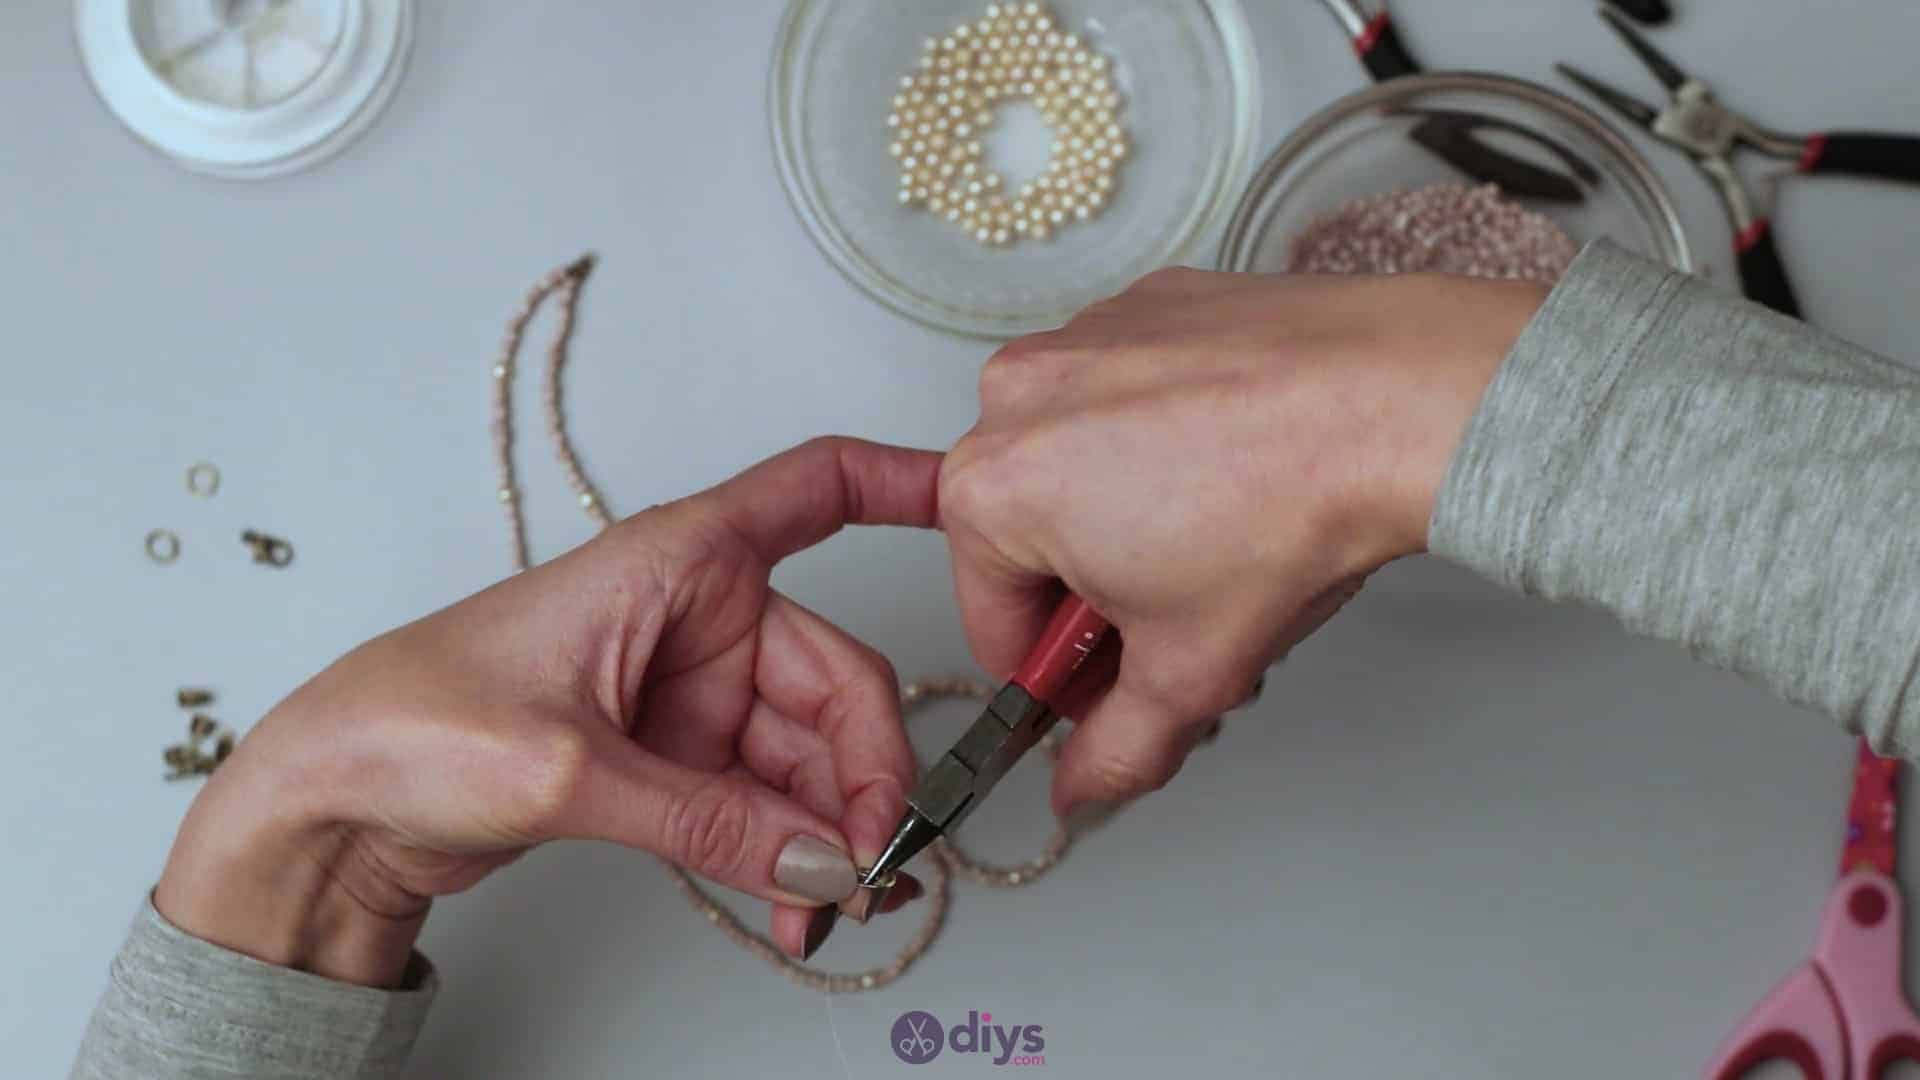
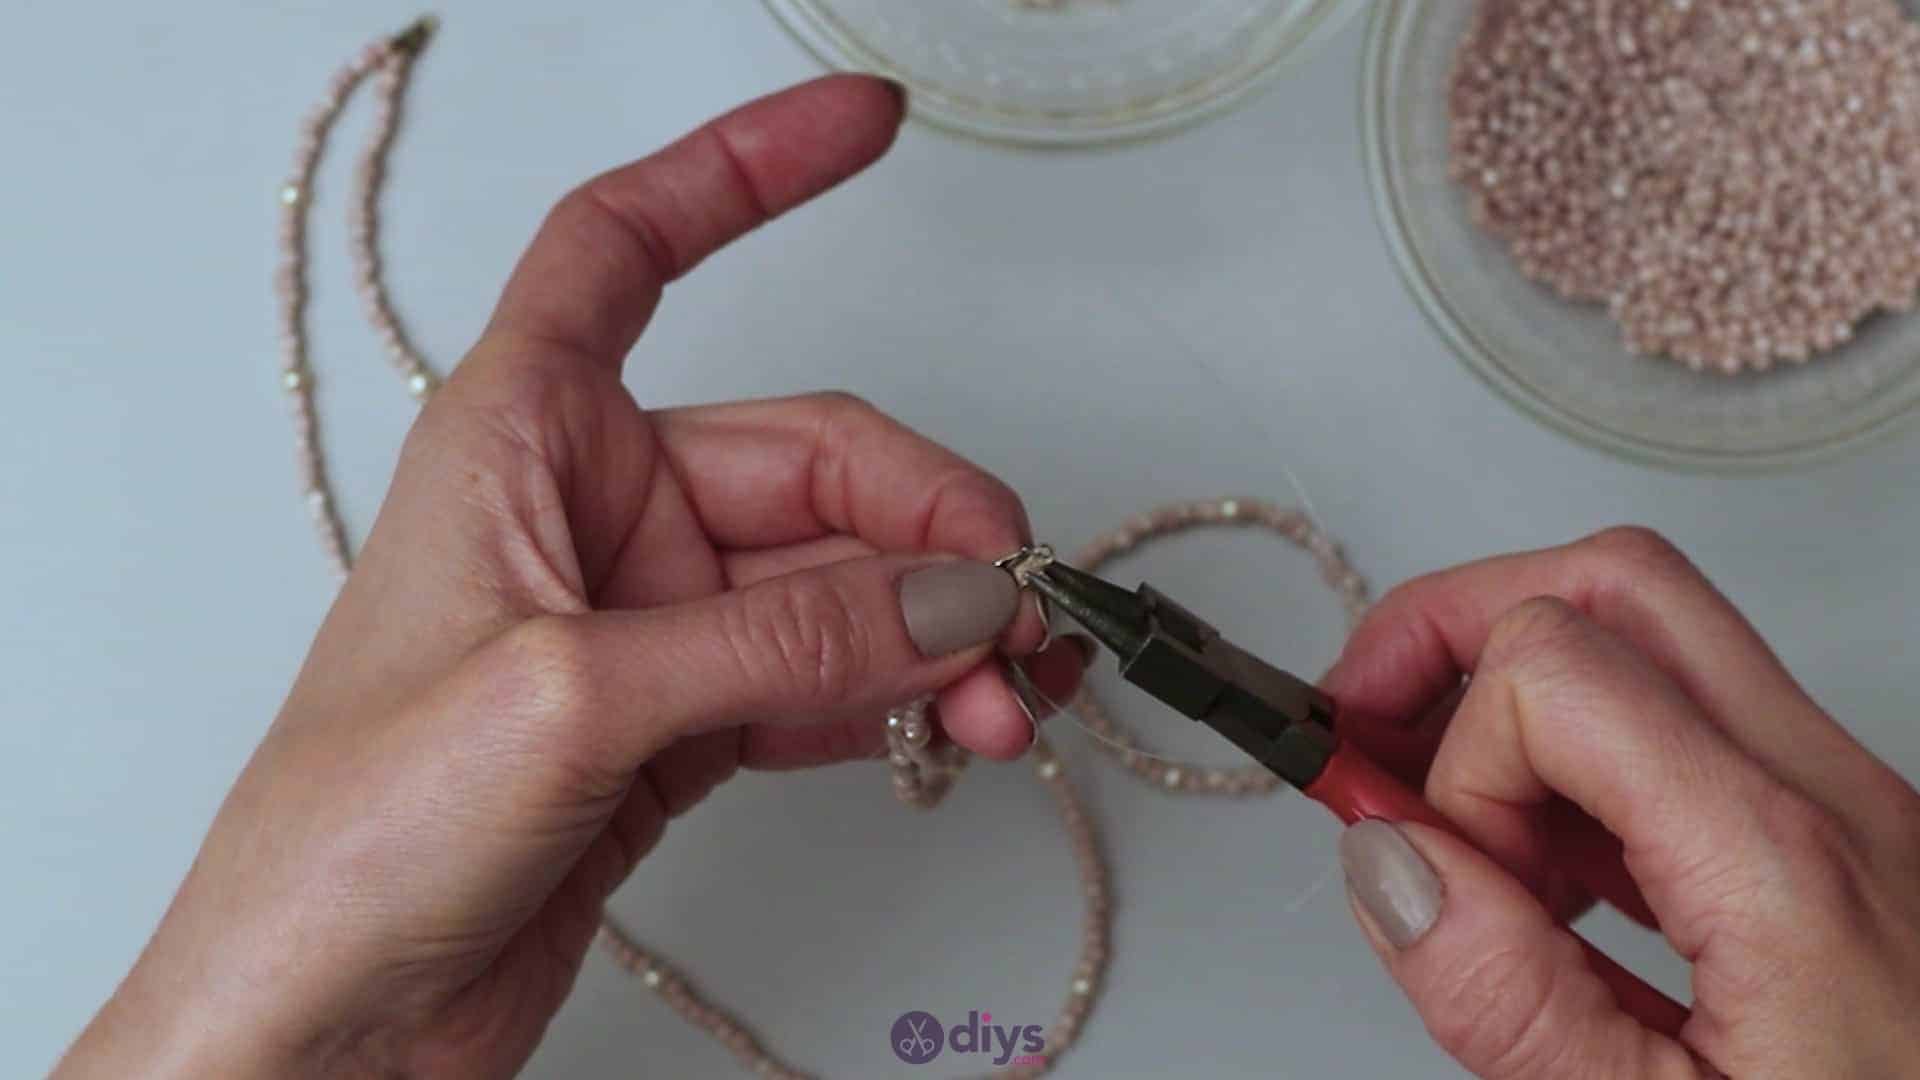
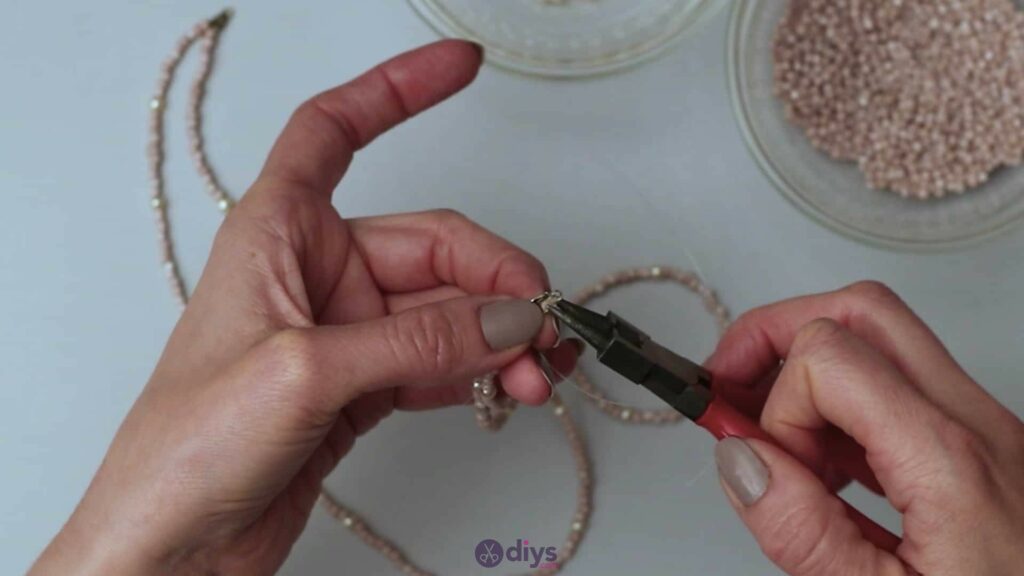
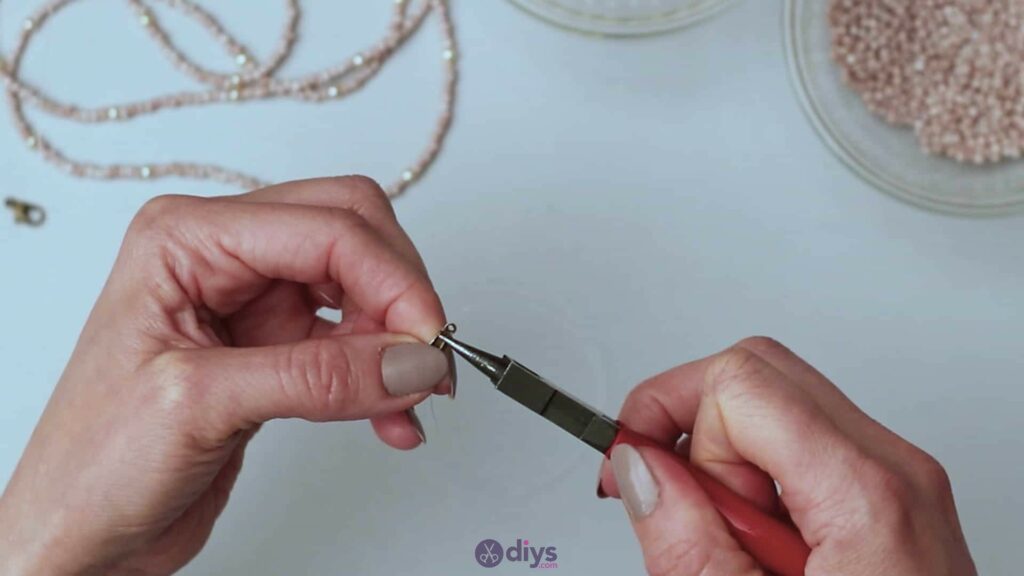
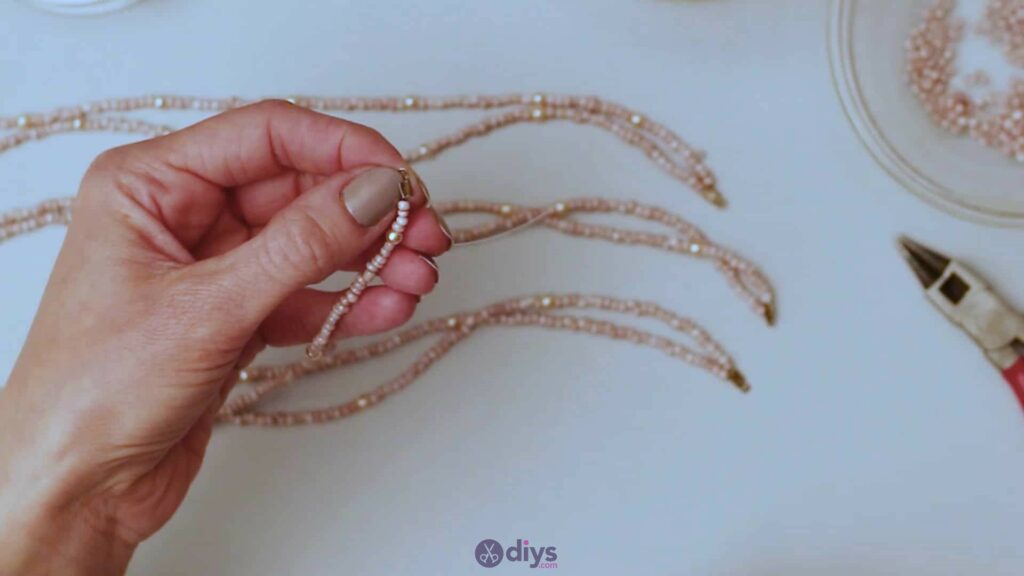
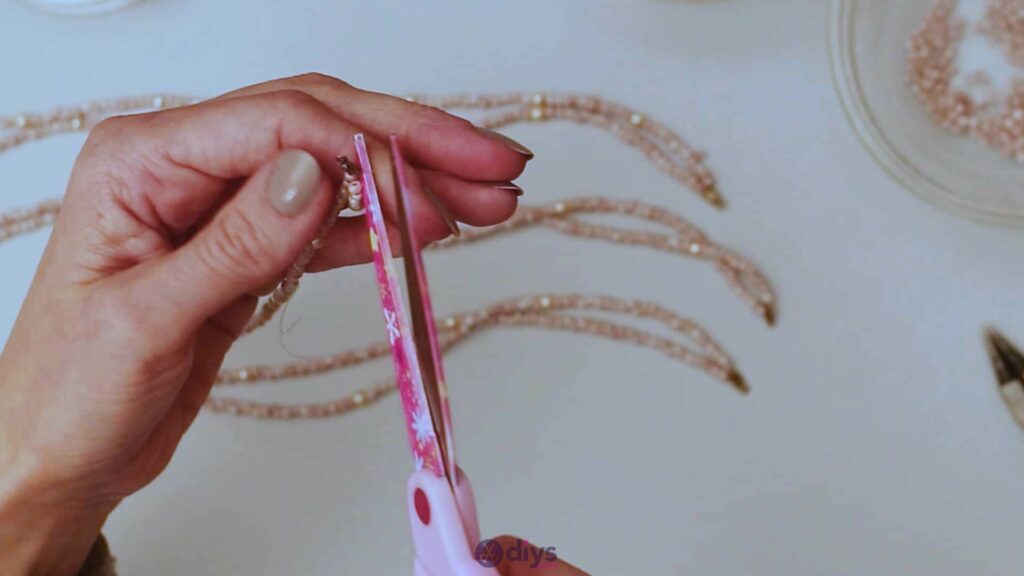
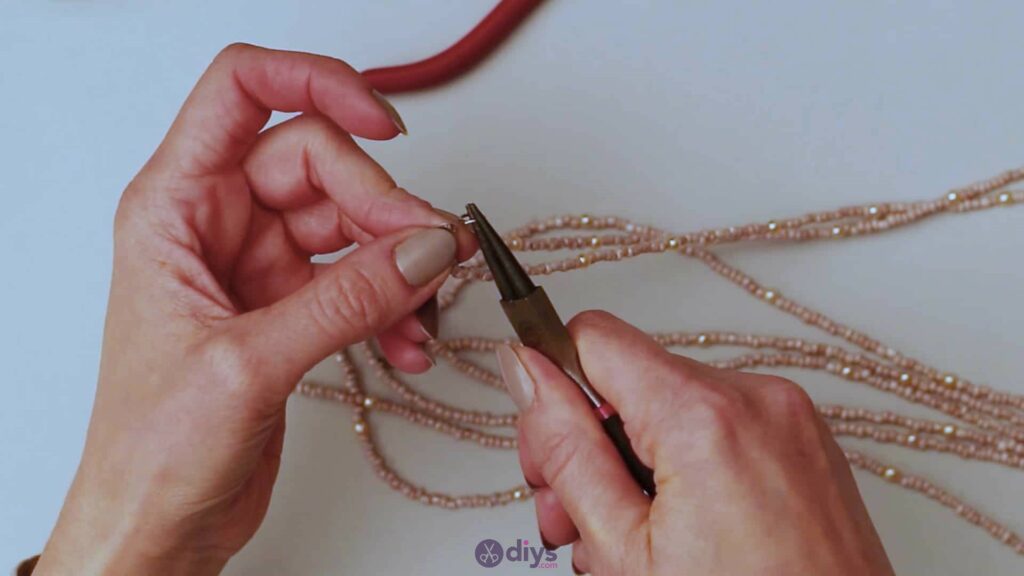
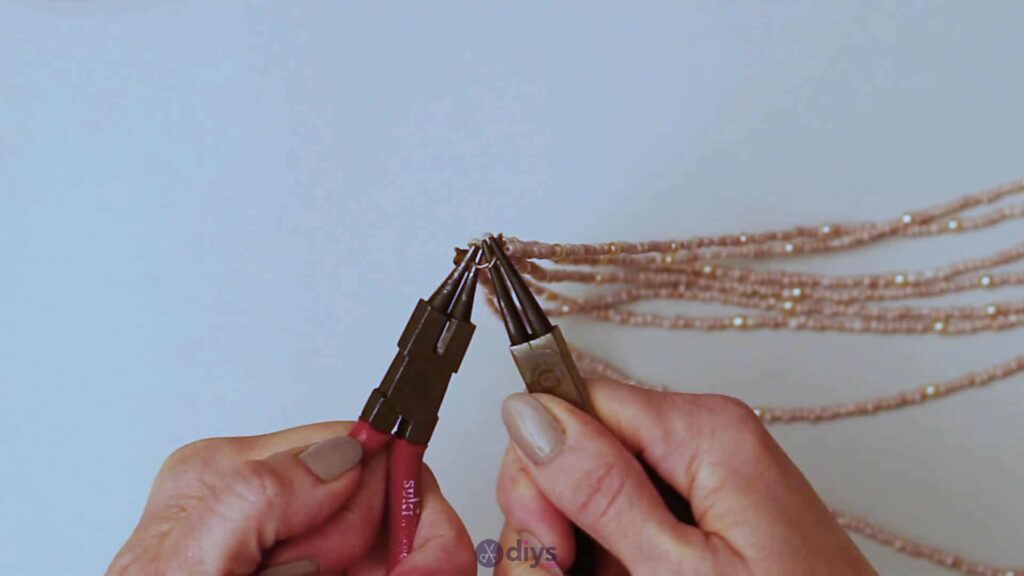
Step 3: close the ends
When you’ve got both clamped strings beaded to your satisfaction, pick up another line end. Use the same looping or wrapping technique as you did with the first one to put the free ends of both beaded jewelry lines between the clamping sides. Use your pincers to bend the sides closed tightly onto the ends of the line to seal them and finish the beaded strings off. You now have your first double beaded strand! Use your scissors to trim any excess jewelry line sticking out of your clamped line ends.

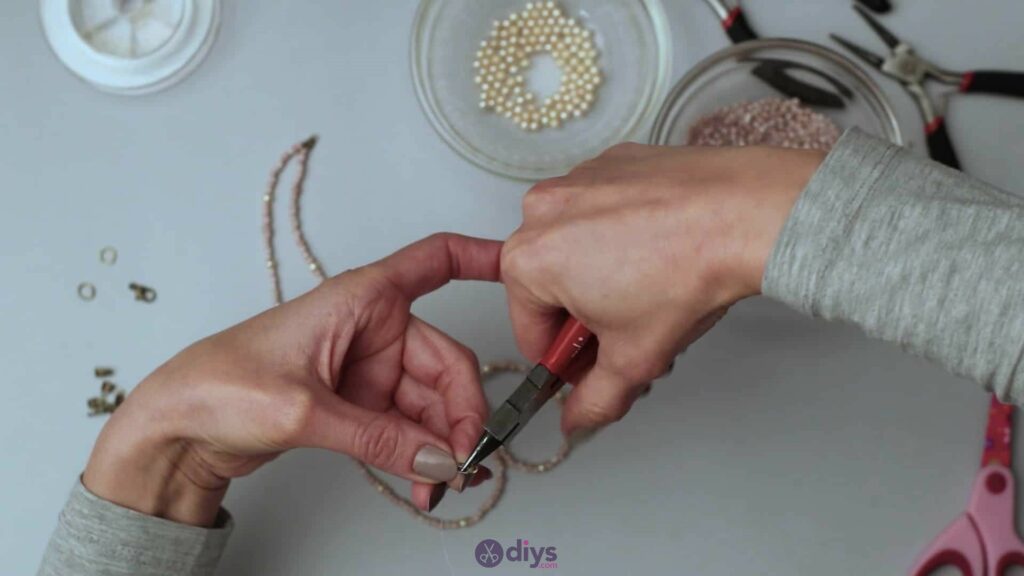
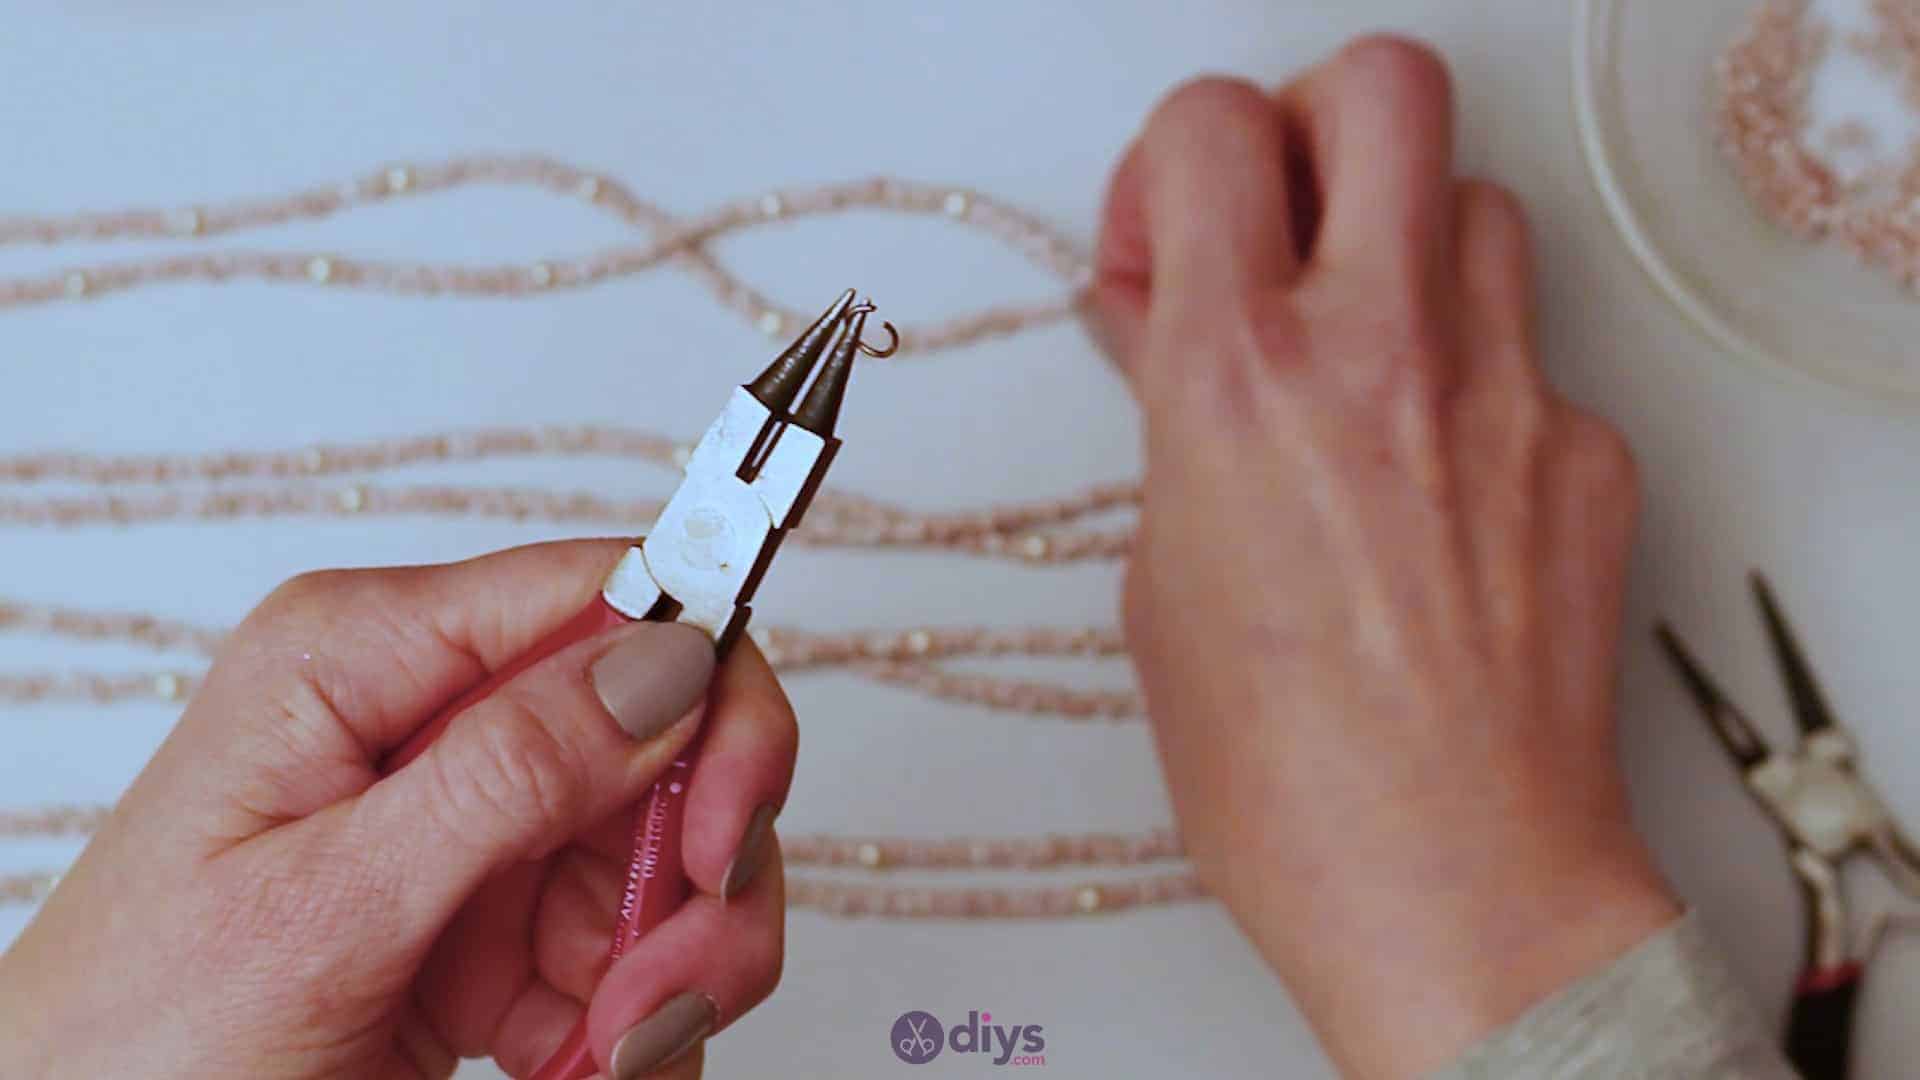
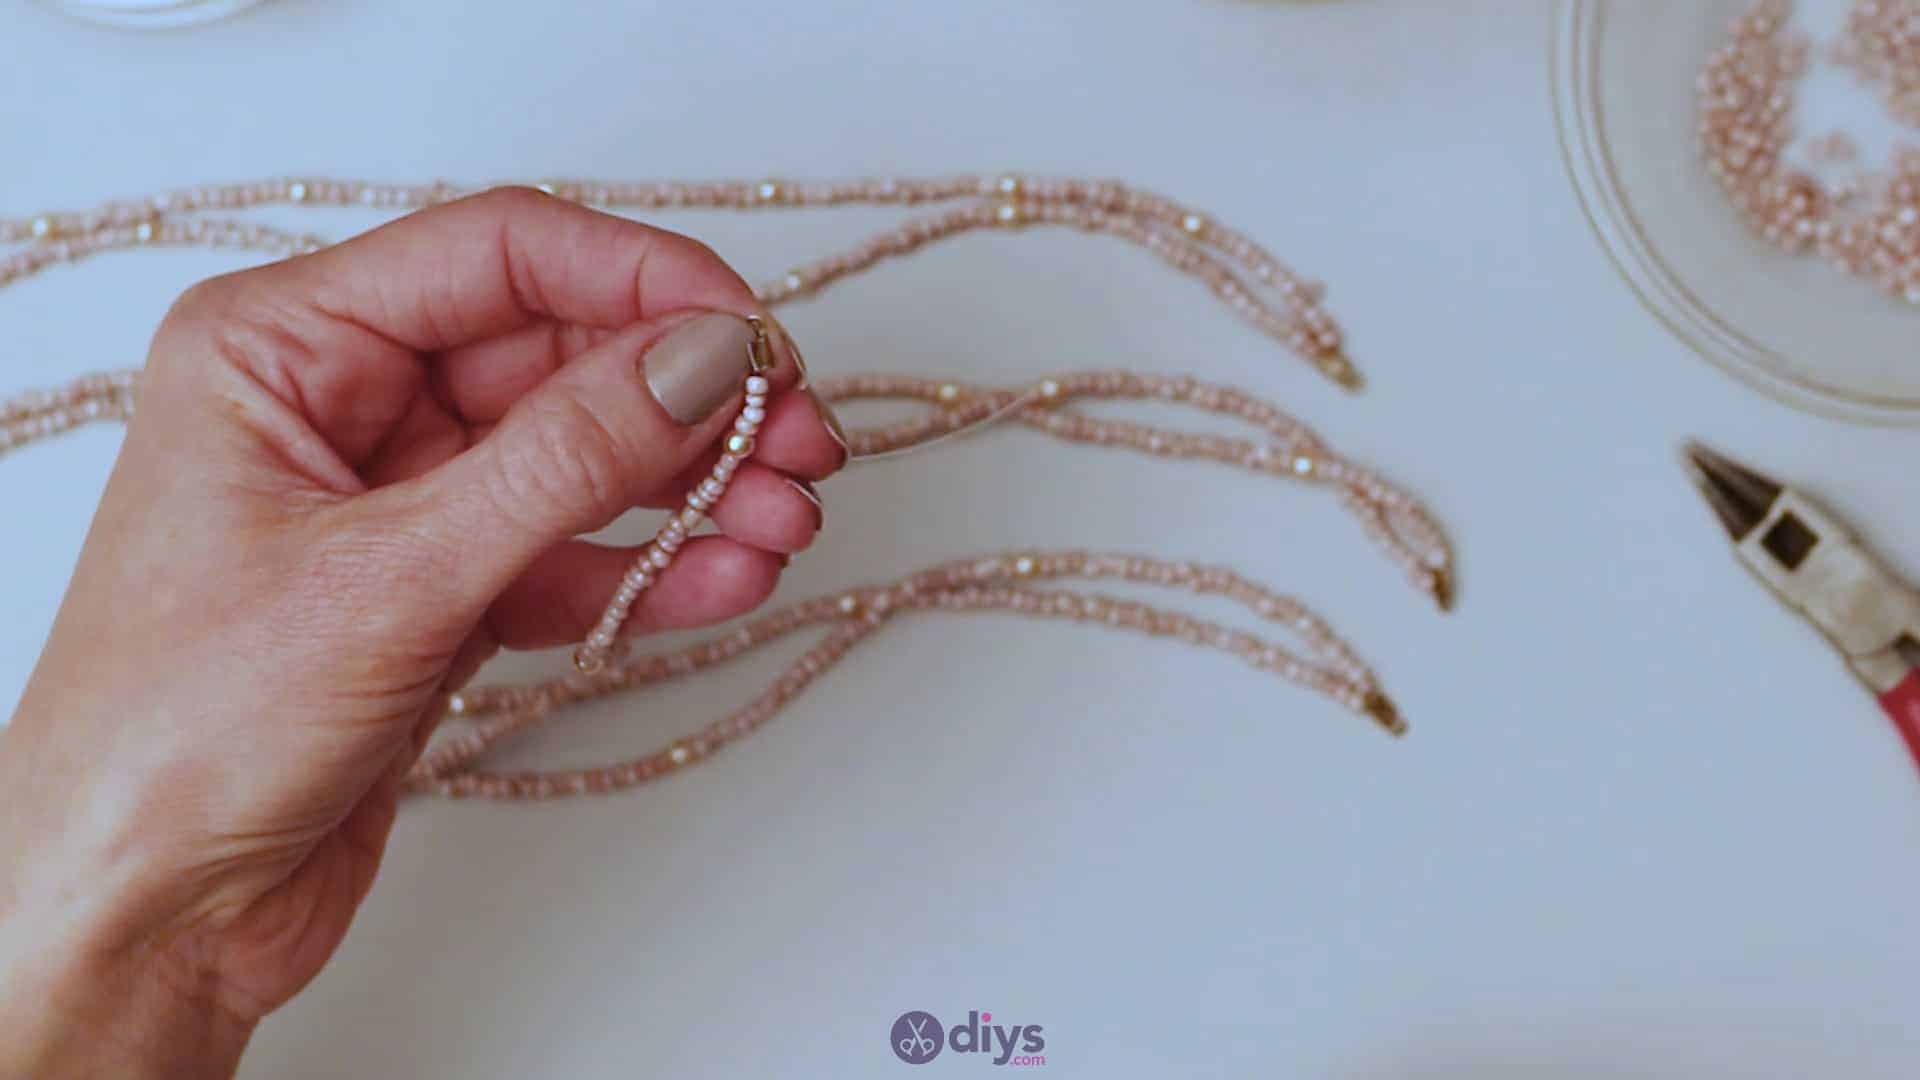
Step 4: repeat!
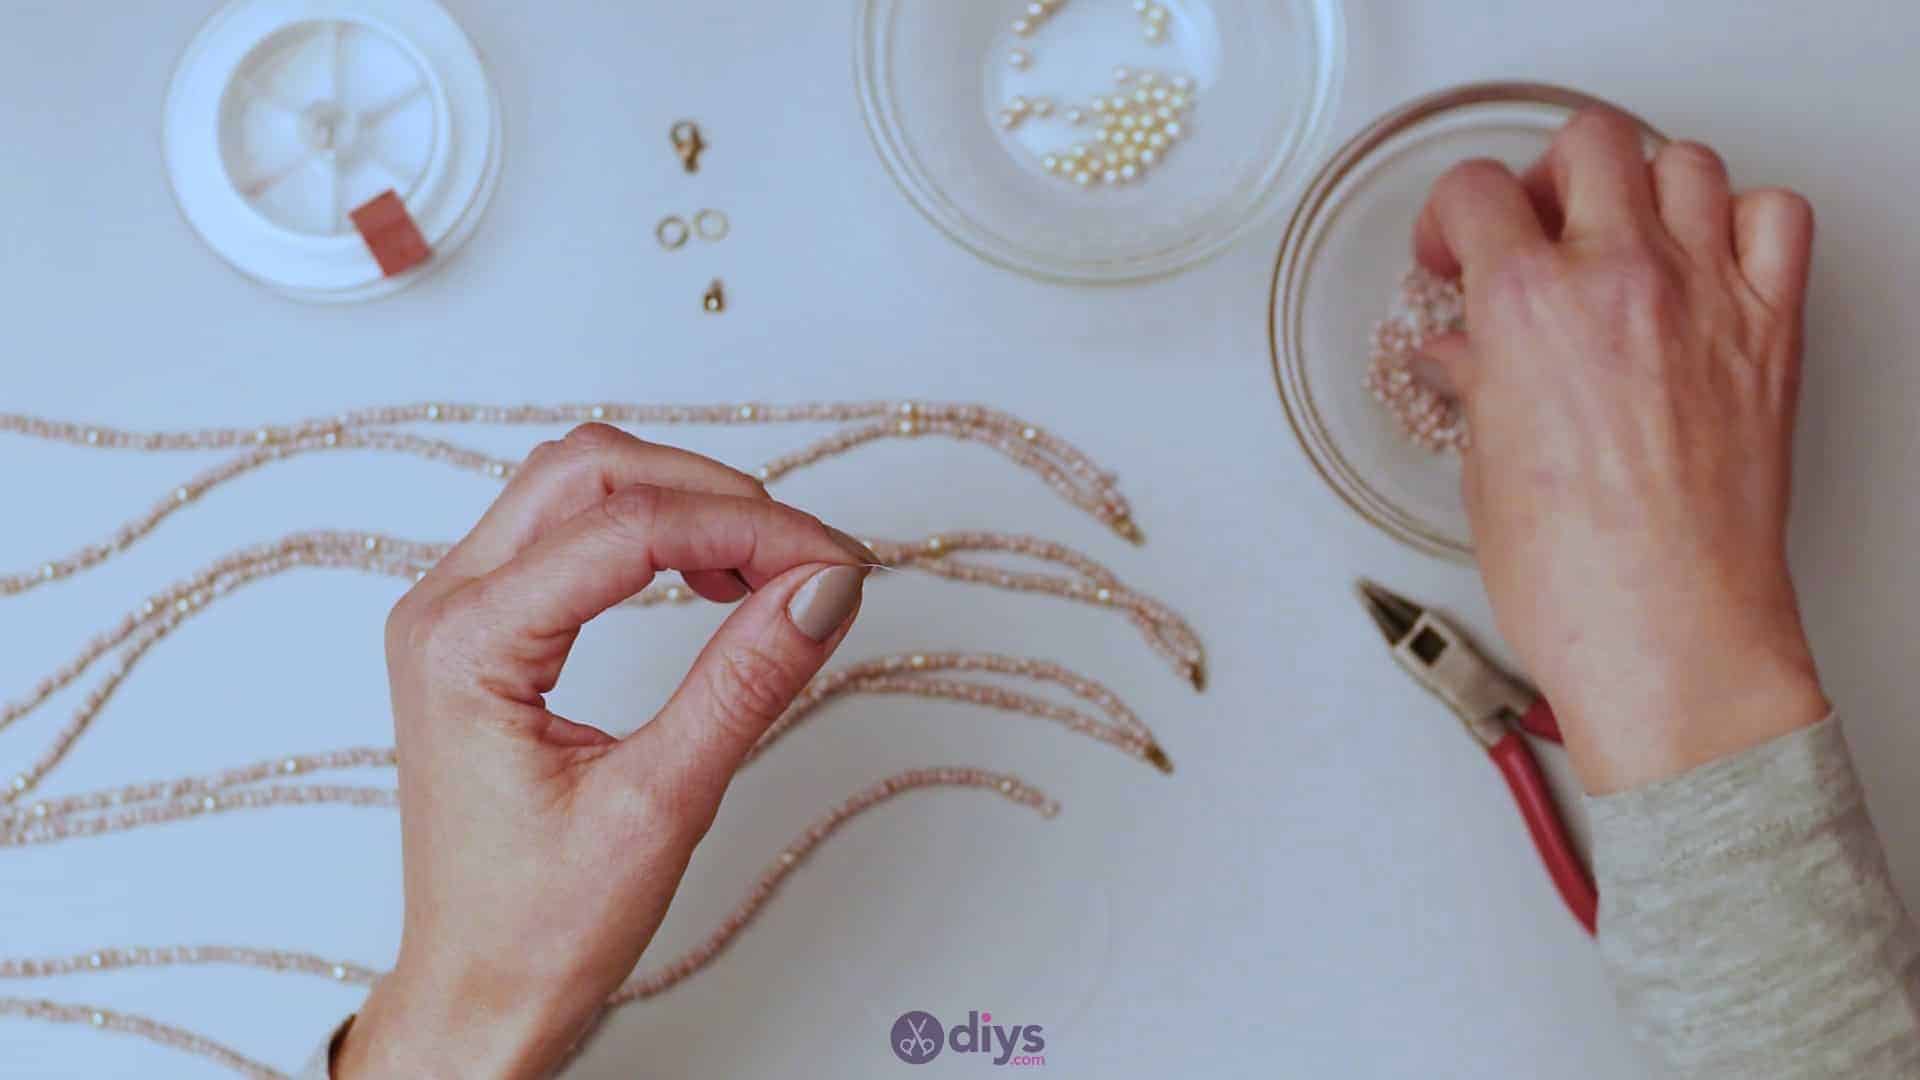
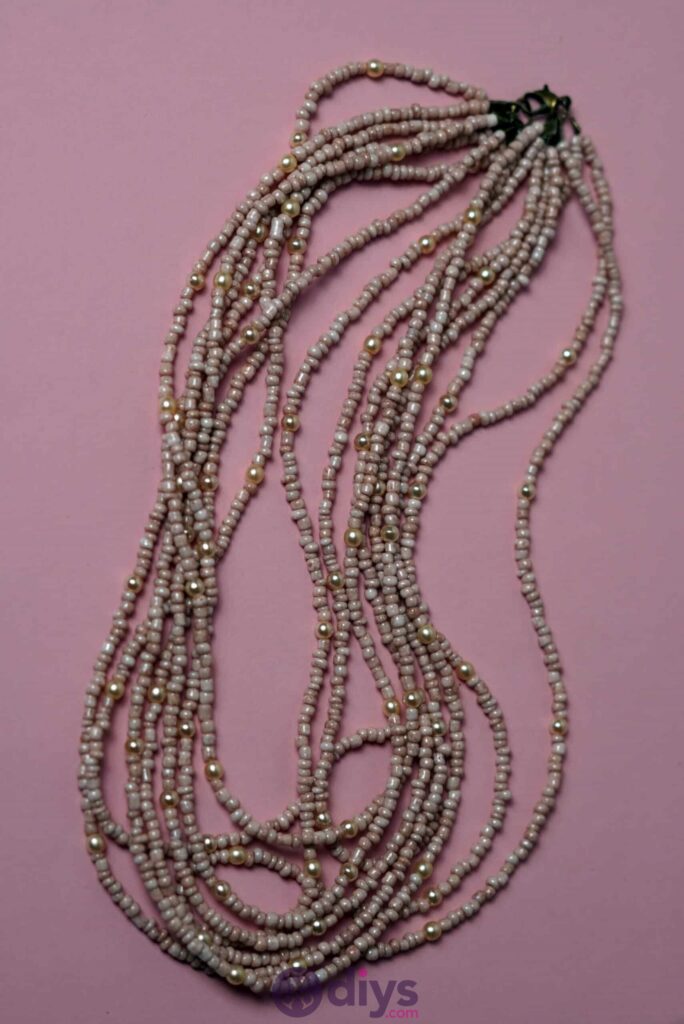
Now you’ll repeat the whole process as many times as you please, to make as my doubled strands as you’d like your necklace to have! I repeated the above steps four times in order to make four doubled stands, totalling eight necklace strings when combined. Each time I repeated the process, I shortened the length of both of my pieces of jewelry line a little.
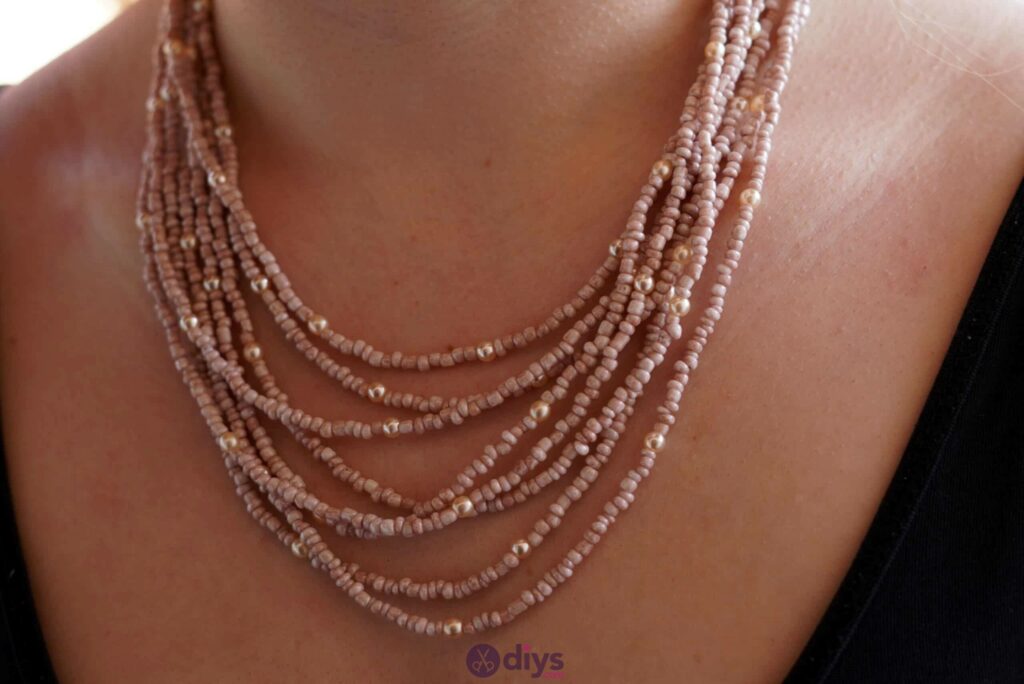
This lets the finished product increase in length when you wear it, so all the strands can be seen rather than all being the same length and laying on each other like a bundle. You don’thave to change the lengths of your strands; creating several doubled pieces that are the same length and letting them lie thick together is a cute look as well! If you do choose to adjust your strand lengths, however, make sure to only do so in very small increments, so the length decreases gently and gradually.
Regardless, just remember to ensure that your pairs themselves (i.e. each set of two beaded lines that is clamped together) are the same size within their own sets. Otherwise, your cutting, clamping, and beading steps involved in creating each strand pair is the same as you just saw.


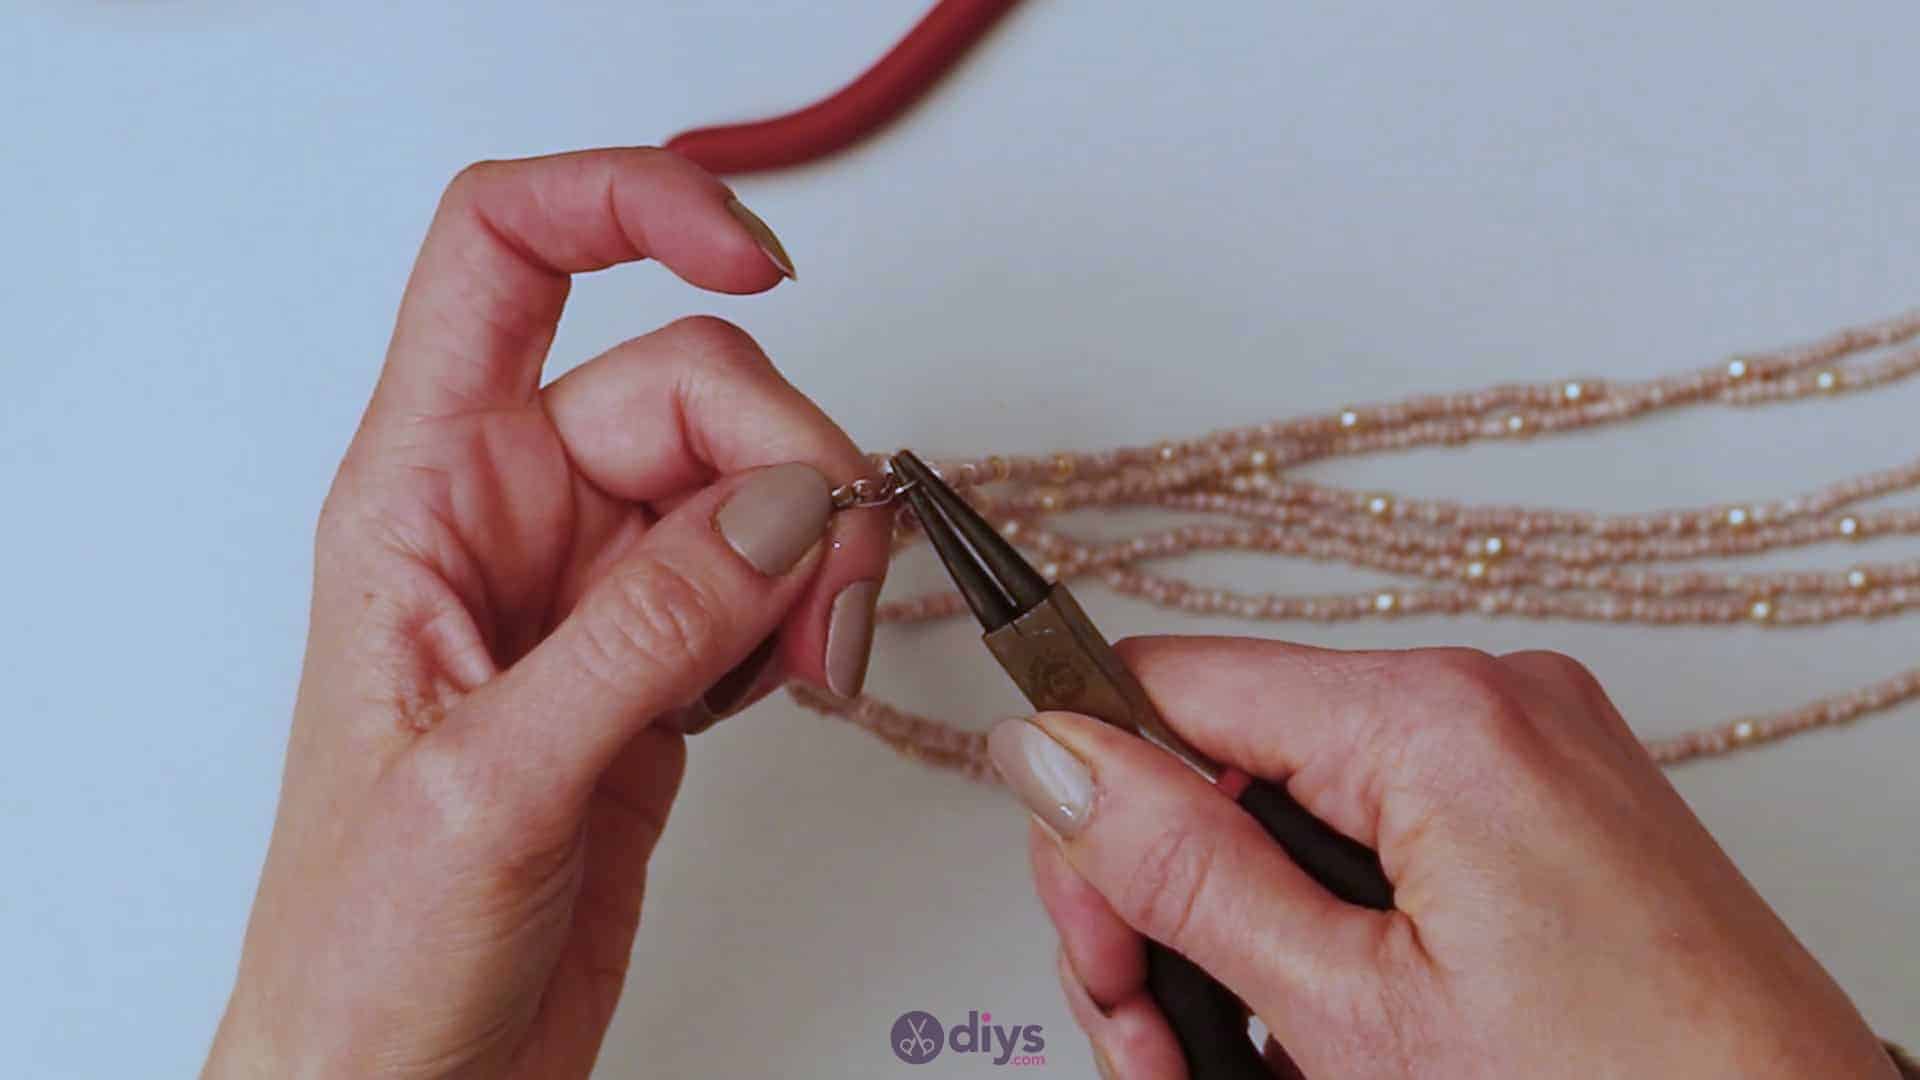
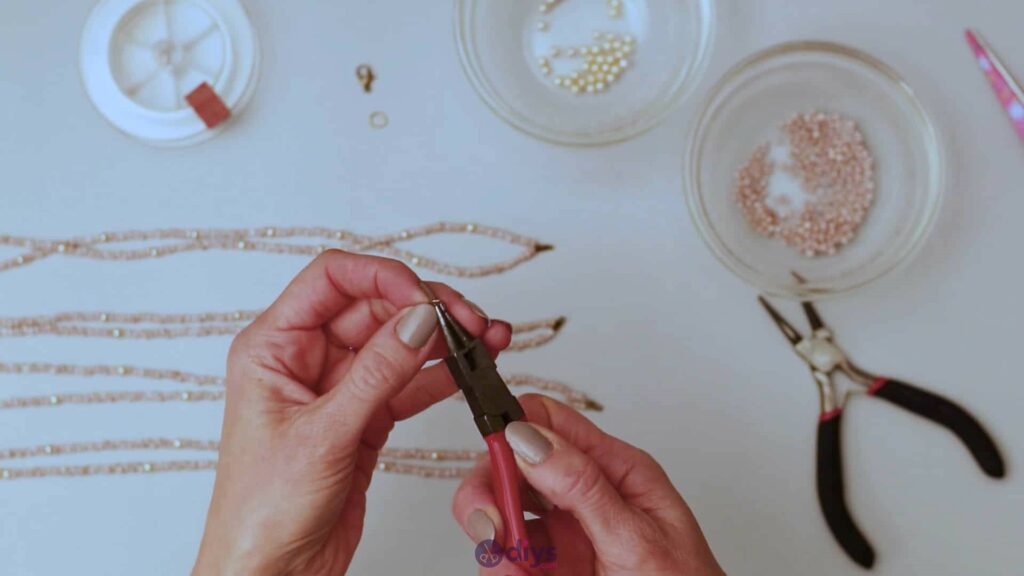
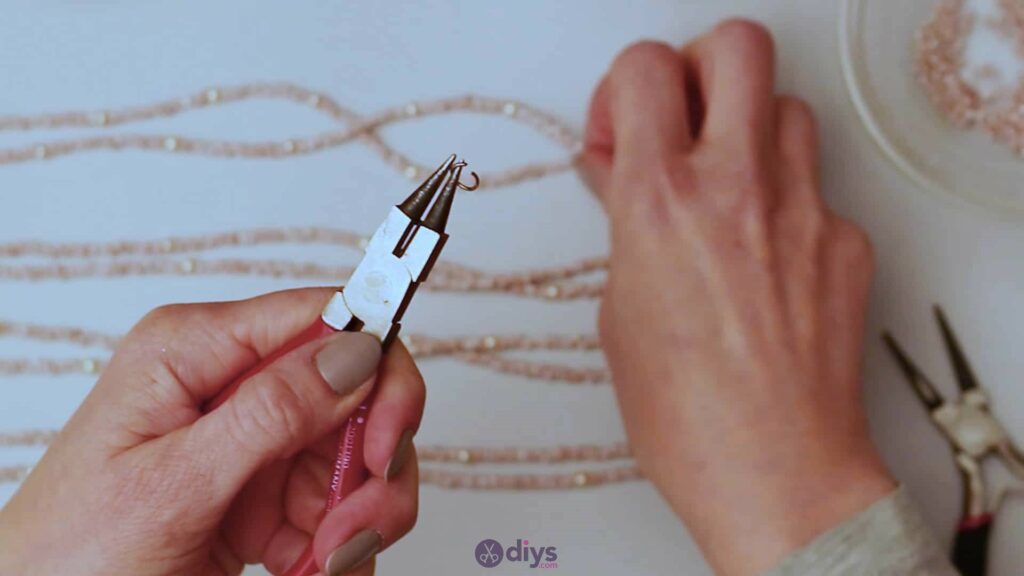
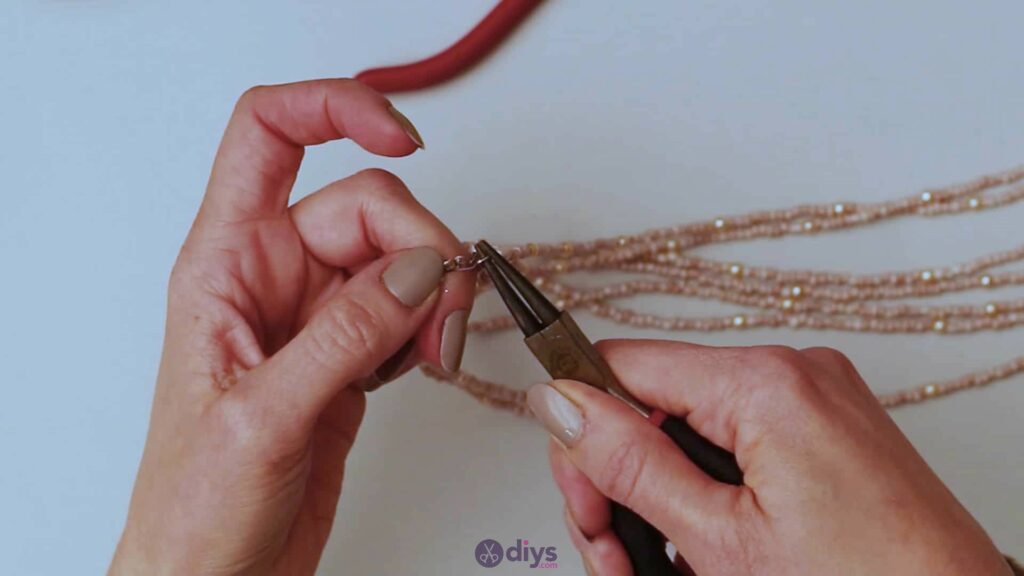
Step 5: put them all together
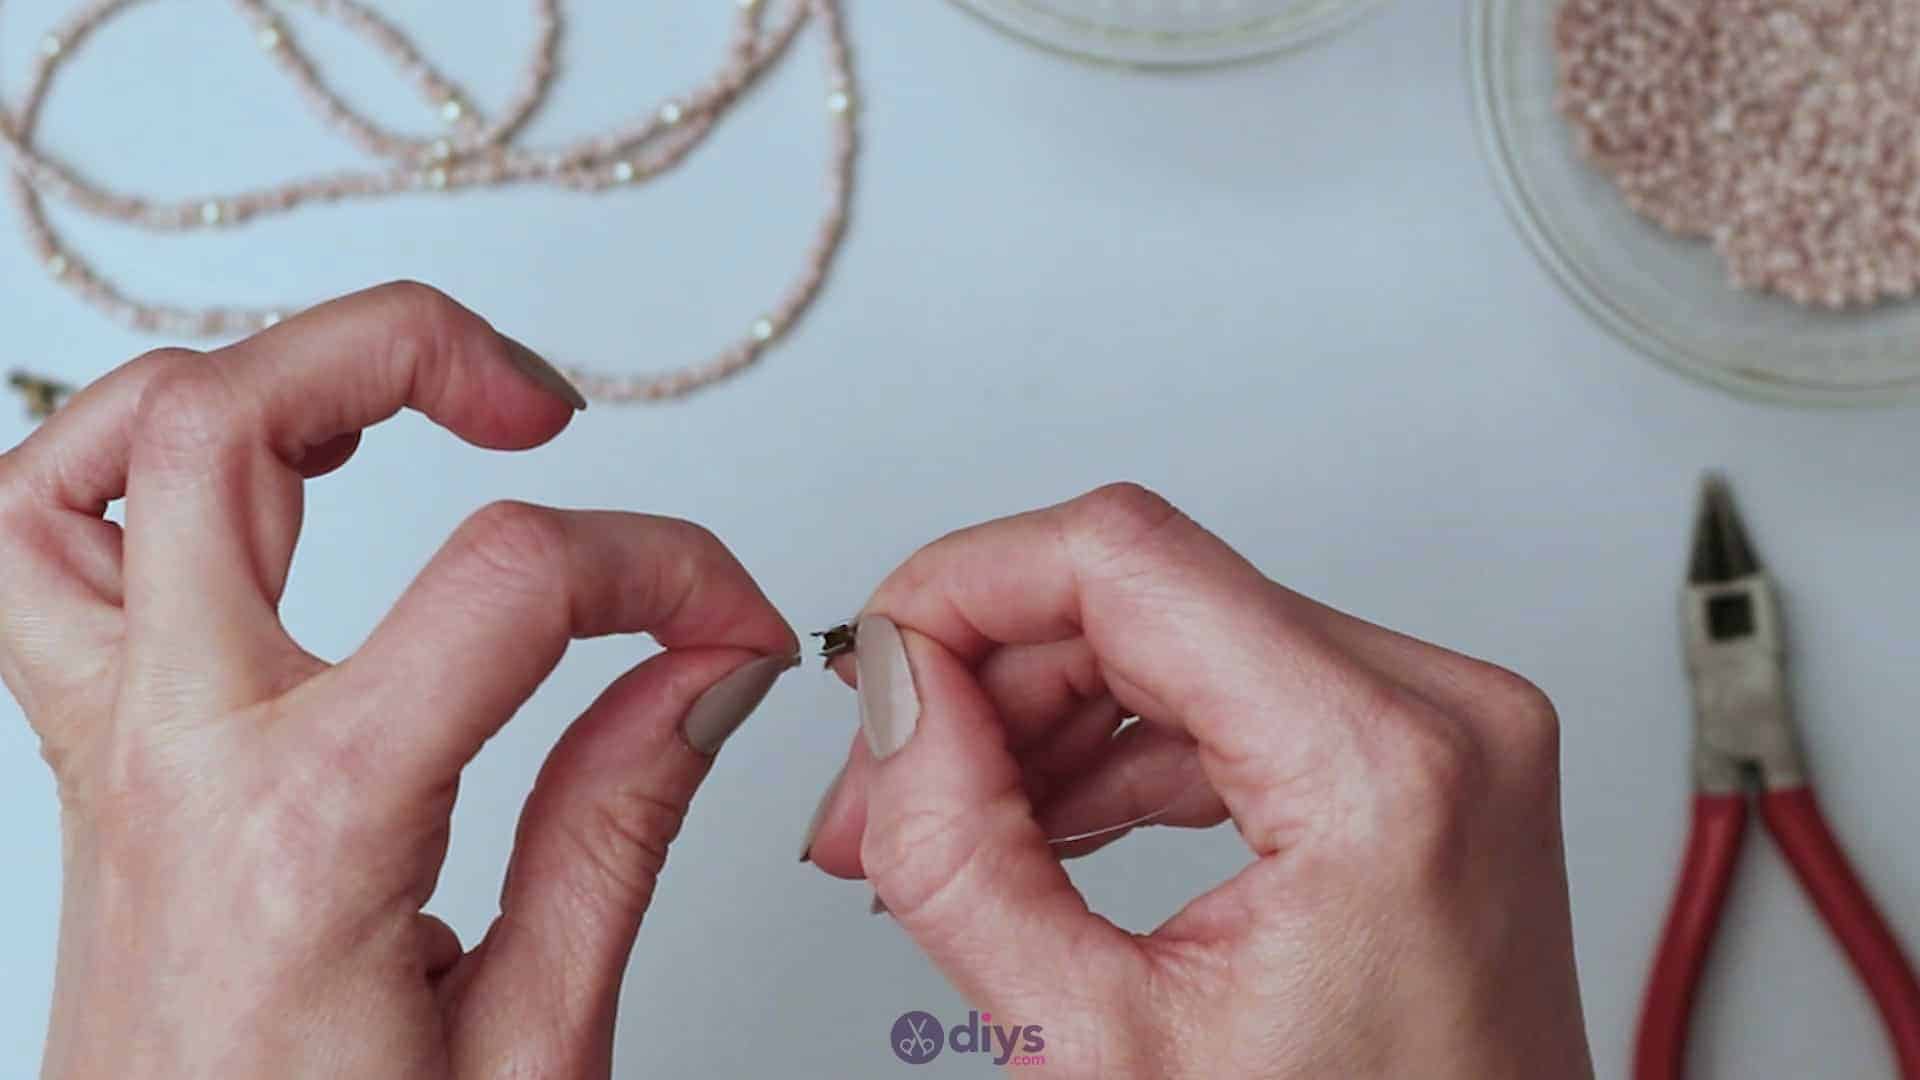
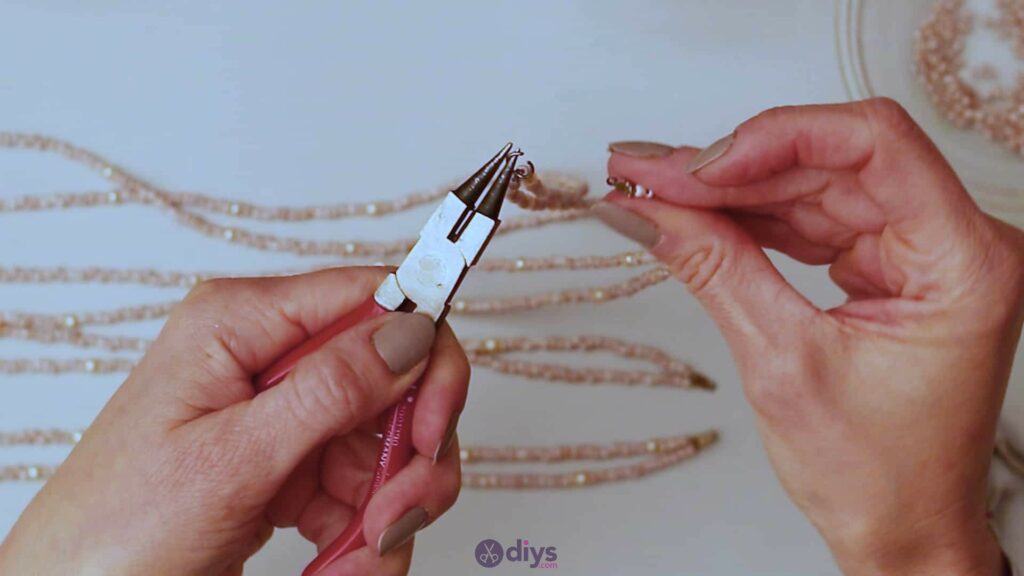
When you’re happy with the number of paired strands you have, pick up one of your two mounting rings and use thin conical tongs to pry the opening in the ring open just slightly. Loop the rings on the line endings on one end ofeach pair strand into this opening mounting ring. I found this easiest to do by laying my four doubled beaded strands out on the table horizontally, lined up one below the other according to length; longest at the bottom and decreasing to the shortest at the top.
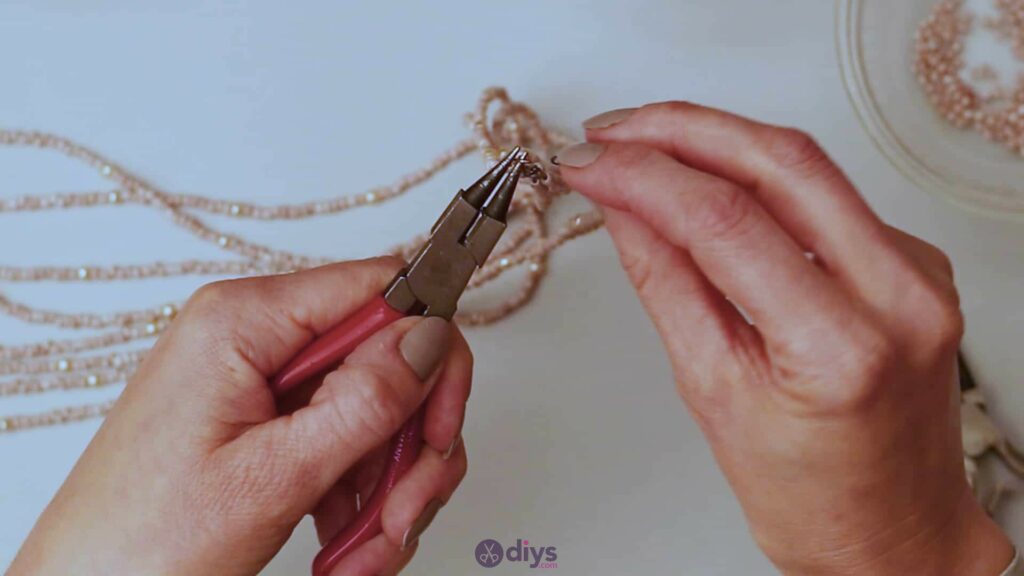
I then looped the line ends onto my mounting ring in order from longest to shortest. When you’ve got all your line ends looped into your opened ring, used your pincers or conical tongs to carefully bend the ring closed again, fastening all of the line ends inside and keeping the strands in place.

Step 6: repeat!
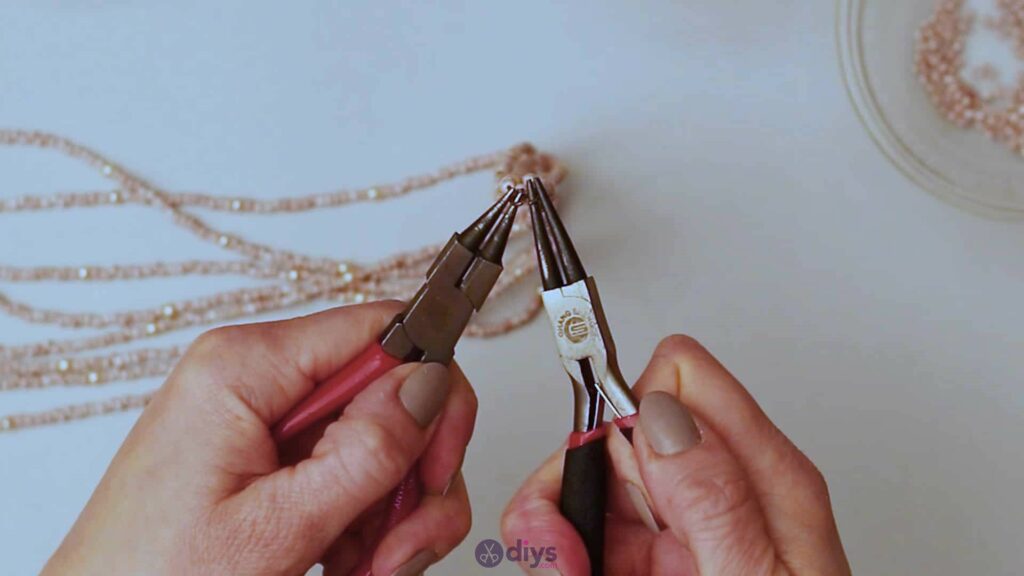
Now you’ll repeating this same mounting ring process with your second ring and the other ends of your doubled beaded strands. I made sure to loop mine into the ring in the same order that I looped the first ends; in decreasing order from longest to shortest. This time, before you close your ring again with your pincers after looping all your line ends into place, pick up your necklace clasp and hook the end loop on that into the mounting ring as well, along with the loops on the line ends.
Now you’re ready to close your second filled mounting ring with your conical tongs or pincers. This clasp will be used to fasten the necklace around your neck by hooking to and closing around the filled mounting ring on the opposite end of the beaded strands.
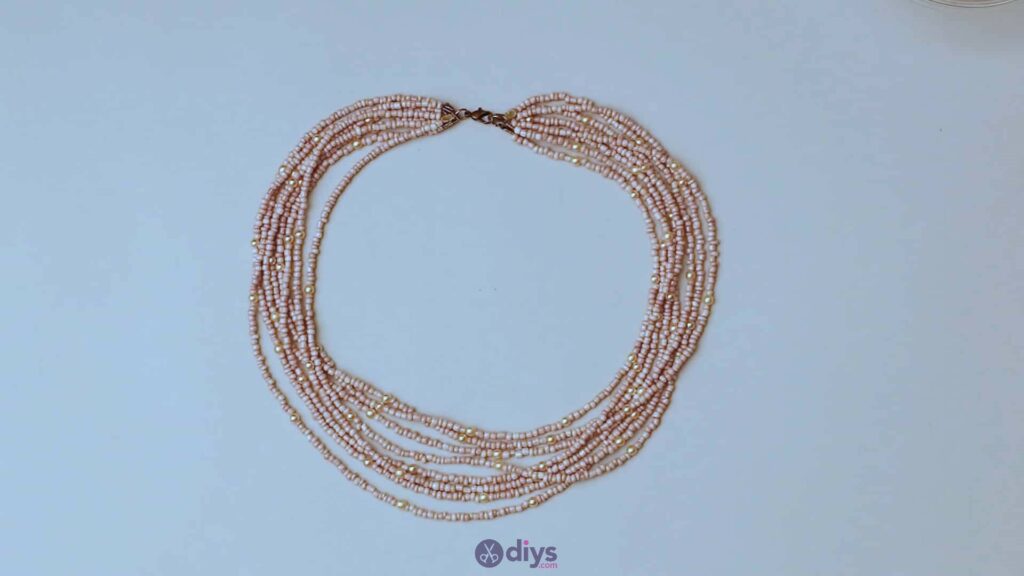

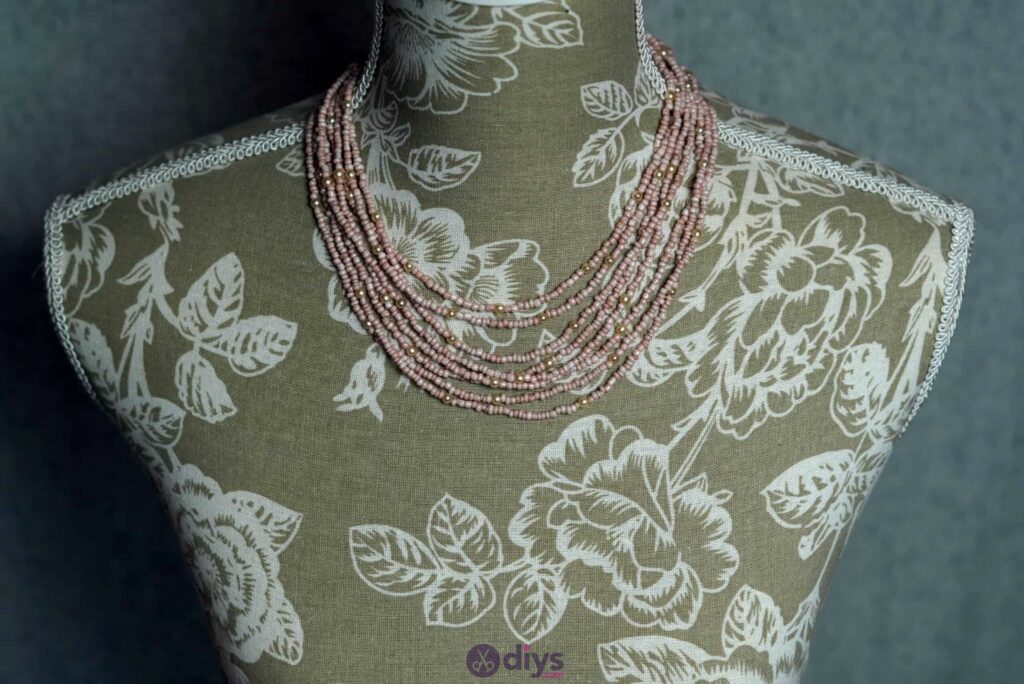
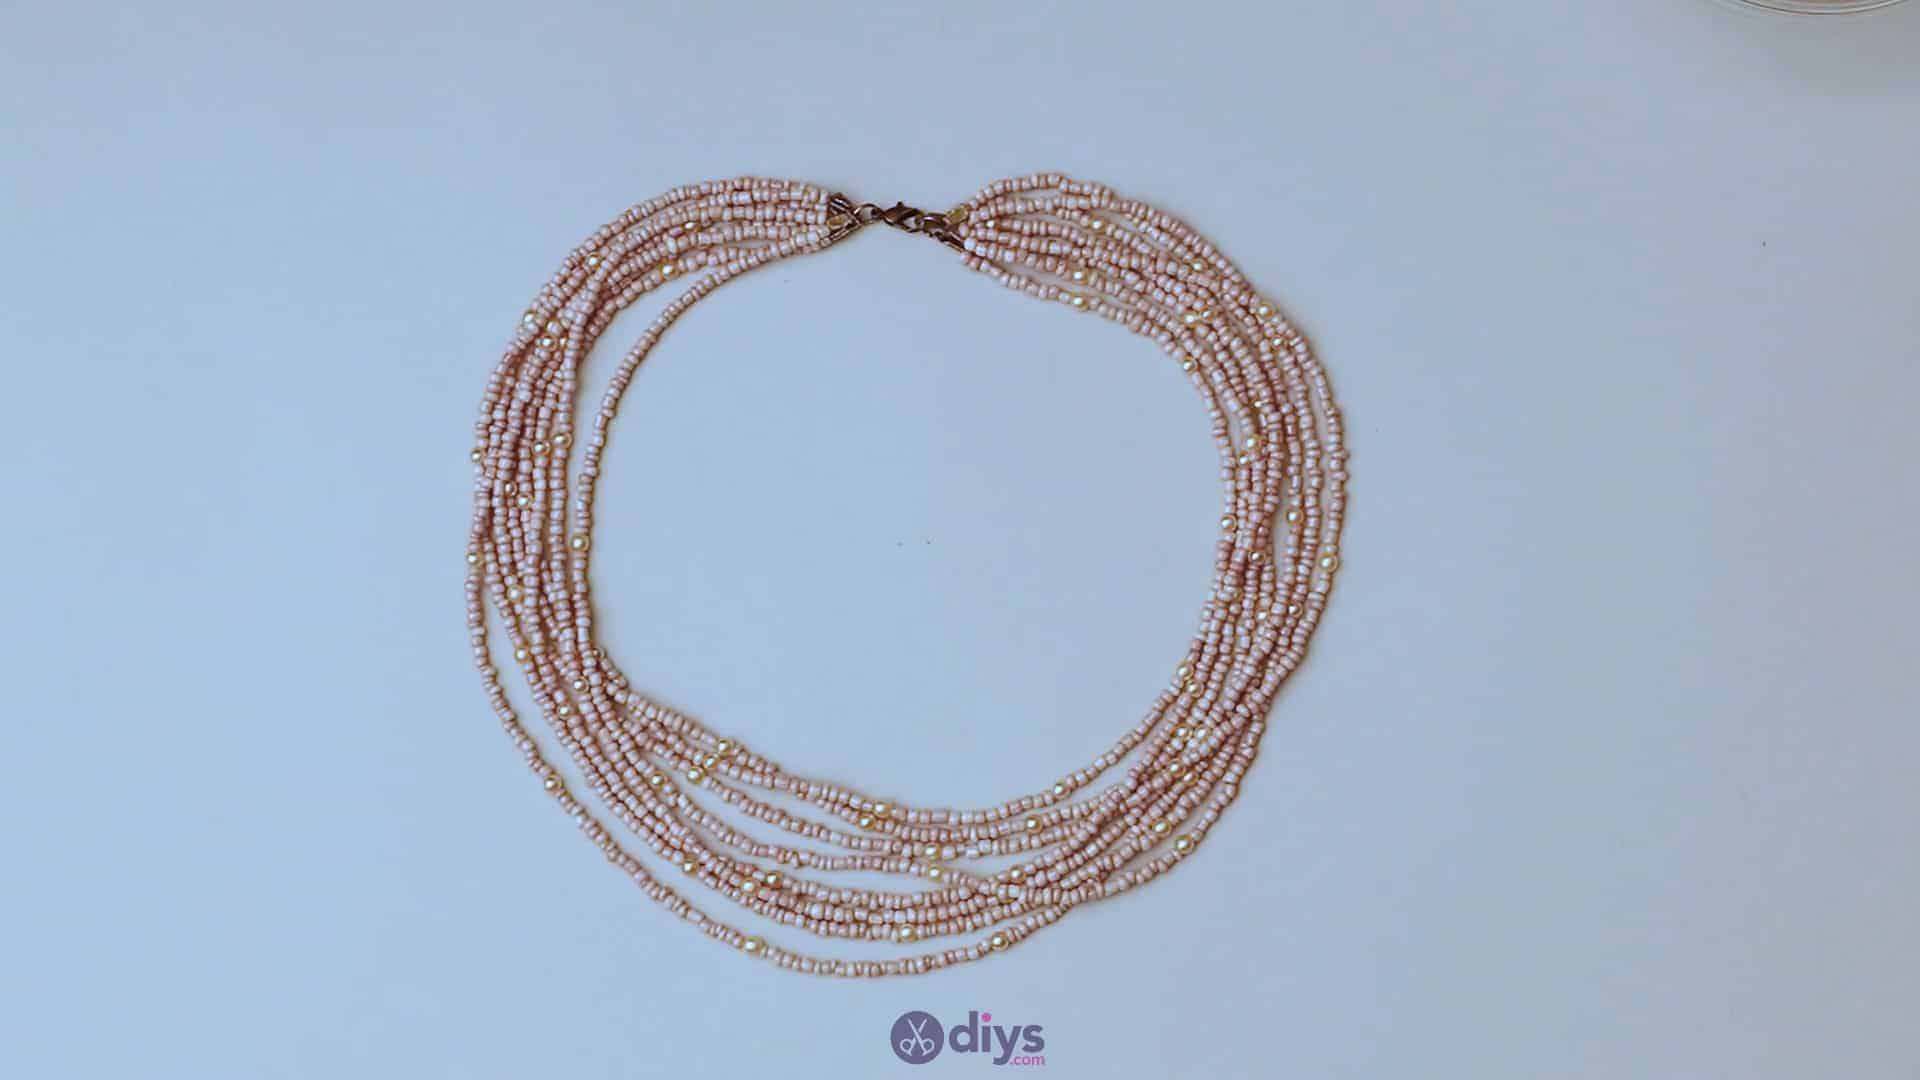
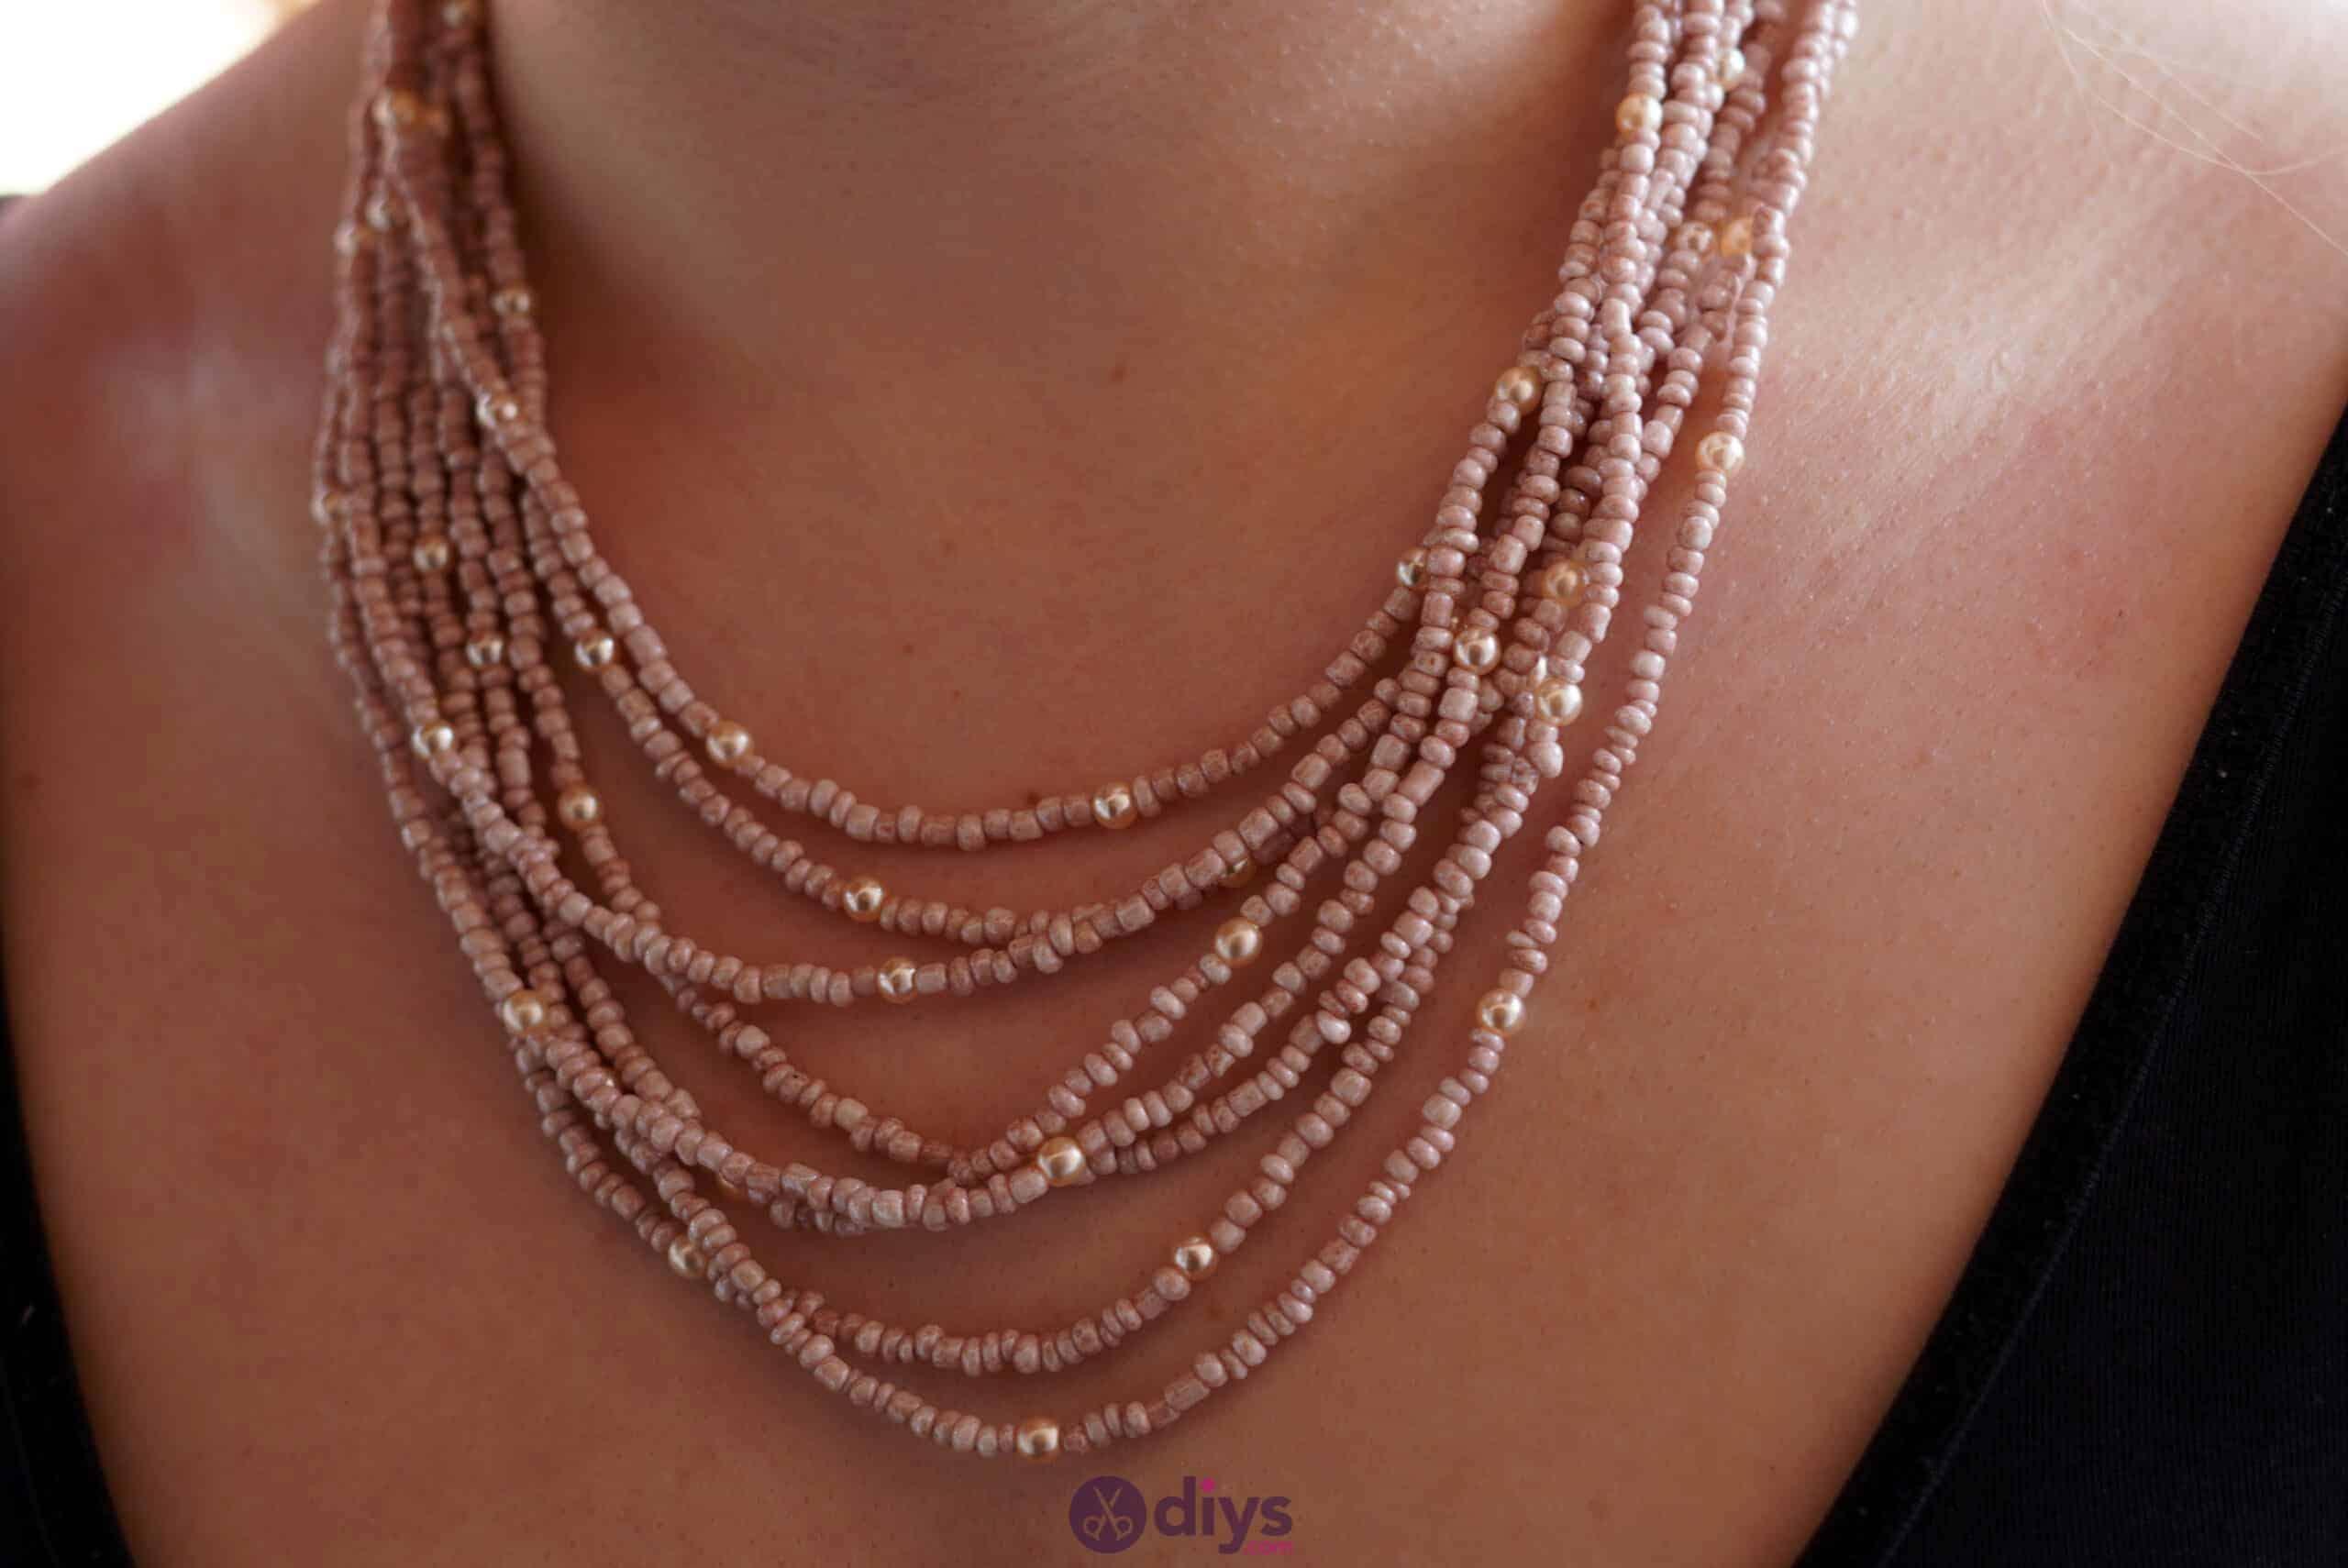
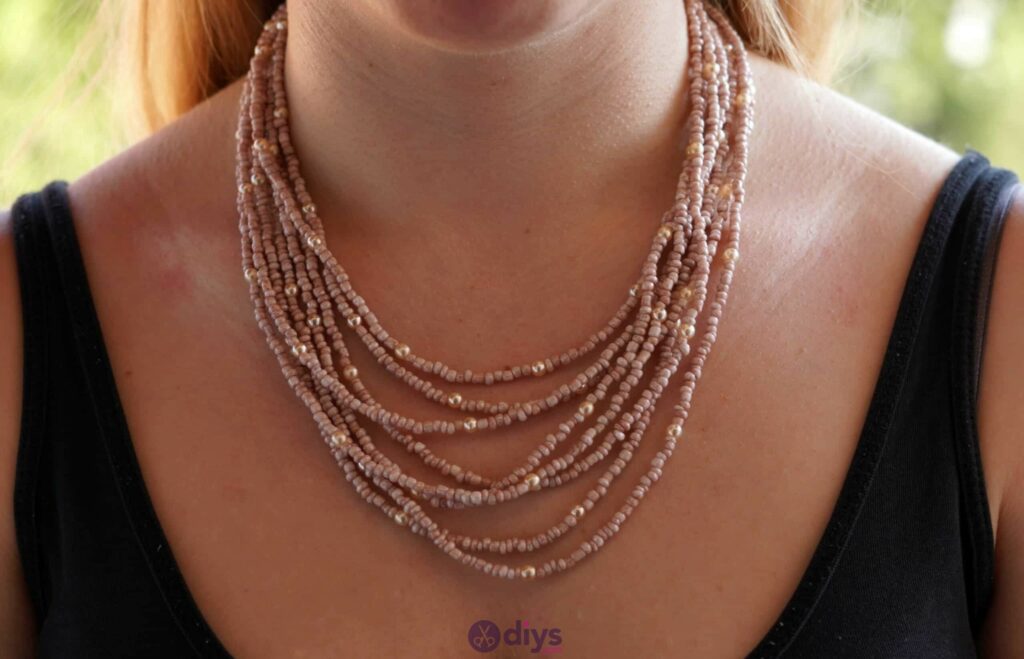
Your necklace is officially complete! Of course, as always, you’re welcome to use these steps as a basic guide while getting as creative as you please with the colours and kinds of beads you use. This accessory is a great time to let your personal style shine through. Either way, here’s a great video tutorial to help you out with the fundamental techniques along the way.