How to Make a Perler Bead Cup Holder
Updated on November 19, 2025
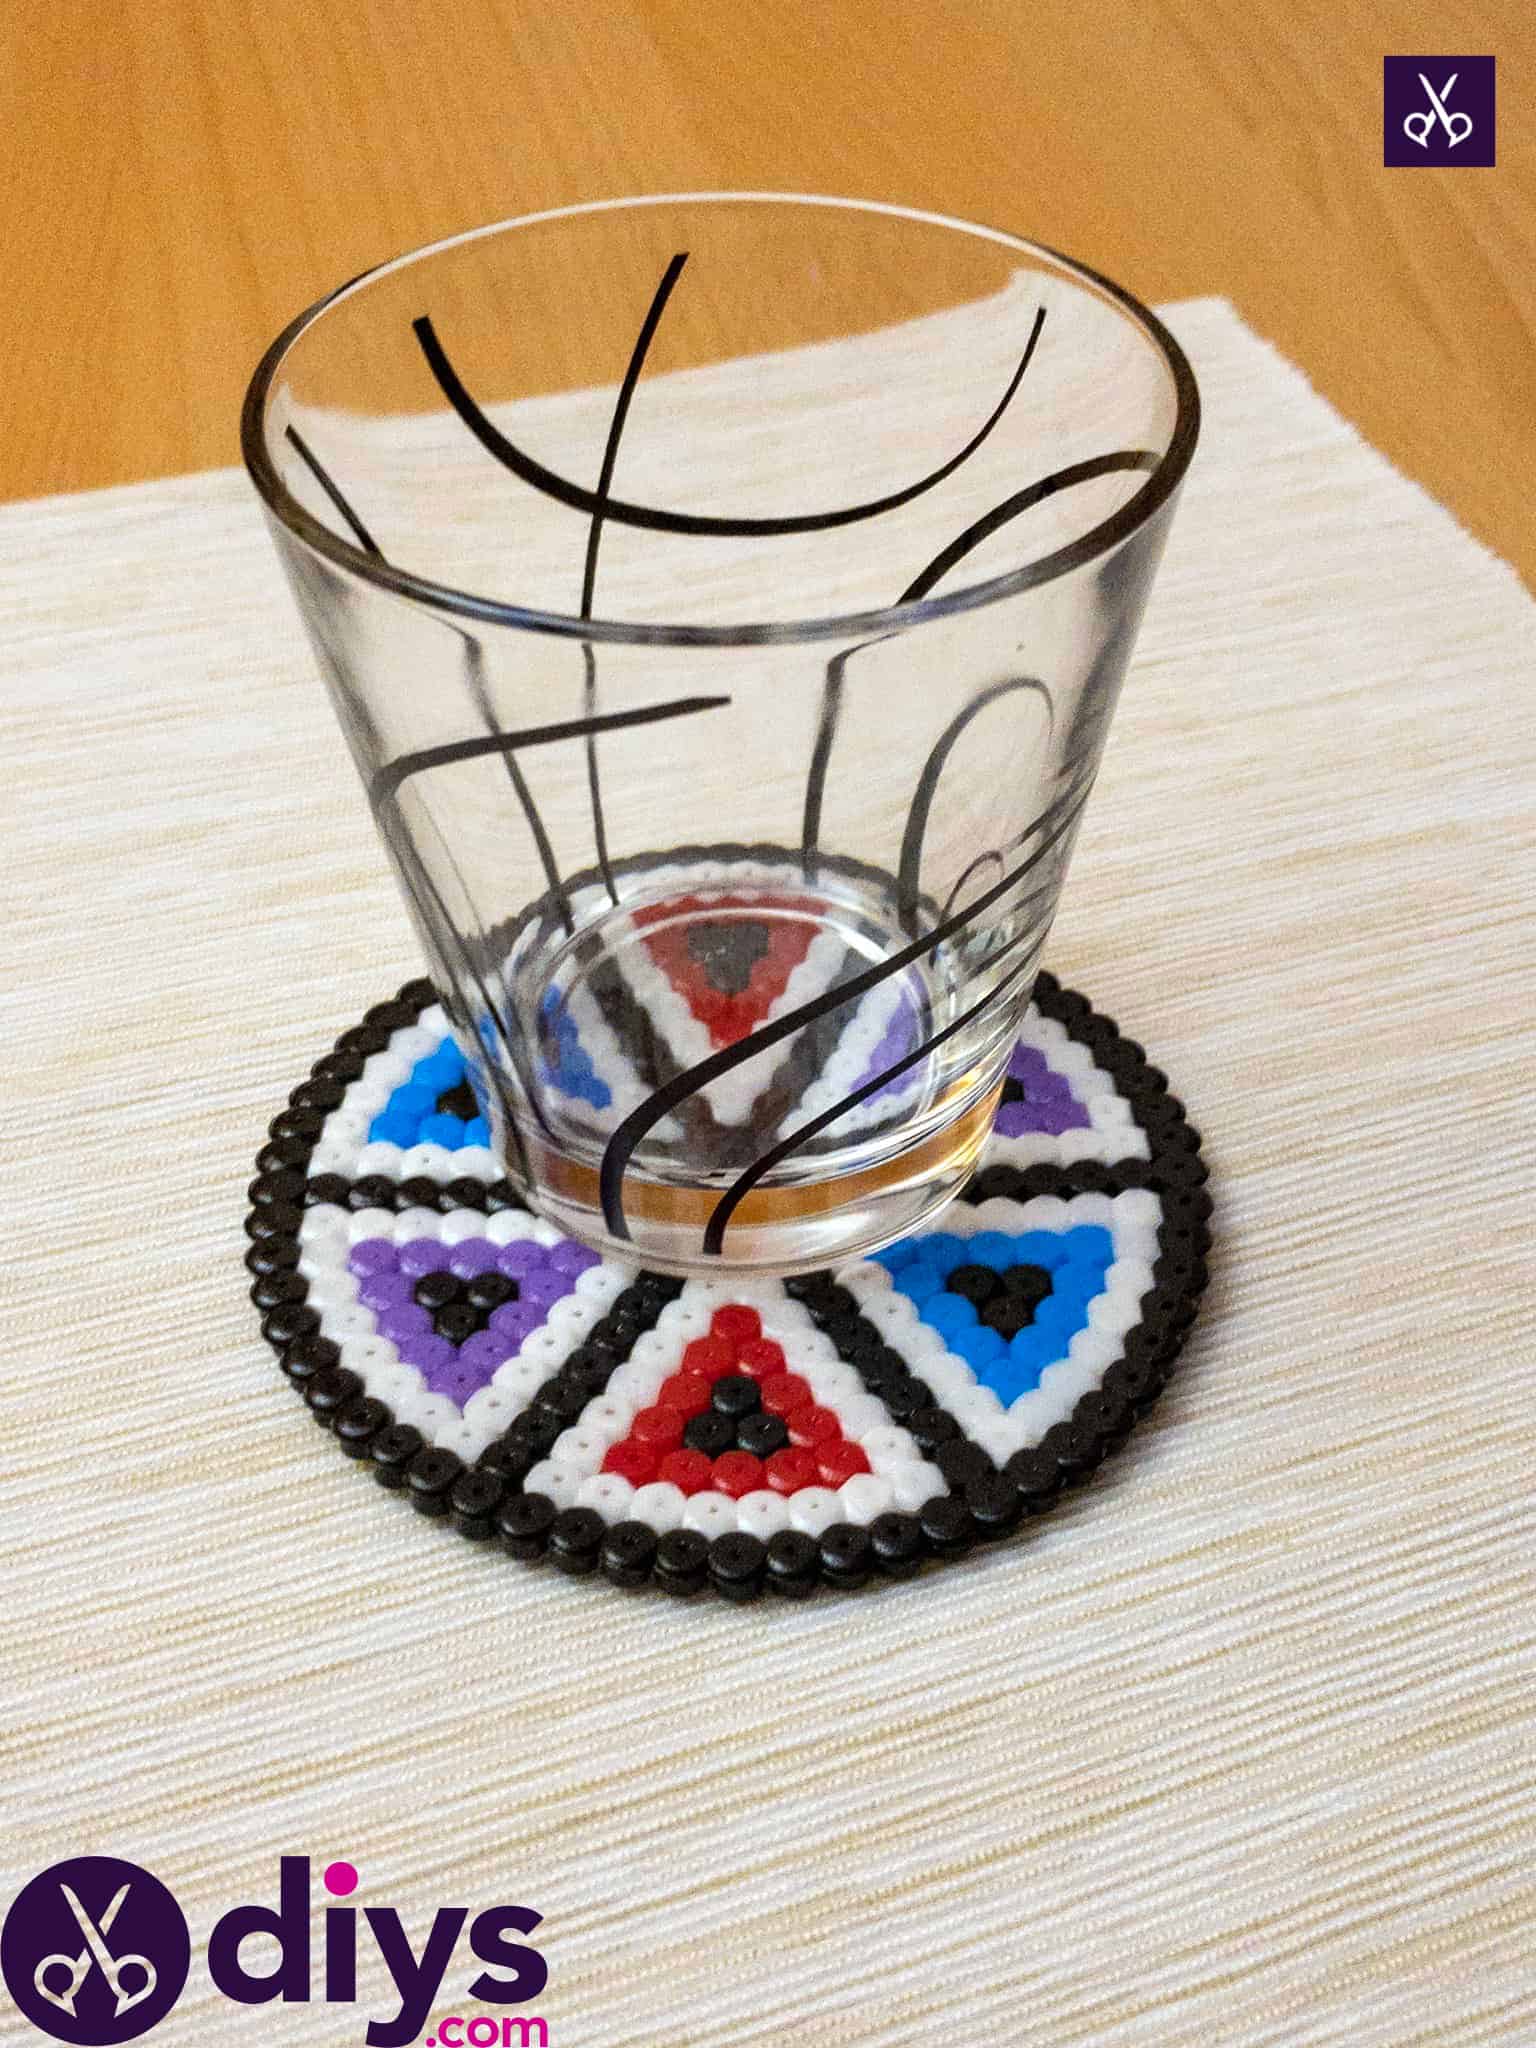


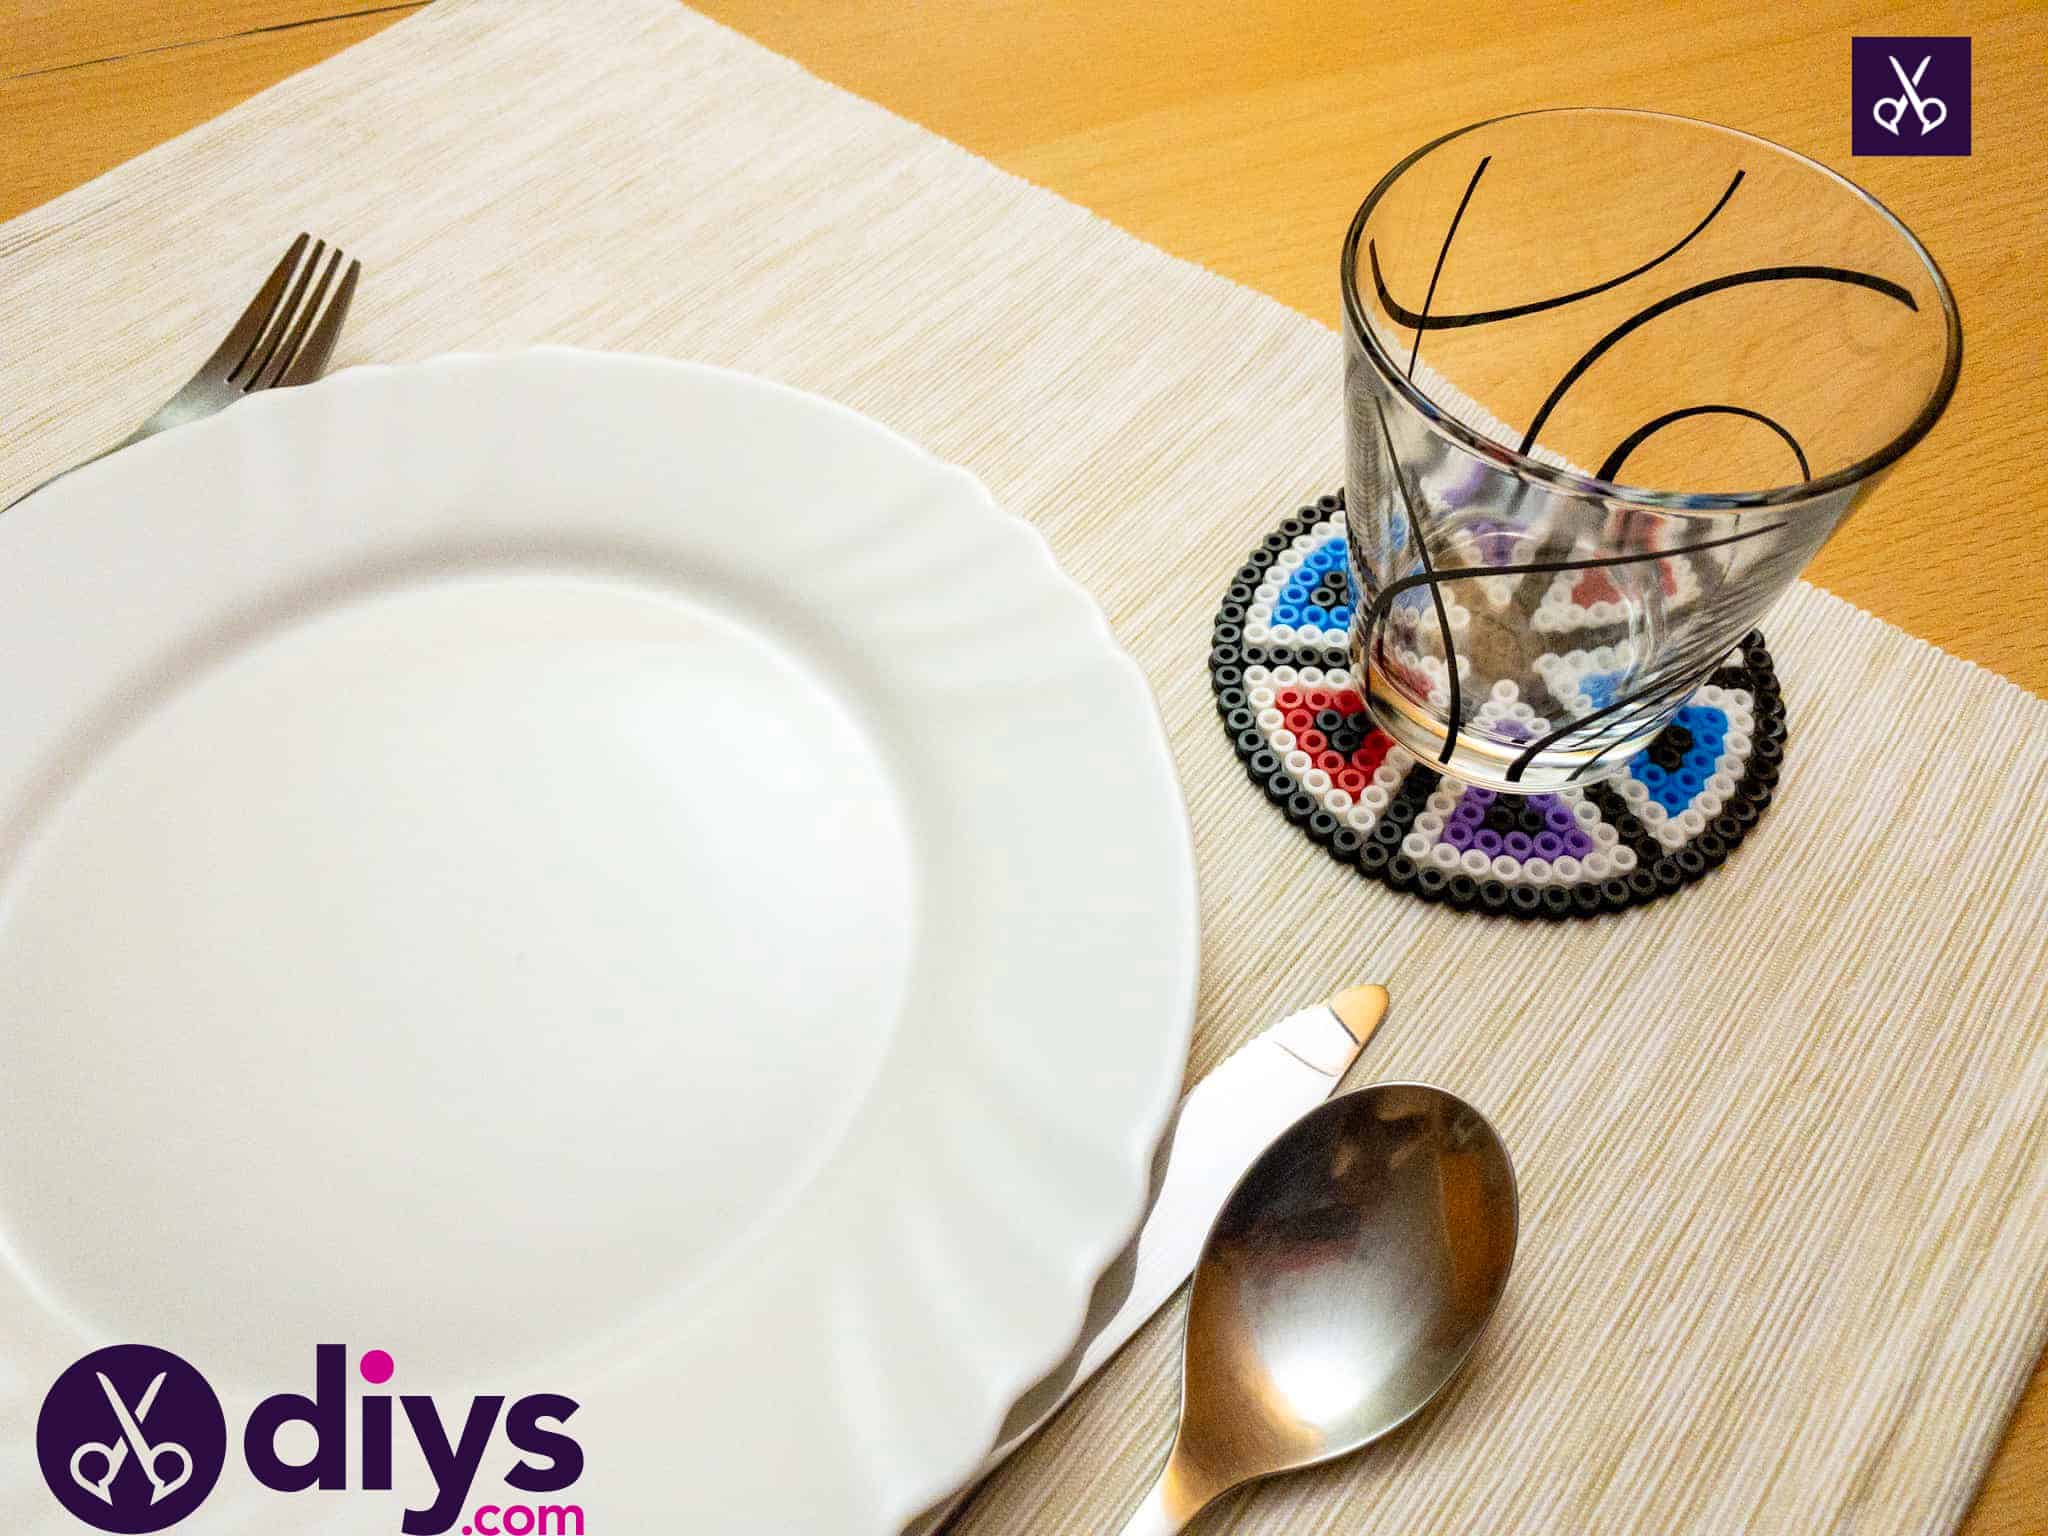
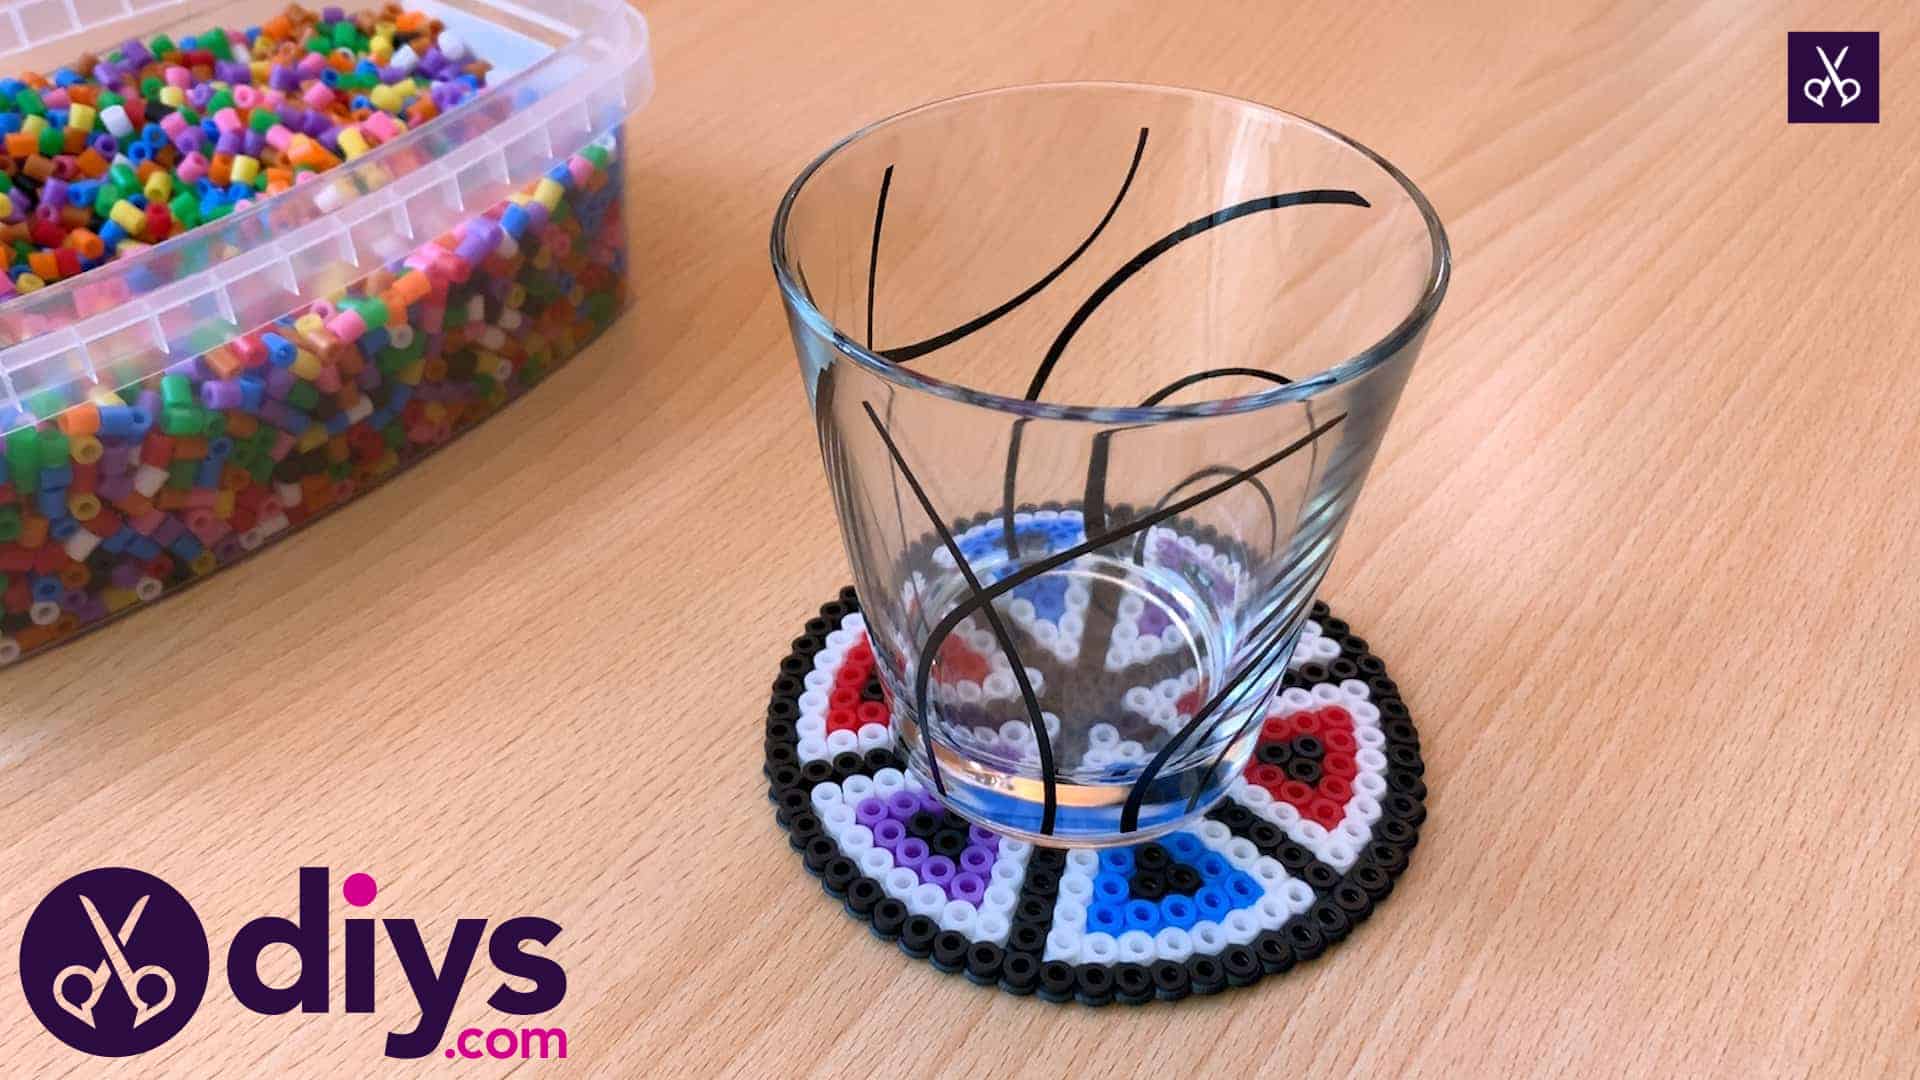
I have always been the kind of crafting enthusiast who adores making things that are partially decorative but also still rather practical. Not only does this make me feel very productive, but it also helps me show off my handiwork to guests when they visit my home. That’s how I found myself wanting to make my own DIY cup holders or coasters! Of course, there are plenty of ways to do that, using all different kinds of materials, but I’ve been on a little bit of a perler bead kick lately, since my kids were recently gifted a large tub of them and they’re a blast to use.
Here are the different steps I followed to make my very own perler bead coasters. You’ll also find a video tutorial version of these steps at the end of this post, just in case you’re more of a visual learner!

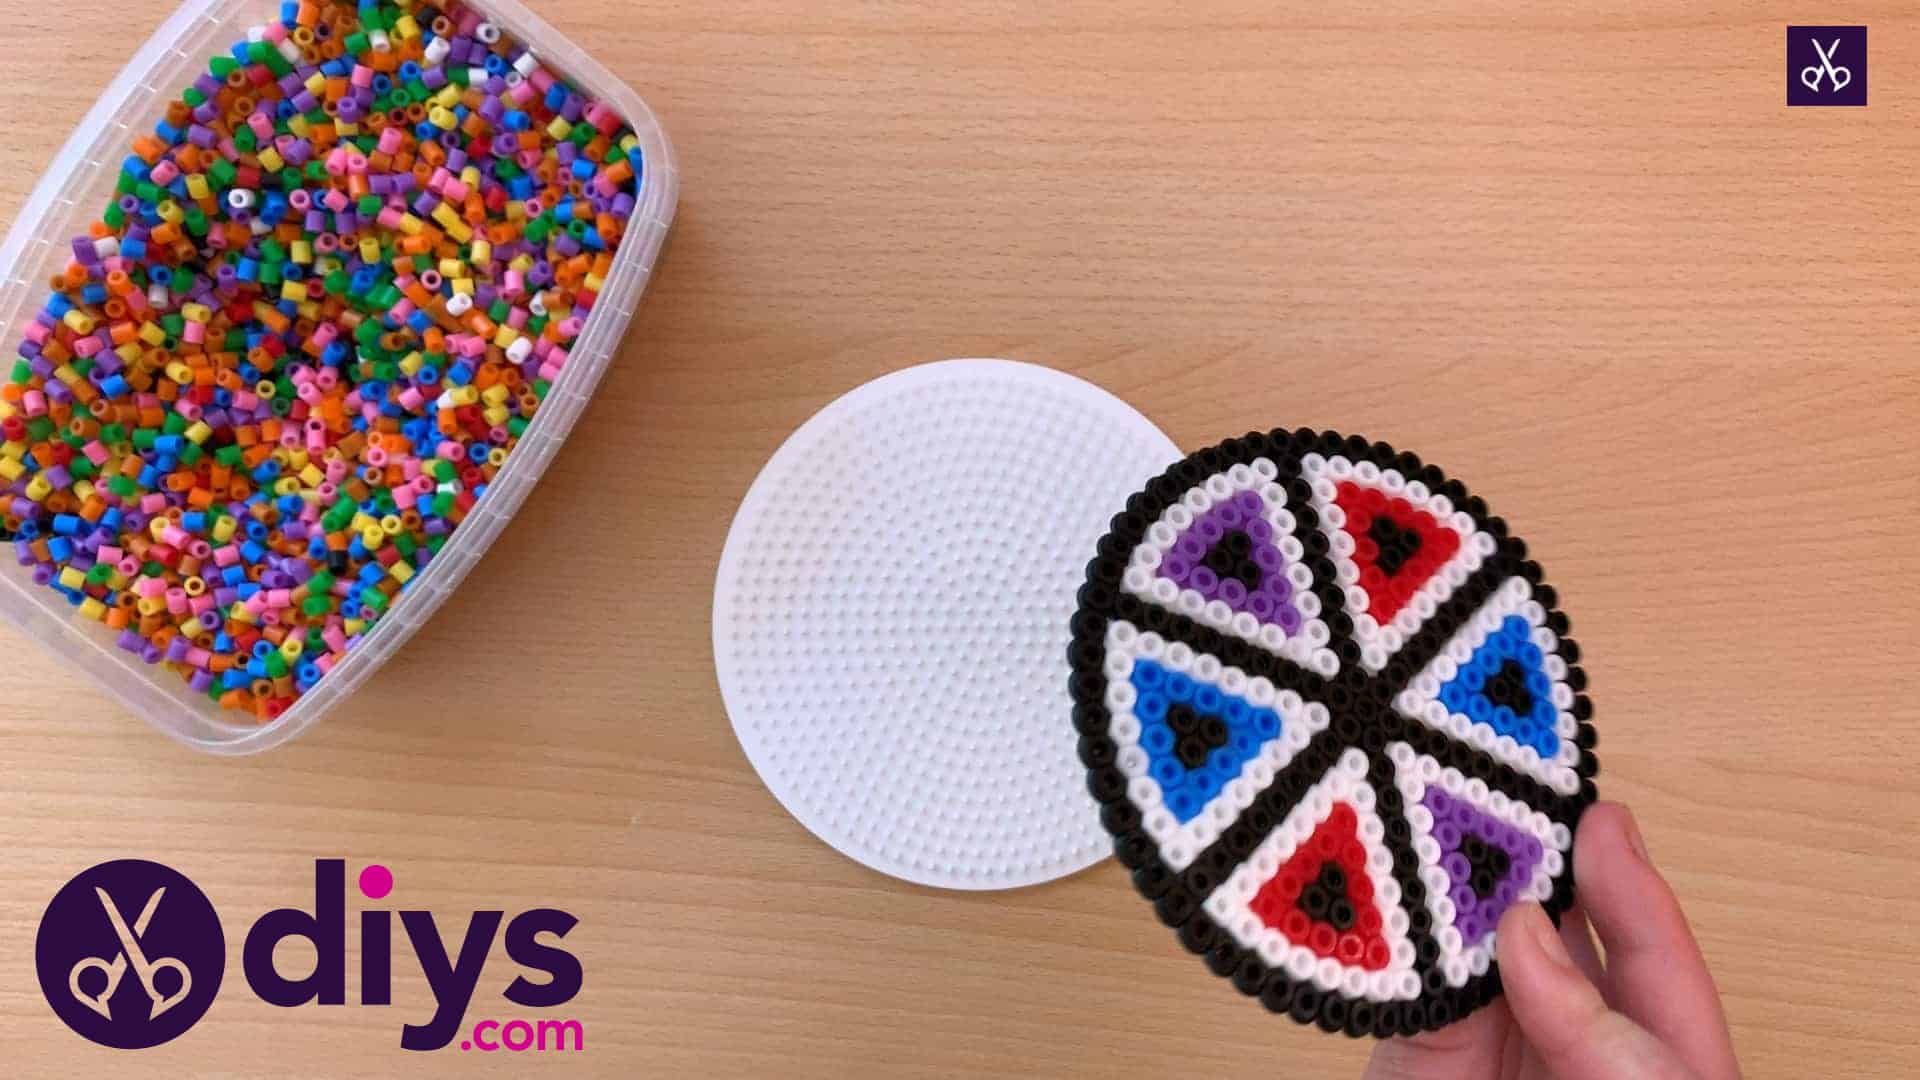
For this project, you’ll need:
- Round shaped template
- 133 black beads
- 126 white beads
- 24 blue beads
- 24 red beads
- 24 purple beads
- Hot iron
- Wax paper


Step 1:
Gather your materials!
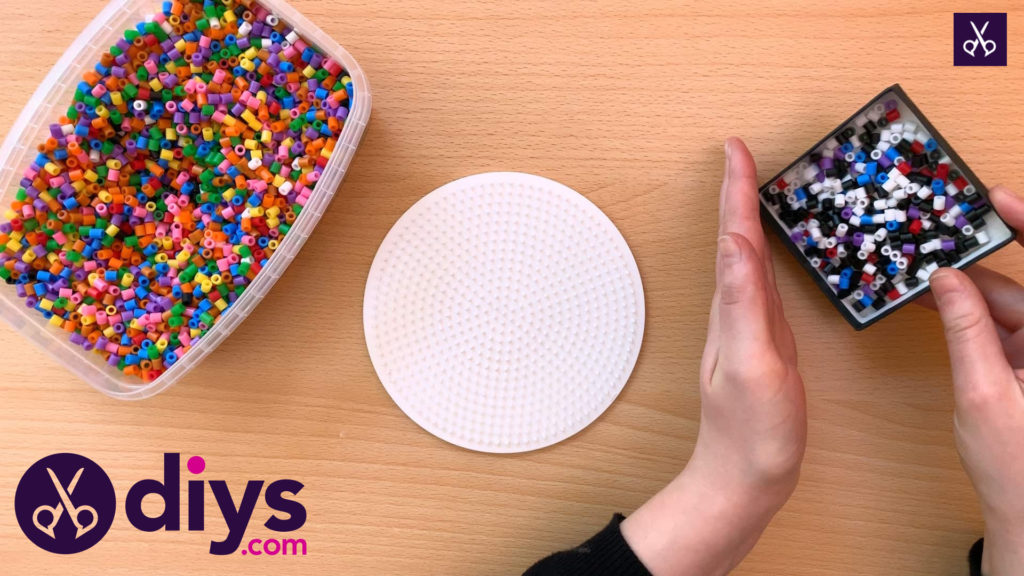
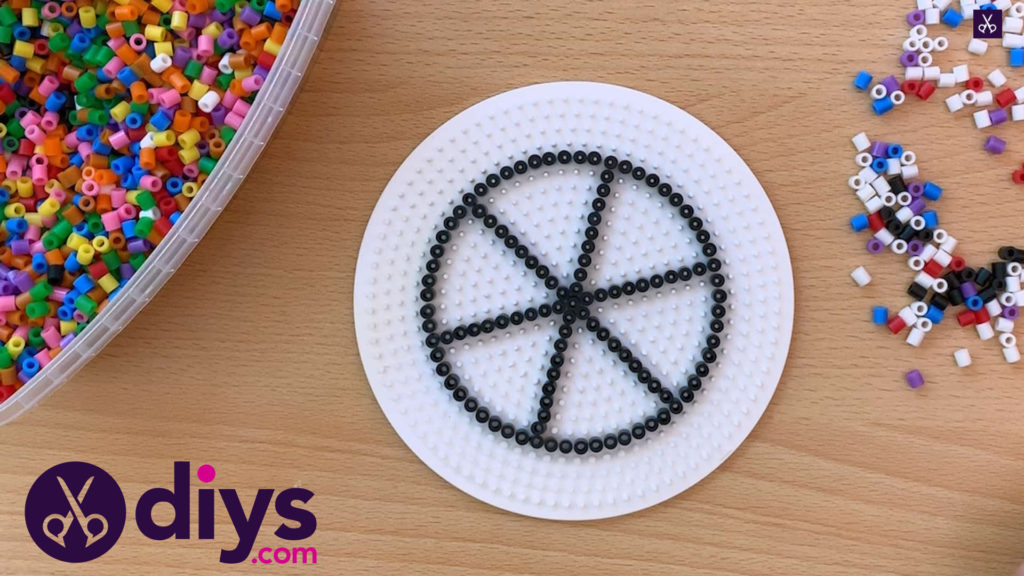
Step 2:
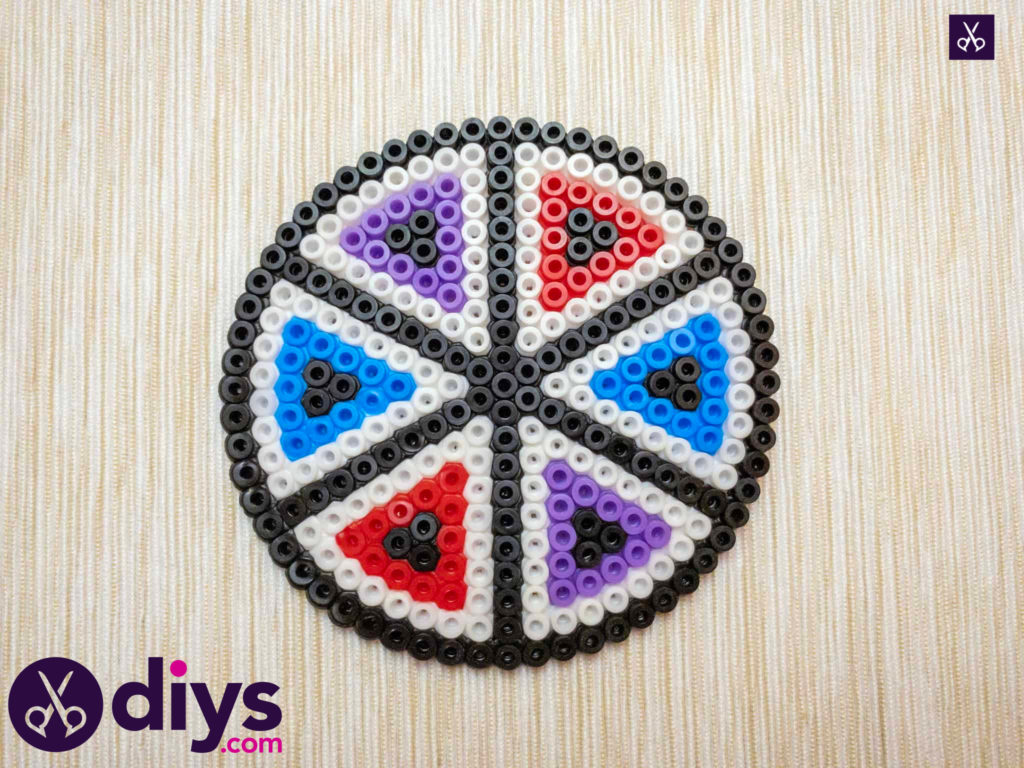
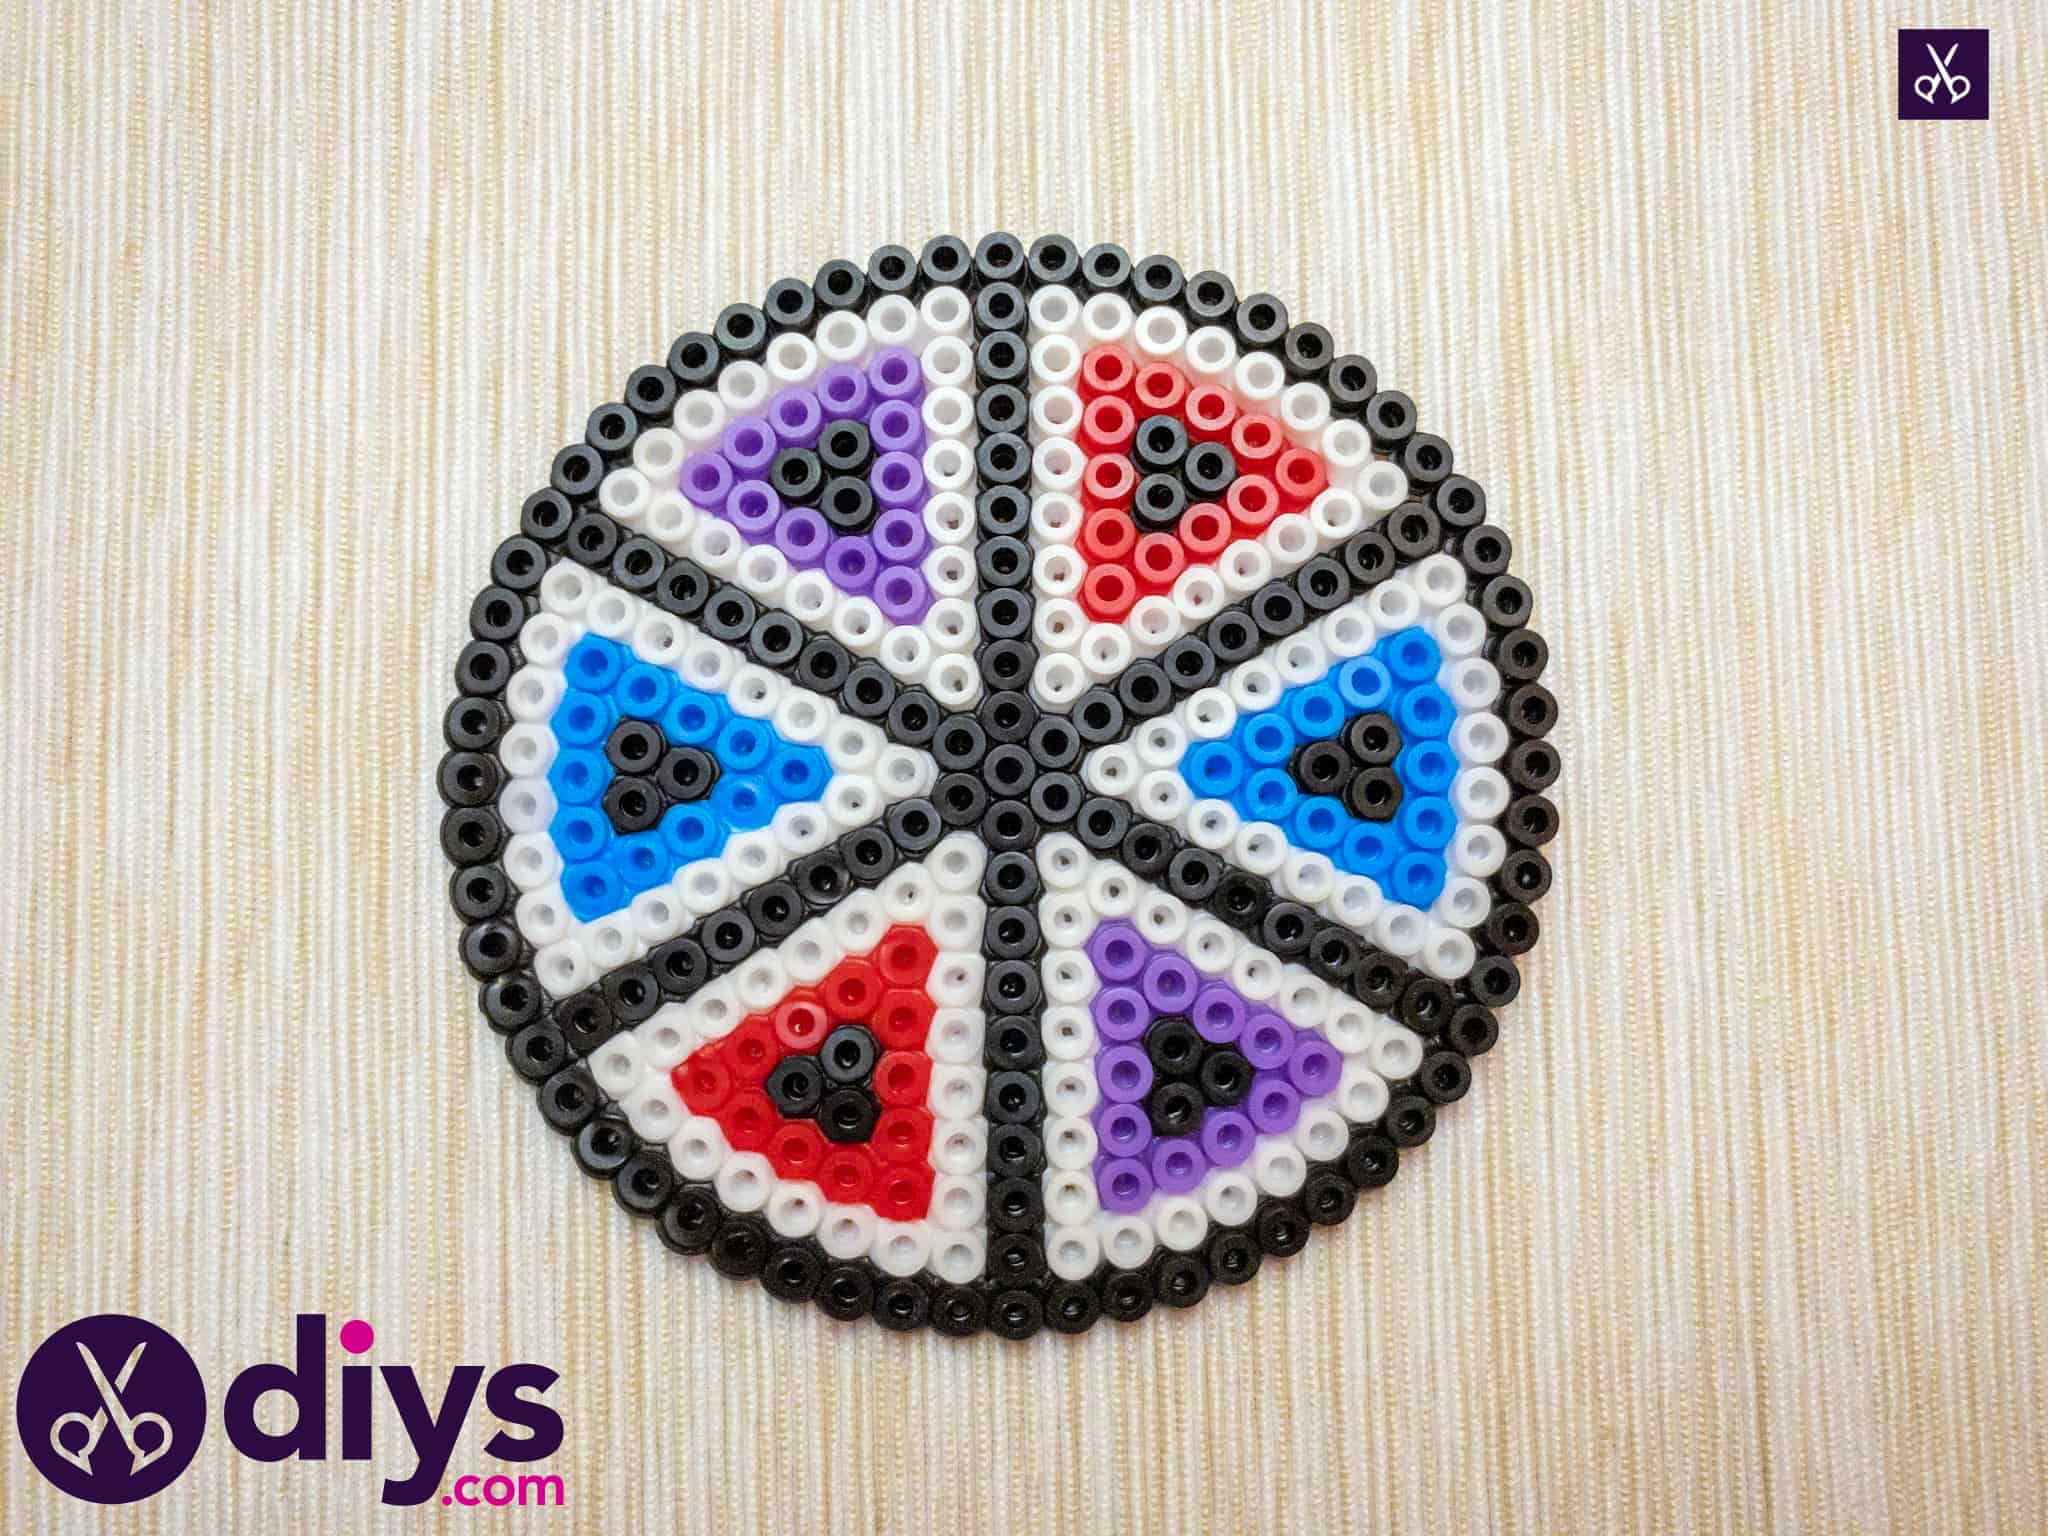
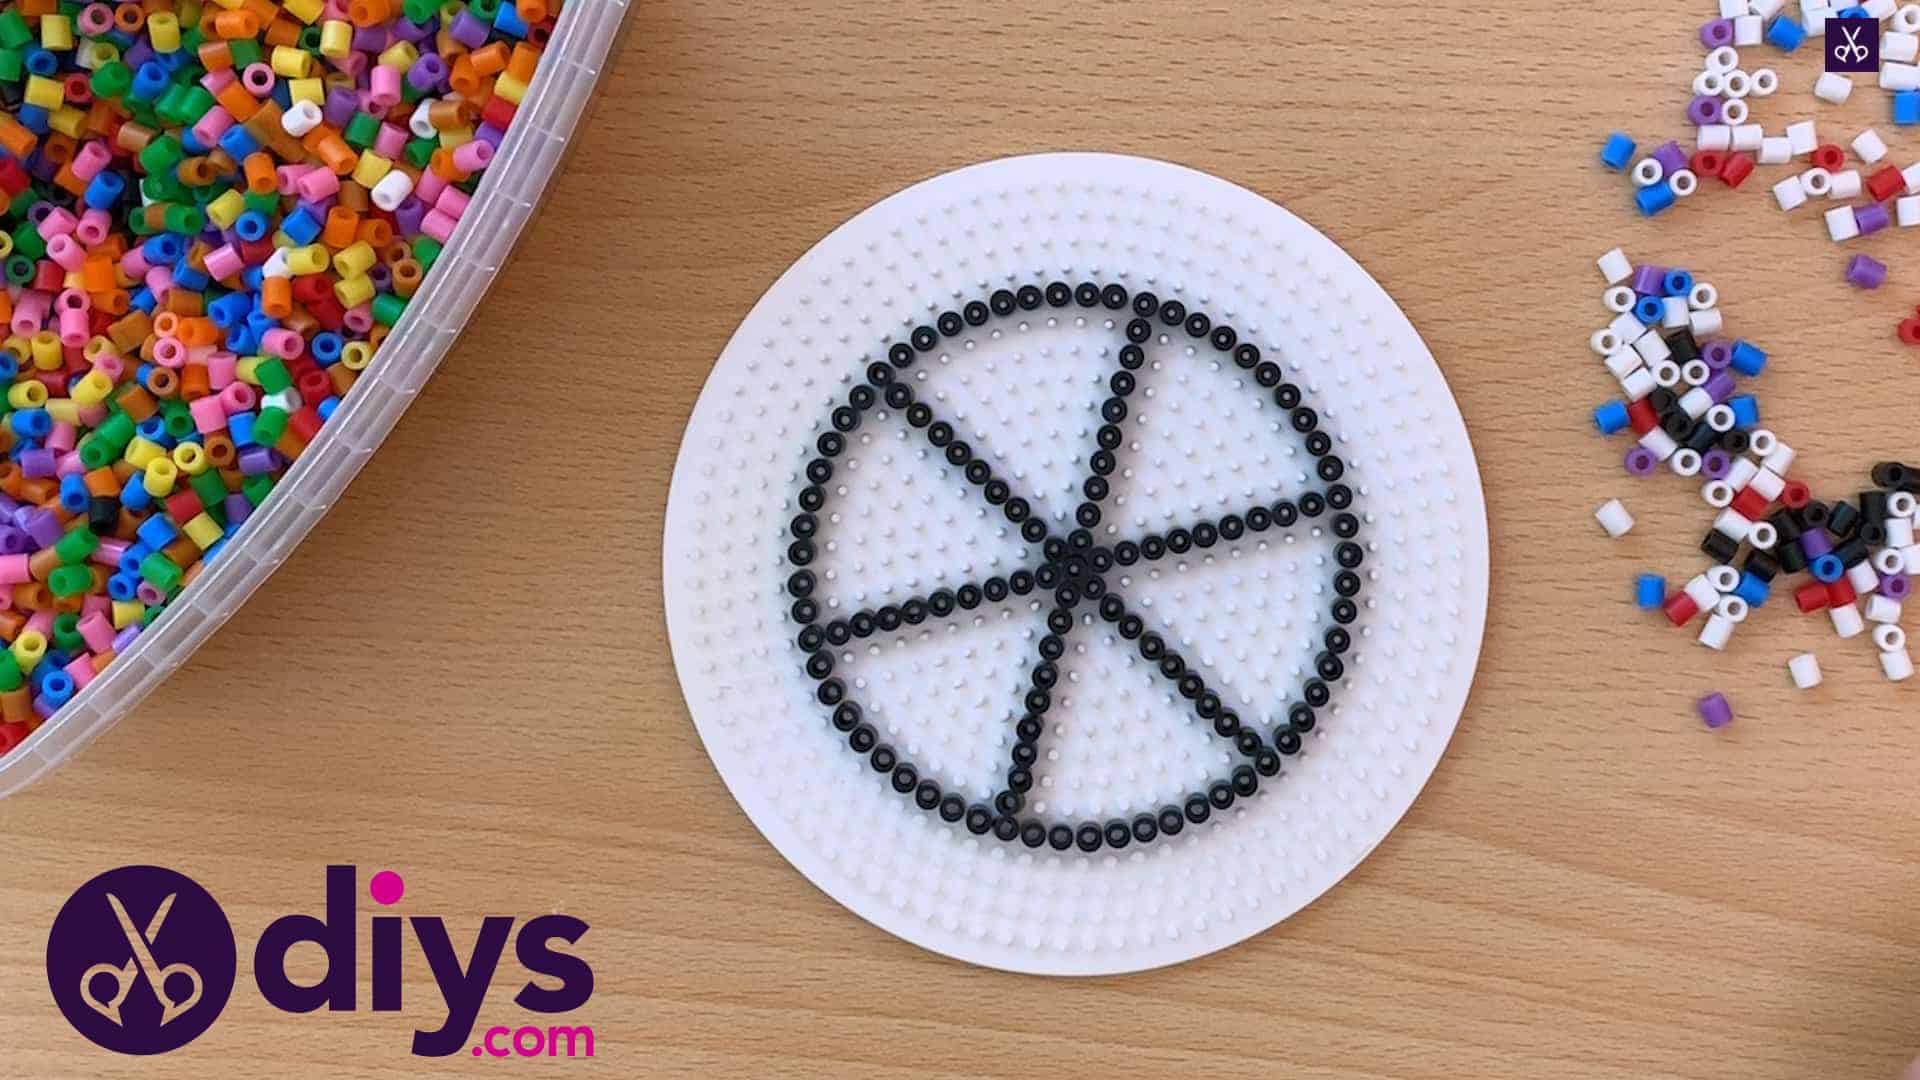
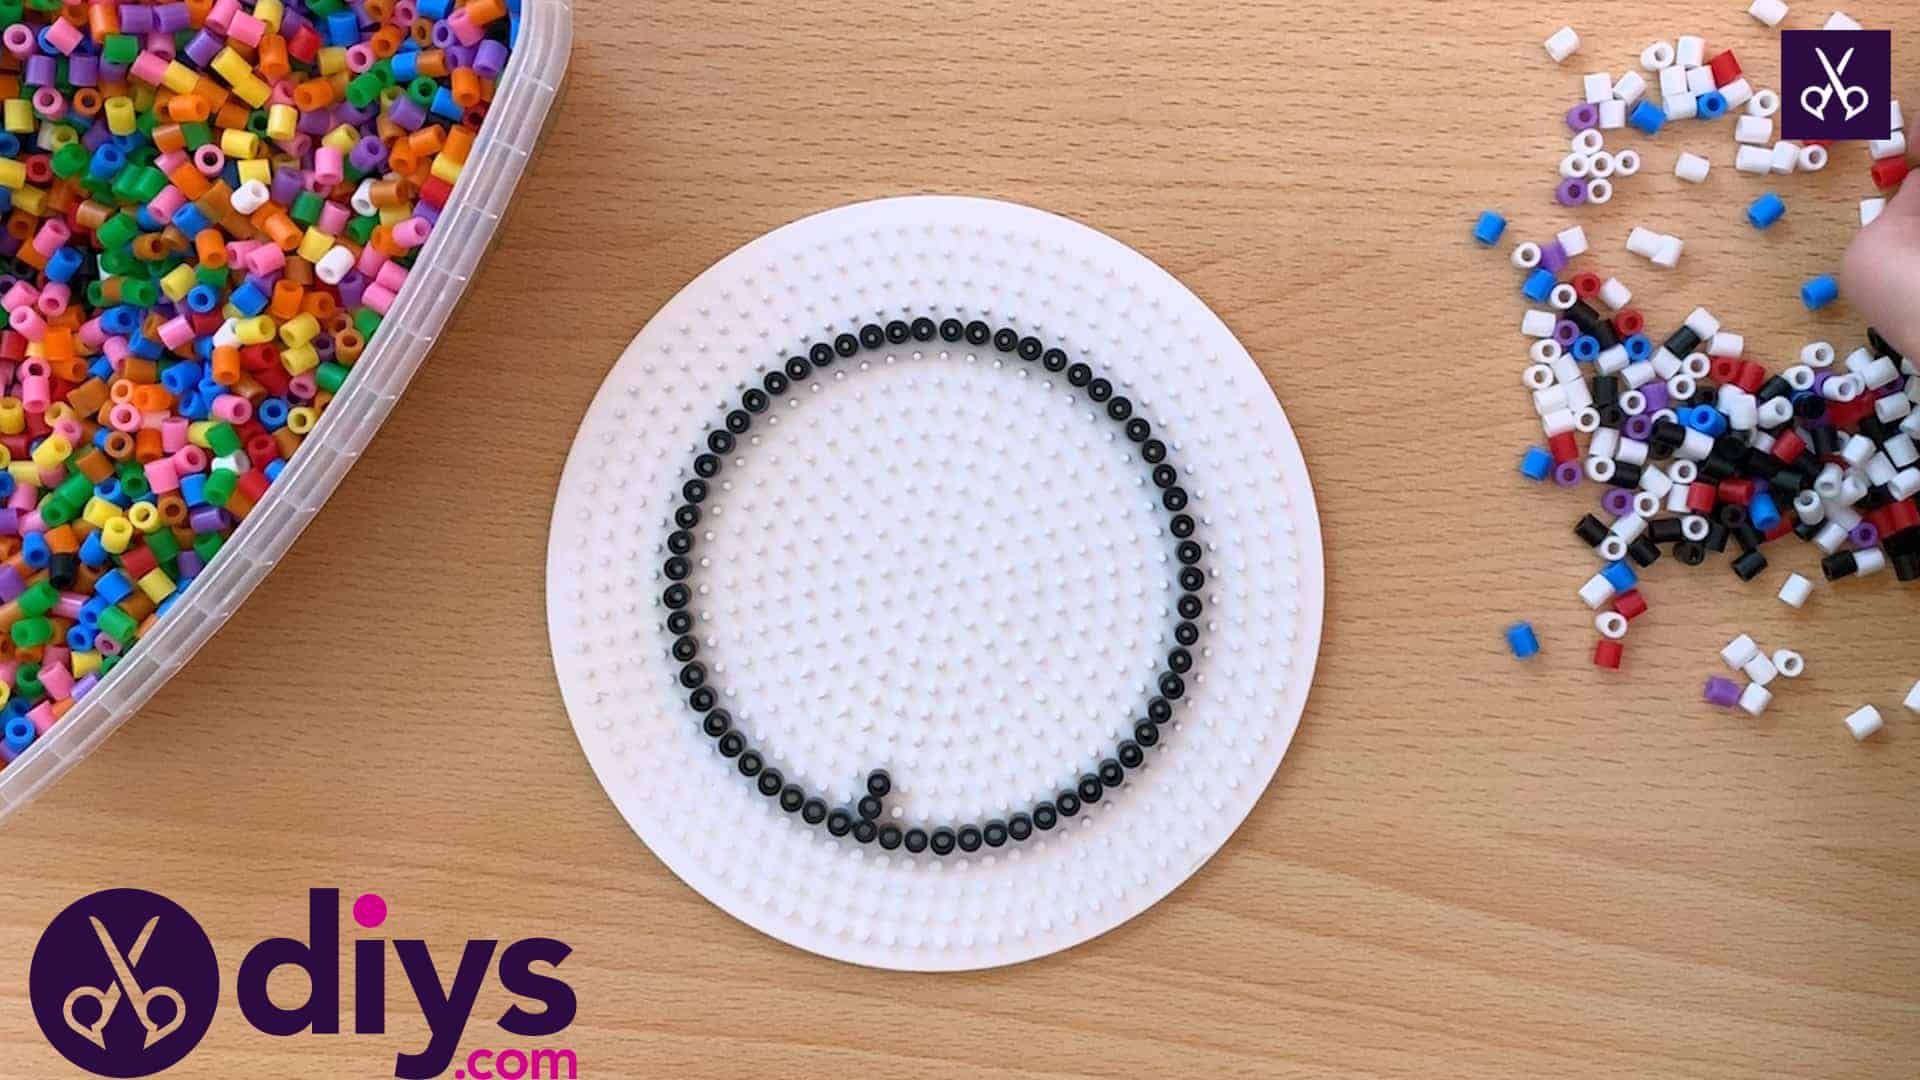
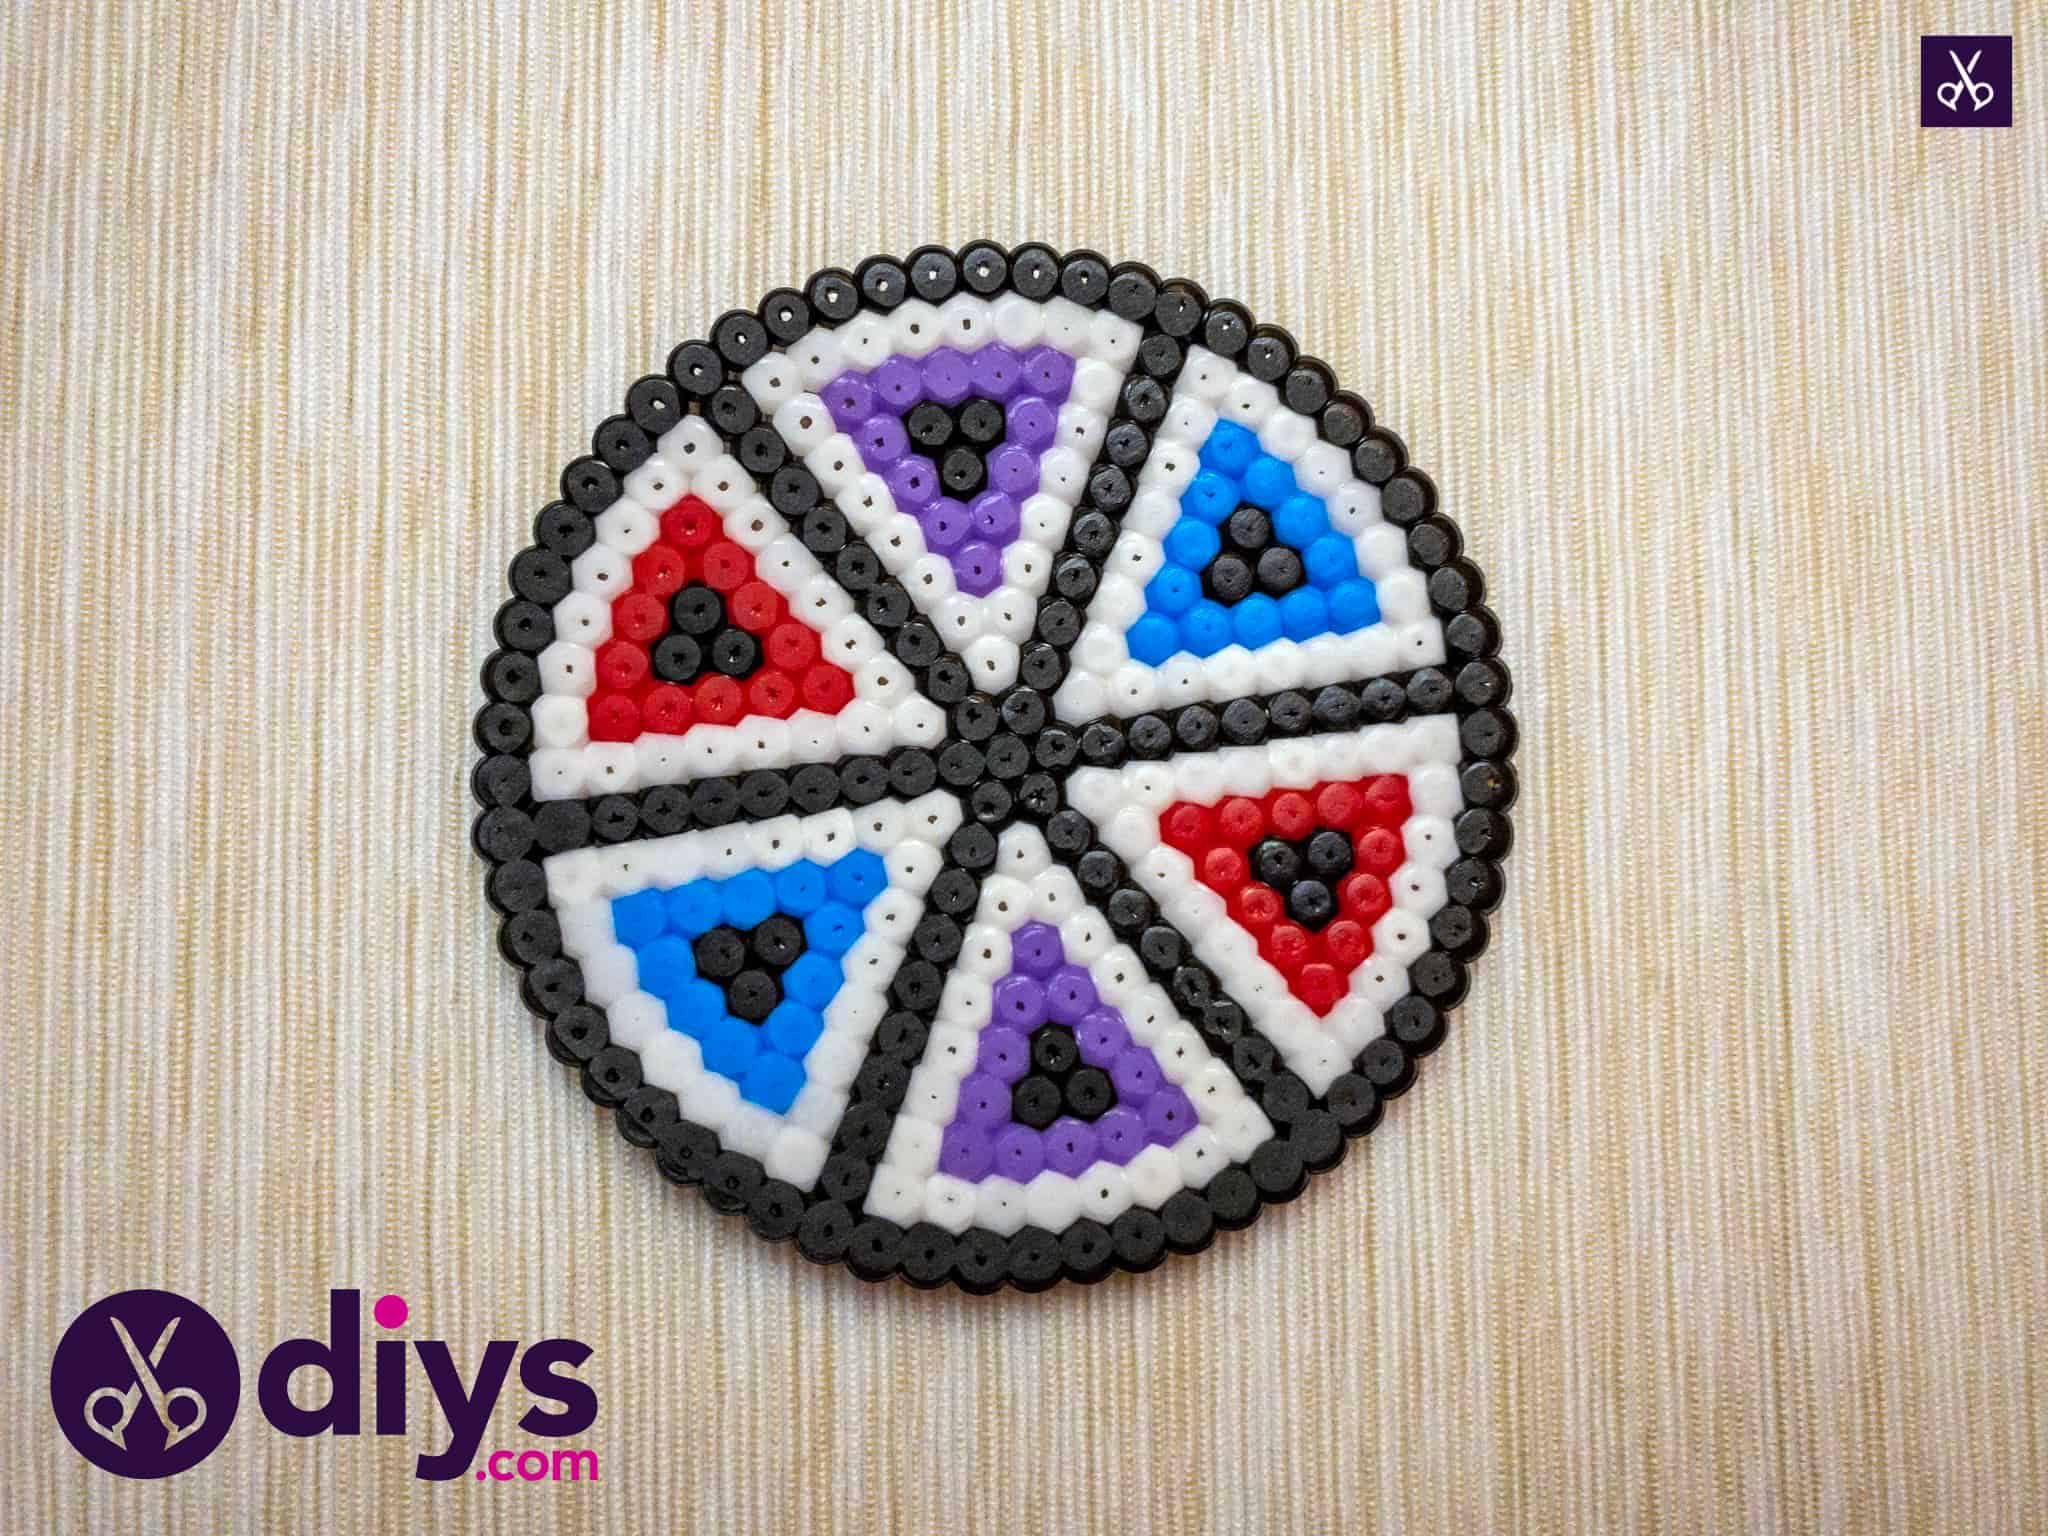
Five rows in from the edge of your perler base or template, make a full ring all the way around in black perler beads. This will be the outside border of your coaster. You’ll make a circle of 60 beads all the way around. Next, you’ll divide the circle into sections with lines, making it look like the slices of a pizza. We placed a line every ten beads around the border so the sections stayed nice and even from their rounded edge to their taper at the centre.

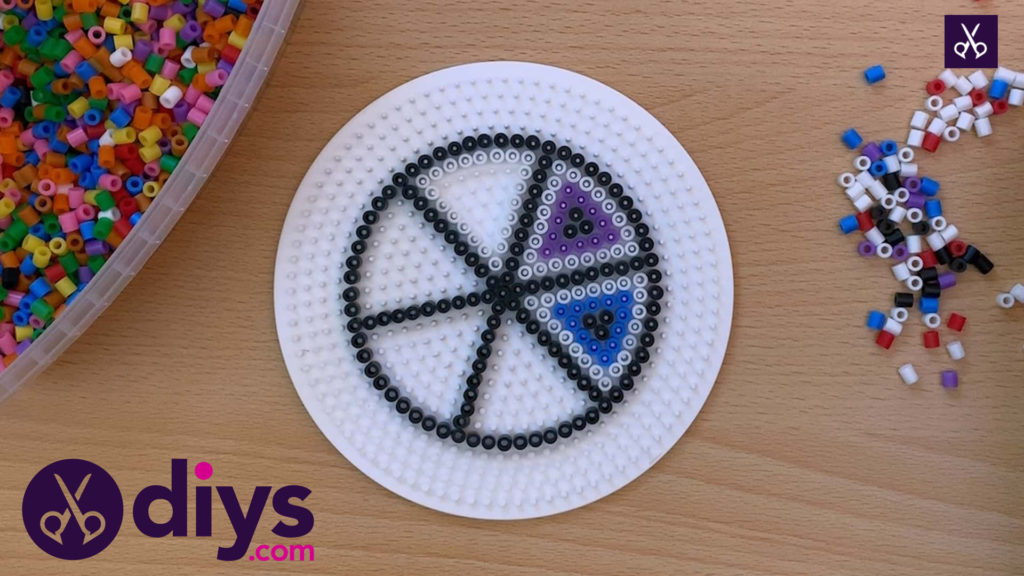
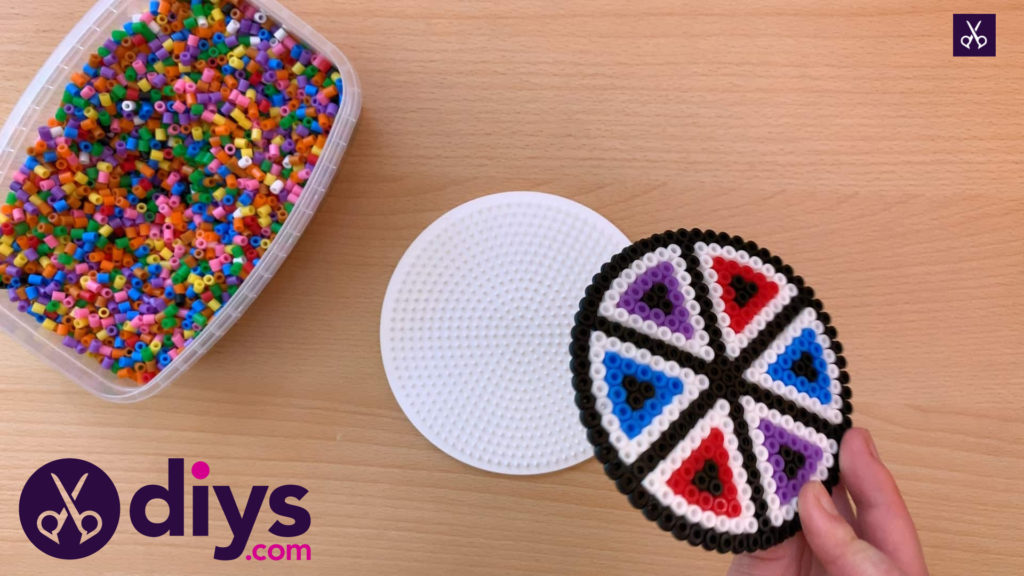
Step 3:
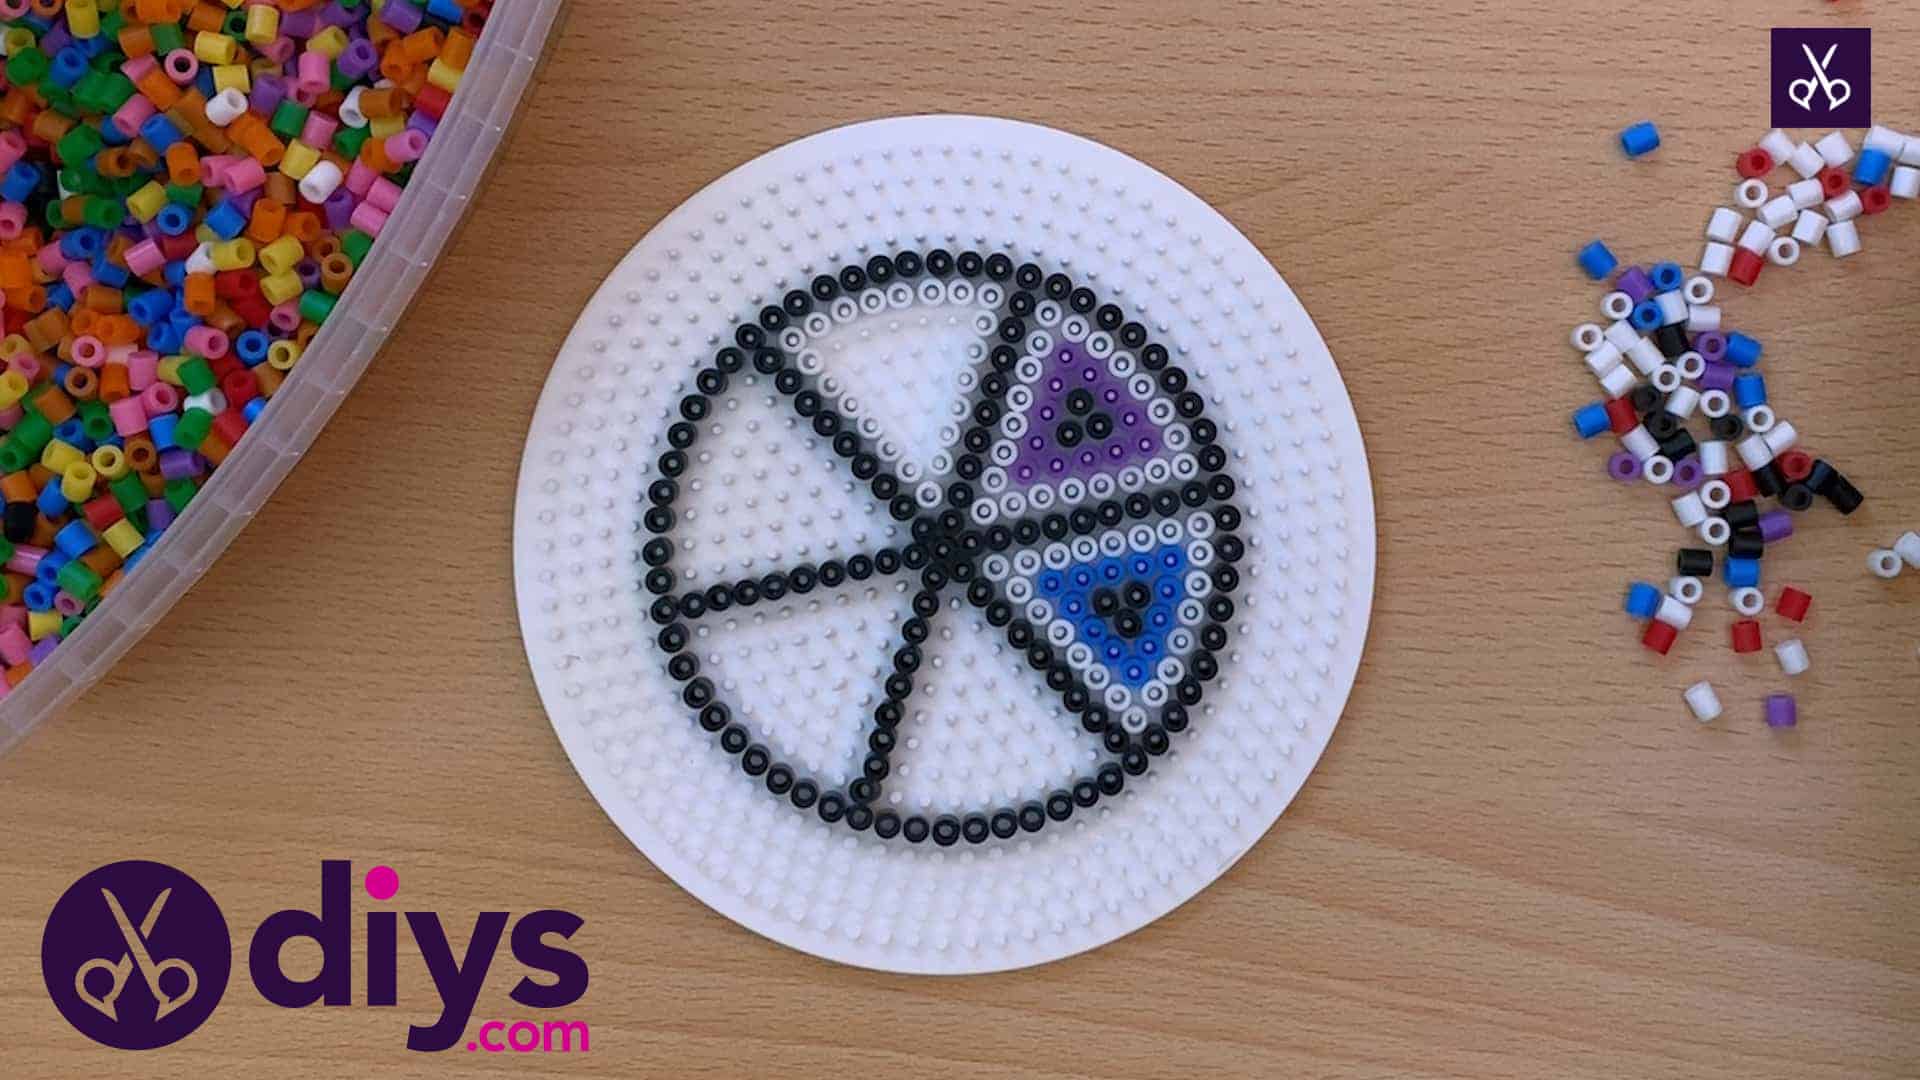
Start filling in each section or slice! I used a coloured pattern for a little bit of cute visual detail. First, I made a line around the edge of each section in white beads. I follow this by one of my chosen colours- blue, purple, and red- and then filled the last three spots in the slices with black to tie in with the border for consistency. Repeat this filling process all the way around so that each slice has a colour pattern but that no colour sits next to a section with the same colour inside it.
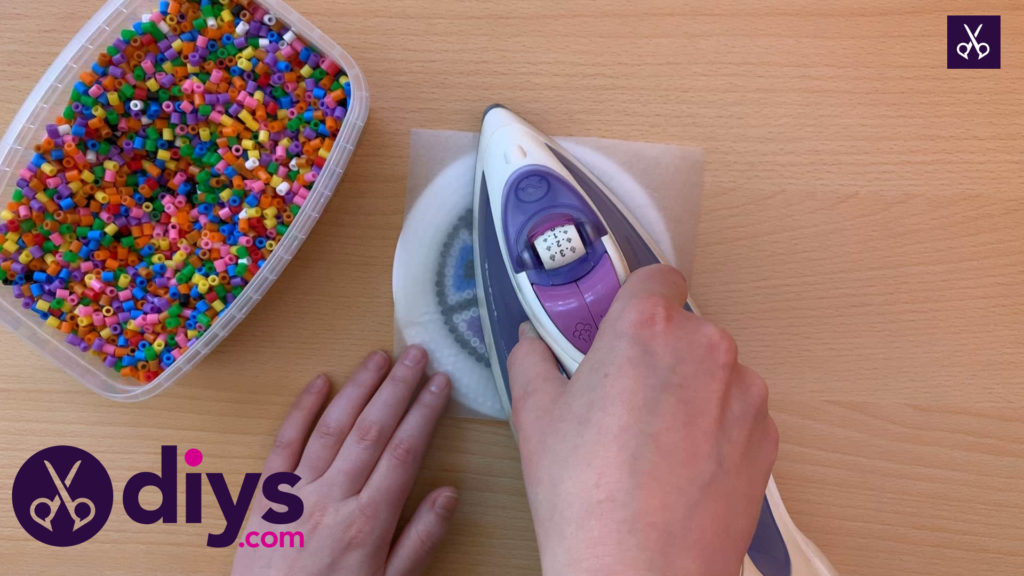
Step 5:
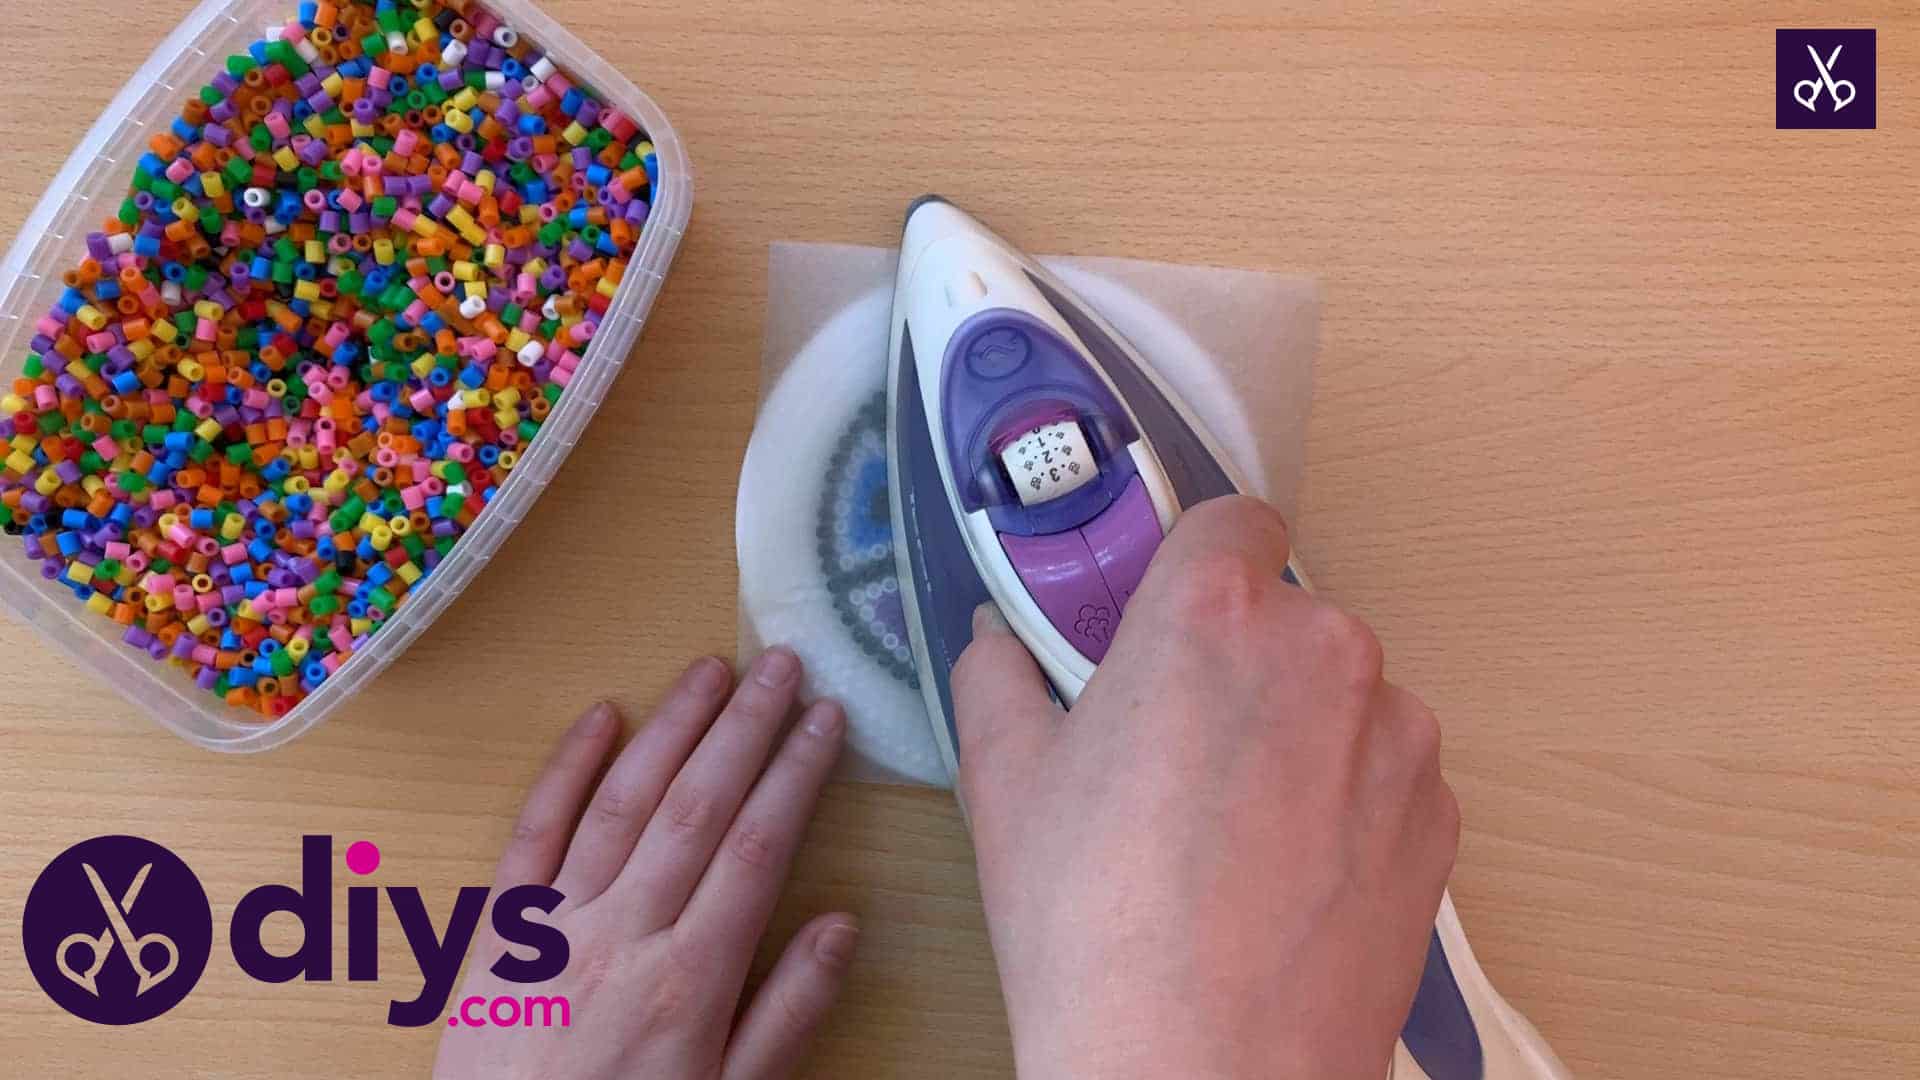
Once you’ve filled the entire group of sections and you have a wholly beaded circle, it’s time to melt the beads together. Place your wax paper over top of the beads and use your iron, on a low level, to carefully heat the surface. Once you can see that all of the bead surfaces have melted gently together nice and evenly, turn the iron off, carefully peel off the wax paper, and let your coaster cool.
Step 6:
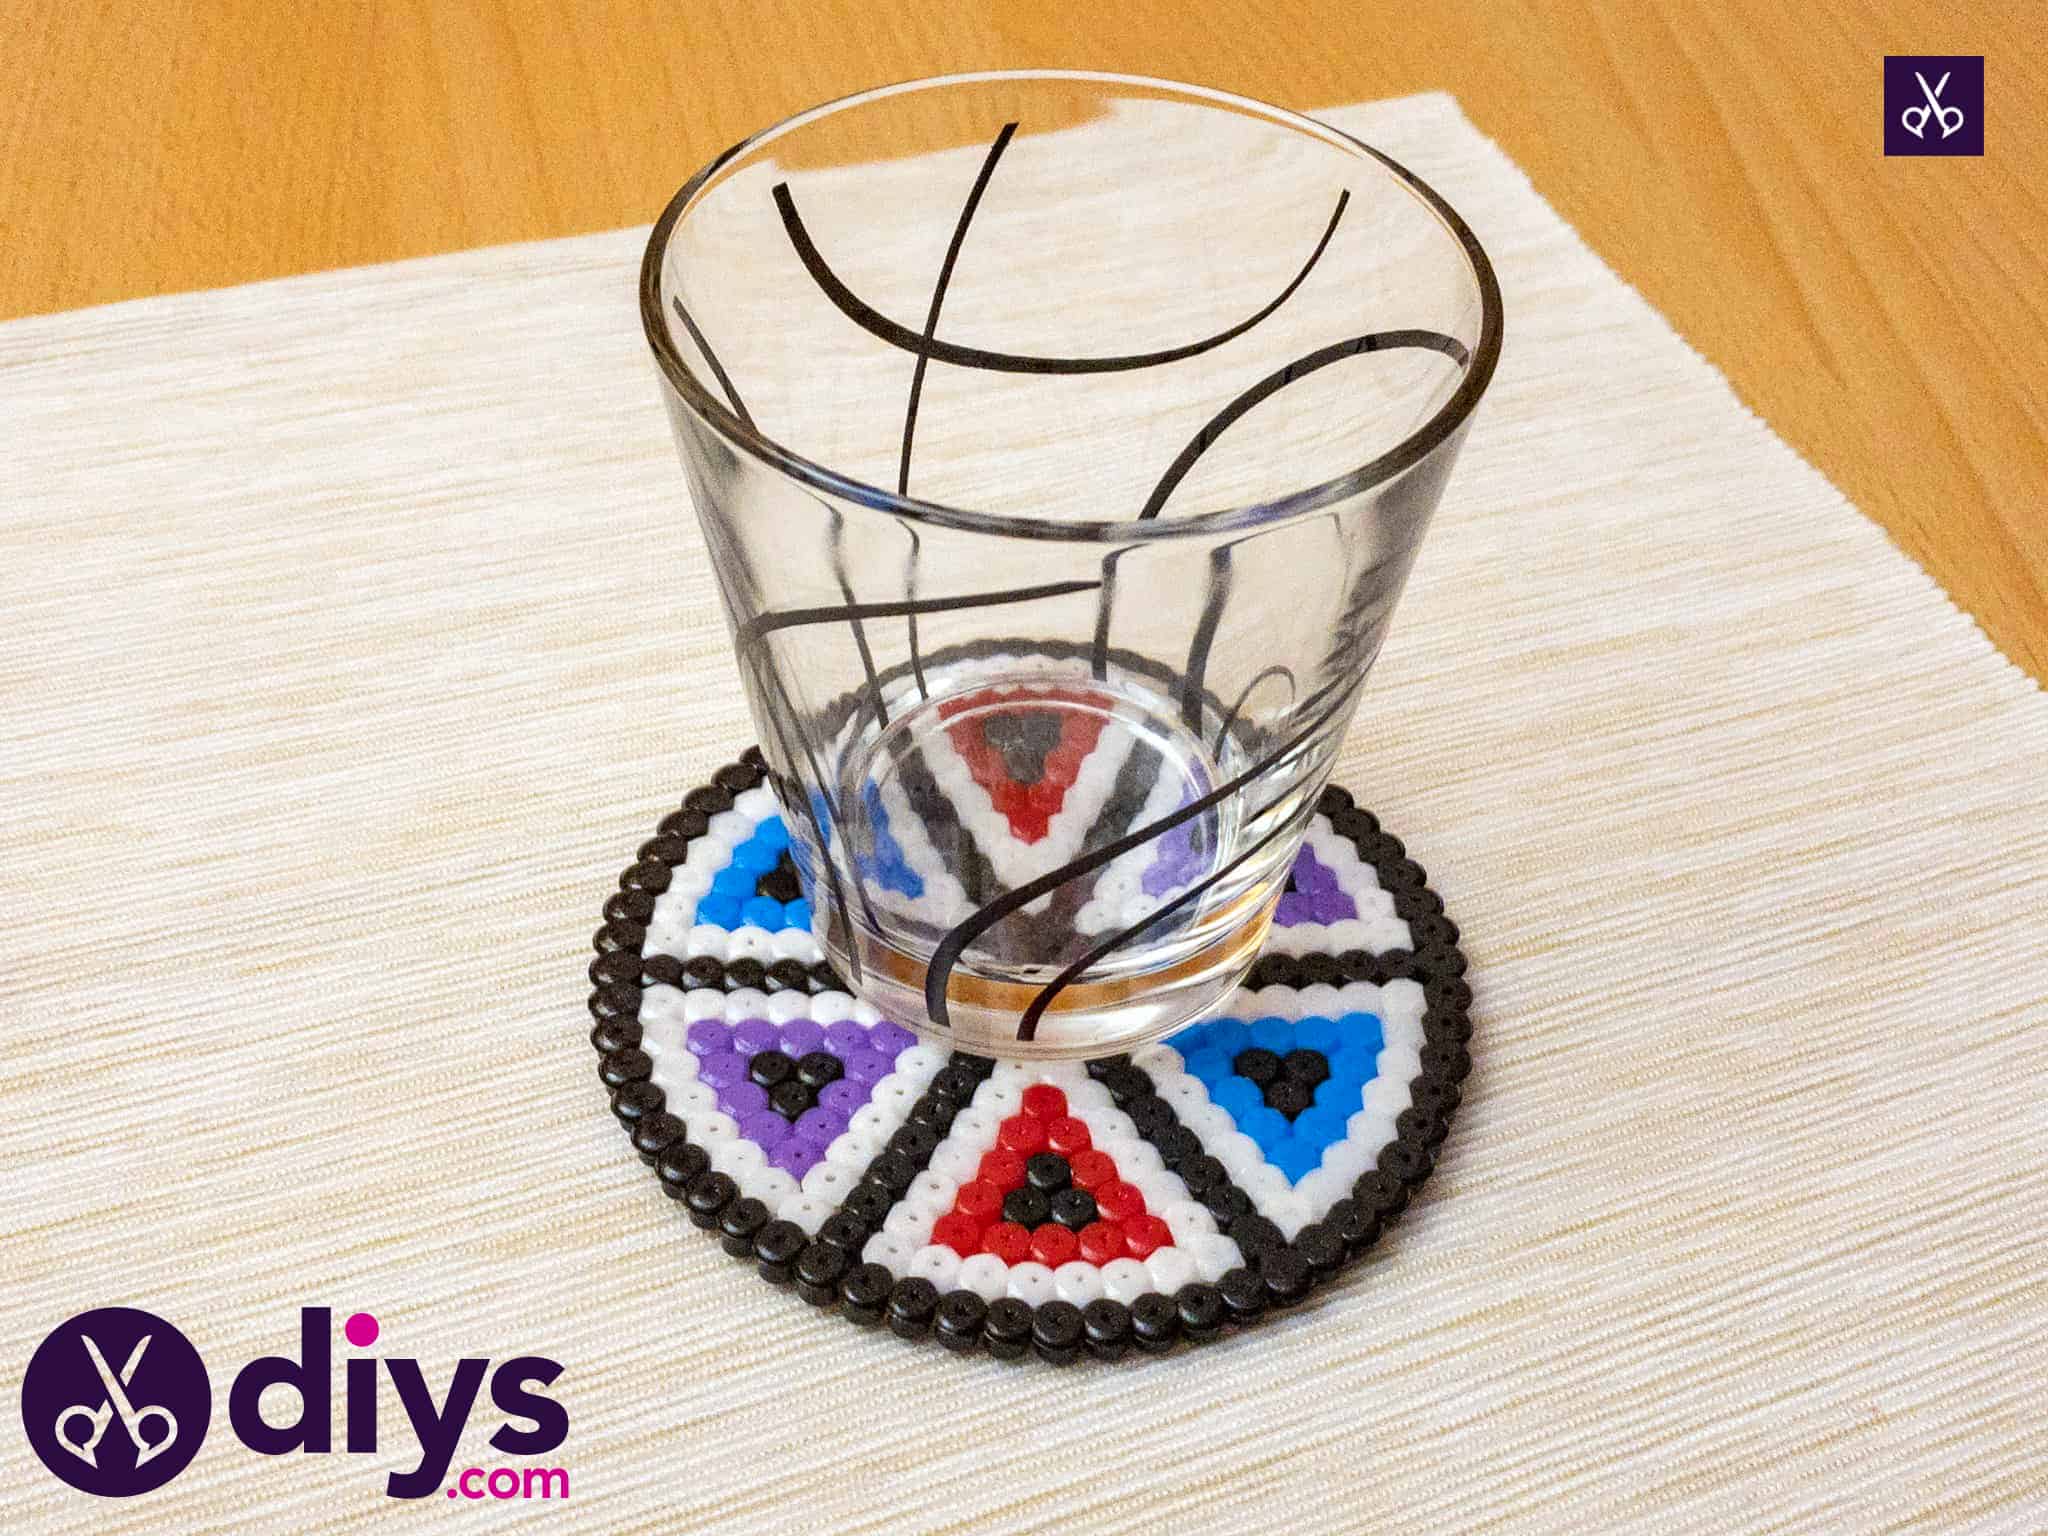
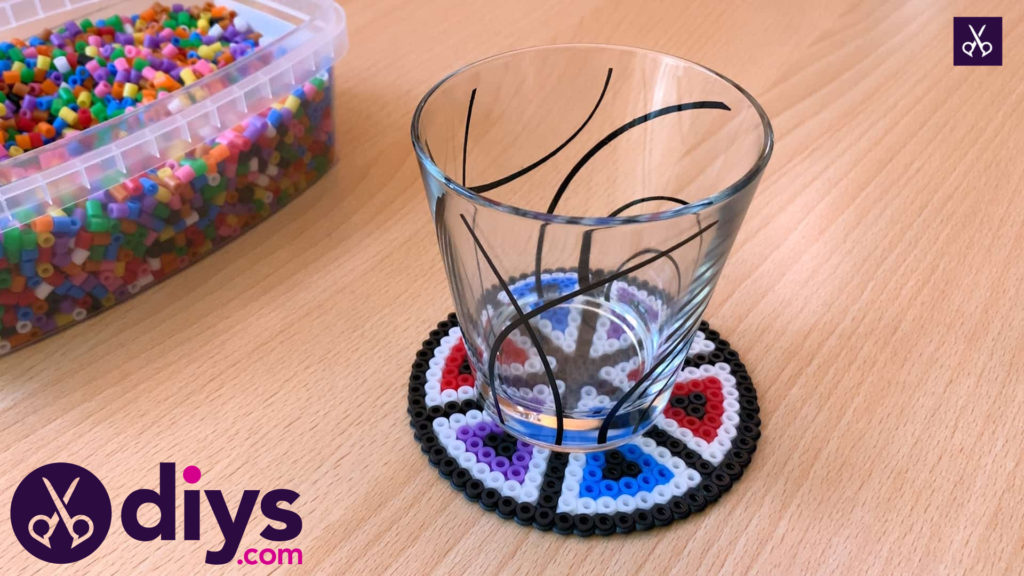
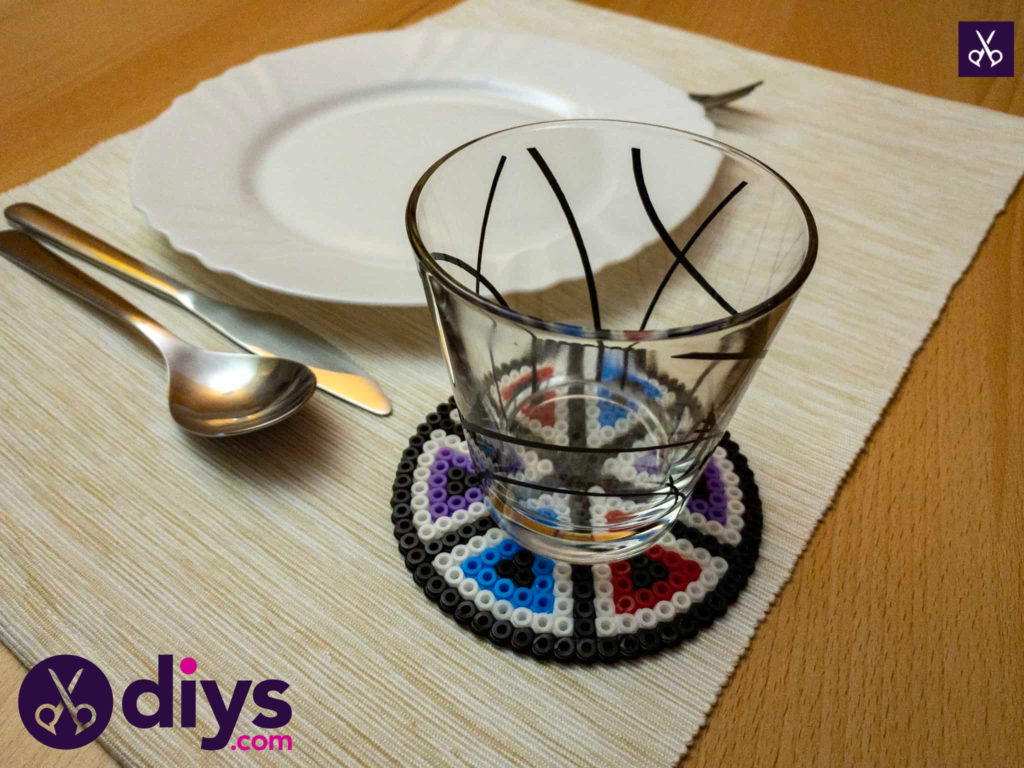
Once the coaster is fully dried and cooled, creating a solid surface across the top, carefully take it off your template base. I use what was the under side of the coaster when it was on its base as the top now that I’m actually using the ones I’ve made, with the solidly melted side sitting on the table.
There you have it! I made a whole set of these in this matching pattern, but I’ve also made other designs of perler bead coasters too! Feel free to play with colours and designs.
Just in case you’d like to try making one yourself, here’s a fantastic video tutorial!