Lean-To Shed 101: Everything You Need to Know
Updated on May 5, 2022
If you’re looking for an easy, affordable way to add extra storage to your home, a lean-to shed could be the perfect solution, especially if you don’t have a lot of room to spare.
Find out everything about lean-to sheds, including pros, cons, building instructions, maintenance tips, and the best ideas for your home.
A lean-to shed adds architectural interest to your home. Most importantly, it provides extra storage space for your outdoor equipment and materials.
The tools stored in your shed make it easy to take care of backyard chores like mowing, trimming trees, and planting flowers.
If you are wondering about what it takes to build a lean-to shed on your own without employing a professional service, keep reading!
Before reaching that point, though, it’s best to go over the basics and learn the advantages and disadvantages of a lean-to shed.
Table of Contents
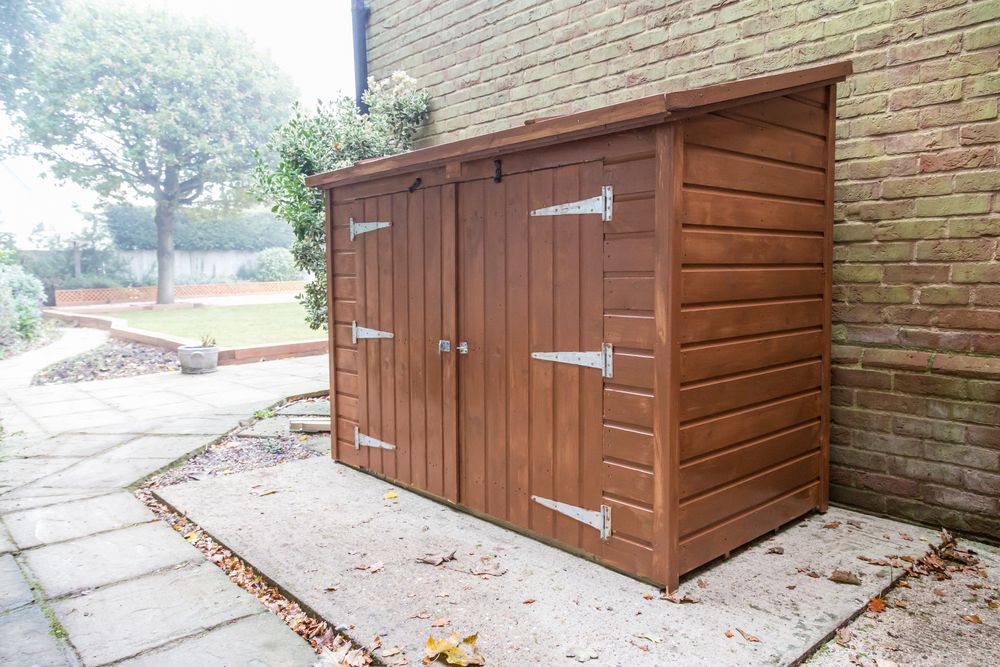
What Is a Lean-To Shed?
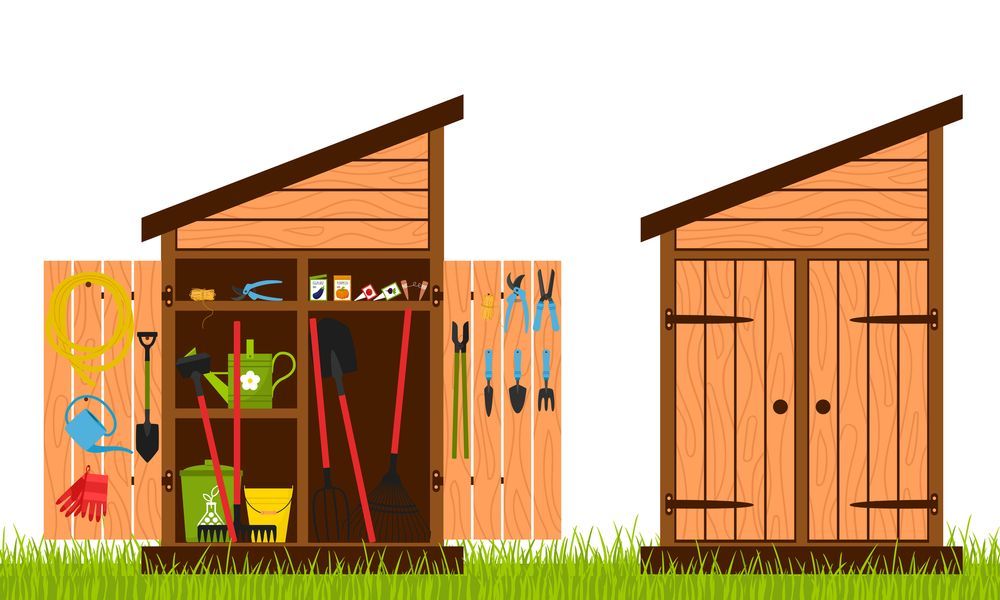
The lean-to shed, also known as a garden shed, is one of the most popular types of backyard sheds because it offers many benefits.
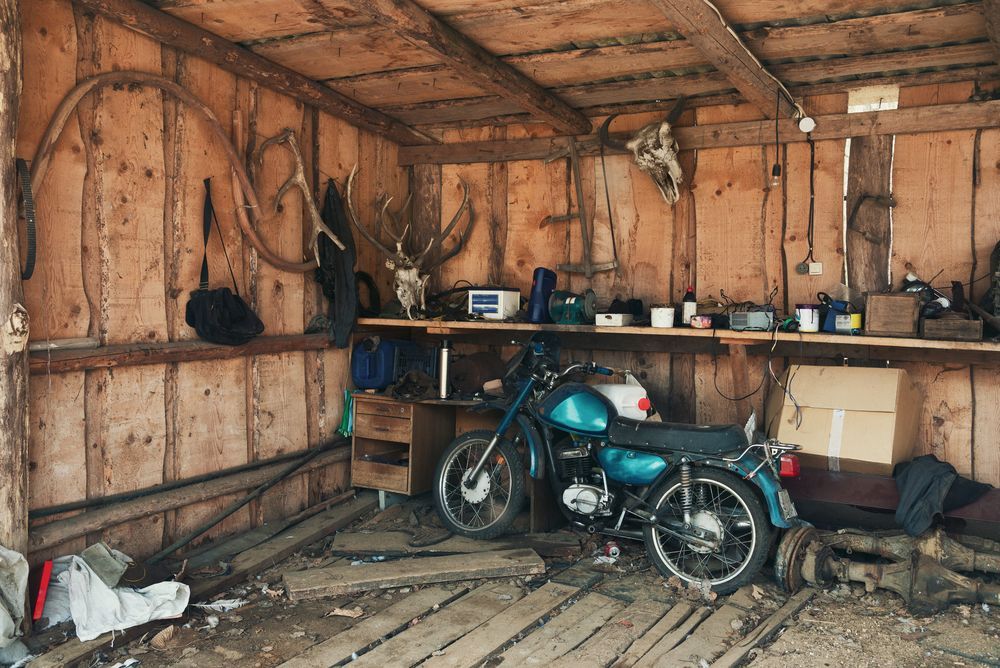
You can use it to store your gardening supplies, landscaping tools, or firewood, set up a small workshop, keep your bikes and other recreational equipment, or simply provide some extra storage space.
If you’re wondering what lean-to is, it refers to additional structures built to lean against the wall of an existing building. Compared to it, free-standing relates to facilities that are not attached to anything since they don’t need support.
Lean-To Shed Advantages
If you’re considering installing a DIY shed in your backyard, here are the key benefits you should take into account when opting for the lean-to model:
- Affordability. Lean-to sheds are typically less expensive to build than free-standing sheds because they use the wall of an existing building for support.
- Easy construction. Because lean-to sheds use an existing structure for support, they are typically much more accessible to build than free-standing sheds.
- More storage. Lean-to sheds offer significantly more storage space than most free-standing sheds. Plus, they come in various sizes.
- Requires little space. If your yard is too small for a free-standing shed, you can save up space by building a lean-to shed instead.
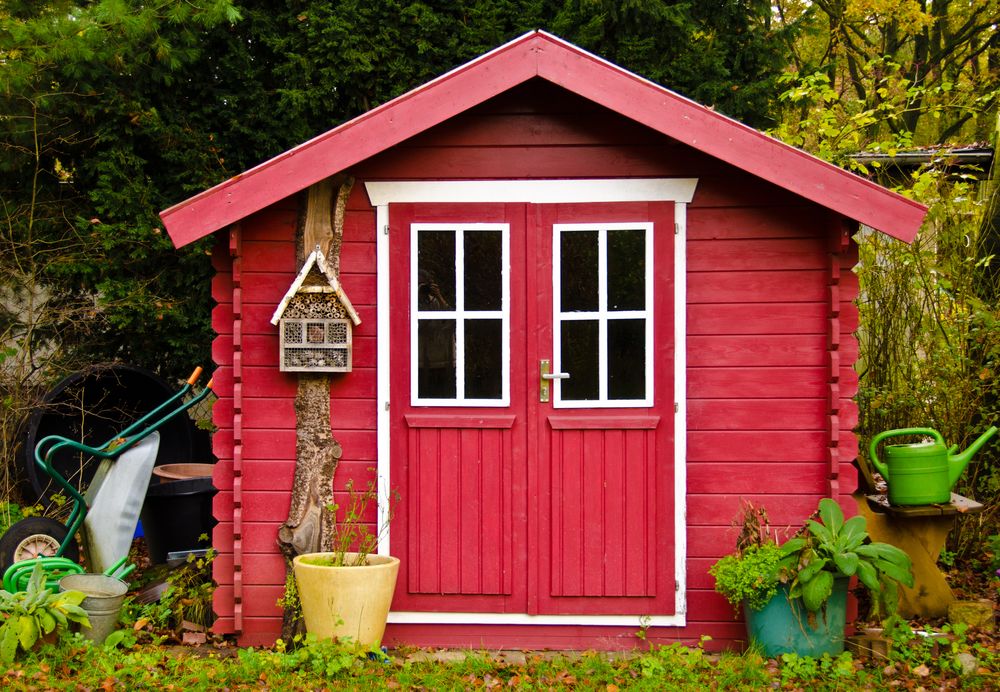
- Appealing. Lean-to sheds offer an attractive design that can complement your backyard.
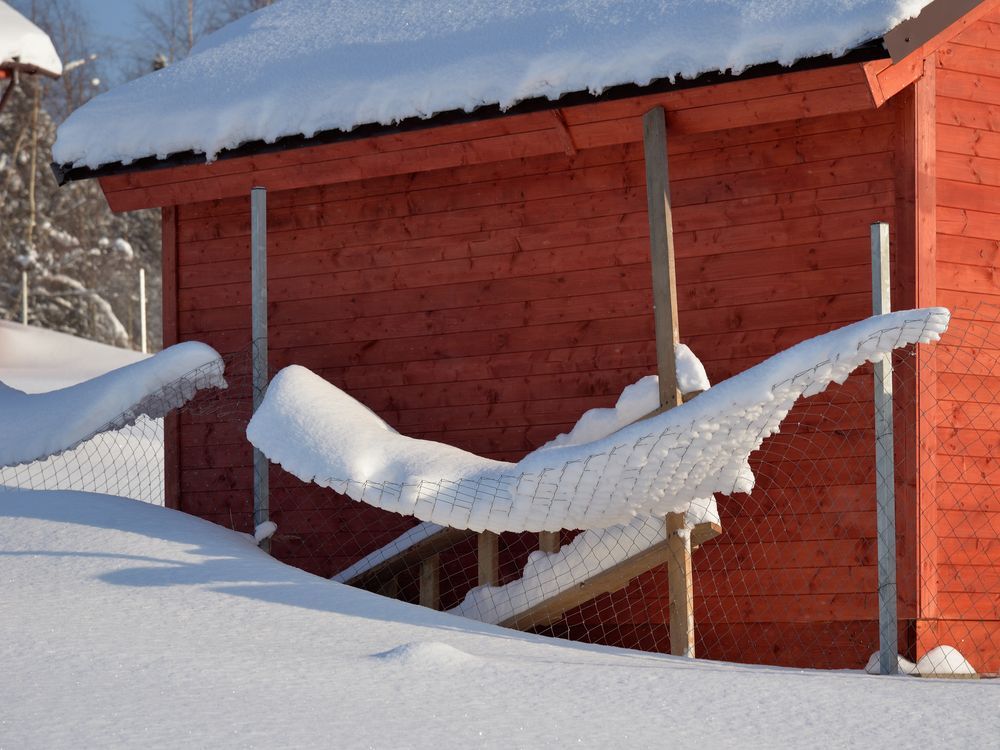
- Withstands rain and show. If you live somewhere where rain or snow is common throughout the year, you don’t have to worry about water damage since the roof’s pitch diverts the water away.
- Flexibility. You can use a lean-to shed for a variety of purposes, from storing your gardening tools to using it as your workshop.
Lean-To Shed Disadvantages
Before you decide to build a lean-to shed in your backyard, you must be aware of the potential drawbacks. For instance:
- Unstable in high winds. Lean-to sheds are generally less durable than free-standing sheds because they can’t support their own weight without an external wall.
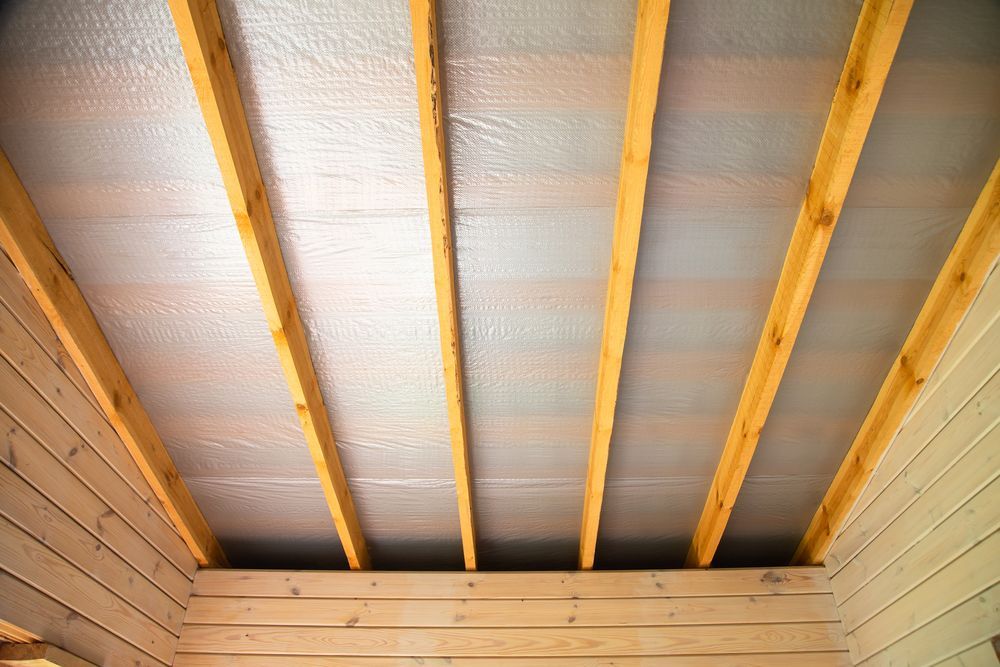
- May be difficult to heat in winter. The structure’s design only allows for limited insulation, so it may be challenging to heat up when temperatures drop below freezing point.
- Not suitable for oversized items. A lean-to shed is typically not recommended if you have large gardening equipment or other bulky items since they take up too much space and prevent you from opening both doors simultaneously.
- Requires maintenance. Like any other structure, a lean-to shed requires regular maintenance to keep it in good condition.
- Requires good ventilation. Without proper ventilation, your lean-to shed can quickly become a breeding ground for mold and mildew due to high humidity levels.
- Might require a building permit. If you live in a municipality that requires a building permit for sheds, you must obtain one before starting construction.
How to Build a Lean-To Shed
If you’re interested in building a shed that’s attached to your house, here’s what you need to do.
Step 1: Choose a location
When picking a building spot for shed installation, keep in mind the following aspects:
- It should have a flat surface on which to rest. However, if that’s out of the question, you will need to spend extra time laying out a complicated concrete foundation to even the surface.
- The side of the shed that sits against the ground should be positioned away from prevailing winds. These include wet ocean winds blowing in from the coast or cold, dry winds coming down from snowy mountains. It also helps to avoid snow buildup on your shed roof.
- Drainage is important. If water pools up around your building site after rainstorms, consider moving somewhere else or try to divert the water. For instance, you should consider building a French drain before making your lean-to shed.
- Mind utilities like power lines, gas lines, and telephone poles to ensure that you won’t bump into them or block access to them.
- Your lean-to shed will eventually need to have electricity run to it. So check that you can run an electrical line this far when planning the building location. If not, consider running an extension cord out of your house and plugging it into a power outlet outside.
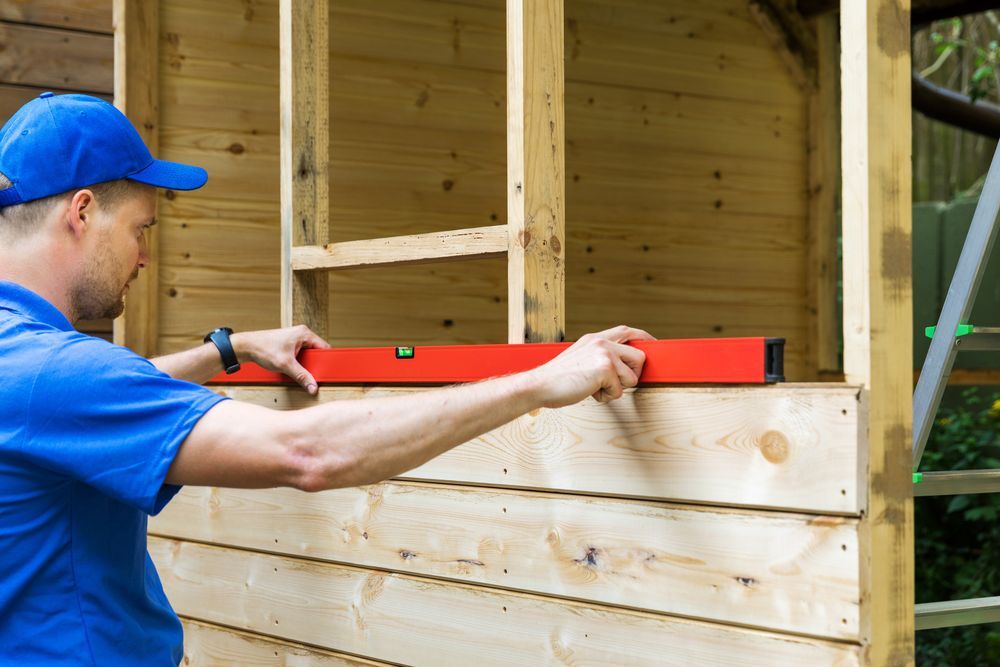
Step 2: Design a lean-to shed plan
Draw out your plans on paper to visualize what you are trying to build:
- If you need inspiration, check out the wide range of lean-to shed plans available online. For example, Construct101 teaches you how to build a 4×8 lean-to shed using wood shed plans.
- Be sure to square these plans with the ground using string lines pulled taut between stakes in four corners of the building area.
- Use these lines with a tape measure to get dimensions right before cutting any boards to ensure accurate measurements all around.
- Figure out the desired roof pitch. You want the shed to catch as much sunlight as possible in the winter, so the side of the roof facing the sun should have a steeper slope than the side facing away from it.
Step 3: Get your building plan approved
Depending on where you live, you might need to get your local municipality to approve the construction of your lean-to shed plan. In this case, you’ll need to submit your plans to them and get a permit before building.
Step 4: Gather your building tools and materials
Once you have your plans squared away and approved for construction, it’s time to start gathering your tools and materials:
- Tape measure
- Level
- Plywood sheets
- Circular saw
- Ruler or a straight edge board
- Chop saw
- Hammer
- Screwdriver
- Shovel
- Paintbrush, roller, or foam brush for your paint
- Broom and dustpan
- Work gloves
- Safety goggles
- Protective kneepads
- Sawhorses or a sturdy table on which to work
Step 5: Build the foundation
For each section of your lean-to shed, you’ll need to build a solid foundation that supports it. Before digging out trenches for the footings, ensure that the ground is reasonably level. Otherwise, you will have to build a concrete foundation.
Here’s what you need to do to build a wooden foundation:
- Dig footing holes five inches wider and deeper than your vertical support beams.
- Use straight boards like 2 x 4s or 4 x 4s to make sure your footing holes are square.
- Lay down planks across these boards and screw them in place with screws spaced every six inches.
- Nail plywood sheets on top of these planks to create a platform for attaching joists.
- Drill 3-quarter-inch diameter drainage holes in each corner under where your plywood will sit.
Step 6: Build the main body
Place two footings on either end of the area you want to build your lean-to shed. These should be 8 feet apart and at least 5 feet wide – the more room you have, the easier it will be to do this step. Here’s how to build them:
- Cut a 2 x 4 into four 12 inch pieces using a chop saw.
- Nail the pieces together with three 16d nails per board end to create a post.
- Screw or nail these posts into your footing holes so that they stand straight up. Each should go in at an angle and point down towards its opposite partner post. This way, when you screw them together, they’ll cross over each other and provide extra stability and strength.
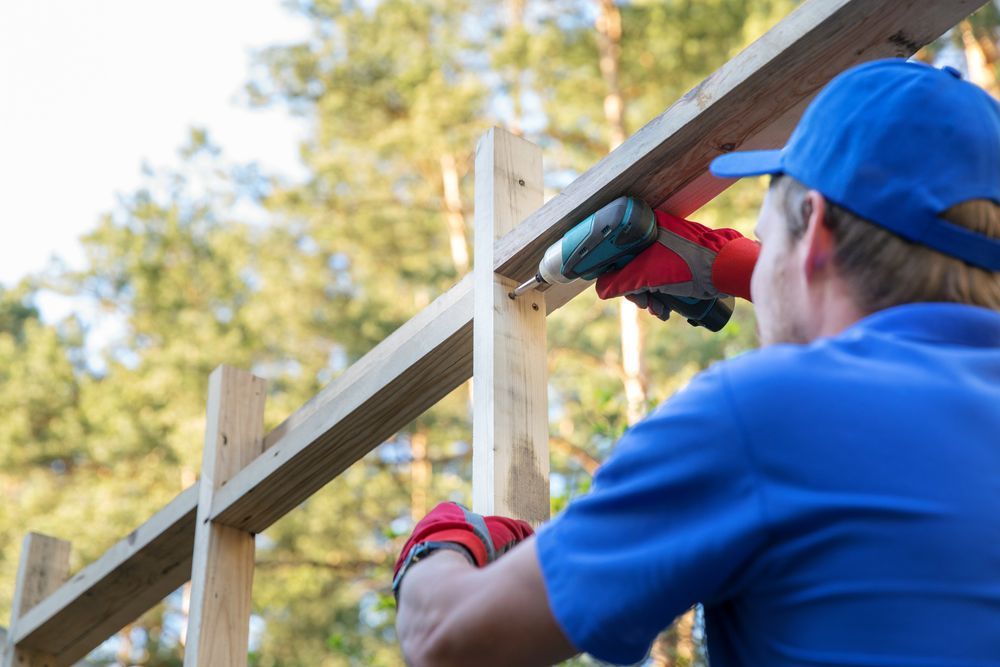
Step 7: Install roof joists and rafters
You’ll want to use 2 x 4s that are 7 feet long for this step:
- Cut 9 pieces for each side of the building – 6 for the eaves and 3 for the ridgeline.
- Attach the eaves between the front wall and back wall at a 90-degree angle to create a flat surface on which to attach panels.
- Use a 2-foot piece to connect them all at the topside.
- Screw these together using 16d nails spaced every 6 inches apart.
- Attach the panels to your building with screws through the overlapping edge under the overlapping edge. Make sure the angle is correct, or your roof will not be waterproof.
- Install the ridgeline by screwing it into place between the two posts at the top of the building. Again, make sure the angle is correct, or your roof will leak.
Step 8: Install roof panels
Now that you have your joists and rafters in place, it’s time to install your roof panels:
- Cut plywood sheets to fit each section of your roof – eaves, ridgeline, and main body.
- Nail them in place with 16d nails every 6 inches apart.
- Make sure to stagger the joints between adjacent sheets for extra strength.
- Cover the entire roof with tar paper before installing shingles.
Step 9: Add a door and windows
Here’s how you can add an entryway and windows:
- Cut two 2 x 4s to fit vertically along each side of your doorsill.
- Attach 1×4 boards across these using 16d nails spaced every 6 inches apart – this forms the header above your door.
- Use one piece for each side and offset them so that they don’t meet in the center or overlap any other pieces used on the wall. It leaves room for insulation and prevents heat transfer indoors and outside.
- Measure the opening’s height where hinges will attach. Remove 1 inch for clearance below jamb at the bottom, 11 inches for top clearance under the lintel, and 2 inches for side clearance.
- Cut two 2 x 4s to fit into doorway frame with ends flush against header boards – this creates a strong doorframe in which to attach hinges.
- Install deadbolt locks on doors if you’d like the extra security.
- For the windows, cut out a section of plywood using a jigsaw or circular saw and then frame it in with 1x4s. Make sure you leave enough space around the window for it to open and close easily.
Step 10: Add insulation if necessary
After you’ve built the lean-to shed itself, there are several ways in which you can insulate it – underneath the floorboards or between the overlapping sections of your roof panels.
To install insulation beneath the floorboards, cut sheets of plywood to fit each section of your floor’s flat surface area. It would be best to nail these down using 16d nails spaced every 6 inches apart.
You can take the same steps to install insulation for the roof panels. Just make sure the plywood pieces are horizontal so that water doesn’t drip through.
Step 11: Add trim around the perimeter
At this point, you can add any desired trim to the outside of your shed using either wood or vinyl siding:
- Cut 2 x 4s to follow the perimeter of your building’s exterior.
- Ensure that their ends are flush against each other, and there isn’t any space where rain or snow could get into your lean-to shed.
- Also, make sure these boards are perpendicular to the floor joists beneath their bottom edge so that you don’t create an uneven surface on which to walk.
- Tack onto 2 x 2s horizontally using 16d nails spaced every 6 inches apart.
Step 12: Add door trim
You can also add trim to the outside of your shed’s door if desired:
- Cut 1 x 4 boards to fit between the header and jamb on each side of your entryway.
- Tack the boards onto 1 x 2s using 16d nails spaced every 6 inches apart.
- Use a miter saw or circular saw with a miter box to cut 1 x 3s according to the following measurements: two 33-1/2-inch pieces for horizontal trim above your top doorway trim and two 13-3/4-inch pieces for decoration below the door’s bottom edge.
- Nail these boards in place using 16d nails spaced every 6 inches apart.
- Add a kick plate to your doorway by cutting a piece of plywood to fit and attaching it with screws or nails.
Step 13: Paint or stain your new lean-to shed
If you’d like to add color or stain to your lean-to shed, follow these simple steps:
- Apply a coat of primer.
- Paint the exterior in a color of your choice.
- Allow the first layer to completely dry.
- Apply a second coat of paint and wait until it’s completely dry.
- Add a clear sealant to provide extra protection against the elements.
If you’re wondering how to build a shed that’s free-standing, you should know that the steps are similar. However, the building location should be larger. You also need more material to build all four walls.
Hiring a Local Contractor to Build a Lean-To Shed
Every homeowner wants their space to look beautiful and well put together. Unfortunately, many lack the design skills necessary for this task or simply don’t have the time to do it themselves.
Thankfully, homeowners can work with home improvement professionals to create the outdoor living spaces of their dreams. As far as costs are concerned, it depends on where you live and the size and materials of your lean-to shed. On average, expect to pay anywhere between $1500 and $8000.
Lean-To Shed Maintenance Tips
Once your lean-to shed is complete, it’s essential to perform some routine maintenance to keep it looking at its best and lasting for years to come. Here are some general maintenance tips you should take into account:
- Keep the roof clear of debris like leaves or twigs.
- Inspect the roofing material regularly for damage and repair as needed.
- Check eaves, gables, and rooflines for leaks and address them as soon as possible.
- Make sure the door opens and closes easily and securely.
- Repaint or stain the shed on a regular basis – every 2 or 3 years.
- Add insulation if necessary and if you haven’t already done this.
- Fit gutters to divert water away from your lean-to shed.
- Regularly check the locks since it’s much easier to break into a shed than into a house.
- Install a humidifier to control the moisture levels and prevent mold and mildew buildup.
Lean-To Shed Ideas
For more inspiration, check out the following images that showcase free-standing and lean-to sheds.
1. Shed House
A shed house is an excellent way to store everything you need outdoor. However, you need extra building space in your yard since it’s a free-standing shed.
2. Shed Roof
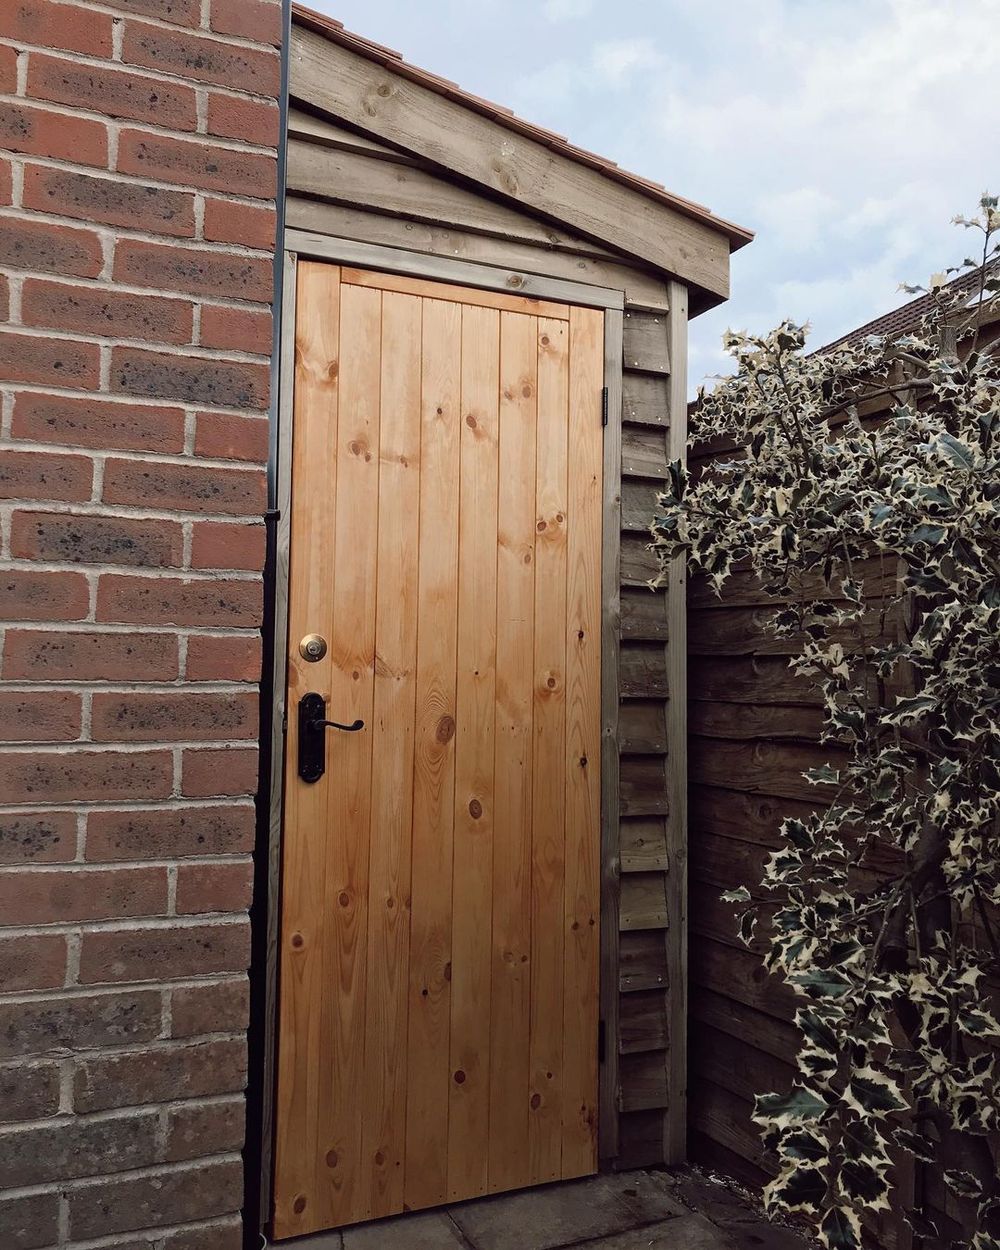
Many options are available for shed roofs, such as wood, metal, stone-coated steel, rubber slate, or clay and concrete. If your house doesn’t experience harsh winds, though, you can opt for a wooden roof. Check out this example we found on Instagram, courtesy of @gareth.bass, where the roof has cedar shingles.
3. Lean-To Roof
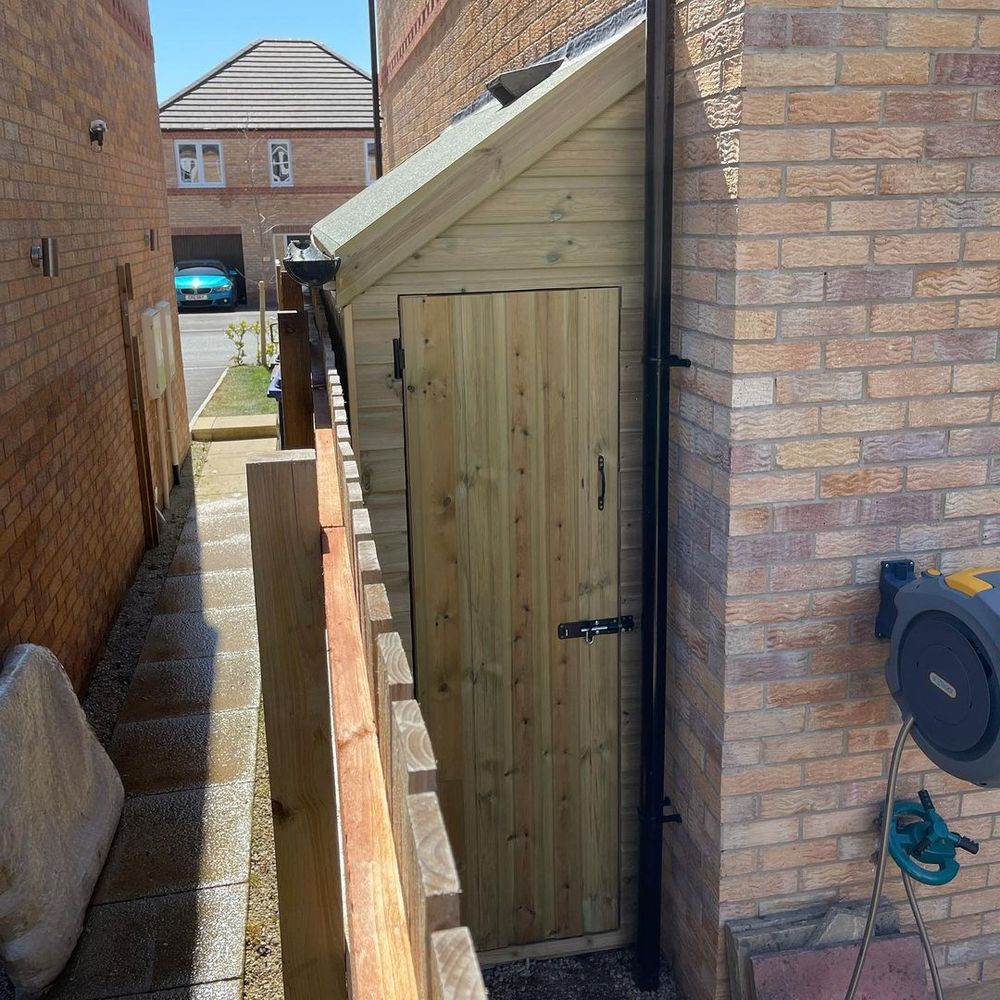
If your backyard is not large enough to accommodate a free-standing shed, you can always go for a shed attached to your house with a lean-to roof. This photo was taken by Instagram user @made_by_matt_uk, and we love how it gives character to the house!
4. Lean-To Shelter
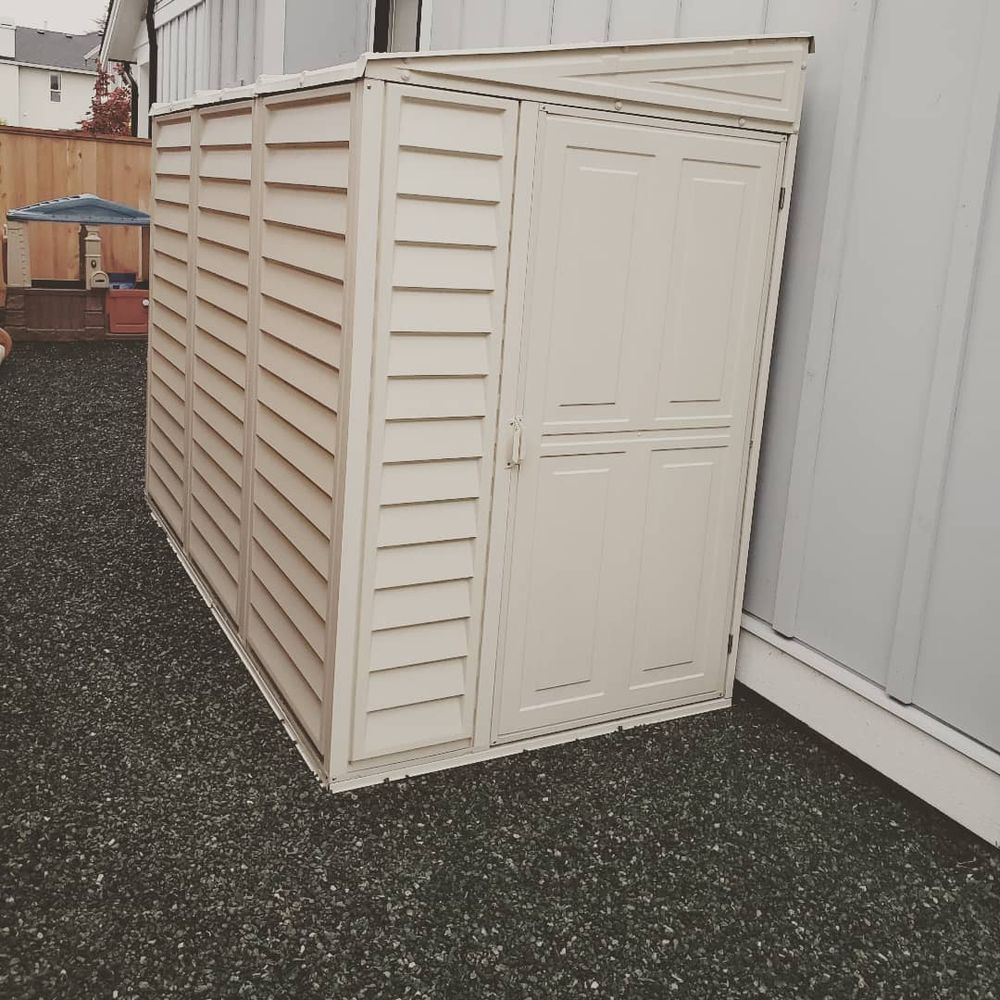
This Instagram post by user @ourhappyspace0 is a great example of a simple lean-to shed made out of white vinyl. It’s a cheap material, sturdier than wood, and perfect for storing tools and equipment.
5. DIY Storage Shed
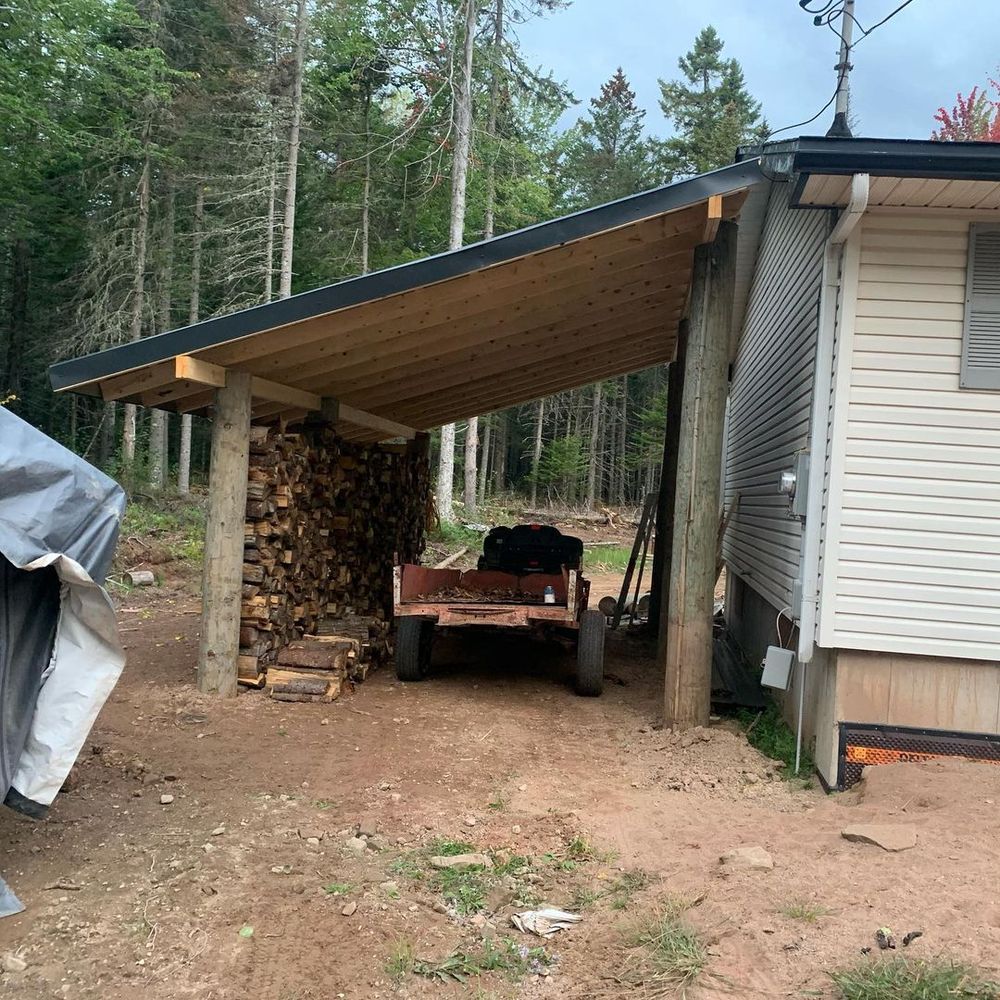
You can build a sizeable DIY storage shed without any walls for your firewood and even protect vehicles from rain or snow. We discovered this excellent example on Instagram, thanks to @risteenadam!
Final Thoughts on Lean-To Sheds
A lean-to shed is a perfect solution if you’re looking for extra storage outdoors. With so many designs and materials available, there’s sure to be one that matches the style of your property.
And, you can save money by building a DIY lean-to shed. However, if you lack the necessary skills or fear that you’ll be making mistakes, there’s no shame in hiring a local contractor.
Have fun choosing and building your new lean-to shed! Let us know how it turned out in the comment section below!