DIY Simple Knotted Bracelet
Updated on December 16, 2020


Have you ever come across a lovely, delicate piece of jewelry in stores before that youreally adored the look of but that you hesitated in buying because you were pretty sure you could recreate it yourself in a colour you liked even better thanks to your crafting skills and stock of DIY supplies? Then you know exactly how I felt the other day when I came across a gorgeously Celtic inspired knotted bracelet! I came straight home from the store and made more than one of my own version, and I even made a couple for some friends who I like to swap handmade gifts with rather than store bought ones and who have birthdays coming up.

Check out these step by step instructions complete with photos! If you’d rather follow along with a video tutorial instead of written words, scroll to the bottom of this post to find just what you’re looking for.
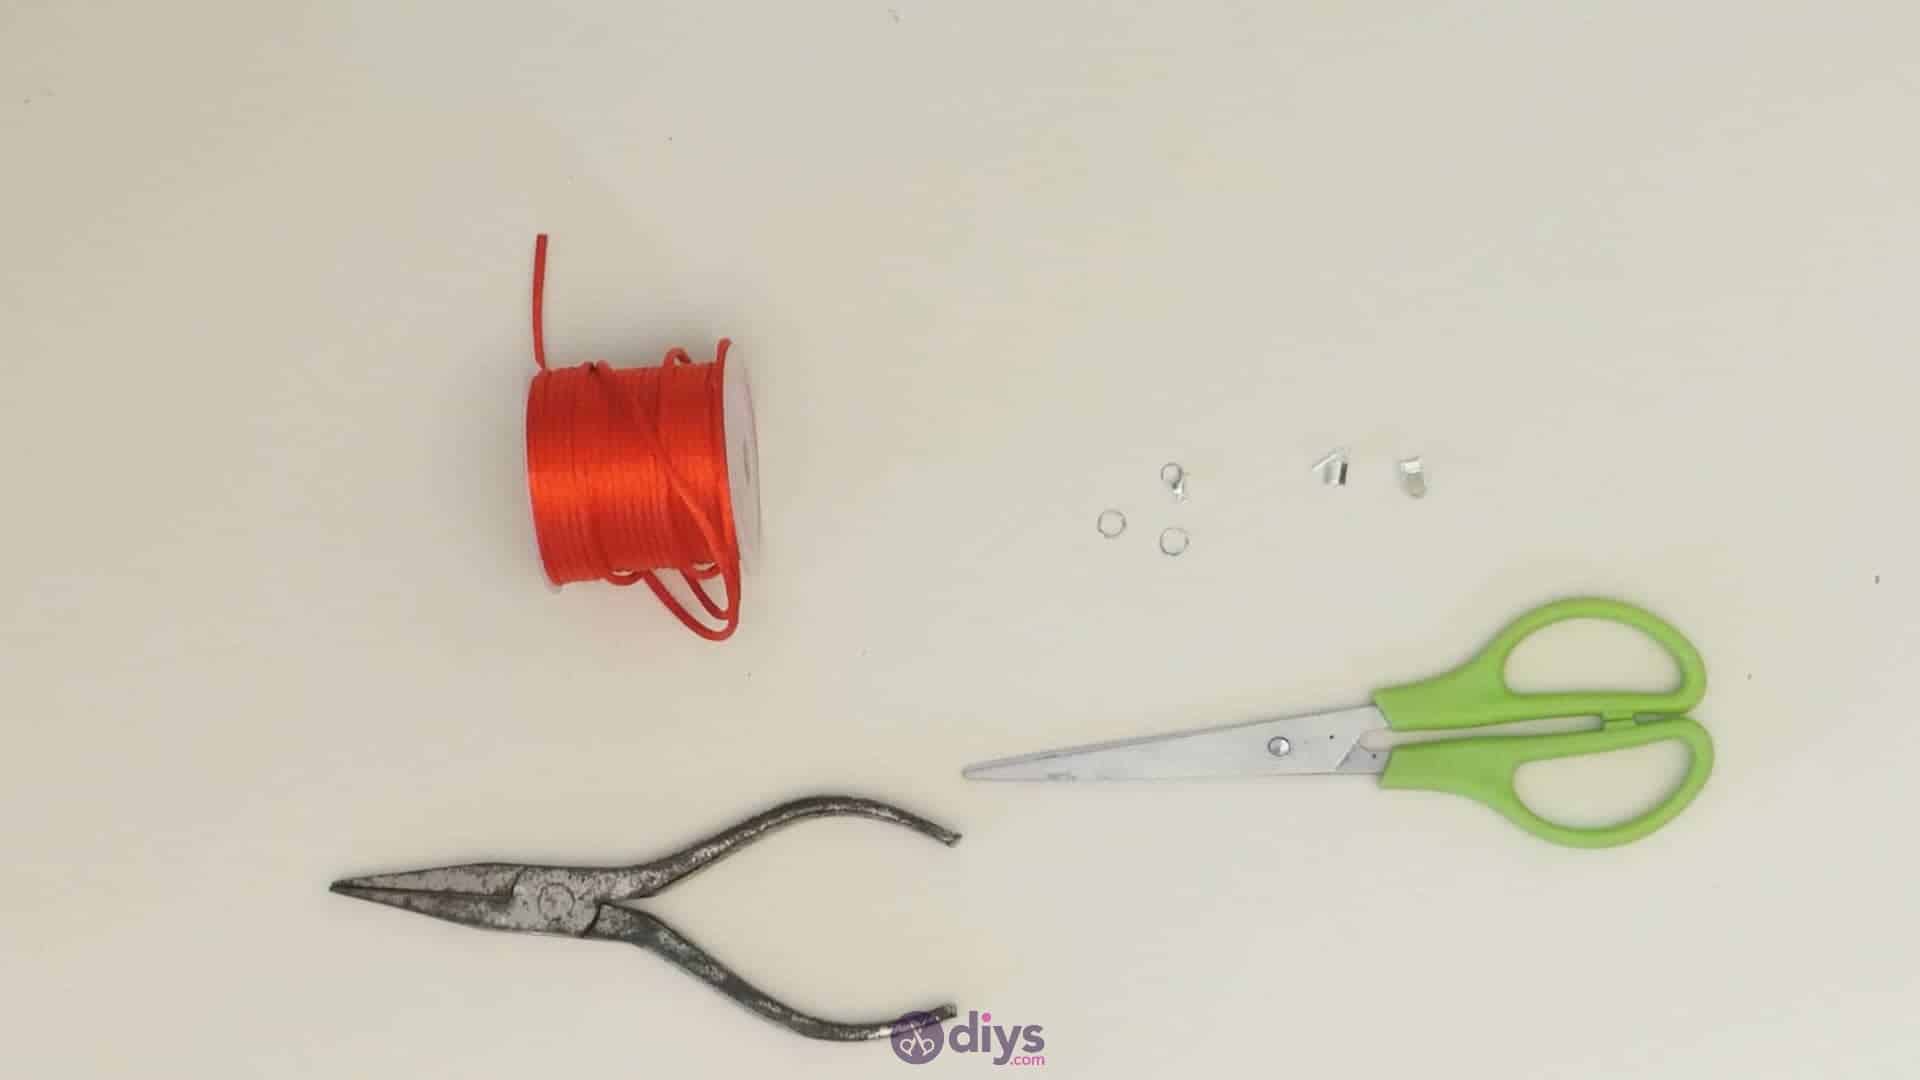
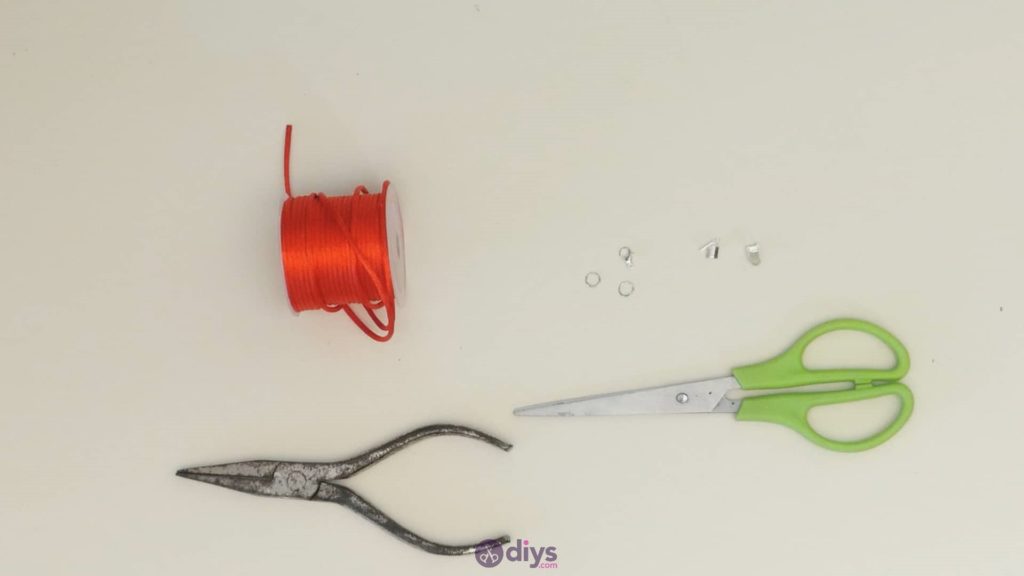
For this project, you’ll need:
- Ribbon clasps
- Red Satin macrame cord
- Scissors
- Pliers

Step 1: Gather your materials!
There’s not a lot, but you should still get everything you need before beginning.
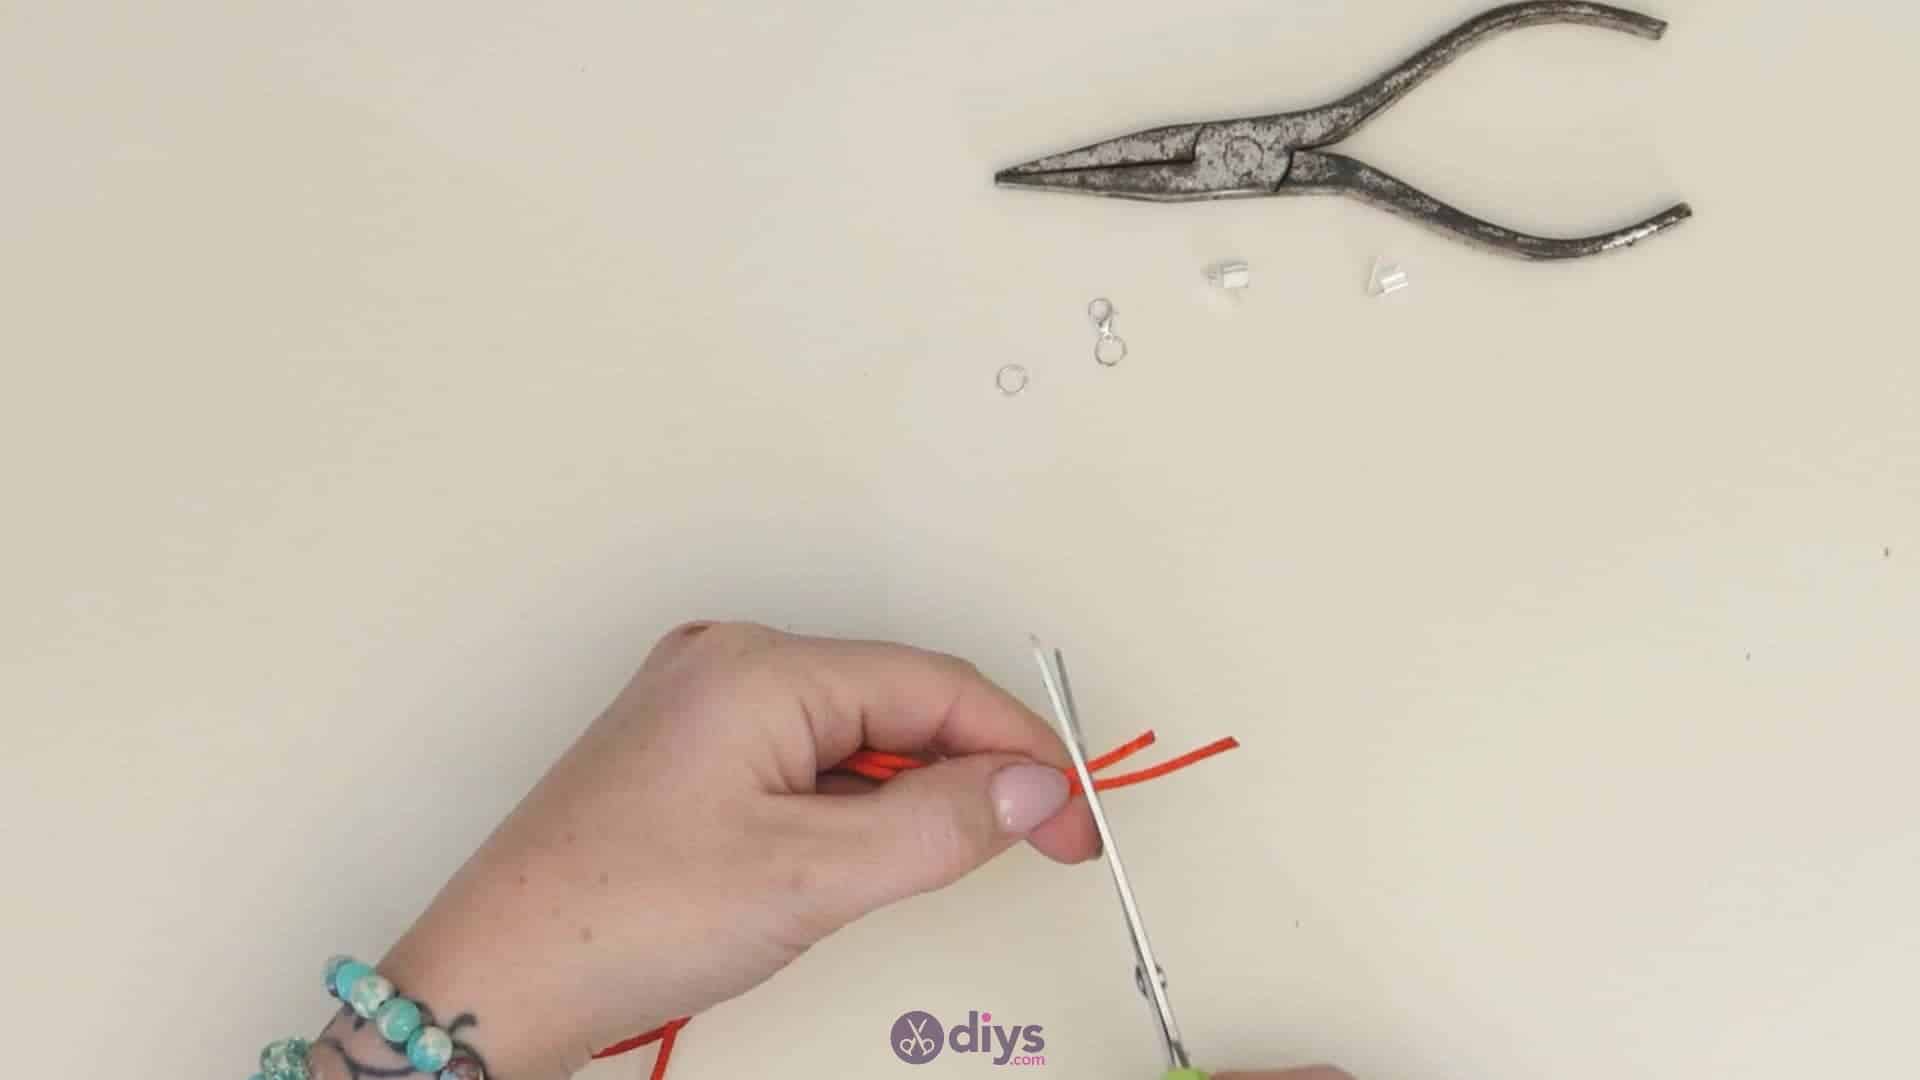
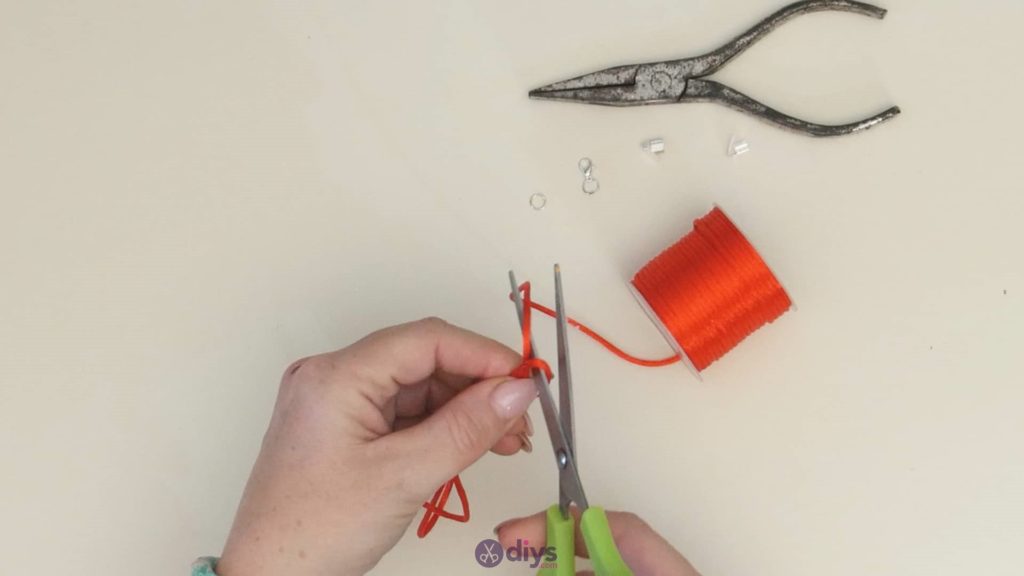
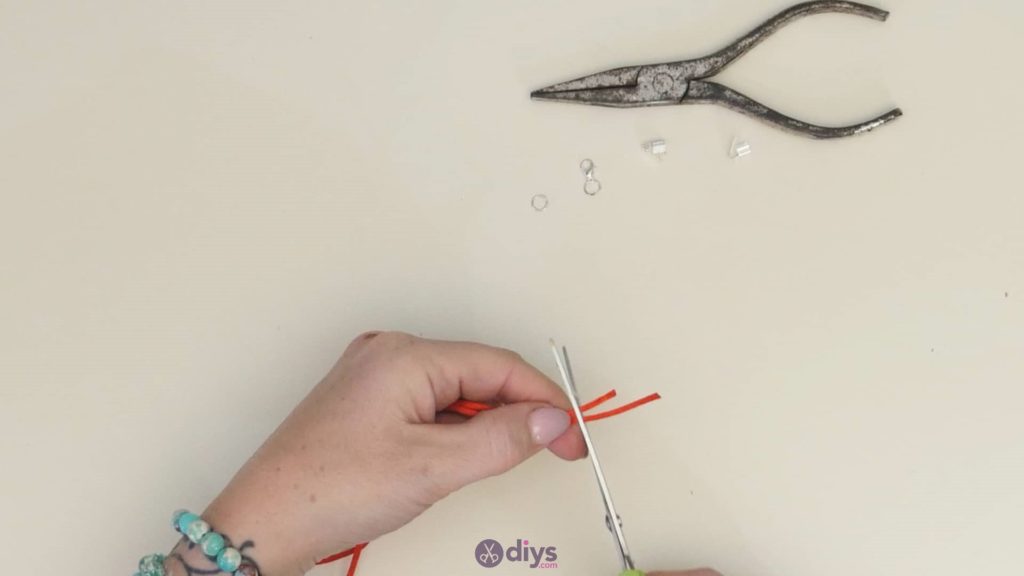
Step 2: measure cord
Measure out a section of cord about six inches long, or however long it needs to be to fit comfortably and a little loosely around your own wrist; you might need a piece shorter or longer than I did. At the six inch point, fold the cord over on itself and mark the place on the further cord with your fingers where the end of your first length hits, which should be six inches further down. Use your scissors to cut a new end there, keeping the piece folded, and then use your scissors to make a cut at the looped end, right in the middle, to cut the folded piece into two halves. Now you have two pieces of cord that are the same size and are ready to be knotted!
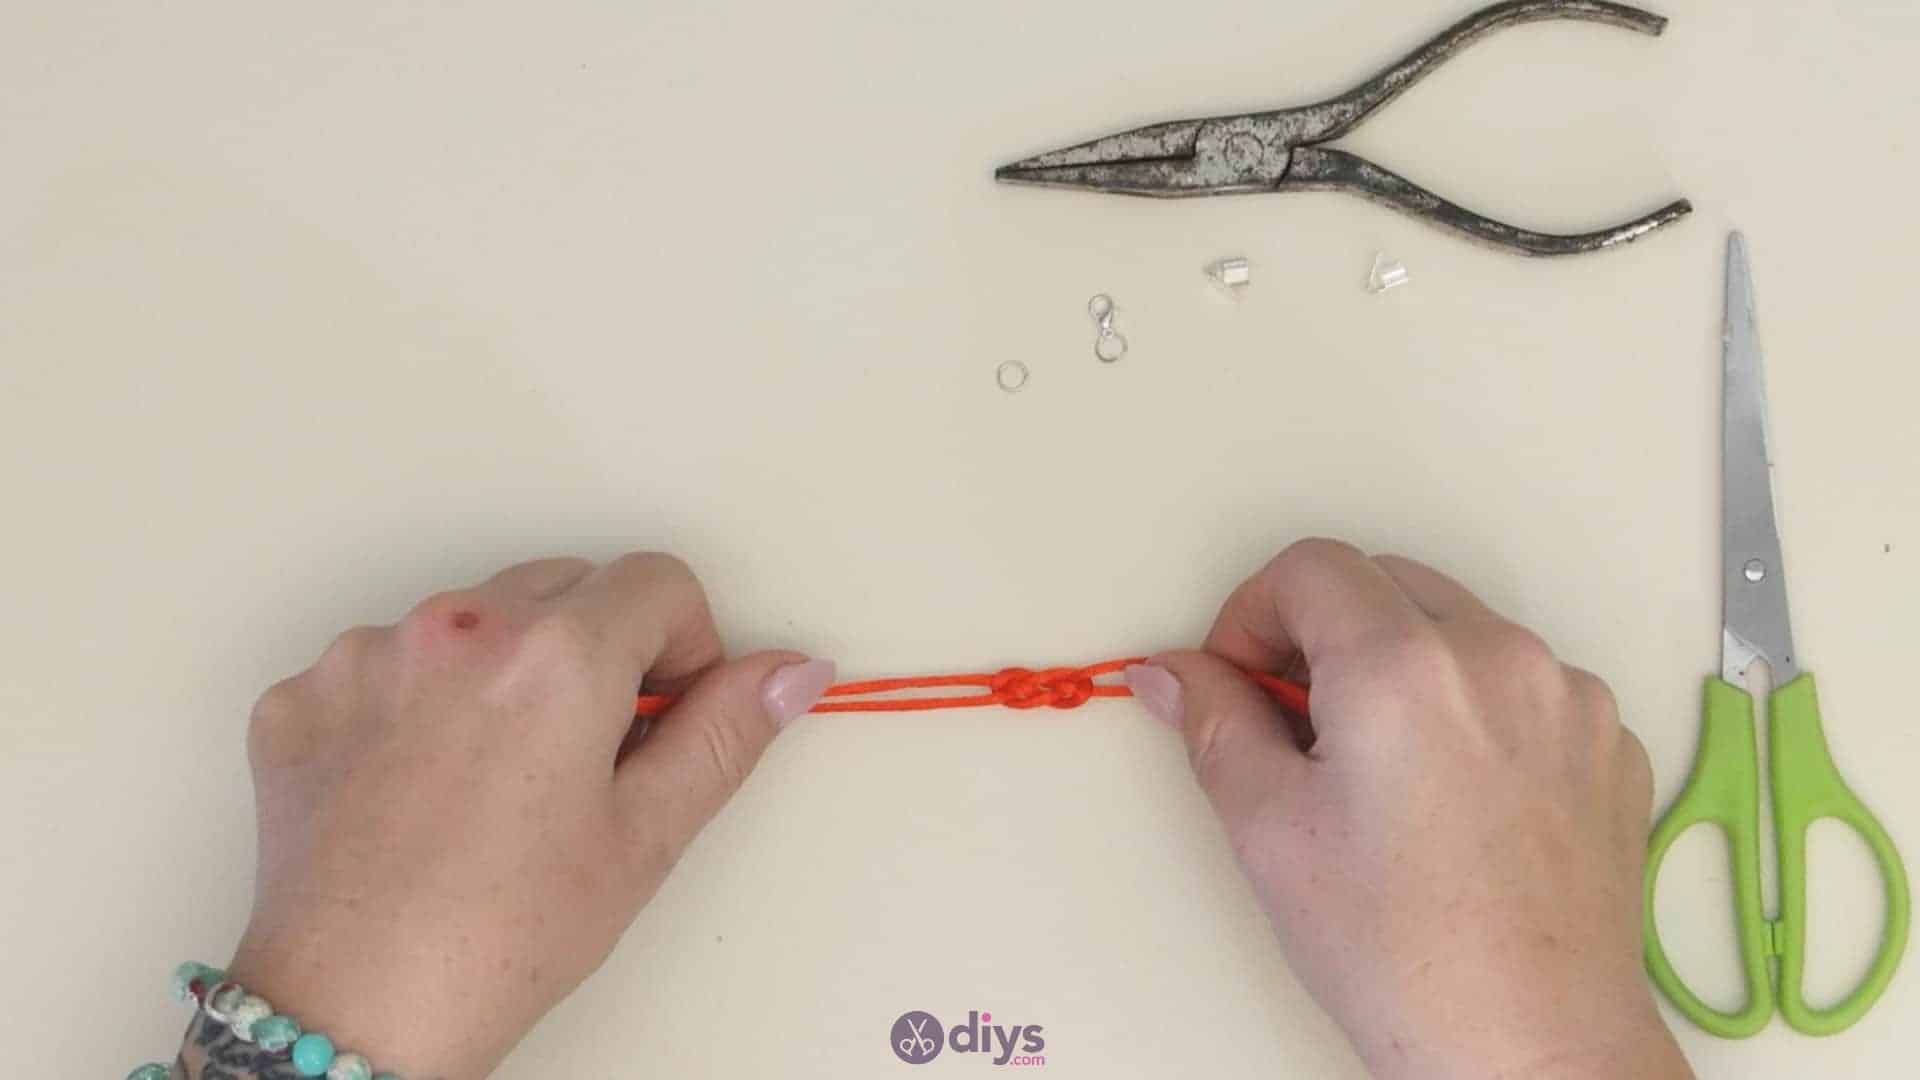
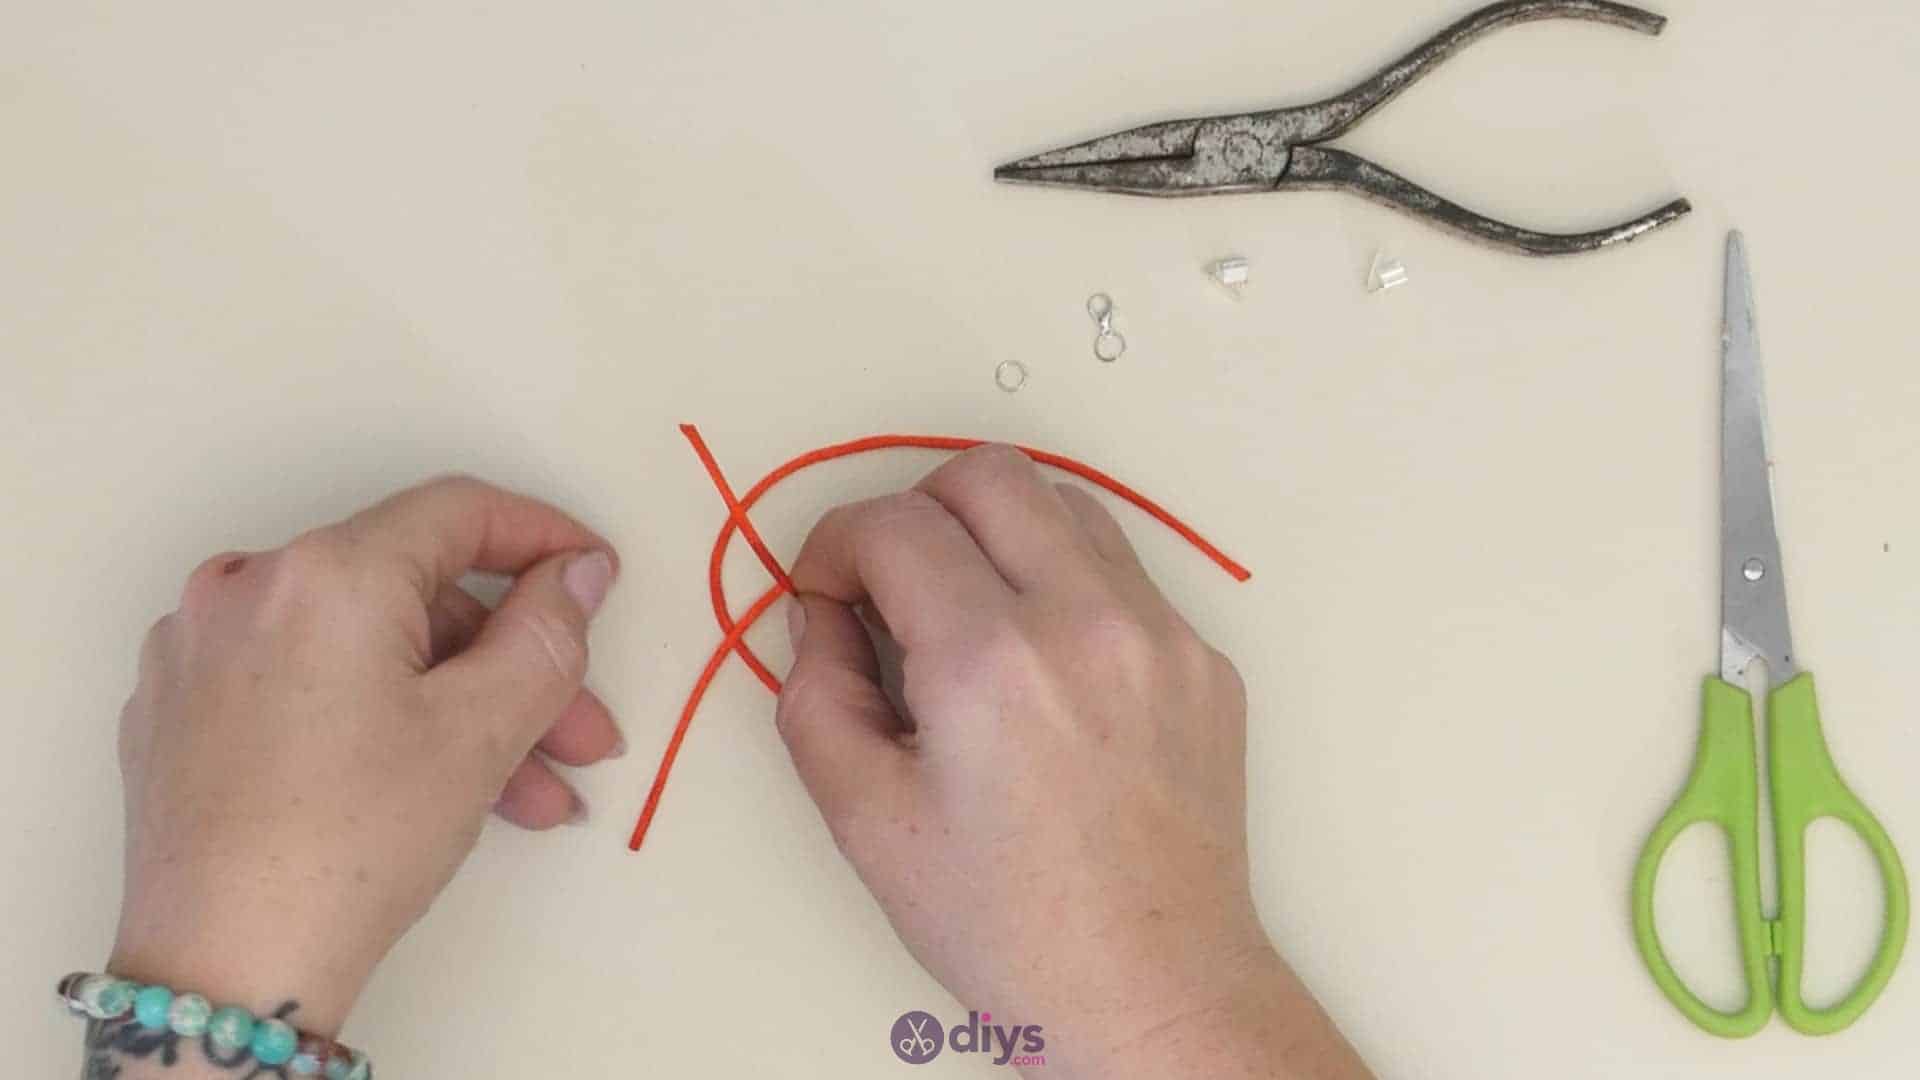
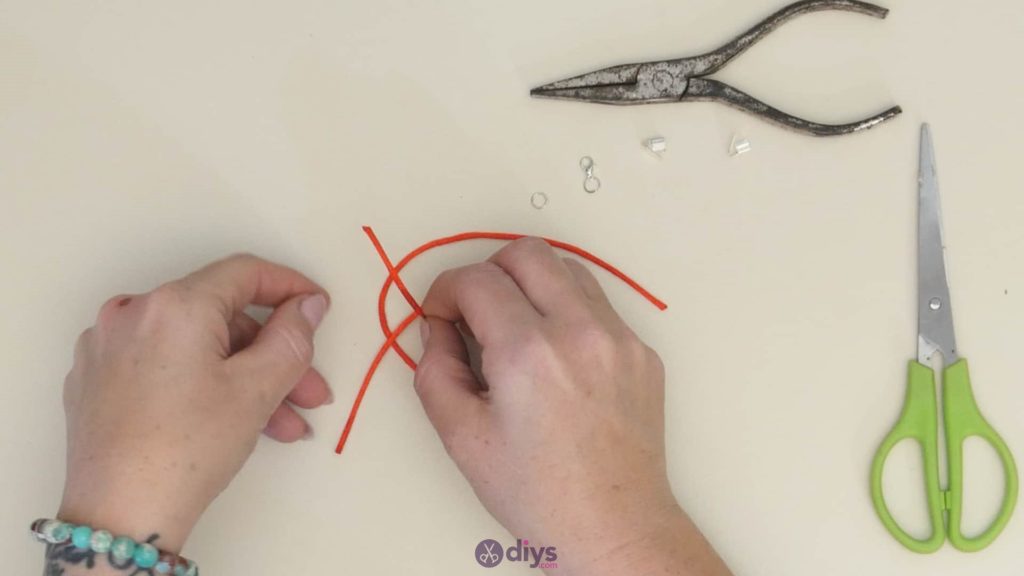
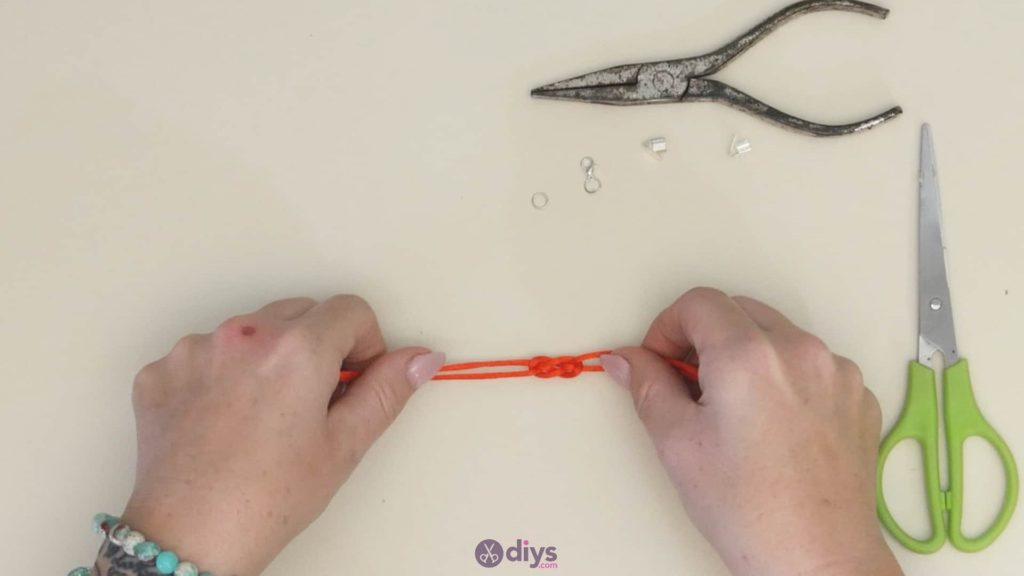
Step 3: starting the knot
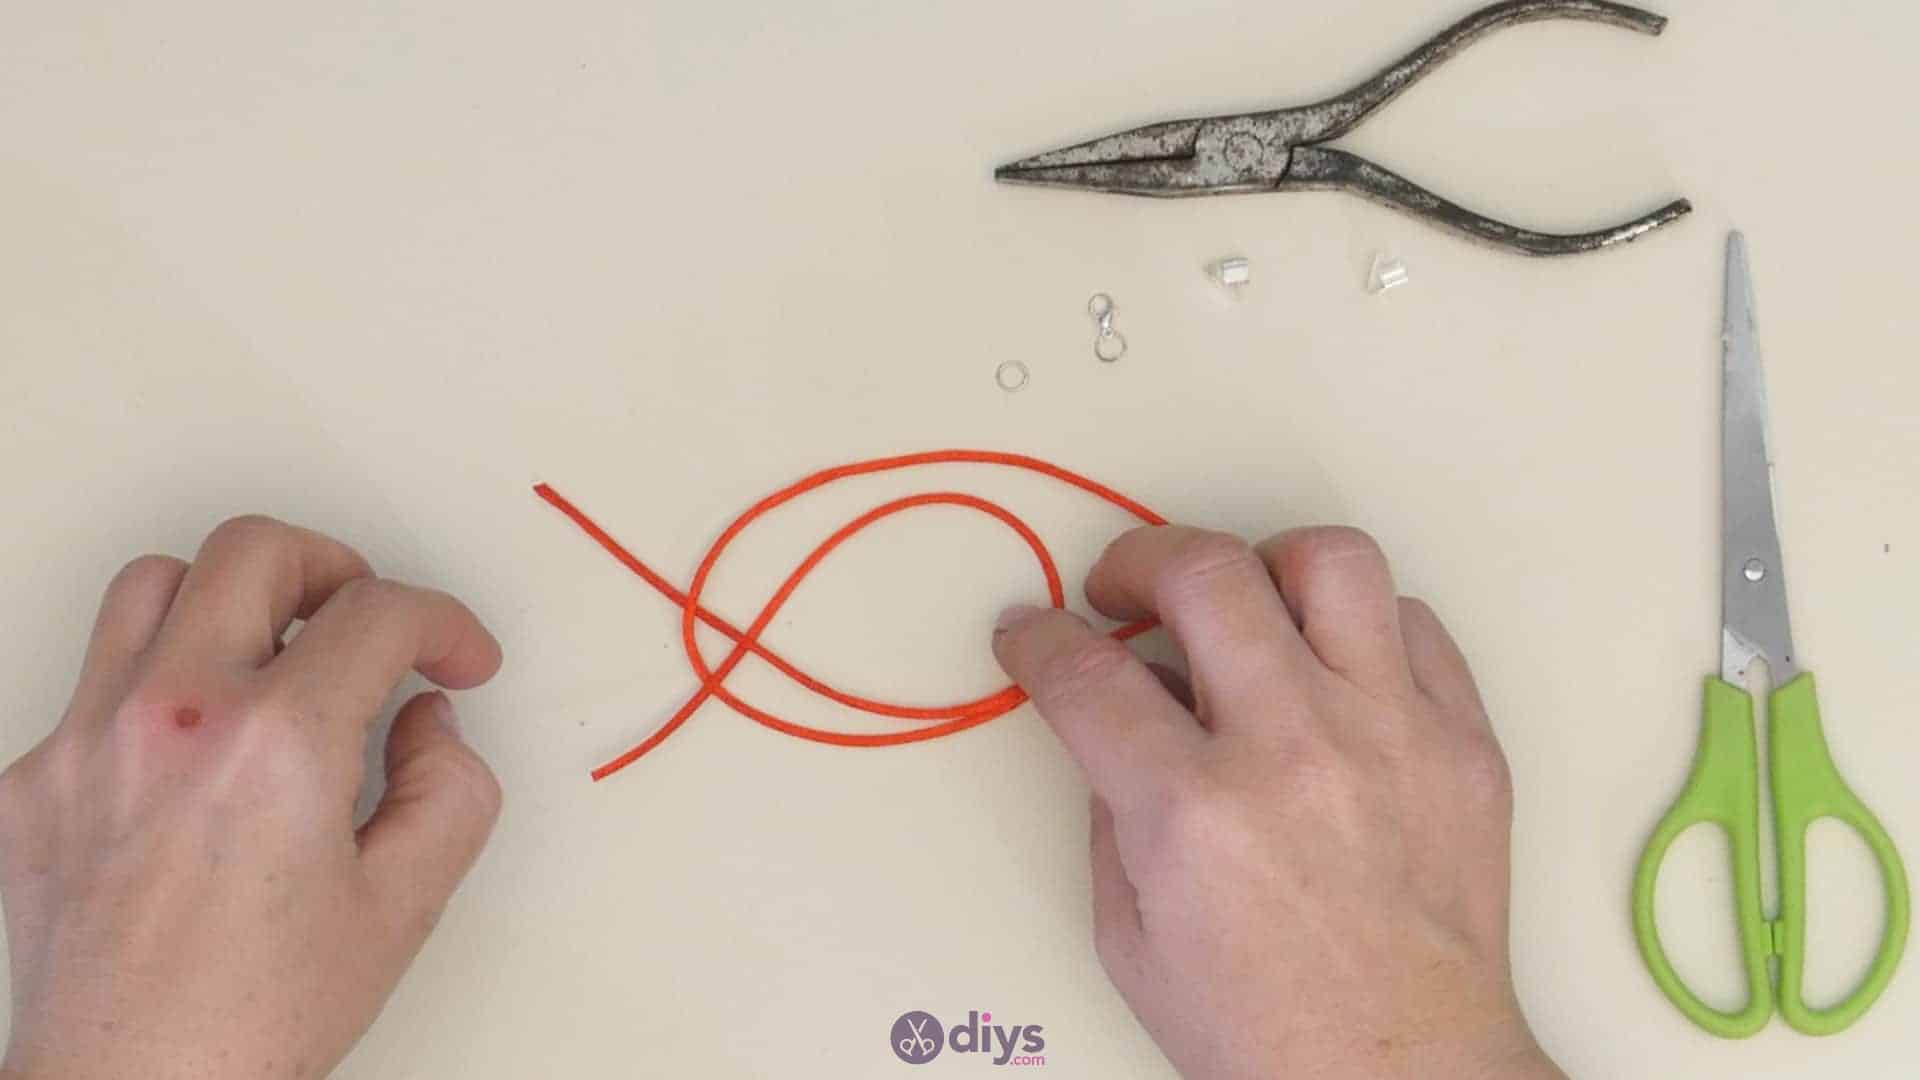
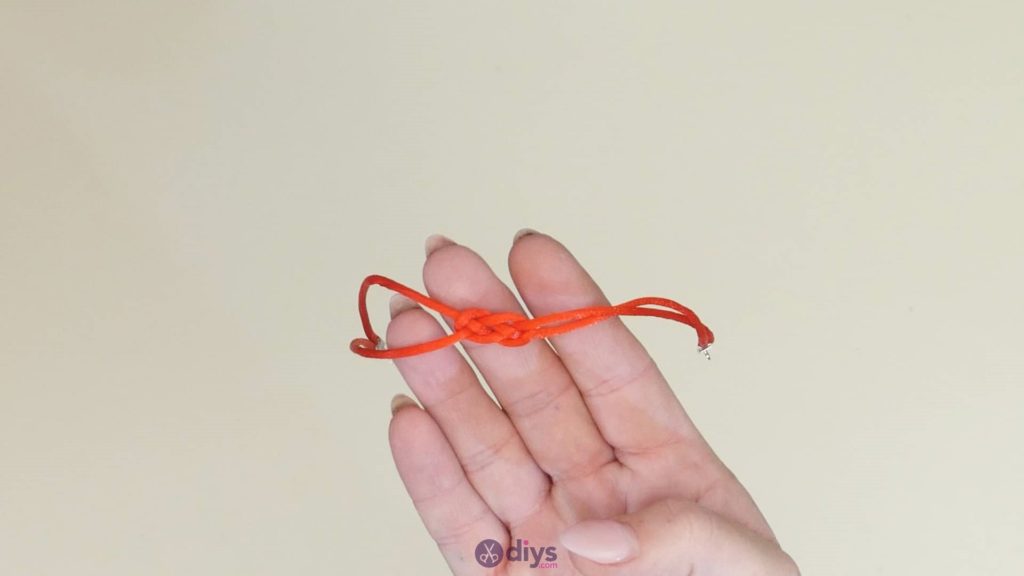
Fold your first piece of cord in half, holding its ends even with each other on the right side and its curved other half on the left side. Lie it horizontally on the tabletop; don’t worry if the shape loosens and widens a little or relaxes. Fold the second piece of cord in the same way, also holding it horizontally but in the opposite direction to the first one; with its loose ends held evenly with each other on the left side and its folded loop end on the right side. Now pay attention to the ends that are on the left side. Pick up the bottom end and cross it over its partner. Then tuck this end that your crossed overunderneath the loop of the other string you laid down on the table first, which is lying right underneath these ends you’re working with.
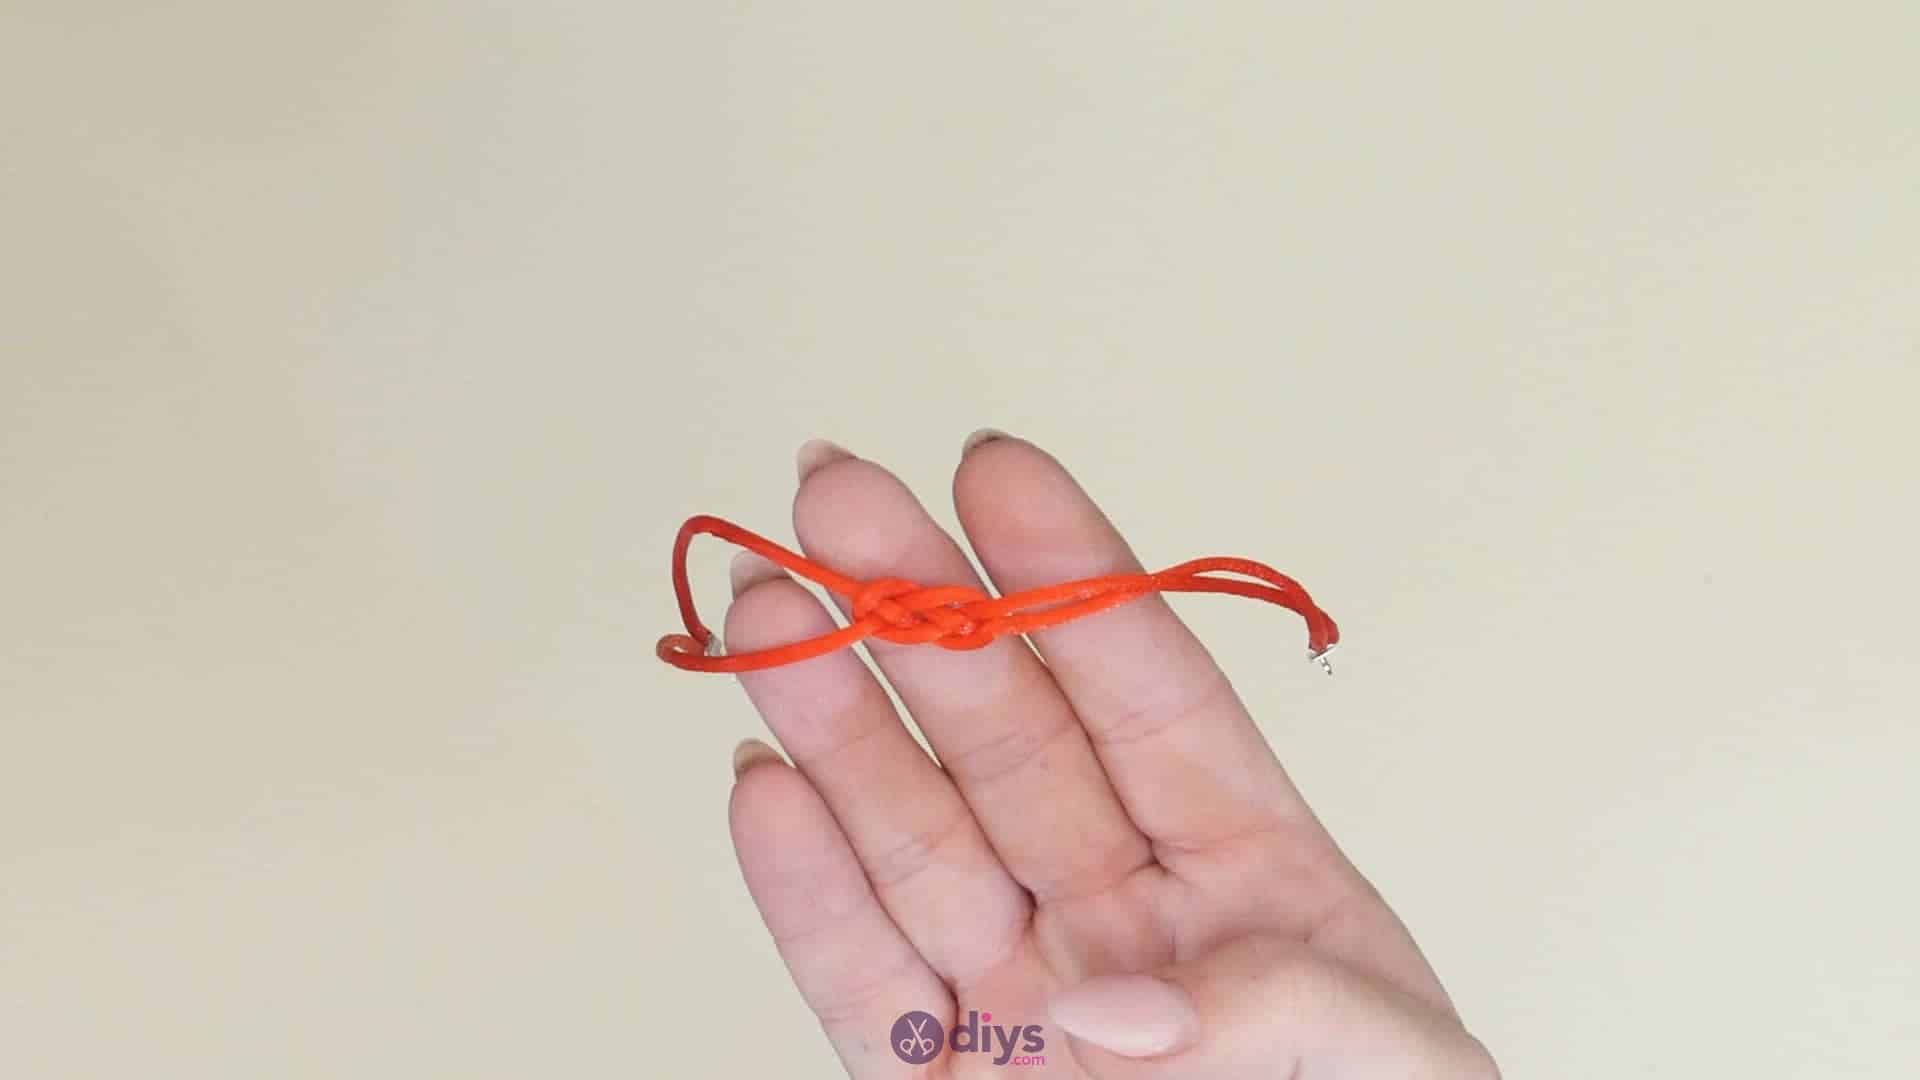
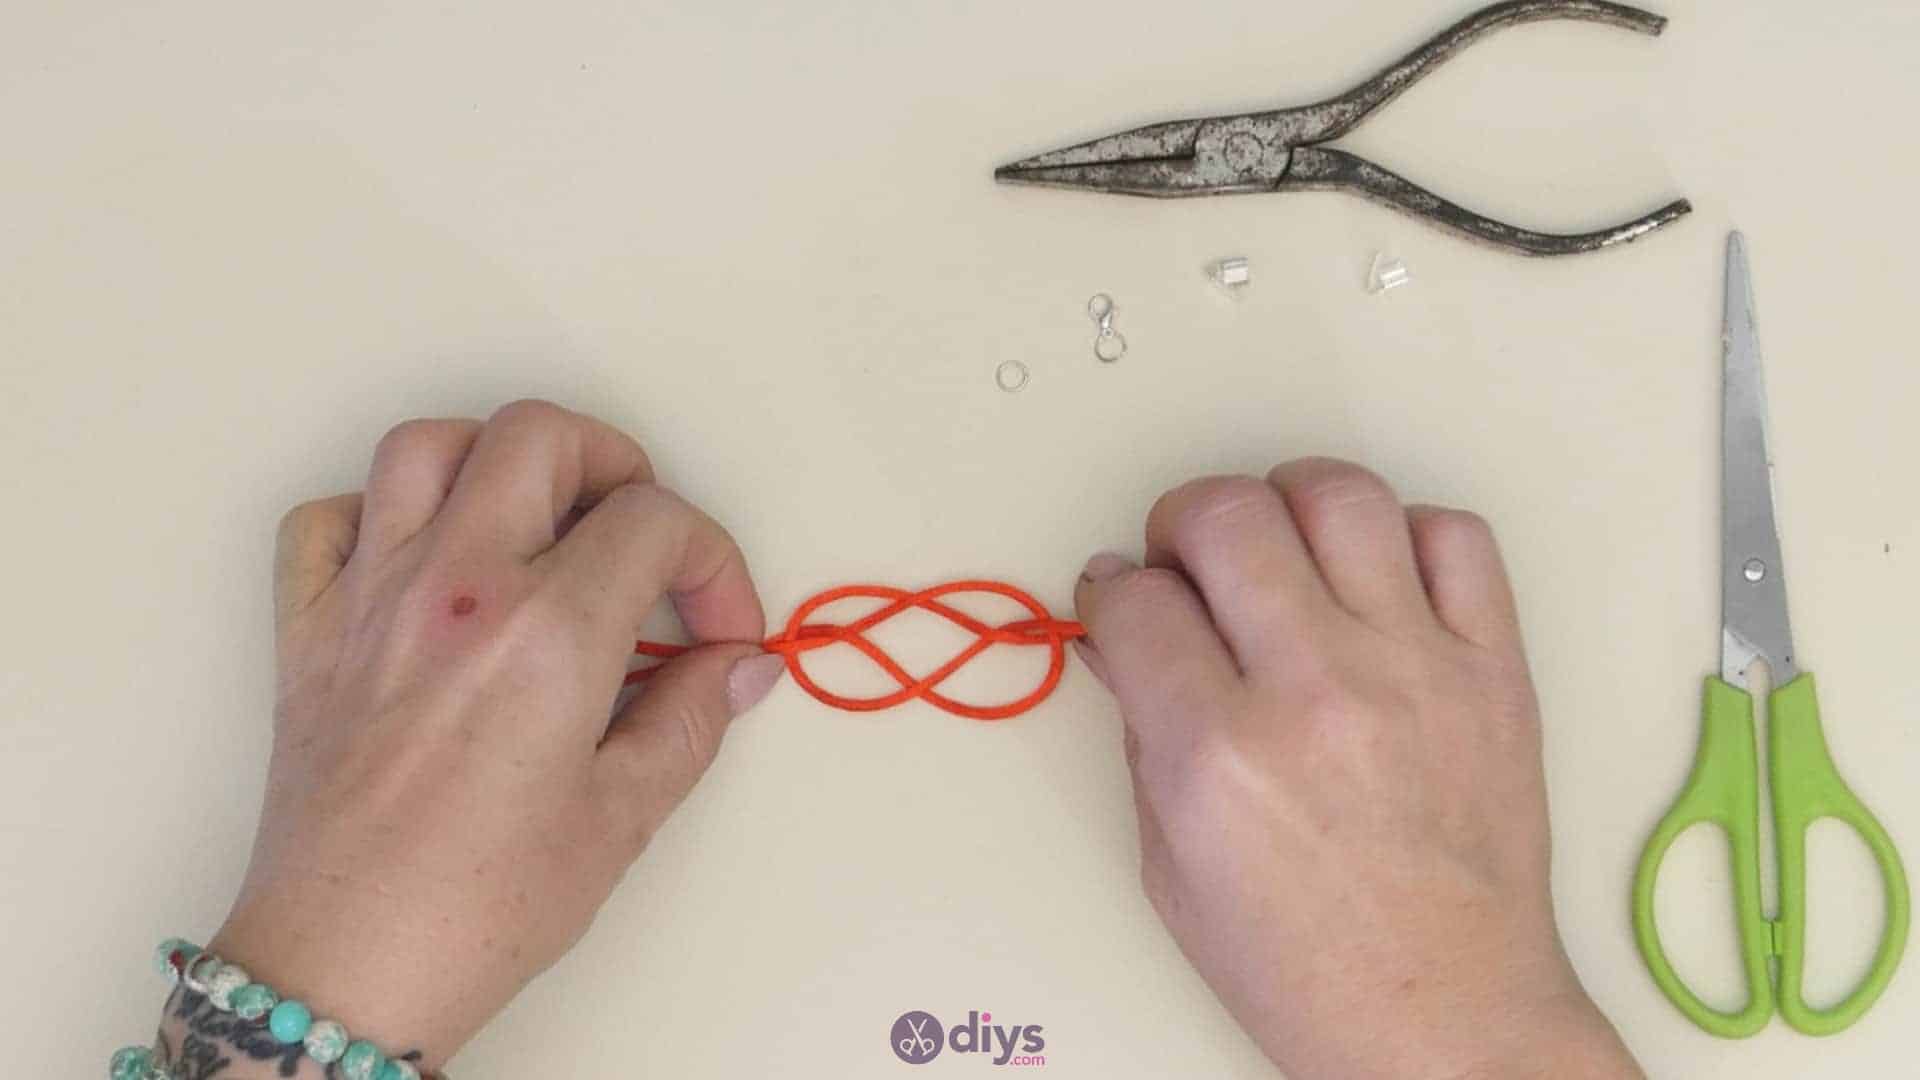
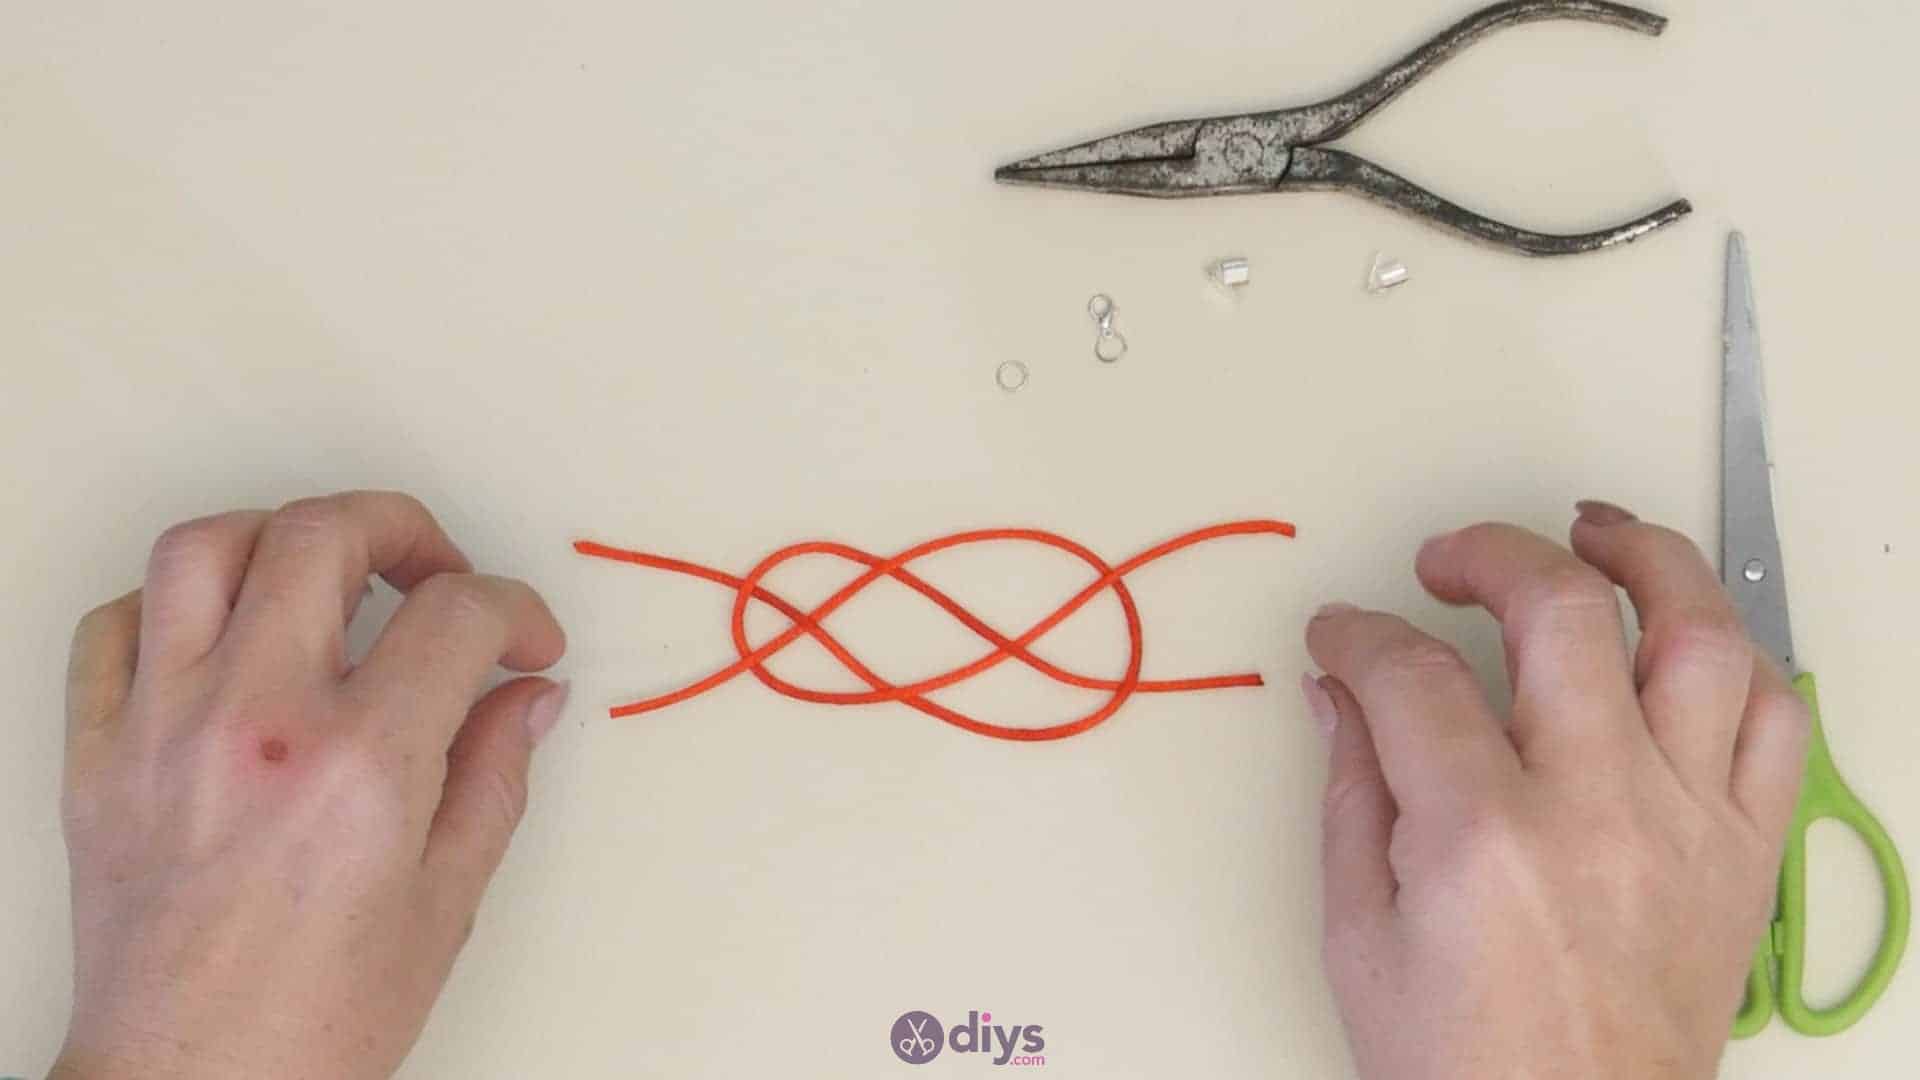
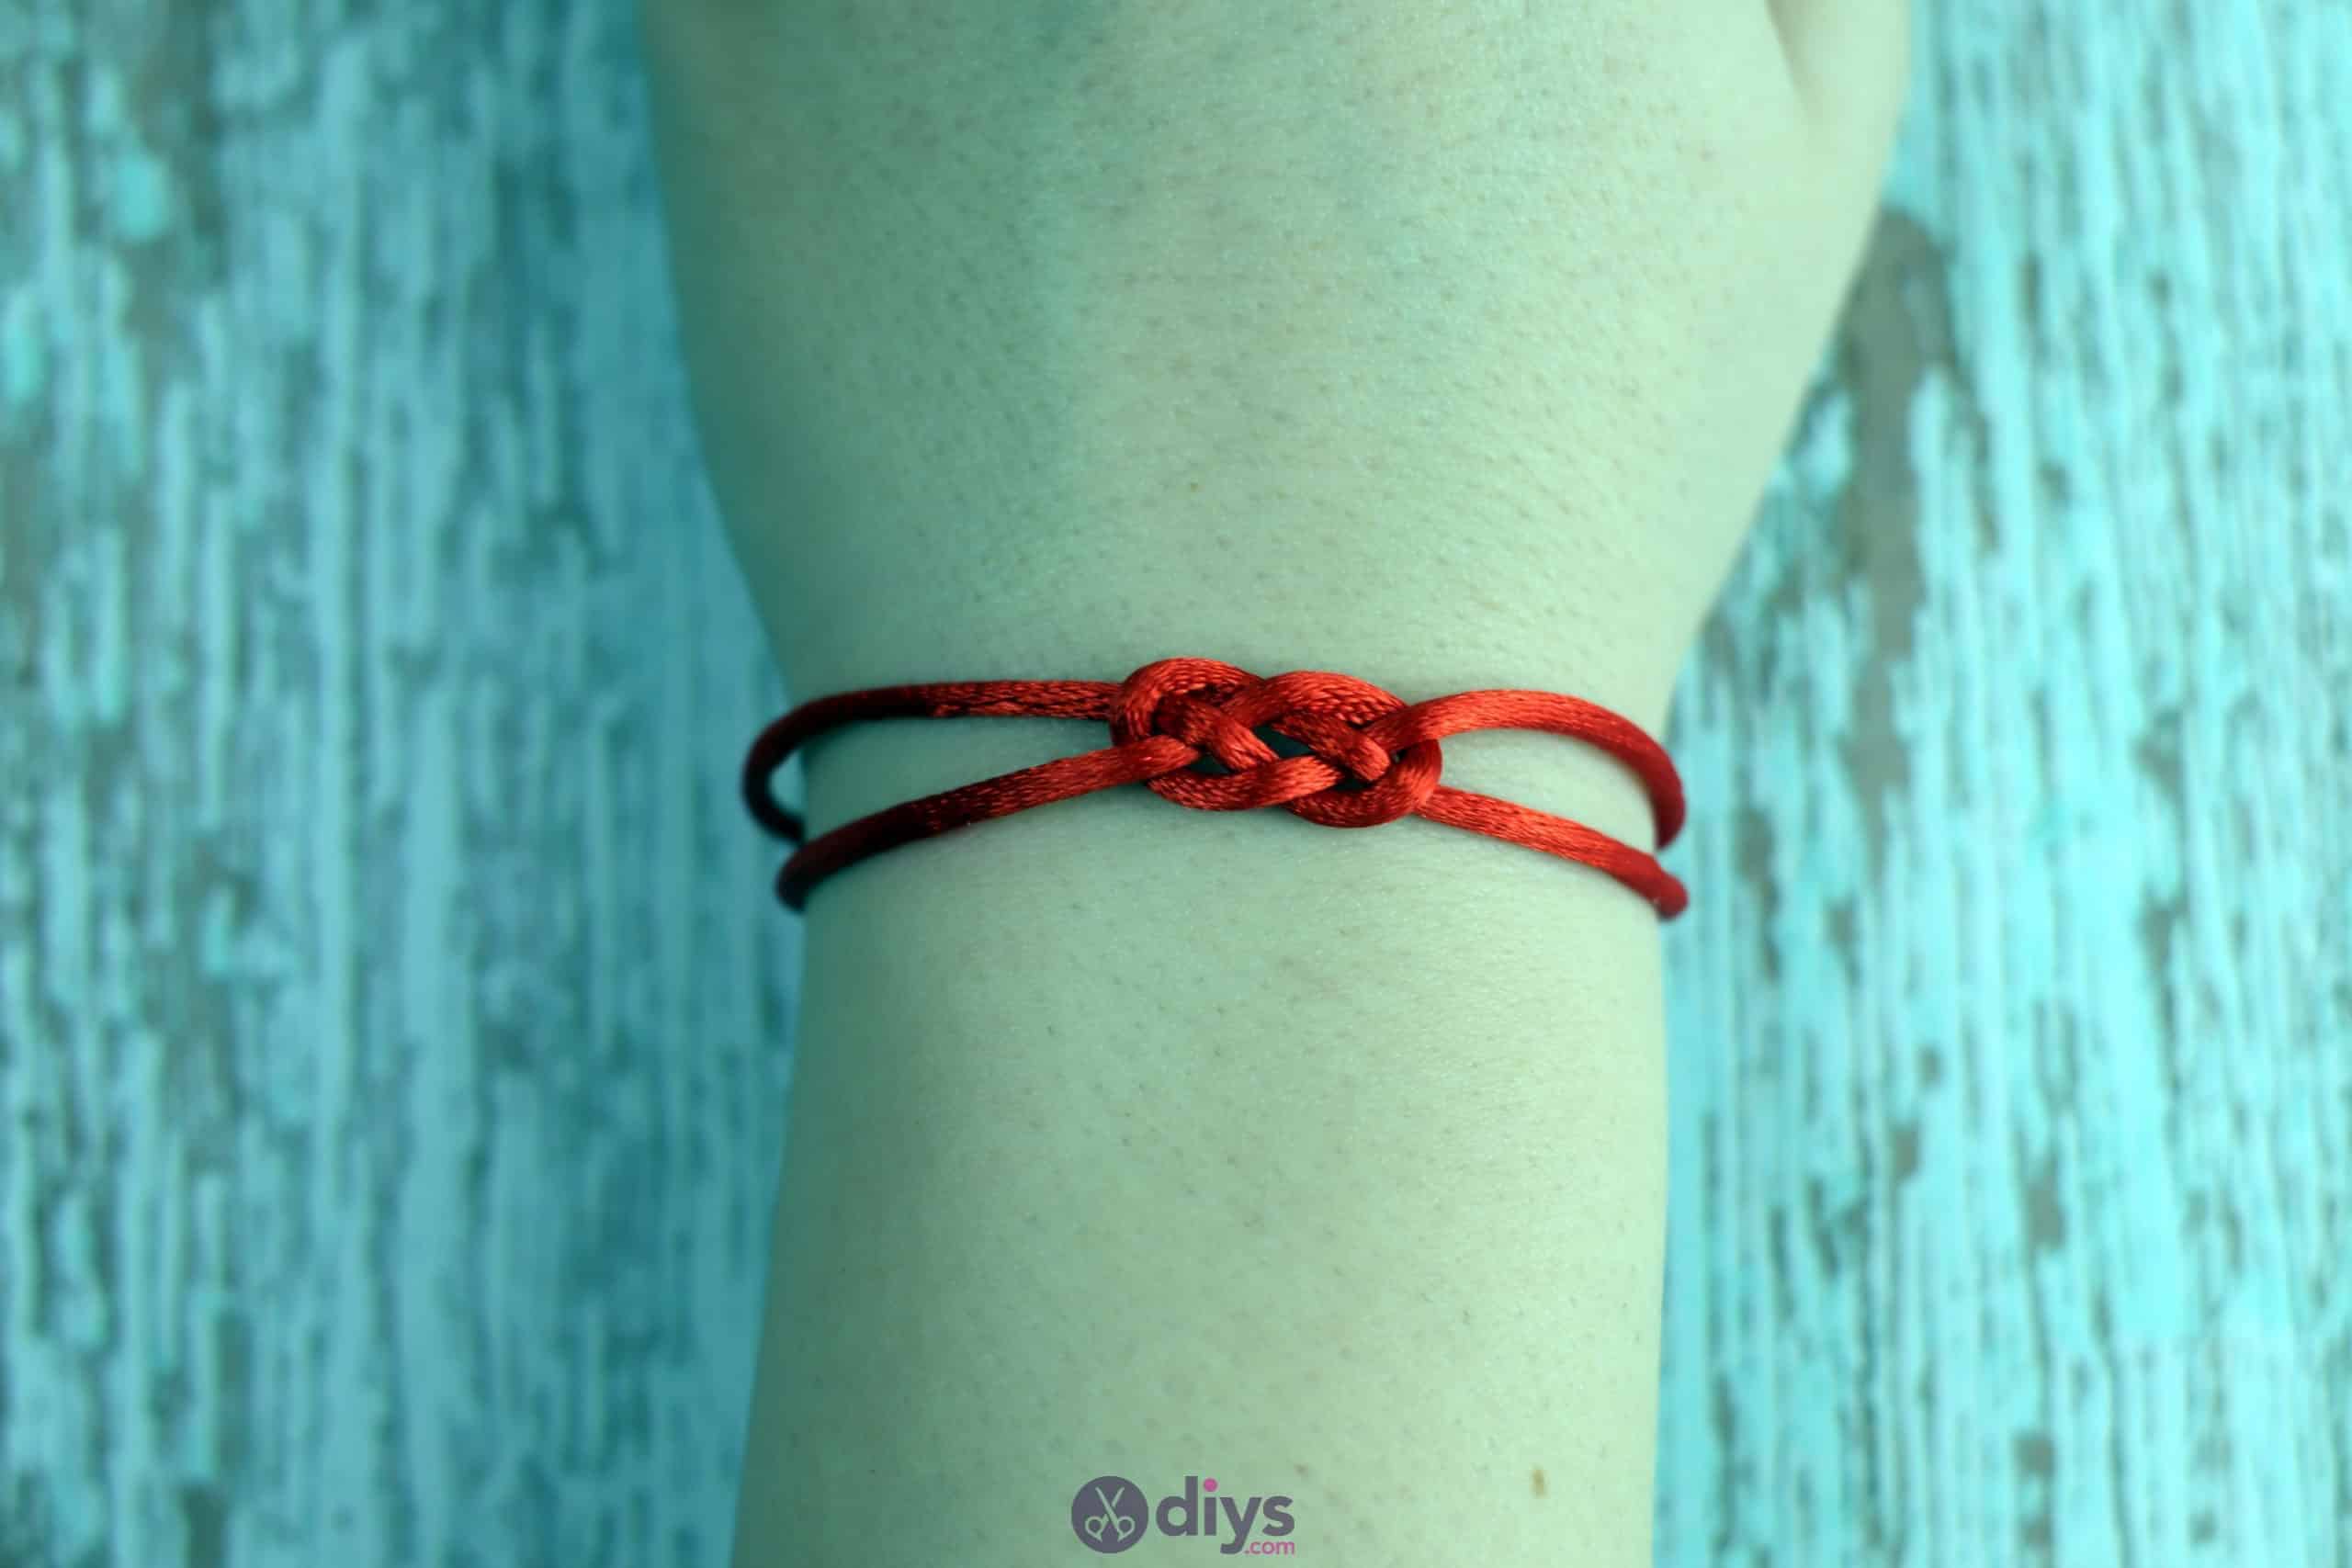
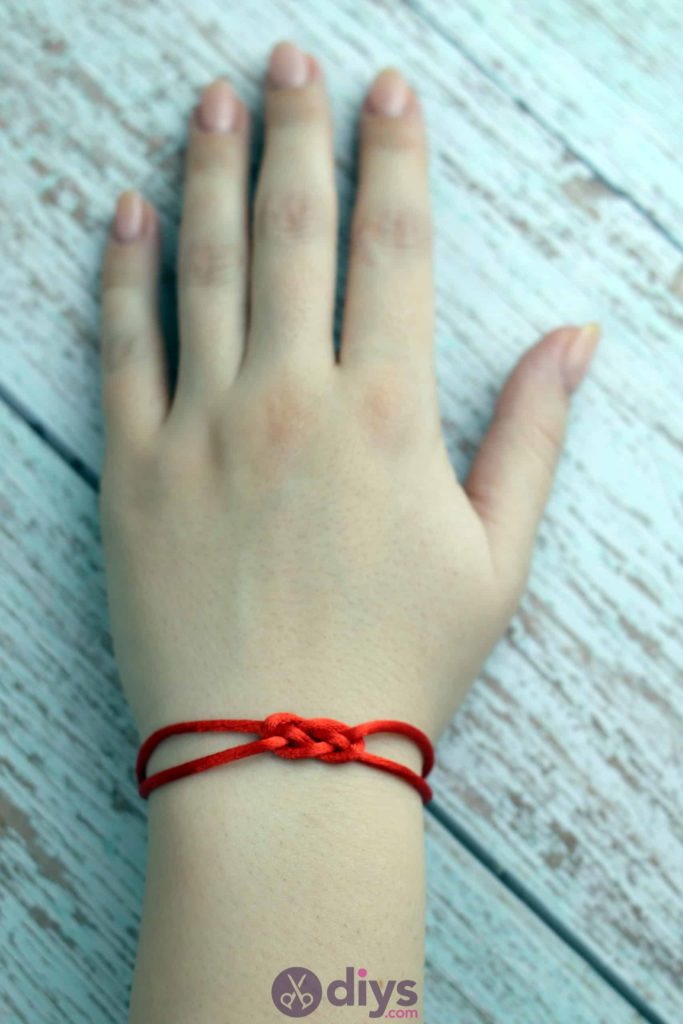
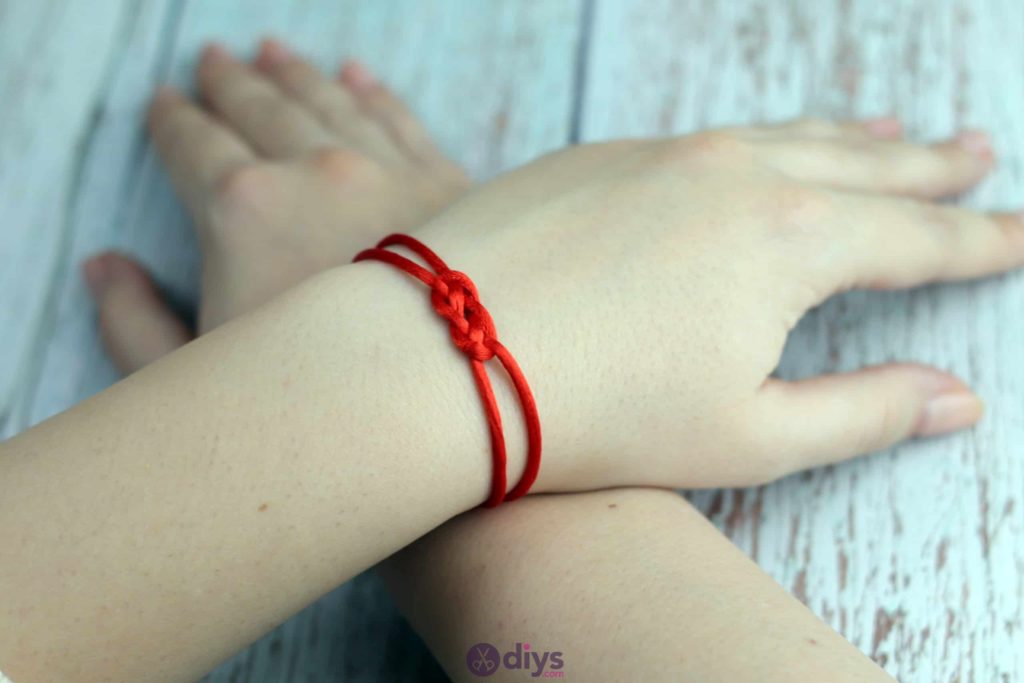
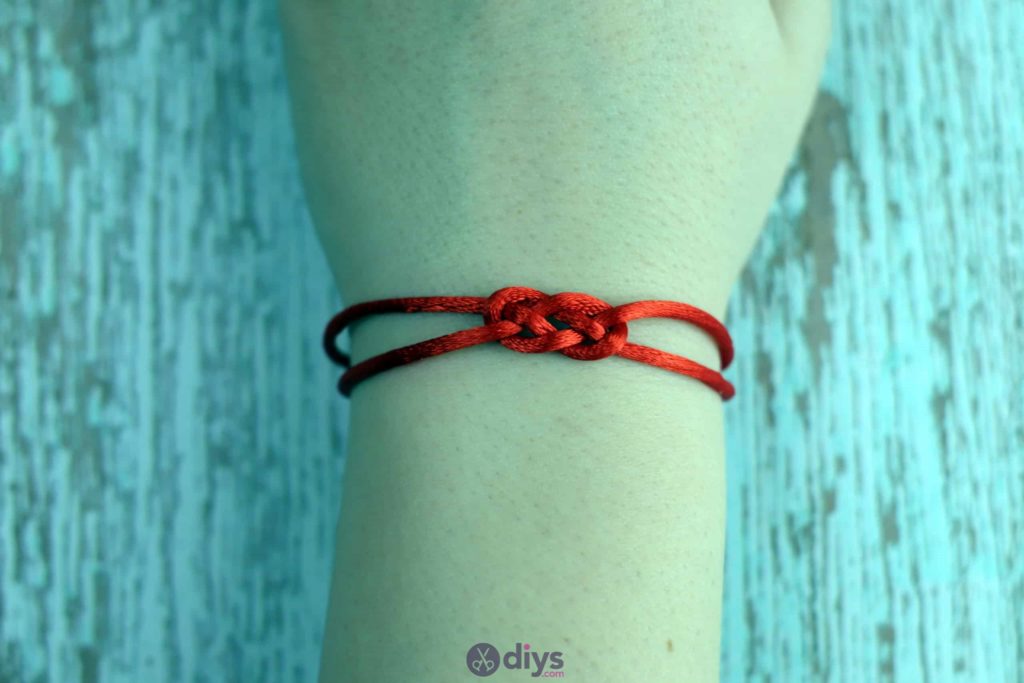
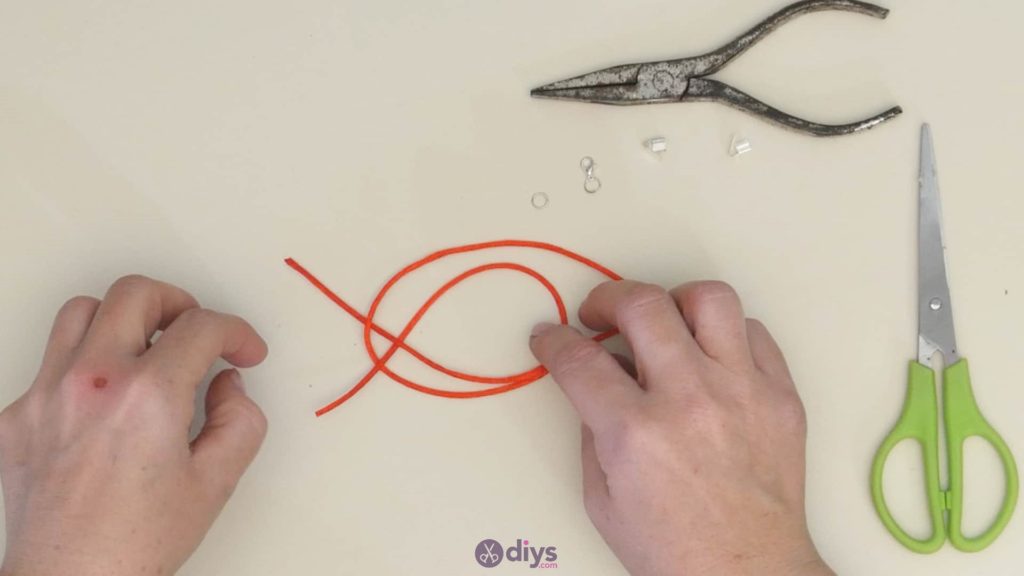
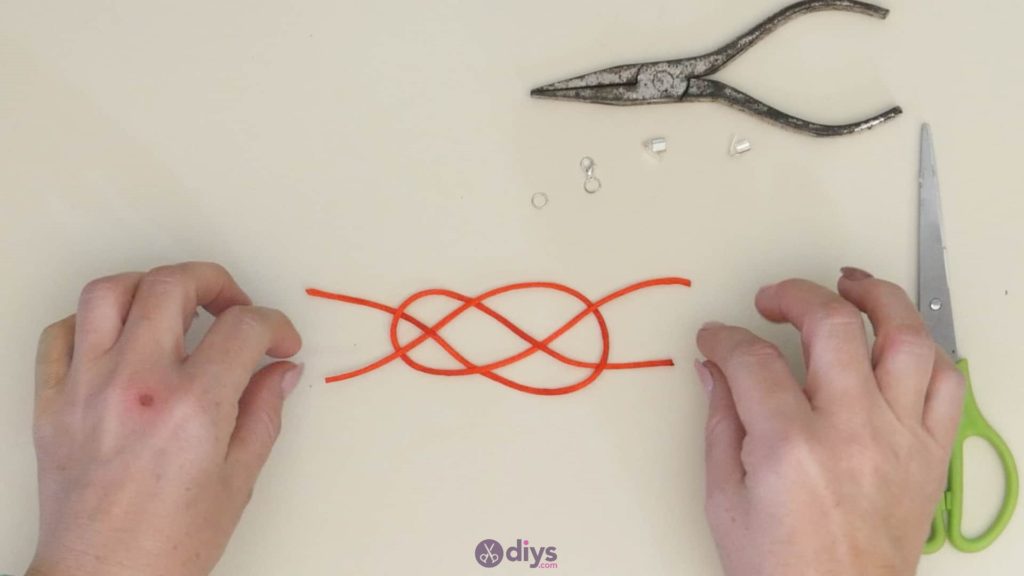
Now pay attention to the ends on theright side. Place your top end so that it passesunder the looped cord of the piece lying in the opposite direction. Then pick up your bottom righthand end and pass itover the cord that makes the loop on this side, under the top righthand end you already placed, andover the other side of the loop again. Now that you’ve got all your pieces woven properly, pinch the two ends on the lefthand side in your left hand and the two ends on the righthand side in your right hand and gently pull them in opposite directions, out towards their own sides and away from each other. You’ll see the weaving pattern you made in the middle start to slide and tighten into that pretty Celtic knotted shape you loved so much!

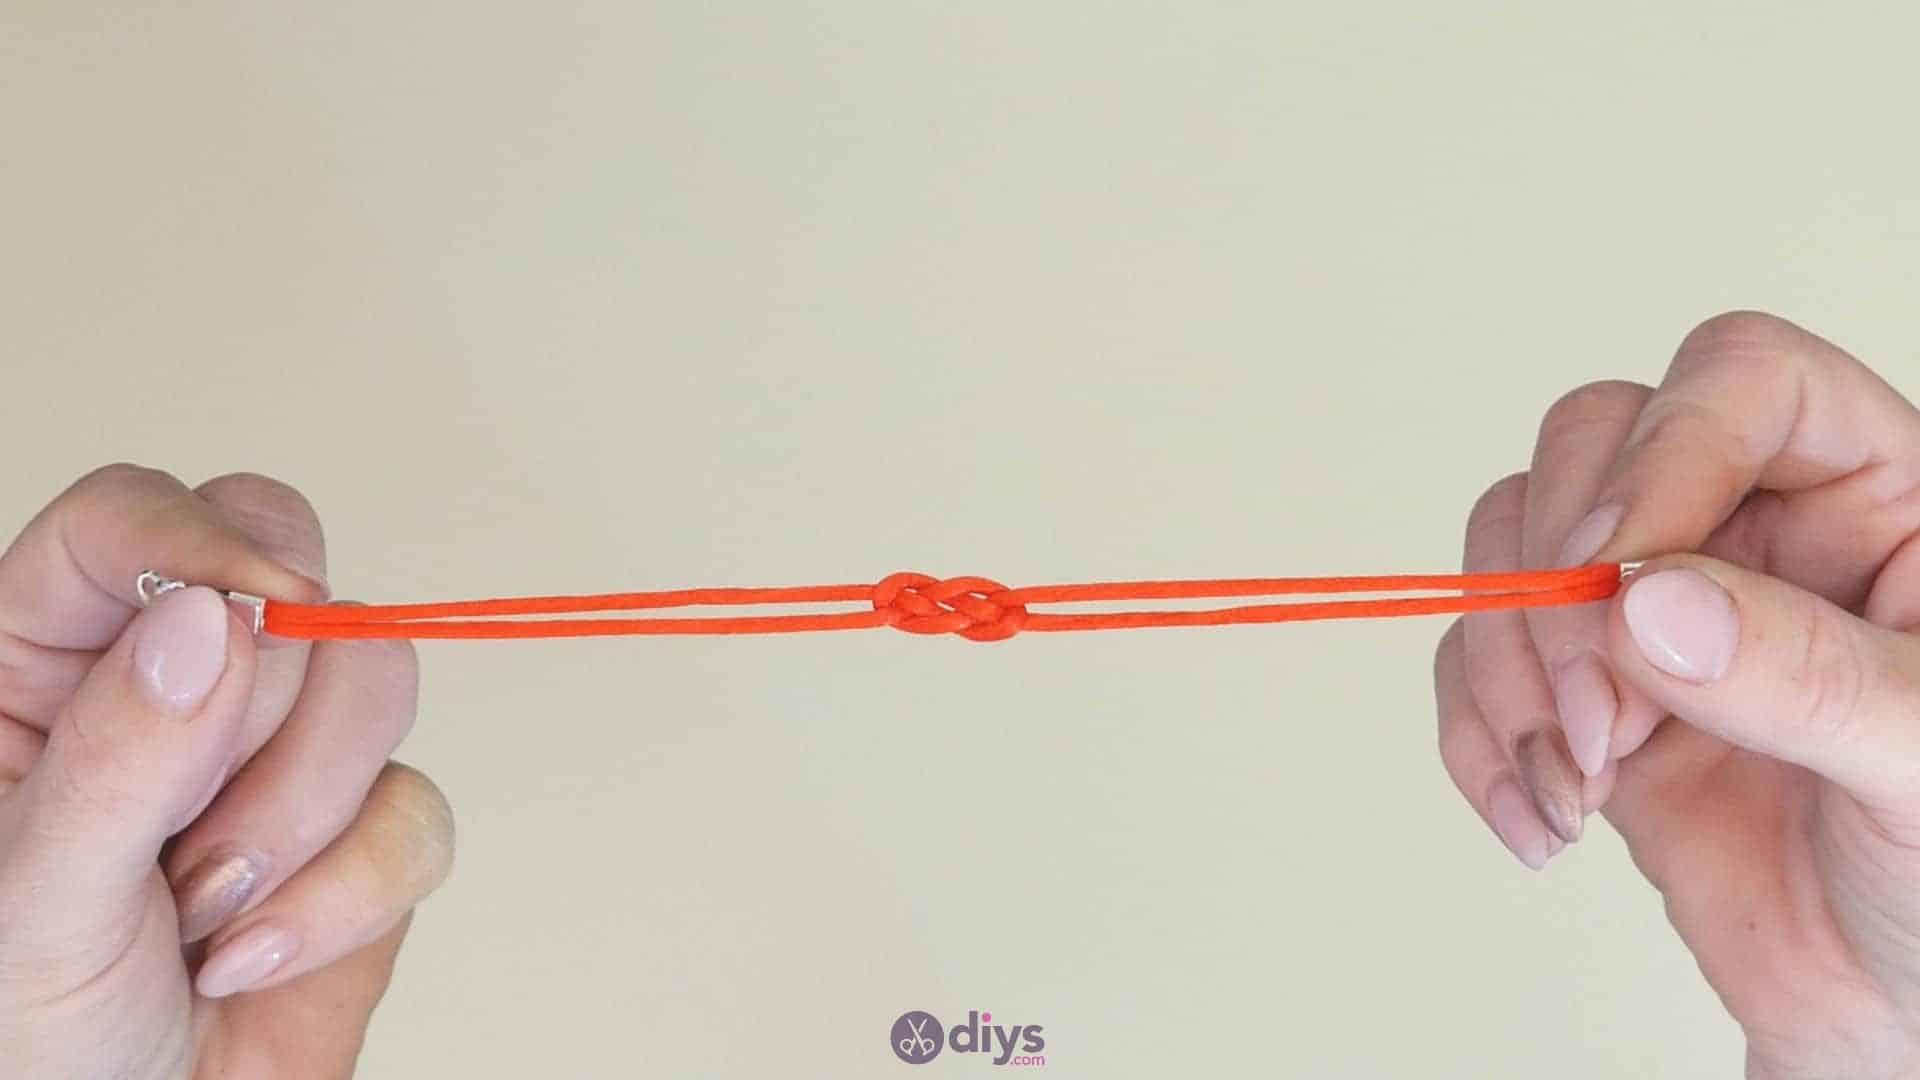
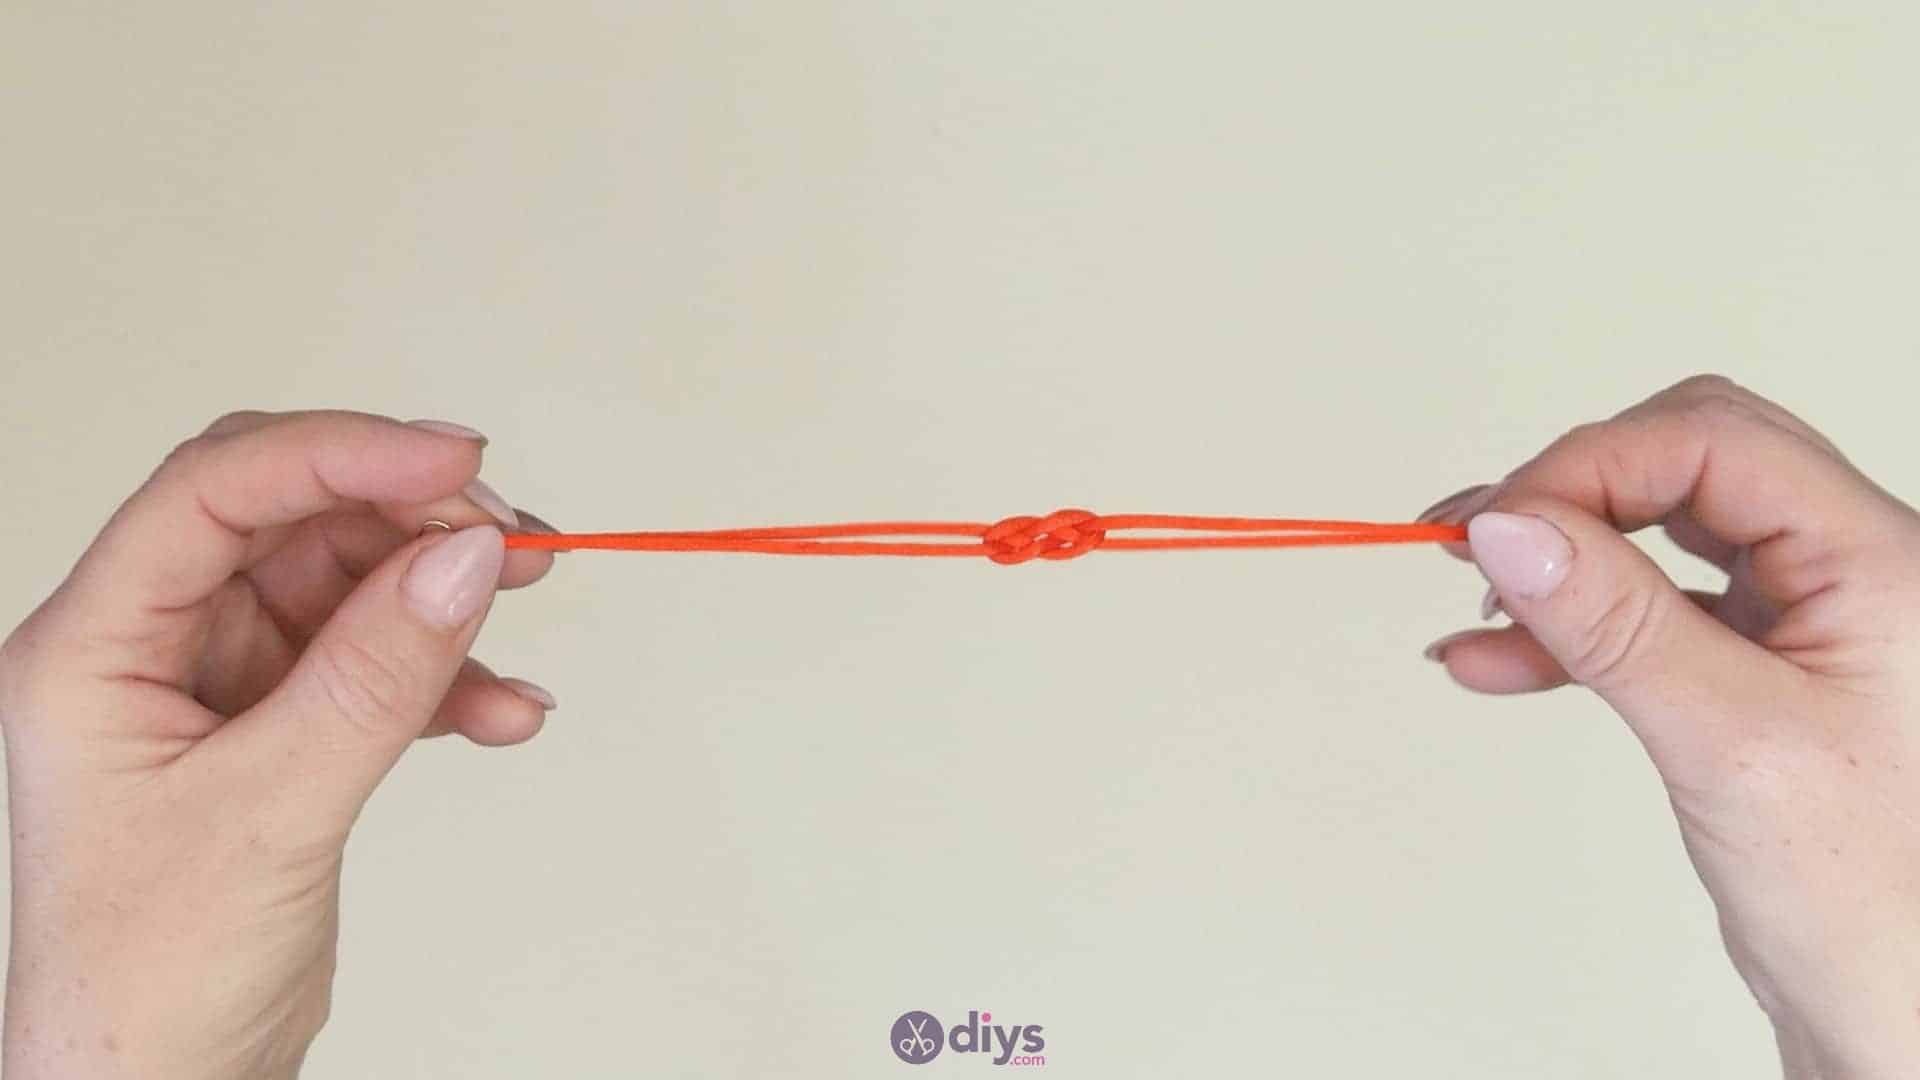
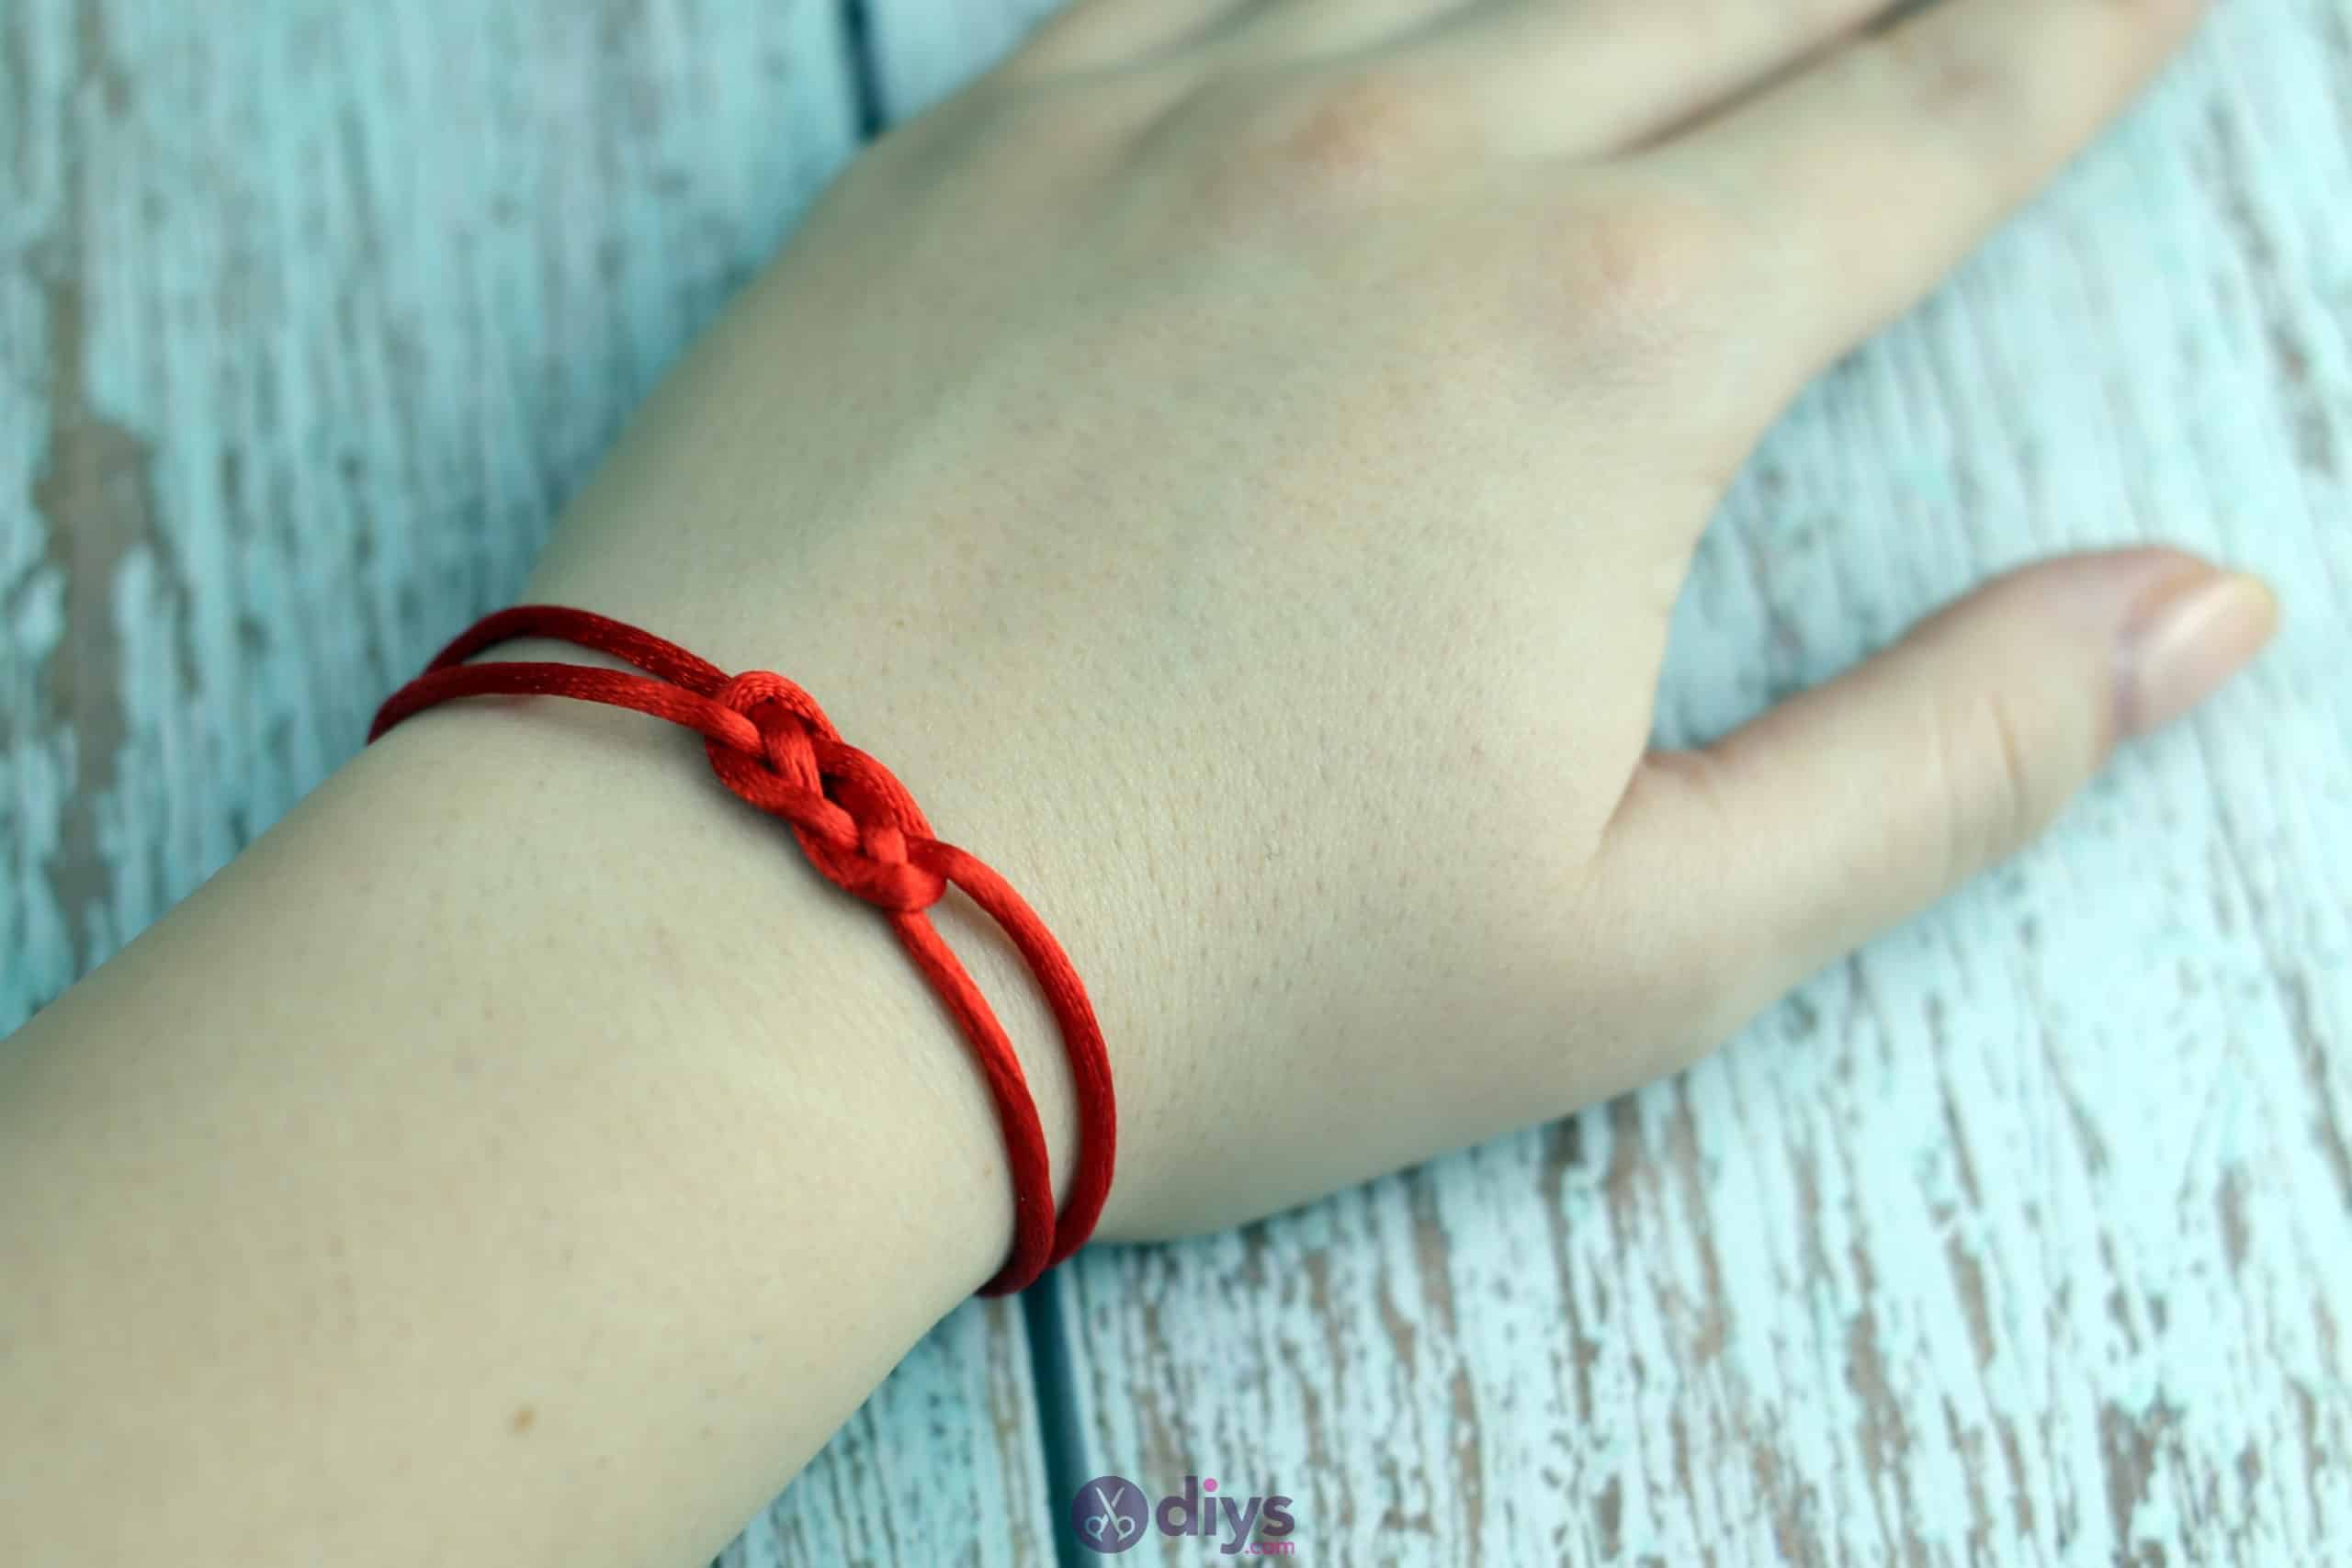
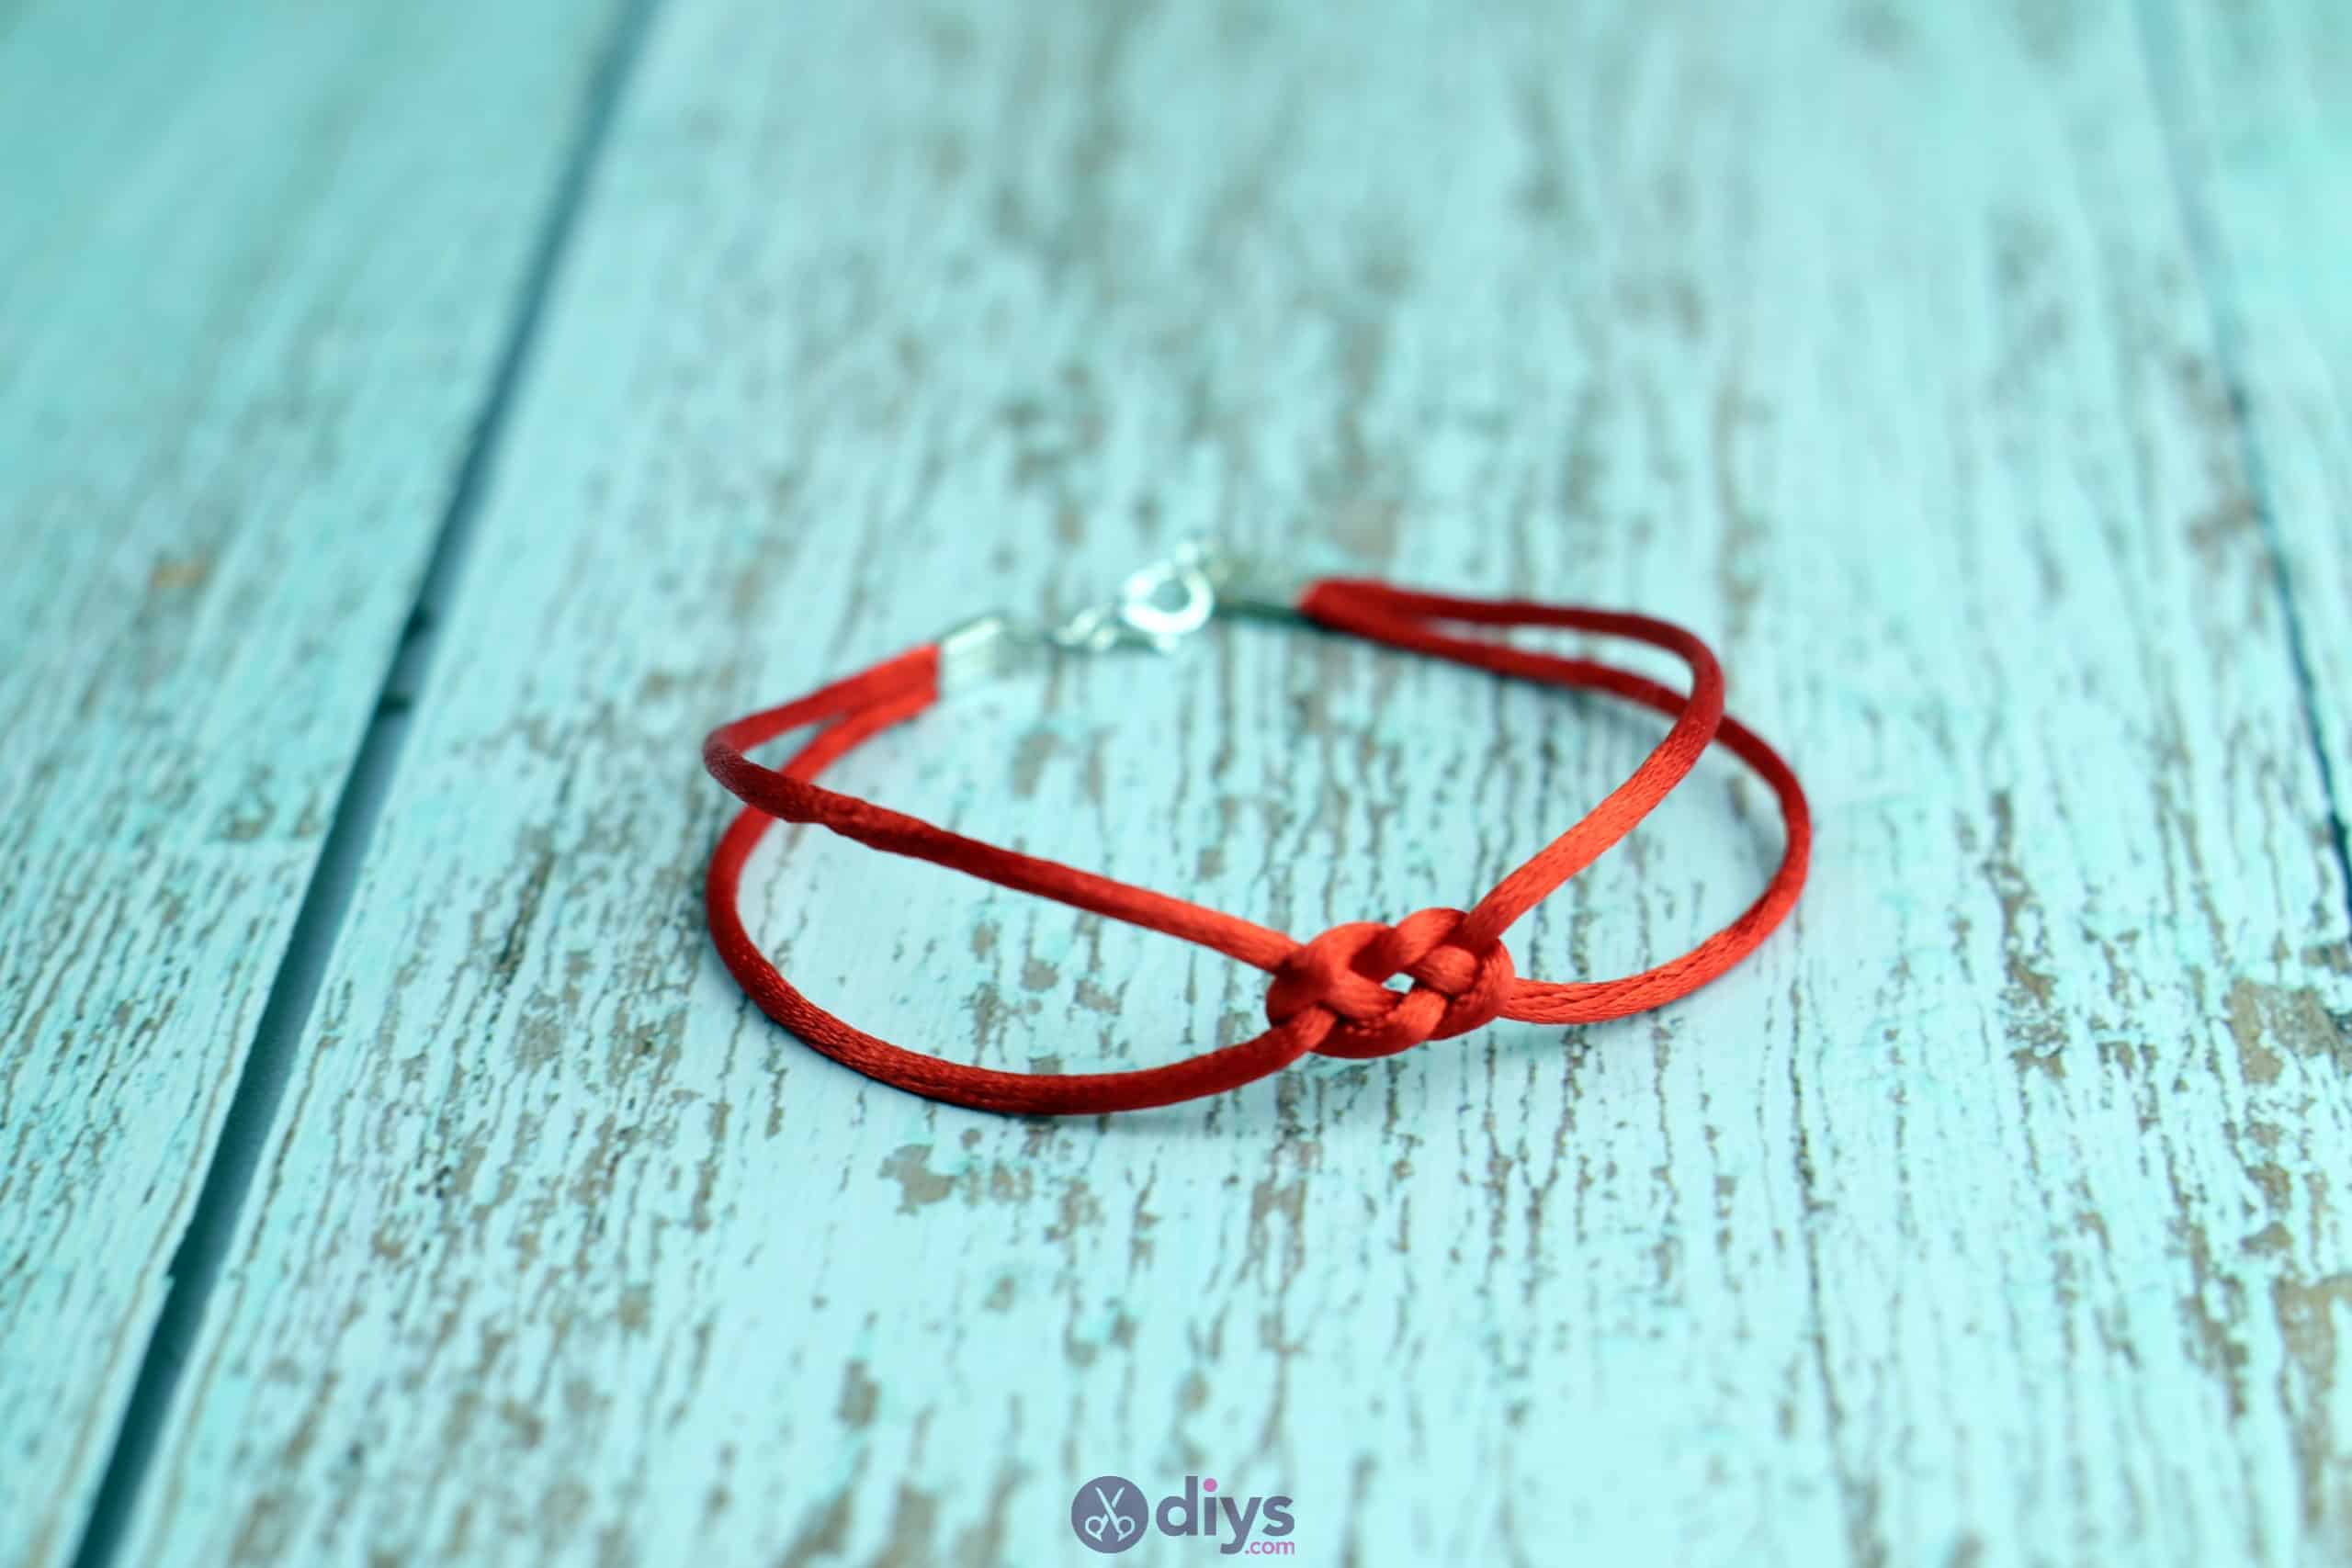
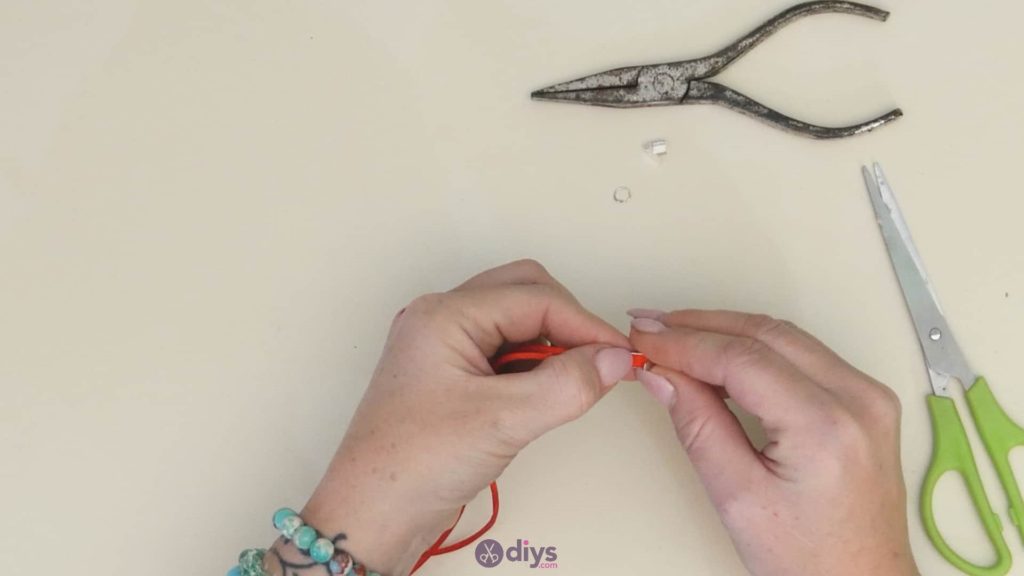
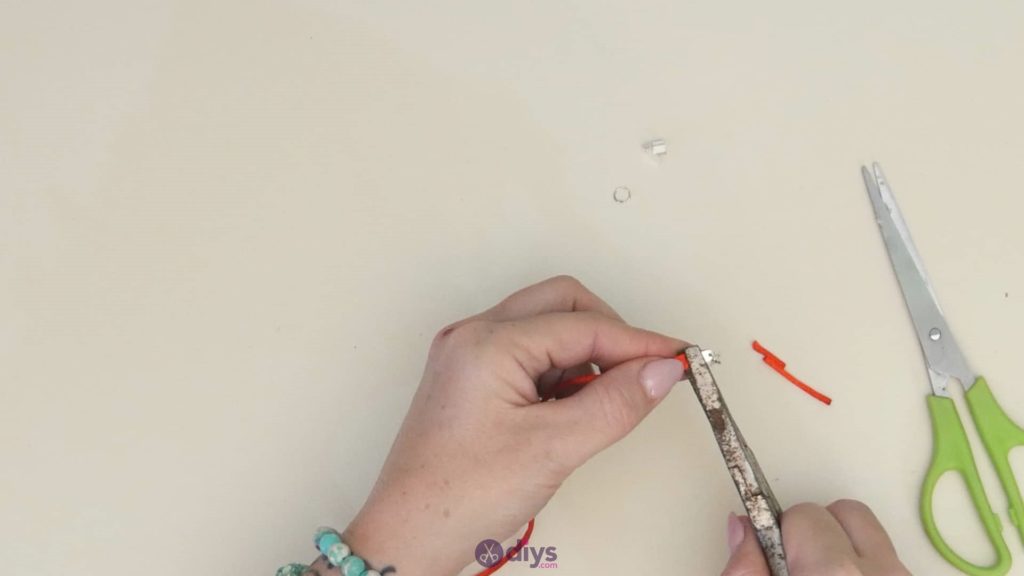
Step 4: cinch the ends
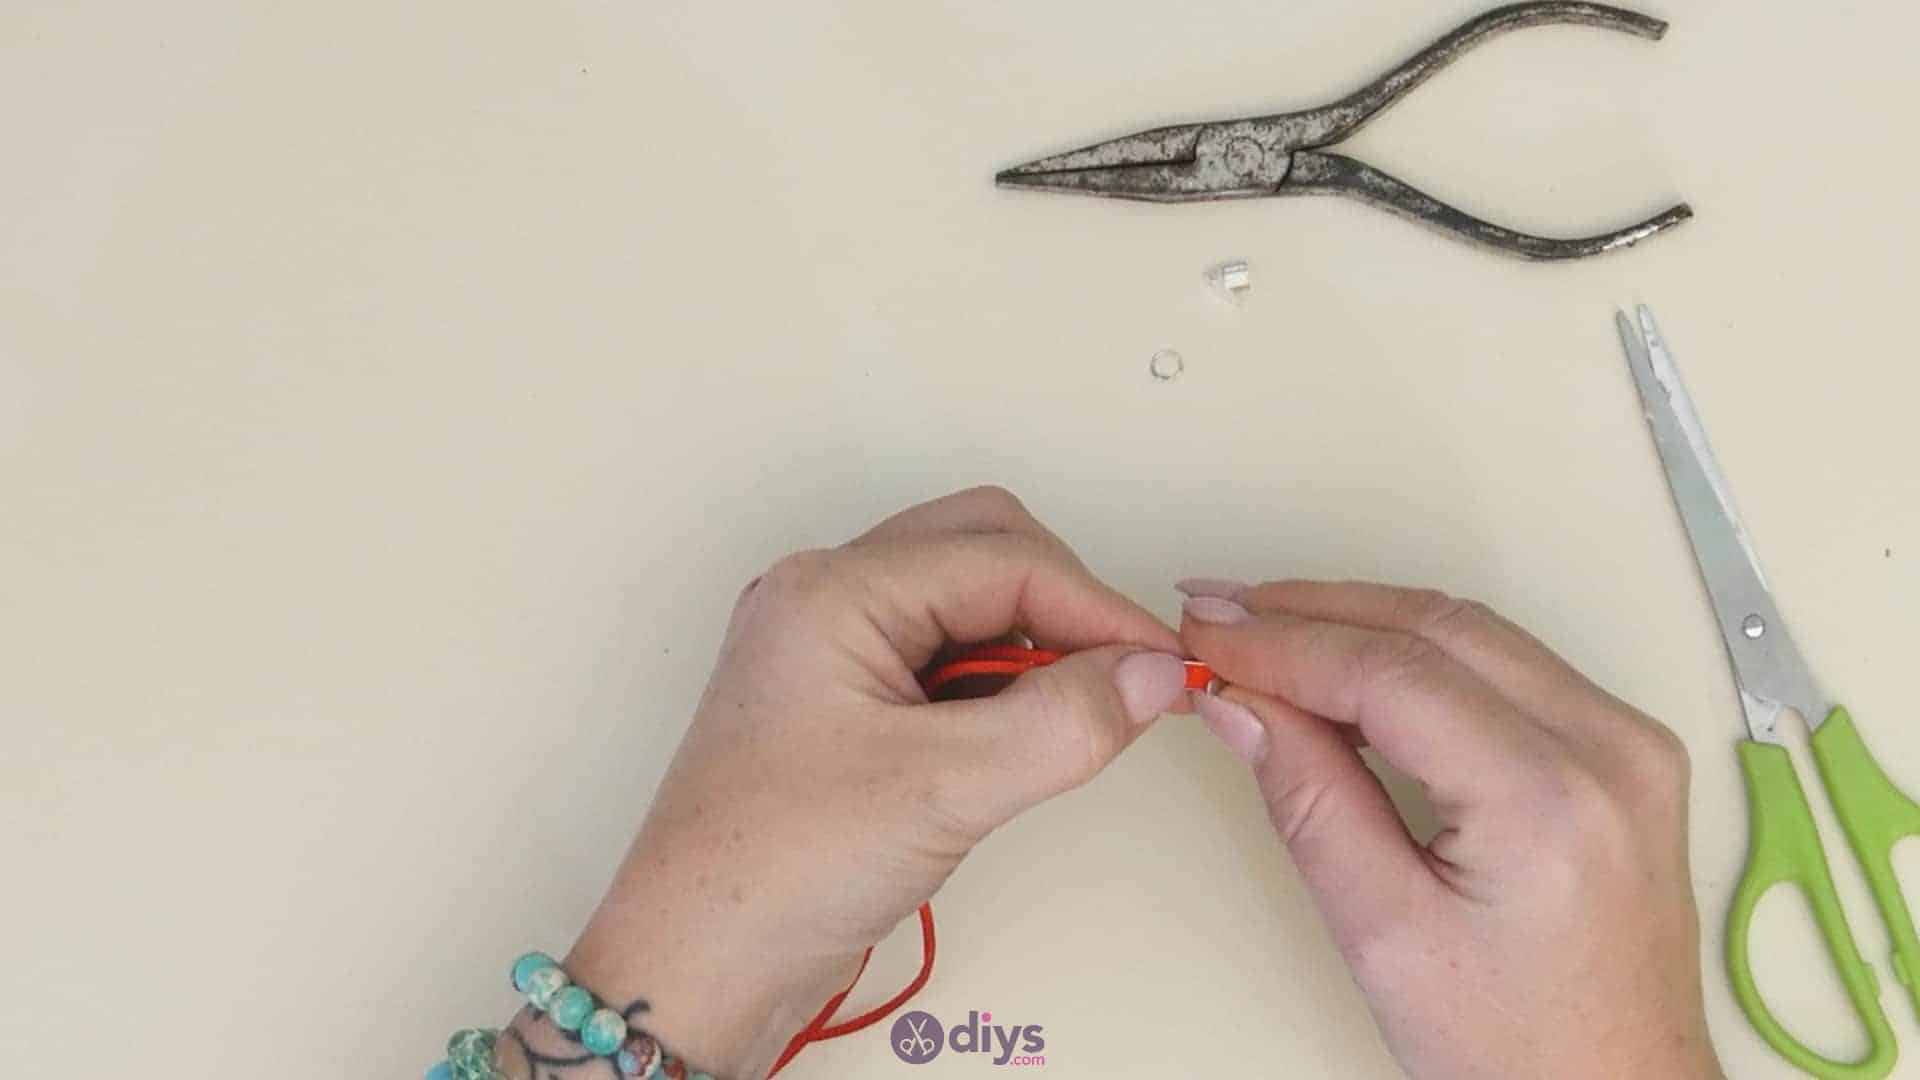
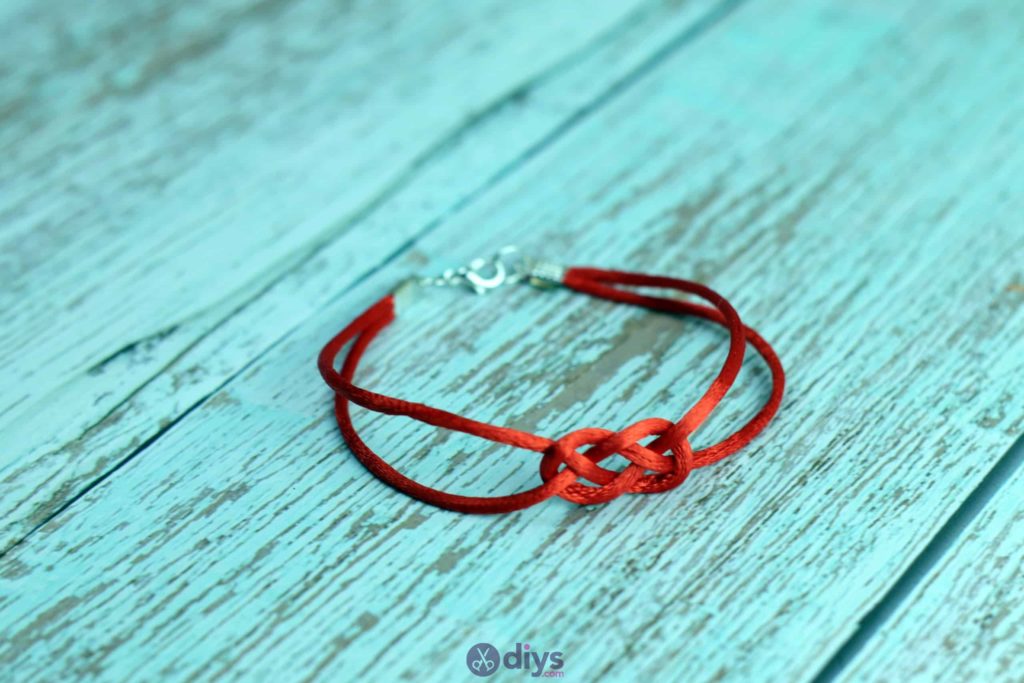
On one side, pinch your ends together so they sit evenly and insert them both at once into a ribbon clamp. Use your pliers to close the clamp overboth of the ends. This closes the end of the knot and keeps it in place, and also lets you attach a jewelry ring to the loop in the clamp so that you can open and close the bracelet to get it on and off. Now turn the bracelet and repeat the clamping process with the other two ends at once, anchoring the other side of the knot in place. Attach the jewelry clasp to this side so you have something to clip the ring on the other side to.
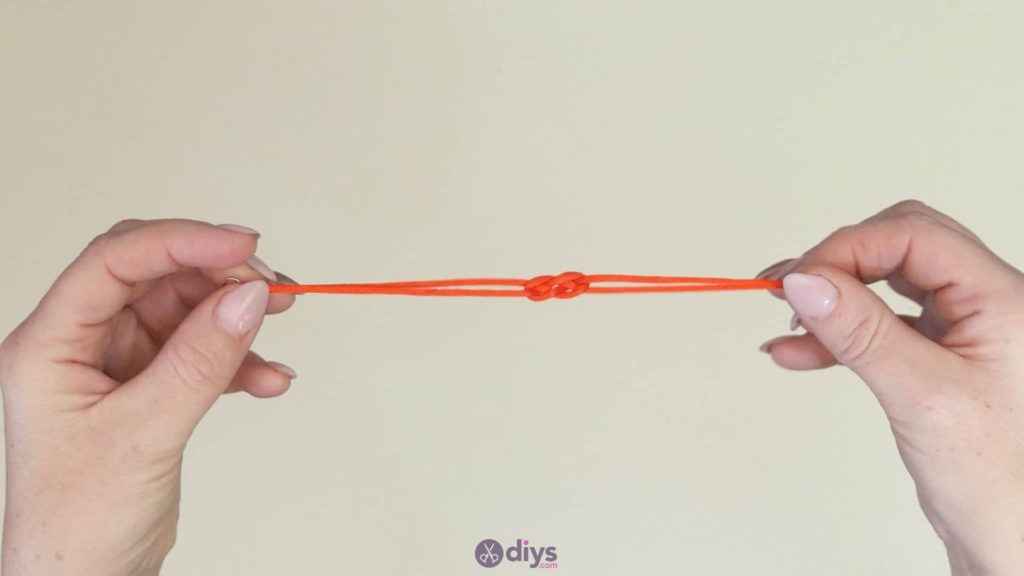

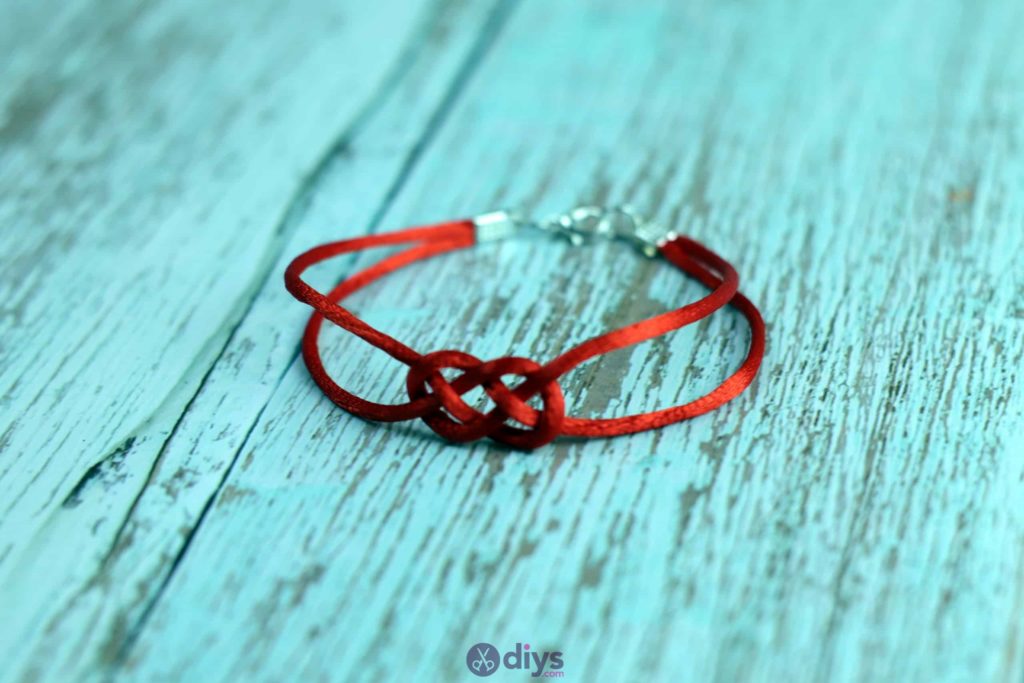
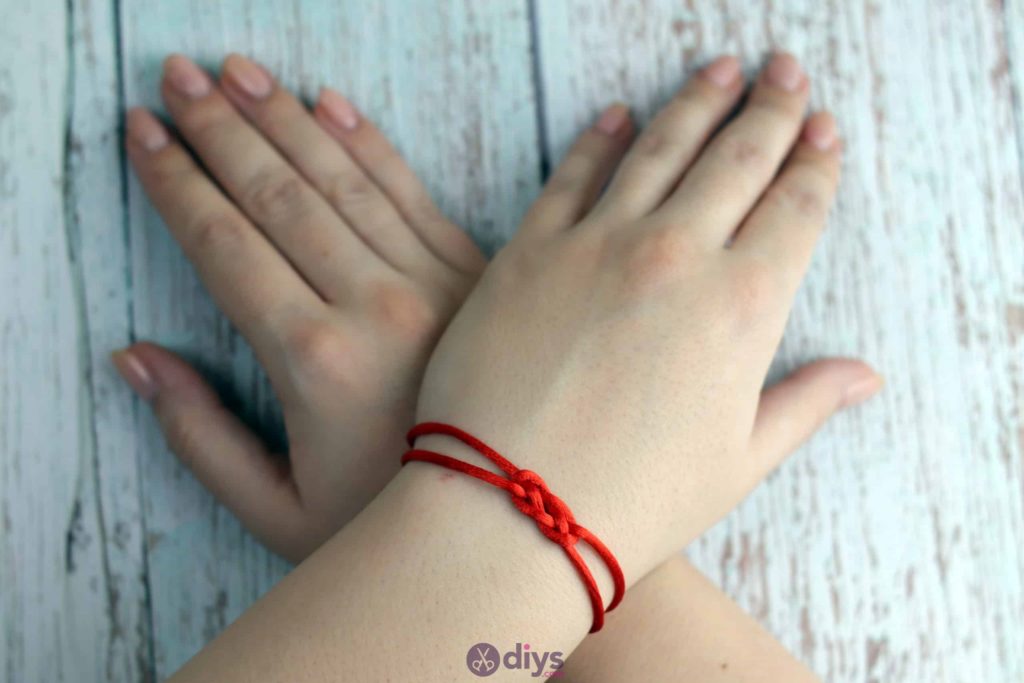
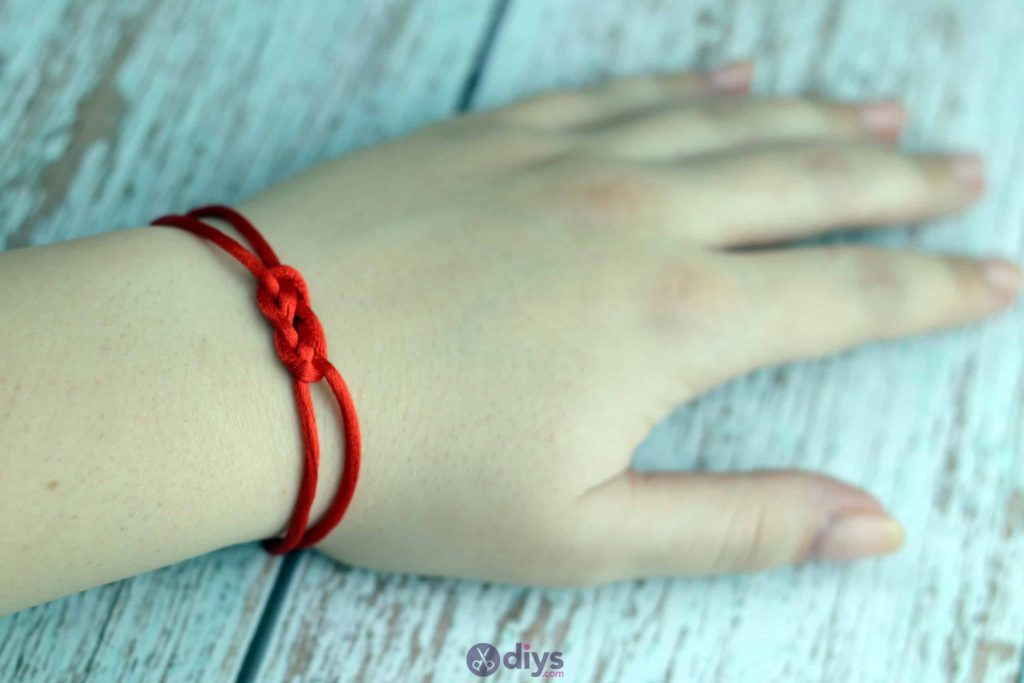
You’re all finished! Of course, you can feel free to change up the colour or kind of string you use to make your knot; it would also look charmingly rustic made in jute twine or very fun made in brightly coloured speckled yarn. Just in case you’d like to try this project out for yourself, here’s a fantastic tutorial video to help you!